A Summer Boho Makeup Idea For Music Festivals #playbeautifully with e.l.f.

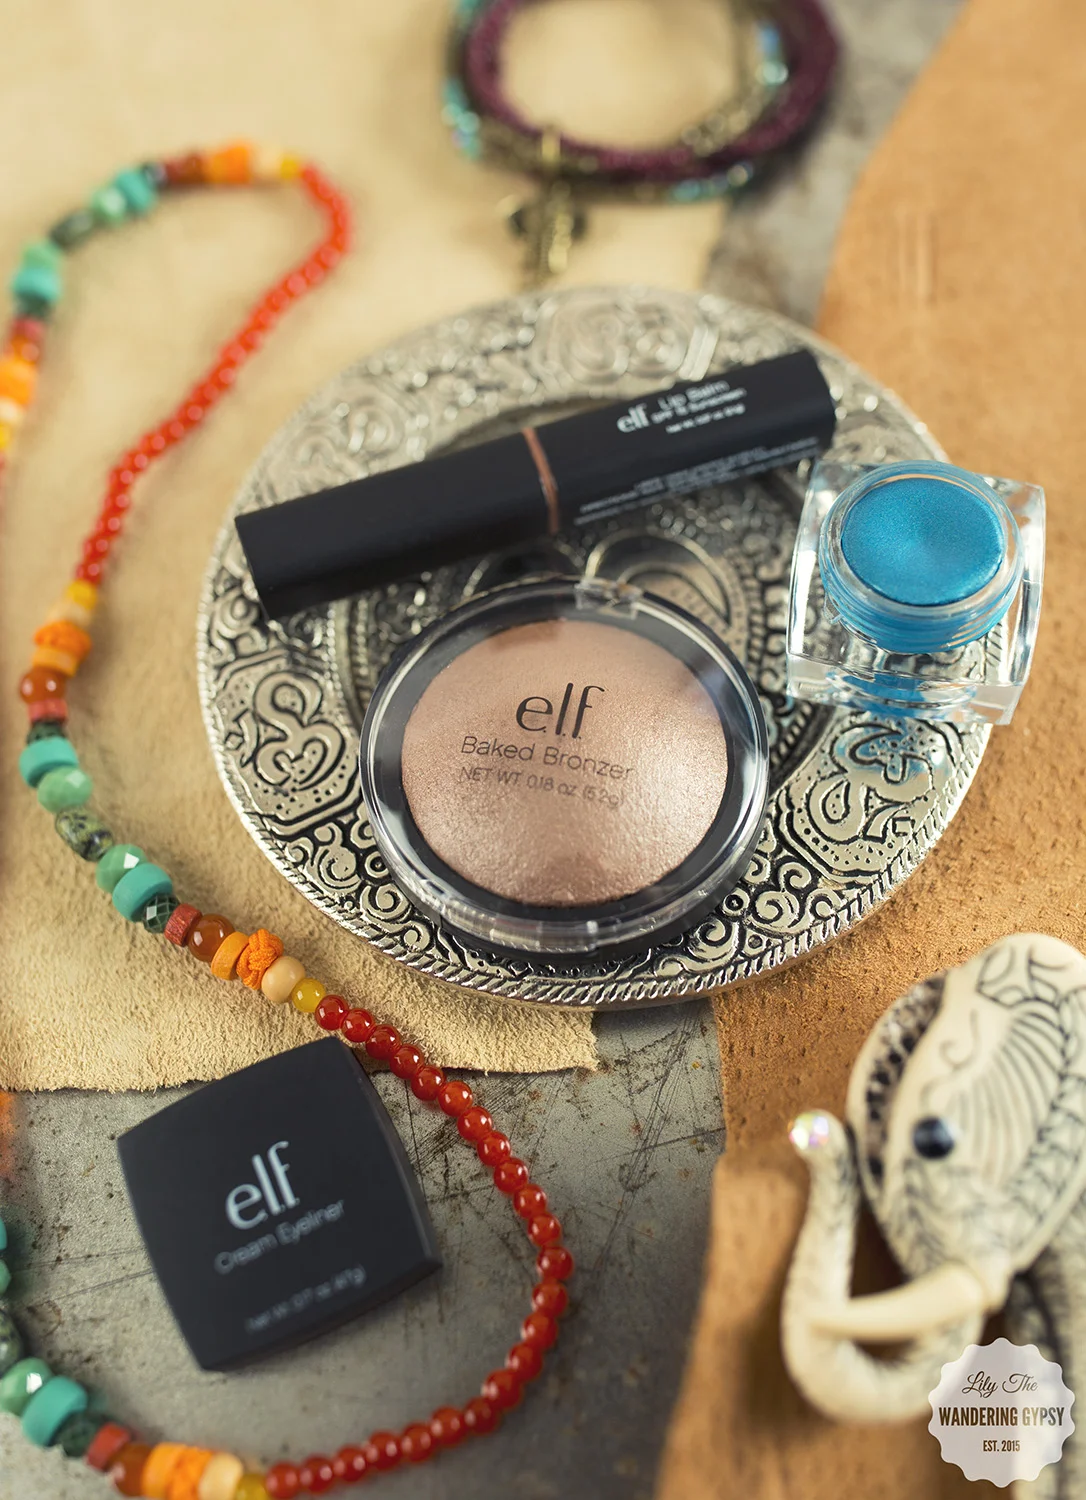
Summer festivals are in full swing, and I am so incredibly inspired by the makeup trends and clothing styles. I am beyond happy that the boho look has lasted this long, and I hope it's here to stay for a long time. I wanted to share a few makeup items that I would definitely recommend taking to your next music festival, or wearing to your next concert! 


My favorite items were these three lip colors, and they're all around $3.00 - the perfect price for trying out a new color to see if it's something you are going to wear more than once. 


The lip lacquer, in purple had TONS of color to it, and I know that purple lips have been so popular this summer. The middle one, the hypershine gloss, in vixen, was also very bright, in a good way, and very flattering with just about any makeup look. The SPF 15 lip sunscreen, although the color is nude, I loved the hint of color, and light shimmer (not glittery, luckily), and I also really like the fact that this has SPF. It's incredibly smooth and creamy, making me think that this would be perfect for any time you head out this summer. 


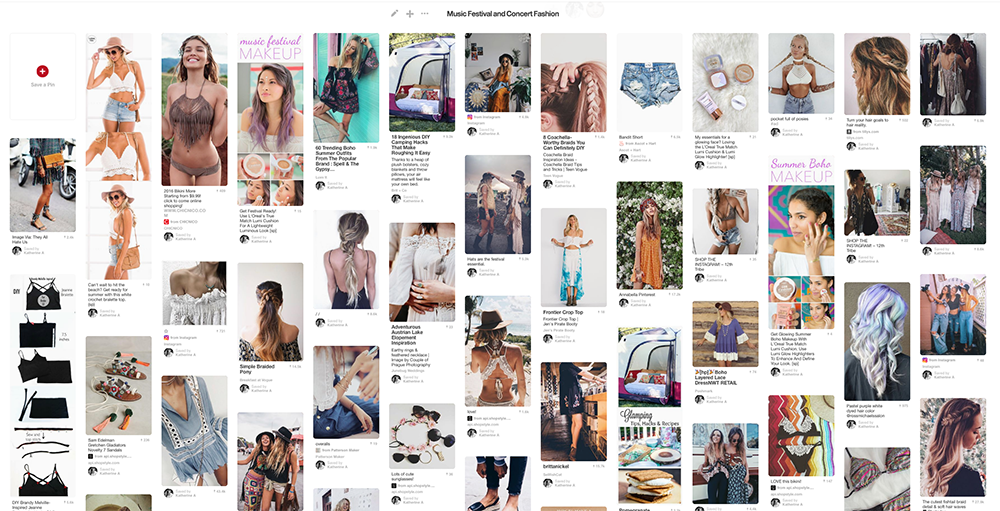
I am constantly inspired by all of the amazing, boho fashion and makeup ideas I find on Pinterest on a daily basis! I created a Pinterest Board, called Music Festival & Concert Fashion, where I keep track of all of my finds! 

Below, you can see how lovely the Lip Balm with SPF 15 looks! I can see this color (nude) looking great on so many skin tones. And, this won't make it look like you're wearing a ton of makeup. Just enhance your natural beauty, and also protect your lips - they're so sensitive that they deserve a bit of protection! 

The Perfect Watch For Back To School & Beyond

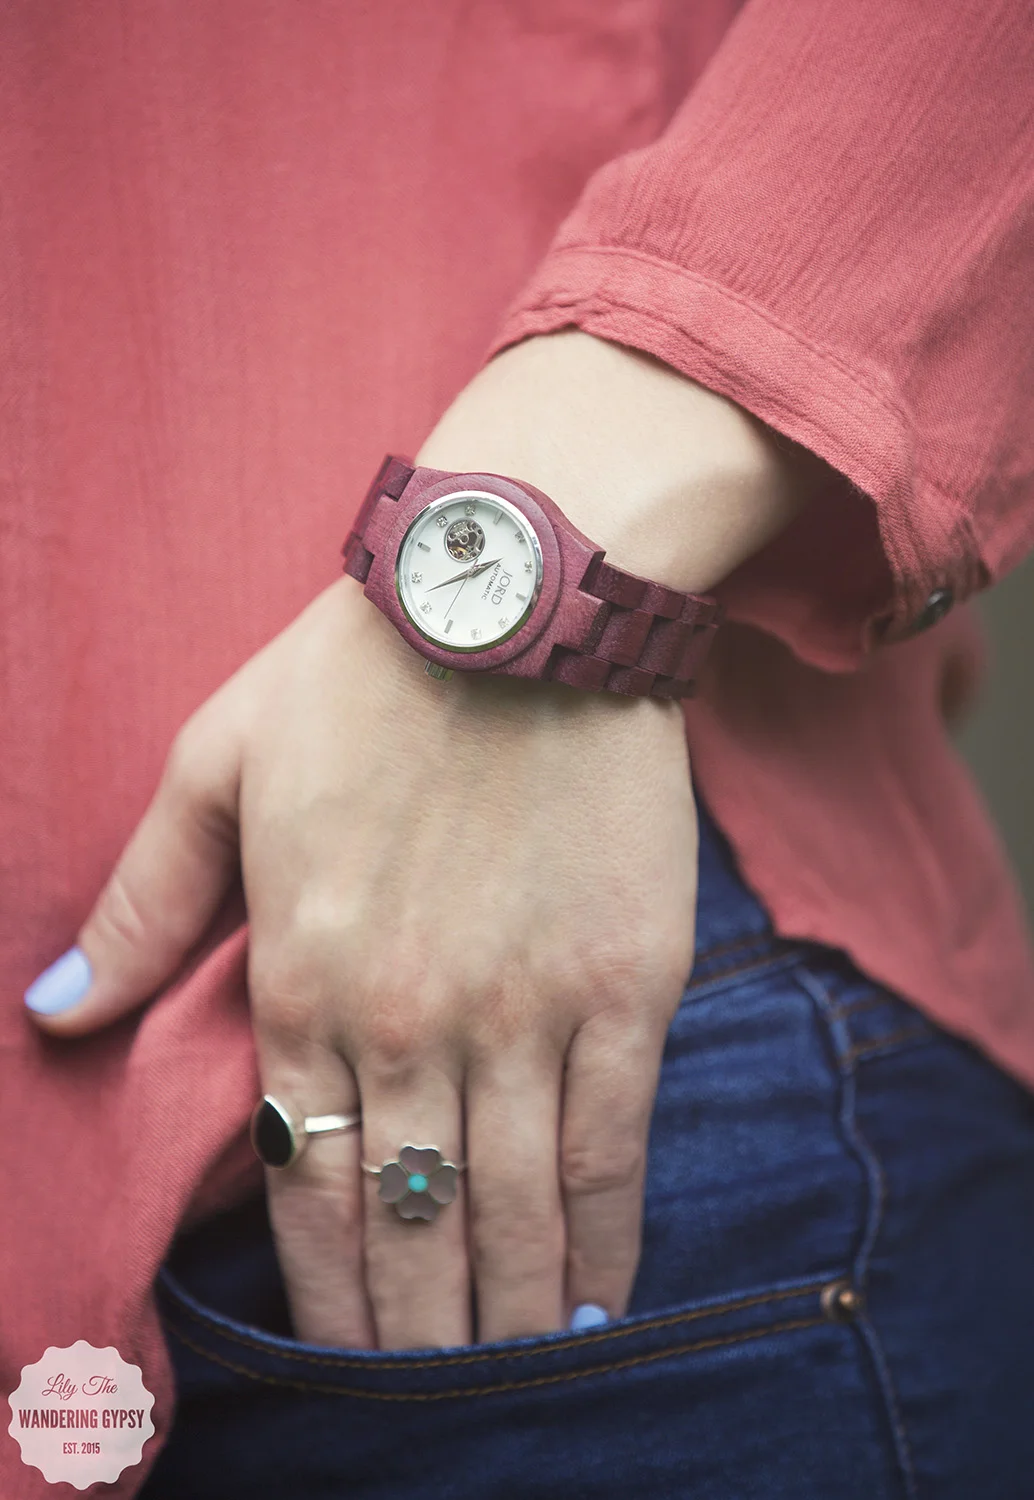
I found my all-time favorite accessory - the Cora watch in Purpleheart and Mother of Pearl, by JORD! I know I have blogged about these beautiful watches before (here and here), but I recently received a new, smaller style and love it SO very much!

The reddish, darker color of the Purpleheart wood is absolutely stunning, and is going to be great for back to school, fall, the end of summer, and beyond. I also love the unexpected sparkle of the jewels in the watch face. The other little nod to extreme attention to detail is the fact that the back of the watch face is made of glass, so you can see the inner workings of the watch! I cannot believe how nice these watches are, they're so well-made.

"Savoring something, however small, is why your style will always be revered, and rarely replicated. You'll love how the Purpleheart wood pairs with opaline Mother of Pearl to showcase the luxe nature of natural materials. Crafted to be adored, our Cora was created for you."

And, just for fun, enter to win $75 towards your very own Wood Watch! That is a GOOD DEAL!!! 

This Cora Watch matches the boho styles so well! Whether you're pairing a cute button up 3/4 sleeve shirt with dark cropped skinnies, or wearing a cute dress, the watch will never look unflattering because its design is so streamlined. This watch is very comfortable, and really makes me smile when I wear it! 

sapphire crystal glass

deployment buckle with push button

swarovski crystal markers

screw-down crown

case width: 37mm

case thickness: 12mm

lug ends: 38mm

band thickness: 18mm - 22mm

band length: 211mm (they send extra links)

These watches make amazing gifts, too! My sister is already eyeing this one :) They are such good quality watches, that whoever is lucky enough to receive one will have it for a very long time. And, like I mentioned before, JORD wood watches come with extra links, just in case. There are SO many colors of these watches, so go ahead and check out the whole collection, here

I had so much fun styling this watch for JORD. Check out all that JORD has to offer here!

DIY Summer Fun - Pineapple Gift Boxes

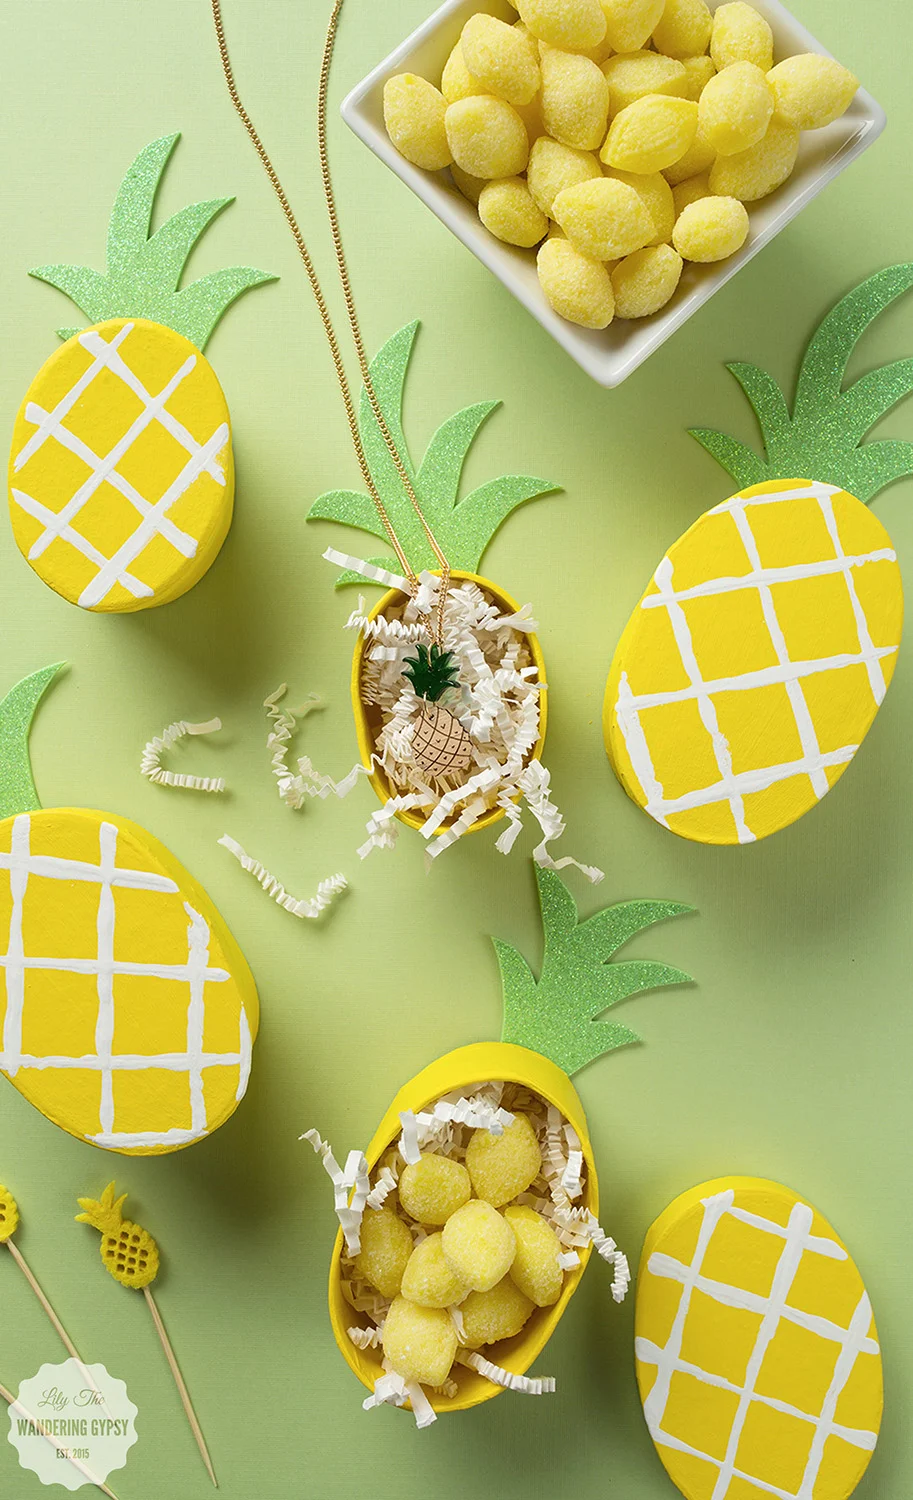
There's no doubt that it's summer, why not embrace it and make something cute inspired by tropical breezes (wishful thinking), and pineapples! Why not make someone smile by creating a gift box that is a present in itself. I made this project a little while back in order to help Wendy's to help promote their Blackberry Lemonade. It was just the right amount of tart and sweet, wrapped up into one pretty drink! What will you be making and gifting this summer?

This post was totally inspired by the amazingly awesome blog, Damask Love

- Oval-shaped Paper Mache Boxes 

- Yellow Paint, White Paint

- Paint Brush (to paint over entire box)

- Wooden Skewer Sticks (to paint white marks on boxes)

- Paint Brush

- Mint Green Sparkle Foam Sheet 

- Glue

- Gift Items or Candy to fill boxes

1.) Cover your work surface, and paint your boxes yellow. I used 2 coats, but they dried pretty quickly.

2.) Make sure your yellow paint is 100% dry, then with a skewer stick, draw/paint the lines onto the boxes. I basically put the white paint onto a paper plate, then laid the skewer sticks down, covered the end in paint, then drew the lines across the boxes. This helps you create super straight lines, too!

3.) Now, cut out your green top parts. Feel free to print the photo, below, to get the right shapes. I just sort of free-handed one, and traced it on the non-glitter side of the foam. These were so easy to cut out! 

4.) Now, simply glue the little green top pieces onto the boxes, and you're done!! Fill them with paper shreds, and whatever your heart delights! 

A Cute Desk Decor DIY & Celebrate Back To College With Big Lots

This shop has been compensated by Collective Bias, Inc. and its advertisers. All opinions are mine alone. #BigLotsReady #CollectiveBias

I am here today with a cute DIY idea, and tips on how to design a space for a woman who is shopping for back-to college items, and wants to learn how to maker her space her own. My sister, Ellen is such a talented person. She is going to be a Junior at the University of Louisville, KY in the nursing program this Fall semester, and I couldn't be more proud of her! She will be receiving her BSN in no time at all! She is my complete inspiration for this post! She is so talented, and she is a gifted artist and designer. 

Ellen lived in a dorm her first year, and it was super cute. She did the best she could with the furniture she was given, but last year, her design style really had a chance to blossom. She moved into a beautiful house with some of her sorority sisters, and her bedroom was beyond adorable. Now, she is moving into a house with a bit more space, and I can't wait to see how she designs the place.

Read on to see more about the space I designed for a woman who is in college and needs a beautiful space to work! The directions for a DIY Background Inspiration Board are below.

Get tons more inspirations, and shop all of the Back-To-College items here. And, click around on the image below, it's shoppable!

Meet my sister, Ellen!

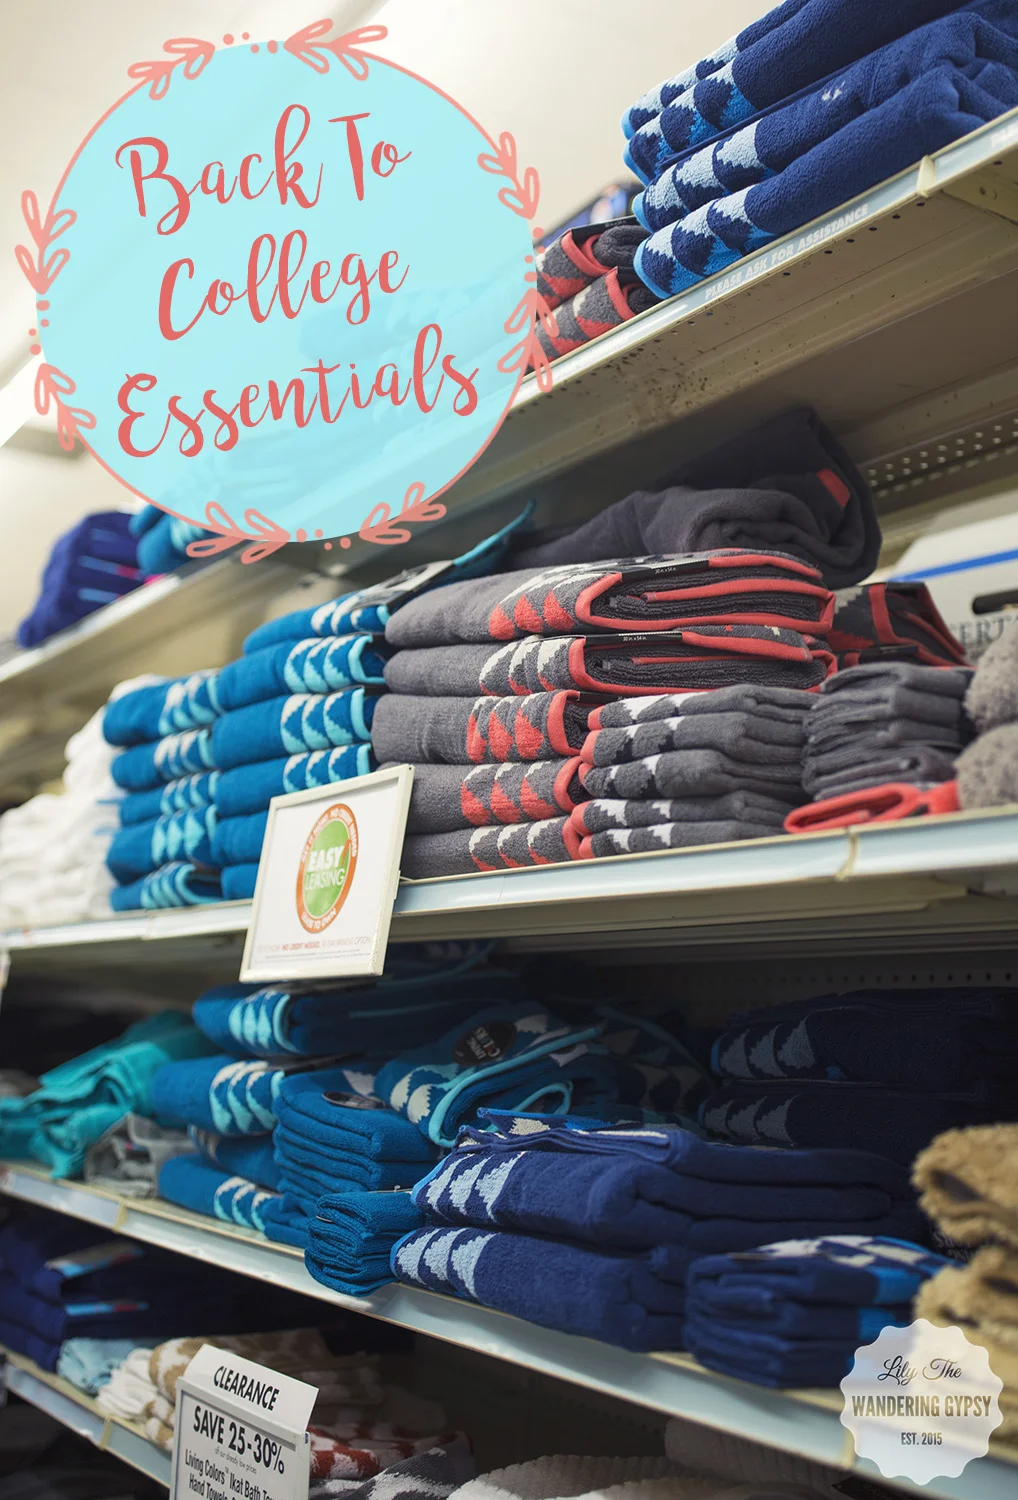
I shopped at my local Big Lots for many of these items, and I could not believe hoe friendly and helpful everyone was! The main cashier knew exactly right where everything was, and I was happy to find so many of the items available in-store. I also found lots of items that coordinated with my coral and mint theme, so I grabbed a few extra items while there. Another option is to shop on biglots.com, if you want an even broader selection of colors or want to see the entire line of back to college gear. 

No matter what your style, Big Lots has some super cute home decor items that will inspire a cute color combo, or even an overall theme to your new space, from college dorms, new apartments, or any work space. In addition to the items I featured here, Big Lots also has: mattresses, furniture, small appliances, bedding, sheets, pillows & throws. These items will fit into lots of popular decor trends, for both guys and girls. 

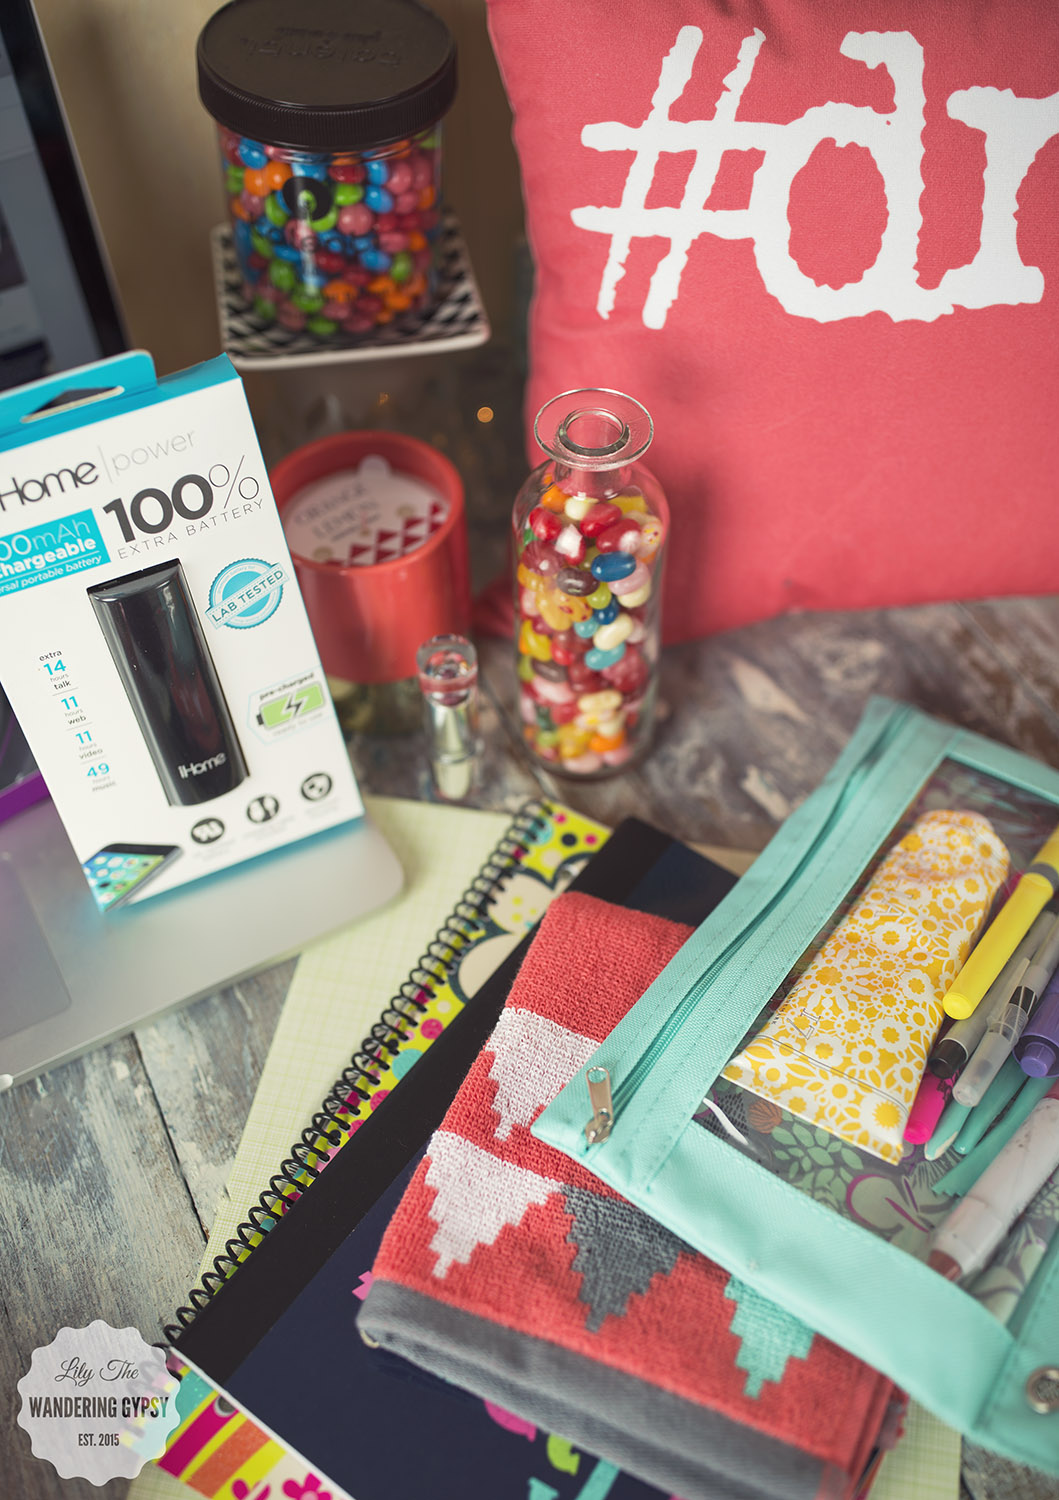
And, there were way more electronics than I could have imagined! They're all stocked up on items like extra battery packs for charging your phone and small devices (see photo, right), as well as cute headphones in literally every color imaginable. 

I also found a ton of other apartment/dorm/new place ready items like Ninja blender, lots of vacuums, toasters, pots and pan sets, plates, dishes, cups, silverware sets, and a good selection of curling irons, and other bathroom items. I always like checking out the beauty aisle, you never know what sorts of hair products, lotions, and even gift items for your new roomies! 

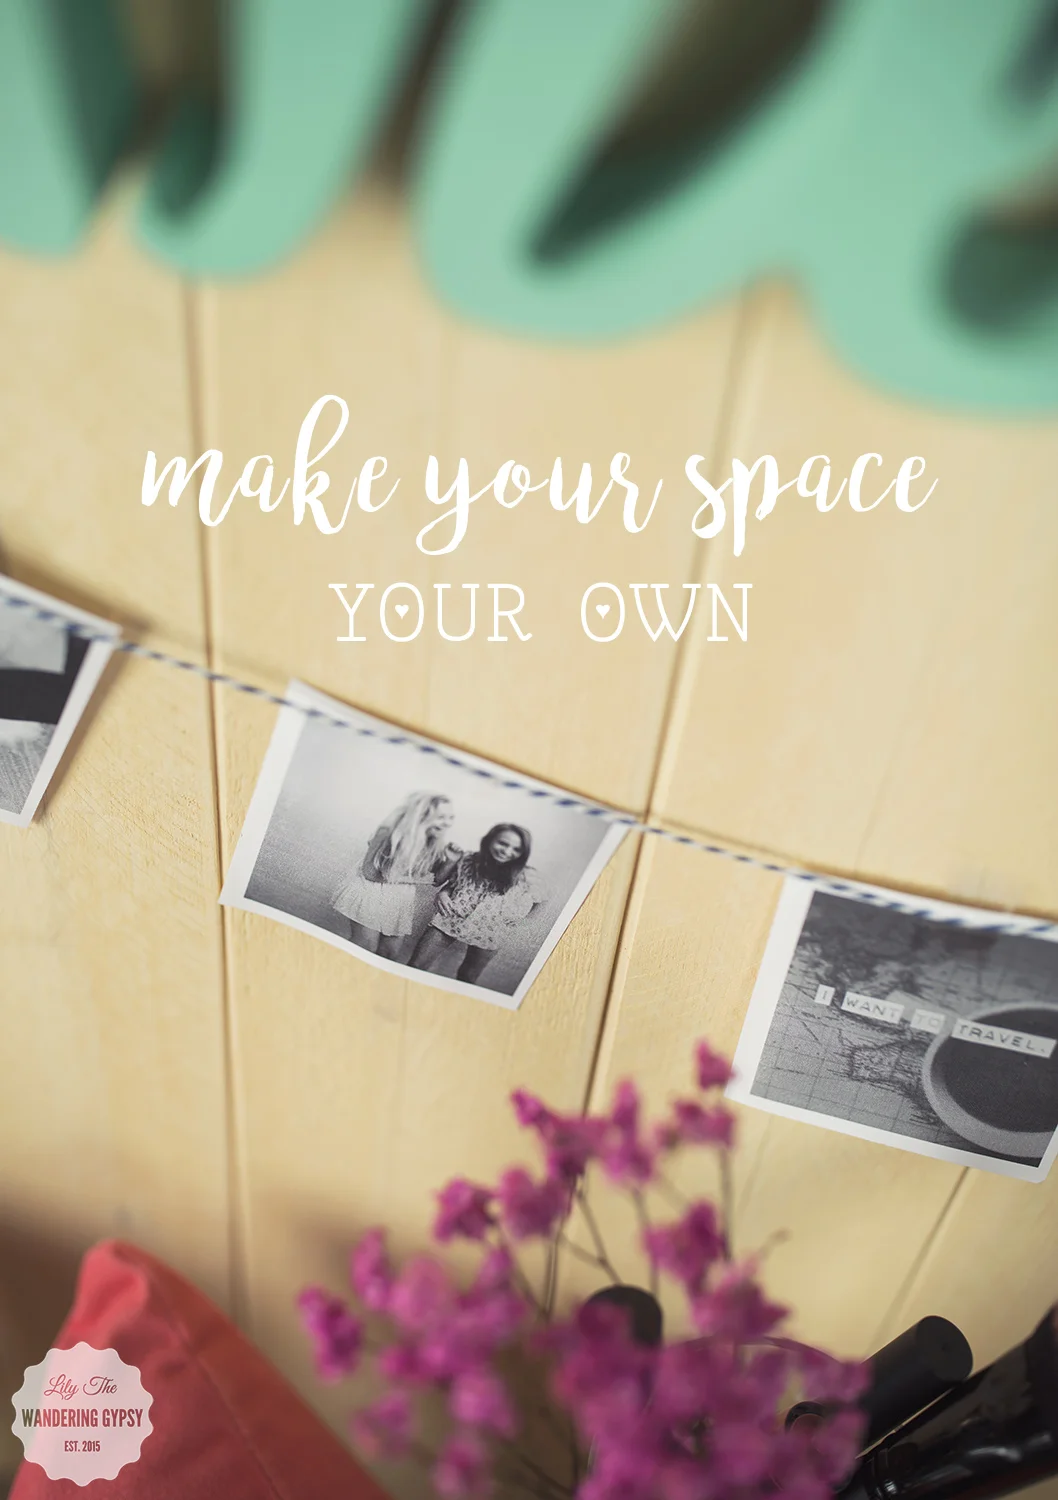
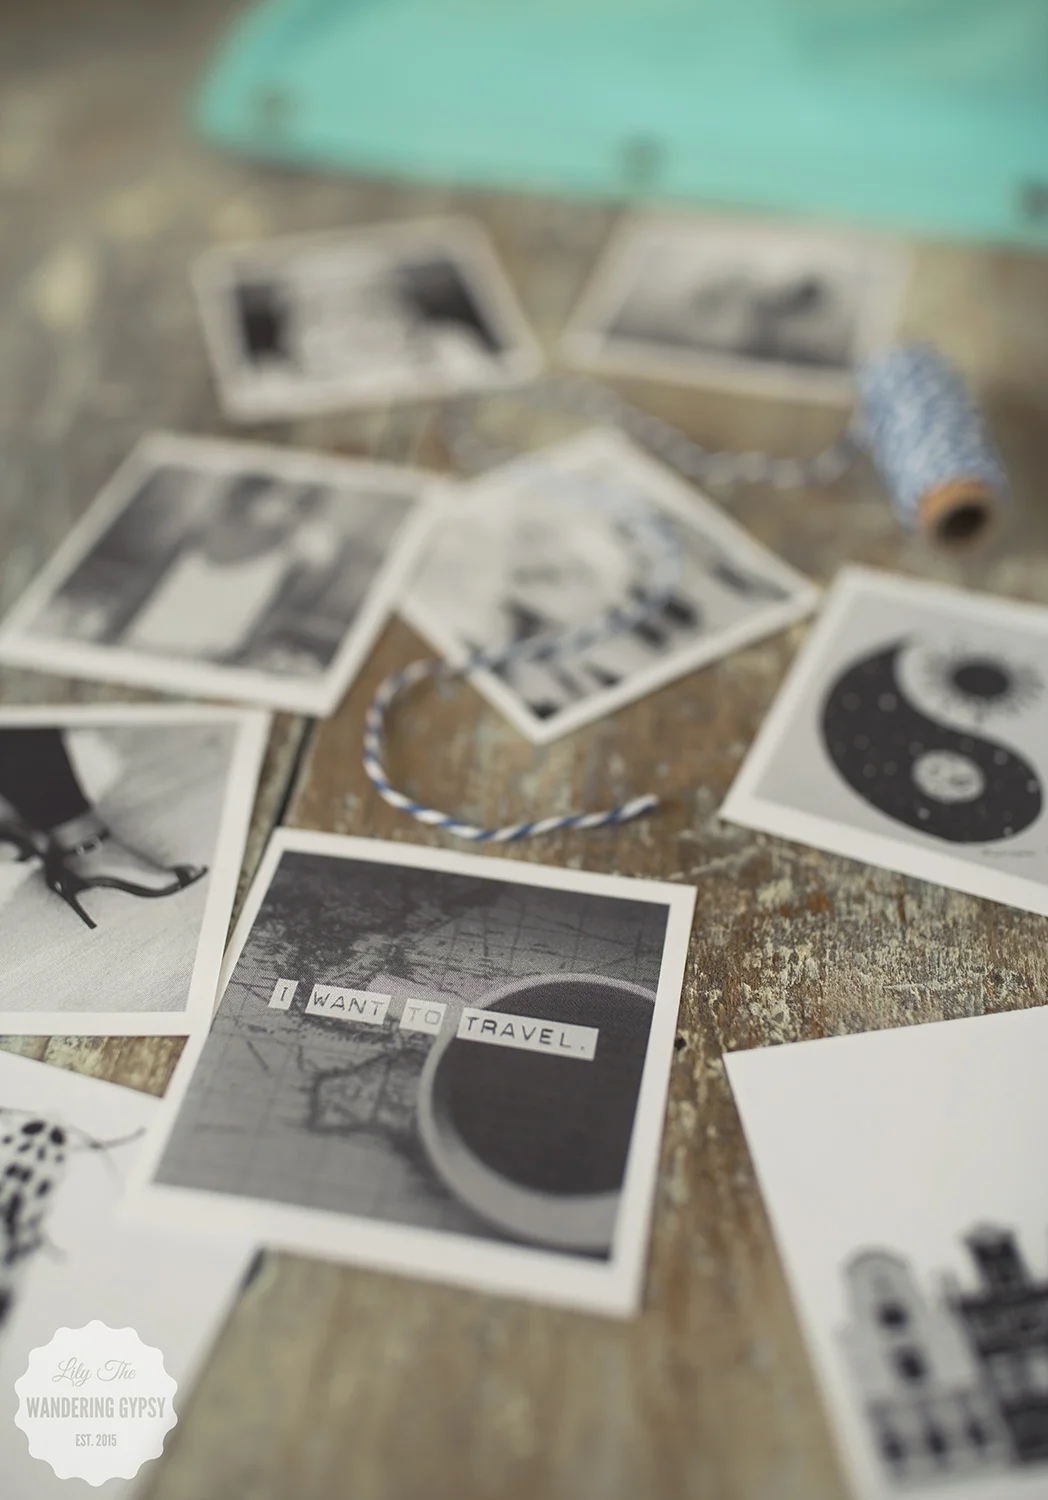
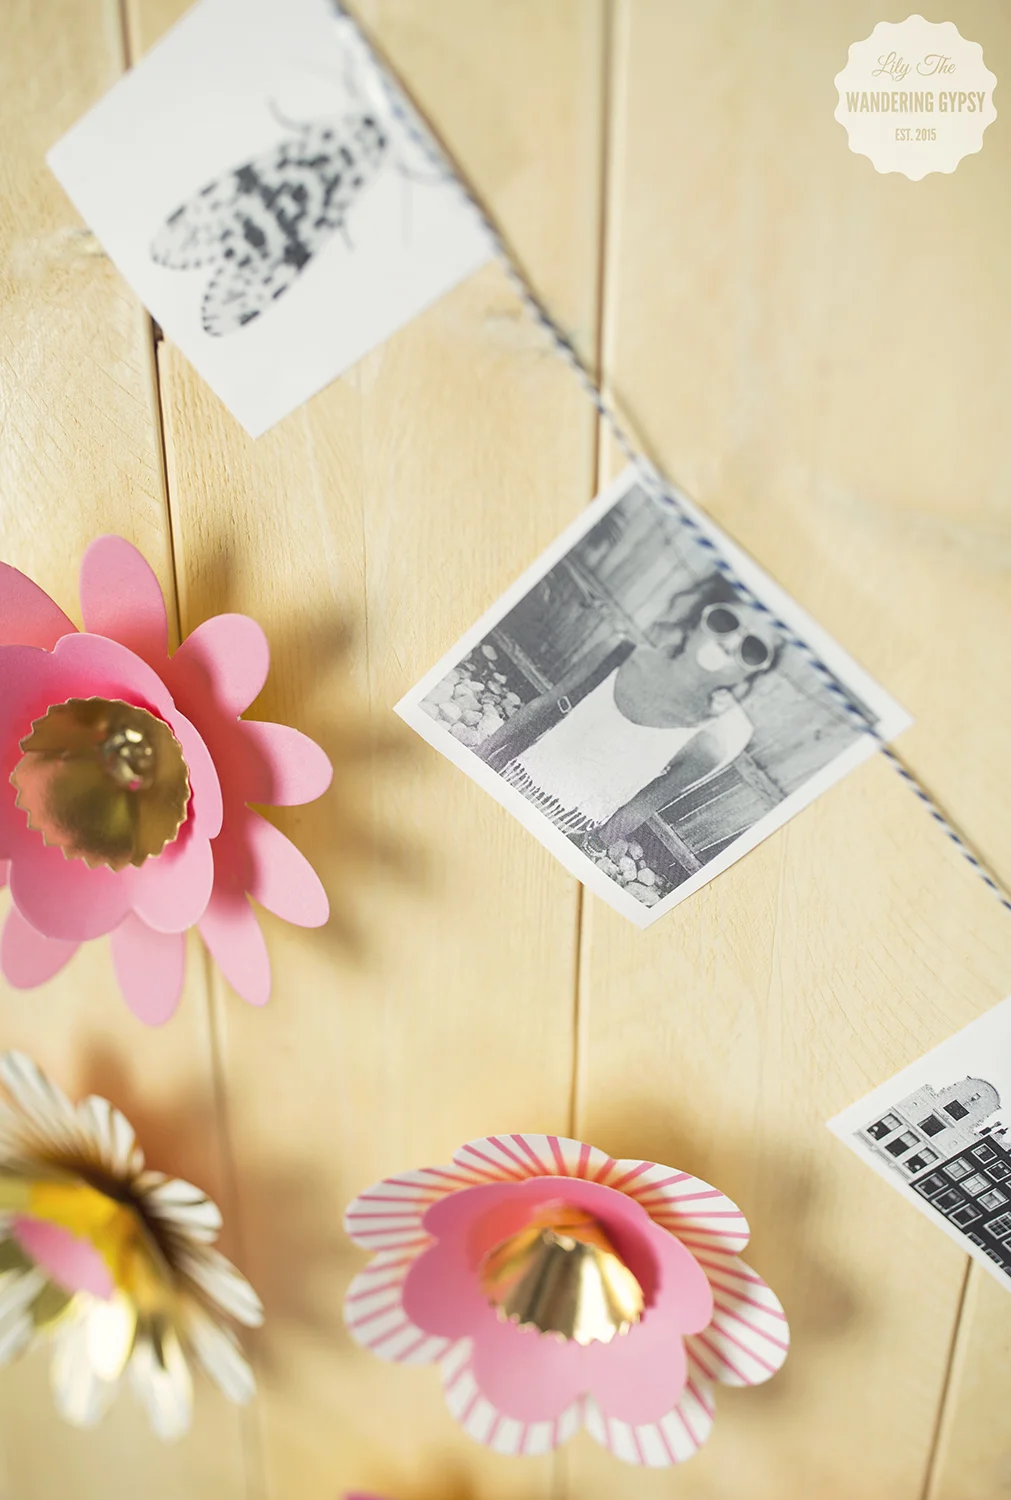
Rather than staring at a blank wall while you type away at your term papers, decorate the wall behind your computer with something cute and meaningful! All you need is some black and white photos. You can use your own photos and print them in black and white), or you can grab some from Tumblr, like I did! I used a bit of colorful twine and clear tape, to adhere the decor to the wall.

TO DIY YOUR SPACE:

1.) Cut a length of twine and drape it in a wide U-shape across the wall, behind your computer. 

2.) Tape up the twine on both ends. Now, tape each photo to your wall with clear tape, then tape the twine down onto it, making it appear as if the photos are strung from the twine. 

3.) Add 3-D paper flowers (which I found at a craft store) - you can also make these from scrapbooking supplies that you find at Big Lots! That's it! A super simple DIY decor idea for your work space. 

Also, creating varied heights on your work surface makes a more visually-pleasing look. You can use a candle holder, or a stack of books to create height, and then add a picture frame, vase full of flowers, or jars full of colorful candy to add inspiration. I also really love the idea of using a small candle holder or glass to hold makeup and makeup brushes. Keep the daily essentials at close reach! A mirror would also be a great addition to this design.

And, a scented candle will definitely help keep your space smelling fresh, and could even help you concentrate! Choose a more relaxing scent for studying at night, and a more lively, fresh scented one like this Orange Lemon one, below. 

How will you decorate your new space this Fall? Thanks so much for stopping by!!

Mayil Scarves & Which Queen Are You?

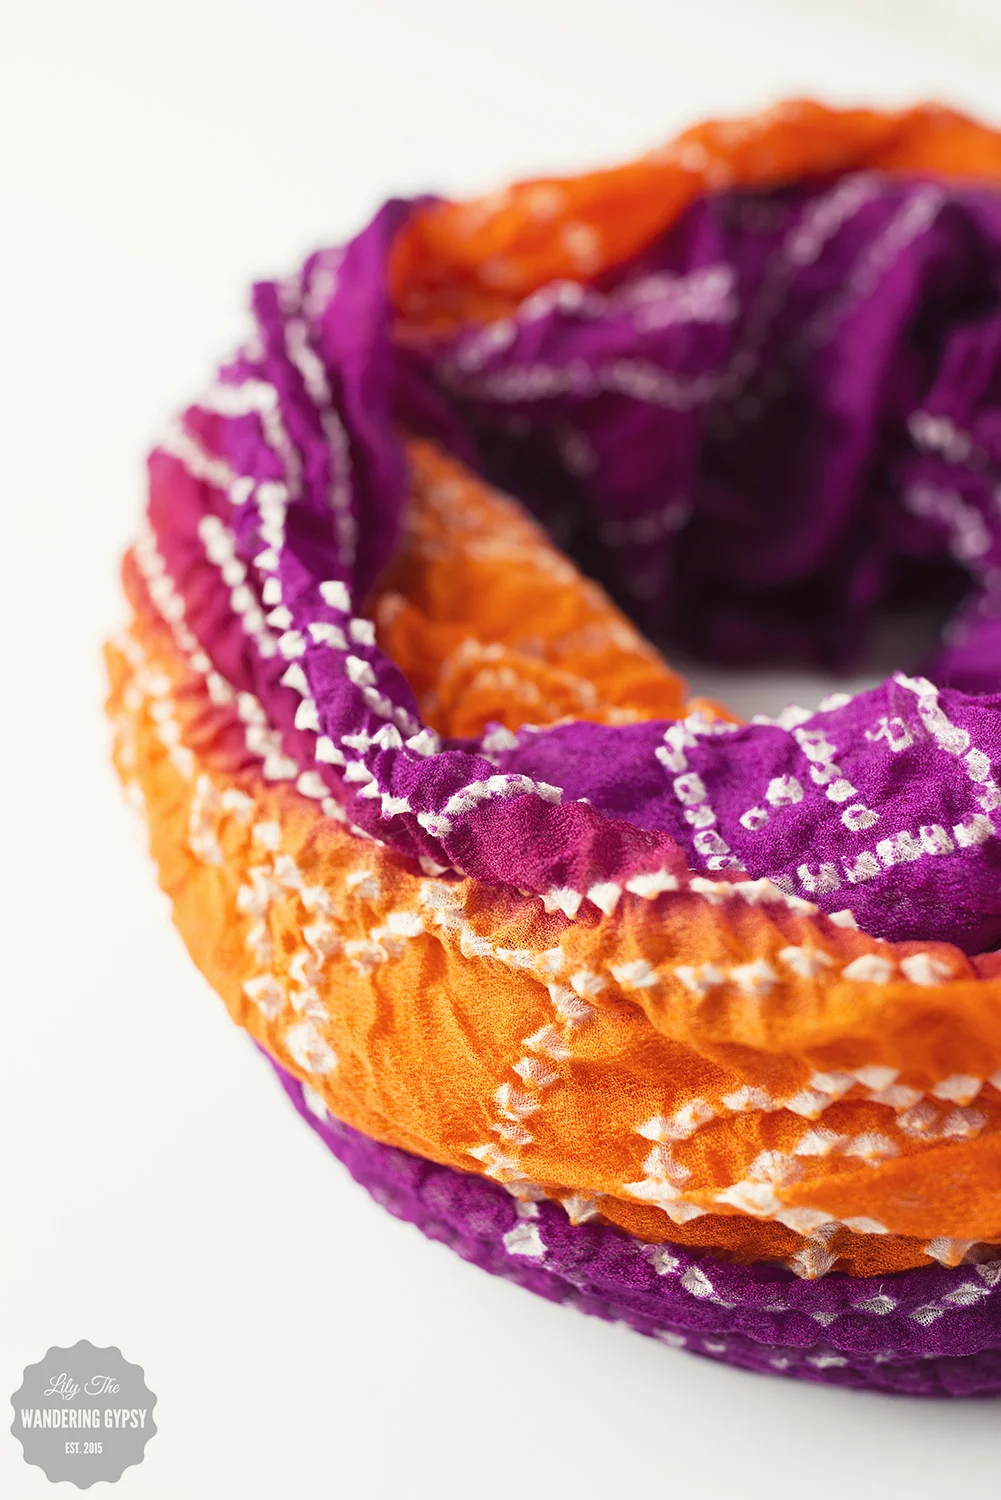
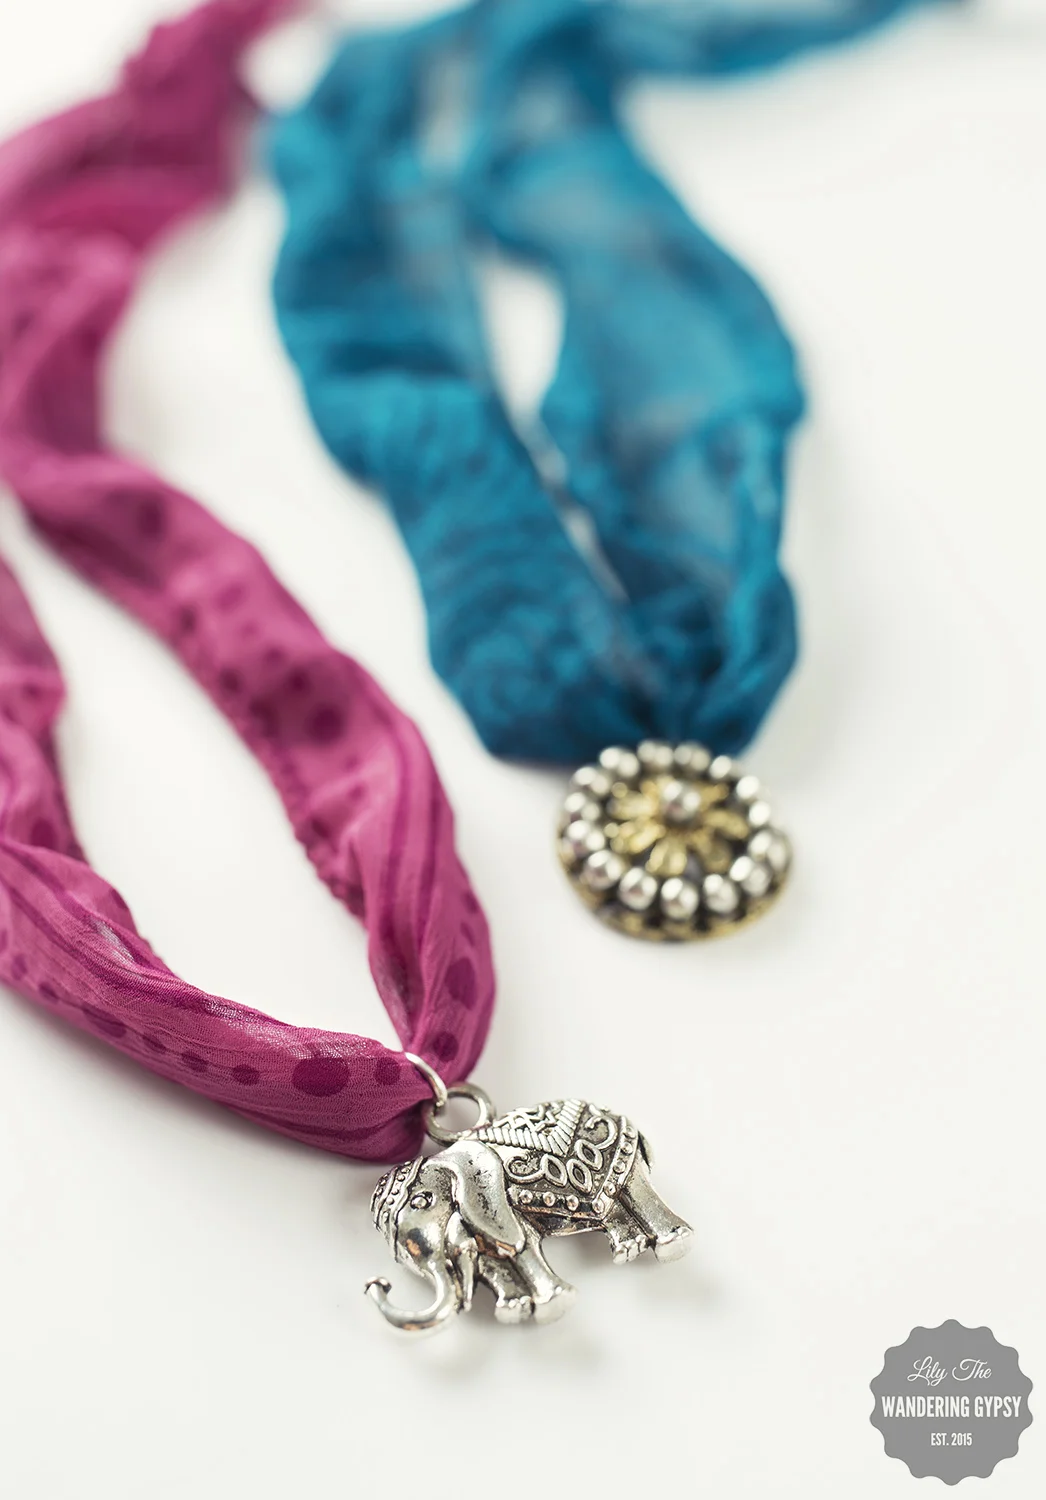
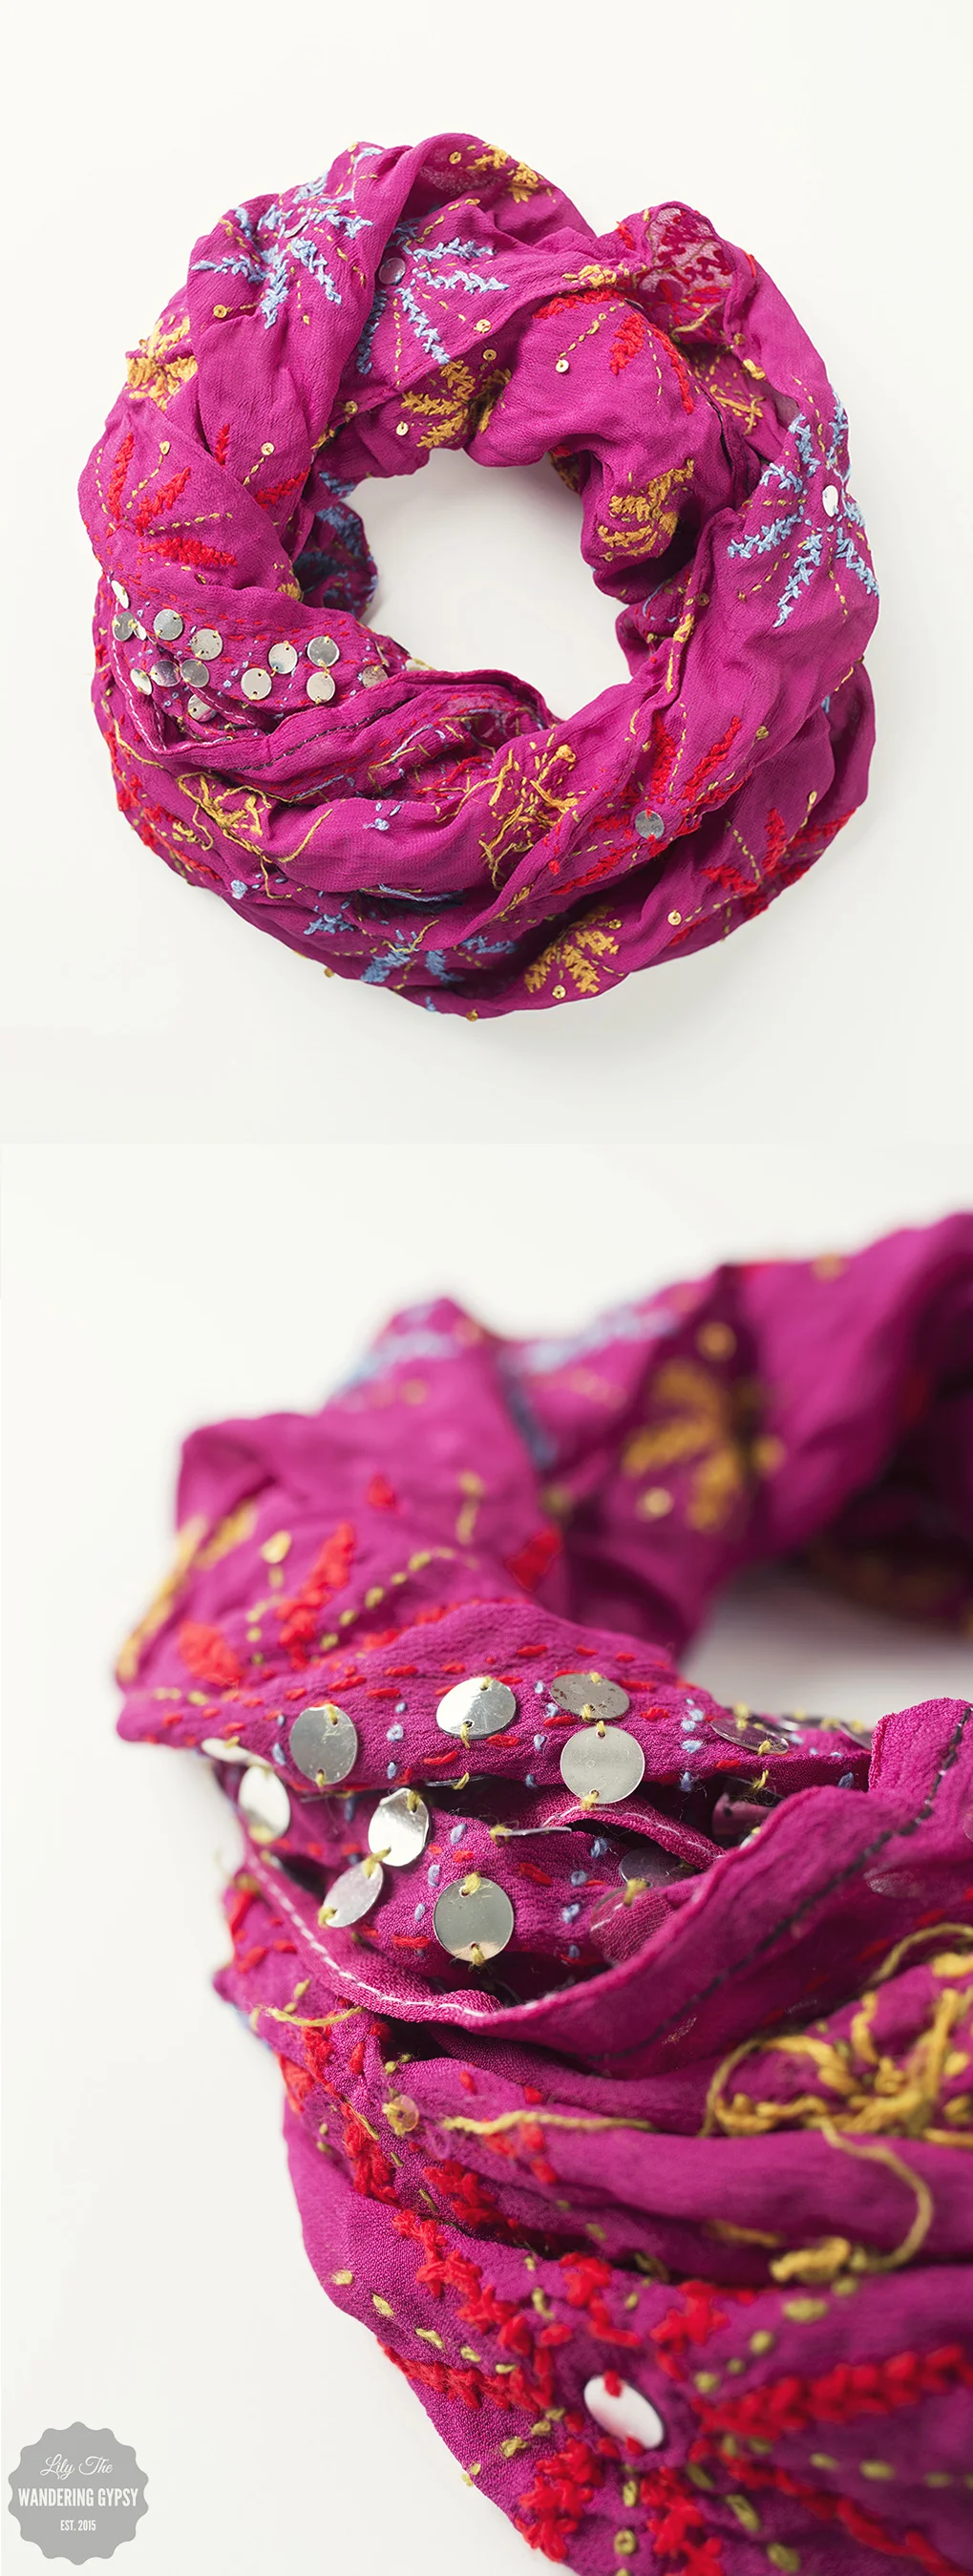
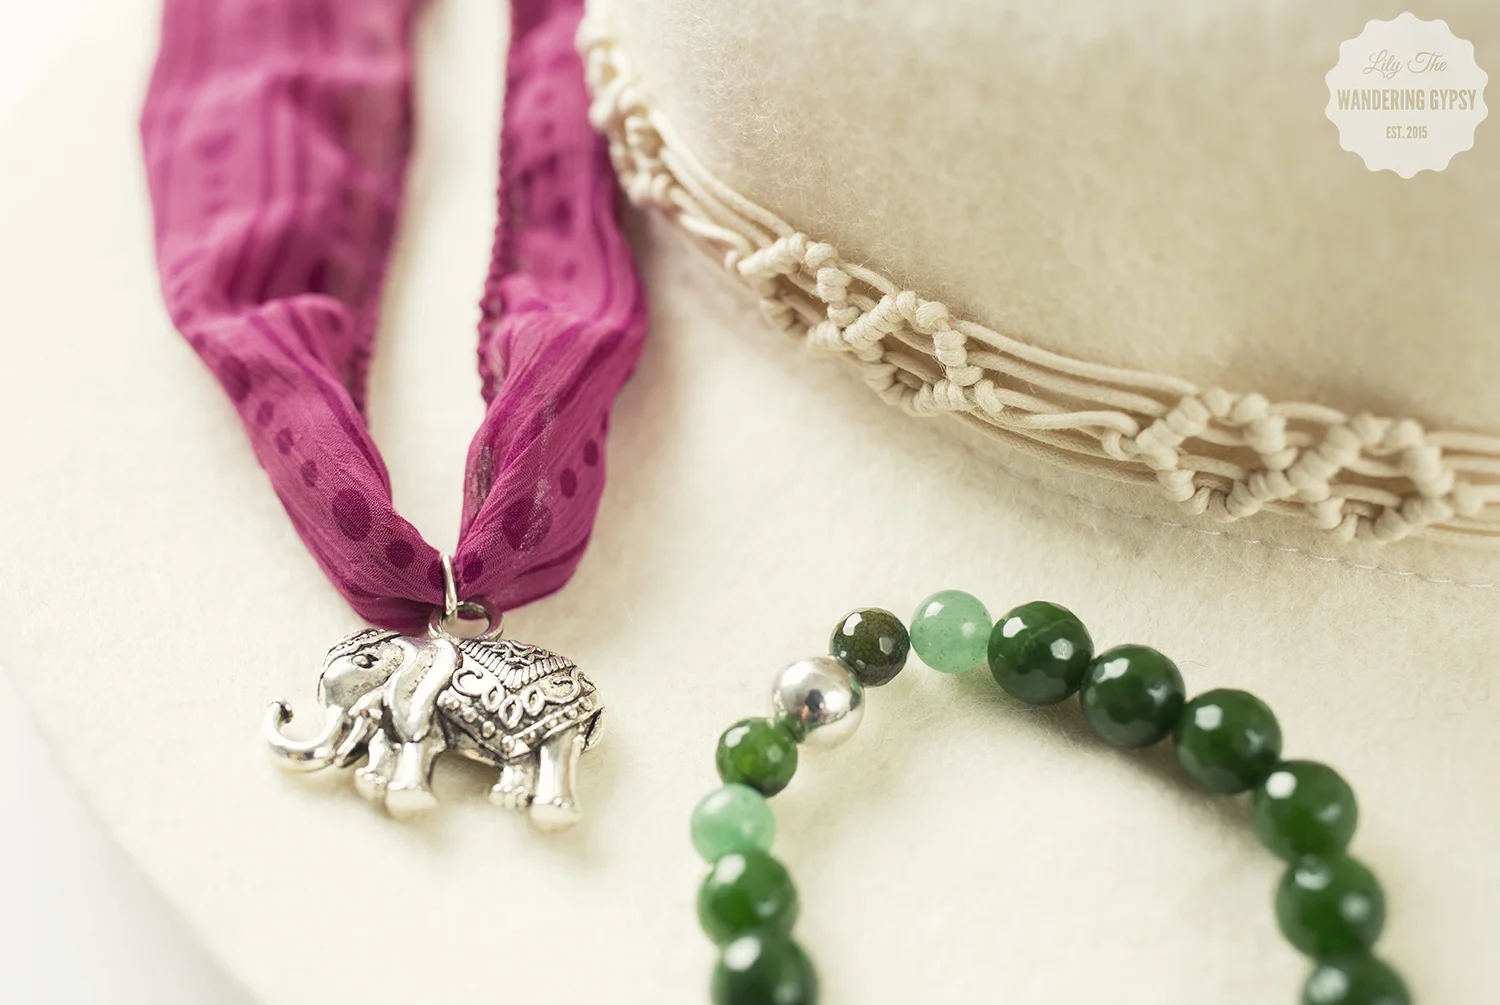
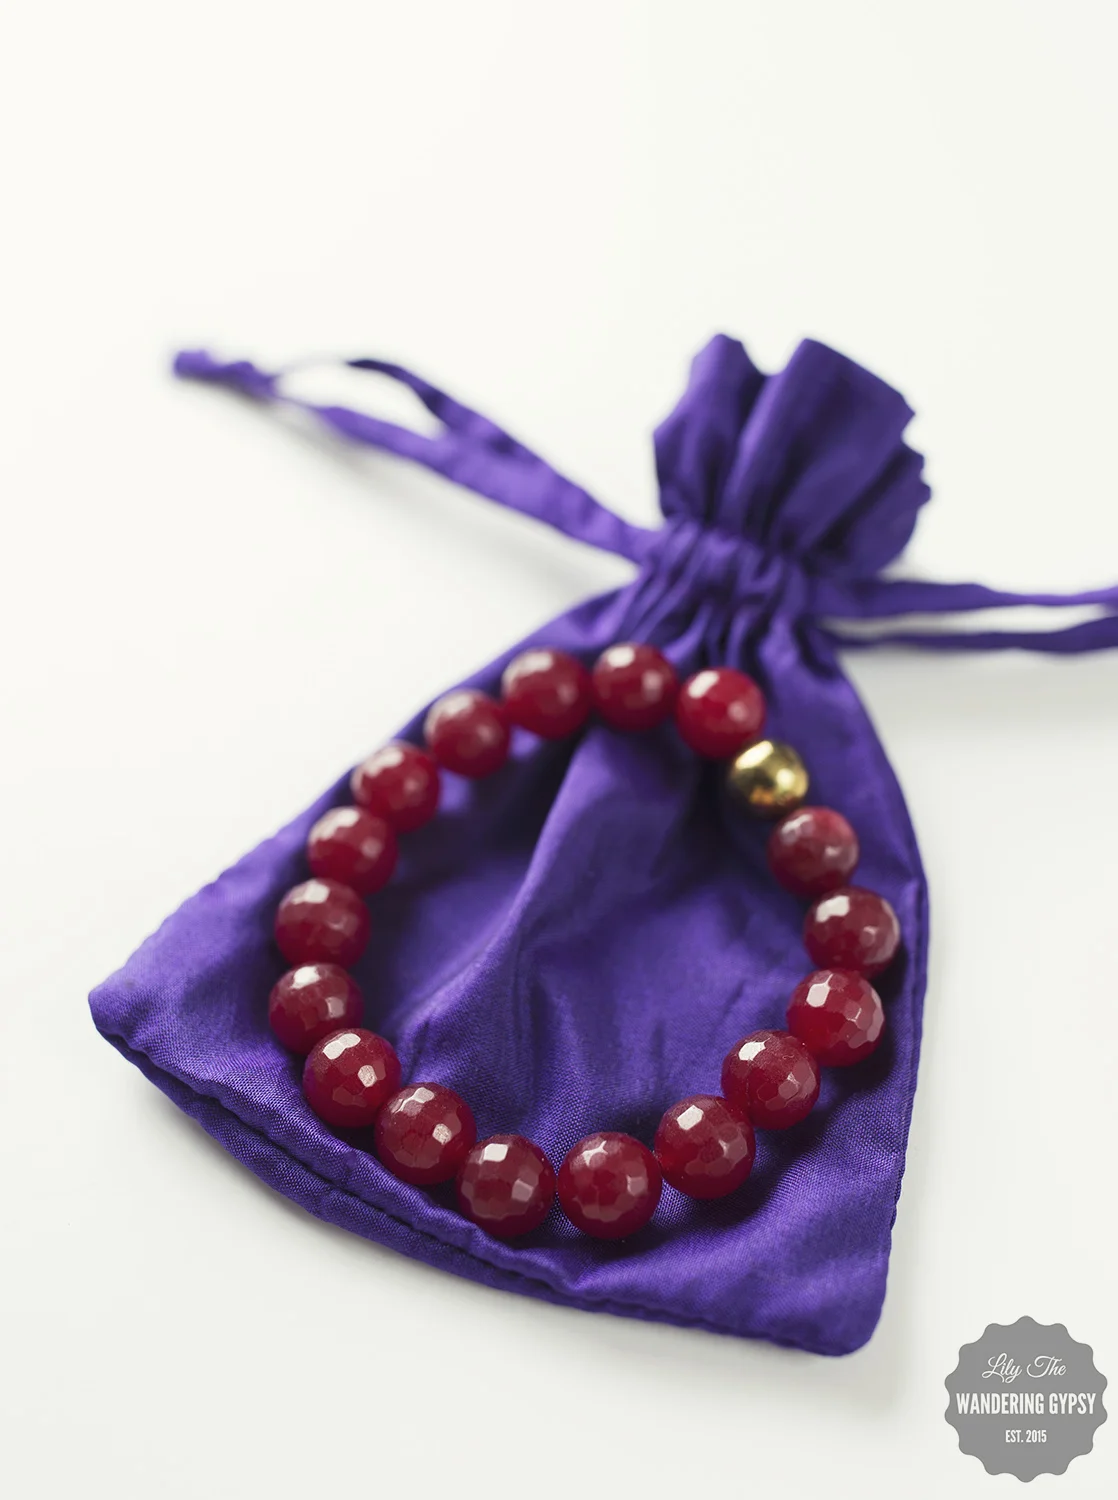
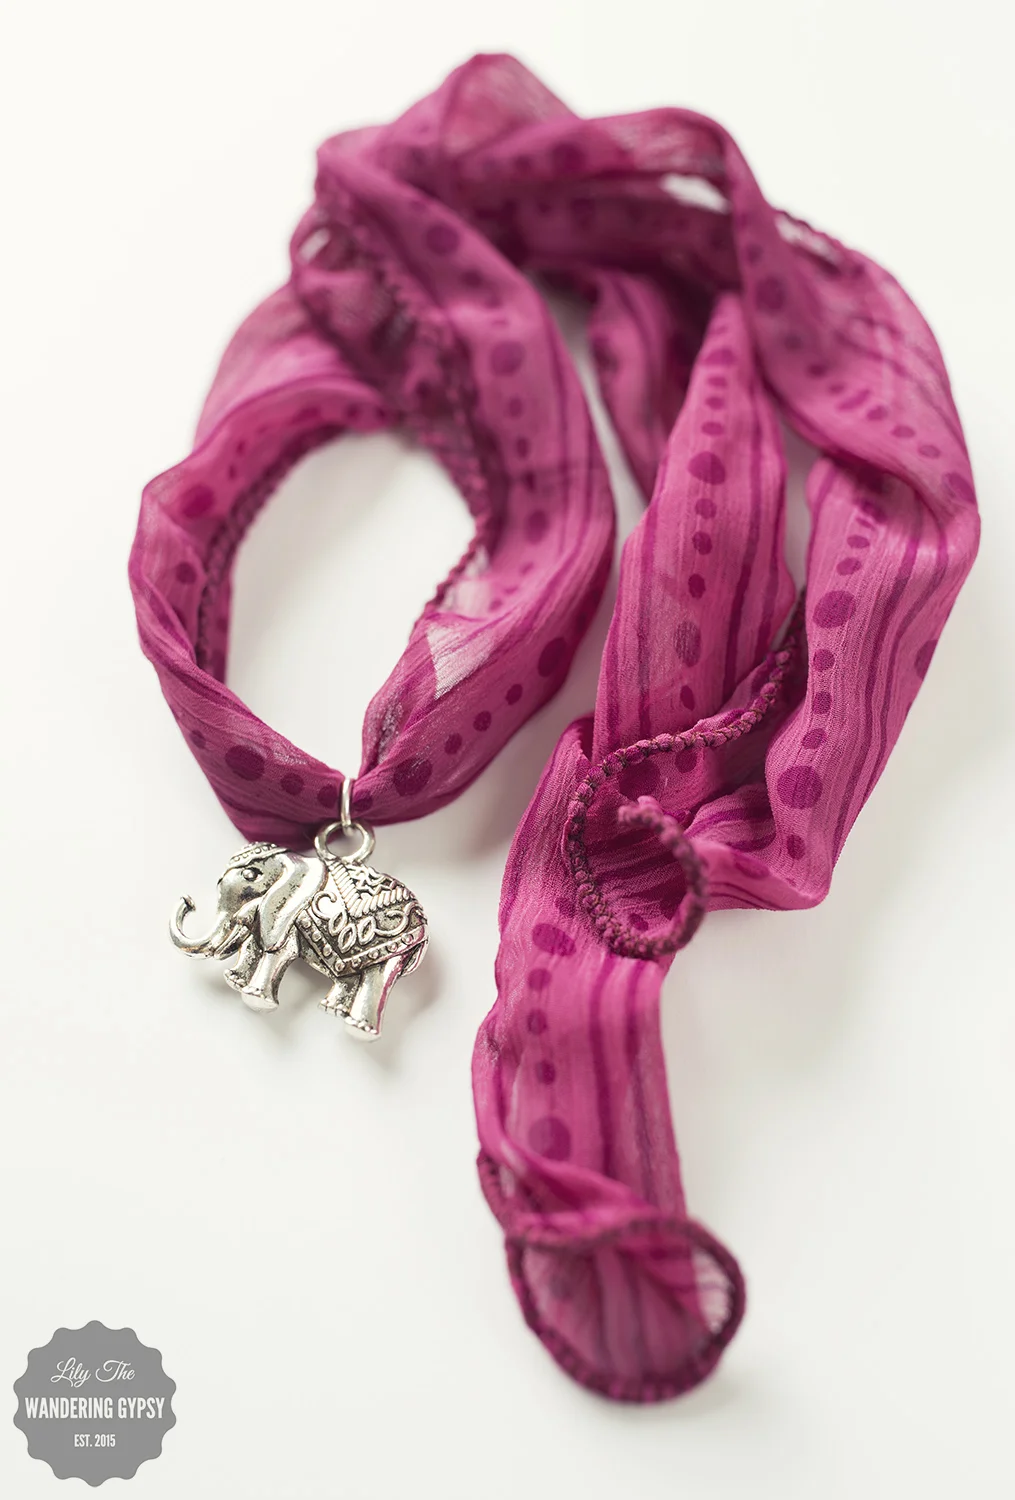
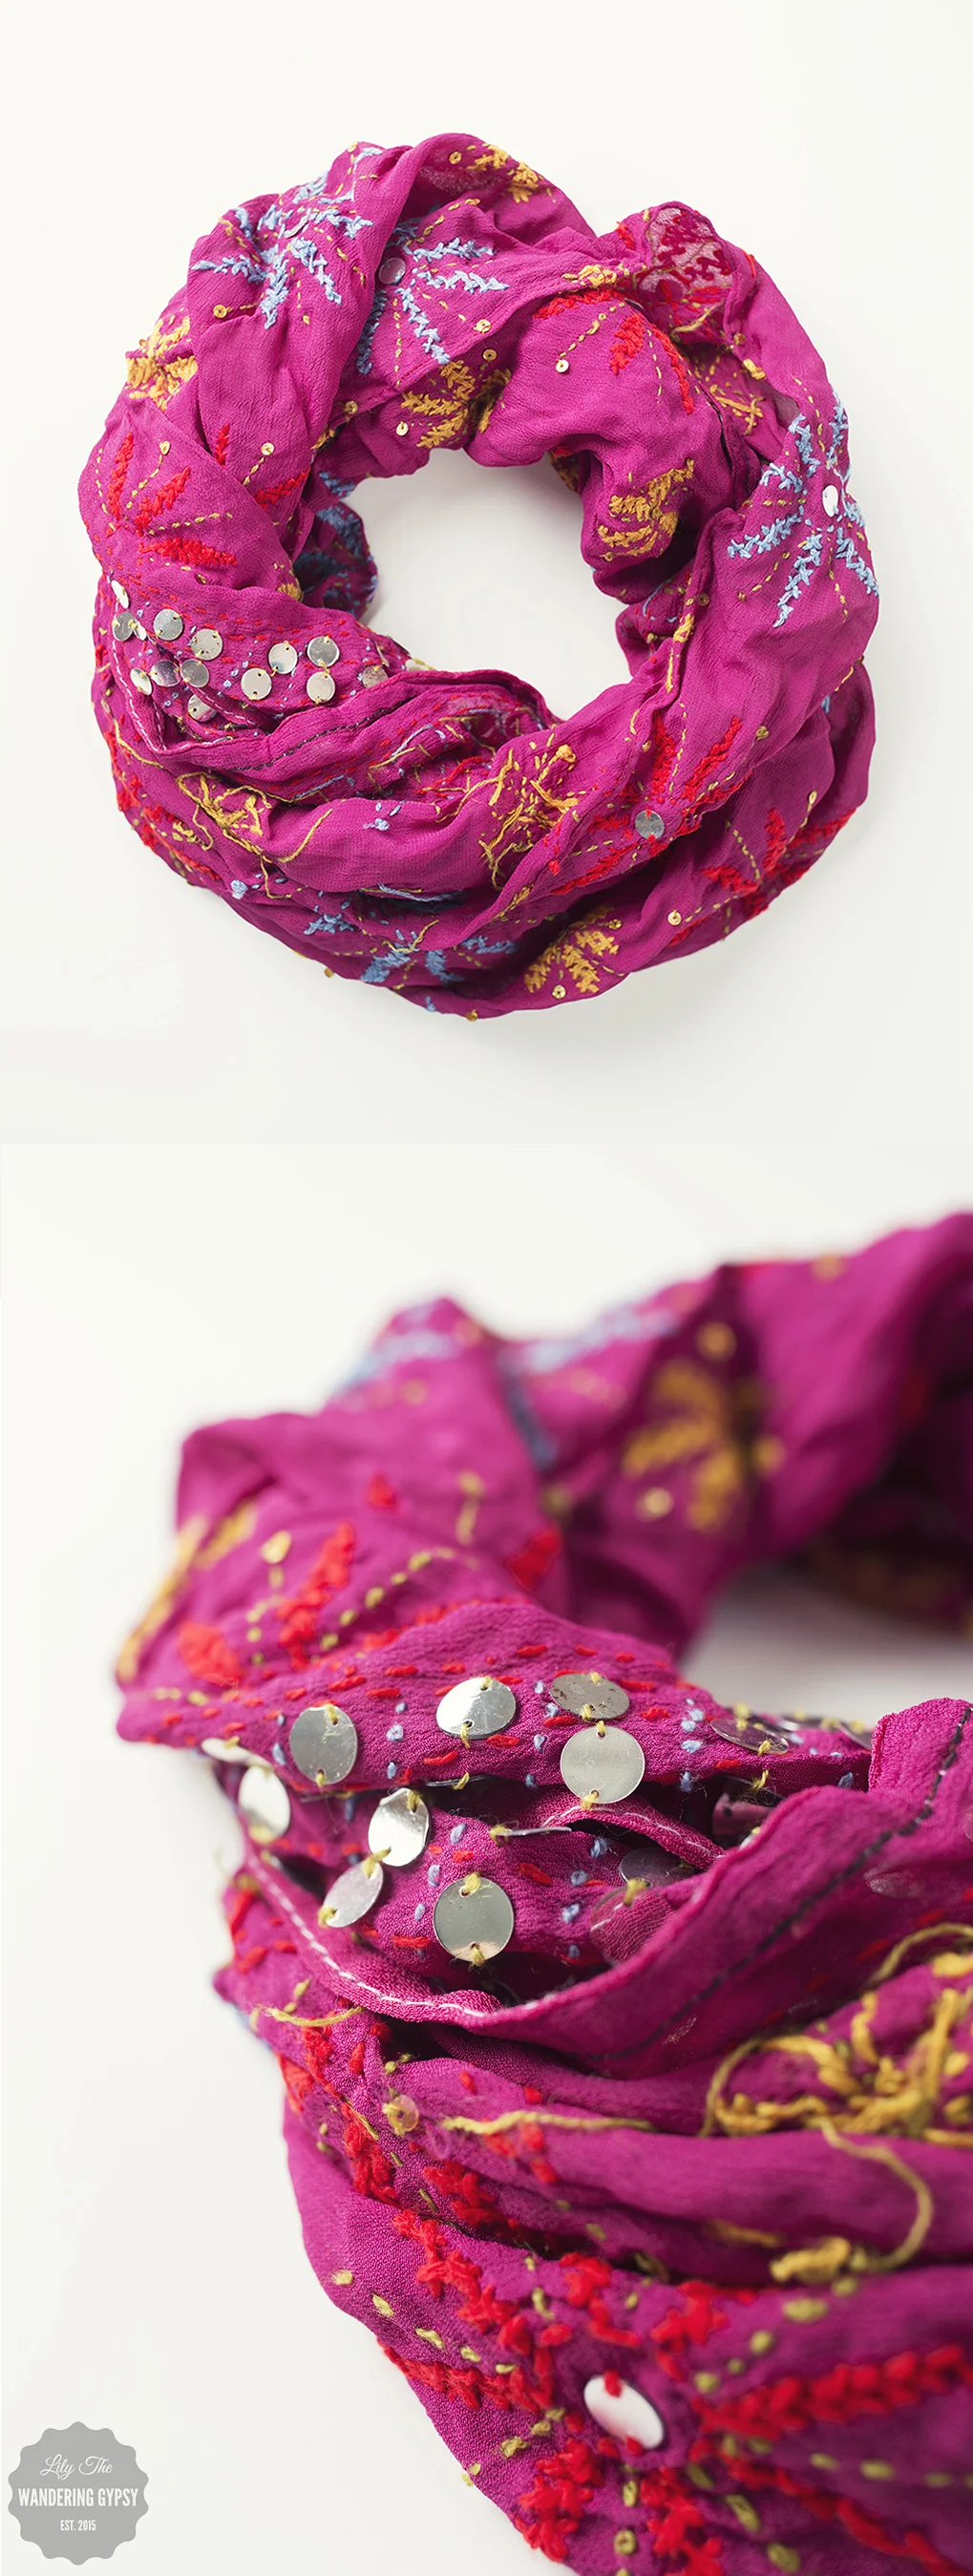
Mayil reached out to me and asked for a bit of help photographing her products. The products she offers are stunning, and I had a great time capturing the beauty of these scarves, bracelets, and pendant necklaces she sent me. 

Mayil Scarves are absolutely gorgeous, and you must check them out!!! Check her out on Facebook, Instagram, Pinterest, and her website

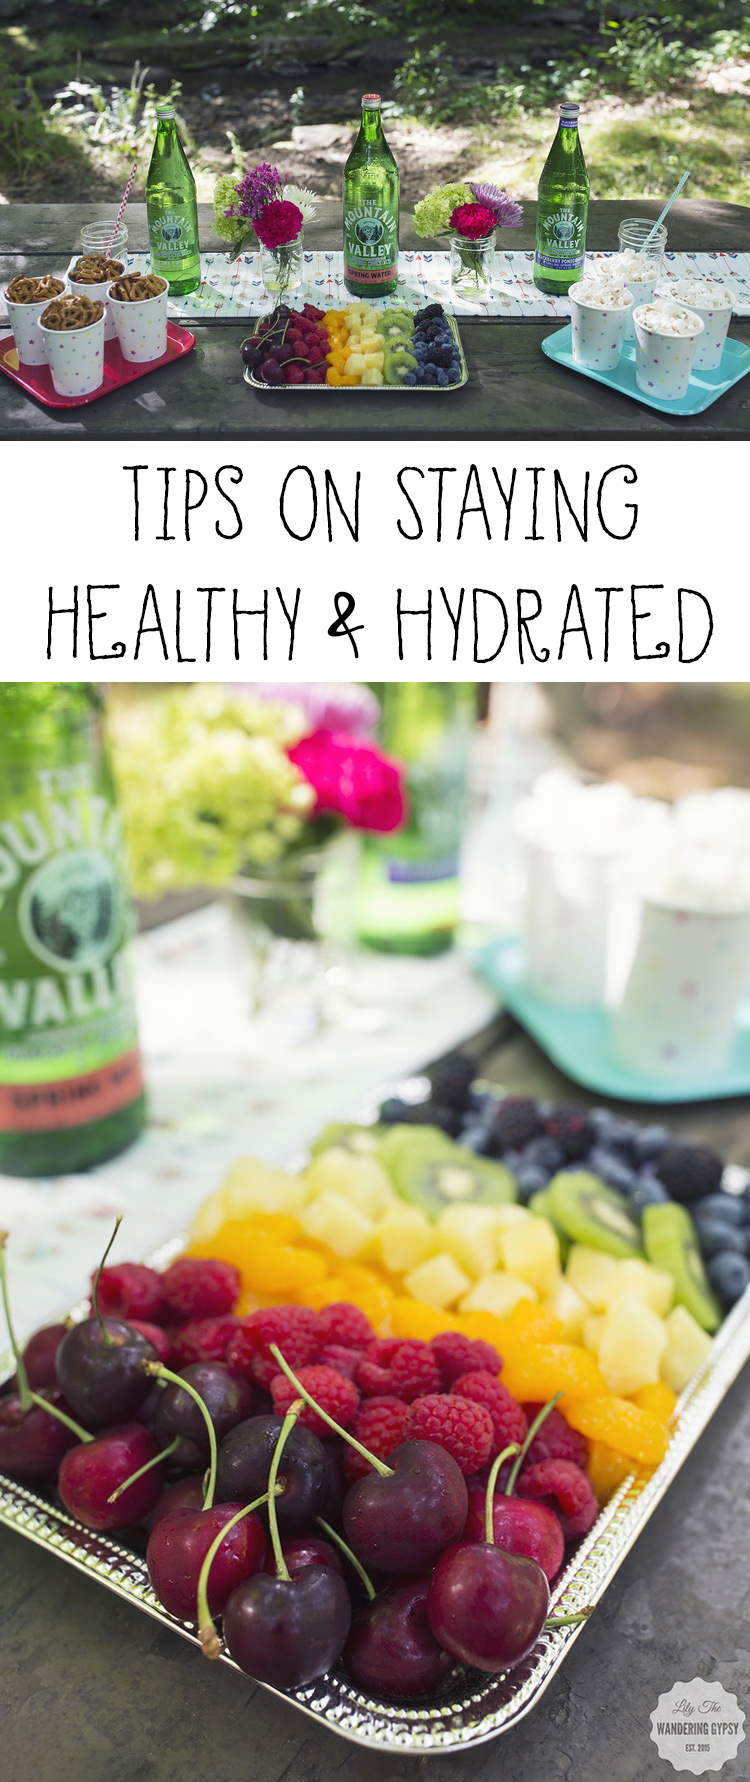
A Healthy Day At Giant City State Park - Tips On Staying Healthy & Hydrated This Summer!

I'm here today, with some tips about staying healthy and hydrated this summer! This shop has been compensated by Collective Bias, Inc. and its advertiser. All opinions are mine alone. #NaturalAmericanGoodness #CollectiveBias

This summer seems to be hotter than any other one I can remember in a long time! It is so incredibly important to stay hydrated when the temps rise, especially if you are going to be doing anything outside. Here are a few tips on staying hydrated while having fun outside this summer!

HOST AN IMPROMPTU FUN DAY AT A STATE PARK

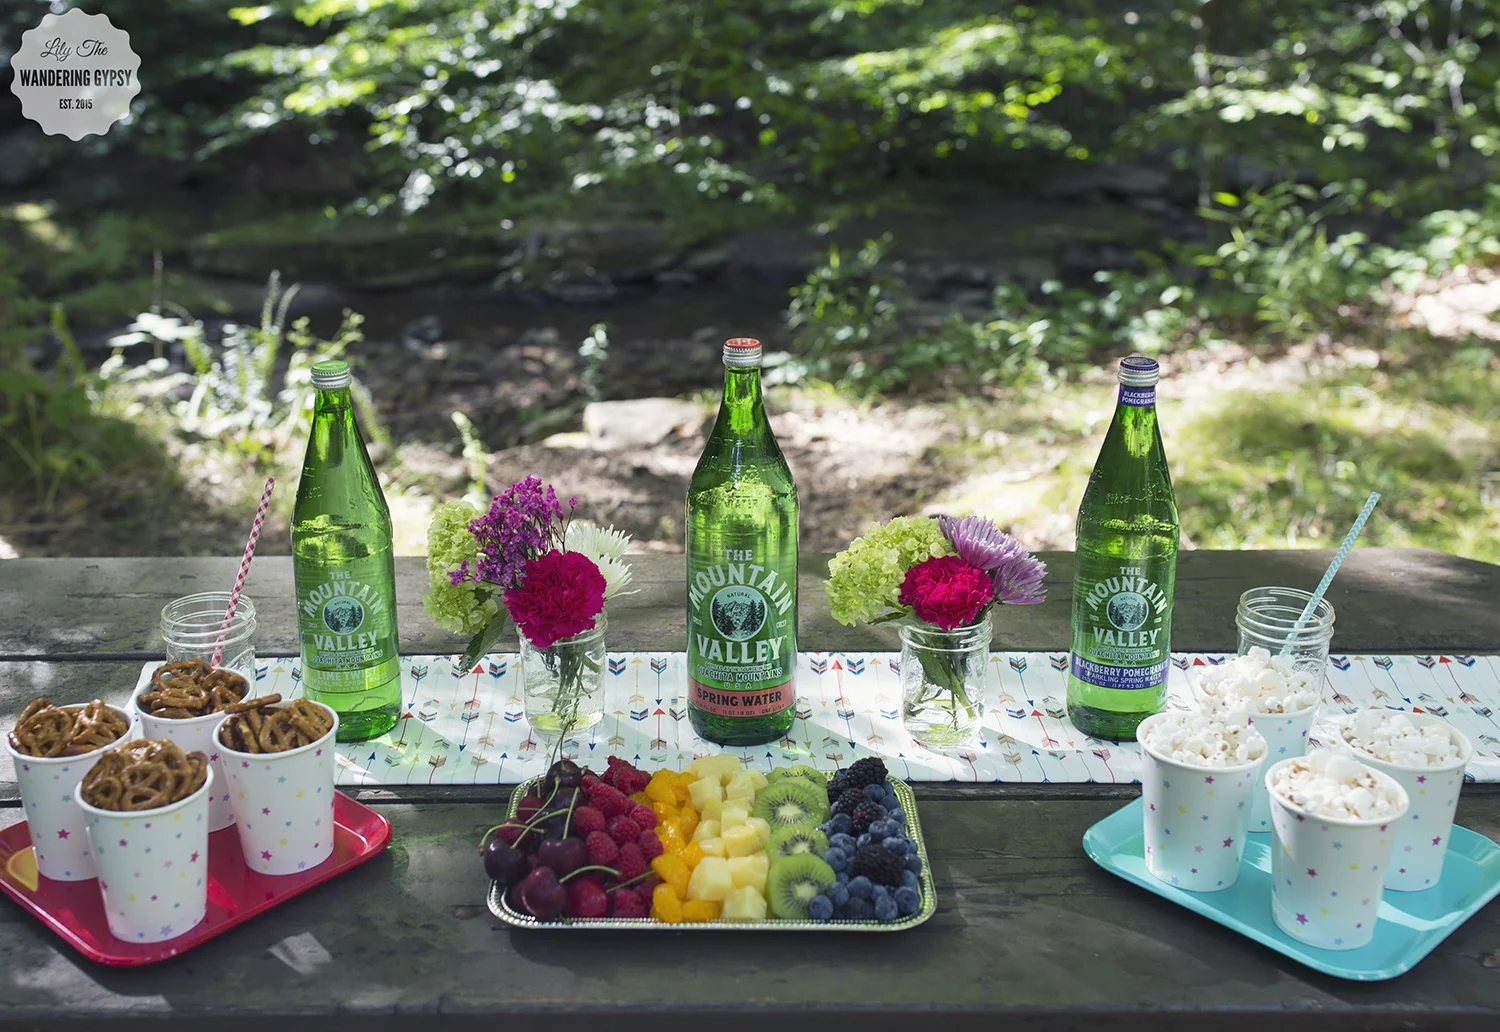
I am lucky to live near Giant City State Park here in southern Illinois. I chose this as the perfect setting for my hydration station, which I think turned out so well! I had pretty much every picnic spot to choose from, so I went with a shaded spot near a pretty stream. This would be an amazing backdrop for a healthy-inspired gathering, when you are just wanting to enjoy the outdoors! 

I always try to shop for fruits and other fresh ingredients at a health food-oriented store like Whole Foods whenever possible! They have the absolute freshest selection! I just love it all :)

TIPS FOR STAYING HEALTHY AND HYDRATED

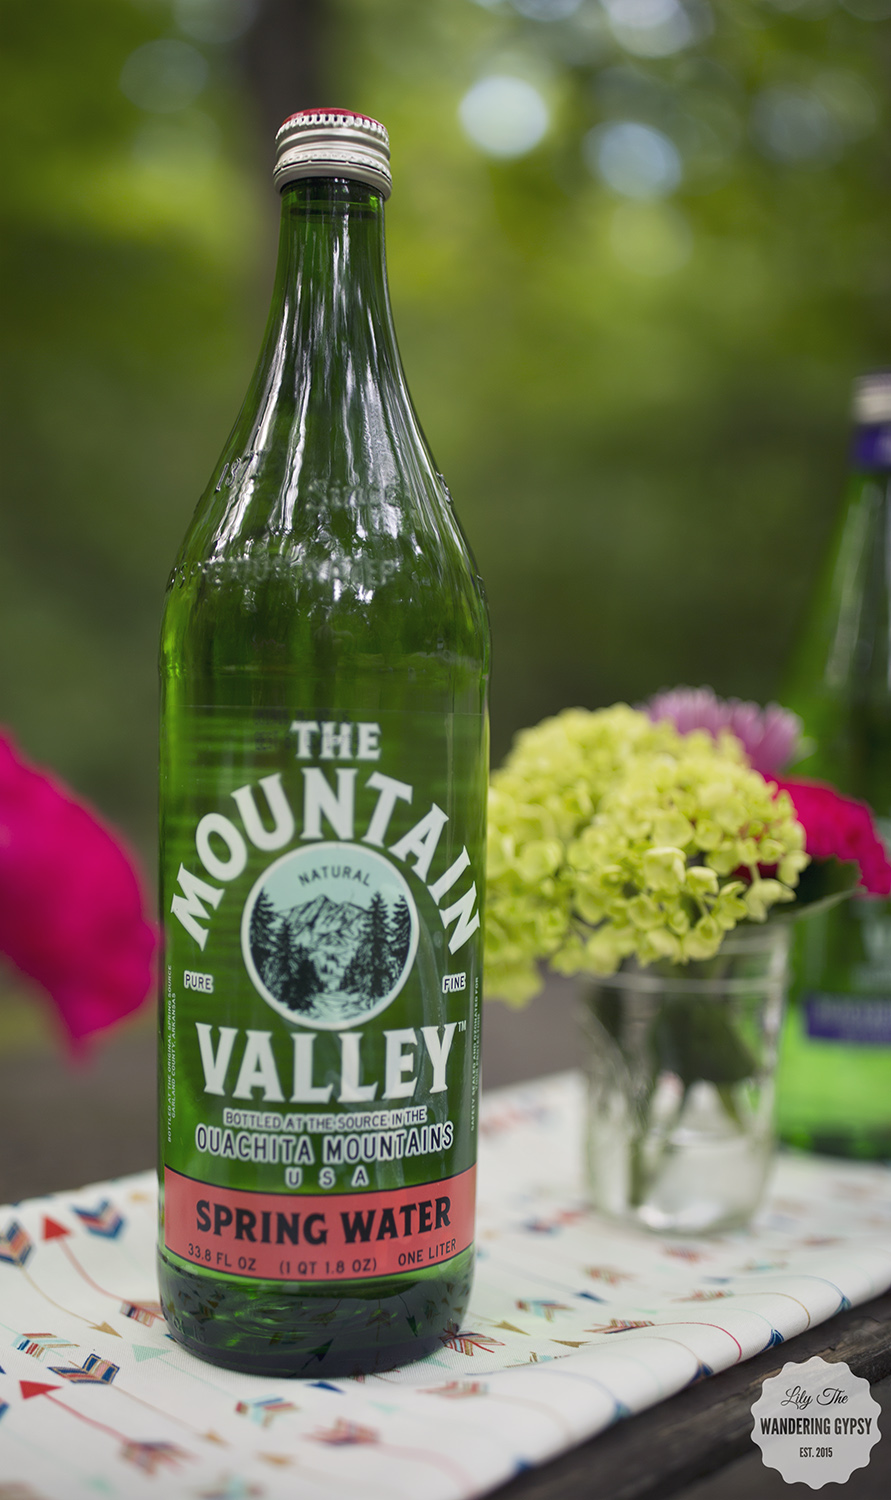
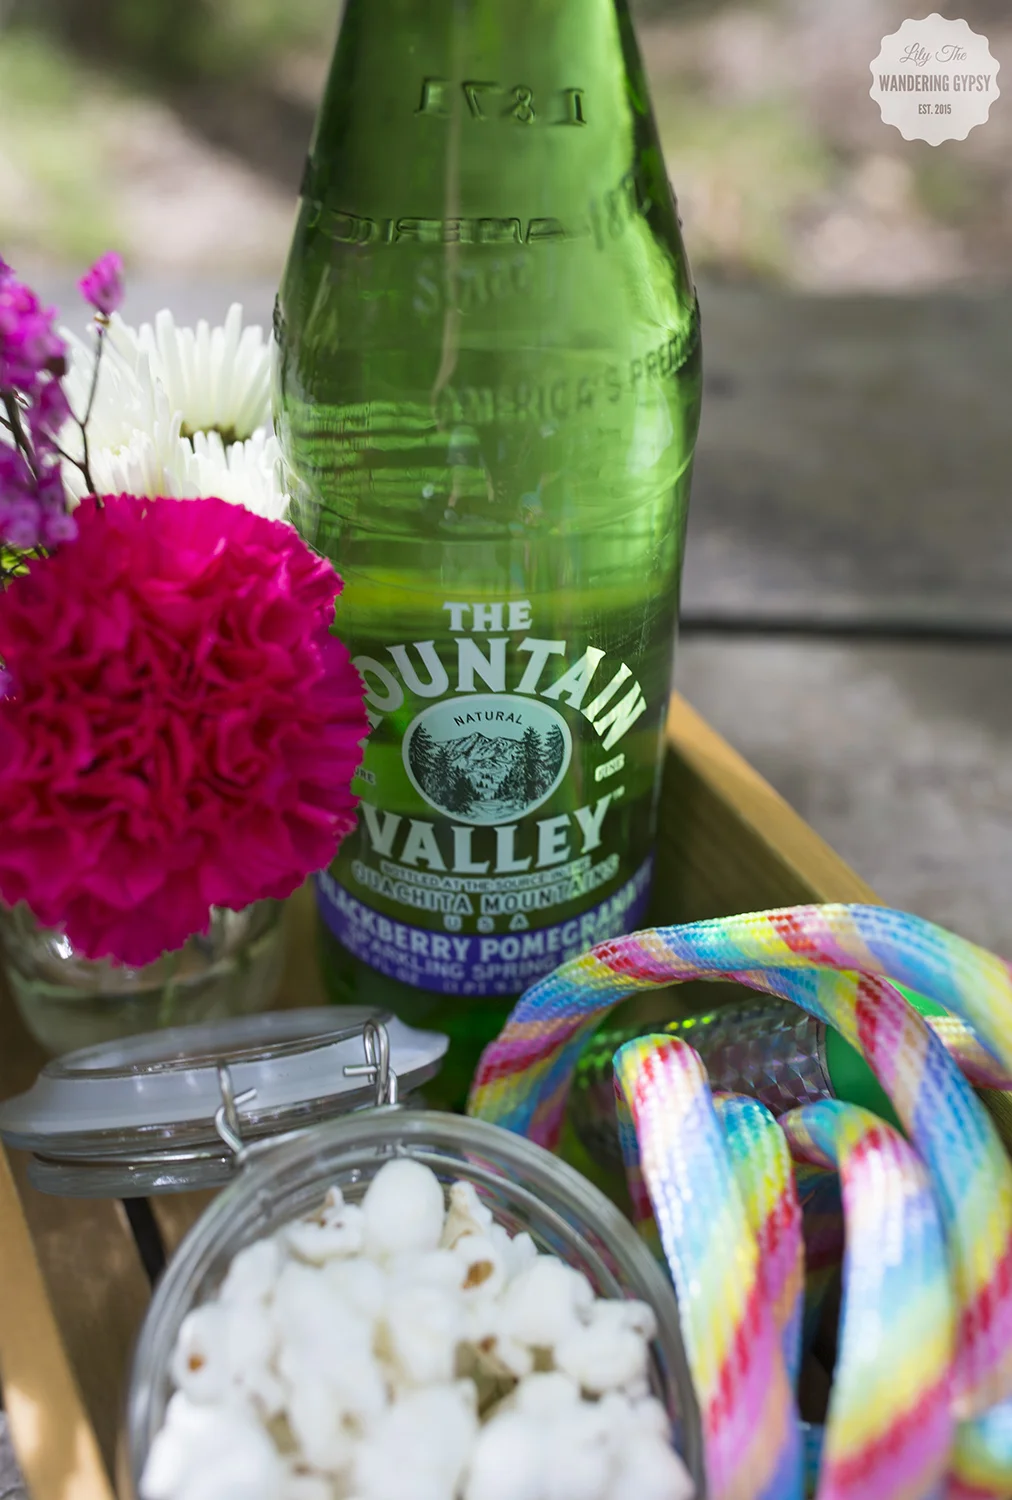
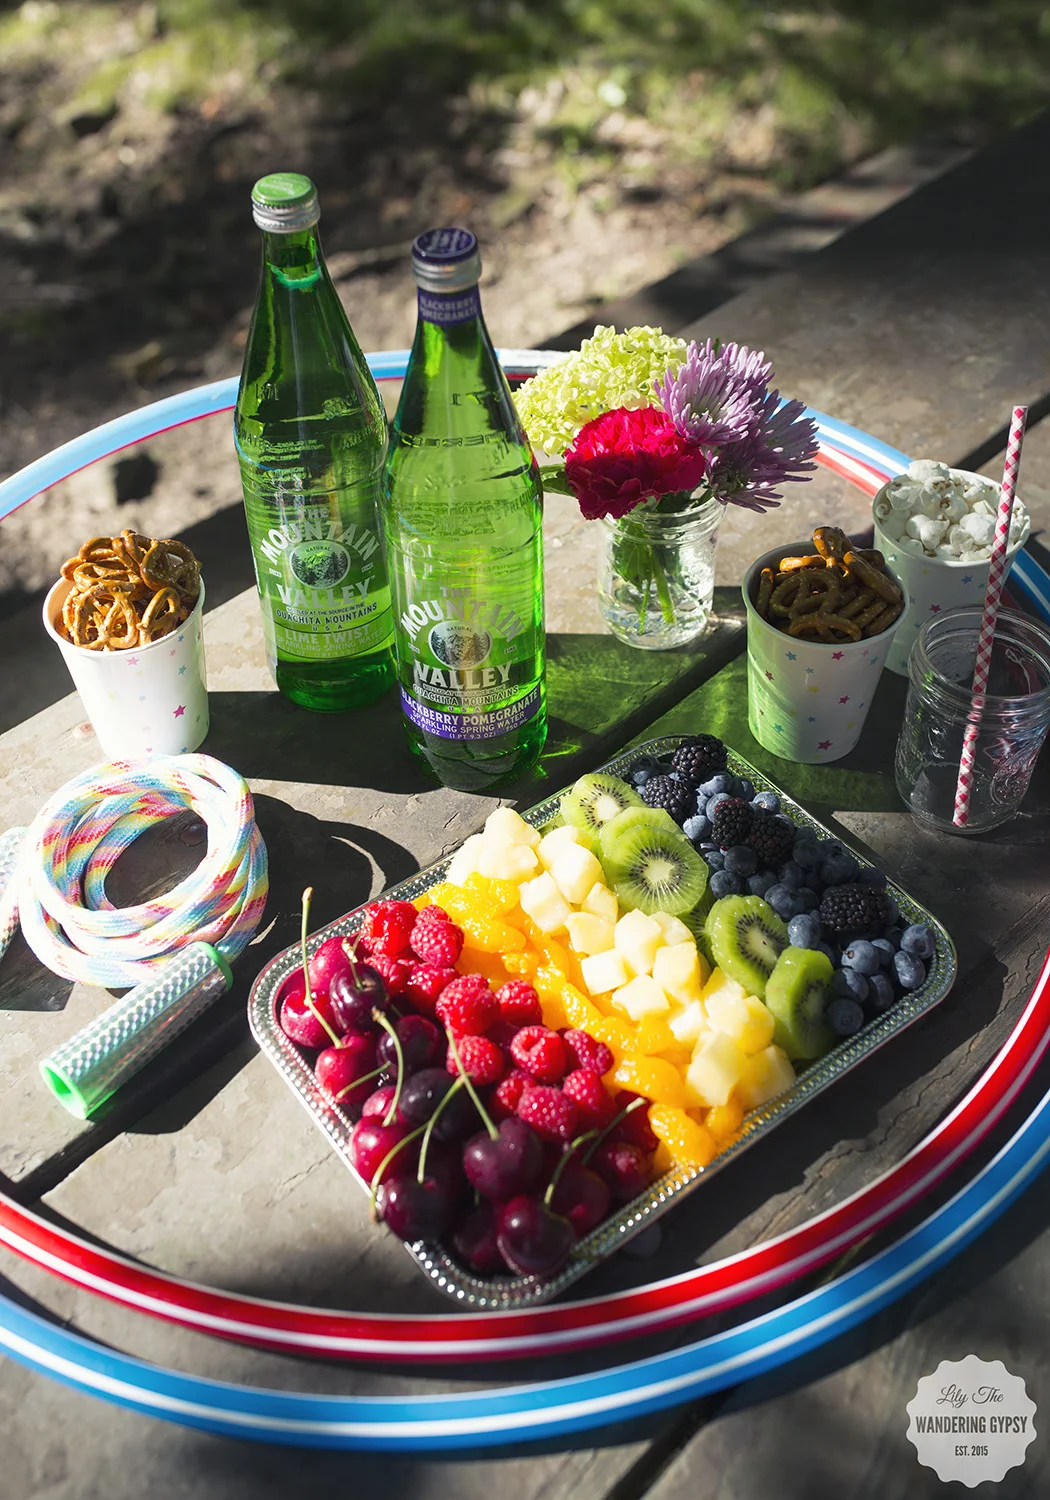
- Provide guests with lots of water! Mountain Valley Spring Water comes in these awesome bottles, and lots of new flavors, so be sure to check them out! It's natural, American spring water. I also love being able to use small jars and adorable paper straws adds a whimsical touch. 

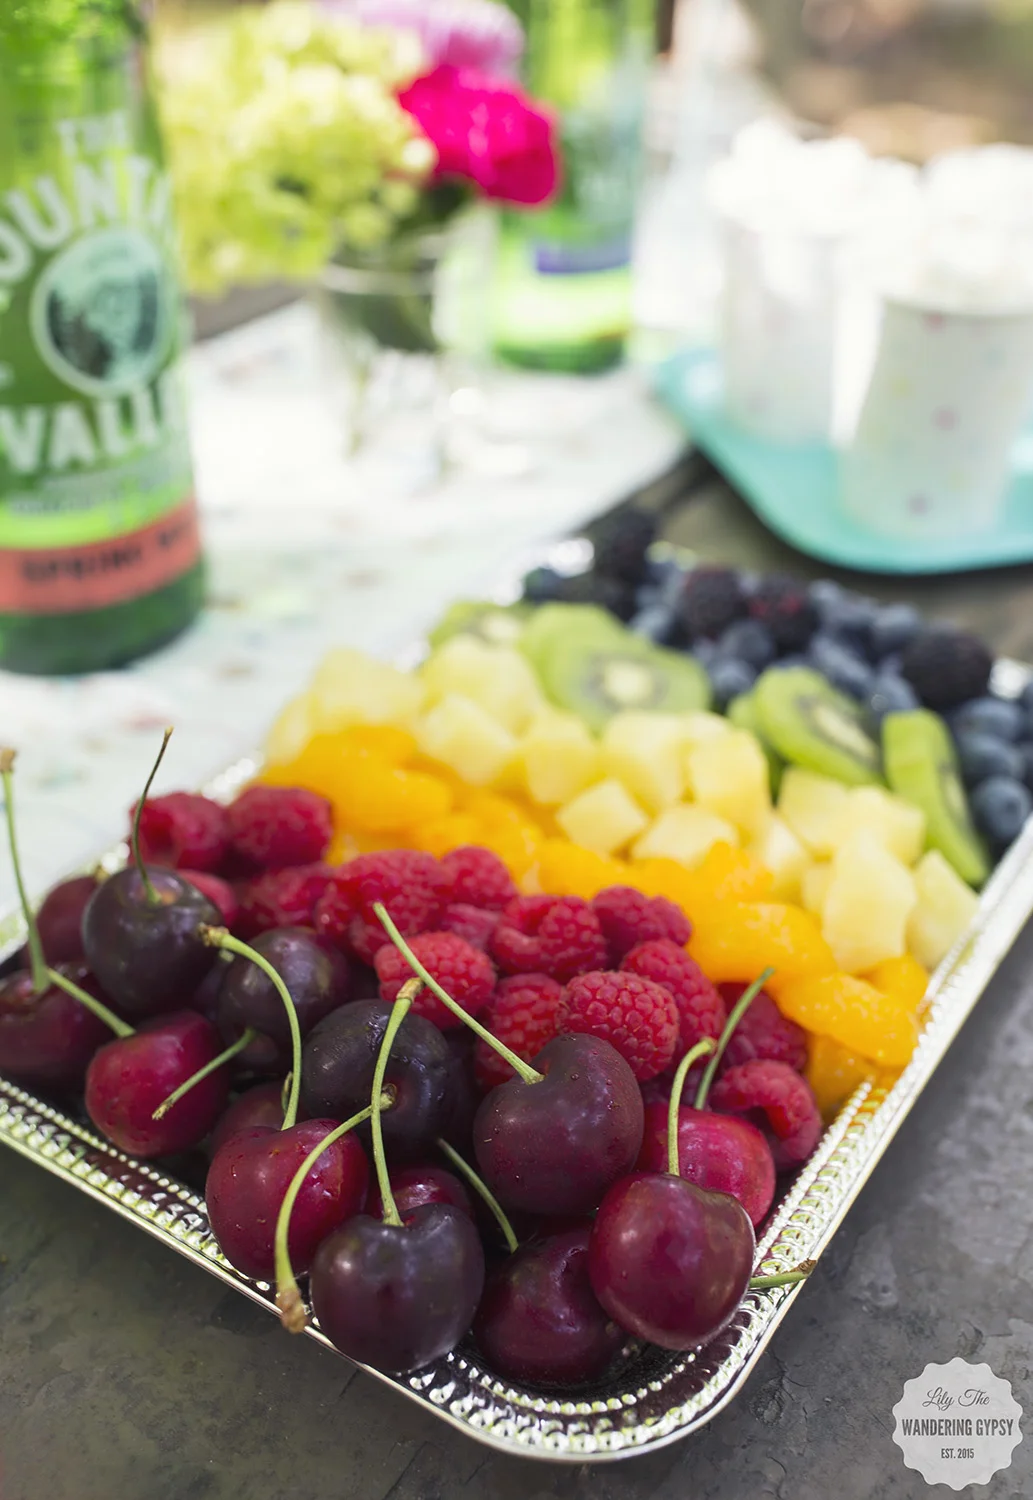
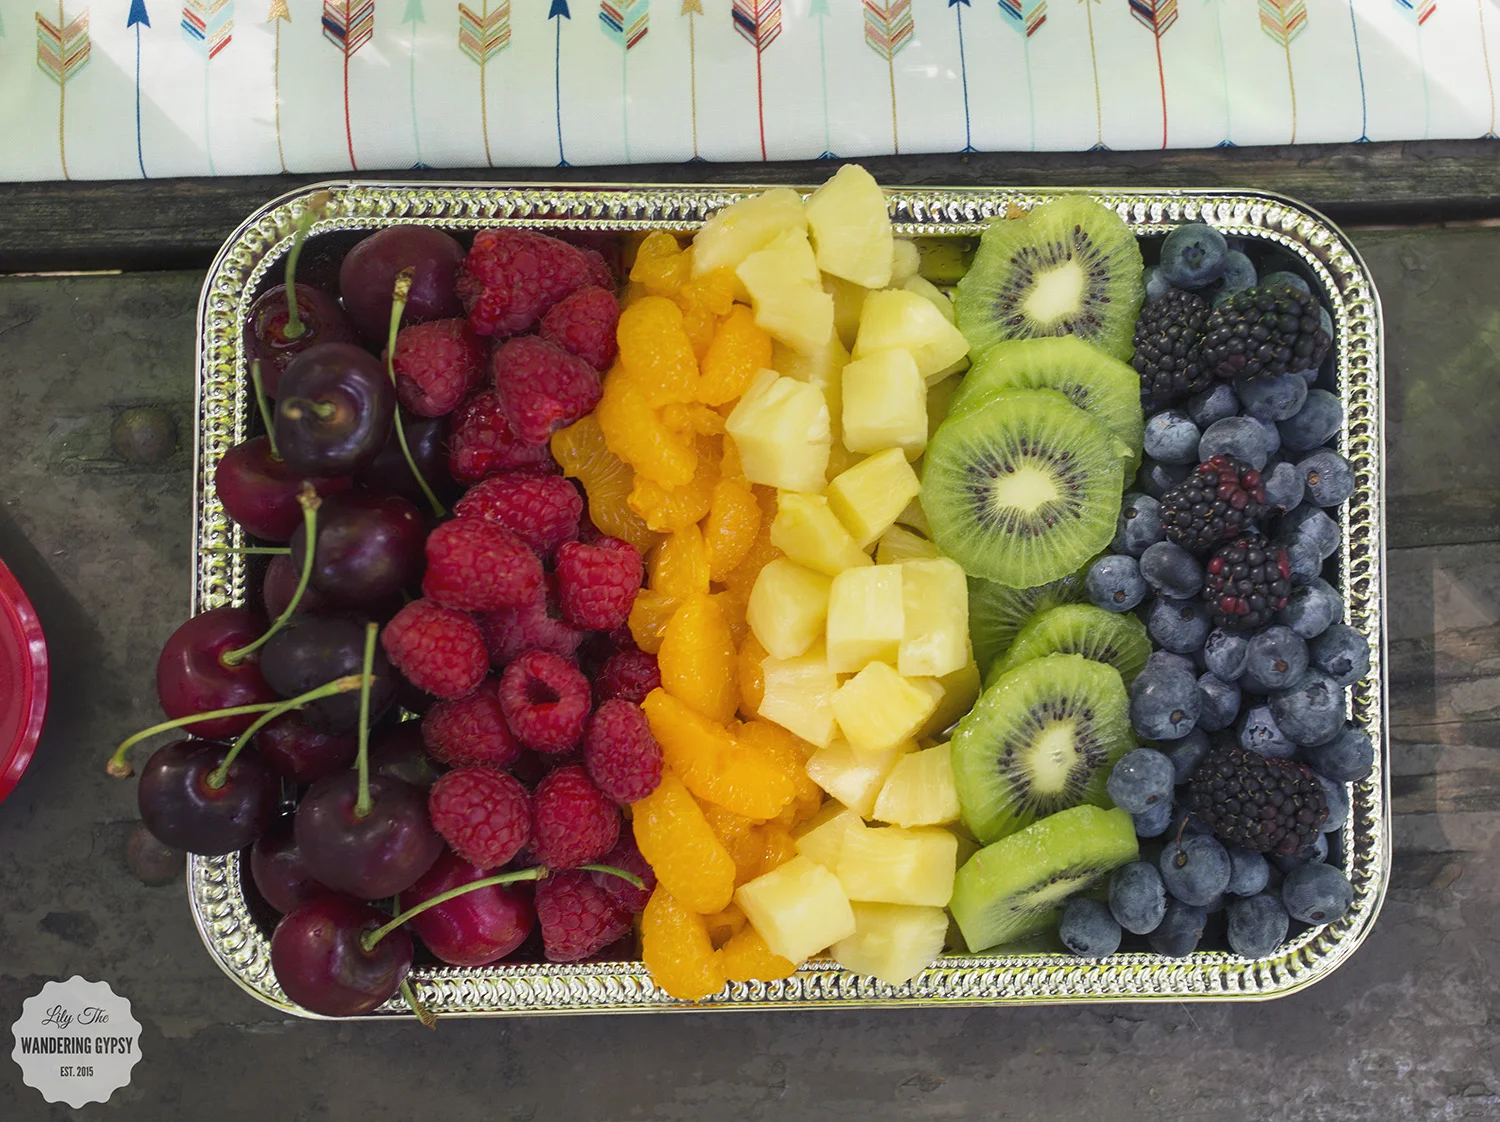
- Offer lots of fruits (and veggies if you like). Arrange cherries, raspberries, strawberries, canned Mandarin oranges, chopped pineapple, kiwi, blueberries, and blackberries in a rainbow, and look at people flock to that fruit!

- Offer healthy and low-fat snacks like pretzels and low salt popcorn. I thought these cute cups would be perfect for hand held snacks (see above)! 

- Get active! If you live somewhere it's not blazing hot, or if you can handle the heat, provide friends with activities to play like a soccer ball, volley ball, hula hoops, and jump ropes - games that will help them rekindle their inner child. 

- Don't forget a few extra items like: bug spray, sunscreen, paper towels, utensils, fresh flowers, music of some sort, and lots of water!  

 photo MountainValleyLink.jpg
Visit the Mountain Valley website to see the history of their beautiful bottles, here

Giant City State Park was the perfect setting for these photos! Now, let me tell you a bit more about Mountain Valley Water. 

  • Mountain Valley Spring Water rises naturally to the surface of the earth where it is bottled – untouched – since established in 1871
  • Unique blend of minerals, providing a clean, crisp, refreshing taste revered by foodies and chefs alike.
  • Mountain Valley Spring Water is also highly regarded for its ease on digestion. With a 7.8 ph, the naturally high alkalinity of Mountain Valley Spring Water helps offset the stress of modern acidic diets.
  • Mountain Valley Water is sodium free, naturally ionized and rich in minerals.
  • Mountain Valley's spring is an invaluable natural resource and is an ancient part of the Ouachita Mountains in Arkansas.

The water made for a perfect companion for just about any adventure around the park! Hiking, Horse Back Riding, and Scenic Drives are the best activities to do in Giant City. 

Yandy Summer Arrivals

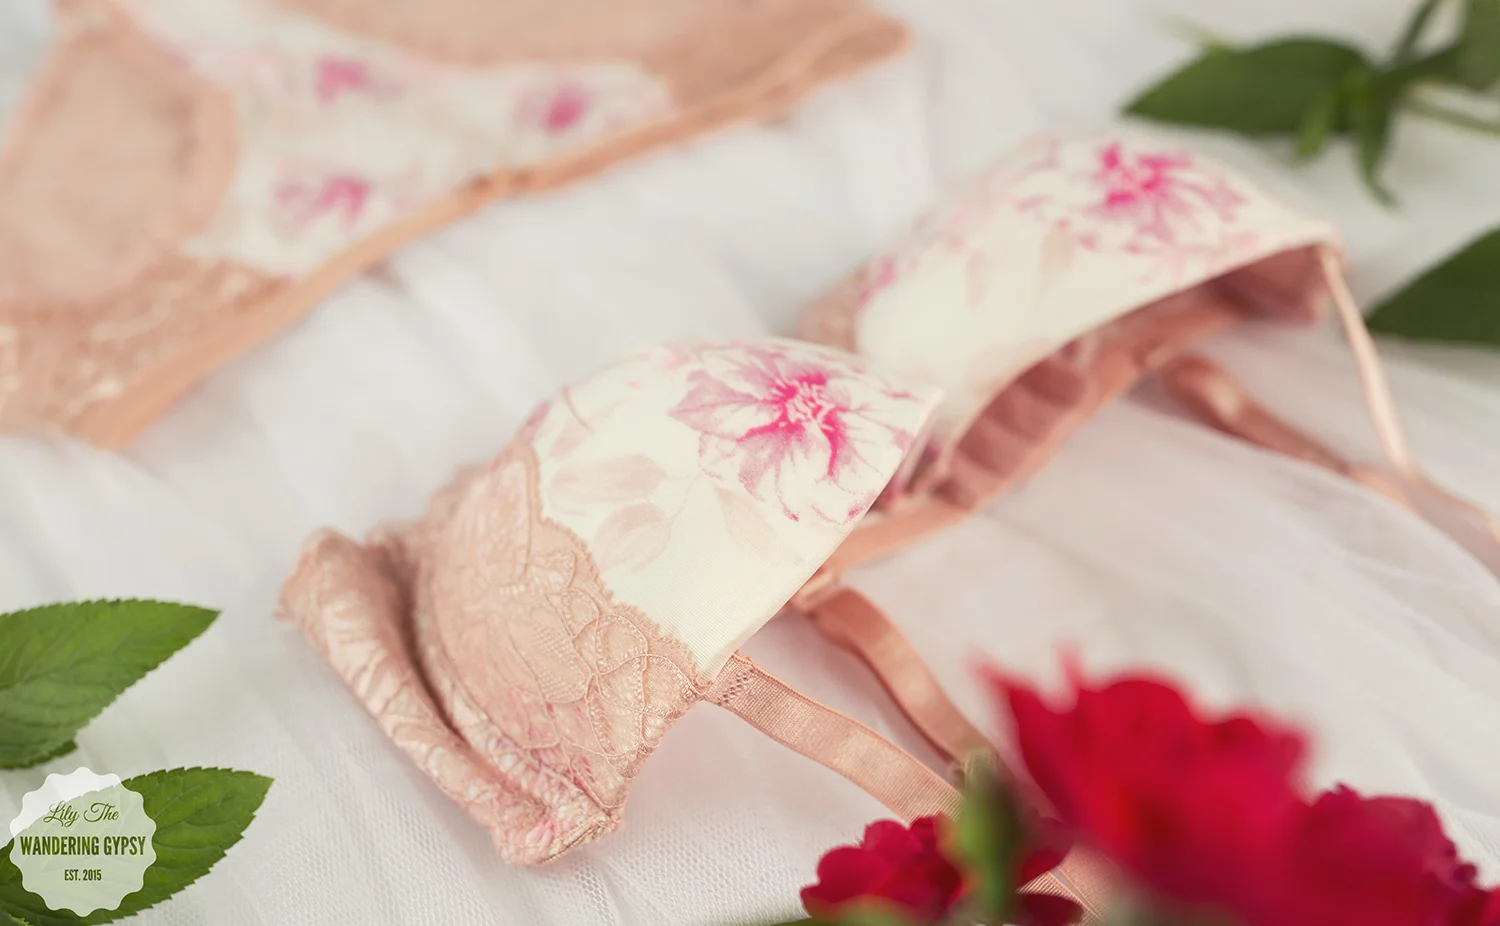
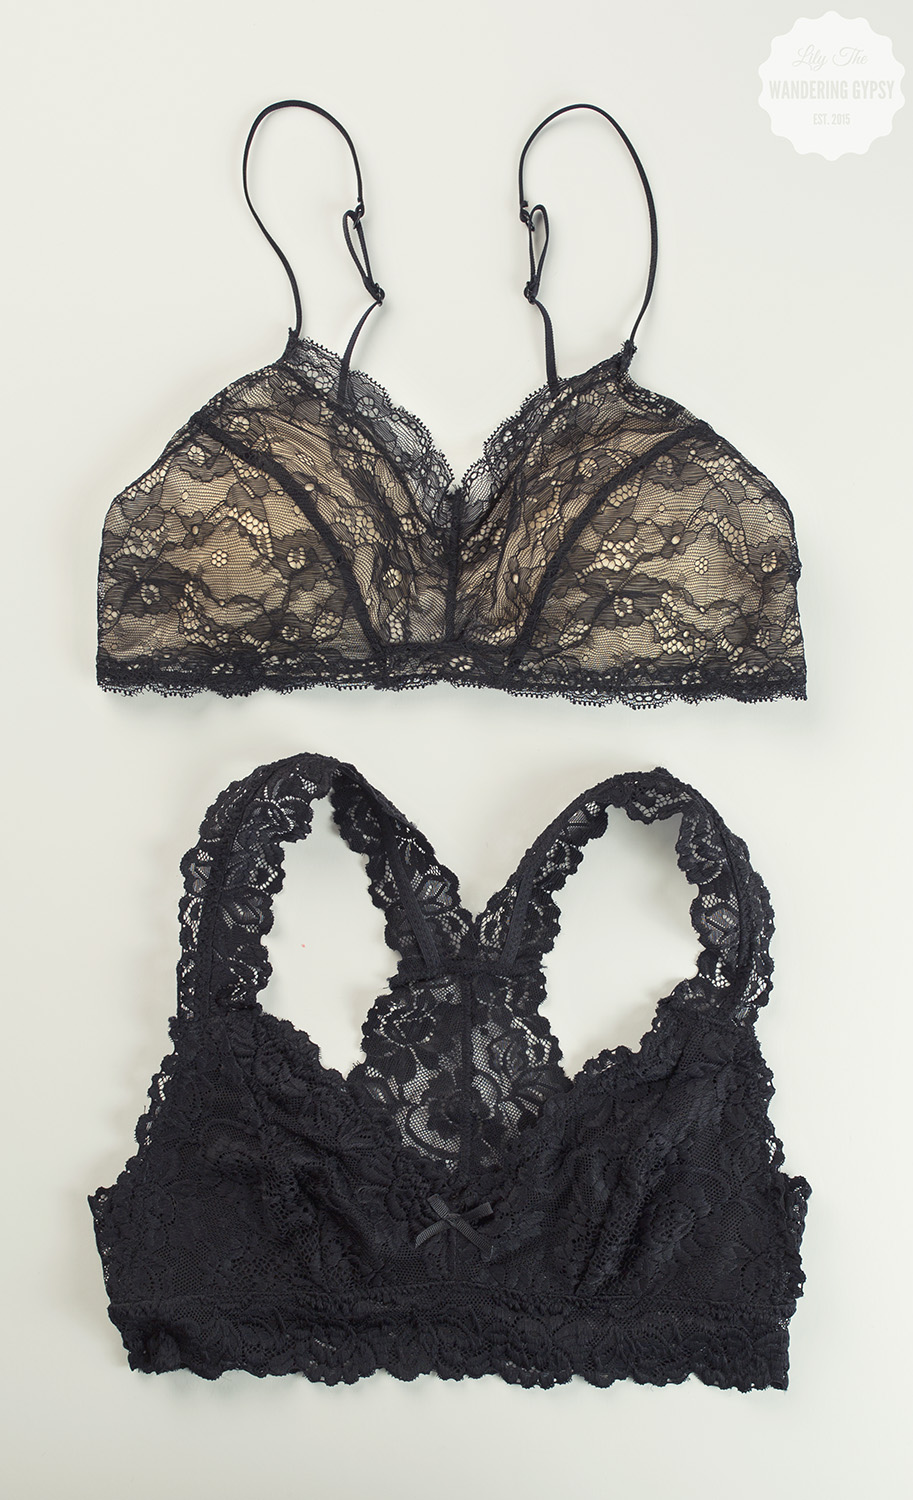
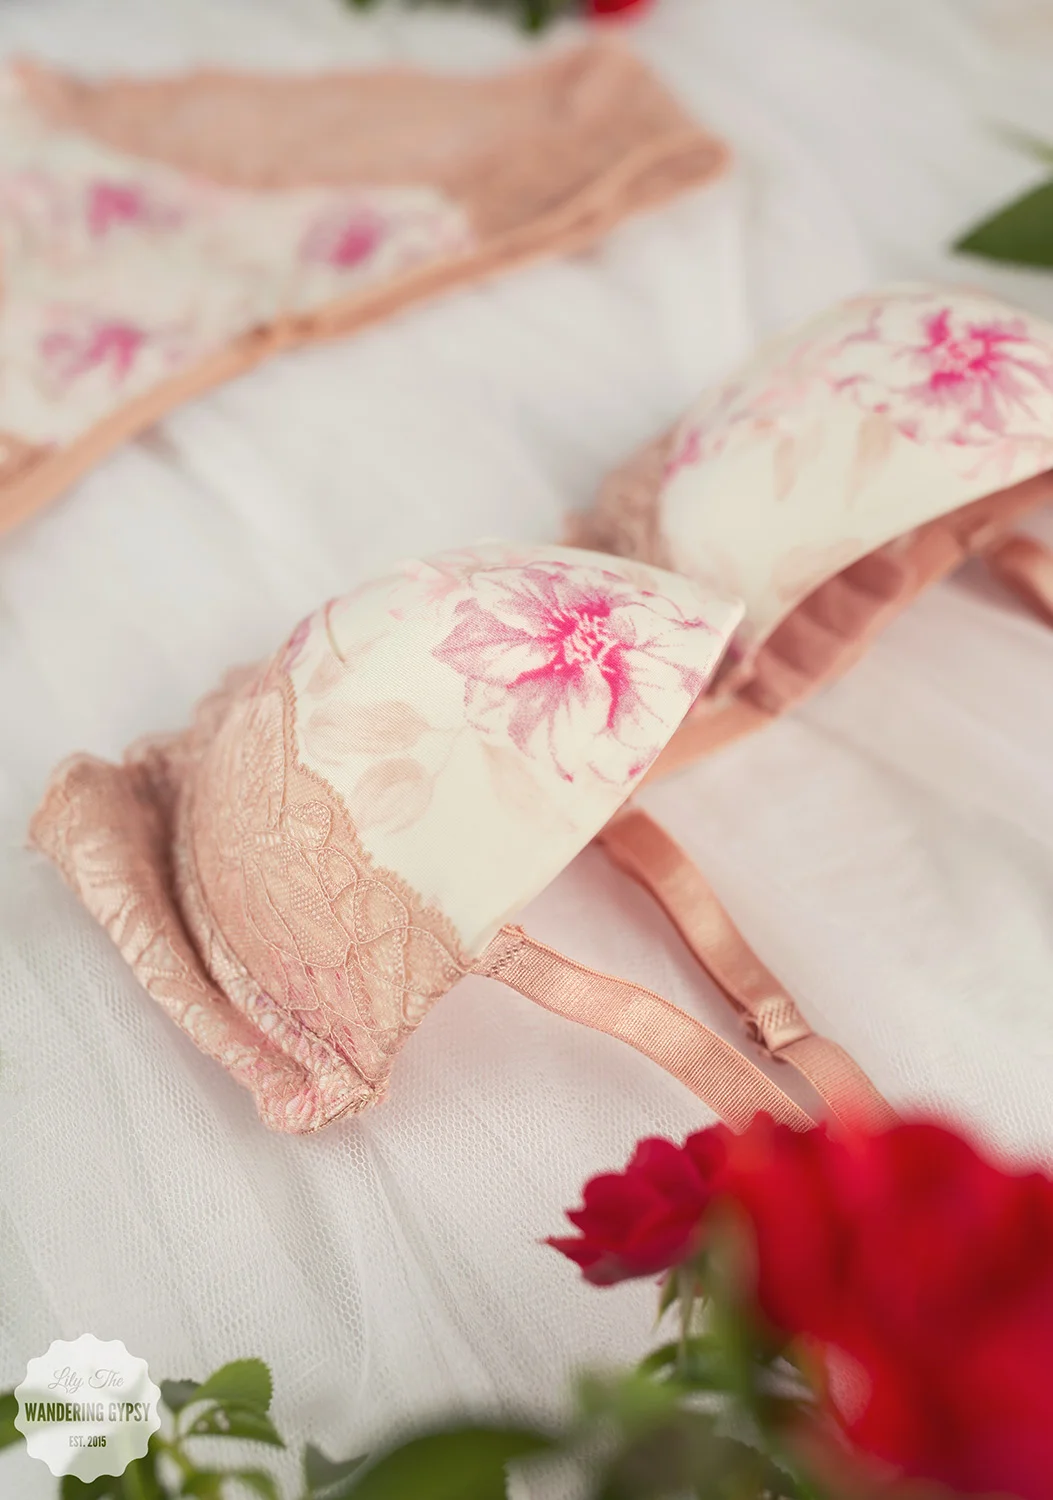
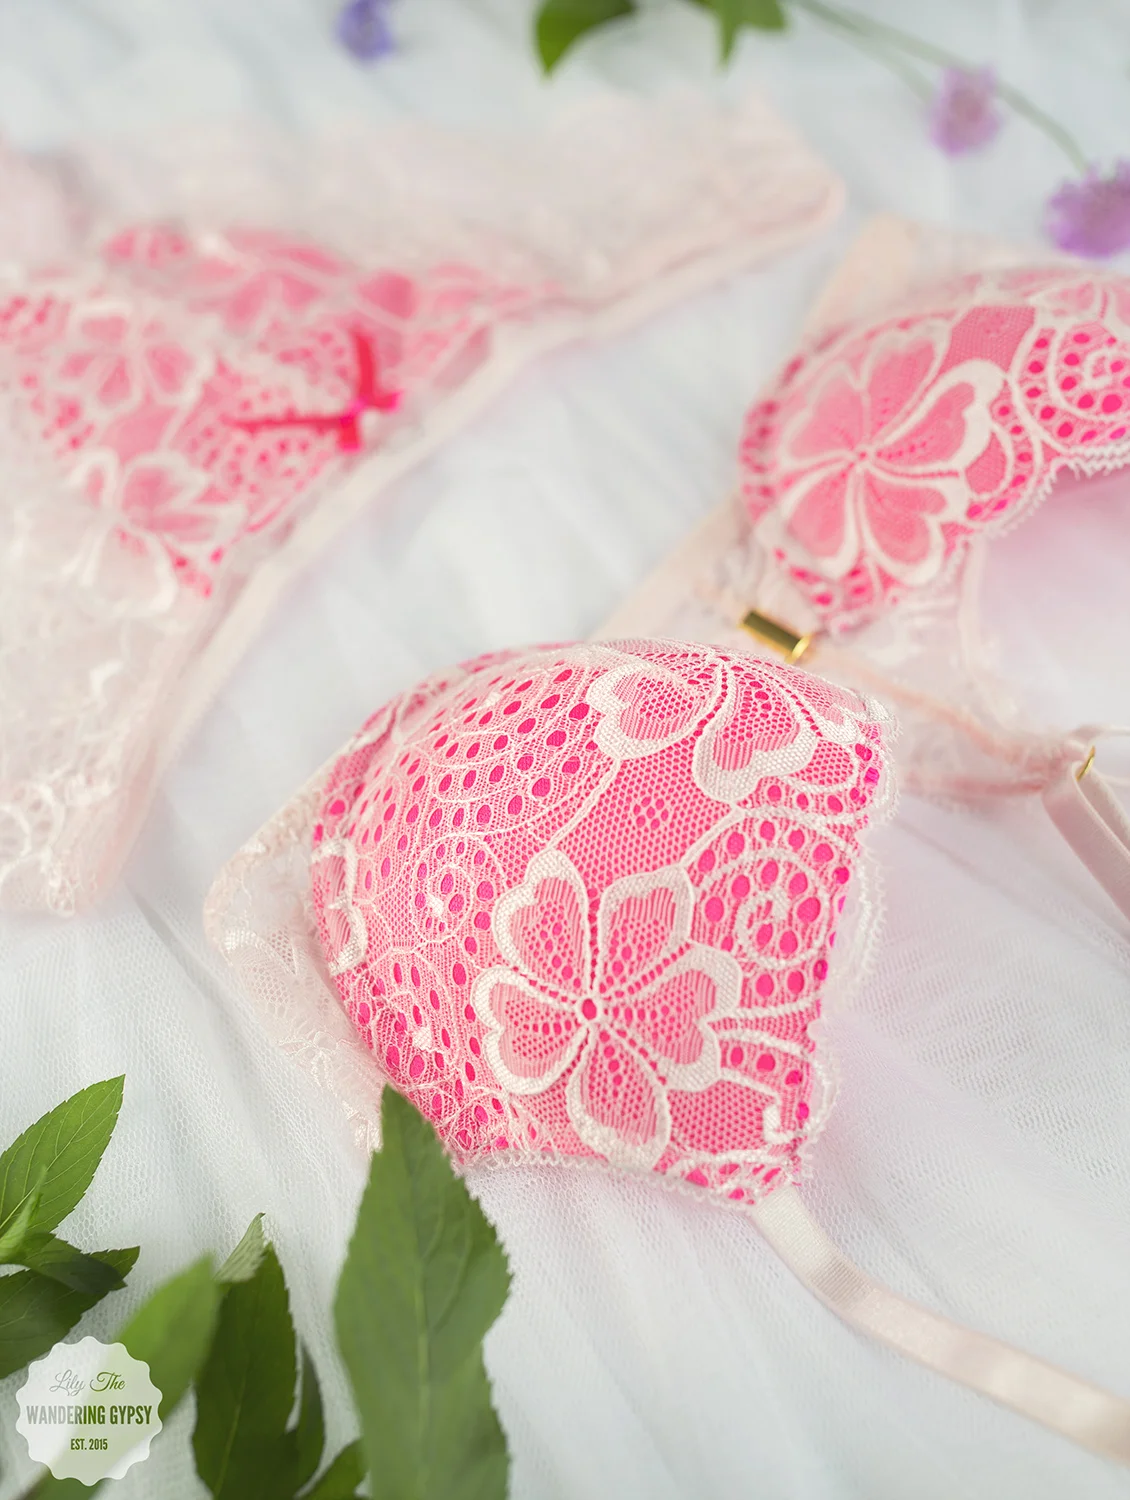
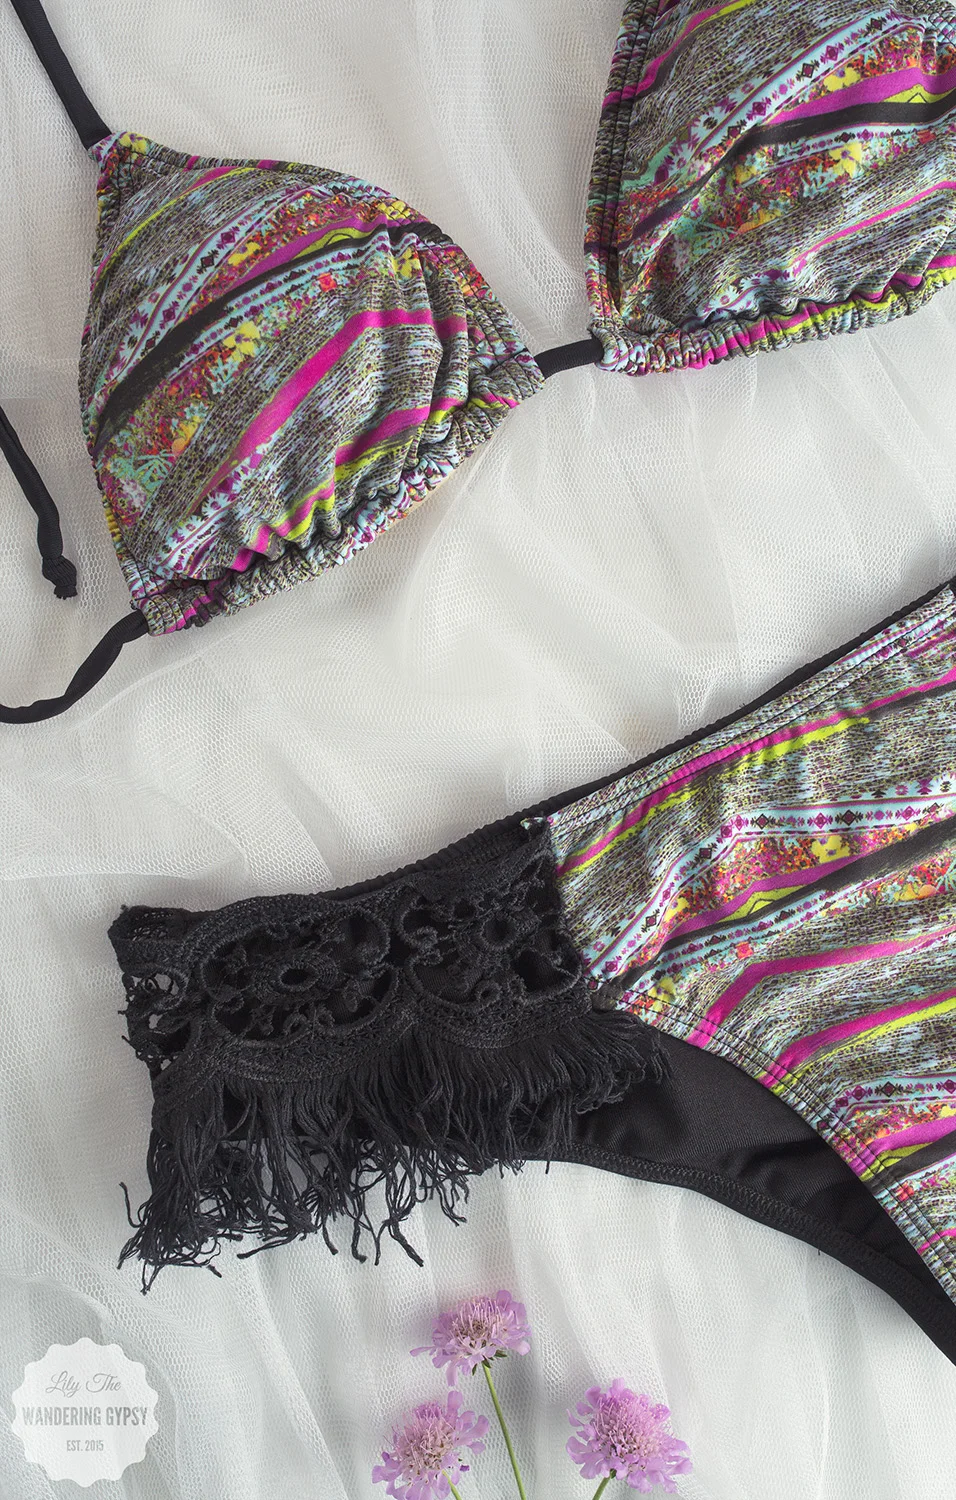
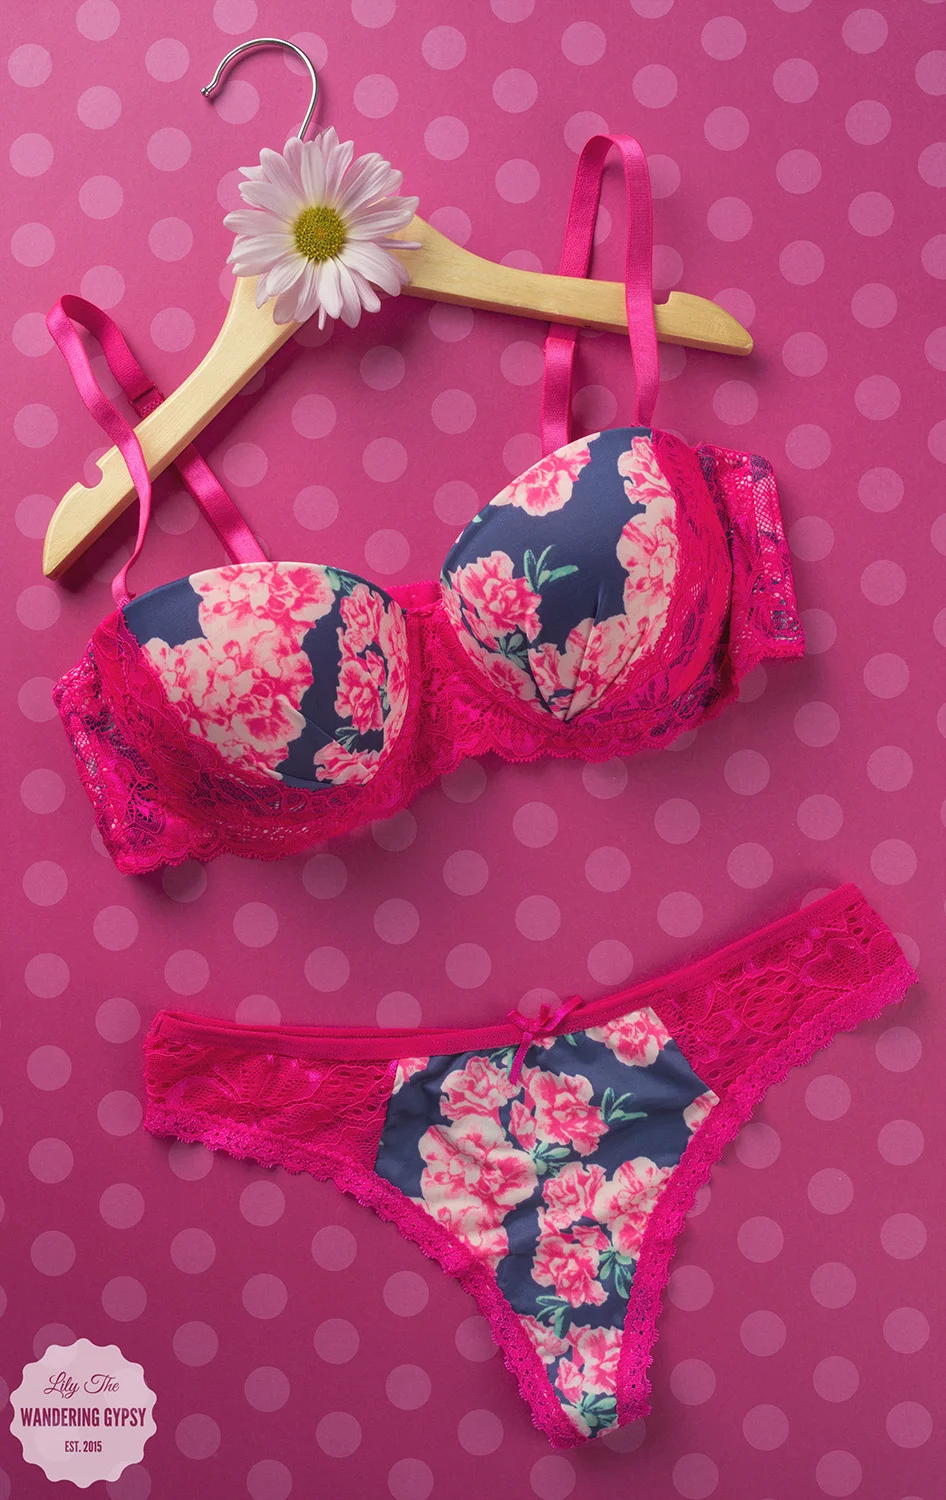
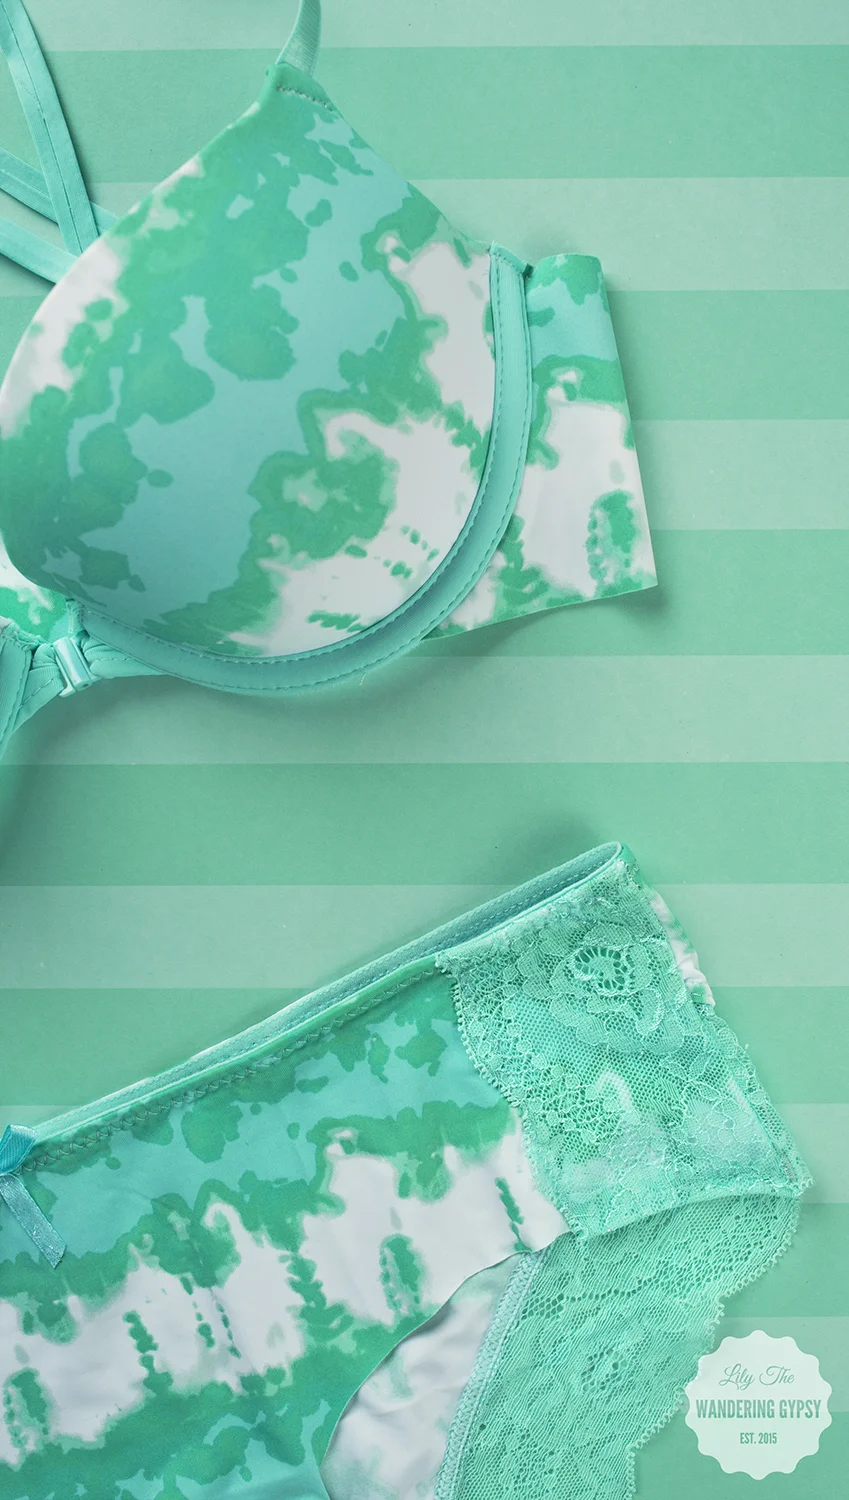
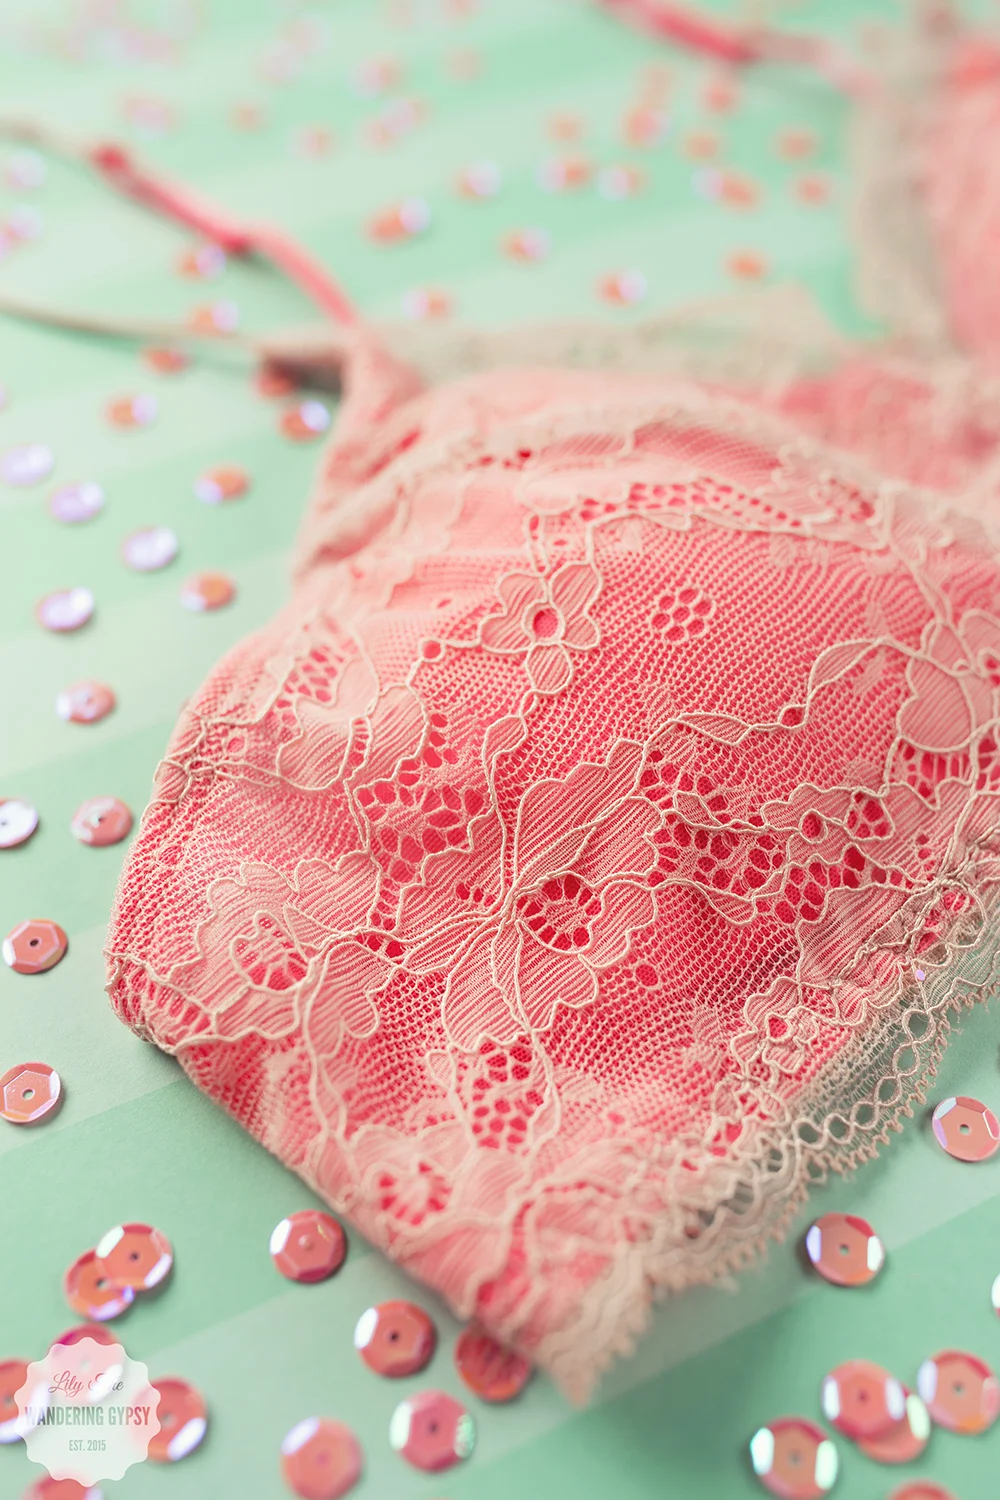
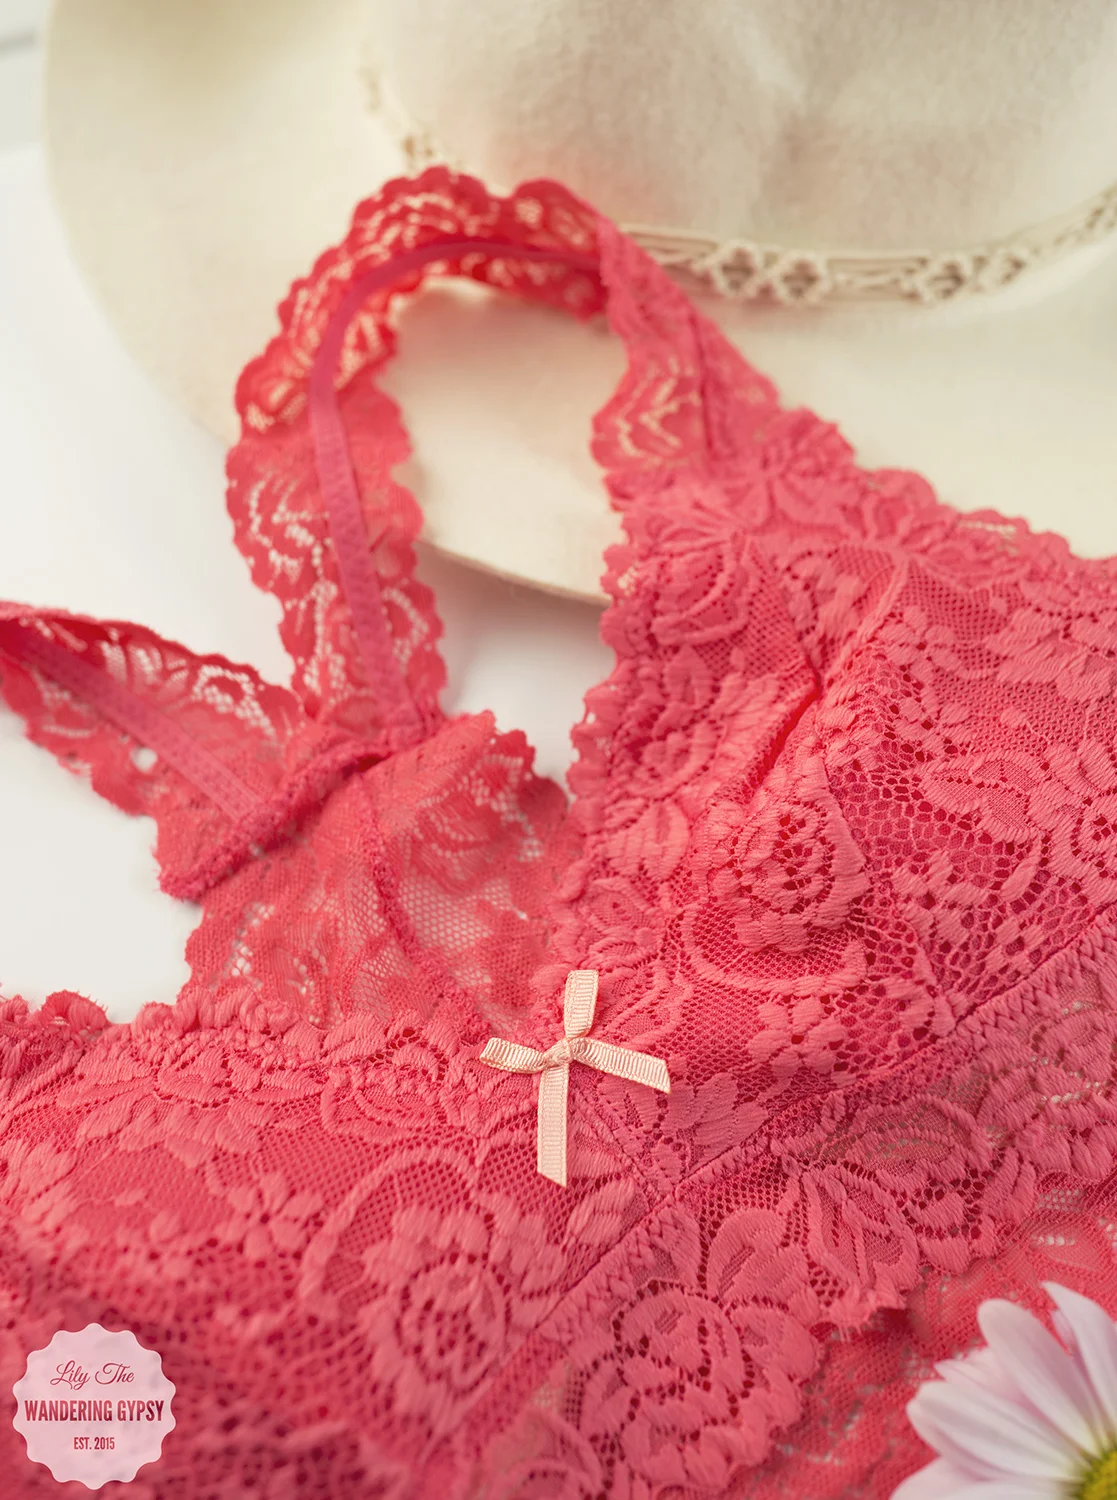
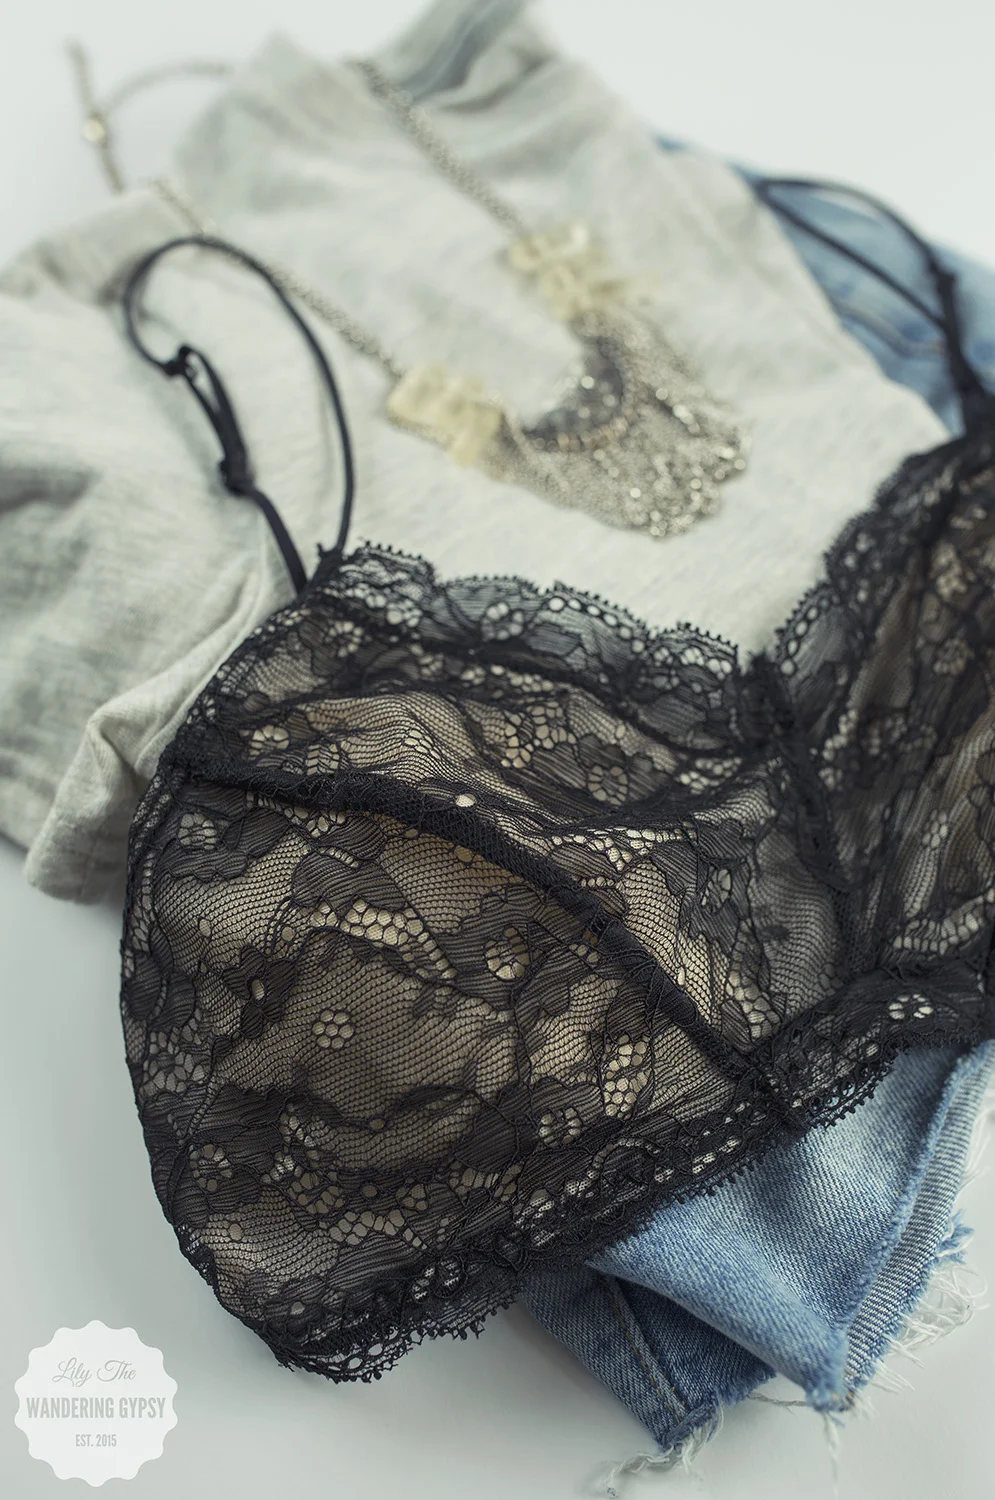
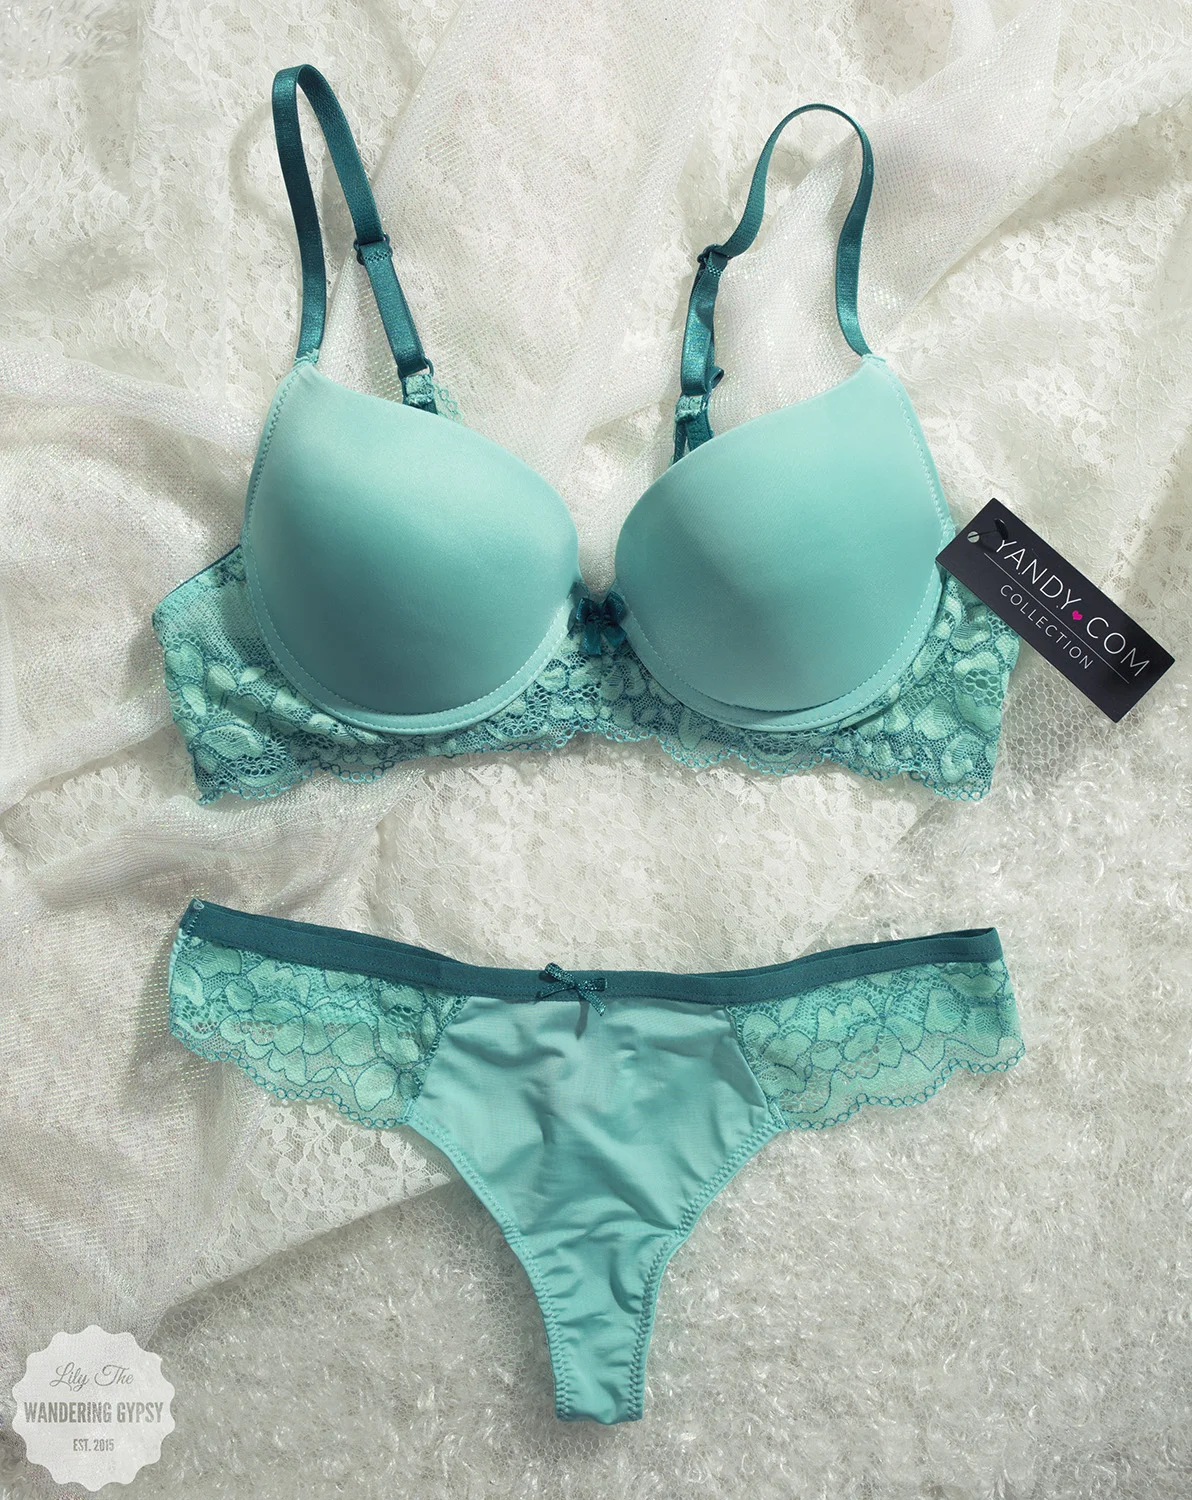
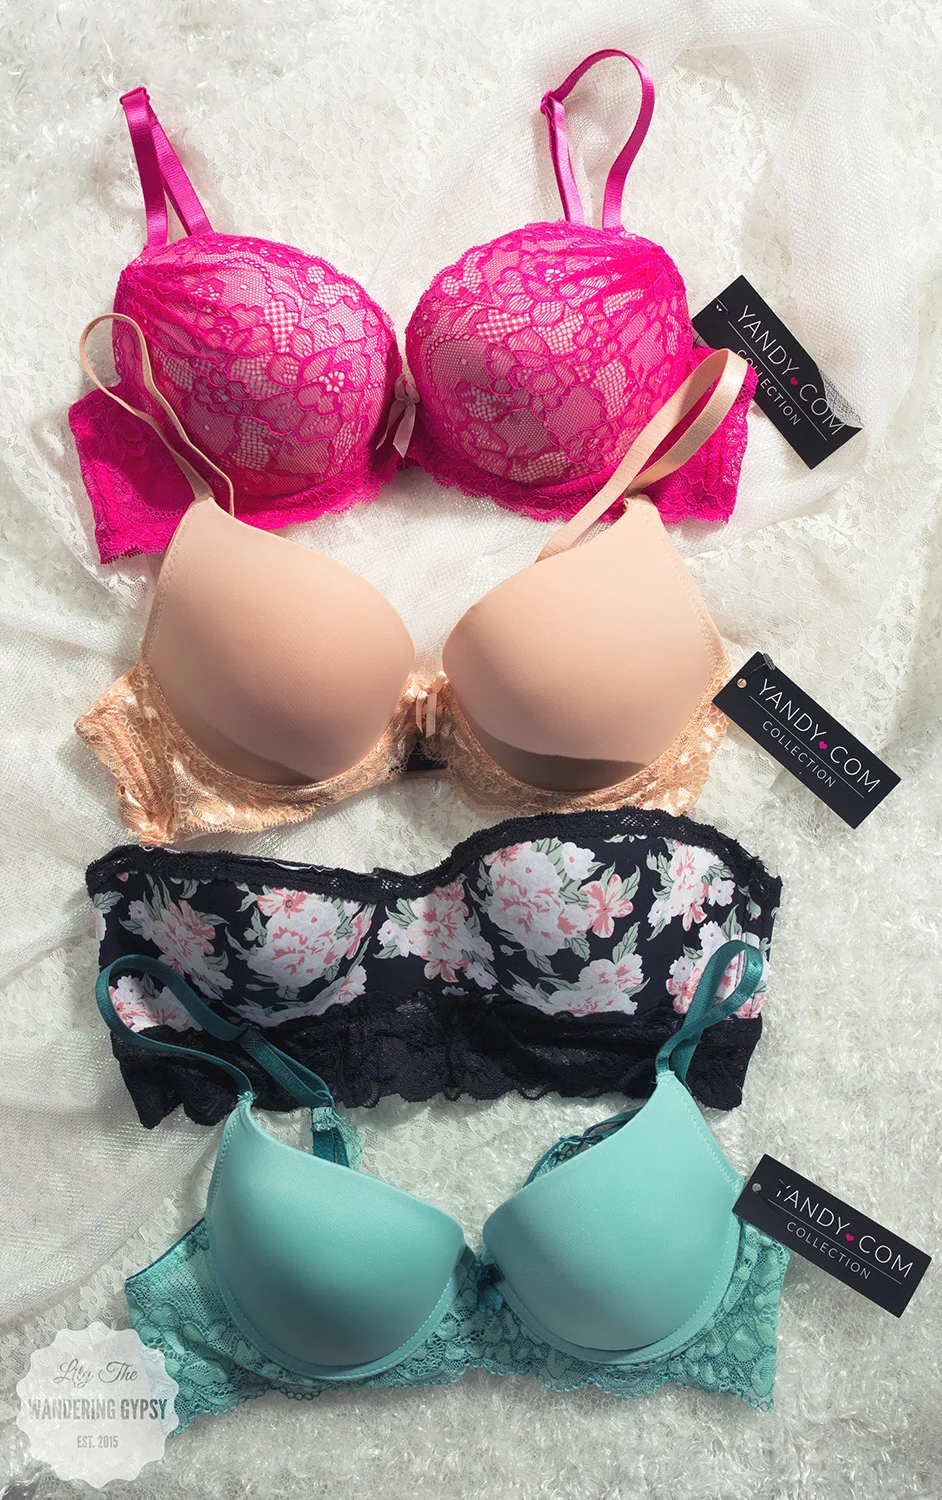
I had such a great time photographing these summer bras, underwear, and swimsuits for Yandy.com. This time, I wanted to elevate the products even more, so I used fresh flowers, brighter backgrounds, and soft lighting.

Each time I receive anything from Yandy, I am thrilled to see how beautiful their items are. Everything I have in this blog post is generally under $15-20! I added a link and item name below each image, so you can shop for these featured items! Hope you enjoy your summer!

The Fabulace Floral Bra & Bikini Panty.

The Fabulace Floral Bra & Bikini Panty.

Market Fresh Ratatouille Recipe

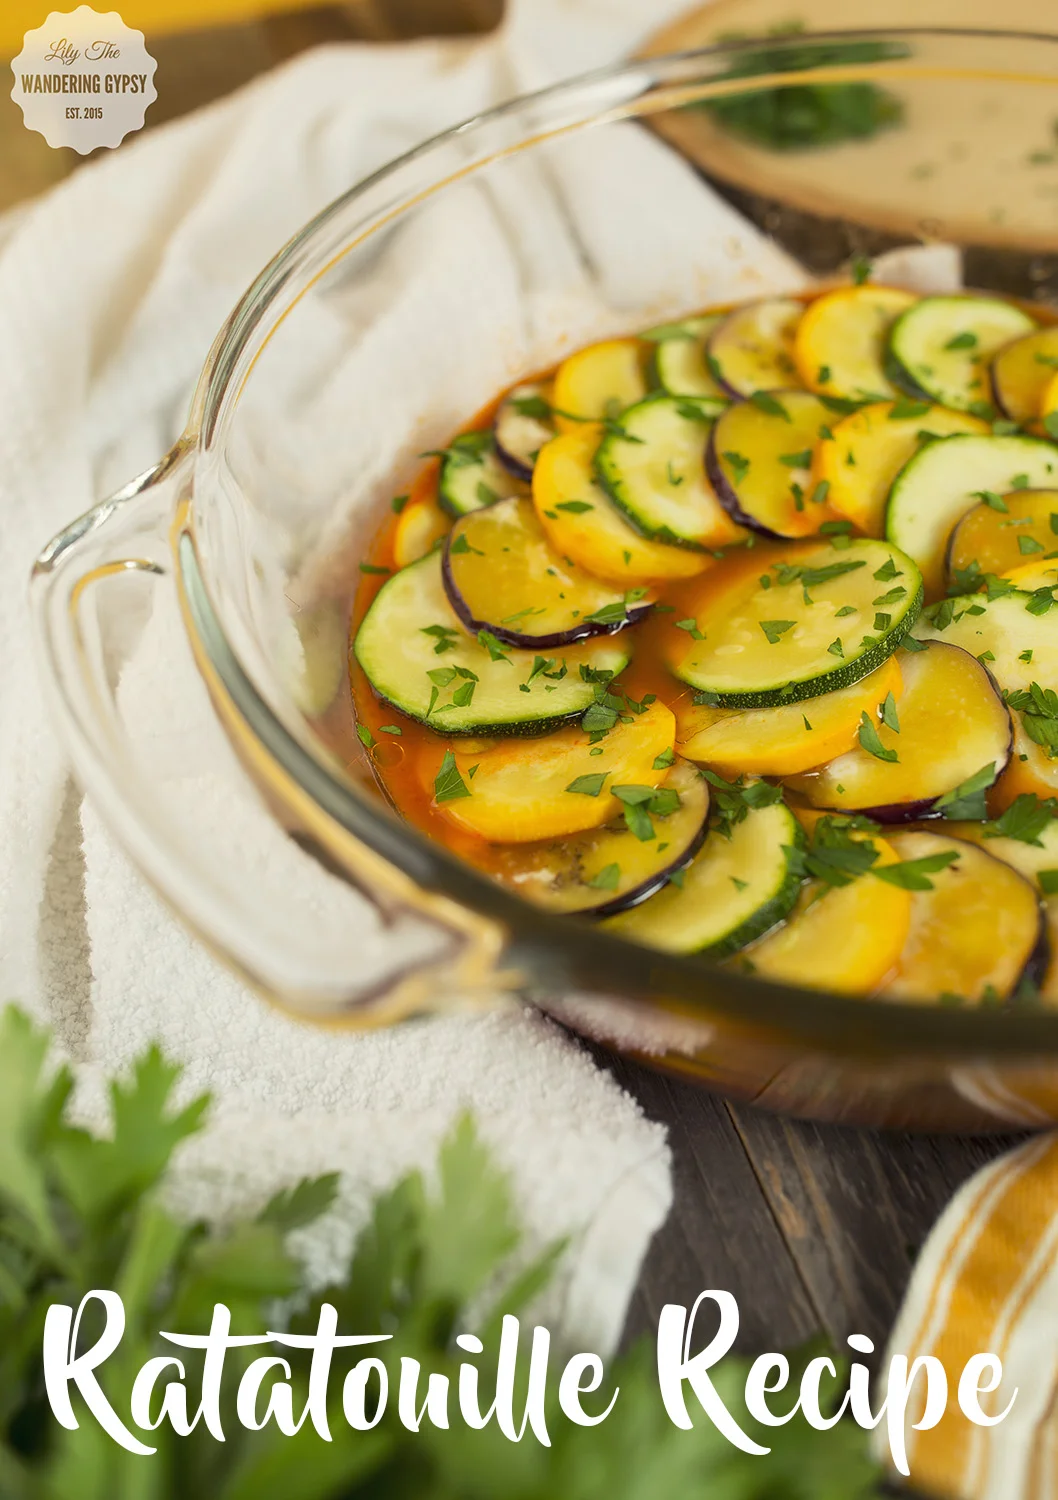
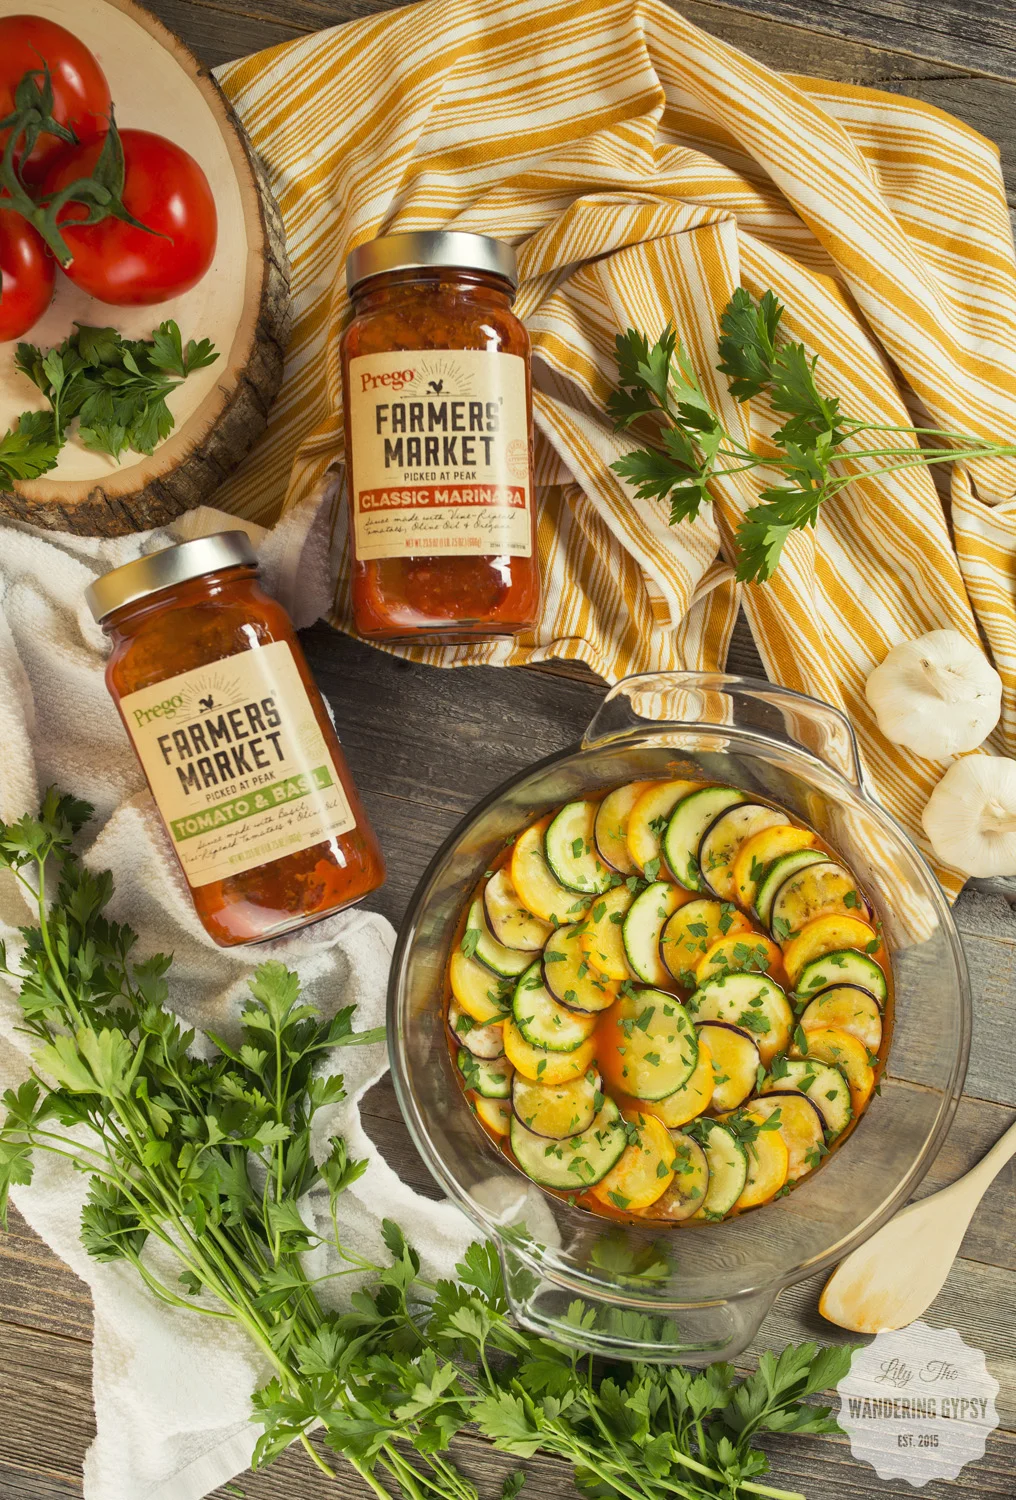
Are you looking for a fresh, tasty recipe that you can make with items you find at the Farmer's Market? Here's a recipe you will love! This shop has been compensated by CollectiveBias, Inc. on behalf of its advertiser. All opinions and ideas are my own. #PickedAtPeak  #CollectiveBias

By incorporating fresh vegetables, and Prego® Farmers' Market sauces, your family will be eating more vegetables, and asking for seconds! This dish smells absolutely delicious while it is baking, and you can also make this dish ahead of time, and even freeze it to bake at a later date. Win-Win in my mind! 

I love the fact that we have two farmer's markets here in Carbondale, IL, and since the soil in Illinois is SO fertile, we are lucky enough to have lots of options as to what local foods we want to use. 

LET'S TALK SAUCE:

- New Prego® Farmers' Market Sauces have market-fresh ingredients, like vine-ripened tomatoes, garlic, and basil, that are picked at the peak of freshness. These new sauces are available at Walmart in the pasta aisle, my favorite aisle of all...

When I first began researching this ratatouille recipe, I found that every recipe traditionally called for a lengthy process of creating a sauce of your own. This recipe will save you so much time, by simply incorporating a jar of Prego® sauce, which makes this dish taste amazing. 

This Cotton Market Bag, above, was printed and designed by my friend at Bodega Press. It's one of my favorites! 

INGREDIENTS FOR 2-3 SERVINGS:

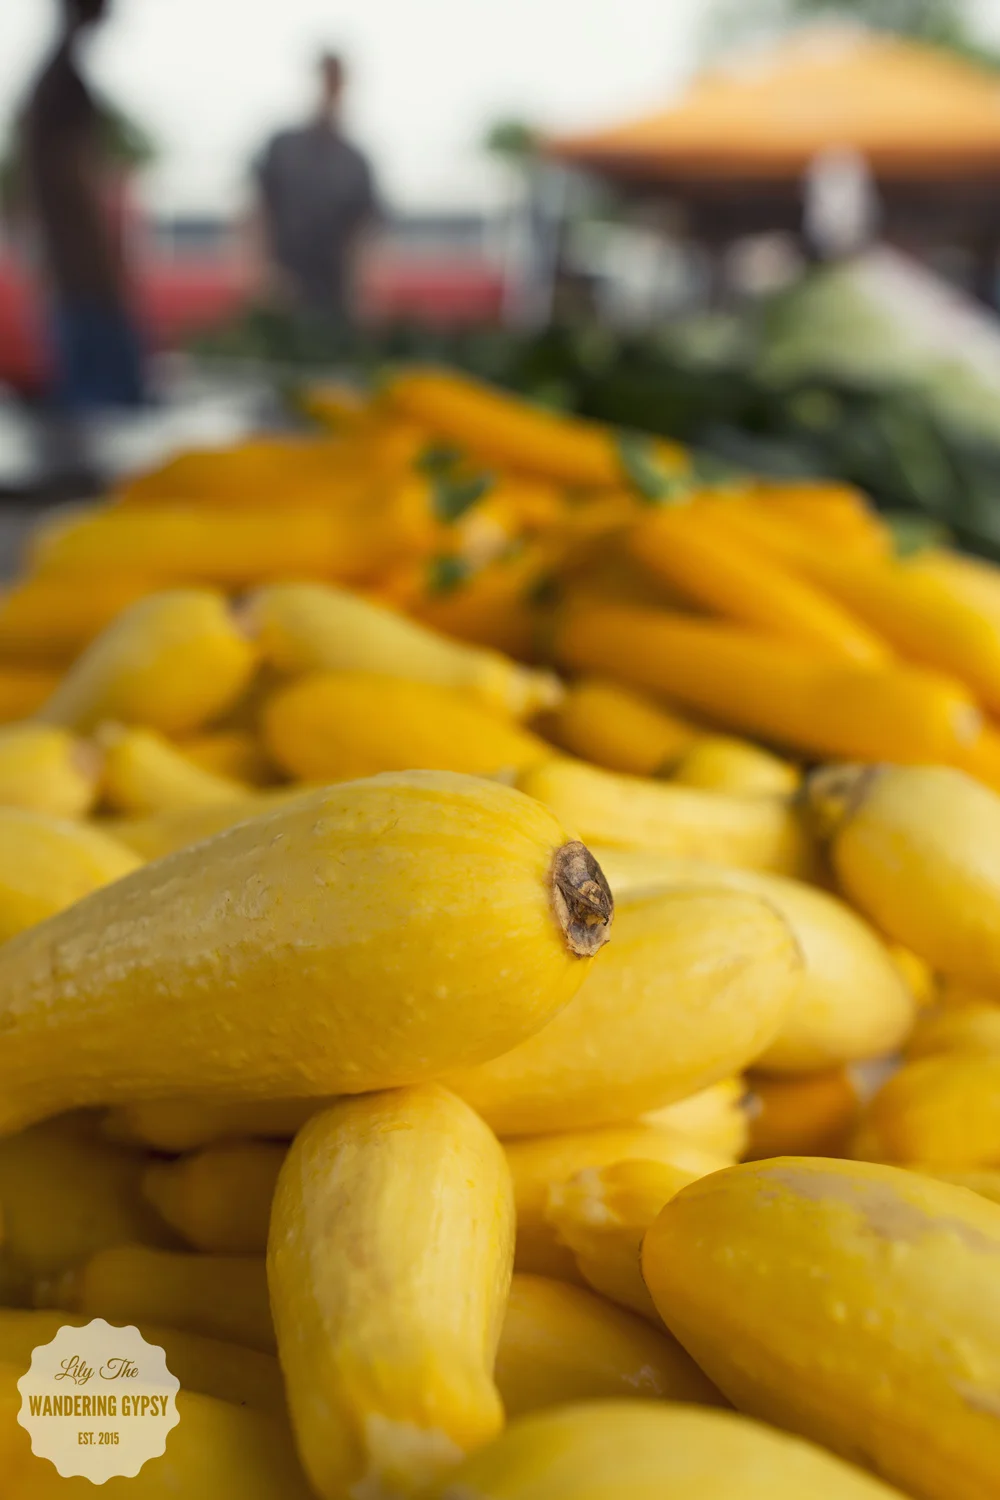
Squash At The Carbondale Market

- 1 Jar of new Prego® Farmers' Market sauce. I loved the Classic Marinara and the Tomato & Basil.

- 1 Zucchini, sliced very thin

- 1 Yellow Squash

- 1 Chinese Eggplant (the skinny kind)

- Olive Oil & Brush to apply oil

- Fresh Parsley, chopped finely

- Salt and other seasonings as desired

- Circular Baking Dish & Non Stick Cooking Spray

- Foil

Note: The above image shows more vegetables you can add to this recipe, but you can definitely make this with just the few ingredients I have listed. 

- Also, you can slice up onions and tomatoes, and layer them in between the other slices. 

To purchase these sauces, visit your local Walmart store, or shop online, here.

INSTRUCTIONS:

1.) Slice all 3 vegetables (zucchini, squash, and eggplant) very thinly (You can also include slices of onion and tomato here ). I used a Mandolin Slicer, which worked incredibly well for this recipe. CAUTION - Please, please use the guard piece that comes with the machine, because this took a small part of my boyfriend's pinky off and caused a big mess! Poor Bobby...Anyway! He's doing fine now :)

Set veggie slices aside and grab your sauce! It's already time to prepare your dish. 

2.) Spray your baking dish with non-stick cooking spray. Spread a thin layer of sauce, roughly 1/4" - 1/2" around the bottom of the dish. I used about 2/3 of the jar of sauce, but ideally 1/2 of a jar would be perfect!

3.) "Shingle" your vegetables, see below. I loved this part! Get about 4-6 veggie rounds in your hand, and alternate colors. 

4.) Put the shingled veggies into the baking dish, over the sauce, making sure not to press too hard, because you don't want the sauce on top of the veggies while baking.

5.) Continue the veggie spiral all the way to the center of the dish.

6.) Chop the parsley to sprinkle on top of the dish.

7.) Brush olive oil onto the veggies, carefully as to not get sauce on top of the veggie slices. Add salt and any other seasonings you want to the top of the dish. Garnish with chopped, fresh parsley - this adds so much to the look of your dish! 

8.) Lastly, bake the dish at 375 degrees, for roughly 30 minutes covered in foil, then for another 10-20 minutes with the foil off. Once the vegetables have browned, and the sauce has cooked down to a desirable amount, you're done! 

Enjoy!

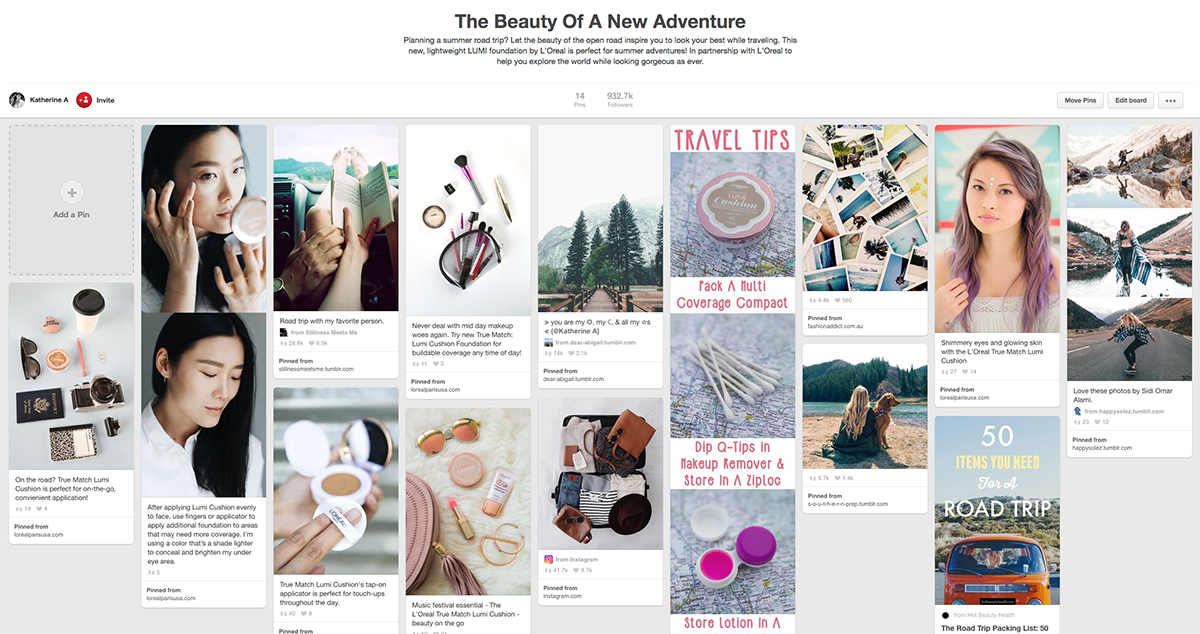
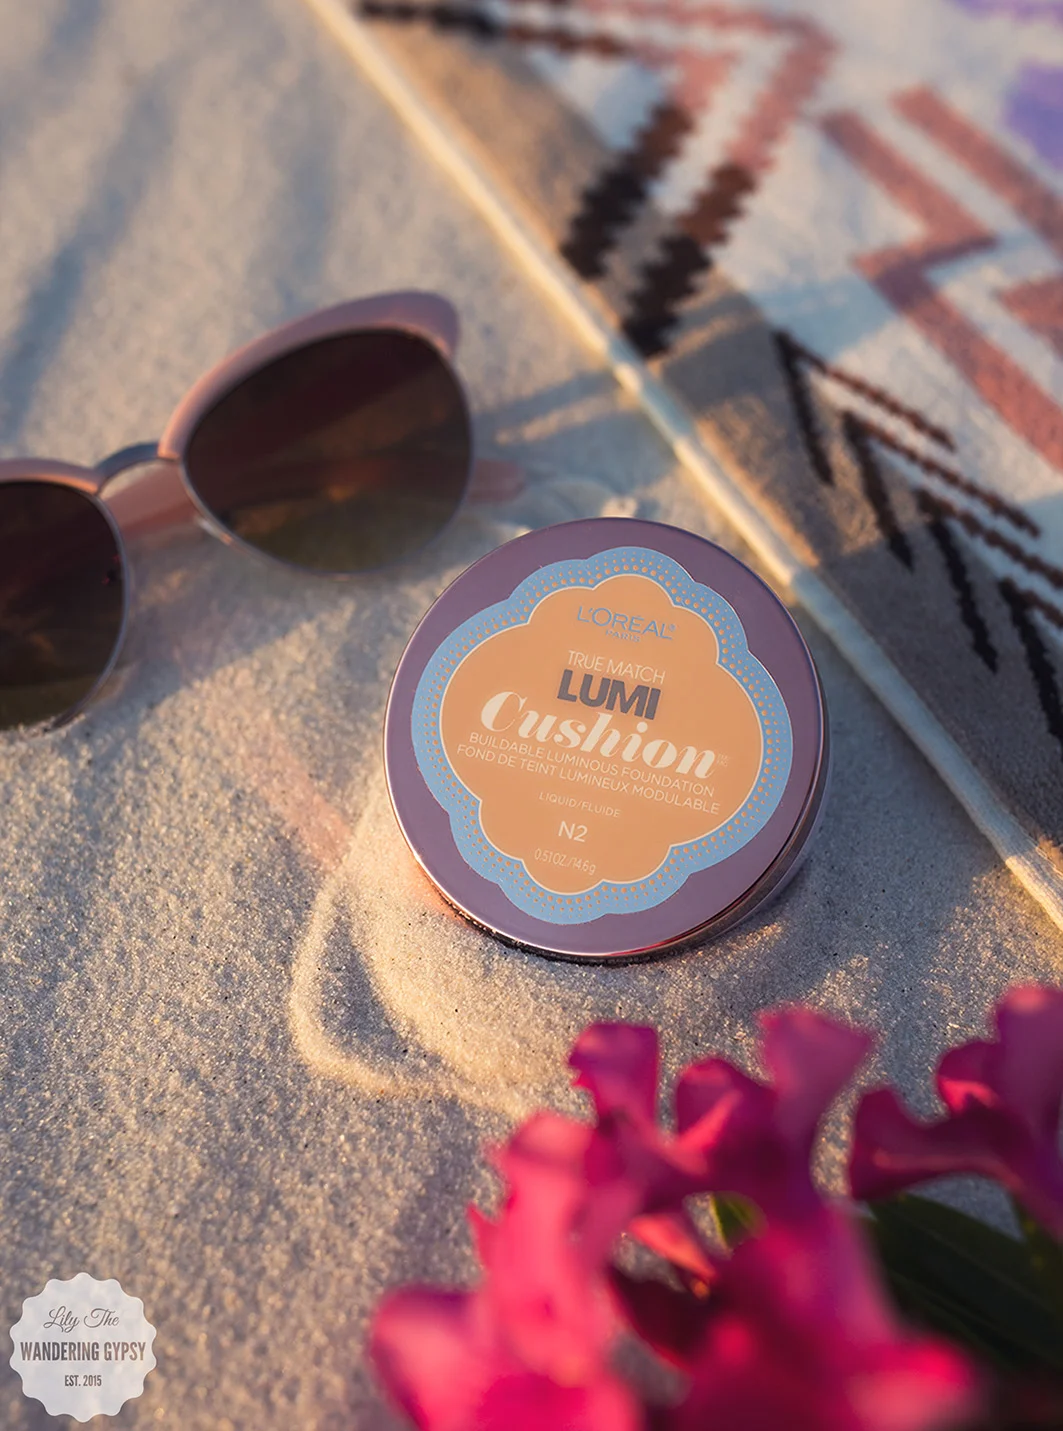
The Beauty Of A New Adventure With The L'Oreal LUMI Compact

I was absolutely thrilled when I was asked if I wanted to collaborate with L'Oreal again! This time, the theme was Summer Travel + Travel Makeup Tips, to help promote their new LUMI Compact! Of course, that was also really exciting for me, because we travel so much, so I have packed for lots of road trips, and have actually experienced how hard it is to stay looking cute while traveling! It's sometimes more work than at home, because you don't have your regular setup. 

Another fun fact about these photos, is that we would up shooting them while we were in the Port St. Joe and Cape San Blas area! It was absolutely gorgeous, and the place we stayed was the perfect setting for the shoot. If course, we probably had onlookers, but whatever! 

I got my hair and makeup done professionally at a cute salon in Port St. Joe, called Salt Air Beauty and Hair Salon. I met one of the two owners that day, Angela, who did such incredible work! She is so inspiring and talented, and I definitely recommend her if you are ever in the area and need literally anything done! I even got eyelash extensions (for the first time, ever), which I think added a lot to the photos. Check out our images below, and visit the Dedicated Pinterest Board, here


DIY Summer Clutch Purse - 20 Minutes Or Less "Give Extra, Get Extra"

I have an absolutely incredible DIY project for you today! Here is a fun way to spruce up your summer wardrobe. This shop has been compensated by CollectiveBias, Inc. on behalf of its advertiser. All opinions and ideas are my own. #GIVEEXTRAGETEXTRA #Walgreens #CollectiveBias

I always have this problem - I have a great outfit picked out to wear to visit friends or family, and am happy with my jewelry, then I have NO purse to match my outfit! Sure, I have my every day purse, that would work, but I always want something a bit more suited for the occasion. 

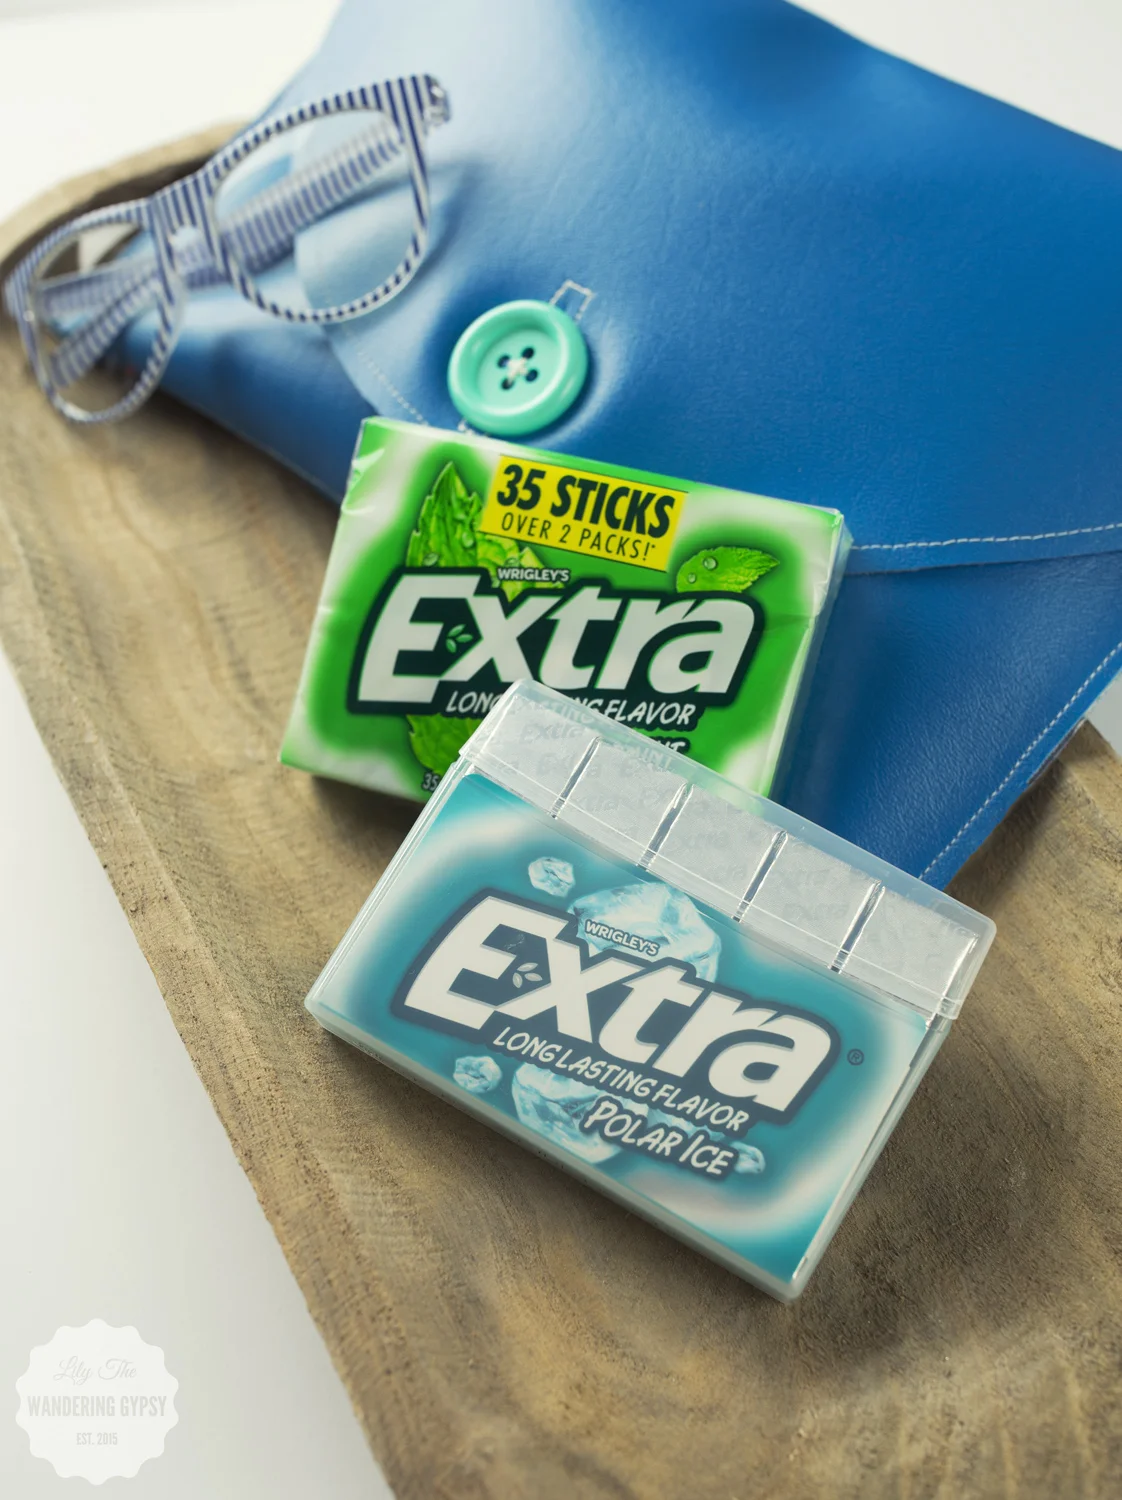
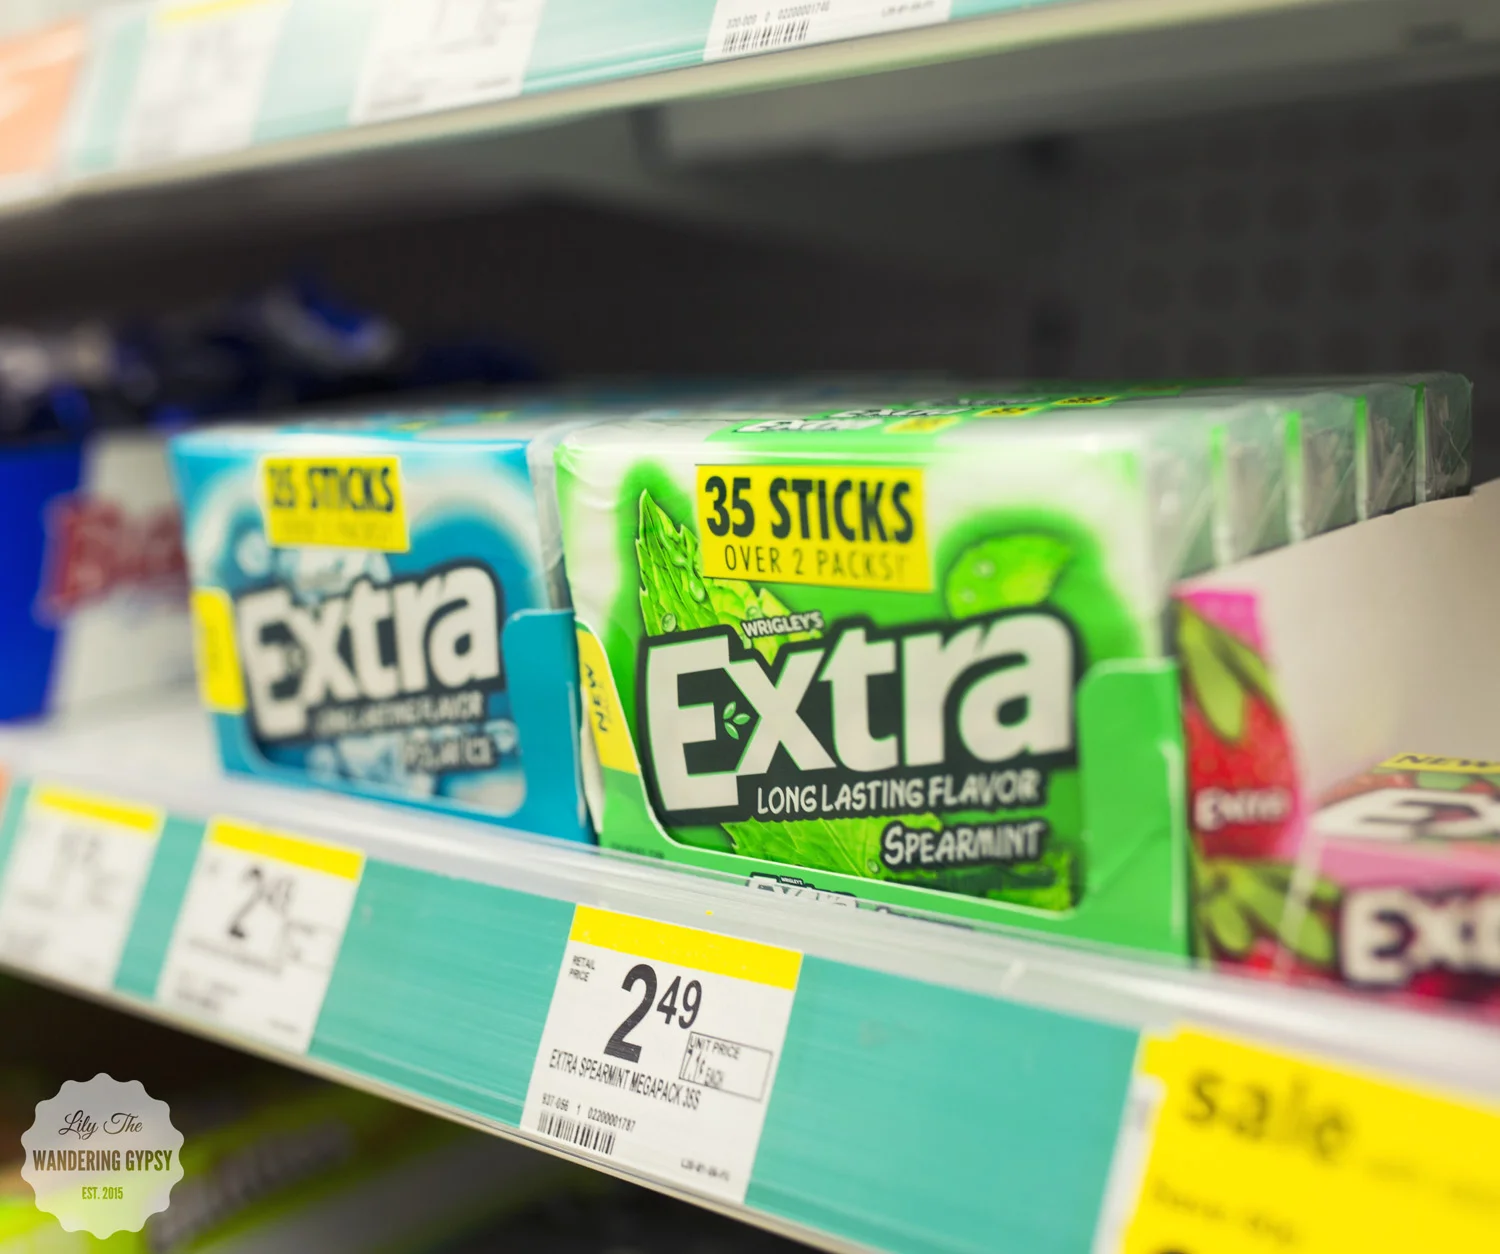
It's always a good idea to bring along a pack of gum with you for a night out, so your breath is fresh! Fun Fact - these new Extra® 35-stick packs have lots of gum to supply your friends as well. You never know what conversation or new friend you could make by sharing a stick of gum with someone!! By simply giving Extra, you may get Extra! 

So, here is one way to solve the problem. Sew yourself a quick and easy clutch purse, that takes less than 20 minutes! If you have never, ever sewn before, it could of course take you a tiny bit longer. But, I am very happy with how quickly this project came together!


The Flavors Featured In This Post Include:

Extra® Gum Spearmint

Extra® Gum Polar Ice®


MATERIALS:

- 1/3 yard of vinyl (found in the home decor area of the JoAnn's)

- 1/3 yard of flannel or felt

- Scissors

- 2 small binder clips

- Sewing Machine with Needle and Thread

- Glue Stick

- Hand Sewing Needle and Thread

- Button For Closure


INSTRUCTIONS:

1.) Cut 1 piece of vinyl and 1 piece of flannel. 

* Each piece should be roughly 12" across, and 30" tall.

* To round the top pieces, I folded them each in half lengthwise, and created a rounded edge. 


2.) Using a glue stick, carefully glue both pieces together so they line up as well as possible. 


3.) Measure roughly 10" from the straight edge of the pieces, and sew a straight line across, to create a crease, where the bottom of the clutch will fold up. 


4.) Fold up the flat edge to create an envelope shape, and sew all the way around the outside edges of the materials. I keep the edge of the presser foot right against the right edge of the fabrics. Double stitch where the pieces meet, see below. 


5.) Sew along the open edge of the clutch to add yet another crease, on the flap part of the material. 


6.) To mark where your button should go, place it onto the flap, and push sewing pins through the layers. This will transfer 4 dots to the layer beneath, which will tell you where to sew your button. Mark the 4 holes with a permanent marker, and sew the button onto the purse. 


7.) Sew on your button very securely!


8.) Make your button hole. Here's a tip - fold the flap over the button you just sewed on. Mark how long the button is, and then clip a hole the proper length. Test this out, to make sure the button fits through the button hole without any resistance, but is not too large where it won't hold.

* Sew around the button hole a couple of times, and snip any loose threads. 


9.) That's it! Get ready to fill your new clutch purse with some essentials like gum, lipstick, lotion, and other goodies, and you're ready to go! 


To learn more, and to see what other people created, check out the Social Hub Here. Visit the Wrigley Extra® Gum Page, Here.
 photo moments grn.png

Extra® Gum 35-stick packages at Walgreens have more gum than you may be used to seeing! The case is super durable, and can actually be reused or recycled after you are done with the gum (see the image below). These larger stick packages ensure that you will run out of gum less often, and there is more gum to go around! 

DIY Summer Fun - Cookie Cutter Jewelry & Trinket Trays

I recently collaborated with Wendy's to create several Summer Inspired DIY Projects! Throughout the next week or so, I will be sharing instructions to all 5 projects! This project in particular, was inspired by a blog post I found on the Aww, Sam Blog. * Note - this project is kind of messy, so lots of paper towels were needed!!!! So excited to present you with these Cookie Cutter Trinket Trays! Enjoy :)

MATERIALS:

- Air Dry Clay (2 smaller packages will do)

- Cookie Cutters - I got mine here (for 99 cents each!). I got a cactus, hand, lips, pineapple, and teepee.

- CeramCoat Paint in green, white, red, tan, black, and yellow

- Clear Poly waterproof paint-on coating, optional.

- Clay sculpting tools (I found these ones for $2.47 near the clay supplies at Hobby Lobby)

- Water in a small dish to use for smoothing clay with your fingers

- Waxed Paper and Tape to keep surface clean

- 2 Paint Brushes for larger areas, and then one for finer detailed lines

- Paint clean up supplies like water and paper towels

INSTRUCTIONS:

- Prep your work surface. On a smooth, dry table, tape down a piece of parchment paper that will cover the surface well.

- Open your clay, and grab a hand full of clay.

- Roll clay into a smooth ball, and then place it onto the waxed paper. press the clay down with the lid of the clay container, until it is less than 1/2 thick. Alternatively, you can place a second piece of waxed paper on top of the clay, and use your hand and/or a rolling pin to flatten the clay. 

- Once flattened, press one shape at a time out of the clay, and carefully remove the clay from the cutter. I wound up using a clay tool to help with the hand space and the top of the pineapple shape.

- Next, you need to flatten and smooth out the clay shape. I did this by setting the clay shape onto the waxed paper, and then using water on my finger tips to smooth the edges. If you wanted raised edges, apply more pressure to the center, and less around the edges. I used a clay tool to kind of give the teepee dish a ridge around the sides. 

- Also, you can use a plate and paper straws to shape the sides of the clay while it dries. 

- Let dry for at least 3-5 hours, or ideally overnight. I didn't have that much time, so I painted them after about 5 hours and the paint seems to have stuck very well! 

- I just LOVE how these turned out! Remember, check back soon to see what other summer DIY projects I have for you! Have a happy and creative summer :) 

- A special thanks to Wendy's for inspiring me to create this project! Check out their Blackberry Lemonade ASAP, it's good!!!

- Find more summer DIY Ideas On My Blog and On My DIY Pinterest Board

Savor Your Summer Recipe With Aidells® Sausage + The Wine Group's Cupcake® Wines

I had an amazing time creating this delicious summer recipe, featuring tasty ingredients like mozzarella chicken sausage, colorful peppers, and basil pesto. I then paired the dish with two styles of wine! How could things get any better? I tend to like lighter wines in the summer, so I chose to feature two varieties from The Wine Group's Cupcake® - Chardonnay and Sauvignon Blanc. For this recipe, I used Aidells® Sausage. I chose Italian Style Smoked Chicken Sausages with Mozzarella Cheese - they were absolutely perfect!

I originally tried this recipe with friends, and they went up for seconds and thirds, so I know this one goes over well with a crowd! I loved it too, and I also thought the sausage and peppers mixture would taste incredible in an omelet for breakfast. This dish is so versatile! Make it for two, make it for lunch or dinner, or incorporate it into your next party menu!

This is a sponsored conversation written by me on behalf of Aidells® & The Wine Group. The opinions and text are all mine.

- 1-2 Packages of Aidells Italian Style Chicken Sausages

- 1 Box Penne Noodles

- Red, Green, and Yellow Pepper (1 each)

- 1 Onion

- Green Pesto (either store bought or homemade)

- Olive Oil

- Fresh Grated Parmesan Cheese

TO MAKE THE NOODLES:

Boil noodles as directed. Drain them, and return them to the pot you boiled them in. Add 2-3 tablespoons of olive oil, and also stir in around 4-5 tablespoons of pre-made or homemade pesto. Stir until well incorporated, and then top with parmesan cheese. These noodles compliment the sausage and peppers so well!

Below, the perfect mix of ingredients. Italian Style Chicken Sausage, peppers, and onions! YUM!!!

TO MAKE THE SAUSAGE & PEPPERS

1.) Cut up chicken sausages into thin slices, around 1/4" thick or less.

2.) Chop onions into tiny pieces (or larger if you like)

3.) Chop peppers into small pieces and set aside.

4.) In a skillet, heat 1-2 tsp of olive oil, and add onions. Salt and season, and continue cooking and stirring onions until they are soft.

5.) Time to add the sausage! Add your sausage slices to the pan, and stir. I used tongs to turn the pieces, and continually check the status of the sausage. I let them brown on both sides before I decided they were done. They taste SO good!

6.) Turn down the heat to very low, and add peppers into the sausage mixture. Stir, and cover with a lid, to just basically steam the peppers. They should be done in 4-5 minutes. Stir again to incorporate one last time.

7.) Place noodles onto a plate, and then top with sausage and pepper mixture. This could also be served atop rice of any sort! Enjoy!! Scroll down to learn more about these wines.

Some great things about Aidells® Sausage:

* Each sausage is made with naturally smoked, all-natural chicken, real fruits & vegetables, and herbs & lively spices
* Gluten Free
* No Nitrites
* No Added Hormones
* All sausages are hand-crafted with real, hand-picked ingredients in small batches with care
* Fully cooked and ready in just 8-10 minutes: sauté or grill over medium heat or bake at 375 degrees F.

The Wine Group's Cupcake® Wines are great! Both styles featured in this post are under $10 per bottle (I got them at Kroger - in fact, I got all of my ingredients there). I really do prefer white wine to red wine any day, but especially in the summer. I opted to get the Chardonnay and the Sauvignon Blanc because they are not overly sweet, and are very well-balanced.

Luscious, creamy, silky, zesty, intense, elegant, complex wines!
Great for celebrating the good and genuine things in life & simply making life delicious!


What sorts of dishes do you prepare during the summer months? And, what is your favorite style of wine? Do you prefer white wine or red wine? Let us know in the comments!

This is a sponsored conversation written by me on behalf of Aidells® & The Wine Group. The opinions and text are all mine.

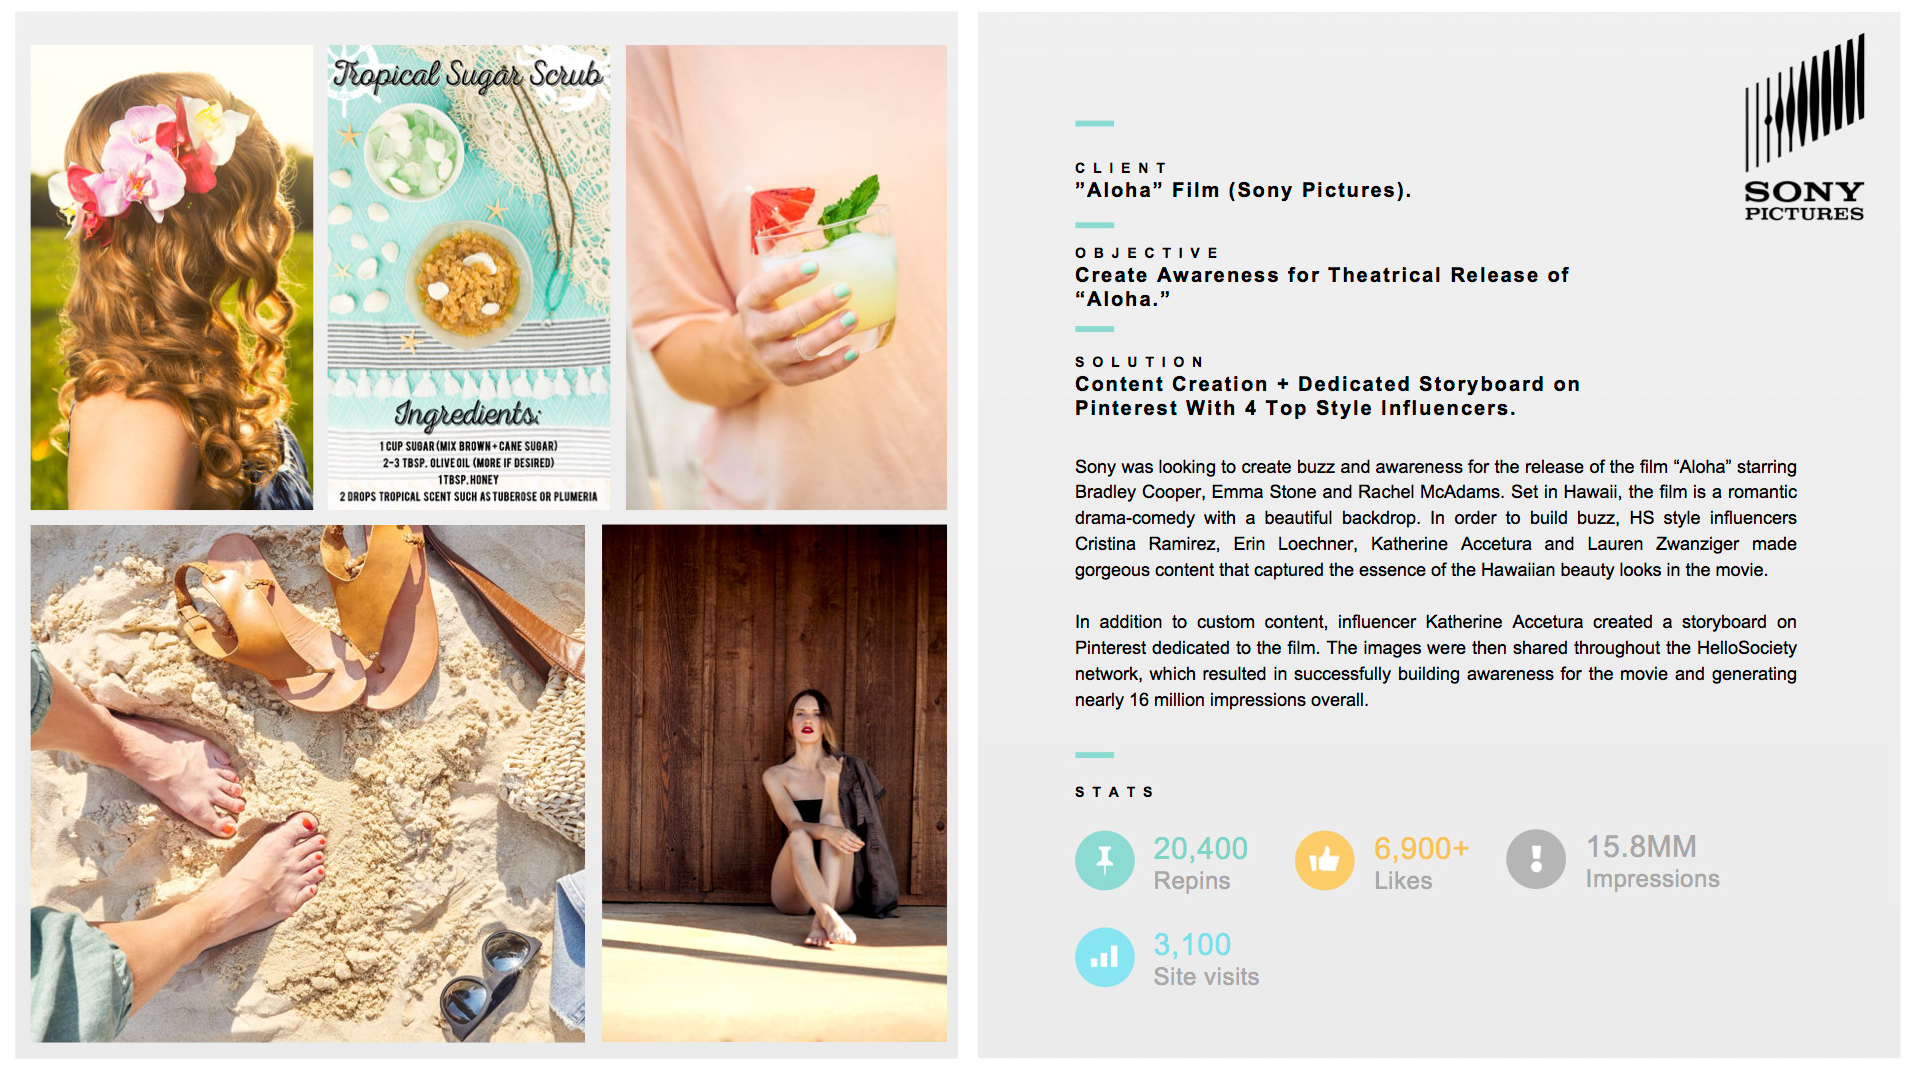
HelloSociety + Our Social Campaigns

I wanted to use this space today to extend my gratitude to a wonderful company, HelloSociety. I've had the chance to visit them in Santa Monica, CA, three times, and have grown close with many of the team members. They're very inspiring to work with, and I love each and every project I complete for them. 

Over the past few years, I have been a part of a large number of campaigns, where I created content for brands and shared those images with almost 1.5 million people. Check out my page in their Influencer Lookbook, here. Most of this would not have been possible without the support of them! I have blogged about many of these projects, so you may be familiar with some or all of these, but I just wanted to share a few of my all-time favorite projects with HelloSociety!


You can find HelloSociety around the web! 

Pinterest // Instagram // Facebook // Twitter // Their Blog


Clinique Lip Pop Lipstick + Clinique Pop Glosses

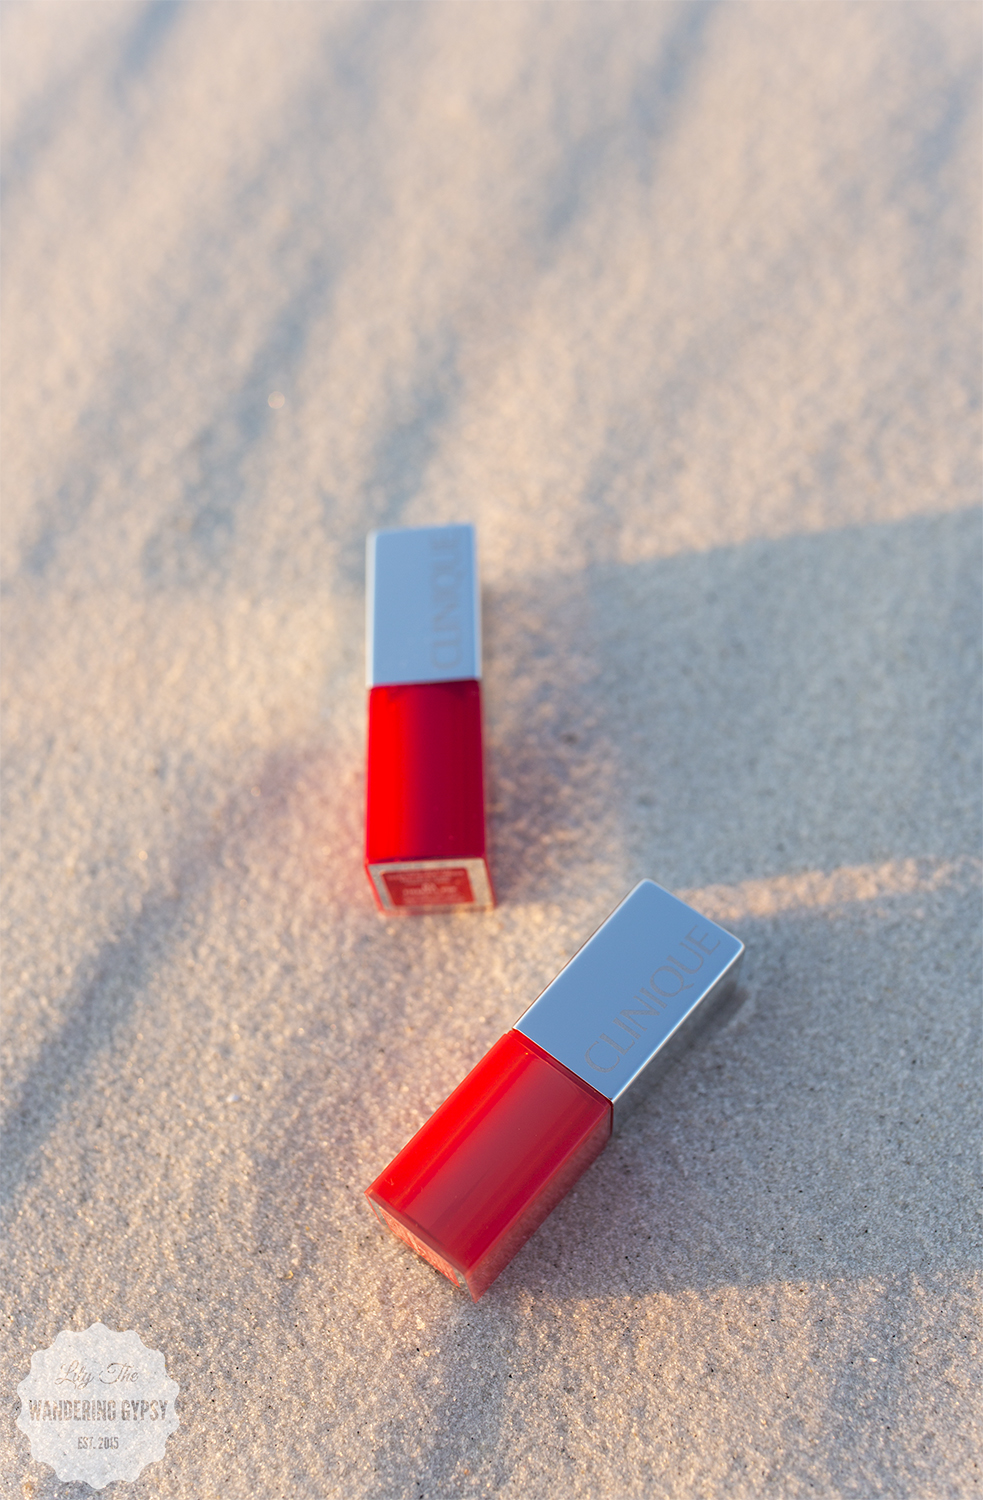
Today, I am introducing some really amazing lipstick & lipgloss from Clinique! Their new summer lip products are just so beautiful, and they're all very lightweight - perfect for summer! 

Above, Clinique pop glaze in "02 melon drop pop".

Items shown in this post:

Clinique Pop Oil in 01 poppy glow + 02 nectar glow (find them here)

Clinique Pop Lacquer in 01 cocoa pop + 09 nude pop (find them here)

Clinique Pop Glaze in 02 melon drop pop + 03 fireball pop (find them here)

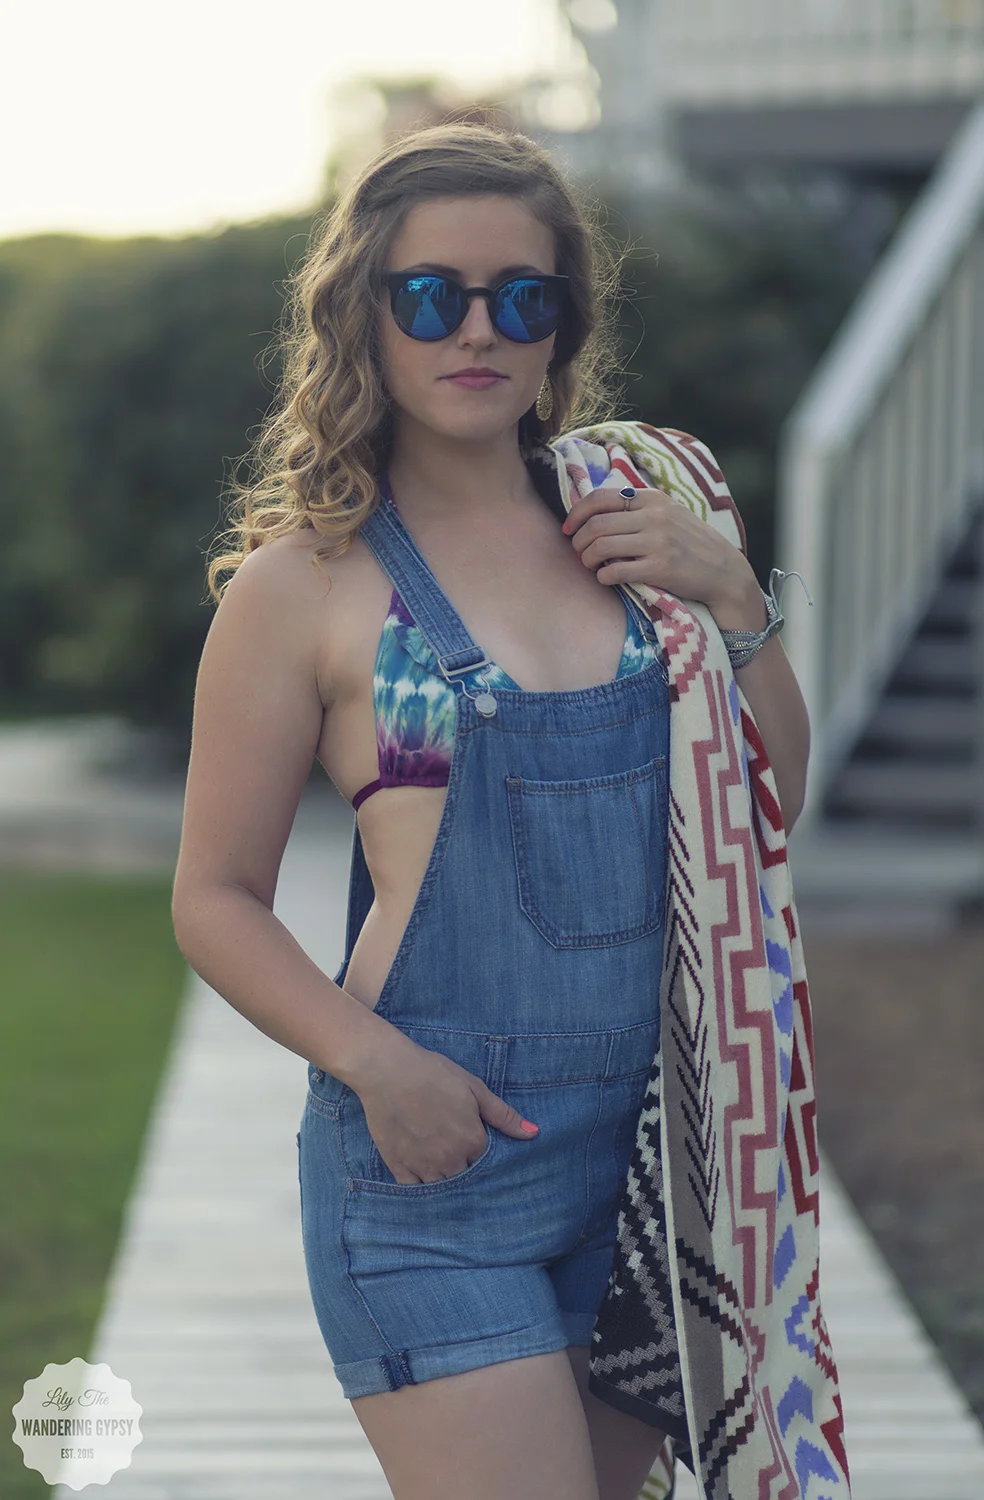
Pendleton Beach Towel (similar here)

Lucky Brand Multicolor Caribbean Crush Tie Dye Bikini

Impressions...

I really loved the first impression of this line of Clinique products. My definite favorite of all of these products was the Clinique Pop Glaze in Melon Drop Pop. 

What The Websites Say:

Pop Lacquer Lip Color + Primer (At Ulta) - "A luscious pop of liquid, high-shine colour in one, full-coverage coat. Luxurious yet lightweight formula with built-in primer glides on effortlessly, wears for up to 6 hours". Not overly sticky and does not dry out my lips! 

Pop Glaze Sheer Lip Colour + Primer (At Ulta) - "A pretty pop of bold yet see-through colour + smoothing primer in one coat. Luxurious yet weightless formula with built-in primer glides on effortlessly, wears for up to 8 hours. Keeps lips comfortably moisturized instantly and over time". Melon Drop Was My Fave!! Lighter texture and weight than traditional lipstick, and does not dry out your lips at all. The two shades featured in this post include: Melon Drop + Fireball Pop (a very vibrant red that is a bit more sheer, and offers lots of moisture). Satin smooth without any bad smell or taste. 

Pop Oil Lip & Cheek Glow (At Saks Fifth Avenue) - "A subtle pop of dewy color for lips and cheeks. This nourishing tint with safflower, jojoba and sunflower seed oils feels luscious yet lightweight. Fluid-gel formula slips on with ease thanks to a convenient wand applicator that delivers the perfect amount every time. Apply tinted color on cheeks and lips. Blend quickly with fingertips". You can use this sheer color on either your cheeks or on your lips. This is nice and light, and is easy to apply.  

No Bake Cheesecake Recipe For The Gal On The Go With ZonePerfect® Bars (With Vegan Filling)

I have an absolutely incredible recipe for you today! This shop has been compensated by CollectiveBias, Inc. on behalf of its advertiser, ZonePerfect. #SnackandRally #CollectiveBias

I wanted to share this recipe because it is a wonderfully healthy snack option for those of you who are always on the go. The little bit of time you spend creating this recipe during your down time, will save you tons of time in the morning. Or, that time of day when you're having to multi task, or when you are in a hurry and can't even spare two minutes to make a meal to eat. Life doesn't slow down because you are tired or hungry. 

This was my first time making Vegan Cheesecake Filling and they turned out incredibly well!! The crust is made from ZonePerfect® Bars, and the chocolatey,peanut buttery, and graham cracker flavored bars added such a nice crunch and sweetness to this recipe. Note - The ZonePerfect® Bars are not vegan, so only the filling is actually vegan. Sorry for any confusion I may have created by calling the original recipe I shared, completely vegan. 

ZonePerfect® Bars offer a snacking option that is rewarding, satisfying, and nutritious, and actually taste amazing! These bars give you the 2nd, and even 3rd wind that you need to have the vitality and energy that you need for busy days or nights. They satisfy cravings, are convenient, and leave you feeling happy to knowing that you just got your chocolate (or sweet) fix, but in reality have eaten something that contains no less that 10 grams of protein in each bar. They are also a good source of fiber, and offer versatility of flavor and balance.  Let's make some No Bake Cheesecakes! 

Everyone who ate them raved about them, and couldn't get enough of them. I love the fact that I put them in individual jars, so that you can even grab one as a quick meal on your way out the door, or if you're anything like me, eat them as you're rushing around the house, doing a million things before you have to leave. I am definitely one of those people who tries to literally start a project a half hour before leaving the house, on top of the things I need to already do to get myself ready and out the door. By utilizing recipes like this one, you can easily fit these into your lifestyle and be more efficient. 

*Note - To make this recipe, you must soak the cashews for a few hours, so make sure you do this ahead of time!!


INGREDIENTS FOR ABOUT 8 JARS:

- ZonePerfect® Bars in Chocolate Peanut Butter and Fudge Graham

- 1 (10 oz) Can of Cashew Pieces (I used a can of salted cashews, and they worked very well. The salt goes away completely when you soak your cashews).

- 1 Can Of Coconut Milk

- 1 (11 Fl. oz) Culinary Coconut Milk (It was more of a liquid consistency than that in the can)

- Organic Agave Nectar (Any type will do)

- Lemon juice for taste (optional)

- Raspberries and other fresh fruit of your choice

OTHER MATERIALS:

- Small Jars

- Blender (for filling)

- Food Processor (for crust)

- Long spoon to scrape ingredients from blender

- Sharp knife to prepare crust

You're in luck! Save up to $4 when you buy two boxes in the ZonePerfect® Bundle Pack.

Shop Online For ZonePerfect® Bars Here.

Find More Ideas For Recipes & Ideas Here.

I found all of these ingredients at Walmart, which made this project easier. Look for ZonePerfect® Bars near the pharmacy area, by the nutritional bars and other healthy items. 

MAKE THE VEGAN FILLING:

1.) Begin by soaking the cashews in water for 3-4 hours. I made sure to use a container with a lid, so it didn't spill. I could not believe how soft the cashews got in this short amount of time. Check the cashews to see if they are soft, and when they're ready, drain out all of the water with a strainer. None of the salt will be left.

2.) In a blender, add all of the cashews, and the more "liquid" coconut milk. Blend until smooth (see photo below).

Next, add the can of coconut milk. When I first added it, I was concerned that the mixture would turn out watery (because there was a clear liquid in the can), but when I blended everything up, it was perfect! 

Add your agave sweetener one or two squirt at a time. Taste the mixture and keep adding agave until you think it's sweet enough. Depending on what type of agave you get, you may not need much at all. The stye I got (in the photo of ingredients), was not very strong or sweet, so I added a few squirts and it tasted perfect!

MAKE THE ZonePerfect® CRUST:

Note - Crust is not vegan, sorry for any confusion!

100% Vegan Crust would contain 1 Cup pitted dates + 1 cup raw walnuts - bended in a food processor). But, this ZonePerfect® tasted absolutely incredible!!! 

3.) Unwrap about 5-6 bars, or as many as will fit into your food processor.

4.) Chop the ZonePerfect® Bars as small as you can with your knife, and put the pieces into the food processor. At first, I only chopped the bars into quarters, and they did not process well. I took them back out, and chopped them up a lot more, and they were absolutely perfect. ZonePerfect® one might say :)

6.) Blend/Process the ZonePerfect® bars as much as you can. Look at that beautiful crust!!!

7.) Put the ZonePerfect® crust into the jars, and press the materials down as much as you can. I just divided the Zone Perfect crust evenly between the jars. 

8.) Pour the vegan "cheesecake" filling into the jars, and fill pretty close to the top. 

9.) Now, put the lids onto the jars, and put them into the fridge for a few hours, or overnight. This will help them set up, and the filling tastes so much better if it is cold! 

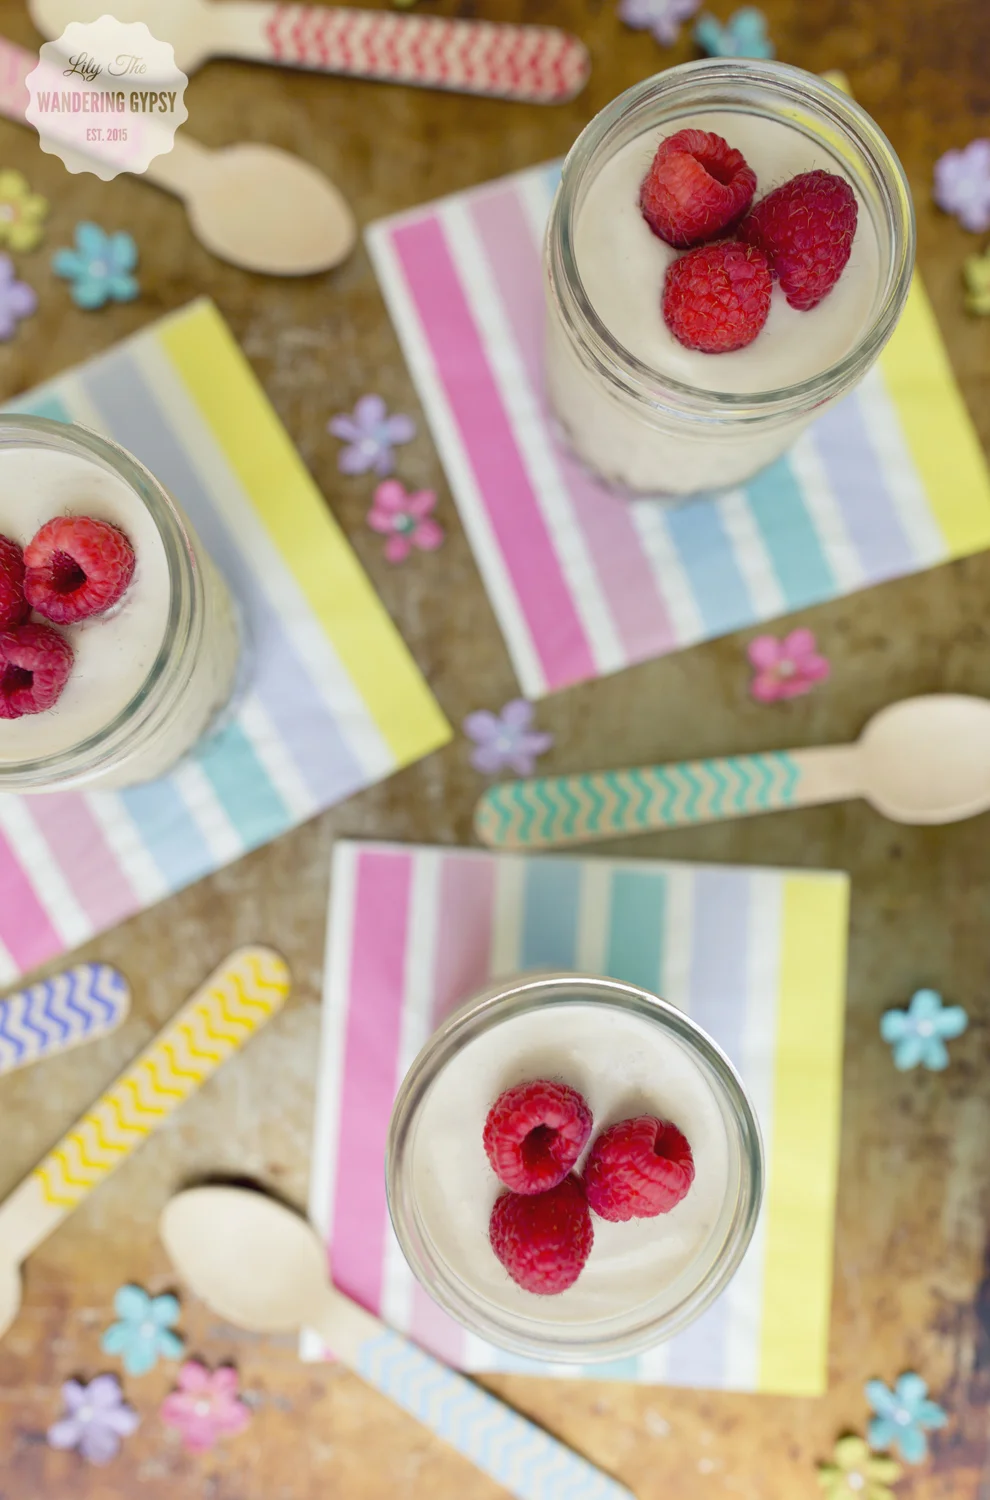
10.) After they have chilled for a bit, take them out and top them with fresh fruit! I enjoyed scooping the ZonePerfect® crust and mixing it into the "cheesecake". It added a nice chocolatey sweetness that made these amazing for an On The Go Snack, whether it was breakfast, a snack, or a light meal. They're very filling and had a lovely hint of cashews and coconuts. 

Thanks so much for taking a look at my recipes!! Have you ever eaten or created a vegan cheesecake filling or something like this recipe? Comment below and let me know. Take care! 

Milo's Cafe Style Tea - Organic Summer Refreshments

Summer is less than a month away, and we have been poolside in Florida for the last week or so. Don't get me wrong - we are here on a mission - it hasn't been all fun and games. We have been working very hard, helping family members pack up their house to move, which makes this little bit of relaxation and refreshments all the more well-deserved. Near the Tampa area, it has been over 90 degrees every day, and super high % humidity, so a nice glass of Milo's Café Style iced tea is something to really look forward to. It's literally been getting us through these hot days, and it's really good! 

I love that Milo's Cafe Style Tea is organic, and is super affordable (less than $2.50 per bottle). I found it in the refrigerated juice section at Walmart, (it's refrigerated because they contain all natural ingredients). Check out this Store Locator to see if it is available near you. I could hardly wait to get home before I opened the bottle and poured it over a big glass of ice and practically drank the whole glass at once. I chose two flavors, the Light Sweet Tea and the Light Green Citrus - both use all organic cane sugar or organic stevia as sweeteners - very nice and light. Neither of them were overly sweet, which is more refreshing in my mind than the type  of tea that is overly sweetened. 

Milo's Café Style Tea is pretty new, affordable, and fresh brewed. It's organic, all-natural, and contains NO preservatives. You can definitely tell the difference between this and the styles of tea with artificial ingredients and tons of sugar - this tea is WAY WAY better. This tea contains no acids, which is wonderful for those of you who are concerned about that affecting you. 

Café Style teas are brewed from USDA Certified organic tea leaves and are sweetened with organic sugar or lightly sweetened with organic stevia. The lighter flavors are a blend of organic cane sugar or lightly sweetened with organic cane sugar and stevia. 

This post is part of a social shopper marketing insight campaign with Pollinate Media Group® and Milo’s Tea, but all my opinions are my own. #pmedia #TastetheMilosDifference  http://my-disclosur.es/OBsstV

Road Tripping This Summer? Shop Online & Save Before You Hit The Road!

Got the travel bug? Hopefully I can help! This shop has been compensated by Collective Bias, Inc. and its advertiser. All opinions are mine alone. #DotComDIY #CollectiveBias

Whether you're hitting the road for a few days, or a few weeks, I wanted to share some road trip tips with you. As you may know, we travel a TON (hence the name of my blog)! We hardly ever fly anywhere, we always drive, so we can bring our pup with us, and having our car makes life SO much easier! 

And, by shopping for oil and supplies online, you can definitely save time and money! Have it shipped directly to your house, or opt for in-store pickup. Ordering online is great for busy days, so you can focus on planning, rather than going a million places to shop before your trip. You can avoid the crowds, too, and who doesn't like that?! Pennzoil products are on Rollback right now for a limited time at Walmart.com. You can even get curbside pickup, which I think is pretty great. 

For all of your oil needs, visit Walmart.com for everything you need related to motor oil and transmission fluids. This particular oil shown in this post can be found here.

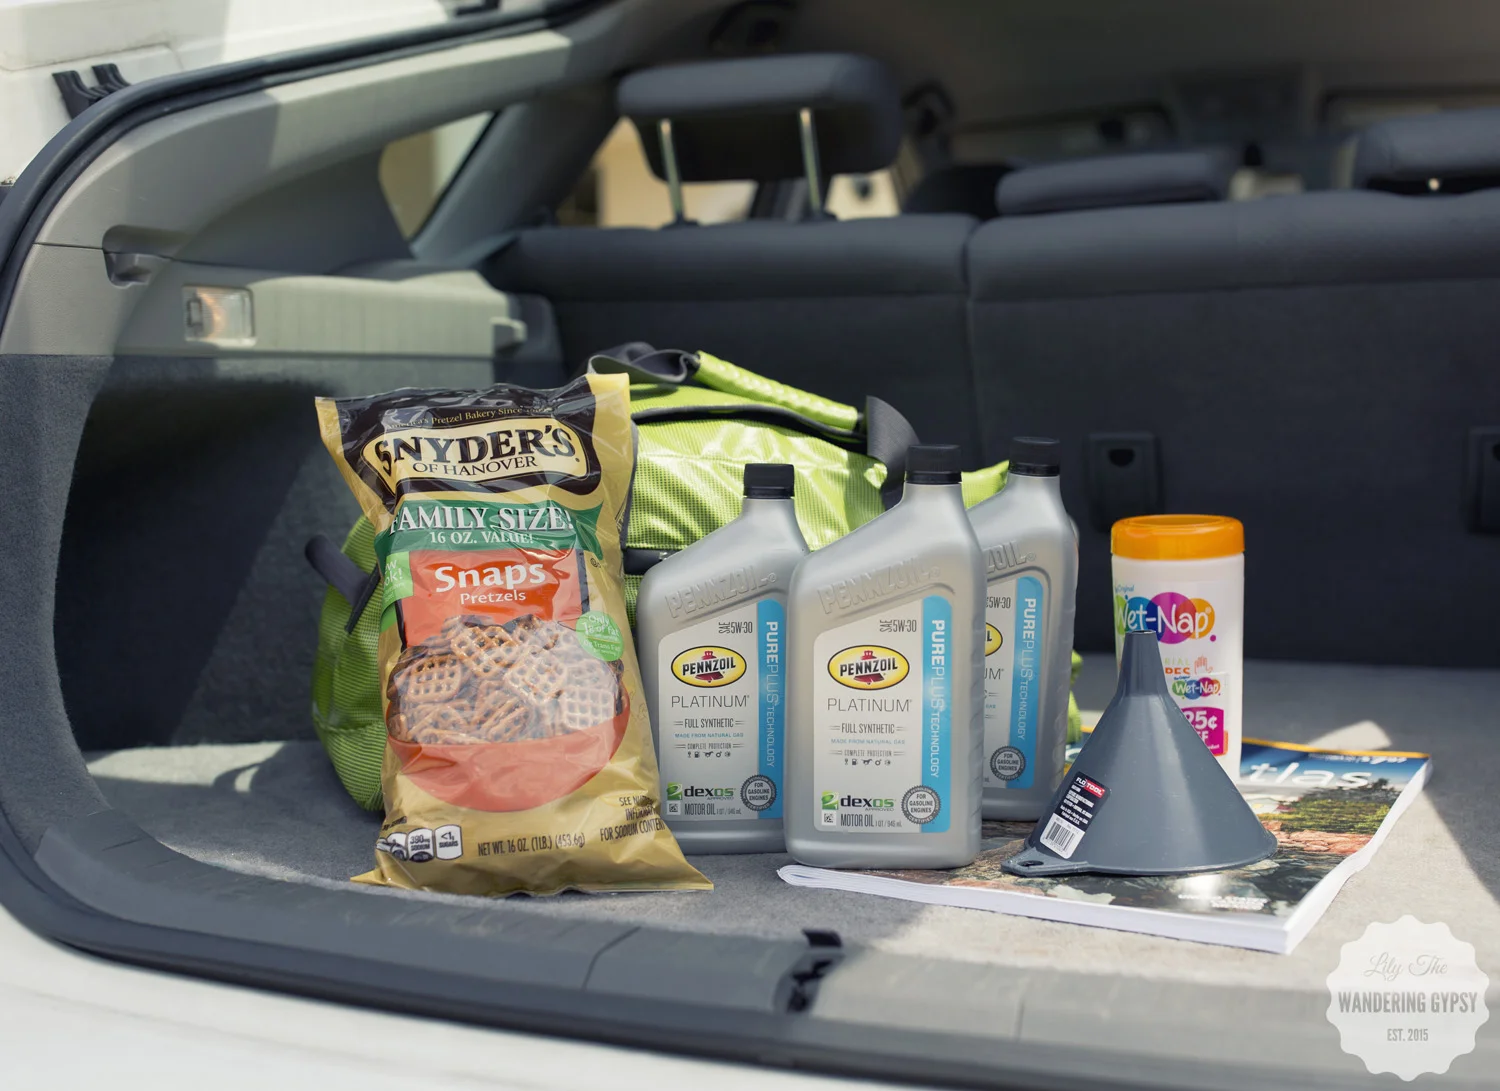
Road trips are hard on your car. Our Prius has over 150,000 miles, (meaning we have driven at least 150K miles together in our 11 years of knowing each other) and it's still running strong. That's because we take good care of it, and make sure to always keep quarts of oil with us at all times. We always grab the Pennzoil Platinum, Full Synthetic 5W30. Re do get regular oil changes, but more recently, our car burns through oil much quicker, so we make sure to literally never leave home without oil. Lesser quality oil does not even compare - believe me, we have had to use the no-name brand a time or two and every few miles wished we had remembered to keep something better in the car.

The reason we always choose Pennzoil Platinum Full Synthetic Motor Oil, is because it's rated the best cleanliness protection in the Pennzoil line-up. Quoting their website, "With PurePlus™ Technology, the Platinum® motor oil is proven to keep pistons up to 40% cleaner than the toughest industry standard. PurePlus™ Technology is a revolutionary process that converts natural gas into a 99.5% pure base oil". 

Pennzoil is designed for complete protection and will allow you to drive an extra of 550 miles per year vs. a dirty engine. No other motor oil provides better protection from friction

Cabbie loves road trips! 

It's very easy to check your oil level. If you have a higher mileage vehicle, this is a skill that you will definitely want to learn. A mechanic showed us how easy it was. It's best to have a warm engine for this, so the oil reading is more accurate. Make sure the car is OFF, open the hood, and secure your hood so it won't fall on you! Locate the dipstick (it should have a brightly colored circle handle on it). Refer to your manual to locate it if needed. 

To find out whether your vehicle needs oil, follow these steps:

  1. Pull out the dip stick and wipe it off on a clean, lint-free rag or paper towel.
  2. Insert the stick back into the pipe. 
  3. Pull the dipstick out again and look at the film of oil on the end of the stick. 
  4. Put the dipstick back into the pipe.

If your oil is below the "add" line (see image above), then you need to add some oil, ONE quart at a time, checking the oil level after each quart. Luckily, with better quality oil, like Pennzoil Platinum, we rarely have to add more than a quart.

Since we have traveled by car SO much, I have streamlined the process quite a bit! Here are a few tips that I wanted to share, to make your road trip even better, and more streamlined.

- Always bring a couple of quarts of oil with you, if you have a higher mileage vehicle (90,000+ miles).

- Bring lots of water - we always bring a gallon or two of water, and a refillable water bottle that fits into the cup holder. This prevents us from drinking soft drinks or anything that is just plain bad for you. 

- Try not to store anything in plastic shopping bags. This seems easy at first, but the second you reach for that shopping bag, everything falls out, and they rustle around in the wind if your windows are open. 

- Bring wet wipes of some sort, they can be used to clean your hands after you have a snack, and can even be used on your face if you need a refresher from being in the car.

- Bring a designated Food Bag (as we call it). Rather than having snacks and drinks floating about in the car, a zippered duffel bag or similar, will keep everything in one place and will allow you to eat much healthier. 

- Do not buy food at gas stations! There is hardly anything nutritious and overpriced at gas stations, so when packing/shopping for road trip snacks, think of the snacks and foods you crave while on the road. I try to pack a mix of salty, sweet, crunchy, soft, whatever you like, just add some variety. Gallons of water and cold drinks (of coffee) is of course something you may need to gran at a gas station, unless you bring a cooler with you to keep things cold.   

- Bring an atlas. Your phone may not always have good cell signal, or your phone may die. Just in case you get lost or are unfamiliar with where you are headed (or supposed to be headed), it's a good backup. You can even mark off where you have been to keep the memories of your travels. 

- Bring a notebook and pens to write to-do lists, hopes and dreams, whatever. This always keeps me occupied :) Magazines are also nice when you don't have cell signal. 

- Bring a car charger for your phone, and plenty of music. 

Below, are the items that I purchased from Walmart.com in order to make my road trip even better! It was so easy to prepare for a trip by shopping online. 

The bridge to Tampa! So gorgeous!!

Are you heading anywhere fun this summer? Do you usually travel solo, with your significant other, with the whole family, or with friends? Do you ever bring your pet(s) on road trips? Comment below to share your story! And enjoy the fun of a new adventure!!!!

Treat Yourself To Something Nice - Yandy.com

It's time to treat yourself to something wonderful! Whether you are the only one who sees them or not, it always feels so wonderful to get new undergarments! I especially love bright, bold colors of the newest items from yandy.com. The materials they use are soft and stretchy, and everything looks super well-made. 

Their prices are also out of this world! Thongs and underwear are 5 for $20 (I've seen more expensive ones that are not nearly as well-made!!), and their bras are $15.95 each, or 3 for $33. Pretty sweet deals, so you can try a few colors of each piece! 

An Adorable Gift Idea - Spin For Perfect Skin & Coffee Cacao Coconut Sugar Scrub #VPbeauty

I wanted to share a little DIY project with you, and tell you all about a wonderful Mother's Day gift idea from Vanity Planet! Keep reading to learn more about this Shabby Chic Birdcage Gift Basket, the Vanity Planet Spin For Perfect Skin, and the Vanity Planet Coffee + Cacao + Coconut Sugar Scrub. This DIY is SO easy, let's get started!!

Let's Make A Gift Basket!! 

Materials Needed -

1 birdcage, large enough to fit your gifts (I found this one at JoAnns)

Silk Flowers (I chose peonies - I used about 4-5)

Pink Paper Crinkles

Vanity Planet Spin For Perfect Skin Brush, Vanity Planet Sugar Scrub

That's it!

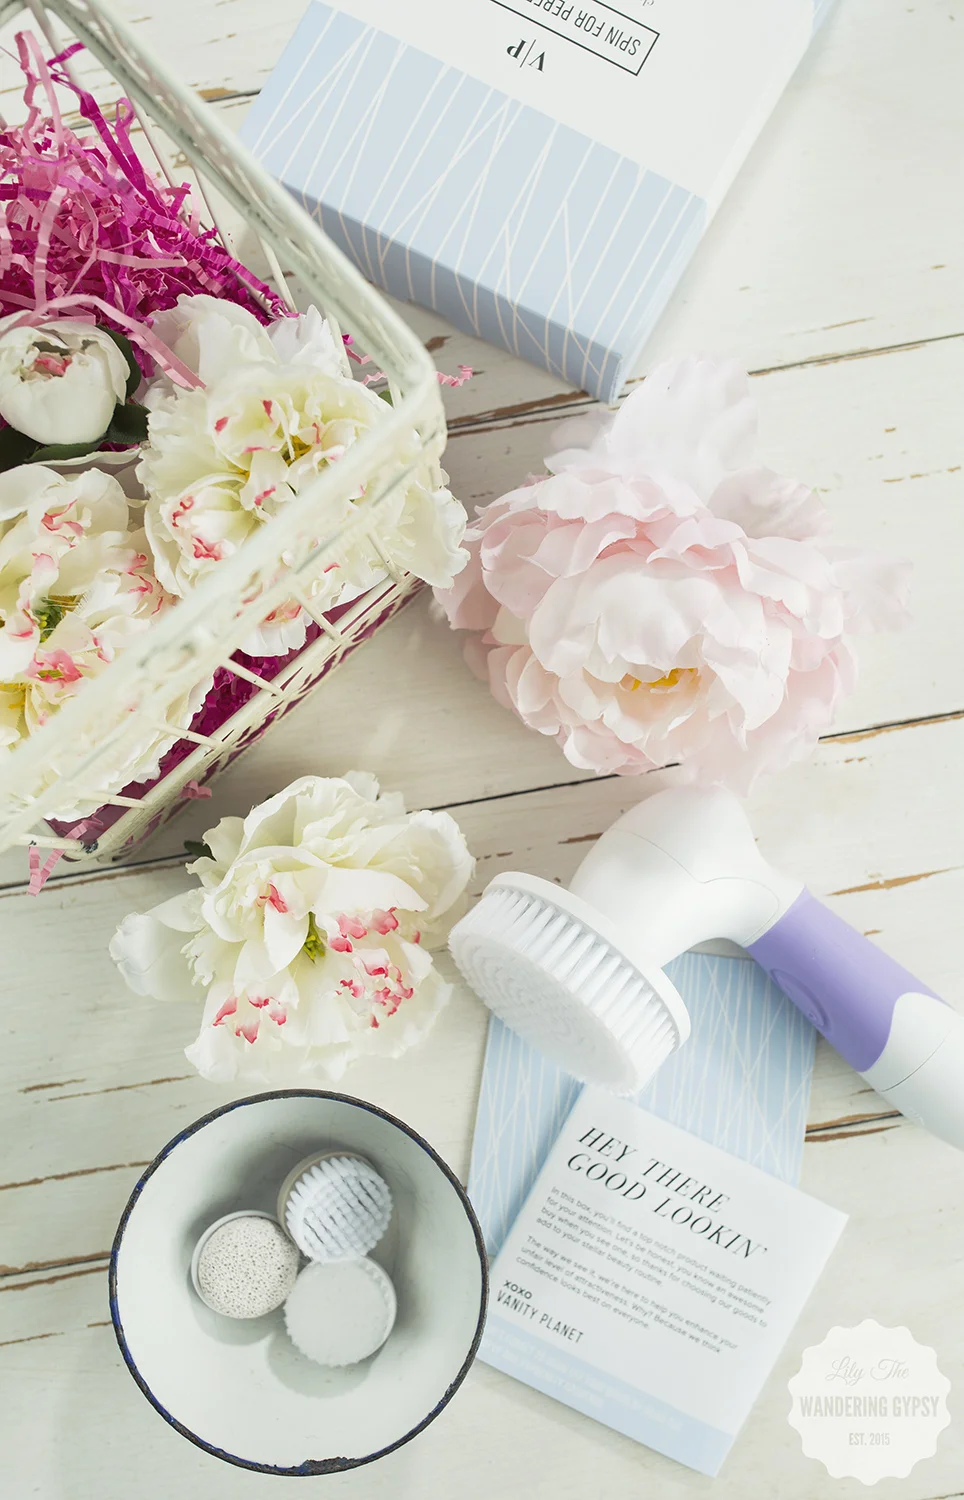
I filled the birdcage with paper crinkles, to make add a pop of color, and to make sure the body scrub and spin brush fit in the birdcage properly. I love how it looks. 

Top off the gifts with some silk flower heads to hide them a bit. love how well the presents fit inside of this shabby chic birdhouse. 

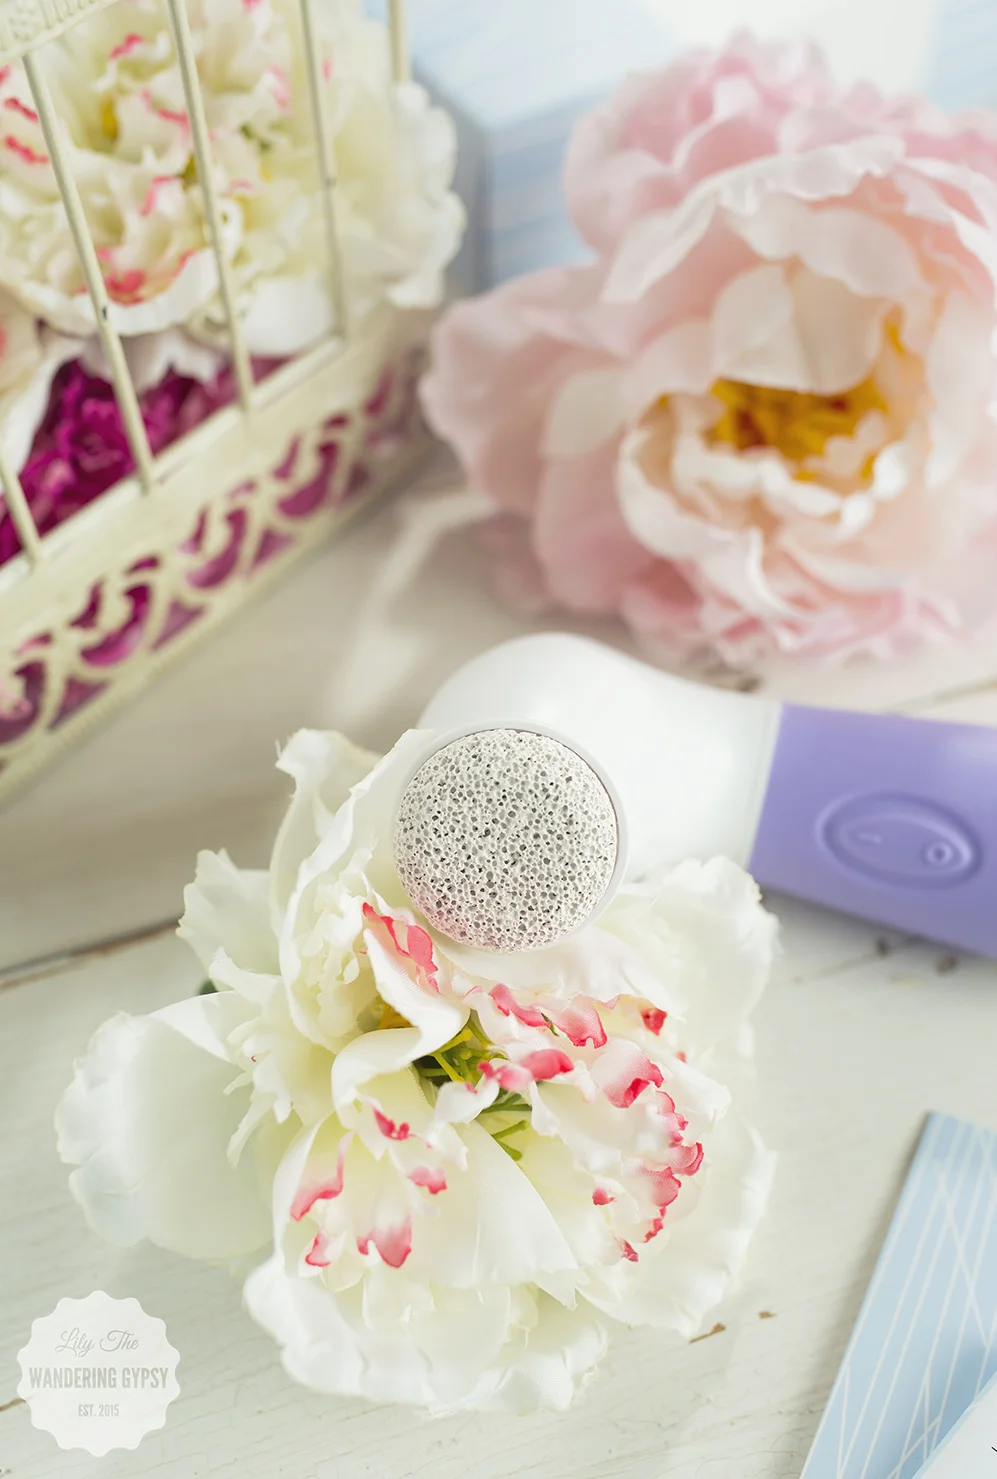
So, here's what is inside of this amazing gift basket. The Spin For Perfect Skin gift set comes with FOUR brush heads, which is awesome! My current spin brush is great, so this set will last w very long time. I love the addition of this larger brush head (it measures a few inches across), because it's perfect for your neck, chest, and back. I think it's a good idea to have a separate spin brush head for your face compared to the rest of your body. I also really like the pumice stone head. This is a bit more than anything I need at this point, but a lot of people would absolutely LOVE this!! Get your skin ready for summer with this awesome gift set. The sugar scrub was nice too. Read more about that below. 

Cute Gift Basket!

Below, you will see the brush head that I have on my current spin brush, as well as an even softer brush head, that might be nice around your eyes. 

Spin Brush

This Bru Coffee + Coconut Cacao Sugar Scrub contains "dead sea salt, organic kona coffee, organic olive oil, sweet almond oil, organic grape seed oil, coffee arabica seed oil, organic shea butter, and natural fragrance extracts". When I first opened it, I could instantly smell the coffee. It smells very fresh, and not only like coffee, but a very pleasant mix of sweetness as well. 

I would definitely recommend opening this over the sink or the tub, because it is a bit messy, but is very easily containable (if that makes sense...). This scrub is more oily than others I have used. I wound up needing to use another soap to fully remove it from my skin. But, it's very luscious, and I am so glad it contains almost 100% organic ingredients. That's very hard to find! 

This Essential Body Scrub "hydrates, moisturizes, and stimulates blood flow while targeting cellulite and stretch marks. It exfoliates dead skin" and smooths your skin out very nicely. 

Erin Pelicano Jewelry

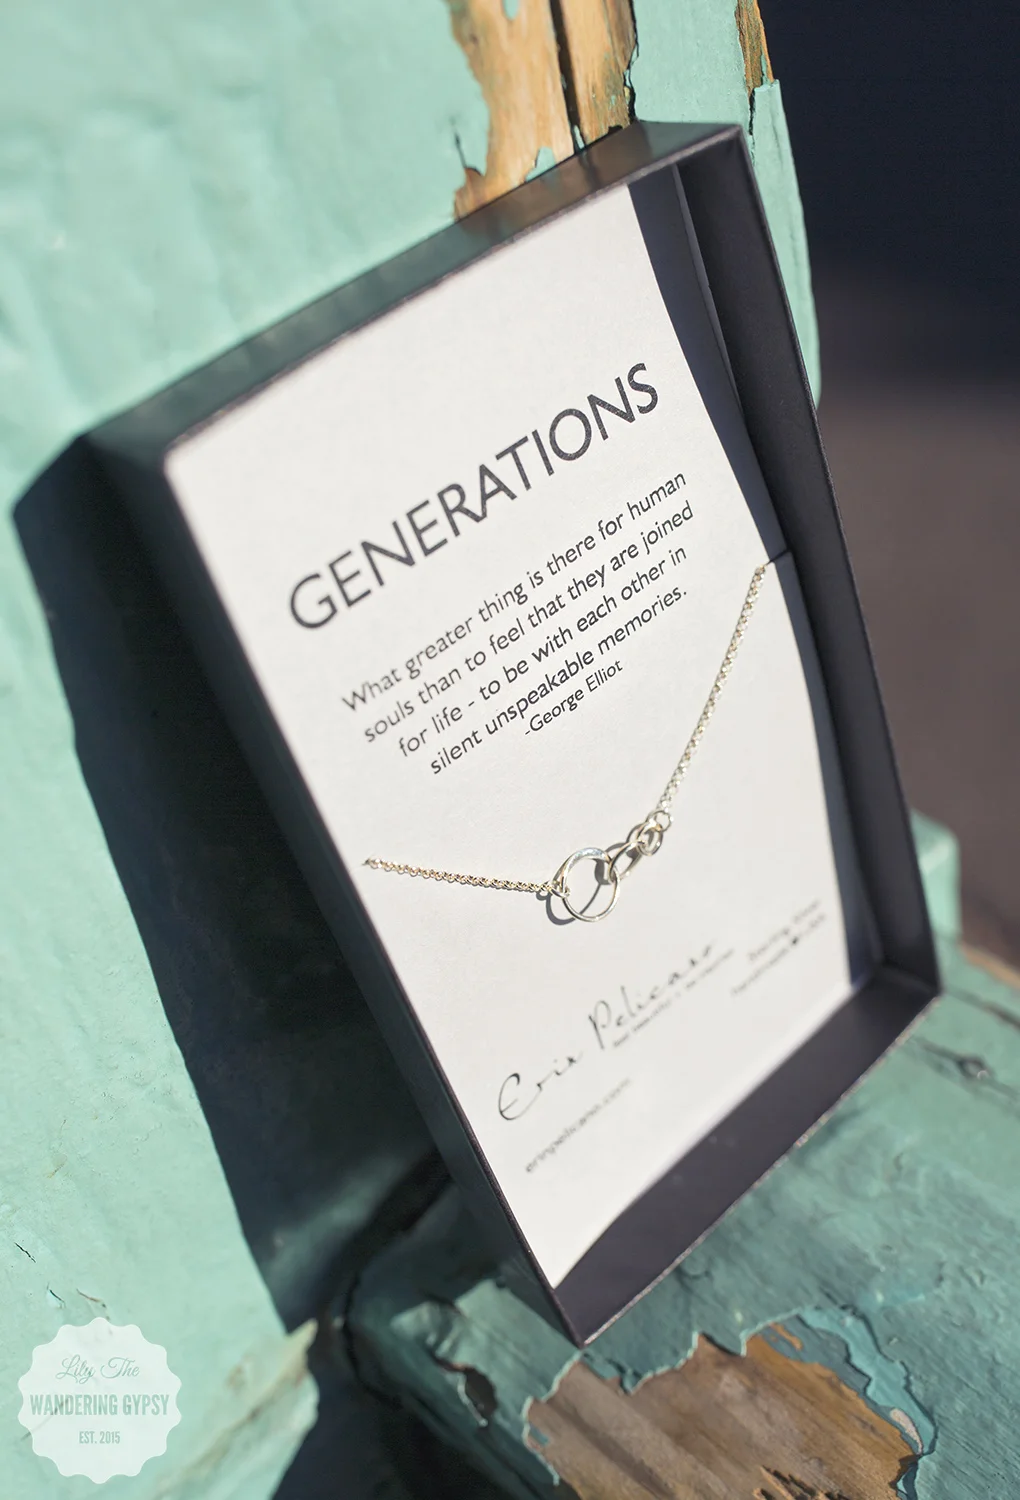
I absolutely love photographing anything from Erin Pelicano. I was so inspired by the city of Santa Fe, because of the gorgeous architecture, and the history of the buildings and my surroundings. I absolutely LOVE the fact that so many of the doorways, doors, and other parts of the buildings are painted mint or blue. Erin's necklaces always arrive wrapped in light blue tissue paper, so I thought that the mint railing would be the perfect place to photograph her necklaces. I also utilized an adorable courtyard (that I had all to myself!), and was able to work on her photos near a fountain and lots of pretty early Spring flowers. Such a magical place to work! I had so much fun with this project, and I hope you enjoy!! 

Erin Pelicano + Lily The Wandering Gypsy

And, of course, these necklaces are wonderful gifts for Mother's Day and beyond! I have given these to various women in my family, and they are wearing them every time I visit! Erin Pelicano jewelry is always made from either real silver or gold, which I think sets her work far above the rest! 

Erin Pelicano + Lily The Wandering Gypsy

If you are in need of product photography for your goods, please comment below, or feel free to Contact Me for quotes! I would love to help you capture the beauty of your products.