
I have been working on a little side project, a food blog called Bisque This! Stop on over to learn about all sorts of fun recipes + restaurant reviews!
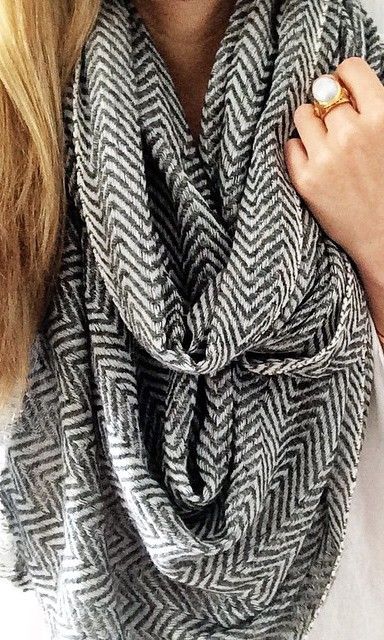
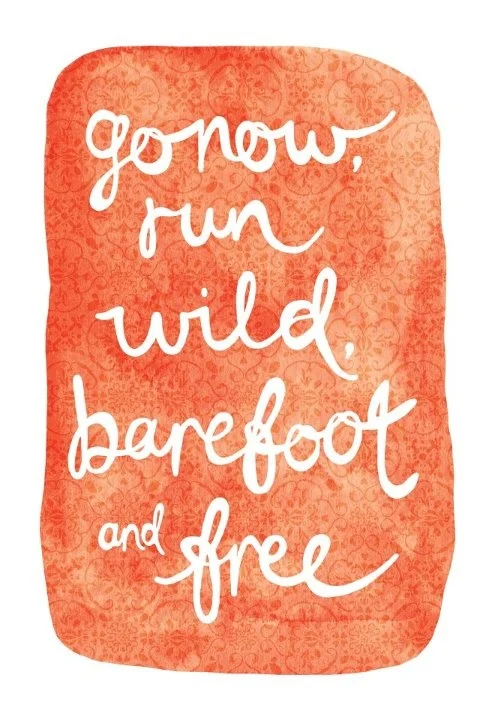
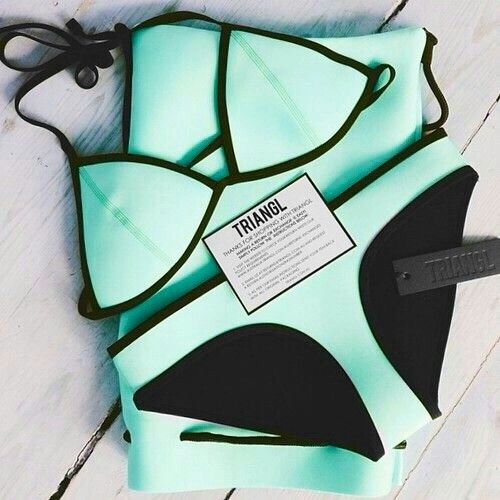
Friday Favorites - A beautiful adventure, blue hair, and donuts!
What an etherial combination. Pale blues and a sort-of white washed feeling to photos always catches my eye. Here are a few Friday Favorites that I hope will inspire your day! Click on the images to learn more about them!


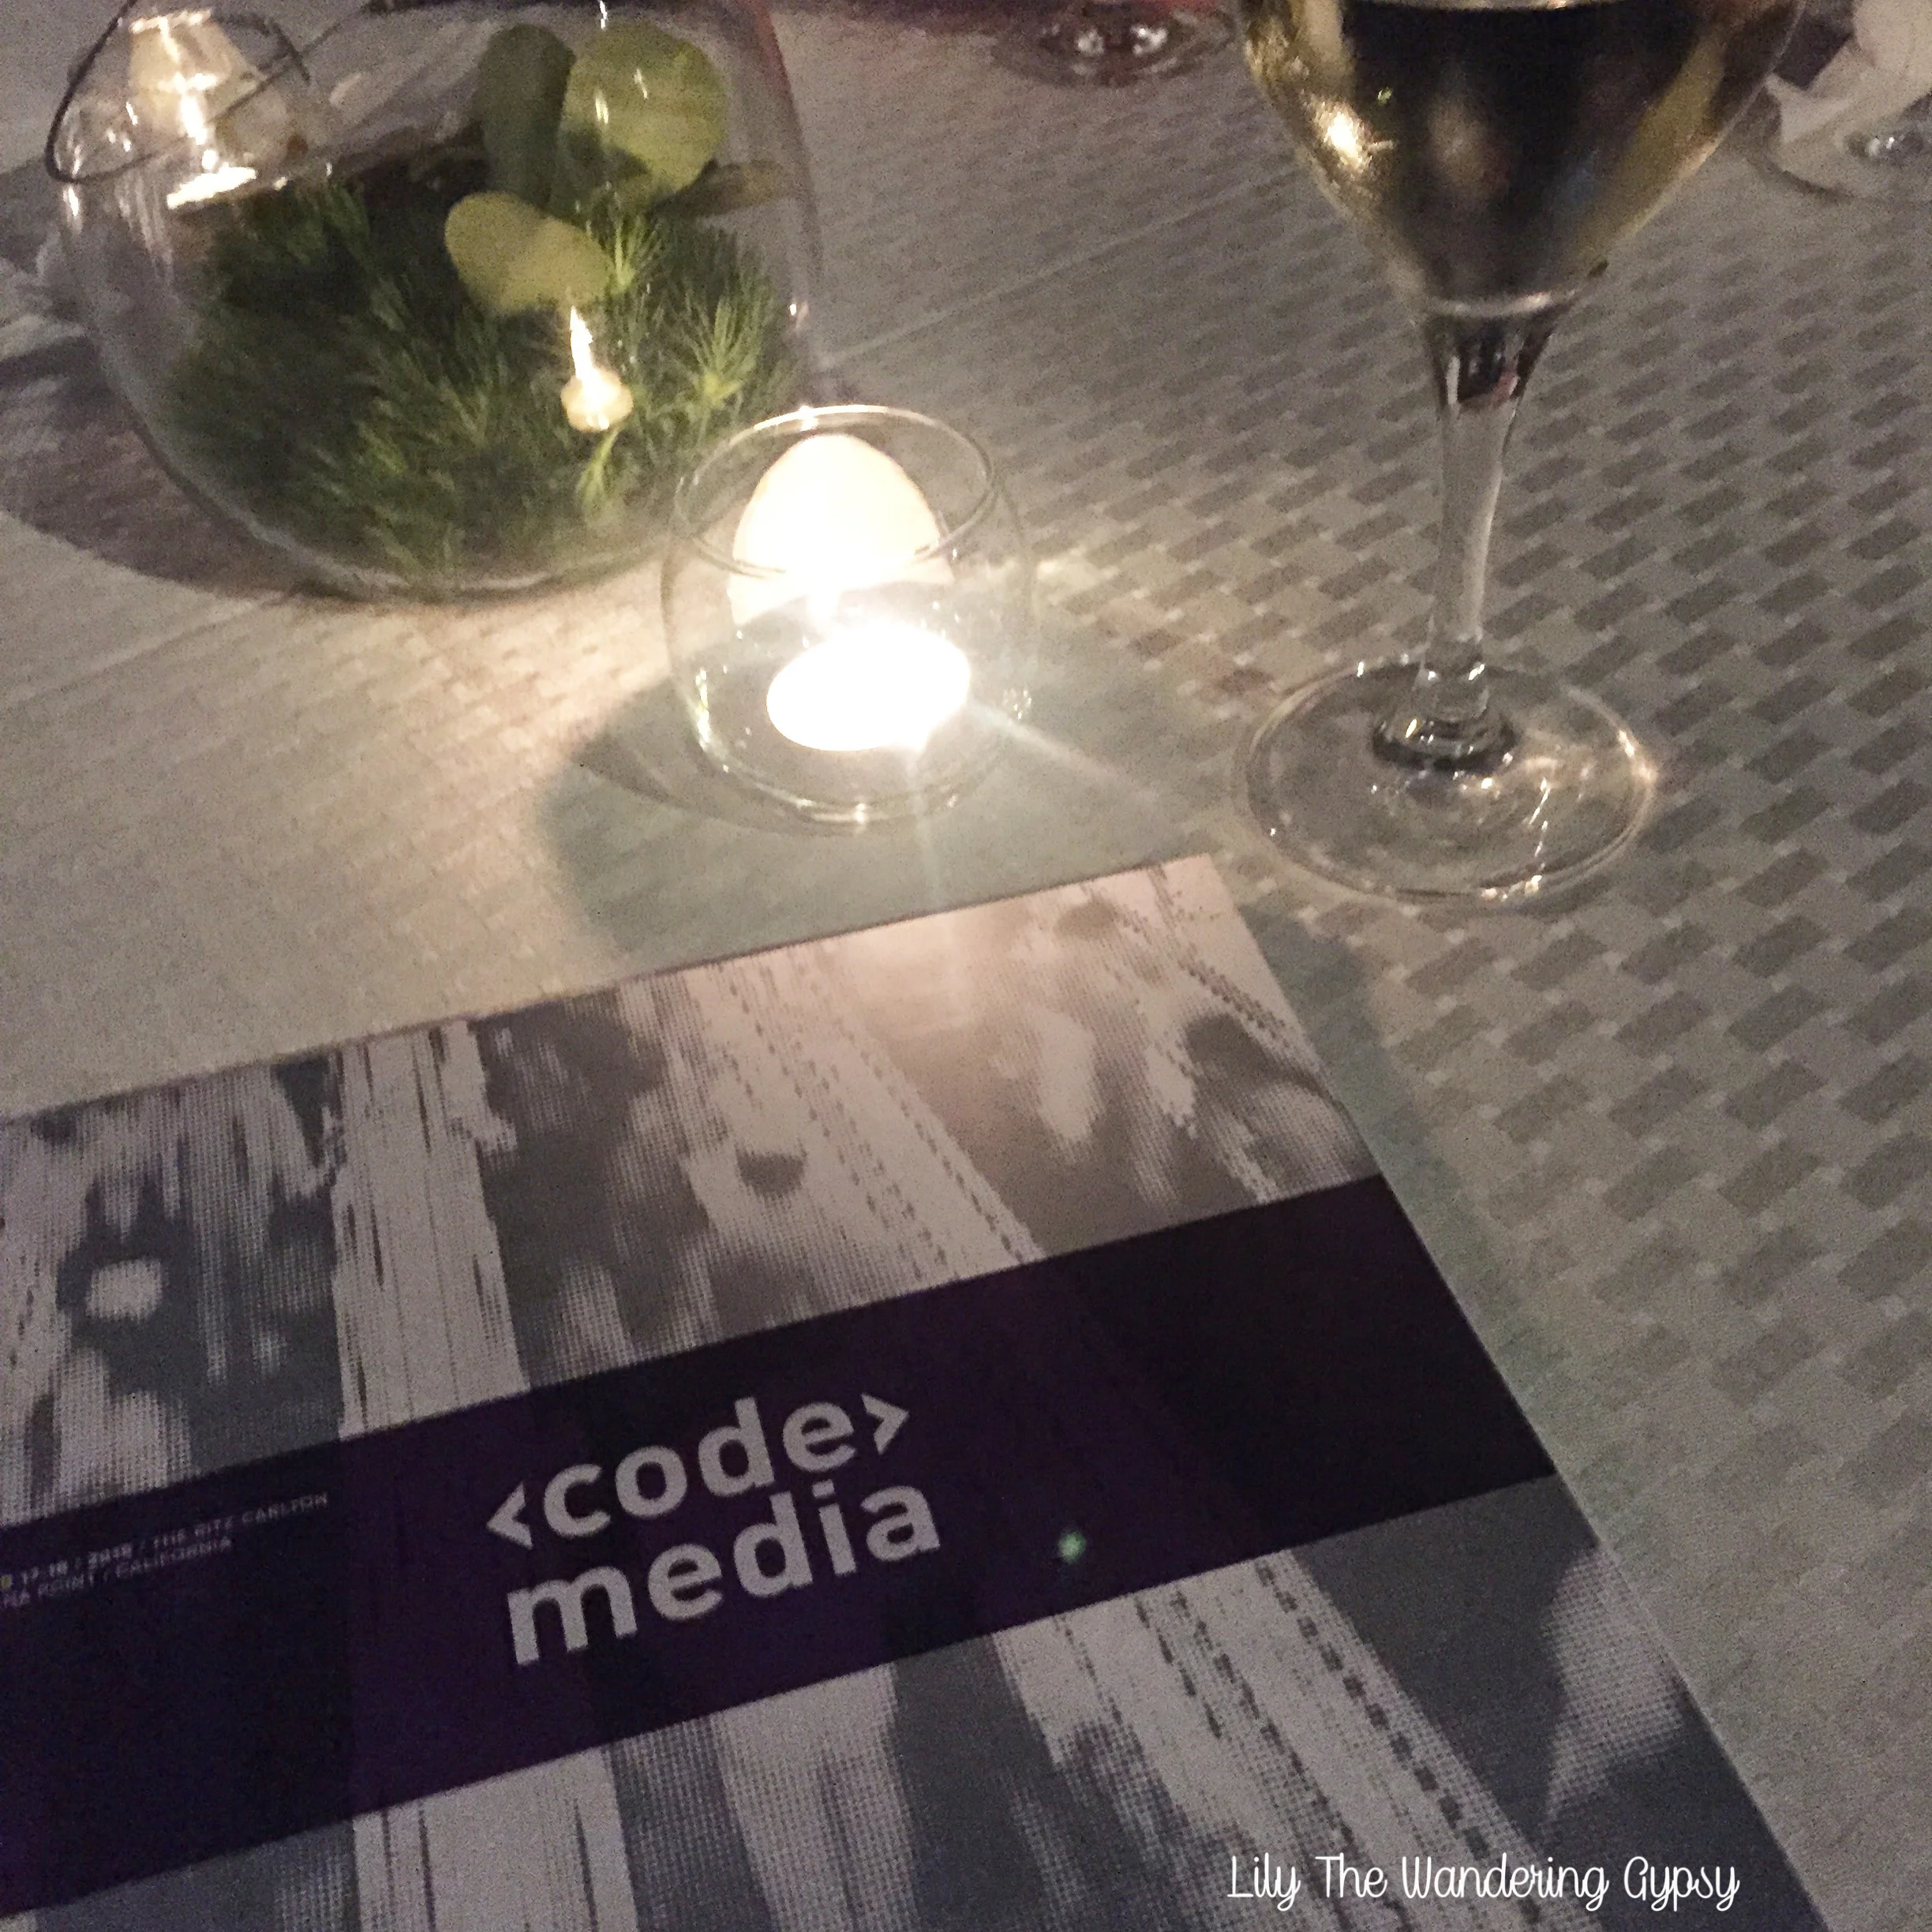
Wow! What A Week! Re/Code Conference + A Visit To Santa Monica
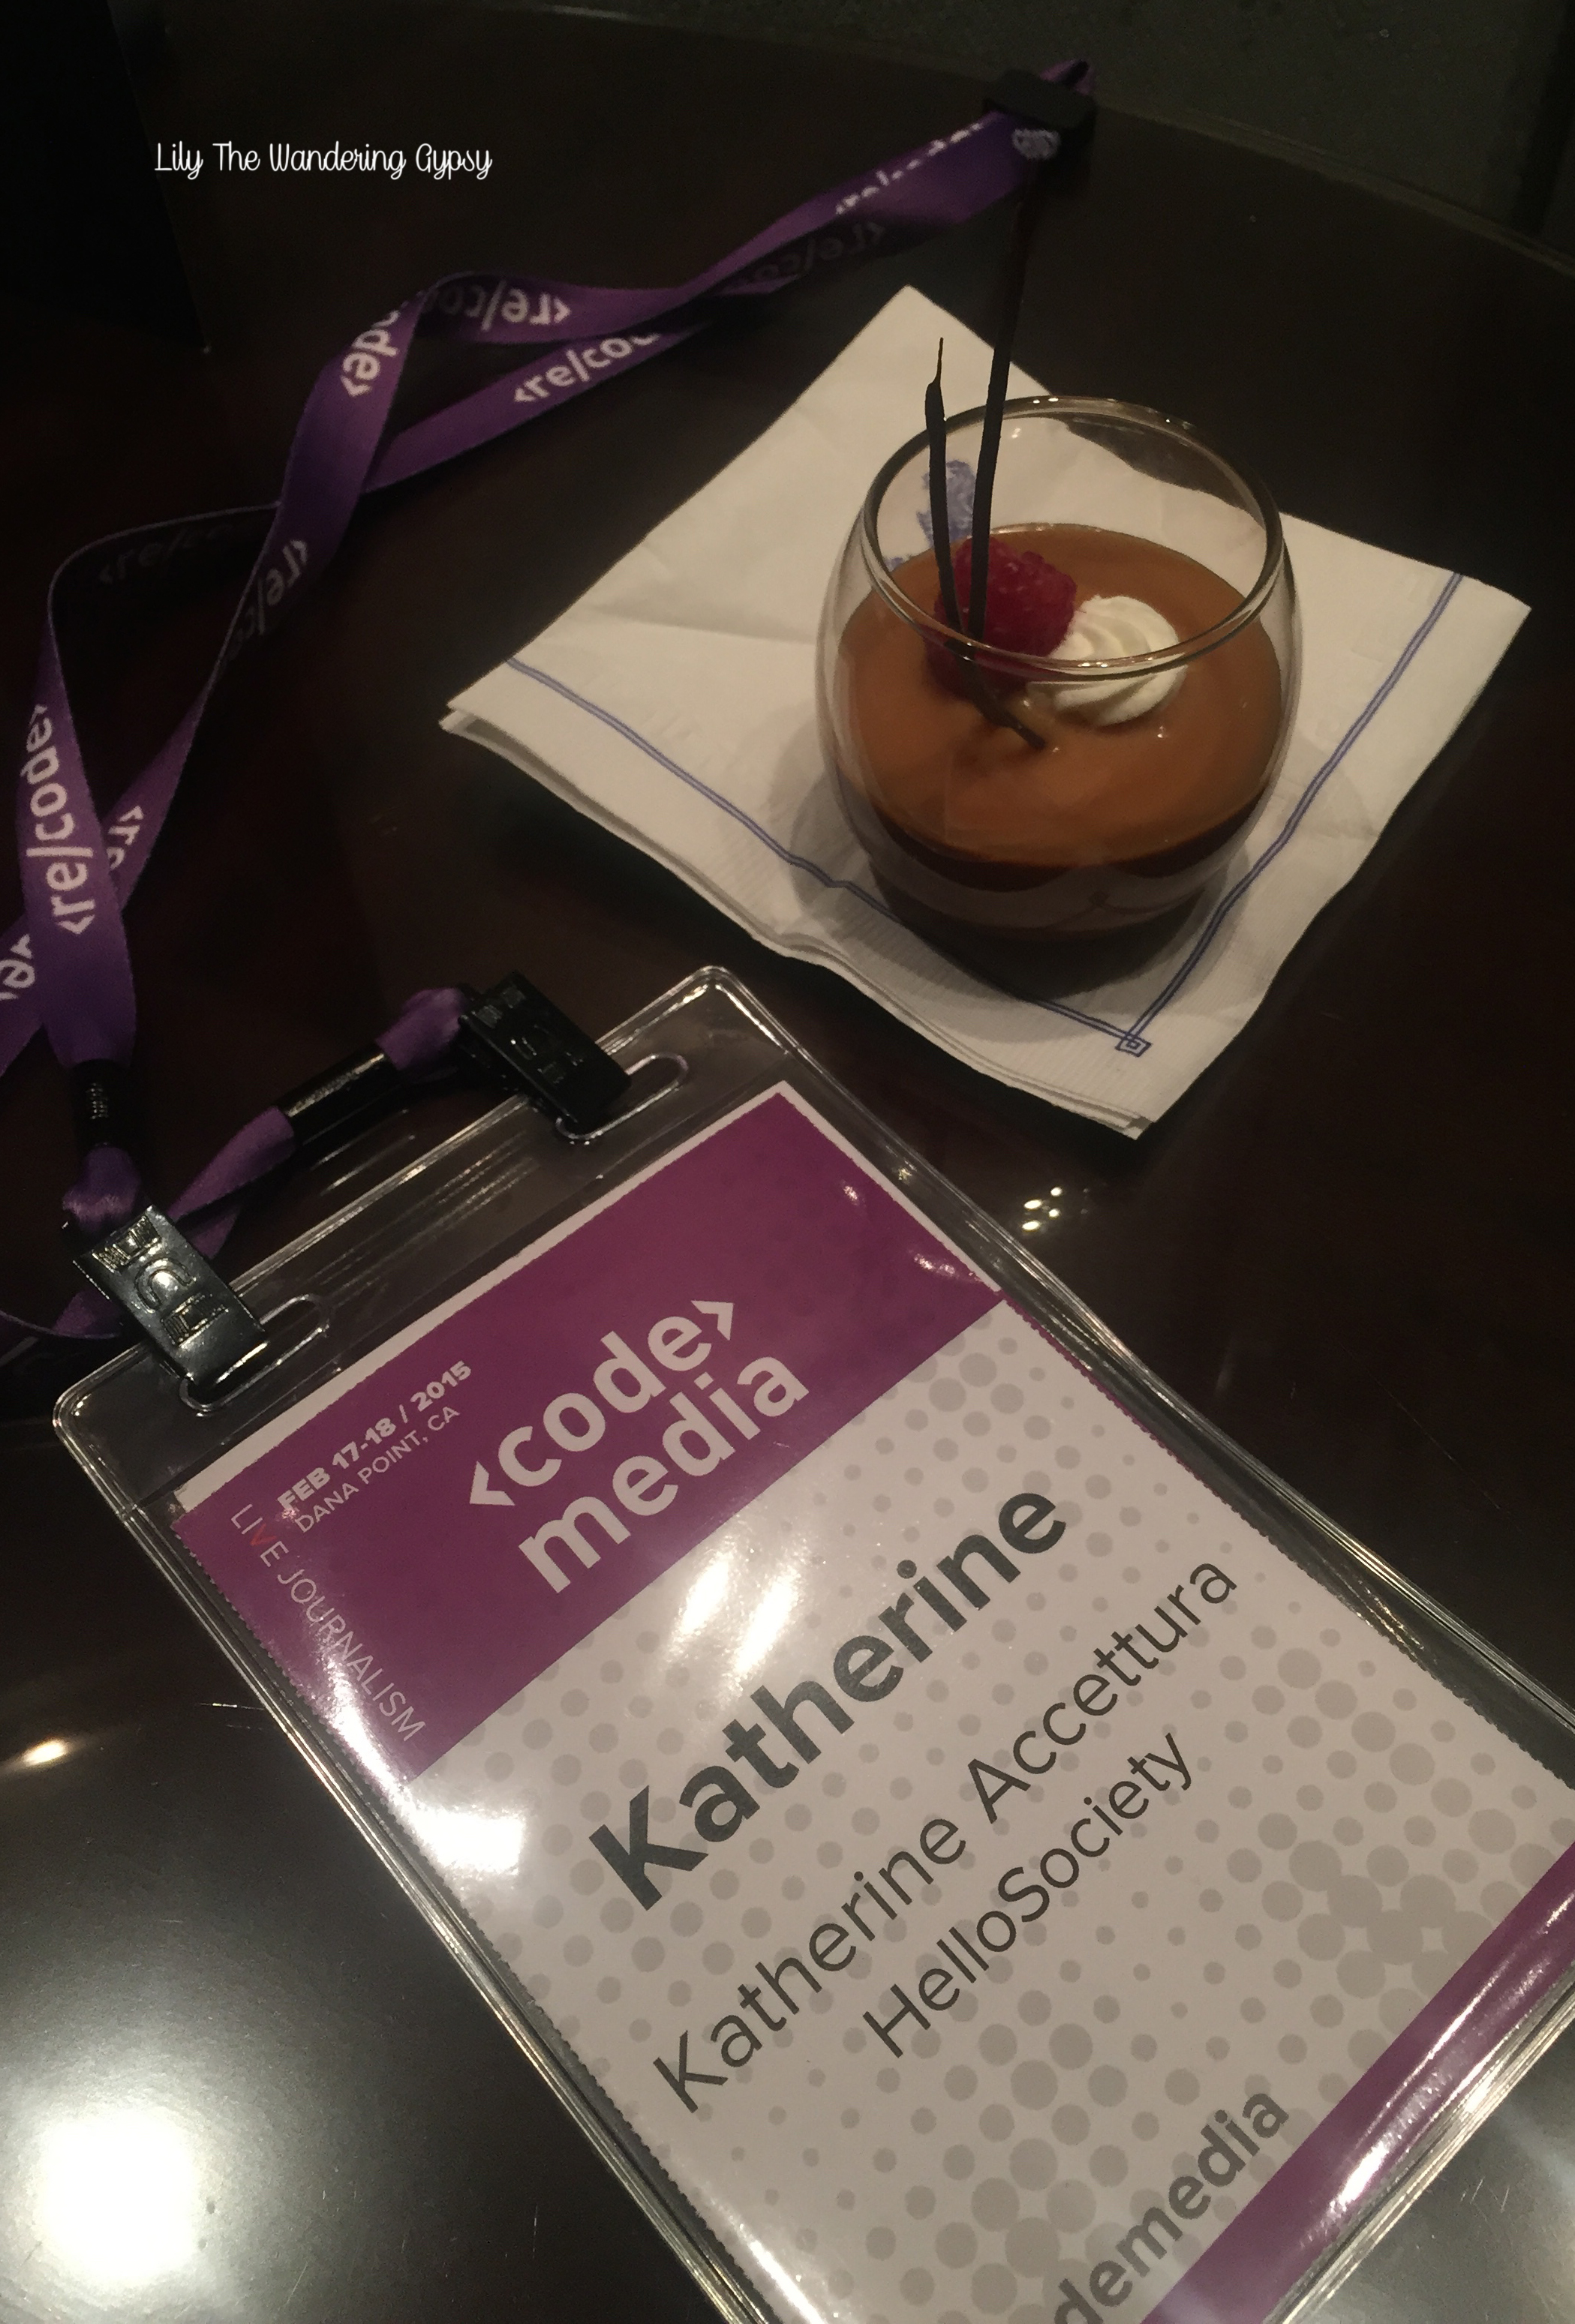
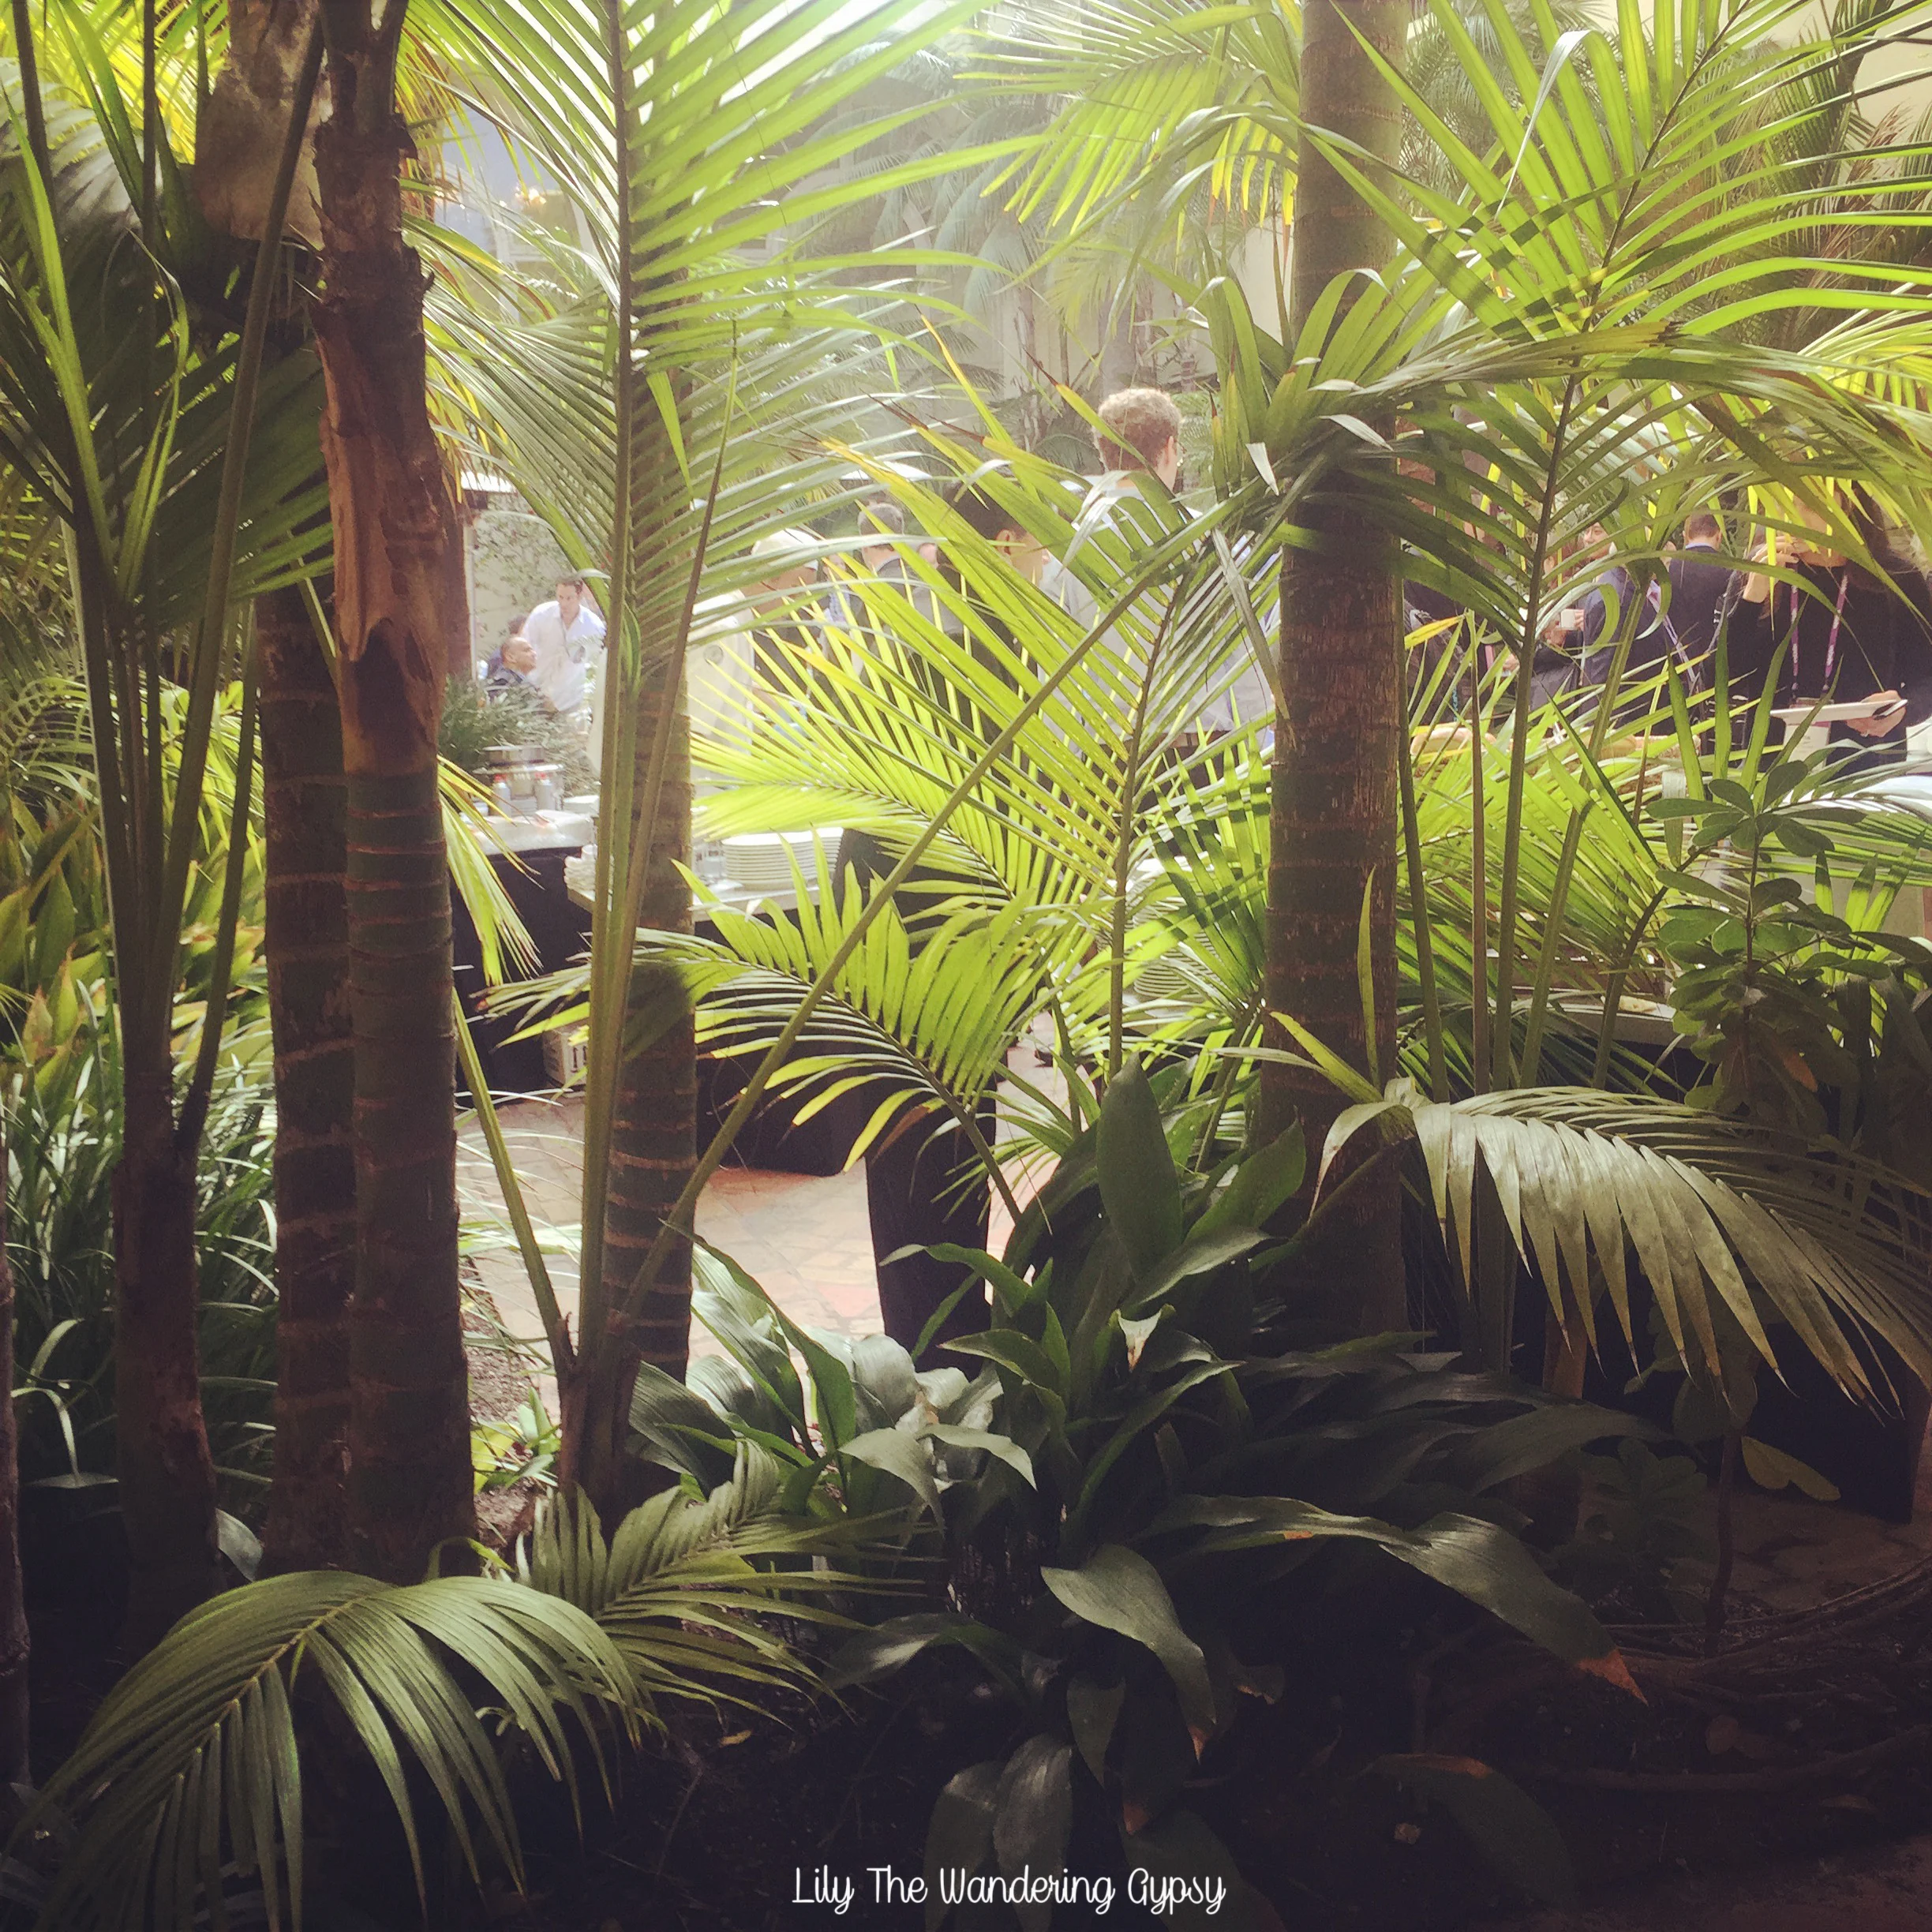
I had a spectacular week last week. I was invited by HelloSociety to attend and speak at the Re/Code Conference held at The Ritz - Laguna Niguel! This was all pretty new to me, so I took everything in with eager eyes and ears. I met lots of inspiring people, and after my panel, lots of interesting women and men approached me to congratulate me for doing a good job. This was an amazing opportunity for me to share my talents to a very eager audience, and network with some very important people in an amazing industry. ReCode did an amazing job making sure we were all very well-fed, and the event went flawlessly! Peter Kafka did an especially good job making us all feel very comfortable on stage during the interview, as well.

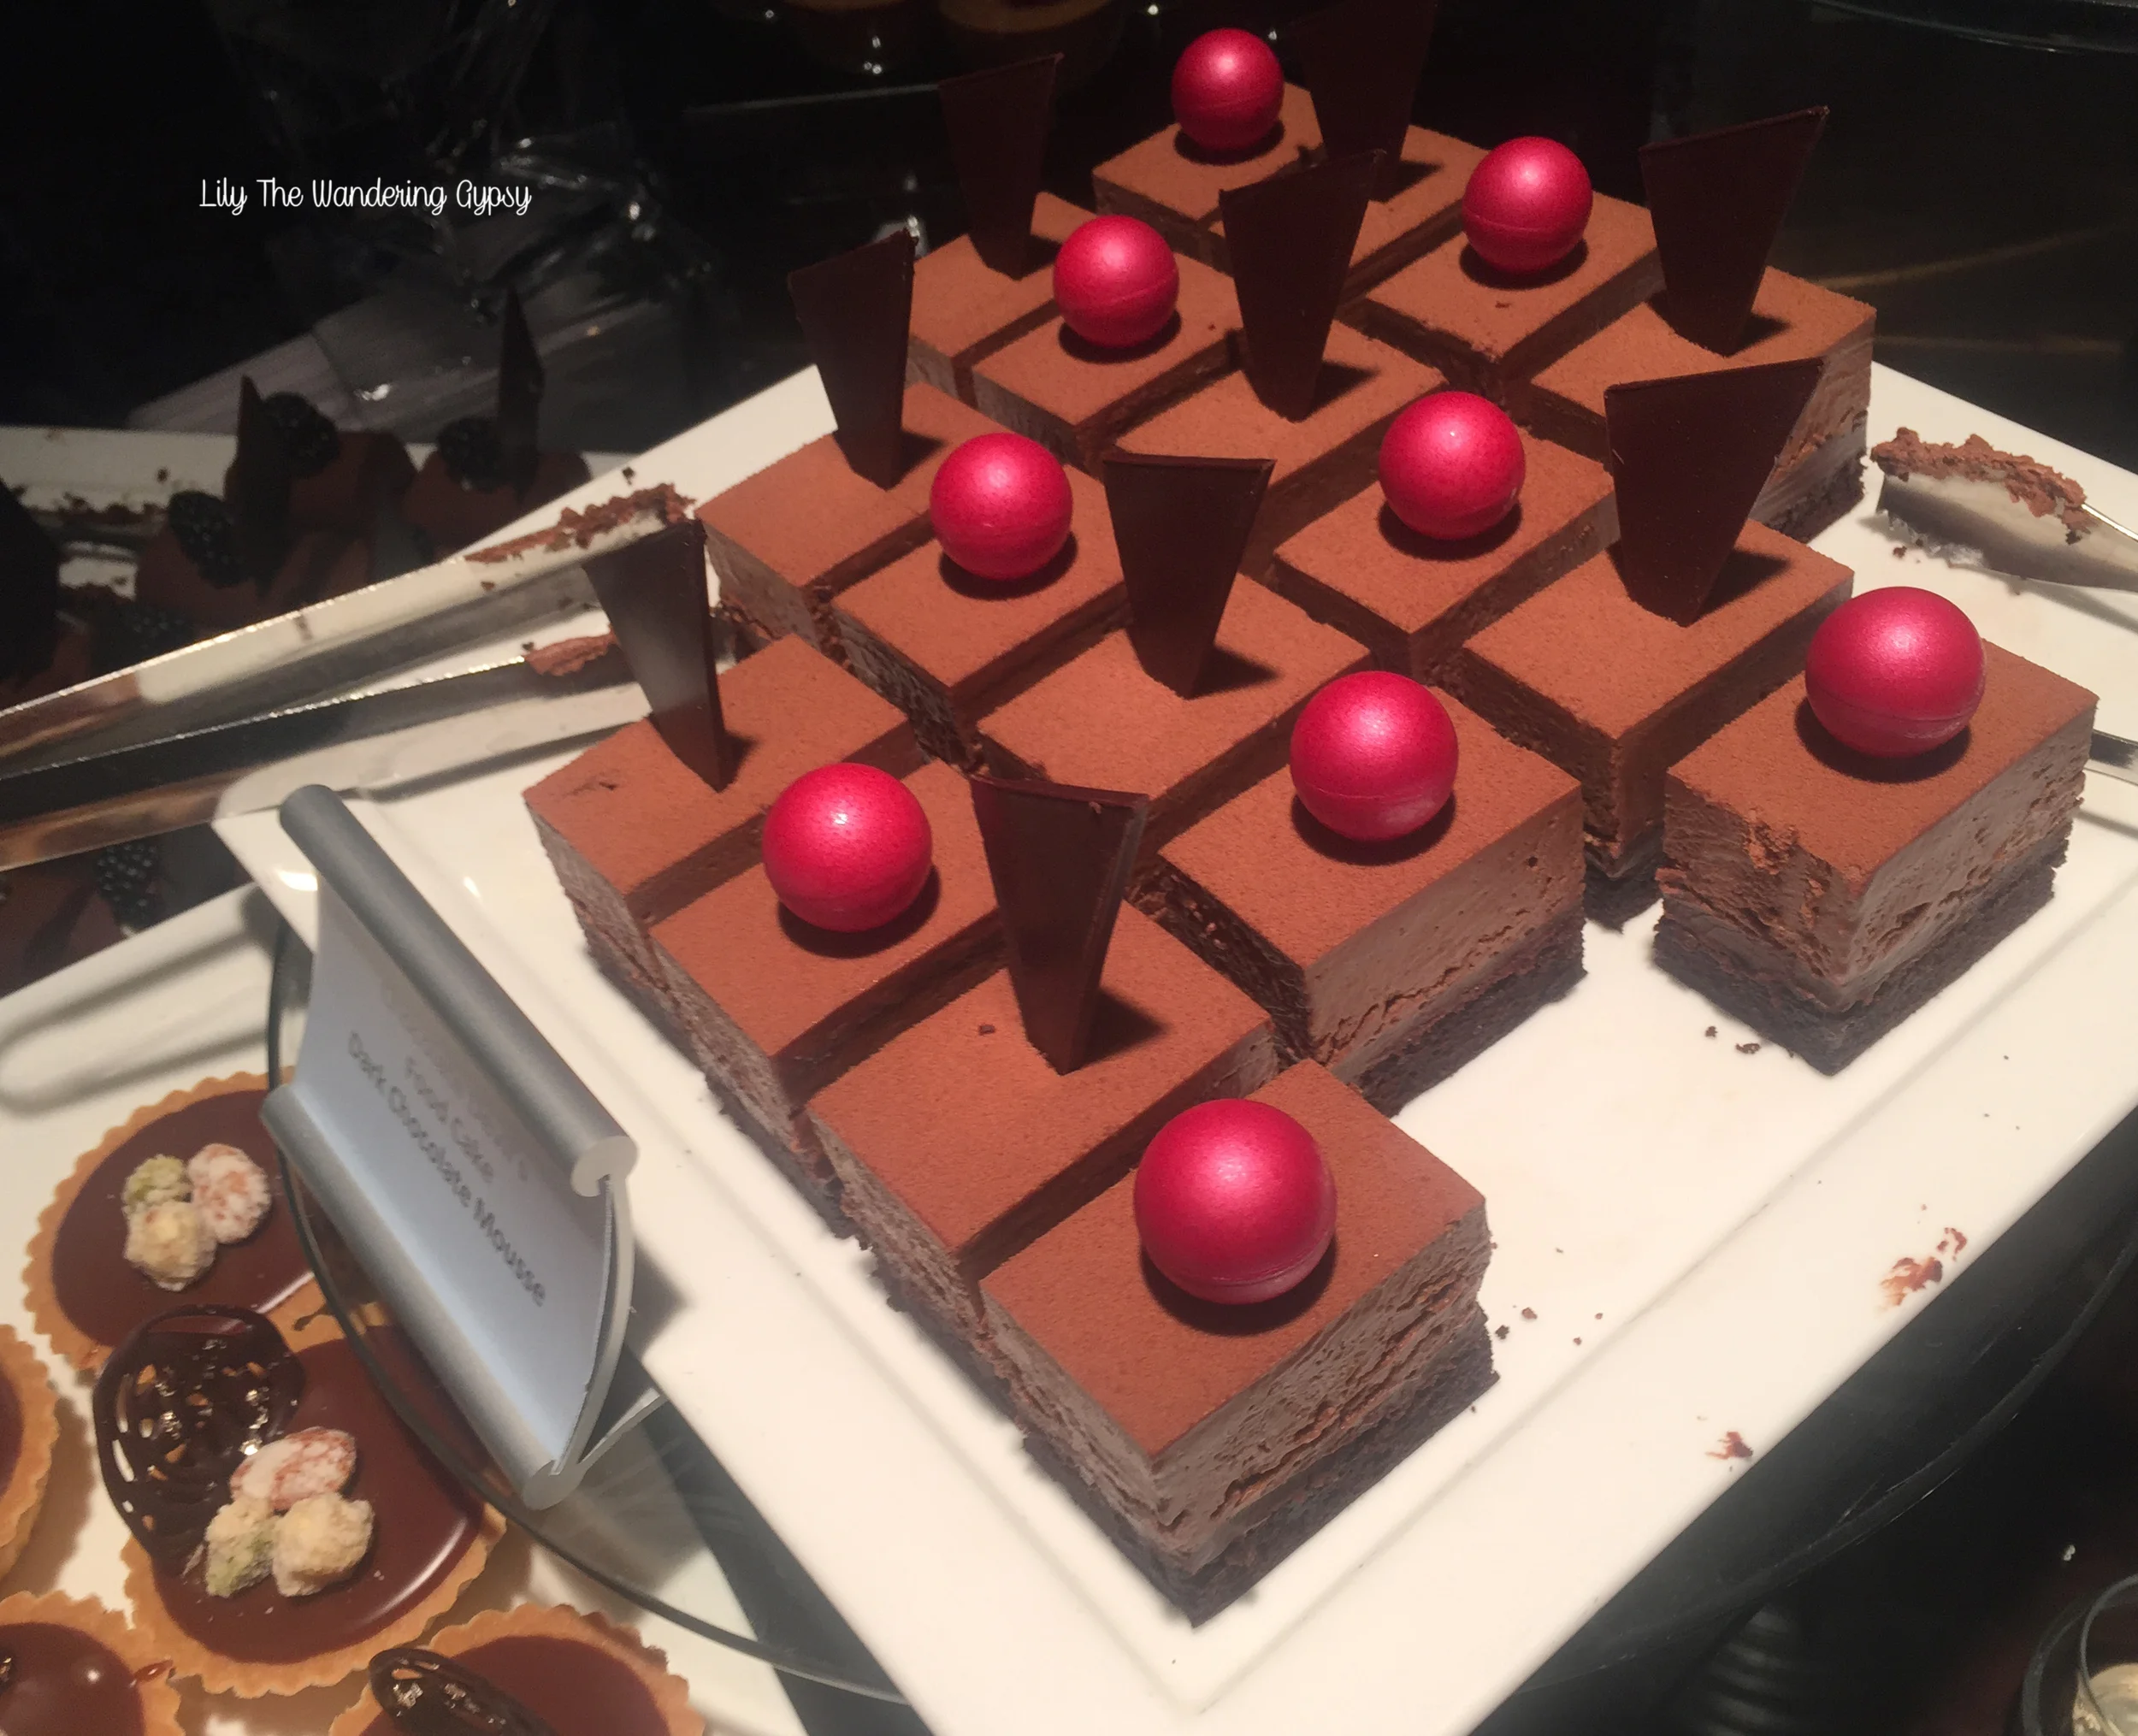
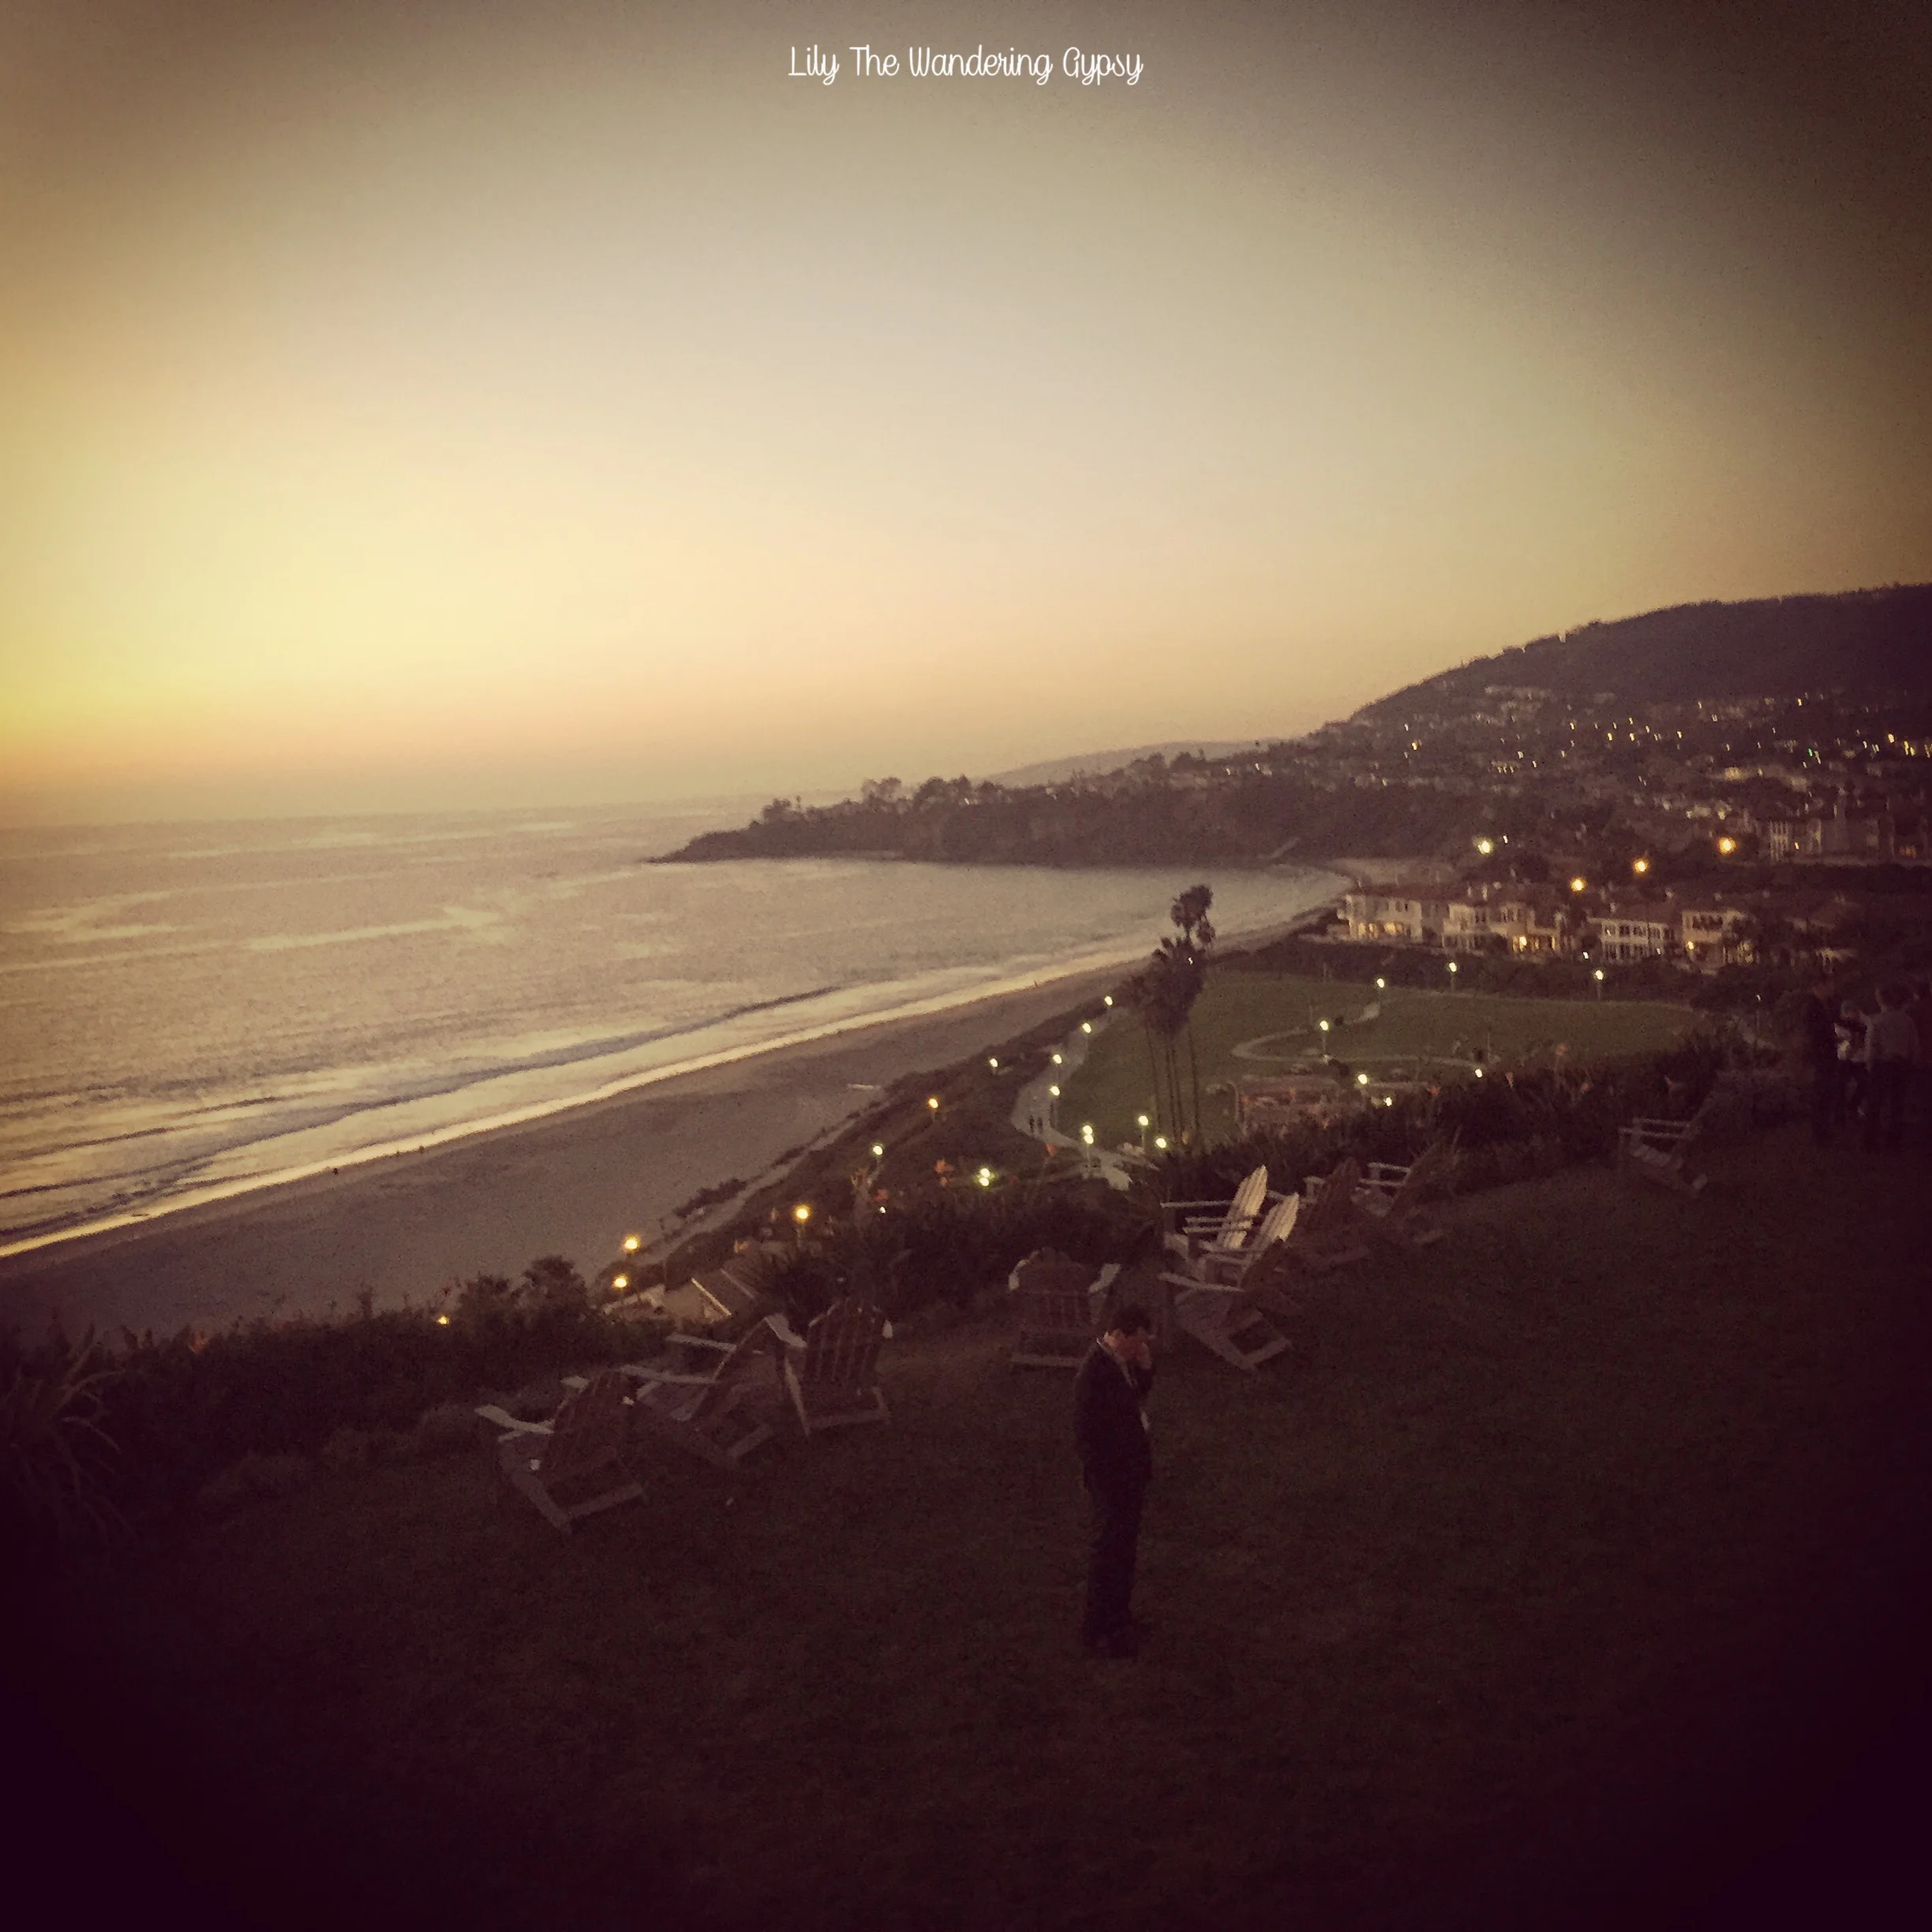
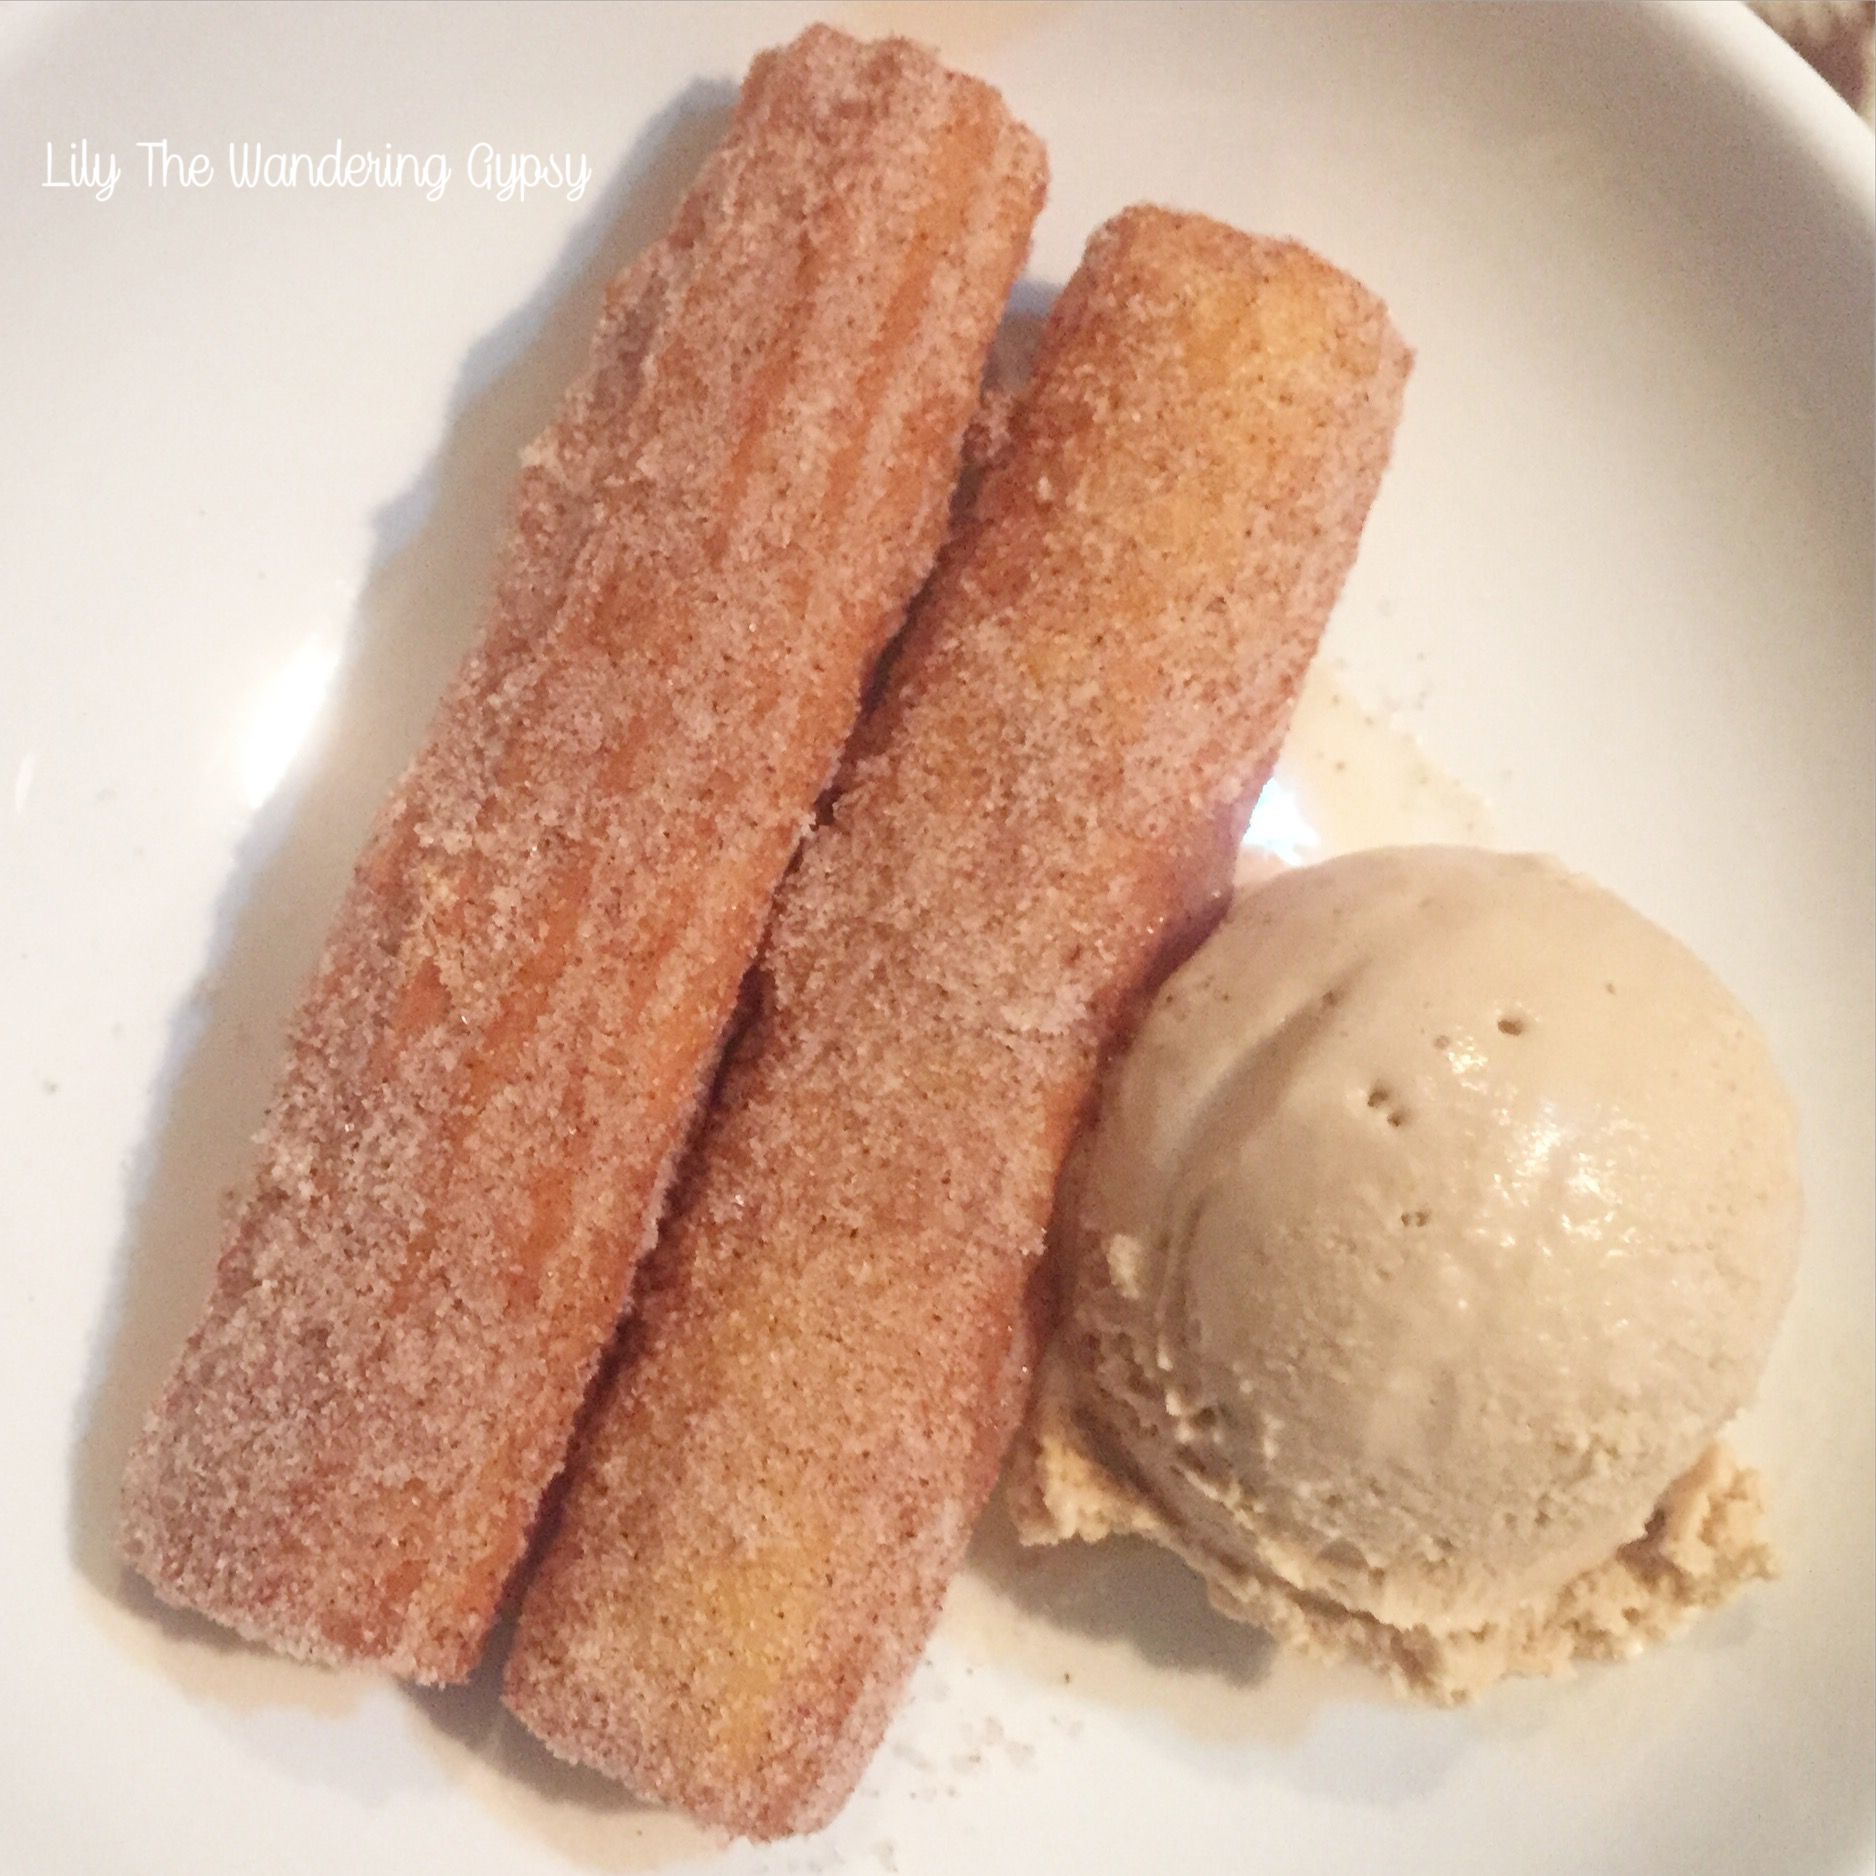
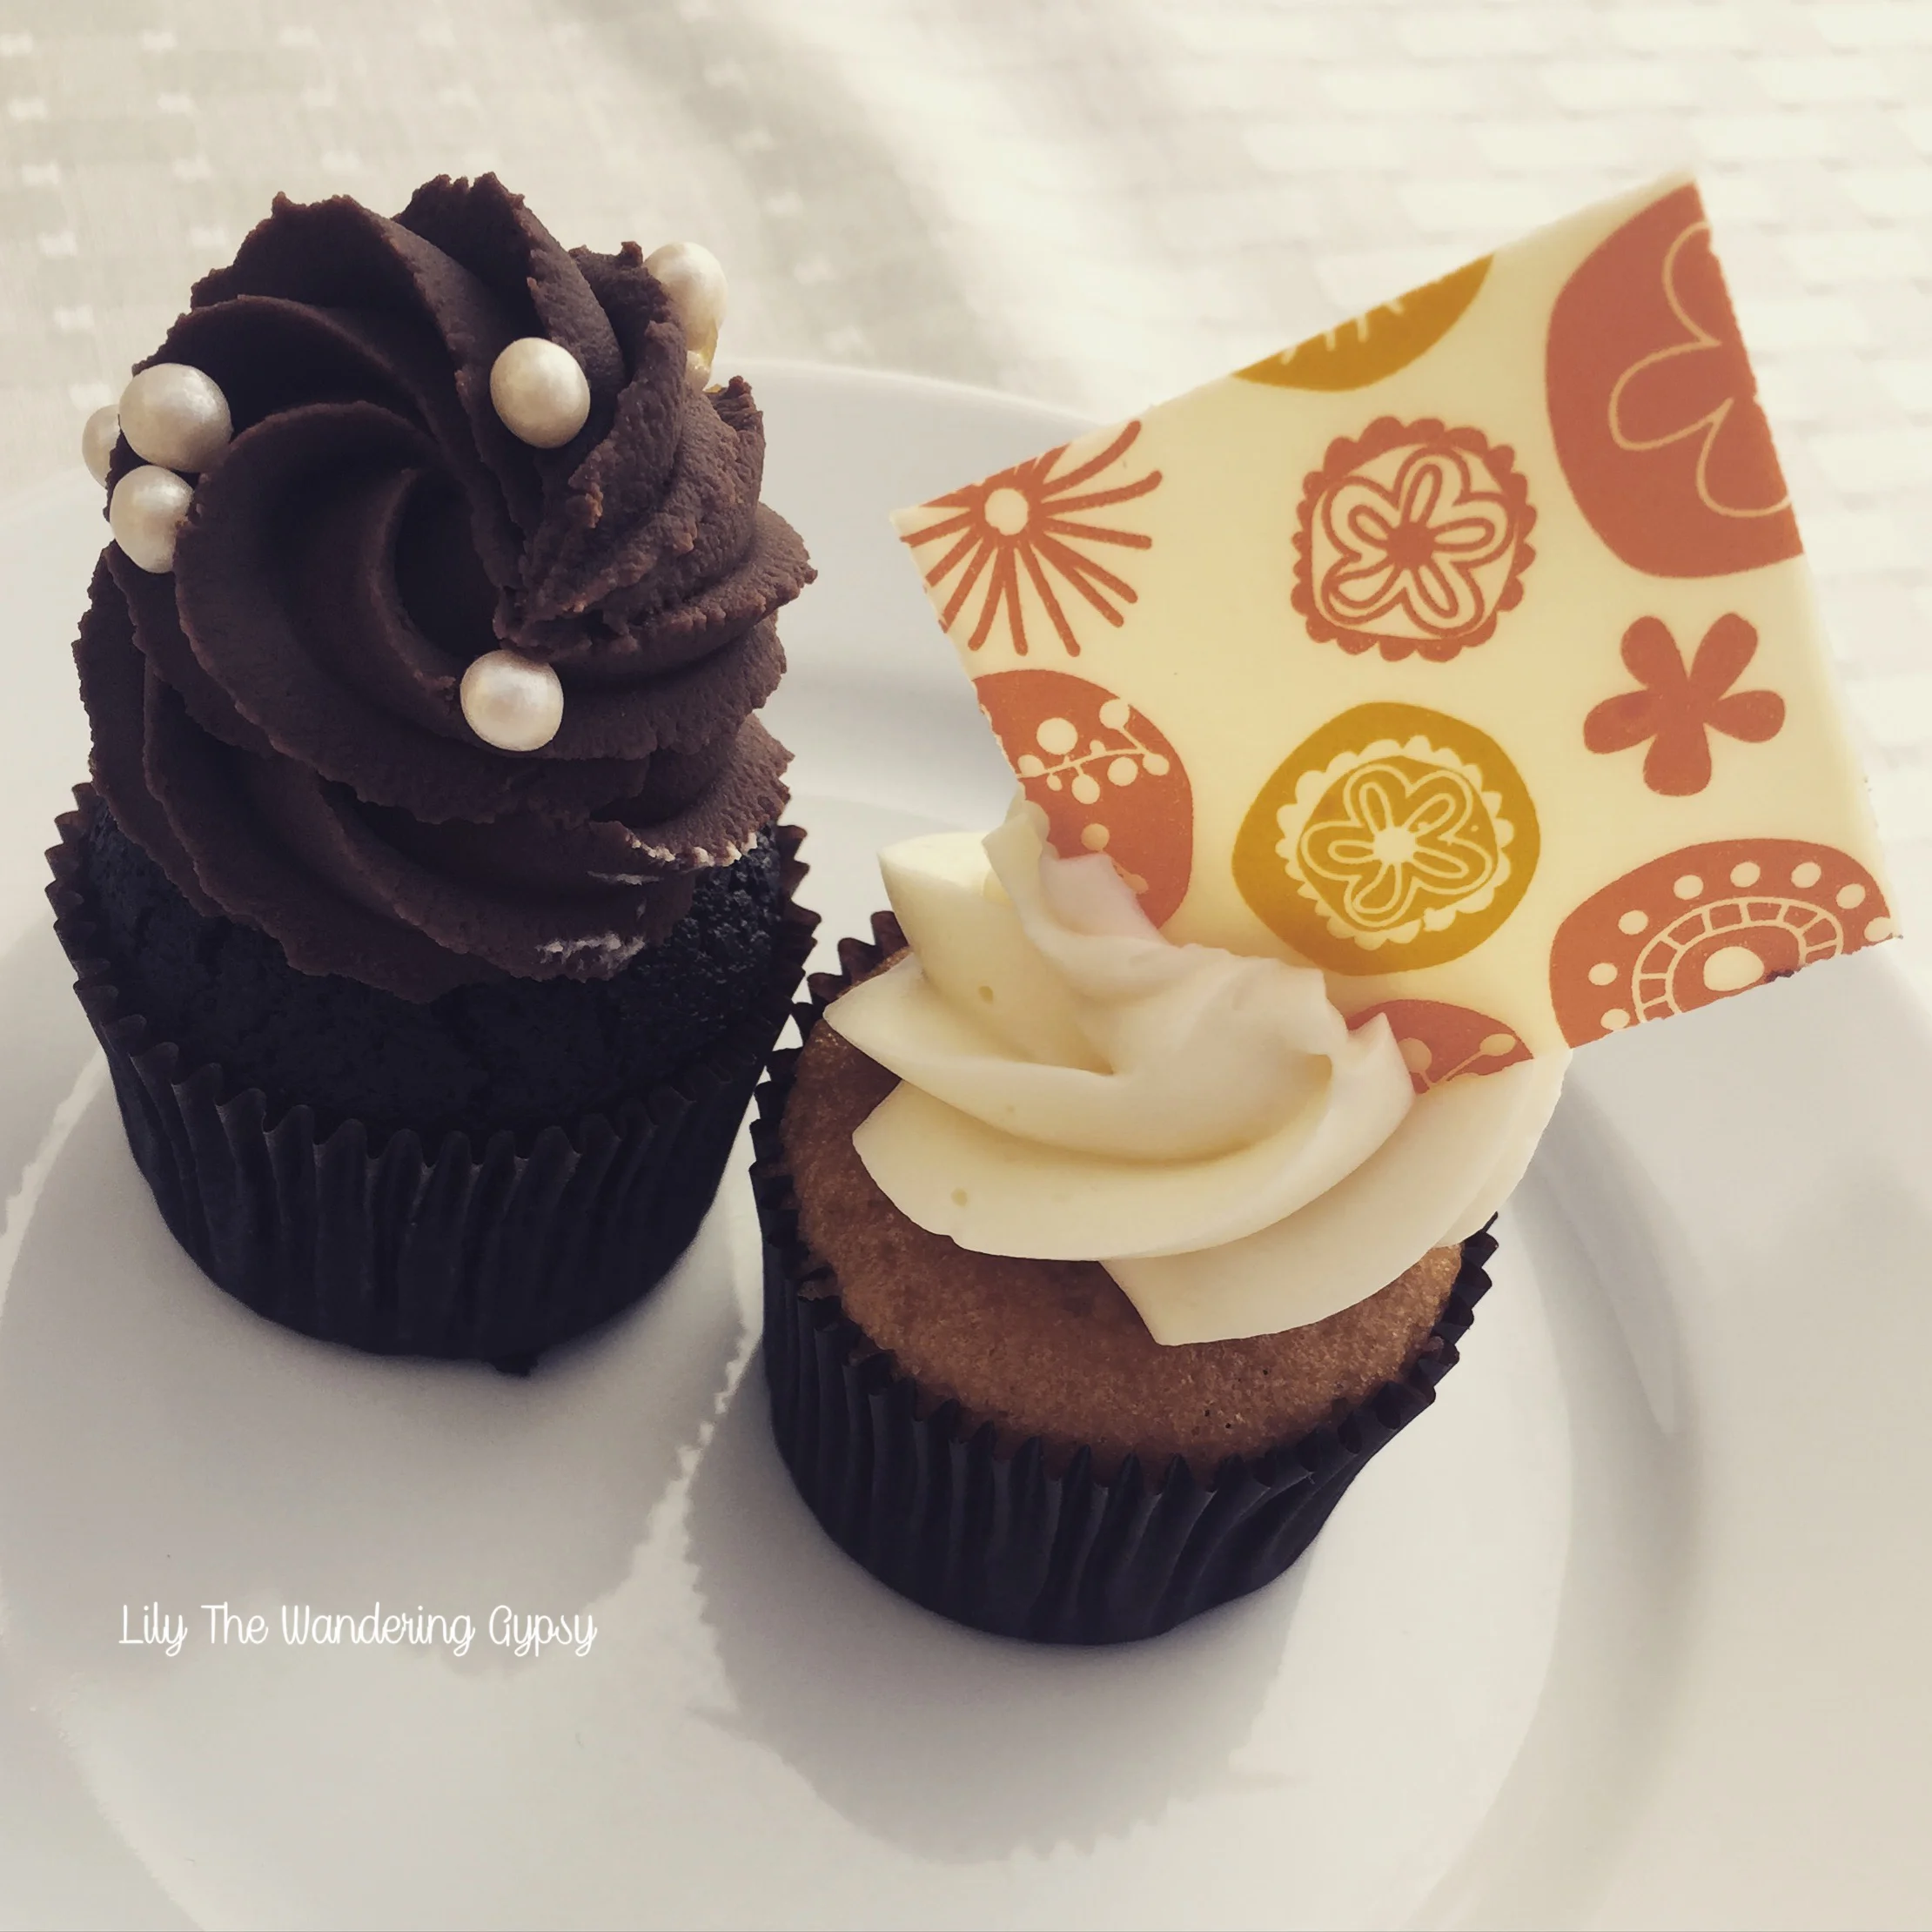
I flew into LAX, rented a car (for the first time!!), and drove down the 405 (also for the first time!!), and arrived at the incredibly gorgeous Ritz Hotel just before sunset. Everyone was extremely courteous and beyond professional. If I could, I would stay there again any time! I loved the Ocean View from my room, there was a small balcony that overlooked the ocean. What a dream! The food was also so incredible! Below you can watch a slide show of my highlights of the Re/Code conference 2015.
AT THE CONFERENCE IN LAGUNA NIGUEL, CA...


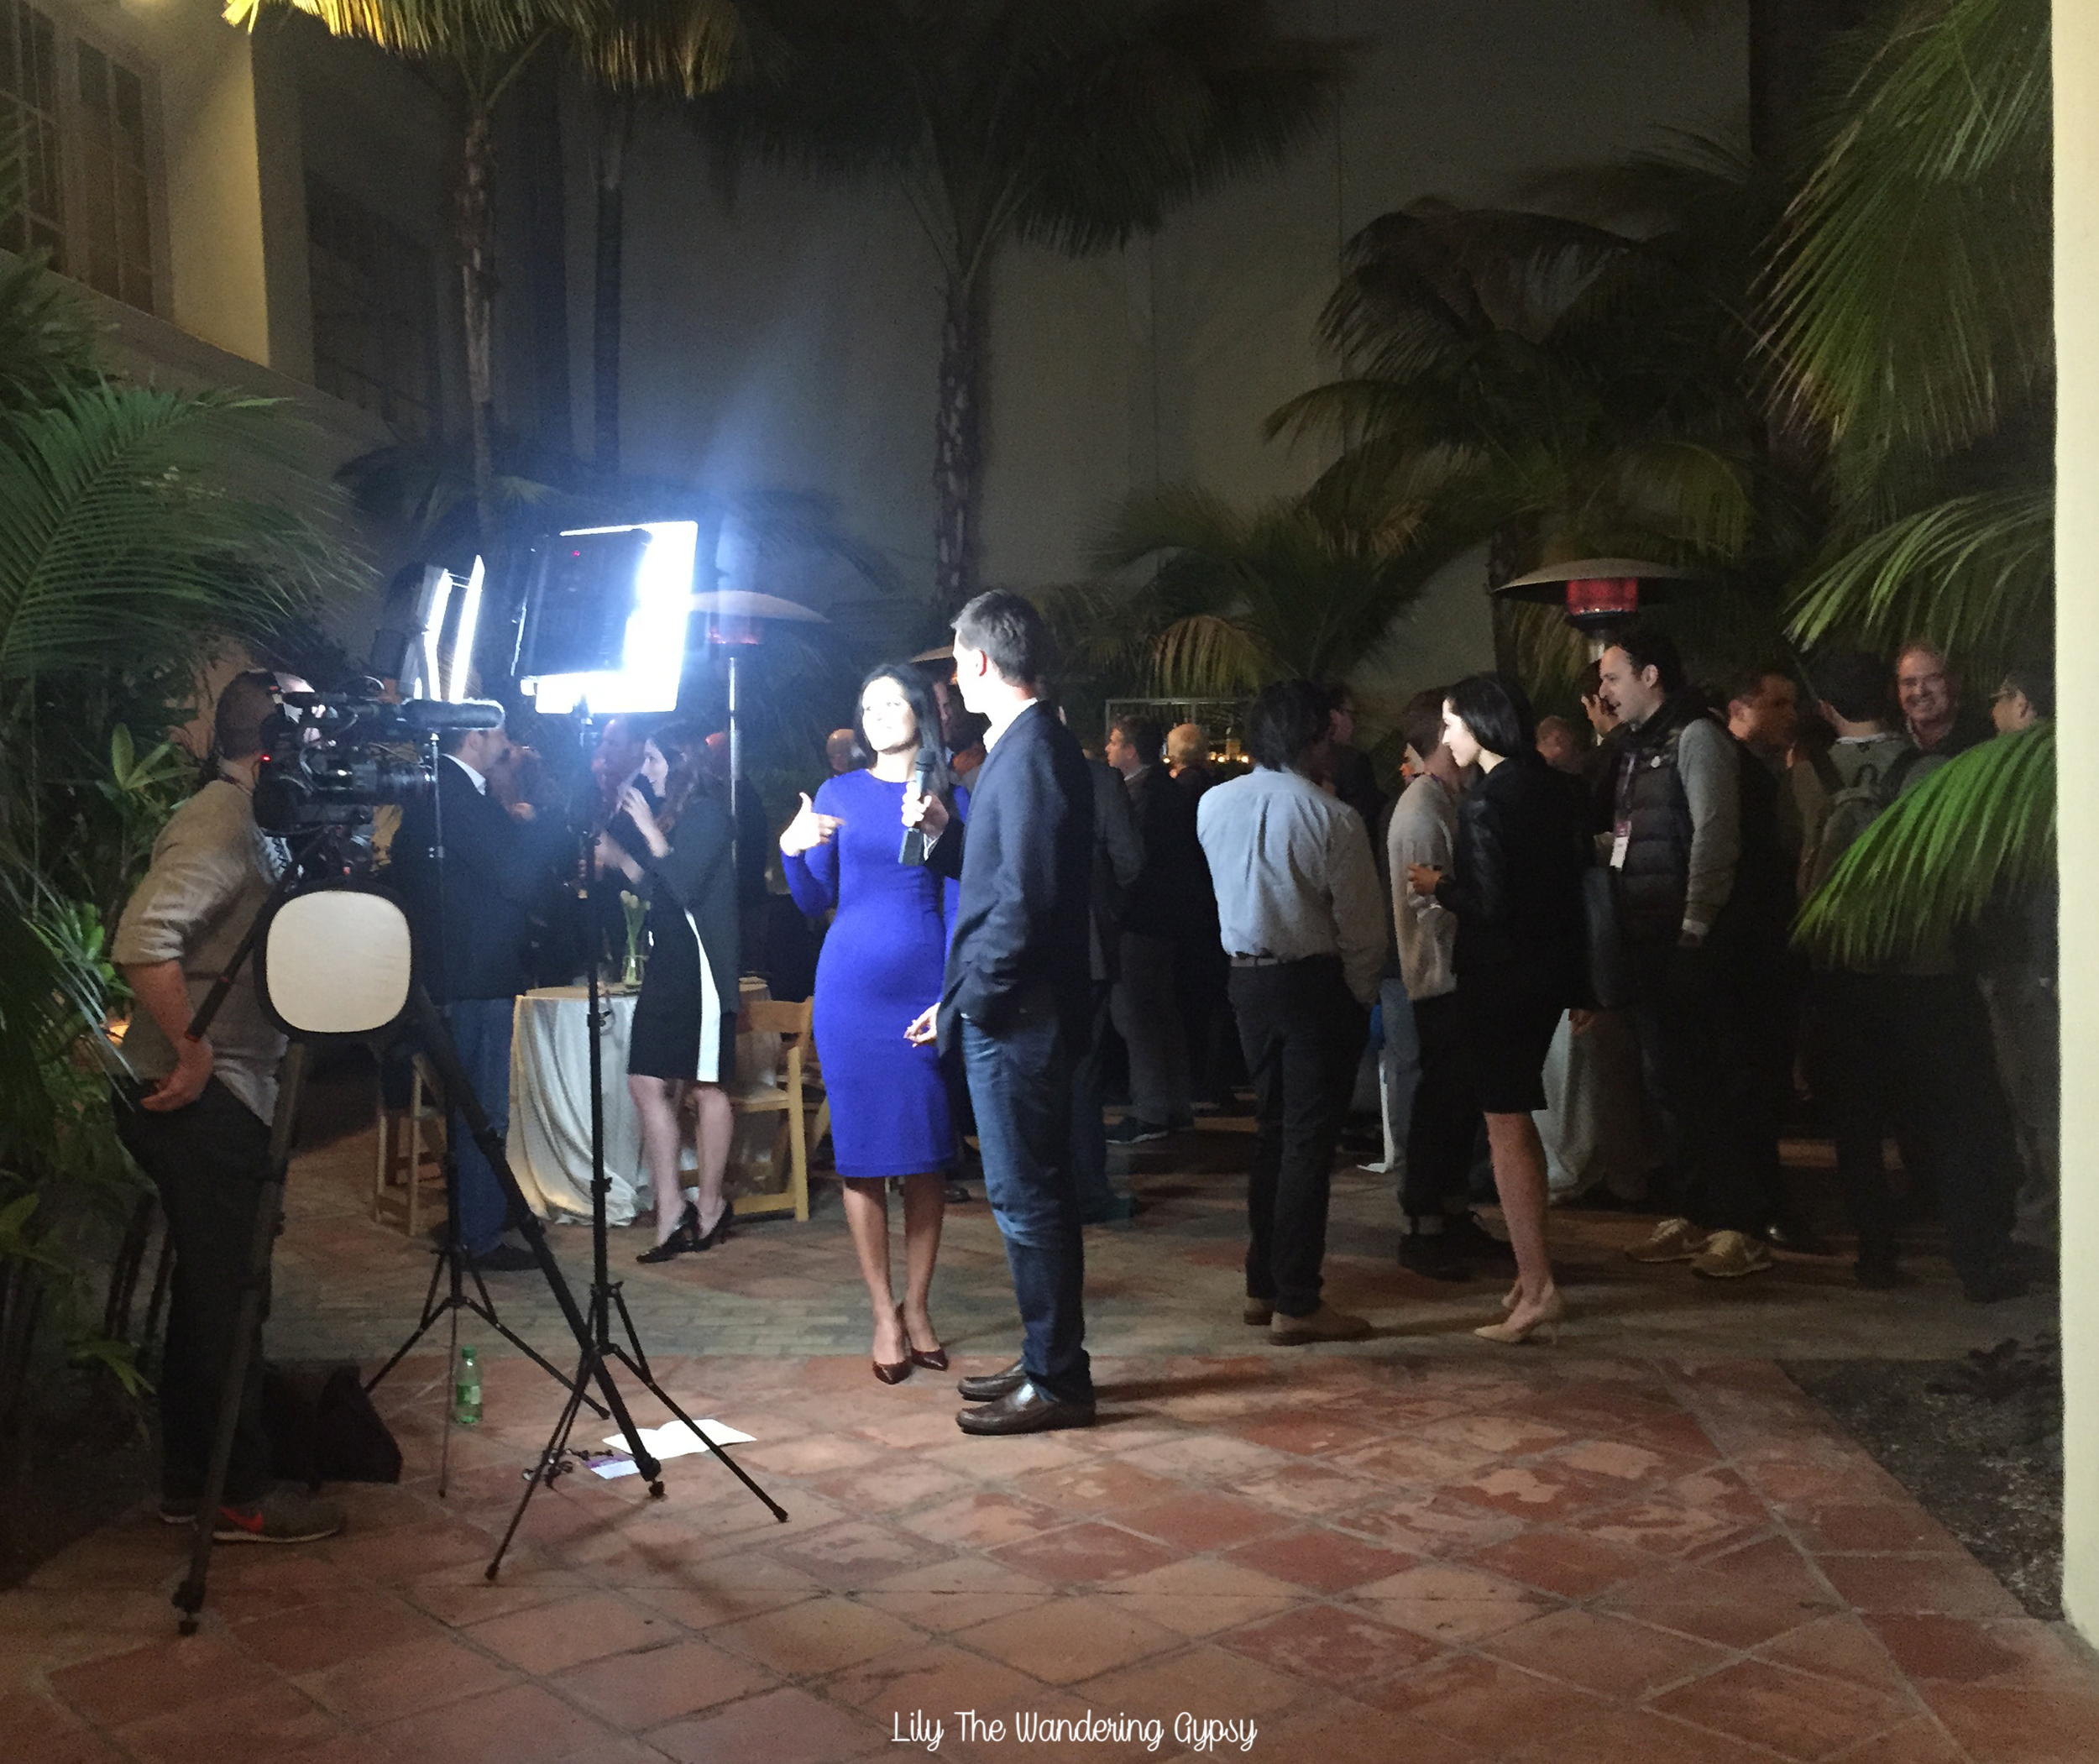


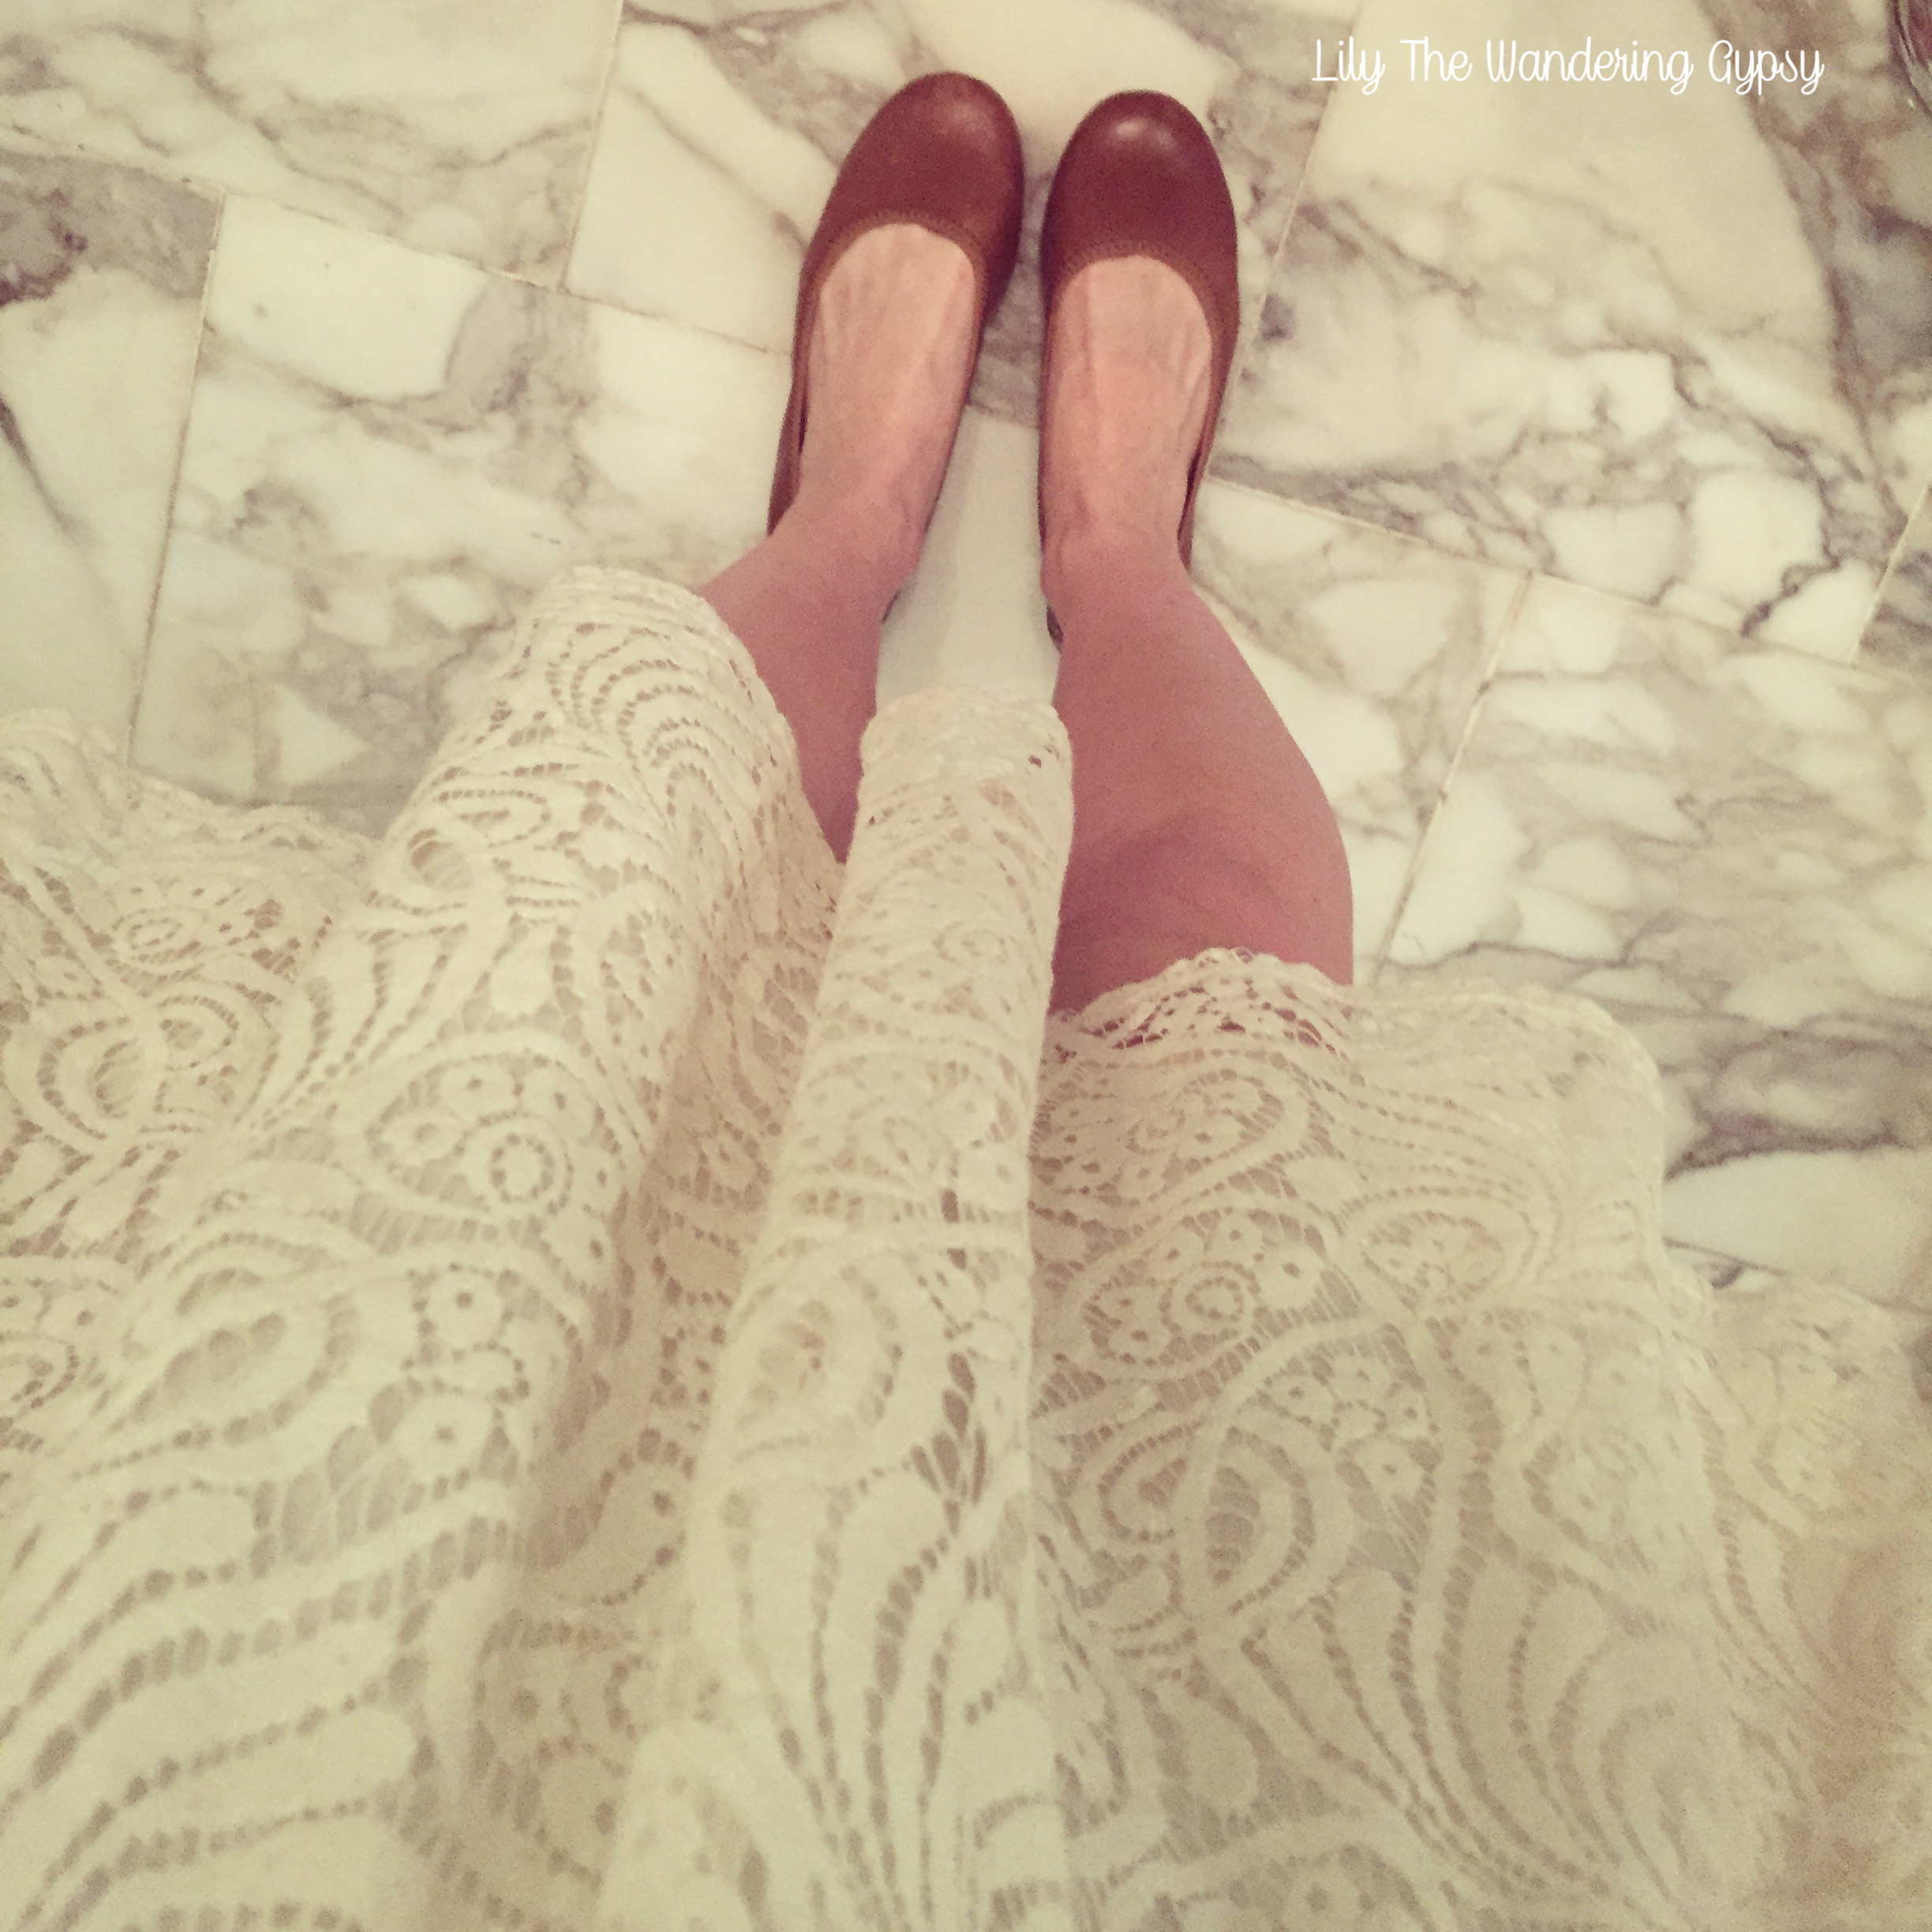


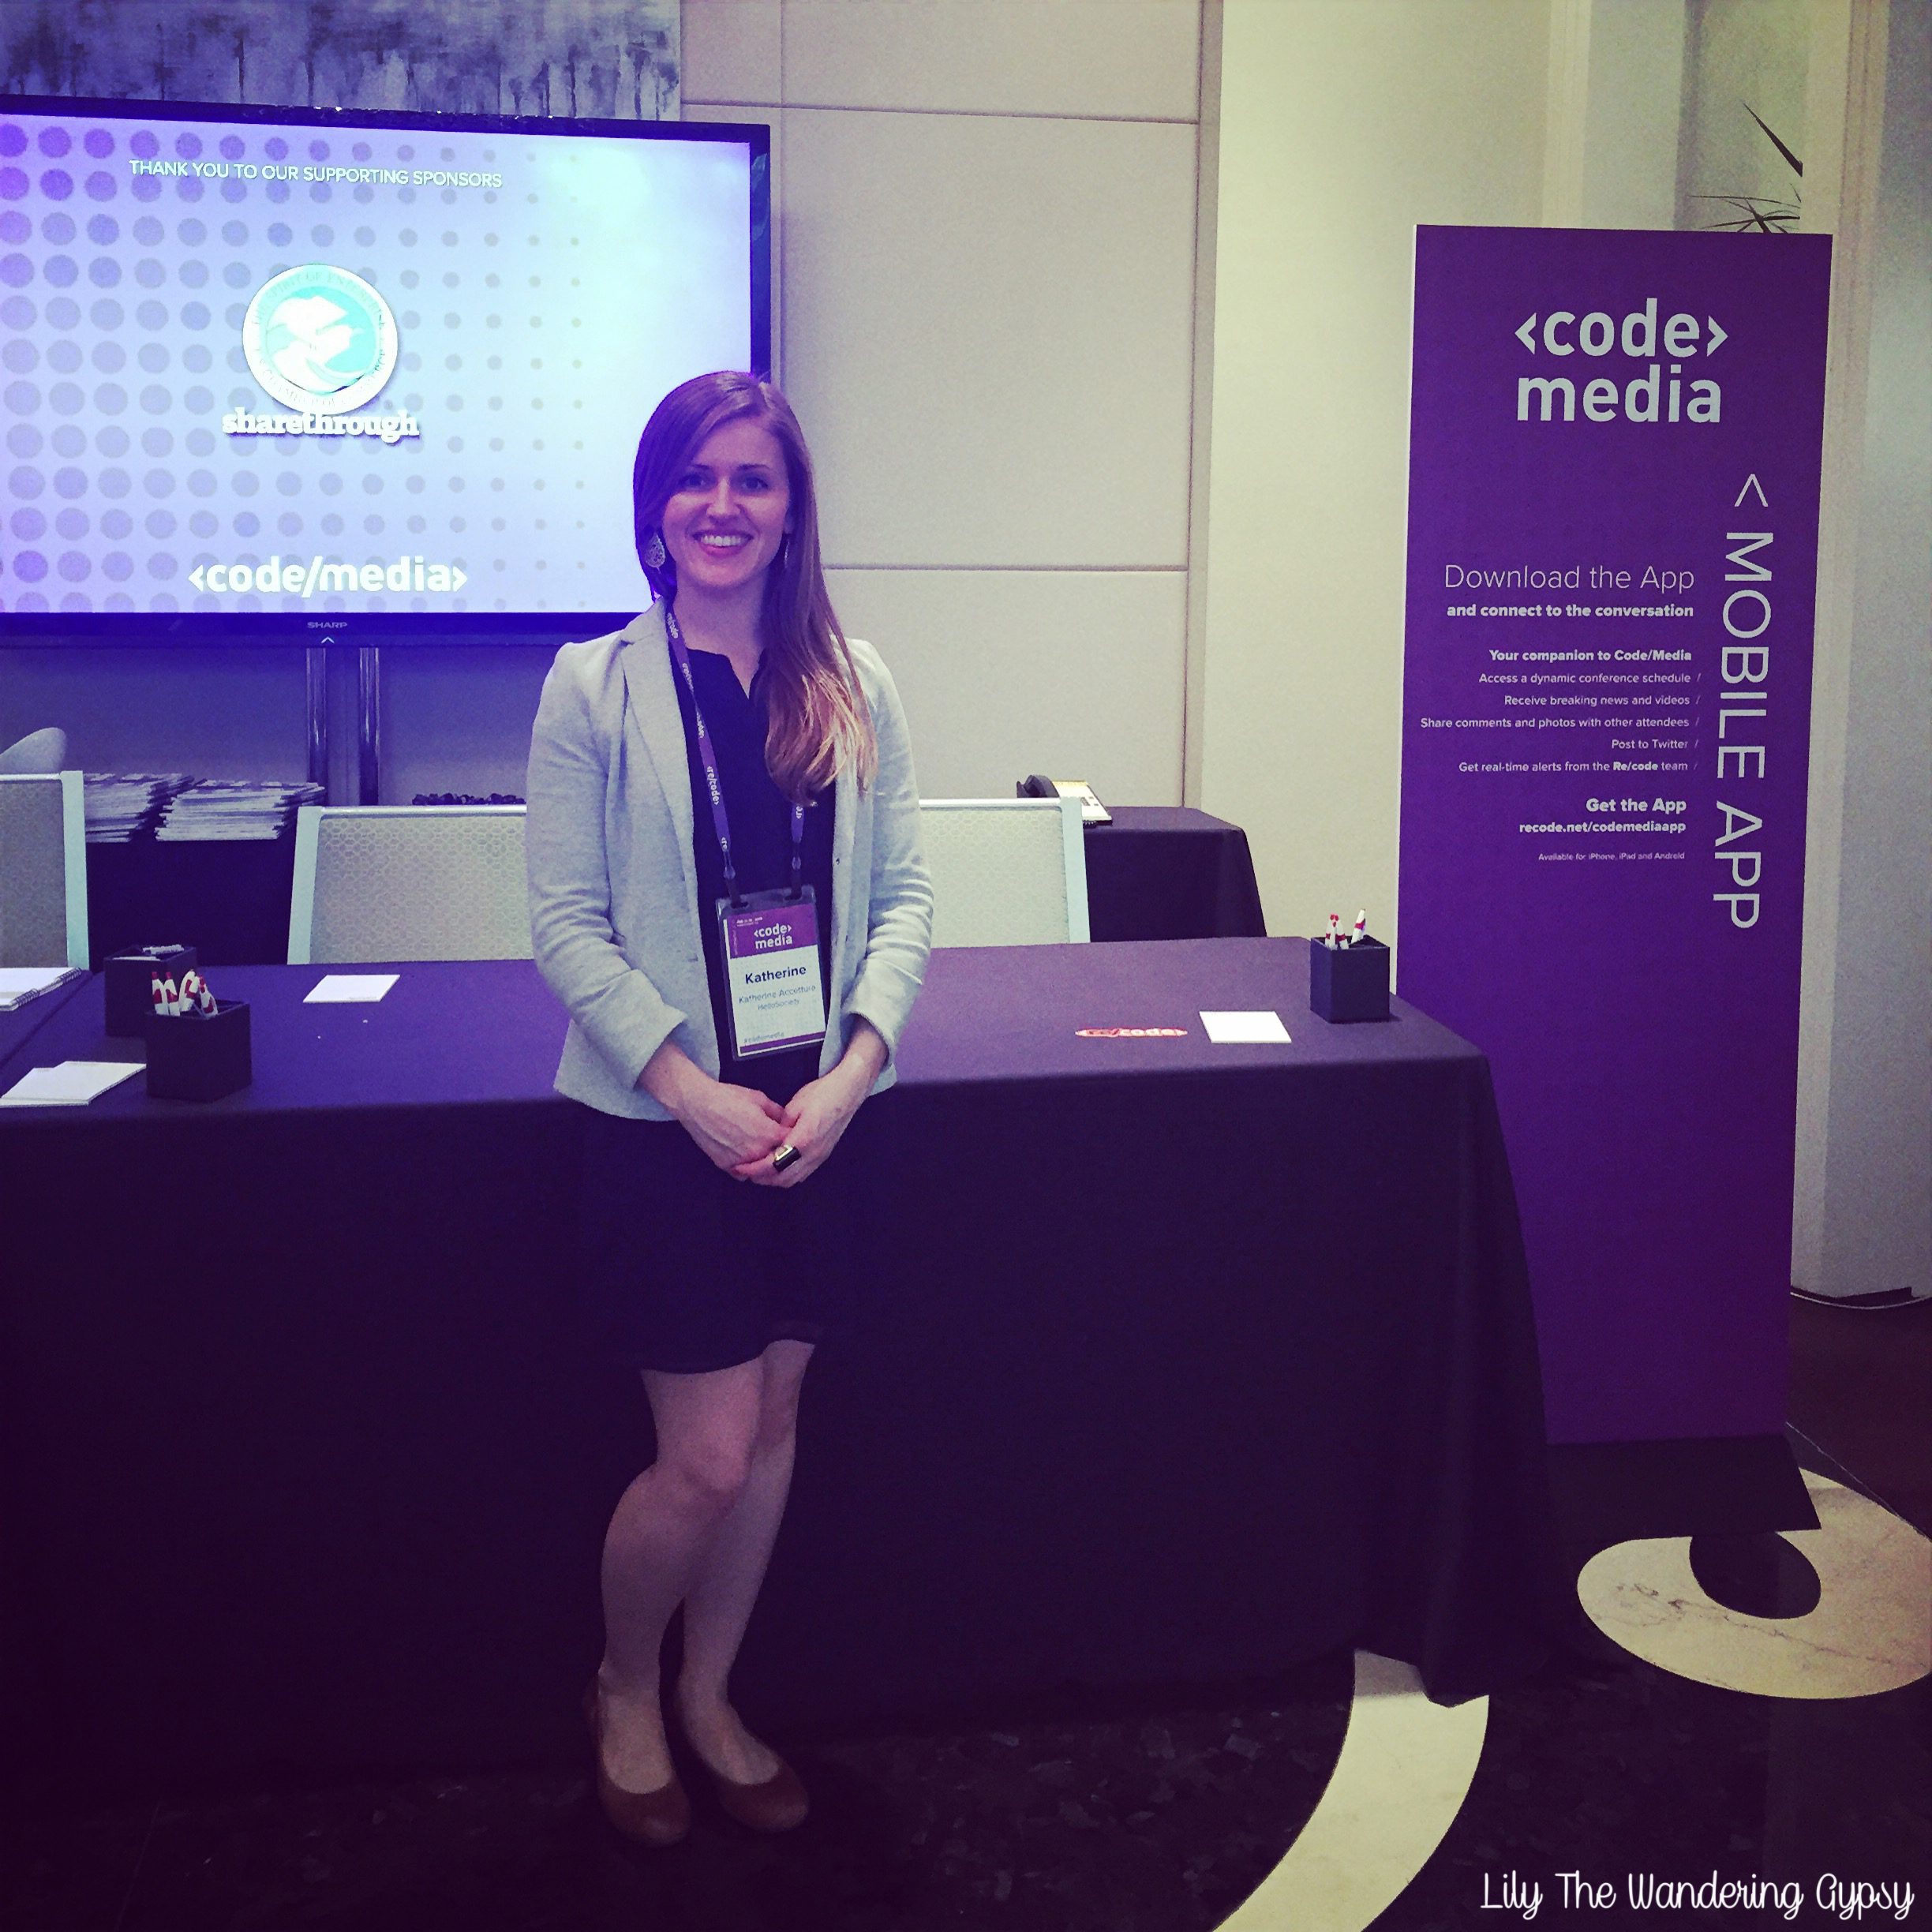


I mostly spoke about my role as a Content Creator for brands who want to fully submerge themselves into Pinterest. I spoke with three other young people who were influential on Vine and Youtube. We were called The New Influencers. You can read the article here. Thanks to everyone who has supported me in this fun adventure! I went to Santa Monica for a couple of days after this conference and also had an amazing time!
IN SANTA MONICA...
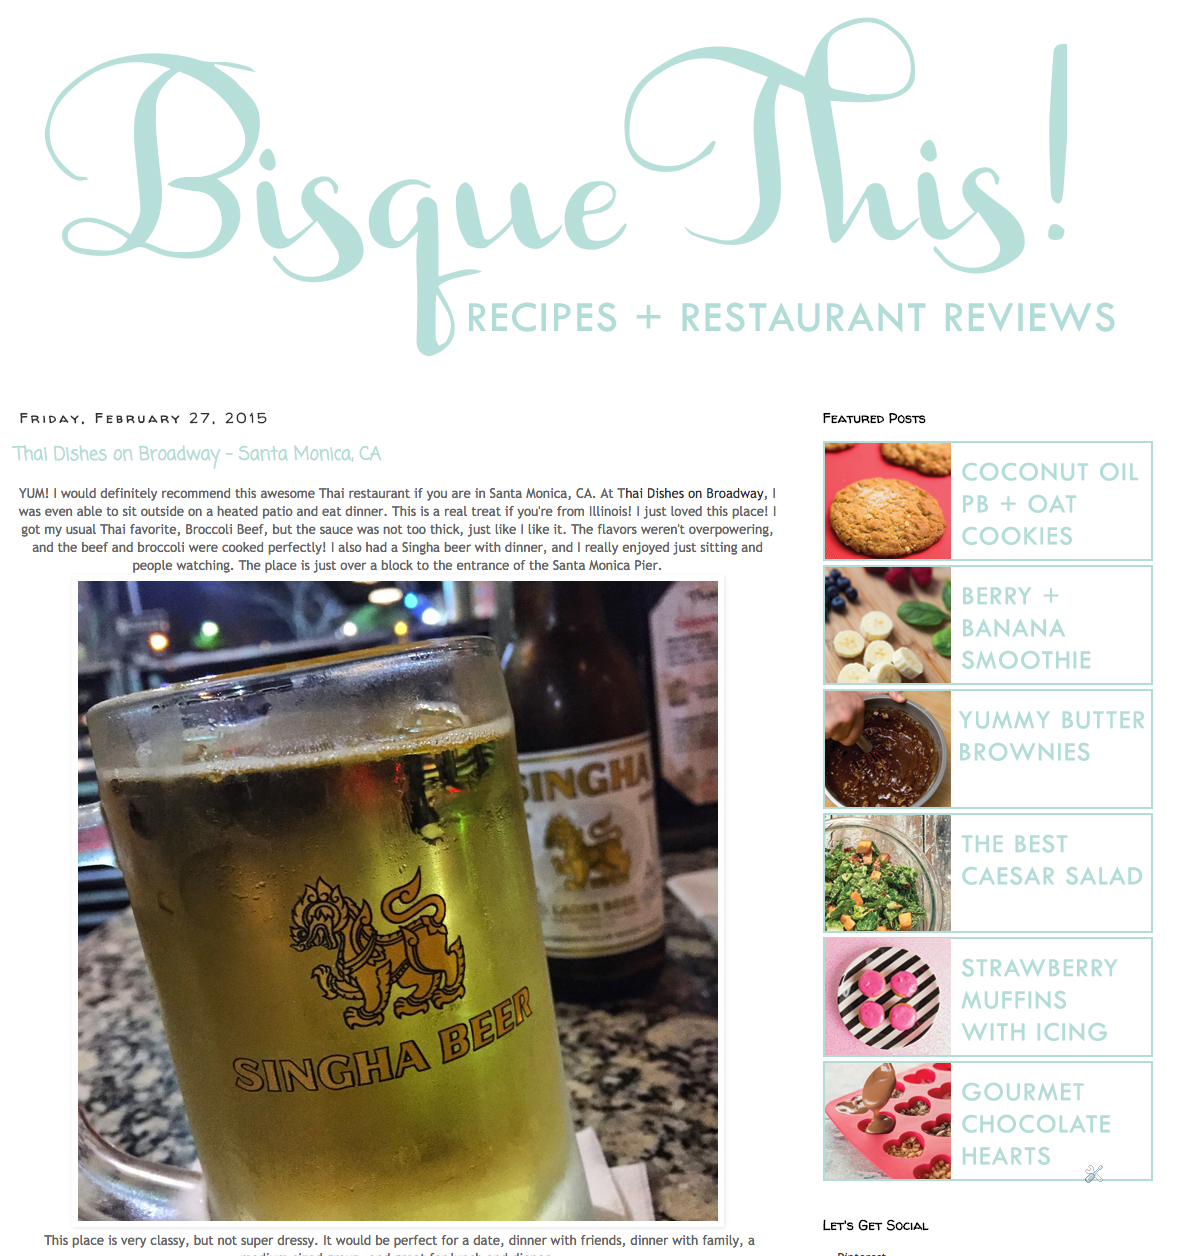
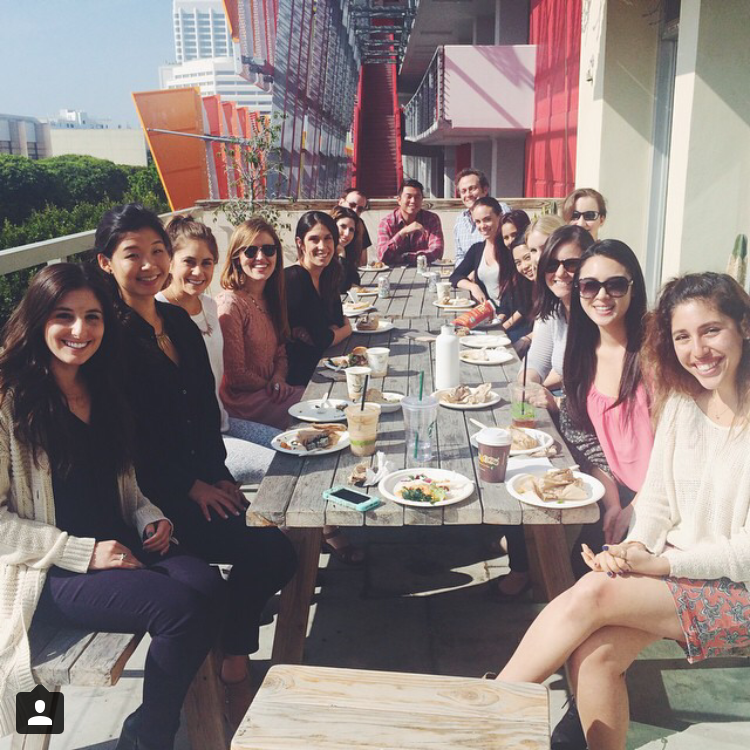
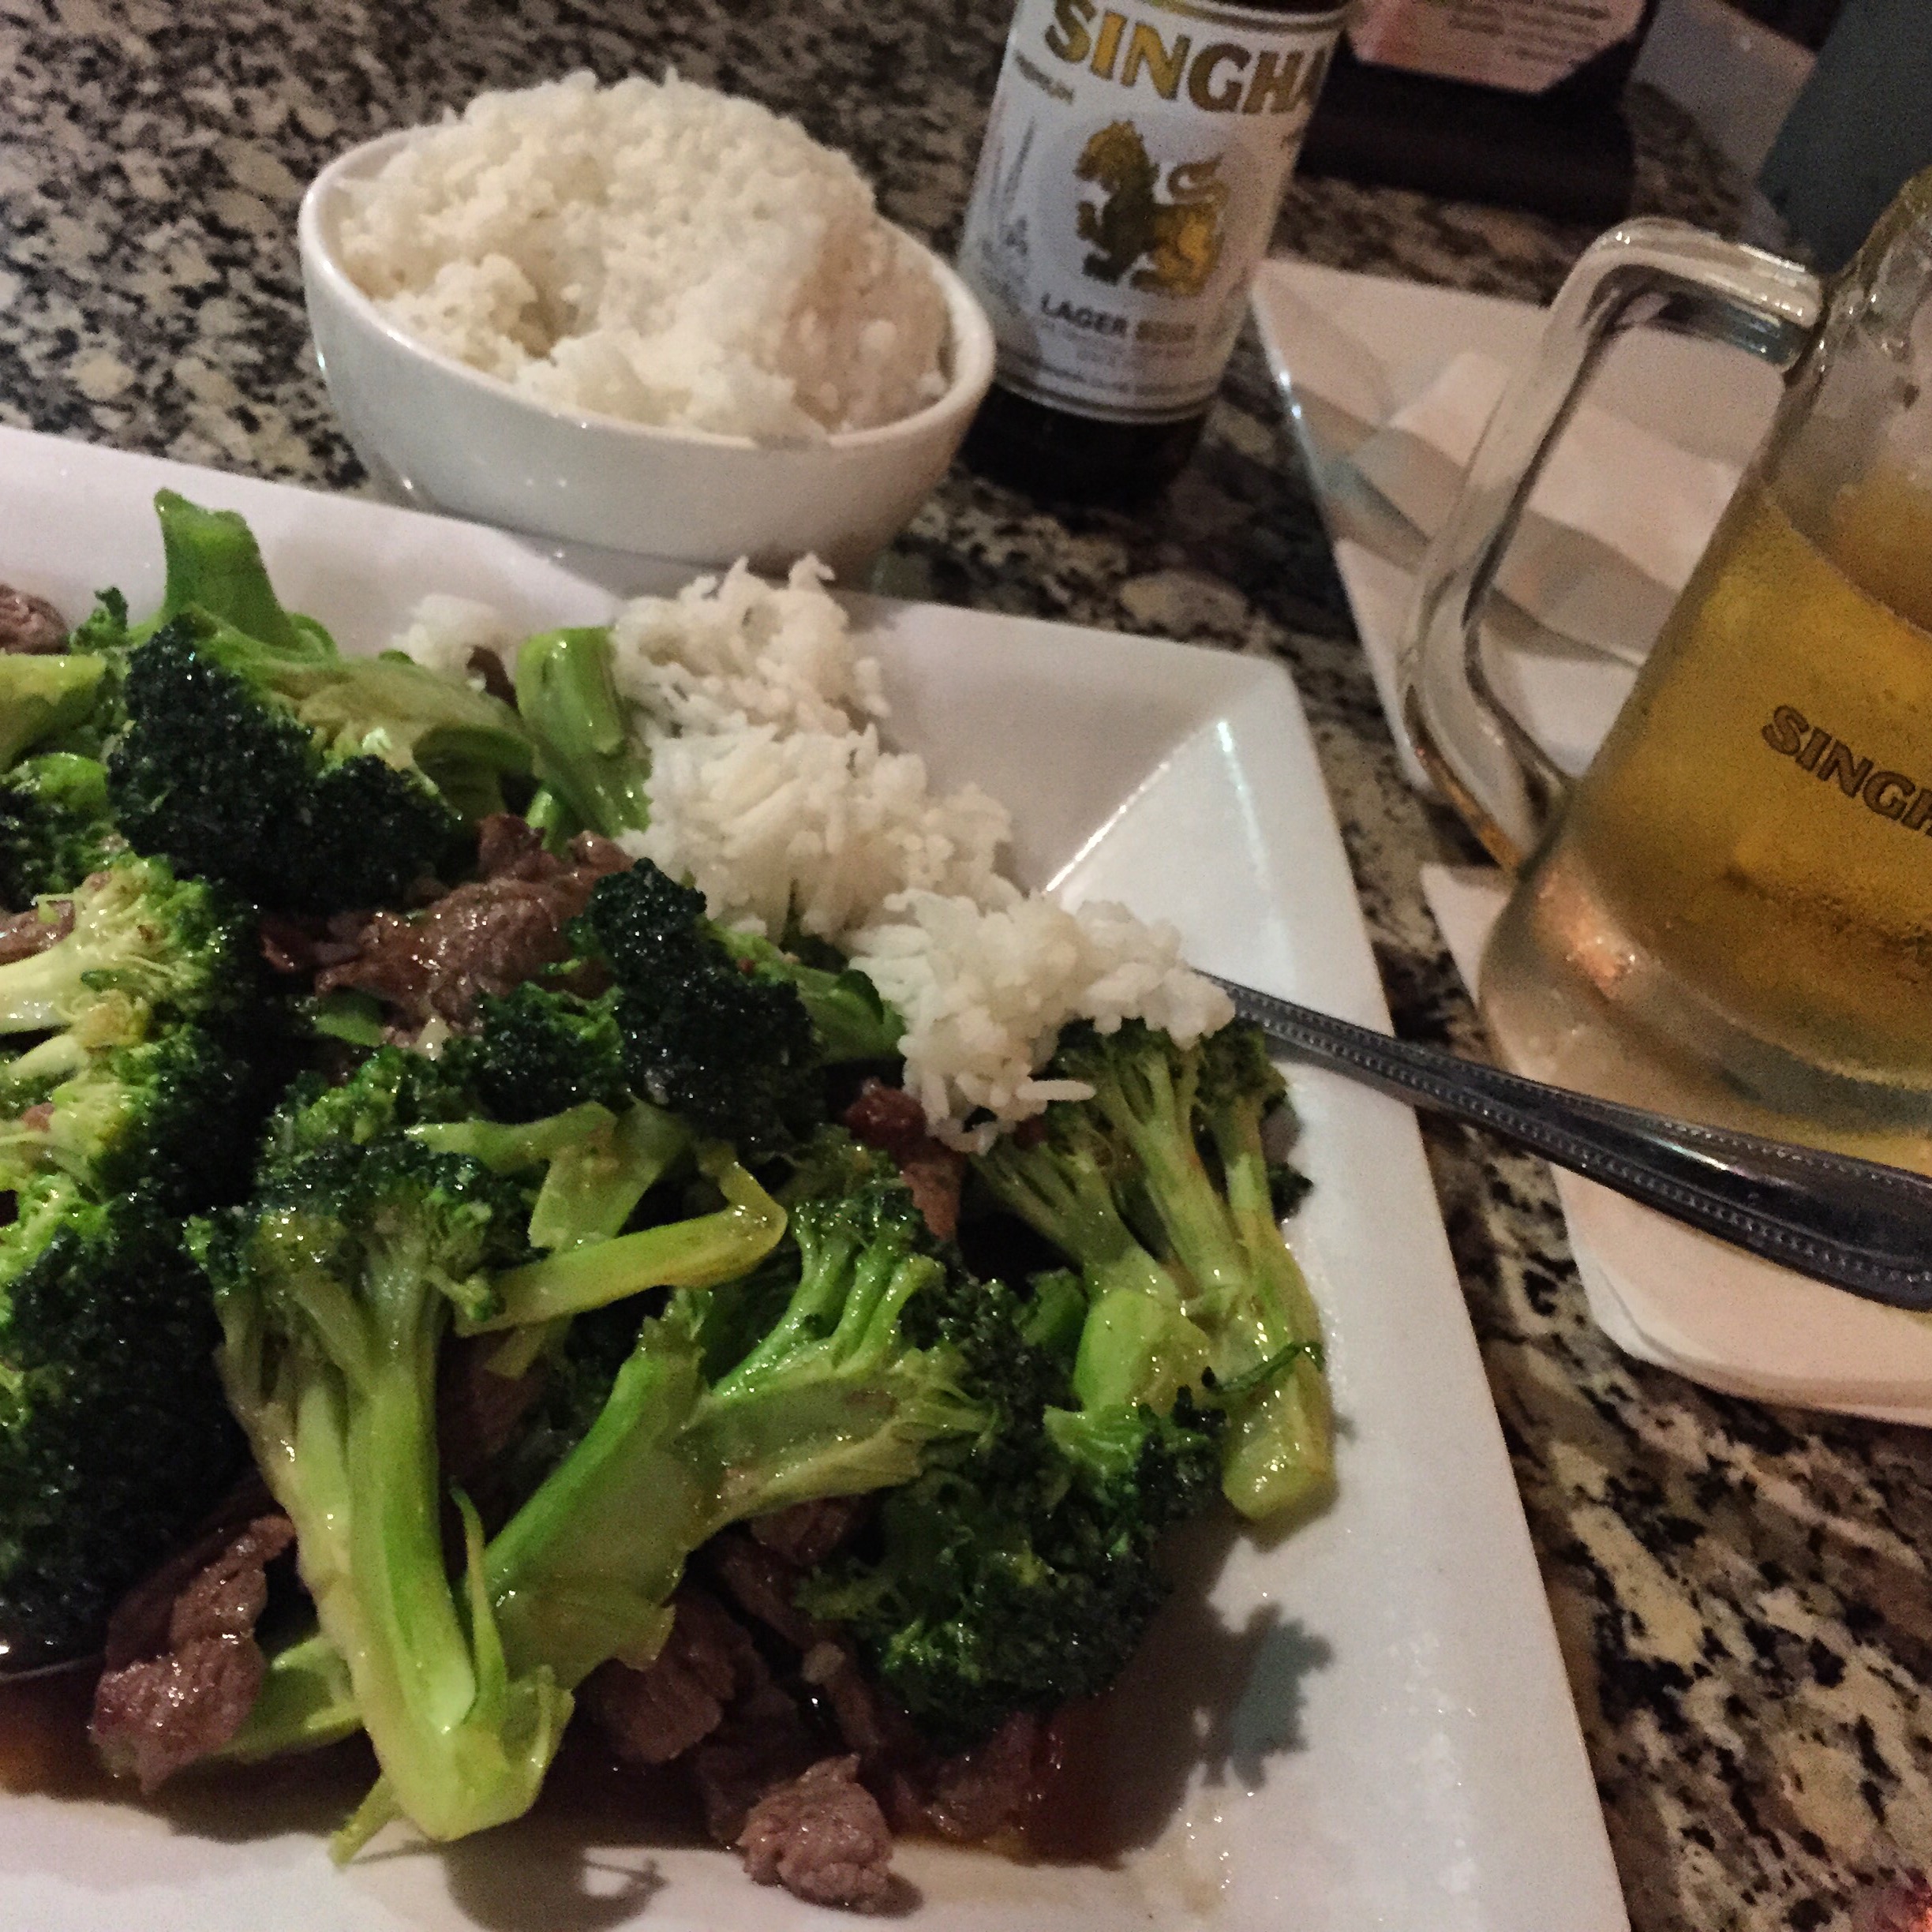
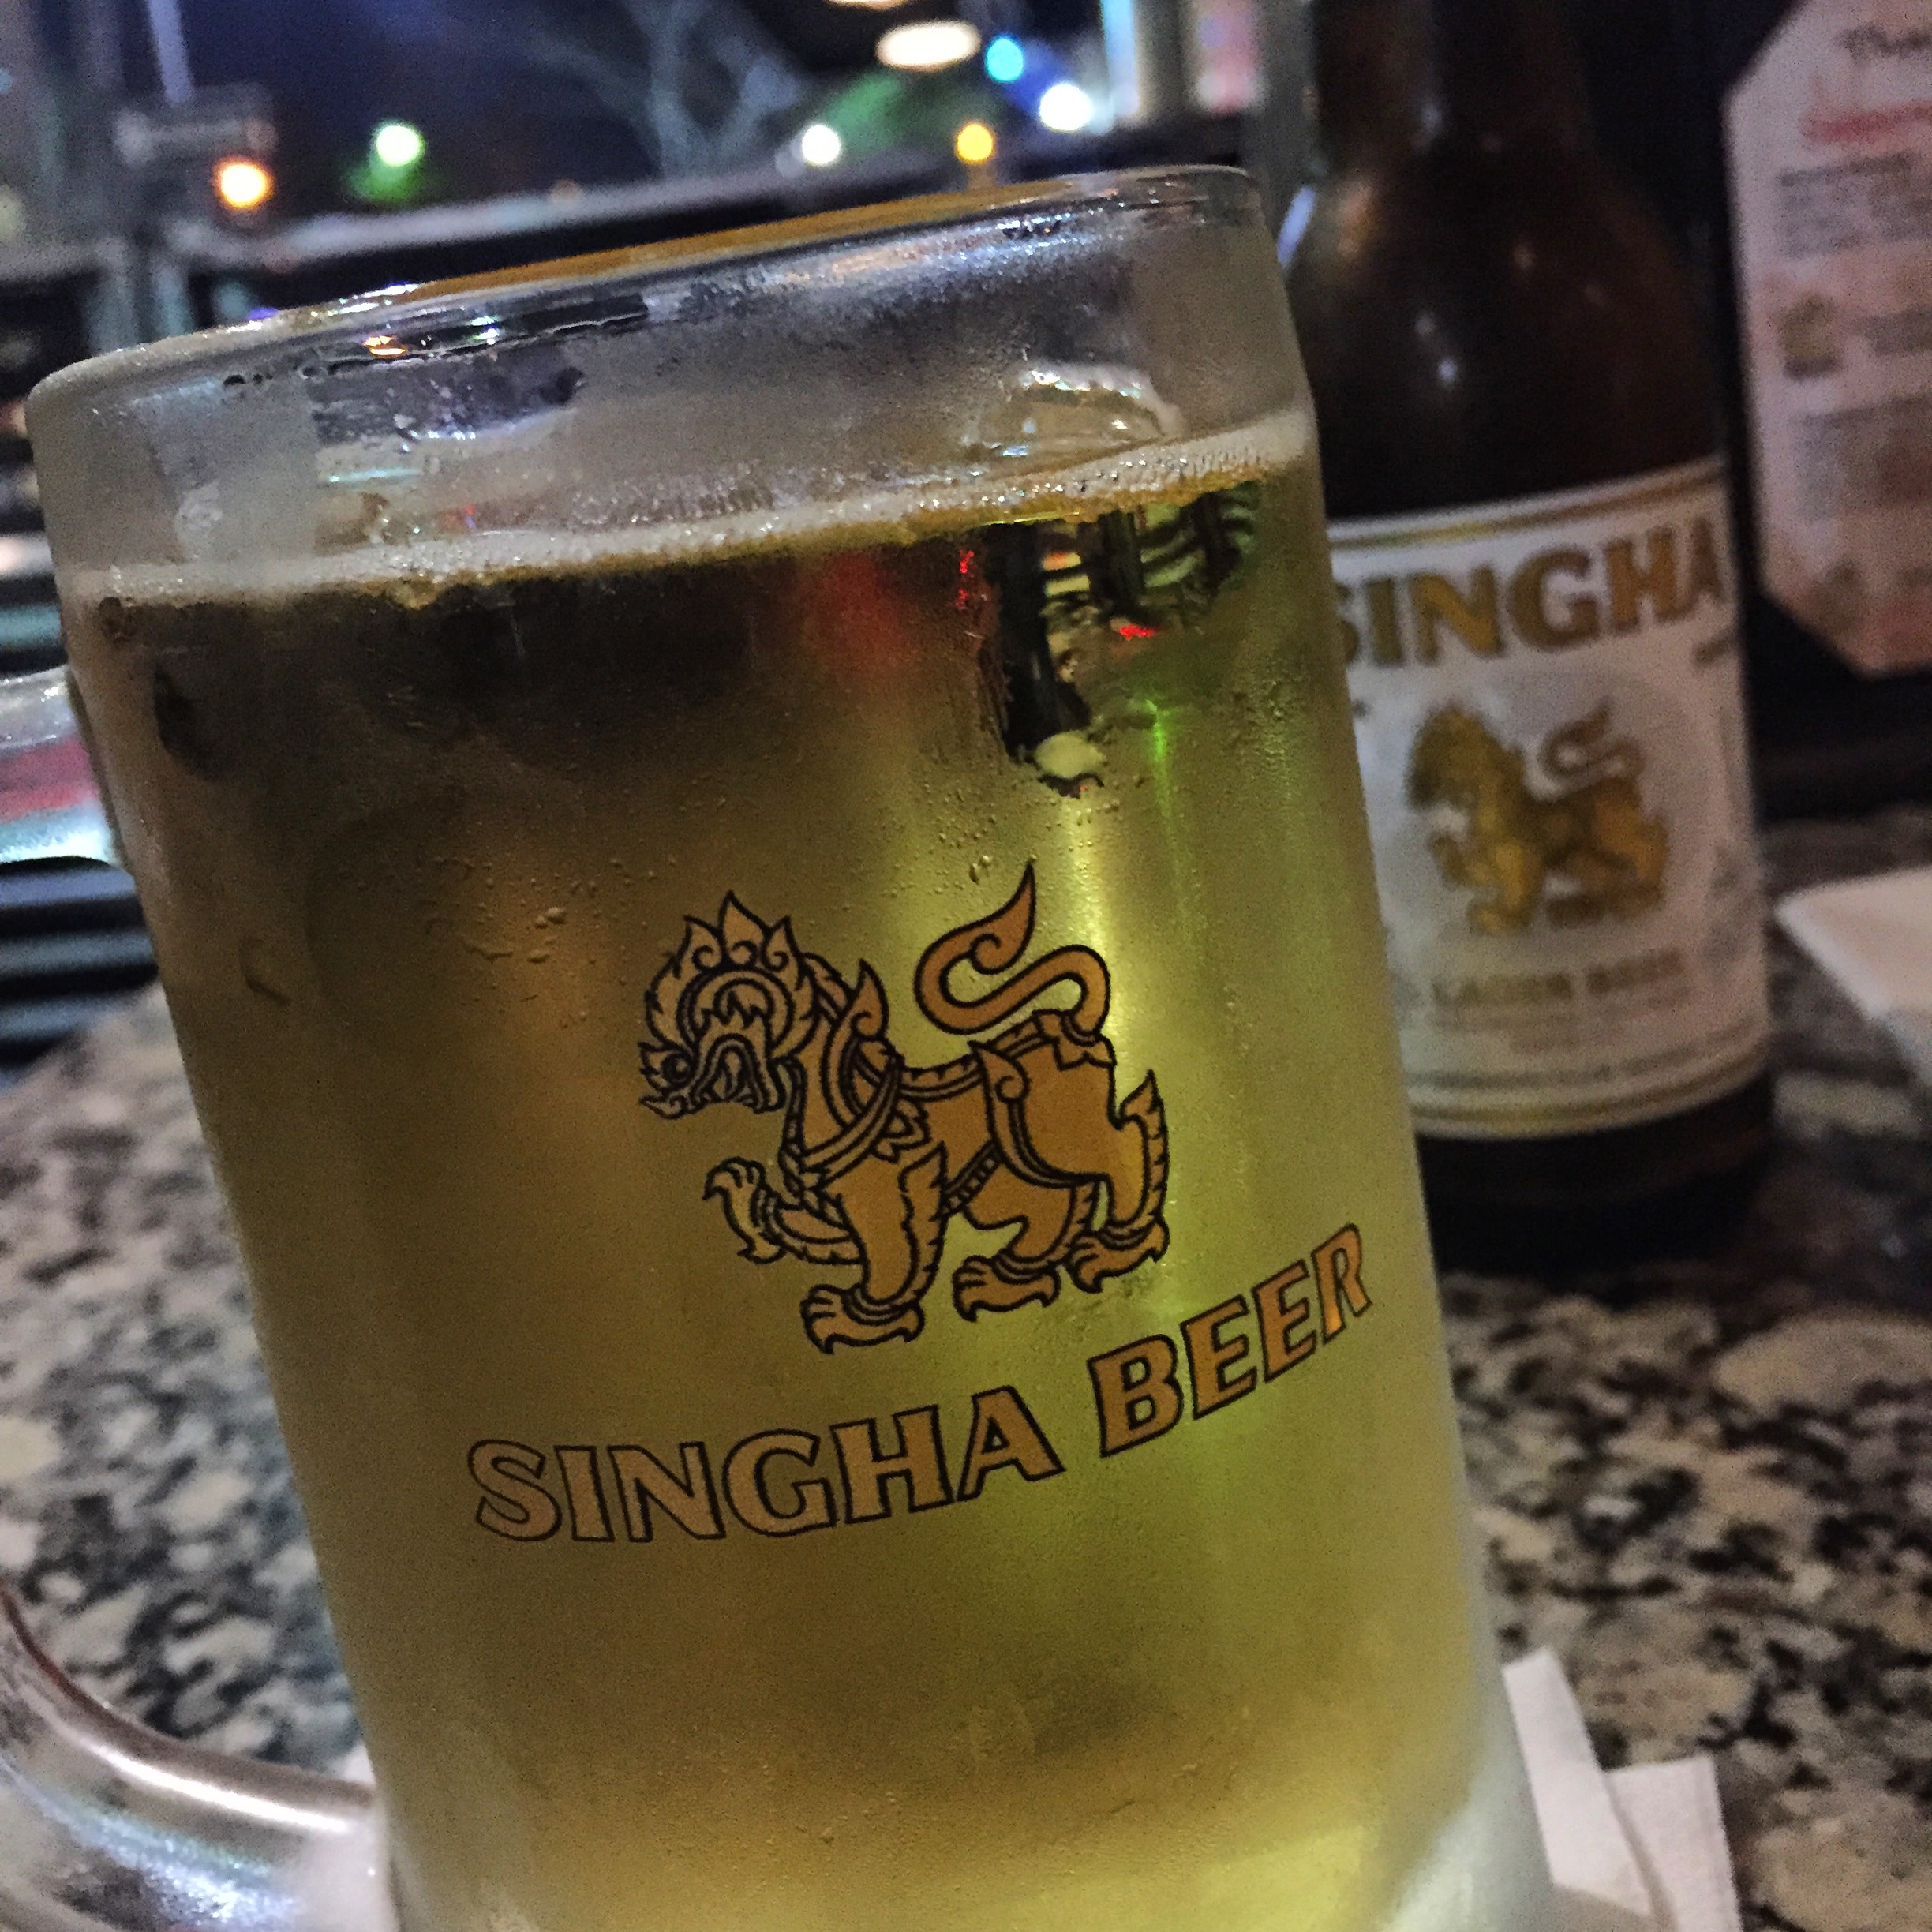
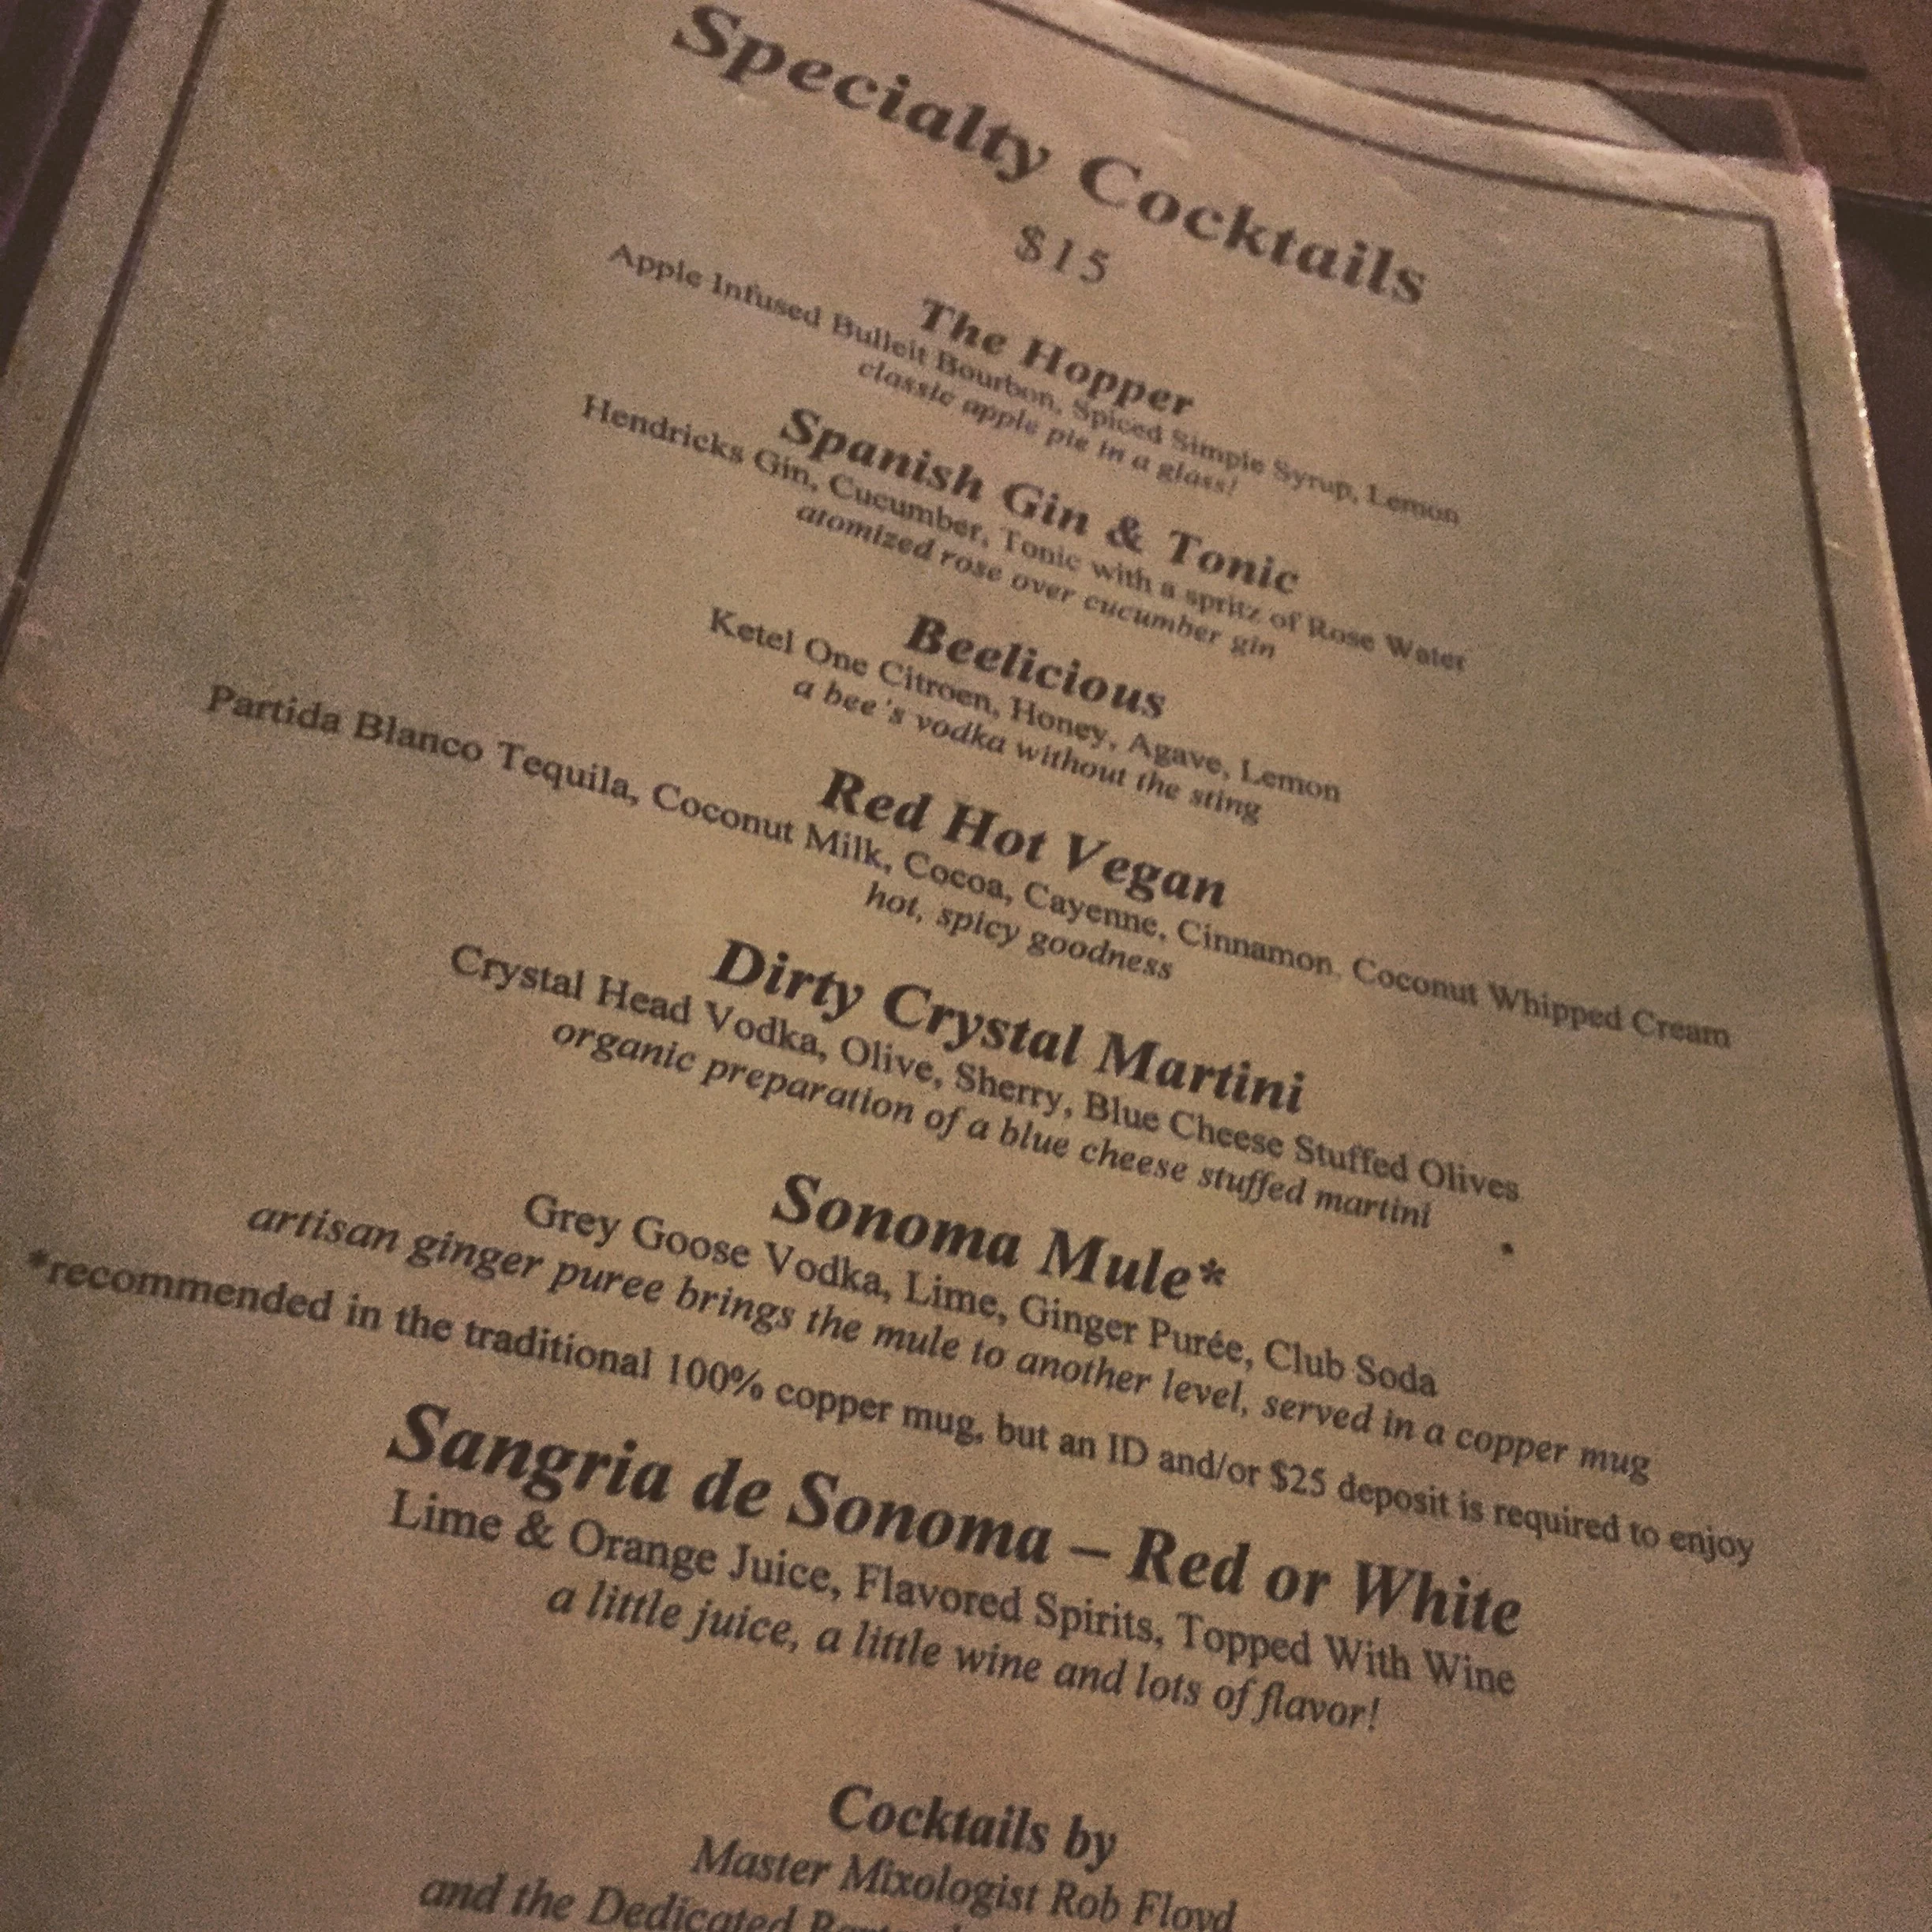
Even more fun ensued! We enjoyed wine and cocktails at The Sonoma Wine Gallery. It was so fun to be there on the rooftop, drinking amazing wine with such wonderful women! I also enjoyed Thai Dishes on Broadway, which was super classy and had amazing service. I sat outside on a heated patio (eating outdoors in February was a real treat), and I had so much fun people watching in the incredibly vibrant beach town. I am getting goosebumps thinking about how much fun I had there!


Brightly Twisted!
I have a soft spot in my heart for beautiful tie dyed goods! I even have a Tie Dyes board on Pinterest. The mixing of sometimes unexpected or pleasantly complimentary colors that blend in unique ways really amaze me. Each piece is incredibly unique, no matter how hard you try to make two alike. I tried my hand at doing a little bit of tie dye work a few years ago, and I know how much time and effort each and every piece takes. So, when my friends at Brightly Twisted asked me if they could send me some of their beautiful work, I said, heck yes! I have admired their work for quite a while now. Although they didn't ask me for anything in return, I chose to take a few photos of their work and share it here! I wish I could convey just how incredibly soft all of their materials are, some made from Bamboo!
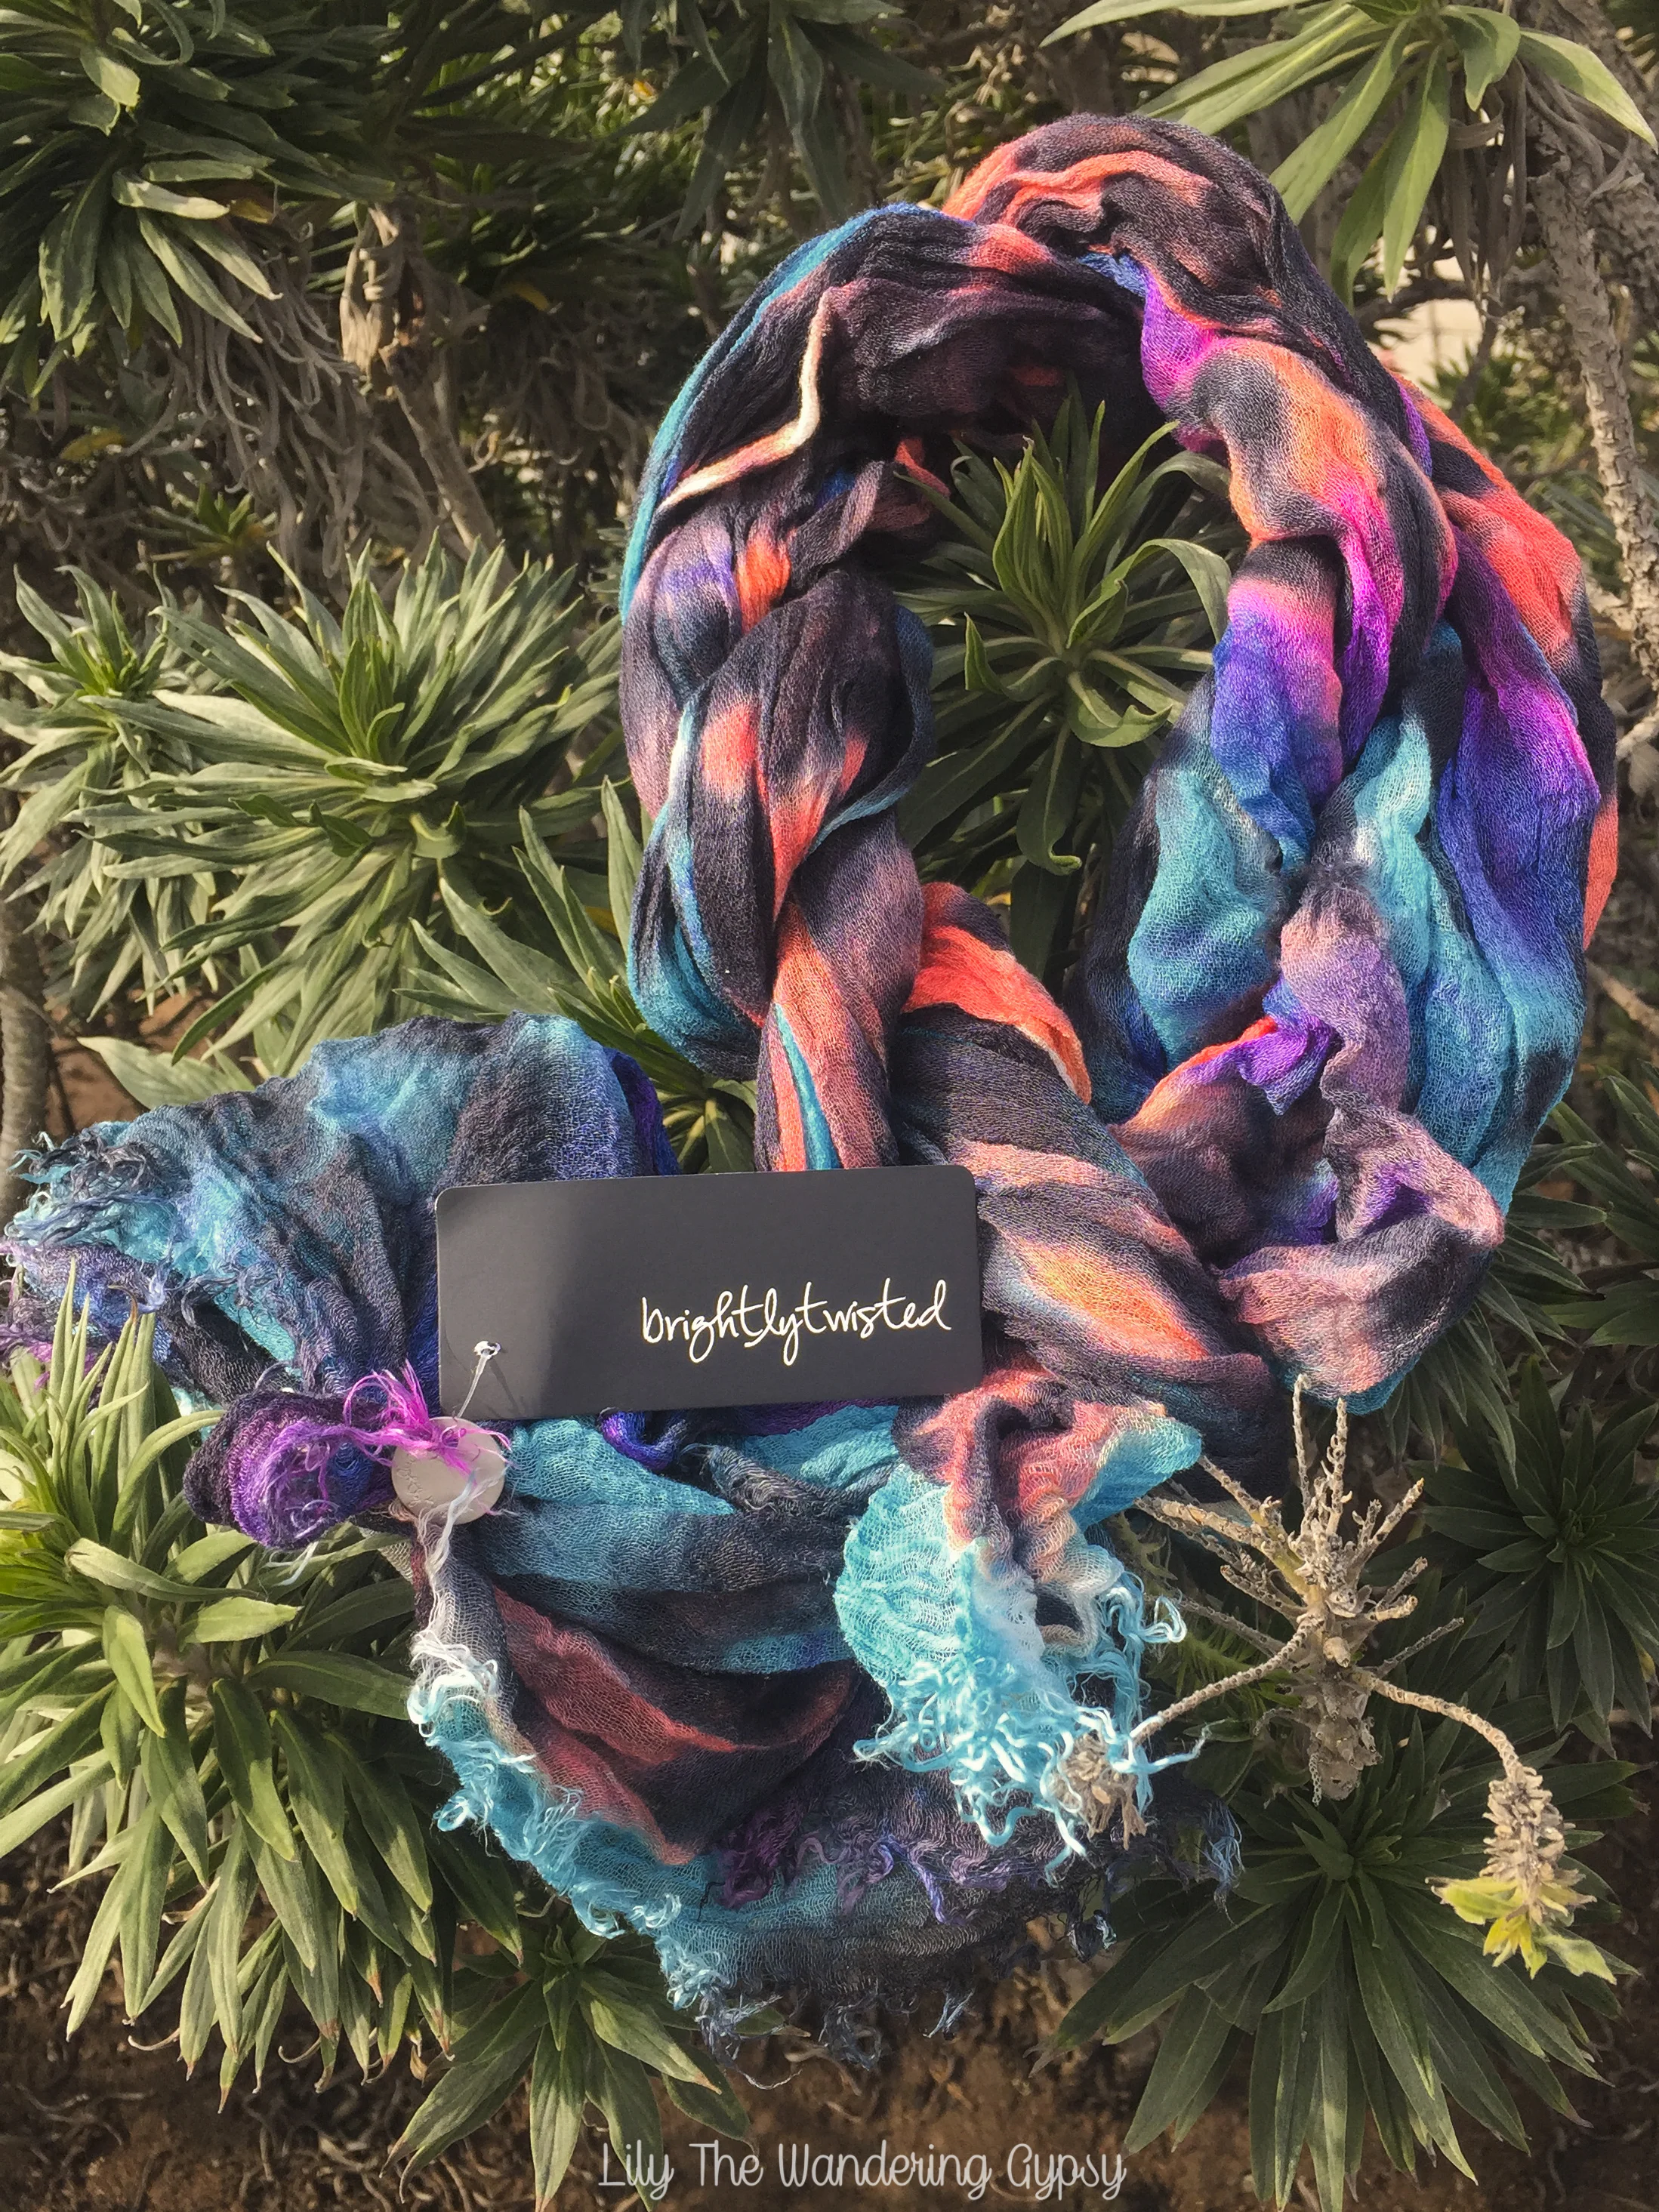
I have a few more things to share, but since it's all ice and snow here in southern Illinois right now, I will be taking photos once I get somewhere a bit warmer :) So, for now, check out the super talented Brightly Twisted!

Fun In The Sun!
I just got back from California (which I will post about soon!!), and I was right near the ocean most of the time! It really got me dreaming about some warmer weather, so here are a few Pinspirations to hopefully help you through the winter! Click on any image to learn more.


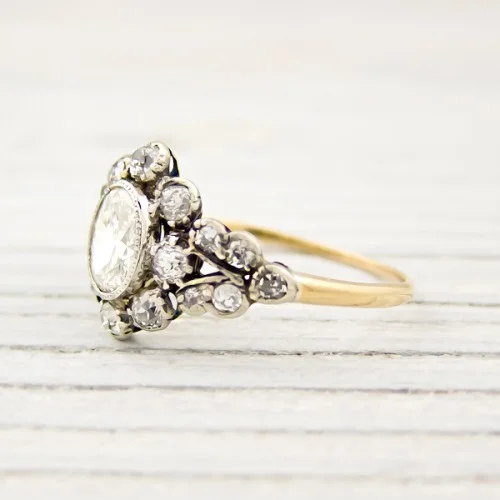
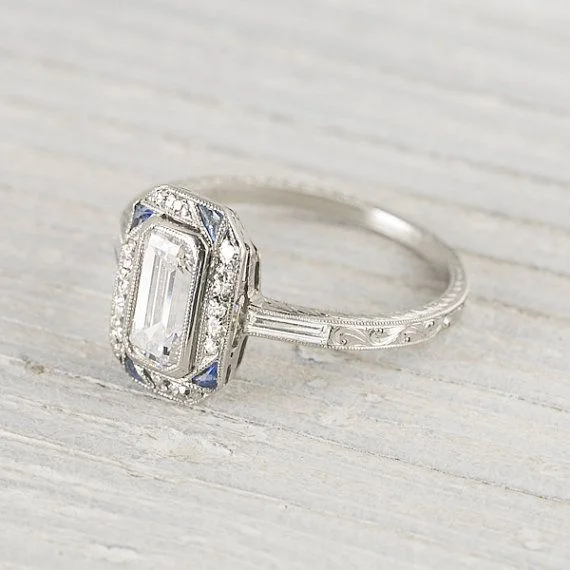
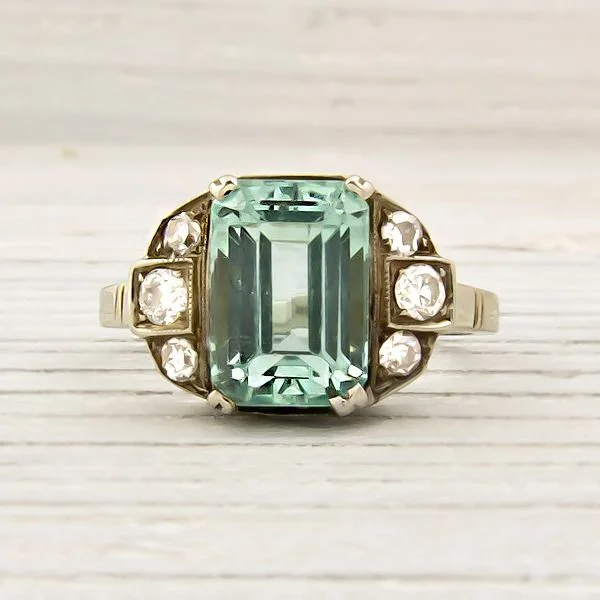
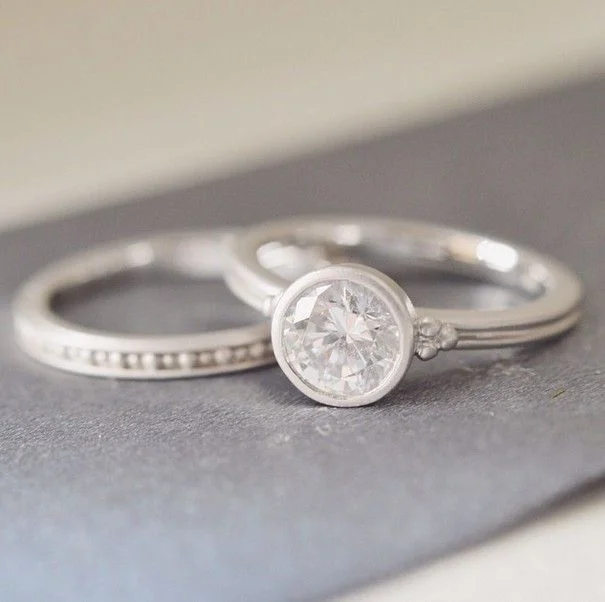
Gorgeous Rings
I love engagement rings that are vintage-inspired, and sometimes halo setting. Here are a few ideas to get you inspired! Click on the images to learn more.


A Fresh Take On February
It's supposed to snow like non other tonight, so I wanted to share some images that remind me of the opposite of cold weather! Click the images to learn more about each item.


Raspberry Gin and Tonic Recipe With Berry-Infused Ice Cubes!
If you love a Gin and Tonic, this recipe is just for you! This drink is light, refreshing, and really goes down smoothly! This Gin and Tonic has a hint of lime, strawberry, and raspberry. And, these would be perfect for Valentine's Day or Date Night! For the ice cubes, in a heart-shaped silicone mold, I filled them up half way with frozen raspberries and chopped up frozen strawberries, then filled the rest of the way with regular water. They're so cute!
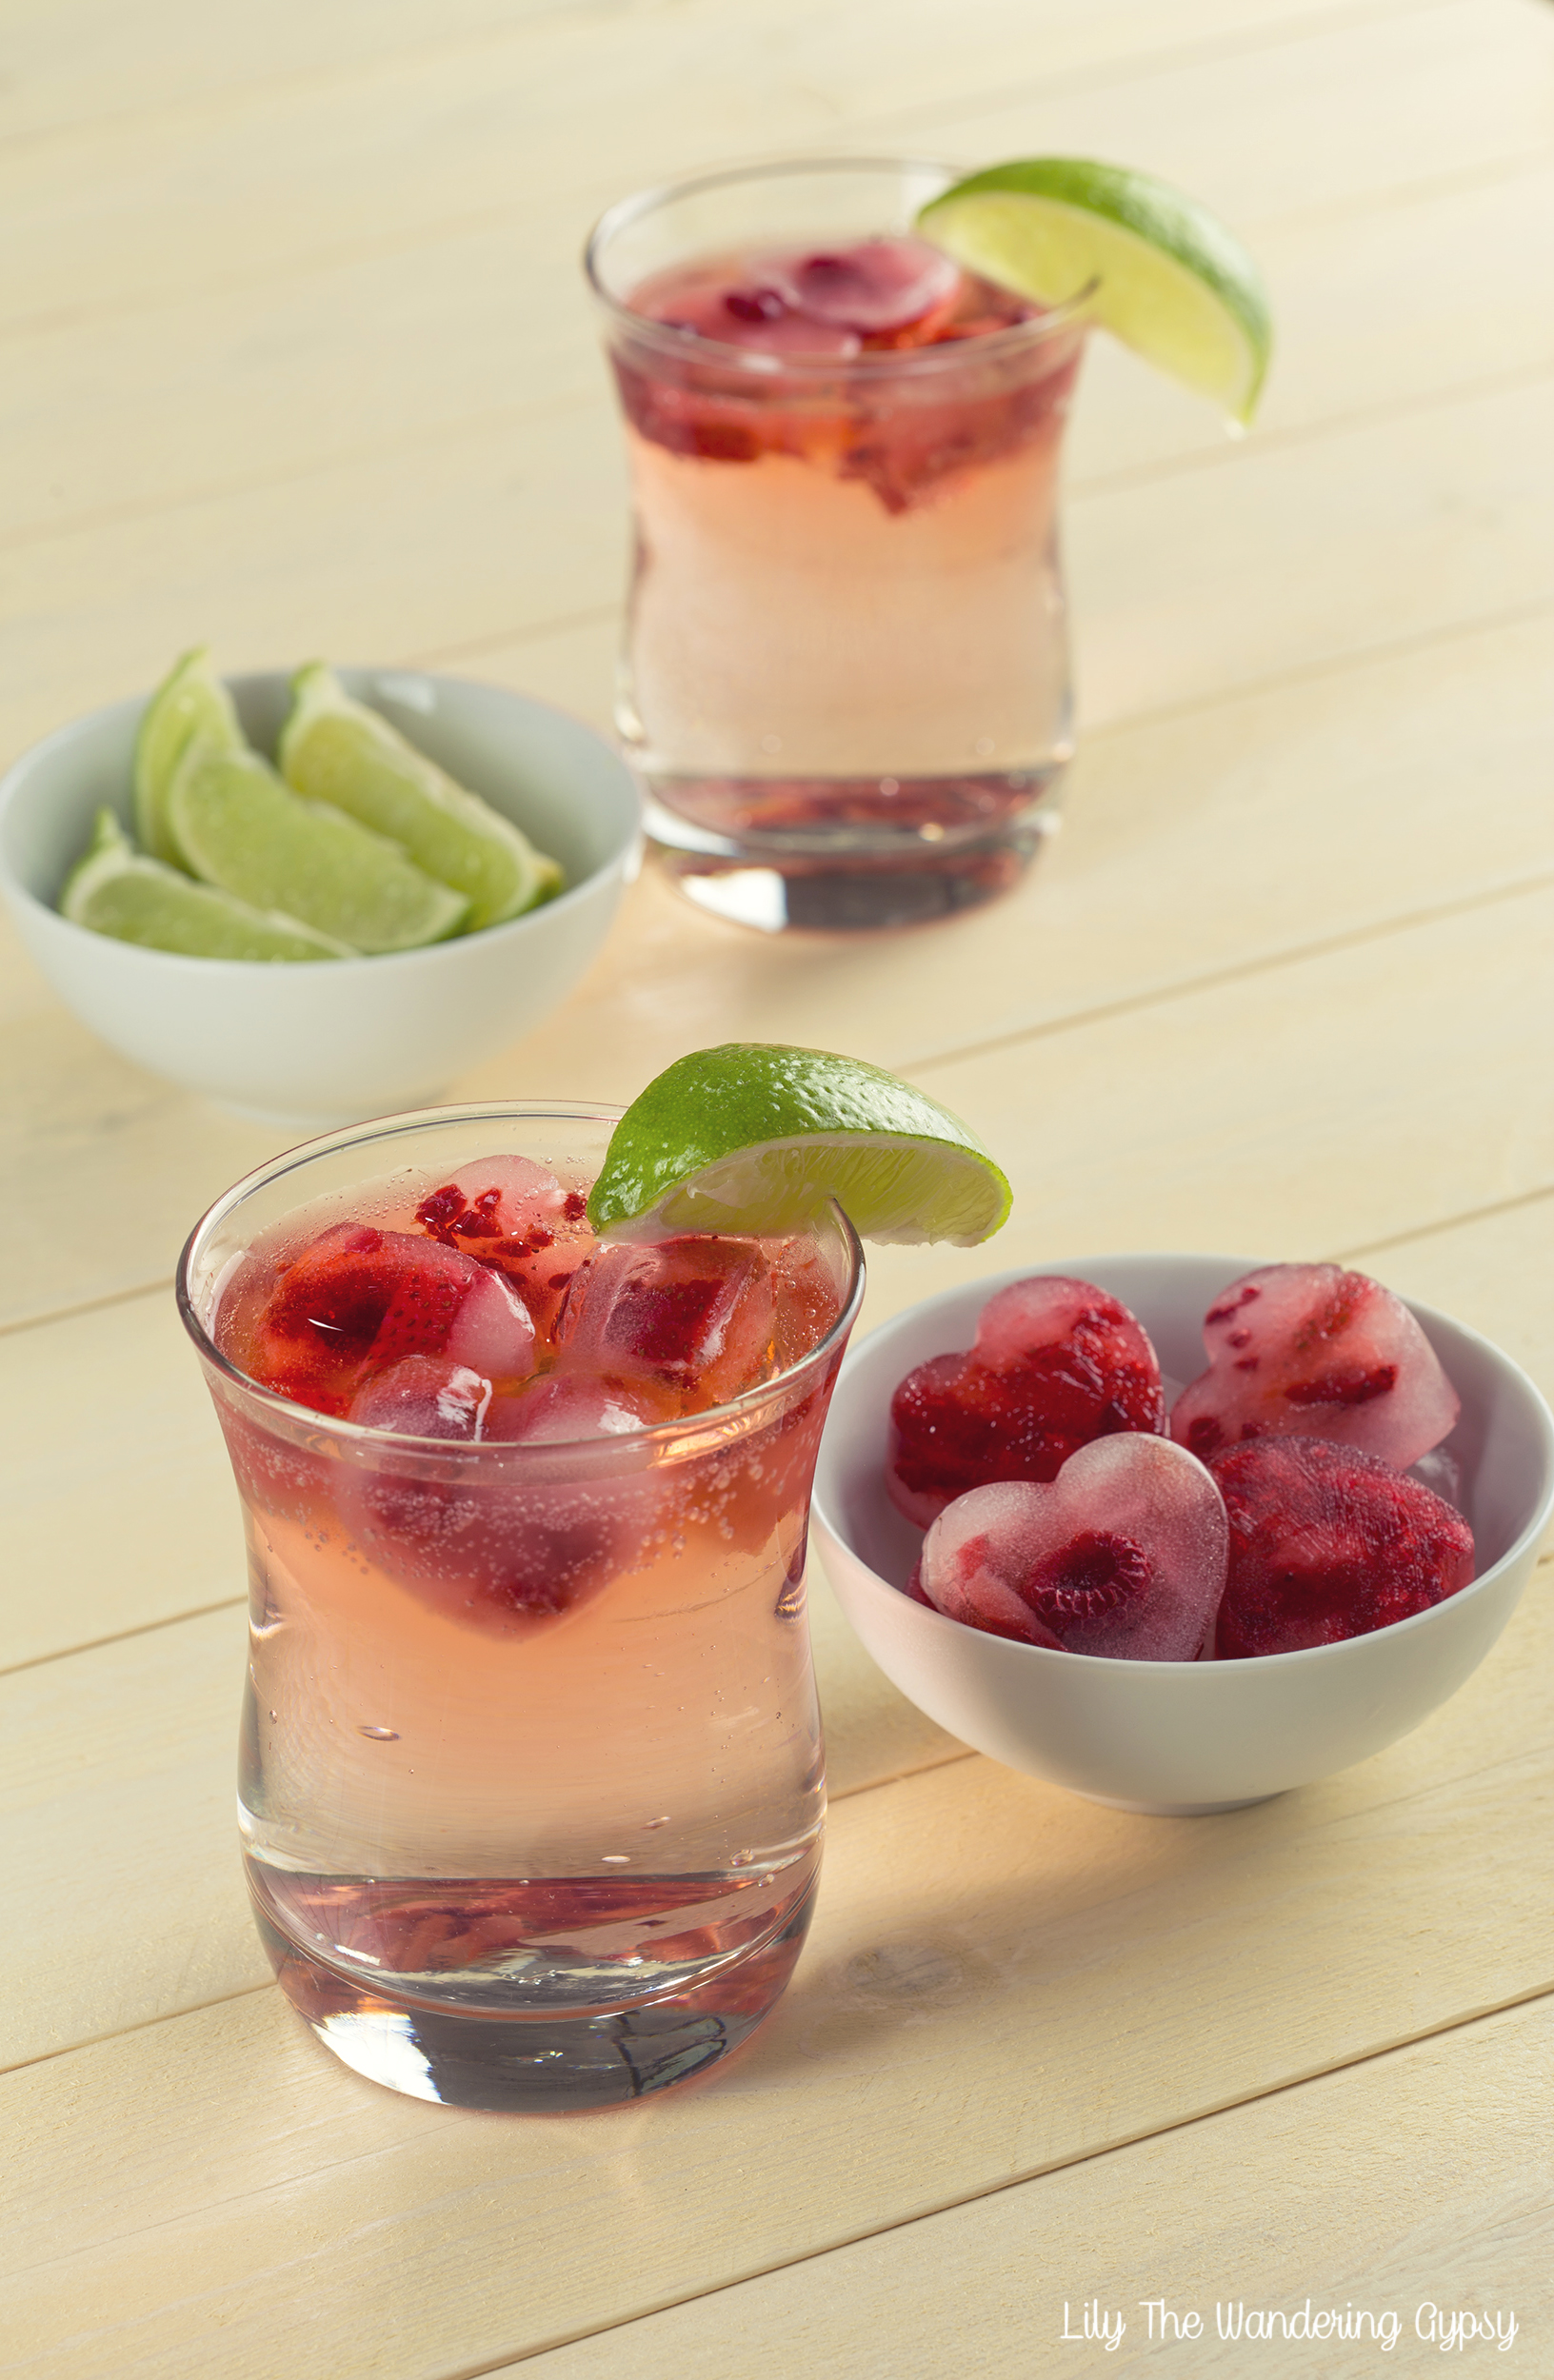
RASPBERRY GIN AND TONIC RECIPE
Ingredients for 2 Drinks:
Begin by making your fruit-infused ice cubes, as instructed above. Once the ice is frozen, mix 4 oz Gin and 10 oz tonic water into a glass. Add about 1/2 tbsp of sugar if these are too tart for you. Feel free to also squeeze some lime juice into the glass, to cover up the gin taste a bit more :) Add the ice cubes (after the gin and tonic water so they retain their shape better), and top with a lime wedge. The ice cubes quickly began to make the drinks a bit pink, which I love! These are so refreshing and I hope you LOVE them!!!

J. Crew Lovelies
I am in love with J. Crew's new items for Spring! They use a nice mix of bright colors, along side of pastels, and they look great. I found a few of these images on jadorejcrew.tumblr.com


Touch of Shimmer
Just a hint of sparkle and shimmer makes a huge impact. Here are a few ways to incorporate shimmer and shine into your life right now! Click the images to learn more about them.

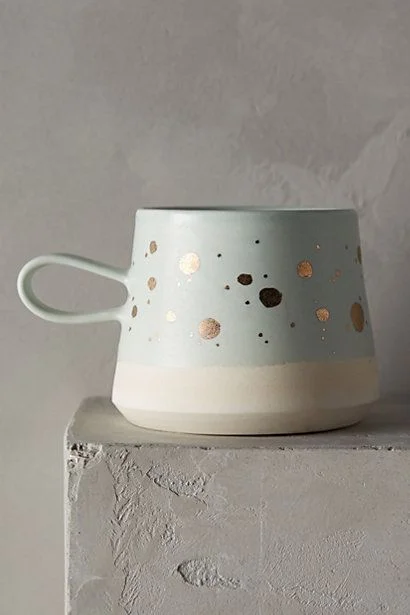

Shore Project Watches
Shore Project Watches are absolutely gorgeous! They're classic, sleek, and are so cute. The mint might be my favorite! And the white dots are so cute :) Click on the images to learn more!


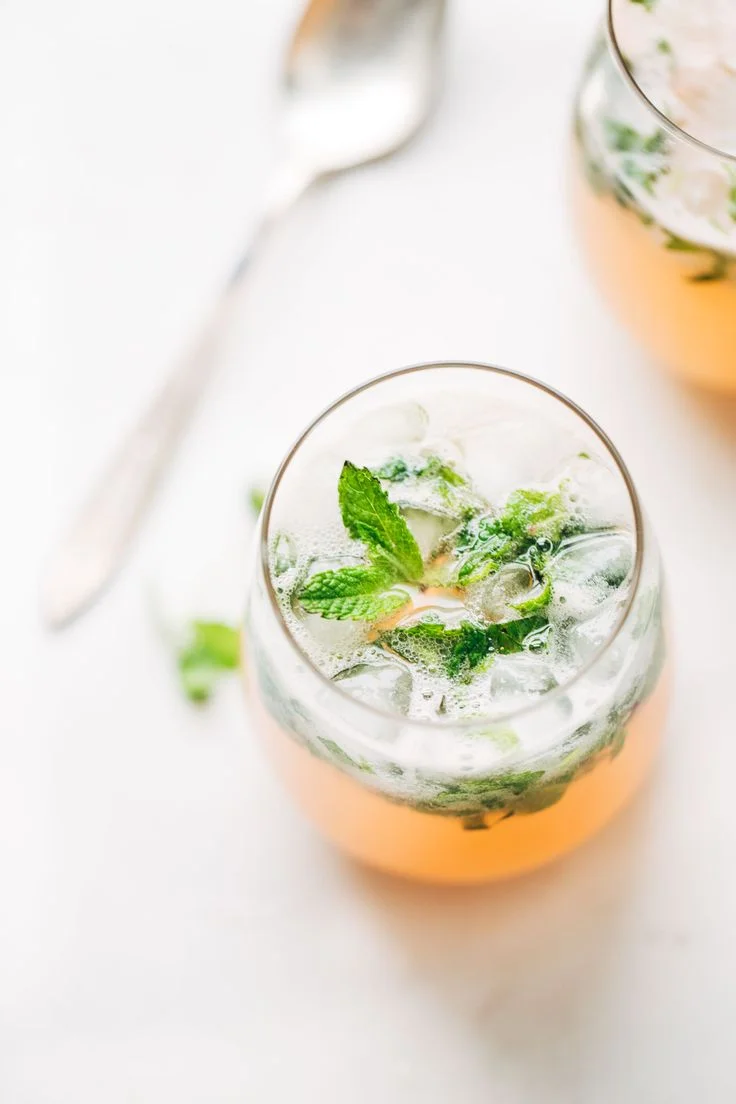
Warm Wishes!
It is so nice out today, it has inspired me to share some warm wishes with you all! Here are a few images that remind me of warmer times...


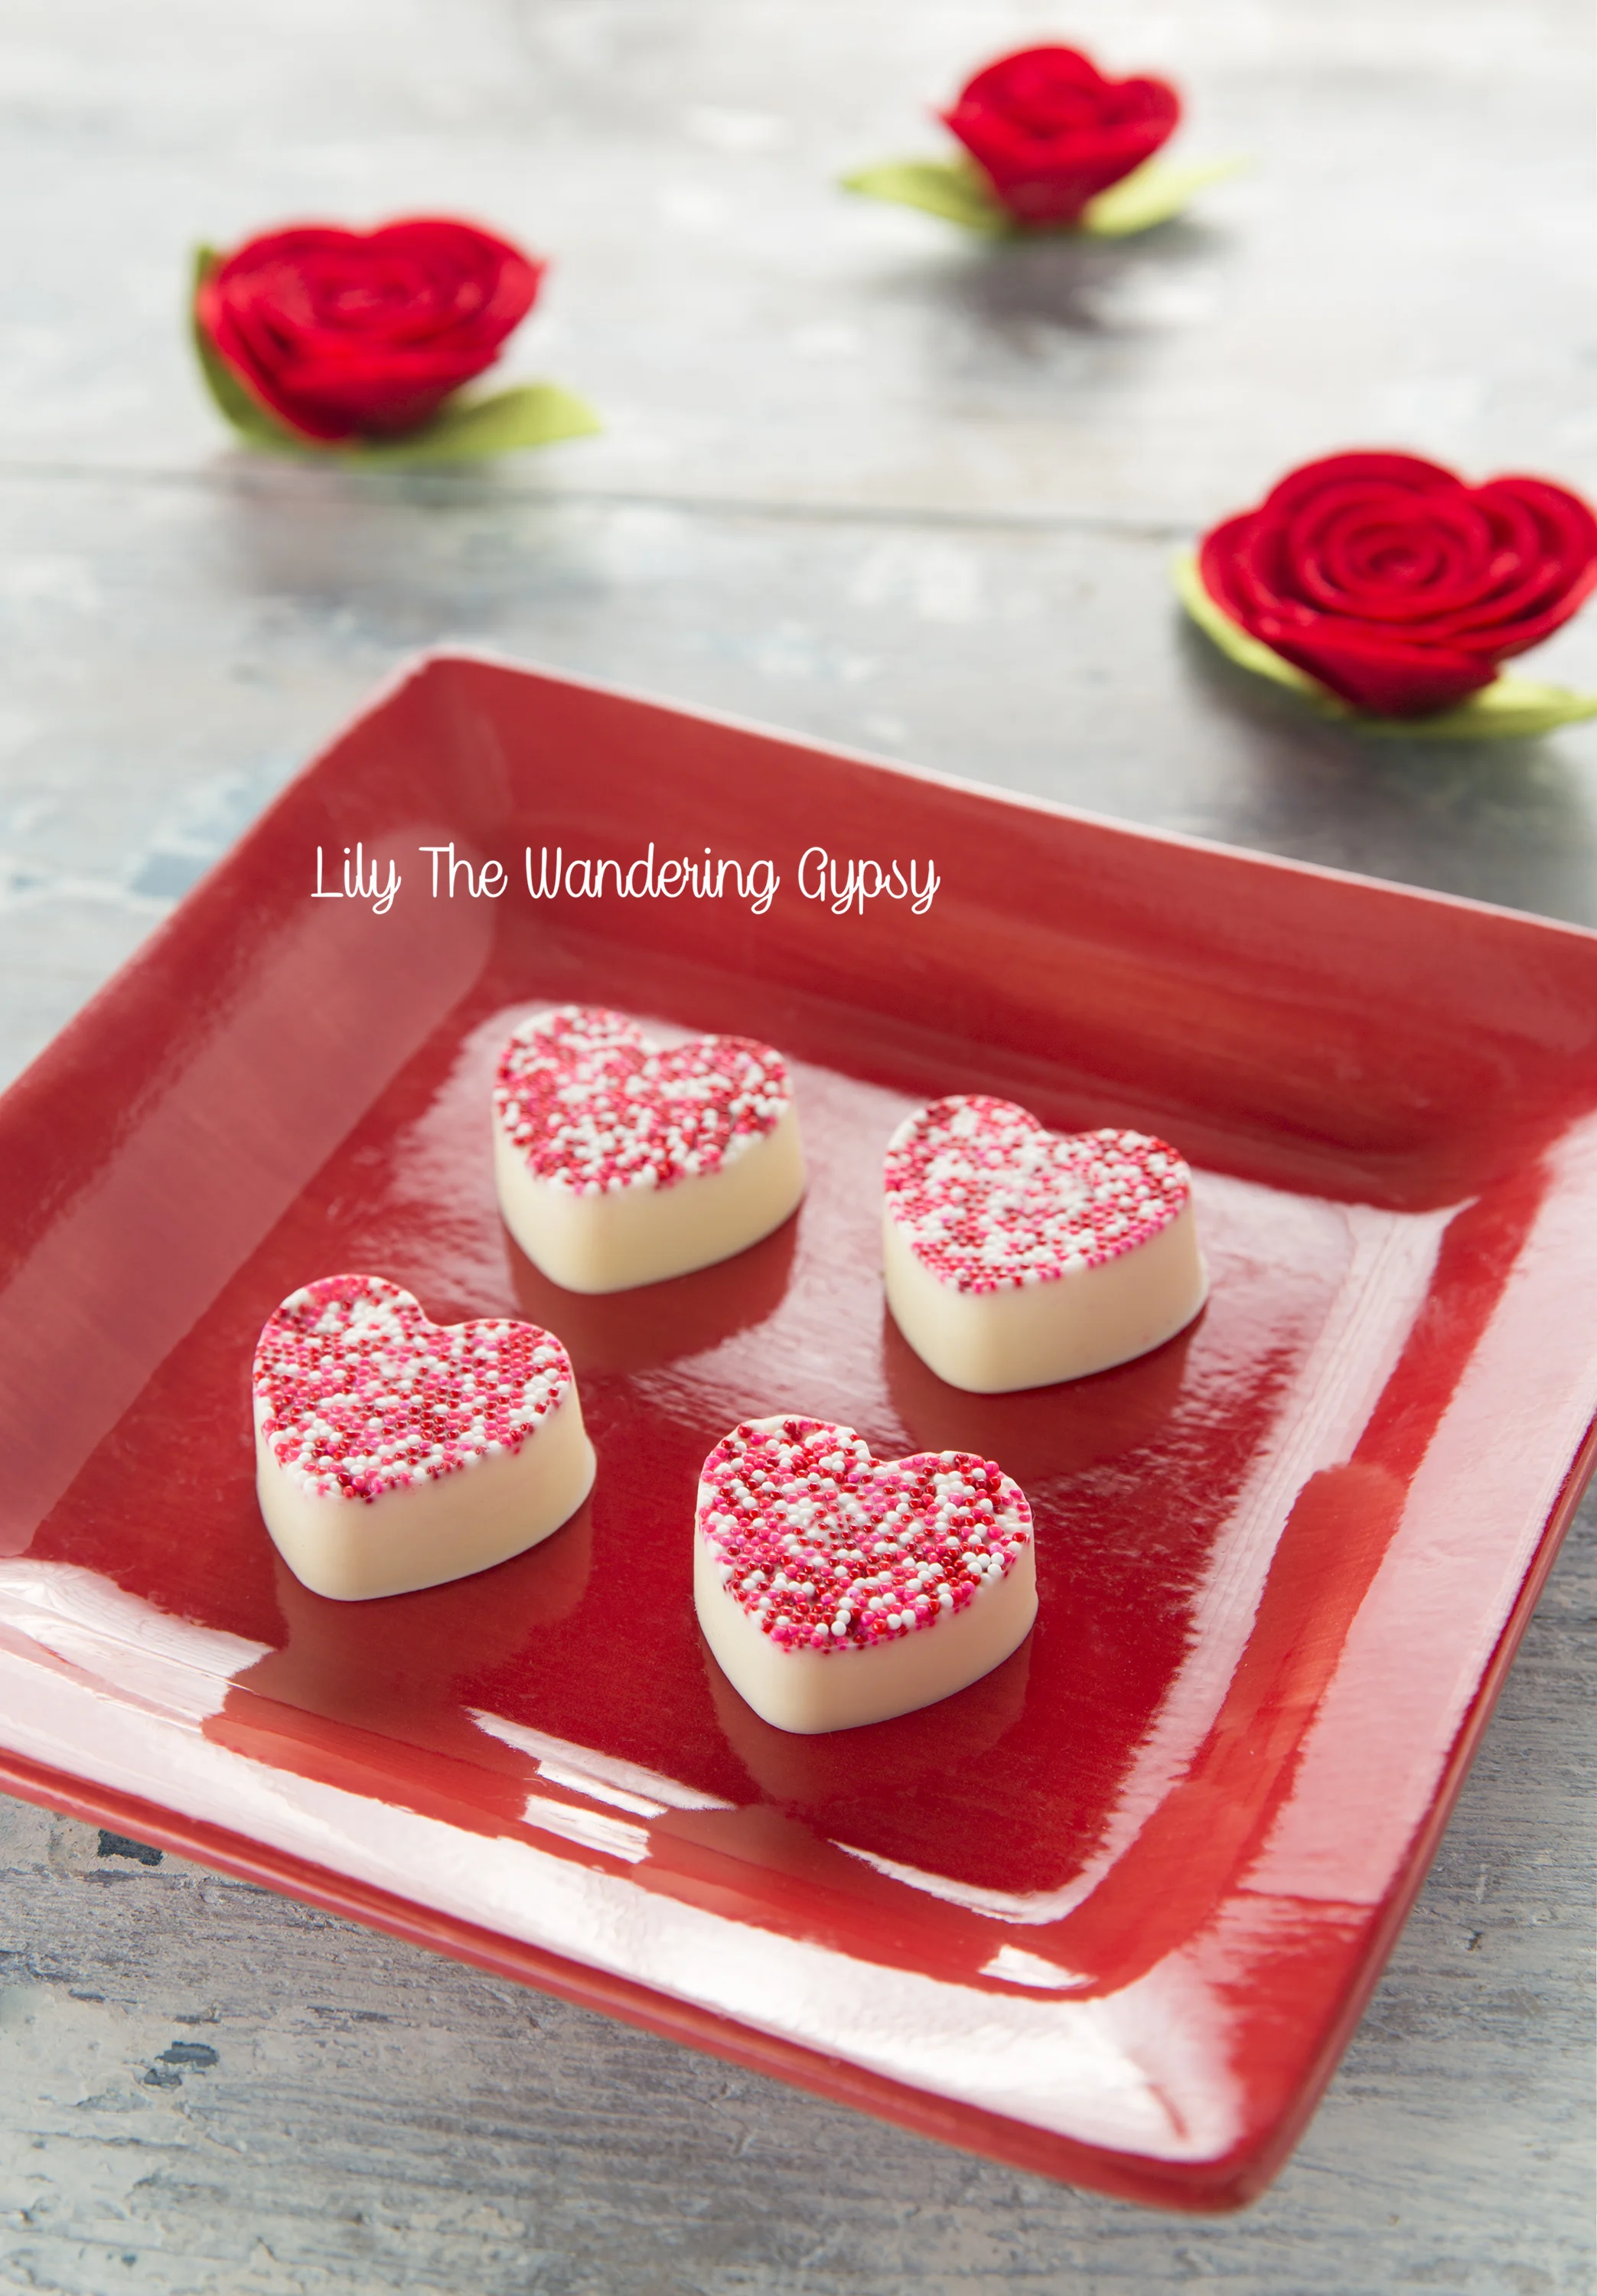
Gourmet Candy Hearts - Made At Home - Makes A Great Gift!
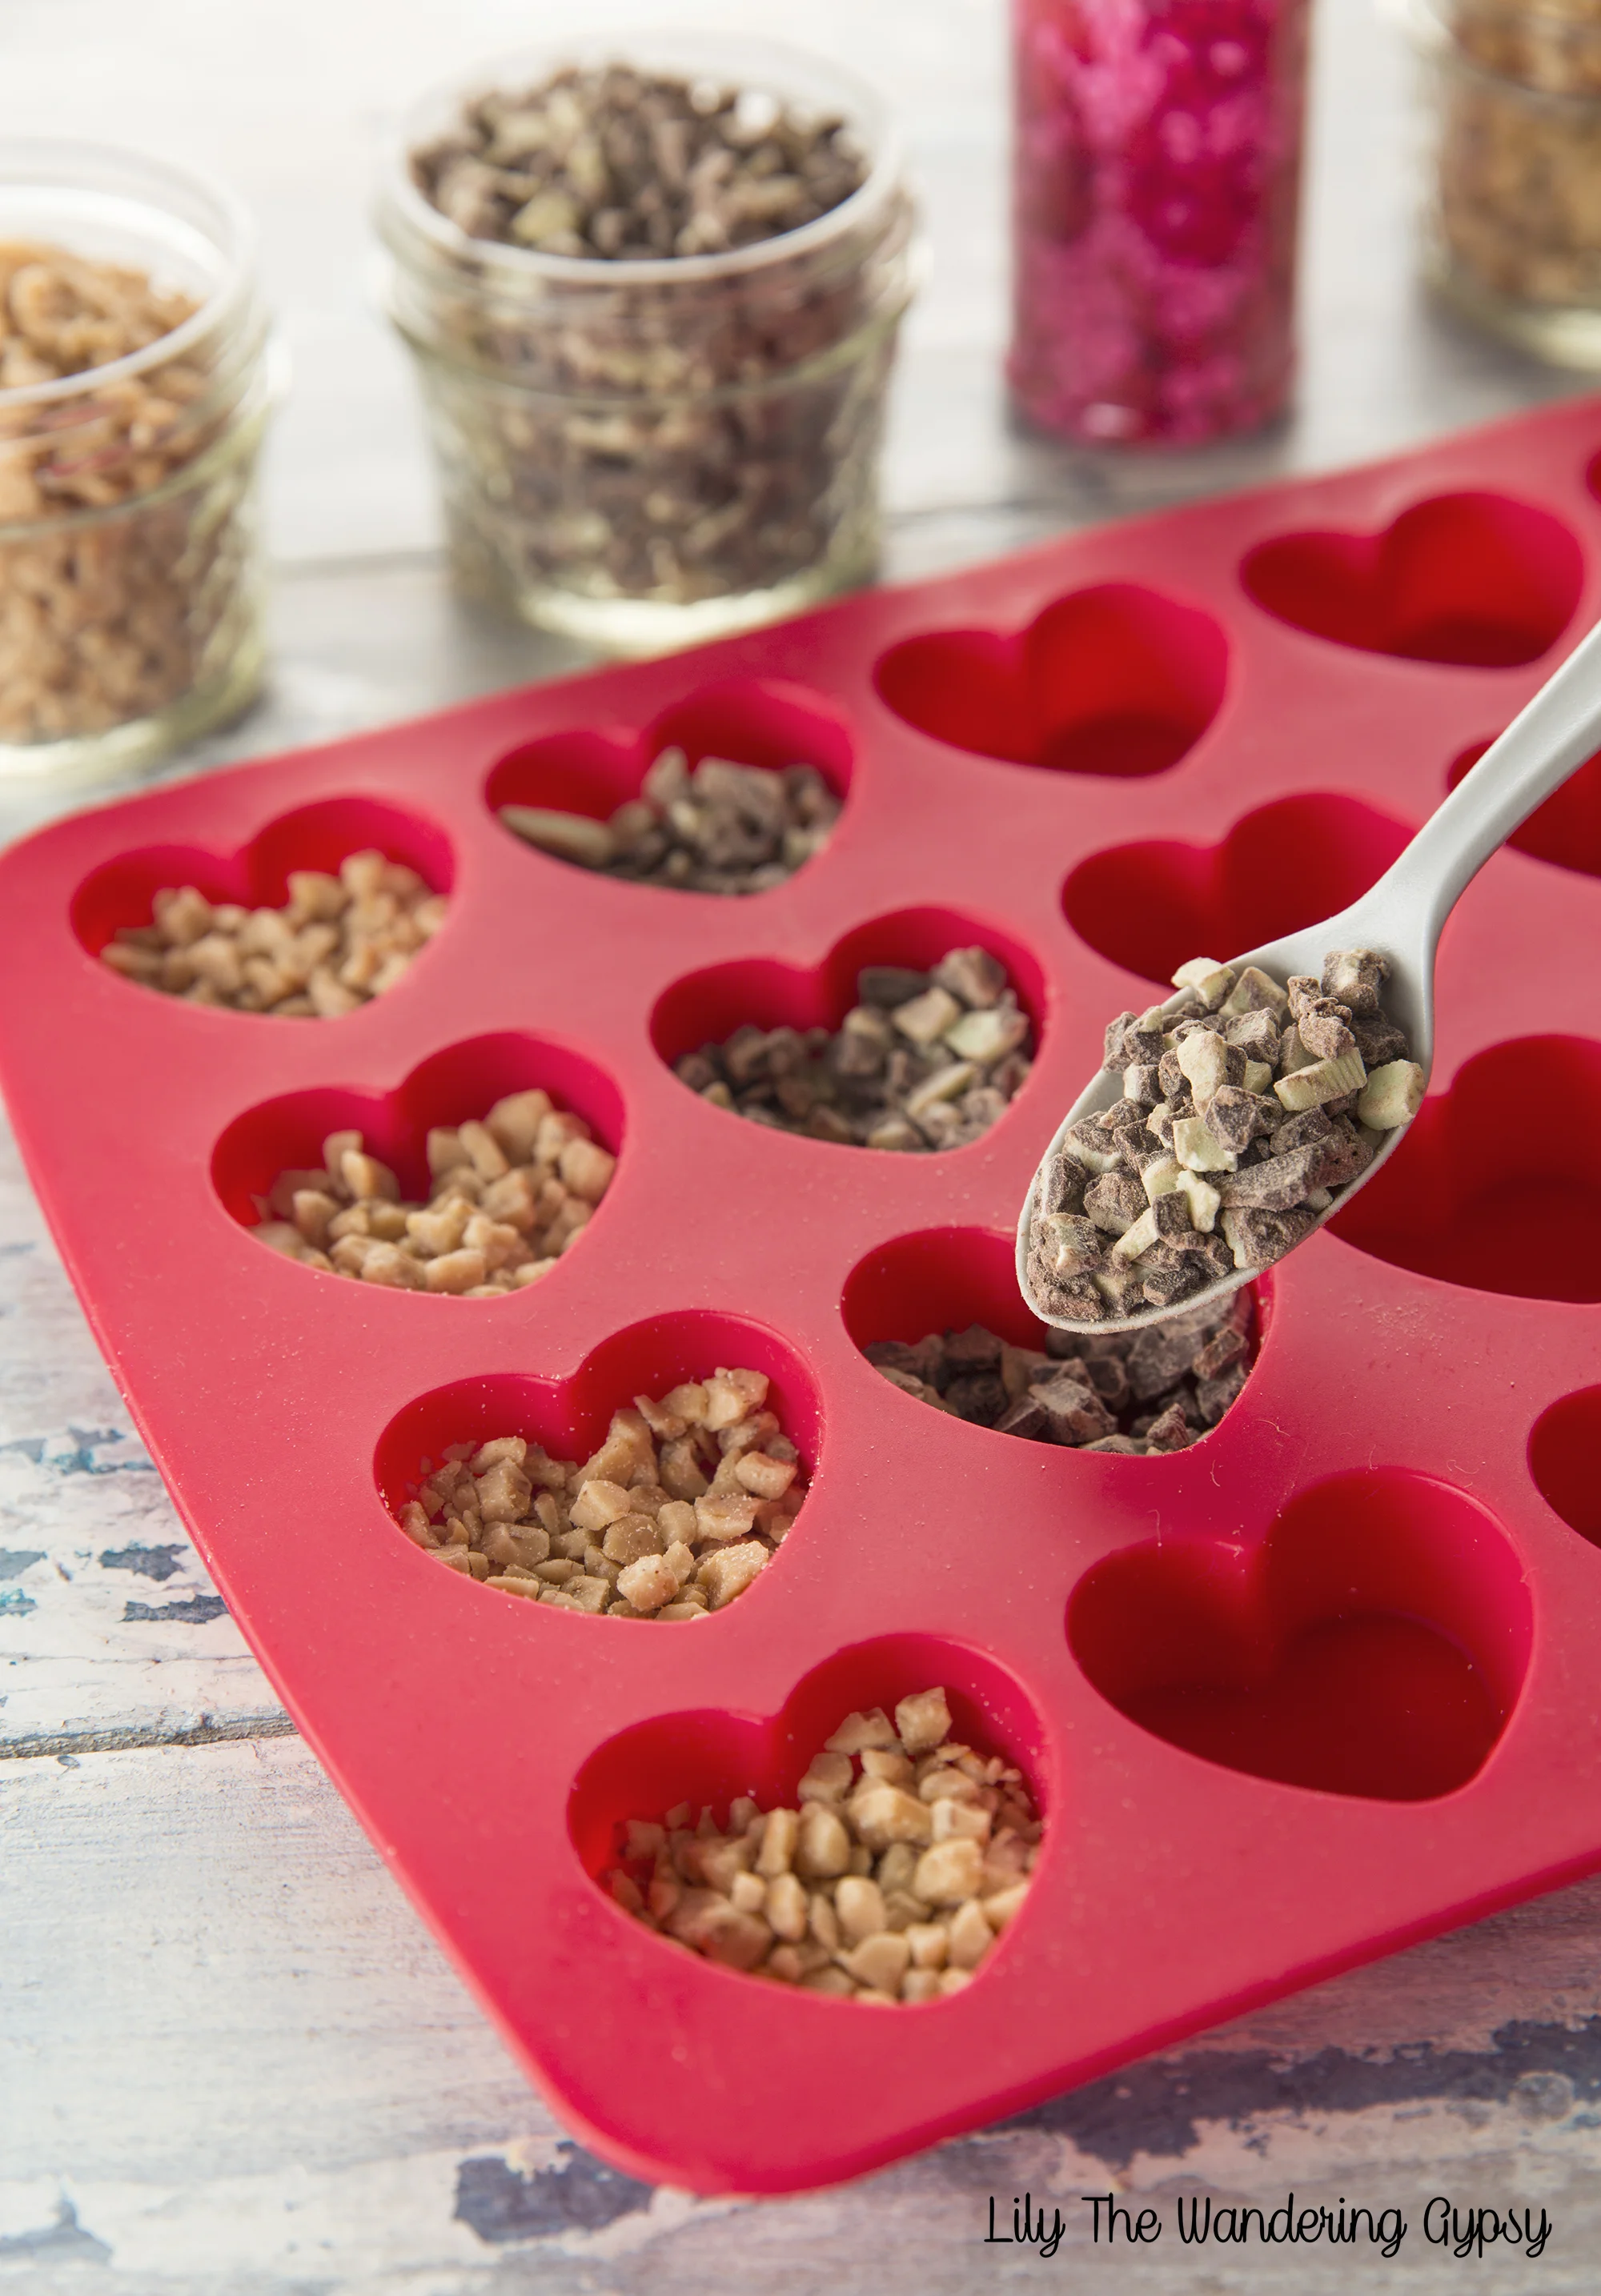
I had so much fun creating these heart chocolates. I made them in several varieties, and I am going to tell you how each one turned out! I used the highest-quality ingredients, mostly from the baking aisle and craft stores (for the heart mold and sprinkles). These turned out great!

GOURMET HEART CANDIES - AT HOME
Ghirardelli White Chocolate Melting Chips
Chopped Walnuts
*Note - do not use almond bark or candy melts for this method*
For best results, use a spoon to place toppings into mold.
Also - place heart mold onto a baking sheet or cutting board to transport them into the freezer.
These would be the perfect Valentine's Day gift for someone who loves sweets but is hard to shop for! These aren't super expensive to make, like some seasonal recipes are, either!

MY TOPPINGS TIPS
Heath - make sure to only use a light, single layer of these or they won't all stick to the chocolate.
Andes - My favorite! Fill with Andes about 1/3 of the way.
Sprinkles - Look best on white chocolate, rather than milk.
Chopped Walnuts - Use only a light layer, similar to Heath.
Larger Sprinkles - use a single layer for best results.
*The prettiest ones were the little nonpareils (tiny ball sprinkles) in a single layer*
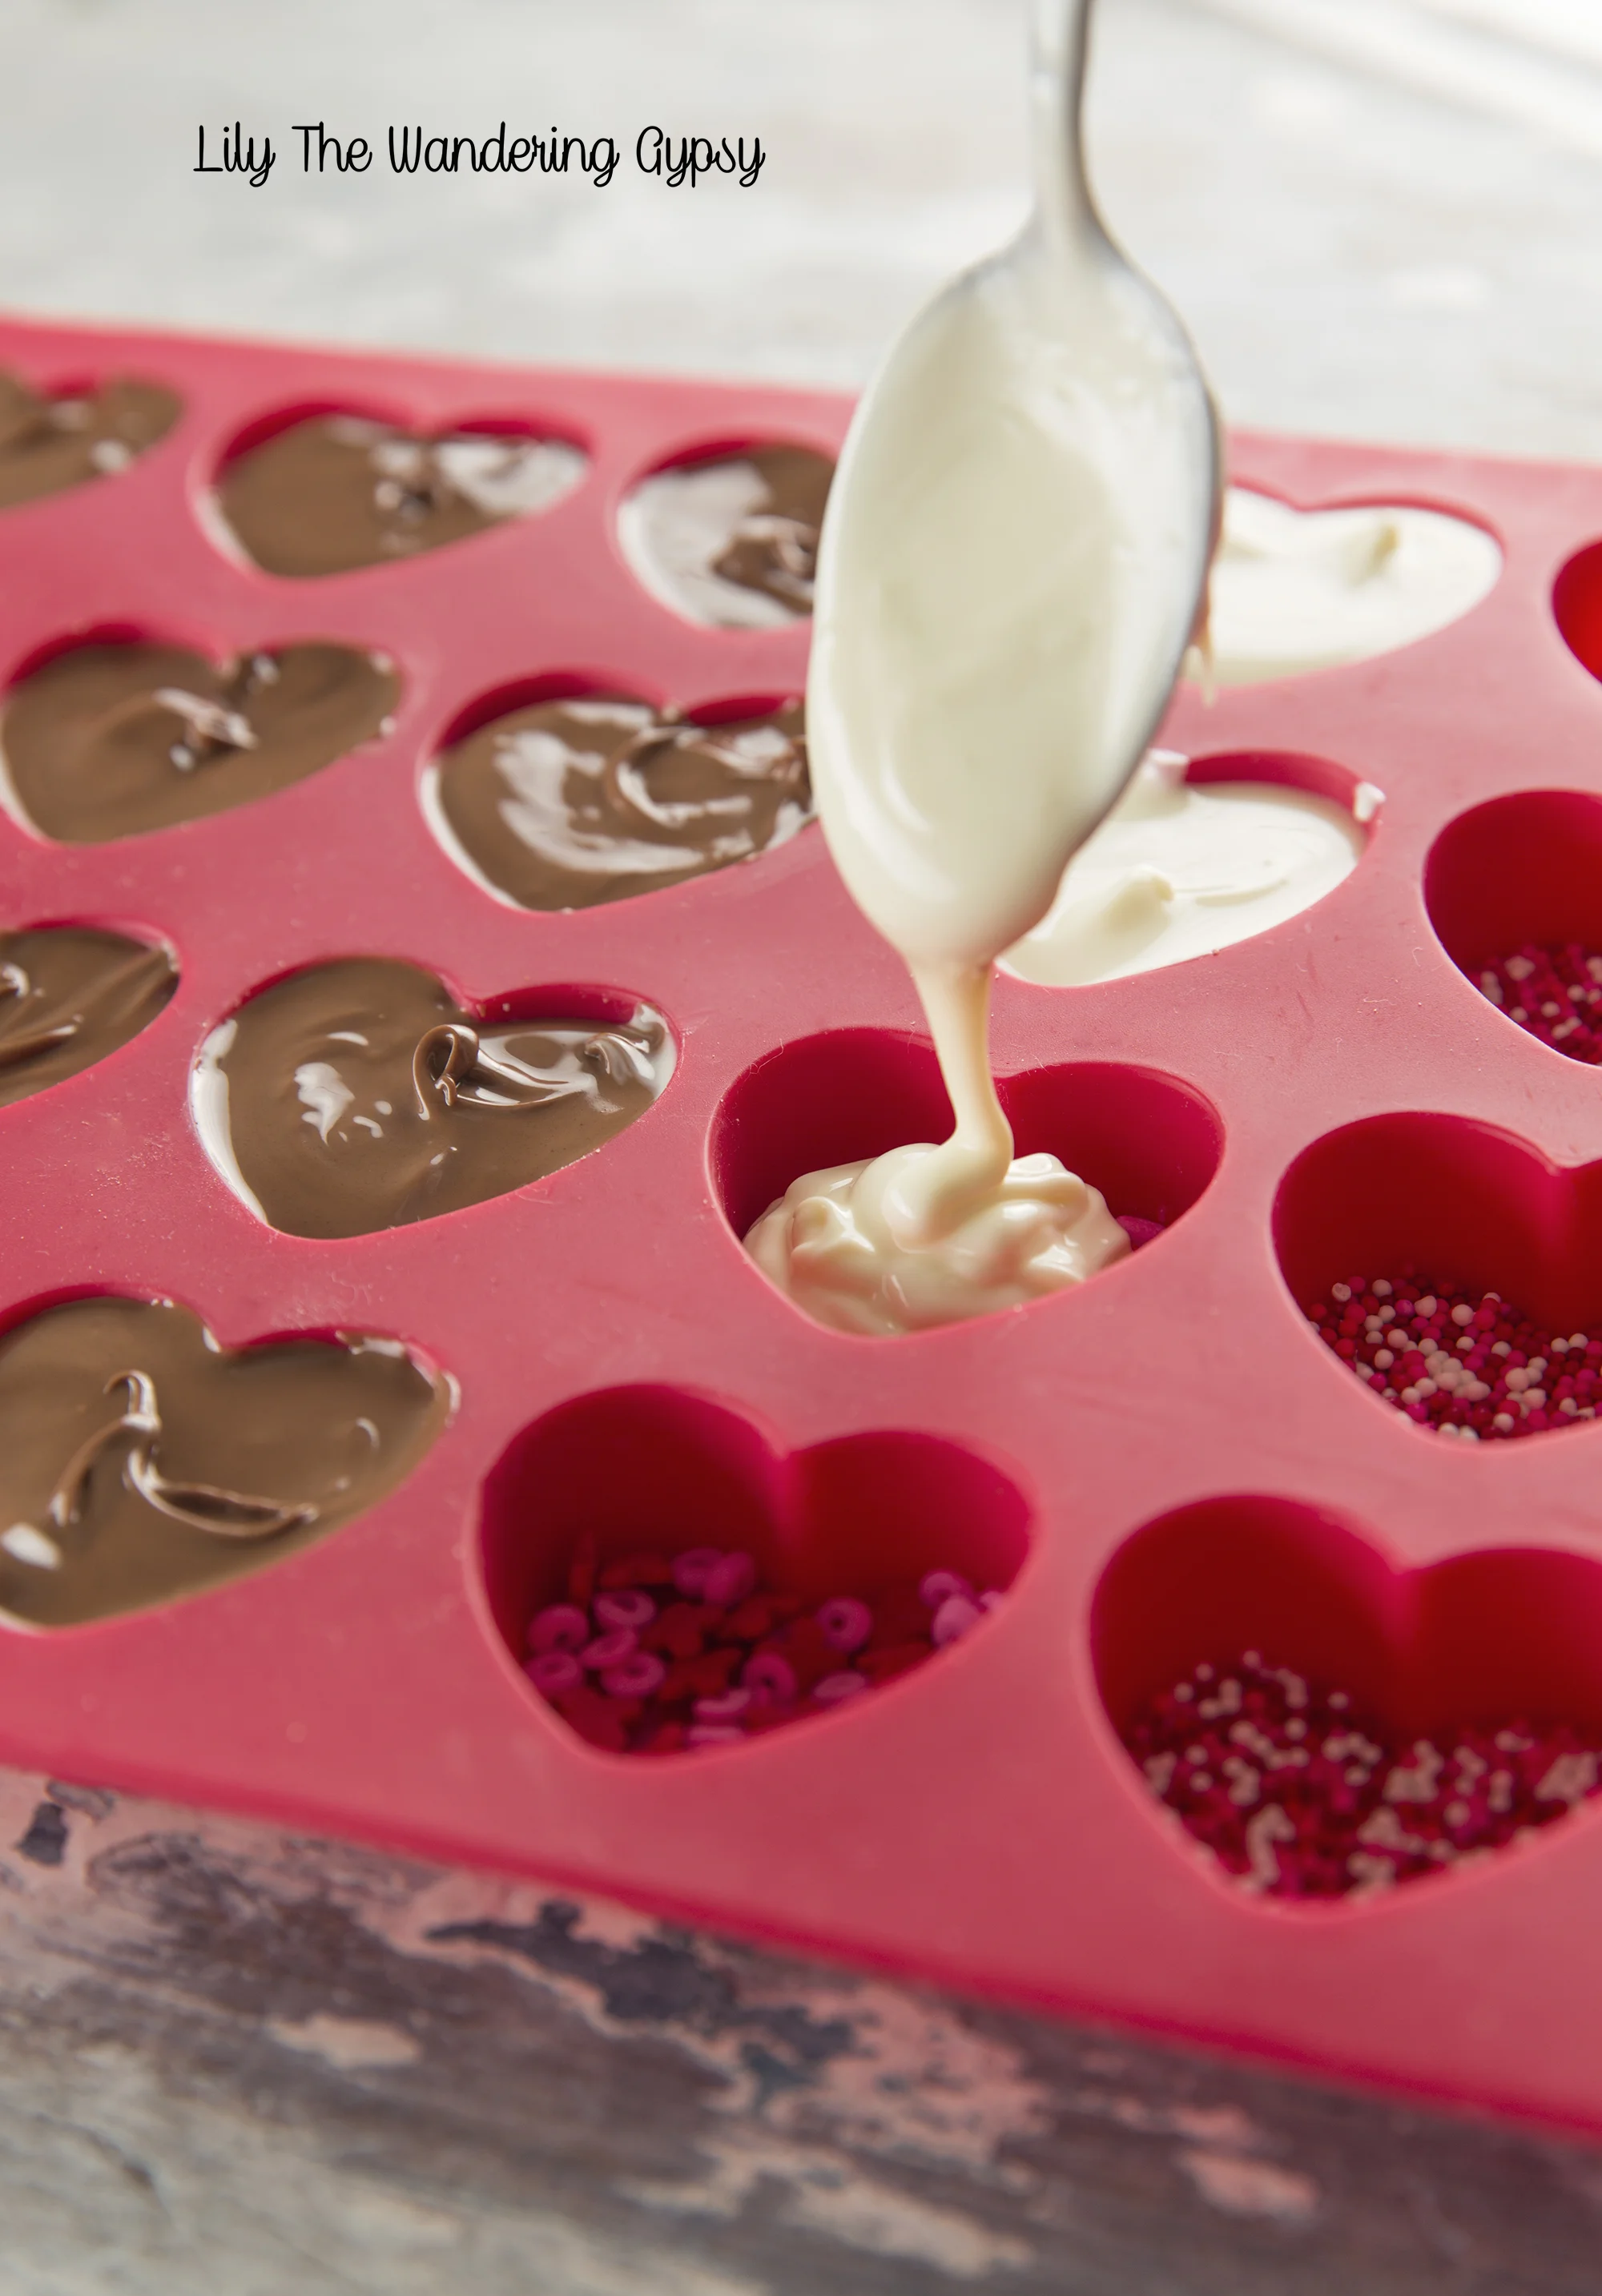
Now, melt the chocolate! I used a double boiler method (explained here - but do not add any butter). I used a shallow, medium pot and filled it about 1/3 of the way with water. I placed two 2 Cup Pyrex measuring cups in the water for a double boiler. Melt 1 package each of the milk chocolate and white chocolate in separate cups. Slowly melt the chocolates, and stir frequently. They should be smooth and move easily.
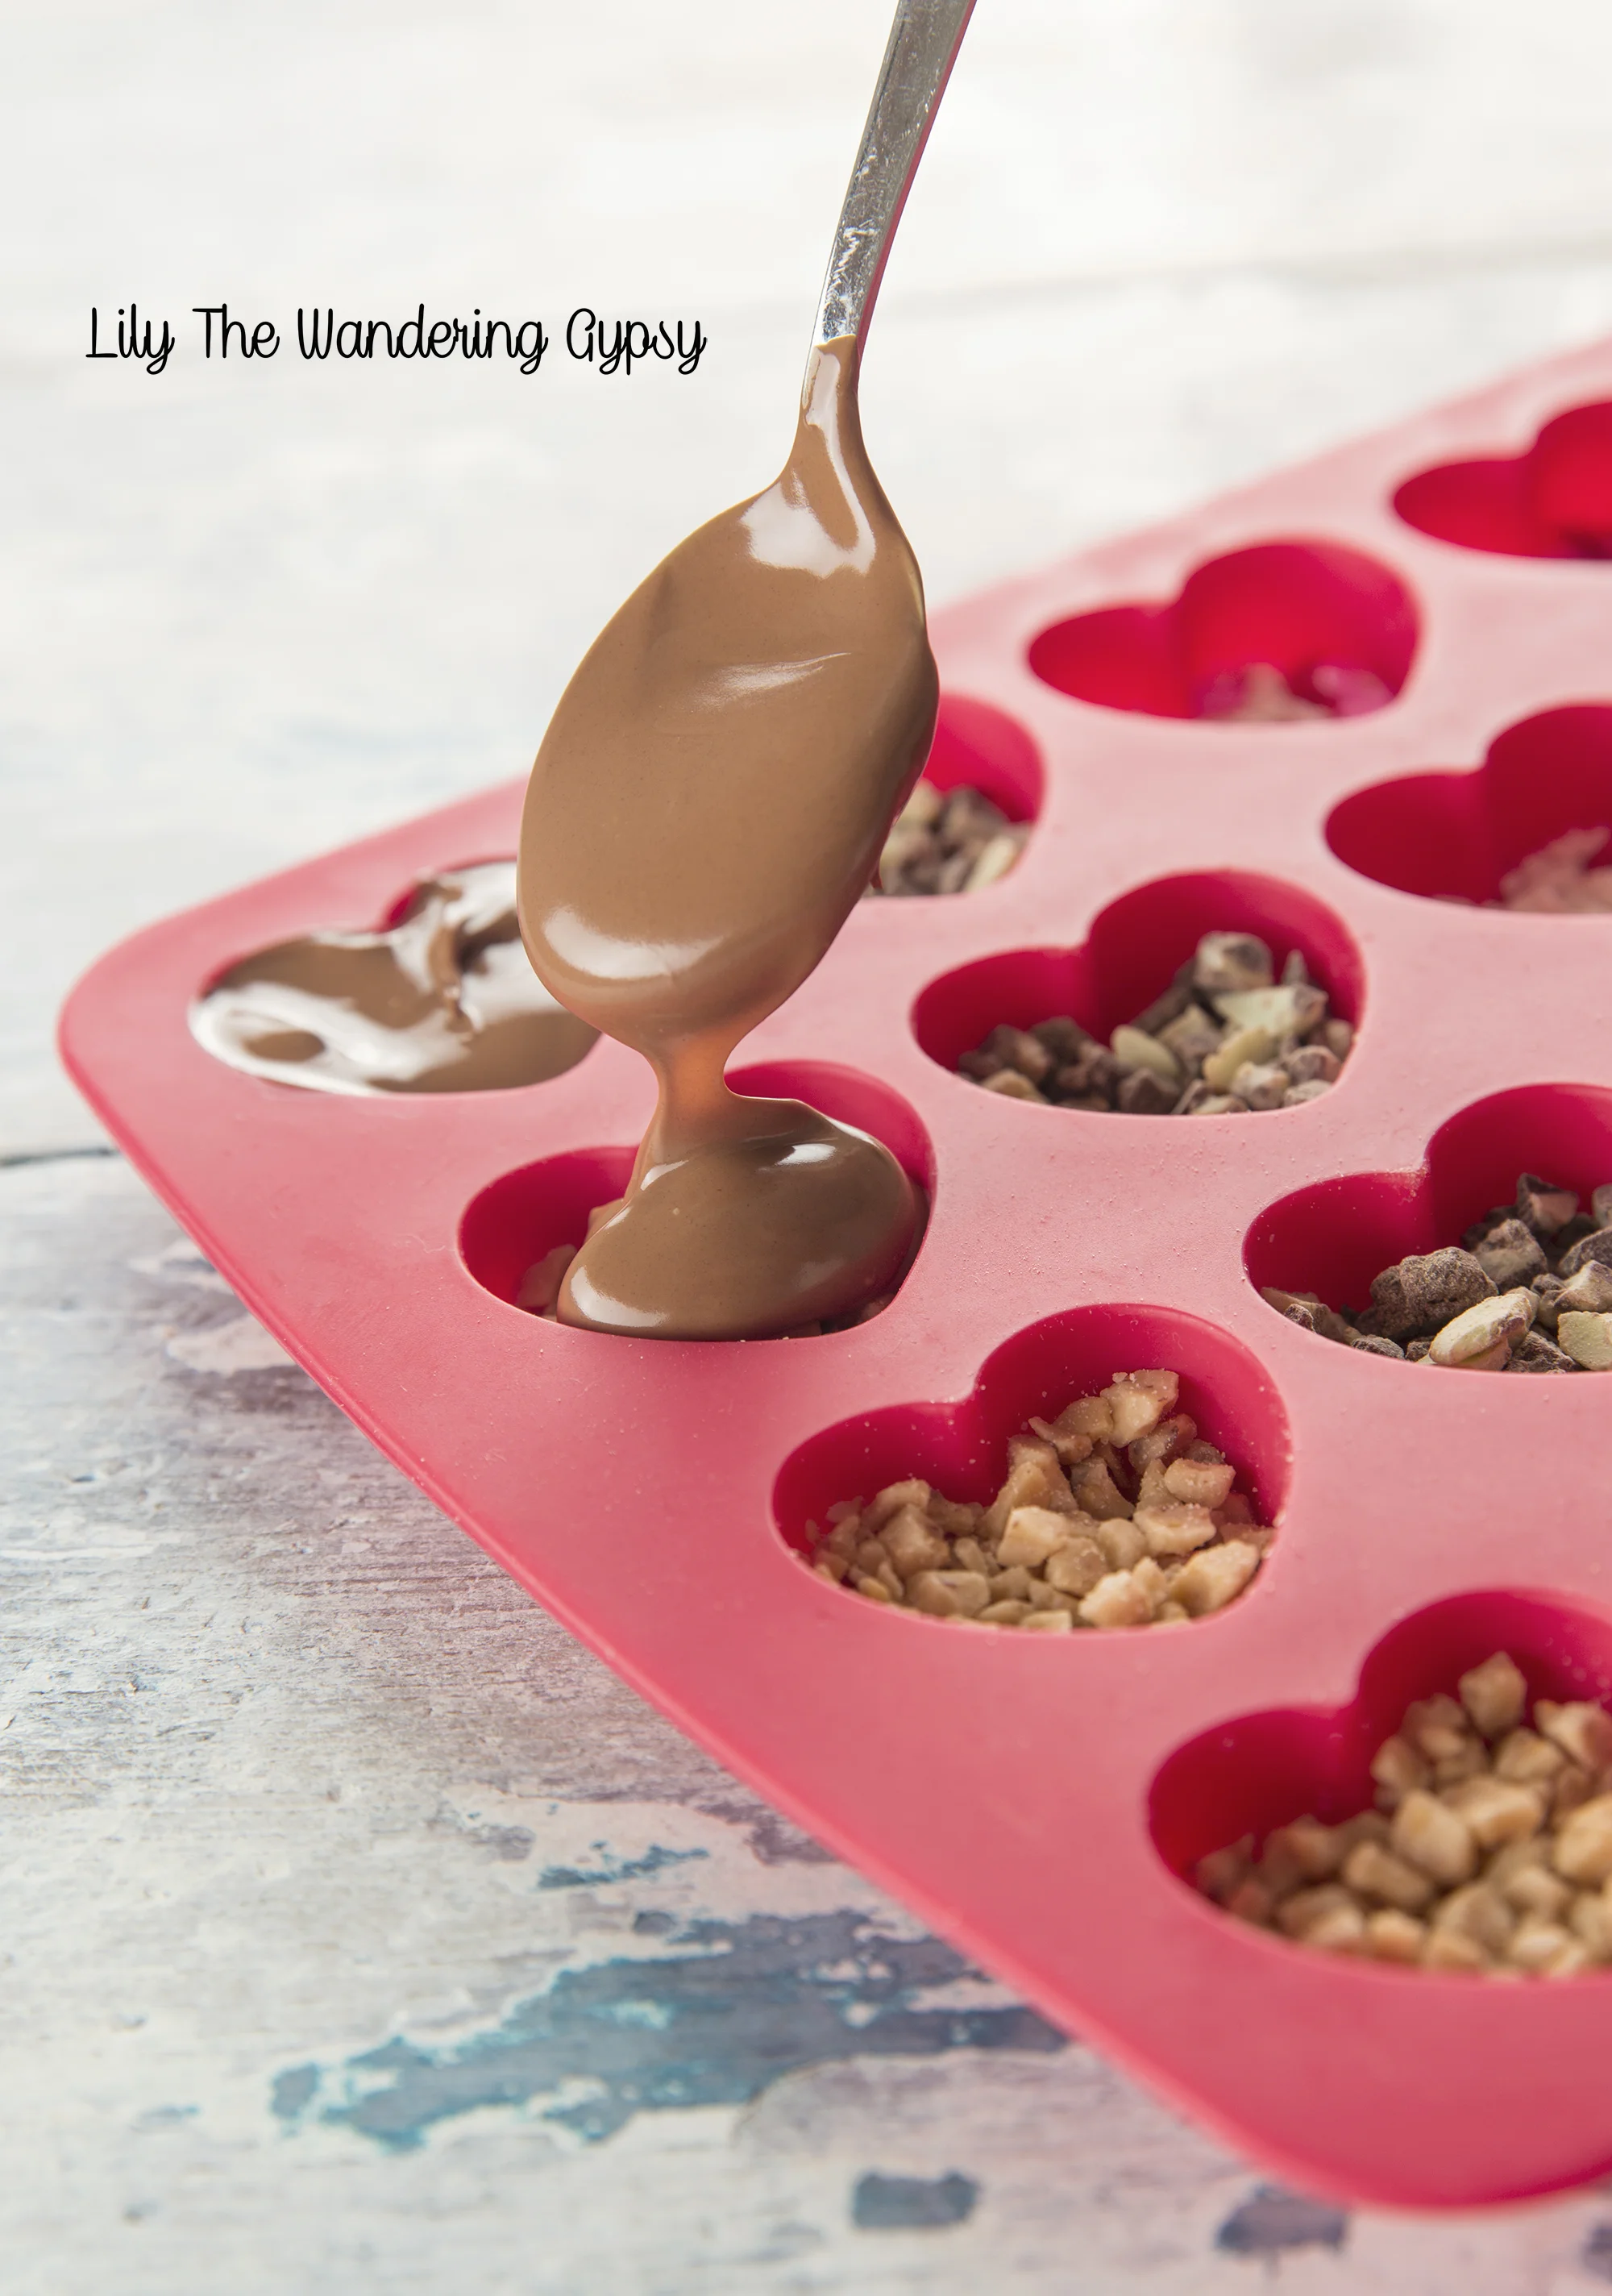
Once your melted chocolate is smooth, remove the cups with an oven mitt, and place them onto a towel near your work space. Get a little bit of chocolate onto a spoon, and begin adding milk chocolate to half of the hearts. Then, white chocolate to the other hearts. Be careful not to get chocolate everywhere, so your end result is prettier.
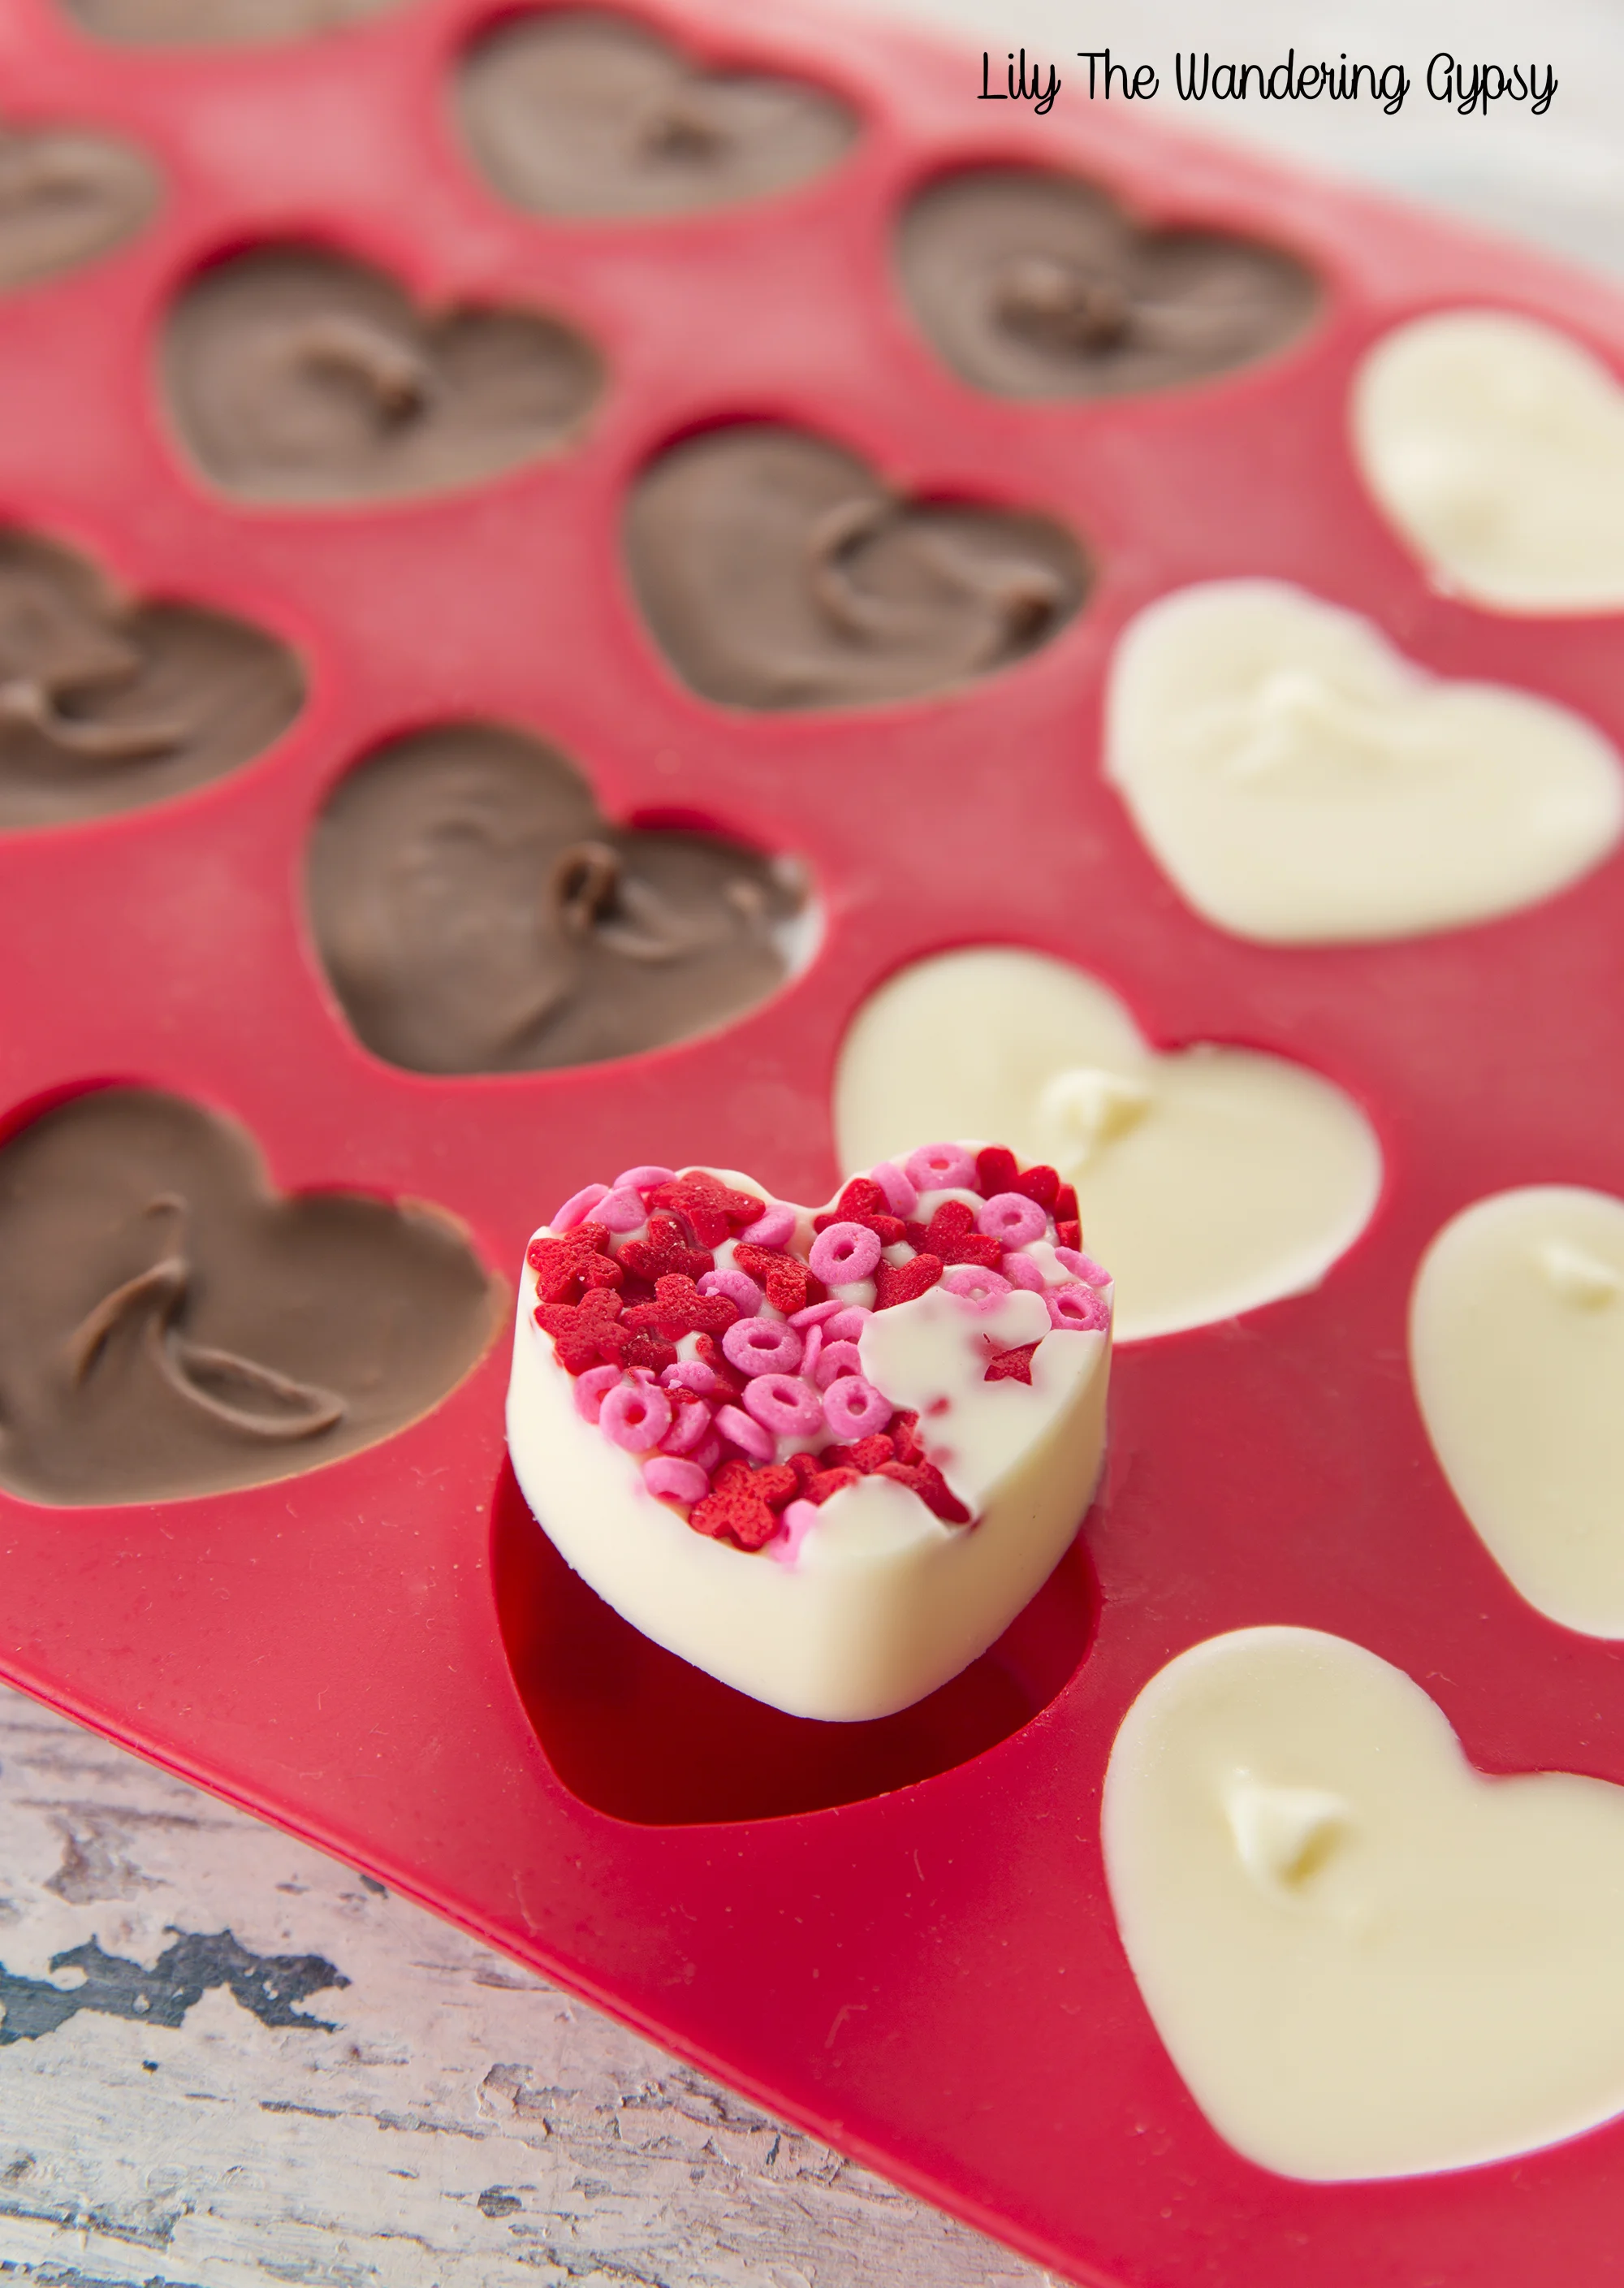
Here they are after being in the freezer for less than an hour! Make sure they are completely cooled and hardened before you move them. One of my favorite parts was removing the fresh chocolates from the molds and seeing my creations! I liked most all of them, and think they would look adorable packaged up all cute for Valentine's Day, Mother's Day, Birthdays, and more!

Cute Heels!
ModCloth is a wonderful website, filled with all sorts of feminine dresses, shoes, and accessories. Their newest shoes are so adorable! I love the photography they have switched to, also. This really makes me want warmer weather to arrive ASAP!!!


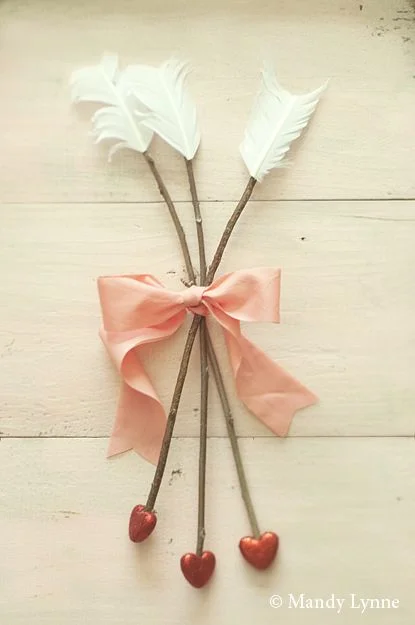
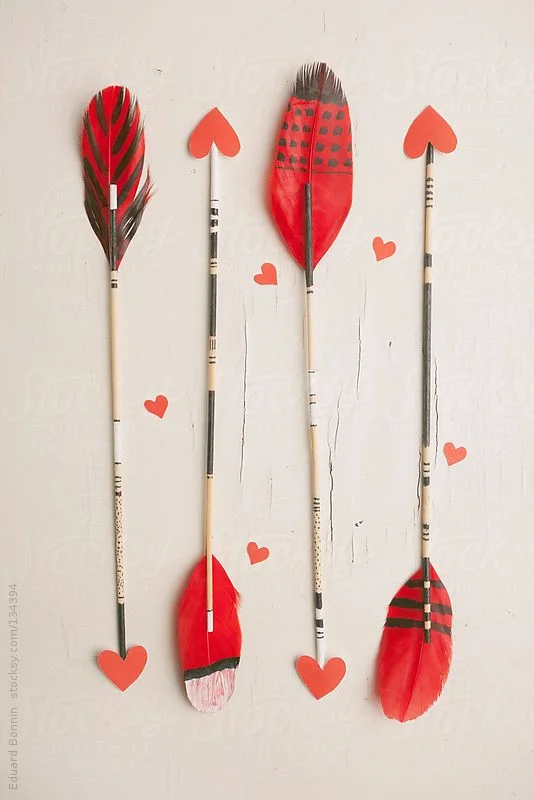
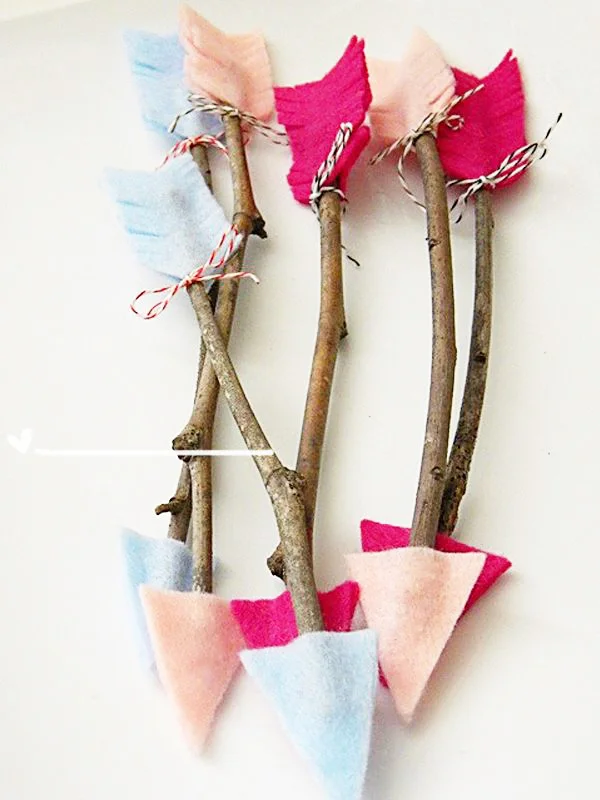
Let Cupid Shoot His Arrow And Inspire Love
I believe in moving forward and taking things as they come to me. I try not to let any situation get me too down, and I believe that is the best way to achieve any kind of progress.


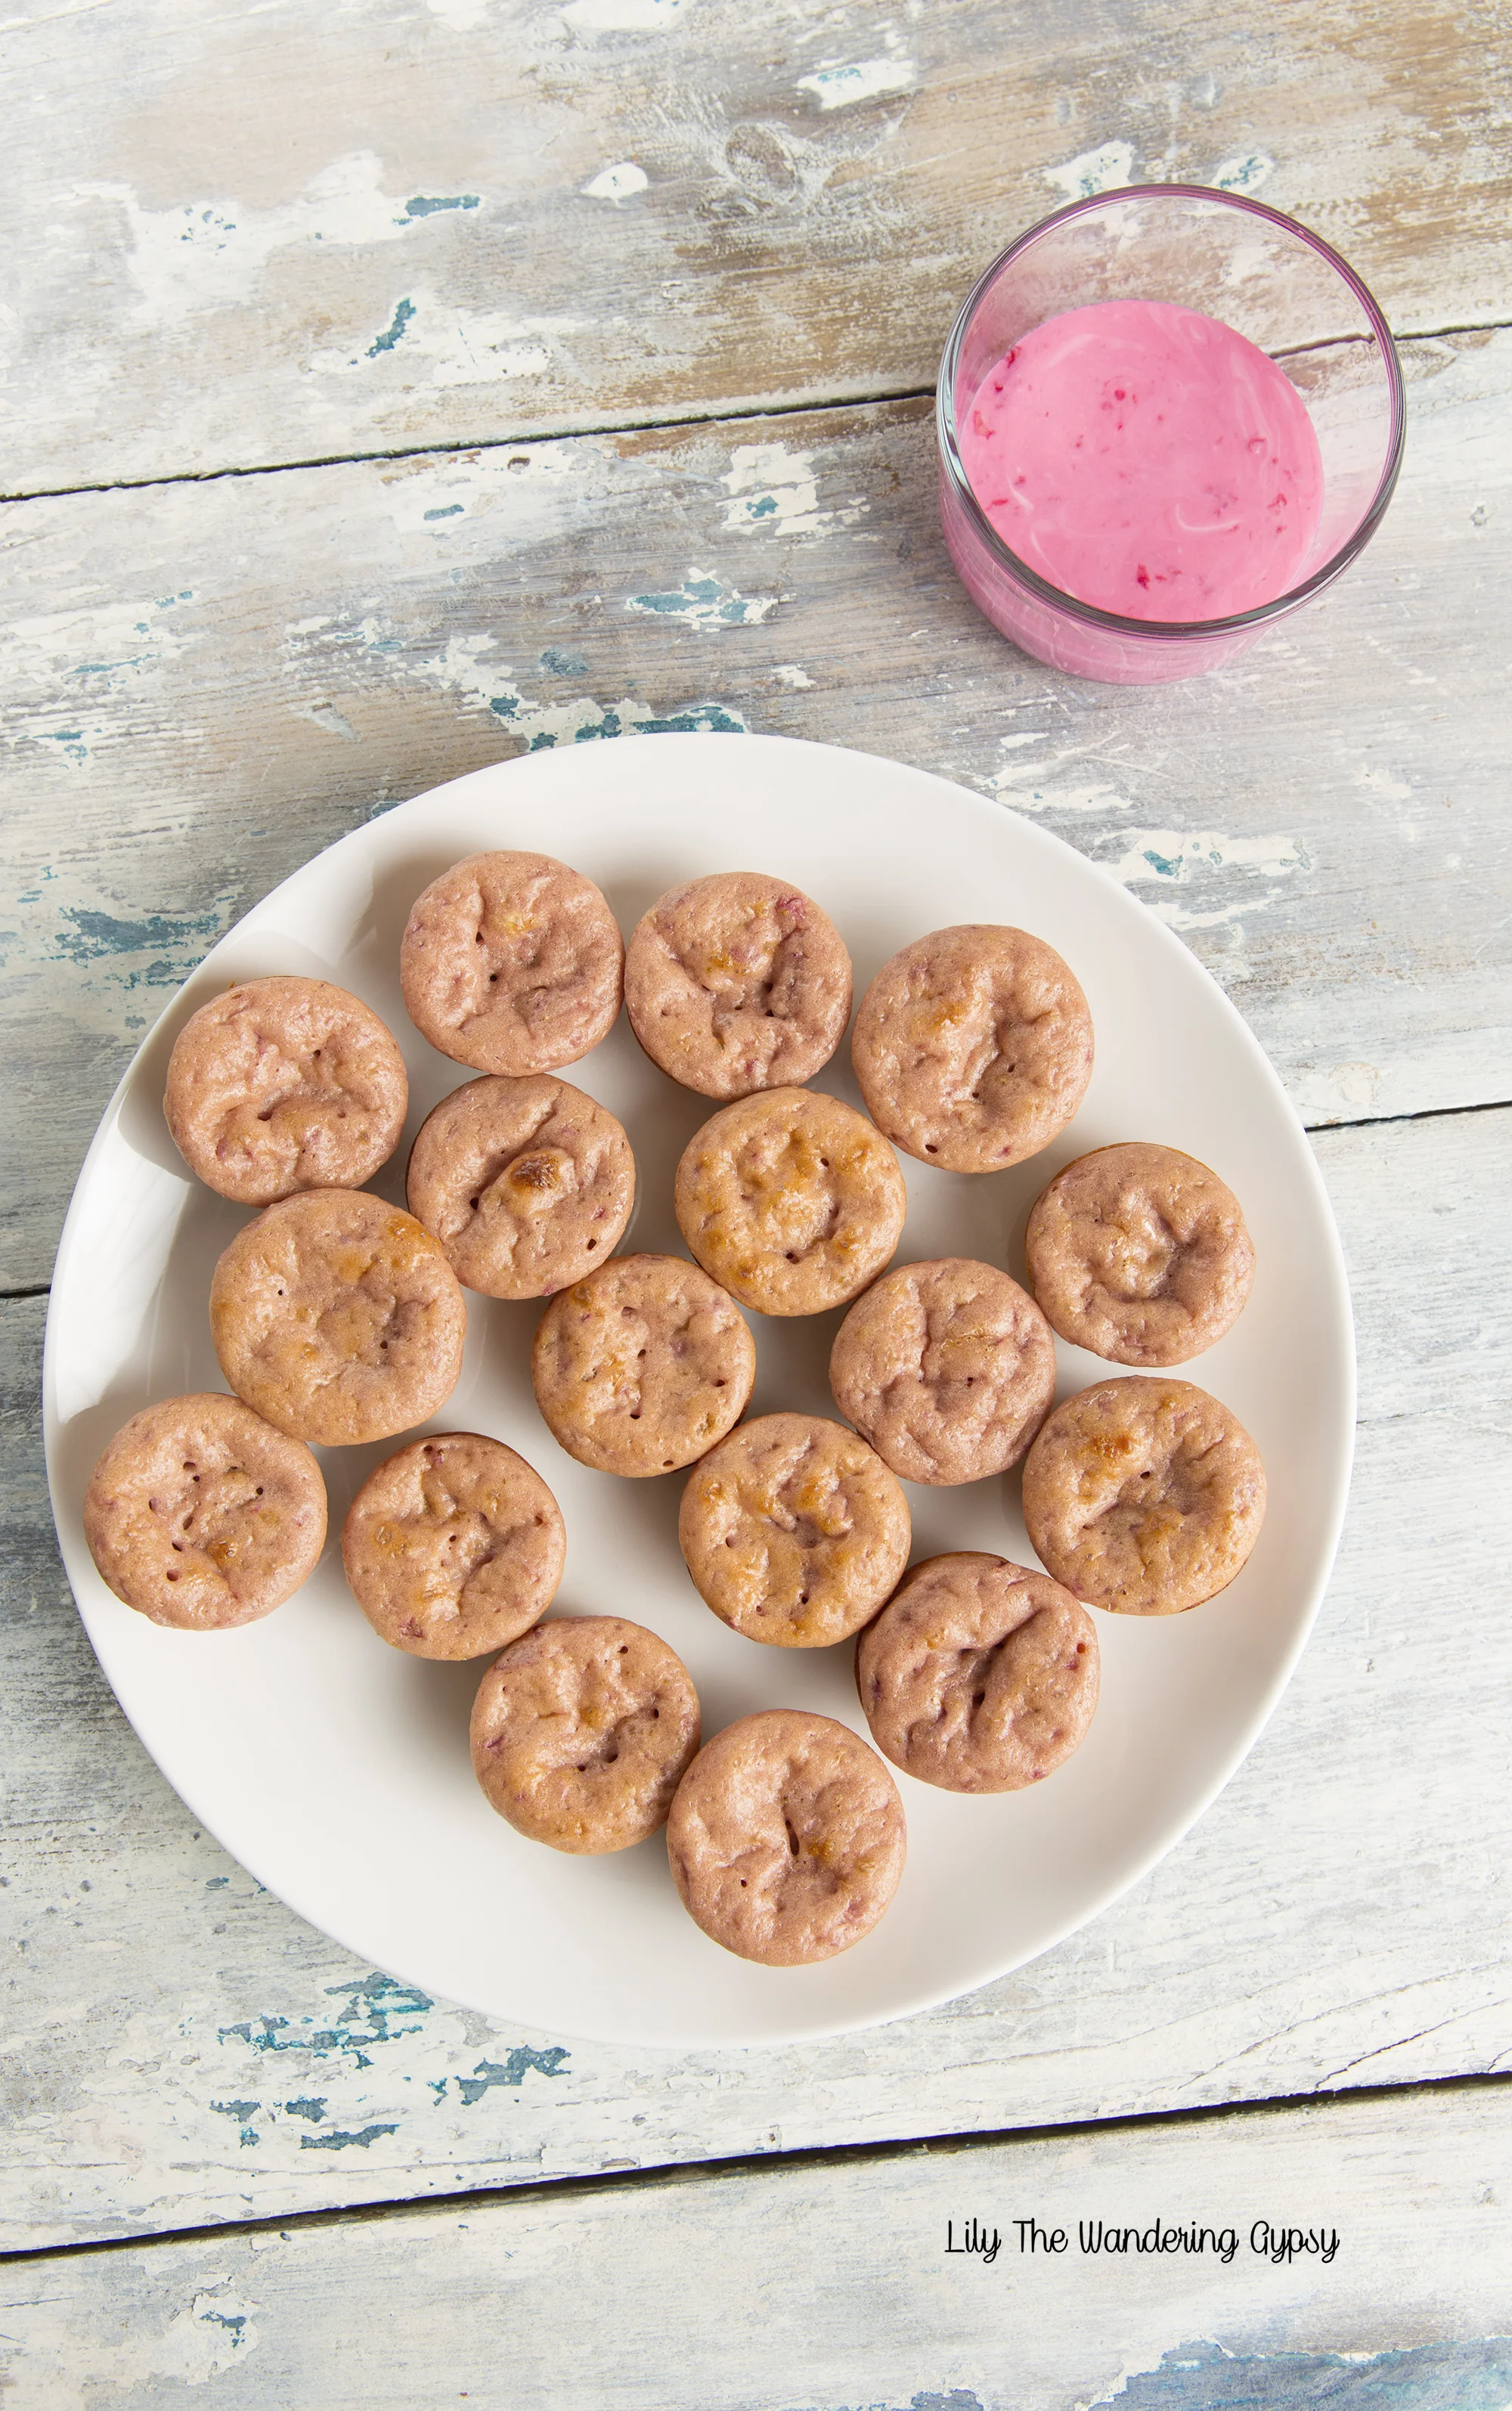
Strawberry Muffins With Pink Icing
I wanted to make something with strawberries for Valentine's Day and here they are! The muffins don't need the icing, but it sure made them cute. I used mini muffin tins, and they were perfectly bite sized. These muffins were very moist, so make sure you cook them thoroughly.

STRAWBERRY MUFFINS FROM SCRATCH

2 C. all purpose flour
1/3 C. sugar
1 T. baking powder
1/2 t. salt
1 t. cinnamon
2 large eggs
1 C. milk
1/4 C. vanilla yogurt
1/2 t. vanilla extract
1 1/2 C. fresh strawberries, hulled and finely chopped
Mix all ingredients except for strawberries. Below, you can see the muffin batter before the strawberries and a bit of sugar were added.
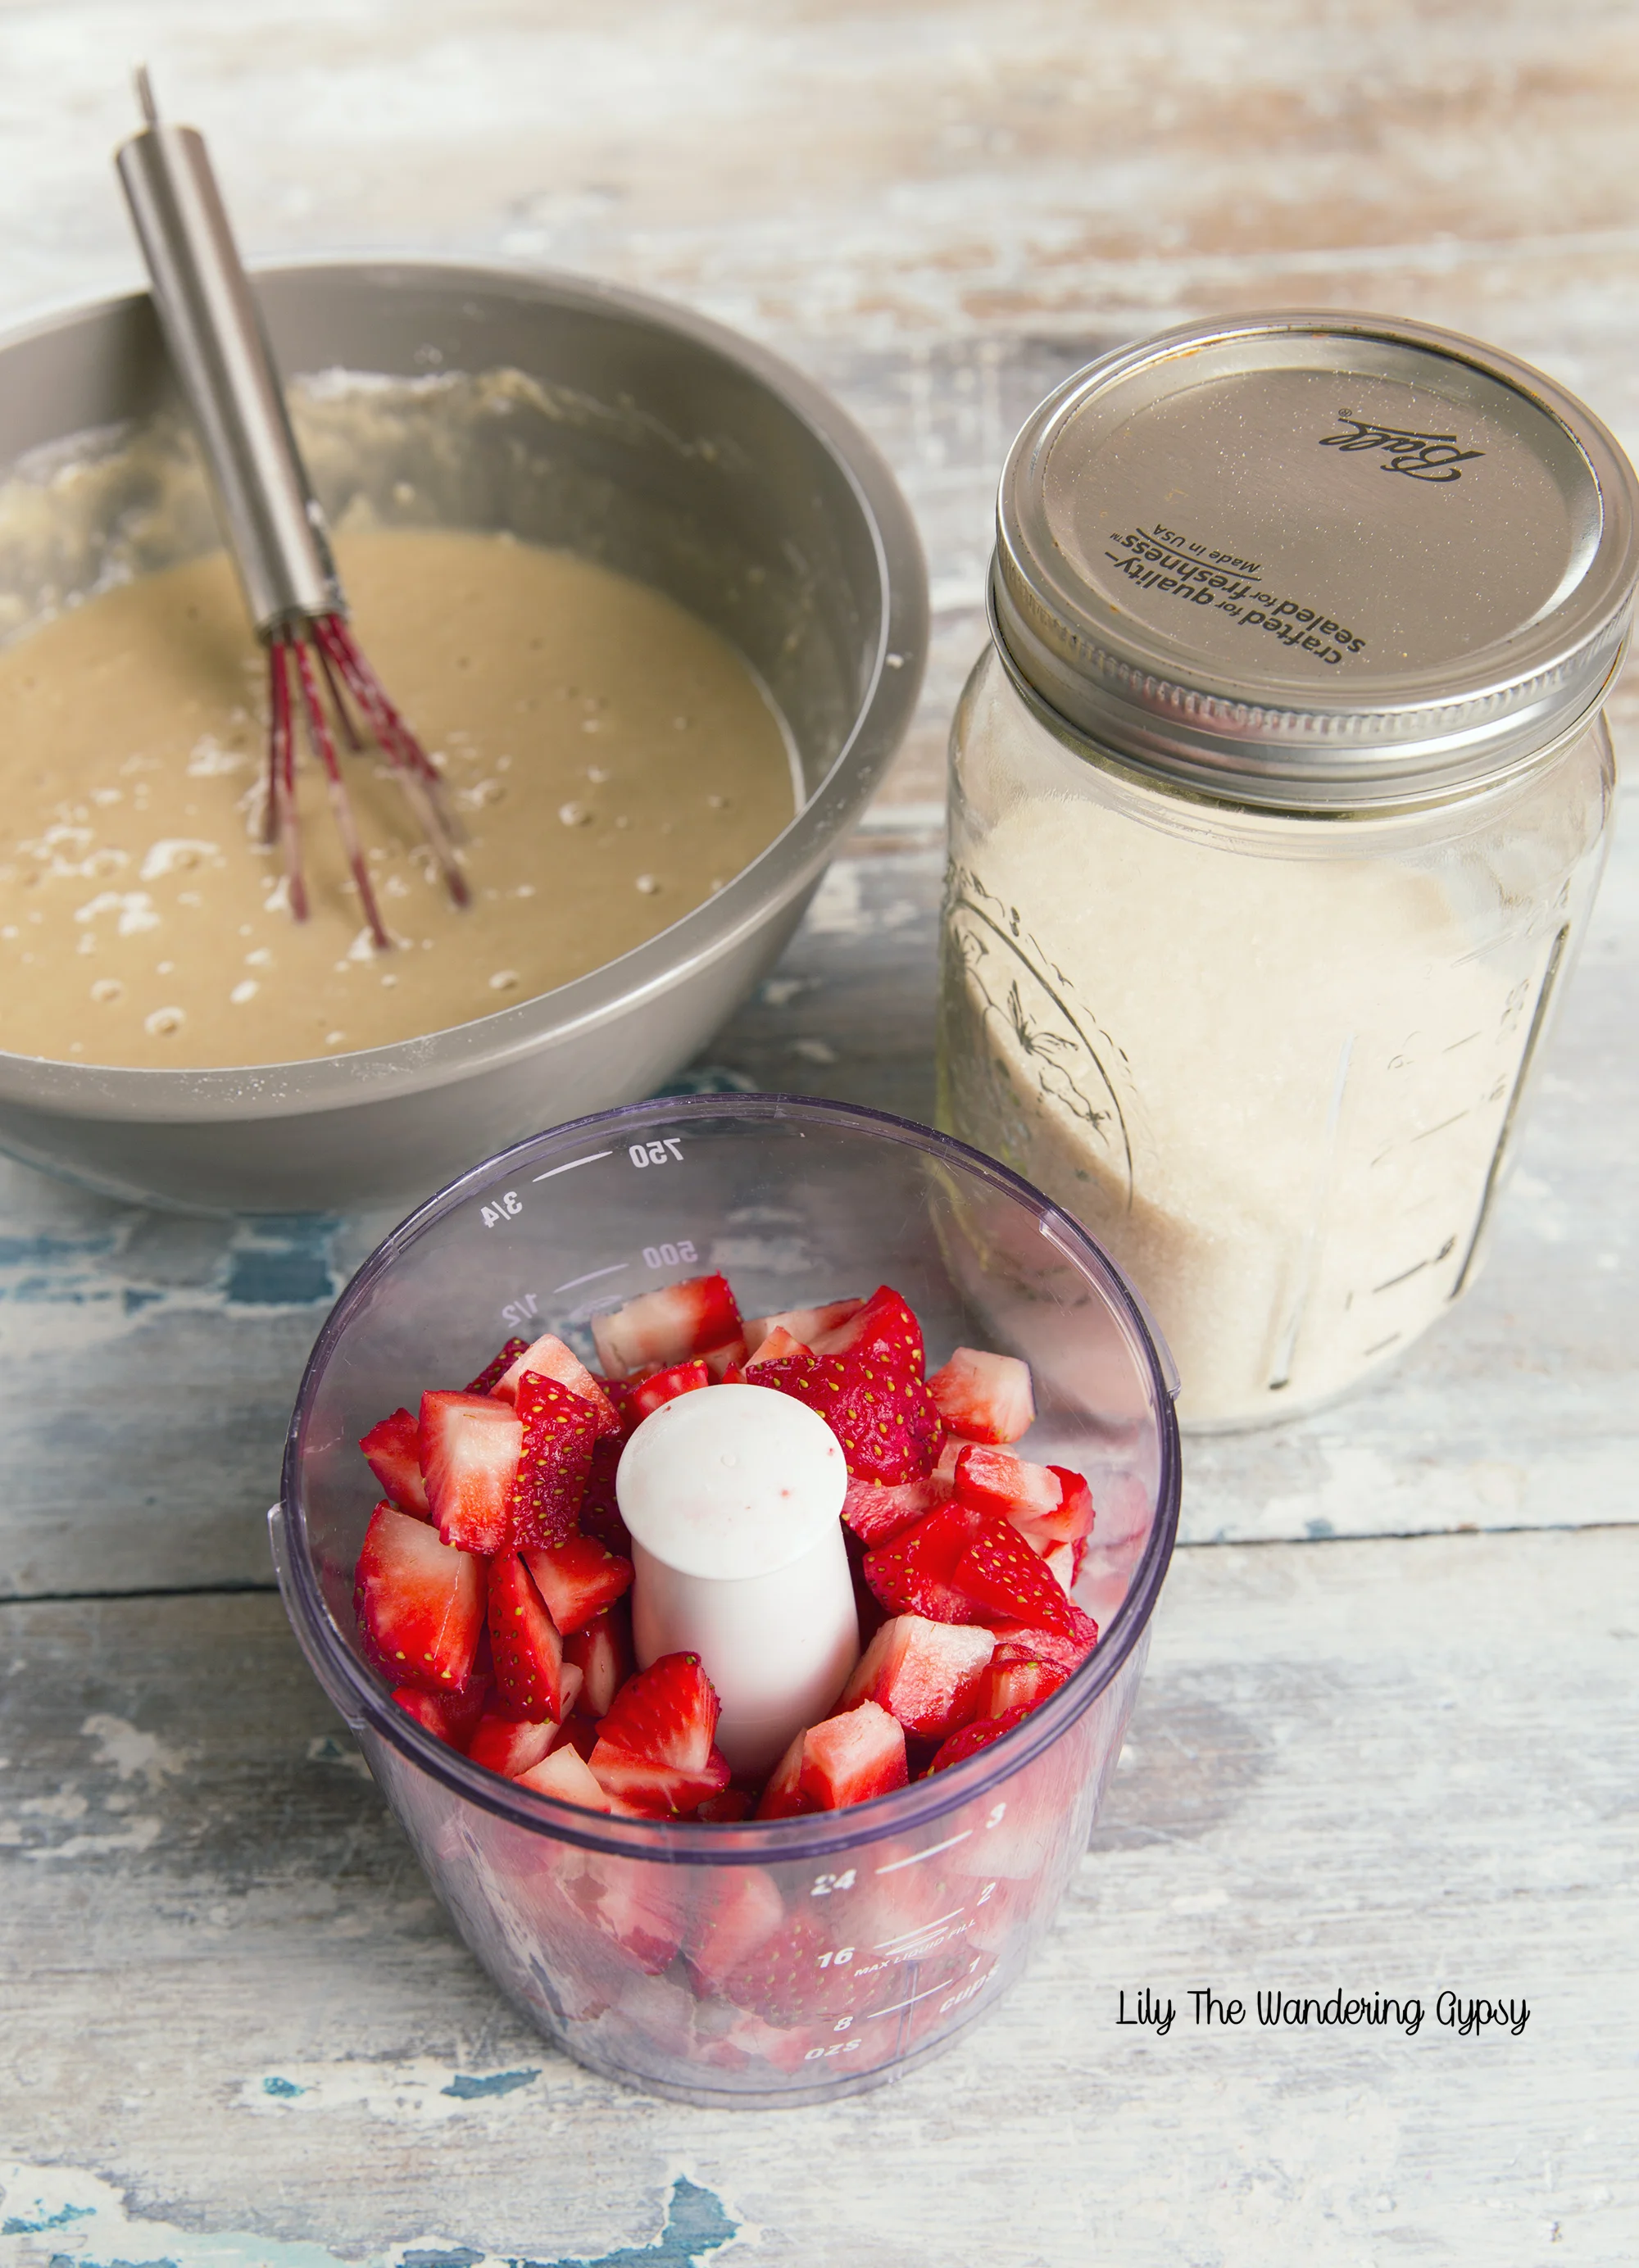
Below, I pureed the strawberries and added them to my batter. I also added 2 drops of food coloring to enhance the pink color for the photos :)

Bake the mini muffins for 15-18 minutes. Now, make you icing, inspired by this Original Recipe.
1 Tbsp Butter - 1 C. Powdered Sugar - 1-2 Tbsp milk - 1/4 tsp vanilla - 2 tsp. fruit - Food Coloring


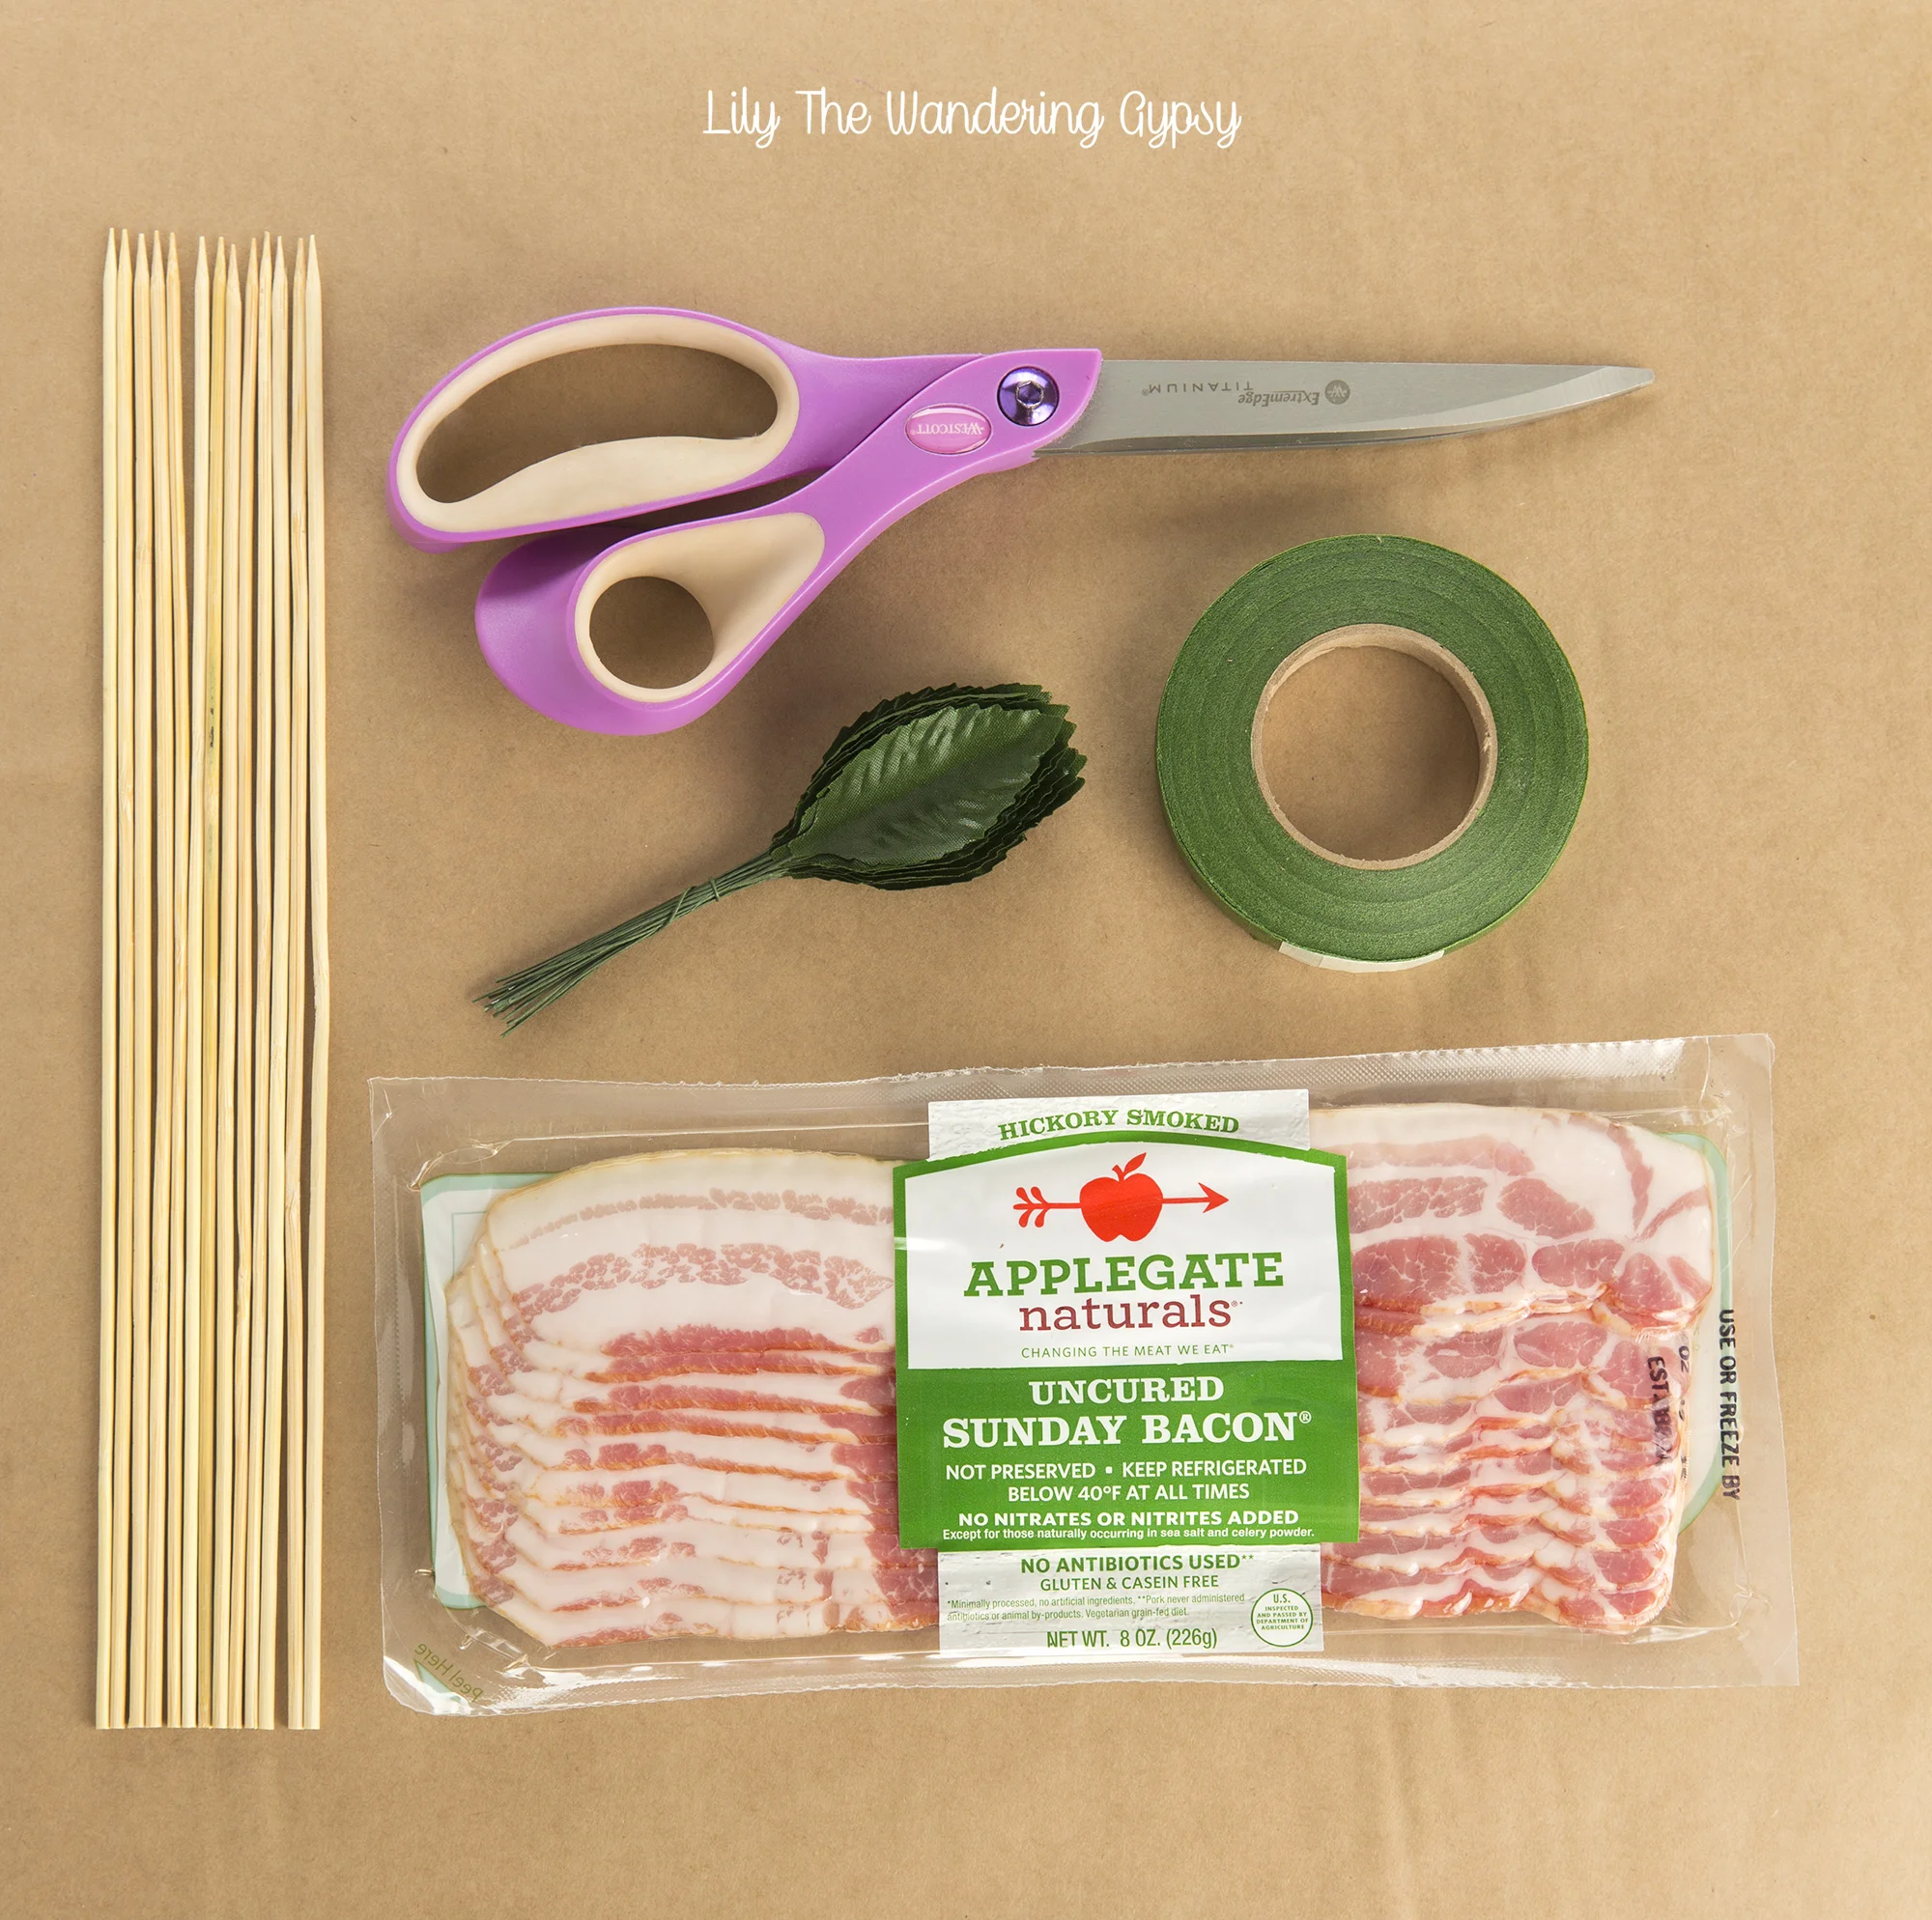
A Bouquet of Bacon Roses!
These bacon roses are so great! You can't exactly surprise someone with them, as the smell of bacon does tend to be pretty prominent while you're making these. But, you could definitely give them to someone when they get home from work. These make a wonderful Valentine's or Anniversary present!

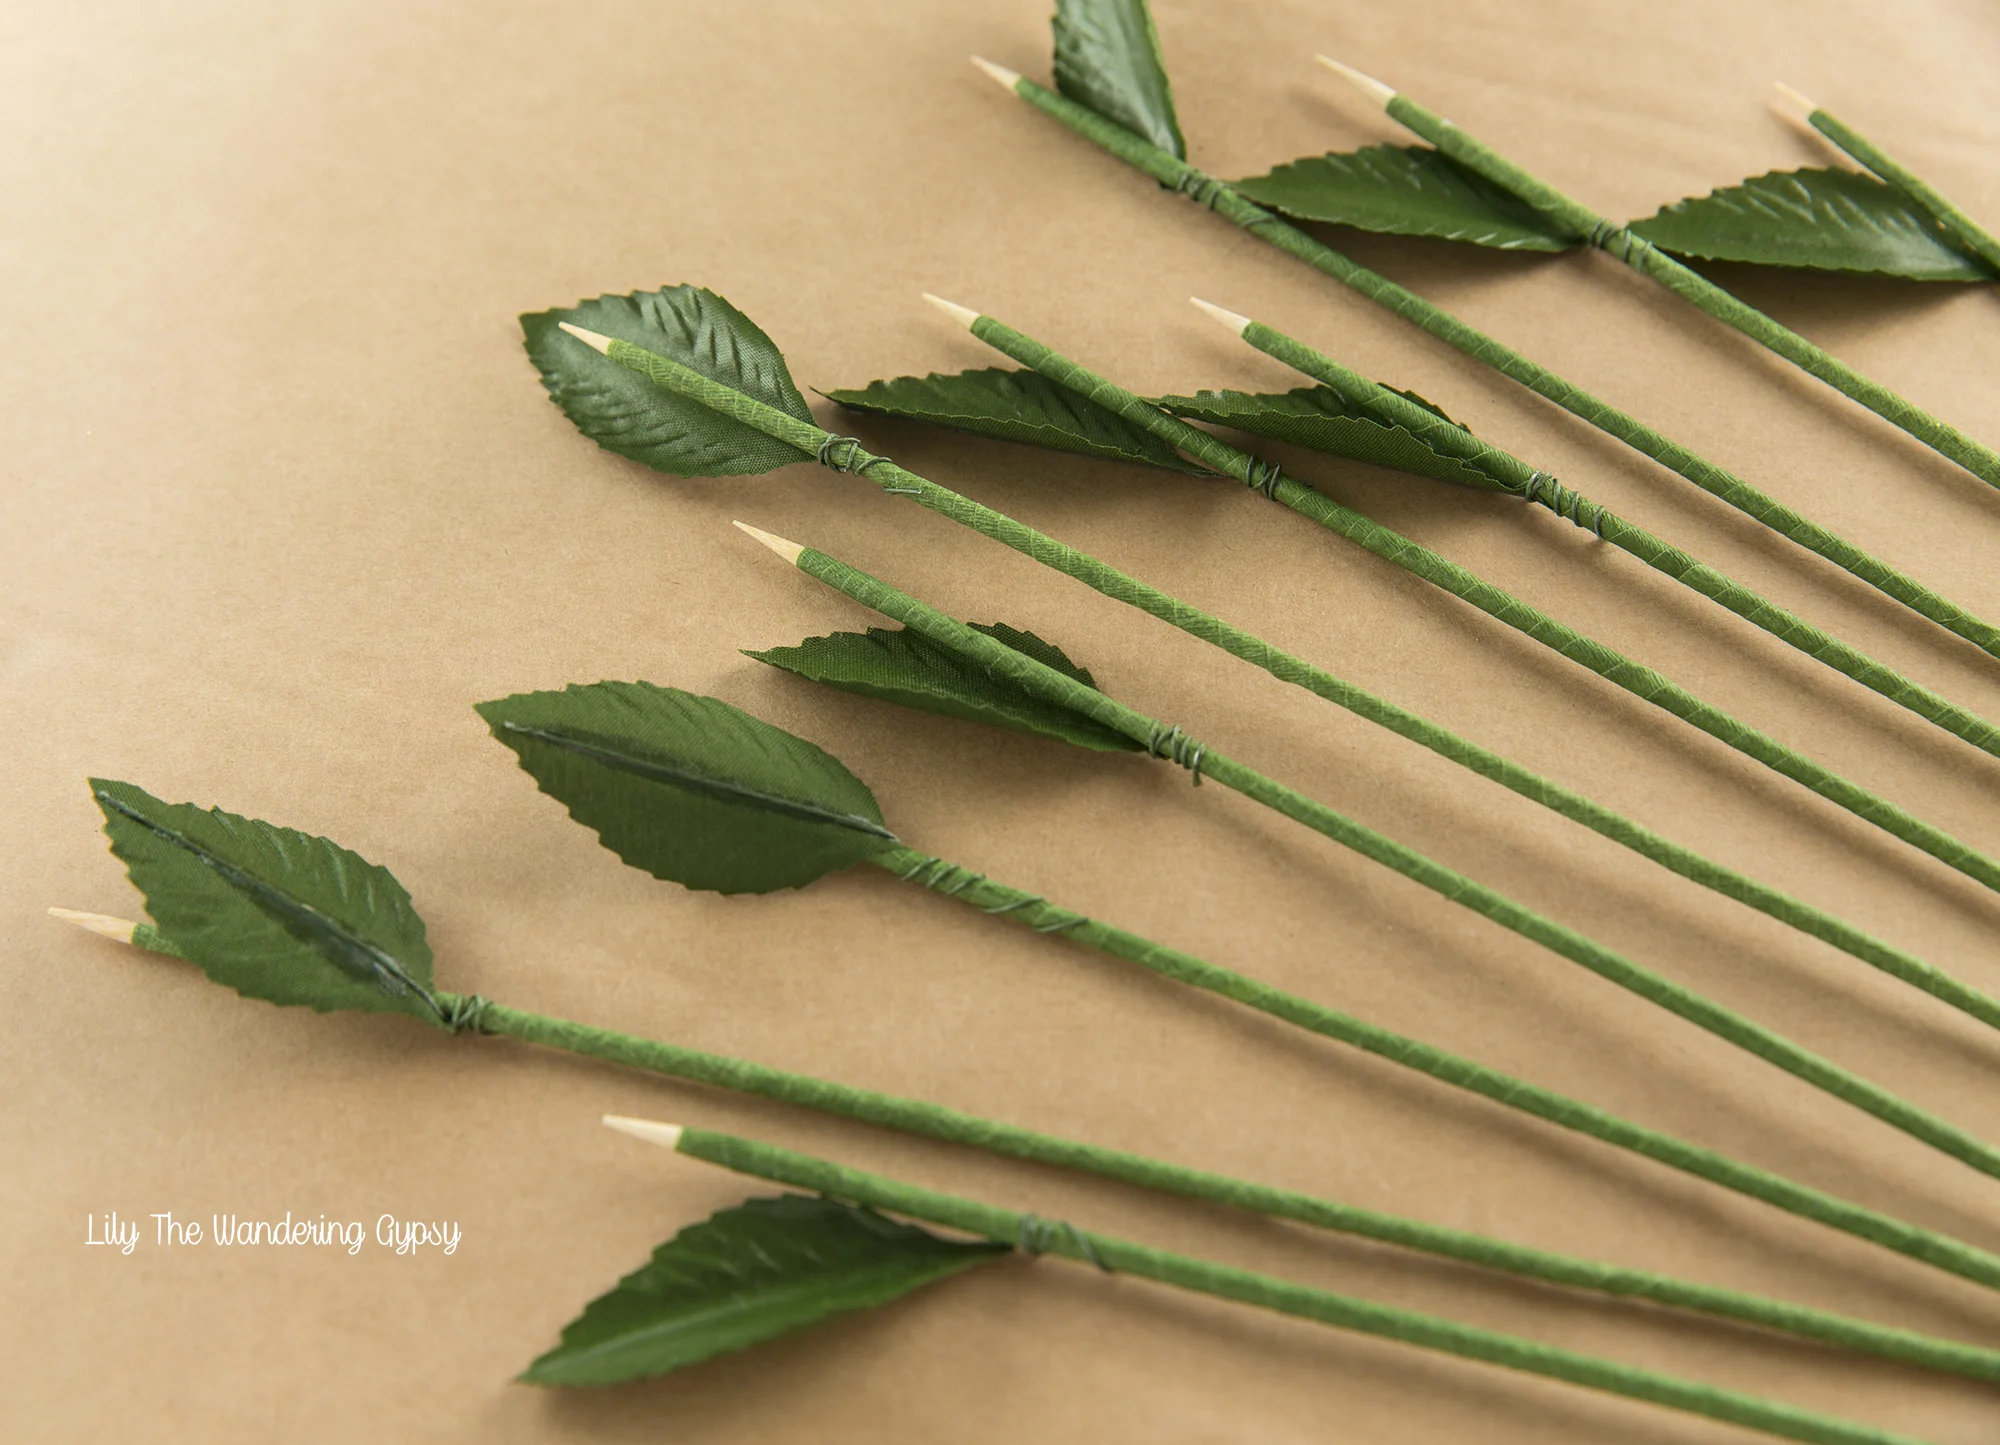
Supplies Include: Long skewers, green florist's tape, wired leaves, 1 package of thin cut bacon, waxed butcher paper (optional - to wrap bouquet), scissors, and toothpicks. (Also, a baking tray covered in foil and a wire rack to bake the roses on. I used the one from my toaster oven).
1.) Preheat oven to 350* F. Spray non-stick spray onto your wire rack. Place rack onto your foil lined baking sheet.
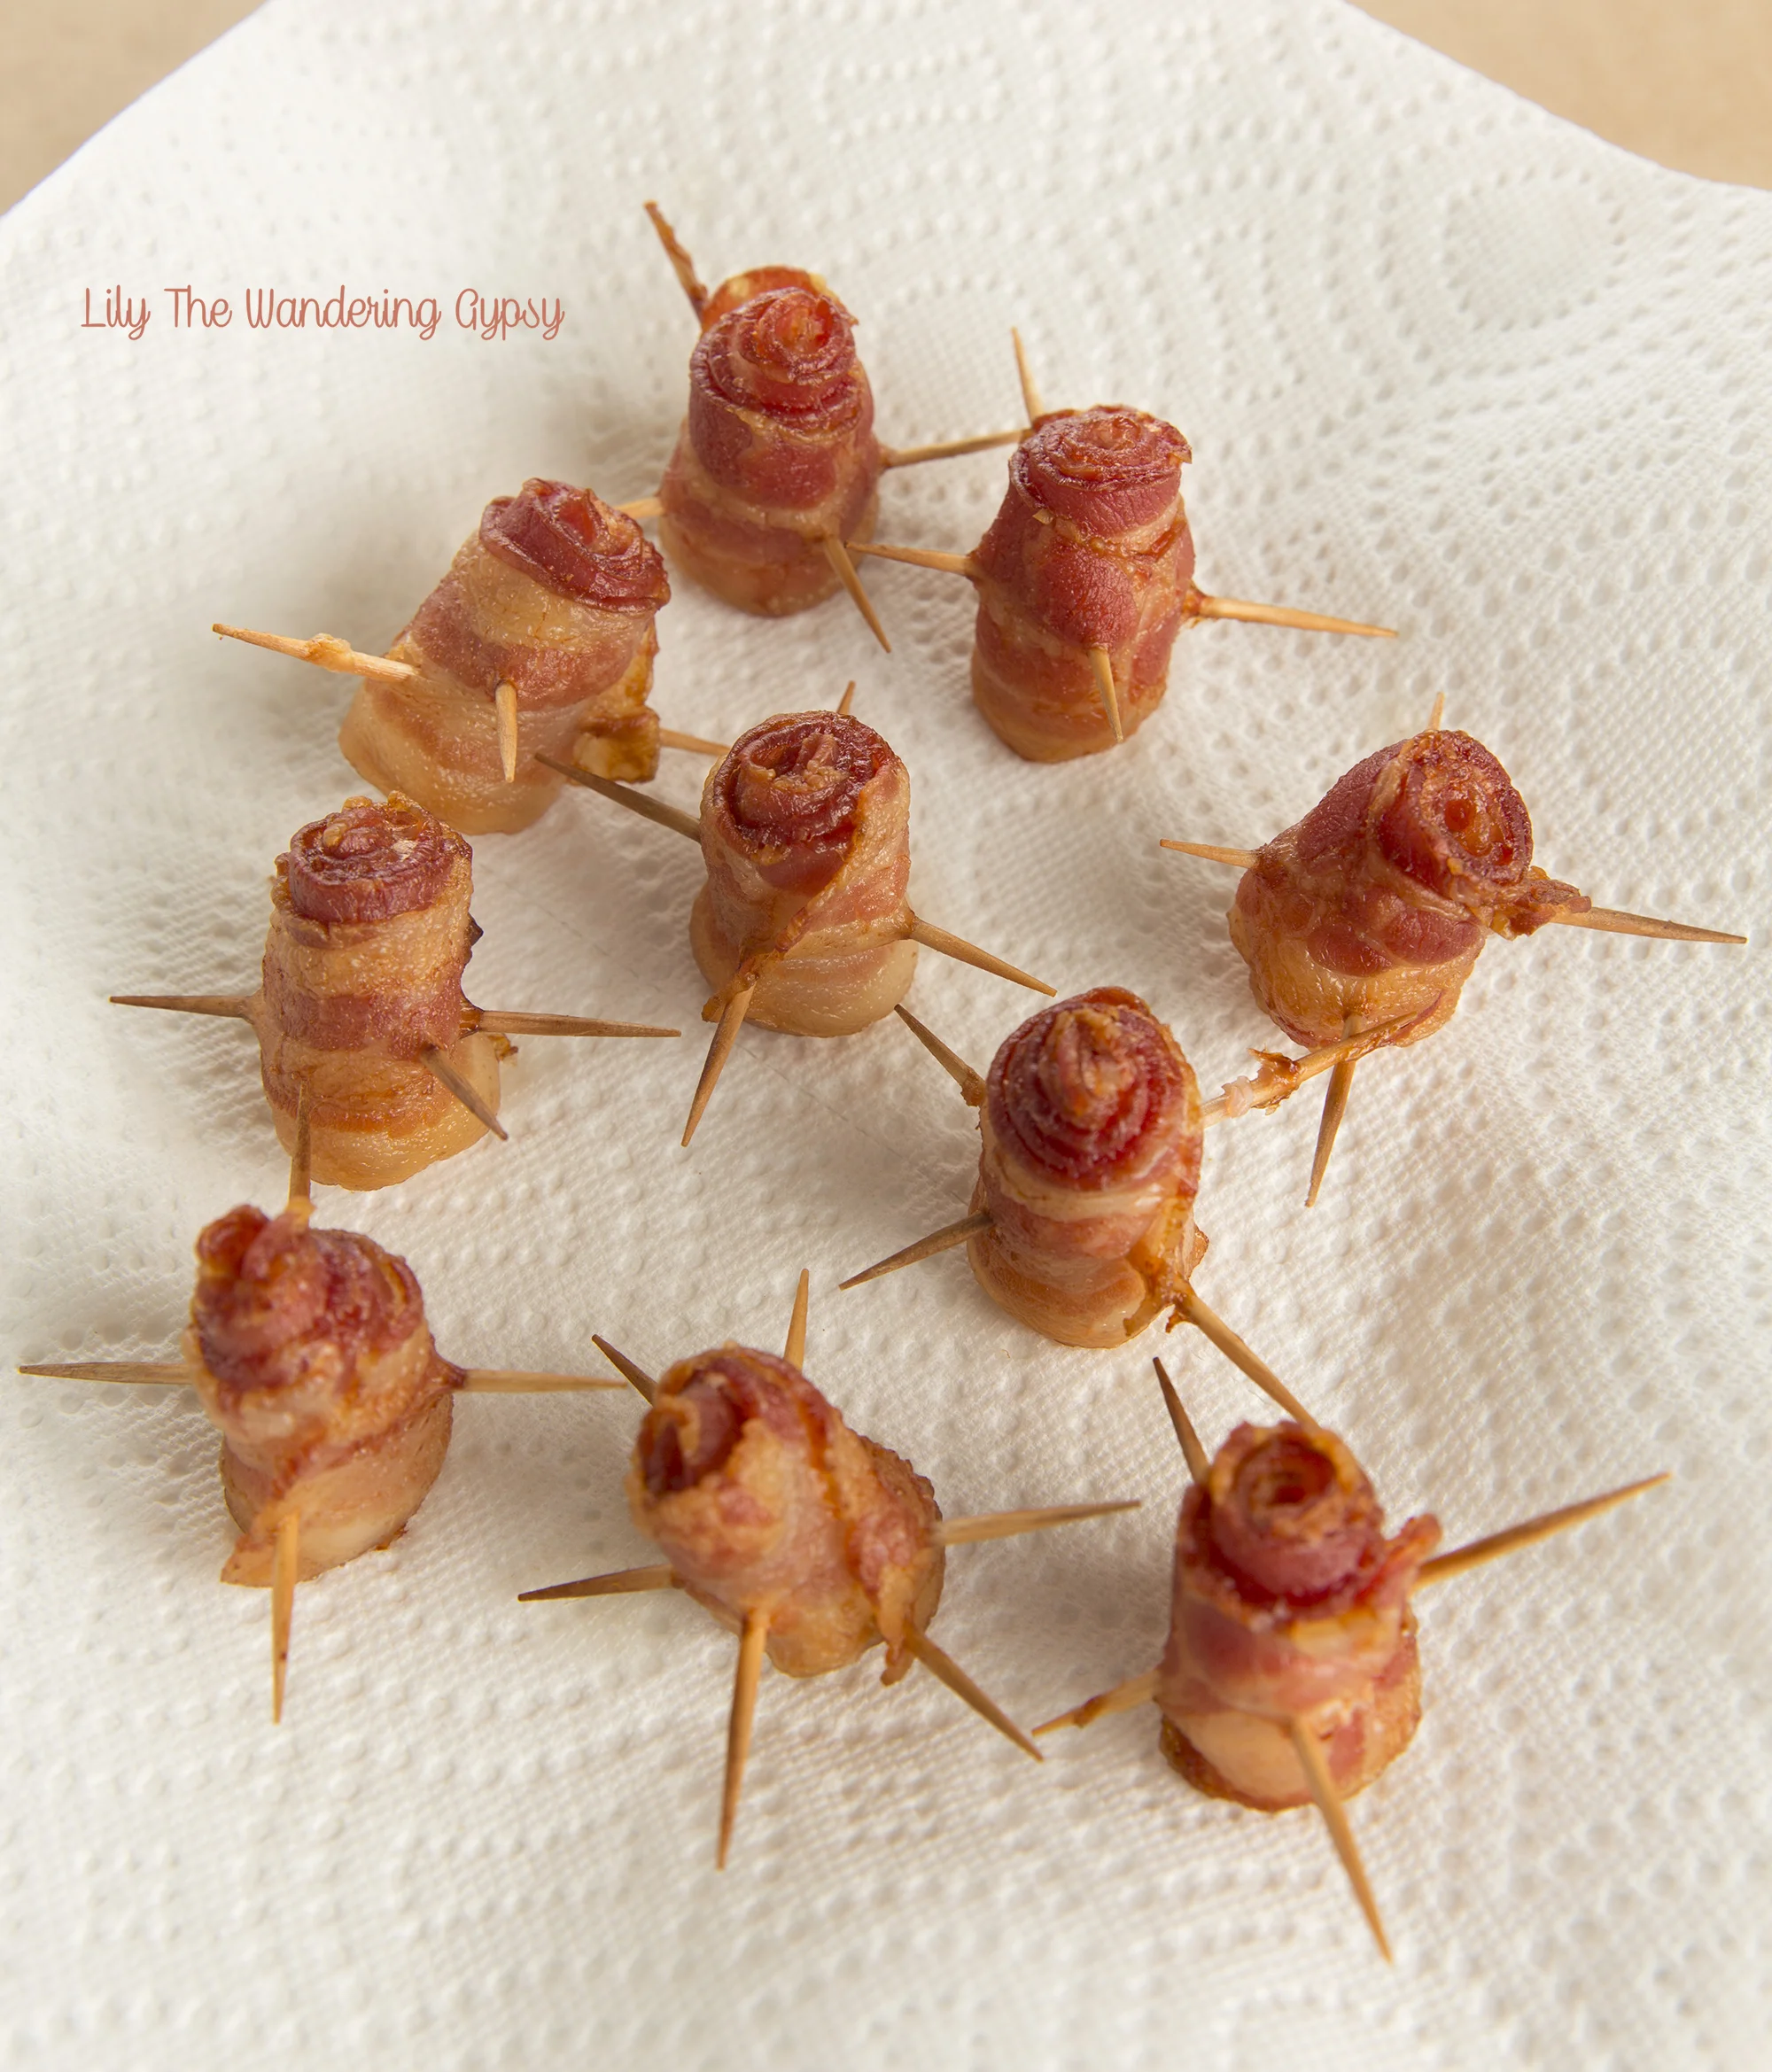
2.) Using a cutting board as your work surface, roll each piece of bacon into a "rose" shape and insert two toothpicks to hold the spiral in place. I use rubber gloves for this part! Roll the roses so the white, more fatty part is downward. Secure with 2 toothpicks.

3.) Place each bacon "rose" onto the wire rack and bake for 25-30 minutes.
4.) While the roses are baking, grab your skewers, green florist's tape, and scissors. Wrap each skewer with the tape, beginning at the pointy end. At first, wrap the tape around a few times and press to secure onto skewer. Then, at more of a diagonal, run tape the rest of the way down the skewer. Rip off the tape at the end of each stick, and use fingers to secure any loose ends. Repeat as many times are you have bacon slices.
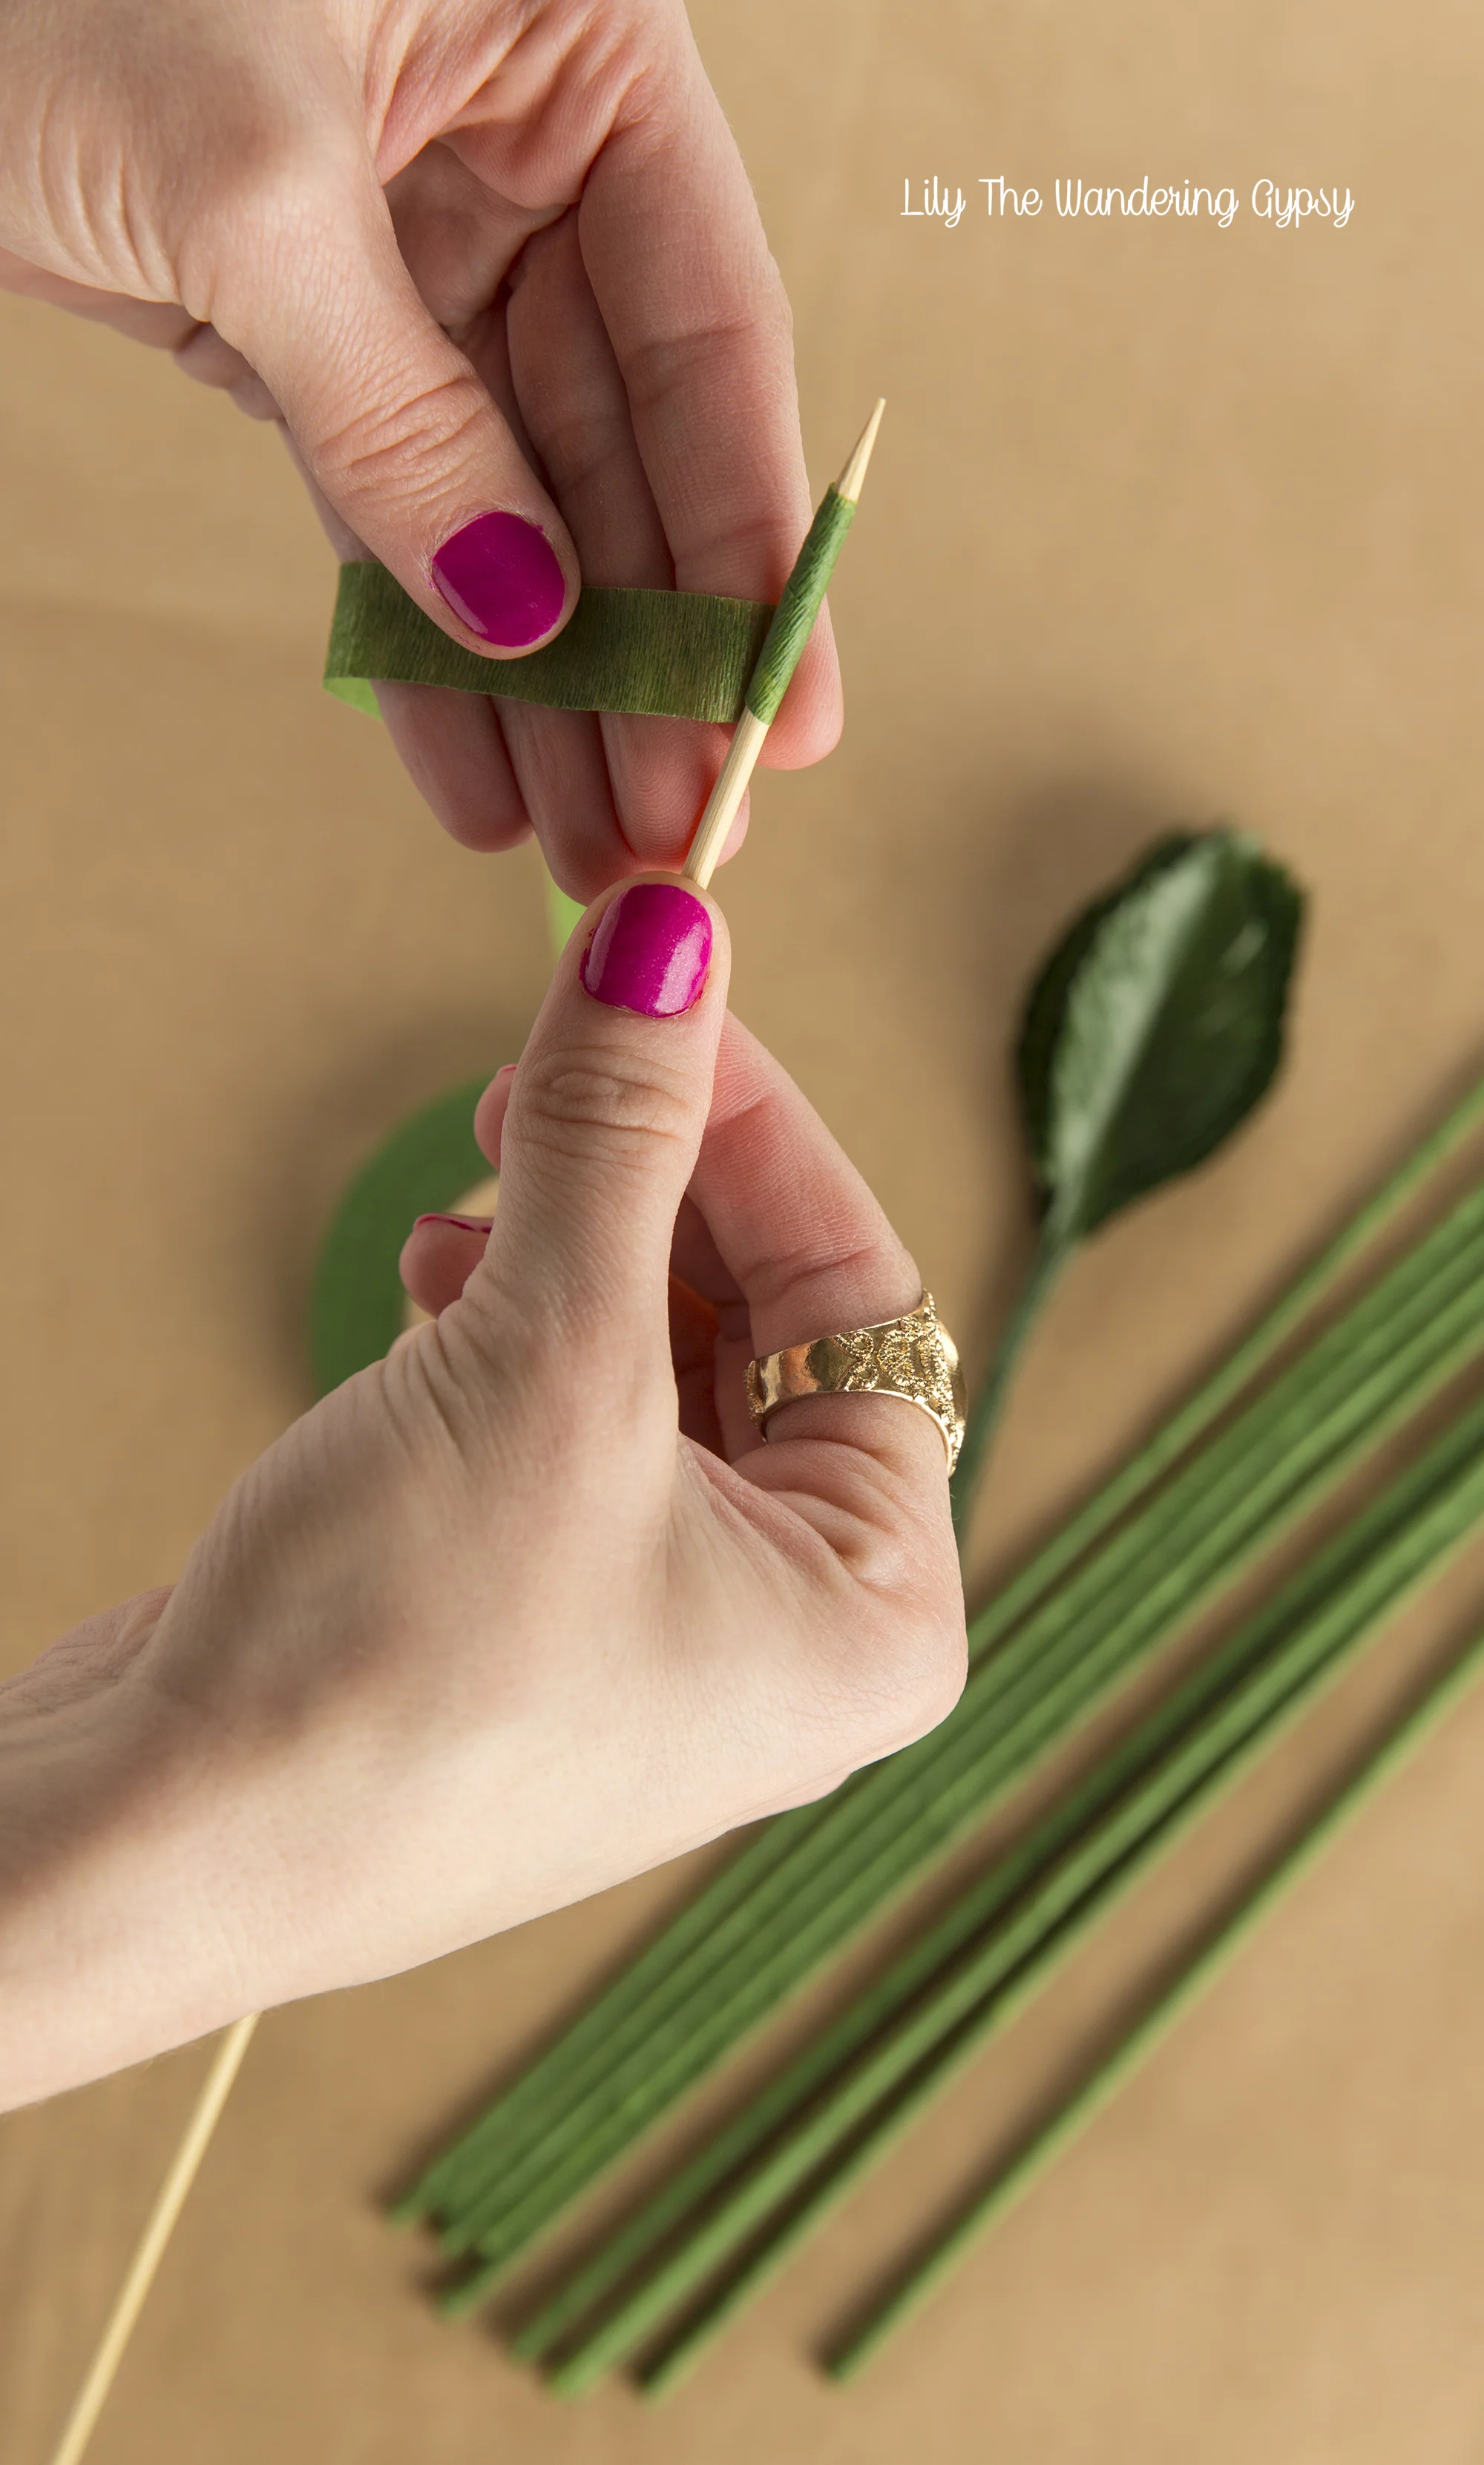
NOW, add the leaves to the sticks by winding the wires tightly around the skewers.
5.) Carefully remove the bacon roses from the oven, making sure not to spill any grease. Let them sit until they are almost cooled. This won't take long.
6.) Put your gloves on again, carefully remove the toothpicks, and insert each leafy skewer stick so the pointy end does not show. in the rose.
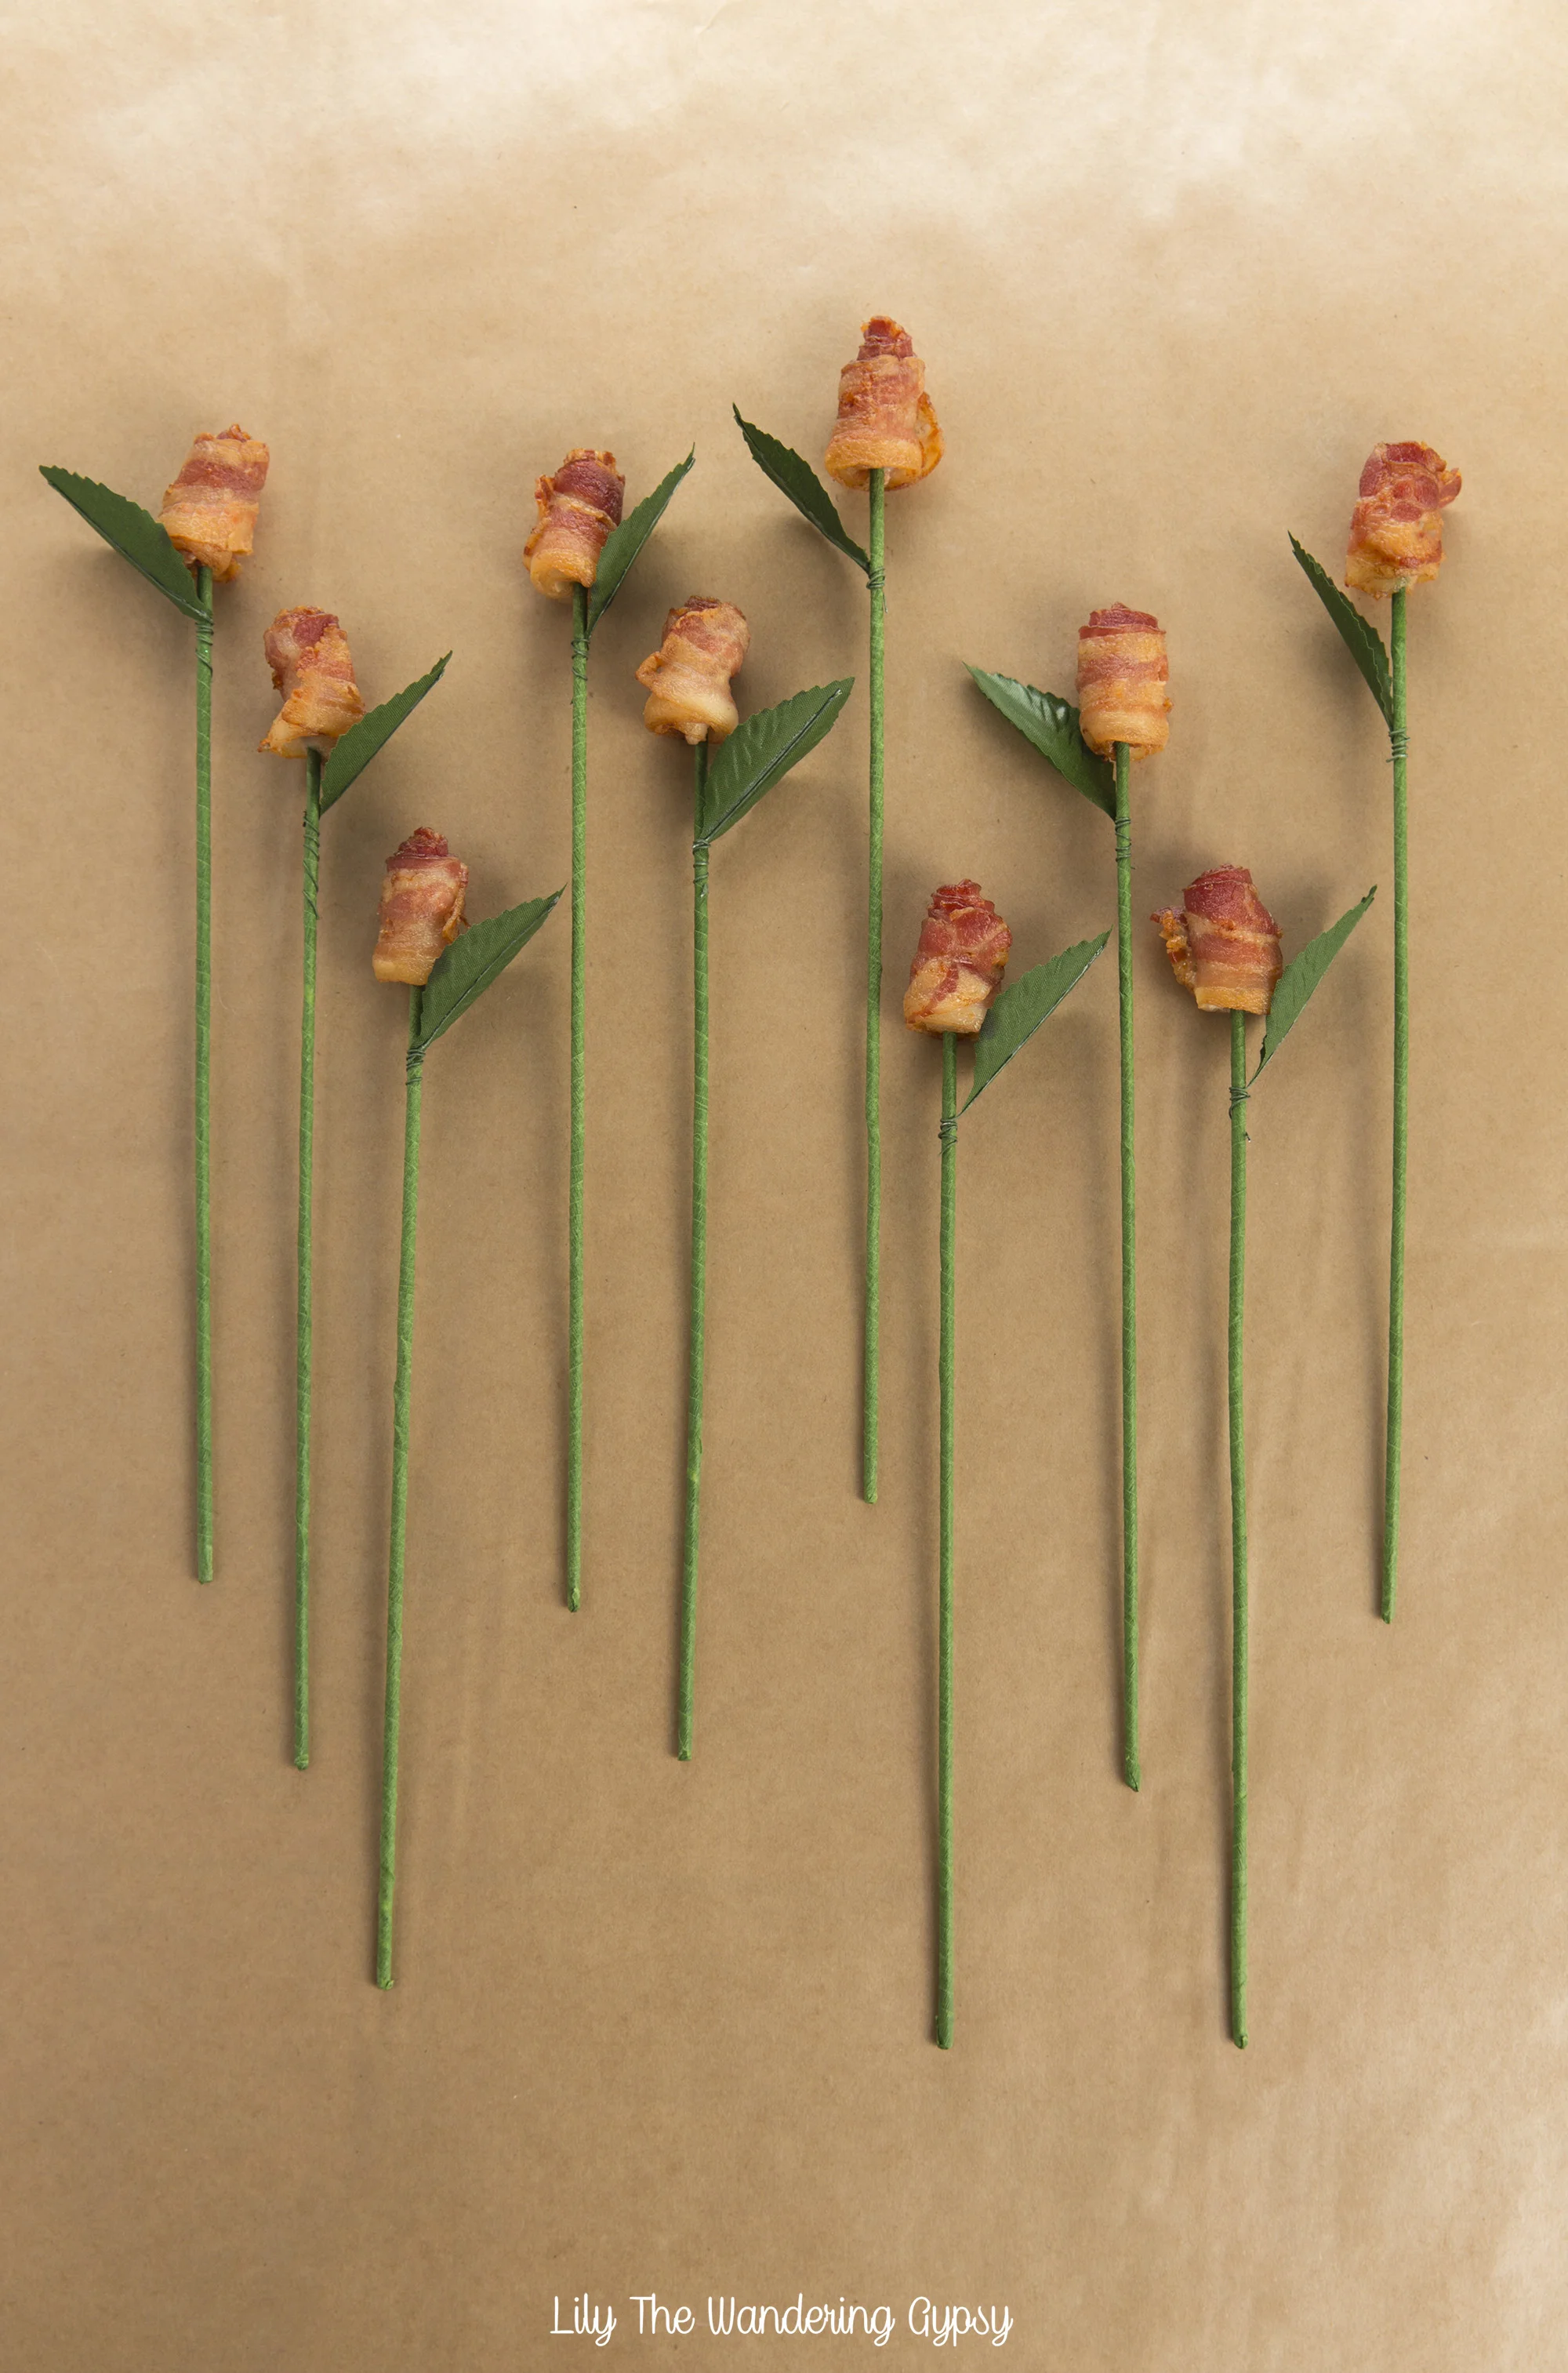
Here they are! They took a little bit of prep-work, but these were pretty easy! I love the result, and I think these would make almost anyone smile! A great gift for the bacon-lover in your life!

Happy Valentine's Day, friends! Comment below if you wind up making these.
