Unicorn Cookie Bouquet from Cookies by Design

Look at this adorable Unicorn Cookie Pop Bouquet from Cookies By Design. I can think of so many people who would love this!

I received a well designed cookie bouquet, which contained 4 unicorn cookies, 2 over the rainbow cookies, and one star shaped cookie that read, Have A Magical Birthday!

This Unicorn Sugar Cookie Bouquet is an absolute show stopper. 

If you bring this bouquet to an event, or have it shipped to someone for their special day, you will be remembered forever! Think of how many photos will be posted of this awesome, edible gift. 

It's also pretty east to find other Unicorn themed party supplies at most stores, or make your own from scrapbooking paper, sequins, and tinsel. 

Cookies By Design is one of my awesome affiliate partners. If you purchase any cookie bouquet or other fun items from Cookies By Design, I make a small commission. Thank you so much for supporting the brands that help make my blog an inspiring space!

Check out this Mother's Day Sugar Cookie Bouquet. It's really lovely and Mom or Grandma would LOVE to receive such a delightful, thoughtful gift! 

Springtime Ideas for Mother's Day and Cinco de Mayo

This post is sponsored by My/Mo Mochi Ice Cream but the content and opinions expressed here are my own.

I'm so thankful for warmer weather, which also makes me want more cold snacks lately. I am so excited to have another opportunity to work with such a fun brand! Let's get Spring and Summer off to a sweet start...

WHAT IS MY/MO MOCHI ICE CREAM?

Mochi ice cream is a small, round dessert ball consisting of a soft, pounded sticky rice cake (mochi) formed around an ice cream filling. The ice cream flavors the confection while the mochi adds sweetness and texture. (from Wikipedia)

I recently grabbed FIVE different flavors of My/Mo Mochi Ice Cream at Lucky's Market in St. Louis. They had all of my favorite flavors and a few I hadn't tried before, which made me pretty happy!

These little treats makes life a sweeter. I thought that since Mother's Day AND Cinco de Mayo are fast approaching, that My/Mo Mochi Ice Cream could be the perfect solution to both holidays. 

First, I thought that putting together an adorable gift box for Mother's Day would be such a fun idea! 

TO MAKE THE GIFT BOX:

1.) Find a paper mache gift box, a sheet of card stock, and some tissue paper. Create a divider from cardboard or a piece of card stock folded in half, then cut to fit. 

2. Place tissue paper on each side, and fill one side with homemade or bakery cookies, and then fill the other side with My/Mo Mochi Ice Cream! Make sure to keep the gift in the freezer until you give it to that lucky recipient!

TO CELEBRATE CINCO DE MAYO

Everyone who I tell about this My/Mo Mochi Ice Cream is always so interested to try it. With flavors like strawberry, mango, green tea, cookies and cream, double chocolate, and more, everyone will find a flavor they love. My personal faves are always fruit, so I adore the strawberry and mango flavors.

I also found these incredible napkins from Meri Meri at TJMaxx, which I have had my eye on for a while now :) 

The flowers are actually edible wafer flowers that I found at Party City.

Prepare a platter of My/Mo Mochi Ice Cream ahead of time, for your Cinco de Mayo celebration, save it in the freezer, and after dinner is winding down, grab the My/Mo Mochi Ice Cream and watch everyone smile! People love having all of those flavor options, too. 

Below, I cut each piece of My/Mo Mochi Ice Cream open with a sharp knife. Make sure to only cut one piece at a time, and put it back into the freezer right away if you want it to hold its shape.

MY FAVORITE FLAVORS:

Sweet Mango

Take an instant trip to tropical delicioustown with Sweet Mango My/Mo Mochi Ice Cream! The tangy and sweet taste of premium mango ice cream combined with mouthfuls of mochilicious dough gives your cravings their own craving. Sweet mango My/Mo – the perfect, handheld getaway.

Ripe Strawberry

Bite into the center of Mmmm. Made with real fruit, and bursting with sweet bits of strawberry love. Premium strawberry ice cream is wrapped in a pillowy layer of chewy mochi dough. Discover an entirely new experience around your favorite ice cream flavor.

HISTORY OF MOCHI FROM MY/MO MOCHI:

"Creating Mochi, the Fusion Dessert Sensation"

In the 1990s, the predecessors to My/Mo created mochi ice cream in its modern form. With a secret family recipe in their arsenal, they had the brilliant idea of wrapping delicious mochi dough around dollops of real ice cream. Over twenty years later, mochi is widely available across the United States. in modern flavors like sweet mango, ripe strawberry,  mint chip and double chocolate, mochi ice cream has become America’s favorite handheld frozen treat.

Connect with My/Mo Mochi Ice Cream on Instagram and find a retailer near you!

Festive Chocolate Bark Recipe

A deliciously sweet and festive treat that only takes a few minutes to create! You will absolutely love how great the flavors of the white chocolate and dark chocolate meld together to satisfy your sweet tooth. Customize the colors and decorations to suit your holiday, team colors, or other special occasions!

INGREDENTS:

1 bag of dark chocolate chips (I used a darker chocolate from Ghiradelli)

1 bag of white chocolate chips (I like Ghiradelli white melting wafers) 

Sprinkles of your choice (At least 3 Tablespoons or more)

INSTRUCTIONS:

Melt dark chocolate either in the microwave or a double boiler. Line a baking sheet with parchment paper and pour chocolate on. You can smooth it with a spatula to the thickness you desire. Stick in the freeze for 20 minutes.

Melt while chocolate.  Let it set for 3 full minutes (or at least until it slightly thickens). Remove baking sheet with chocolate from the freezer and immediately pour white chocolate on top. Sprinkle on sprinkles. Freeze for 20 minutes.

Once set, break into pieces with your hands (or rubber gloves). Keep refrigerated.

Tres Leches Cupcakes Recipe

These deliciously moist tres leches cupcakes are a new take on a traditional Mexican dessert recipe. 

I was extremely happy with how these Tres Leches Cupcakes turned out. Just as delicious as the traditional Tres Leches Cake, but more easily handled at a party or shower. 

Tres Leches Cake (Recipe originally posted here on the Tastes Better From Scratch Blog)

Prep Time: 1 hr 30 mins  //  Cook Time: 40 mins  //  Total Time: 2 hrs 10 mins

Ingredients

  • 1 cup all-purpose flour
  • 1 1/2 teaspoon baking powder
  • 1/4 teaspoon salt
  • 5 large eggs , separated
  • 1 cup sugar , divided
  • 1/3 cup whole milk
  • 1 teaspoon vanilla
  • 12 oz can evaporated milk
  • 14 oz can sweetened condensed milk
  • 1/4 cup whole milk
  • Metallic cupcake holders (silicone ones would work well too) - paper cupcake liners will not work for this recipe.
  • Alternately, use a 9"x13" cake pan

For the whipped topping:

  • 1 pint Heavy Cream , for Whipping
  • 3 Tablespoons Sugar
  • 1/2 teaspoon vanilla
  • ground cinnamon , for topping

Instructions

  1. Preheat oven to 350 degrees F. Add foil cupcake liners to tin or alternately, lightly spray a 9x13'' pan with non-stick cooking spray.

  2. In a medium bowl combine flour, baking powder, and salt in a large bowl. Separate the eggs into two separate bowls.

  3. Add 3/4 cup sugar to the bowl with the egg yolks and mix on high speed until yolks are pale yellow. Add the 1/3 cup milk and vanilla and stir to combine. 

  4. Pour the egg yolk mixture over the flour mixture and stir gently just until combined (don't over-mix).

  5. Use electric beaters to beat the egg whites on high speed. Gradually add the remaining 1/4 cup of sugar as you mix and continue beating until stiff peaks.

  6. Fold egg whites into the batter gently, just until combined. Pour batter into prepared pan(s). If making cupcakes, fill batter about 2/3 full, if making a cake, make sure to smooth batter into an even layer so your baked cake doesn't have divots in it.

  7. Bake cupcakes for 15-20 minutes, or bake cake for 35 to 40 minutes, or until a toothpick inserted in the center of the cake comes out clean. Remove from the oven and allow cake(s) to cool completely.

8. Combine the evaporated milk, sweetened condensed milk, and whole milk in a small bowl. Once the cake has cooled use a wooden skewer to poke holes all over the top of the cupcakes or cake. 

9. Slowly pour the milk mixture over the the top of the cupcakes - Make sure to poke LOTS of holes into cupcakes, or milk mixture will fall over the sides. Pour slowly to avoid overflow, and you will want to soak the cupcakes 2-3 times each. The foil cupcake liners help a lot here, so the milk stays in the liners, making sure to pour near the edges and all around.

10. Refrigerate the cupcakes or cake for at least 1 hour or overnight, to allow it to soak up the milk.

11. In the meantime, whip the heavy cream, sugar and vanilla until stiff peaks. Smooth over the top of the cake or cupcakes. Optionally, sprinkle cinnamon on top. Serve with fresh sliced strawberries or raspberries, if desired. Enjoy!

This was the first recipe where I made successful, homemade whipped cream and have never looked back since!!! 

Mini Cinnamon Rolls with Puff Pastry Recipe

This post was sponsored by Pepperidge Farm® Puff Pastry. All thoughts and opinions are my own. #InspiredByPuff

Puff Pastry adds a unique twist to recipes. It’s light and airy, and also a bit crispy, and you’ve likely never had cinnamon rolls like these before! After you eat these cinnamon rolls, you will never want to go back to the pre-made ones. This more homemade version can also be made (prepared and sliced) ahead of time, then baked just a few minutes before needed. Check out this delicious recipe for crispy, crunchy cinnamon rolls with an ooey gooey center. They’re perfect for brunch, holidays, and everyday meals!

If you’re seeking new and innovative recipes, try incorporating Pepperidge Farm® Puff Pastry Sheets! They add an elegant touch and a very upscale taste to nearly any dish you can imagine.

One of my favorite ways to connect with friends and family is through food. I enjoy creating special treats for these people, and when I use Puff Pastry, I feel like I am providing a meaningful experience as well as a valued connection. If you’re someone who likes to plan ahead and make that extra effort to offer food that is a little bit more elevated (yet still simple), this recipe would be perfect for you! The crispy, flaky outer layer comes from the light and flaky texture of the Puff Pastry, while the interior of the cinnamon rolls stays soft and warm. I chose to use Puff Pastry in this recipe because it’s the most delicious ingredient I can incorporate without being too overly complicated. This recipe is delicious beyond words.

Also, since this recipe uses only a few ingredients, it’s great for a last minute treat too. The Puff Pastry Sheets do need to be thawed, so that would be the only other prep work required. I always make sure to have 1-2 packages of Puff Pastry in the freezer, because it makes life easy! Not only will your creations turn out beautifully, you know that the versatility of Puff Pastry means that it’s a top choice for just about any occasion.

INGREDIENTS:

(Makes 9-10 cinnamon rolls, or more if you slice them thinner):

(For The Dough)

½ Package of Pepperidge Farm® Puff Pastry Sheets, thawed*

*To that at room temperature, remove the pastry sheets from the box and outer wrapping; thaw for no more than 40 minutes. To thaw in the microwave, remove 1 pastry sheet from the box and outer wrapping and wrap in a paper towel; microwave on HIGH for 15 seconds, turn it over and repeat!

(For The Cinnamon Filling)

½ cup butter

1-2 tbsp. cinnamon

½-3/4 cup brown sugar

(For The Icing)

1 tsp. maple syrup

1 tbsp. milk or cream

¾ cup powdered sugar

INSTRUCTIONS:

  1. Preheat oven to 375 degrees, and open your Pepperidge Farm® Puff Pastry Sheets. Grab one of the sheets of Puff Pastry, and save the other one for later in a gallon size zip top bag. Prepare your mini muffin tin by spraying it with non-stick spray, then spread with paper towel to disperse evenly.

  2. On a board covered with parchment paper, place the dough, and pinch any seams/folds together so they are as flat as possible. You can also use a rolling pin during this step.

3. Using a silicone or wooden spatula, spread a thin layer of the cinnamon, brown sugar, and butter spread as evenly as possible. Make sure you do not go all the way to the edges, to prevent a mess.

4. Use both hands to carefully and evenly roll the sheets into a “log” shape. For best results, freeze the log for about ten minutes.

5. Using a sharp knife, carefully make marks ¾” apart, then cut slices from the log. Try to keep the slices as round as possible. If the dough log becomes soft during cutting, then place it back into the freezer for 5-10 minutes and cut the rest of the slices.

Note – if you want to make more cinnamon rolls, simply cut thinner slices from the dough and bake for 5 less minutes.

6. Place each slice into the prepared muffin tin, and bake (on top of another baking sheet to prevent butter from spilling out when baking) for 15-18 minutes, until outer pastry is golden and puffy (not wet or doughy).

7. Once cinnamon rolls are baked, carefully remove them from the muffin tin with a fork, and place on plate to serve.

8. Make your icing while they are baking, by combining powdered sugar, maple syrup, and milk in a bowl and stirring with a spoon until smooth.

9. Drizzle icing onto cinnamon rolls and enjoy!

Learn more about Pepperidge Farm® Puff Pastry Sheets and connect on social!

Facebook: @Pepperidge Farm Puff Pastry

Twitter: @PFPuffPastry

Instagram: @pfpuffpastry

Pinterest: @puffpastry

Hashtag: #InspiredByPuff


YOU MAY ALSO LIKE THESE RECIPES…

Apple Pie Pizza Recipe

Easy Holiday Meal Idea

Pumpkin Oat Dog Treats

Creamy Tomato Basil Soup

Veggie + Prosciutto Sandwich Recipe (Healthier Lunch Idea)

Sometimes you just want a deliciously decadent and healthier sandwich! Here is a delicious recipe that could even be made without the prosciutto to make a vegetarian sandwich too. Loaded with goat cheese, vegetables, and all sorts of toppings, this sandwich is sure to please!

INGREDIENTS:

- Whole Grain Bread of choice (4 slices)

- Goat Cheese Crumbles (3-4 Tablespoons)

- Red Pepper Slices (We used 1/8 of a red pepper, cut into slices)

- Pickled Red Onions (get our recipe here)

- 1/3 of a Jalapeno - sliced very thinly

- Seasoning like salt and pepper

- Panini Maker (we love this one from Cuisinart, which has removable, dishwasher-safe plates)

INSTRUCTIONS:

1. Add a layers of ingredients onto each piece of bread. One side has dijon mustard and prosciutto, the other side has red peppers, pickled red onions, goat cheese crumbles, and also slices of jalapeno, and optional seasoning (like a pinch of salt and pepper). Turn on panini maker

2.) Carefully close sandwich sides together, and place into panini maker. Toast for 3 or so minutes, to ensure the bread does not burn, but that the cheese is nice and melty inside. Remove from panini maker with a spatula, cut in half, and ENJOY!!!

Note - this panini maker heats up pretty quickly, so there is no need to preheat for more than a few minutes. Also, make sure that the plates are sitting flat on your sandwich, compared to sitting at an angle, so the entire sandwich cooks evenly.

CUISINART PANINI MAKER, NOW ON SALE AT MACY'S!

Dressed to grill. This panini & griddler in one brings the best of all worlds straight to the convenience of your countertop. Opening flat to double the cooking surface, this commanding essential features preset temps for grilling everything from burgers to steaks to sandwiches. Plus, this smart cooker puts health first—the front feet adjust to increase the amount of grease drained away from food. Model GR-11.

  • Dimensions: 12.8" x 10.9" x 6"
  • Power on & ready-to-cook indicator lights
  • Removable nonstick grill plates measures 10 1/4" x 6 1/2"
  • 3-year limited warranty
  • Brushed stainless steel
  • Dishwasher safe plates

Soft Batch Iced Pecan Cookies Recipe

These Soft Iced Pecan Brown Sugar Cookies are absolutely delightful! They retain so much of their softness and the added pecan on top adds a natural crunch that really makes these cookies incredible. Good luck eating just one!

INGREDIENTS:

(Makes about 20 cookies)

FOR THE COOKIES:

  • 2 cups (283g) all-purpose flour(scoop and level to measure)
  • 1/2 tsp baking soda
  • 1/2 tsp salt
  • 1 cup (226g) unsalted butter, softened
  • 1 cup (210g) packed light brown sugar
  • 1 large egg
  • 1 tsp vanilla extract
  • 1 cup pecans, toasted, cooled and chopped into bits 
  • 20 extra toasted pecans to top cookies (save the pretty ones for the tops)

Note - to toast your pecans, either place them onto a skillet on medium heat for about 6-7 minutes (see below), or bake them in the oven while oven is preheating - check at 5 minutes, then every 2 minutes after so they do not burn! 

FOR THE ICING:

  • 1 tsp vanilla extract
  • 1 1/2 Tbsp cream
  • pinch salt
  • 2 C. powdered sugar (or more for thicker icing)
  • 4 oz (1/2 Cup) cream cheese at room temperature

INSTRUCTIONS

1. Preheat oven to 350 degrees, and in the bowl of a stand mixer, beat butter and sugars until they are light and fluffy. Add egg and vanilla and beat until combined. 

2. Add sifted flour, baking soda, and salt, and beat again until just combined. Lastly, add chopped pecans and stir by hand until incorporated. 

3. Shape 1" round balls of dough, and bake for about 10-12 minutes, until centers of cookies are fully cooked and edges begin to brown. (The tops will not be shiny anymore). Bake closer to ten minutes if you want softer cookies.

4. Meanwhile, make frosting and get ready to decorate cookies. Let cookies cool completely, then use a spoon to layer on a circle of icing. The icing was super smooth and easy to work with. Top each cookie with a pecan right after icing them. Enjoy!

I'm so happy with how these cookies turned out...

How To Make Cold Brew Coffee For Spring with Dunkin’ Donuts

This is a sponsored conversation written by me on behalf of The J.M. Smucker Company. The opinions and text are all mine.

Spring is here, and I am so excited for warmer weather. I will admit, we were lucky to get such a mild winter, but getting ready for warmer weather means that I have more projects on the to do list and that calls for coffee! I am someone who has to stay organized, so I have been working on my spring to do list for over a month now!

Do you start planning for spring ahead of time, or do you wait until the weather is for sure perfect to get started? Either way, Dunkin’ Donuts® Cold Brew is here to help! Get that craft coffee experience right in your own home with very minimal effort – it’s SO easy!

Check out the mPerk Offer from Meijer, here!

Dunkin' Donuts Cold Brew coffee packs provide a more balanced & blended coffee forward taste as a result of its craft brewing method.

By steeping the coffee packets in water for 8-12 hours, every little nuances of rich, delicious flavor has a chance to come forth and satisfy your taste buds! Drink it black, or enjoy a simple coffee recipe, which I have provided in this post.

Just imagine all of the amazing iced coffee recipes you can create from Dunkin’s Cold Brew.

INSTRUCTIONS + RECIPE:

Step 1: Put 2 Coffee Filter packs (1 pouch) into a pitcher

Step 2: Fill the pitcher with 4 cups of cold water

Step 3: Steep it in the fridge overnight, or for 8–12 hours

Step 4: When it’s done steeping, remove the filters and add 3 more cups of cold water. Customize and enjoy! I added 1-2 Tbsp of sweetened vanilla syrup, also located in Meijer’s coffee aisle, plus about ¼ cup or more of your favorite creamer, all poured over ice. Feel free to add more sweetener if you like, but this tasted amazing!

Watch my video, below, to see how simple it is!

I have been really cherishing coffee a lot more lately than I used to. Maybe it’s because I am inspired by the creative boost it gives me, and perhaps that means a LOT to me :)

In the last few years, I have been training my taste buds to love coffee and all its wonderful, energizing benefits! The added boost is actually what has drawn me to enjoying coffee in the first place, but I also love the fact that I have had some of the best and most meaningful conversations over a cup of coffee. While it’s still a bit chilly out right now, I have been checking the forecast and there are glimpses of warm days ahead in less than two weeks! Here in southern Illinois, we are already starting to see green blades of grass popping out of the leaves, tulip buds and other flowers in their beginning stages, and I am SO excited to get the house and garden ready for spring.

Last year, we really began to invest more time and money into our garden. It was almost a bit sad to prep everything for winter, but each year, I know that I will learn more, and also understand what vegetables, herbs, plants, and flowers will grow on our property. What works well in shade, what works well in full sun, what works best in early spring, and what works best in the crazy heat and humidity of our southern Illinois summers. It’s all such a fun learning experience, and I documented our garden as mush as possible so that this year, I would be able to approach the garden in more of an educated manner.

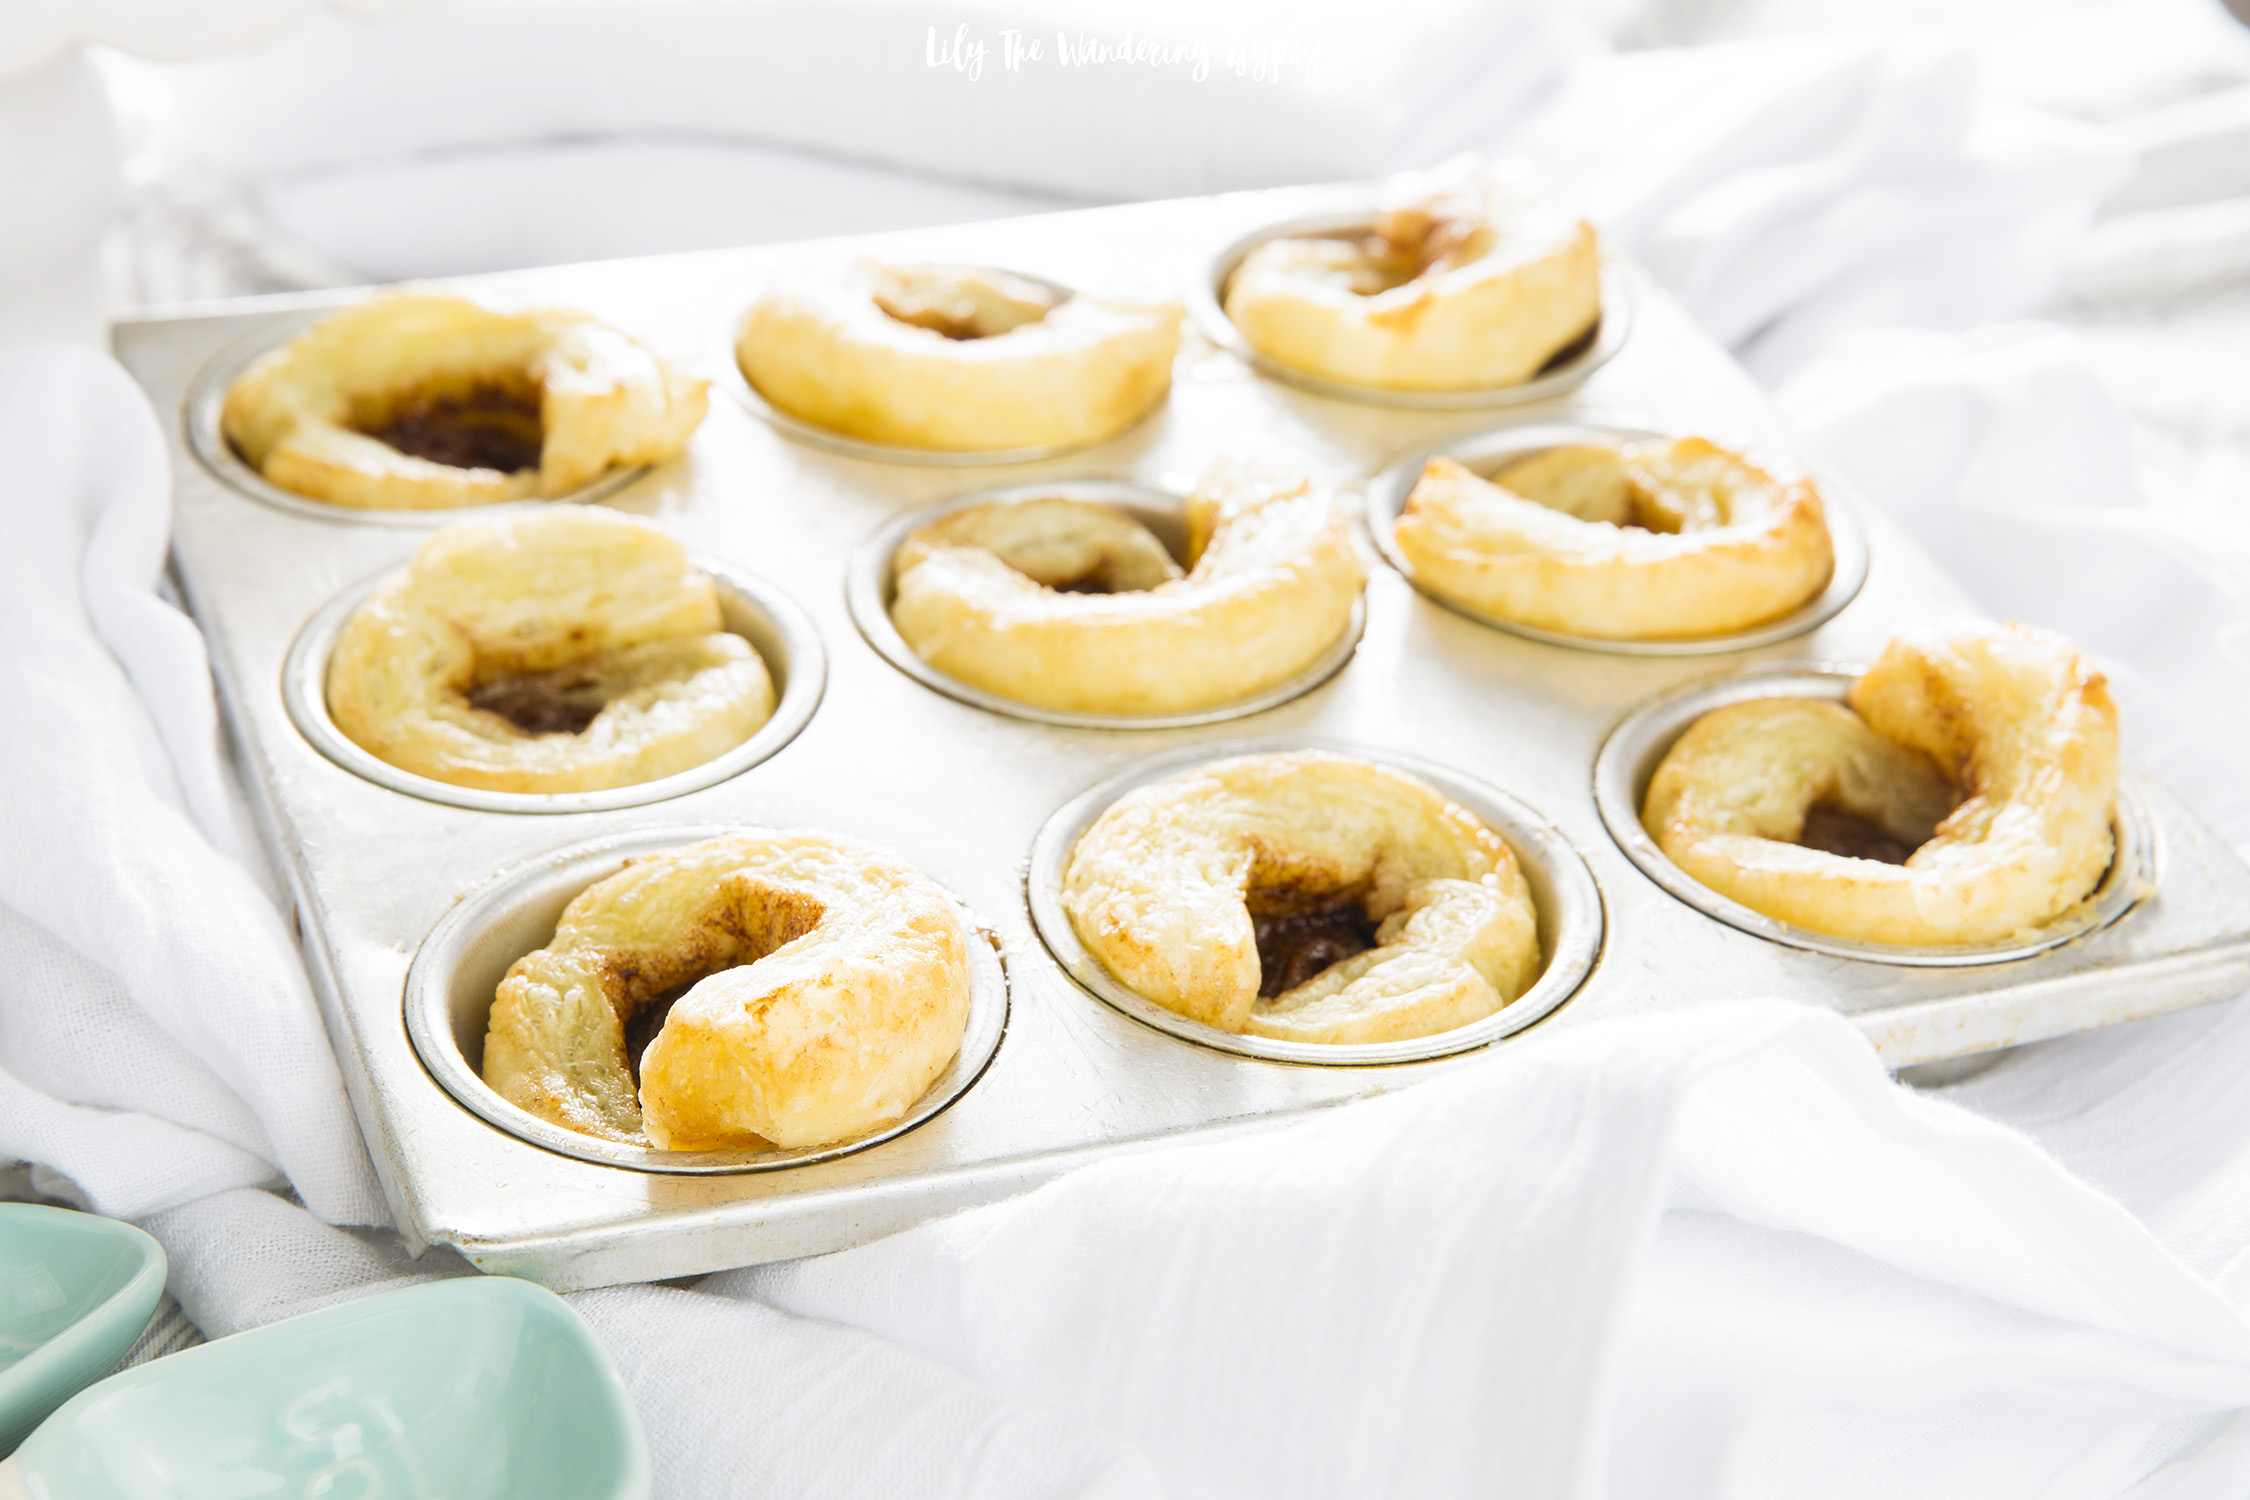
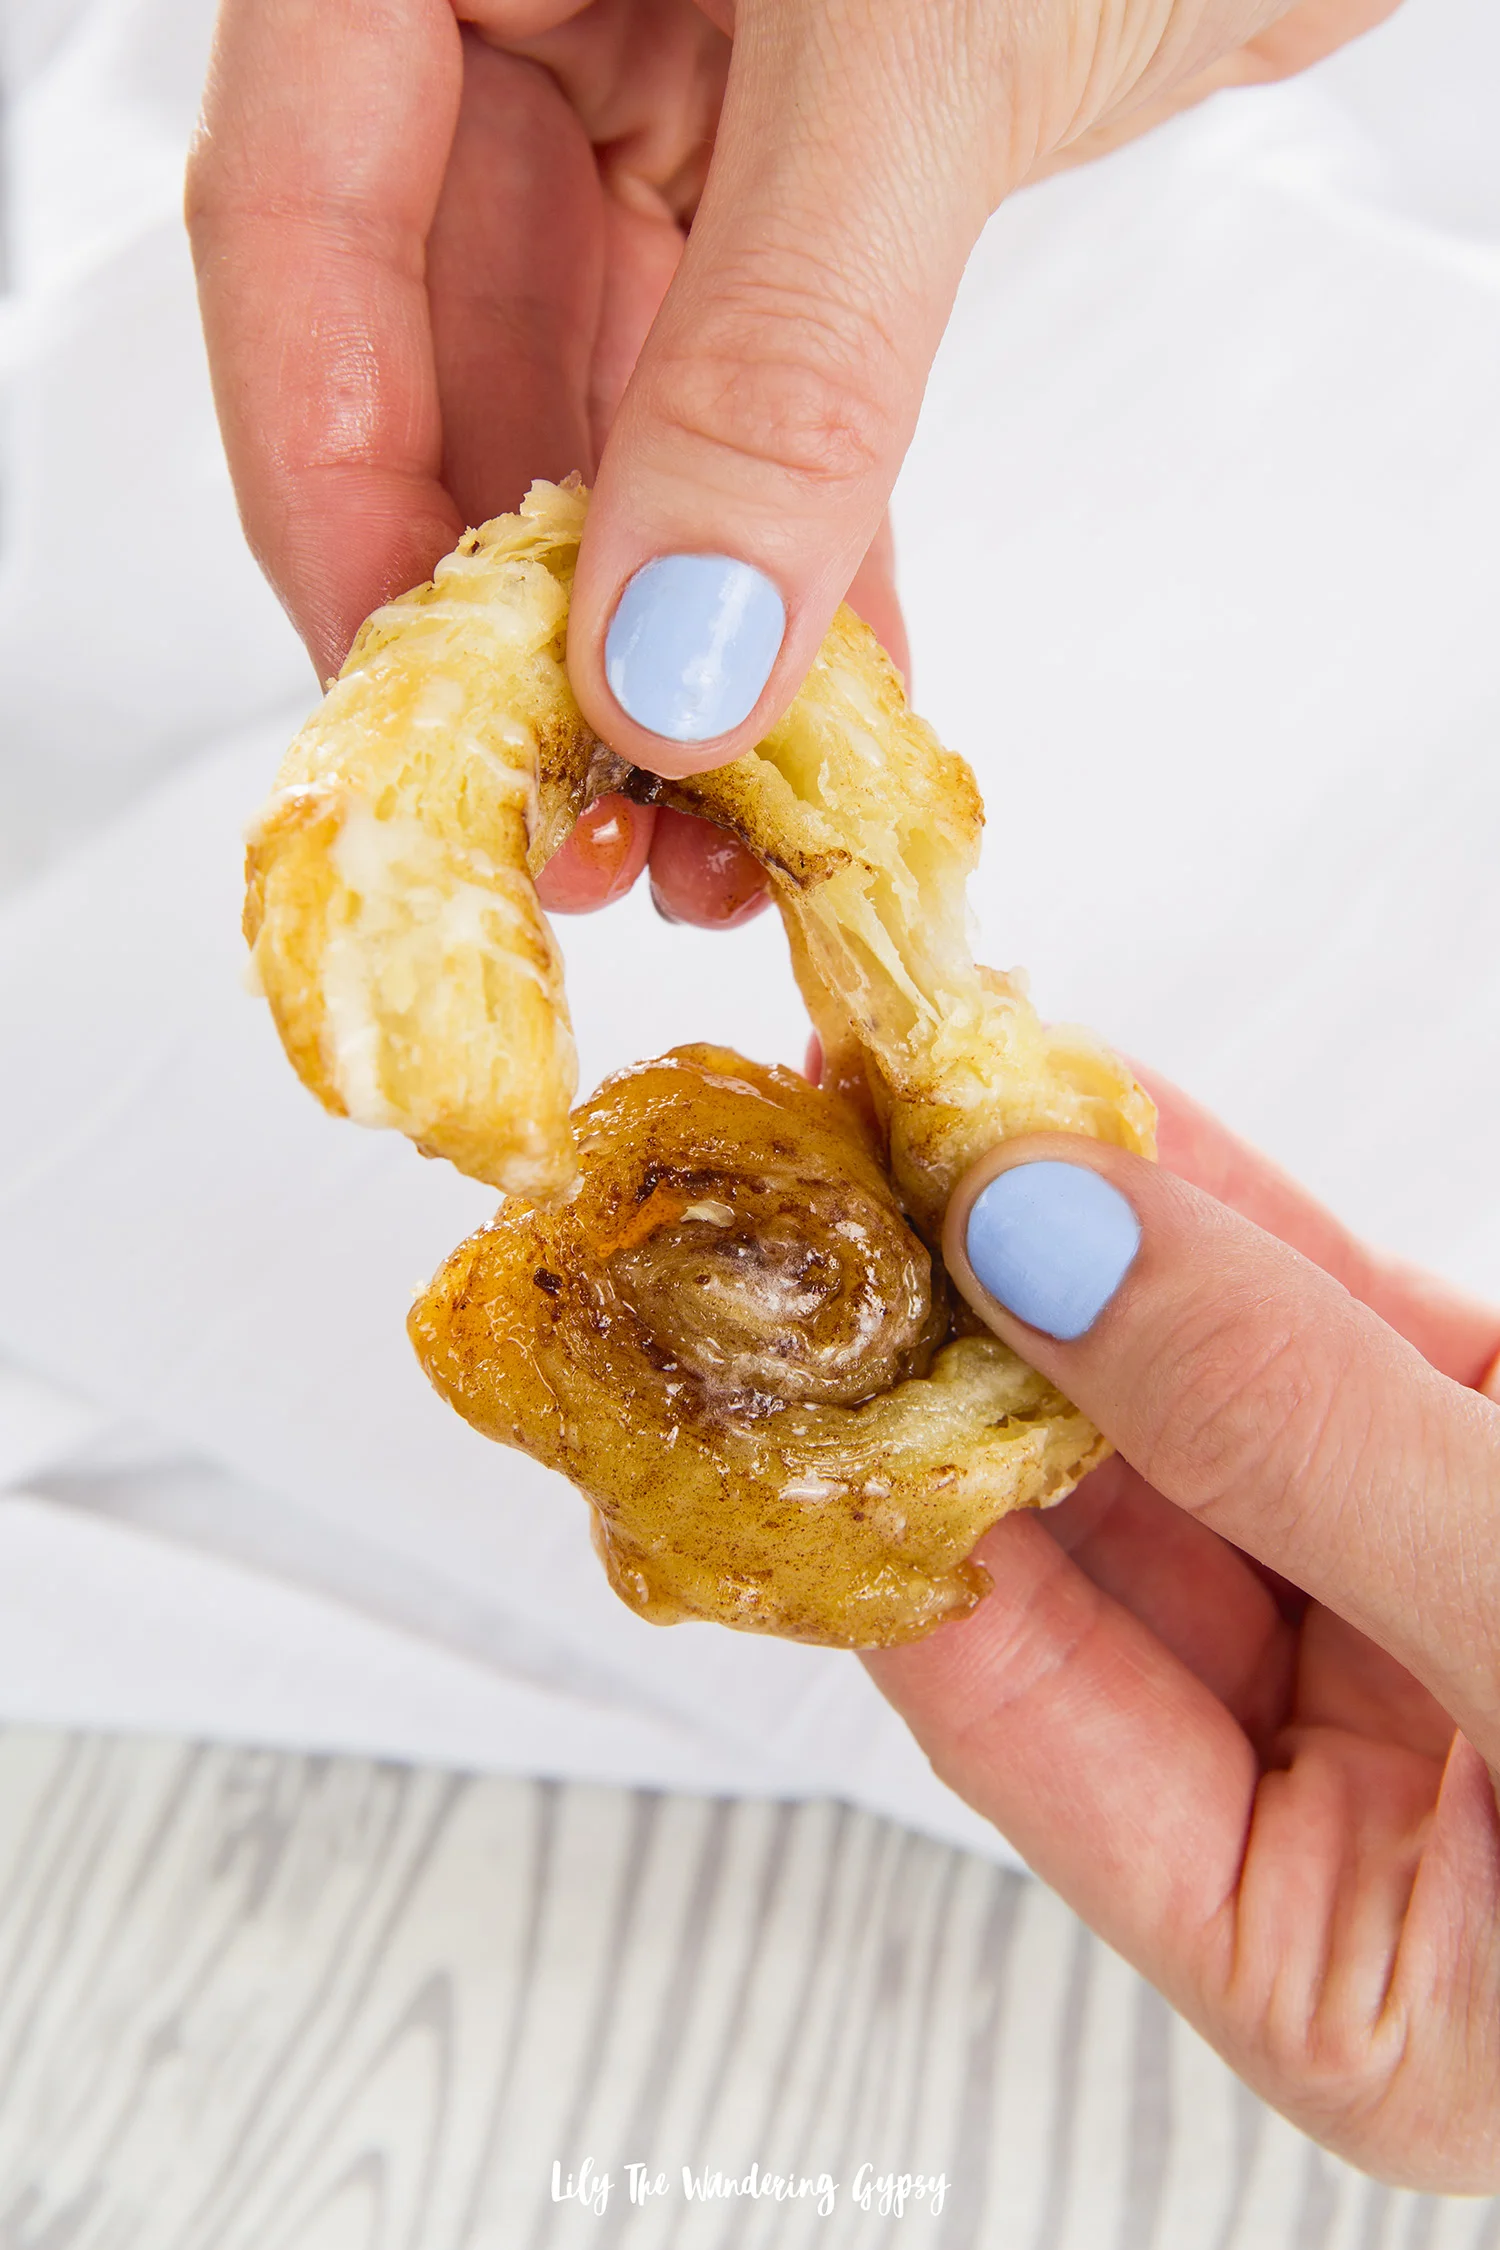
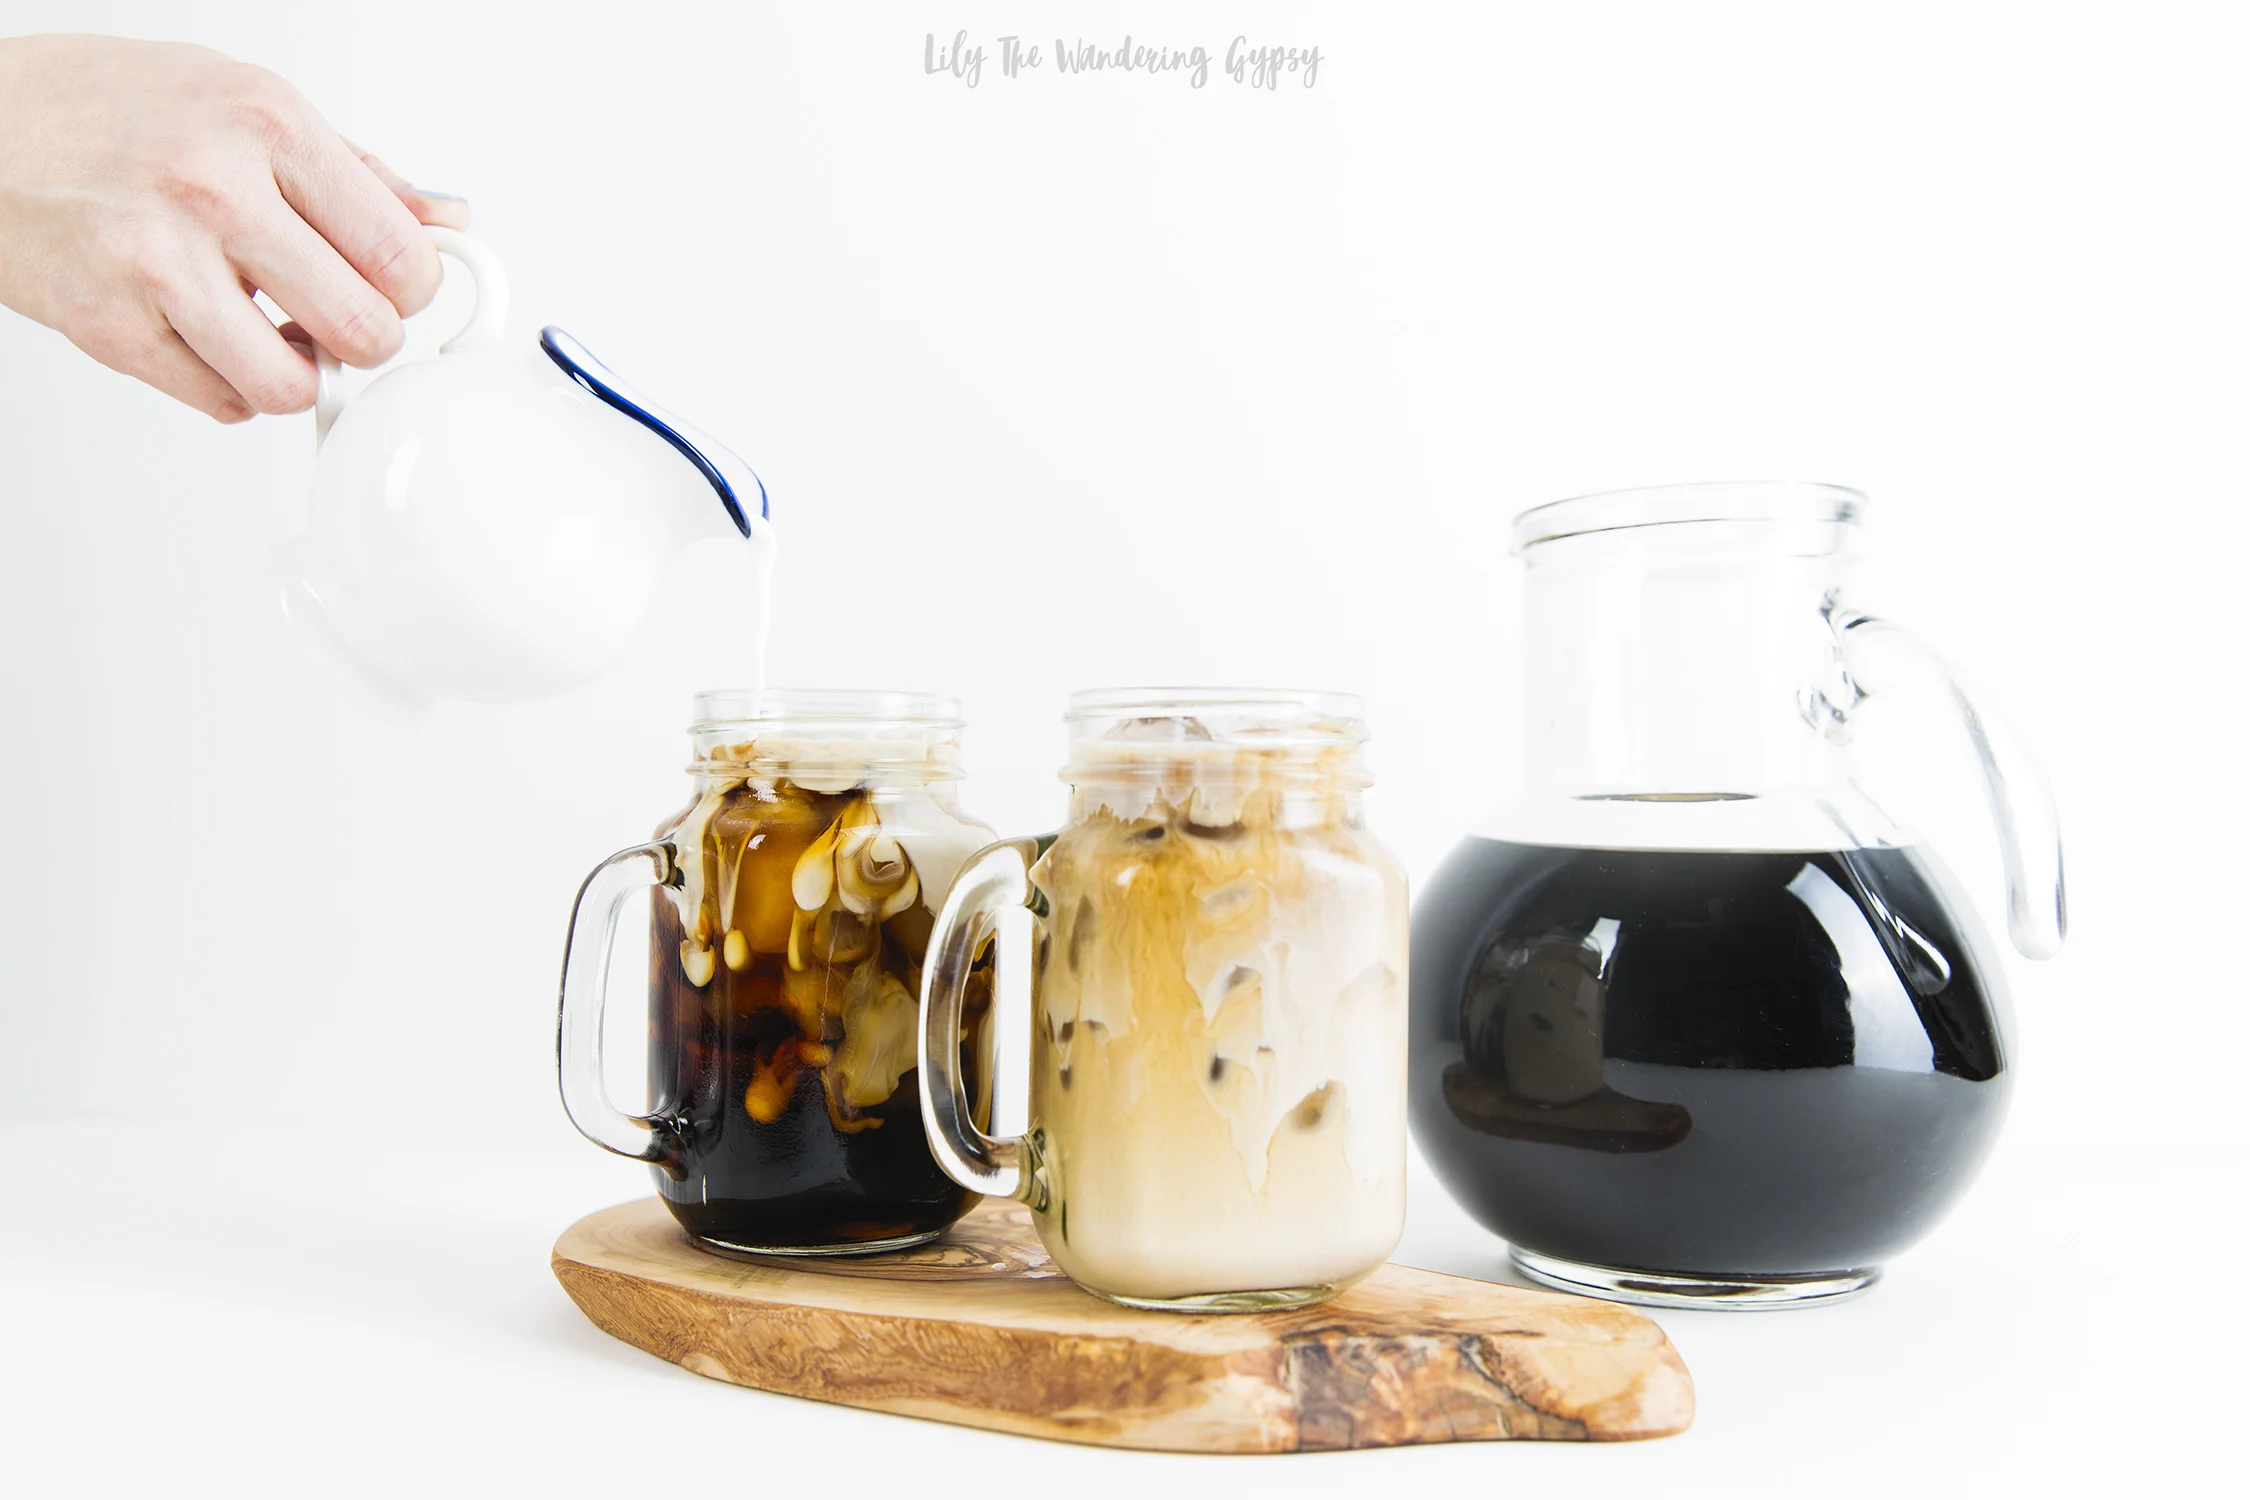
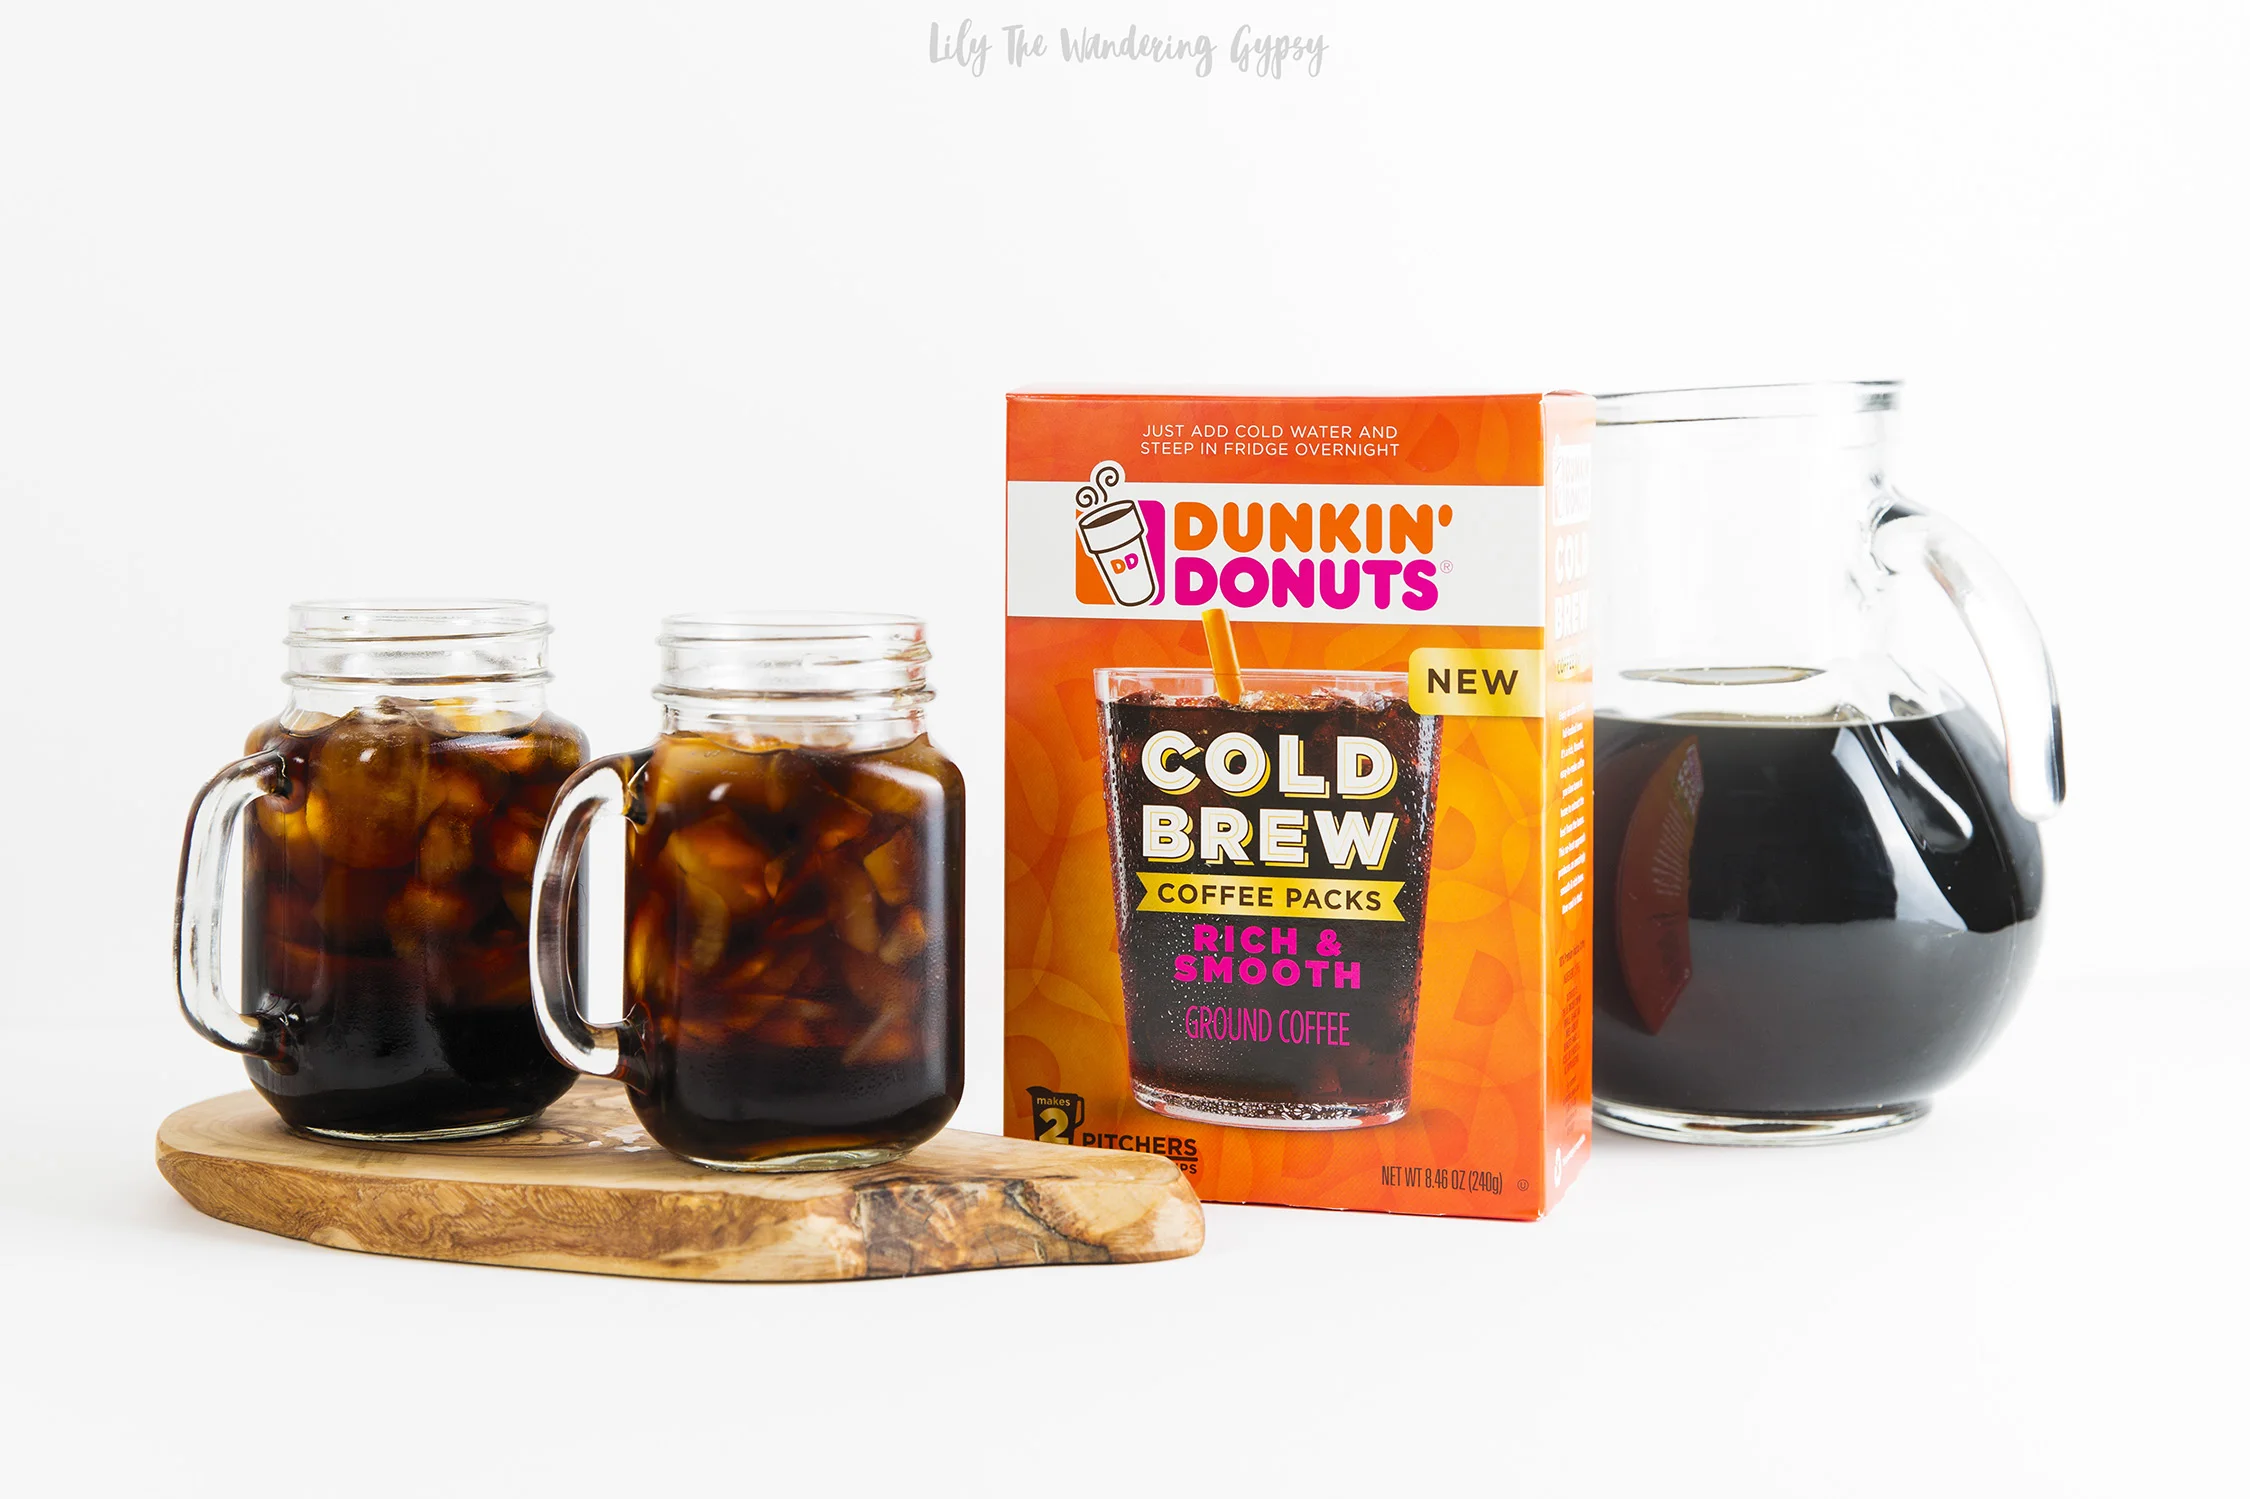
I am also going to help my mom get her garden ready for spring, too, so I plan on bringing a box of the Dunkin’ Cold Brew with me, brewing the coffee in the fridge overnight, then experimenting with several different coffee recipes, which will make our gardening day even more fun and productive. My mom has ALWAYS been a coffee drinker, as long as I can remember, so it’s going to be super fun to bond over something I made for her!

I began with premixed coffee drinks, then started ordering coffee at coffee shops. Well, those options are great when you are in a rush, but I found that the process of making and brewing coffee is one of my favorite parts of the experience, so I make it at home a lot more now.

My mom is actually the person who taught me about gardening. She would save the plants at the garden center that were on their last leg, and then a few weeks later, when I saw her garden again, the plants looked like they were happier than ever. This year should be a fun time to bond over gardening, and it’s going to be great. My mom is going to LOVE this cold brew coffee too – she said she has never tried it before and is eager to learn more.

Did you know that freshly brewed Dunkin’ Donuts Cold Brew coffee packs allow a customizable, craft experience that highlights the smooth and rich notes that taste amazing? I’d definitely hold the taste of Dunkin’s Original Cold Brew up there with those made by very talented baristas. Now I’m a barista in my own home, and I just love it!


Located in the coffee aisle at Meijer, the Dunkin’ Donuts Cold Brew packaging is orange, and a bit larger, and is found near the other cold brew coffee section. I do love shopping at Meijer because of the huge selection of grocery items PLUS those awesome mPerks offers save me a ton.

I’ve always been so drawn to the cold brew process. It’s more of a craft process that a lot of coffee shops are preparing these days. Well, I understand why! The cold brew process draws out the flavor, and also allows the coffee to be less bitter and offer smoother taste. It’s almost like making a pitcher of sun tea, with a longer steeping process. Although the process is longer, the actual work involved is hardly anything. Open the packets, place in your pitcher with water, and wait overnight – that’s about it!

If you try a traditionally brewed cup of iced coffee next to a cup of iced cold brew, it’s amazing. I found that the cold brew was so smooth and wonderful, and by adding just a little bit of sweetened vanilla syrup and coffee creamer, I had a high end coffee drink that I created myself! WINNING!!

It’s so wonderful. A traditionally brewed pot of coffee sometimes starts to taste less appealing after an hour or so. Well, since this Dunkin’ Cold Brew actually steeps for around 8-12 hours, the delicious nuances of flavor get more time to develop. This coffee was not bitter, but more of a rich, smooth, fulfilling flavor! I never drink black coffee by itself, but WOW, this cold brew style of coffee is actually a good way to not have to really add so many ingredients because the flavor is so rich and balanced.  (unless you want to, of course!!)

 I’ve always been intrigued by cold brew coffee, and this was my first time trying it out myself. I loved how easy it was to brew an entire pitcher of coffee all at once, providing endless joy and drink recipe options.

Let me know what you plan to check off on your spring to do list in the comments below. I’d love to hear what you’re up to these days.

© The J.M. Smucker Company © 2018. DD IP Holder LLC (as to Dunkin’ Donuts and all other trademarks, logos and trade dress of DD IP Holder LLC) used under license.