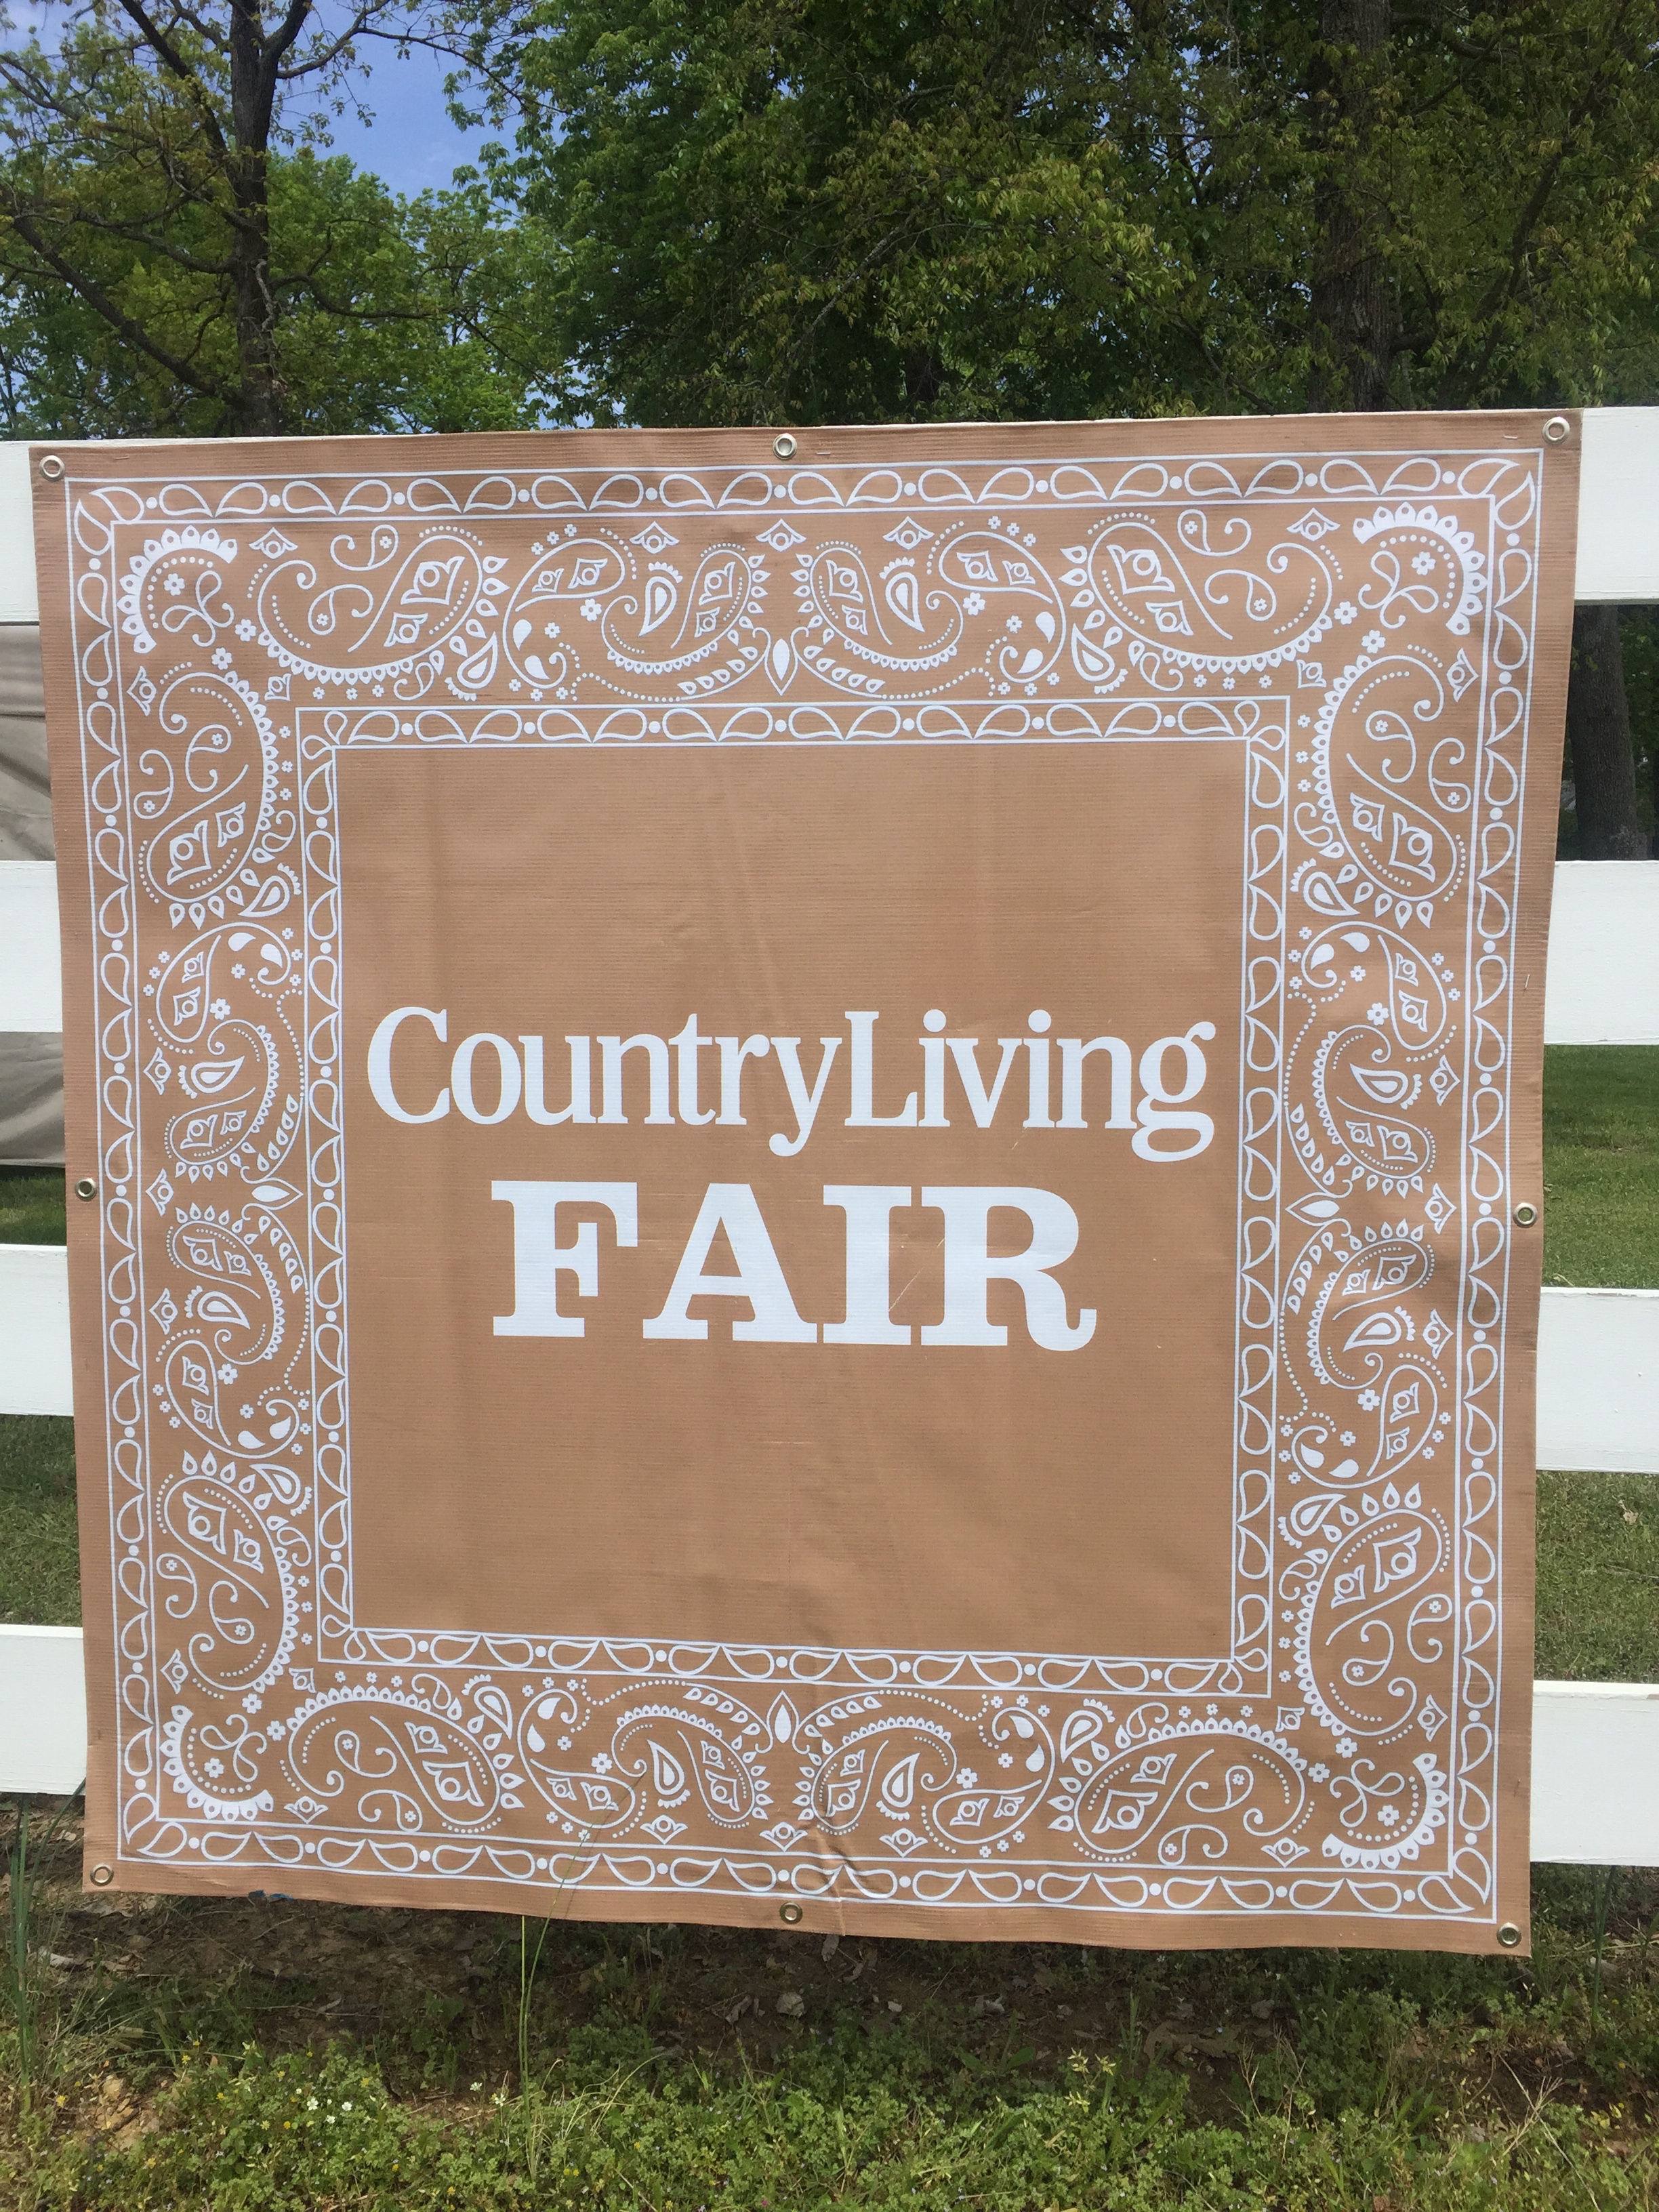
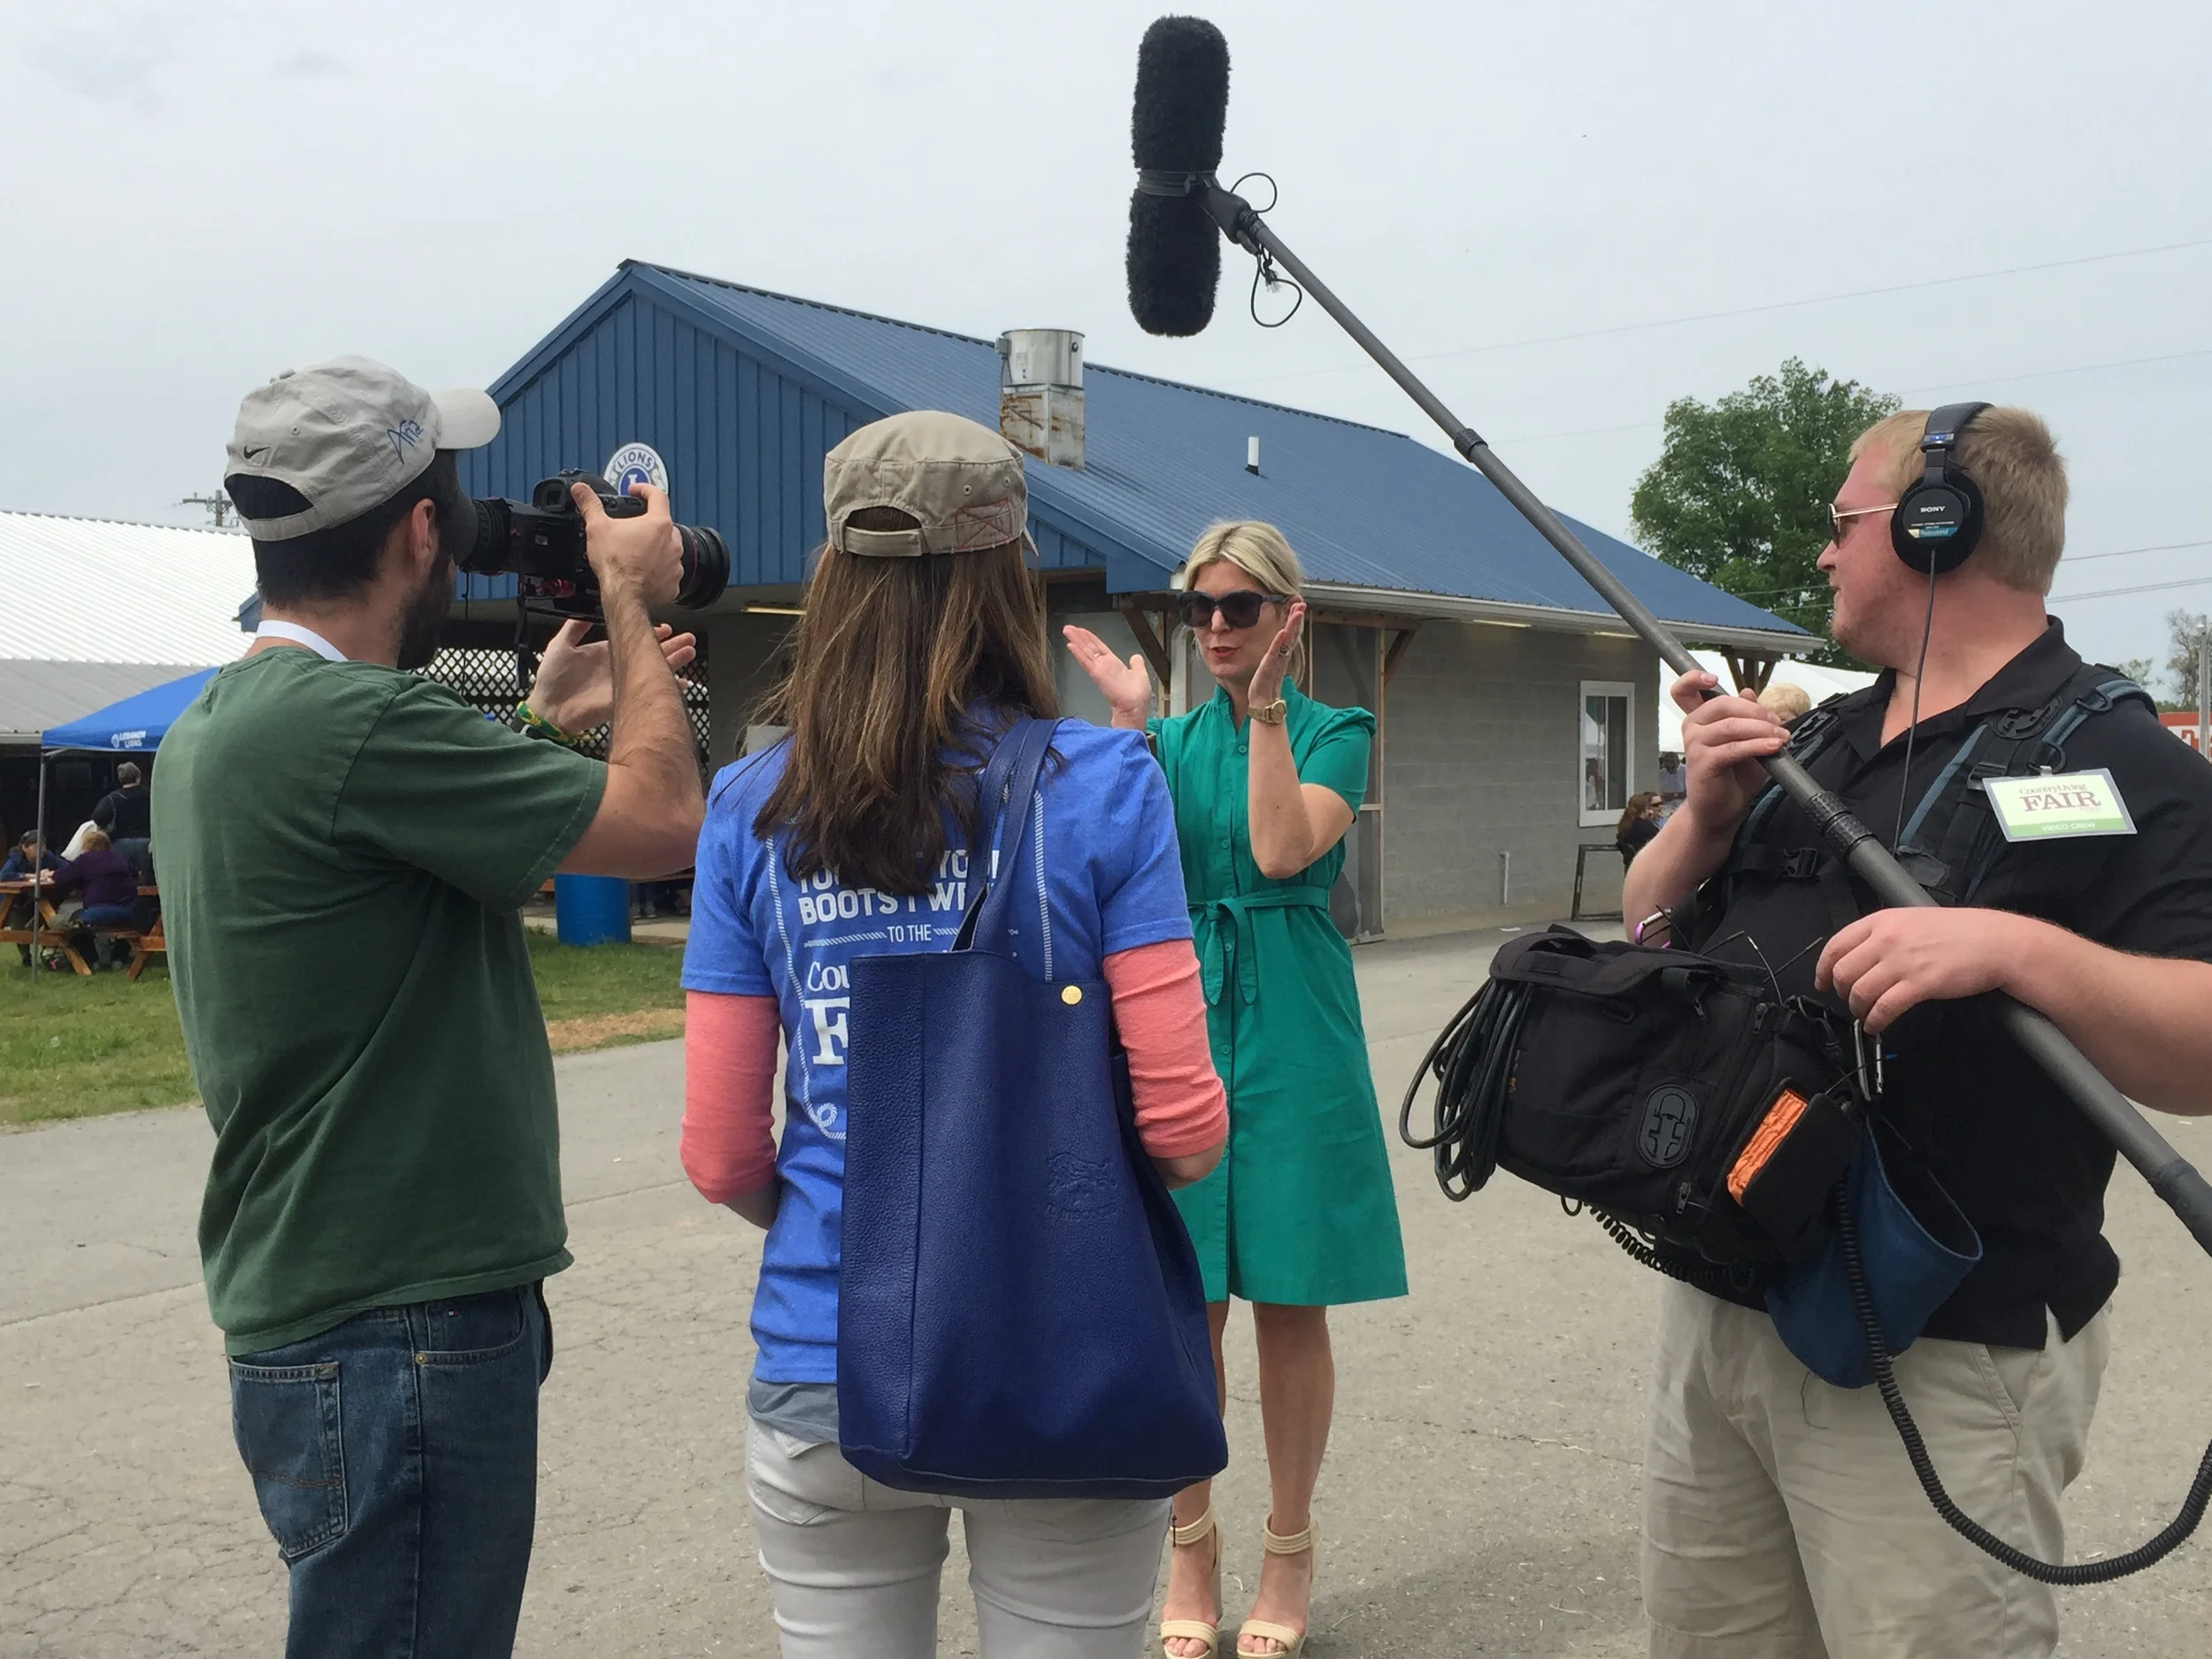
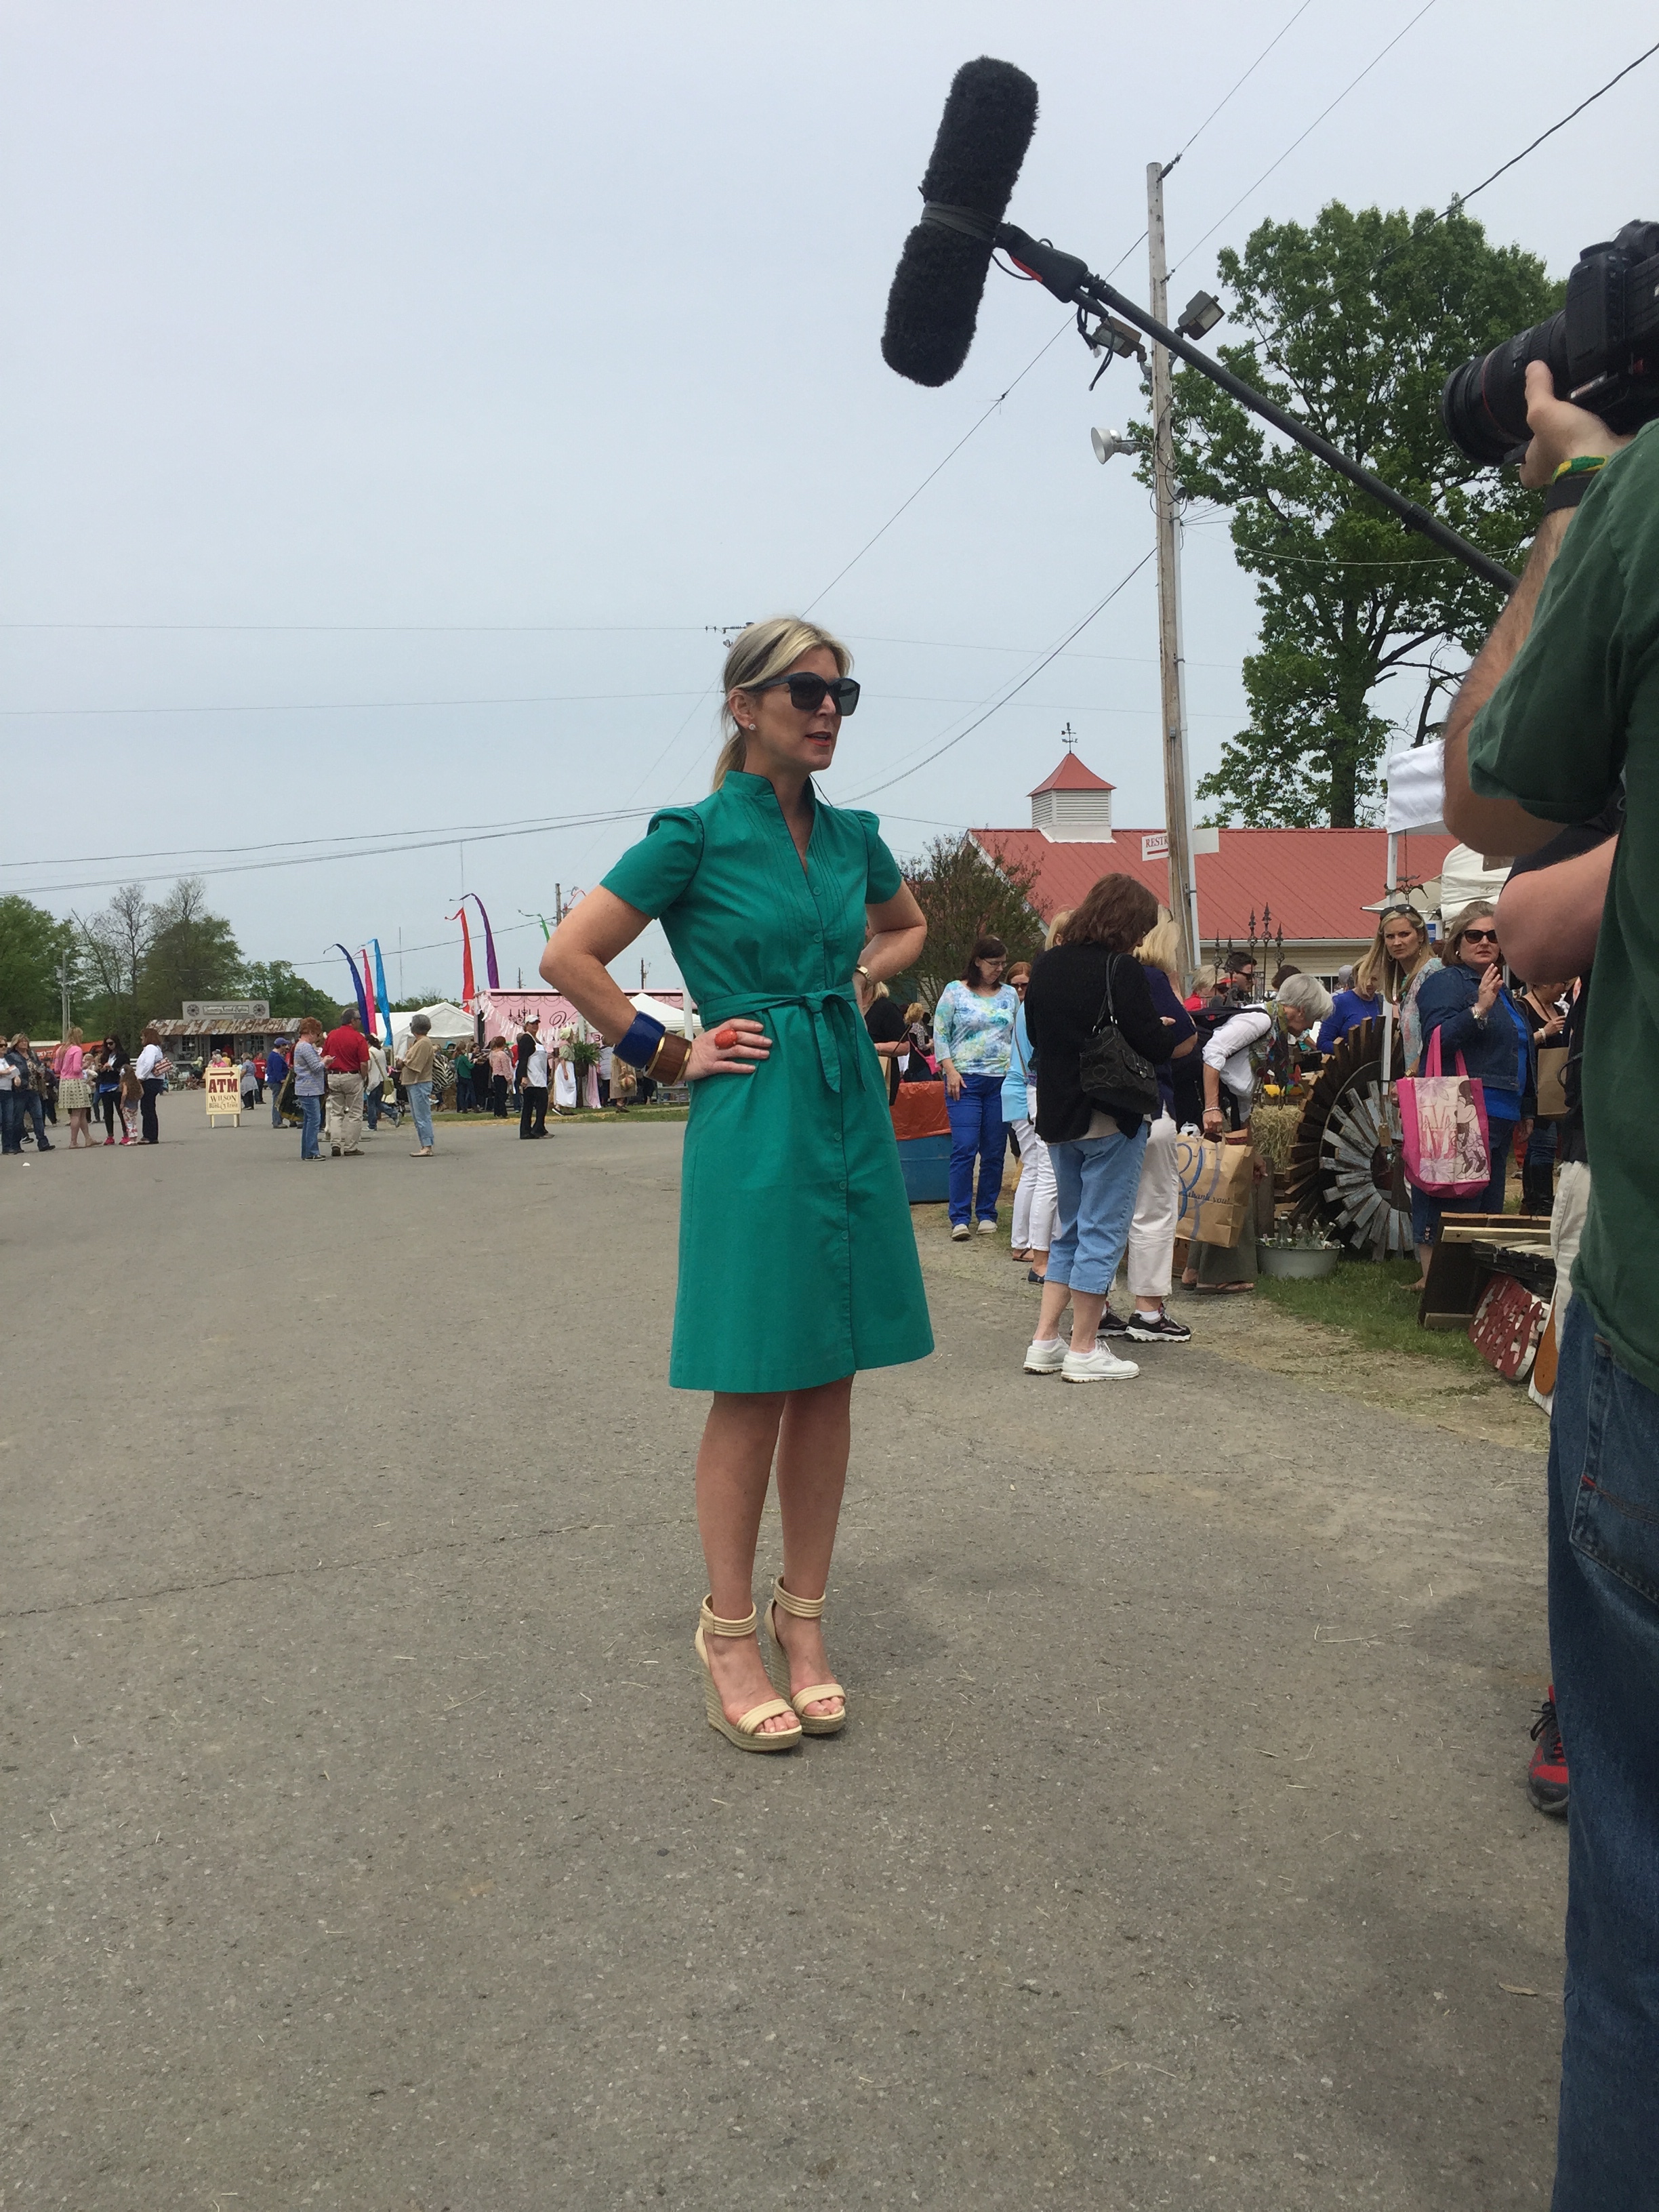
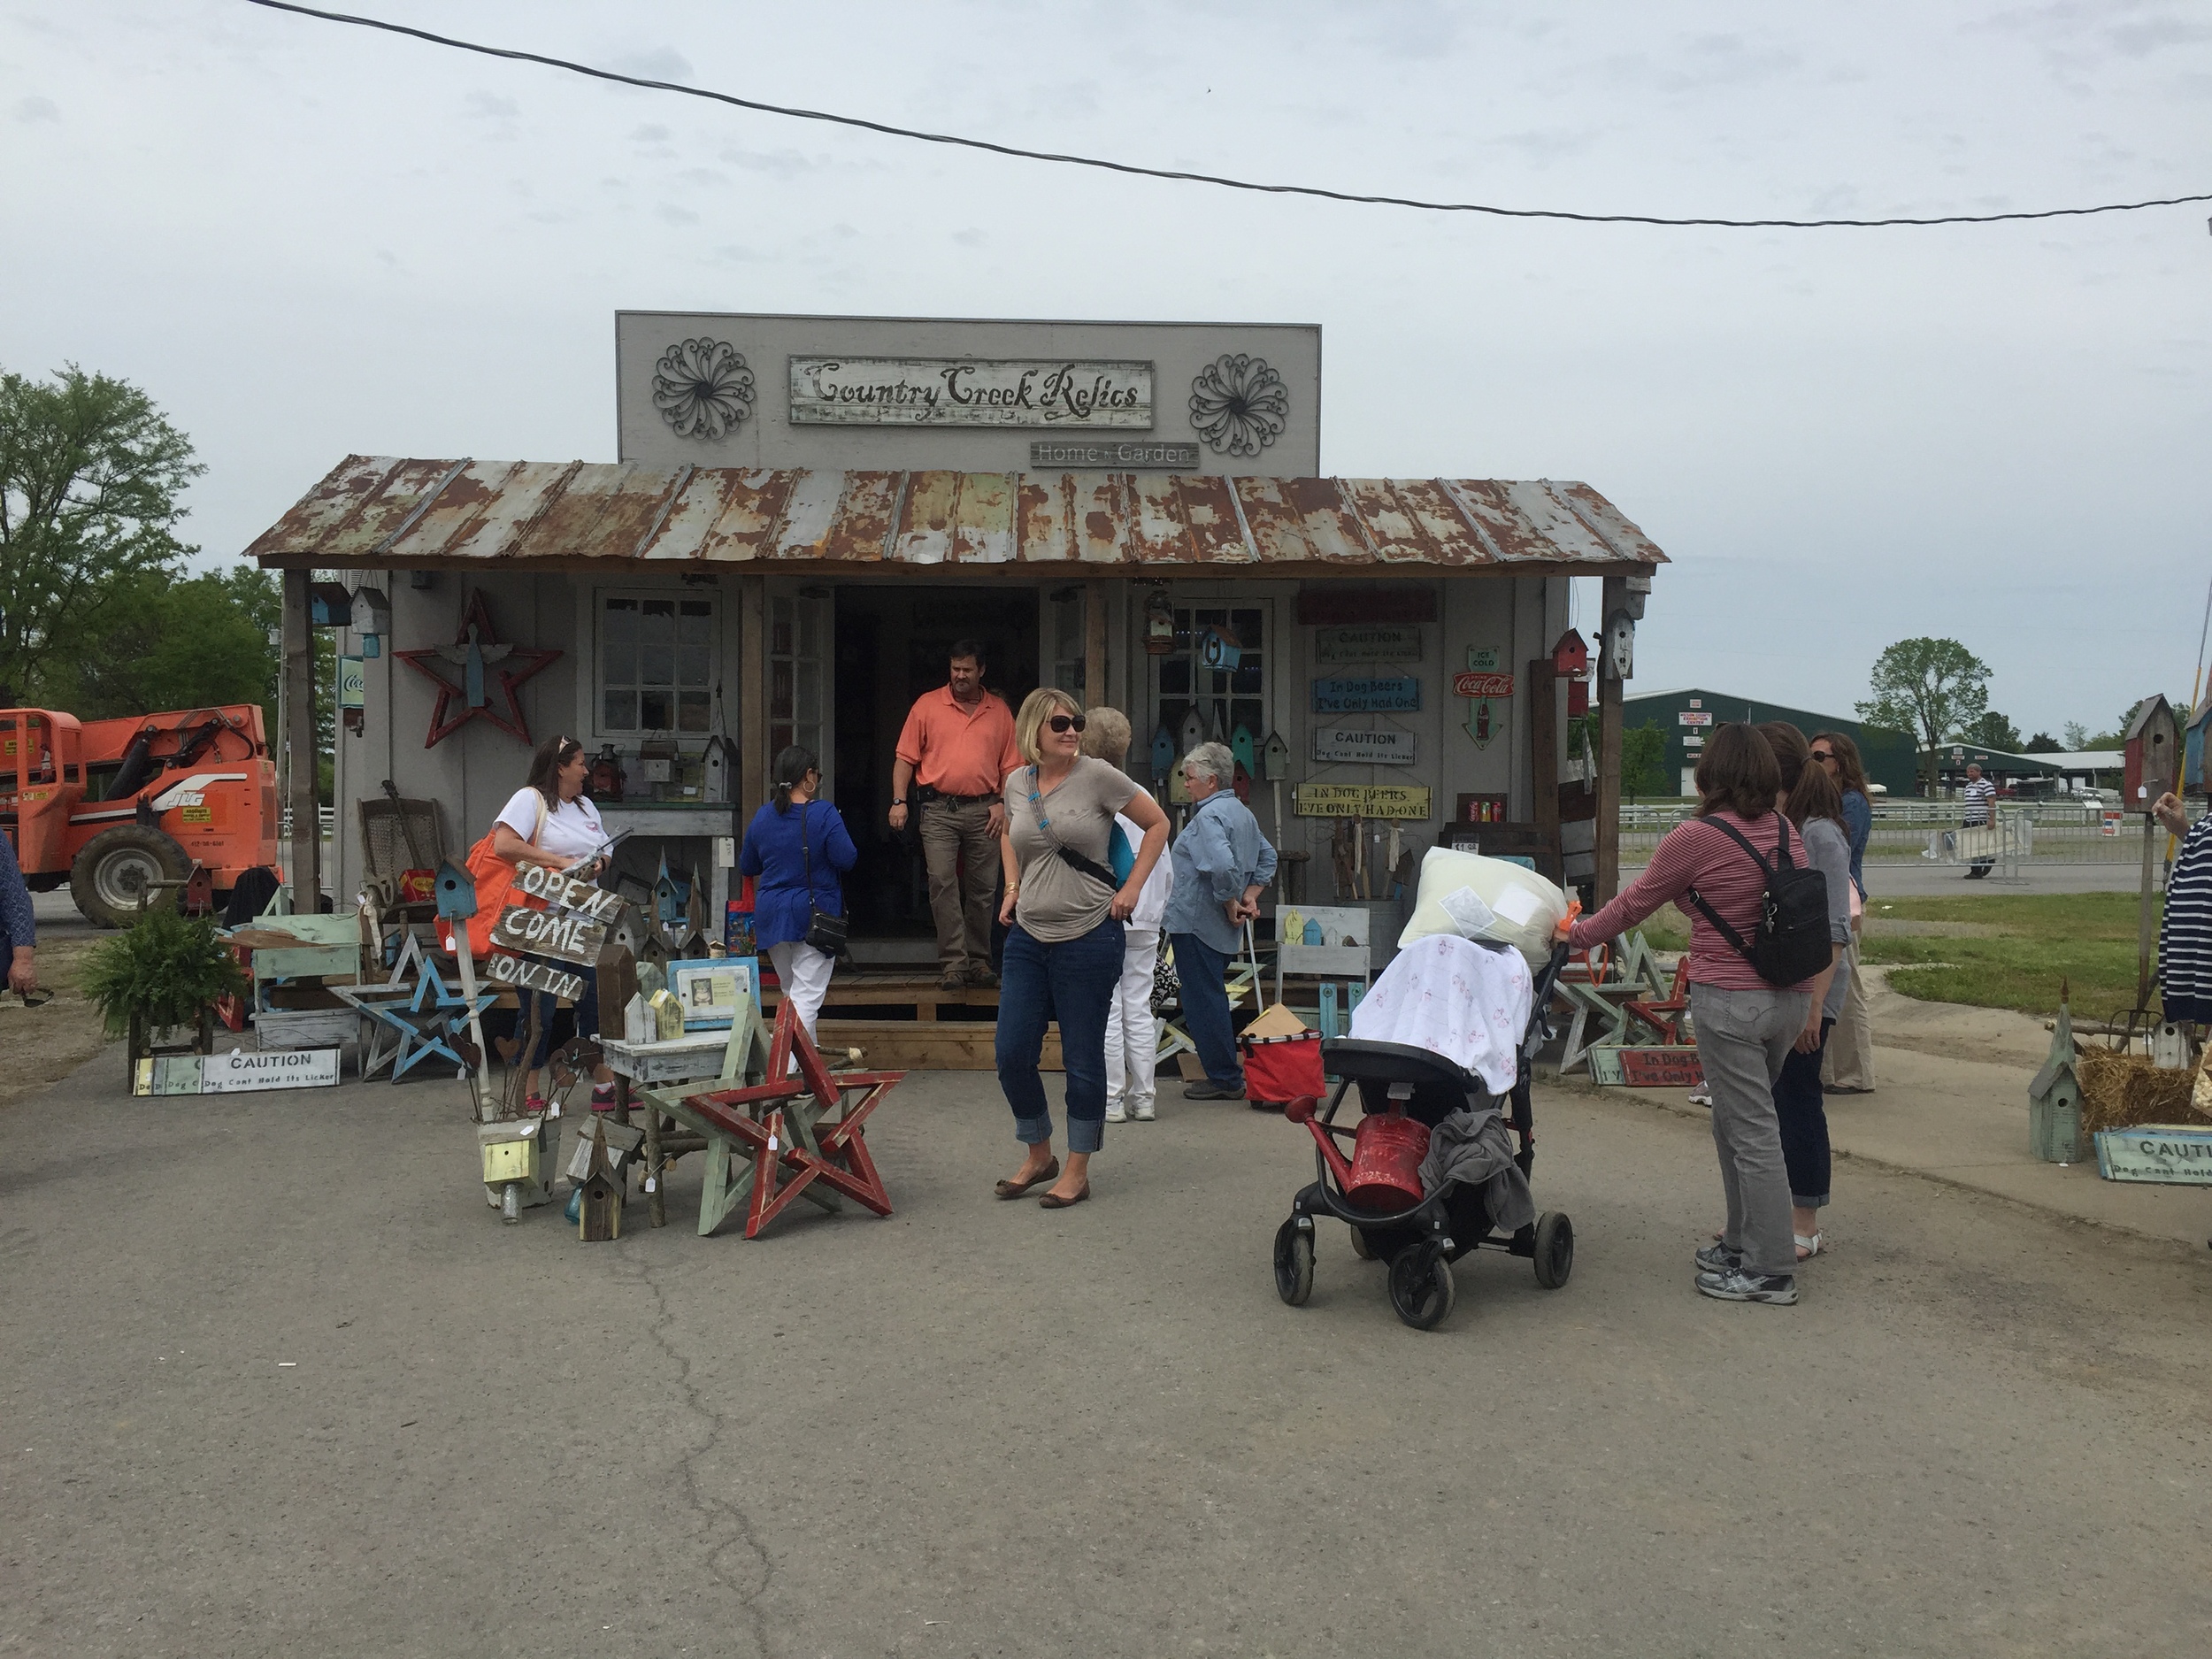
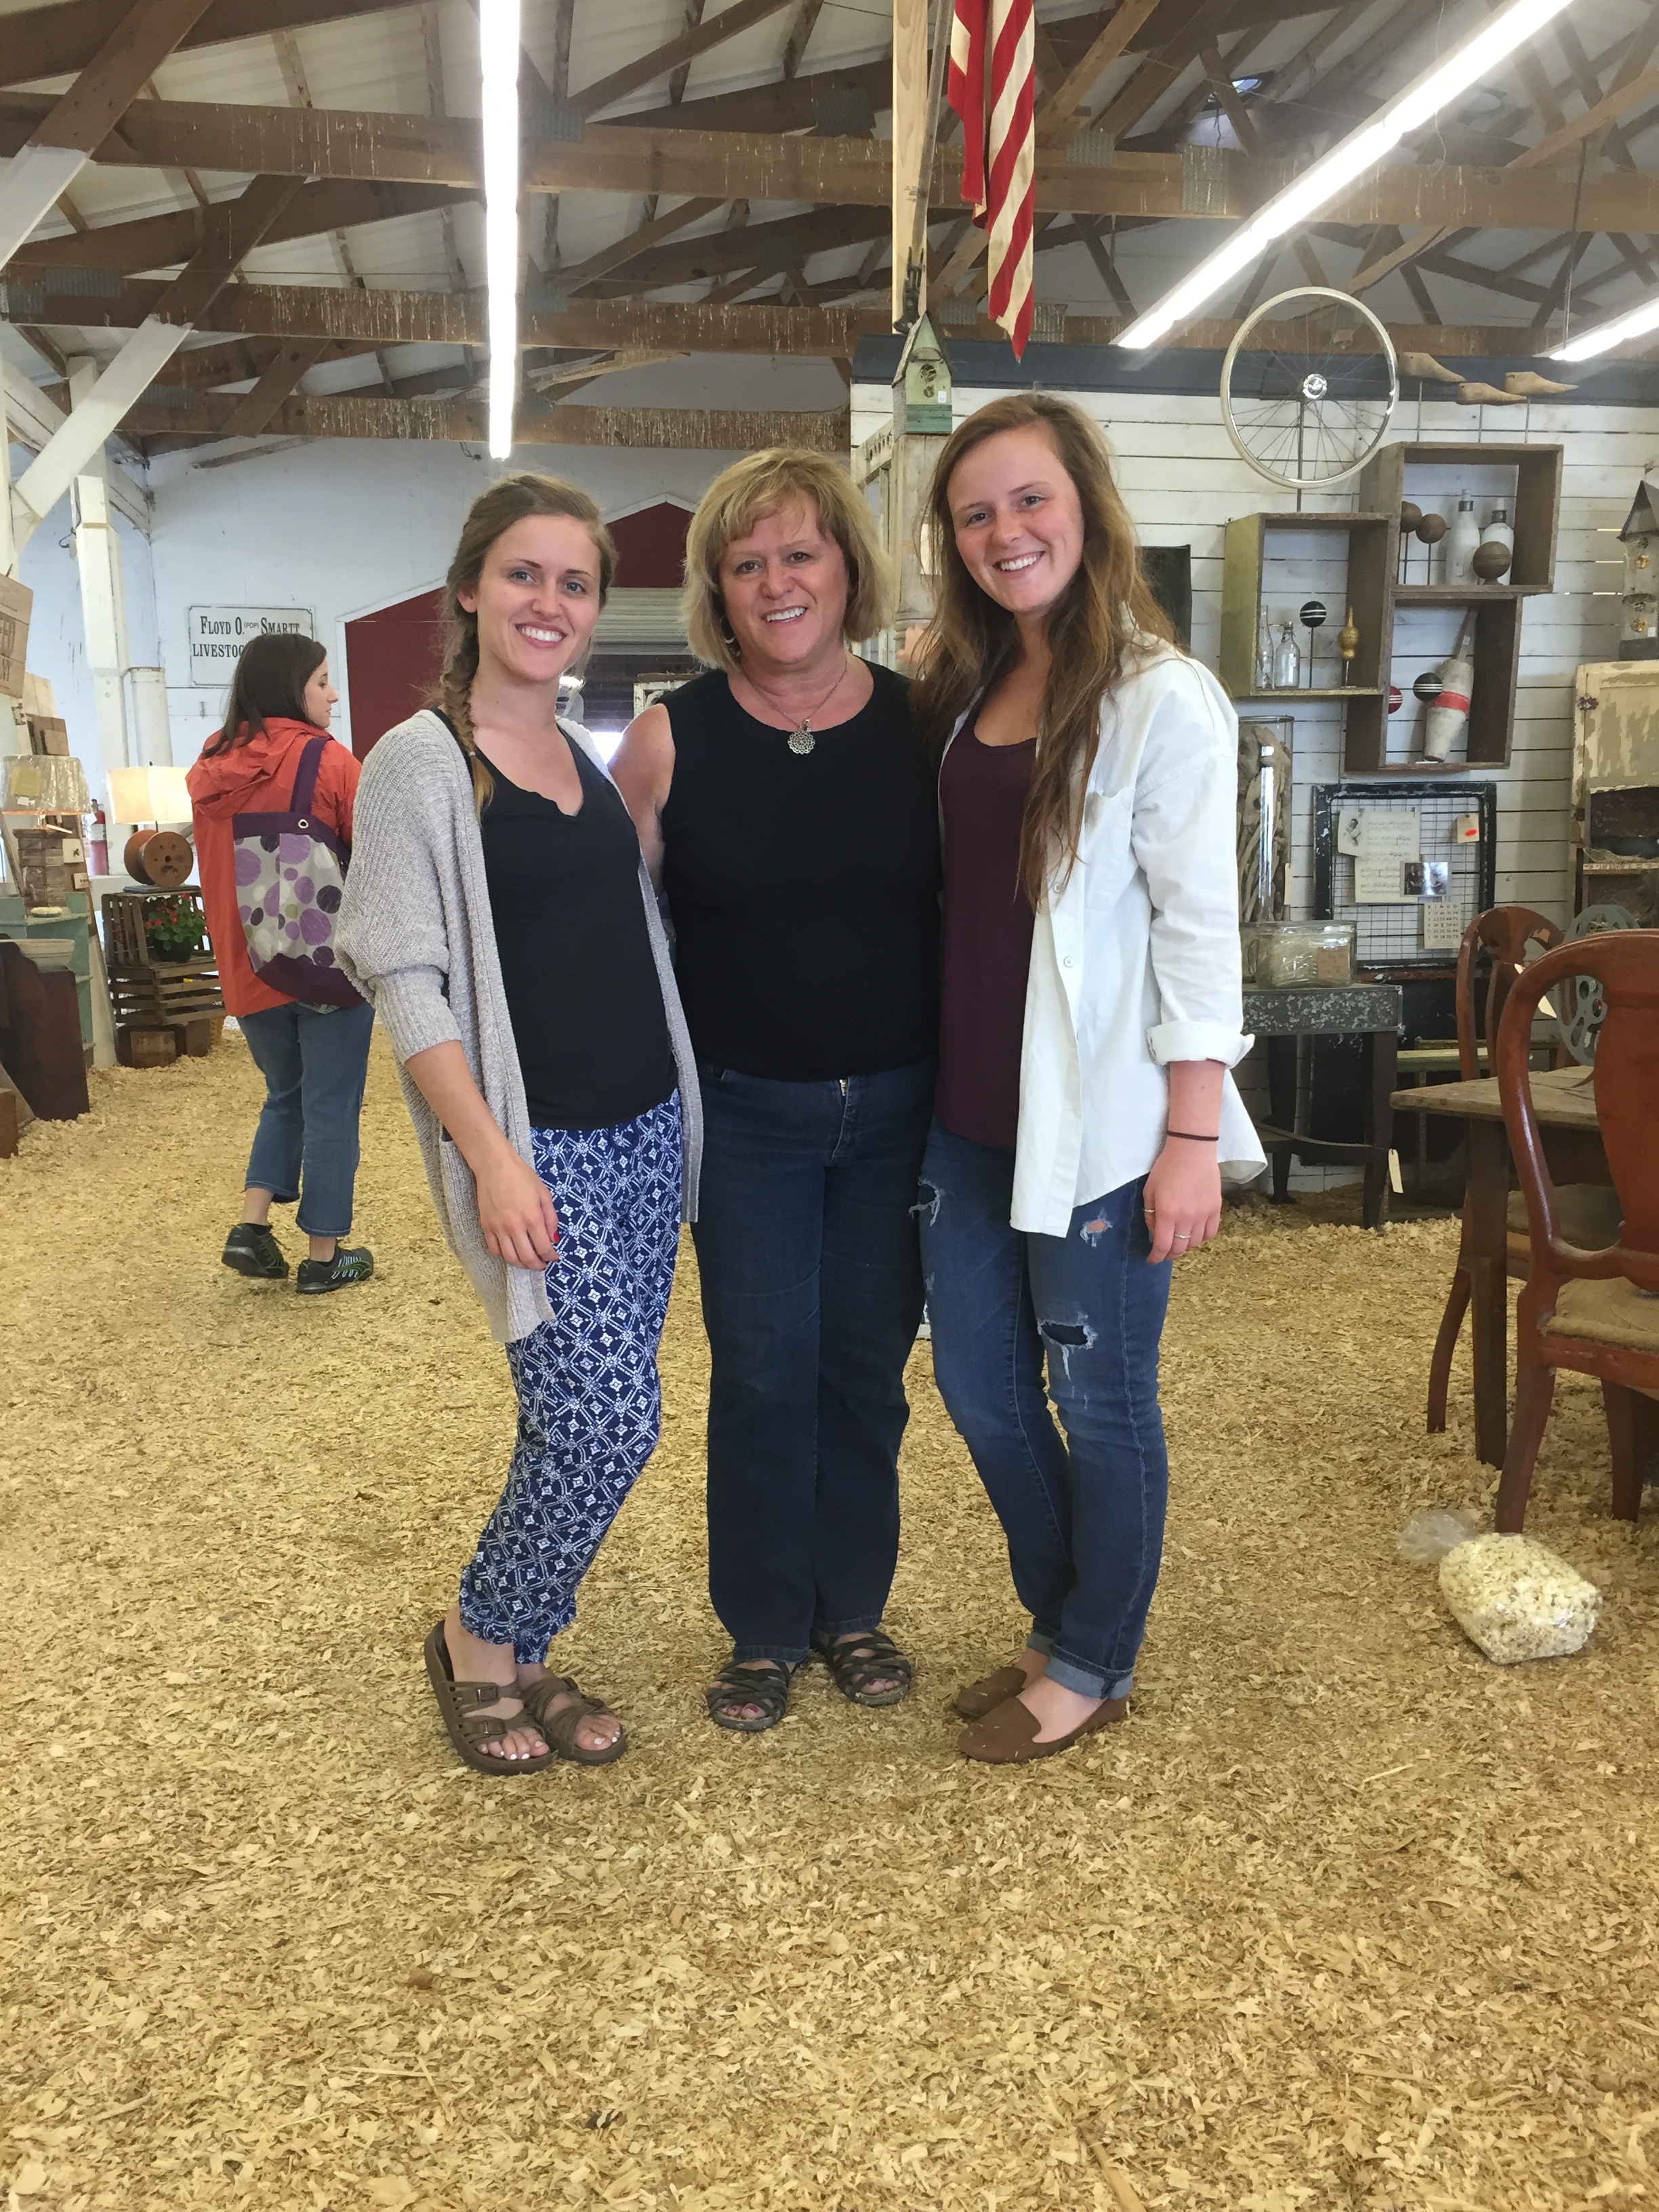
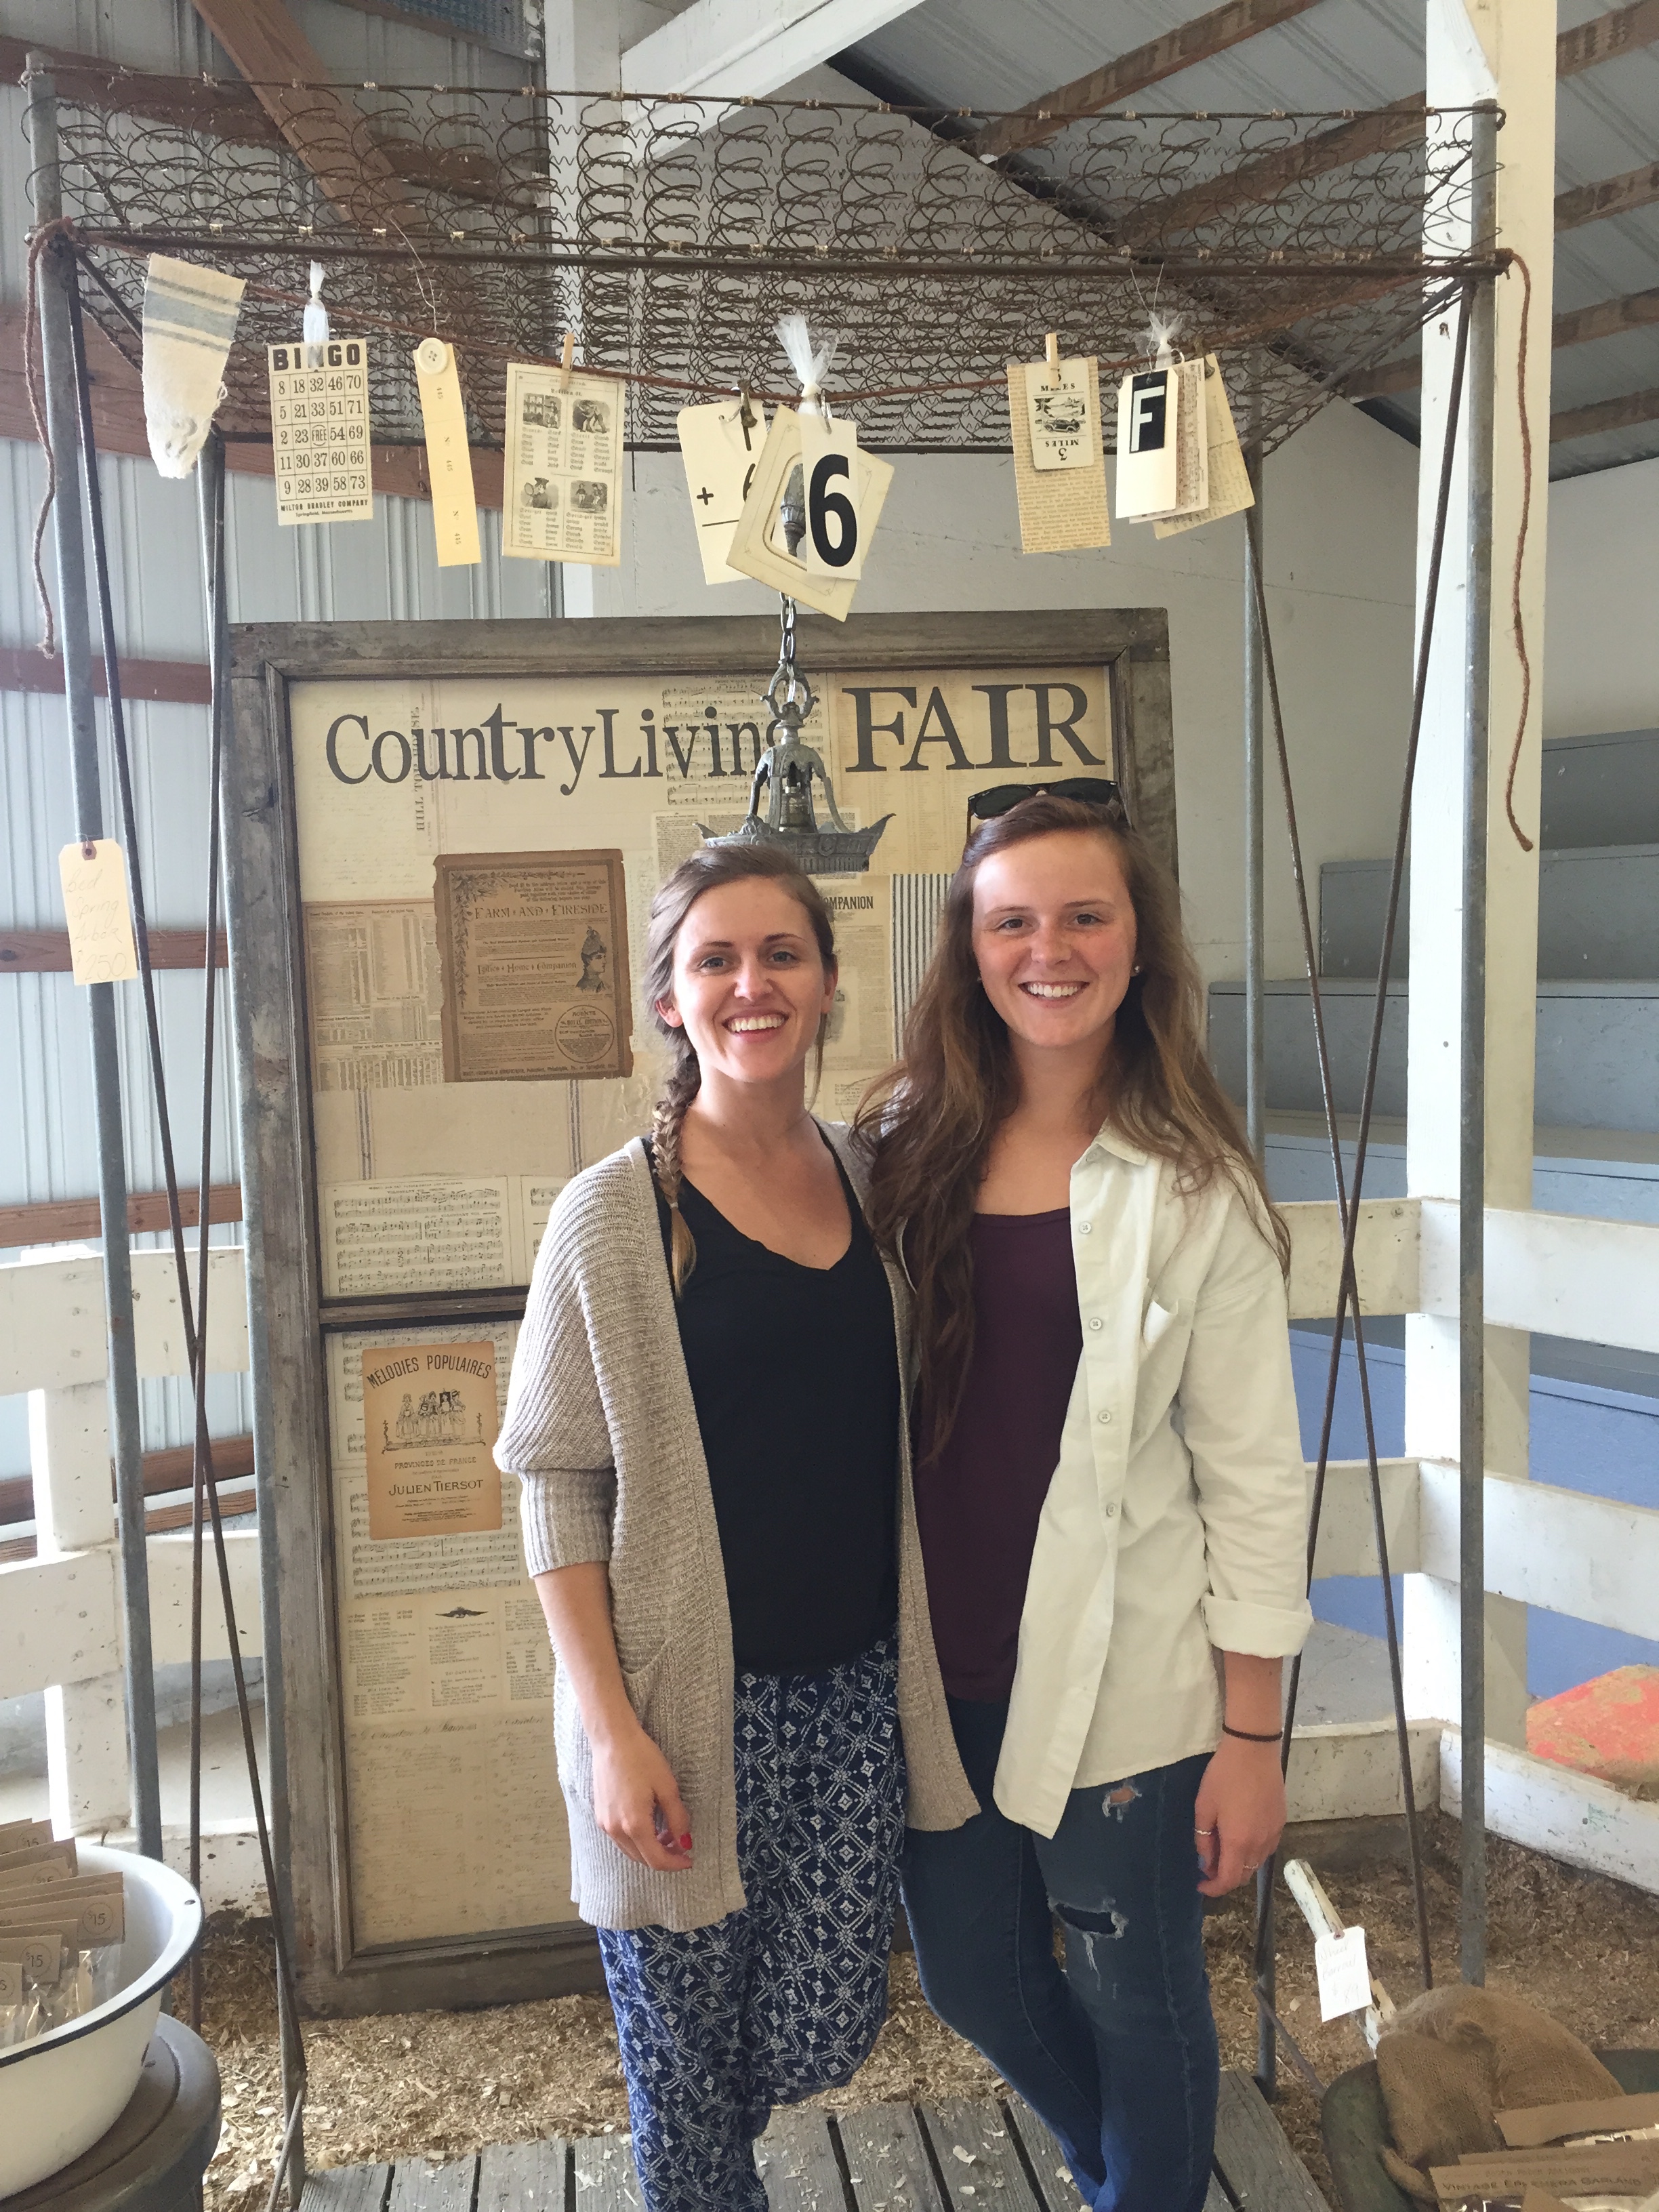
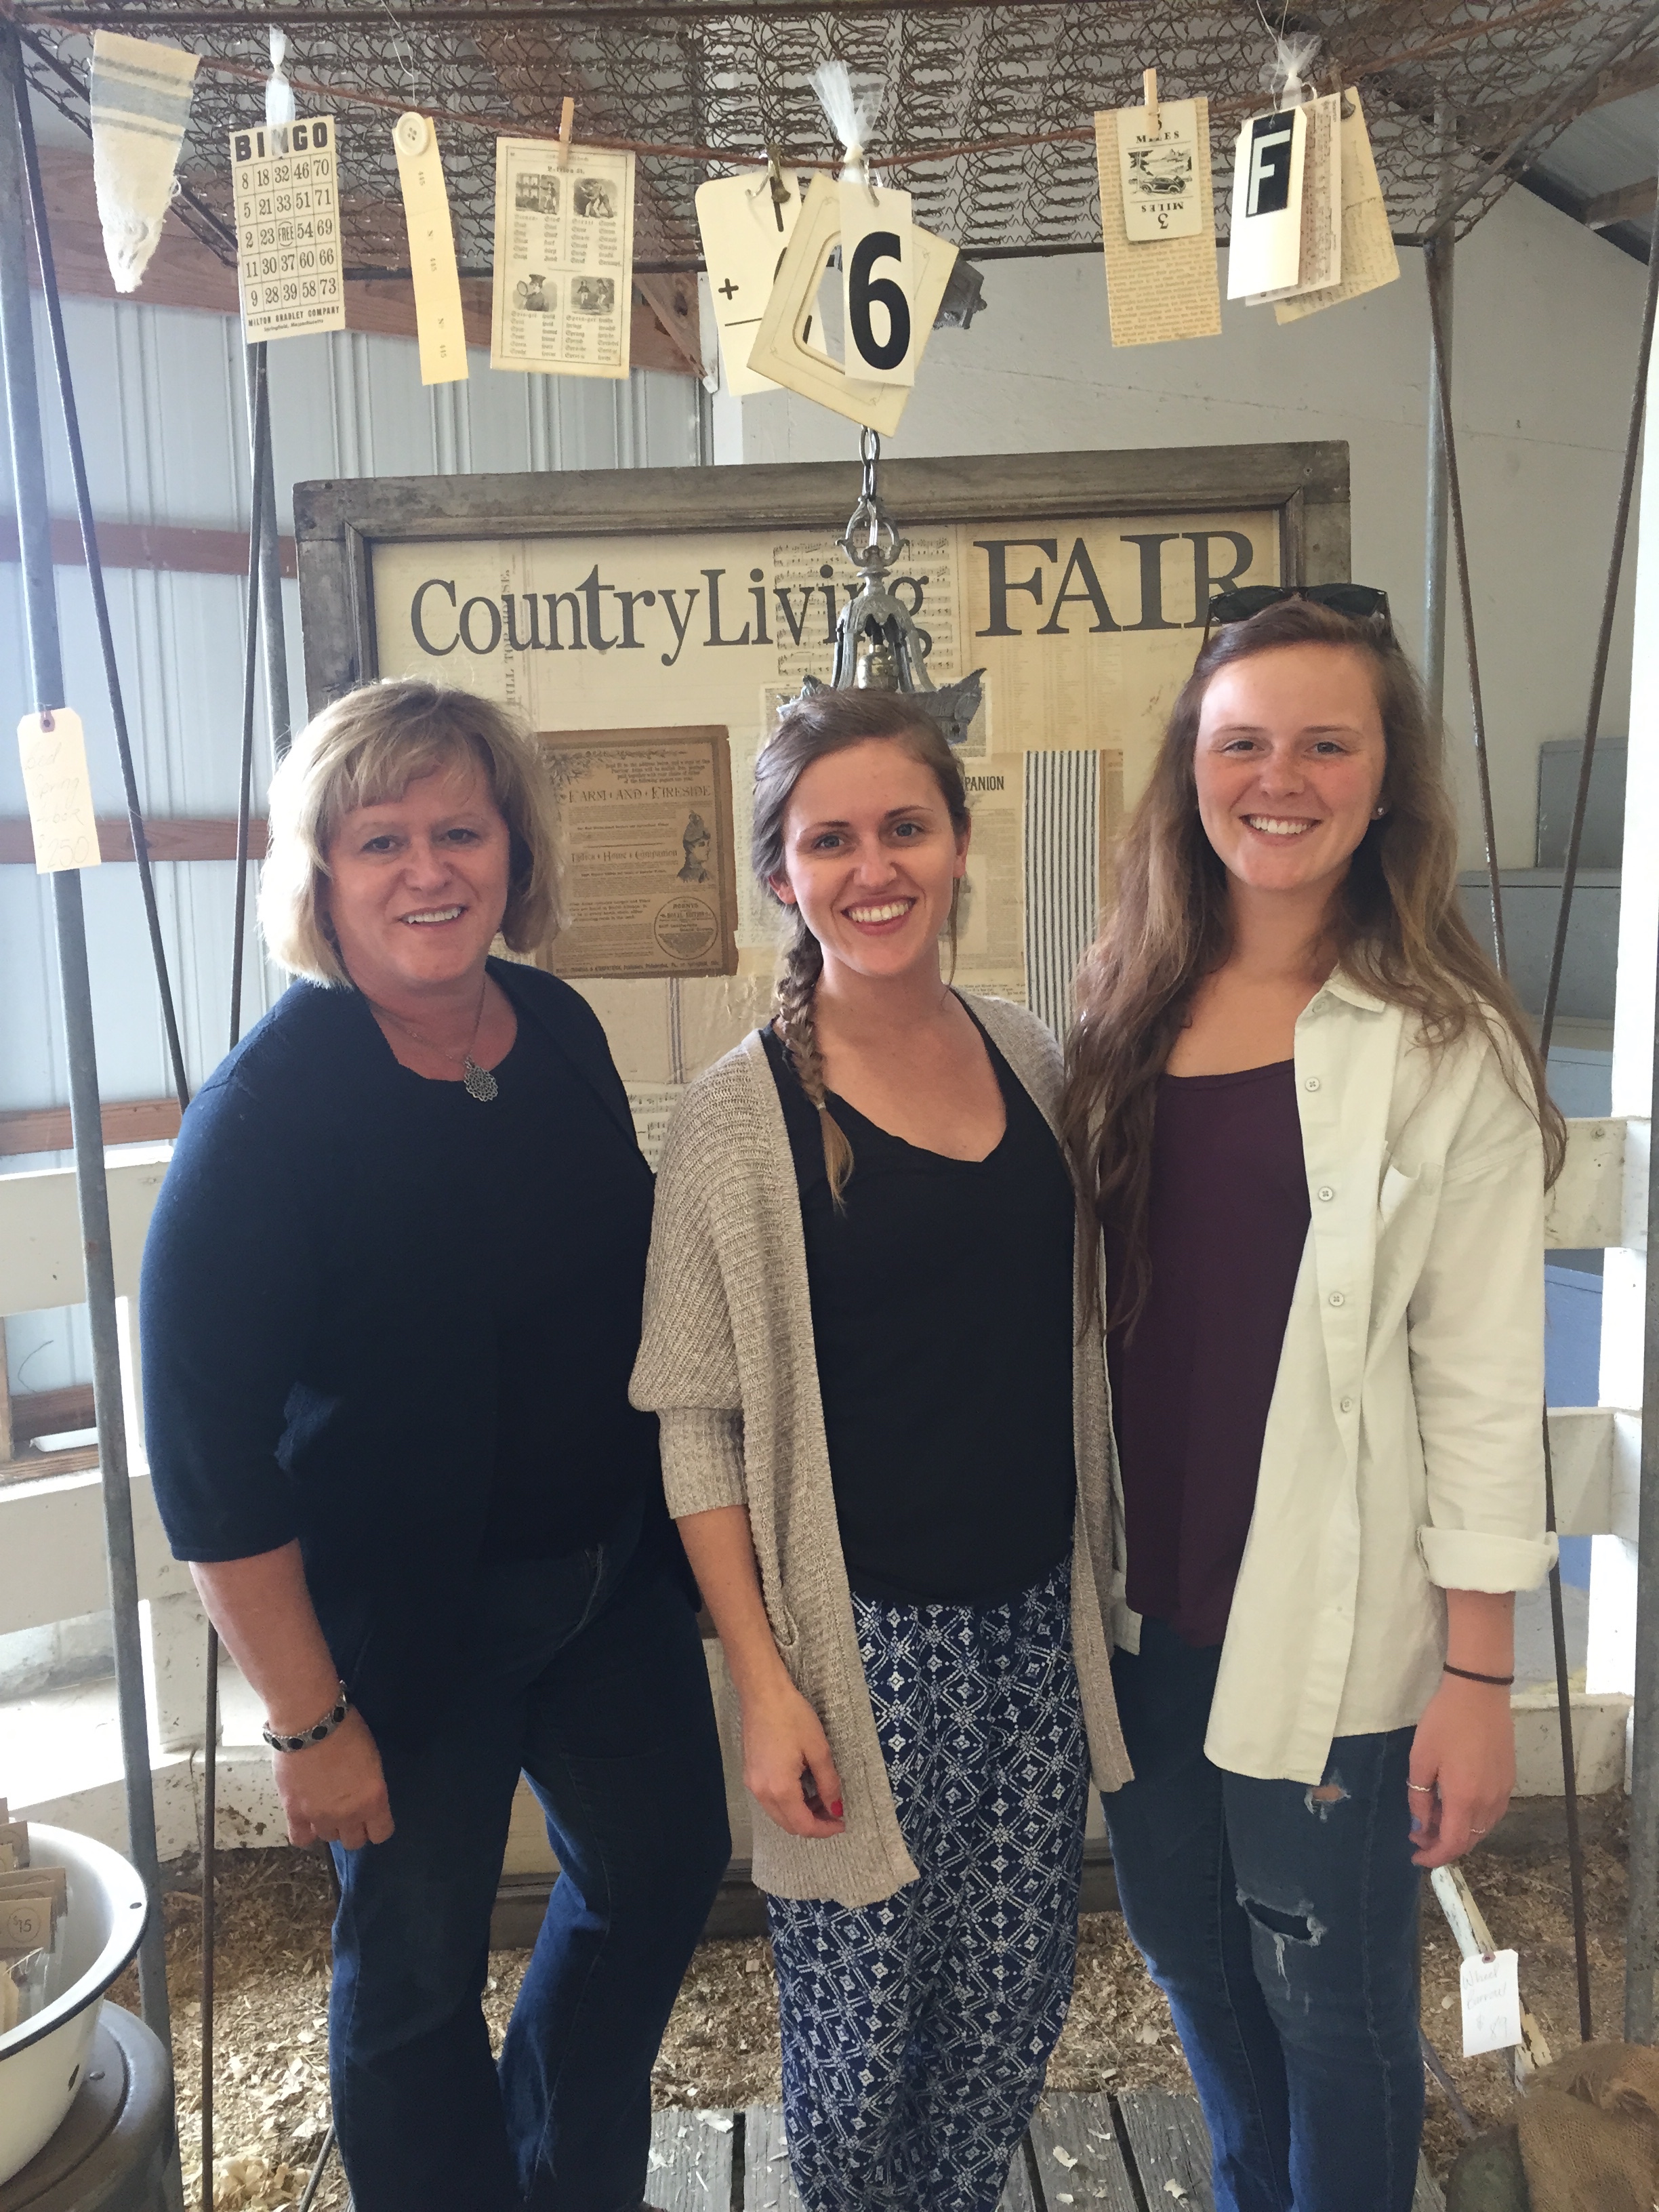
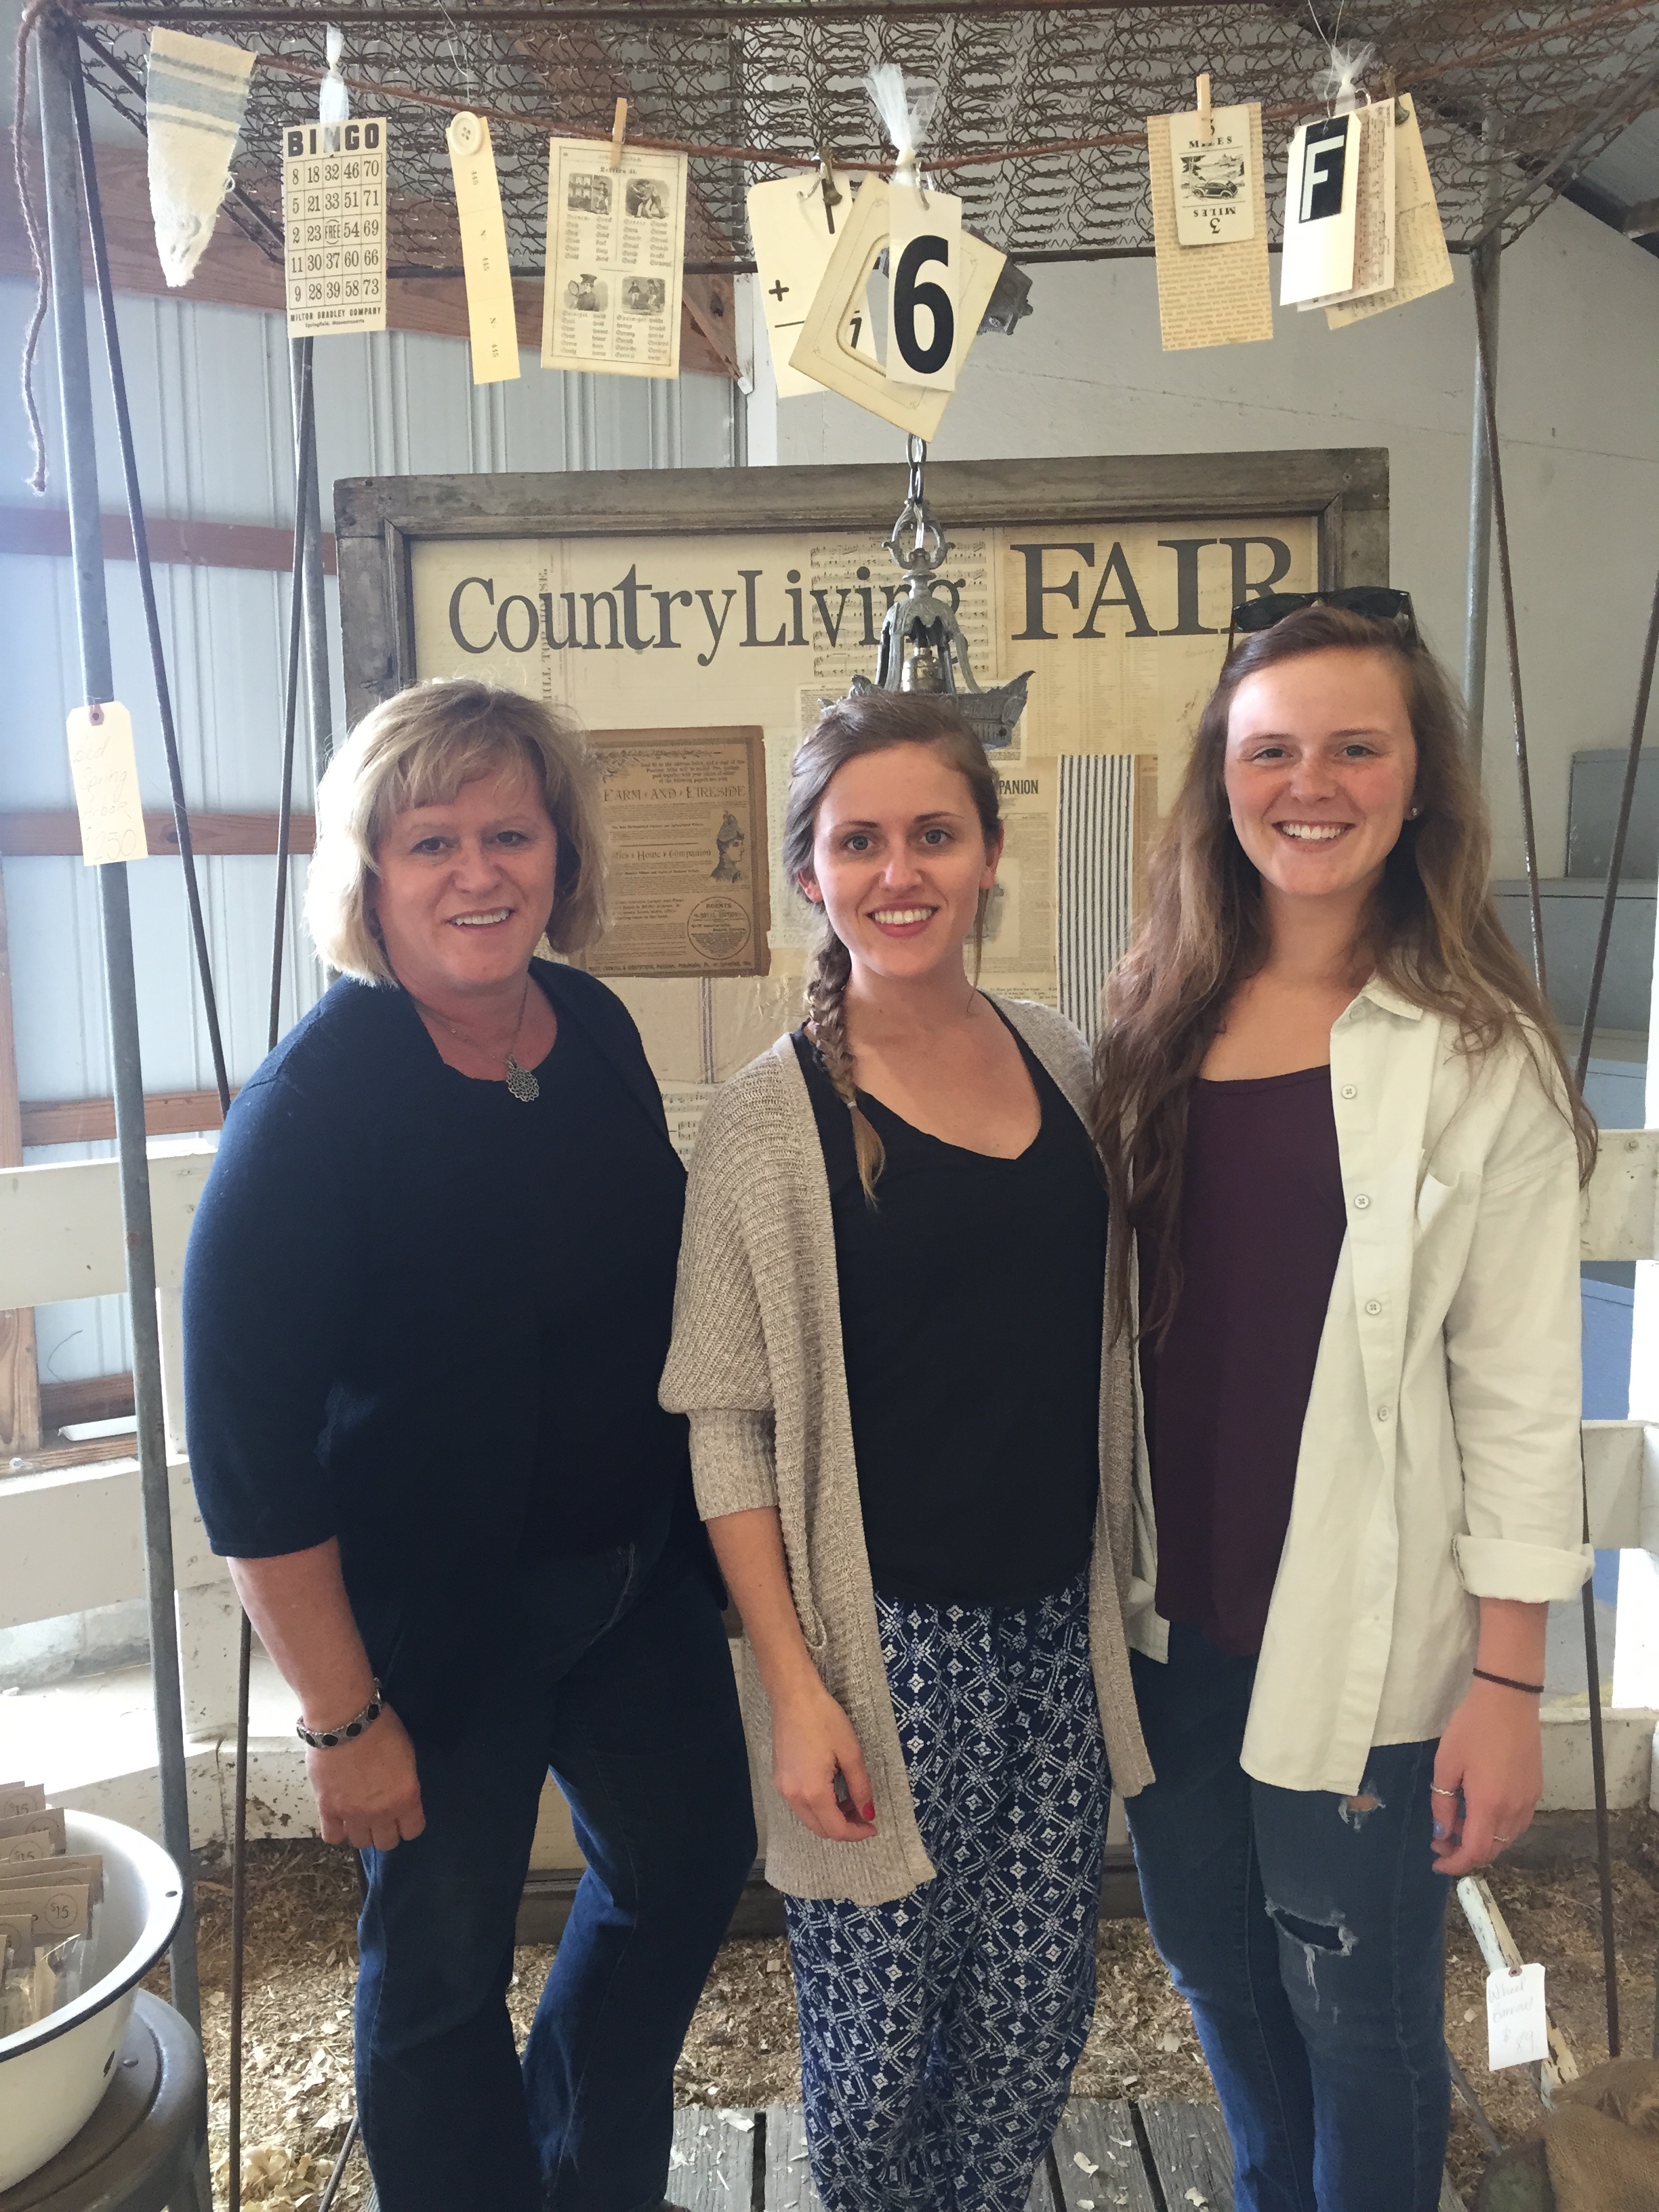
I had a lovely time at The Country Living Fair last weekend with my mom and sister. It's rare for us to all get together, so this was really a treat. As usual, we packed events into every millisecond of the two days we had in Tennessee. Below, you can browse about 300 photos I took throughout the event. This was the first year the fair was held in Tennessee, and it was a welcomed site! There were thousands of (mostly) ladies that were all eager to shop! This was one of the best-attended craft-related events I have attended in the midwest, and I was so happy to be amongst so many creative people. Use the left and right arrows below to page through the images.
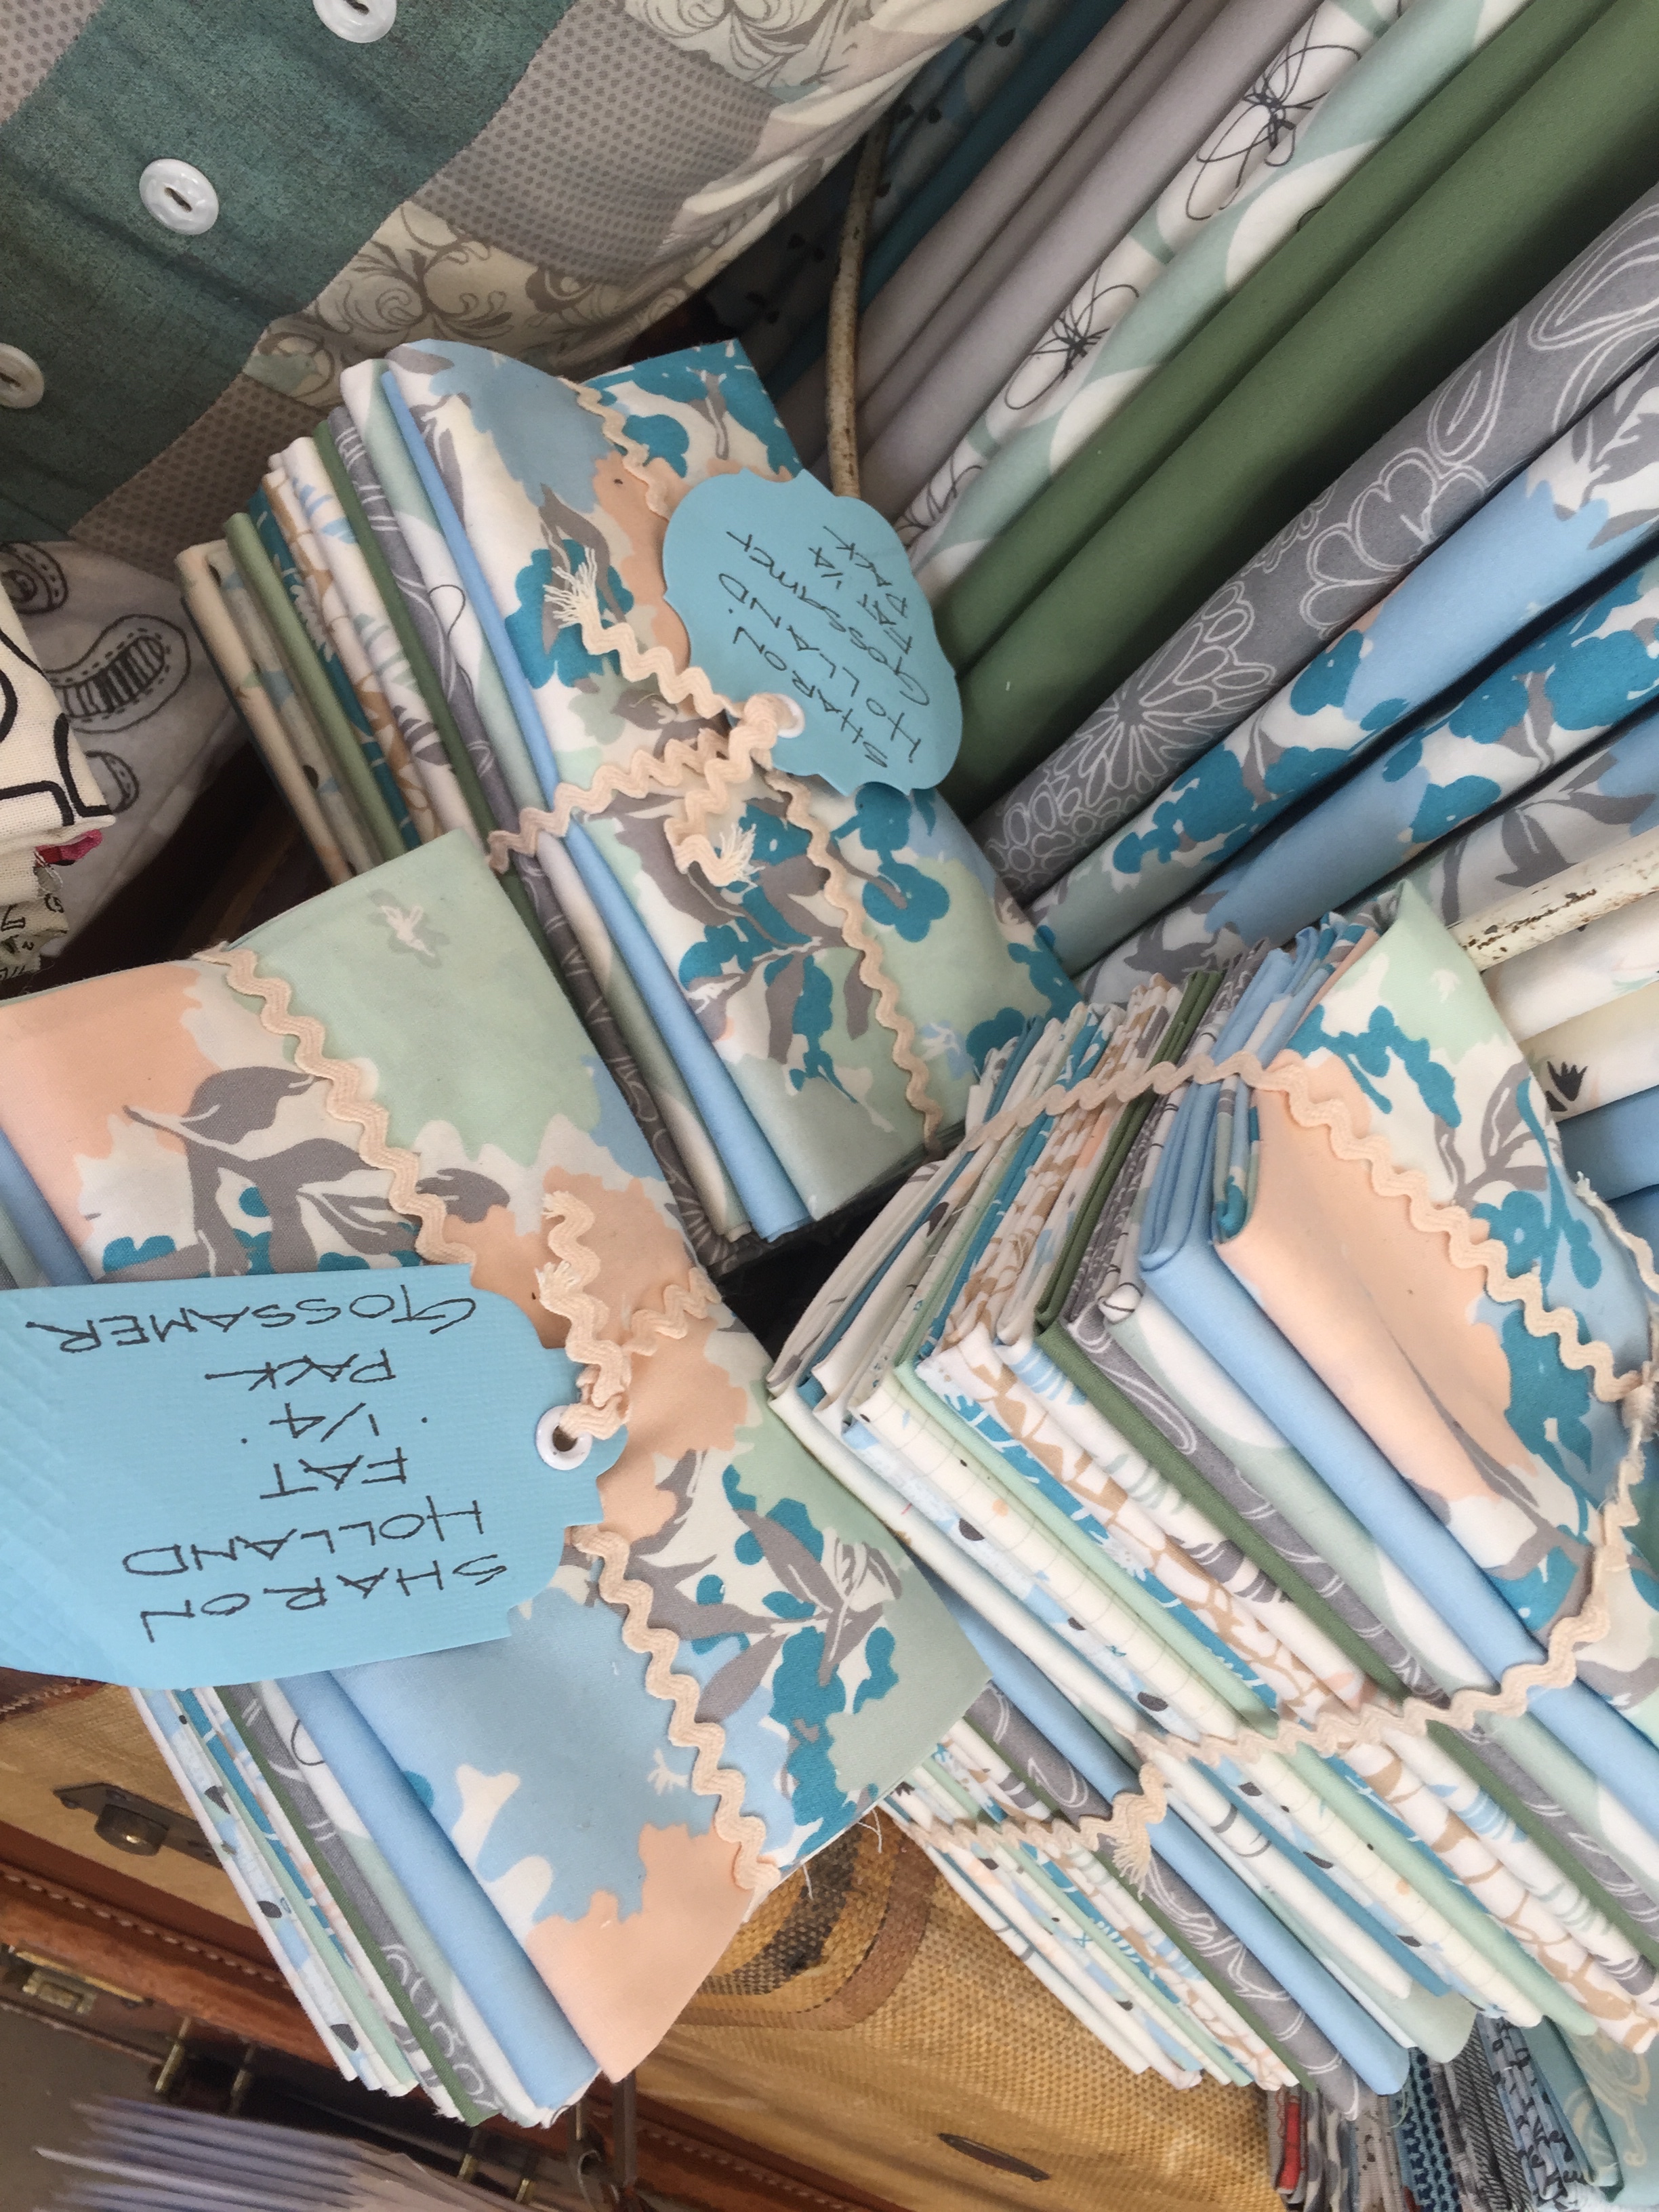


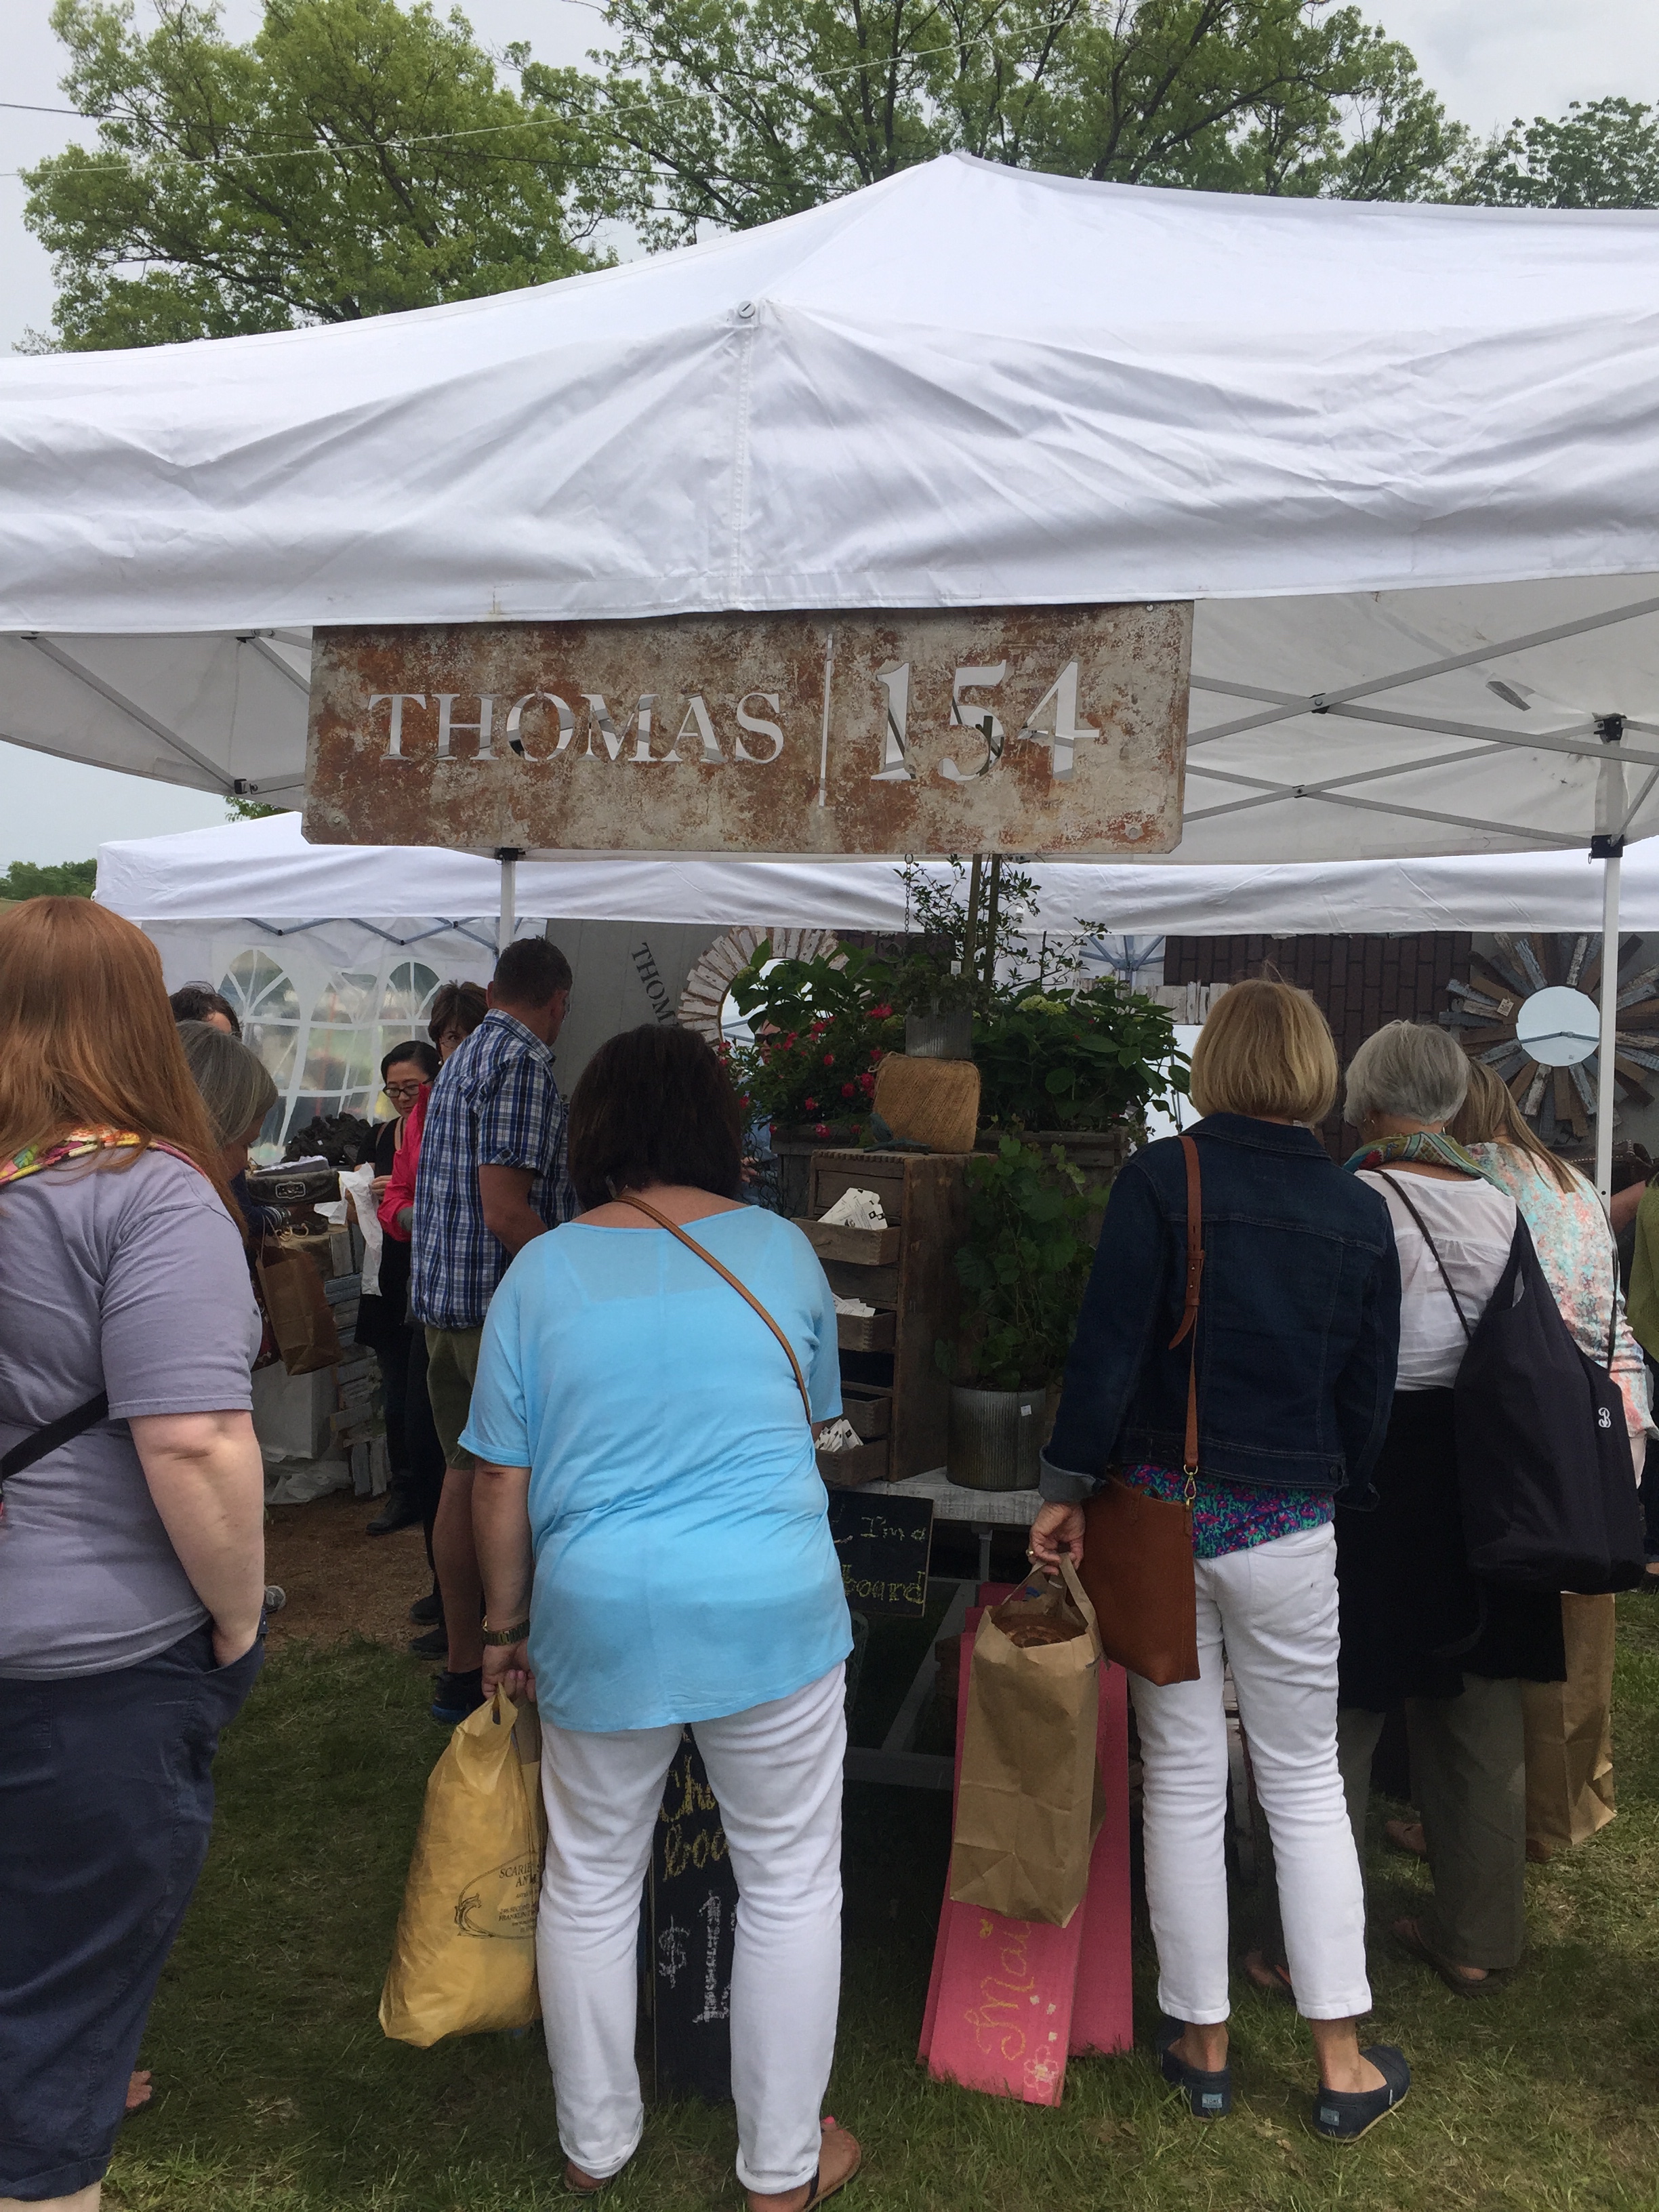


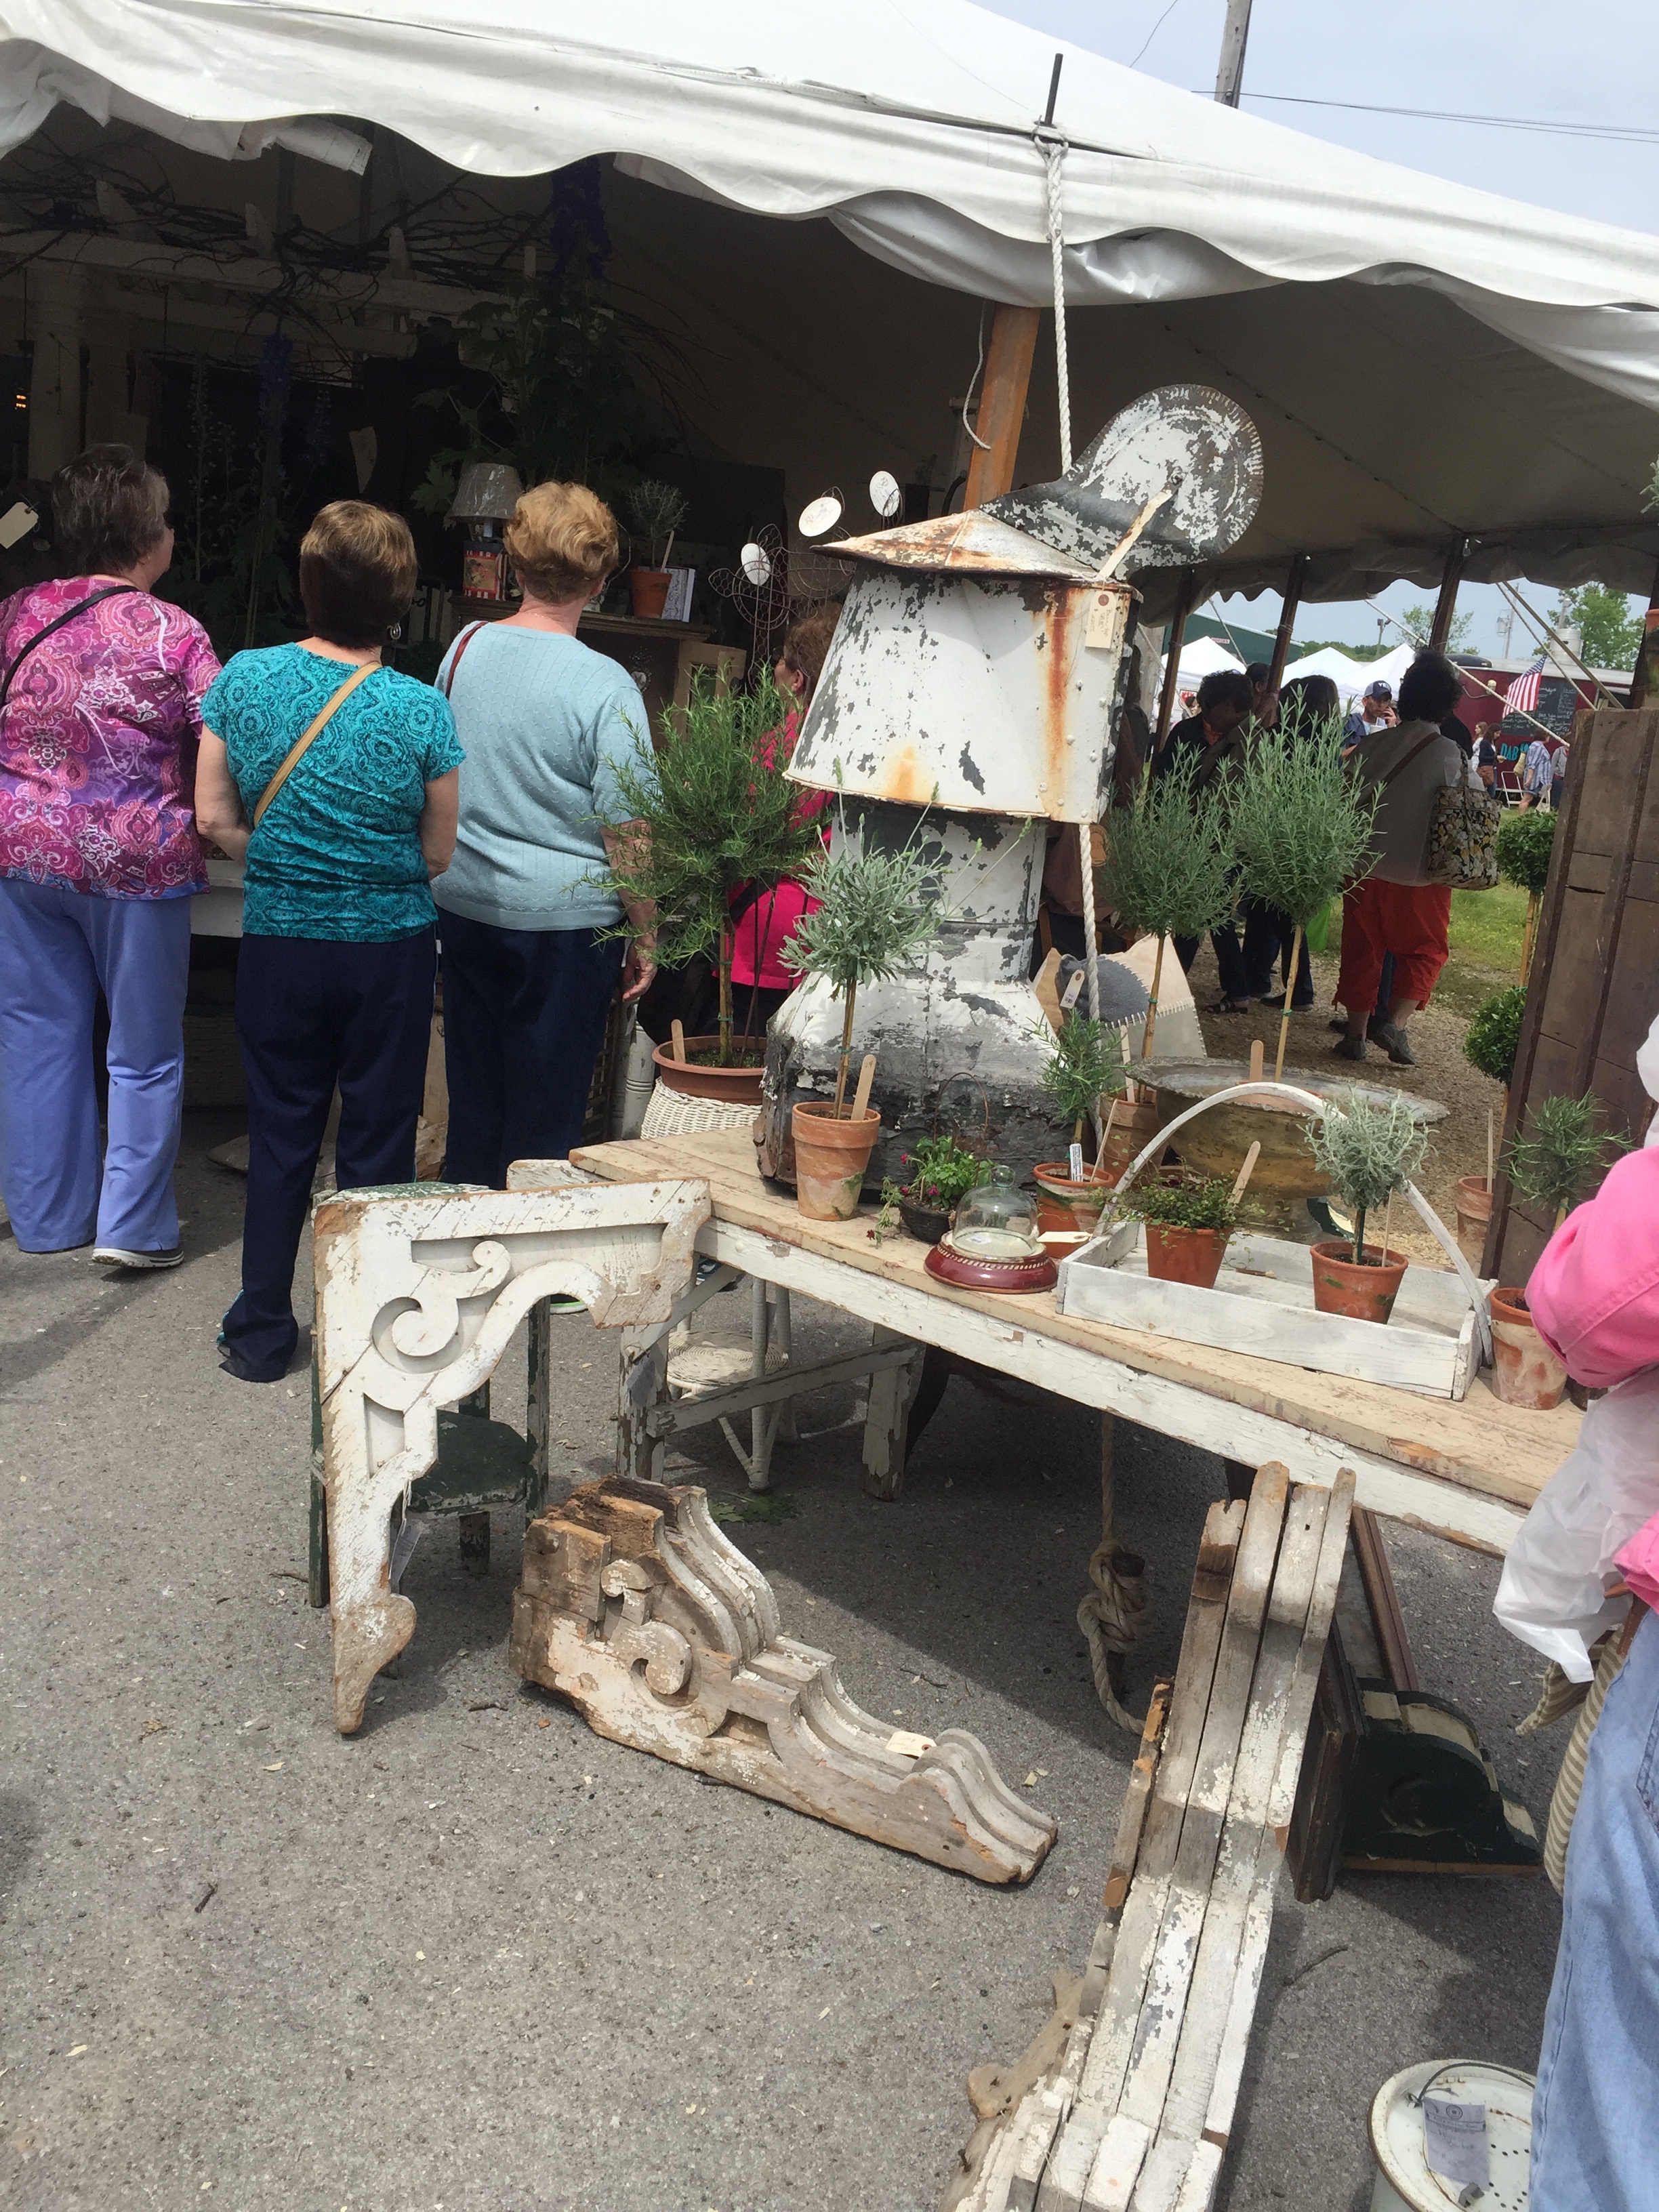


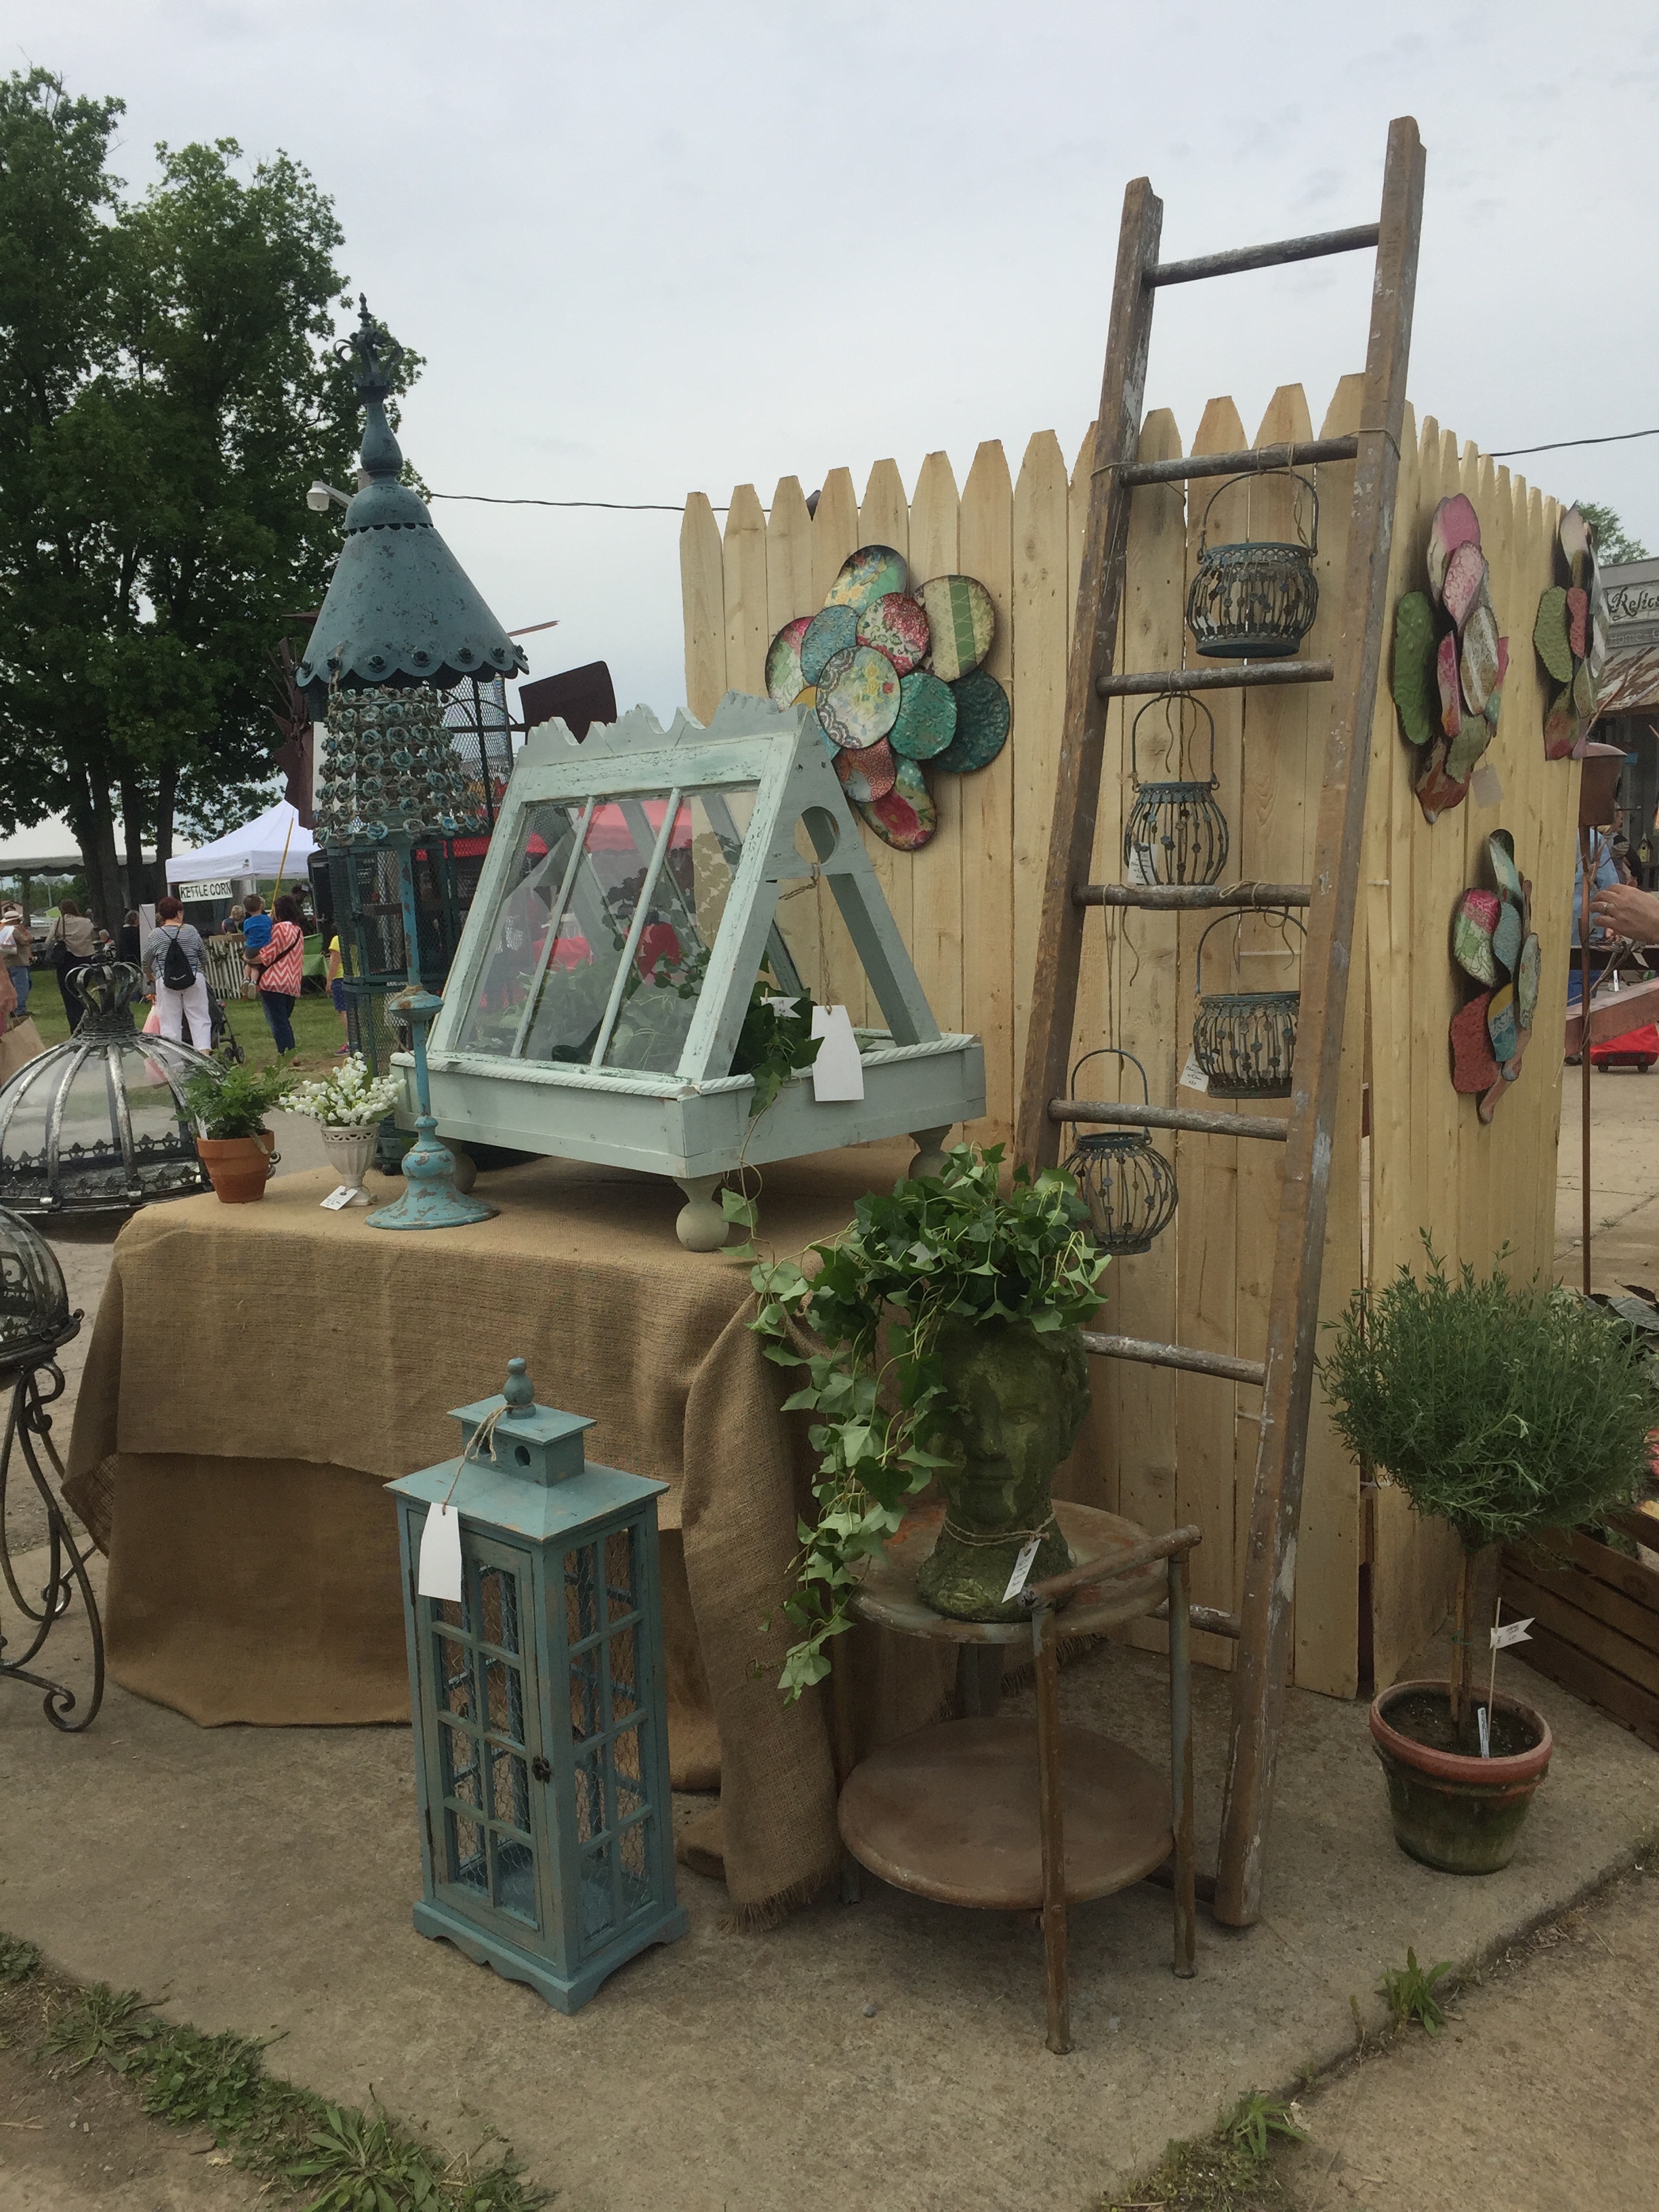


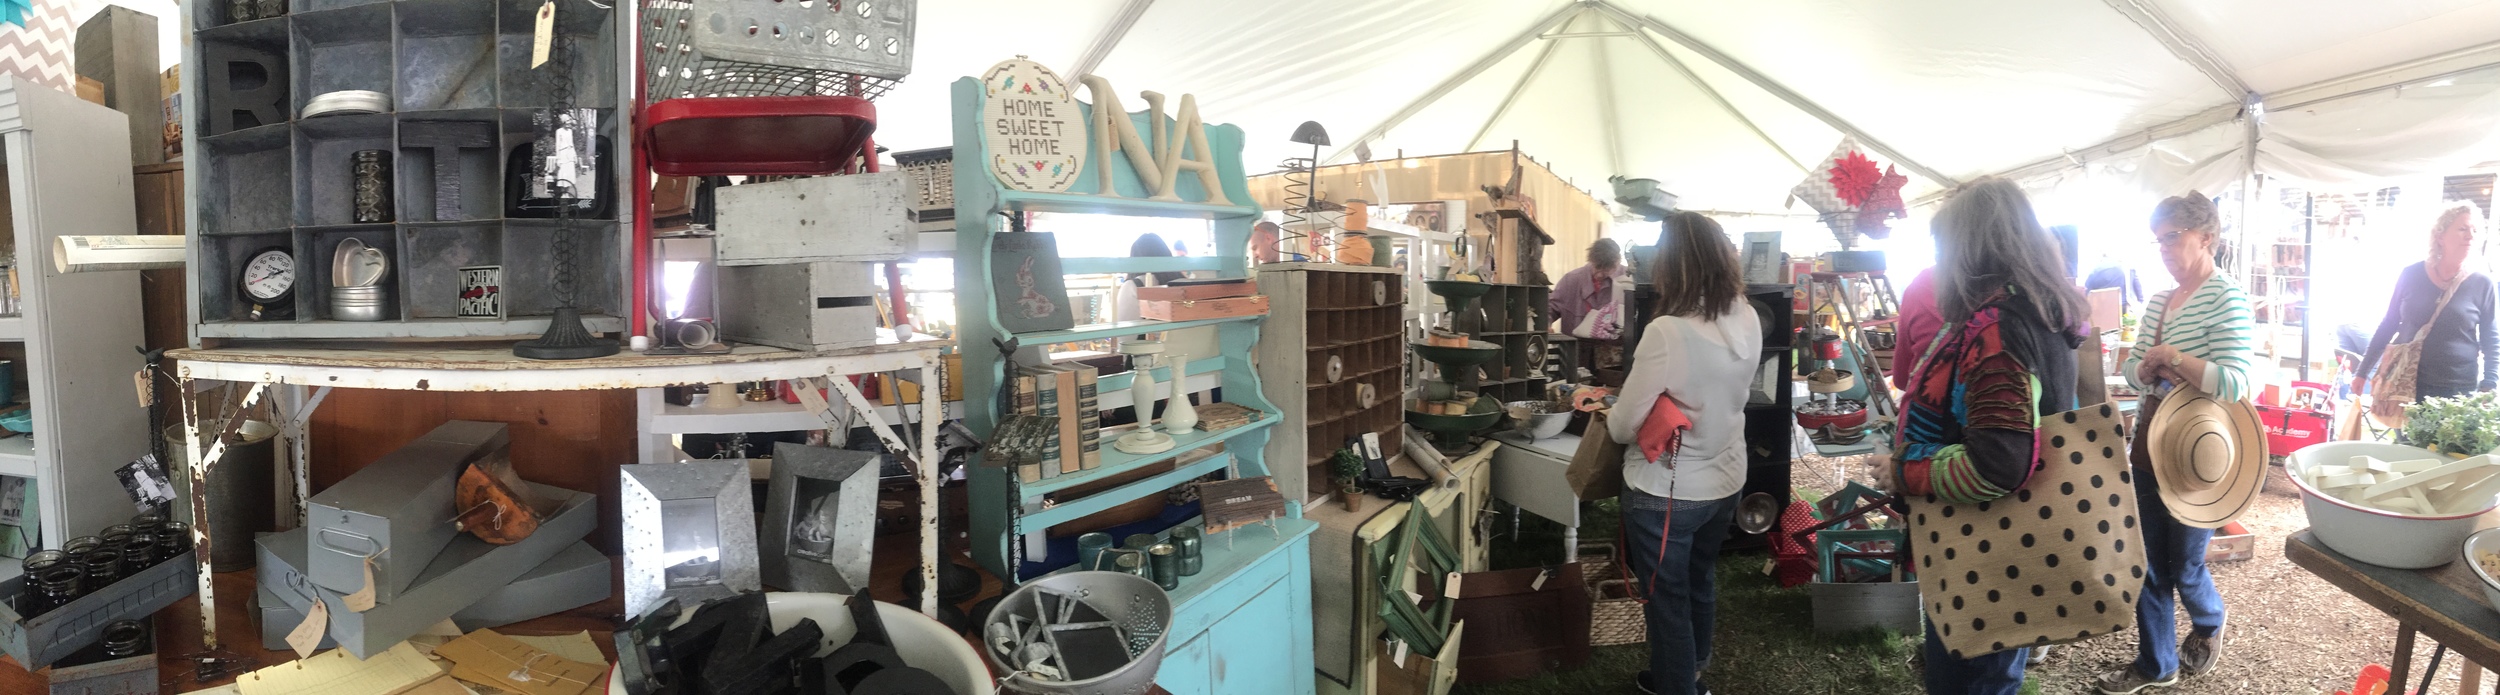


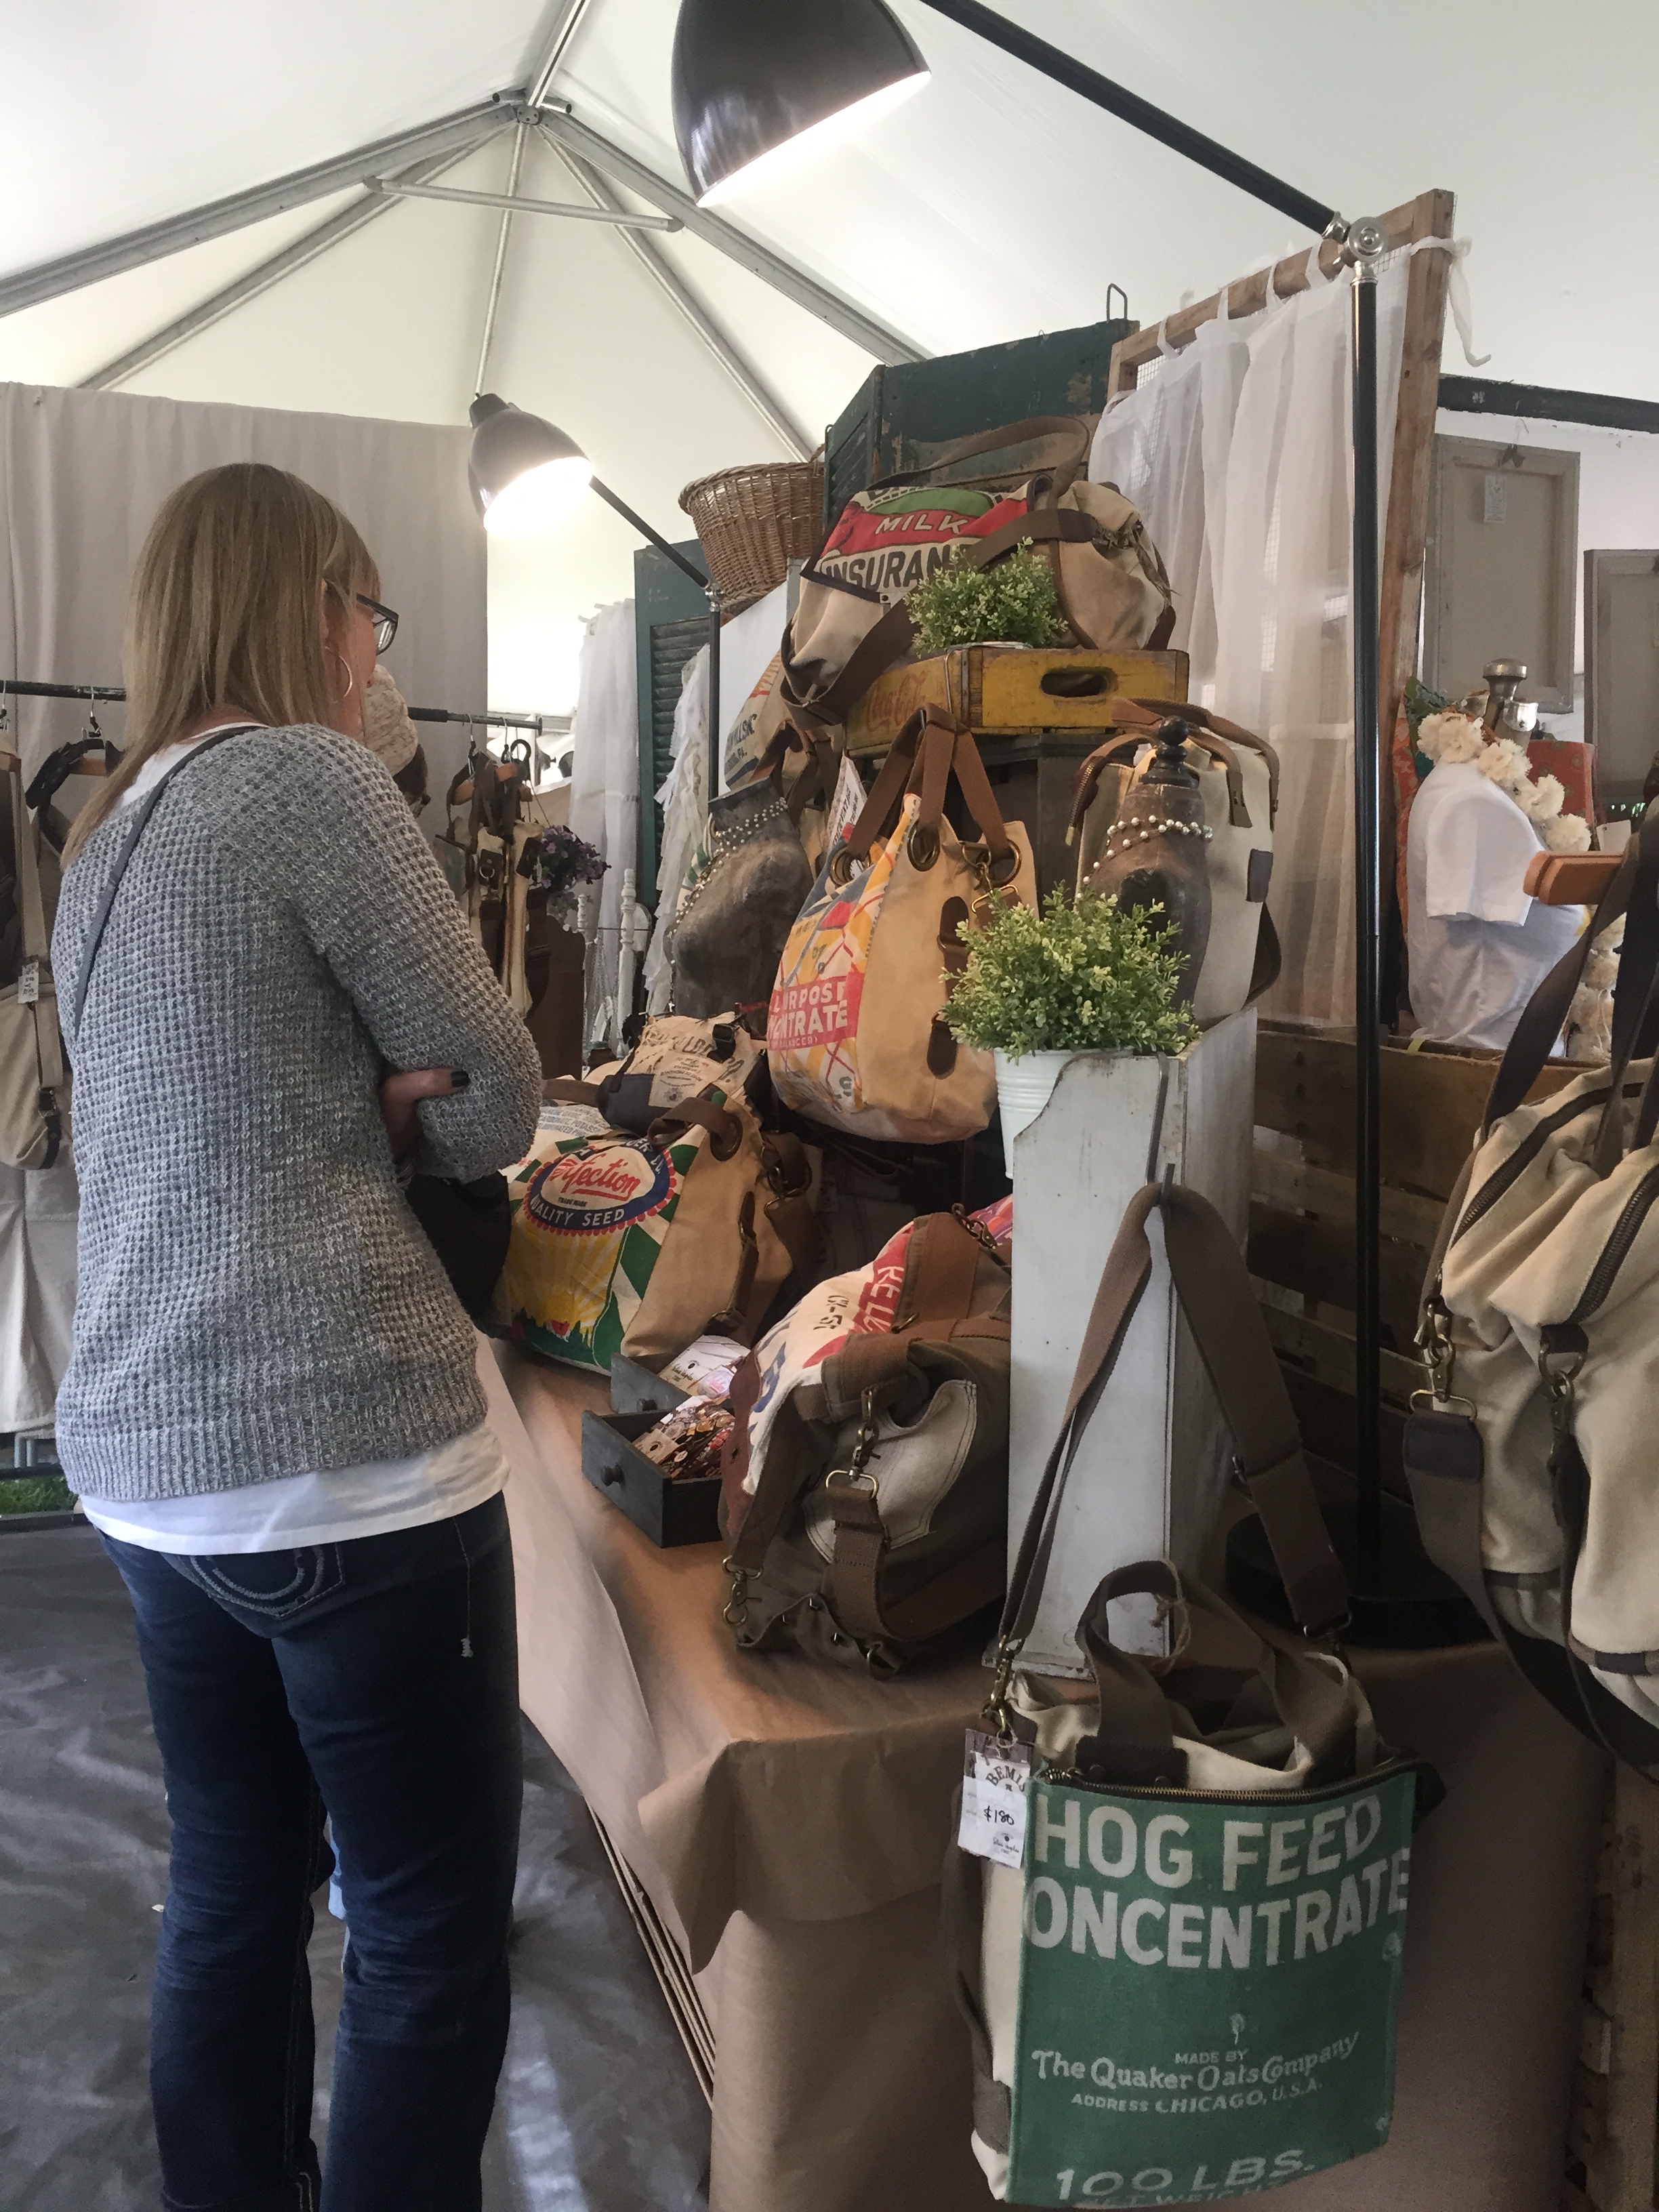


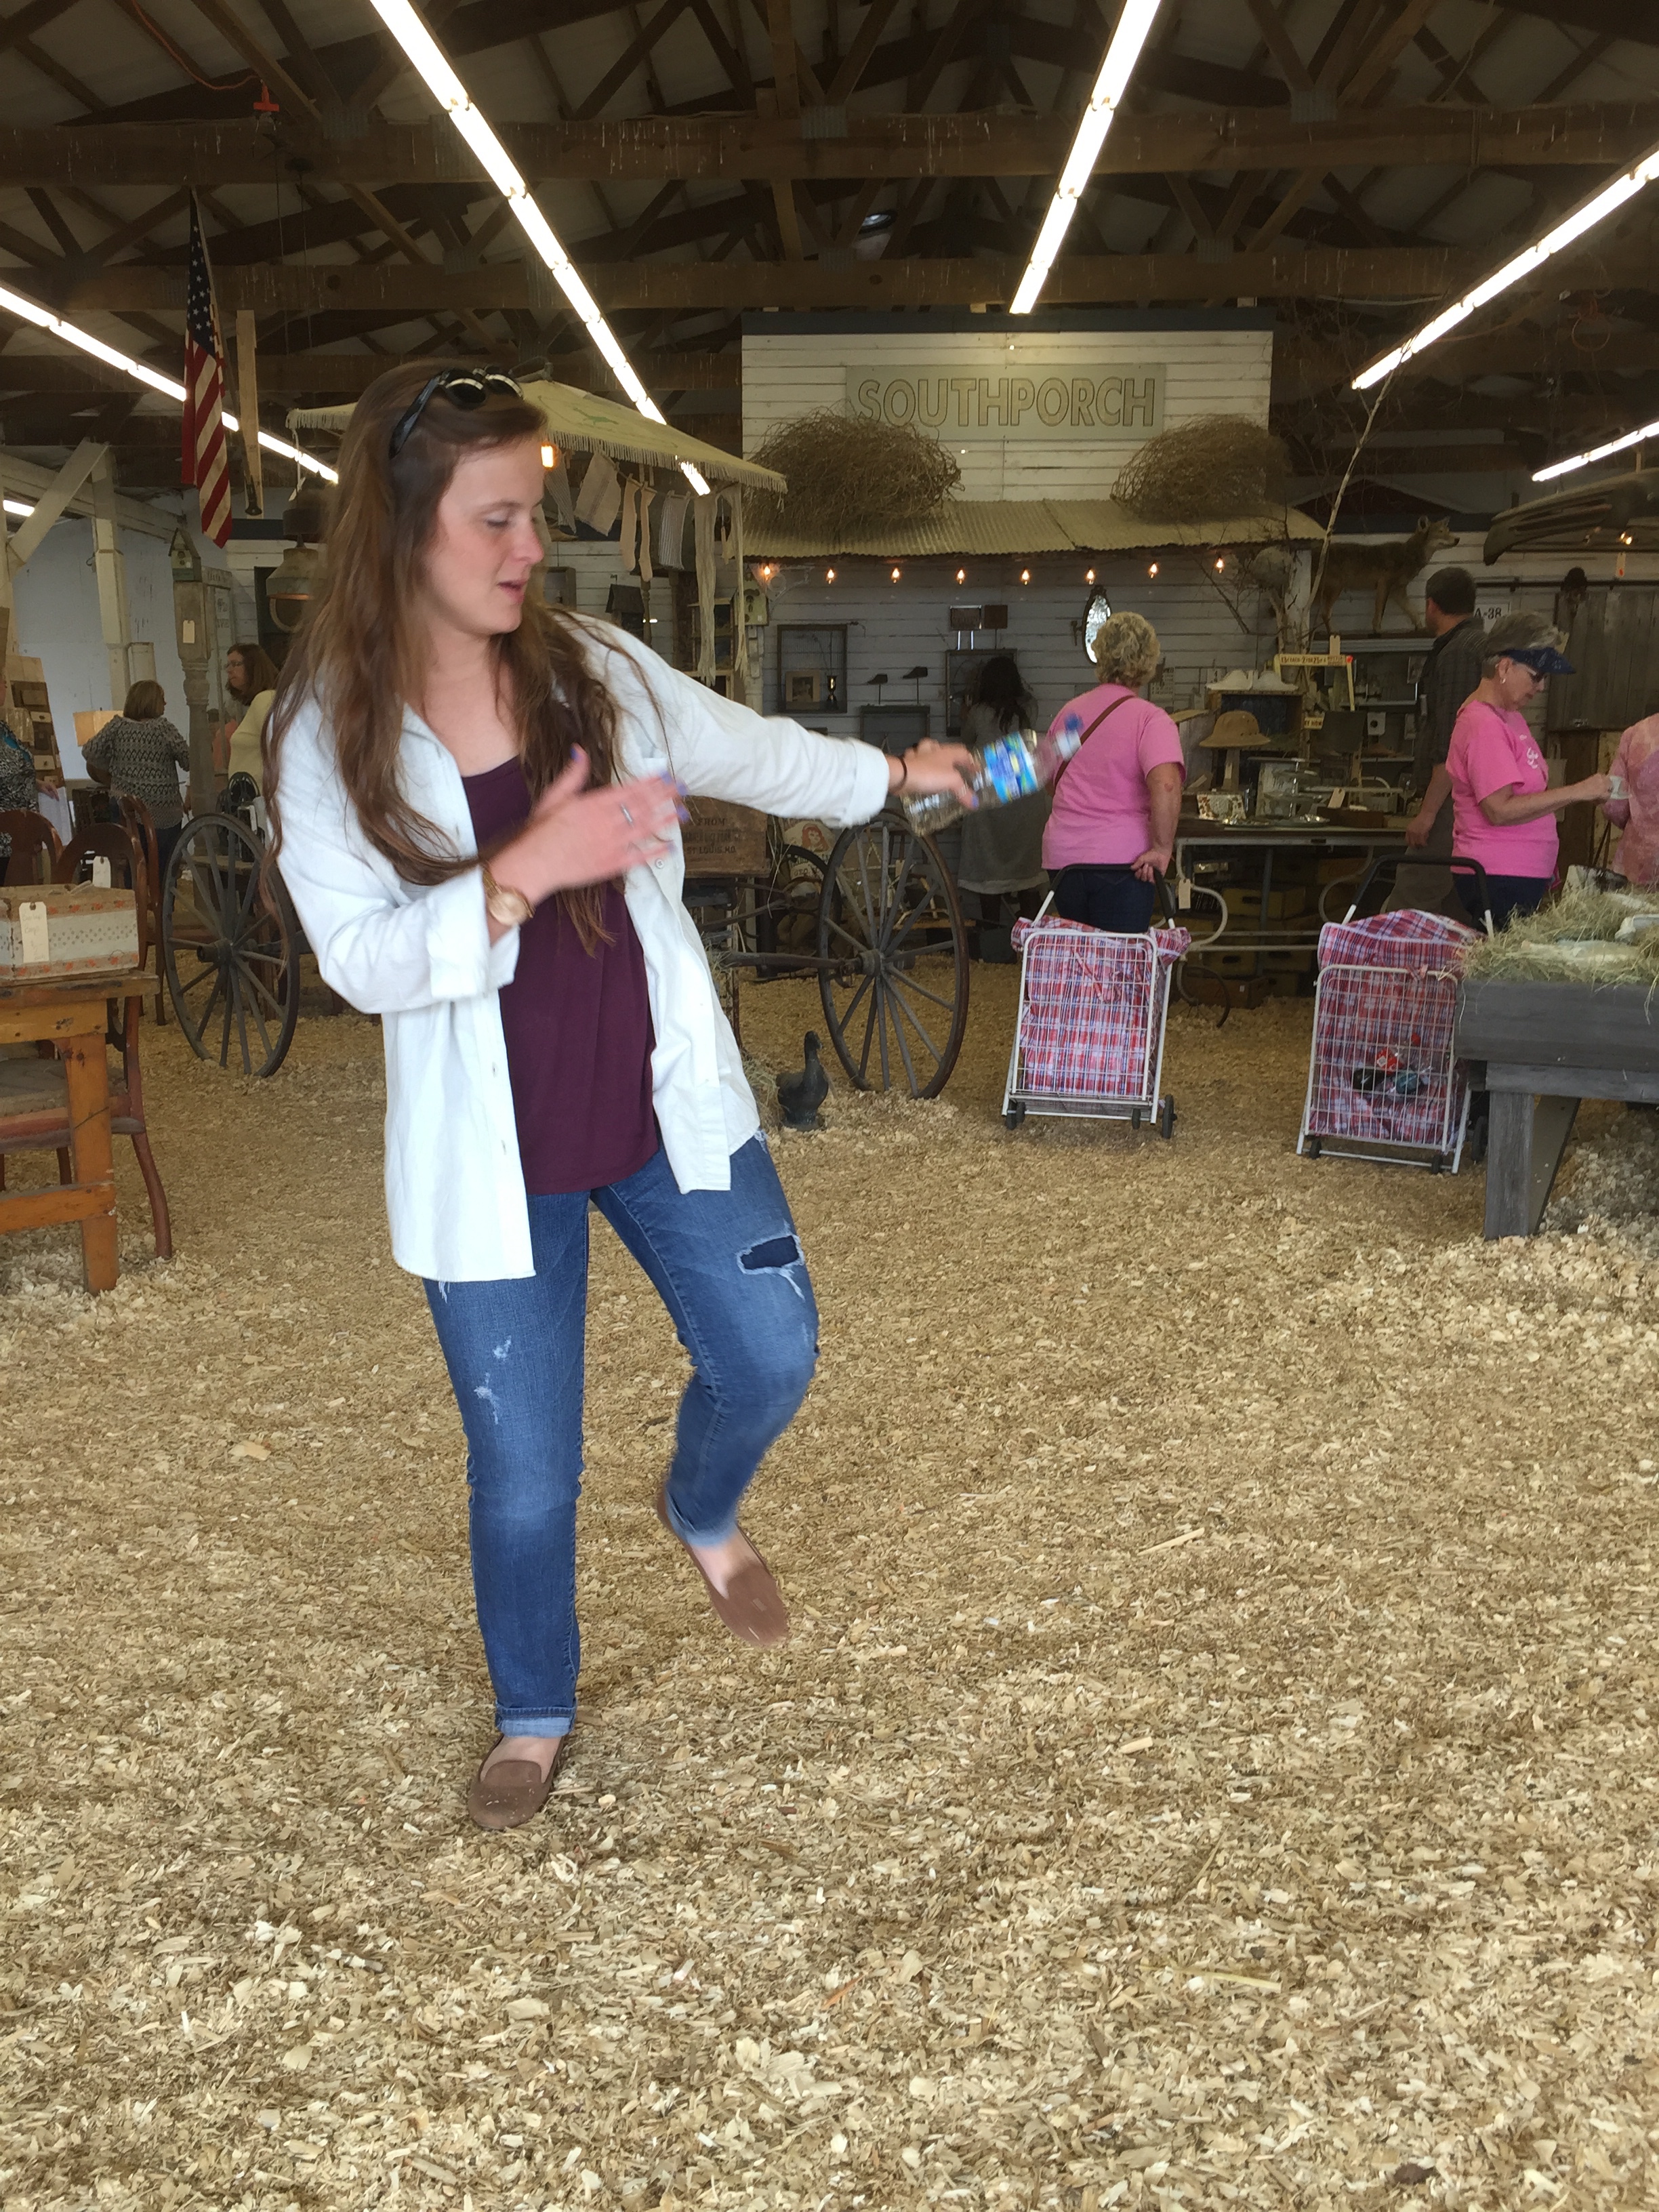

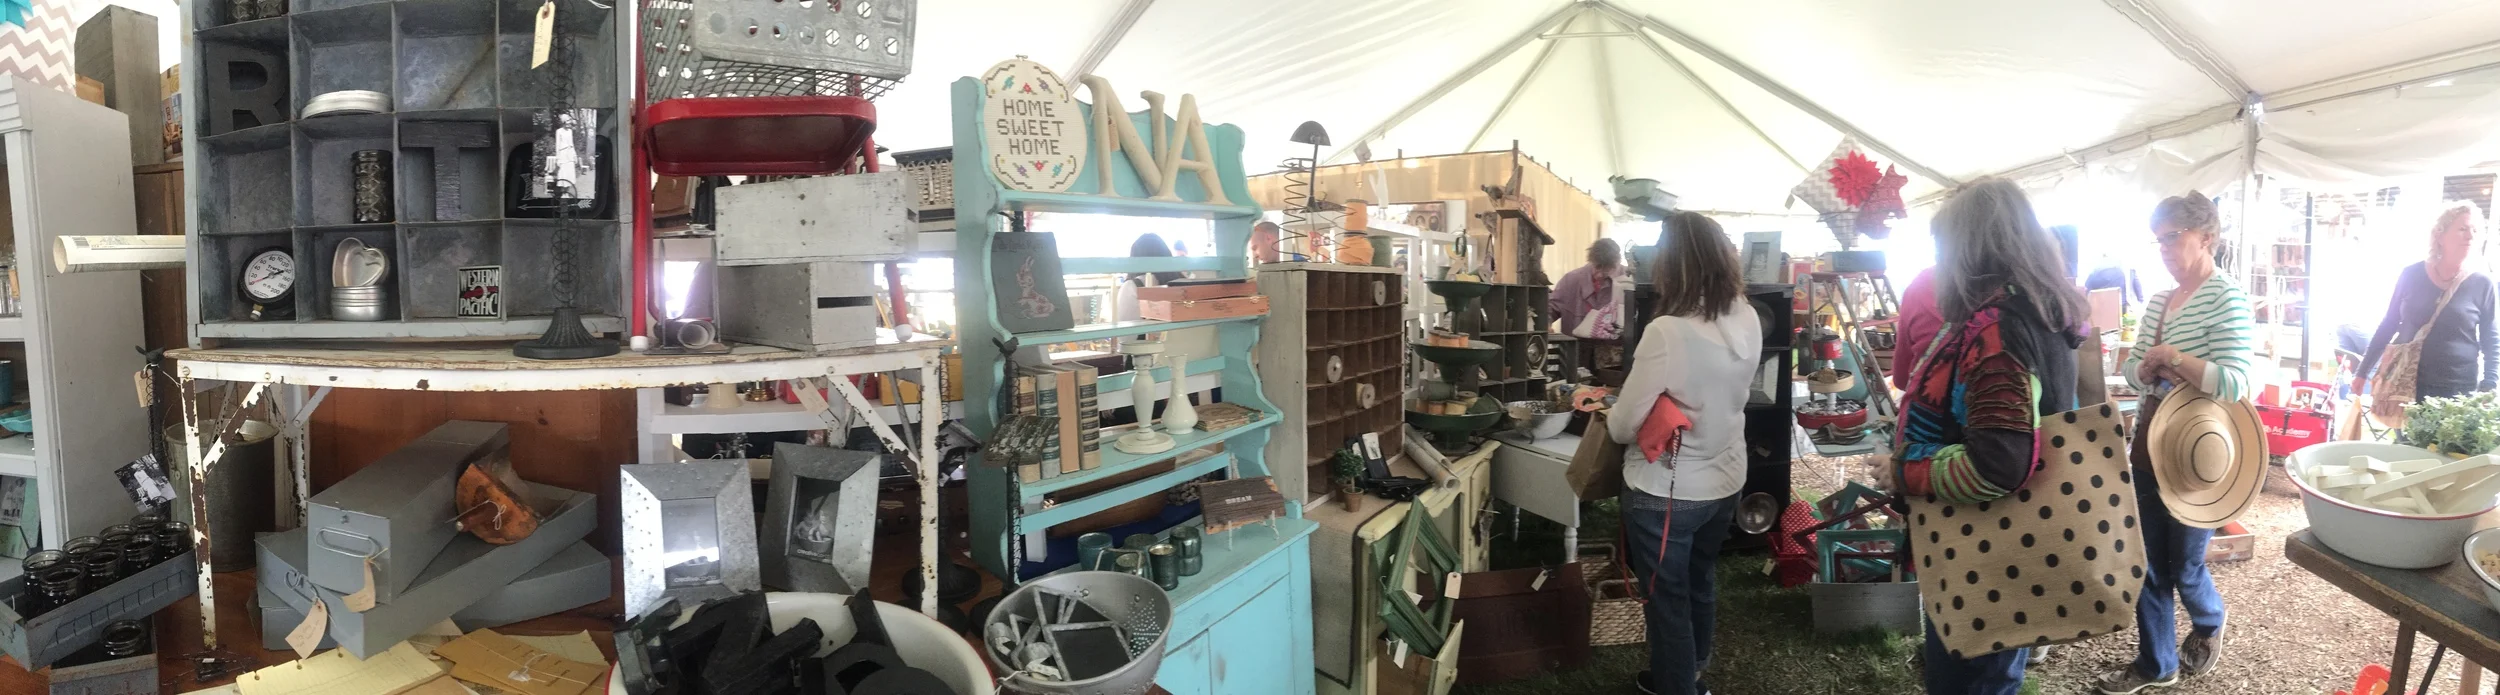
I thought the event was mostly going to be a flea market style event with possibly a bit of reclaimed furniture and such. But, I was ecstatic to find that the majority of the vendors were showcasing mostly handmade items, or reclaimed items that were thought up in completely new and unusual ways! It was like Pinterest had come to life, but not the ideas you see everywhere, completely NEW ideas! It was amazingly inspiring.
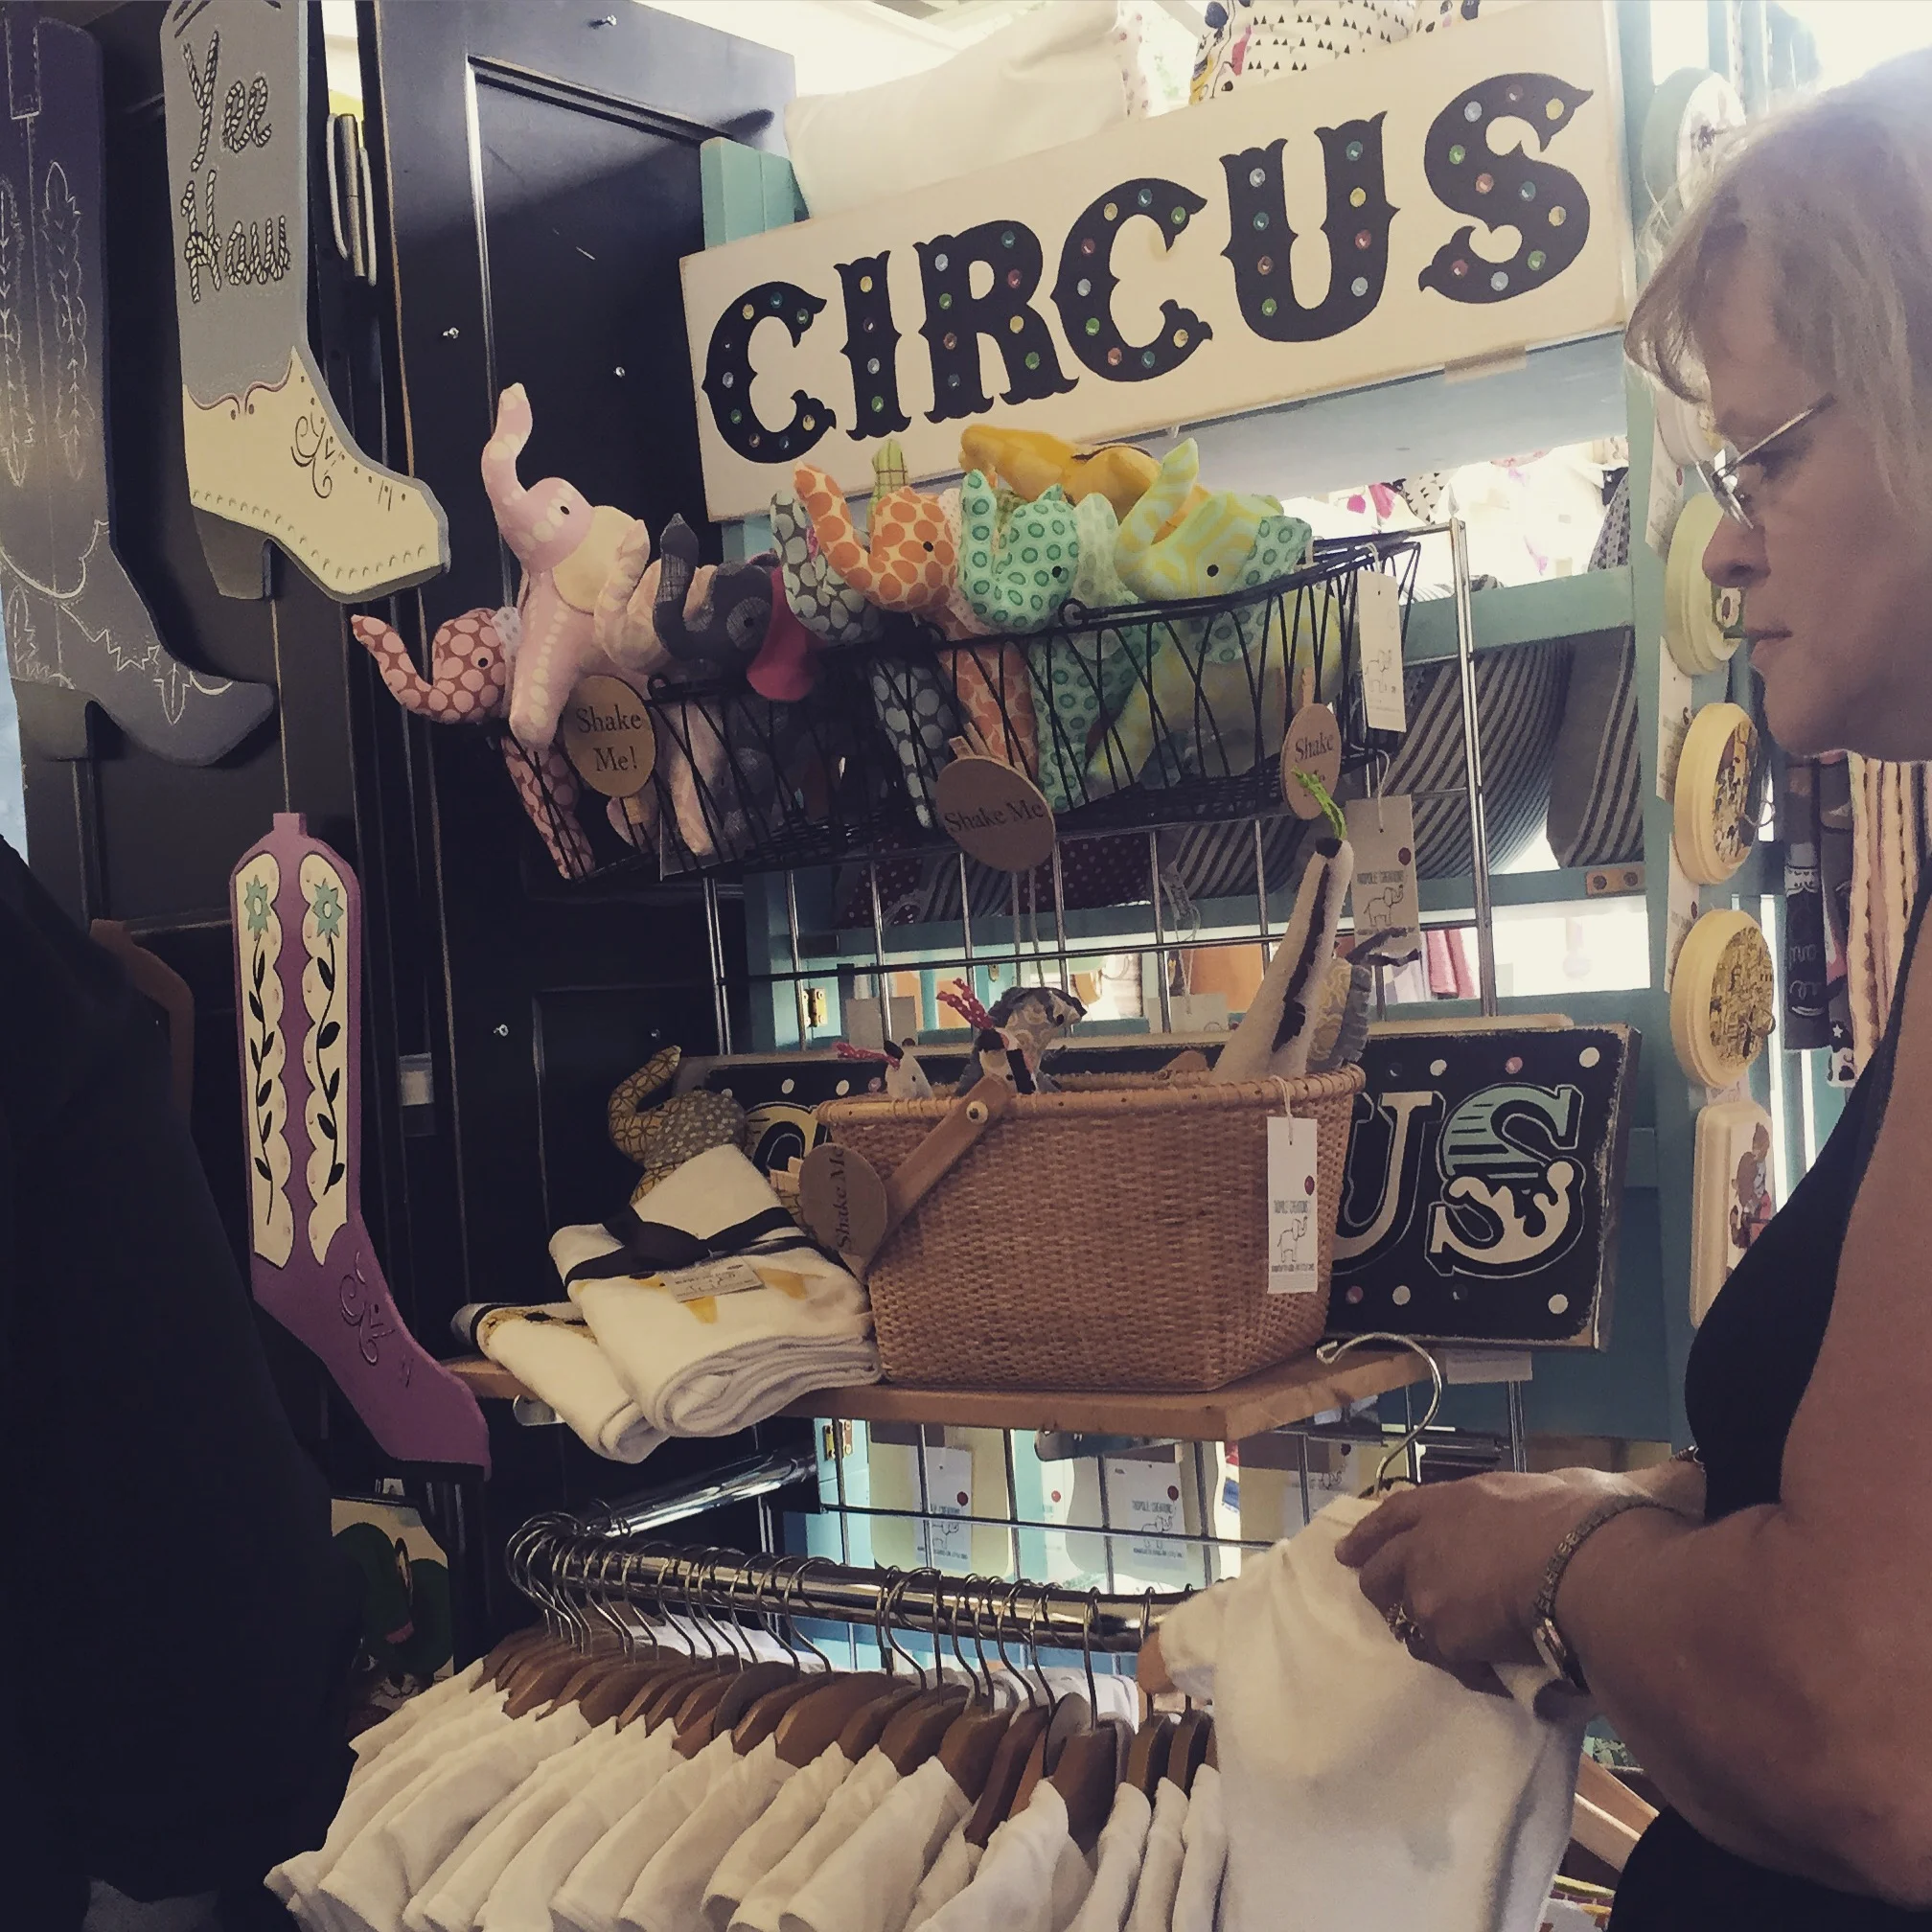
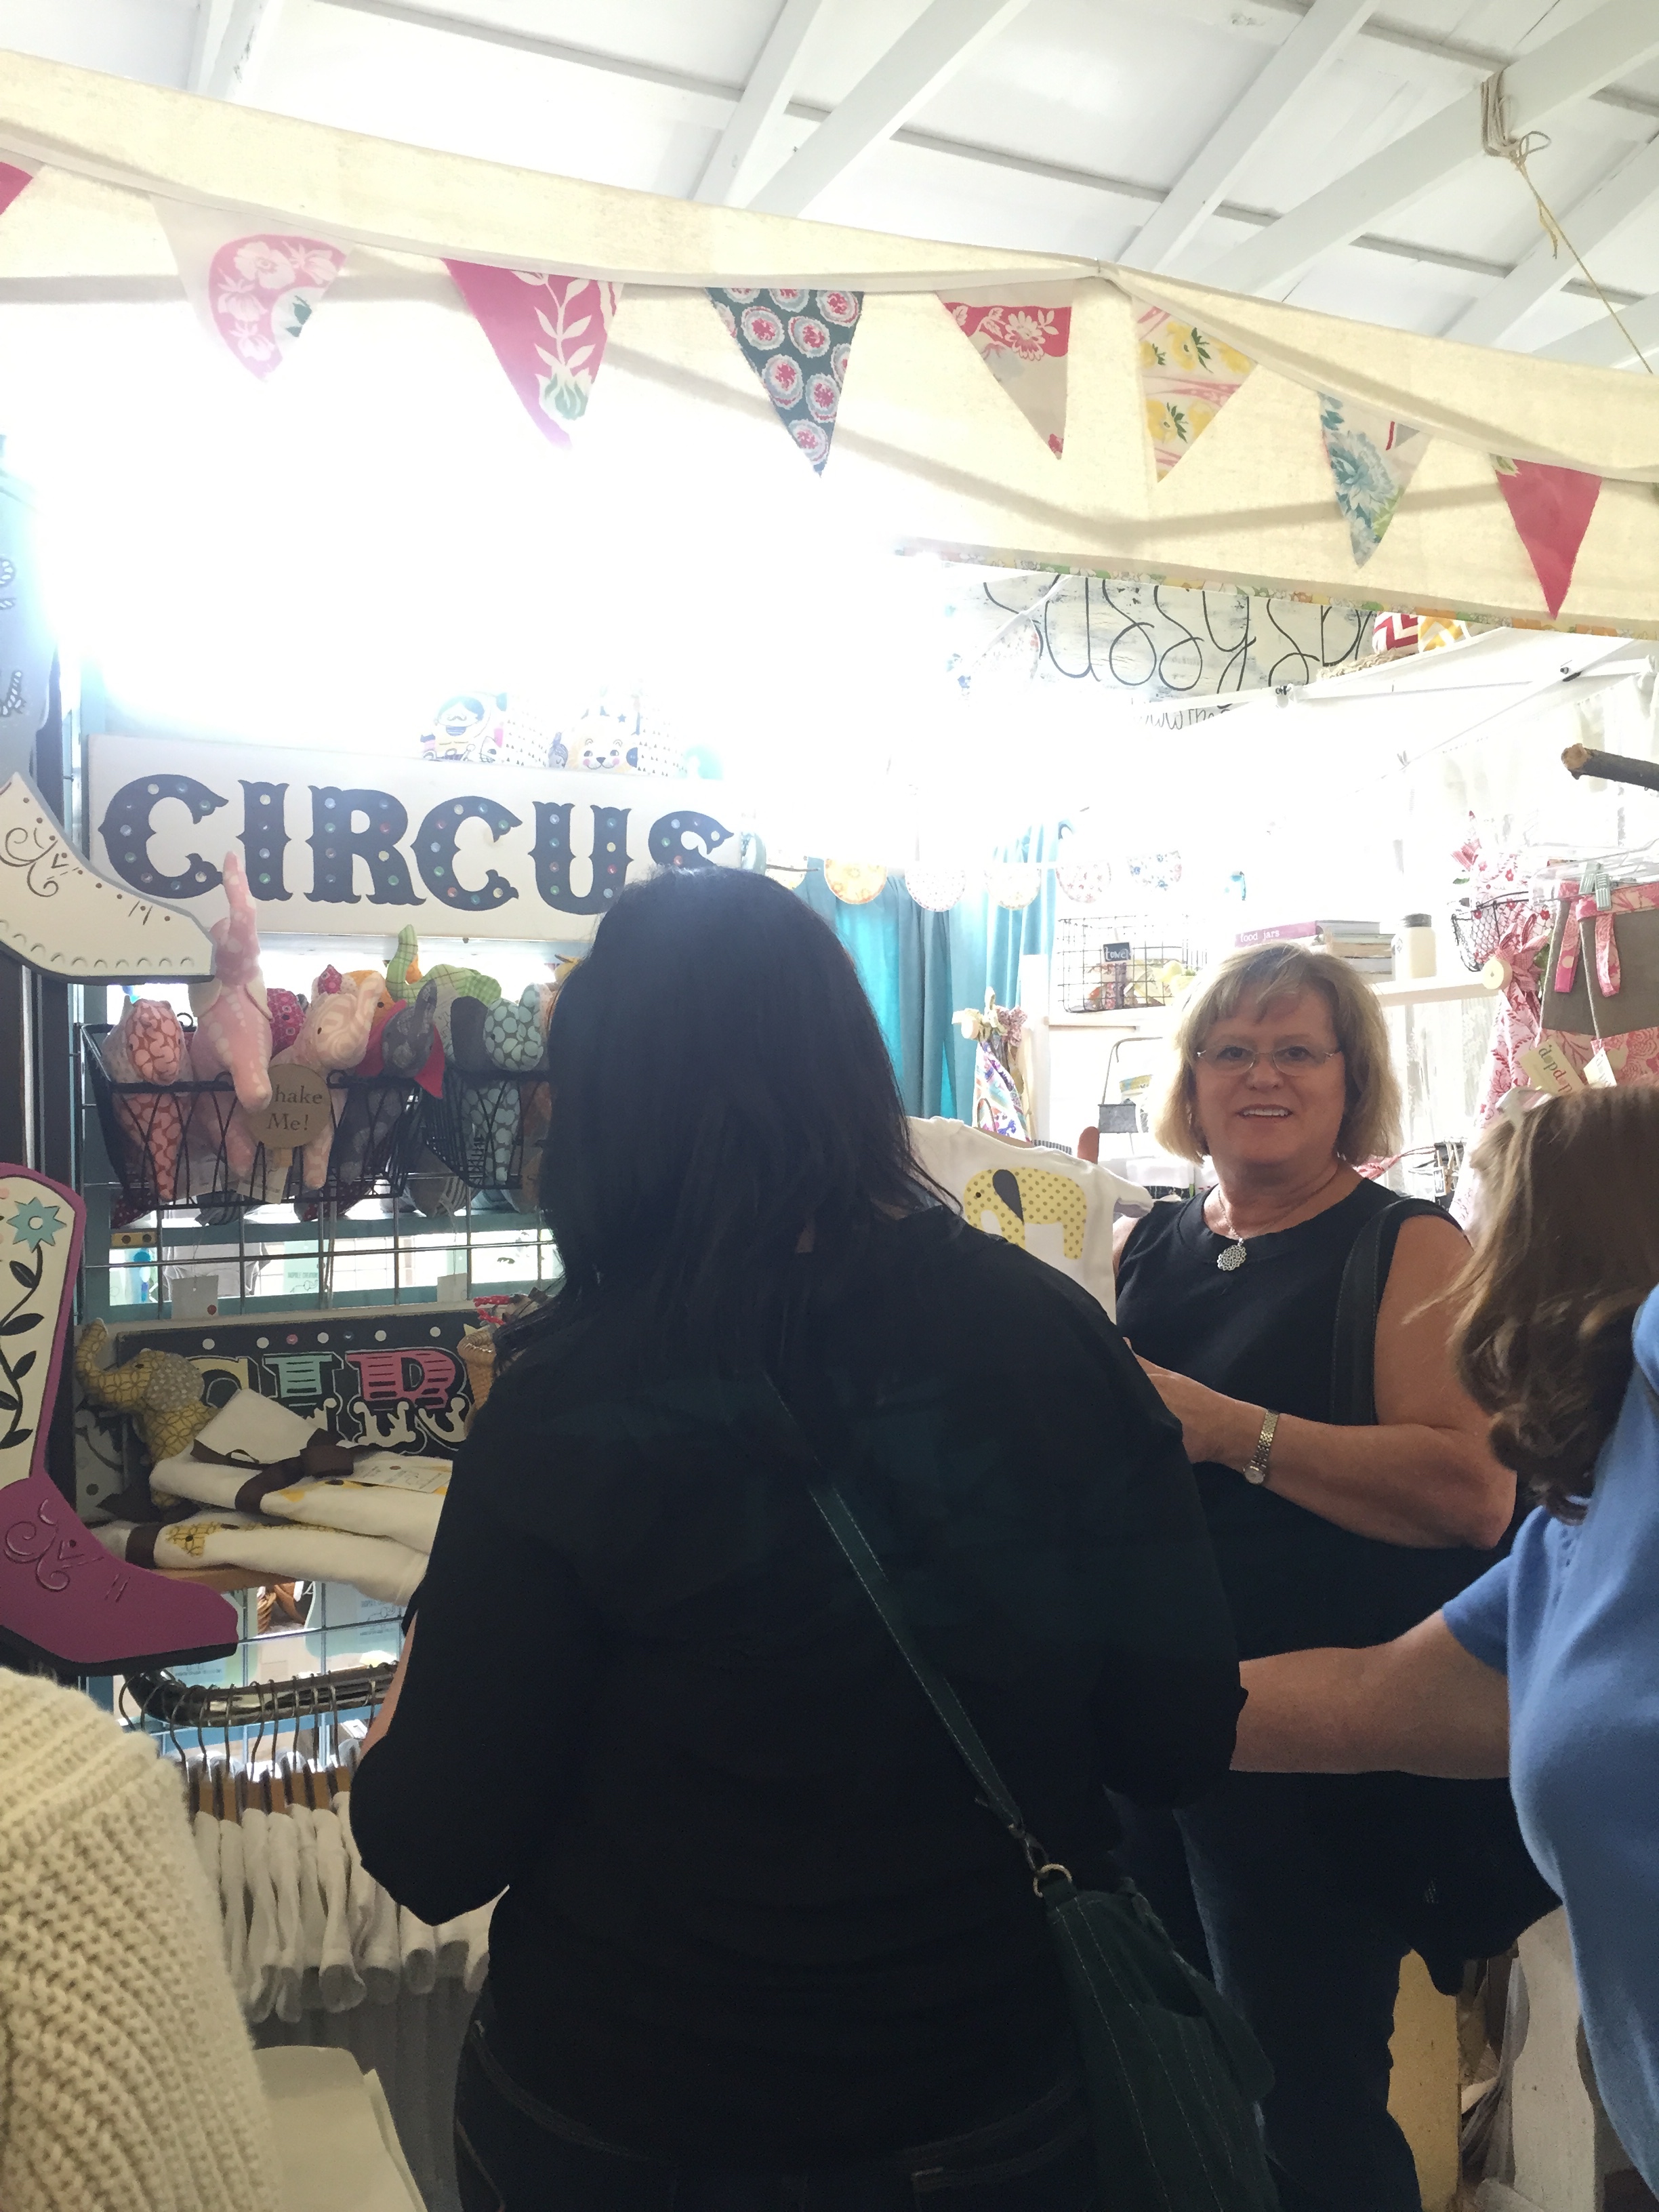
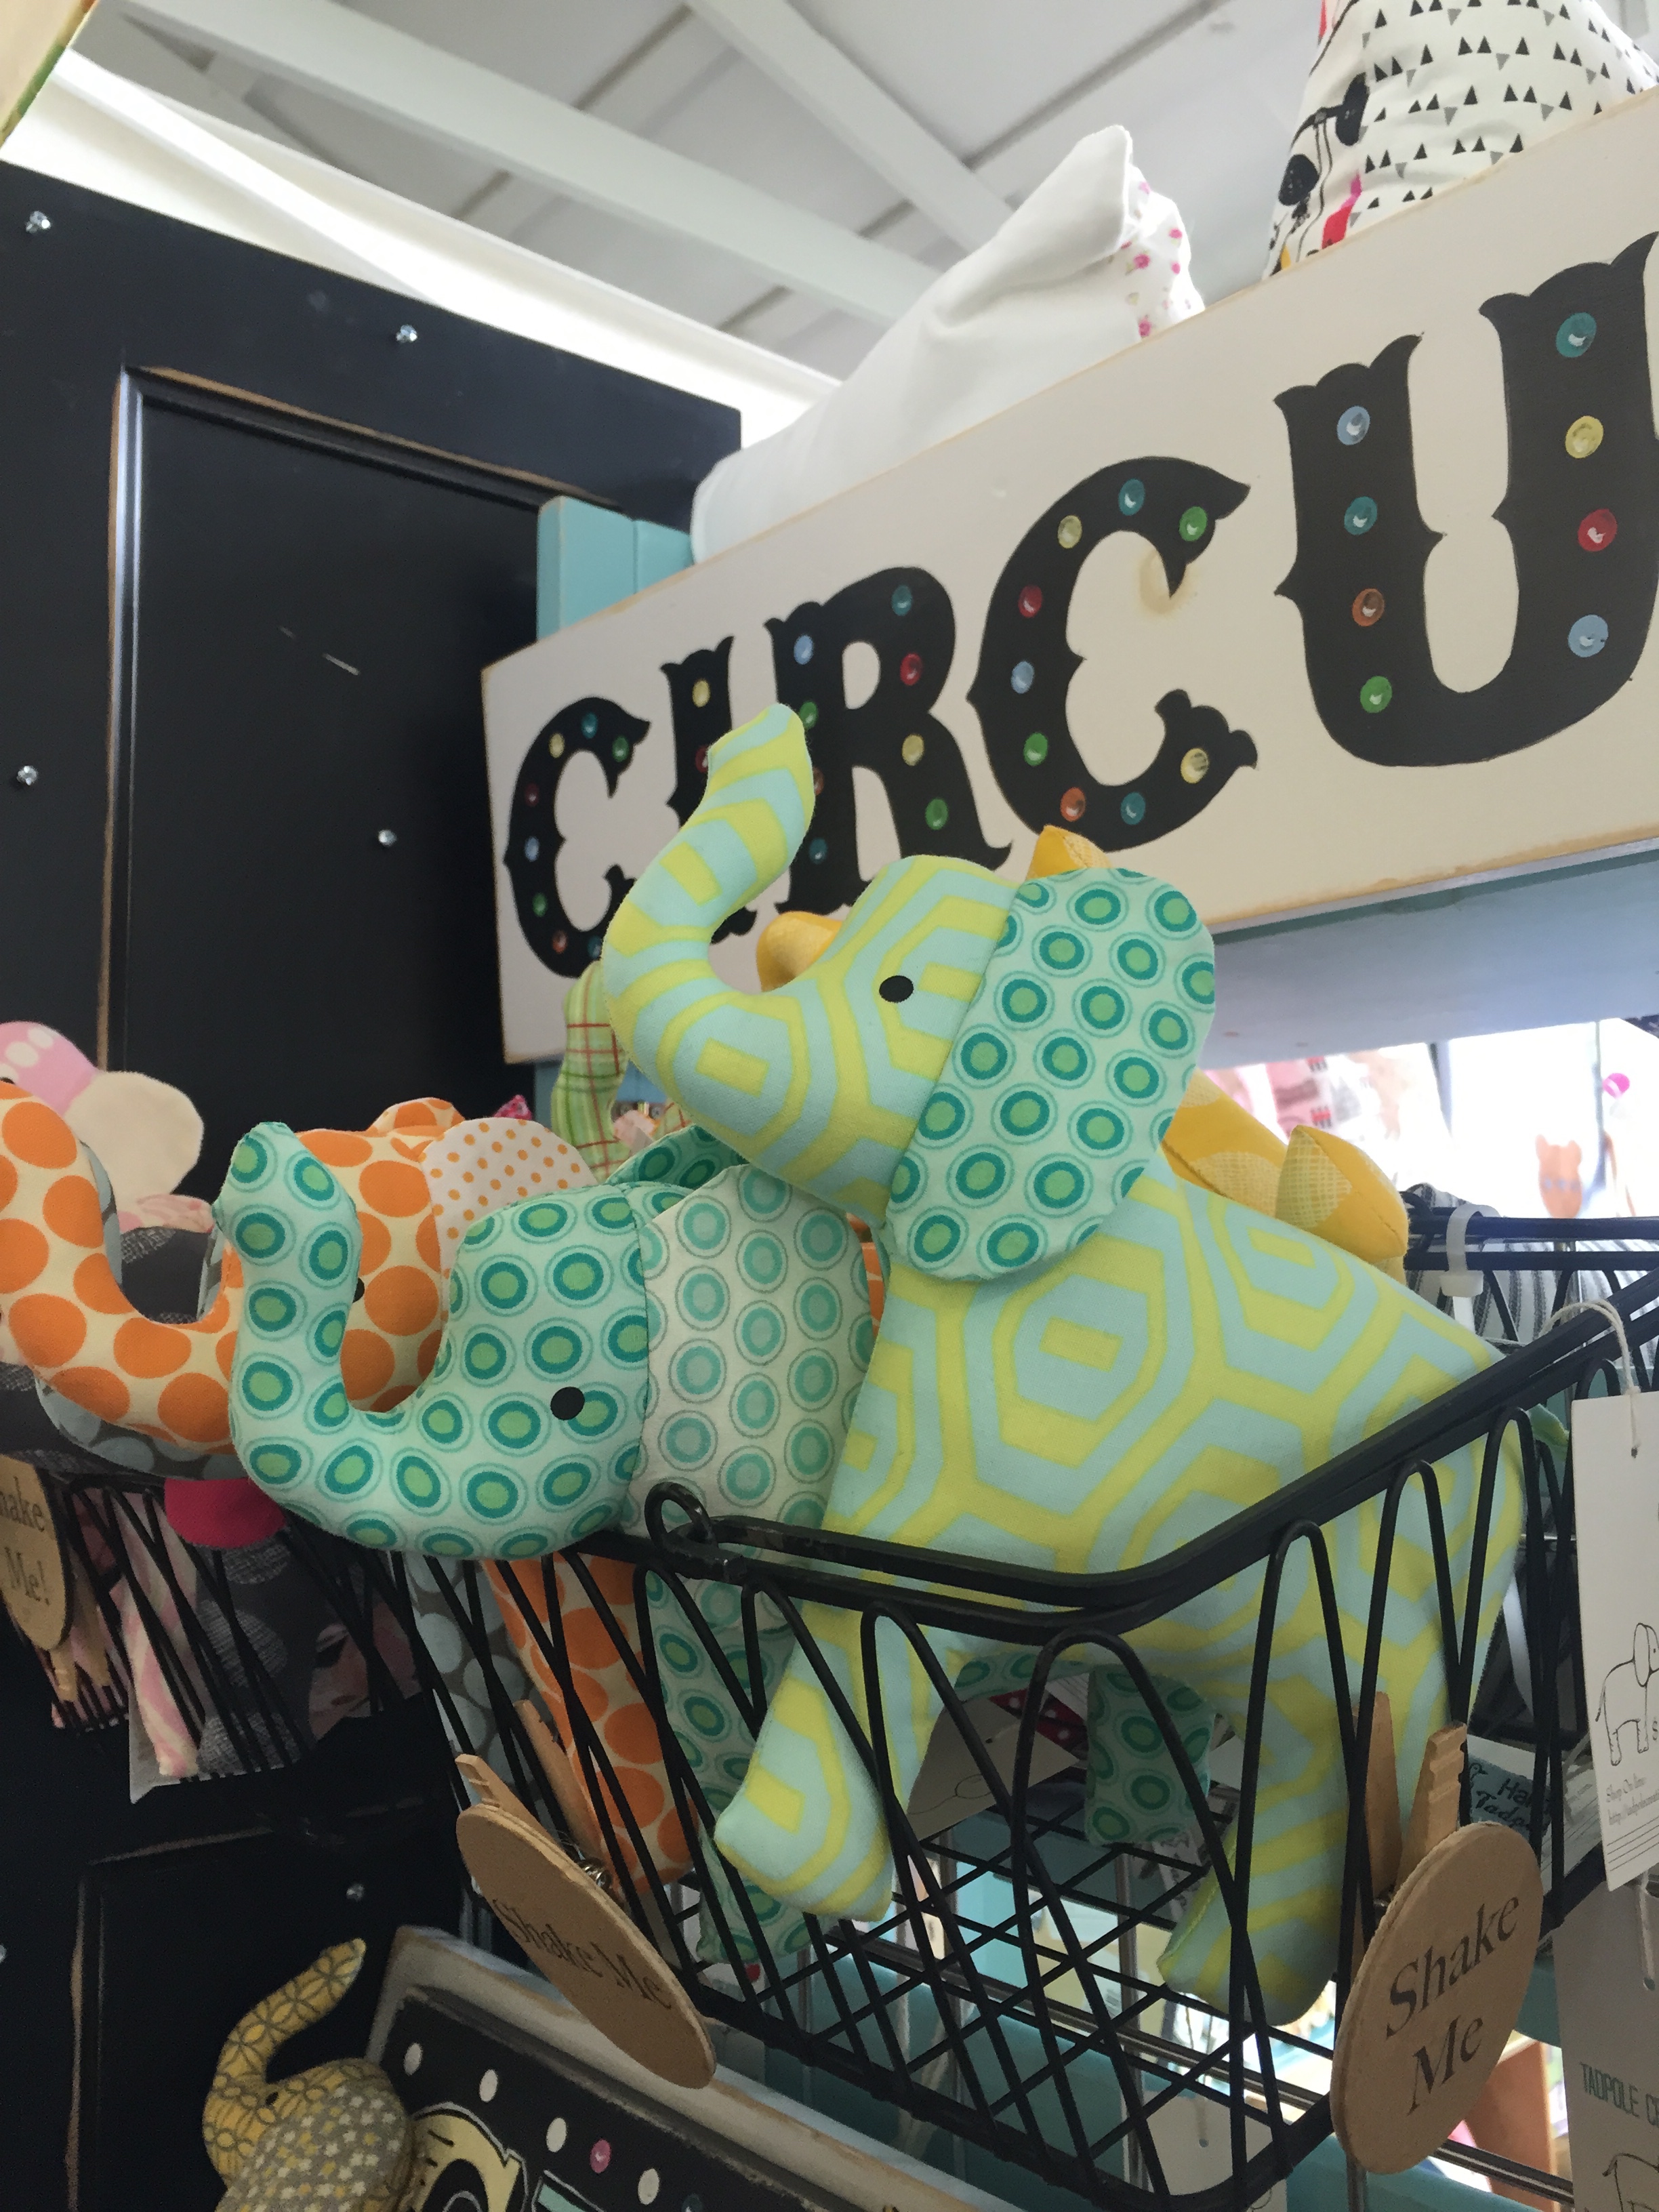
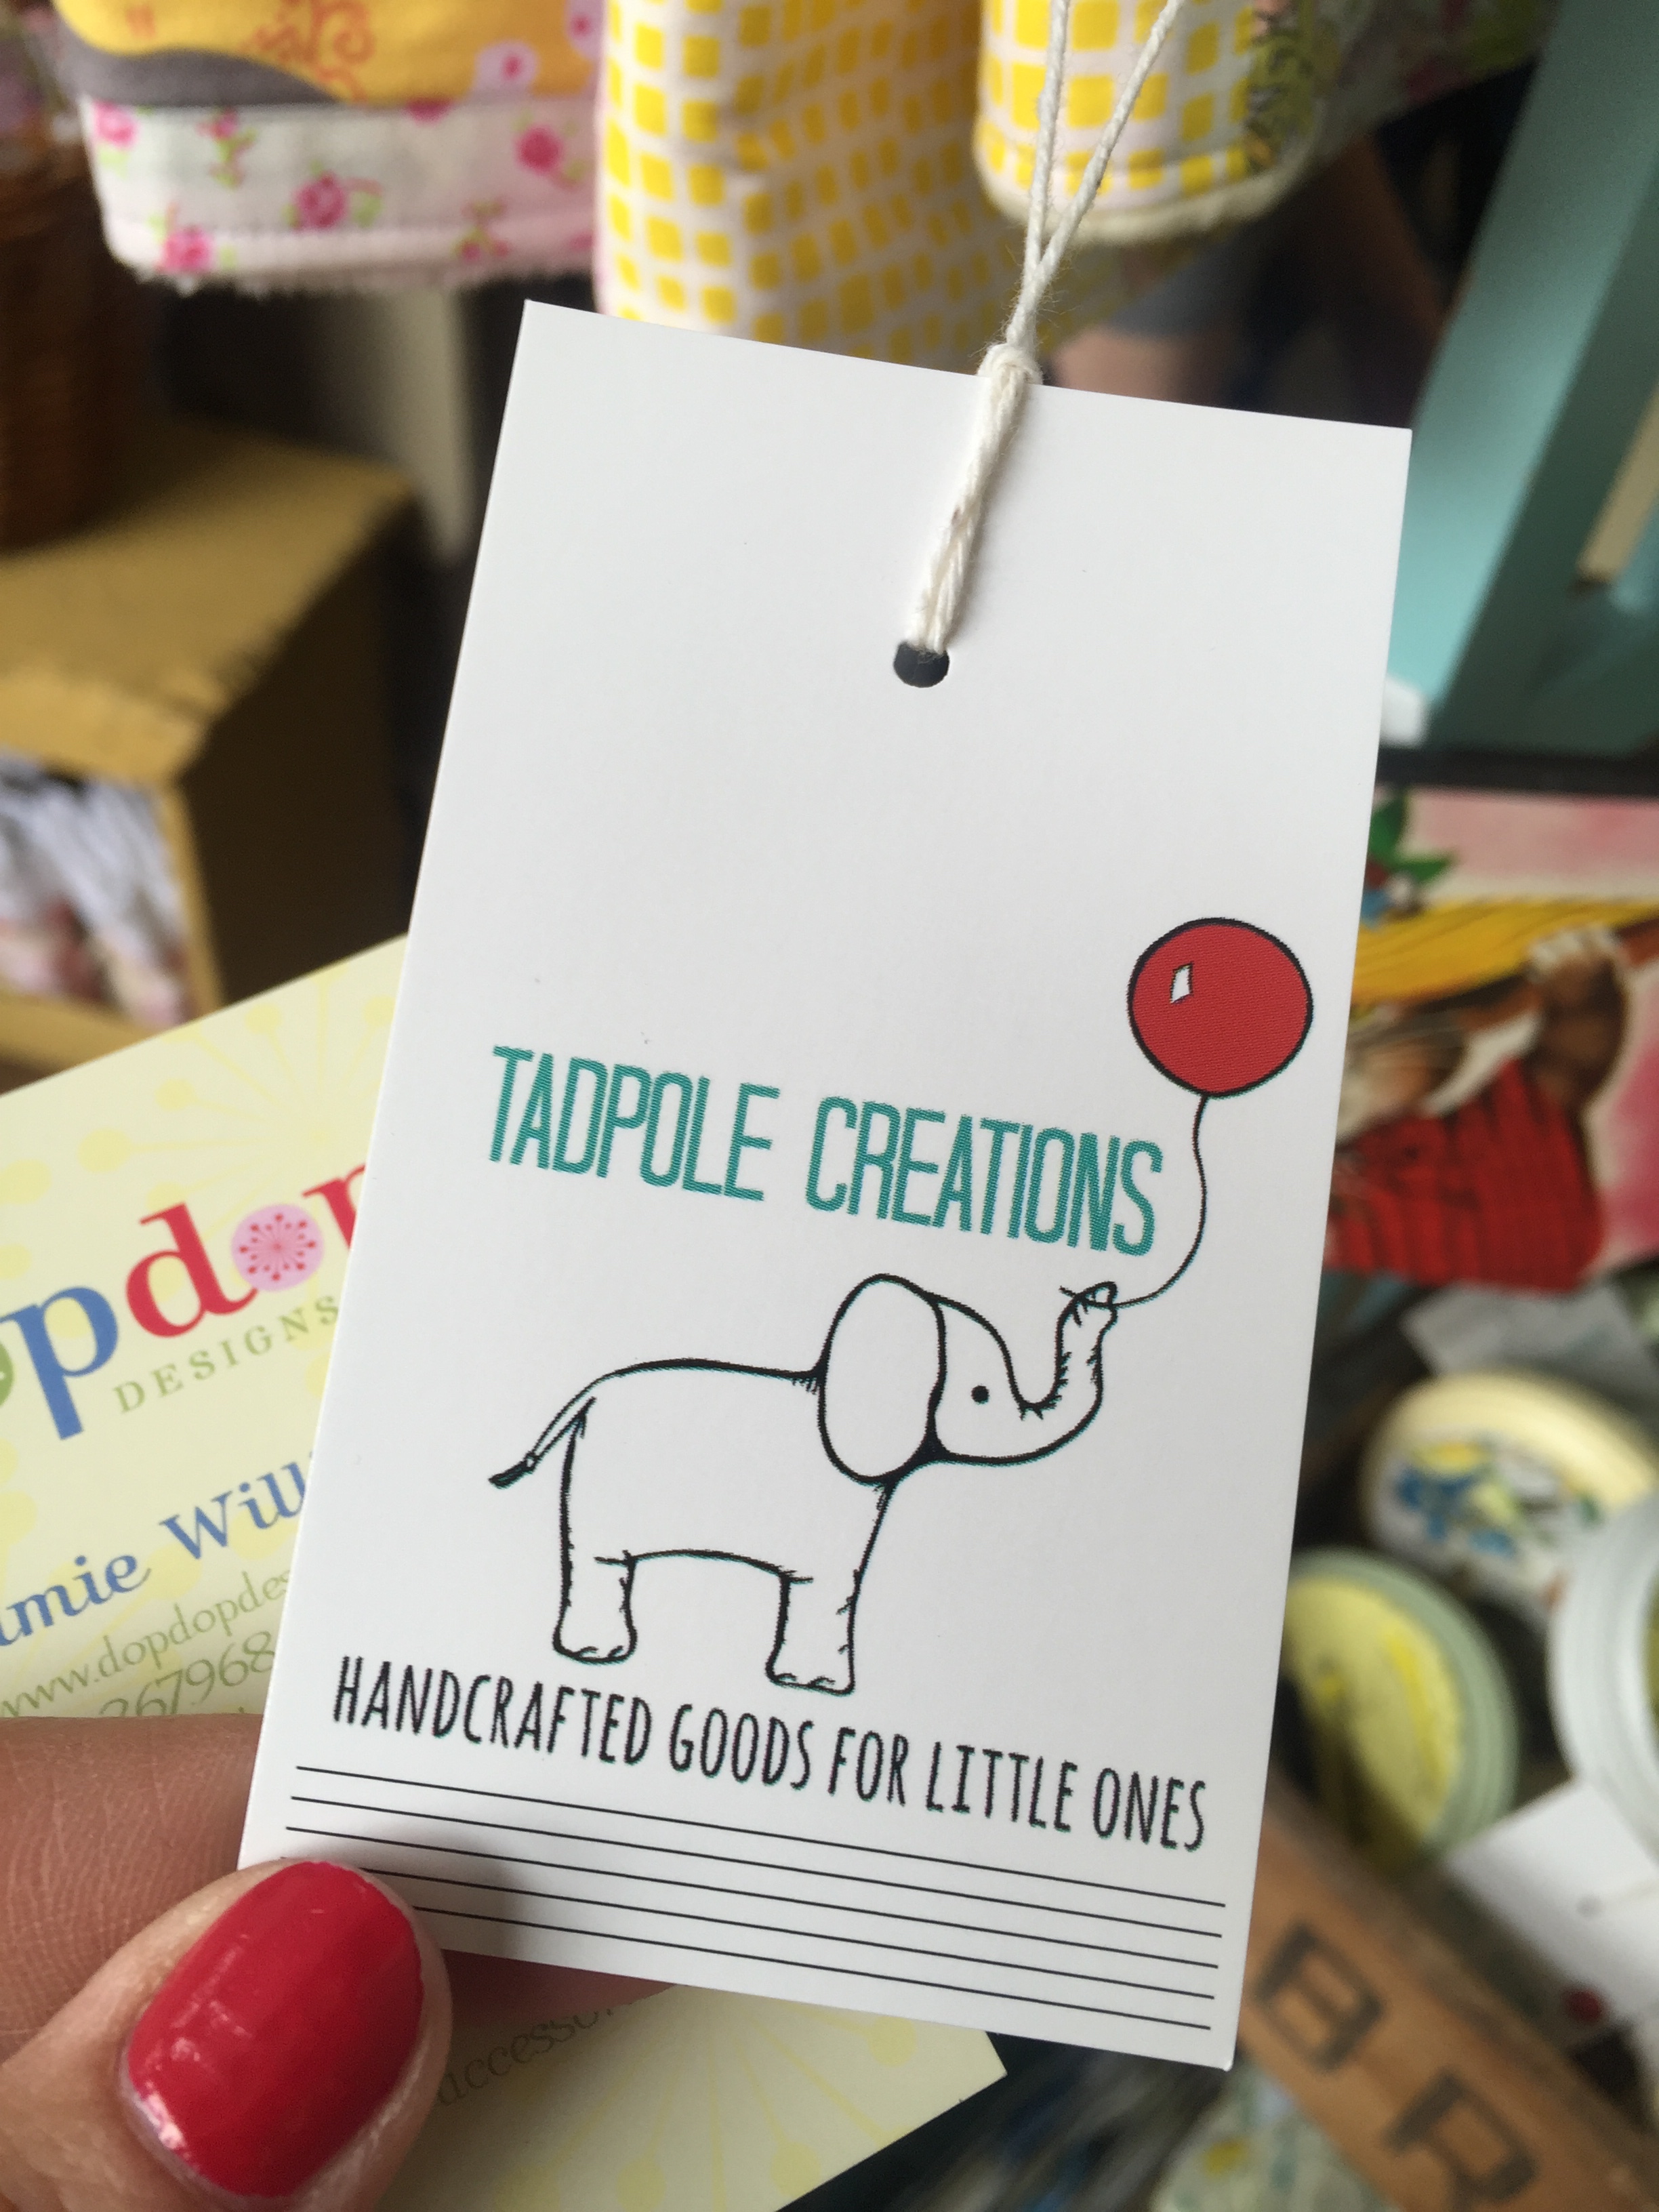
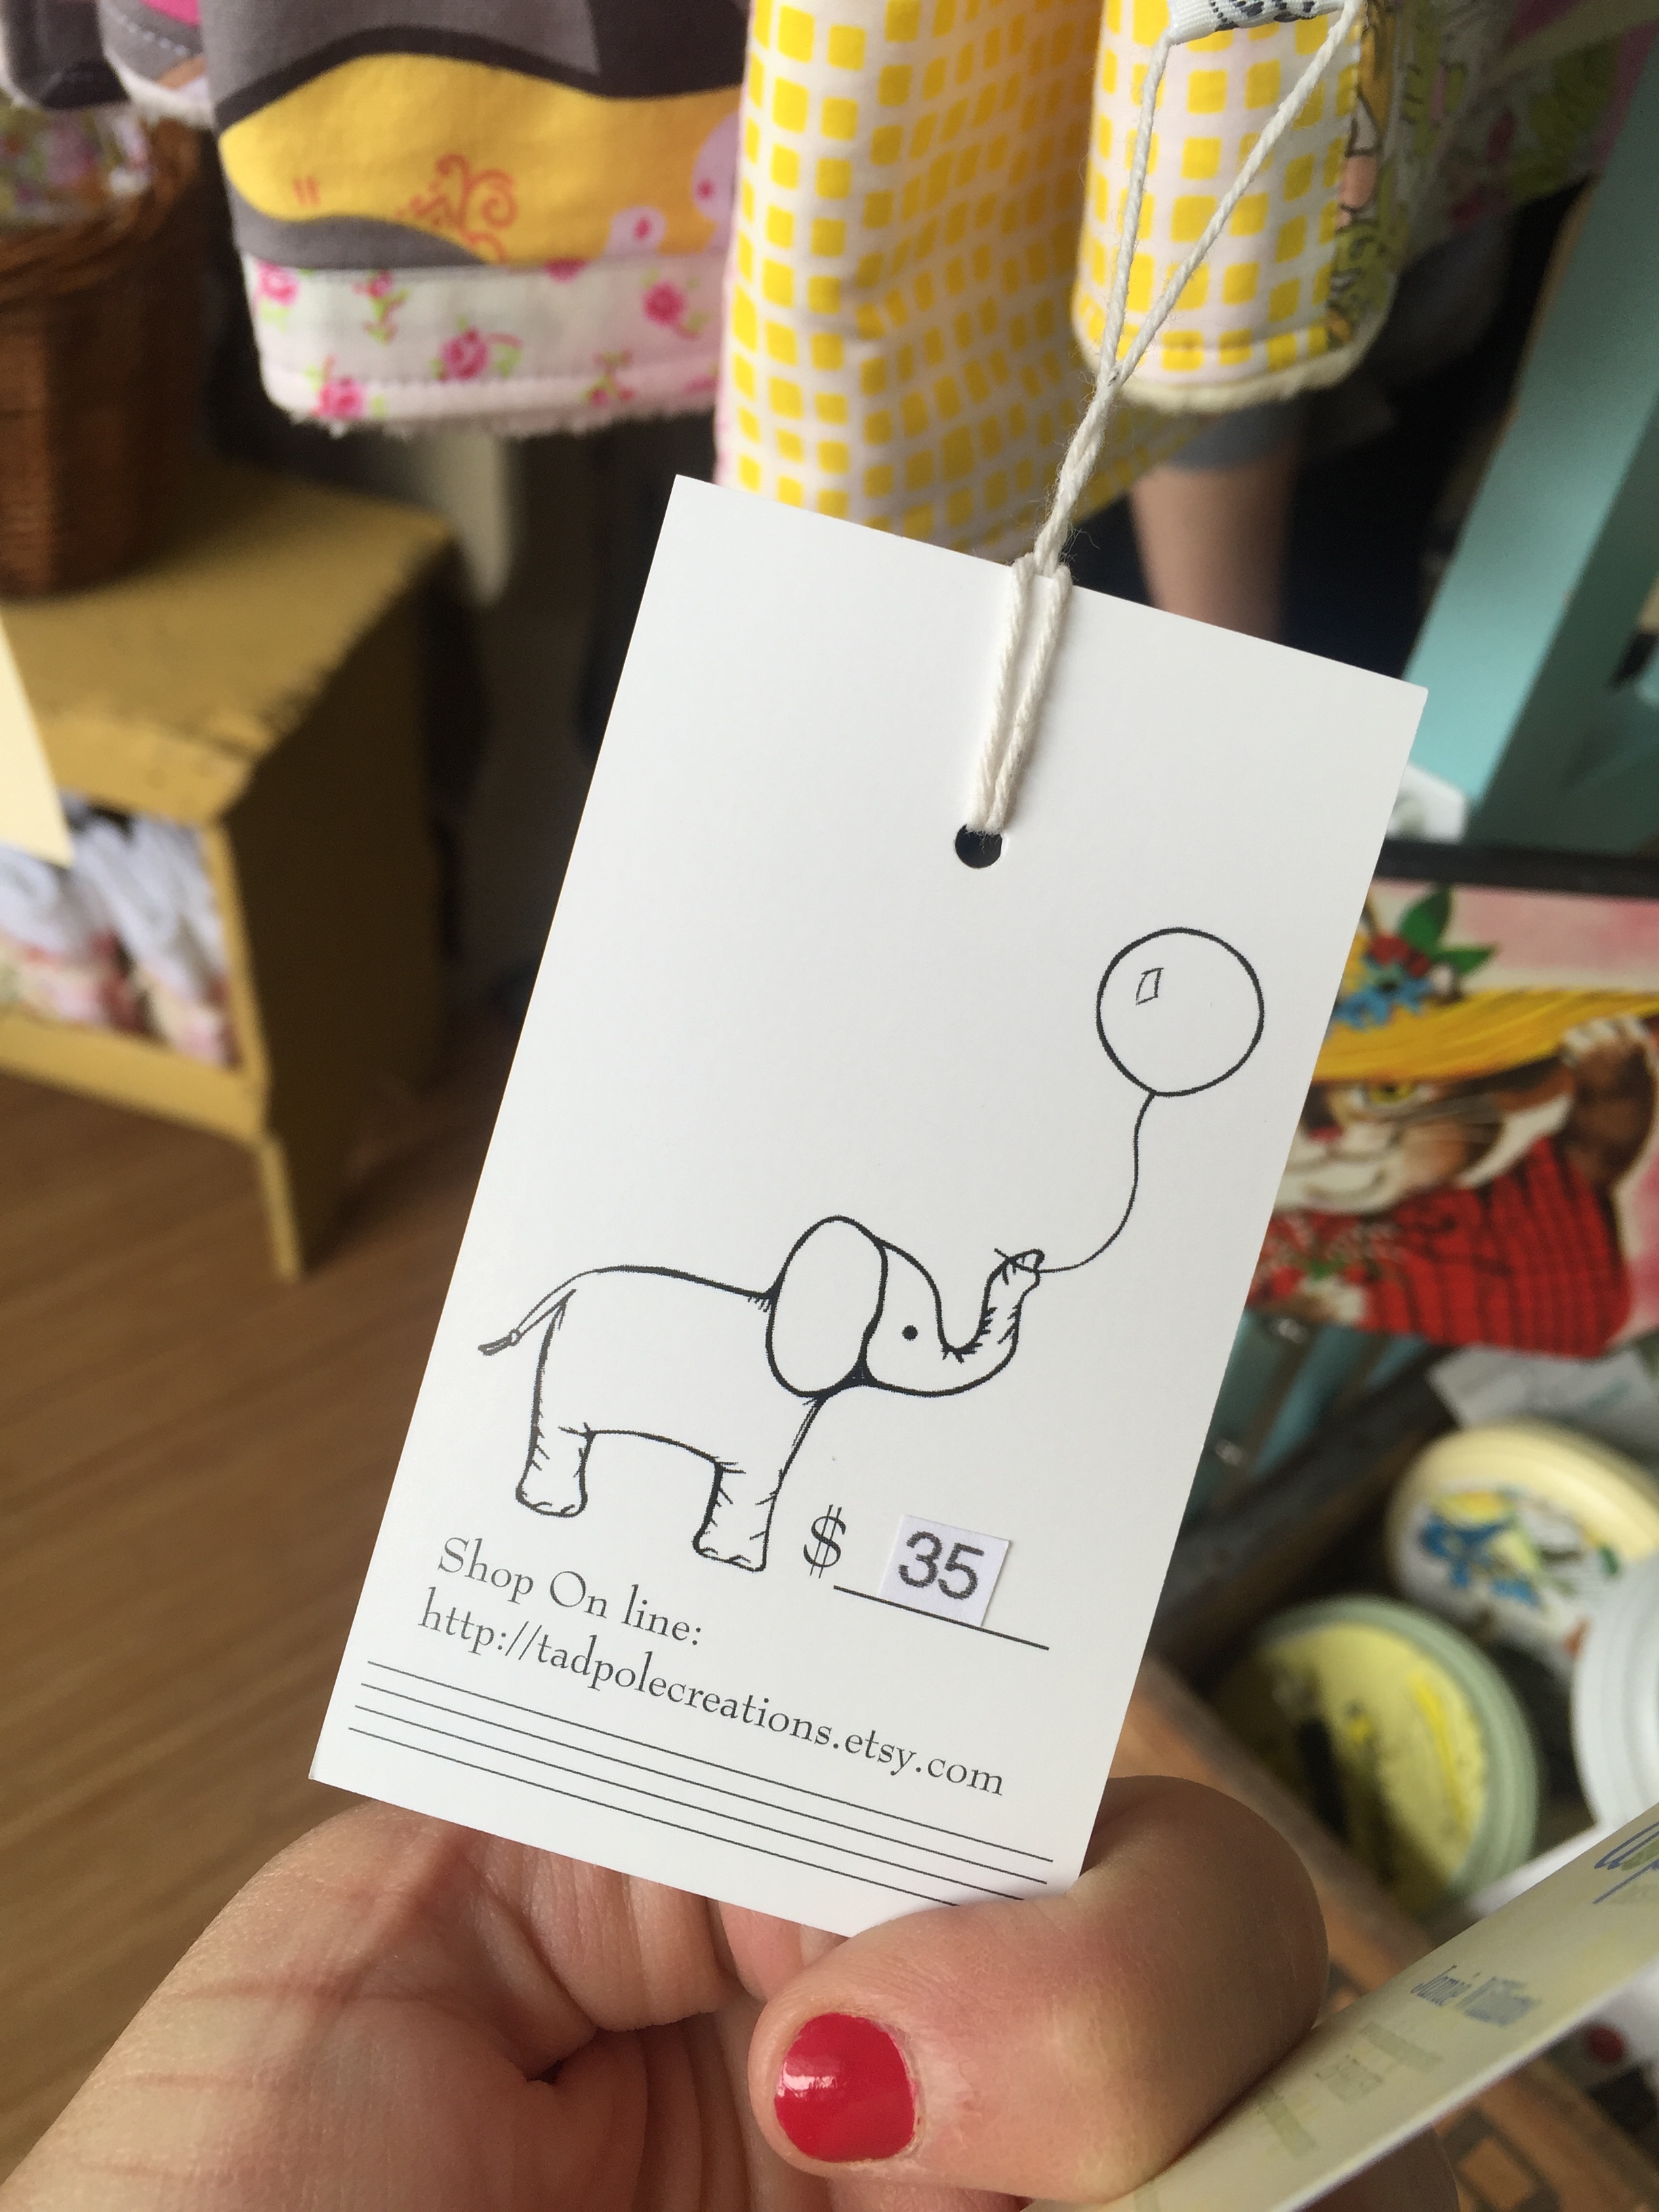
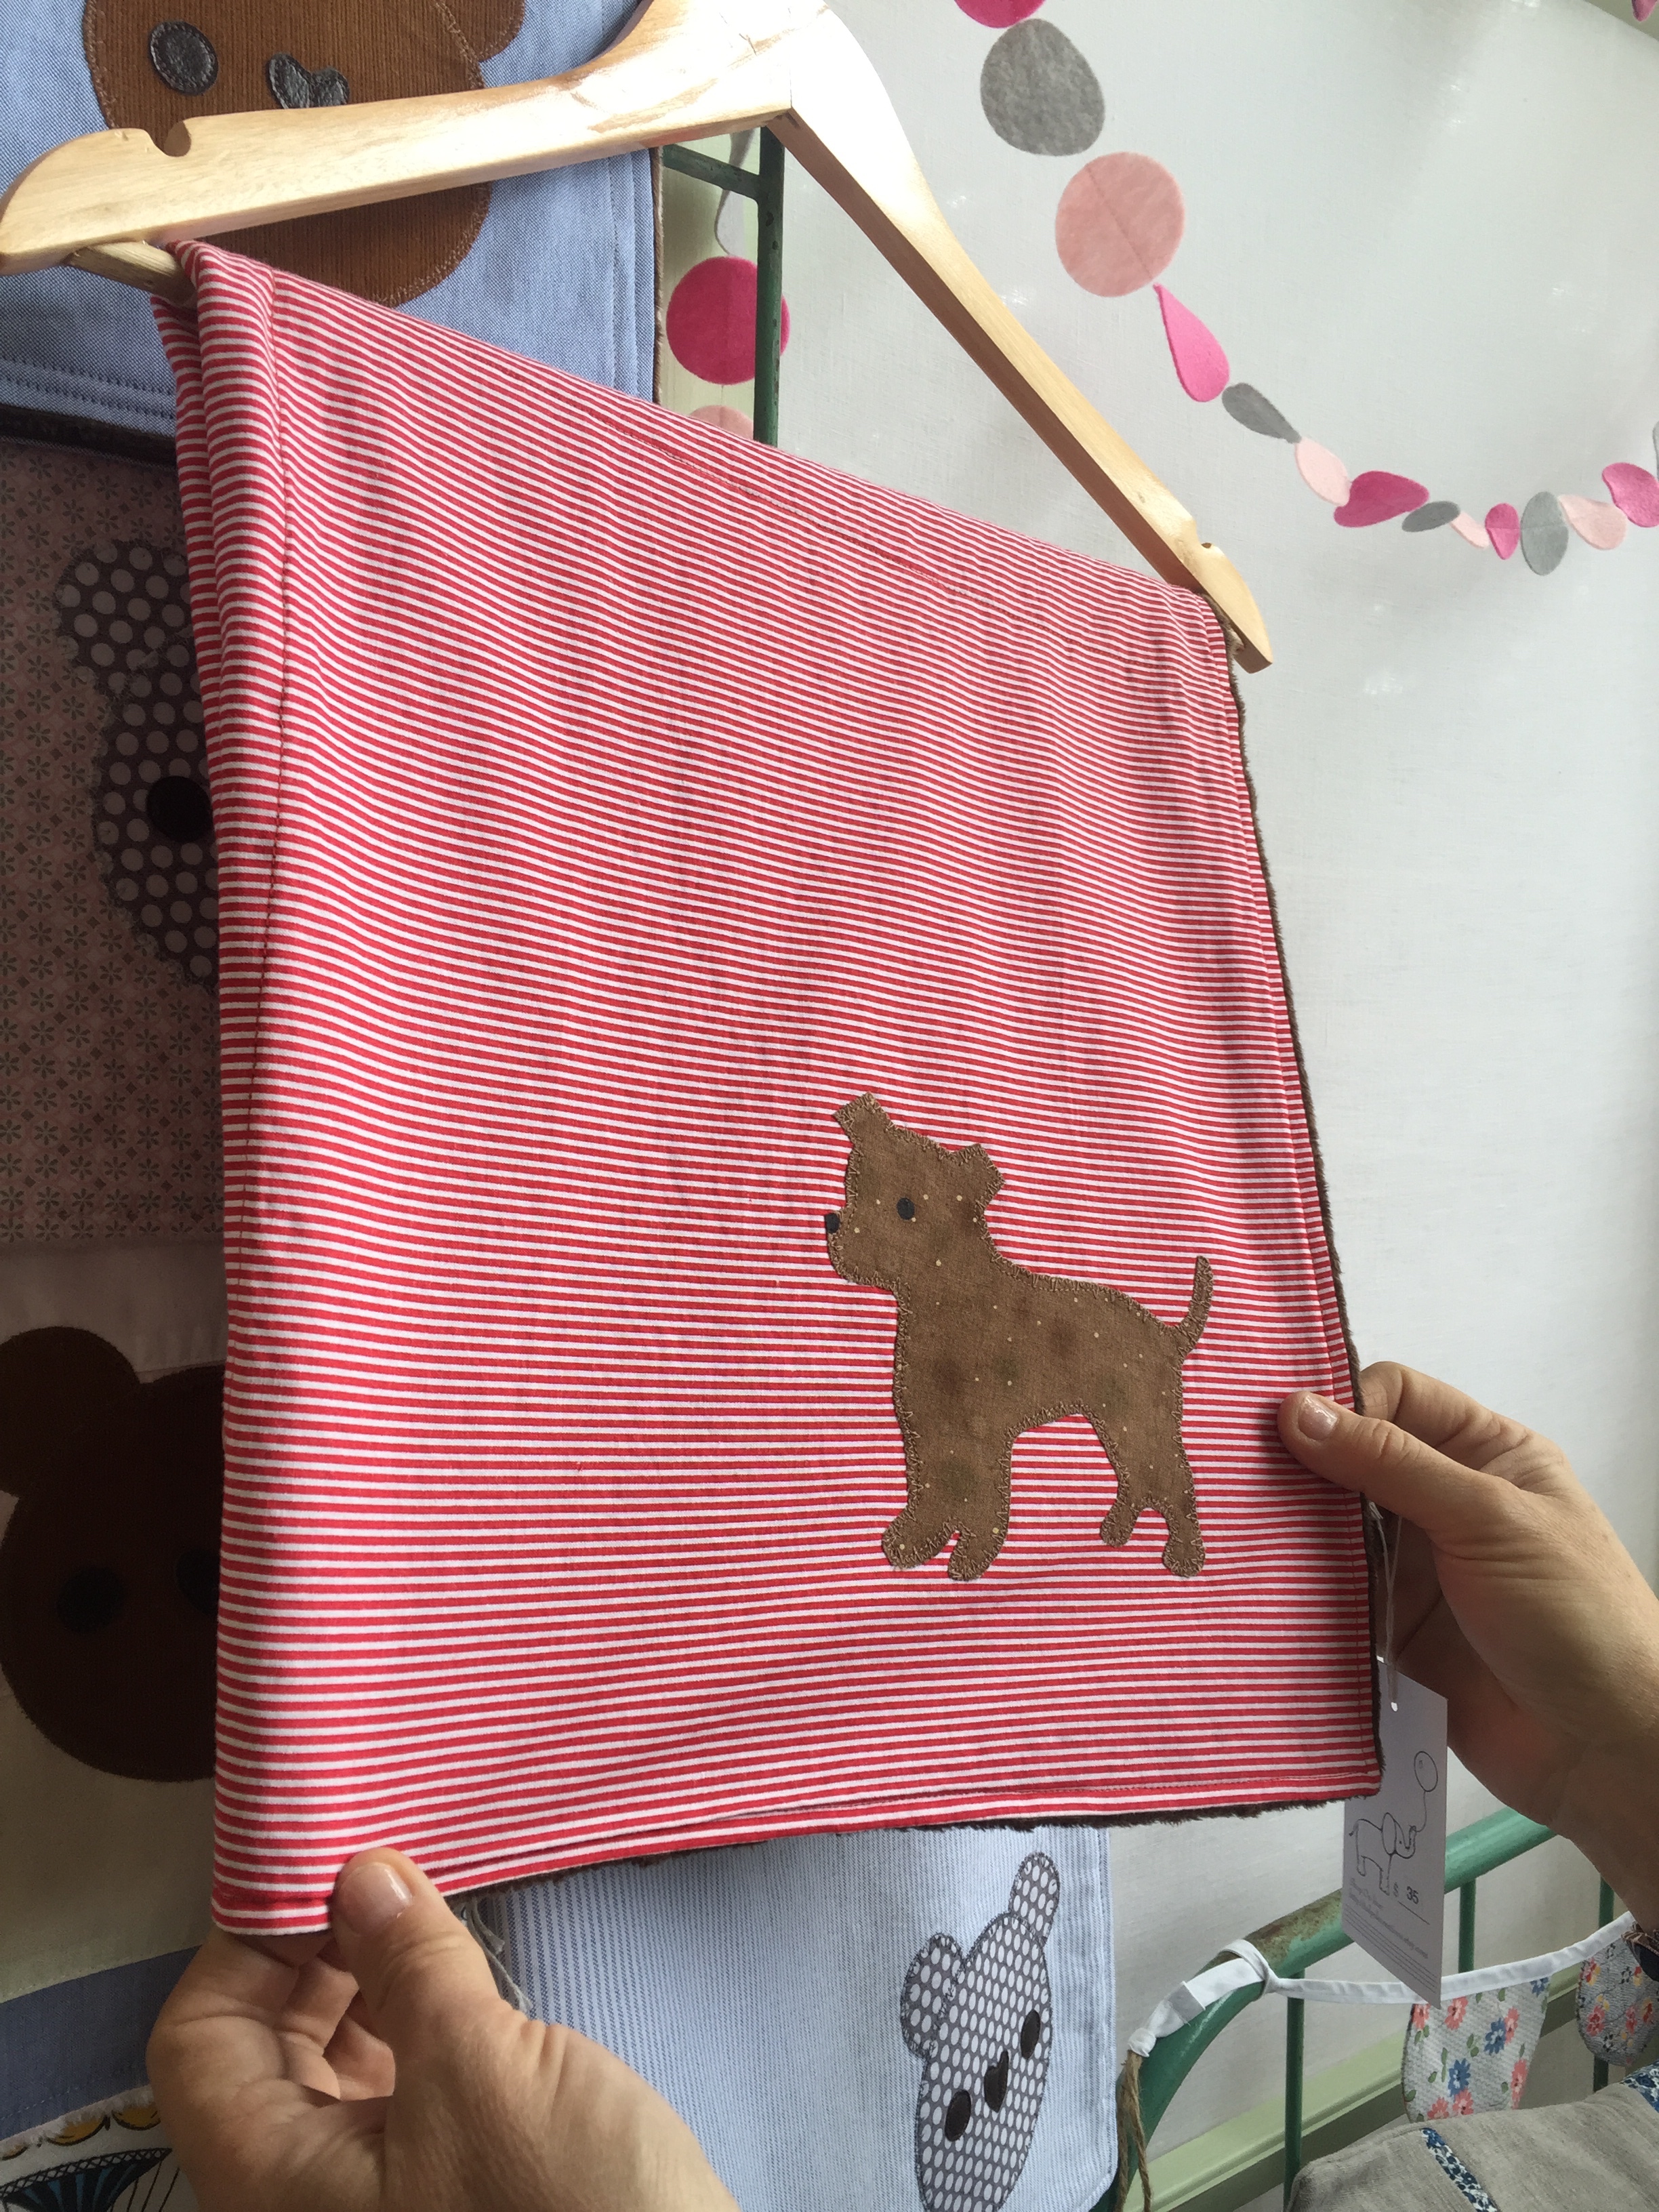
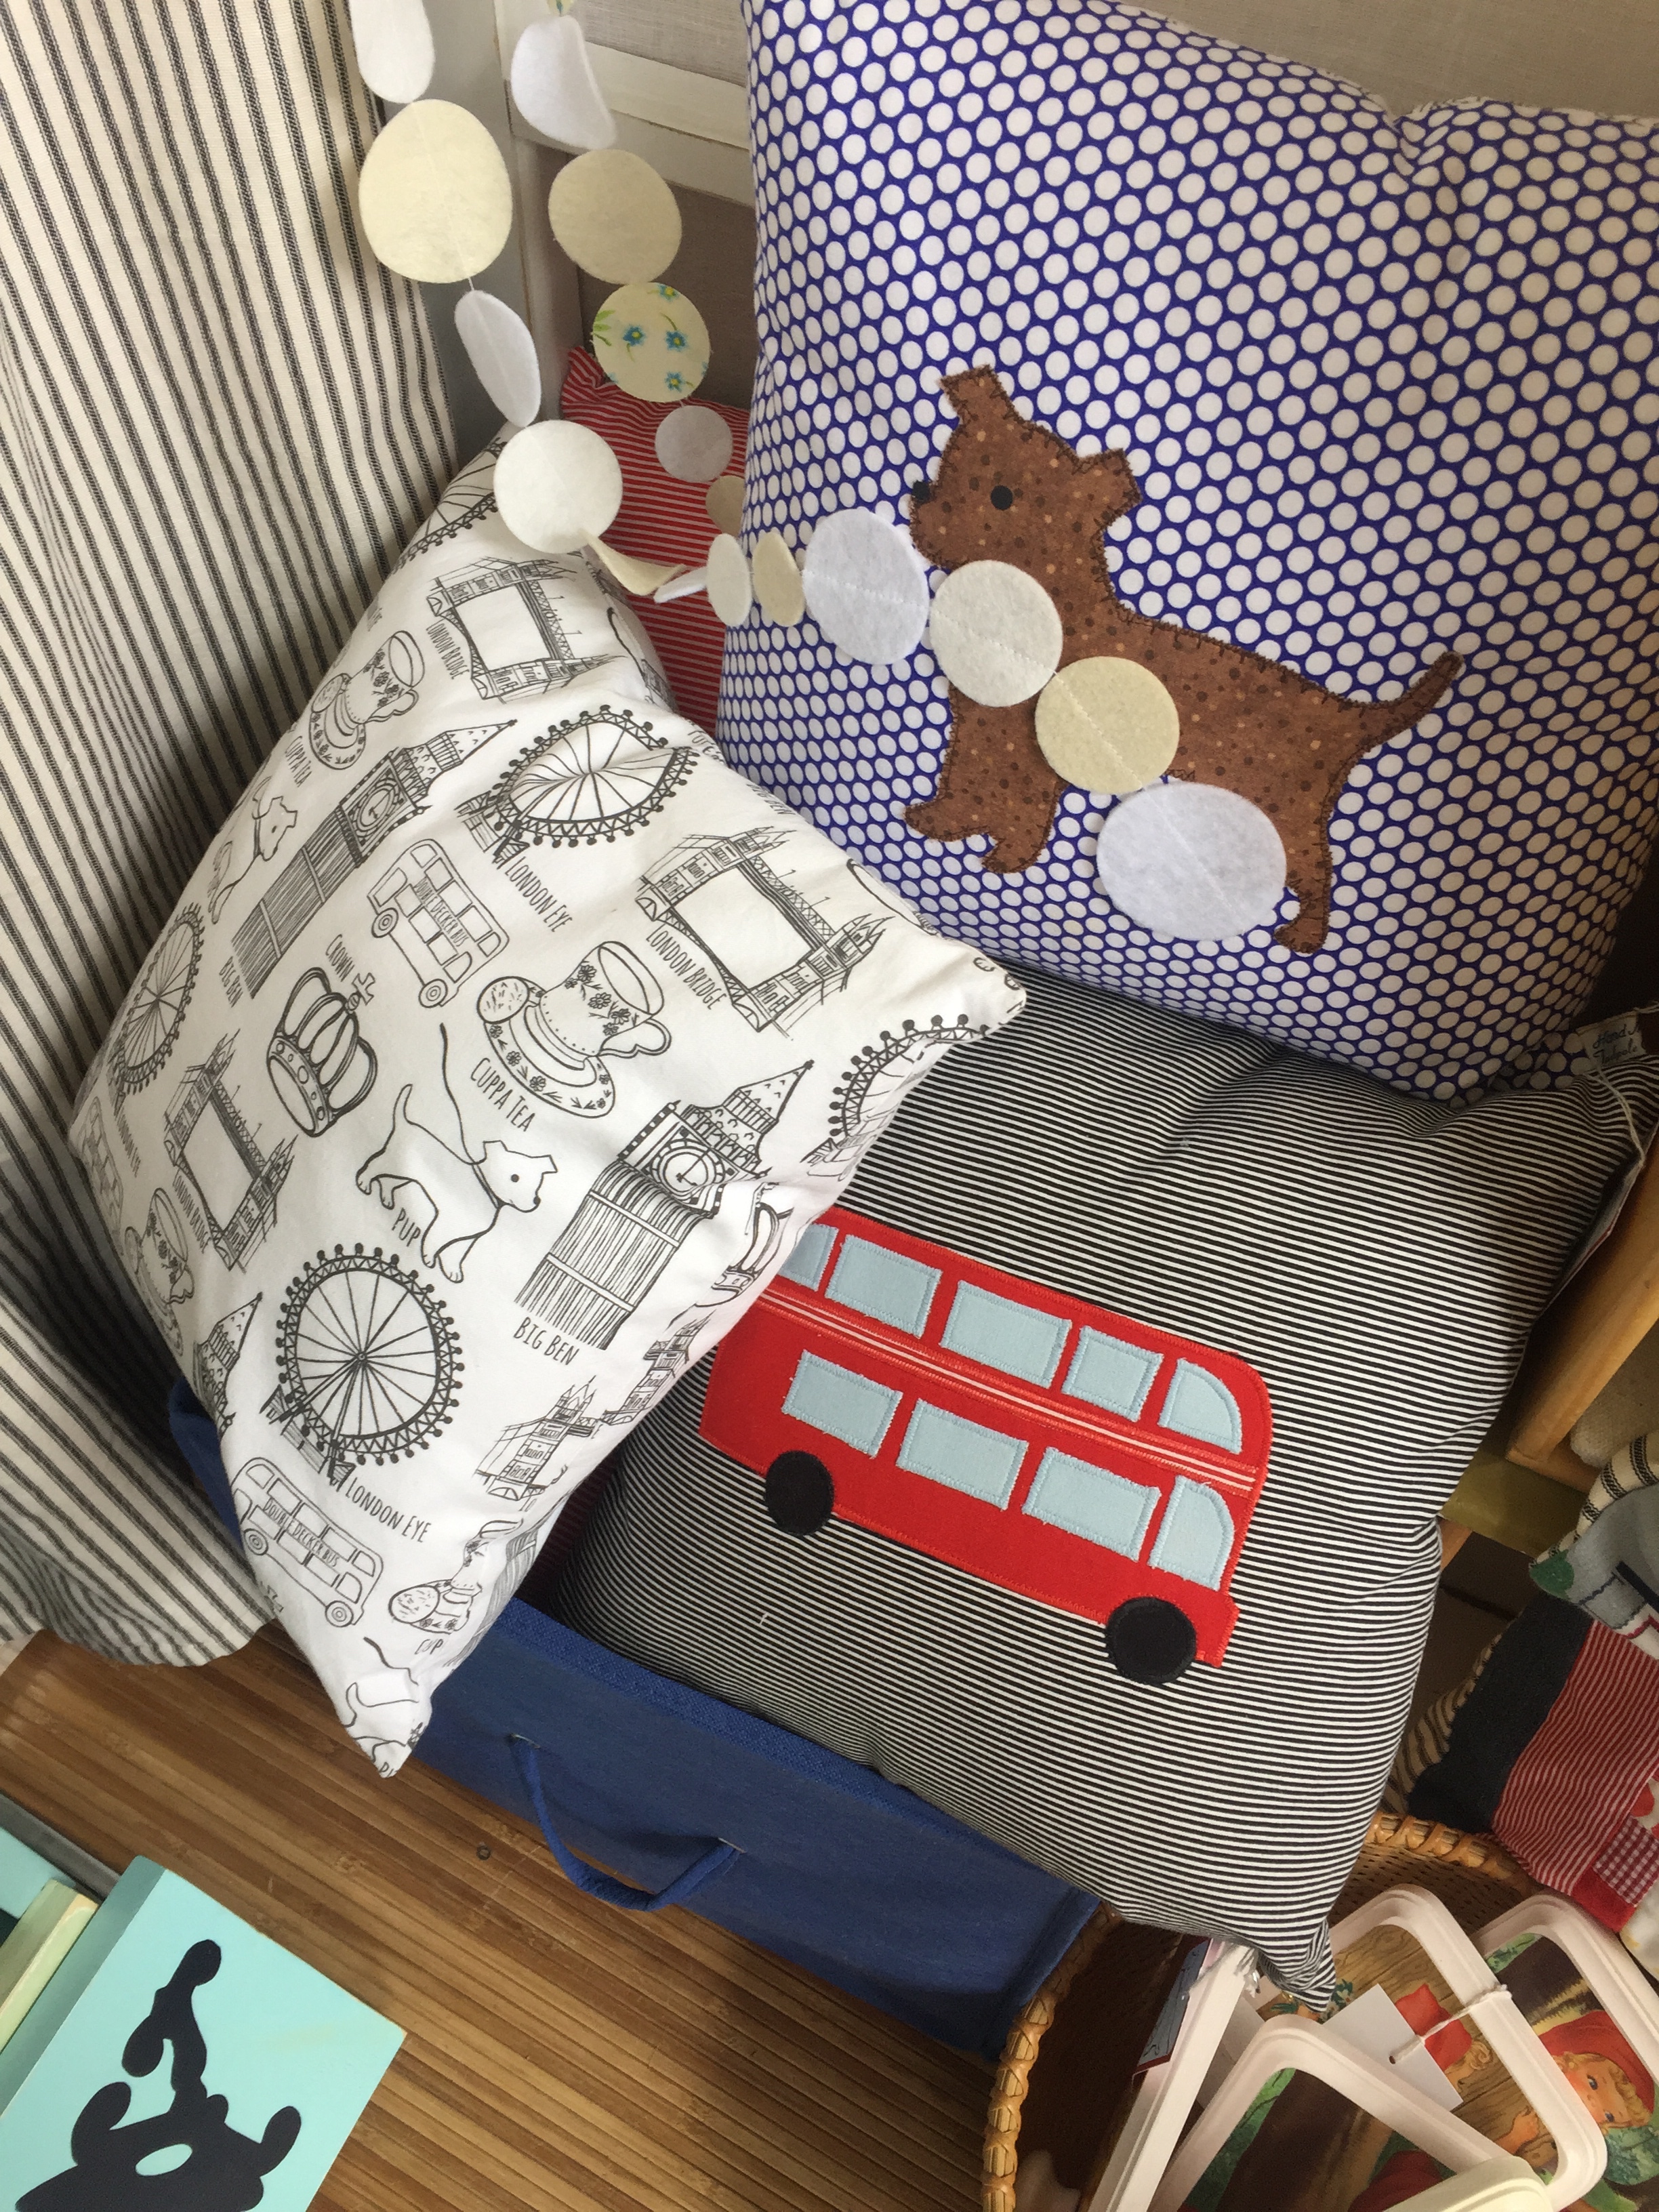
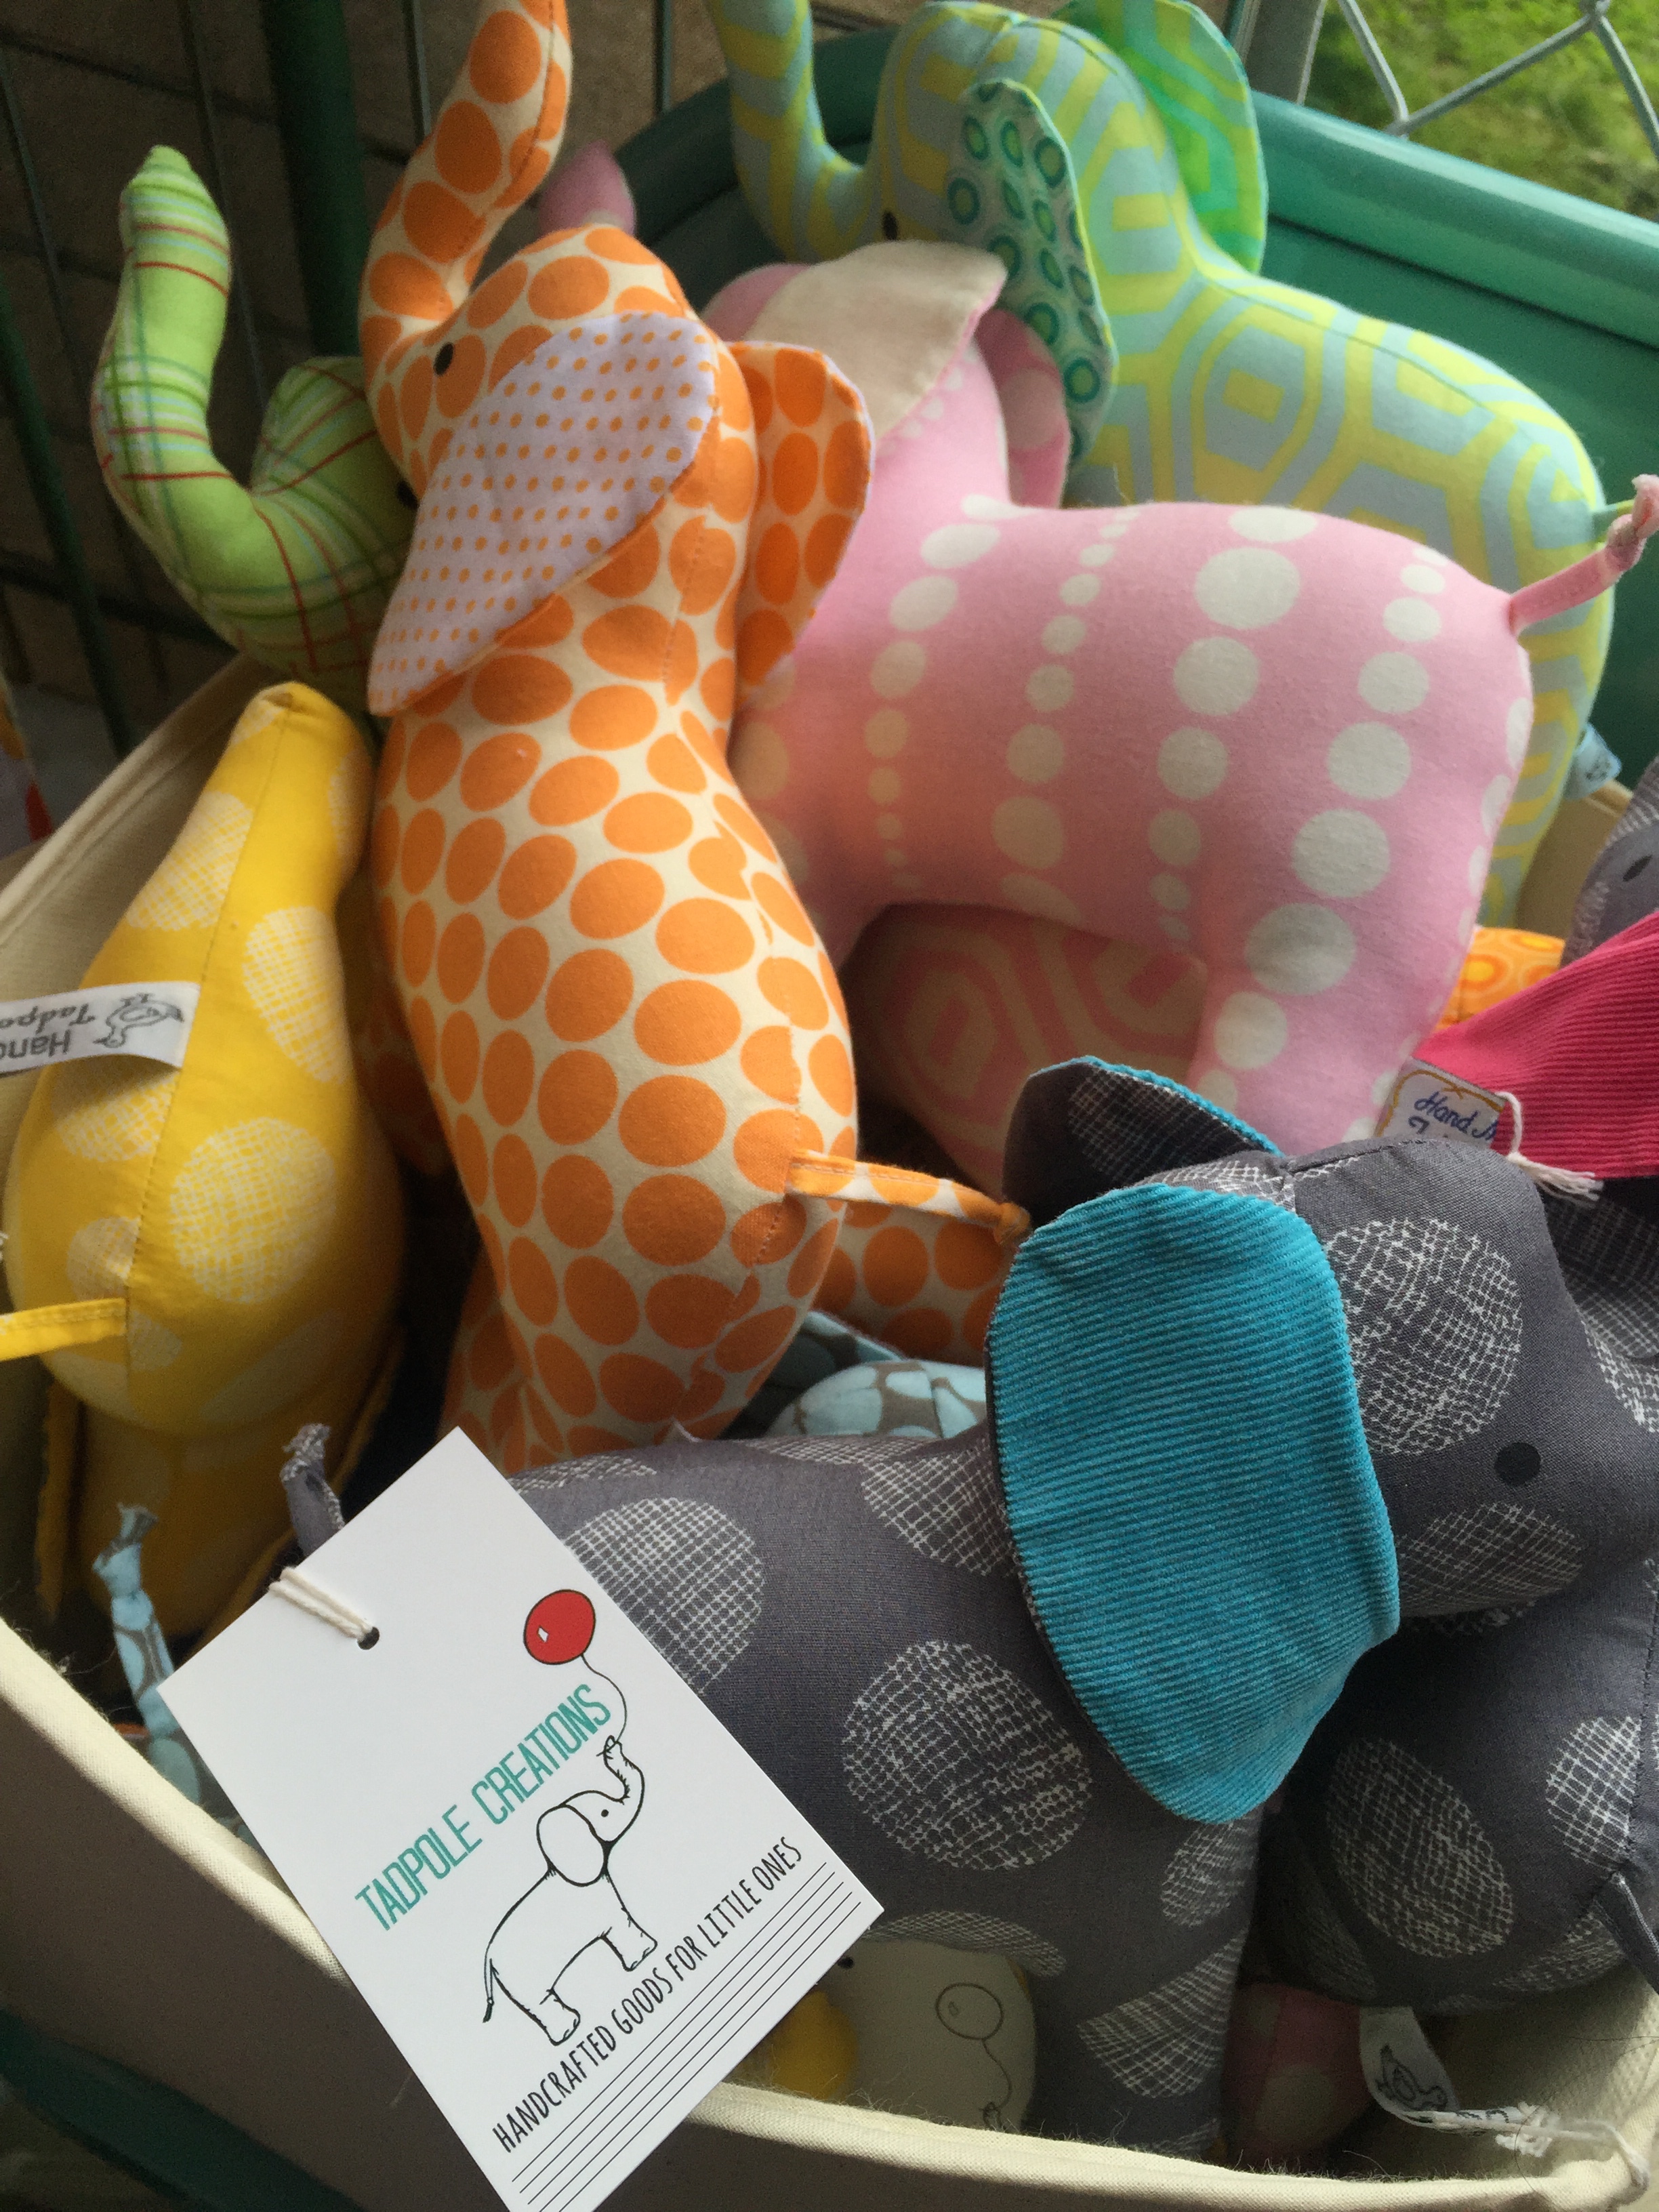
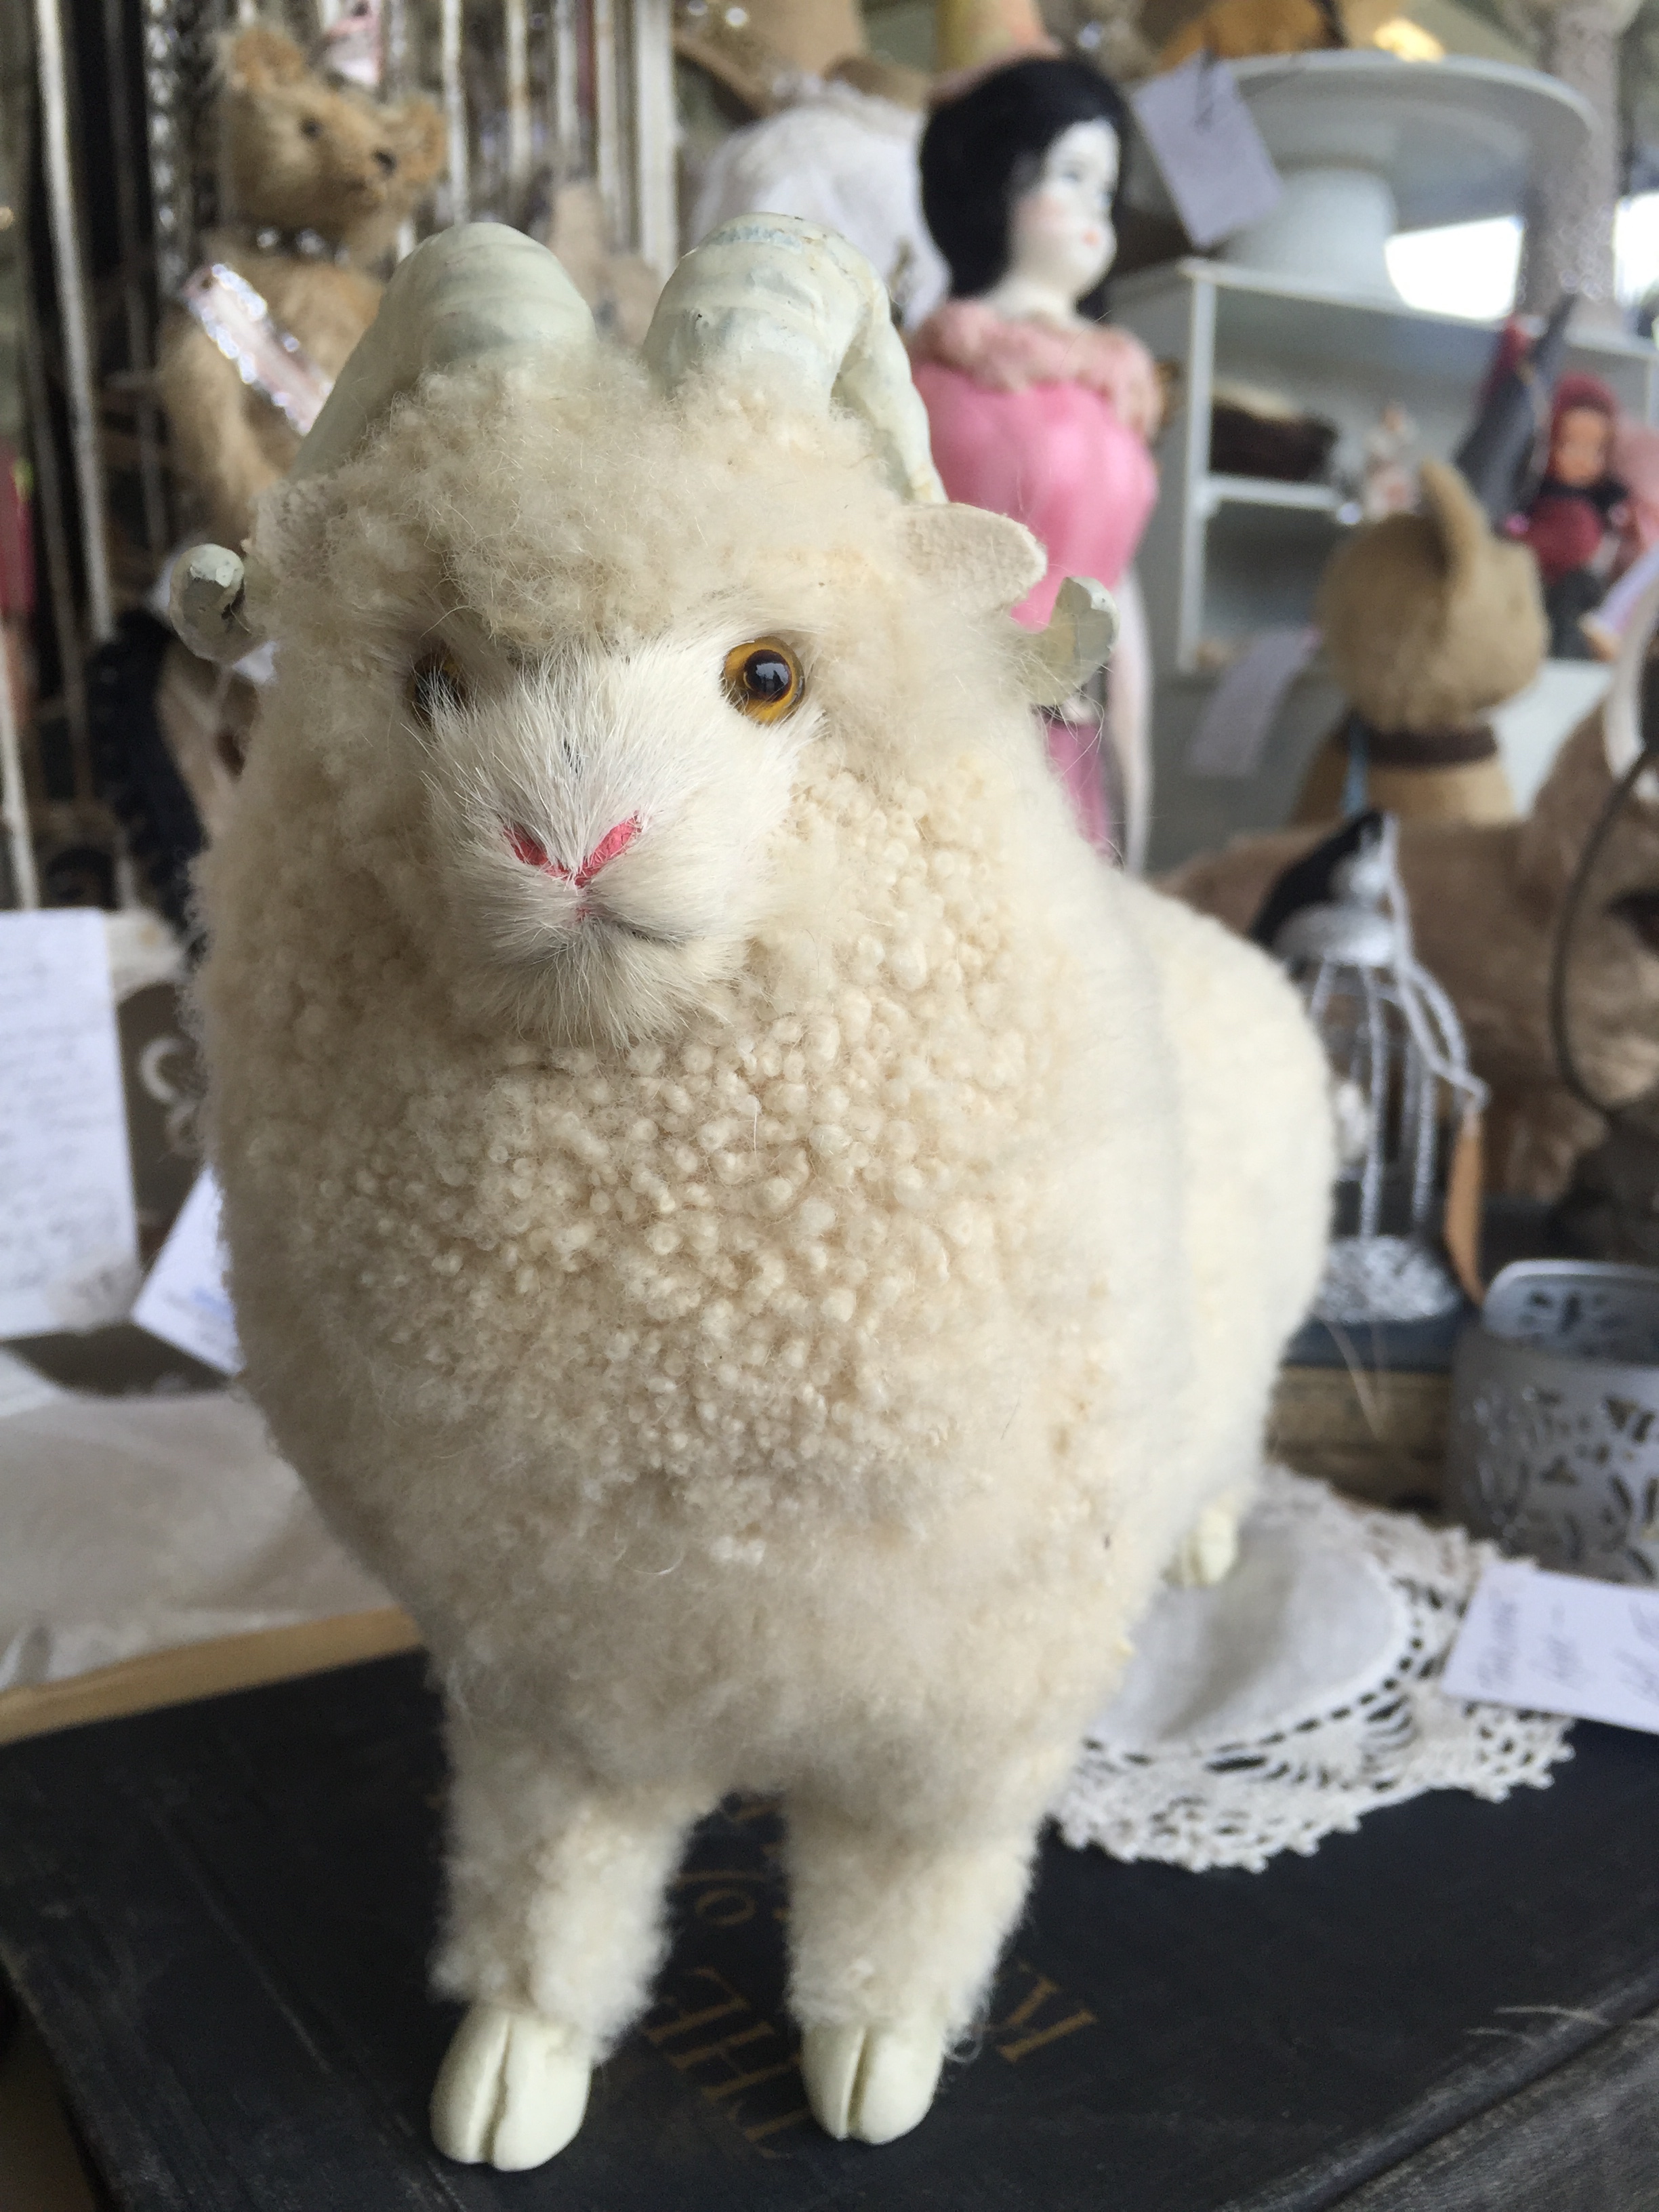
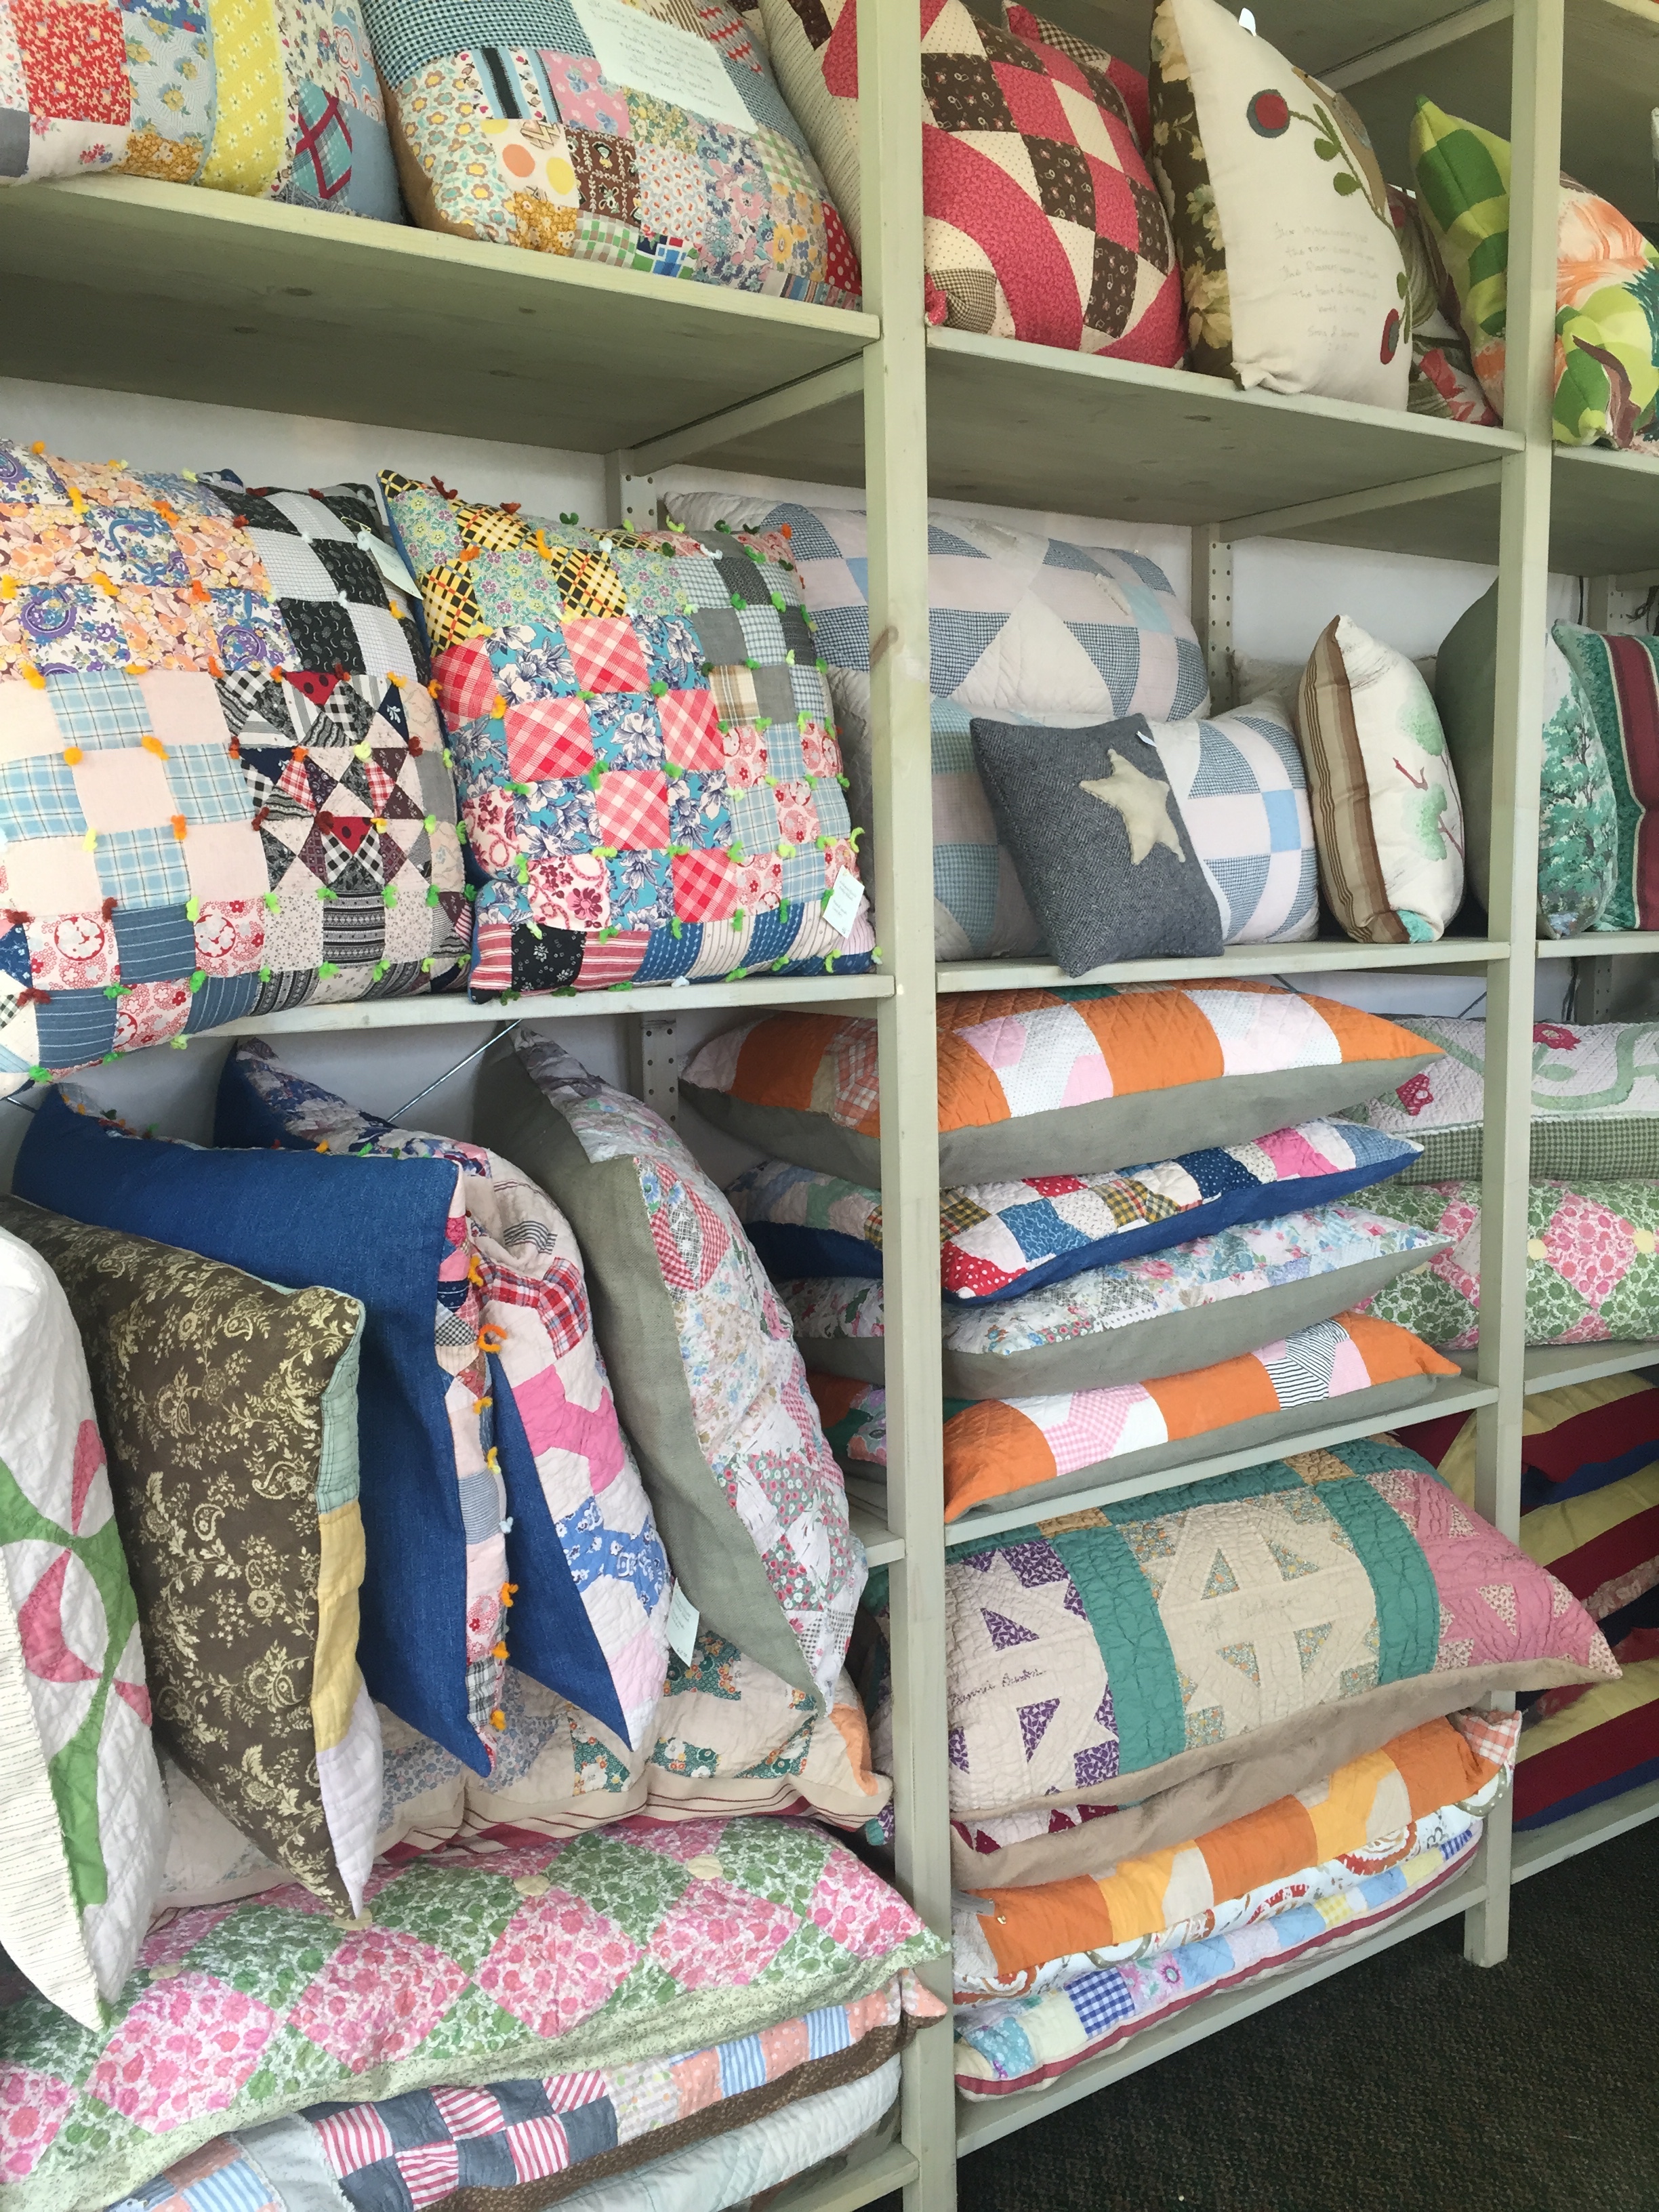
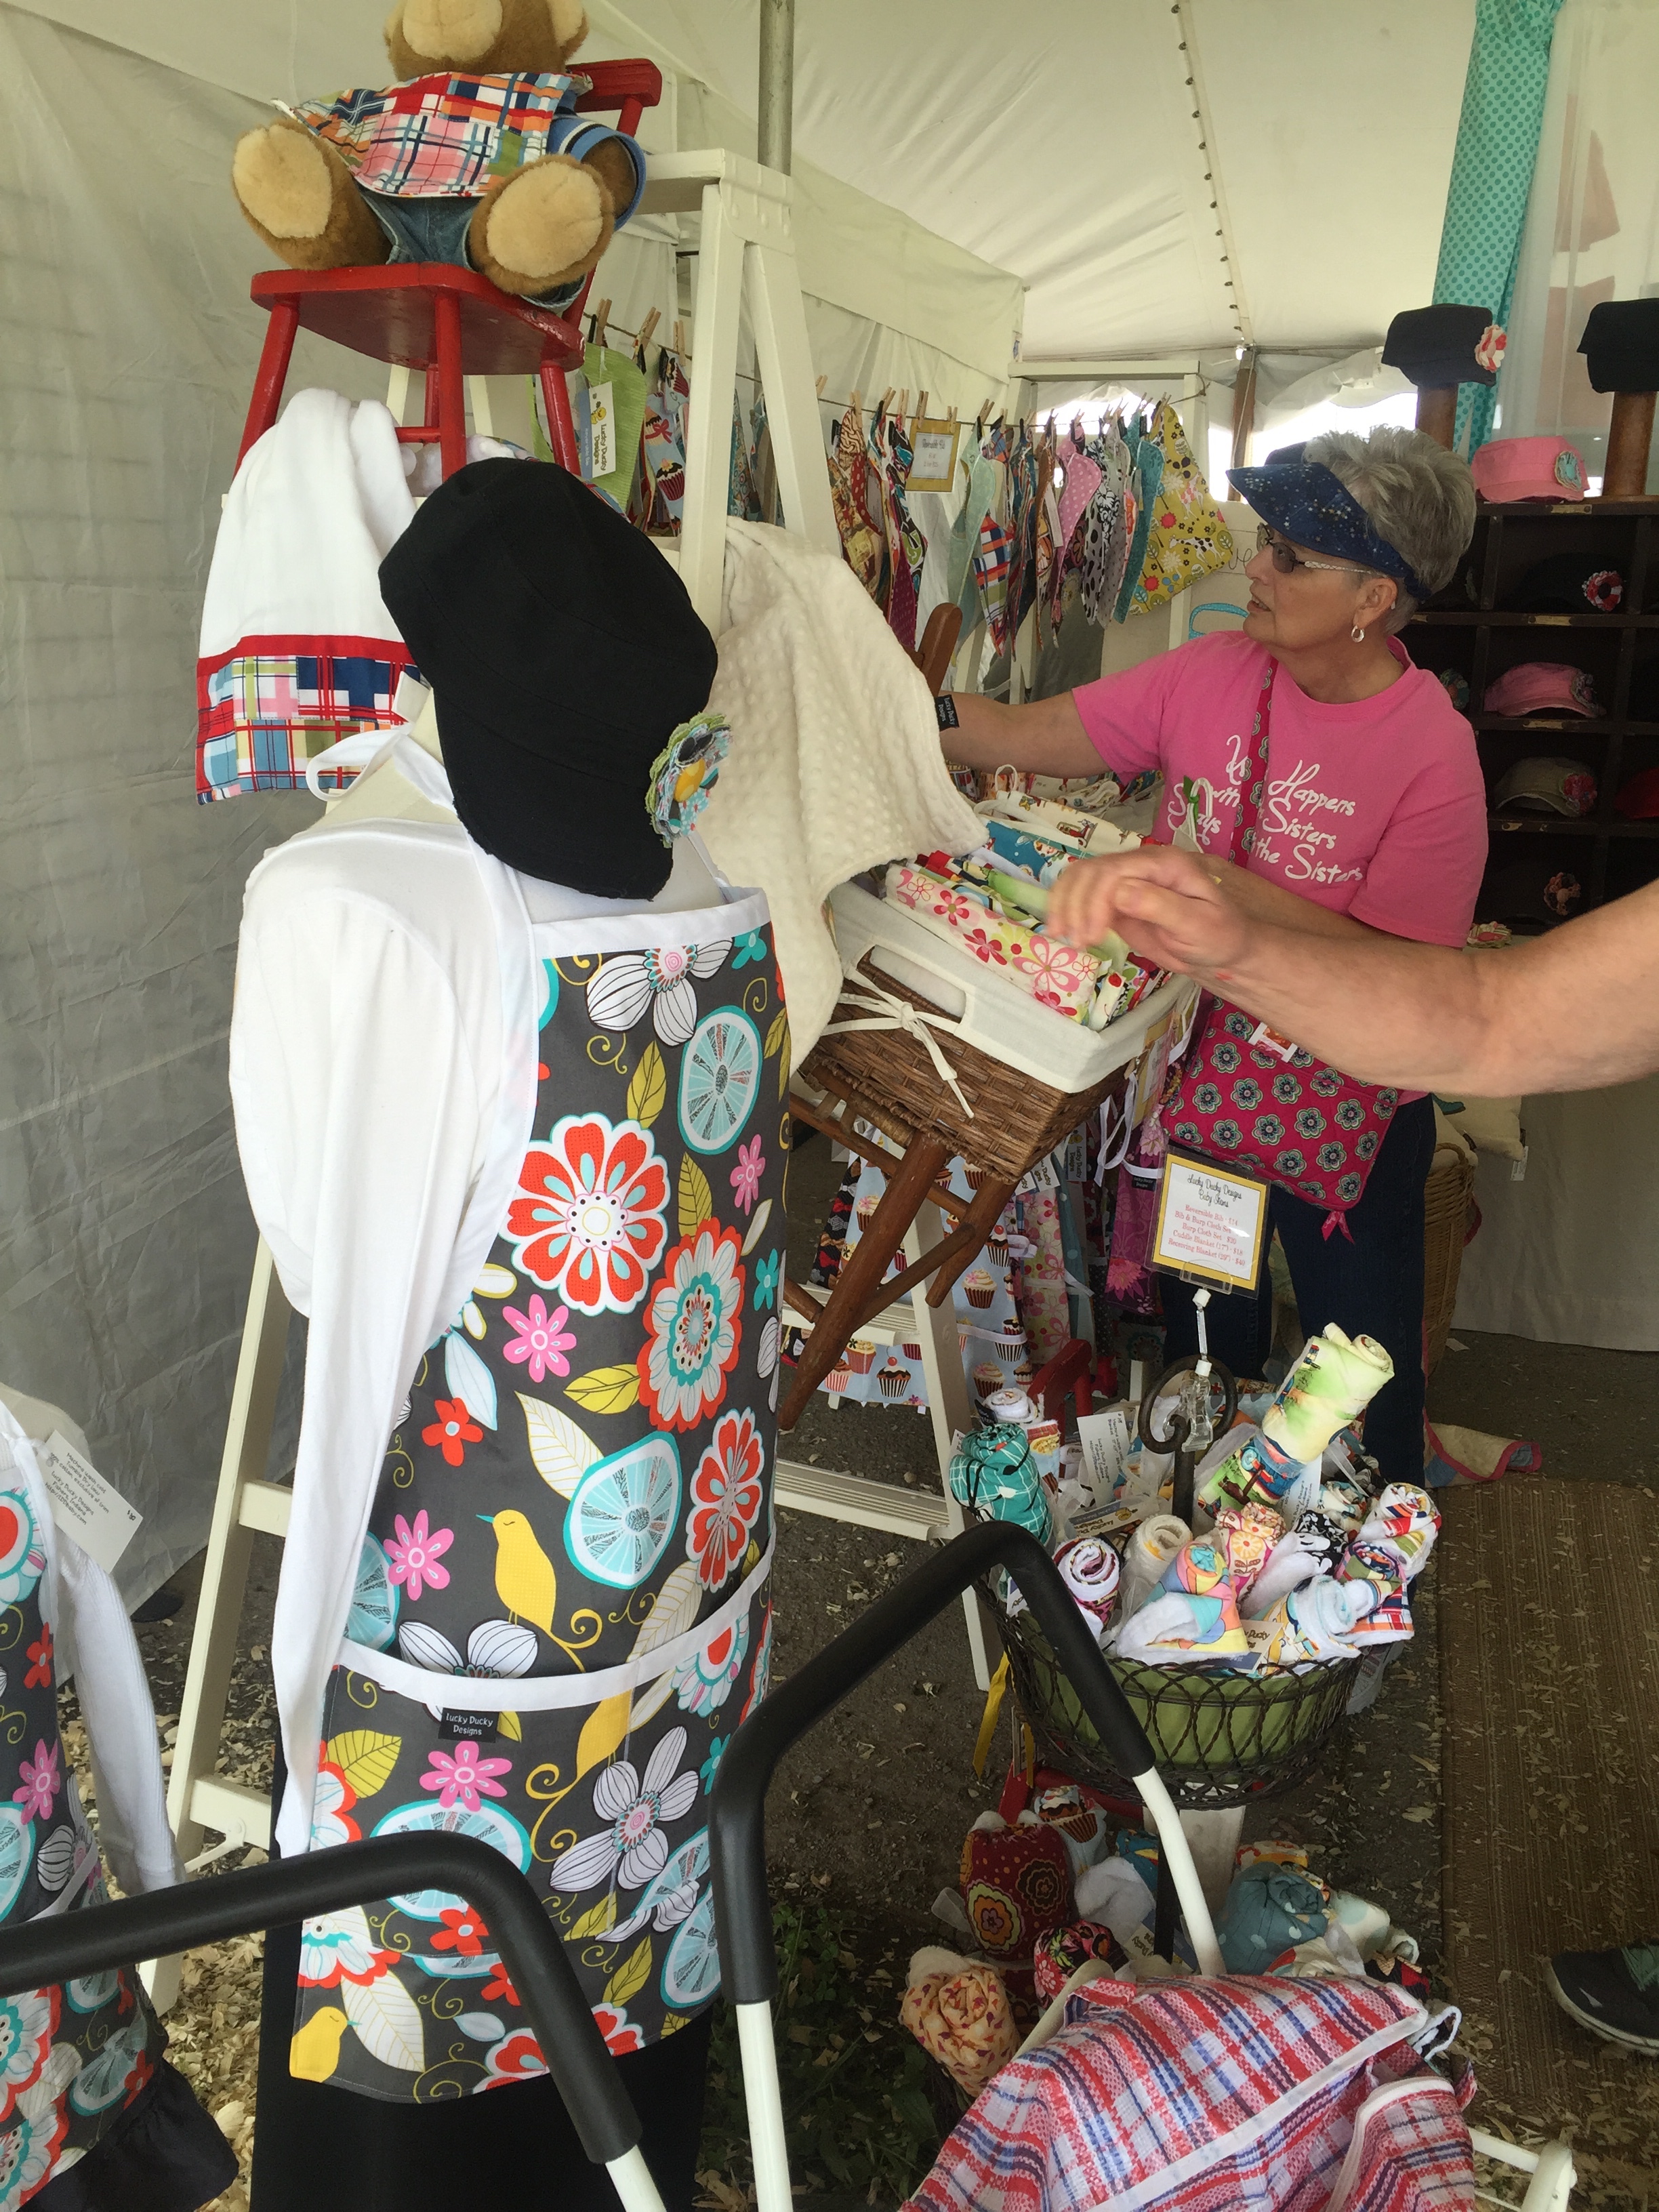
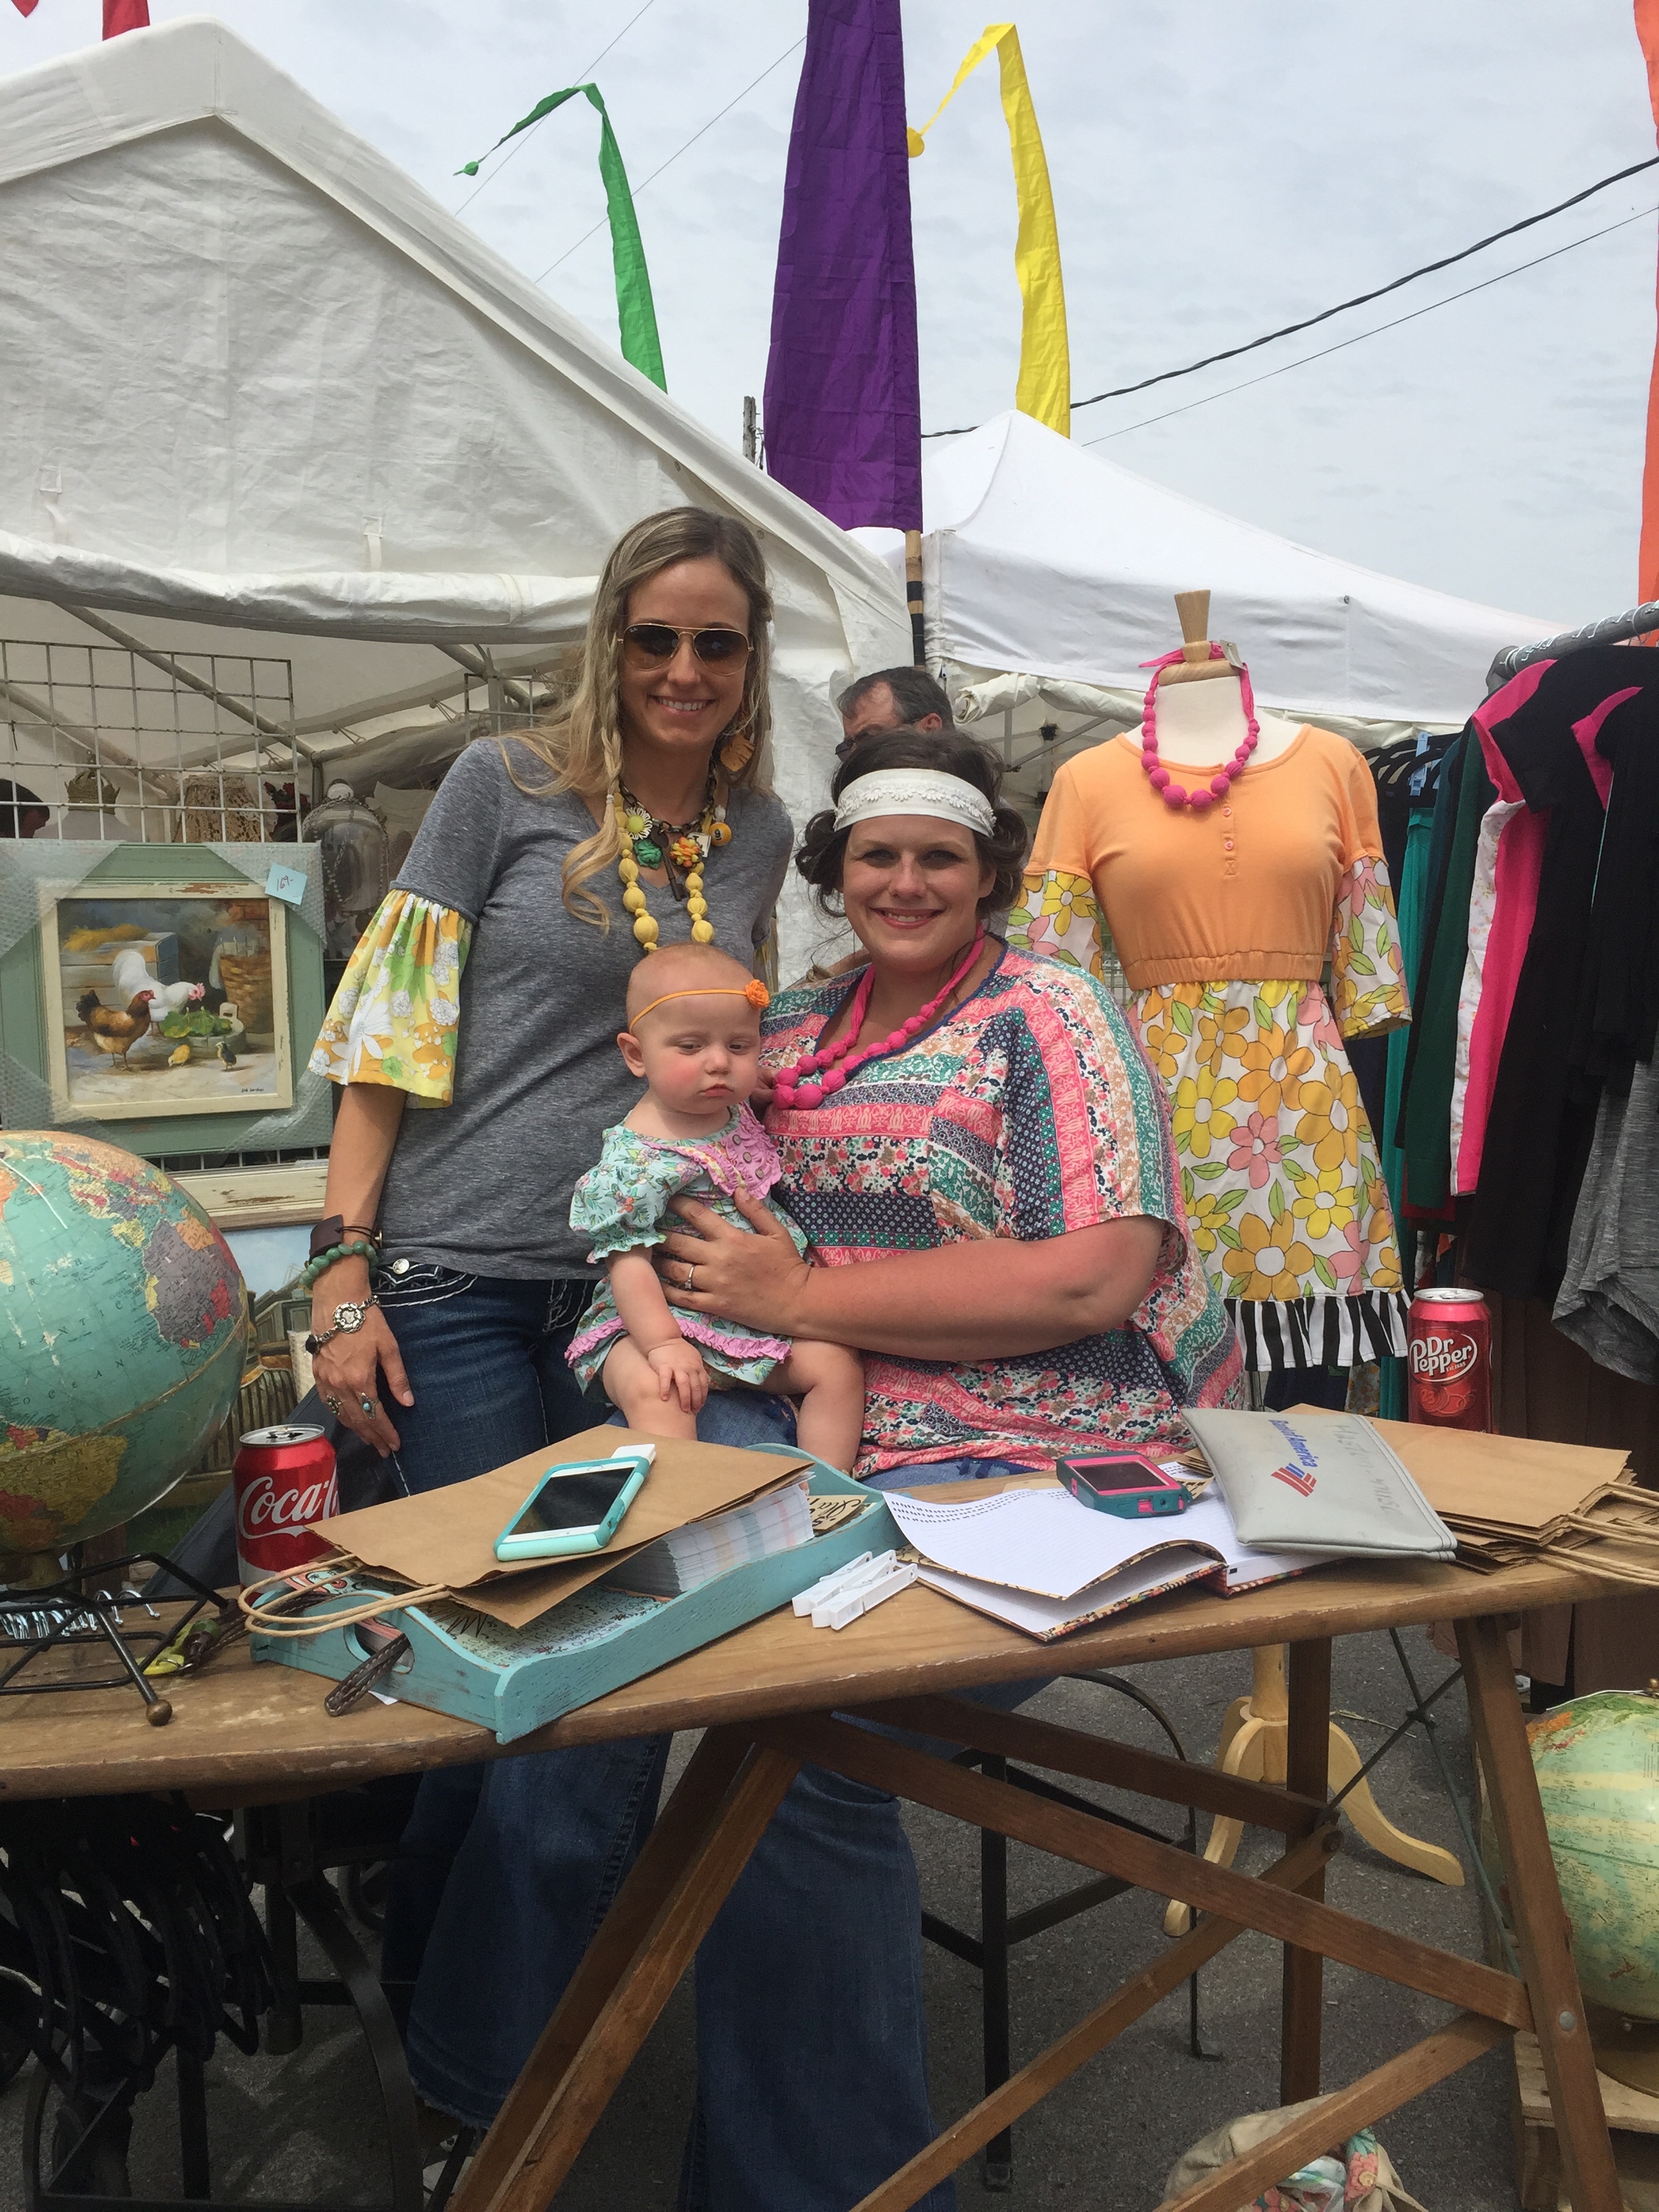
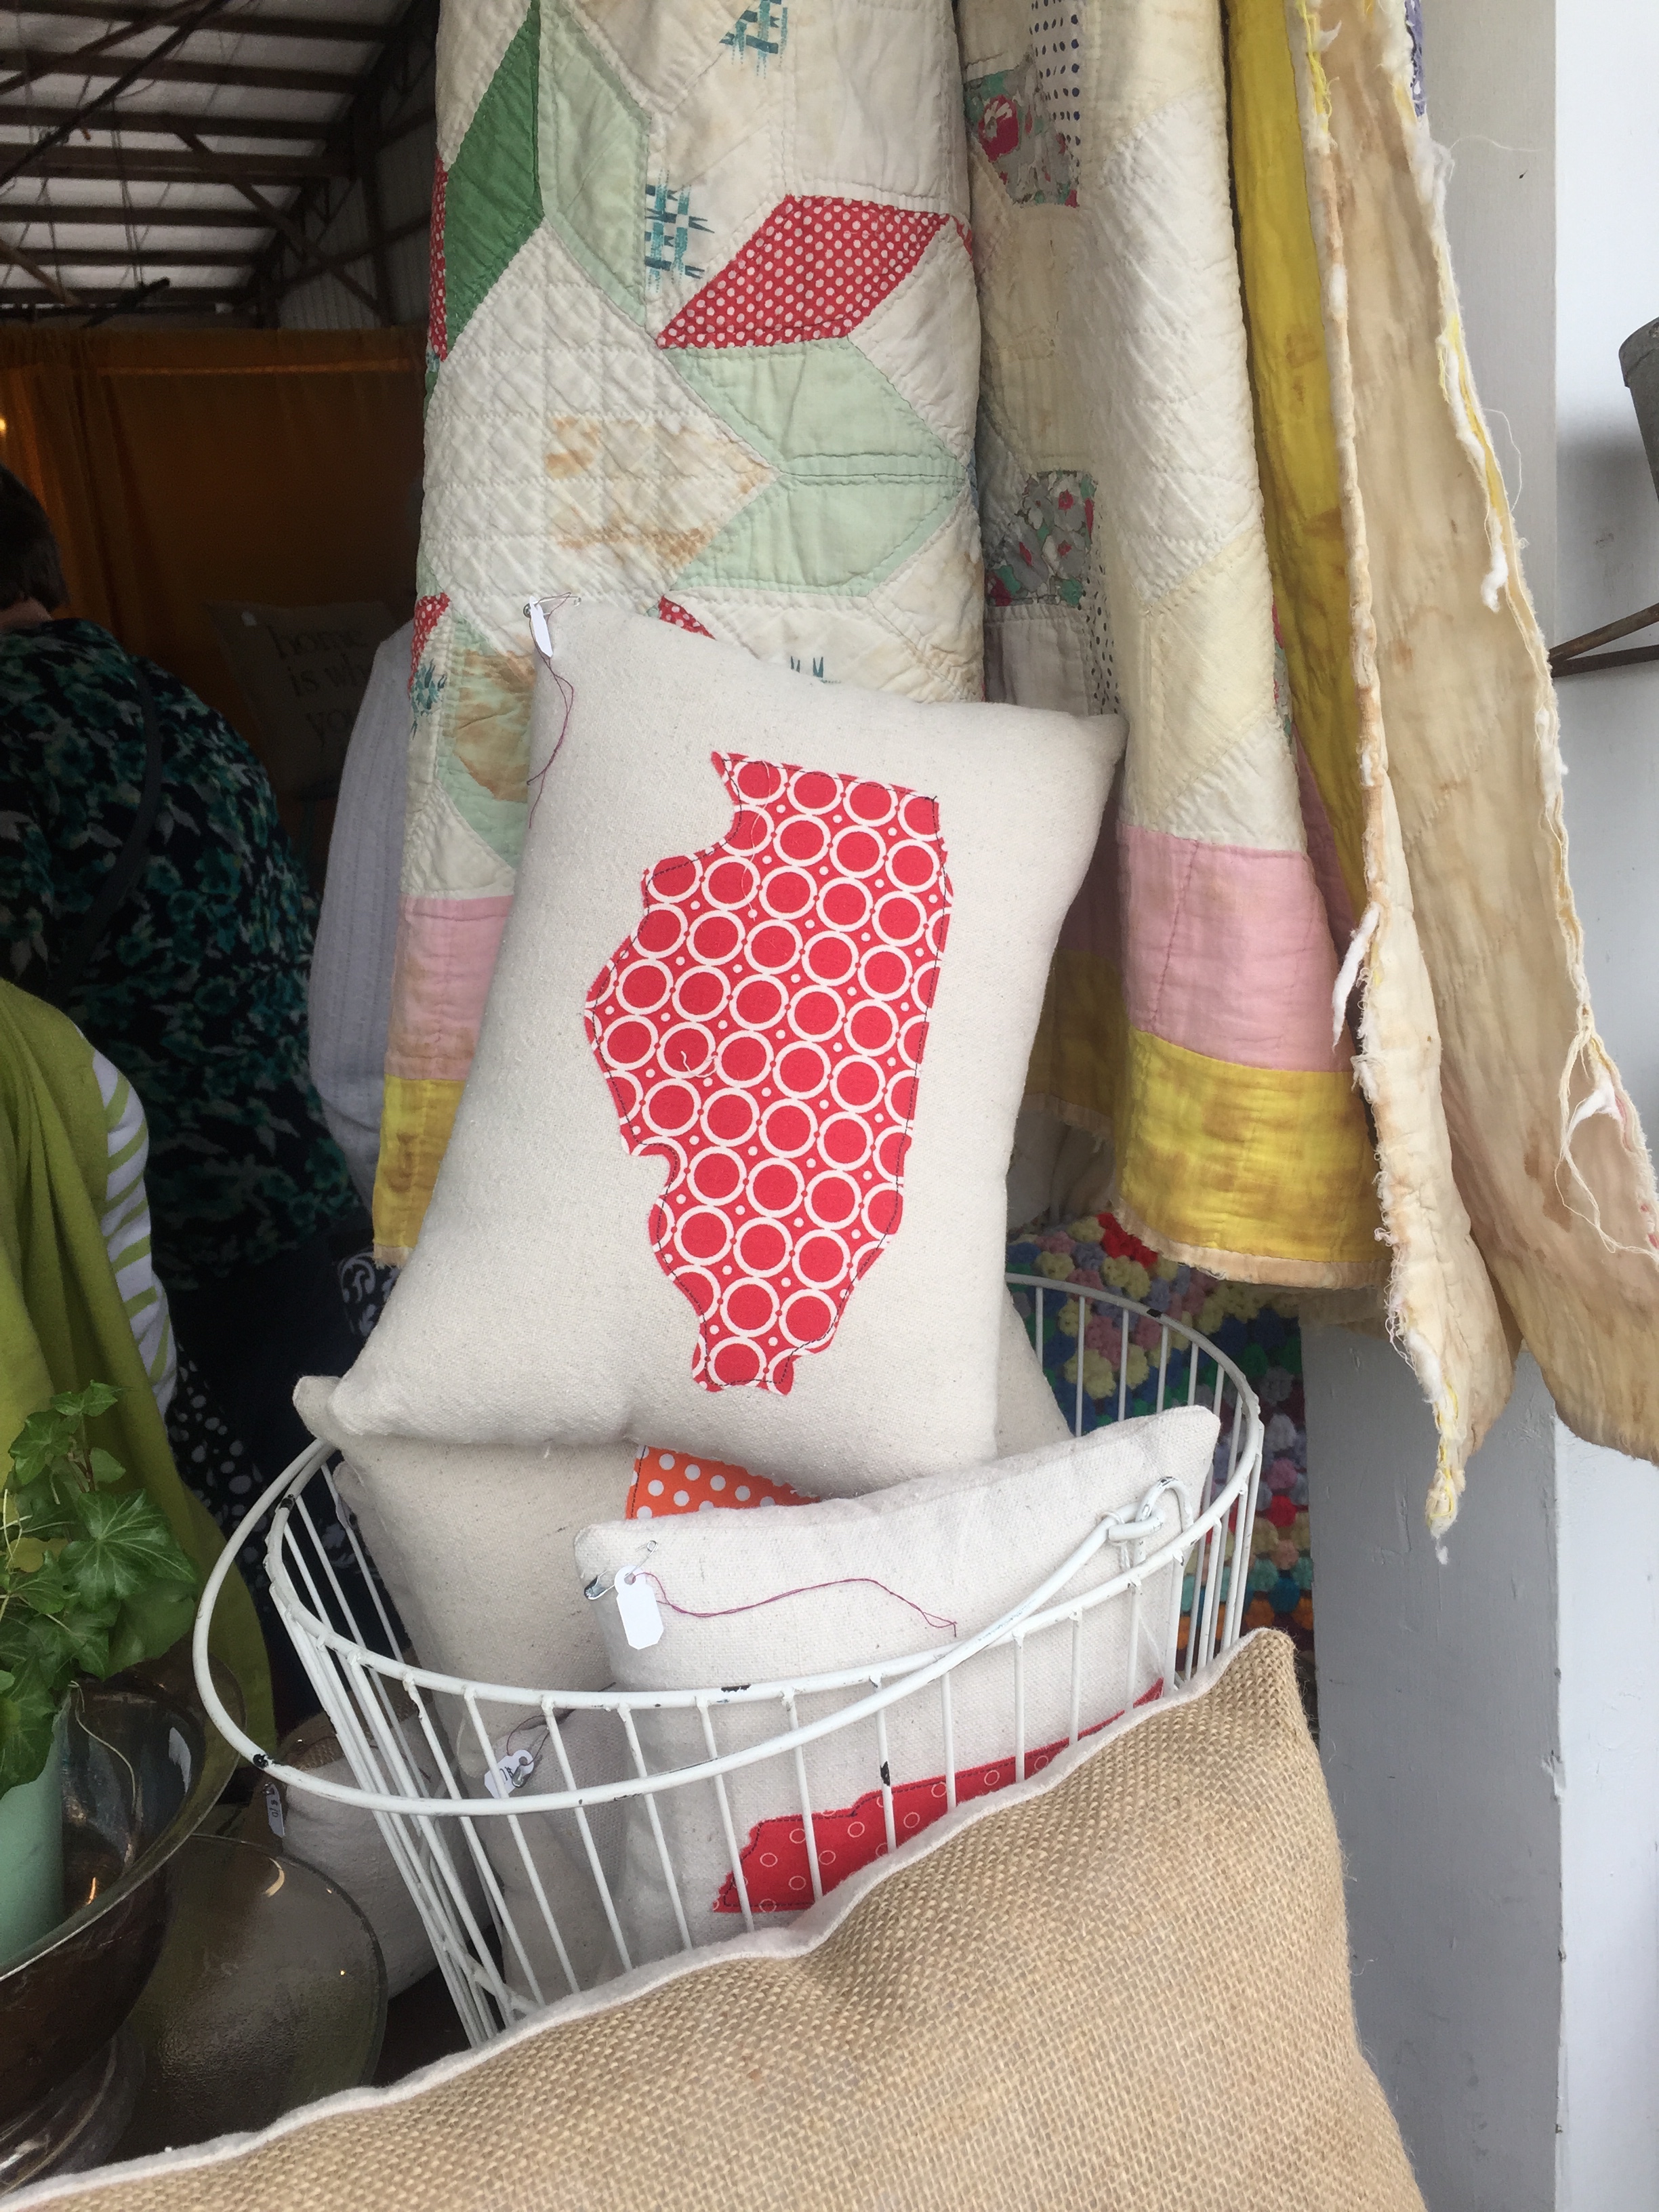
This booth, by Tadpole Creations, was one of our faves! This booth was beyond adorable, very cleverly designed, and contained items that I used to try to create years ago when I vended at shows, but never quite accomplished. Their appliqué onesies, stuffed rattle elephants, baby quilts, and other baby-oriented items were incredible! Such talent!


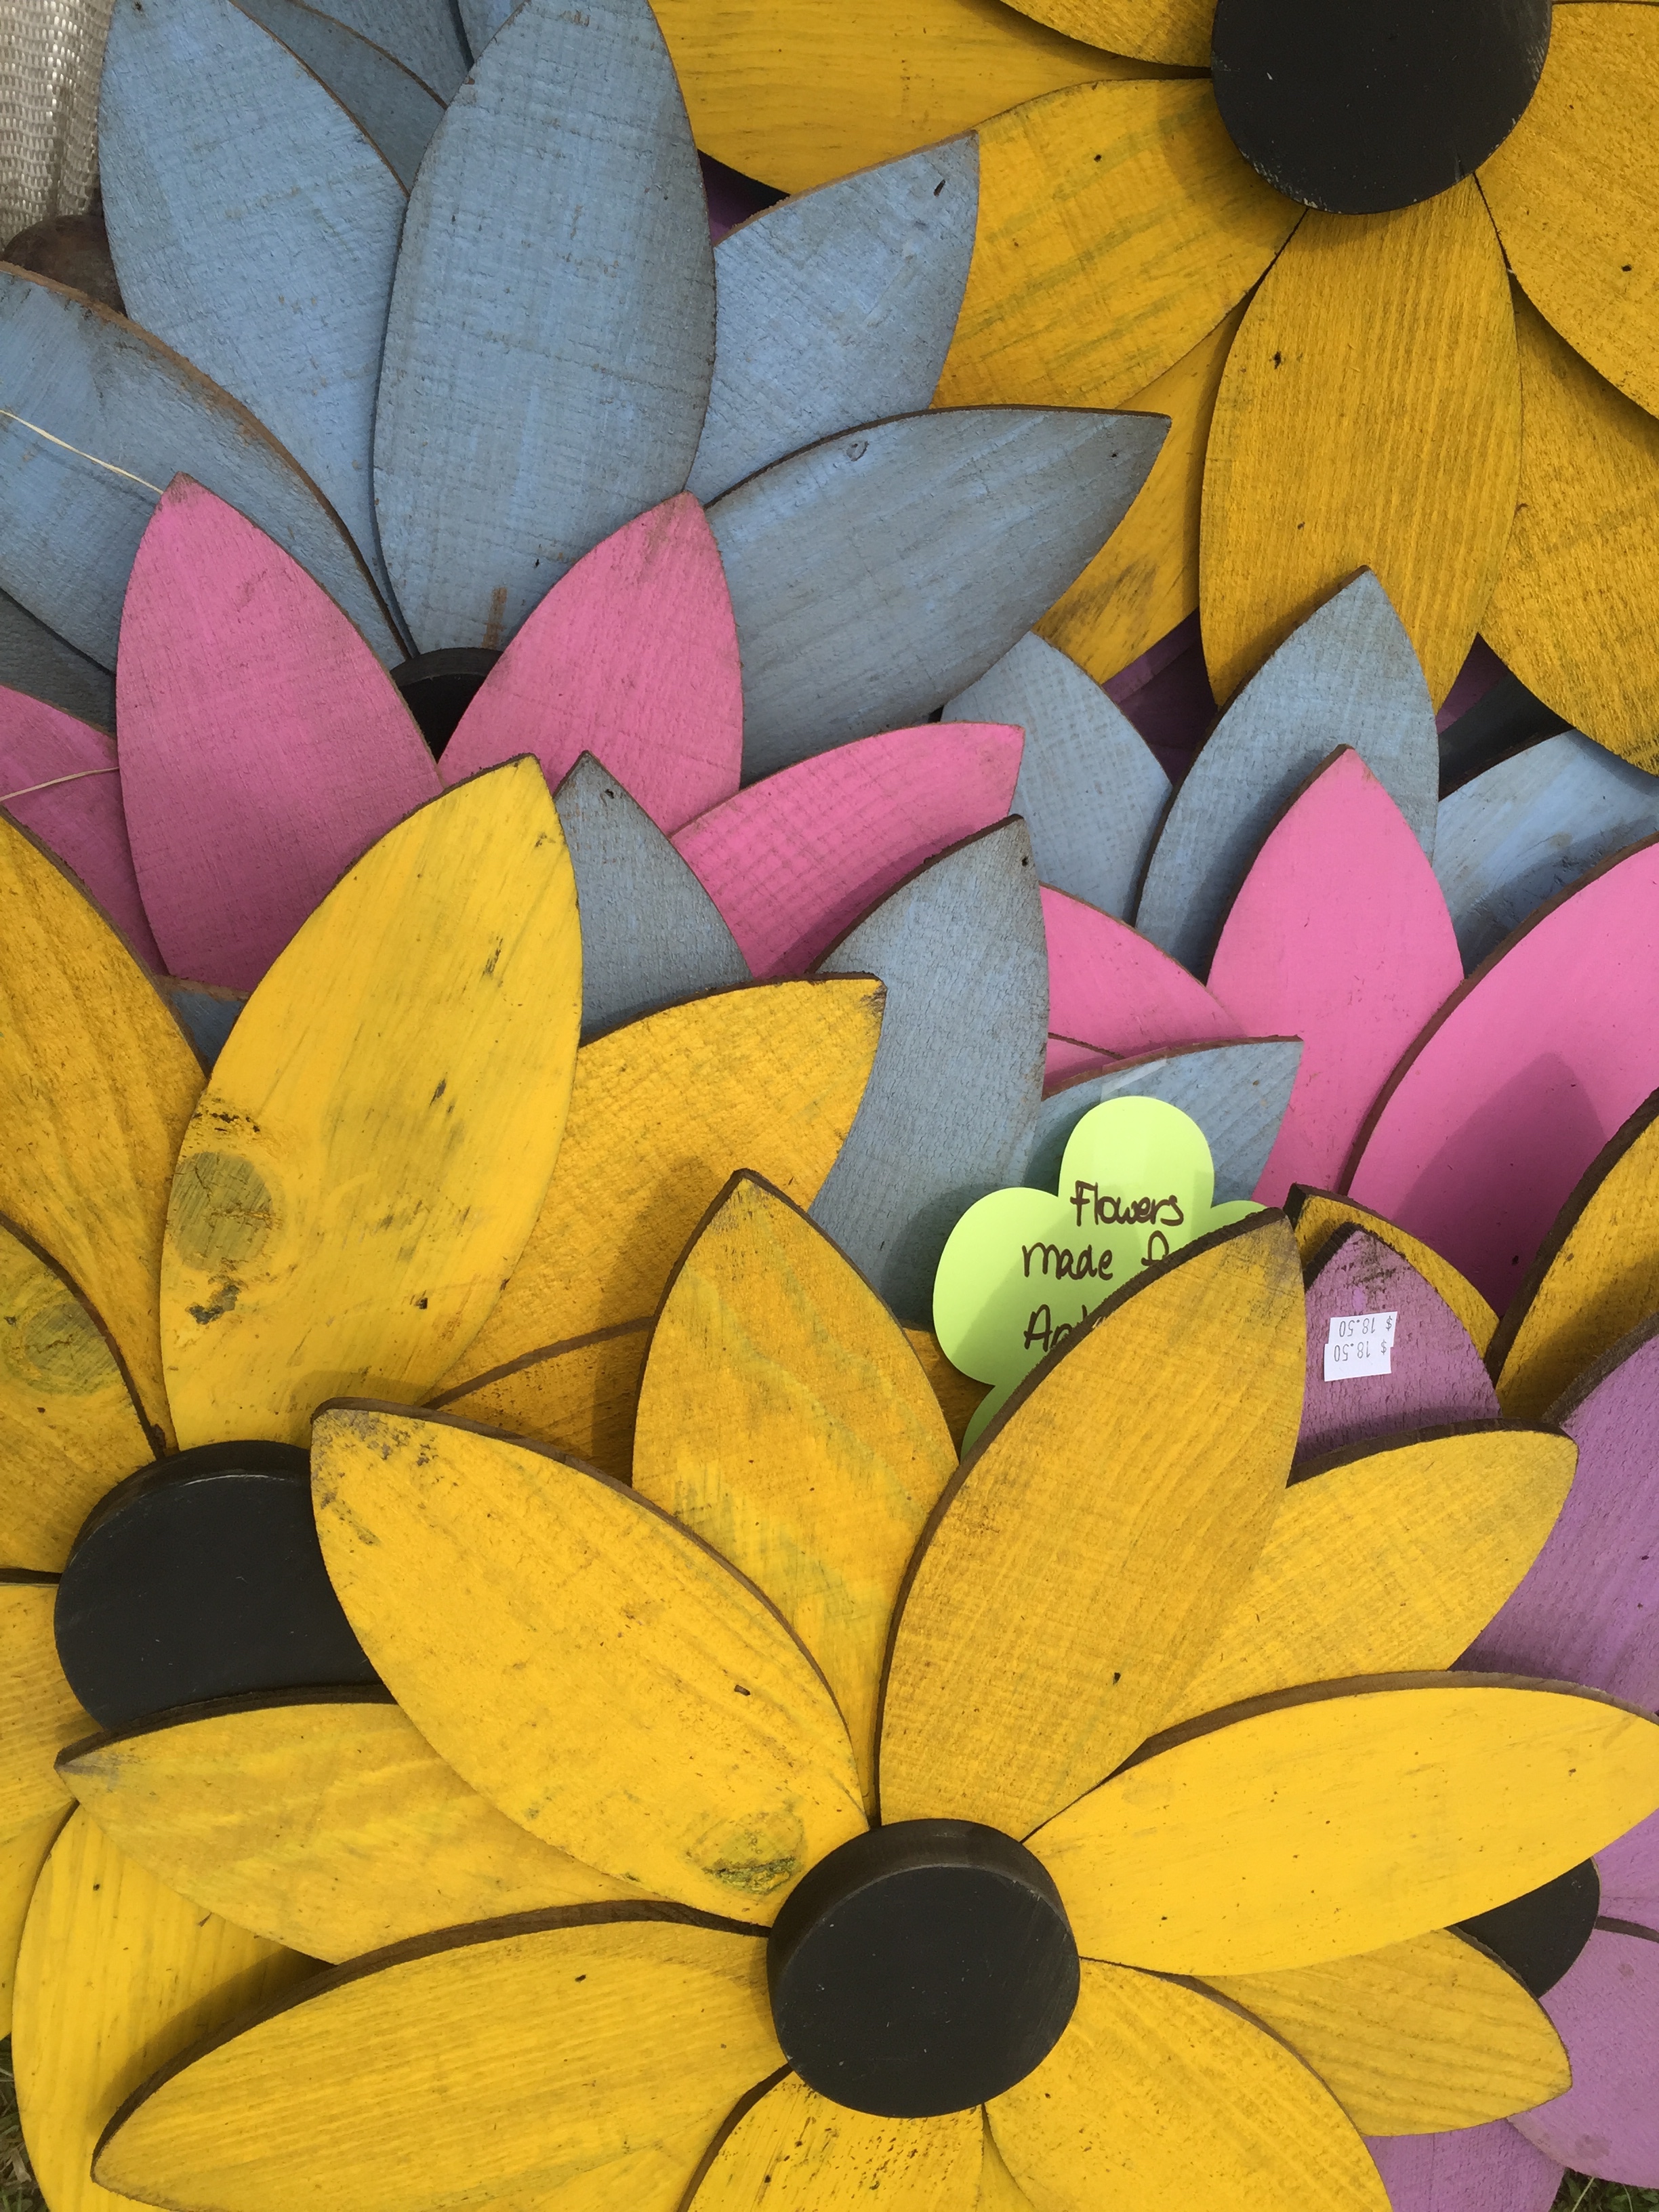
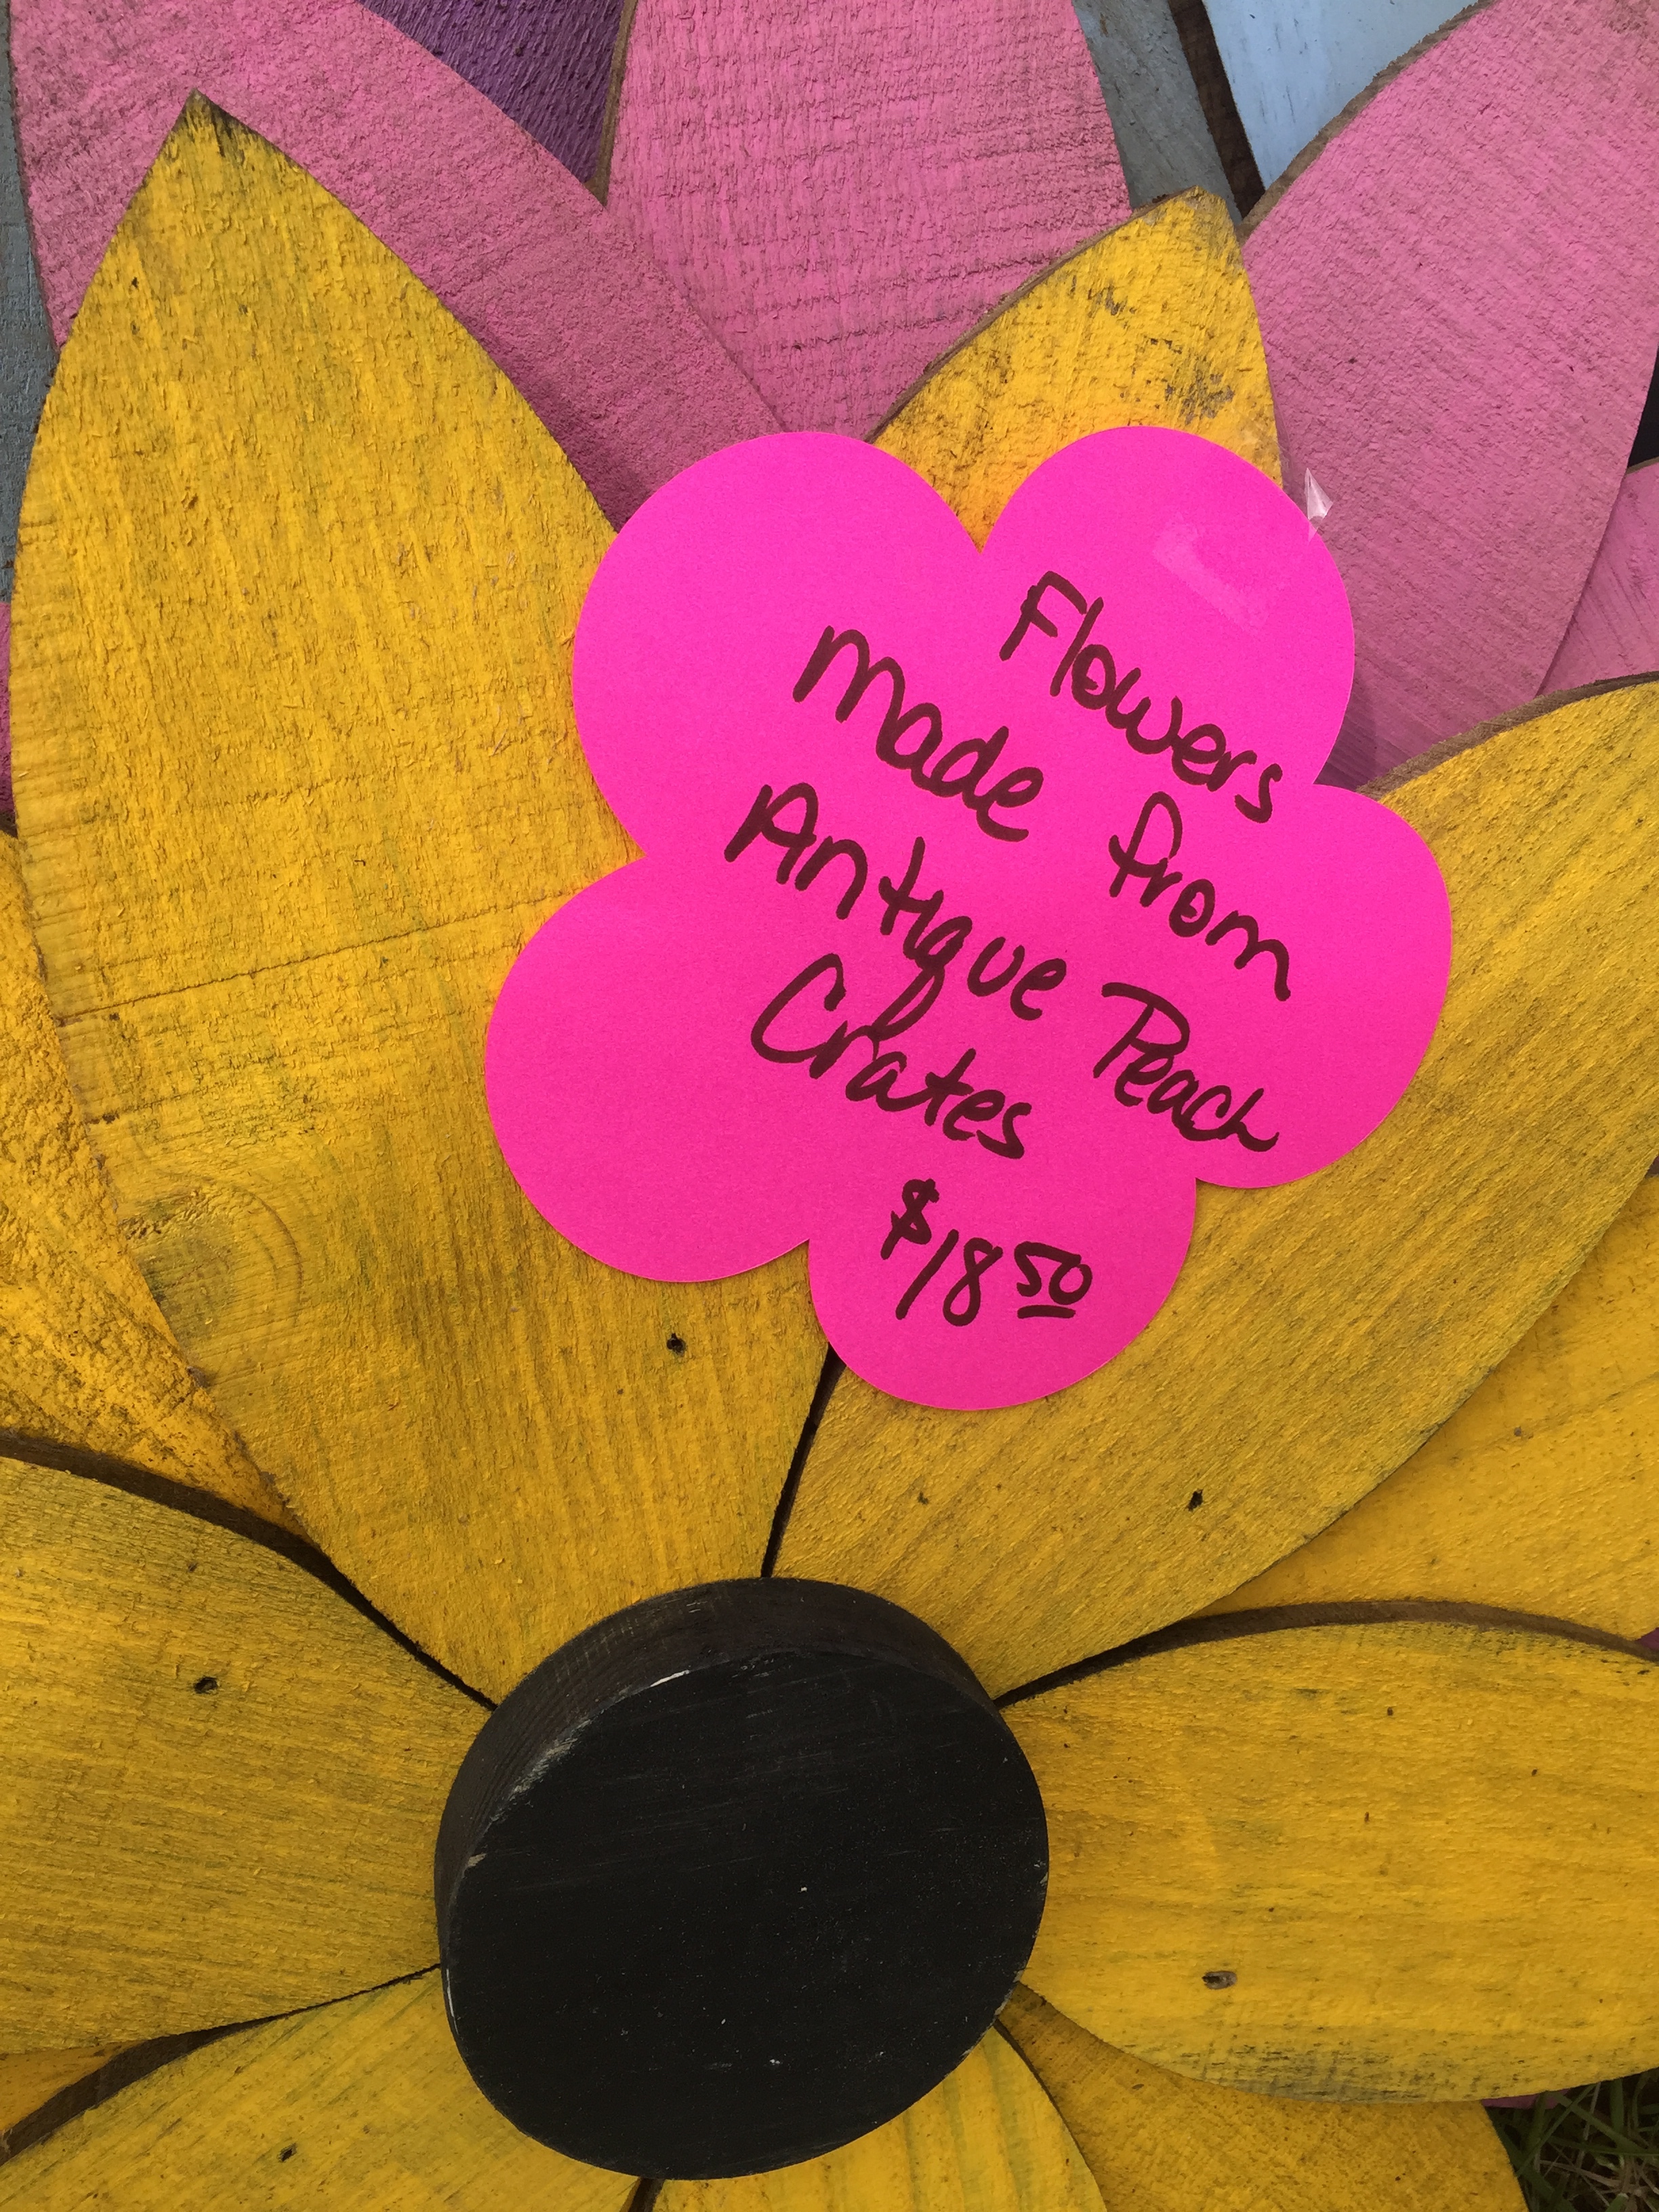
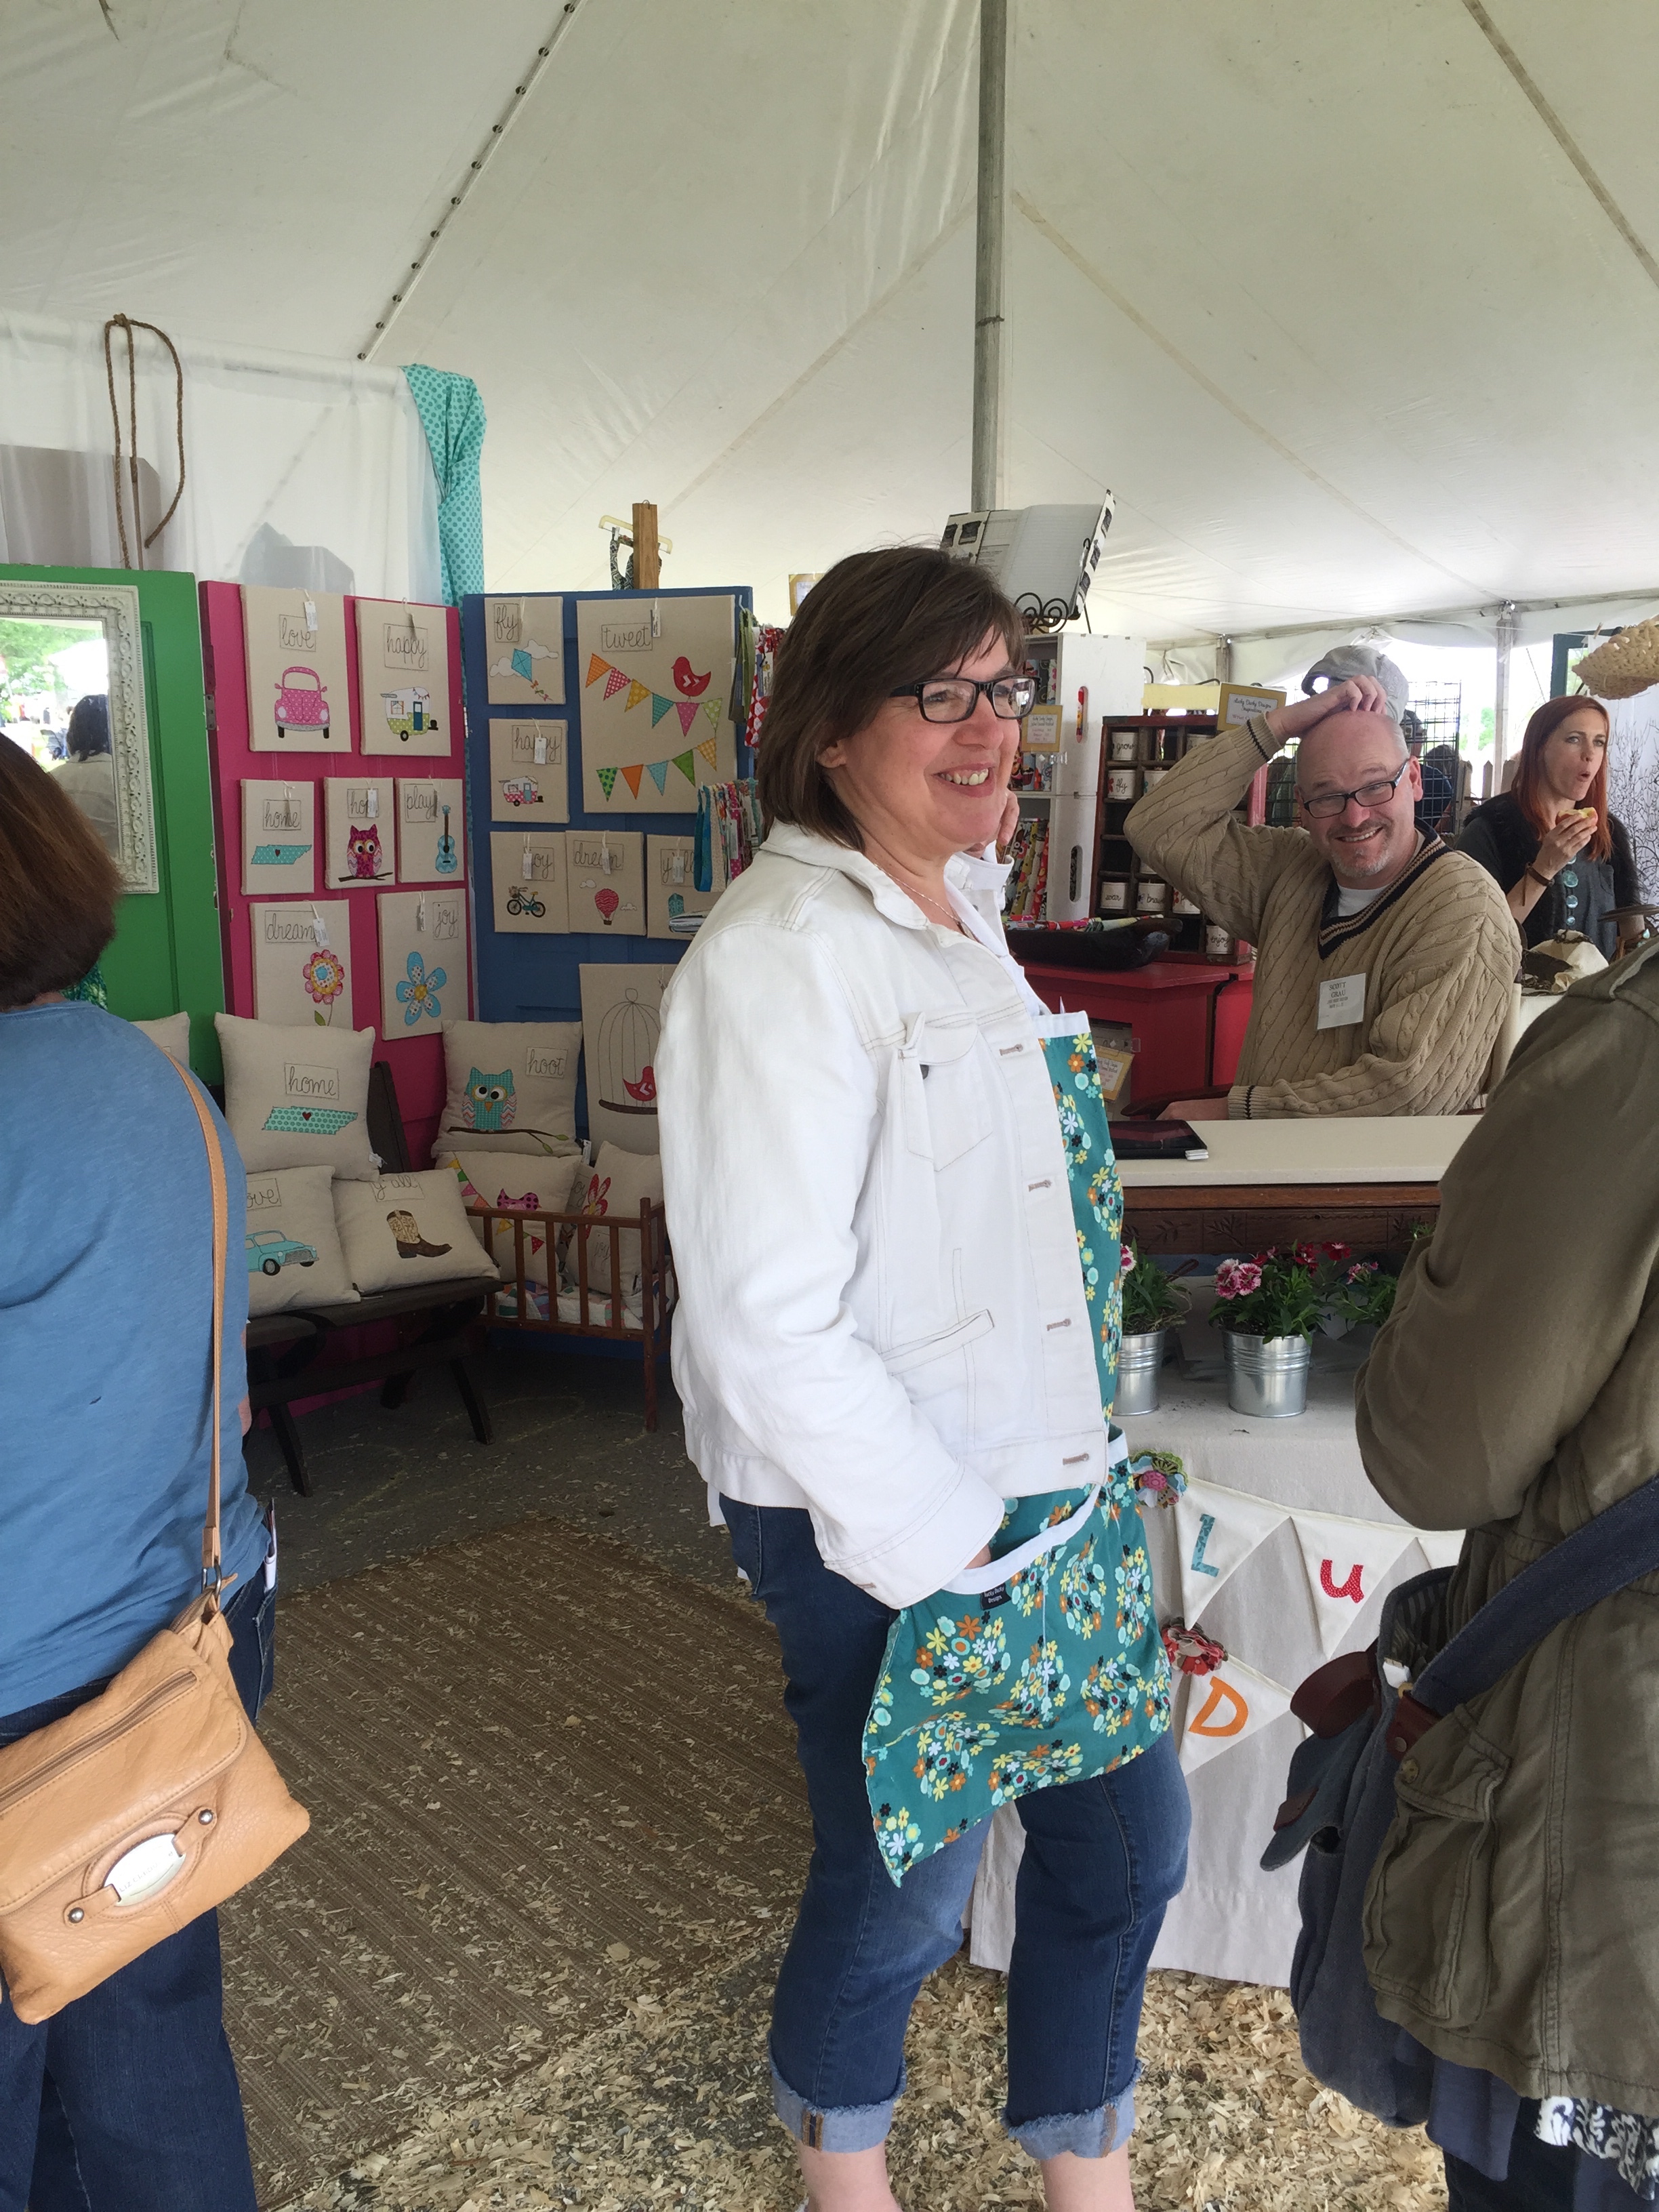
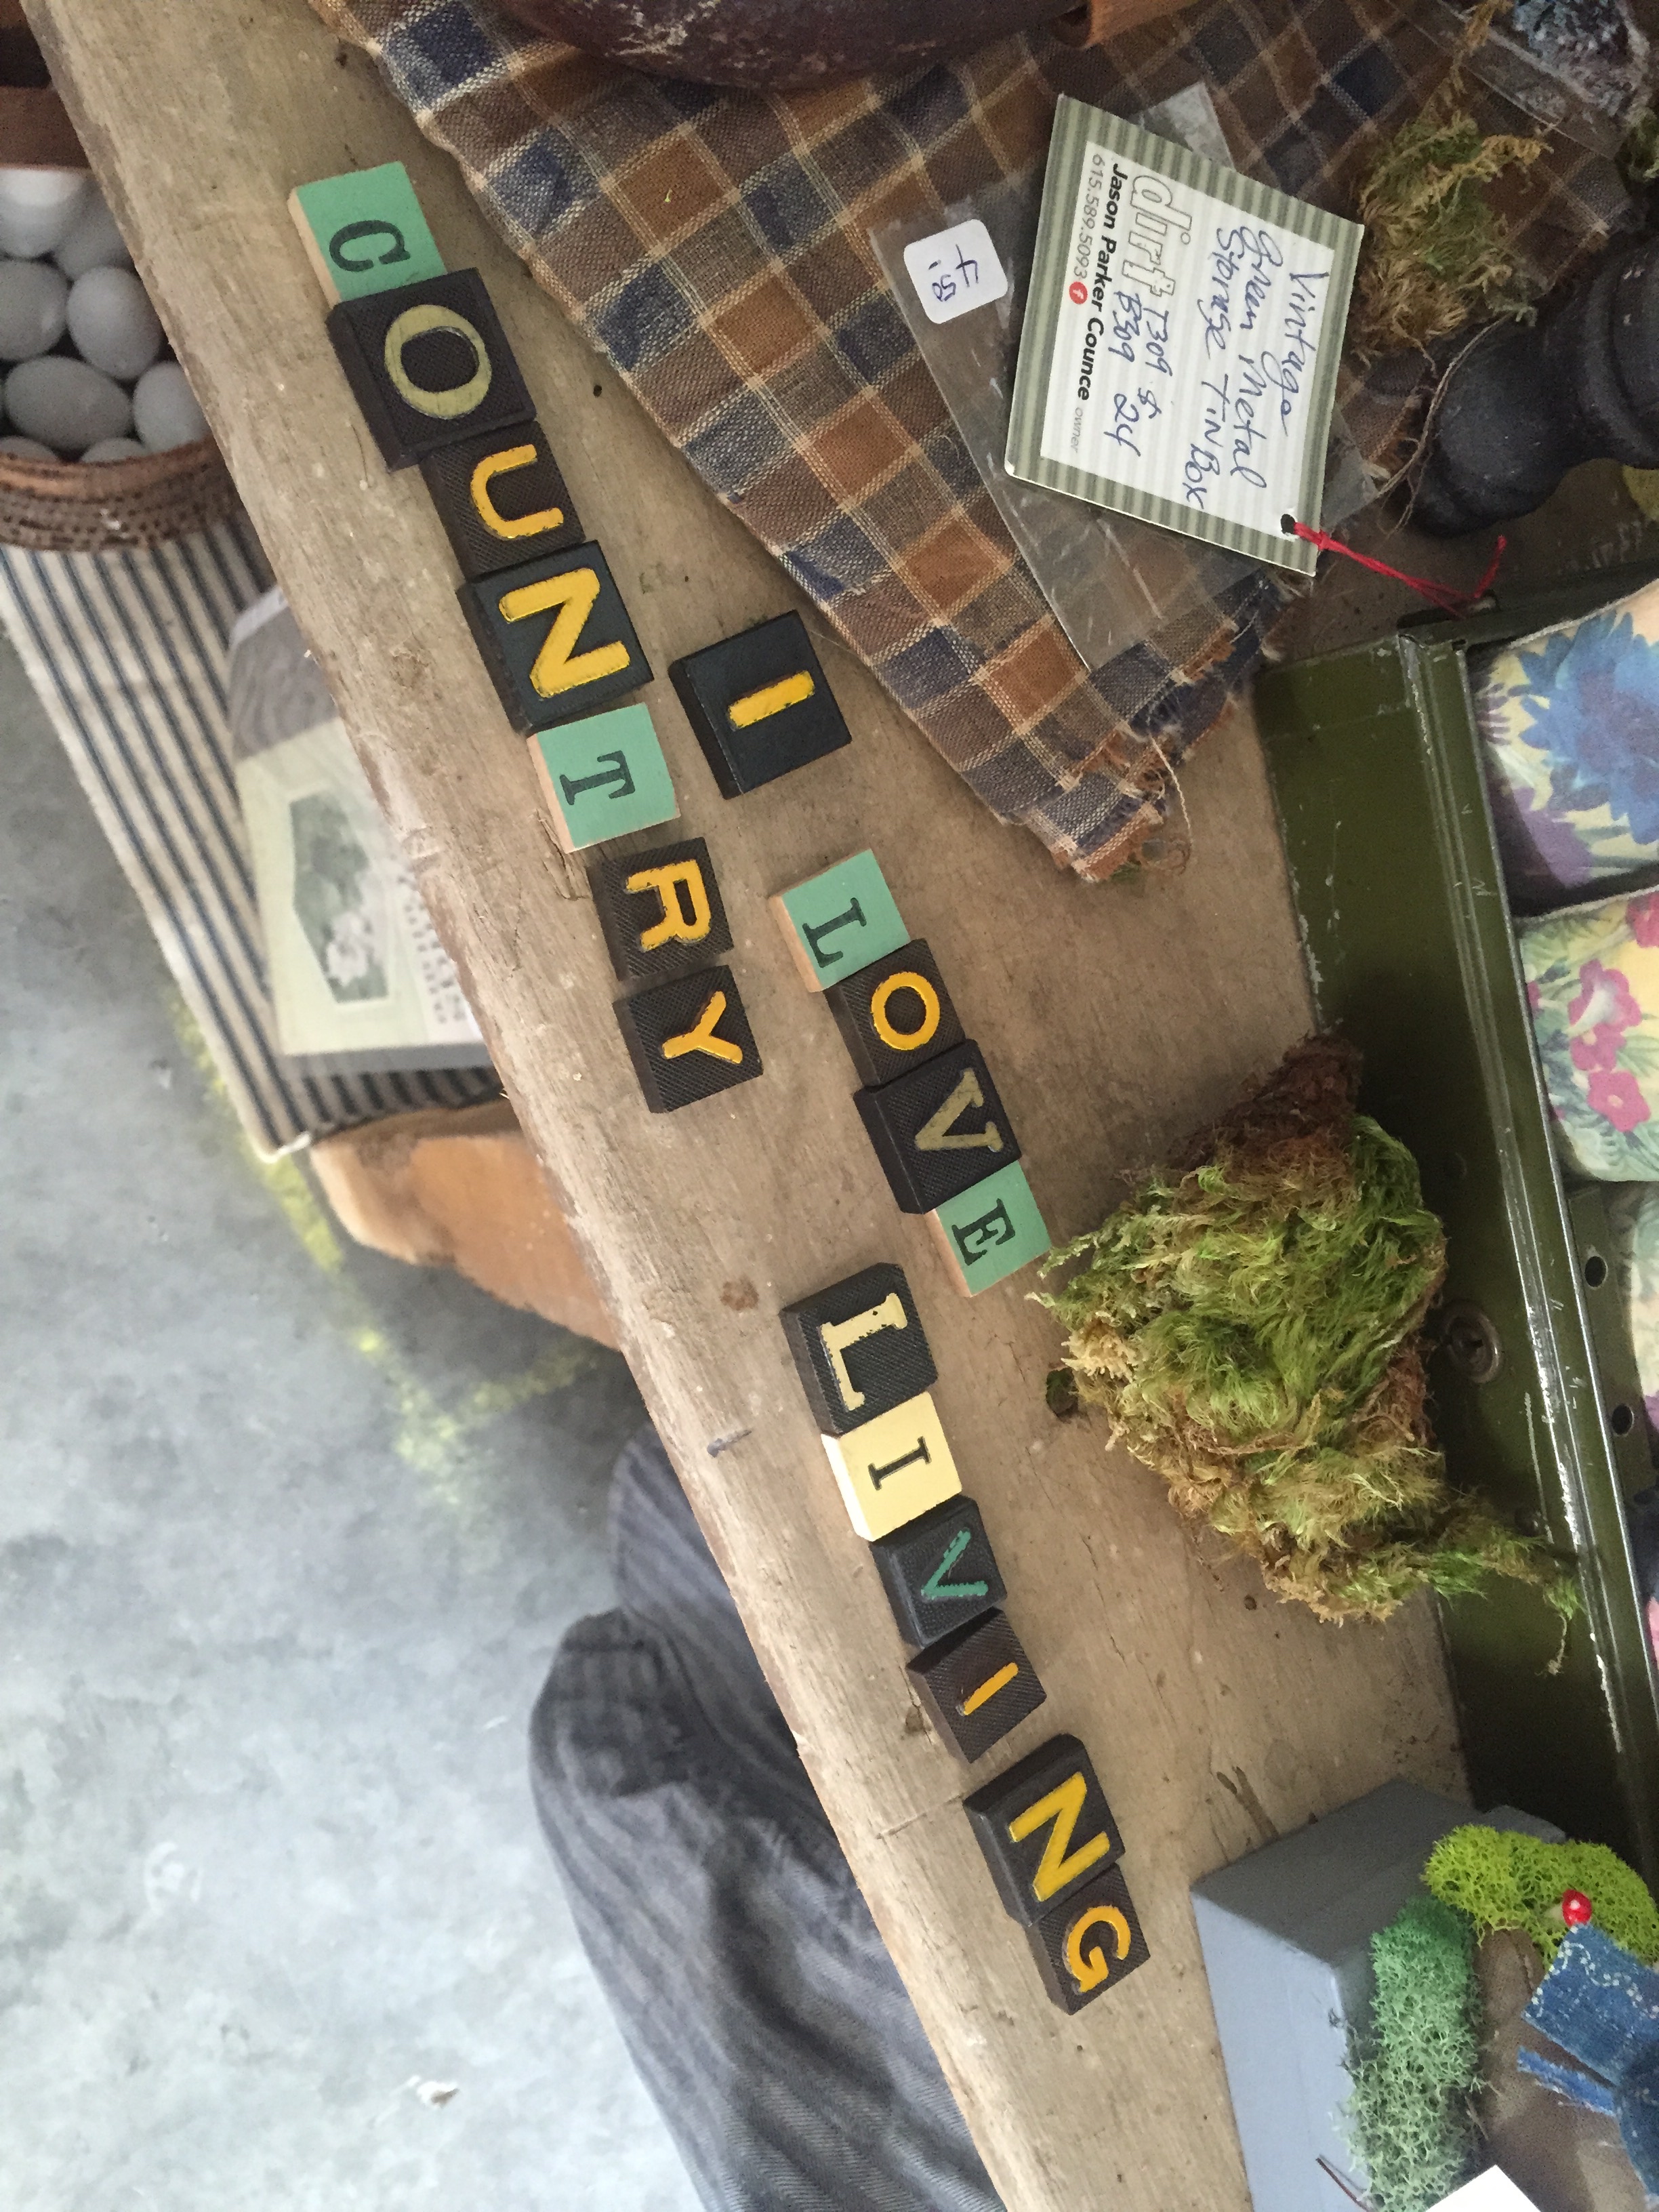
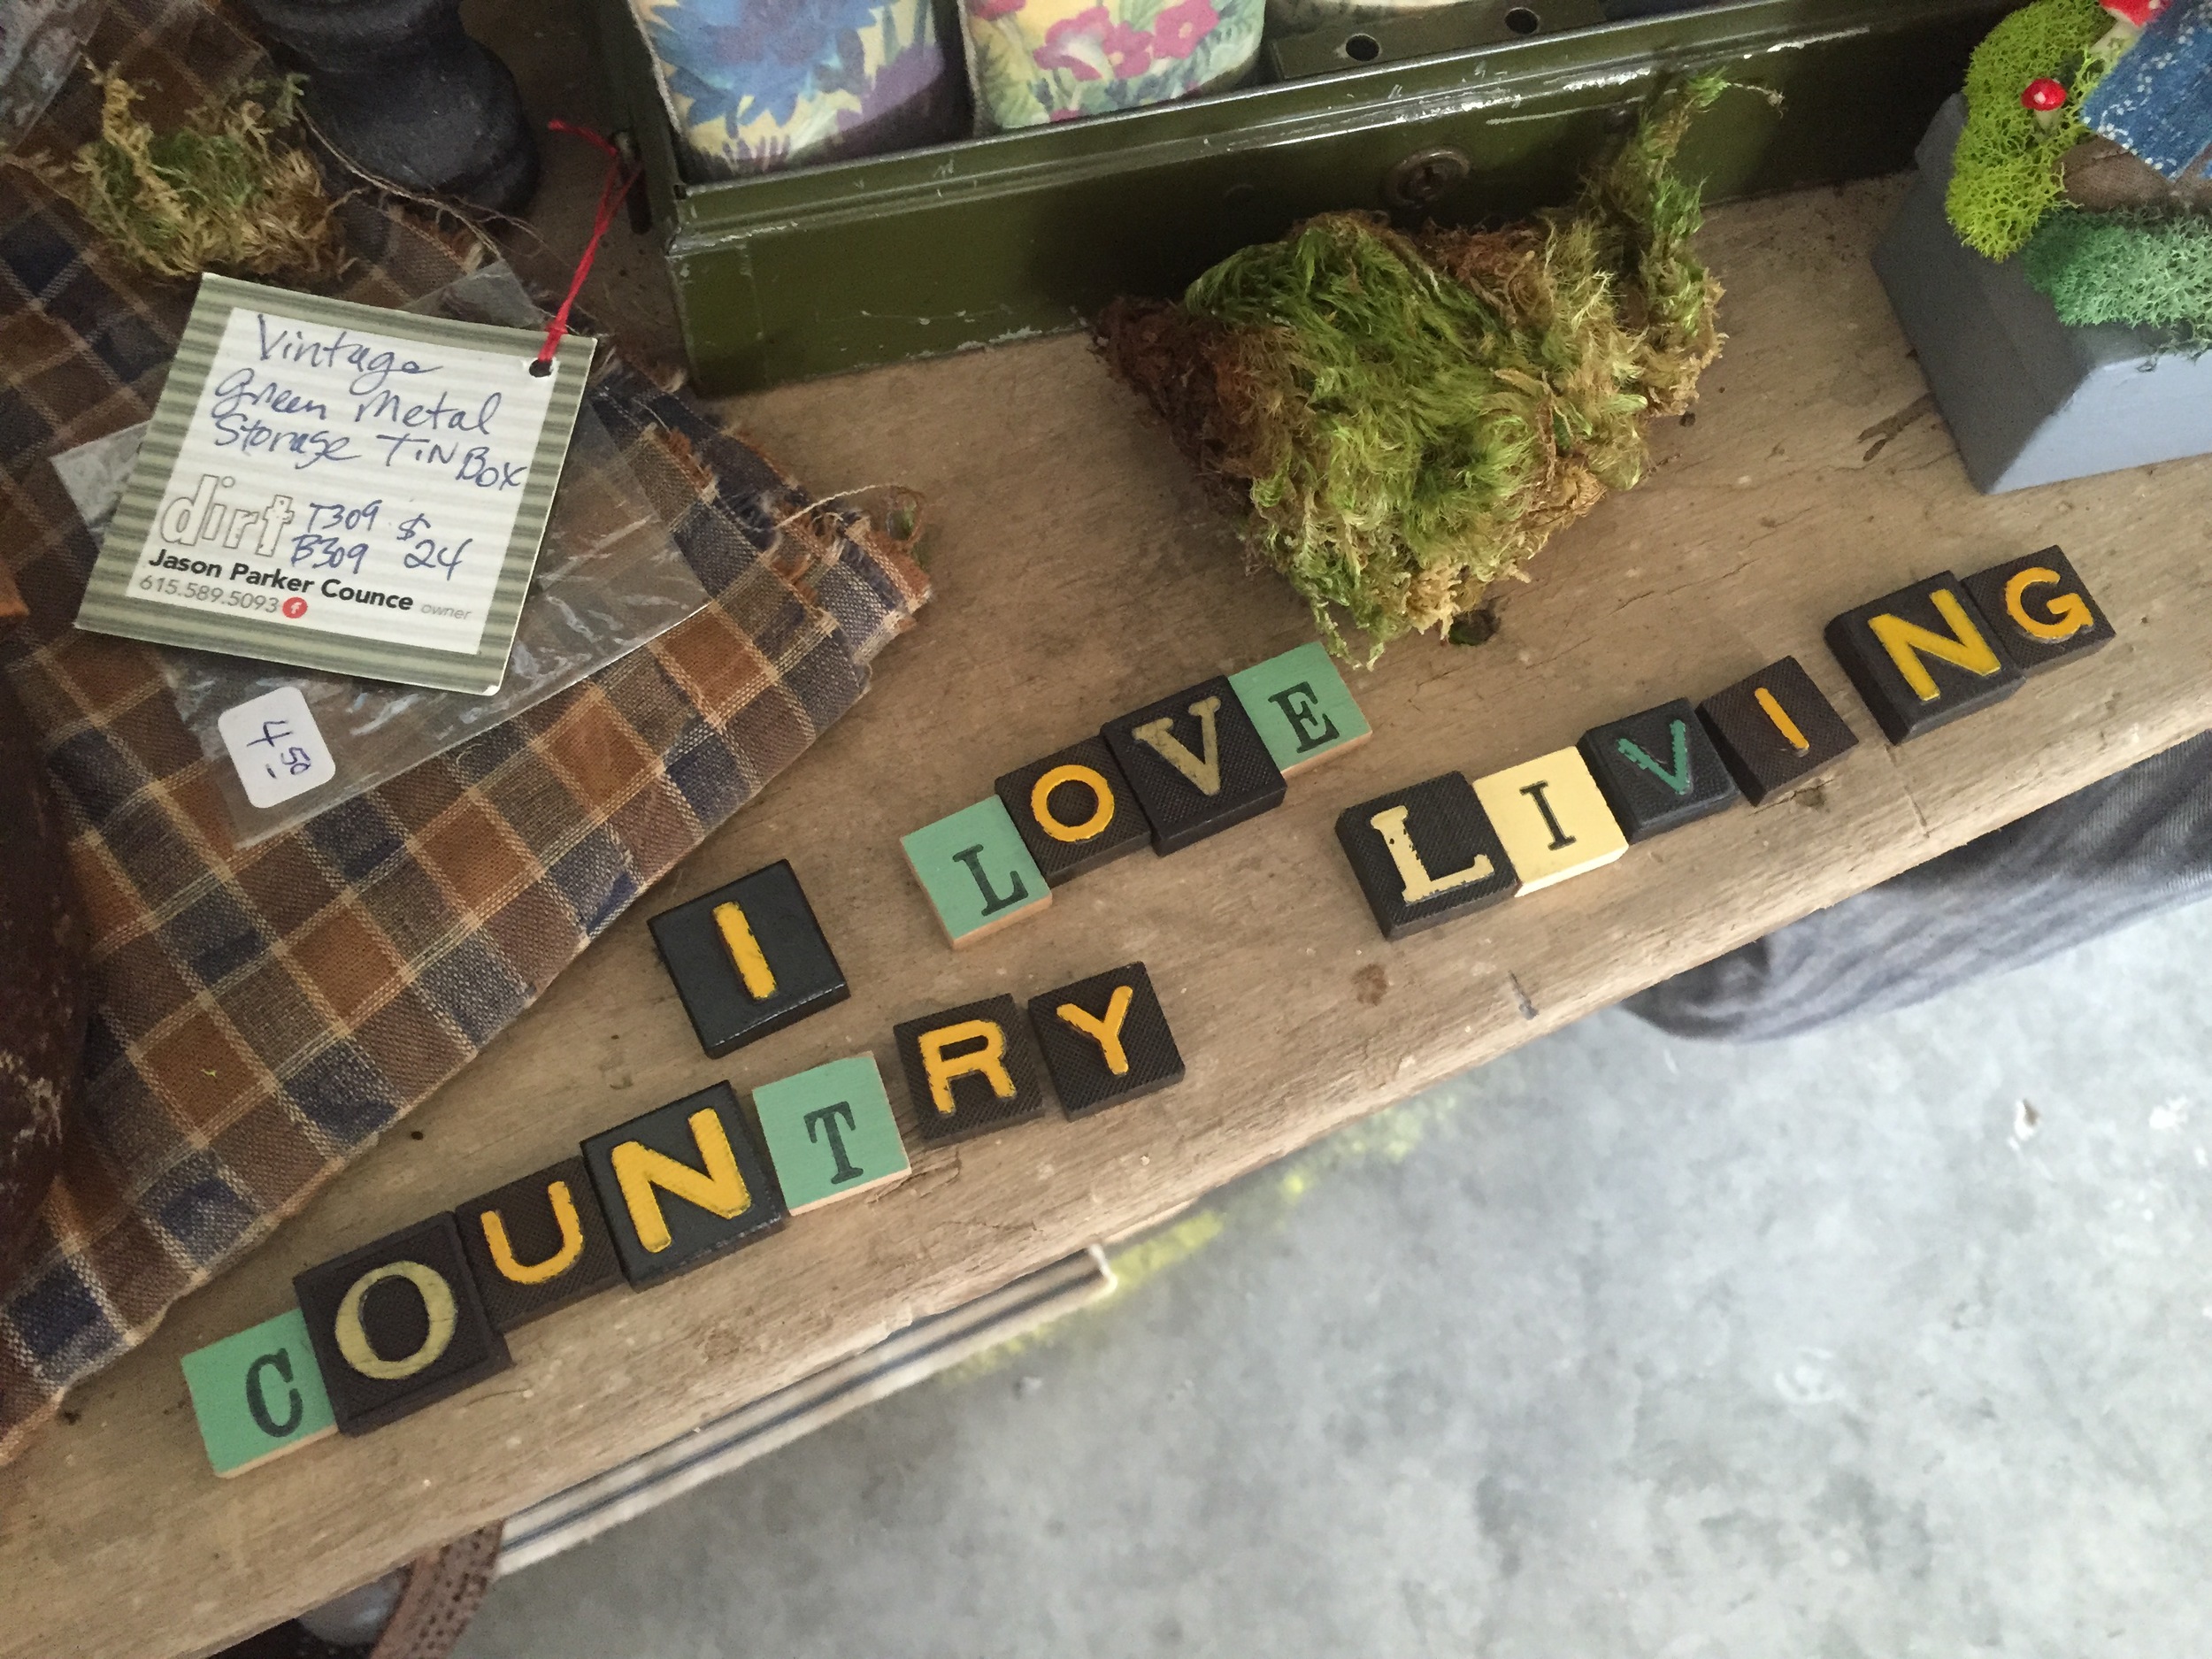
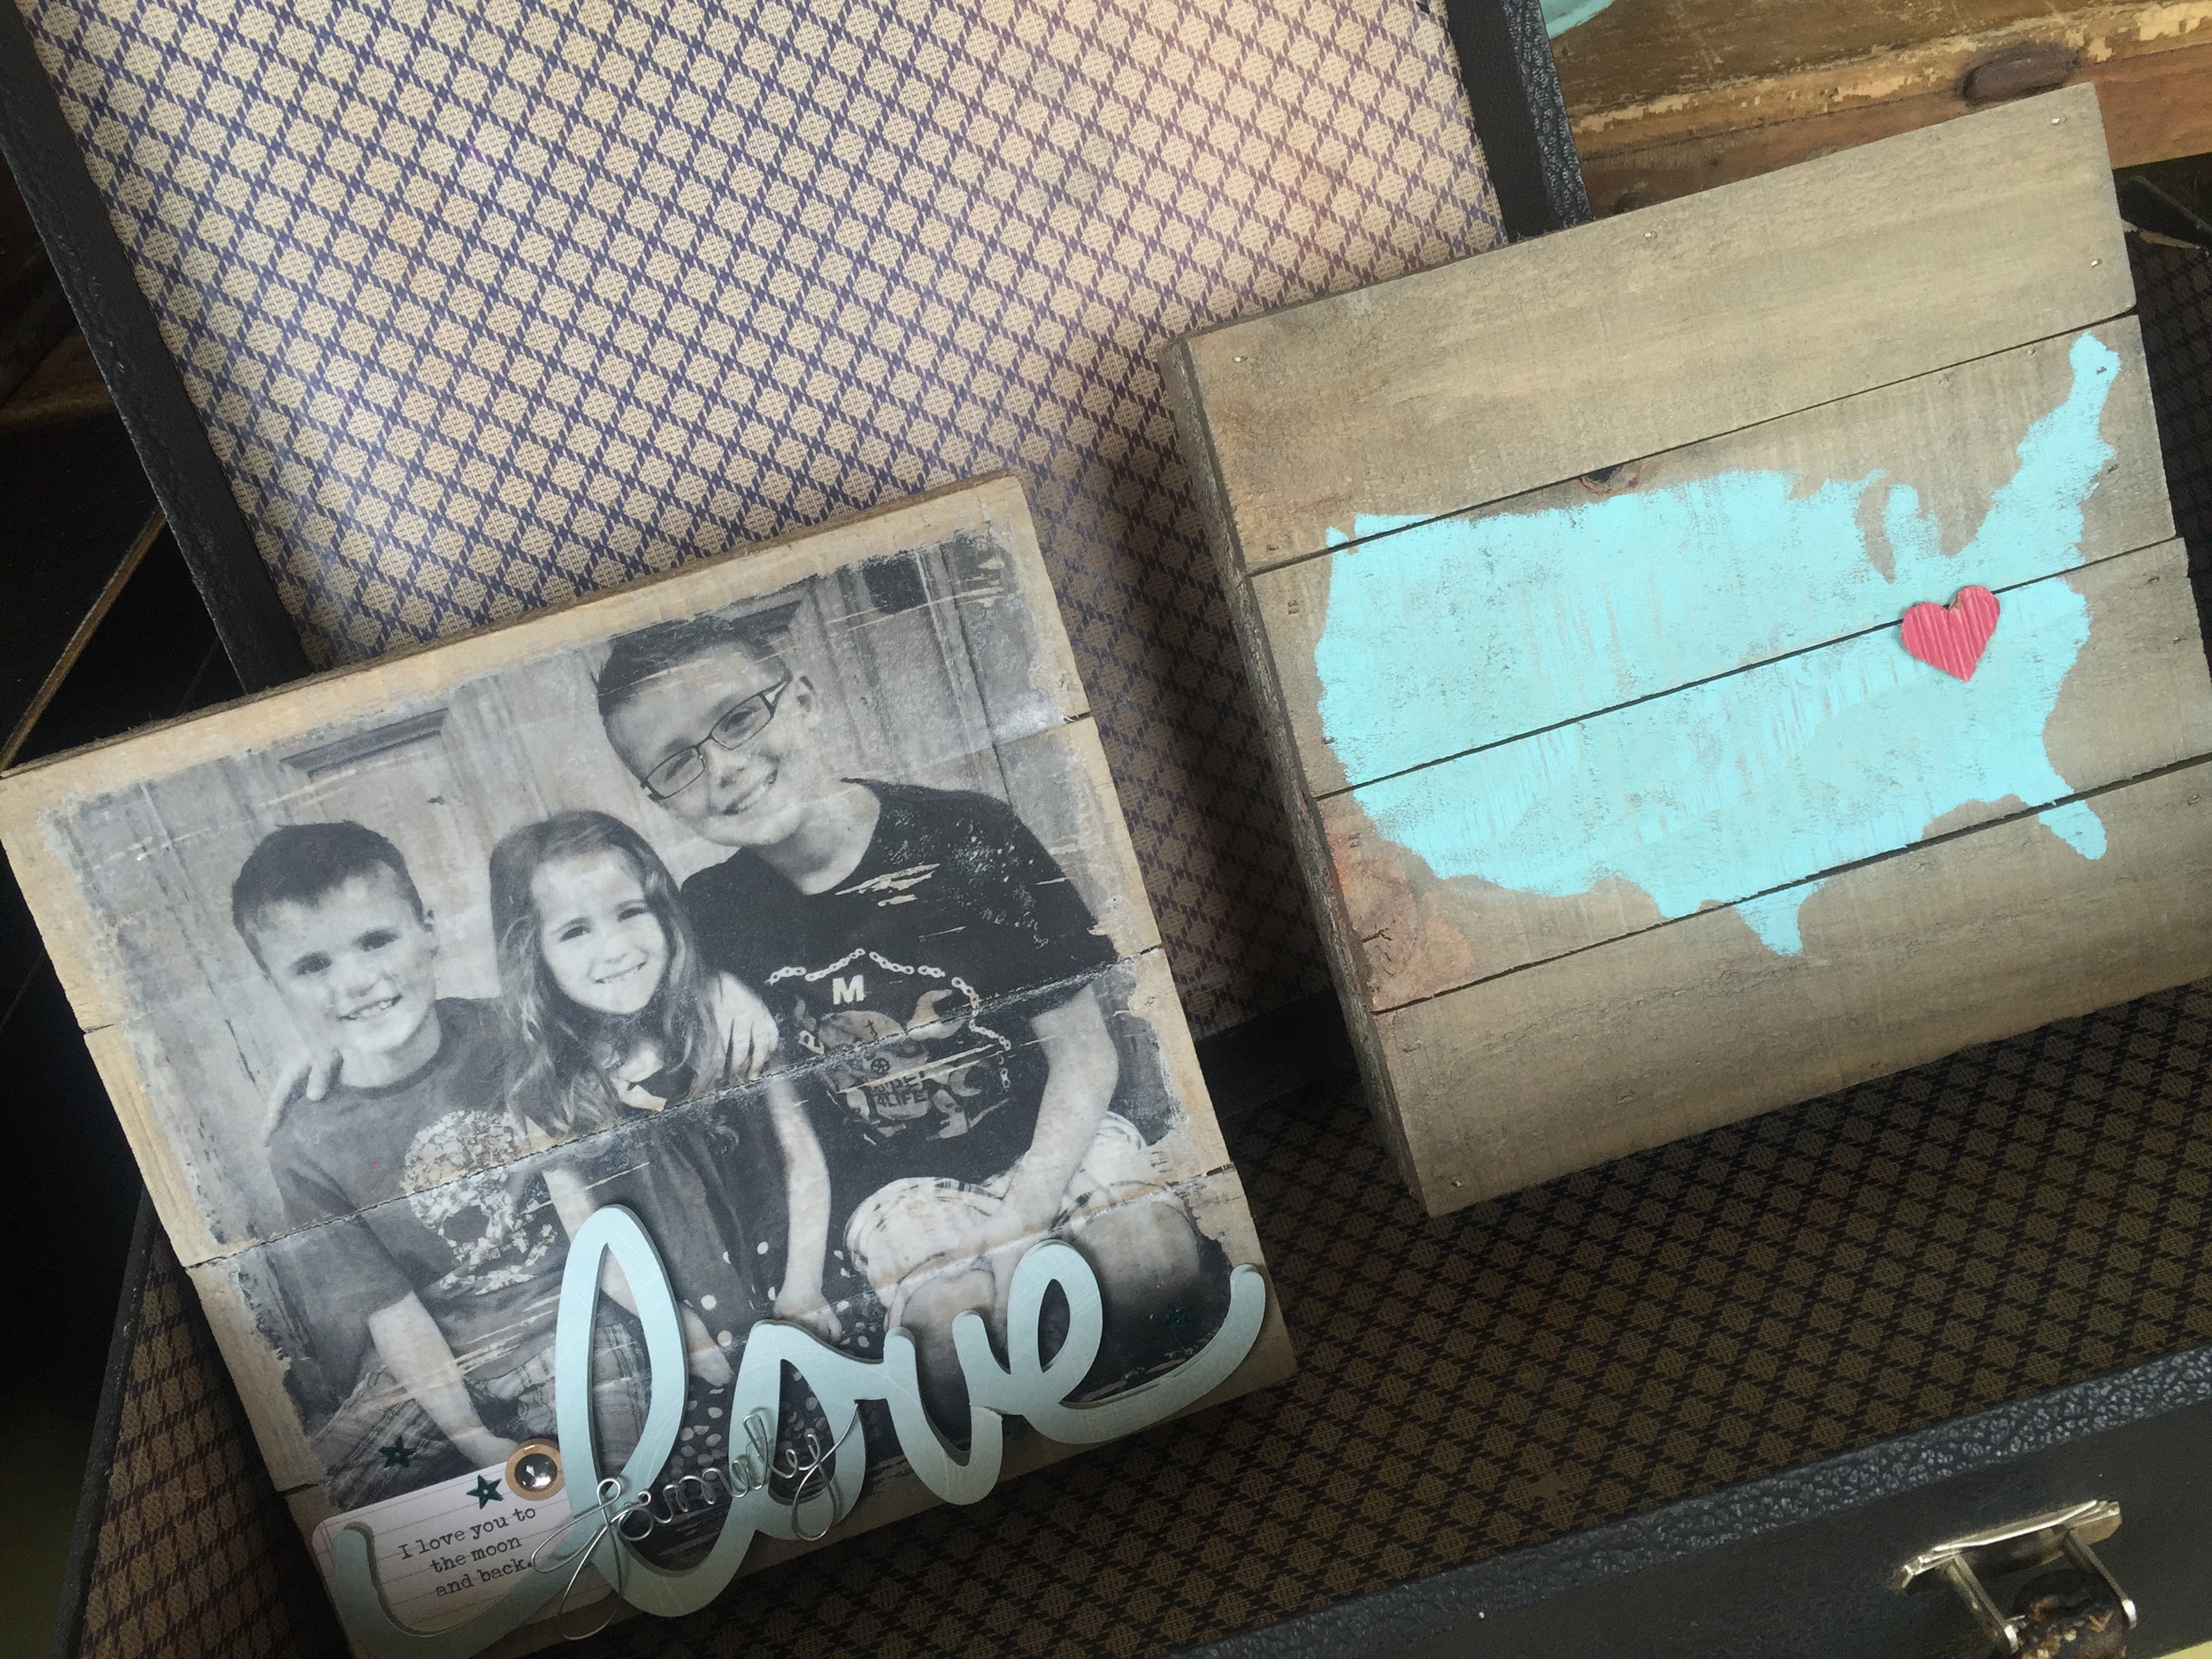
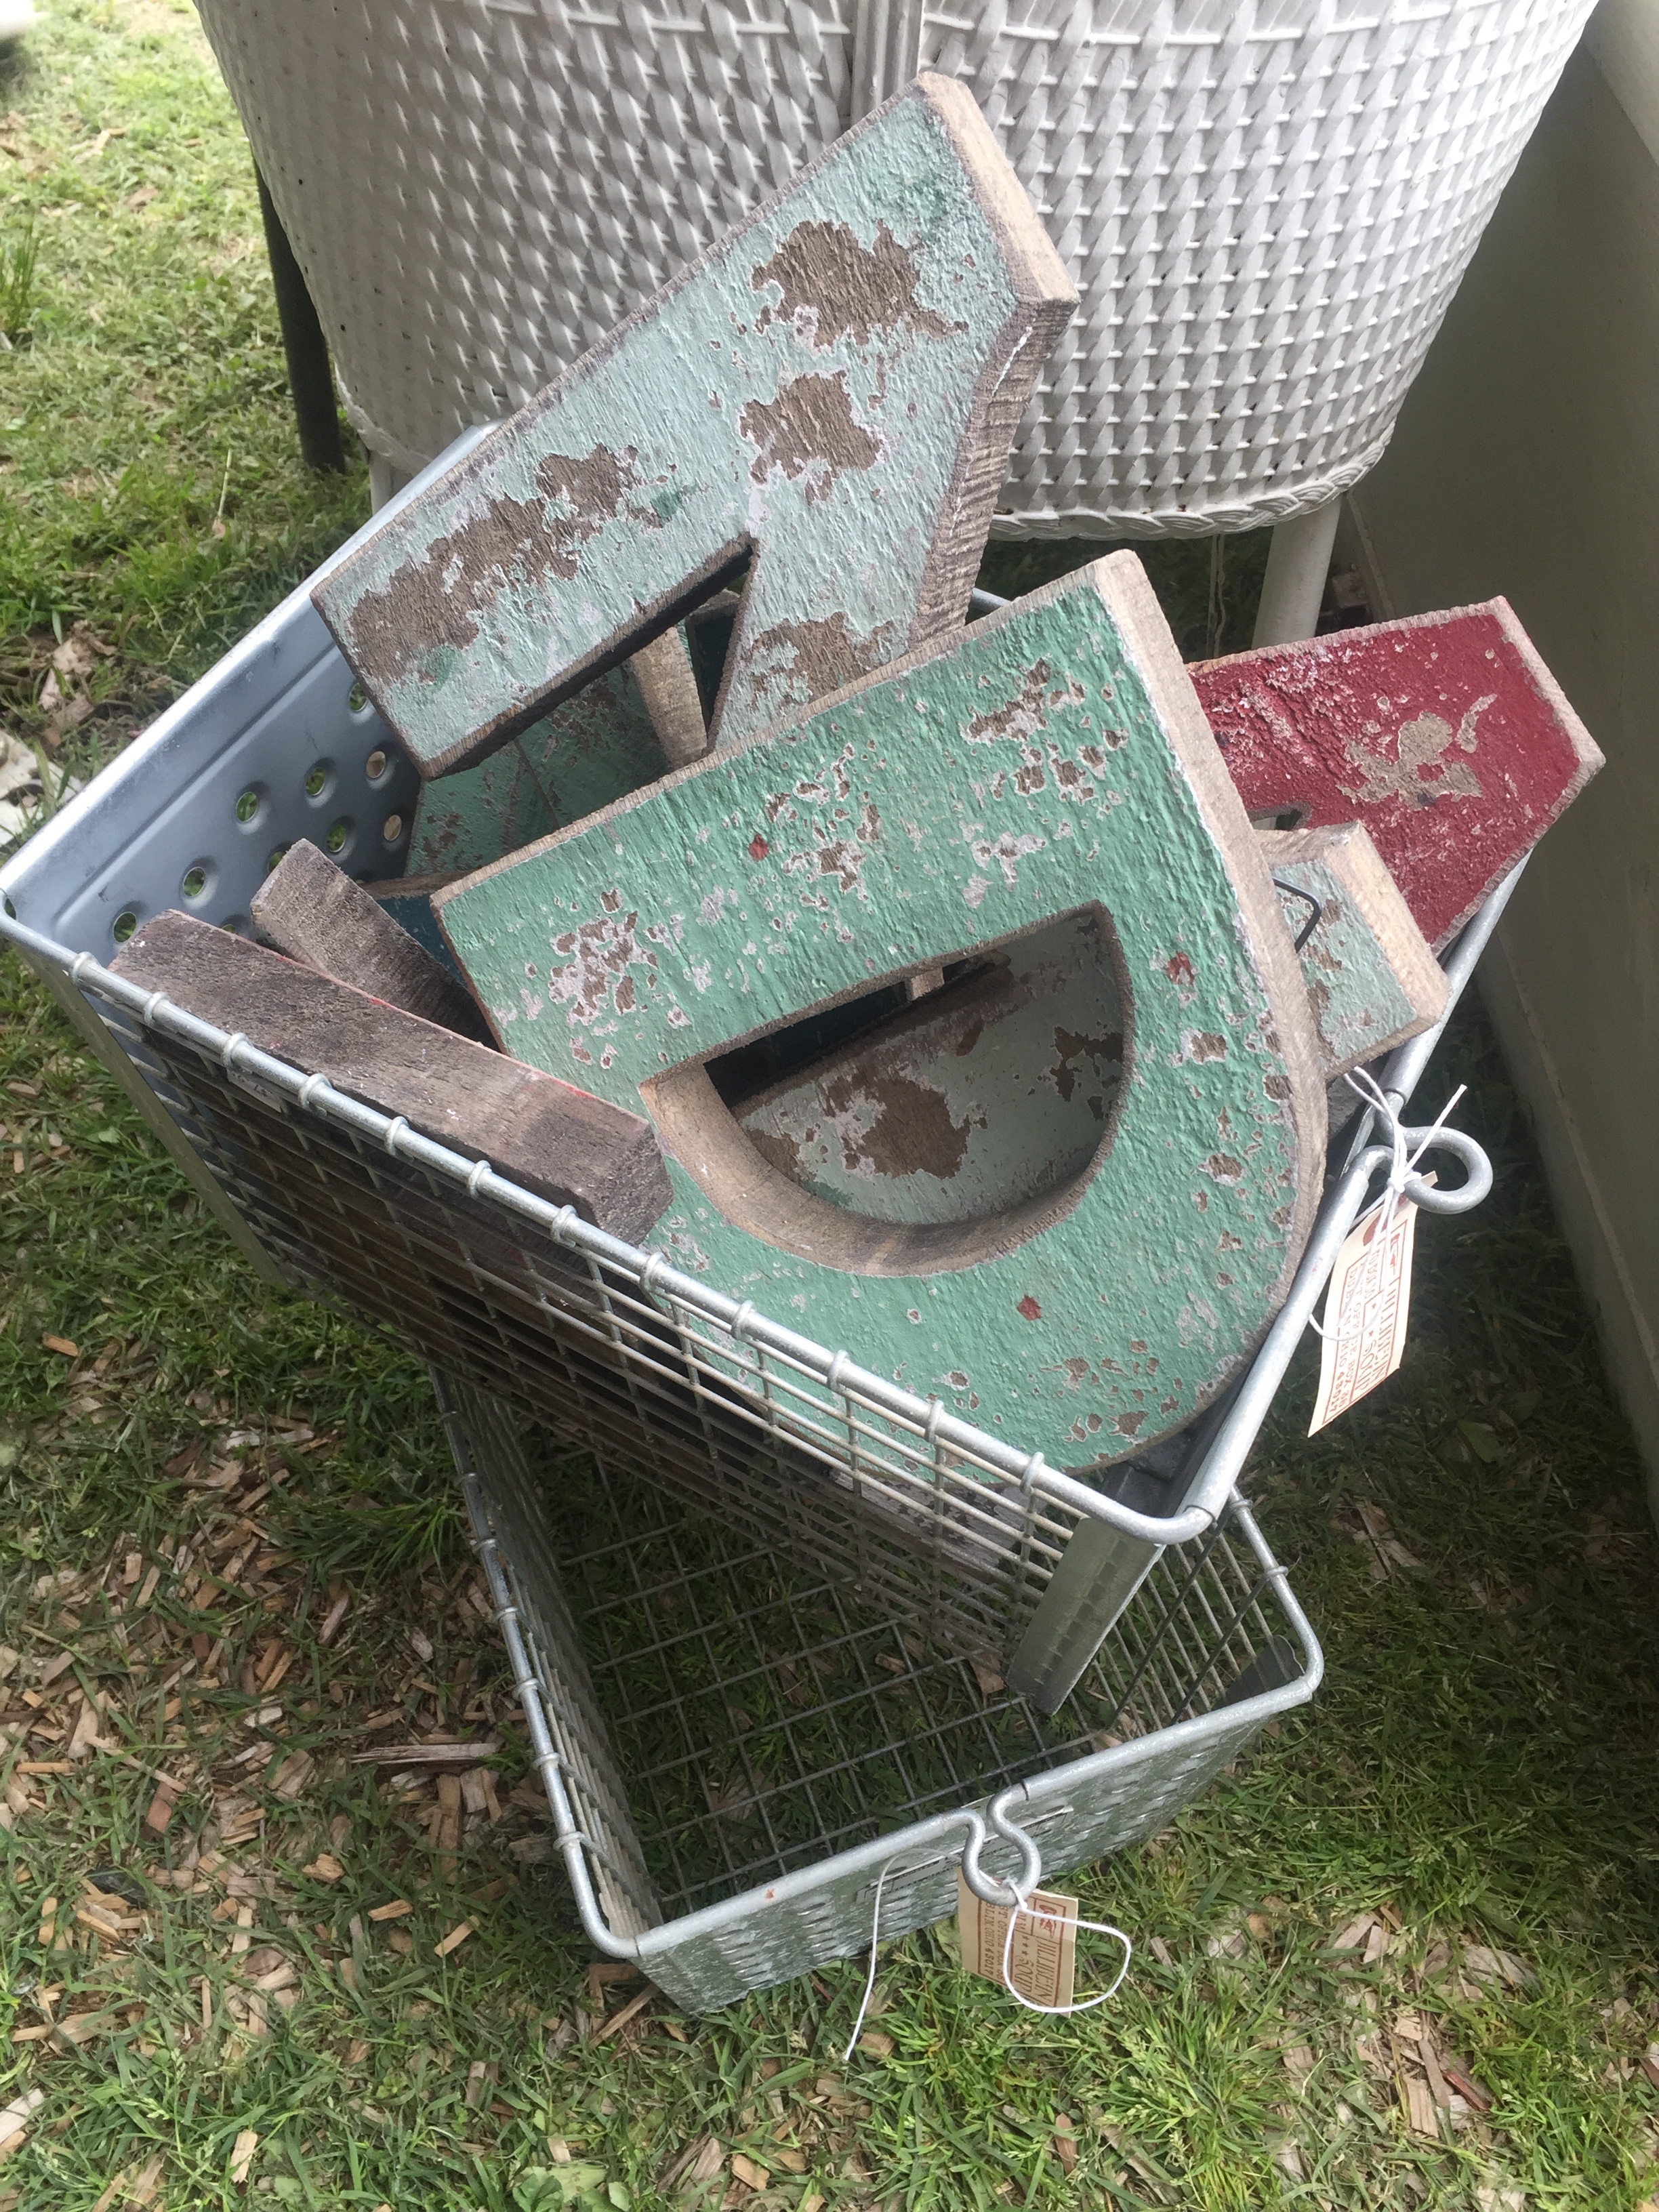
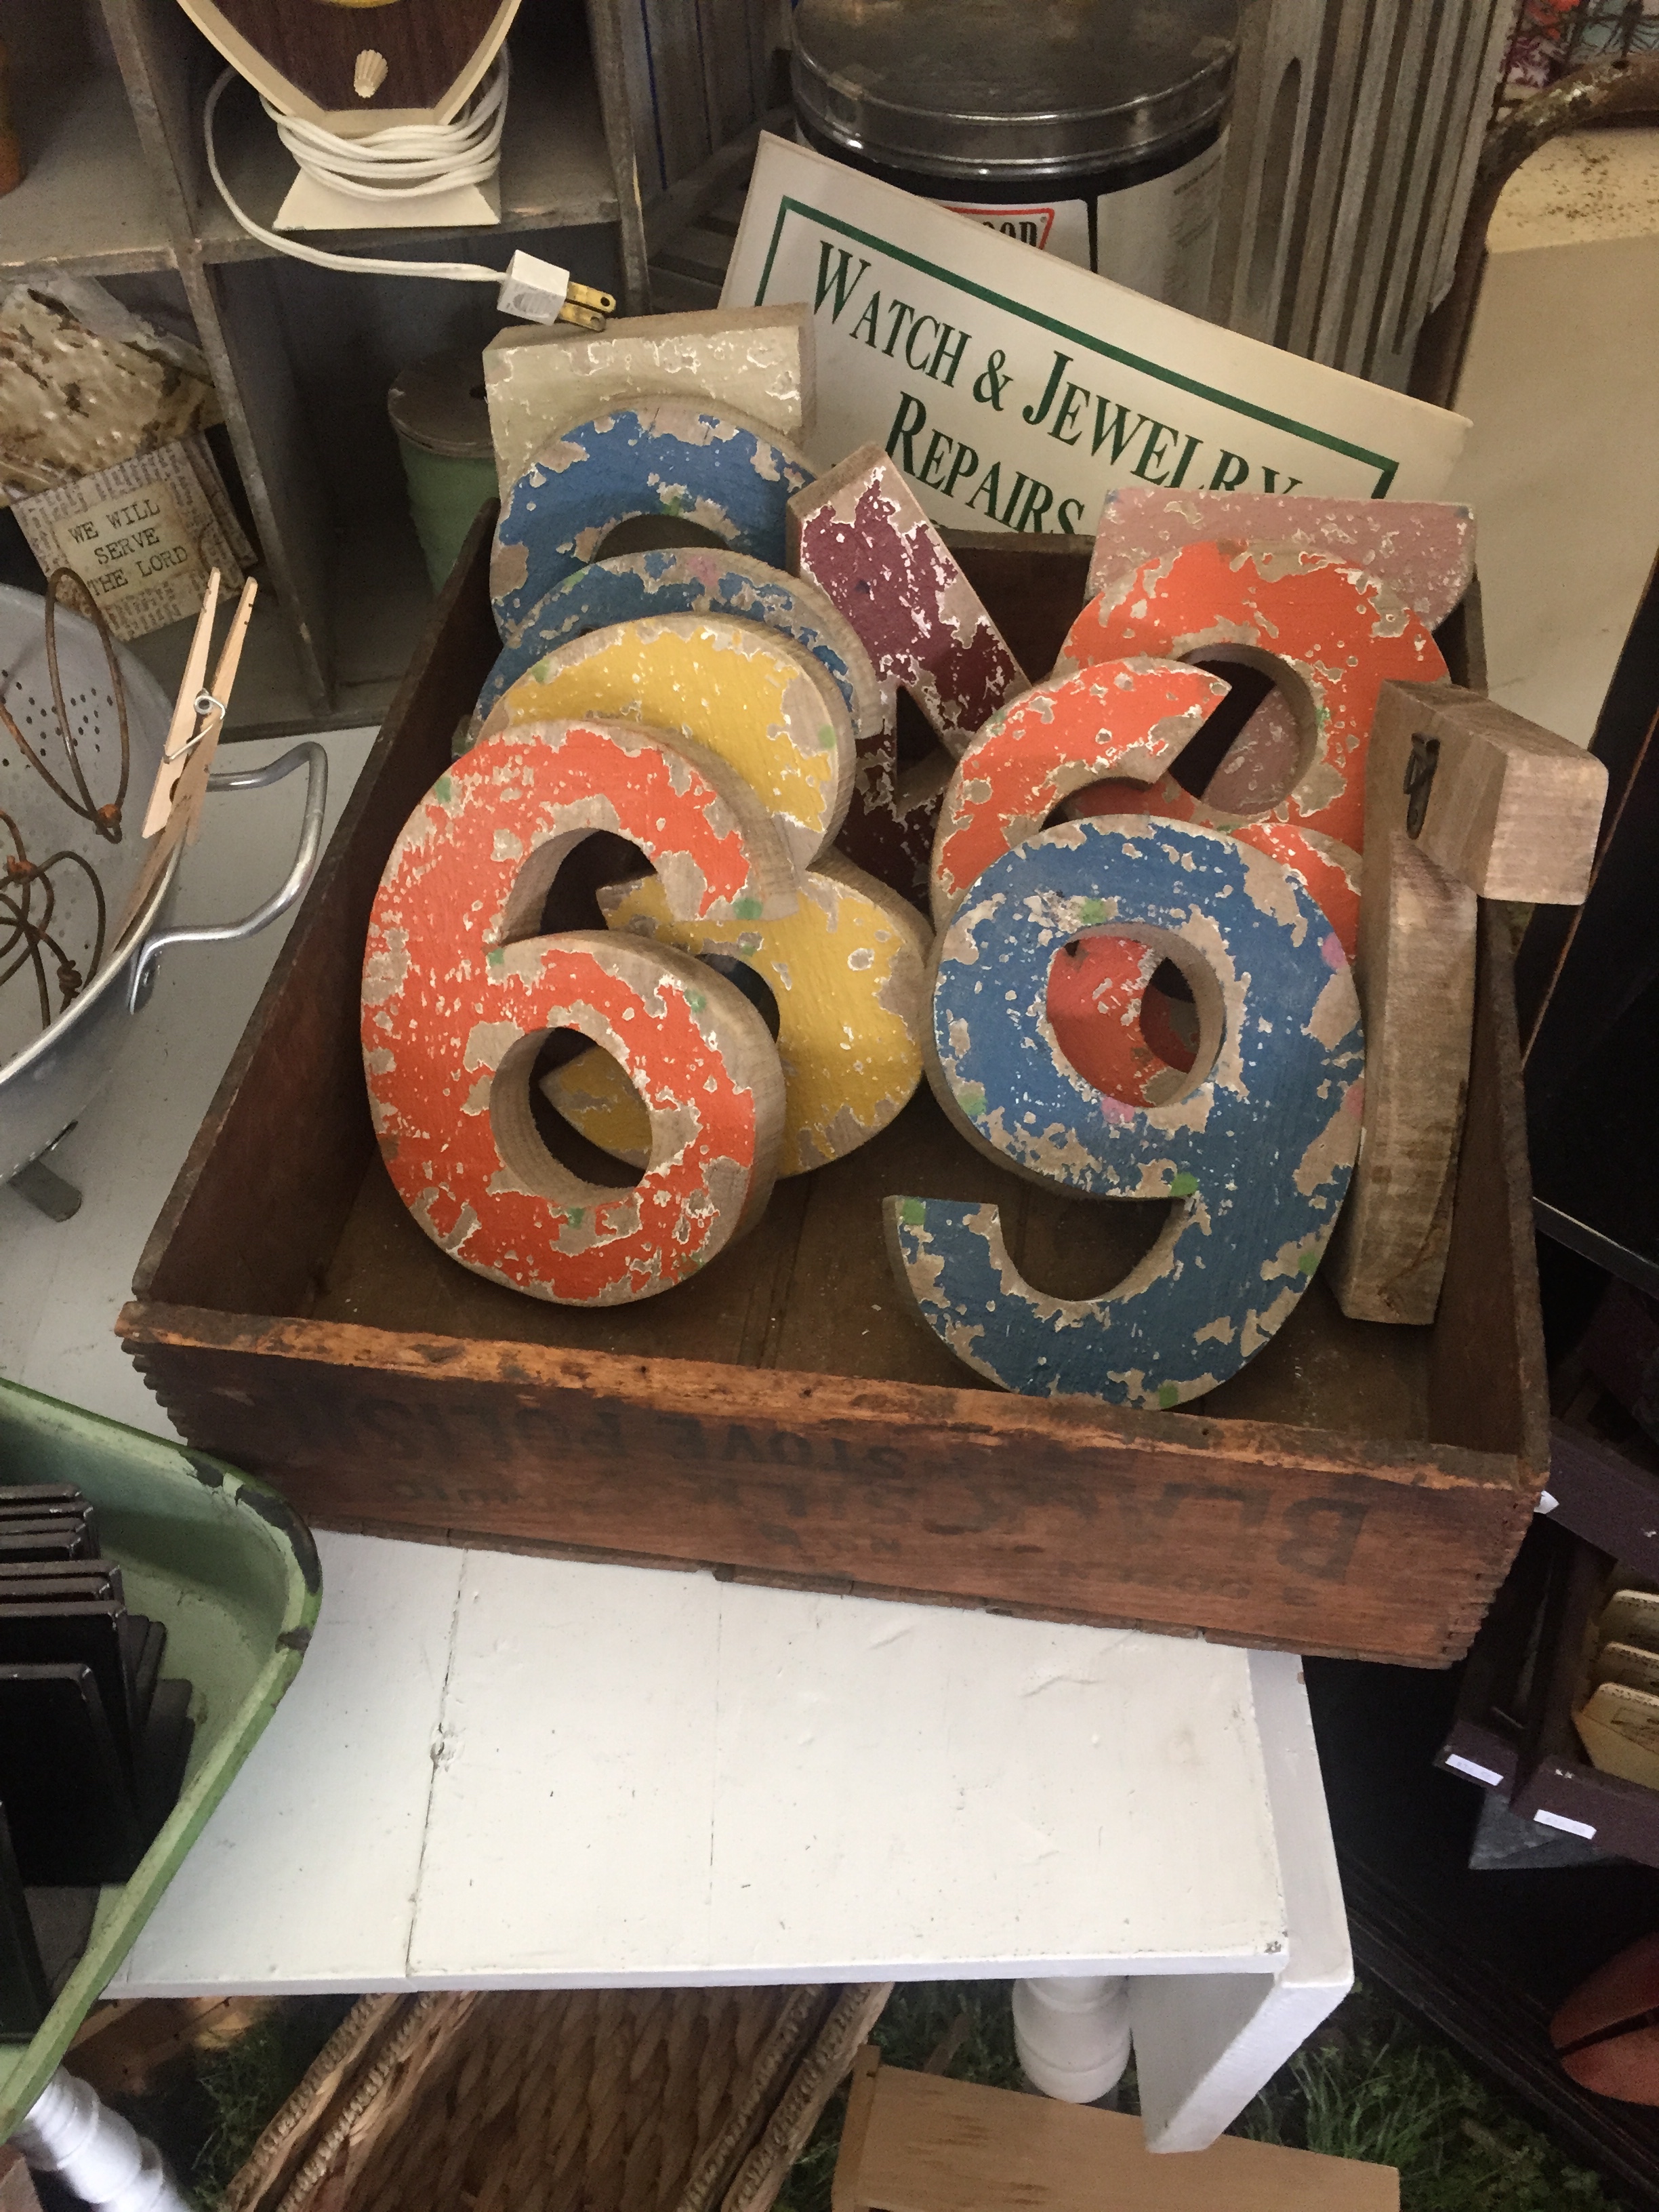
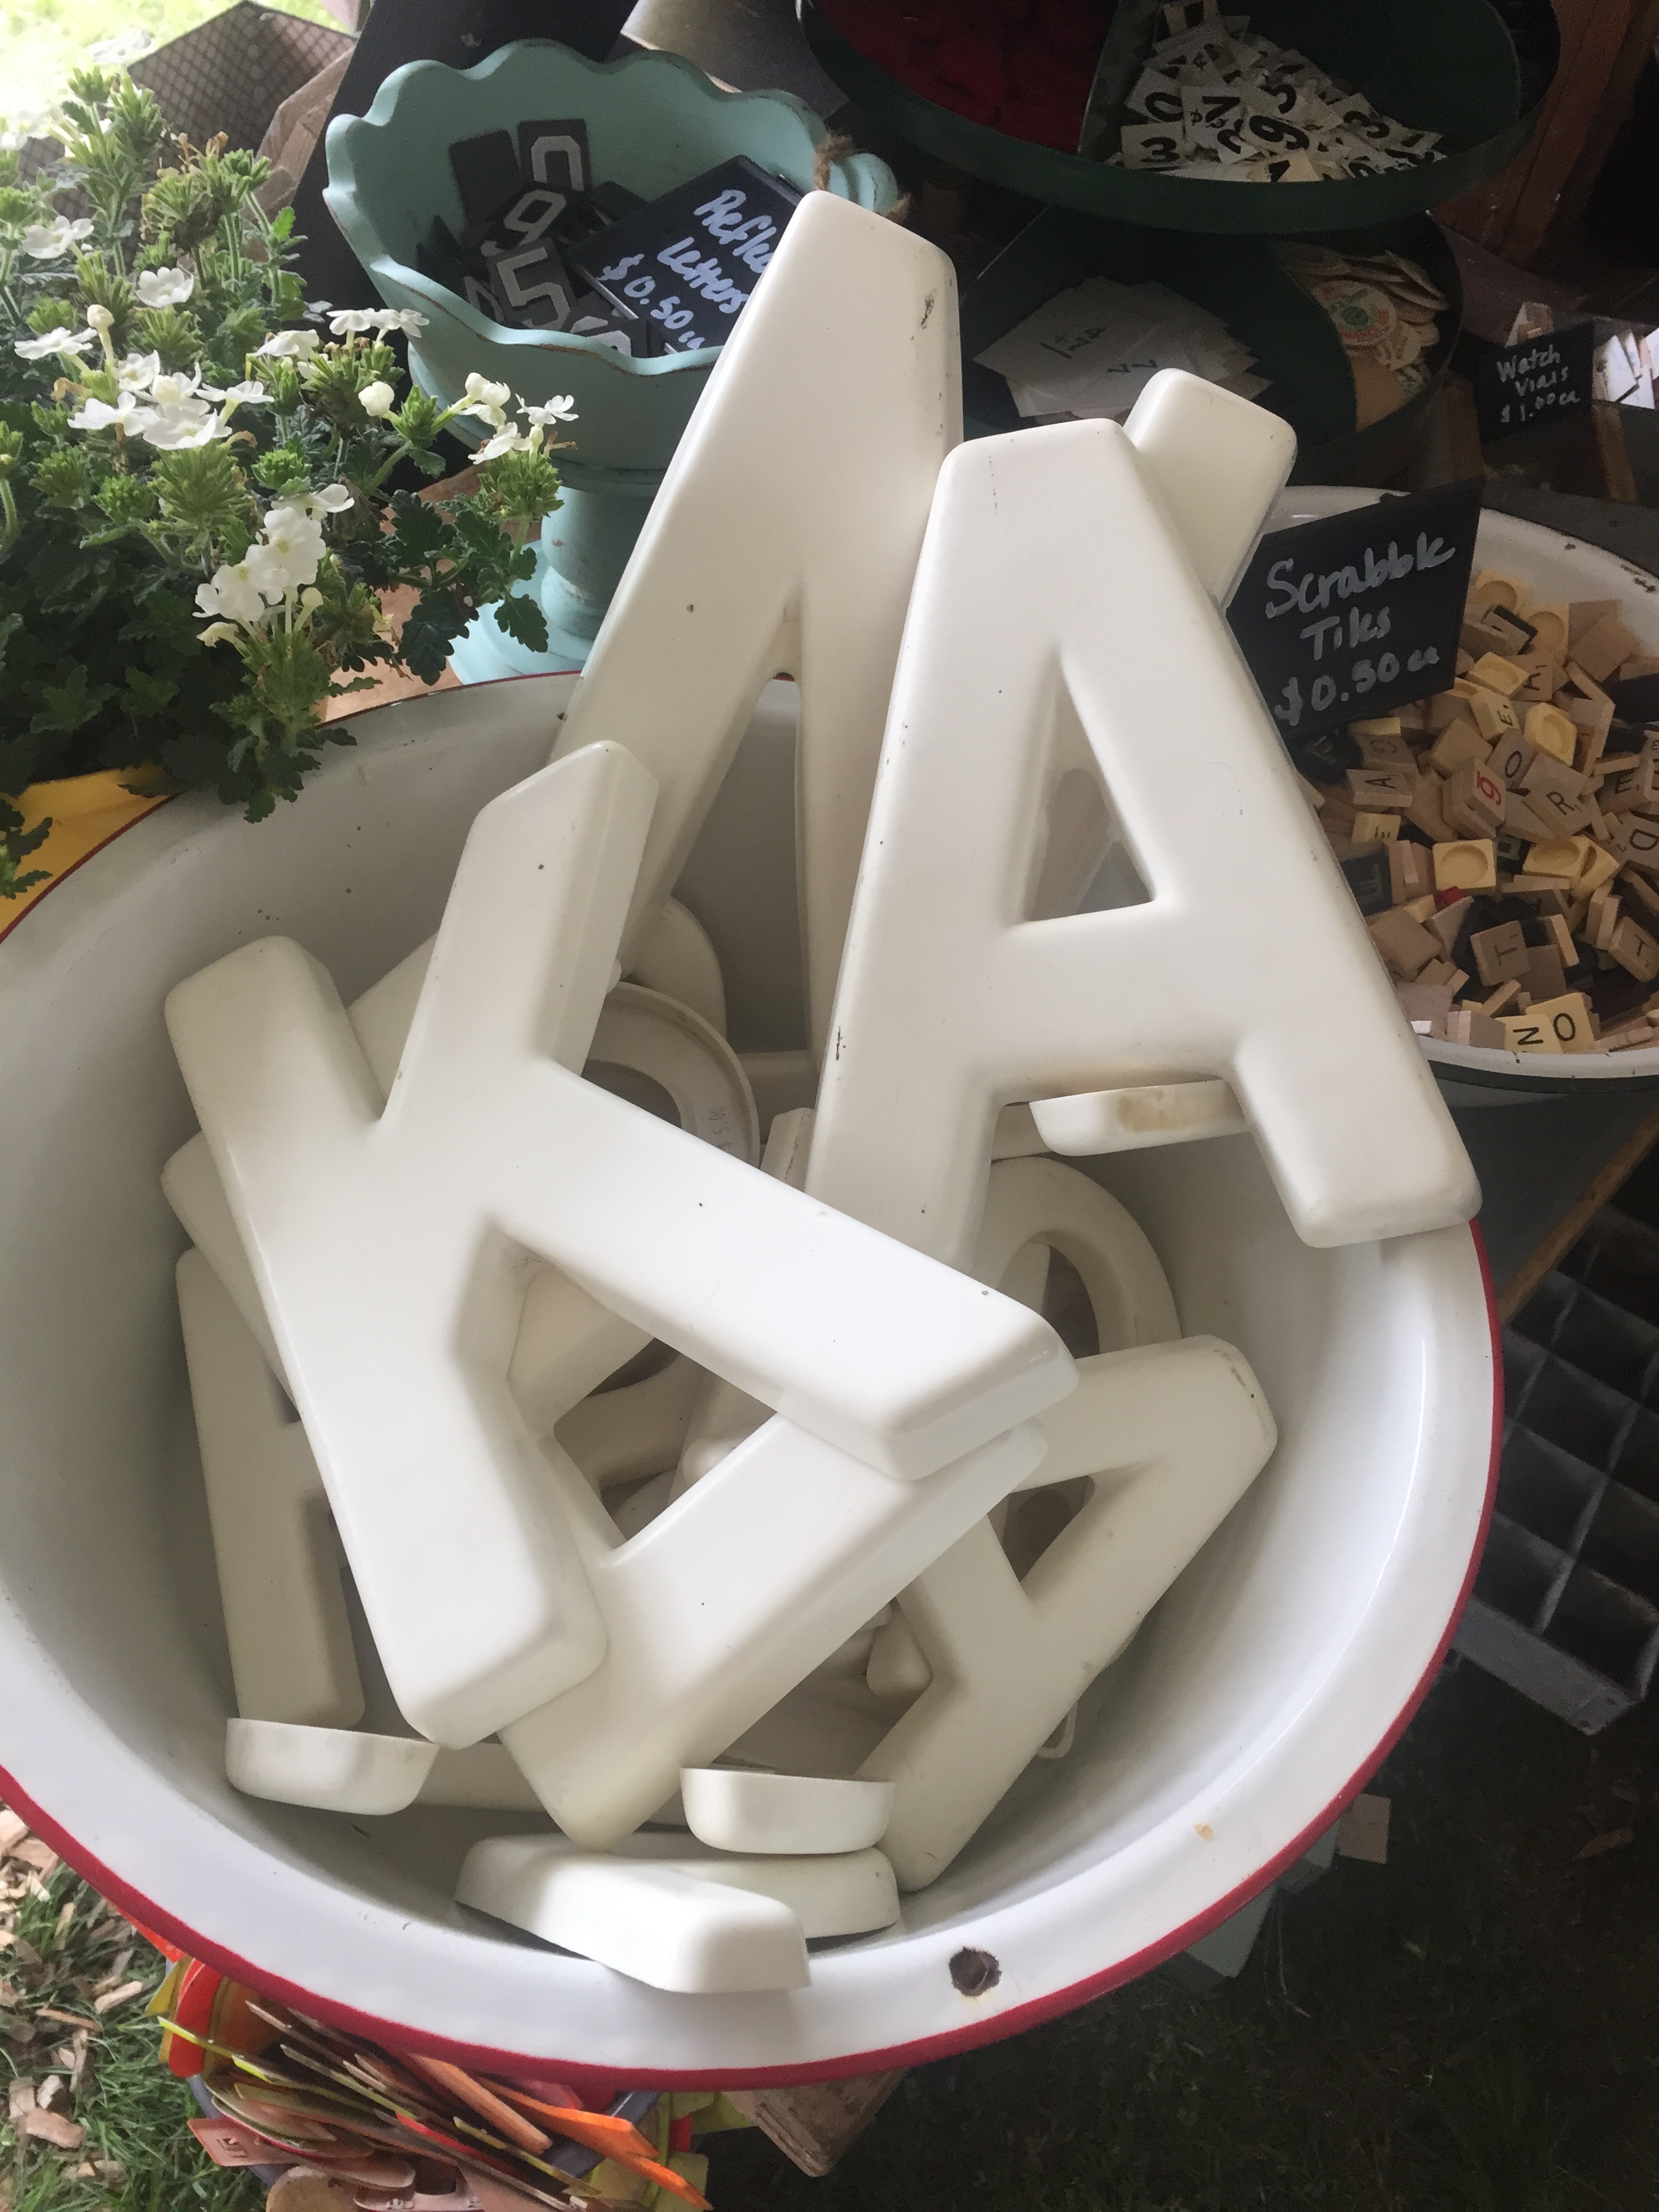
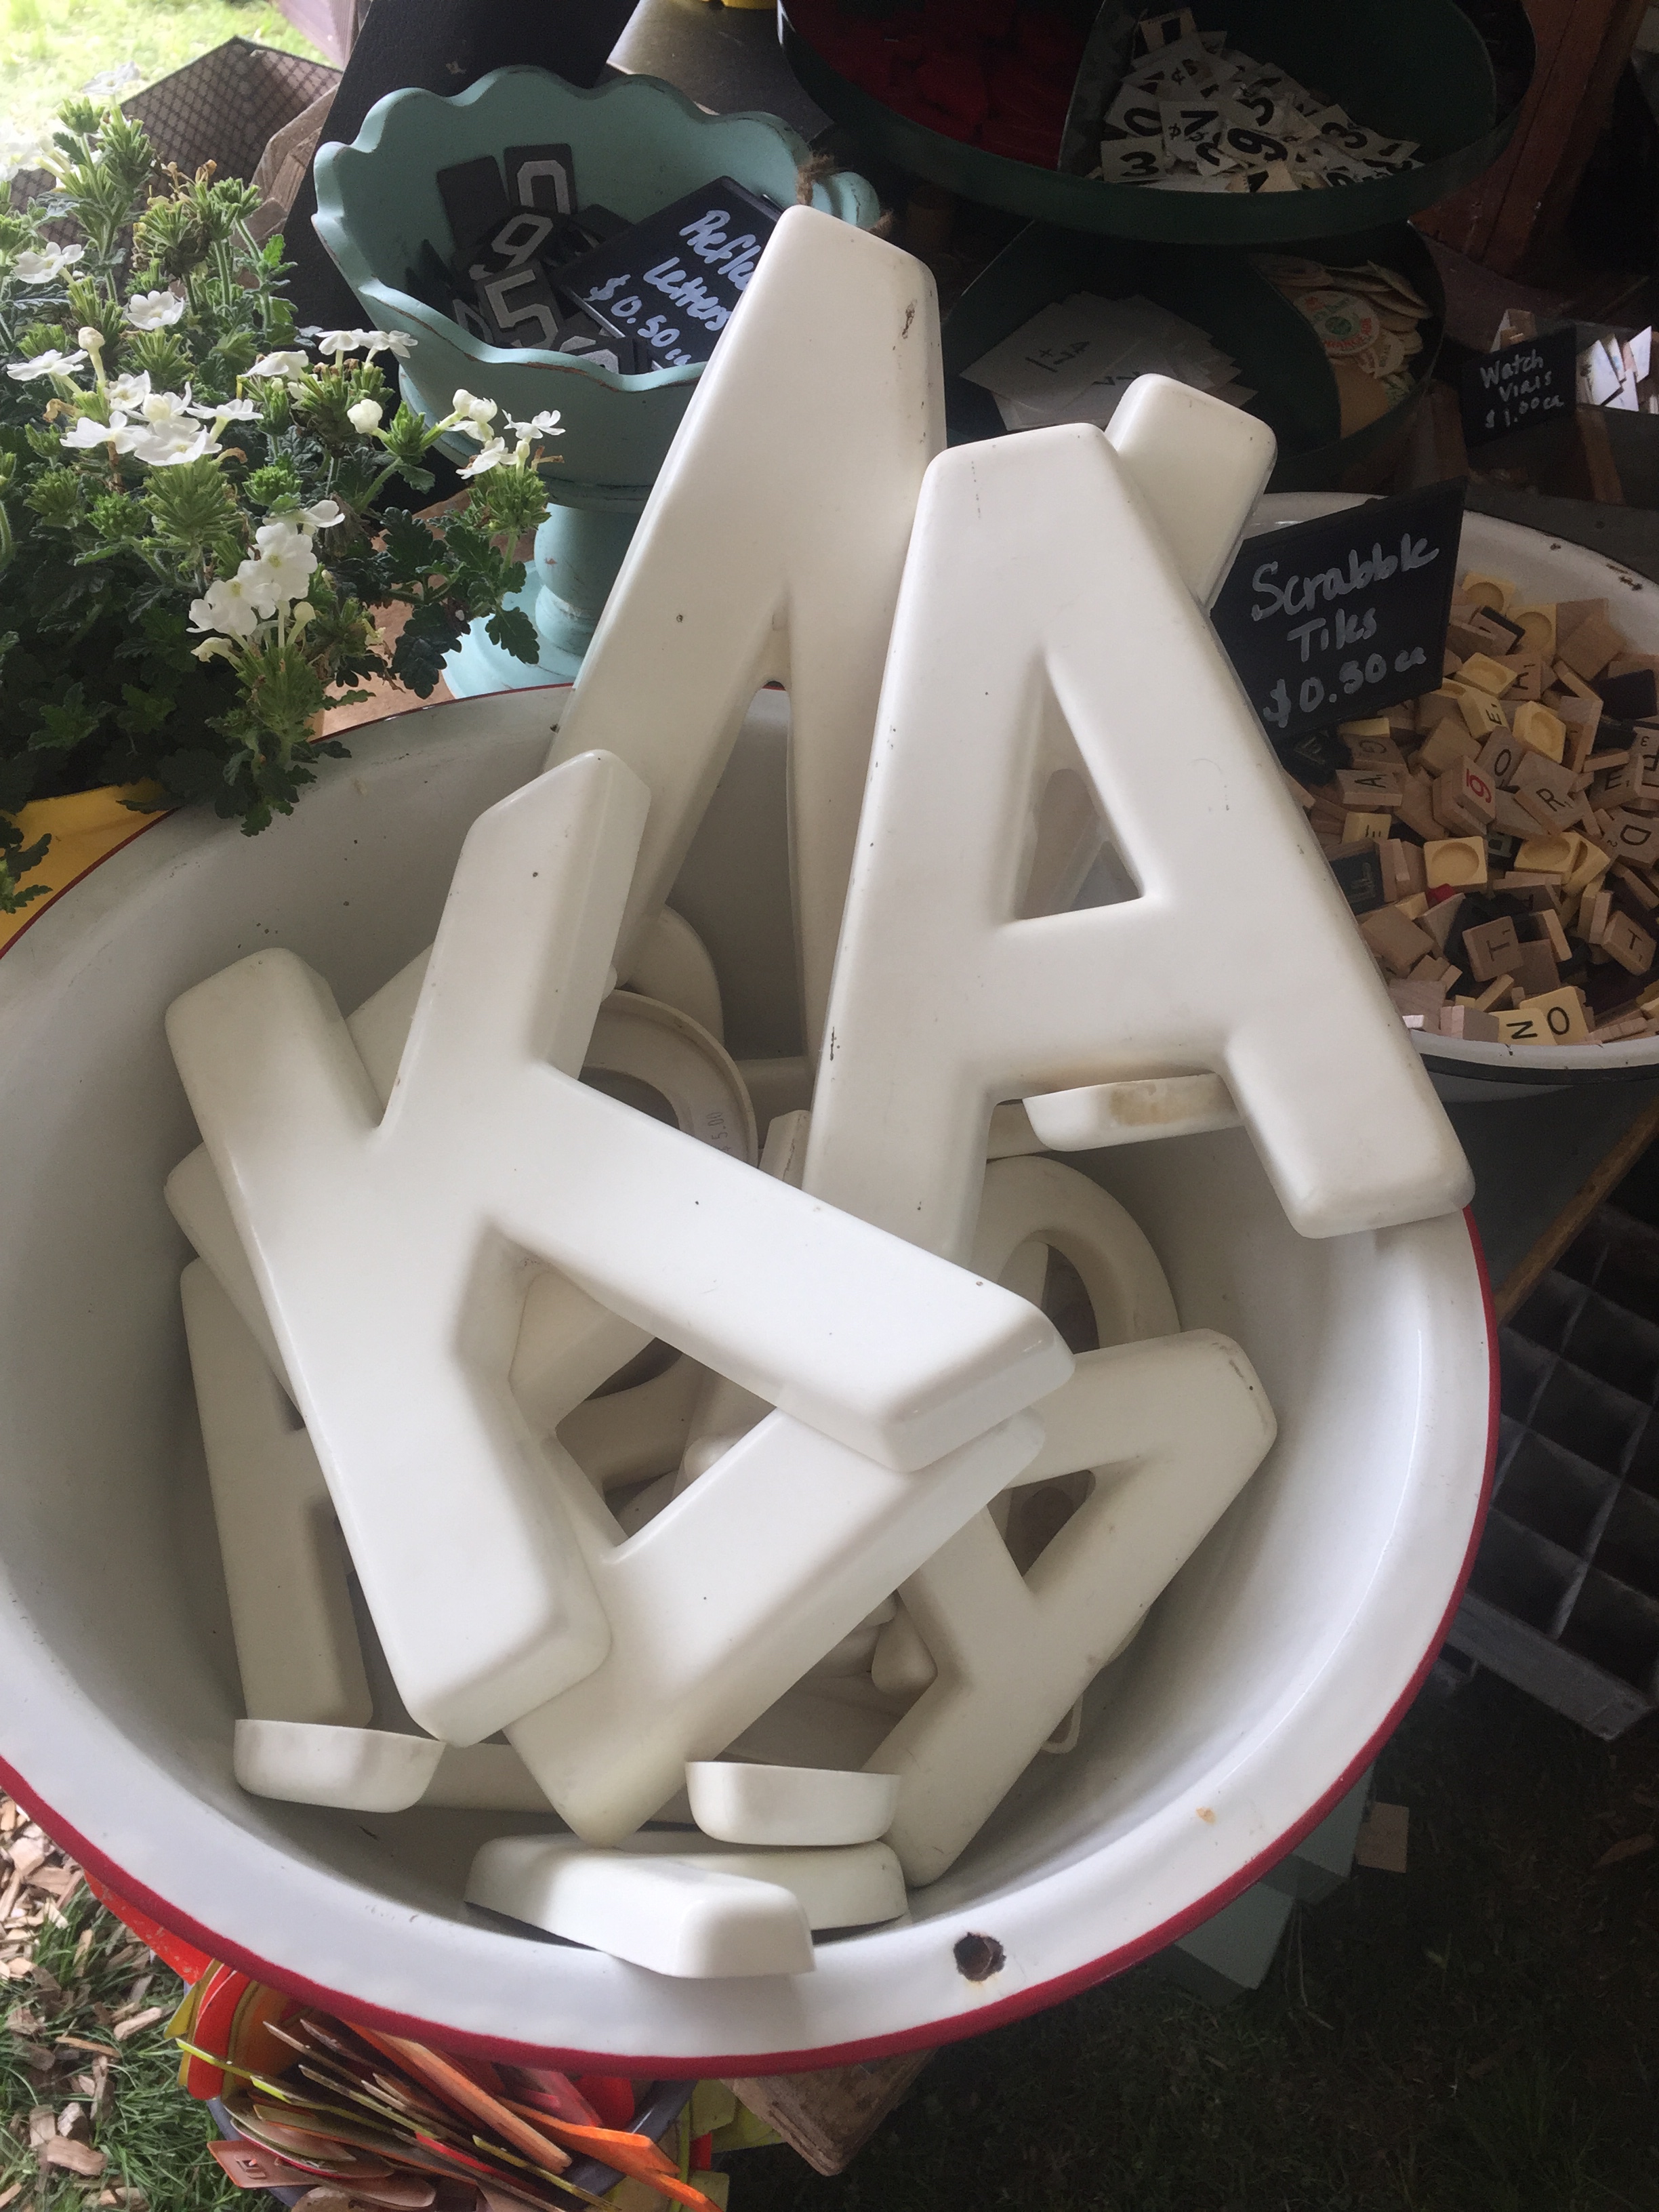
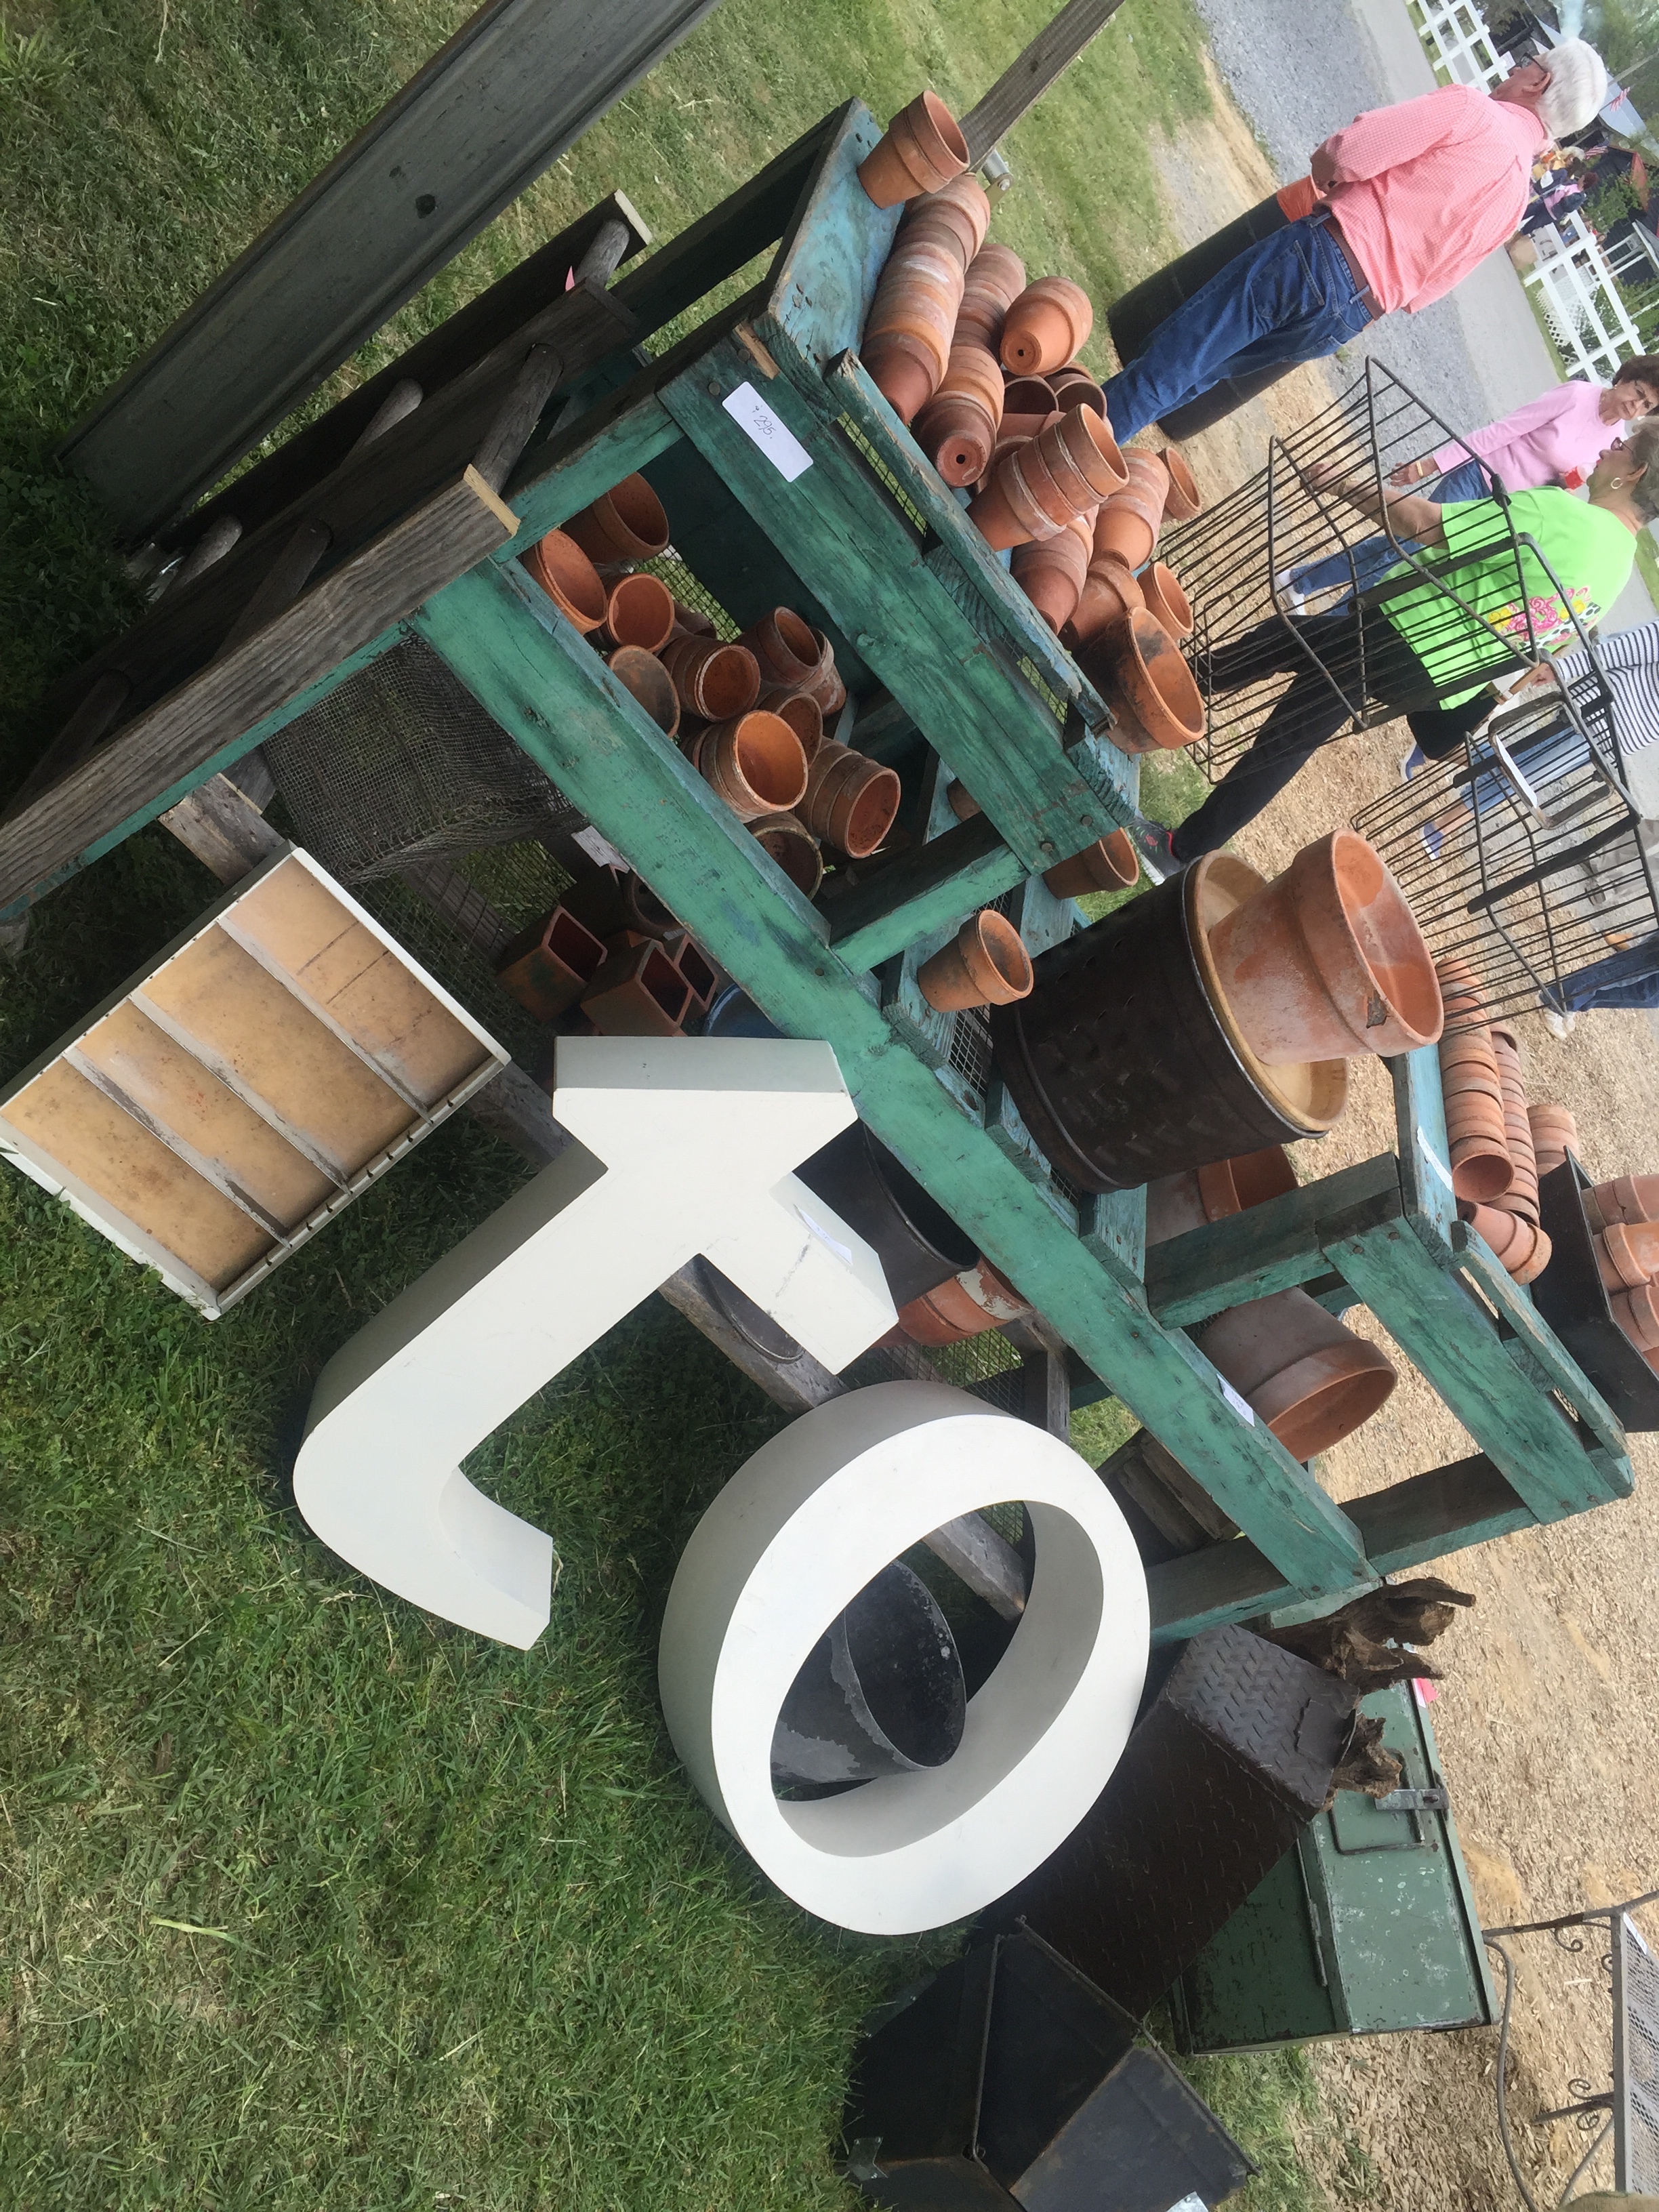
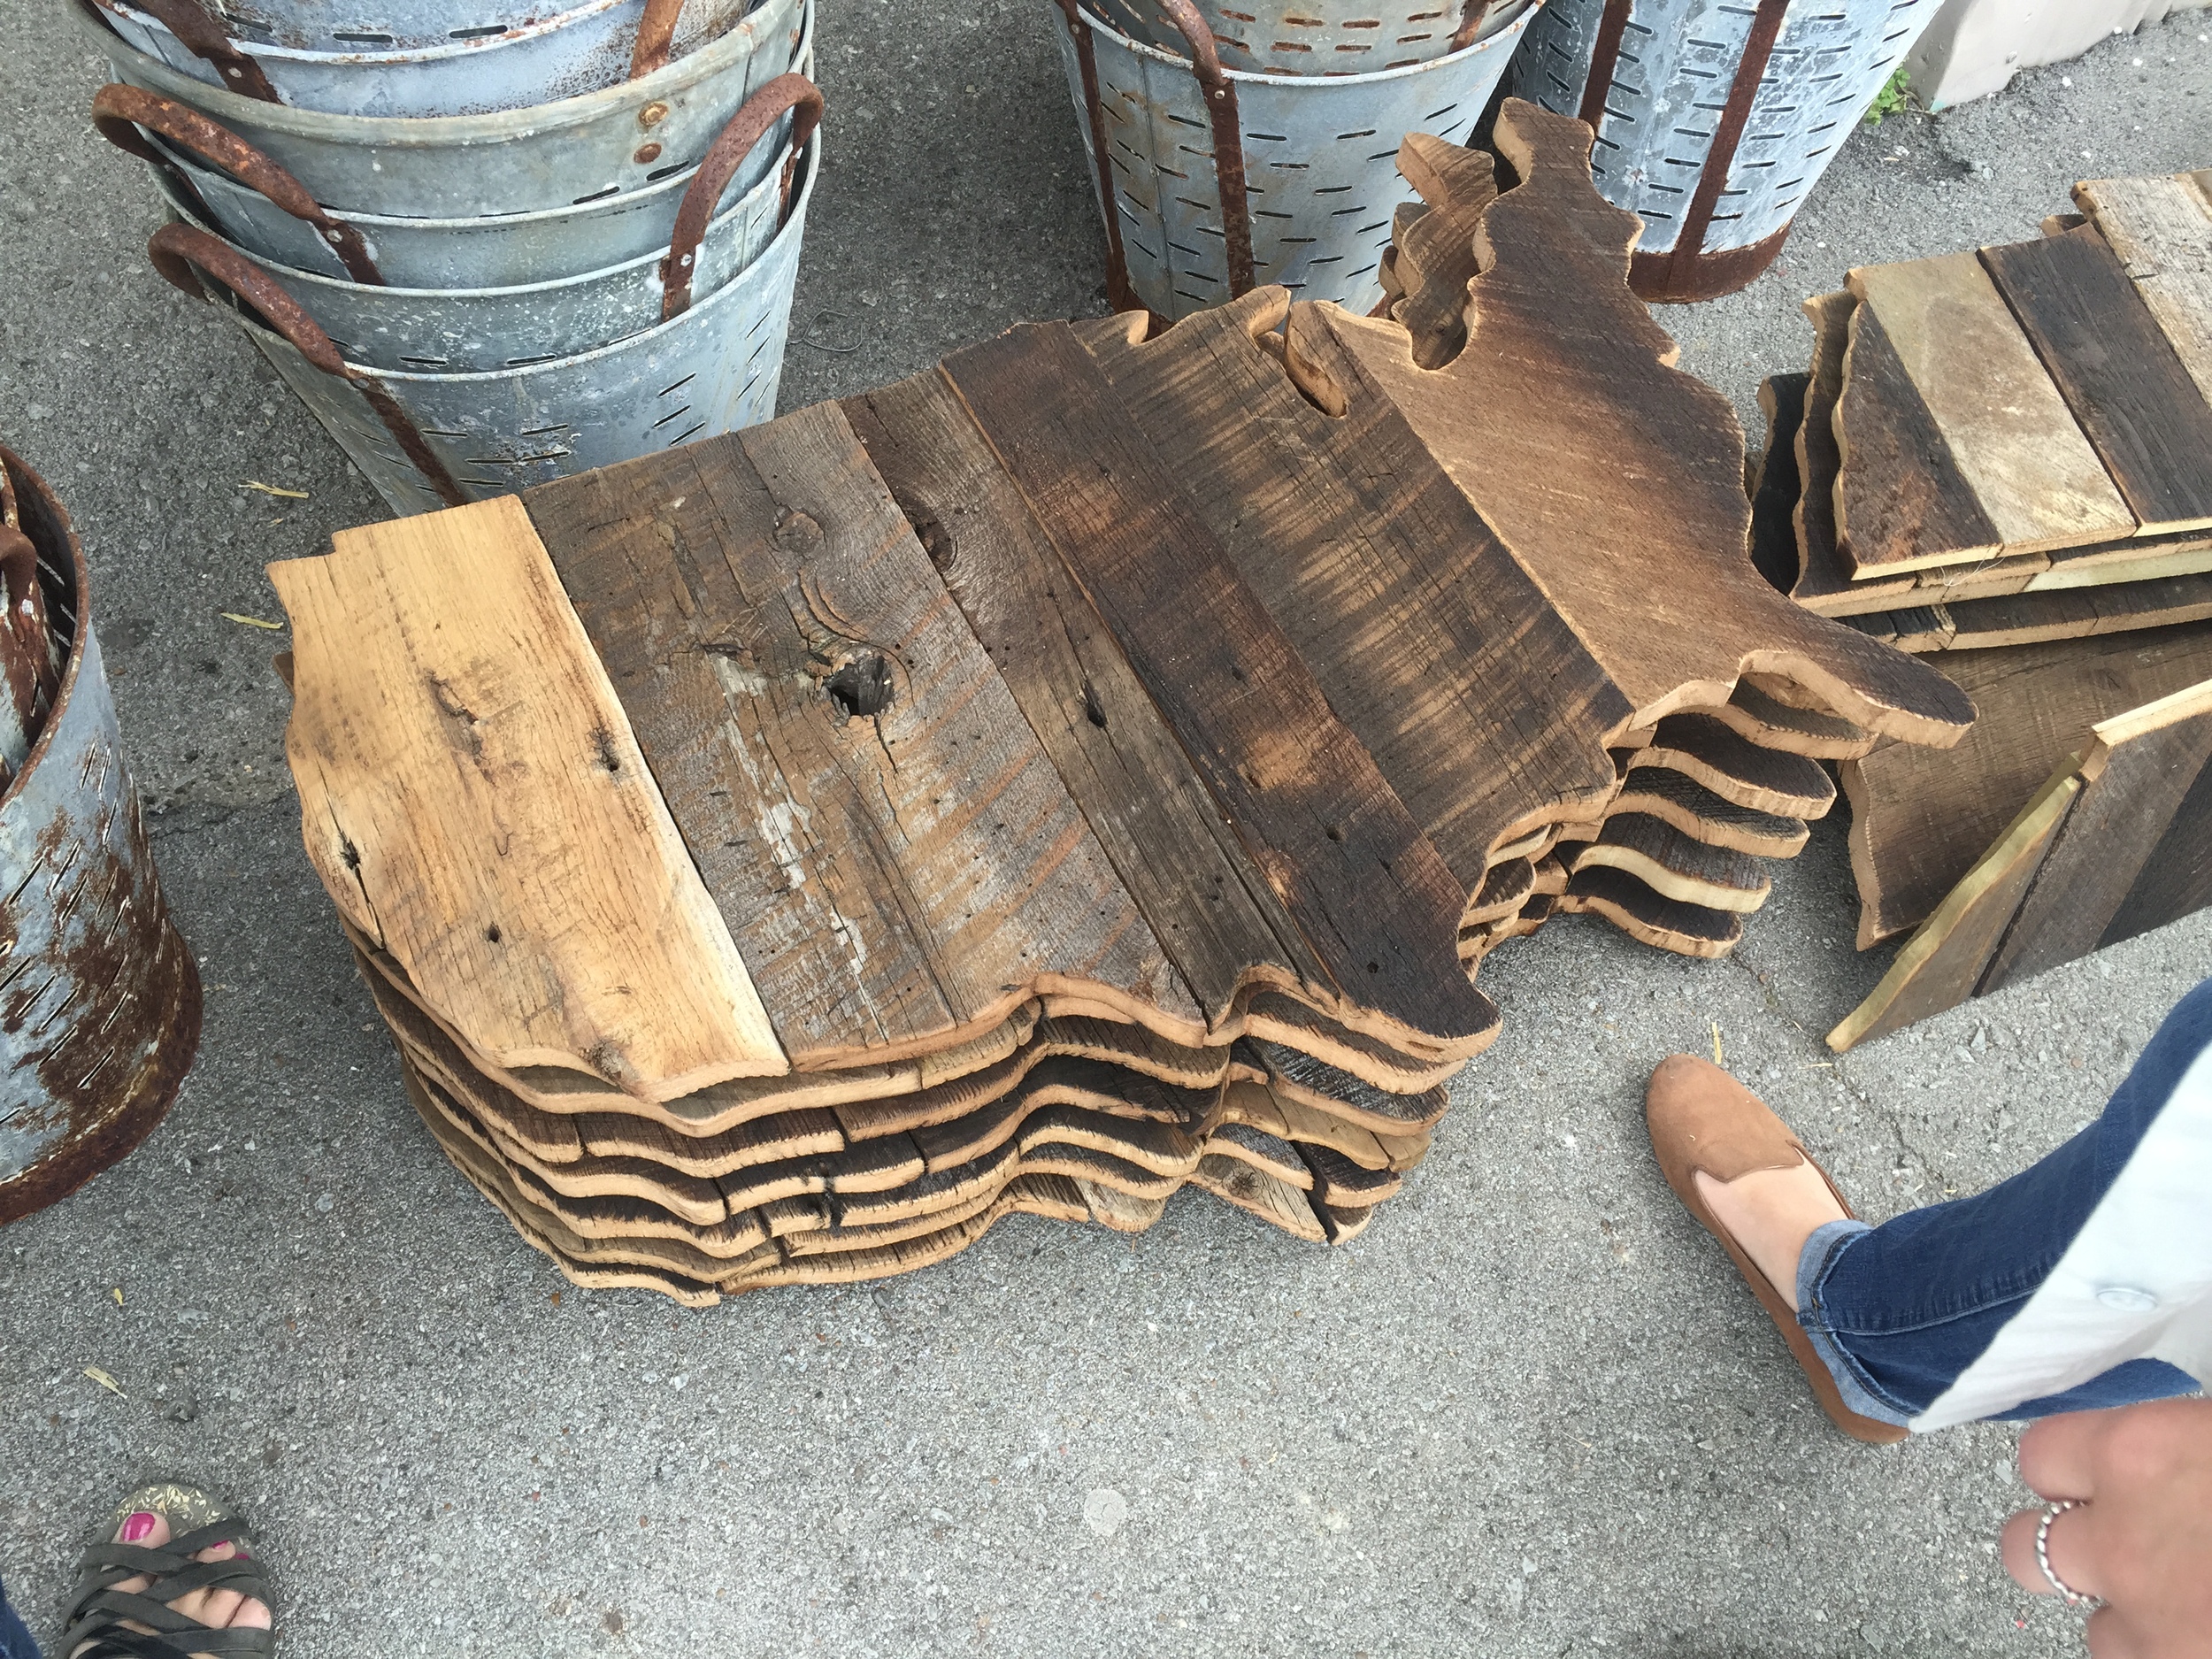
We fell in love with these hand cut barn wood USA cutouts, and they had every letter of the alphabet cut out of colorful wood as well!

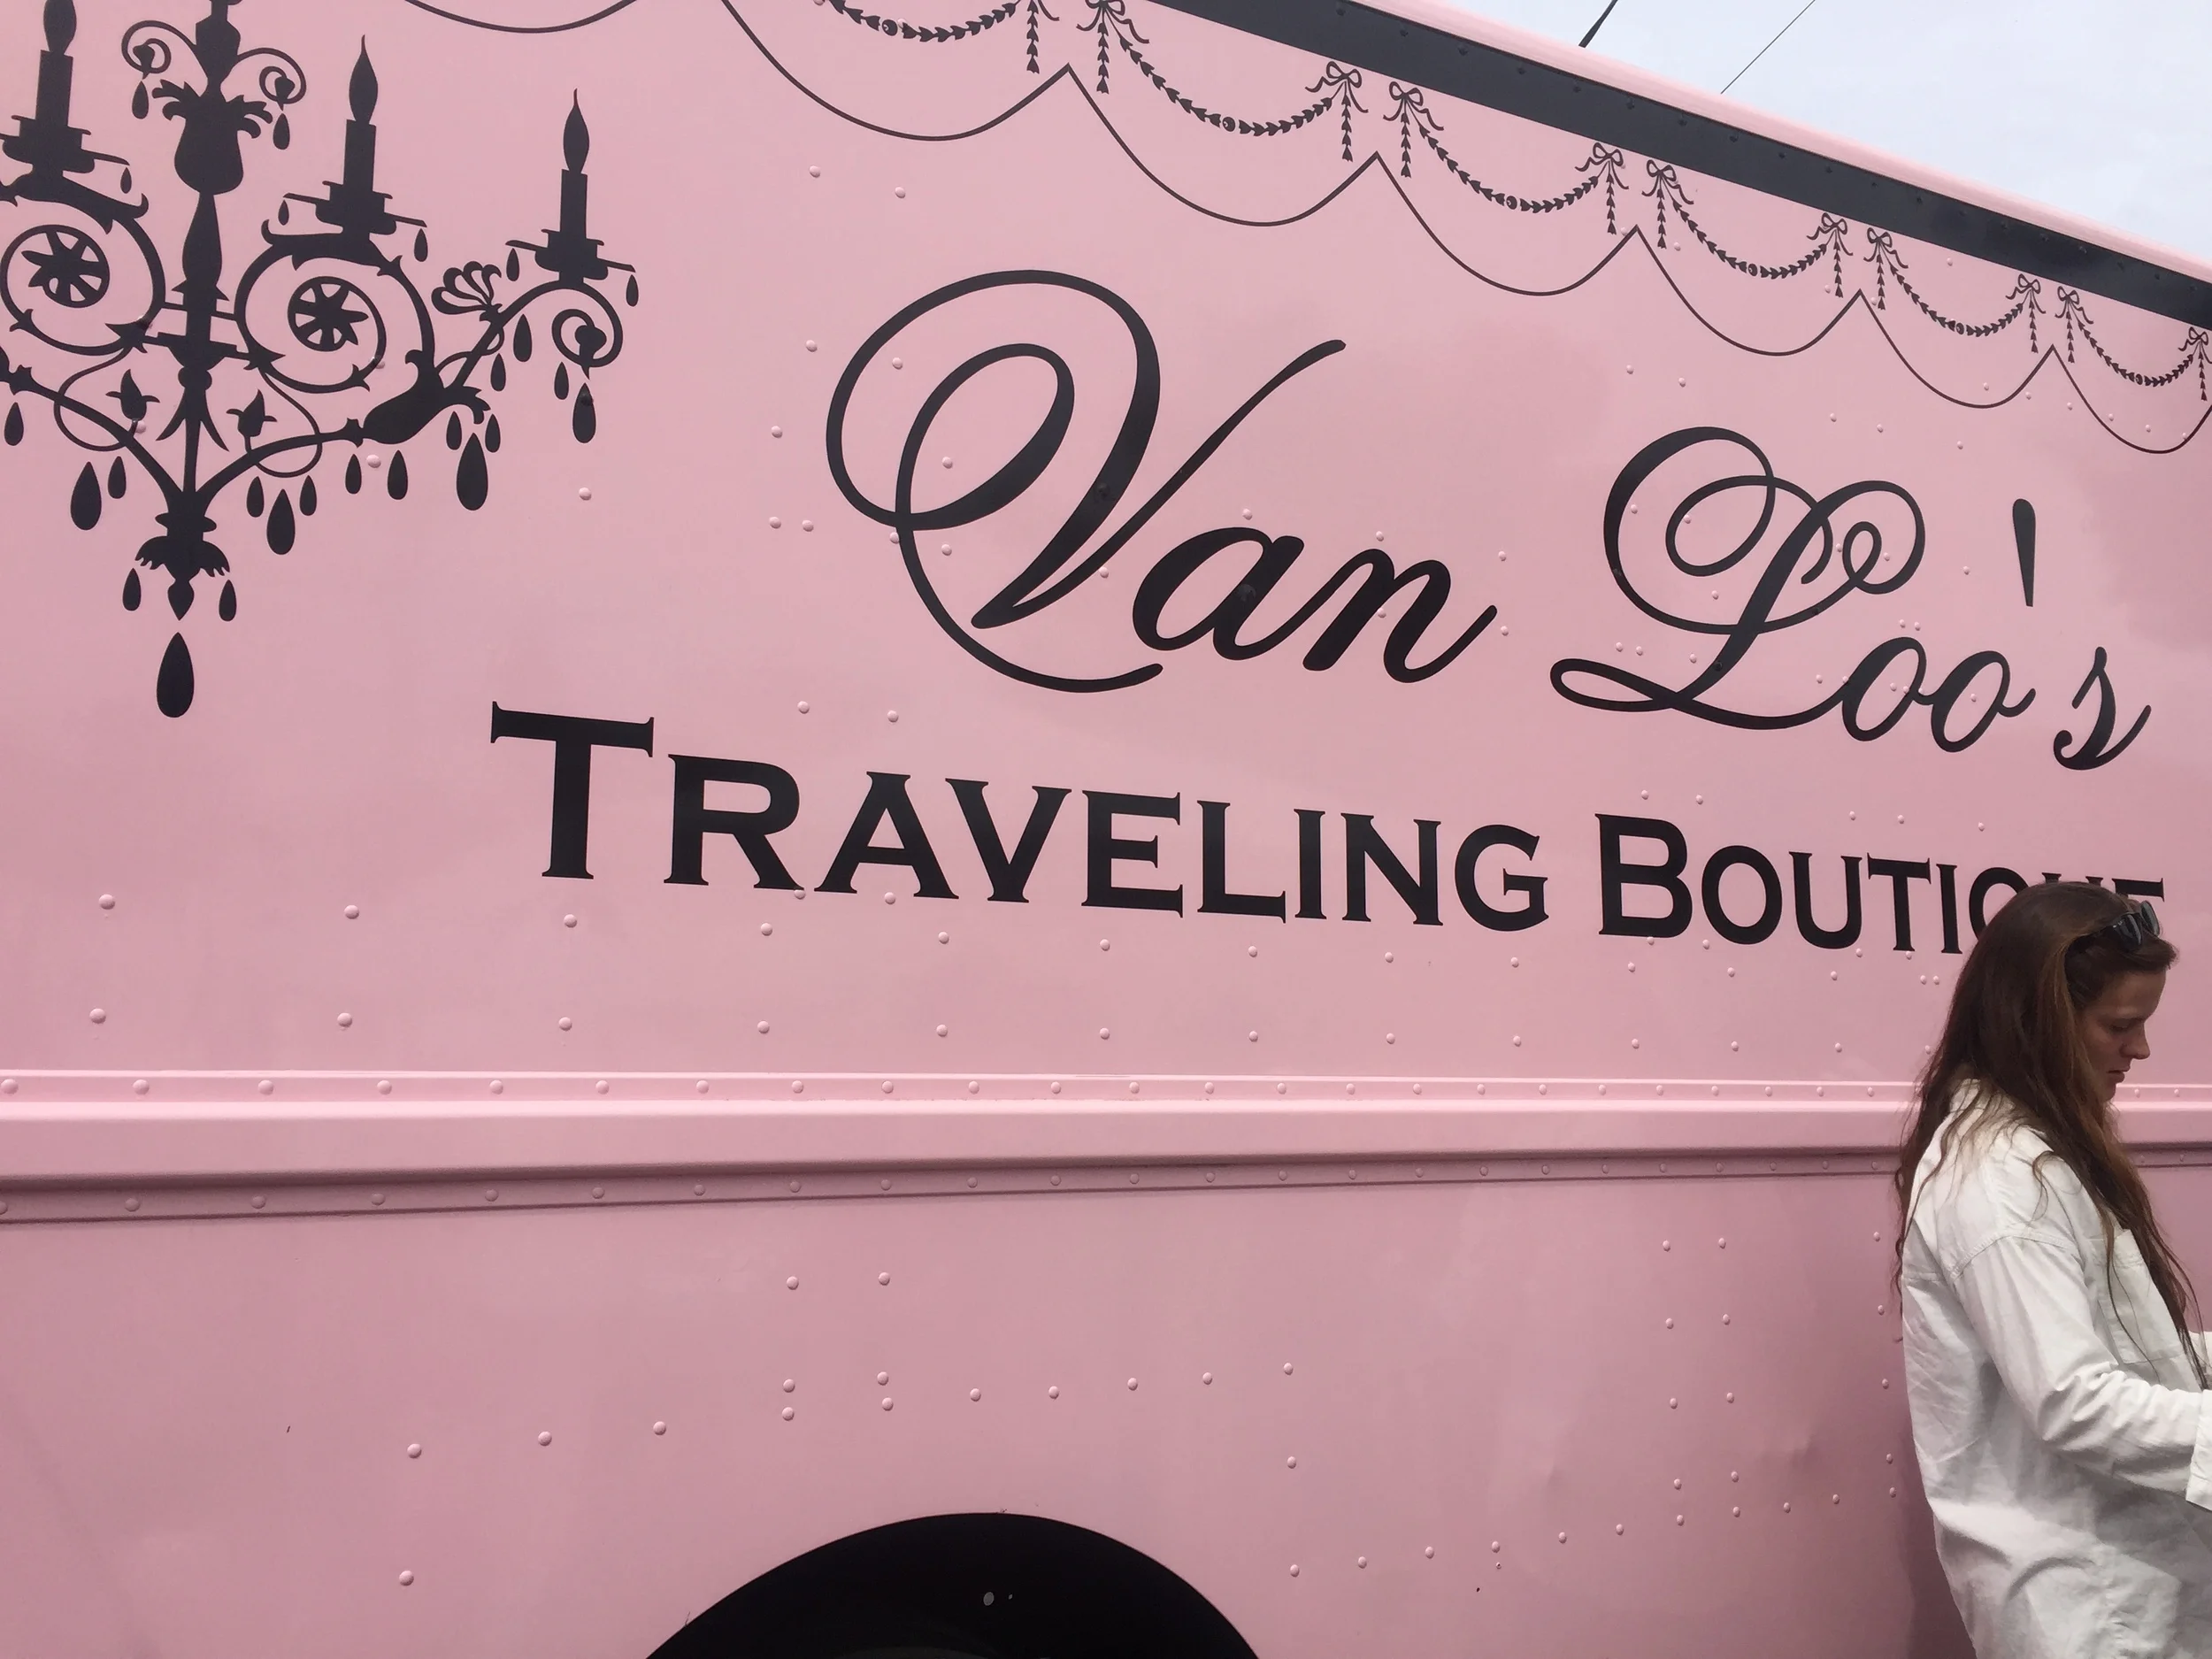
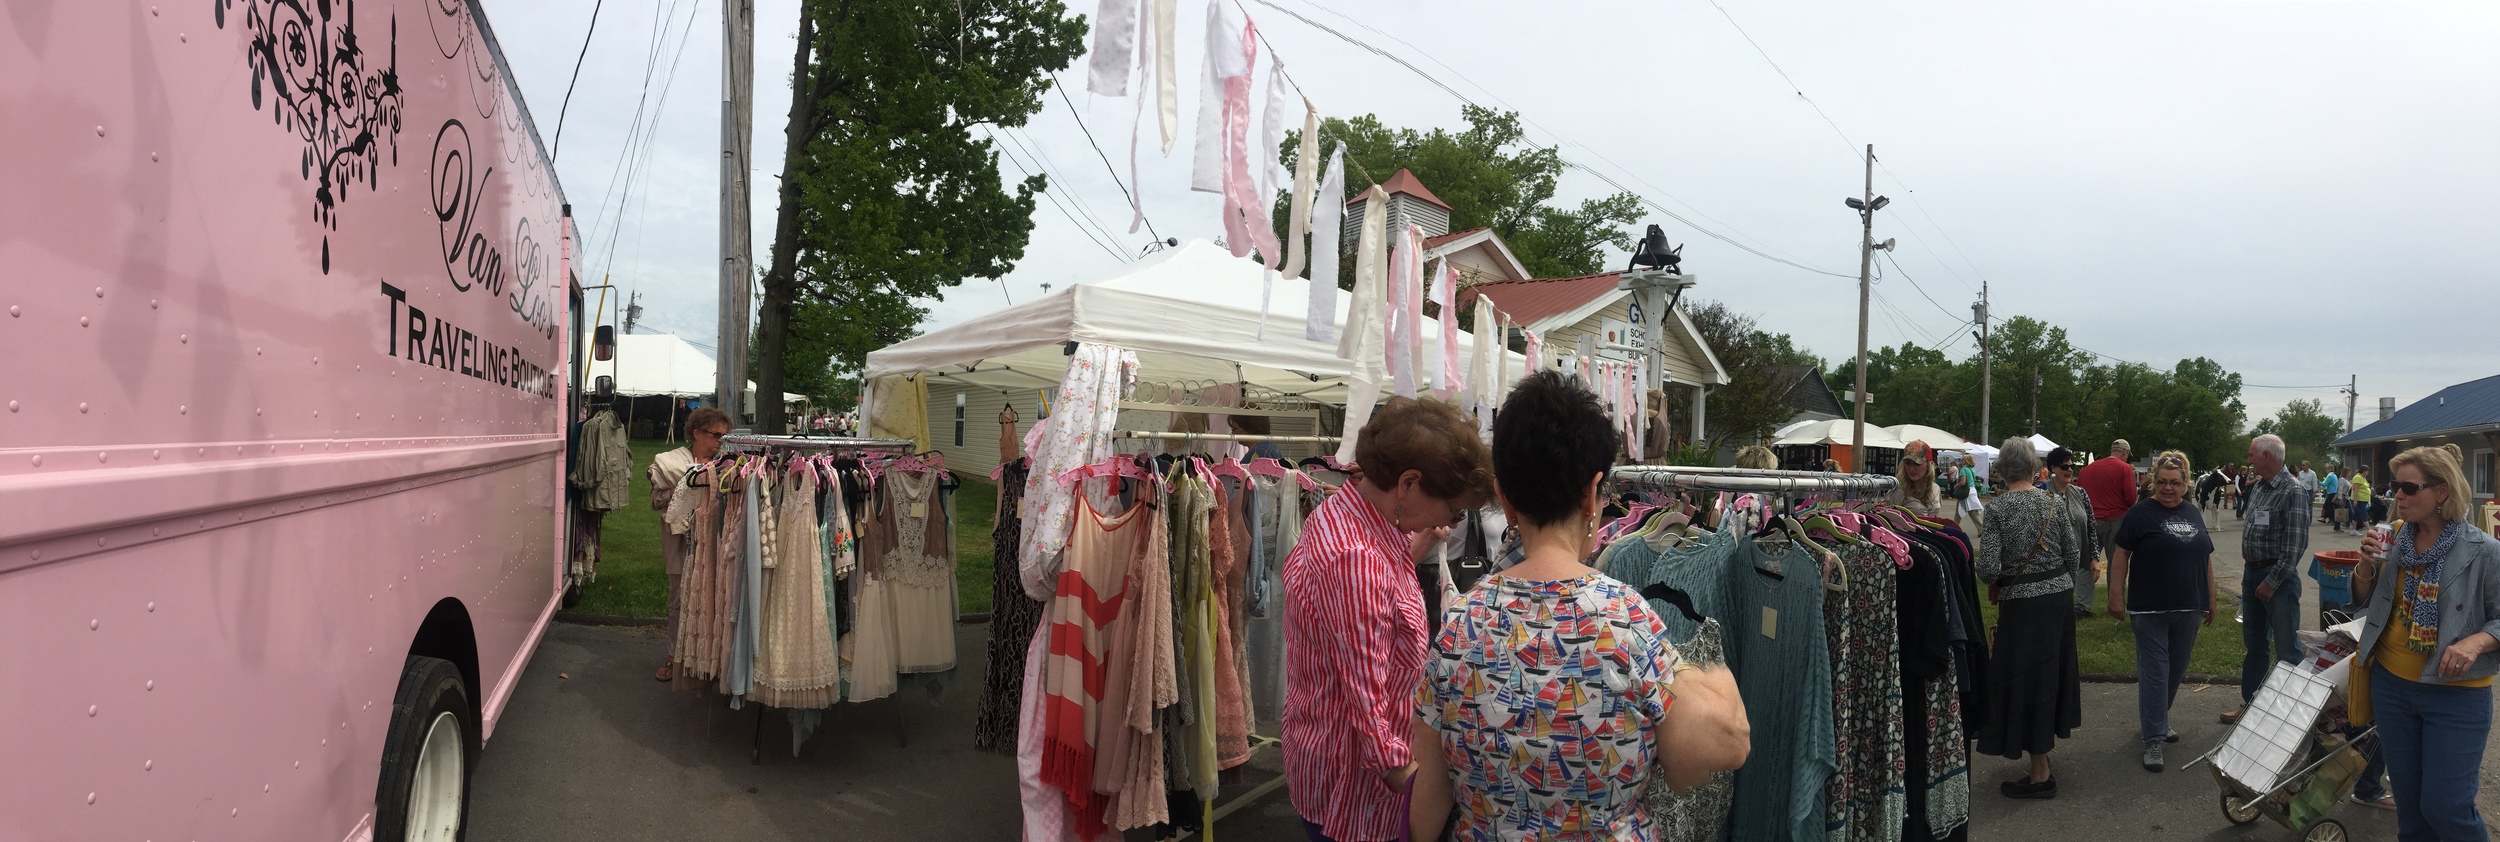
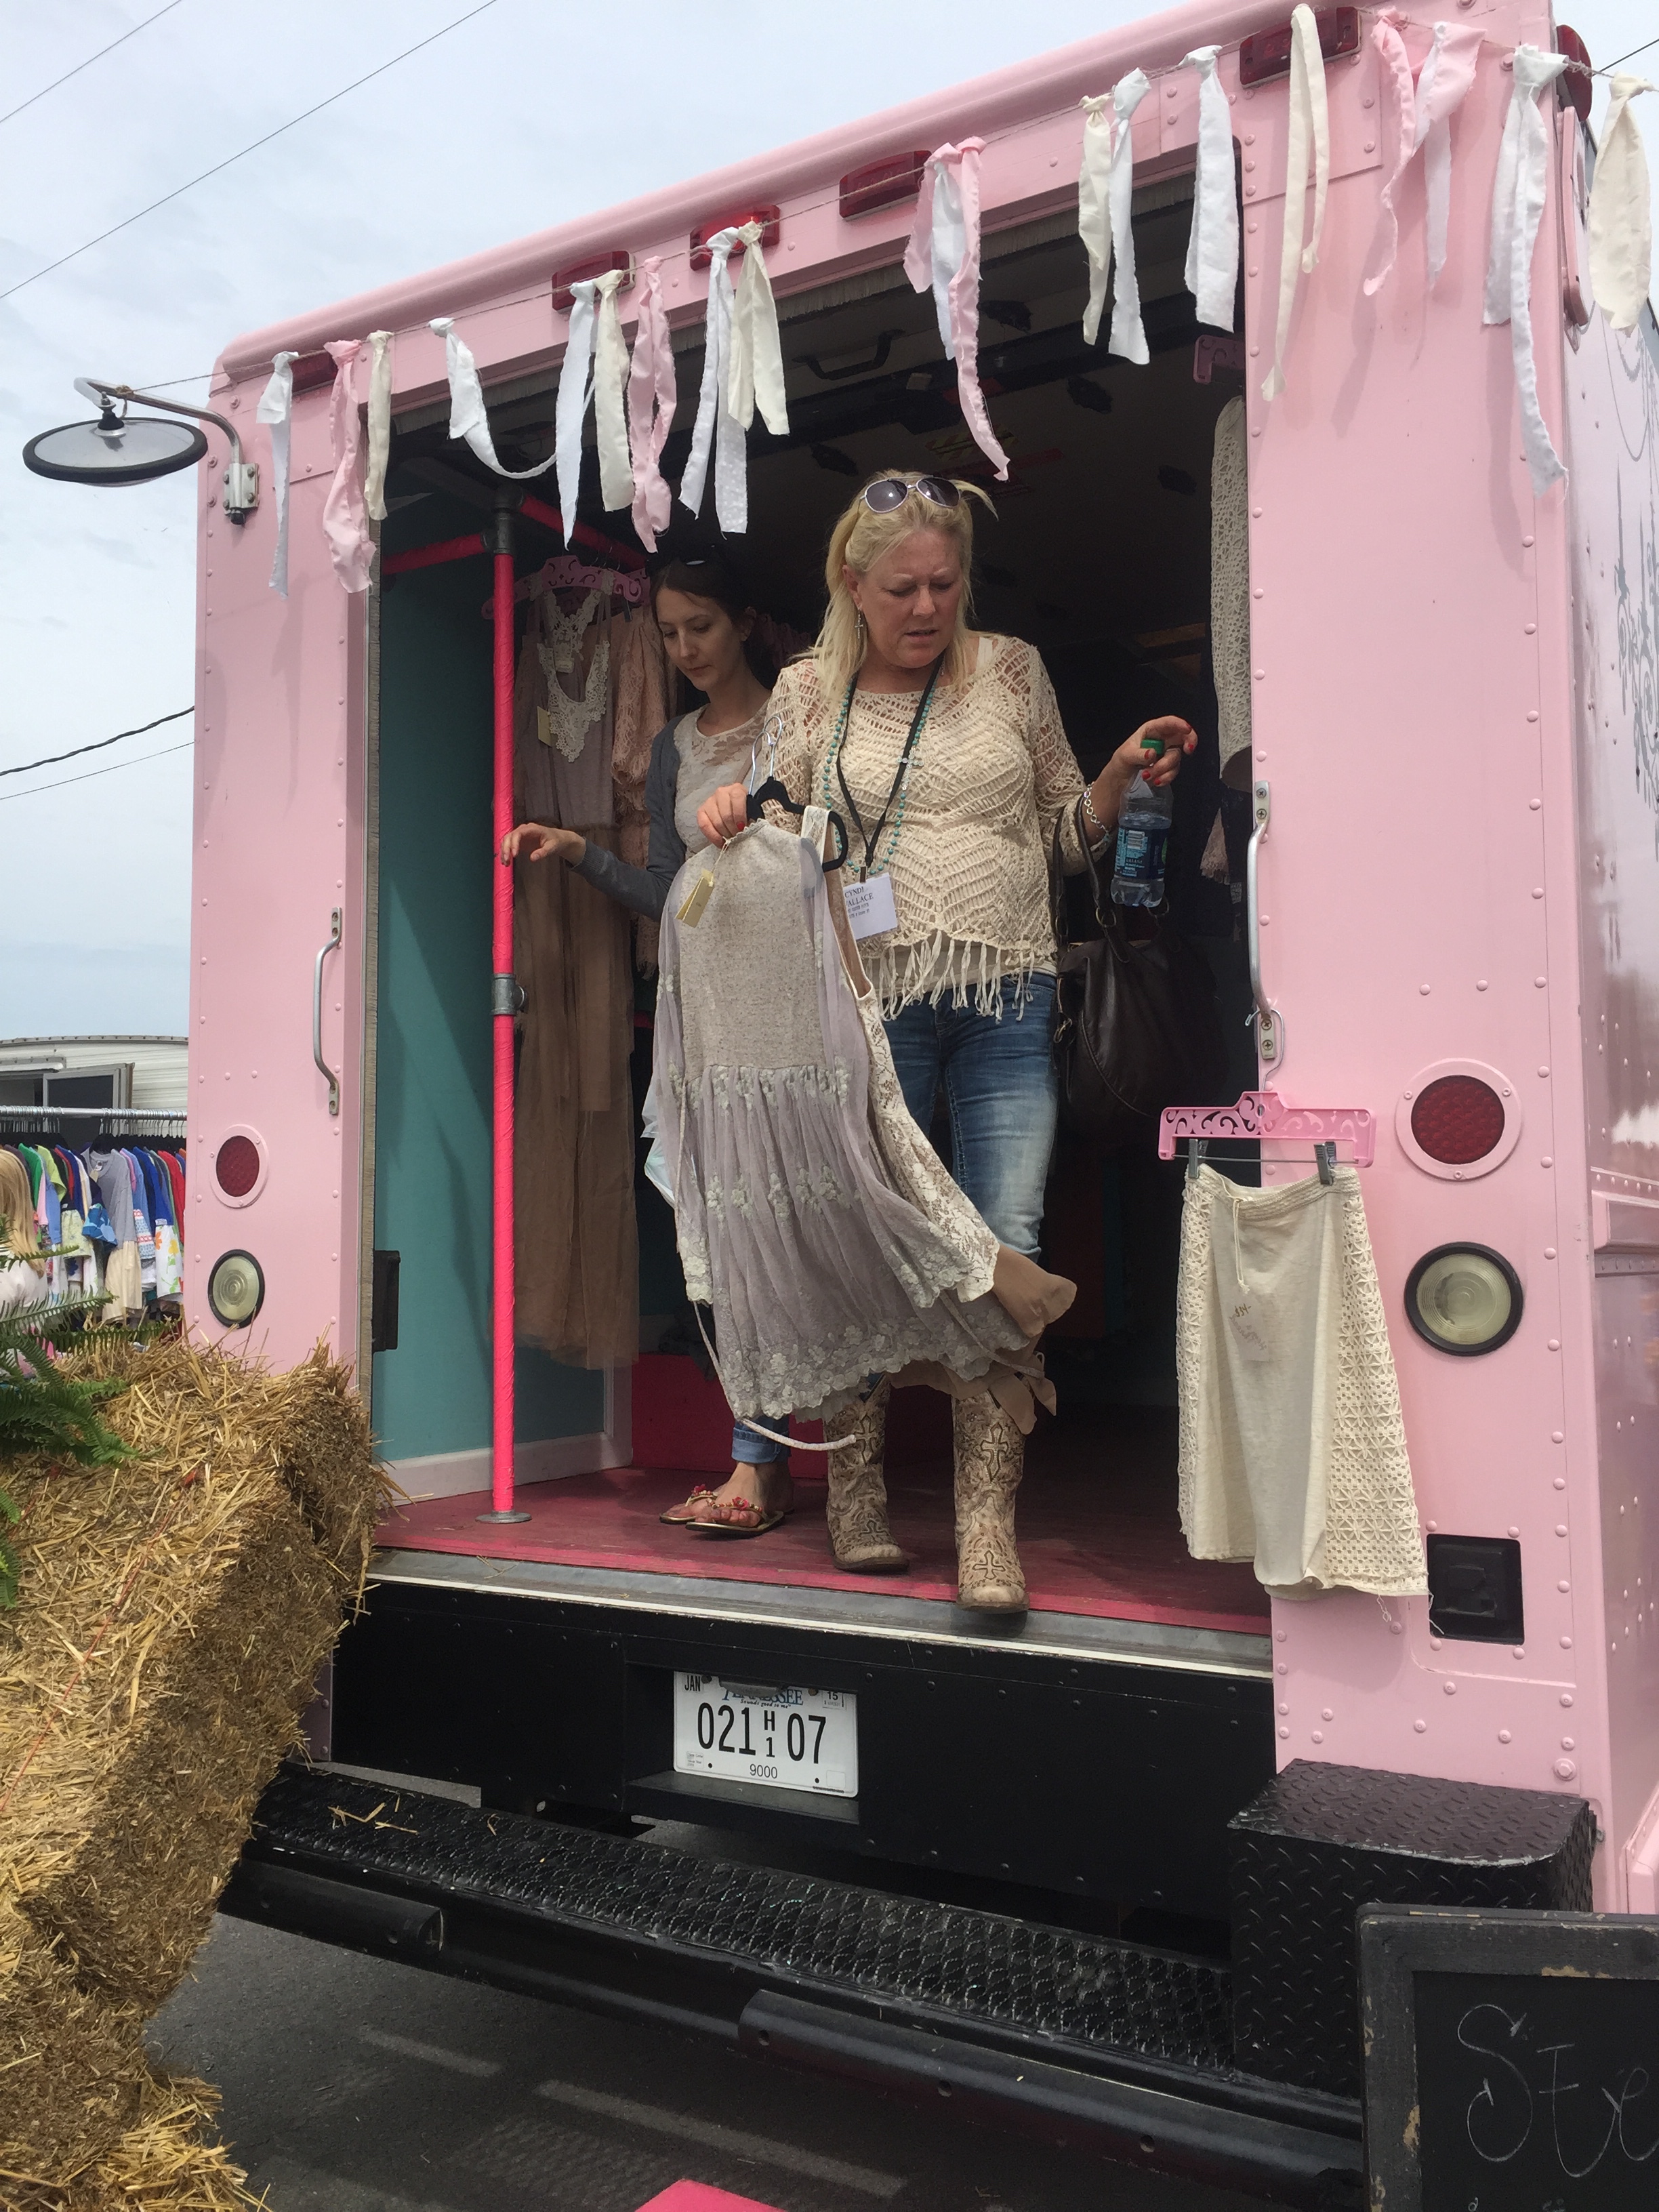
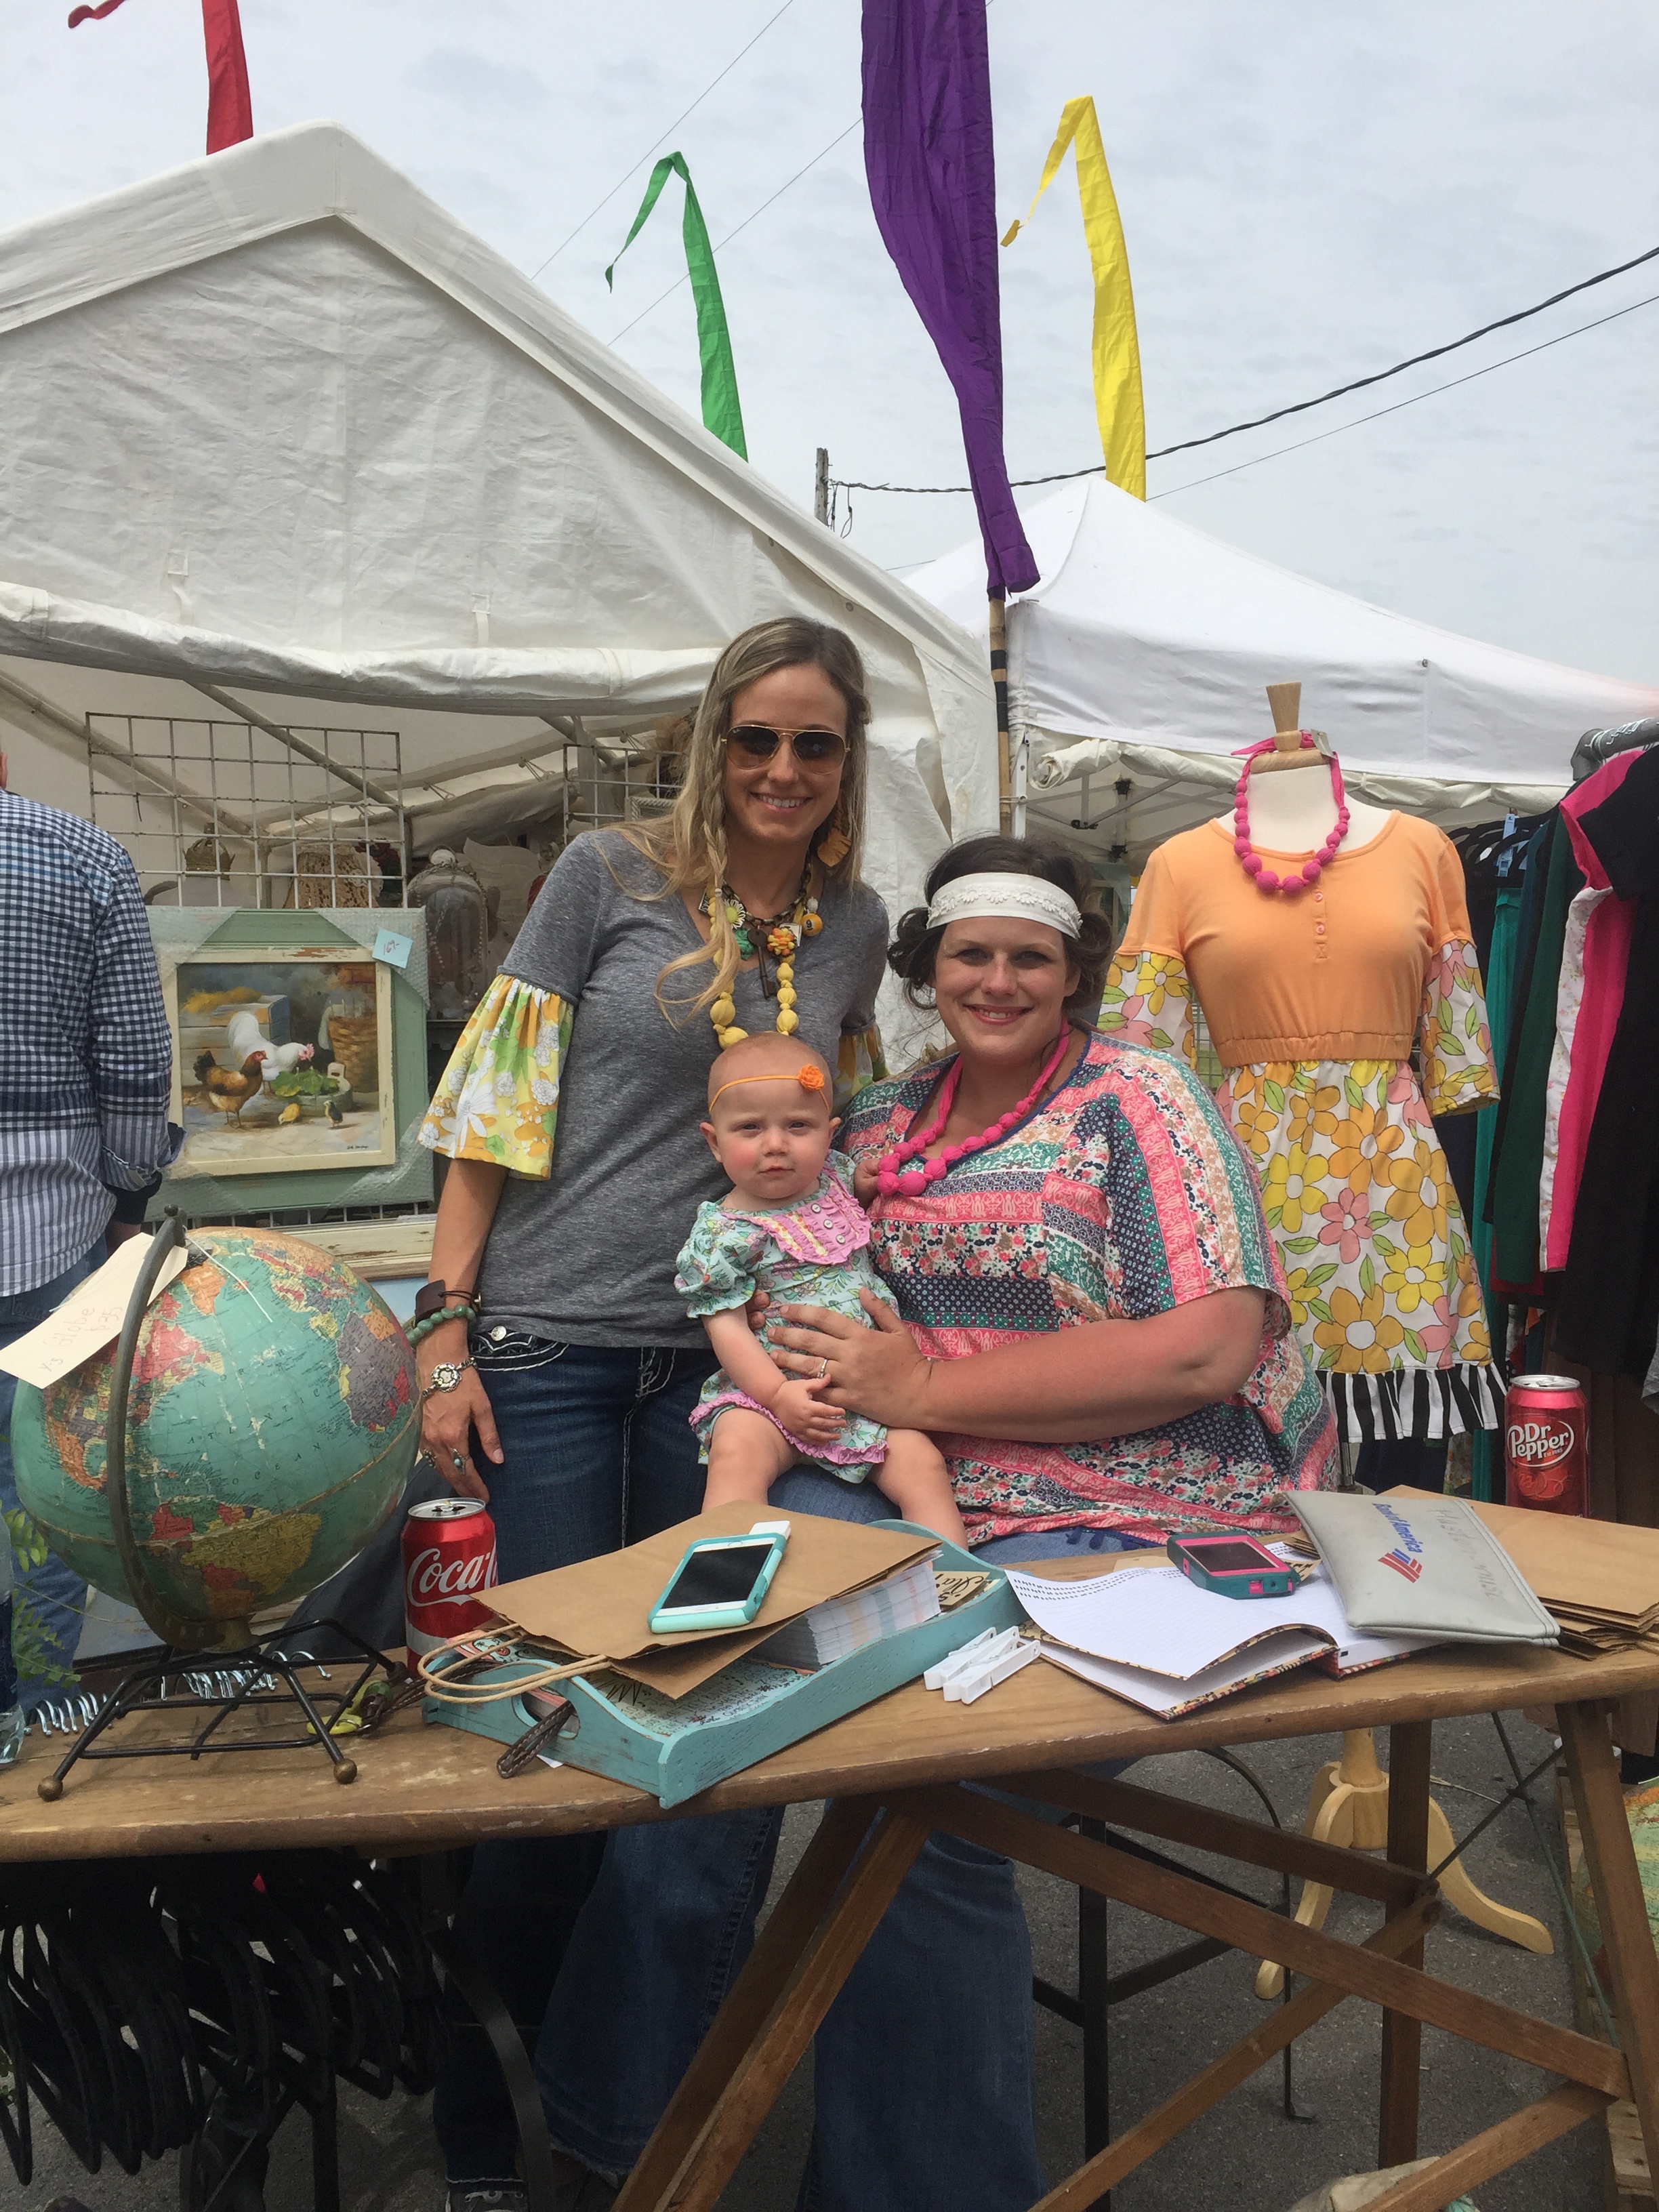
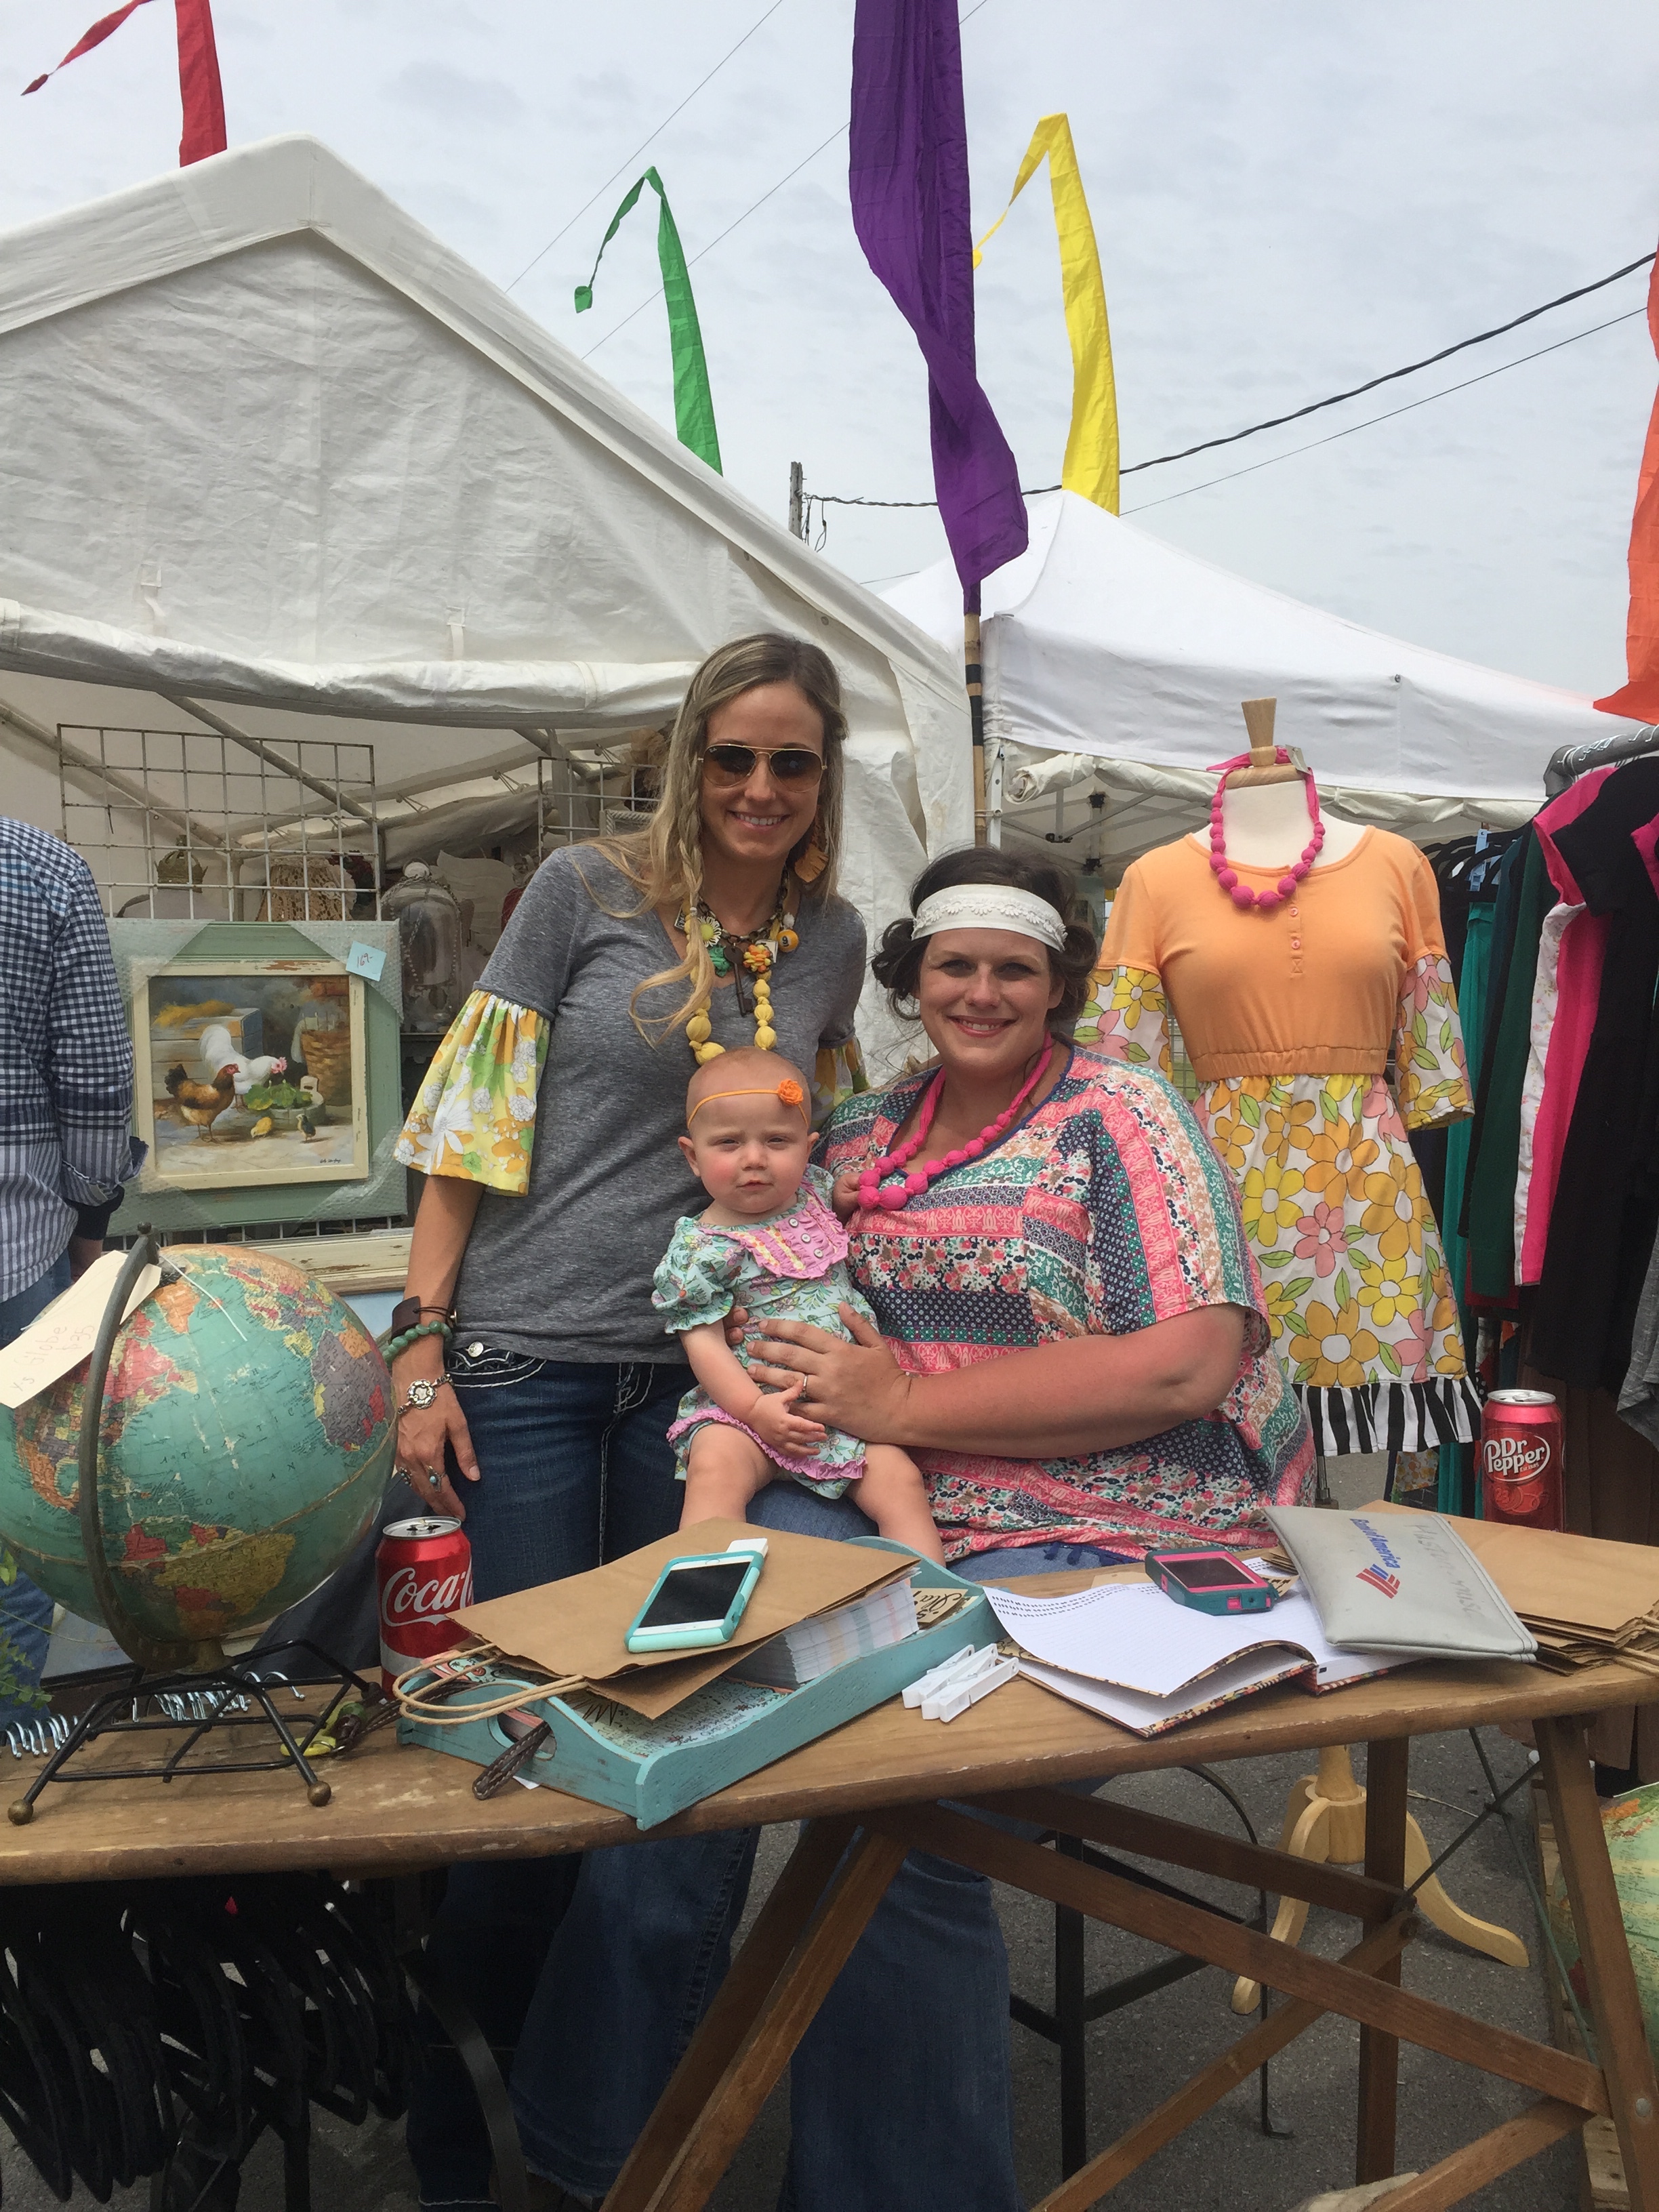
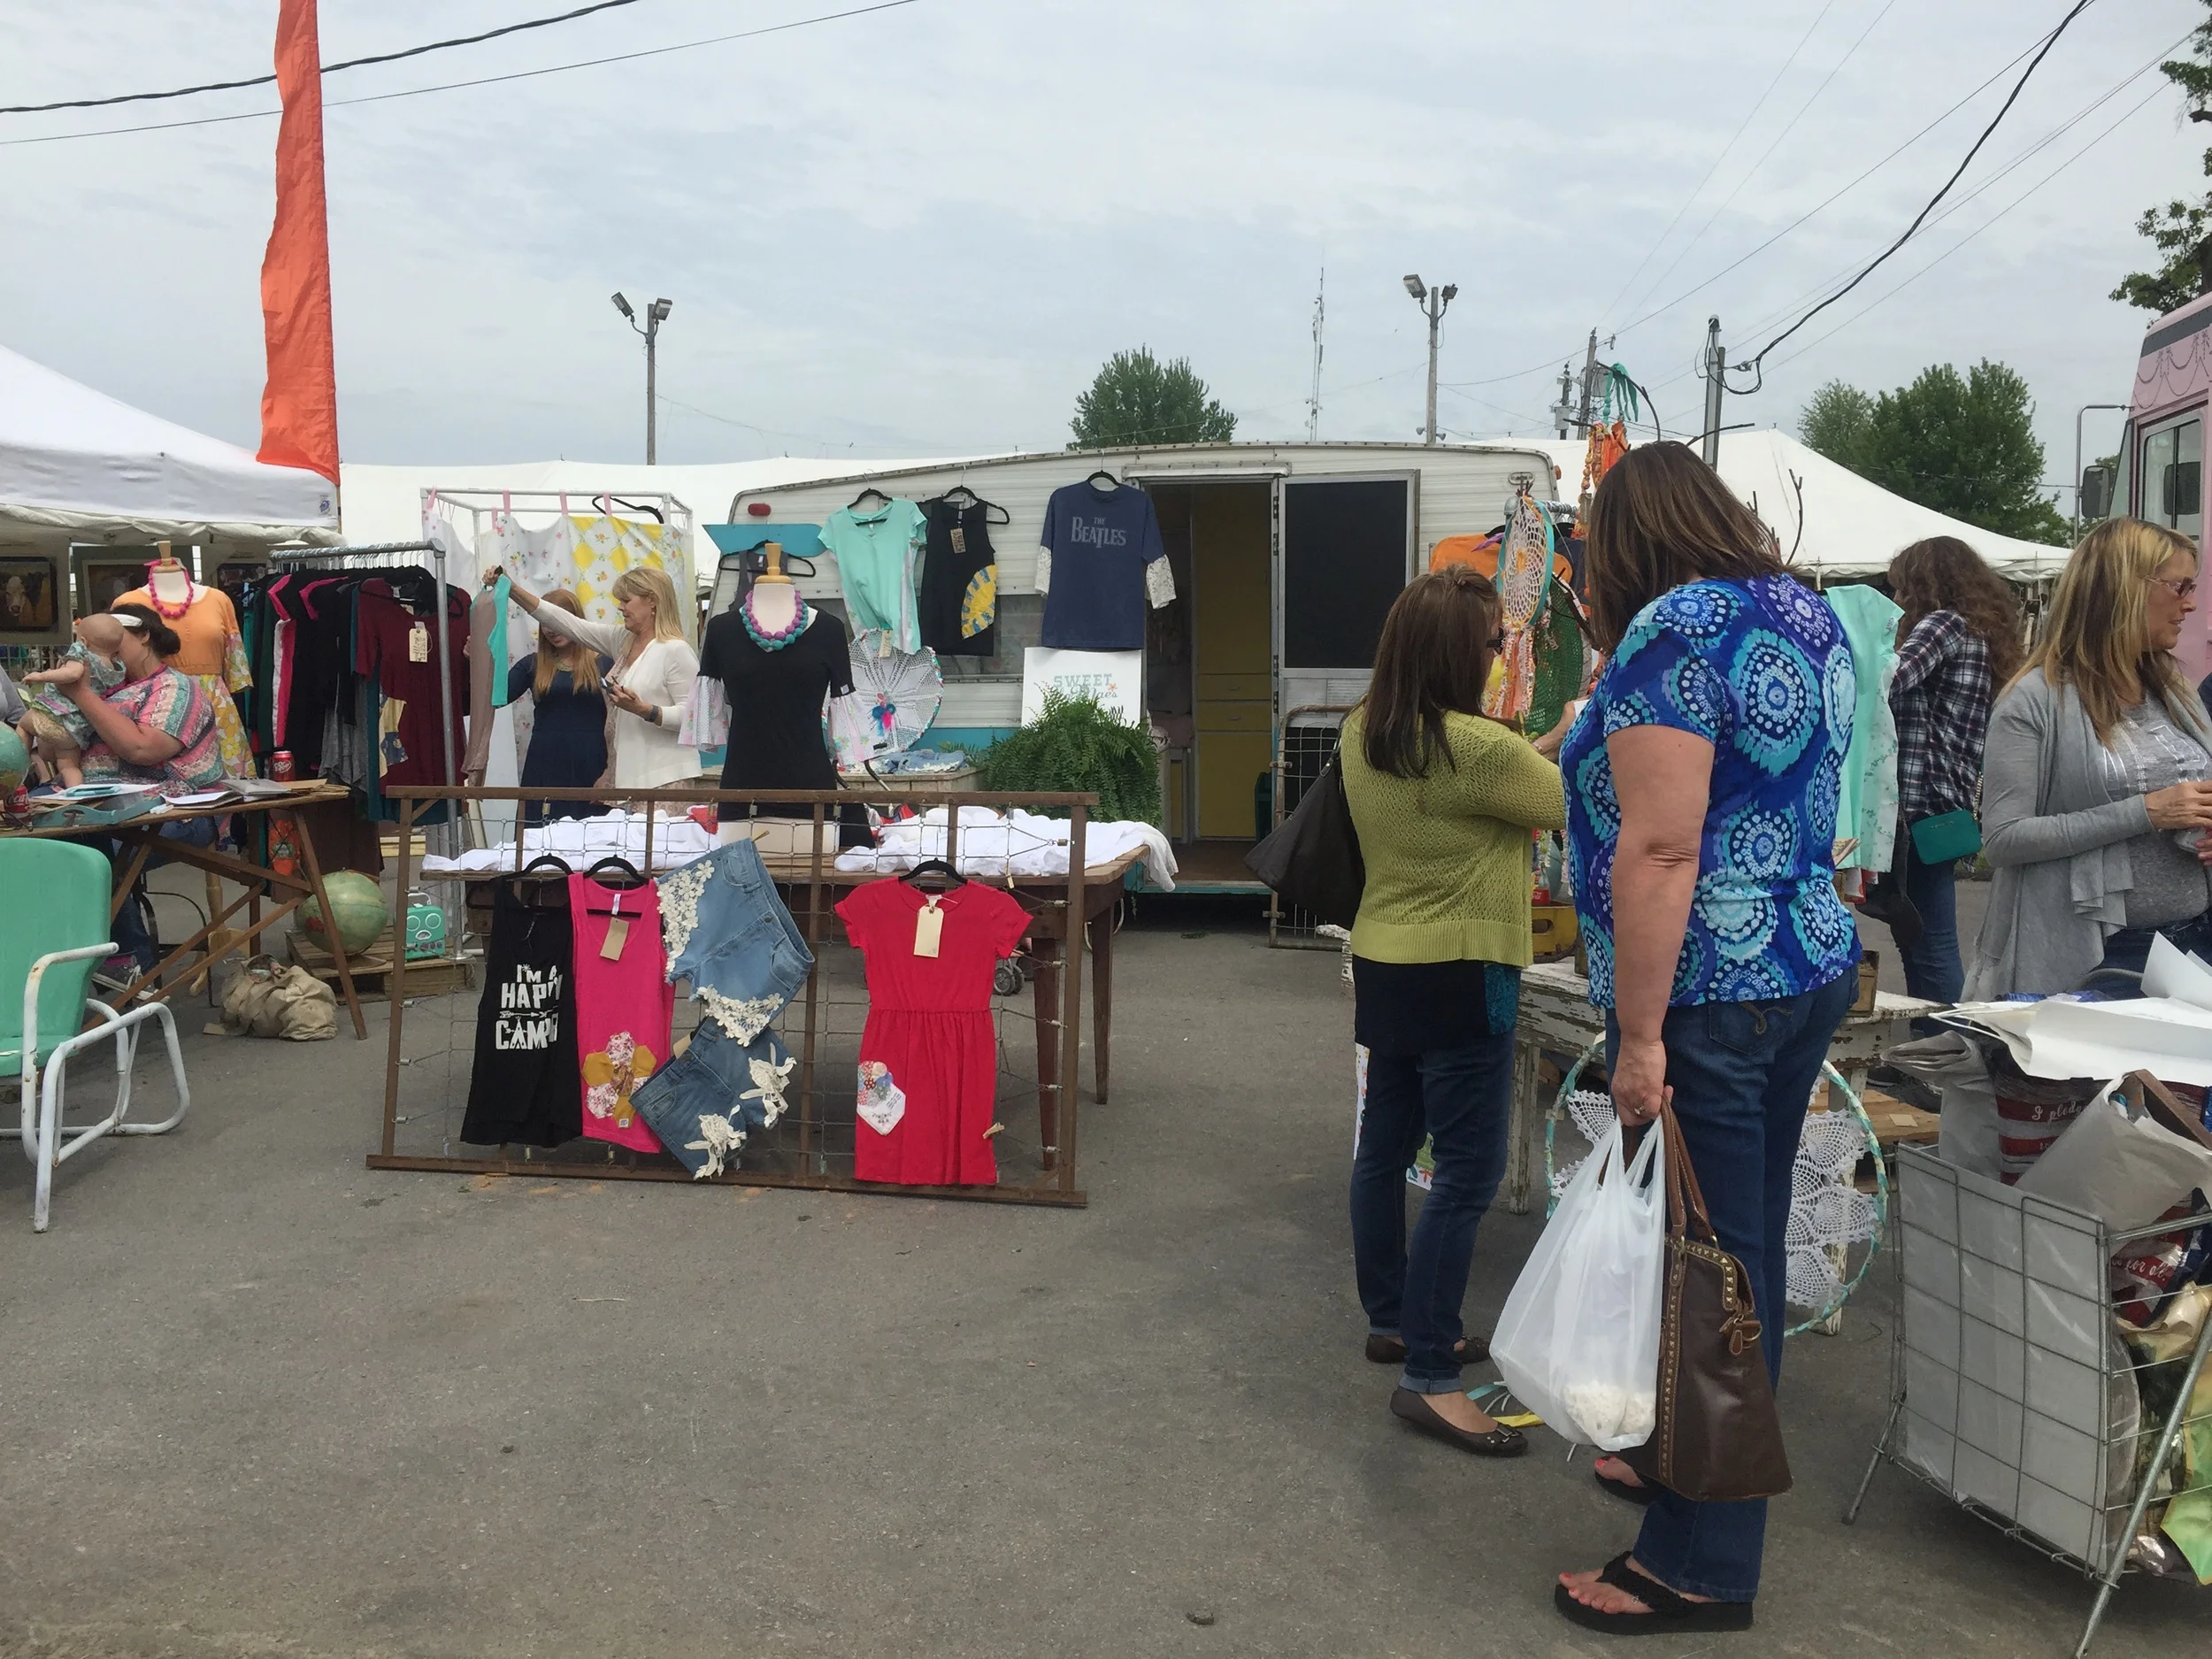
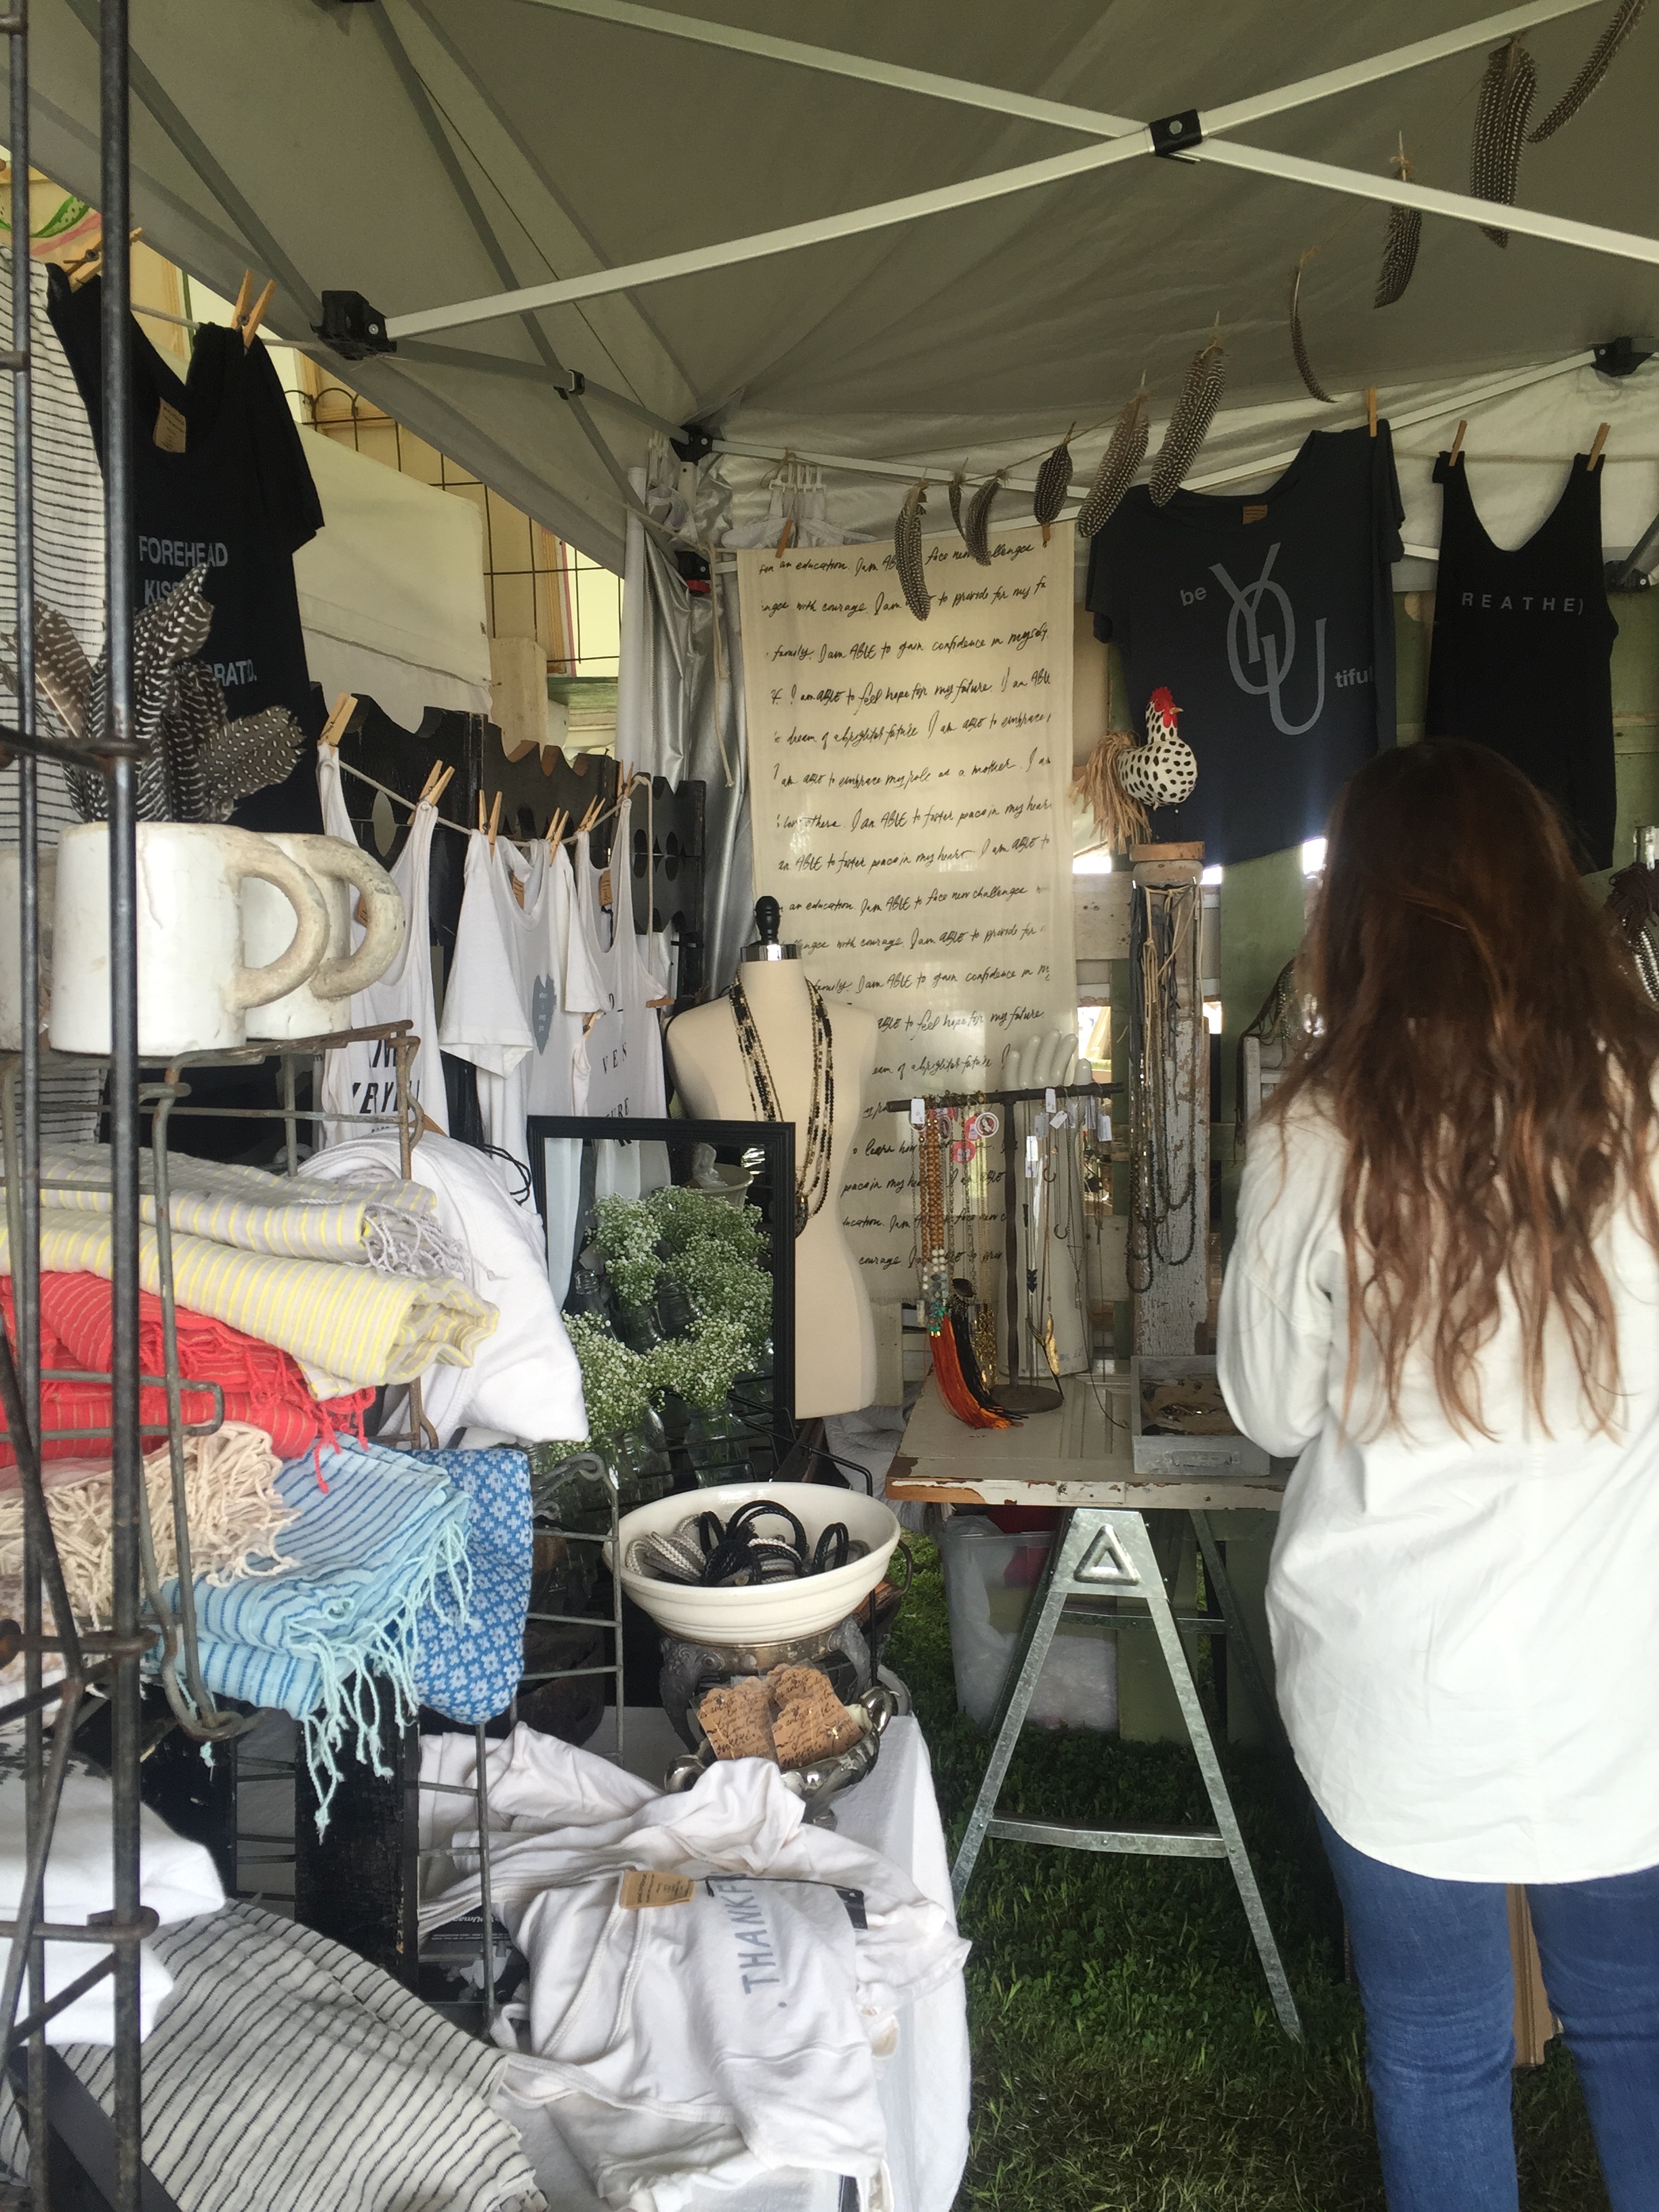
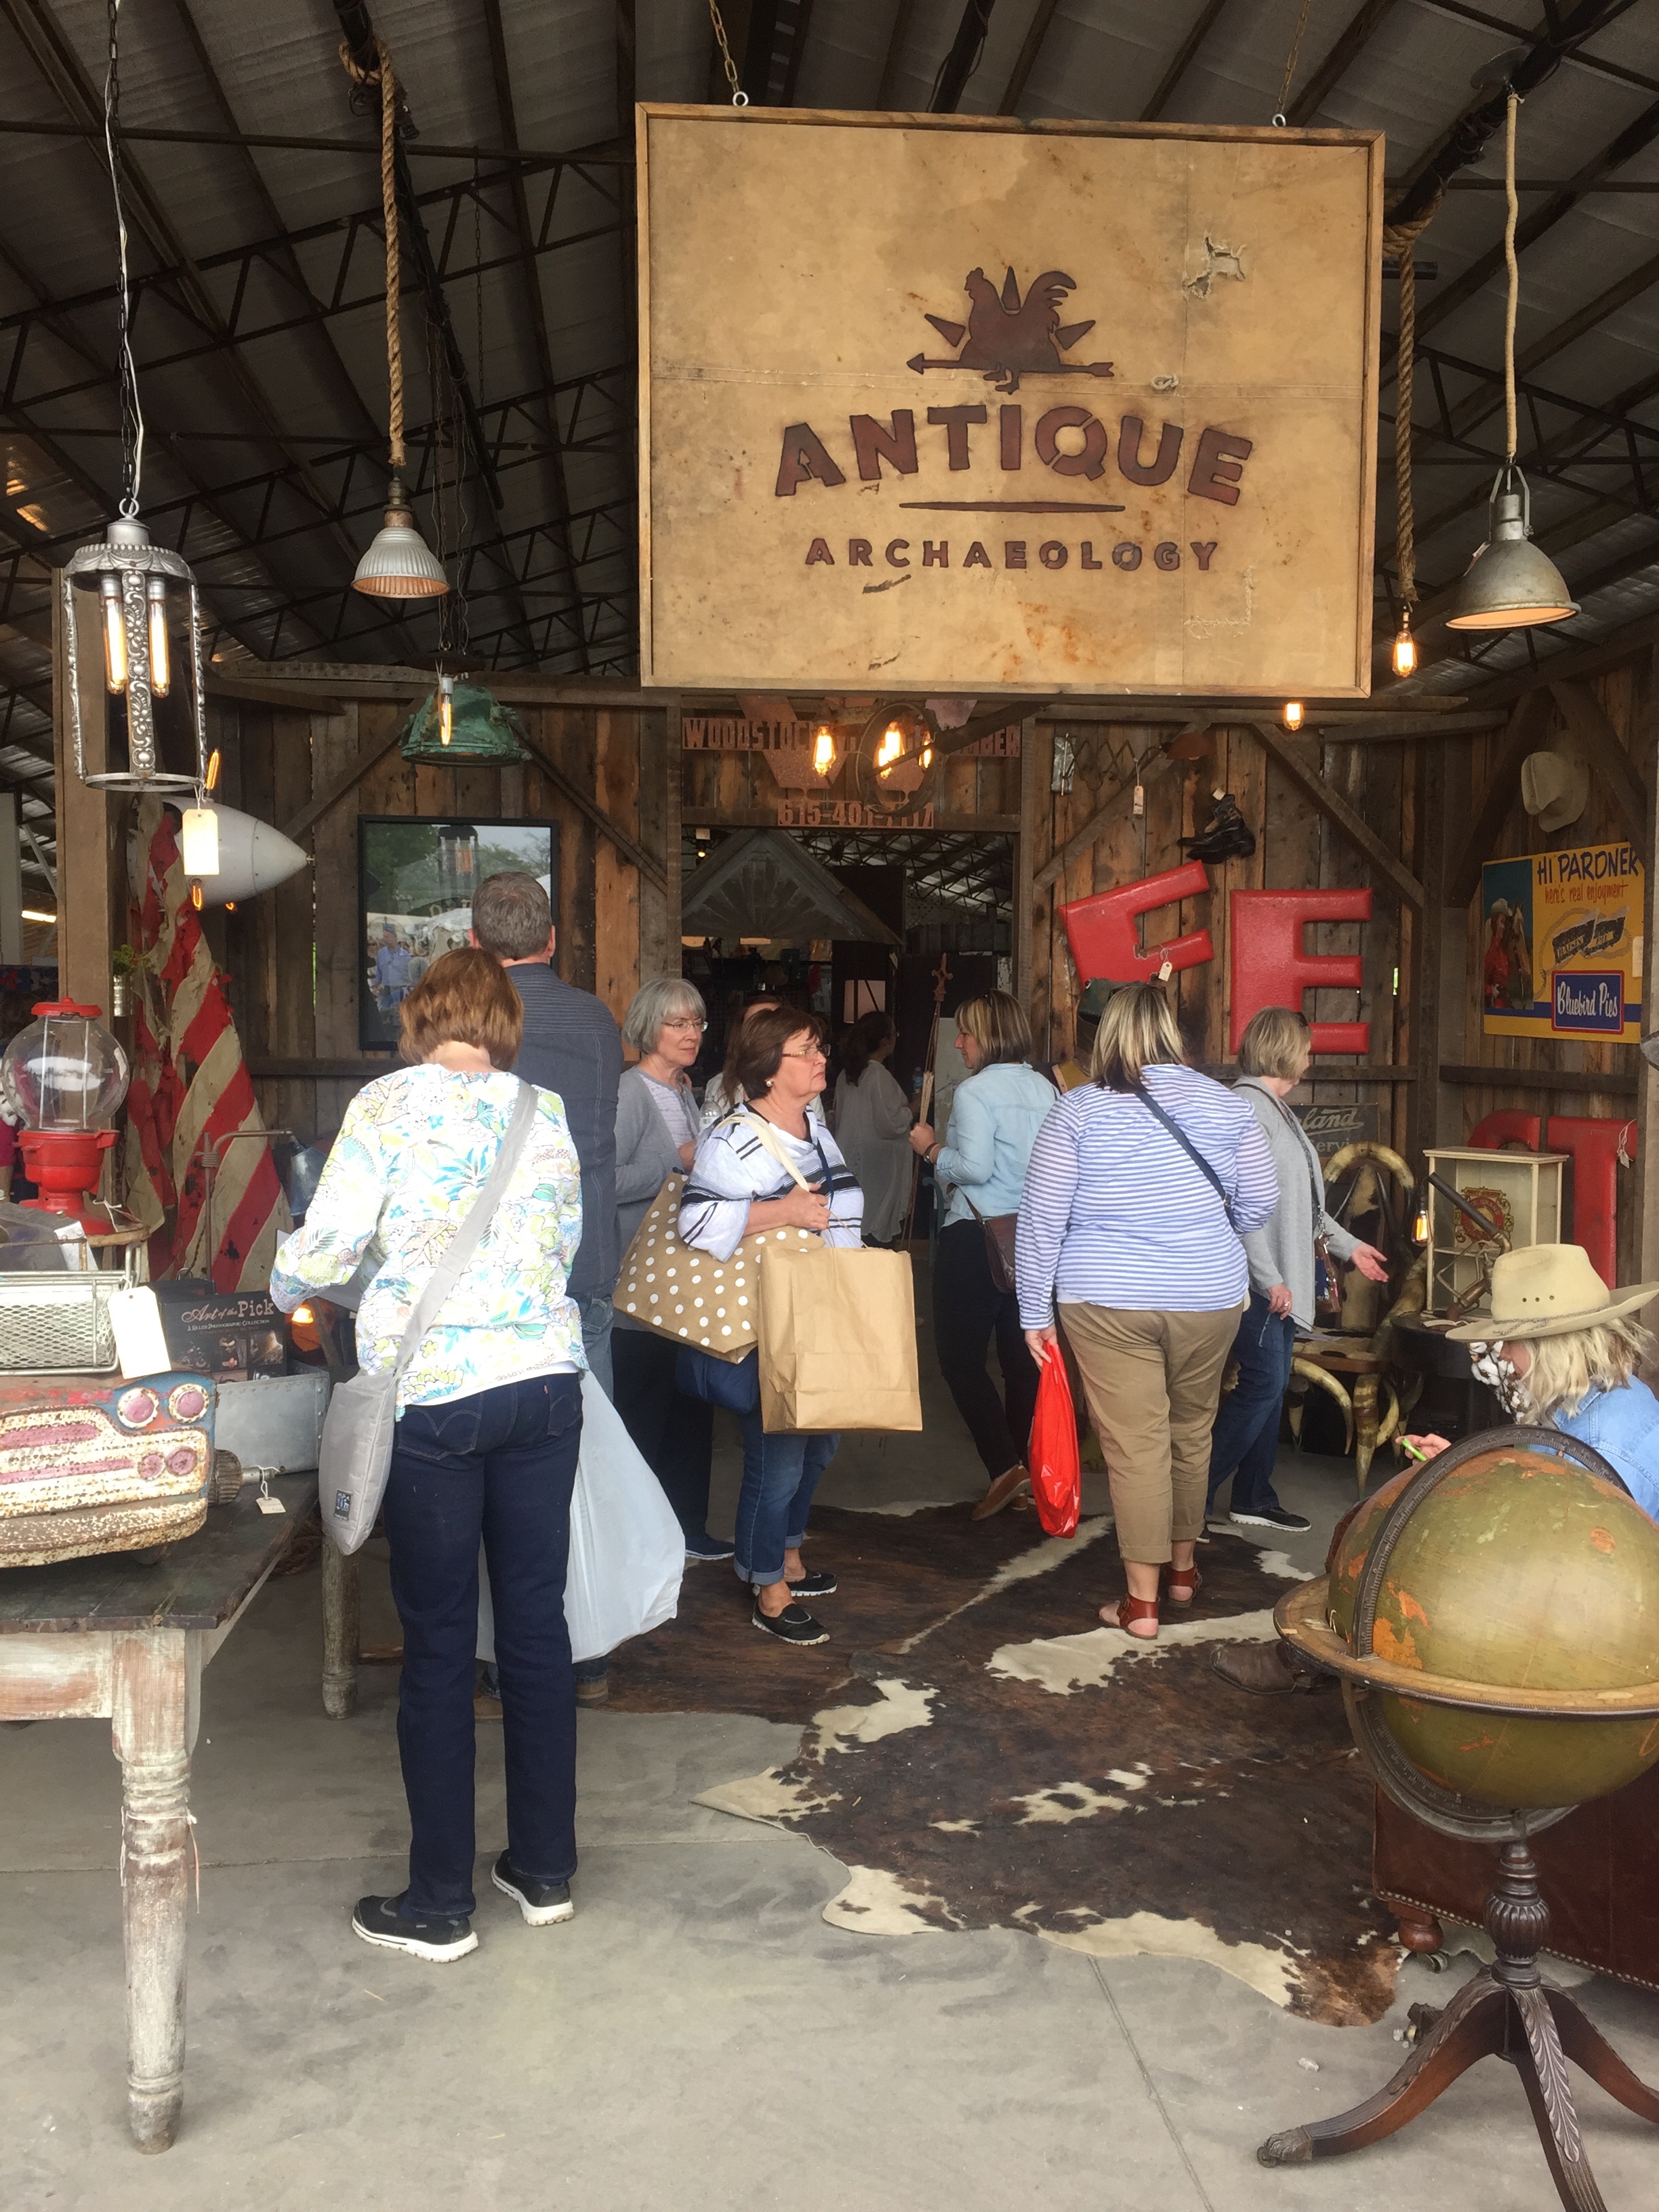
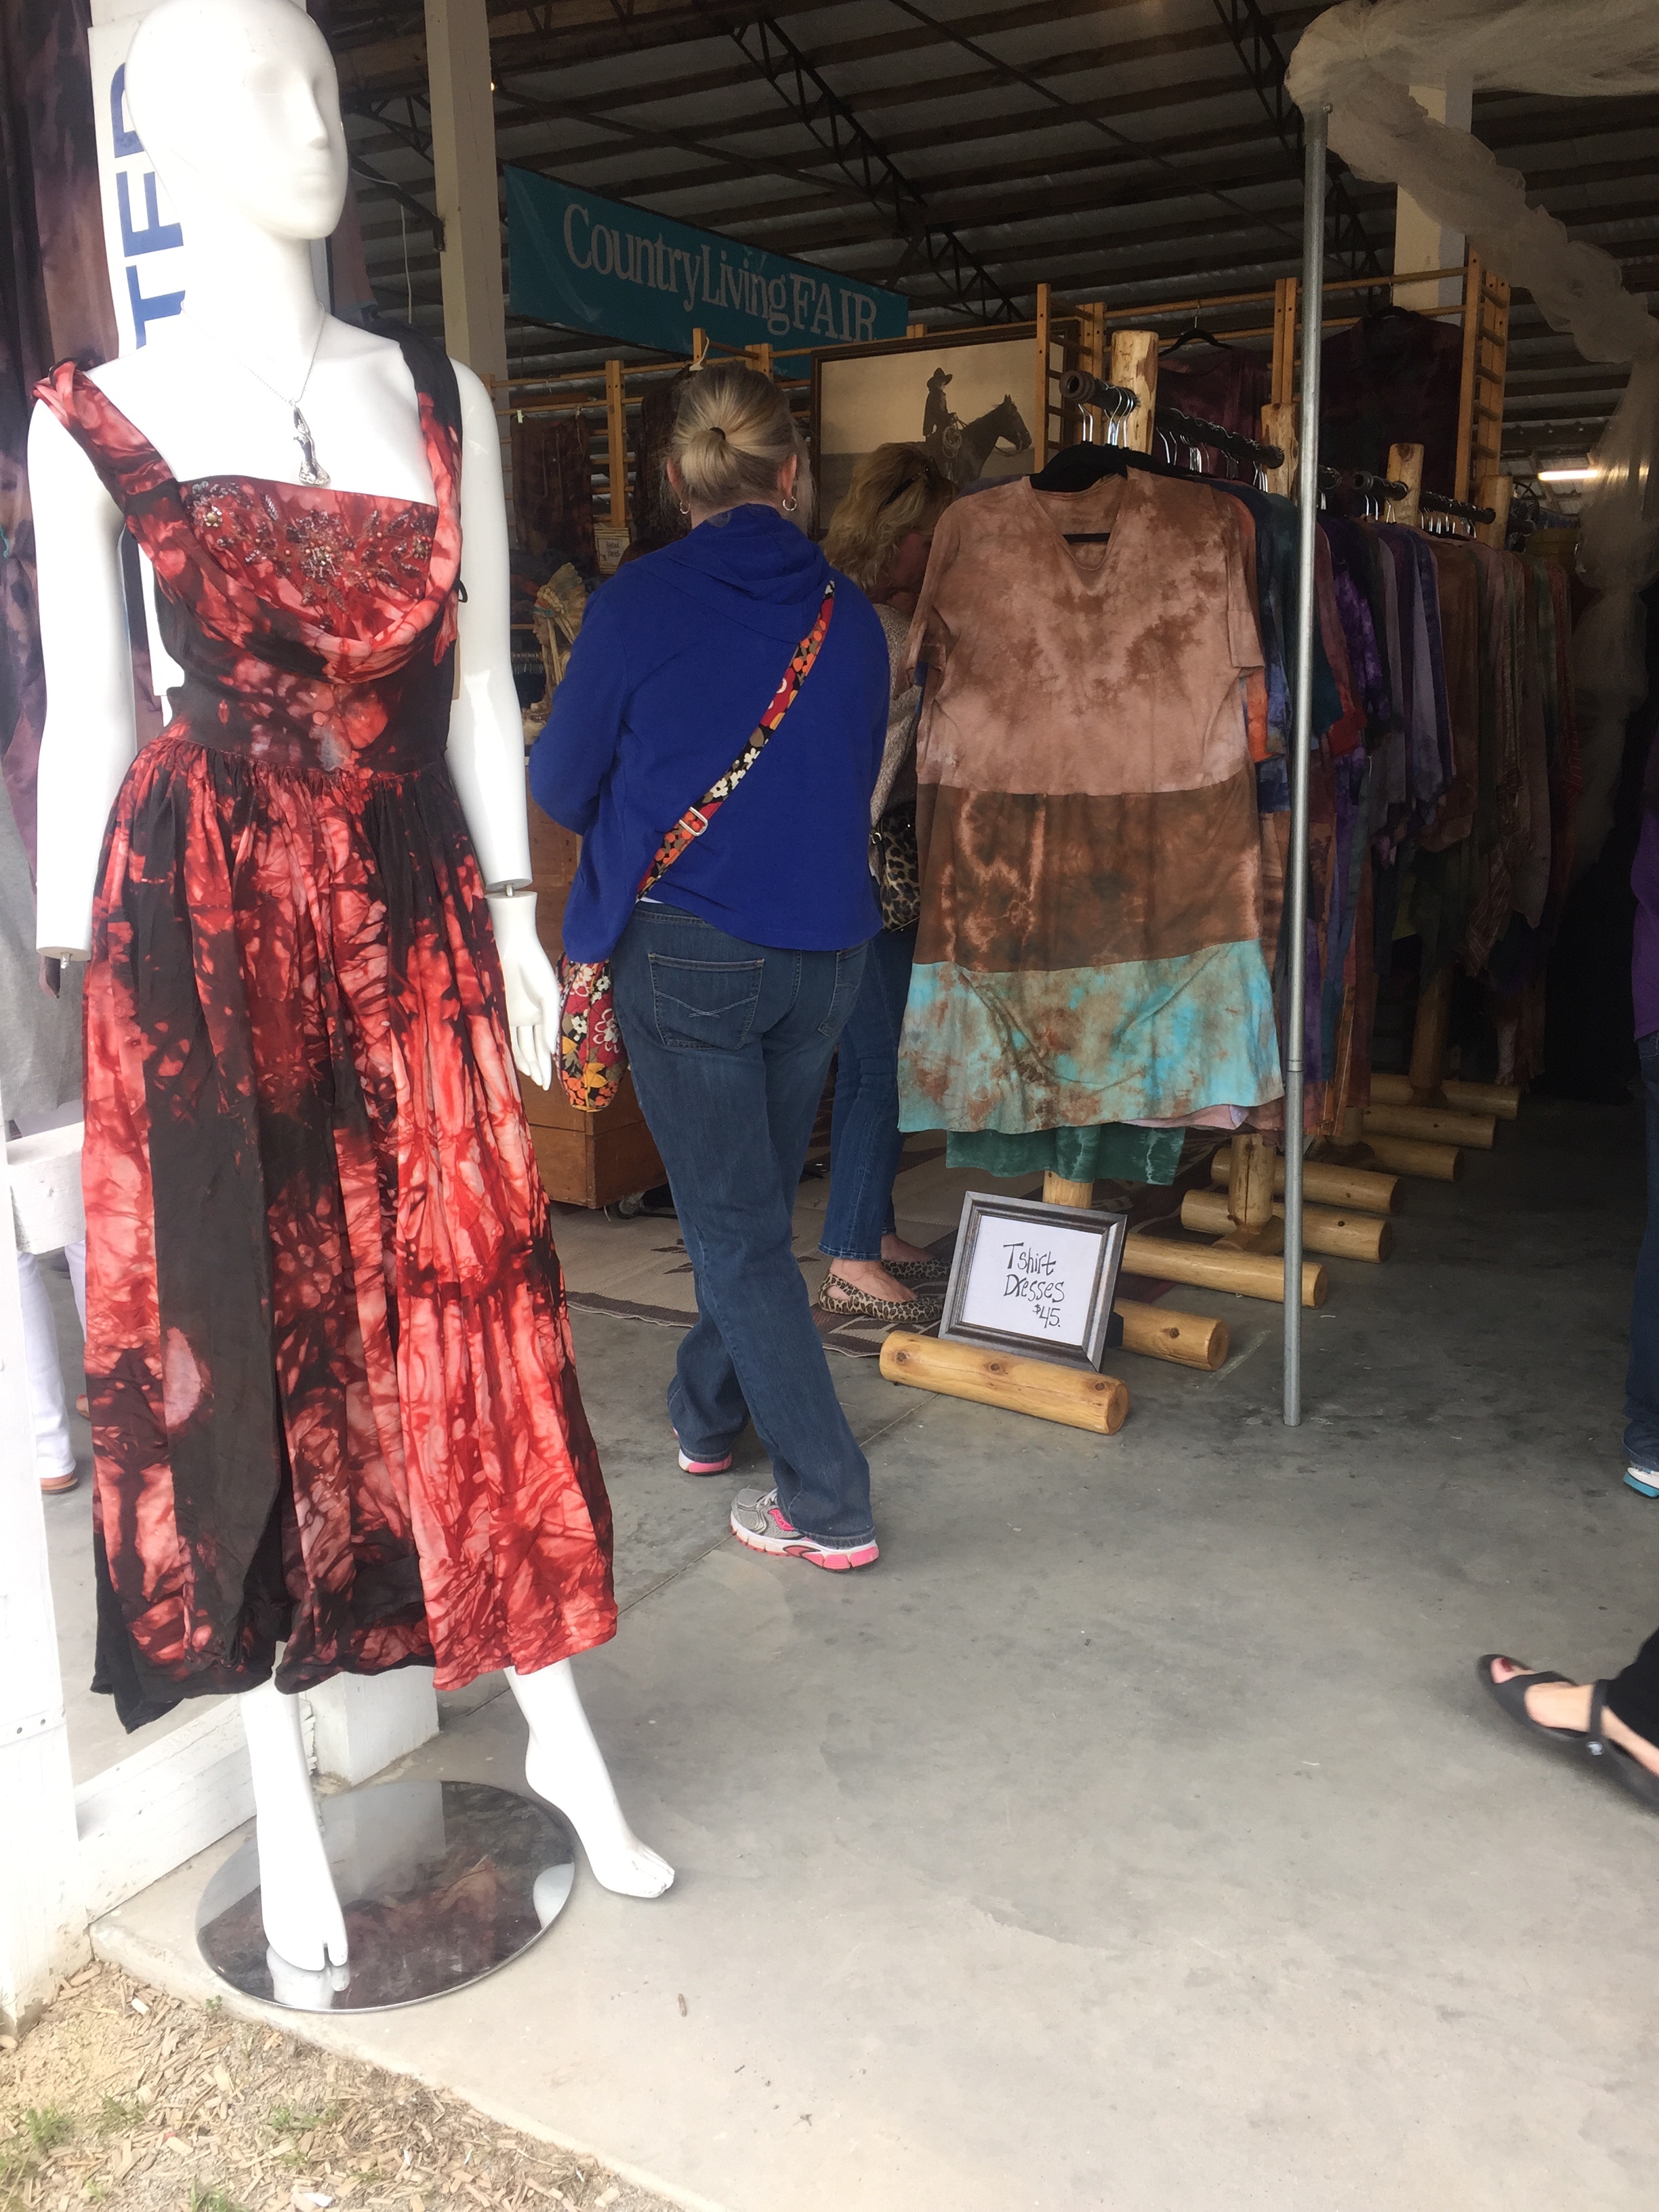
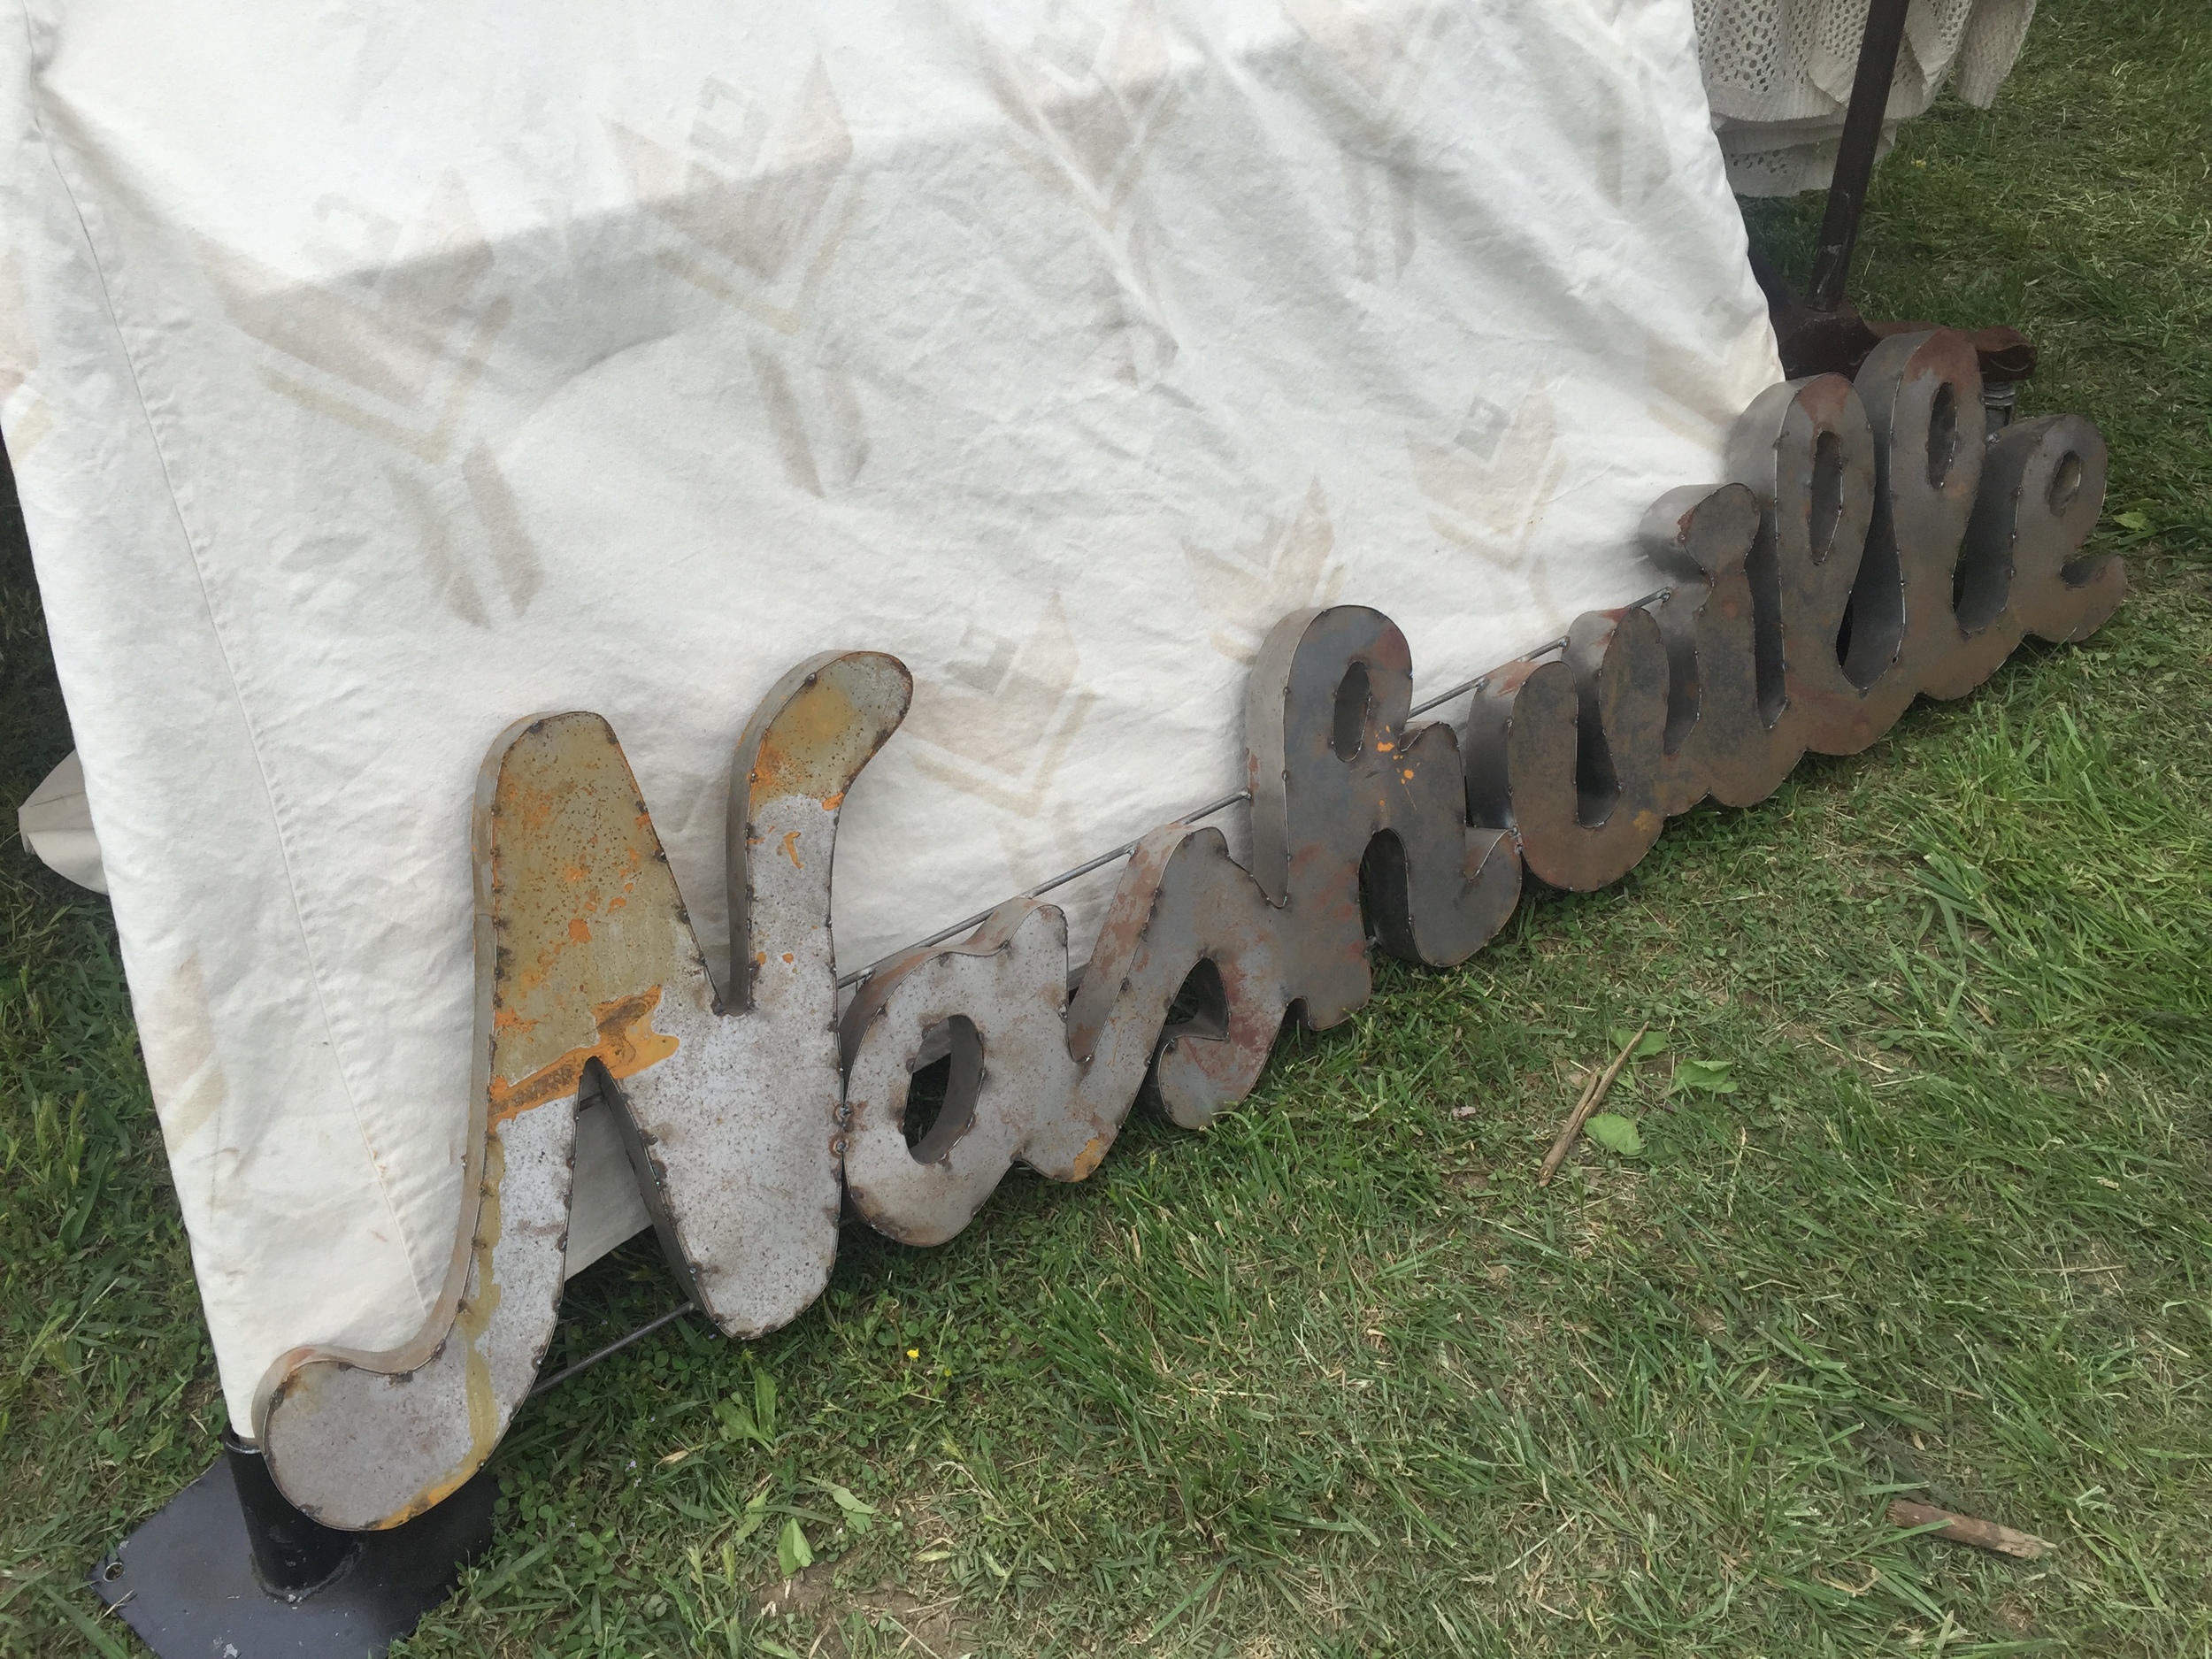
I was surprised to see a large amount of "booths" that looked like someone had picked up a whole boutique and moved it into the venue as well. I mean, people literally taking 99% of their store fixtures, and rebuilding them onto the grounds, register and all. This was rather incredible. I was surprised to see how much wholesale clothing and home goods there were, though, that were clearly bought at design markets, not handmade, but extremely cute and in the same spirit of the fair near Nashville. I personally liked the mix of both handmade and pre bought items for sale, but I am sure for crafty vendors, they were a bit upset to see how much work they had done to fill their booths, whereas some vendors just went to market and bought things to sell. But, it was fun to see the latest trends, and I now realize how much of a "hotbed of fashion" and home decor trends that Nashville is! And, I live only 3 hours from the place!

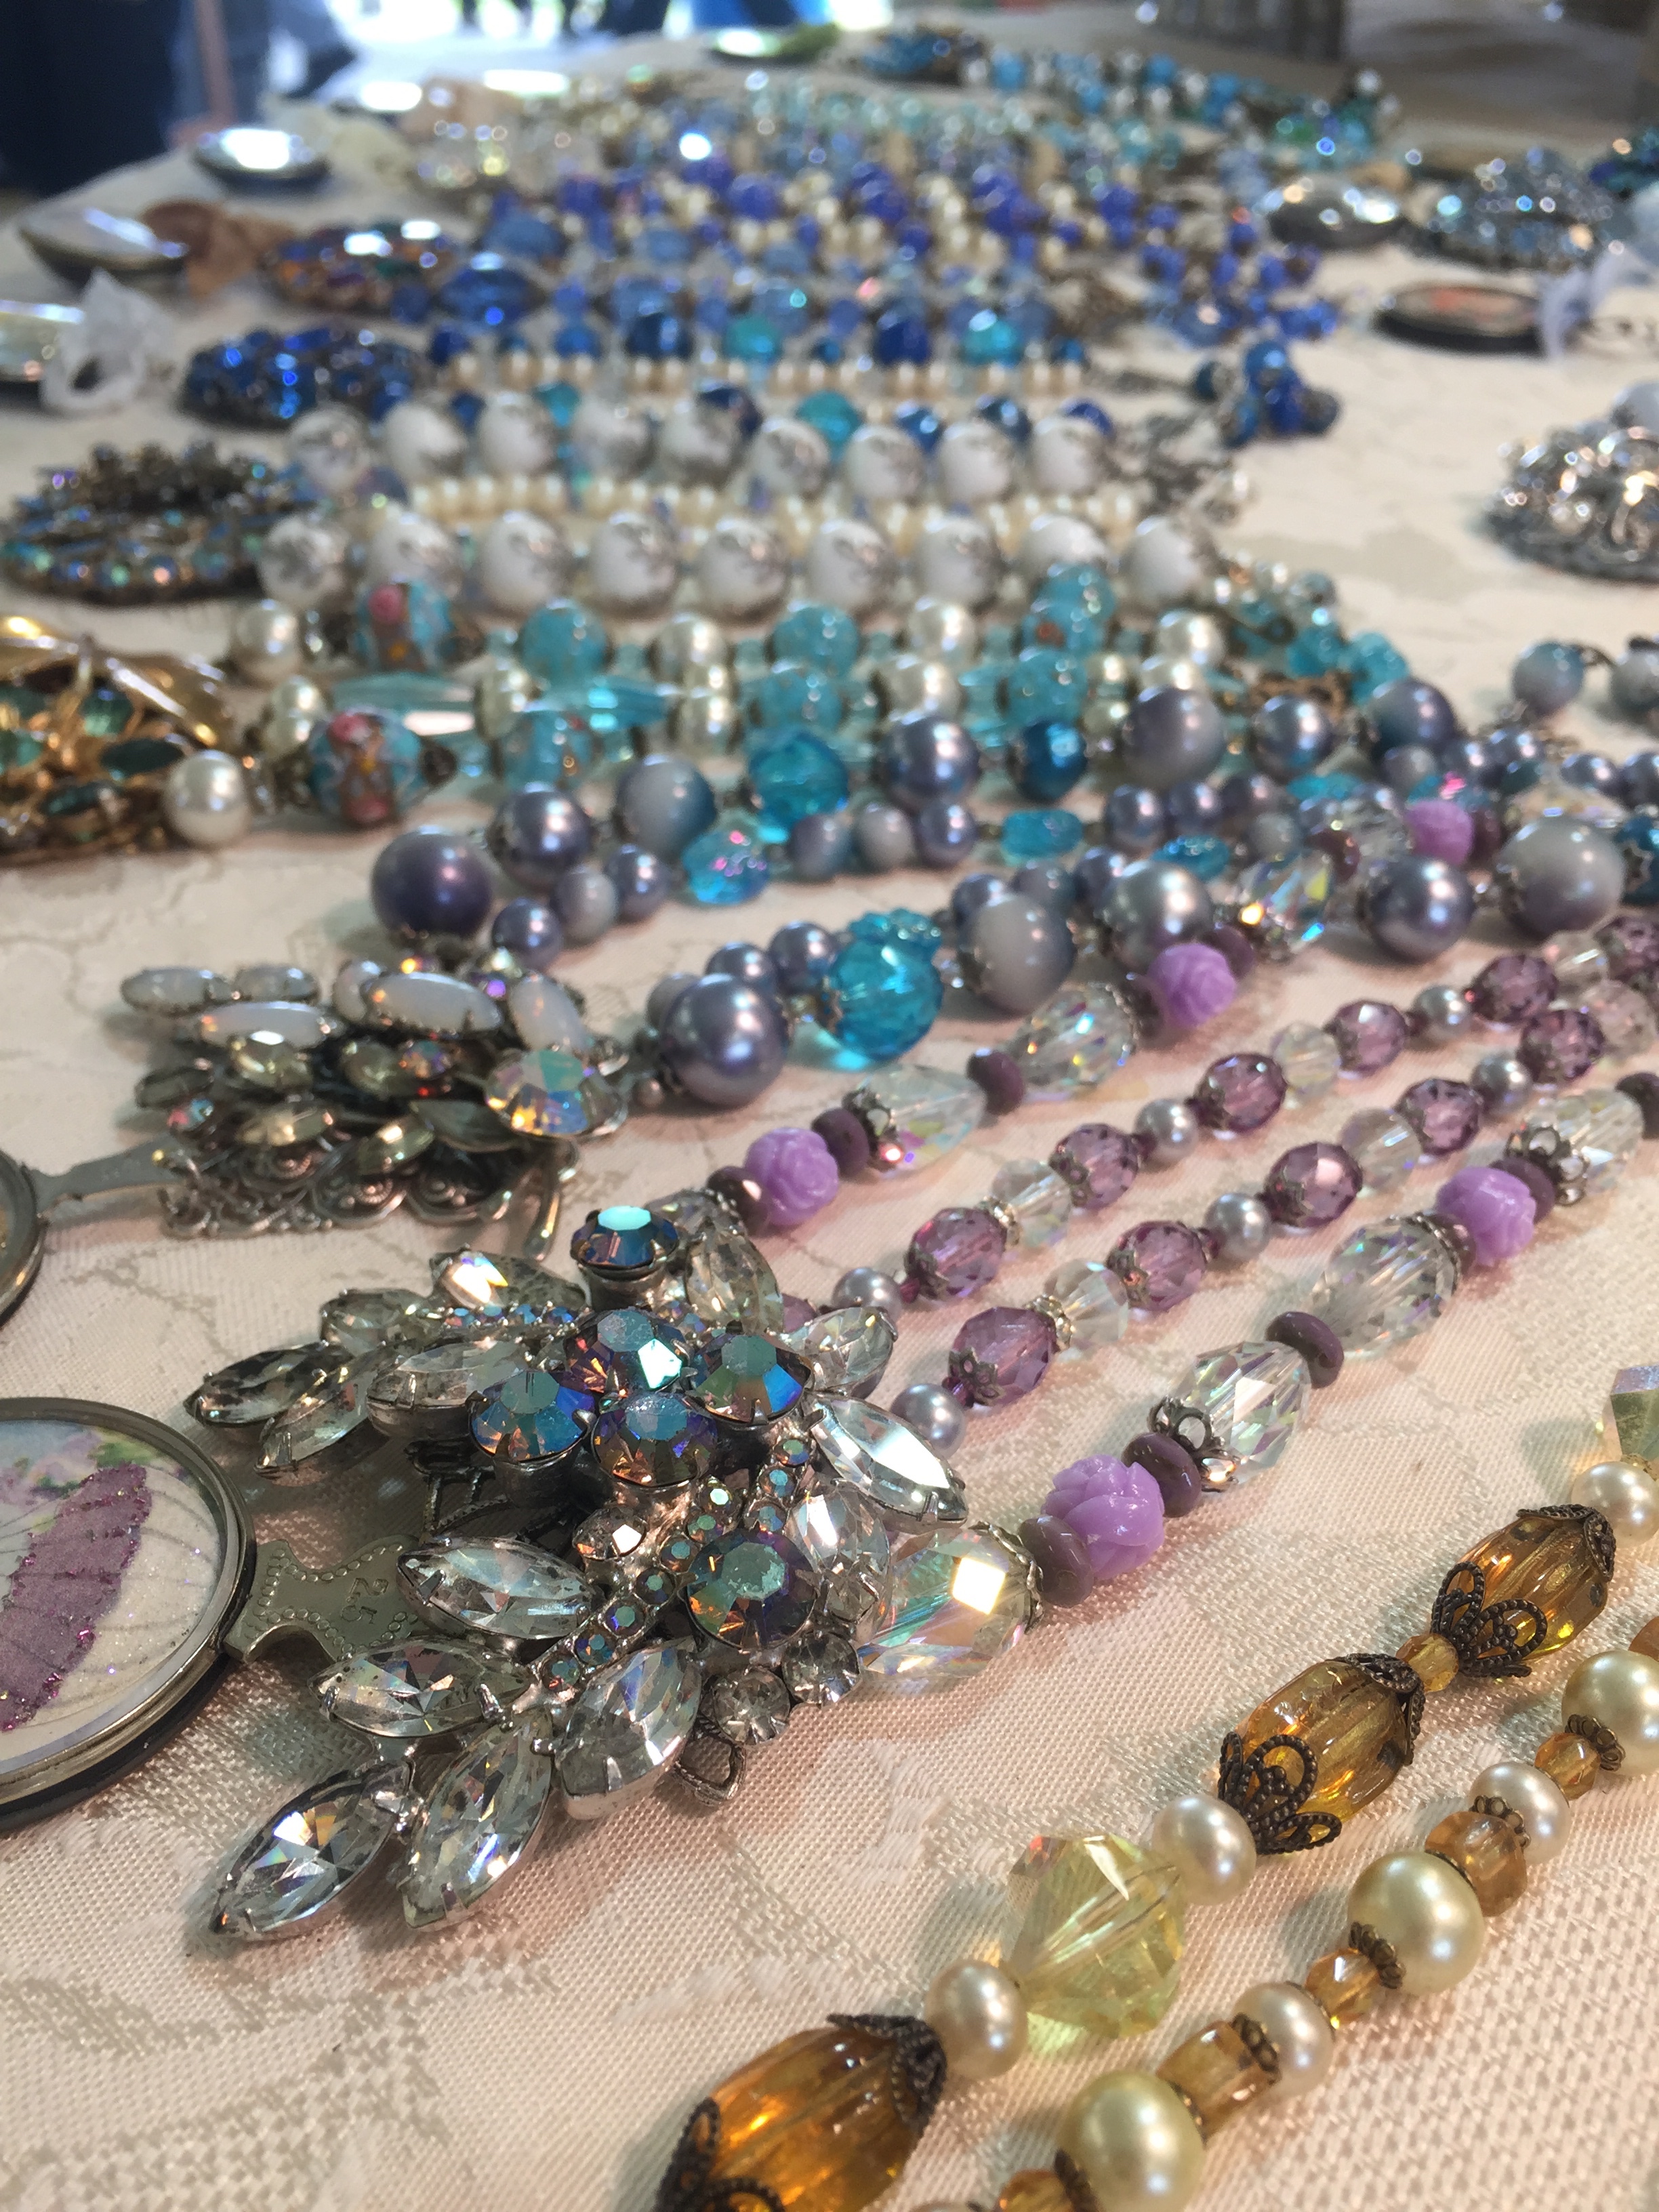
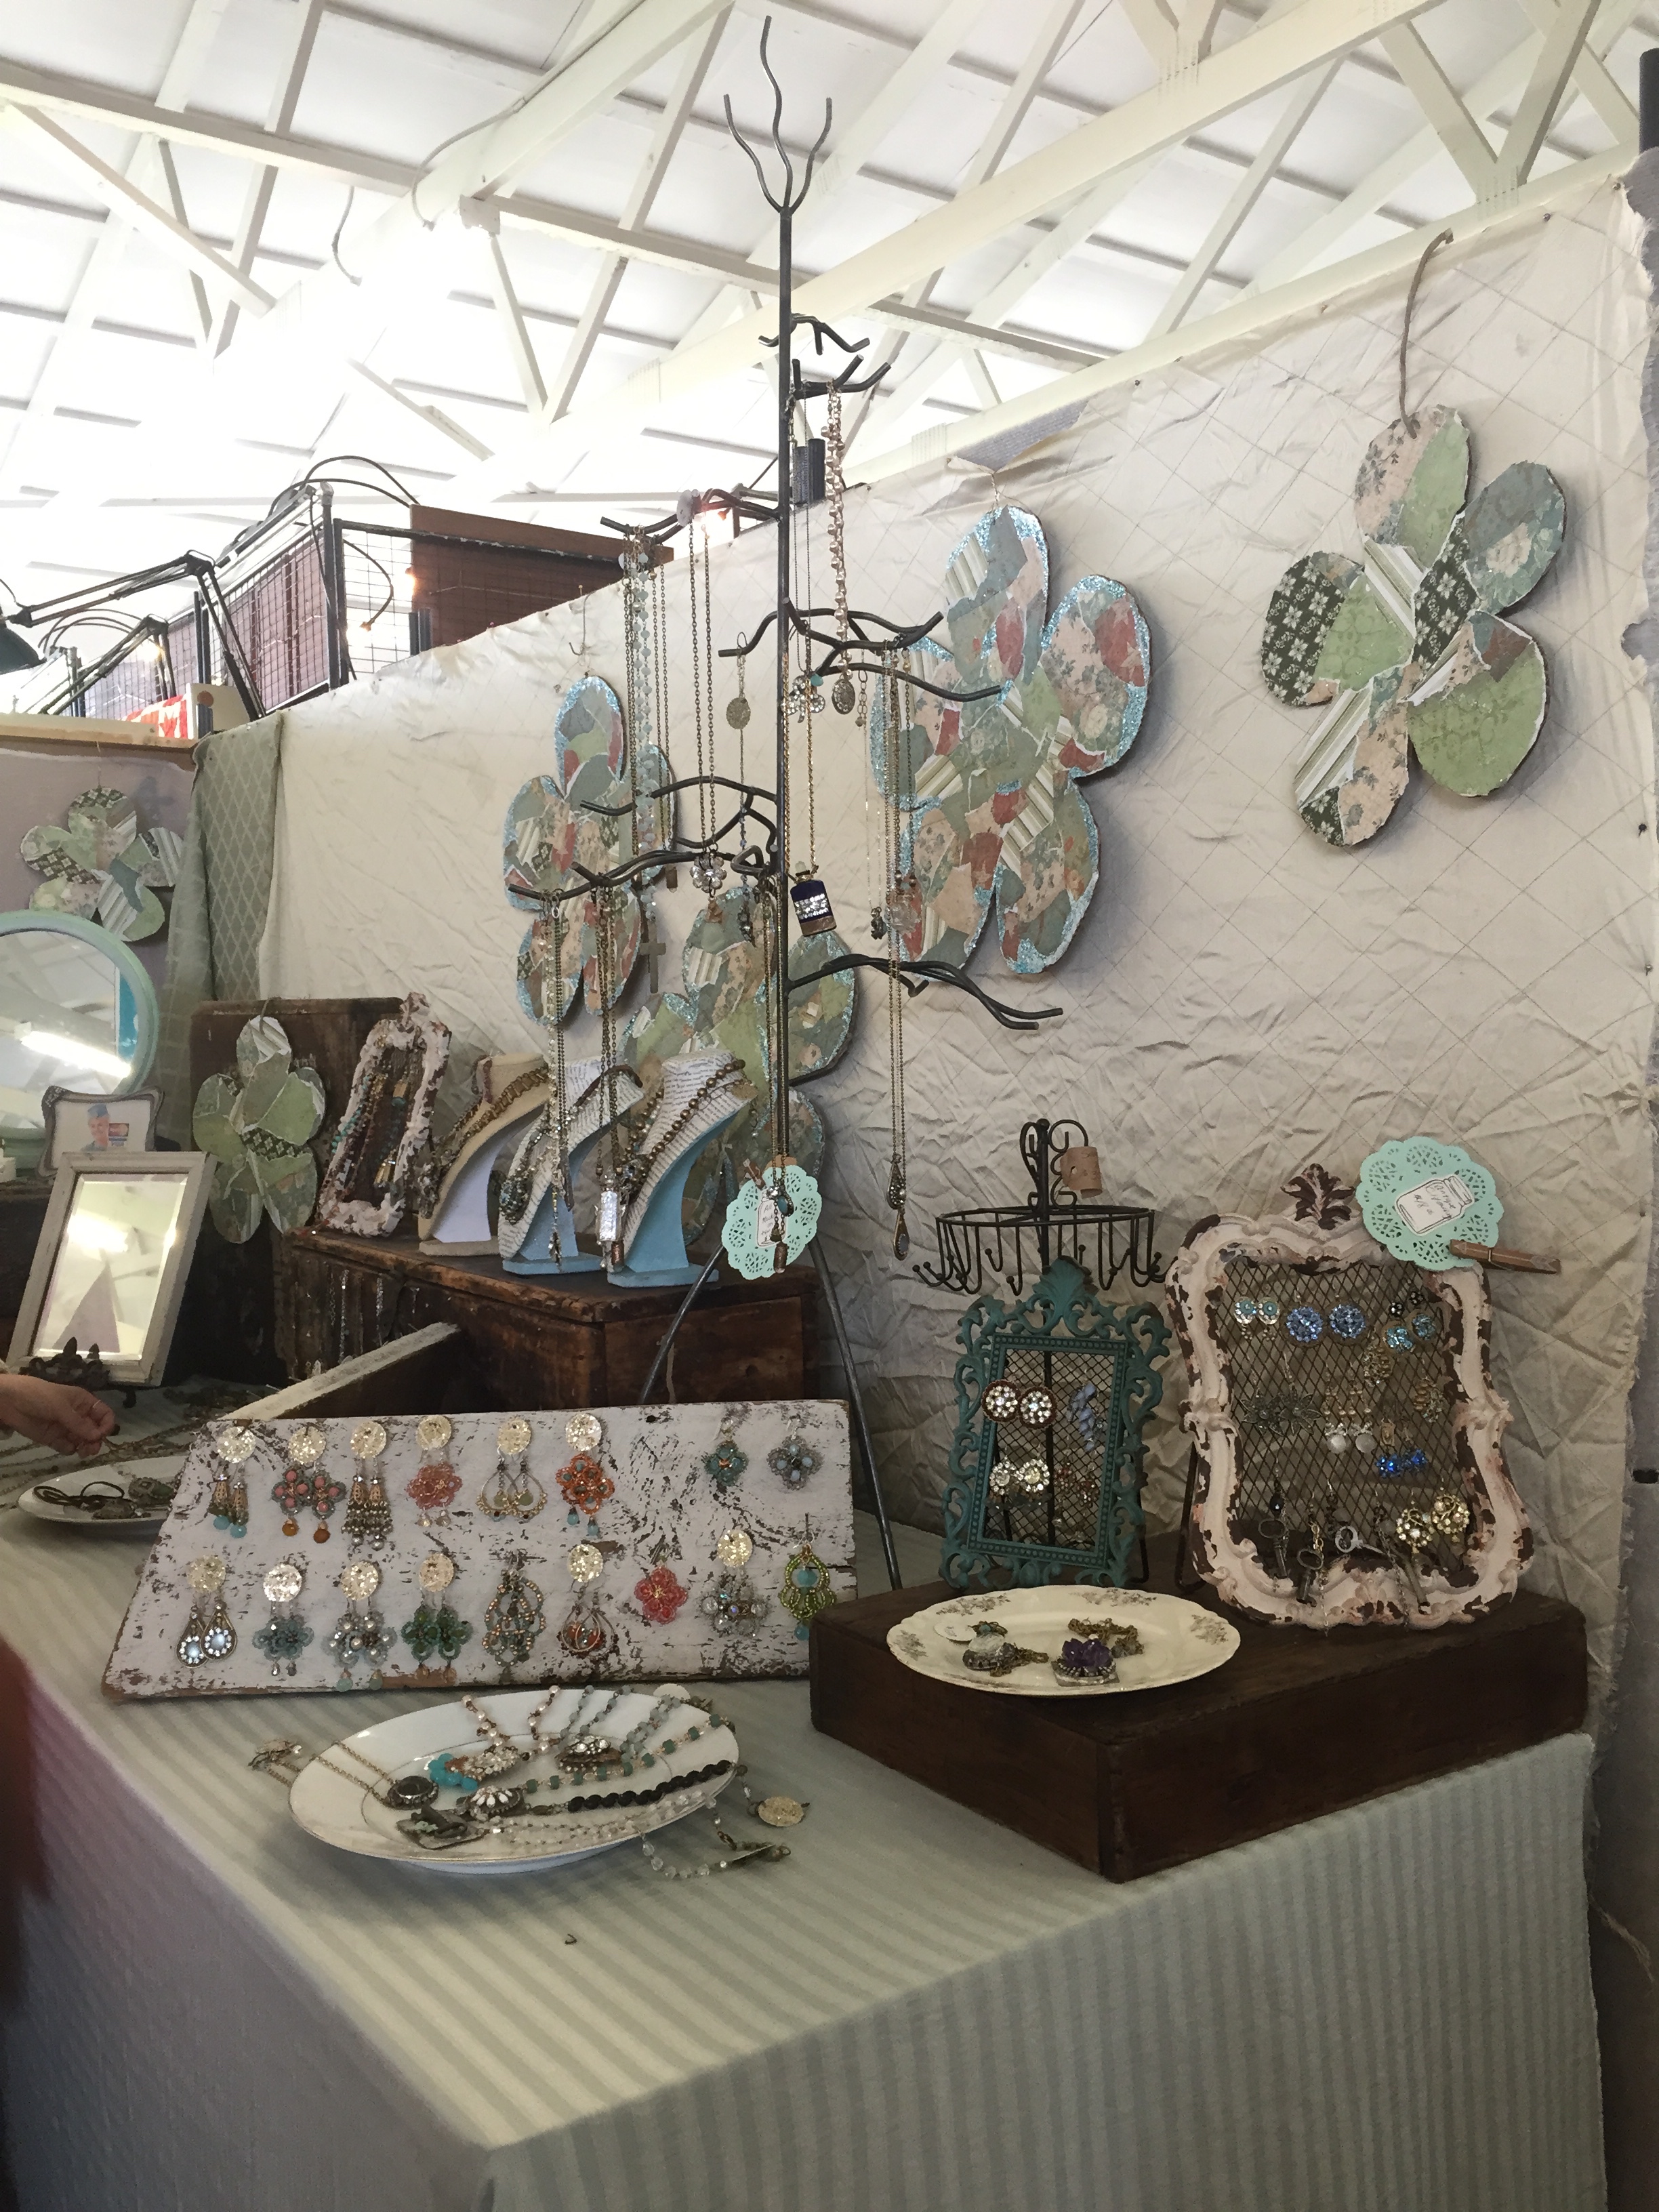
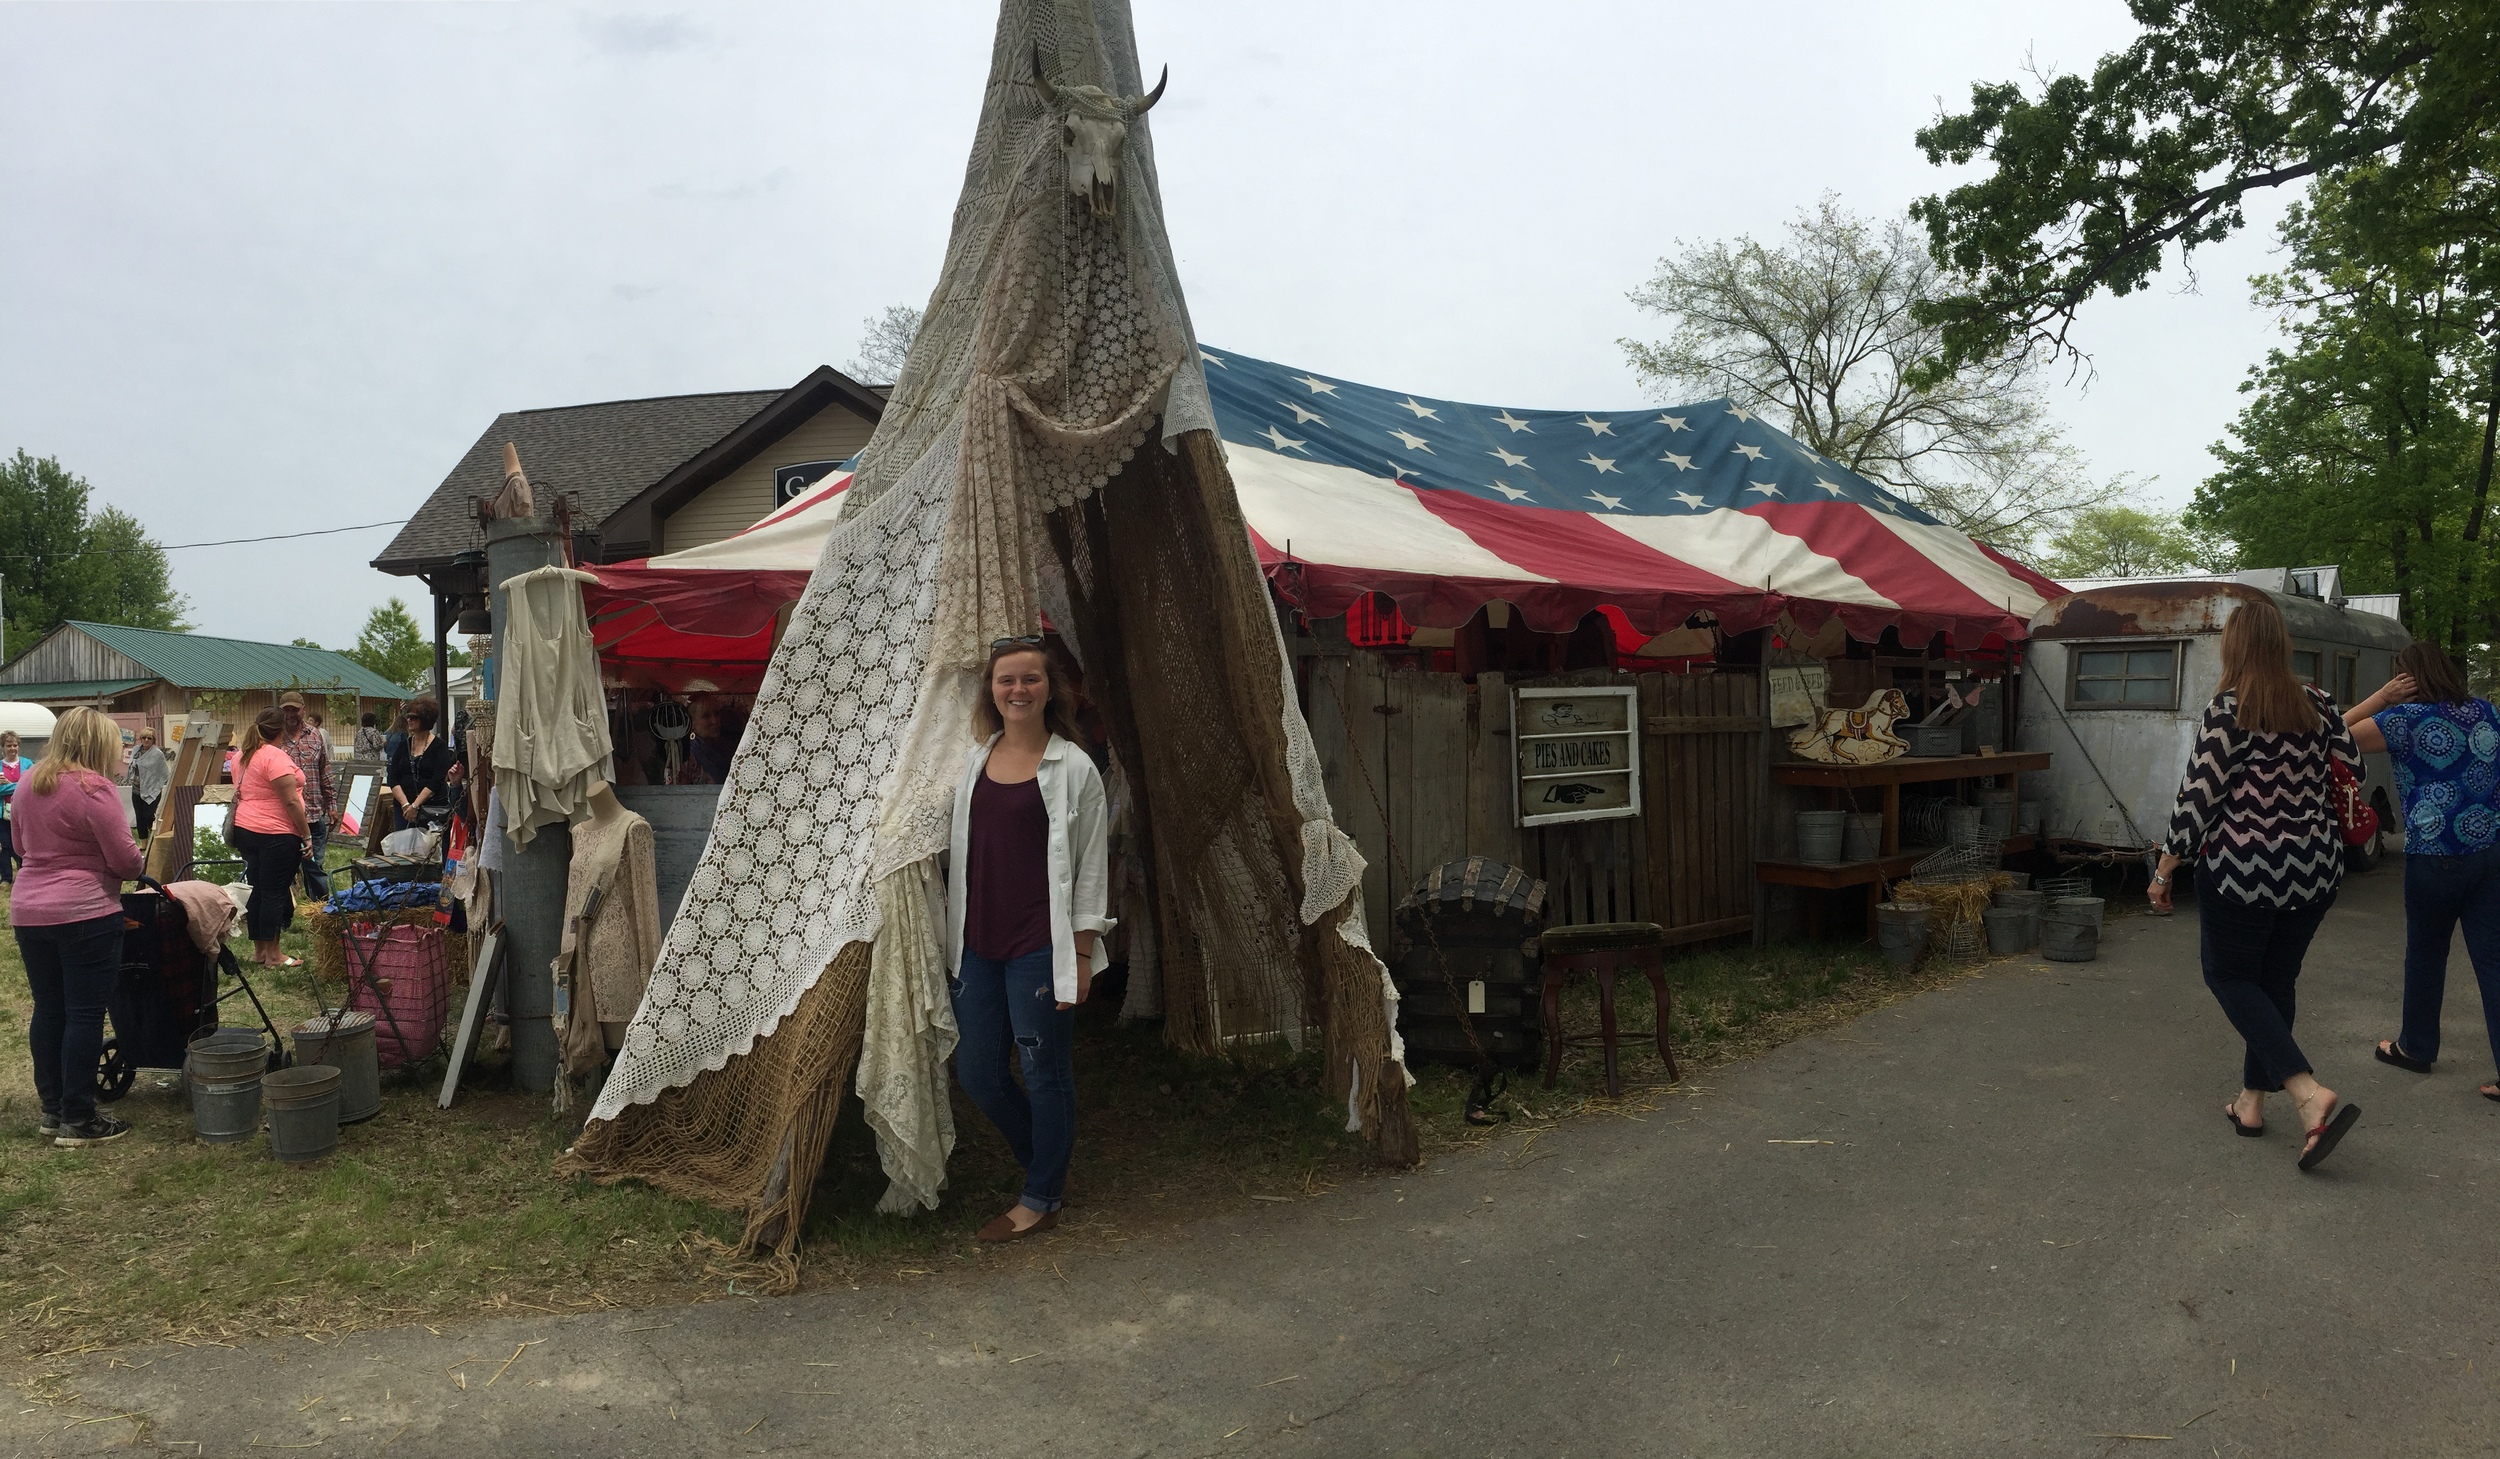
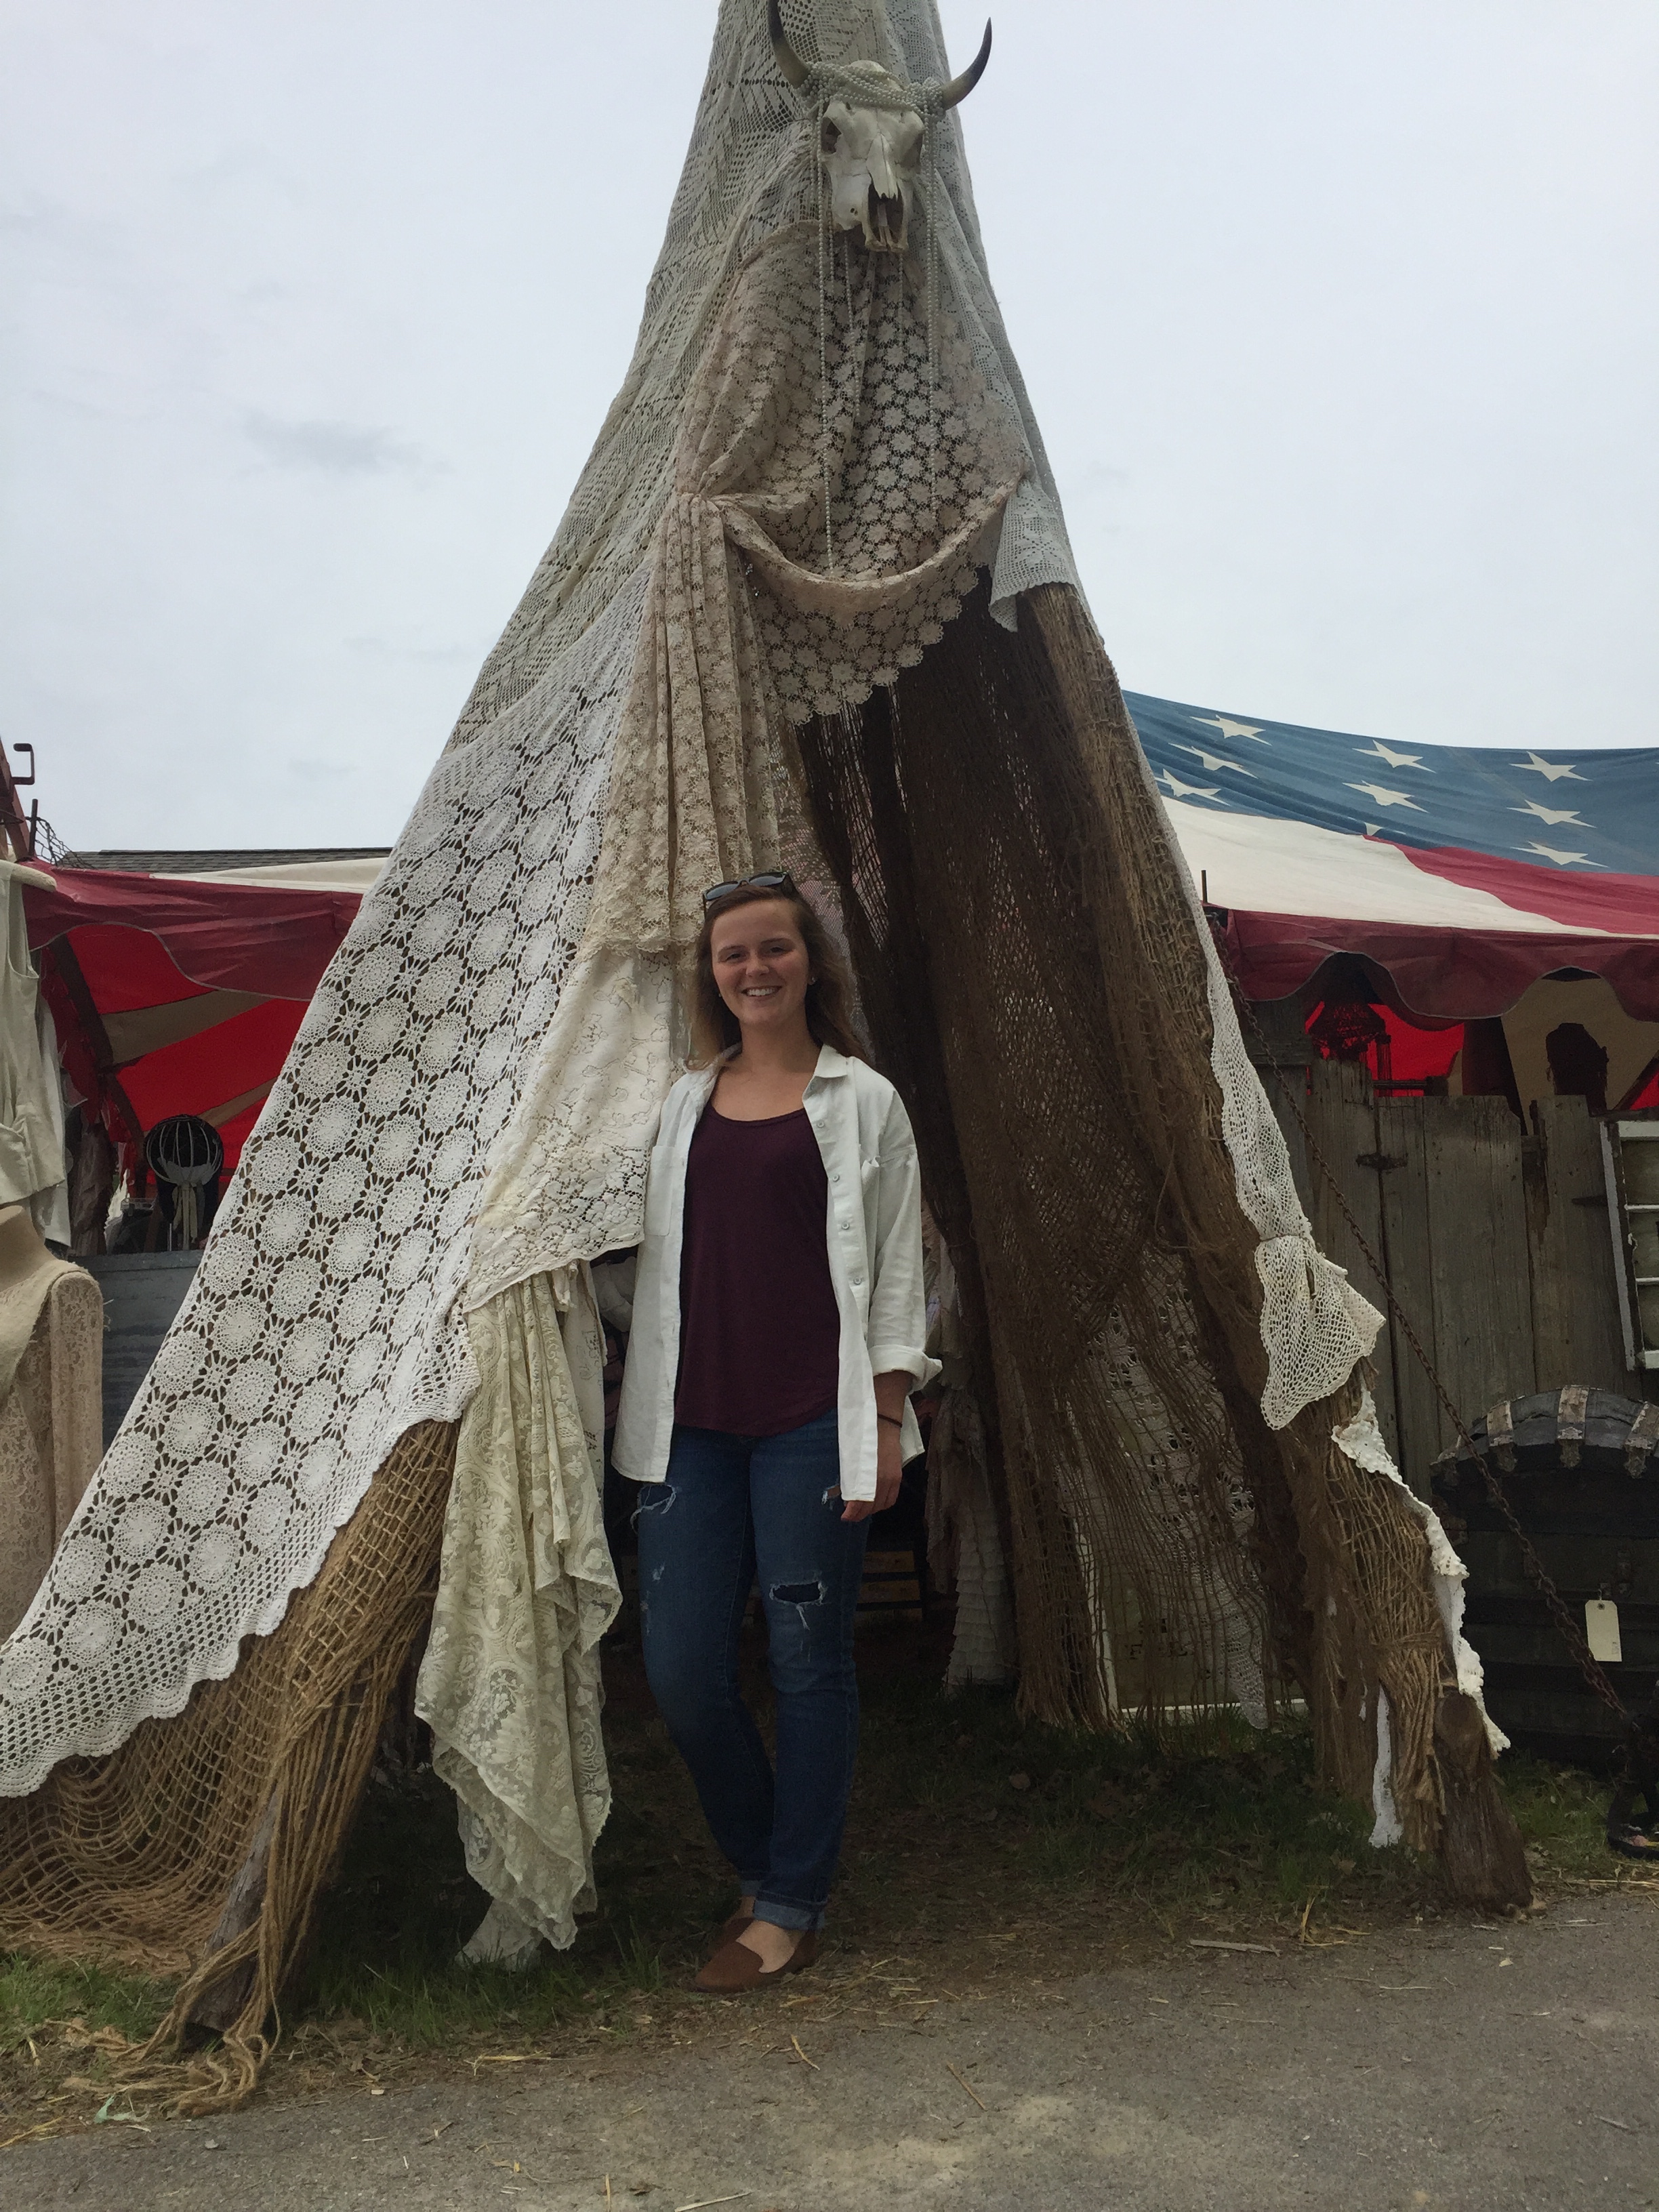
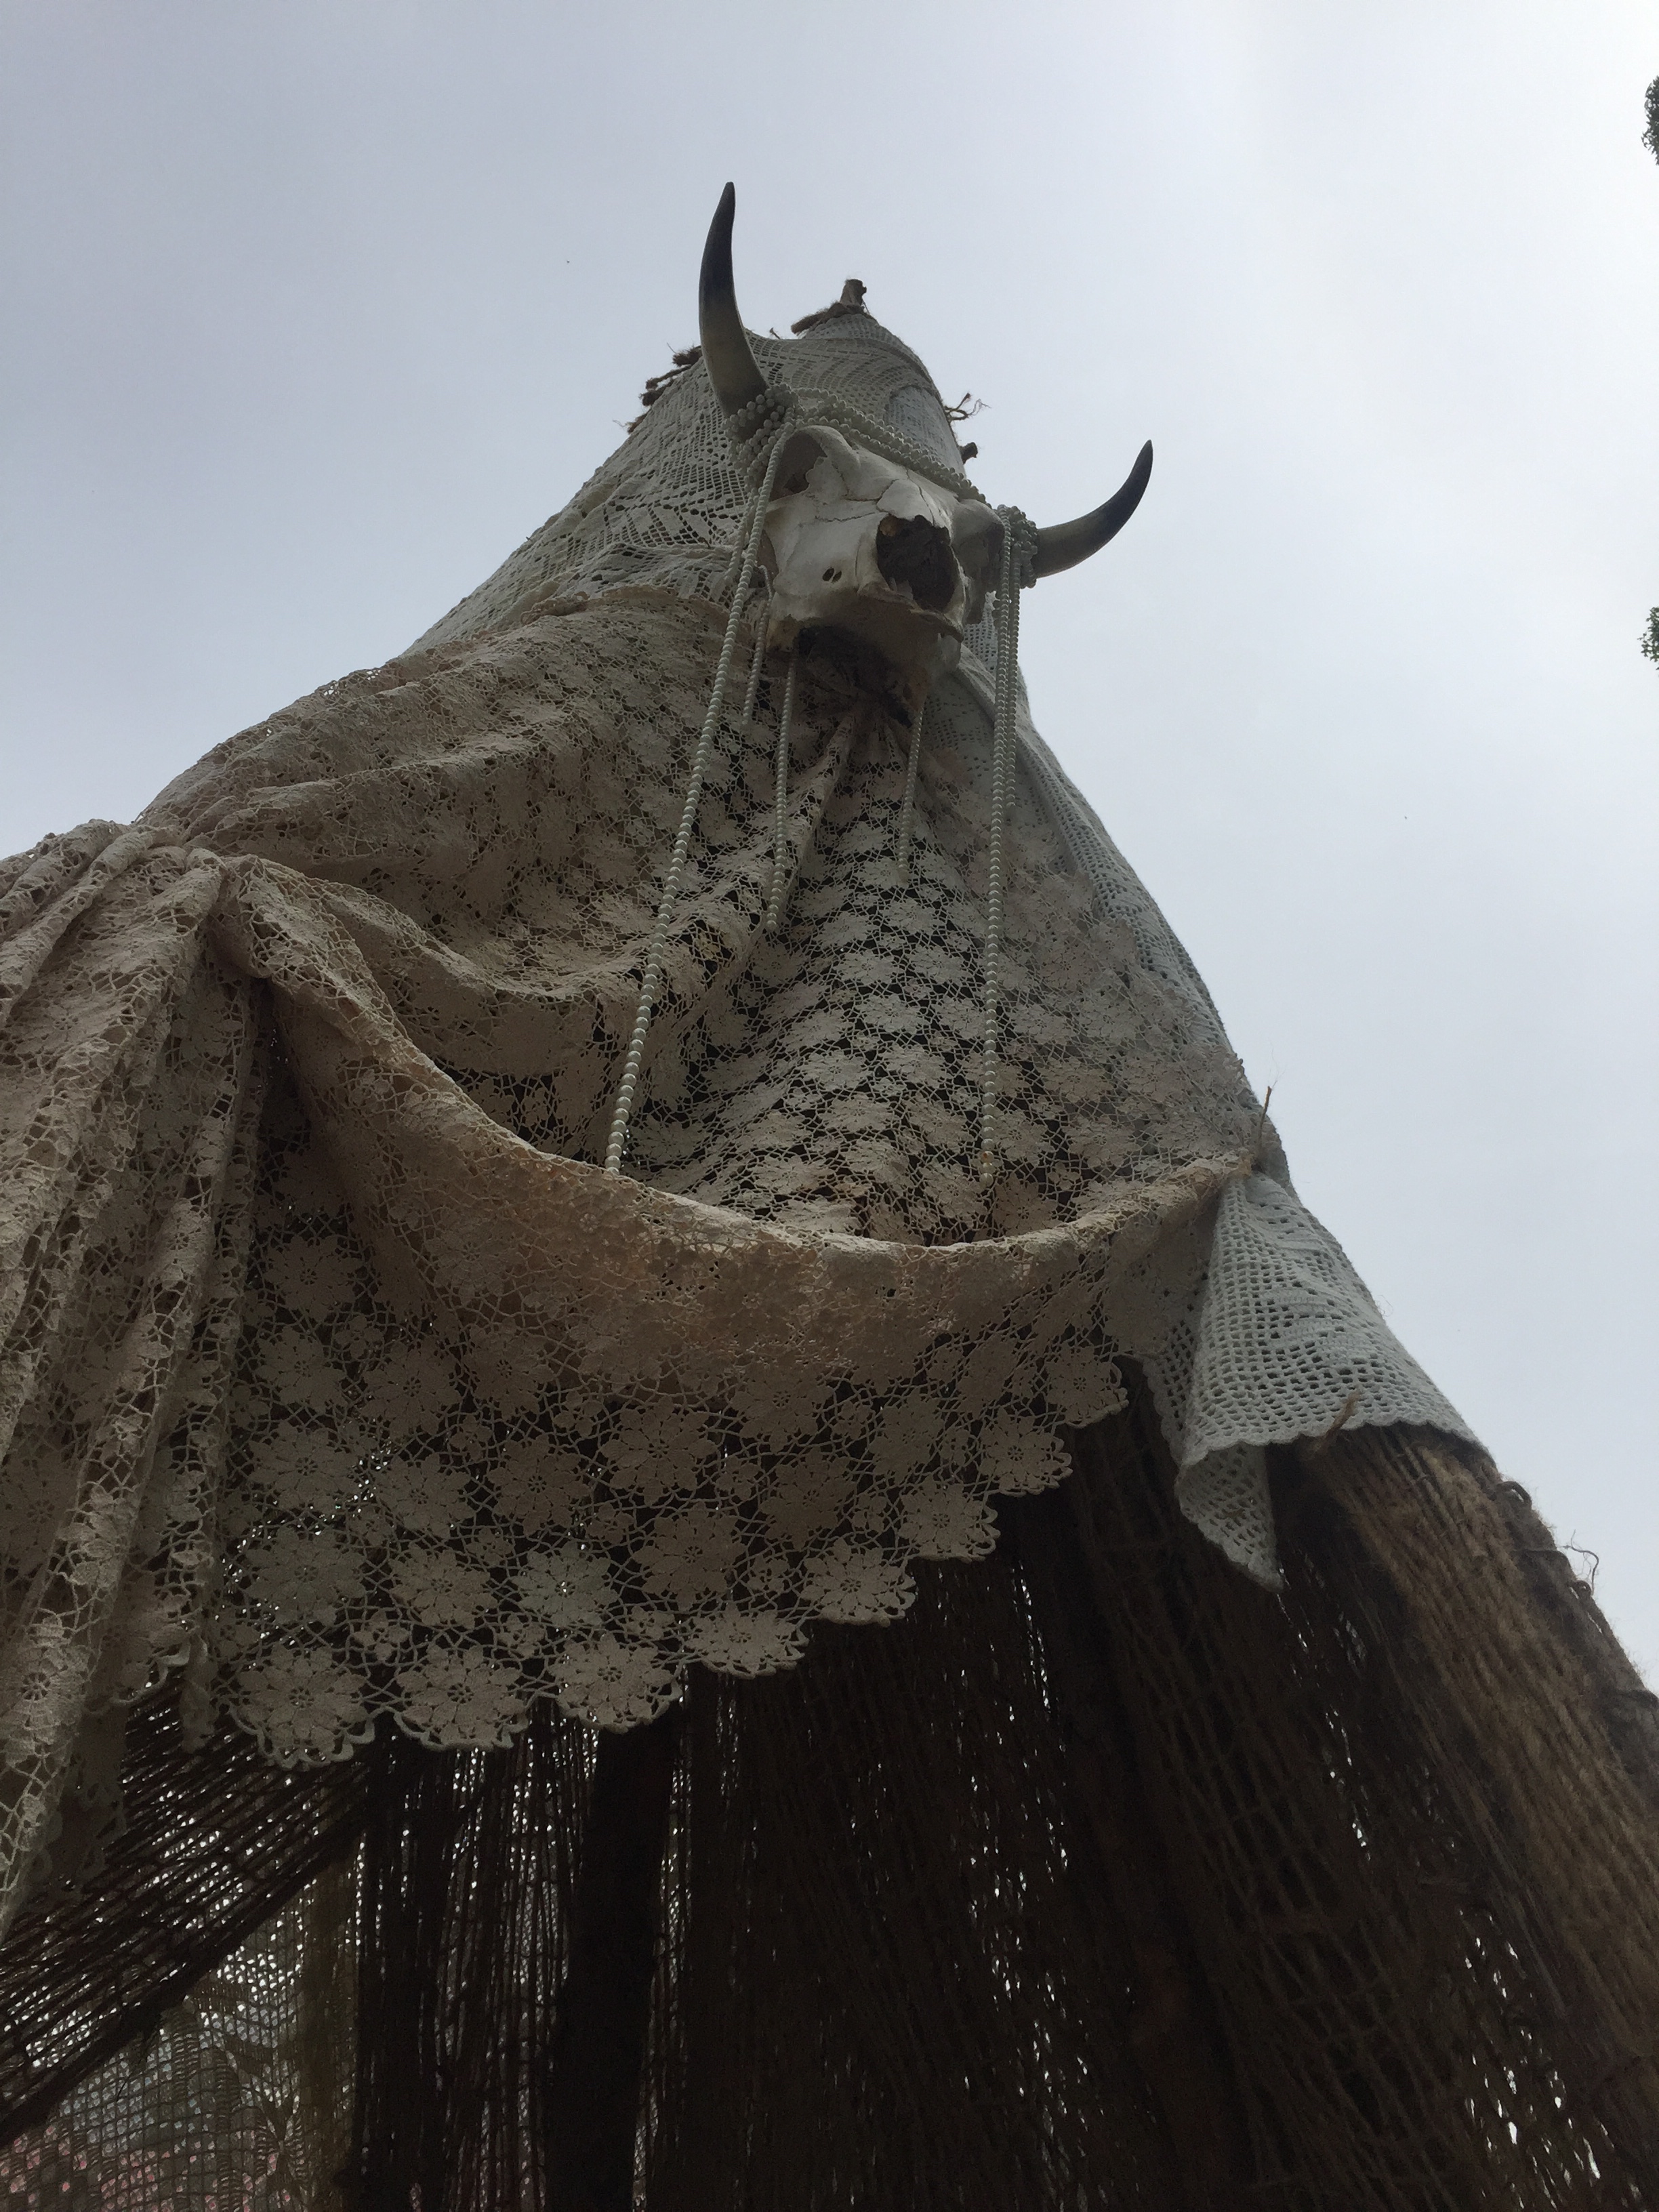
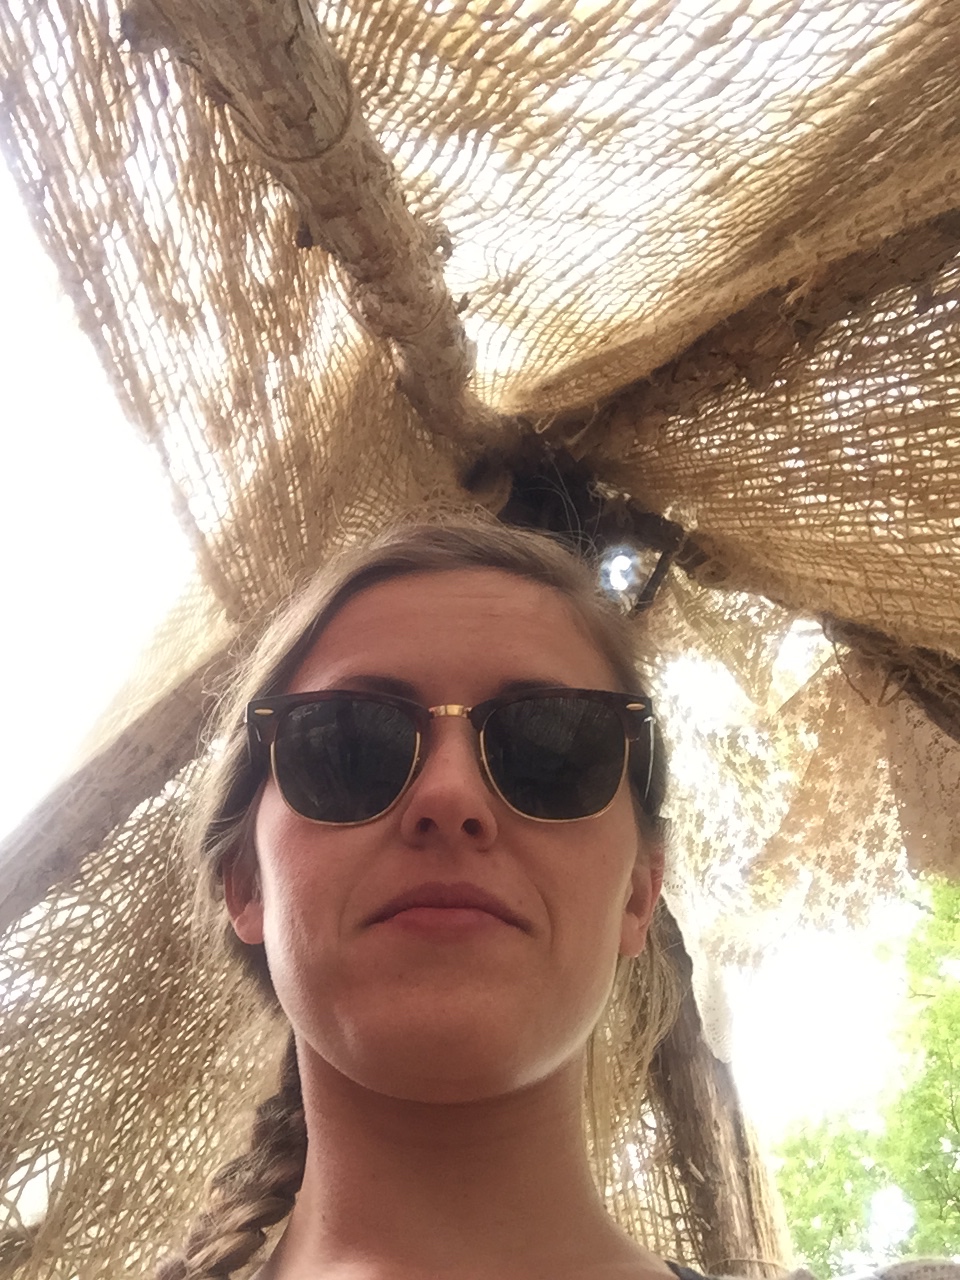
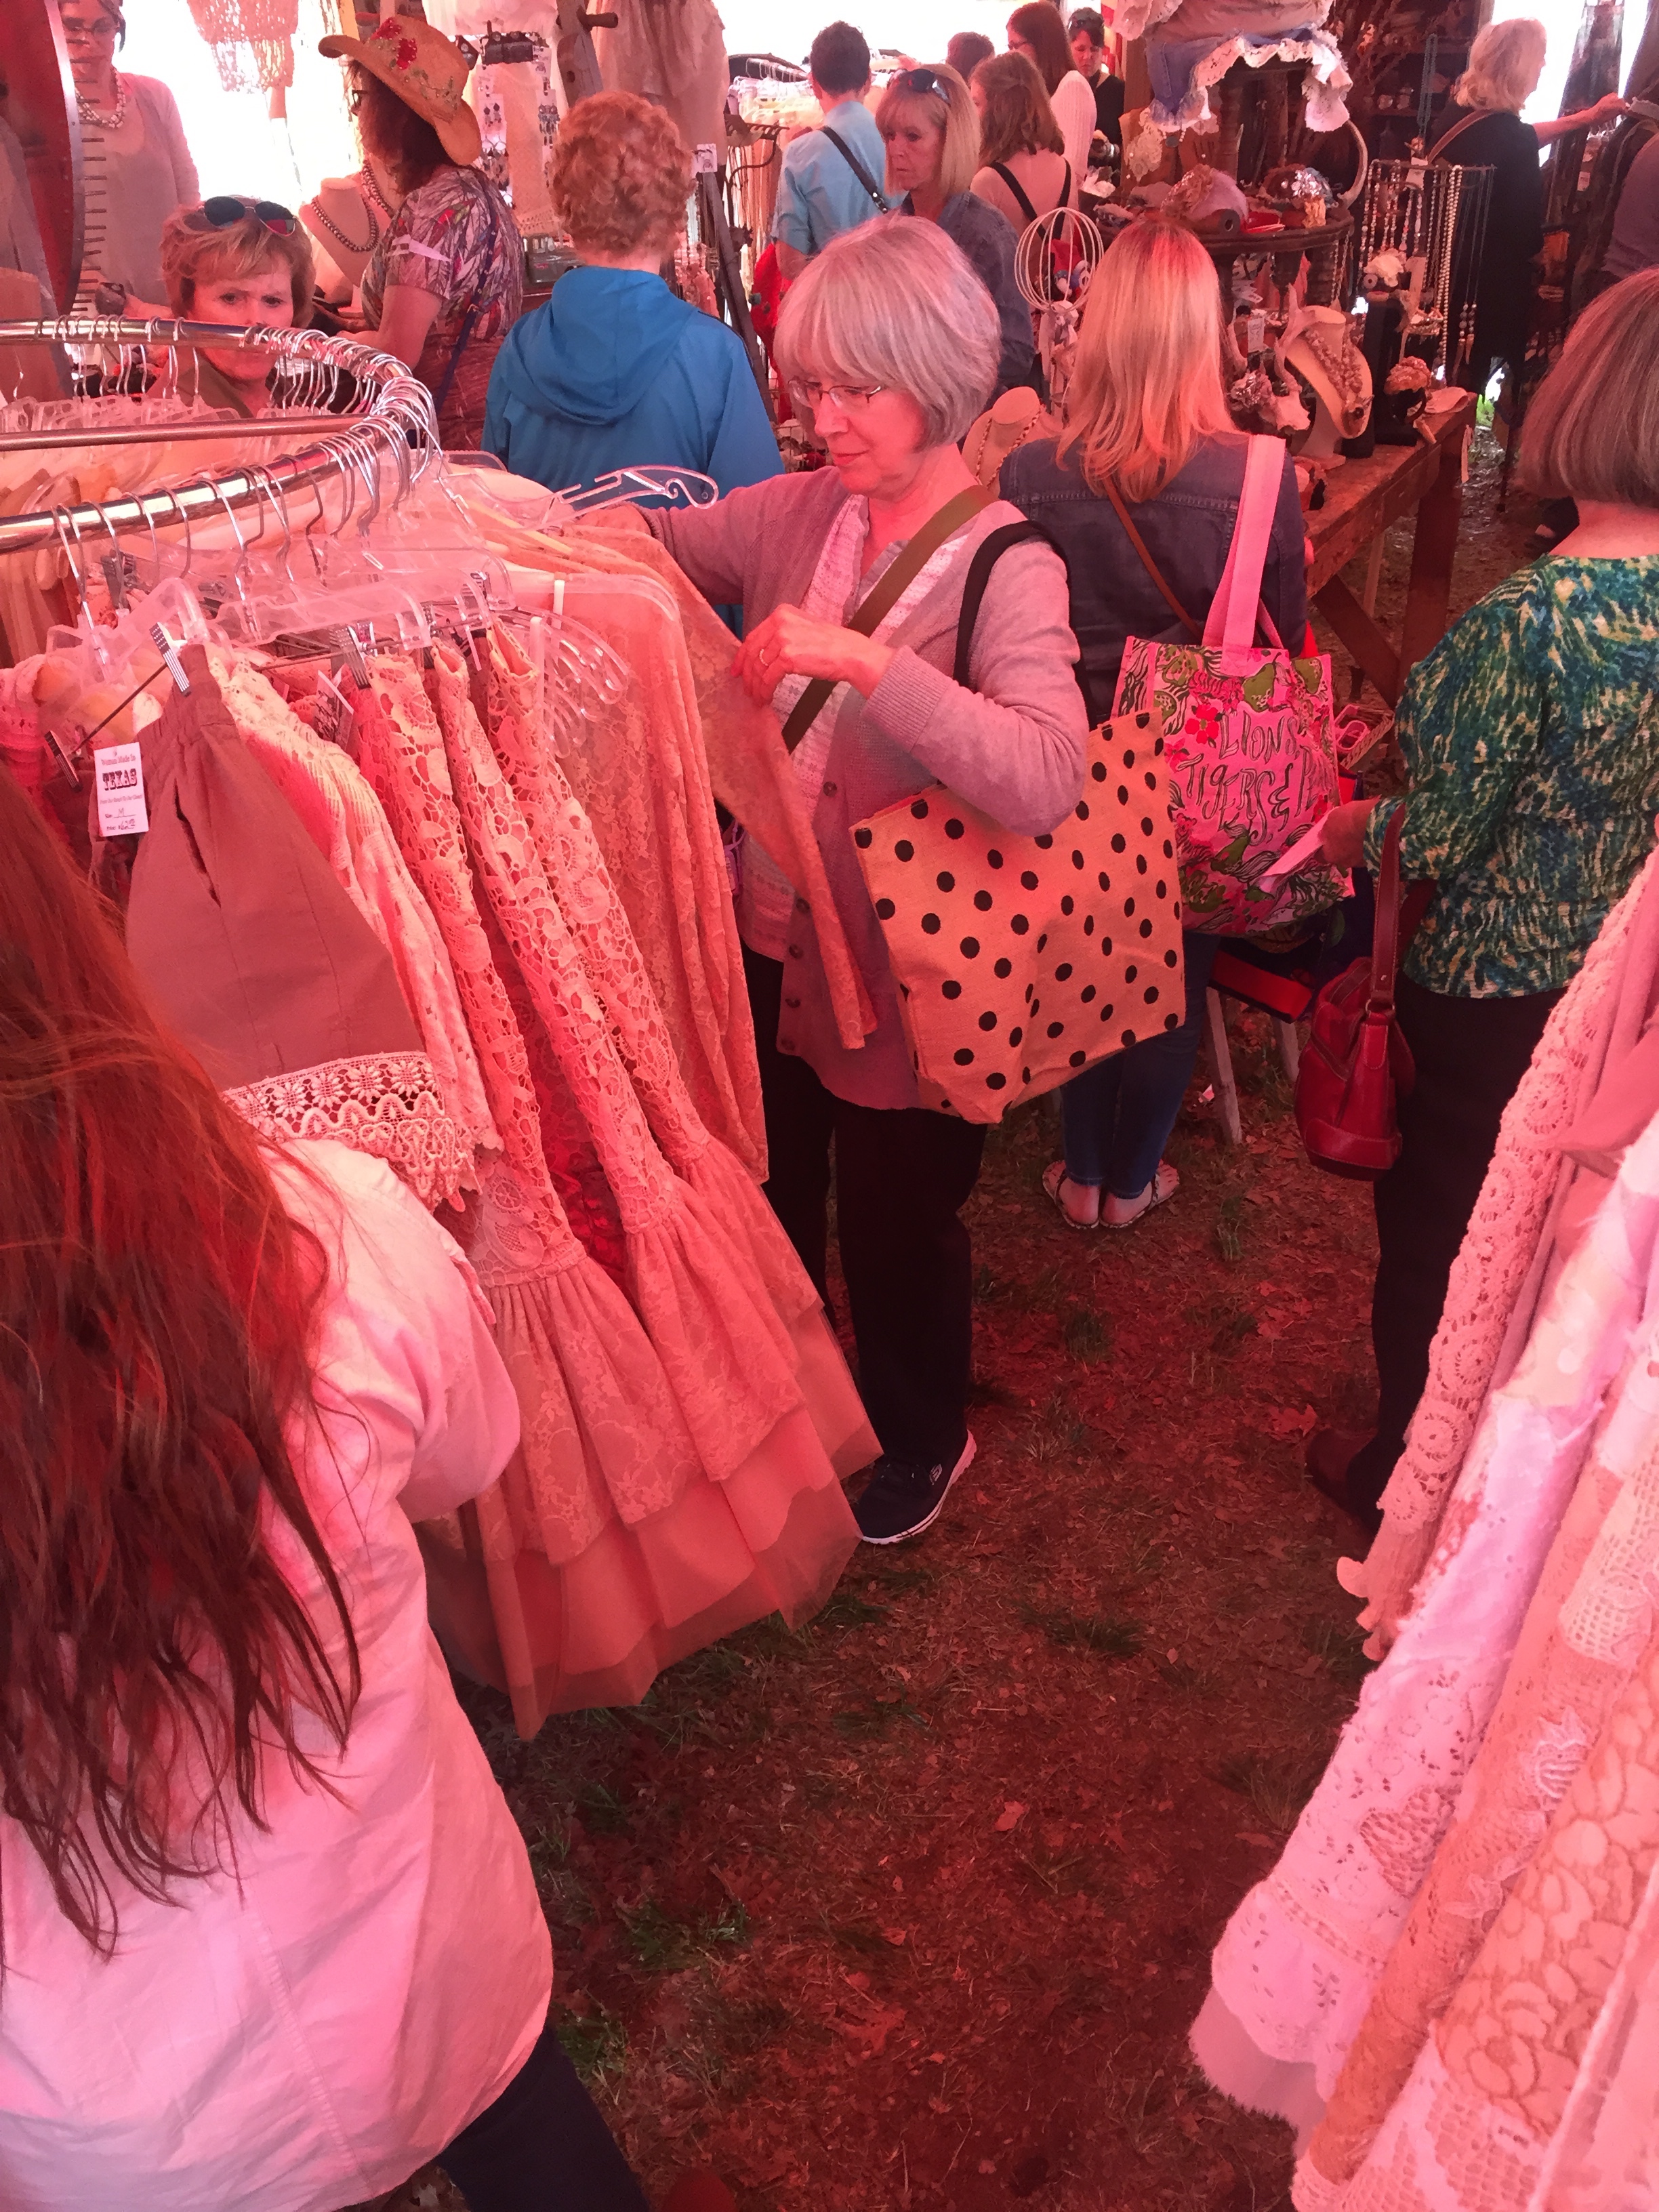
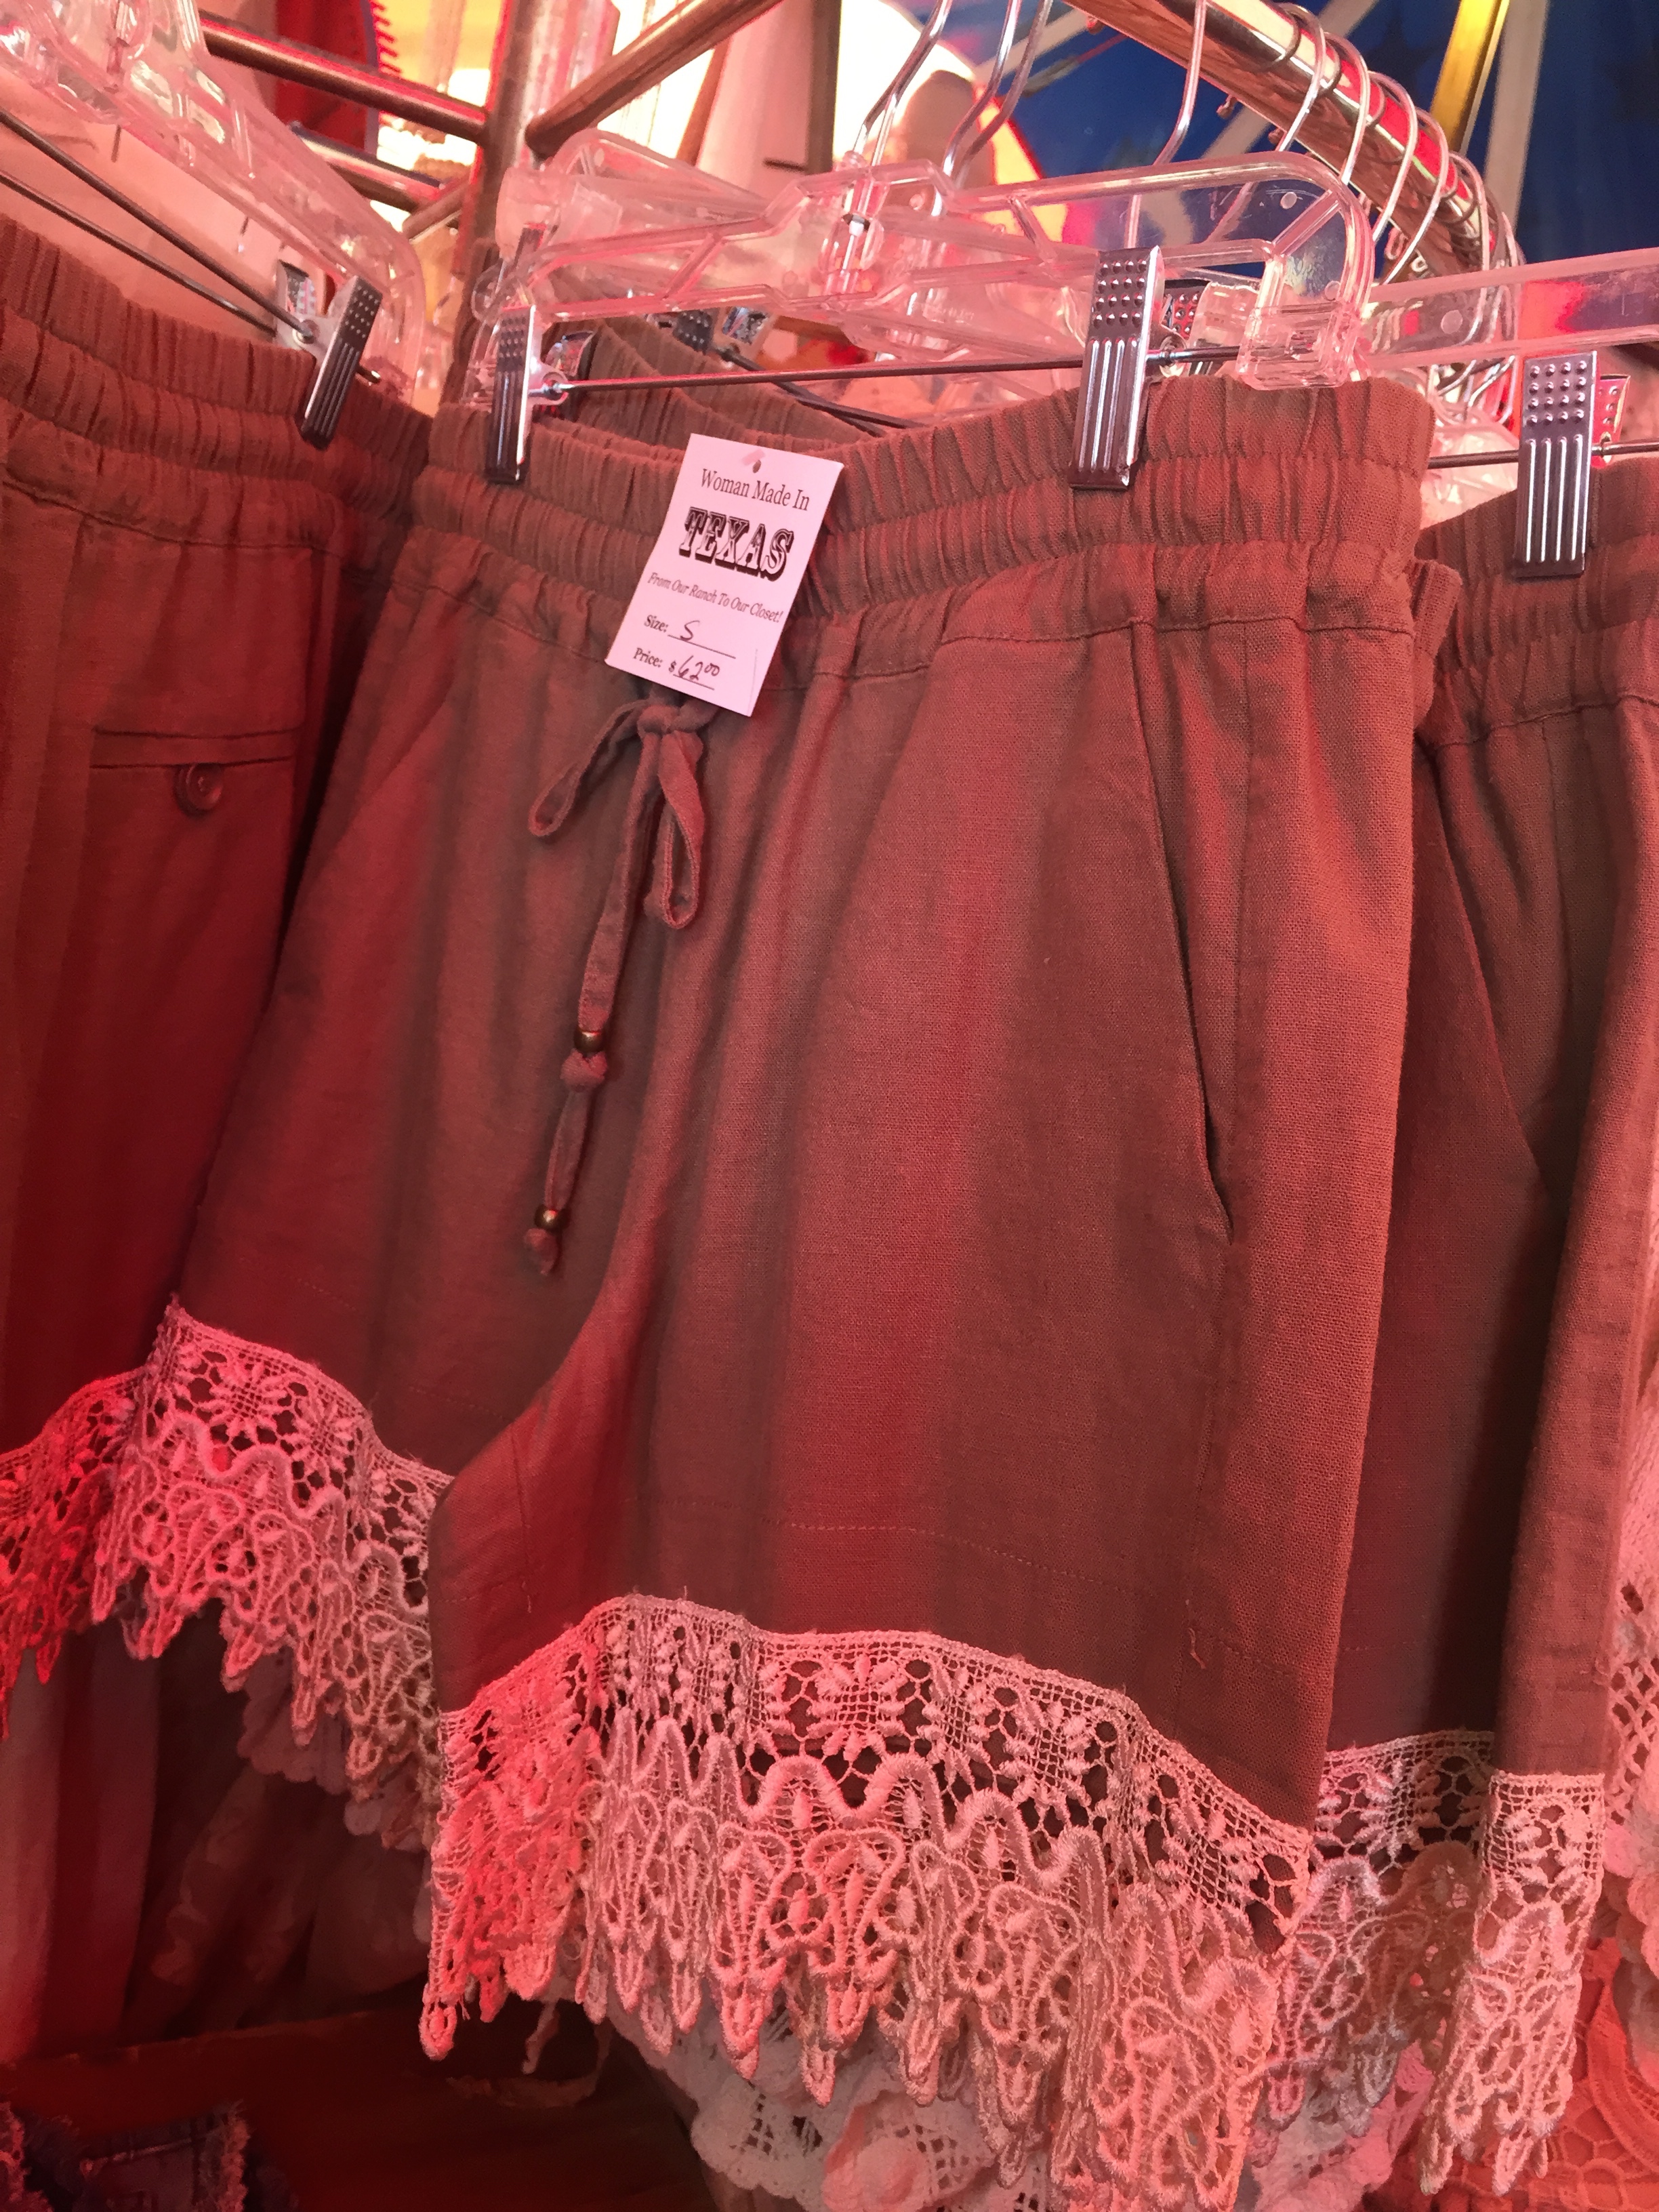
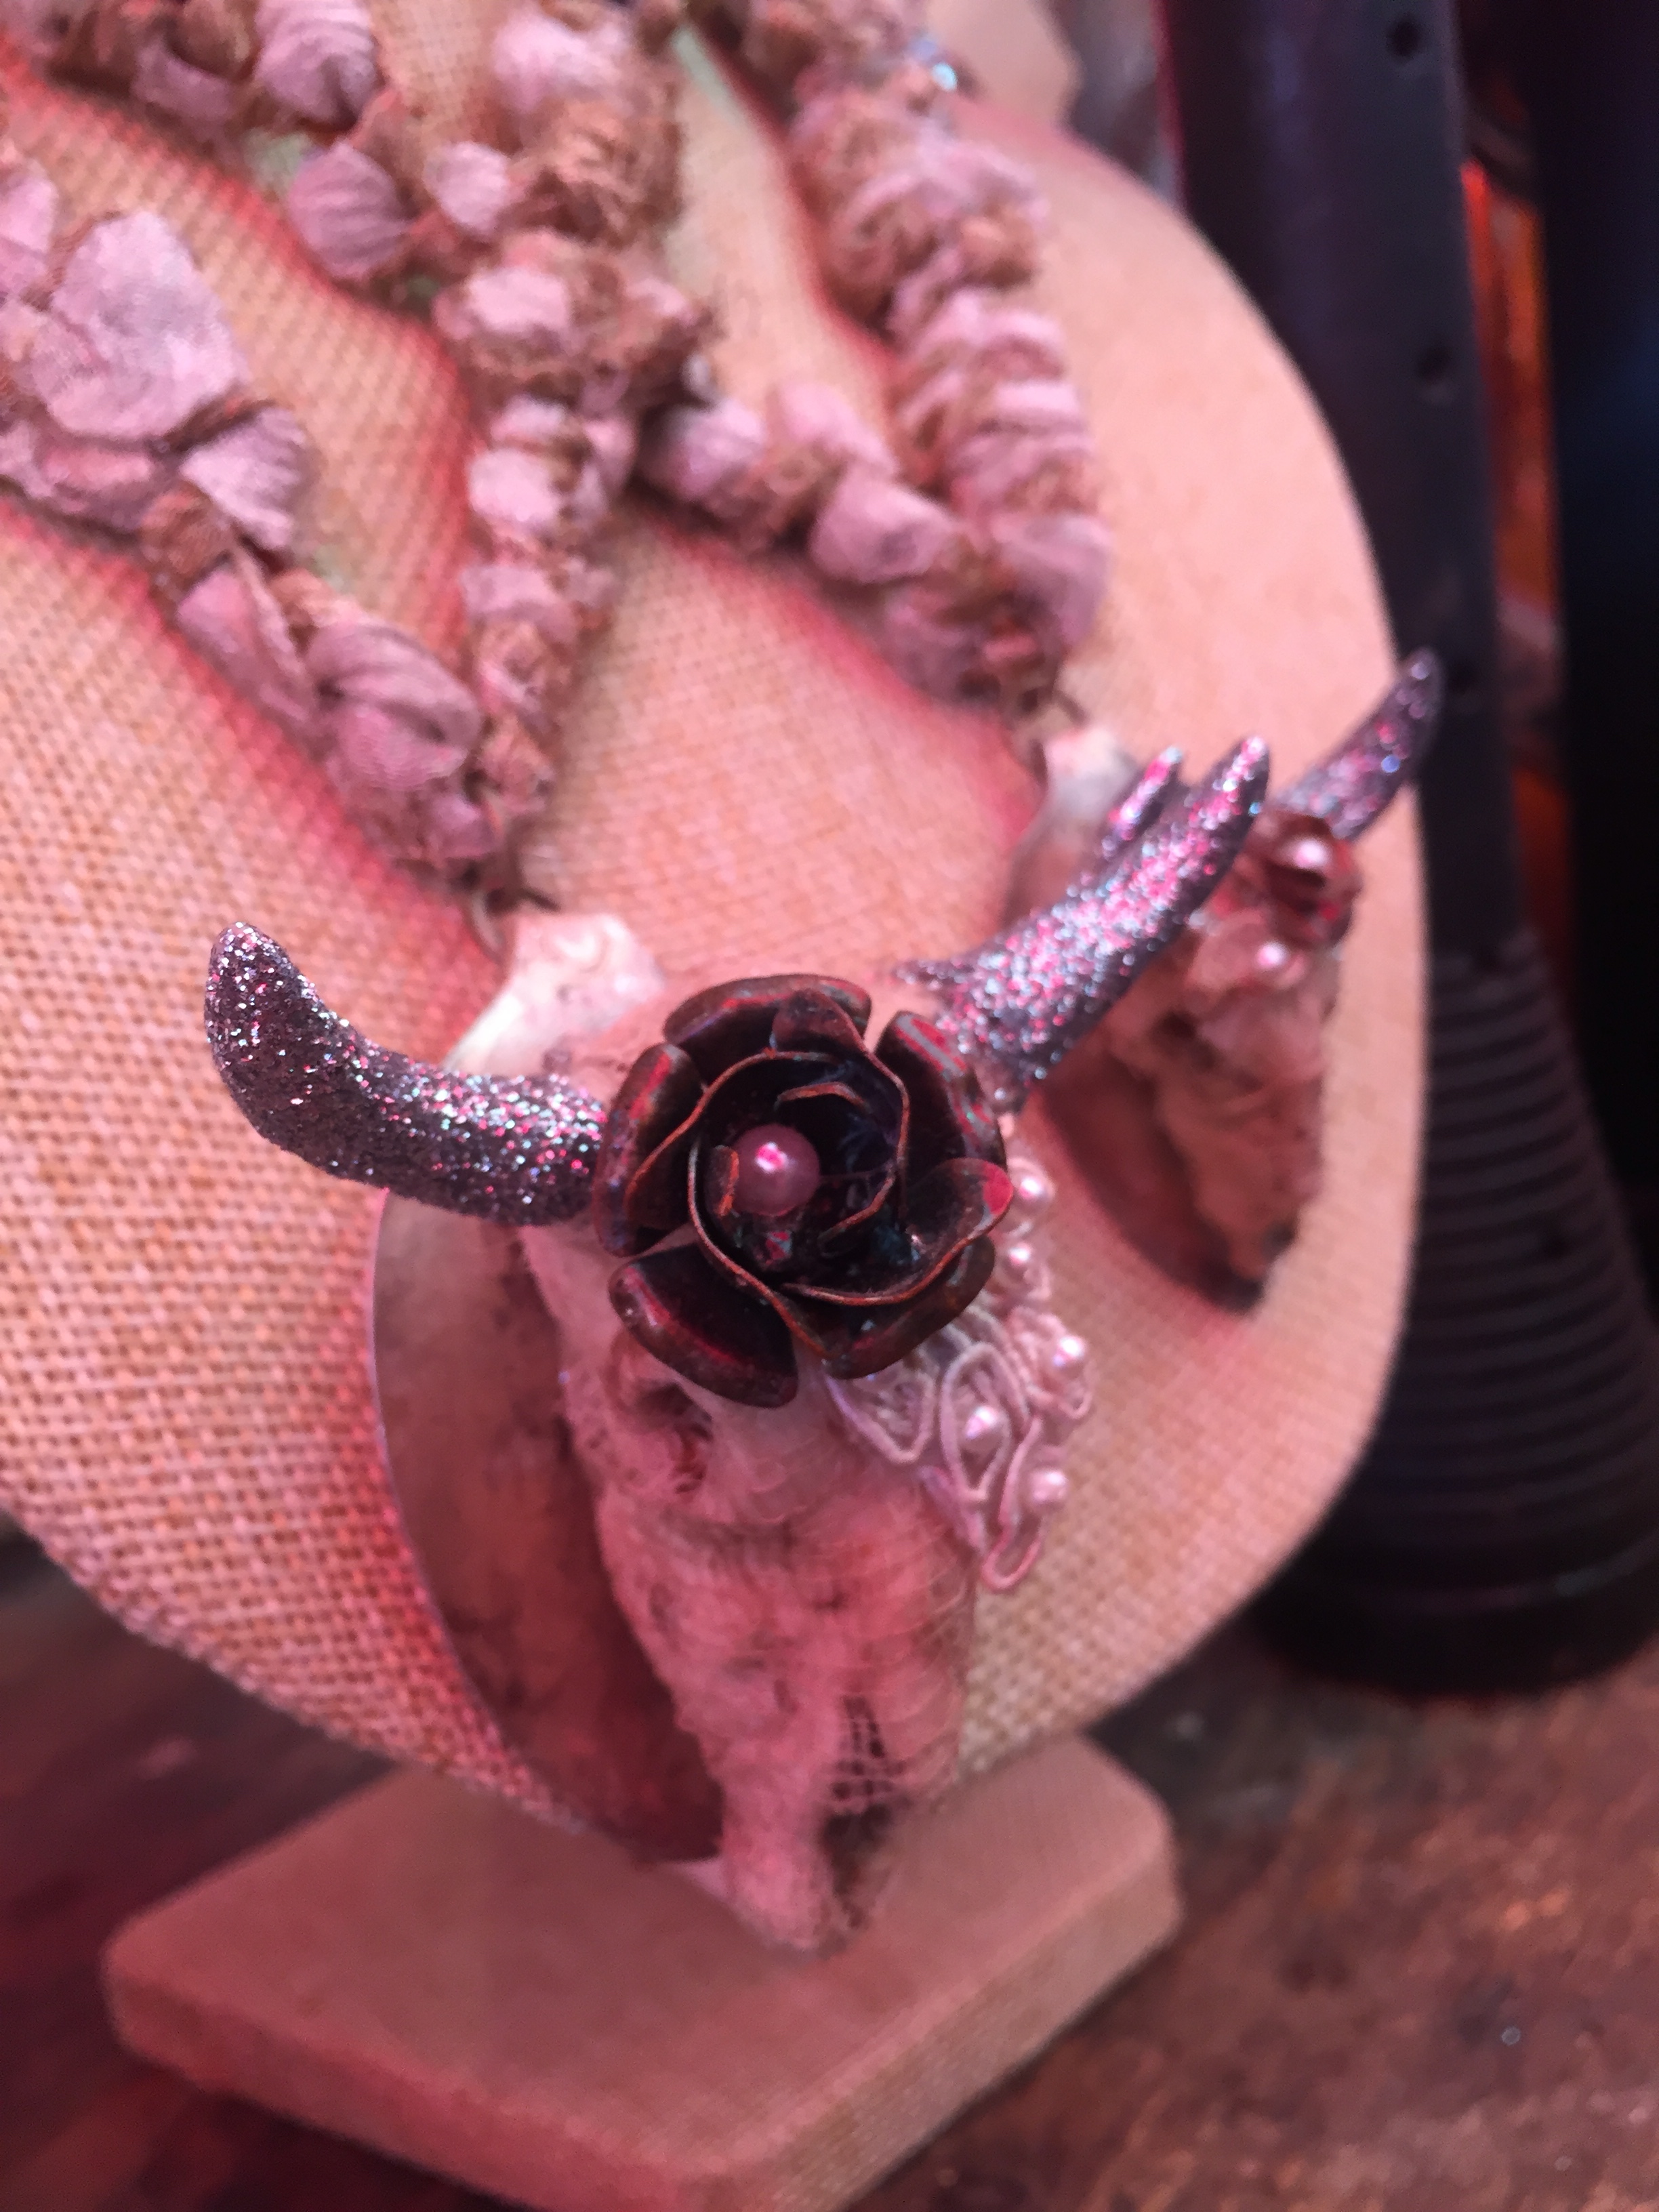
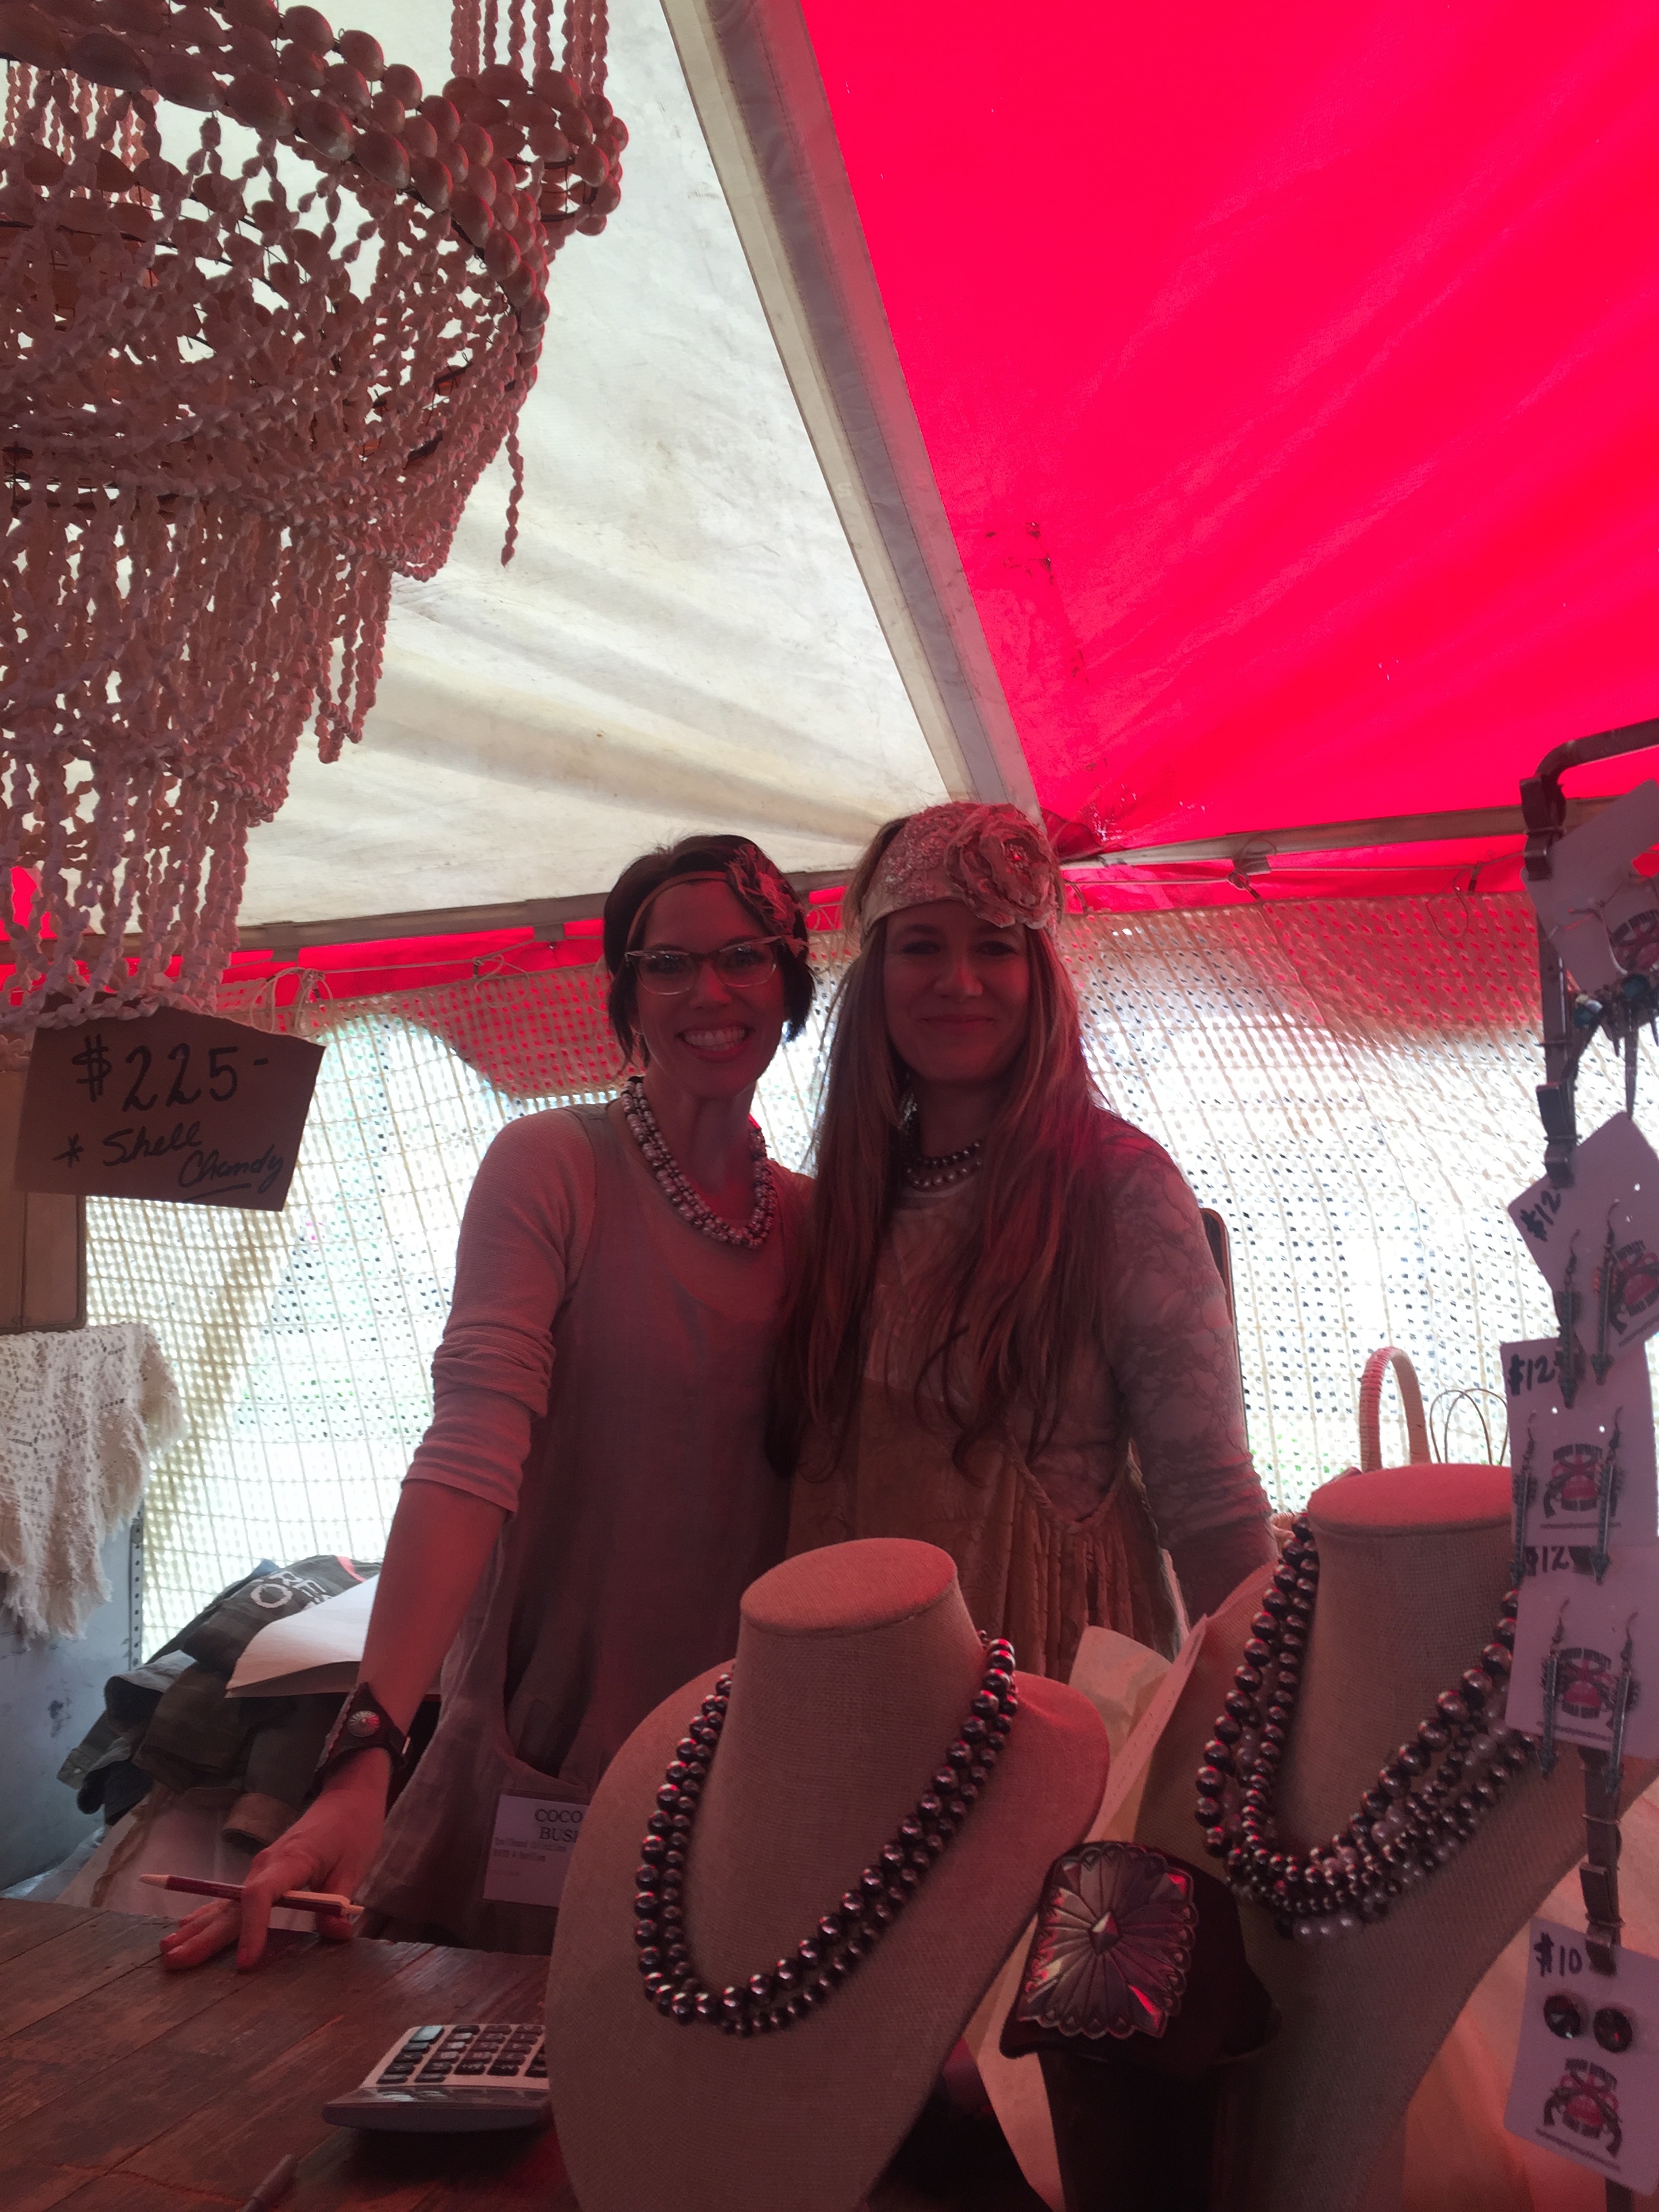
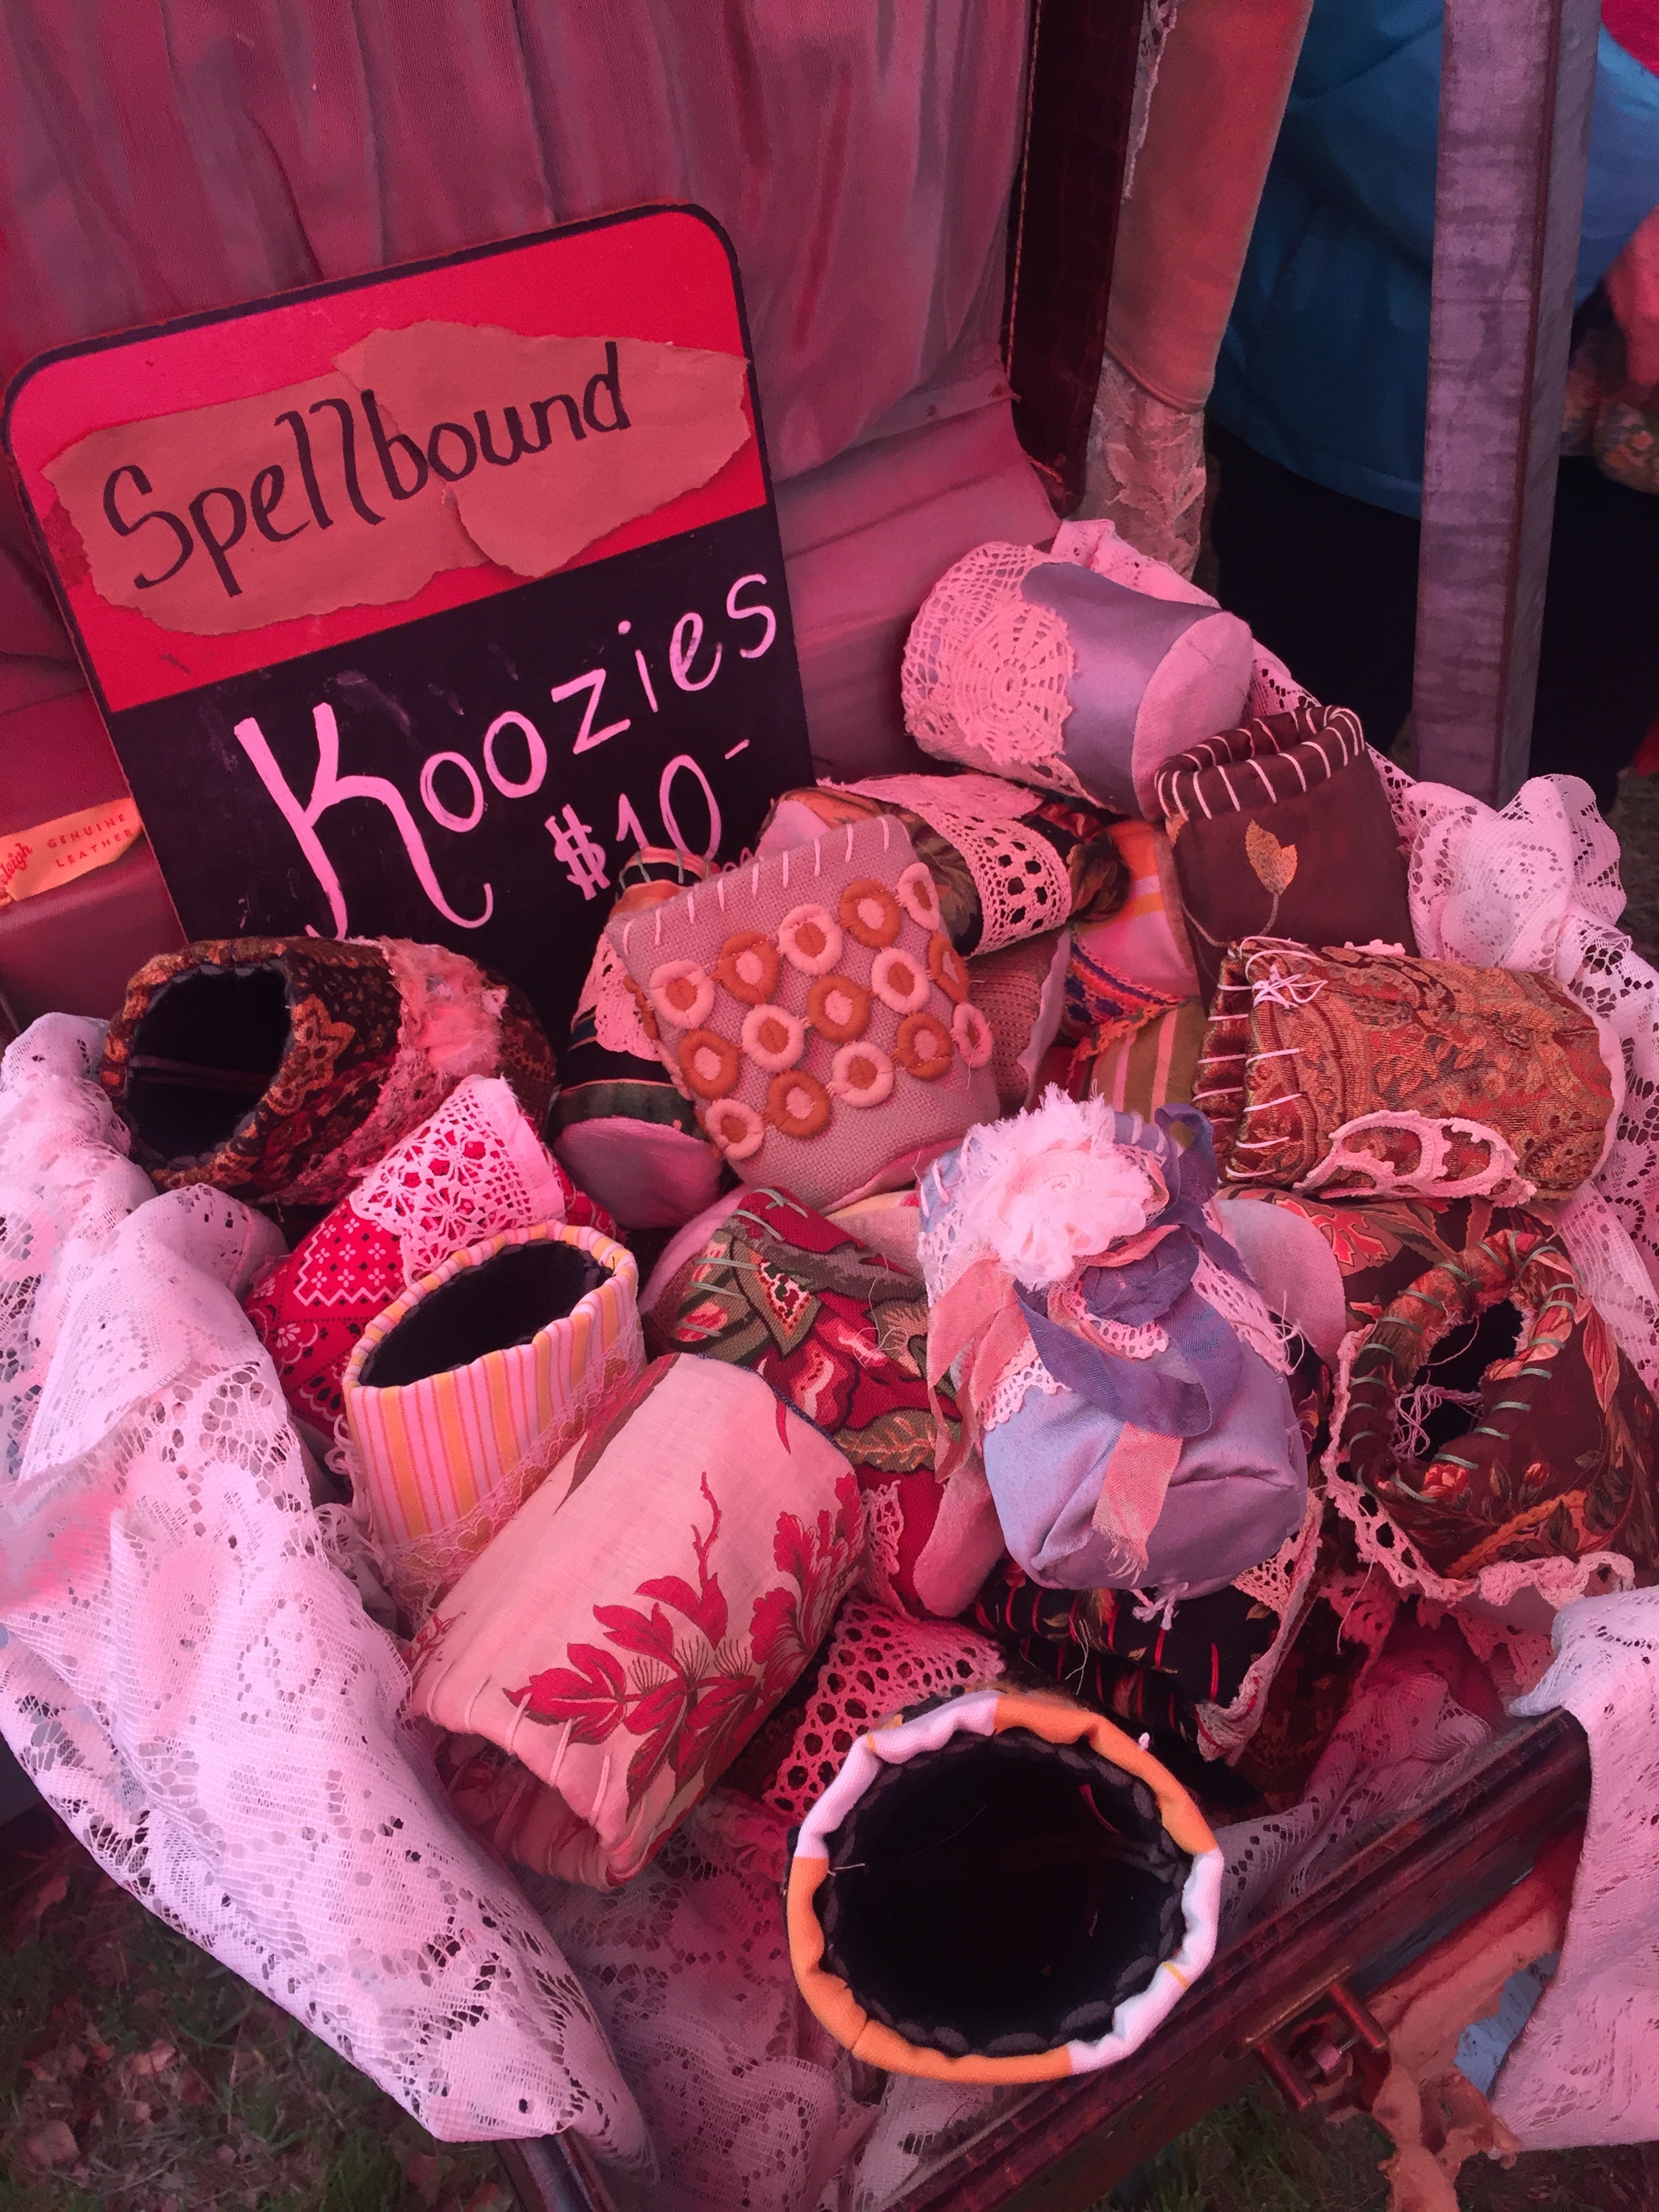
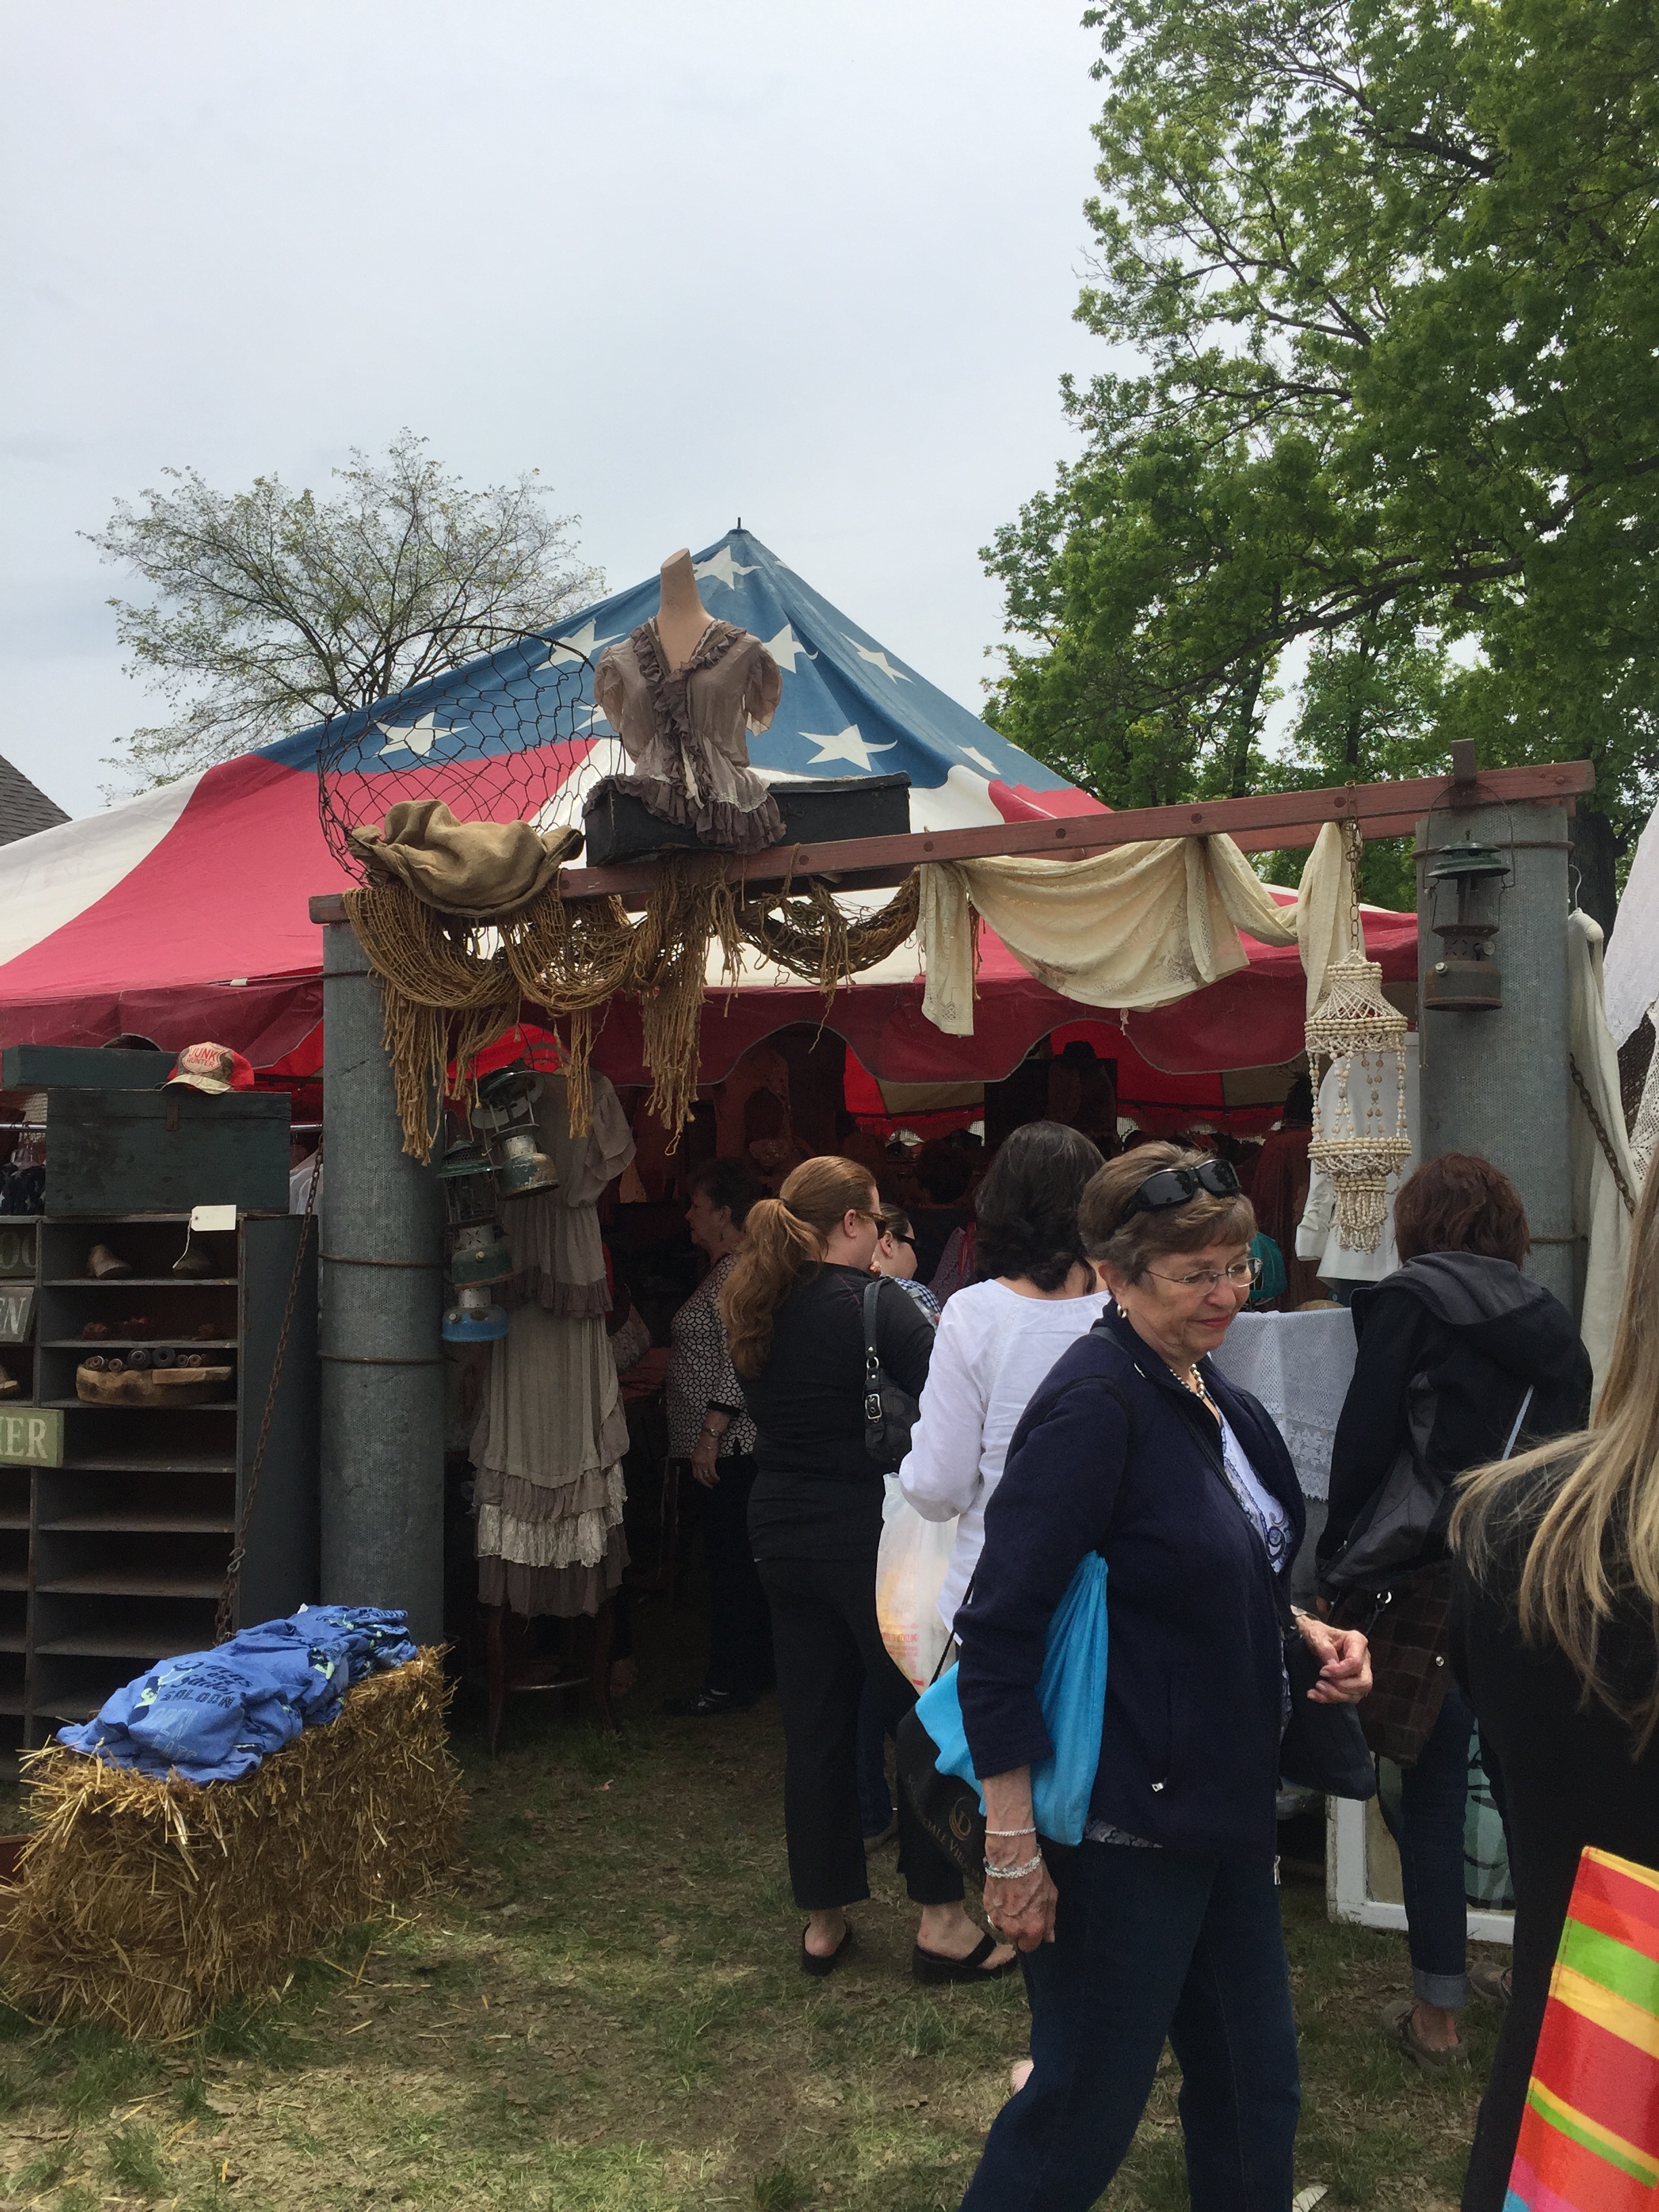
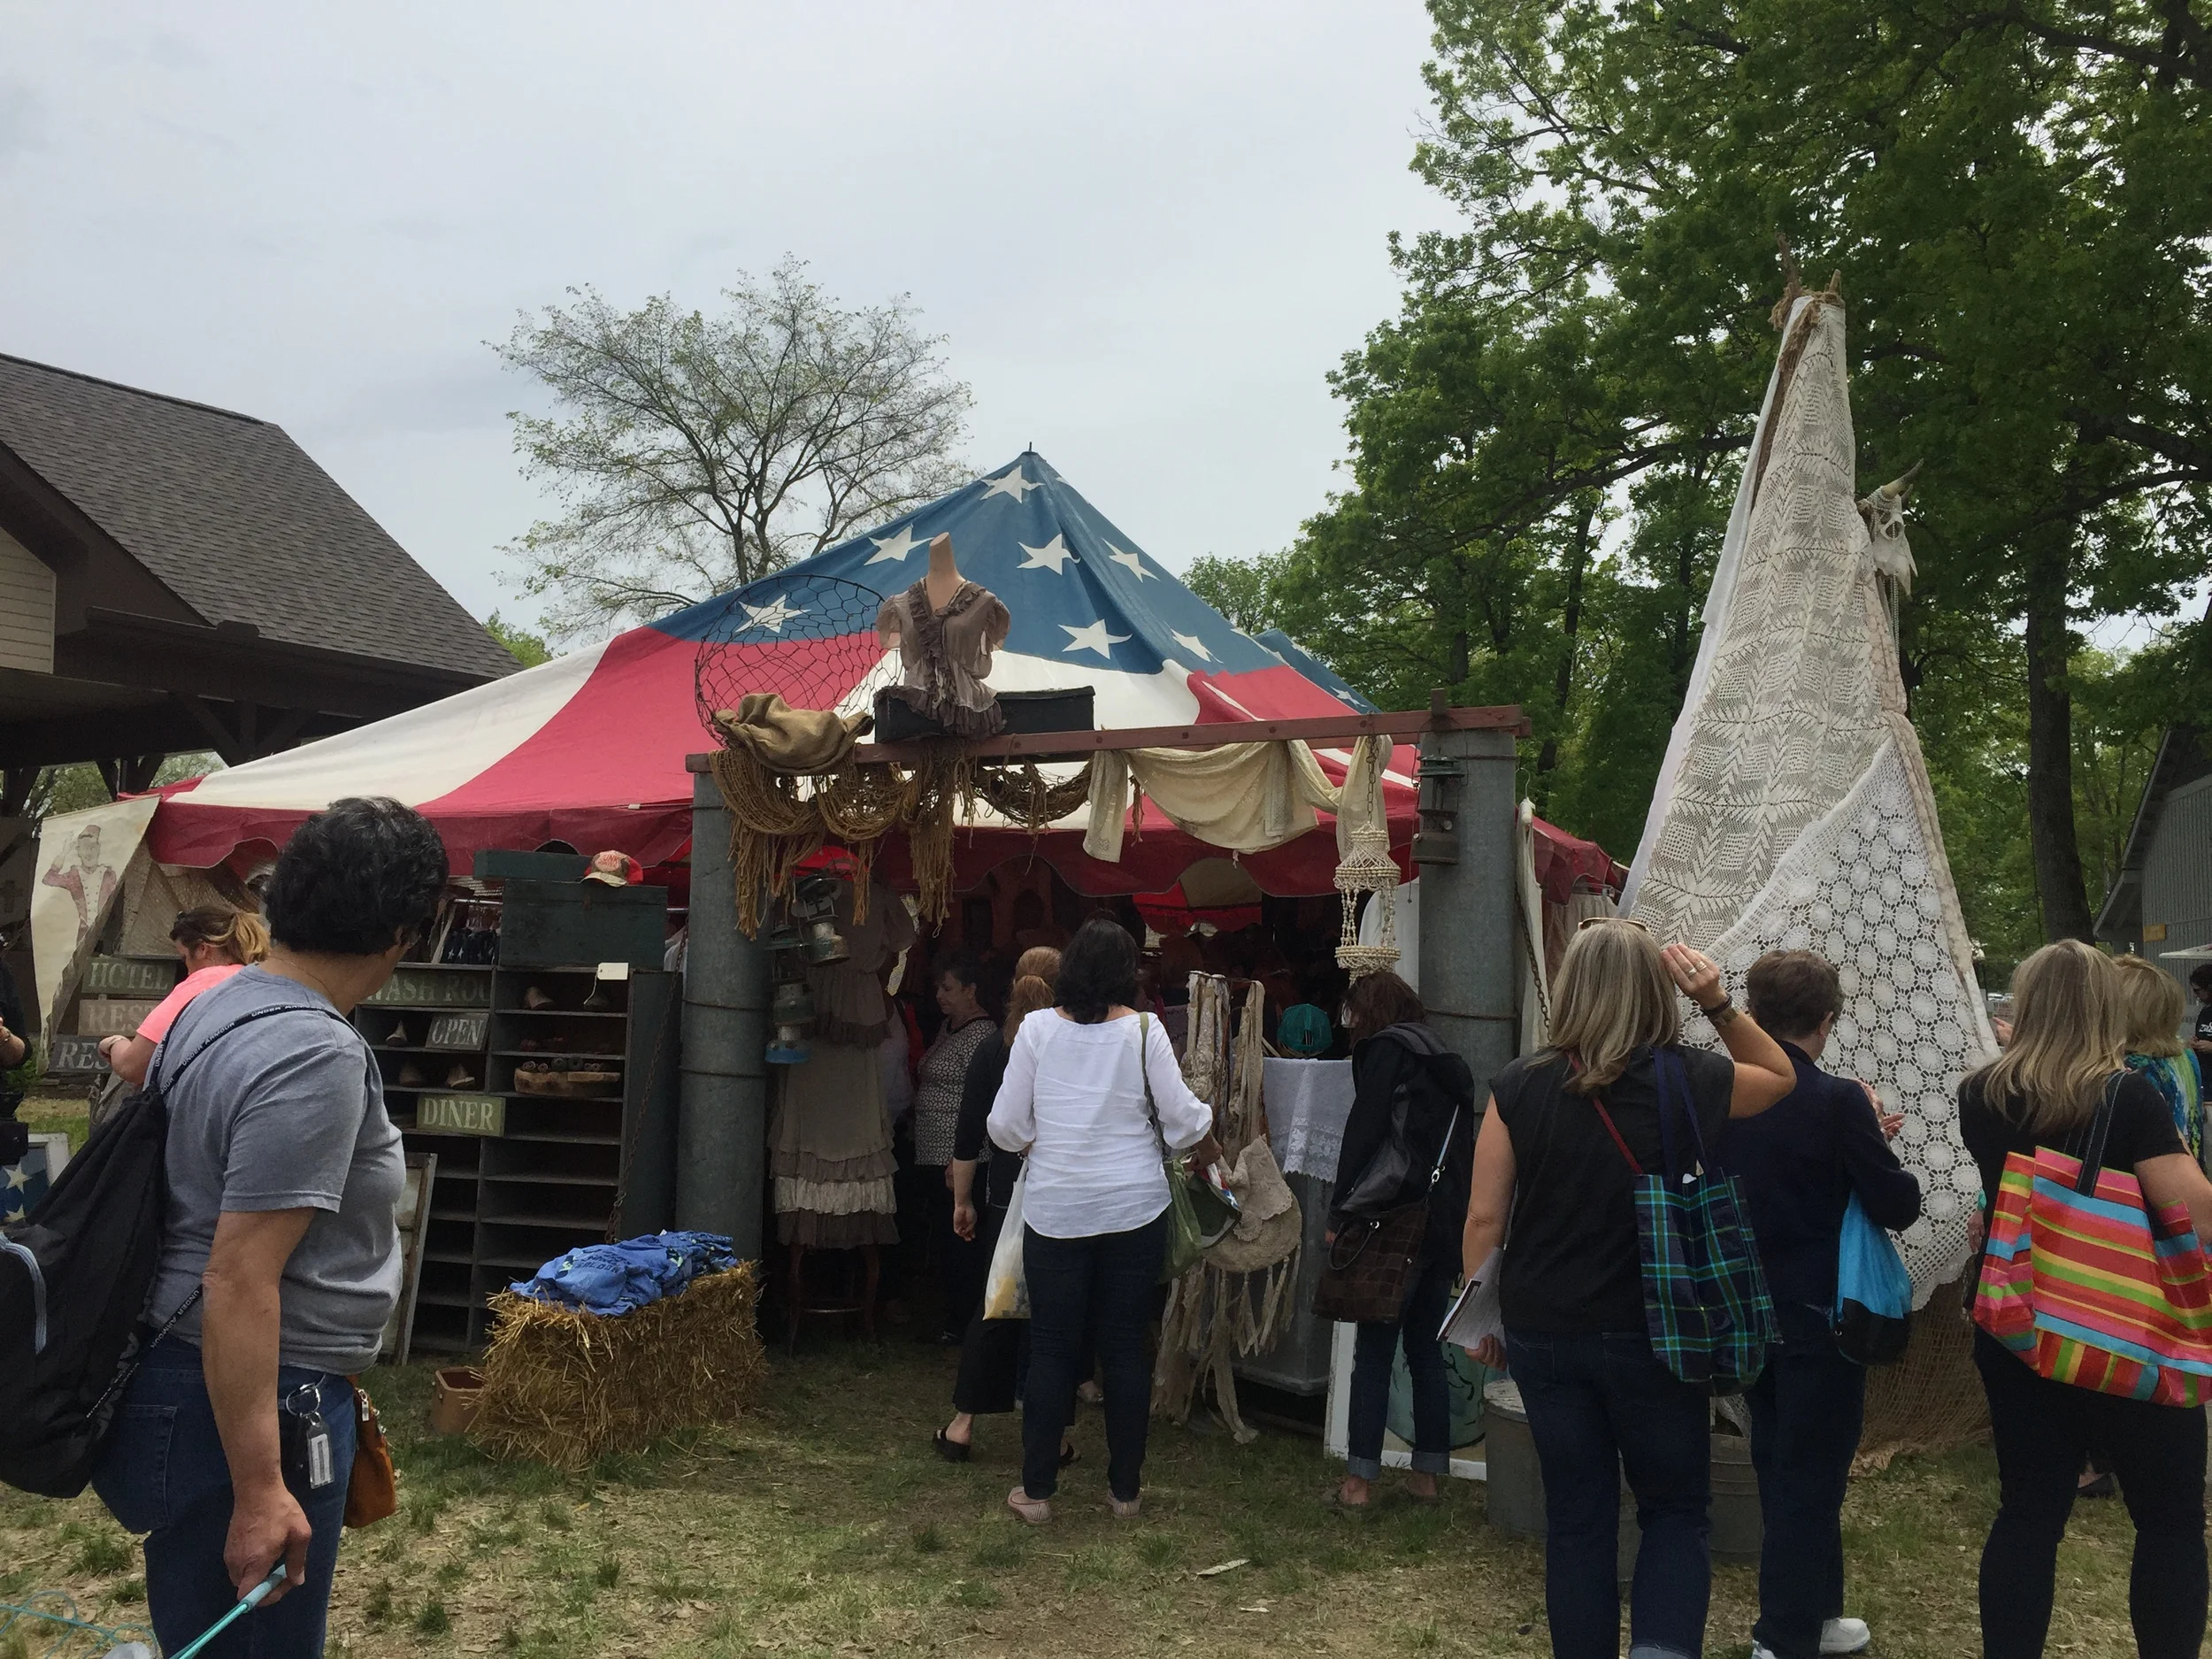
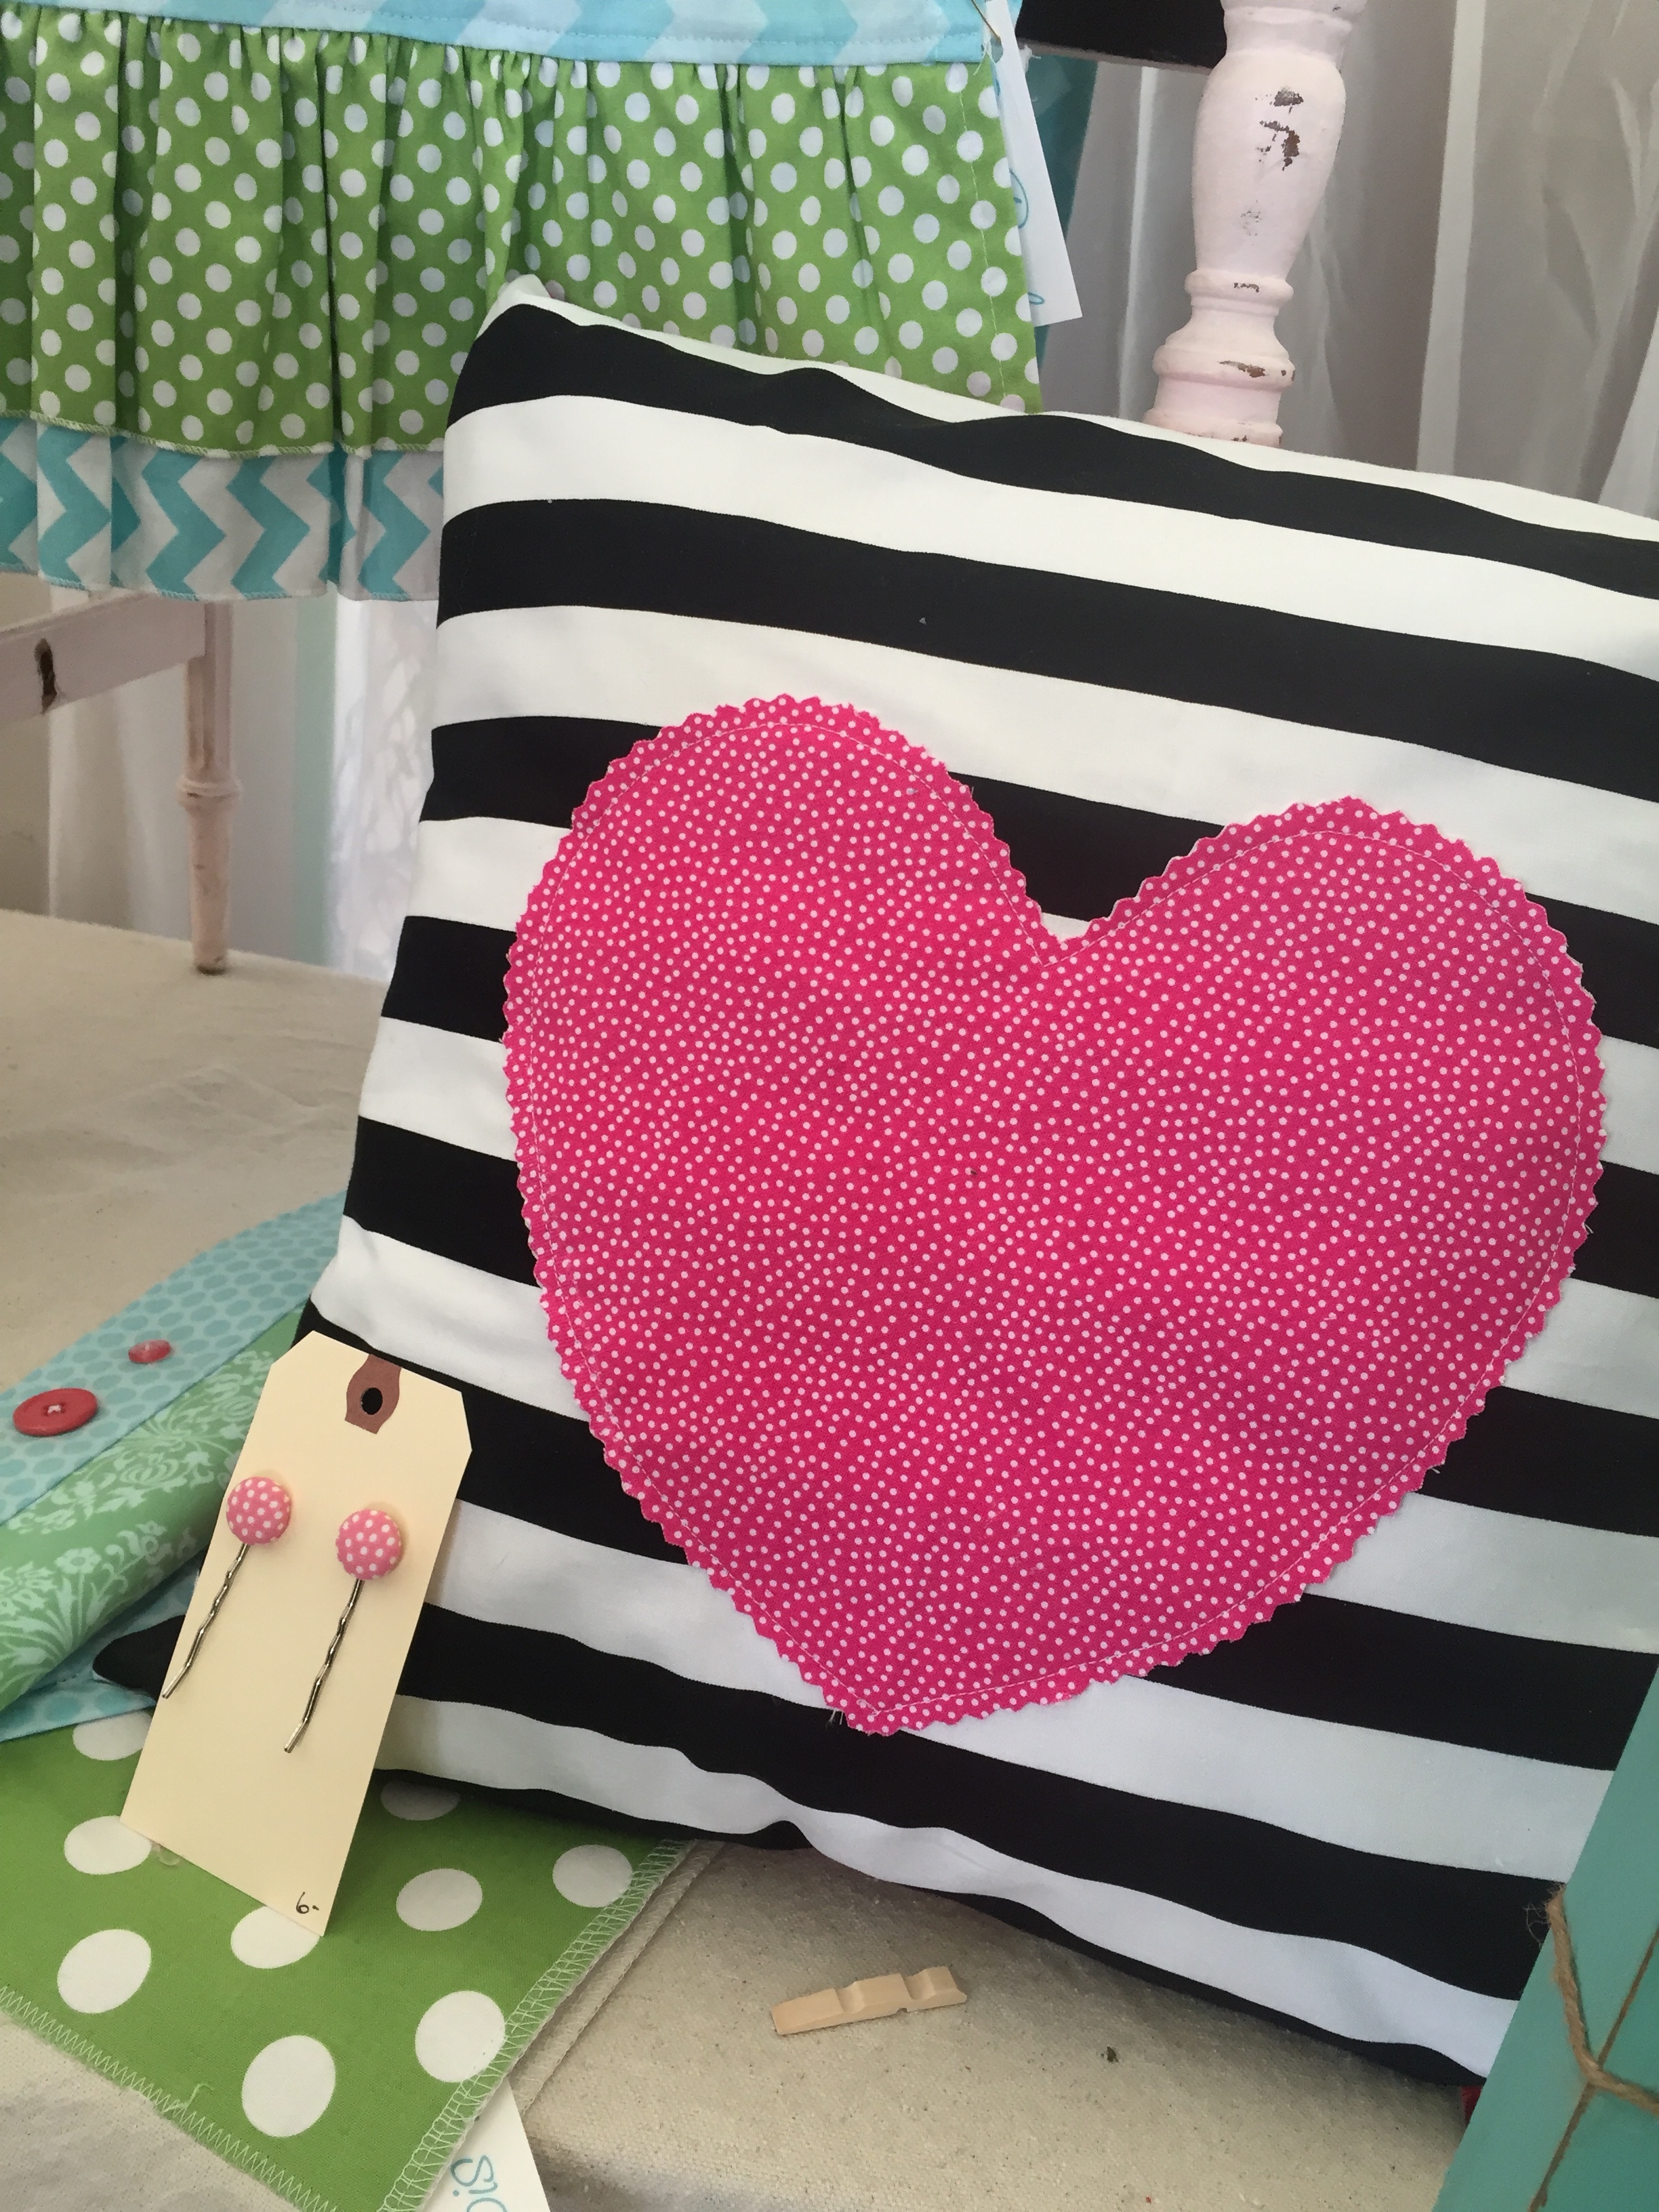
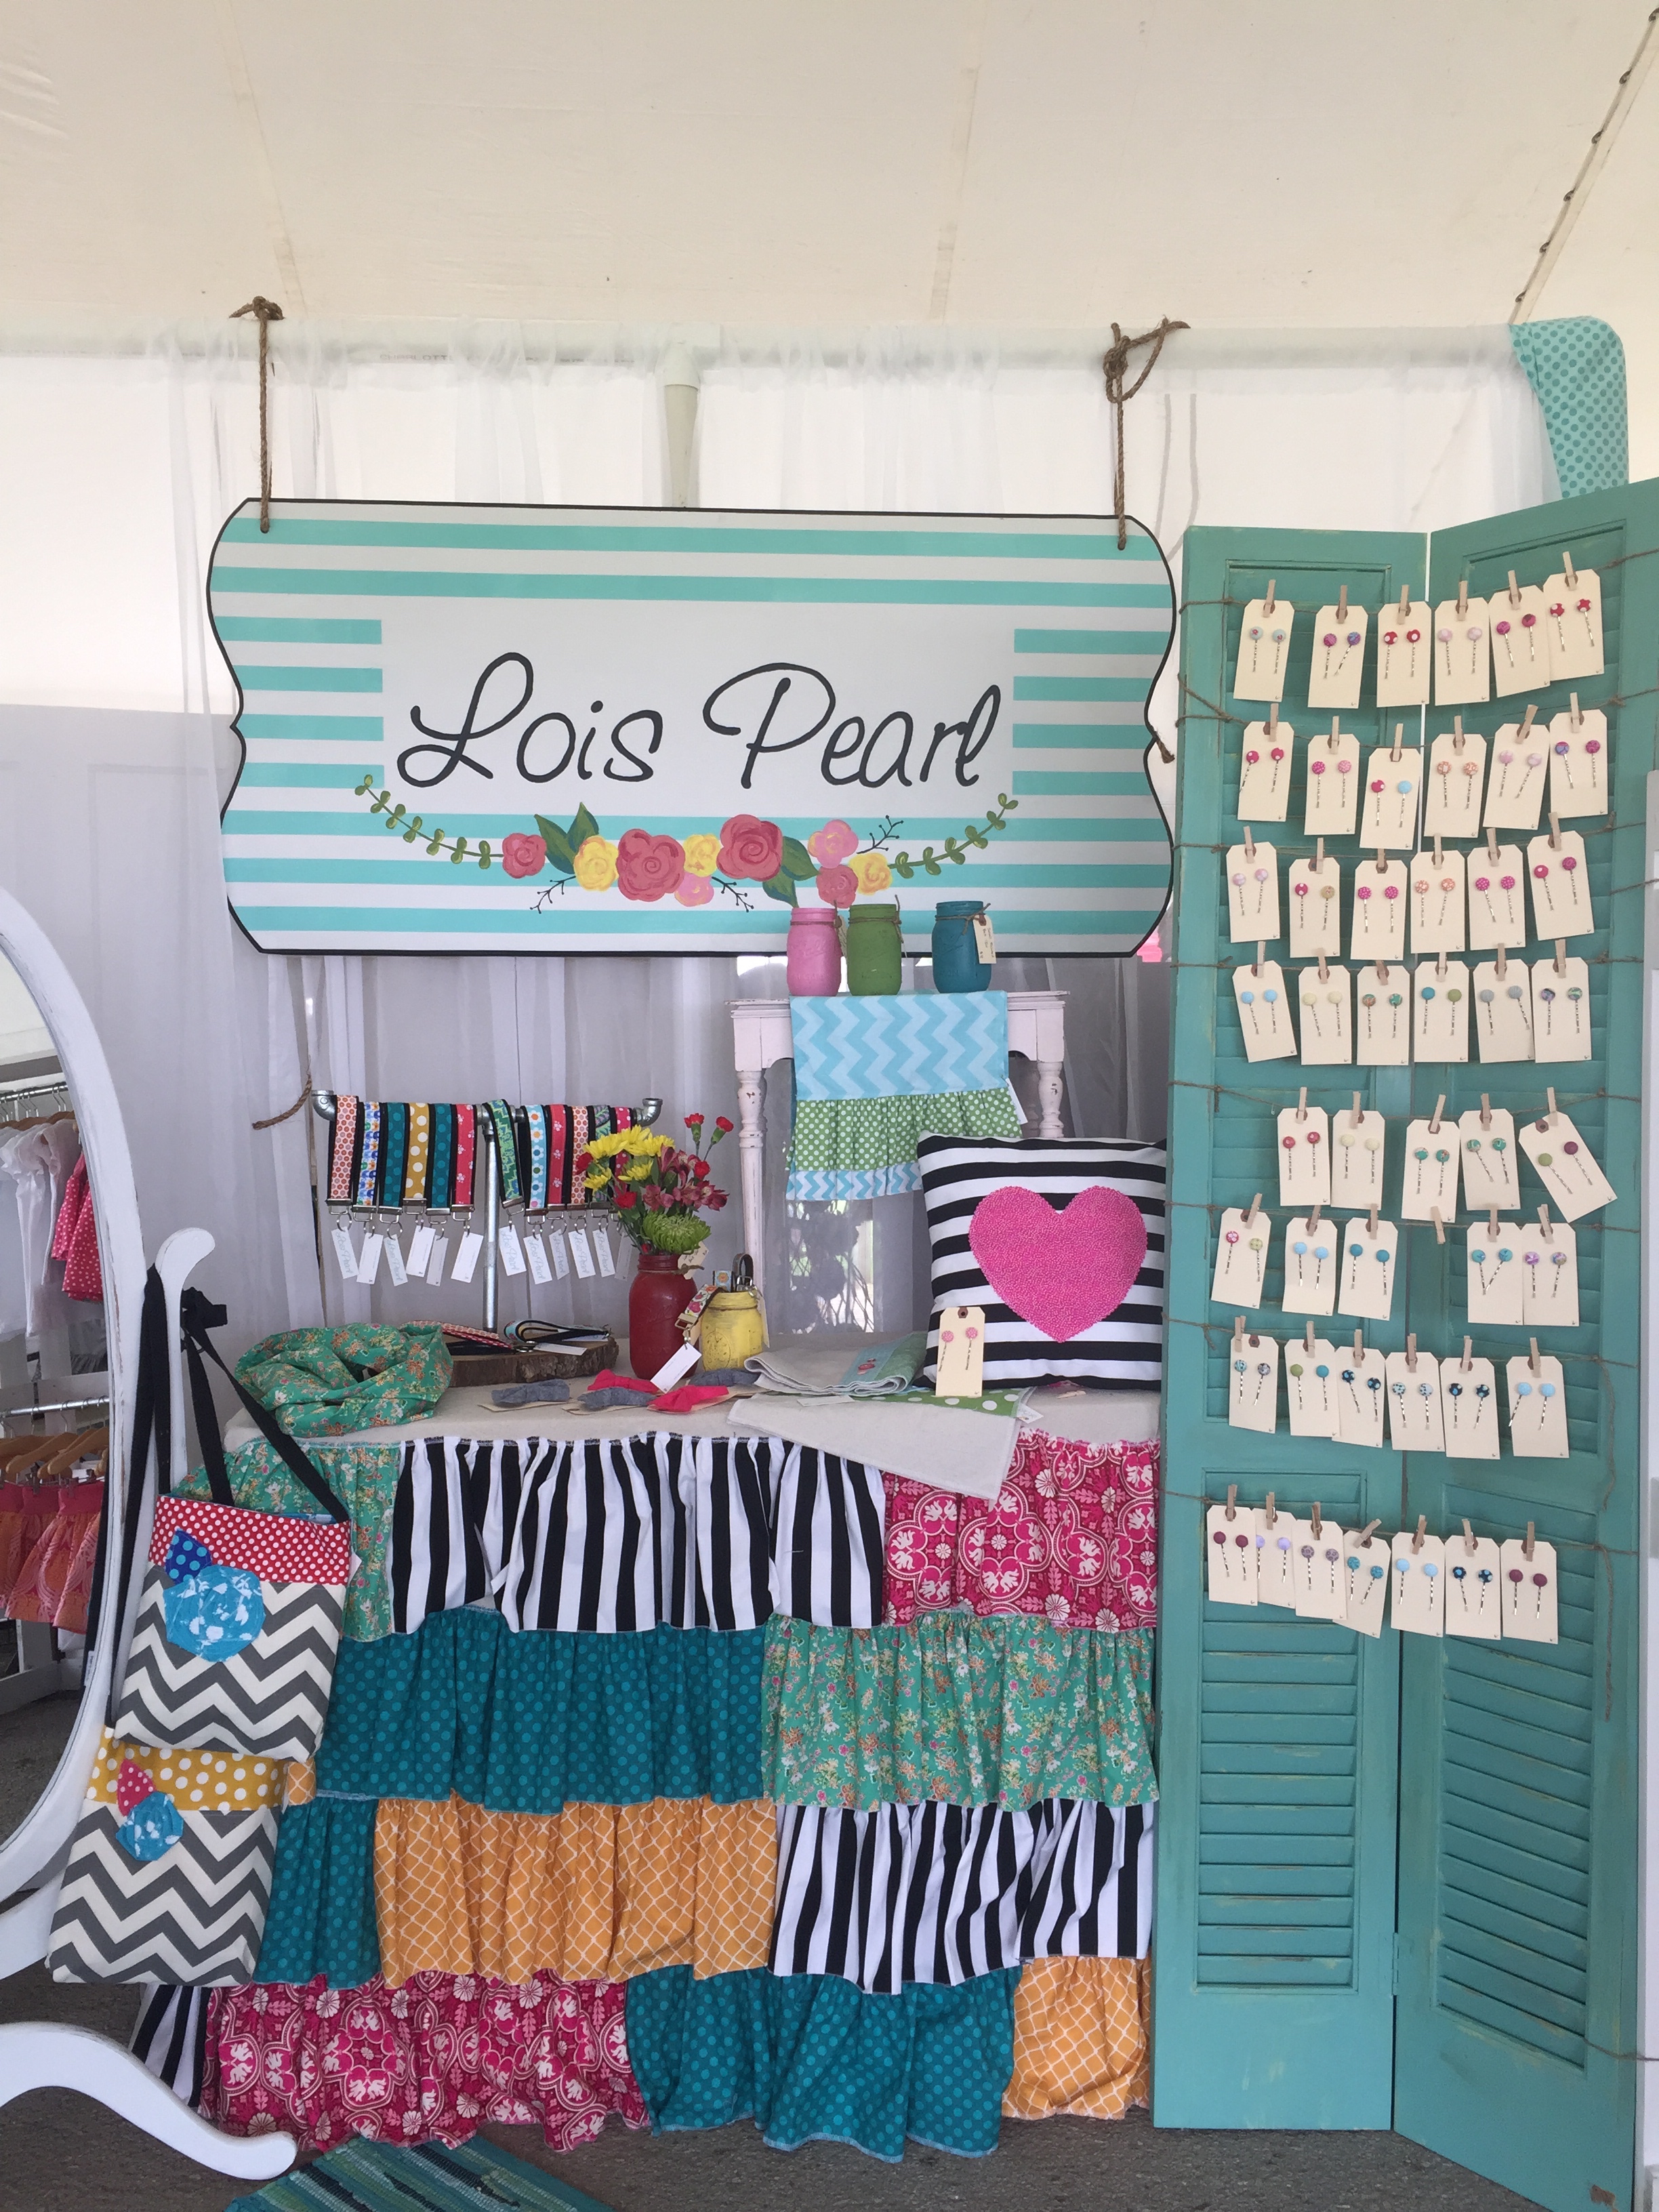
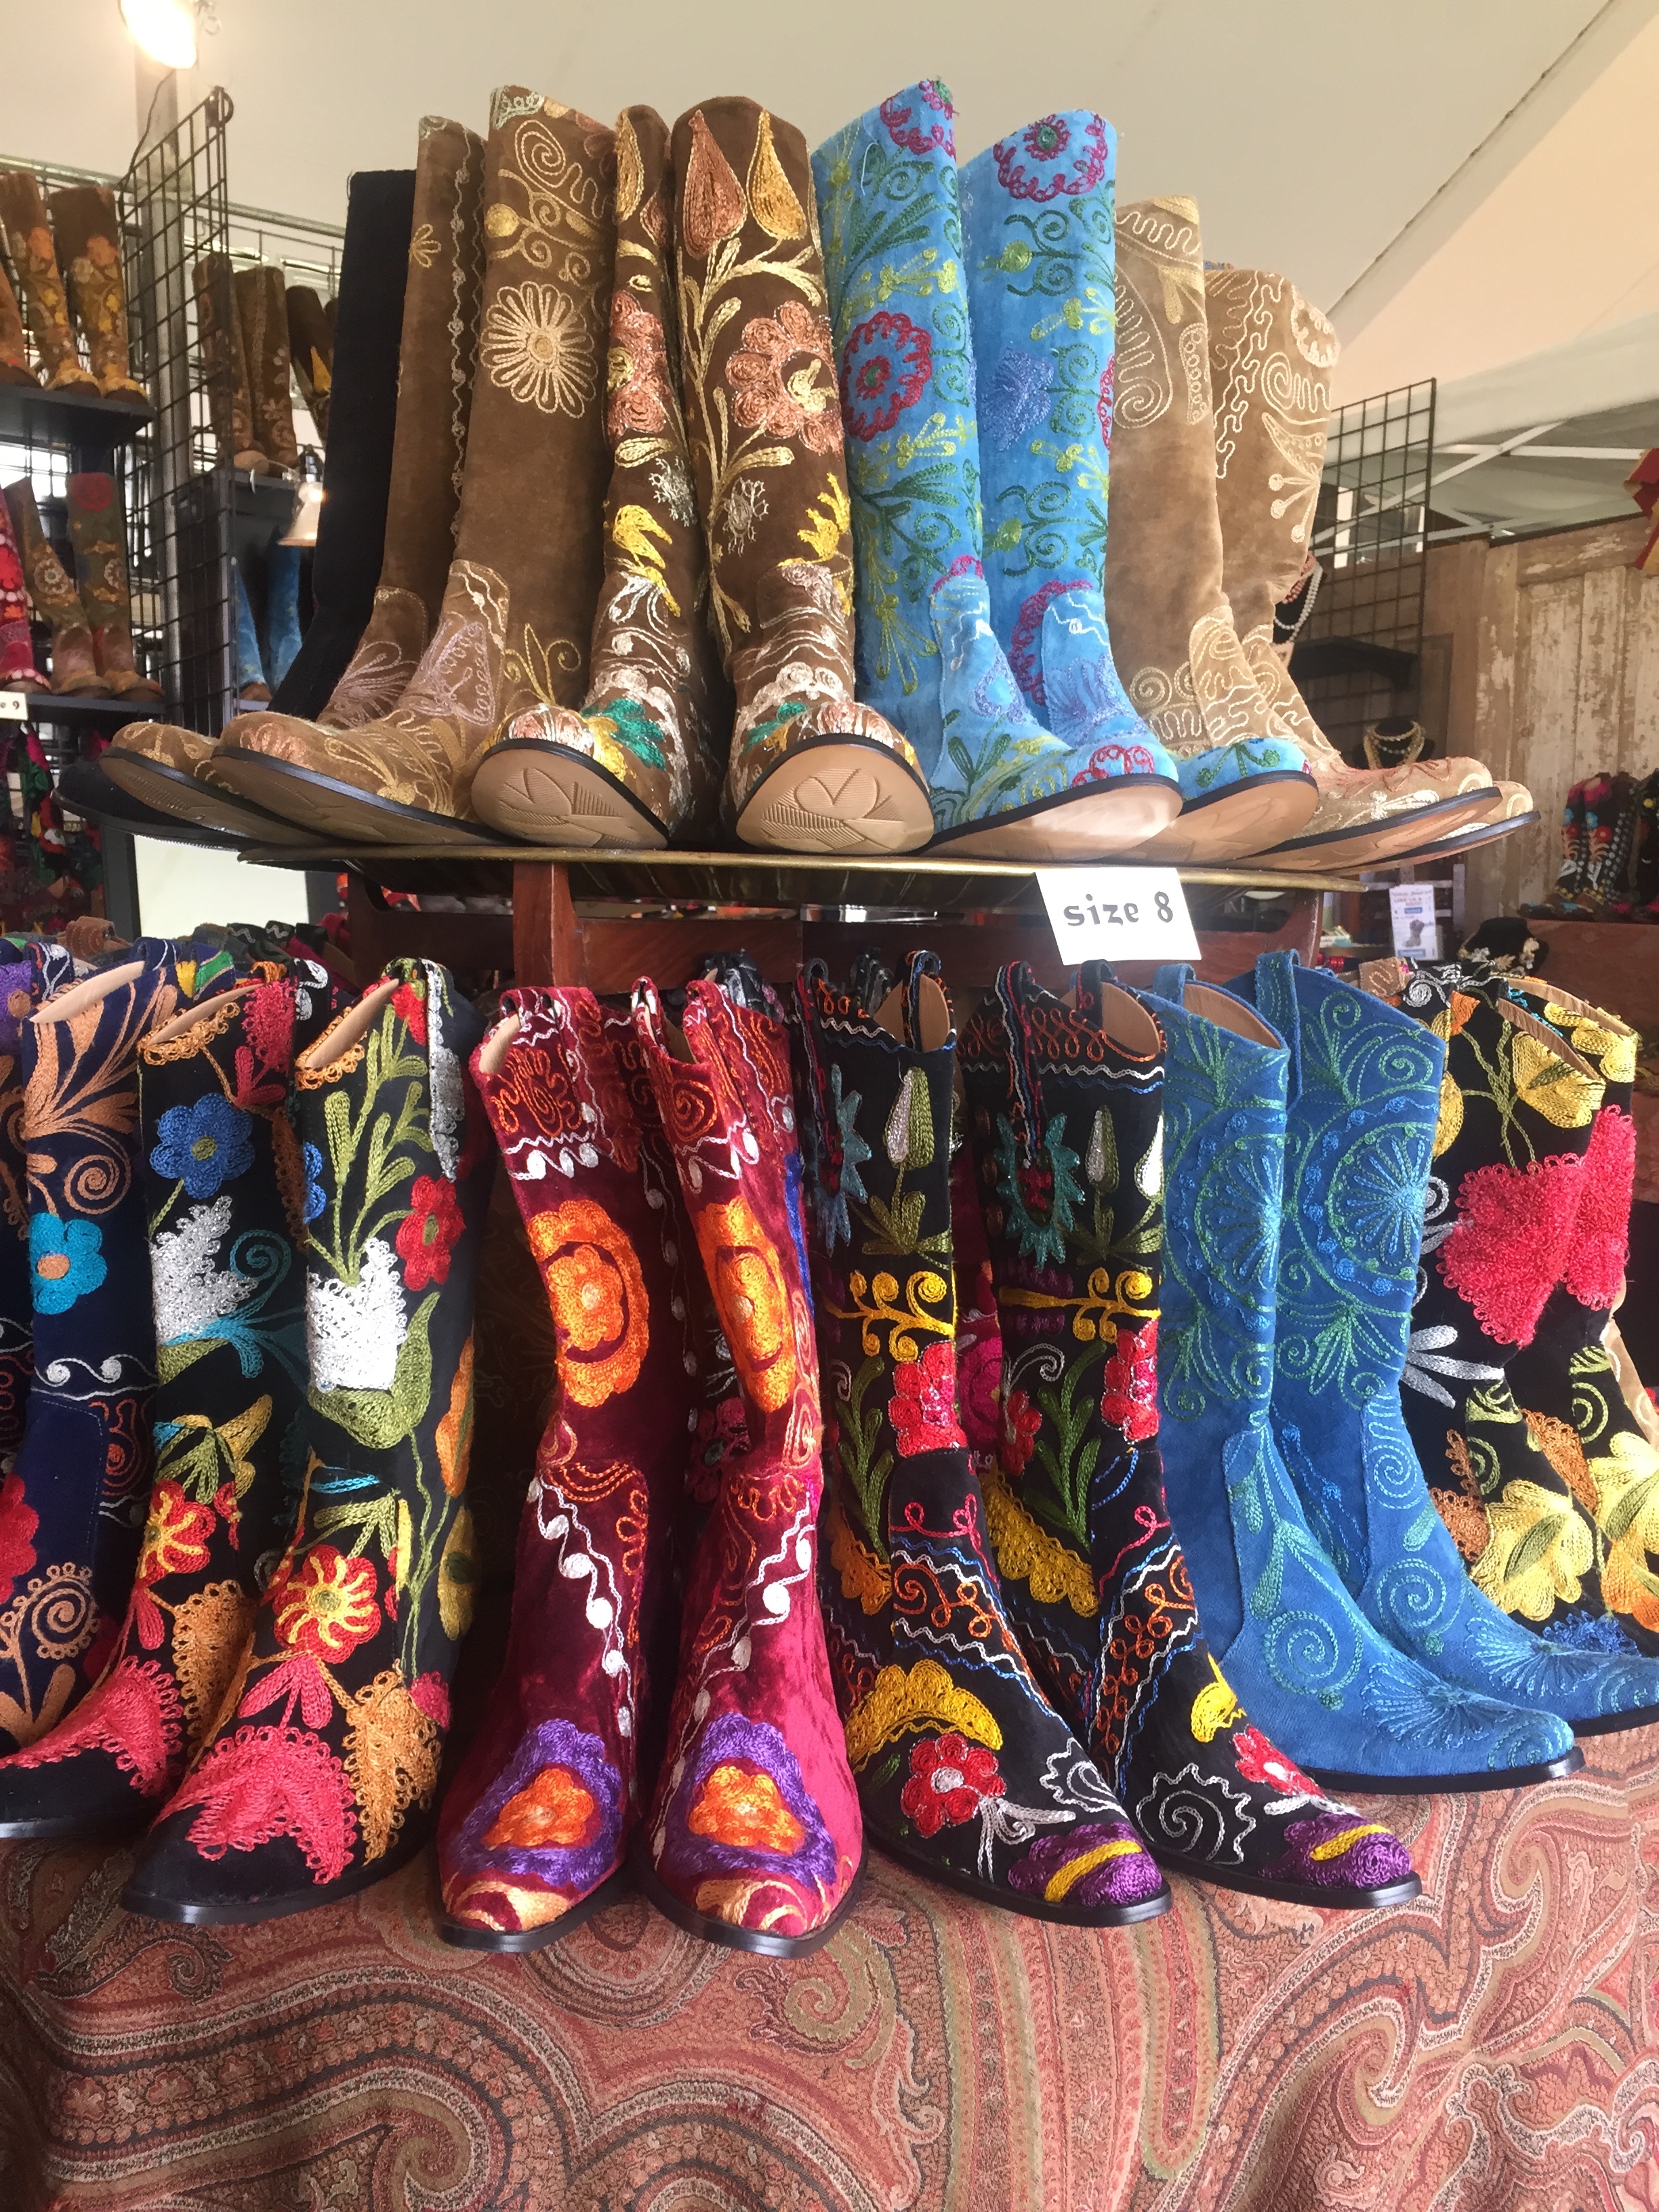
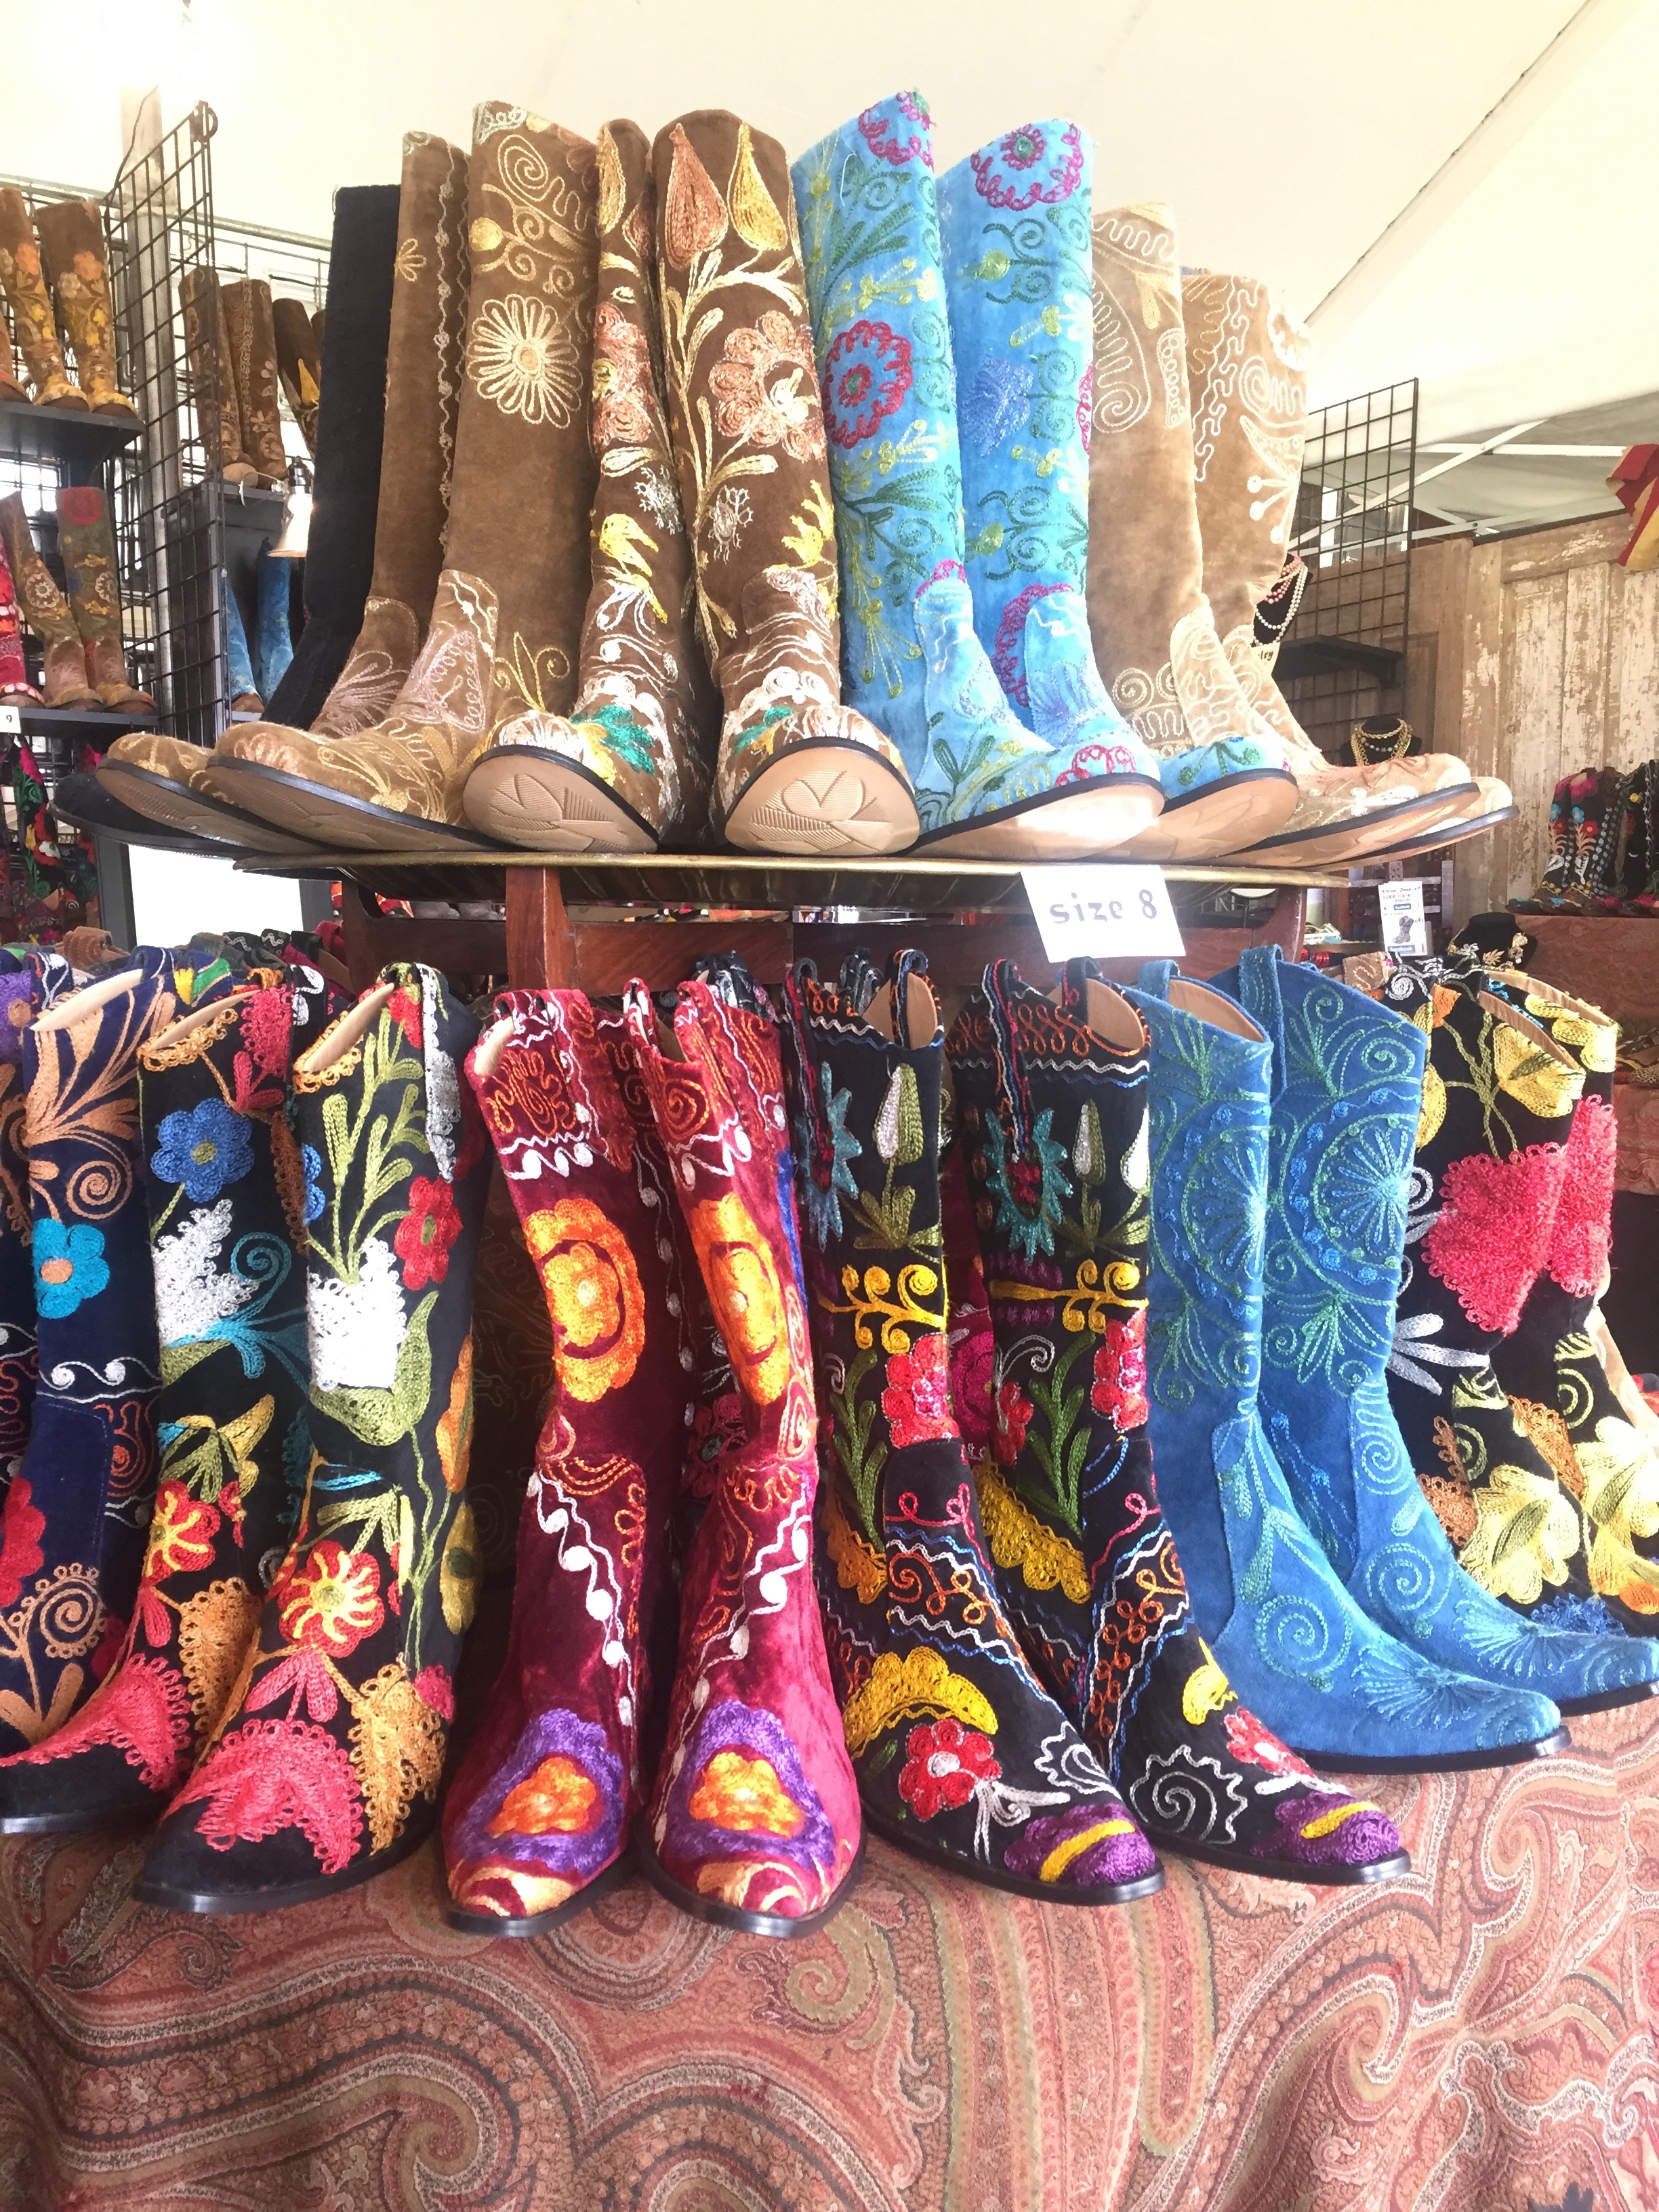
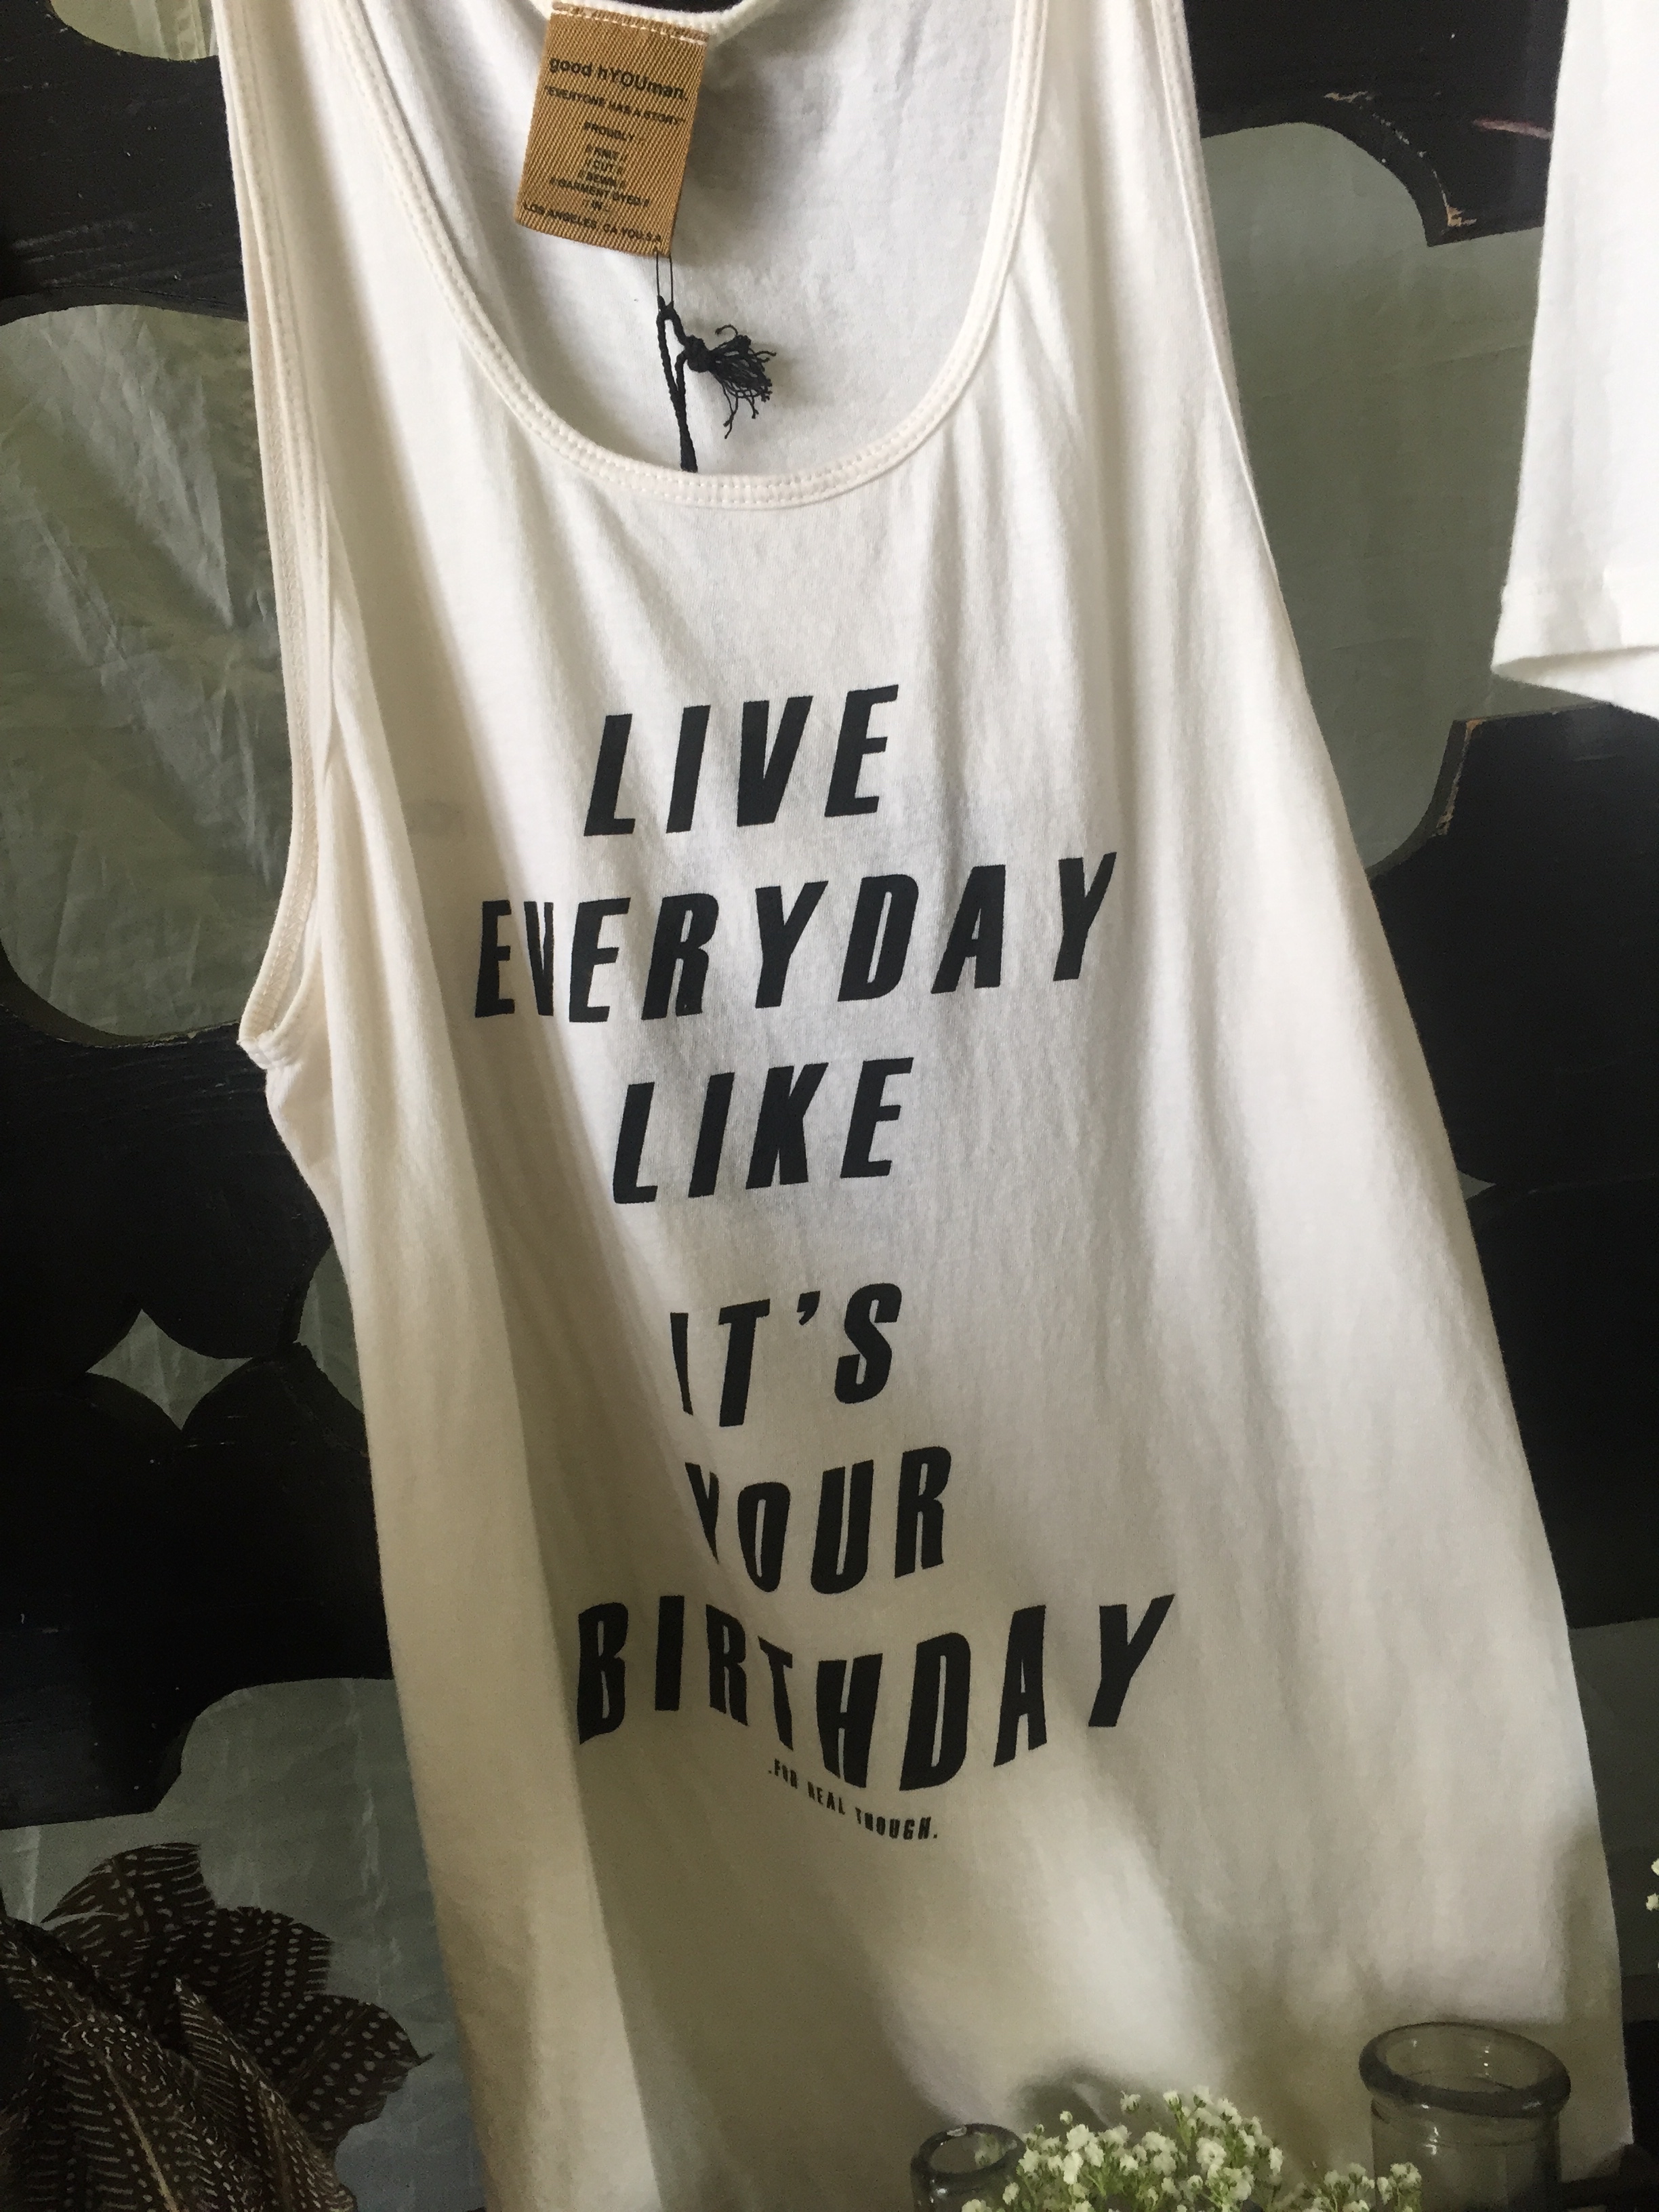
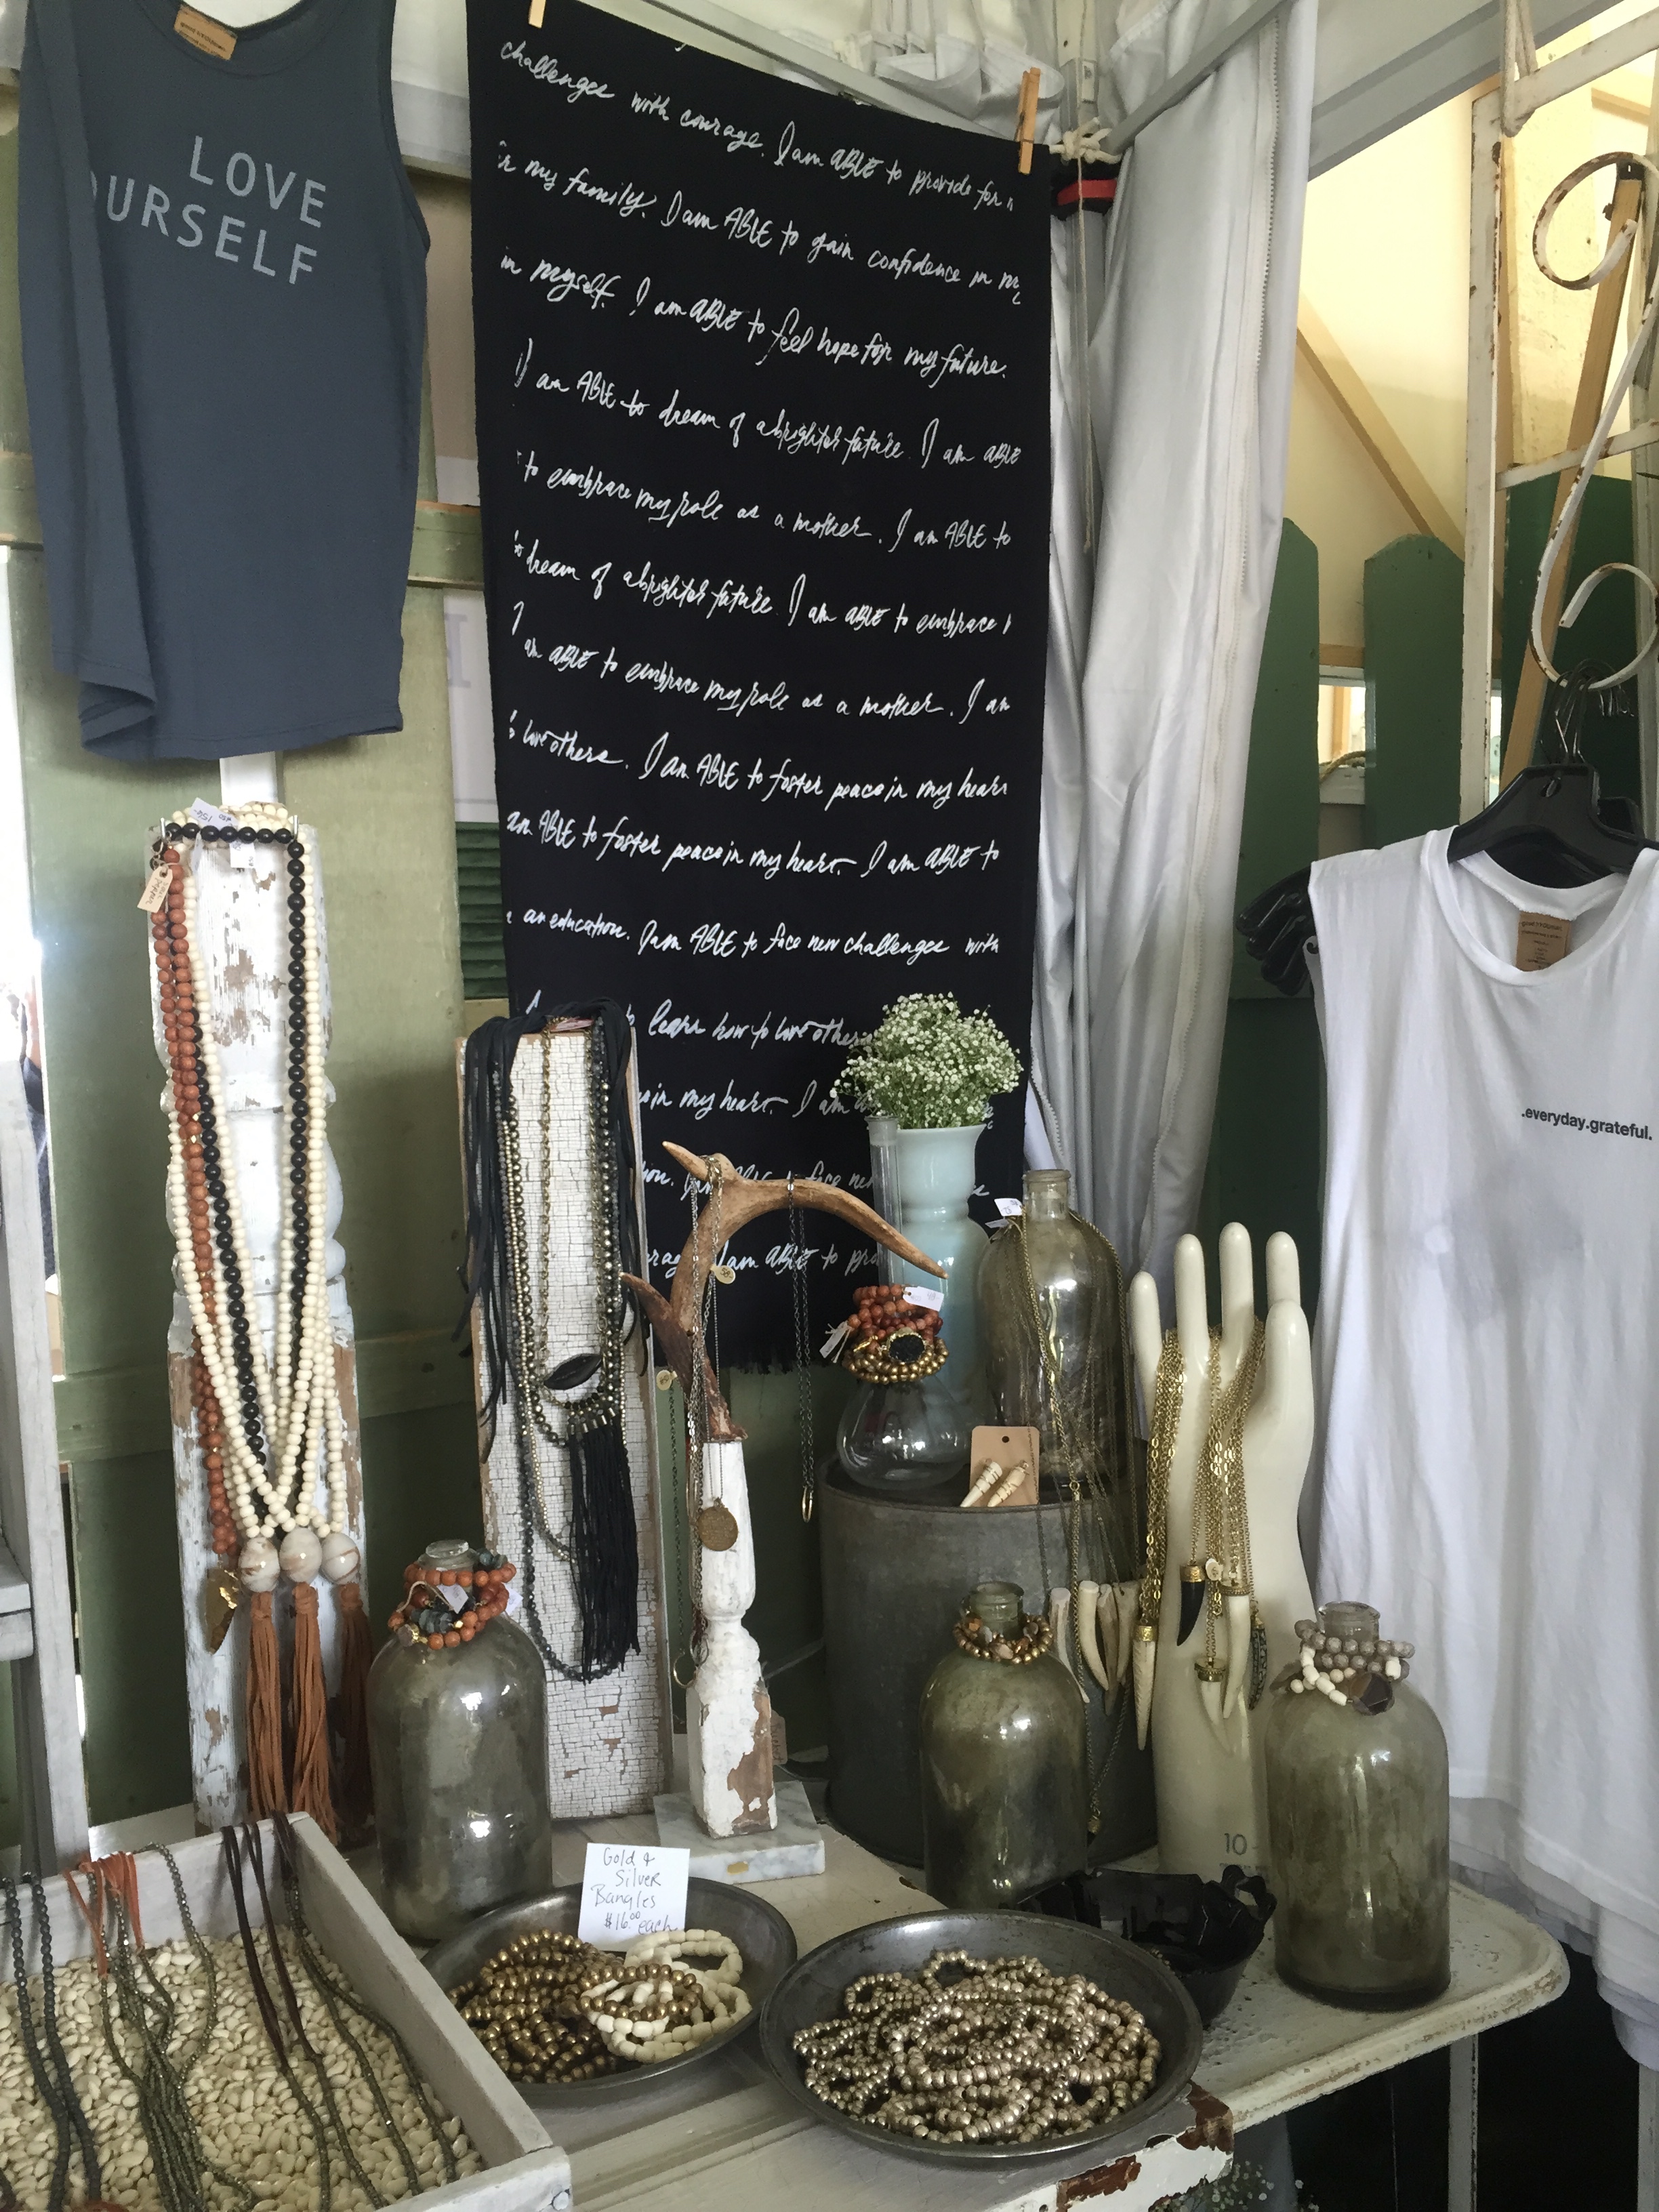
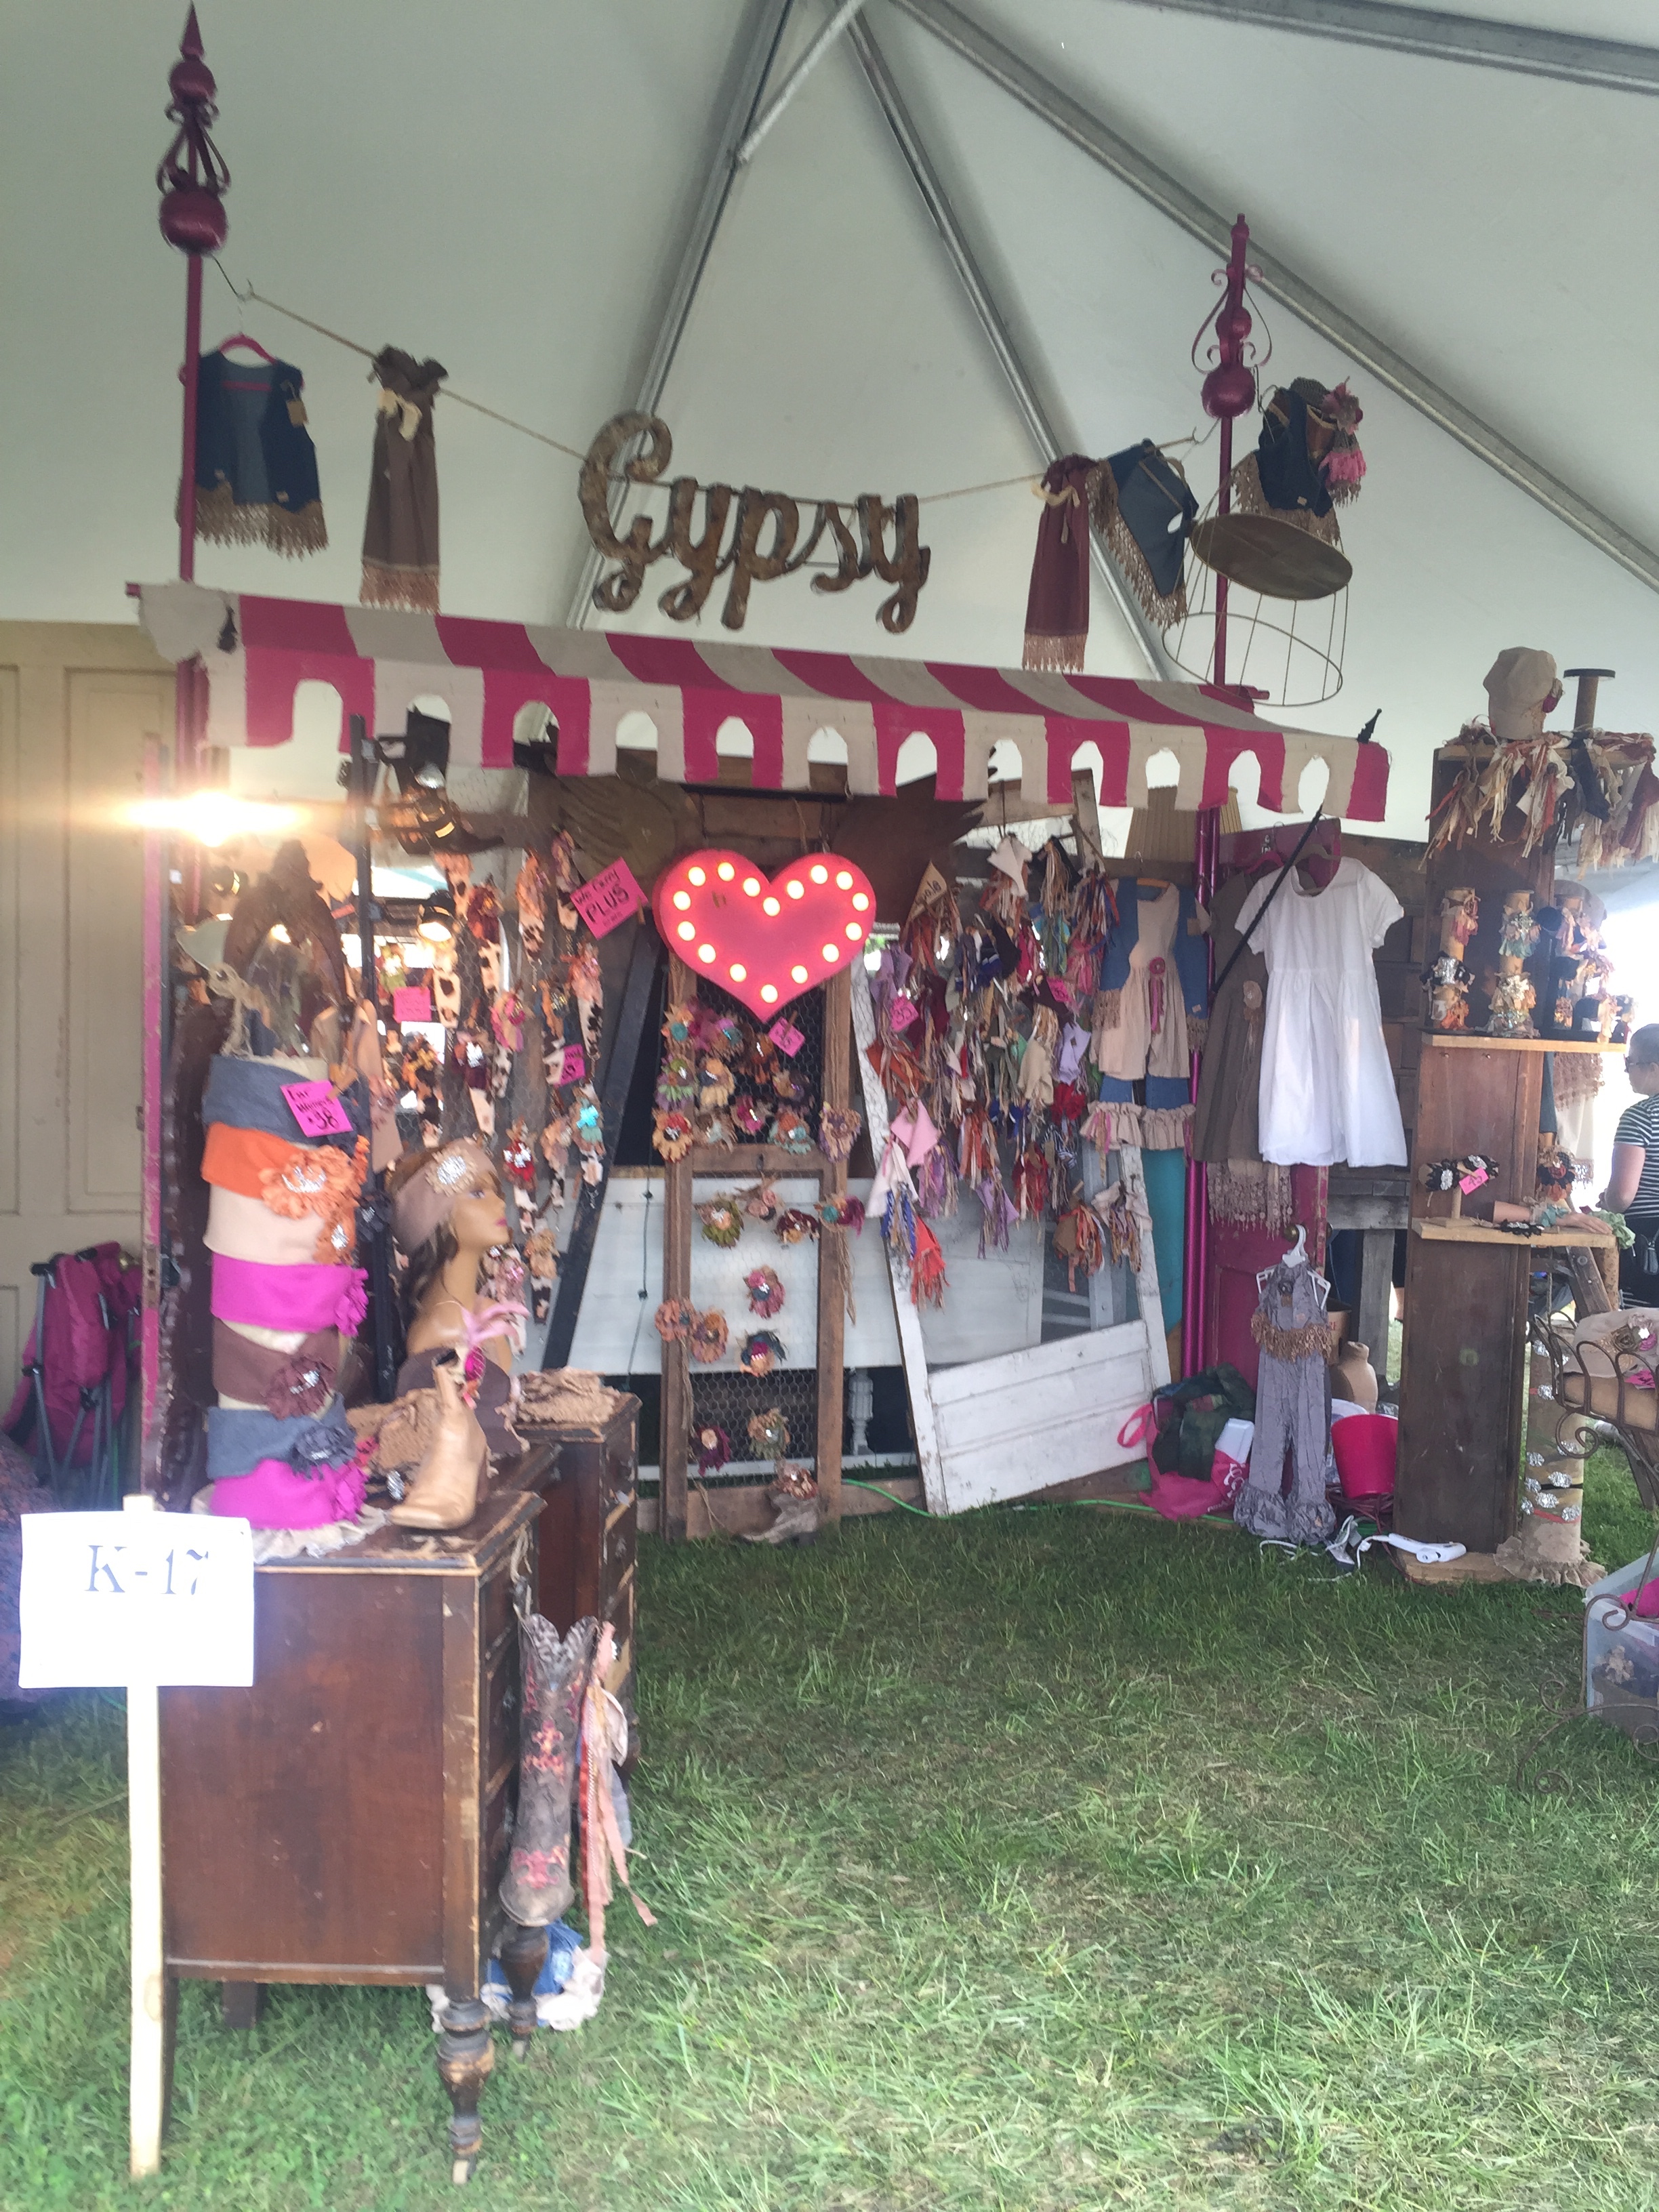
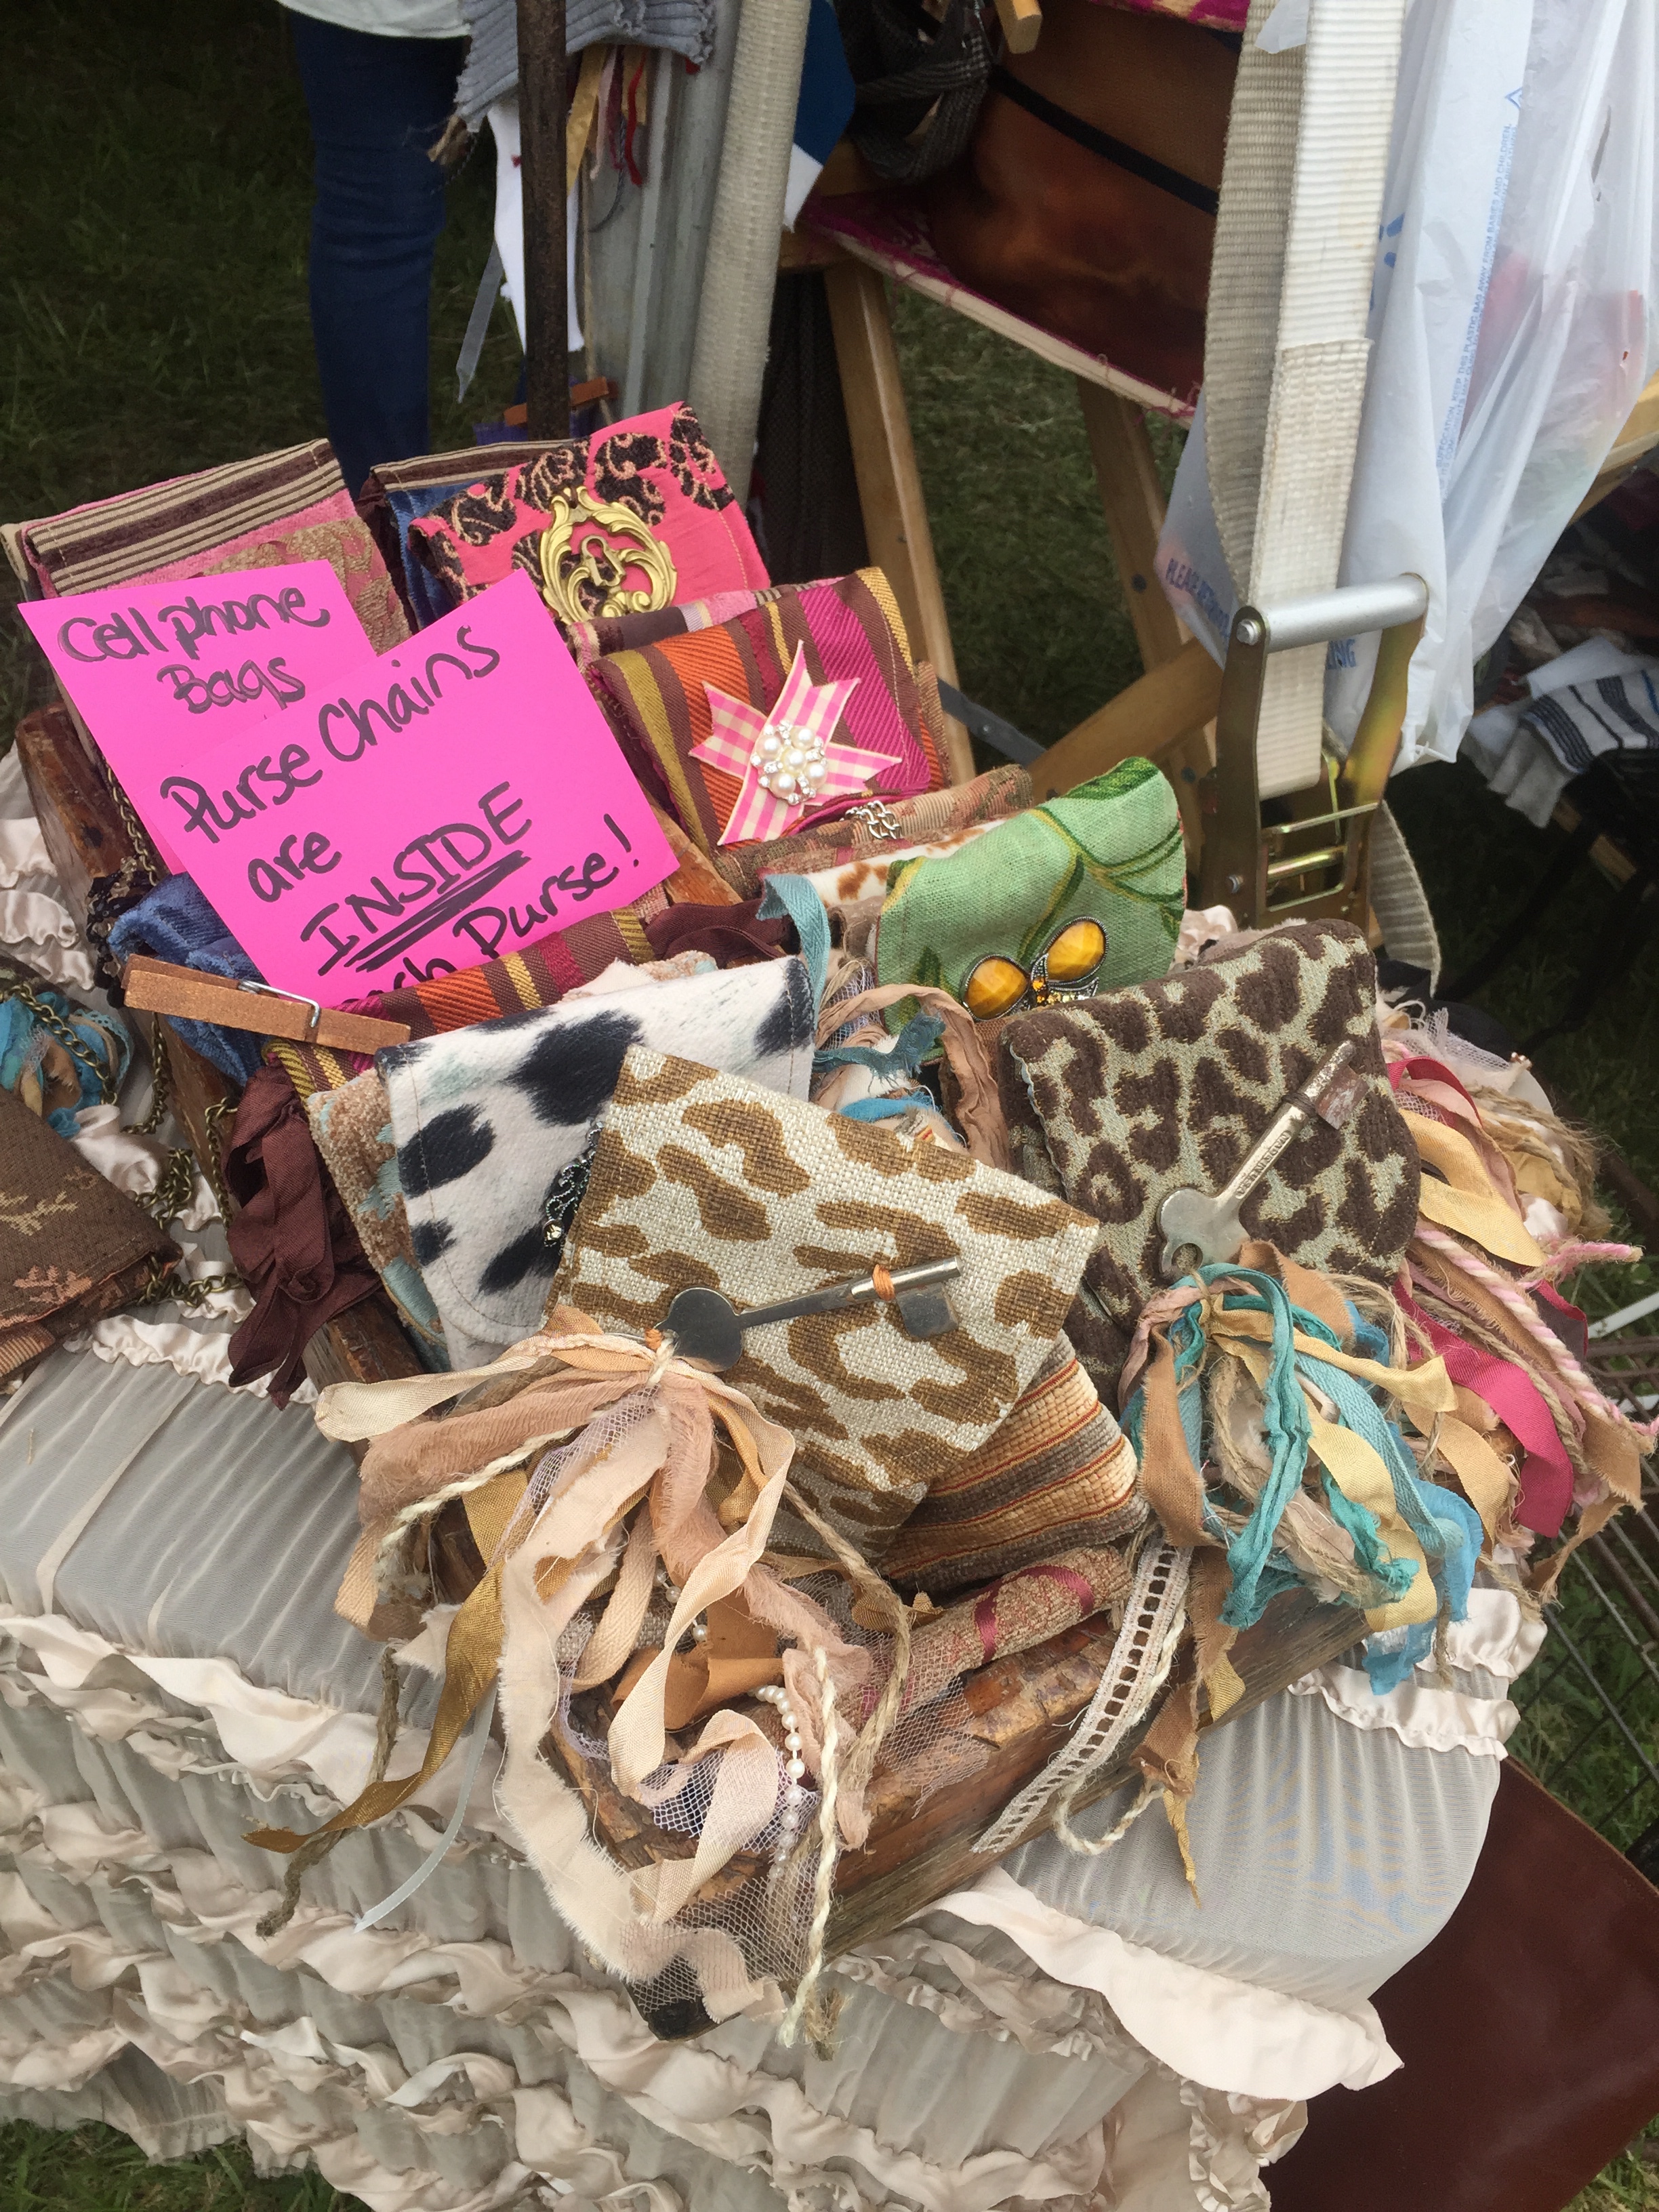
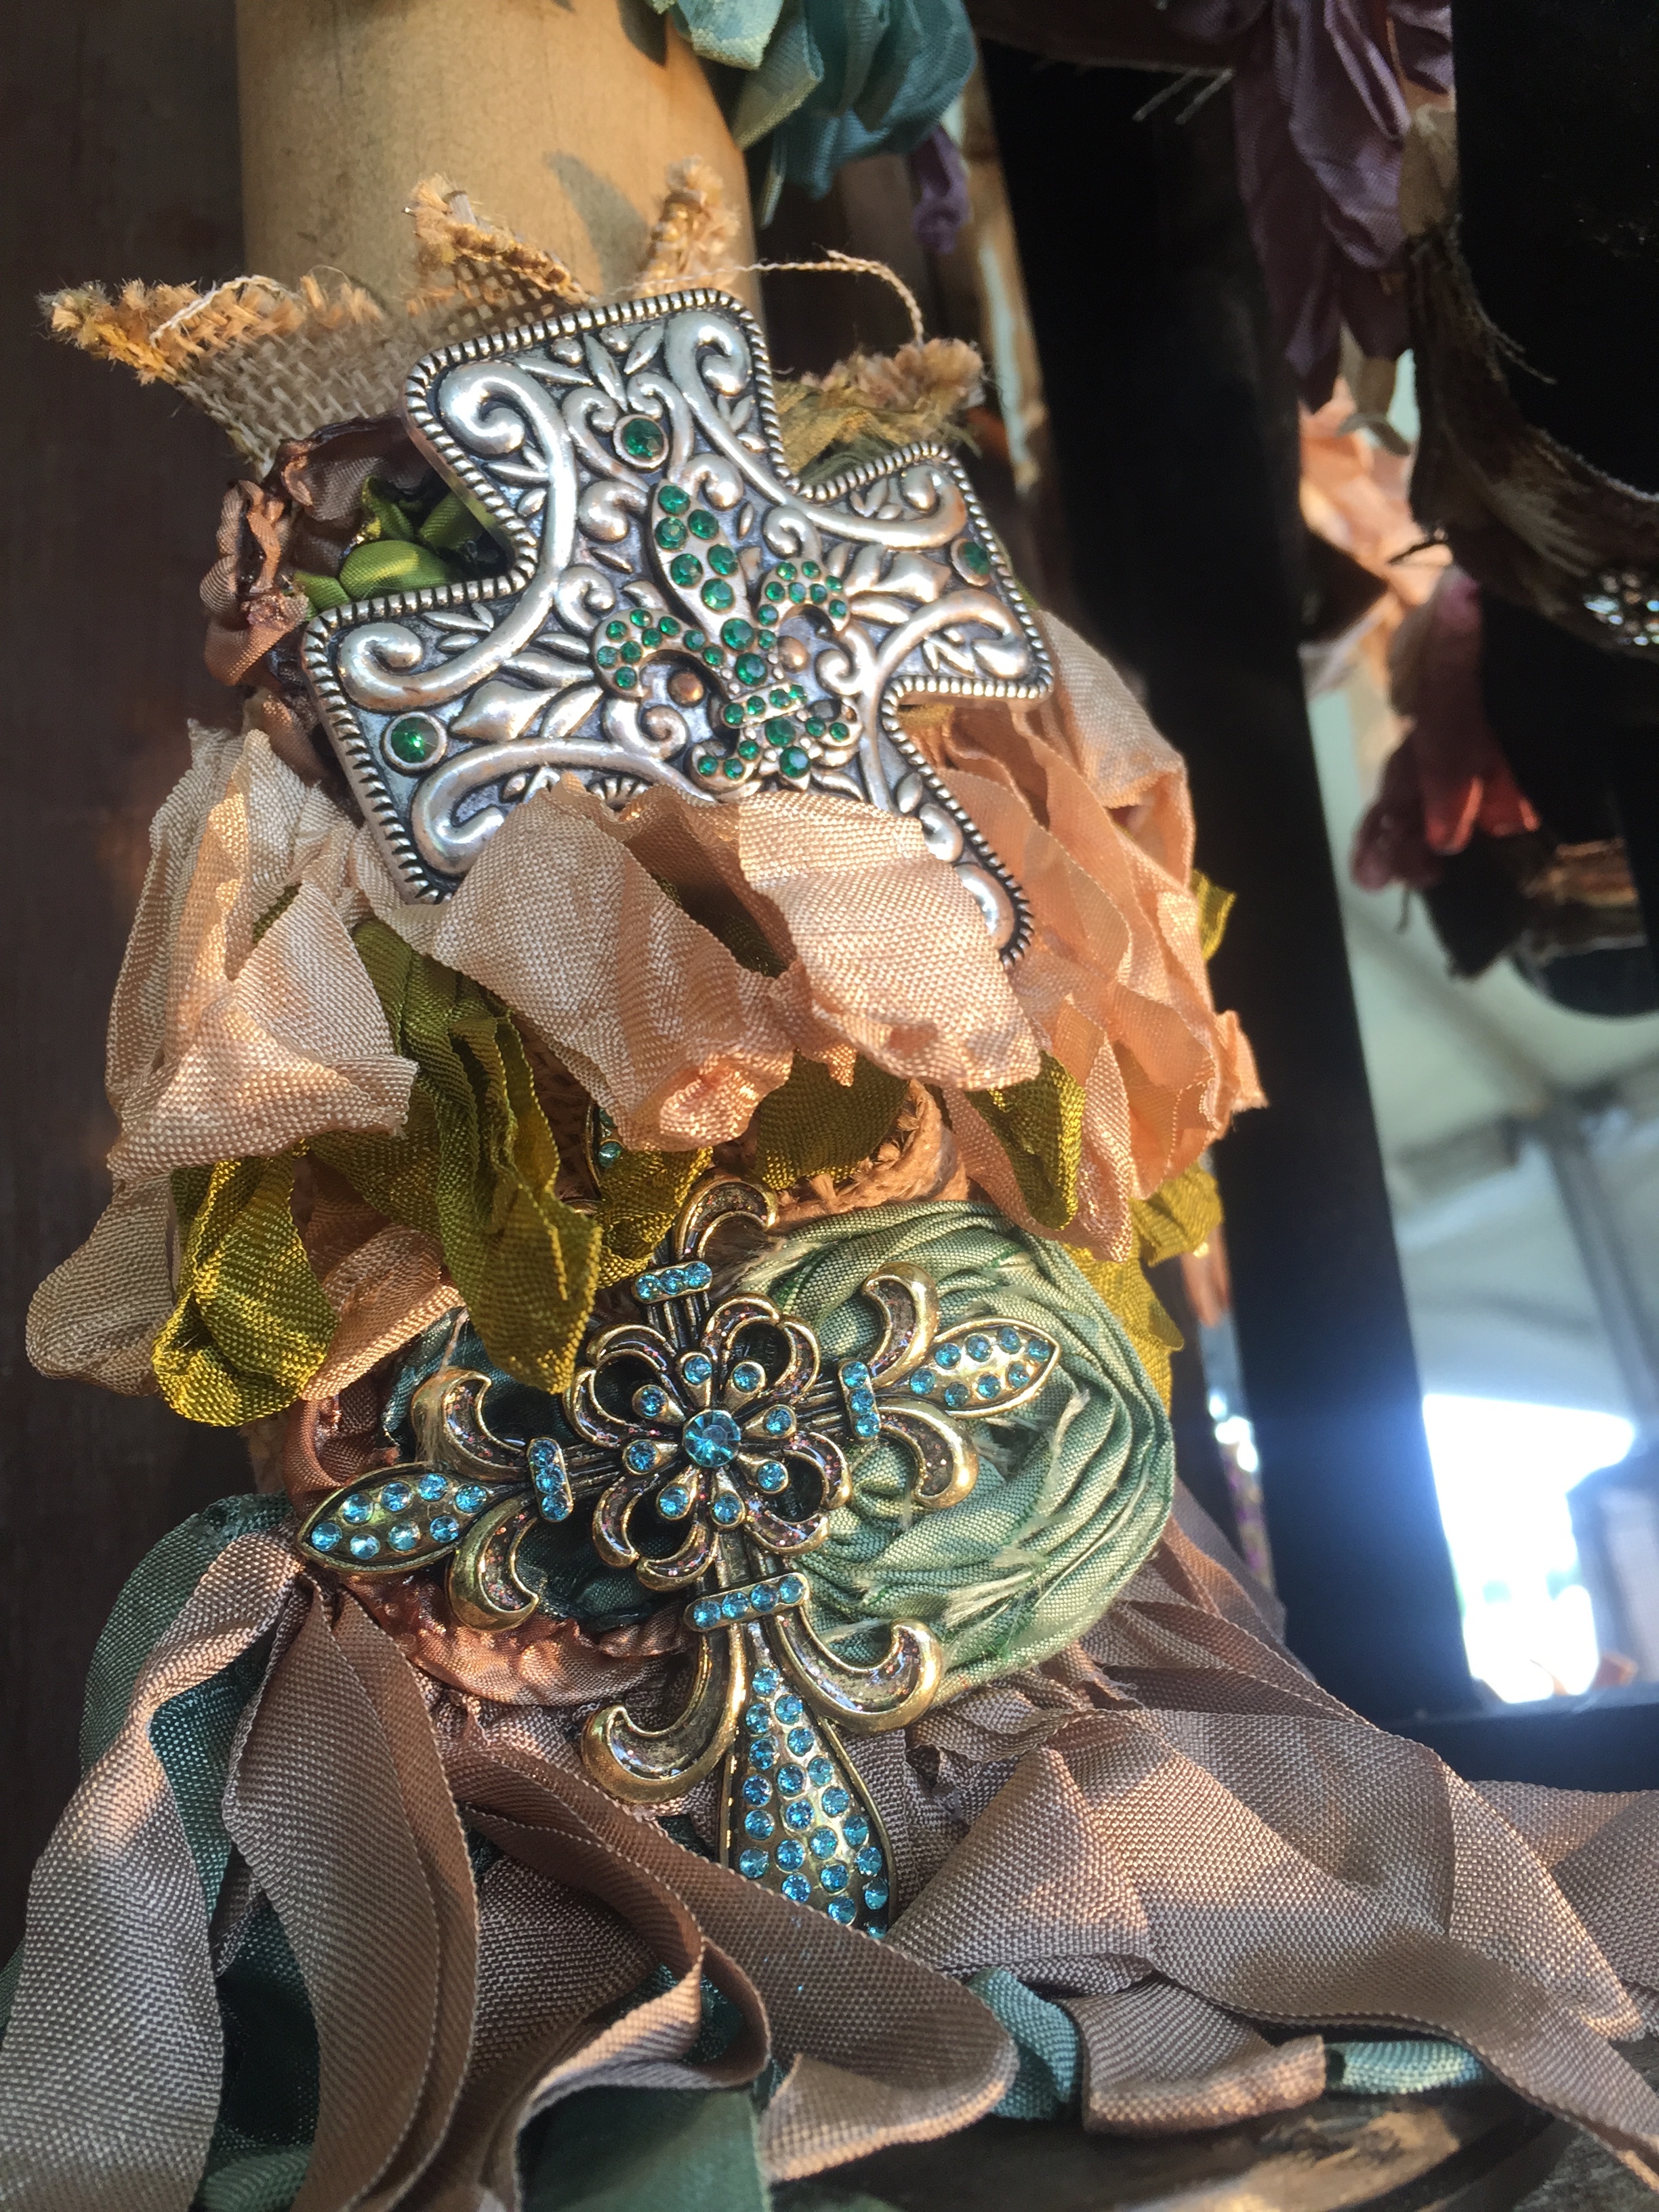
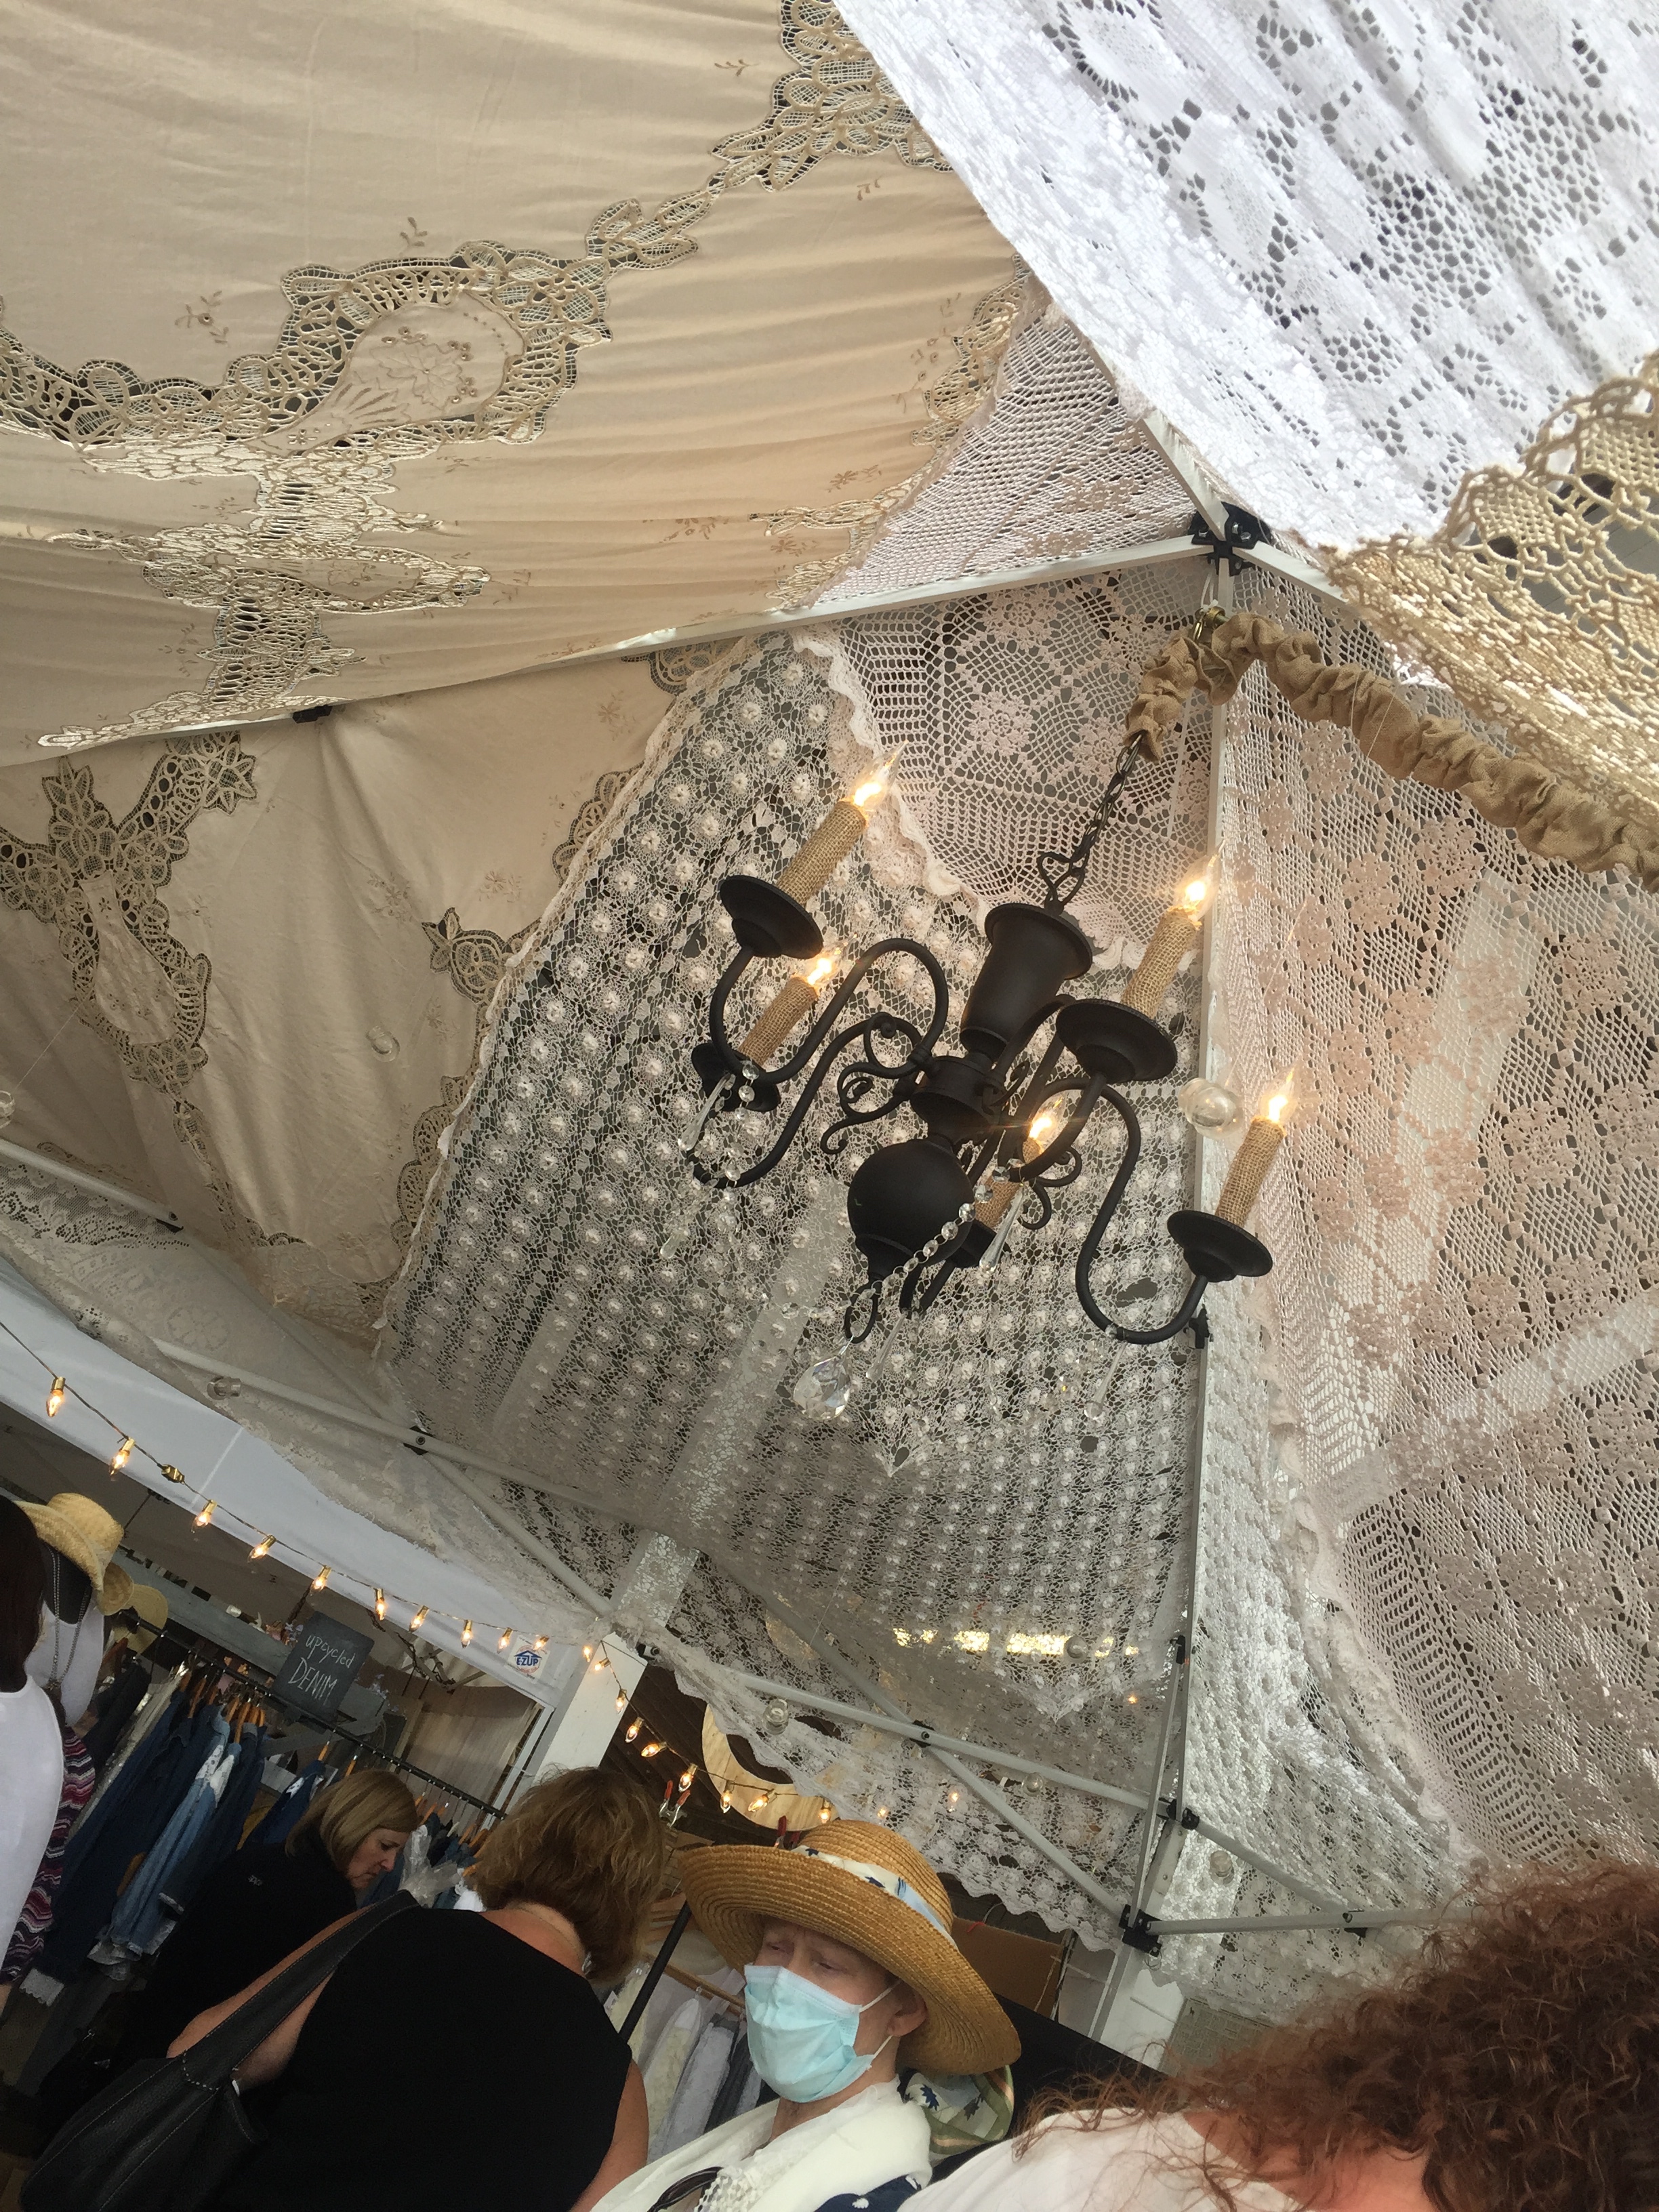
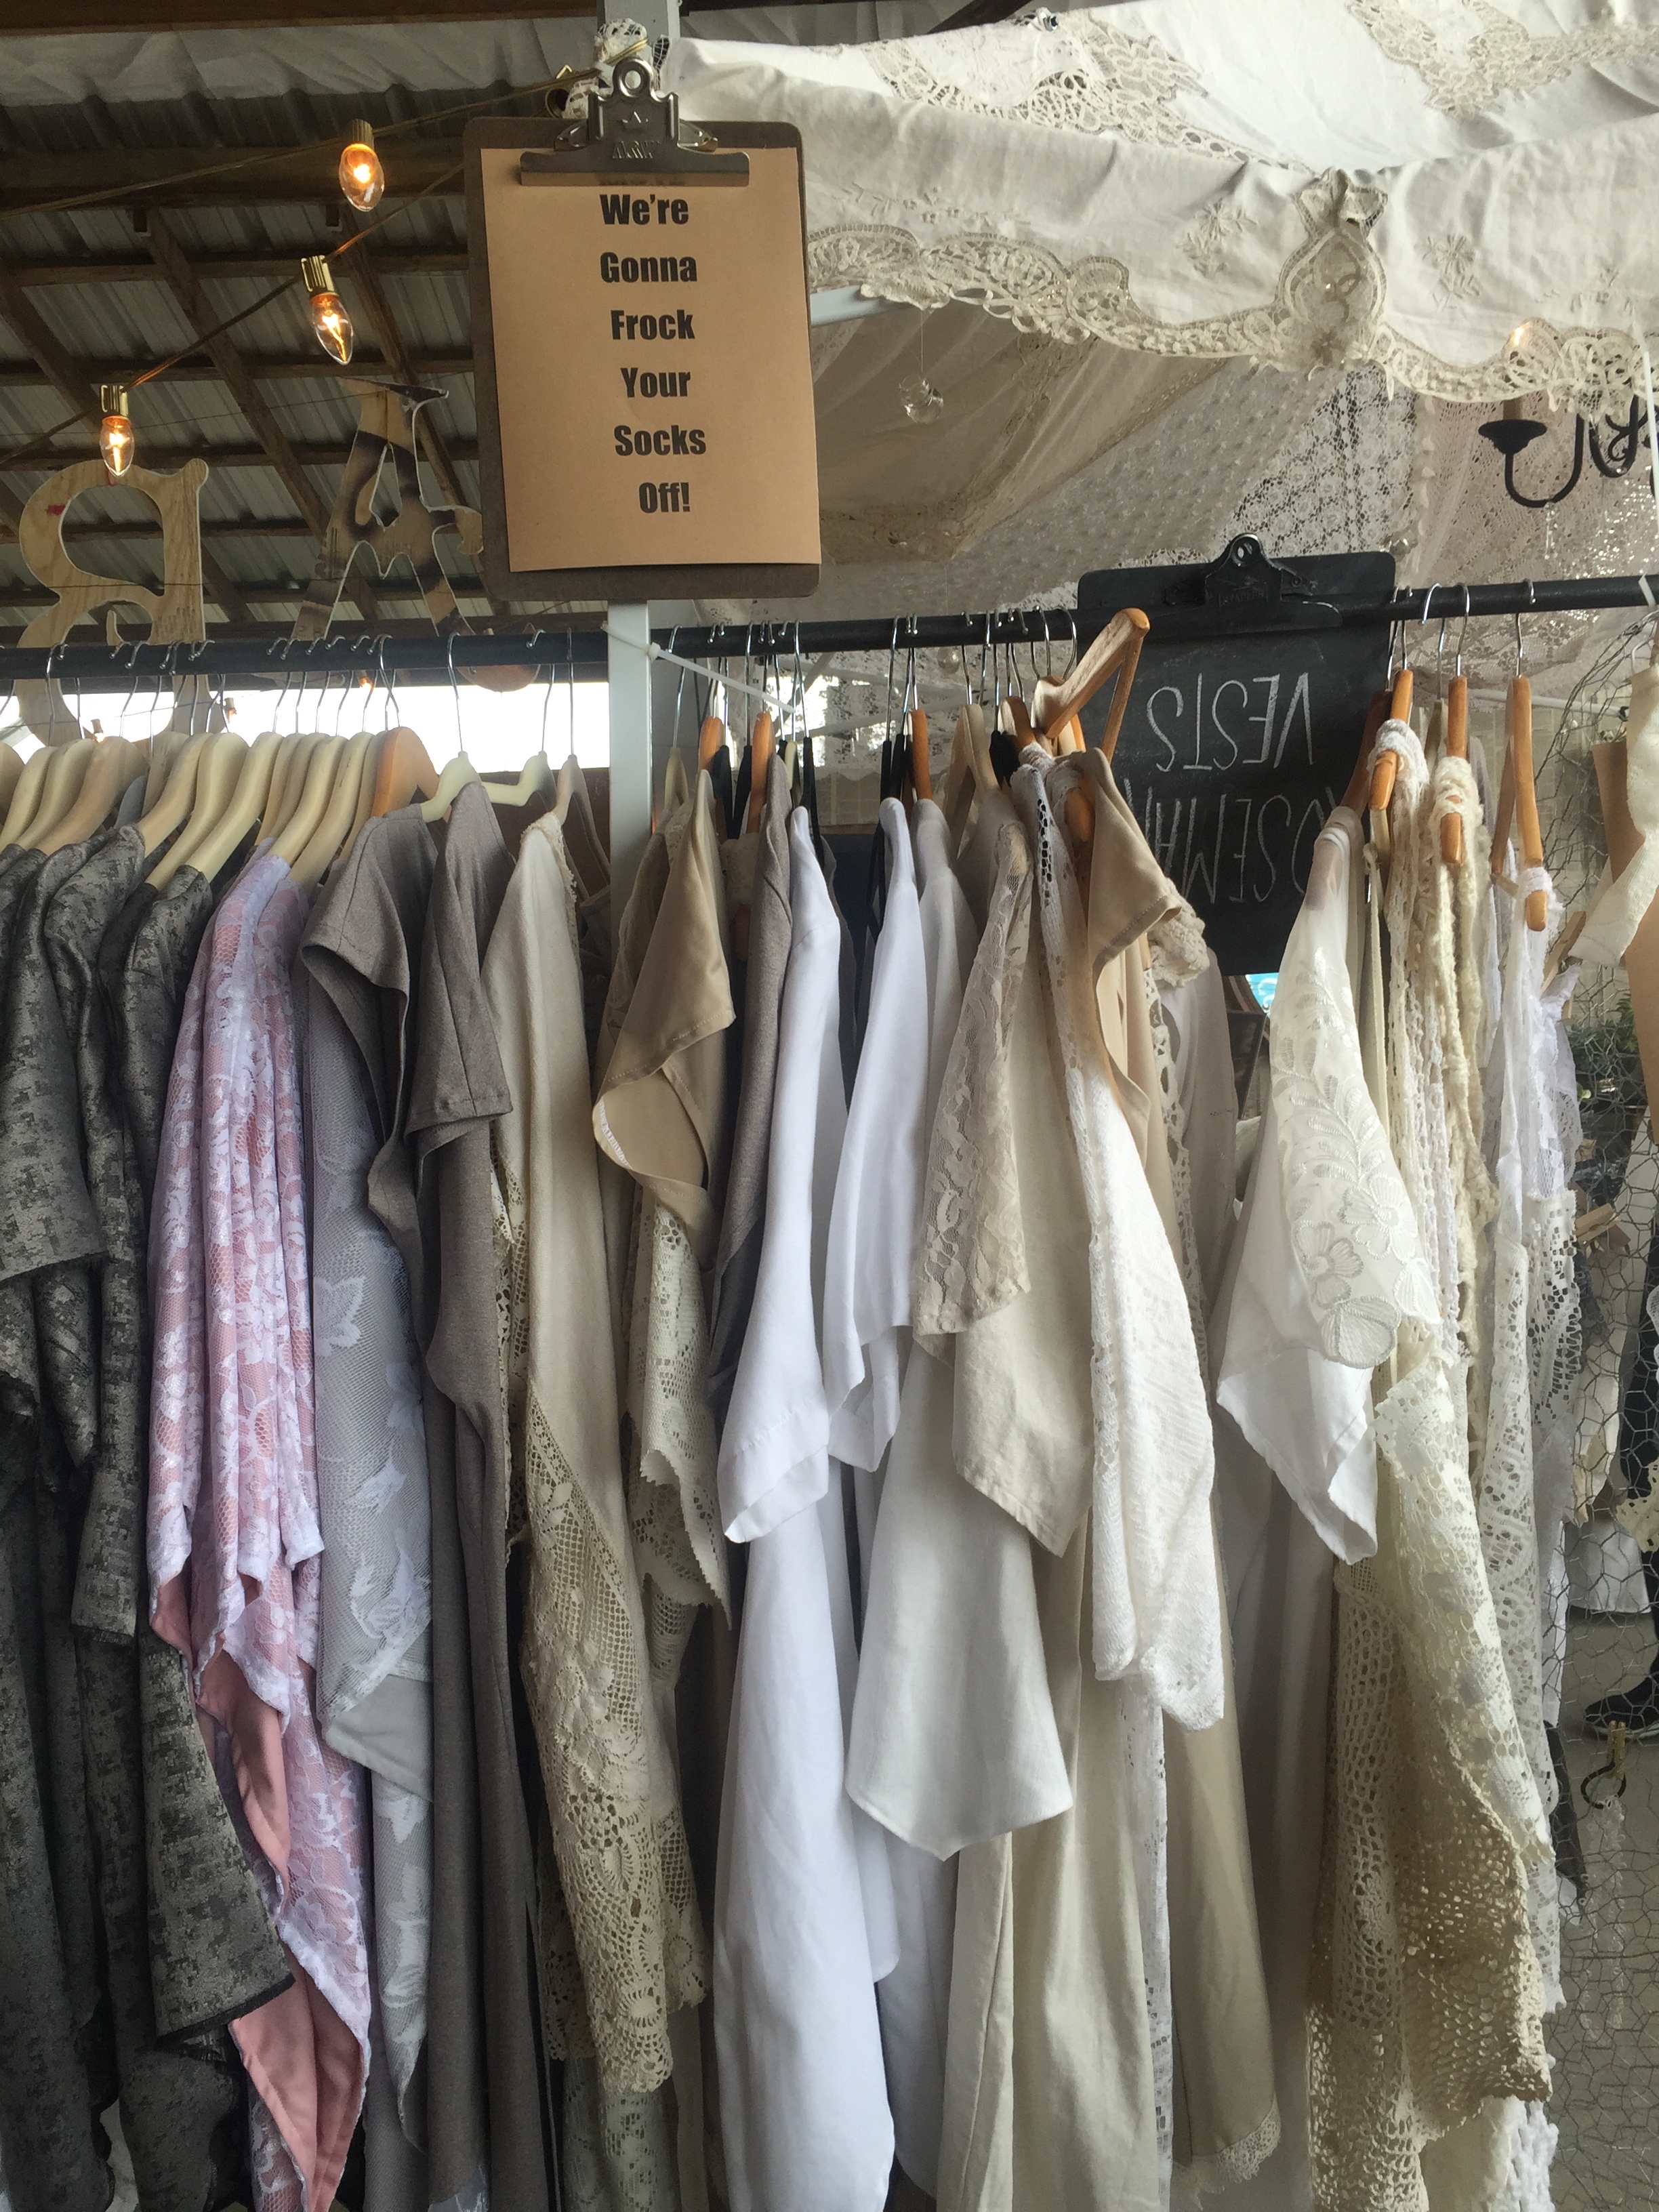
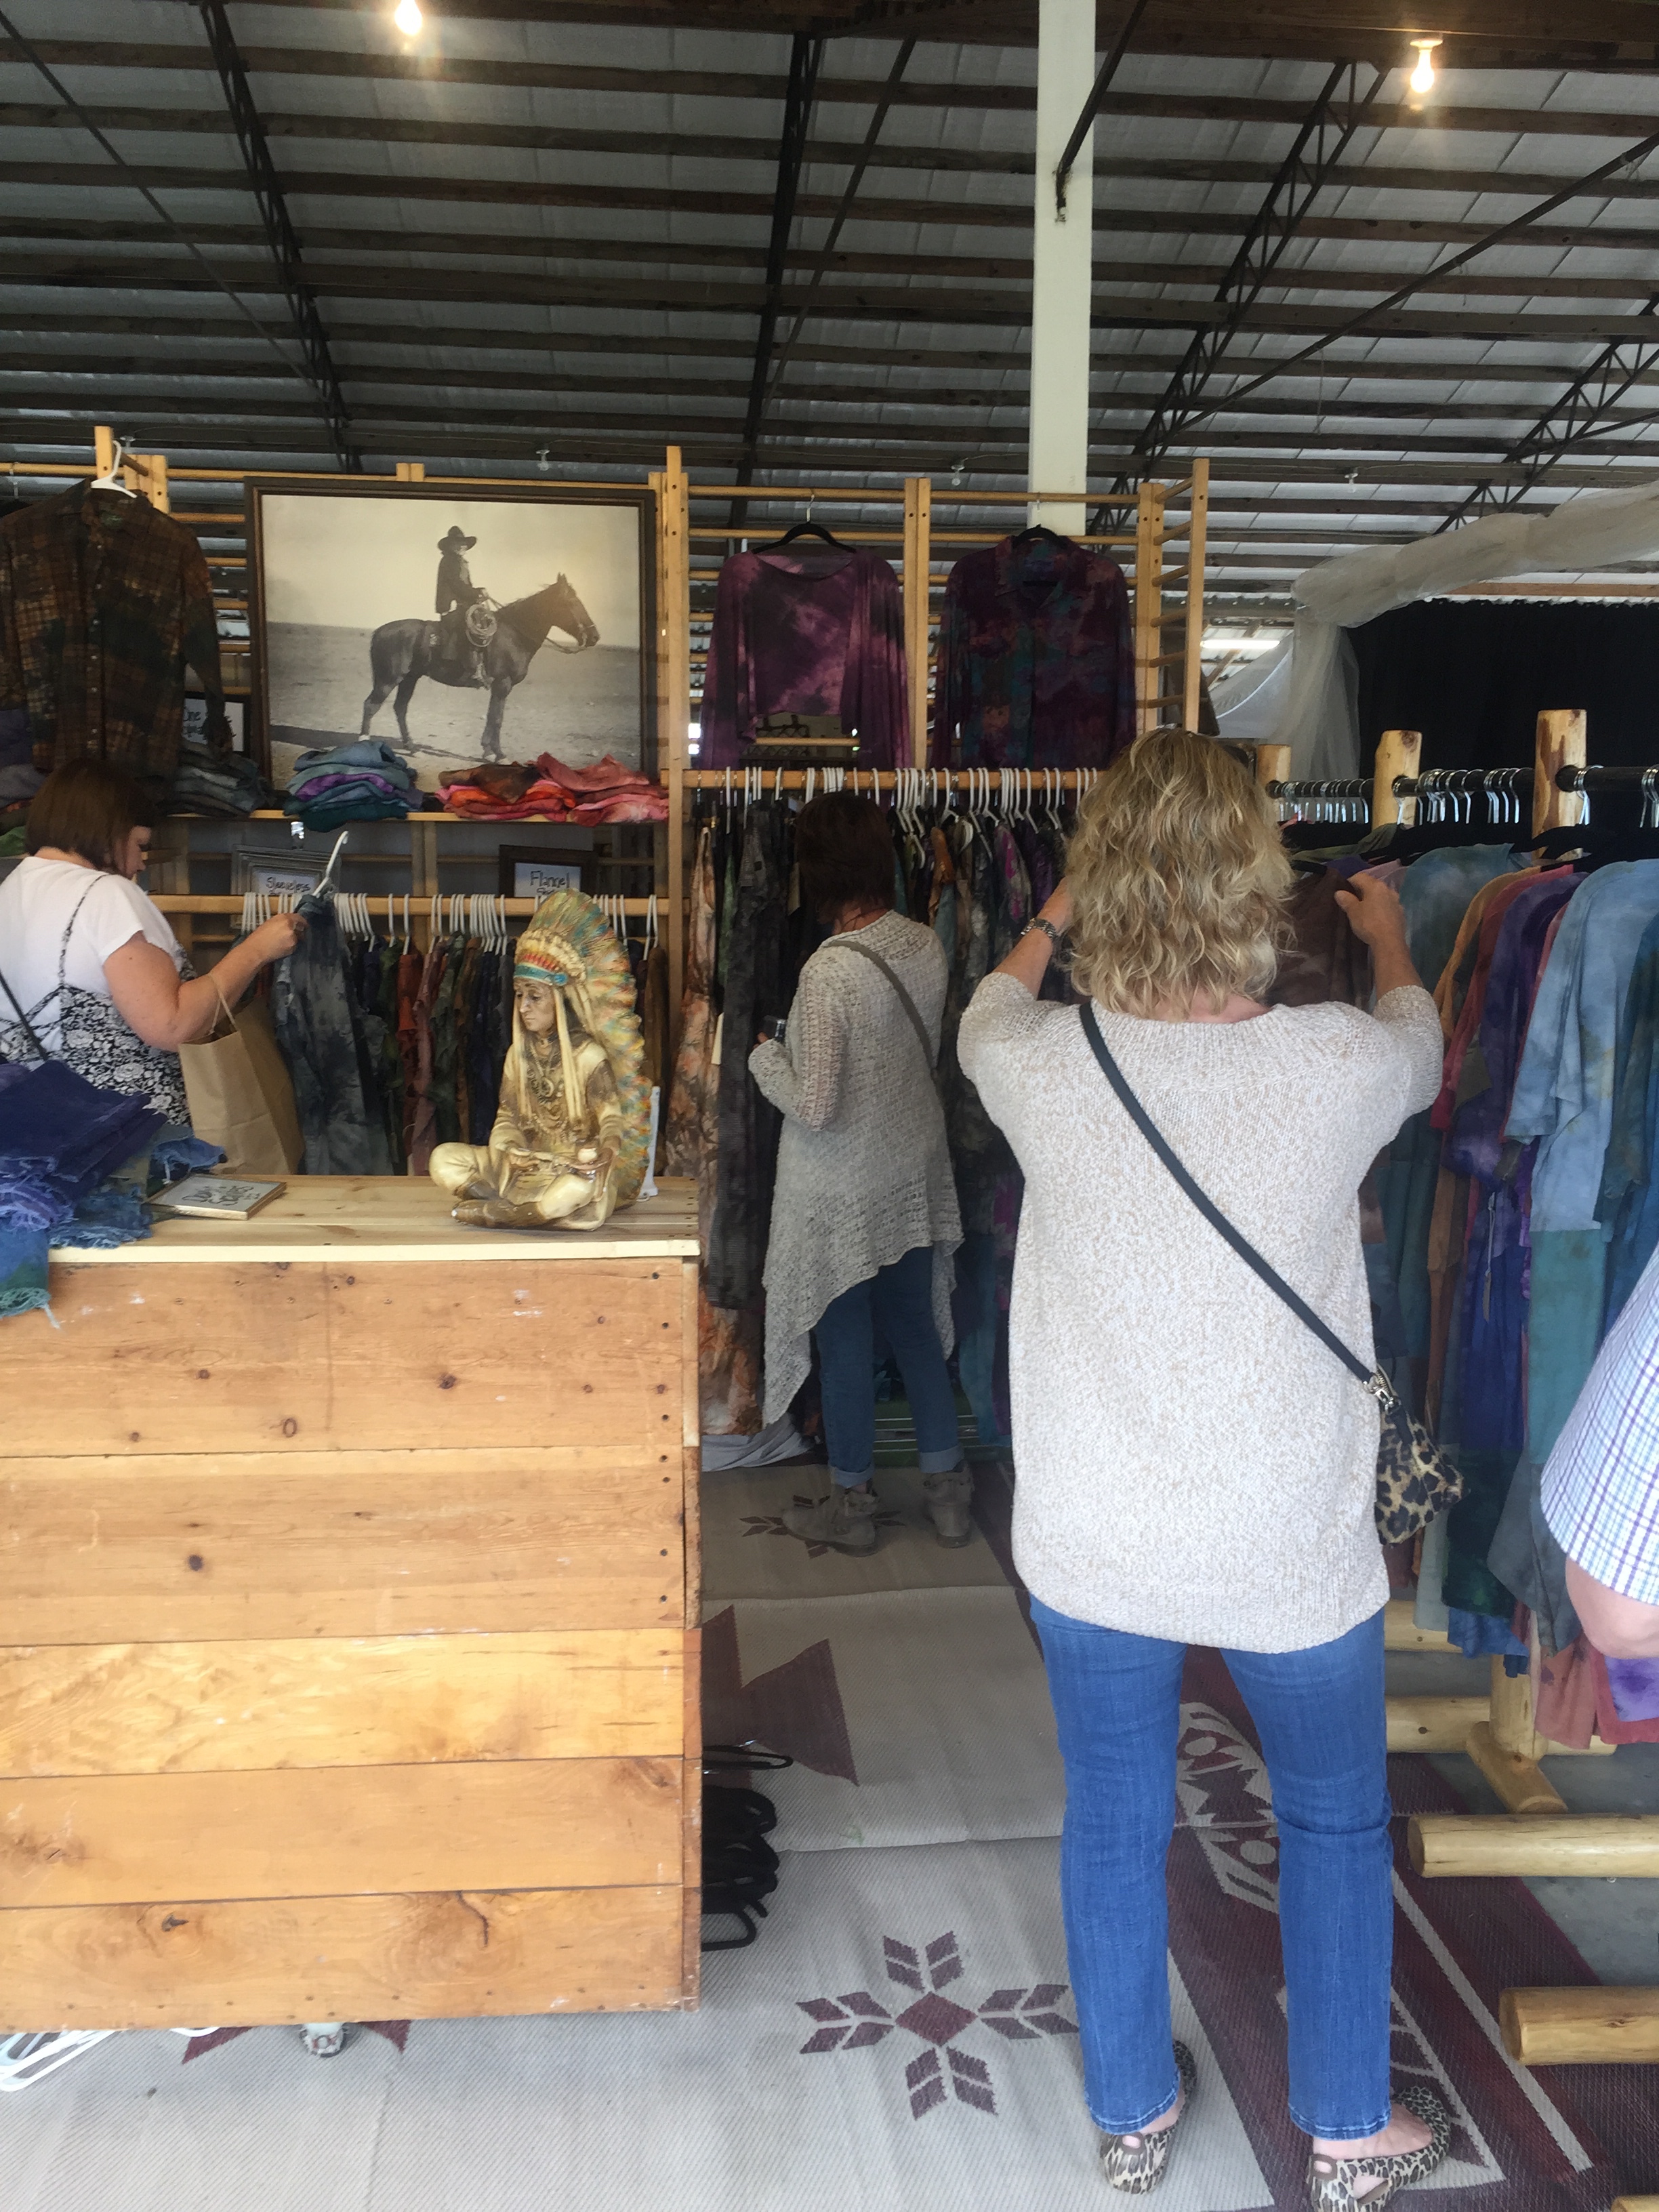
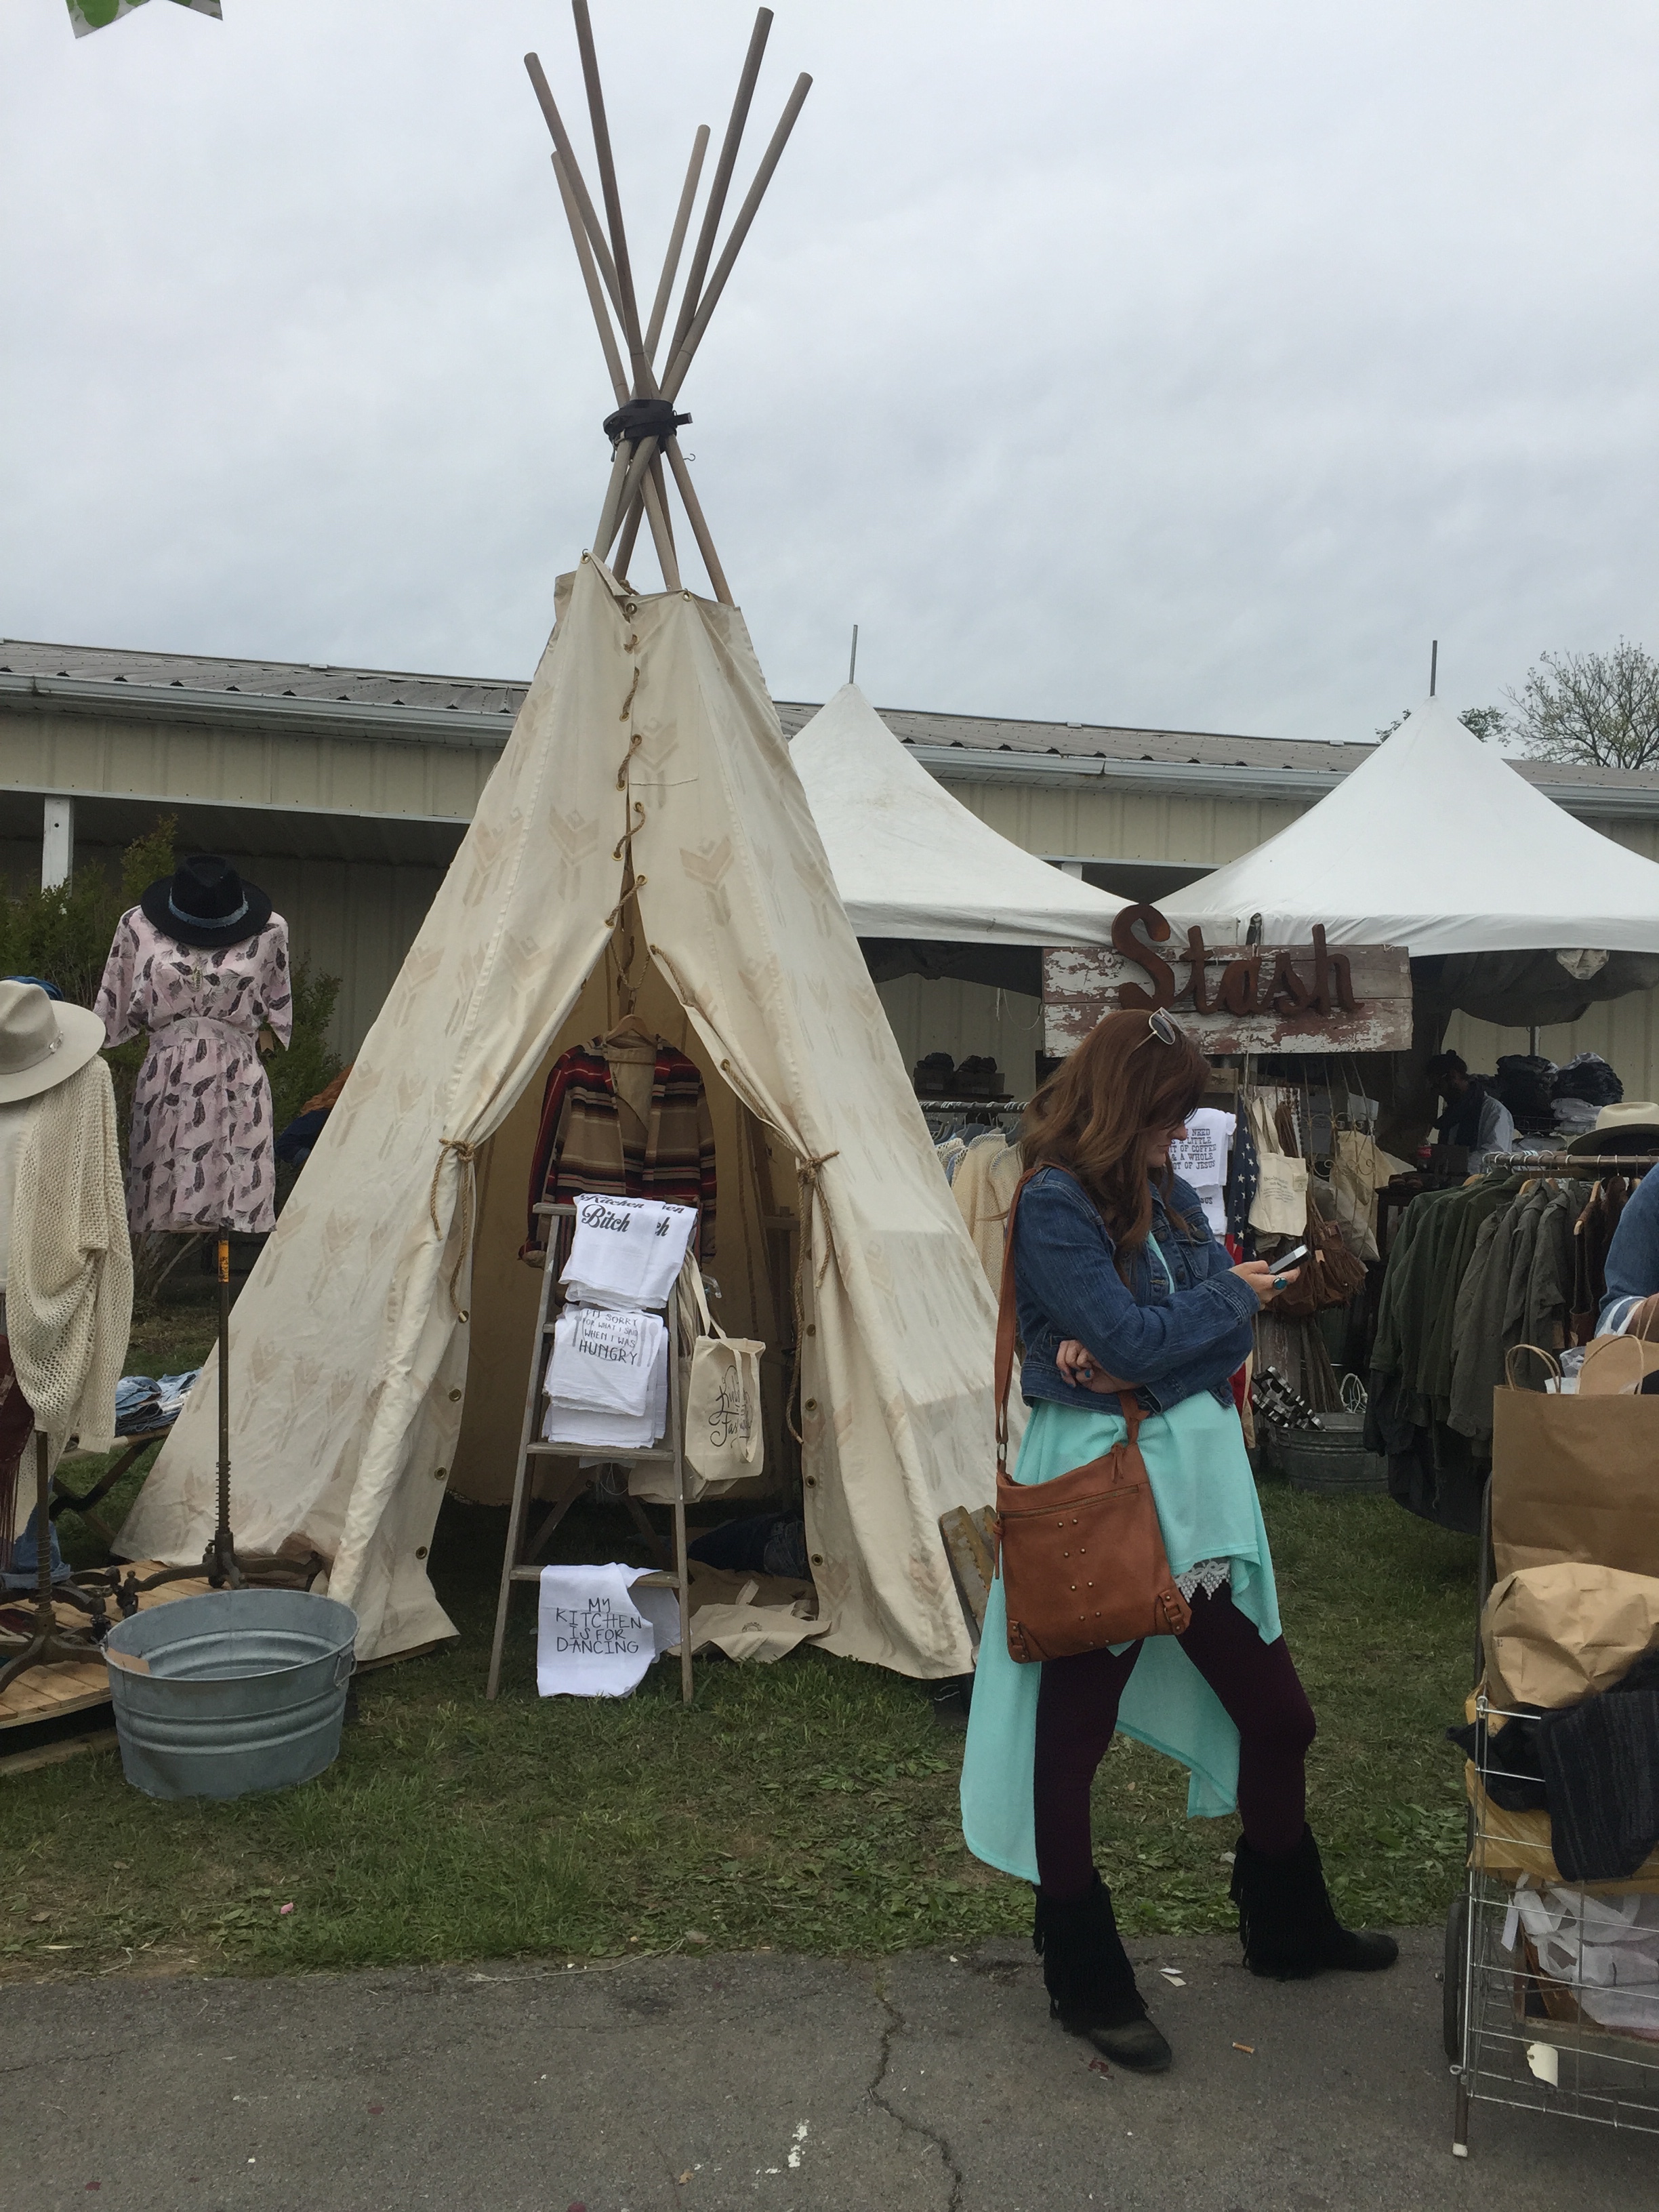
This booth, by Spellbound Collections (from Palmer, tX) was HUGE! I loved the teepee entrance, and the Americana vibe they provided. Inside the tent was a vast array of t-shirts, frilly clothing, home goods, cowgirl boots, and jewelry. Check them out here.

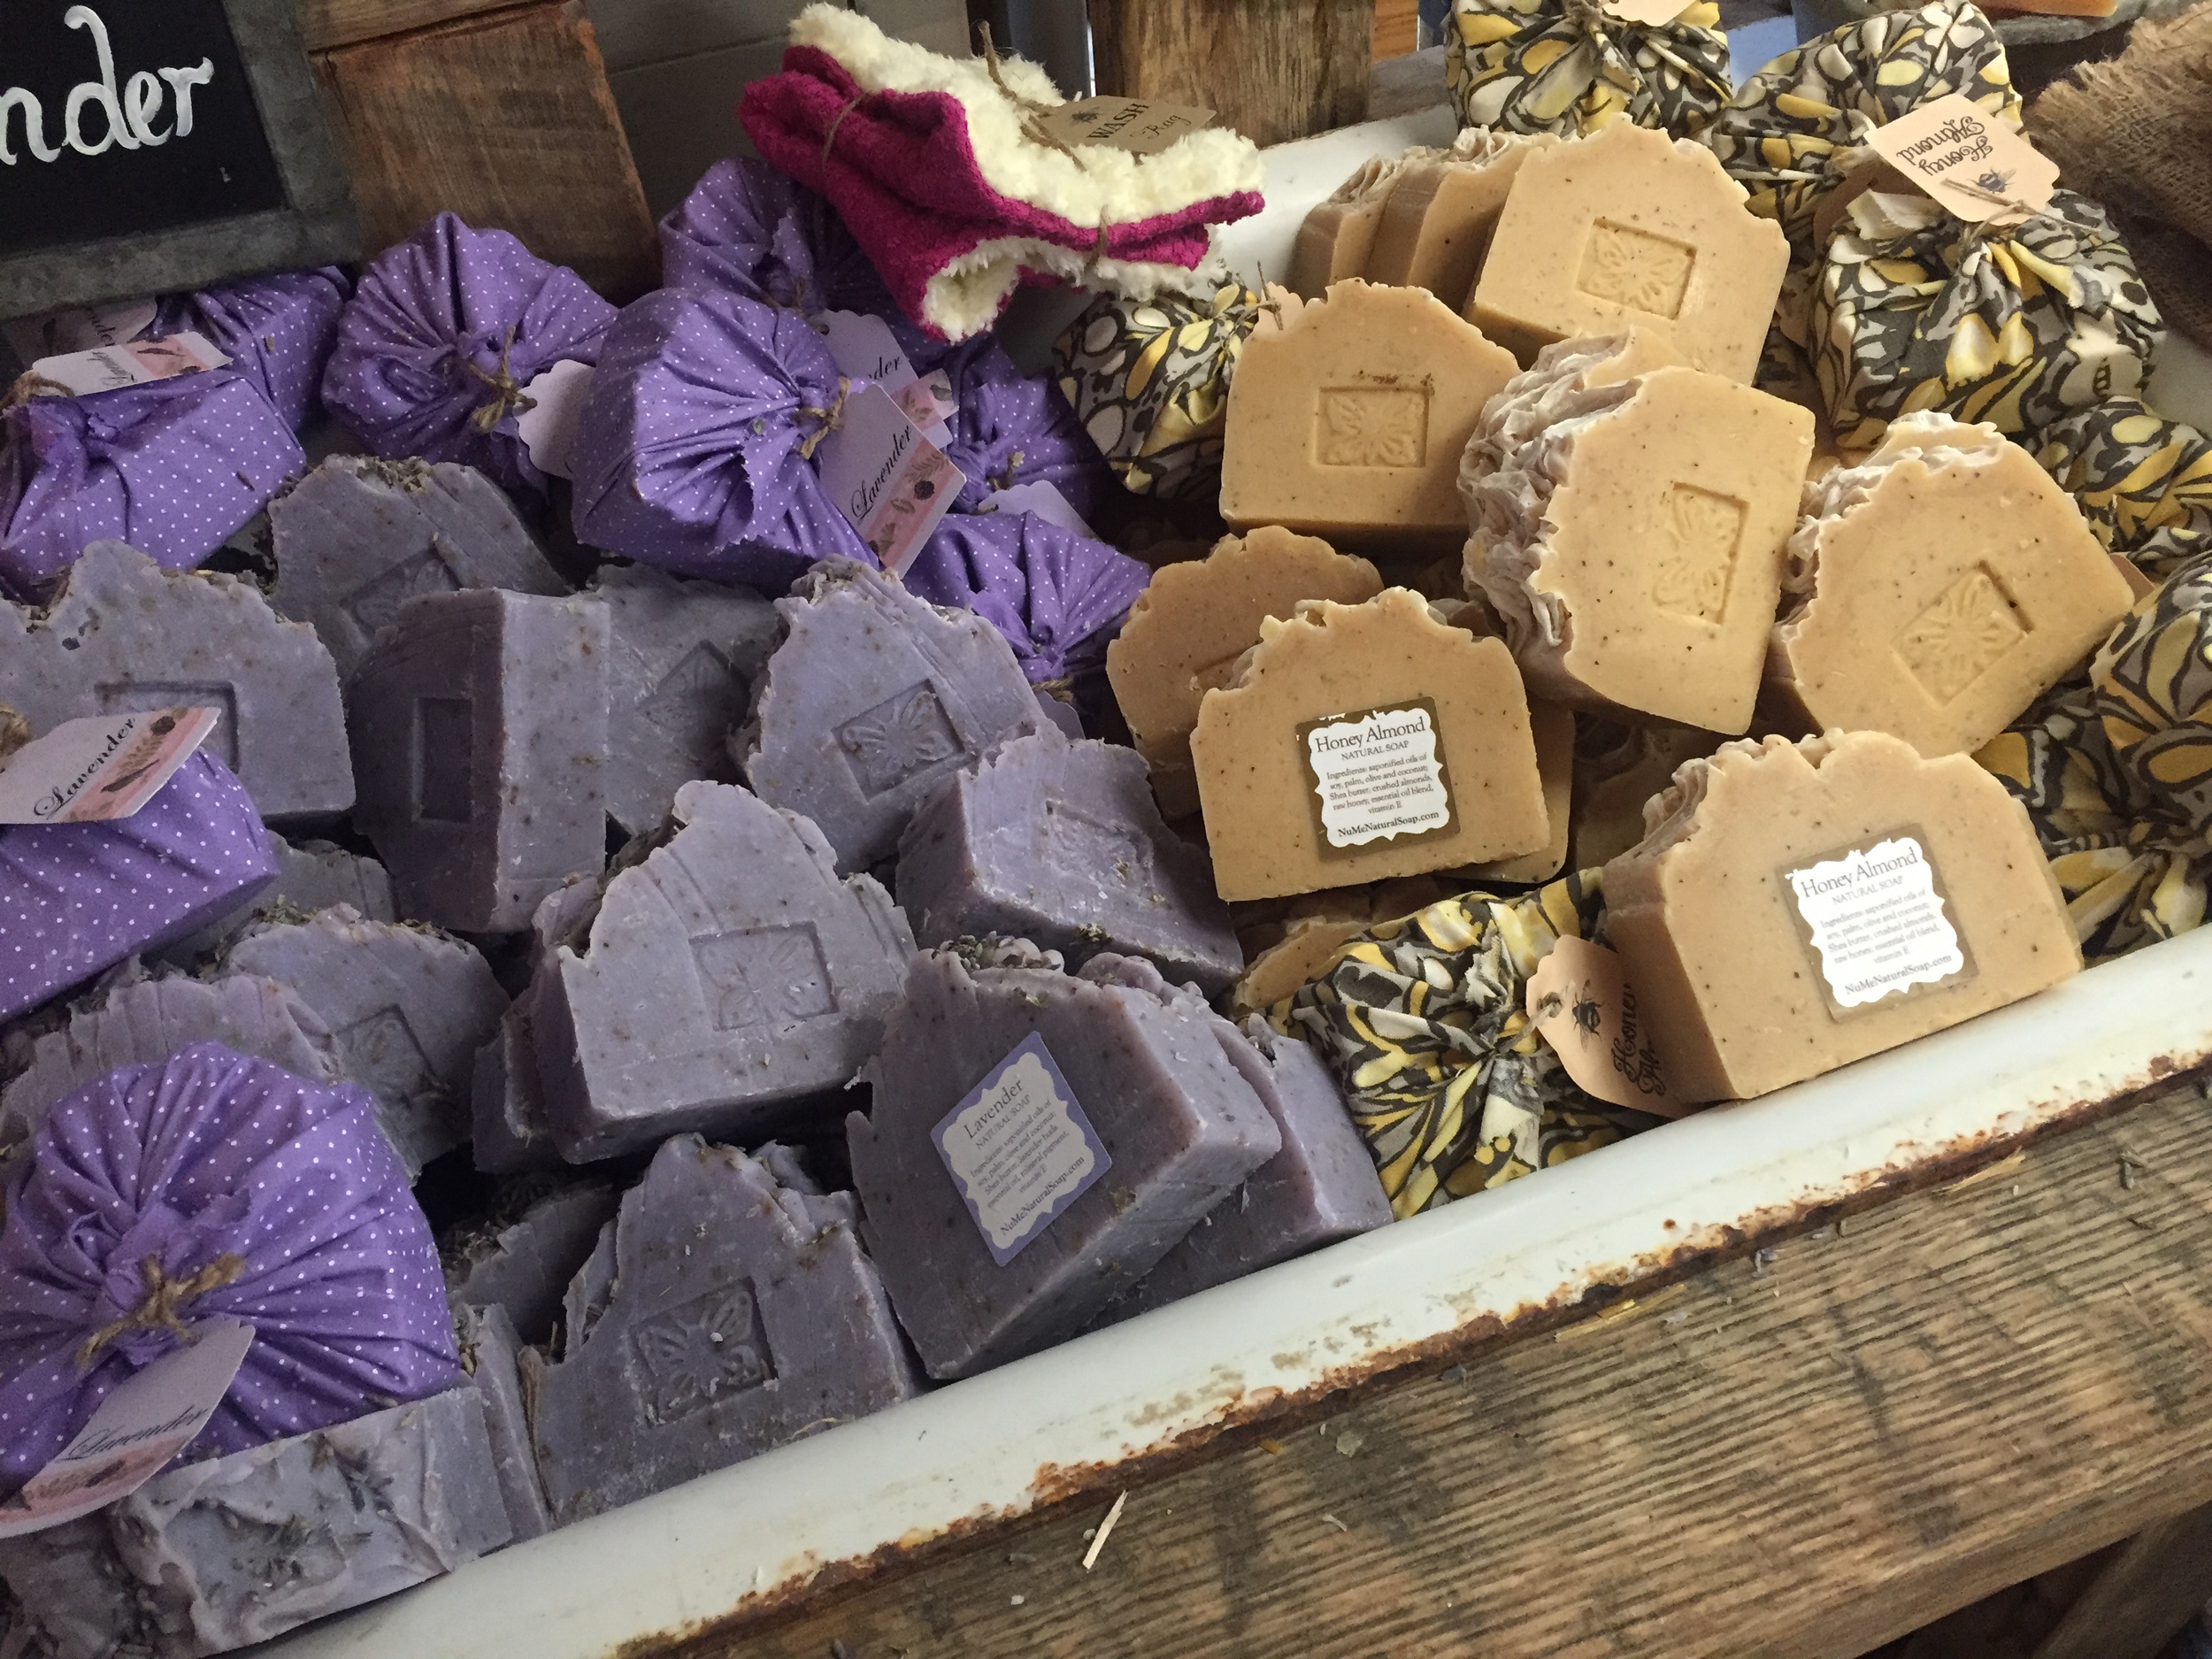
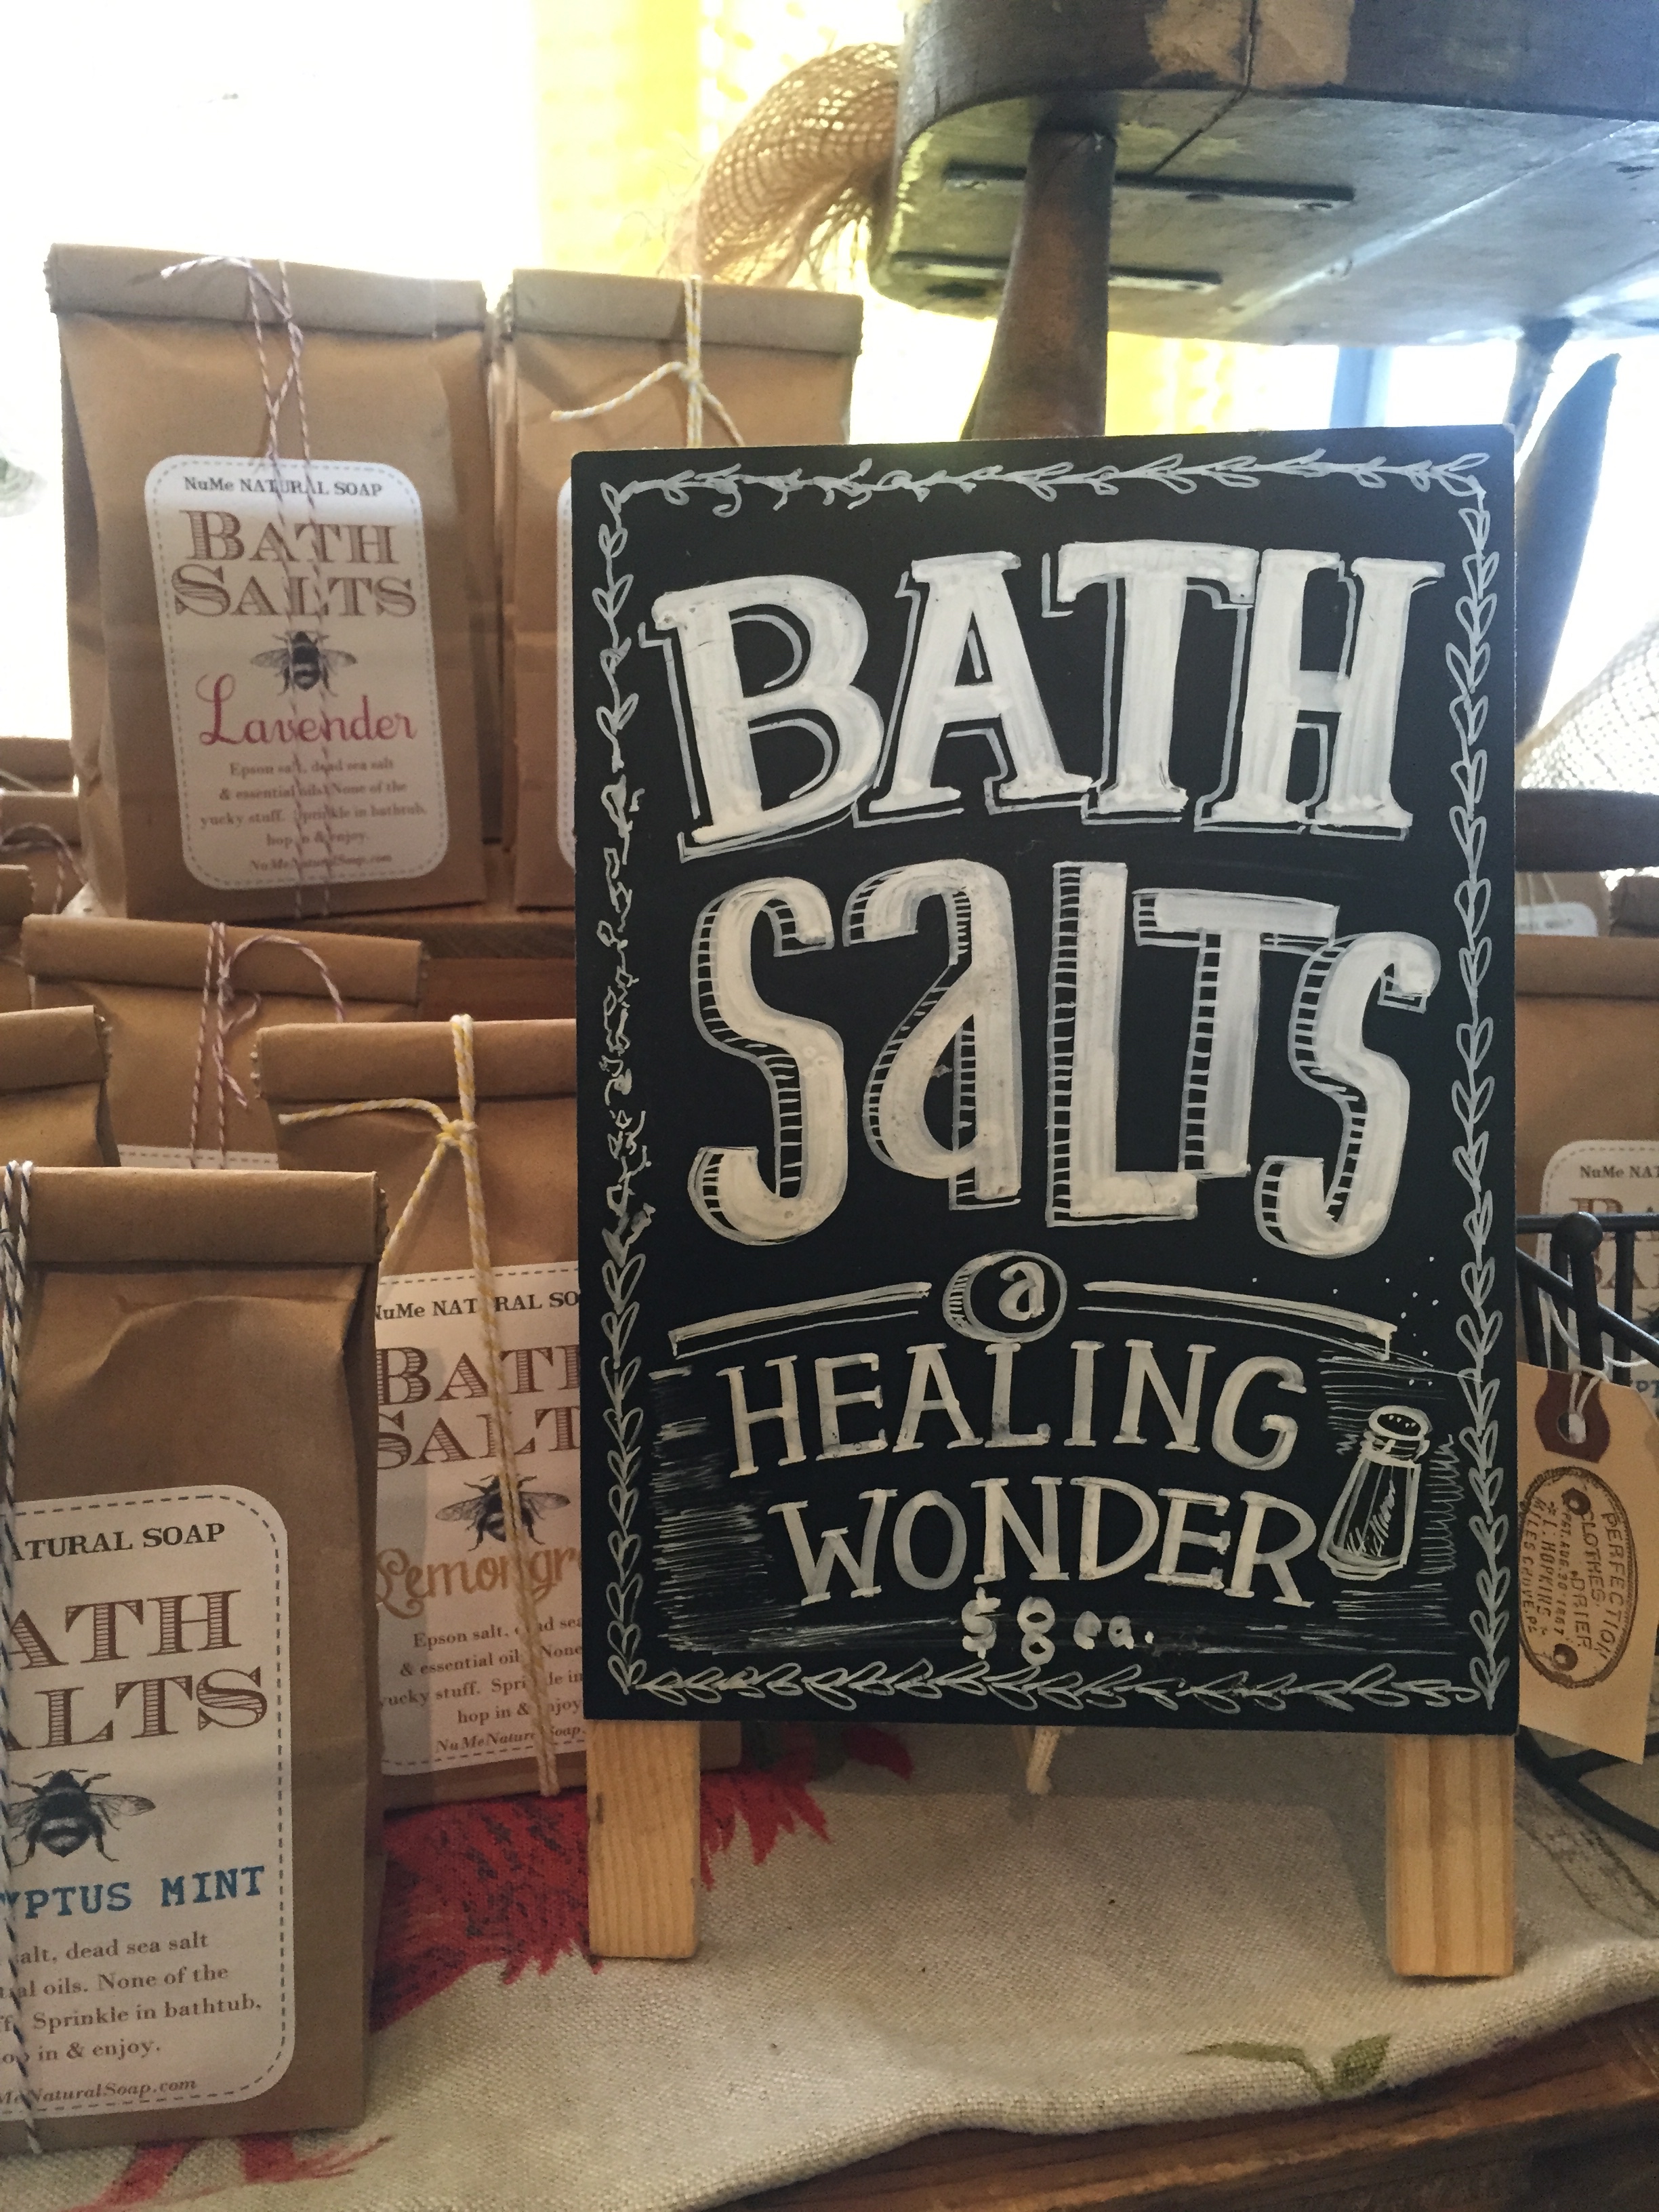
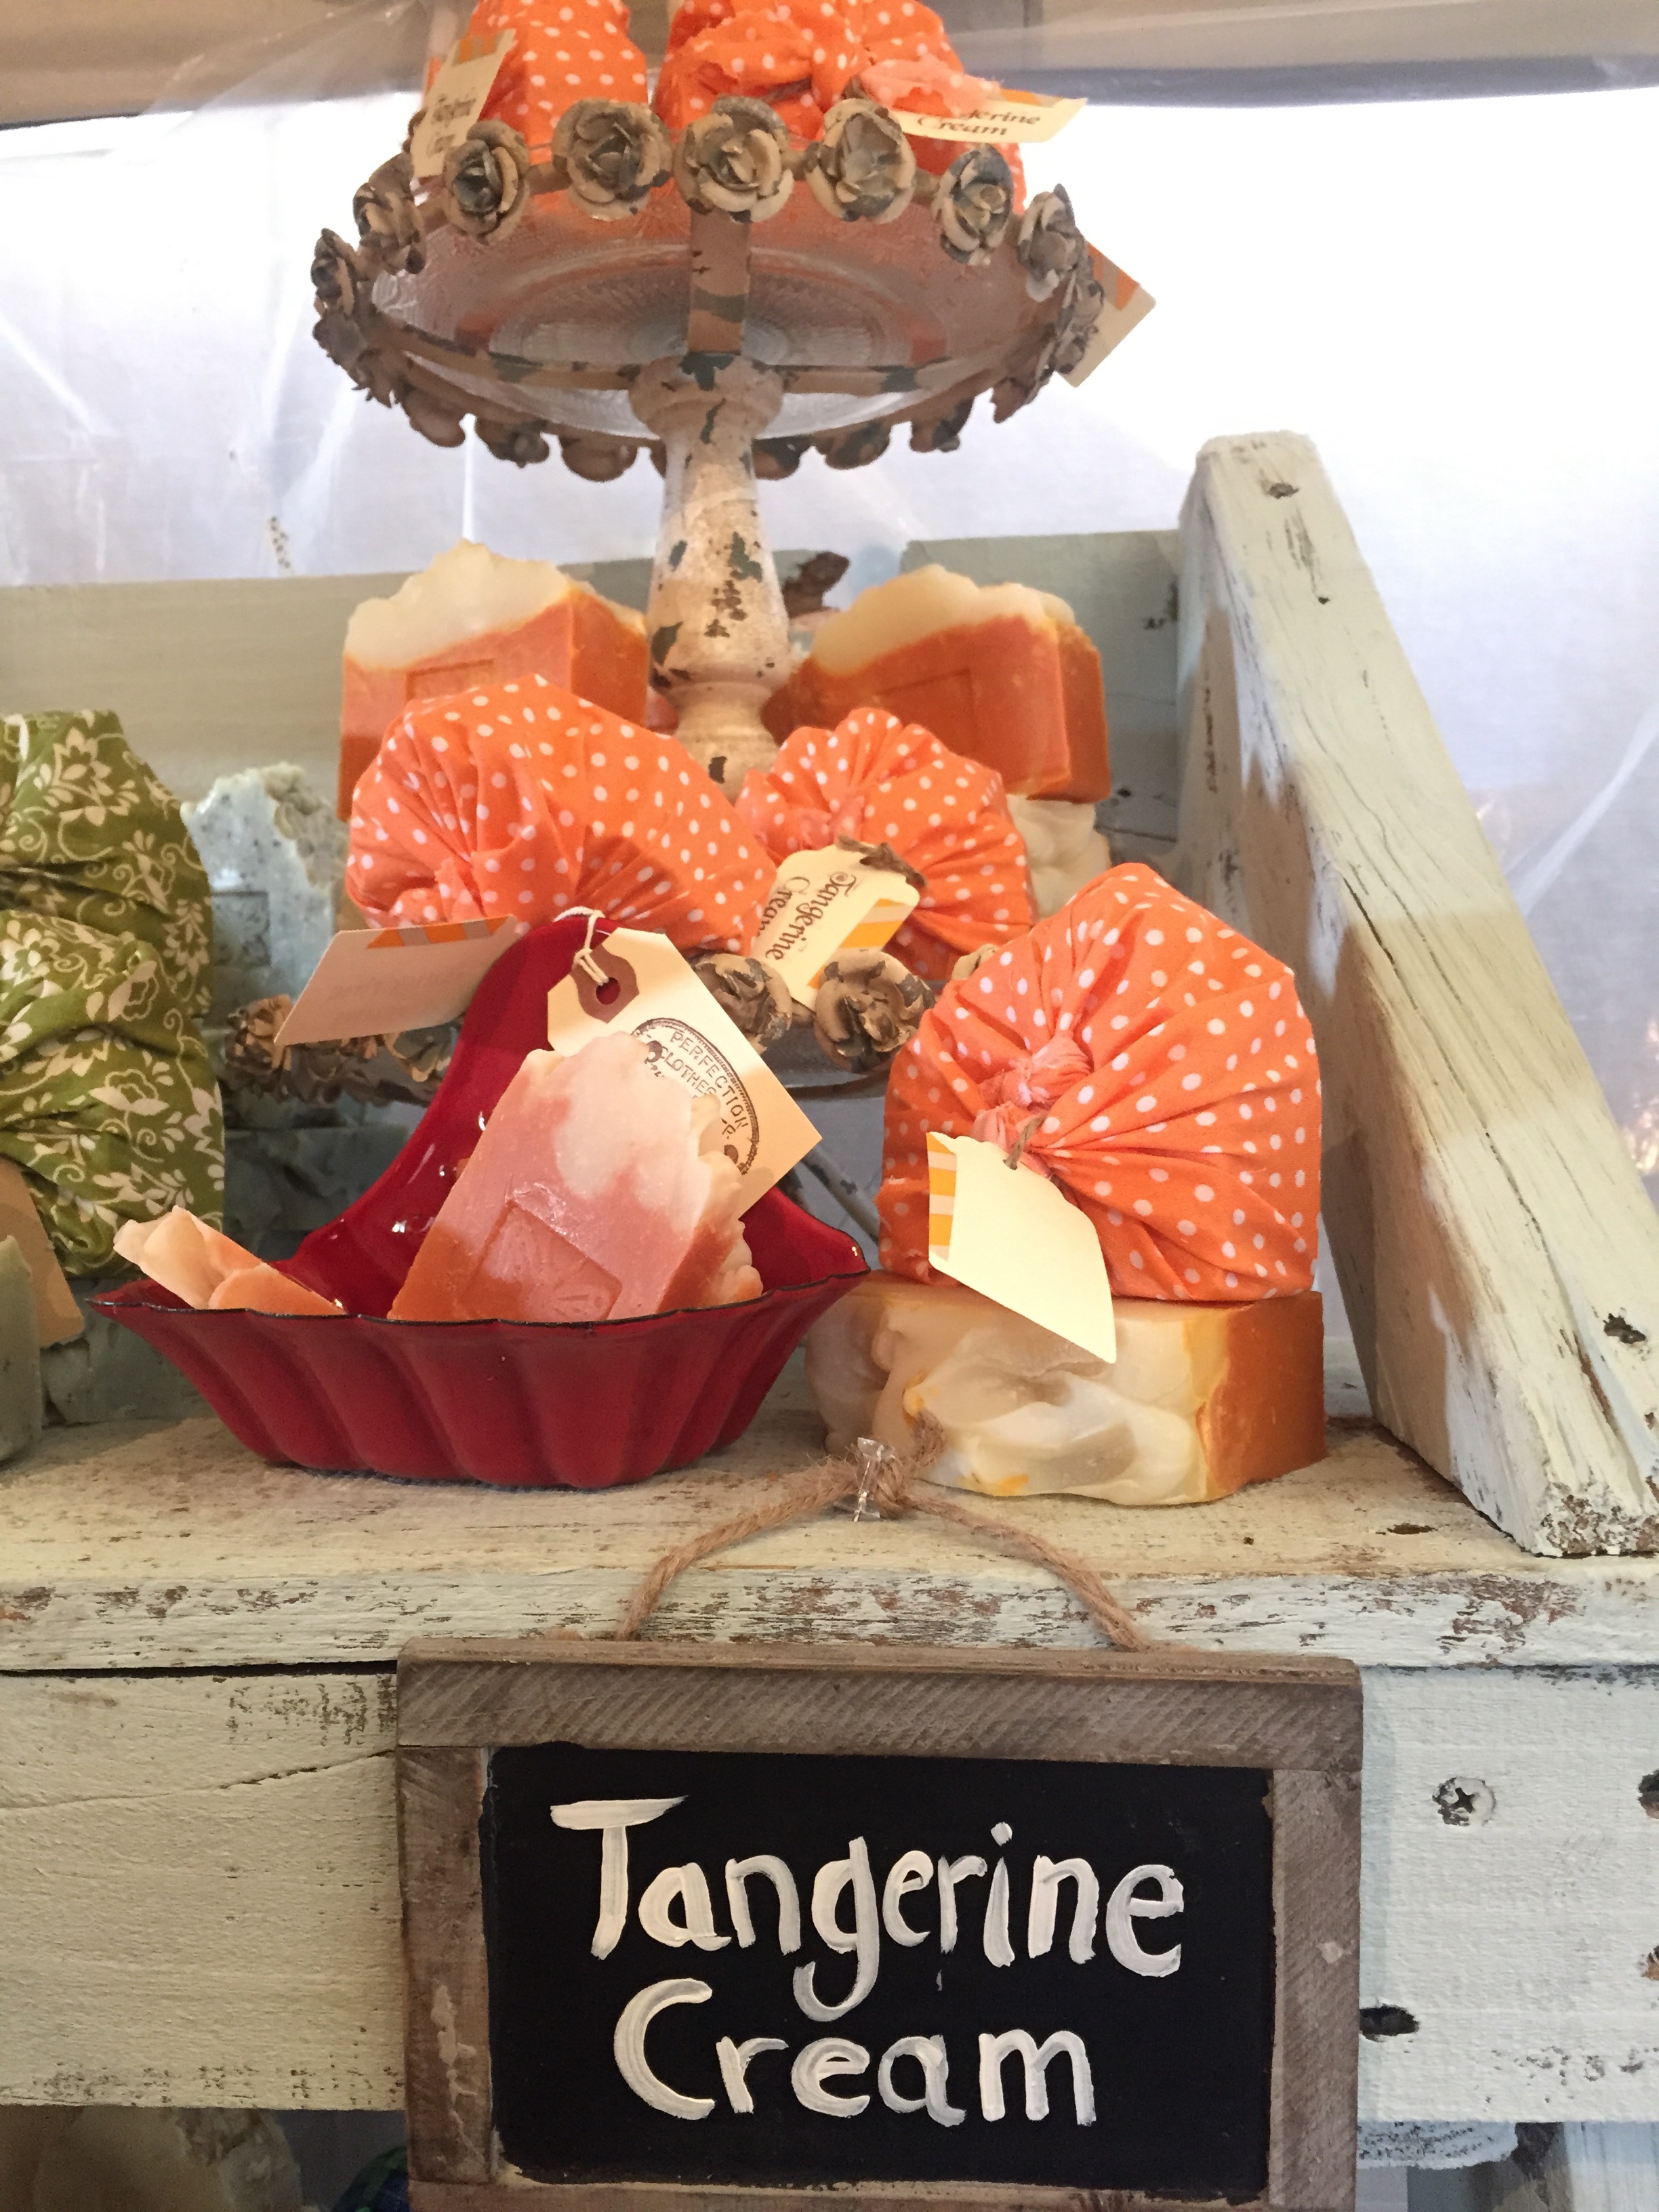
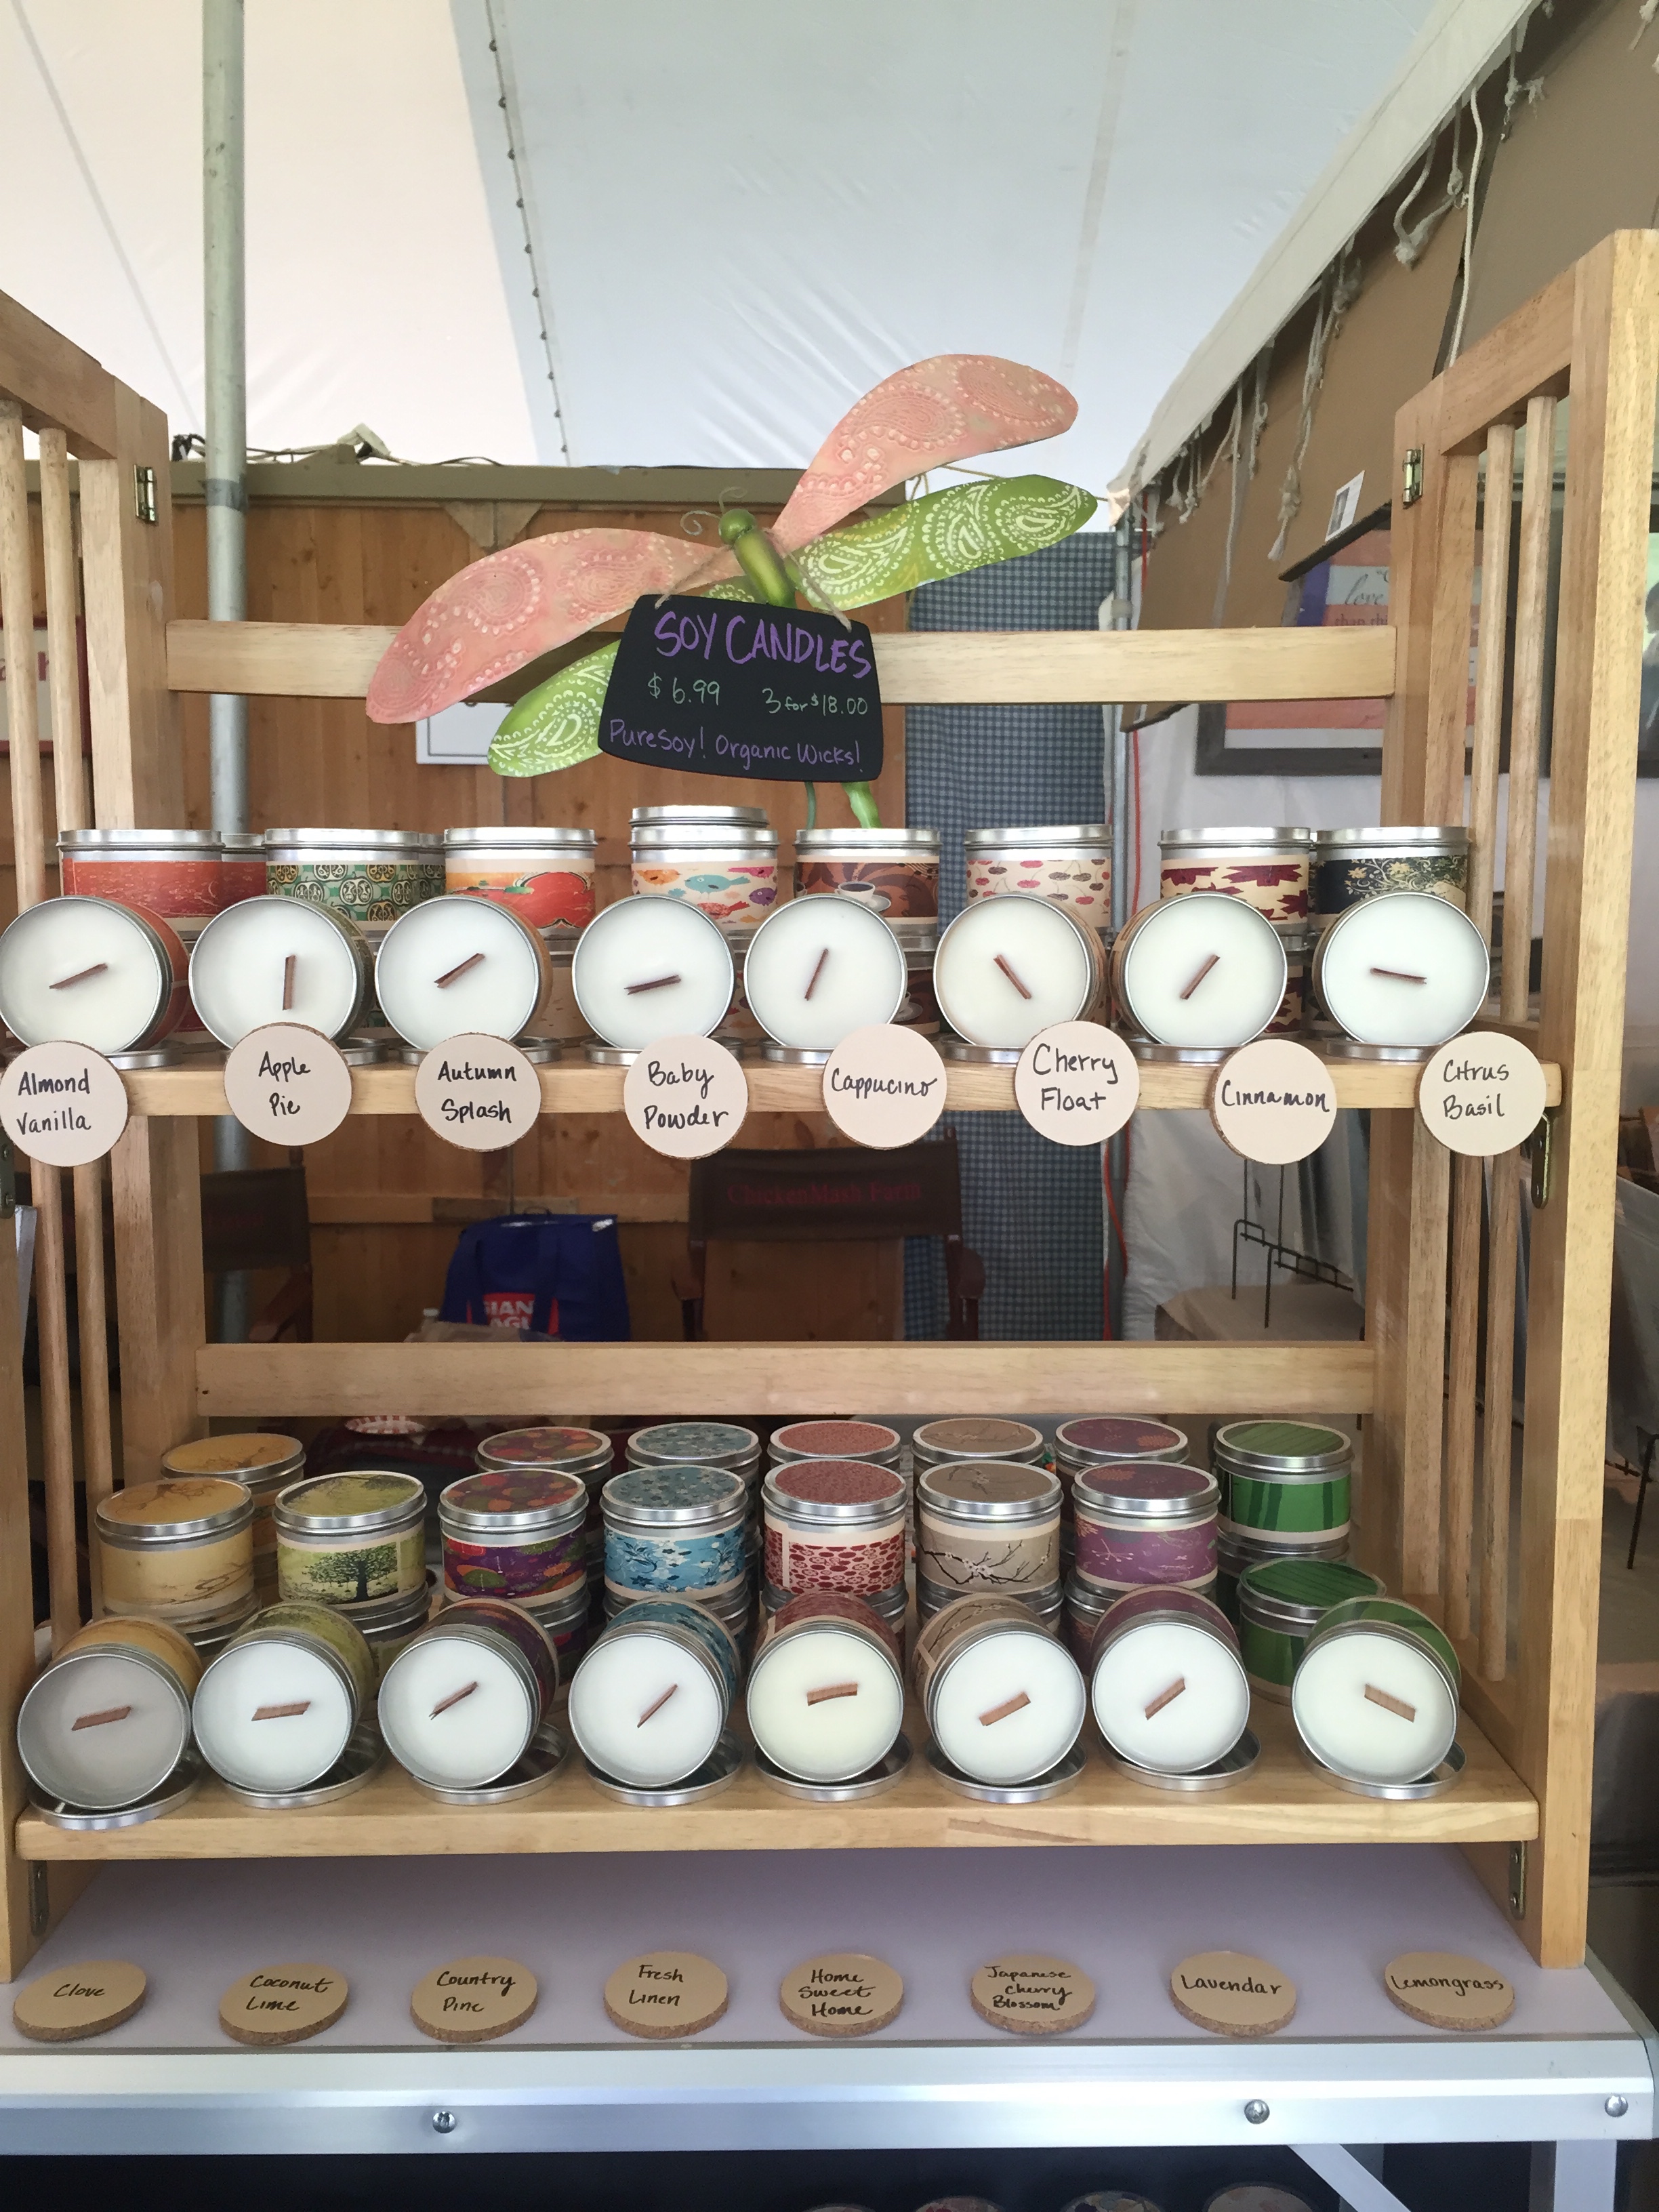
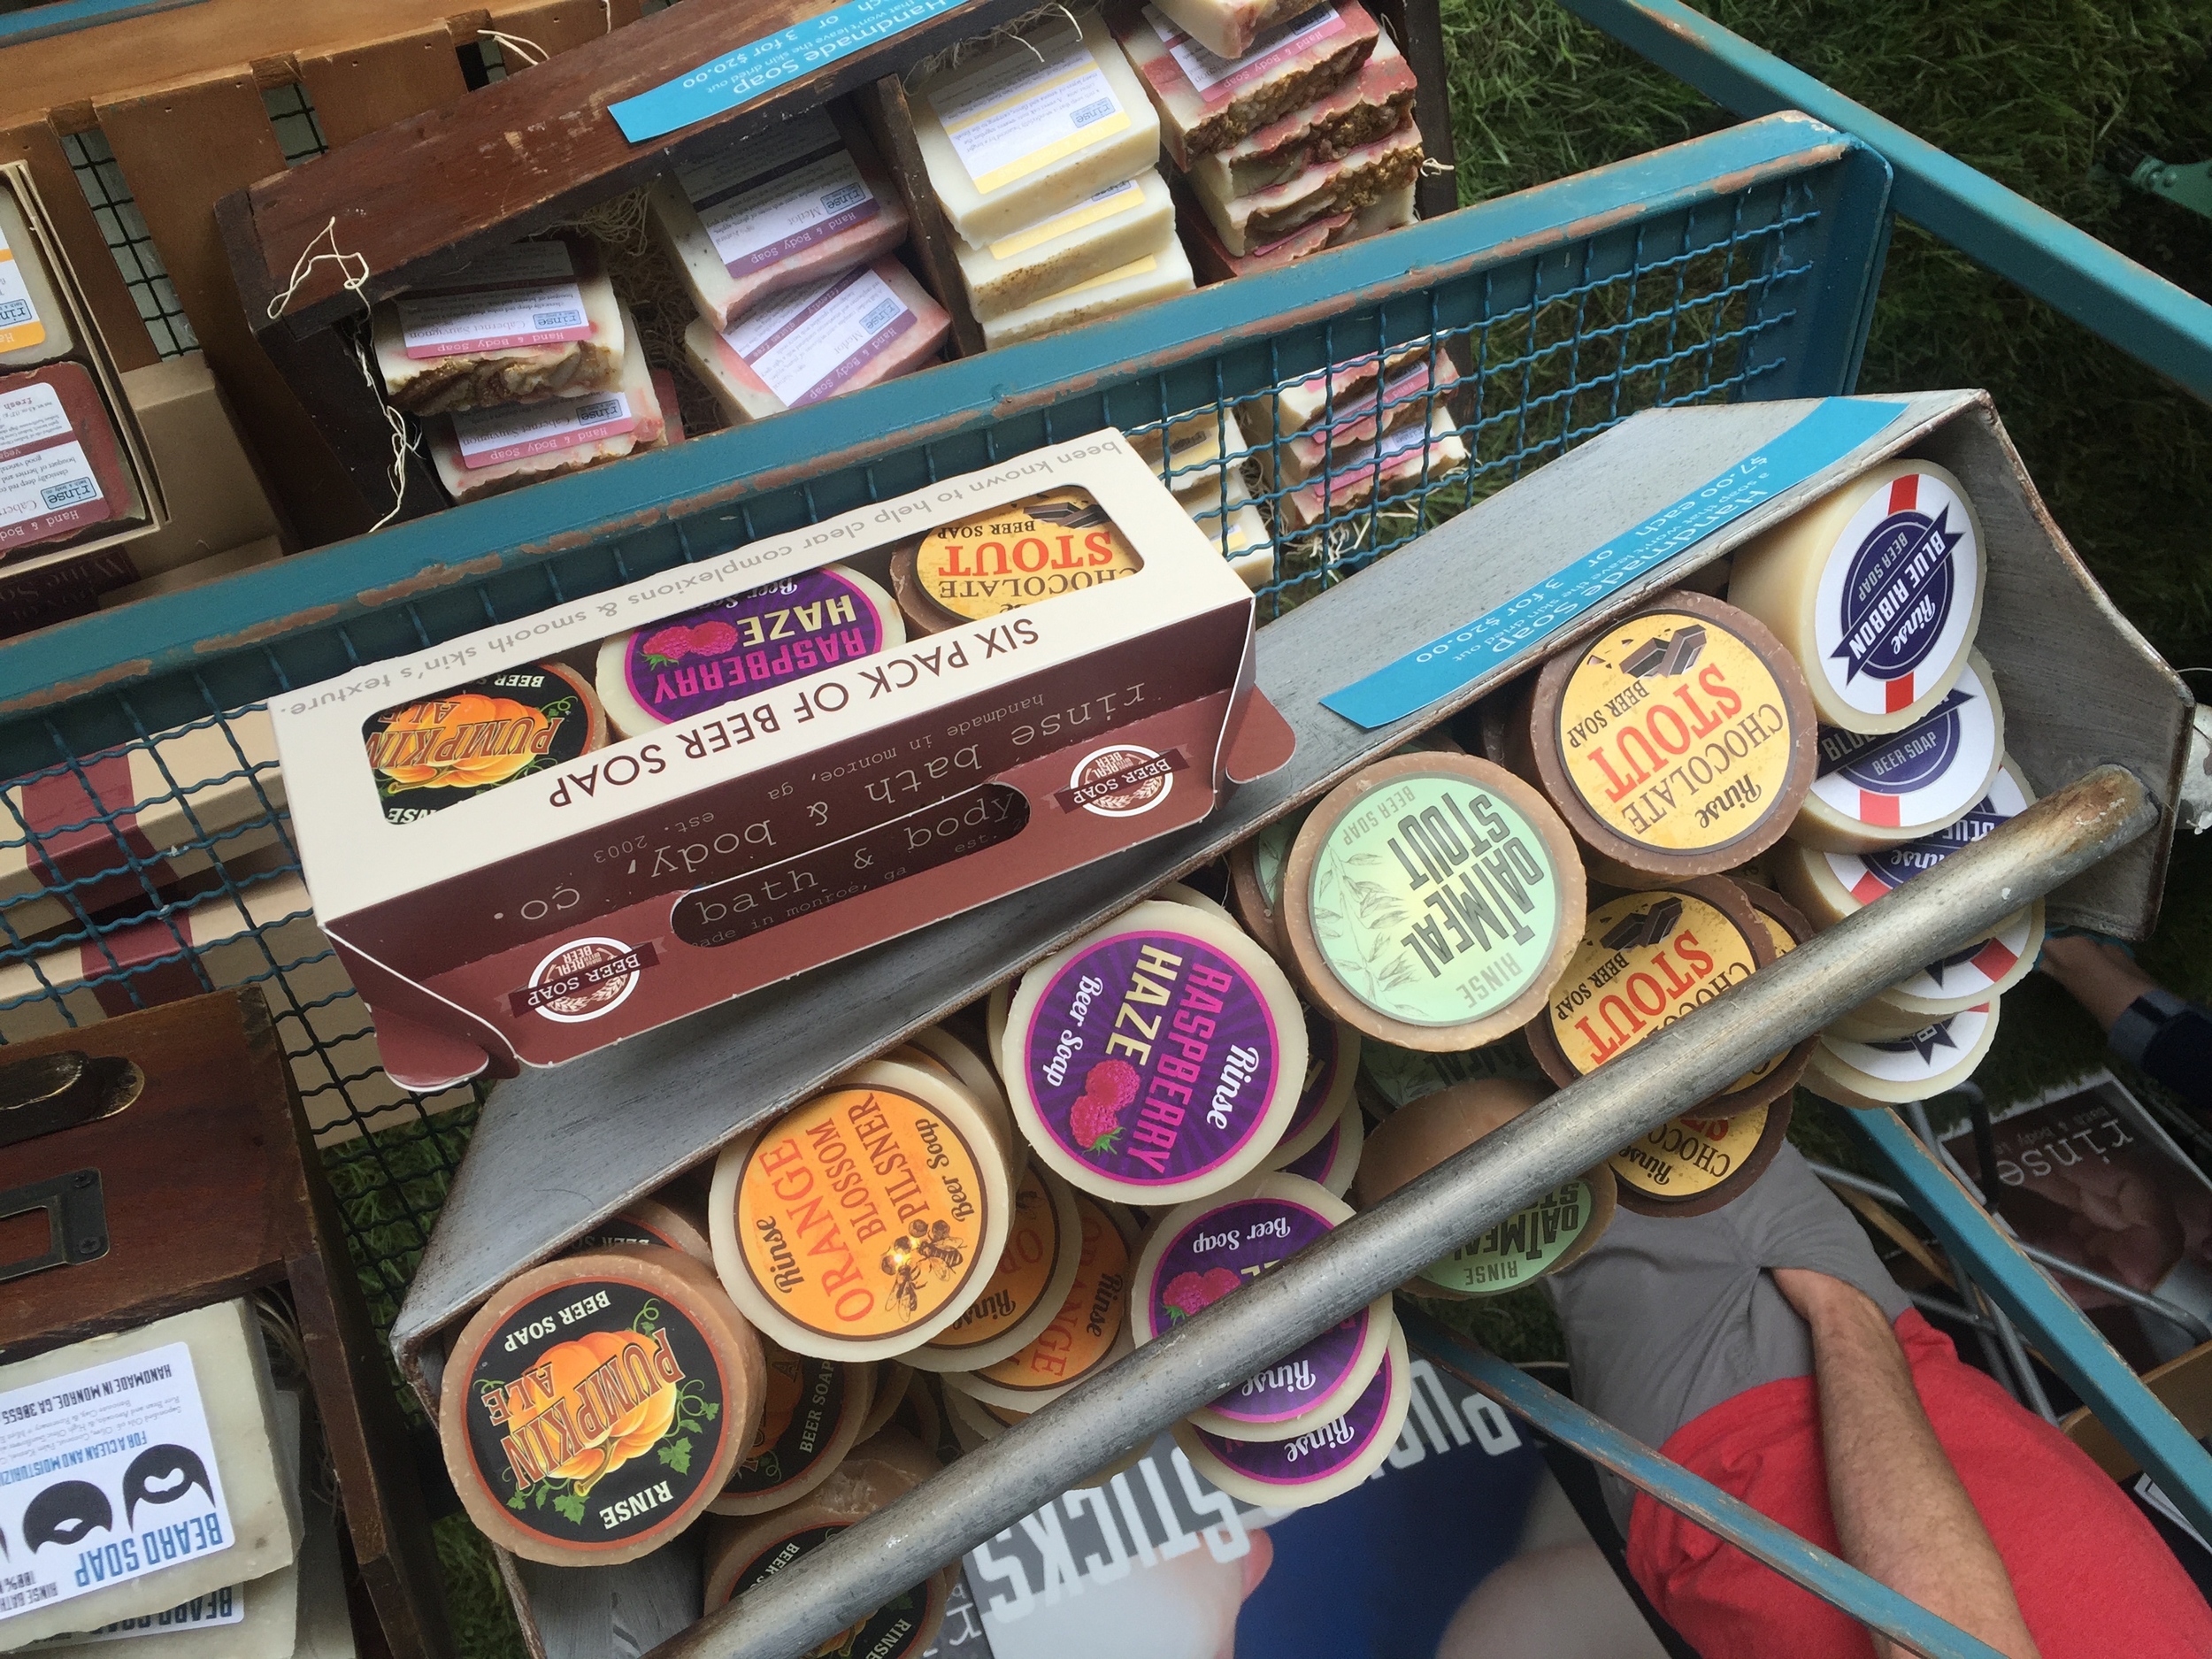
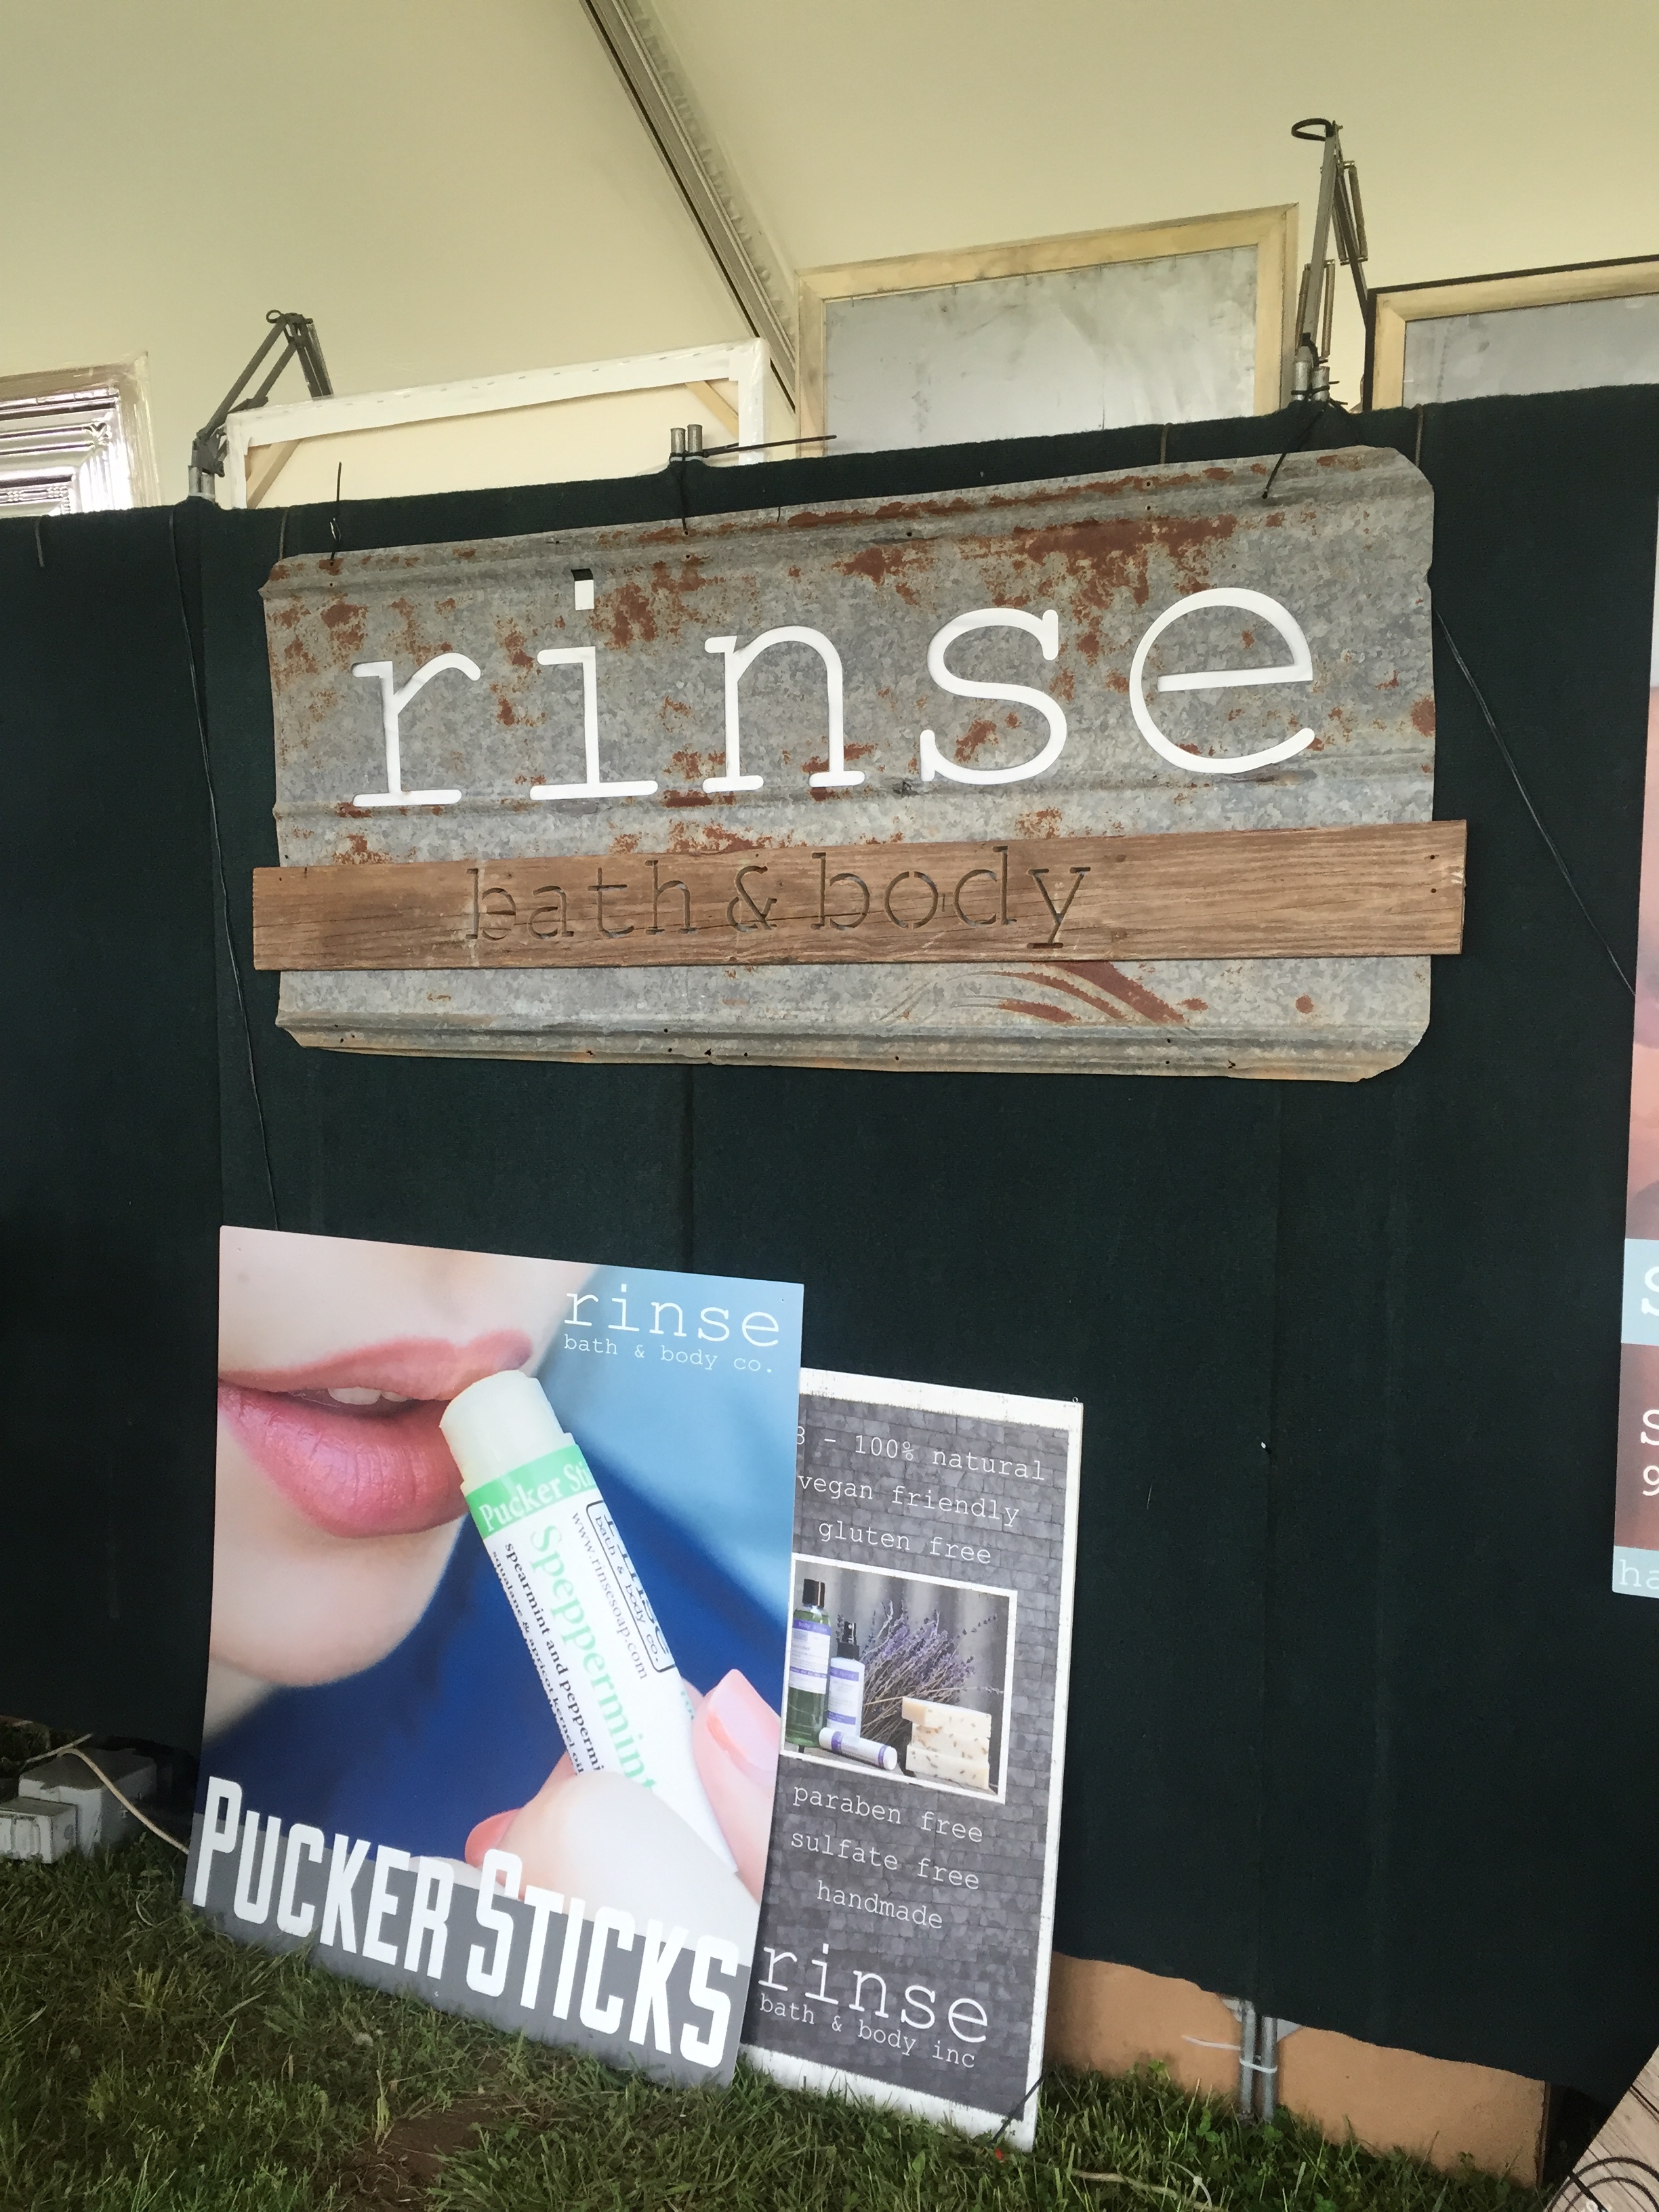
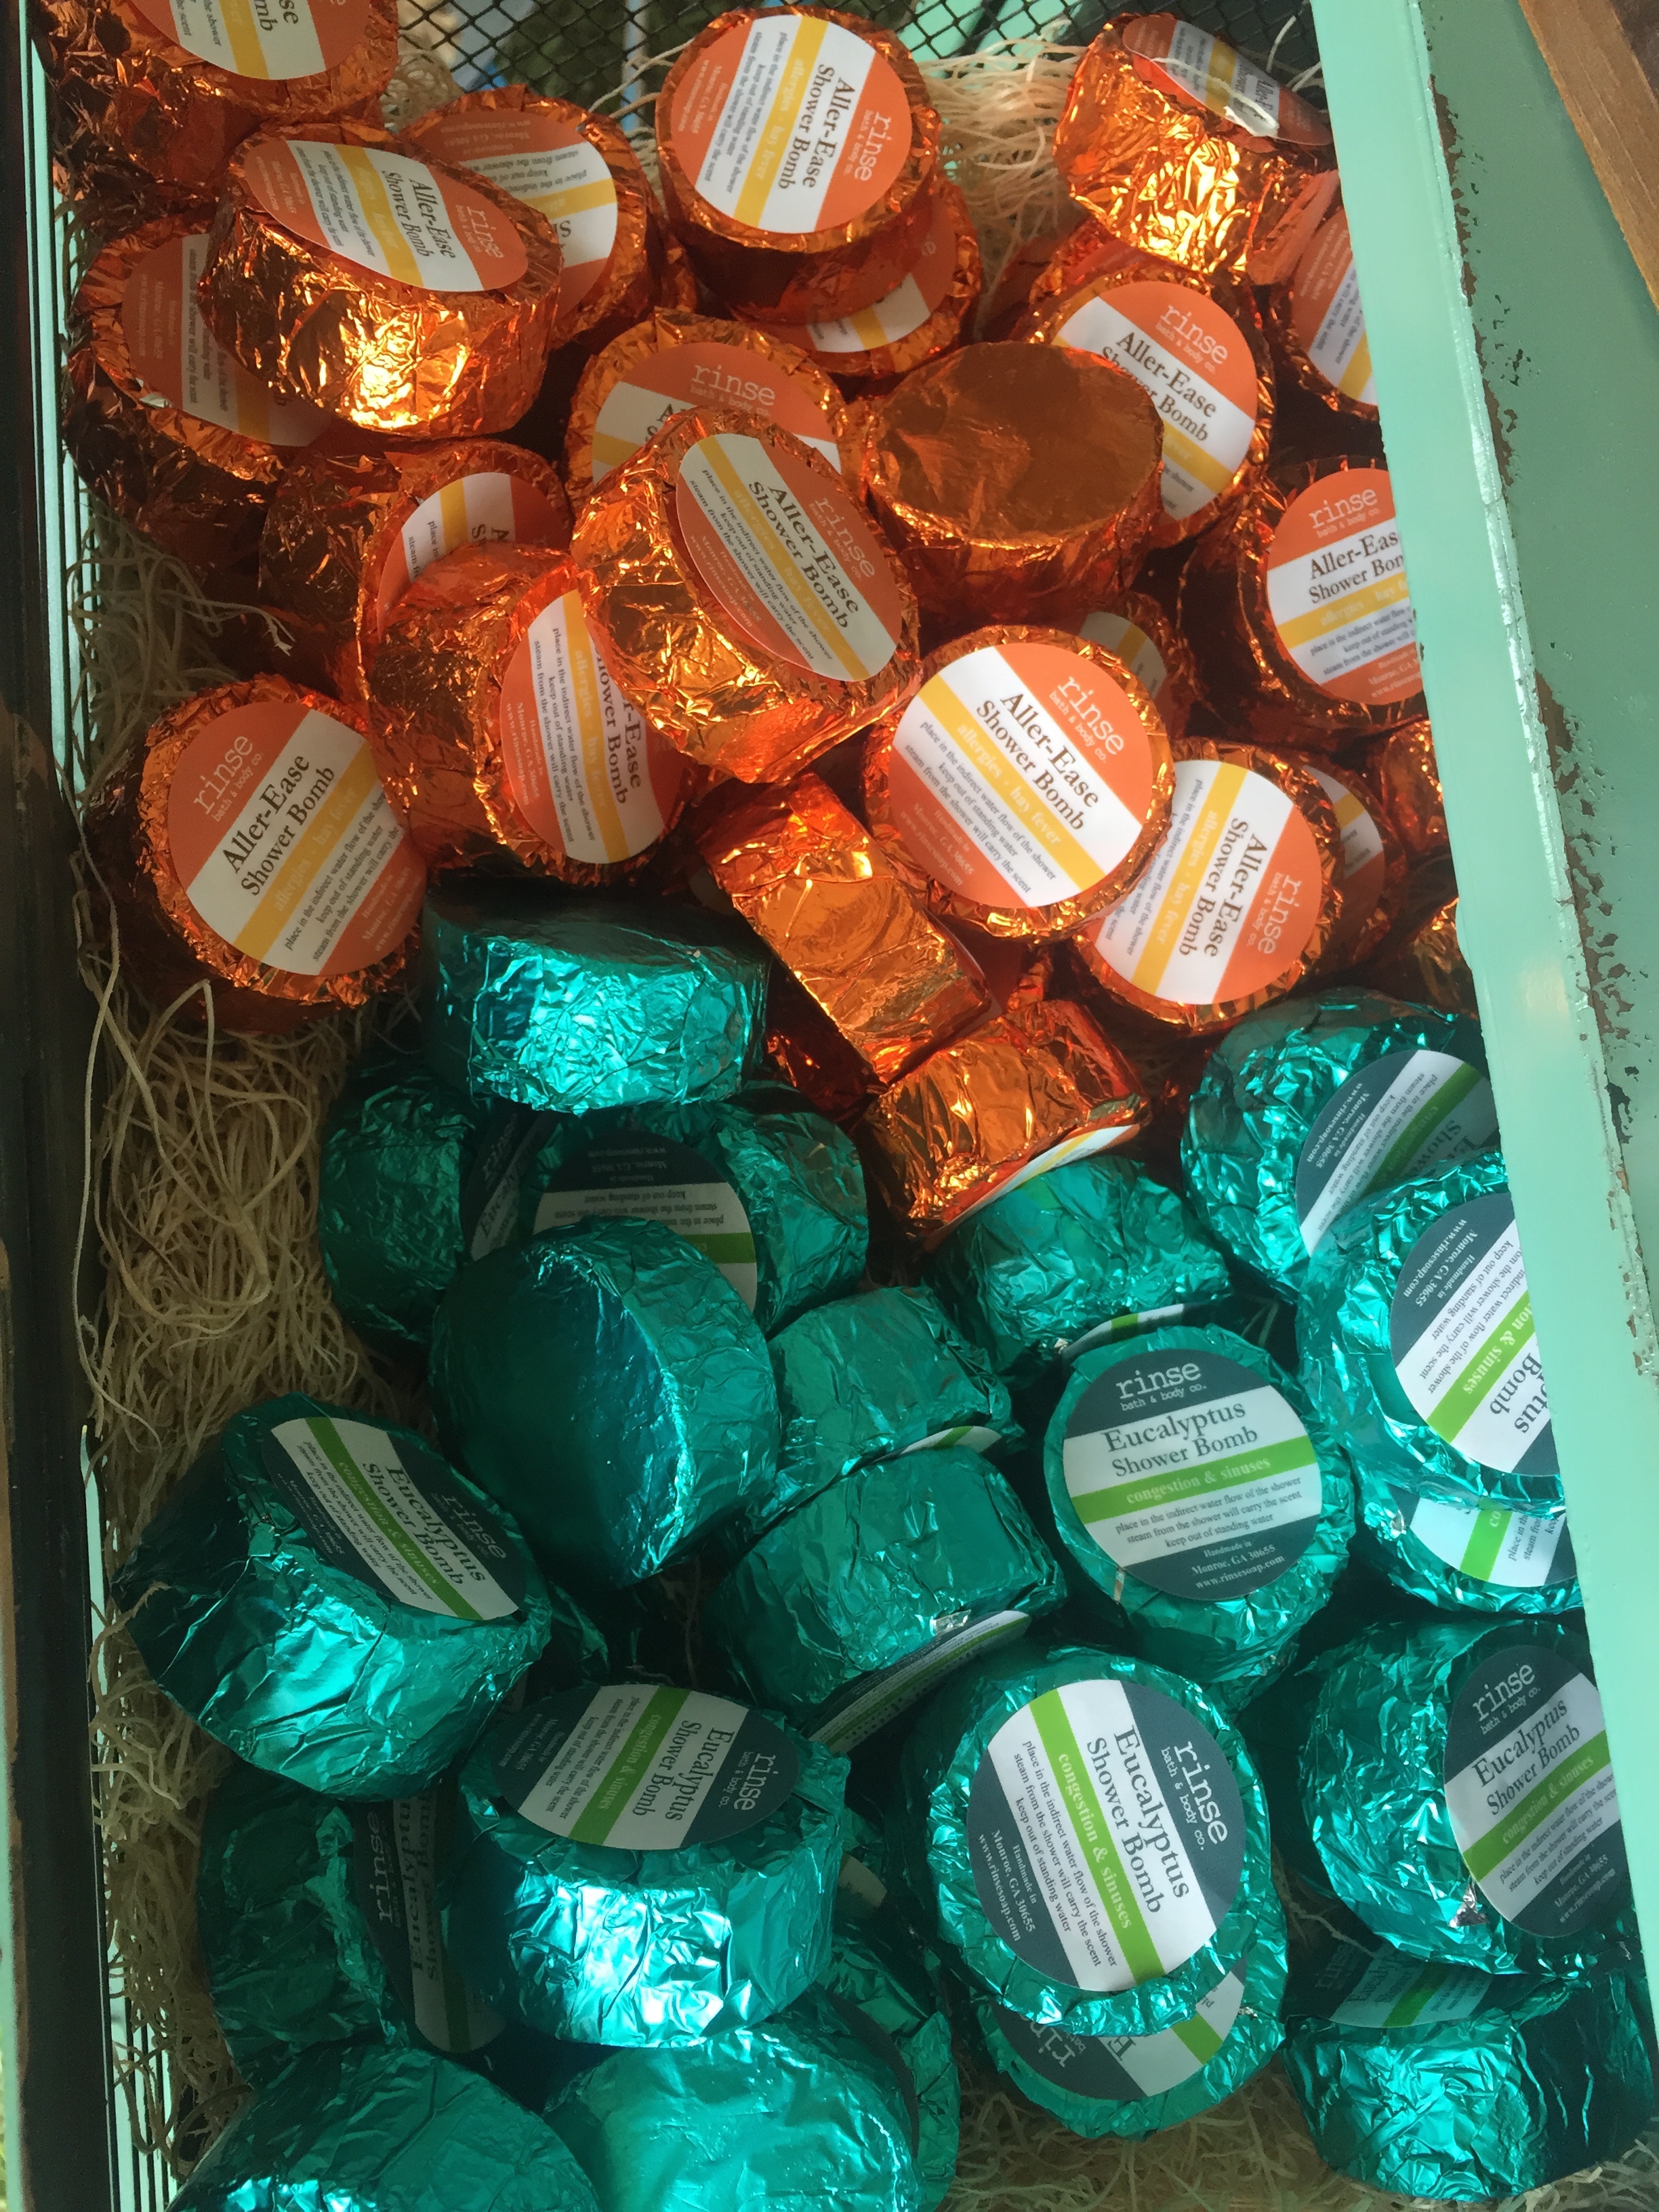
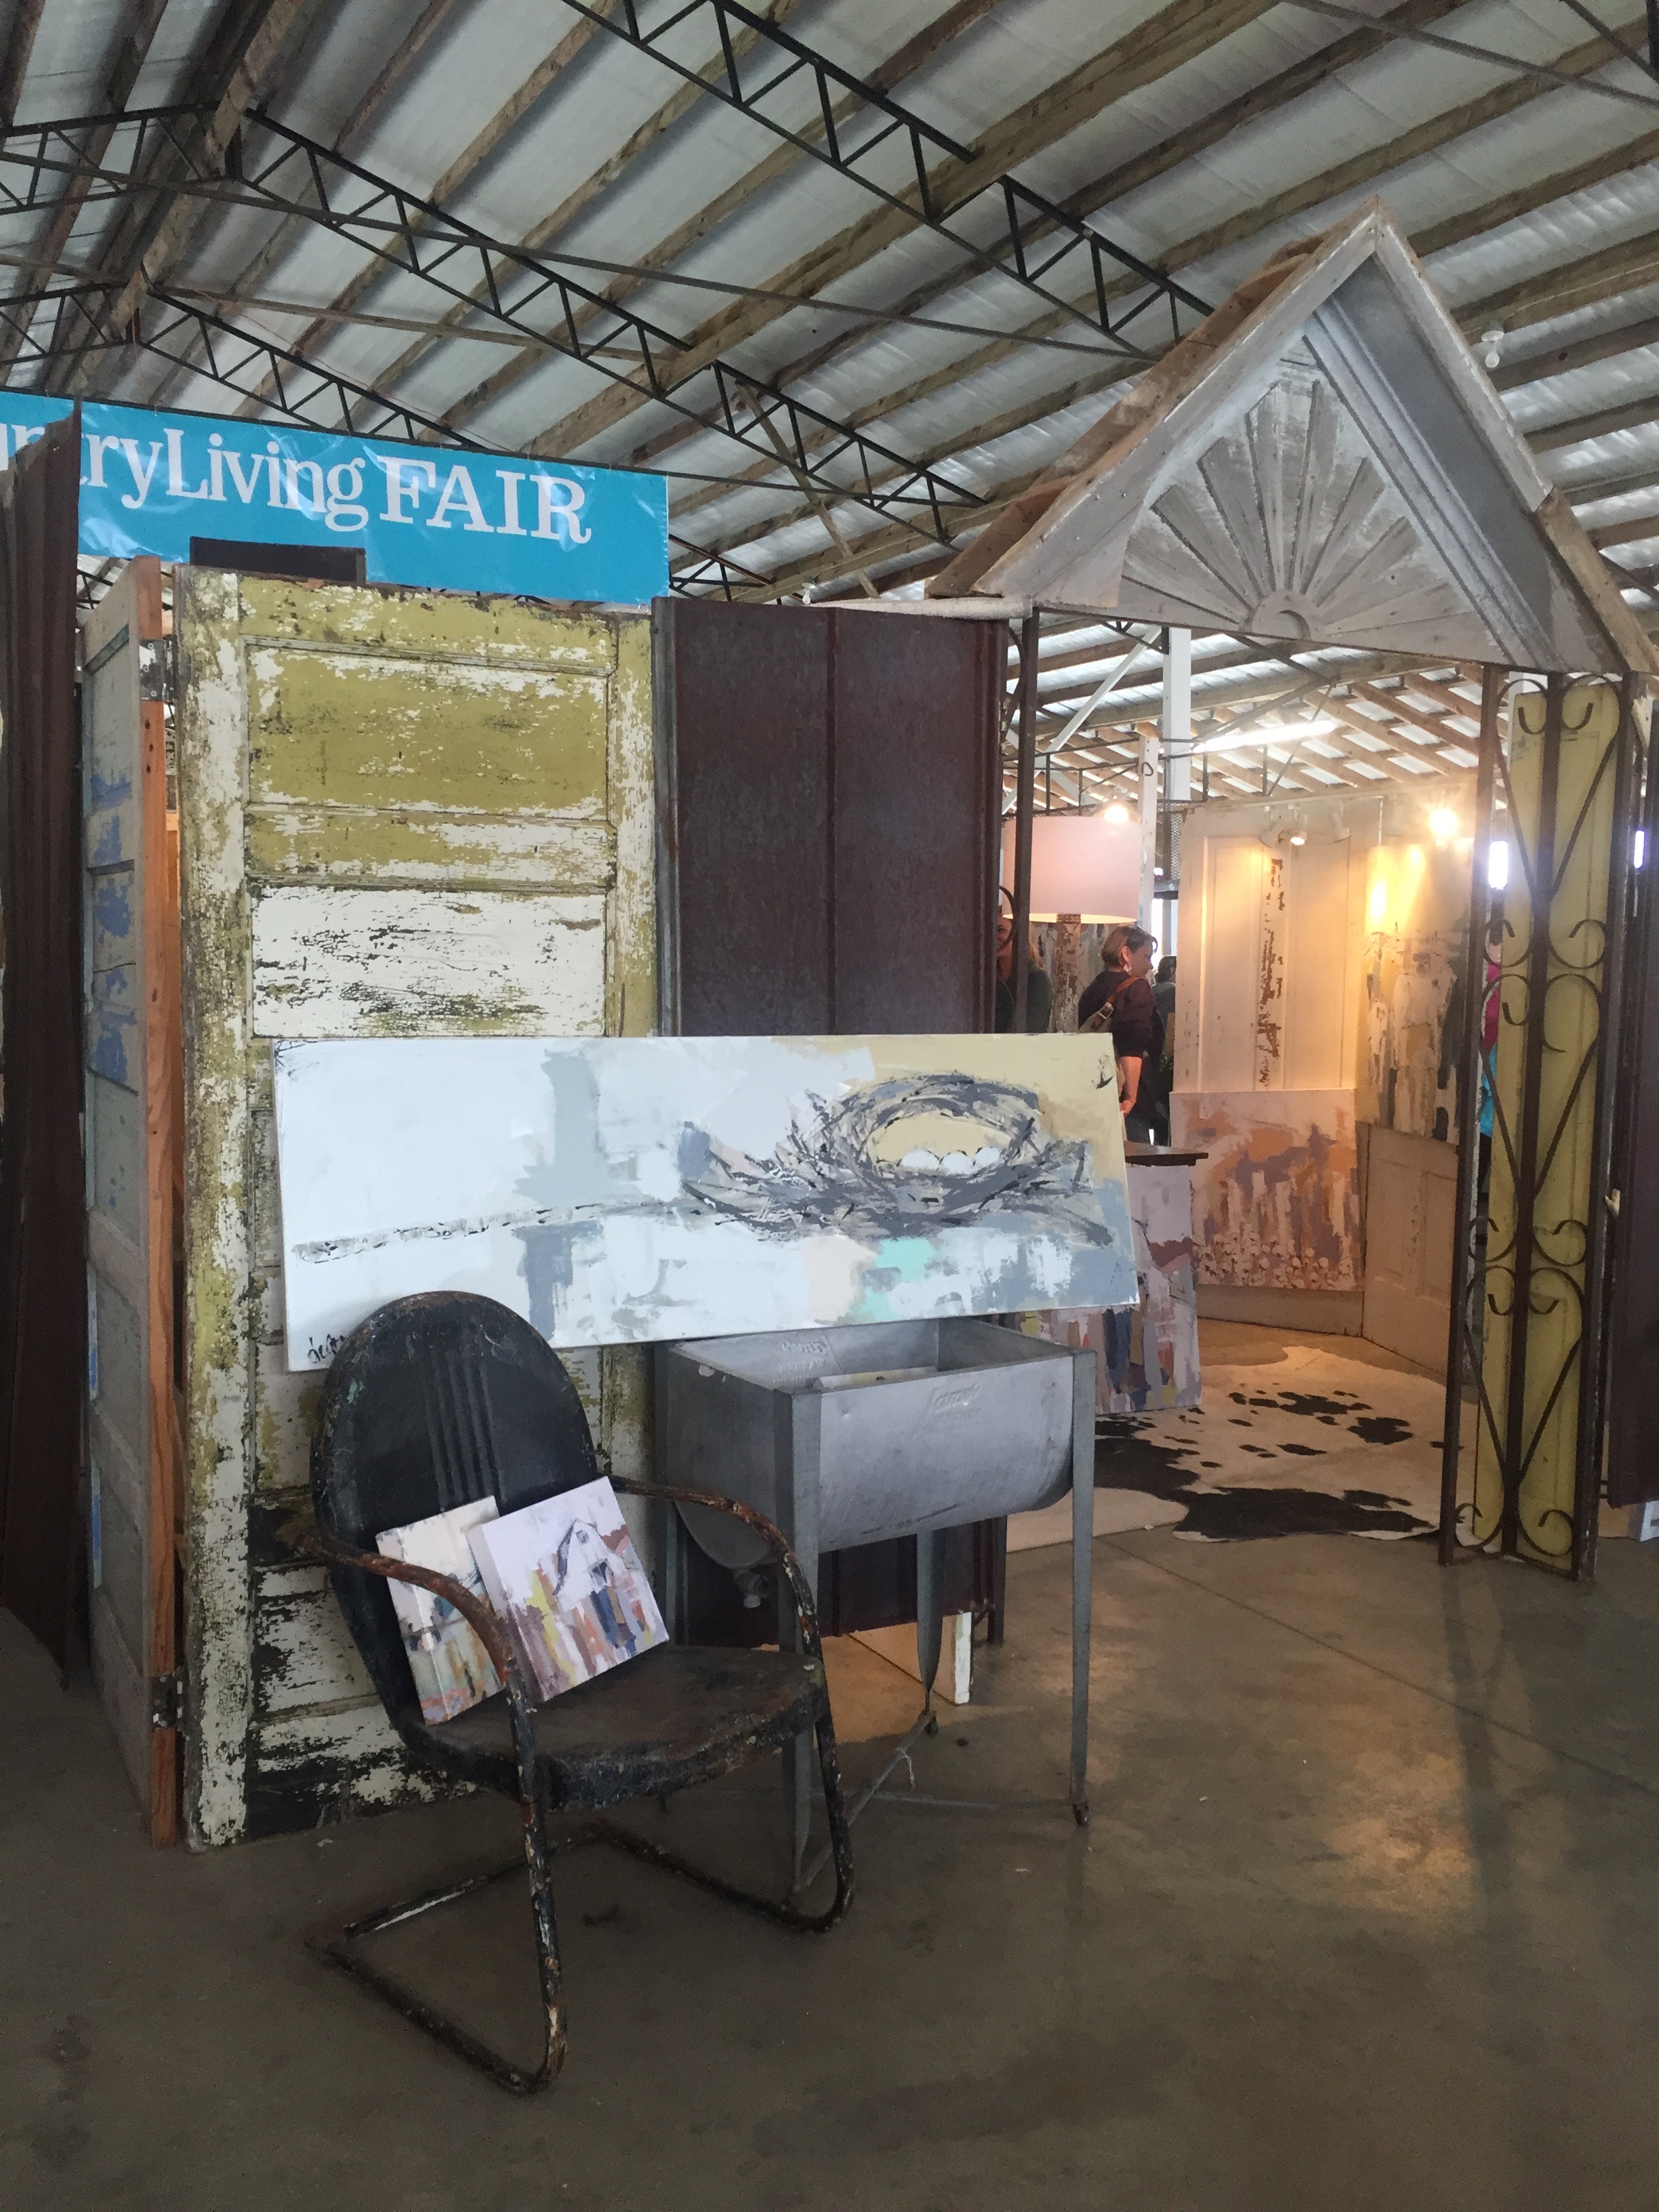
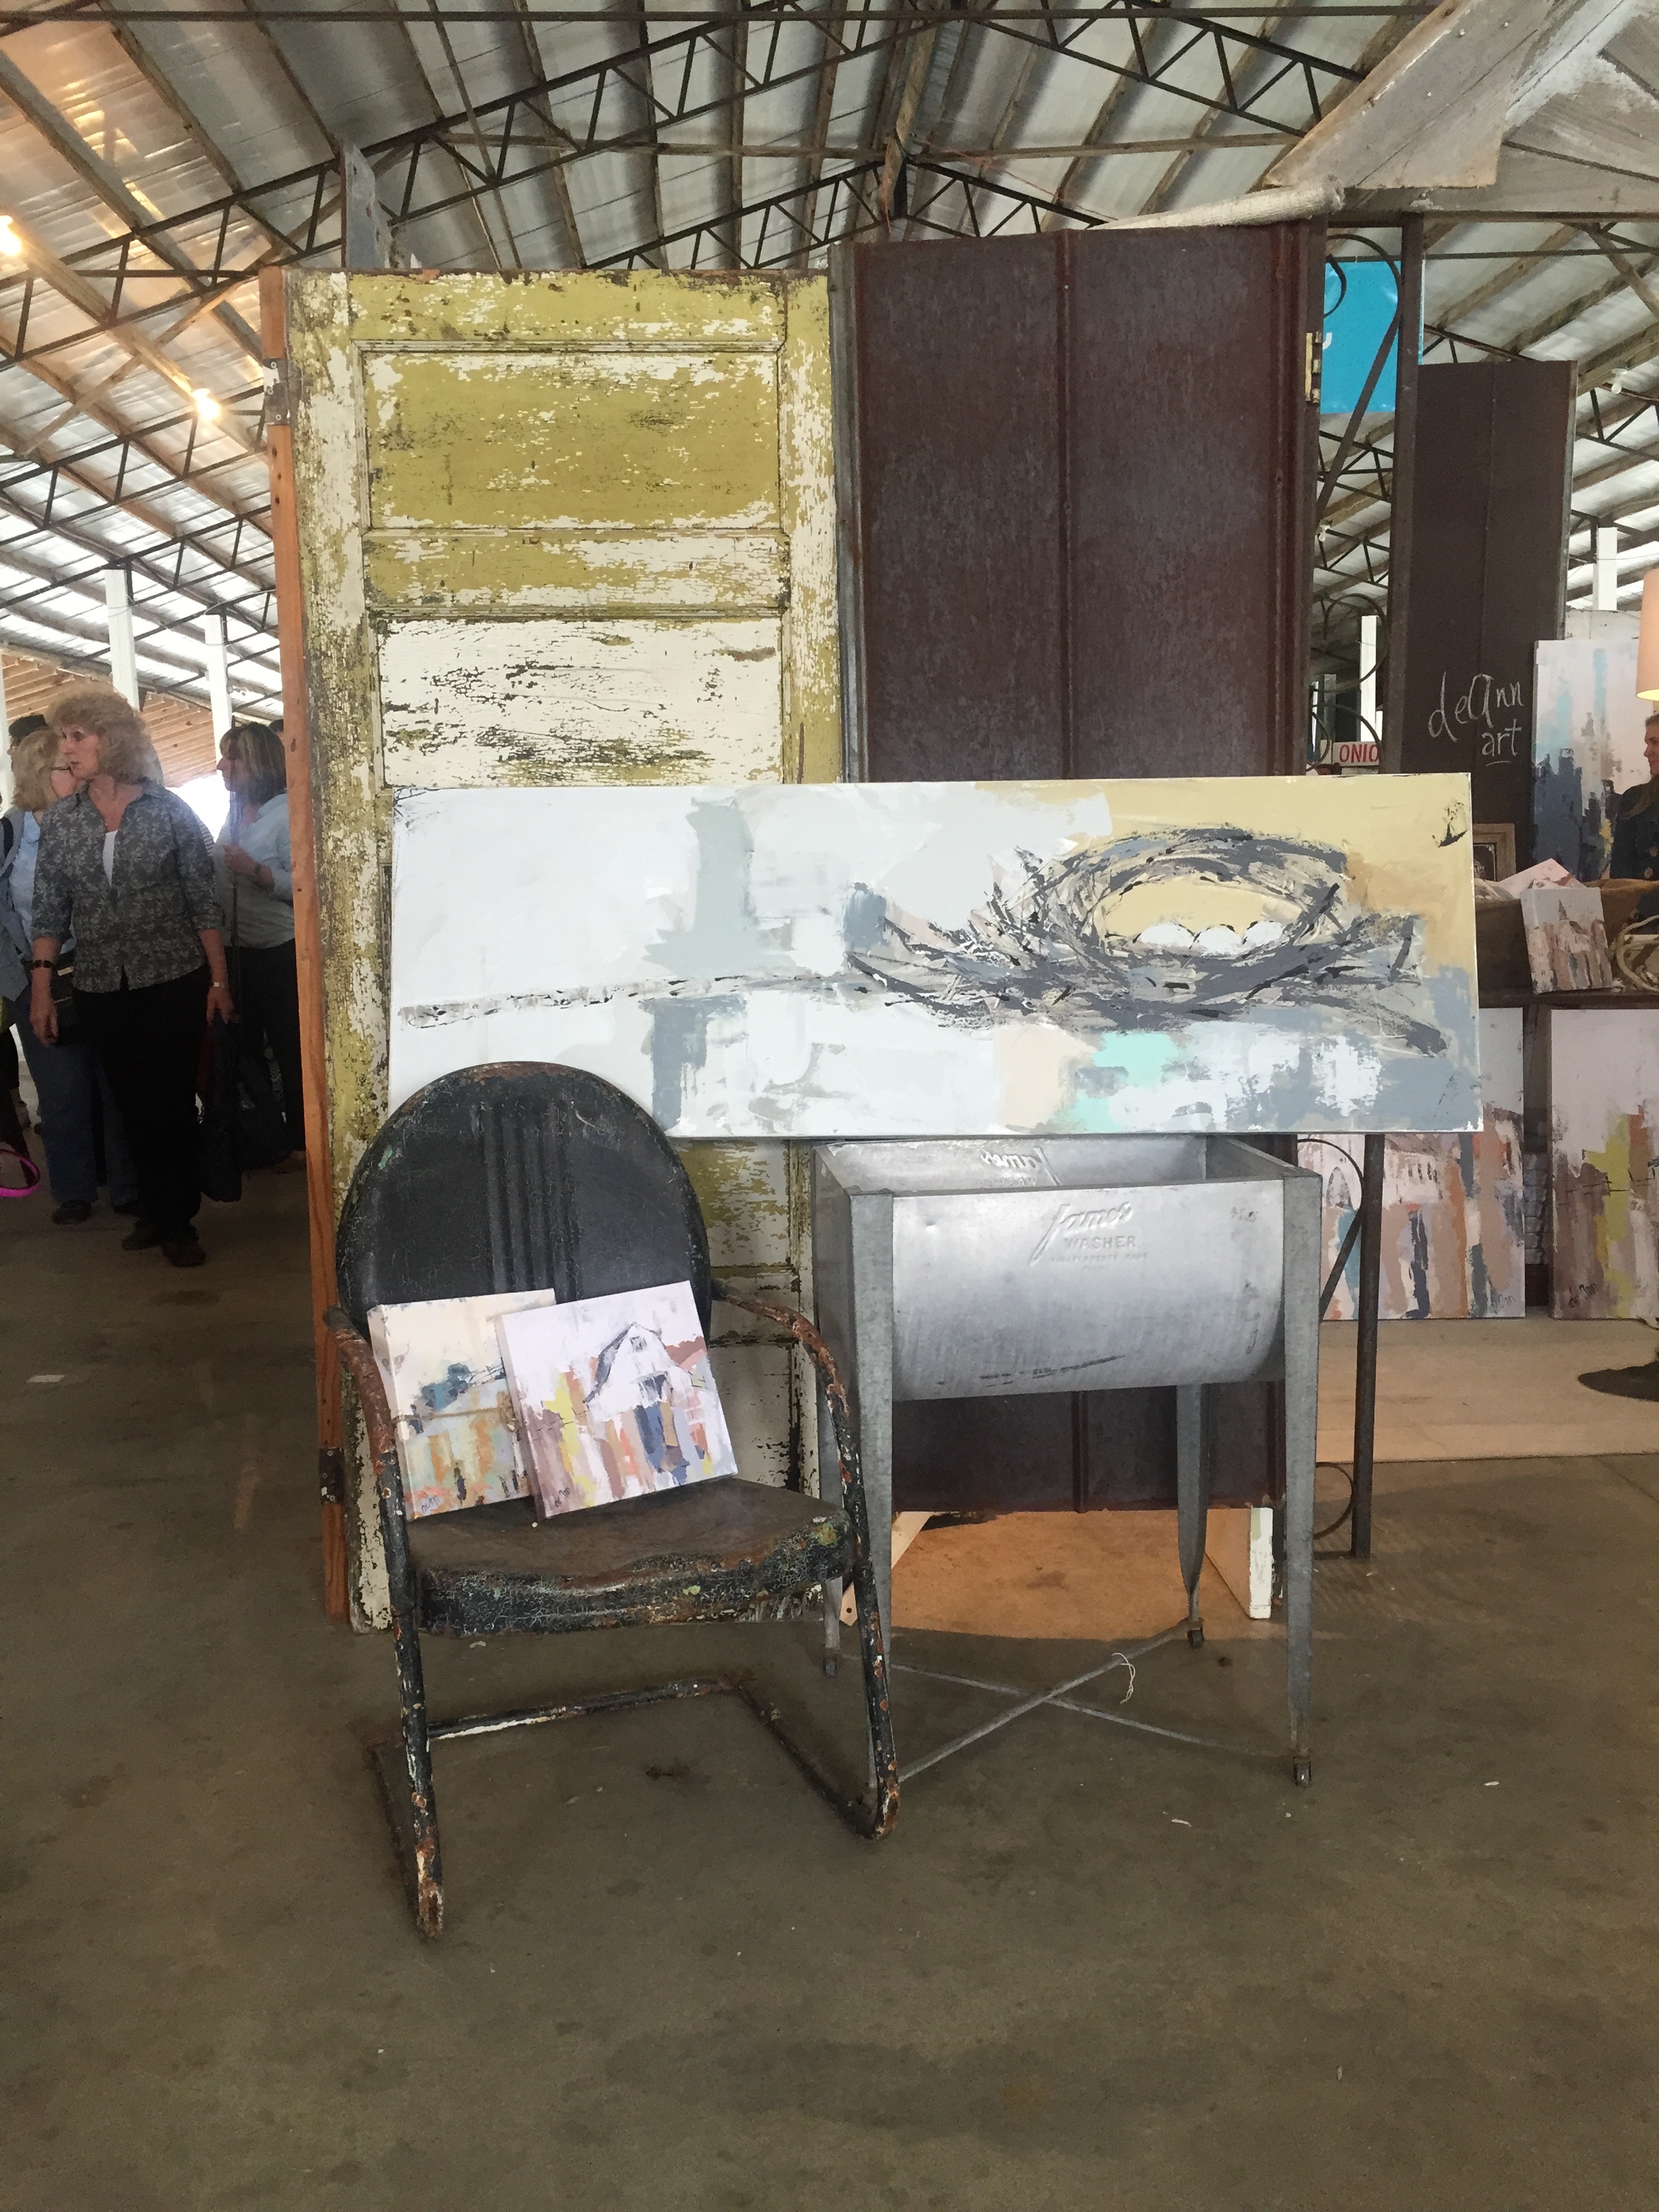
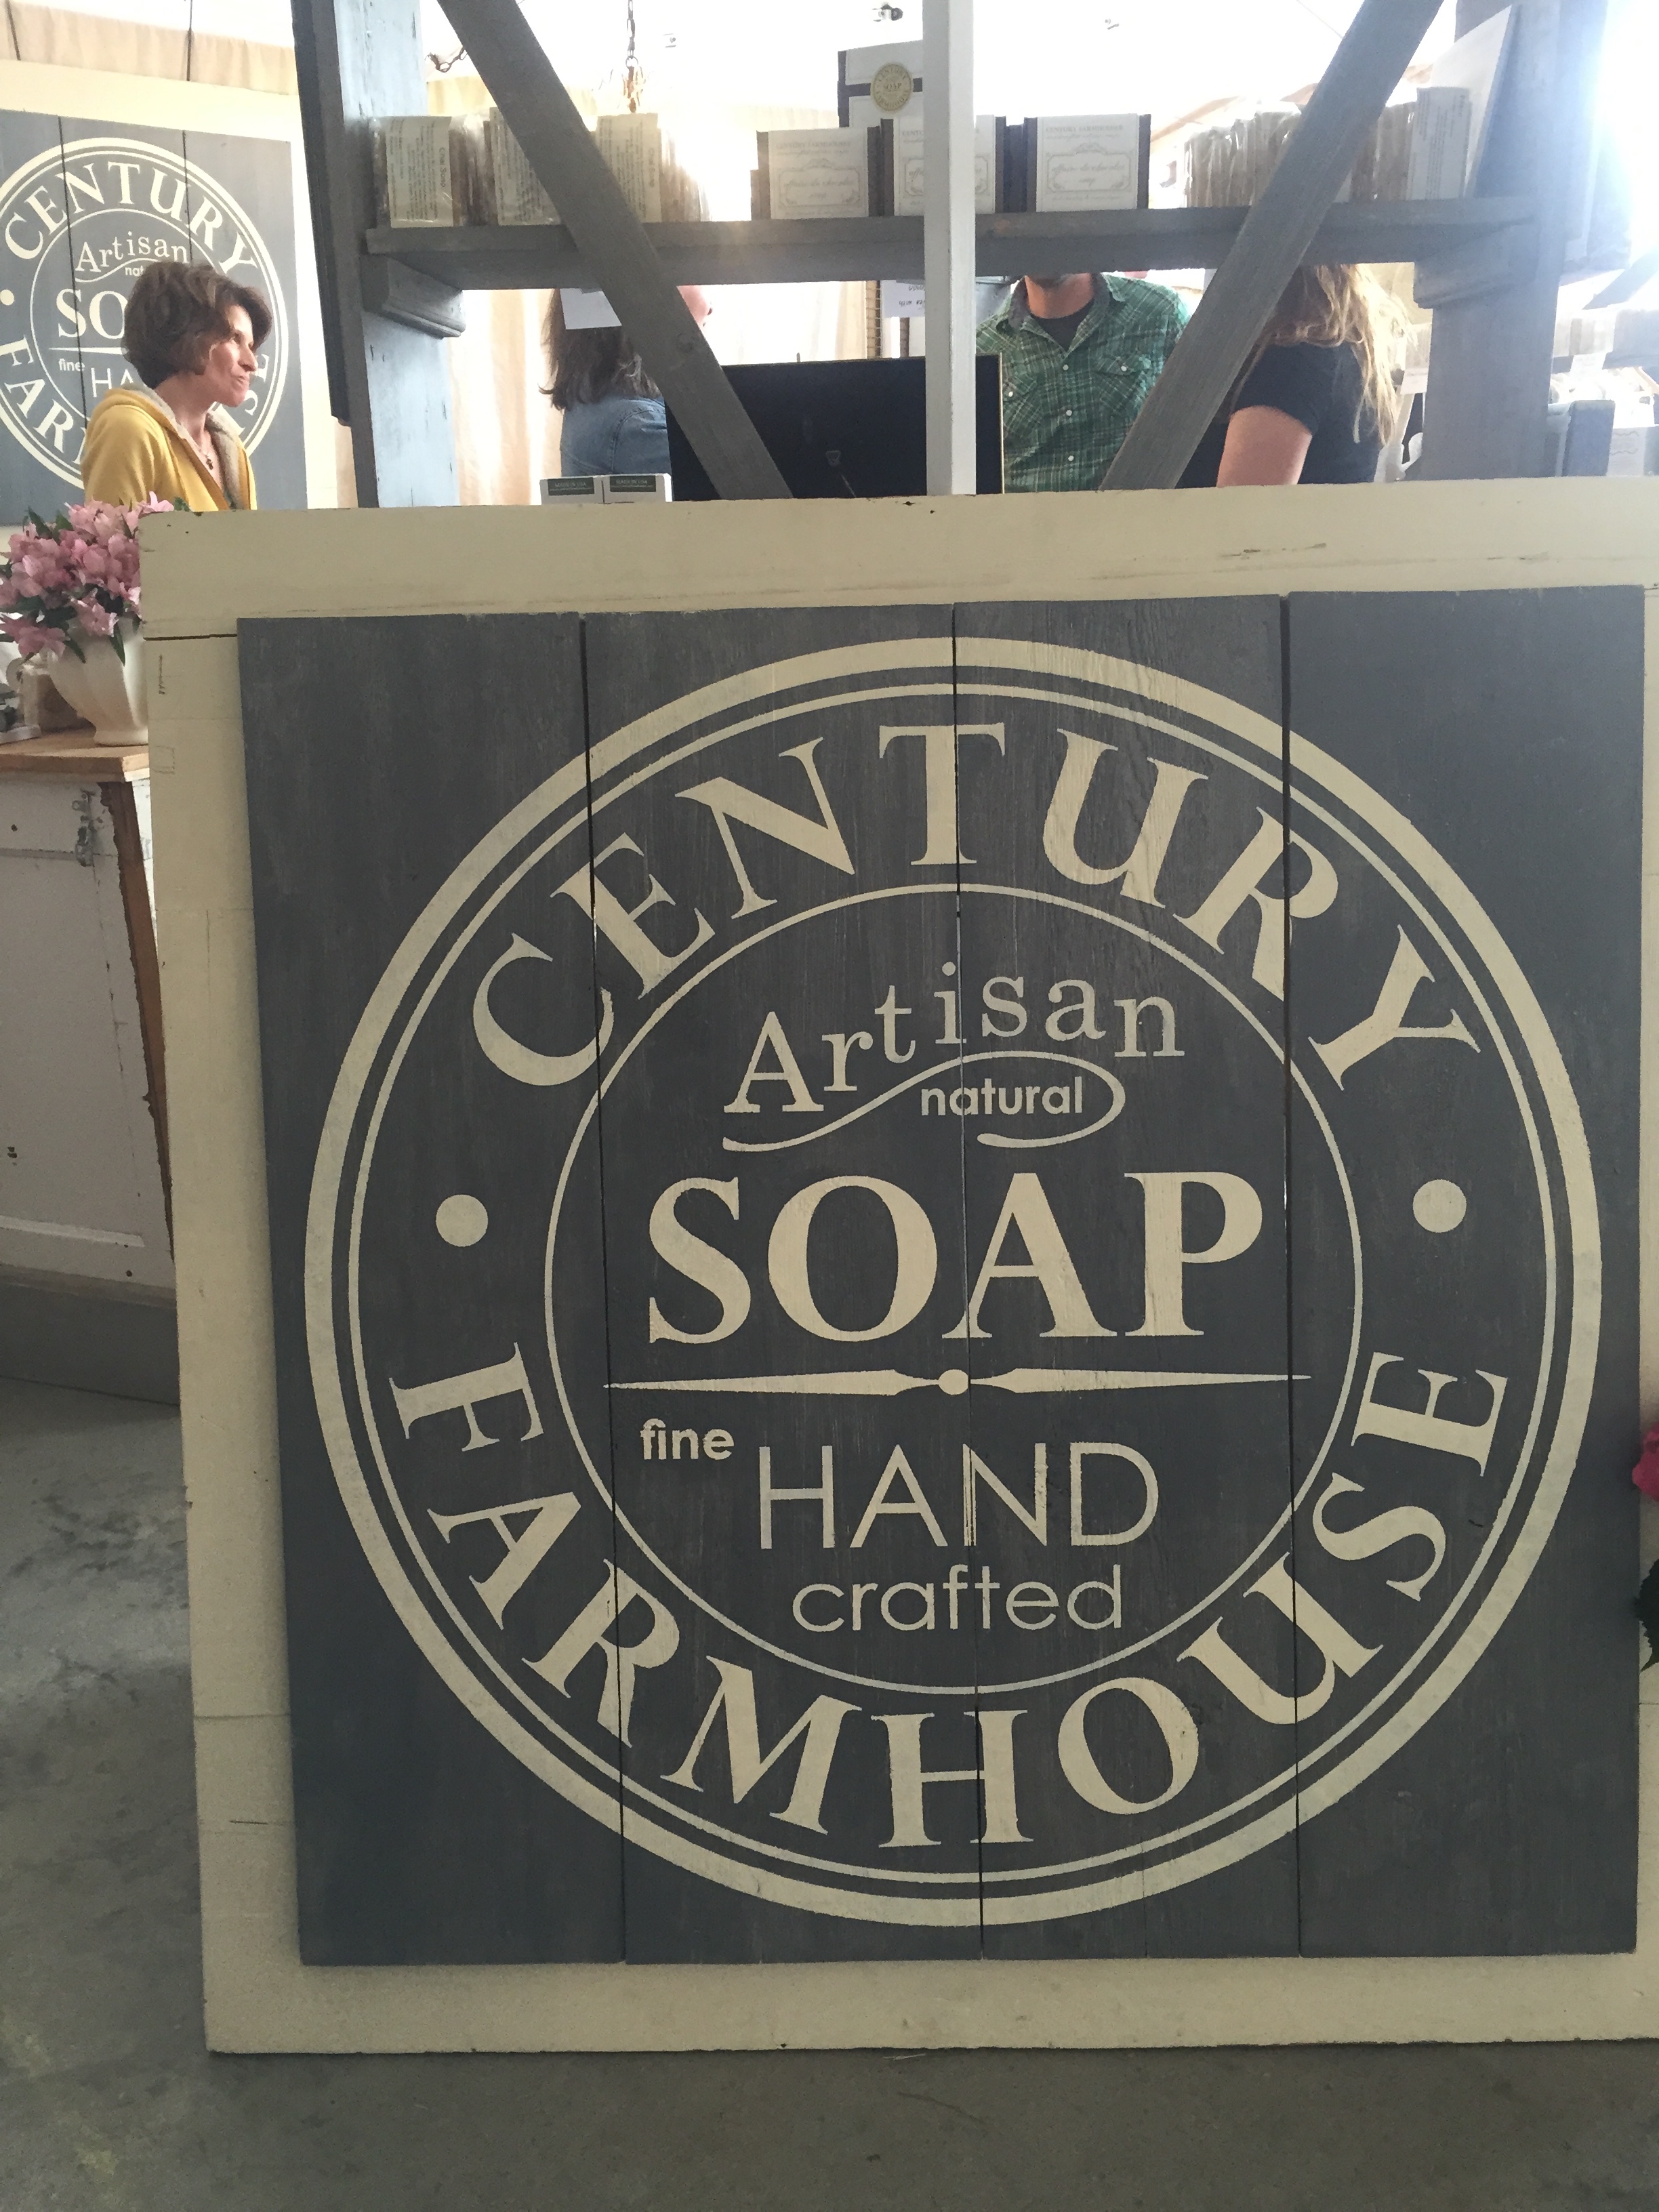
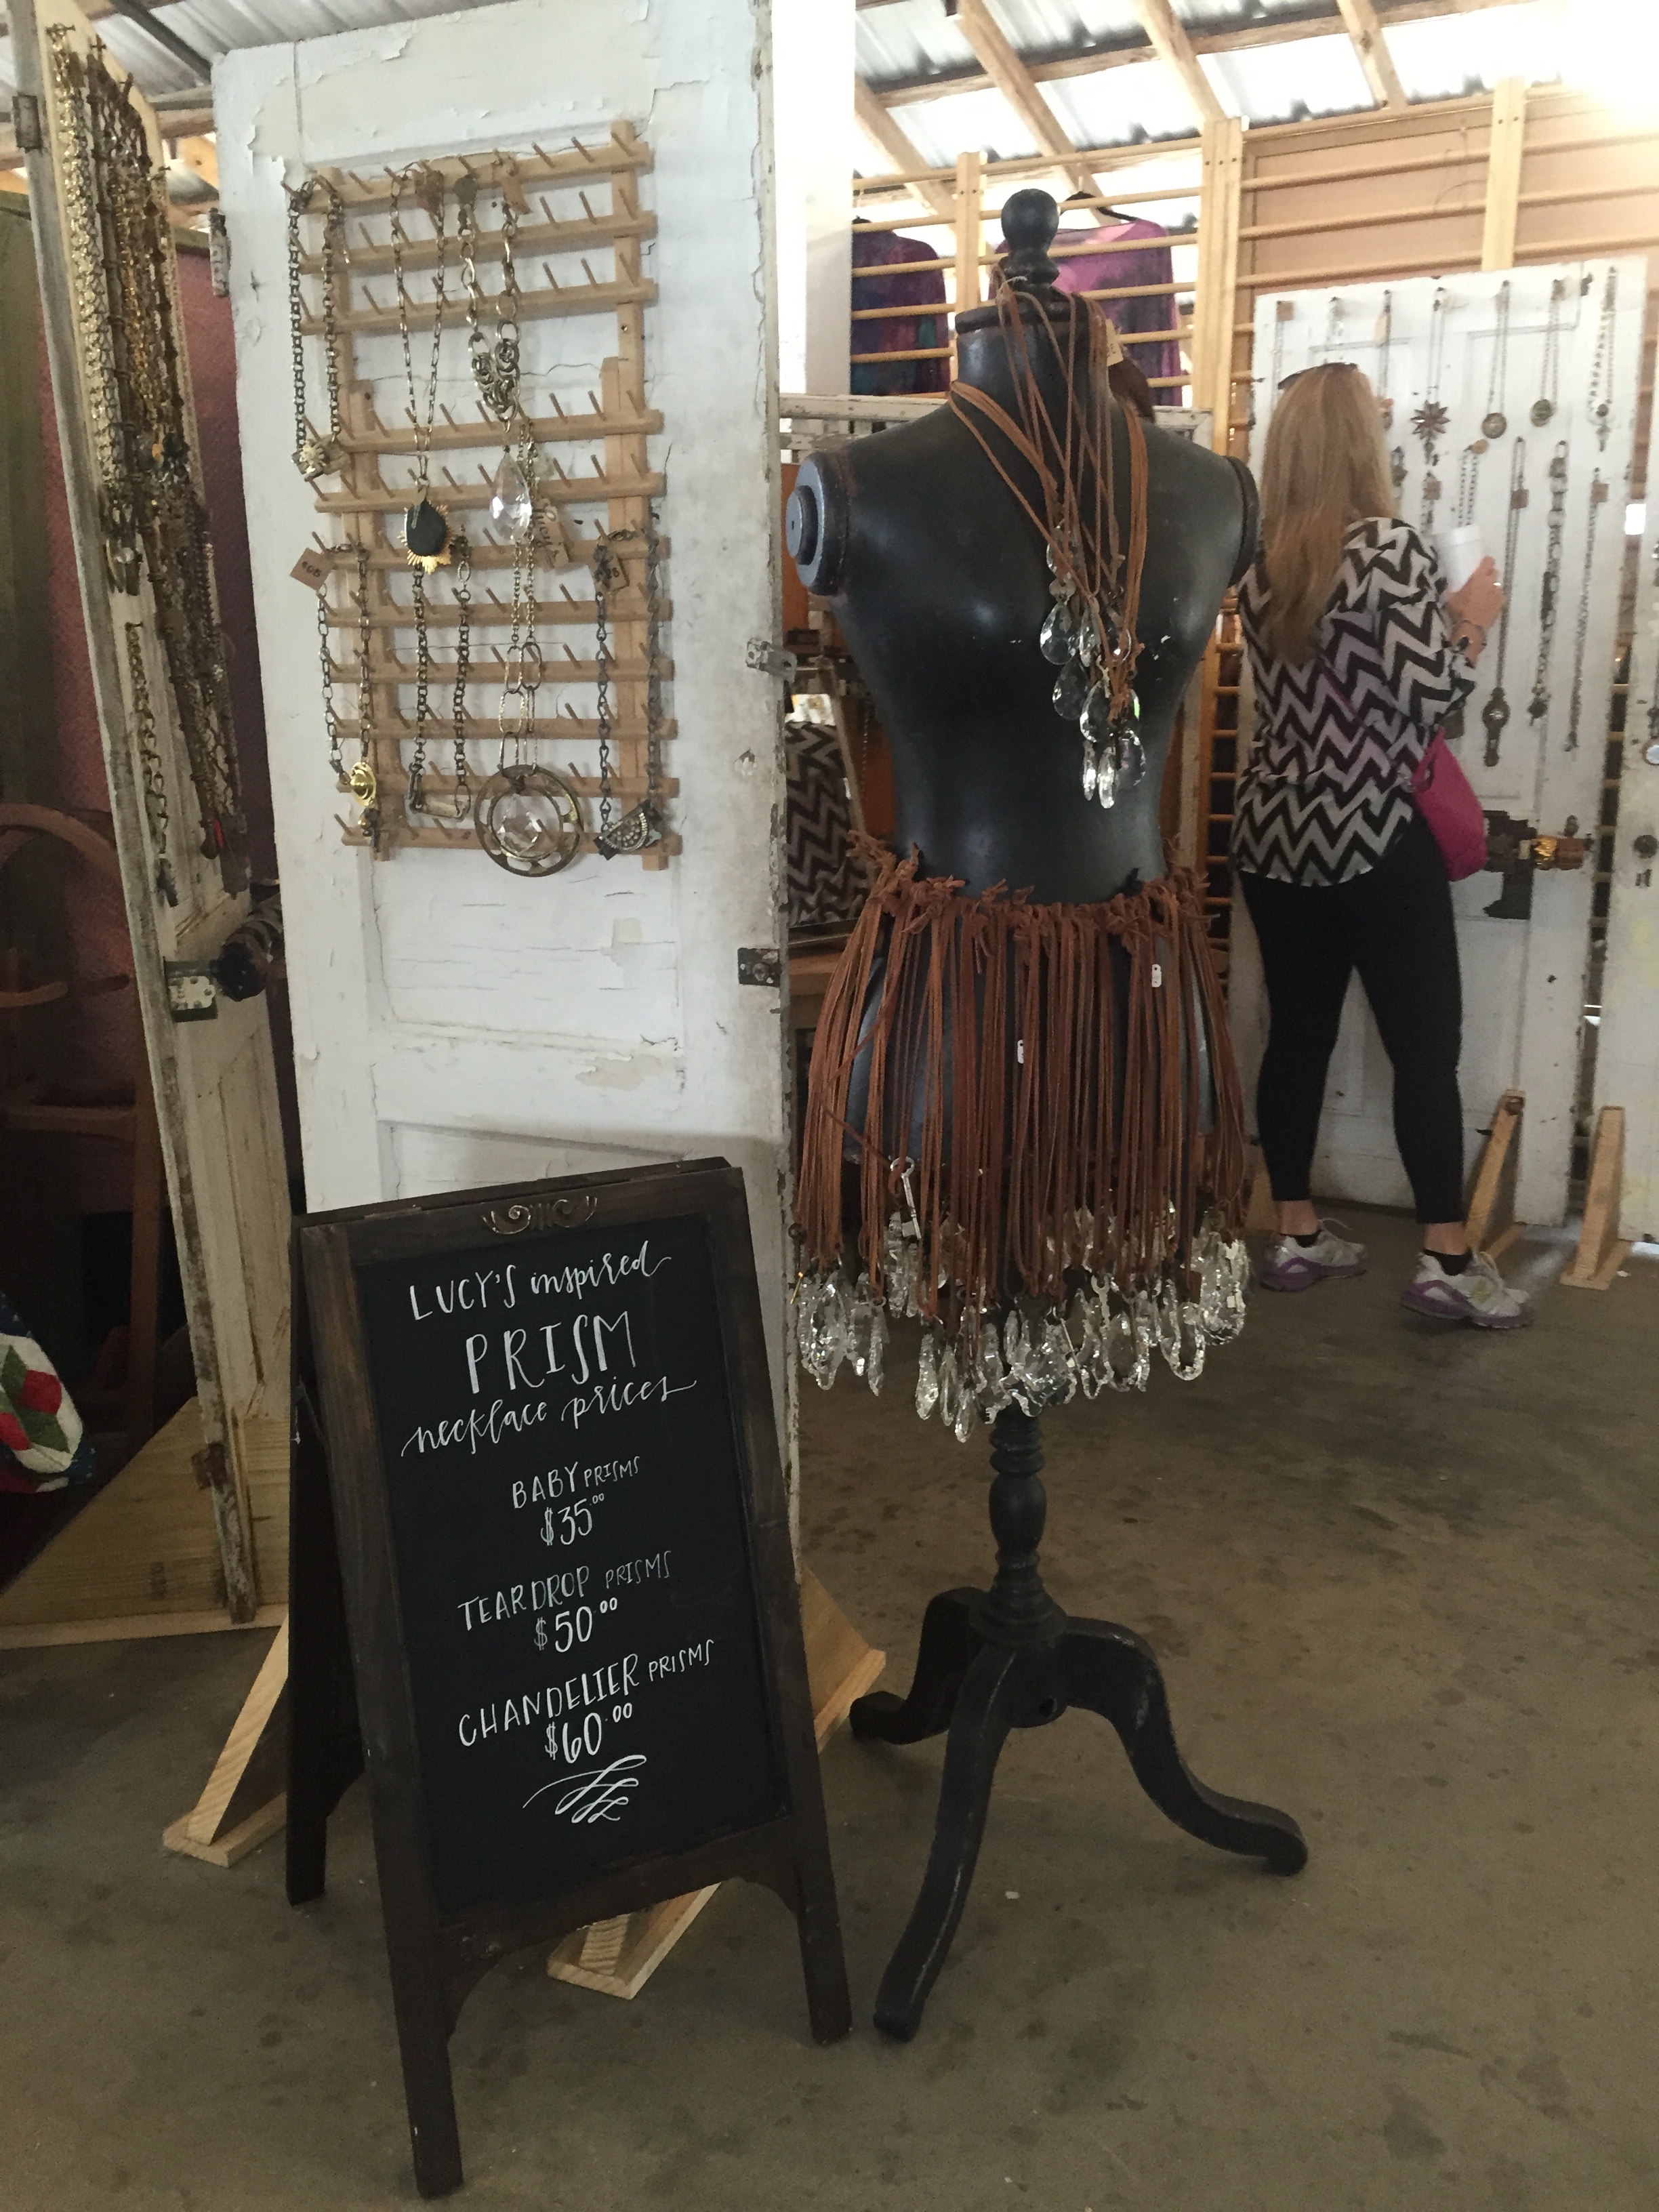
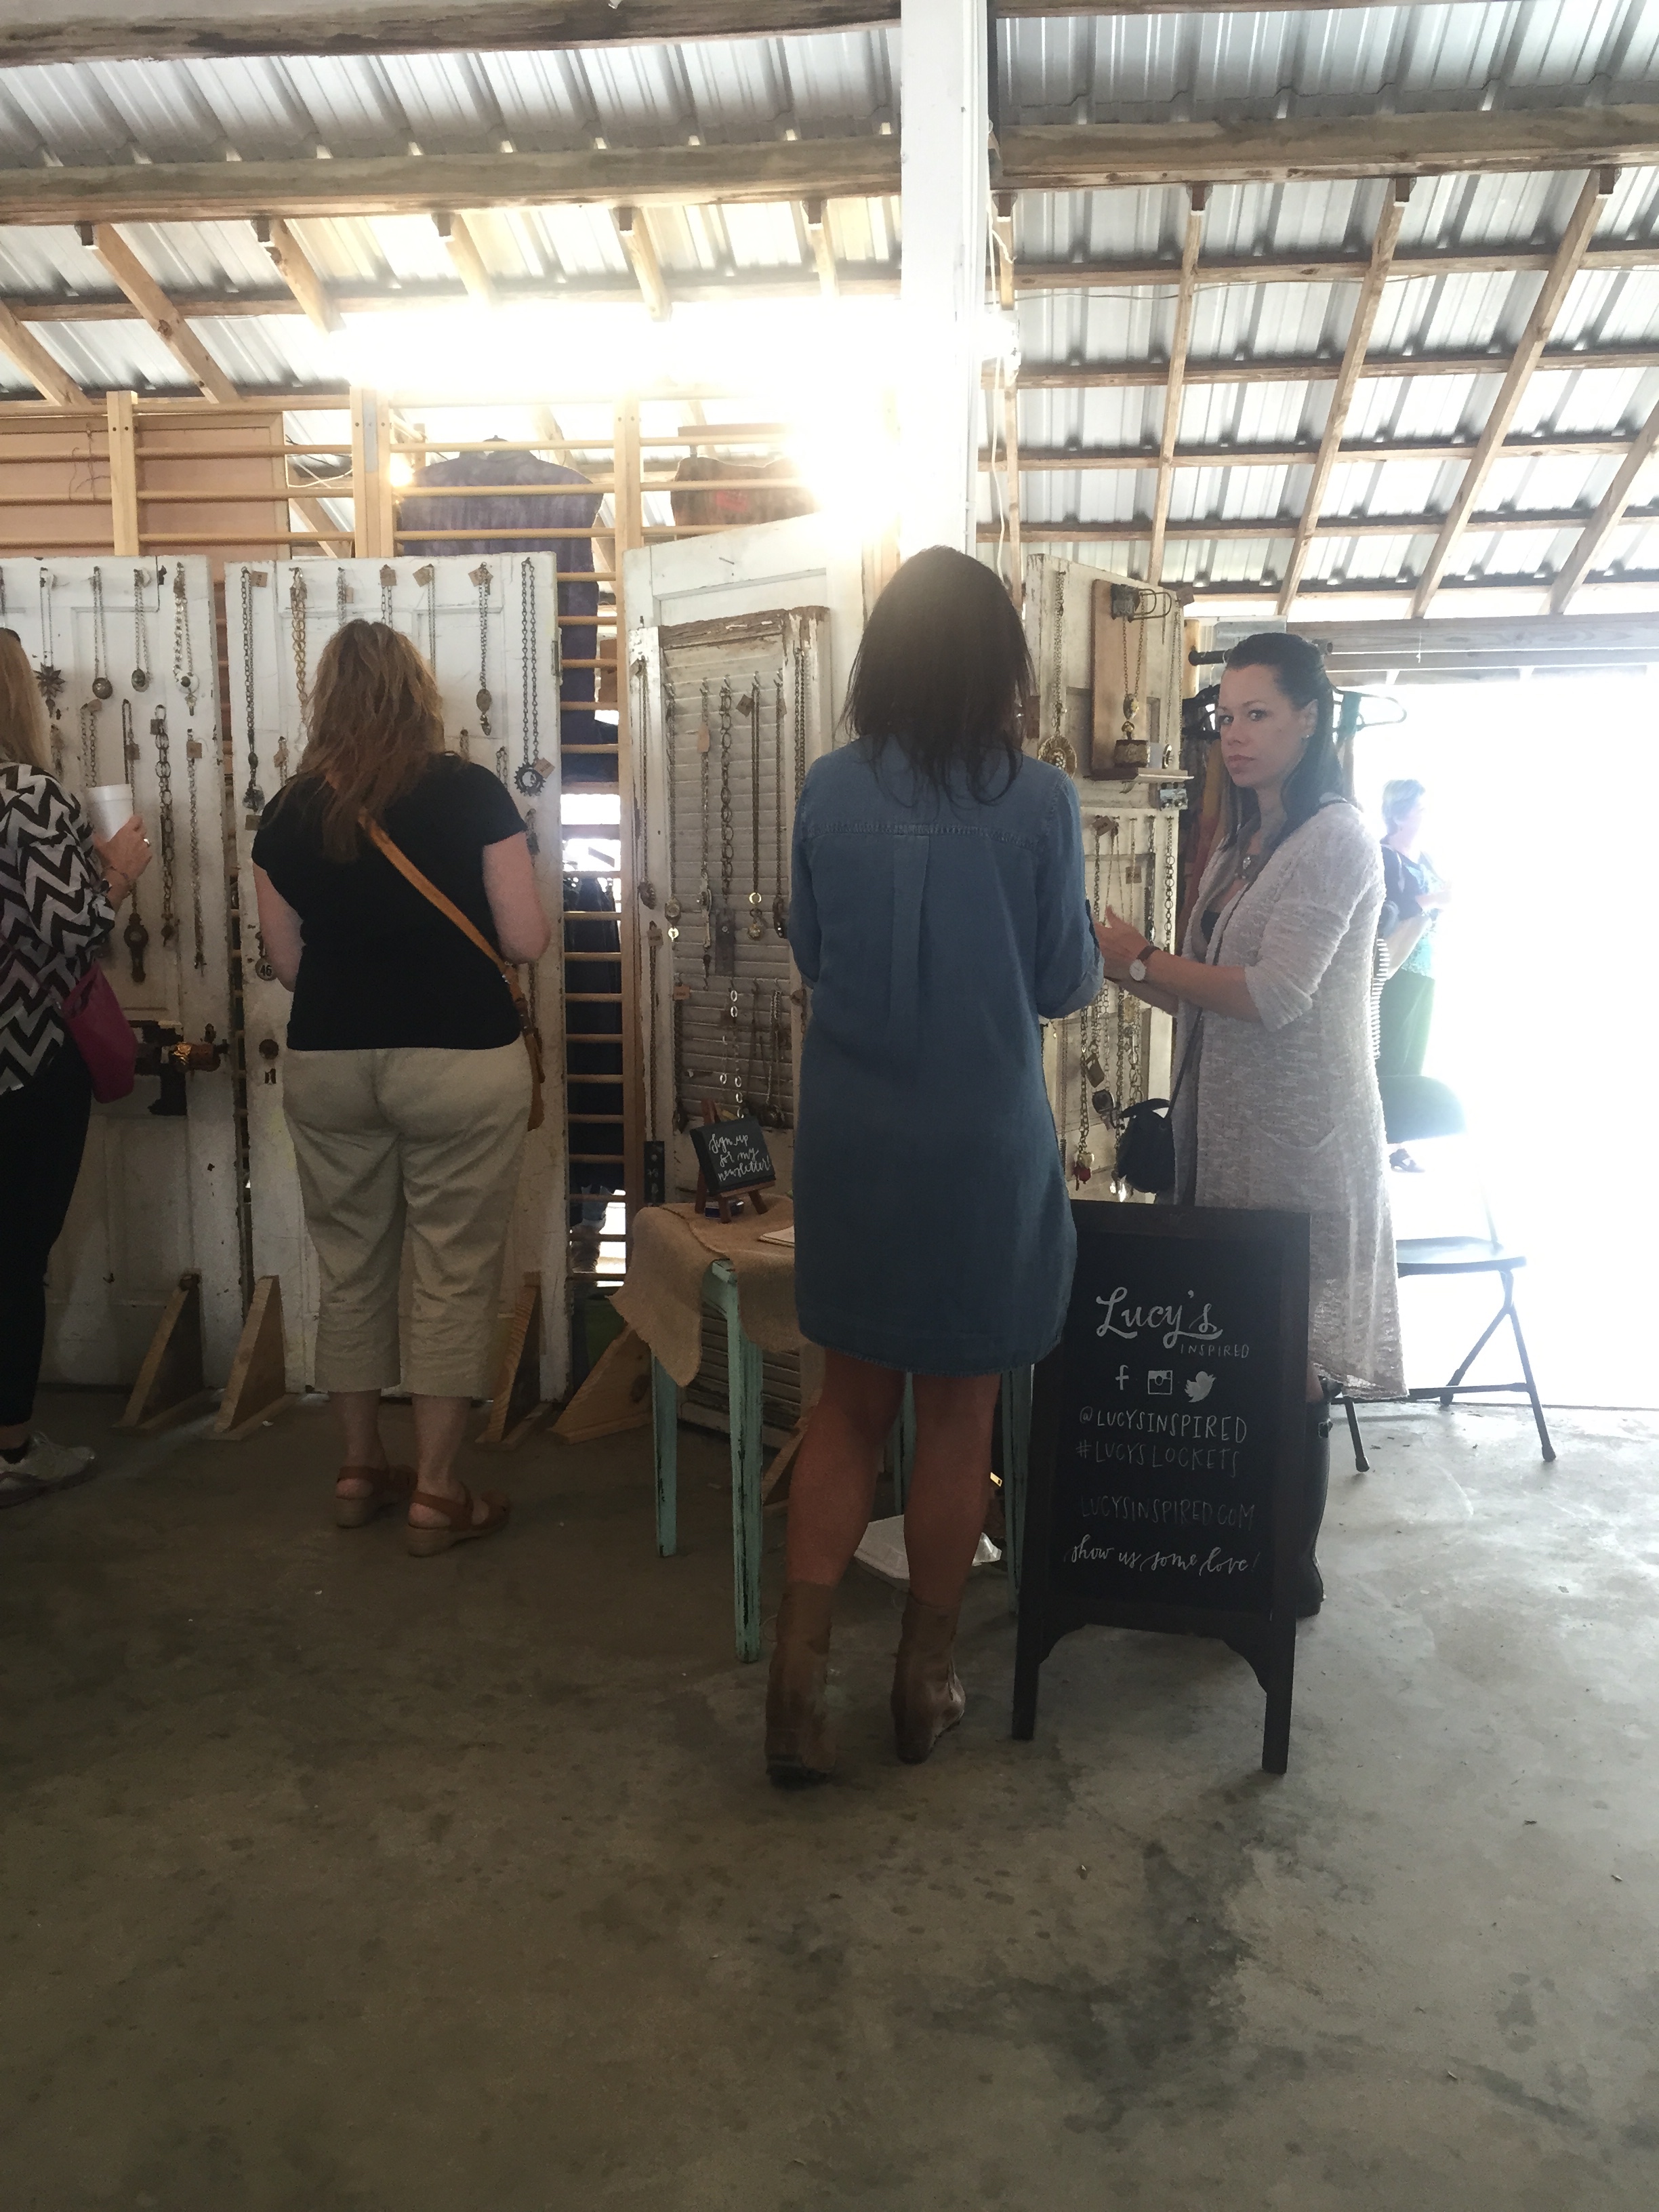
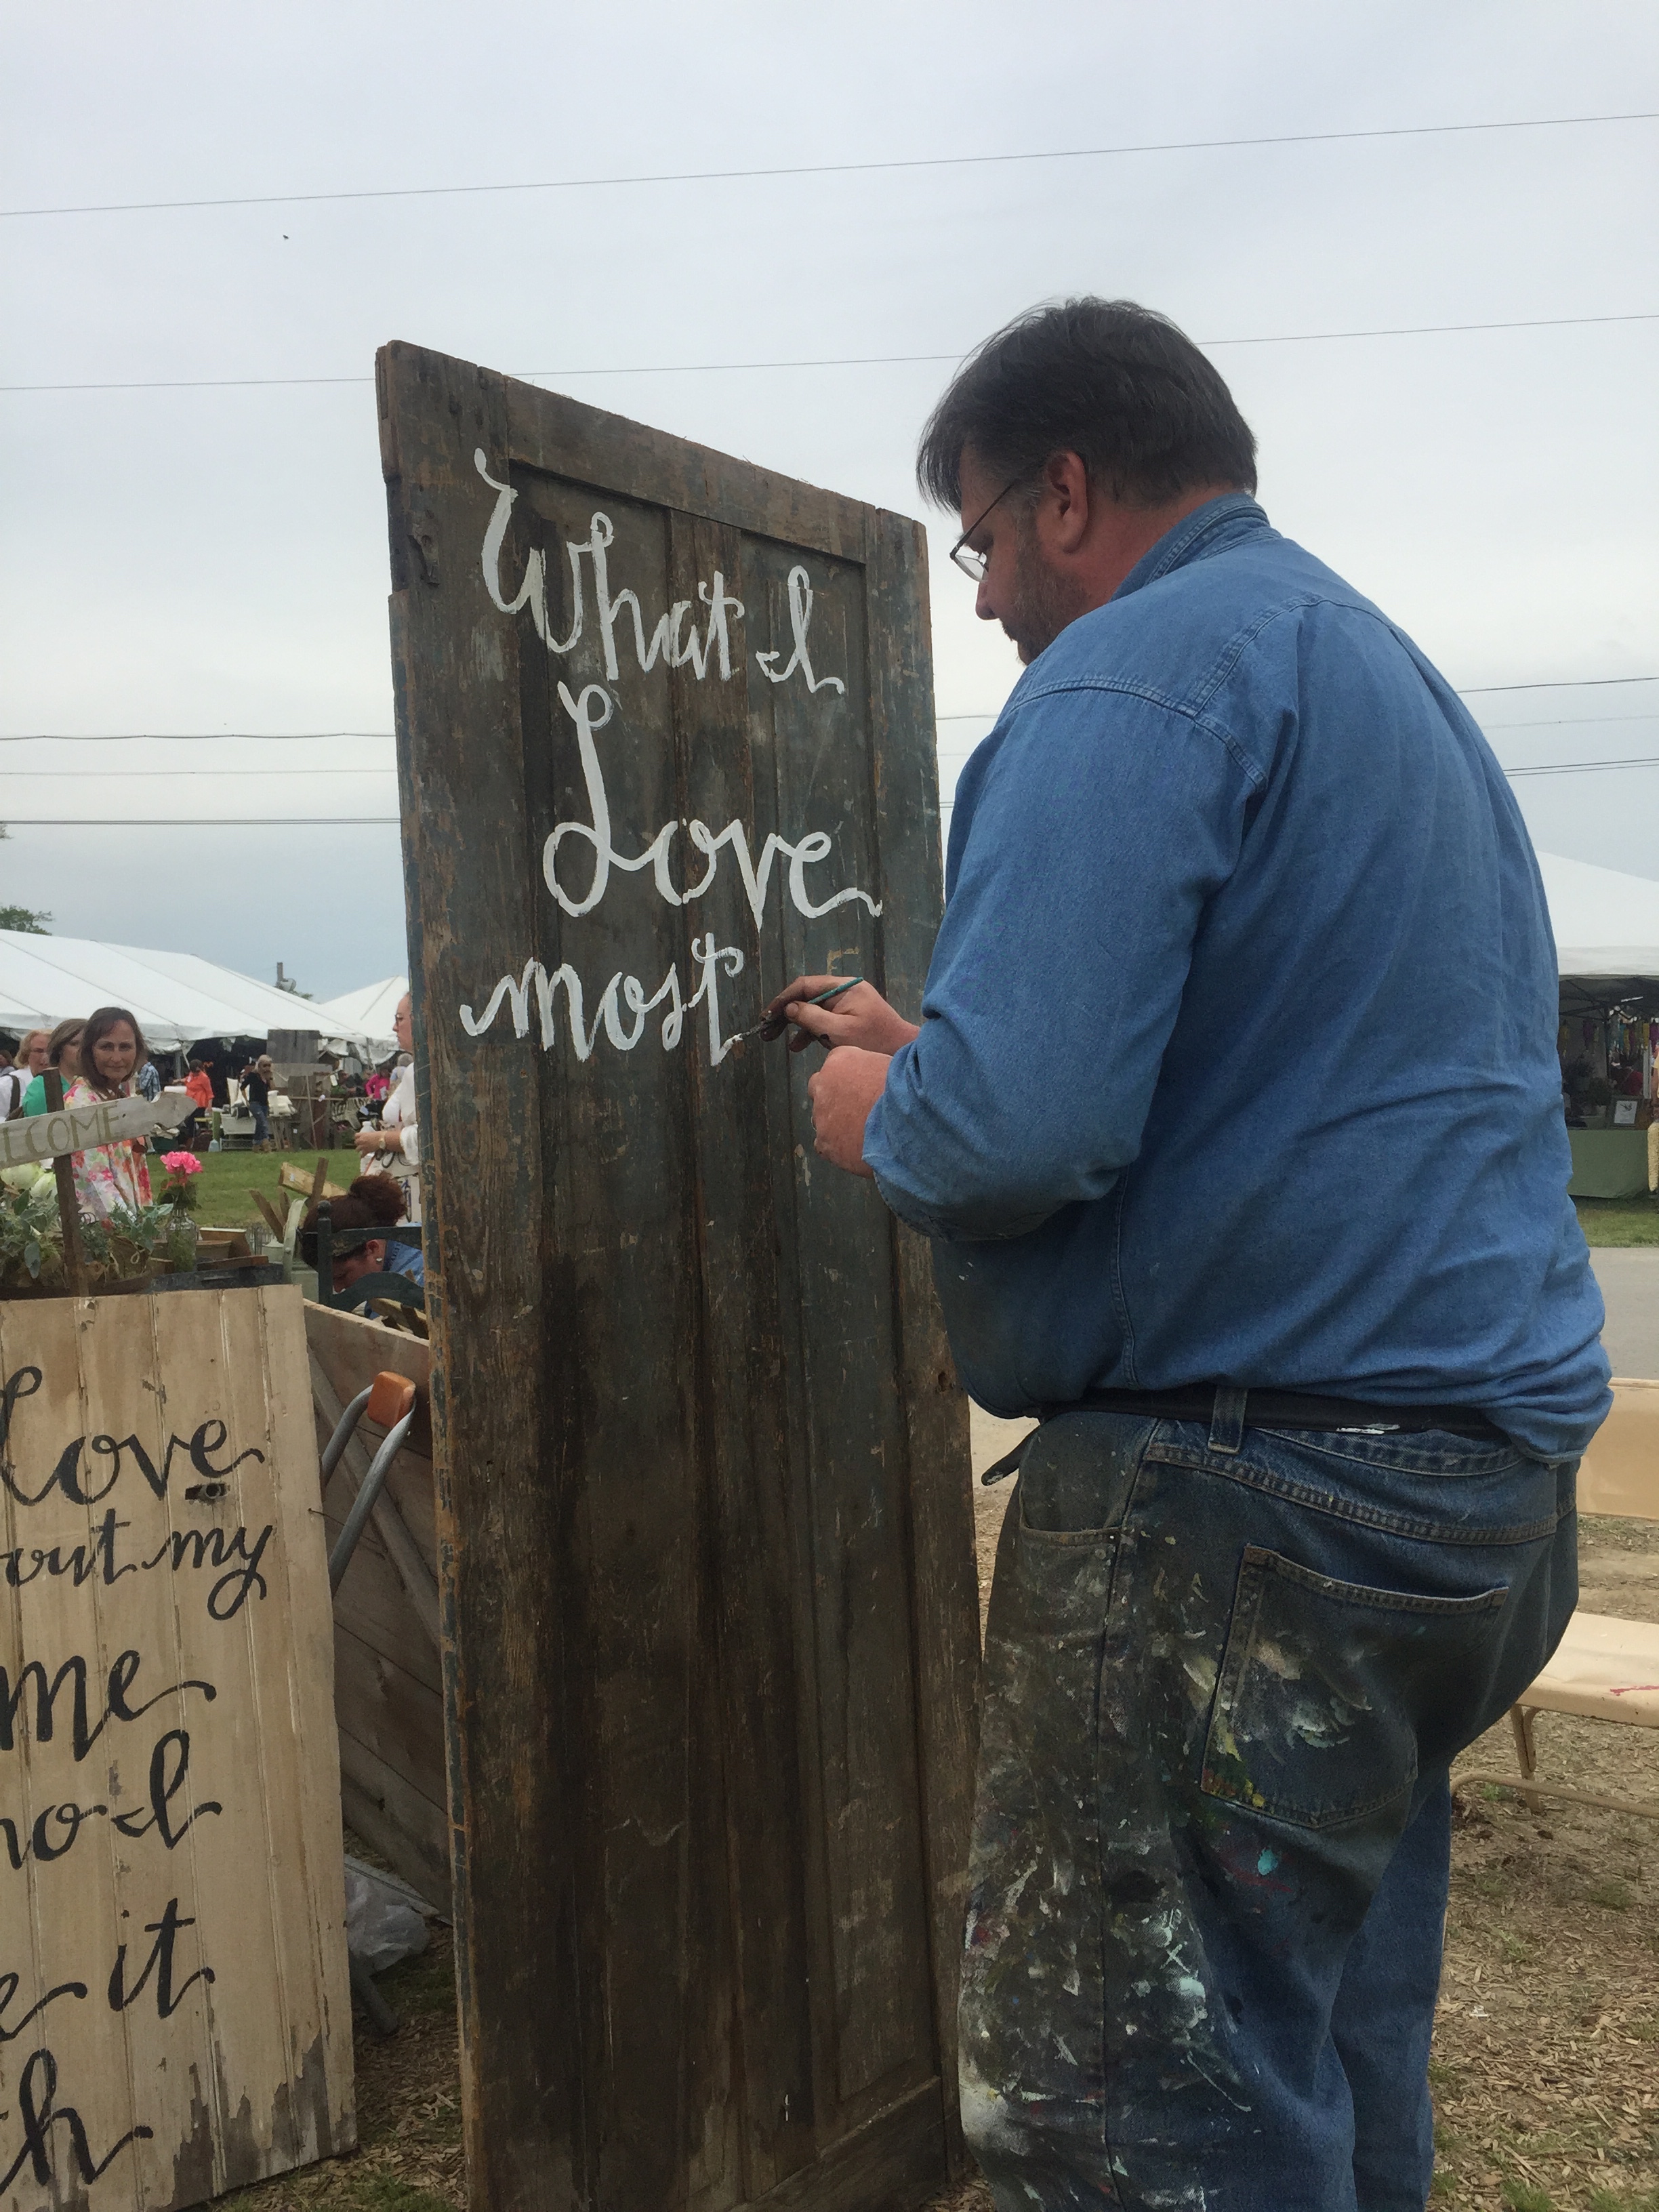
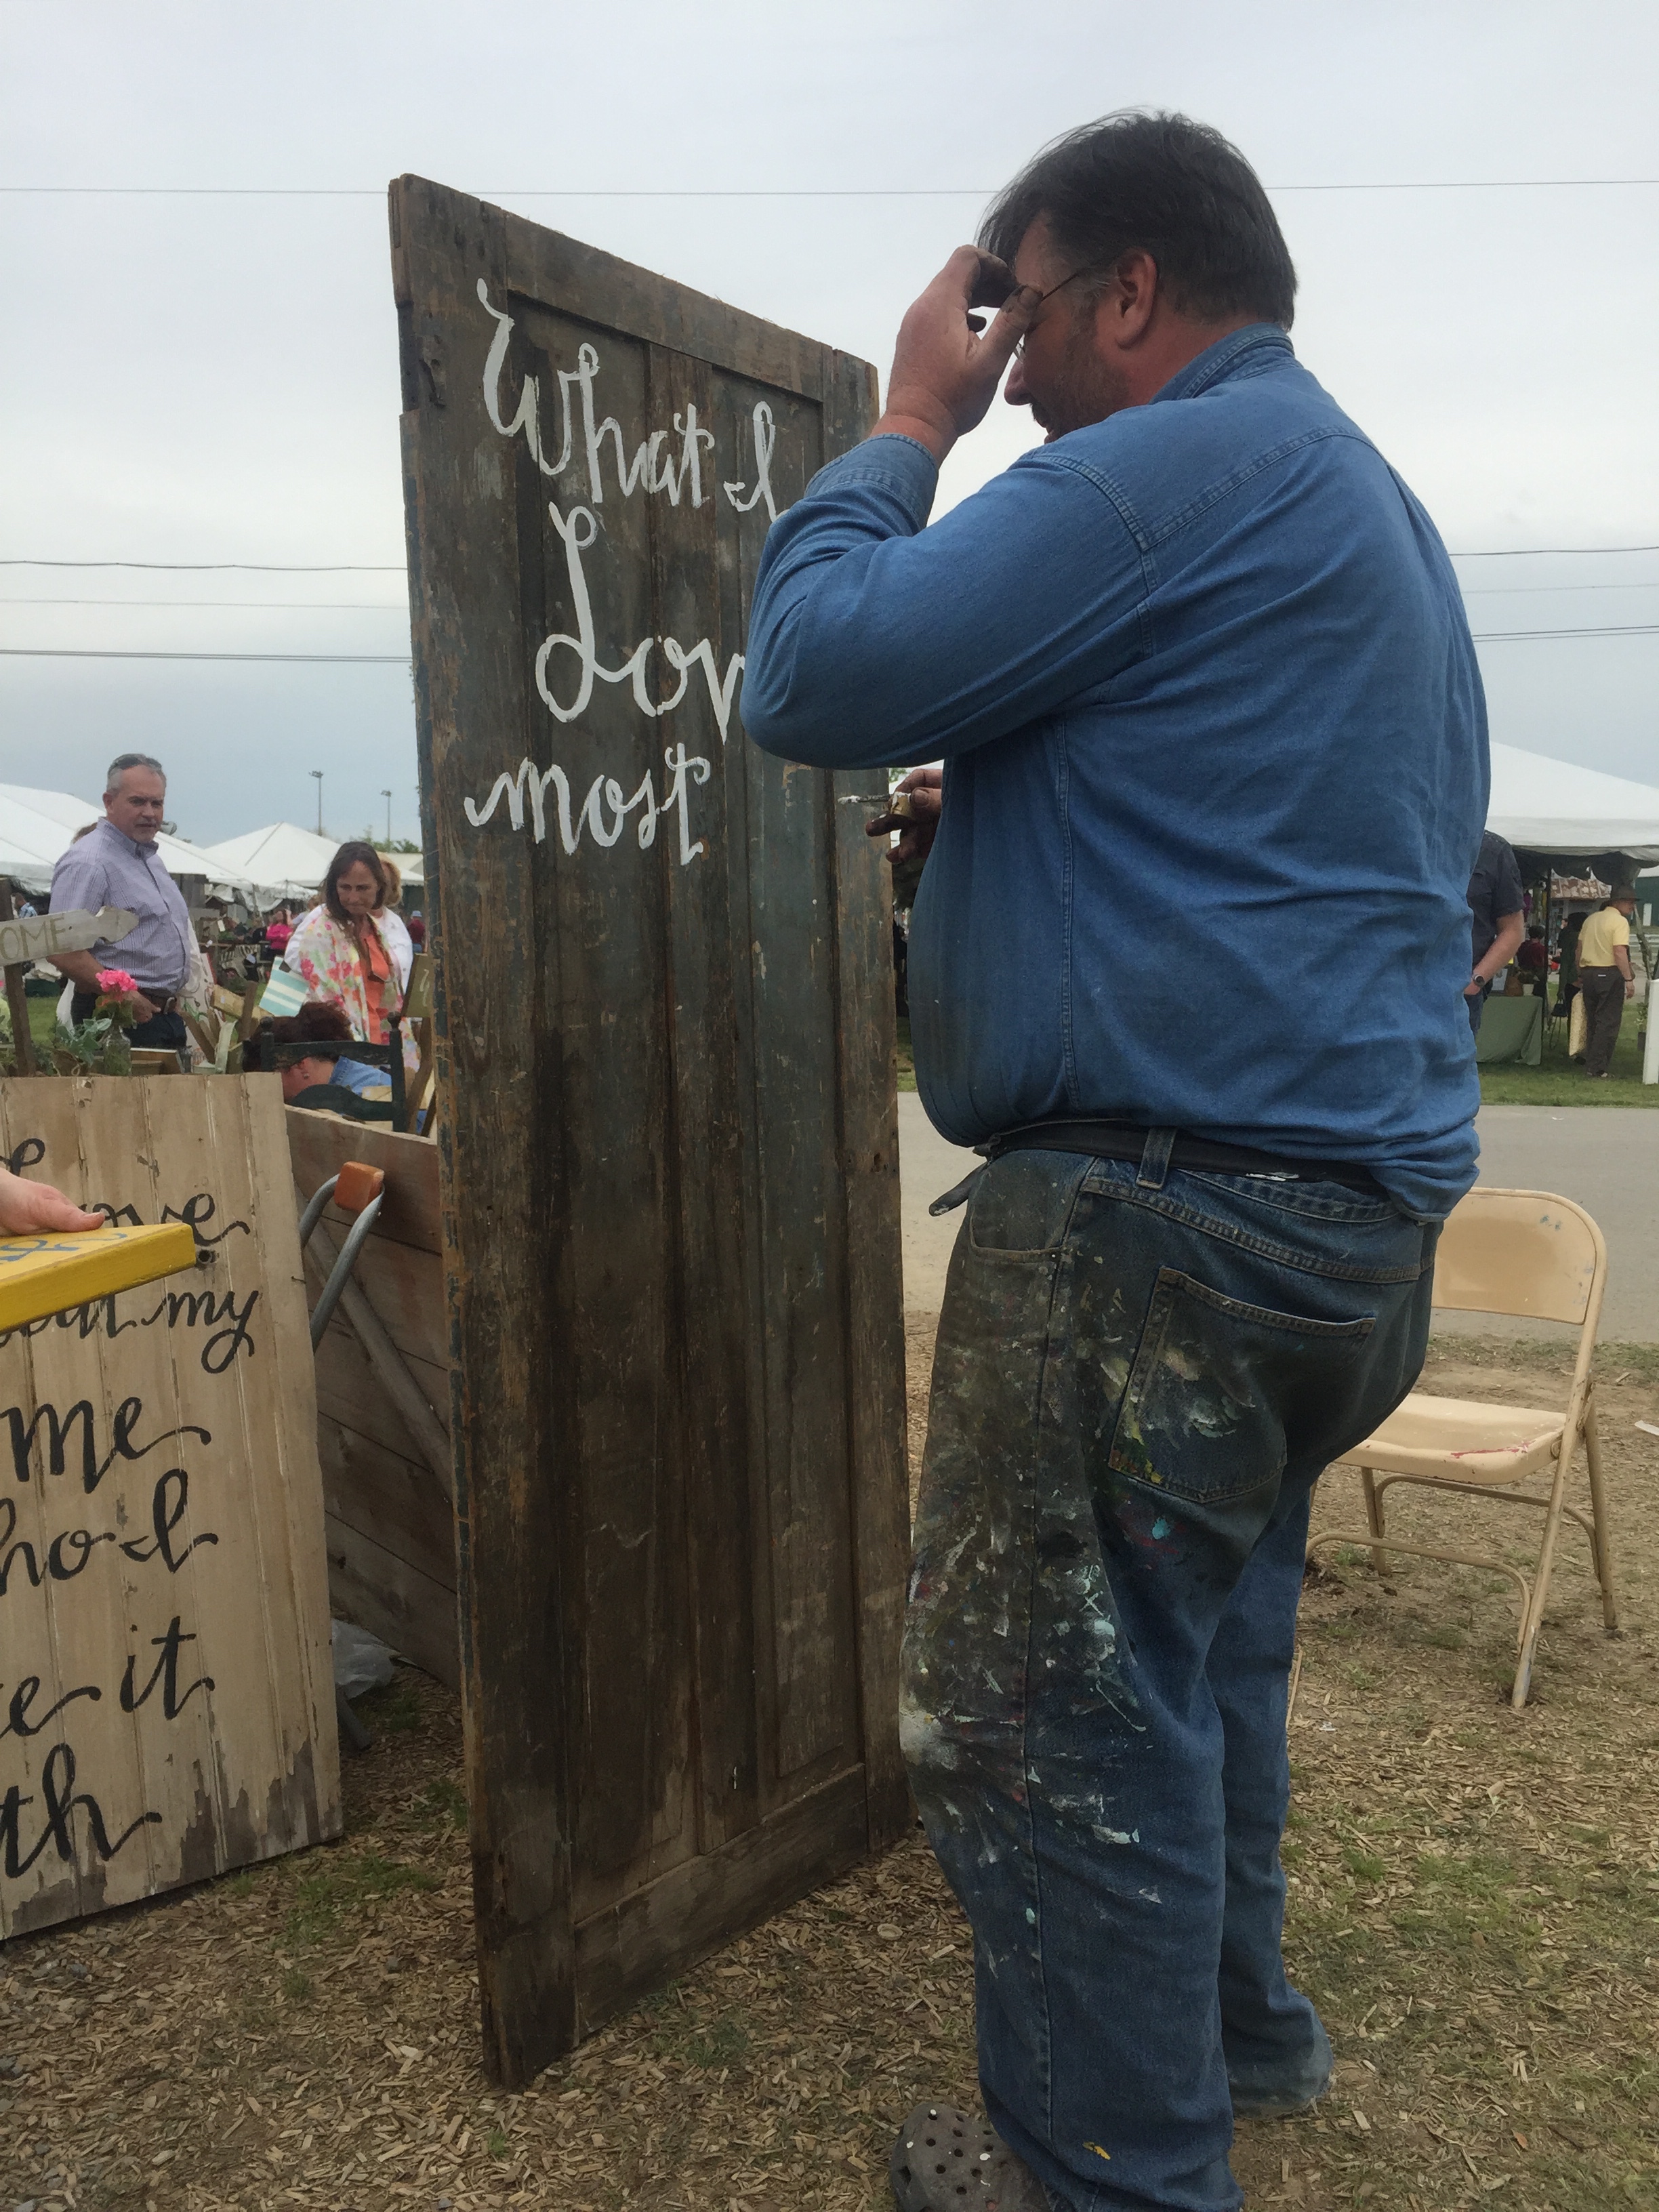
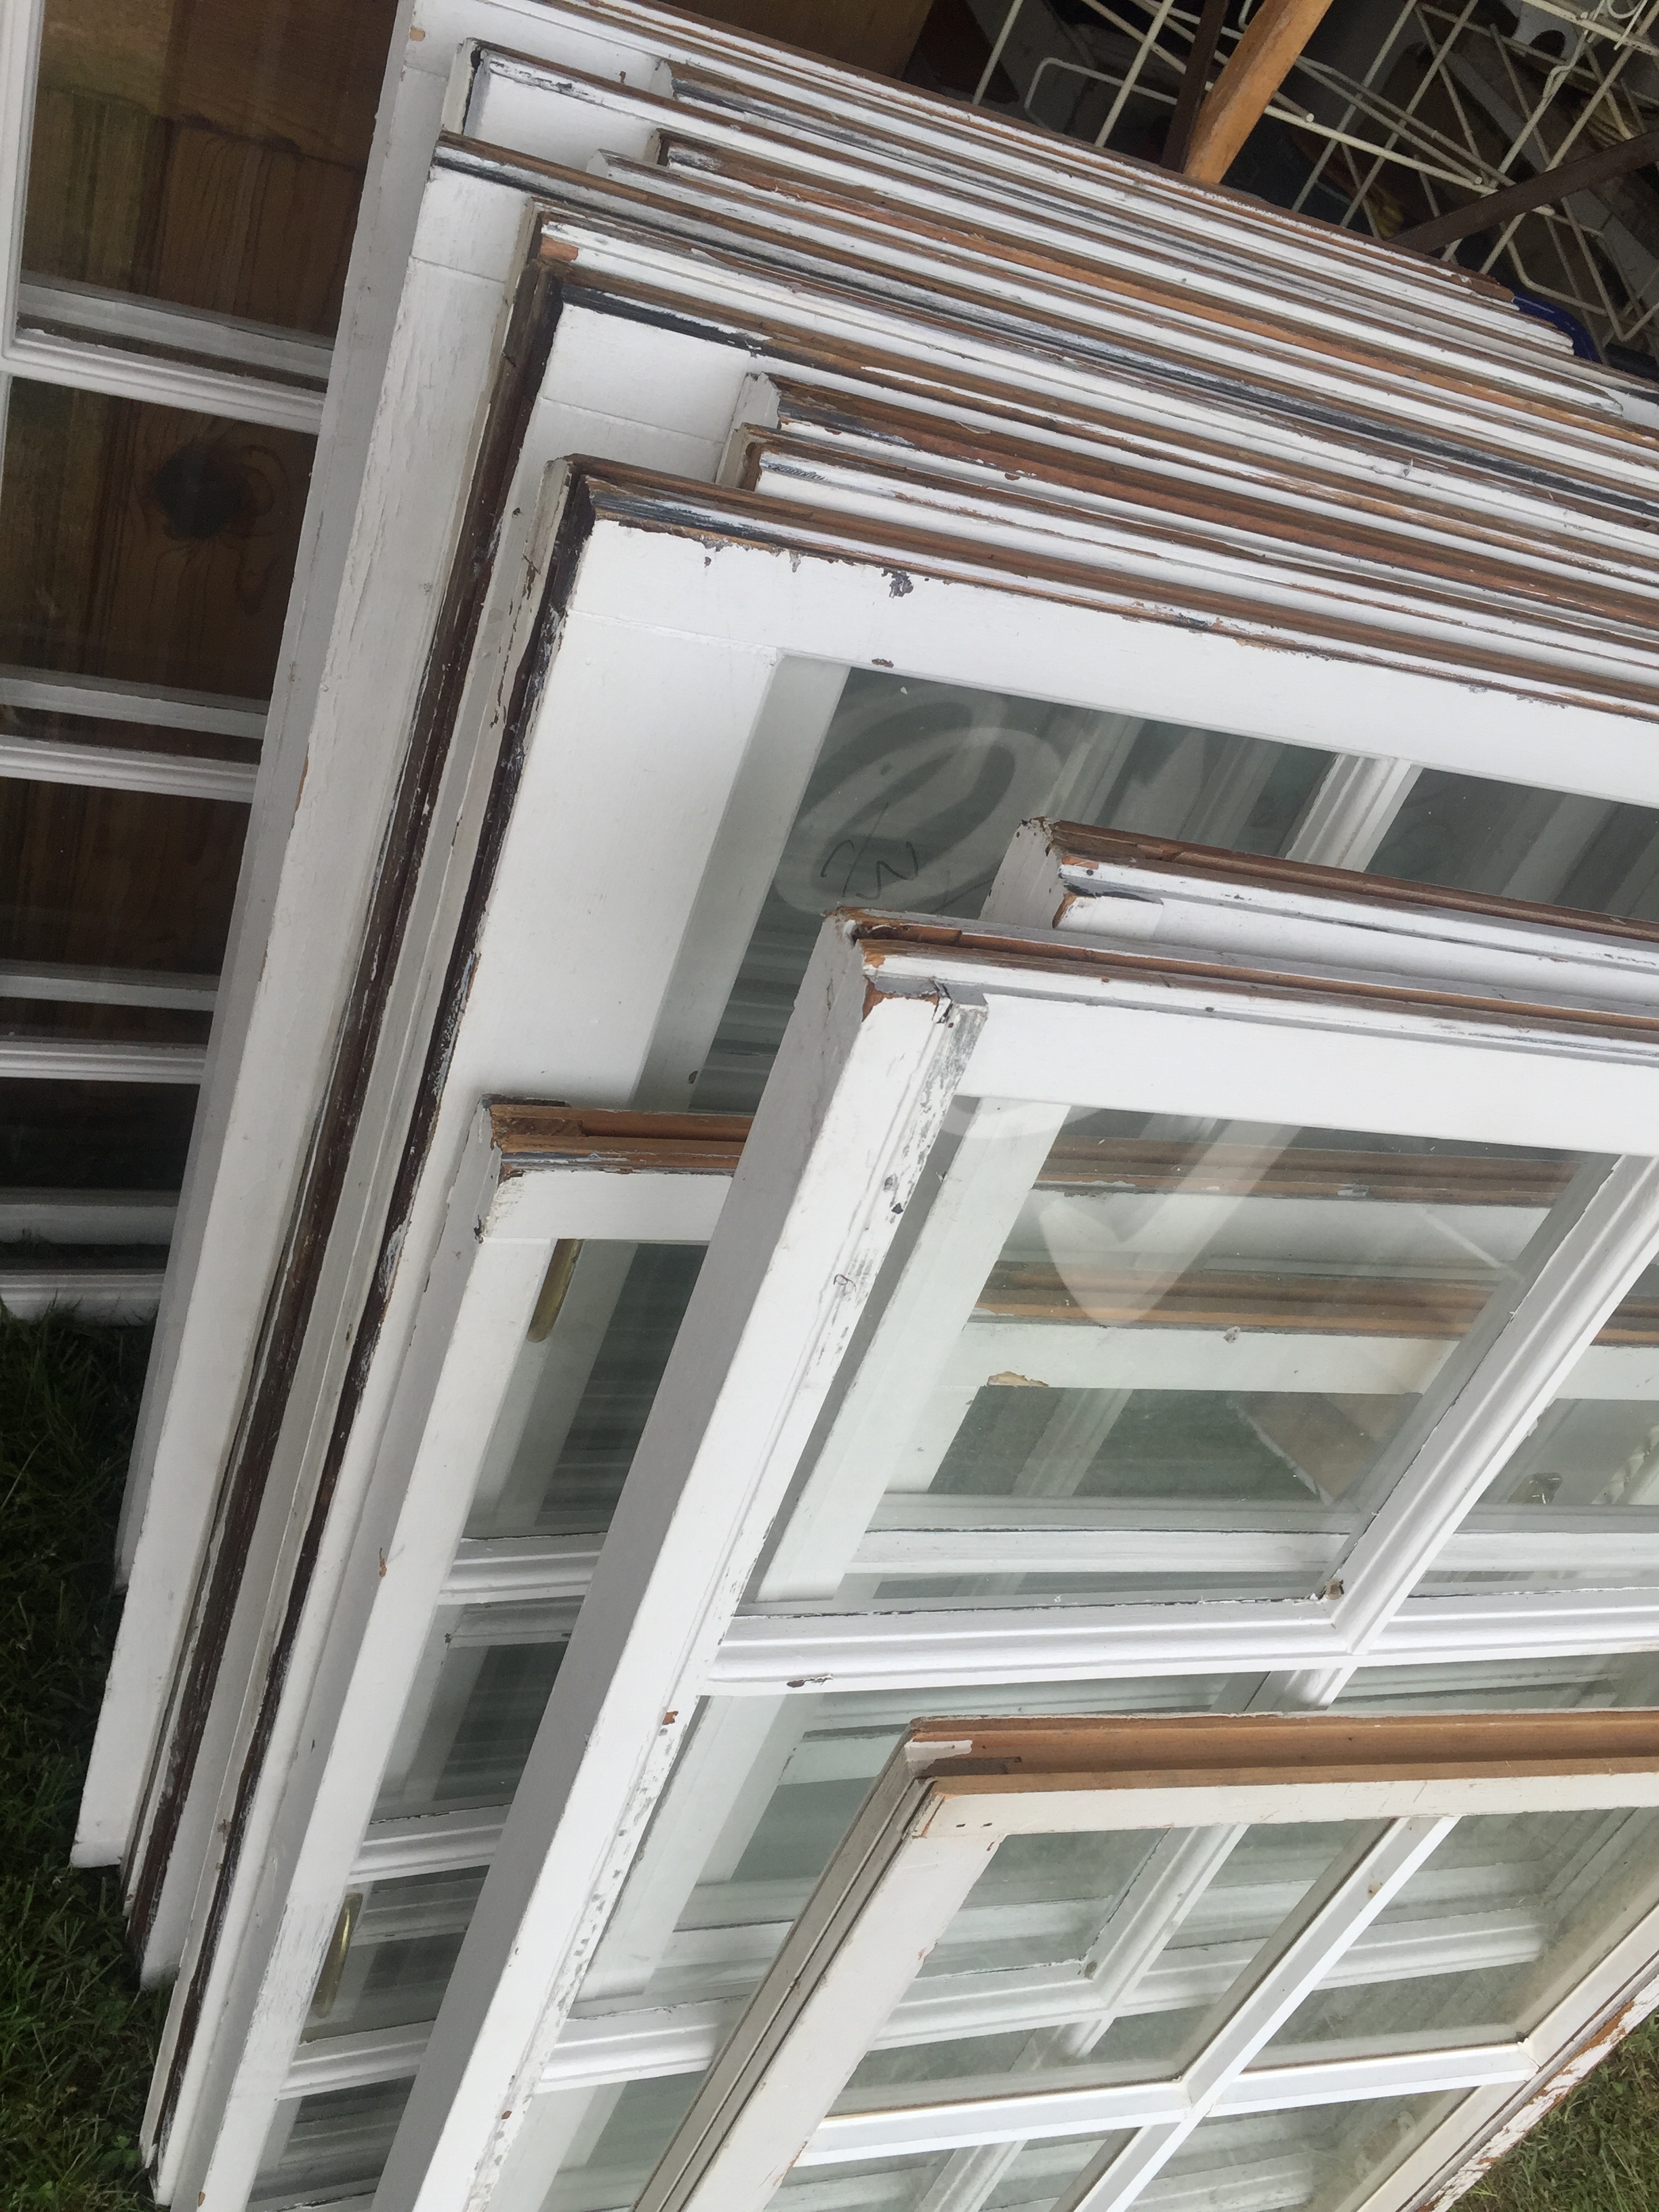
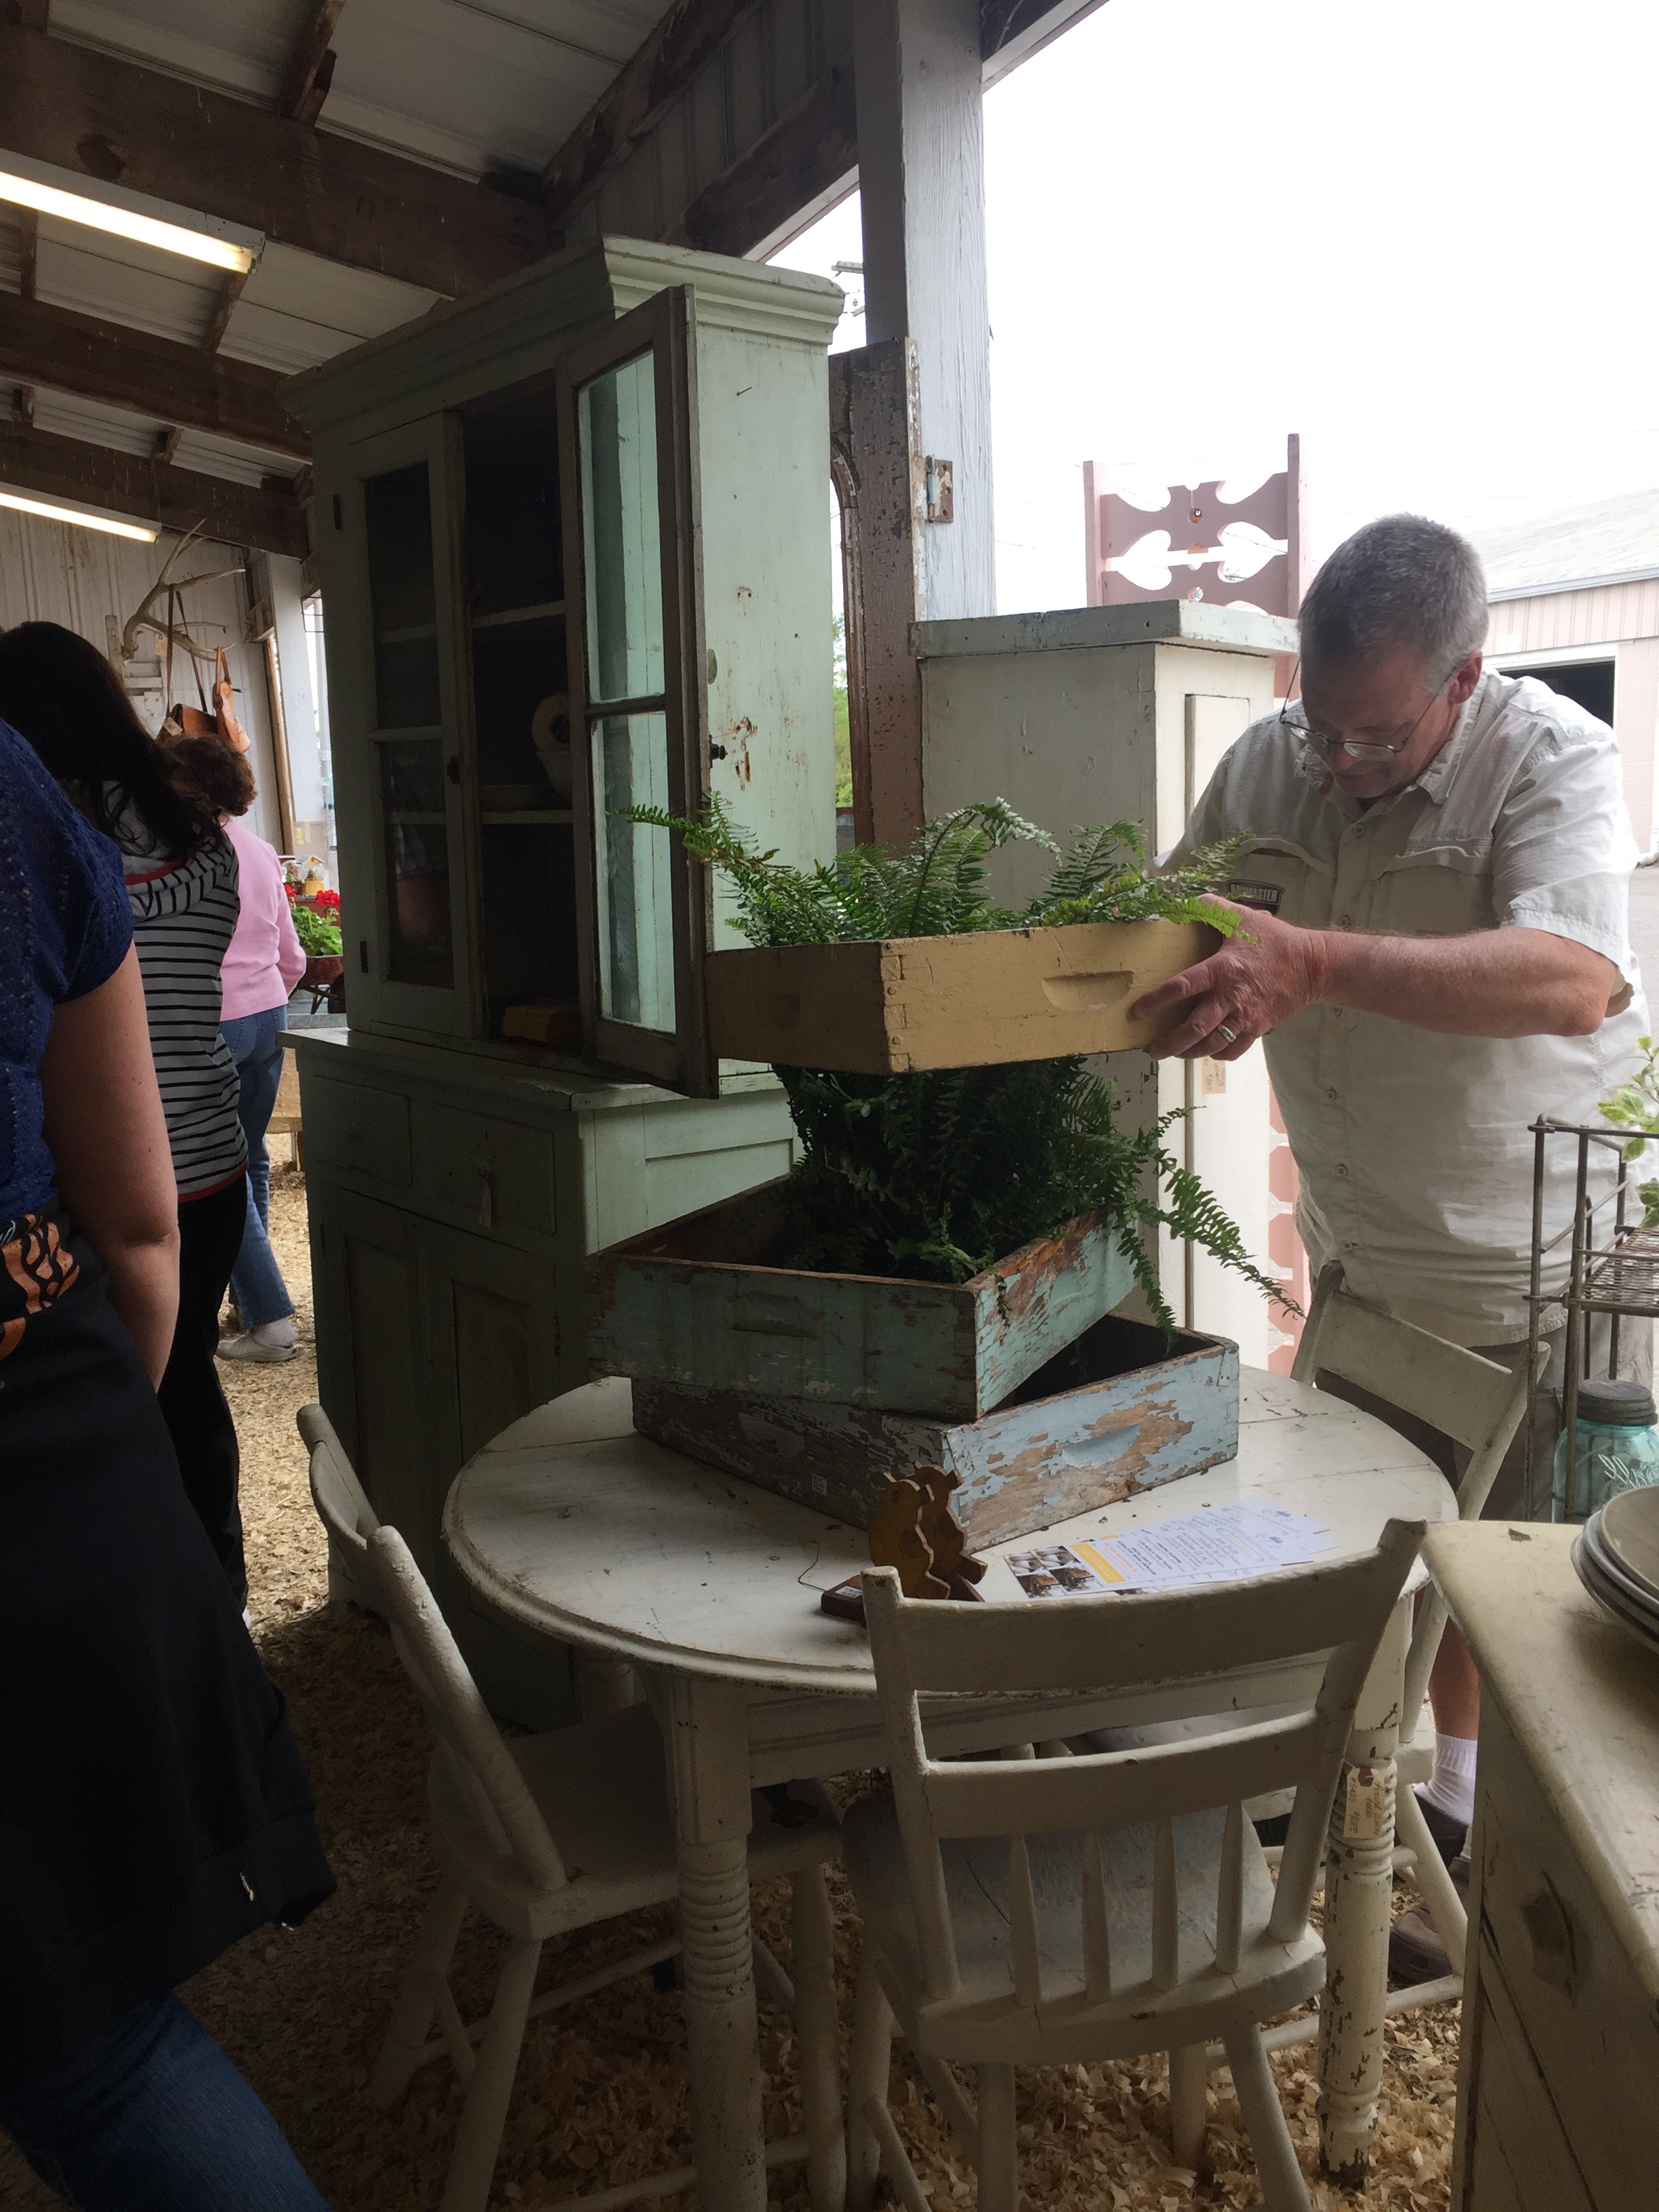
This booth's register/counter was created from old doors! The Century Farmhouse Artisan Soap Company featured lavender from farms in Washington, which I had actually visited last year!

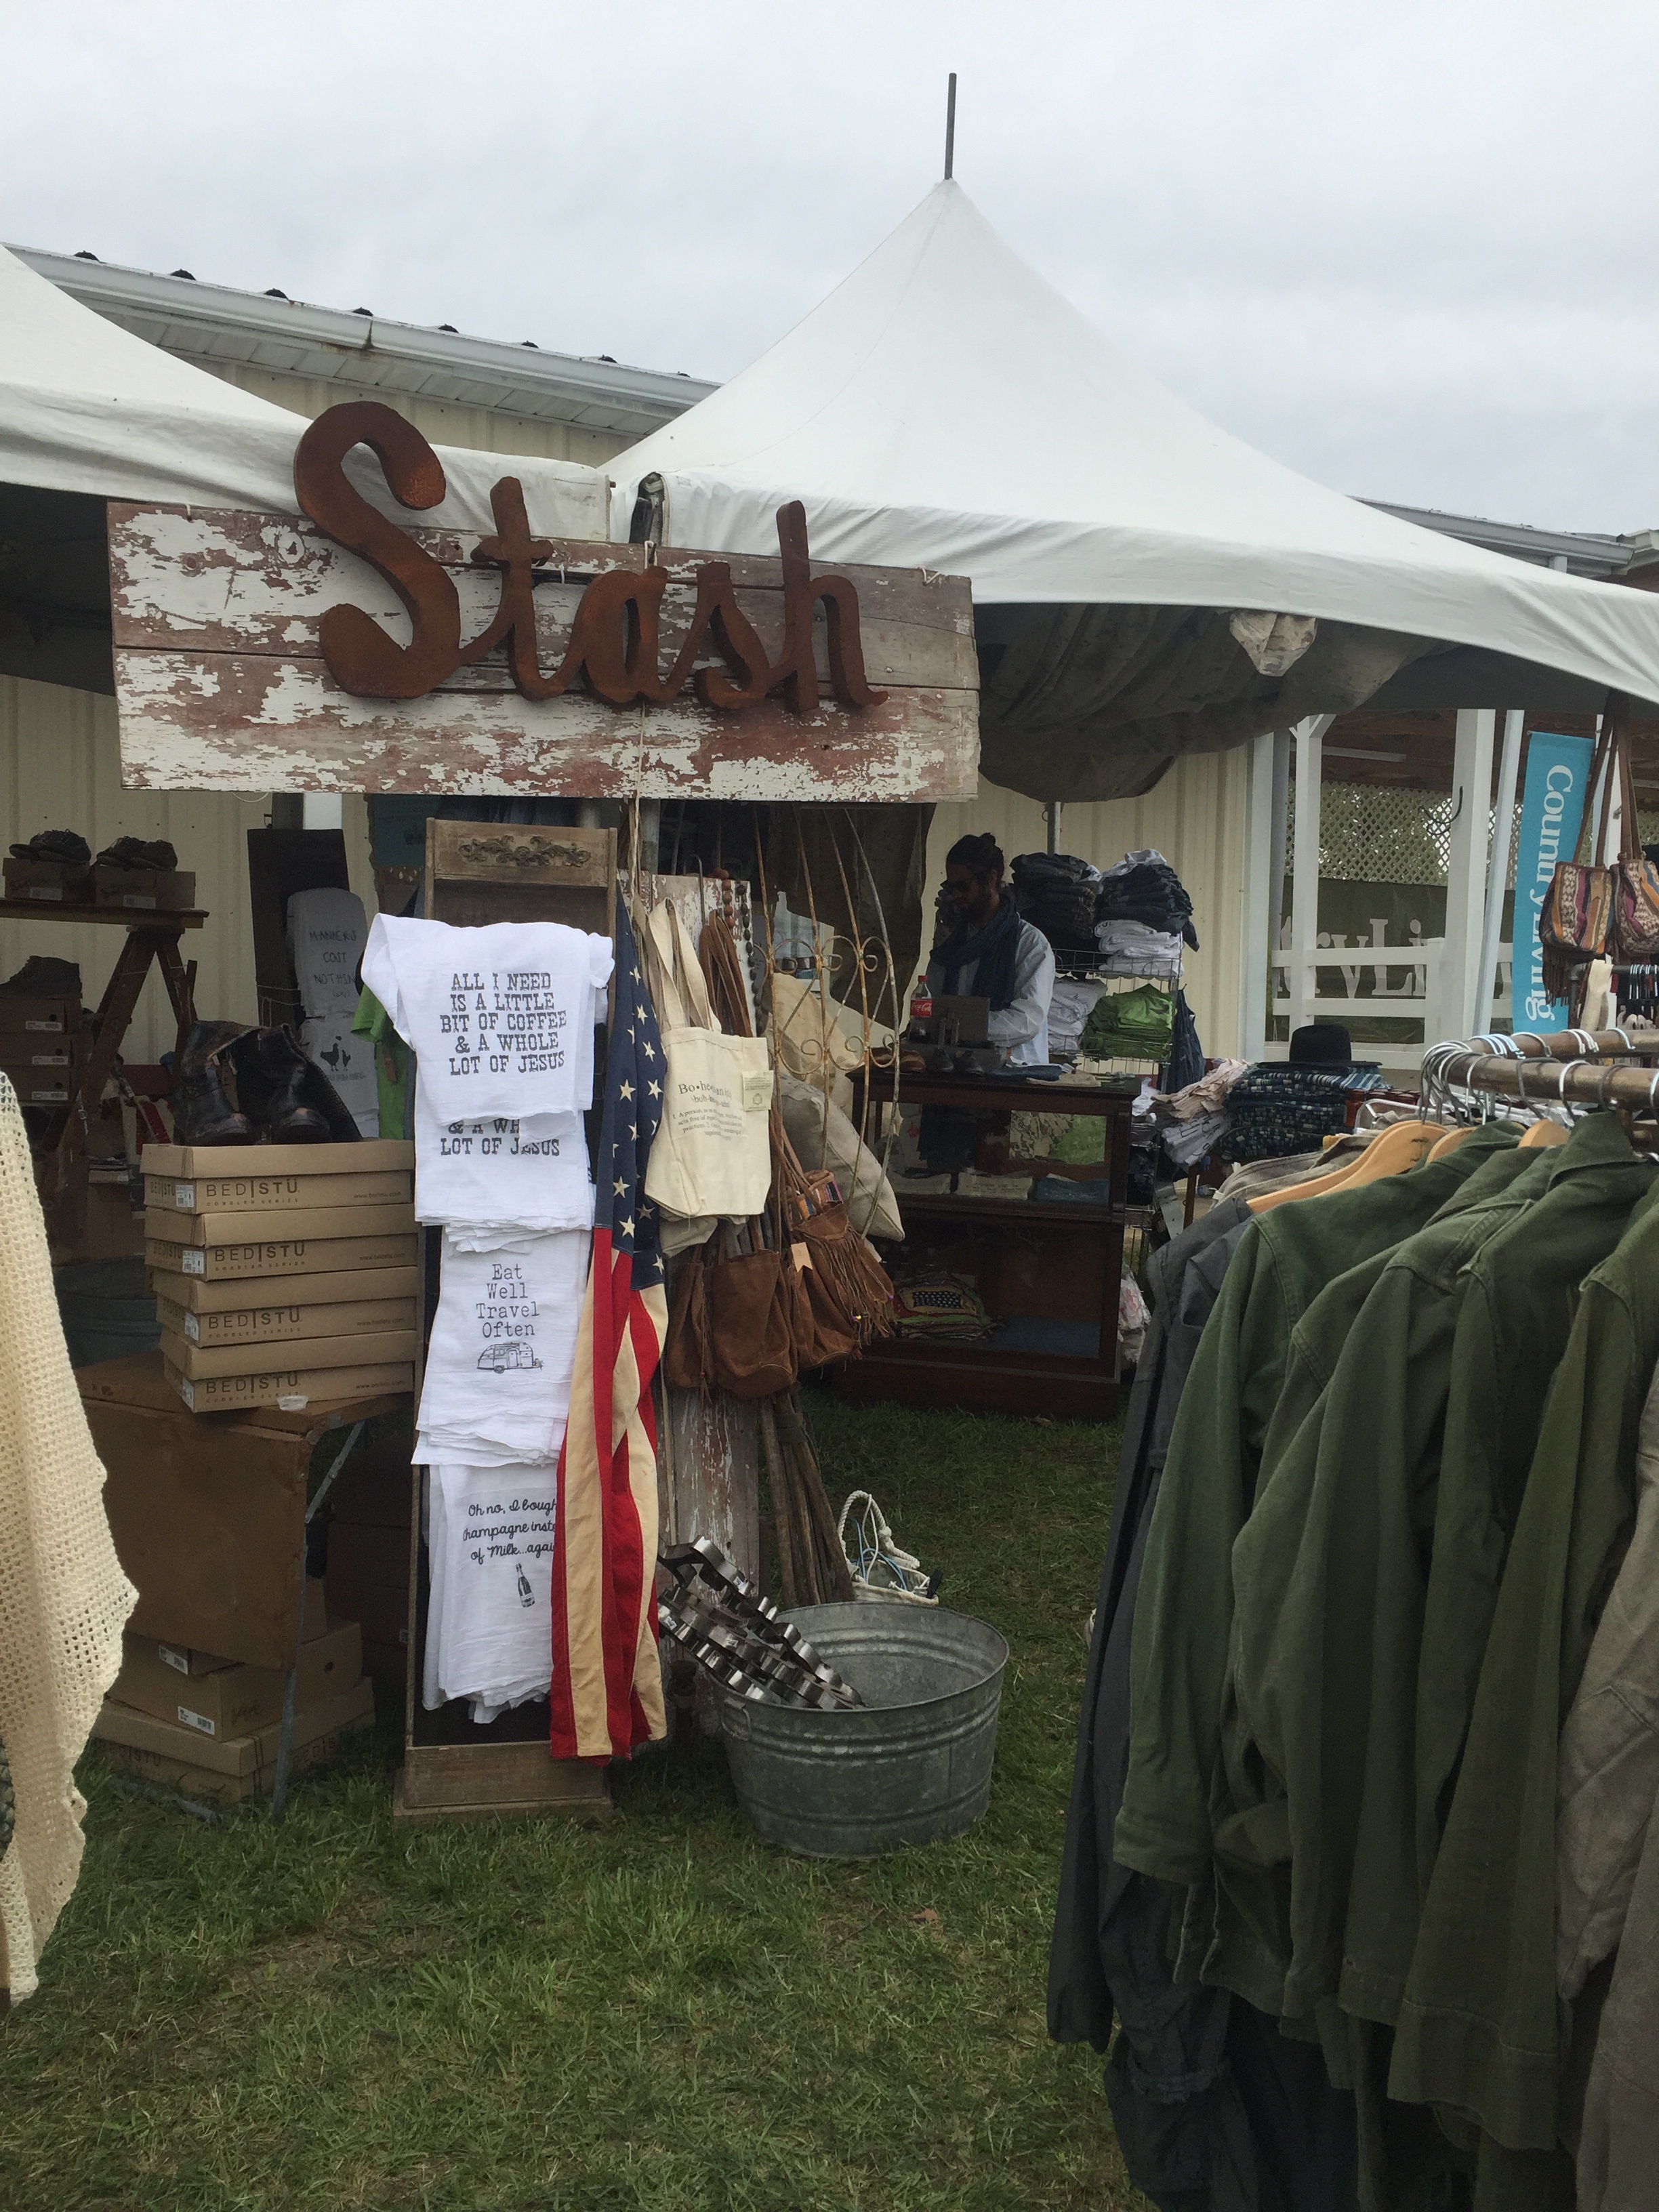
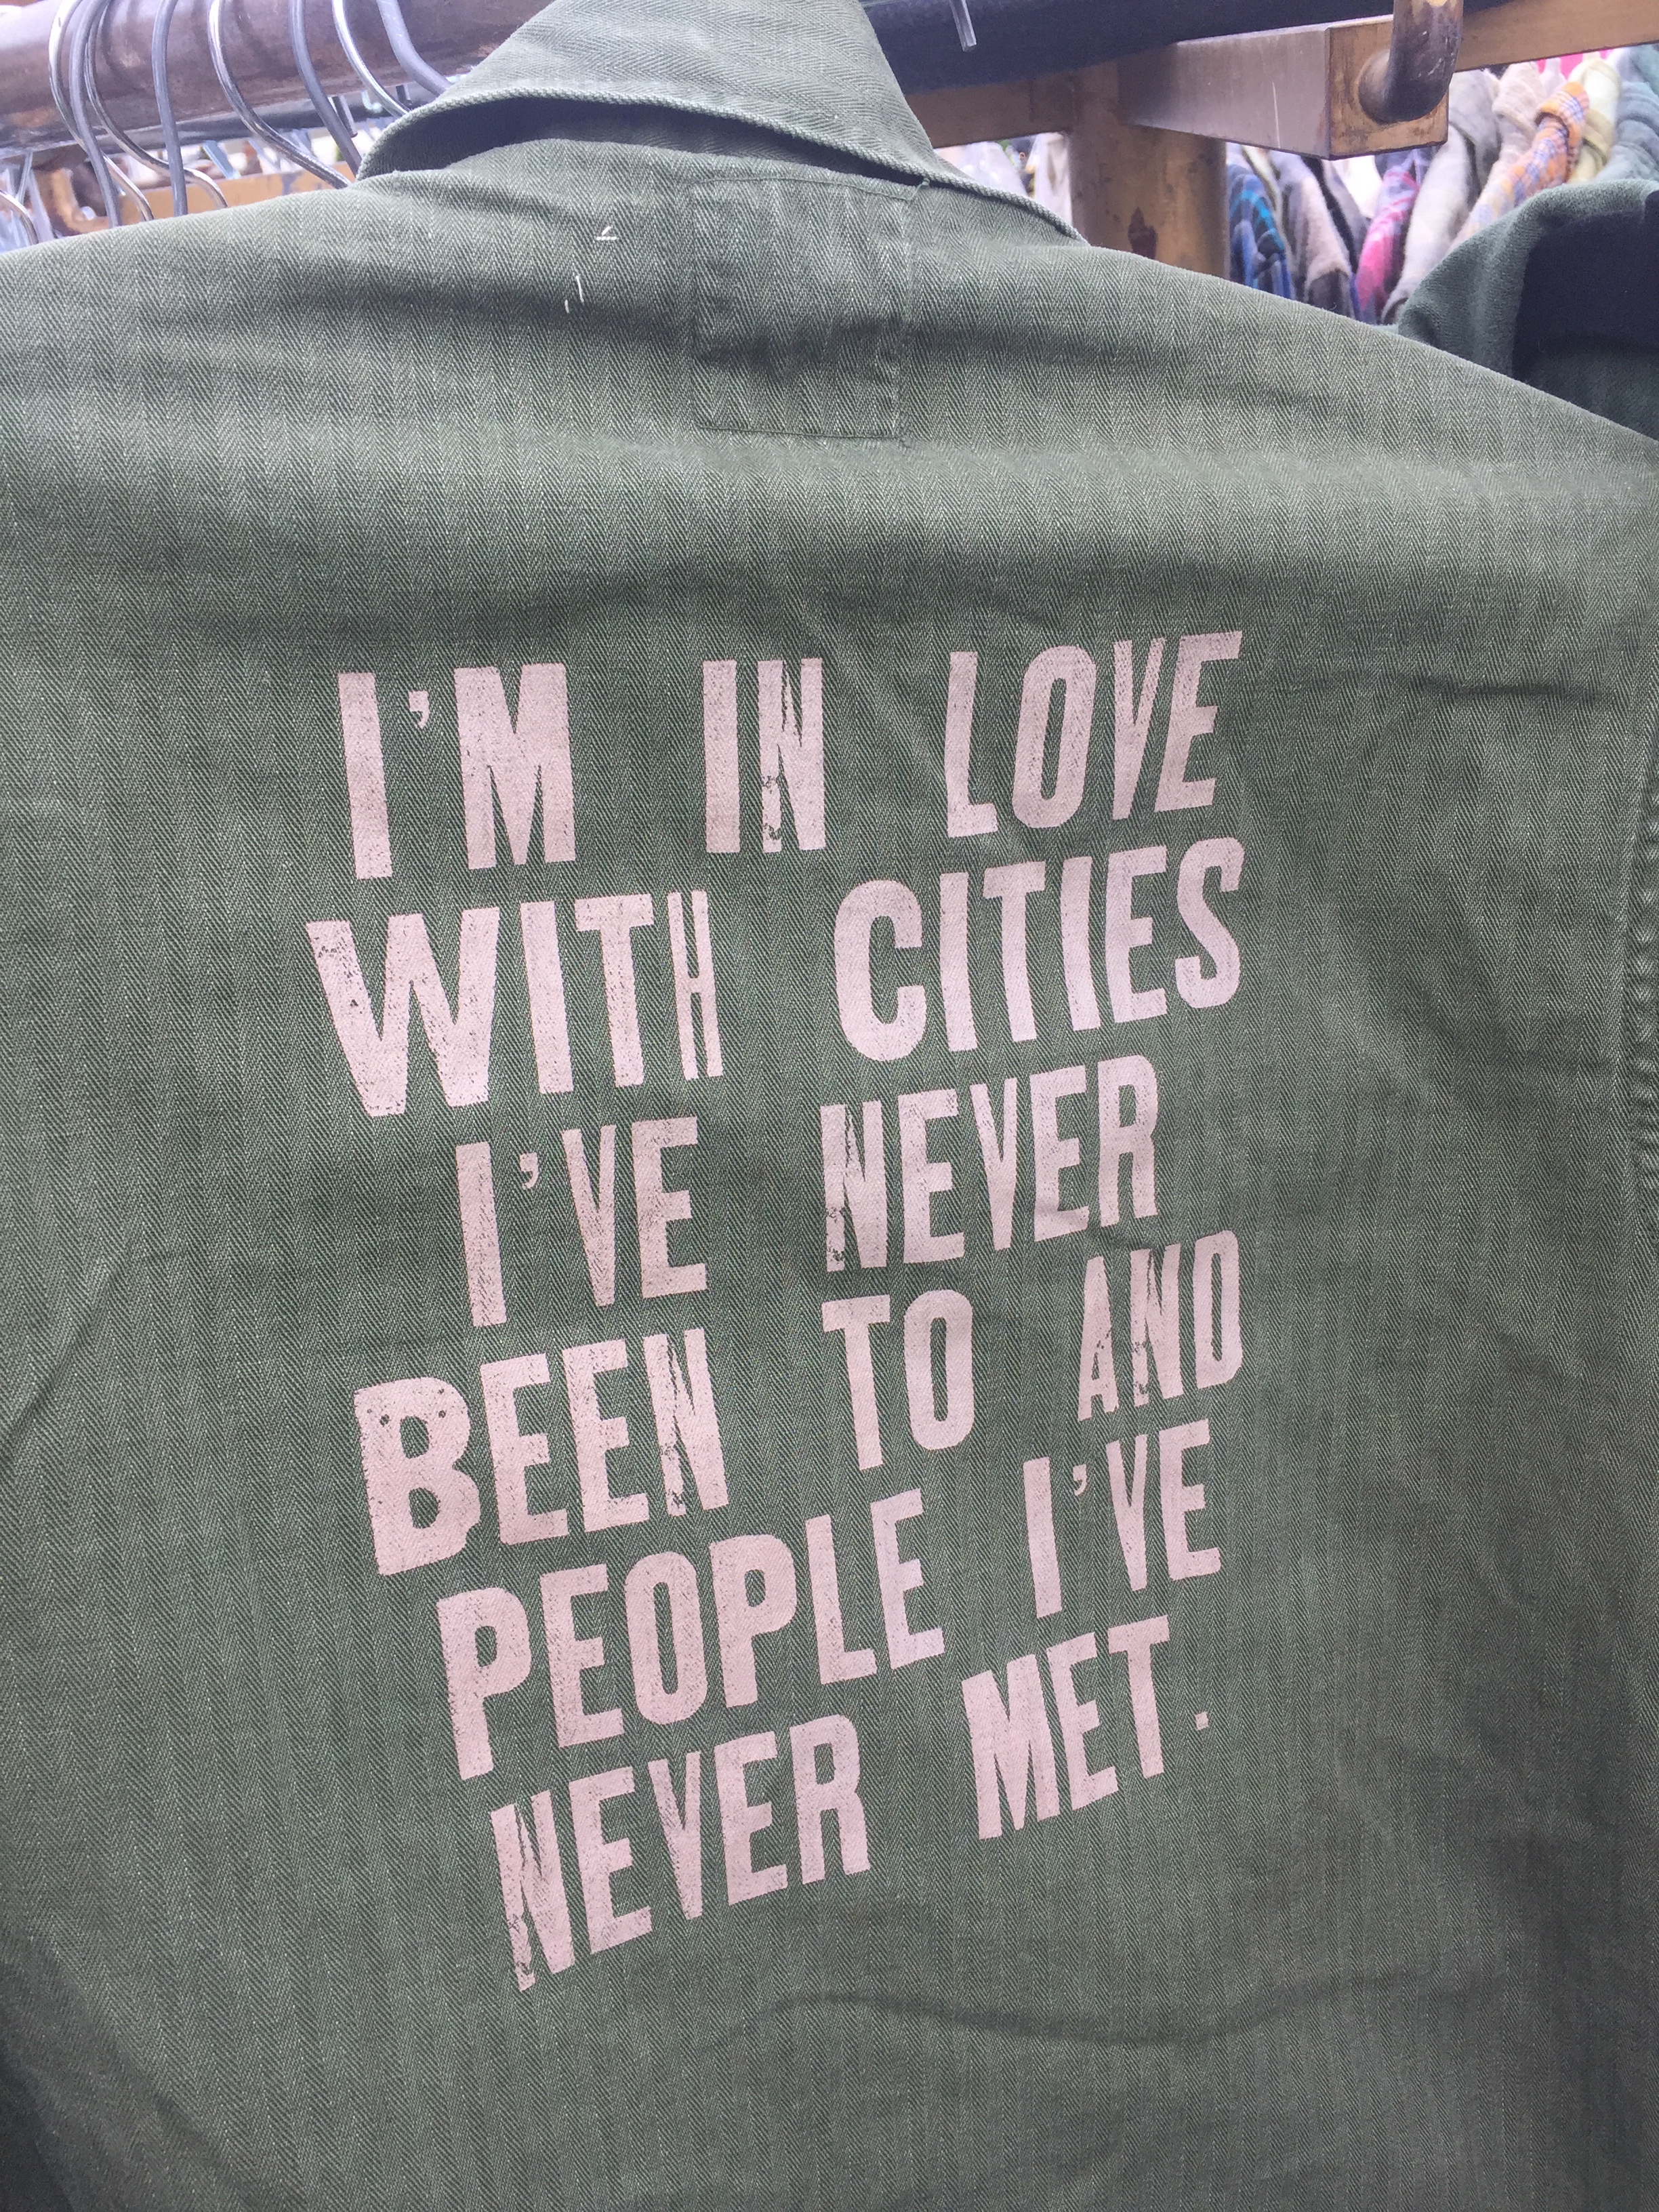
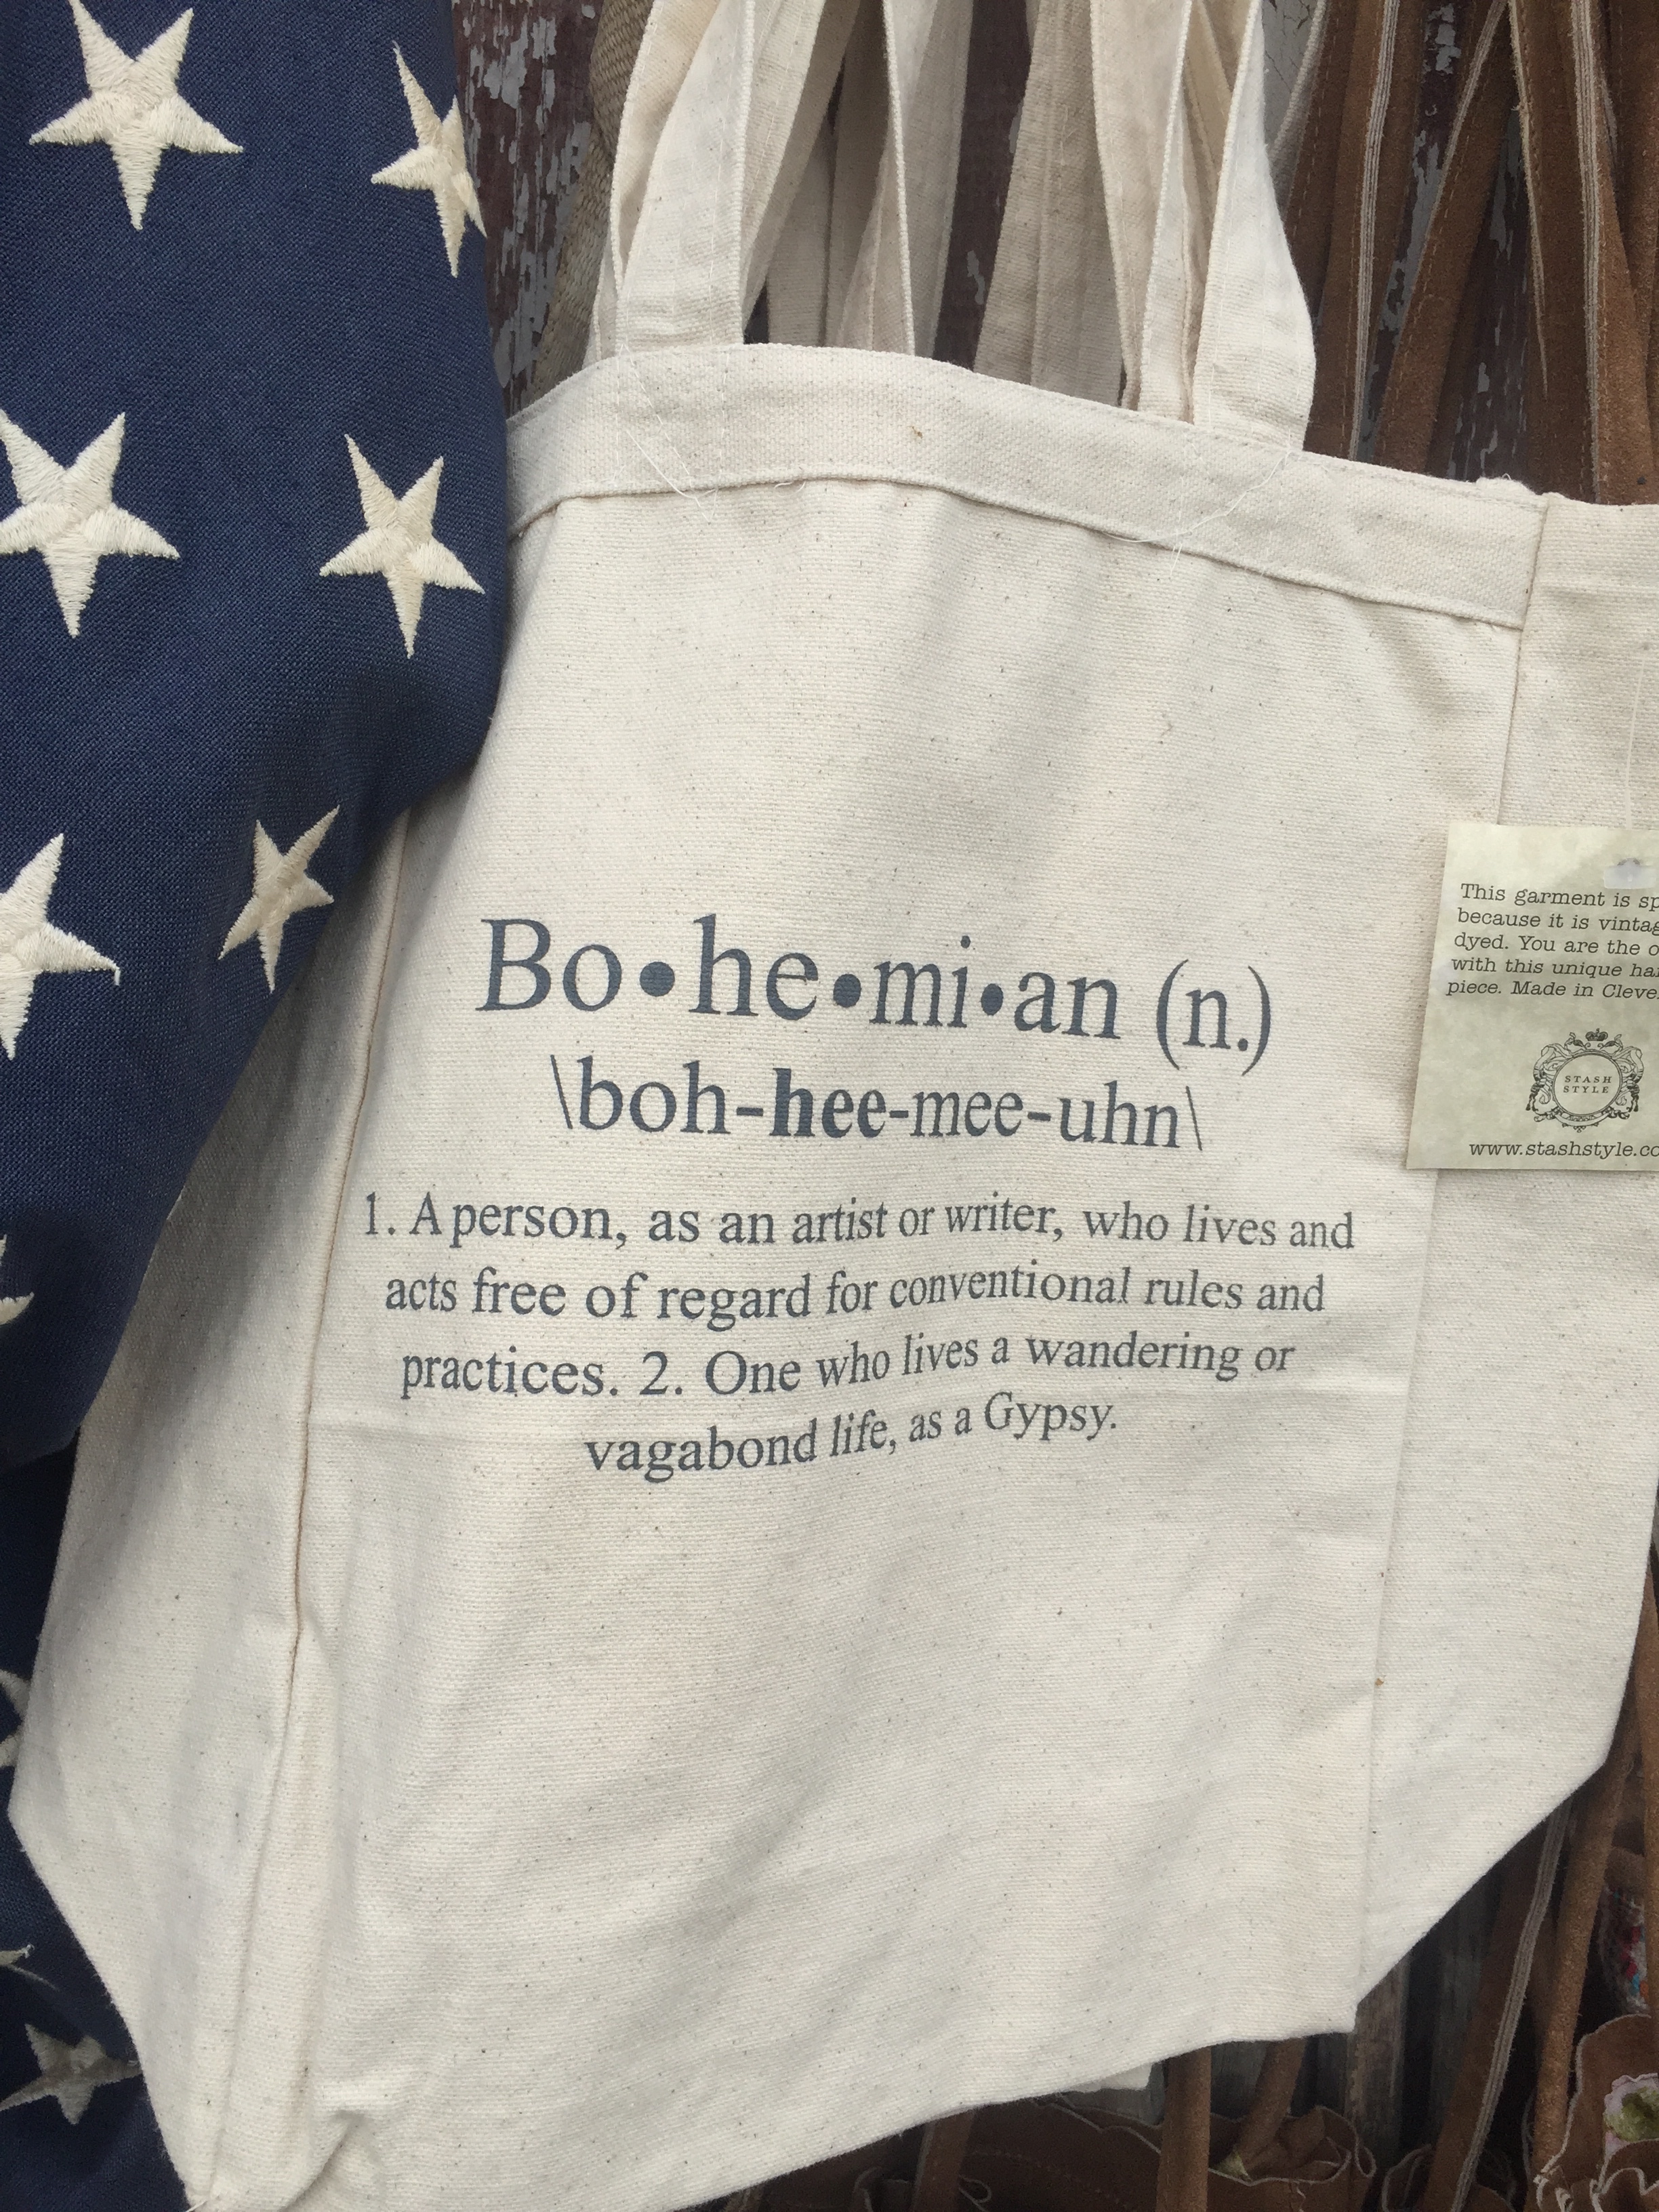
This booth was also one of my faves, Stash, although I did't see where they were from. The booth looked like an Urban Outfitters! They also utilized an amazing teepee design
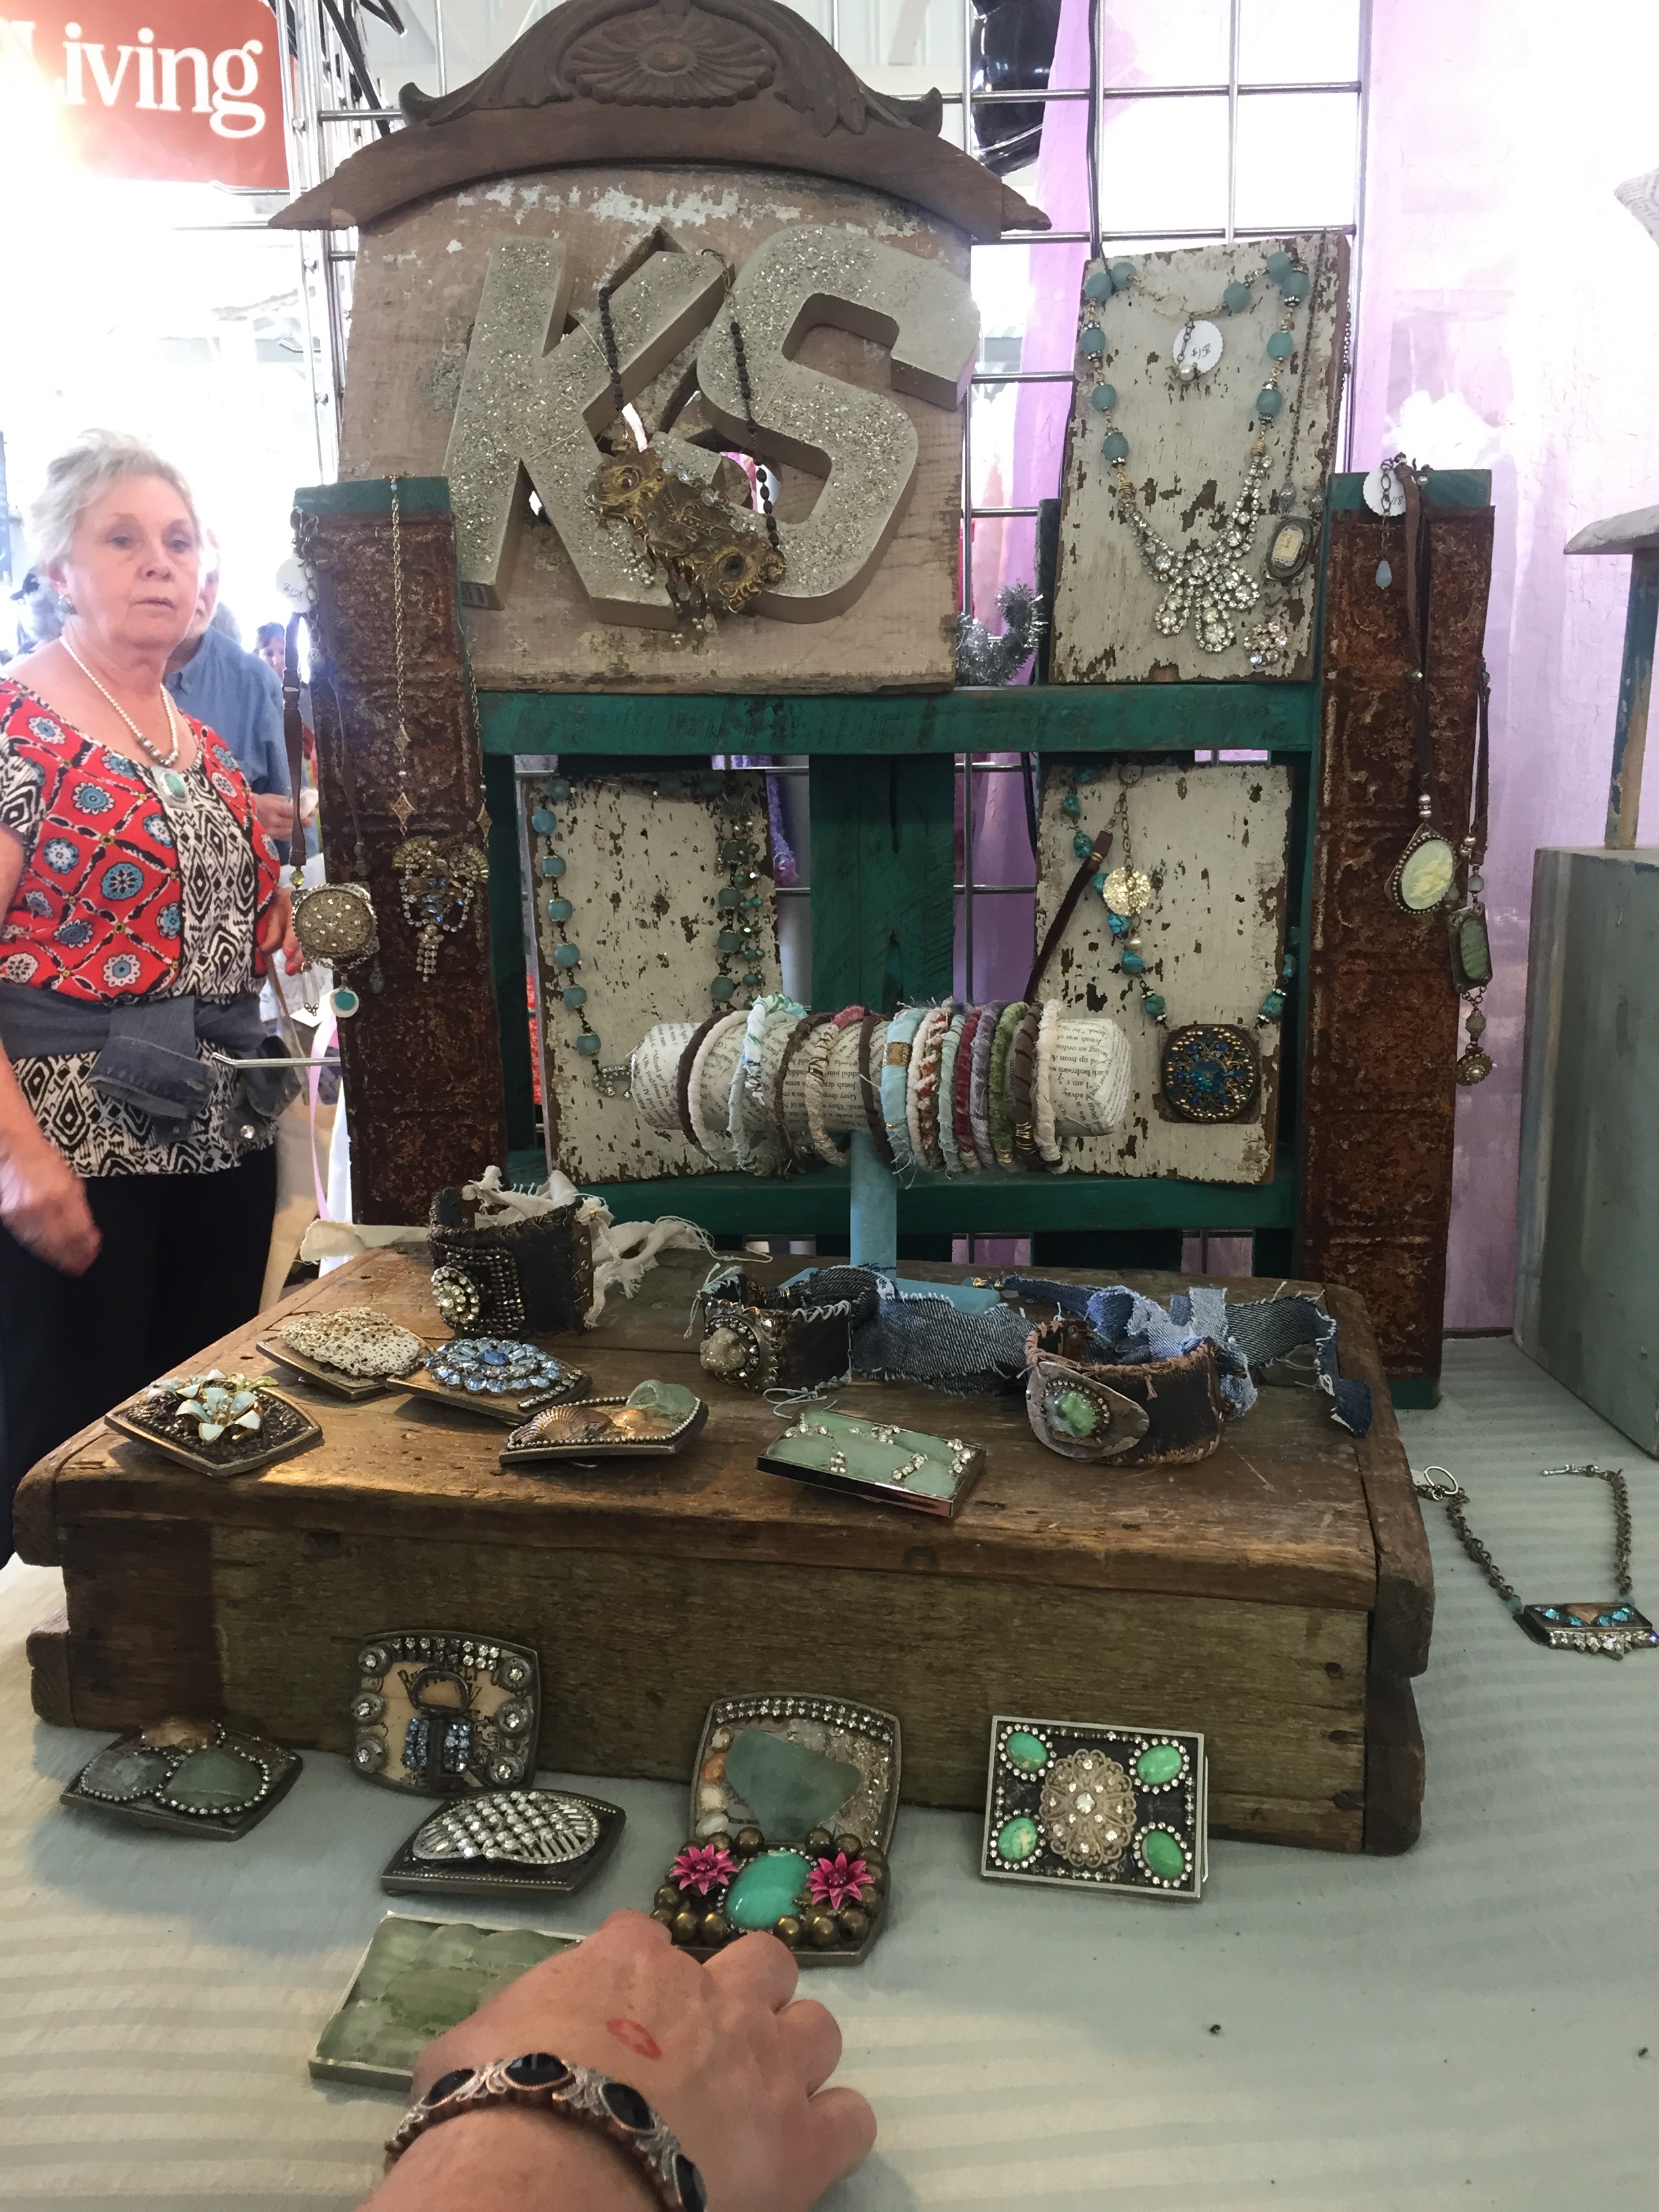
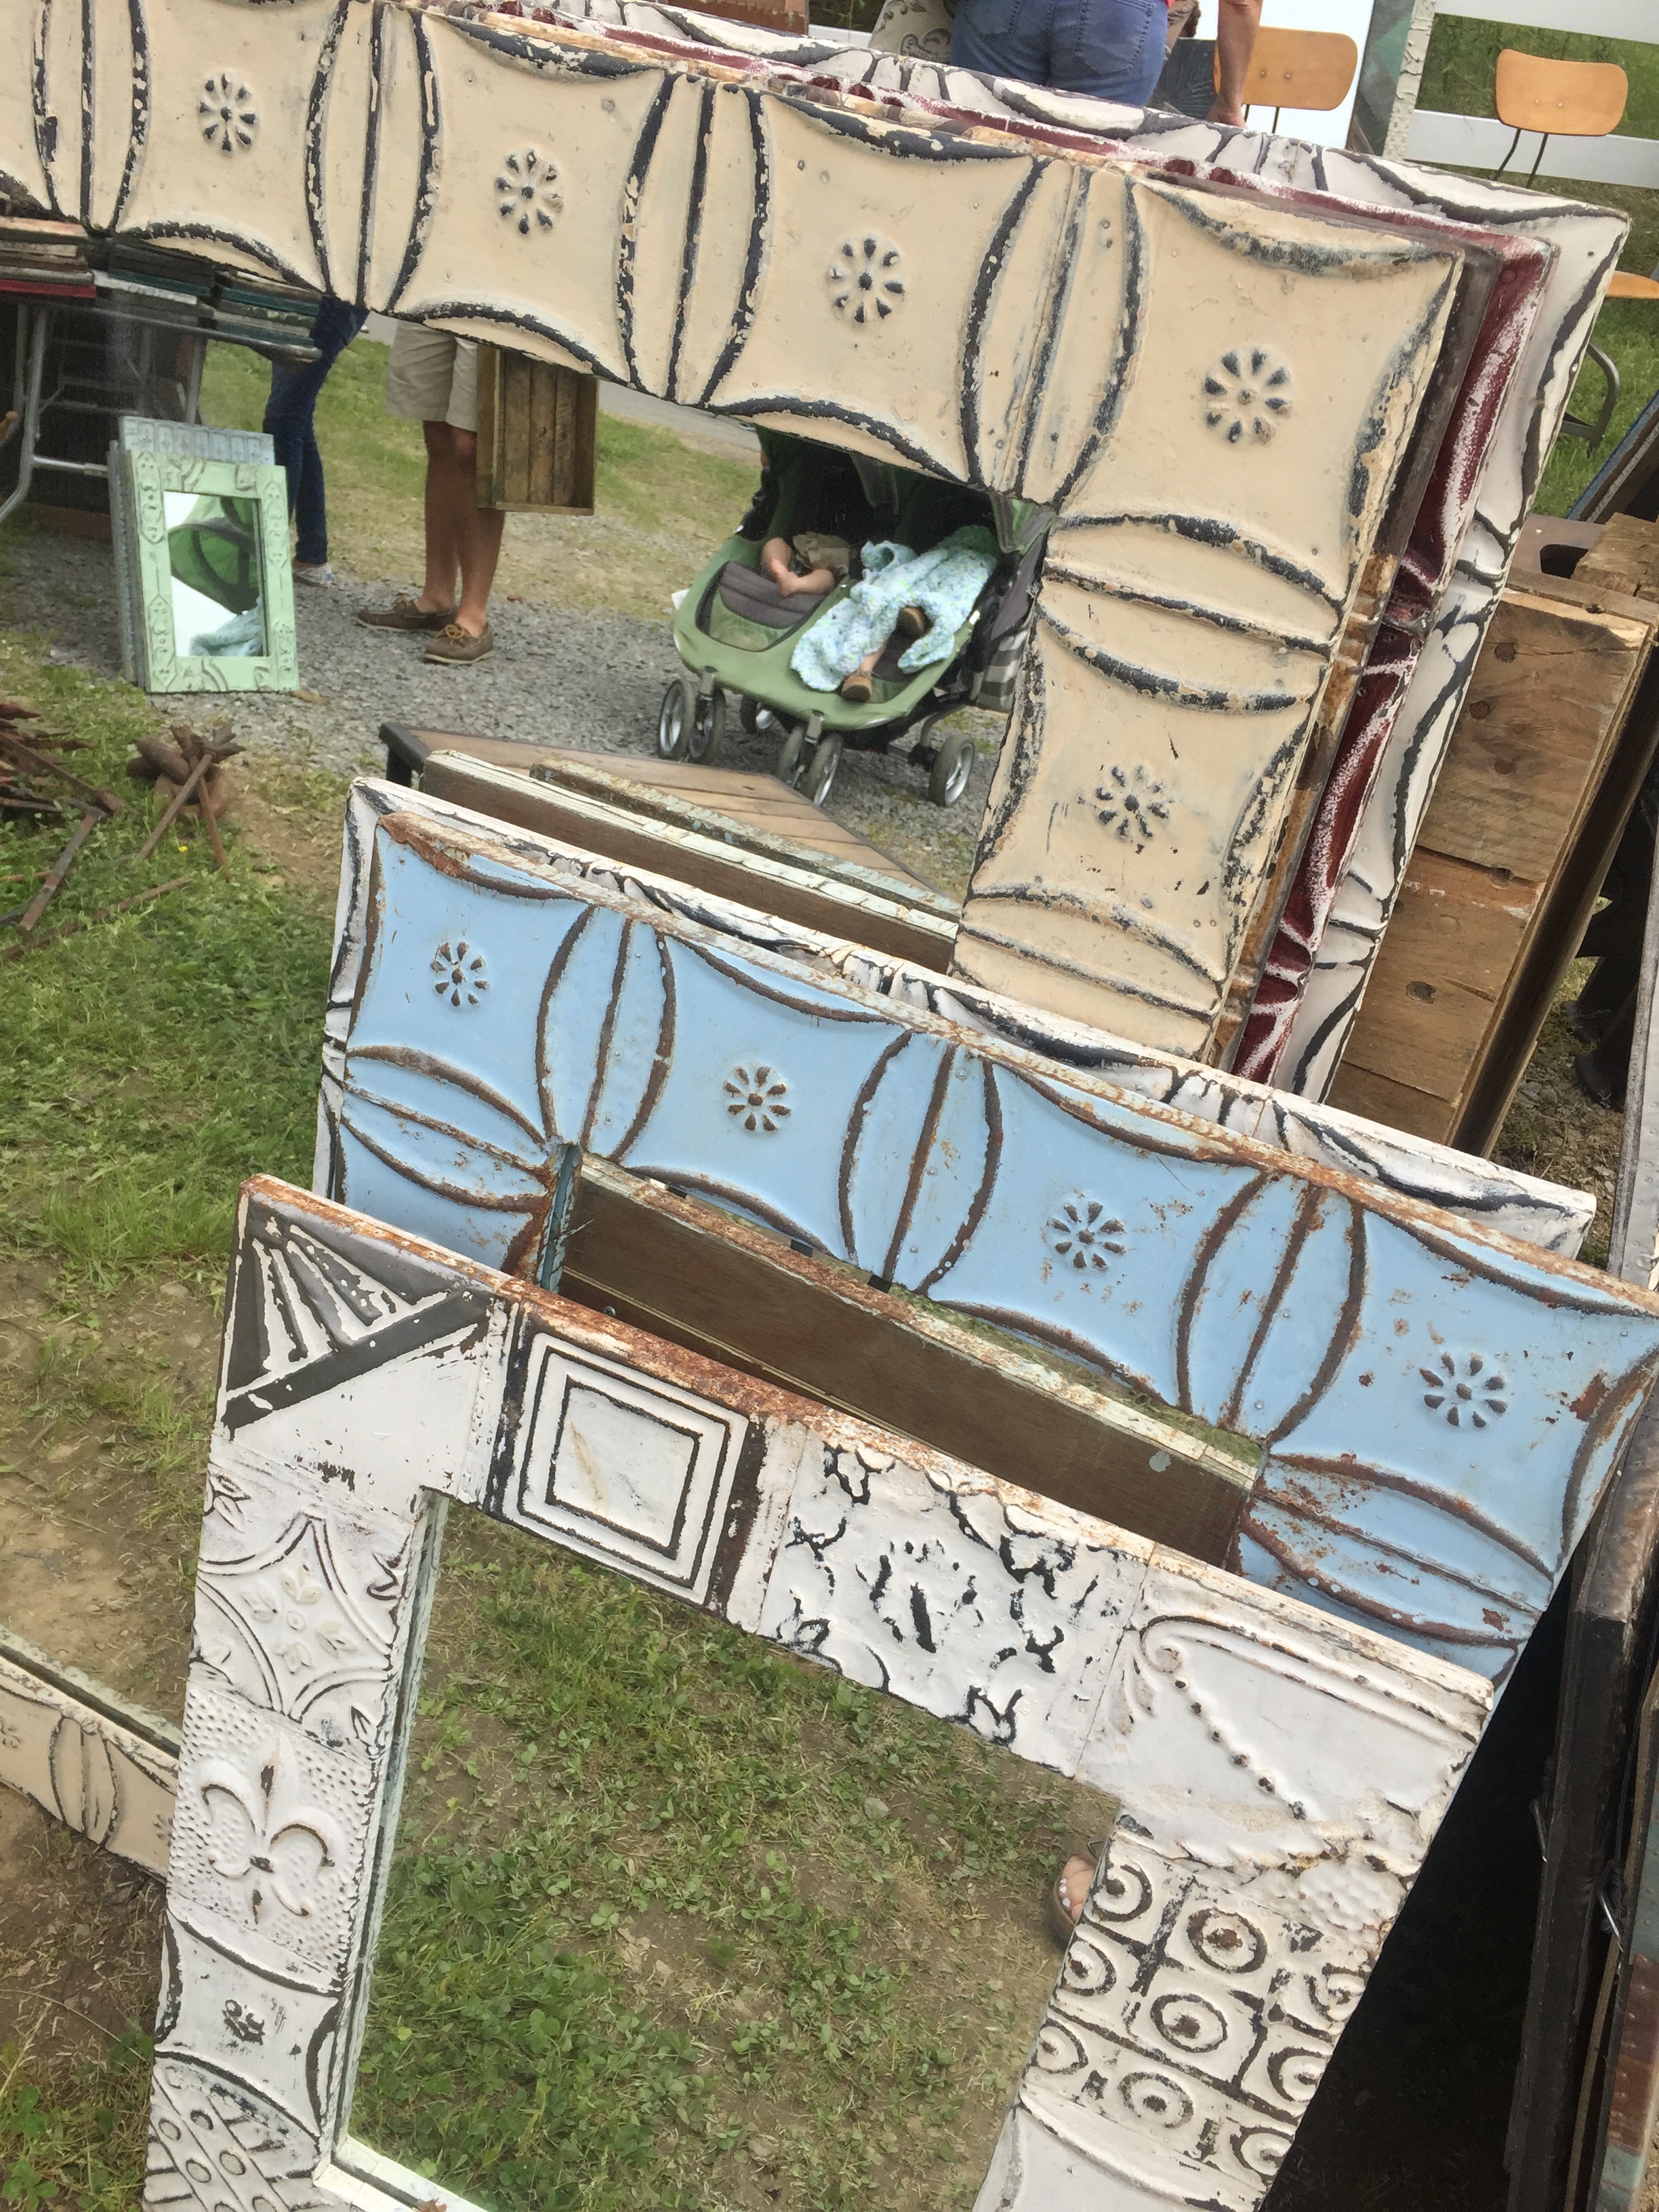
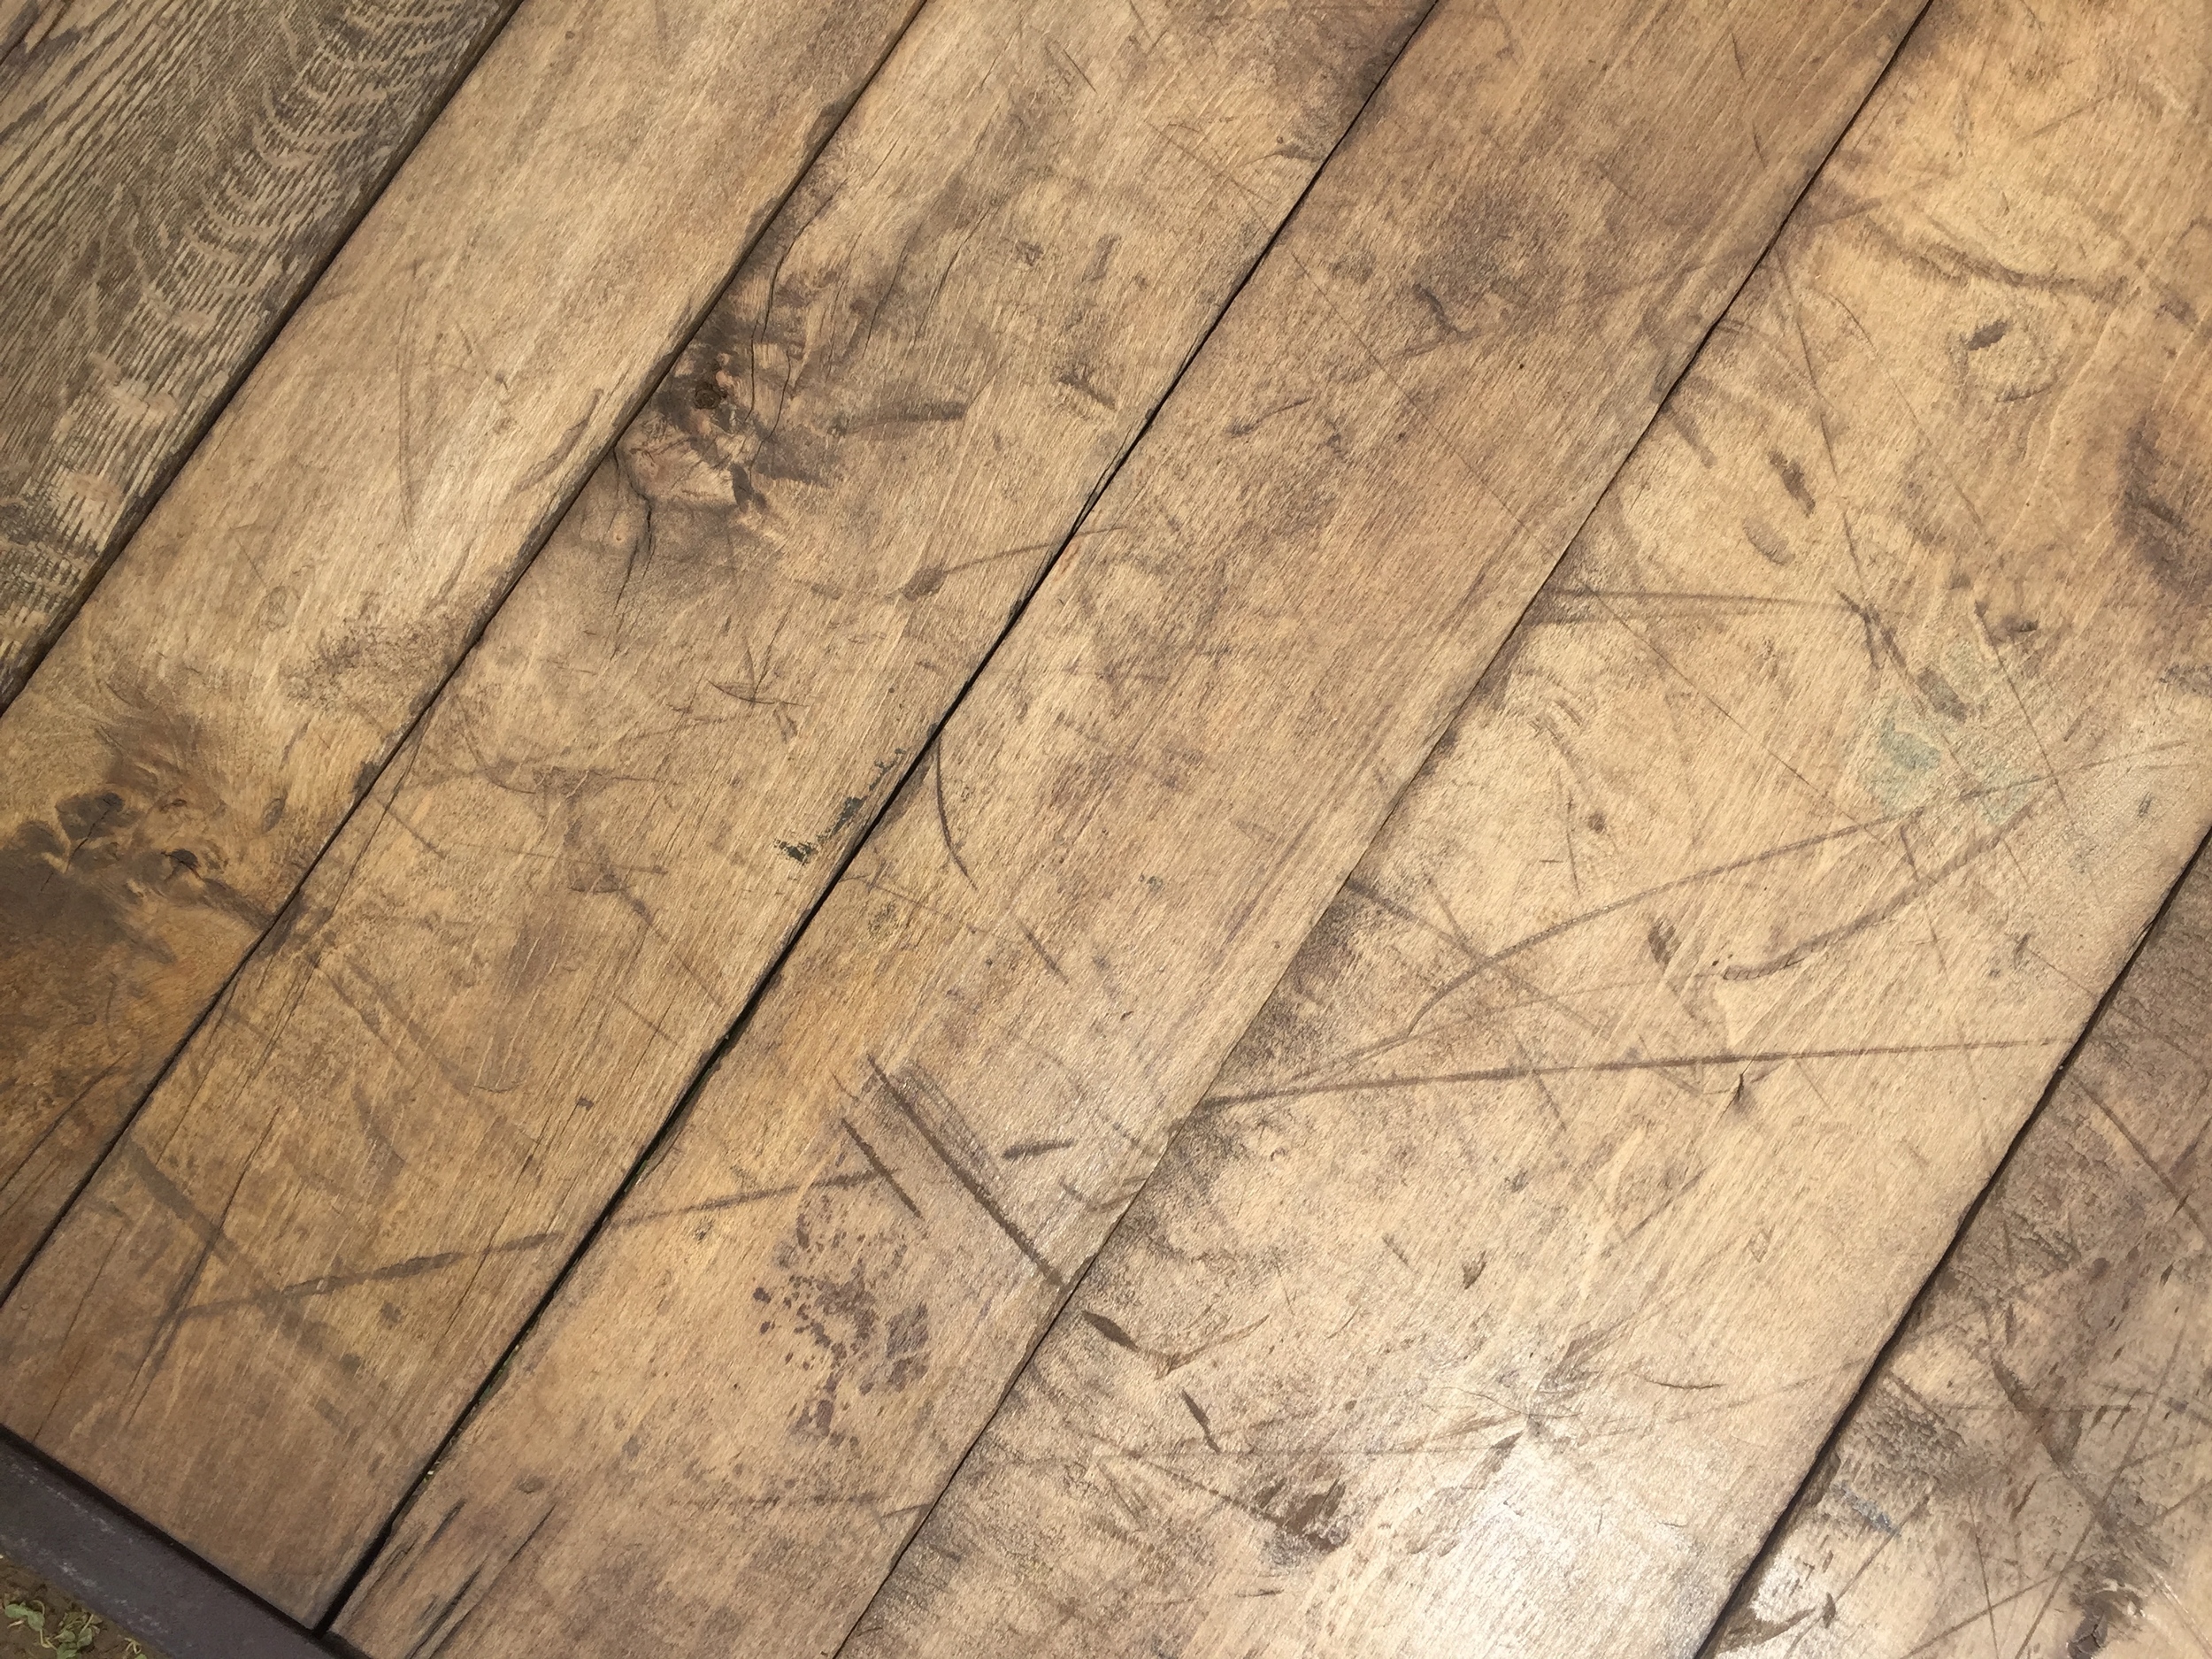
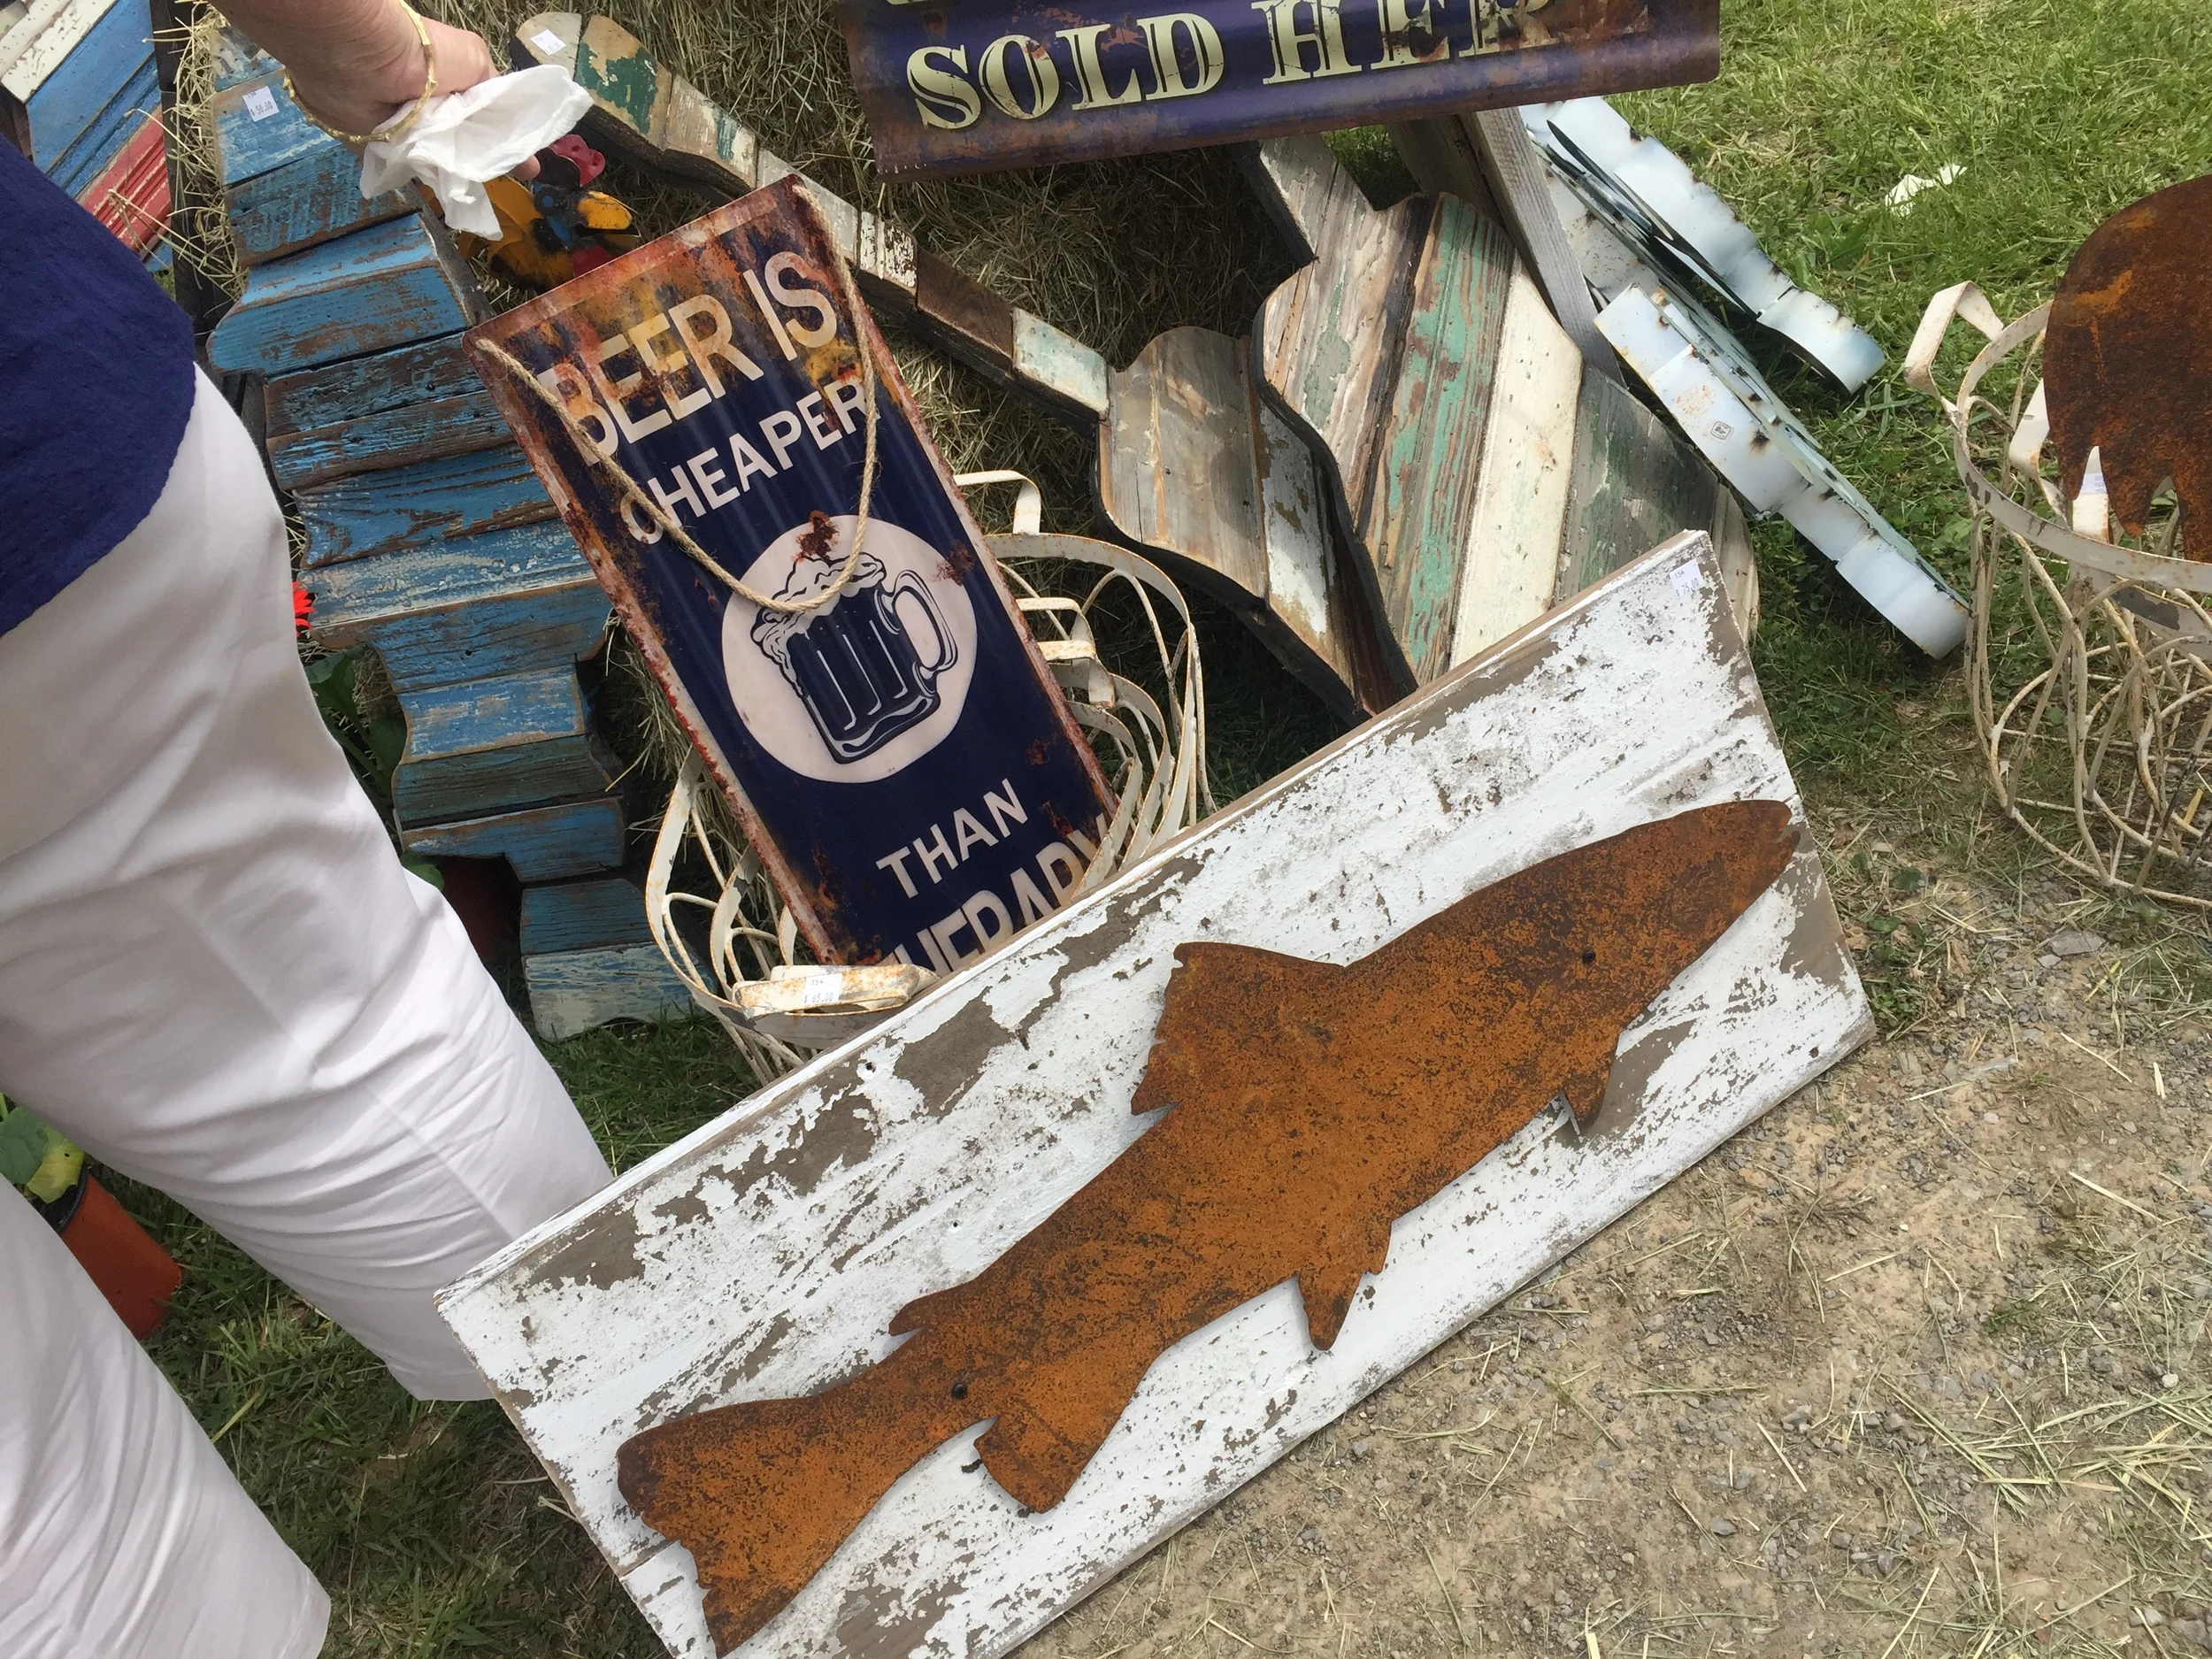
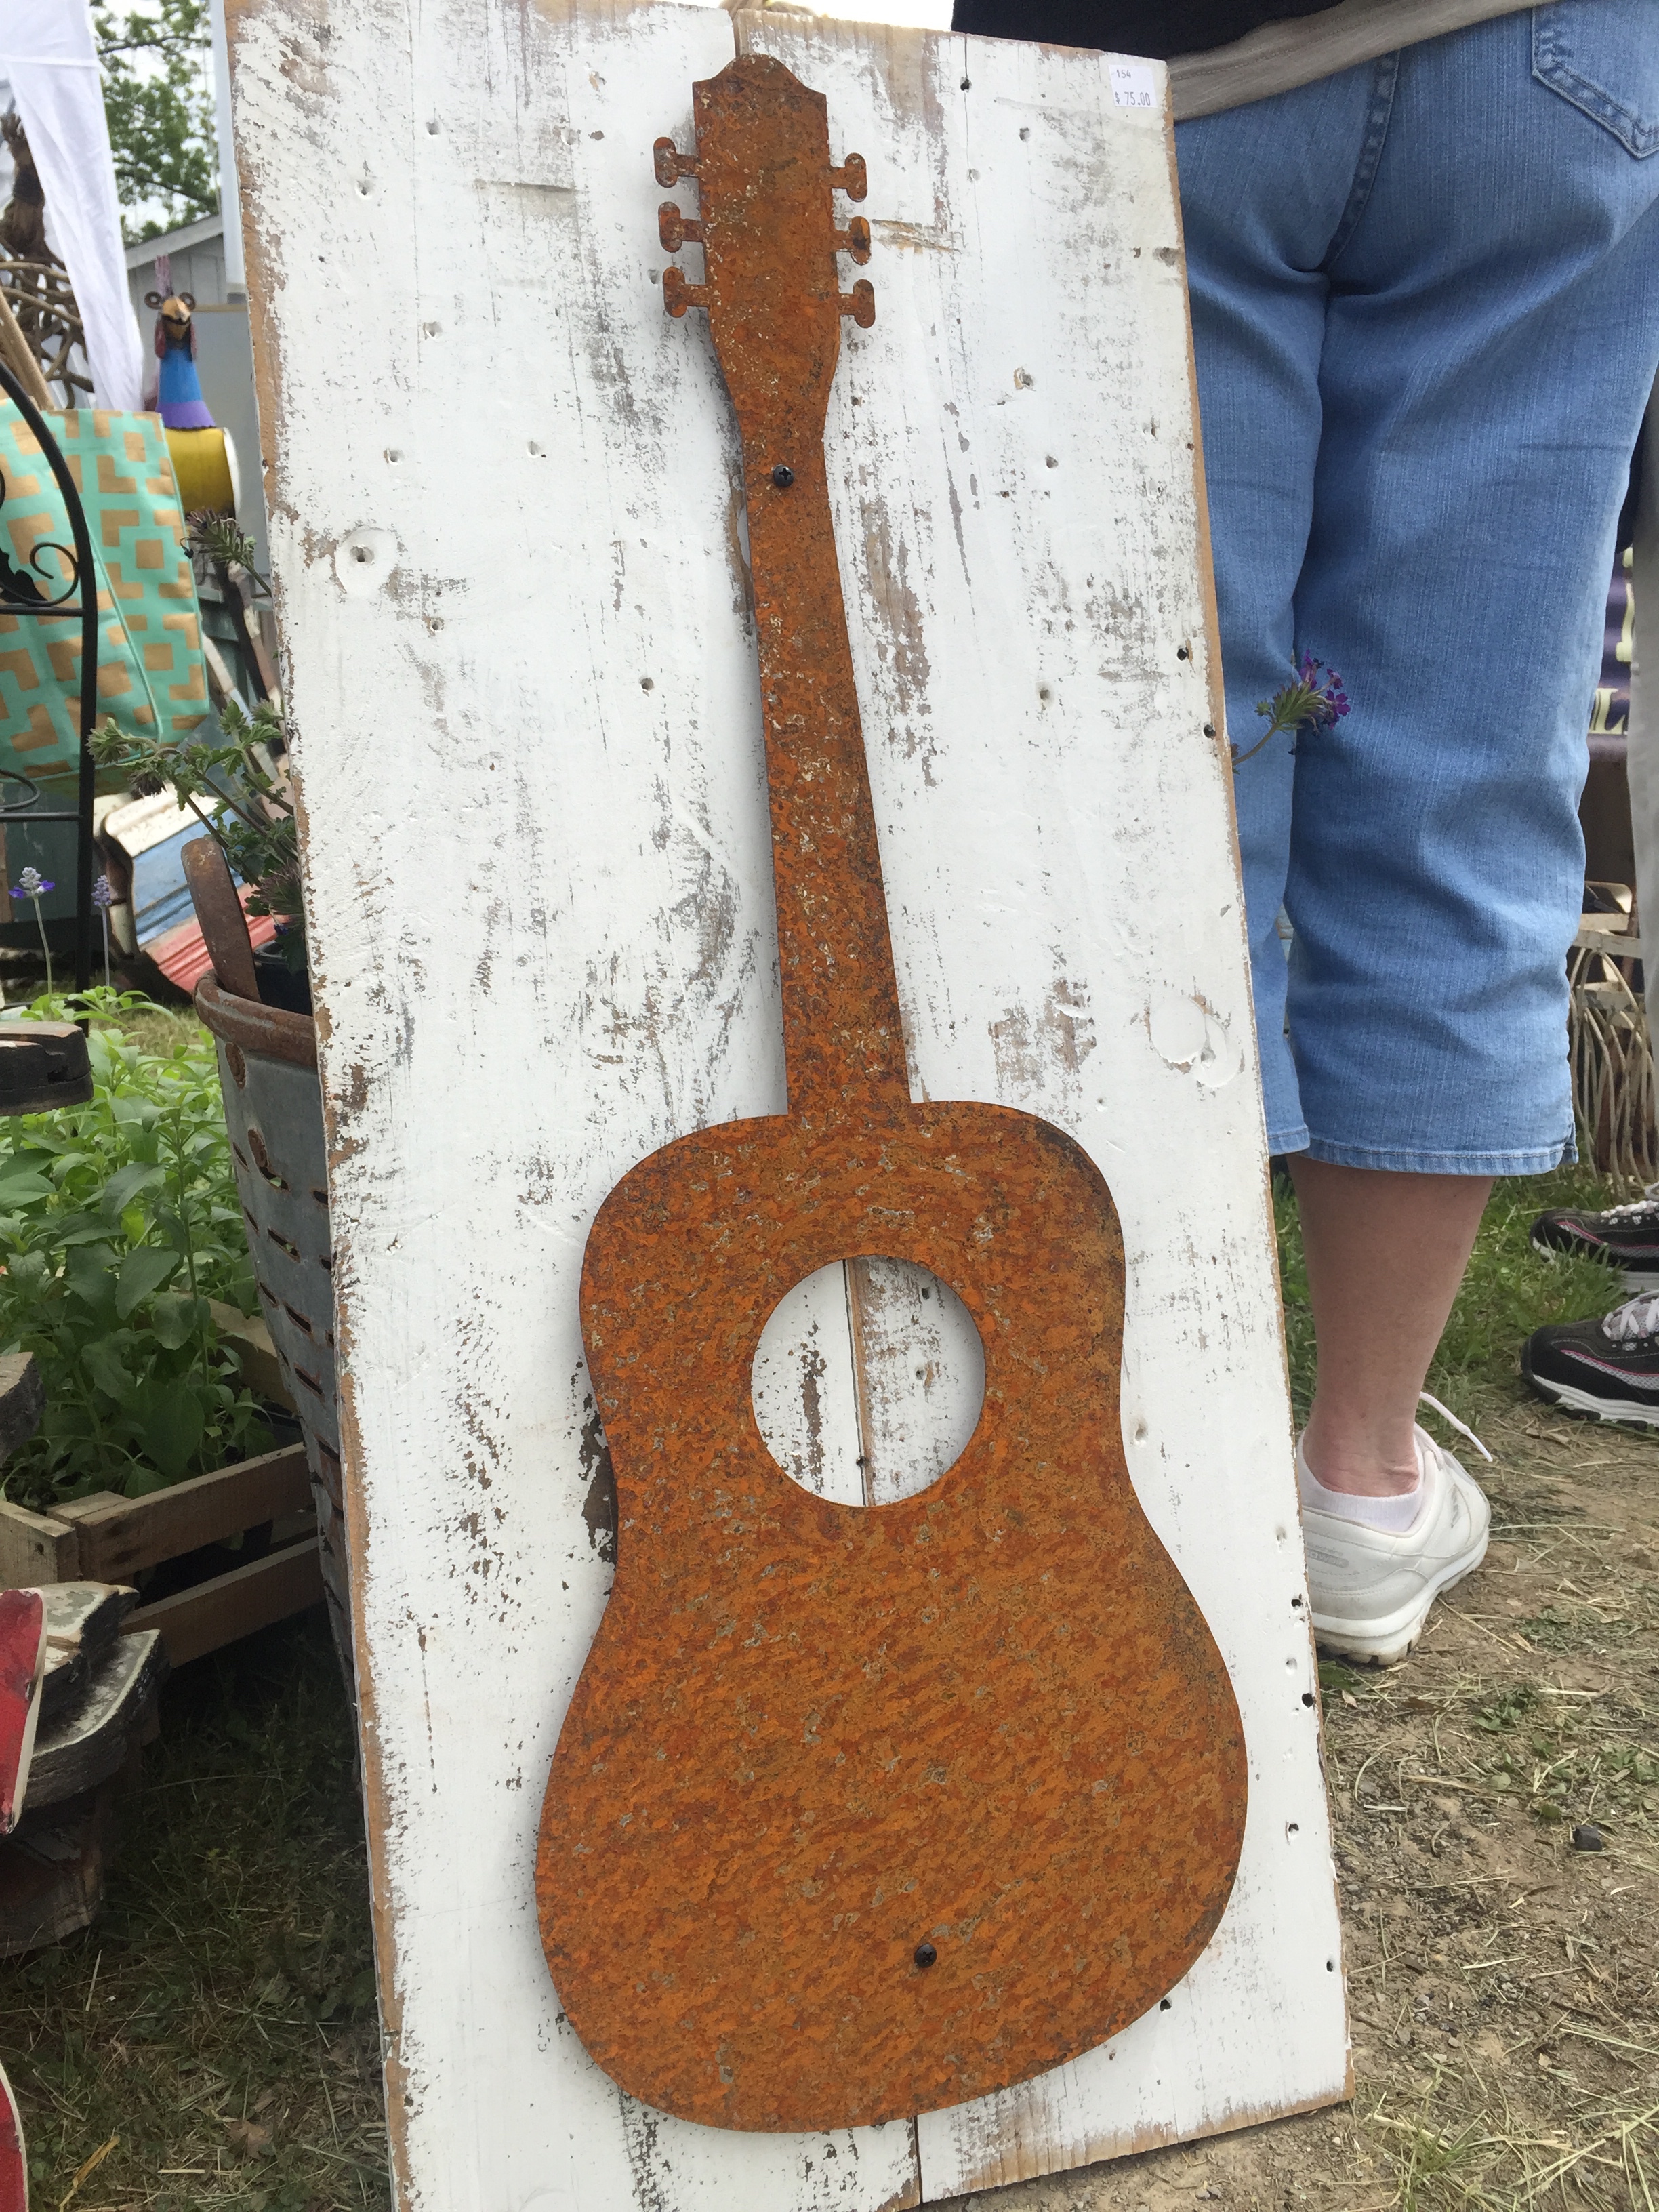
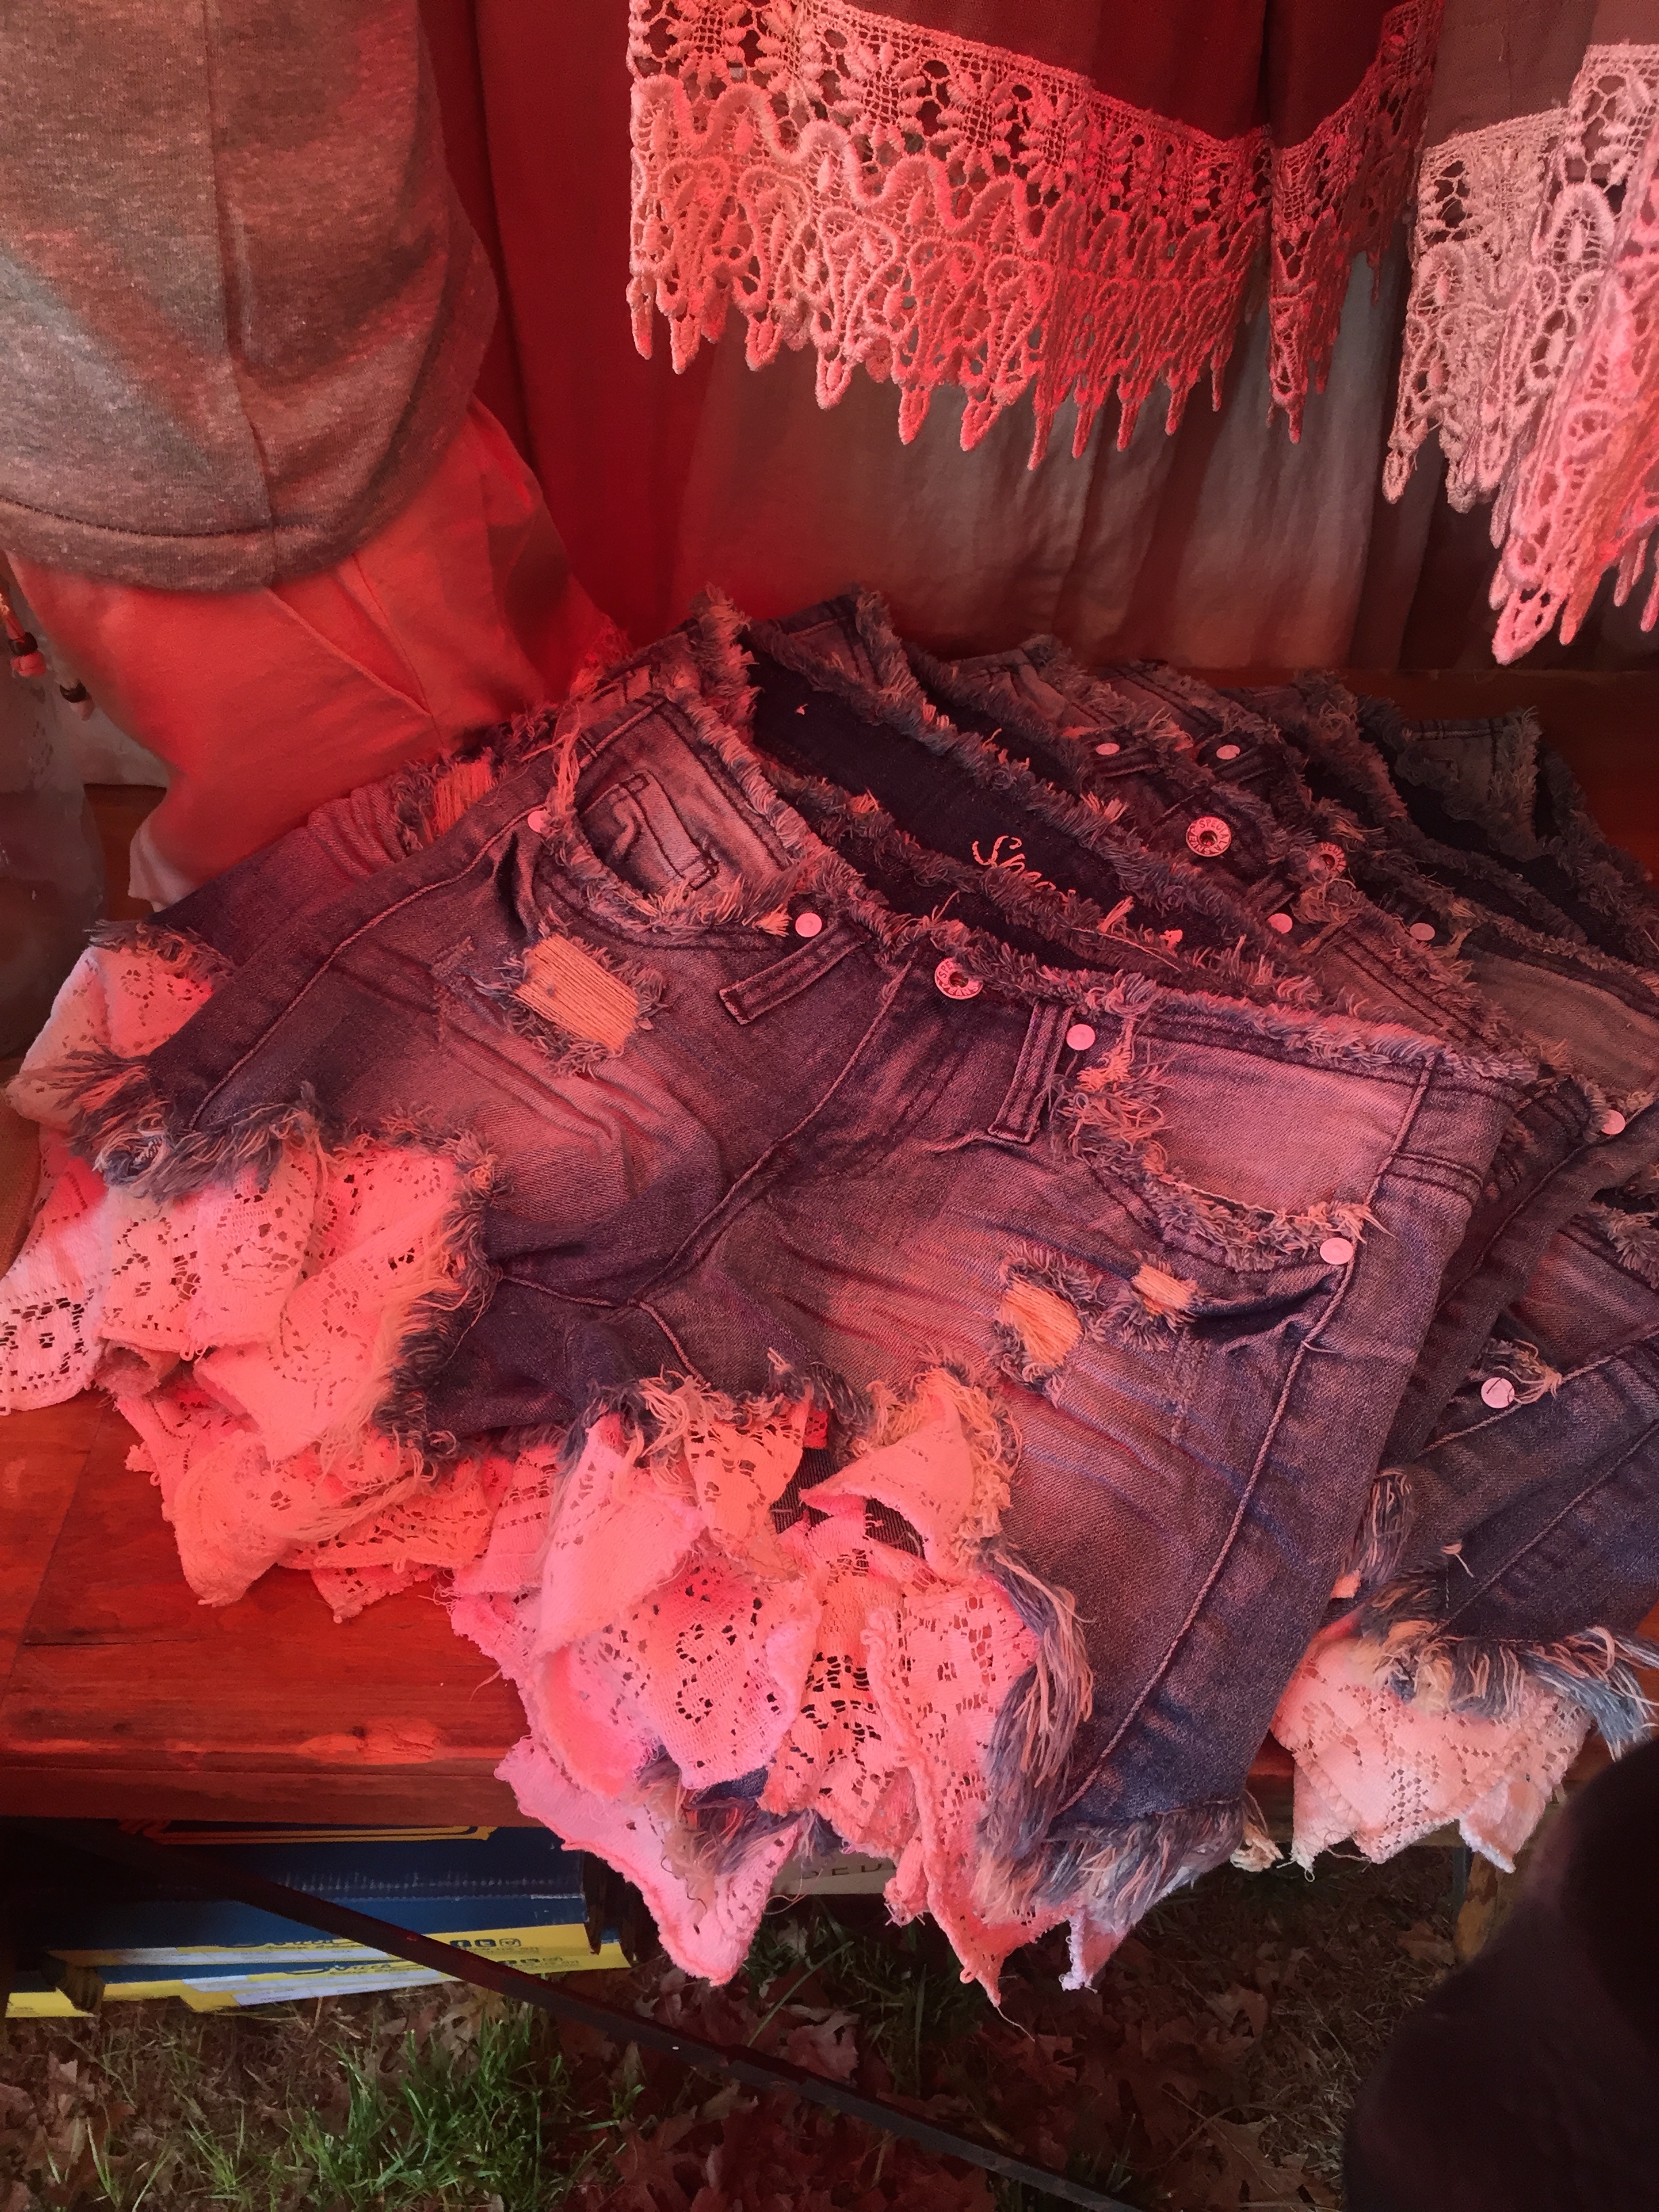
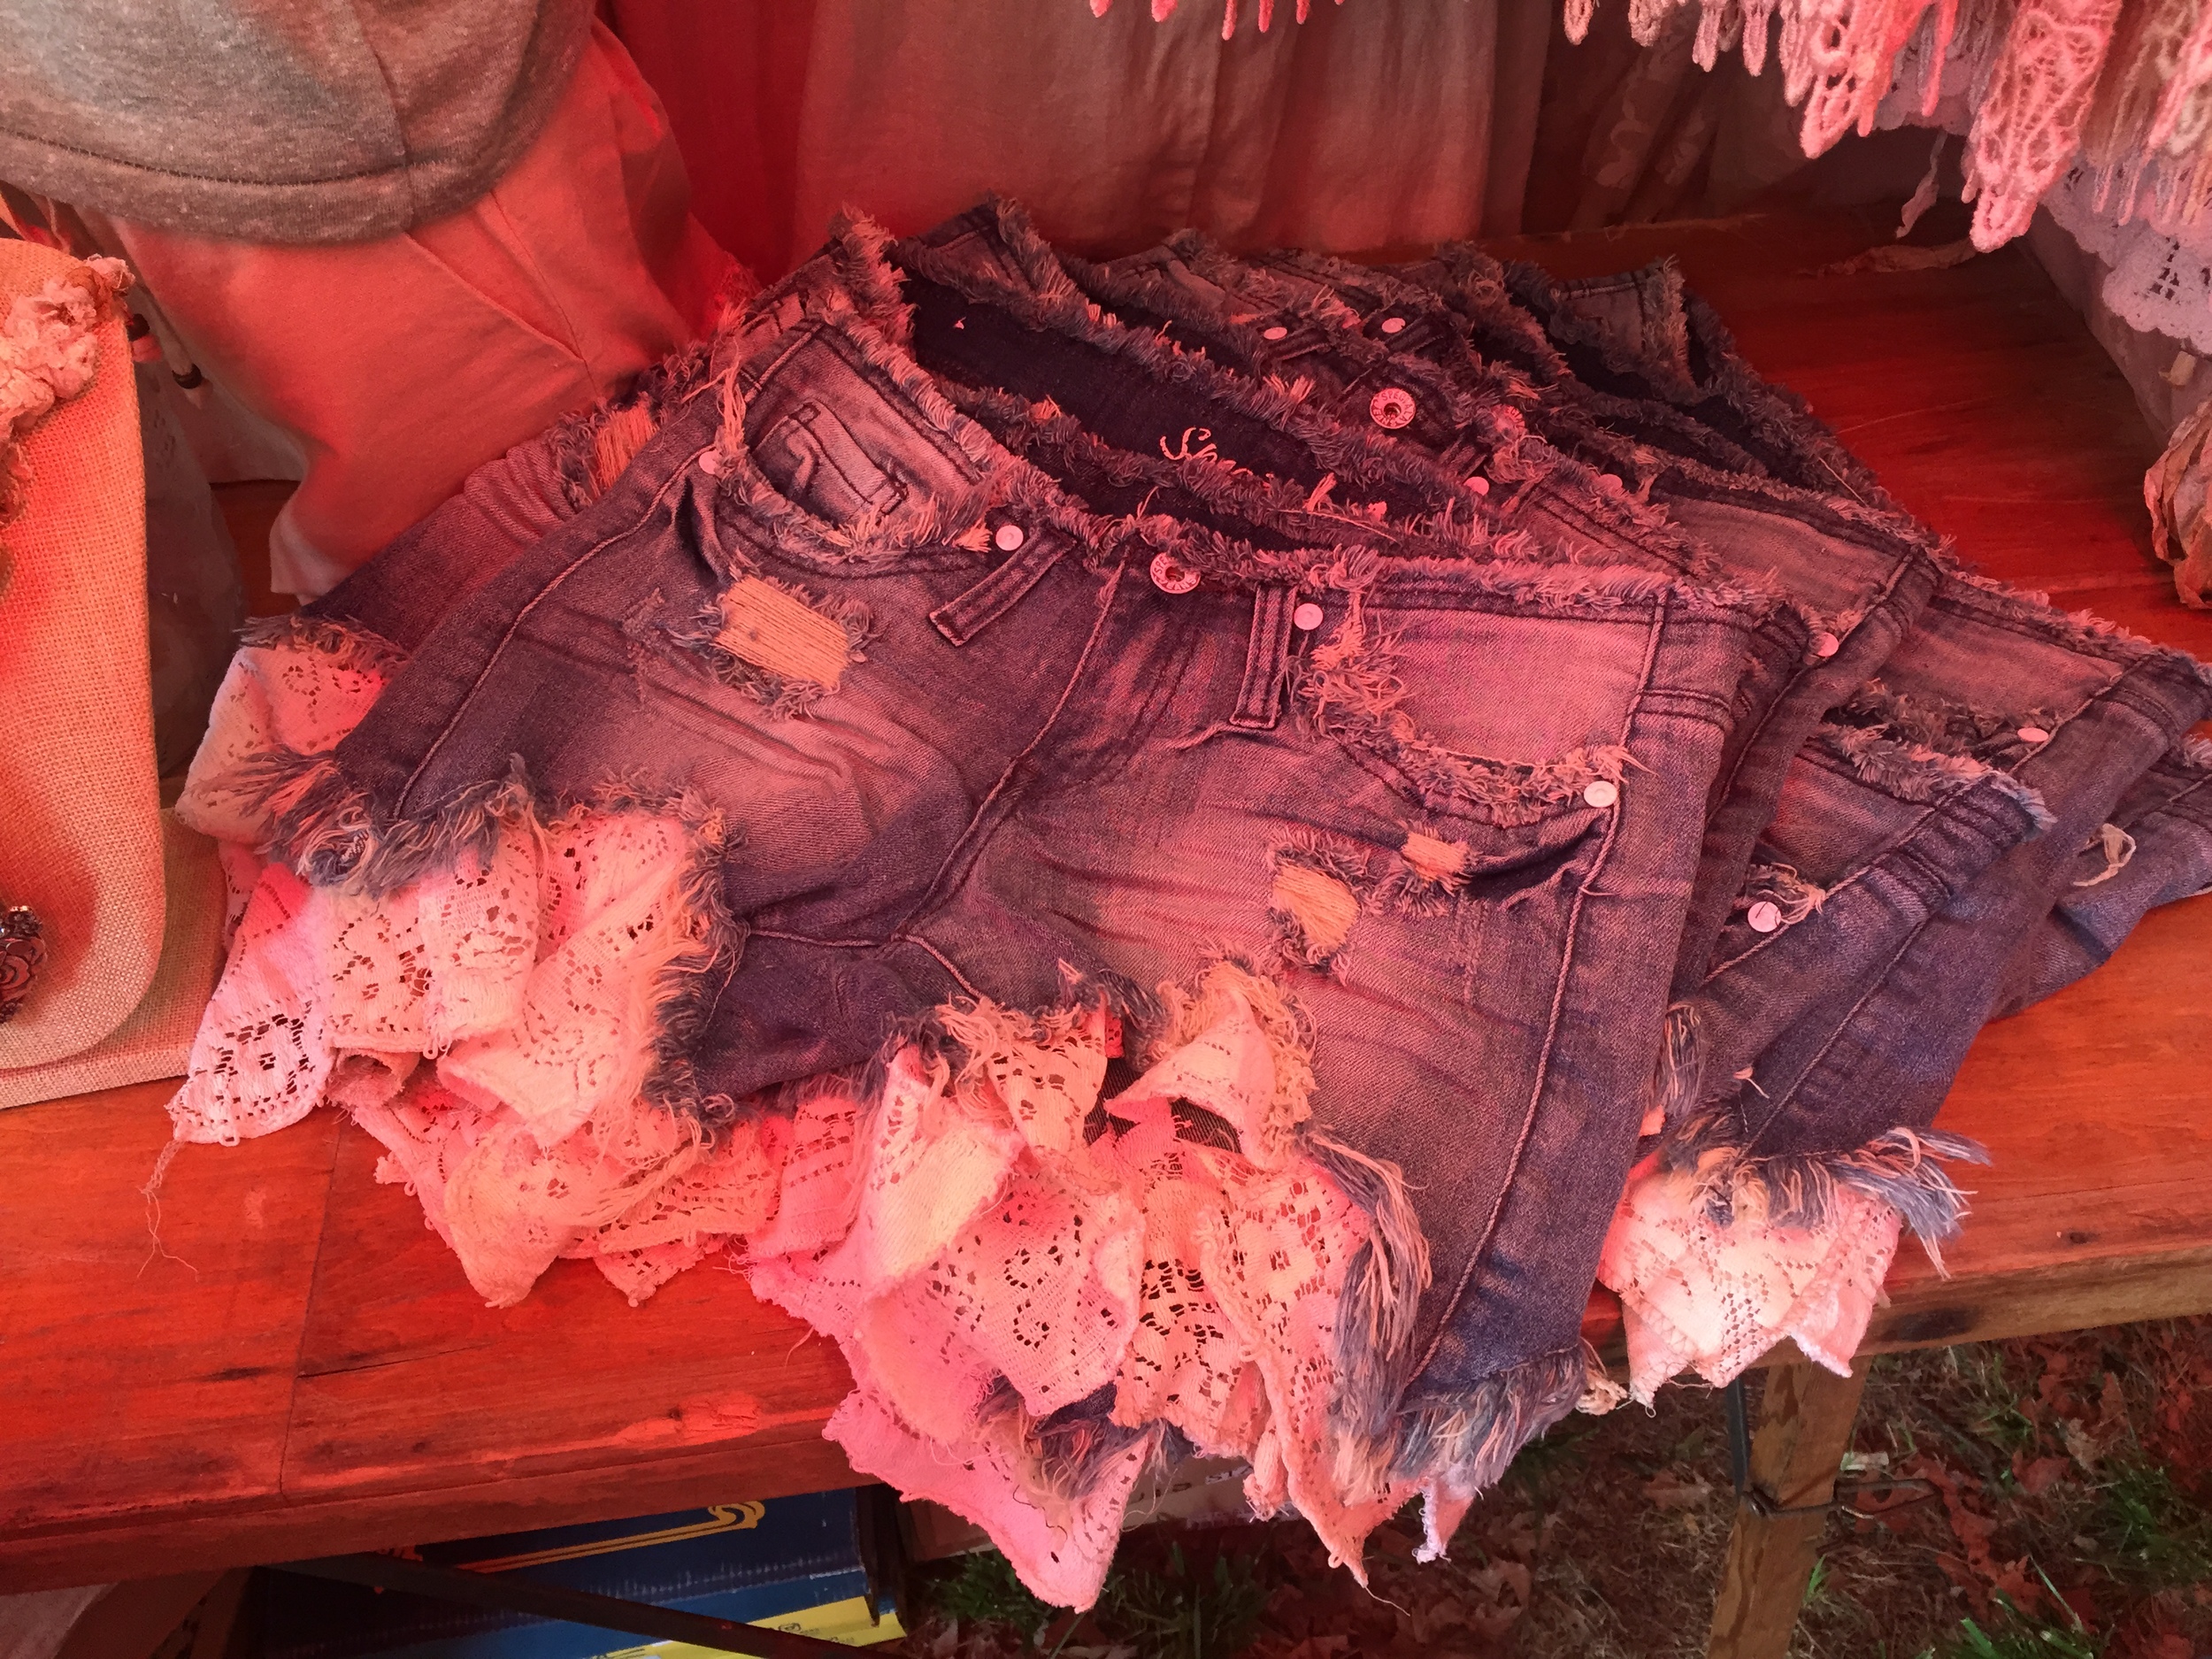
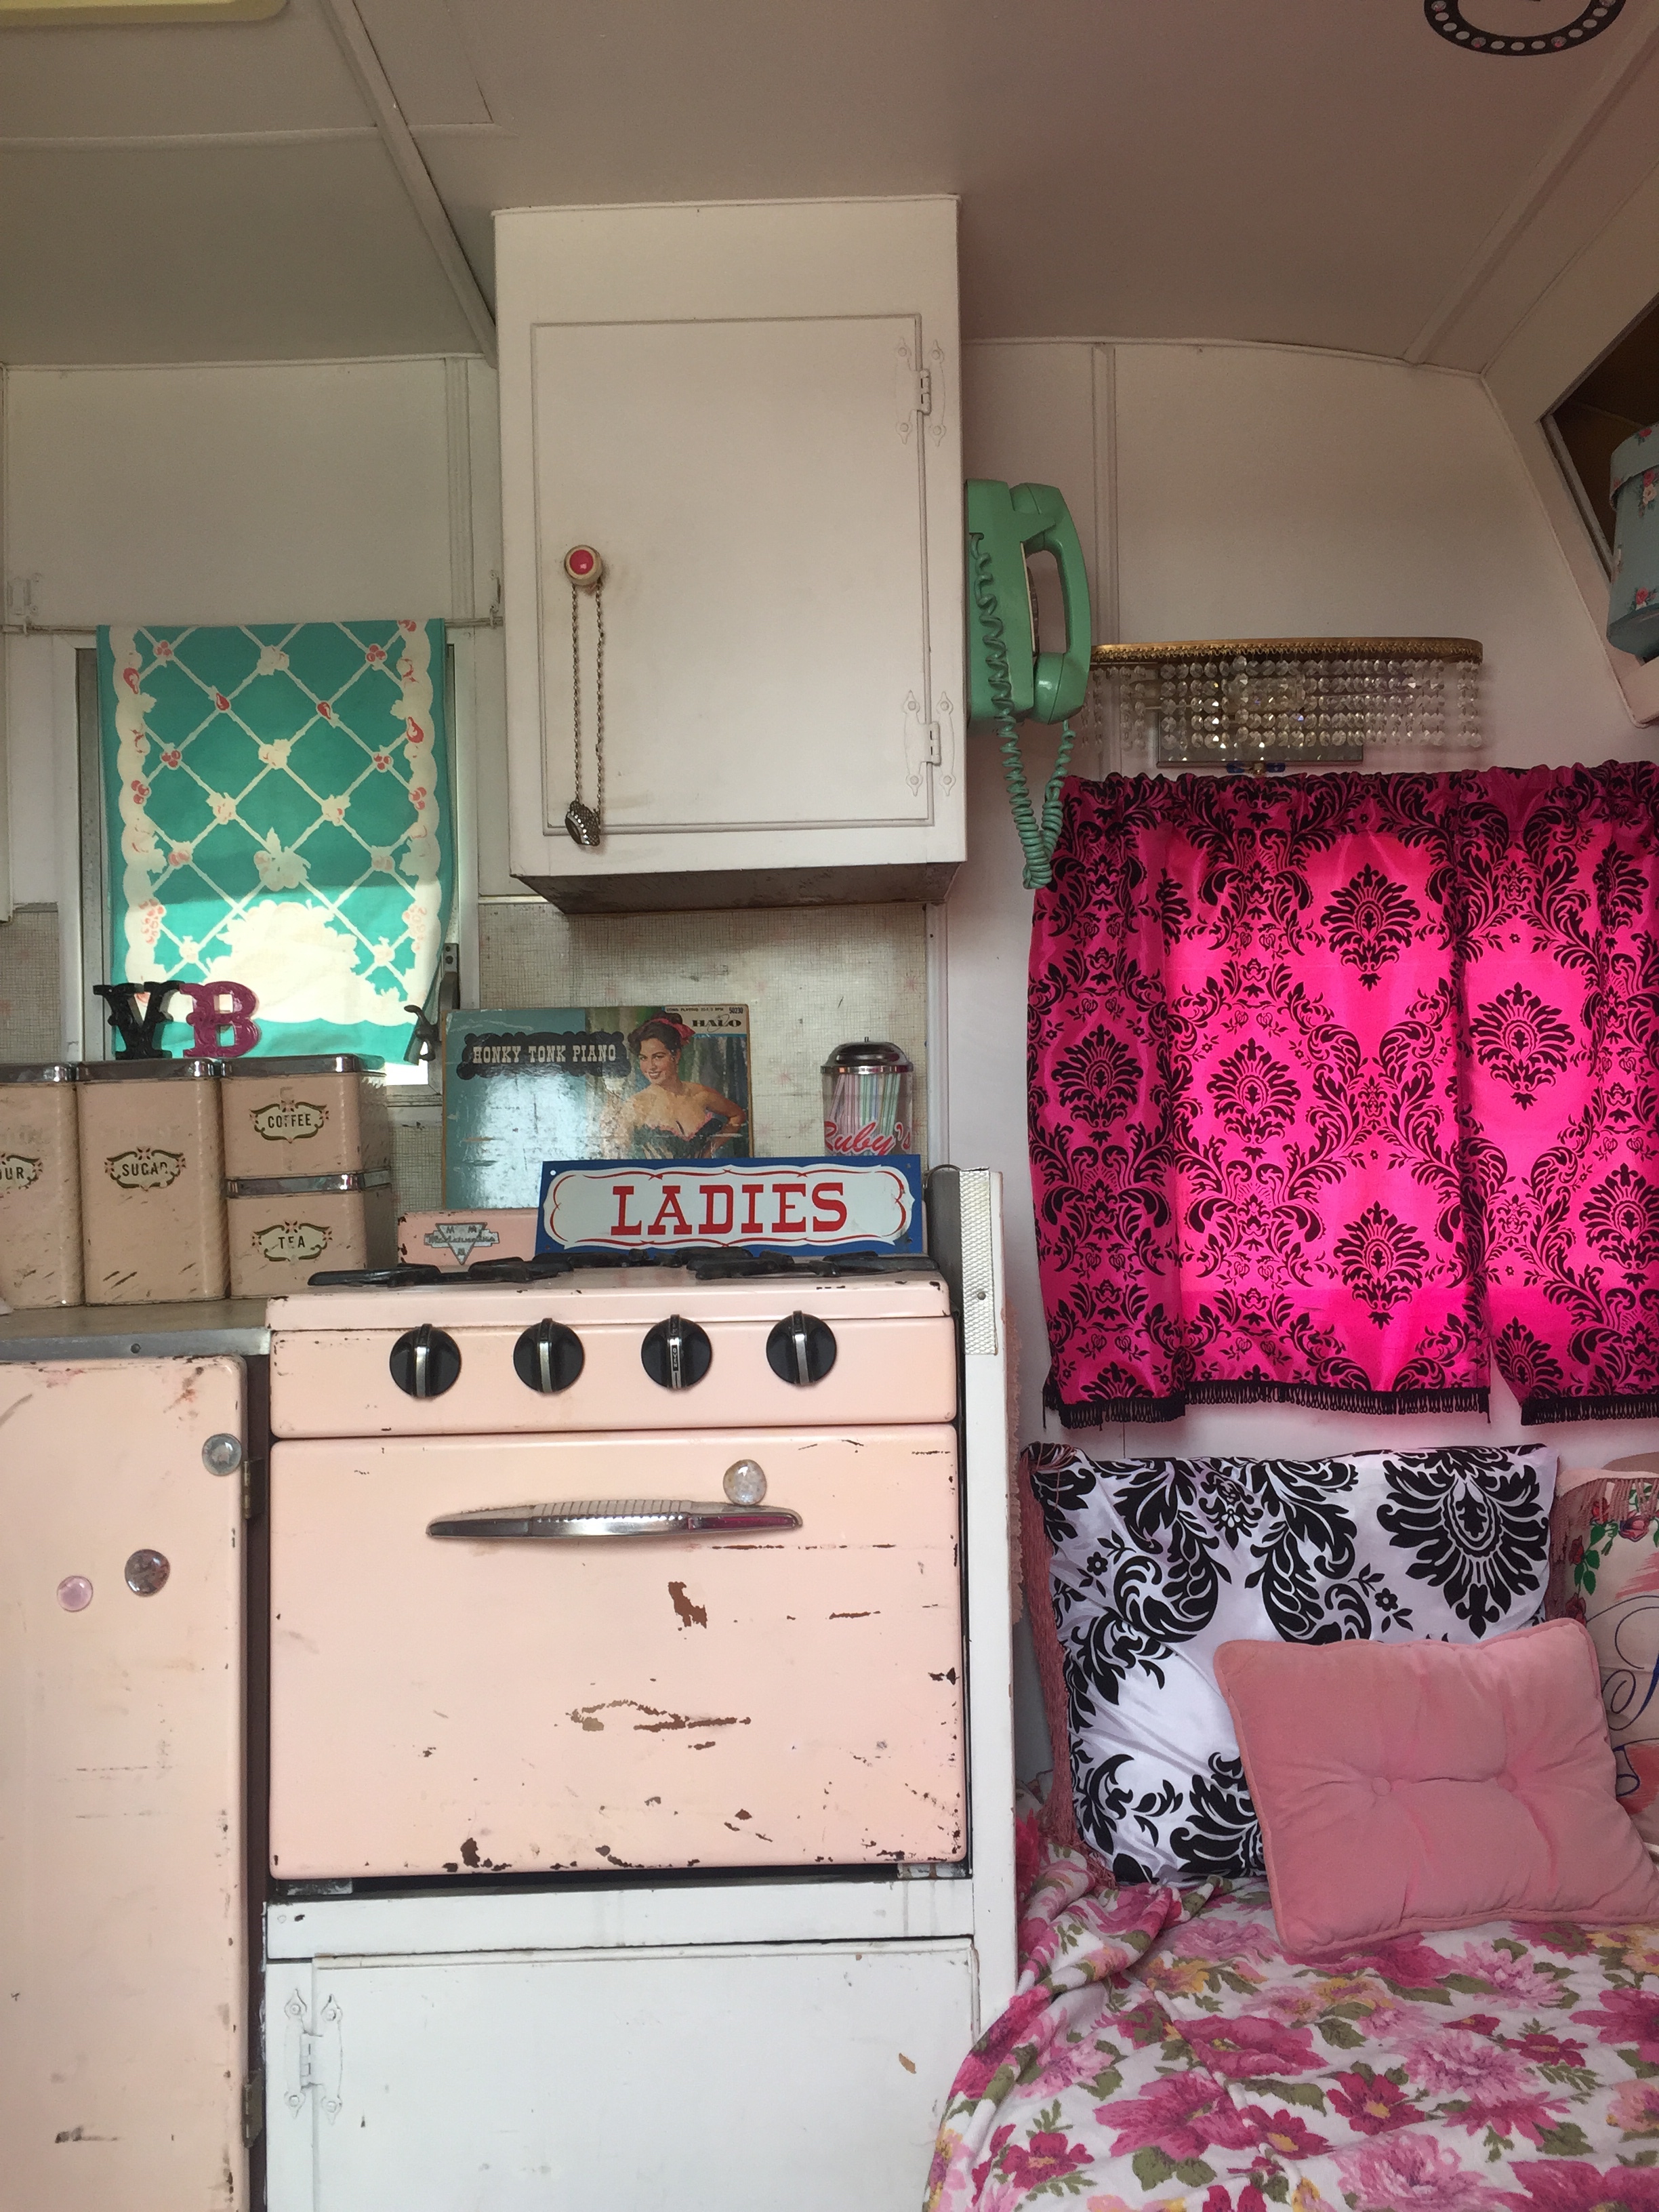
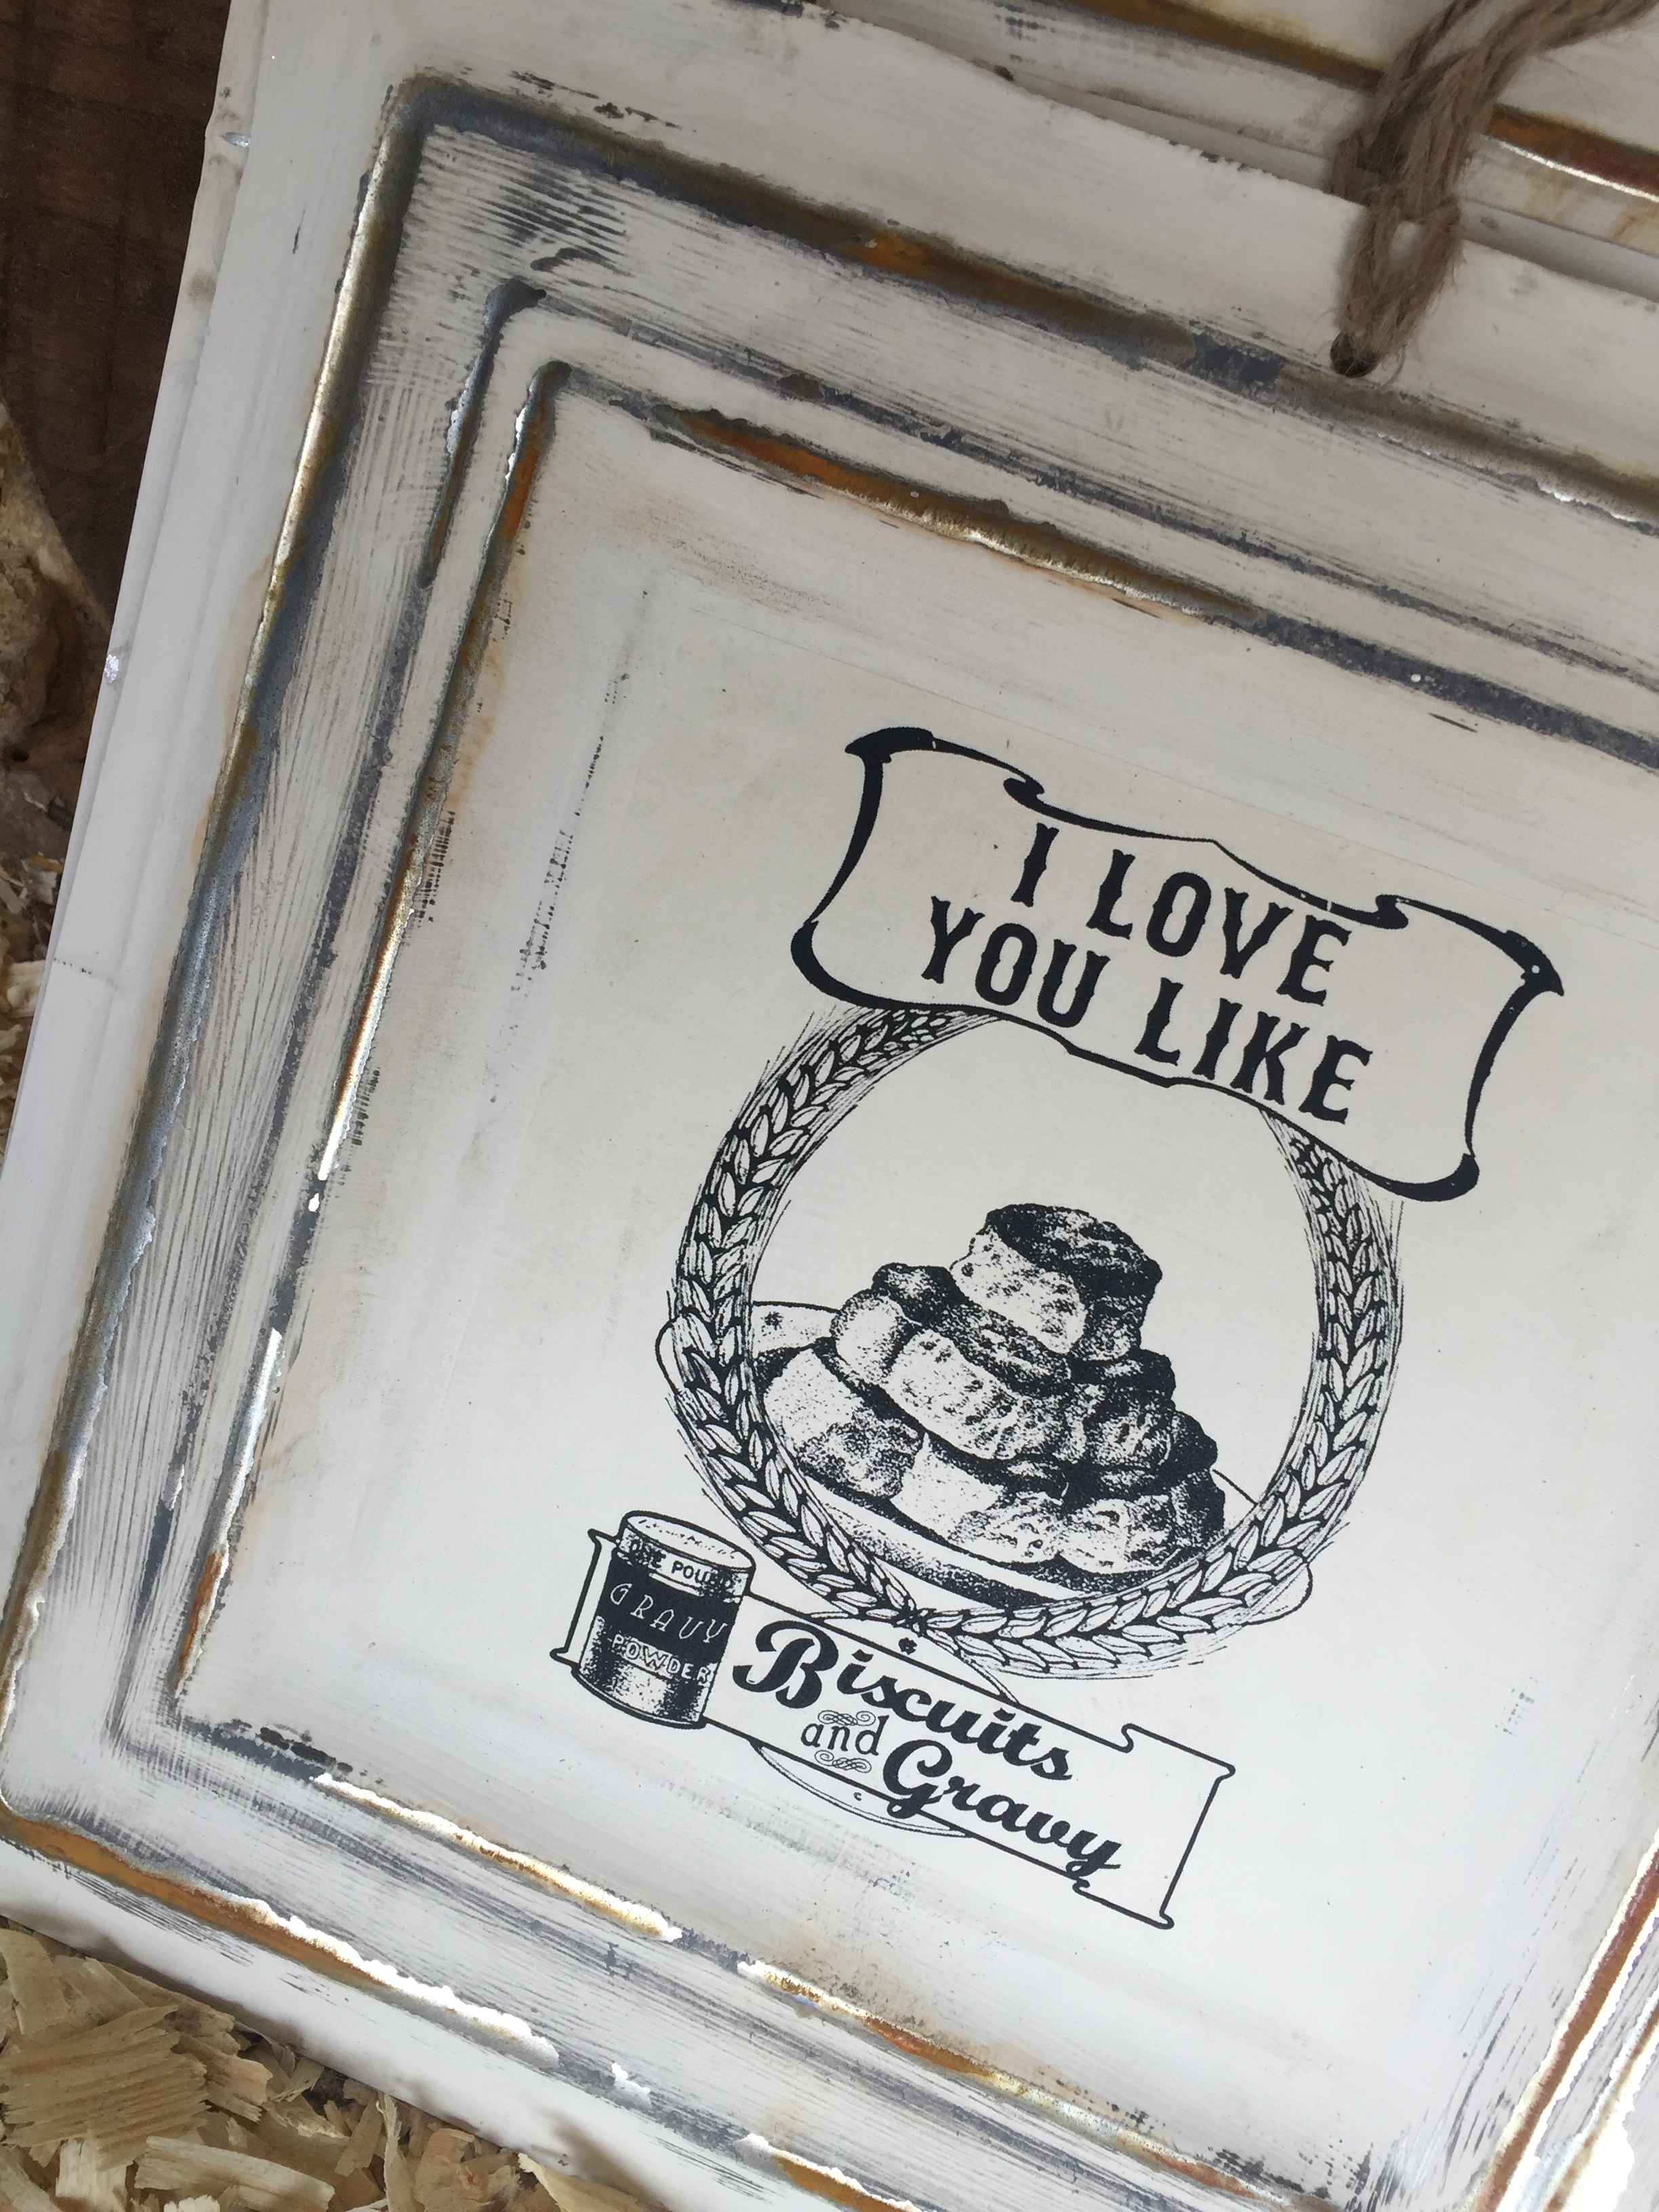
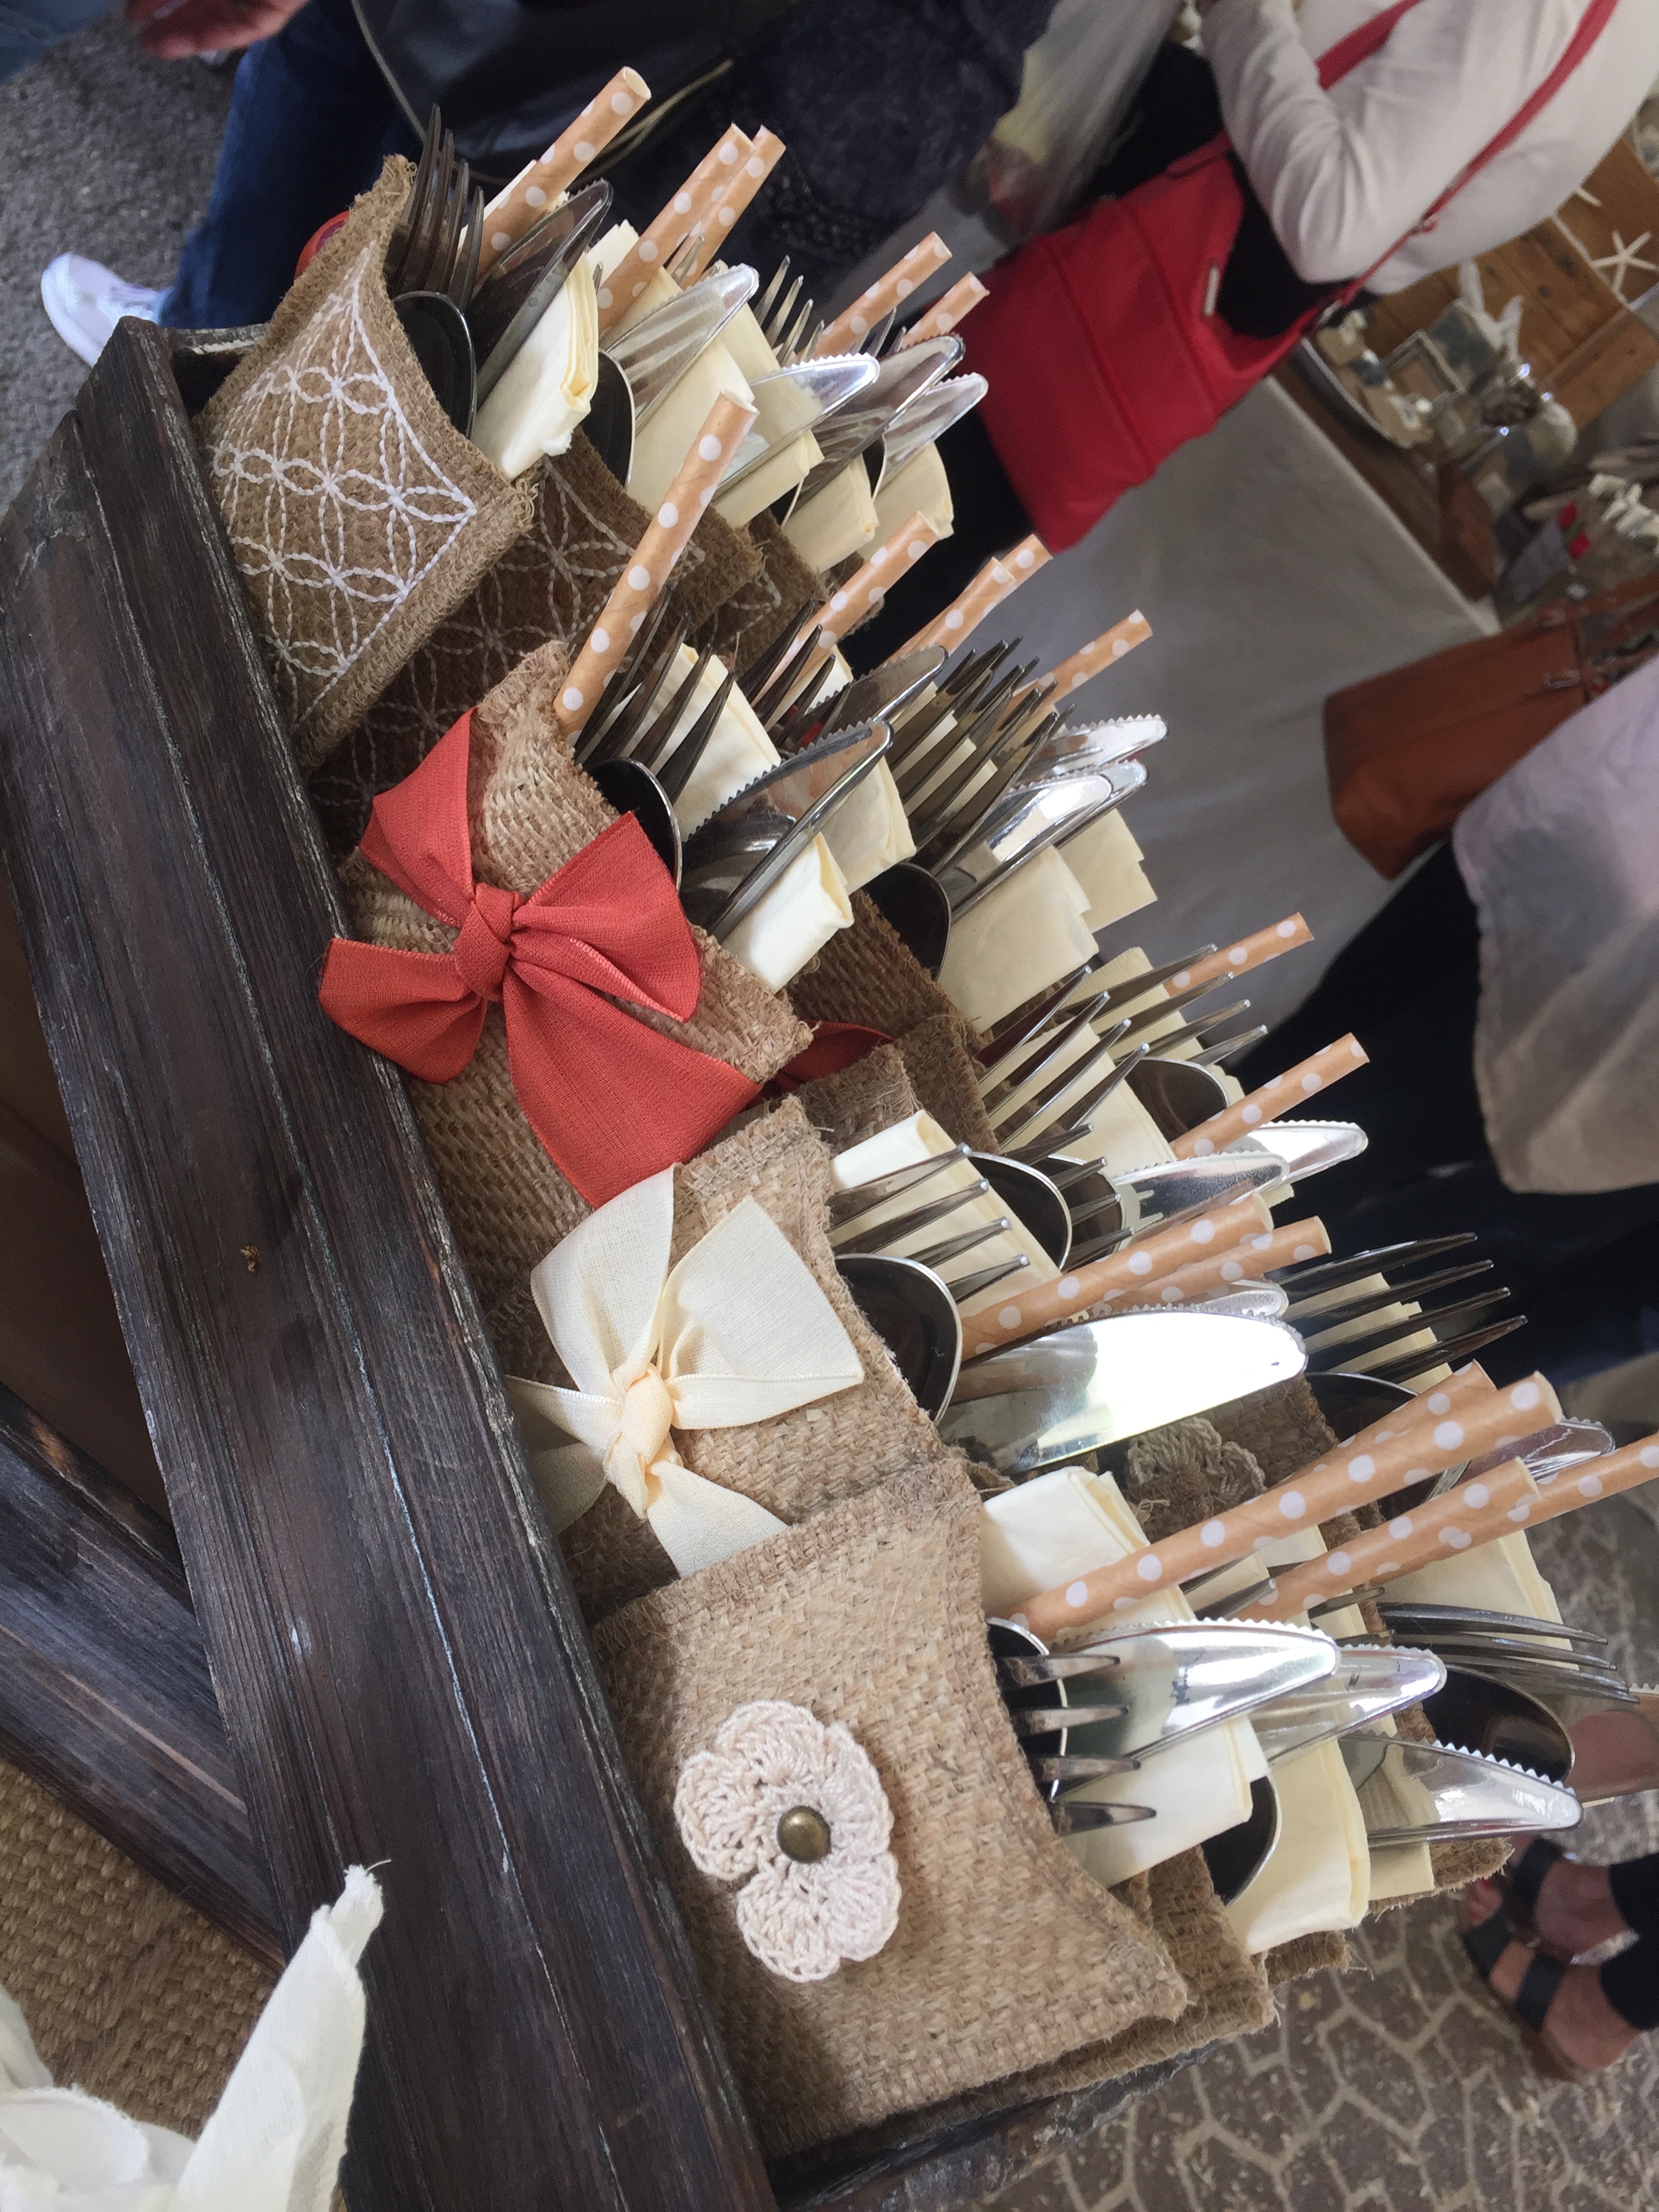
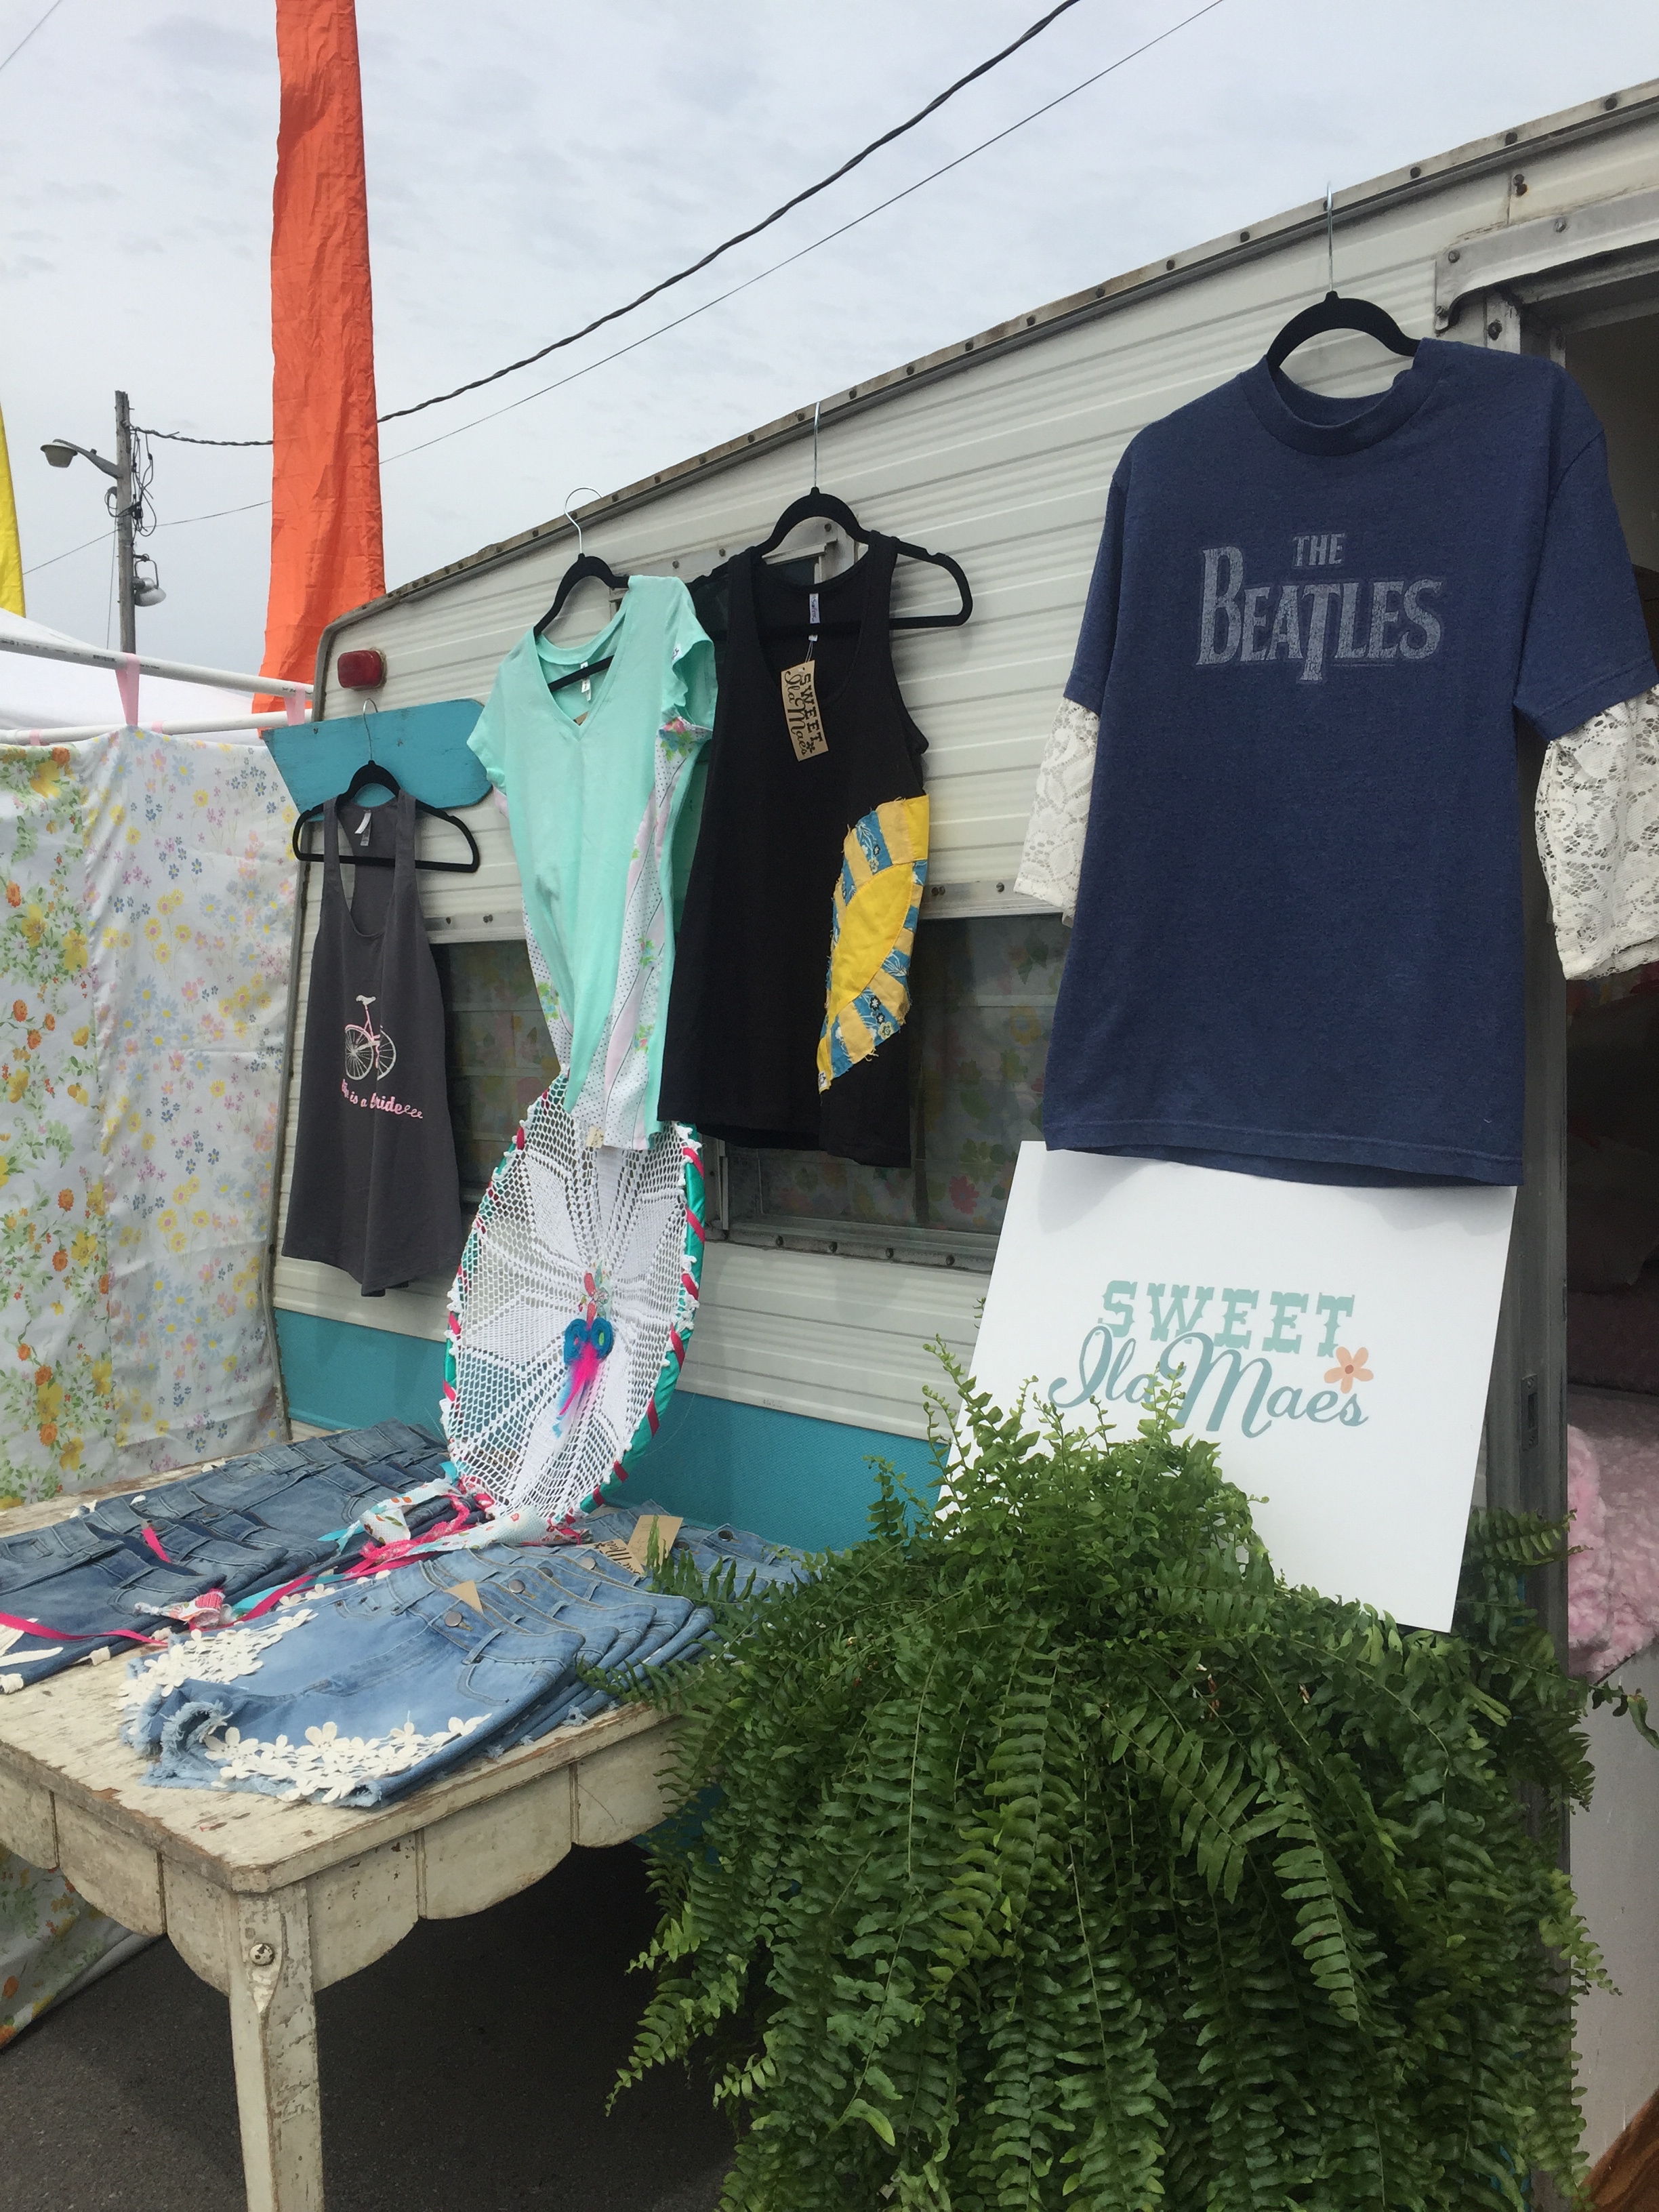
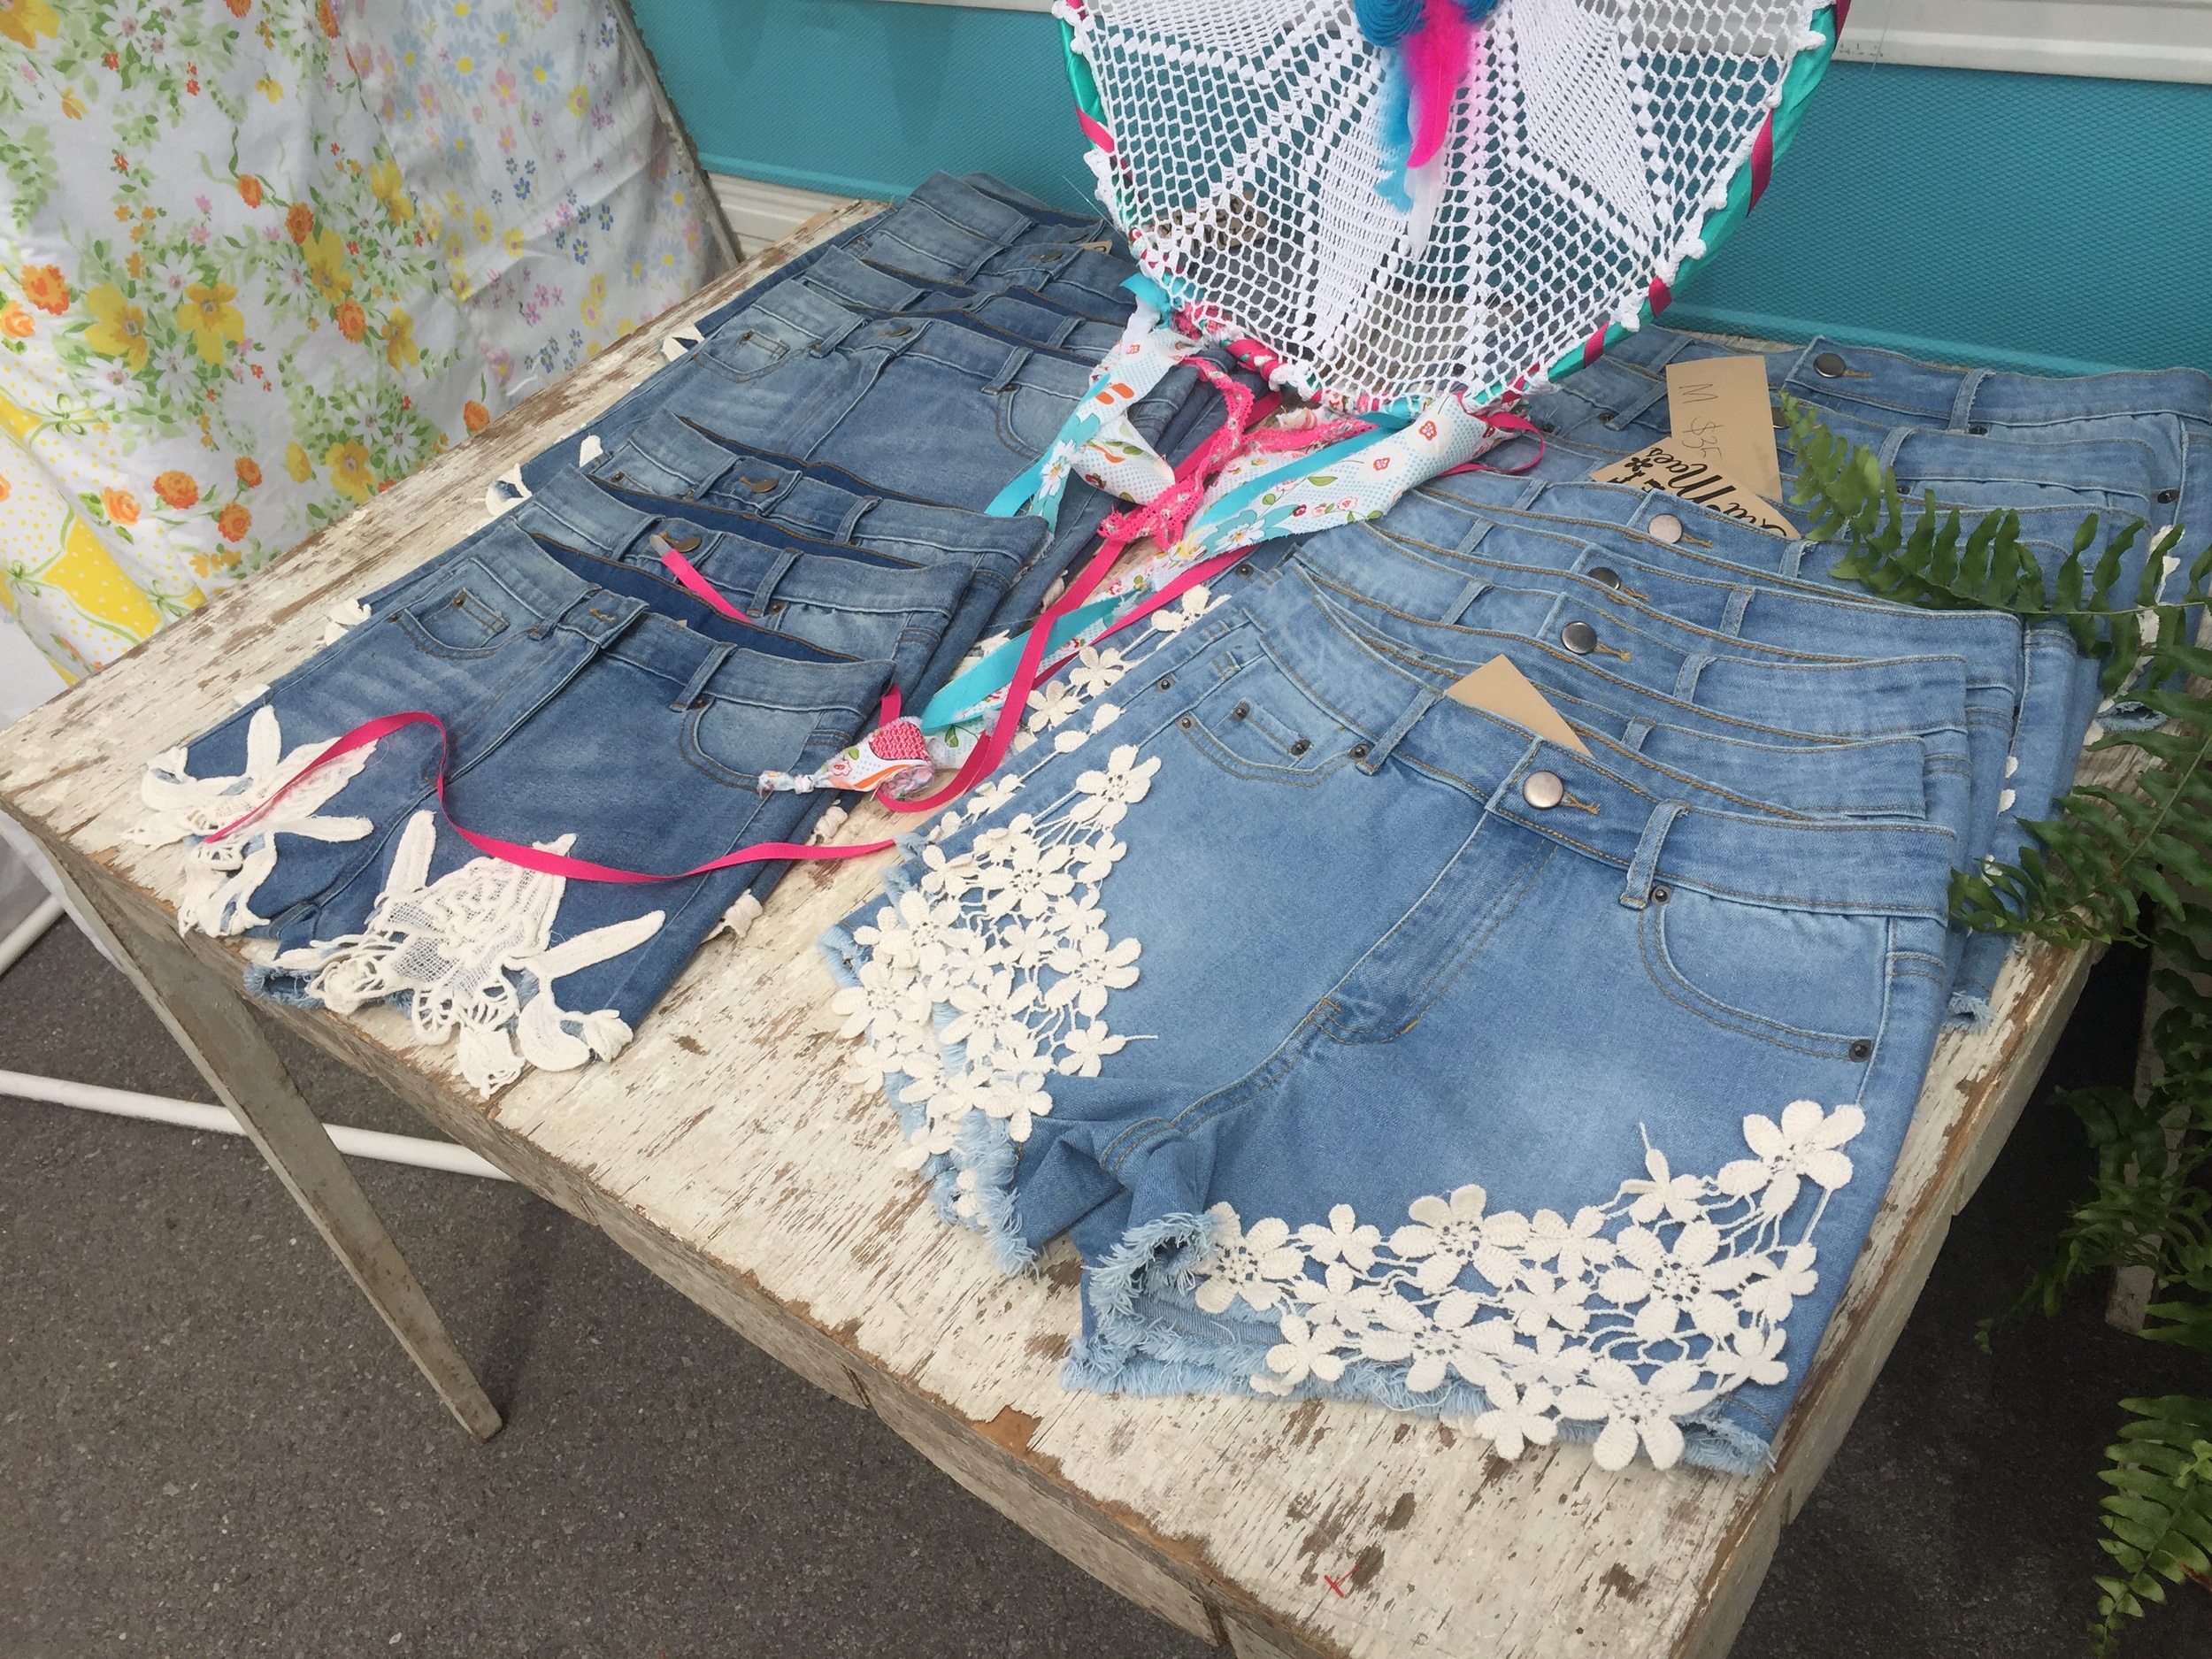
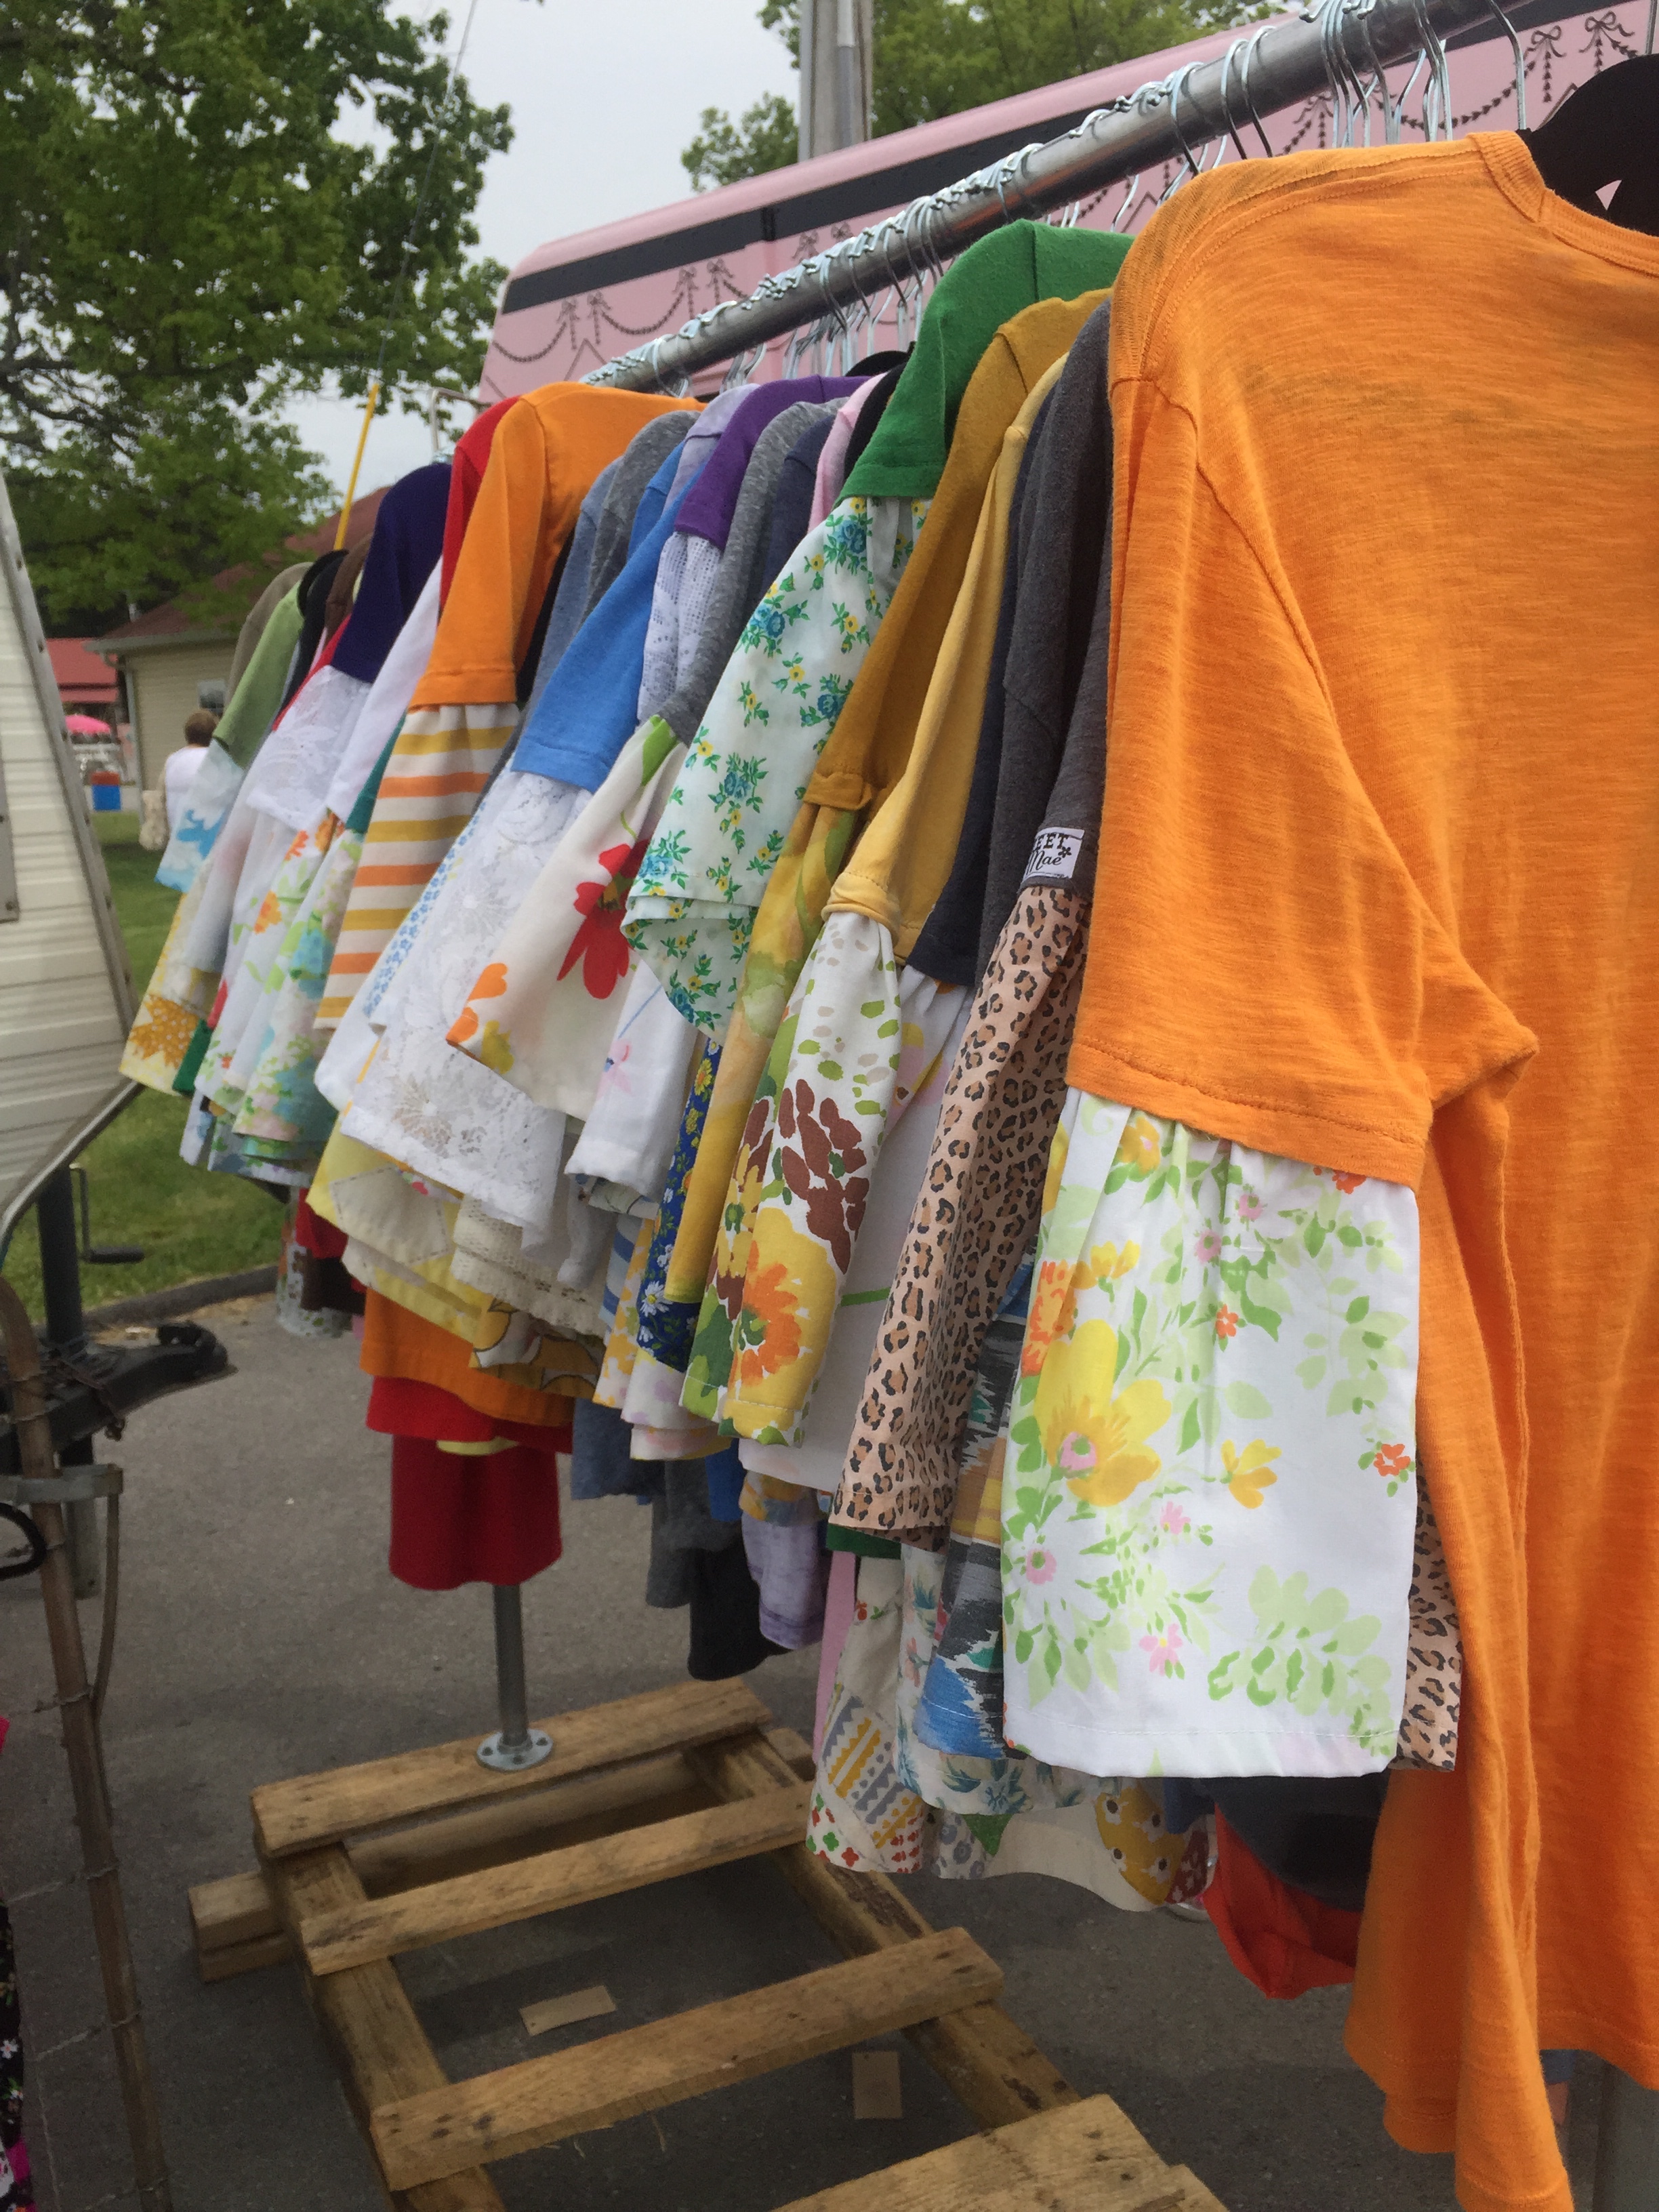
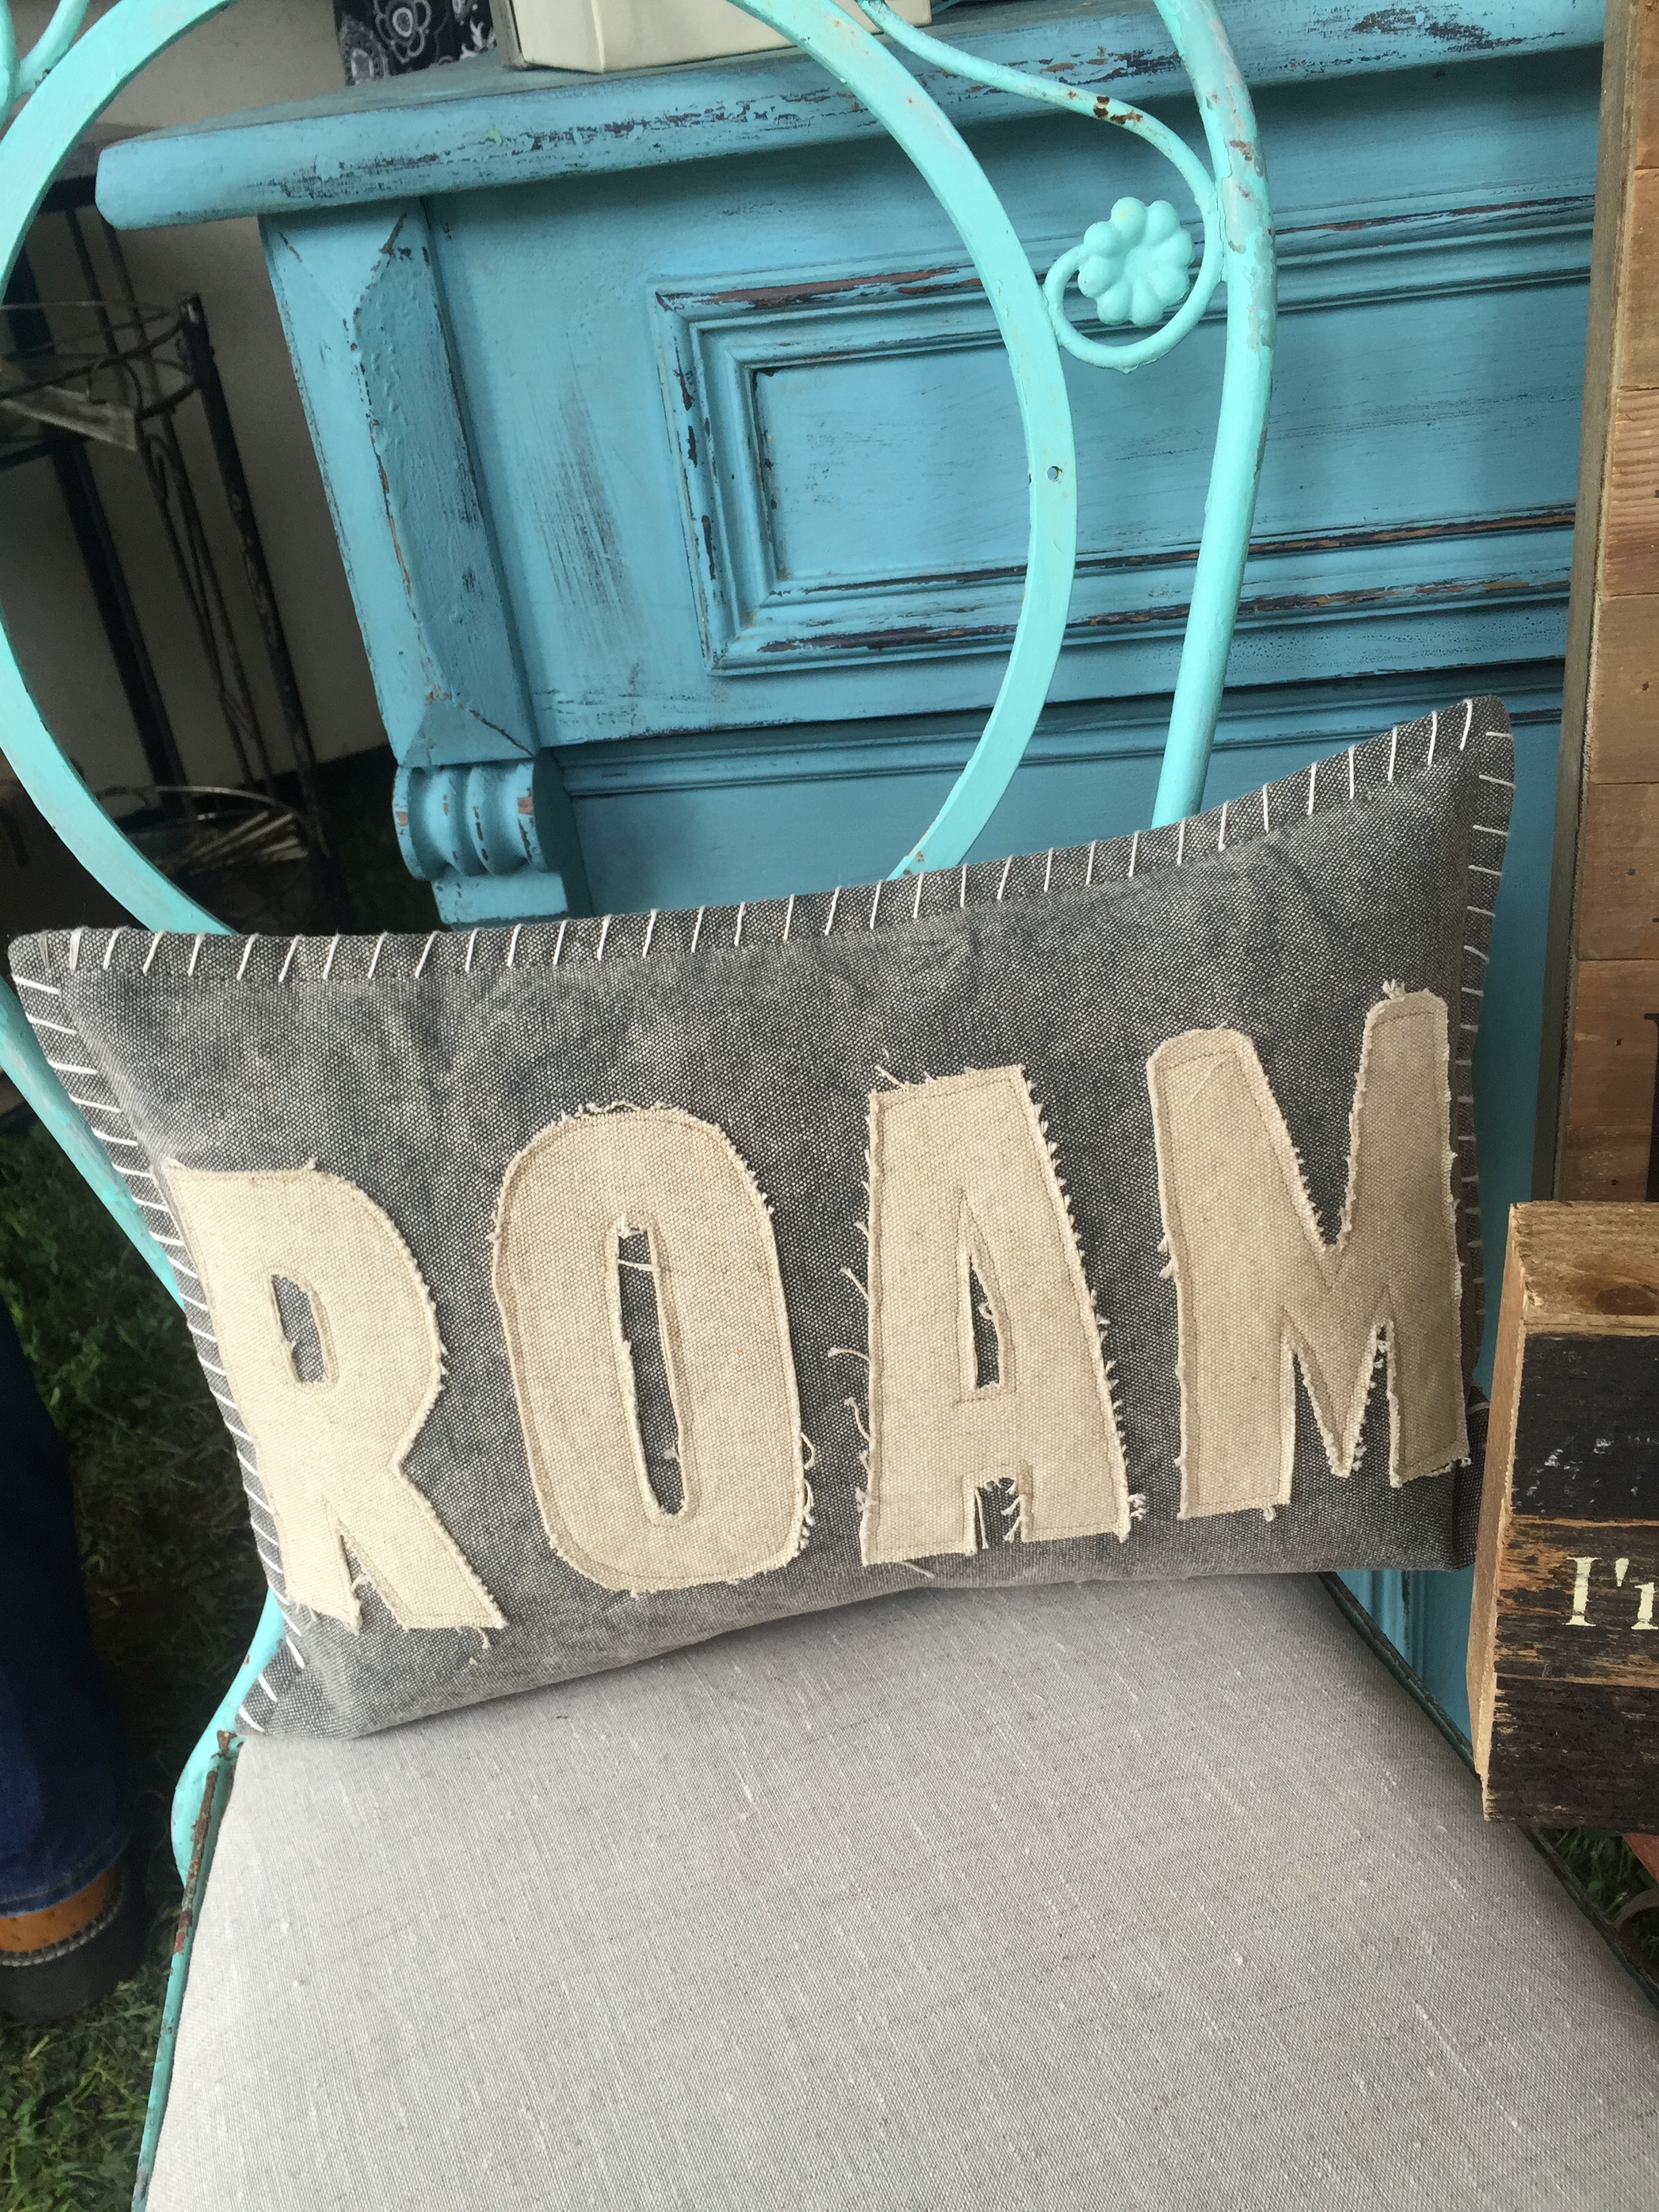
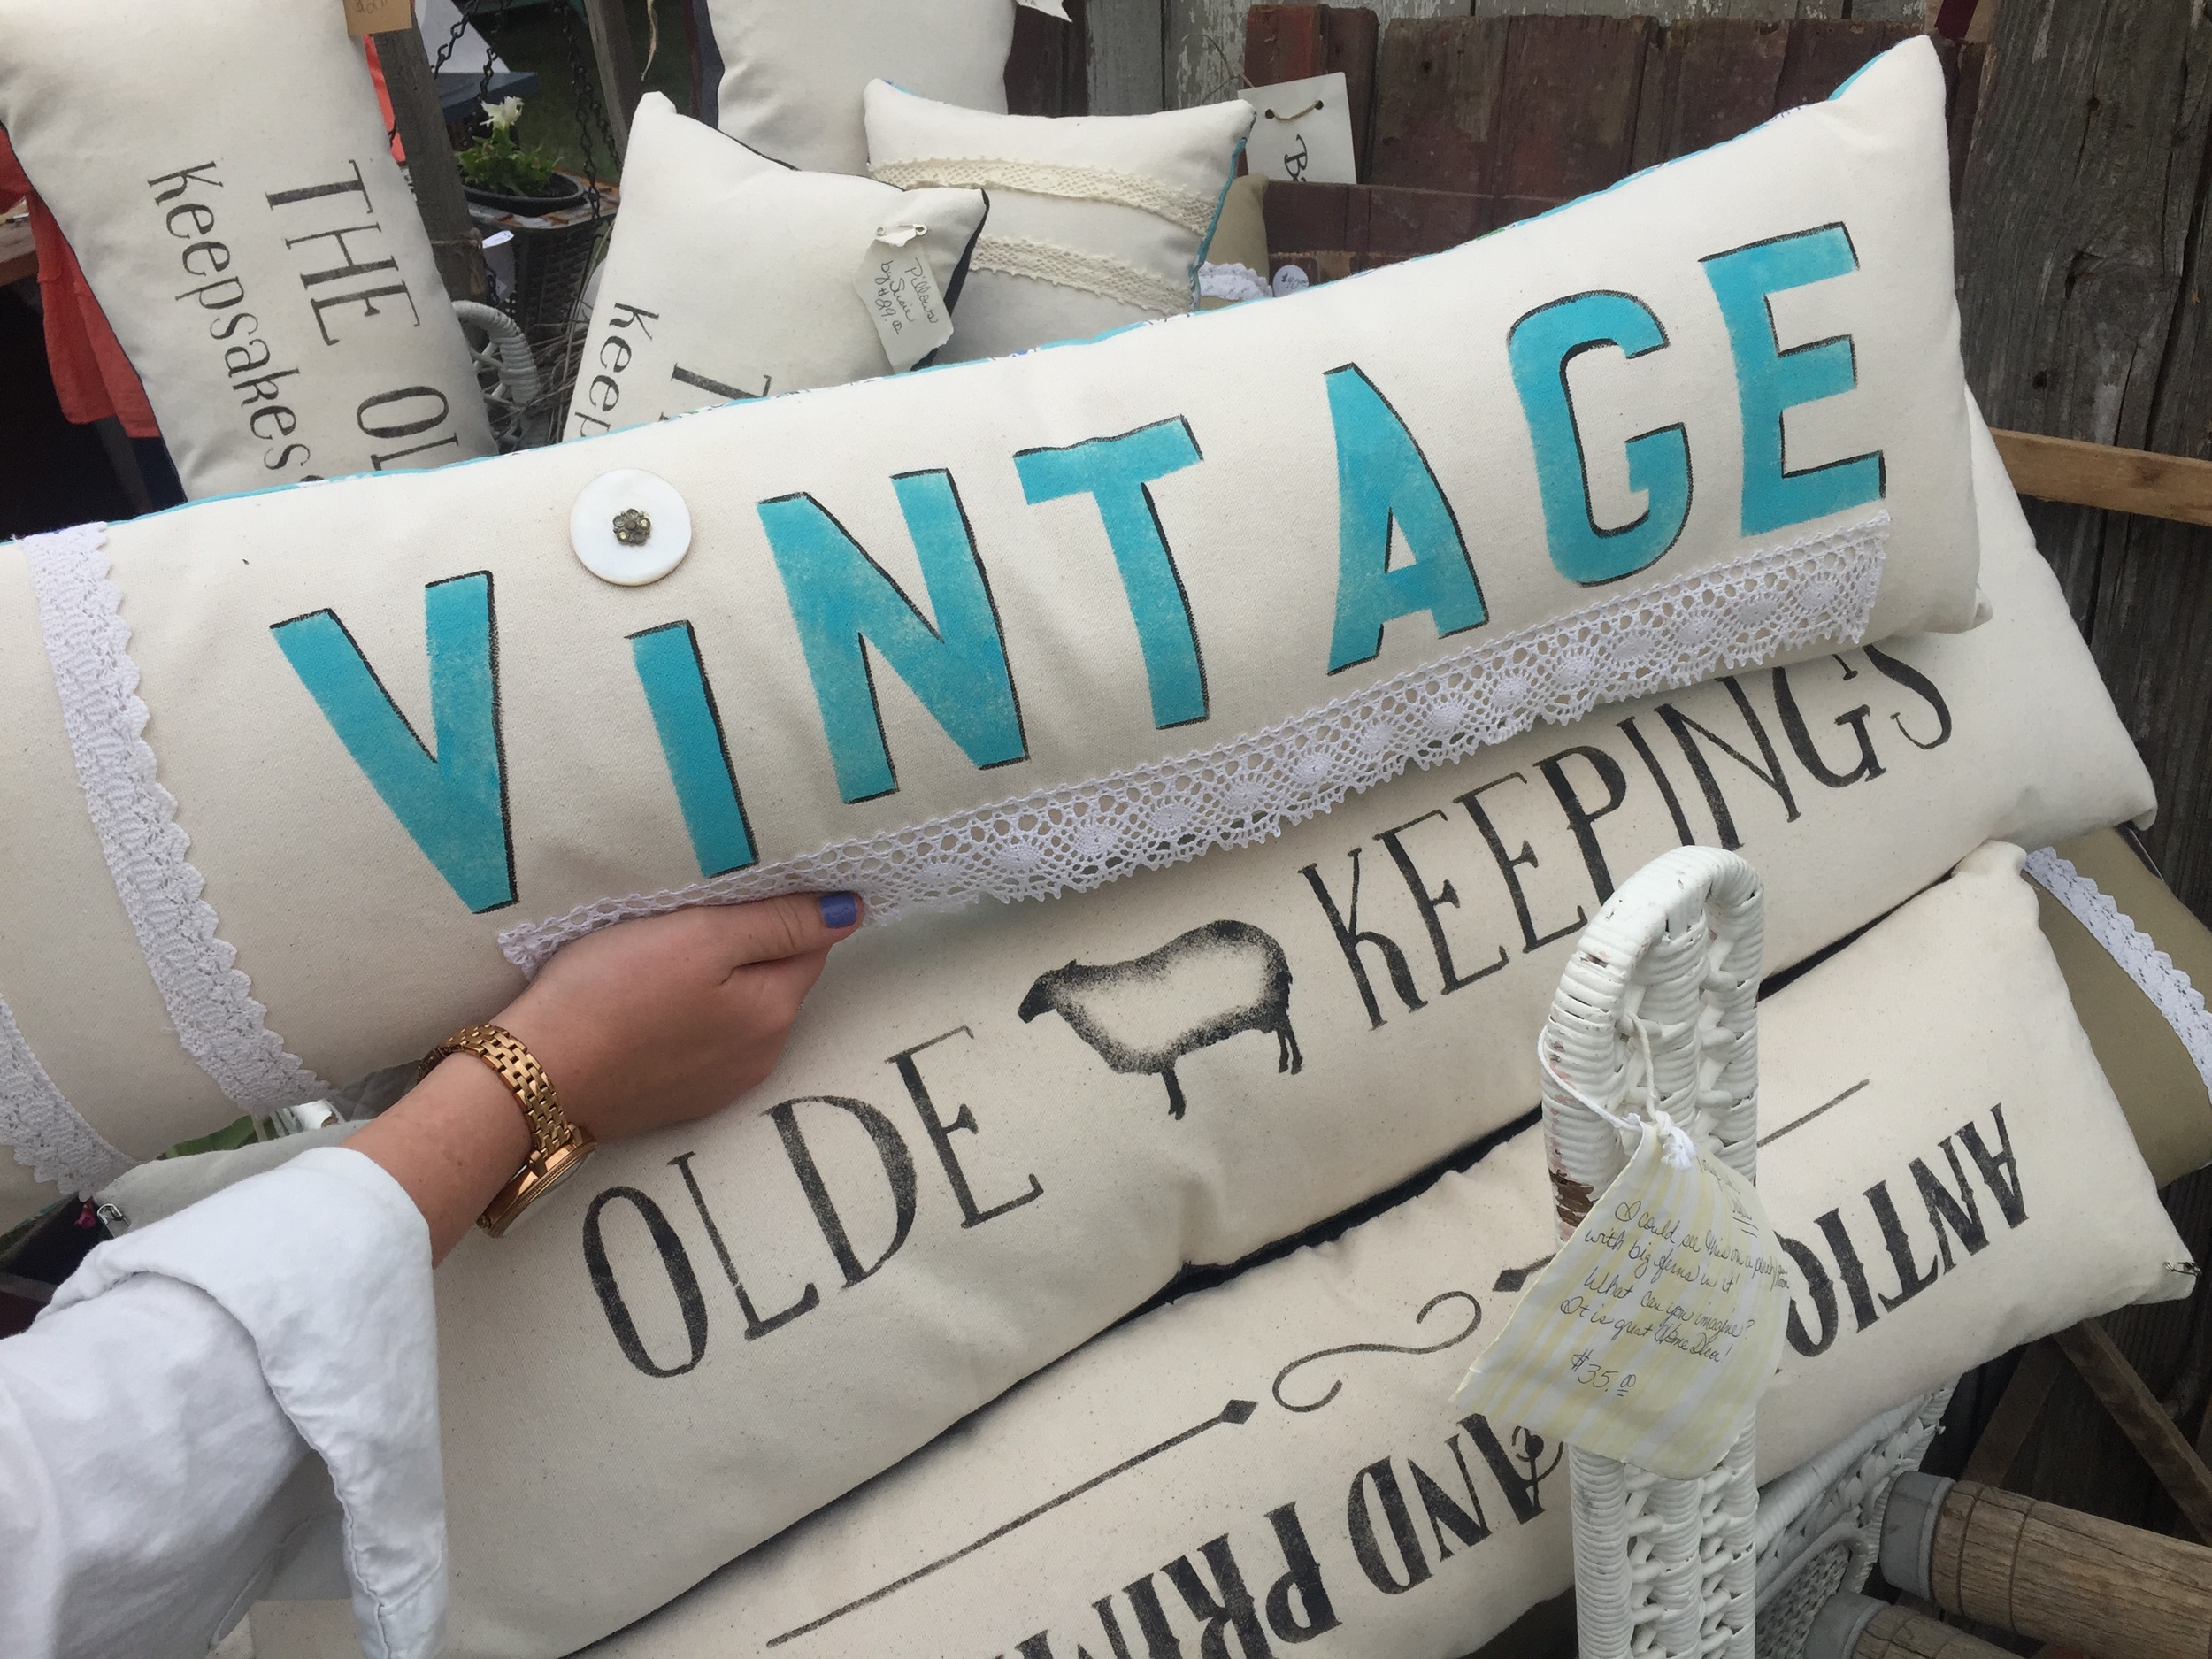
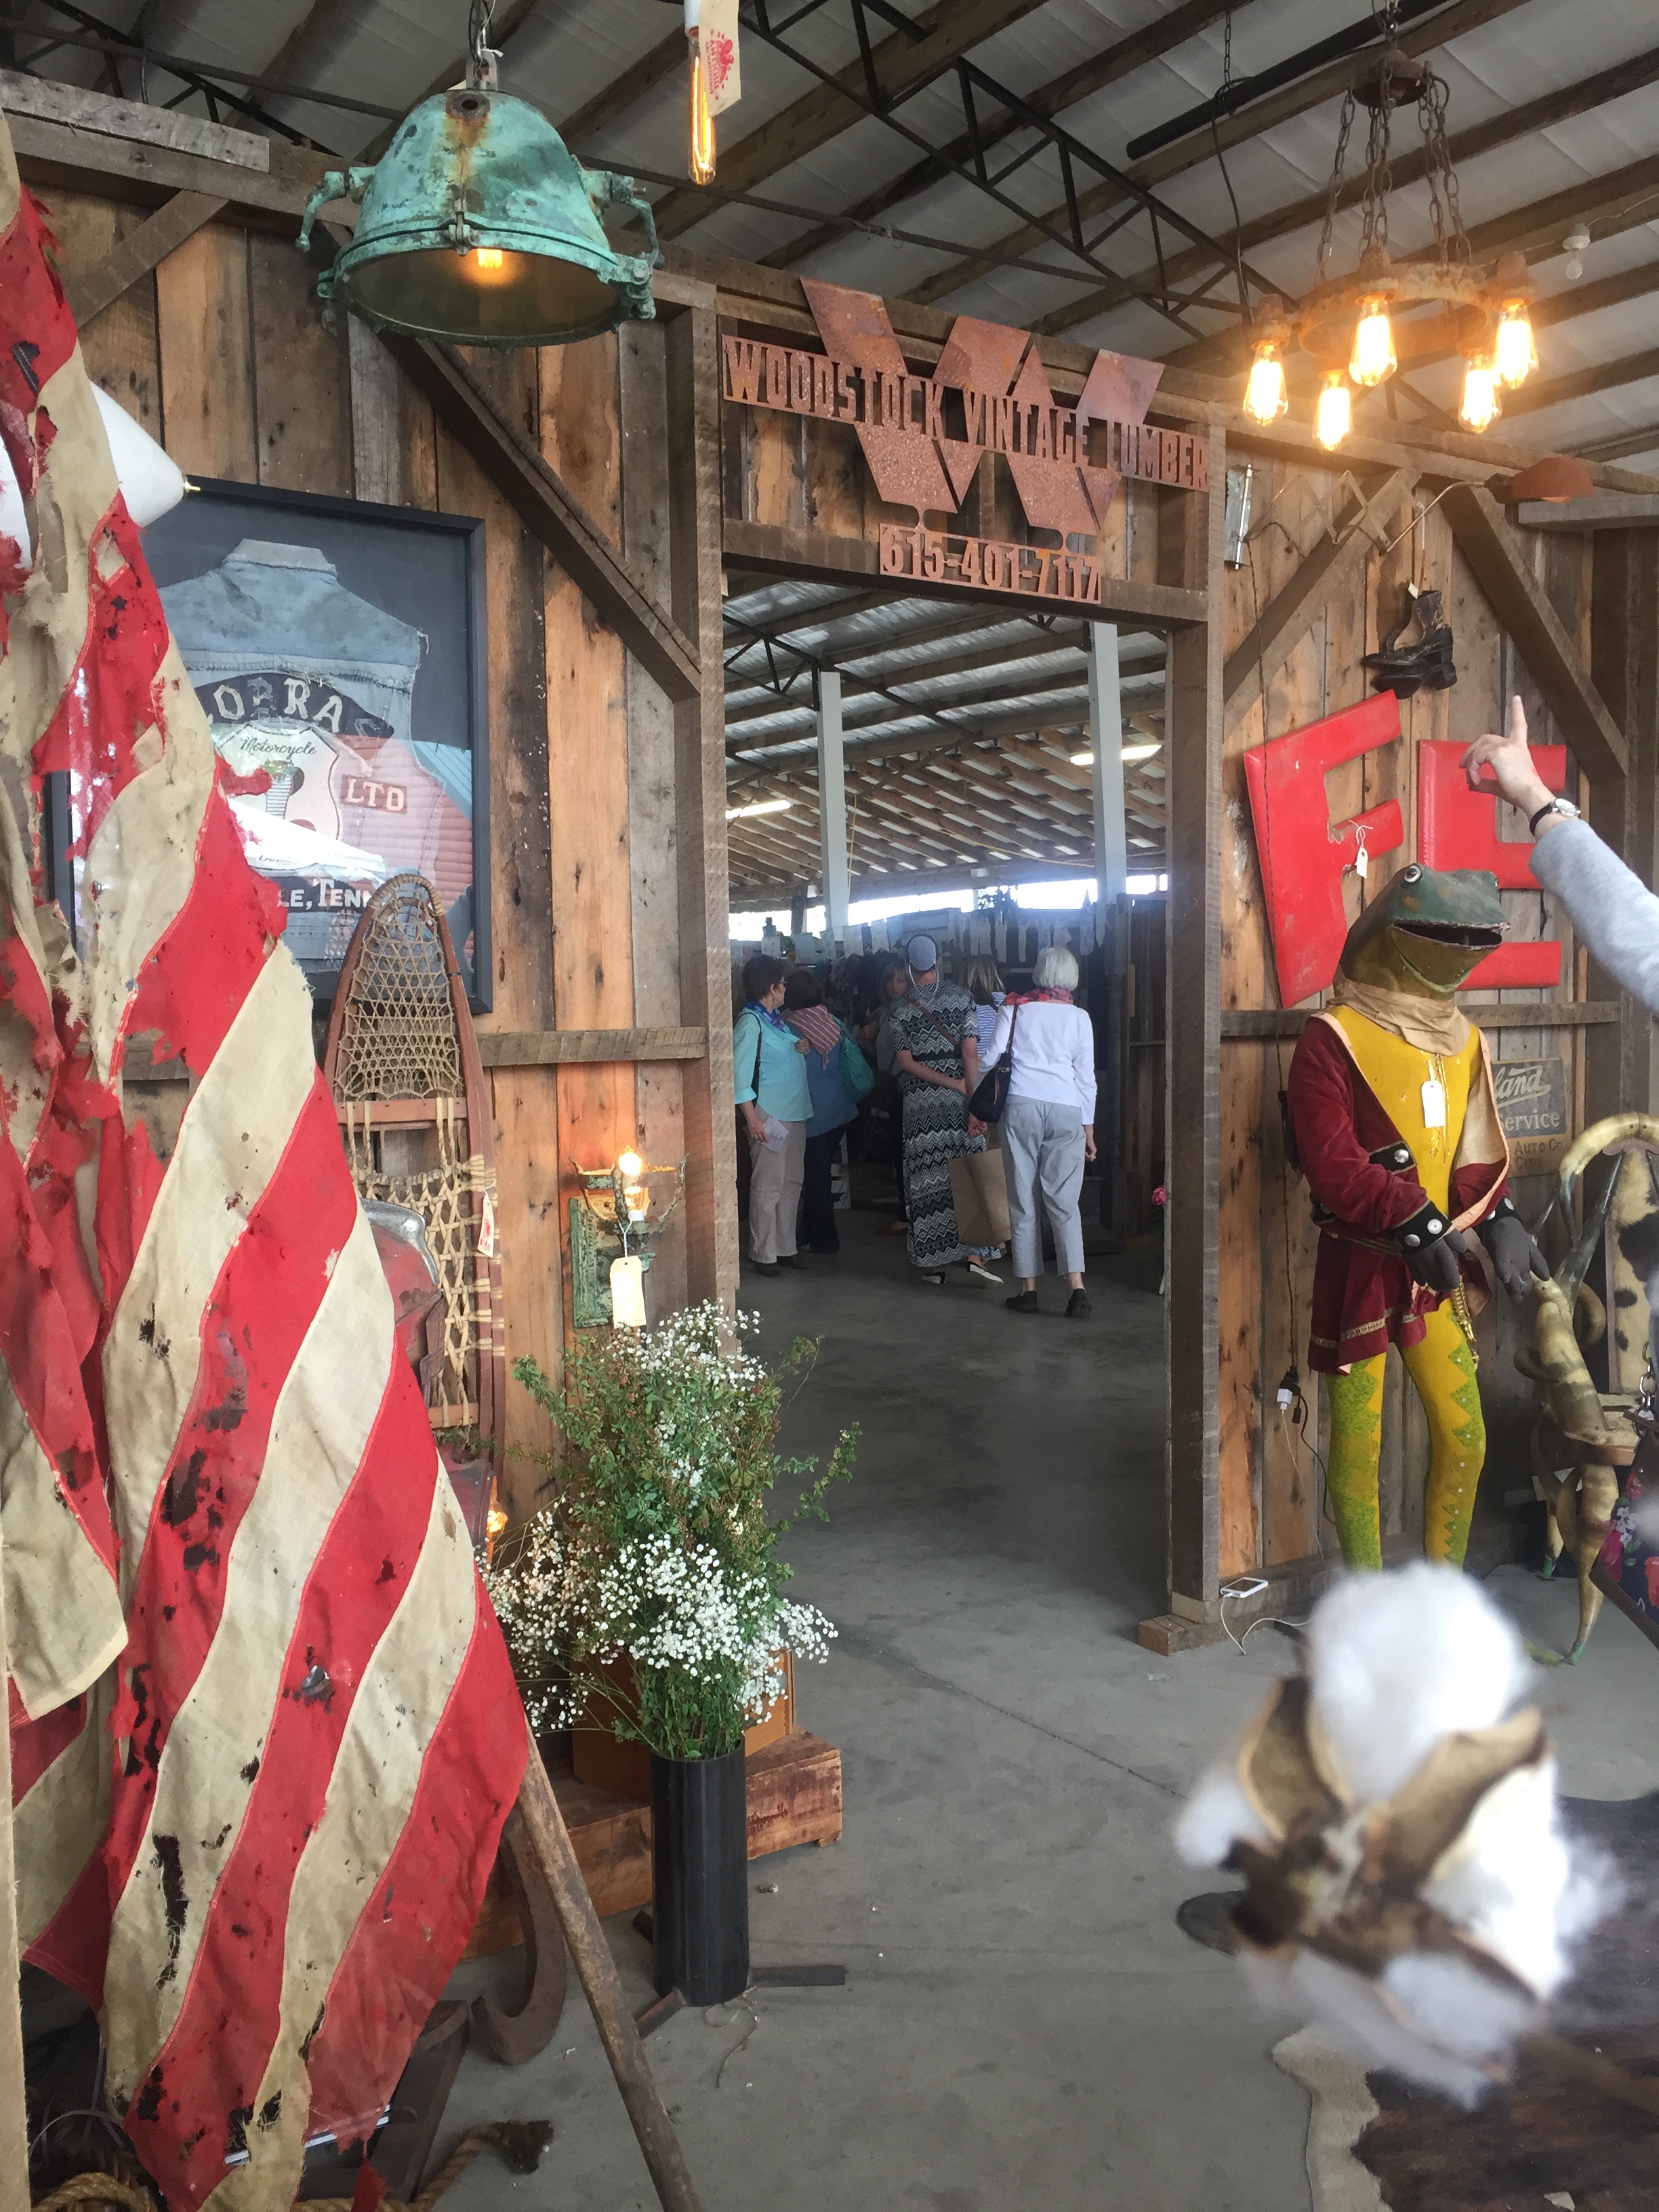
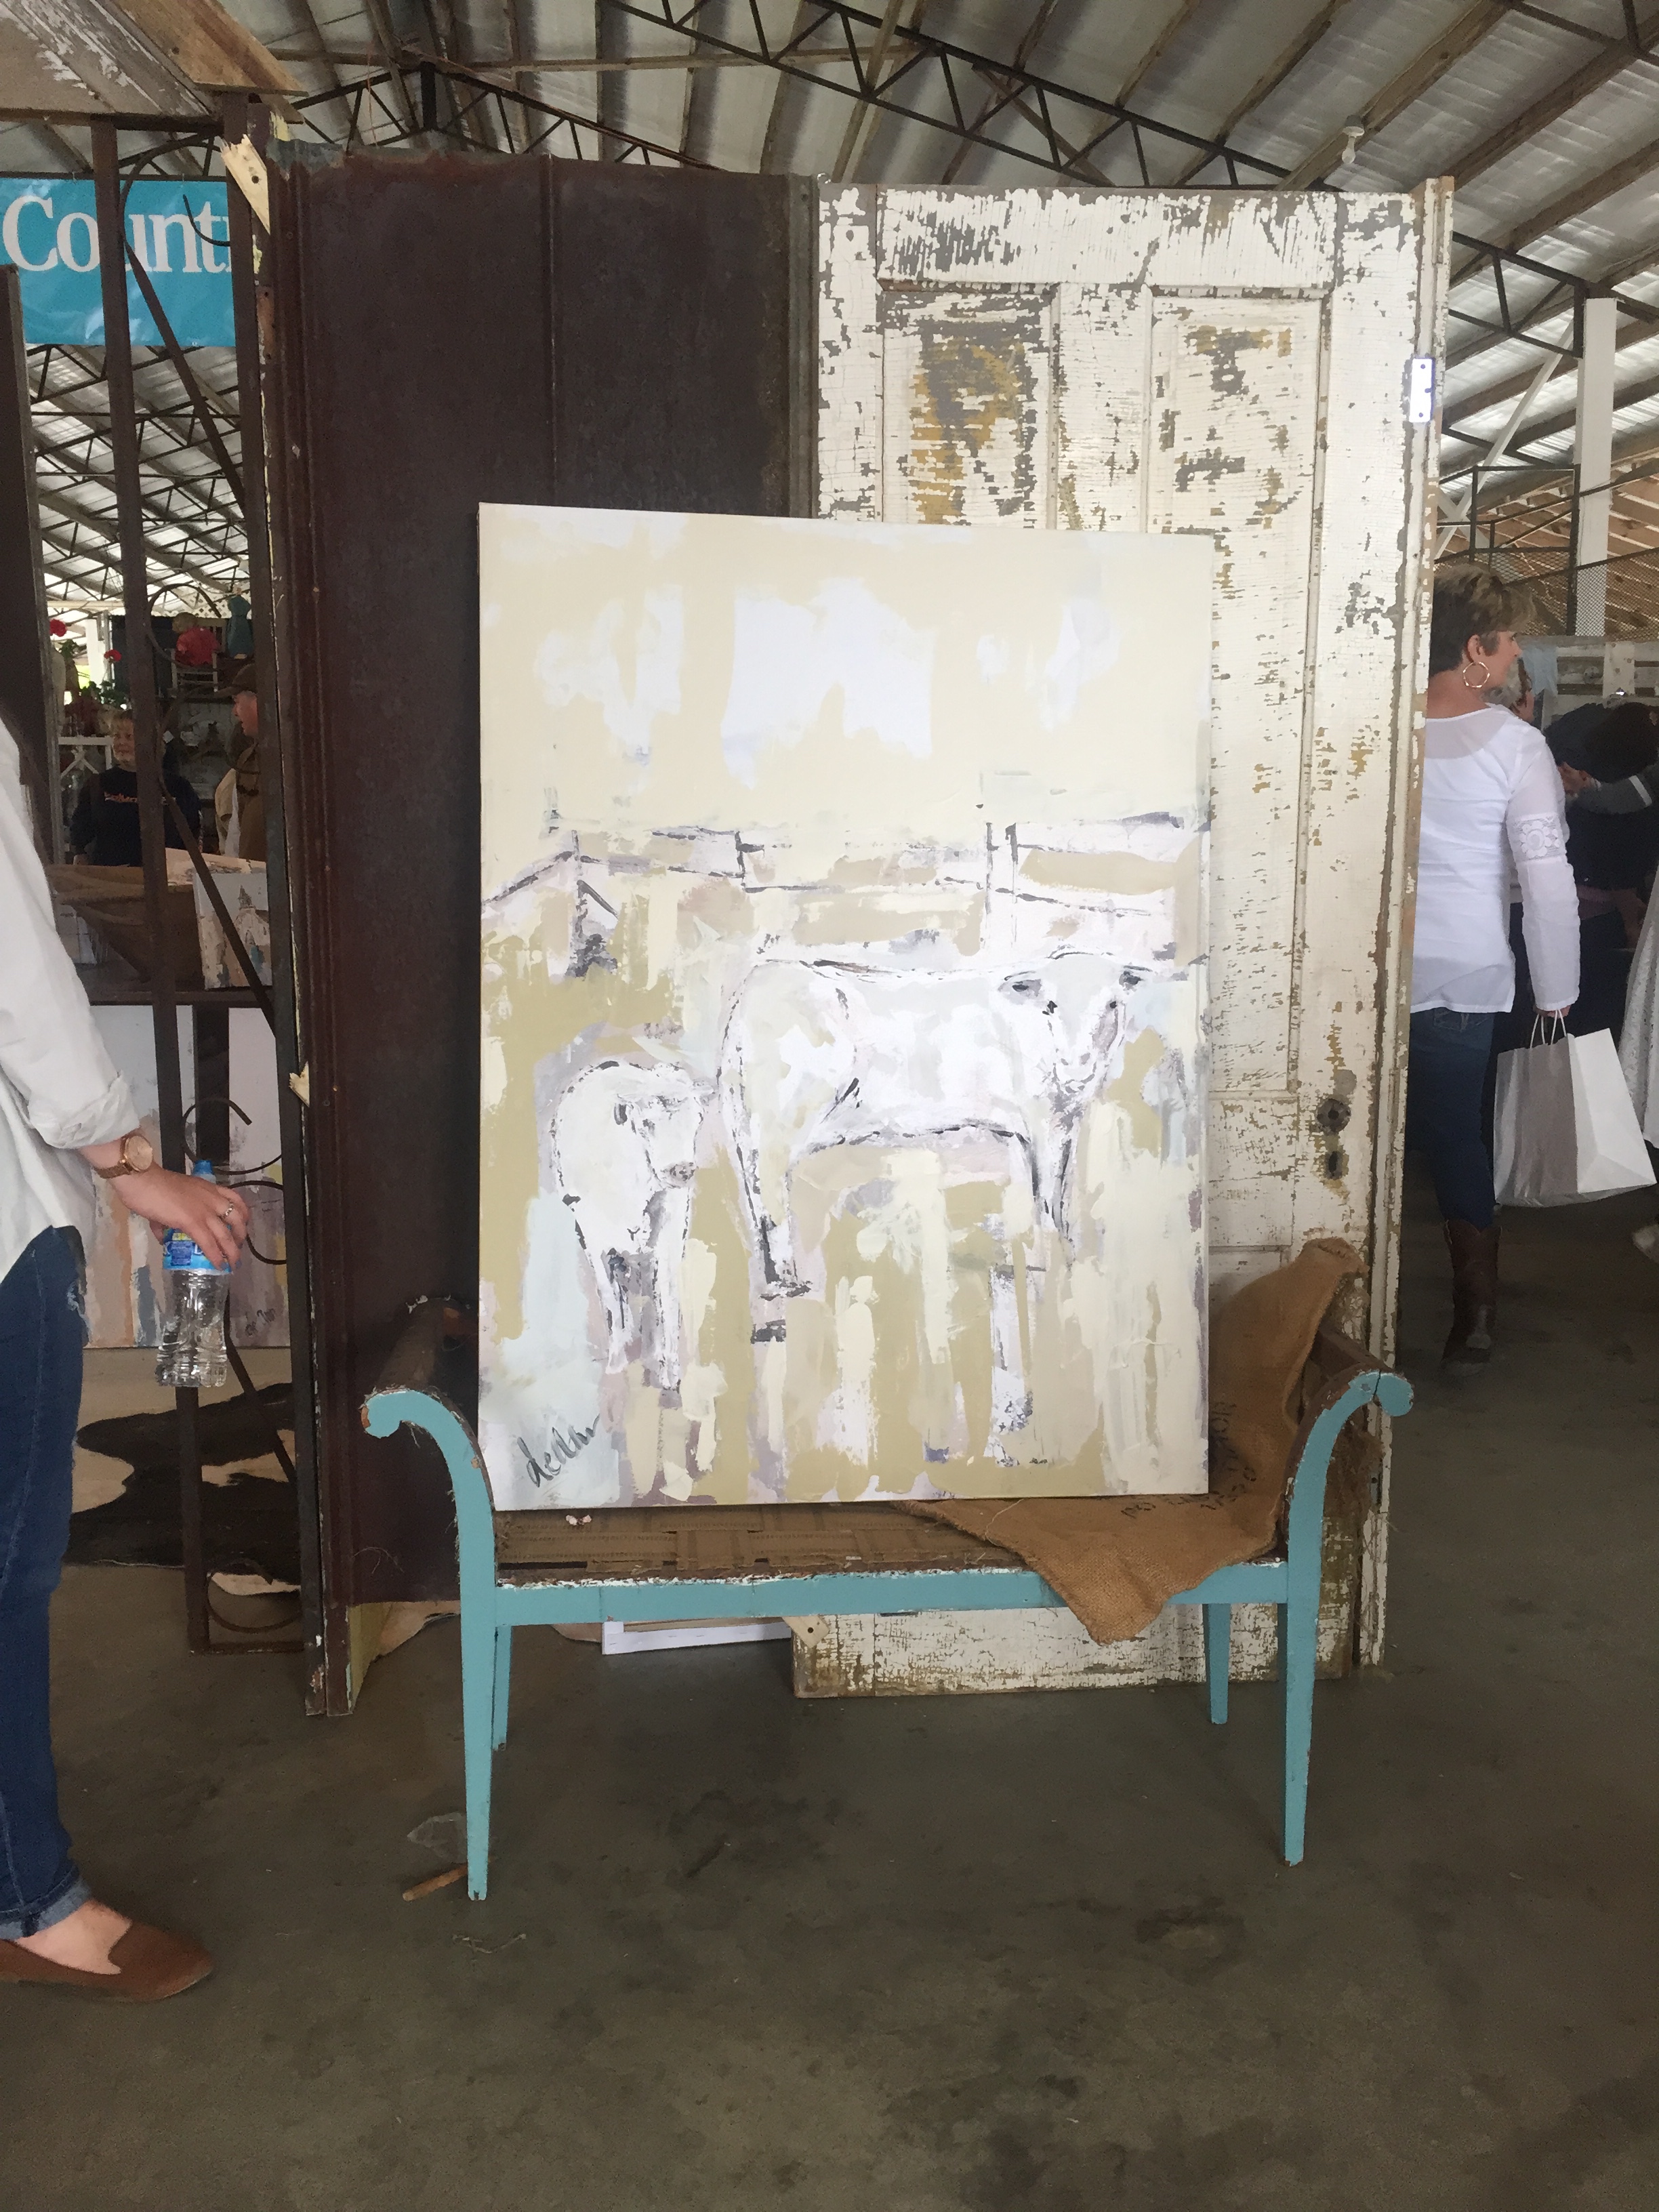
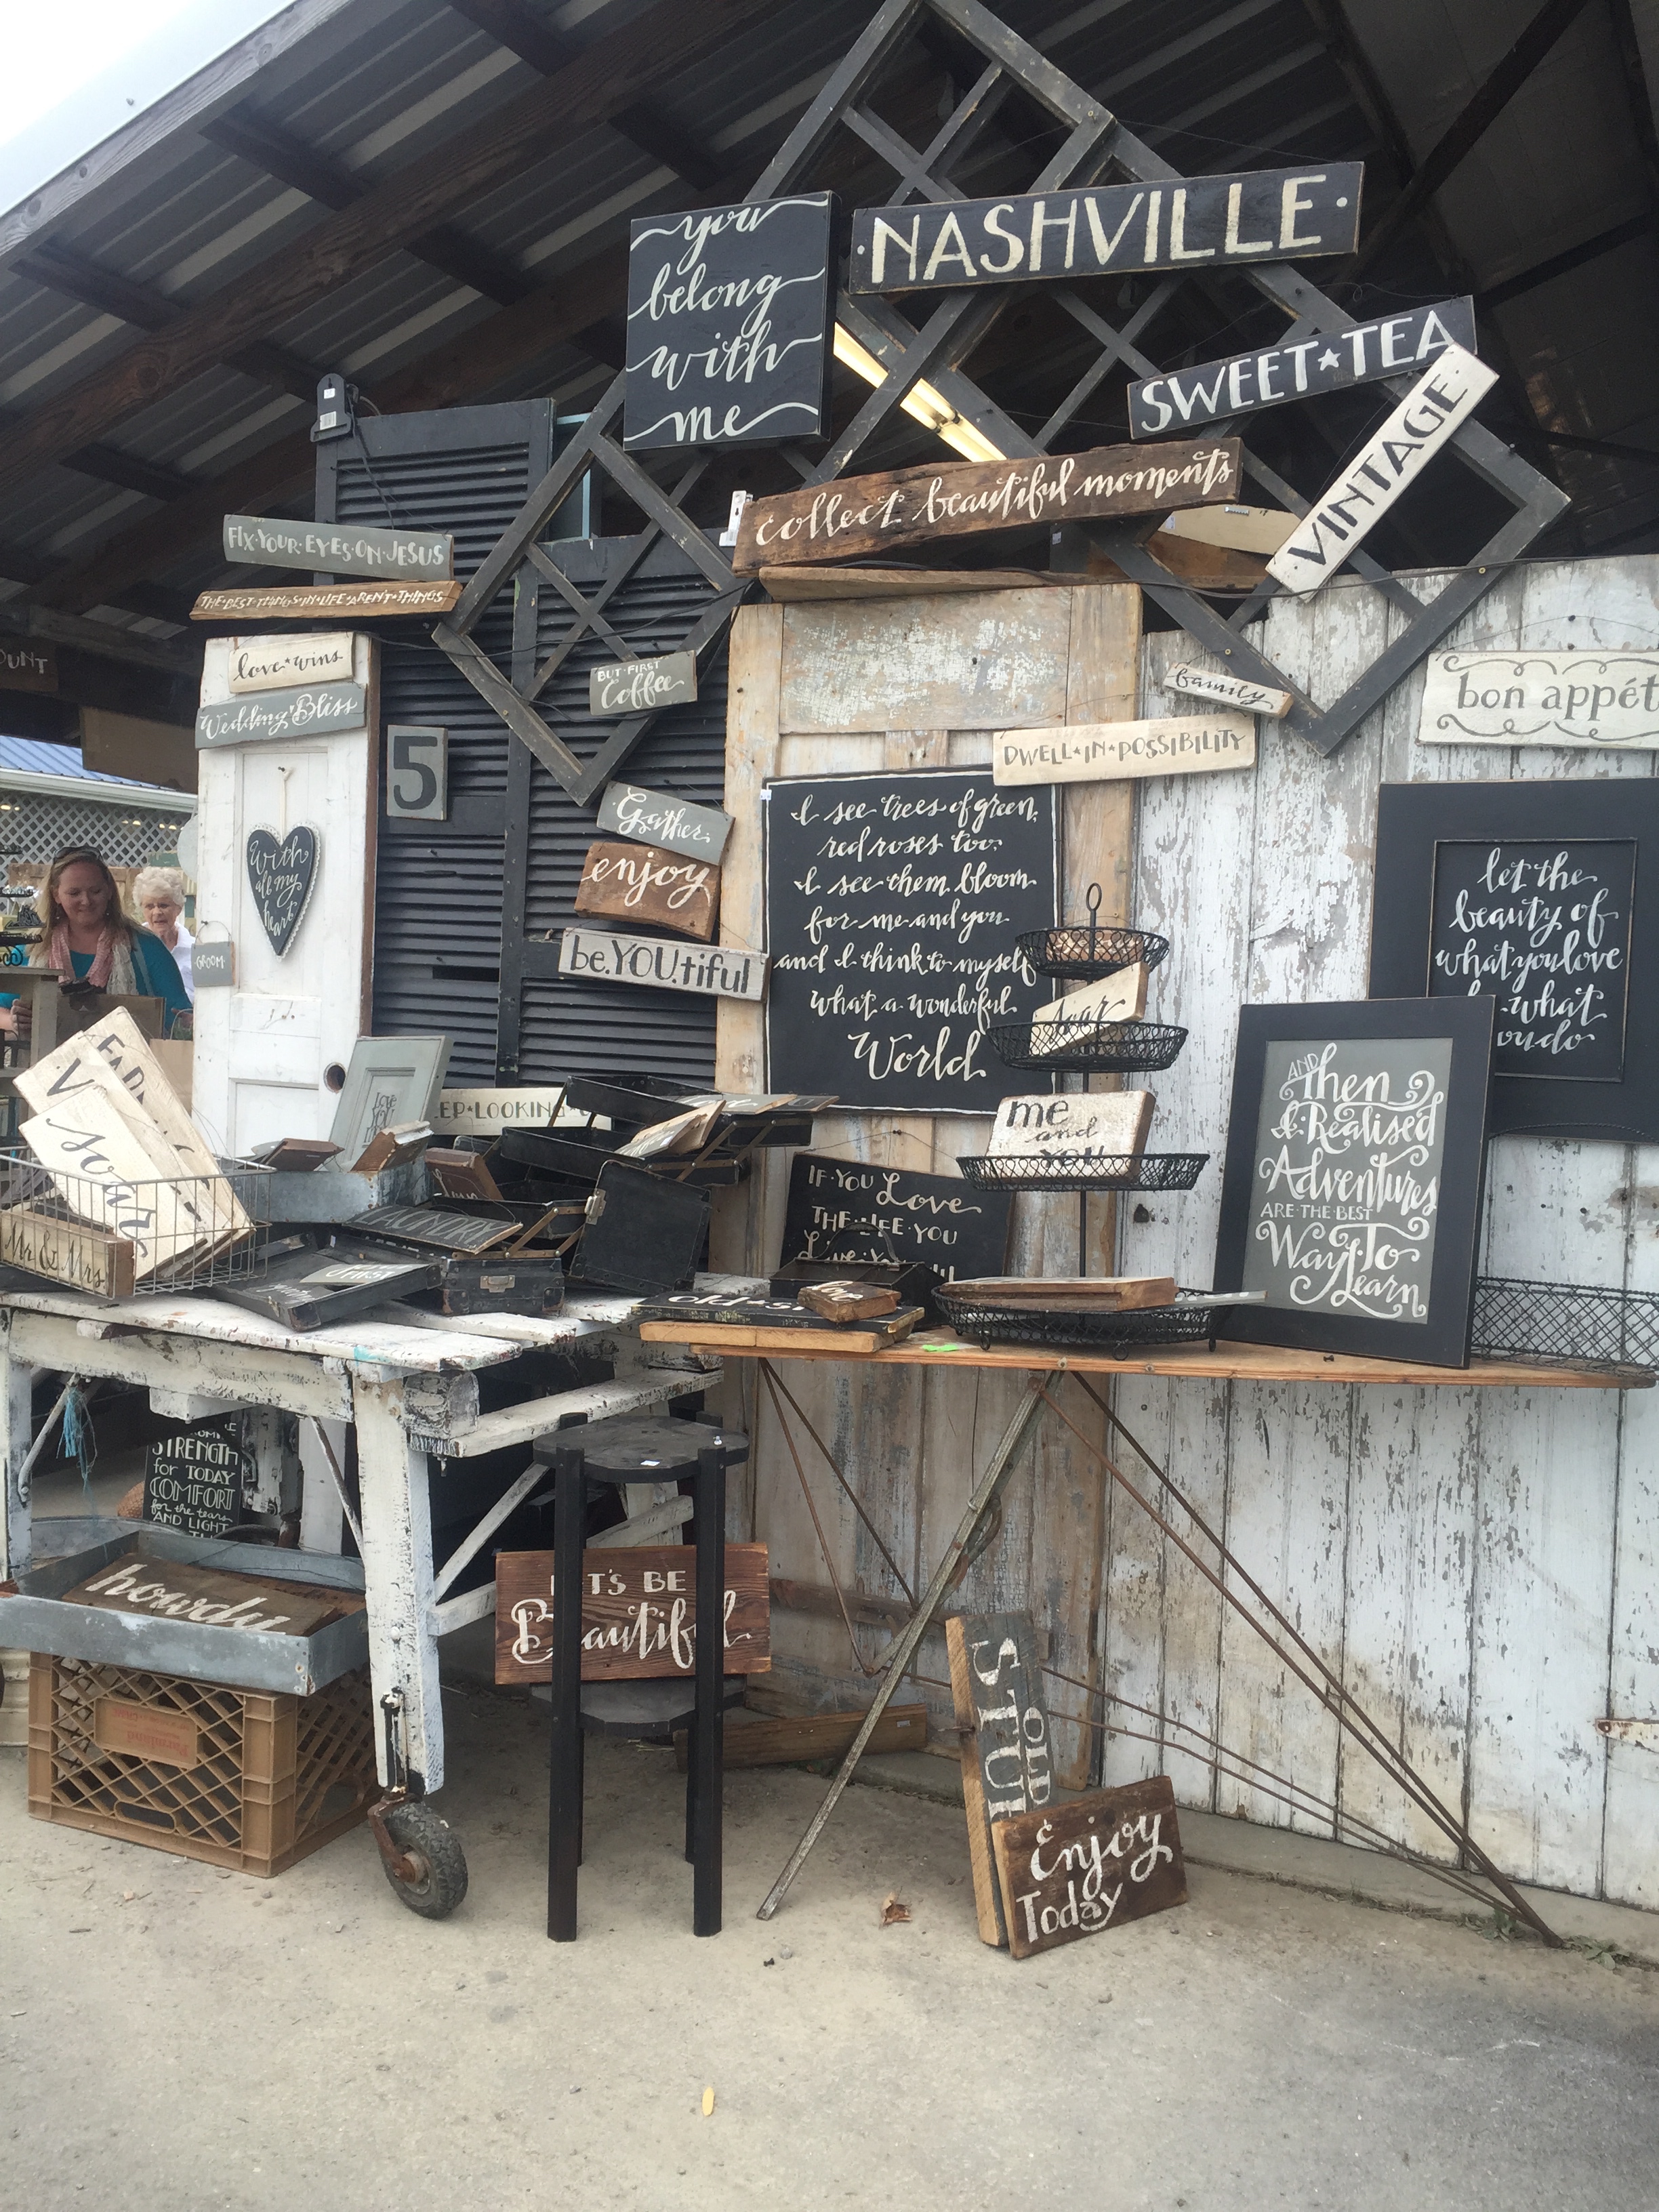
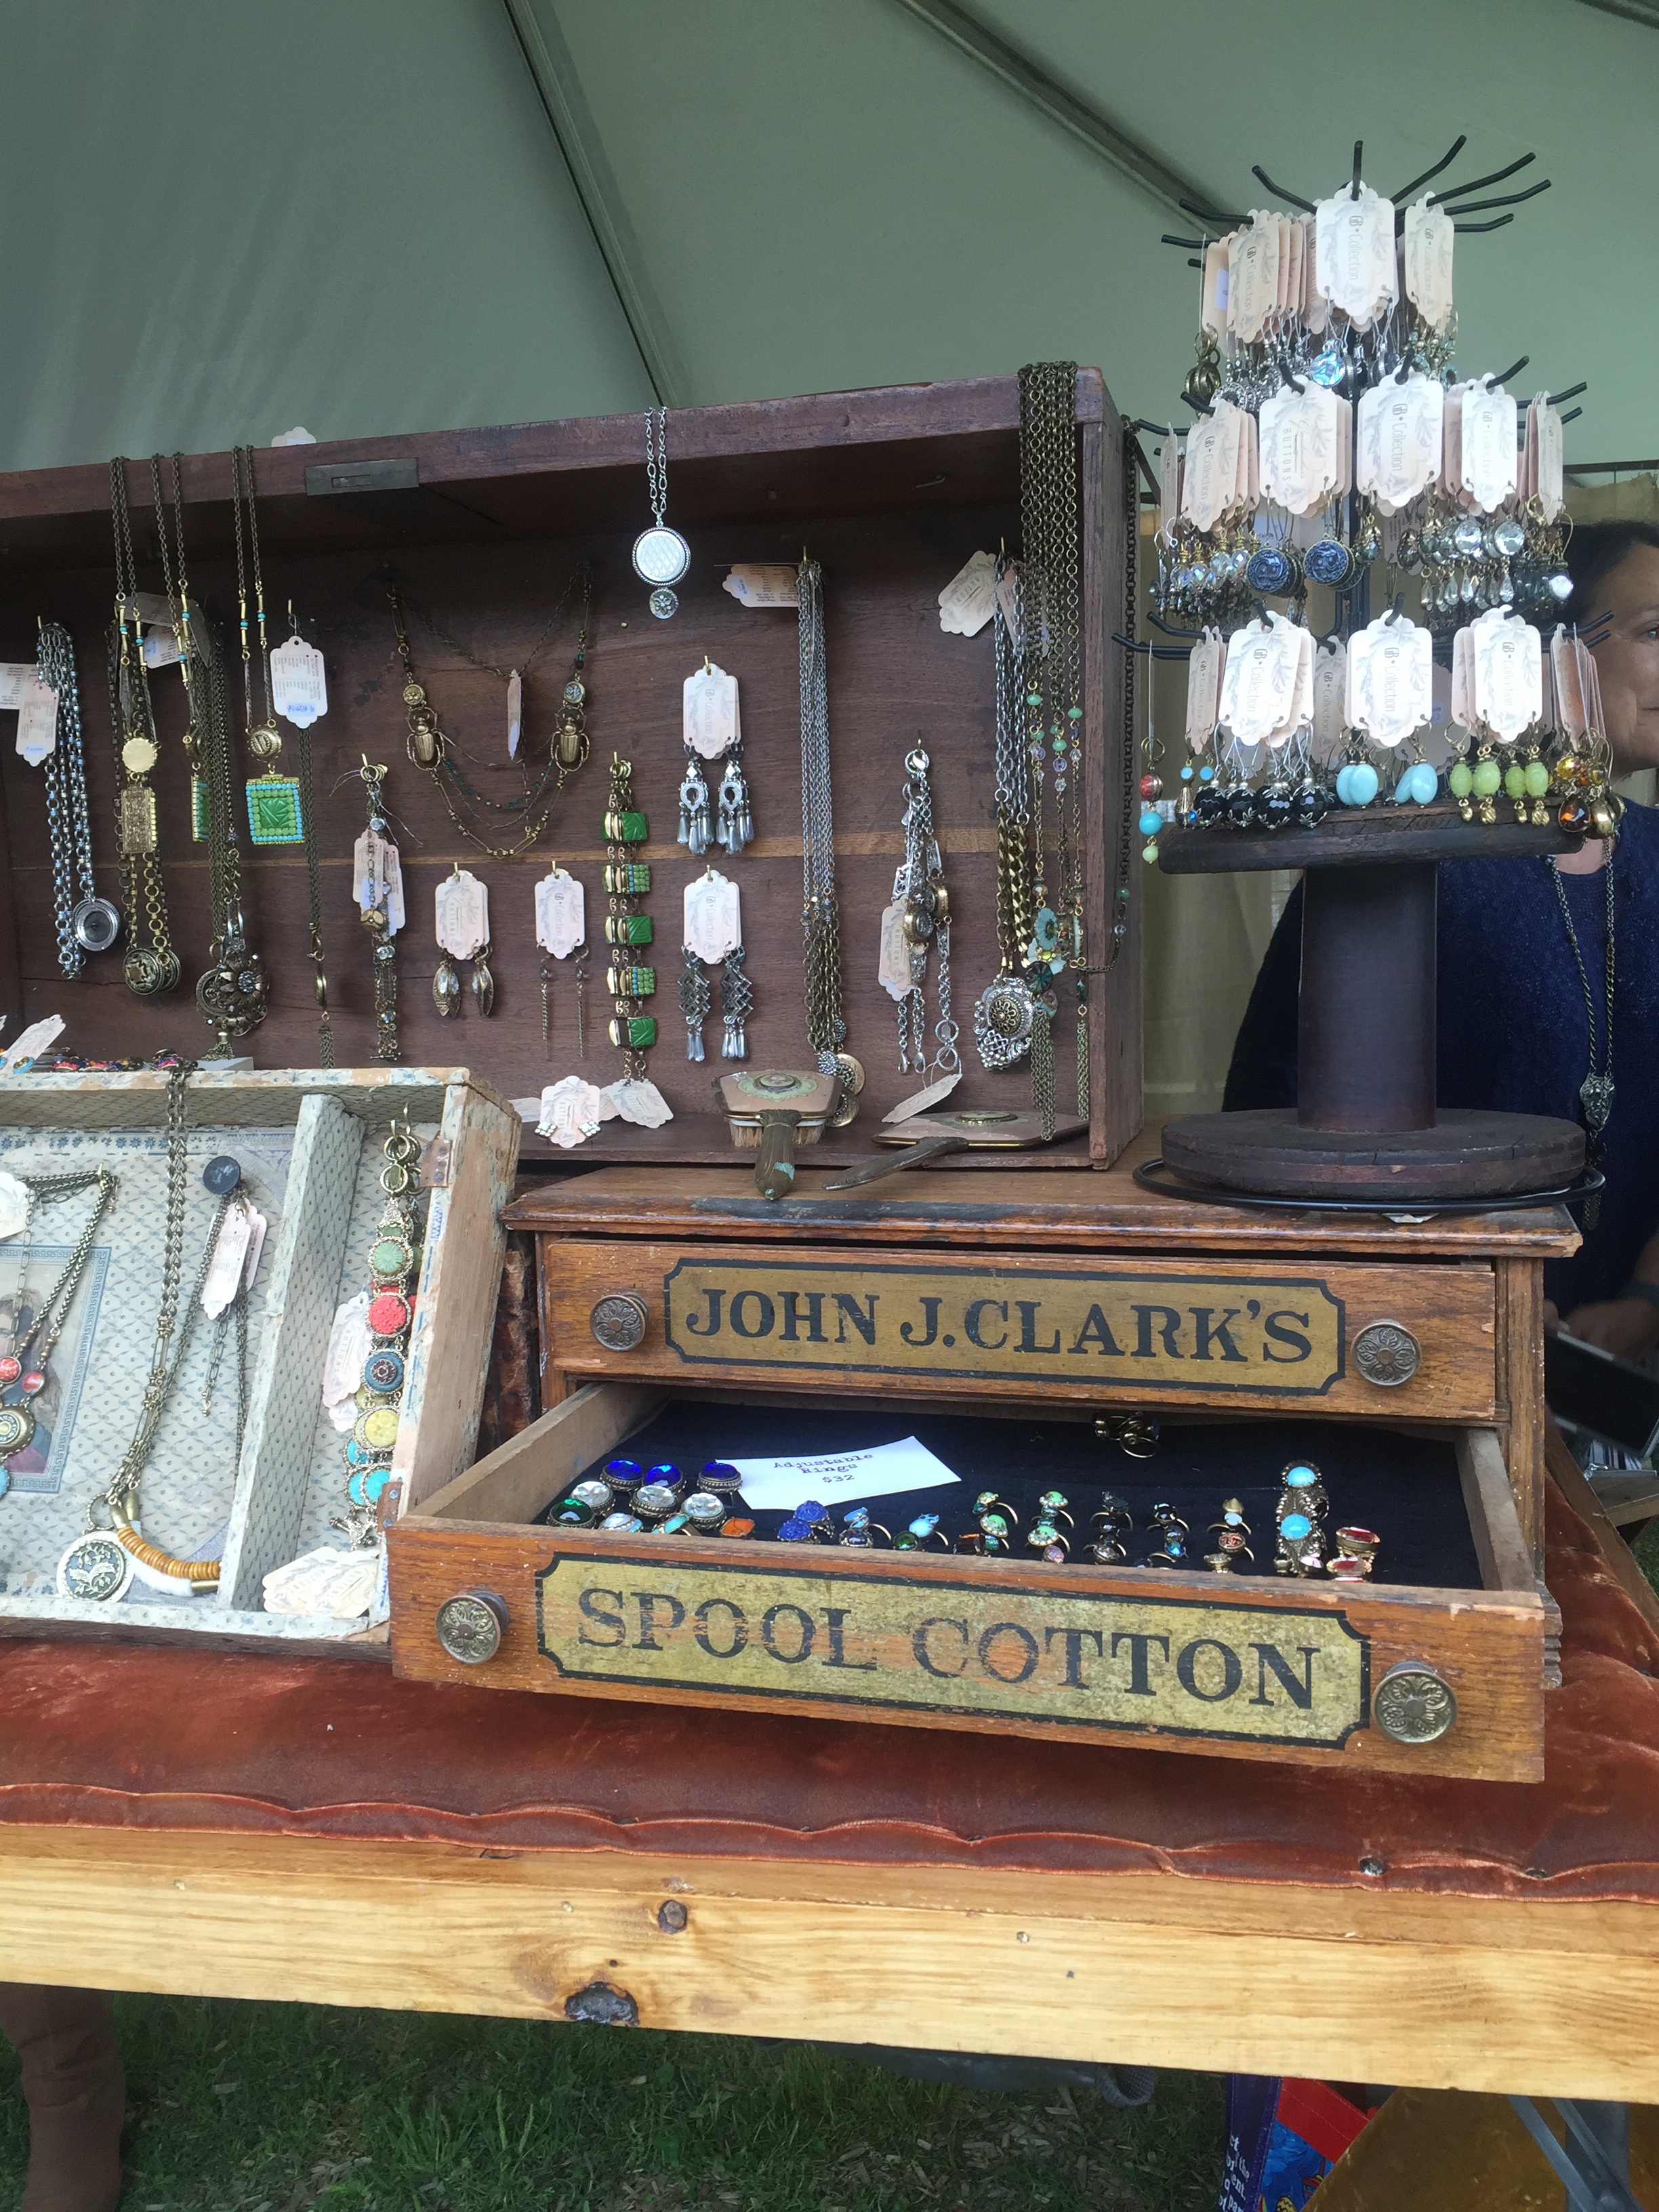
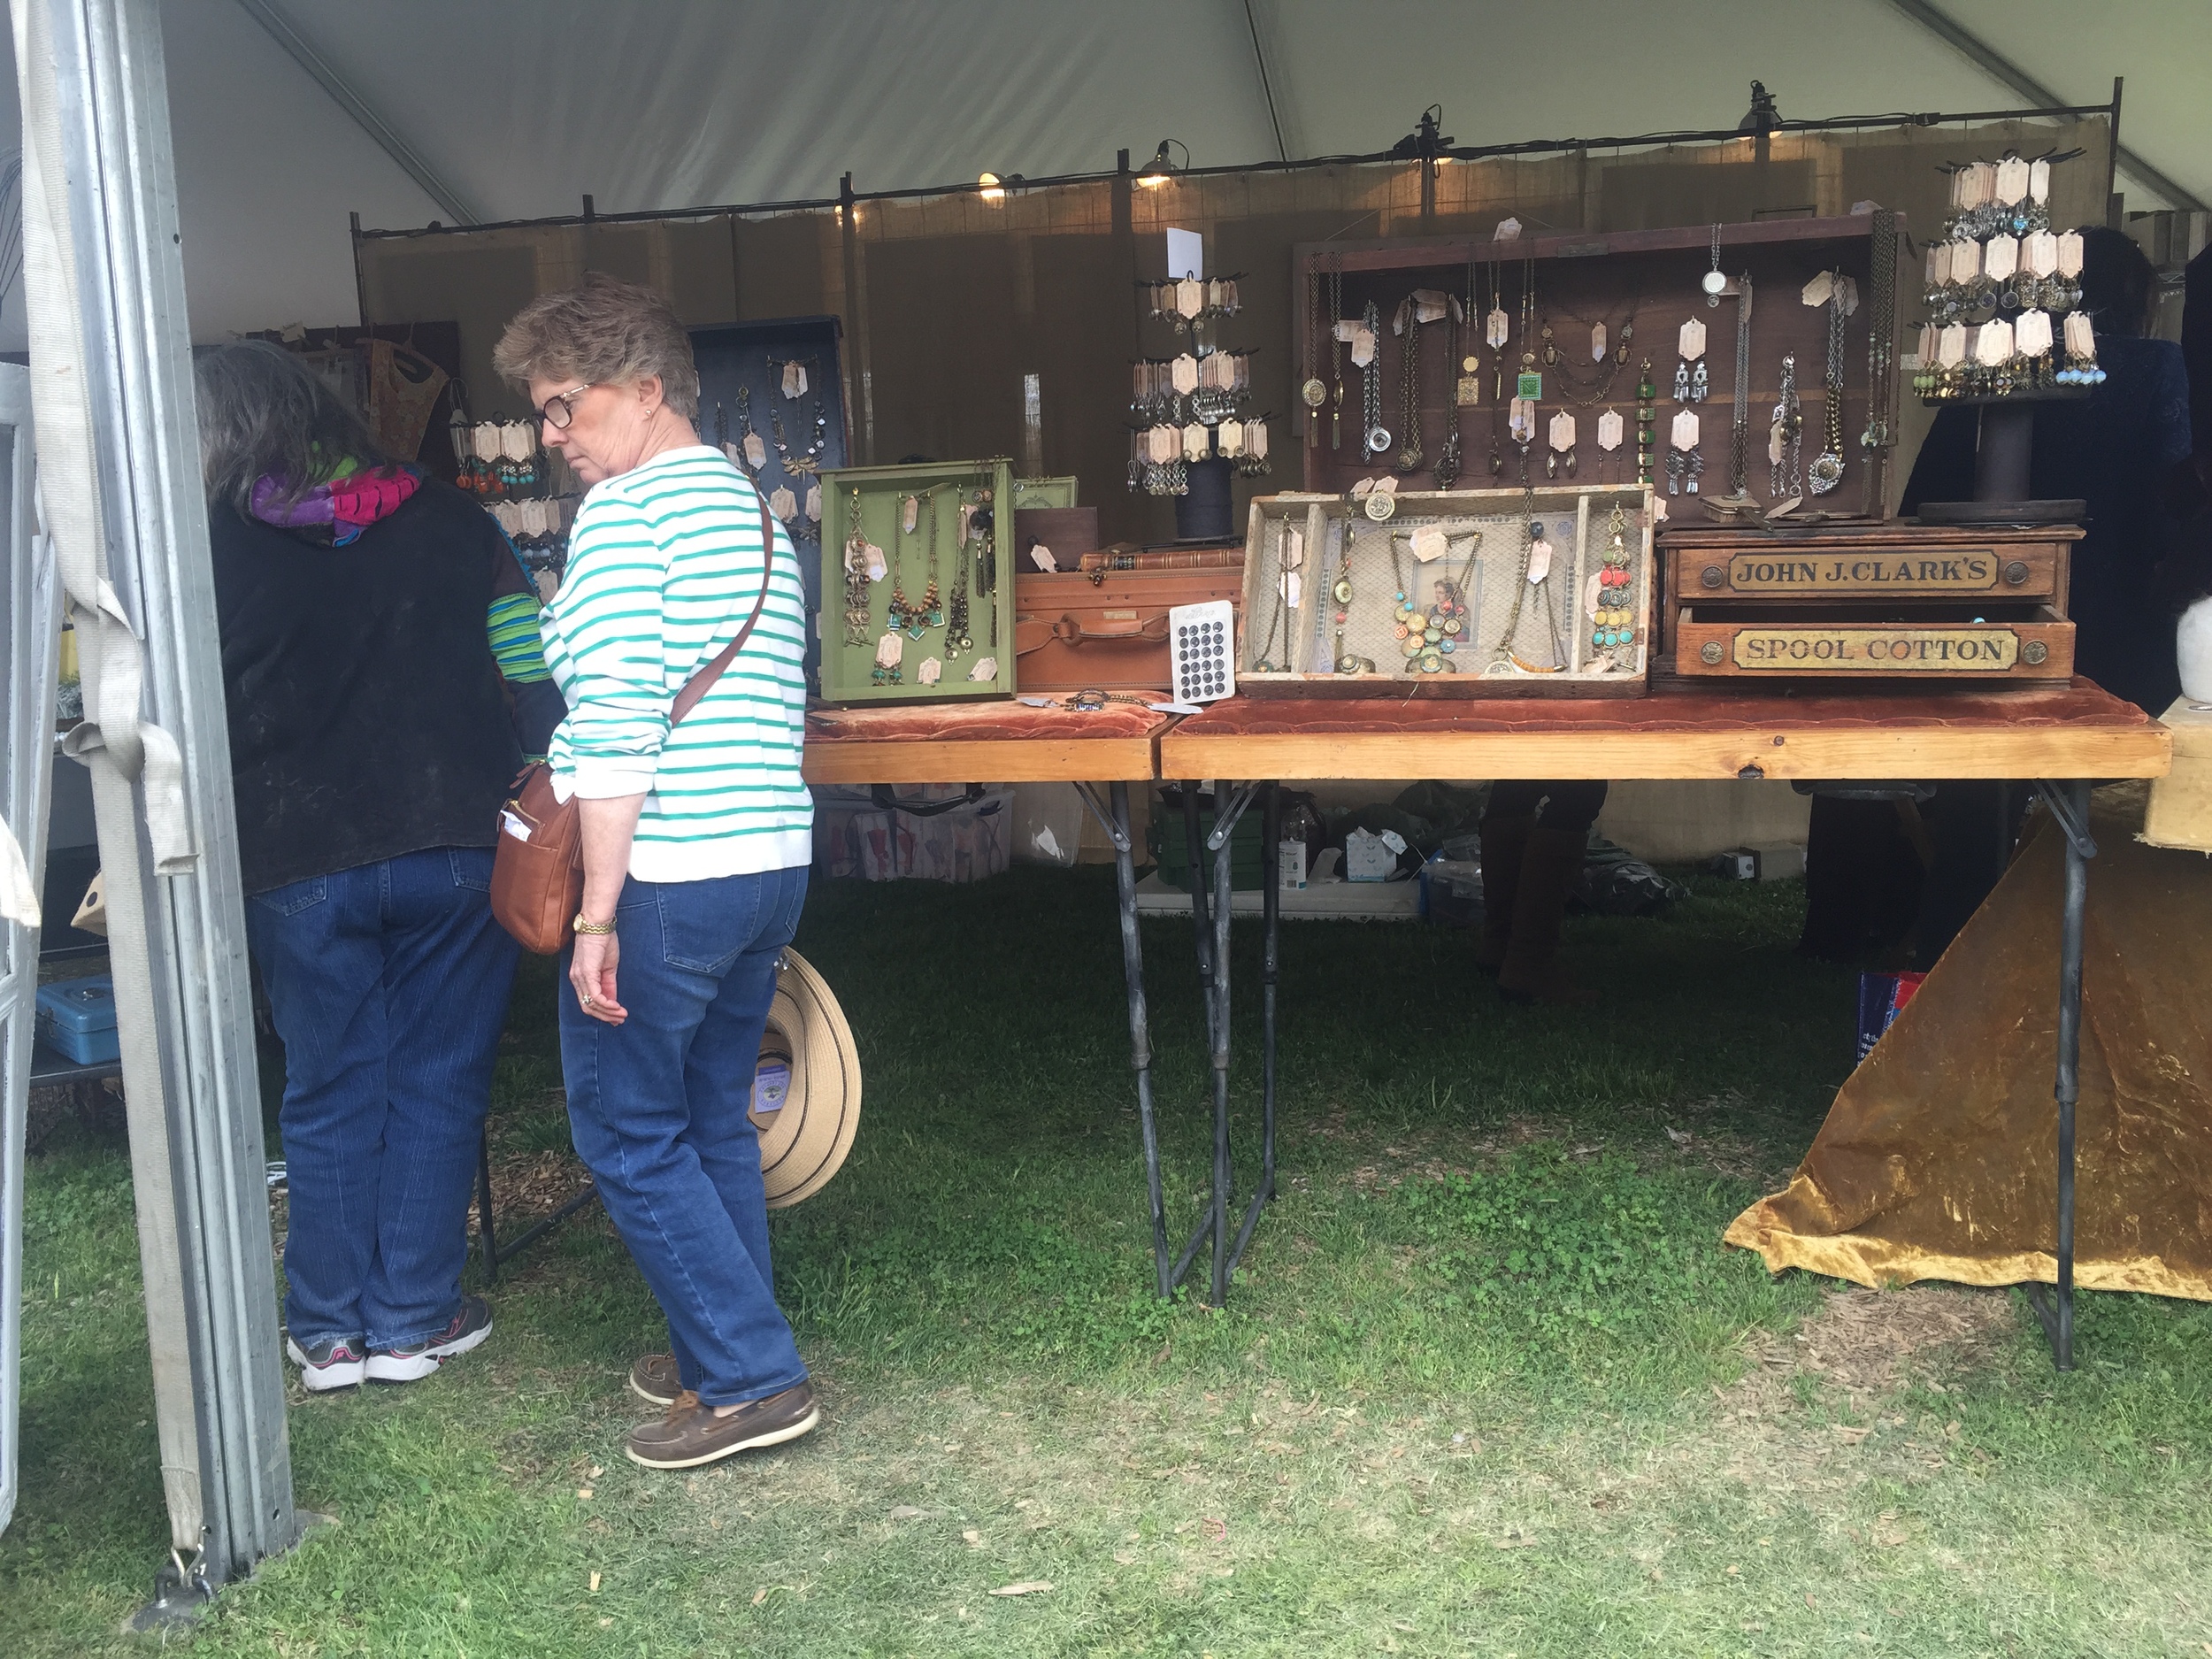
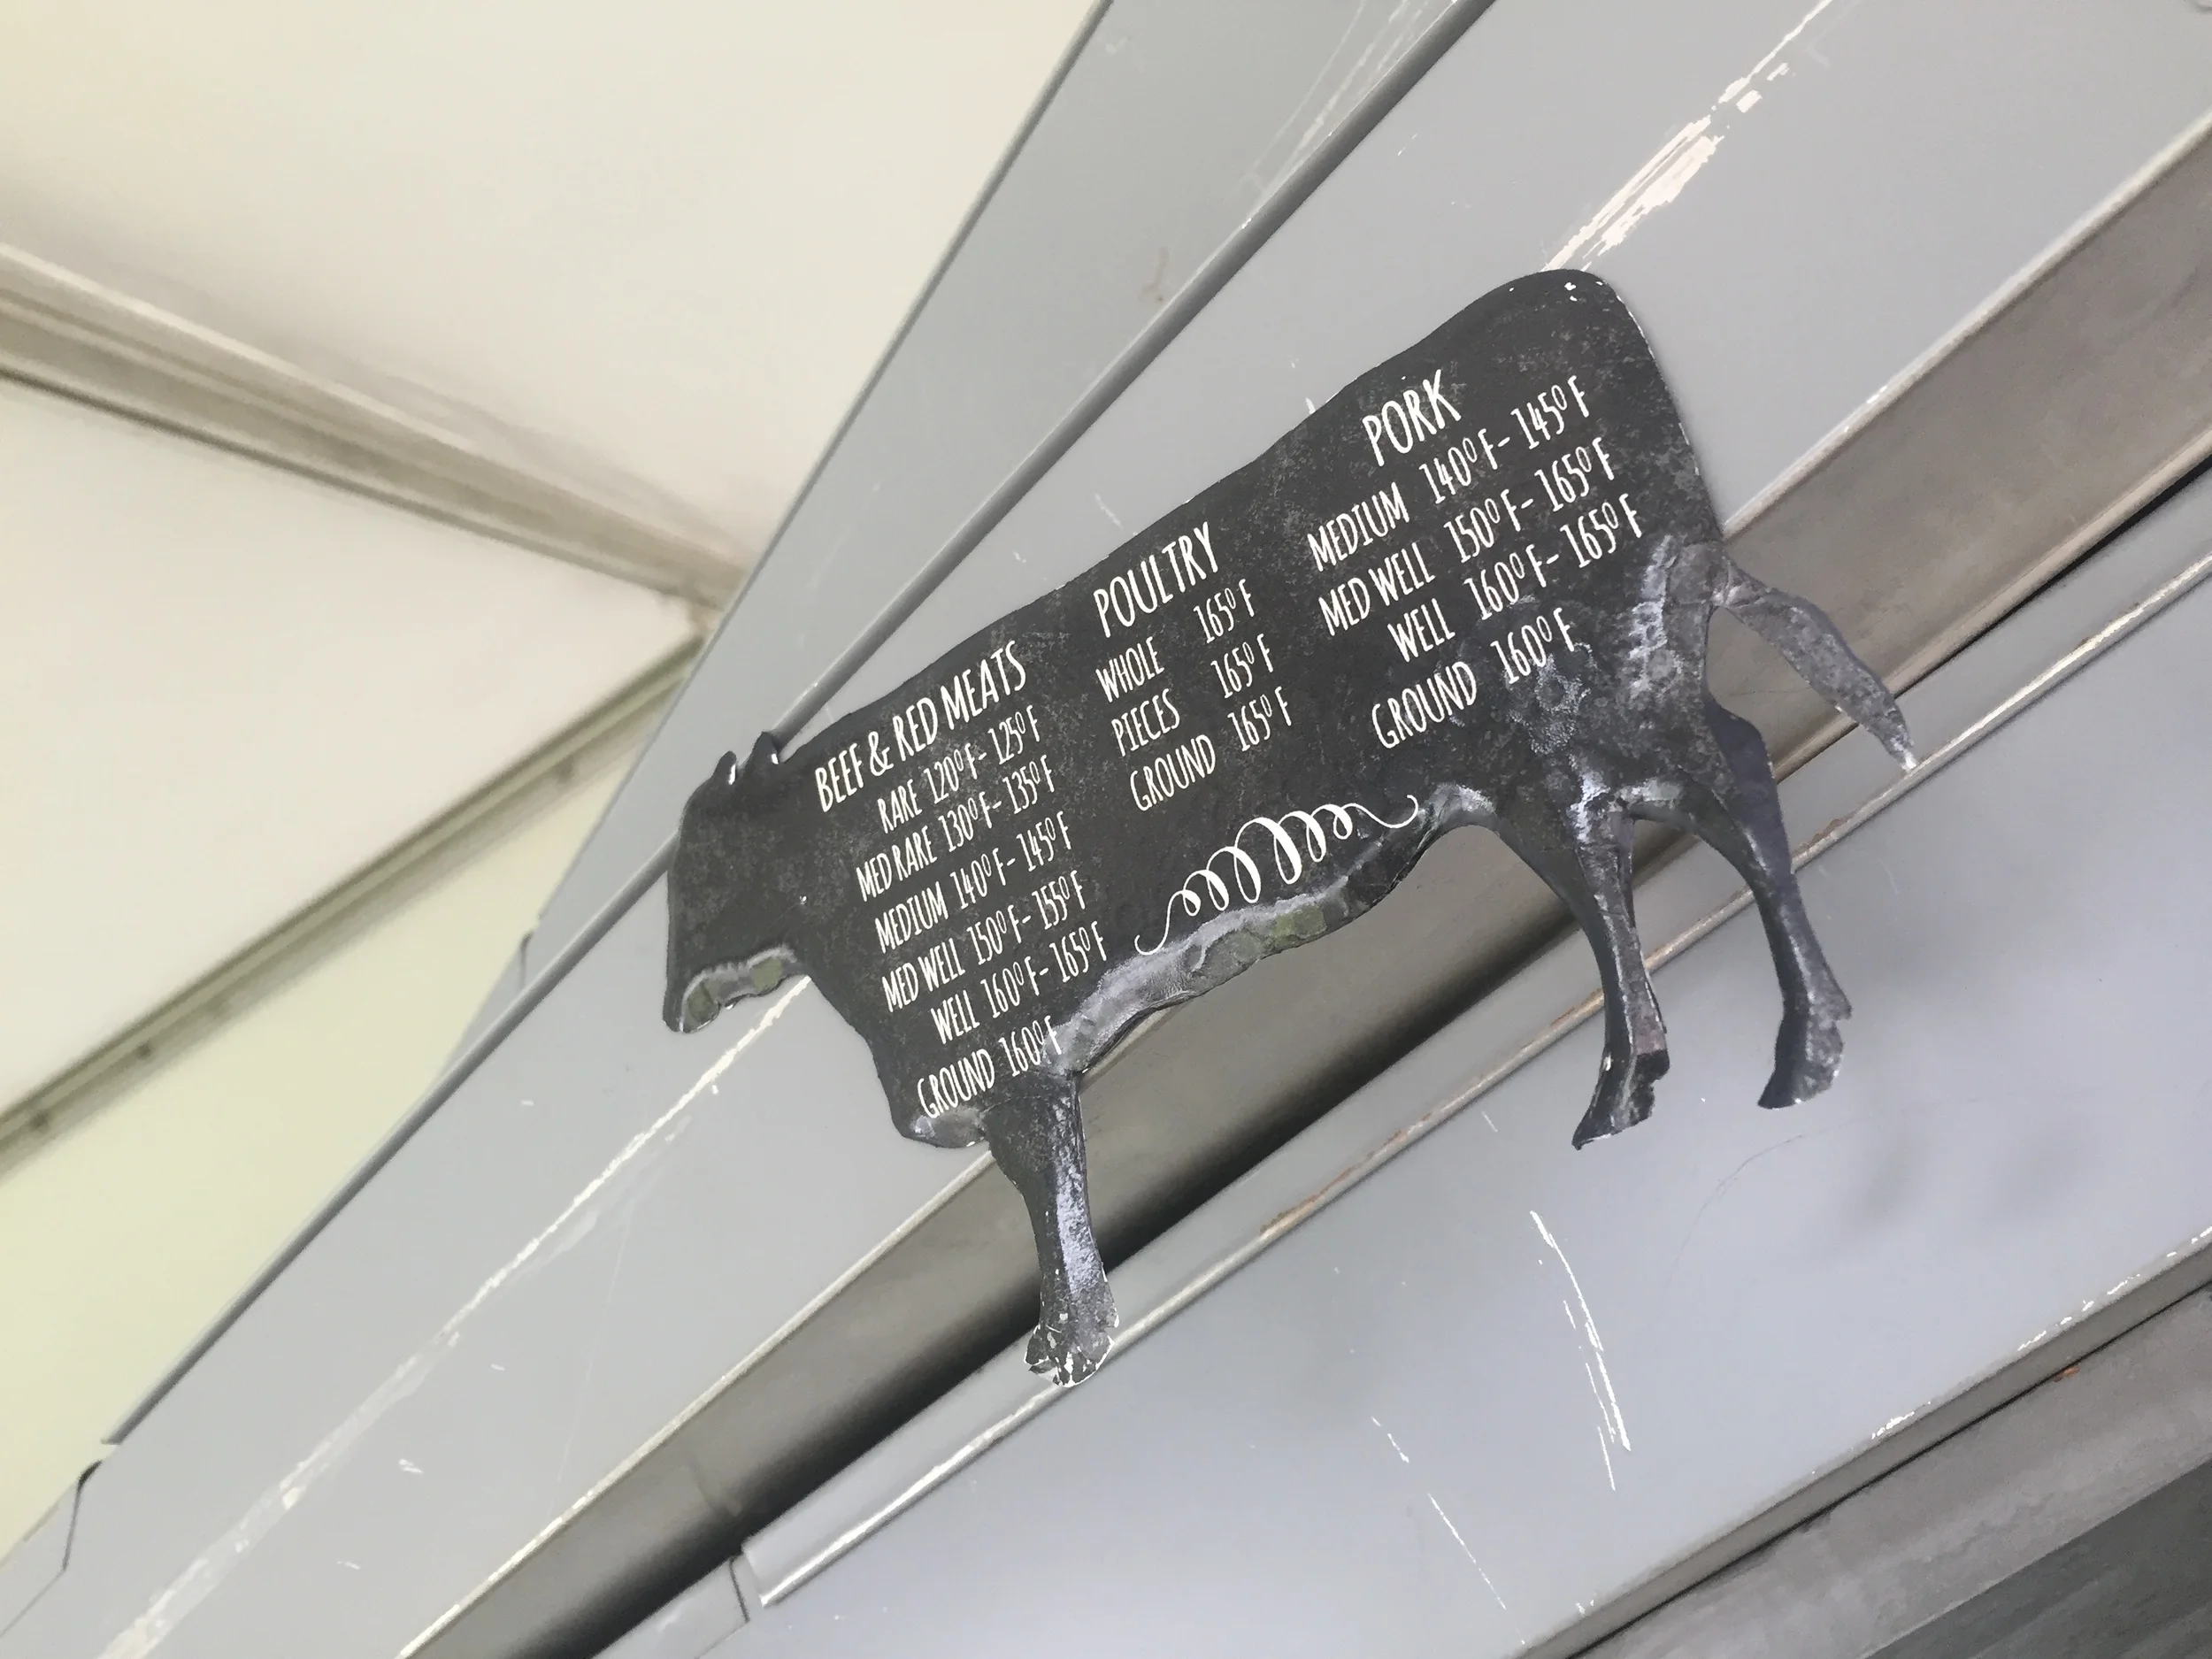
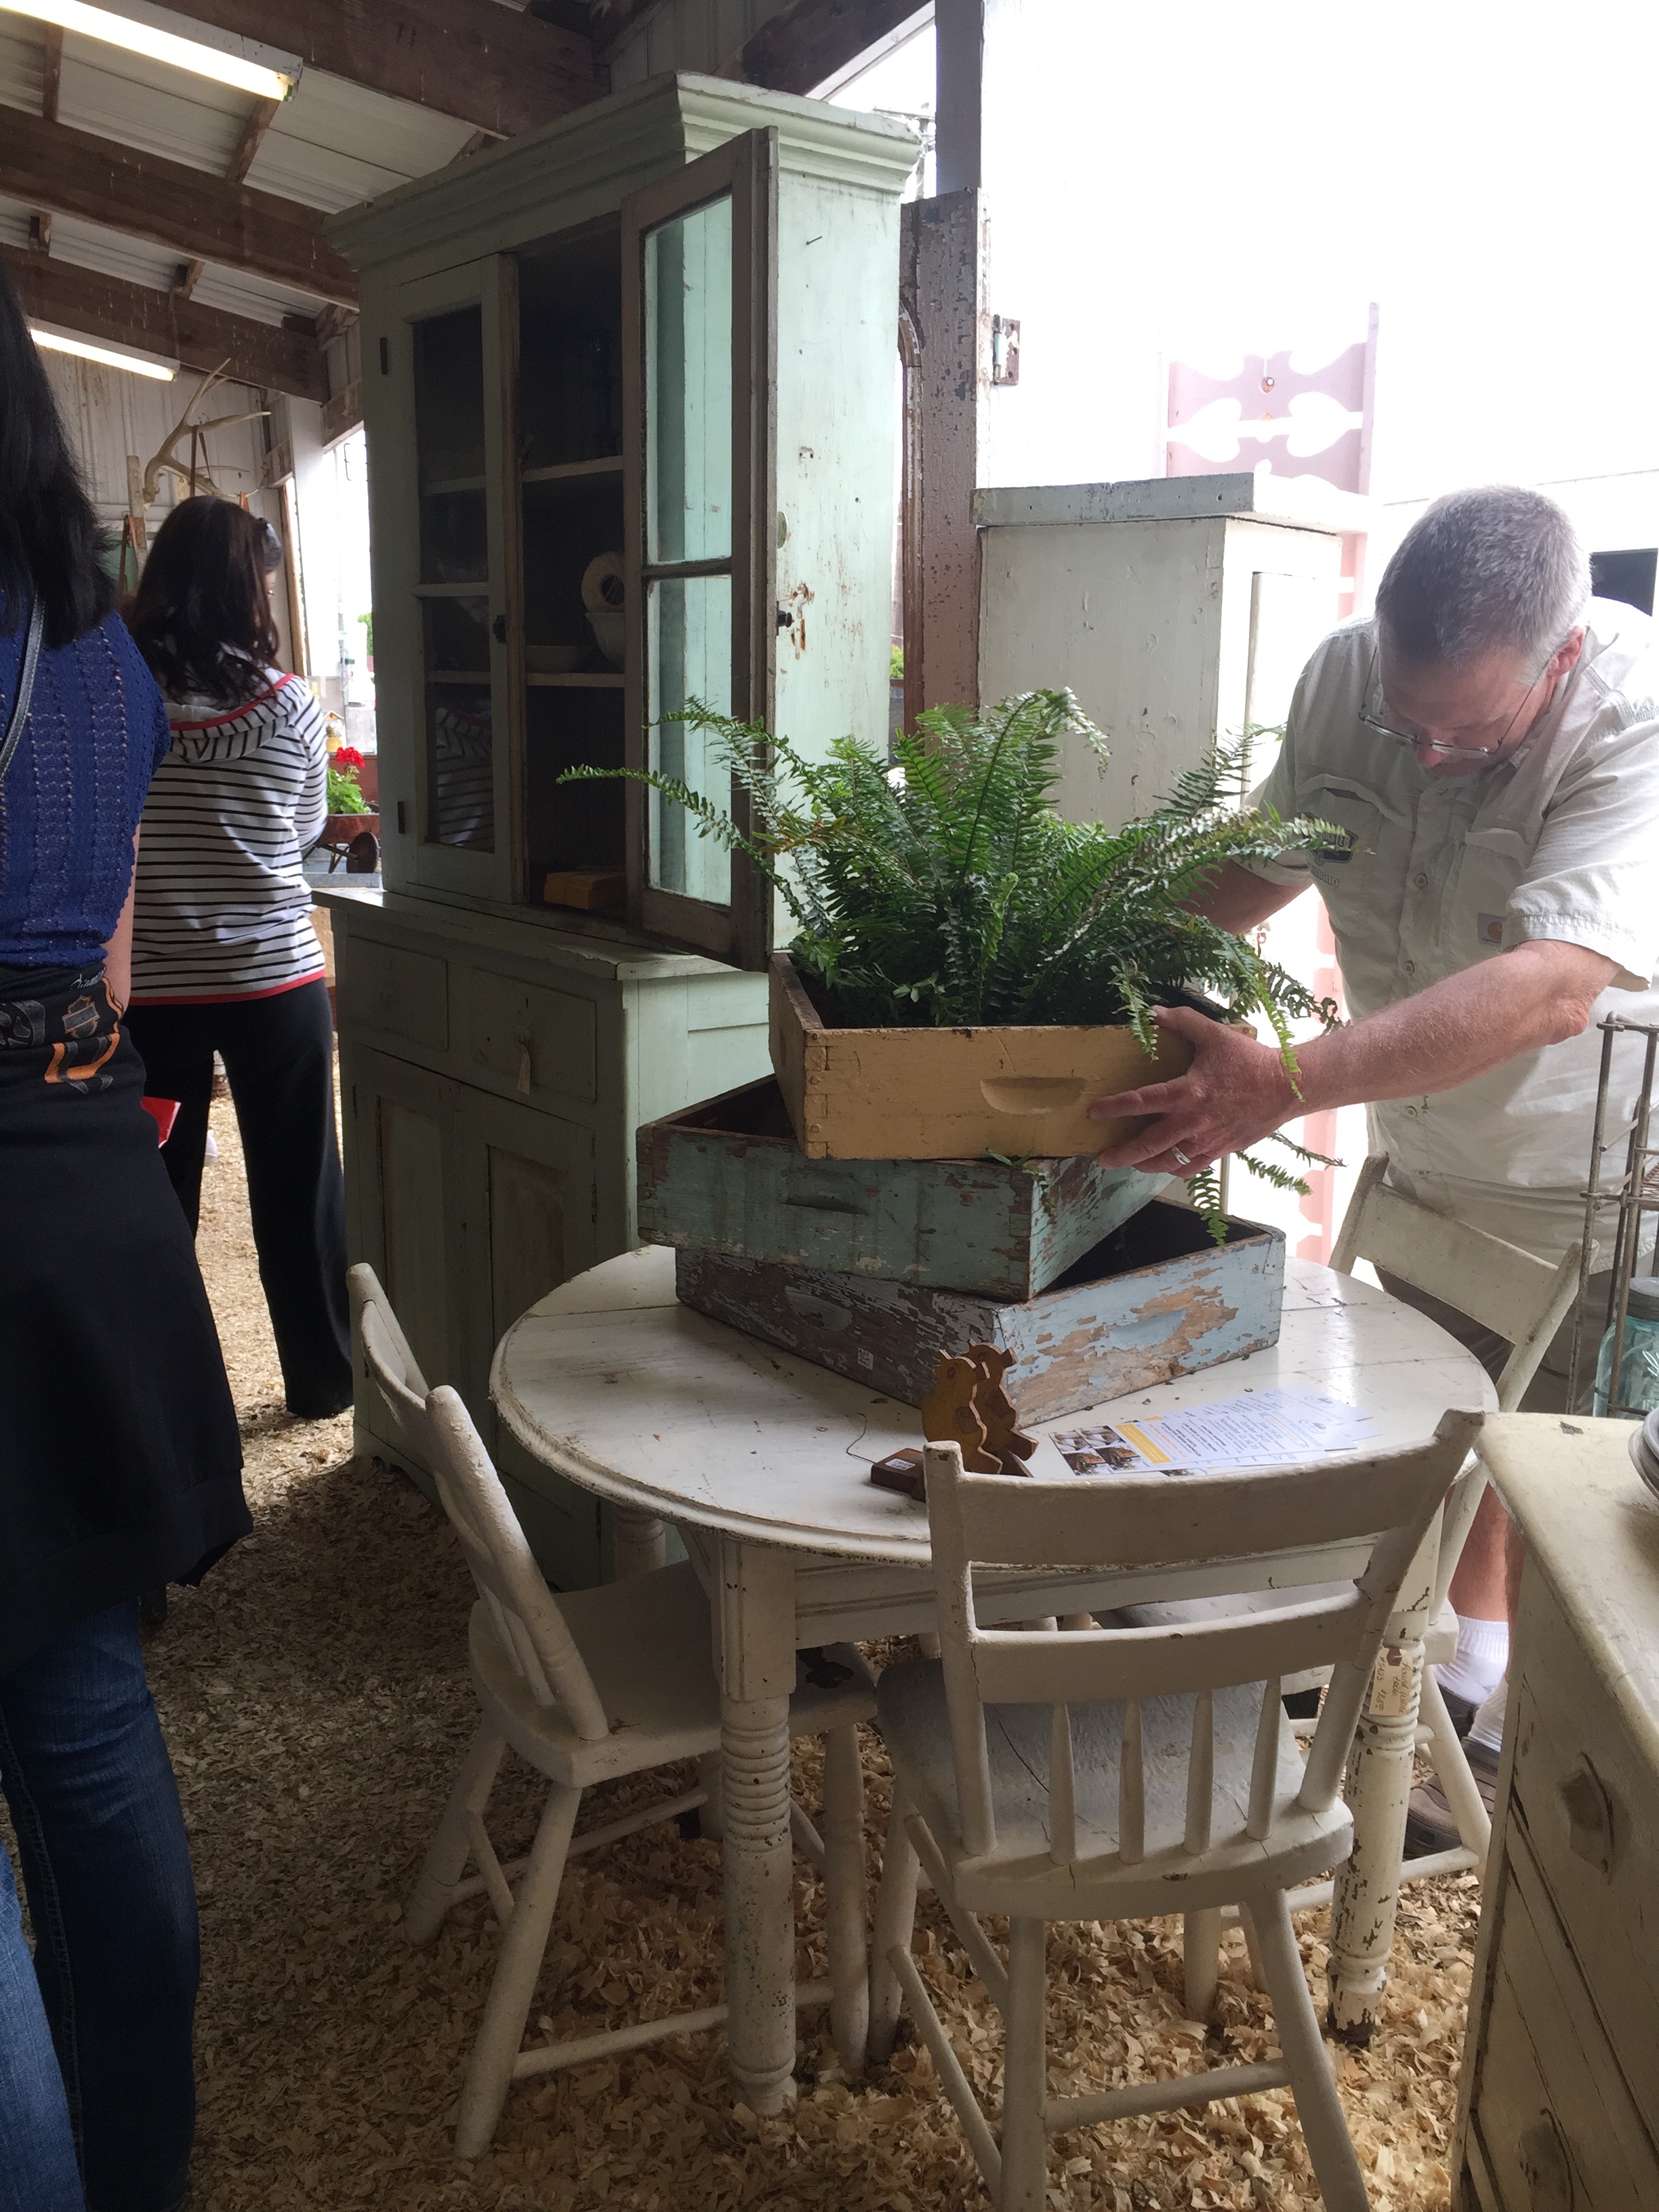
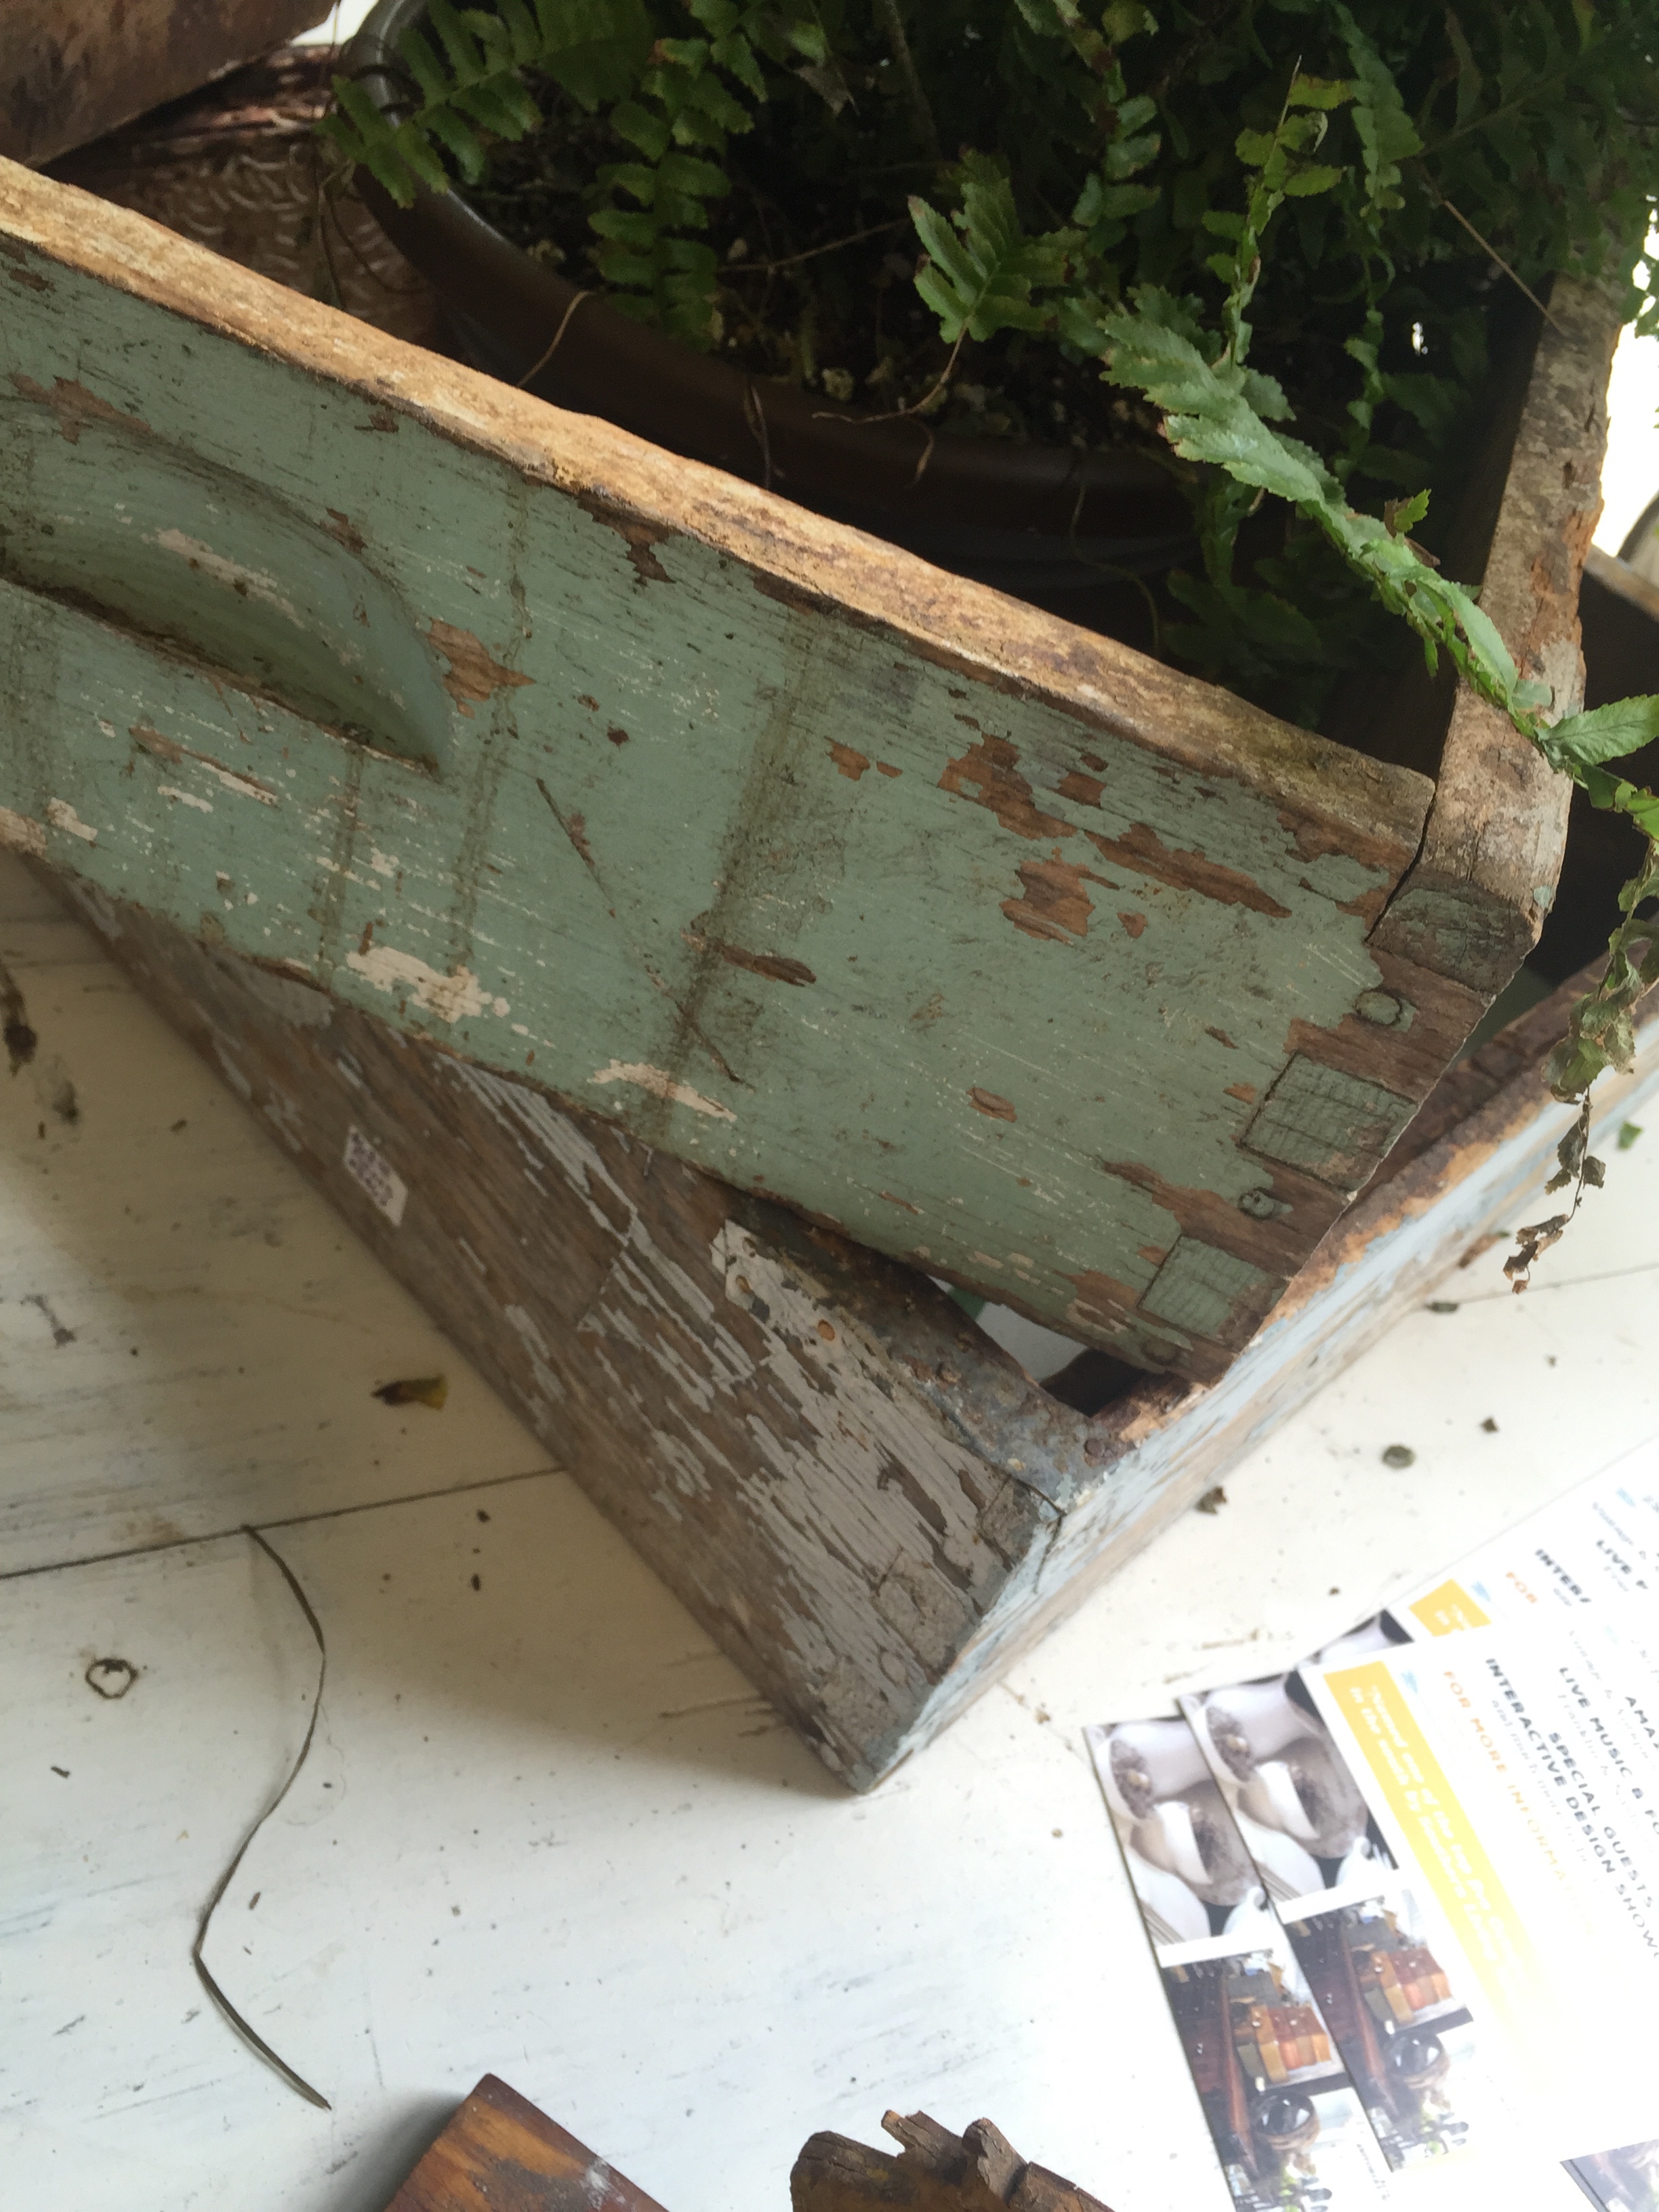
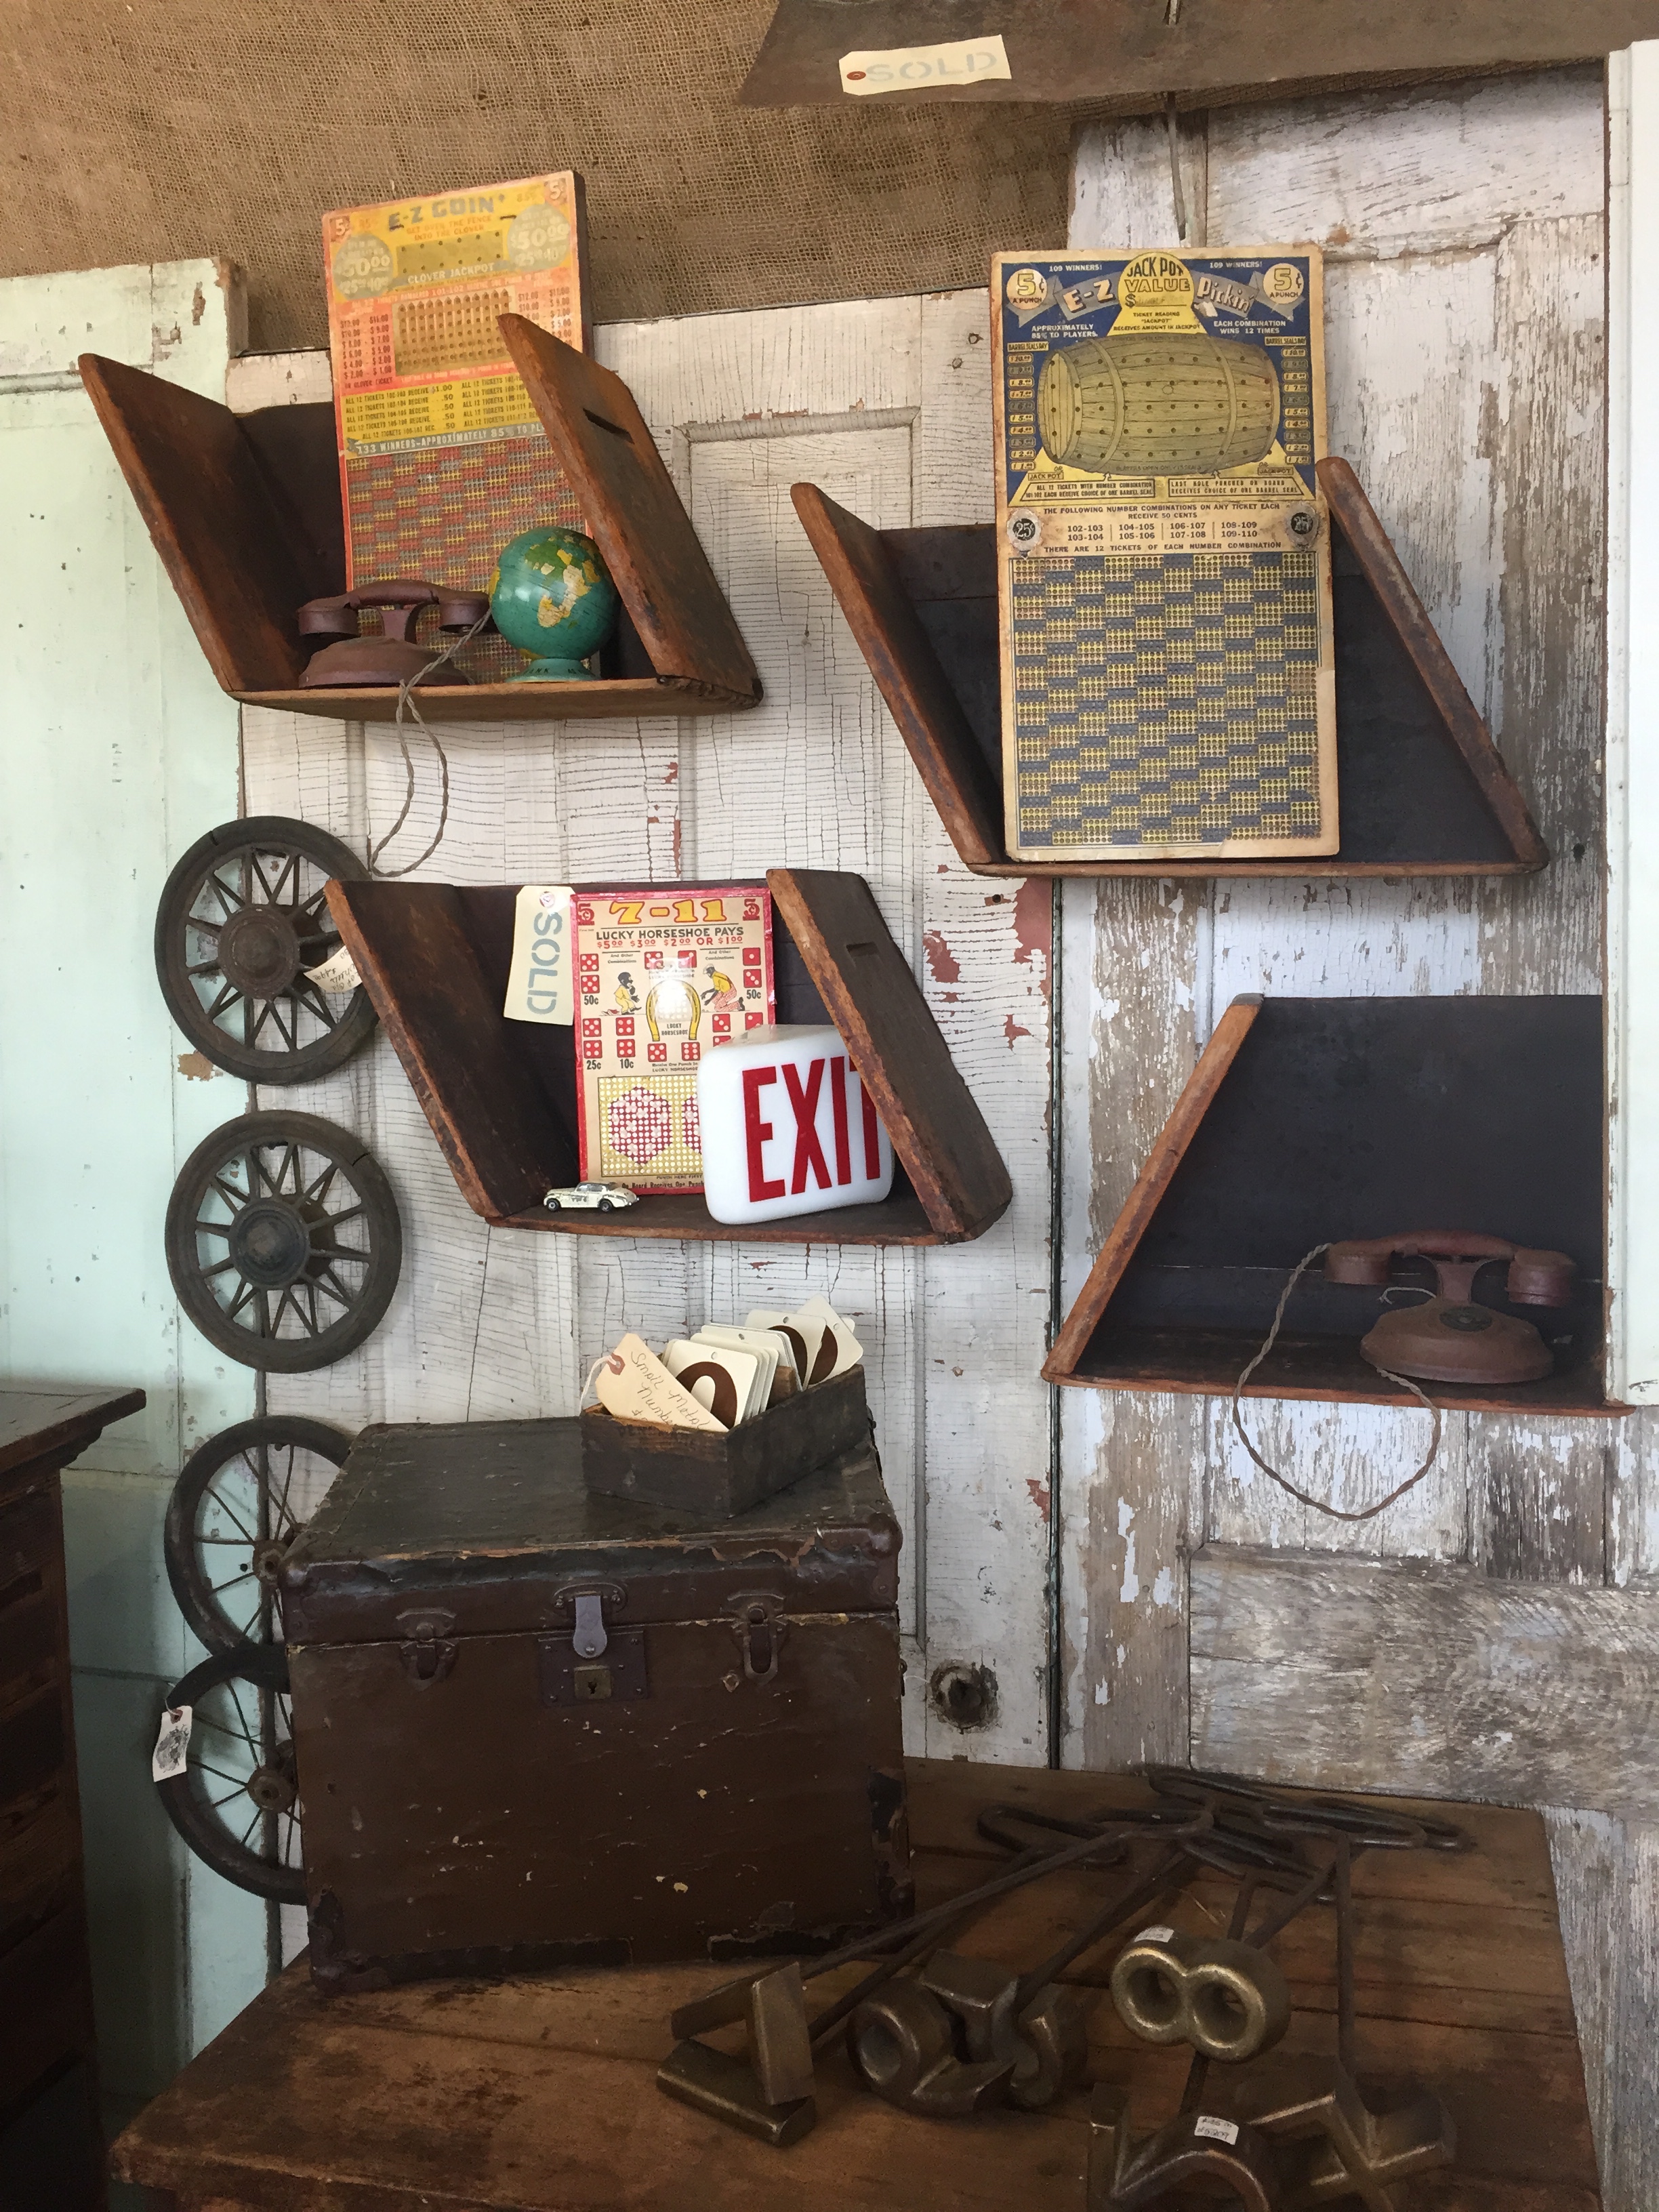
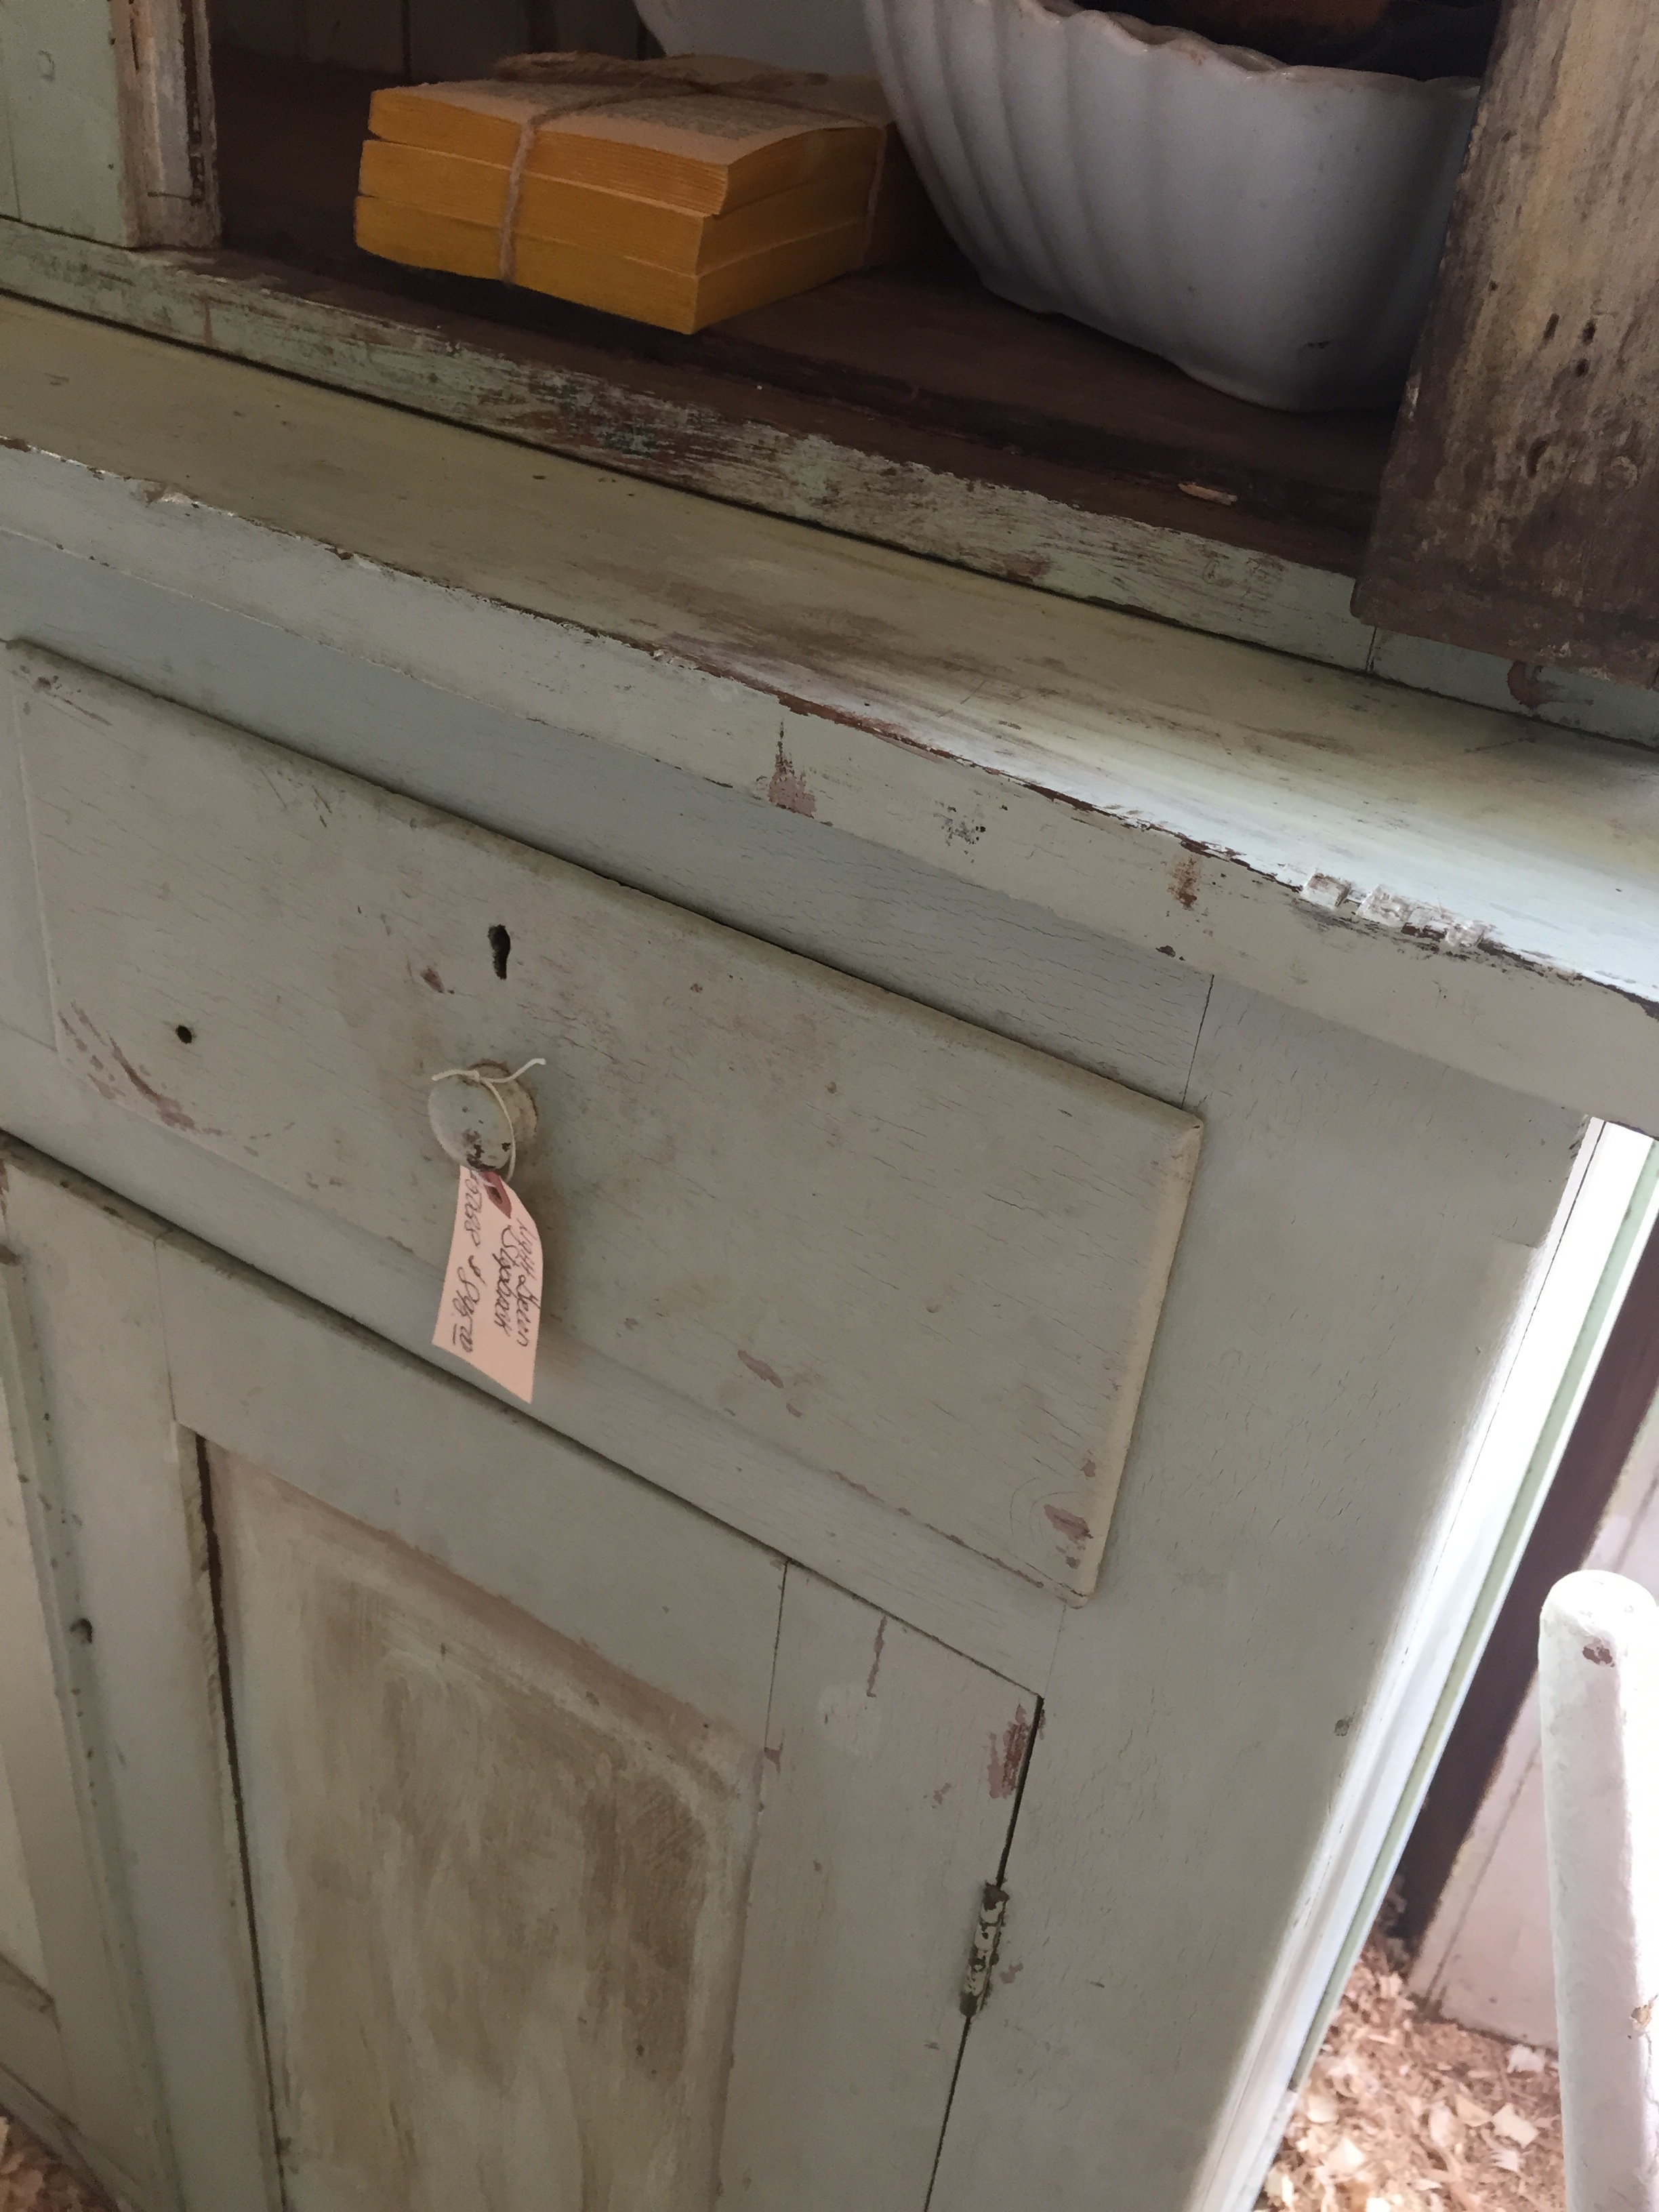
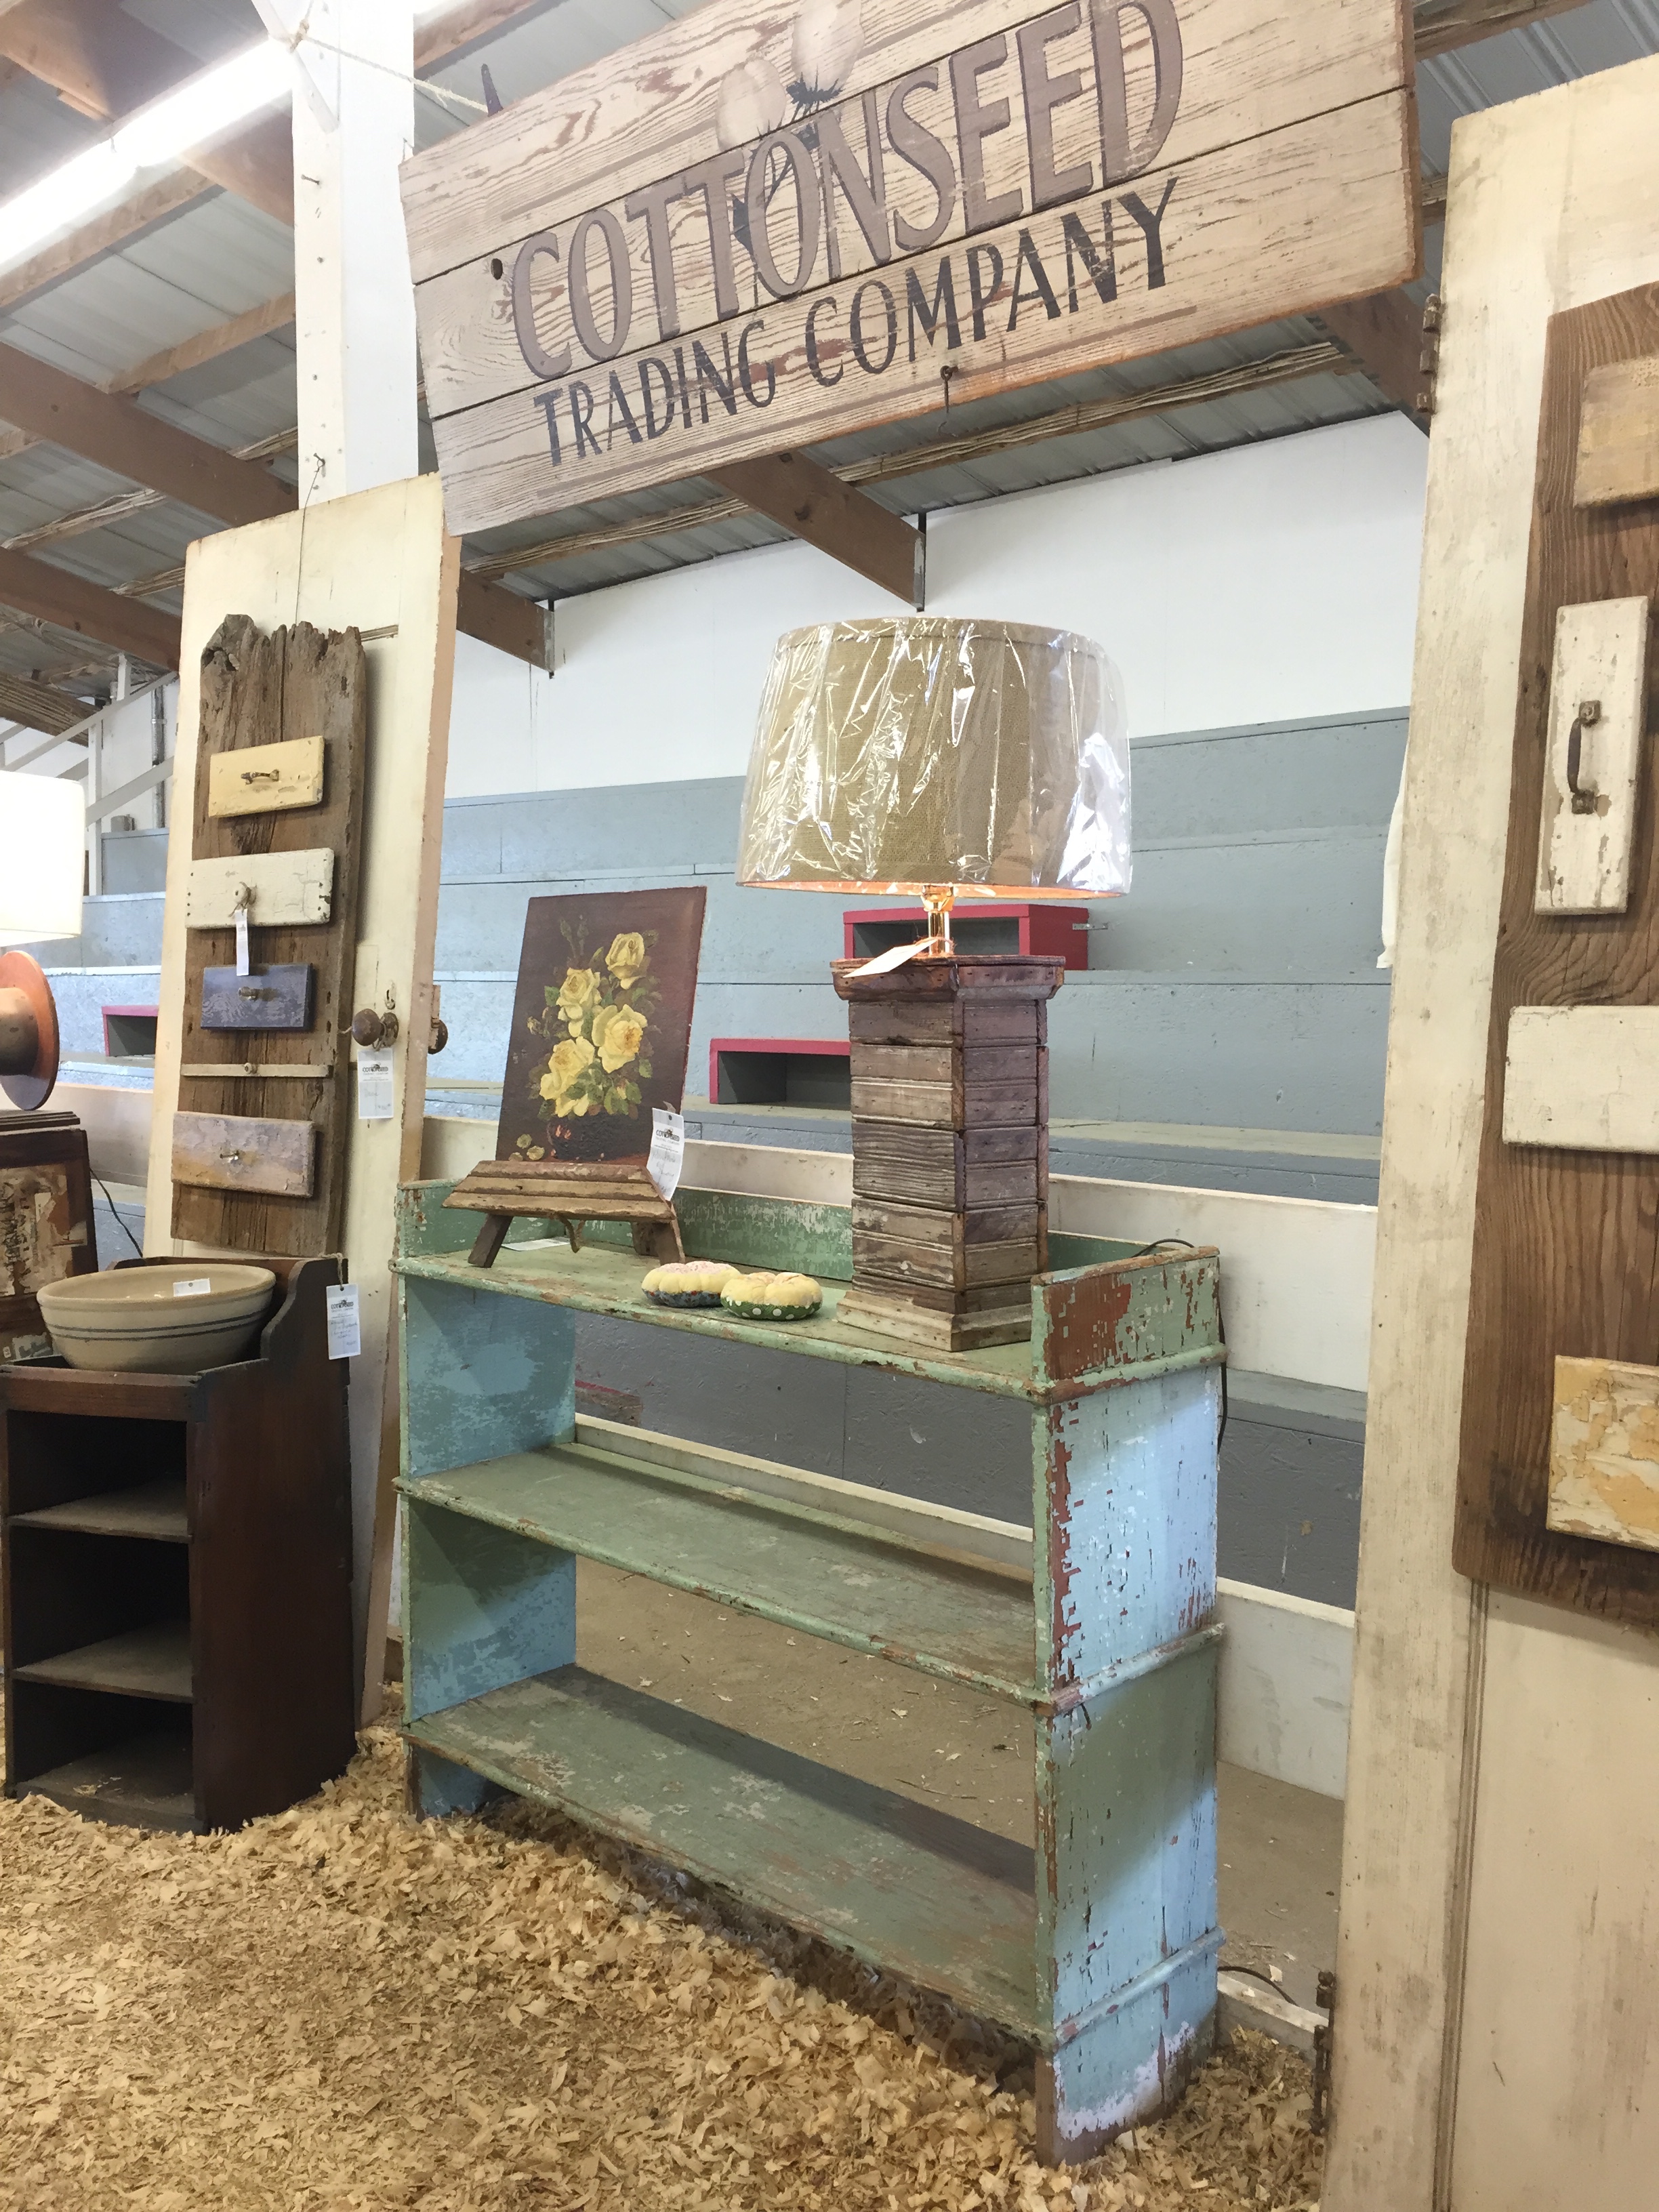
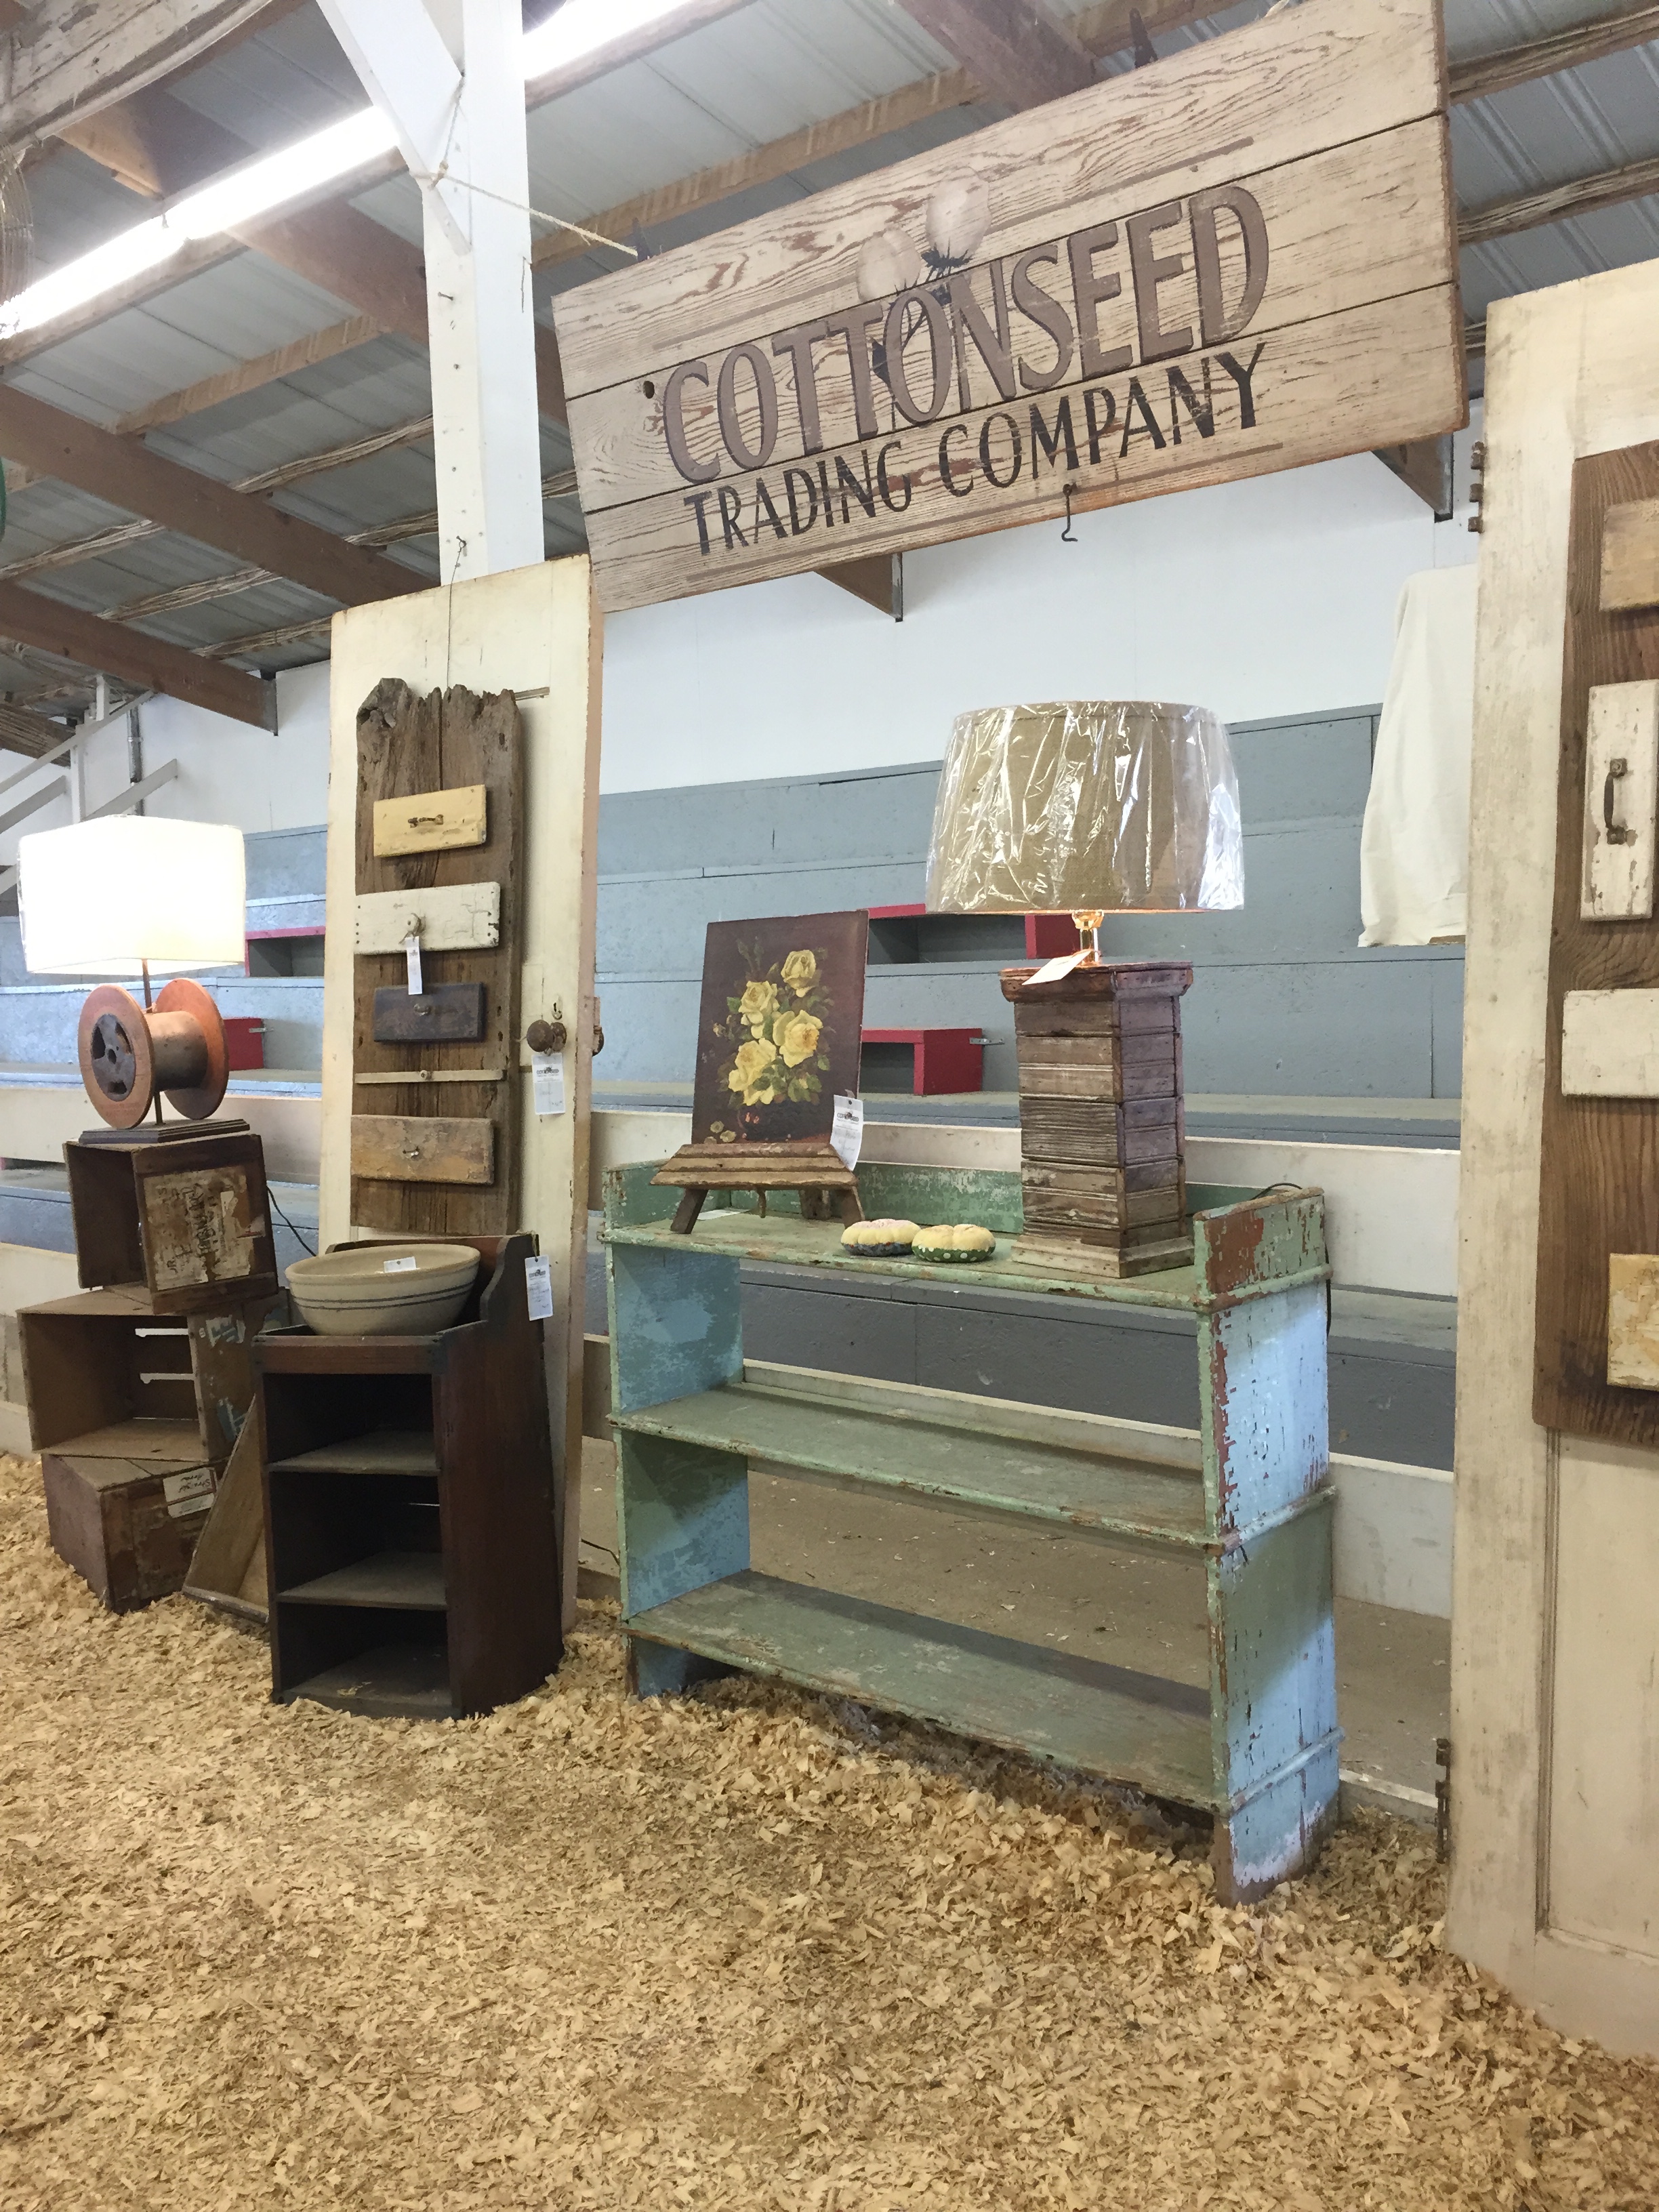
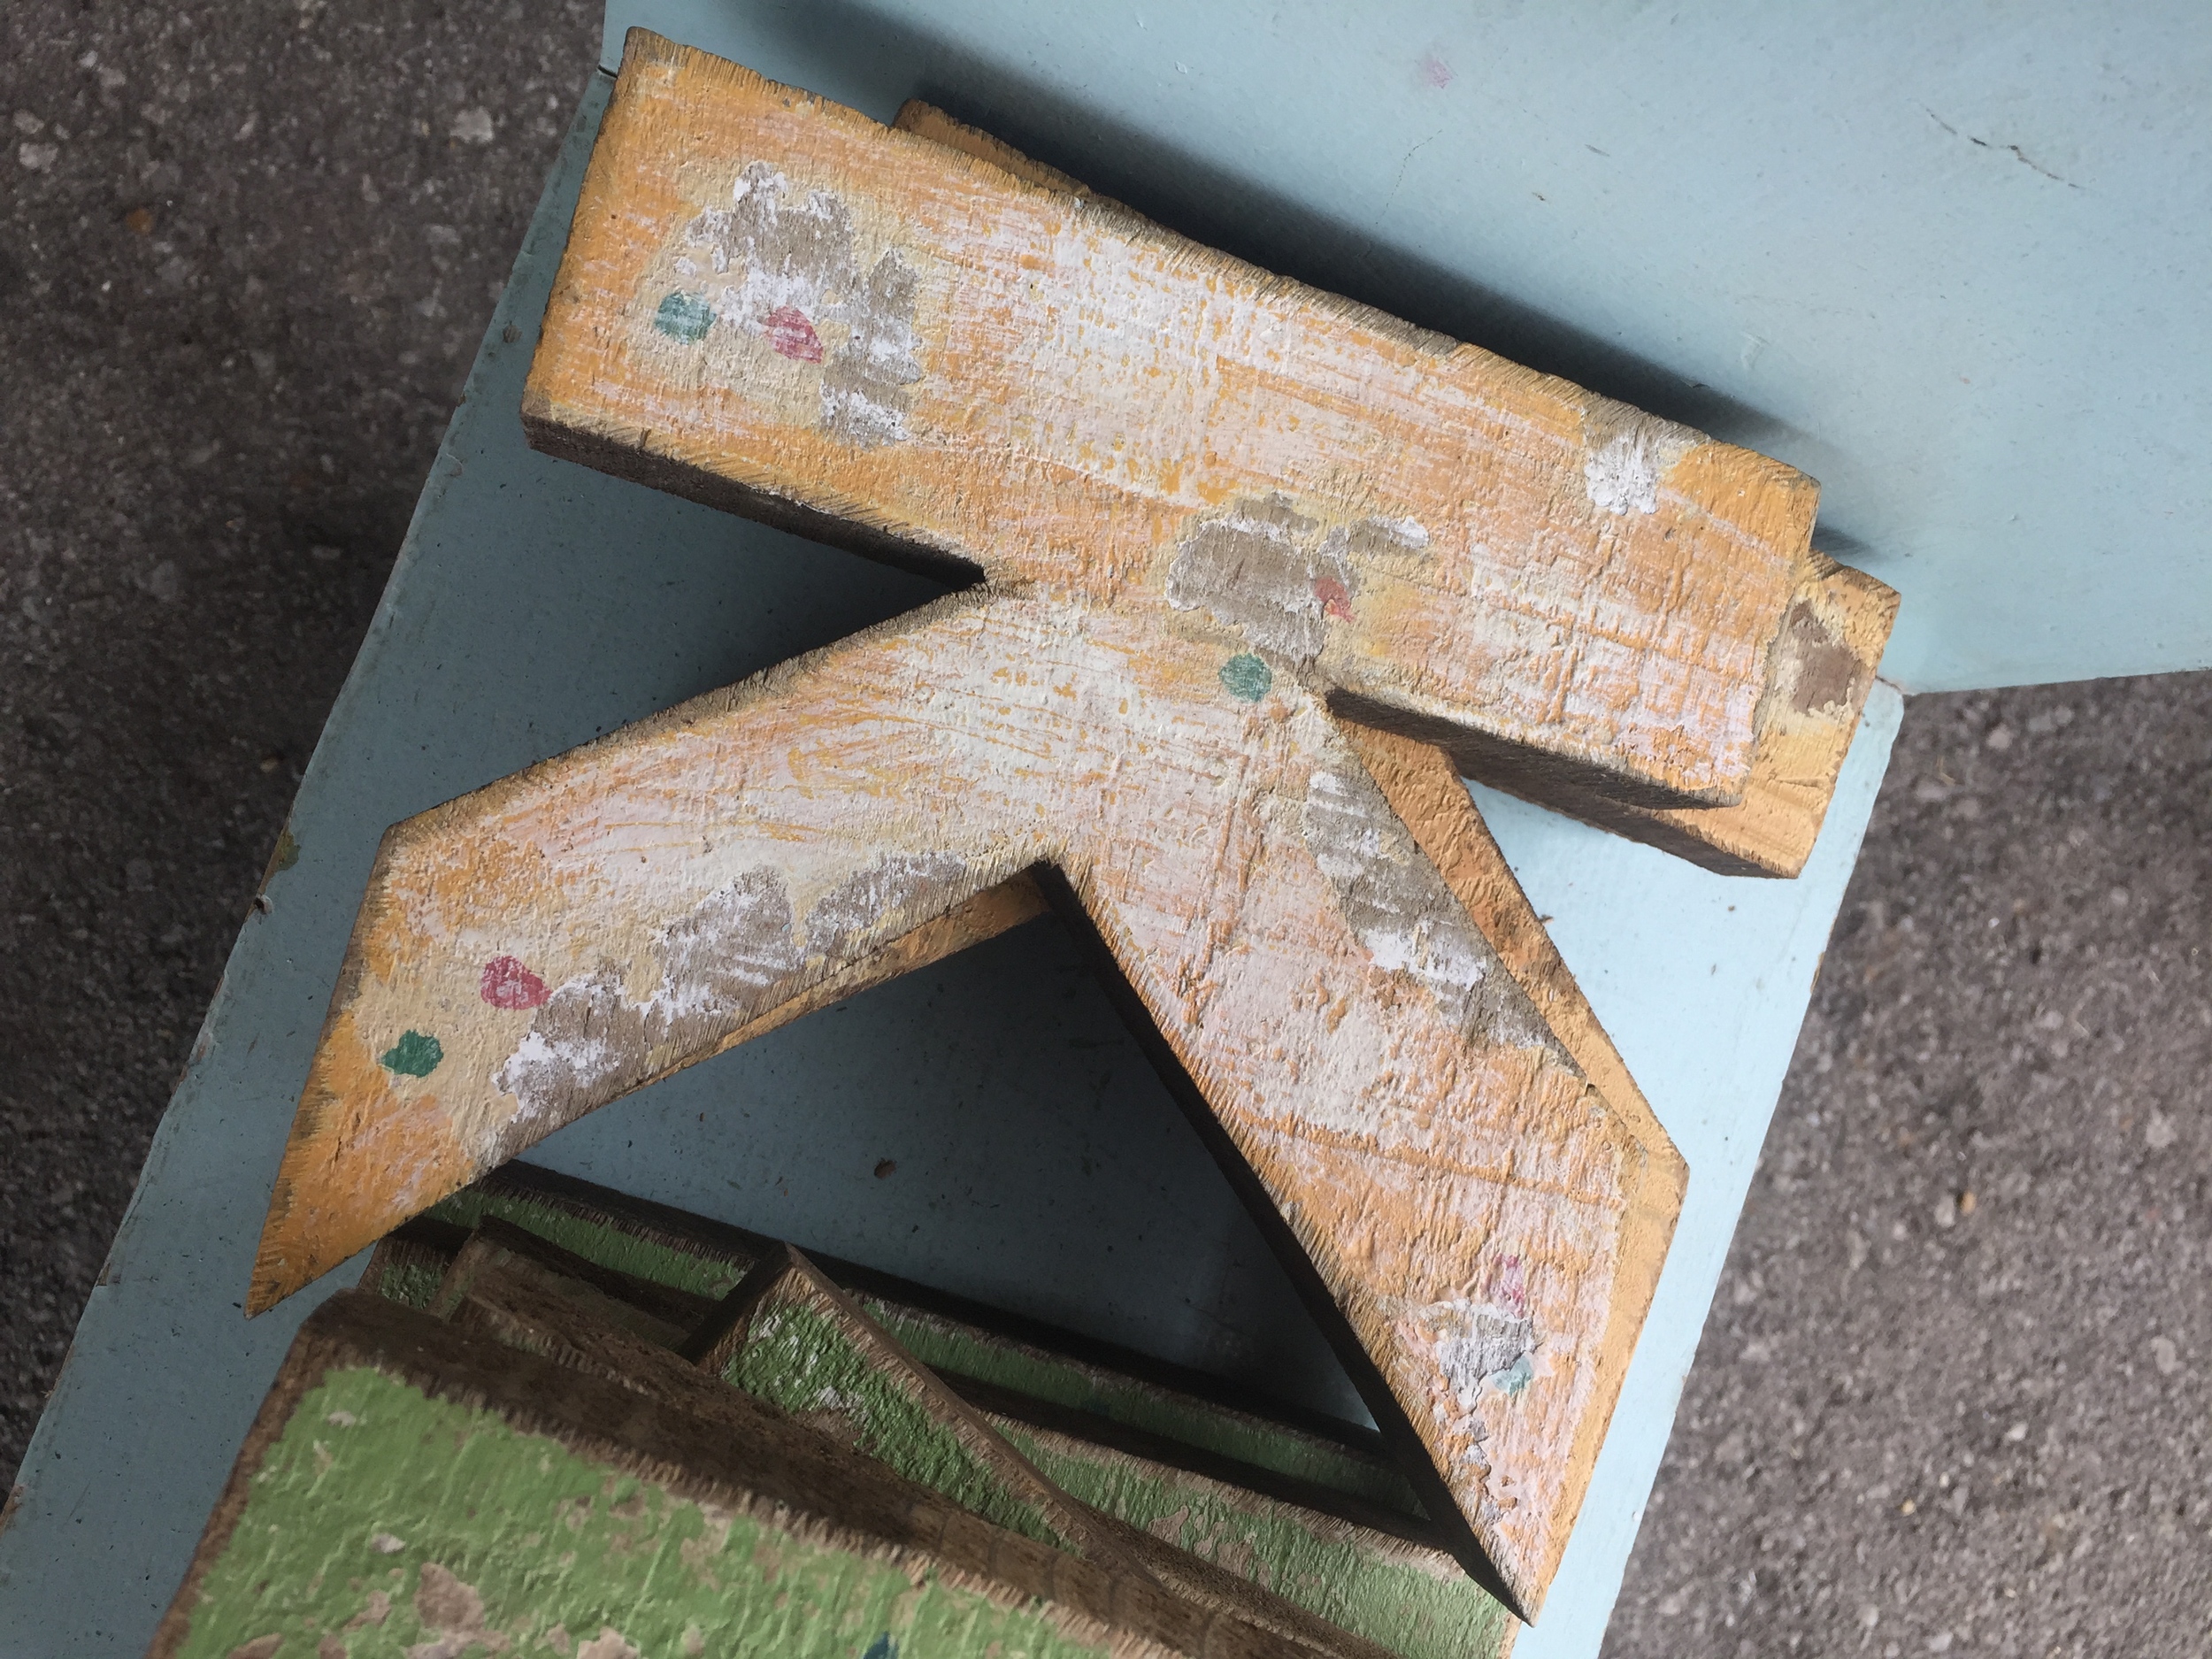
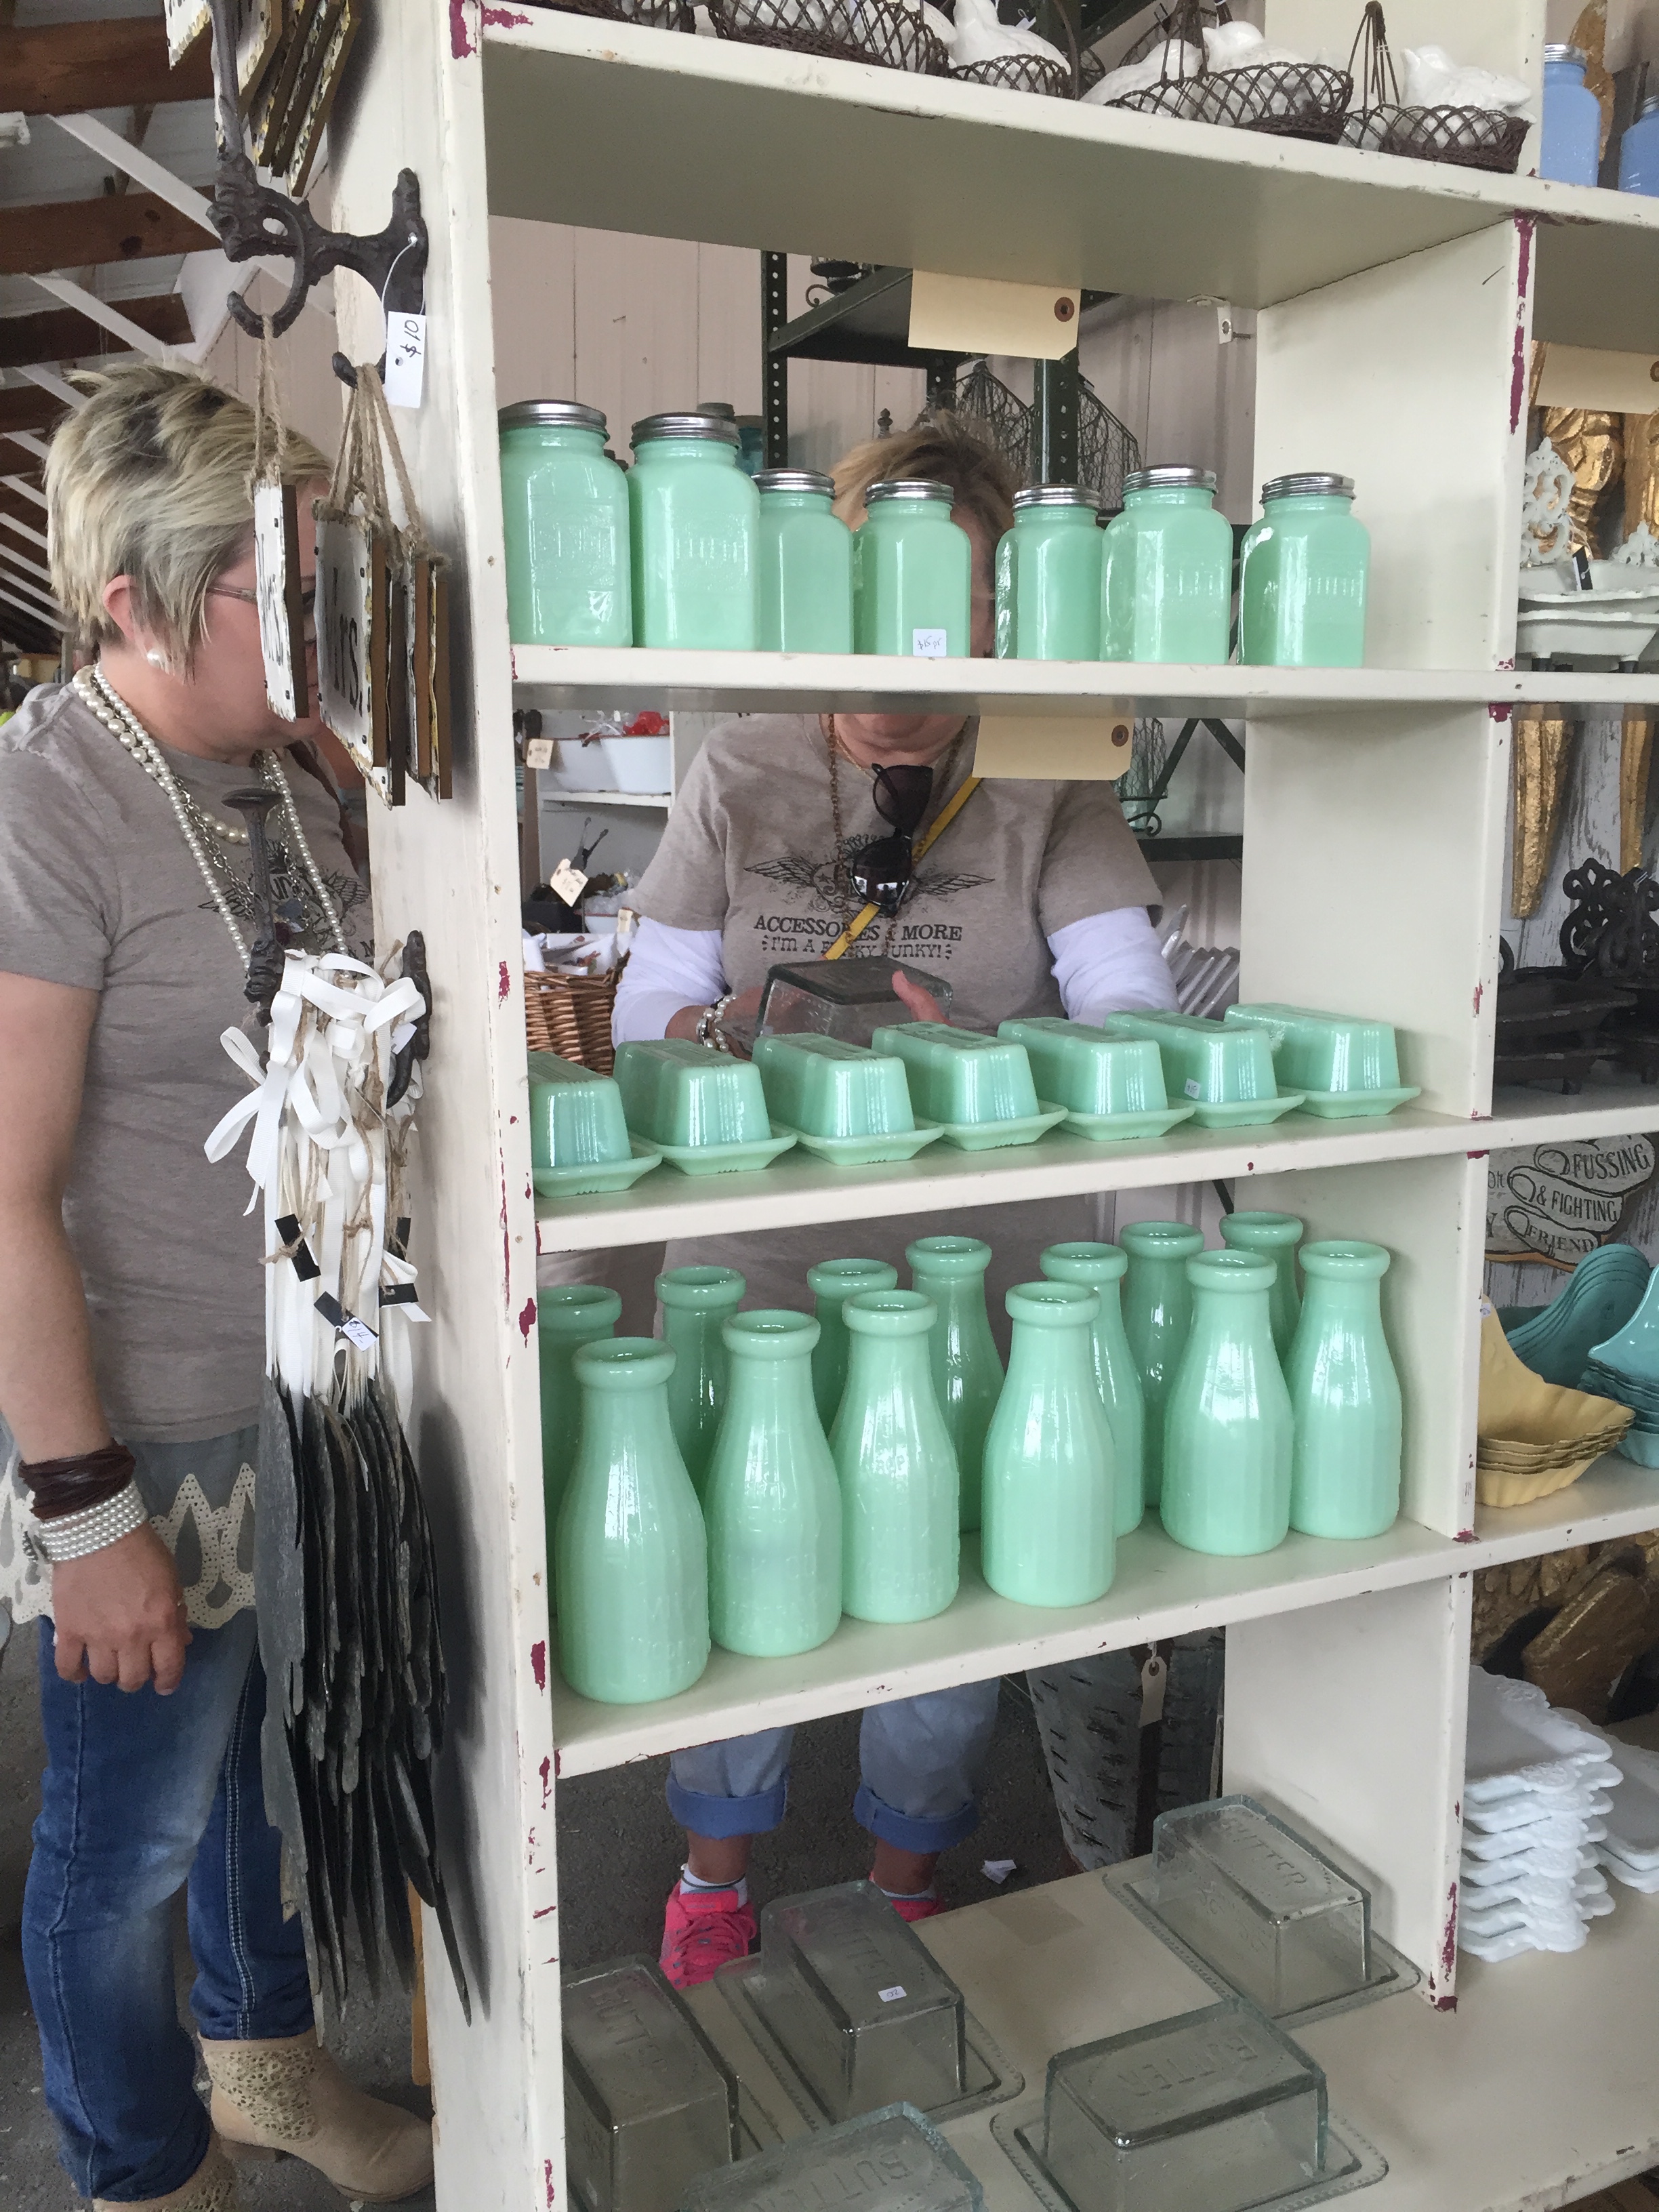
It seemed like the trends I saw most were reclaimed wood, "vintage" but new metal signage (which I originally thought was all handmade, then a trip to the Nashville Flea Market proved otherwise), repurposing of old doors, as well as shabby chic pastels, sun washed mint furniture from the 50s (maybe) made from REAL wood, denim adorned with white lace and crochet and stretchy jersey clothes, like pantaloons, that were loose fitting and ultra comfy. Some of the vendors were dressed like urban cowgirls, and more than once I saw women who I wondered if they had their own shows on HGTV!

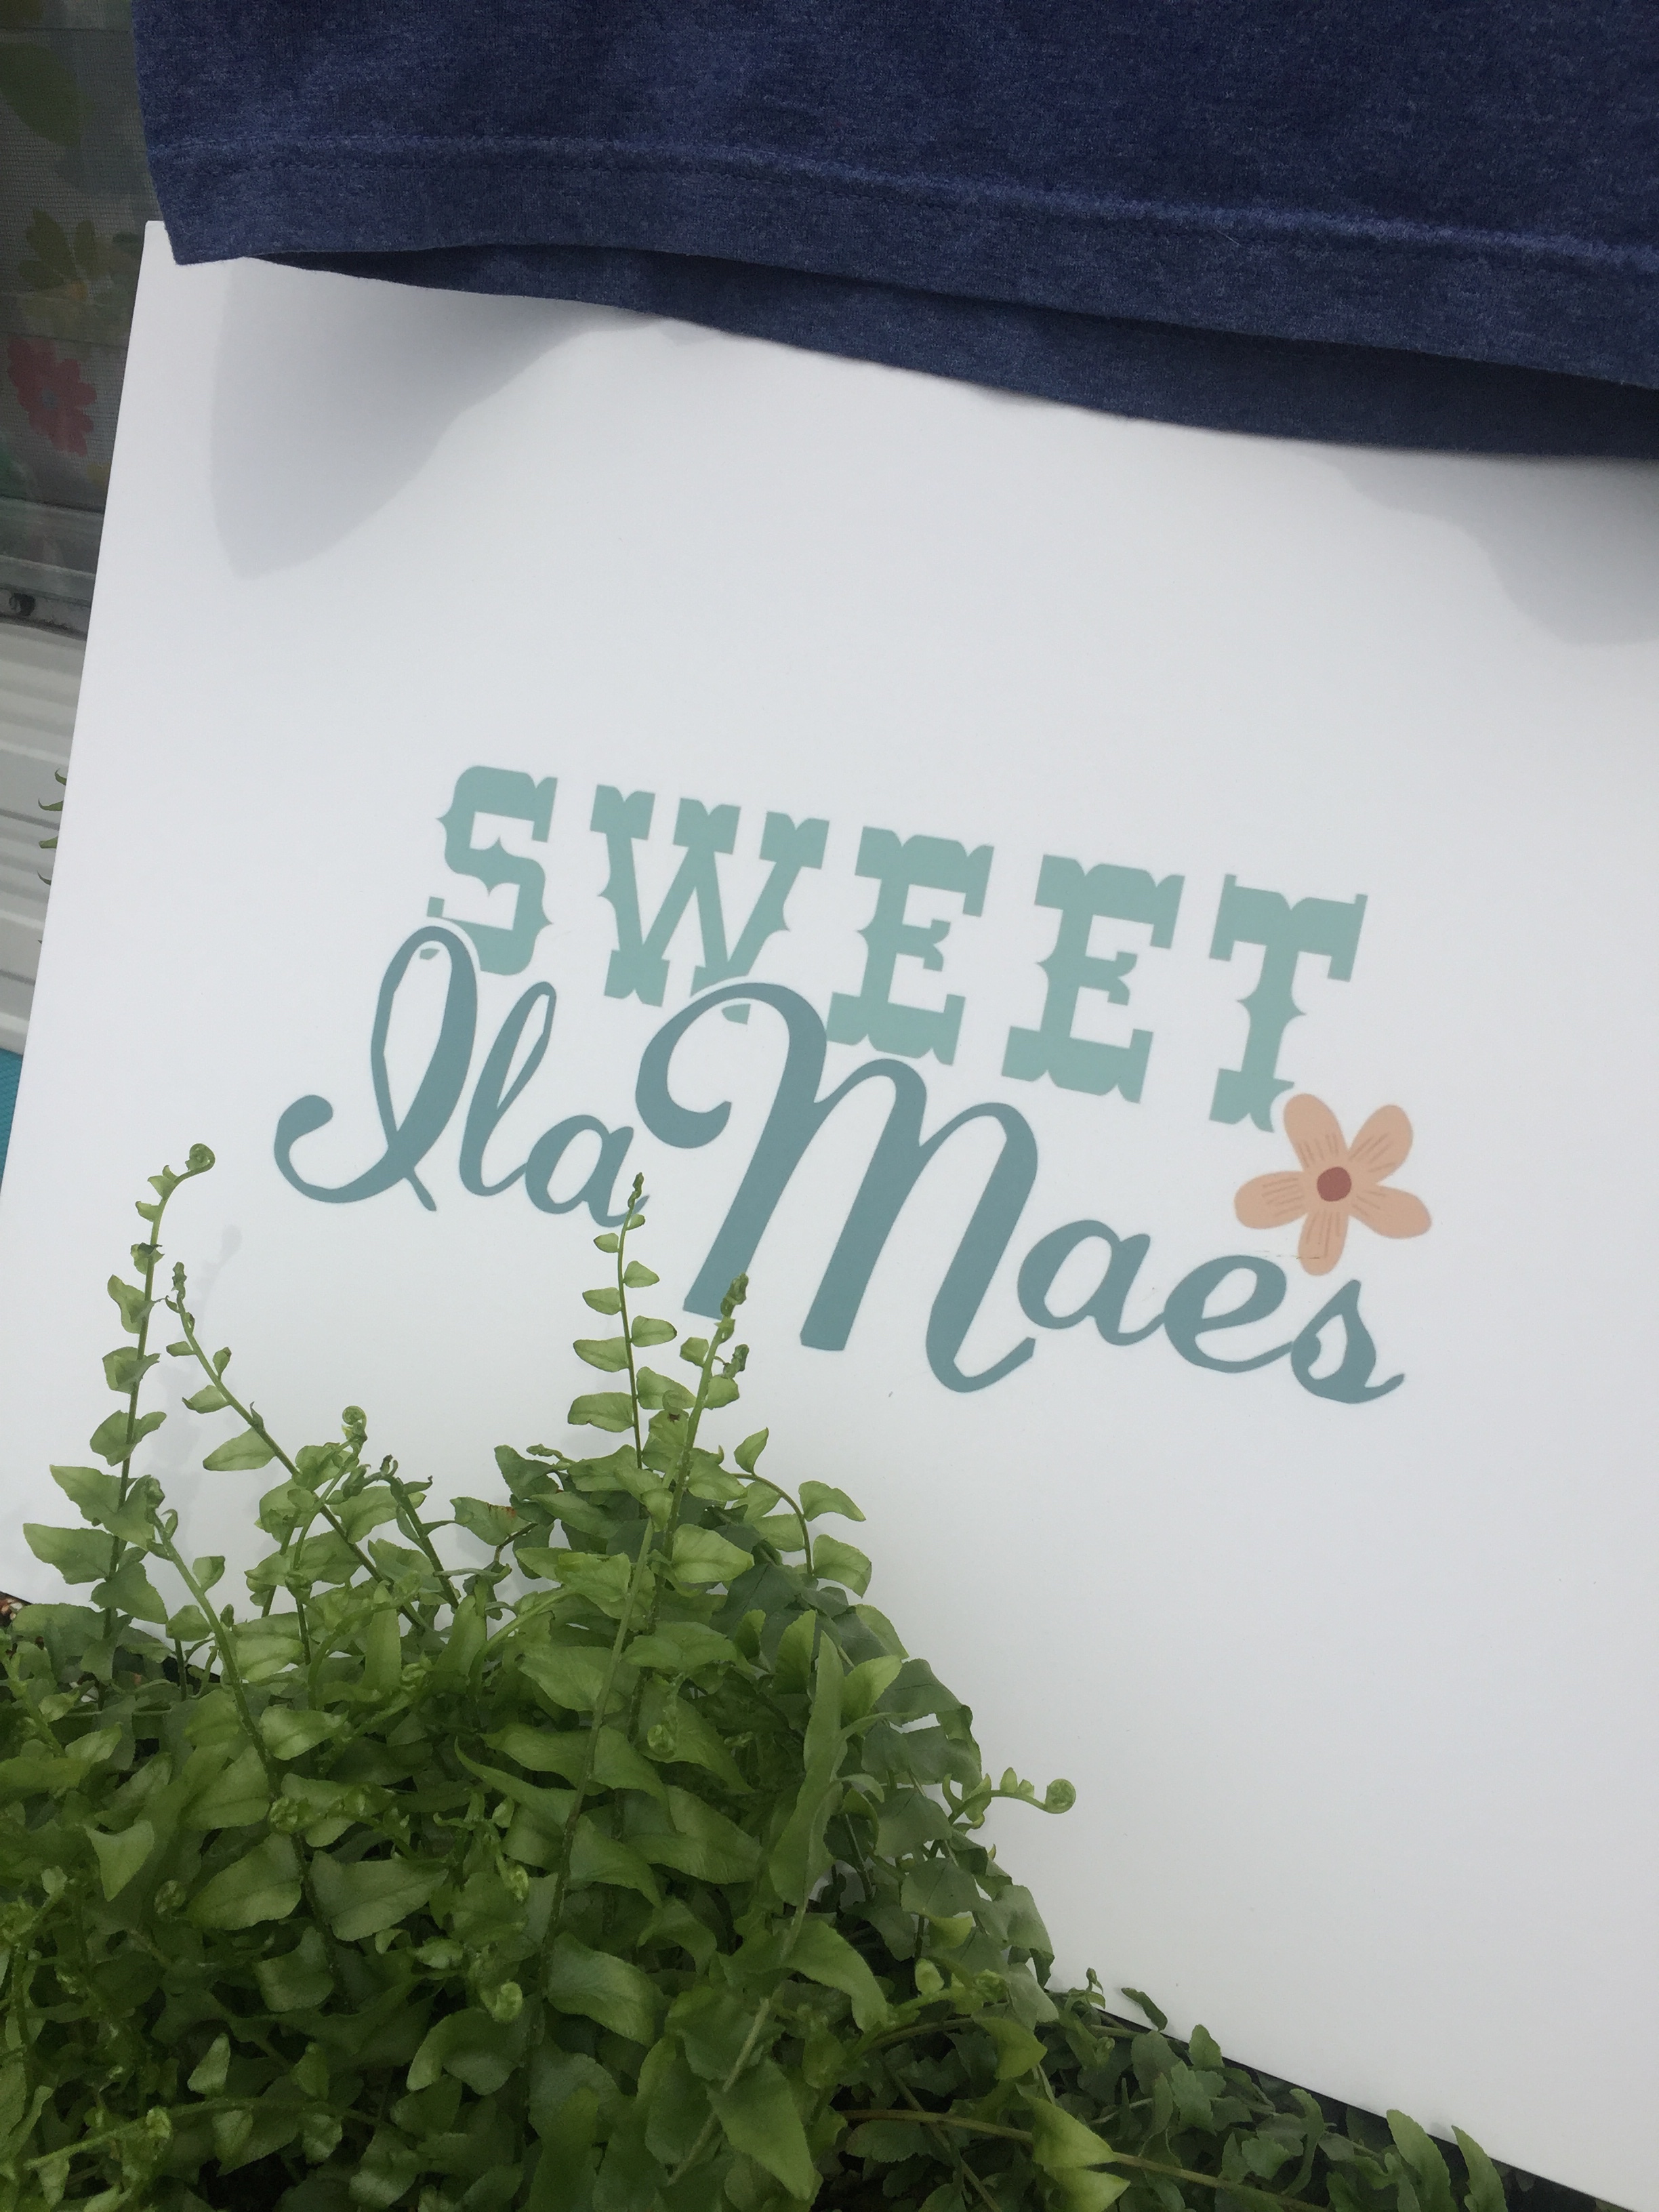
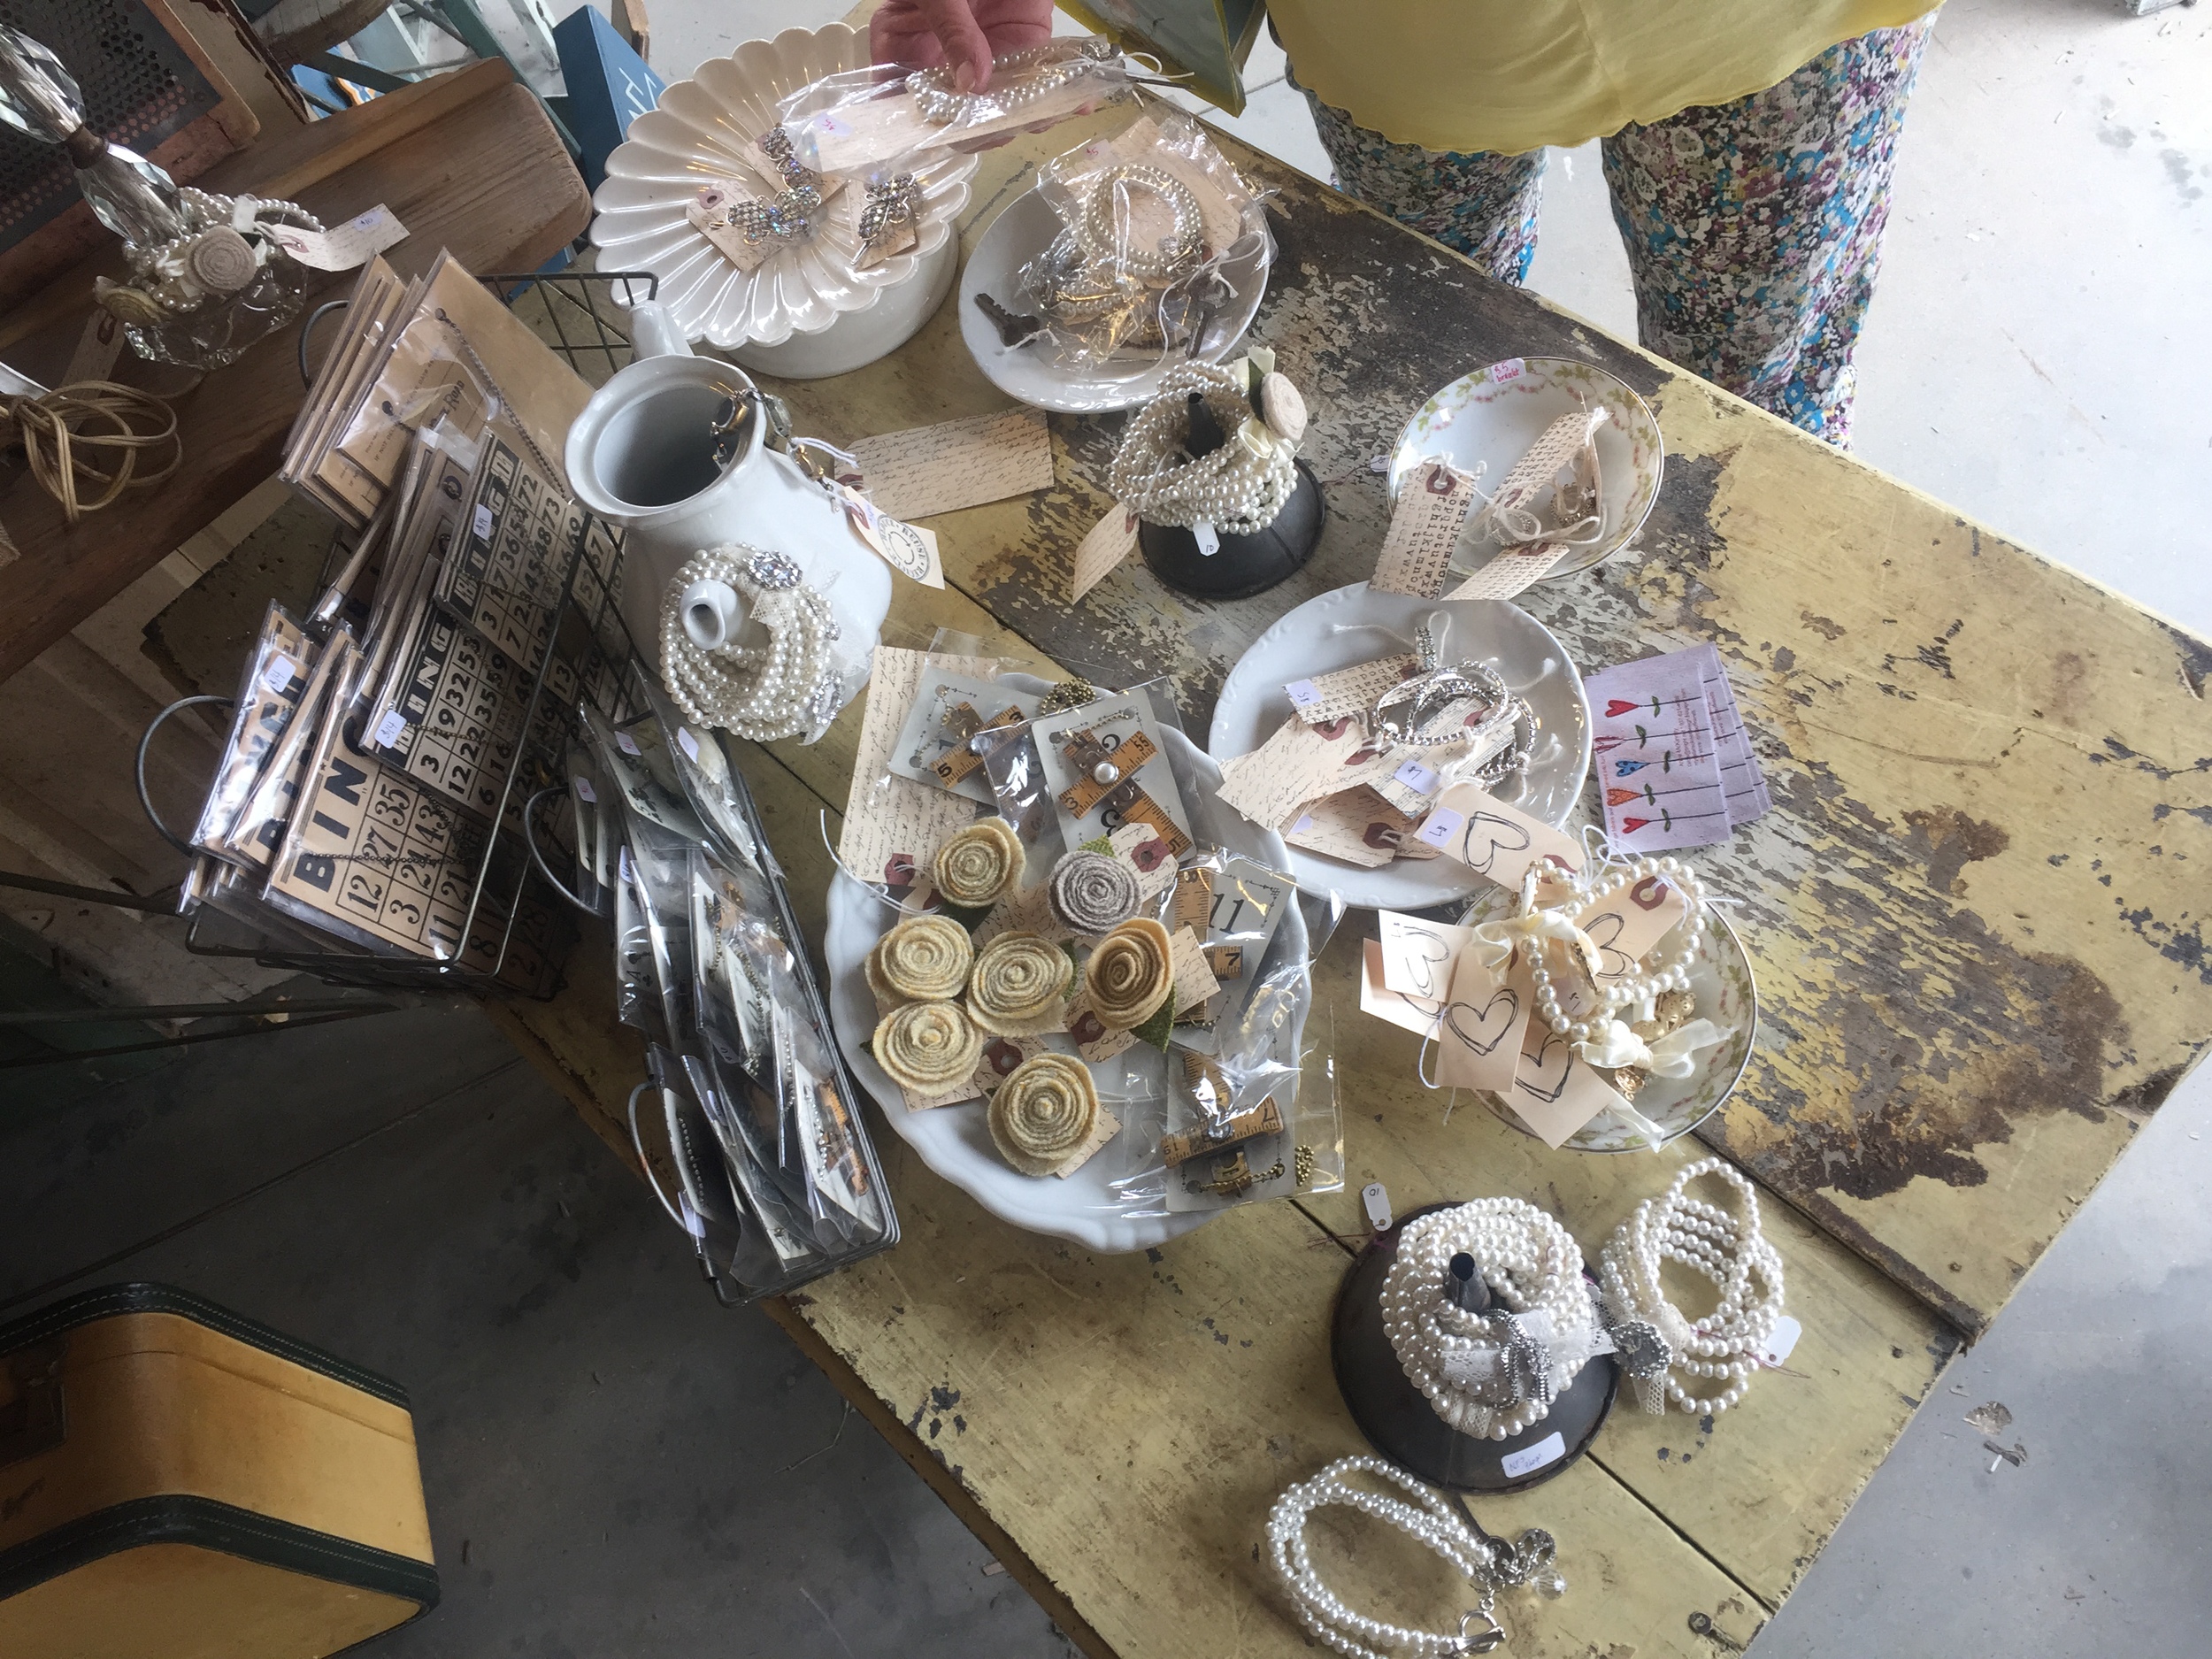
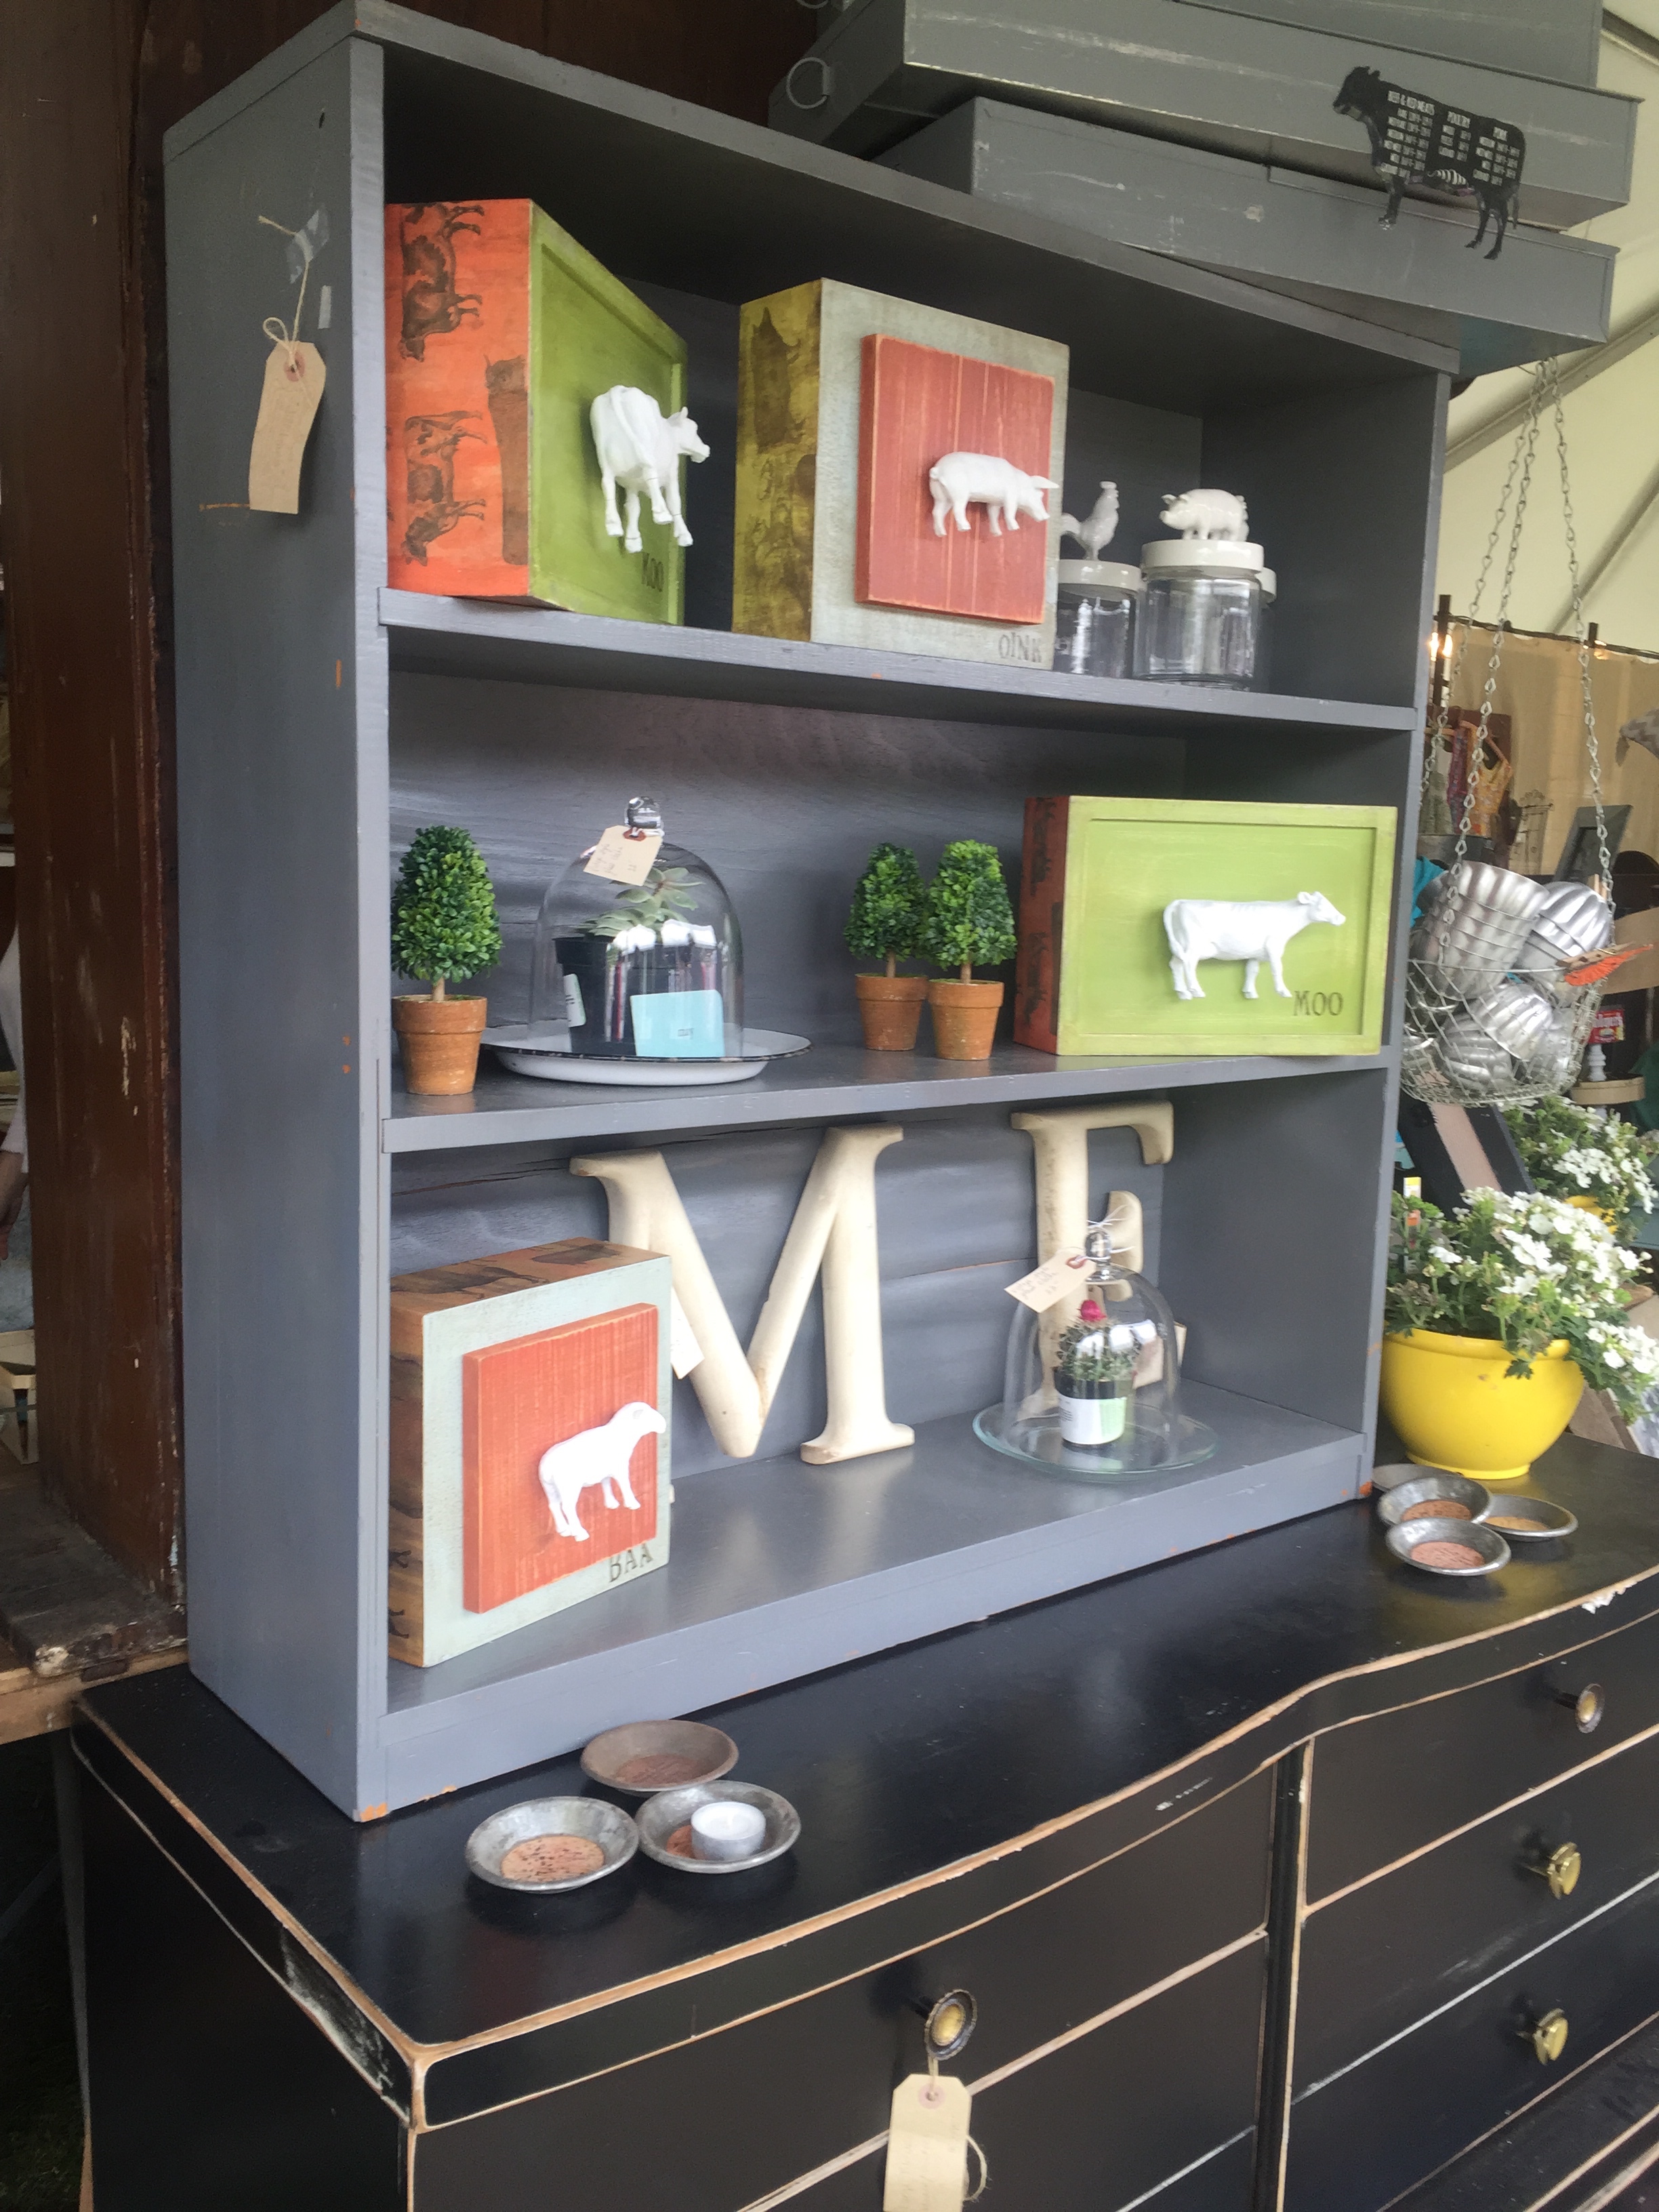
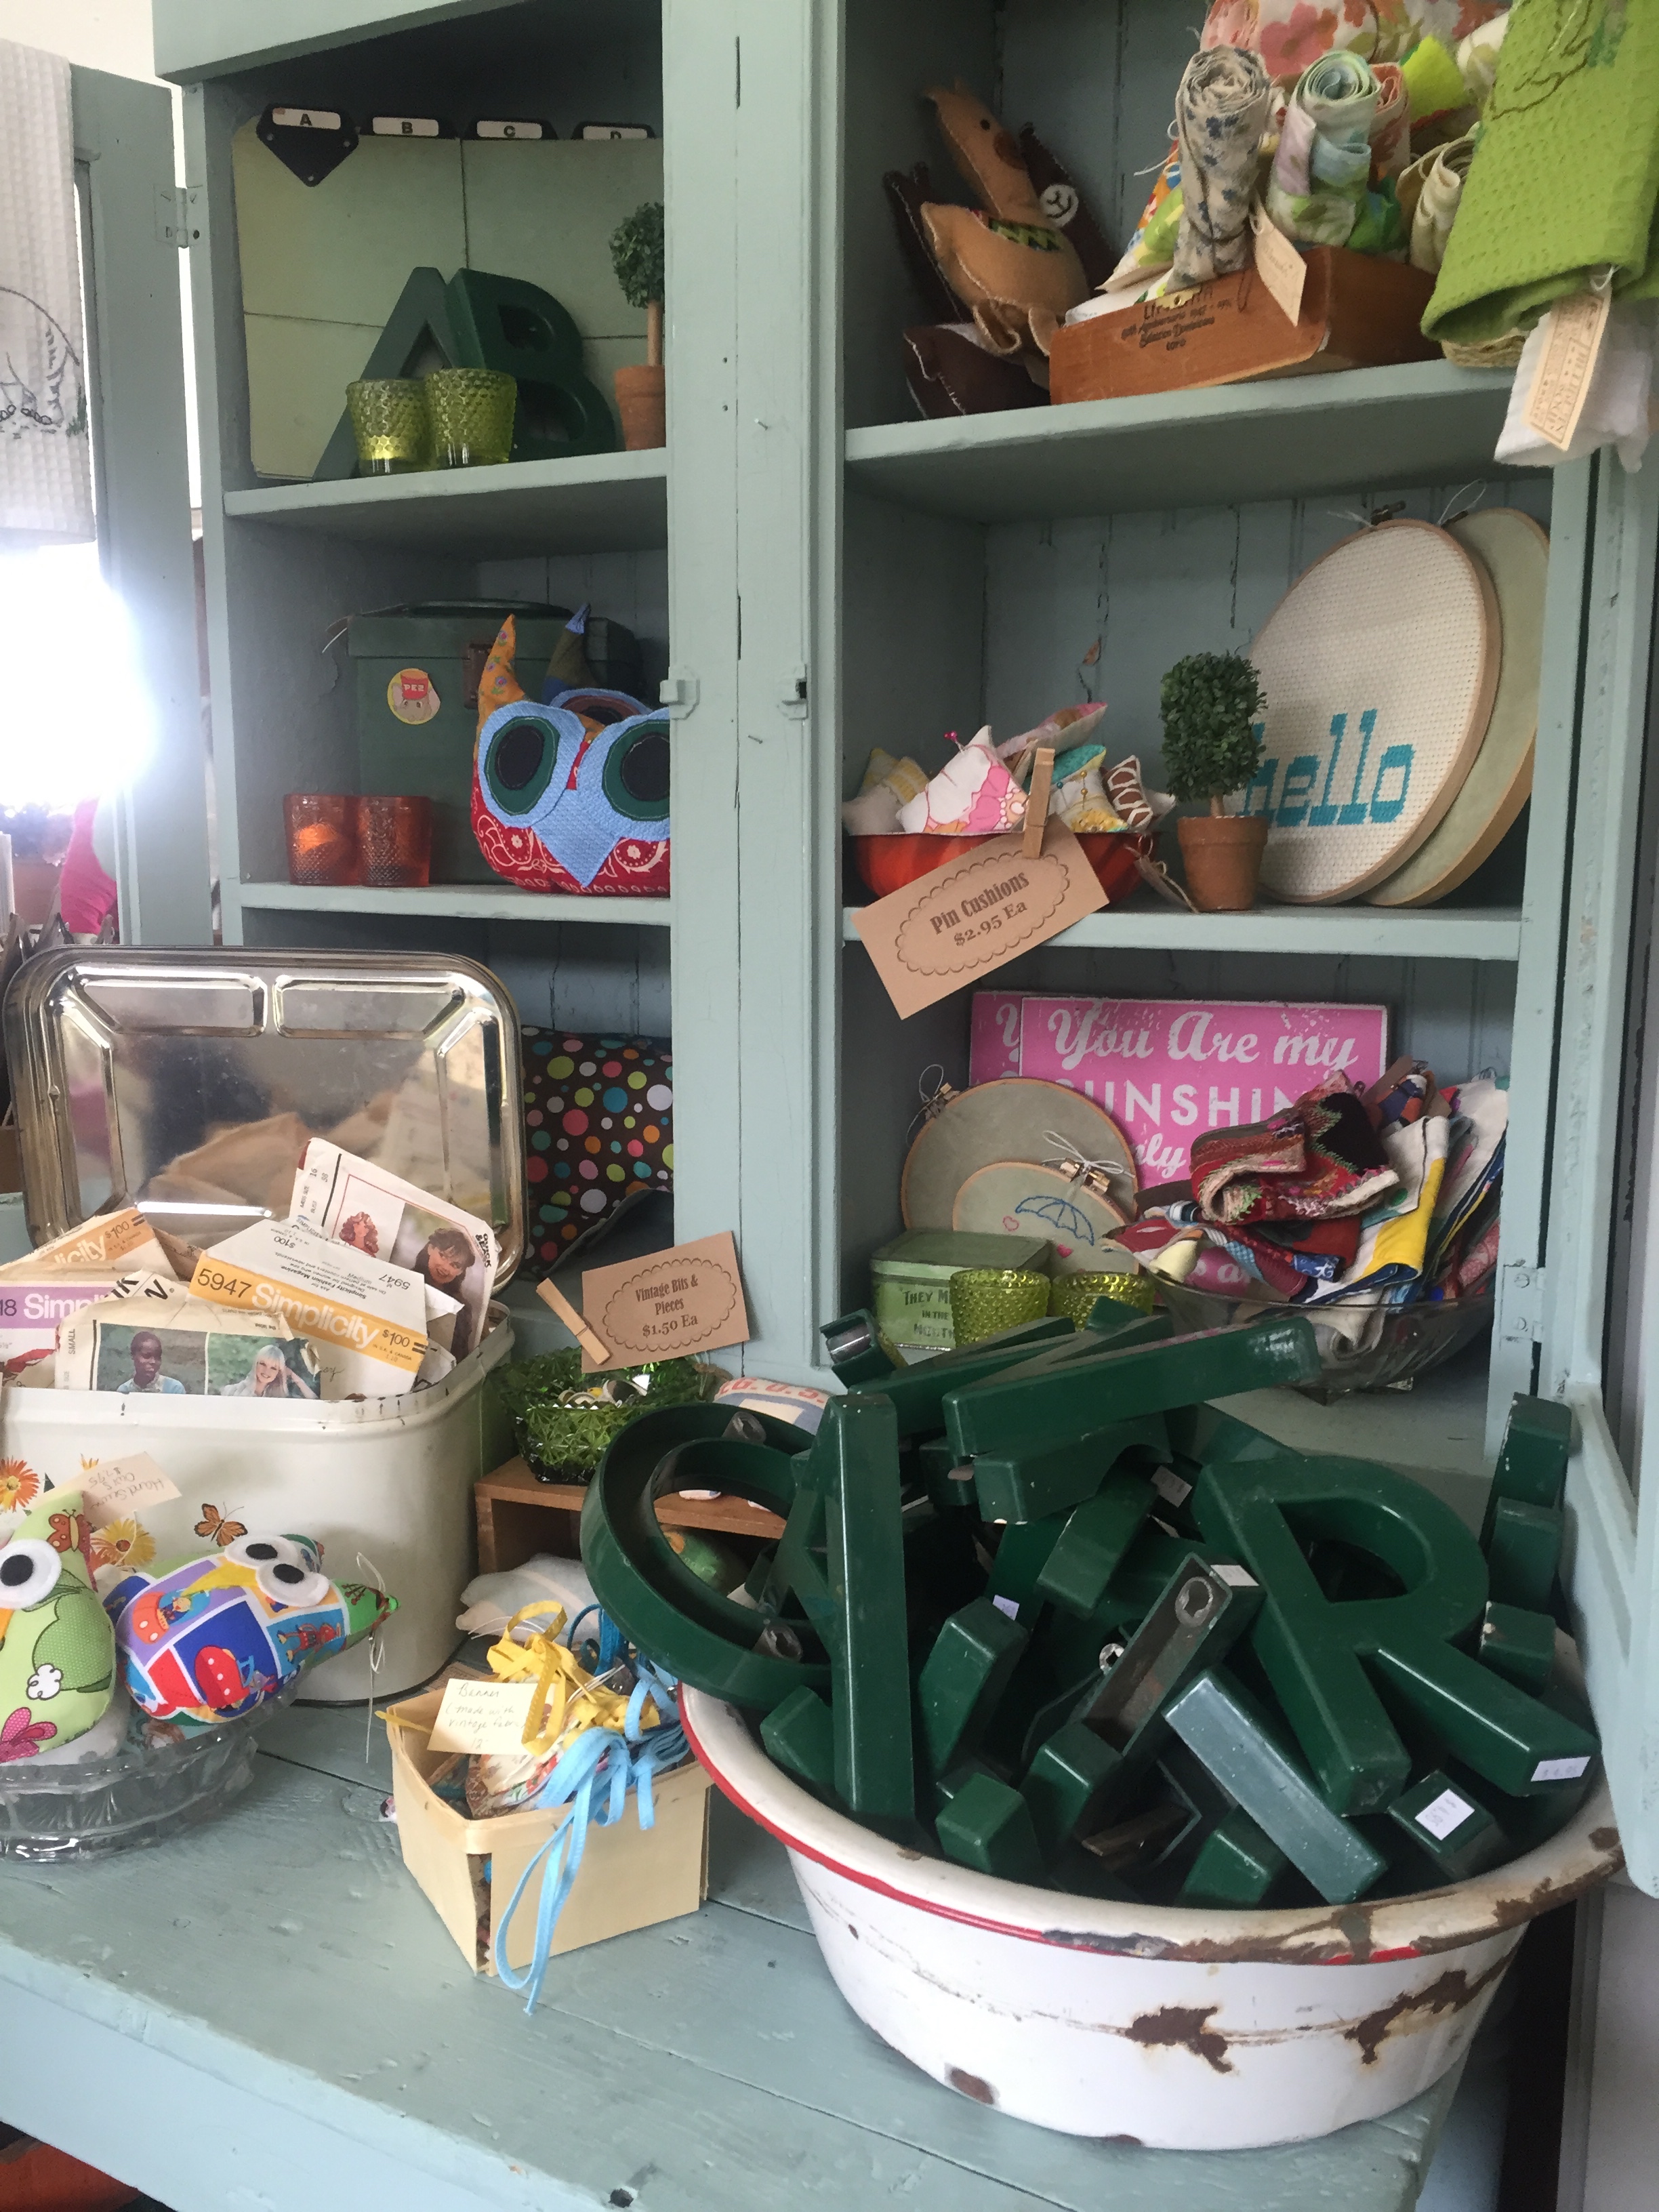
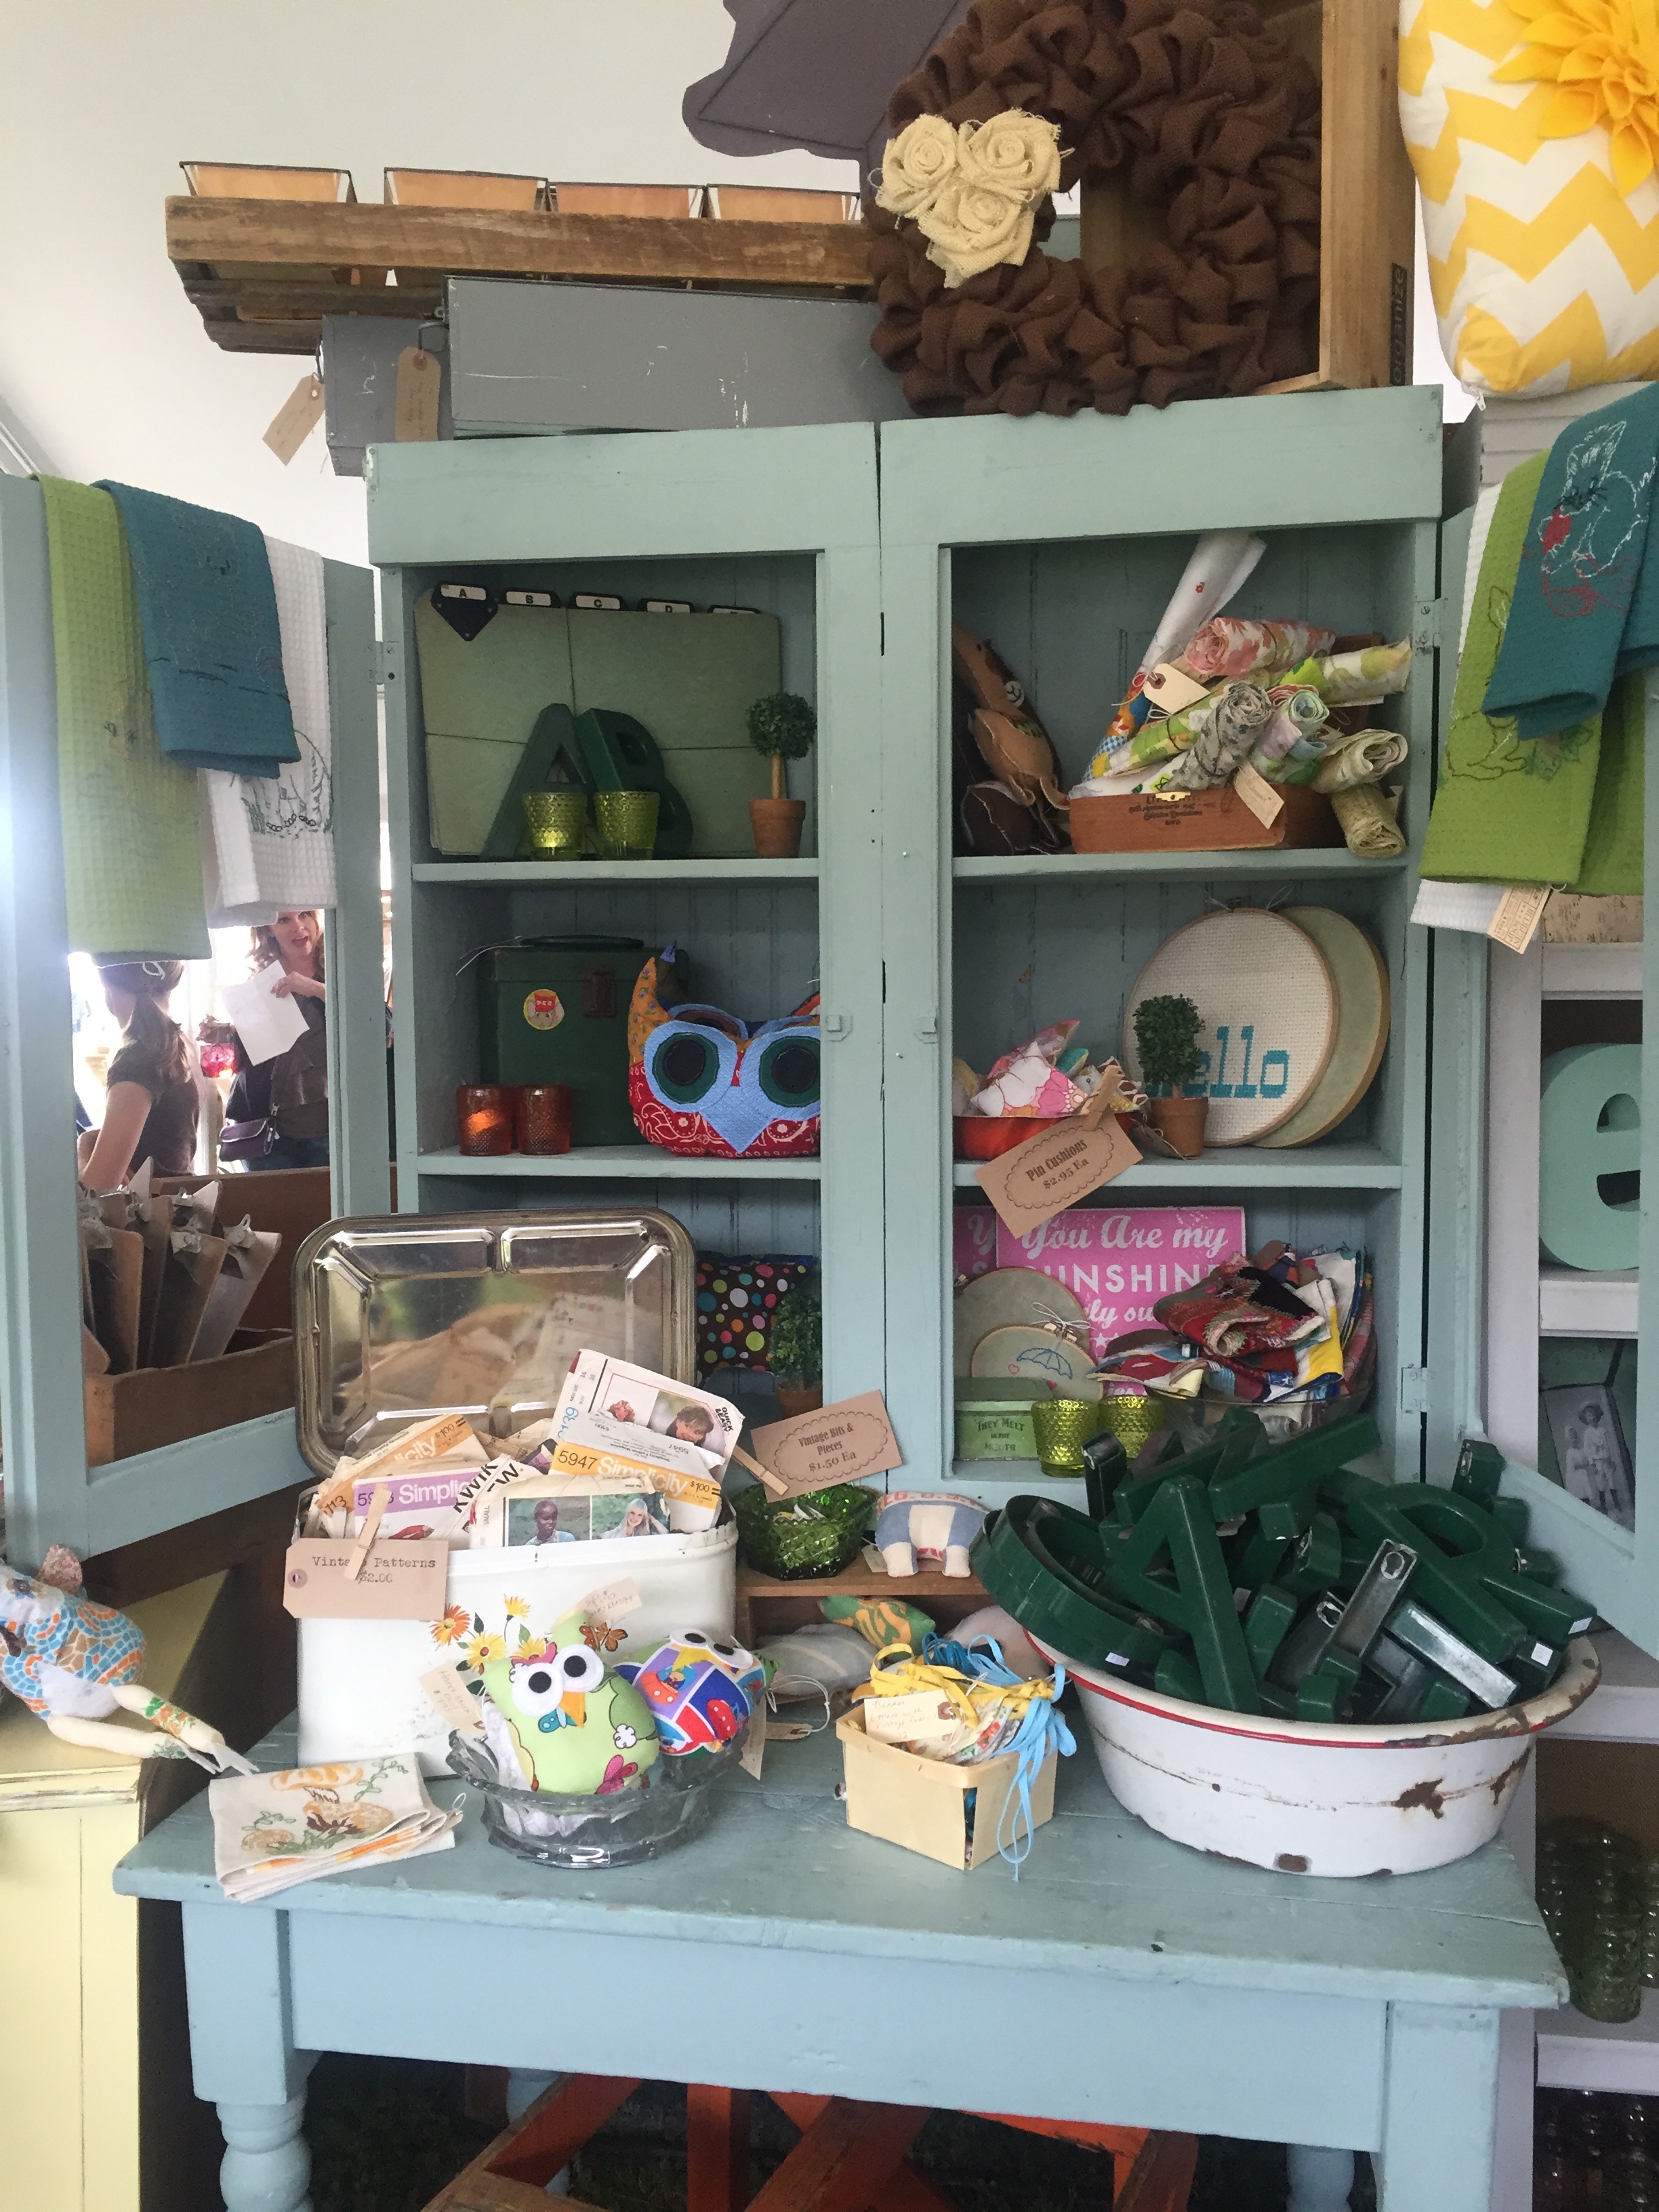
One of the cutest booths ever!!! I loved their vignettes so much :)
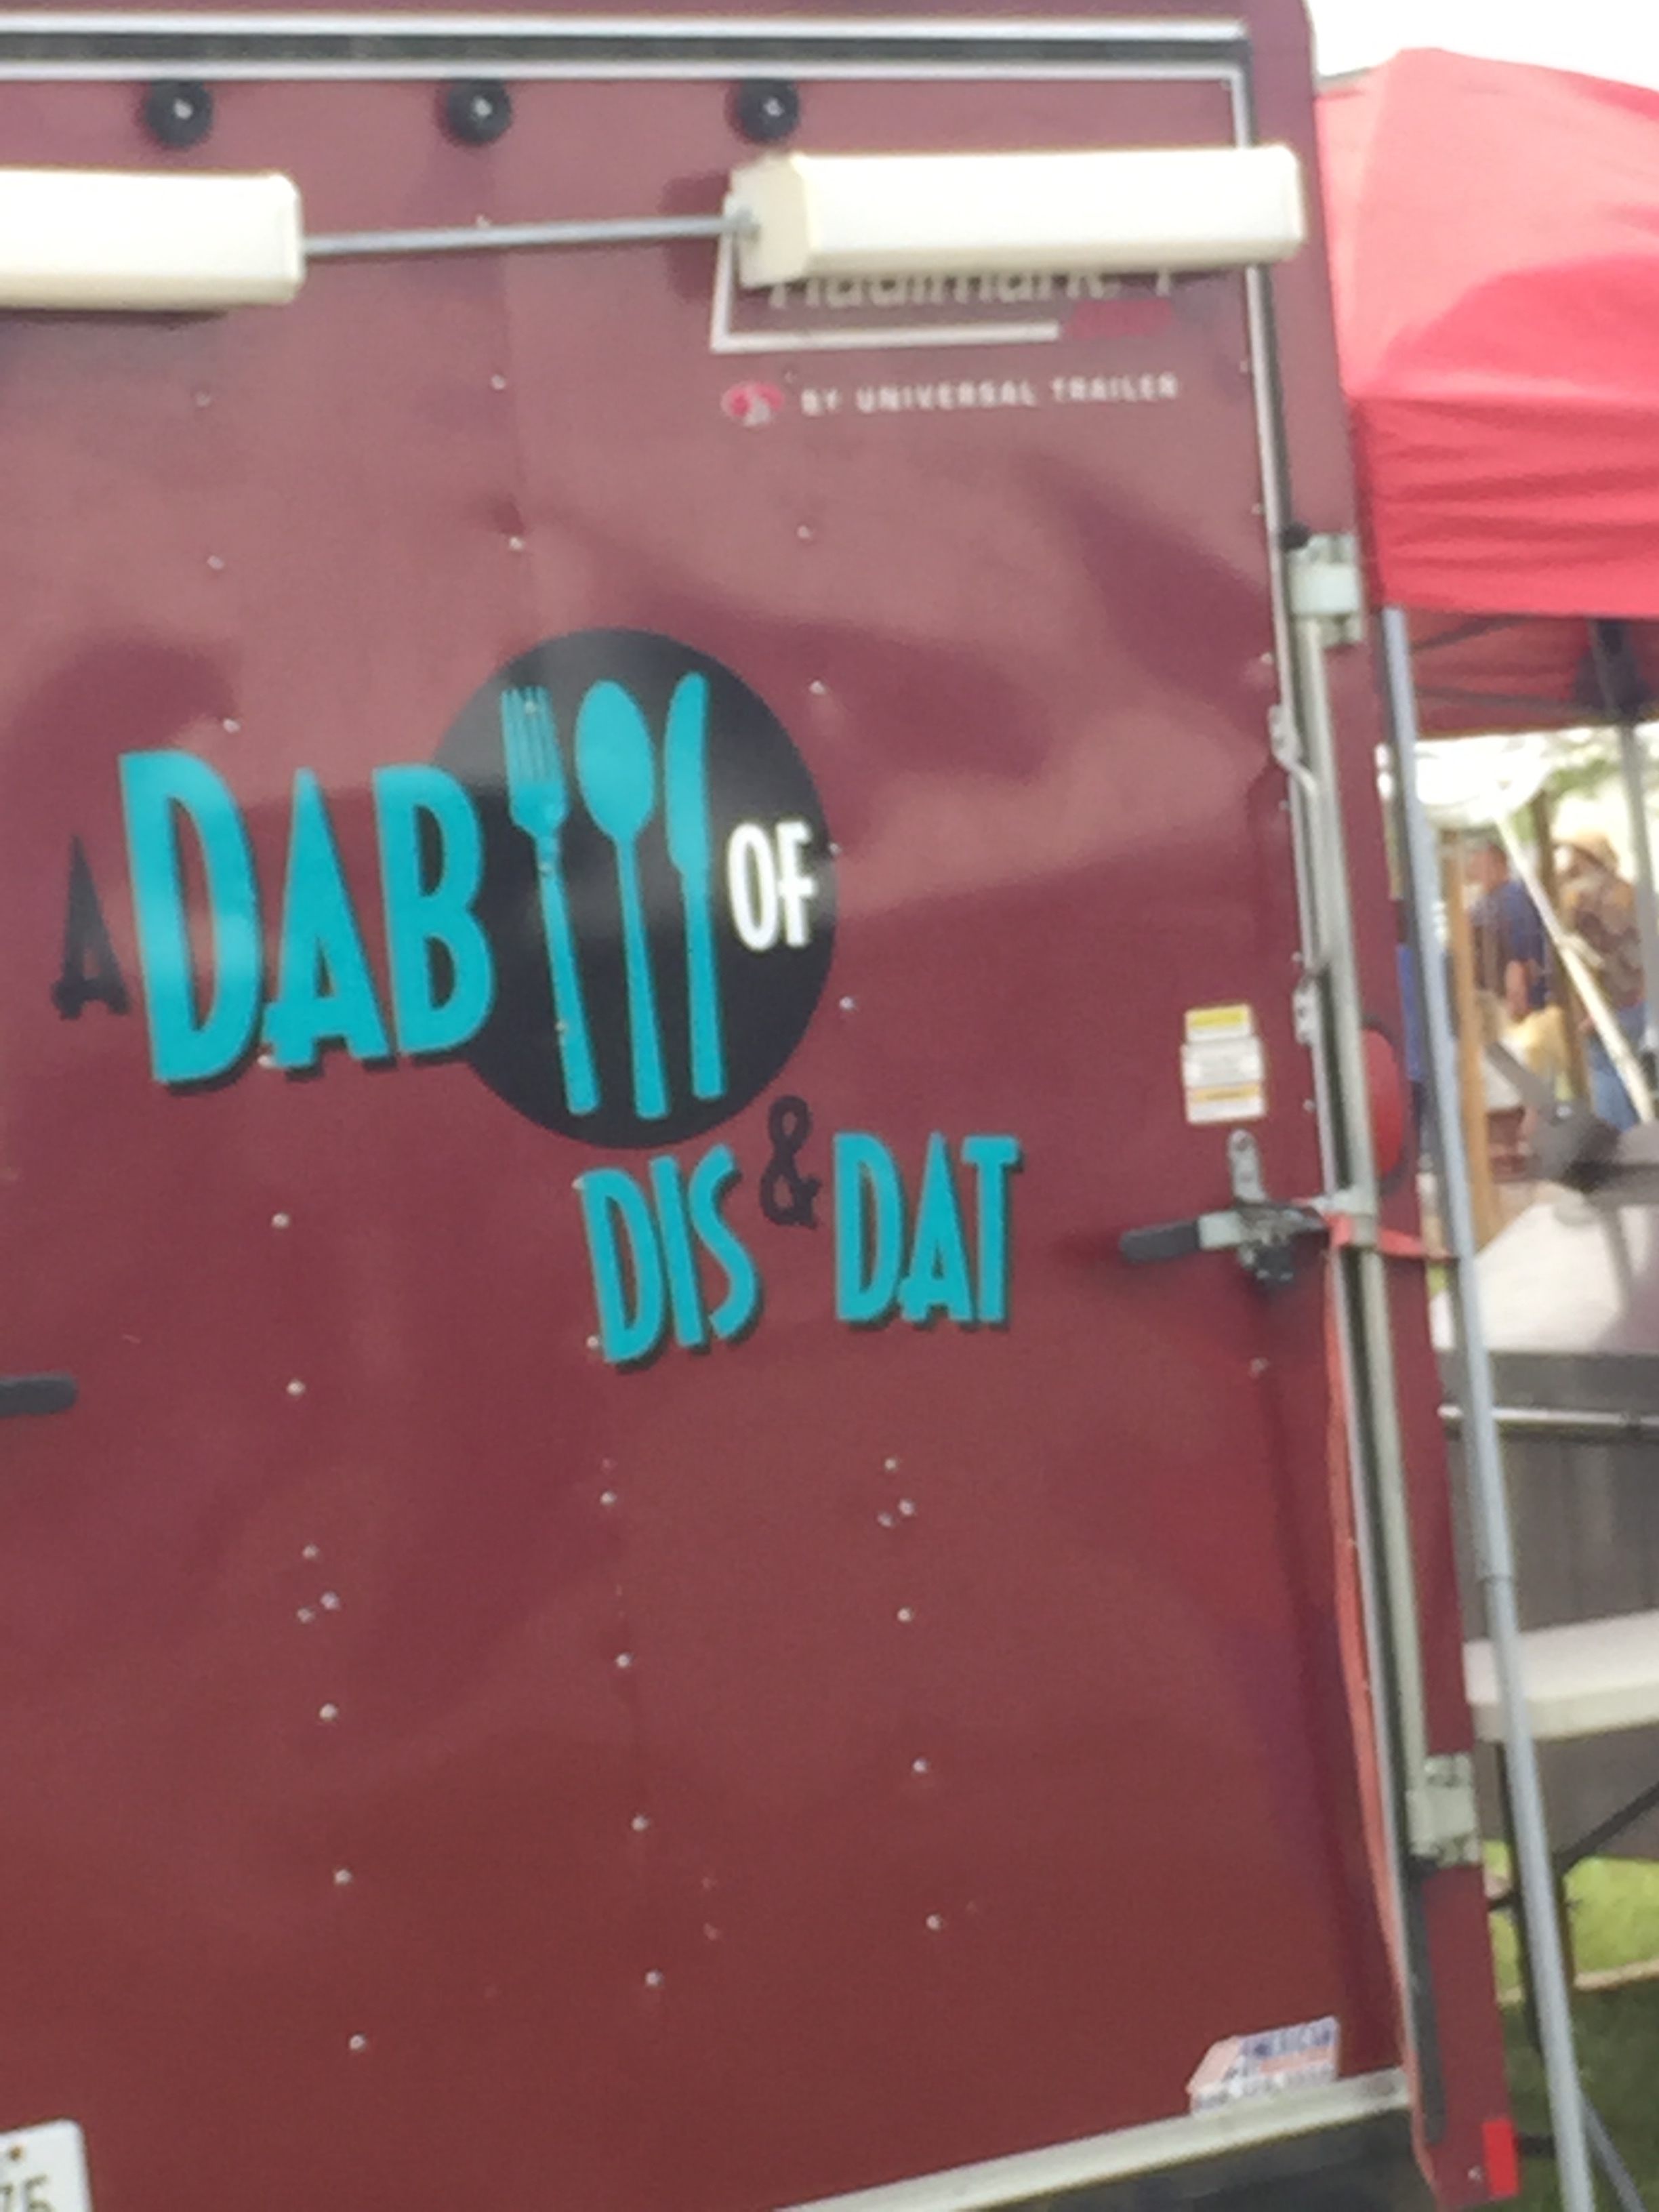
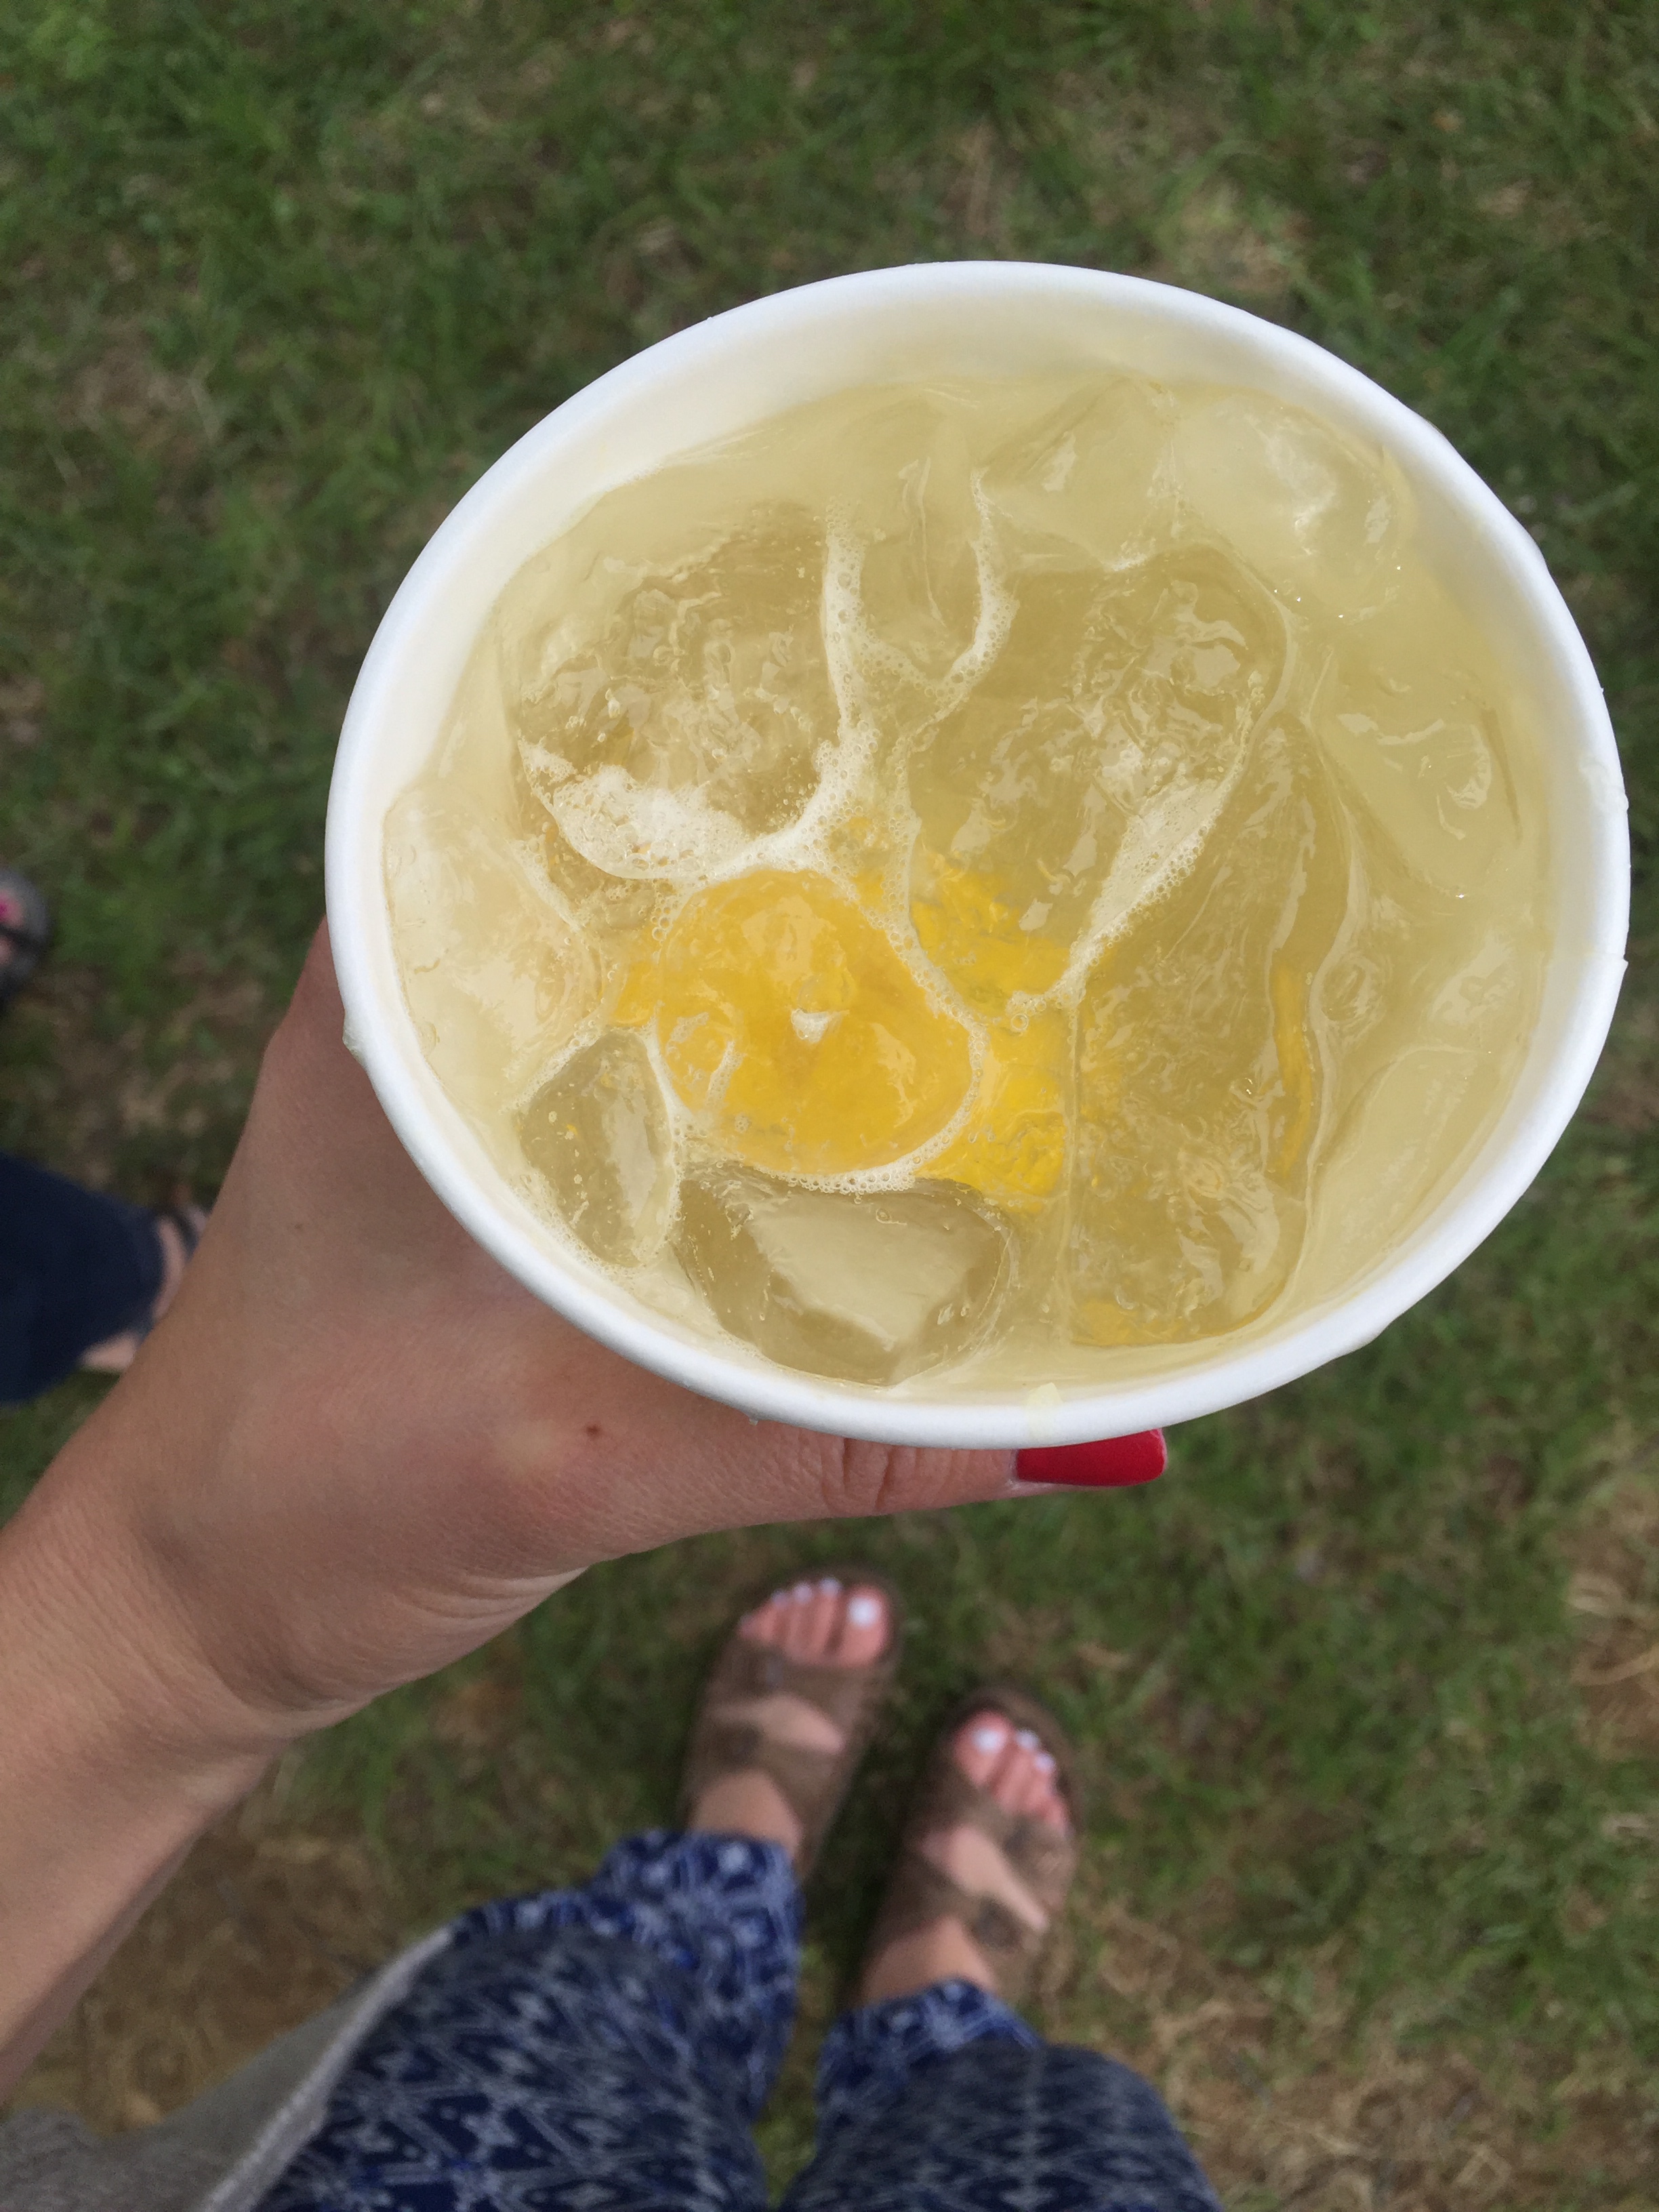
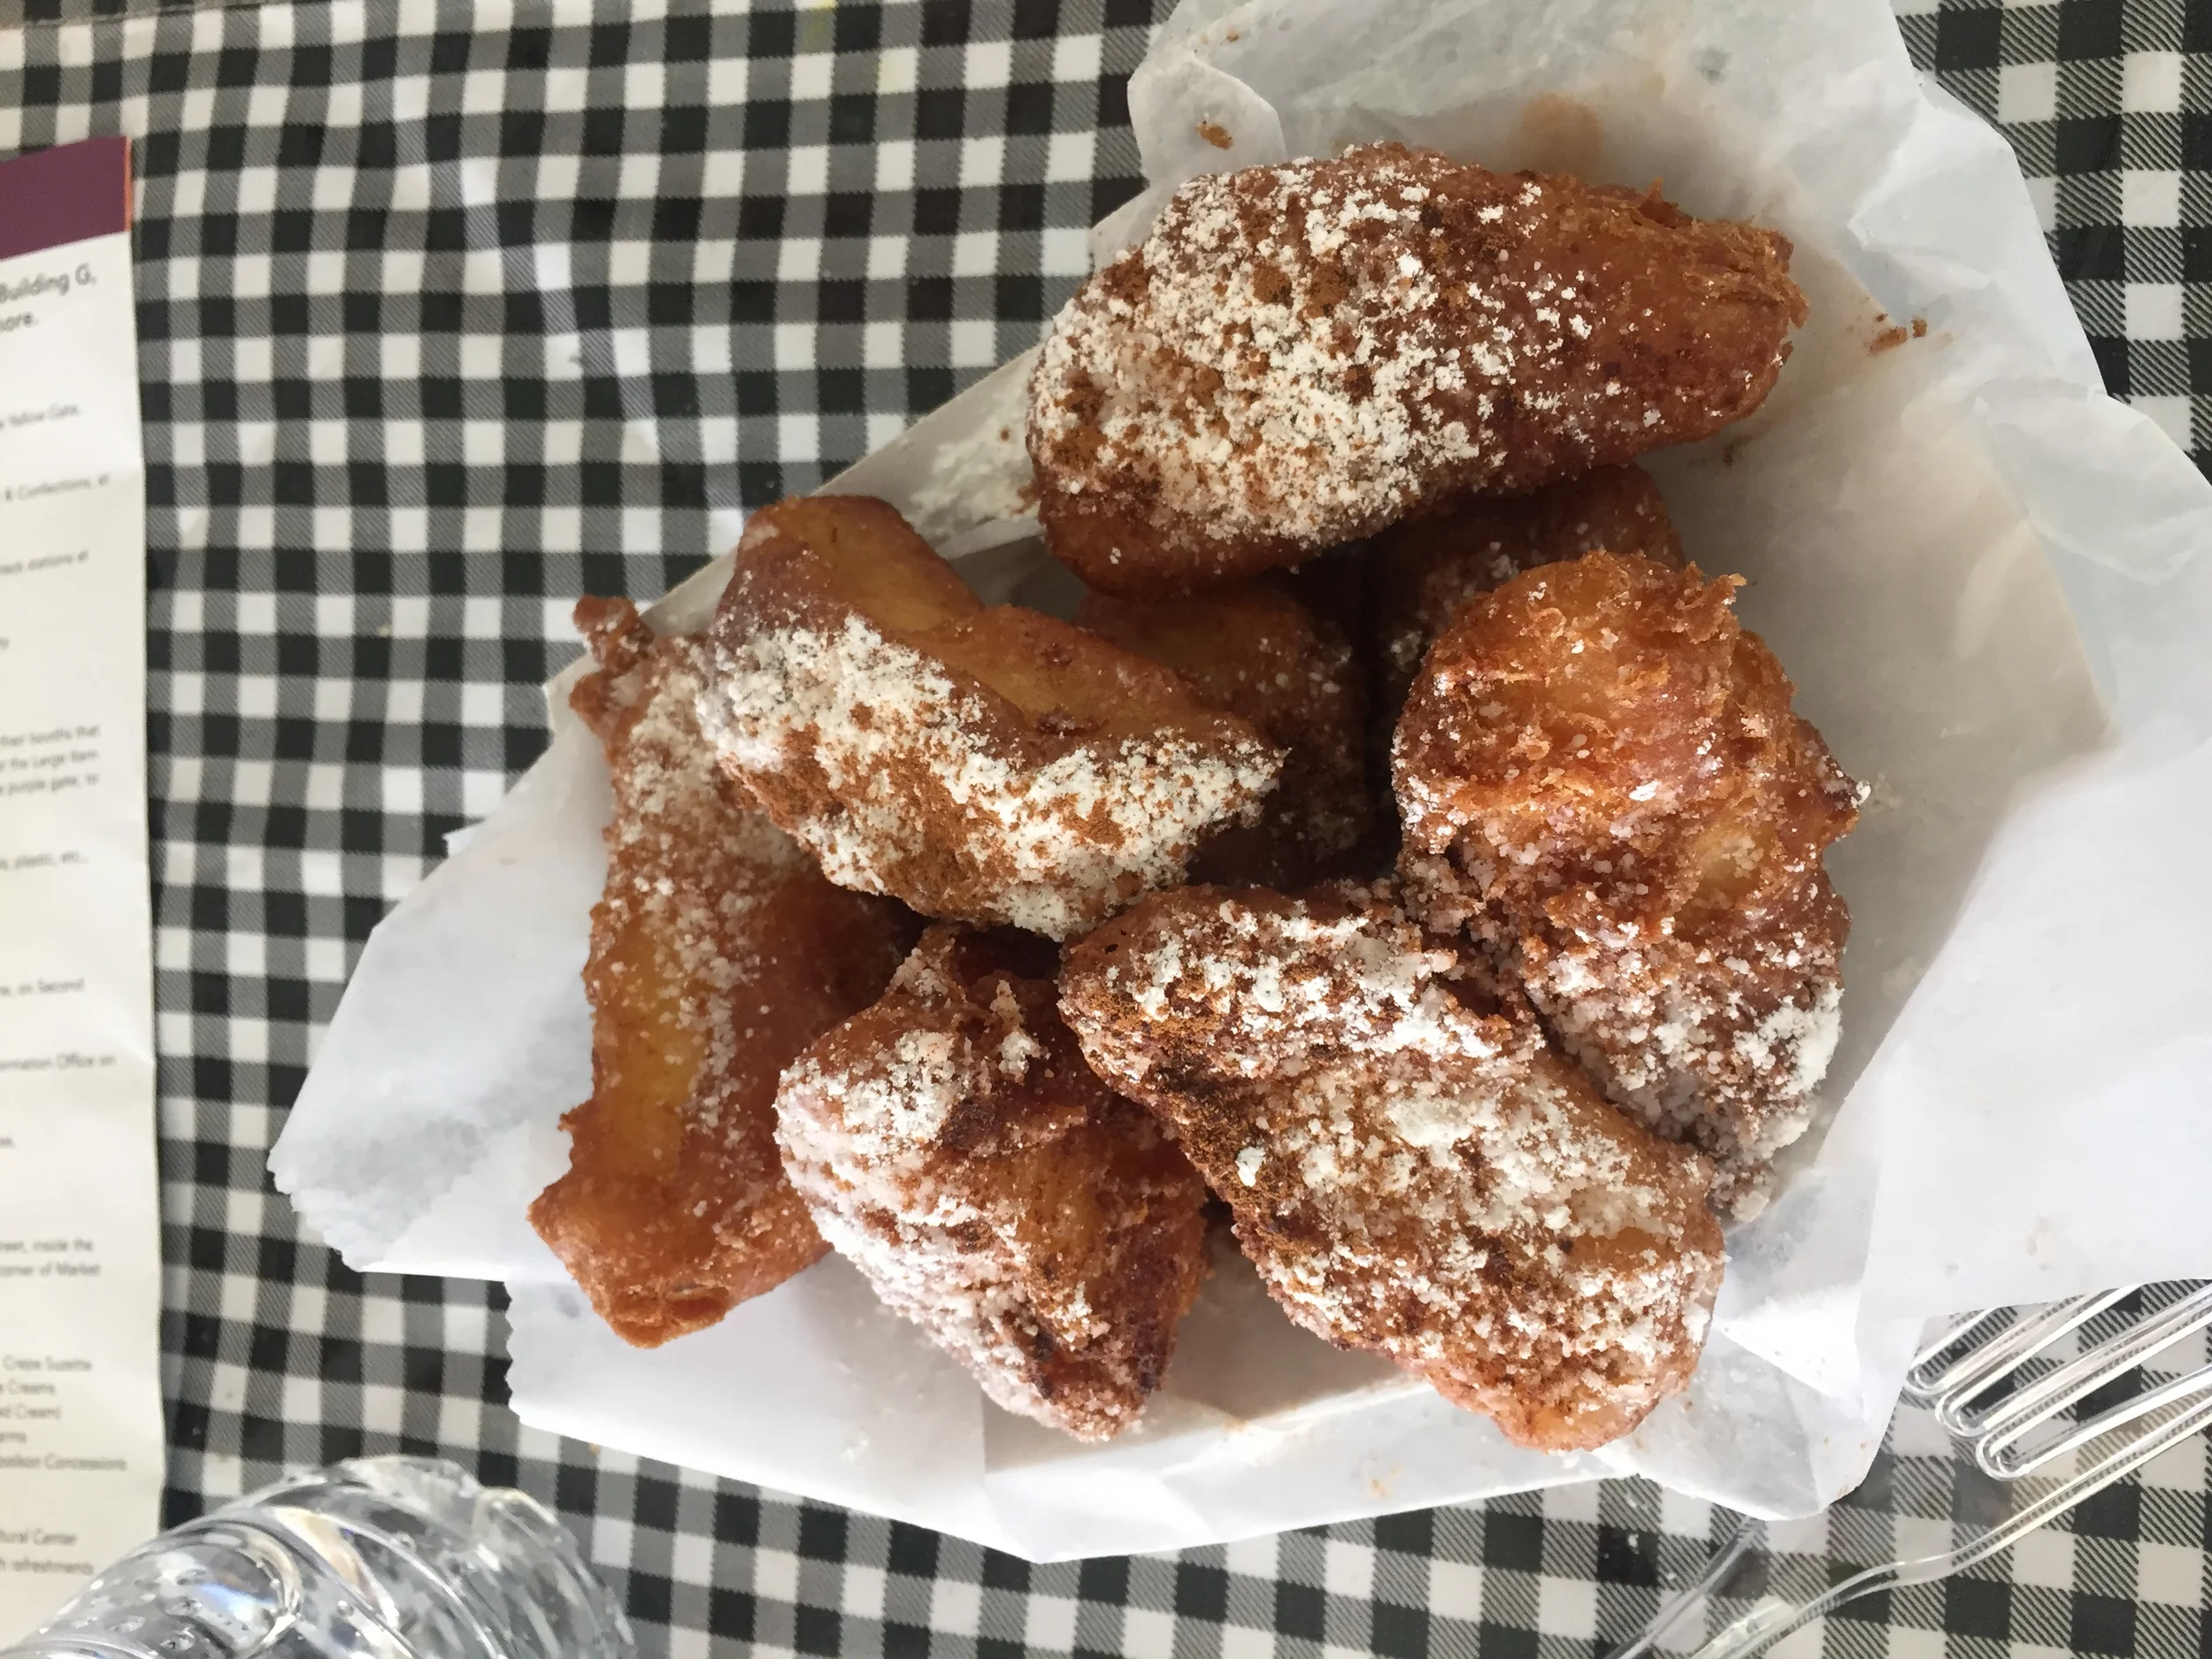
I do wish the food had been a bit more accessible. Even on Friday at 2pm, we would have had to wait at least an hour in line, a precious hour we wanted to be shopping instead. There were about ten food vendors/booths/trucks, but wow, the lines made it impossible to eat anything but some unhealthy fried apples and an overly sweetened lemon shakeup. I recommend that they provide about double the amount of food vendors next time. Definitely bring a small cooler with food and drinks if you can for next year! Other than that, not complaints, it was amazing and I would definitely visit again with my mom and sis!

We had a great time!