What To Pin In September (And What To Post About This Fall)

I just watched an awesome and informative Facebook Live Video from Tailwind, and they shared all sorts of awesome, trending topics that will be important to pin in September. They also shared some incredible topics on what content topics to work on as well. Tailwind is a Pinterest and Instagram Here we go!

(Read Their Full Article Here)

I think the best way to share the topics is to list them for now, and I will share some more photo examples very soon :)

TOPICS + POST IDEAS INCLUDE:

CATEGORY: FALL / AUTUMN
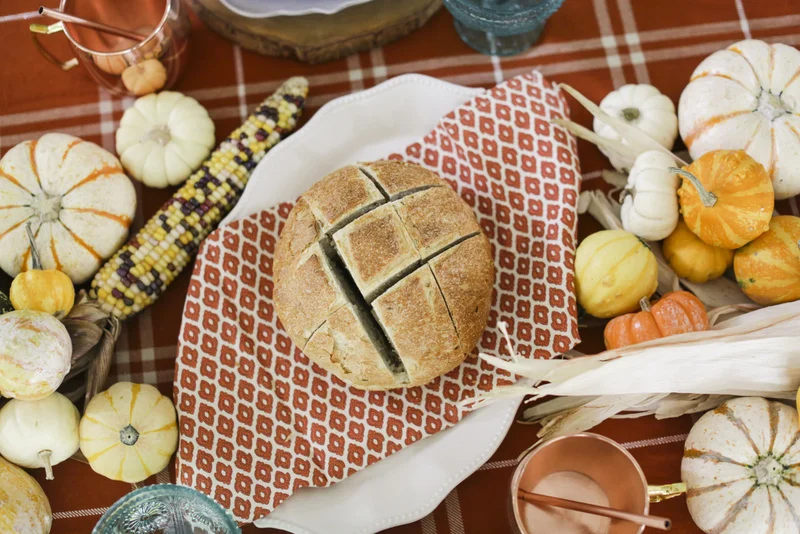
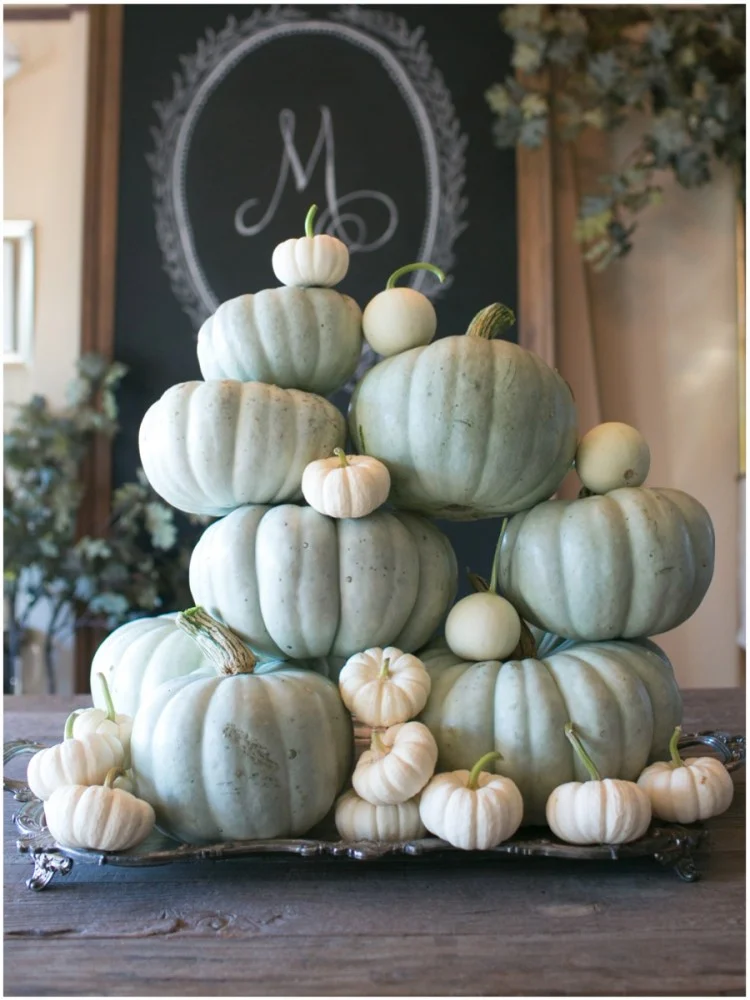
Pumpkins (source)

Enjoying time outside, enjoying the end of warmer weather. (source)

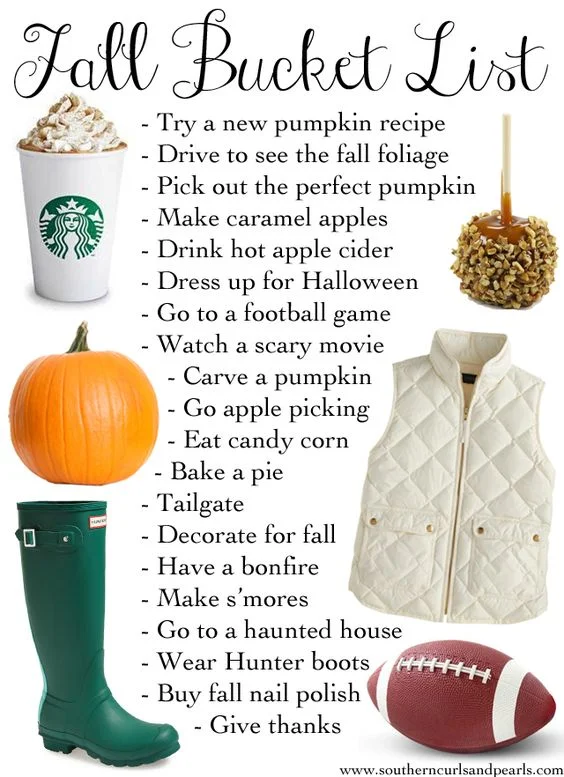
Decorating for Fall (Home Decor and DIY Posts will go over well) (source)

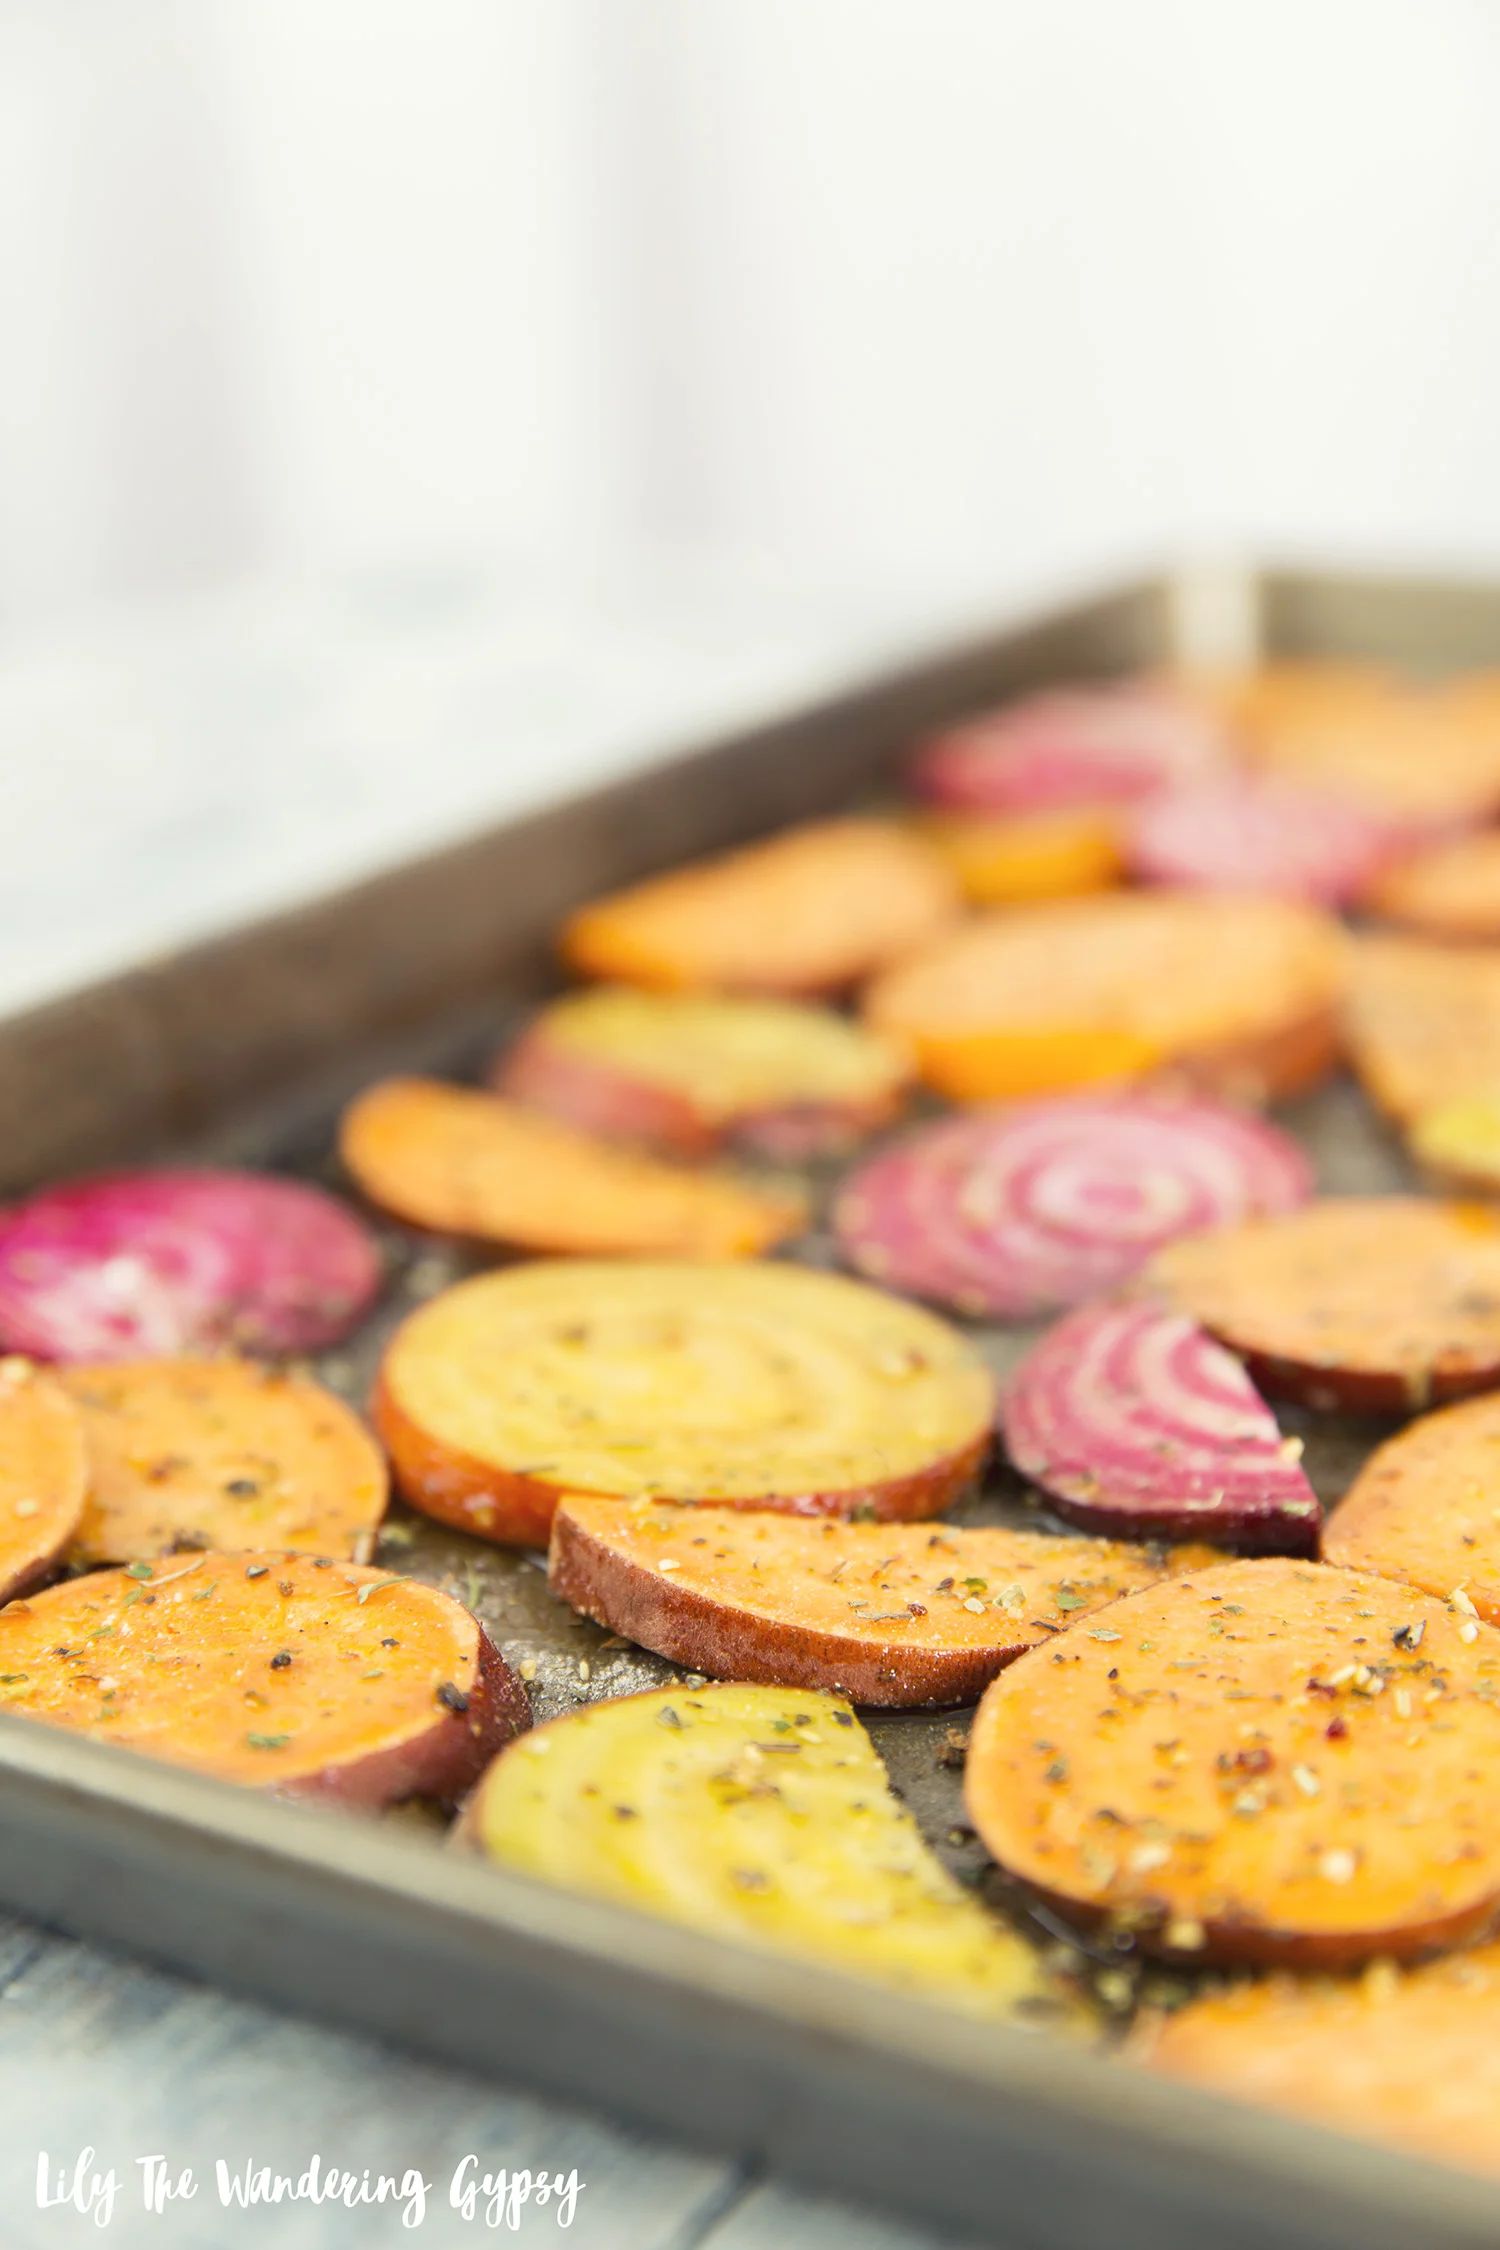
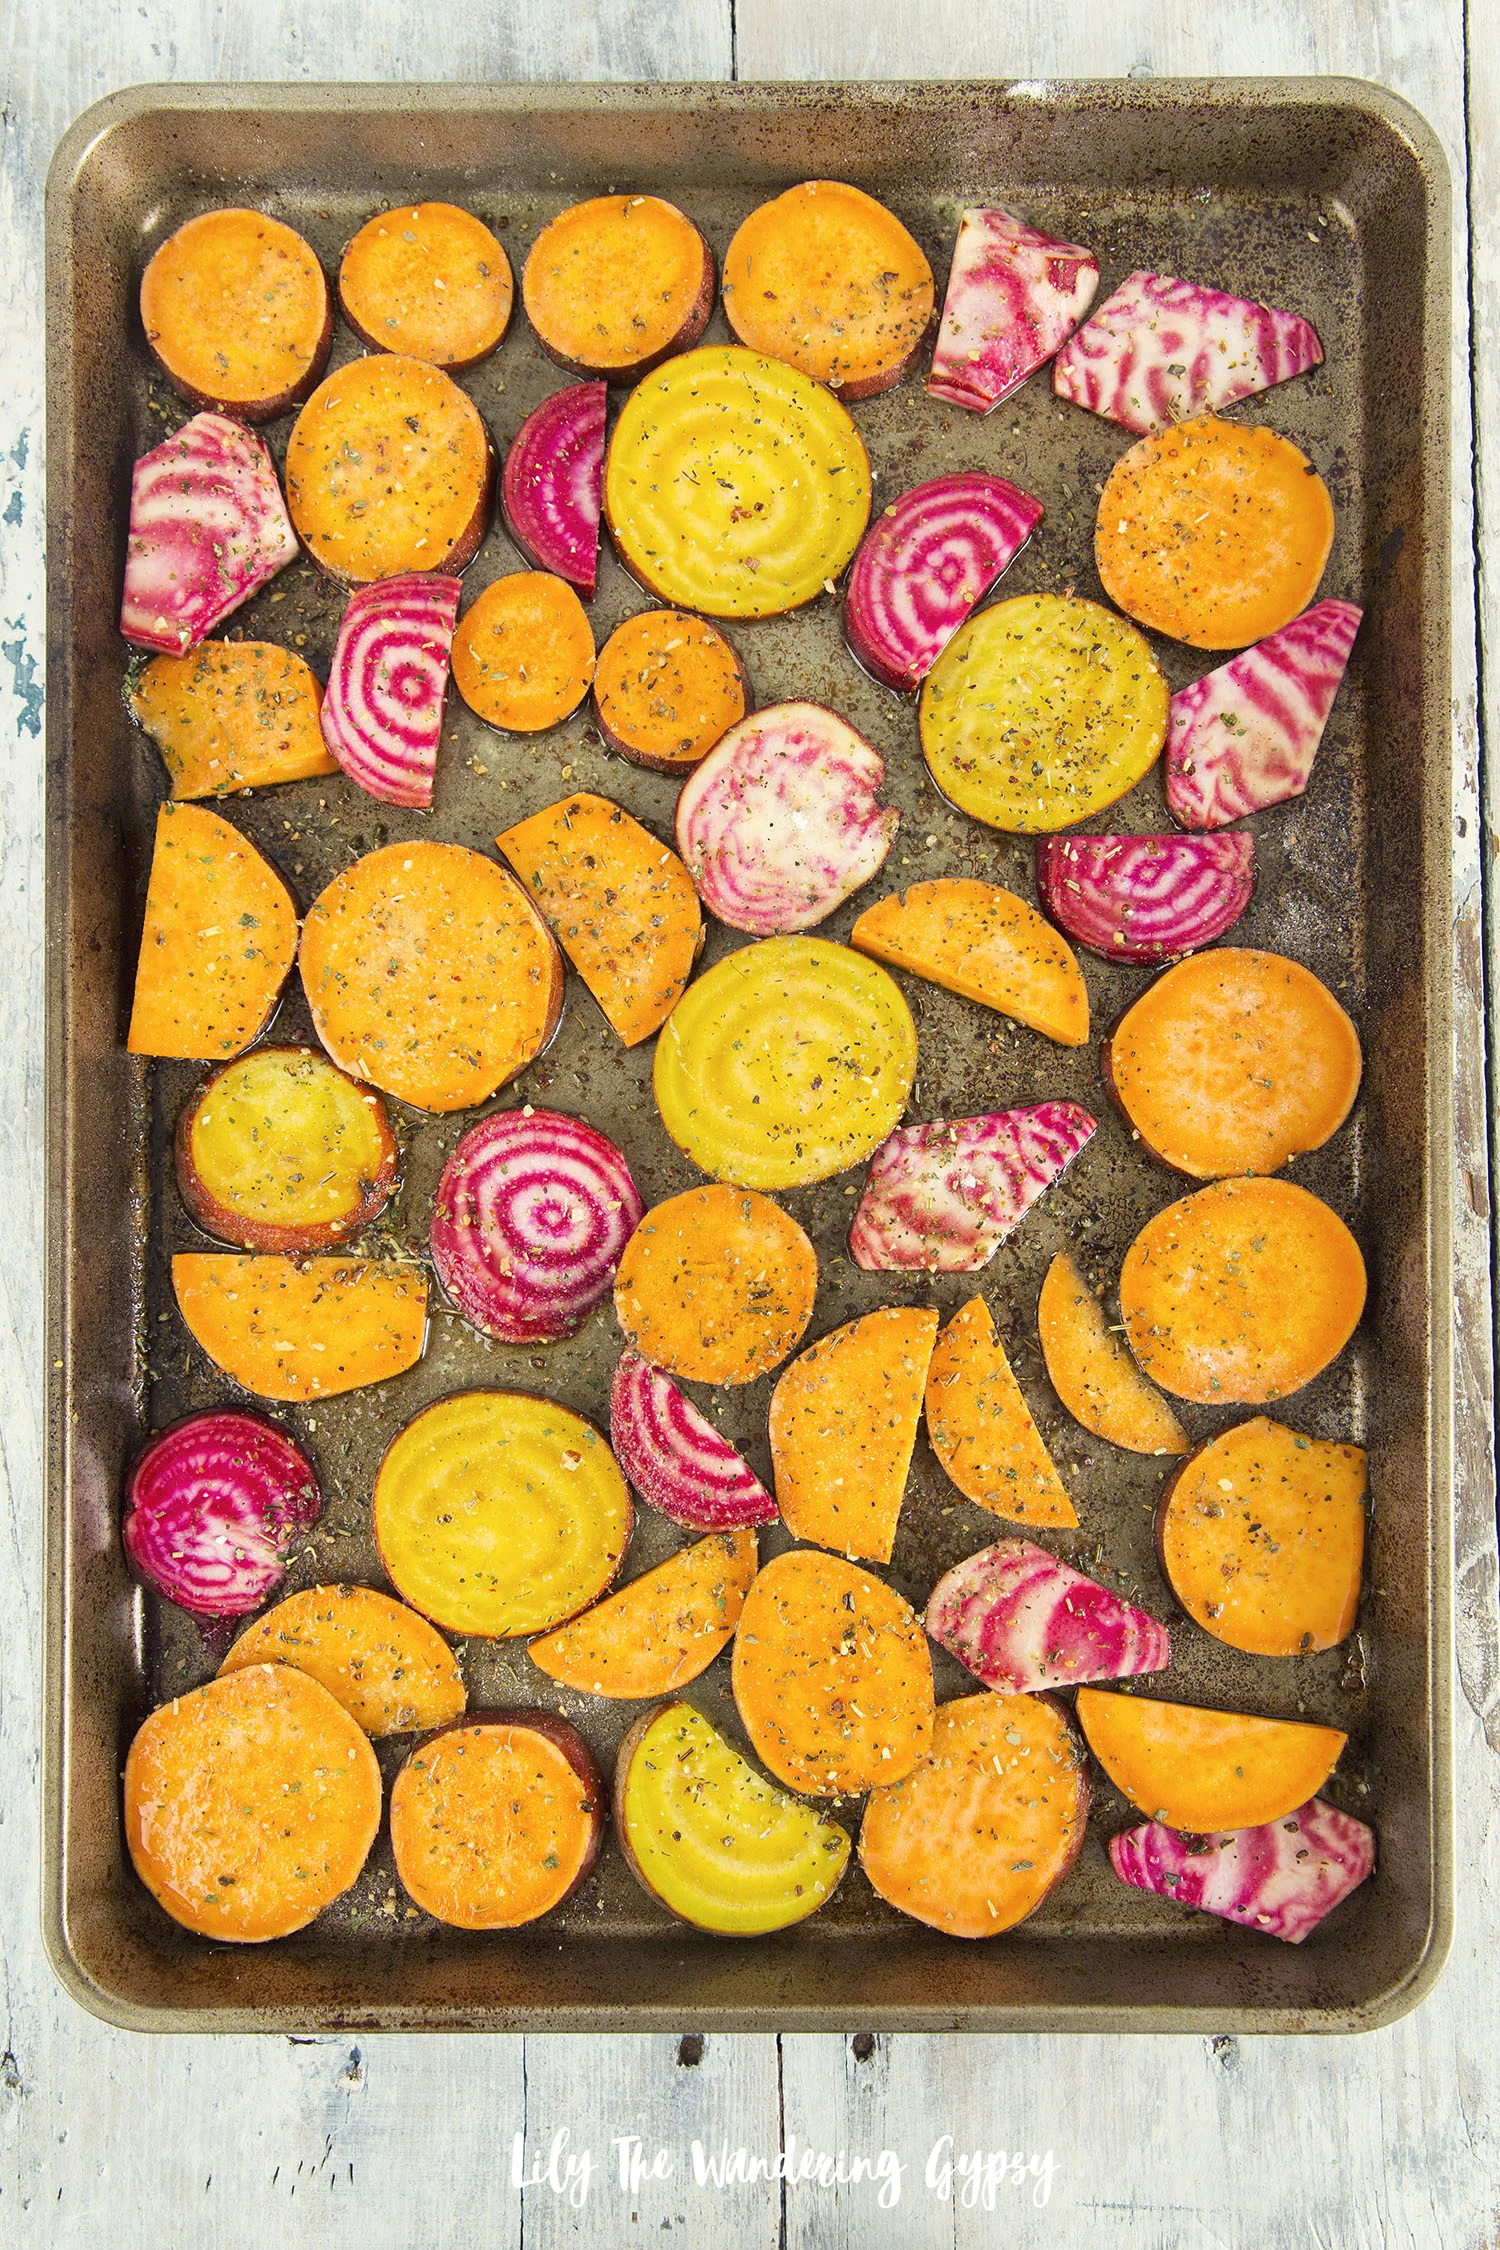
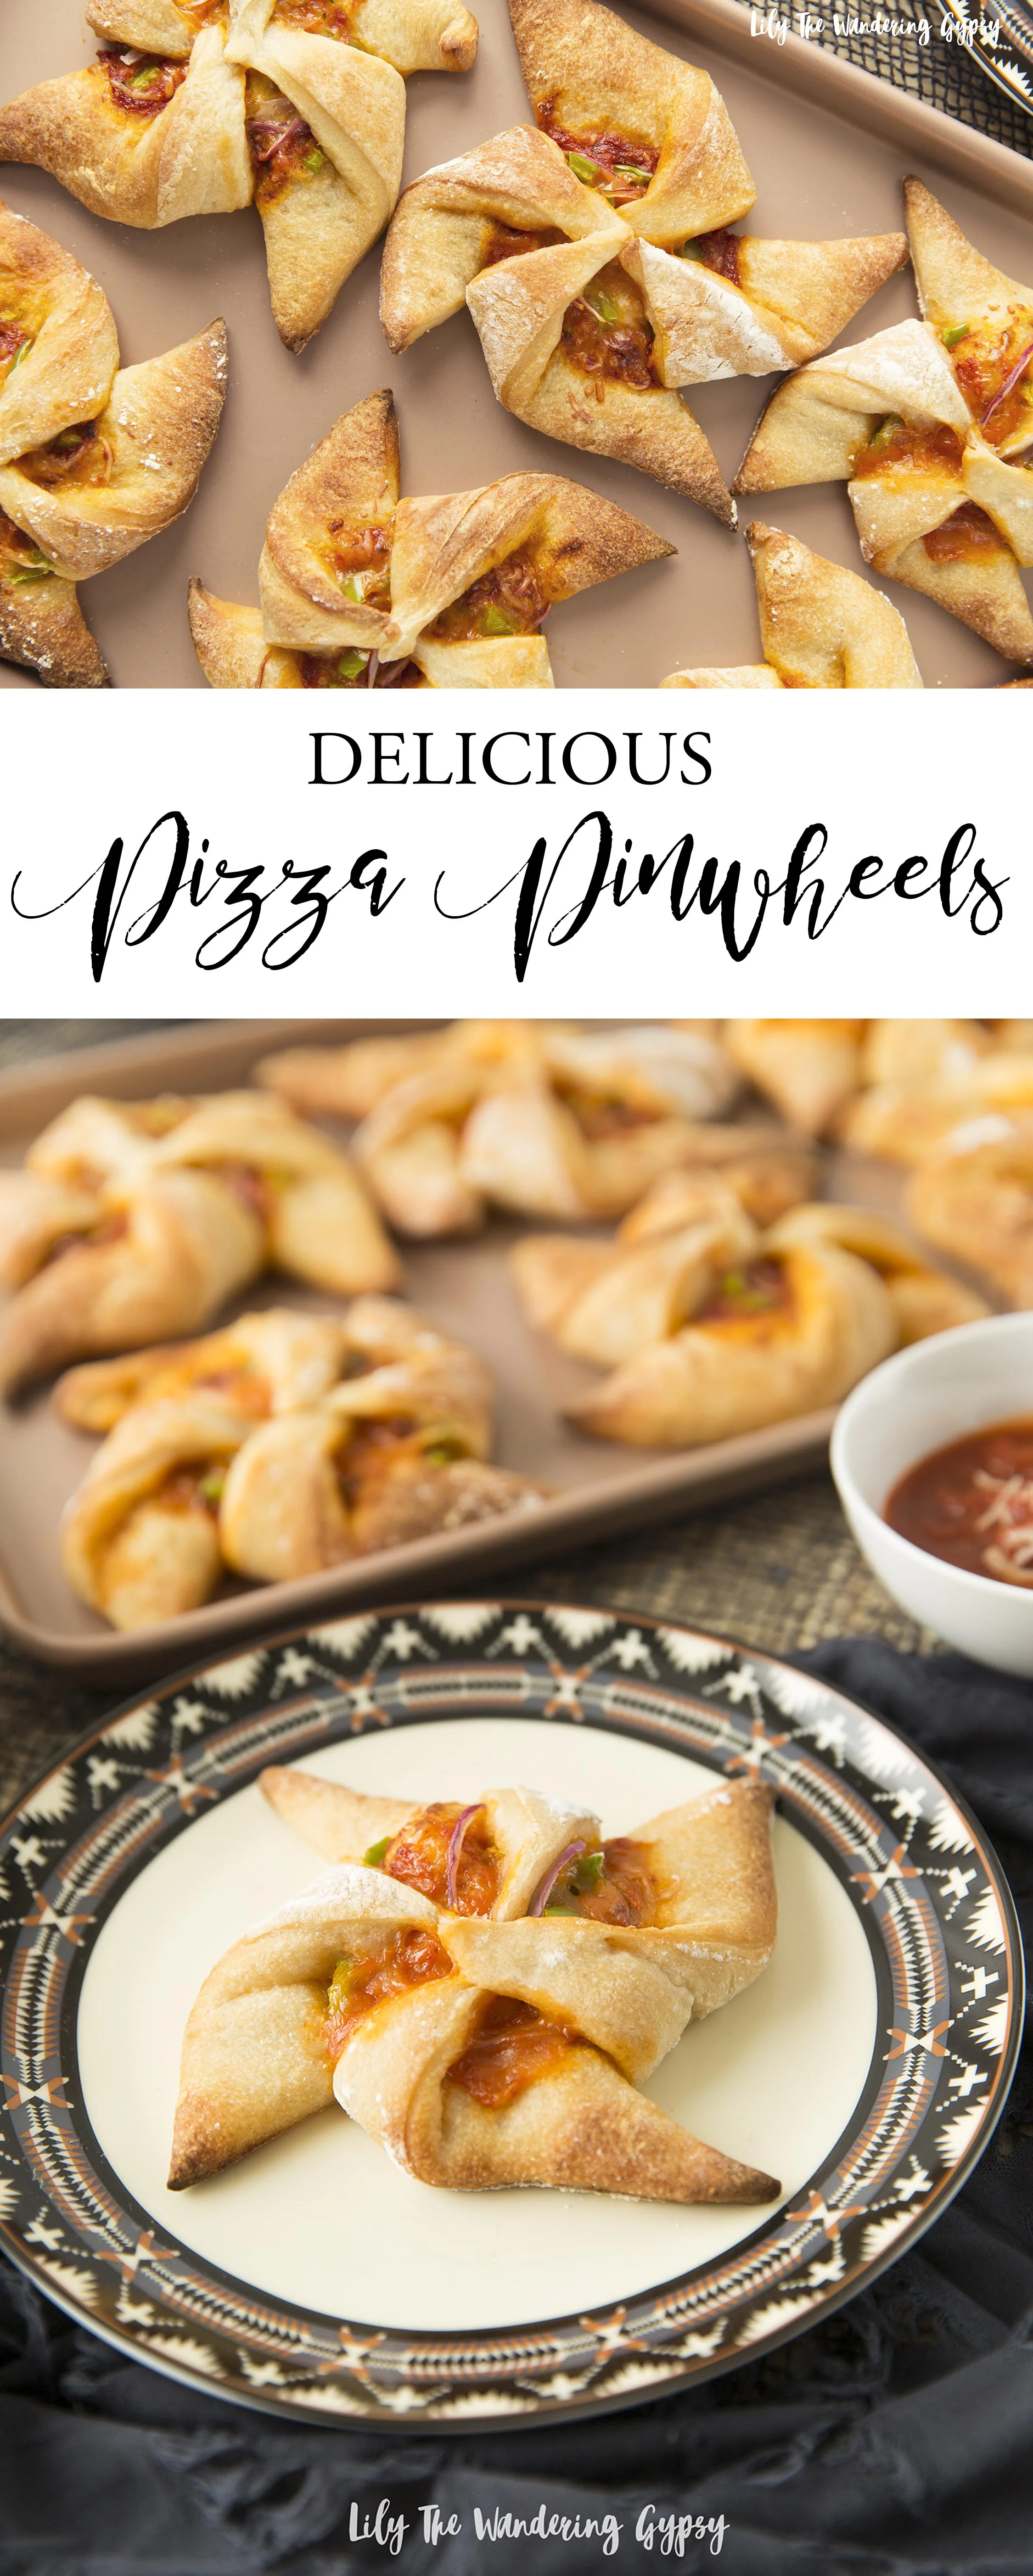
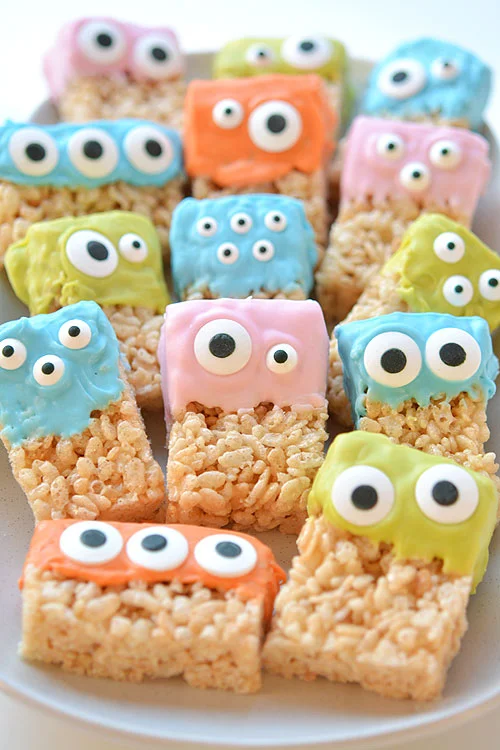
Halloween Treats / Recipes / Decor Ideas / Party Tips and Ideas (source)

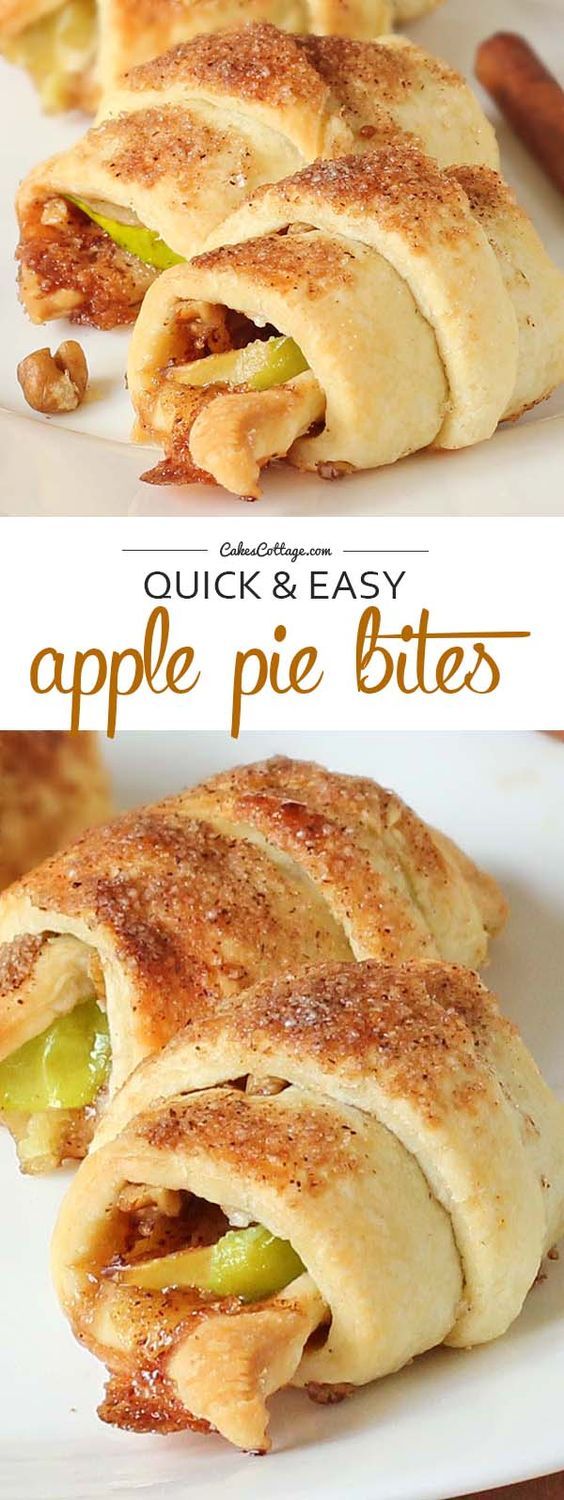
Apple Pie Bites (source)

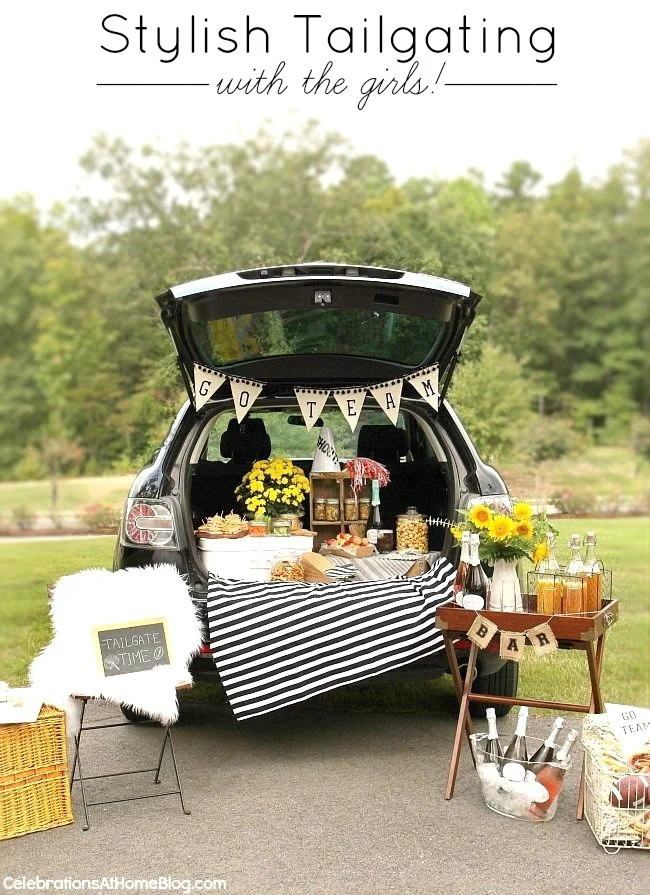
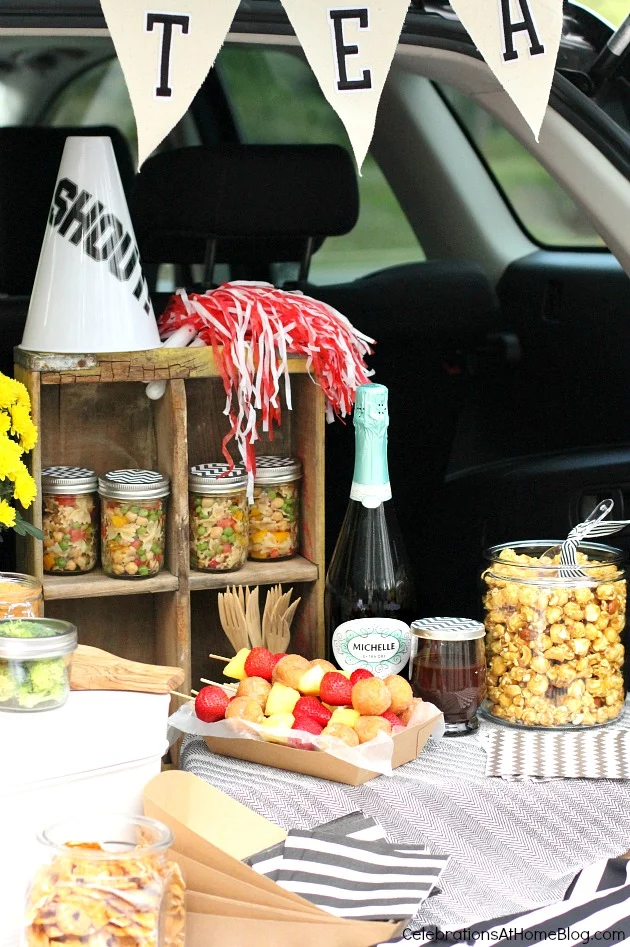
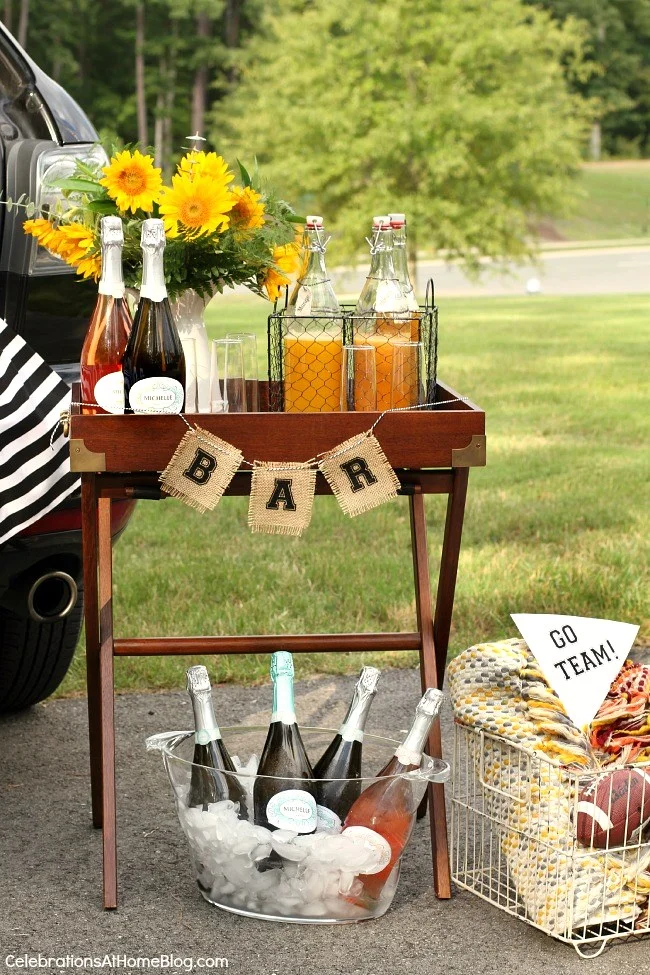
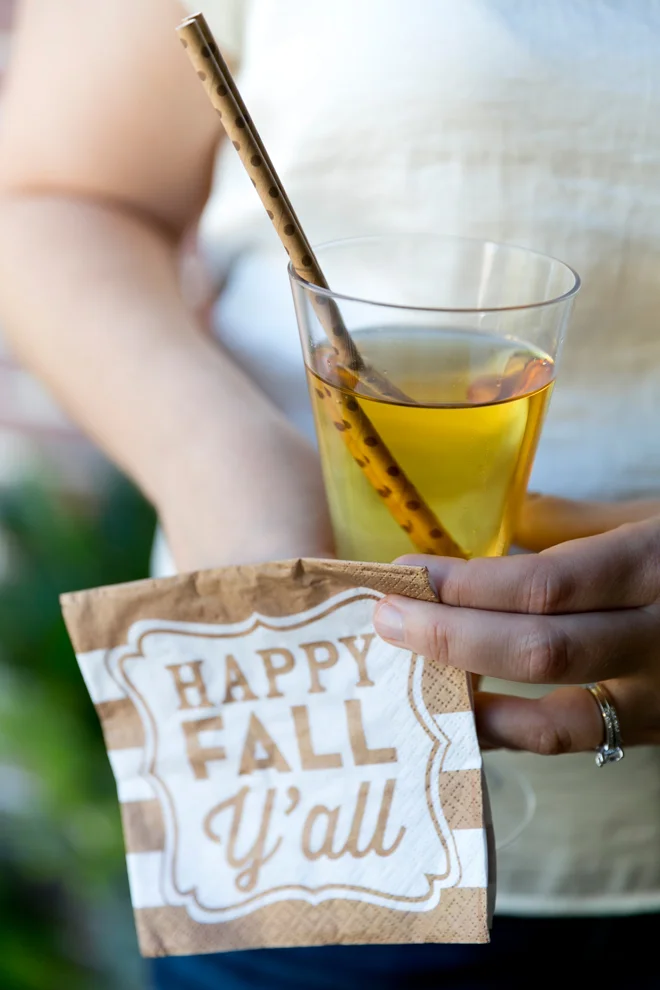
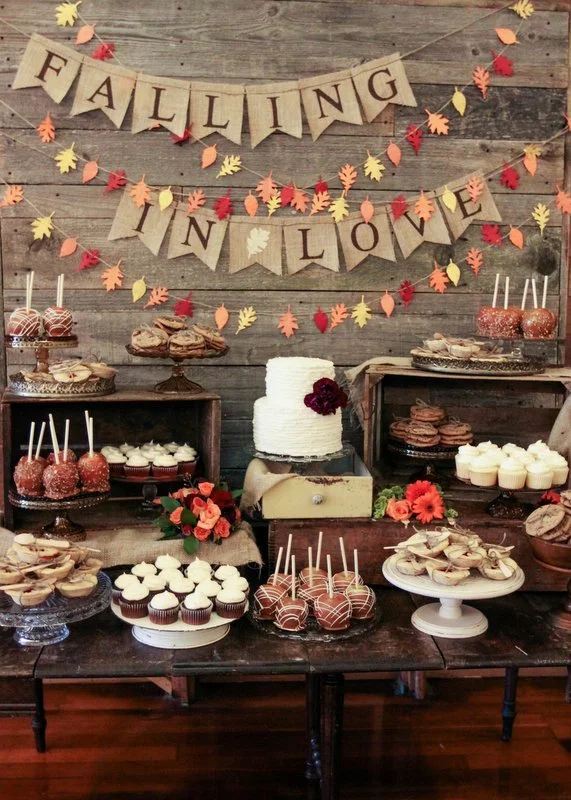
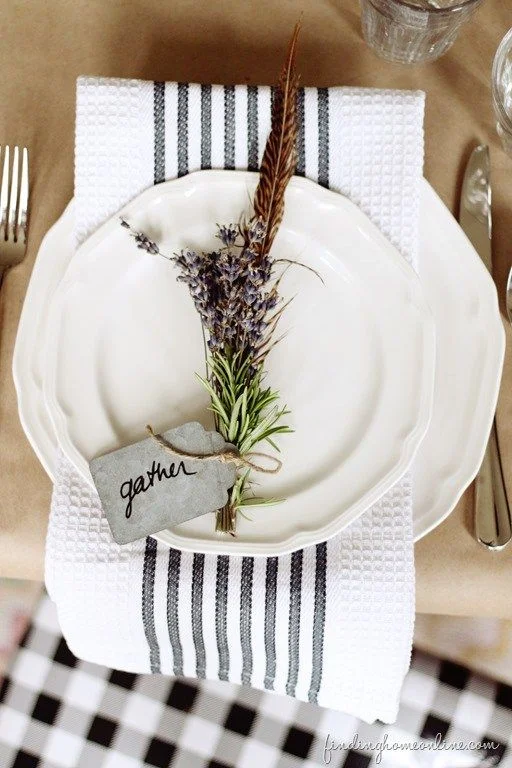
Fall / Autumn / Halloween Dinner Parties (source)

Friendsgiving (source)

Thanksgiving Everything (source)

MORE IDEAS INCLUDE:

Home Decor - Farmhouse Style / Cottage Style / Rustic 

Neutral Decor with Pops of Color

College Tips / Dorm Decor Healthy College Recipes

Fall Fashion


CATEGORY: WINTER / CHRISTMAS

DIY Christmas Gifts

Healthy Swaps For Traditional Holiday Treats

What To Wear To A Dinner Party

Dinner Party Recipes / Tips / Planning

Organic Rustic Grilled Salsa & Hand-Cut Tortilla Chips

A Rustic Grilled Tomato Salsa is a great way to use 100% fresh and organic ingredients in a recipe that is just perfect for summer! Mission Organic Tortillas were the perfect ingredient to use and compliment my salsa oh so well. I am beyond happy with how these cute little hand-cut tortilla chips turned out, and I hope you enjoy them!

Choosing organic ingredients is of top priority when it comes to preparing and serving any recipe. I have been watching a few very inspiring cooking shows lately, and they’re showing me the possibilities of creating everything from scratch, from fresh, local, and organic ingredients, and I just love it! So happy to be partnering with a brand I have loved for years, and I am so glad they have a delicious line of organic products!

This post was not sponsored, it was actually one of two ideas I had for the brand. See which post they chose instead. 

SALSA (Makes 3-4 Servings):

Choose Organic Ingredients When Possible

1 container of colorful or red mini tomatoes

2-3 Jalapeno Peppers, cut in half lengthwise

2 Larger Red Slicing Tomatoes, cut into slices

1 Lime, cut into wedges for the juice

Cilantro, chopped

Garlic (1-2 cloves, chopped)

HAND CUT TORTILLA CHIPS

Mission Organics® Tortillas

Cookie Cutters

Spray Butter, Spray Coconut Oil, or similar

Large Grain Sea Salt (Regular will do)

OTHER MATERIALS:

Toaster Oven or Regular Oven

Grill

Skewer Sticks

Food Processor

Knife

1.)  (For The Salsa) Prep your veggies! Cut jalapenos in half lengthwise, and remove any seeds and interior material. Next, add mini heirloom tomatoes (in various colors or in all red) to skewer sticks. Lastly, slice larger tomatoes into slices that are thick enough to handle.

2.)  (For The Chips) Simply use any shape cookie cutter and use your palms to press the cookie cutters into the Mission Organic Tortillas. Coat them with butter spray, and toast them in a toaster oven on 300 degrees for about 2 minutes, until edges are browned. Lastly, sprinkle with salt and enjoy, with a side of homemade salsa, guacamole, cheese dip, and sour cream!

3.) (To Make The Salsa) Once your veggies are all ready, turn on your grill to a higher heat, and spray with non-stick cooking spray. Add all veggies to your grill (carefully – I use a pair of tongs to do this step). The sliced tomatoes cannot be on for long, so make sure to keep them on for a minute or so each side. Below, you can see all of the grilled veggies, ready to be blended with the other ingredients.

After you have processed all of your ingredients, your salsa should look like the photo, below. What a cute pairing for my little hand-cut tortilla chips!

I also just love how everything in this recipe is organic! I am not sure if the salt I used would be, but everything else is a yes J I hope this post helps you see just how easy it is to use 100% natural and organic ingredients in your upcoming recipes.

Inspiring Bloggers Who Will Get You Ready For Fall

Happy First Day of School for the college students at SIU and more! I love this time of year, when I am starting to see all the Fall clothing out in stores and seeing a small glimpse of cooler nights. I am hoping to se that inspiration of the arrival of Fall for some upcoming posts. I cannot wait to start creating Fall posts, and I am sure a few of you are as well. 

I am constantly inspired by other bloggers, and I wanted to share a few top-notch bloggers who I think you will love! These bloggers create some of the most creative and awe-inspiring posts, and I rounded up a few of my faves for Fall!

Celebrations At Home

If you are excited for Fall, you're probably also excited for Tailgate Season. Check out this creative post, shown above and below, sharing ideas on how to enjoy a day with the girls - because why not?!

For an Earthy and approachable look, grab some Fall treats and apple cider, and utilize brown elements like burlap, paper straws, cute plates and napkins, and more. 

Jenny Cookies

I love the color scheme used in this amazing Fall Ladies Lunch post that Jenny Cookies hosted. She used her famous collection of Cake Plates, 

Below, Jenny Cookies put together a more rustic look for a multi-level dessert table. I also just love the simple wooden boxes, brown and white foods, and simplistic leaf buntings. 

Are you excited for Fall, or are you holding onto the last warm month or so of Summer? 

Delicious Root Vegetables - Vegan Recipe

If you are looking to incorporate more vegan meals and more colorful ingredients into your routine, then here is a delicious, healthy meal you can make in just a short amount of time! Grab your veggies, and fire up the grill.

1.) Head to the store, or to your garden, and grab an assortment of sweet potatoes, red or yellow potatoes, and Chioggia beets. Below, I found an image of the beets, so you can see how "normal" they look on the outside, and how they appear to have rings or stripes on the inside. 

2.) Turn on your grill to medium high, and thinly slice all root vegetables, and set them on a baking sheet, so they are not overlapping. Brush on a light coating of olive oil or melted coconut oil, and add a generous sprinkle of seasonings to both sides. Use a pair of tongs to flip the slices if you do not want to get your hands messy. Make sure seasoning is applied evenly. 

3.) Take your baking sheet and pair of tongs out to the grill, and use your tongs to add each slice of root veggie to the grill. Try to make sure not to let the oil drip down into the grill, or it could be a bit messy and cause larger flames. Feel free to let the veggie slices touch, but not overlap, so they get those beautiful grill marks on them. Close the lid of the grill, and wait 4-5 minutes until the pieces have a nice grill mark on them. Flip them and let them over for another 2-4 minutes, until soft, and they're ready to eat!

4.) Transfer slices back onto the baking sheet, and bring back in to serve. These are amazing by themselves as a vegan meal option, or serve them as a side dish. They're absolutely delicious!!!

If you're new to eating beets, then try to slice up 1-2 beets for every 5 potatoes, so you have more potato than beet. Enjoy!

How To Keep Your Skin In Top Condition With Mederma

This summer, I am all about embracing the warmer weather and wearing cuter clothes! That may mean showing a bit more skin, so I want to make sure my legs are smooth, and scar-free! I often forget to put triple antibiotic cream on a scrape or cut until it’s too late, and I get a scar. I am not sure if certain people scar more so than others, but I feel like every little scrape turns into a scar.

I have been a long-time fan of Mederma and their line of amazing scar-care products. A while back, I used it to improve the appearance of a scar on my face – front and center on my forehead, and now there is barely anything to be seen thanks to Mederma. My dermatologist actually recommended it, and I used it every day until I couldn’t see the scar anymore..

When I had the chance to collaborate with Mederma, to share this amazing Quick-Dry Oil, I was so excited! To be able to get familiar with one of their other products had been a very successful journey – I am SO pleased with the results! For the past couple of weeks, I have been using the Mederma Quick Dry Oil 2-3 times a day and this scar on my ankle (which I got while hiking and forgot to treat initially), and my scar has drastically improved!

No one should have to be self-conscious of a small scar, and Mederma is a great option!

I know a lot of us also suffer from stretch marks and other little imperfections, and luckily, Mederma’s Quick Dry Oil helps with all of that! It takes very little Mederma Quick Dry Oil to  improvea small scar, and would not take much more to cover an area that contains stretch marks. The product is also great for dry skin, and even after I have just shaved my legs, and apply the oil, it is nice and light, and keeps my legs from being dry all day! I just love it, because although it’s very humid here in southern Illinois, it’s a dry oil, so it’s not adding anything to that “lovely” sticky humid feeling, like lotion does sometimes.

Another fun way I love to enjoy summer is get together with friends over some sweet treats and good conversation. I tend to decorate with sunflowers in late summer, and these cupcakes were absolutely delicious!

Mederma’s Quick Dry Oil contains sunflower oil and smells absolutely amazing – so light and fresh! Apply it with a cotton ball or even rub the oil into your skin with your fingertips – it dries in a few seconds, and your skin really benefits from it.

Mederma offers this amazing product at a variety of retailers, nationwide! It’s “the only oil that combines Cepalin wish nourishing botanicals in a fast-absorbing, paraben-free formula.” The Proprietary Cepalin helps to improve overall appearance scars and stretch marks while the sunflower and coconut oils help the product absorb faster.

Rose hip oil, a natural skin brightener, helps maintain the true beauty of your glowing skin. Sweet almond oil helps nourish and moisturize, as well as Chamomile and ginger extract which helps to reduce redness and blotchiness.

What are some of your favorite ways to keep your skin feeling and looking great each summer? Does this Mederma Quick Dry Oil sound like a product that you could benefit from? Please feel free to let me know in the comments below. SO happy with the results! I am extremely happy to have this wonderful product to incorporate into my skincare regimen now.

Pasta Carbonara With Chicken Recipe

My friend Becky is one of the best cooks I know. She loves making big meals for her friends and guests, and she recently made us a delicious Pasta Carbonara with Chicken and I had the pleasure of eating it and also documenting the steps so I could share it with you today!

12 ounces, weight Pasta, Any Variety

8 pieces Thick Cut Bacon (diced Small)

1/2 whole Medium Onion, Diced Small

2 cloves Garlic, Minced

3 whole Eggs

3/4 cups Finely Grated Parmesan

3/4 cups Heavy Cream

Salt & Plenty Of Black Pepper

1/2 cup Peas

1.) Cook pasta according to package directions. 

2.) While the pasta is cooking, fry the bacon until just barely crisp. Remove from the pan and drain on paper towels. Pour off all of the bacon grease, but don't clean the pan. Return the pan to the stove over medium-low heat and throw in the onions and garlic. Cook until golden brown. Set aside. 

3.) In a bowl, mix together eggs, Parmesan, cream, and salt and pepper until smooth. 

4.) When the pasta is done, reserve a cup or two of the pasta water. Drain the pasta and place it in a bowl. While the pasta is still really hot, slowly drizzle in the egg mixture, stirring the pasta the whole time. The sauce will become thick and should coat the pasta. Splash in a little hot pasta water if needed for consistency.

5.) Halfway through, add the peas, bacon, and sautéed onion/garlic. Finish adding the sauce, stirring until it's all combined. 

6.) Serve immediately with extra Parmesan. Delish!

Vegetarian Pizza Pinwheels Recipe

This post was sponsored by RAGÚ, and all content and opinions are my own.

Some of my all-time favorite memories throughout seem to revolve around food and making meals with those I love. Sometimes, I will smile as I think back at the delicious homemade spaghetti and meatballs my grandmother made. Other times, I will think back to those meals my mom prepared for us each night, and insisted on us eating together as a family.

More recently, my “good food memories” would be related to my own exploration into making food look beautiful and taste equally as beautiful for a group of our closest friends. I also love adding a few special touches to meals that impress guests, like these Pizza Pinwheels I created in this post.

Luckily, home cooked food has been a huge part of my life ever since I can remember, and when I learned that RAGÚ is celebrating their 80th anniversary, and wanted me to personally create and share a recipe featuring their sauces, I was instantly nostalgic for my Italian heritage (from my grandfather and father’s side), and also at the same time, excited about future recipes I will create, inspired by their culture.

A great pasta sauce starts with great ingredients. RAGÚ Homestyle sauces are made from a bold combination of vine-ripened tomatoes, onions and fragrant herbs and spices such as basil, oregano, fennel and ground black pepper, the ingredients are peeled, chopped and simmered to perfection.


I browsed the RAGÚ site extensively, in order to gain a bit more insight about their long-standing brand name, and I also loved seeing all of the rave reviews people give their products. On their site, I found this incredibly stunning yet relatively easy-to-recreate recipe, and I am so excited to share it with you today.

This fun recipe can be customized to suit just about any of your favorite pizza flavors, from just plain cheese, to piled high with veggies (like I’ve shown in this post), to meat-lovers and beyond!

All you need is a few simple ingredients! Makes 8 pinwheels.

1 Jar of your favorite RAGU Homestyle pasta sauce (I used the Thick & Hearty Four Cheese)

2 cans of refrigerated pizza dough (in the tubes)

1-2 Cups Shredded Mozzarella Cheese

Toppings such as thinly sliced red onion, chopped green peppers, pepperoni, etc.

Other Materials:

Foil To Cover Baking Sheet (optional)

Oven or Toaster Oven

Knife to cut dough

Floured work surface like a cutting board

1.) On a floured work surface, lay/roll out one tube of pizza dough.

2.) Cut in 4 squares, and cut about 1 inch into each corner – do not cut all the way to the center.

3.) Put a dollop of RAGU Homestyle Pasta sauce in the center of the dough squares and top with your favorite toppings. I added quite a few toppings, and it baked extremely well.

RAGÚ’s Homestyle sauce is summered in tradition, because RAGÚ believes a great sauce starts with great ingredients.

4.) Begin to fold the pinwheel. Take one corner and fold to the enter, repeat each corner and press relatively firmly on the center, and pinch the dough together if need be.

5.) Bake in a 350 degree F° oven for 15-20 minutes. Make sure not to burn the ends of the pinwheels, and feel free to cover the pinwheels with foil for the last few minutes of baking, and always ensure the middle is fully cooked.

6.) Serve with a small dish of extra RAGÚ Homestyle sauce. I had SO much fun dipping the pinwheels into the sauce – WAY better than anything I’ve had at a restaurant! Enjoy!

Also, three lucky readers will win this adorable, reusable tote bag plus two sauces of their choice! Three winners will receive the prize, and can then hopefully use this post as inspiration for their next recipe!

PIN IT FOR LATER:

Fall Tailgating With Coleman


Sponsored Post: This post is sponsored by Coleman but the content and opinions expressed here are my own. #TailgateWithColeman

Gearing up for some Fall Tailgating with Coleman! I am excited to head to Walmart tomorrow to grab all the necessary items. I am going to give this tailgating post a more upscale experience by thrift shopping in the adorable town of Bozeman, Montana for lots of soft textiles, cute plates, dishes, and fresh foods to enjoy during the day. I will also head to Walmart to grab some tailgating essentials from Coleman, like this 25-piece set of red Enamelware Plates, mugs, and flatware. I have had my eye on it for a while now. I would also love to find the perfect cooler, so I can transport food and drinks to the tailgate, as well as a portable stove or grill, to make the best food imagineable! Hmmm....what recipes shall I make? We will see soon :)

Shop the entire collection here. 

Thank you so much for helping me prep for the best Fall Tailgate experience ever! Cannot wait to share everything with you soon. 

Easy Delicious Nutritious Weekly Meal Planning (Breakfast Edition)

This post has been sponsored by Dannon. All thoughts and opinions are my own.

Looking for a way to treat yo’ self with a quick and delicious breakfast or snack idea? Looking for a way to spend less time making breakfast throughout the week but would never want to compromise on taste and quality? I am so excited to share a delicious meal planning style recipe with you today, that you’re truly going to love! Busy families, students, and anyone who is trying to eat healthier will truly benefit from this recipe.

Dannon Single Serve yogurts are an amazing way to start the day. If you are looking for a way to save time by incorporating meal prepping into your week, here is a wonderful way to do so.

INGREDIENTS:

Per serving: 1 Dannon® Single Serve Greek Yogurt in varieties like Oikos® Triple Zero, Oikos® Nonfat and also Light & Fit® Greek. I could NOT believe how many flavor varieties they had available. I found that the coconut, vanilla, banana, and even the caramel flavors were all divine and the flavors blended perfectly with the other parfait ingredients. Also, you will need several plastic containers with lids. Also feel free to include peanut butter and honey in their own containers, ready to grab on the go!

I was luckily able to find all of my ingredients at Walmart. Check the dairy aisle for the yogurt, the cereal aisle for your favorite flavor of granola, and of course, as much fresh produce as possible.

This makes the perfect breakfast or snack on the go. Being able to eat healthy while you’re busy is extremely important to keep energy up. Unhealthy options are truly no match for this delicious recipe!

INSTRUCTIONS:

1.) The night before your work weeks begins, I recommend prepping everything.

2.) Get your fruit toppings ready! Lay out your plastic lidded containers, and in different ones, add blueberries, raspberries, and strawberries.

3.) Also, add flavored granola to the other side of each container.

4.) Put the lids onto the containers, and store in your fridge next to a selection of Dannon Single Serve yogurts.

5.) I recommend trying to eat the raspberries first, then strawberries, then blueberries because they last the longest. Raspberries have a very short shelf life, so eating them first helps.

This gourmet style breakfast or snack rivals something that can be grabbed at a drive through. Fresh fruits and whole grains are so delicious!

The best part is really once you begin to create your parfait! Find your perfect balance of ingredients by adding just a little bit at a time. You can always add more as you go. I found that when I added way too much granola, the parfait was not as easy to enjoy. But, a ton of fruit on top and mixed in was a winner. I really hope you enjoy this recipe. Feel free to leave a comment below if you wind up trying this out.