Easy Recipes for Big Game Day Snacking with popchips

This post is sponsored by BabbleBoxx.com on behalf of popchips.

The Big Game is all about what food you put on the party spread so I have teamed up with popchips to share some cute and easy decor ideas, as well as hassle free food ideas for homegating and viewing parties THIS SUNDAY!!! Who are YOU rooting for?

Try all three flavors of the popchips ridges BOLD & CRUNCHY - buffalo ranch, tangy bbq (my fave), and also cheddar and sour cream. I thought it would be amazing to offer guests three different dips to try with their popchips PLUS a fun dessert treat that only took three ingredients. Keep reading to get all of the details!

The best part about all of the treats and snacks I featured in this post, is that all of it was super fun and easy to create myself, with minimal ingredients, and none of this had to be baked! I was even able to make the three dips ahead of time as well as the desserts. Get the recipes below!

GAME DAY DIP RECIPES

Buffalo Dip - 1 cup sour cream + 1/3 cup (or more) buffalo sauce

The Best Dill Dip Ever - 1 cup sour cream + 2 tsp salt + 2-3 Tbsp dried dill

Mediterranean Dip - 1 cup Greek yogurt + 2-3 tsp turmeric + 1 tsp salt + 2-3 tsp Greek seasoning mix

CUTE + EASY FOOTBALL DESSERT IDEA:

Ingredients:

1 squeeze tube of green frosting (pre-made or homemade)

football decorations - I found these at a party store in the baking section

peanut butter cups - I unwrapped these ones myself!

Set out an assortment of popchips ridges chips, all three dips, carrots, celery, mini tomatoes, and any of your other favorite foods. Enjoy your game day celebration!!!

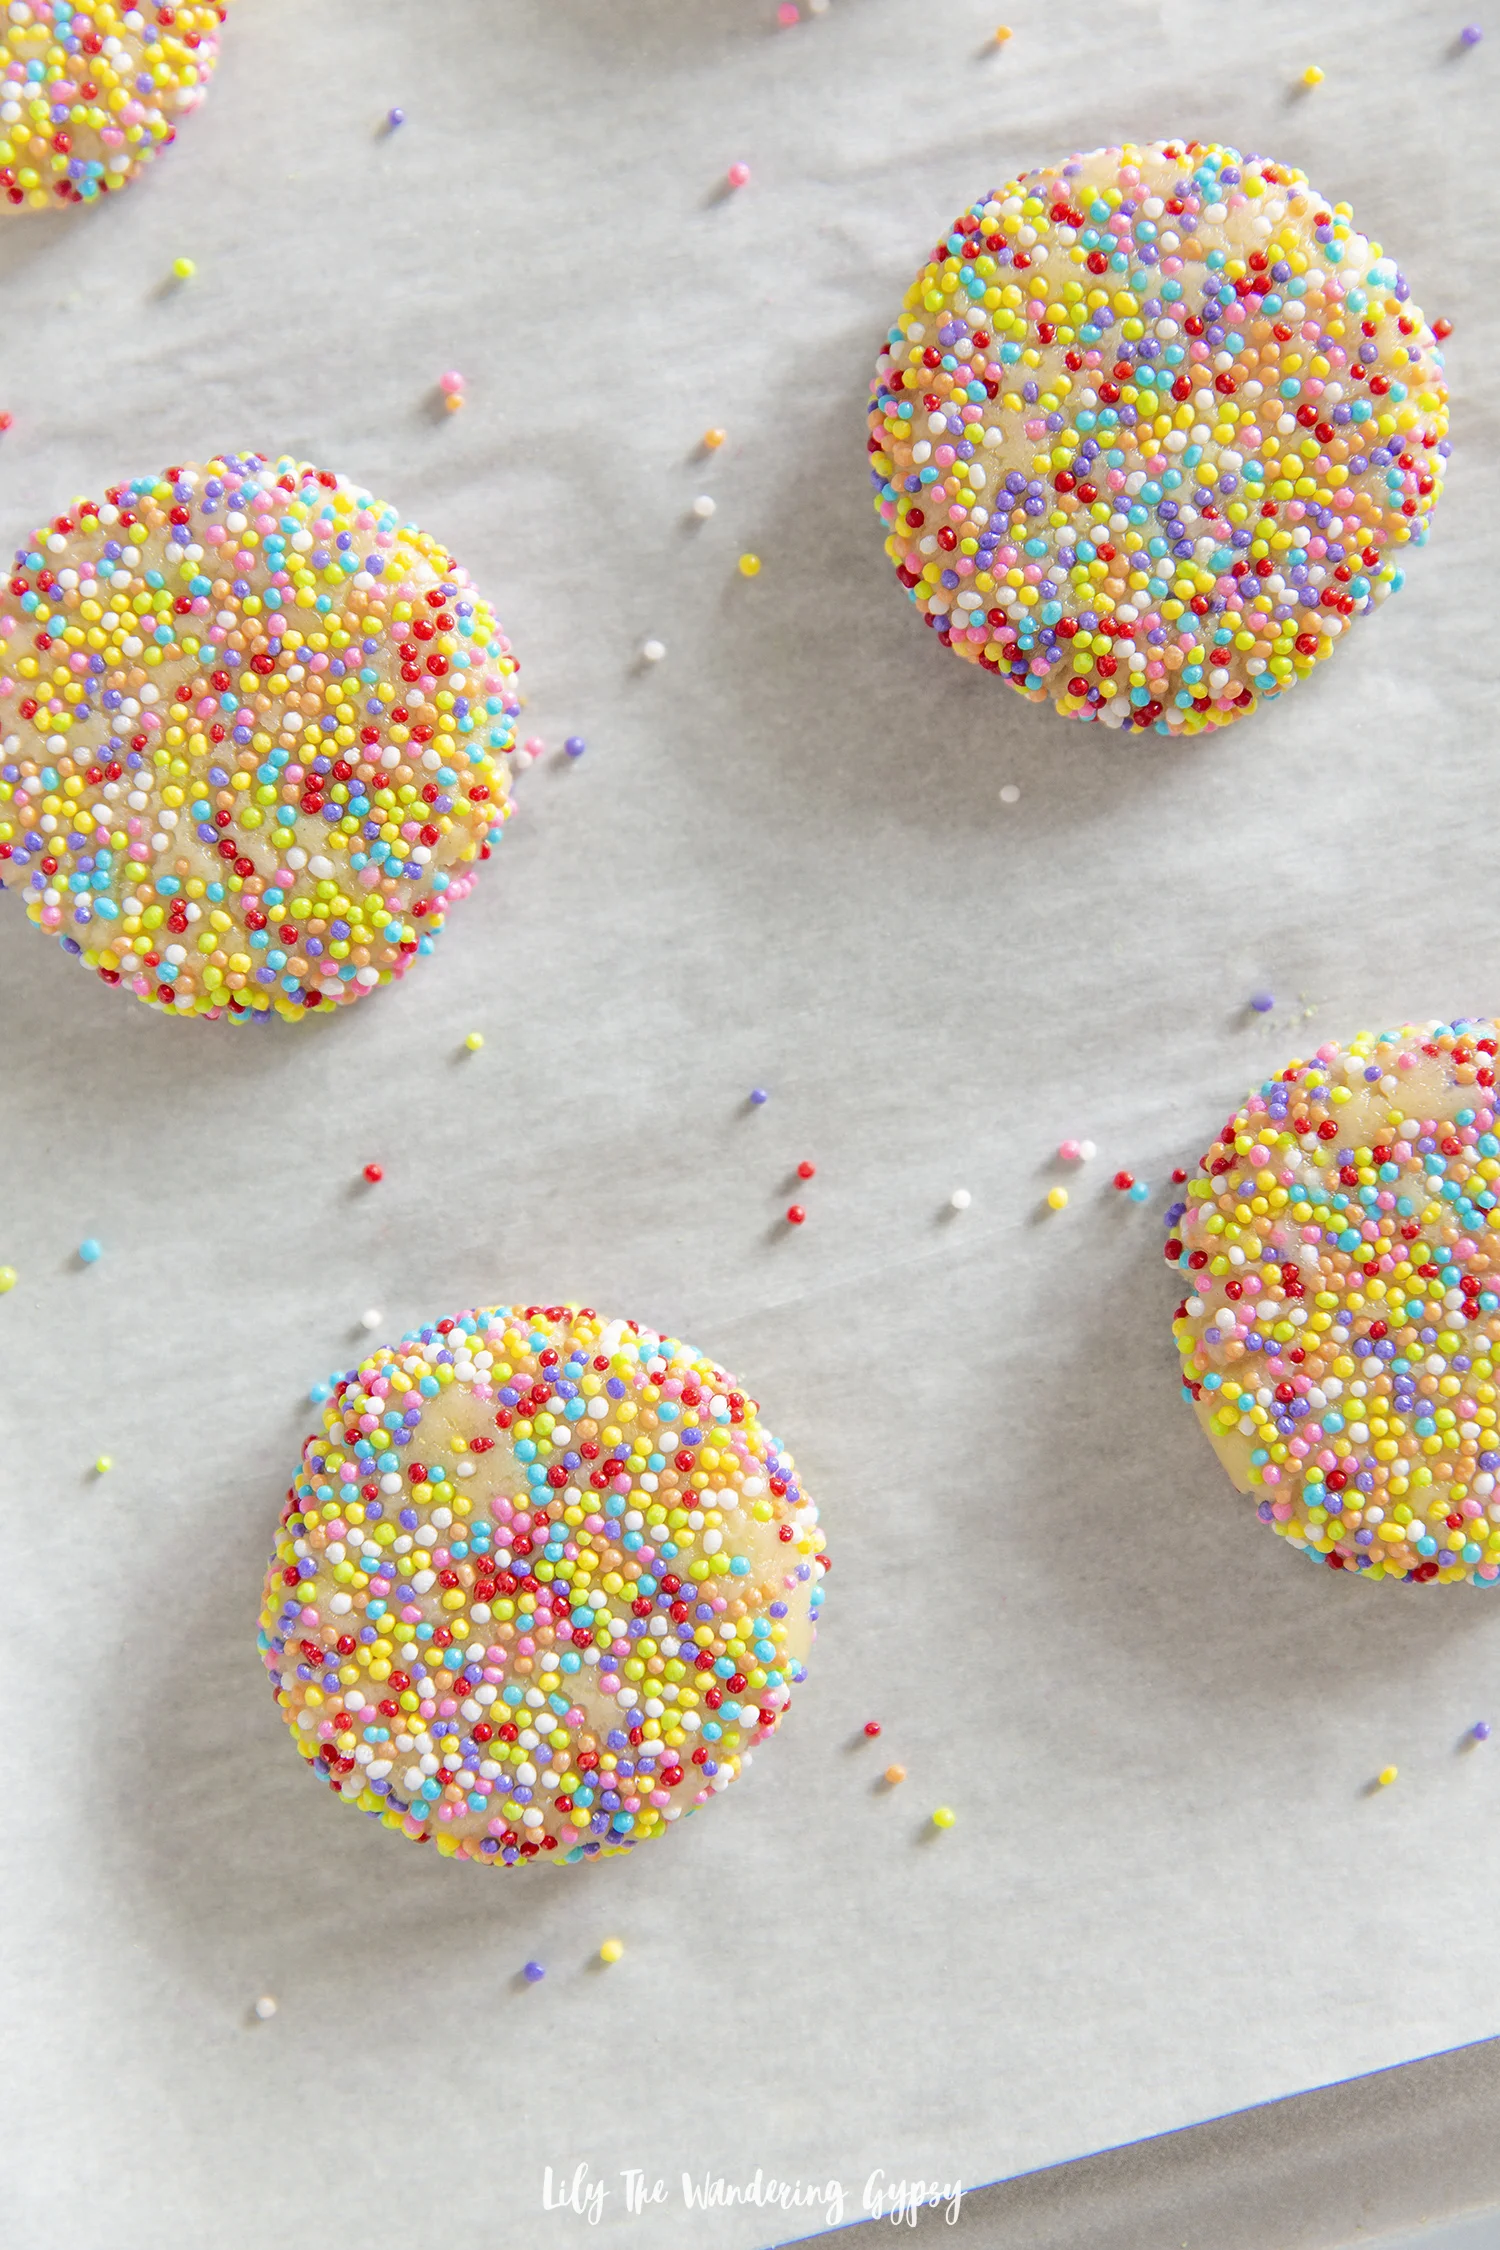
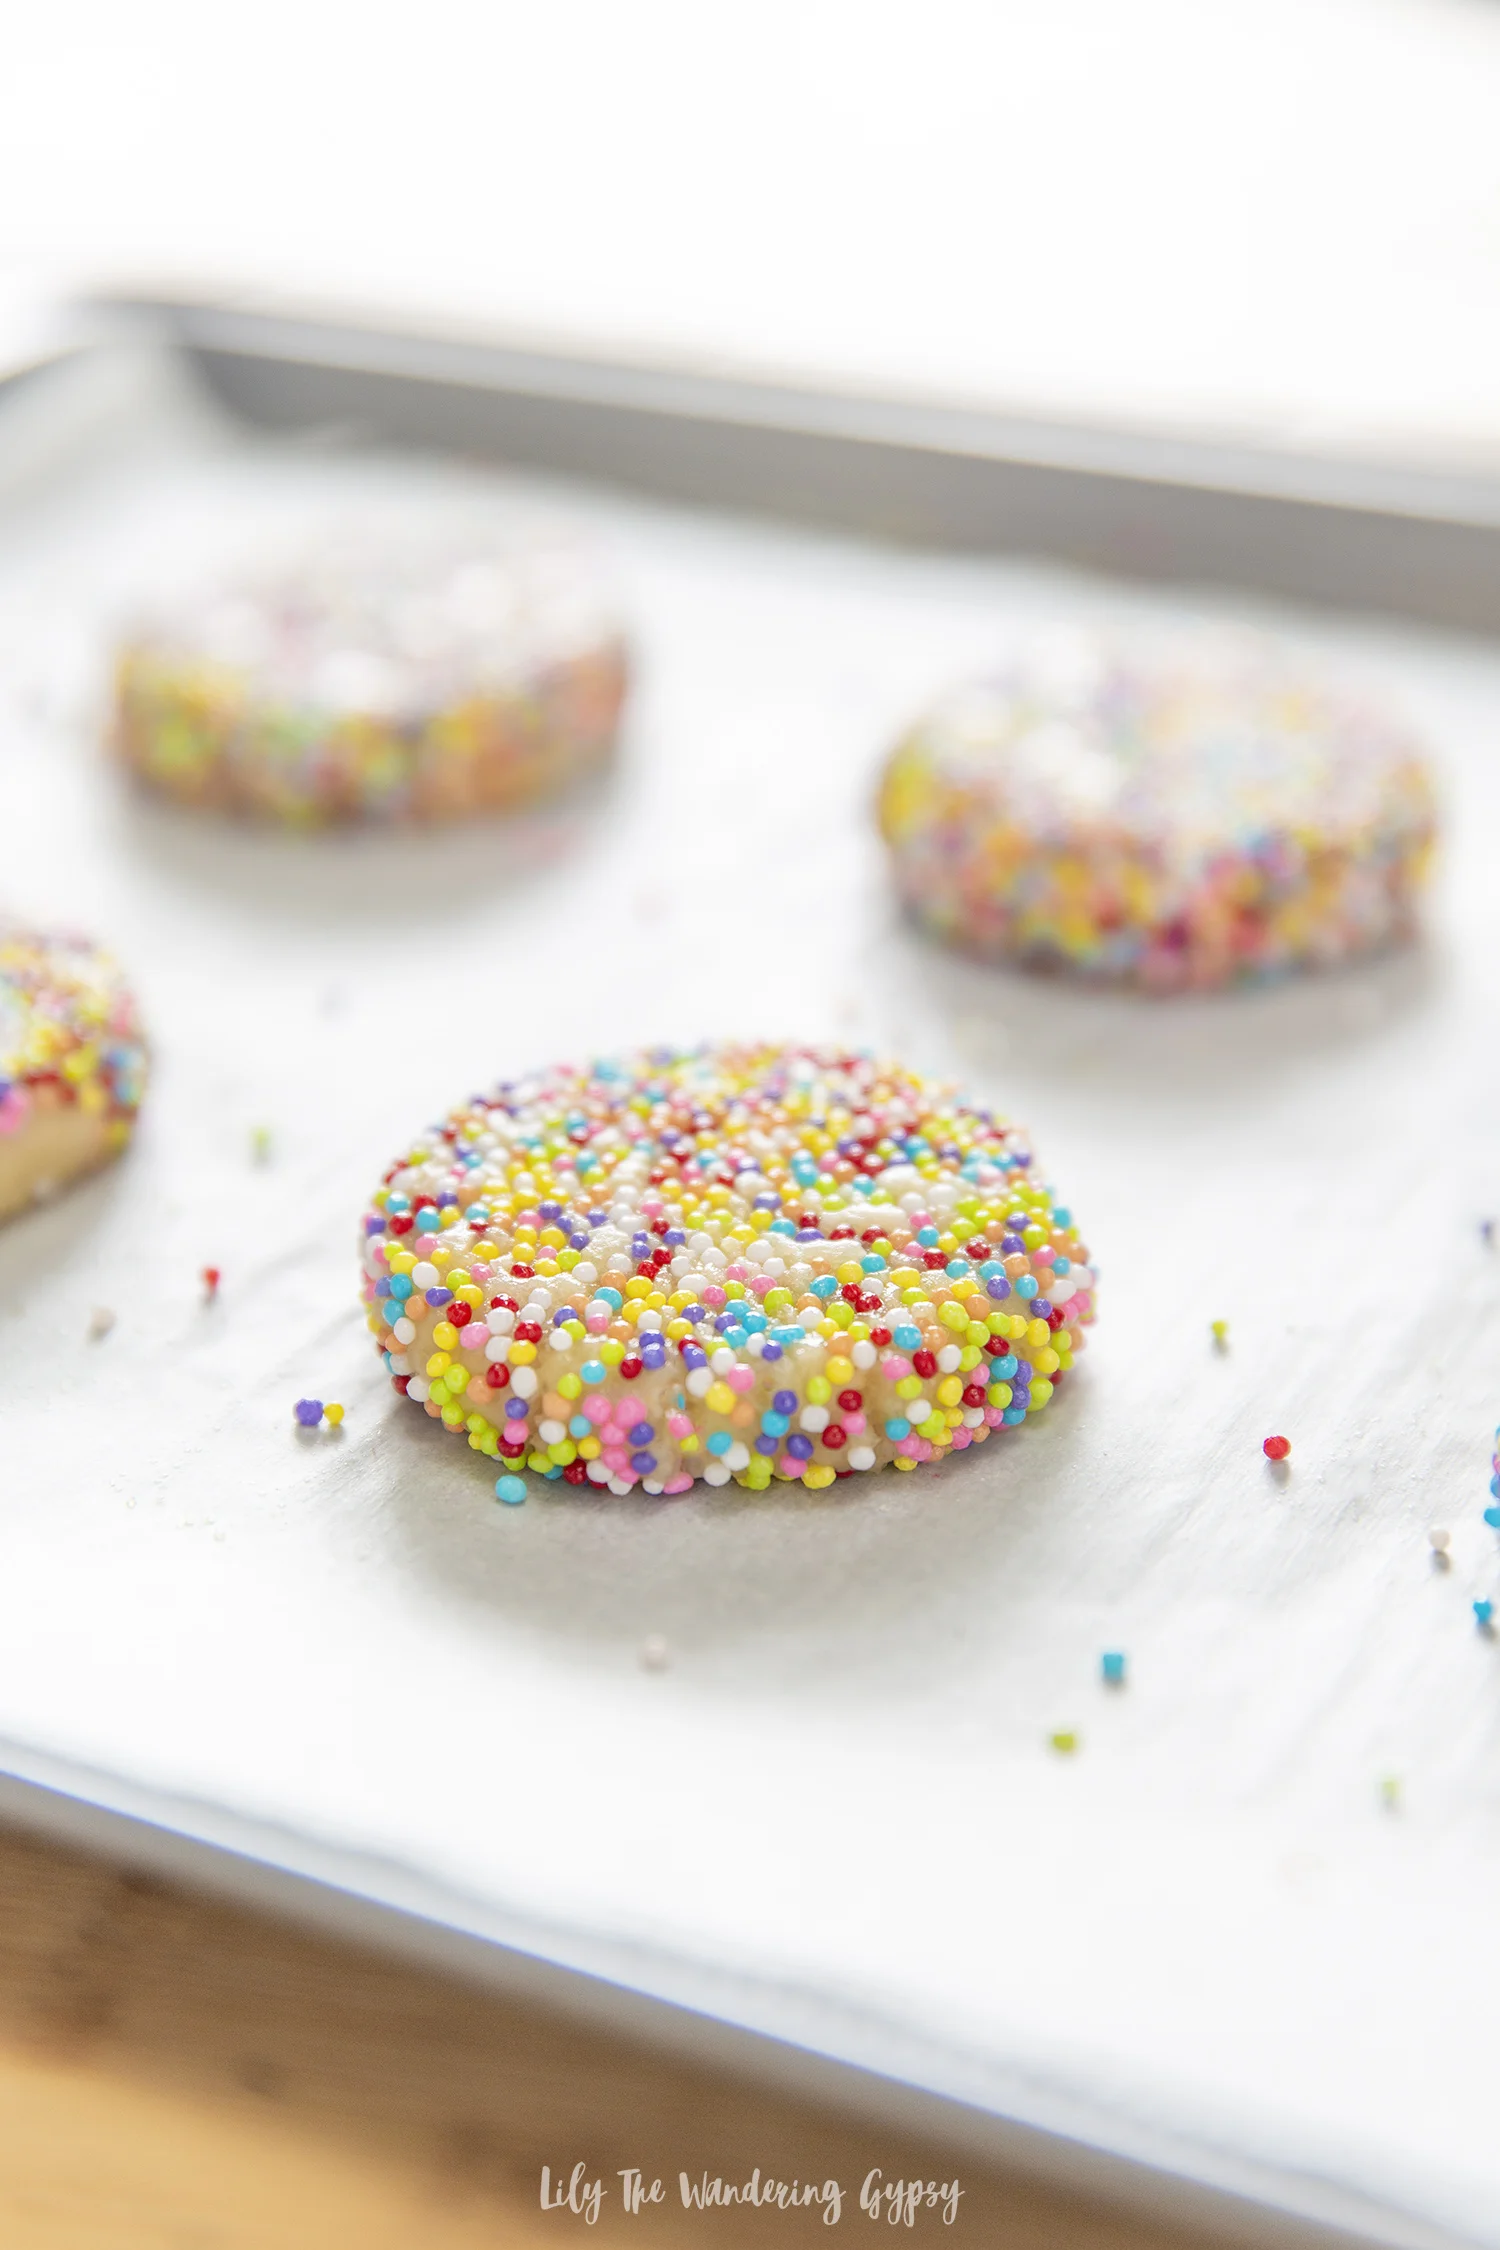
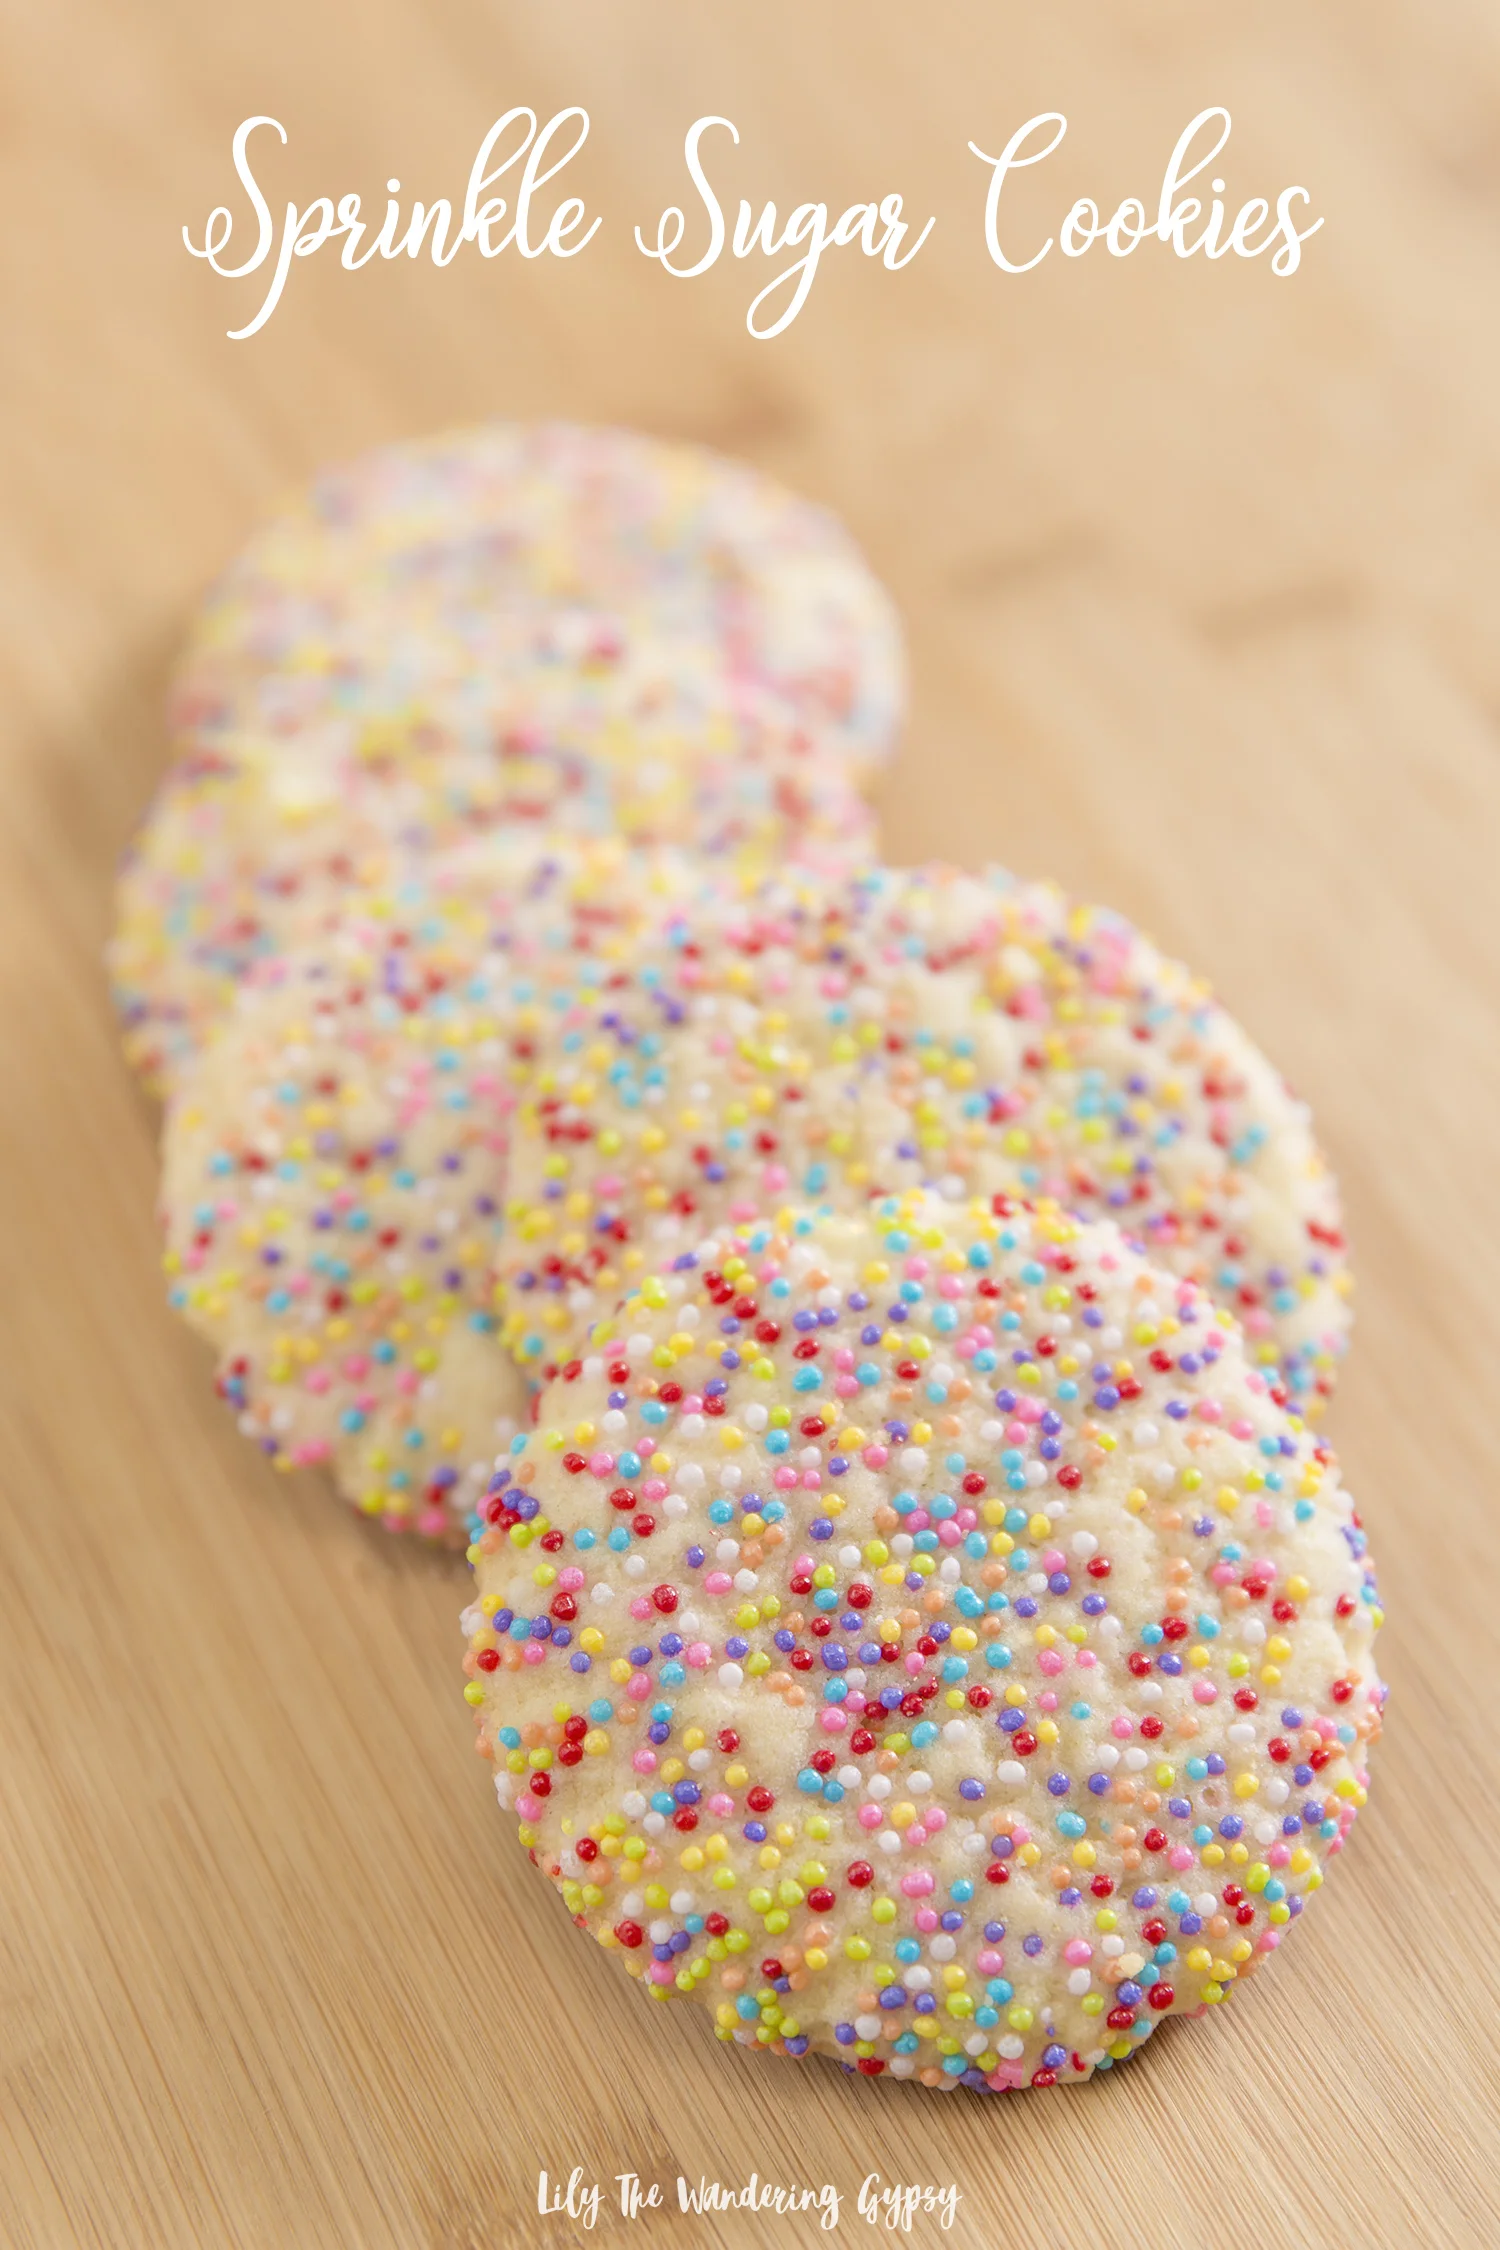
Light + Crispy Sprinkle Sugar Cookie Recipe

Light, crispy, festive, and delicious cookies you are sure to love! Uncomplicated ingredients and an easy baking process makes these cookies a 10/10 all around! You will love the light, airy crunch that the ingredients offer, and these can be customized to any colors you would like - even holidays or team colors!

INGREDIENTS:

1 c. butter

1 c. vegetable oil

1 cup powdered sugar

1 cup granulated sugar

2 eggs

1 tsp vanilla

4 cups flour (2 cups all purpose flour + 2 self rising flour if you would like)

1 tsp baking soda

1 tsp cream of tartar

1 tsp. salt

ball sprinkles or colorful sanding sugar - almost any sprinkles will do!

baking sheets

parchment paper

INSTRUCTIONS:

1.) Preheat oven to 350 degrees F. Cream butter and sugar until combined

2.) Add vegetable oil + powdered sugar

3.) Add egg + vanilla

4.) Add dry ingredients slowly, blend everything together until fully incorporated.

5.) Pour about 1/4 cup sprinkles into a shallow bowl or dish. Roll dough into 1-1.5” balls, and roll in sprinkles. Coat the dough as much as possible with the sprinkles - you may need to use your fingers to help press sprinkles into dough. Place each ball onto parchment lined baking sheets, and use a glass to flatten the balls a little bit.

6.) Bake 6 cookies per baking sheet for 8-10 minutes each, they will spread a little bit, so this insures the cookies do not touch while baking. Transfer onto cooling rack, and enjoy while still a little warm, or after they have cooled - they will get nice and crunchy! Enjoy.

Pull Apart Cupcake Cake Recipe

This recipe is PERFECT for parties and holidays, because it's easy to eat! Everyone has their own individual cupcake to share the joy, no need to cut THIS cake. 

We were ecstatic when we learned that we had the opportunity to collaborate with Martha Stewart to promote her baking items at Macy's. It's quite the honor, and several times throughout this process I exclaimed, "I am shooting recipes for Martha Stewart"!!! 

In order to creatively incorporate her Essentials collection into pins that would encourage people to want to learn more, I thought that a sweet treat would obviously be perfect, so I found a fun recipe on marthastewart.com and creates it! Below, you will find that very recipe, and I hope you are inspired by this fun post to make your very own cupcake cake!

MARTHA STEWART RECIPE (originally found here):

Pull-Apart Vanilla-Wafer Cupcake Cake with Berries

Talk about a fun dessert! It looks like a sheet cake on top, but there are actually vanilla-coconut cupcakes underneath the fresh berries and fluffy whipped-cream frosting. It's easy to make and even easier to serve -- no slicing required.

Source: Martha Stewart Living, May 2018

INGREDIENTS

  • 45 vanilla-wafer cookies, pulsed in a food processor until finely ground (1 1/2 cups)
  • 1/2 cup unbleached all-purpose flour
  • 1 teaspoon baking powder
  • 1/4 teaspoon kosher salt
  • 1 stick unsalted butter, softened
  • 3/4 cup granulated sugar
  • 2 large eggs, room temperature
  • 3/4 cup whole milk
  • 1 cup sweetened shredded coconut
  • 1 teaspoon unflavored gelatin
  • 1 cup cold heavy cream
  • 2 tablespoons confectioners' sugar
  • 1/4 teaspoon pure vanilla extract
  • 1 1/2 cups mixed fresh berries, such as blueberries, raspberries, and blackberries

DIRECTIONS

  1. 1. Preheat oven to 350 degrees. Line a standard muffin tin with paper liners. Whisk together cookie crumbs, flour, baking powder, and salt.

  2. 2. Beat butter with granulated sugar on medium speed until pale and fluffy, about 1 minute. Beat in eggs, one at a time. Reduce speed to low and add flour mixture in 3 batches, alternating with milk, beginning and ending with flour mixture and beating until combined after each addition. Fold in coconut.

  3. 3. Divide batter among cups. Bake until cupcakes are golden brown and centers bounce back when gently pressed, 22 to 24 minutes. Let cool completely in tin on a wire rack.

  4. 4. Add 2 tablespoons water to a small saucepan. Sprinkle with gelatin; let stand until thick, about 5 minutes. Gently heat over medium until gelatin has dissolved. Remove from heat; let cool 5 minutes (but don't let it set).

  5. 5. Beat together cream, confectioners' sugar, and vanilla on medium speed until very soft peaks form, 1 to 2 minutes. Add gelatin mixture; beat on medium until stiff peaks form, about 1 minute more.

  6. 6. Remove cupcakes from tin and arrange on a platter in a three-by-four rectangle. Spoon frosting over each row of cupcakes; using an offset spatula, smooth to cover tops, forming a rectangular shape. Refrigerate at least 1 hour and up to 3 hours. Sprinkle with berries before serving.

Dr Pepper Pick Your Pepper Summer ~ Indoor Picnic Ideas

While summer is all about enjoying the outdoors, here in southern Illinois / most of the Midwest, the heat and humidity sometimes keep us indoors. I am not incredibly sensitive to the heat, but if you’re having guests over, not everyone is going to enjoy it or even be able to tolerate temps in the 90s, so you could always consider hosting an indoor picnic!

The theme/inspiration for this picnic was a bountiful French picnic that features ice cold Dr Pepper Pick Your Pepper theme bottles (a personal fave), and lots of delicious snacks. Nothing super heavy as far as food, just smaller bites that you and your guests can feast on throughout the evening.

Keep reading to learn more about how you can win fun and festive prizes for Summer.

Each 20 oz. Dr Pepper bottle features over 40 artistic and inspiring labels that contain a Snapchat code on them. To unlock this fun filter, simply open Snapchat, take a photo of the Snapchat logo / code on the side of the bottle, then a little notification will appear, giving you access to the filter. Below, two of my favorite Snapchat filters were outdoors themed.

YOU CAN WIN!

Callout that the fun, unique Pick Your Pepper packaging and how it’s fun, individualized, and designed by millennials, for millennials. Available in stores starting 6/15/18.

Call out the prize reward and drive to  http://bit.ly/2pts8Qo

When you buy Dr Pepper 6/15-8/15 this summer, you can upload your reciept at http://bit.ly/2pts8Qo  to get the prize featured in my blog here and/or other prizes like:

Spend $5 get 5 bottles = Dr Pepper Retro Specs

Spend $10 get 10 bottles = Dr Pepper Copper Lined Mug

Spend $20 get 20 bottles = Dr Pepper Bluetooth Speakers

Spend $30 get 30 bottles = Dr Pepper Pool Float

CHECK OUT THE RETRO SPECS, BELOW…

Scan the Snapchat code on any Dr Pepper Pick Your Pepper to reveal a unique filter you can use! I then save the image and share it wherever you want! Below, two of my favorites!

My boyfriend Bobby and I love being outdoors, so these filters are super cute. He adores fishing, so the Snapchat filter, shown above that says, “Keepin’ It Reel” is perfect for him!

While this particular picnic I hosted for this post was indoors, I loved bringing traditional outdoor picnic elements into the evening with galvanized metal trays to hold food, easy to eat bites of a huge assortment of foods, and even cozy floor pillows, rugs and lightweight picnic blankets. I still love incorporating rustic elements into my events no matter where I host!

There are so many benefits to hosting this picnic indoors - Think of it, no bugs, no heat, and all the food and drinks one can possibly snack on throughout the evening without having to leave the elevated comforts of home. It’s such a fun way to enjoy time with friends or have a date night!

TO SET A COZY SCENE:

I love the idea of reminiscing about days past, where we would put pillows and blankets onto the floor and have a sleepover. Now that I’m older, we don’t really do that anymore, so it’s fun and nostalgic to reminisce and more or less make a soft place on the floor to settle in for the evening! It could be super fun to set this up in the living room, where everything is centrally located. Or, even on a porch!

I also added upscale touches like French-inspired textiles in stripes and plaids of white and blue. I packed some of the 20 oz. bottles of Dr Pepper into a metal “picnic basket”, which was a great way to carry the bottles plus lots of other necessities.

FOR THE FOOD:

I am always drawn to bountiful plates of fruits and other bite sized foods, so this was the perfect opportunity to try my hand at not one but three snack trays!

For one platter, I used a large, round galvanized tray with handles to hold everything. I then placed a white charger plate in there, plus a marble cutting board to hold the meats and cheeses (this was the least messy way to display them), then placed items like croissants, red and green grapes, strawberries, and more.

For another tray, I placed mini chocolate chips, blueberries, and blackberries. For the last tray, I placed a bit of herbed goat cheese dip, sliced baguettes, and crackers to dip into the goat cheese.

I was so happy with how upscale everything looked!

TO SERVE YOUR GUESTS:

I used lightweight linens, gold plates, and gold plastic utensils (that almost looked real!!), which added a bit of shimmer and glitz to the picnic. The gold and white looked really lovely.

It would definitely be fun to host a similar picnic outdoors if you live somewhere the weather is nice all the time! I love this particular color scheme, and I know those party platters would really look great at so many of your summer events.

Connect with Dr Pepper across social media!

Facebook / Twitter / Pinterest /Instagram

PIN IT FOR LATER...

Lattice Weave Puff Pastry Wrapped Prosciutto + Brie Recipe

Looking for an elegant and luxurious recipe to bring to that next BBQ or summer party? Perhaps you want a special date night dish that can be enjoyed with a couple of drinks and a movie. This  Lattice Weave Puff Pastry Wrapped Prosciutto + Brieis so delicious, that those who get to enjoy such a treat will likely lick the plate clean. 

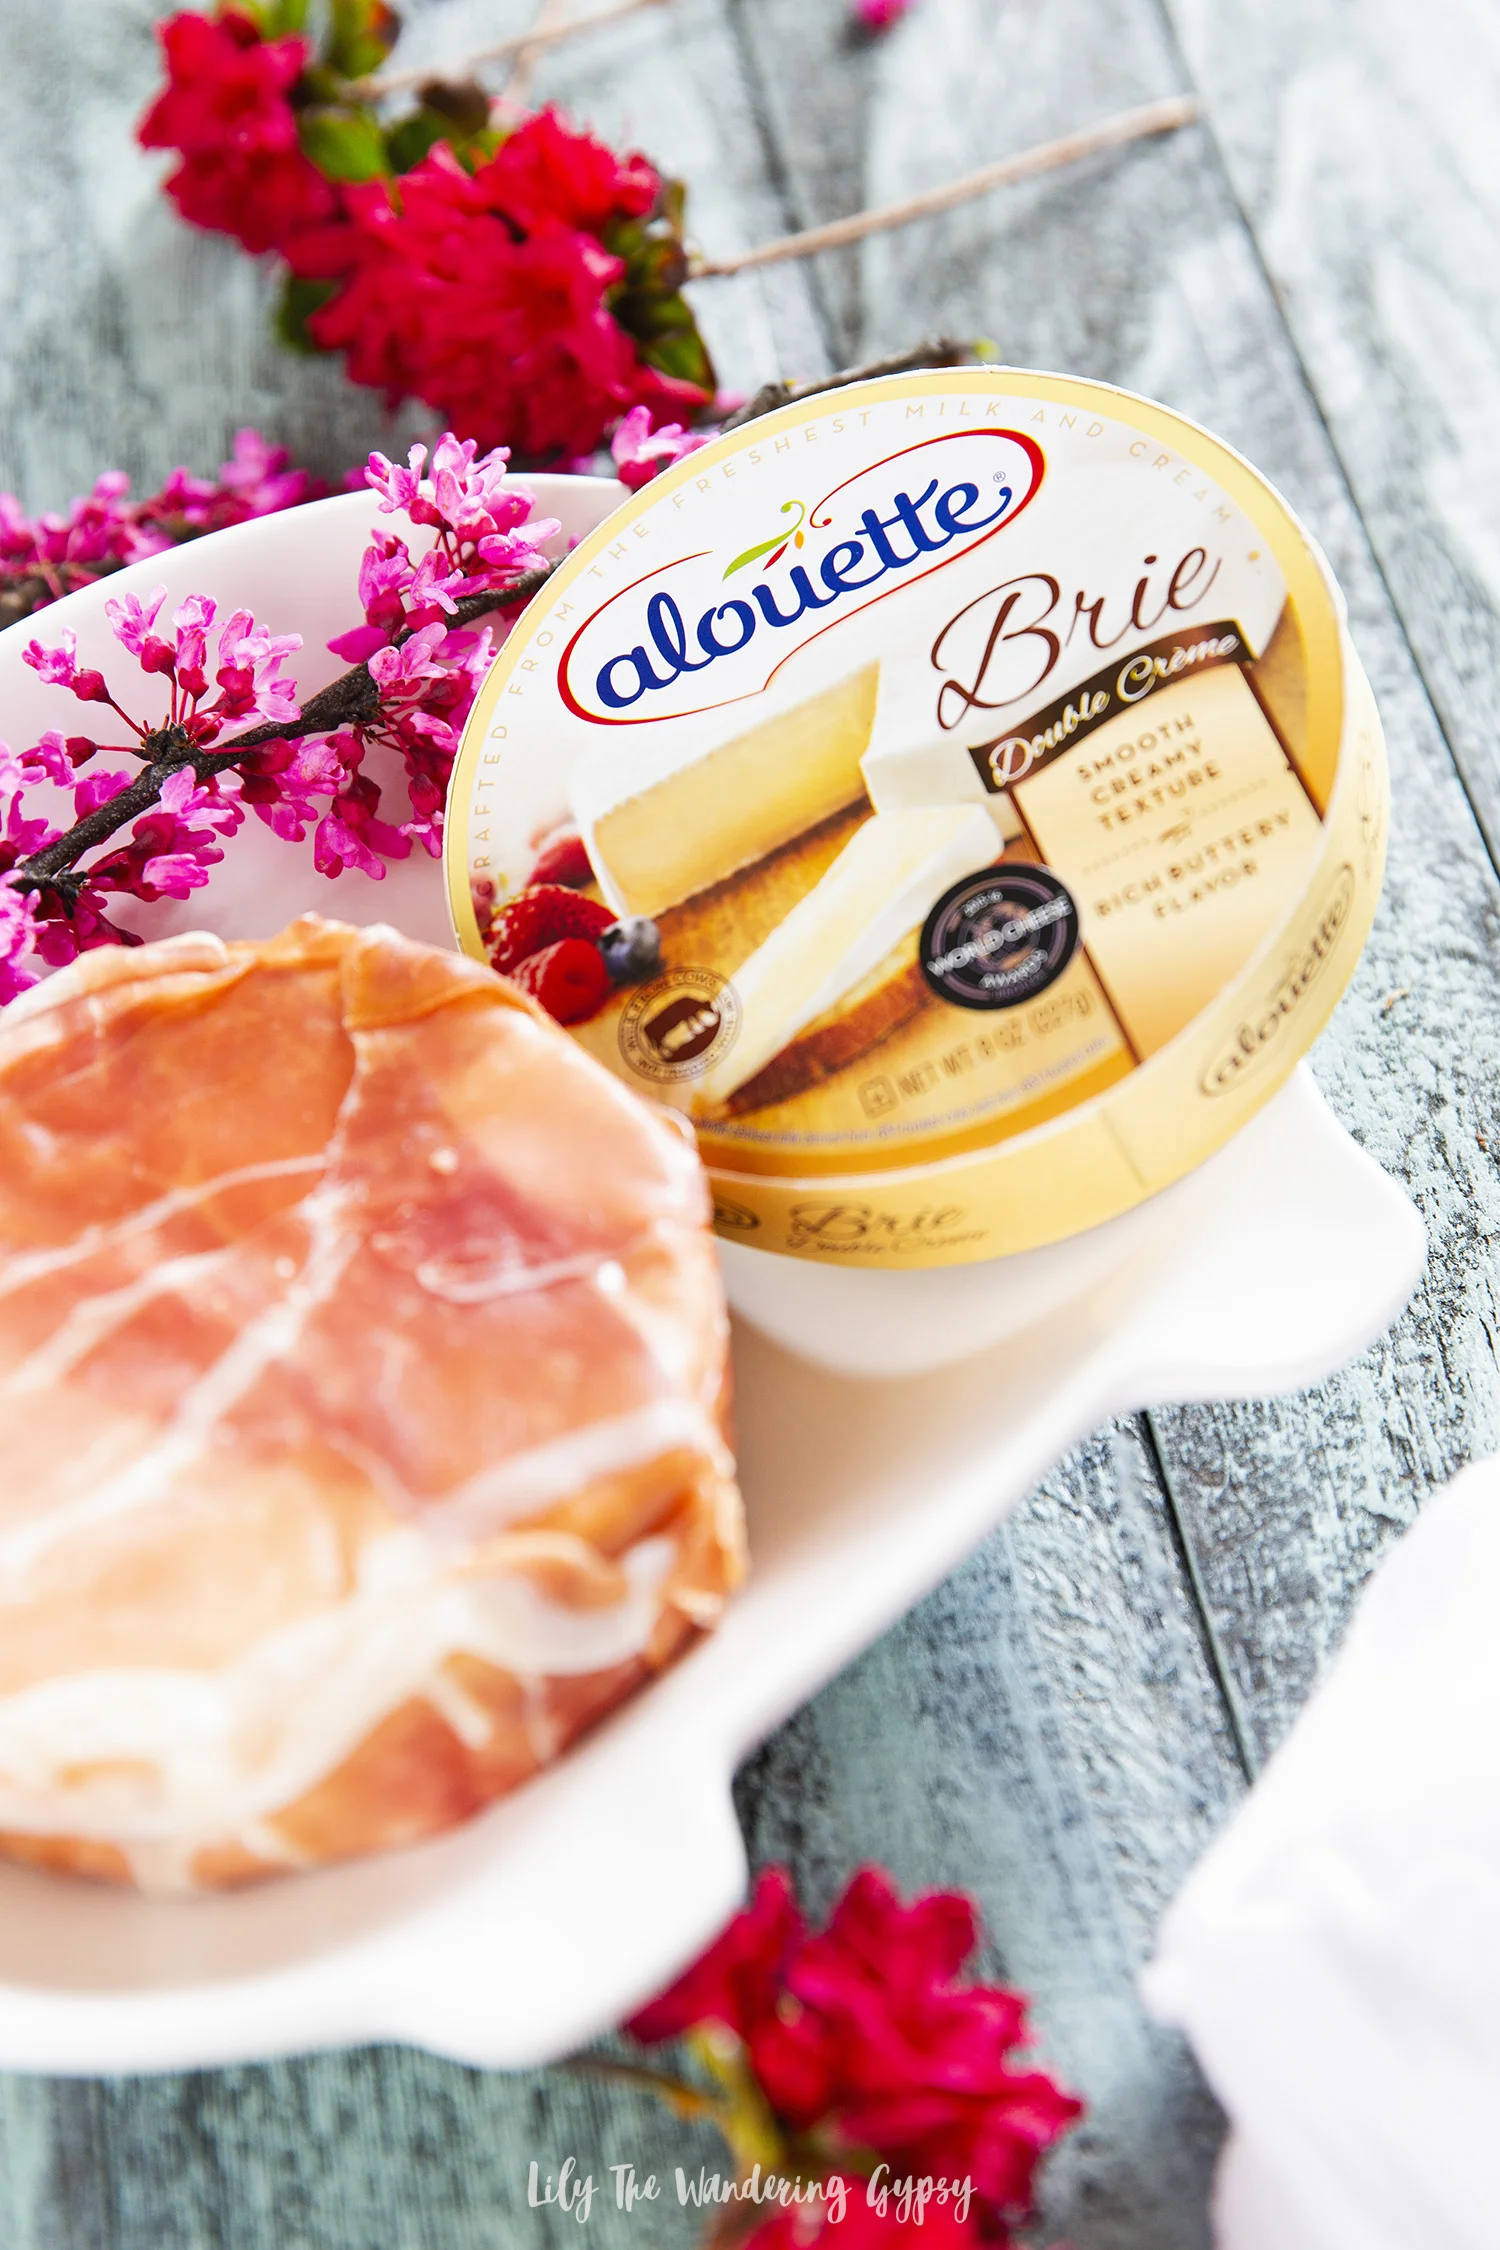
I found that by using Wewalka Puff Pastry, it held its shape super well and wasn't overly greasy, which was great. The brie I used, shown below, also worked out great. I found that brie is very affordable, ranging anywhere from $5 to way more expensive options. If you're new to Brie, then start off less expensive or in the middle of the price range.

This is a very rich and indulgent dish, but if you share it with friends, there's definitely no guilt in eating something like this. It's really amazing.

Ingredients:

1 (8 oz) Round of Brie 

1 package Wewalka puff pastry

1 egg, whisked with a fork for egg wash

1 package of Prosciutto, any brand you like

Crackers, pretzels, etc, to dip in cheese

Instructions:

1. Preheat oven to 400 degrees F. Slice puff pastry into 1/2" strips, set aside.

2. Wrap opened brie round with prosciutto, then set on a pan or clean work surface.

3. To create lattice: place two dough strips on top of prosciutto wrapped brie in an X shape. Here is a link to a good tutorial on how to make the rest of the lattice (just make sure dough has no spaces between strips, so it holds in the cheese well. Once the entire top of the brie has been latticed (see below), grab a drinking glass and let's finish this masterpiece!

4. So, the image below is a little strange looking, but I basically put the ingredients on top of a drinking glass to elevate it so I could then finish "weaving" the sides for a more finished look. You may notice that the widest part of the brie / the outer edge has one slice of dough wrapped around it, then I could easily finish wrapping the other pieces under the brie. I also sliced a few inches off of each strip, so there wasn't a huge wad of dough below the brie when it baked.

5. Below, you see the final brie round before baking! You can definitely prep this ahead of time, and bake it right before you need it. Brush with egg wash if desired for an even shinier finish.

And presto chango...Look at THIS BEAUTY, below! It is absolutely gorgeous!

6. Bake for 20-25 minutes or until crust is brown and flaky, cut into the cheese and let the middle just ooze out! Dip crackers, pretzels, green apples, and more into this creation, and enjoy!!

When you slice into this awesome creation, you may hear a little crunch of the flaky layers of dough, and then you will see the cheese just ooze out. Dip crackers, pretzels, and anything your heart desires into this melty cheese. The brie is very rich and creamy and does have a little bit of that funky taste that brie just has, but it pairs so well with the prosciutto and the puff pastry.

What do you think? Does this look like something you would eat or serve at your next gathering? I really hope you've enjoyed!!!

Casual Cookout with Tyson, Ball Park, and Lipton Tea!

This post is sponsored by Lipton, Tyson, and Bimbo but the content and opinions expressed here are my own.

Casual Cookouts are in season!! Bring weeknight (or weekend) dinners outside by making good use of your grill! You can enjoy the long summer nights as you picnic in the yard with your family. From cooking your own Ball Park® Hot Dogs to Tyson® Chicken sandwiches, let everyone join in on the fun and make it a festive family night. Excited to host lots of fun cookouts this year, and here is one to get me started.

BBQ CHICKEN SANDWICHES

Above, the Tyson Frozen Boneless Skinless Chicken Breasts. I used them for chicken sandwiches!

INSTRUCTIONS: Using a grill set to 450-550 degrees, spray non-stick cooking spray and place frozen chicken breasts onto hot grill. Cook for 10 minutes on fist side, season, then flip and grill for another 10-15 minutes, until chicken’s internal temperature is at least 165 degrees F.

Below, the classic Lipton Iced Tea brewed and lightly sweetened.

Condiments can easily be placed in vintage or glass jars or bowls to serve them in a more elegant way – don’t forget to add a spoon into each condiment J

Below, the white chopped onions, pickles, and potato salad, and a cute sign that reads, “Welcome Friends and Family”.

As you might notice, I placed these ingredients onto metal trays at varying heights so they were easier for everyone to reach.

CURBSIDE PICKUP:

 Since summer gets very busy, and I always have a million errands to run at once, I loved being able to use the Walmart Curbside Pickup! I logged in and just placed my order on http://grocery.walmart.com and then stopped by my local store to grab everything!

DÉCOR IDEAS:

For the BBQ party setup, I used a plastic folding table to hold everything, then covered it with a twin white sheet that I ironed. I used a piece of on trend gingham printed cotton in white and grey. I used 1.5 yards and I think that the double layer table covering idea really looked so elegant.


I also really love offering food to guests at different heights, bringing the food and refreshments to eye level. I stuck with more metallic accents like galvanized metal boxes, plus small metal buckets to hold utensils and festive paper napkins. I love the mixture of navy blue and red together, which worked perfectly for this theme.

I also found lots of cute Grilling and BBQ themed signs that were so cute! I am sure that you could simply print some fun quotes off the Internet and frame them if you already have all the supplies on hand.

CONNECT WITH THESE BRANDS ON SOCIAL:

Tyson®

Facebook: @TysonBrand

Twitter: @TysonBrand

Instagram: @TysonBrand

Pinterest: @TysonFoods

Lipton®

Facebook: @LiptonUS

Twitter: @Lipton

Instagram: @Lipton

Ball Park®

Facebook: @BallParkBrand

Instagram: @BallParkBrand

I really hope you’ve enjoyed this post, and I am eager to hear all about what you have planned for summer!

PIN IT FOR LATER...

Mediterranean Food + More

Looking for a fun way to spice up dinners? We had some of the most delicious Mediterranean-inspired food recently, and our friends really came together to make the night special. Below, you will see all sorts of amazing foods like chicken shwarma, warmed pita pockets, all the amazing sauces, and fallafel (which we found at an international grocery store and fried on the stove top).

We love hosting and attending potluck dinners, where we choose a theme and everyone brings their favorite, homemade, made from scratch, or whatever food or drink they love, and we all feast!

This photo was one of the only ones I have captured with out studio lights, and it was one of our most successful and most delicious potlucks yet! Here's to more...

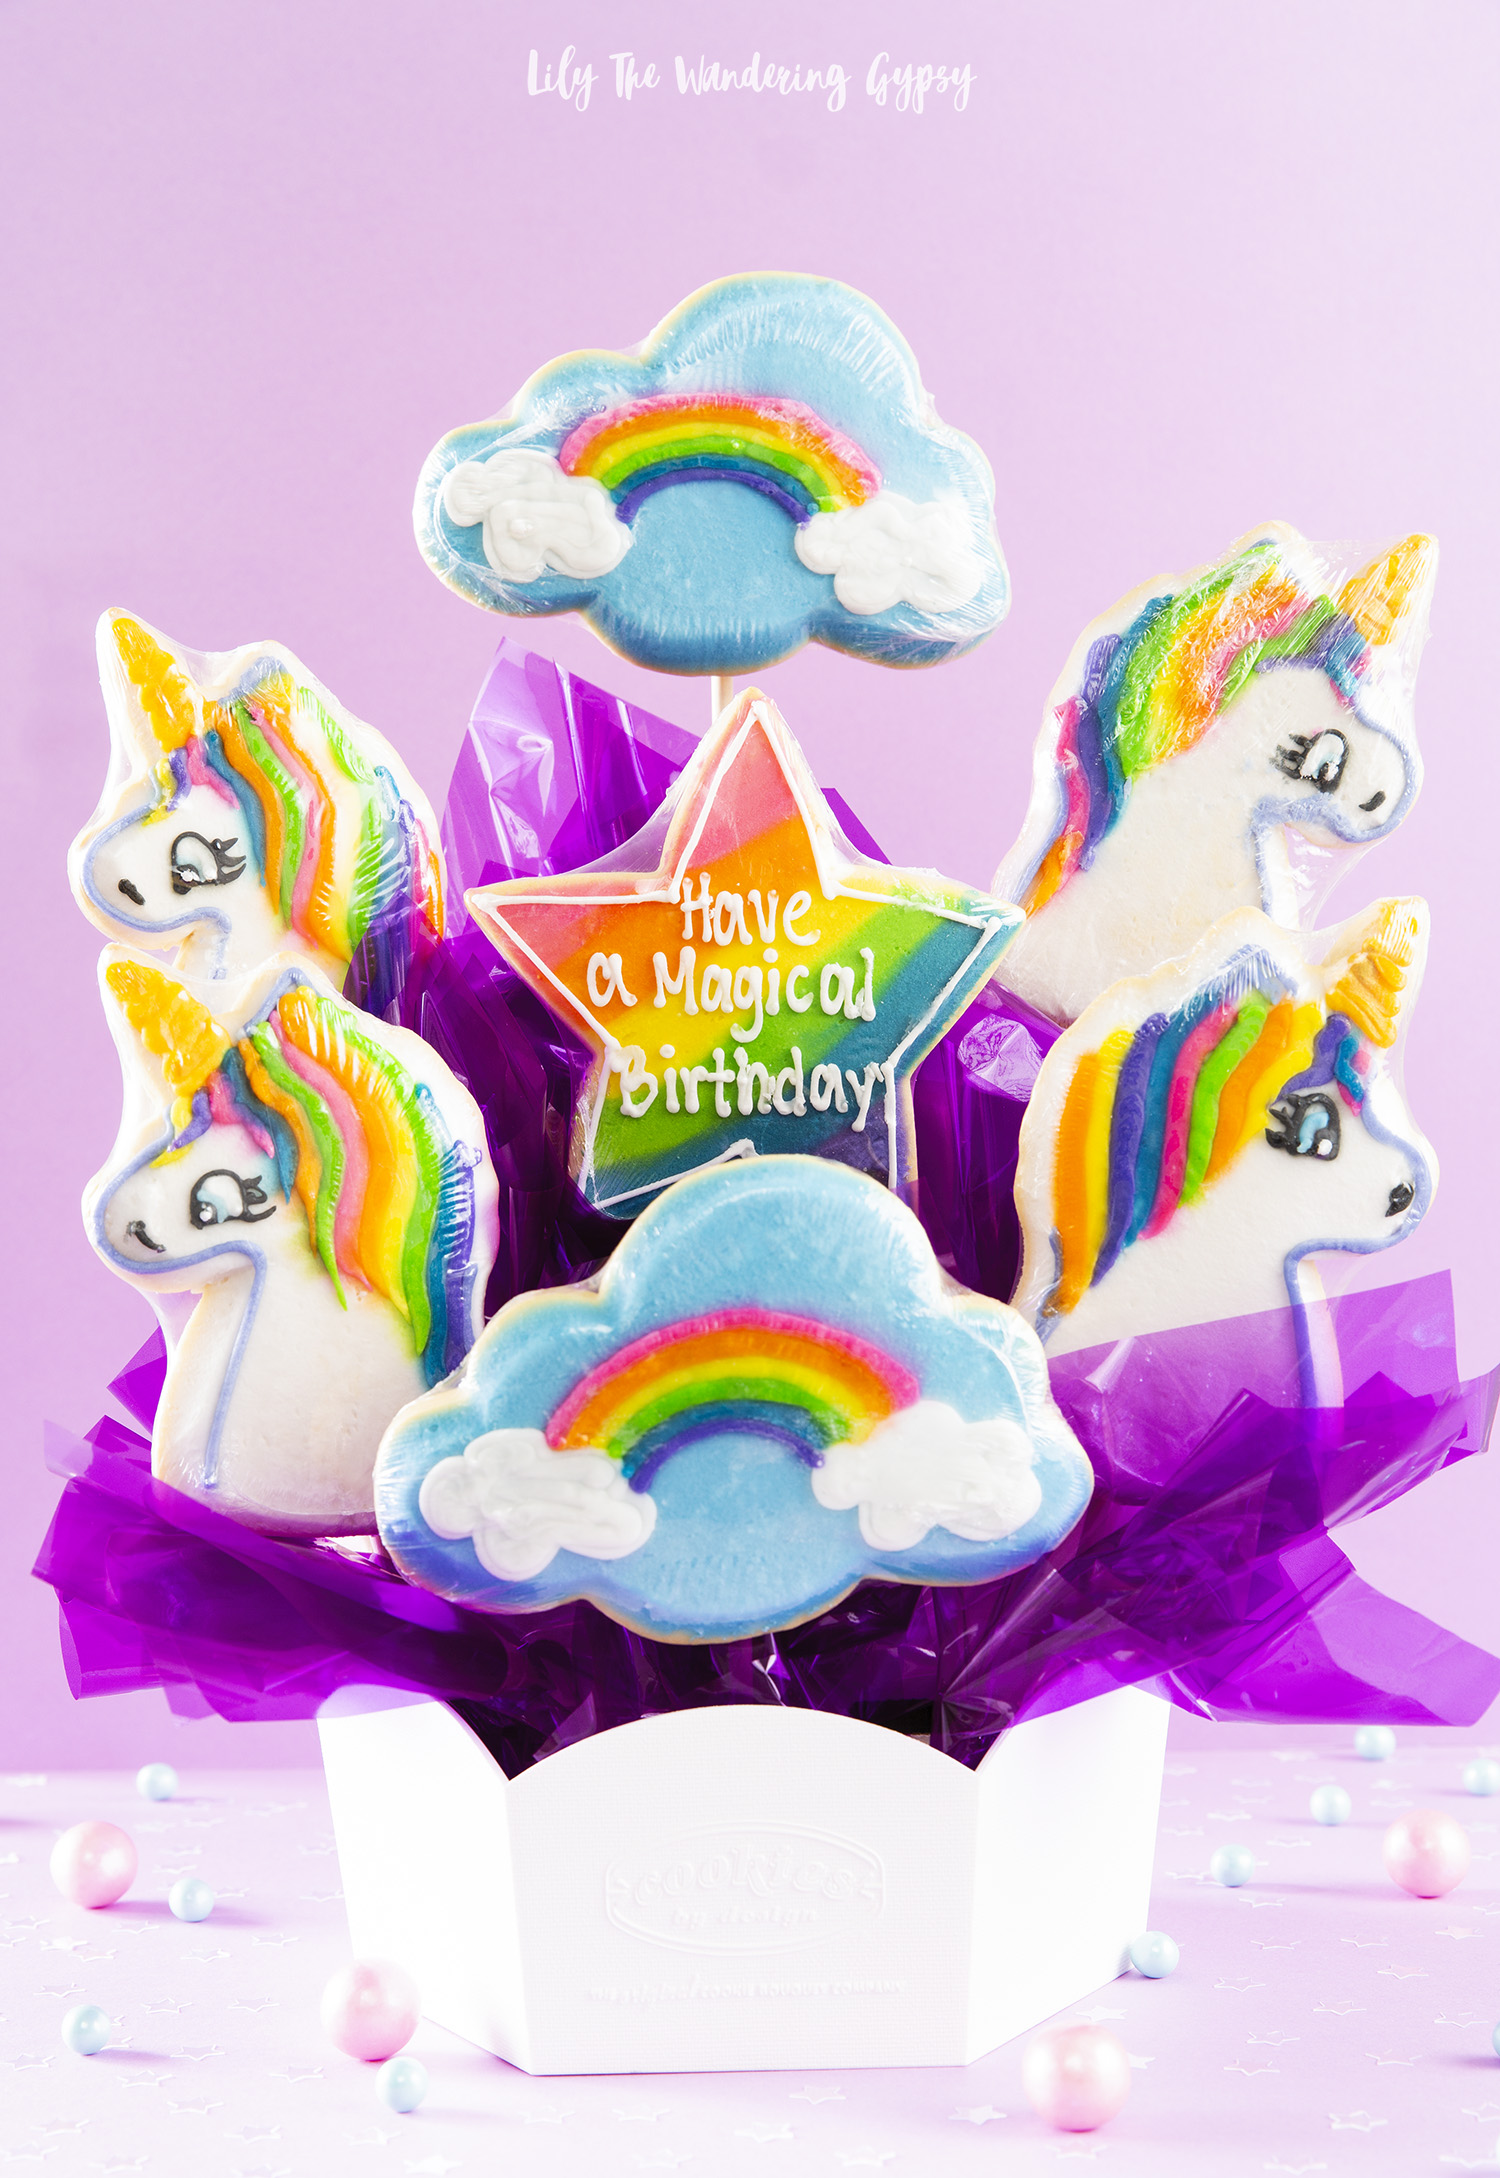
Unicorn Cookie Bouquet from Cookies by Design

Look at this adorable Unicorn Cookie Pop Bouquet from Cookies By Design. I can think of so many people who would love this!

I received a well designed cookie bouquet, which contained 4 unicorn cookies, 2 over the rainbow cookies, and one star shaped cookie that read, Have A Magical Birthday!

This Unicorn Sugar Cookie Bouquet is an absolute show stopper. 

If you bring this bouquet to an event, or have it shipped to someone for their special day, you will be remembered forever! Think of how many photos will be posted of this awesome, edible gift. 

It's also pretty east to find other Unicorn themed party supplies at most stores, or make your own from scrapbooking paper, sequins, and tinsel. 

Cookies By Design is one of my awesome affiliate partners. If you purchase any cookie bouquet or other fun items from Cookies By Design, I make a small commission. Thank you so much for supporting the brands that help make my blog an inspiring space!

Check out this Mother's Day Sugar Cookie Bouquet. It's really lovely and Mom or Grandma would LOVE to receive such a delightful, thoughtful gift! 

Organic Rustic Grilled Salsa & Hand-Cut Tortilla Chips

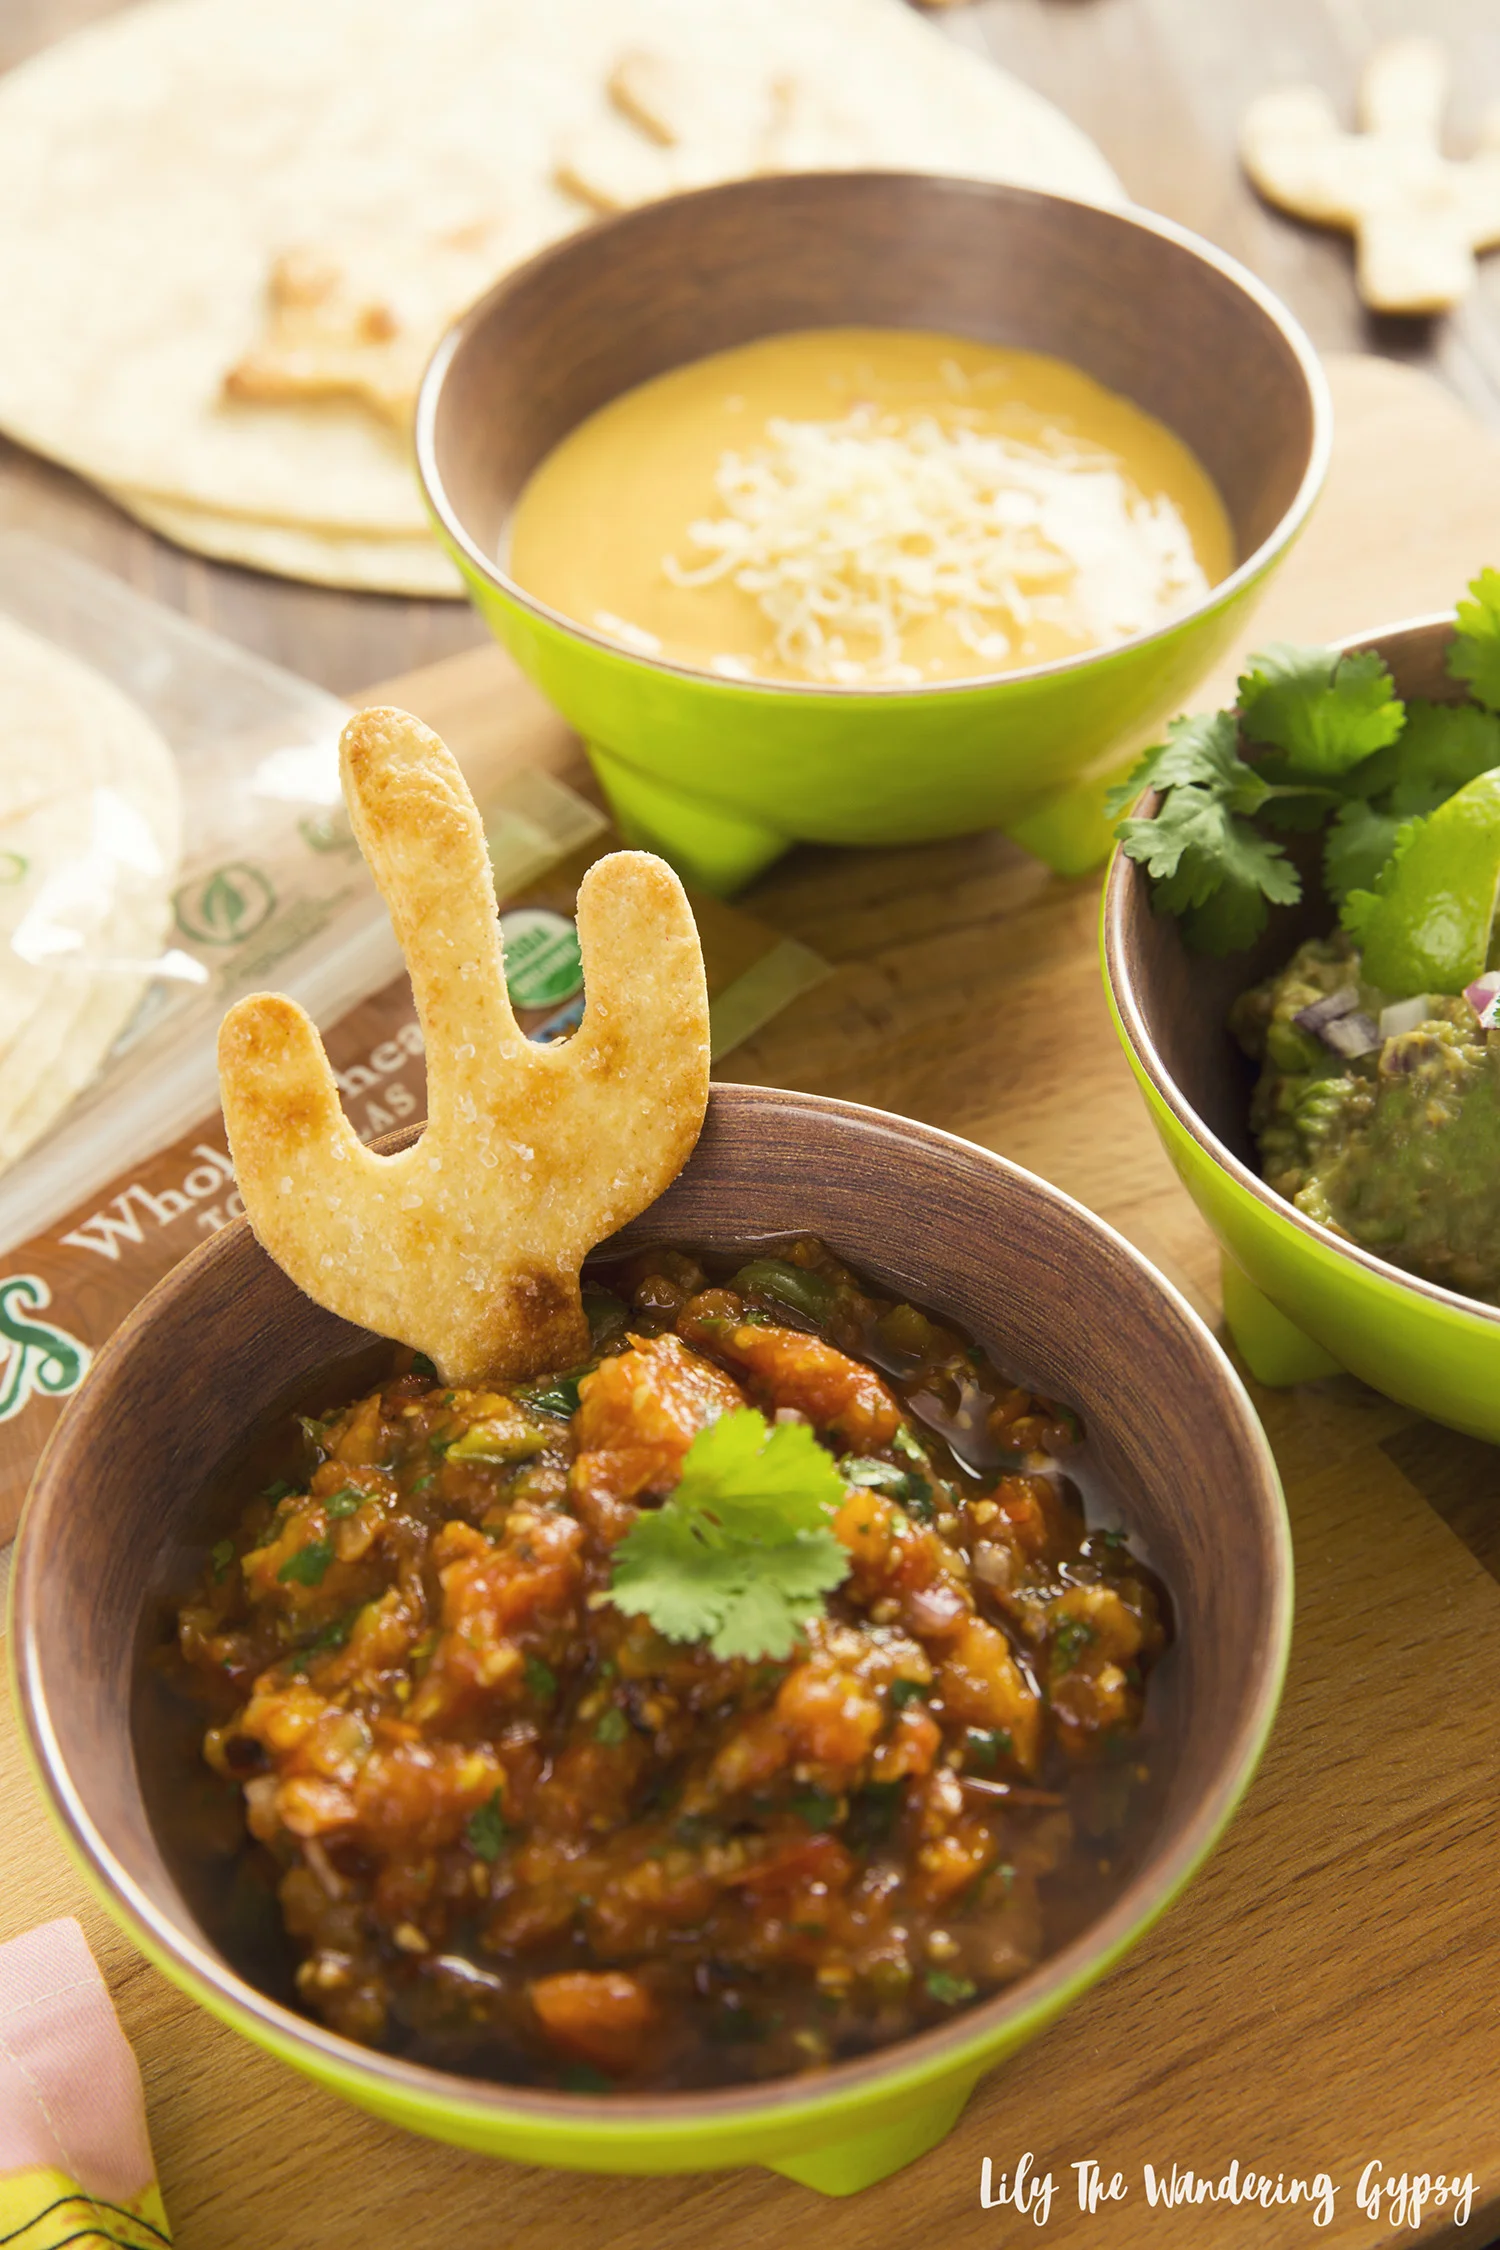
A Rustic Grilled Tomato Salsa is a great way to use 100% fresh and organic ingredients in a recipe that is just perfect for summer! Mission Organic Tortillas were the perfect ingredient to use and compliment my salsa oh so well. I am beyond happy with how these cute little hand-cut tortilla chips turned out, and I hope you enjoy them!

Choosing organic ingredients is of top priority when it comes to preparing and serving any recipe. I have been watching a few very inspiring cooking shows lately, and they’re showing me the possibilities of creating everything from scratch, from fresh, local, and organic ingredients, and I just love it! So happy to be partnering with a brand I have loved for years, and I am so glad they have a delicious line of organic products!

This post was not sponsored, it was actually one of two ideas I had for the brand. See which post they chose instead. 

SALSA (Makes 3-4 Servings):

Choose Organic Ingredients When Possible

1 container of colorful or red mini tomatoes

2-3 Jalapeno Peppers, cut in half lengthwise

2 Larger Red Slicing Tomatoes, cut into slices

1 Lime, cut into wedges for the juice

Cilantro, chopped

Garlic (1-2 cloves, chopped)

HAND CUT TORTILLA CHIPS

Mission Organics® Tortillas

Cookie Cutters

Spray Butter, Spray Coconut Oil, or similar

Large Grain Sea Salt (Regular will do)

OTHER MATERIALS:

Toaster Oven or Regular Oven

Grill

Skewer Sticks

Food Processor

Knife

1.)  (For The Salsa) Prep your veggies! Cut jalapenos in half lengthwise, and remove any seeds and interior material. Next, add mini heirloom tomatoes (in various colors or in all red) to skewer sticks. Lastly, slice larger tomatoes into slices that are thick enough to handle.

2.)  (For The Chips) Simply use any shape cookie cutter and use your palms to press the cookie cutters into the Mission Organic Tortillas. Coat them with butter spray, and toast them in a toaster oven on 300 degrees for about 2 minutes, until edges are browned. Lastly, sprinkle with salt and enjoy, with a side of homemade salsa, guacamole, cheese dip, and sour cream!

3.) (To Make The Salsa) Once your veggies are all ready, turn on your grill to a higher heat, and spray with non-stick cooking spray. Add all veggies to your grill (carefully – I use a pair of tongs to do this step). The sliced tomatoes cannot be on for long, so make sure to keep them on for a minute or so each side. Below, you can see all of the grilled veggies, ready to be blended with the other ingredients.

After you have processed all of your ingredients, your salsa should look like the photo, below. What a cute pairing for my little hand-cut tortilla chips!

I also just love how everything in this recipe is organic! I am not sure if the salt I used would be, but everything else is a yes J I hope this post helps you see just how easy it is to use 100% natural and organic ingredients in your upcoming recipes.

Vegan Strawberry, Peach, Spinach Smoothie Recipe

I found a great way to easily incorporate spinach into smoothies! It add a teeny tiny bit of extra texture to the smoothie, but does not alter the taste at all! 

Have you ever used frozen spinach before? While I would of course prefer to use fresh spinach every time, if you're simply using it in your smoothies, then frozen is a great option. I believe the frozen spinach in the bags is already steamed, and is so incredibly convenient to add a small bit into your smoothies! I love adding all of those awesome nutrients from the spinach!

I've been trying to reduce my meat and dairy intake lately, and up until now, my smoothie recipes would always include yogurt. It's of course 100% fine to add yogurt, this smoothie is amazing on its own, and does not even need it! 

1 Cup Frozen Strawberries

1 Cup Frozen Peaches

1/2 Cup Frozen Pineapples

1/2 Cup Frozen Spinach

1 1/2 Cups Nut Milk (I like combo of Macadamia Milk, Coconut Milk, and Hemp Milk)

1/2 C Pineapple Coconut Juice or Similar

1-2 Tbsp Agave Nectar

1/2 Cup Water

1.) In a blender that can handle frozen ingredients well, add your frozen ingredients, and then your liquid ingredients. 

2.) Blend on Smoothie Mode or Frozen Drink Mode for two rounds, Taste to make sure you're happy with the flavor.

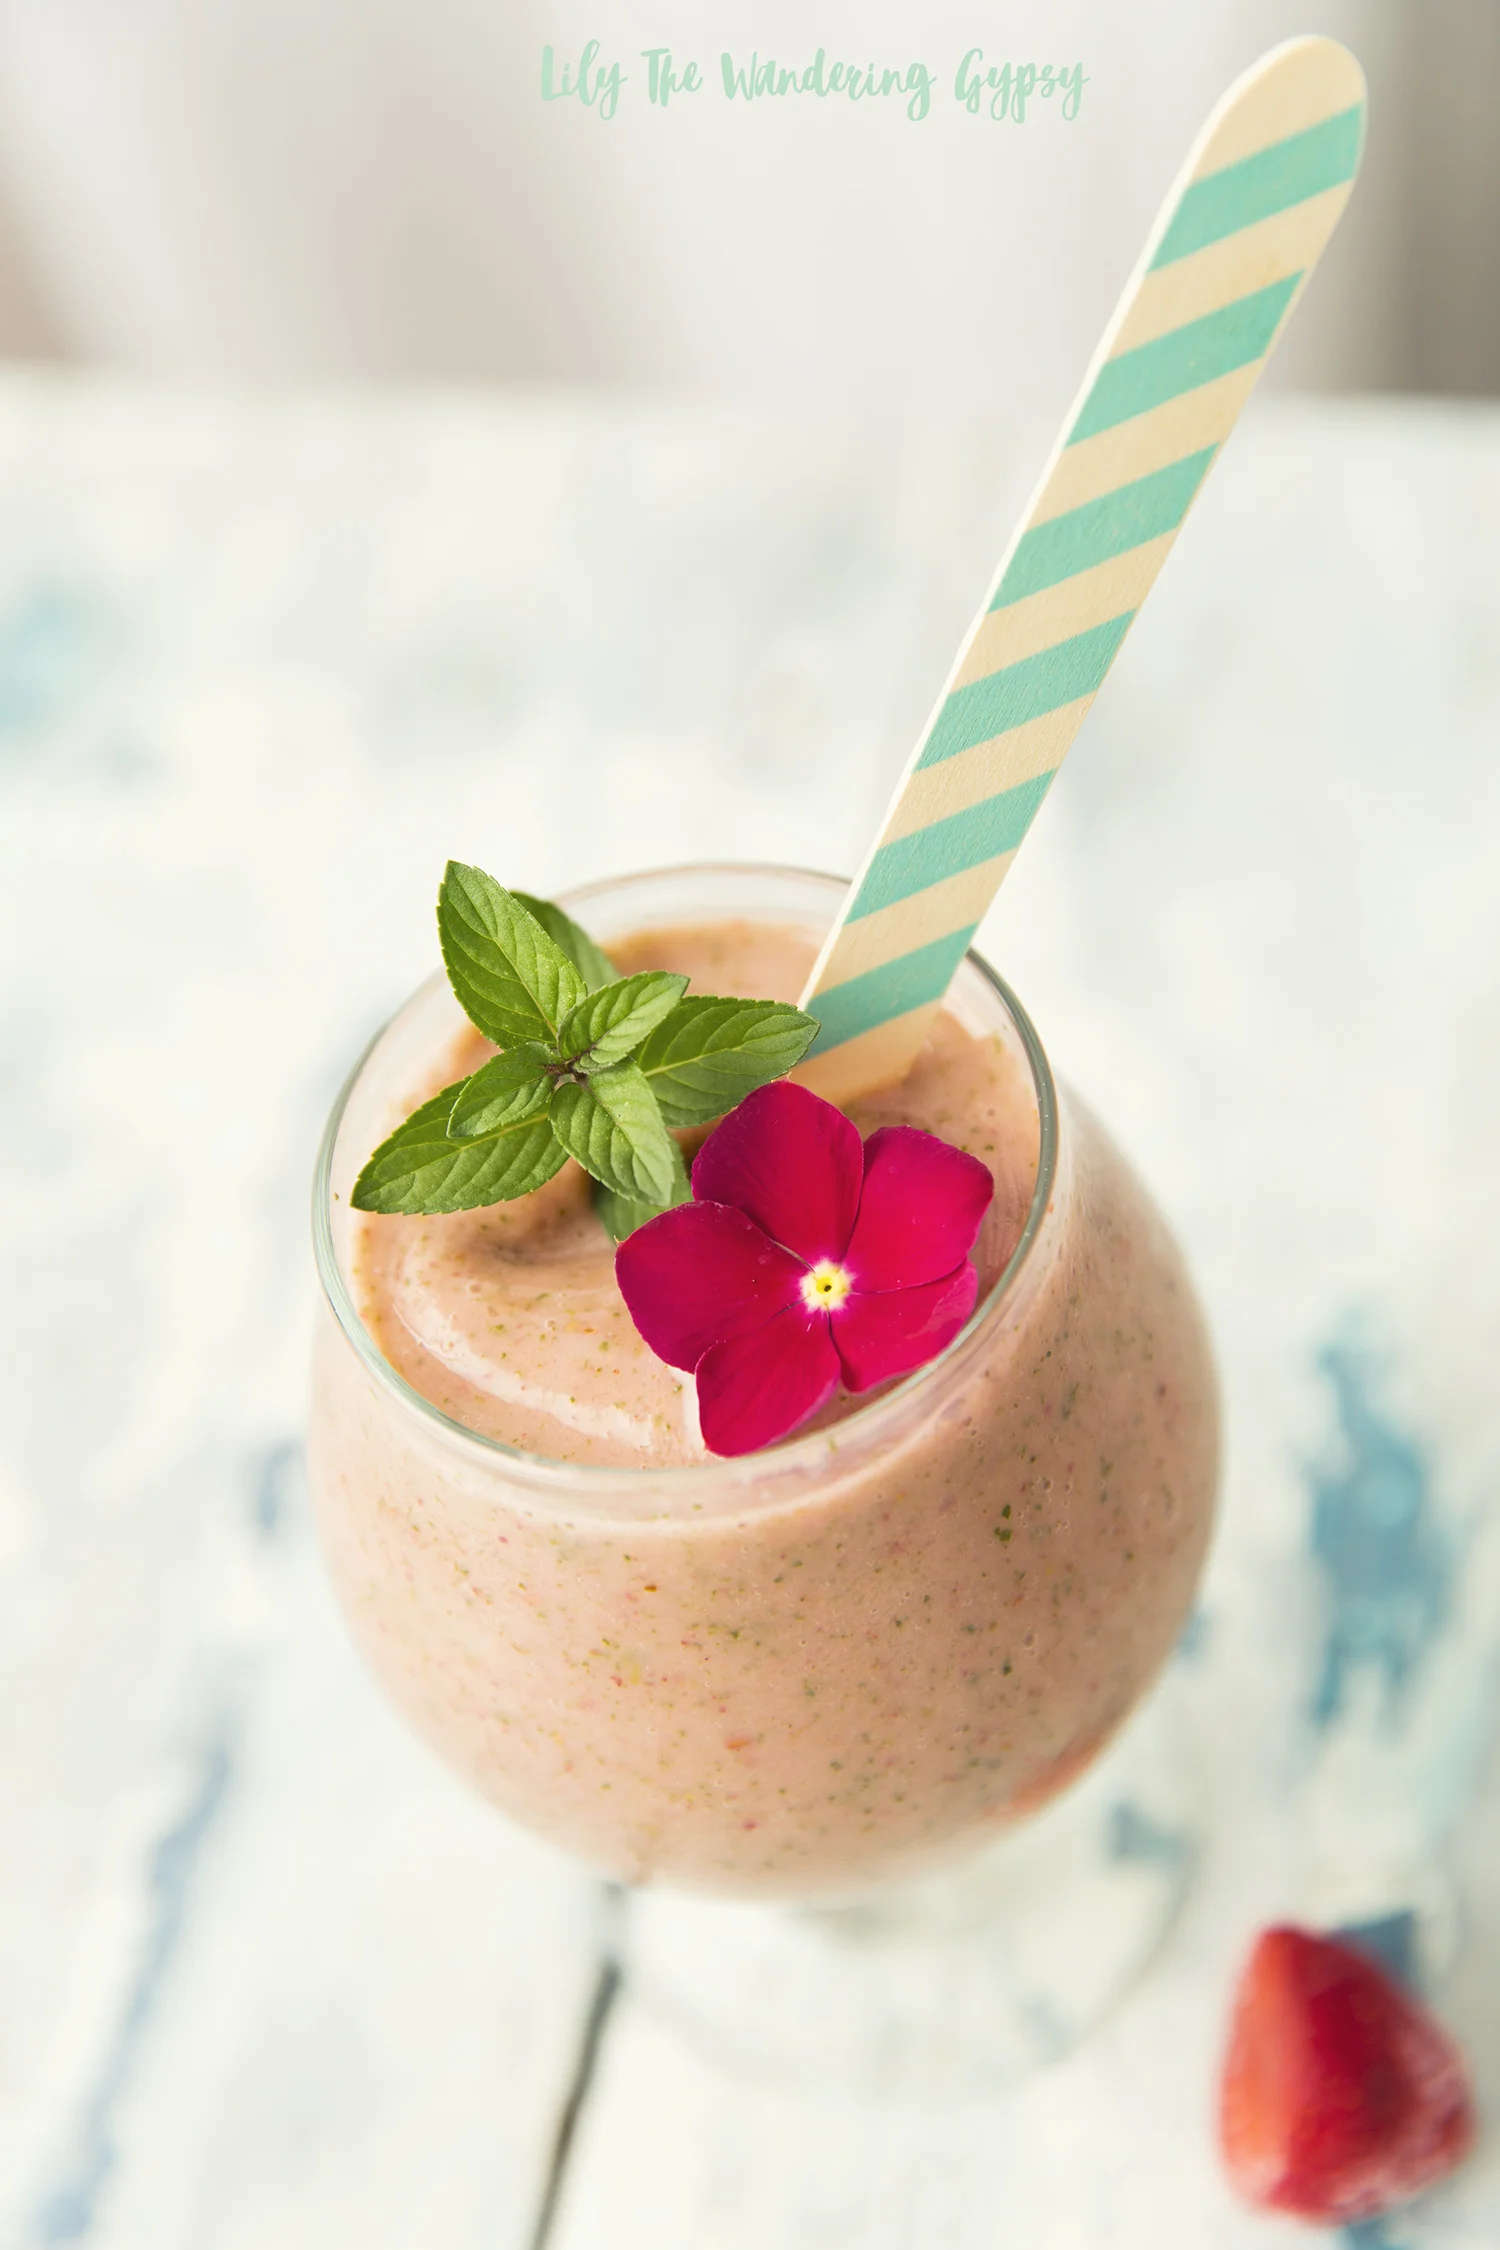
3.) Serve in a cute glass, adorn with flowers and herbs from your garden, and a cute wooden spoon. Enjoy!

Reset The Day with Snapple® Takes 2 to Mango™ Tea + A Garden Fresh Bruschetta Recipe

I am so excited about my garden this year. I am growing as many edible ingredients as possible, and here is one recipe for Garden Fresh Bruschetta, using basil from my very own garden! Inspired by the newest flavor of all-natural Snapple, Takes 2 To Mango, here is an all natural recipe and gardening ideas!

Read More