
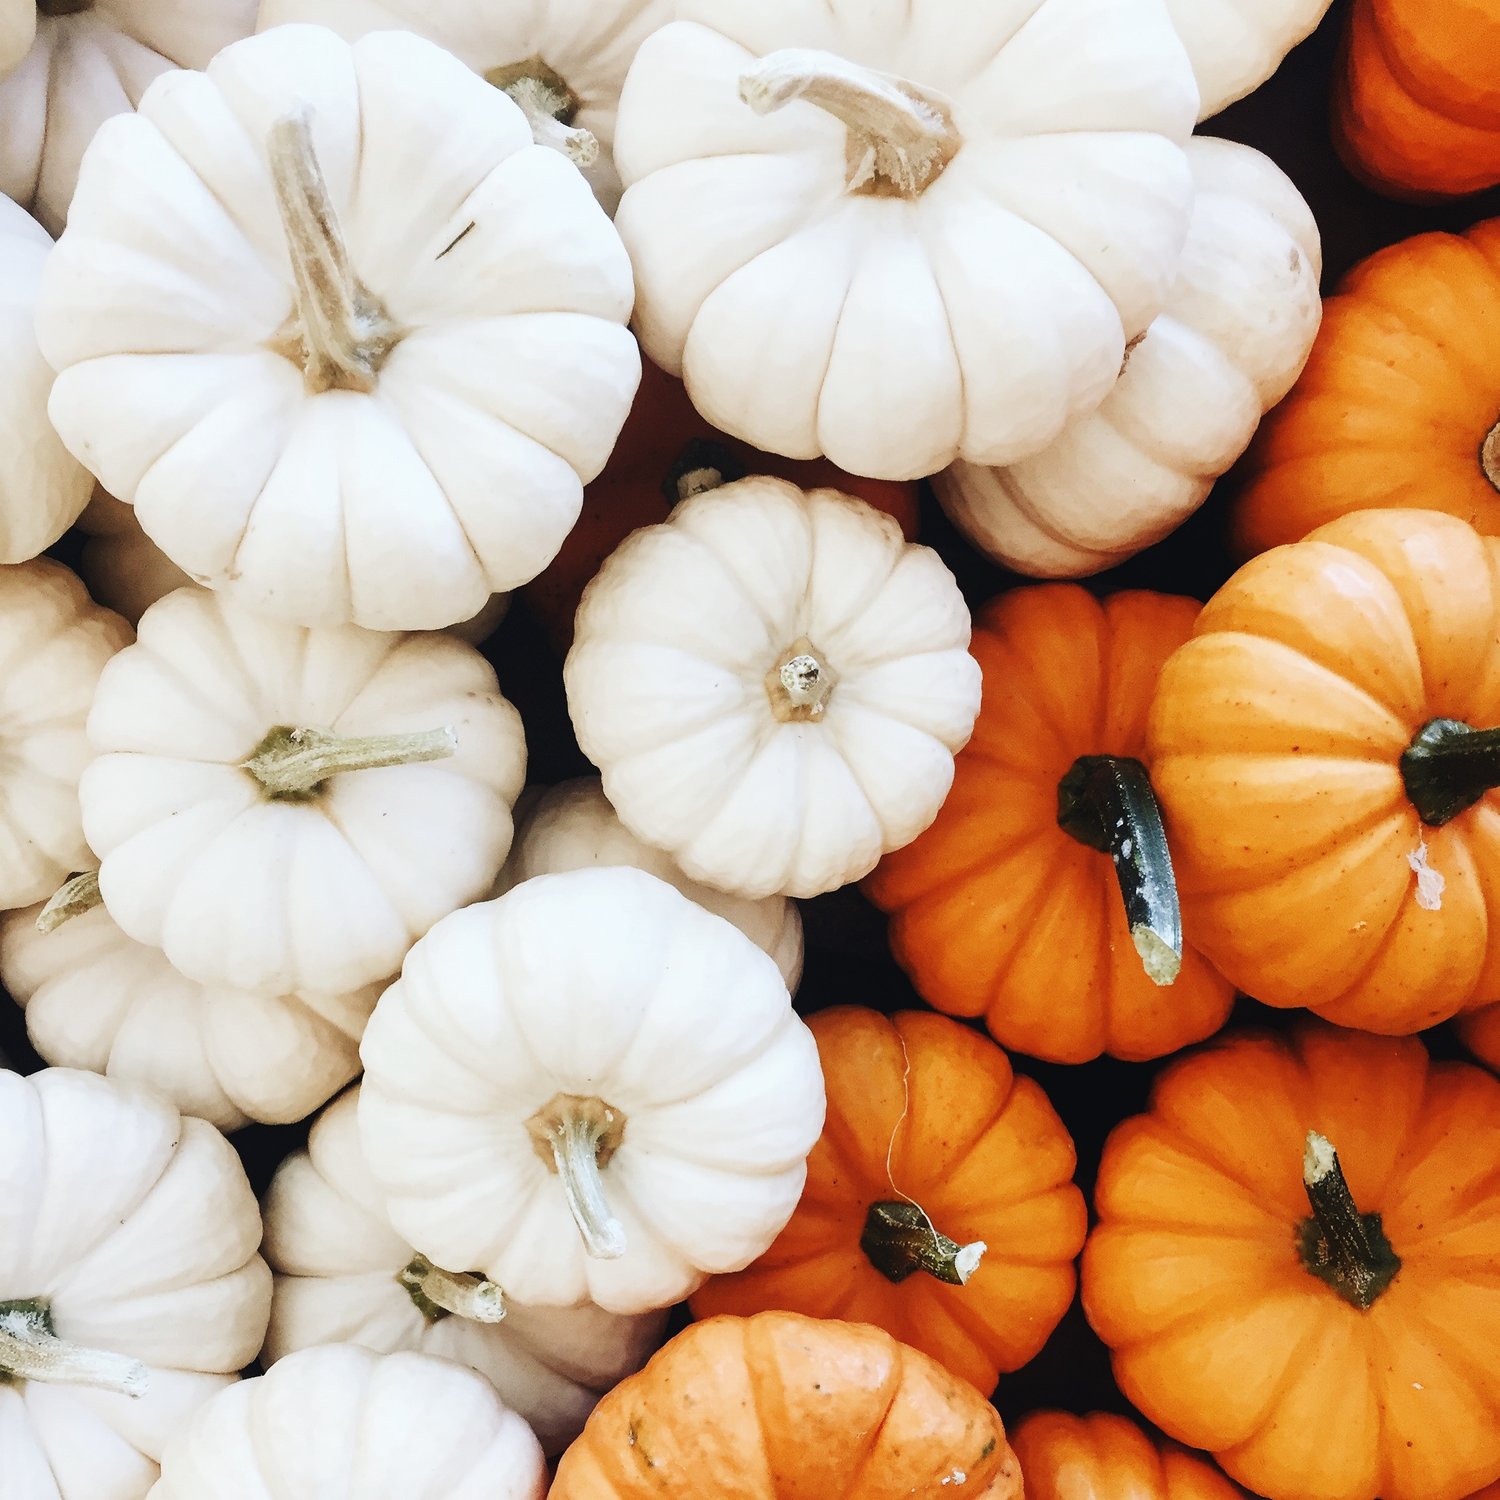
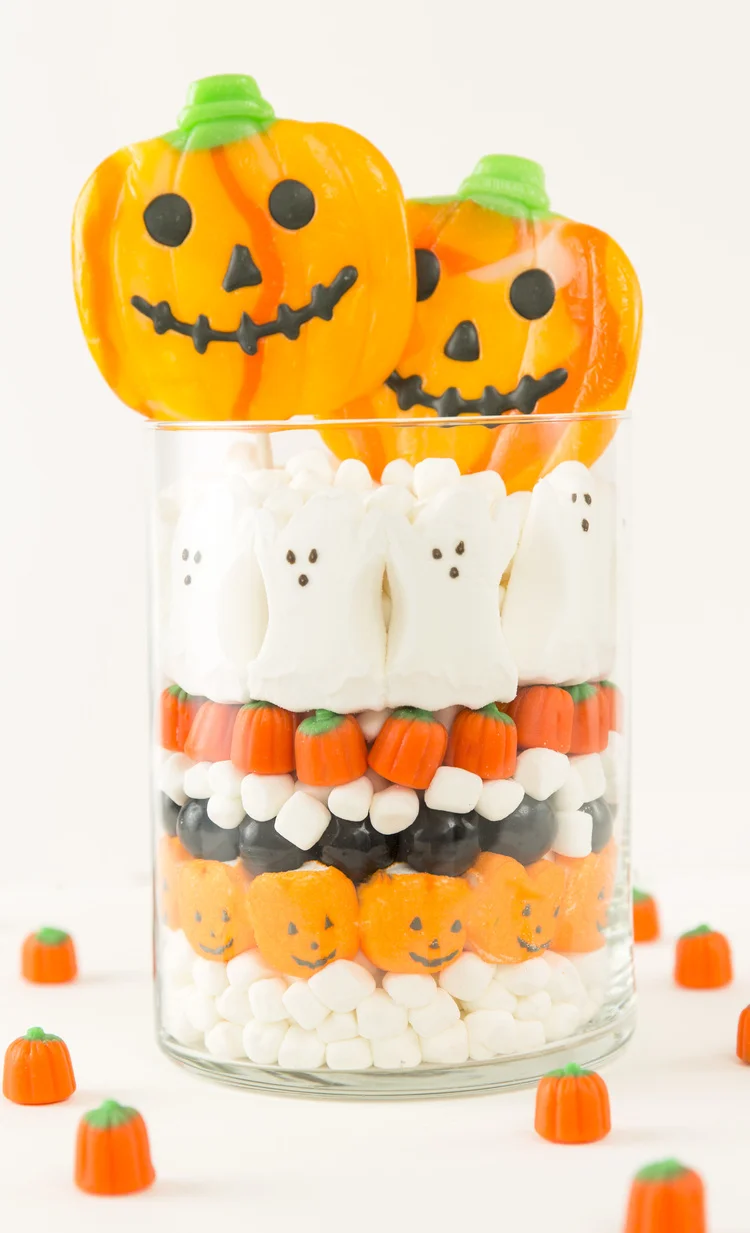
I love Halloween and wanted to wish everyone a safe and happy Halloween today! While everyone may have celebrated this past weekend, or are trick-or-treating this evening, I wanted to share my portfolio of Halloween ideas from the past few years. Hope you enjoy!


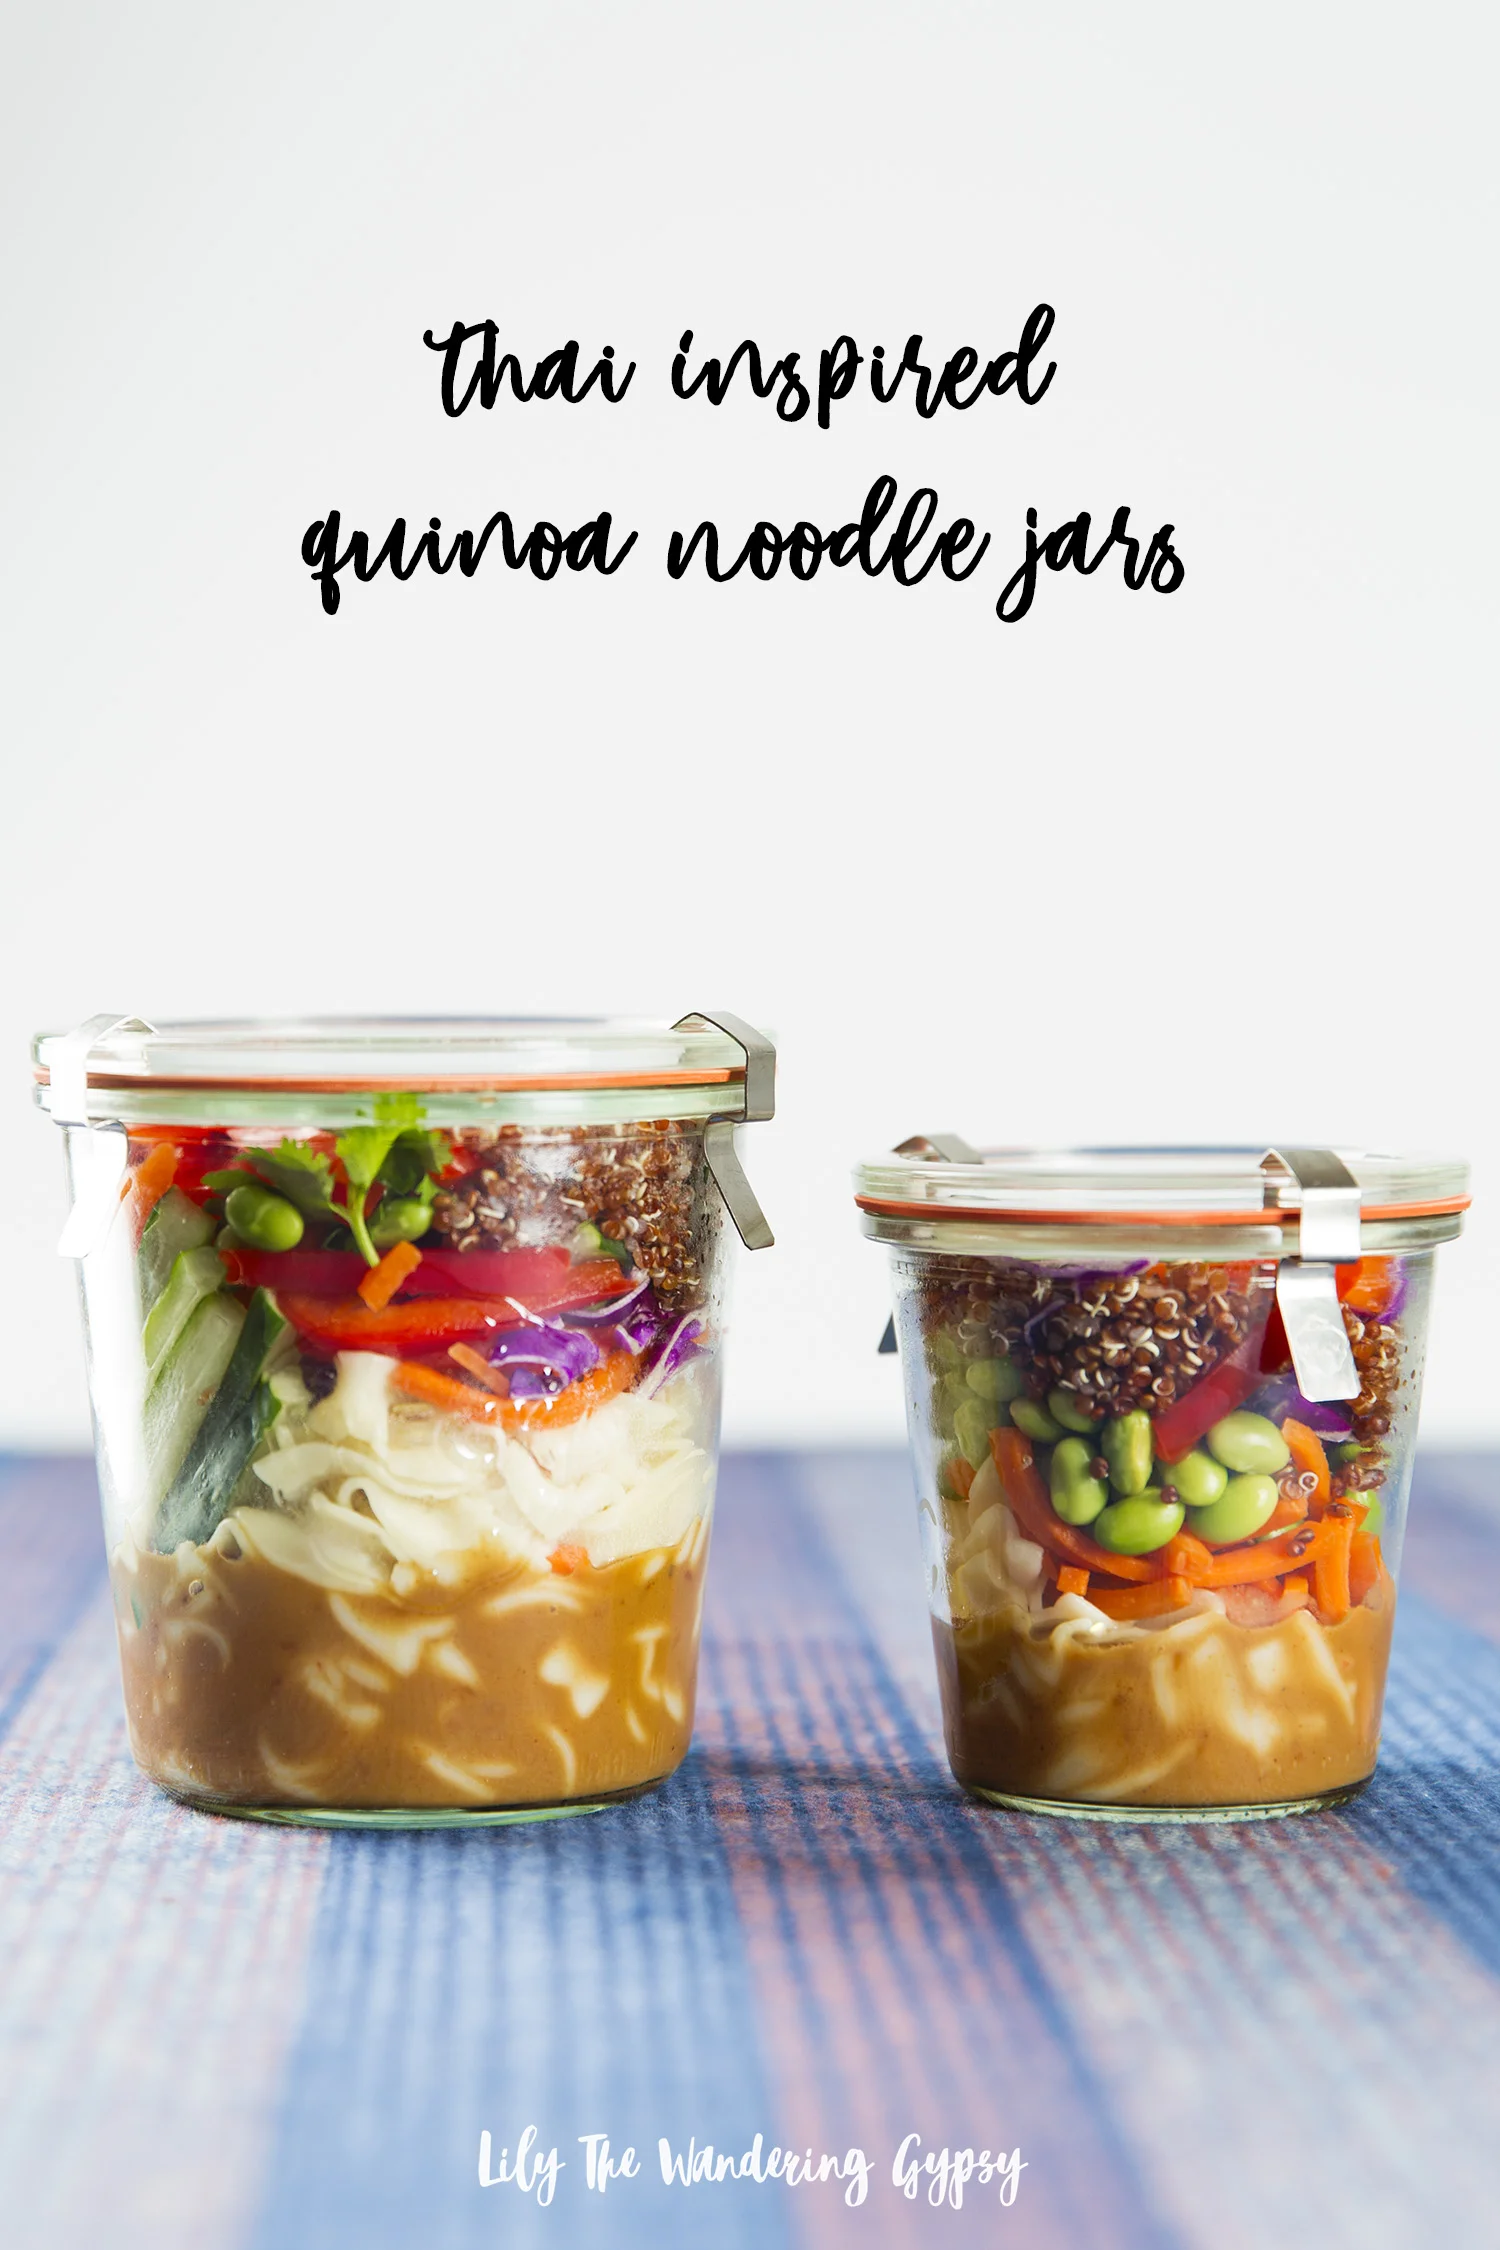
Thai-Inspired Vegetarian Quinoa Noodle Jar Recipe
This post was sponsored by No Yolks as part of an Influencer Activation for Influence Central and all opinions expressed in my post are my own. #NoYolks #NoOtherNoodle #IC
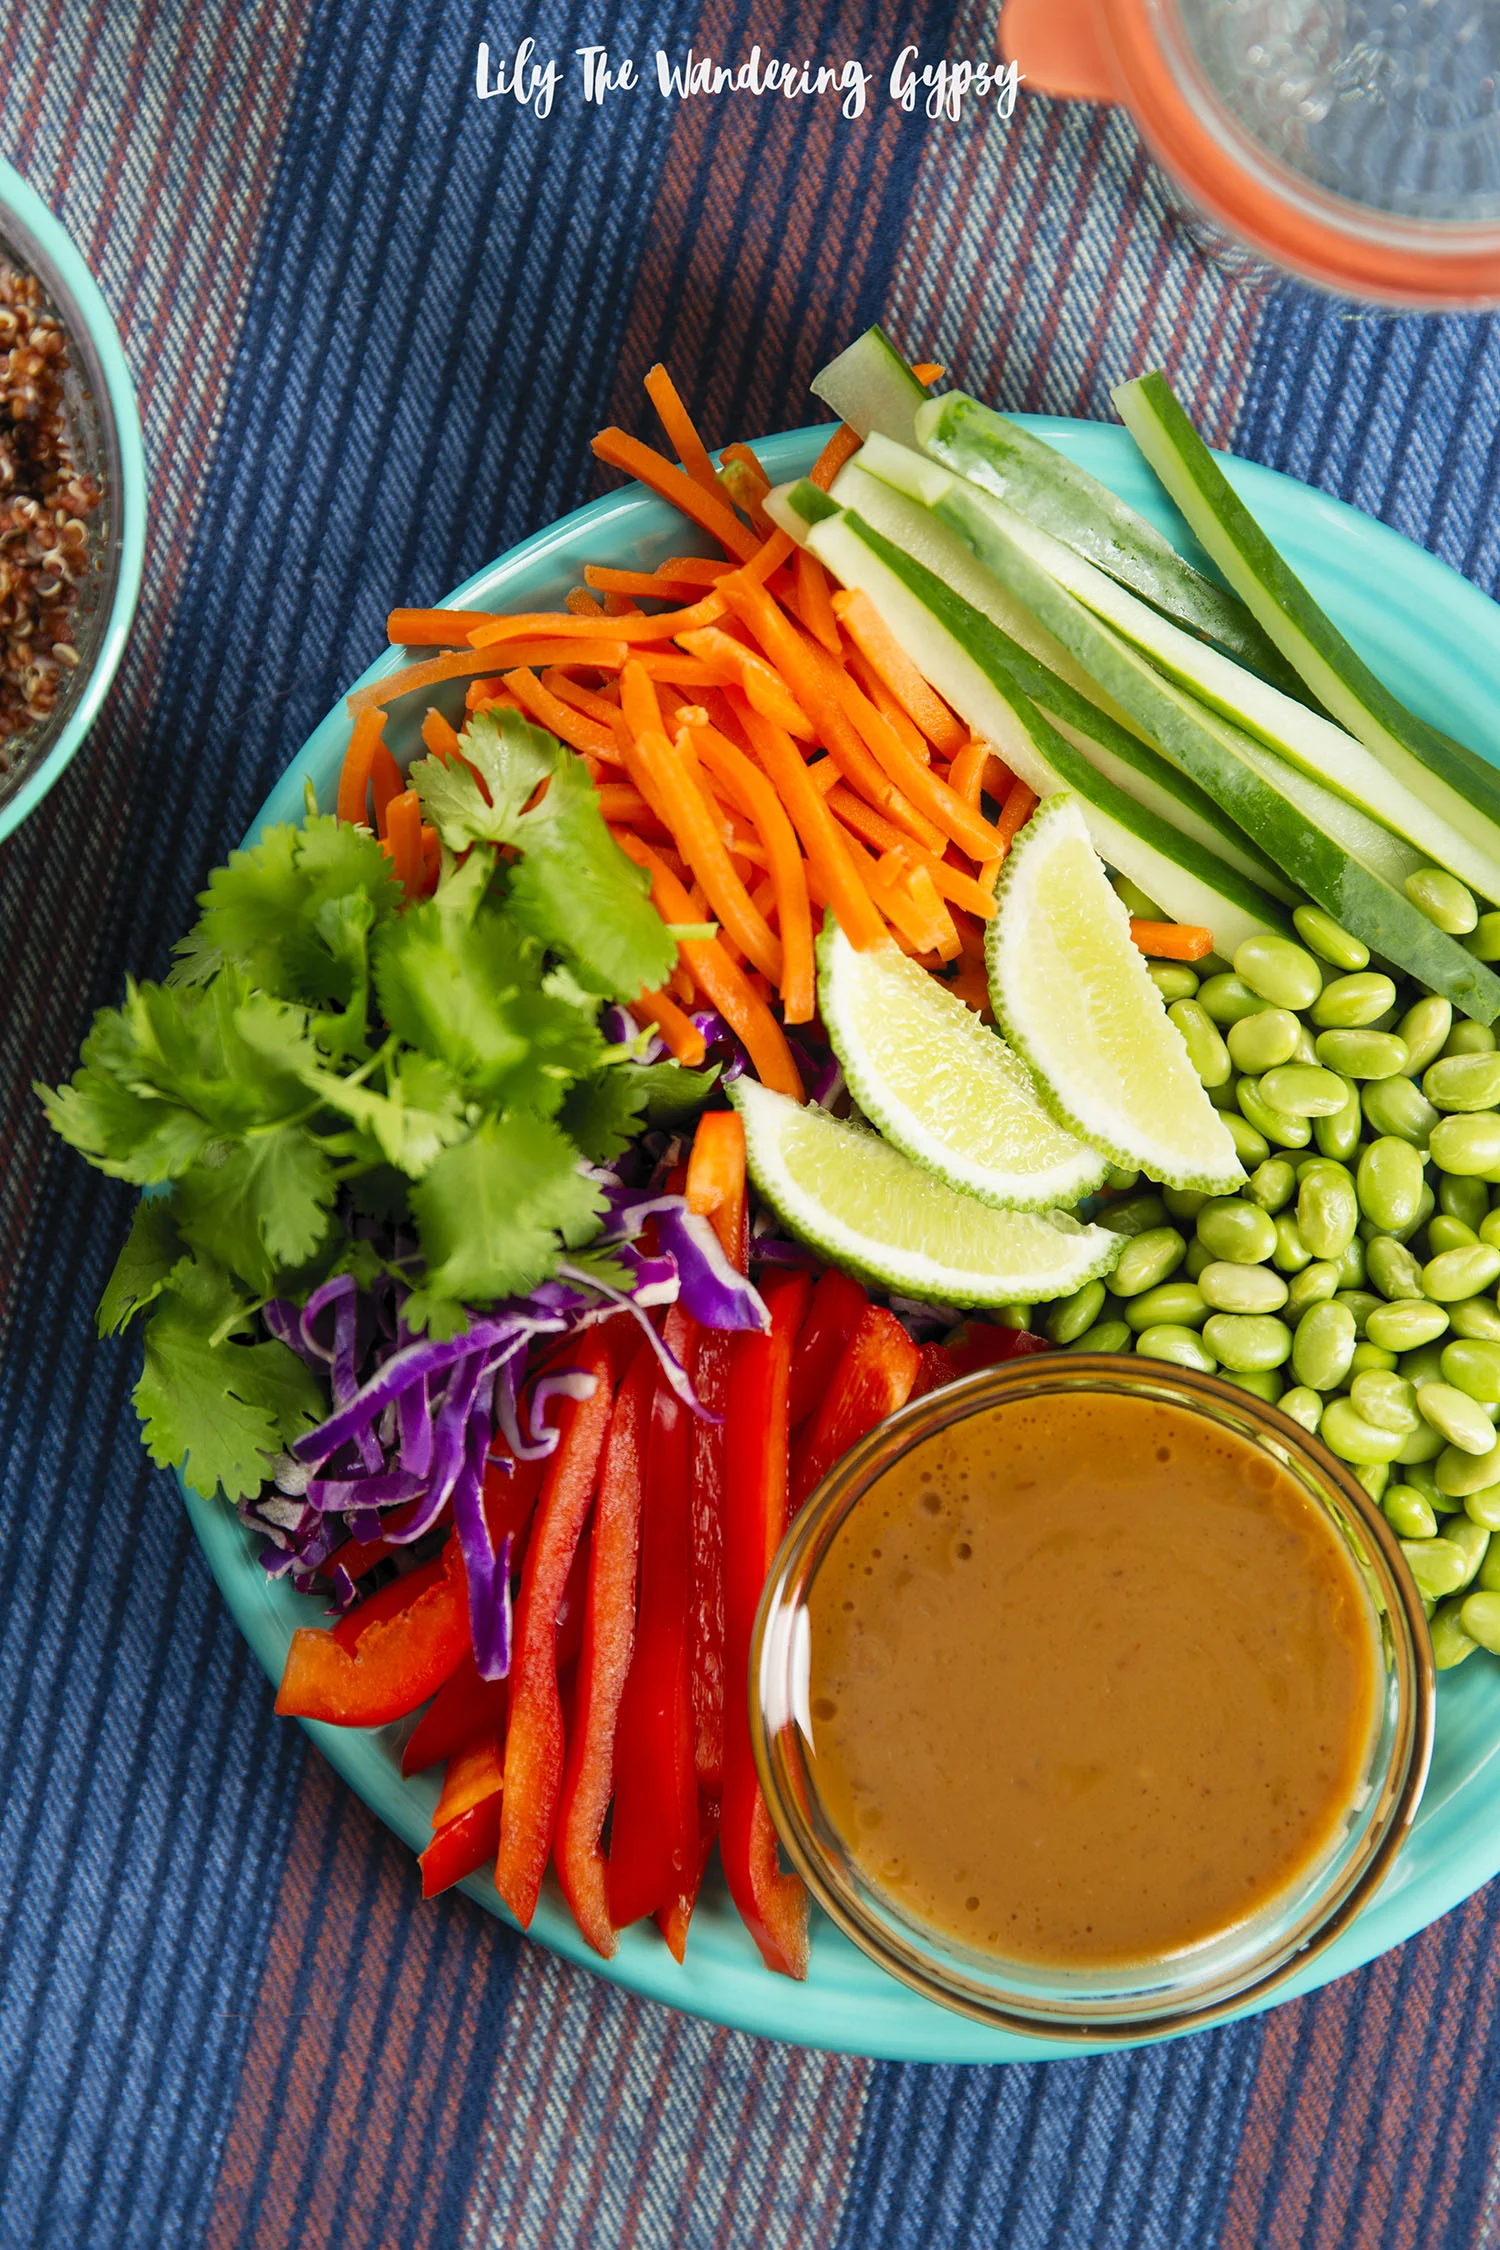
If you're looking for a new recipe to try out, with delicious, vegetarian, Thai-Inspired flavors, then check out this yummy recipe. I incorporated No Yolks Broad Noodles, Quinoa, Edamame, Peanut Sauce, and other fresh ingredients.

(MAKES 4 JARS)
1/2 package of No Yolks Broad Noodles
1 cup prepared peanut sauce (I found mine at the grocery store)
4 cups cooked quinoa, cooled
1 cup chopped cucumber (I cut my cucumber into thin slices and removed some of the center part)
1/2 cup sliced red pepper
1/2 cup chopped or shredded carrot
1 cup cooked edamame (I steamed my frozen edamame)
Unsalted peanuts, chopped, to serve (optional - not shown in this post, but definitely recommended)
3 scallions, finely chopped
1 bunch cilantro
1/2 C. pre-shredded red cabbage (optional)
1 Lime cut into wedges (optional)
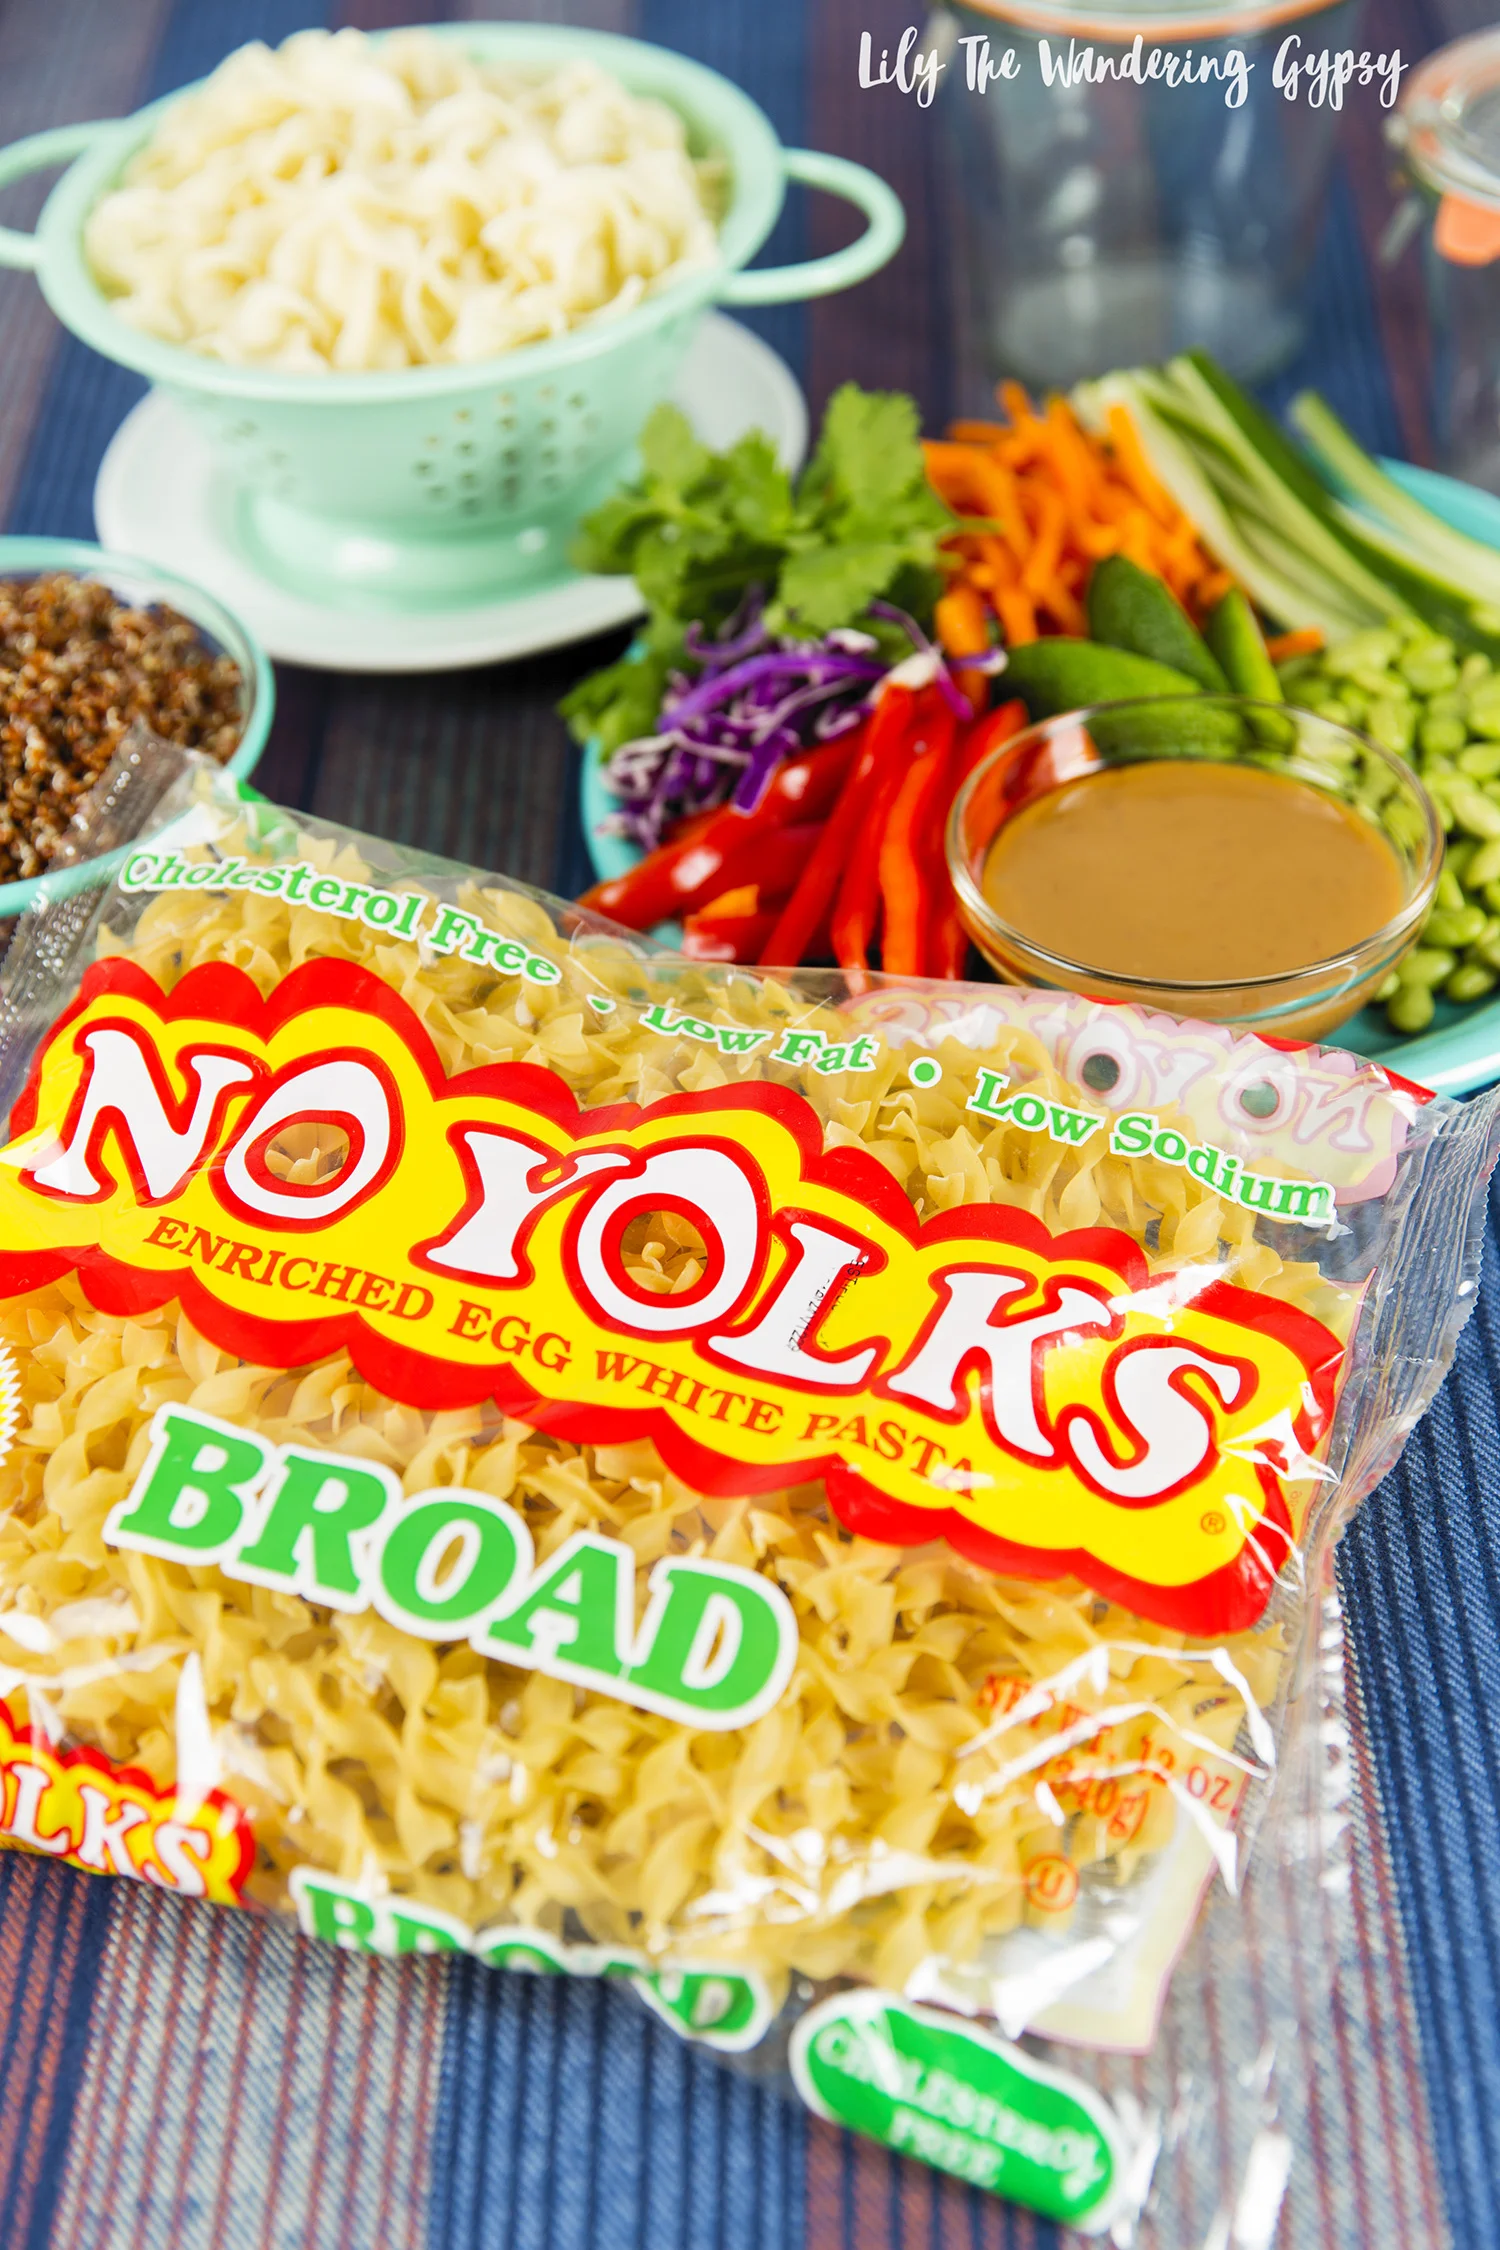
No Yolks Noodles are delicious and absorb the flavors of the Thai peanut sauce extremely well!

In addition to this delicious recipe, I thought of TONS of other recipes I'd love to make next. I want to make Broccoli Chicken Casserole, filled with white chicken, steamed broccoli, and lots of shredded cheddar. Also, Creamy Chicken and Corn Noodle Casserole sounds SO great. I love incorporating noodles into recipes whenever possible!
Check out my other post for No Yolks Veggie Noodle Soup, here.


I love how the bright, bold colors of the ingredients are so pleasing to the eye (and the belly)!!

1. Cook No Yolks Noodles and quinoa according to package instructions.
2. Carefully pour equal parts peanut sauce (approximately 1/4 cup per jar) into the bottom of each jar
3. Continue to layer your jars as follows: equal parts red pepper, cucumber, and carrot (split amongst the 4 jars), 1/4 cup edamame per jar, and 1 cup of quinoa per jar. Then, garnish with peanuts and scallions. Seal with lid and refrigerate for up to 3 days. Serve cold.
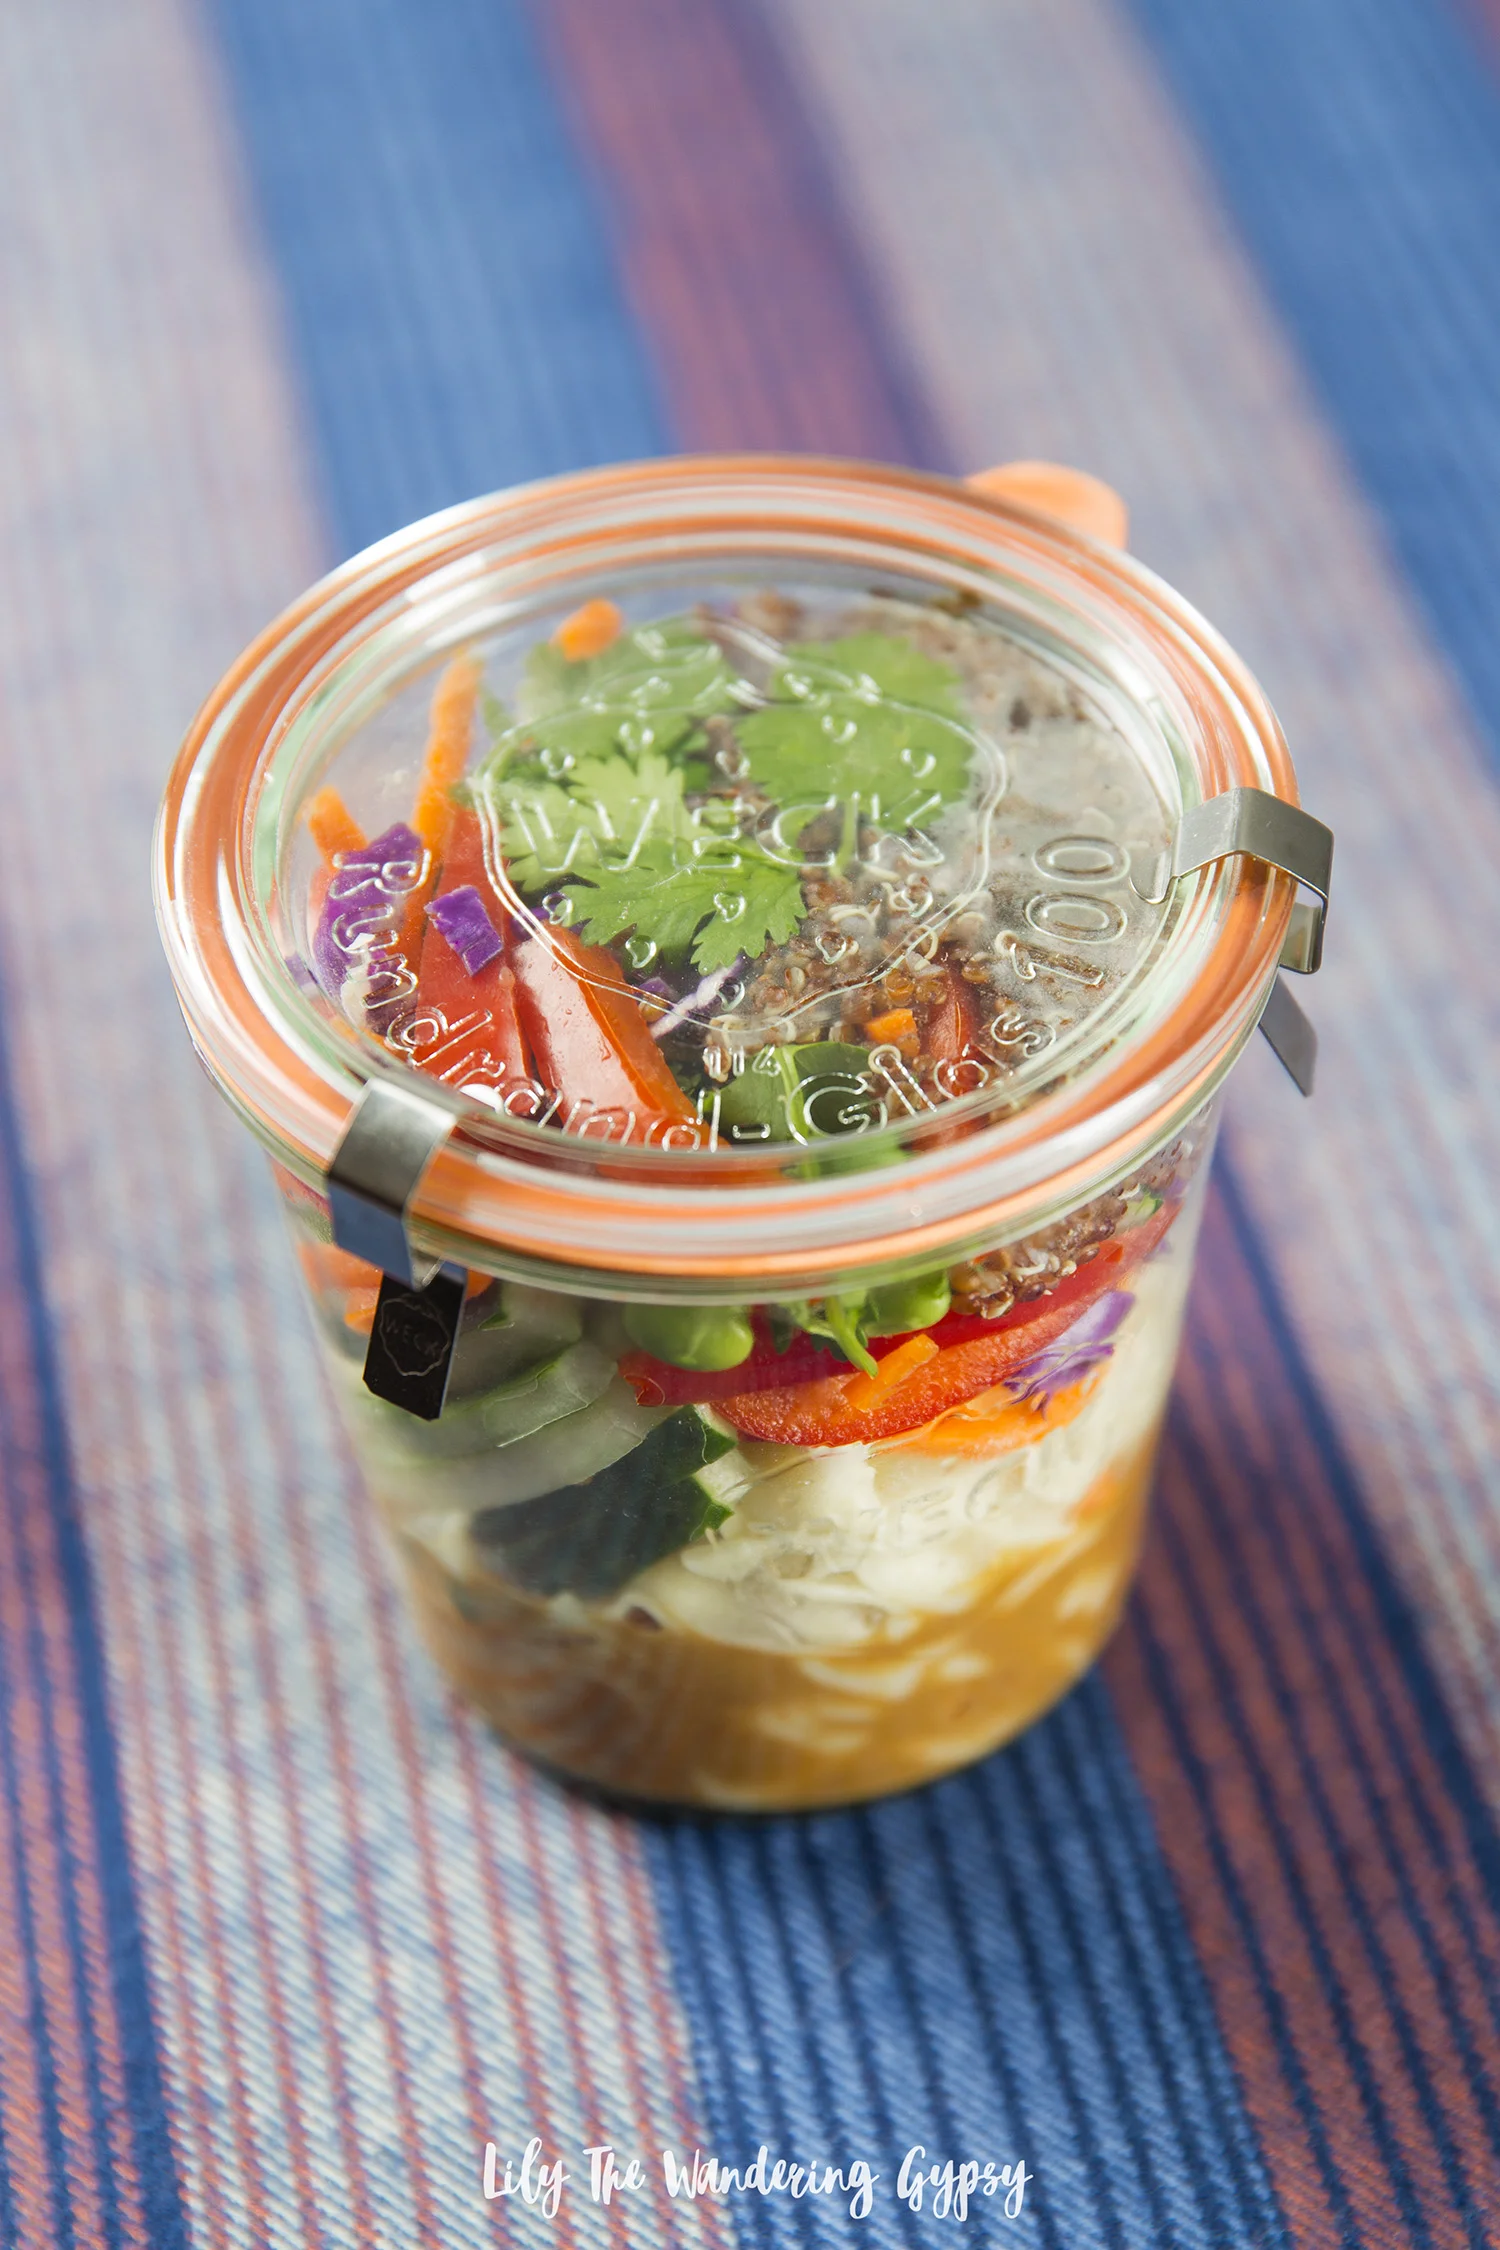
That's it! This delicious jar "salad" is a fun way to get that Thai taste at home, while enjoying a nutritious and vegetarian meal.


My Favorite Guacamole Recipe
Everyone has their own favorite way of making guacamole. I'd love to have a big group of people over, and have everyone make their own recipe for a Guacamole Tasting Party. I think it would go over super well :) My absolute favorite place to buy avocados is a cute market attached to El Paisano (our favorite Mexican restaurant in Carbondale). They always have the best avocados, and I have actually been seeing TONS of avocados in stores lately. I assume that it's nearing the end of the season, but what a better excuse to eat a dish comprised mainly of heart-healthy avocados!

RECIPE:
2 avocados
2 Tbsp (or way more) chopped cilantro (chop as small as possible)
2-3 Tbsp chopped red onion
5-7 small colorful cherry tomatoes, chopped into 1/8 ths
1-2 tsp salt (or more as desired)
juice from 1/2 - 1 fresh lime
INSTRUCTIONS:
1.) Carefully cut avocado in half lengthwise, and remove pit. Remove avocado from skin with spoon, and place into a medium mixing bowl.
2.) Smash avocado with spoon until it is smooth with a few pieces of avocado still left.
3.) Add in all other ingredients, and then use spoon to combine everything together evenly.
That's it! Serve with tortilla chips or Red Hot Blues chips and enjoy! This is a very healthy snack or meal idea, and I hope you love it.

Elegant Fall Fashion
I am absolutely OBSESSED with everything from Lauren Conrad and we had the opportunity to head out to the pumpkin patch on a beautiful, Fall day and I am SO happy with how these photos turned out. A special thanks to HelloSociety for collaborating with me on this fun project!

These heels were stunning! I love velvet everything, in fact, I'd drape myself in velvet every day if it were possible. These heels have a pretty high heel height, but I love how adorable they are. Cute shoes make an outfit, as they say!


LAUREN CONRAD VELVET HEELS (In blue or light pink velvet)
LAUREN CONRAD NAVY BLUE LACE DRESS
LAUREN CONRAD BEADED STARBURST BRACELET
LAUREN CONRAD STATEMENT NECKLACE
Note - This post contains affiliate links. I get a teeny tiny commission when you shop through clicking my links and images. Thanks so much!!!


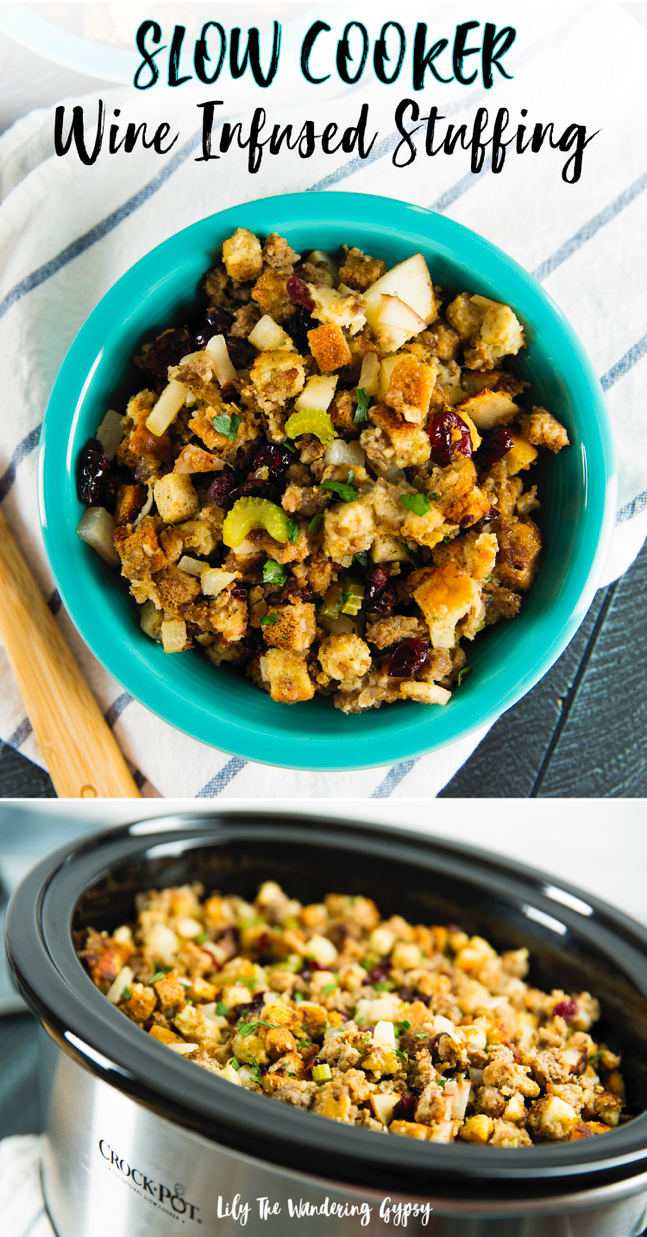
Holiday Recipe Hack: Slow-Cooker Wine-Infused Stuffing with Sage Recipe
This post has been sponsored by Holland House® Cooking Wines, and all opinions and content are my own.
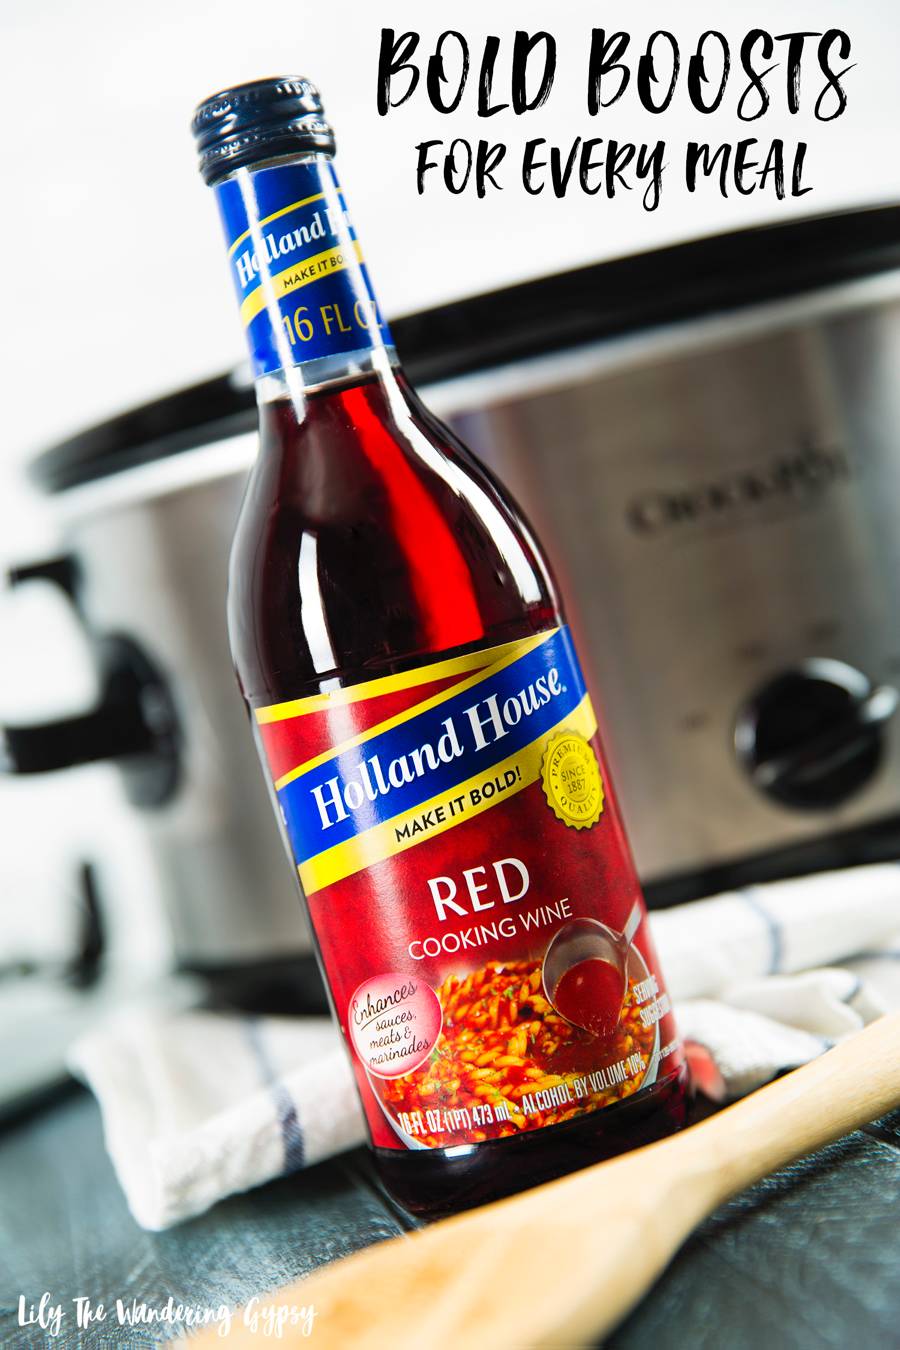
If you think that wine is just for drinking during the holidays, then think again! While you may know it’s possible to cook with wine, did you know that incorporating wine into certain recipes helps enhance the taste of the other ingredients? Holland House has a line of five different varieties of cooking wine, and I am SO excited to have had the opportunity to create a delicious recipe inspired by their Bold Boost of Flavor!
Home cooks and chefs alike are able to achieve bold flavors that excite the taste buds. I can tell you first hand that adding a dash of cooking wine from Holland House into this dish at a couple key moments during cooking really allowed the flavors of every ingredient to come alive and shine.
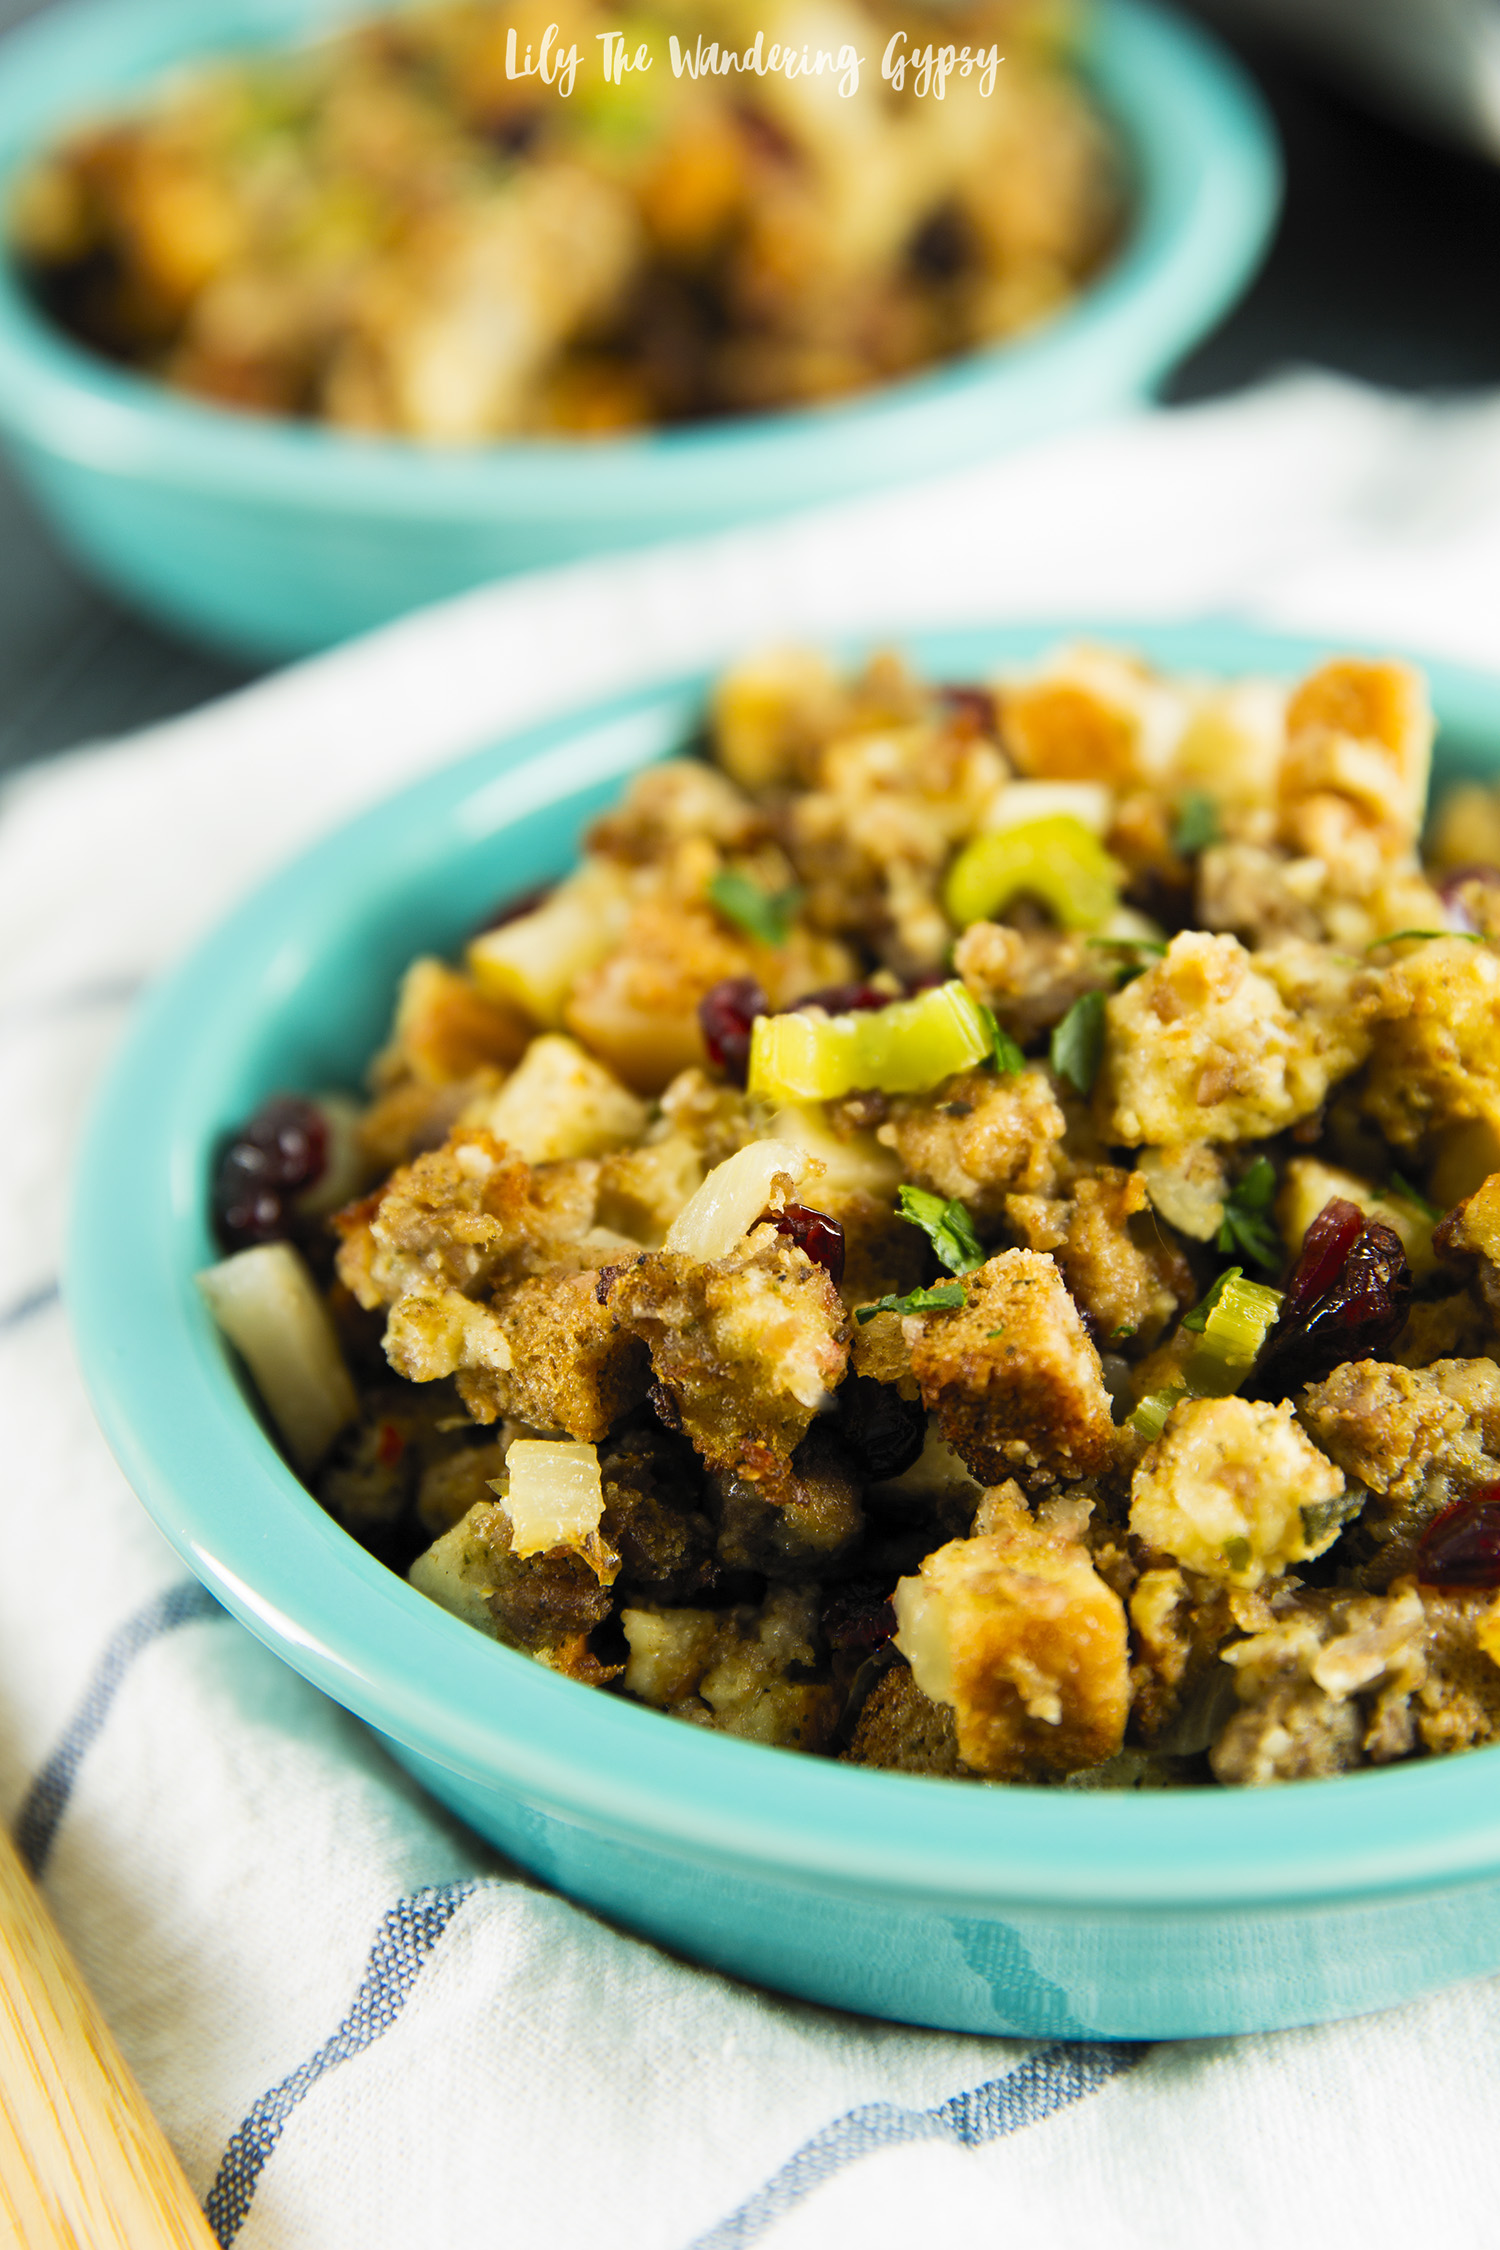
This recipe is a little bit like making a bread pudding in the fact that it contains bread, egg and lots of other tasty ingredients. The dried cranberries added a bit of sweetness to an otherwise savory recipe, too. This is a great Thanksgiving or Holiday Recipe Hack, because it can be prepared the night before, or even a few hours in advance, and be served warm right out of your Crock Pot when guests are ready to eat. The other part of this cooking hack is the imaginative and unique flavors that cooking wine adds to this dish.
Holland House® Cooking Wine adds a Bold Boost of Flavor to nearly every meal!
Are you familiar with what cooking with wine actually does to your recipes? If the proper varietal of wine is chosen to use in your recipes, it enhances the flavors of the meal, and the cooking wine gives the recipe a deep, rich flavor without adding a ton of extra ingredients!
I grabbed this information from the brand’s website. Here’s what they have to say:
Why Cooking Wine?
“Some wines are great for drinking. But they just don’t cut it when it comes to cooking.
Because a wine for cooking has to do so much more than just taste good. Holland House Cooking Wines are specially selected for their rich robust flavor, which means they stand up to cooking temperatures that cause the flavor of delicate table wines to cook away. What’s more is Holland House flavor does not vary from bottle to bottle as table wines often do, making the flavor last and bring great consistency from meal to meal. Studies show that meals prepared with cooking wine are as good or better than their more expensive table wine counterparts.
And not only can they take the heat, Holland House Cooking Wines last longer without refrigeration too, making them perfect additions to your pantry or spice rack! In fact, we recommend you keep a bottle out by your spices and use in place of seasoning the next time you cook. You’ll notice the difference.
The Holland House Difference
Since 1887, Holland House has been making wines specially formulated for cooking. Only Holland House offers the finest ingredients, aged to perfection, and built with flavor and preservation that will transform any dish from ordinary to extraordinary. Holland House is a quick and easy way to bring bold flavor to almost any dish. Made with fresh grapes, hand selected from our fine wineries for their rich robust flavor, then fermented and blended with our special seasoning just for cooking and flavor that lasts!”
The labels on Holland House Cooking Wine actually helped me so much to decide which wine to incorporate into this meal. Since this recipe contains ground pork, I chose their Red Cooking Wine because the label said that it “Enhances sauces, meats, and marinades”. Then, after researching the product further, I was even happier, because I learned that this Red Cooking Wine goes well with: MEATS: Excellent with beef, lamb and pork, especially dark meats”, so everything worked out perfectly!
Like I mentioned previously, I was able to use my cooking wine in two parts of the recipe. First, after I browned my sausage, I added a little bit of the Red Cooking Wine, and also once everything was put into the Crock Pot to cook.
In addition to their Red Cooking Wine the other Holland House® Cooking Wines include Sherry, Marsala, White with Lemon and traditional White Wine.
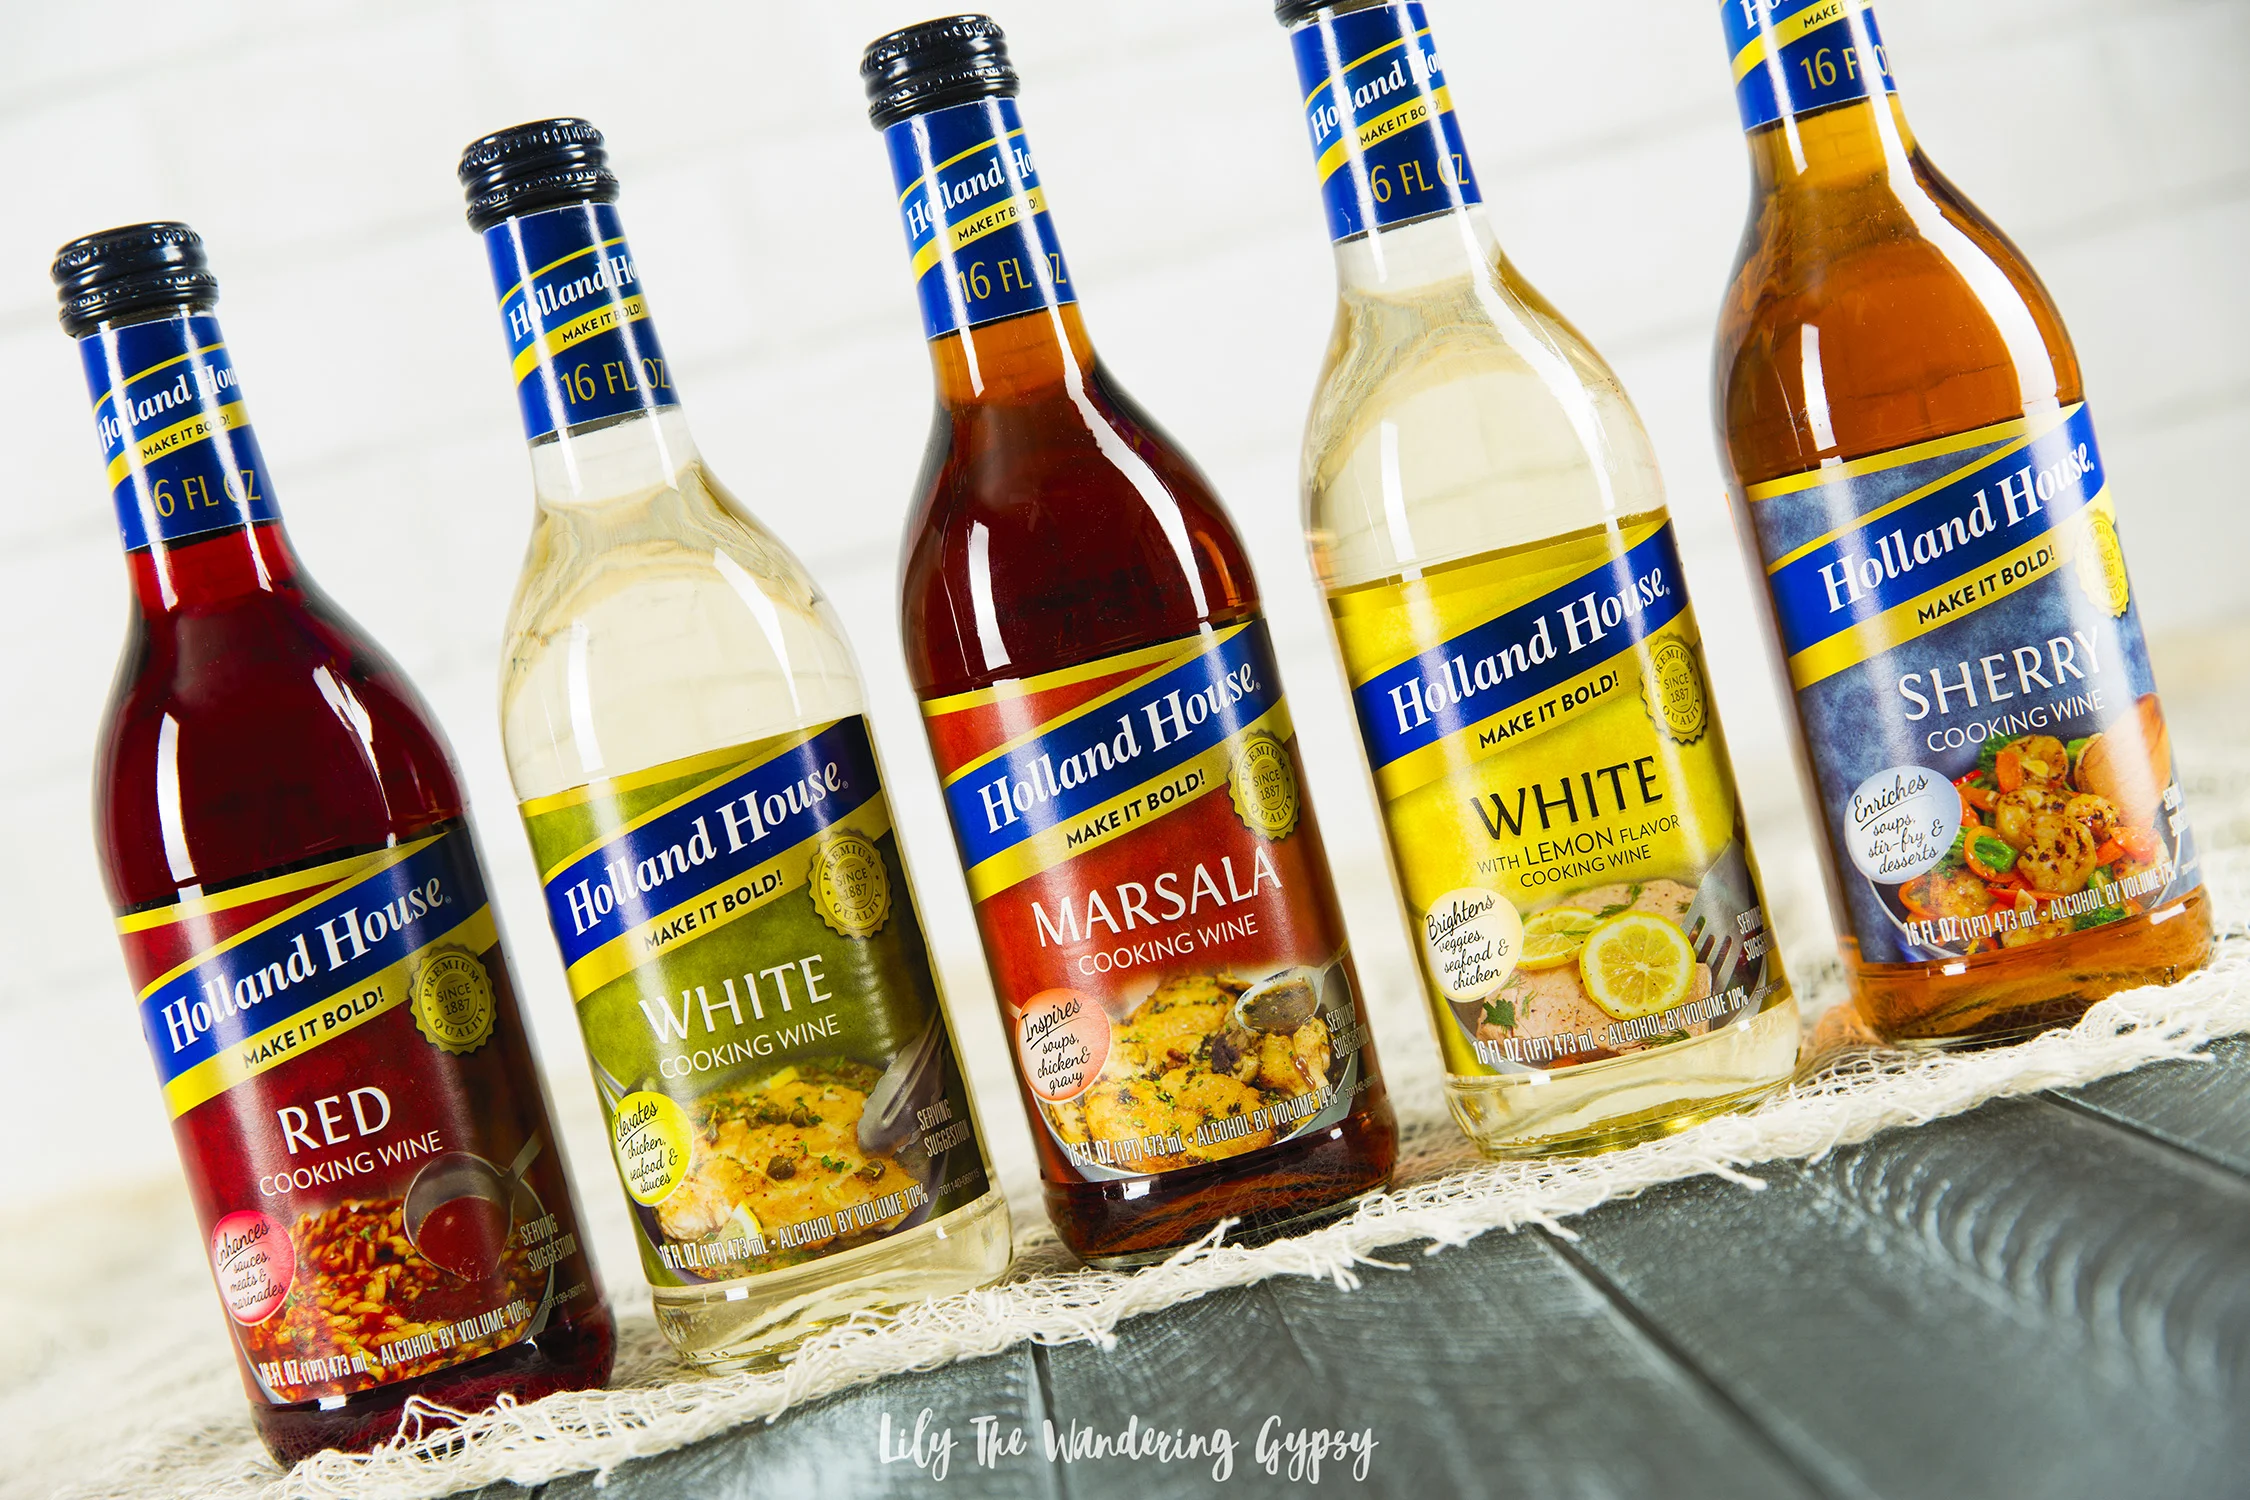
I am so excited to have received this assortment of five varieties of cooking wines PLUS new kitchen goodies from the brand, because I am currently renovating (well, re-painting) my kitchen, so this is the perfect time to refresh my kitchen goodies. I received some of the sweetest gifts ever, including a brand new Crock Pot, Amco Houseworks measuring cups and spoons, amazing wooden spoons from Calphalon, and a Williams Sonoma Cutting Board (see below). I am so excited to have been able to use the items to help me prep this delicious meal, as well as many, many more to come!
INGREDIENTS
(SERVES A LOT – great for a crowd of nearly 8-10 people as a side dish)
4-8 Tbsp (or more to taste) Holland House® Red Cooking Wine
2 (12 oz) All Natural Pork Sausage Rolls
4 tablespoons butter
1 yellow onion, chopped
5 celery ribs, chopped
10-12 cups dry bread cubes
1 teaspoon rubbed sage
1 teaspoon poultry seasoning
1/2 teaspoon salt (and any of your other favorite seasonings)
1/4 teaspoon freshly ground black pepper
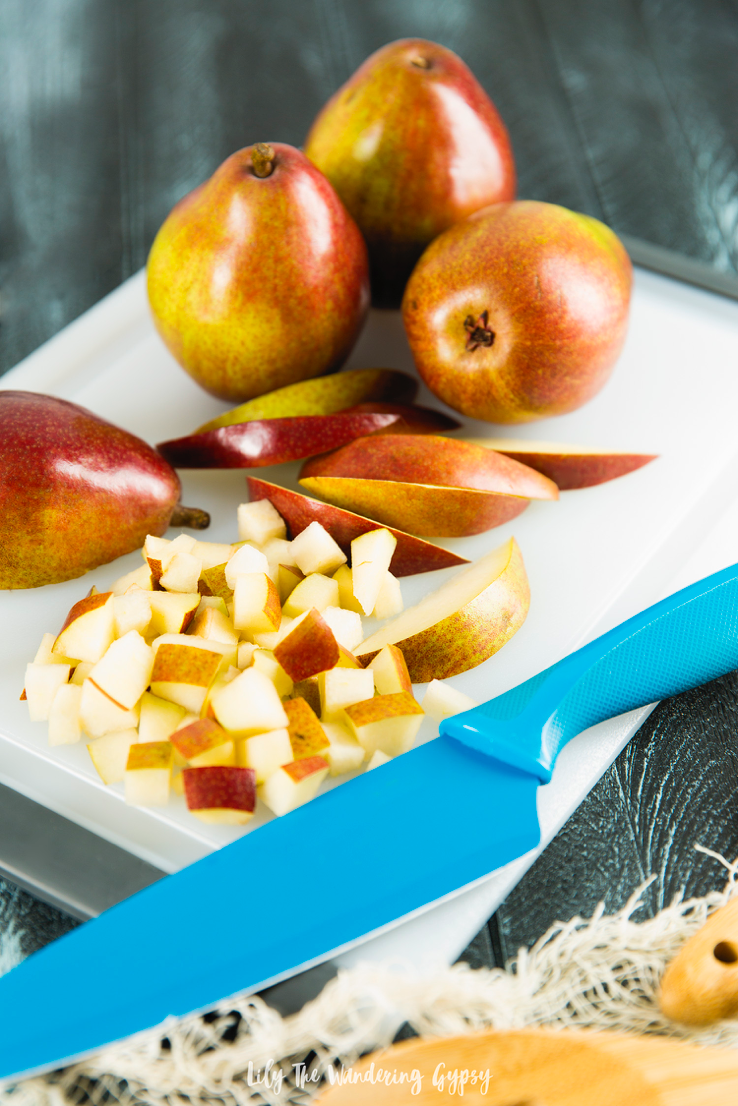
5 pears, cored and diced (I used Red Pears and they worked extremely well)
1 cup dried cranberries
3 eggs
2 cups chicken broth
DIRECTIONS
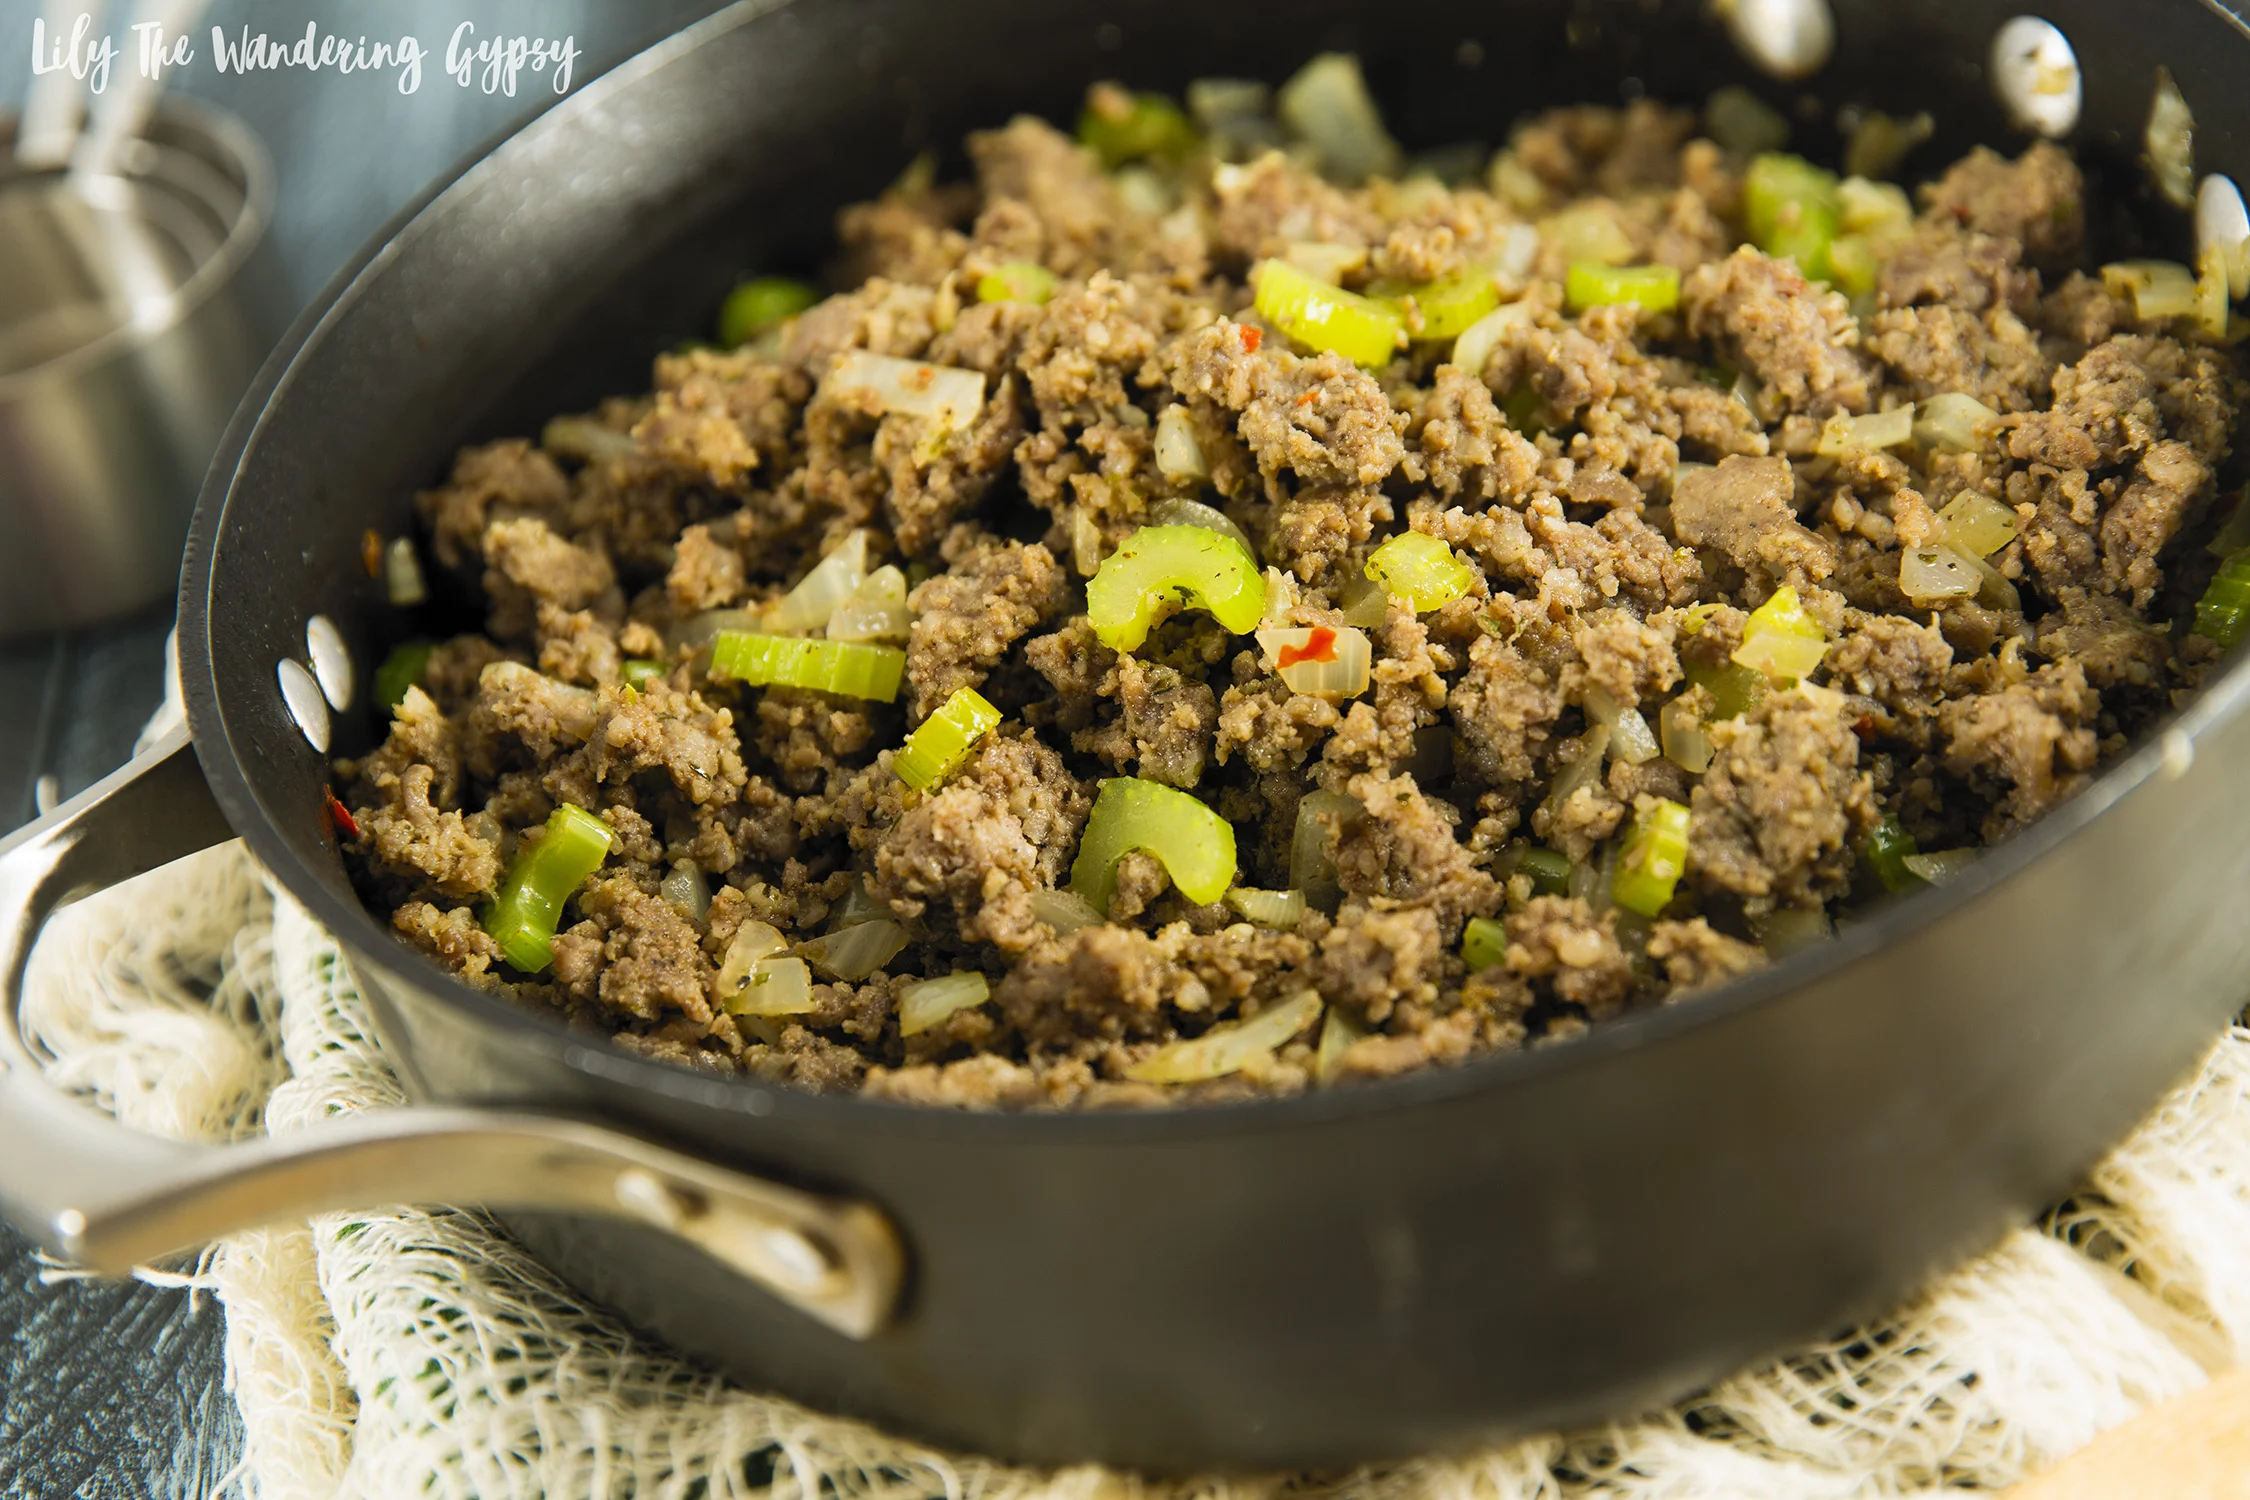
1.) In large skillet, brown sausage until cooked through, breaking it up as it cooks. During this point, I added about 3-4 Tbsp. of the Holland House Red Cooking Wine, and I thought it really enhanced the flavor of the sausage and other ingredients.
2.) Drain excess grease and set sausage aside. I just kept my strainer in the sink while I prepared the next part.
3.) Wipe out pan and add butter over medium heat. Add onion and celery, and more seasoning, and sauté 8-10 minutes or until soft. Add sausage back to pan, reduce heat to low to keep warm. (See below.) The house smelled amazing during this step!
4.) In your cool crock pot, toss bread cubes with sage, seasoning, salt, pepper, diced pears and cranberries. Add sausage mixture and stir to combine.
5.) Whisk eggs and chicken broth together and pour over bread mixture. Stir to combine.
6.) Transfer mixture to greased slow cooker. Cover and cook on low 3-4 hours, until mixture is moist and spongey. Yield: 8 servings
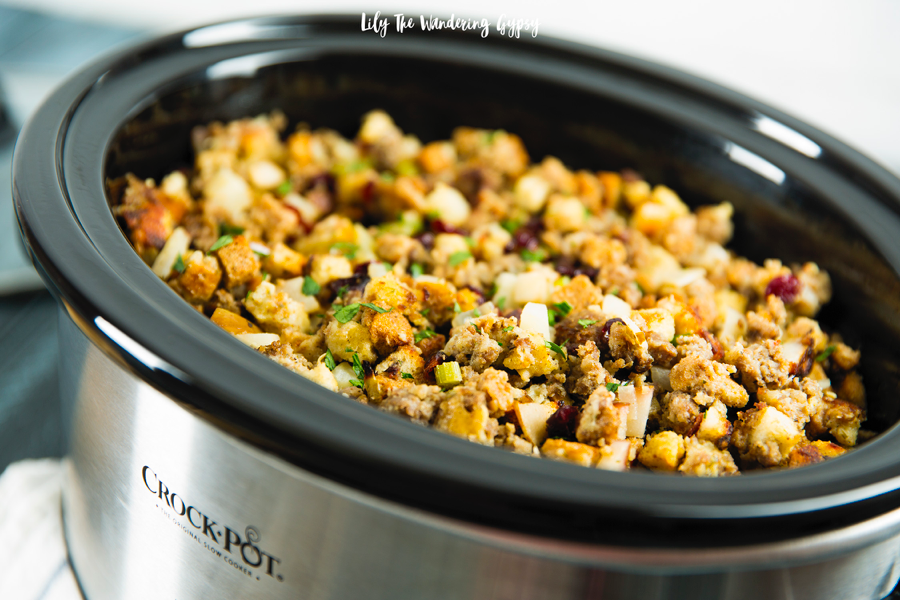
Look how beautiful this recipe turned out! It filled the crock pot nearly 2/3 of the way full, so you may even have some leftovers!
MY IDEAL THANKSGIVING MENU:
Last year, we made a beautiful ham covered in bacon and pineapple. I made a few sides, but nothing too fancy. This year will be awesome! I have been cooking so much this year, and have had lots of time to think up my dream Thanksgiving menu. This menu would include of course, this delicious Crock Pot Wine-Infused Stuffing with Sage, as well as other awesome faves like a roasted ham, Baked Sweet Potato Casserole with Toasted Marshmallows on Top, corn casserole, a salad, and more.
And for refreshments, I’d serve guests fruit-infused water from a big, pretty spouted carafe, coffee, hot cocoa, cold and warm apple cider, and spiked apple cider for those who drink. For dessert, we will have both a chocolate cream pie AND a homemade pumpkin pie. It’s going to be divine!
What are your favorite side dishes to make for the holidays? Let me know in the comments, below.

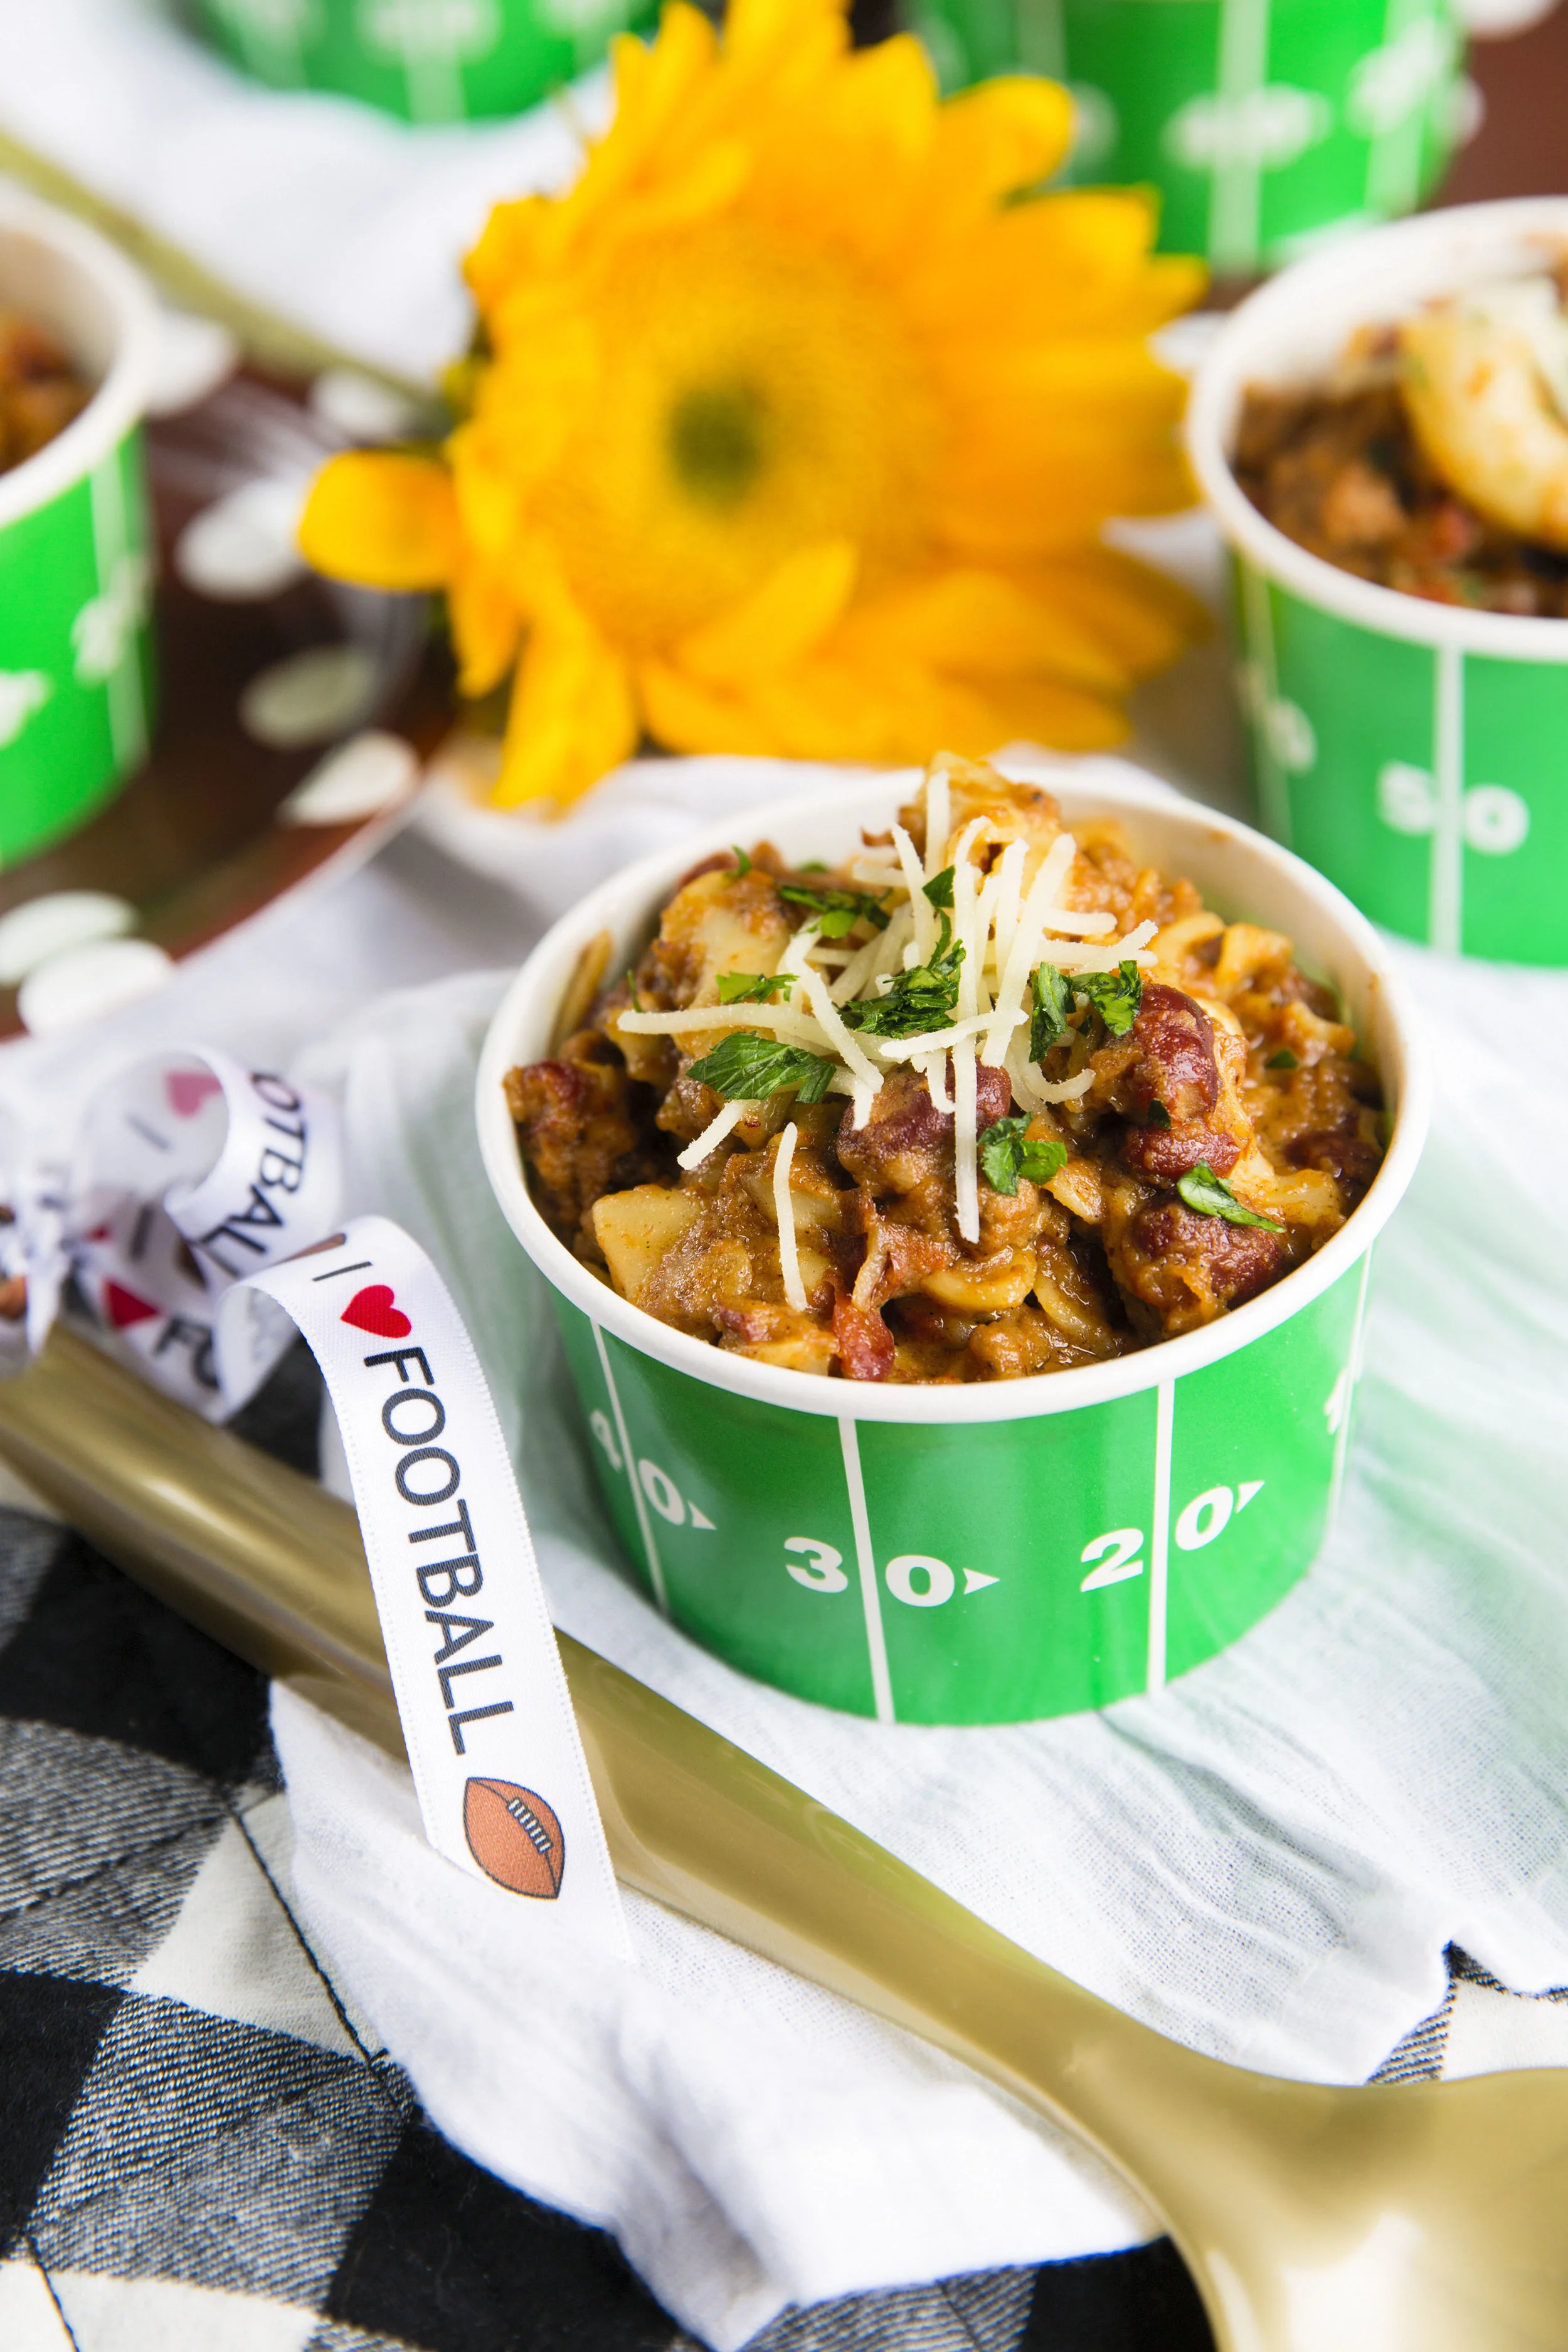
Get Your Tailgate On With These TWO Game Day Recipes
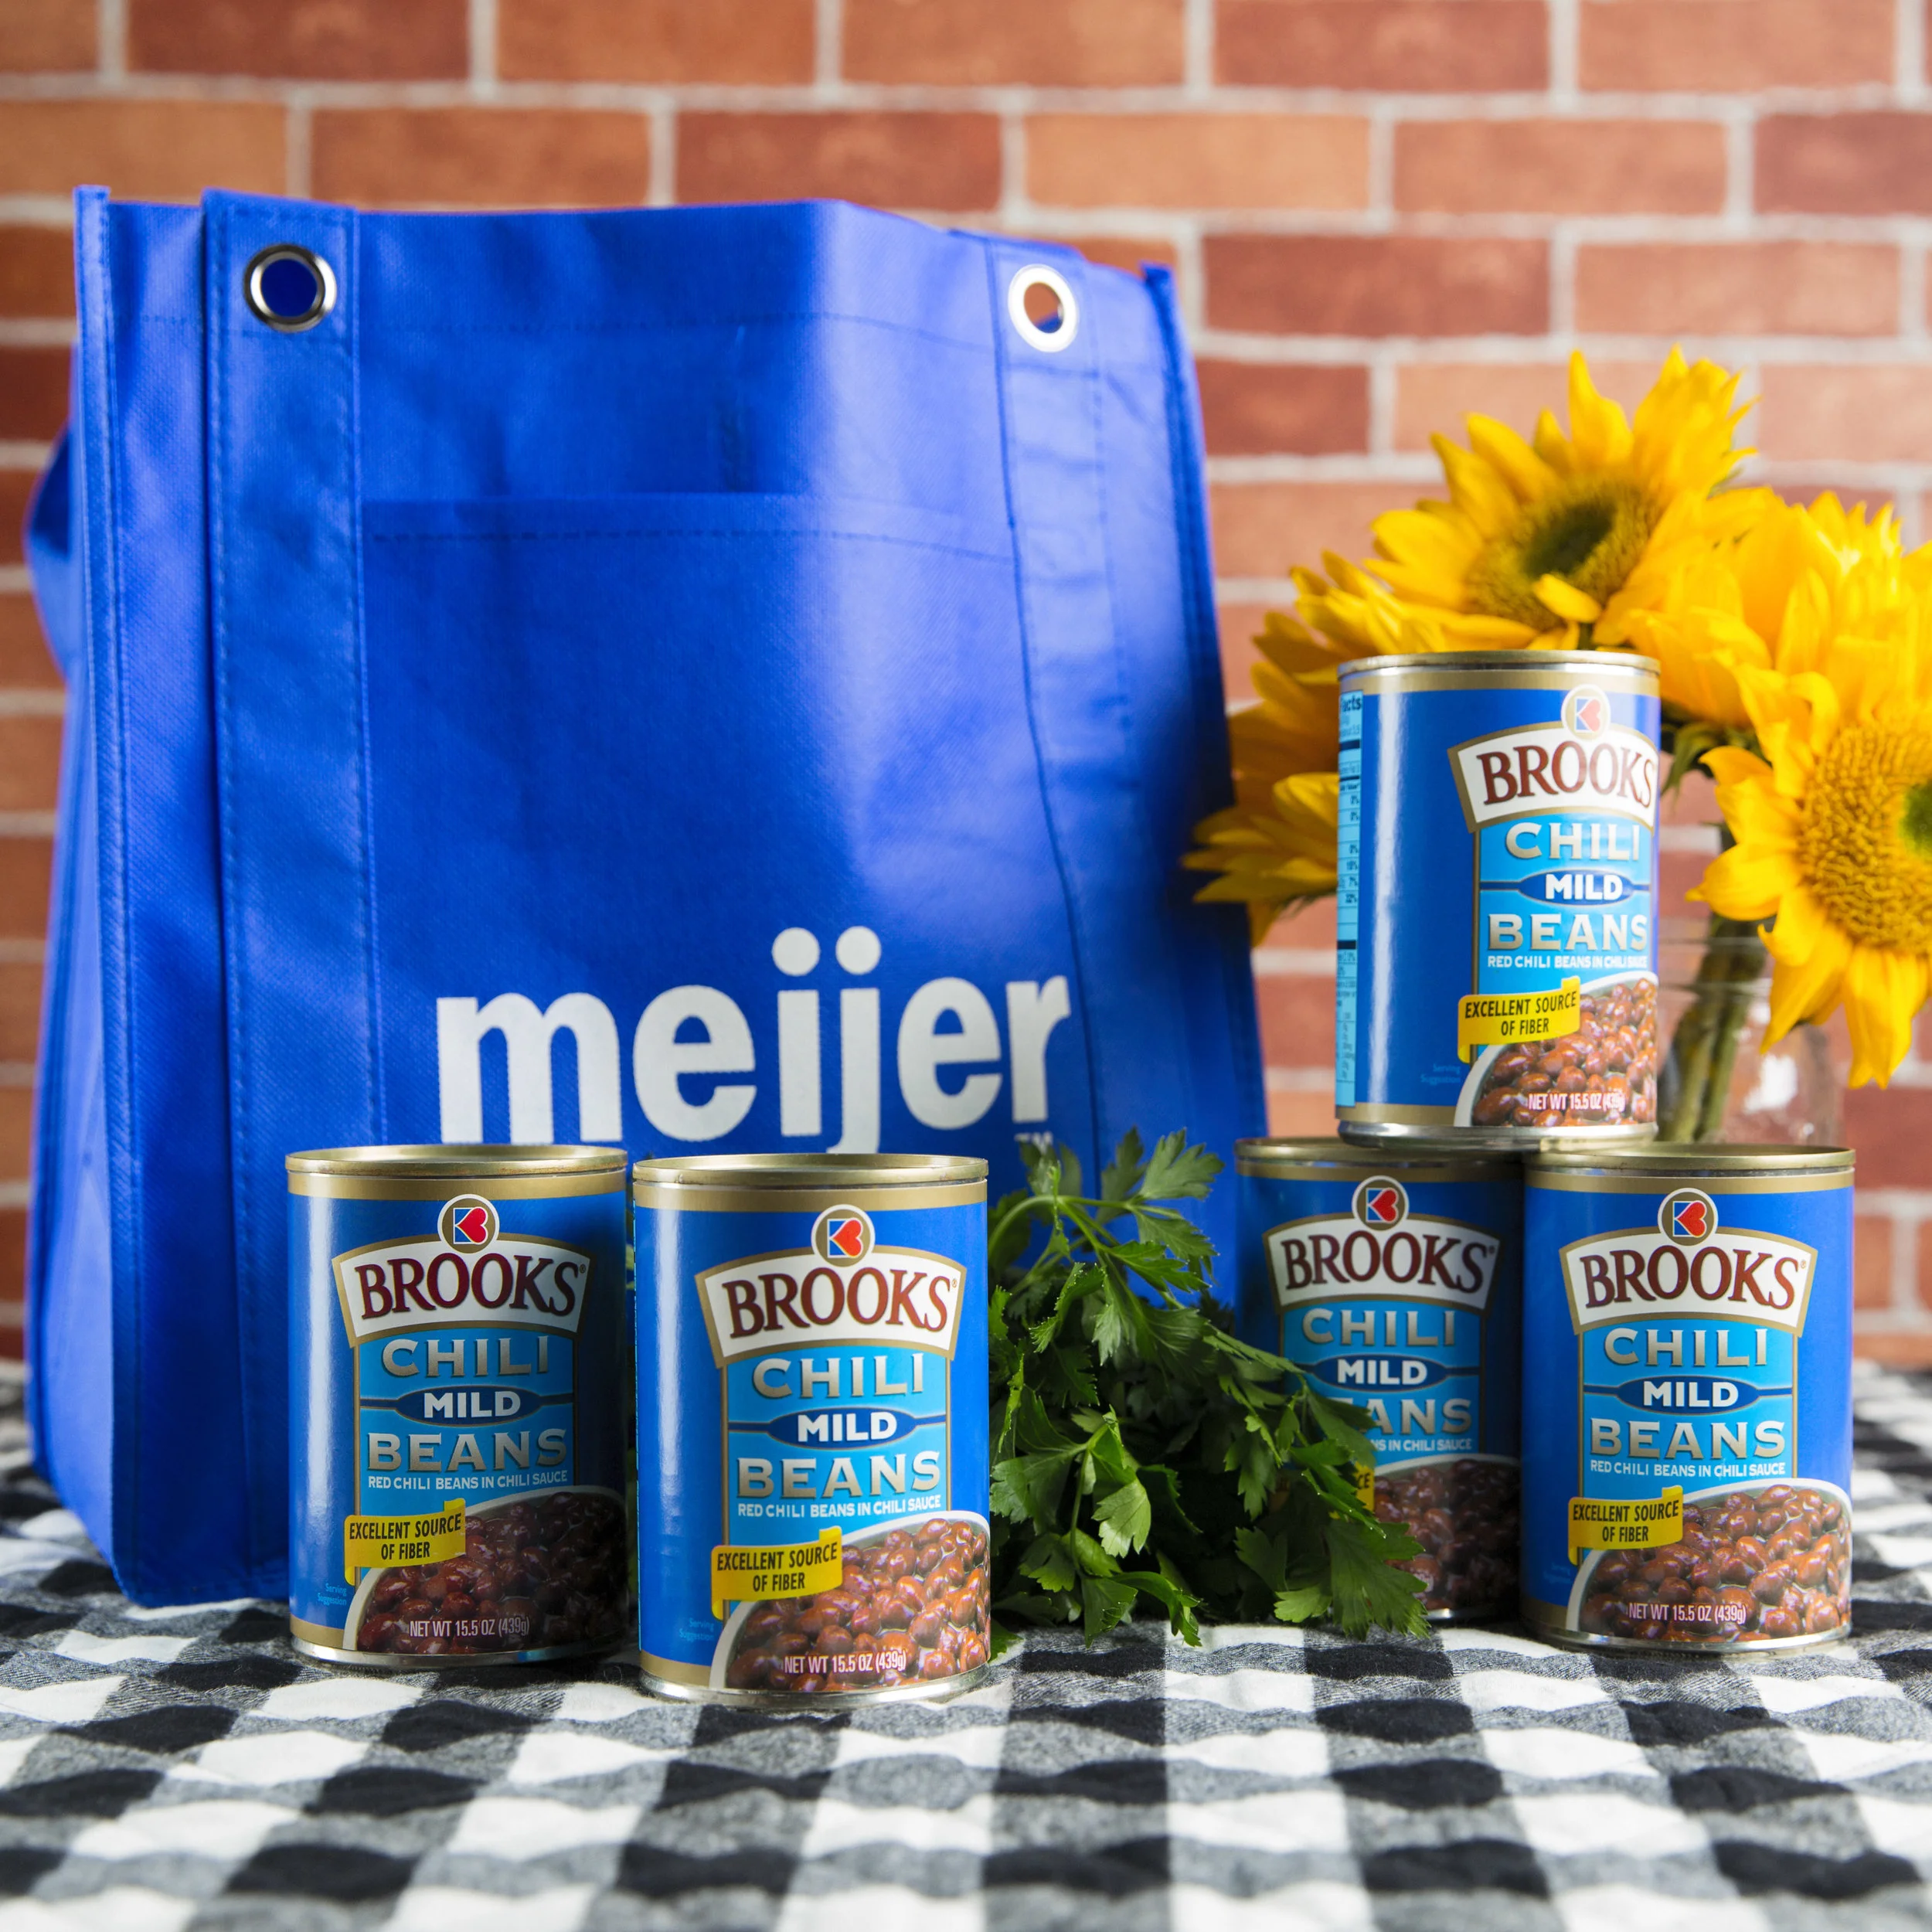
This post has been sponsored by Brooks®. All thoughts and opinions are my own.
I’m super excited to bring you two delicious recipes today, sharing some pretty innovative ways to use canned Chili Beans. I prefer using the Brooks chili beans because the flavors is DELICIOUS compared to most every other brand of canned beans I’ve ever tried. I do love incorporating canned beans into so many recipes, even a few I’ve shared on my blog. They’re an incredible source of protein, and as you will see in this post, incredibly versatile. From veggie burgers to cheesy chili mac, Brooks Beans are the right choice for all of your upcoming Fall and Winter recipes.


I was able to find all of my supplies at Meijer, where I used my mPerks savings.

When you make any recipe from scratch, you will be able to appreciate every nuance of flavor, and I’m sure these recipes will give you a new appreciation for Brooks Beans! They really complimented and enhanced all of the other ingredients extremely well!
They’re delicious served together, and will make the most delicious recipes at your next Game Day Potluck or gathering.
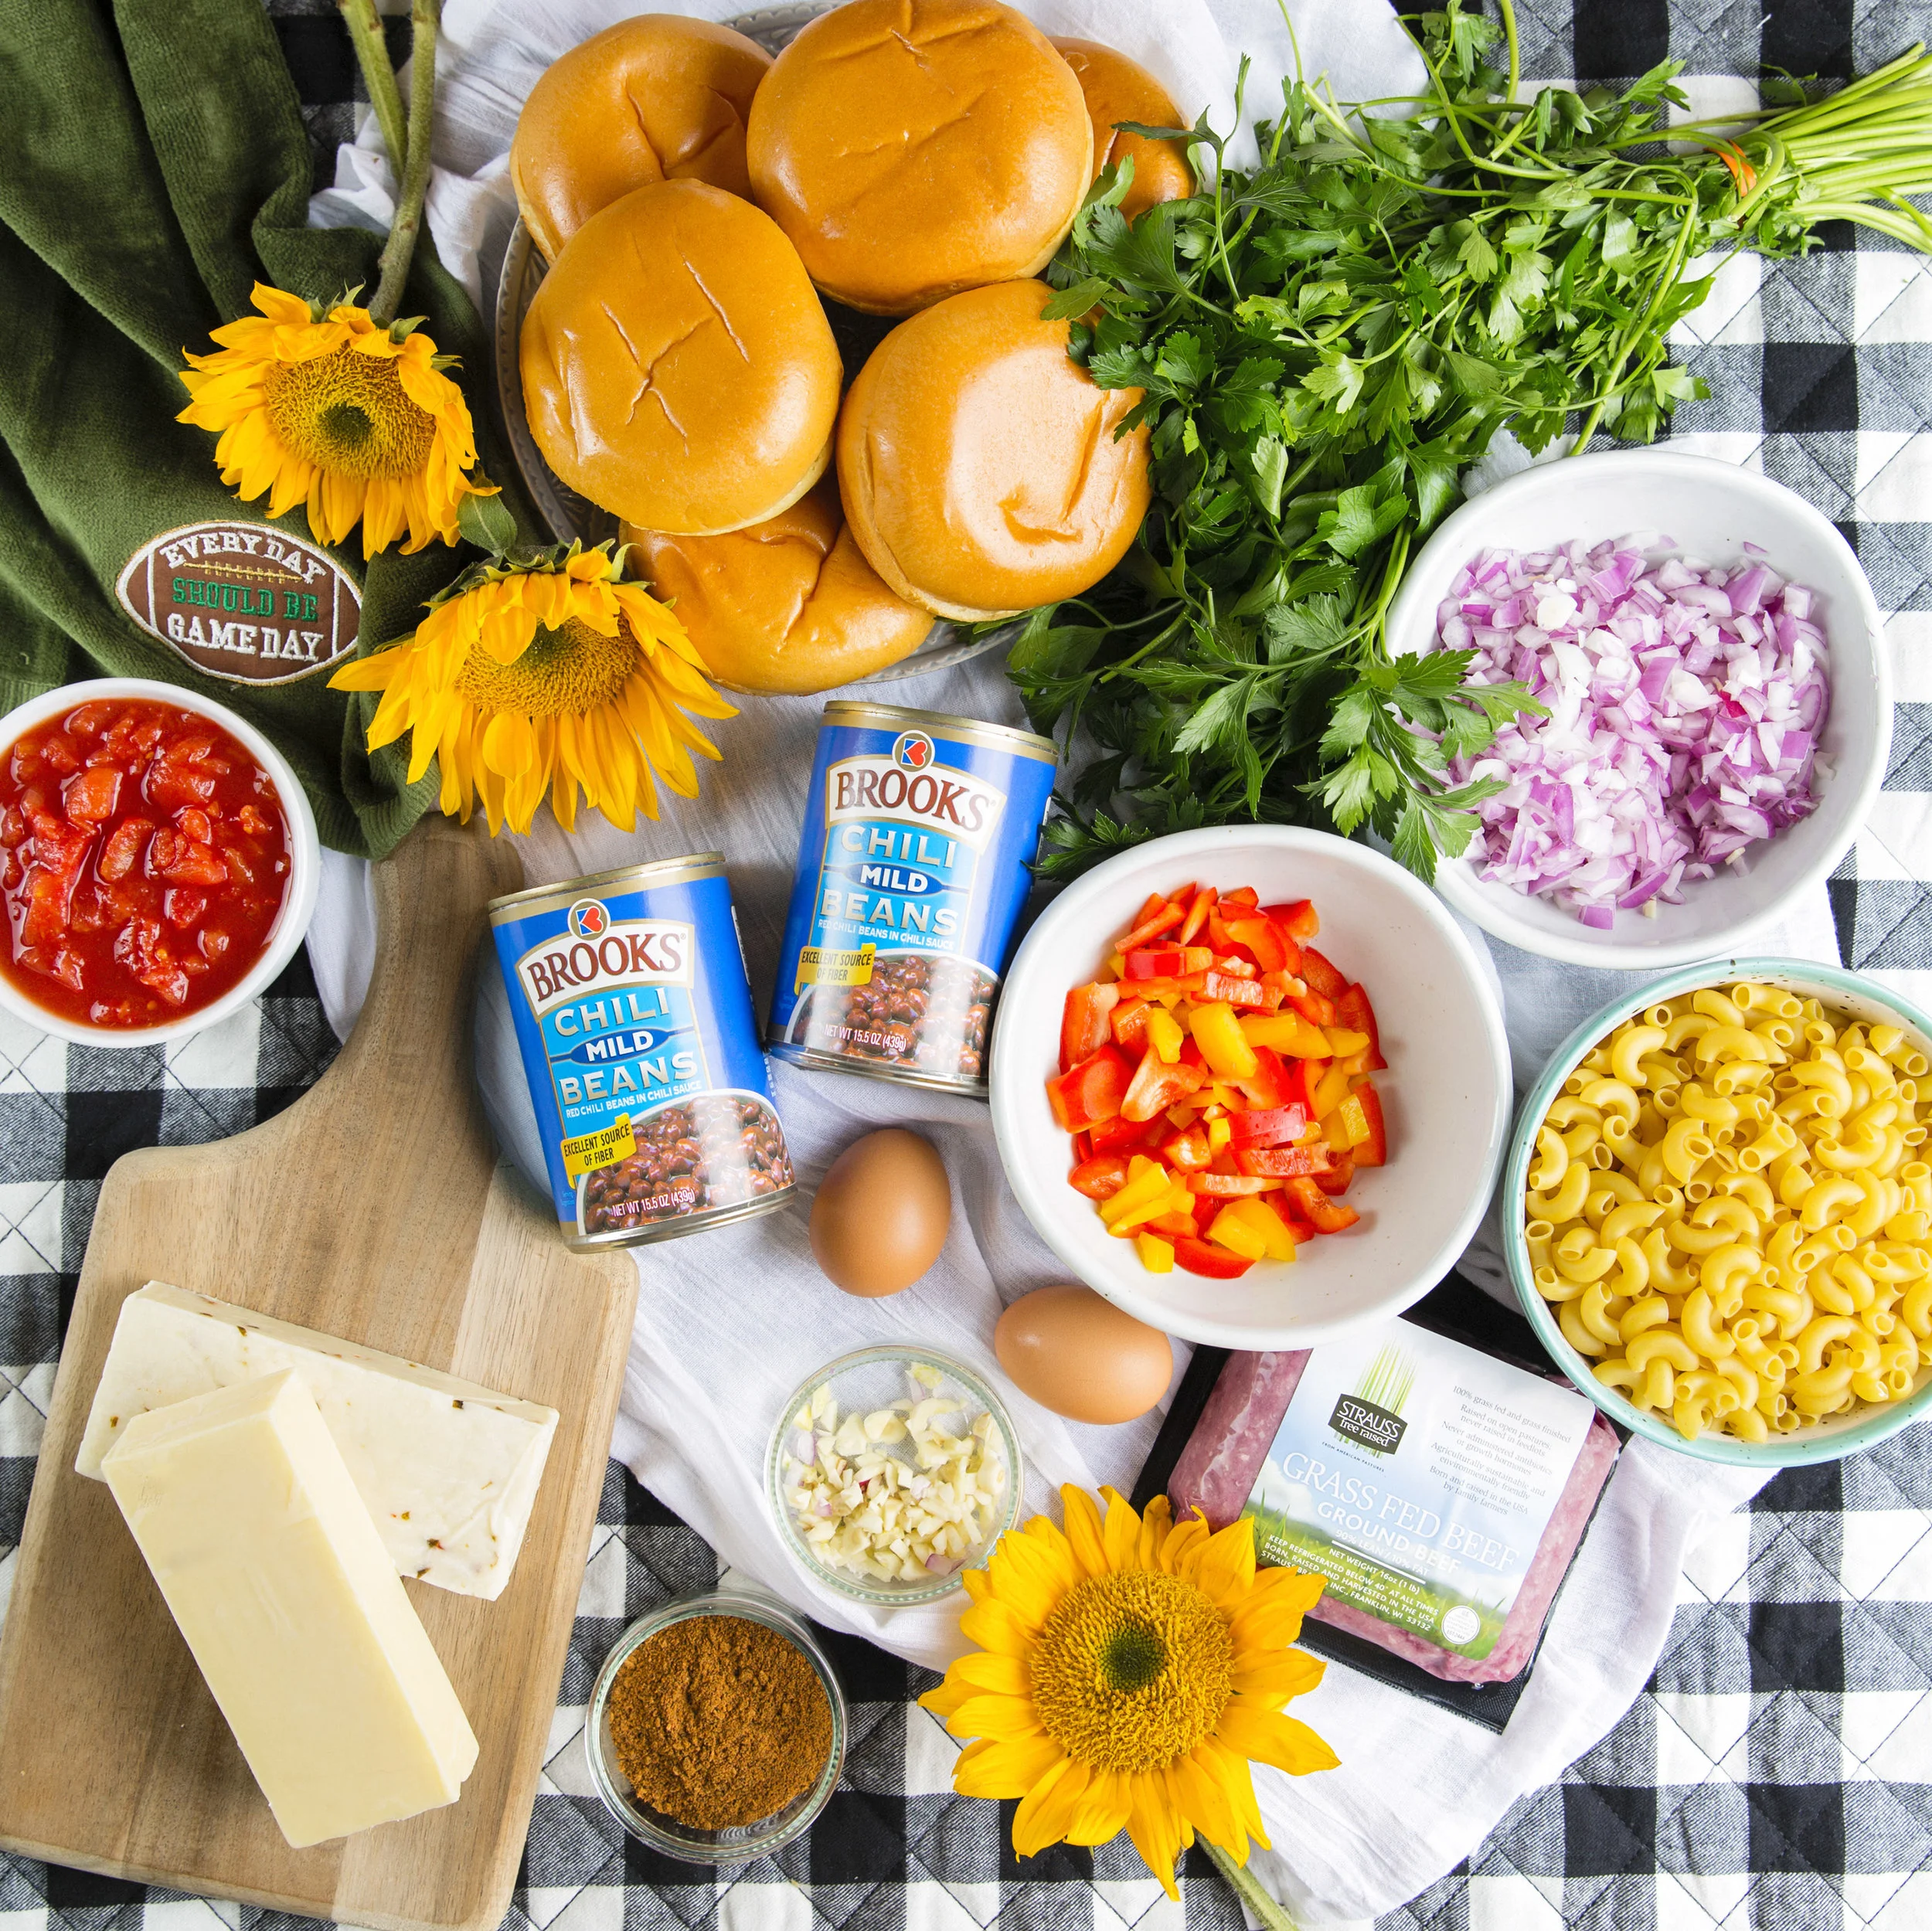
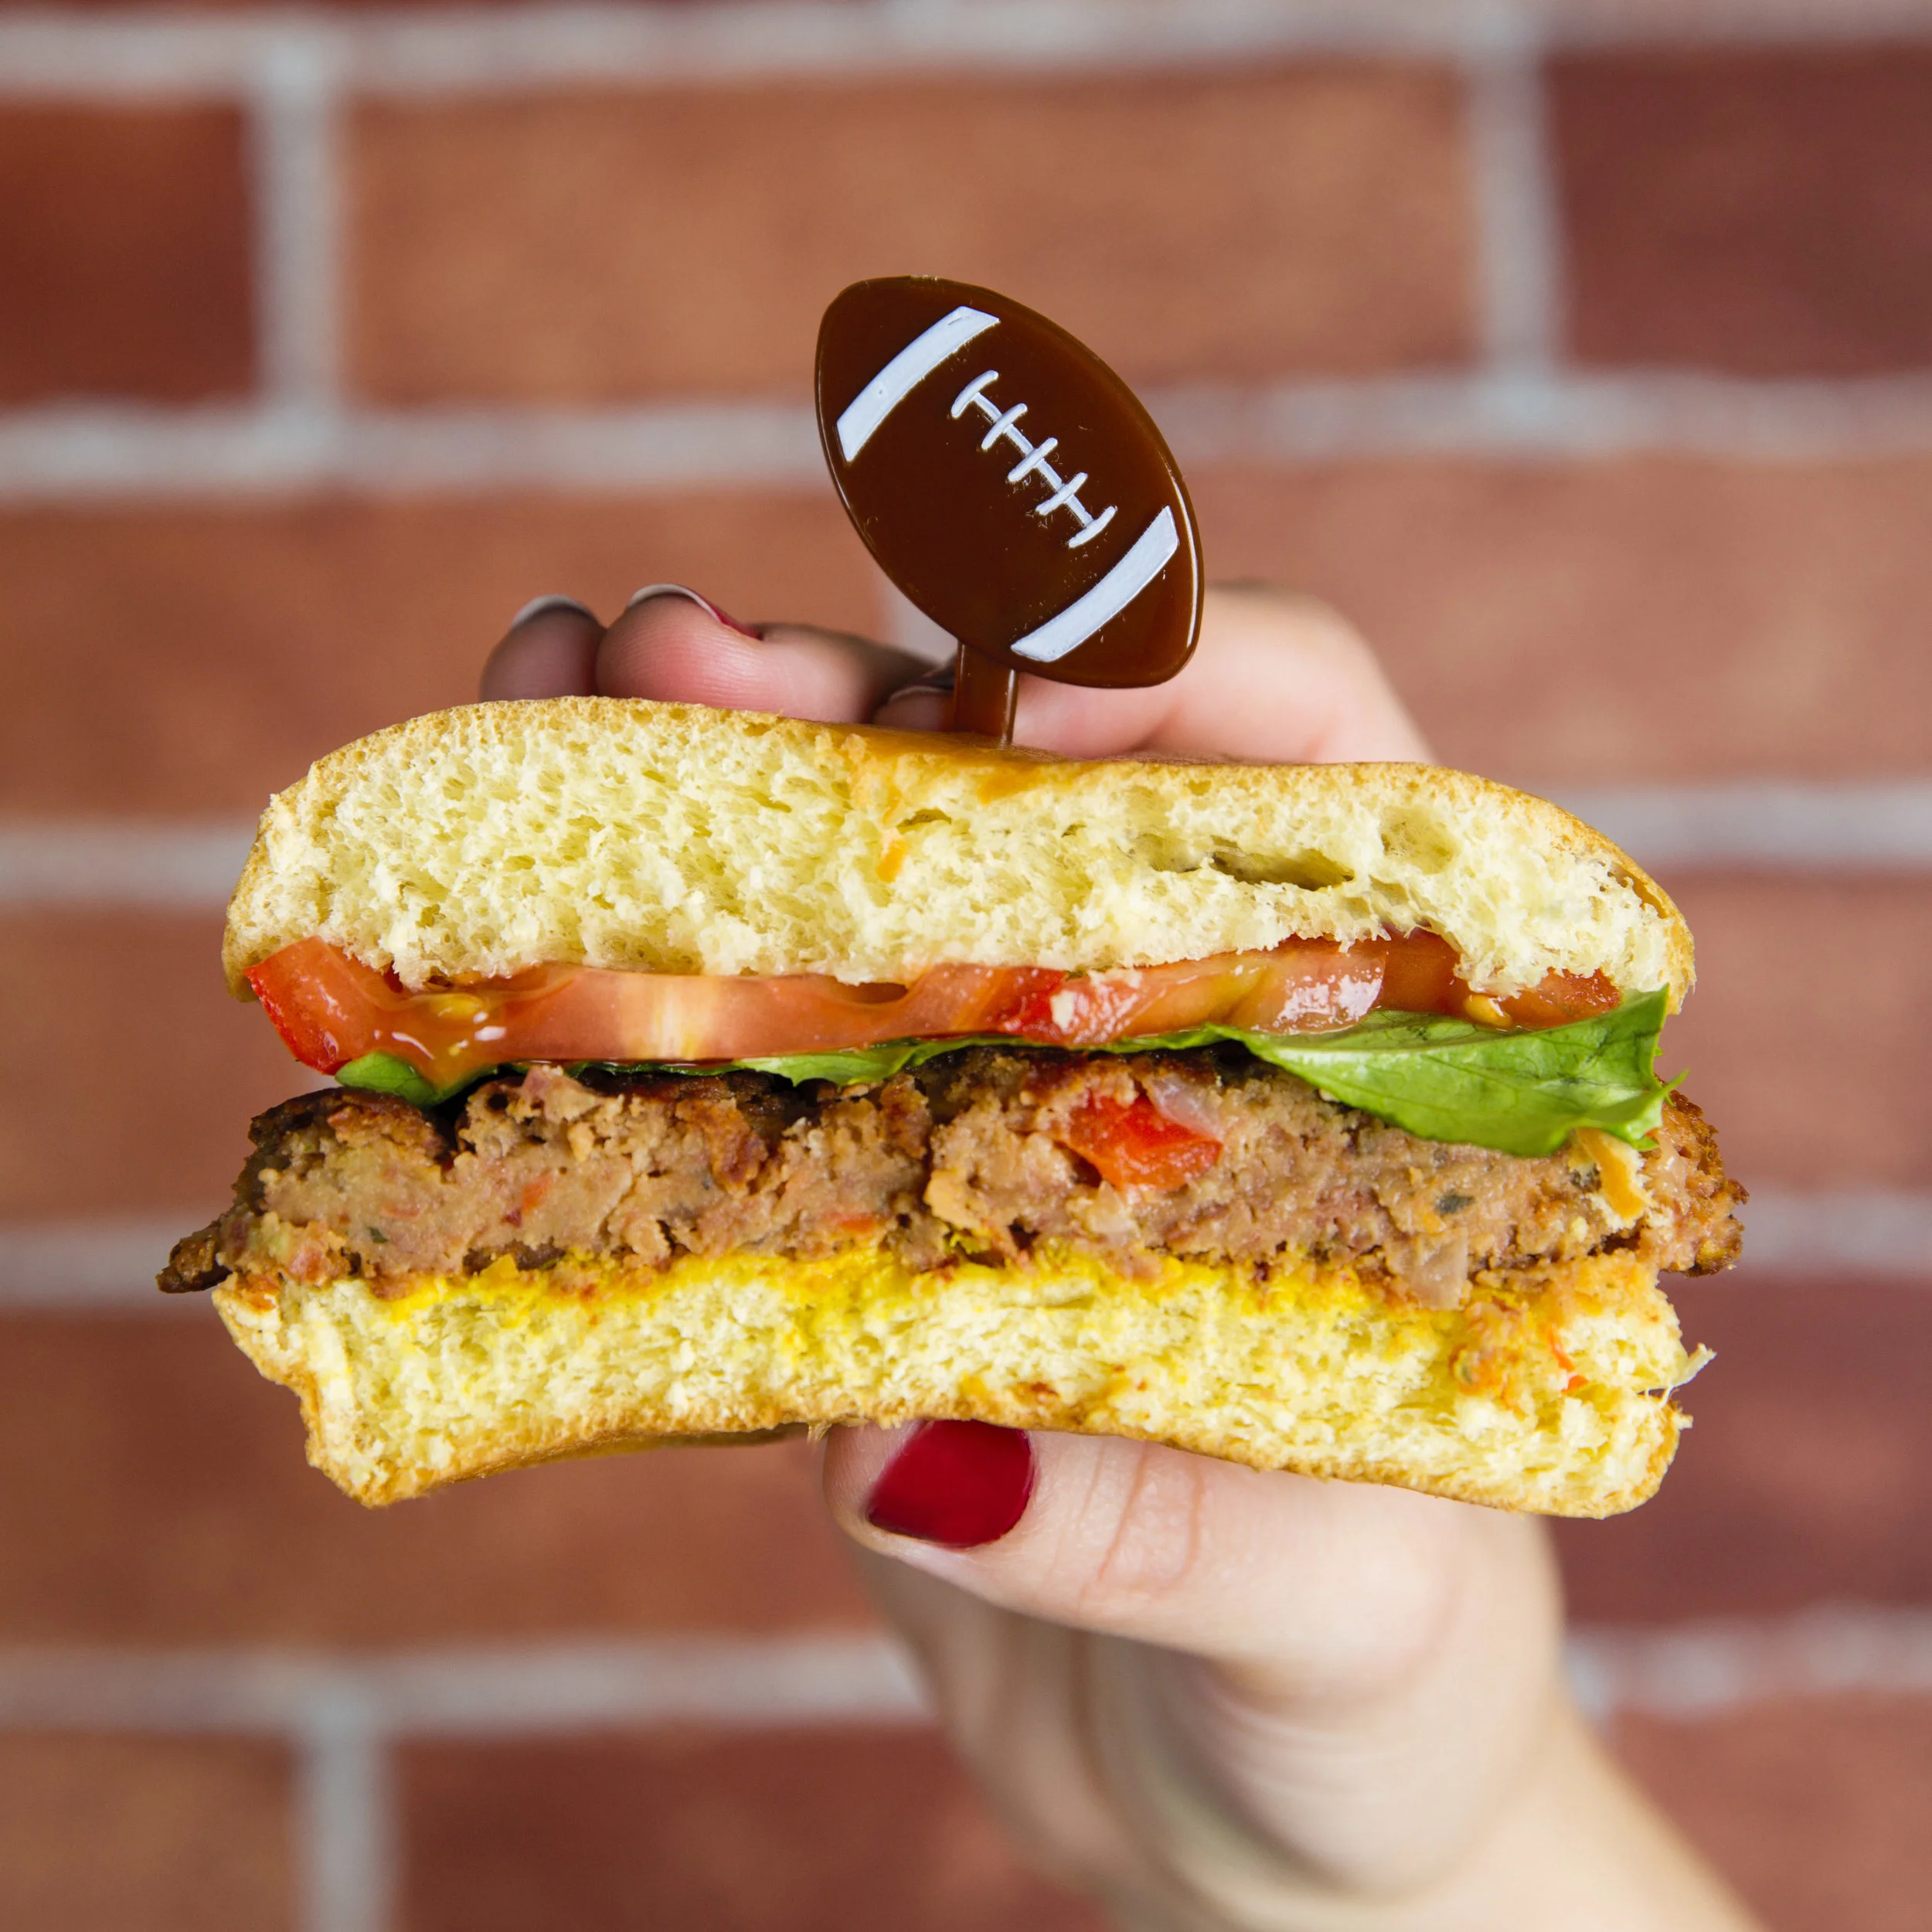
VEGETARIAN BEAN BURGERS (Makes 6 “Burgers”)
[Burger Ingredients]
2 Cans Brooks Chili Beans in Mild or Hot
½ of a Red Pepper - Chopped
½ of a Yellow Pepper – Chopped
1 Small Red Onion - Chopped
½ C. Breadcrumbs (or more if desired)
2 Eggs
Seasoning
Olive Oil To Cook + Skillet + Food Processor + 1/3 C. Measuring Cup
[Burger Instructions]
1.) In a food processor, add half of the chopped peppers + 2 cans Brooks Chili Beans.
2.) Process until fully smooth and there are no pieces of beans left. About 1 minute.
3.) Remove ingredients from food processor, and transfer into a medium mixing bowl.
4.) In the mixing bowl, add the rest of your chopped peppers, red onions, seasoning of choice, bread crumbs, and eggs. Stir to combine. Notice how this mixture actually begins to look like real “burgers” but with absolutely no grease at all!! Put into the freezer for about 10 minutes to make mixture easier to work with.
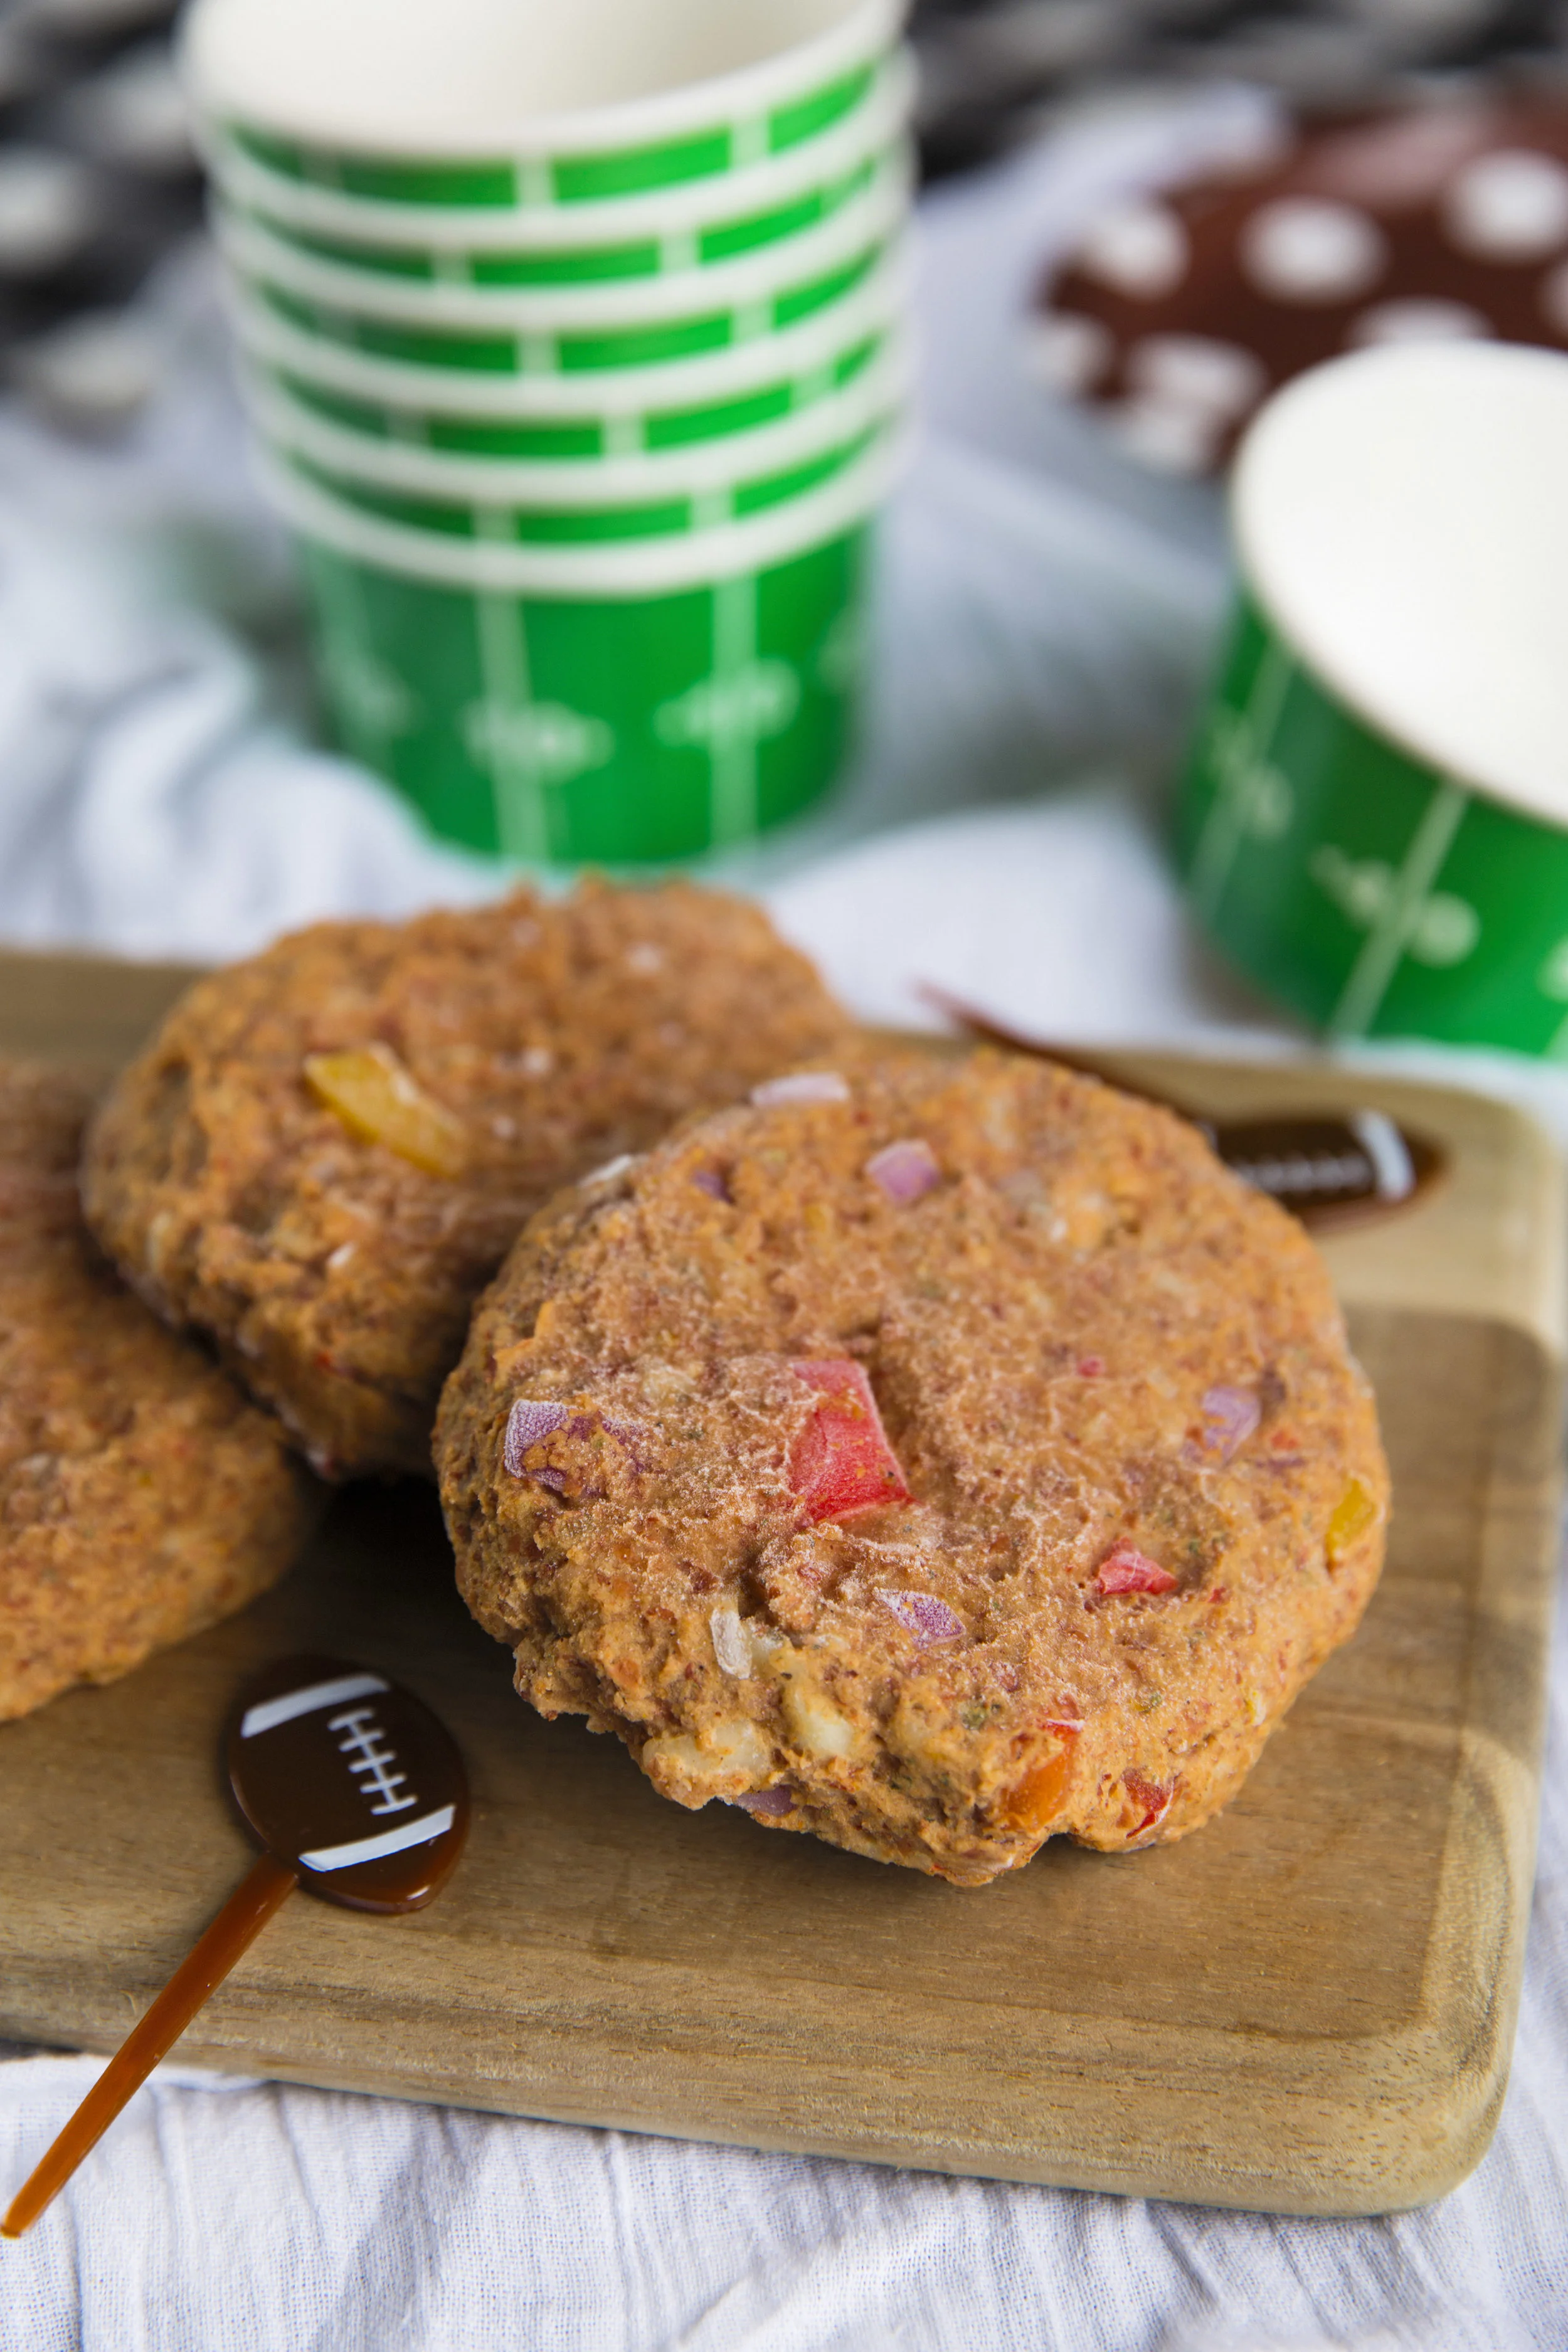
5.) Using rubber gloves, using a 1/3 Cup measuring cup, scoop heaping scoops of the mixture and use your hand to create patty shapes. Put them onto a foil-lined sheet pan to freeze for at least 1-2 hours before cooking. Below, you will see a photo of the frozen patties. Again, see how much they actually resemble traditional burgers?
6.) Now to cook your patties! Add 1-2 Tbsp olive oil to your skillet, and get the heat pretty high, right before the oil begins to sizzle. Add patties to the skillet, and place a lid on top, so the oil does not spatter out. Cook for 3-4 minutes on one side, then very carefully, use a spatula to flip the patties. They must be cooked in olive oil on a higher heat so they do not fall apart.
See the beautiful, cooked patties below. I also made these veggie burgers another time and added two slices of cheese on each patty and oh my goodness, they were perfect! So, if you’re more of a cheeseburger person, definitely feel free to add slices of cheese on top during the last 1 minute of cooking patties.

Serve veggie bean burgers on Brioche buns, topped with cheese, lettuce, tomato, ketchup, mustard, and of course, pickles!


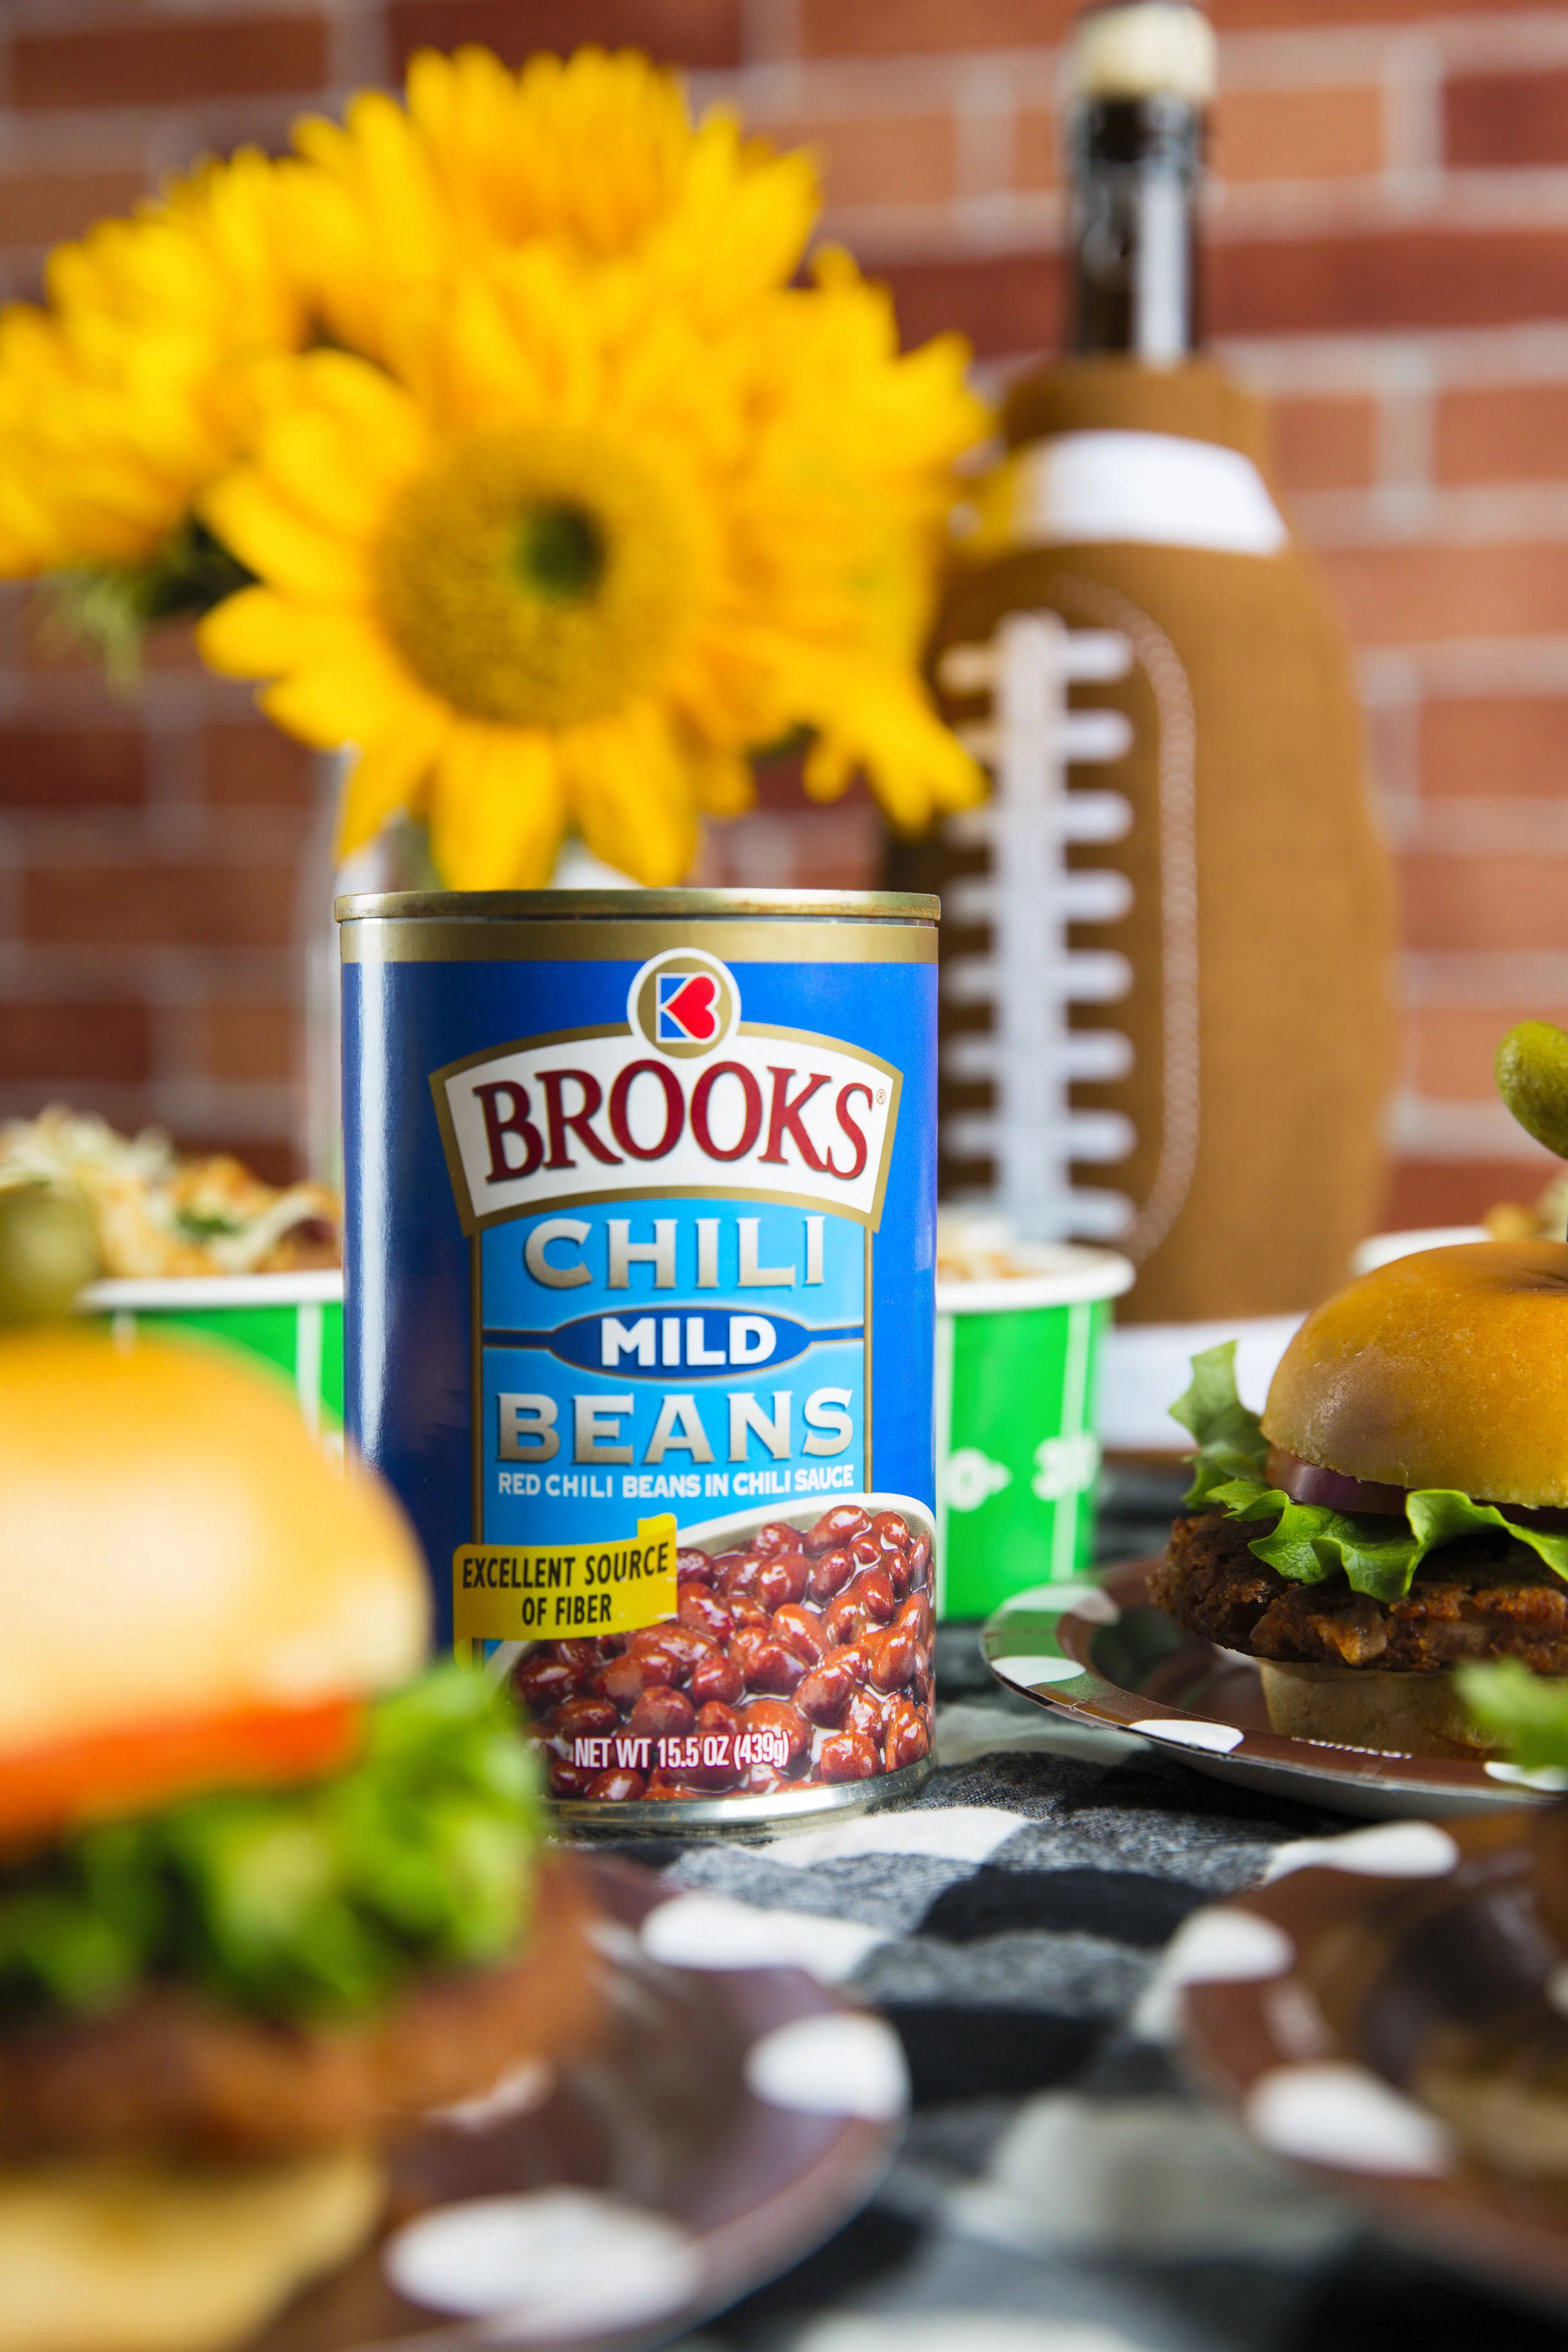
Brooks Chili Beans are a hometown favorite and have over 100 years of trusted leadership in everything chili!

And, the second recipe…
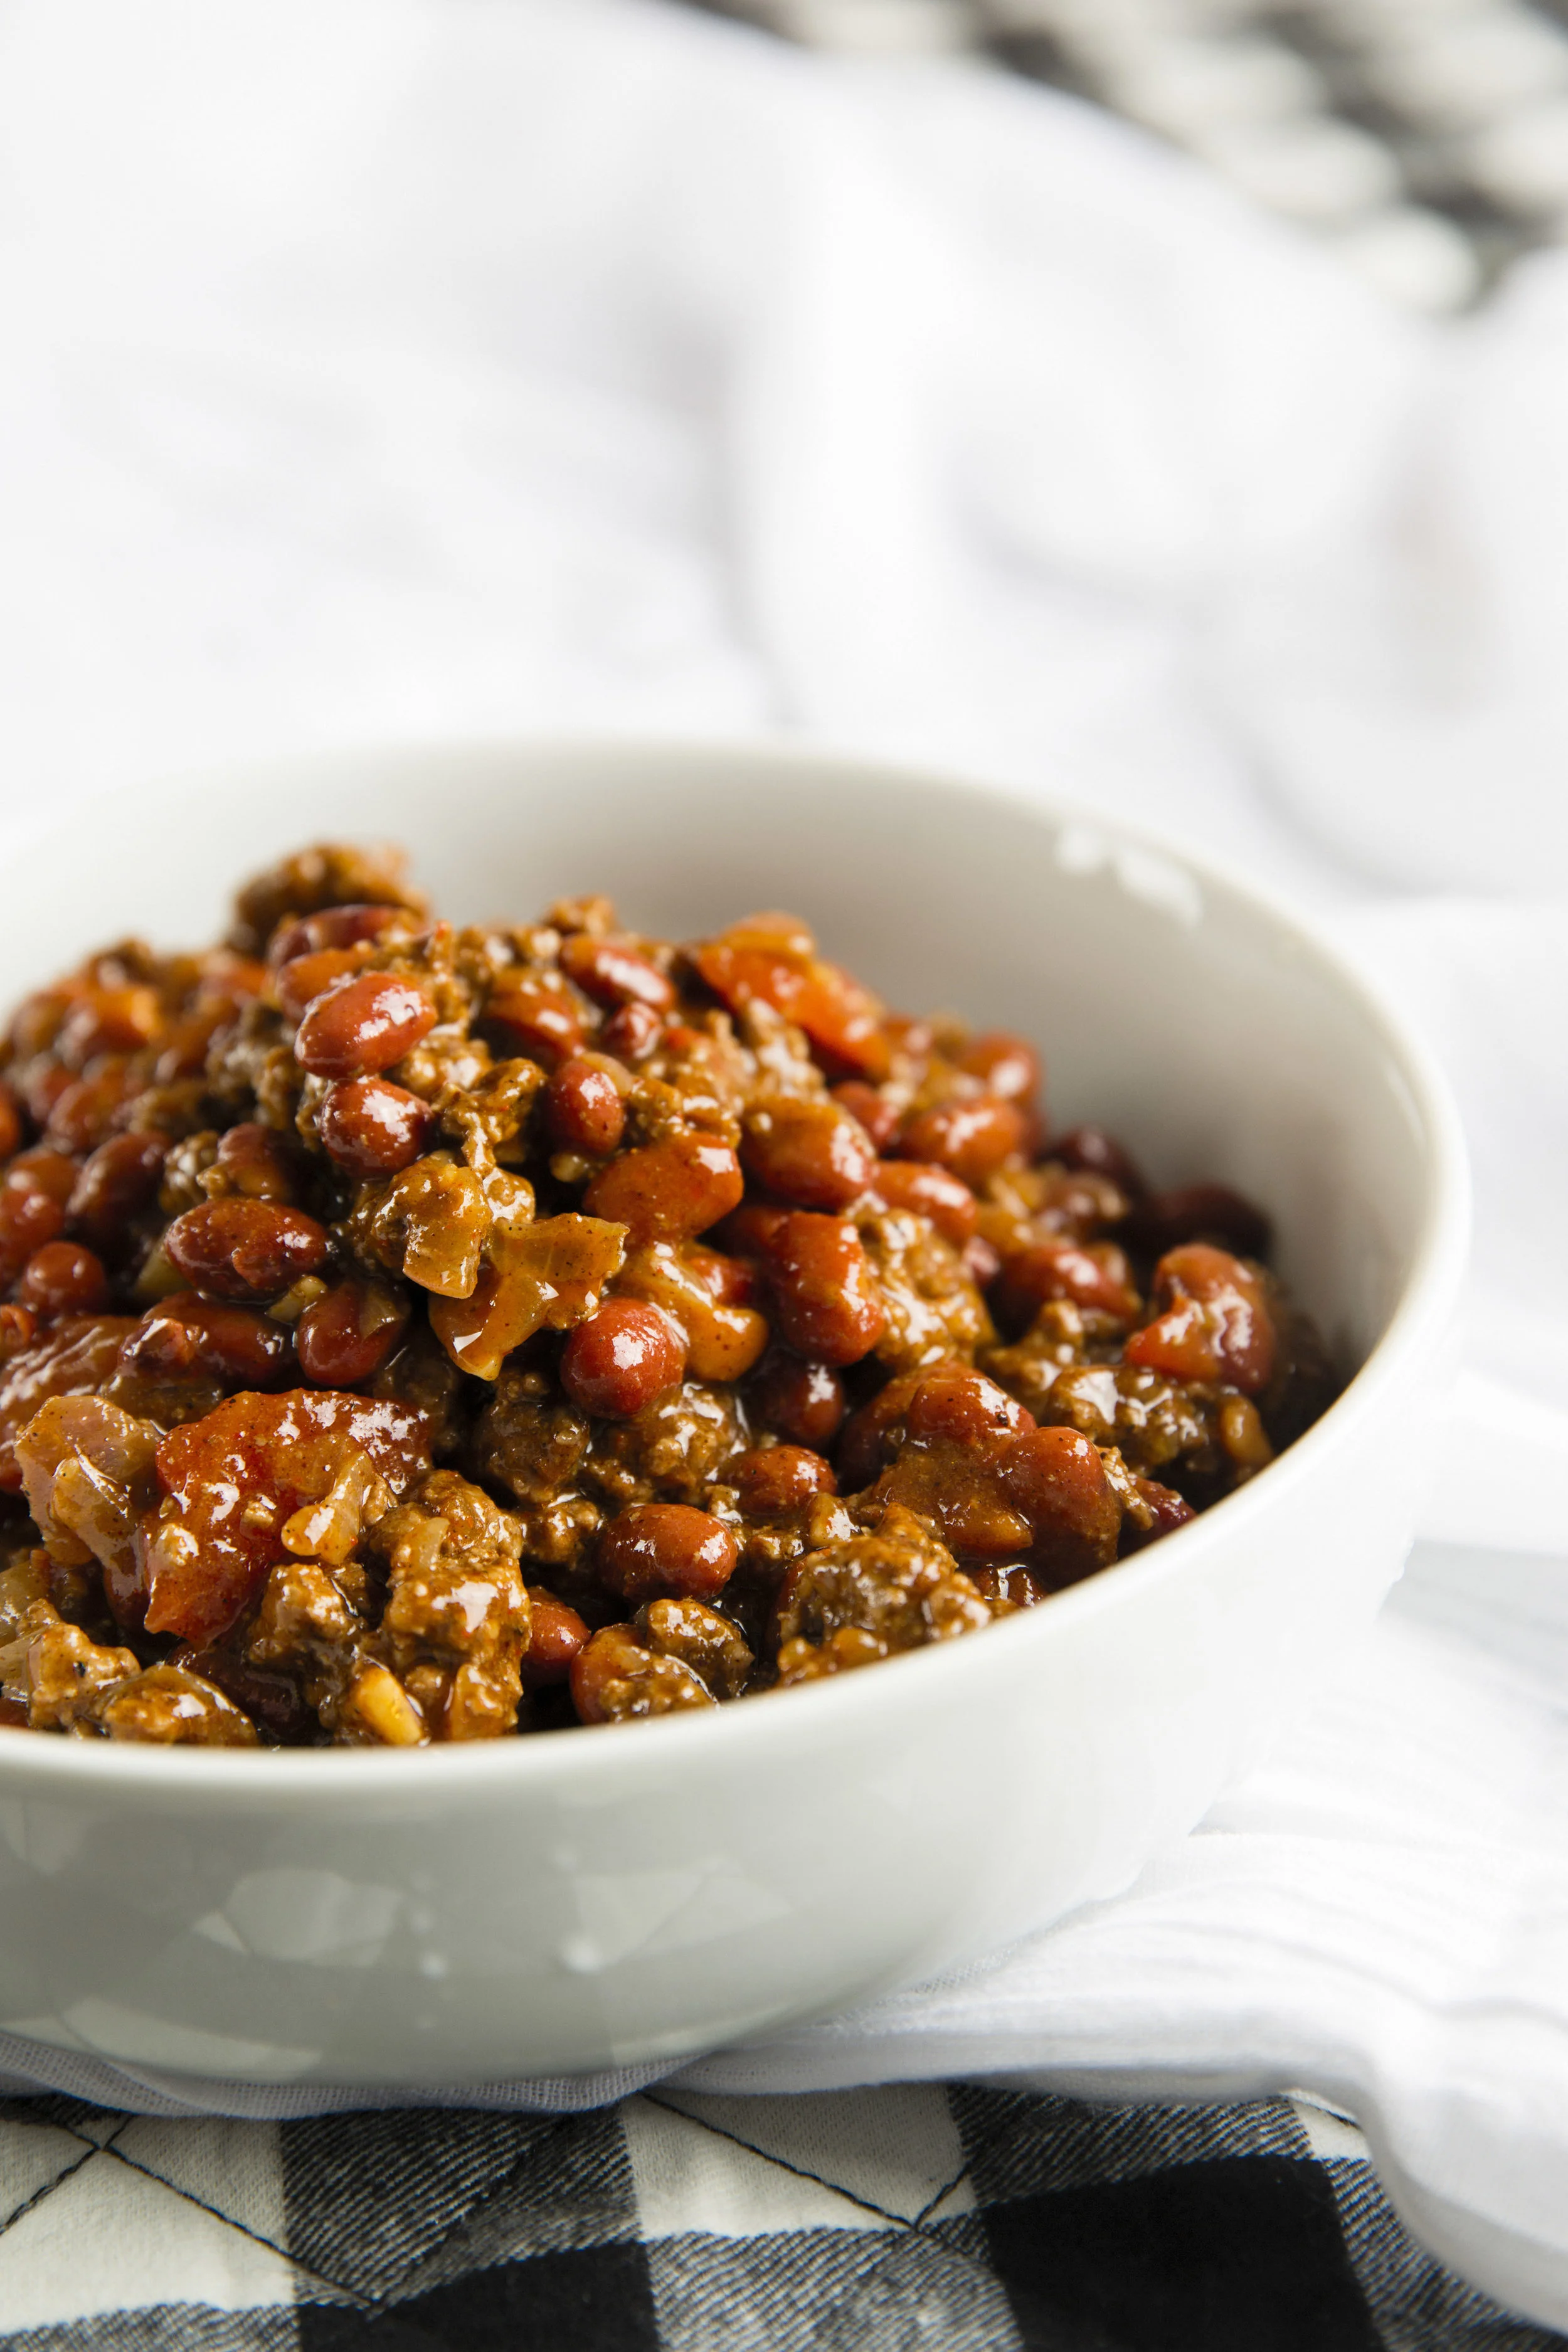
CHEESY CHILI MAC (Serves a LOT)
Amazing for a chilly Fall day, this is the perfect comfort food that will literally melt in your mouth because is so creamy and delicious. Basically we are going to make the Mac N Cheese separately from the chili, and then combine them in their delicious goodness!
[Cheesy Chili Mac Ingredients]
(MAC N CHEESE INGREDIENTS)
1 Tbsp Butter
8 oz Cream Cheese
2 (8 oz.) blocks of cheese (I used both pepper jack and sharp white cheddar)
½ C. Heavy Cream
4 C. Cooked Elbow Noodles
Salt
(CHILI INGREDIENTS)
1 Lb. Ground Beef
1 Can Brooks Chili Beans
Chili Seasoning
Salt
1 Small Red Onion
[Cheesy Chili Mac Instructions]
1.) Boil half of a box of large elbow noodles, and in a skillet, add Olive Oil, Garlic, and Onions. Once onions have softened, add 1 Lb. ground beef, and your desired seasonings. Cook meat until brown, turn off heat.
2.) Once noodles are done, strain them and set aside.
3.) In the skillet with the meat, add 1 can of diced tomatoes, ¼ C. Chili seasoning or more, dash of hot sauce, and 1 can of Brooks chili beans. Turn heat back up and cook everything a few minutes longer until combined. Turn off heat.
4.) In the pot you used to cook noodles, turn on heat and add butter, heavy cream, cheese, and a pinch of salt. Once everything is creamy and melted, then add noodles back to this pot and stir until combined.
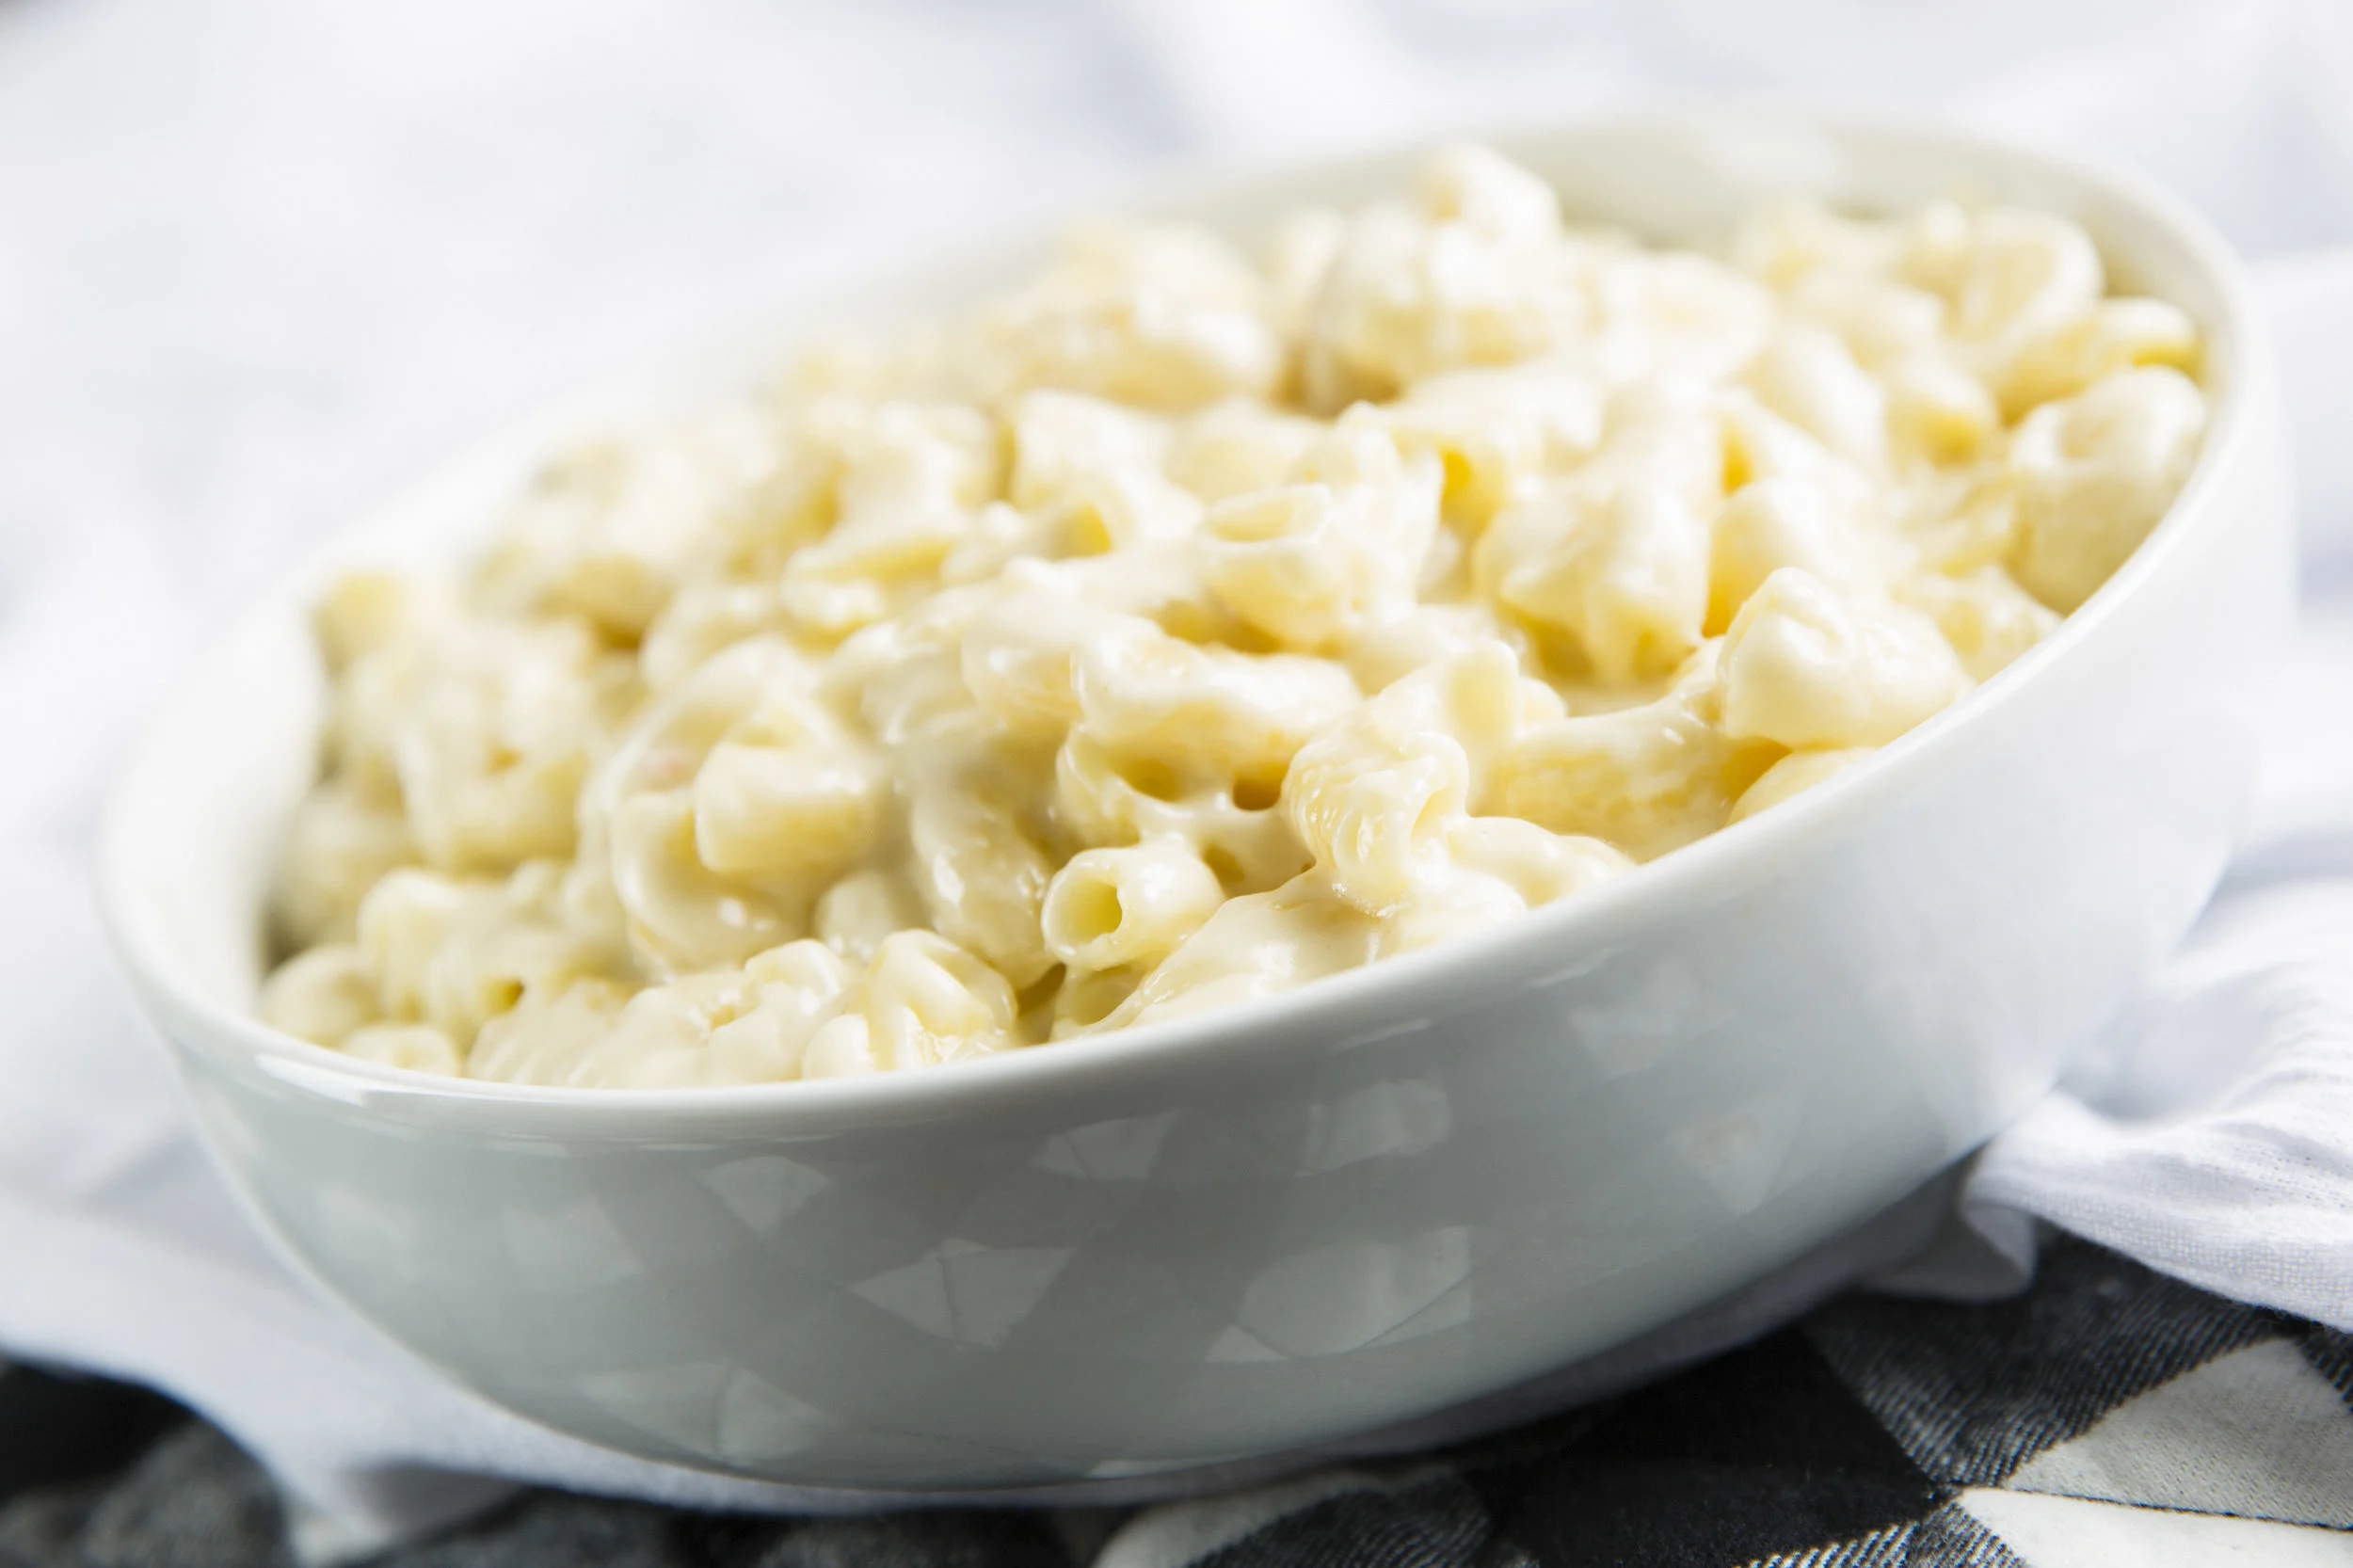
5.) Almost done! Simply add Chili mixture into mac n cheese and stir to combine. I found that the best mixture ratio was about 4 Cups of the Mac N Cheese + 6 Cups of Chili. Serve with shredded cheese and soup crackers and enjoy!

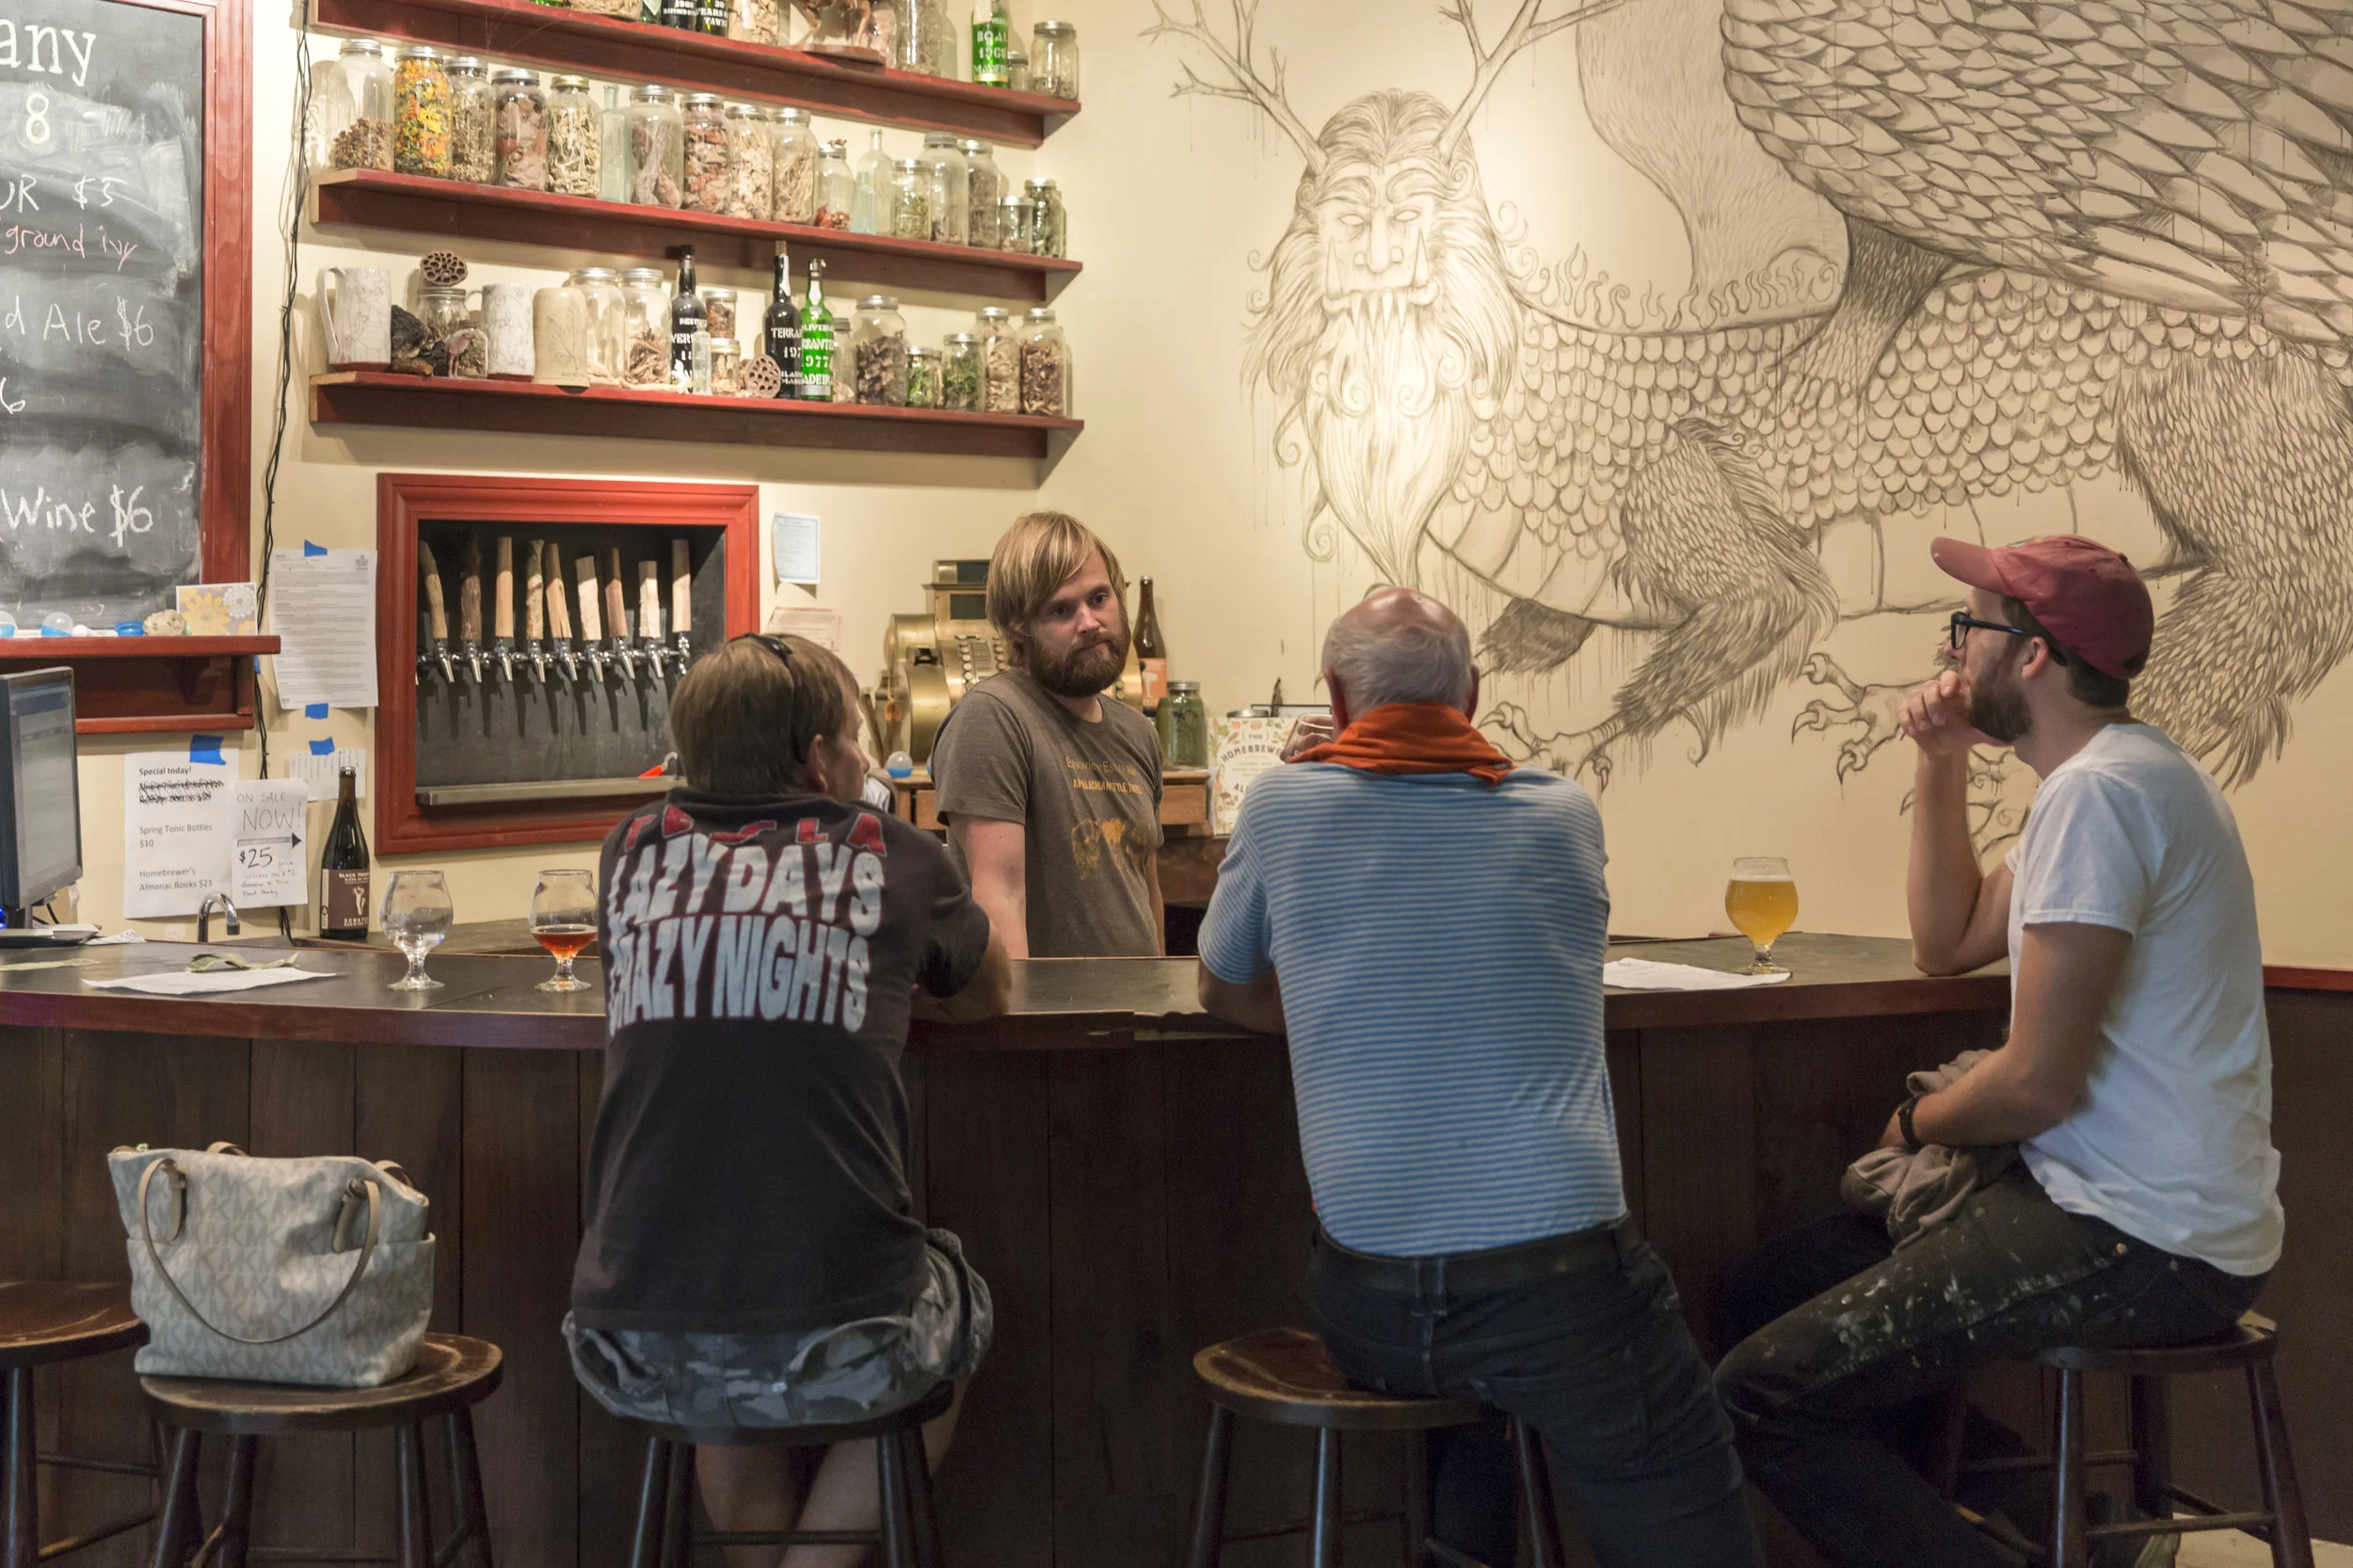
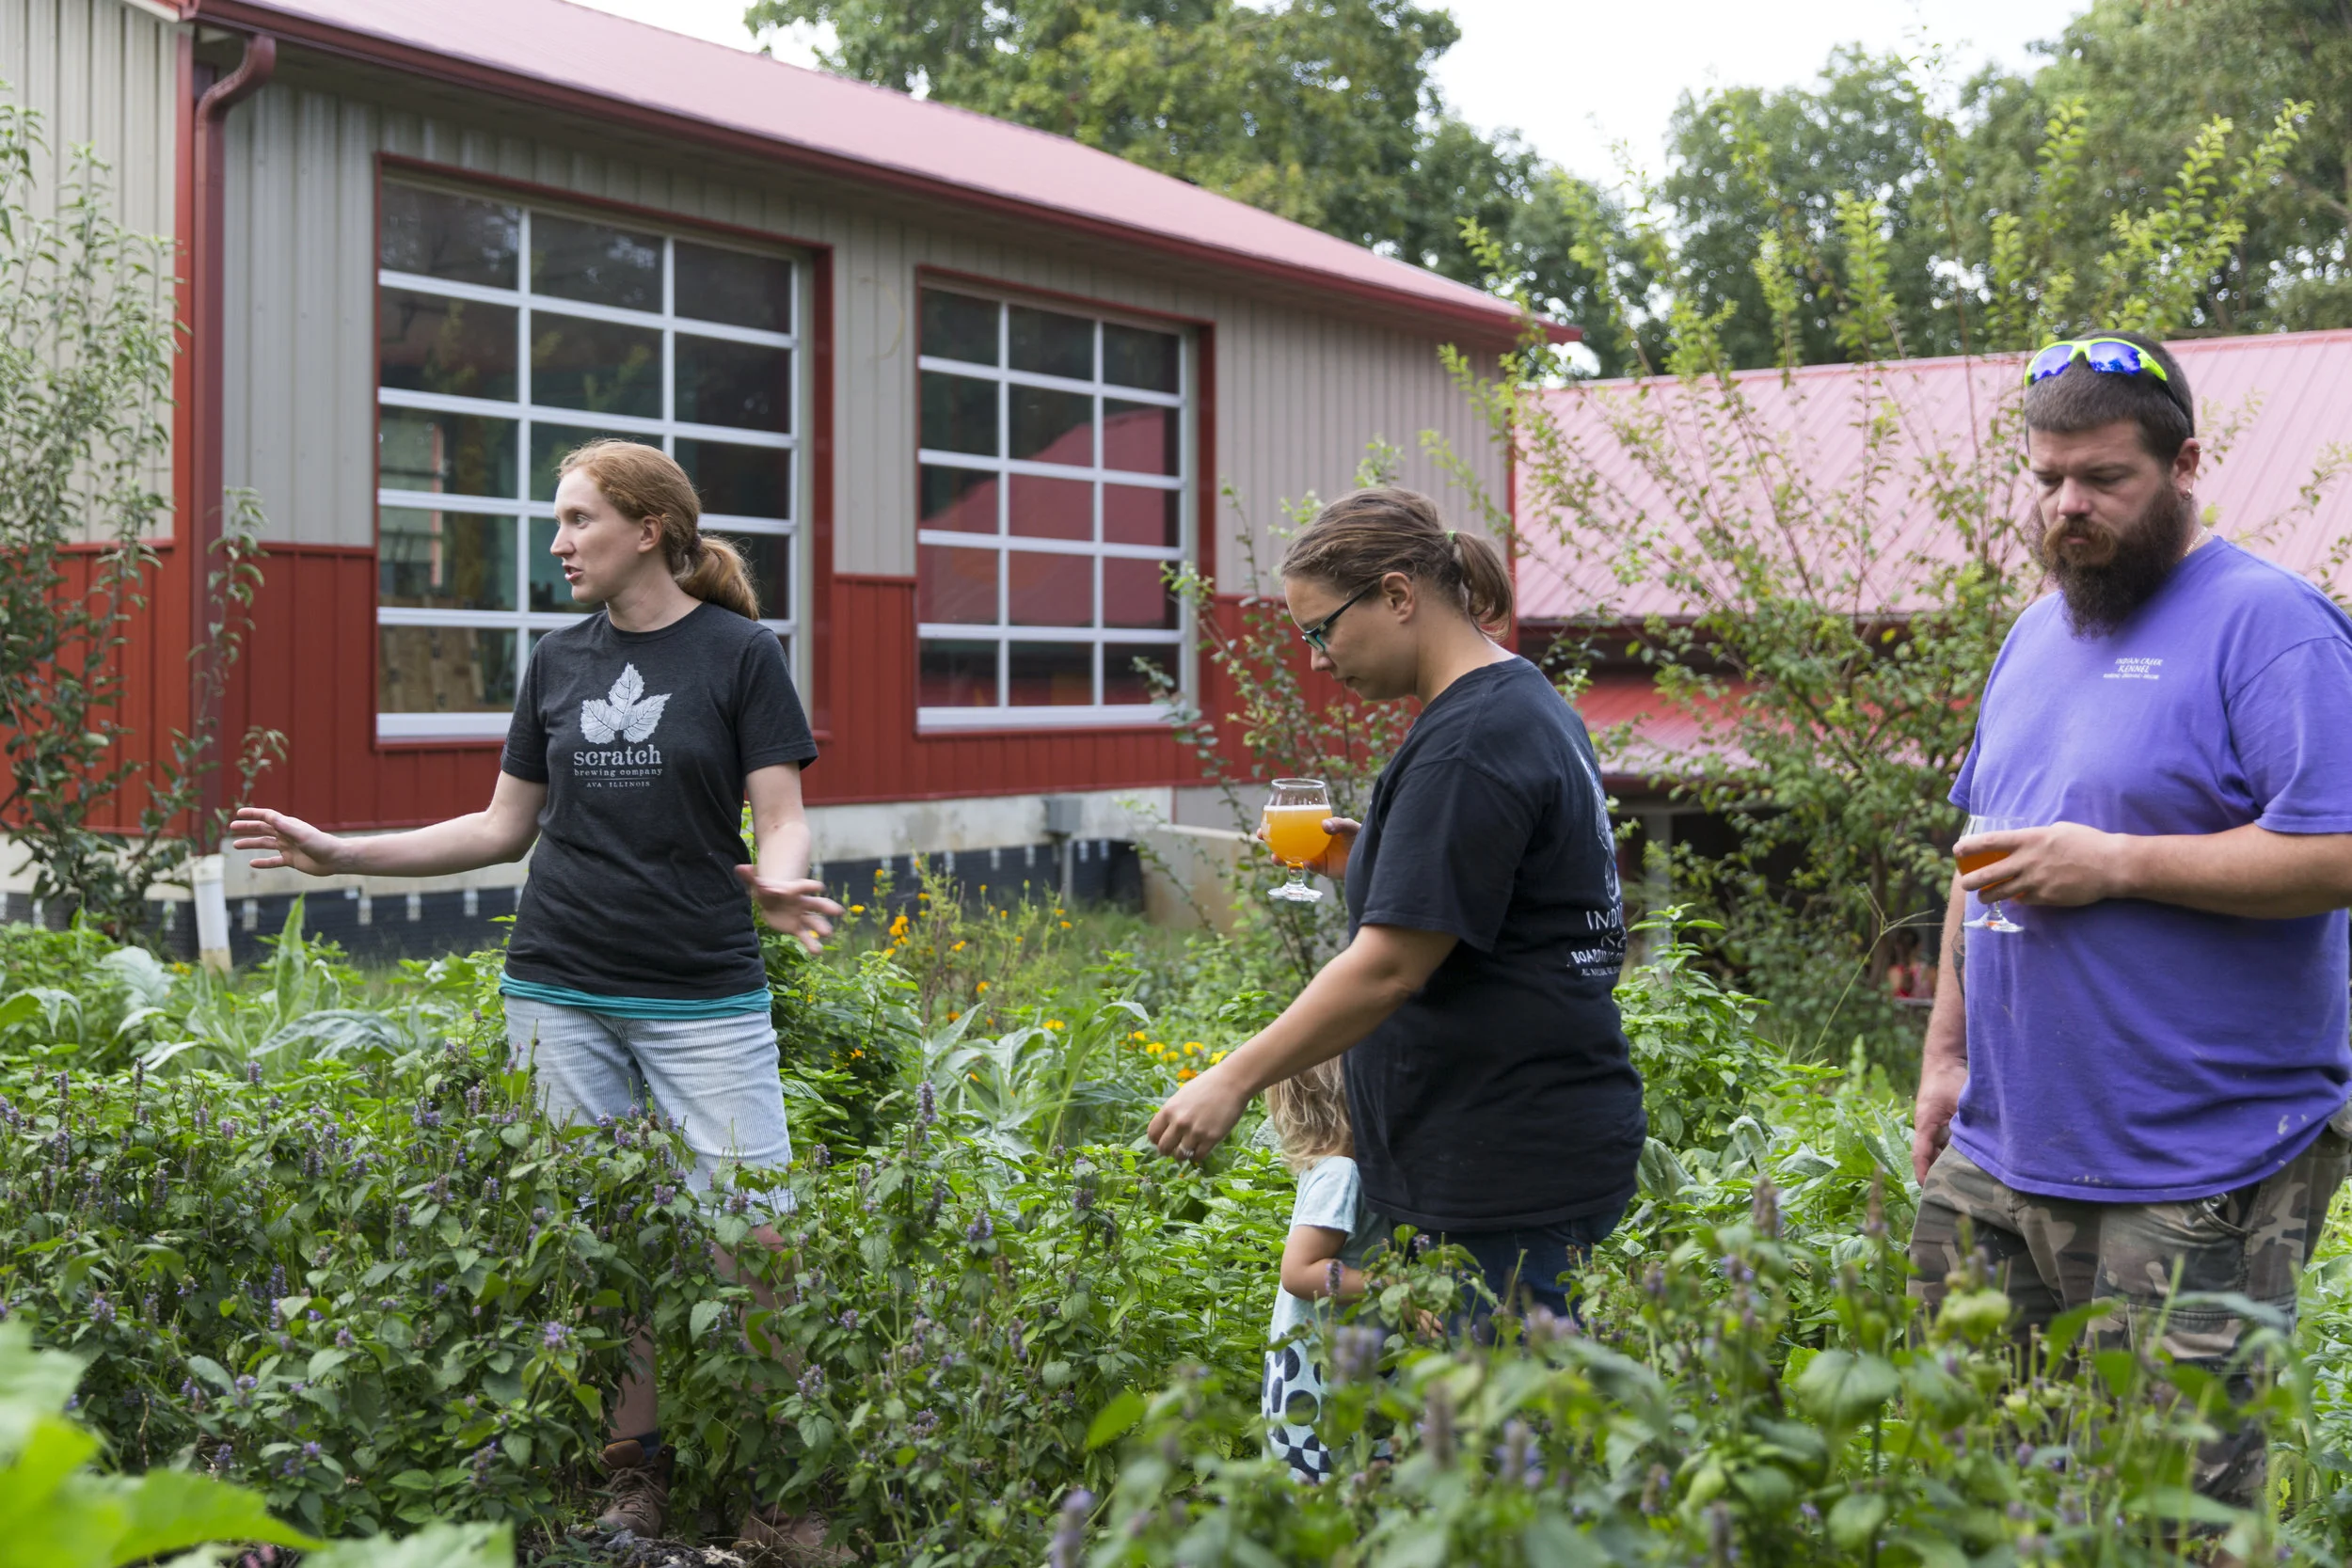
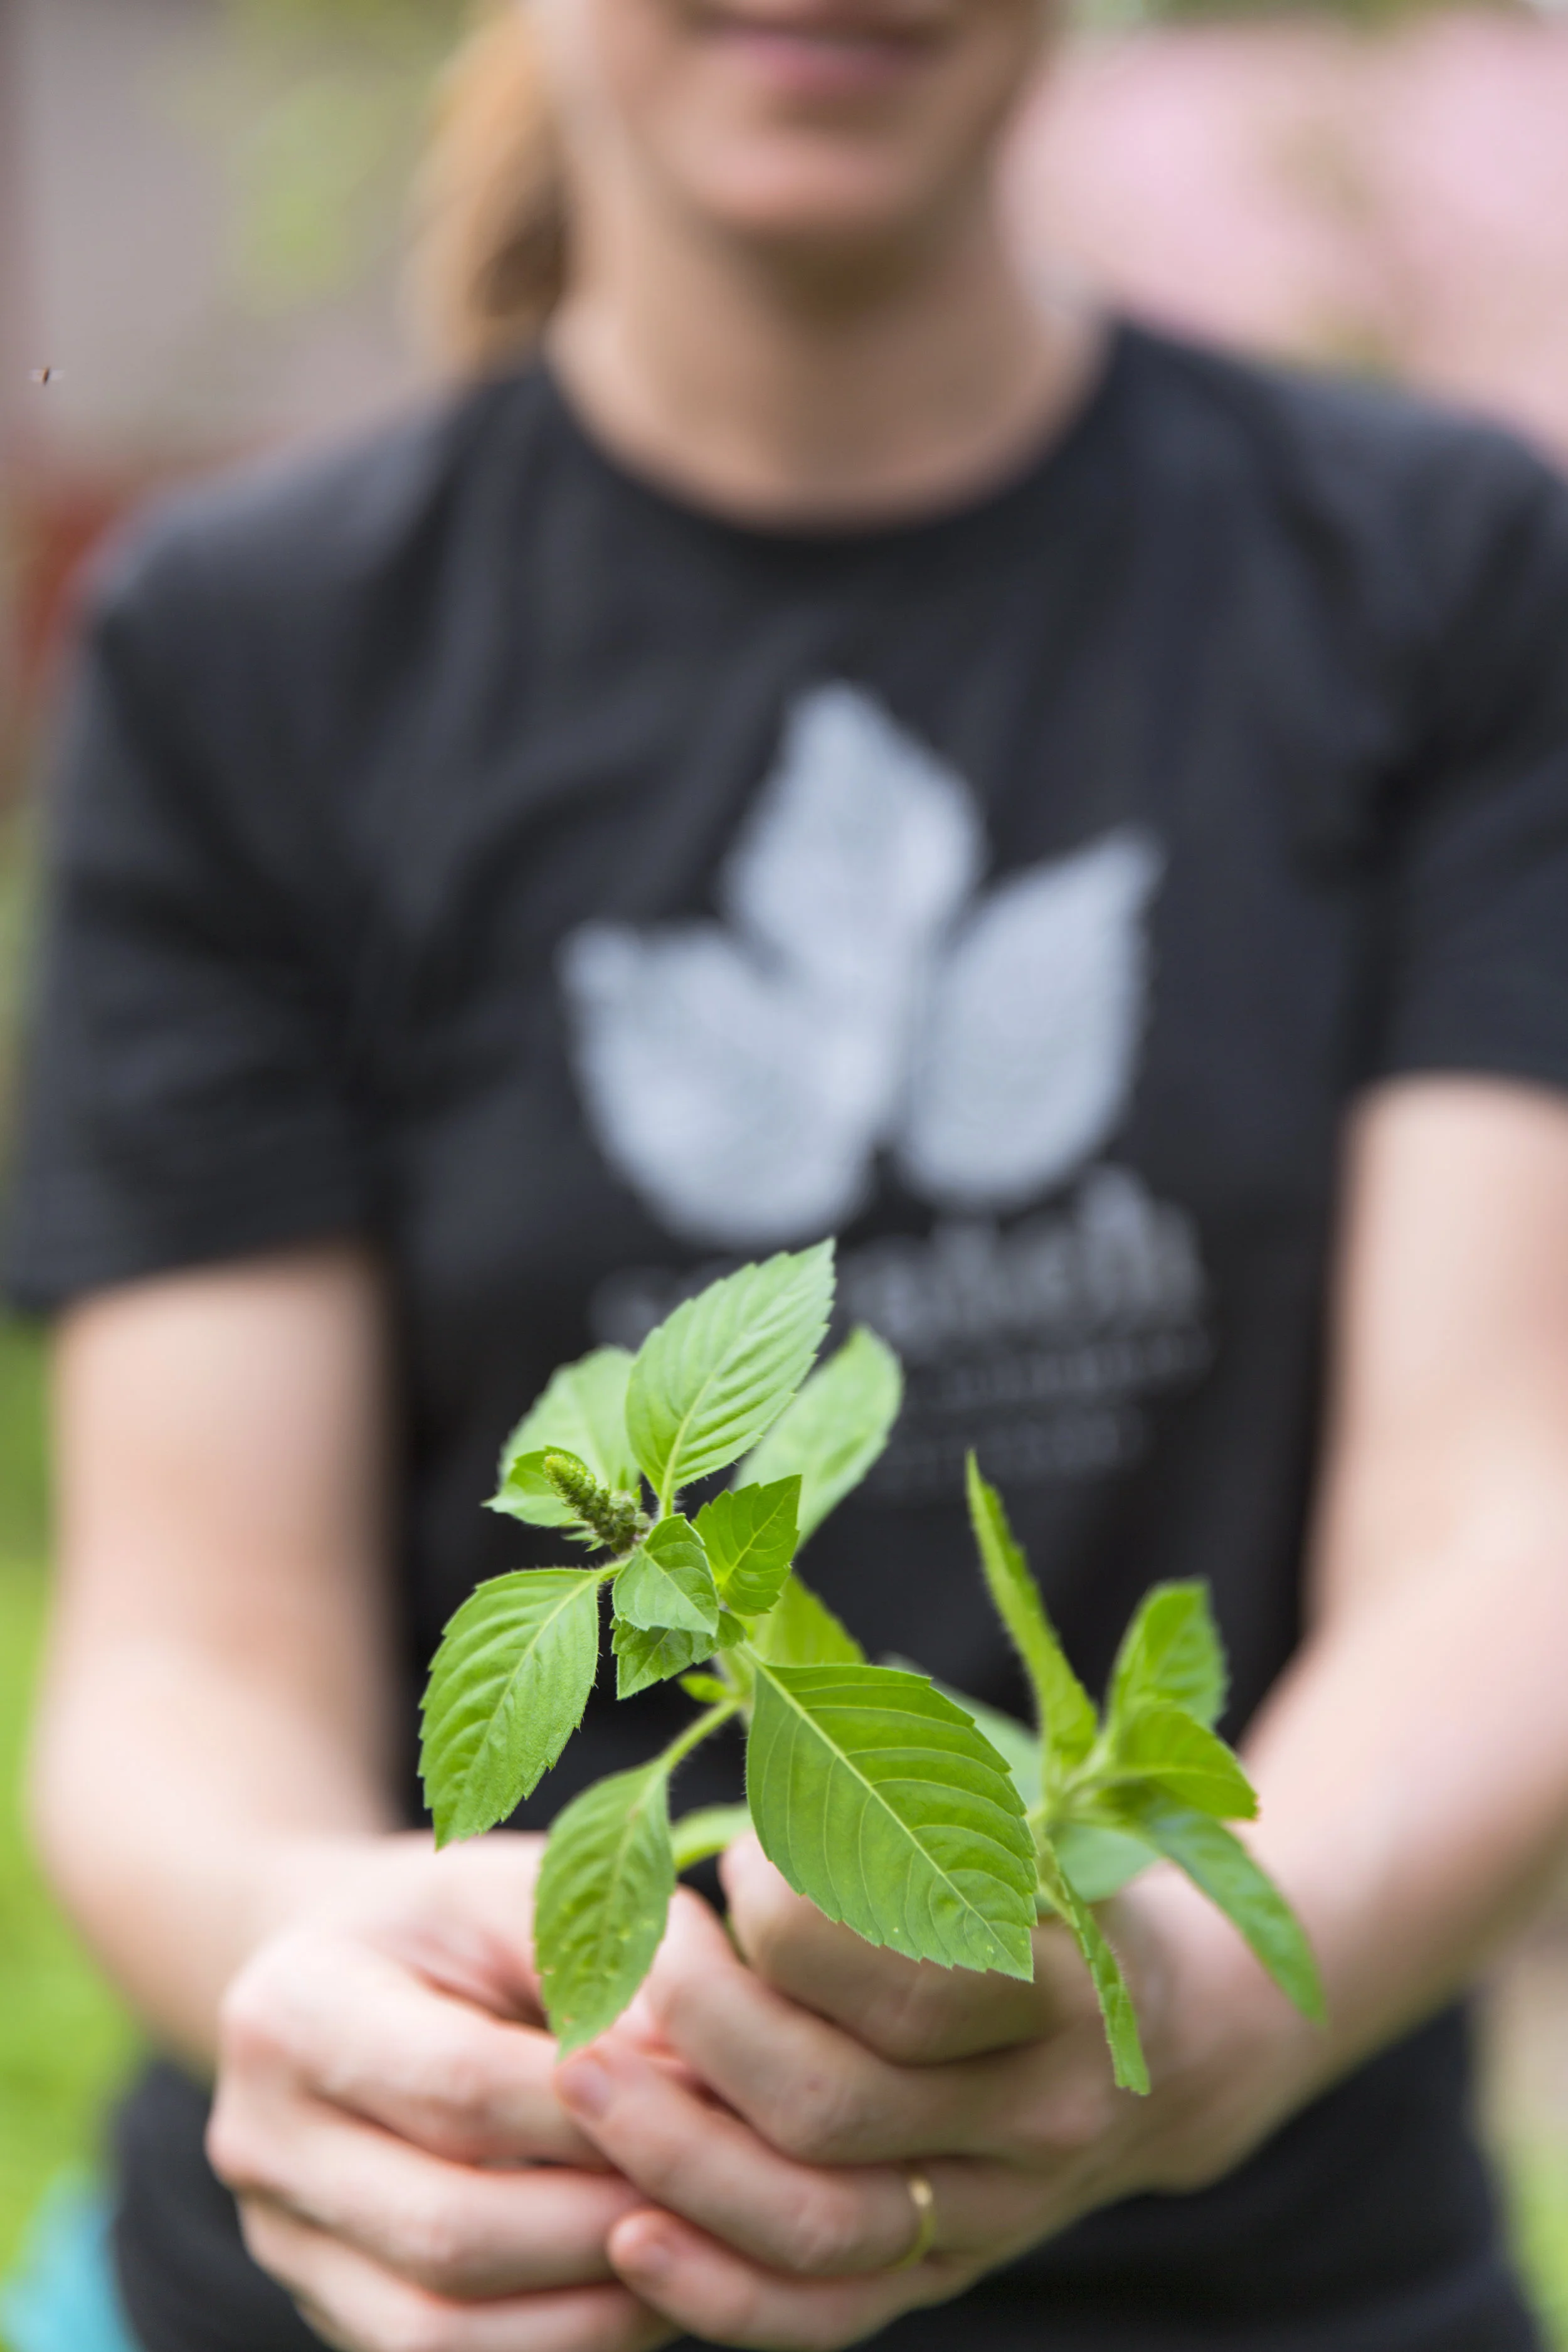
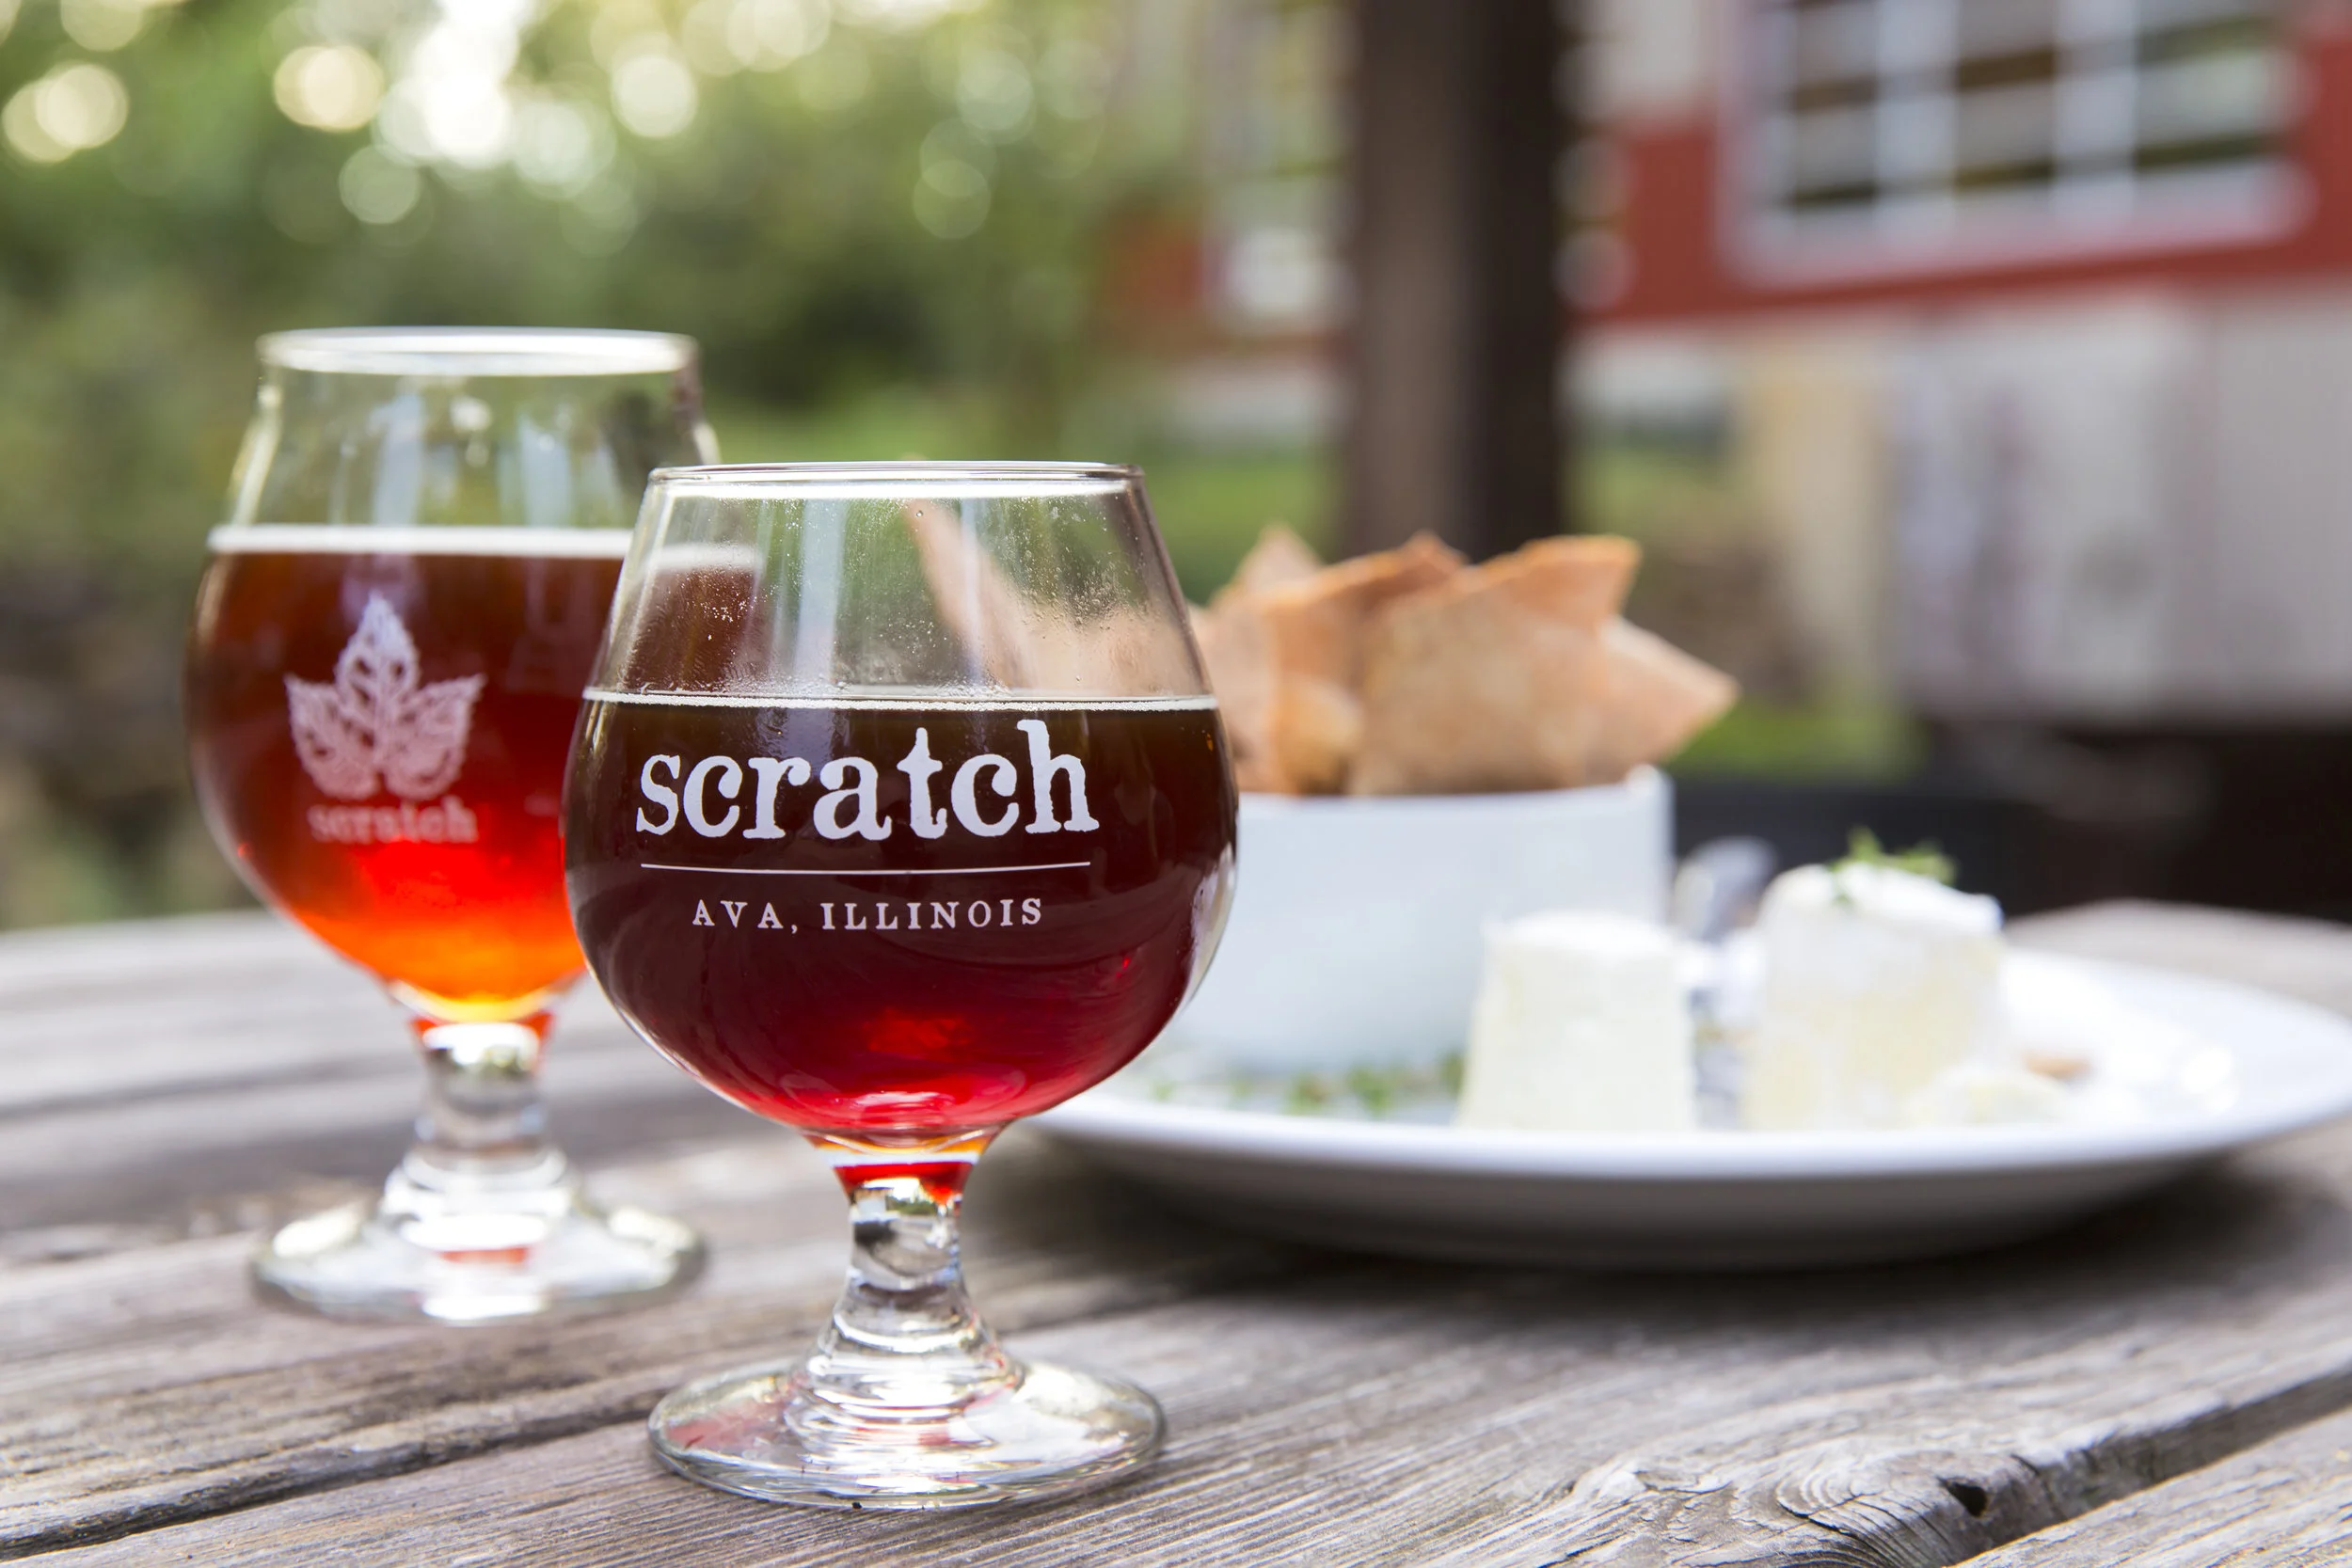
Scratch Brewing in Ava, IL
We are so lucky to have Scratch Brewing in Ava, IL, just a 20-25 minute drive from Carbondale. It's seriously the most inspiring place around here, and it seems like they're being recognized for a new award every week. So happy for these hard working people. Bobby took most of these photos, and we had such a great time here!


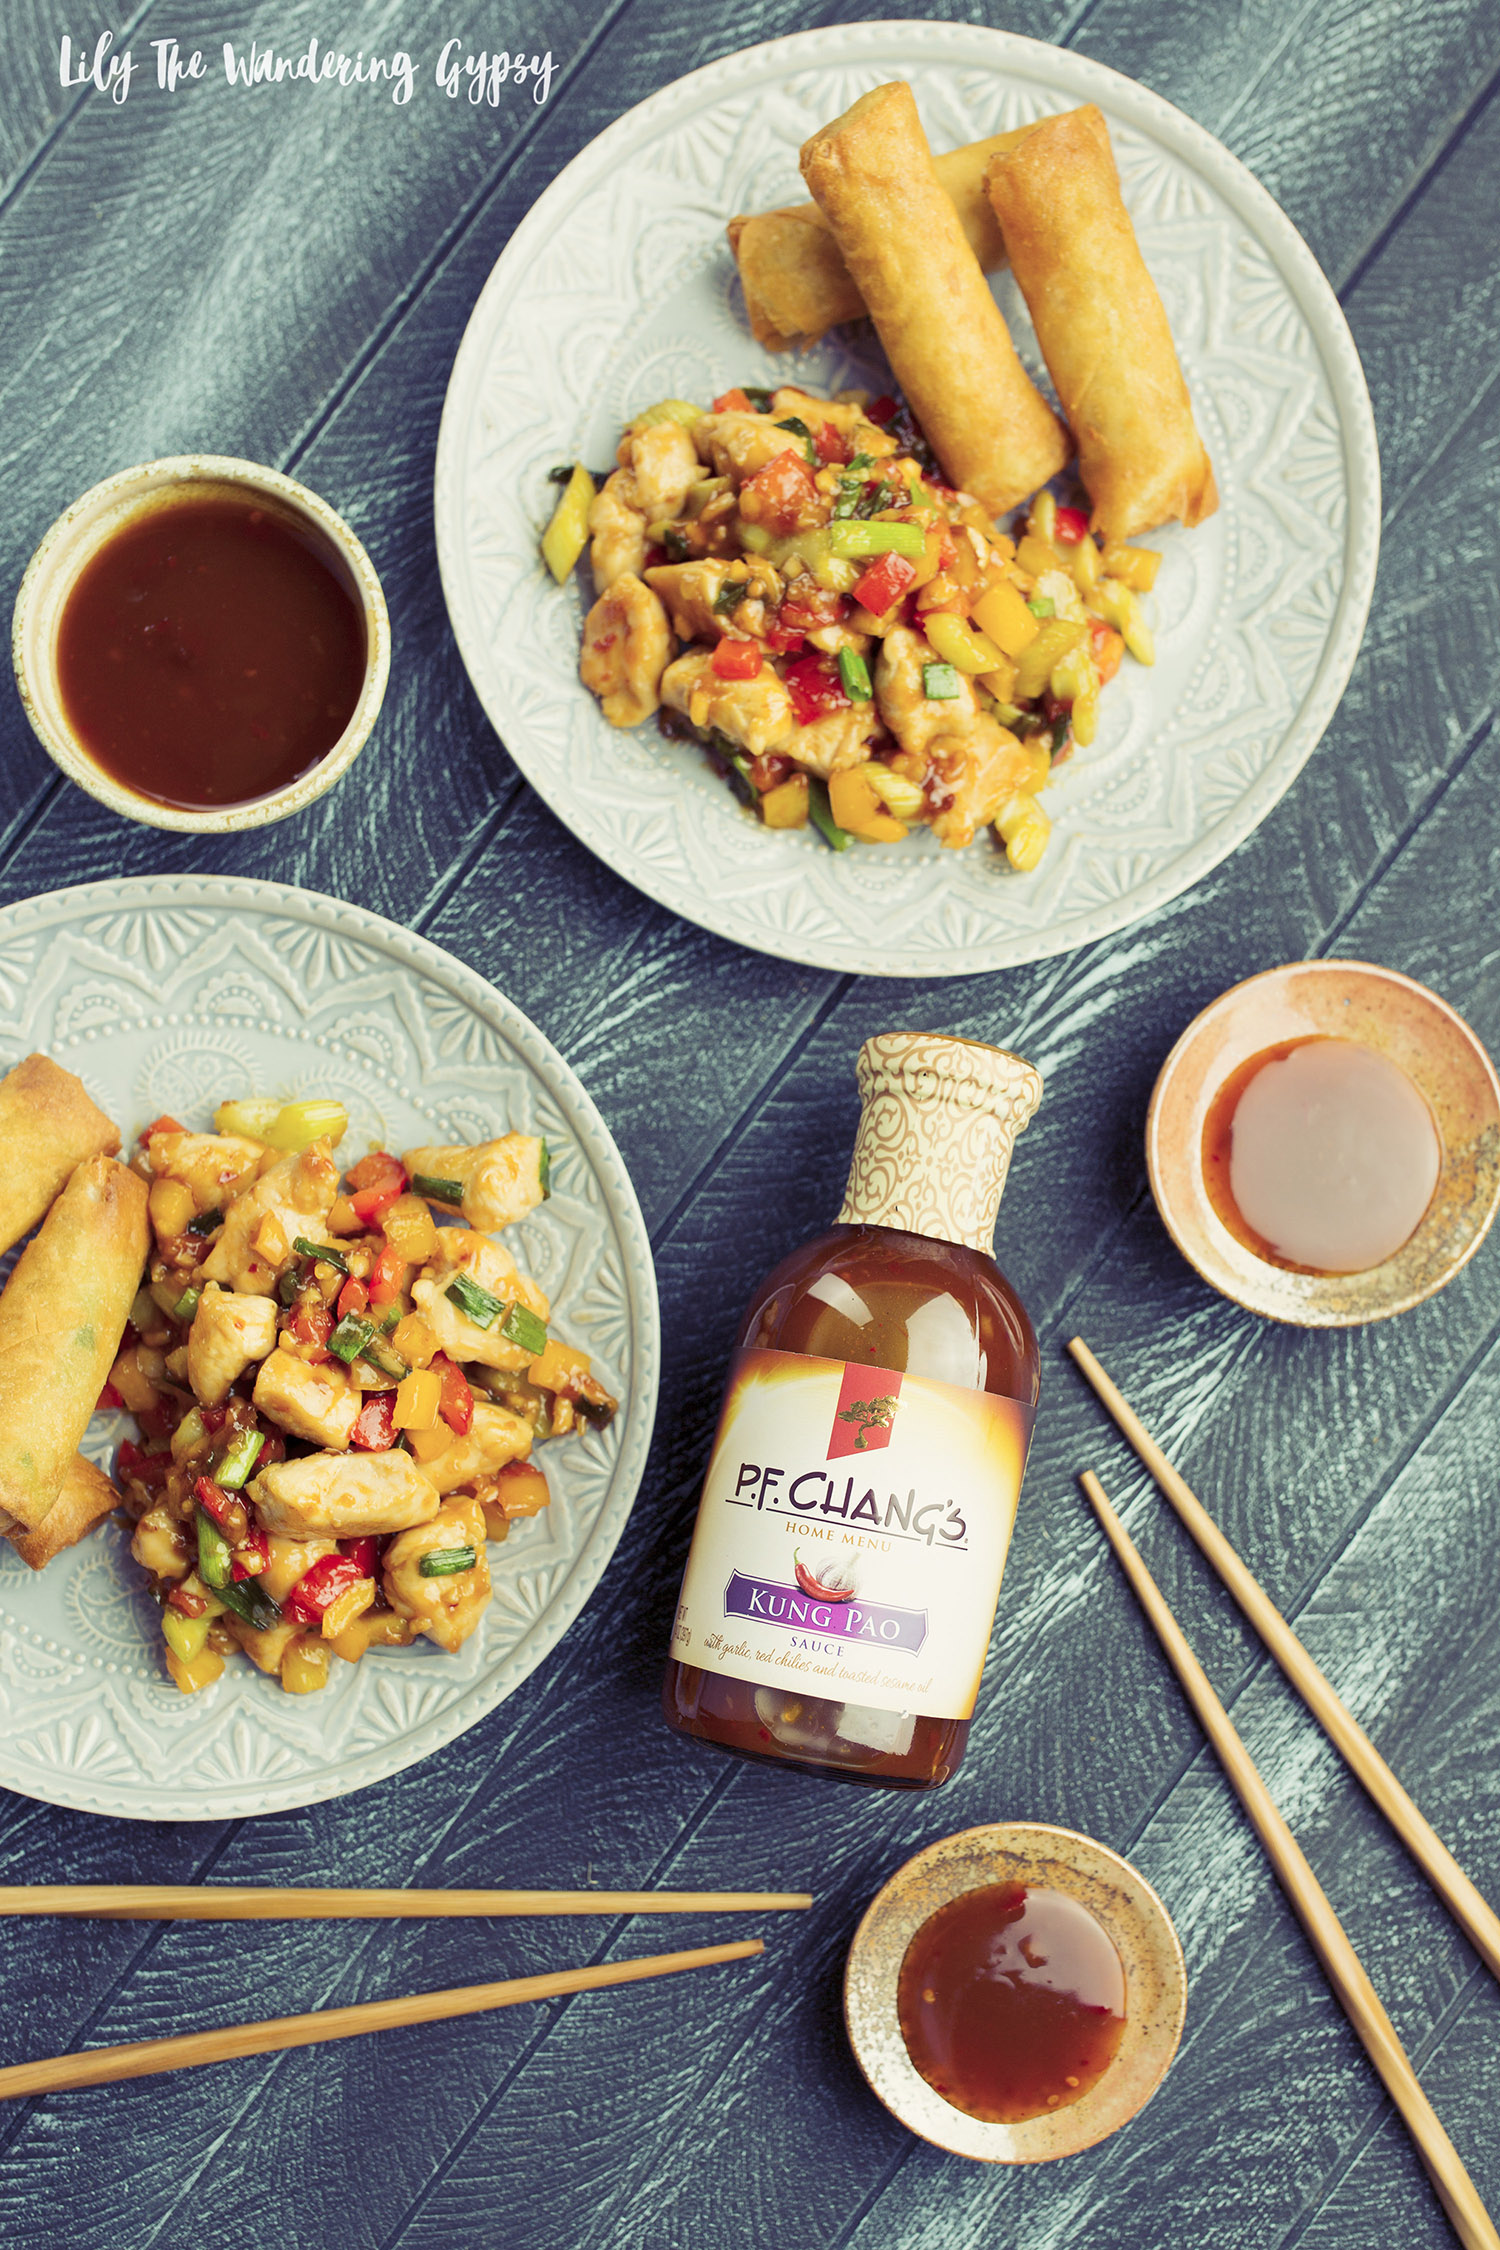
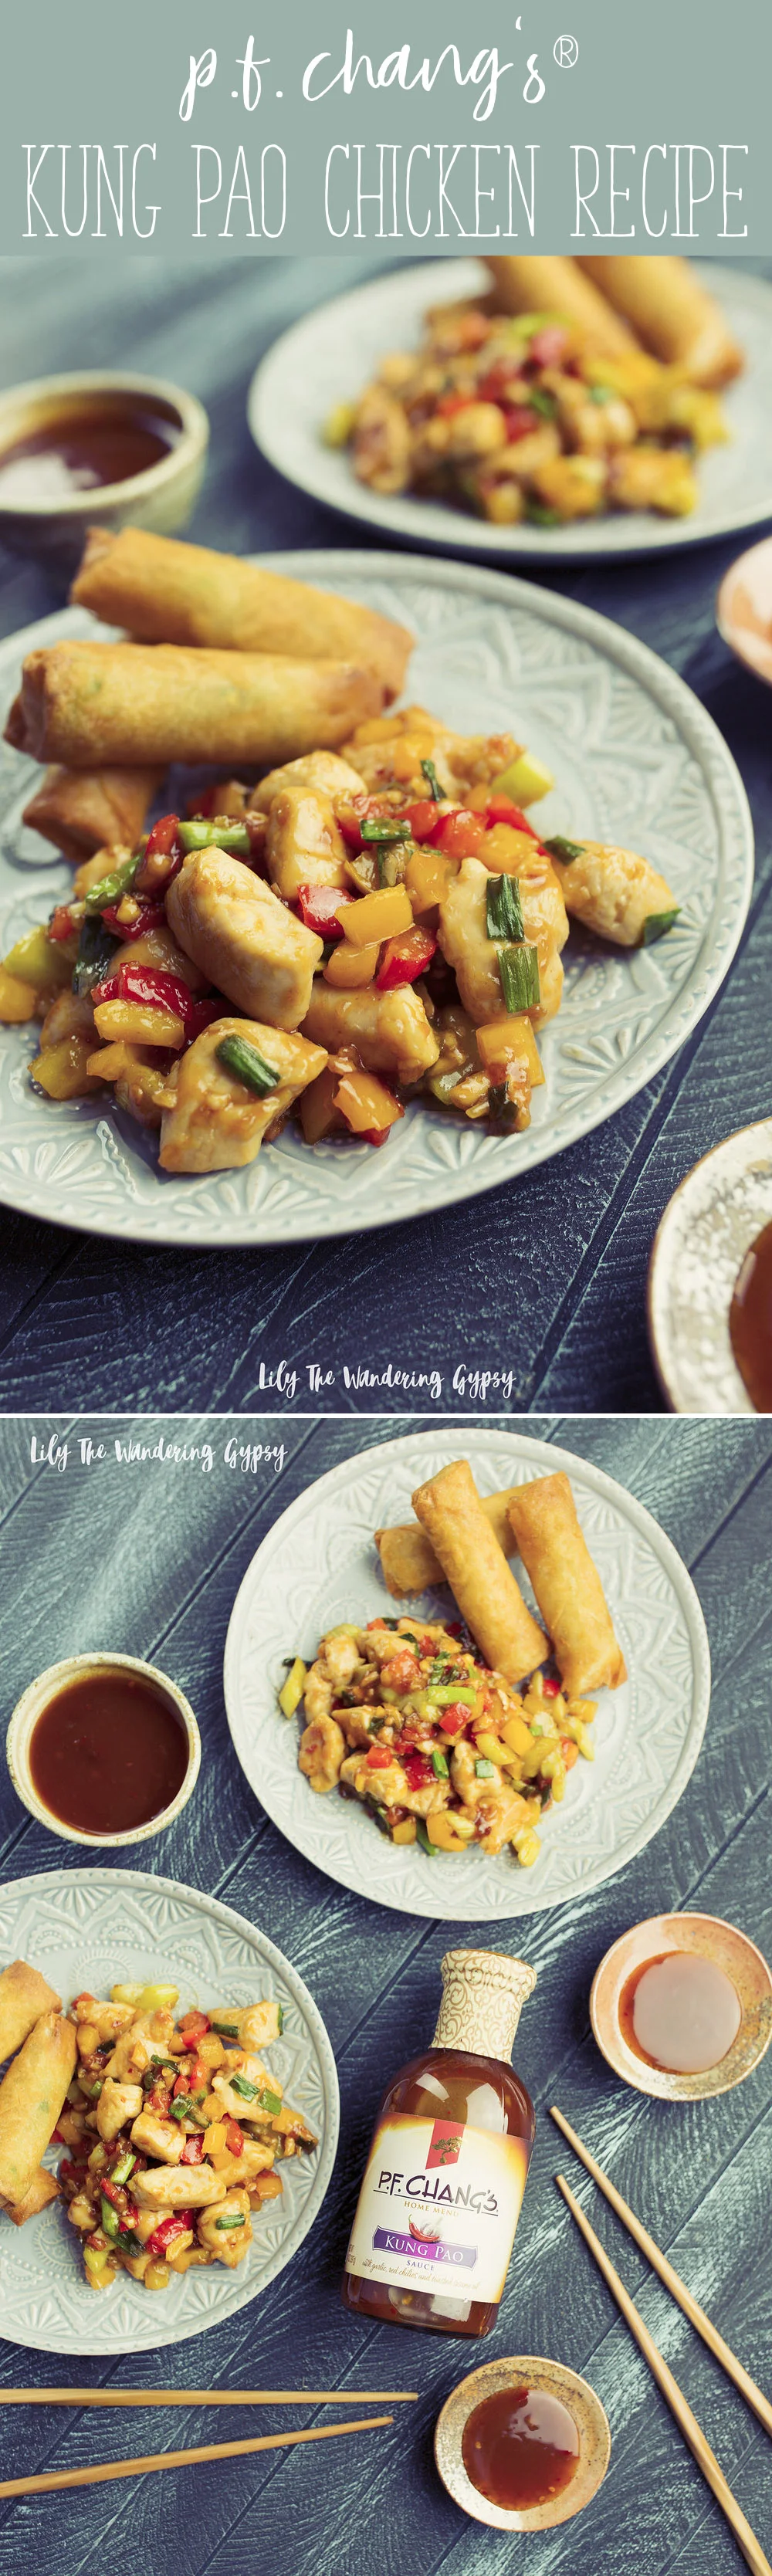
P.F. Chang's Kung Pao Chicken Recipe + Video
Sponsored by P.F. Chang's® Home Menu
Are you craving new flavors that are actually easy to incorporate into your meals? This delicious, Kung Pao Chicken recipe took under an hour to prep and cook, thanks to P.F. Chang’s® Home Menu Sauce! Everything turned out even more delicious than I could have ever expected, and I am so excited to share this wonderful recipe with you today!

This recipe is amazing if you’re short on time, or just prefer to spice up your regular meals a bit more. This Kung Pao sauce is AMAZING, I am so happy it’s available at Kroger stores (I found mine at Kroger near the soy sauces). This recipe is packed with so many vegetables and white chicken as your protein, and is a great way to add more variety to your meals.
If you’re trying to eat vegetarian, simply omit the chicken, and double up on the peppers and feel free to add even more garlic and ginger.
This recipe is amazing! Great for 1-2 people, or great for a larger group!
Make this for your friends, they’ll never forget how good of a cook you are!
Shop Kroger and Kroger Banner Stores!

Featured Product: P.F. Chang's Home Menu Kung Pao Sauce
“Spicy yet balanced, our Kung Pao Sauce is anything but ordinary thanks to bold ingredients like fermented chili bean sauce, chili flakes which are complimented with sweet and tangy flavors from apple juice concentrate and vinegar.”
Kung Pao Stir Fry (Originally Found Here)
Chicken stir fried with colorful red and yellow bell peppers, crisp celery, crunchy peanuts and P.F. Chang's® Home Menu bold and spicy Kung Pao Sauce, topped with scallions
Hands On: 30 | Total: 30 | Makes: 4 servings (about 1-1/4 cups each)
Ingredients:
2 tablespoons vegetable oil
1 pound boneless skinless chicken breast, cut into bite-sized pieces
1/4 teaspoon kosher salt
1/8 teaspoon freshly cracked black pepper
2 teaspoons minced fresh garlic, divided
2 teaspoons minced fresh ginger, divided
1 cup chopped red bell pepper
1 cup chopped yellow bell pepper
1 cup sliced celery
3/4 cup P.F. Chang's Home Menu Kung Pao Sauce
1/2 cup dry roasted peanuts, half crushed
2 sliced green onions

1.) Heat 1 tablespoon vegetable oil in large skillet over medium high heat. Add chicken to skillet, season with salt, and cook until no longer pink, about 4 minutes. Add 1 tsp garlic and ginger during last 30 seconds of cooking. Transfer to a clean bowl.

2.) Add celery and peppers to skillet, plus additional garlic and ginger. Cook for 3-5 minutes. Season if desired.
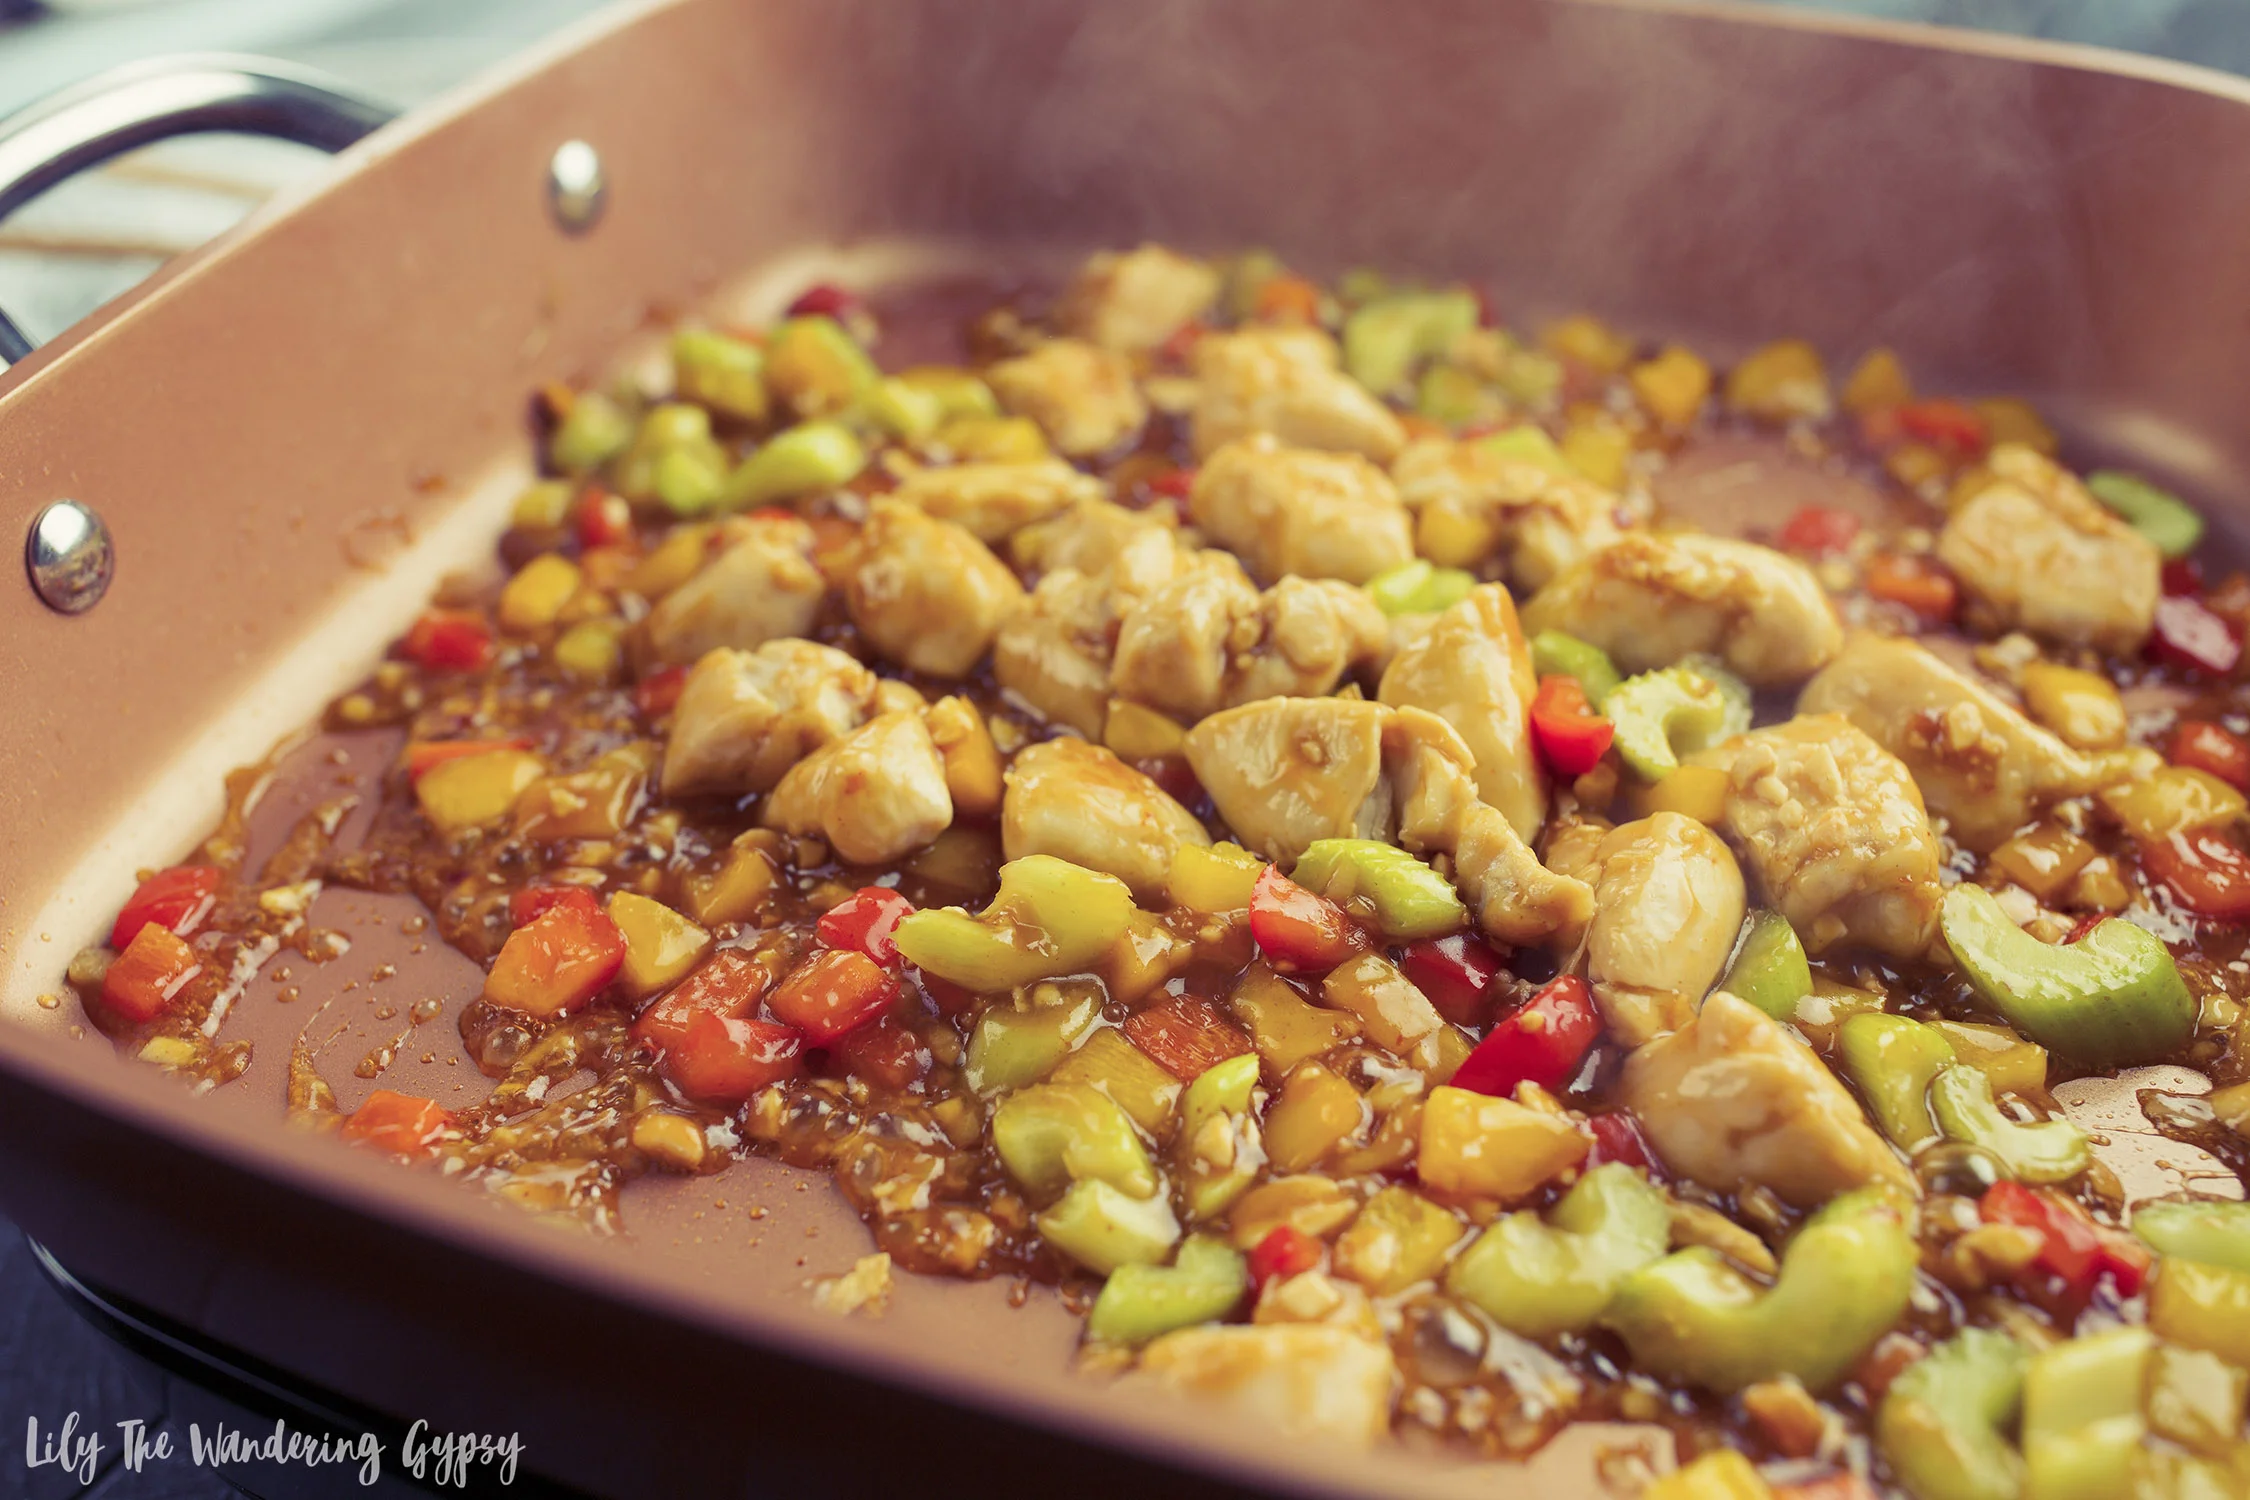
3.) Add chicken back to skillet and stir into peppers and celery mixture. Add P.F. Chang's Home Menu Kung Pao Sauce and peanuts to skillet and allow to cook 1-3 minutes, and sauce will thicken. Turn off heat, stir in green onions, and combine everything. Serve and enjoy!
Cook's Tips
For extra heat, add 1 teaspoon crushed red chili flakes when cooking the vegetables.

Connect with P.F. Chang’s® on social!
Facebook: @pfchomemenu
Pinterest: @pfchangshomemenu
Instagram: @pfchangshomemenu
Twitter: @pfchangshomemenu
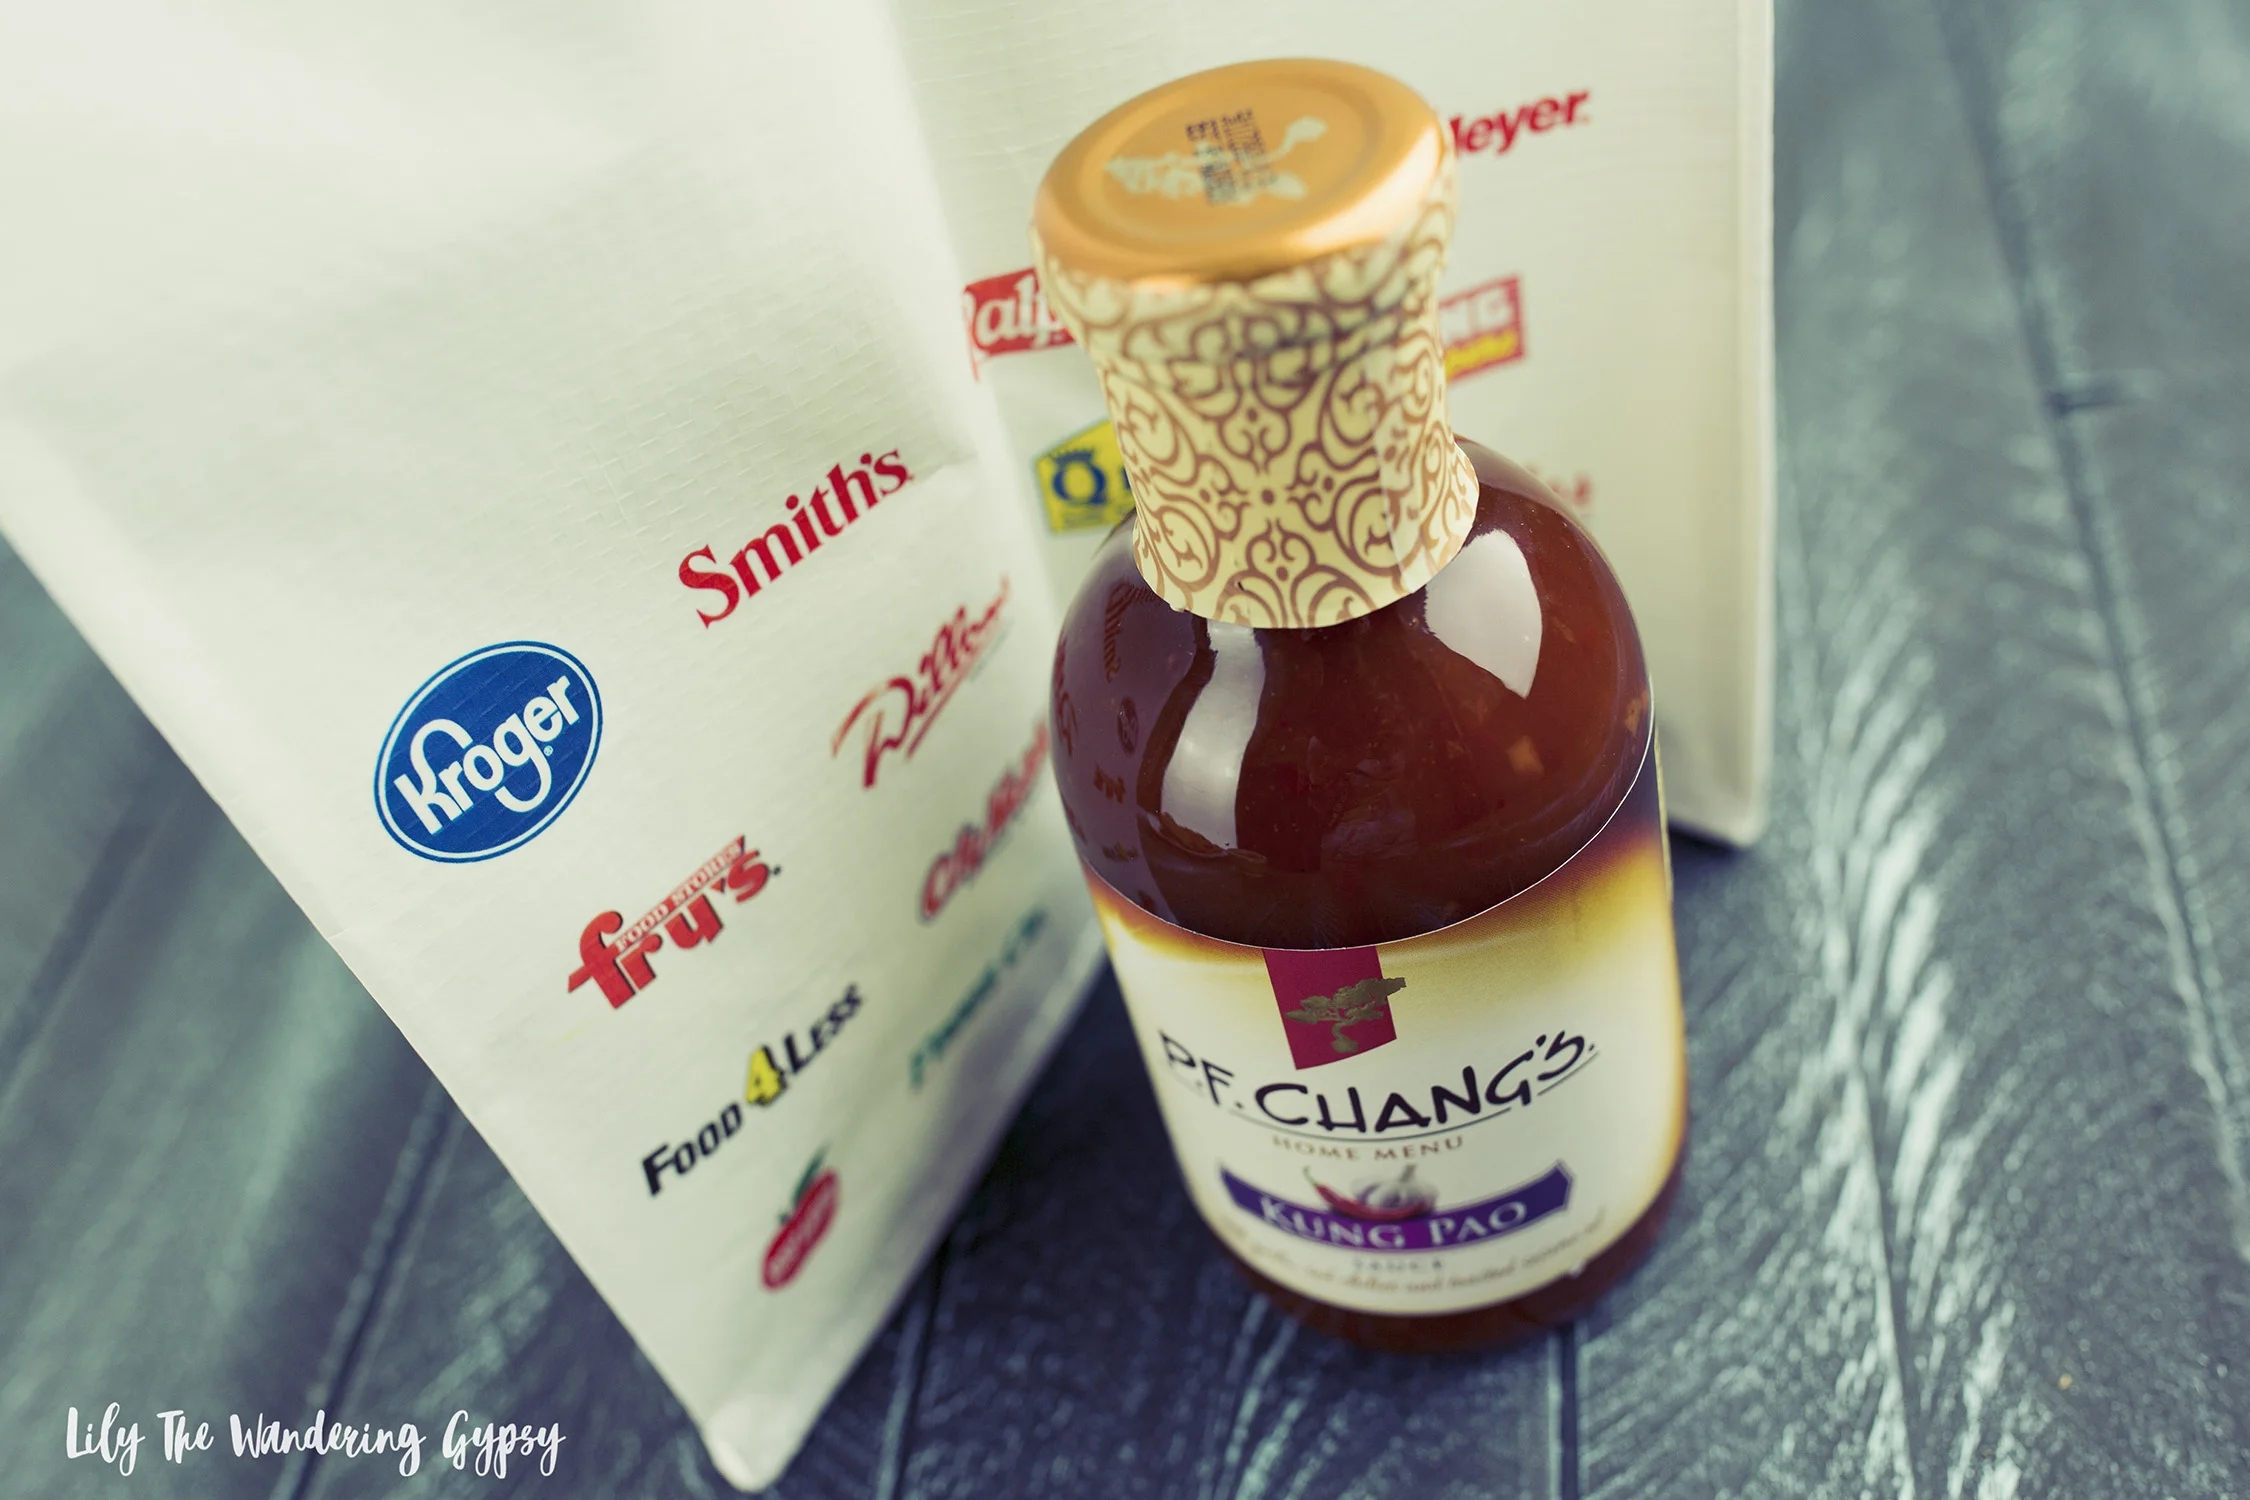
Head to Kroger or your local Kroger Banner store to find my new favorite ingredient: P.F. Chang’s® Kung Pao Home Menu Sauce!
FIND P.F. CHANG'S SAUCES AT THE RETAILERS BELOW:
Kroger, King Soopers, Dillons, City Market, QFC, Fry'sRalphs, Smiths, and Fred Meyer
PIN IT FOR LATER:
DIY Decorated Pumpkins + Halloween Collars For Your Dogs
This is a sponsored conversation written by me on behalf of True Chews. The opinions and text are all mine.

This post is sponsored by True Chews® Dog Treats and the BlogPaws® Pet Influencer Network™. I am being compensated to help share information about the True Chews line of all-natural dog treats , but my pups and I only share information we feel is relevant to our readers. All statements made reflect my true opinion of the product. True Chews is not responsible for the content of this article.

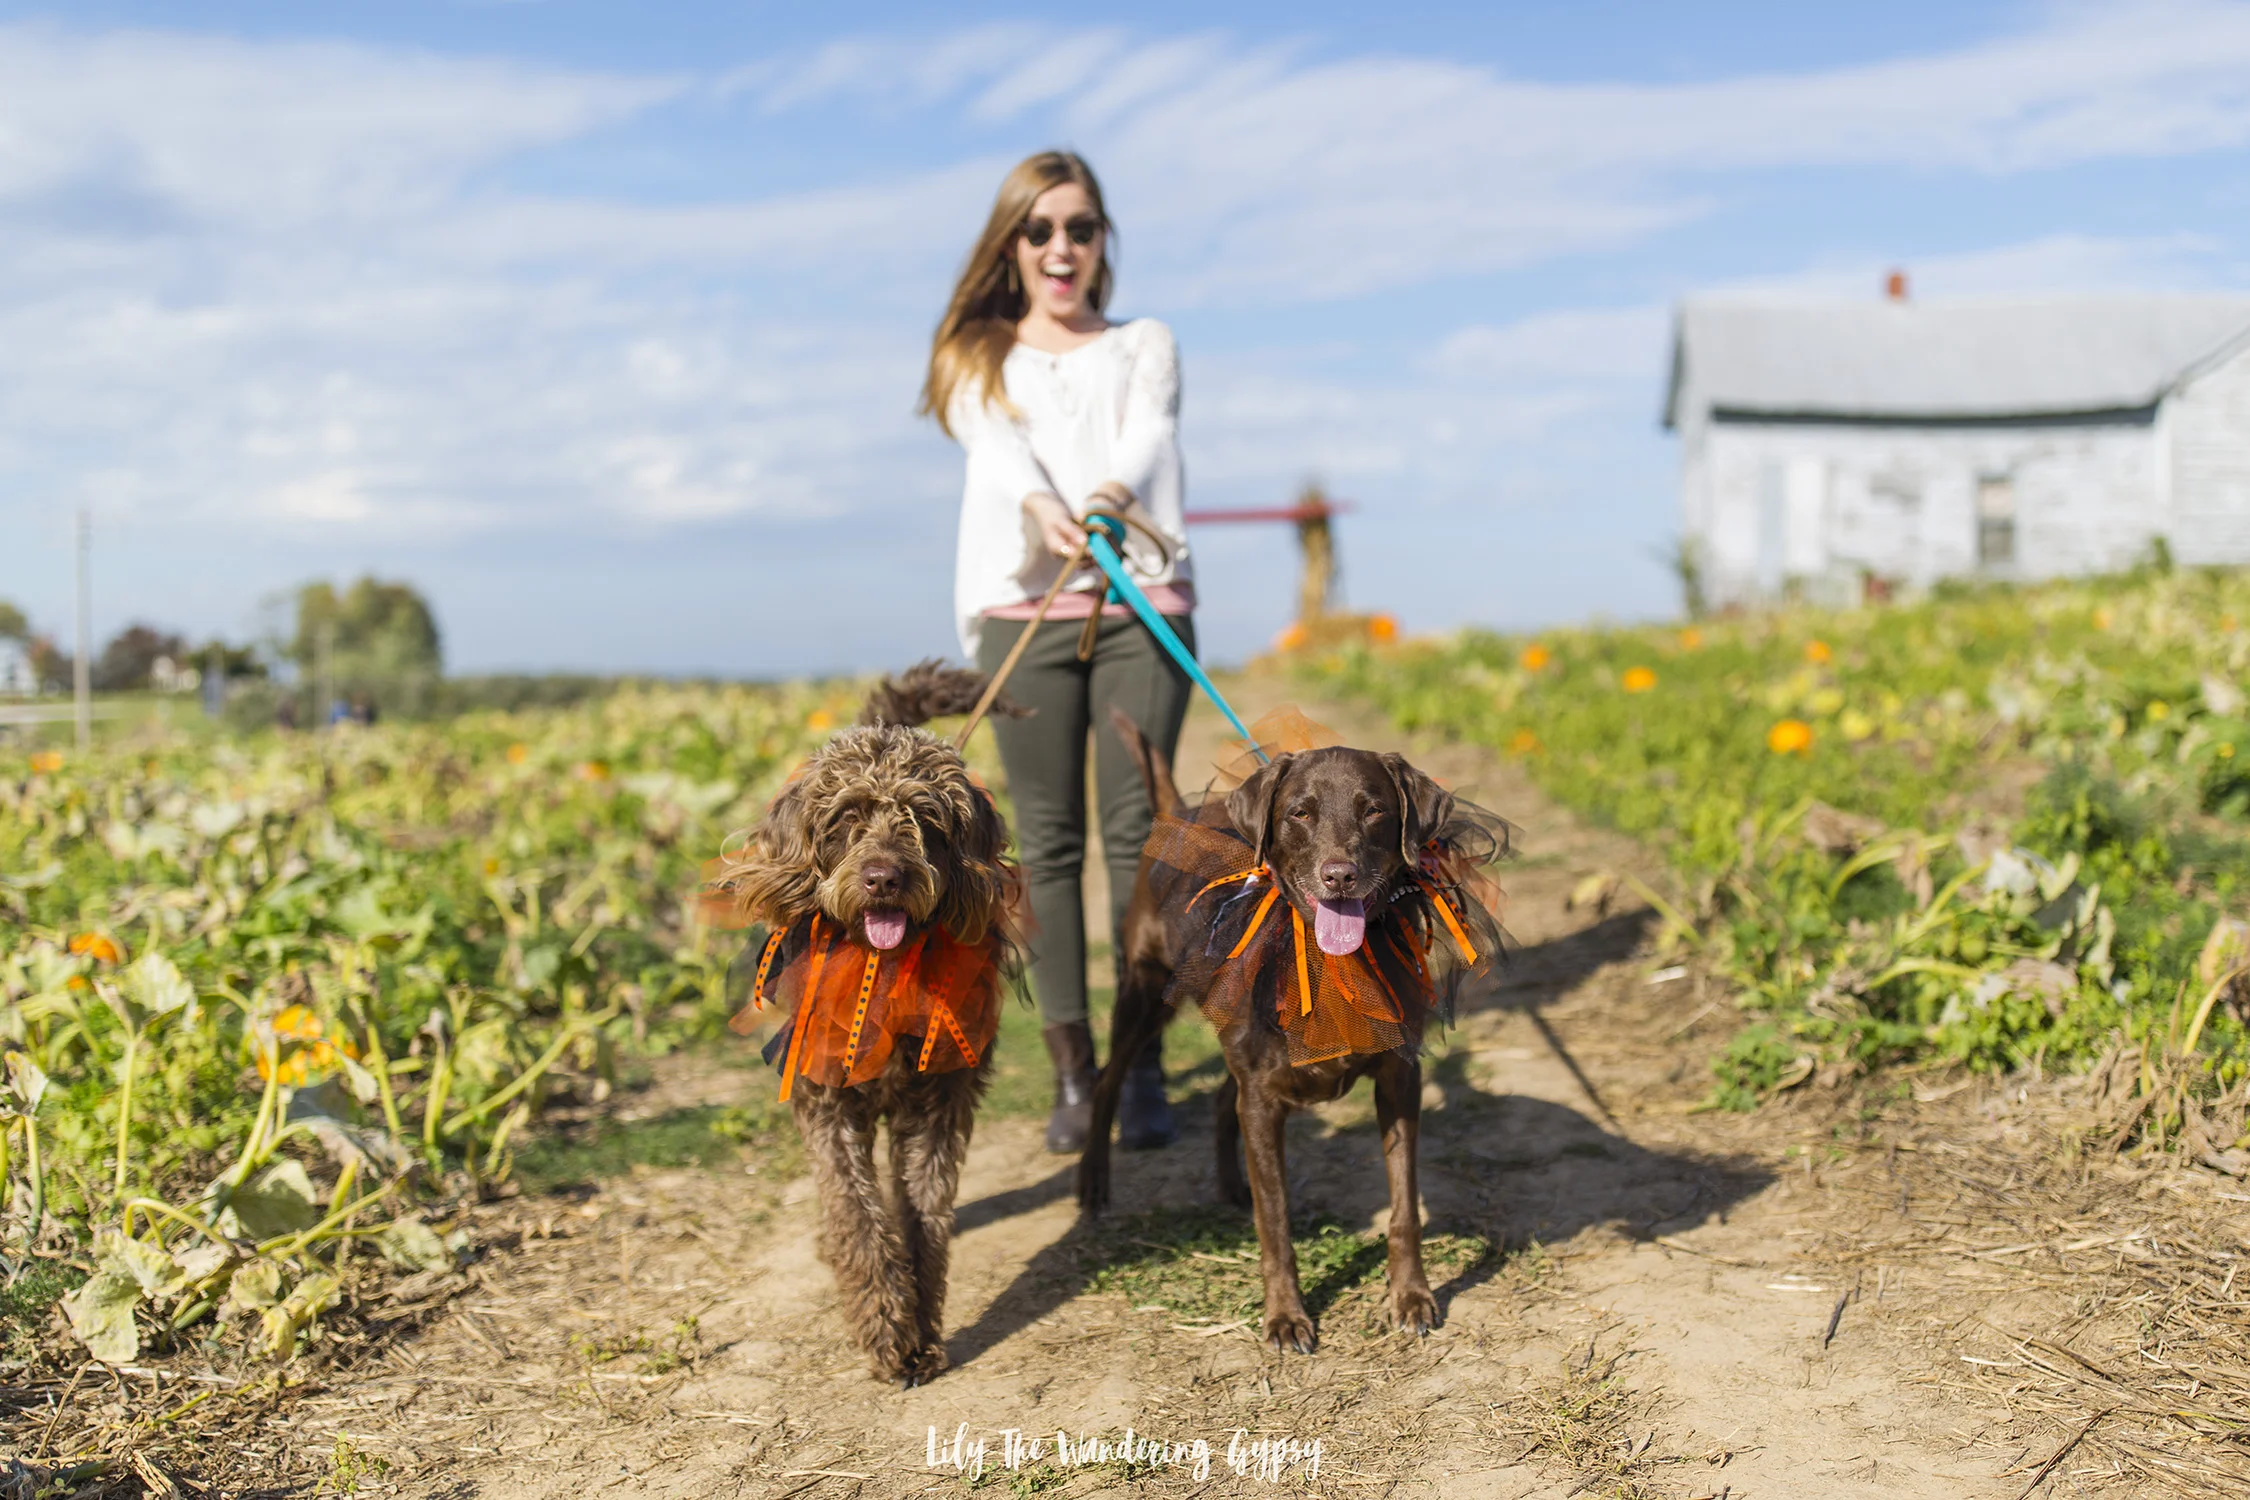
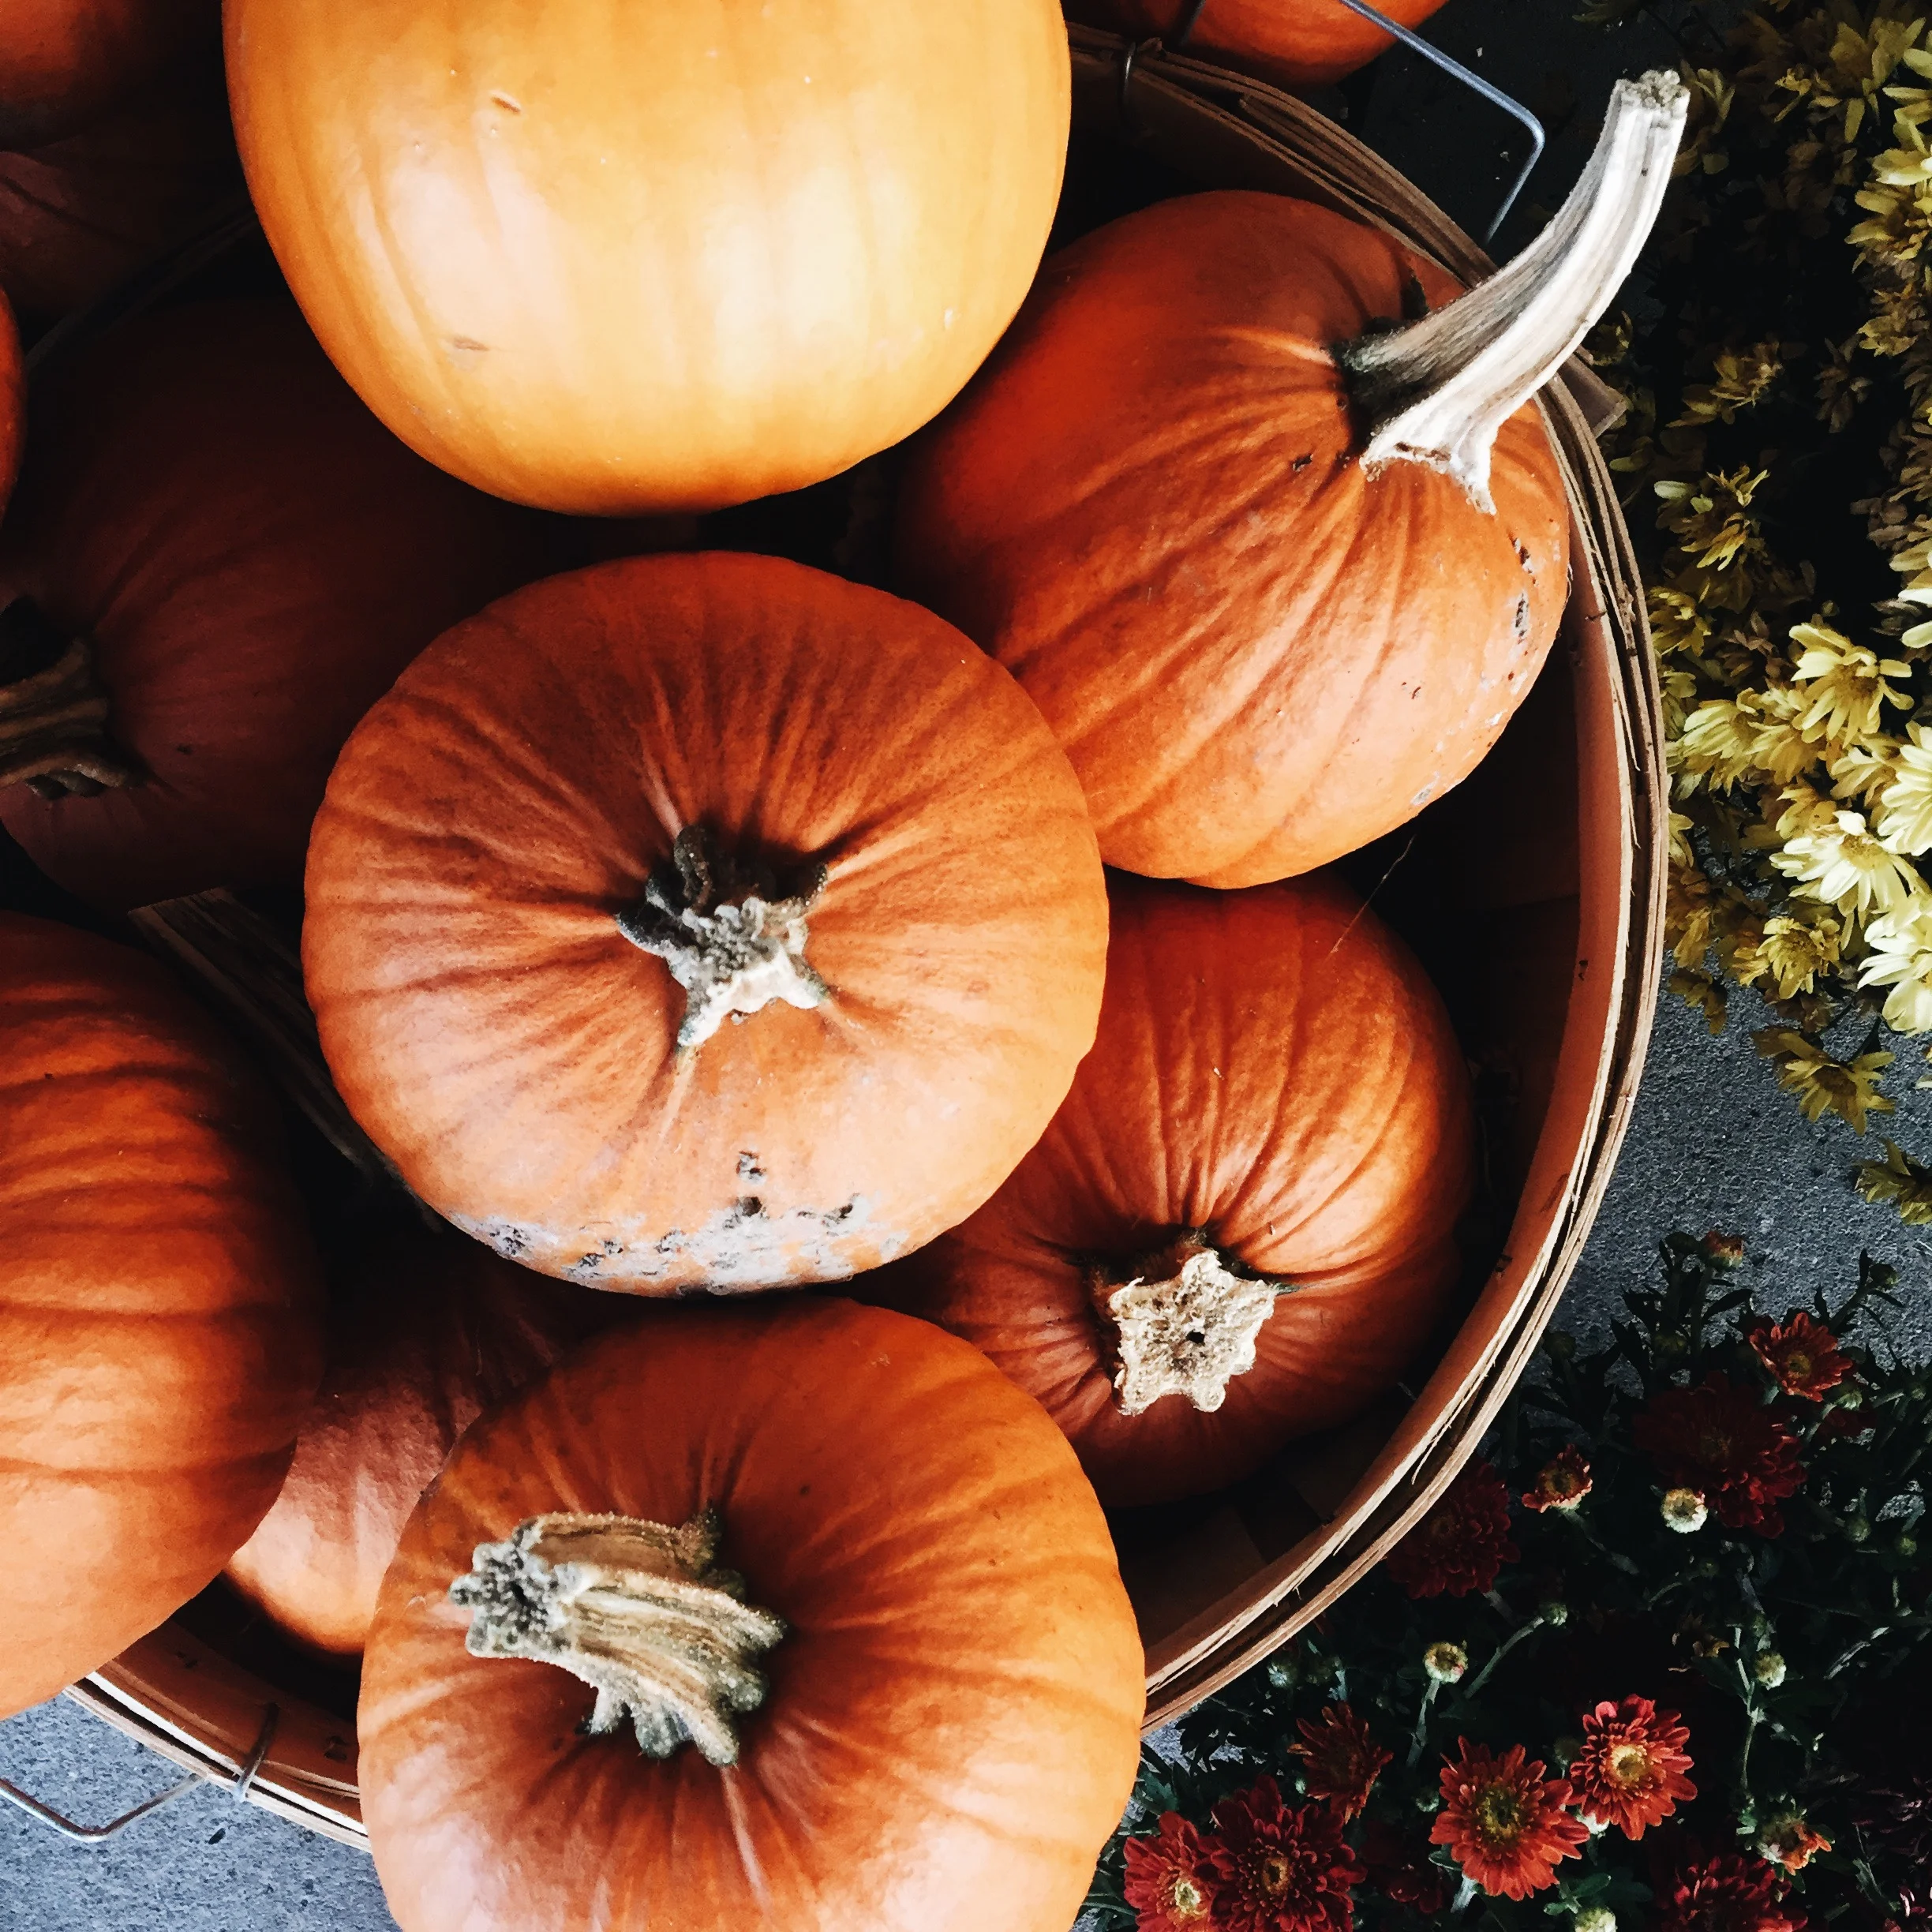
Make your Life’s Journey with your dog that much more special with 100% Natural Made in the USA True Chews® Dog Treats. Treat them well! We brought the dogs out on a fun adventure day recently and captured some amazing memories. We visited Petco to stock up on True Chews Treats, then headed out to the pumpkin patch with the dogs wearing their DIY adorable dog collars! We went to the pumpkin patch to pick out pumpkins to decorate for the dogs and to display for our Trick Or Treaters next week.
My goodness, Cabbie looks like a perfect little princess in her DIY Dog Collar, and the dog-inspired pumpkins I decorated once we got home, turned out so cute! Keep reading to see how the pumpkins look.
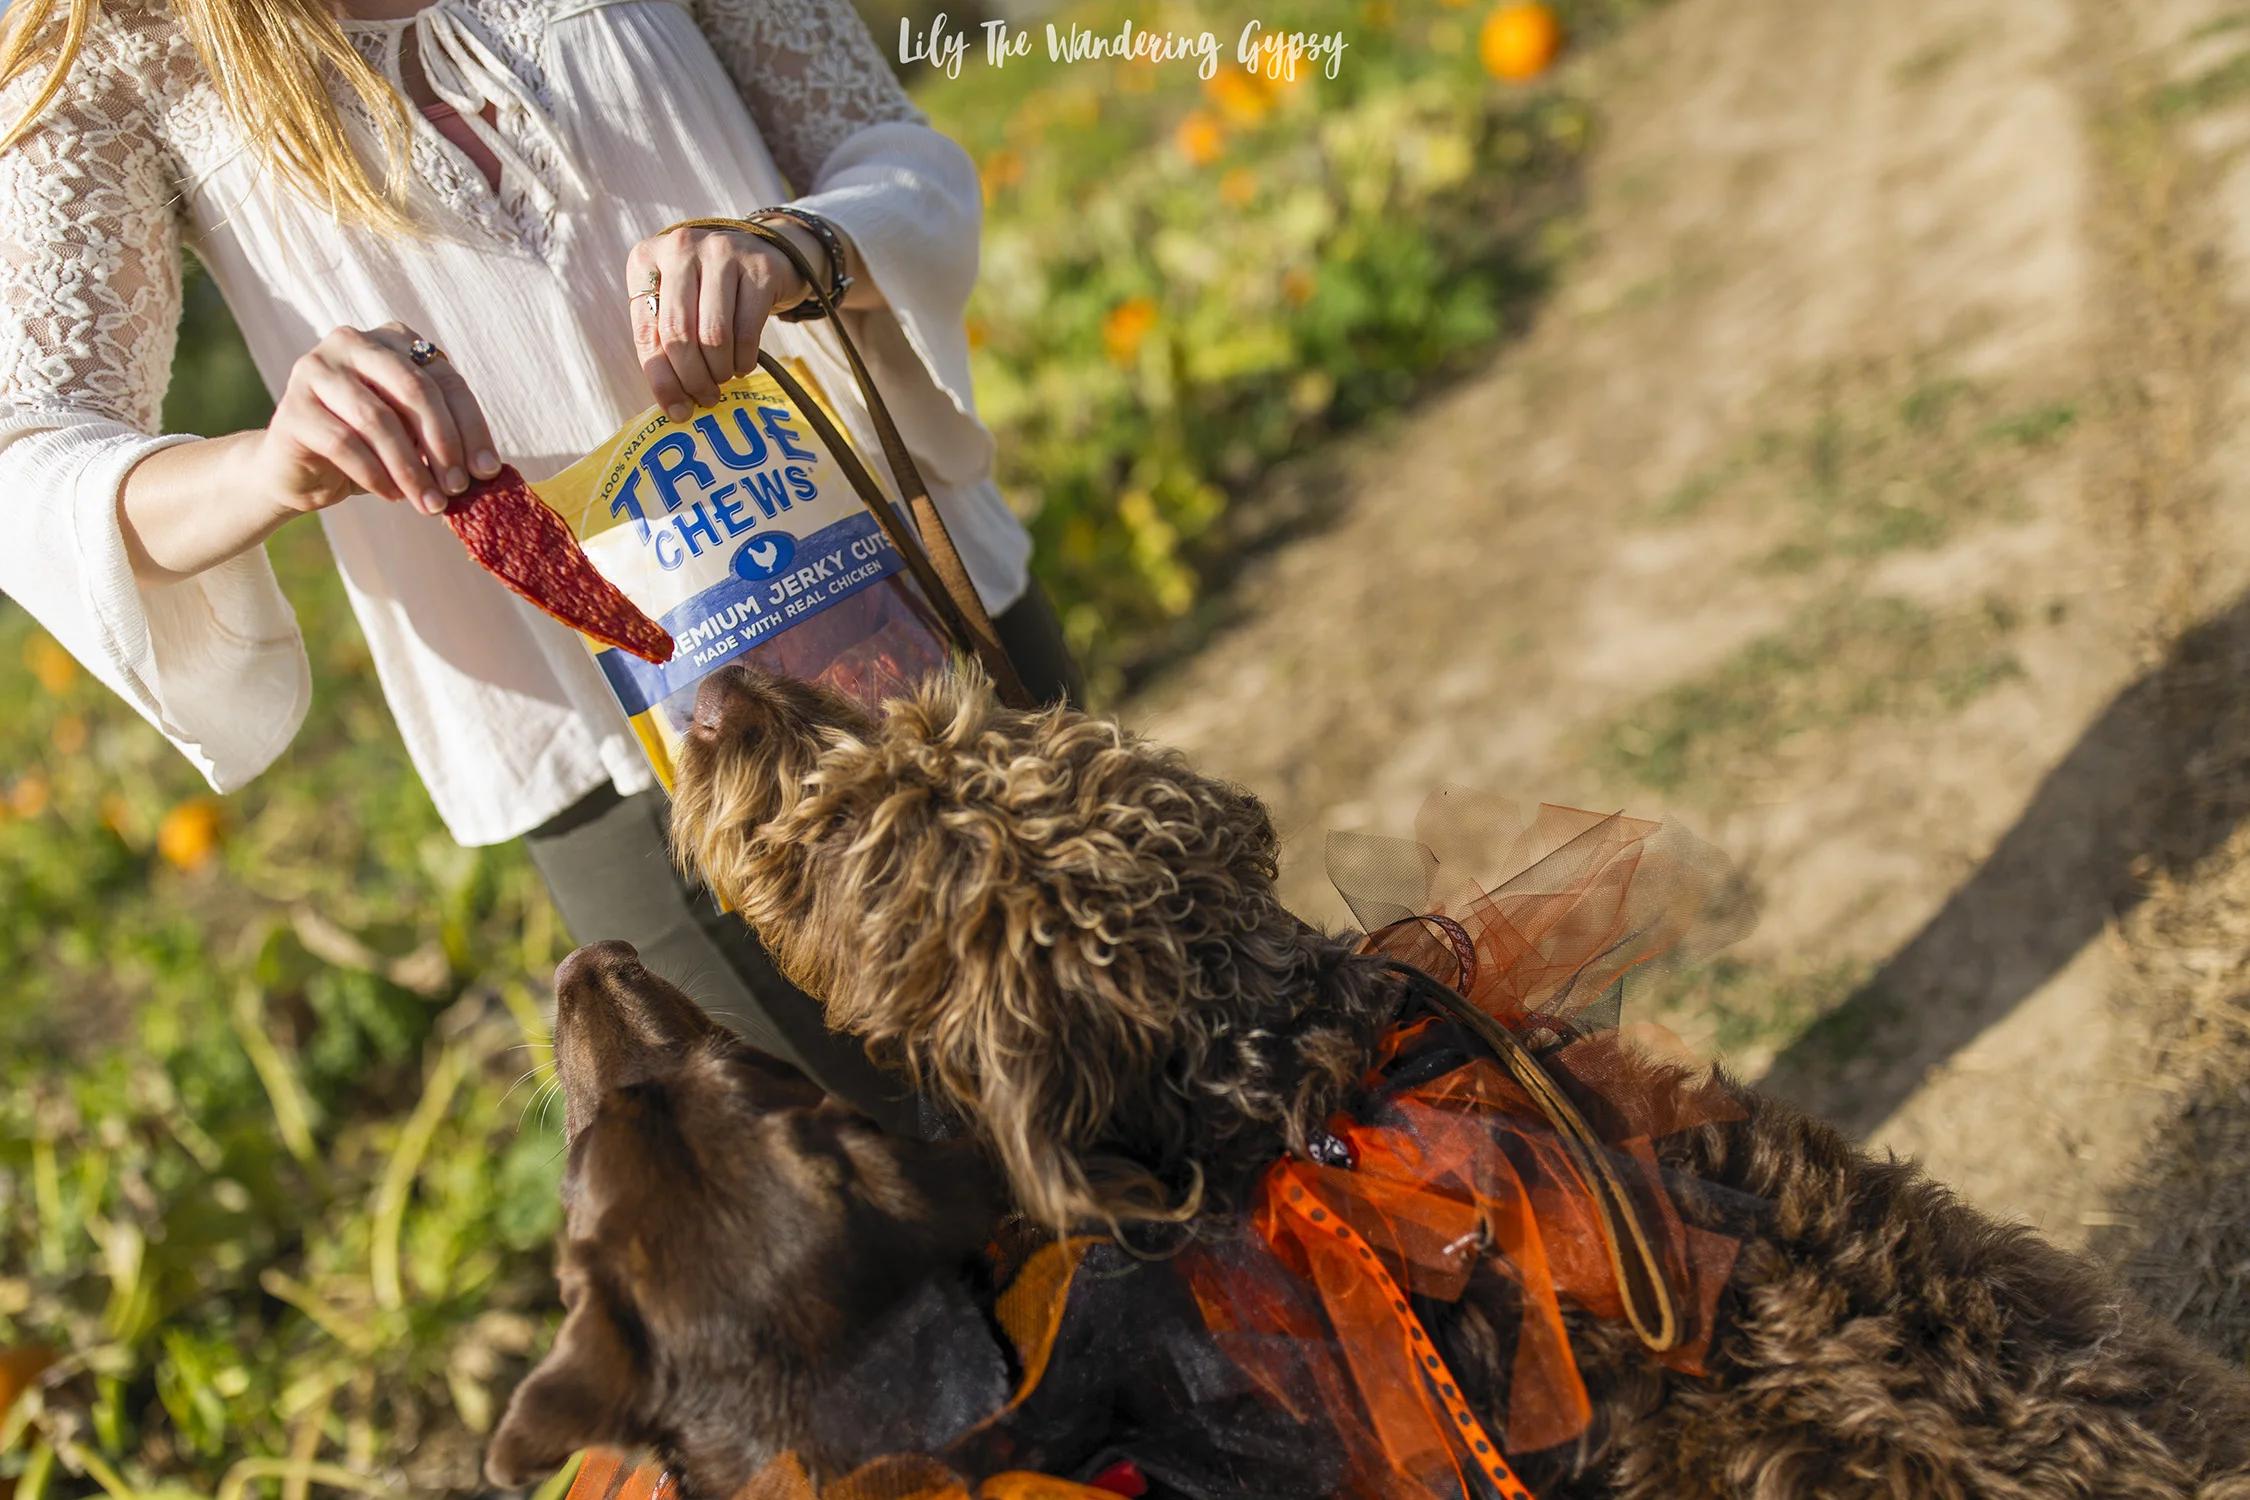
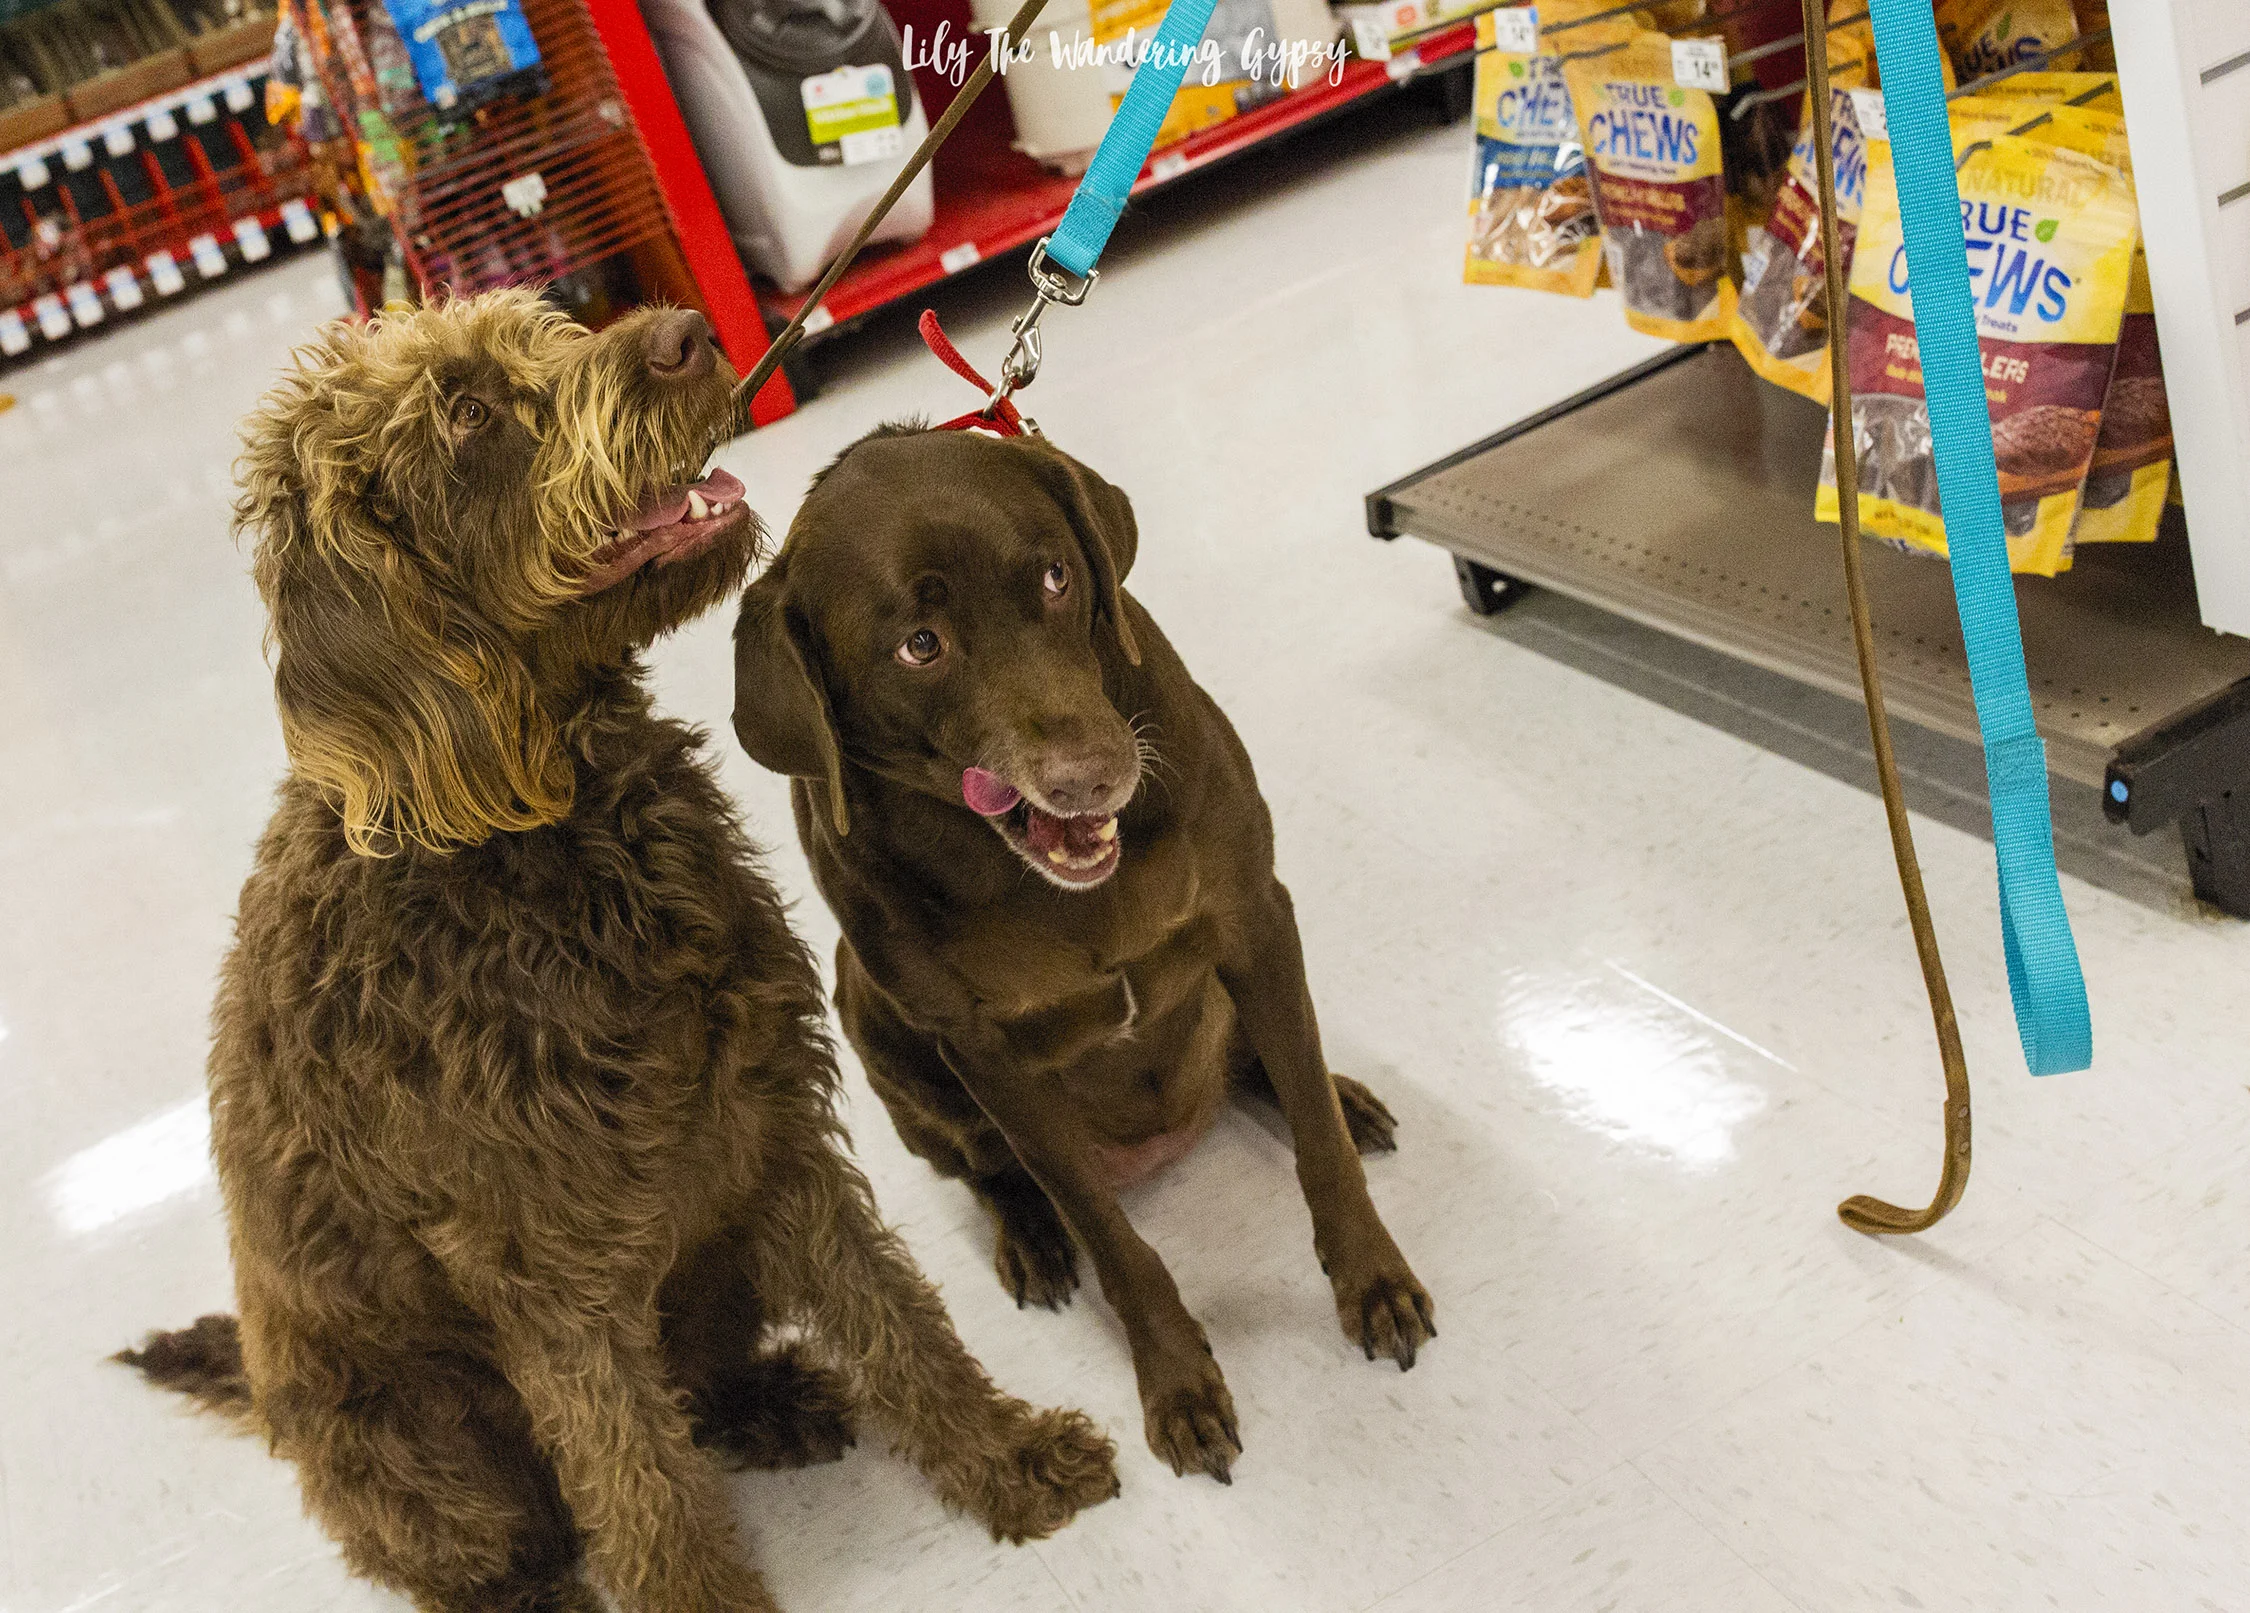
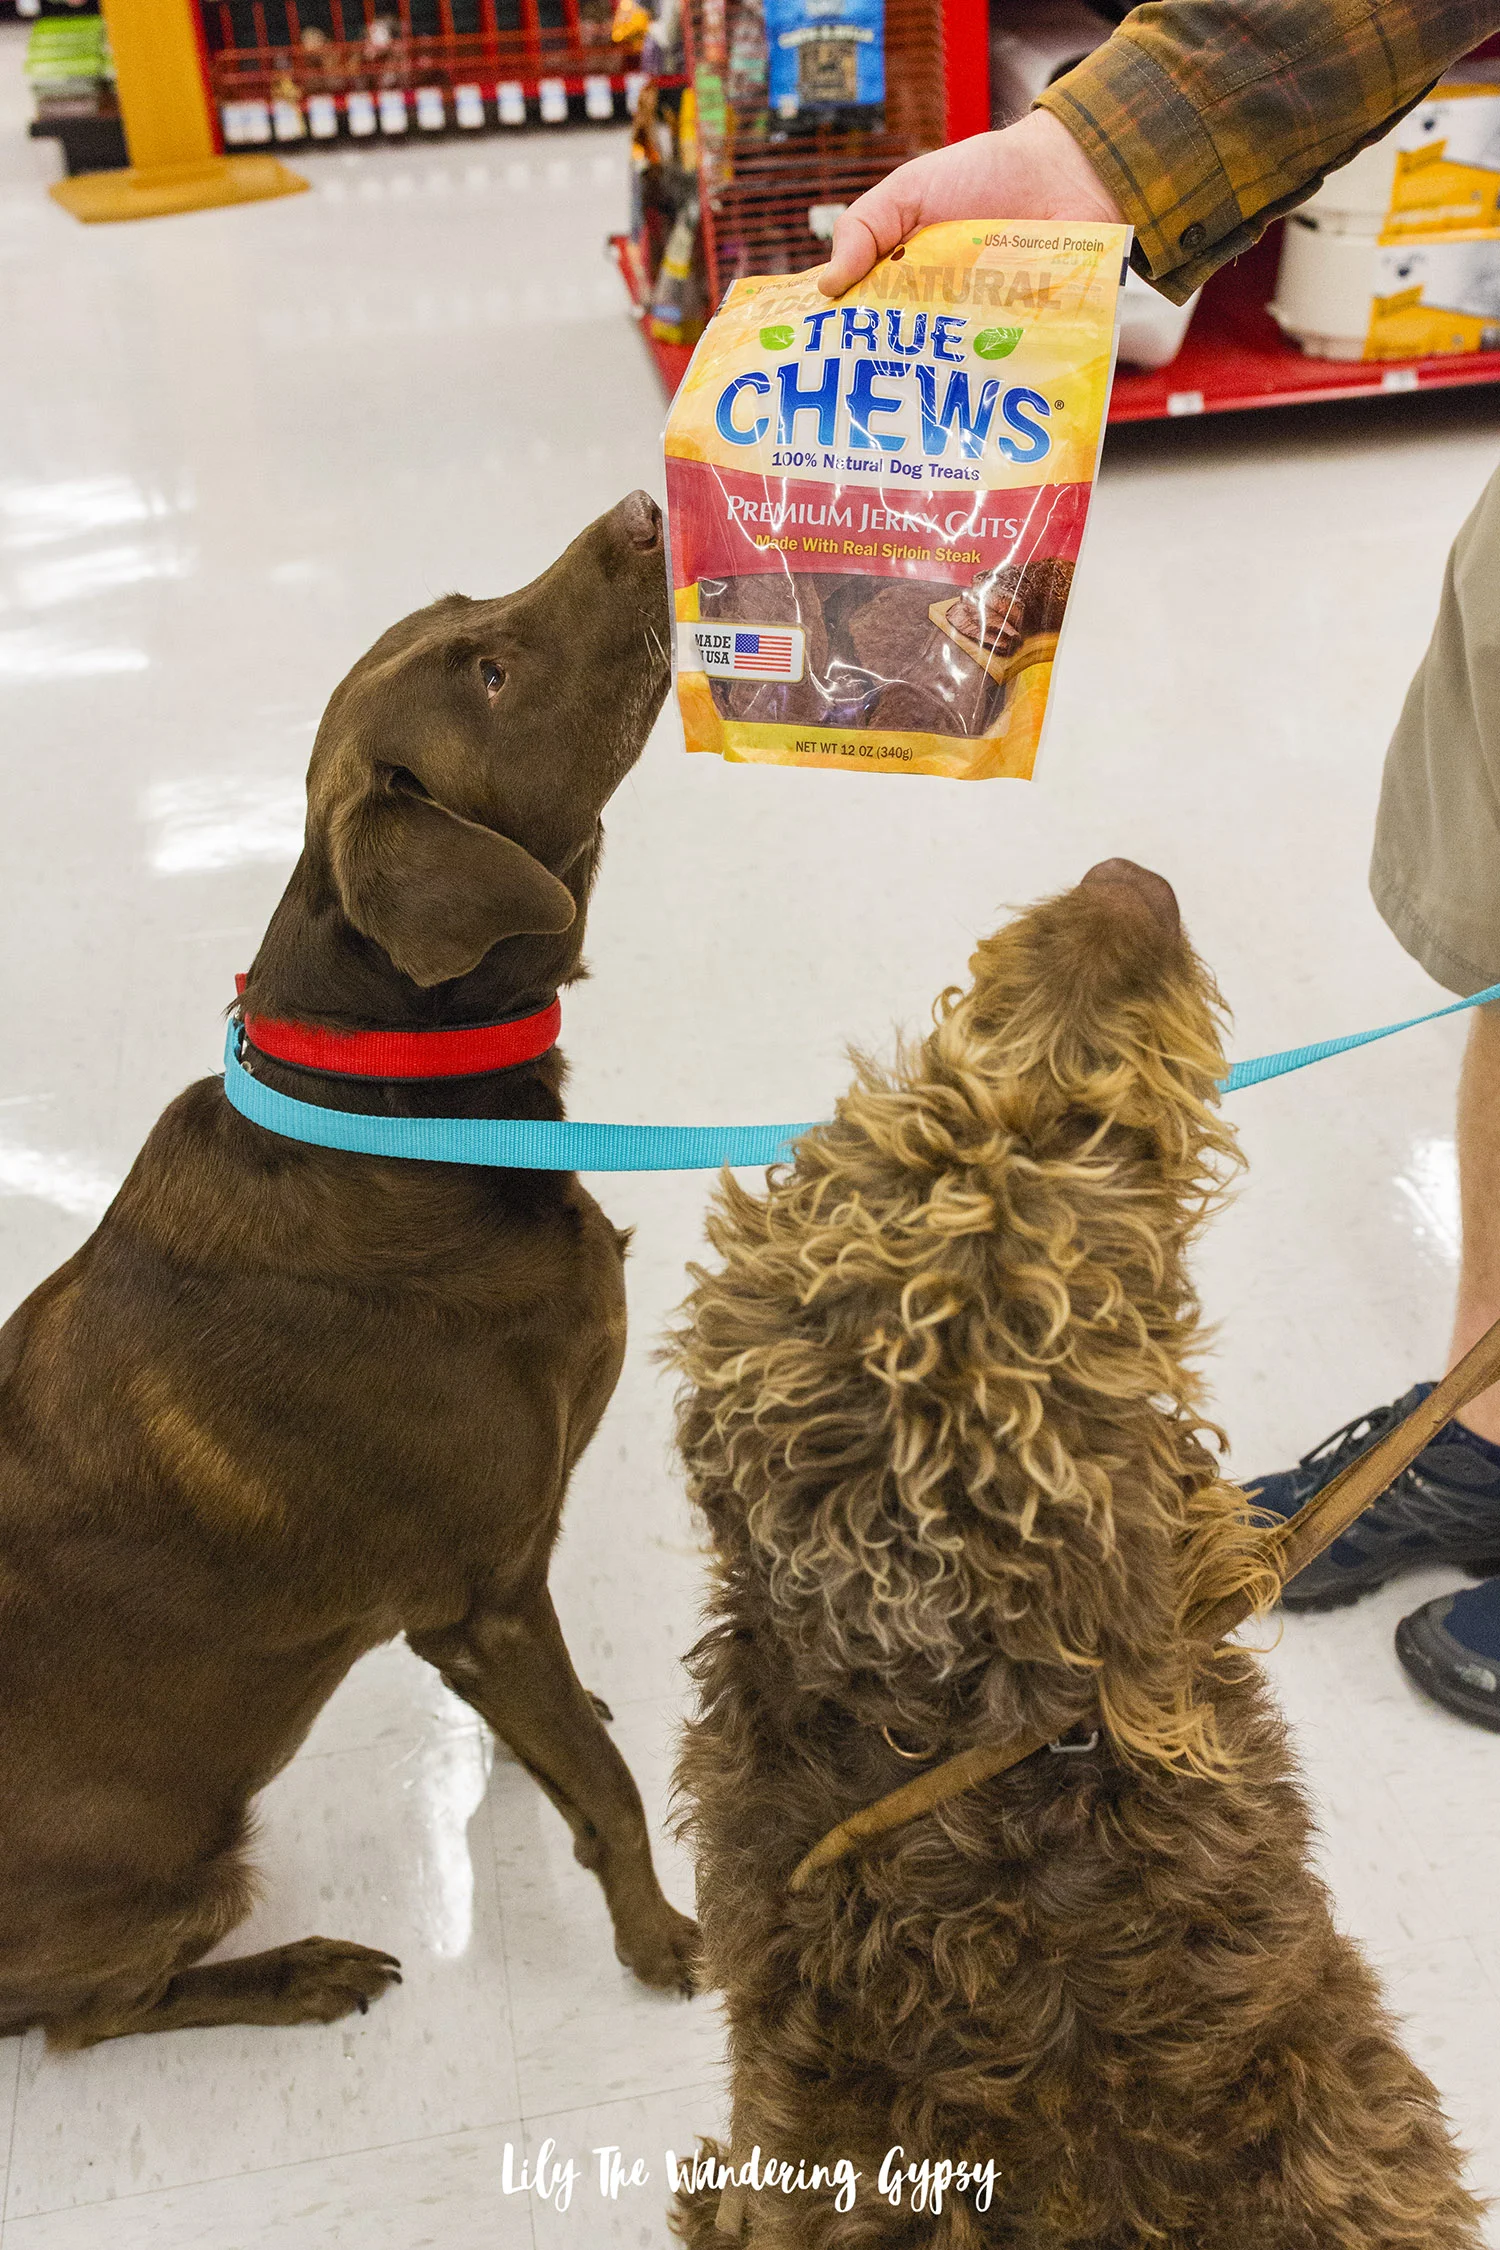
We headed to Petco and the display of True Chews immediately caught the dogs' attention. We chose a couple of their favorite "flavors" and then walked them around the store a bit more. The Petco staff was super friendly and even gave us a few $1.00 off coupons AND free samples from this cute sample station display. The dogs had a great time and had NO idea how much fun they were in for next.
DIY HALLOWEEN DOG COLLARS
These tulle and elastic dog collars are adorable and we had so much fun with them at the pumpkin patch. Everyone commented on how cute and festive the dogs were - I had NO idea how much of a positive reaction they would get.
To make the collars for our big dogs, I used black elastic a bit of ghost fabric, cute Halloween ribbons, and tulle in black and orange. I'd recommend not getting the tulle that looks like netting(shown in the bucket below), because it's a bit scratchy, but the softer tulle worked super well.
MATERIALS:
35-40 strips of tulle at 20" x 3" each, if you use tulle by the yard. If you're using the roll of tulle, then around 30 strips at 20" each would be great.
8-12 pieces of Halloween ribbon at 15" each
Black elastic - Measure elastic to fit loosely around the dog's neck.

INSTRUCTIONS:
1.) Cut all strips and also tie elastic into a circle. Make sure it's loose enough to fit comfortably, but tight enough where it won't fit over their ears off their head.
2.) Attach two strips of tulle at a time to the elastic. Take the two strips of tulle, fold them in half, then use a loop knot to secure the middle of the tulle to the elastic. Continue in alternating colors until the collar is full-looking. This takes a little while but is SO cute and worth the work!
3.) Tie ribbon pieces onto elastic collar evenly spaced over the whole collar until done. Enjoy!
SHOPPING FOR TREATS - READY FOR ADVENTURE
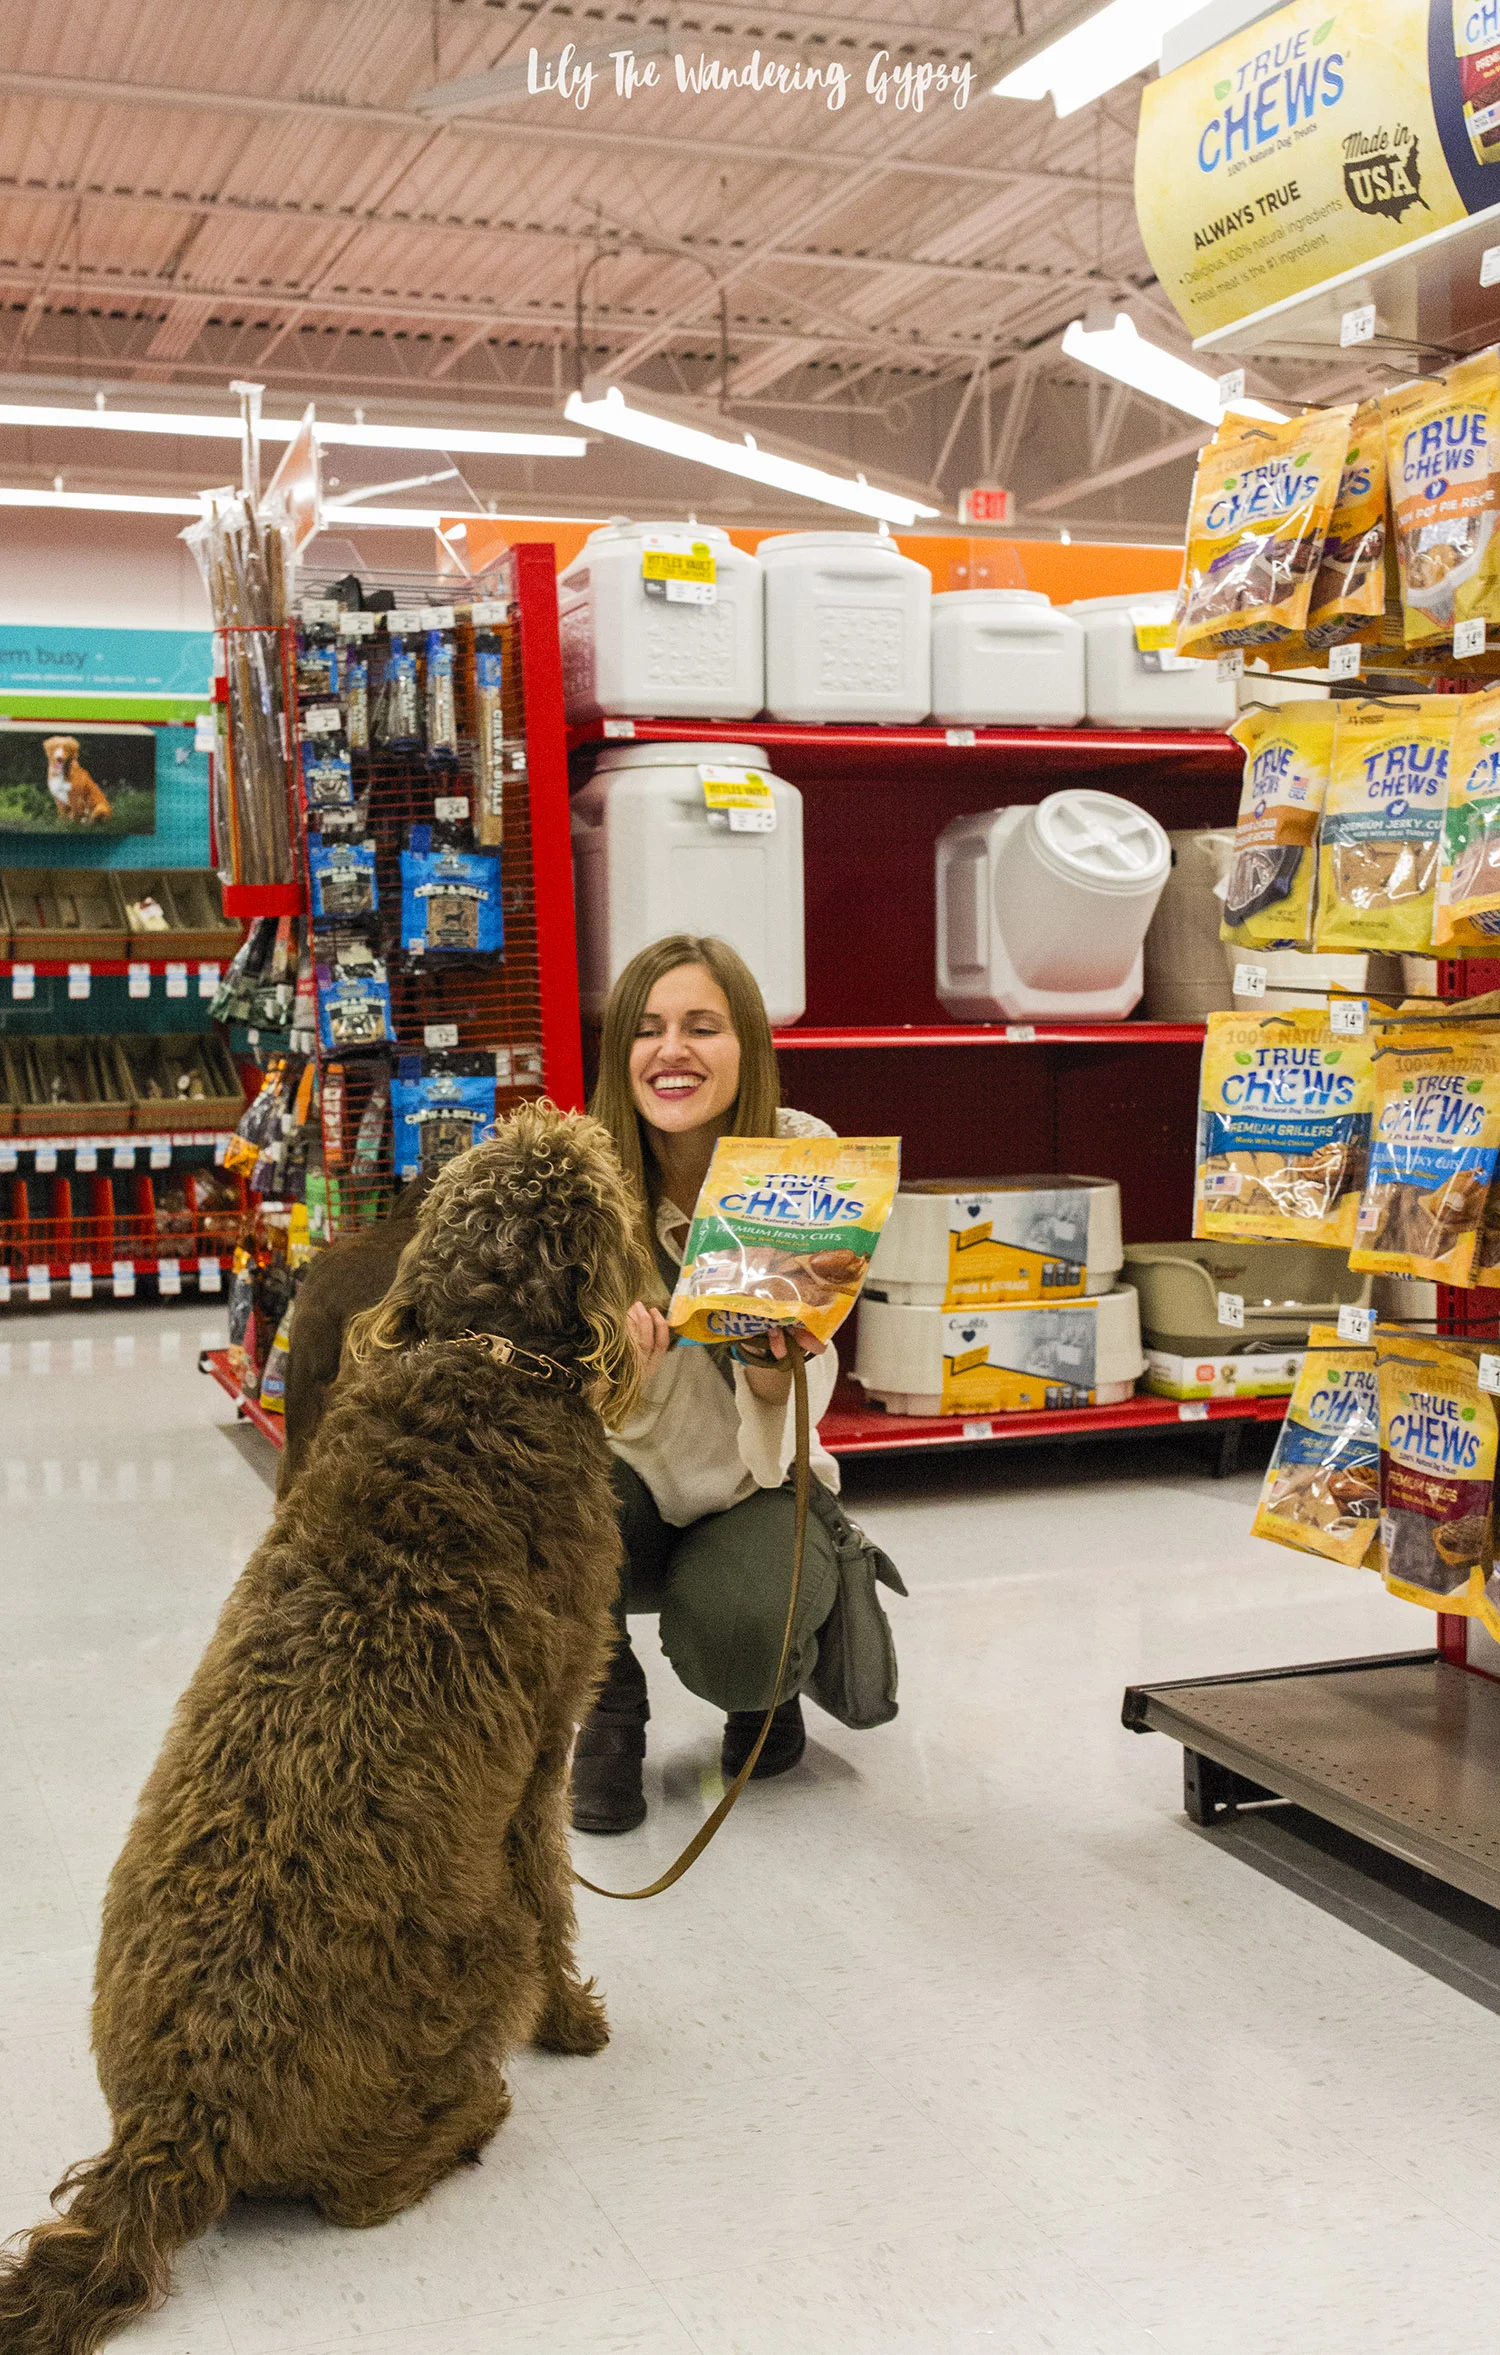
True Chews® Dog Treats are sourced and made in the USA from all natural, premium quality, ingredients. True Chews® Dog Treats are made using only natural ingredients. No artificial flavors. No artificial preservatives. No meat by-products. Just 100% natural ingredients with premium cuts of meat always #1 on the list. Created by pet parents for pet parents.
As pet parents ourselves, True Chews is committed to making simple, delectable treats that are both wholesome and 100% natural. Your loyal companion deserves the very best. They’re the family members who give us 100% of their love, 100% of the time. And with True Chews® Dog Treats, they put 100% of their best into every dog treat they make. They believe that premium ingredients show how much you care. Please view their full product line here!


Learn More About True Chews® On Their Website Here!
To Find True Chews, Use The Store Locator Here.
Connect With True Chews On Facebook Here.

DIY DECORATED PUMPKINS FOR YOUR PETS
These were a couple of the pumpkins we chose at the pumpkin patch, and I simply stuck dog-printed stickers all over them. I wanted to use dog bone shaped stickers, but surprisingly found none. So, these pupkins would actually be cute for cats or dogs!


PIN IT FOR LATER:

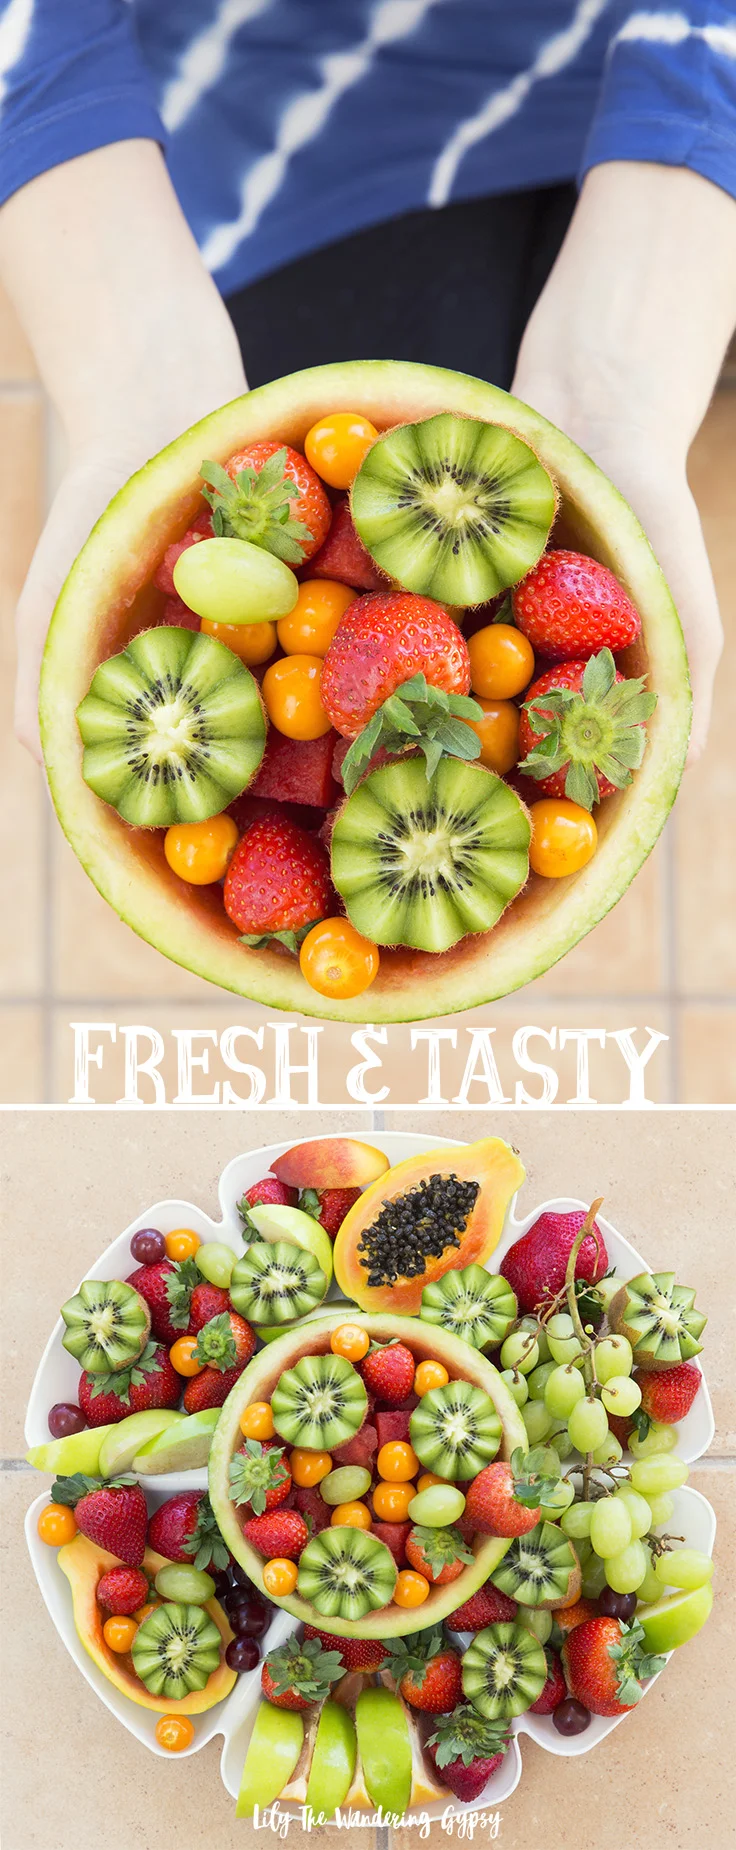
Vibrant Tropical Fruit Plate
We were extremely fortunate to spend time on Sugarloaf Key in January and February, and in addition to the amazing weather, ocean views, and palm trees everywhere, there are some of the most vibrant and delicious fruits available. Since we got to spend quite a while in the Keys, we got to know some of the neighbors in the neighborhood where our rental house was located, and we were so concerned for everyone during and after the hurricanes. We have touched base with at least one family and they said that no one in the area suffered too much damage, and we were lucky enough to find out that most importantly, everyone was ok.
I was looking back at a few of our photos from earlier this year, and I even though I have of course been in Fall-Pumpkin-Everything Season lately, I still wanted to share this light and bright Tropical fruit plate with you because I am feeling nostalgic about Florida.
Organic fruits and veggies at the grocery stores are sky high, but I wanted to embrace the tropical spirit of everything around me, and was super happy to find two awesome fruit stands.
Keys Homegrown, the fruit stand that was much closer to our rental was located next to Keys Cuisine, unfortunately closed while we were there. I found star fruits, 4 for $1.00 there, plus TONS of amazing other fresh fruits. So sad that place closed!
Next, was Paradise Produce, a much larger and super well organized fruit stand which is luckily still there. They had friendly staff who explained a bit about some of the more exotic and unusual fruits, and their selection was incredible! (The photo below is one I grabbed from their Facebook Page).

Keys Cuisine was definitely one of the best three restaurants out of the Key West area. The other two included the OMG-inducing Bavarian Bakery and Sandwich Shop called Sugarloaf Food Co. The other restaurant was called Bucktooth Rooster and served huge portions of delicious comfort food.
For this fruit plate, I knew I needed a rather large container, and luckily, I found one at the Dollar Tree that held everything extremely well. The plate is made of white plastic, and had a smaller round center part that you would usually use for dip or salsa. I placed the small watermelon bowl into the center and then built my fruit plate around that!

Green Grapes
Red Grapes
Gooseberries (The small round orange fruits)
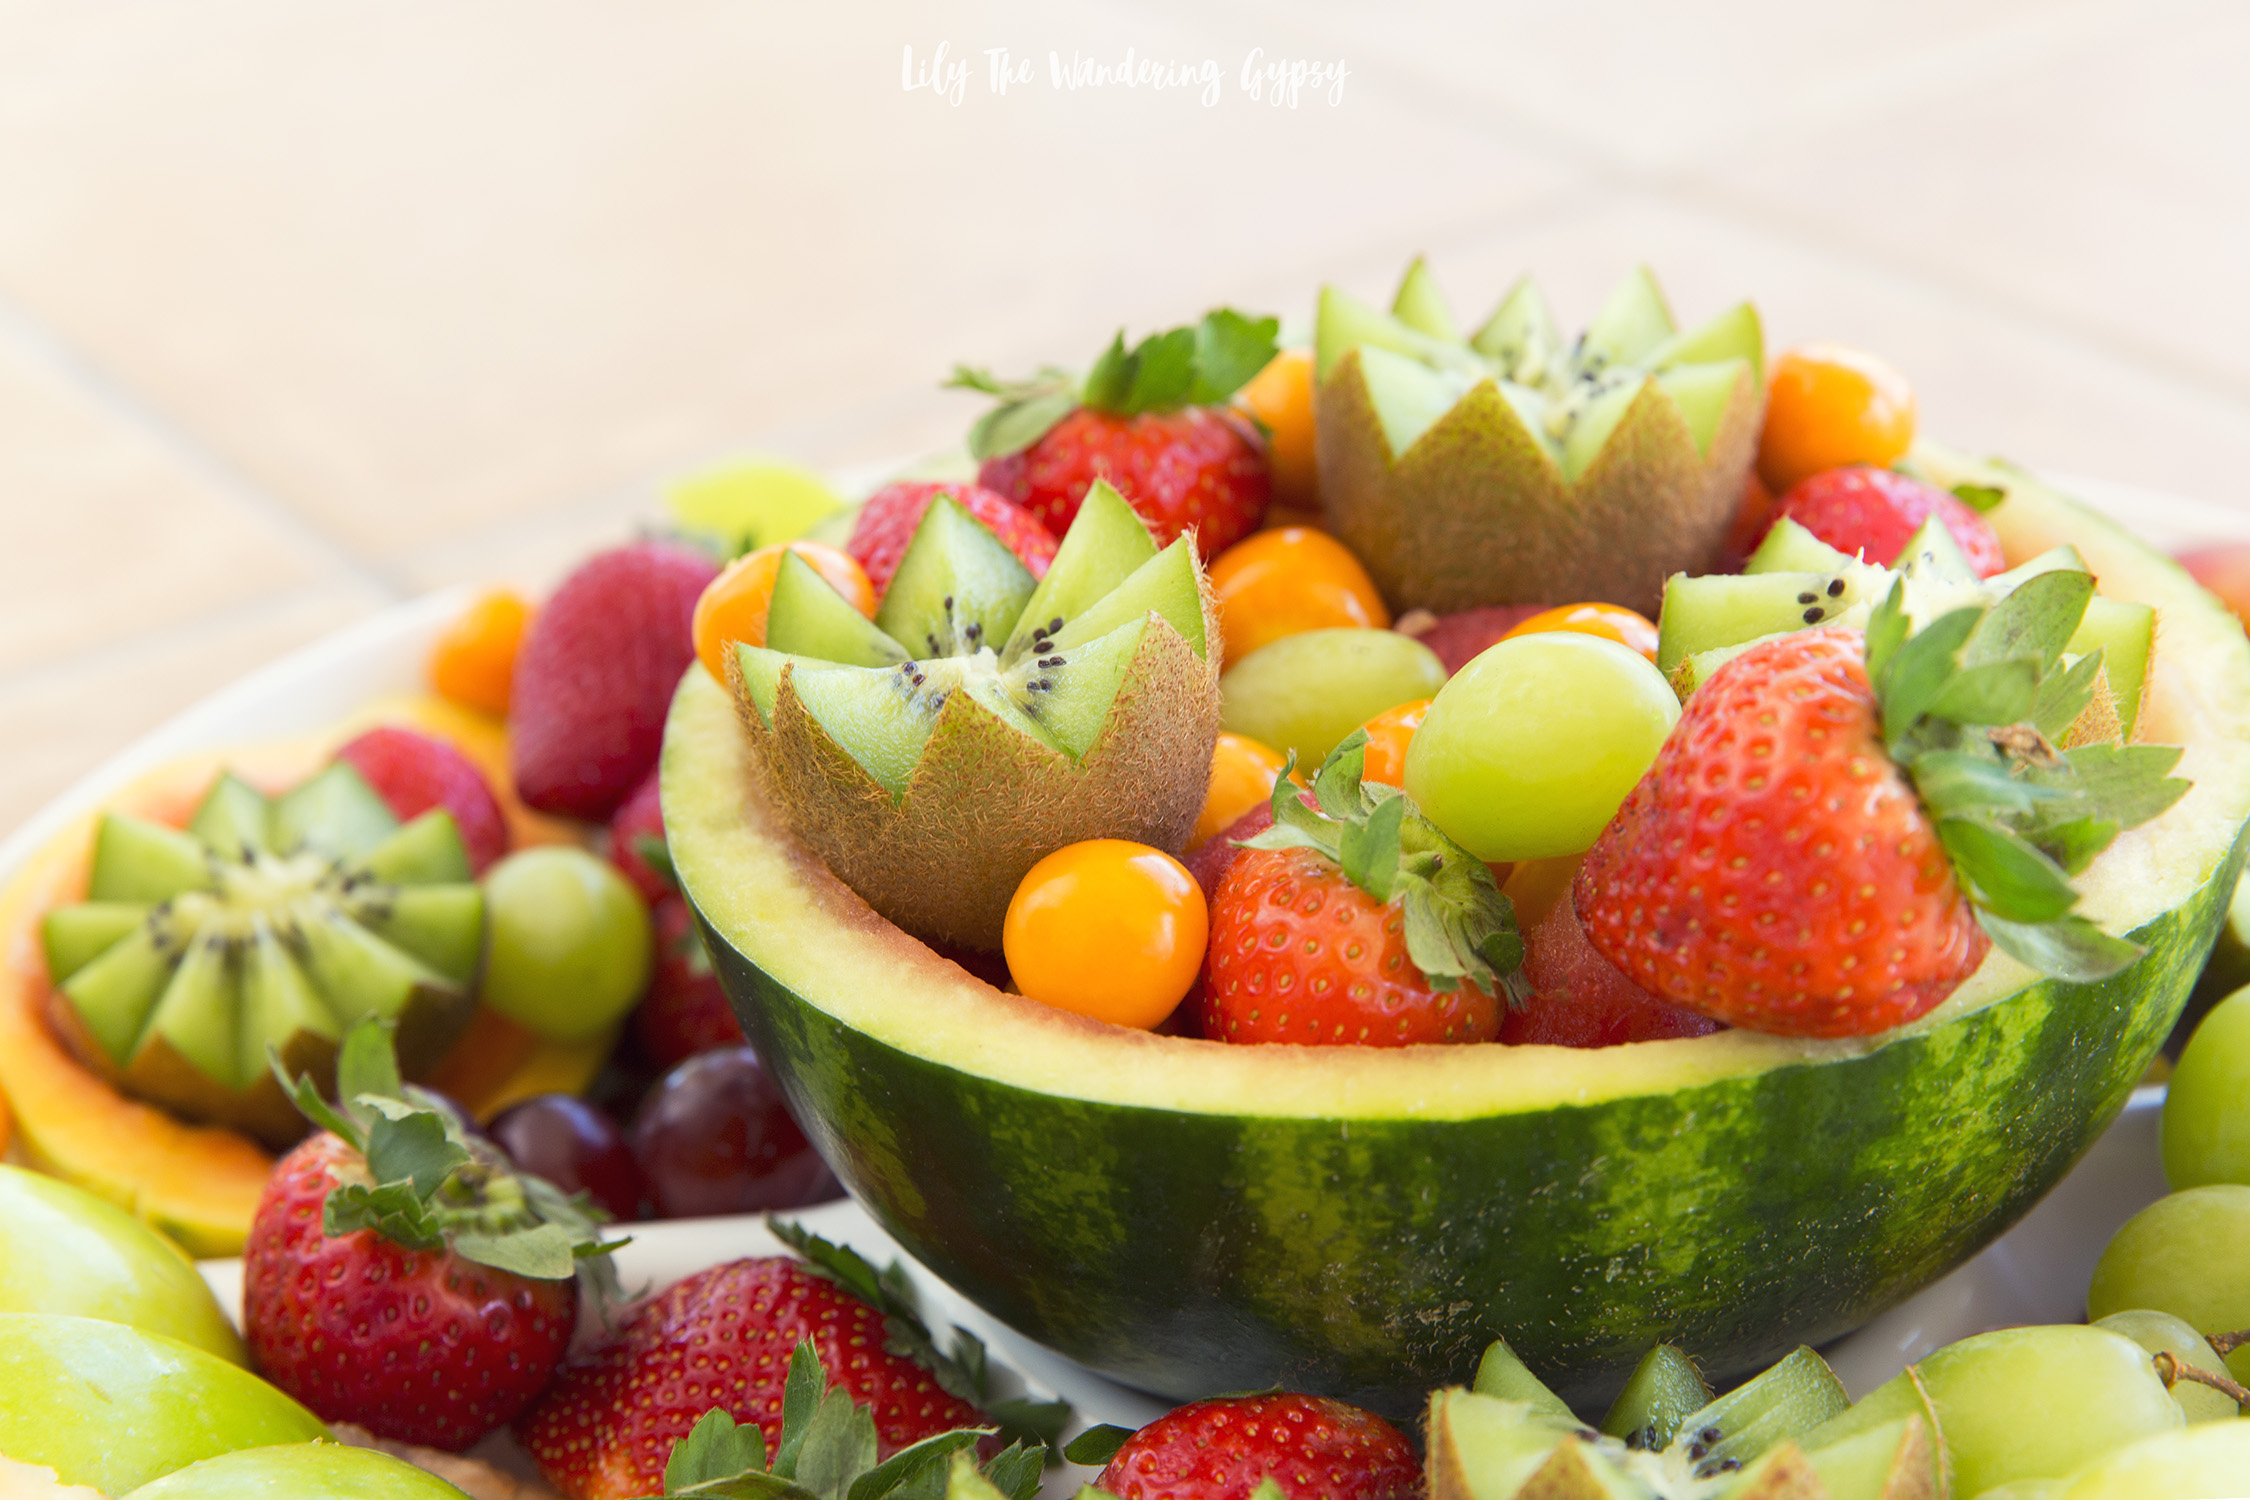
Kiwi, cut in half into flower shapes (simple tutorial here)
Smaller Watermelon
Papayas (one with seeds removed, and keep seeds in the other for visuals)
Strawberries
Green Apples
Any other fruit yoru heart desires!

1.) Cut watermelon in half, carefully making sure the cut is smooth. This will become part of your fruit plate display.
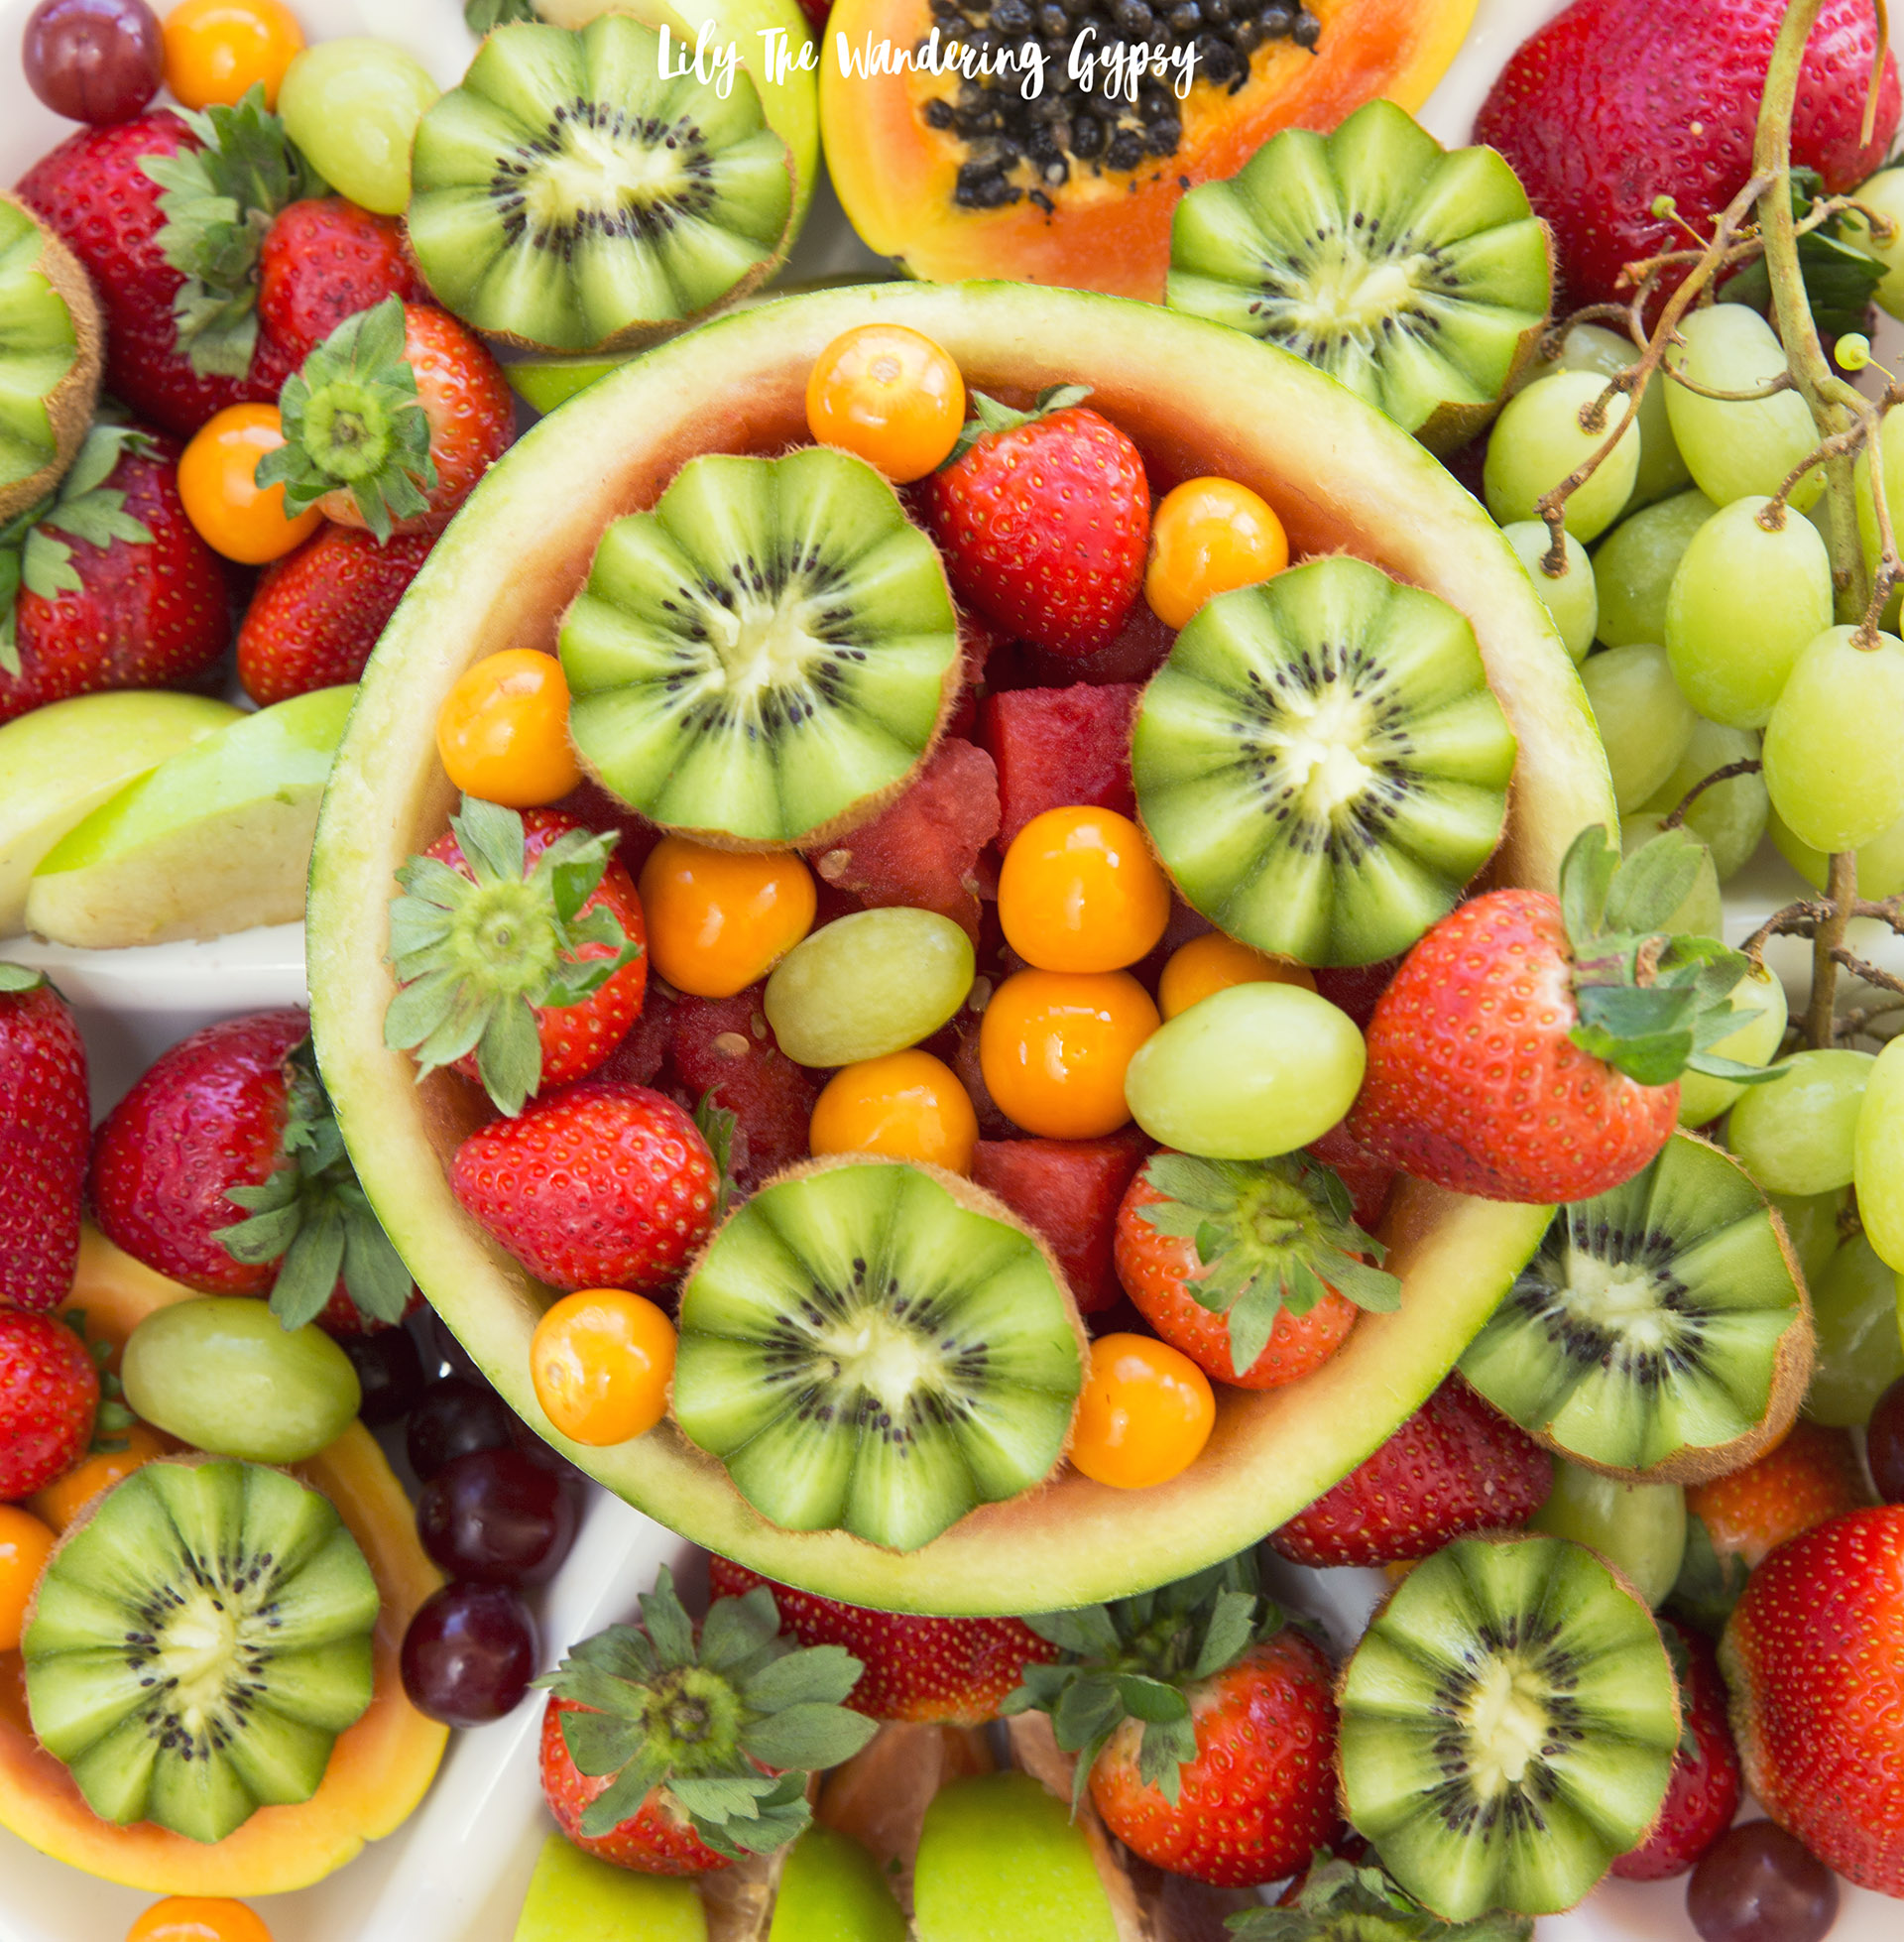
2.) Choose the more attractive half of the watermelon and set aside. Cut the other half into cubes, removing the outer skin as you go. With the prettier half of the watermelon, slice around the top with a sharp knife to remove as much of the red part as possible. Then, cut that into cubes. Place hollowed out watermelon half into the center of the tray, and refill it half way full with watermelon cubes.
3.) Cut kiwi into flower shapes, by very carefully using a pairing knife to press into the kiwi in a zig zag shape all around the entire circumference of the fruit. This is an amazing way to add visual interest to your platter! Be careful to never cut toward your hand.
4.) Lastly, cut apples and any other fruits, and begin to arrange clusters of grapes, papayas, and any other ingredients in your own style and way. This would be amazing also served with fruit dip, but this is an amazing way to encourage guests or your family to eat healthier snacks.
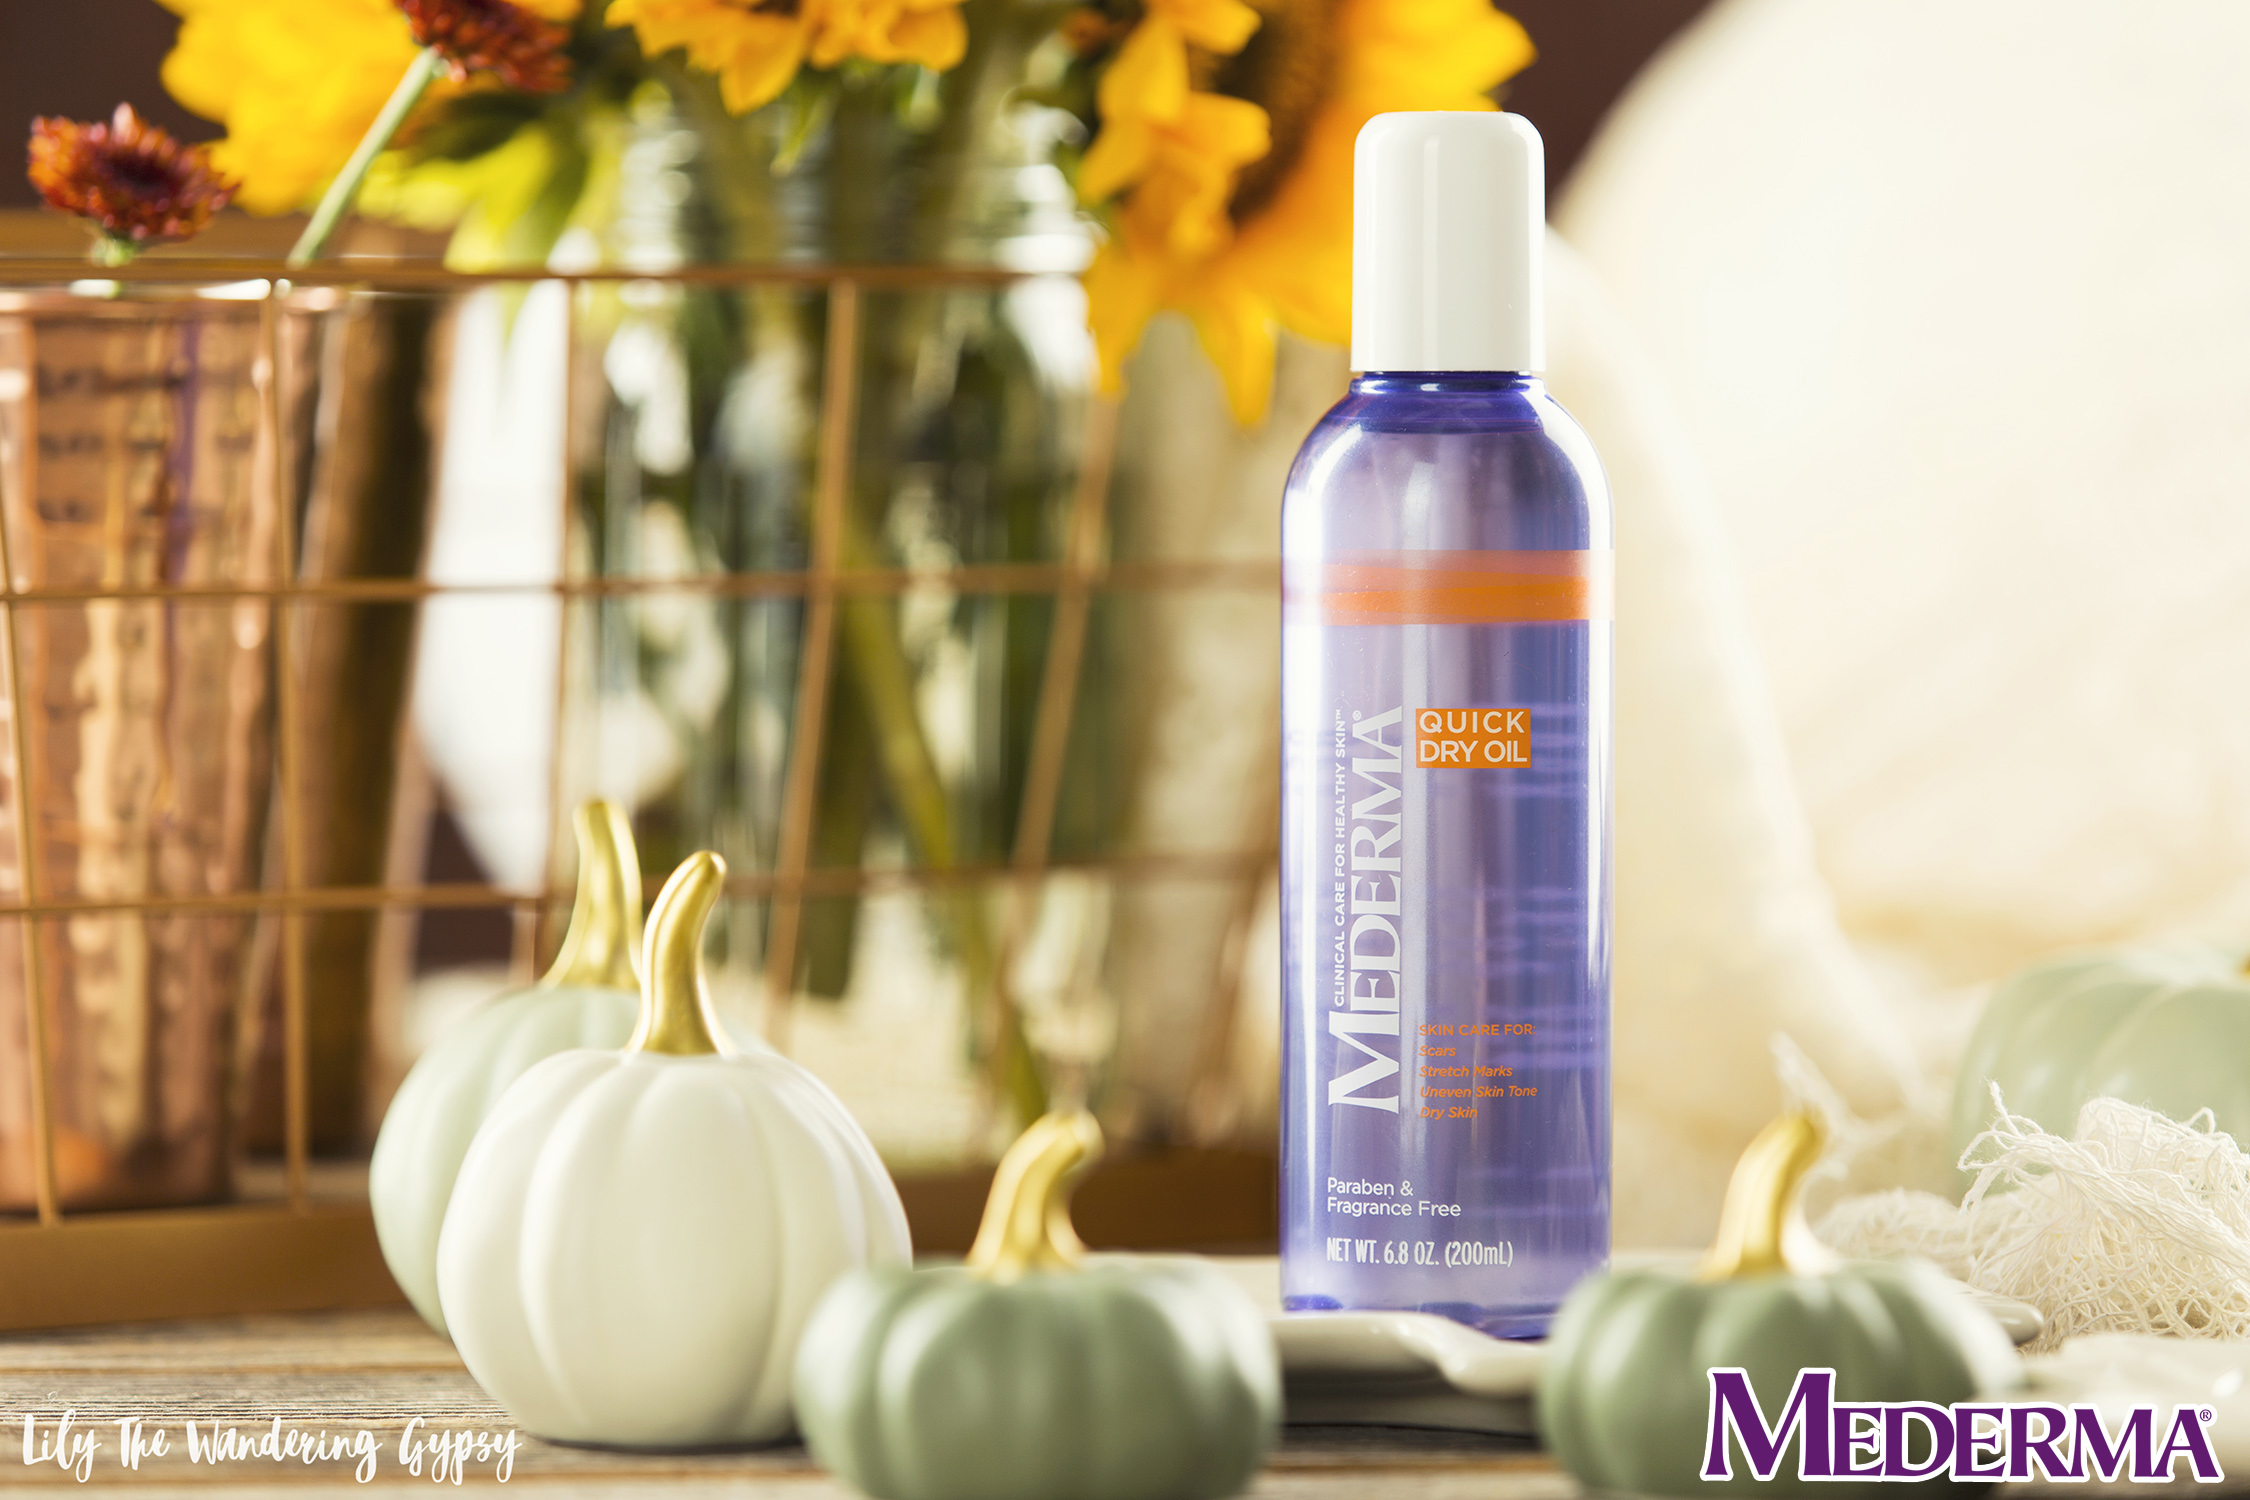
Heading Into Fall With Beautiful Skin Thanks To Mederma®
This project is sponsored by Mederma. All opinions and content are mine alone.
I just wanted to share some updates on one of my latest projects! Mederma has engaged me on an exciting Pinterest project, and I am curating a Pinterest Board, inspired by their wonderful scar-care products. Fall is here and it's is definitely not the time to forget about your skin.
Check out my Dedicated Board here, and see it evolve every day - I am excited to be sharing pins to the board often, and I hope you love it! See it here.


Good Fortunes + Delicious Date Night Ideas With Tai Pei
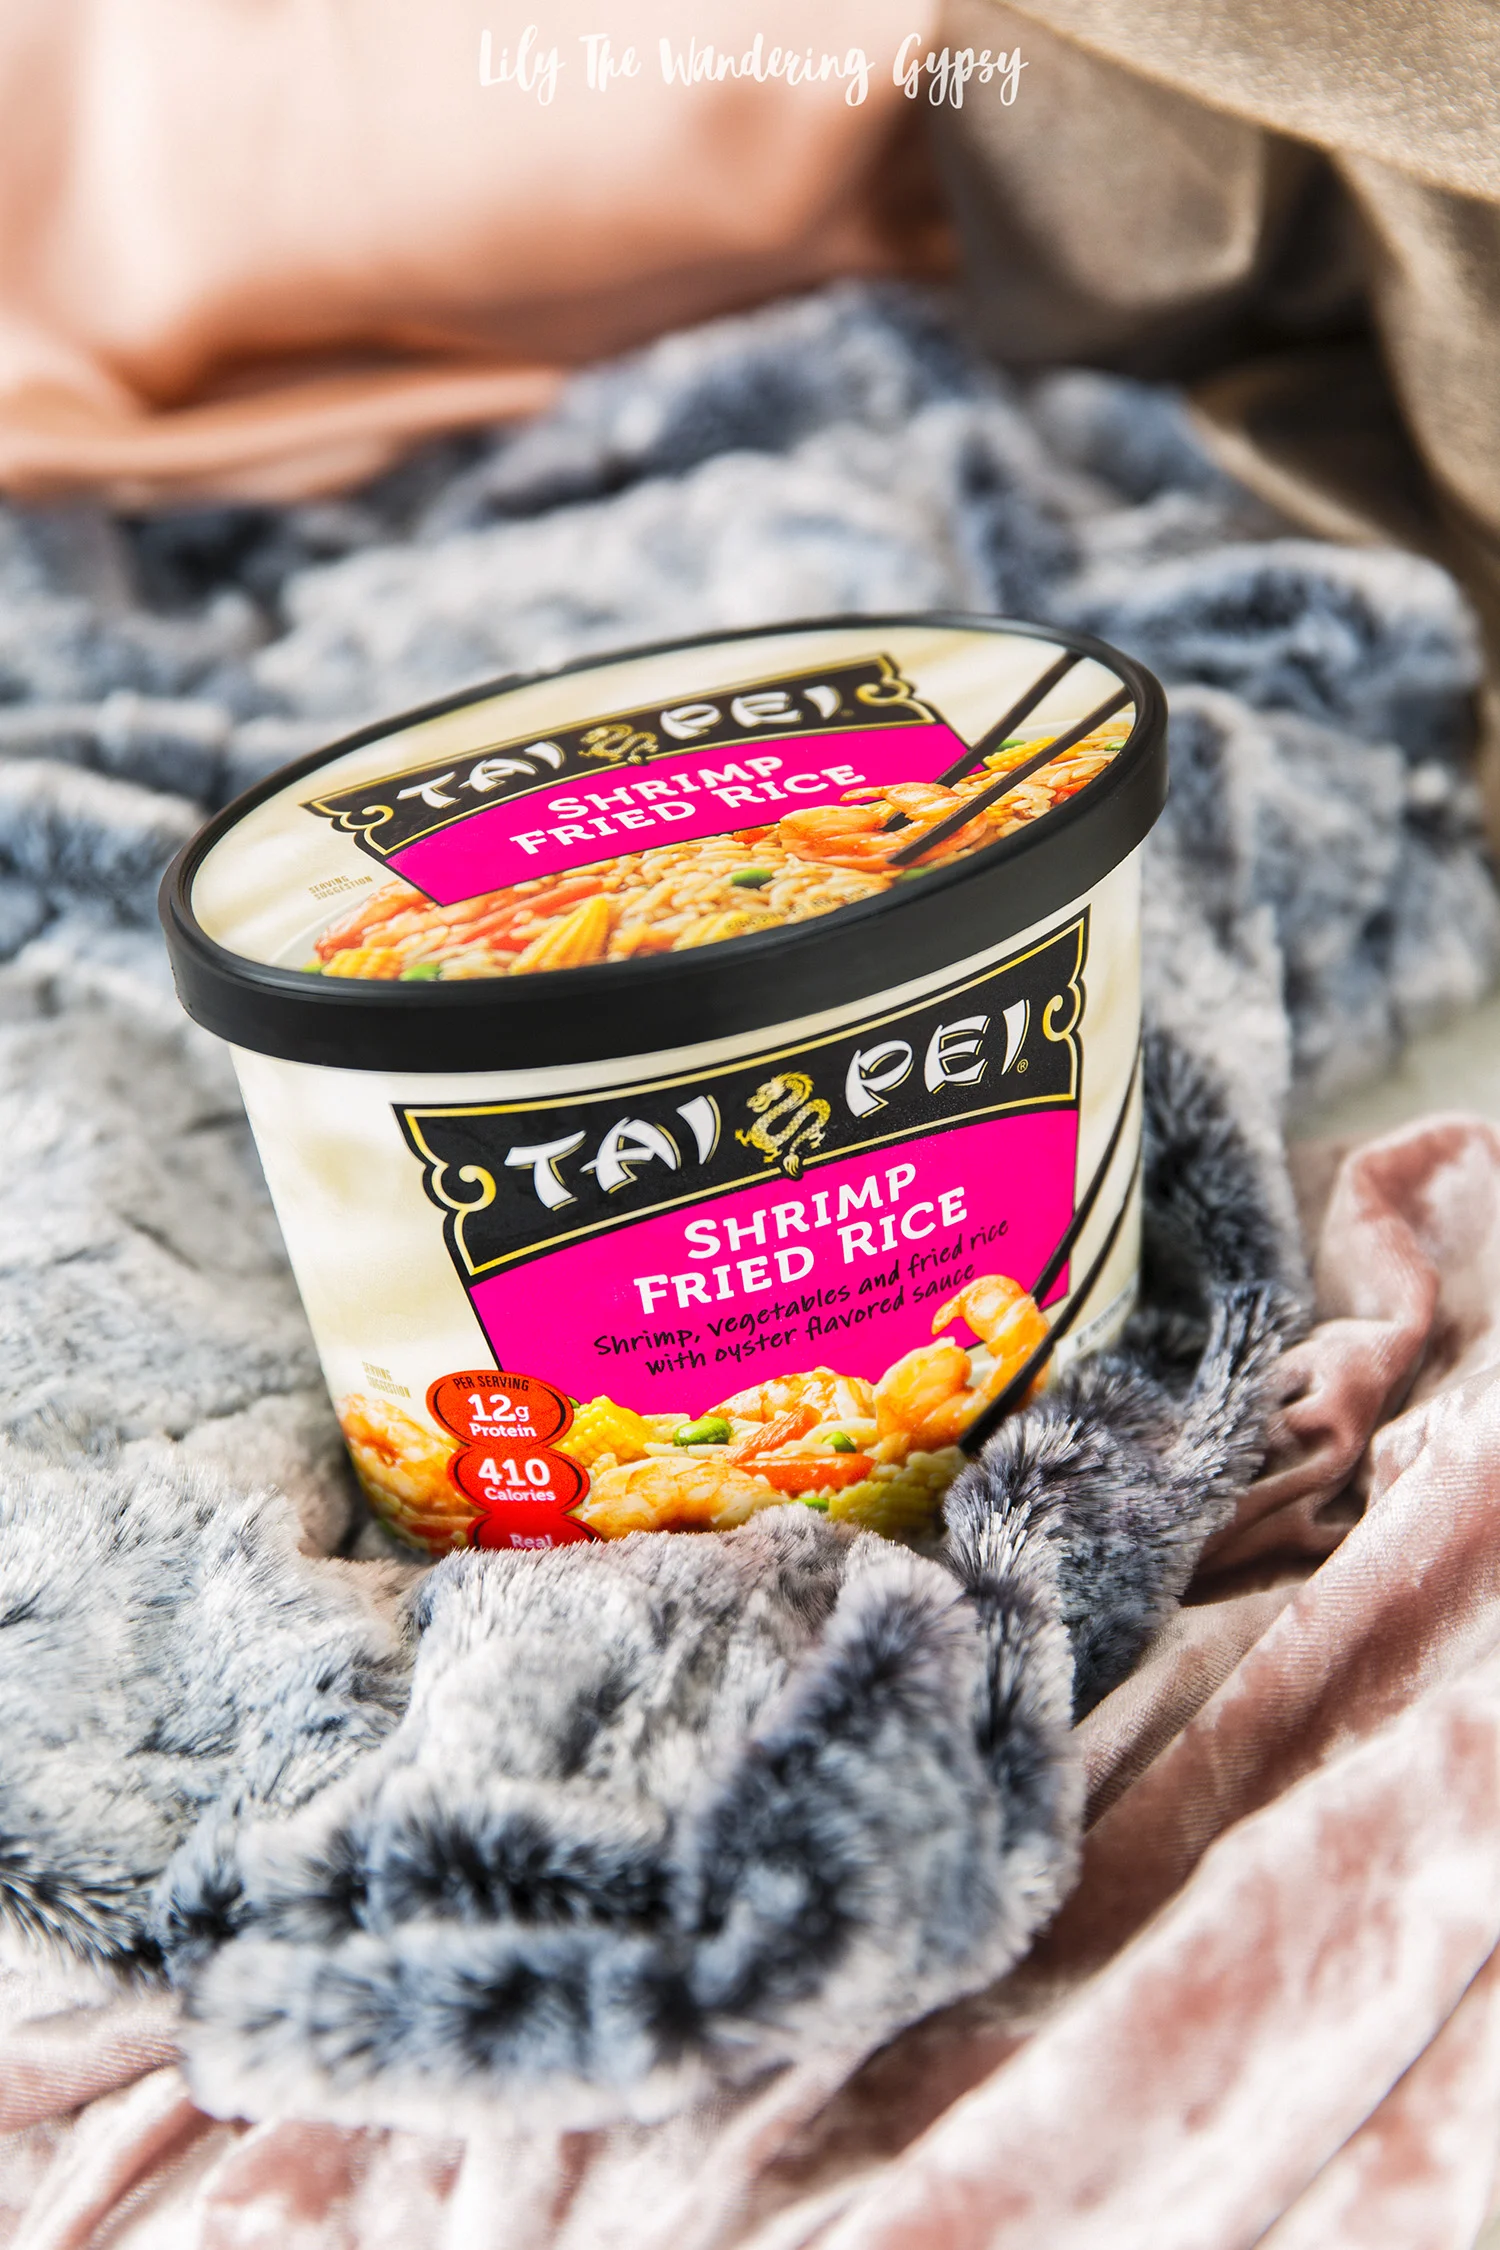
This post was sponsored Tai Pei, all opinions expressed in my post are my own. #taipeifrozenfood #IC
Looking to make your next date night a little more special? In order to have a fun date, you definitely don't need to even leave the house to enjoy a fancy dinner, just the two of you. Imagine no distractions, great memories, and a delicious, restaurant-quality meal that takes only minutes to make. I have some fun and thoughtful ways you can include this new and delicious Fried Rice into your next evening together. Whether you're new to Asian Food, or always prefer it to other meals, keep reading to learn more about making your date night extra special!
Tai Pei has introduced a new line of Single Serve Entrees, available at Walmart.

What is your dream date night?
If you said, "Netflix and Chill", then we are on the same page. While it may not seem important to set aside some down time, I am a full believer in the therapeutic powers of relaxing together. Wear something cute, or wear something comfortable, it's all up to you, on how you want to set the mood :)
I love looking back at all the fun times we have had when we turn off the phones, make a delicious dinner, and actually make ourselves sit down and watch a full movie or TV series. We really don't get that much time to enjoy movies - we sometimes put on a movie before heading to bed but one of us falls asleep, or just watch a show on demand every few nights, but we are so busy with photography projects that any time spent with media is generally work related.
So, dedicating some time to just enjoy each others company is wonderful. I love the idea of making a date night dinner, but sometimes a huge intensive, fancy meal is not necessary. These Tai Pei meals made dinner a BREEZE!
Good Fortunes
I embellished these awesome fortune cookies for us to enjoy during our date night.
INSTRUCTIONS:
1.) Lay out fortune cookies onto lined sheet pan
2.) Melt white chocolate or colored candy melts until smooth. I used a mixture of white and yellow candy melts for mine. Pour sprinkles into a shallow dish.
3.) Working one cookie at a time, dip half of the fortune cookie into melted chocolate and press the fortune cookies into the sprinkles to attach them. Any place that did not get covered, use your fingers to sprinkle a few more sprinkles onto the cookies. Place onto sheet pan, and repeat with each cookie until done.

Date Night Necessities
I love the idea of adding special touches to the meal. After cooking the entrees, which I was able to heat up on my stovetop (microwave would have worked well also!), I carefully transferred the Fried Rice dishes into cute bowls, and placed them on smaller, patterned plates. This sort of presentation makes for a beautiful and elegant surprise!
Some other special touches I added included a few Fall scented candles from Walmart, and LOTS of comfy-cozy blankets and pillows in faux fur and velvets.

Tai Pei’s real, quality ingredients and fresh taste! Above, I enjoyed the Broccoli Beef quite a bit! That is always my go-to at a restaurant, and I loved the fresh ginger taste and aroma this dish contained. All new, great tasting dishes with exceptional flavor in each meal and a range of tasty entrées. All entrees are made with real, pure ingredients, and no preservatives or artificial ingredients.
Visit The Tai Pei Website
Get Your Tai Pei Coupon Here
(This coupon gives you $1 off any Tai Pei single serving bowl)
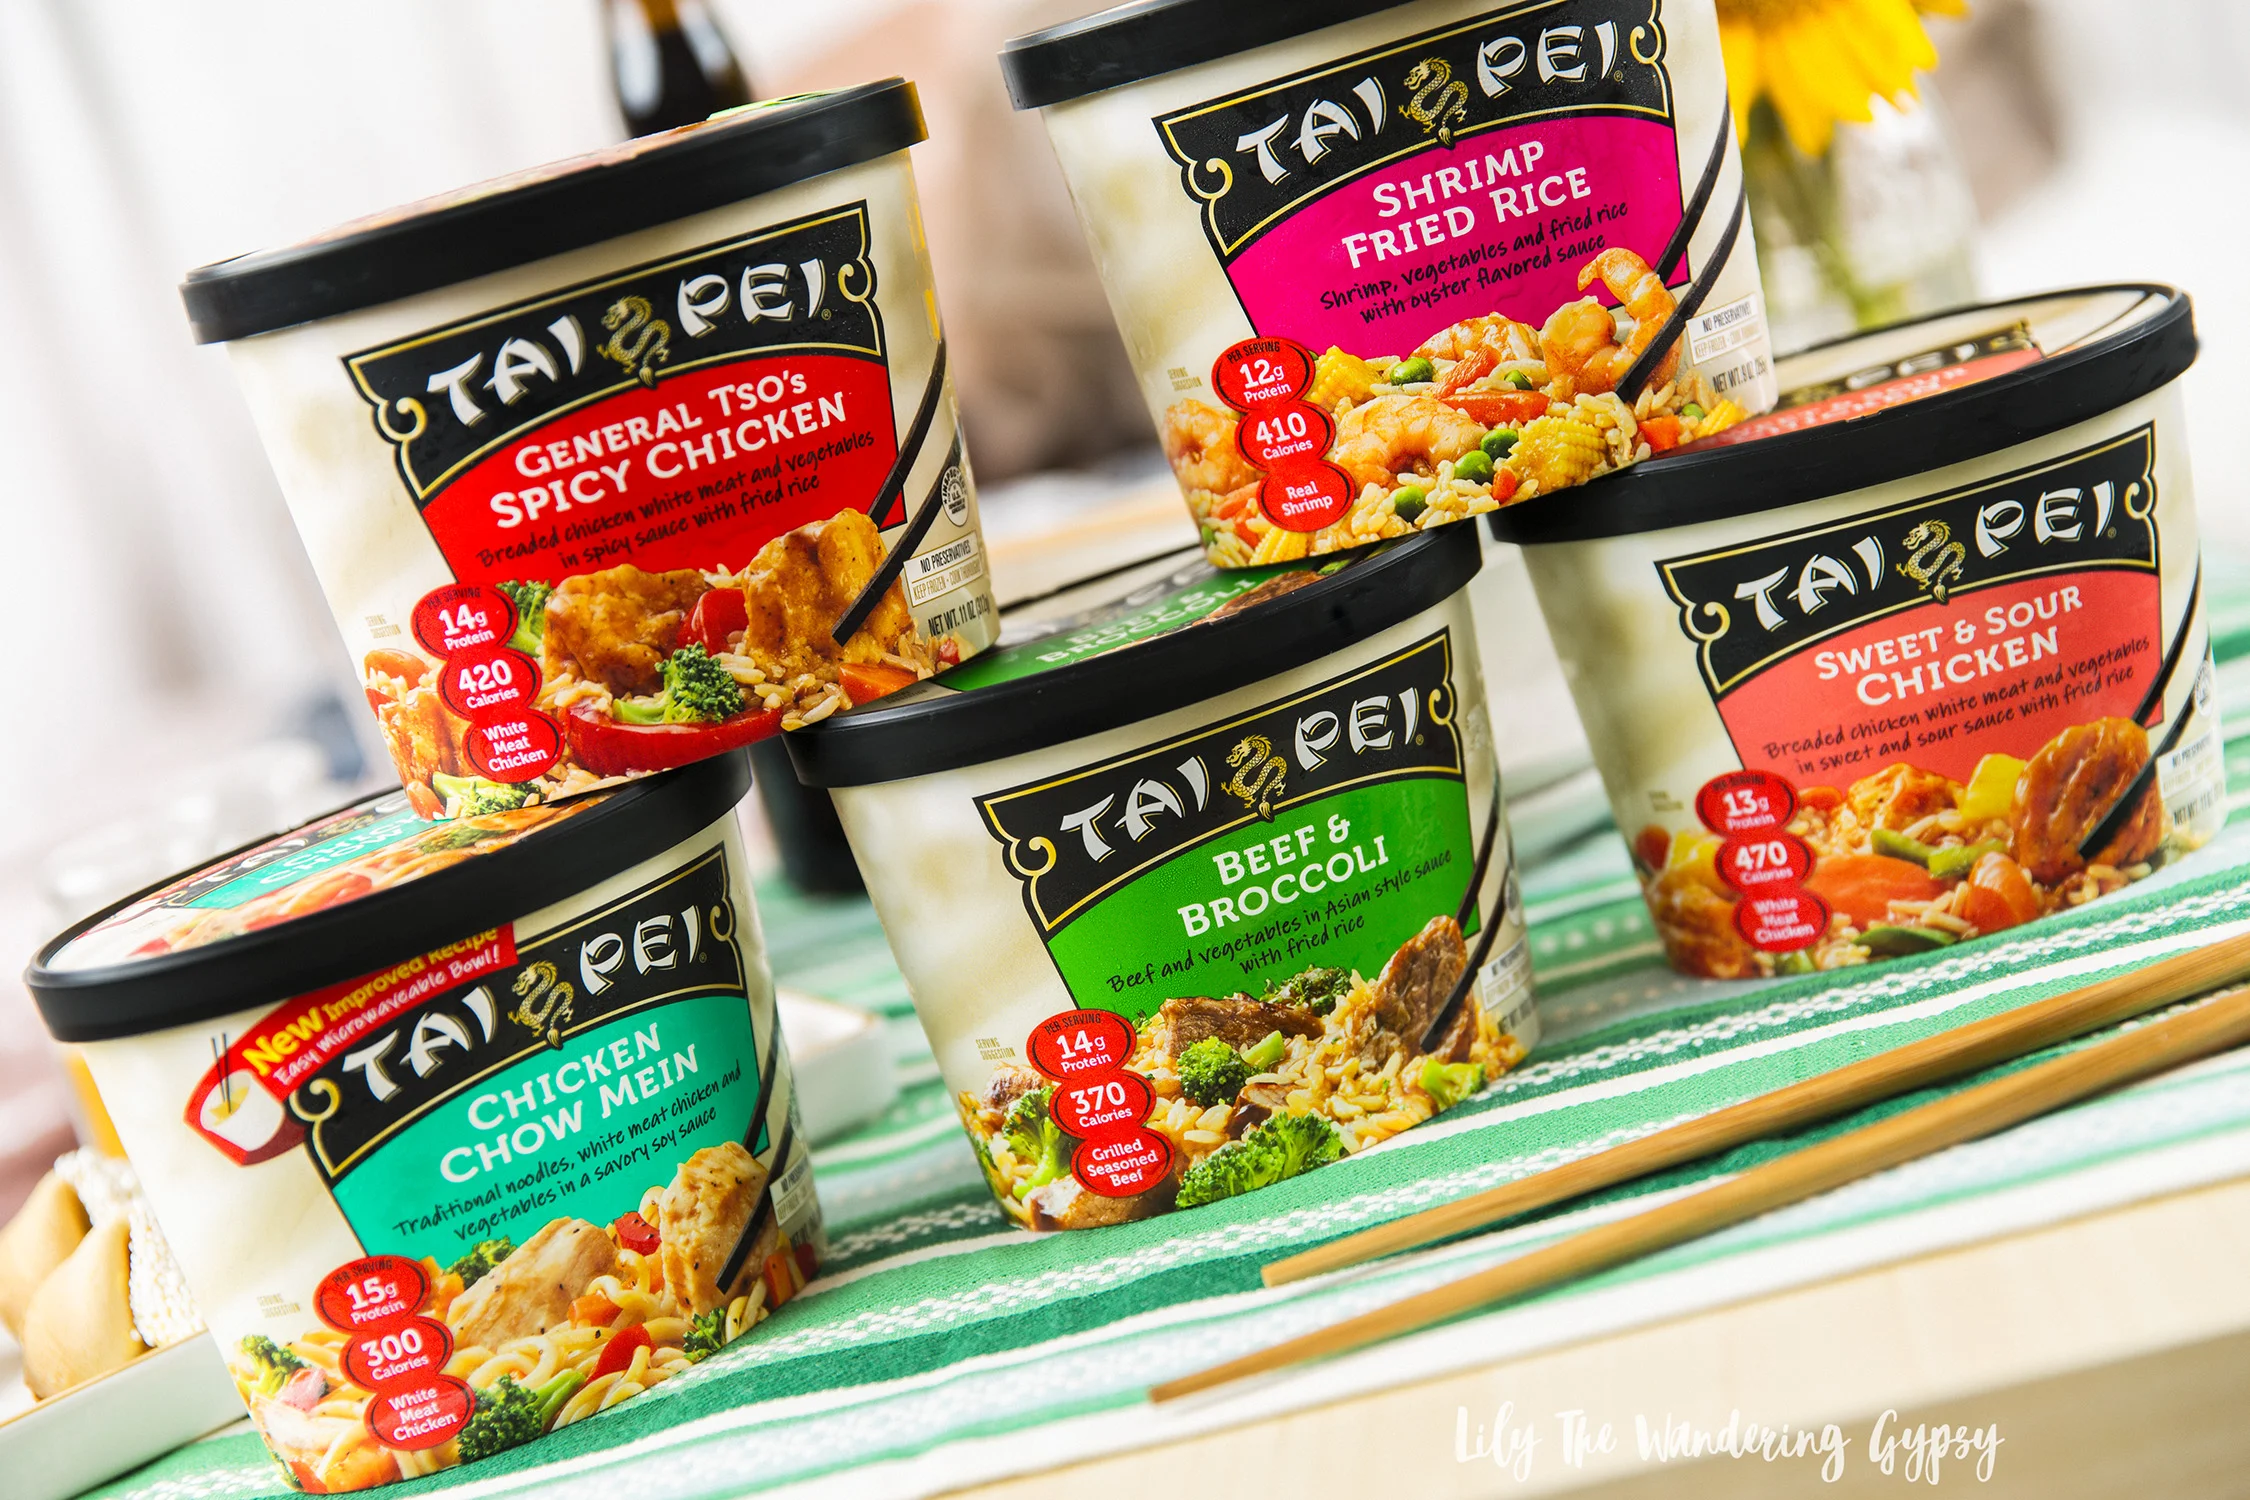

Above, the Shrimp Fried Rice was awesome! You get a ton of shrimp inside, in addition to lots of other delicious veggies and rice. Eliminate the boredom of typical, everyday meals, with so many choices and interesting, delicious dishes. Great options for meals at home or even while traveling. When we are on the road, we tend to arrive at our destination pretty late at night. Instead of ordering pizza to the room, we tend to have a more fulfilling meal by grabbing groceries at a grocery store or a Walmart, then prepping them and making them in the room. Their ew packaging also makes Tai Pei quick and simple to prepare in just minutes in the microwave.


Cutest Halloween Cupcakes Ever!
In this Roundup Post, I share the Cutest Halloween Cupcakes Ever. Enjoy!
Read MoreOrganic Cranberry Blueberry Salad Dressing Recipe
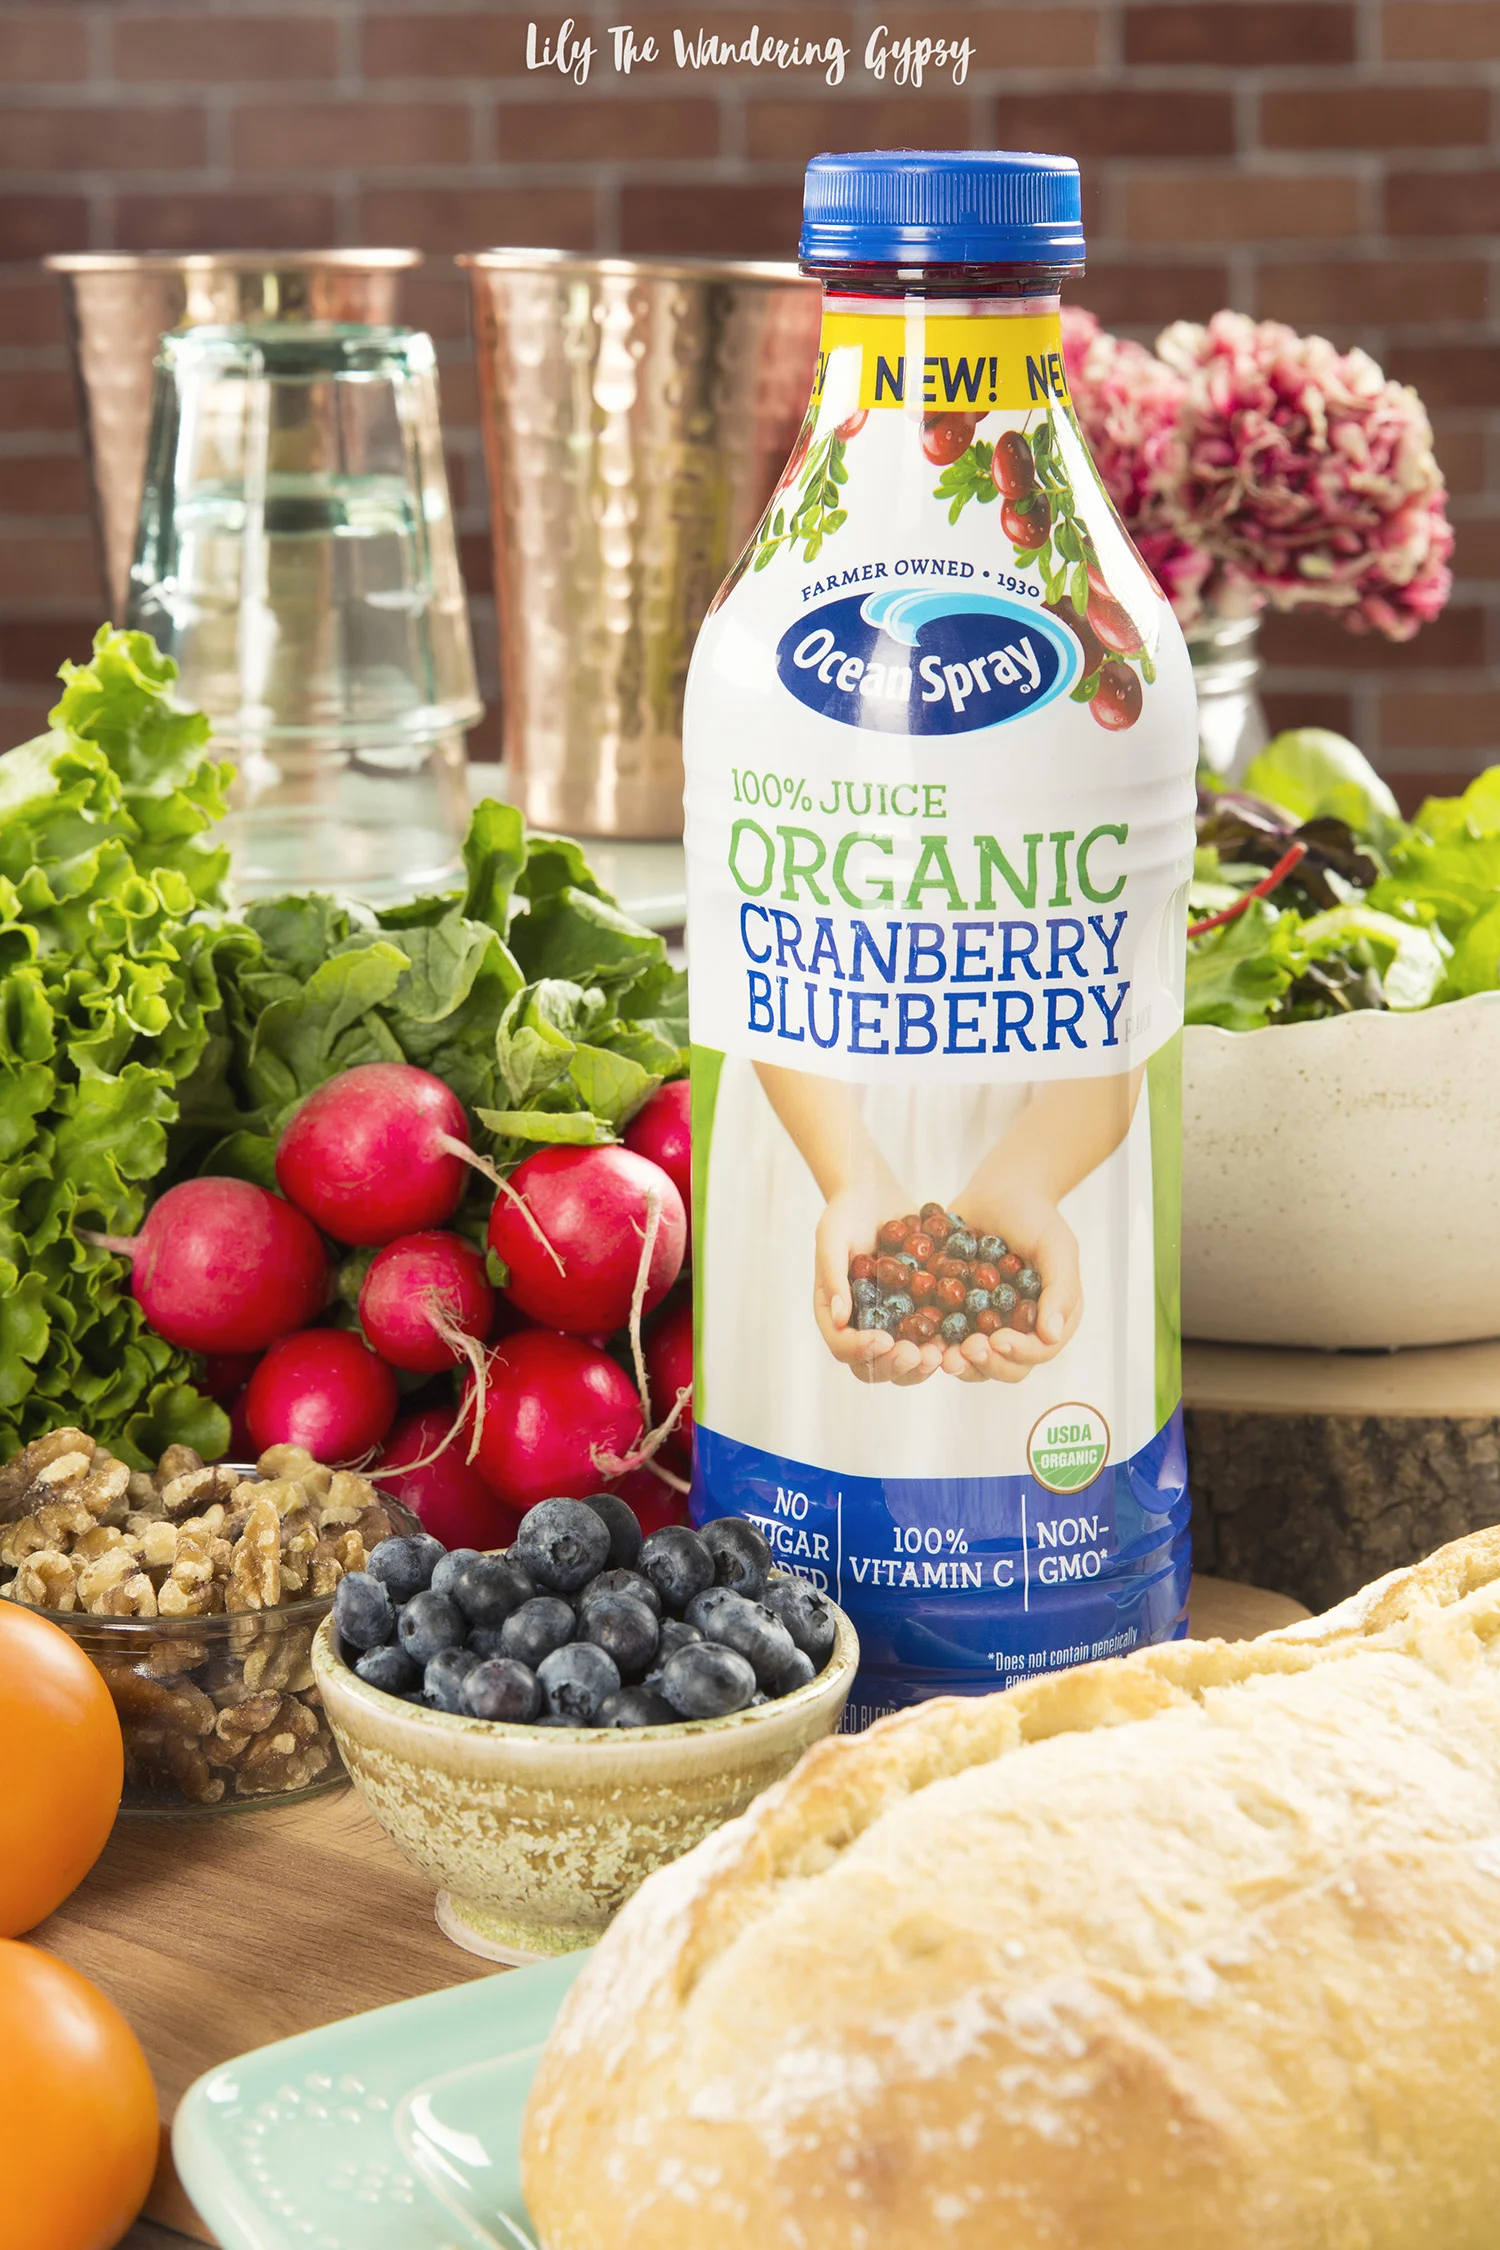
This post has been sponsored by Ocean Spray®. All thoughts and opinions are my own.
If you’re looking for a new and very delicious, organic salad dressing recipe, look no further! Organic ingredients are so important to my life, and Ocean Spray is now offering a line of three organic juice flavors (Ocean Spray® 100% Juice Organic Cranberry, Organic Cranberry Blueberry, and Organic Cranberry Apple)! YAY!!
I found mine at Kroger in the juice aisle, and actually picked up all of the other featured ingredients in the store as well. Luckily our local Kroger has recently been renovated and they’ve done a great job of making their fresh fruit and veggie section even more appealing than before.
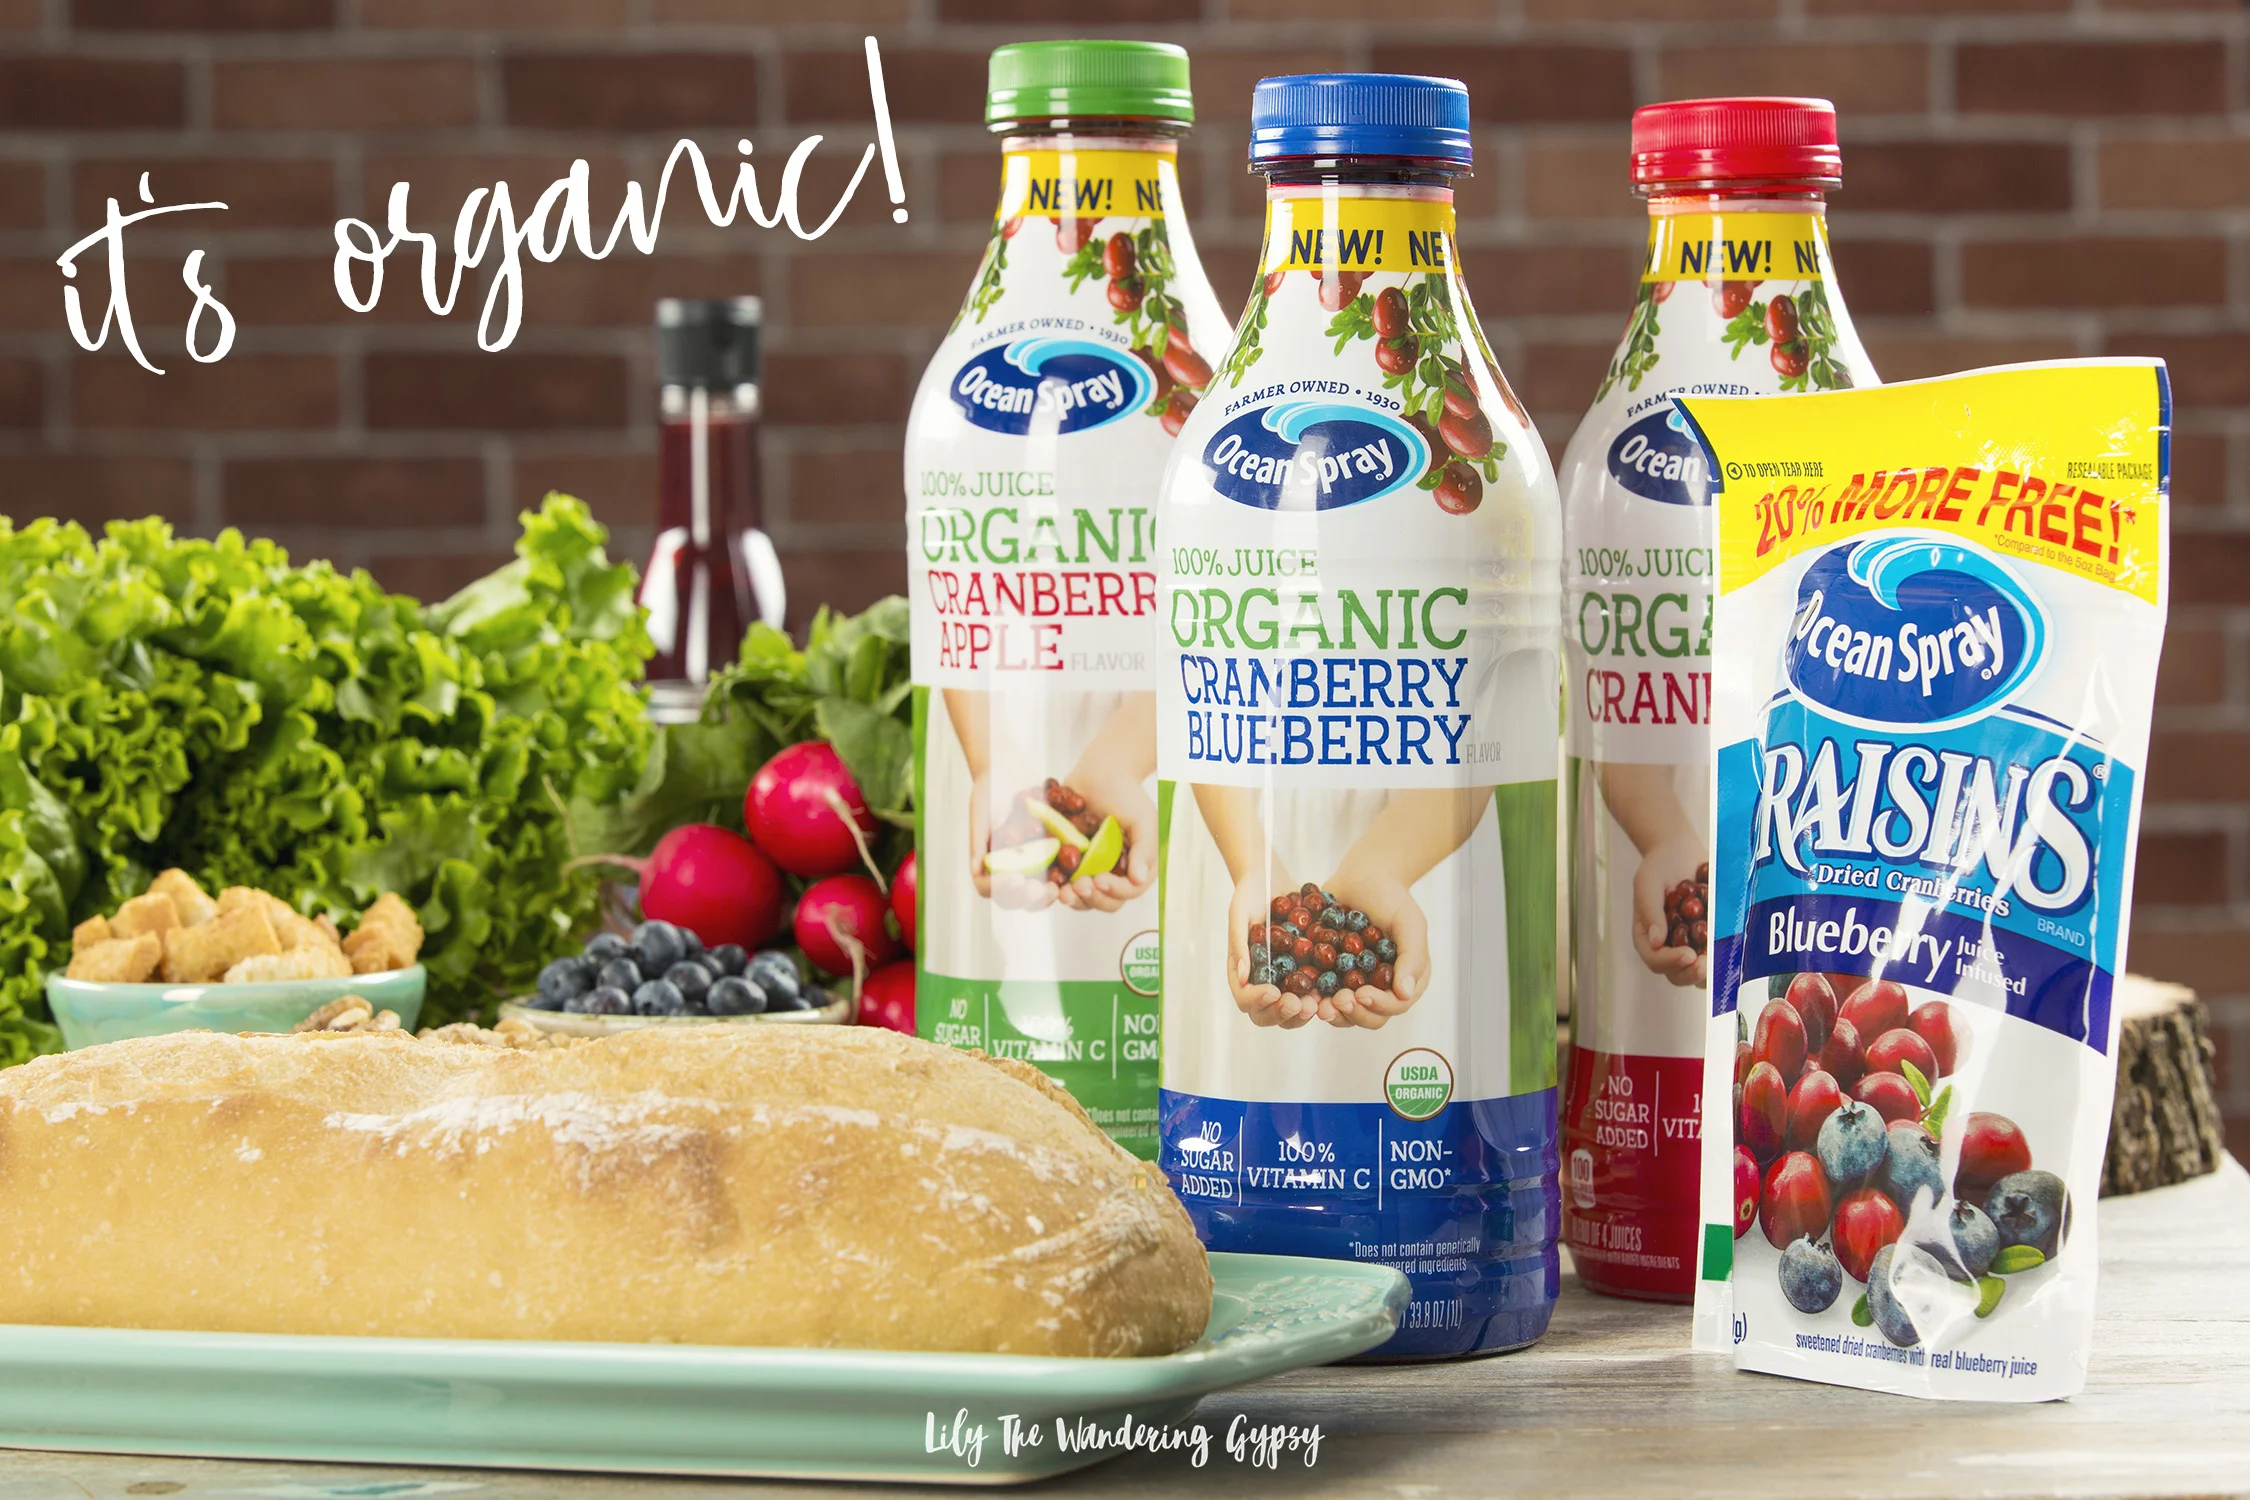
As THE Cranberry Company, Ocean Spray is introducing a delicious, organic, 100% juice to Kroger shoppers who are looking for organic beverage products. Through their new product, Ocean Spray® Organic 100% Juices, they’re providing consumers with delicious tasting, affordable, organic beverages that the whole family is sure to love. Each has 2 servings of fruit, and is USDA Organic Certified, Non-GMO, Gluten Free with 100% Vitamin C, sugar, artificial colors/flavors/preservatives added.
In this post, I use nspiration from this recipe from Ocean Spray’s website, and I love how everything turned out! This organic salad and salad dressing combo would make an absolutely wonderful and nutritious side dish or main meal for an upcoming holiday get together.
I always love eating as many salads as possible, but a bowl of lettuce with a store bought bottle of dressing is not going to keep my interest or make me want to come back for more. Luckily, with the addition of so many awesome ingredients, this salad is going to be a weekly addition to my meals, and I know that having another salad dressing recipe in my collection will be great.

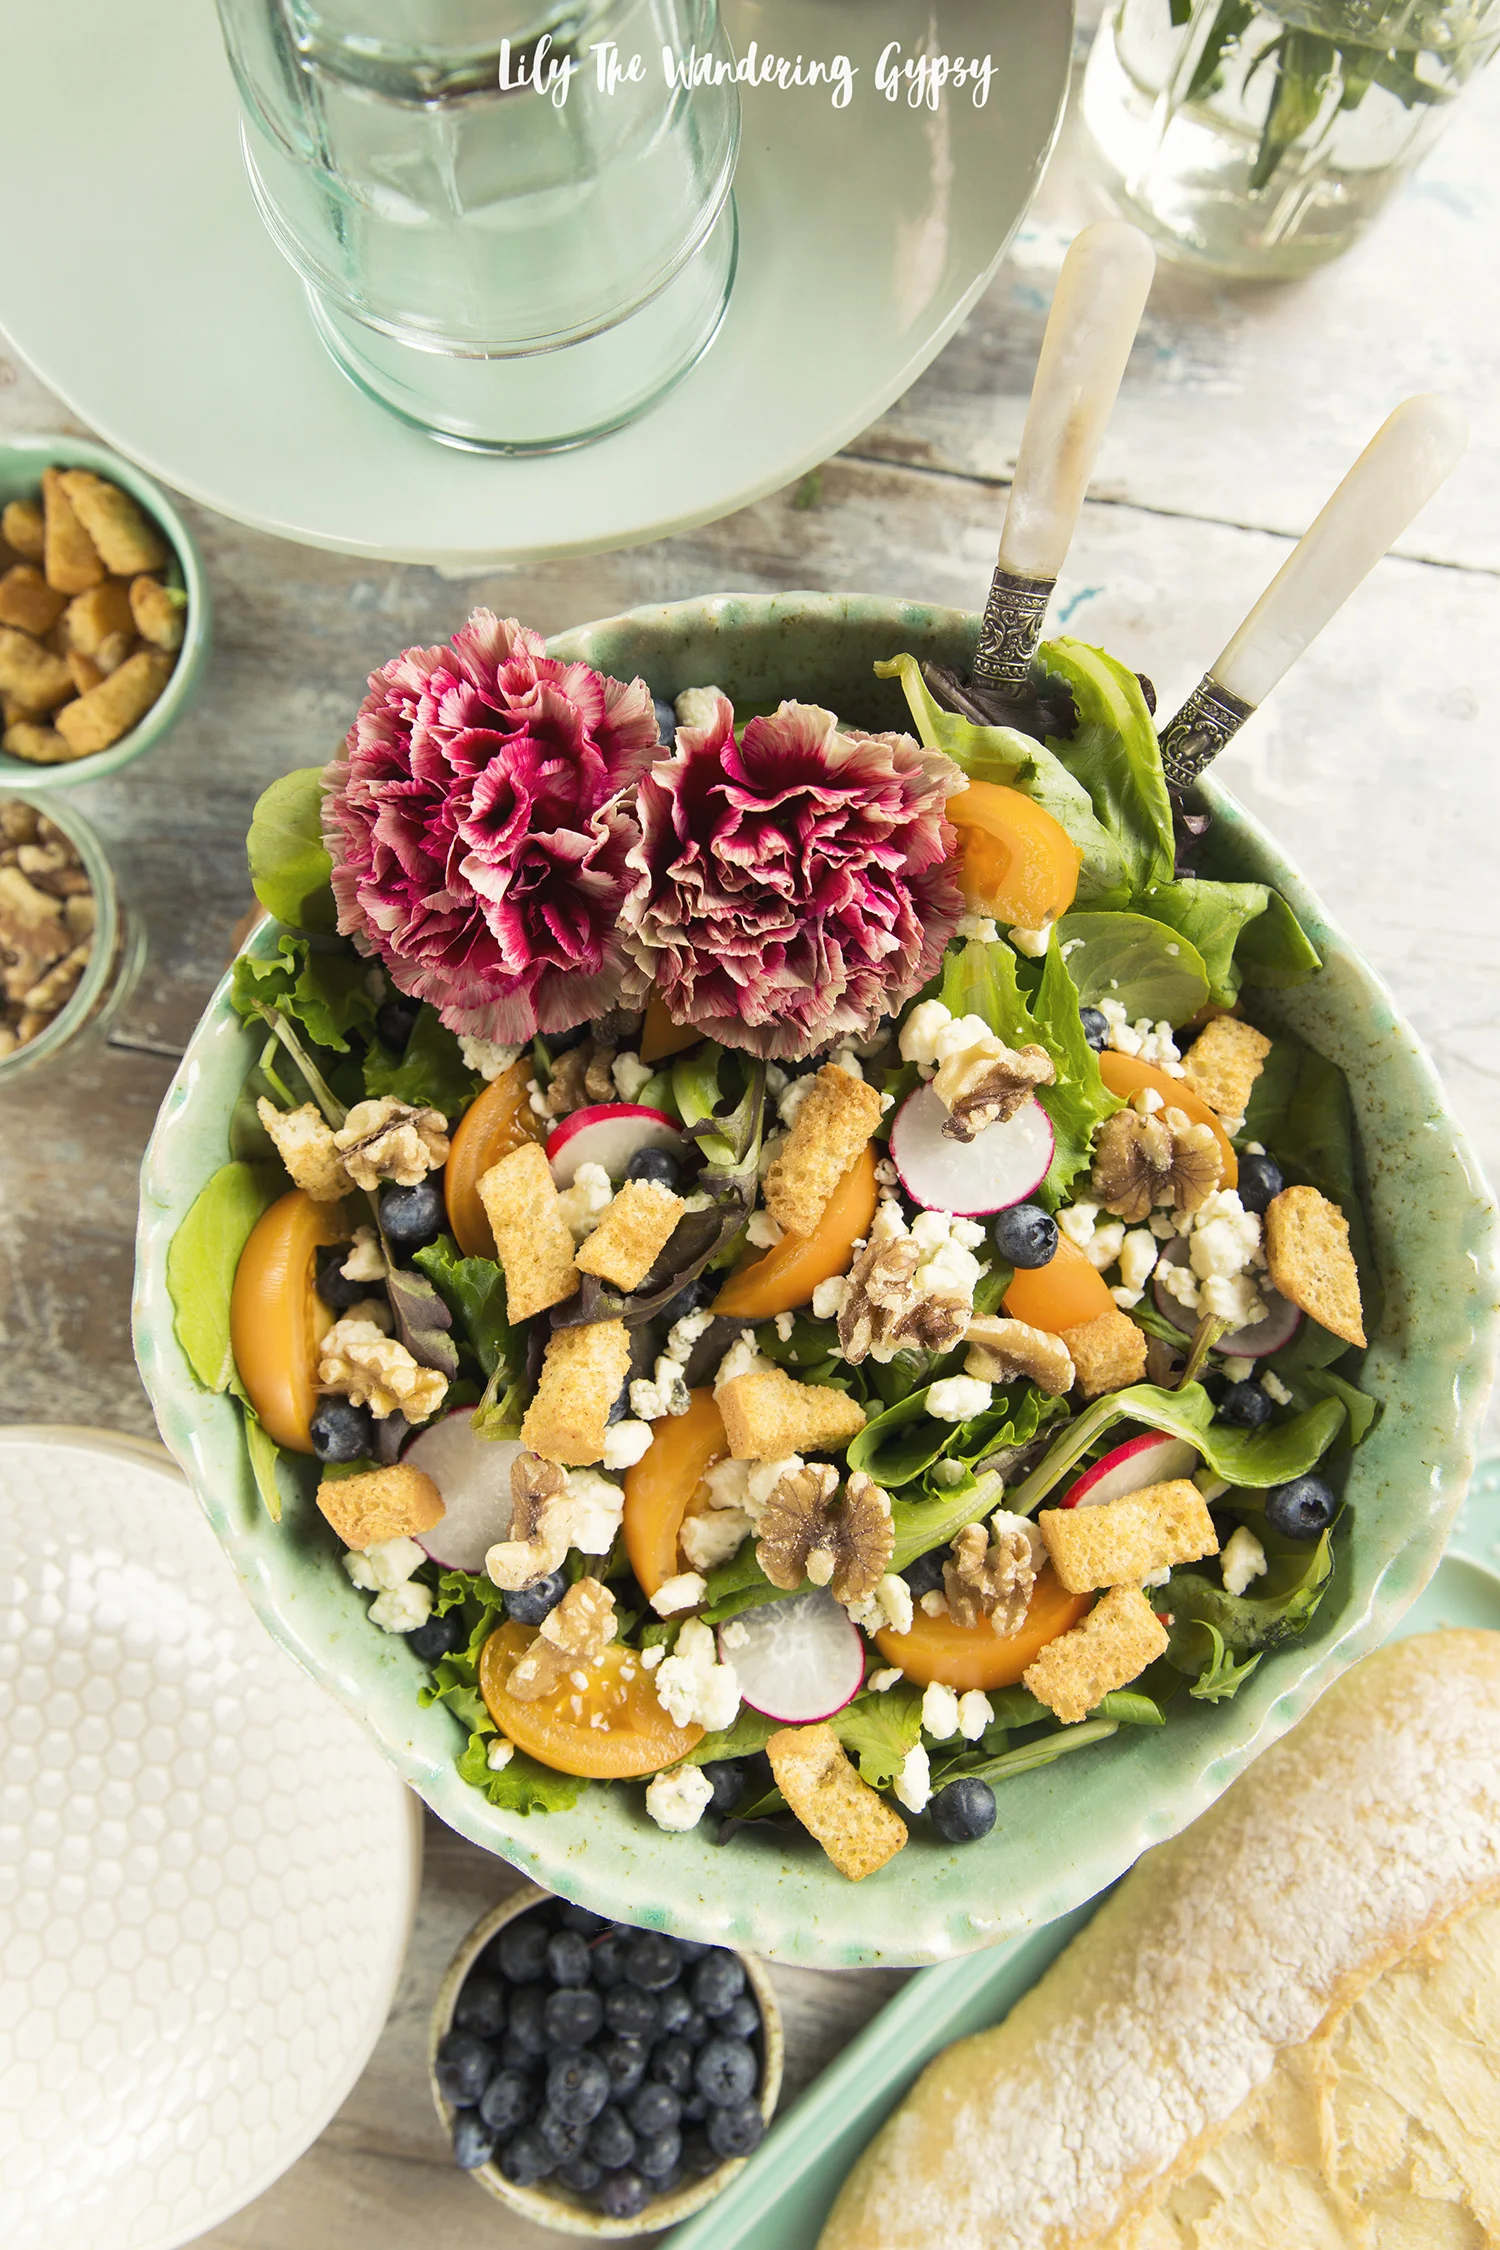
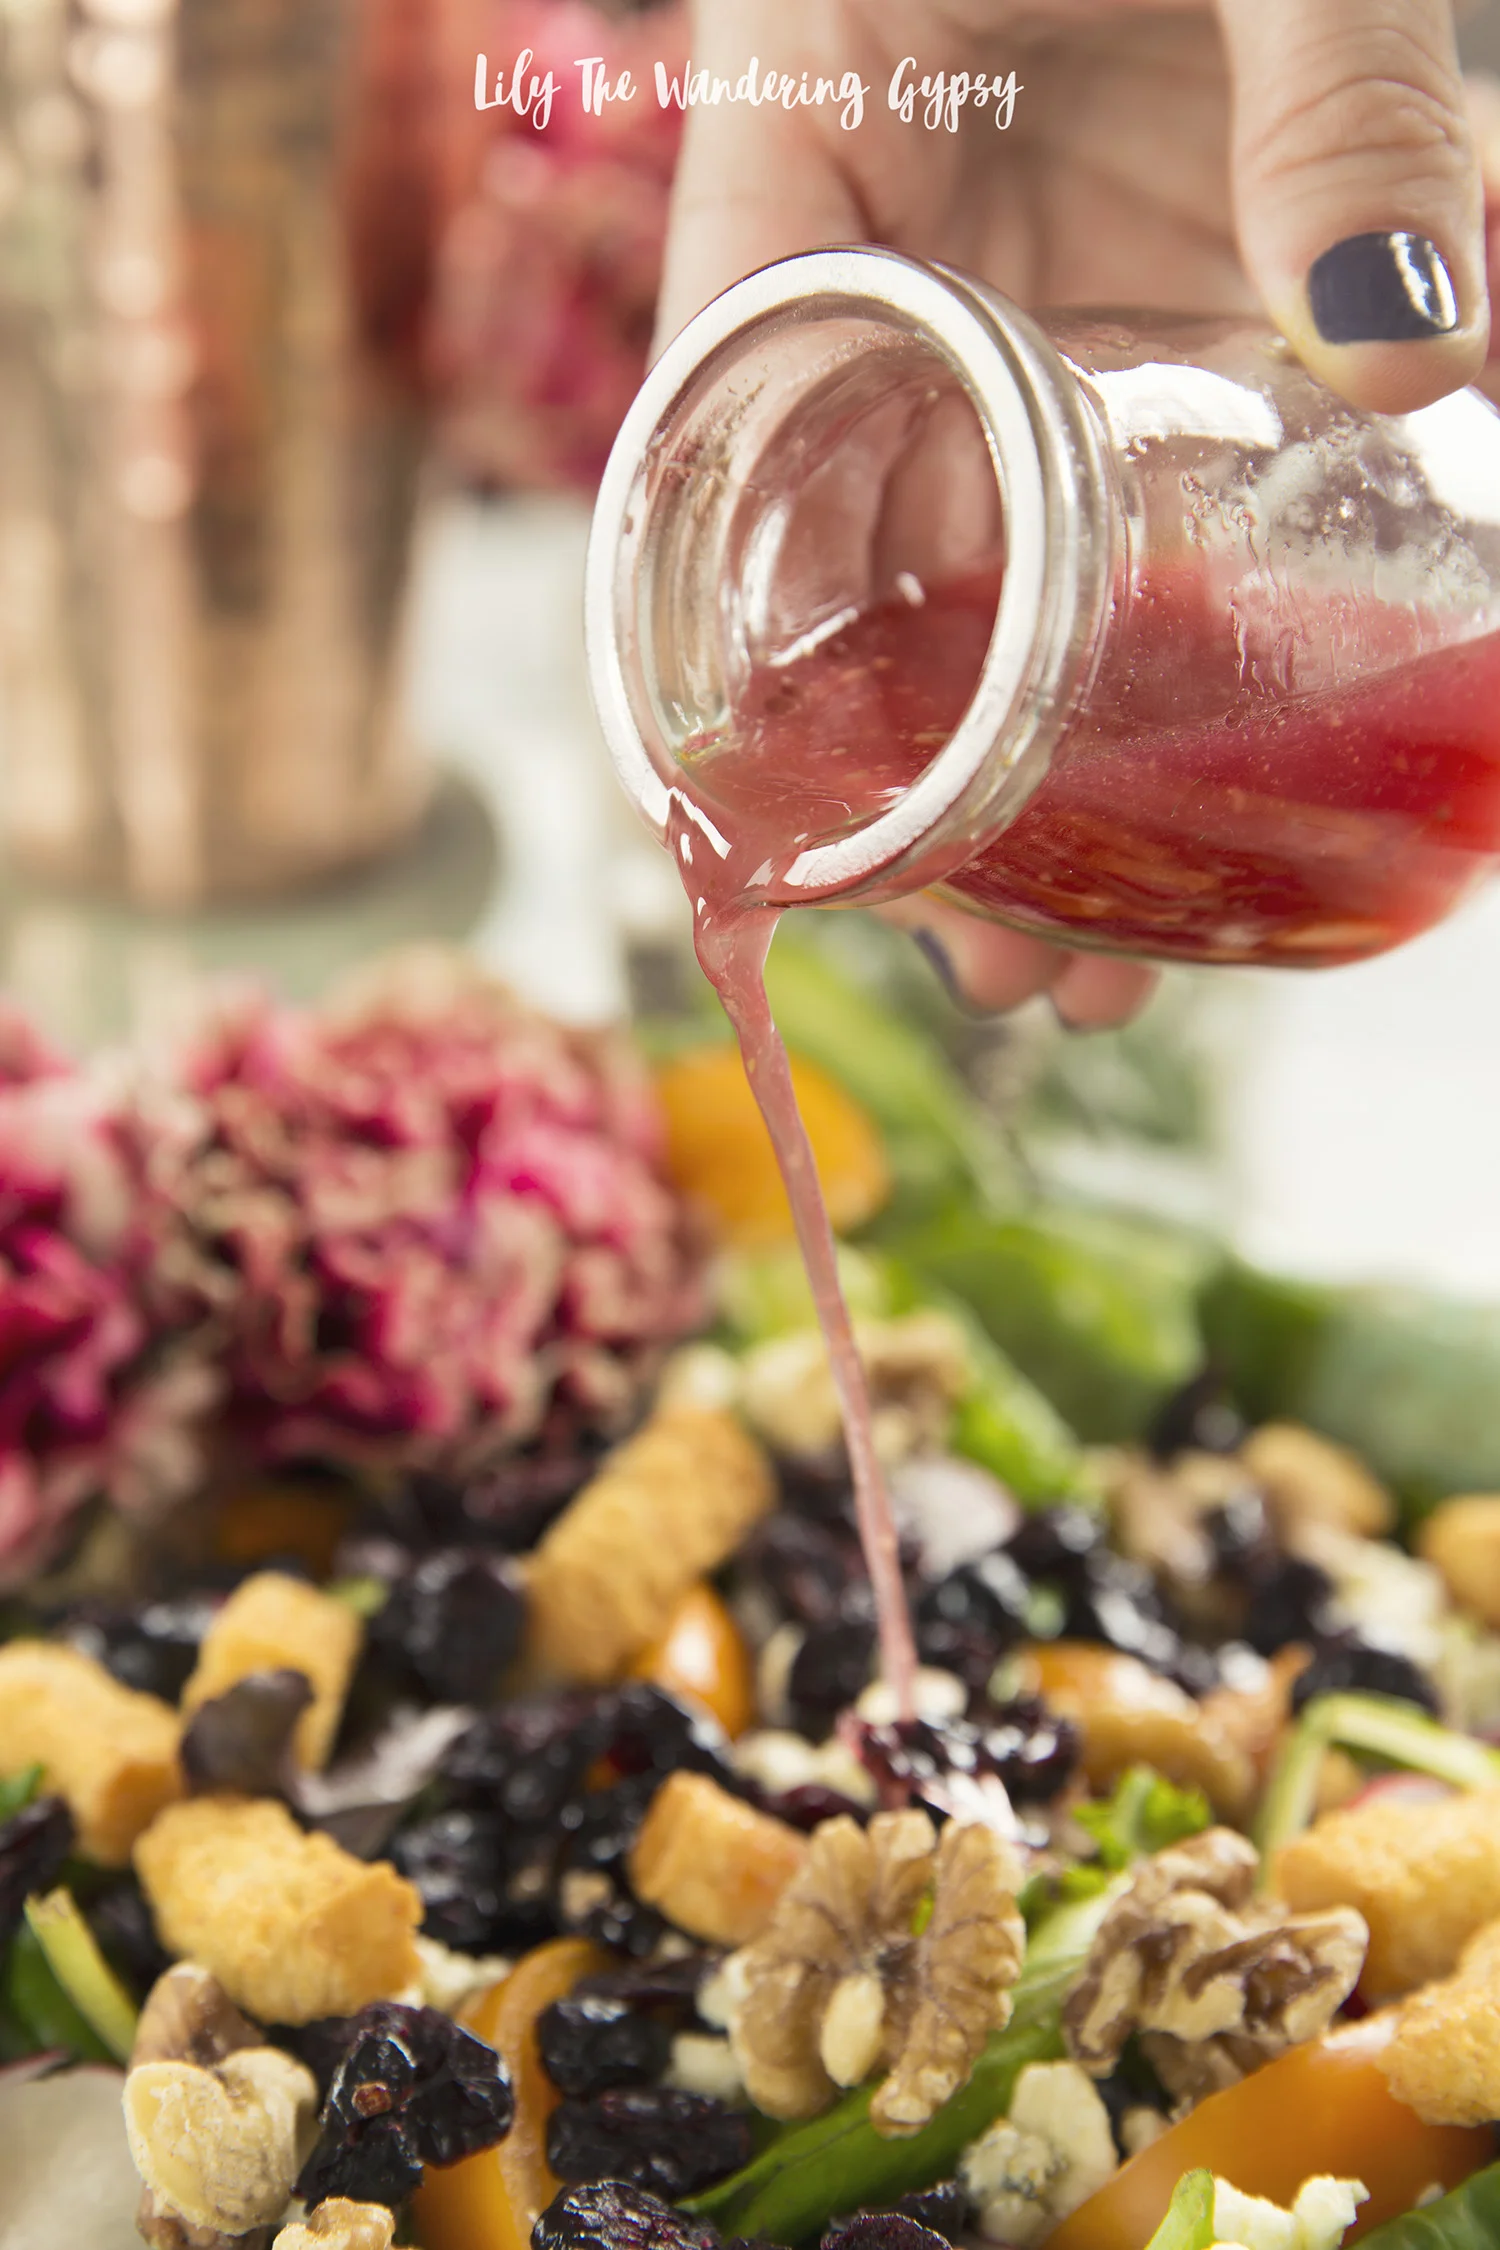
Packed with nutrients and a variety of colors and flavors, this delicious salad will encourage you to eat more fresh ingredients than ever before. Ingredients Make ervings SALAD 1/2 cup walnut pieces or halves 1/4 cup sugar 1 tablespoon water 1 5 to 6-ounce bag baby salad greens or spring greens 1 cup crumbled blue cheese 3/4 cup Ocean Spray® Craisins® Dried Cranberries Blueberry Juice Infused DRESSING 2 tablespoons Ocean Spray® 100% Juice Organic Cranberry Blueberry 2 tablespoons sugar 2 tablespoons raspberry vinegar or red wine vinegar 1 teaspoon Dijon mustard 1/8 teaspoon salt 1/4 cup vegetable oil
TO MAKE SALAD: Combine walnuts, sugar and water in 1-quart saucepan. Cook over medium-low heat, stirring constantly, until sugar melts and coats walnuts. Spread walnuts on waxed paper lightly sprayed with cooking spray; cool. Combine greens, cheese, and walnuts in large bowl. TO MAKE DRESSING: Whisk together all Dressing ingredients except oil in small bowl. Gradually whisk in oil until slightly thickened. Pour dressing over salad; toss to coat.

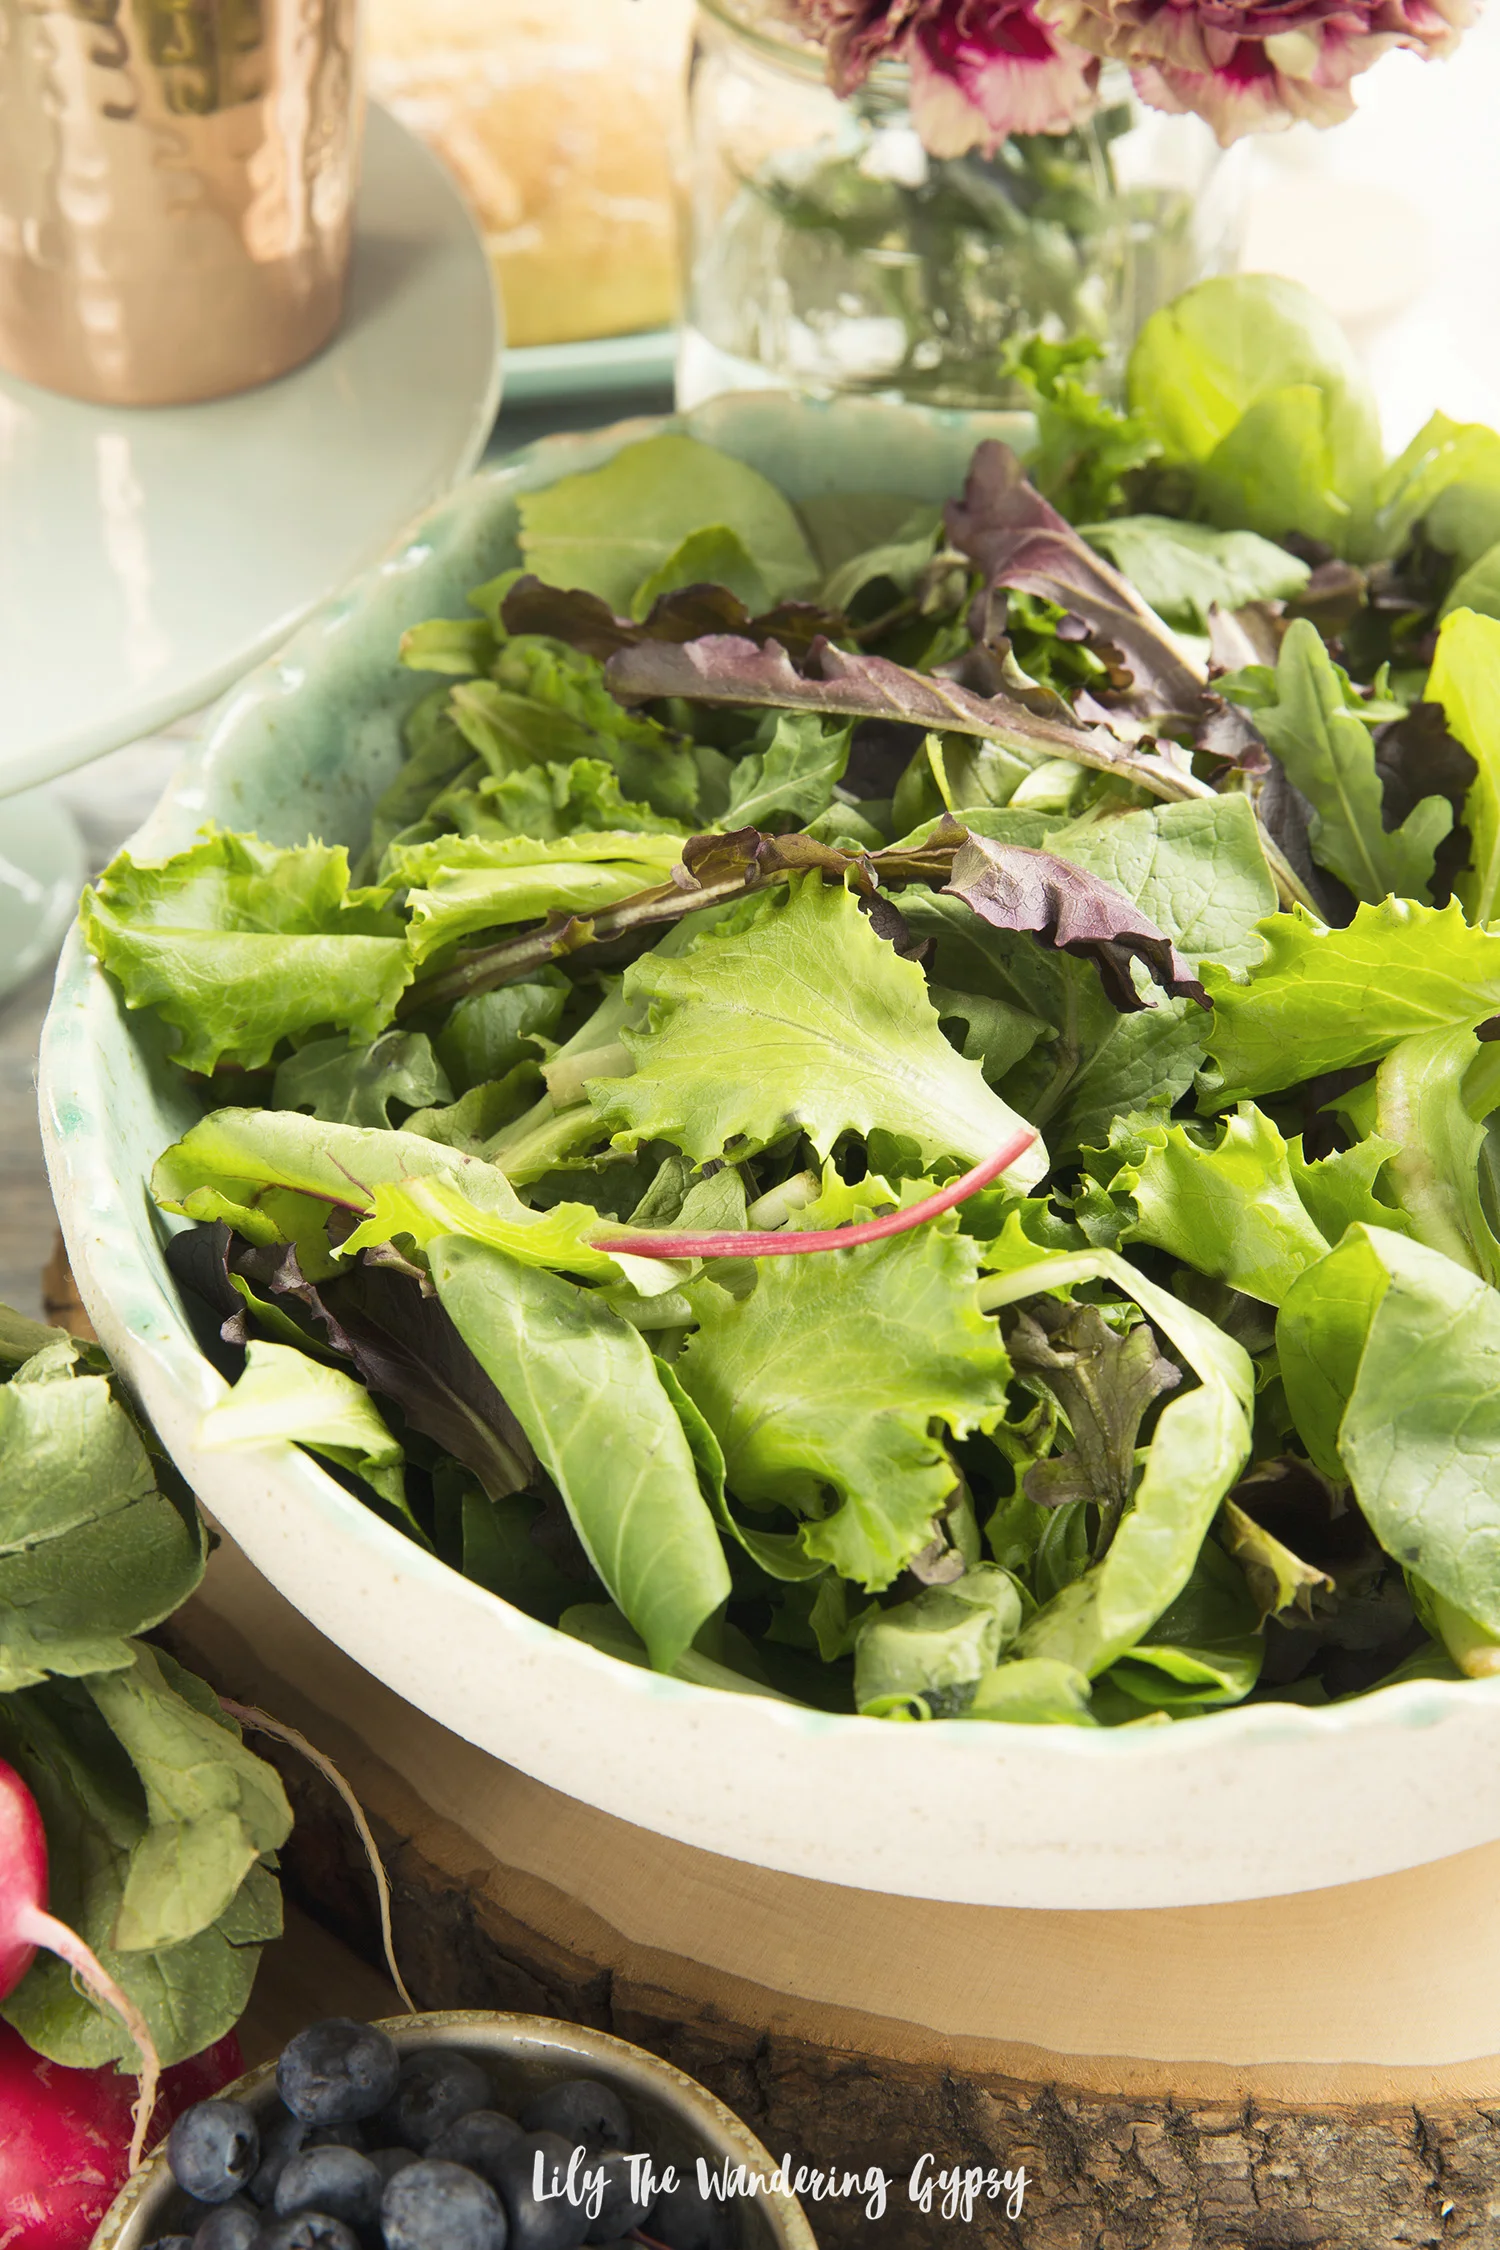
Above, a beautiful mixture of baby greens and spinach.
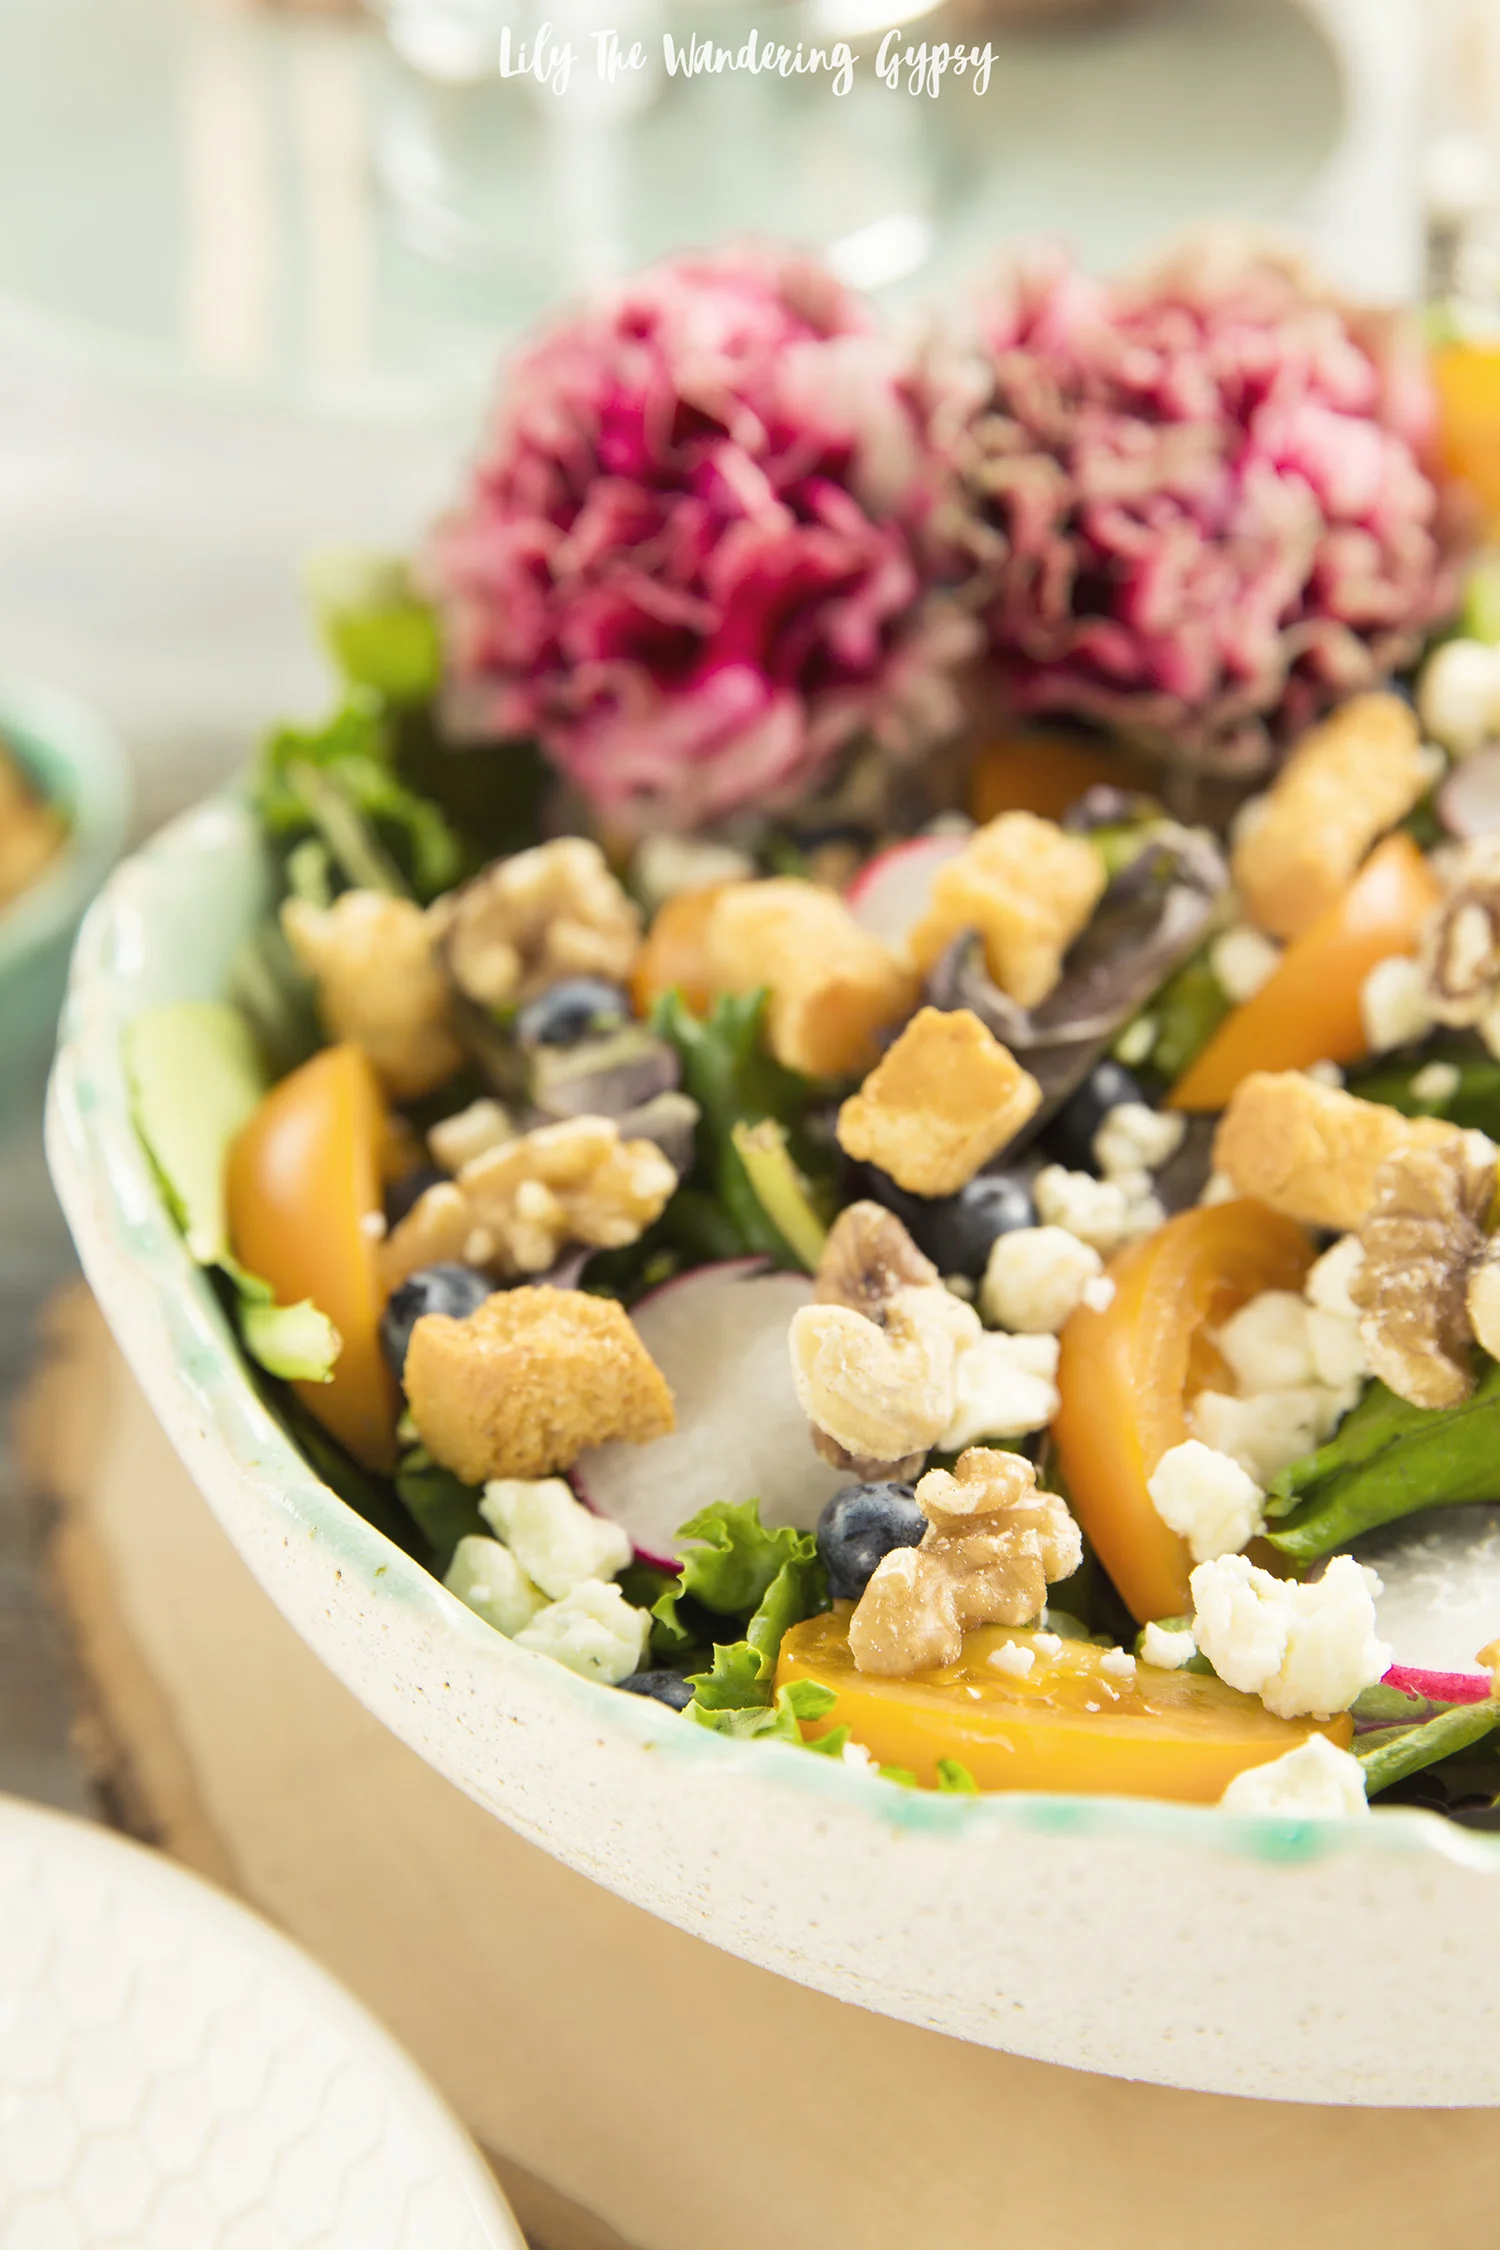
The more flavors, colors, and textures you add to your salad, the more it will fill you up and keep you happy!
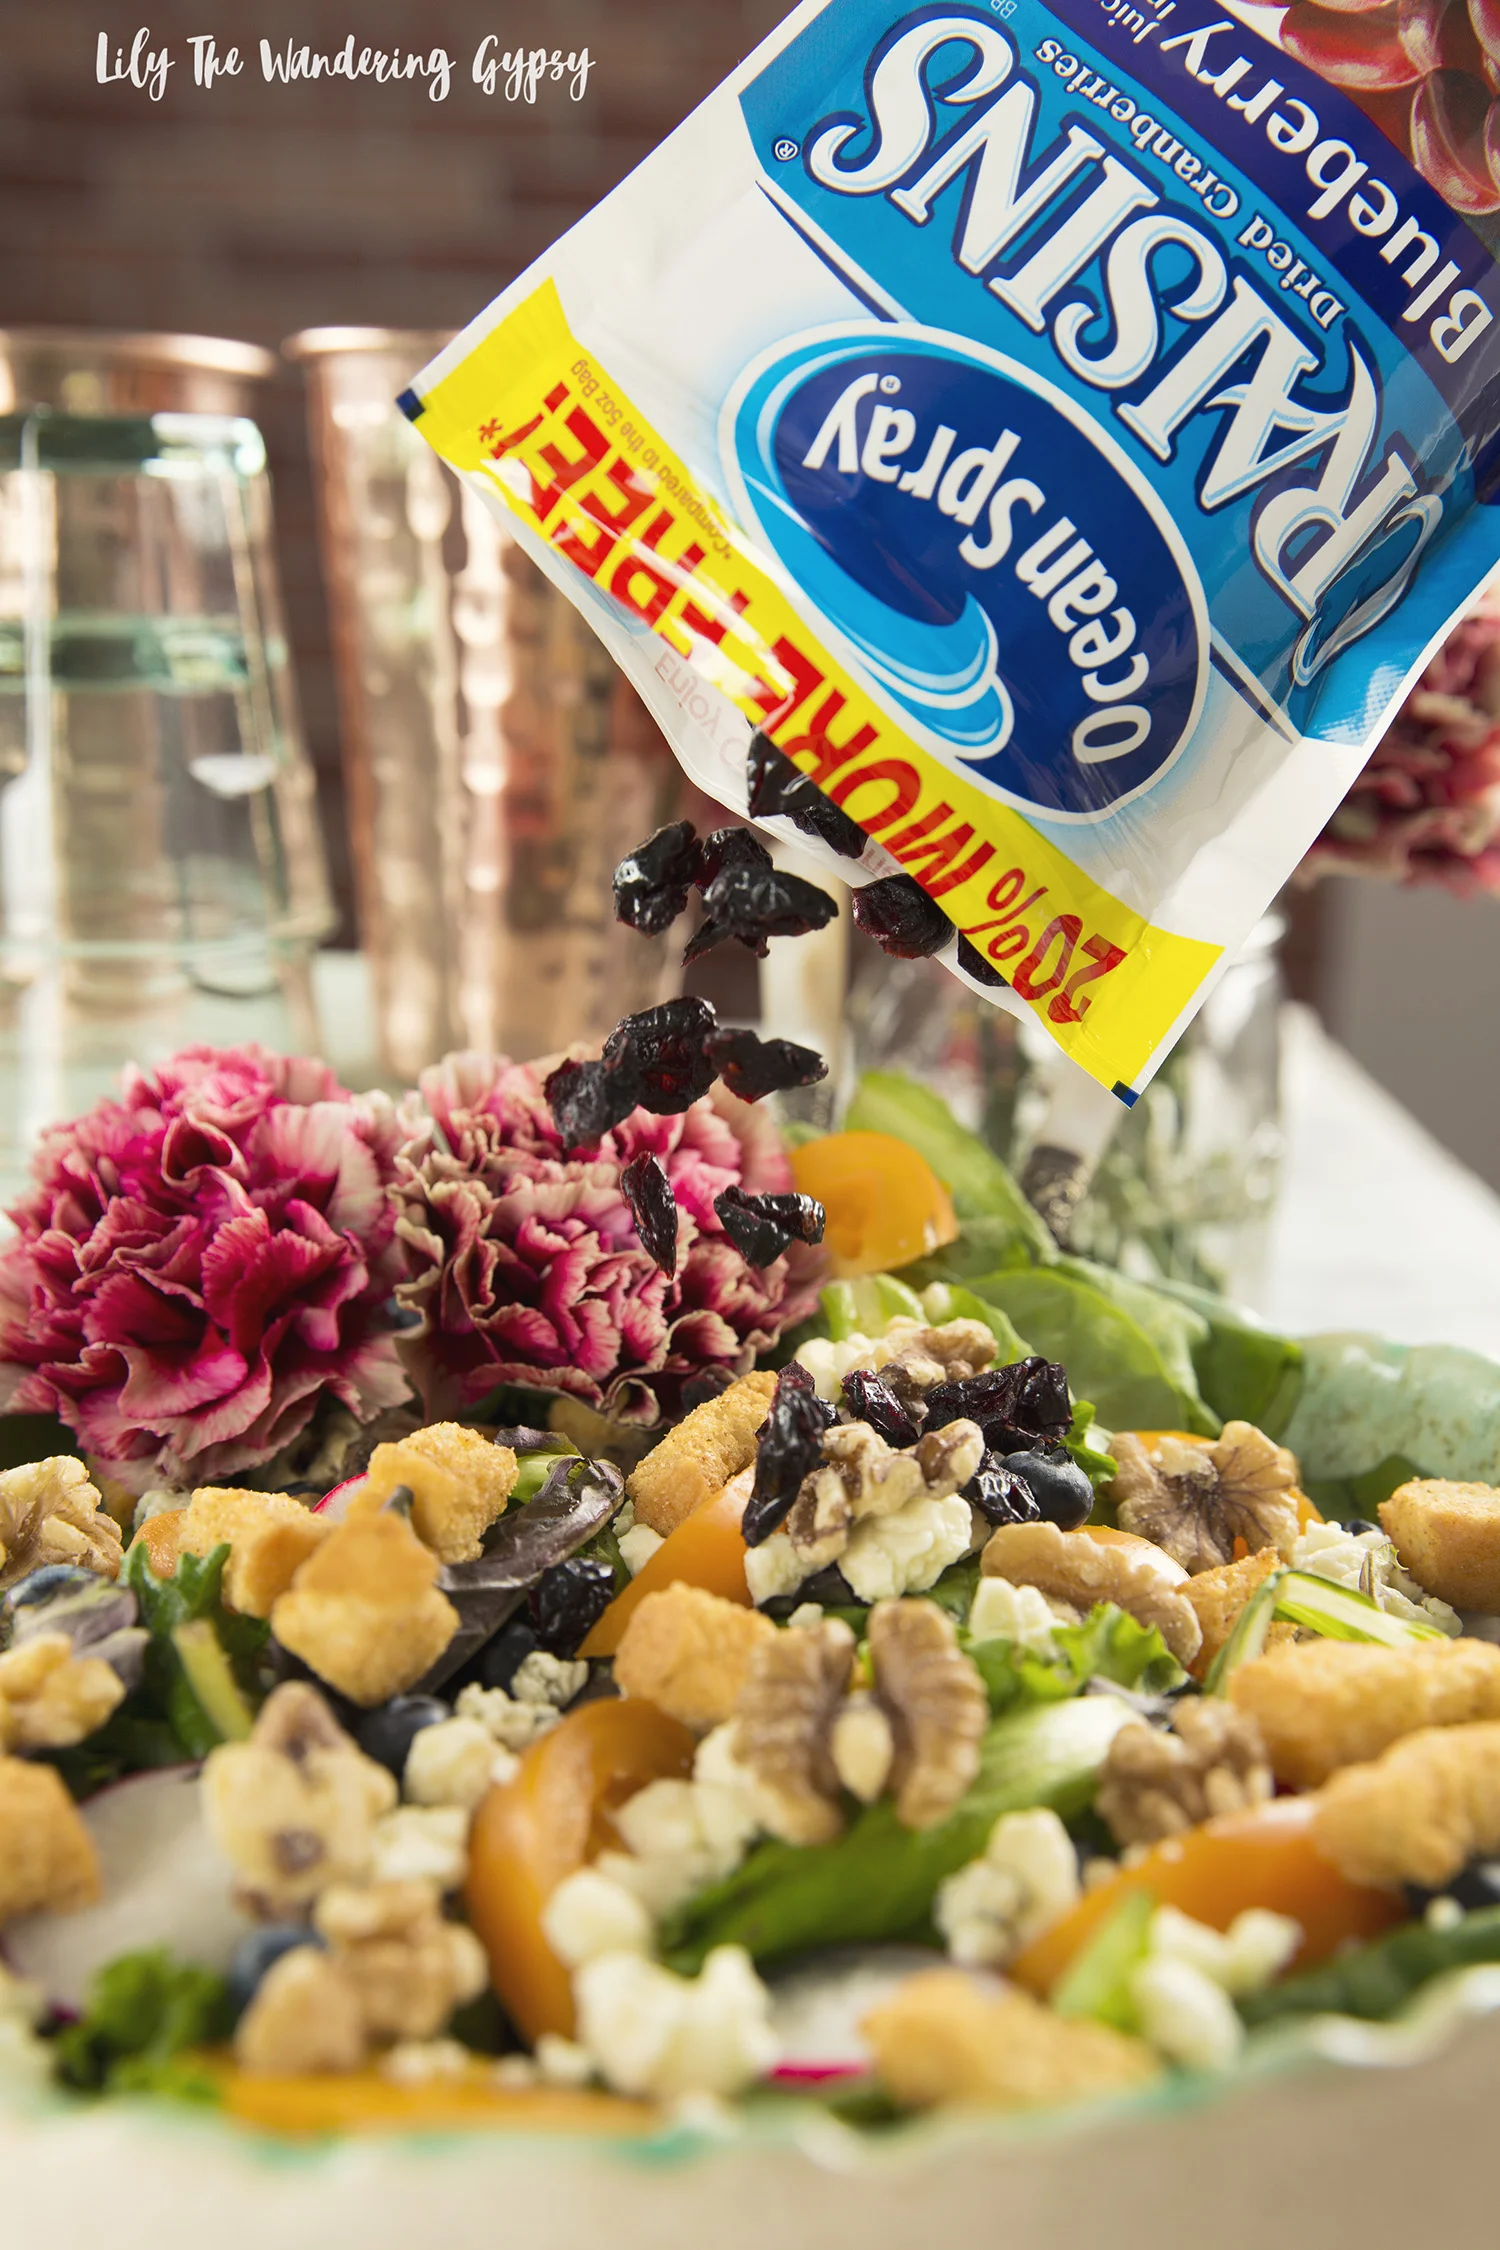
Above, the Ocean Spray® Craisins® Dried Cranberries Blueberry Juice Infused add SO much to the salad! Add your homemade organic salad dressing on top, and enjoy!
What Would You Give To End ALS?
Have you ever had your teeth brushed by someone other than yourself? How about being spoon fed while you’re out to dinner? Or having a loved one shower and dress you every morning?
Most of us don’t have to rely on others to help us in these ways. Most of us take these abilities for granted, as we rush from one day to the next.
But for people living with ALS, these are realities. And they would give anything to reverse them.

Pin this image to spread the word about joining the fight to cure ALS.
ALS (amyotrophic lateral sclerosis or Lou Gehrig's Disease) is one of the worst diseases we know of. In people with ALS, motor neurons deteriorate leading to muscle weakness and paralysis. Every 90 minutes, someone is diagnosed with ALS, and most people live 2-5 years after their first signs of disease. There is currently no treatment or cure
That’s why I've teamed up with the ALS Therapy Development Institute (ALS TDI)--a non-profit biotech 100% focused on finding a treatment and cure--to build awareness of the disease and raise funds for research.
The goal this year is to raise $50,000 through our collective efforts. And up to $25,000 will be matched dollar for dollar by an anonymous and very generous donor! Together, we can raise funds to help make ALS a thing of the past!
Fall Vibes
Here in southern Illinois, Fall has arrived! The weather finally cooled this evening after it rained all day, so we are thoroughly enjoying Fall again :) Here are a few Fall images I shot and just love! Hope you enjoy!


Yay for Fall!
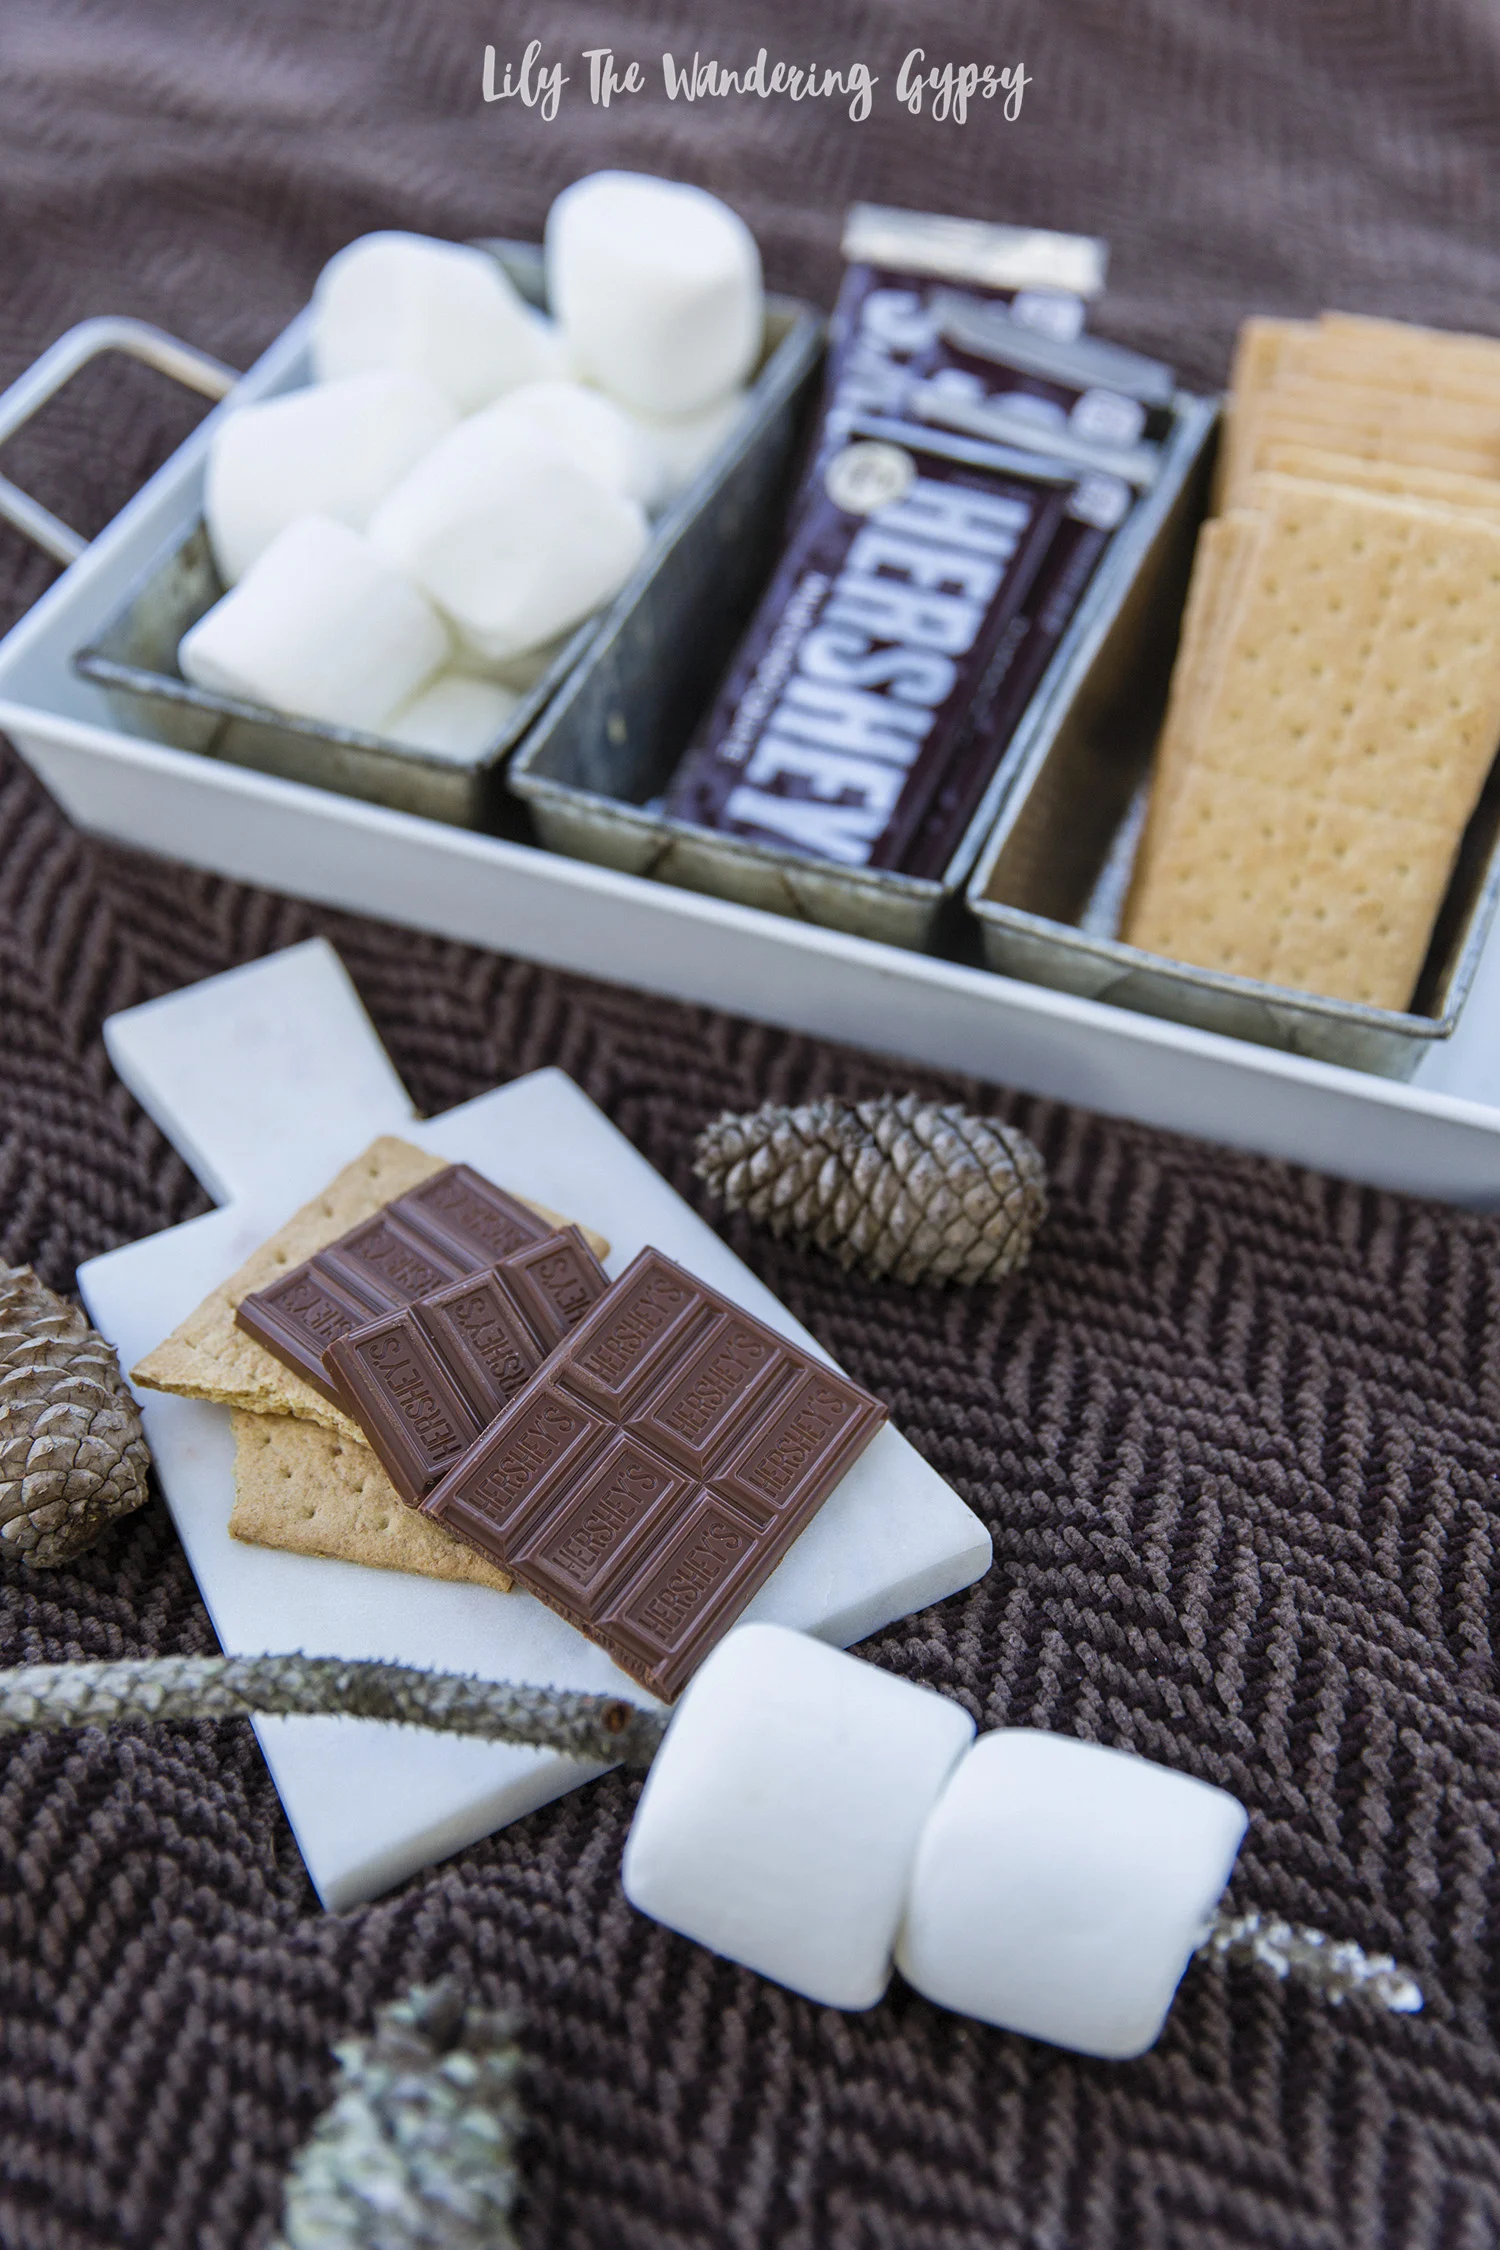
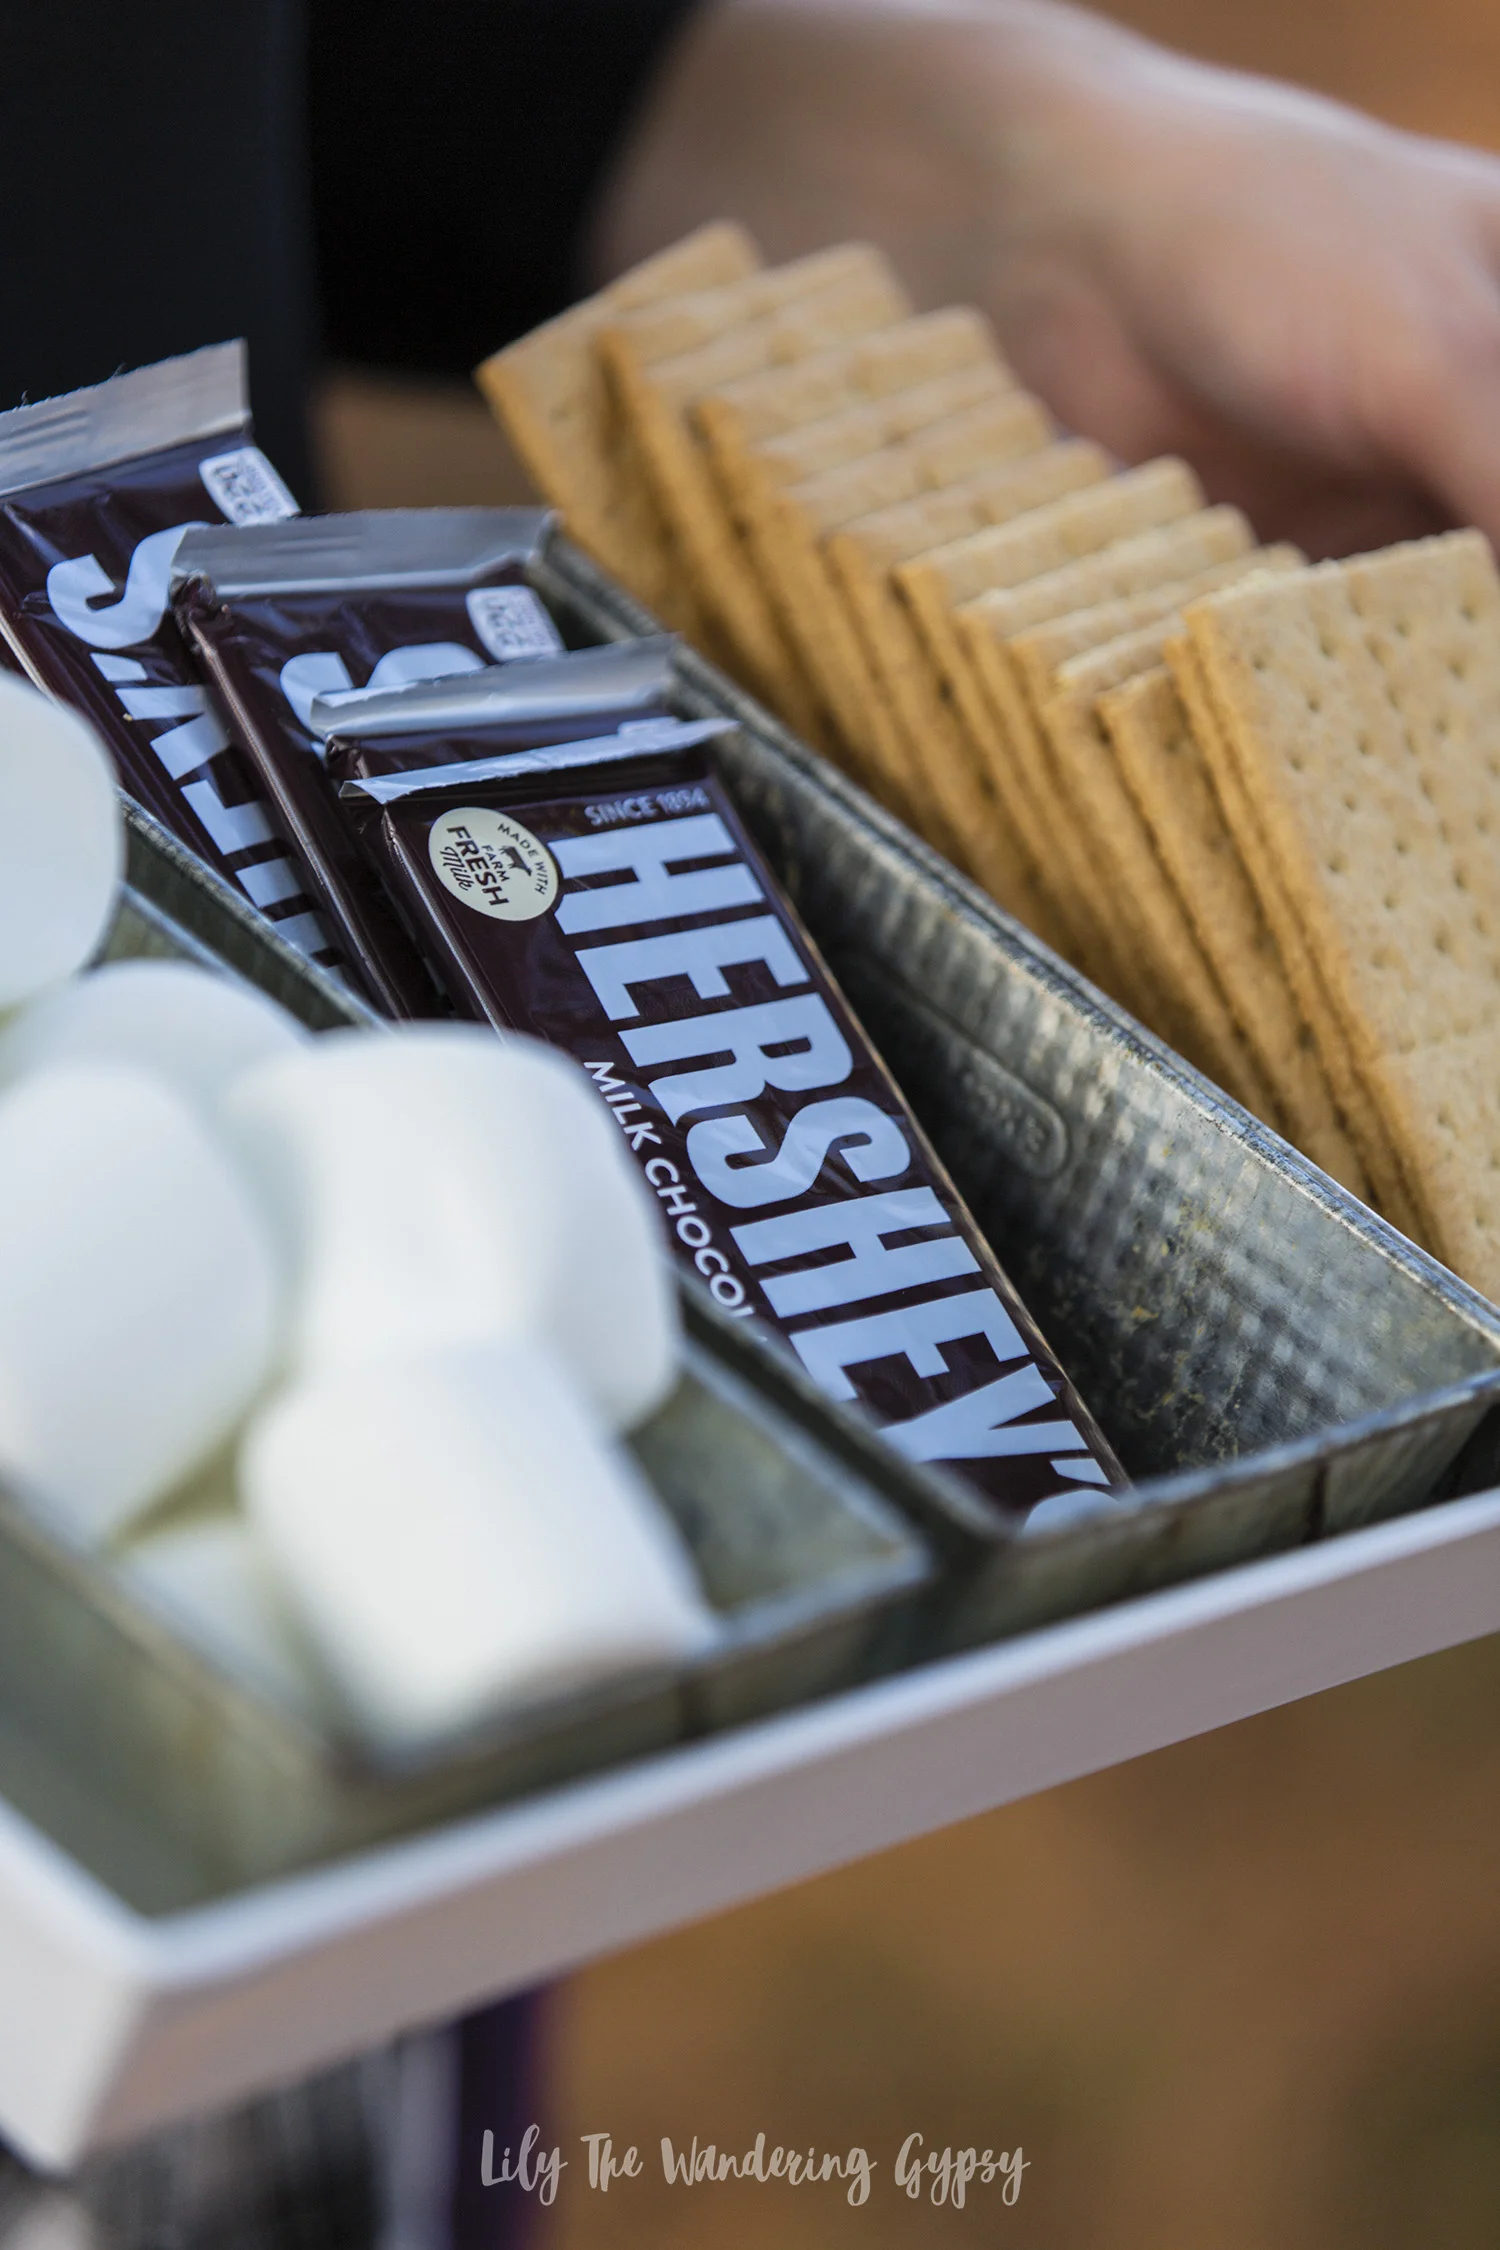
S'mores + Fall Fashion #LiveInLayers
If you love being outdoors but don't enjoy being layered up in thick, uncomfortable clothing, then you might want to give Cuddl Duds a try! Cuddl Duds is more than just a clothing brand, it's a lifestyle brand that enables comfort in every shape and form.
I feel most at home outdoors, and among nature. With cooler weather FINALLY here, I am excited to expand my Fall/Winter wardrobe with pieces that will withstand a few adventures. I am all about clothing that is comfortable, high performing, and flattering. Cuddl Duds checks all the boxes! These clothing fit extremely well - nothing was too tight or too lose, just perfect.

Perfect for a walk in the woods, a day with friends, or cuddling up on the couch with a good magazine or movie, these clothes are really wonderful.
BONUS RECIPE: Pumpkin Sugar Cookie S'mores (Video)

Watch the video above to get the recipe details.


The smell of a pine forest on a cool day ALWAYS makes me happy! I love getting out for some fresh air.

The shirt was probably my favorite of all the pieces. It's SUPER soft, nice and stretchy and unlike a lot of similar styles of shirts, this one fit exceptionally well. Sometimes, I find that more form fitting shirts like this can be tight under the arms, but I was able to wear this shirt all day while moving around and had no issues at all! These clothes would be amazing for traveling, since they would not wrinkle and the shirt would take up hardly any room in your luggage. I really appreciate high quality clothing that is lightweight but is still warm and comfortable! I just love multi-use, multi-occasion clothing pieces that are so versatile like these ones.
Below, you can see the fleece hooded jacket, which is going to be perfect to bundle up on a chilly day soon.

Do you have any fun plans for the Fall? What are some of your favorite ways to enjoys a crisp autumn day?

Here are a few more goodies from Cuddl Duds!

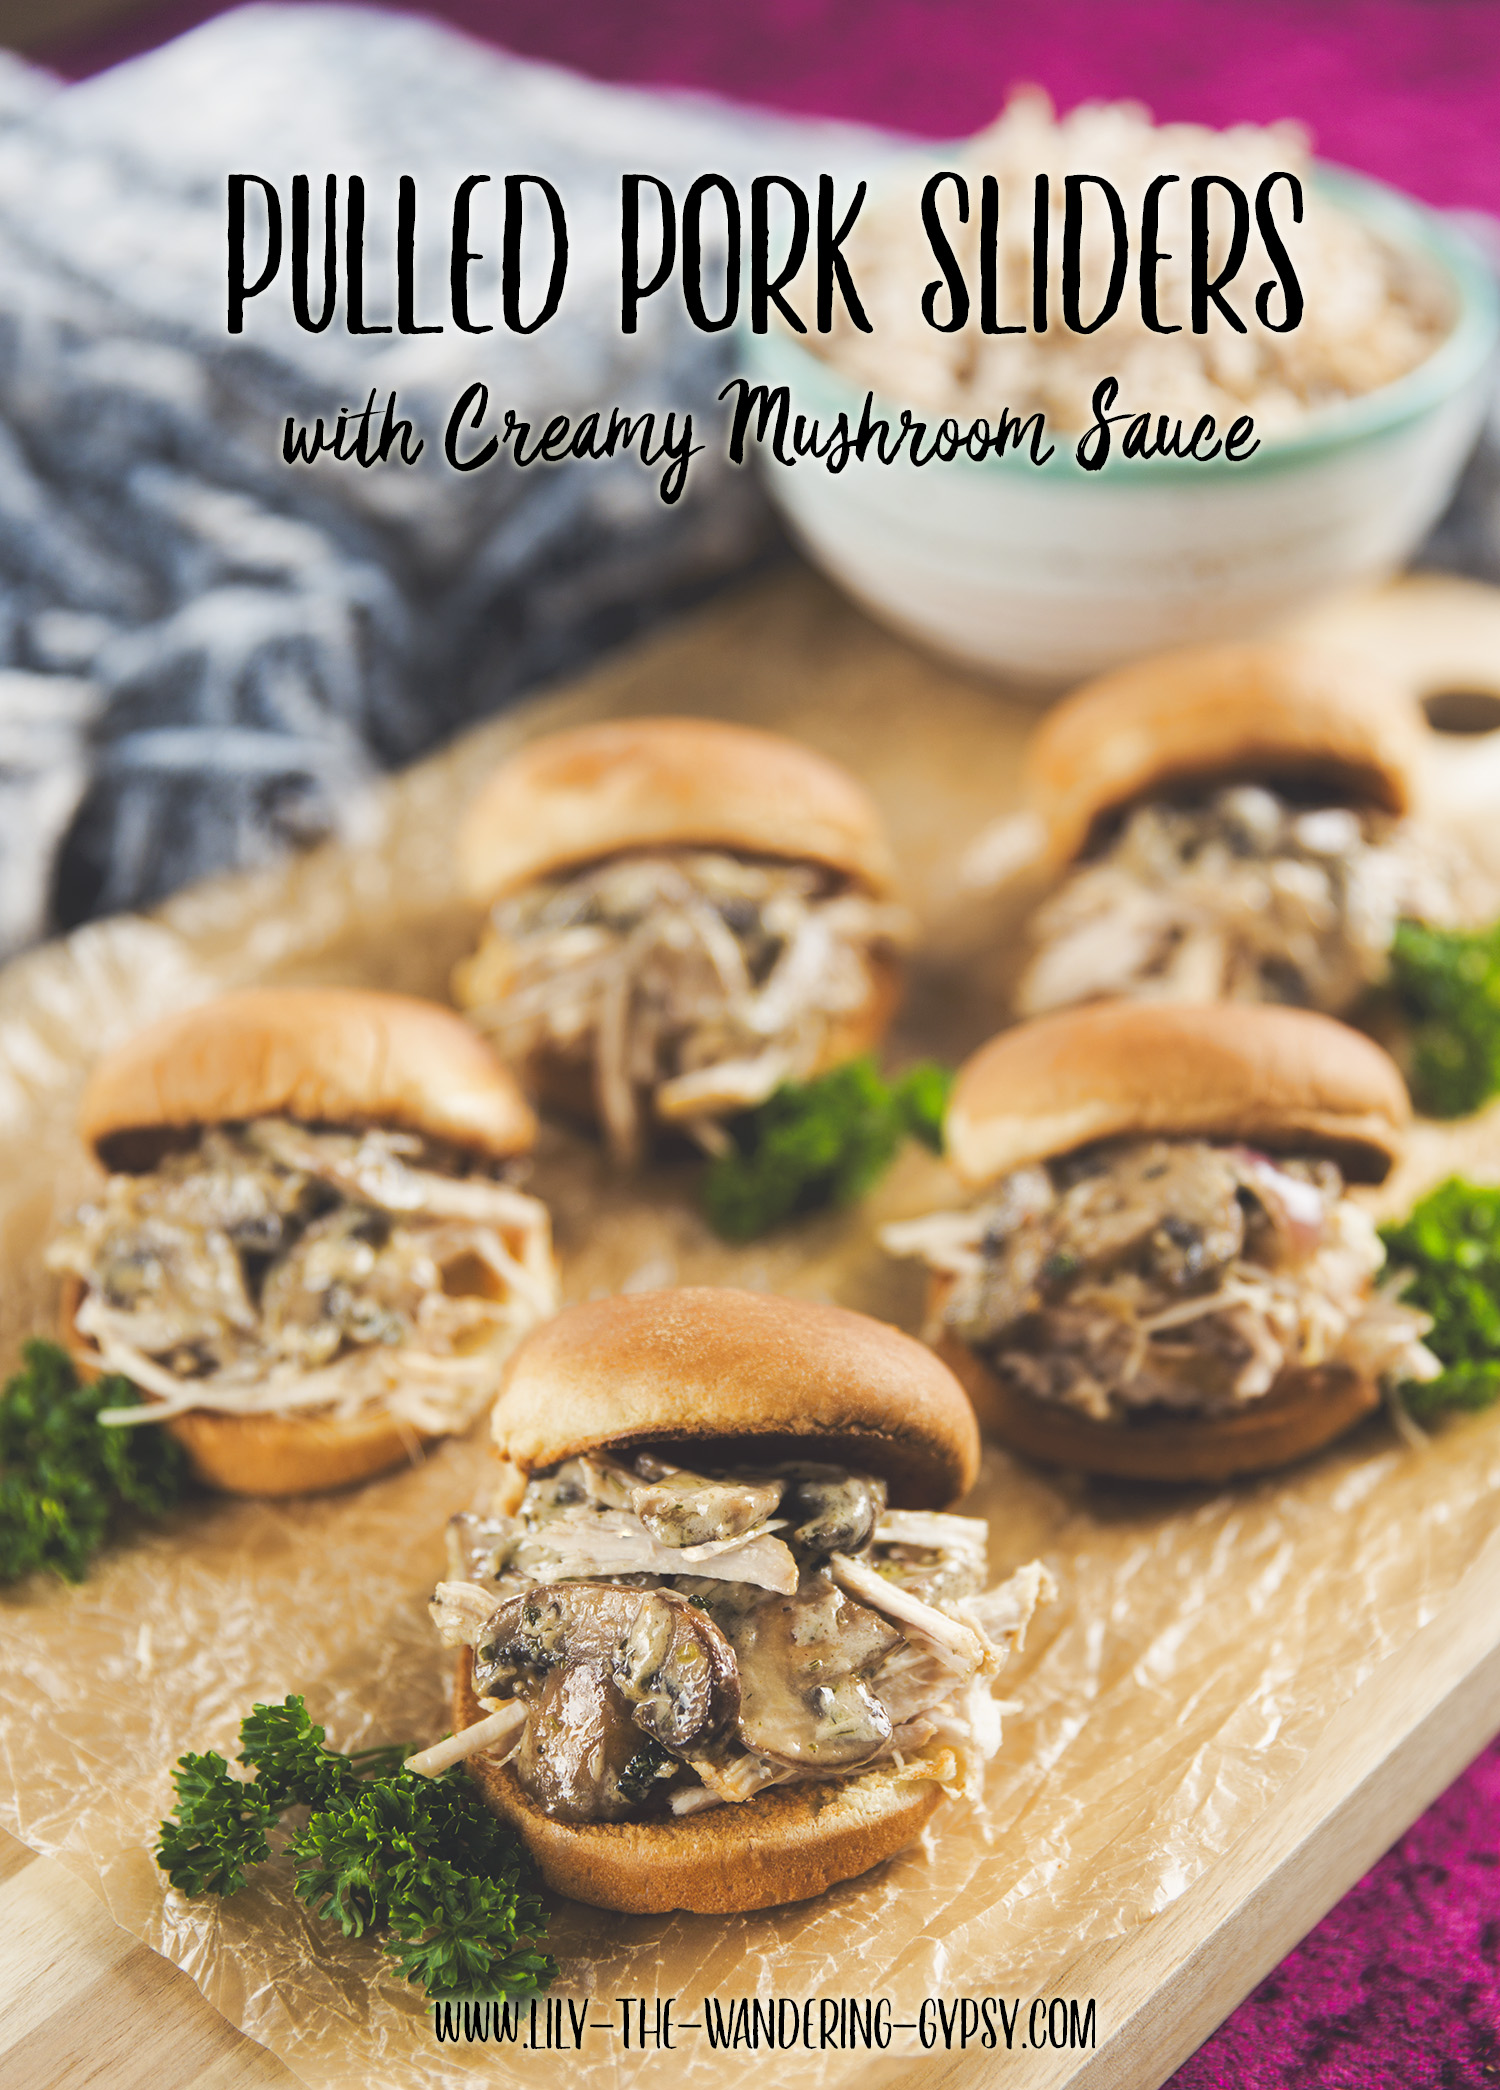
Pulled Pork Sandwiches with Creamy Mushroom Sauce
This shop has been compensated by Collective Bias, Inc. and its advertiser. All opinions are mine alone. #AllNaturalPork #CollectiveBias
Looking for a delicious, unique, and elevated recipe? Well, you're iun the right place! I am so excited to share this amazing recipe with you, that would be amazing for a tailgate party, family dinners, or just for a quick meal that you can pre ahead pf time and have as leftovers throughout the week.
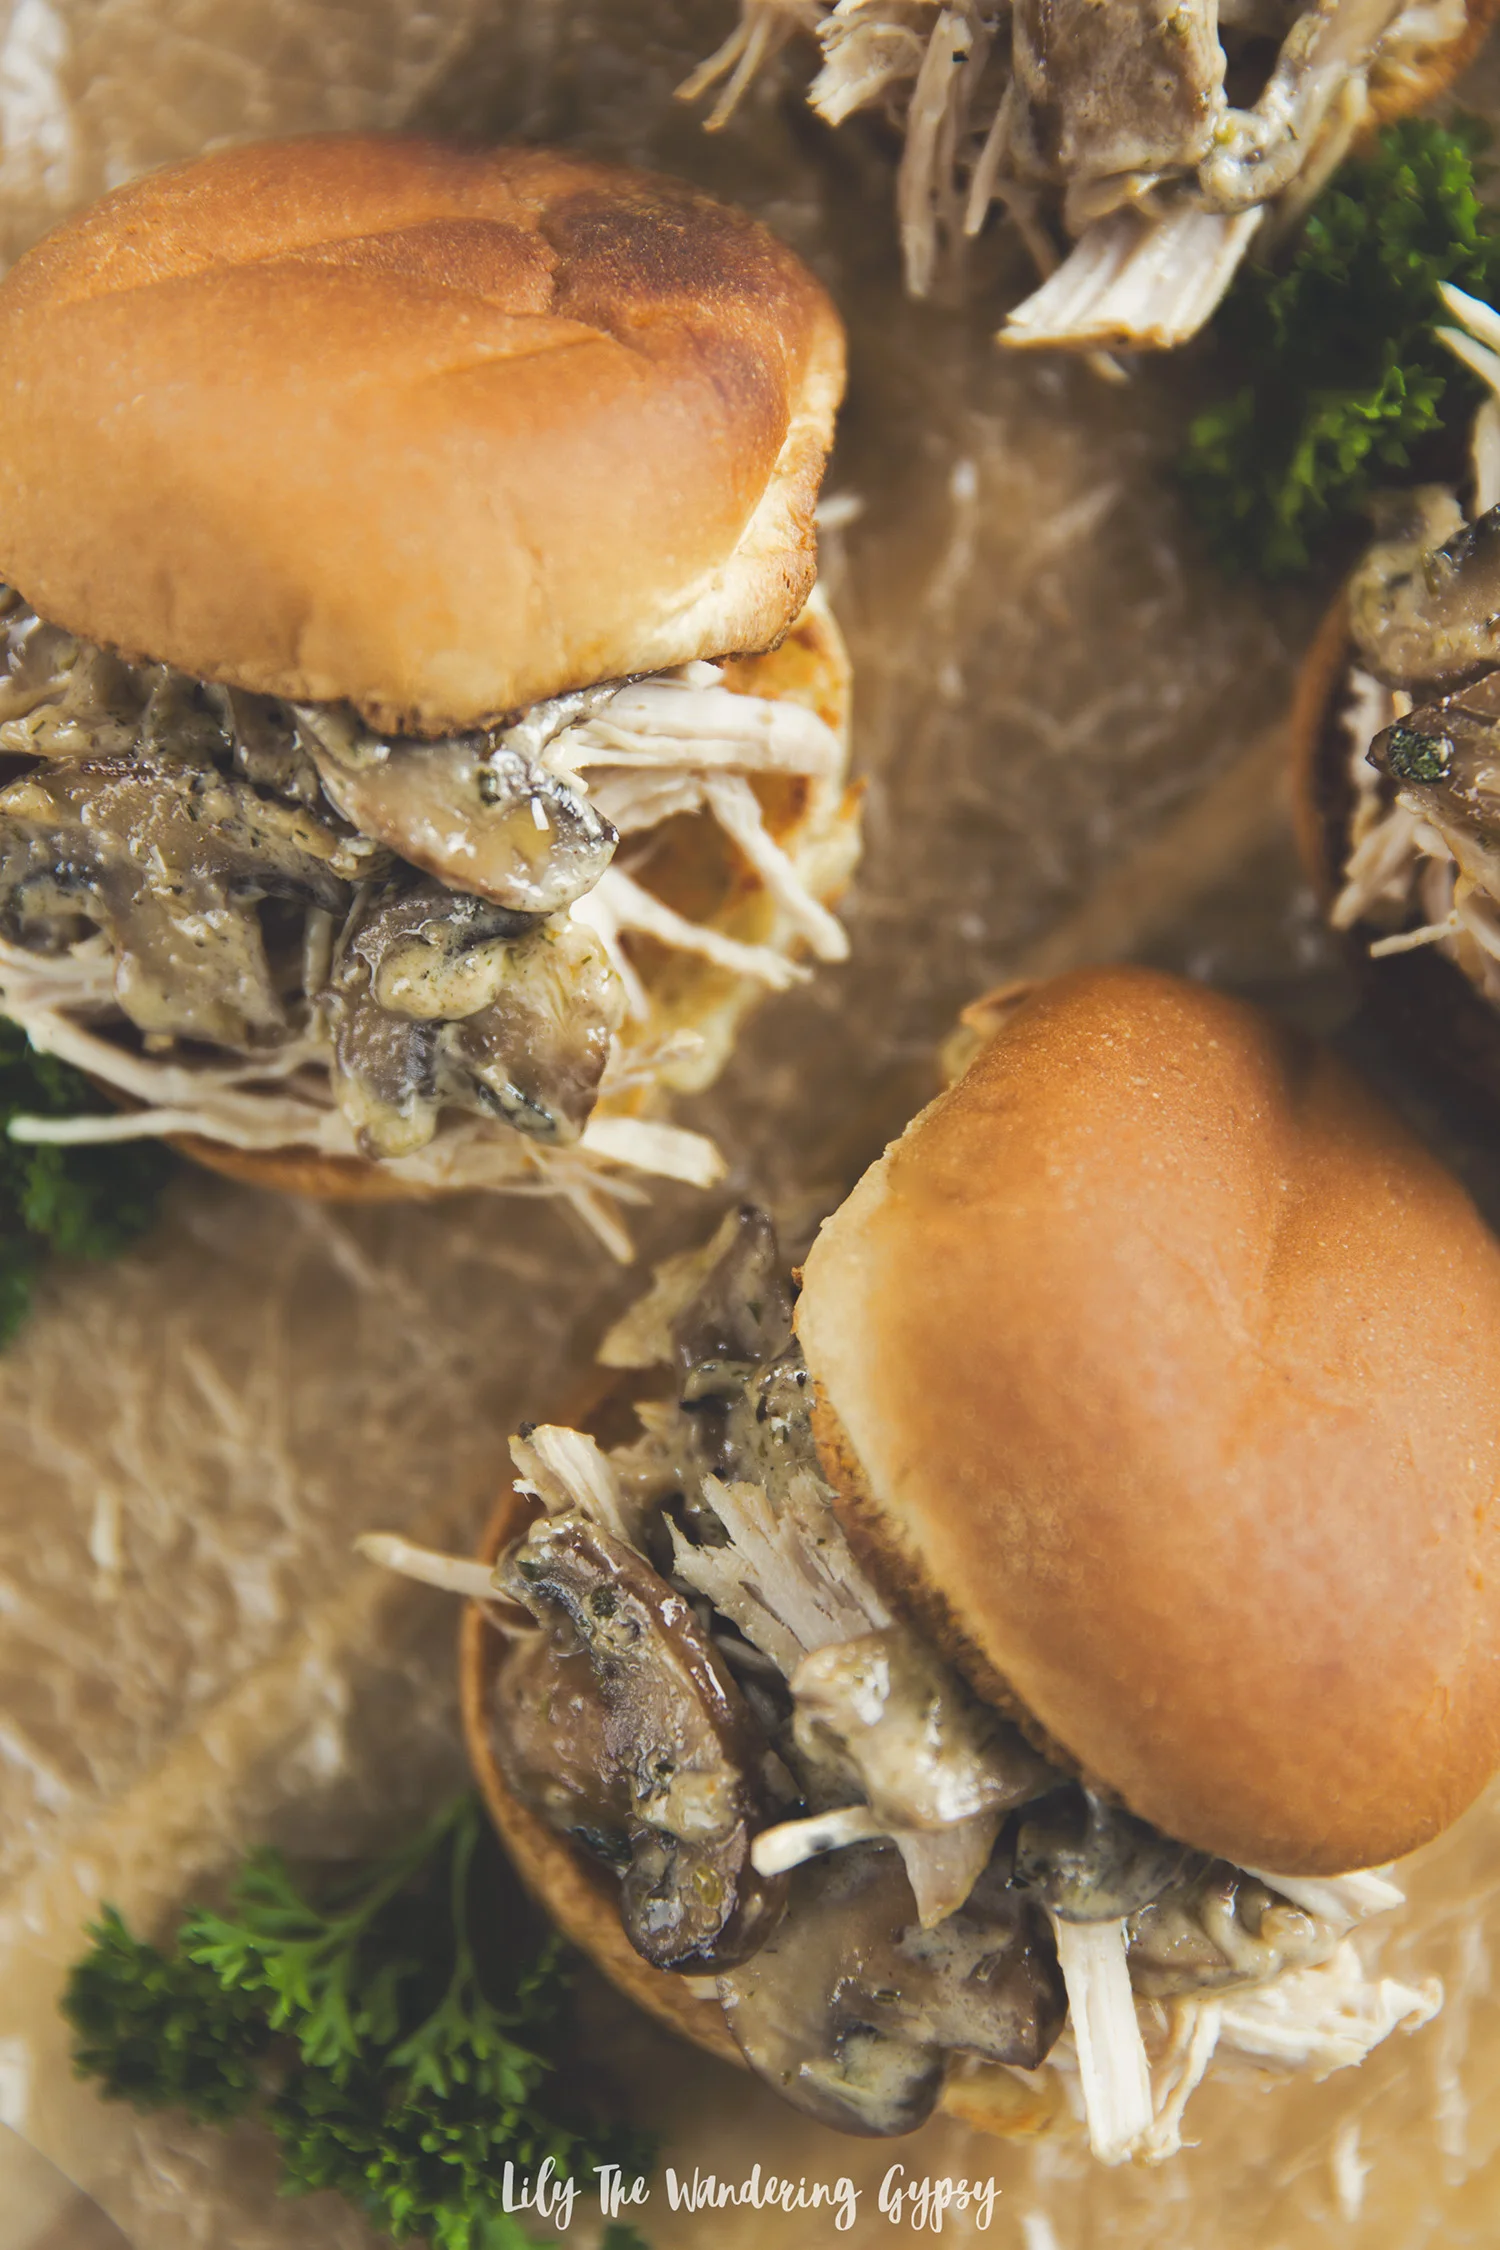
If you love the idea of creamy, buttery mushroom sauce covering a pulled pork slider burger, then you're in luck. This recipe delivers that and MORE! The pork can be cooked ahead of time, making this dish VERY quick and easy to prep and serve.
Perhaps you could make this delicious meal for a hero in your life, or a group of heroes or community superstars in your life! I love people who go the extra mile and have Compassion For the Community. My mom volunteers with lots of different groups around my home town, and she is also involved with the city's Festival of Trees! She decorates trees and wreaths, and also puts together these adorable gift boxes for the elderly. They contain a mini Christmas tree and all the supplies to decorate it, because that sort of activity and final product (a personalized Christmas Tree) would surely bring joy to just about anyone's day! I cannot wait to make this recipe for my mom soon! Hope you enjoy!
PRINT THIS RECIPE:
ENTER TO WIN THE SWEEPSTAKES...
Competition Not Found
Competition Not Found
Sorry, the Competition you are looking for no longer exists.
You may wish to contact the owner of this site about other Competitions.
FEATURED PRODUCT:
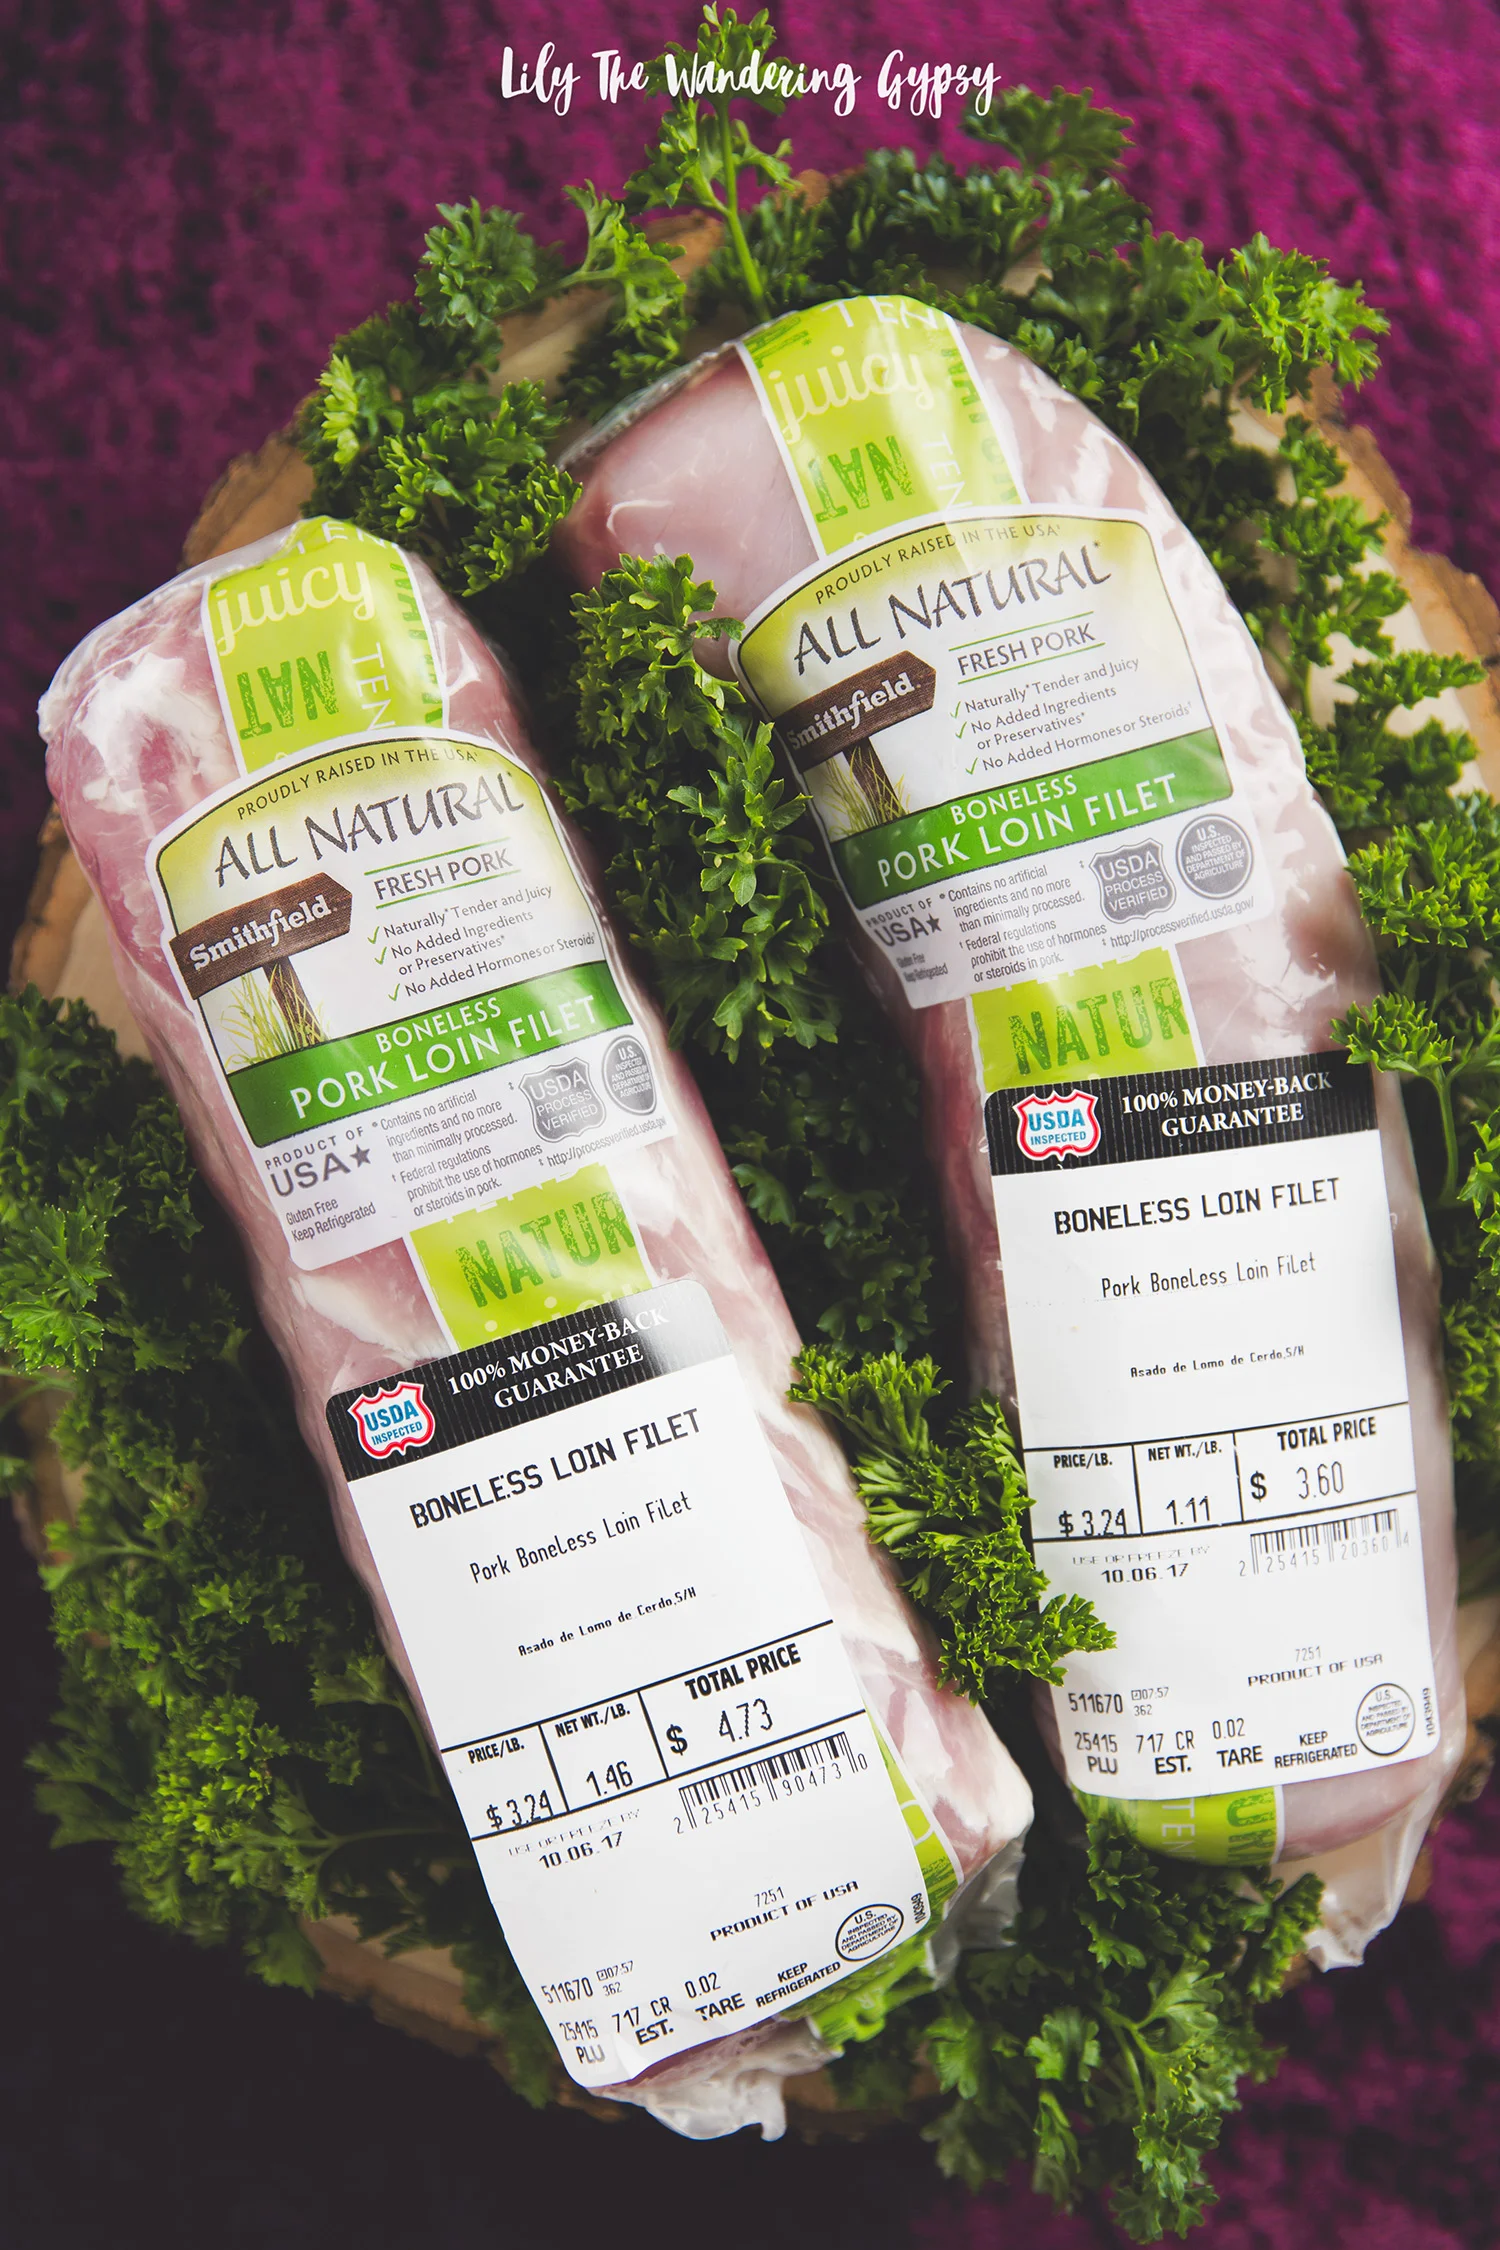
Smithfield All Natural Boneless Loin Filets
The pork tenderloin, also called pork fillet, is a long thin cut of pork.
The tenderloin is an amazingly versatile cut of pork, and is extremely affordable.
Once the tenderloin has been grilled, roasted in the oven, cooked on the stovetop, or even smoked in a smoker, the recipe options are endless!

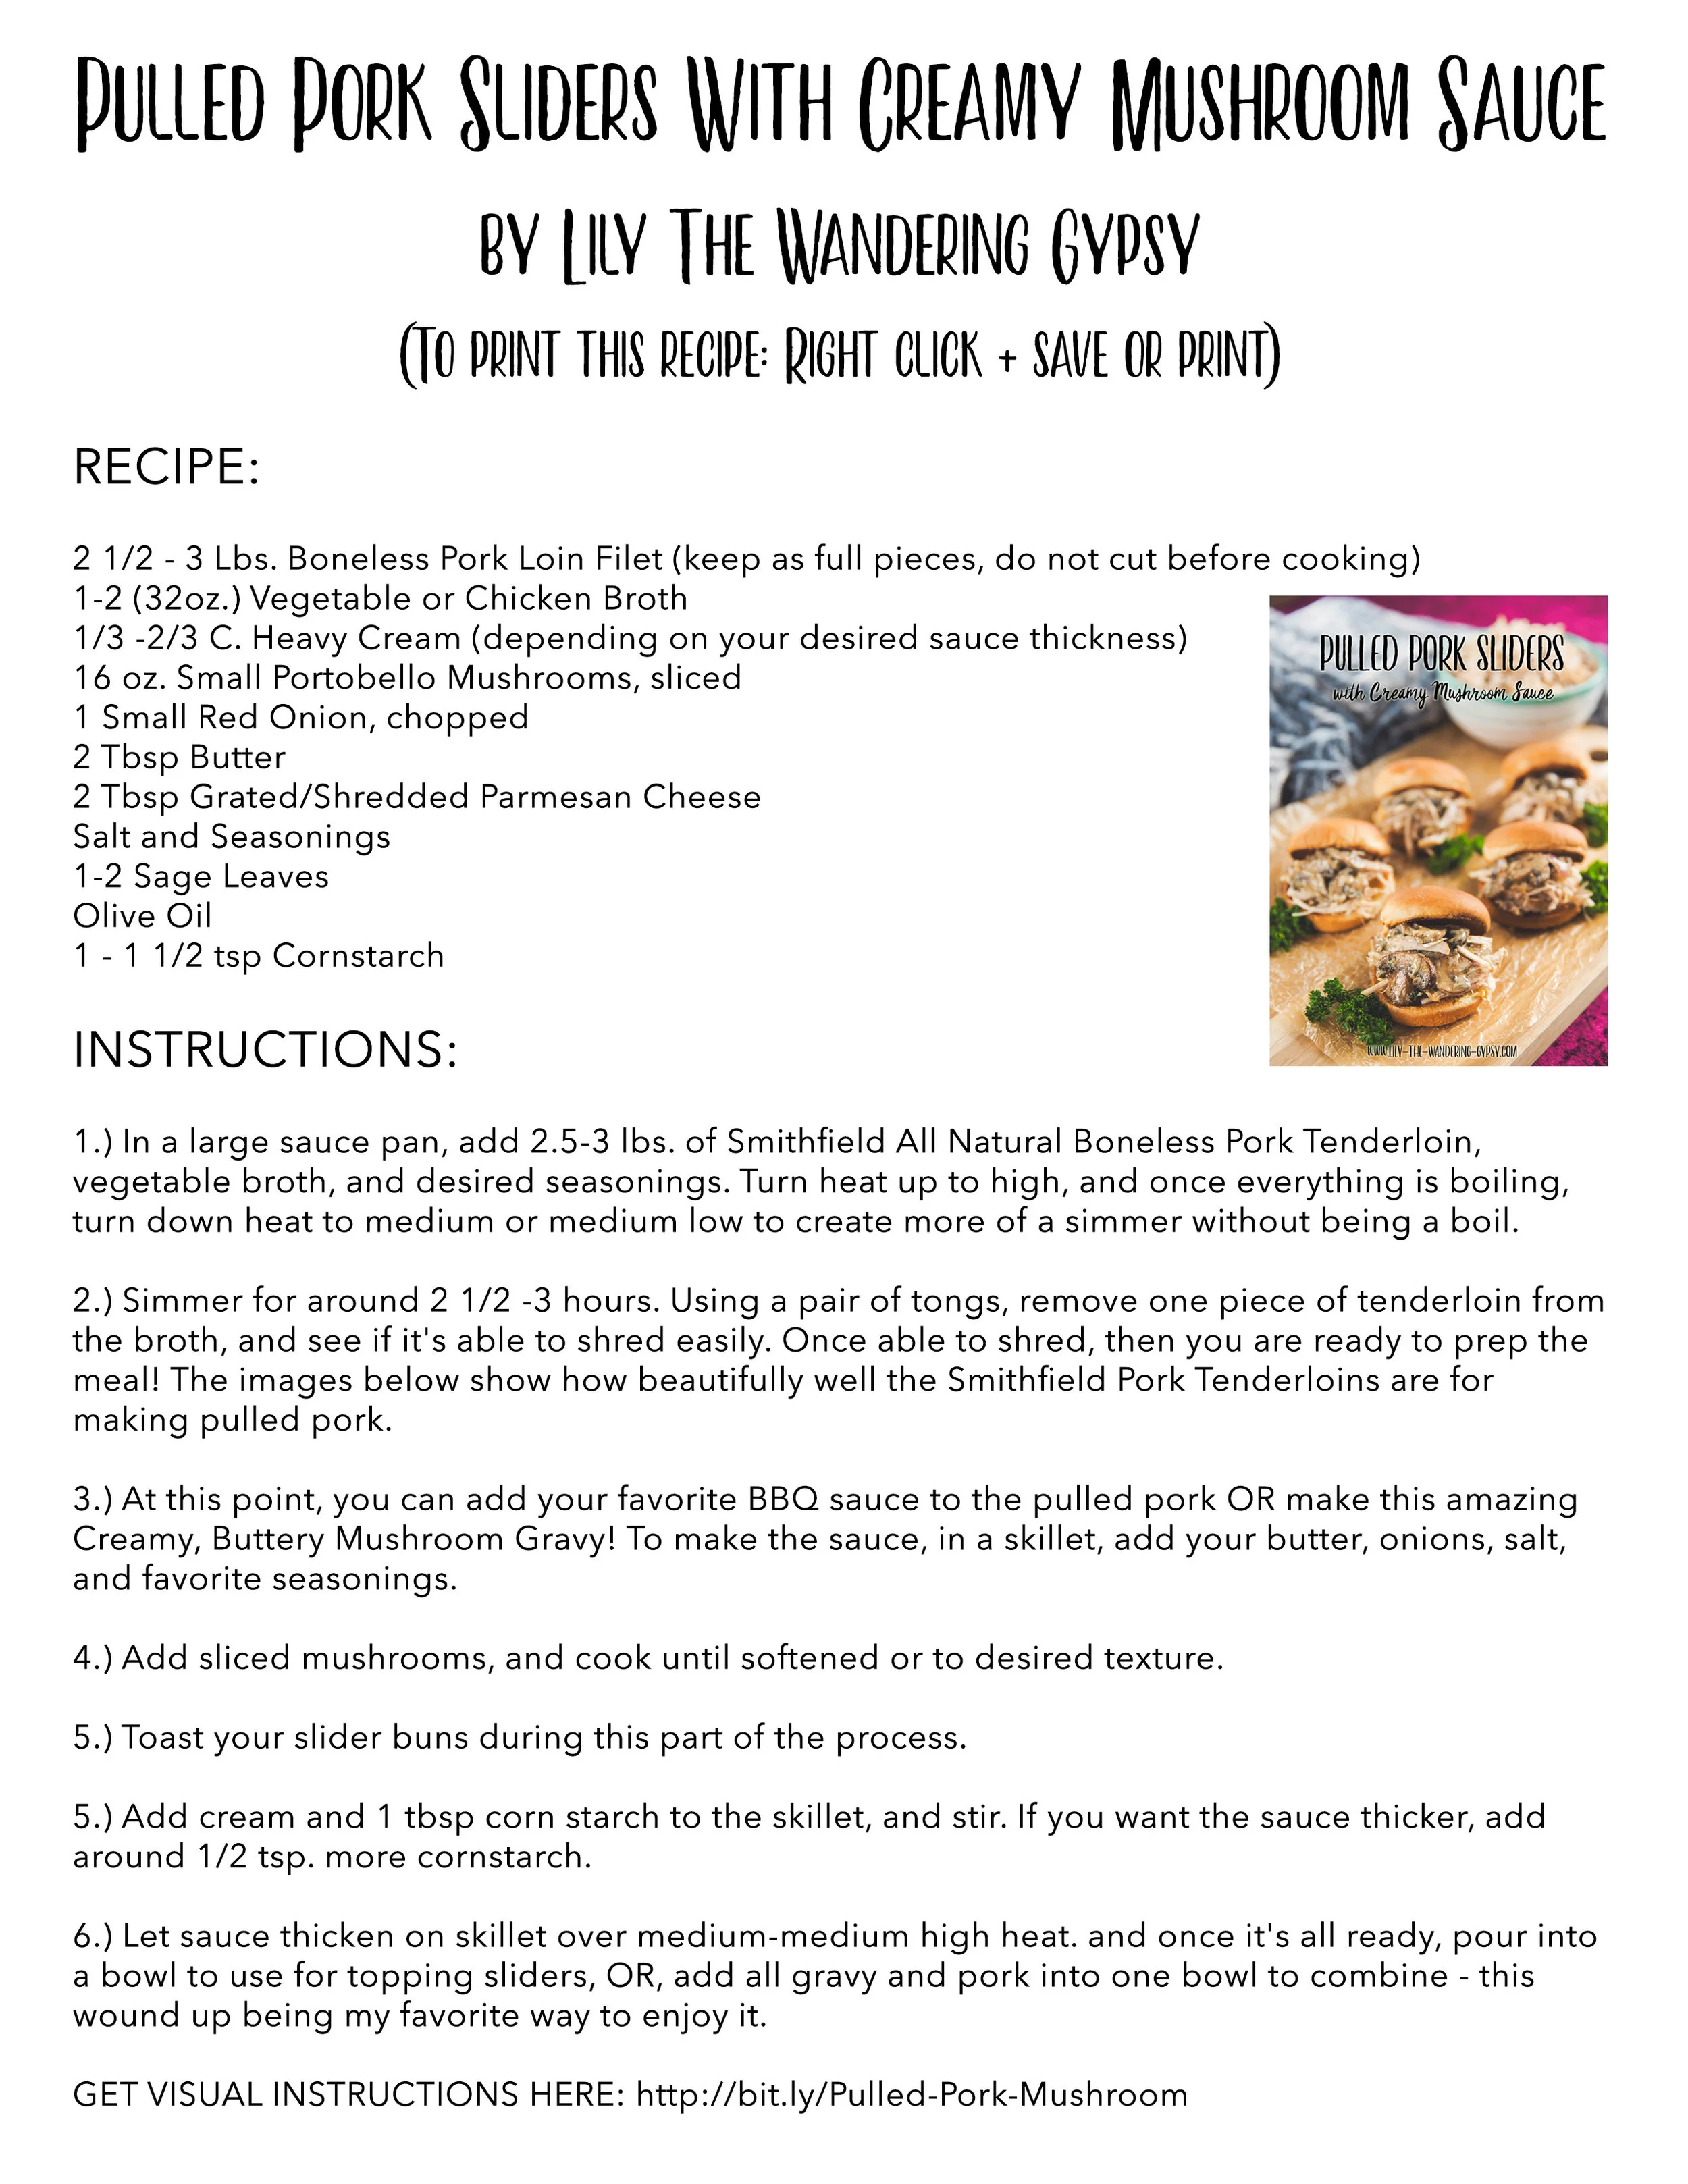
2 1/2 - 3 Lbs. Smithfield All Natural Boneless Pork Loin Filet (keep as full pieces, do not cut before cooking)
1-2 (32 oz.) containers of vegetable or chicken broth
1/3 -2/3 C. Heavy Cream (depending on your desired sauce thickness)
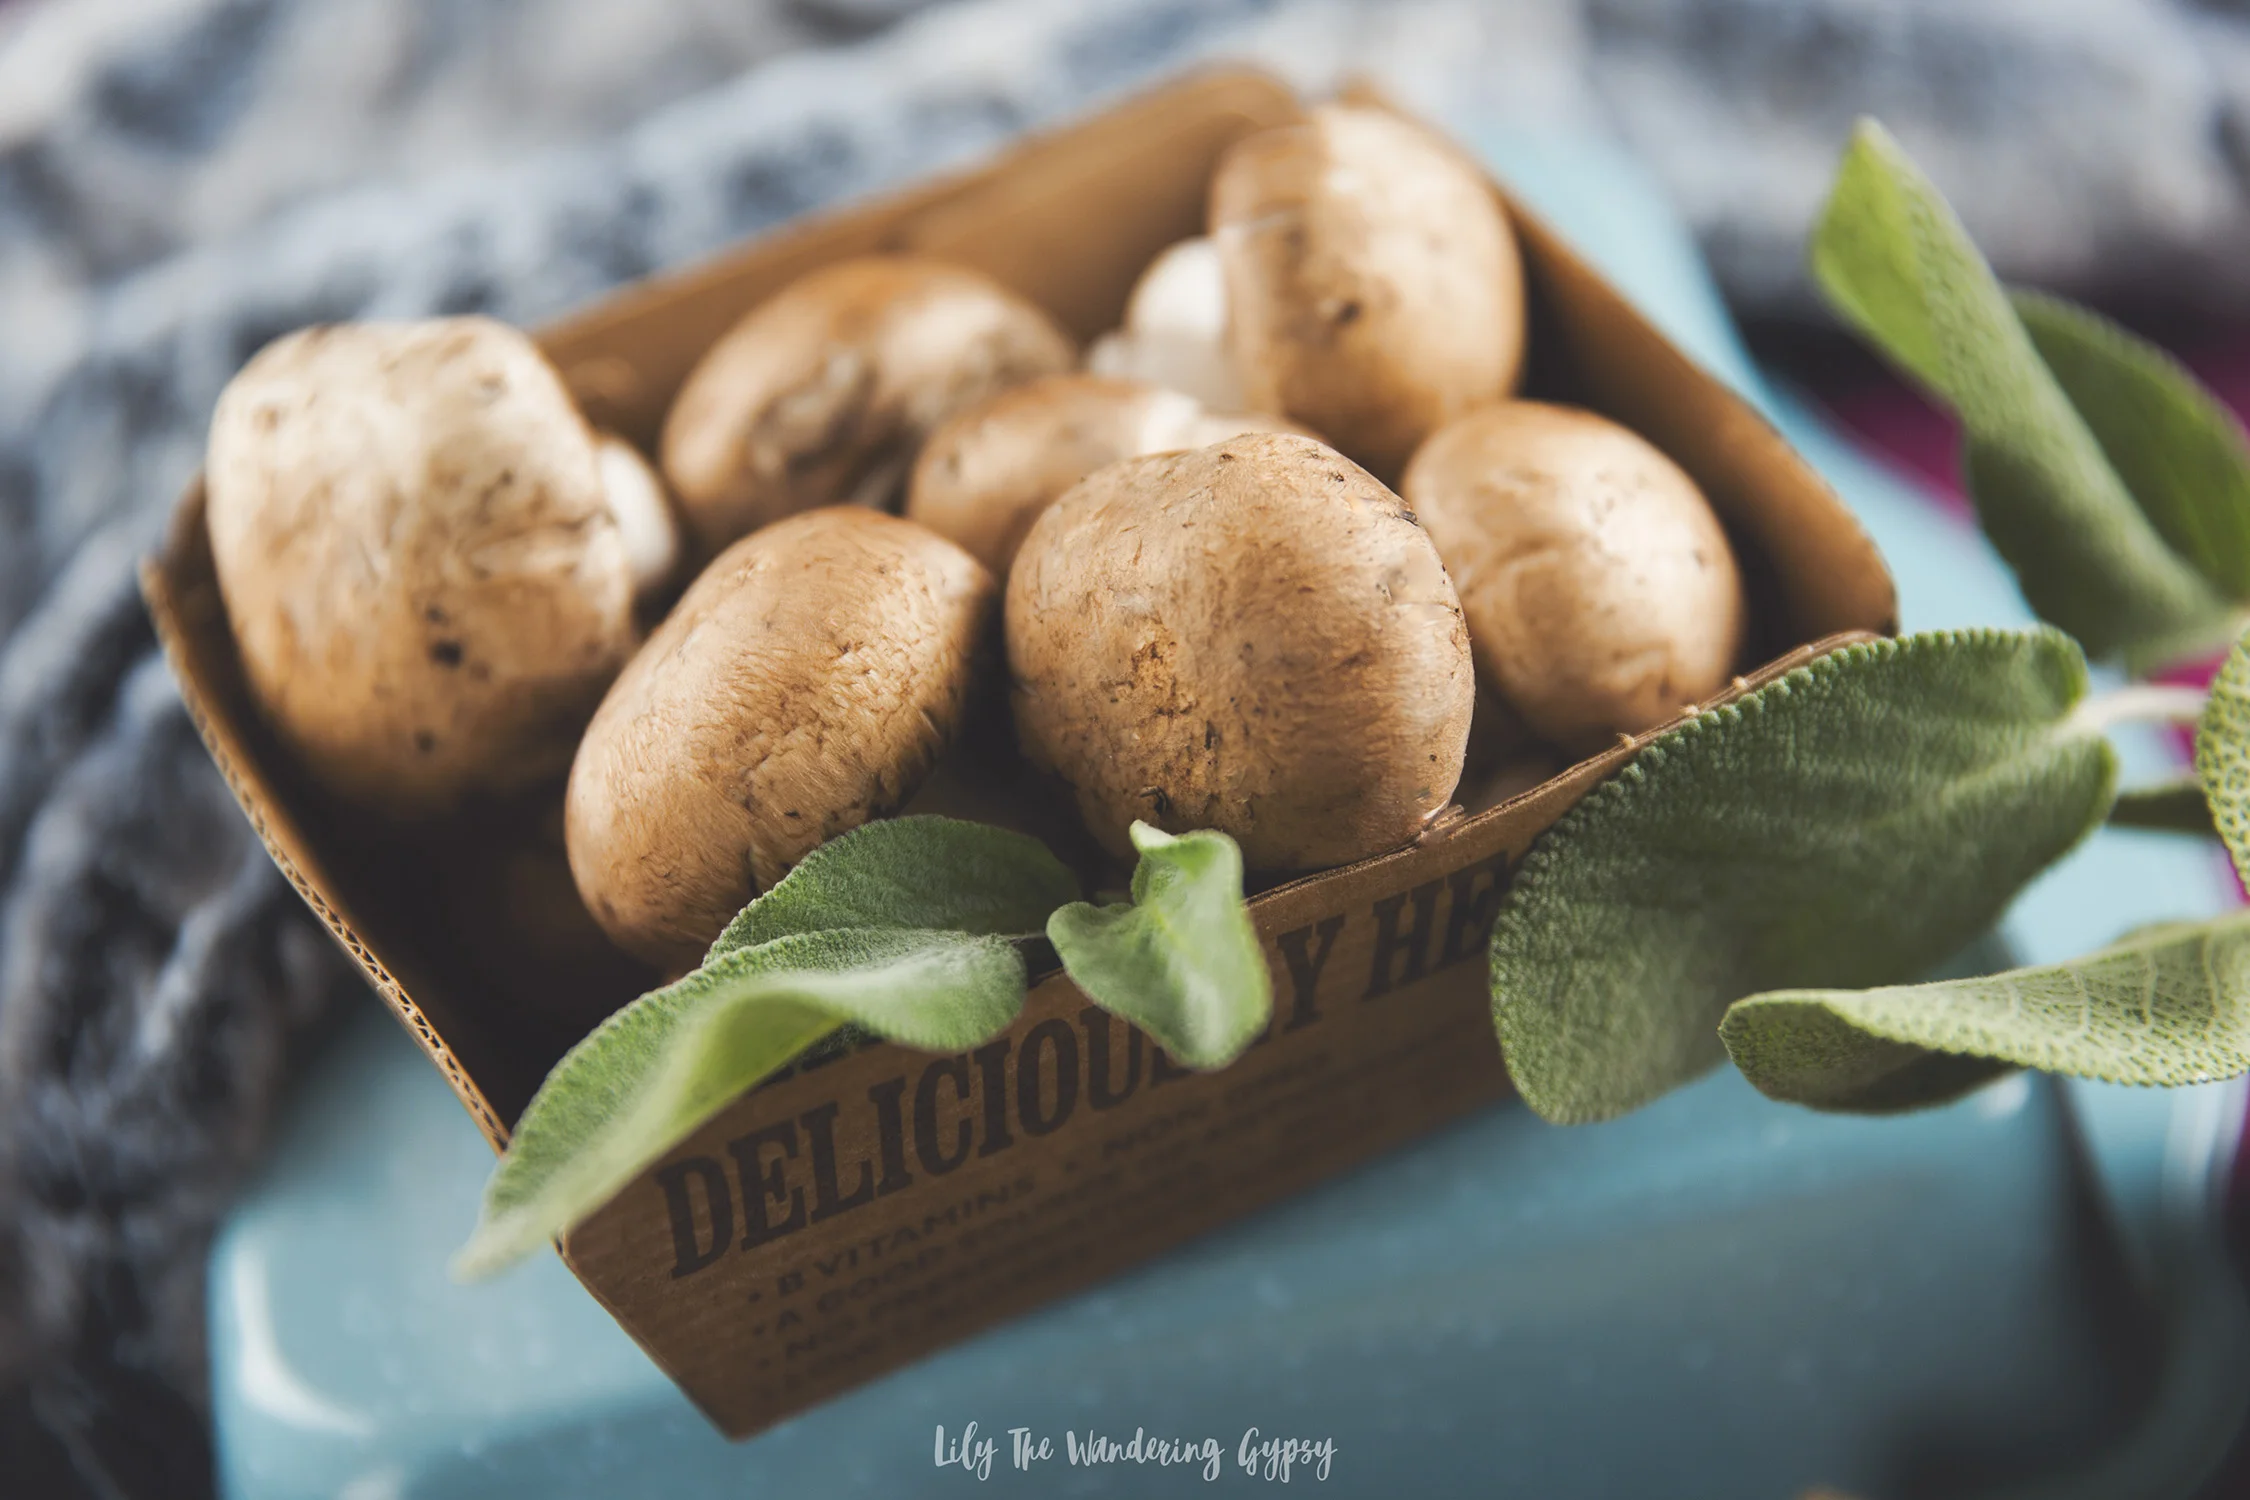
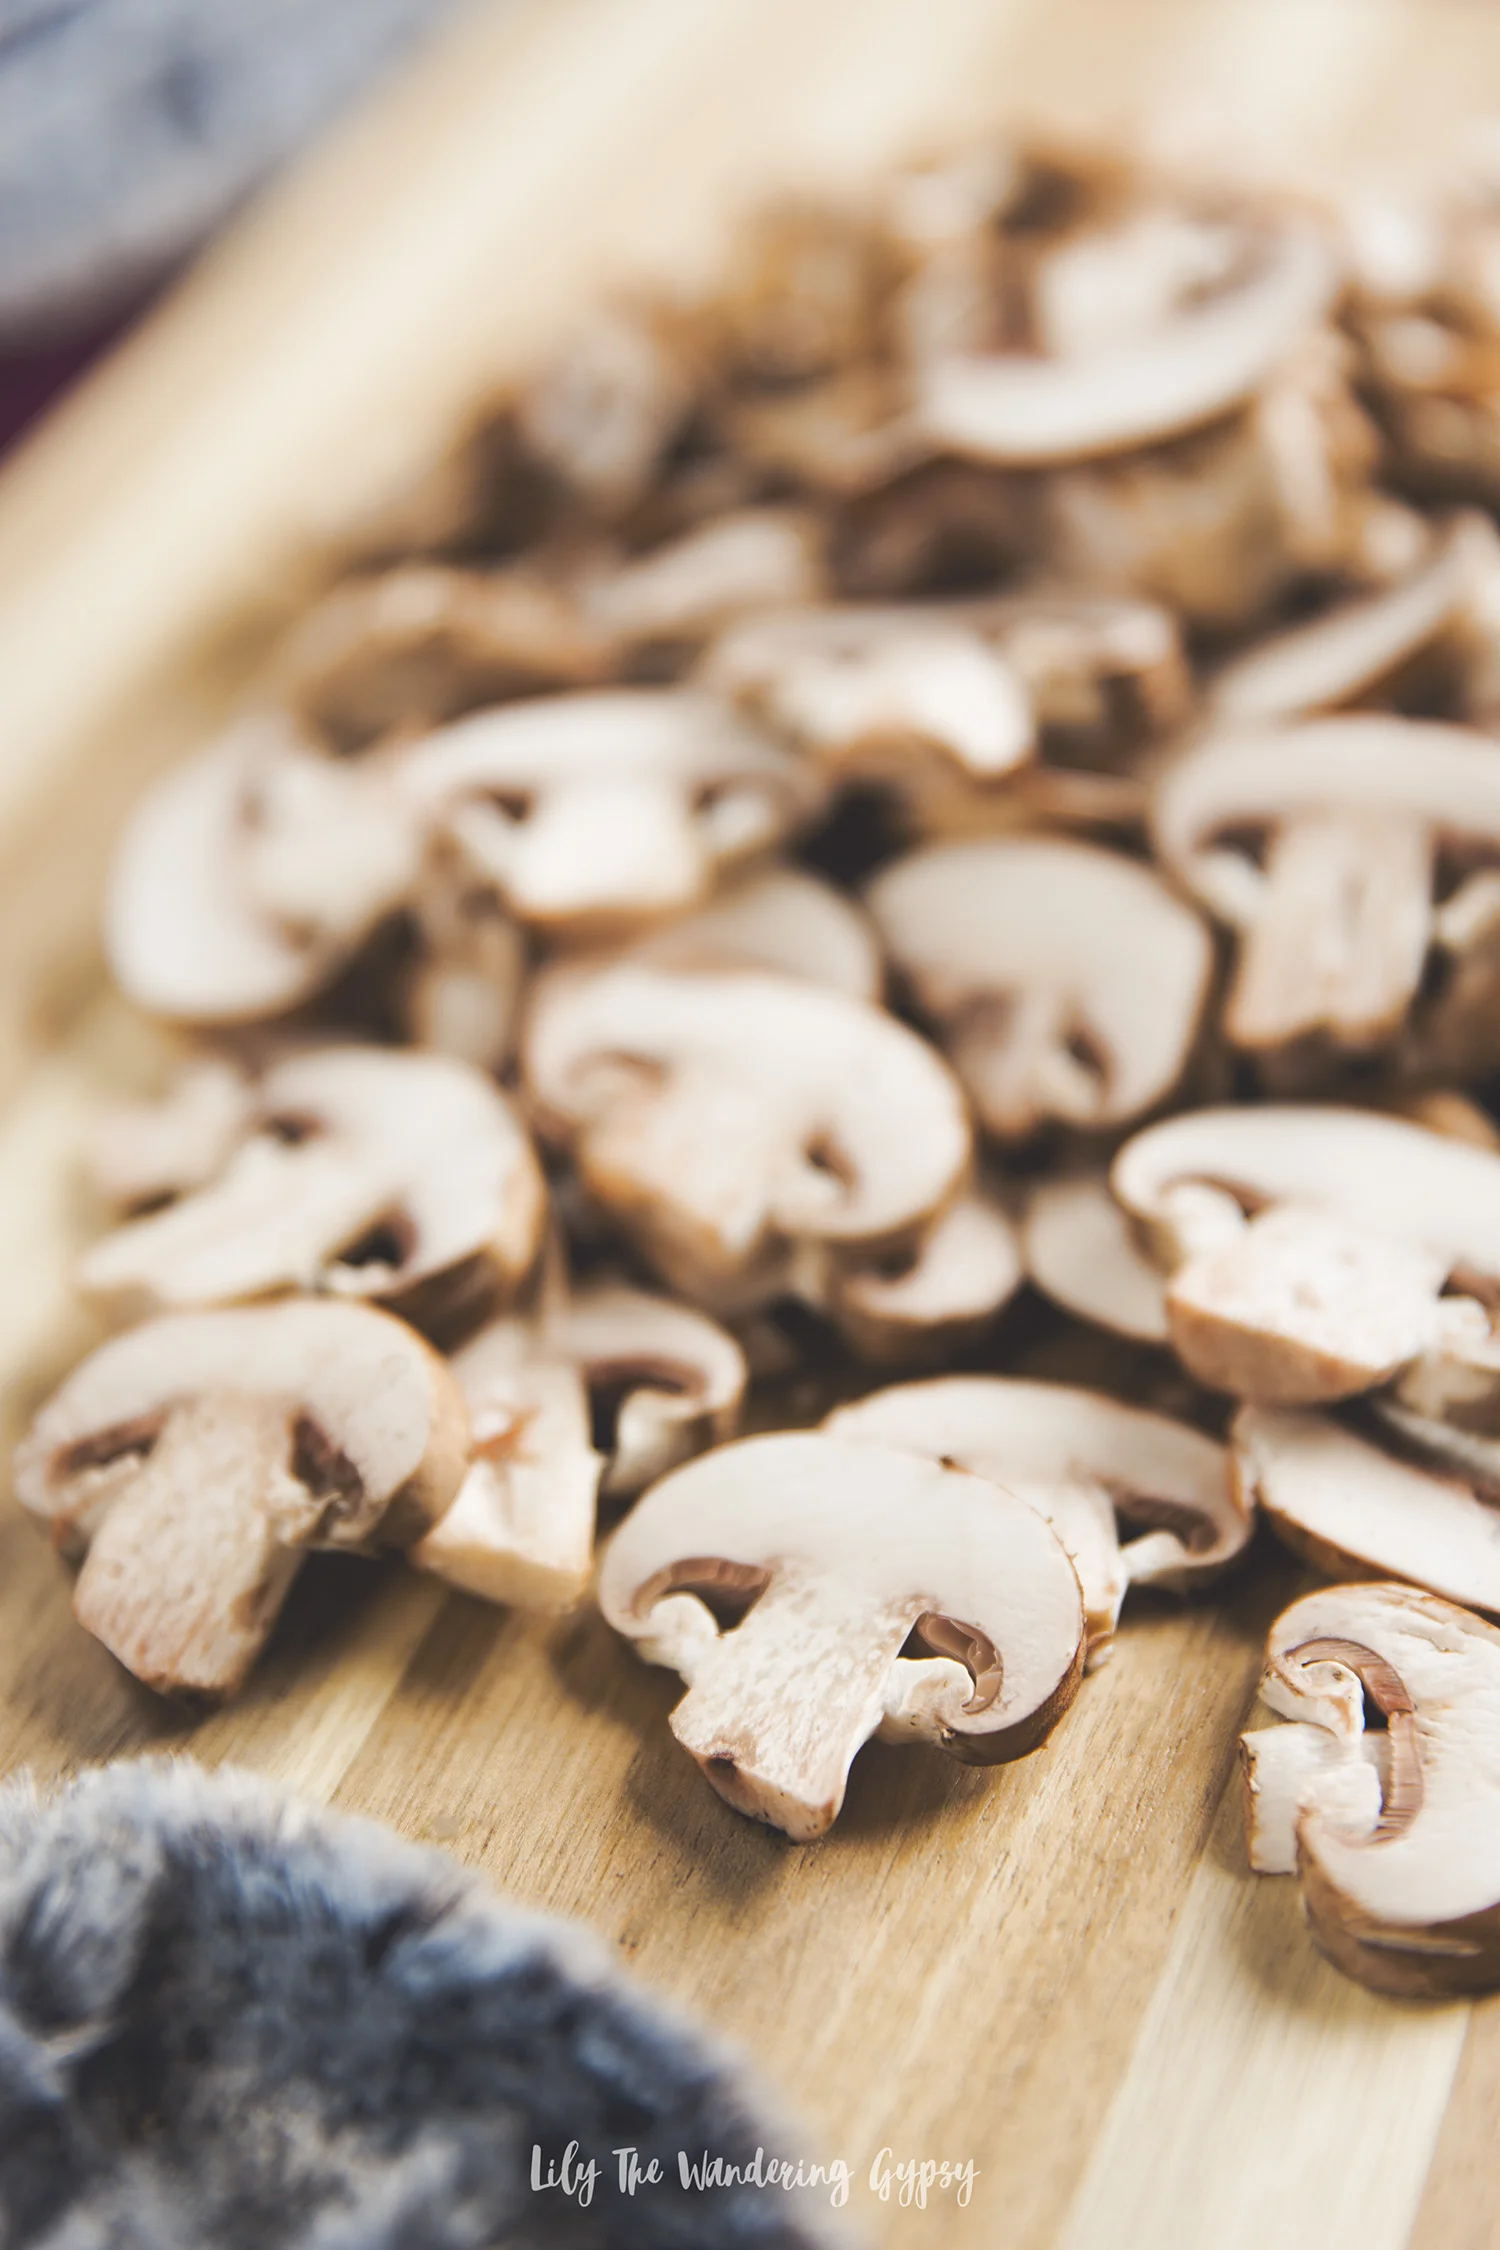
16 oz. Small Portobello Mushrooms, sliced
1 Small Red Onion, chopped
2 Tbsp Butter
2 Tbsp Grated/Shredded Parmesan Cheese
Salt and Seasonings
1-2 Sage Leaves
Olive Oil
1 - 1 1/2 tsp Cornstarch

1.) In a large sauce pan, add 2.5-3 lbs. of Smithfield All Natural Boneless Pork Tenderloin, vegetable broth, and desired seasonings. Turn heat up to high, and once everything is boiling, turn down heat to medium or medium low to create more of a simmer without being a boil.
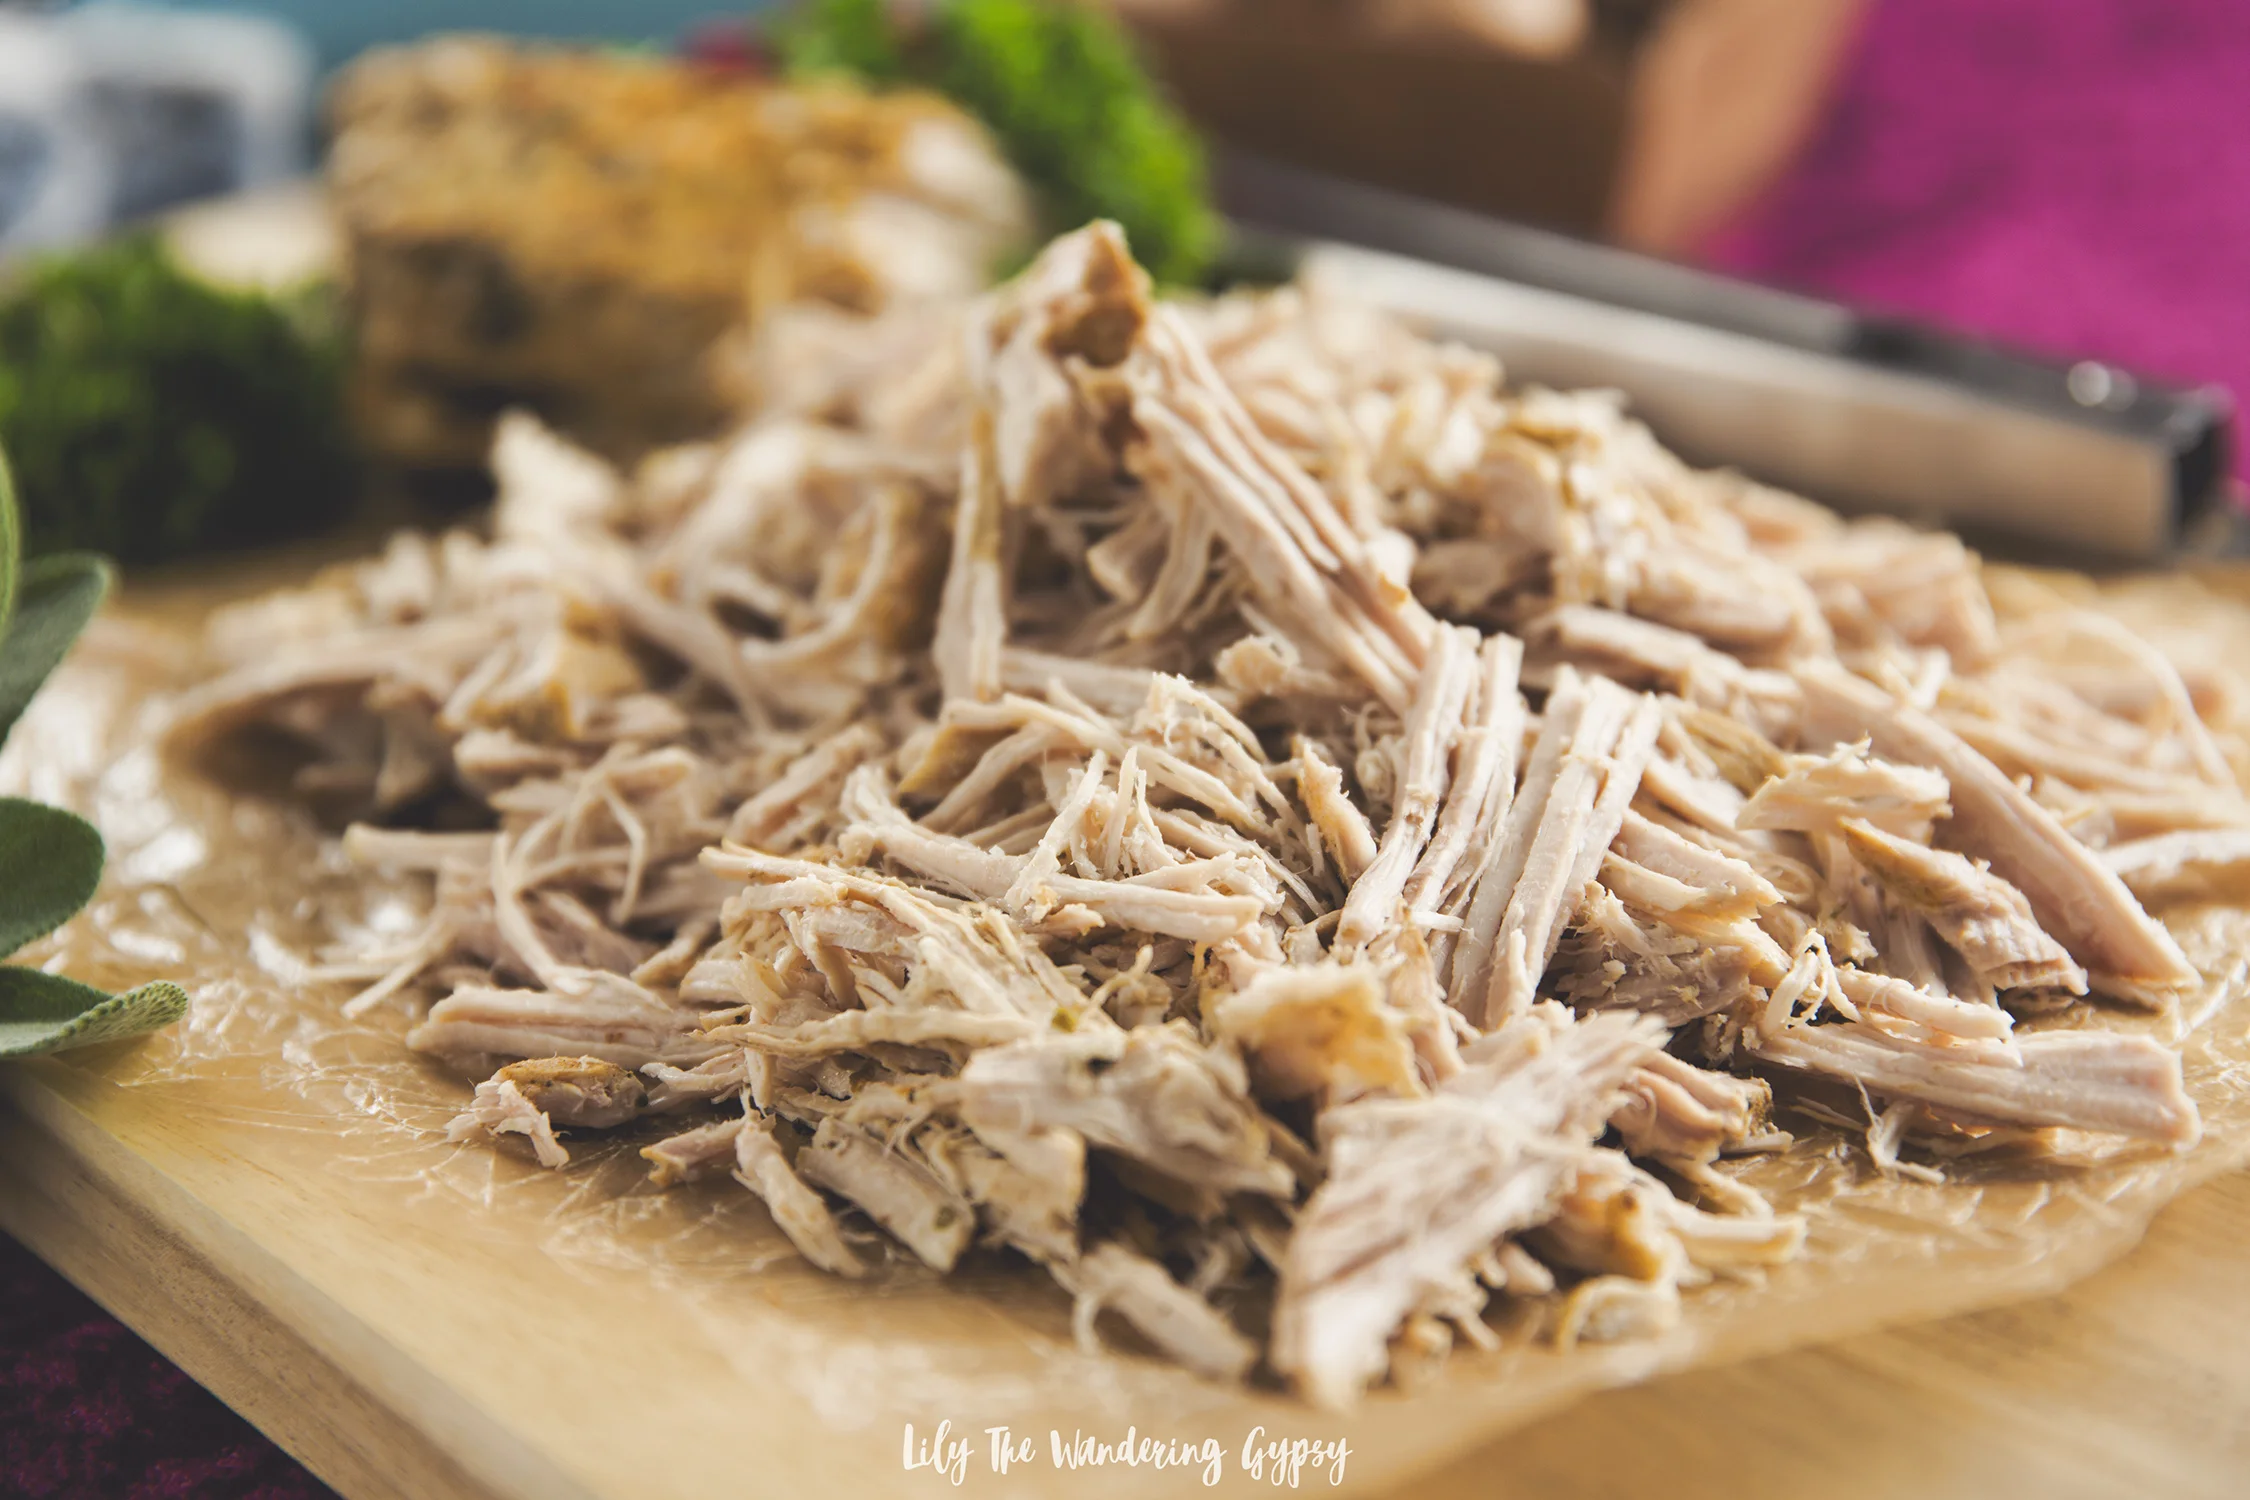
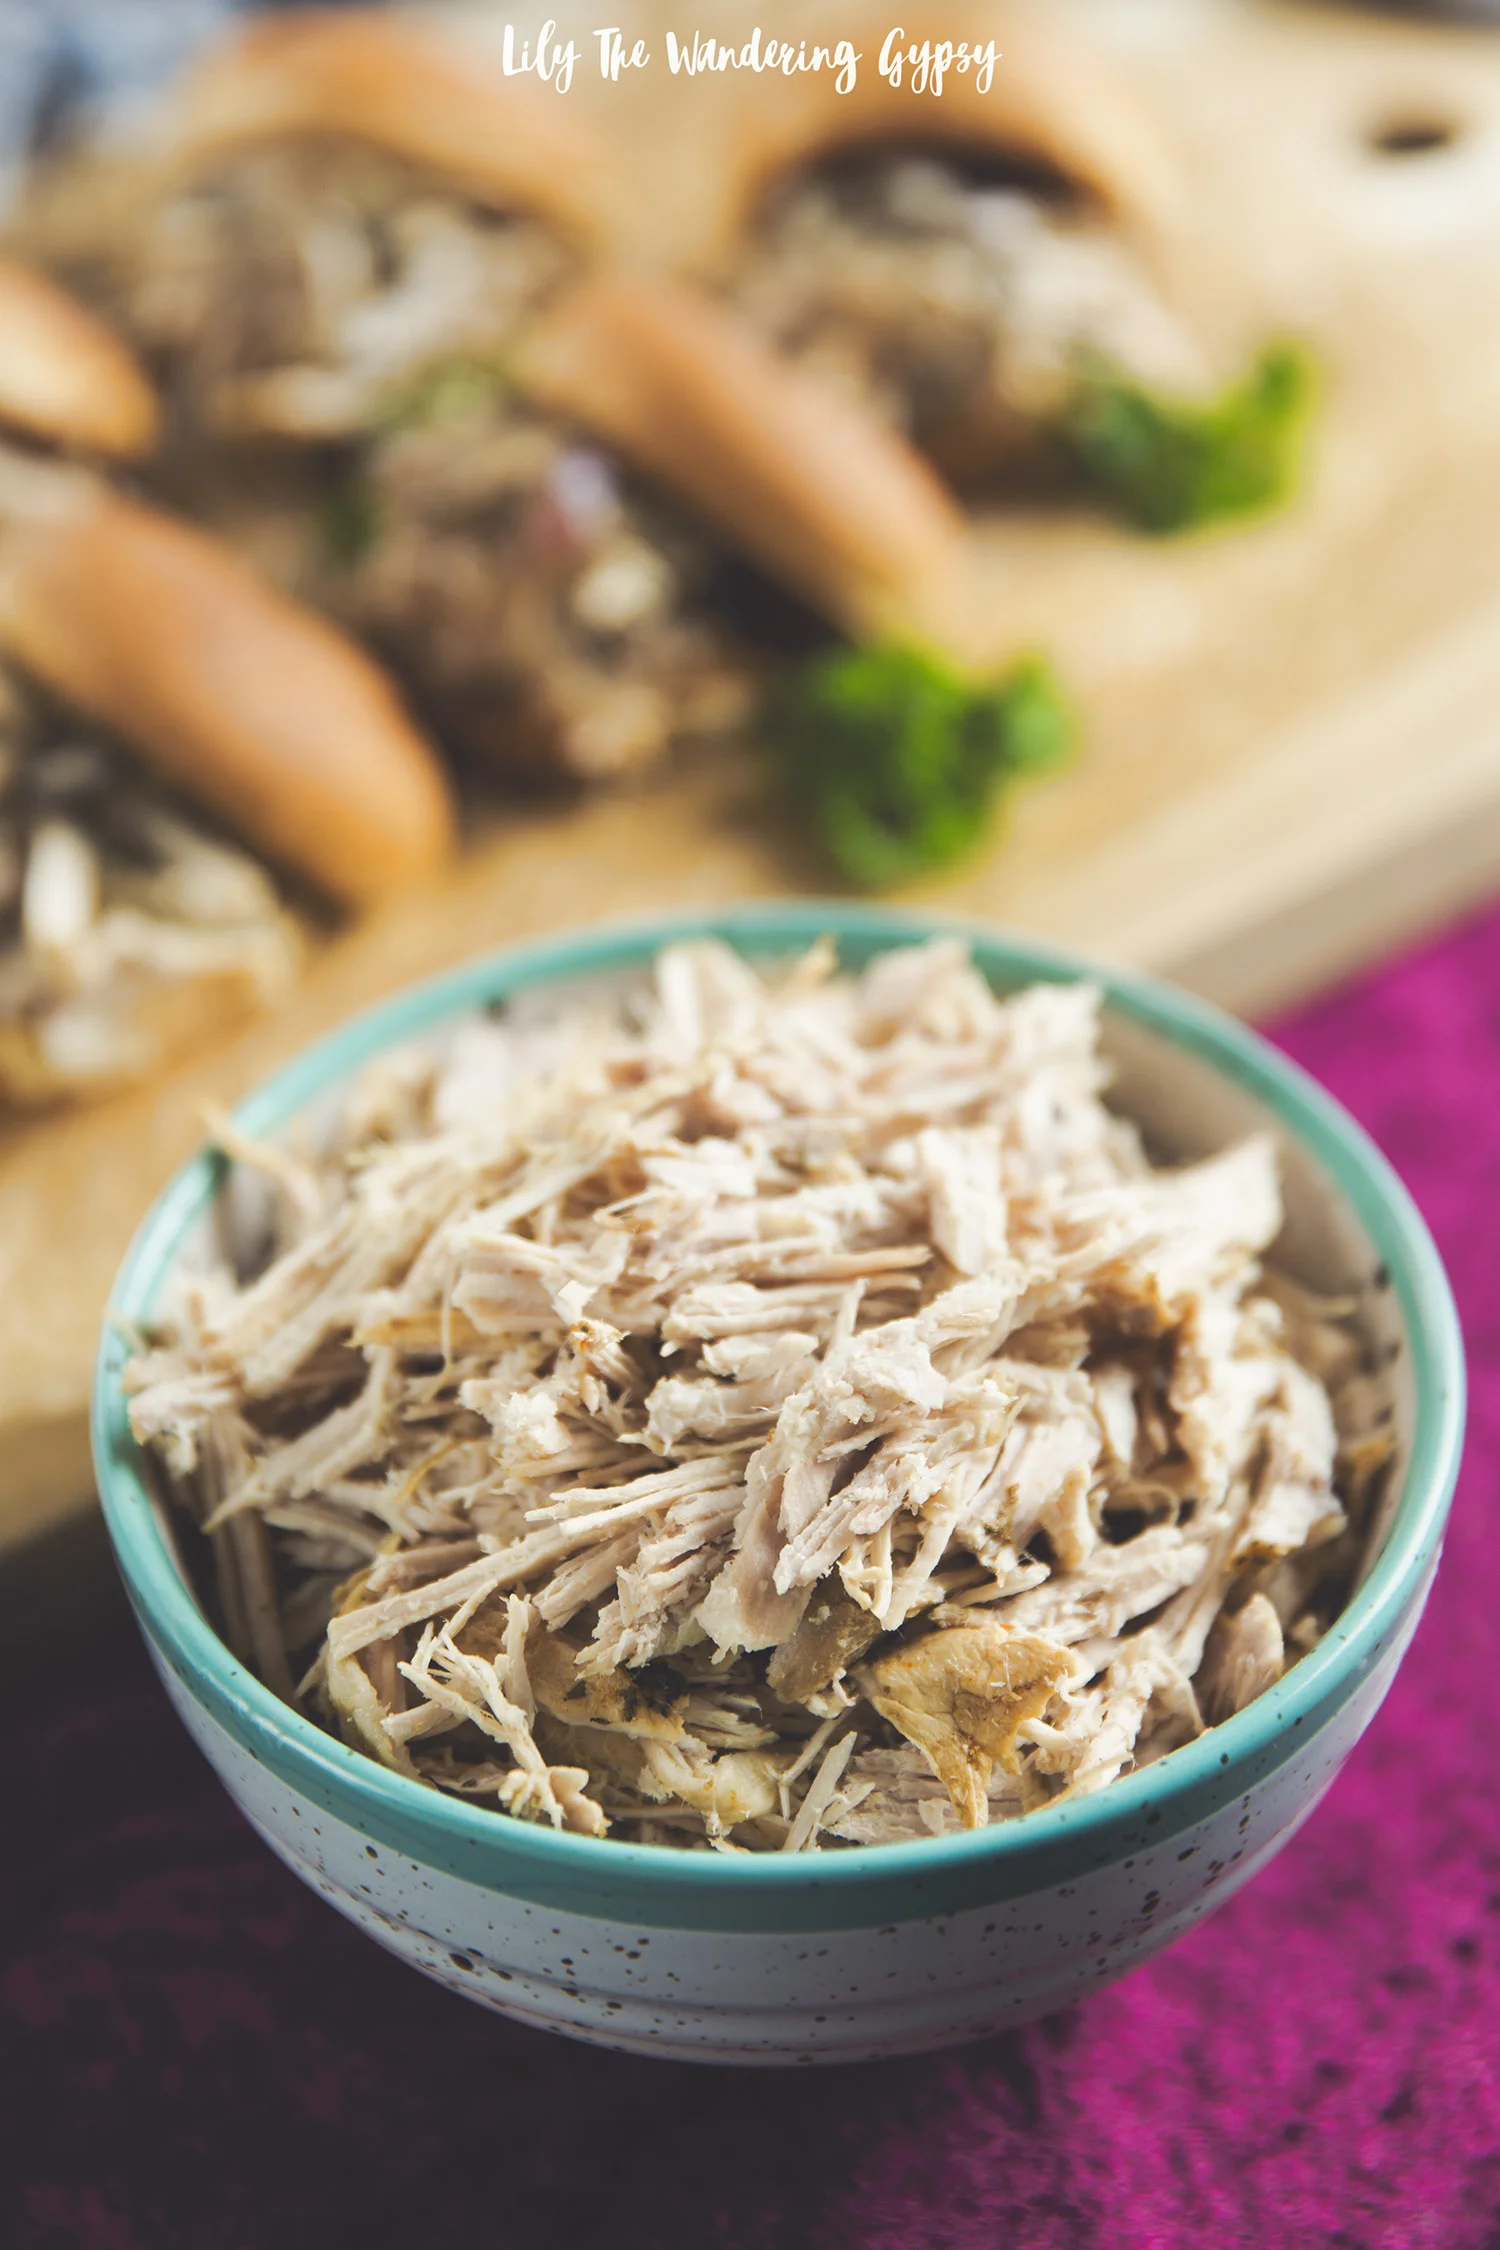
2.) Simmer for around 2 1/2 -3 hours. Using a pair of tongs, remove one piece of tenderloin from the broth, and see if it's able to shred easily. Once able to shred, then you are ready to prep the meal! The images below show how beautifully well the Smithfield Pork Tenderloins are for making pulled pork.

3.) At this point, you can add your favorite BBQ sauce to the pulled pork OR make this amazing Creamy, Buttery Mushroom Gravy! To make the sauce, in a skillet, add your butter, onions, salt, and favorite seasonings.
4.) Add sliced mushrooms, and cook until softened or to desired texture.
5.) Toast your slider buns during this part of the process.
5.) Add cream and 1 tbsp corn starch to the skillet, and stir. If you want the sauce thicker, add around 1/2 tsp. more cornstarch.
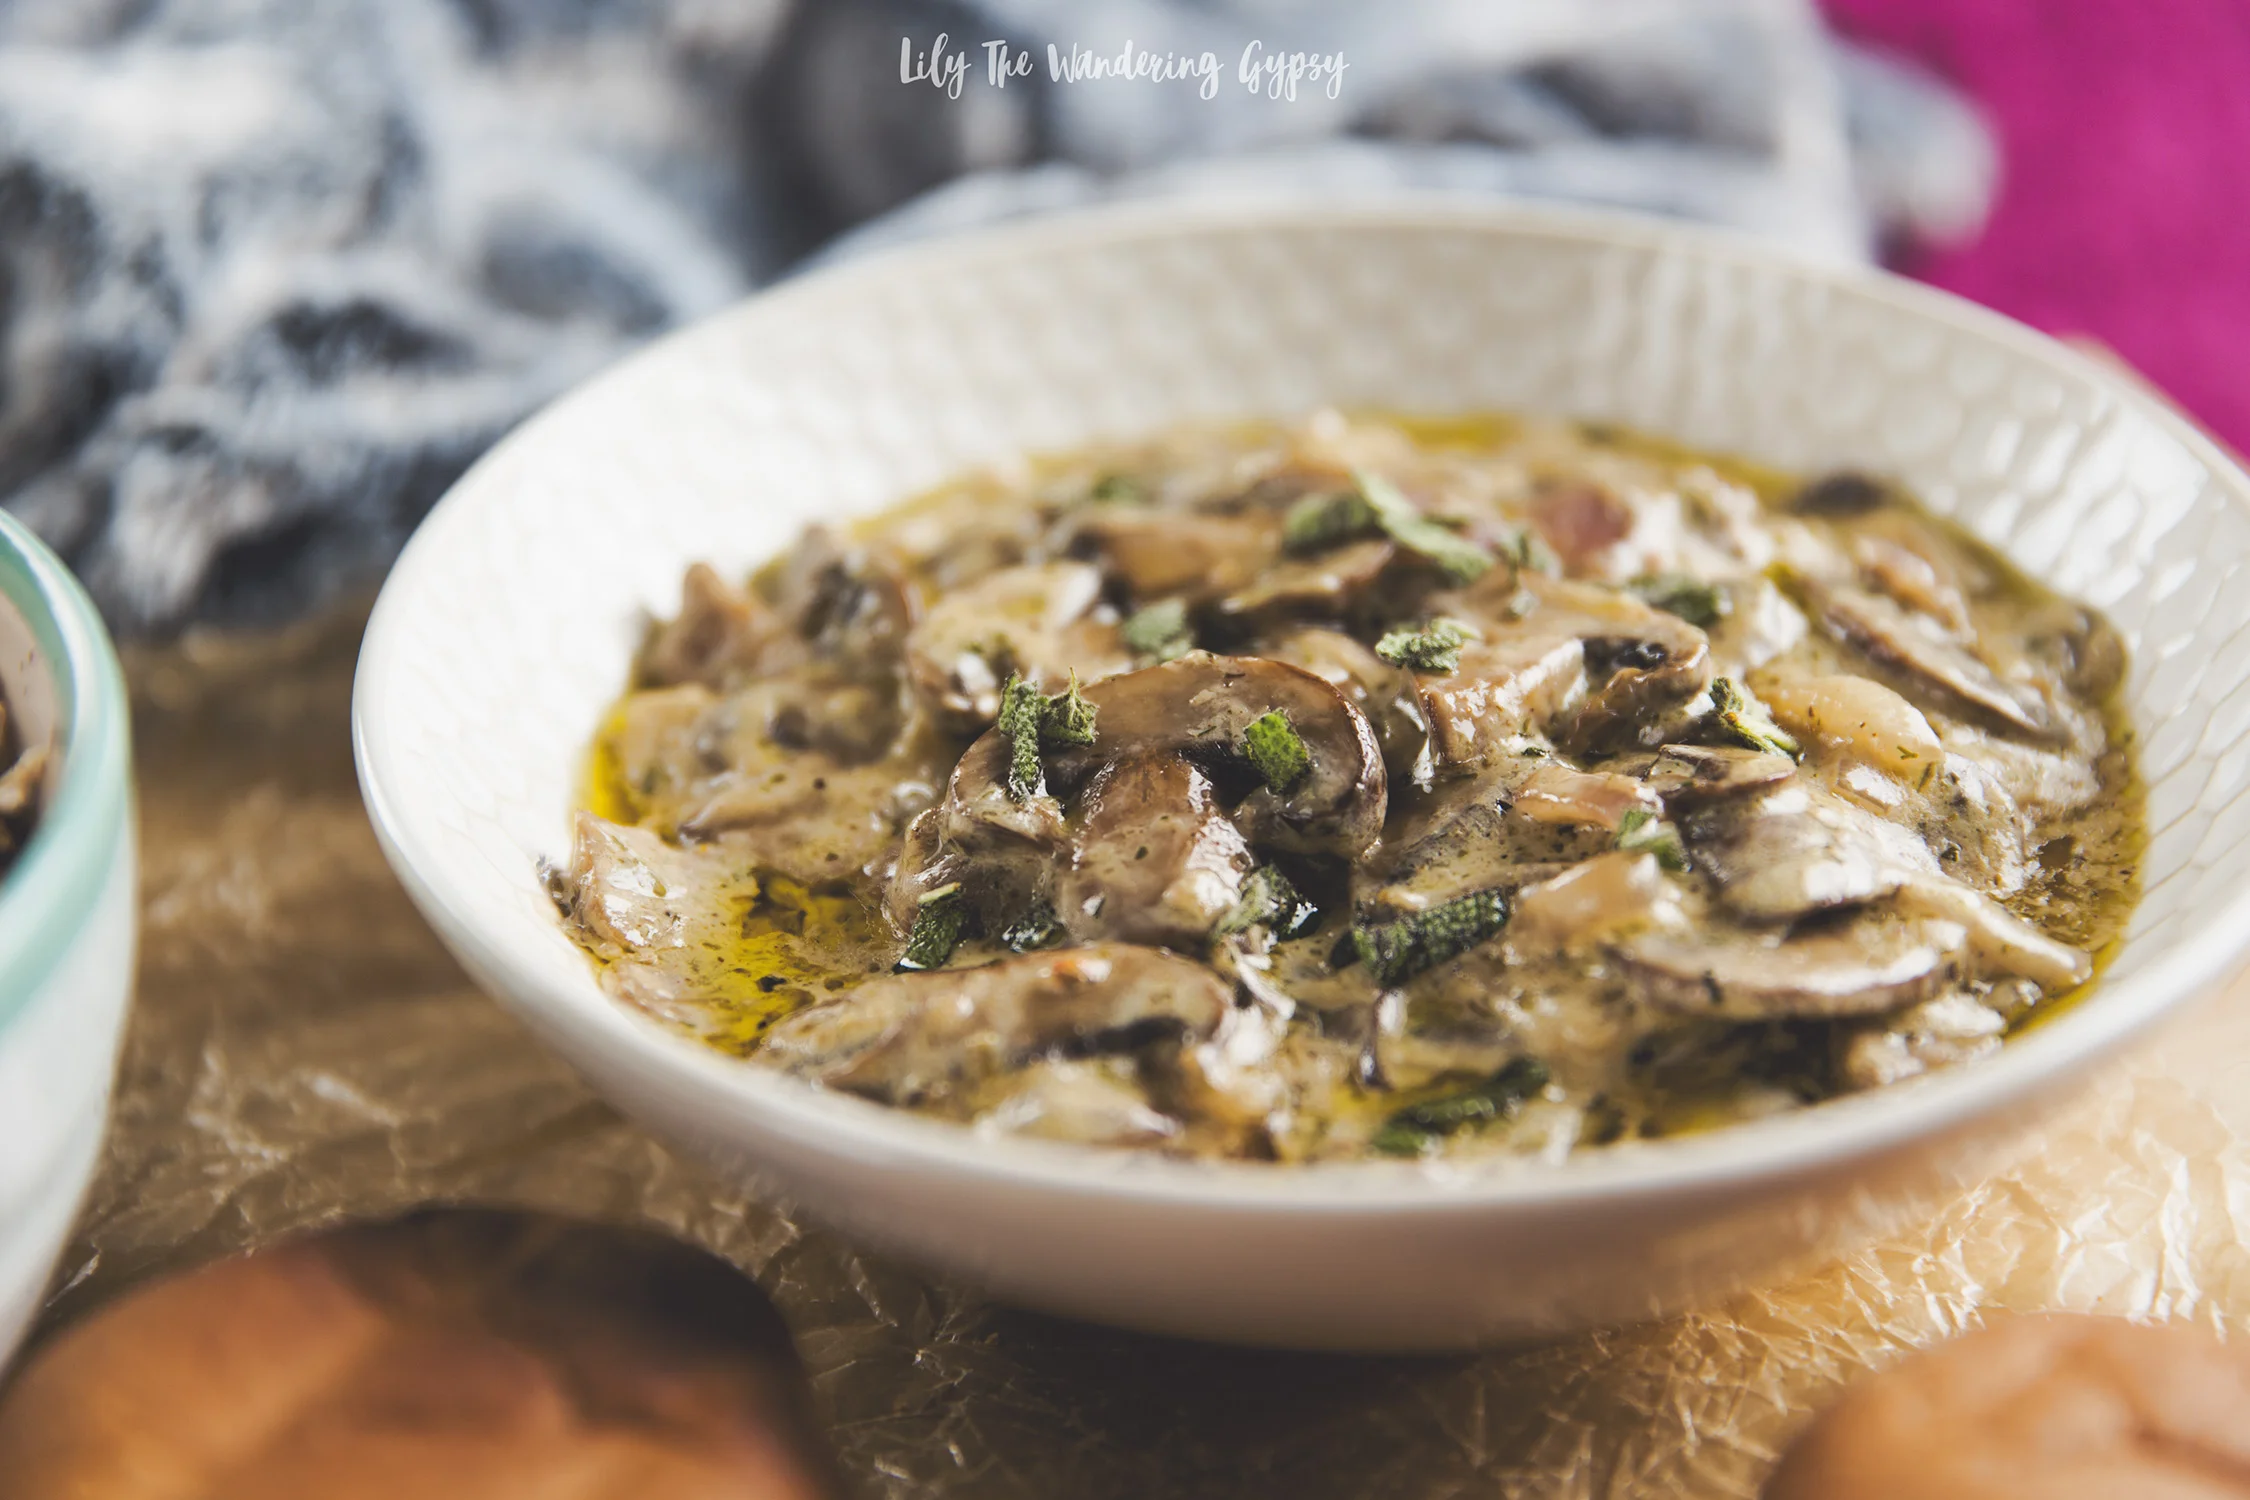
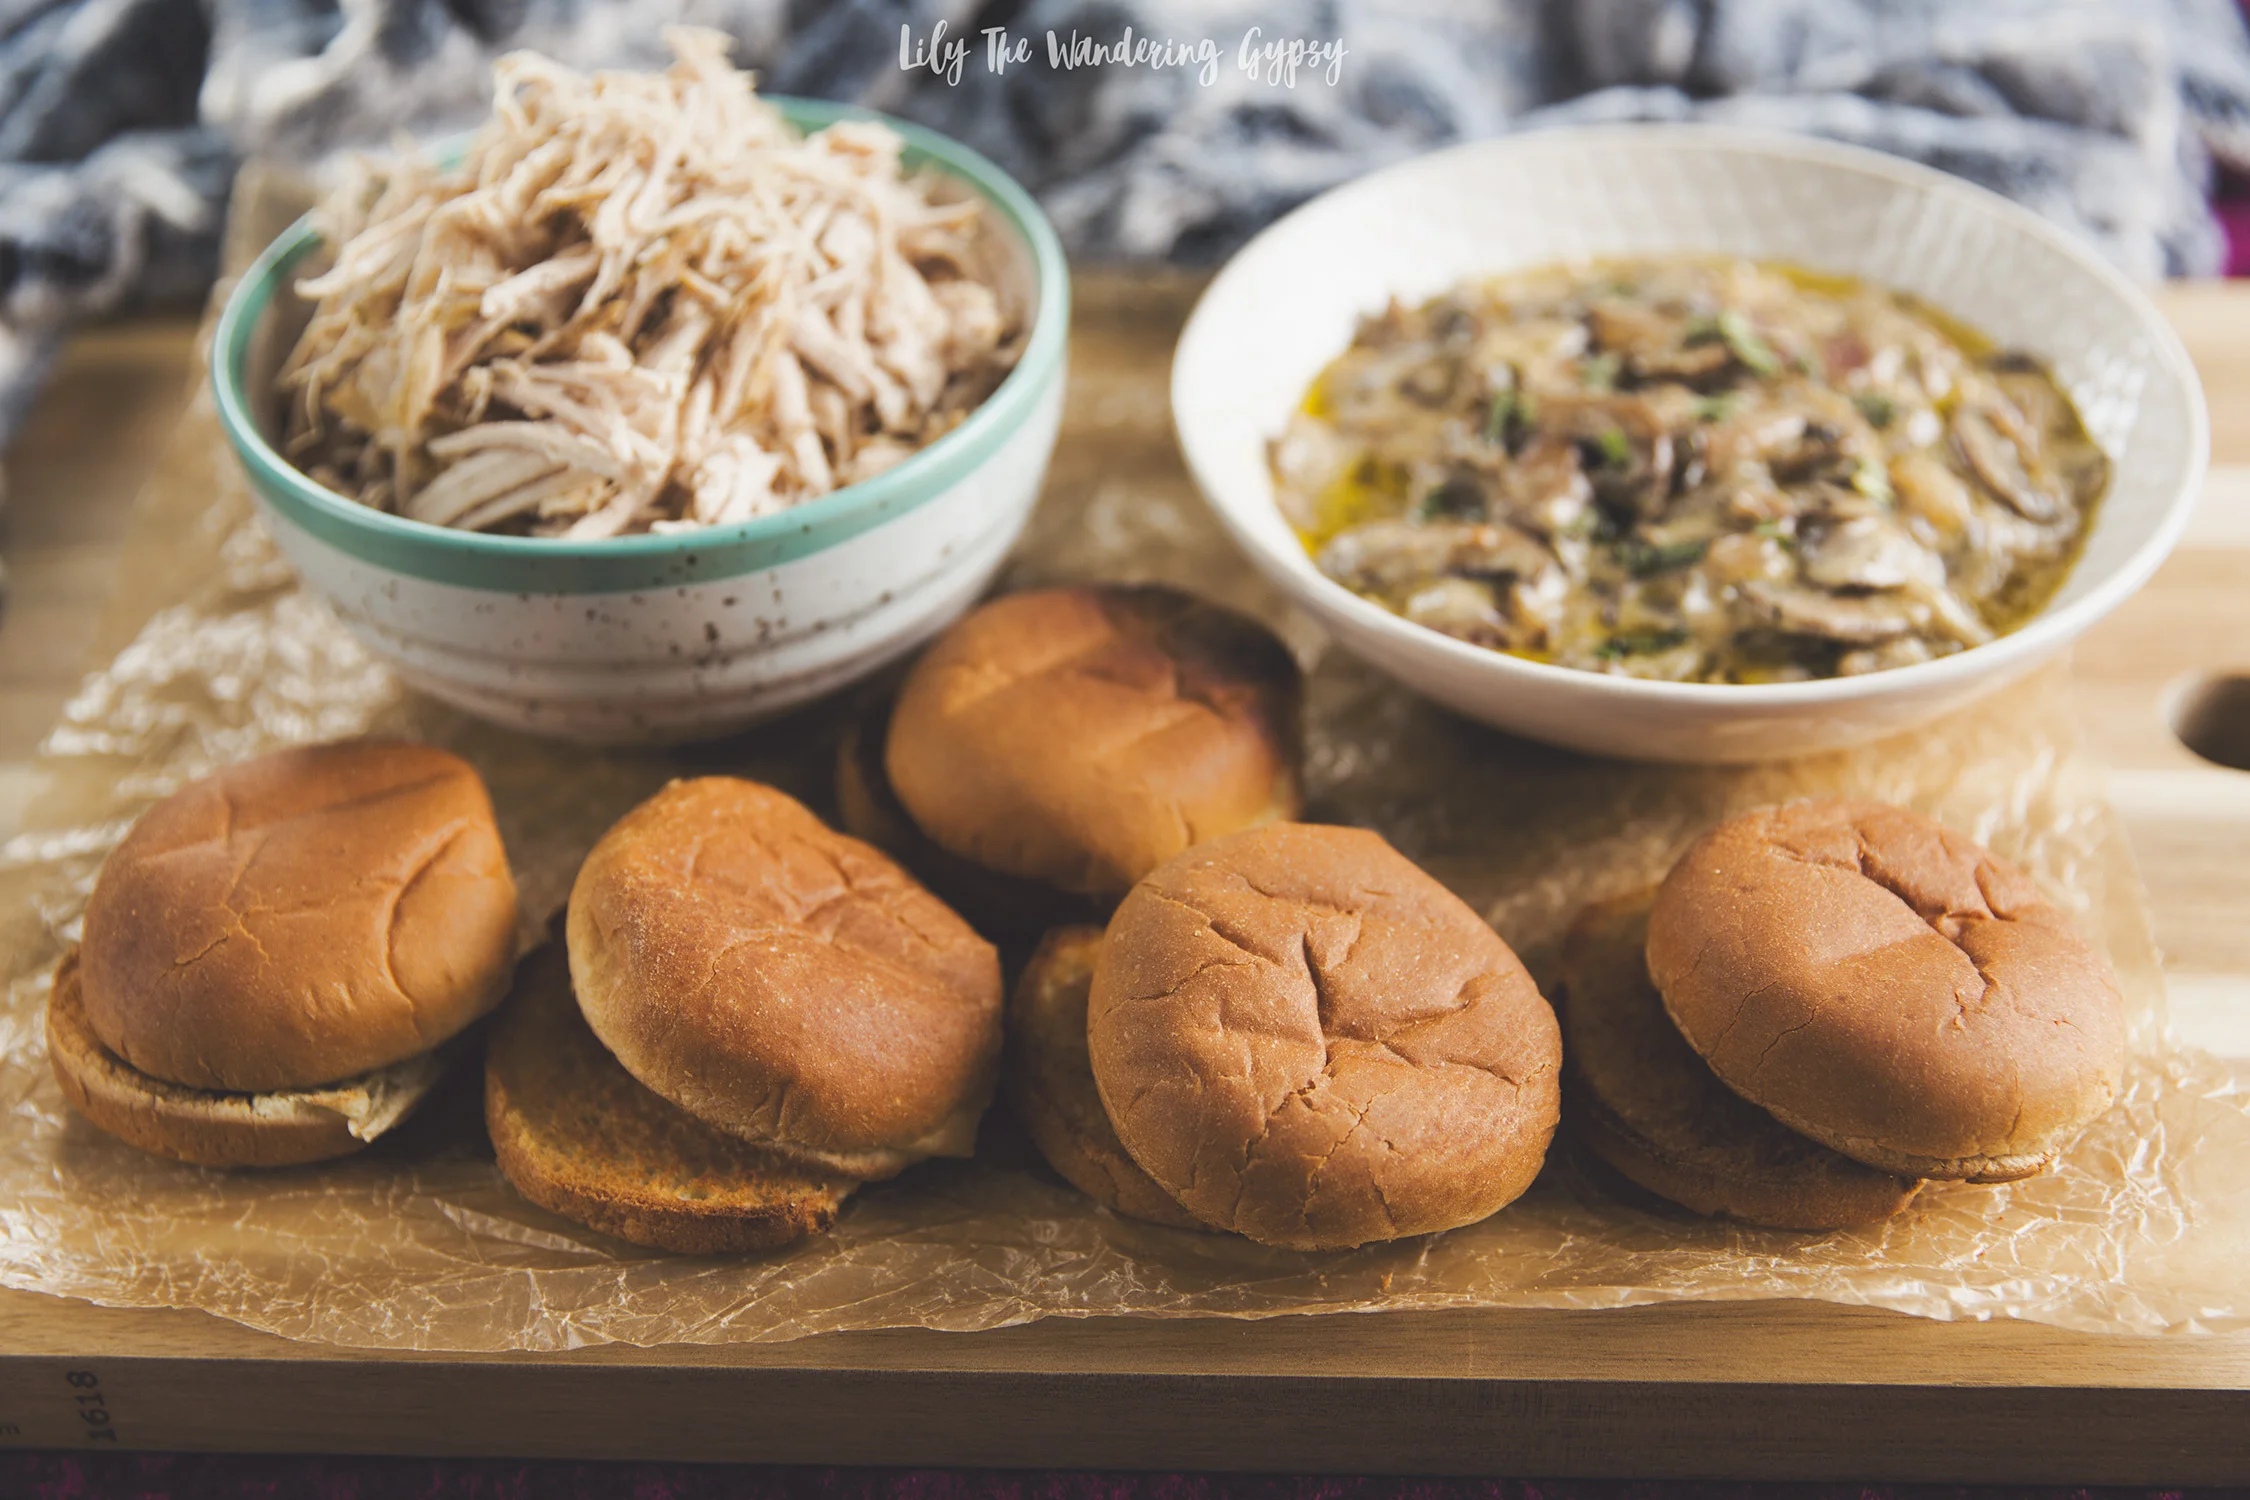
6.) Let sauce thicken on skillet over medium-medium high heat. and once it's all ready, pour into a bowl to use for topping sliders, OR, add all gravy and pork into one bowl to combine - this wound up being my favorite way to enjoy it.

OTHER AVAILABLE SMITHFIELD NATURALS PRODUCTS INCLUDE:
Smithfield All Natural Boneless Loin Filet
Smithfield All Natural Shoulder Roast
Smithfield All Natural Pork Tenderloin
Smithfield All Natural Boneless Pork Chops
Smithfield All Natural Bone-In Pork Chops
Smithfield All Natural Back Ribs

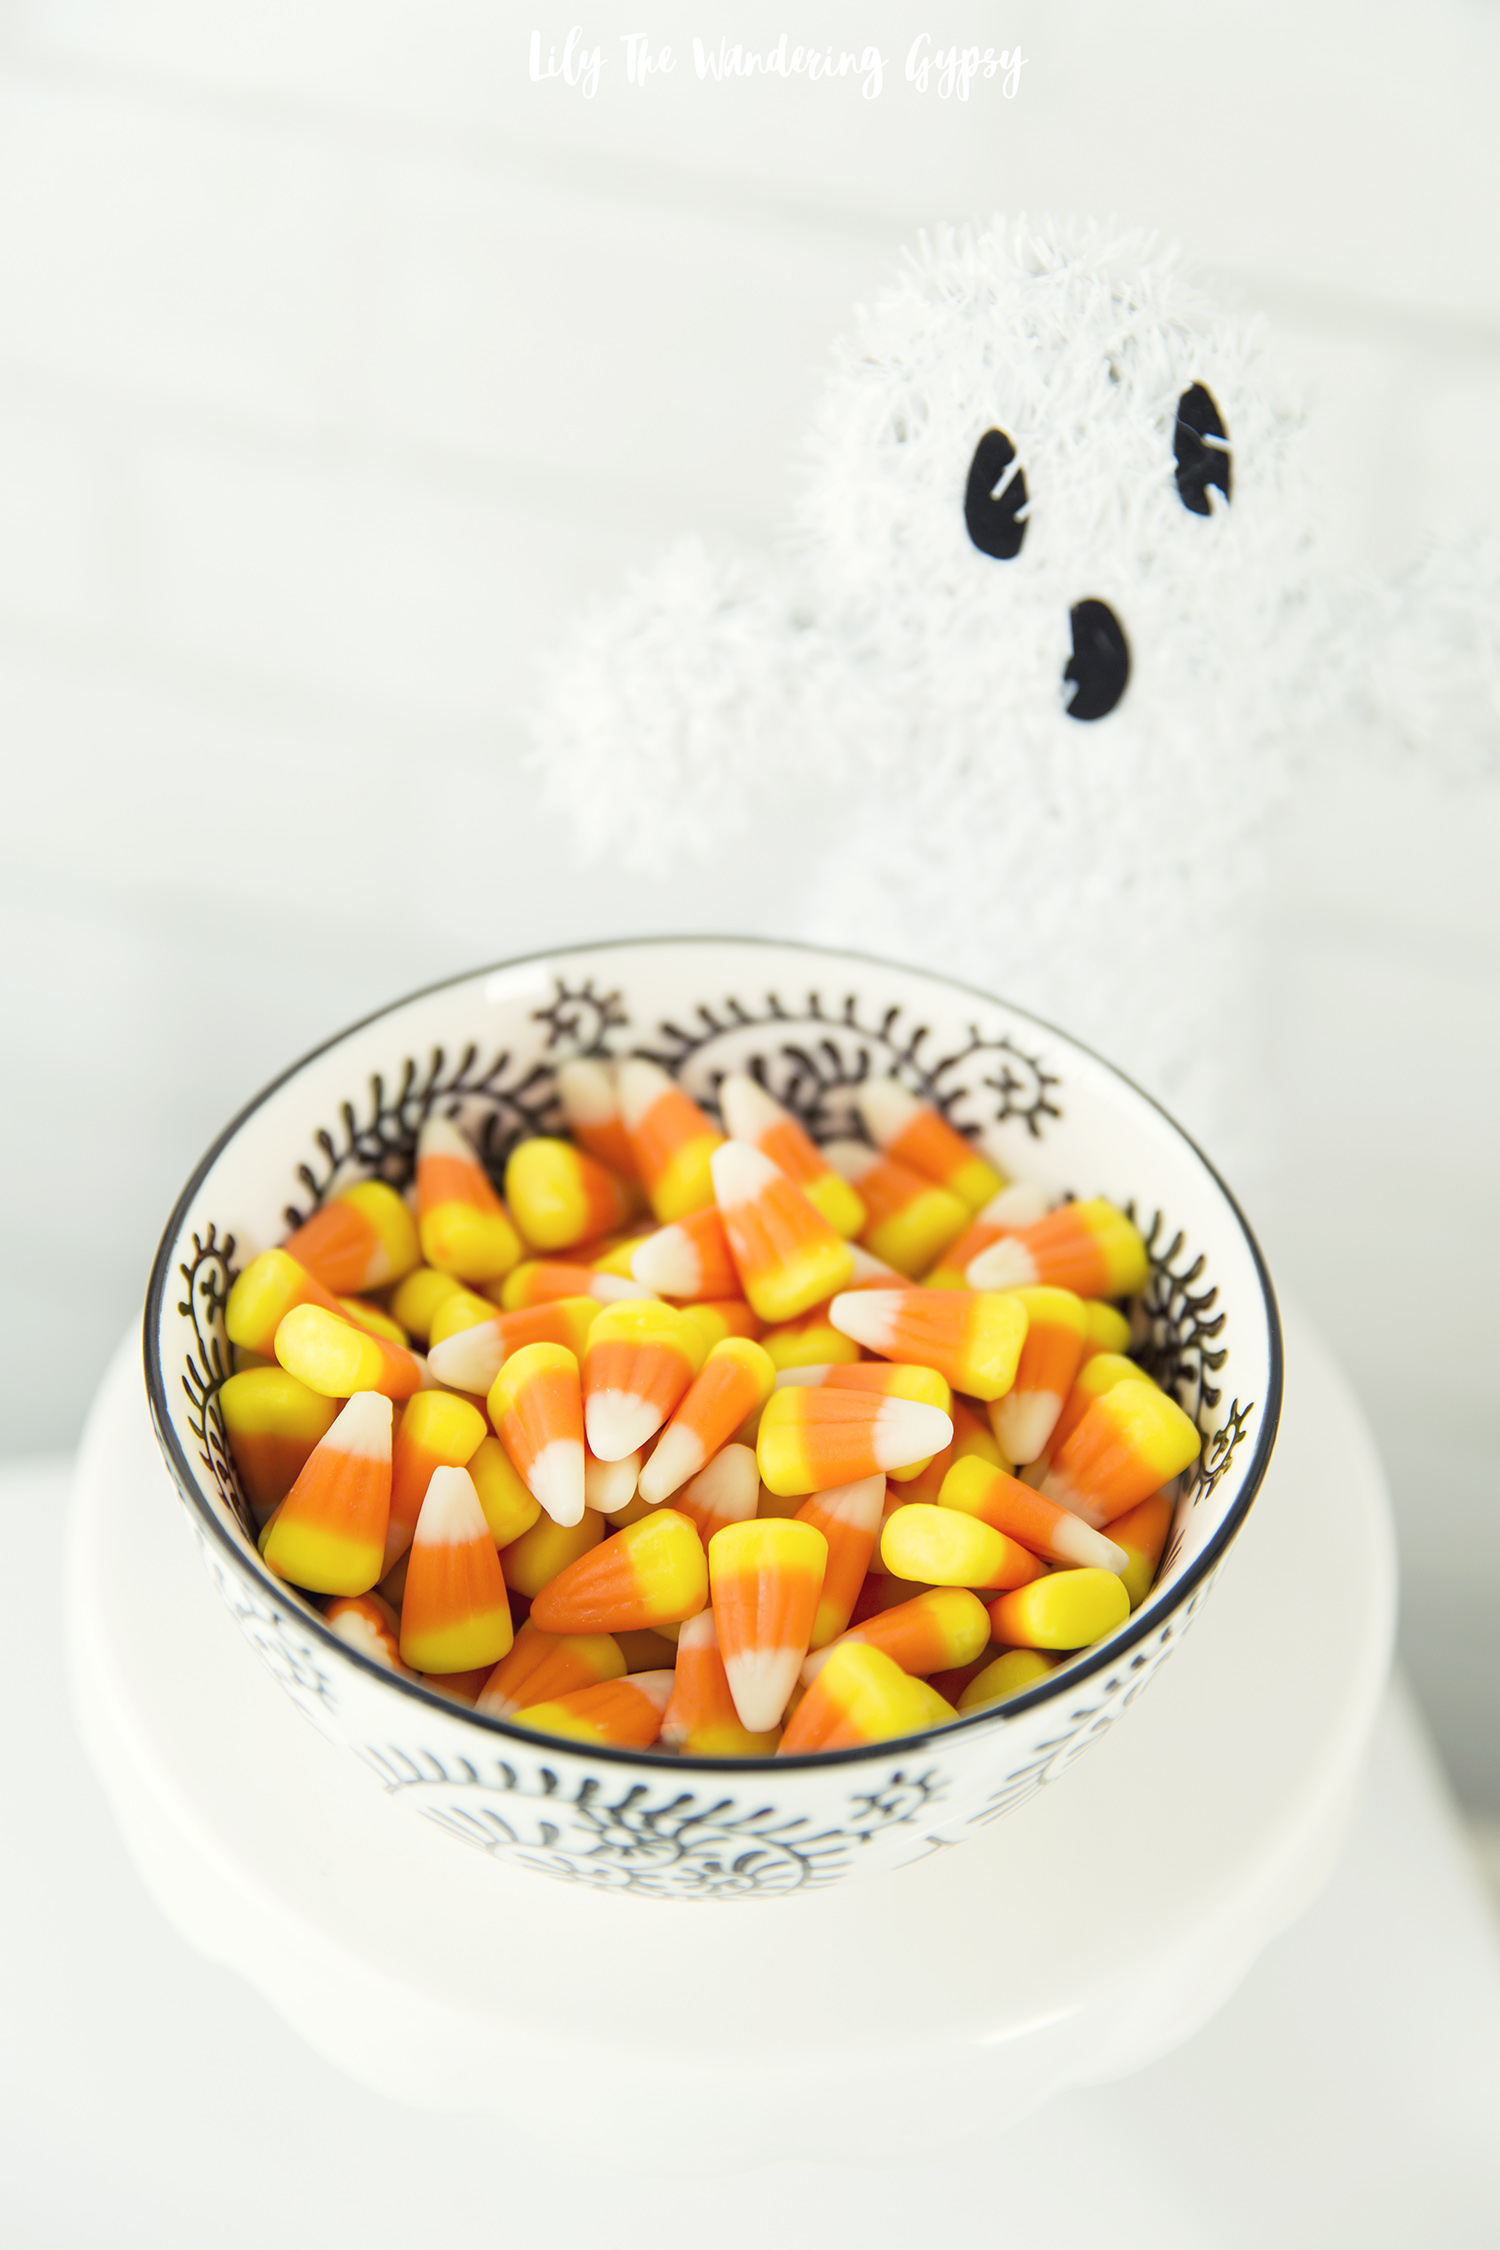
BOO-Ya! It’s a Welch’s Halloween Party
This post is sponsored by Welch’s® Fruit Snacks. I am being compensated for this post. All comments and opinions are my own.
I am SO excited for Halloween, I cannot even explain it! I wanted to share some tips on setting up a beautiful and stylish Halloween party, and by using a little bit of your DIY spirit, you can host a stylish Halloween party that will never be forgotten. I am a lover of all things Halloween, and the Halloween treats are probably my favorite part. I have always loved Welch’s products, and when the opportunity arose to create a Halloween Party Post inspired by their new Fruit Rolls, I jumped on the opportunity!
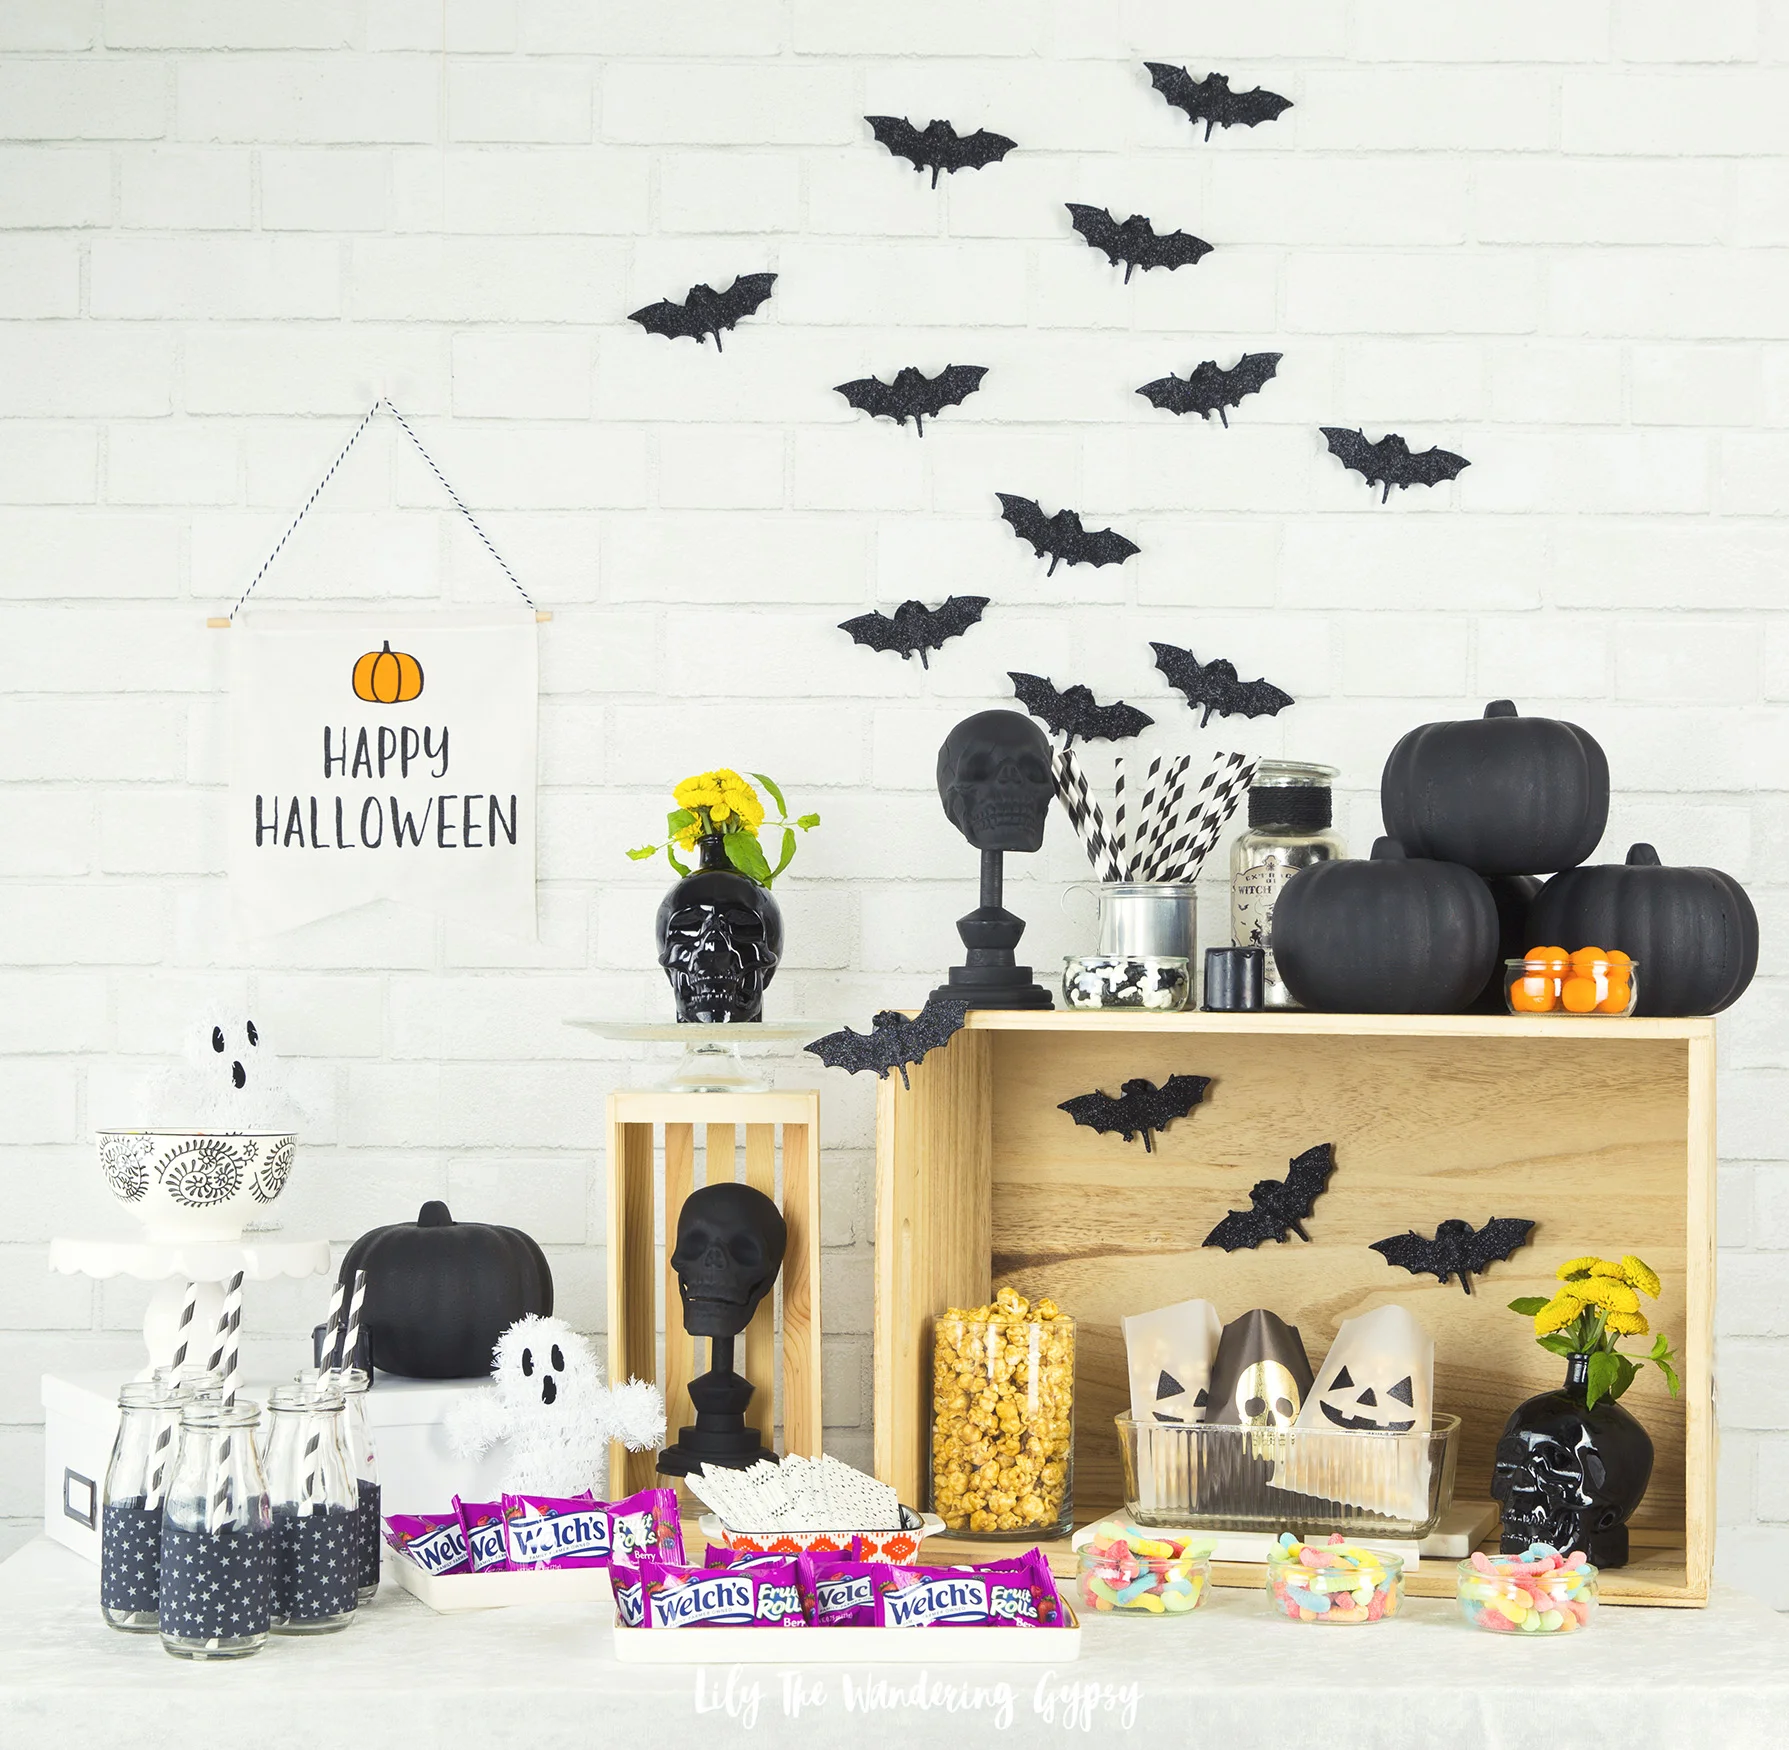
Impress your guests with the cutest décor in black and white, and invite them to make sweet, lasting memories for many years to come. This black and white theme turned out so great, scroll down to get the full details!
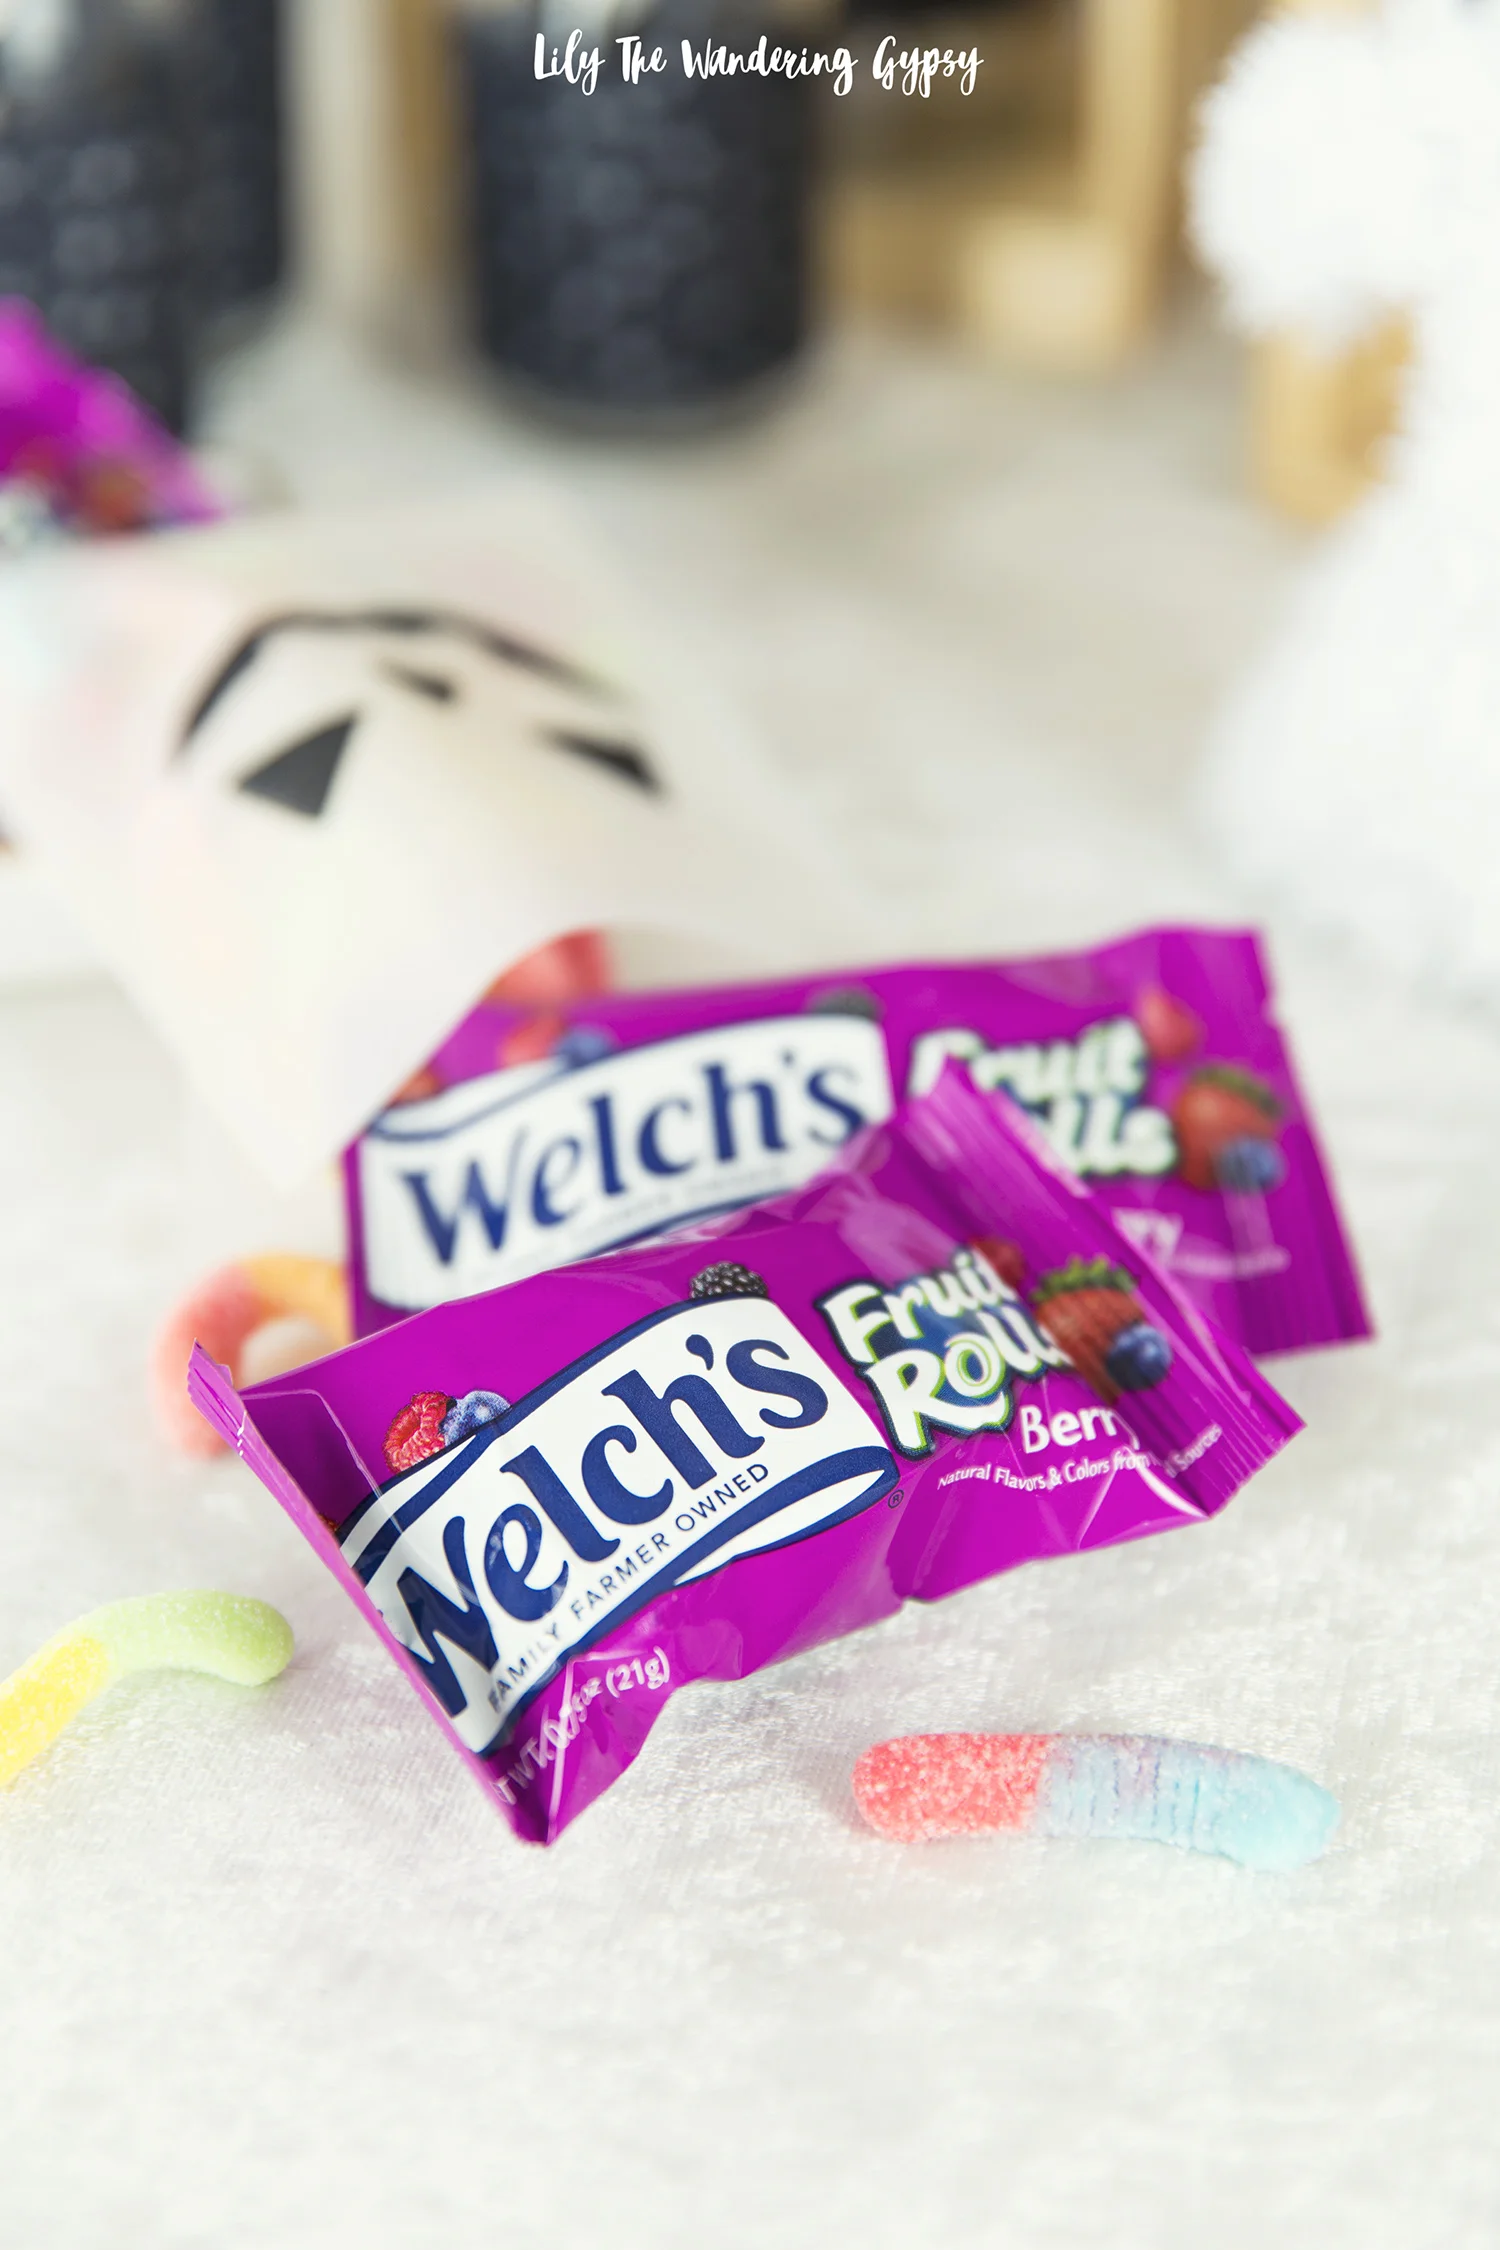
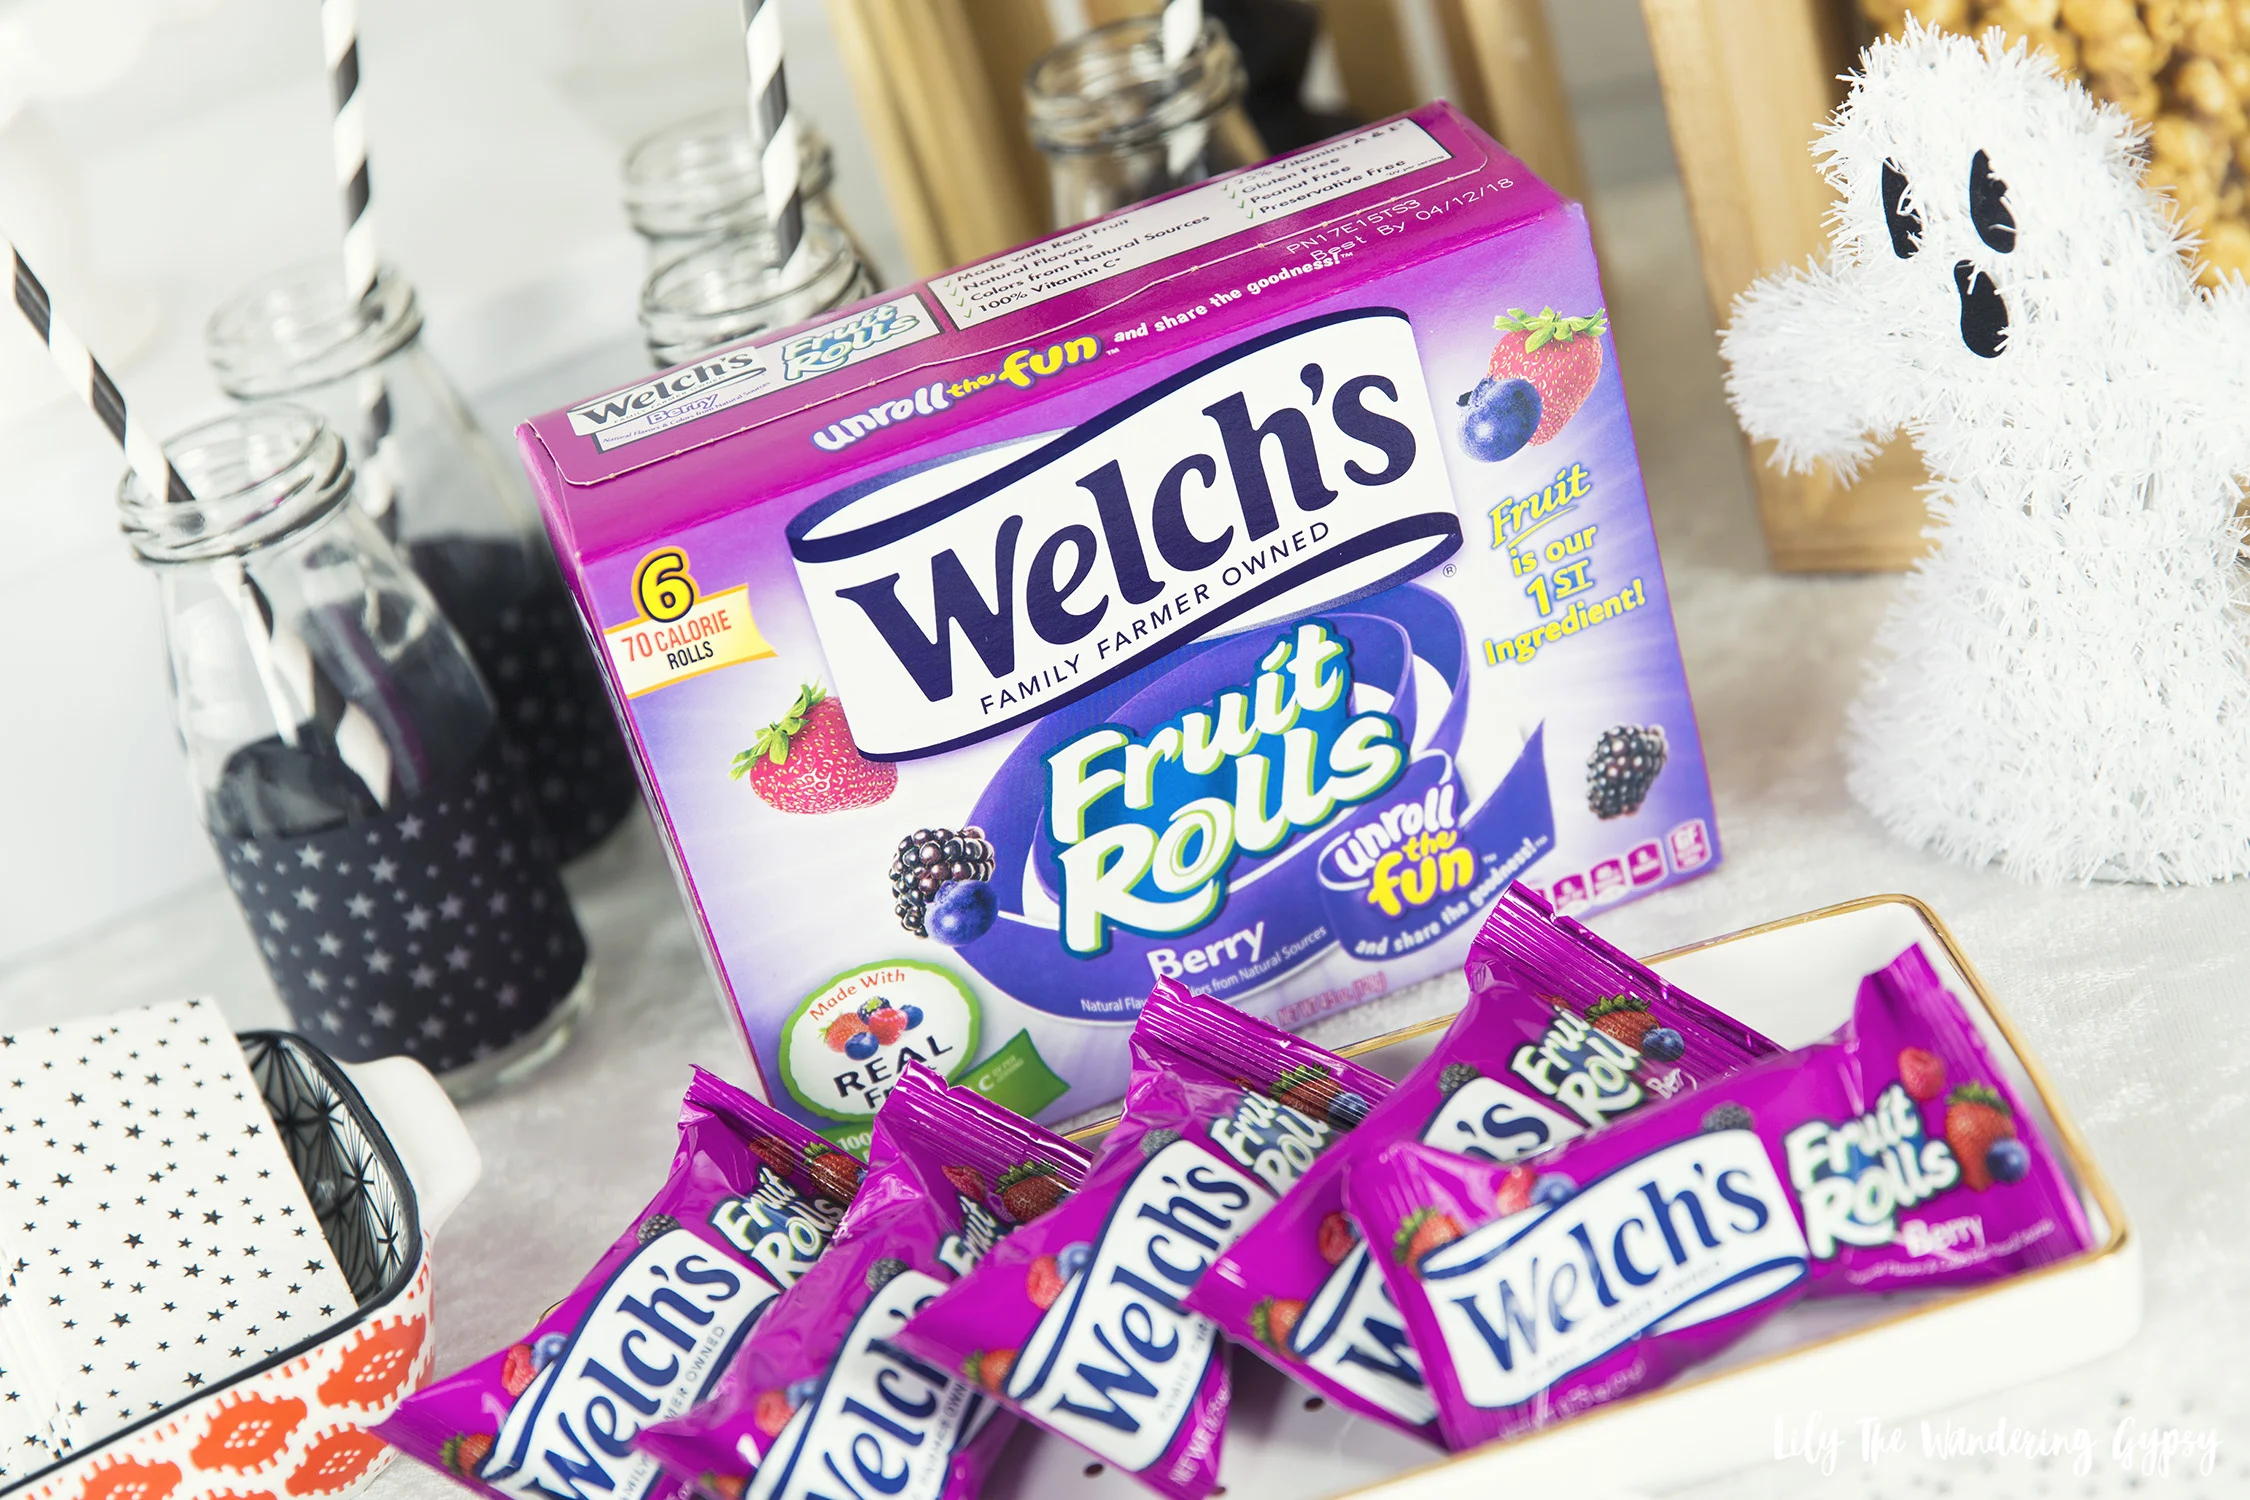
Luckily, fruit is the first ingredient in these little treats – they display that fact proudly on the front of every package. They have 100% of the daily value of Vitamin C and 25% daily value of Vitamins A & E. These Welch’s Fruit Rolls are super fun to eat, and I really enjoyed the Berry flavor – perfect for a longer lasting treat than a small bite of something! Unroll the fun in this fun, new format!
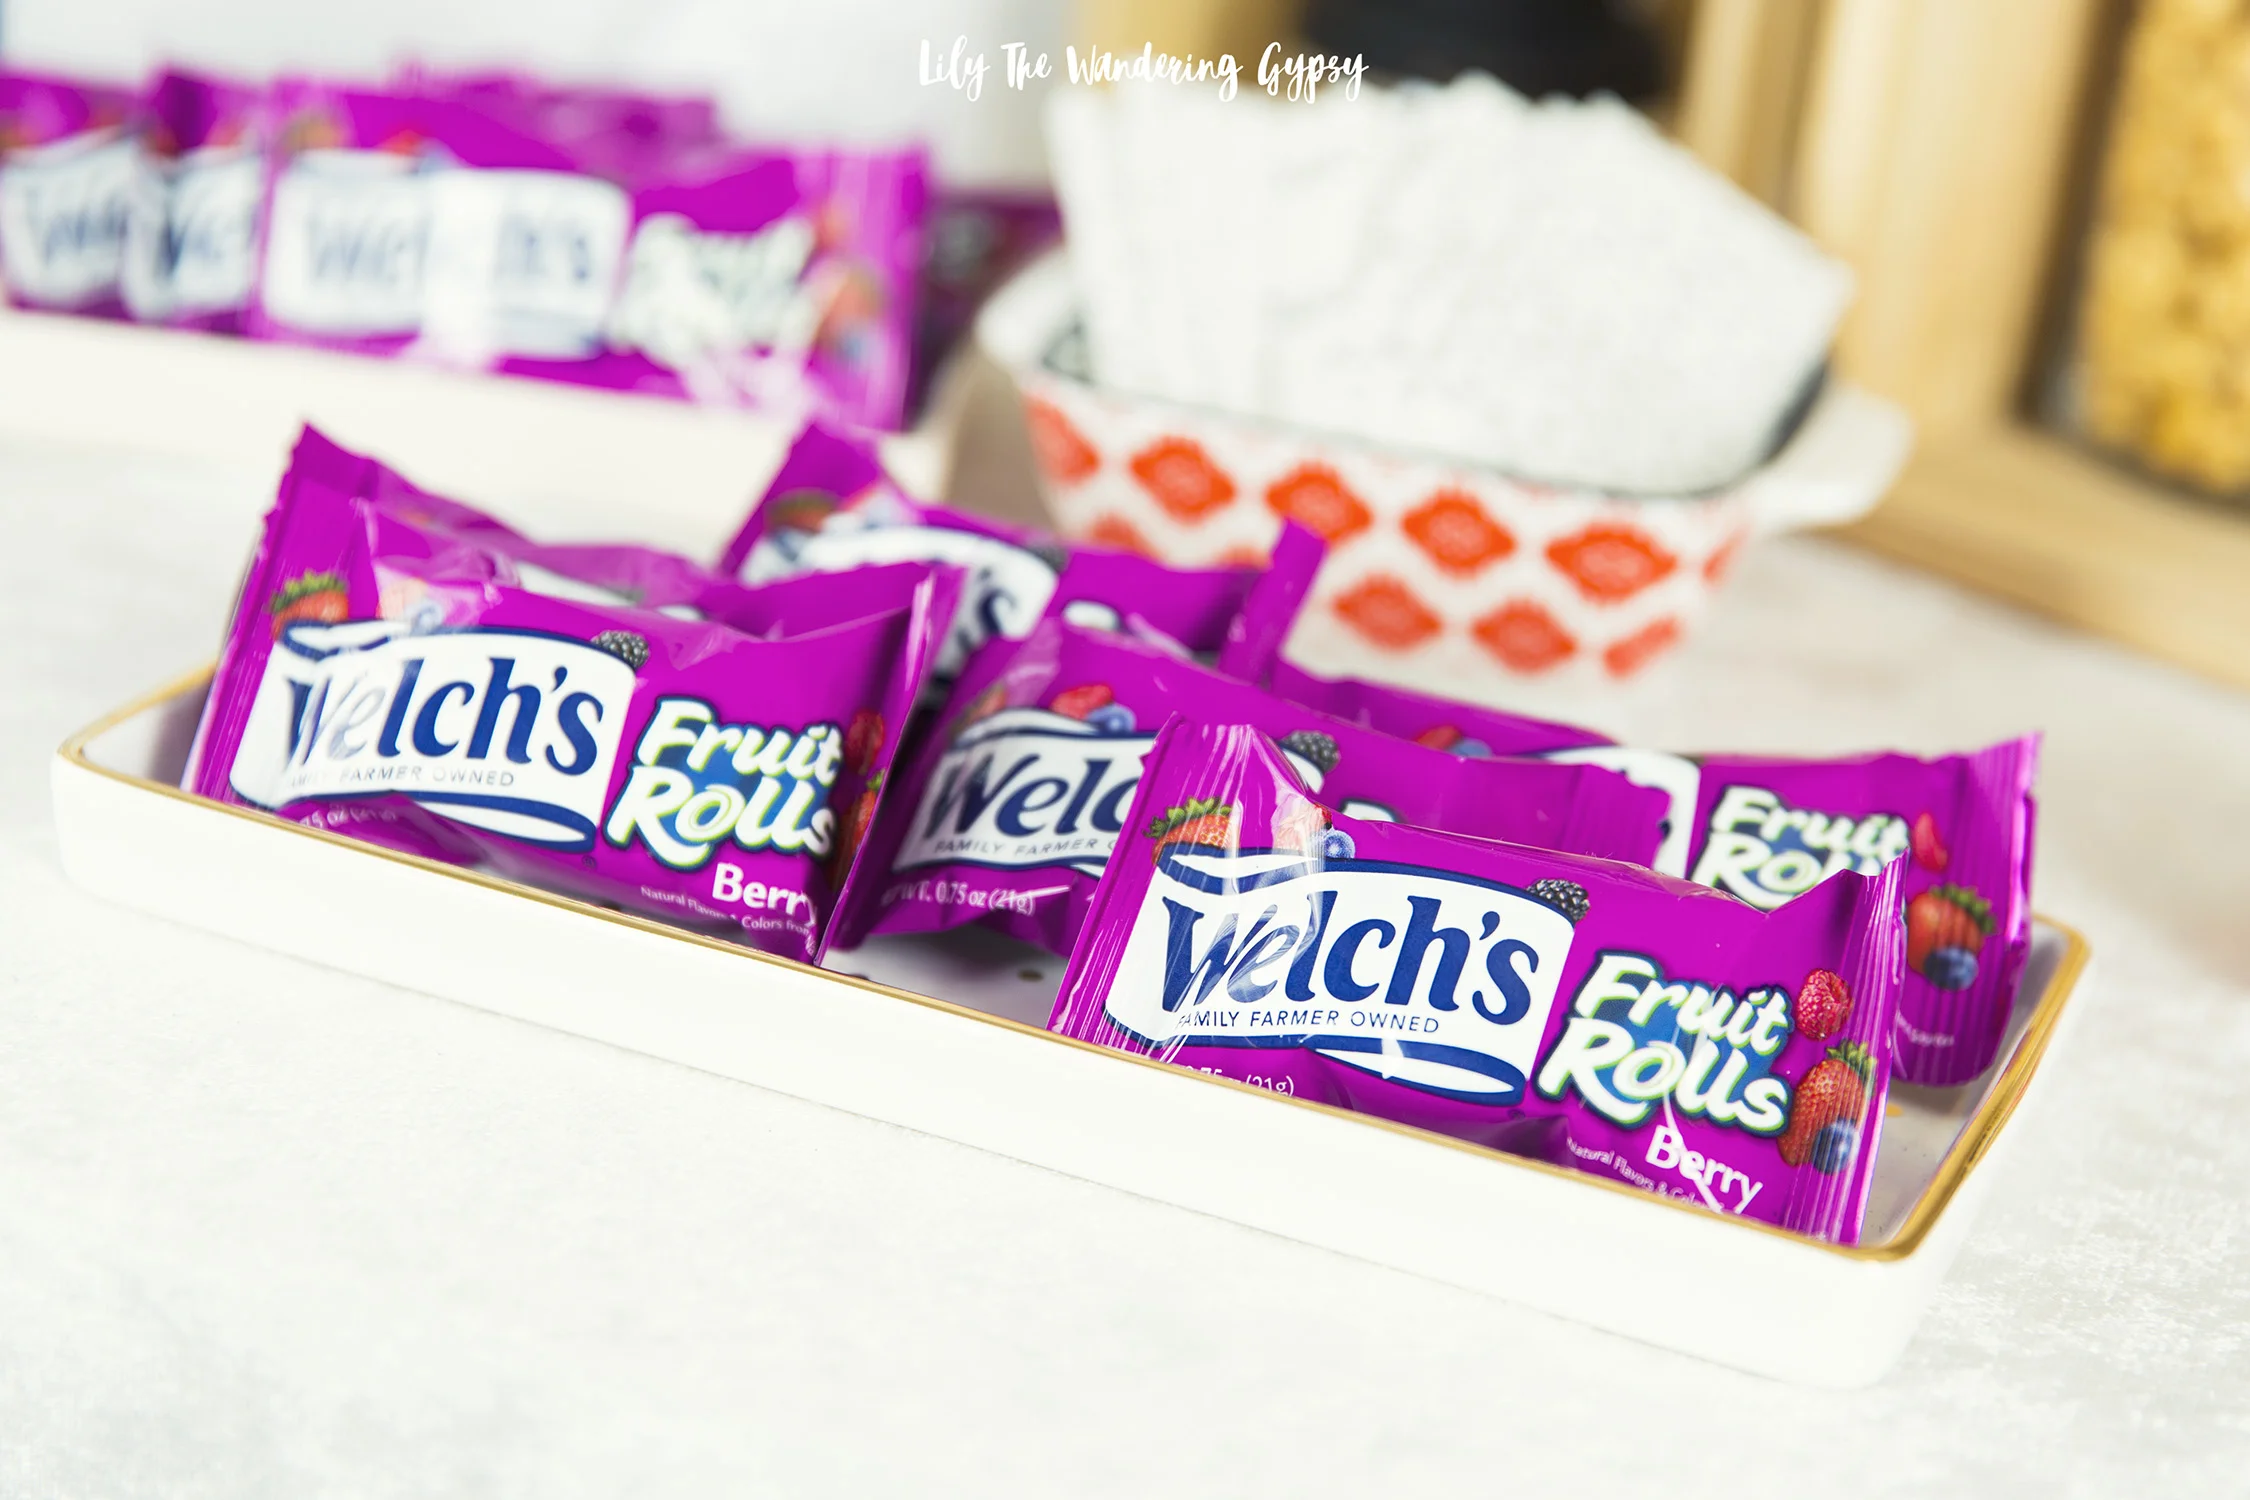
I always love to glam-up my dessert tables, because we eat with our eyes first! I knew guests would gravitate towards the Welch’s Fruit Rolls right away, and the purple labels are so berry-liscious! I placed them in a rectangular, white dish that has gold dots on it. What a fun way to provide treats to those who love them.
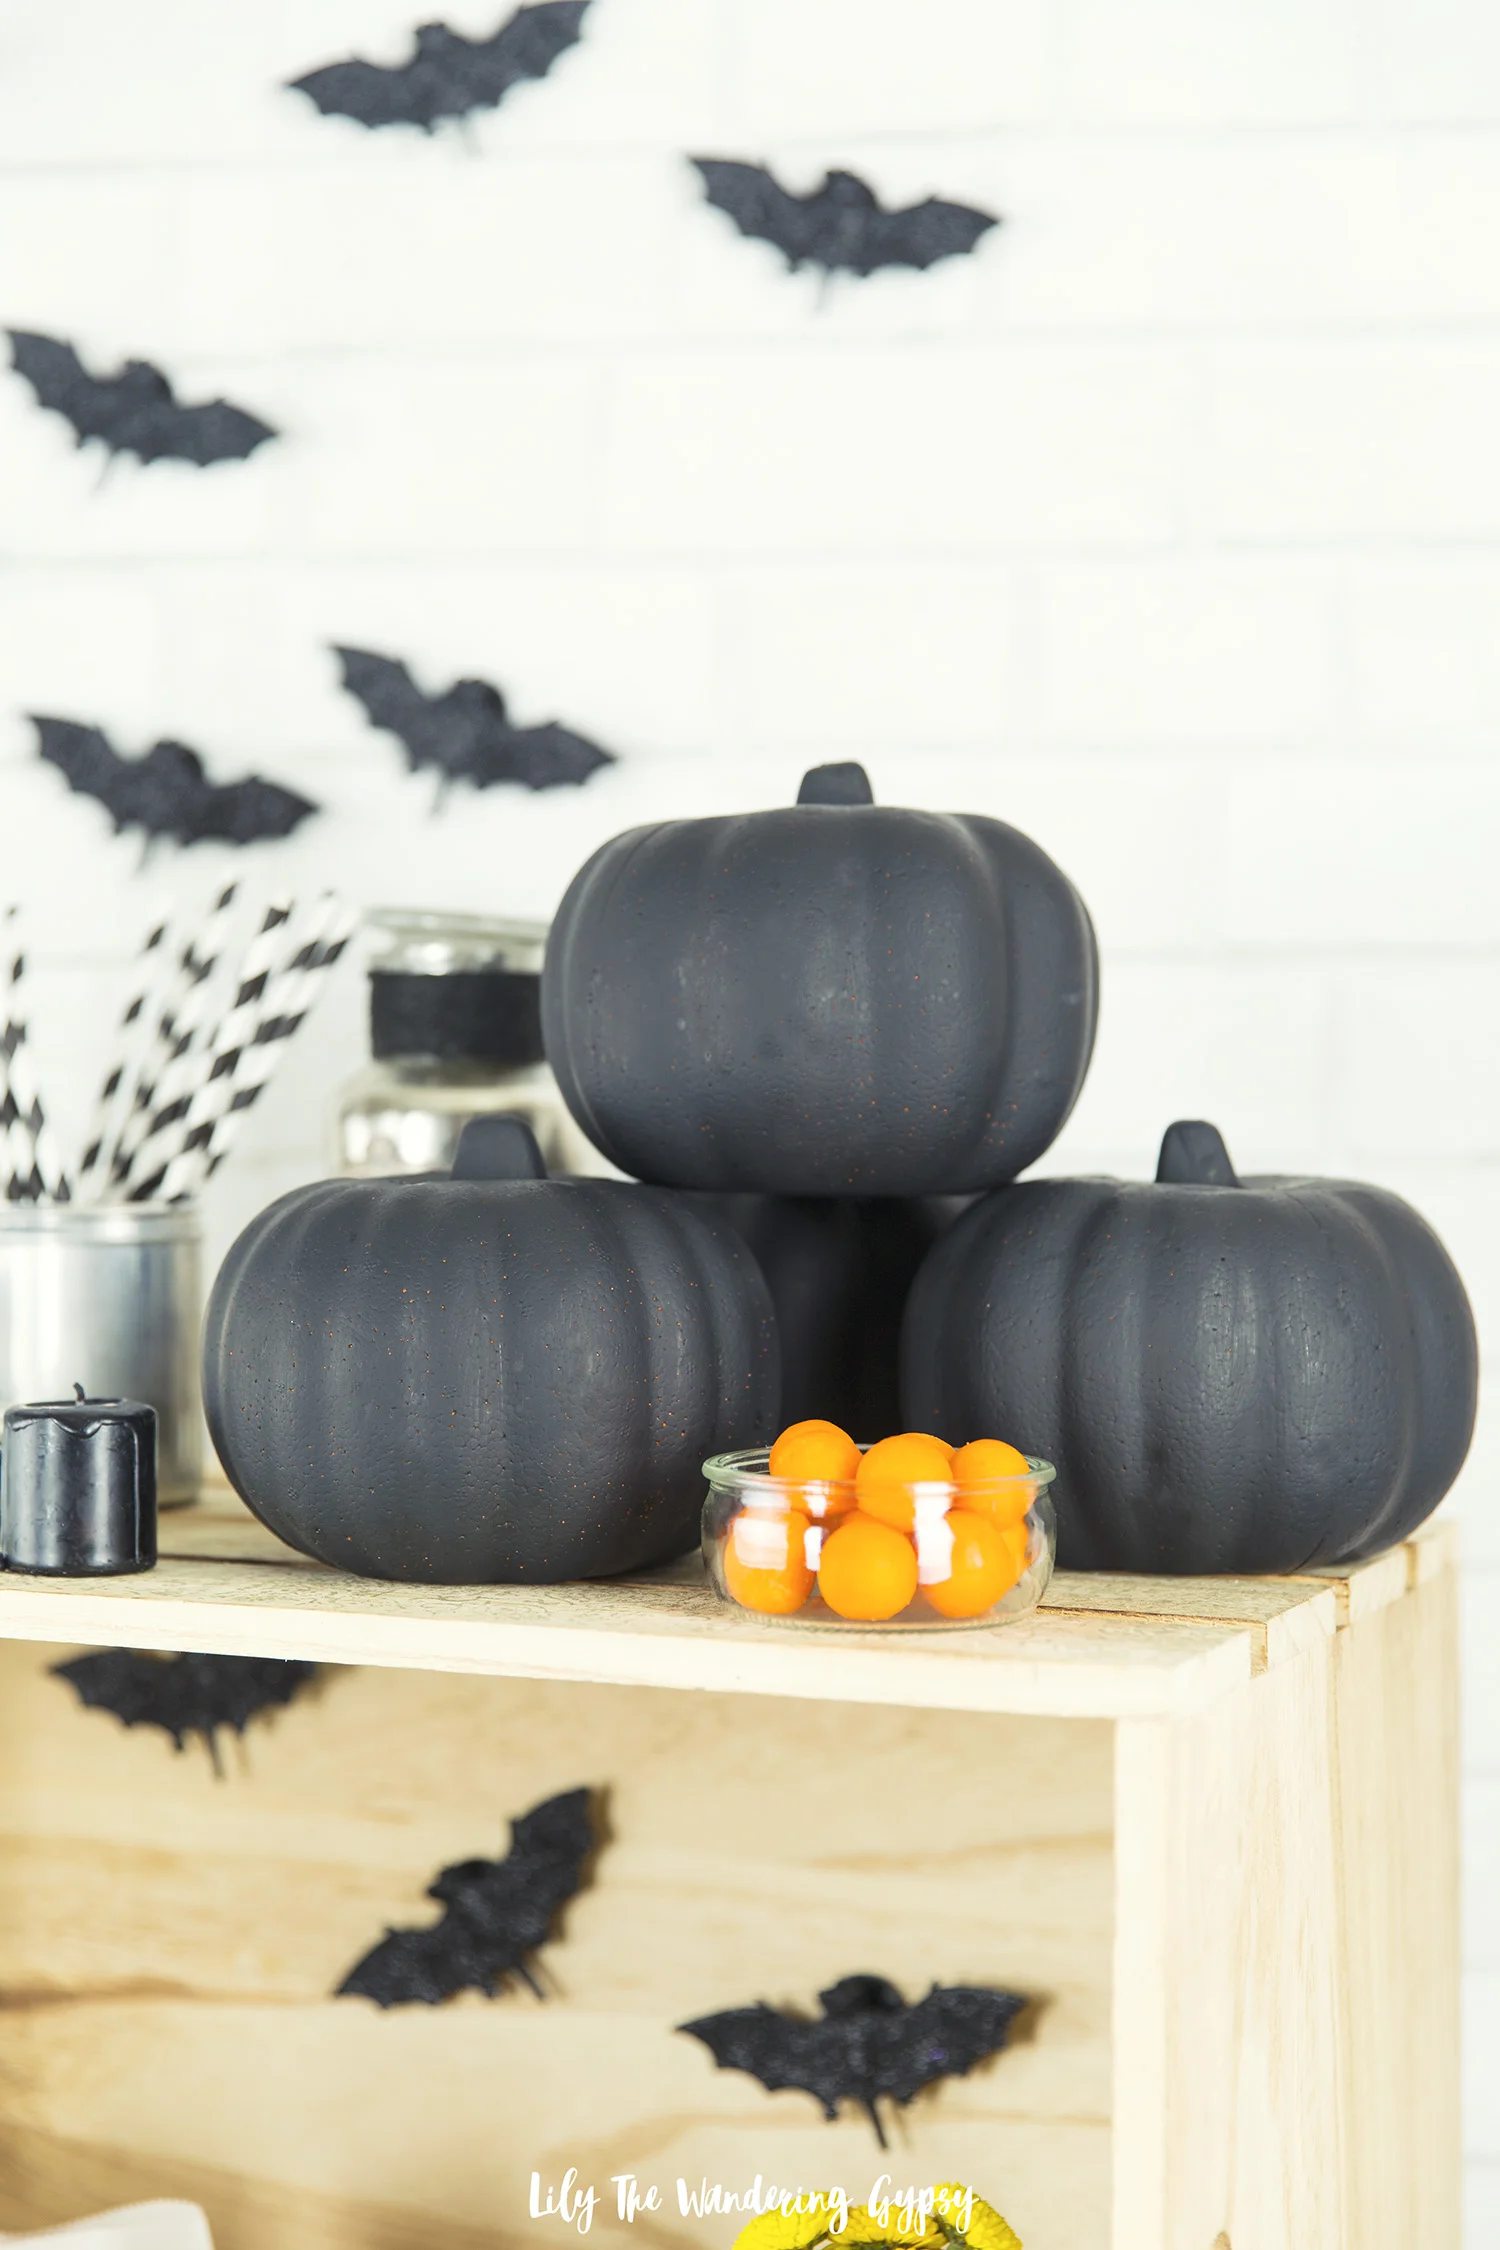
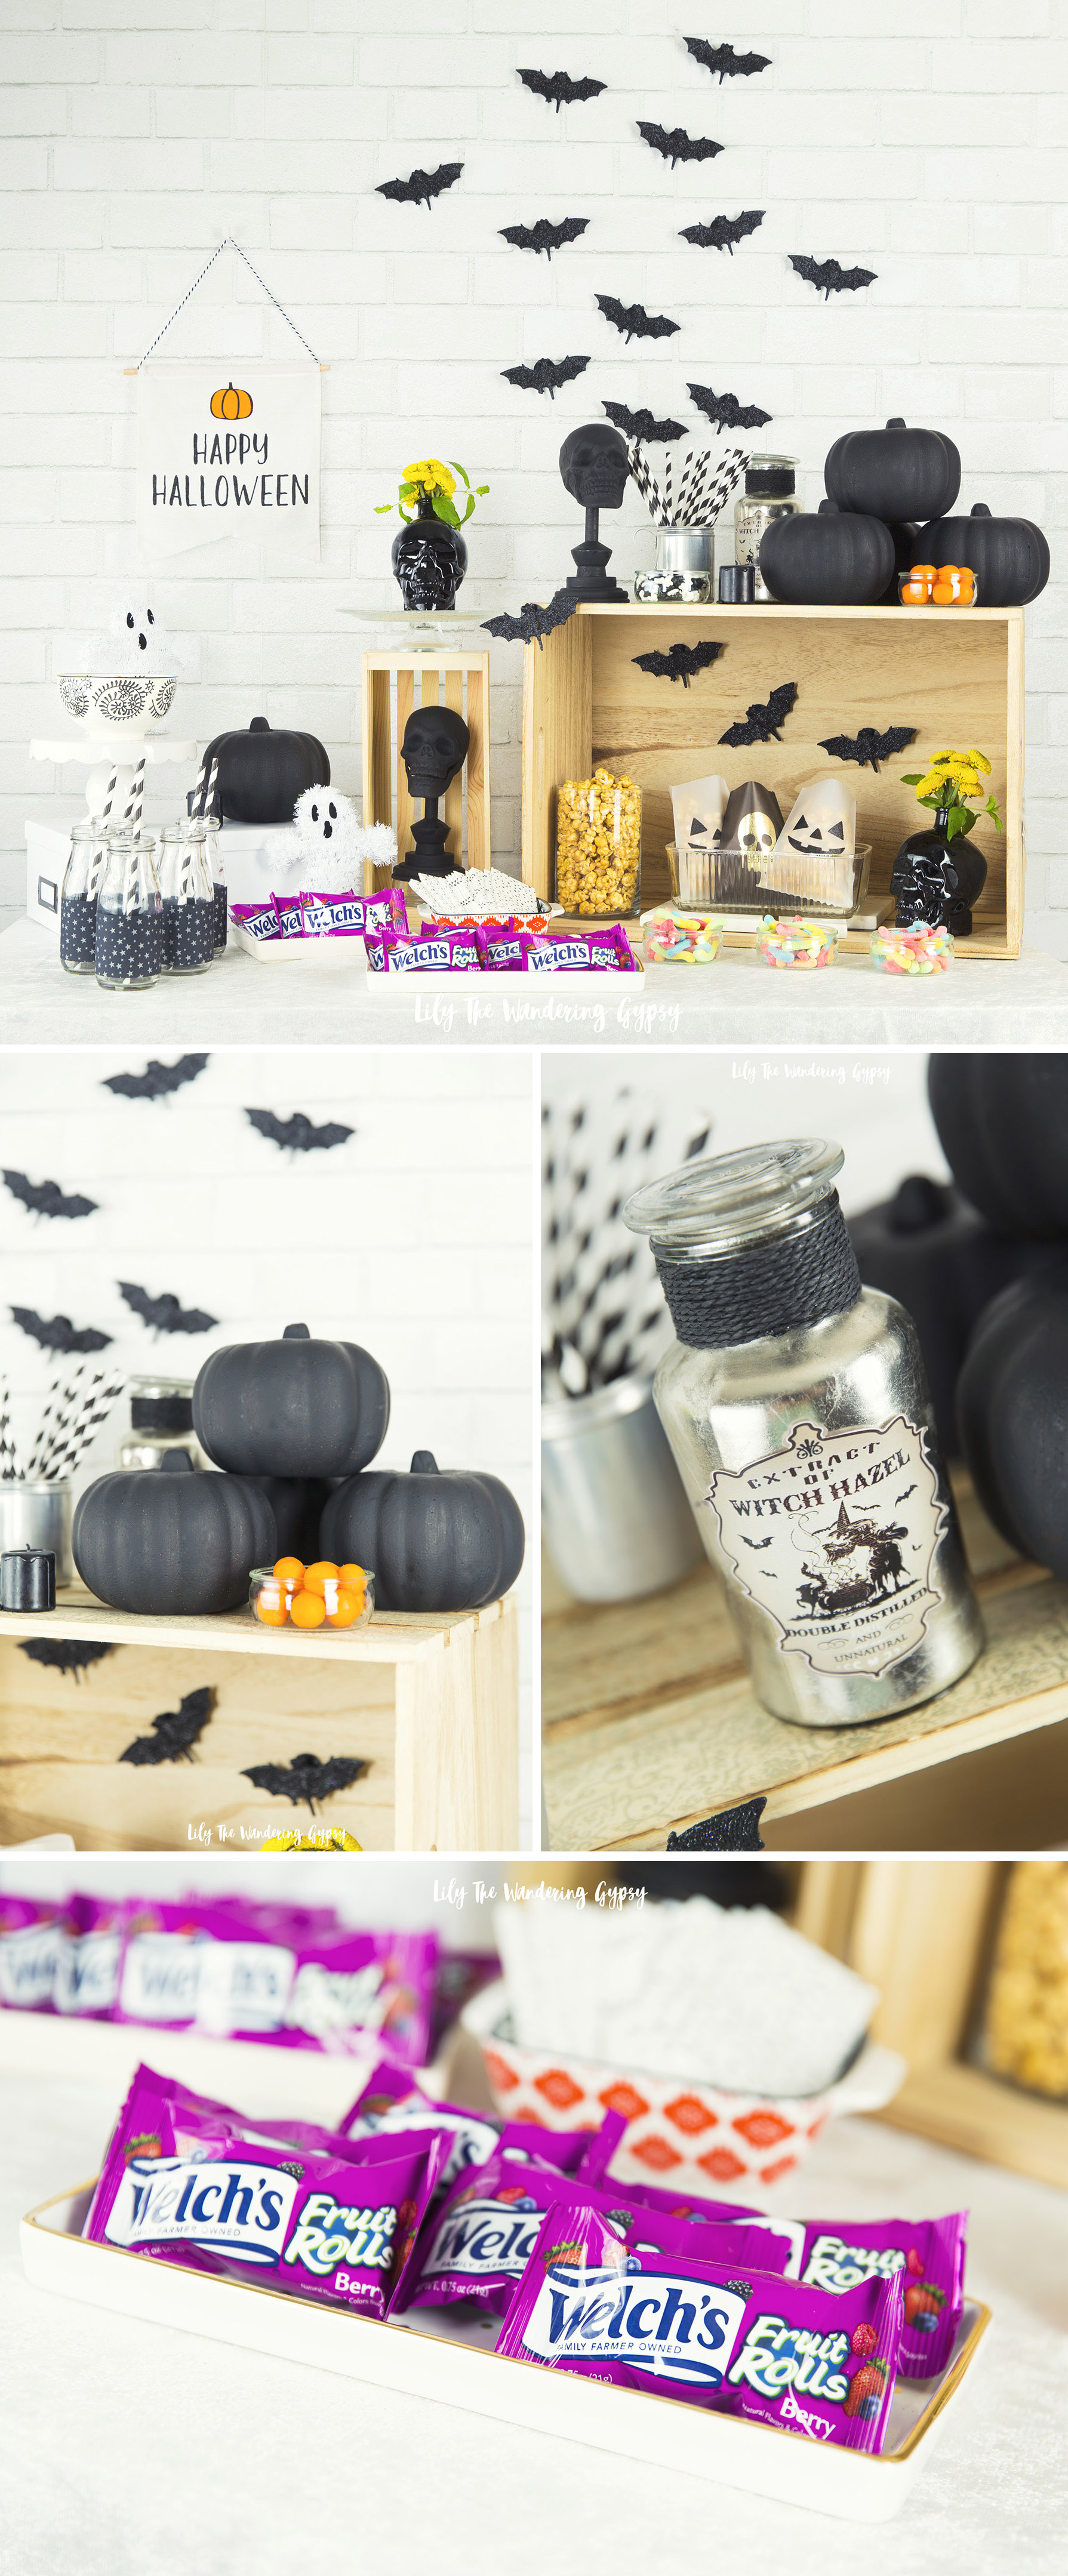
I began designing my party table by adding a white crushed velvet tablecloth, which is a material that is so popular right now. I then added a few wooden crates and a white photo storage boxes to add some height, and bring the treats and décor up to eye level. I love the stark contrast that the black pumpkins and skulls create atop all of the light, white surfaces!

These awesome glitter bats really livened up the party décor! I loved how they created such an impactful graphic that was so eye-catching.
One budget-friendly tip would be to start looking for décor at a dollar store first. Try to make things work for you, or even figure out how to paint certain items to fit your theme.
Below, you will see these awesome, trendy black pumpkins I painted! Most stores were selling pumpkins for nearly $10-20 each, so when I found the orange, Styrofoam ones at the dollar store, I painted them with acrylic water based paint (2 coats), and they looked great!
NOTE: Never paint Styrofoam with spray paint, because it will start eating away at your Styrofoam. I used a nice quality foam brush and two coats of black acrylic craft paint on each pumpkin. What do you think of them?
It’s so fun to go a little above and beyond in décor AND snacking choices! Welch’s Fruit Snacks, Fruit Rolls are my go to choice!
Check out an awesome coupon on Facebook, here!
Here are a few more shots from the setup! I hope you enjoy new Welch’s Fruit Rolls available in 3 delicious varieties: Berry, White Grape, Strawberry and Tropical Punch. They are delicious!!!

Above, caramel popcorn packaged in little Halloween paper bags really set the mood for Halloween.
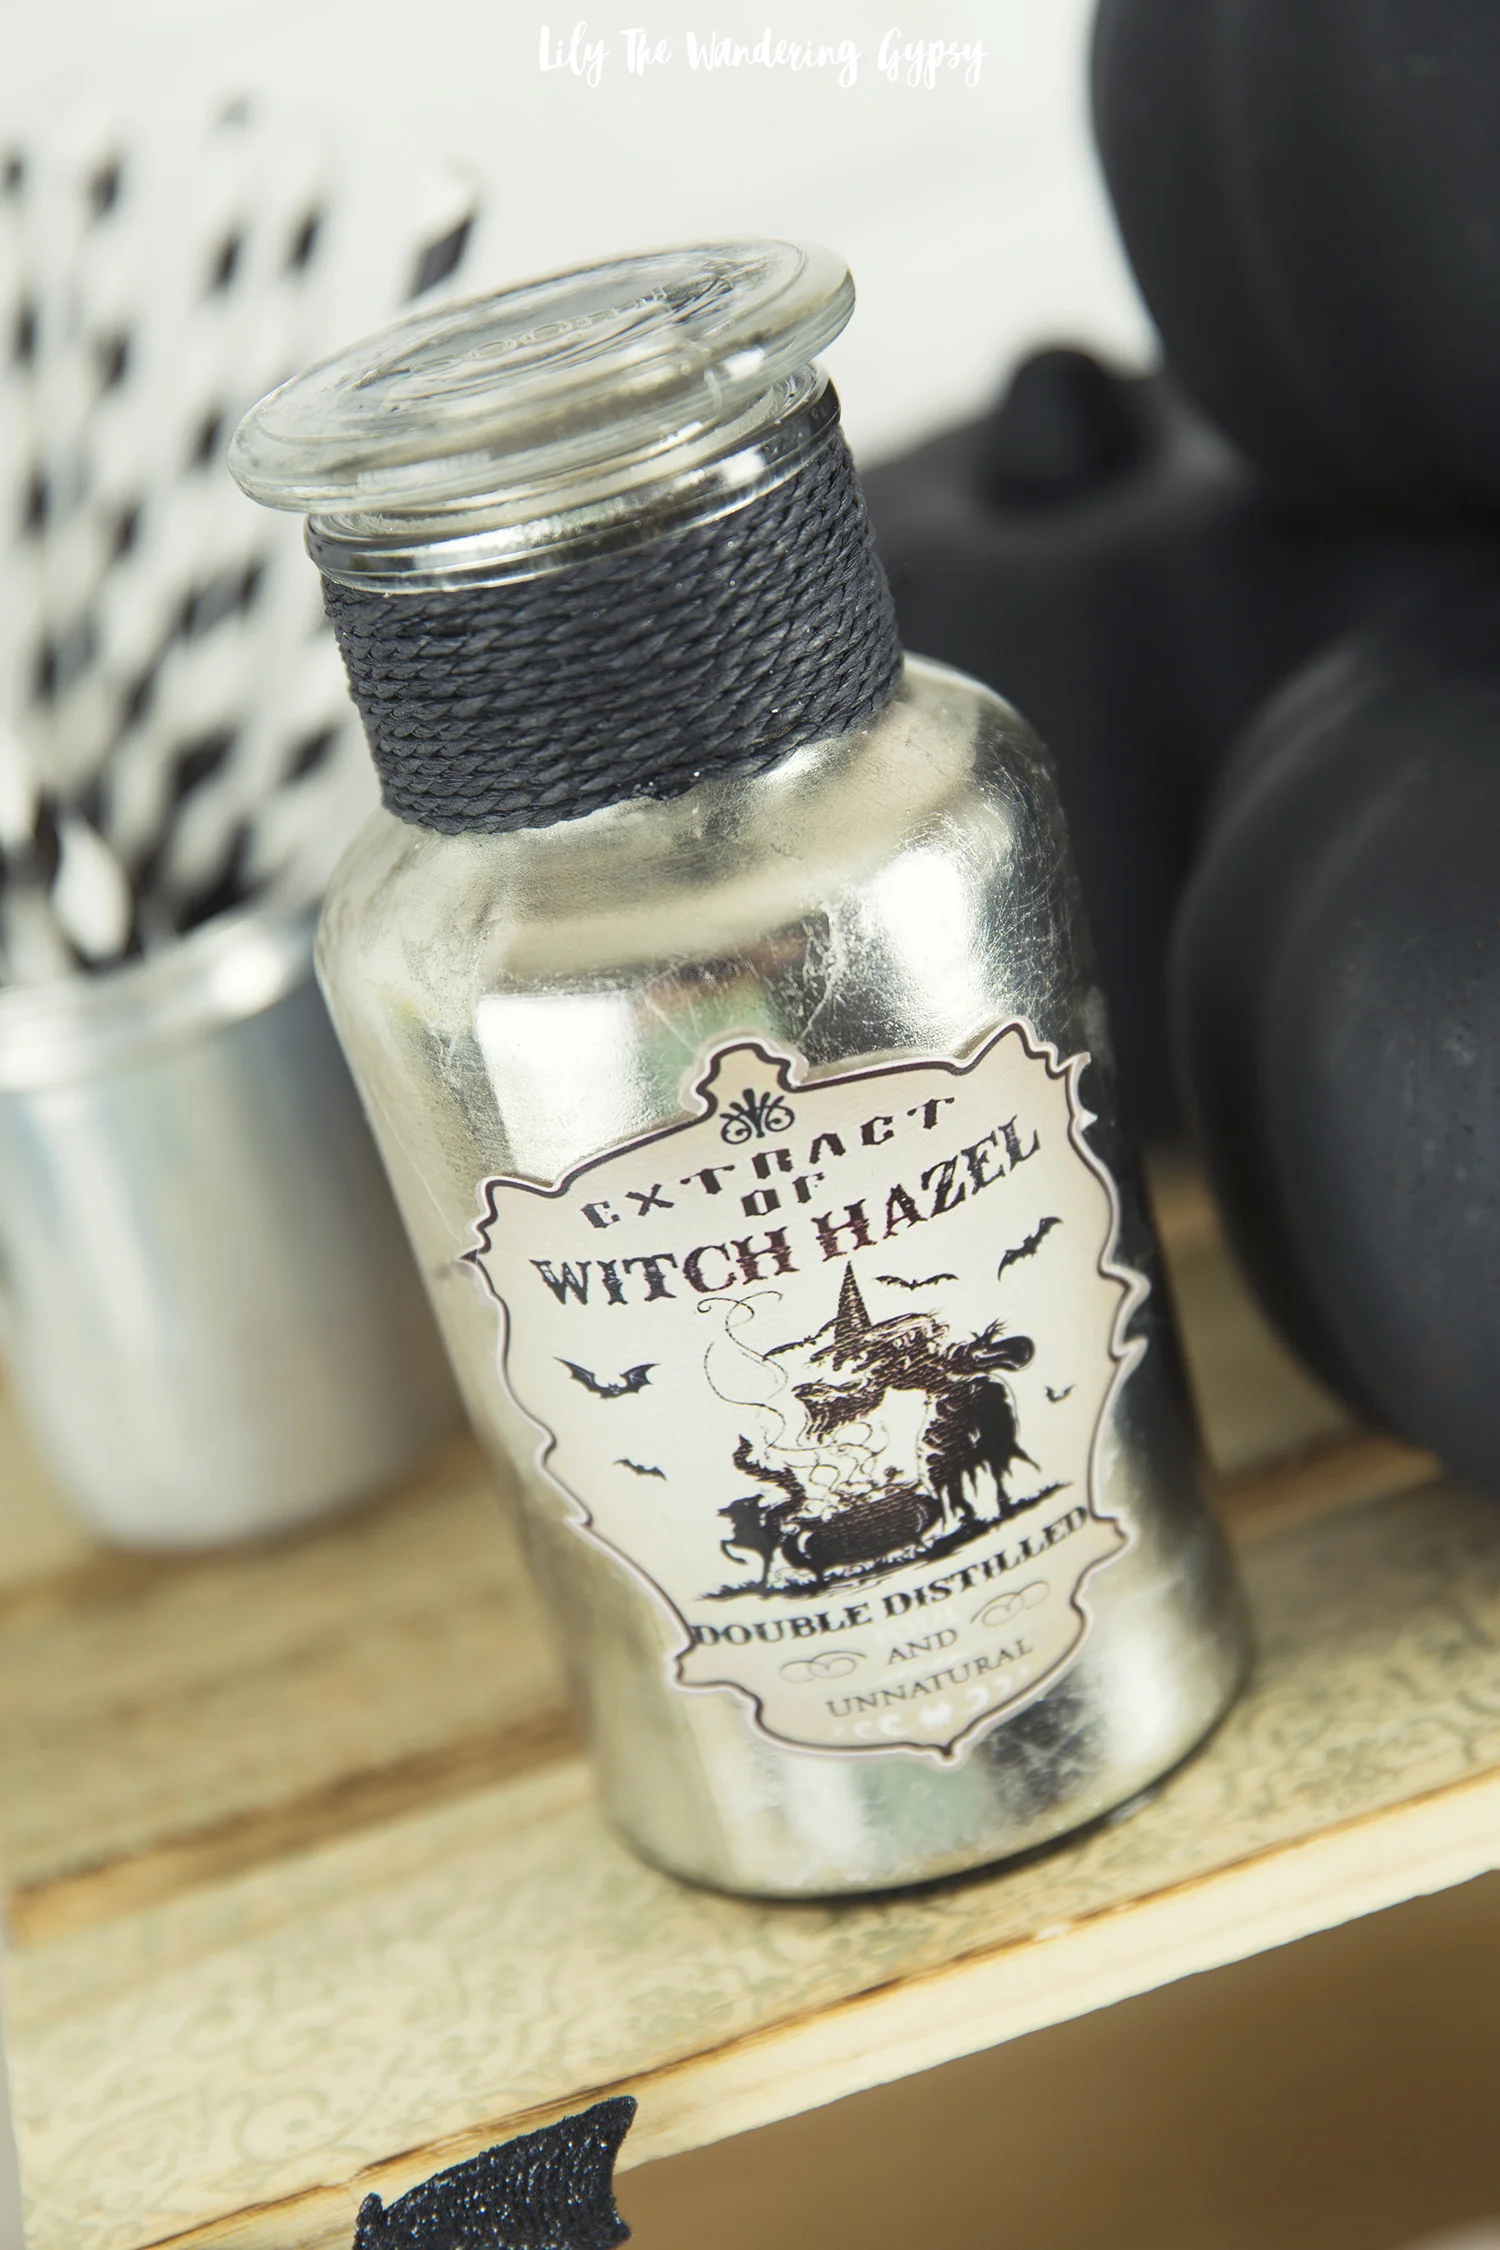
Below, I wrapped star printed scrapbooking paper around each glass bottle, and also included these fun black and white striped paper straws to add to the color scheme.


I want to extend a very special thanks to Welch’s Fruit Rolls for sponsoring this post and inspiring me to celebrate Halloween in such a fun way. Enjoy!

PIN IT FOR LATER:
Delicious and Filling Vegetarian Noodle Soup Recipe with No Yolks Noodles
This post was sponsored by No Yolks as part of an Influencer Activation for Influence Central and all opinions expressed in my post are my own.
Looking to make your soups even more delicious? Just add noodles! I'm excited to share a vegetarian noodle soup recipe with you, which makes a lot of leftovers. Packed with lots of delicious vegetables, this recipe offers a way to incorporate more healthy ingredients into your meals. And, the best part, you wont even miss the meat!
No Yolks isn’t just for stroganoff or casseroles! No Yolks is also great for soups!

One of my all time favorite meals when I was a kid was tuna noodle casserole. My mom always used No Yolks noodles, so this post brings back great memories for me! I am excited to update the more well-known way of using these egg noodles into a fresh, modern soup, perfect for just about anyone!

This recipe contains 100% vegetarian ingredients! I hope you enjoy it!
(SERVES A LOT!!! GREAT FOR LEFTOVERS)
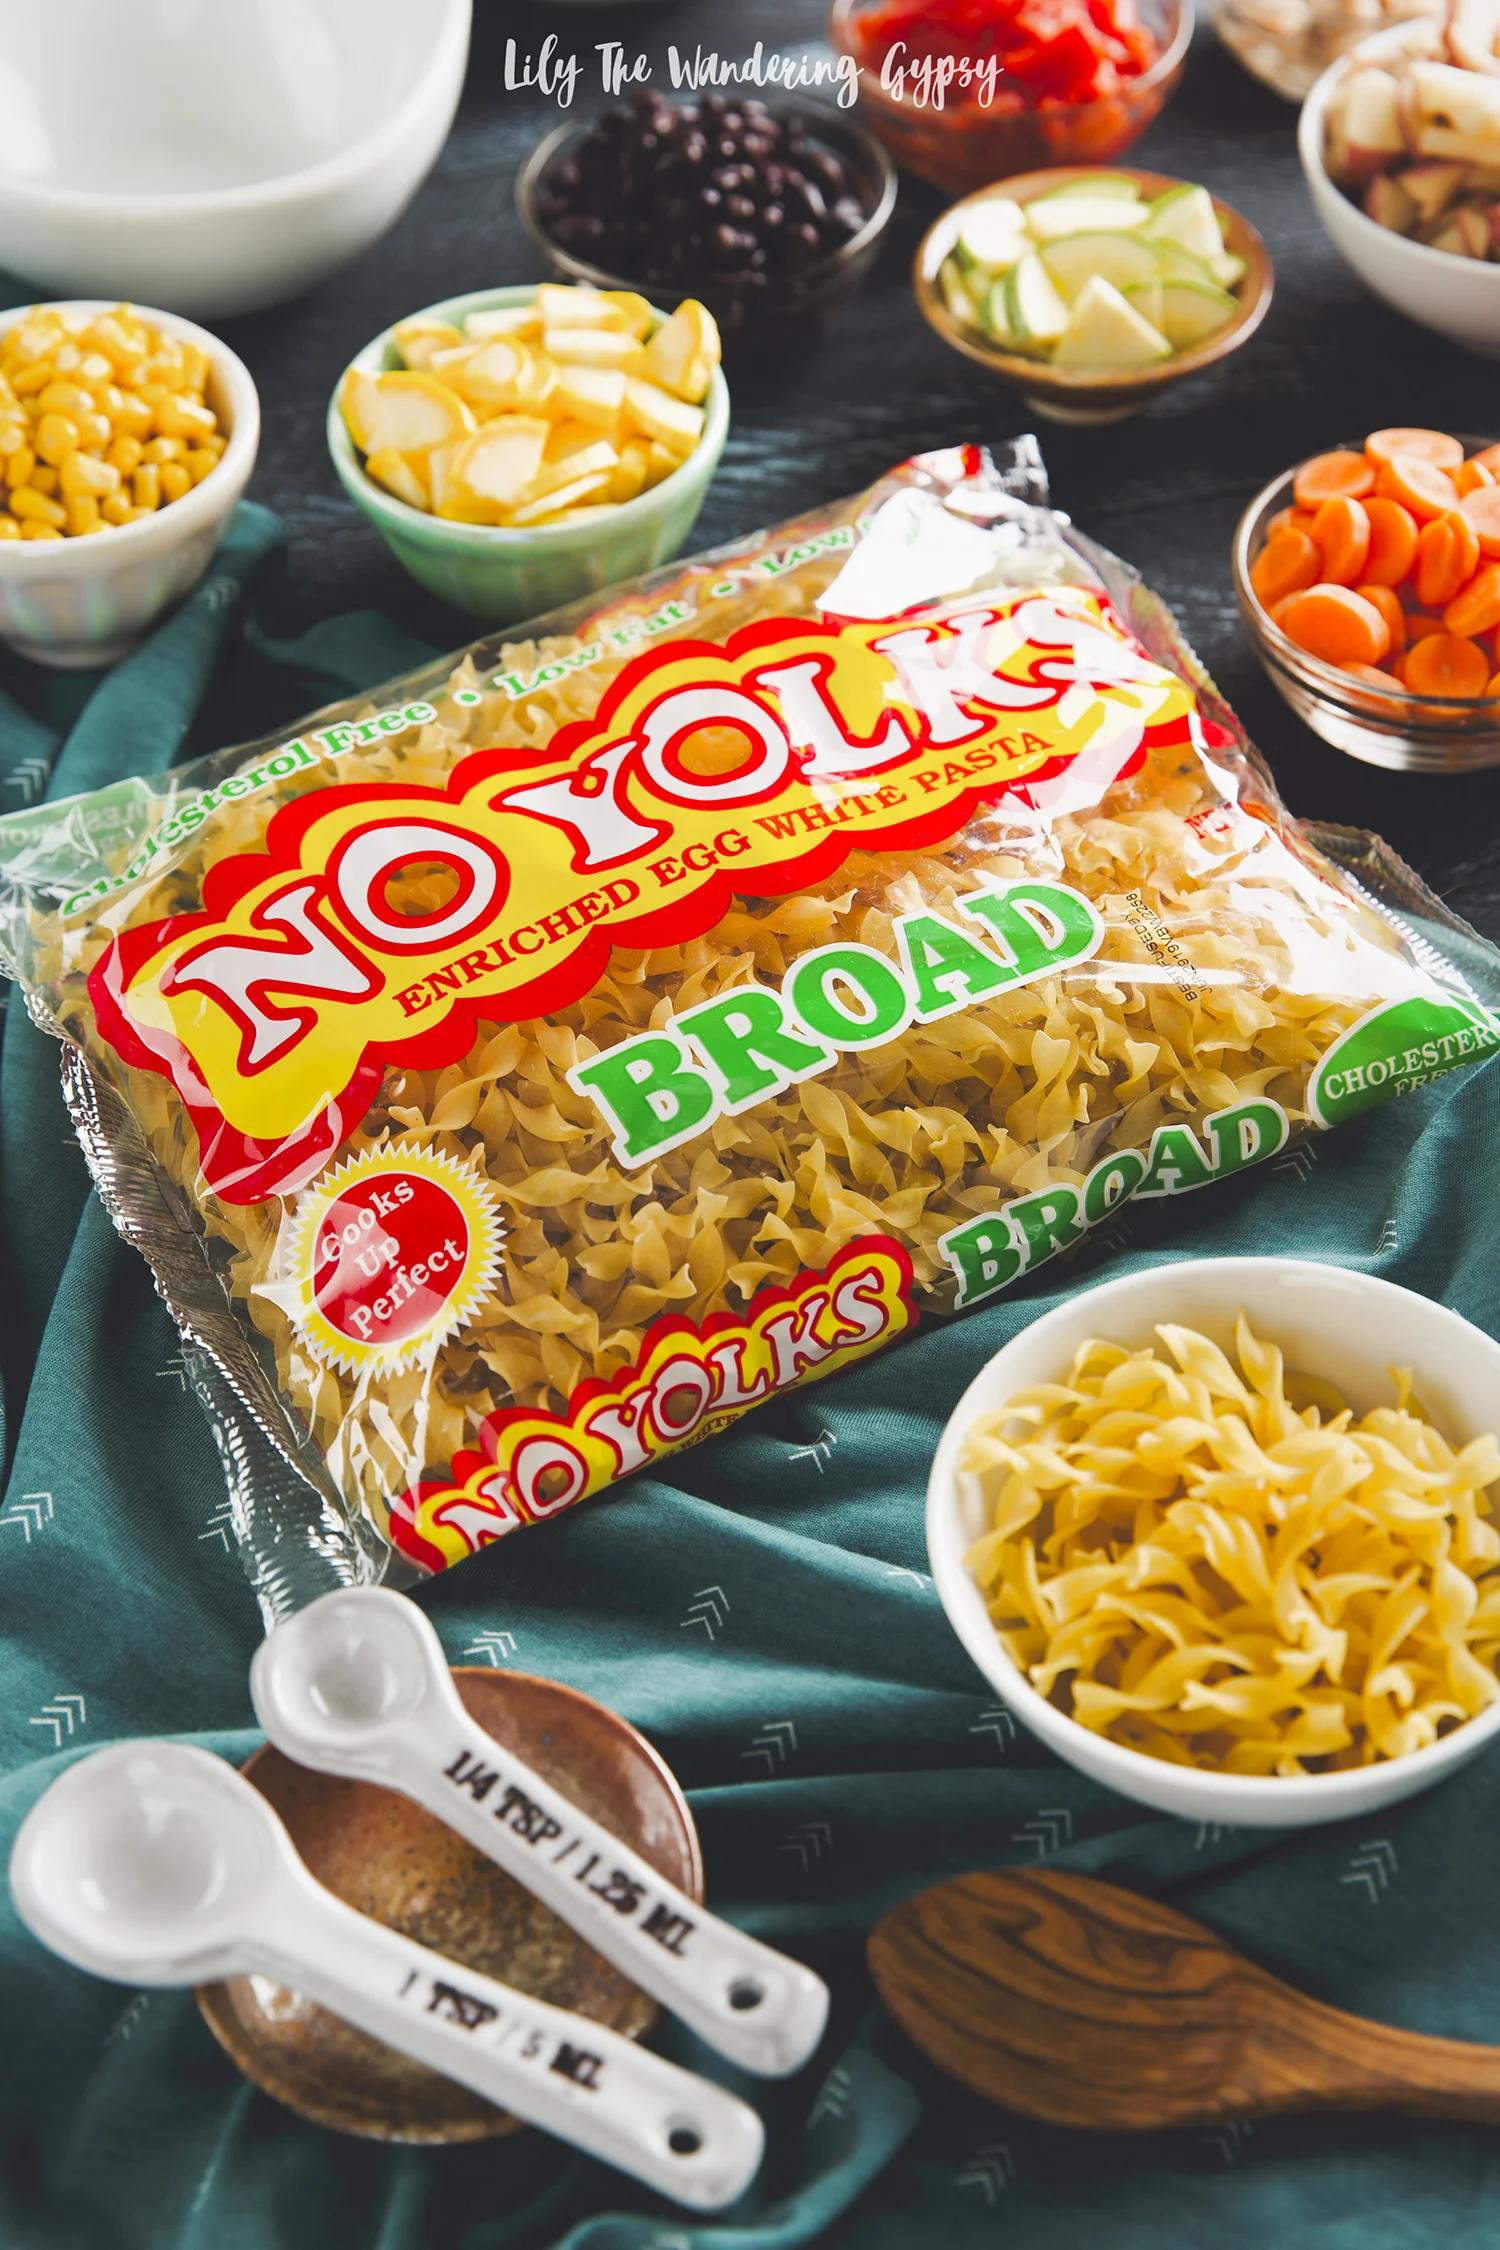
1 Package of No Yolks Broad Noodles (get your coupons here!)
Vegetable Broth (2-3 containers - 32 oz each)
1 Can Each - diced tomatoes, corn, peas, green beans, black beans, white beans,
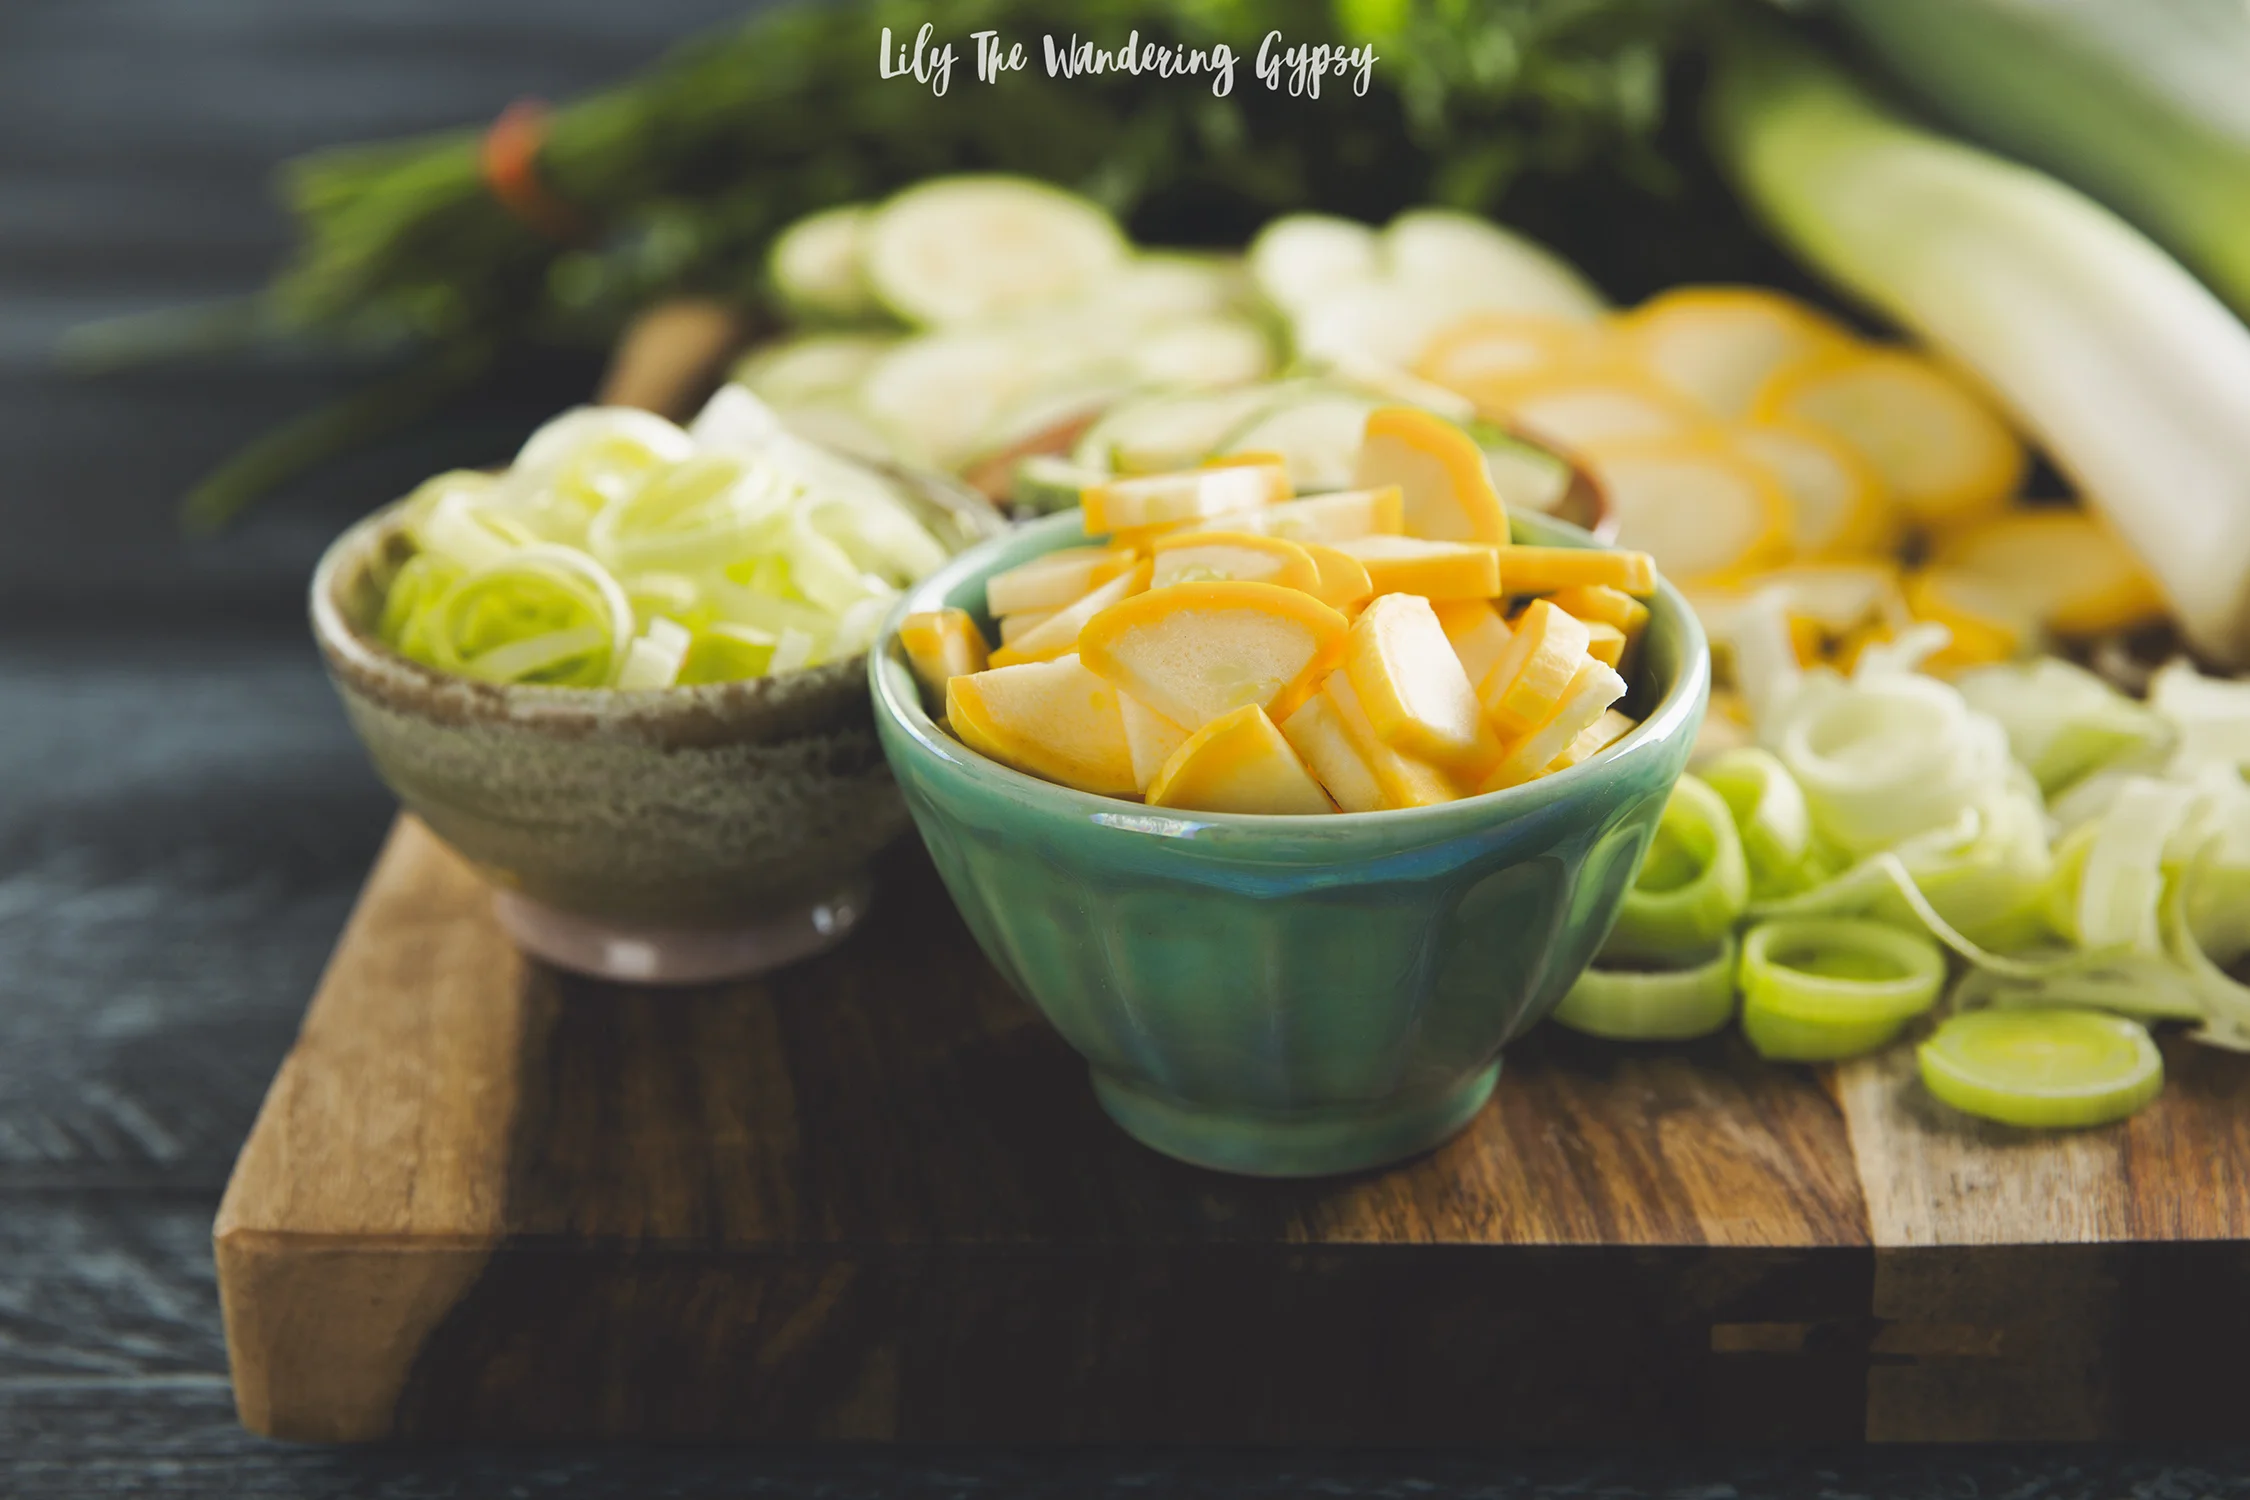
Fresh Ingredients - 1 small yellow squash, 1 small zucchini, 2-3 red potatoes, 2 leeks, handful of baby carrots, 2-3 stalks of celery
Seasonings (I used blends like Taco Seasoning, Greek Seasoning, Taco Seasoning, and Creole Seasoning)
Olive Oil
Stock Pot for all ingredients, knife, cutting board, can opener, large spoon to stir all ingredients
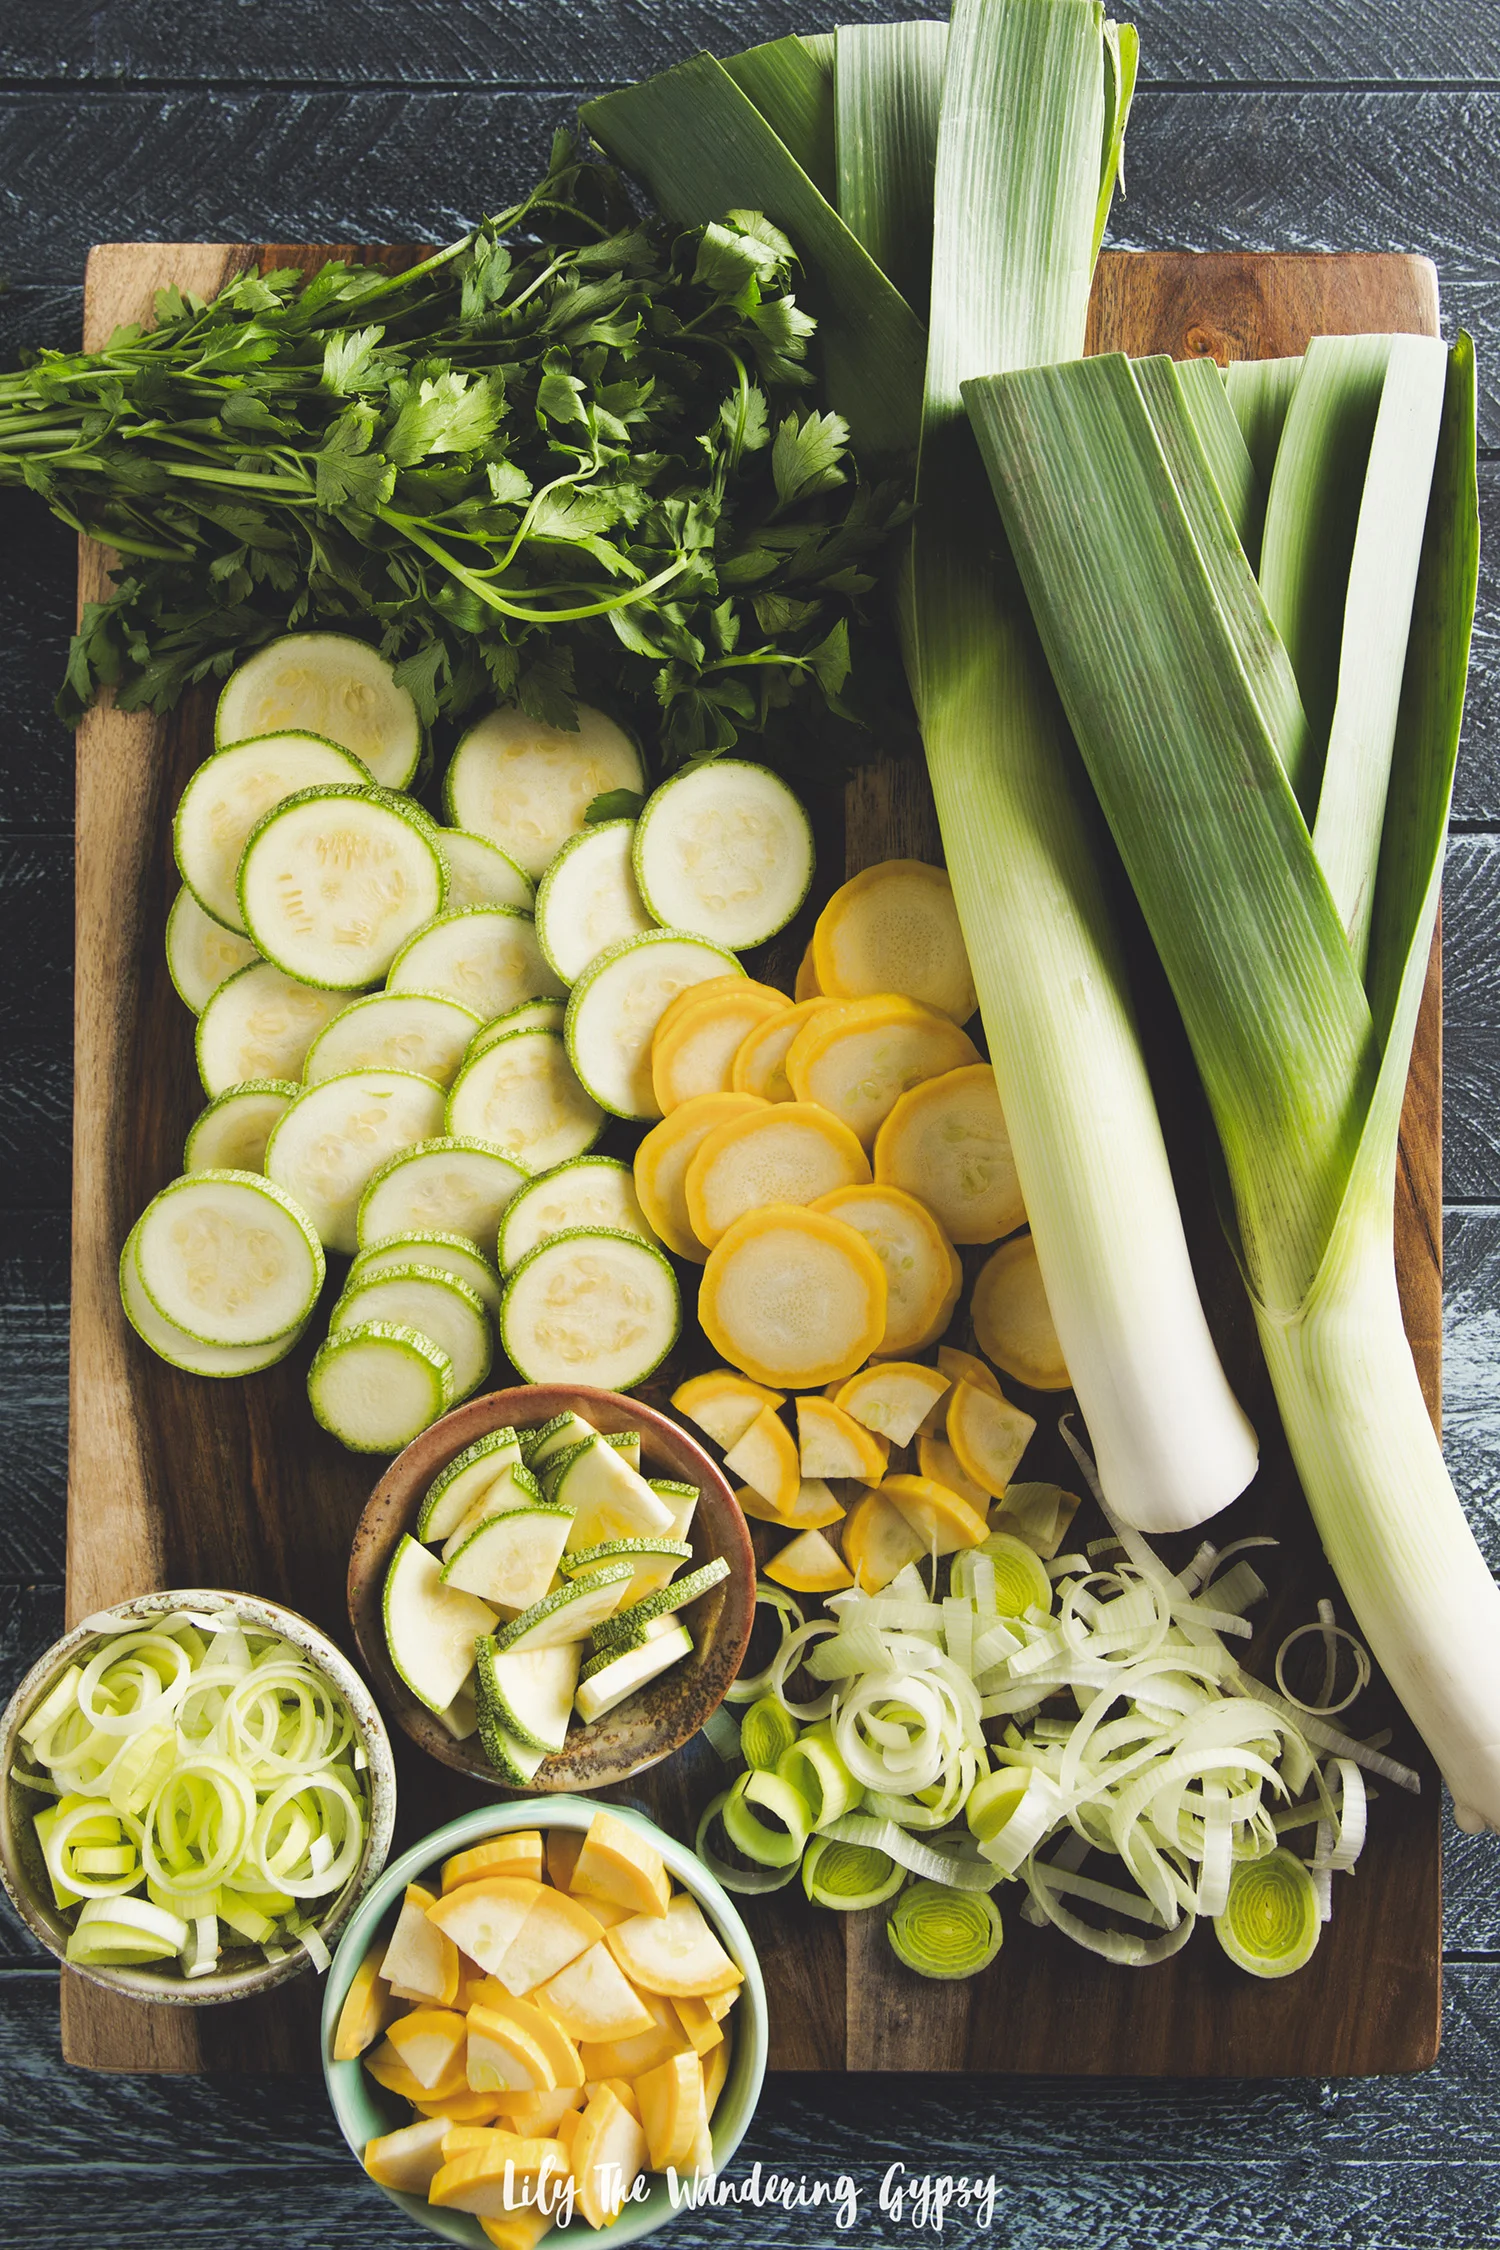
Above, a glimpse of the prettiest ingredients in hues of green and yellow. Leeks, the stalky like greenery on the right side of the cutting board, are similar to a mild onion. They are even a similar texture when cut, and when you thinly slice them, they're perfect for soups.
Also, the parsley is a great addition of pops of green on the soup as garnish, and the yellow squash and green zucchini added a more Fall taste to the soup.
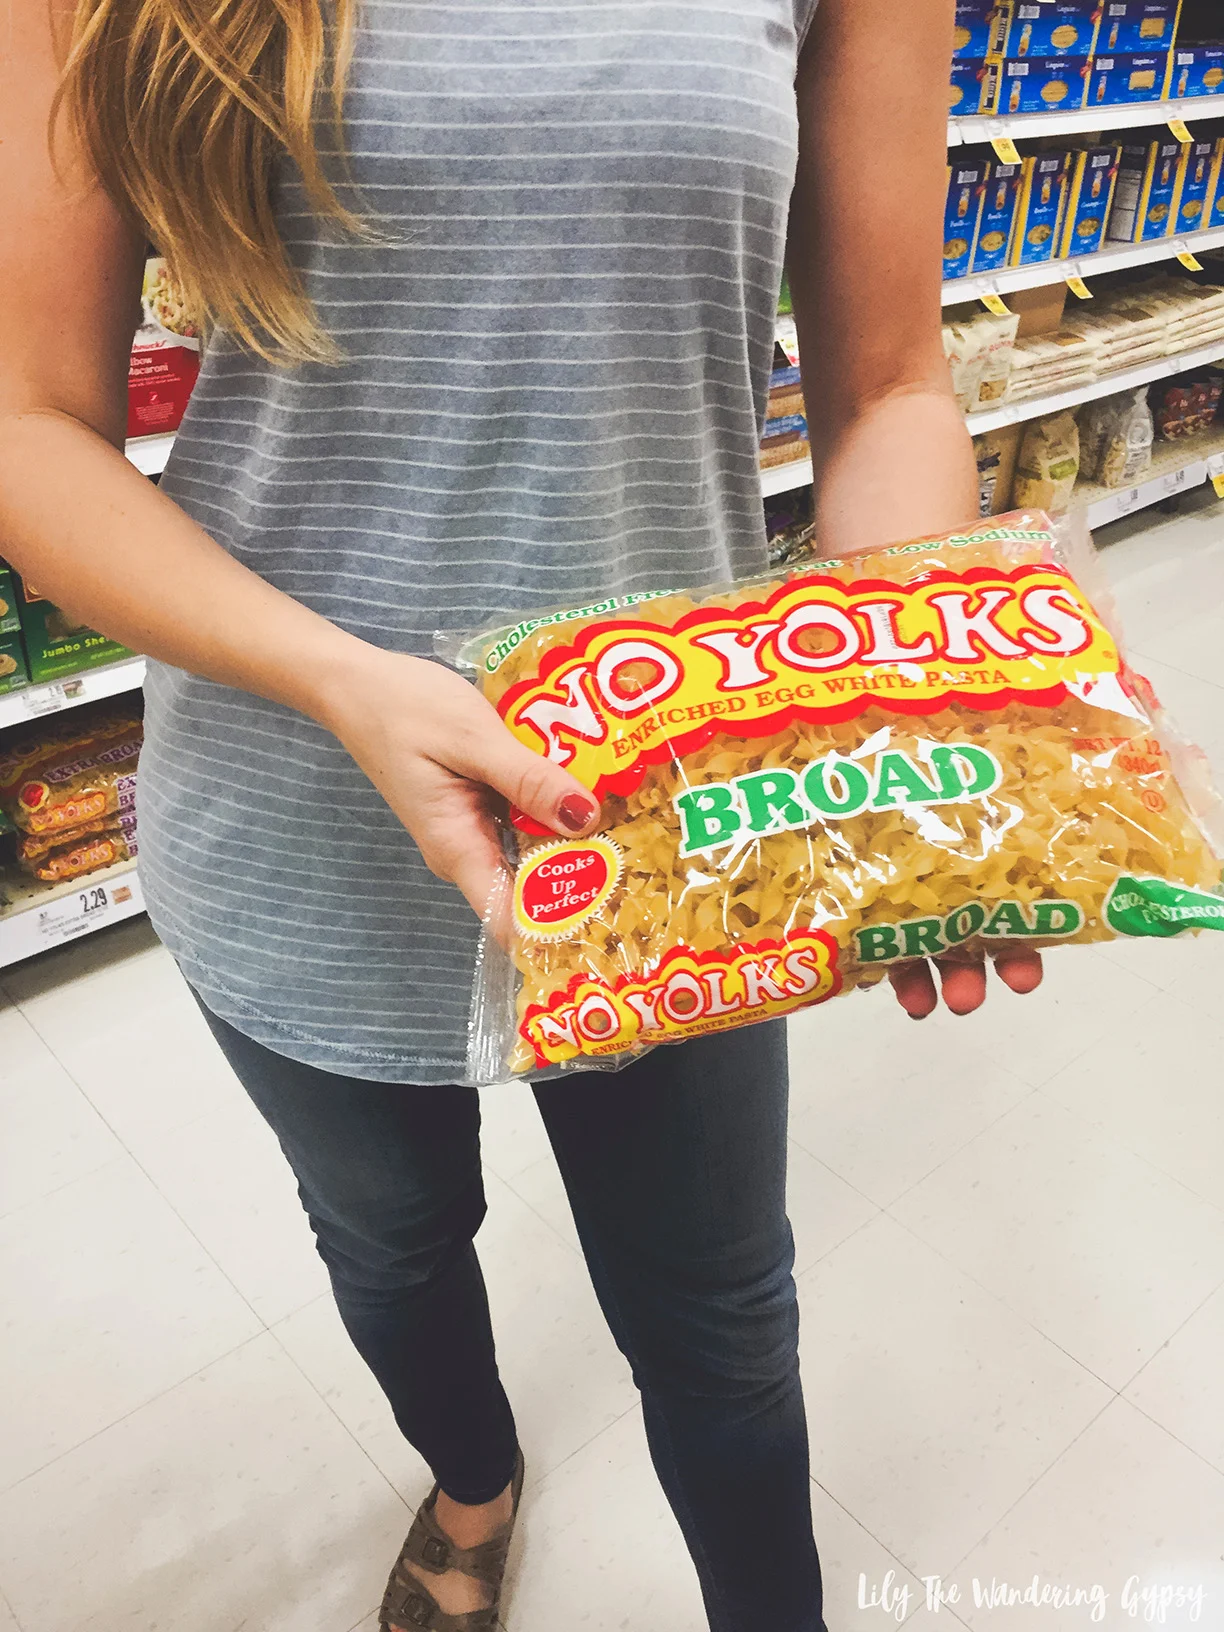
I was able to find my noodles and ALL of my other ingredients at my local grocery store, Schnucks here in Carbondale, IL. They were in the pasta aisle!
ENTER TO WIN THE NO YOLKS SWEEPSTAKES!
I-C will randomly select 5 winners from all program entries and will facilitate fulfillment of the winning prizes.
Prize: Five (5) $100 gift cards
Dates: October 3 - November 15, 2017
Competition Not Found
Competition Not Found
Sorry, the Competition you are looking for no longer exists.
You may wish to contact the owner of this site about other Competitions.
Below, you will see how the No Yolks Noodles add texture and a heartier, cold weather vibe to the soup. No Yolks are high quality noodles that always cook up smooth, firm and fluffy and stay that way in your favorite recipe. They add such a great texture to this soup.
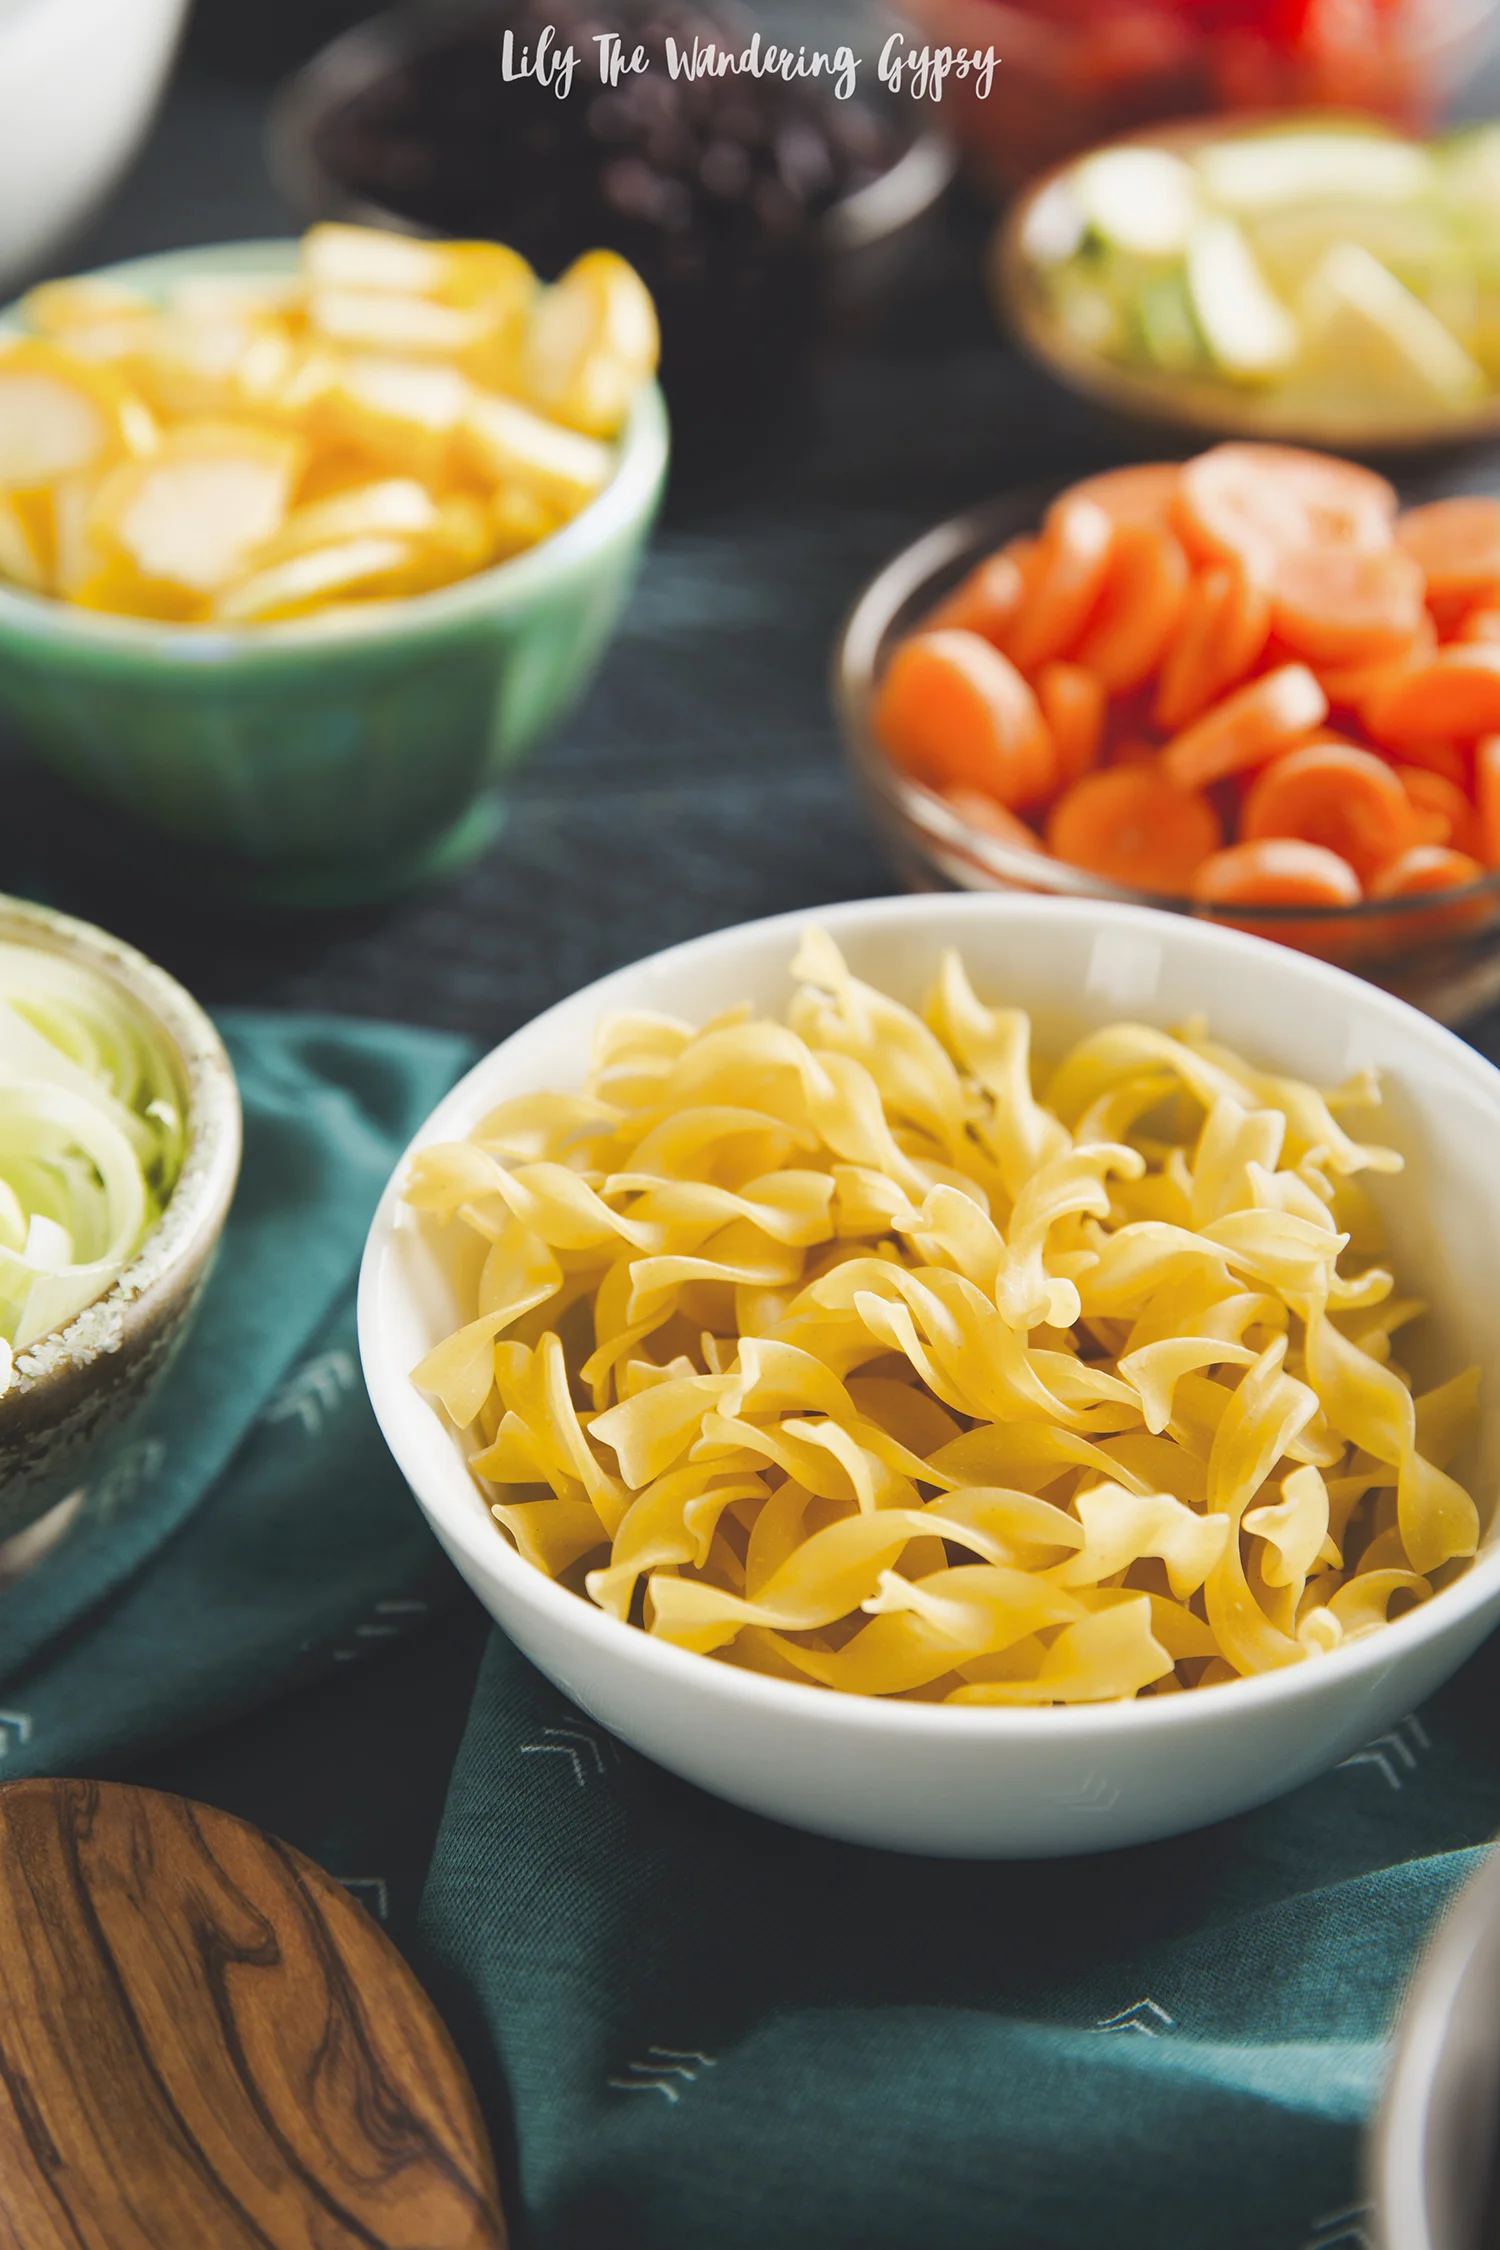
No Yolks come in a variety of cuts for all types of recipes including Broad, Extra Broad, Fine, Kluski, Dumplings, and now Stir-Fry! YUM!!

1.) Chop and prep all fresh ingredients. Slice leeks into little pieces, and slice and dice yellow squash and zucchini. Also chop carrots and potatoes into small pieces.
2.) Drain all canned vegetables (except tomatoes) and combine in a mixing bowl to add later. This will allow you to hold the ingredients while you re-use your strainer for each can of veggies.
3.) In your large stock pot, turn on the heat, and sauté 2-3 Tbsp of olive oil, leeks, potatoes, seasonings, Celery, yellow squash, and zucchini until celery begins to soften.
4.) Add No Yolks Noodles, can of tomatoes, 2 containers of vegetable broth, peas, corn, green beans, and lastly, black and white beans. add more seasoning if desired, and mix all ingredients to combine.
5.) Now, turn up your heat, and after about 6 or so minutes, your soup should come to a boil. Turn down the heat and simmer for another 15-30 minutes. If you can make this a few hours ahead of time, or even make it the day before, the flavor keeps getting better every day! It's amazing as leftovers.
** IMPORTANT NOTE ** If you have a large amount of soup as leftovers, try to freeze as much as possible. Overnight, the ingredients wound up absorbing all of my broth! I fixed this issue by adding 1/2-1 more container of veggie broth and the soup was absolutely PERFECT!!! I know you're going to love this recipe.

CONNECT ON SOCIAL
No Yolks website: https://www.noyolks.com/
No Yolks Facebook: https://www.facebook.com/noyolksnoodles/
No Yolks Pinterest: https://www.pinterest.com/noyolksnoodles/
No Yolks Instagram: https://www.instagram.com/noyolksnoodles/

I am so happy with how this post turned out, and I wanted to extend a special thanks to No Yolks for inspiring me to create such a delicious meal for my family! Maybe something like Sriracha Cheesy Noodles or Noodles with Kale and Walnut Pesto will be next!

