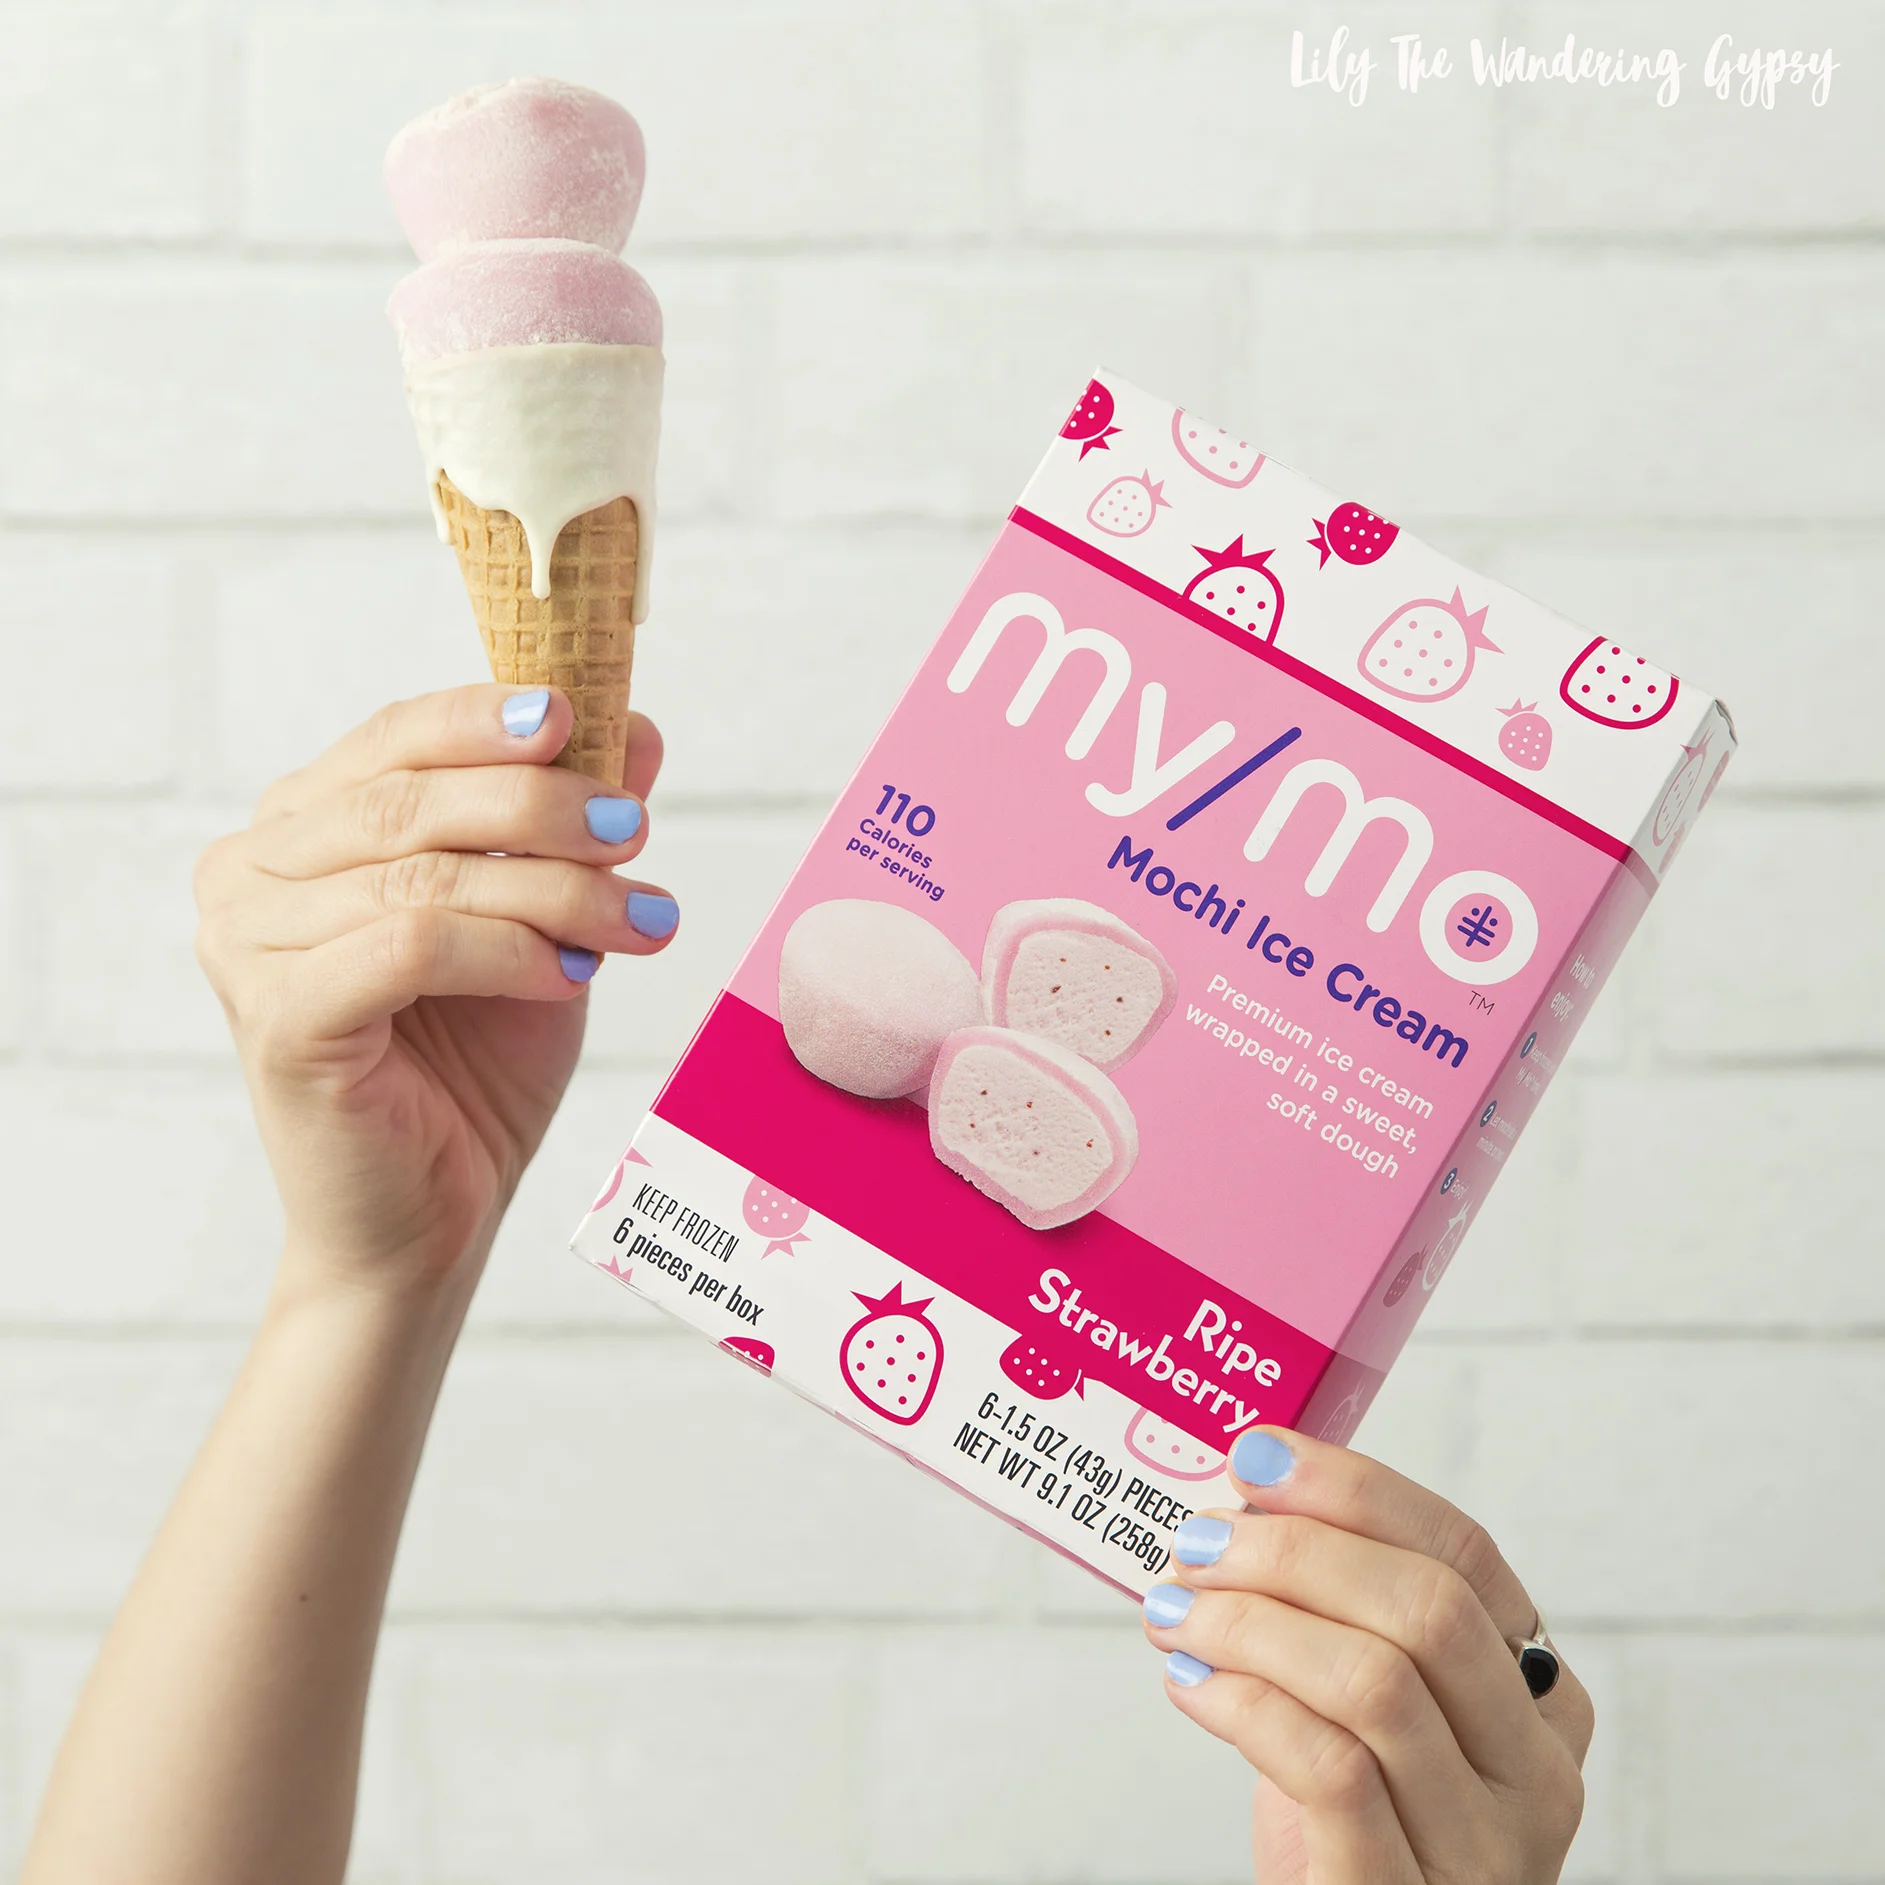
As promised, here is a bit more about this awesome My/Mo Mochi Ice Cream.
Click Here to use this store locator to find out if it is available near you.
#MyMoMochiIceCream #thisisMyMo #HowDoYouMyMo
I am excited to share a fun treat idea with you today!
Although mochi is anything but "traditional" ice cream, it looks adorable served in these cones! But, wait! Are they dripping? Nope, that's meant to fool you eye. Mochi takes a lot longer to melt that traditional scoops of ice cream, so they're perfect to enjoy on a hot day!
To Make The Cones...
Simply melt white chocolate in cone container, and pink candy melts in the other. Stir until smooth, and take each sugar cone, and dip them into the chocolate, upside down. Make sure to kind of oversaturate the cone with the chocolate, because to get these neat drips, you simply dip the top of each cone into white or pink chocolate, and flip right side up. Gently tap the tip of the cone on your hand, and you will begin to see the chocolate drip down the cone, as if it's almost cartoon-like! Set the cones into a wire basket, and let them cool/dry for about 15-20 minutes. Add two mochi ice cream balls and serve!
If you're unfamiliar with Mochi ice cream, the photo below shows how it's packaged. It's essentially super smooth, high quality ice cream wrapped up inside of a rice dough. There are two different textures going on in mochi - the inside part is like a ball of traditional ice cream. The outside is almost a bit chewy, and has a bit of rice flour coating the outside to prevent sticking to the container or your hands! Take a bite, or cut them open to serve.
Another cute way to serve My/Mo Mochi is atop sprinkled cones. Simply spread the rest of your melted chocolate colors over the remaining sugar cones, and as you will see below, you can simply use your hands to break up the cones into smaller pieces. Such a cute and festive party idea too!


