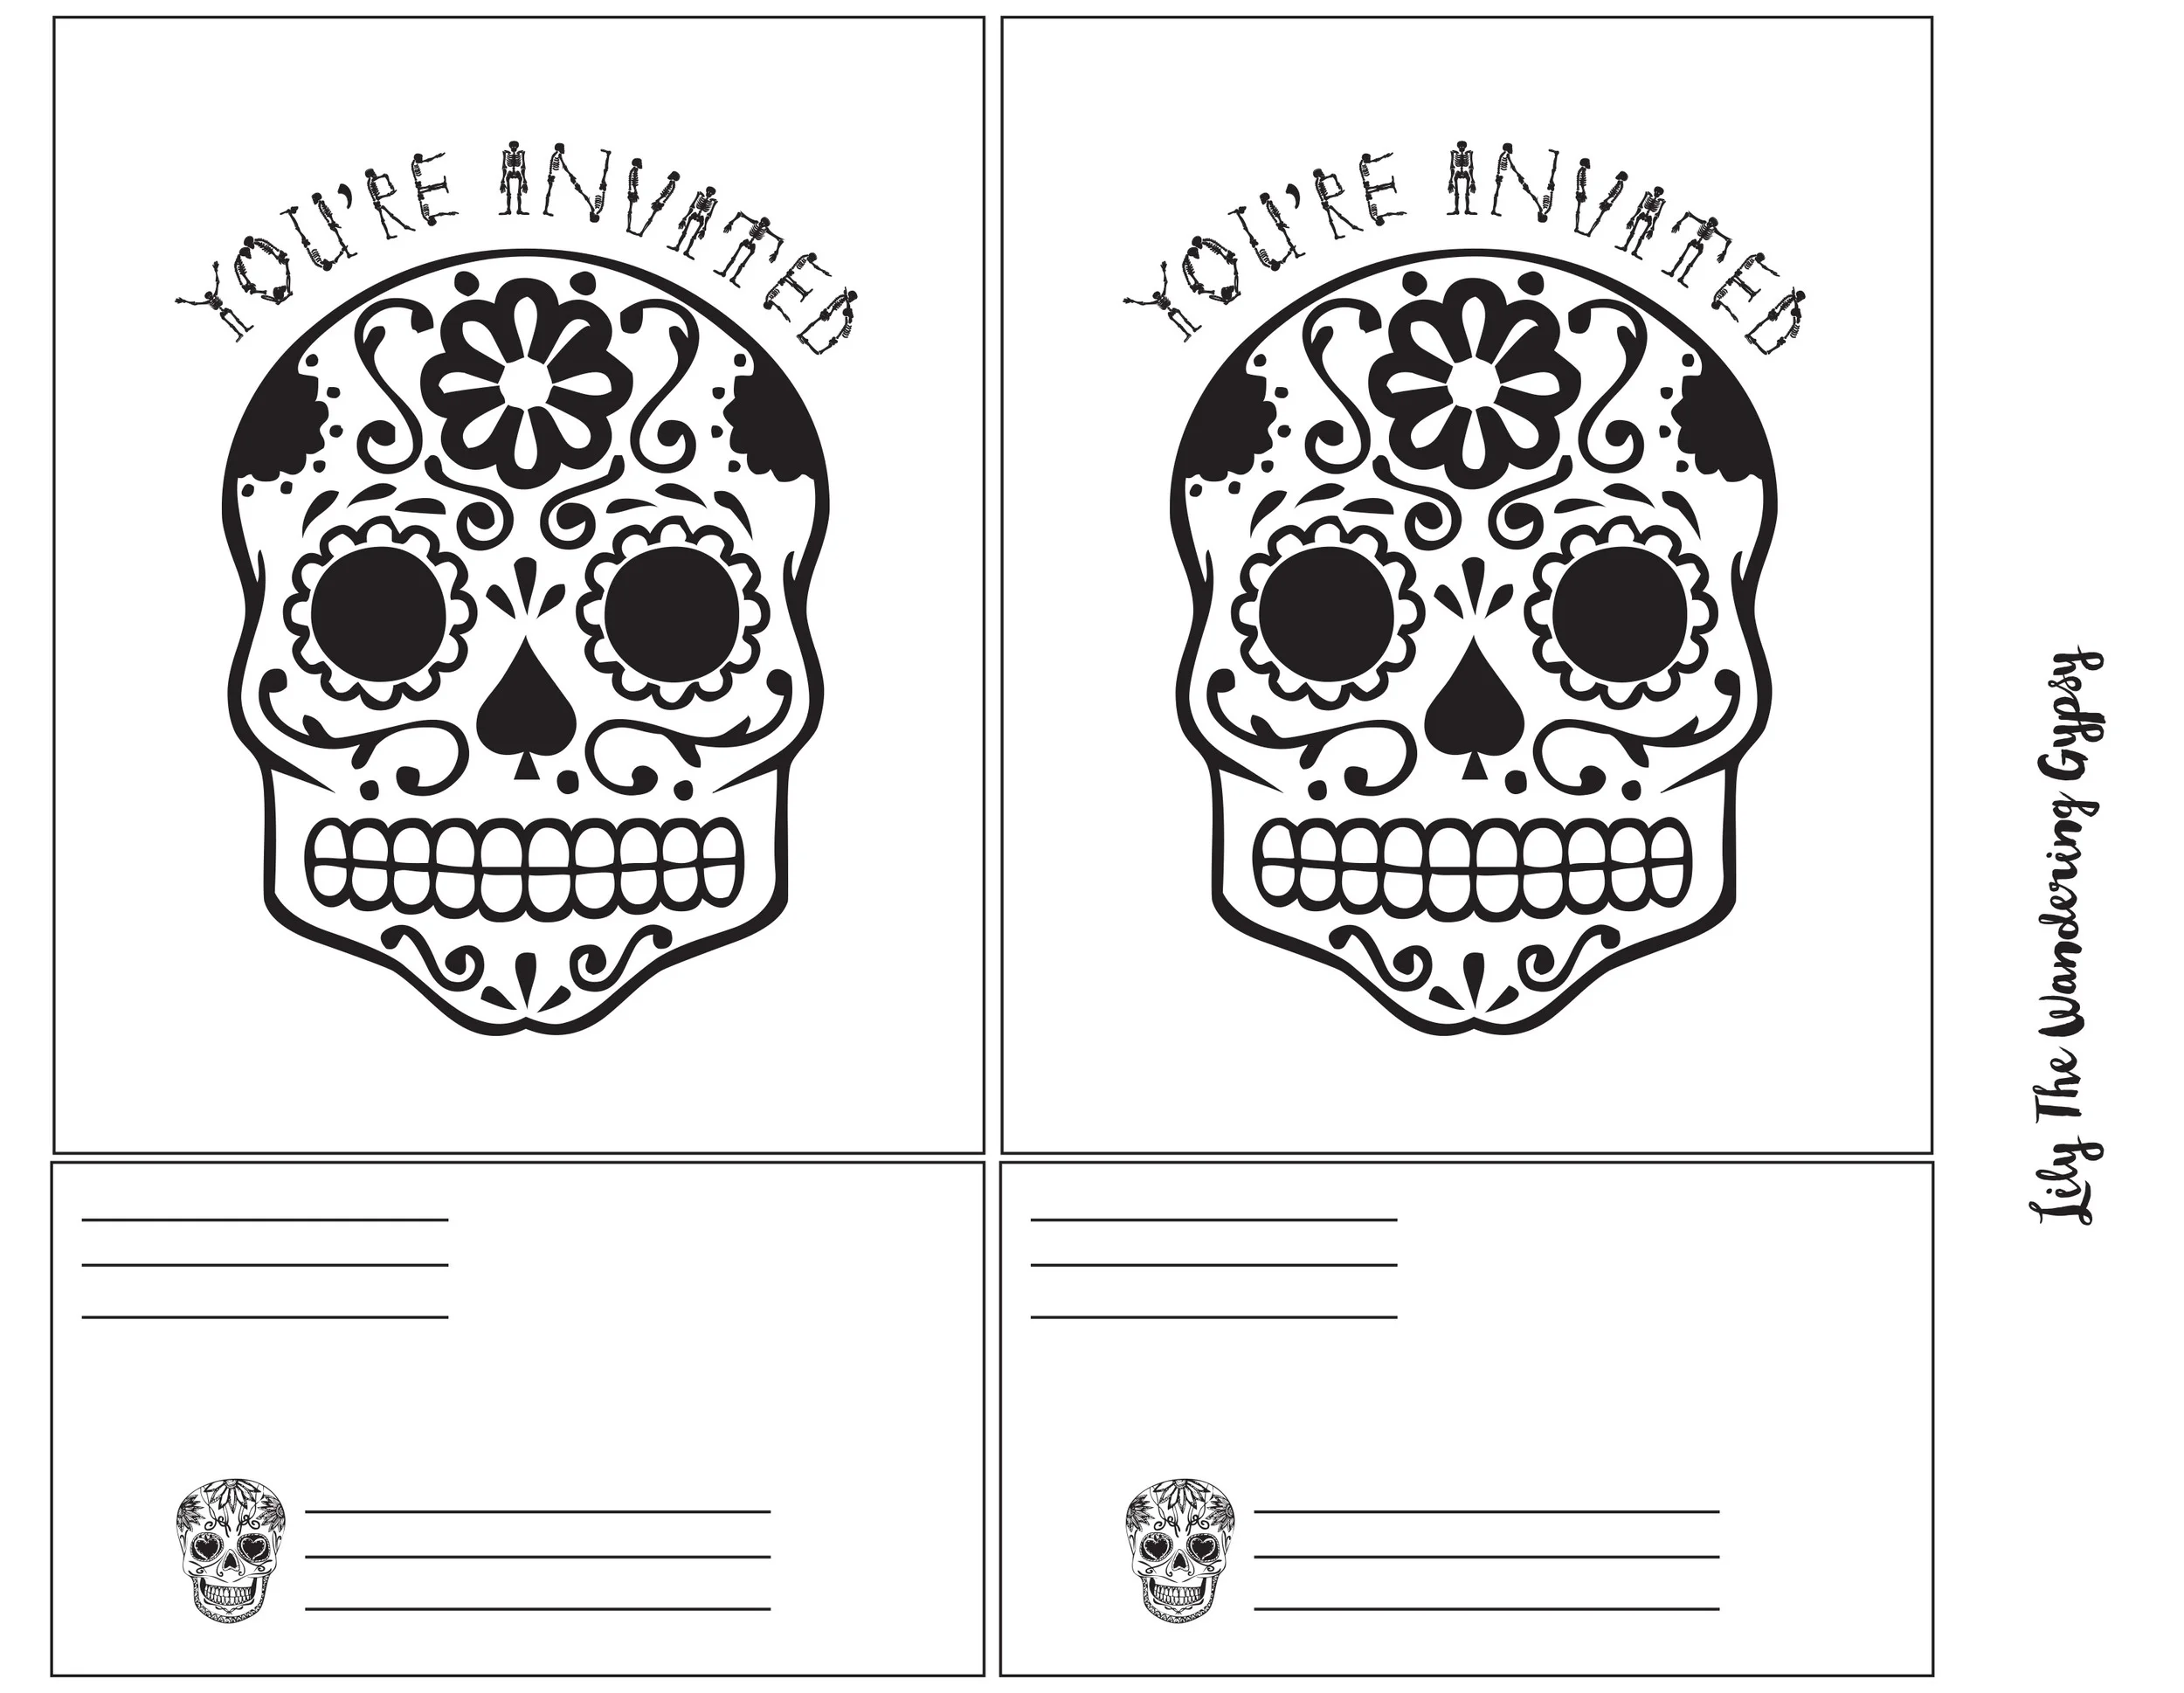
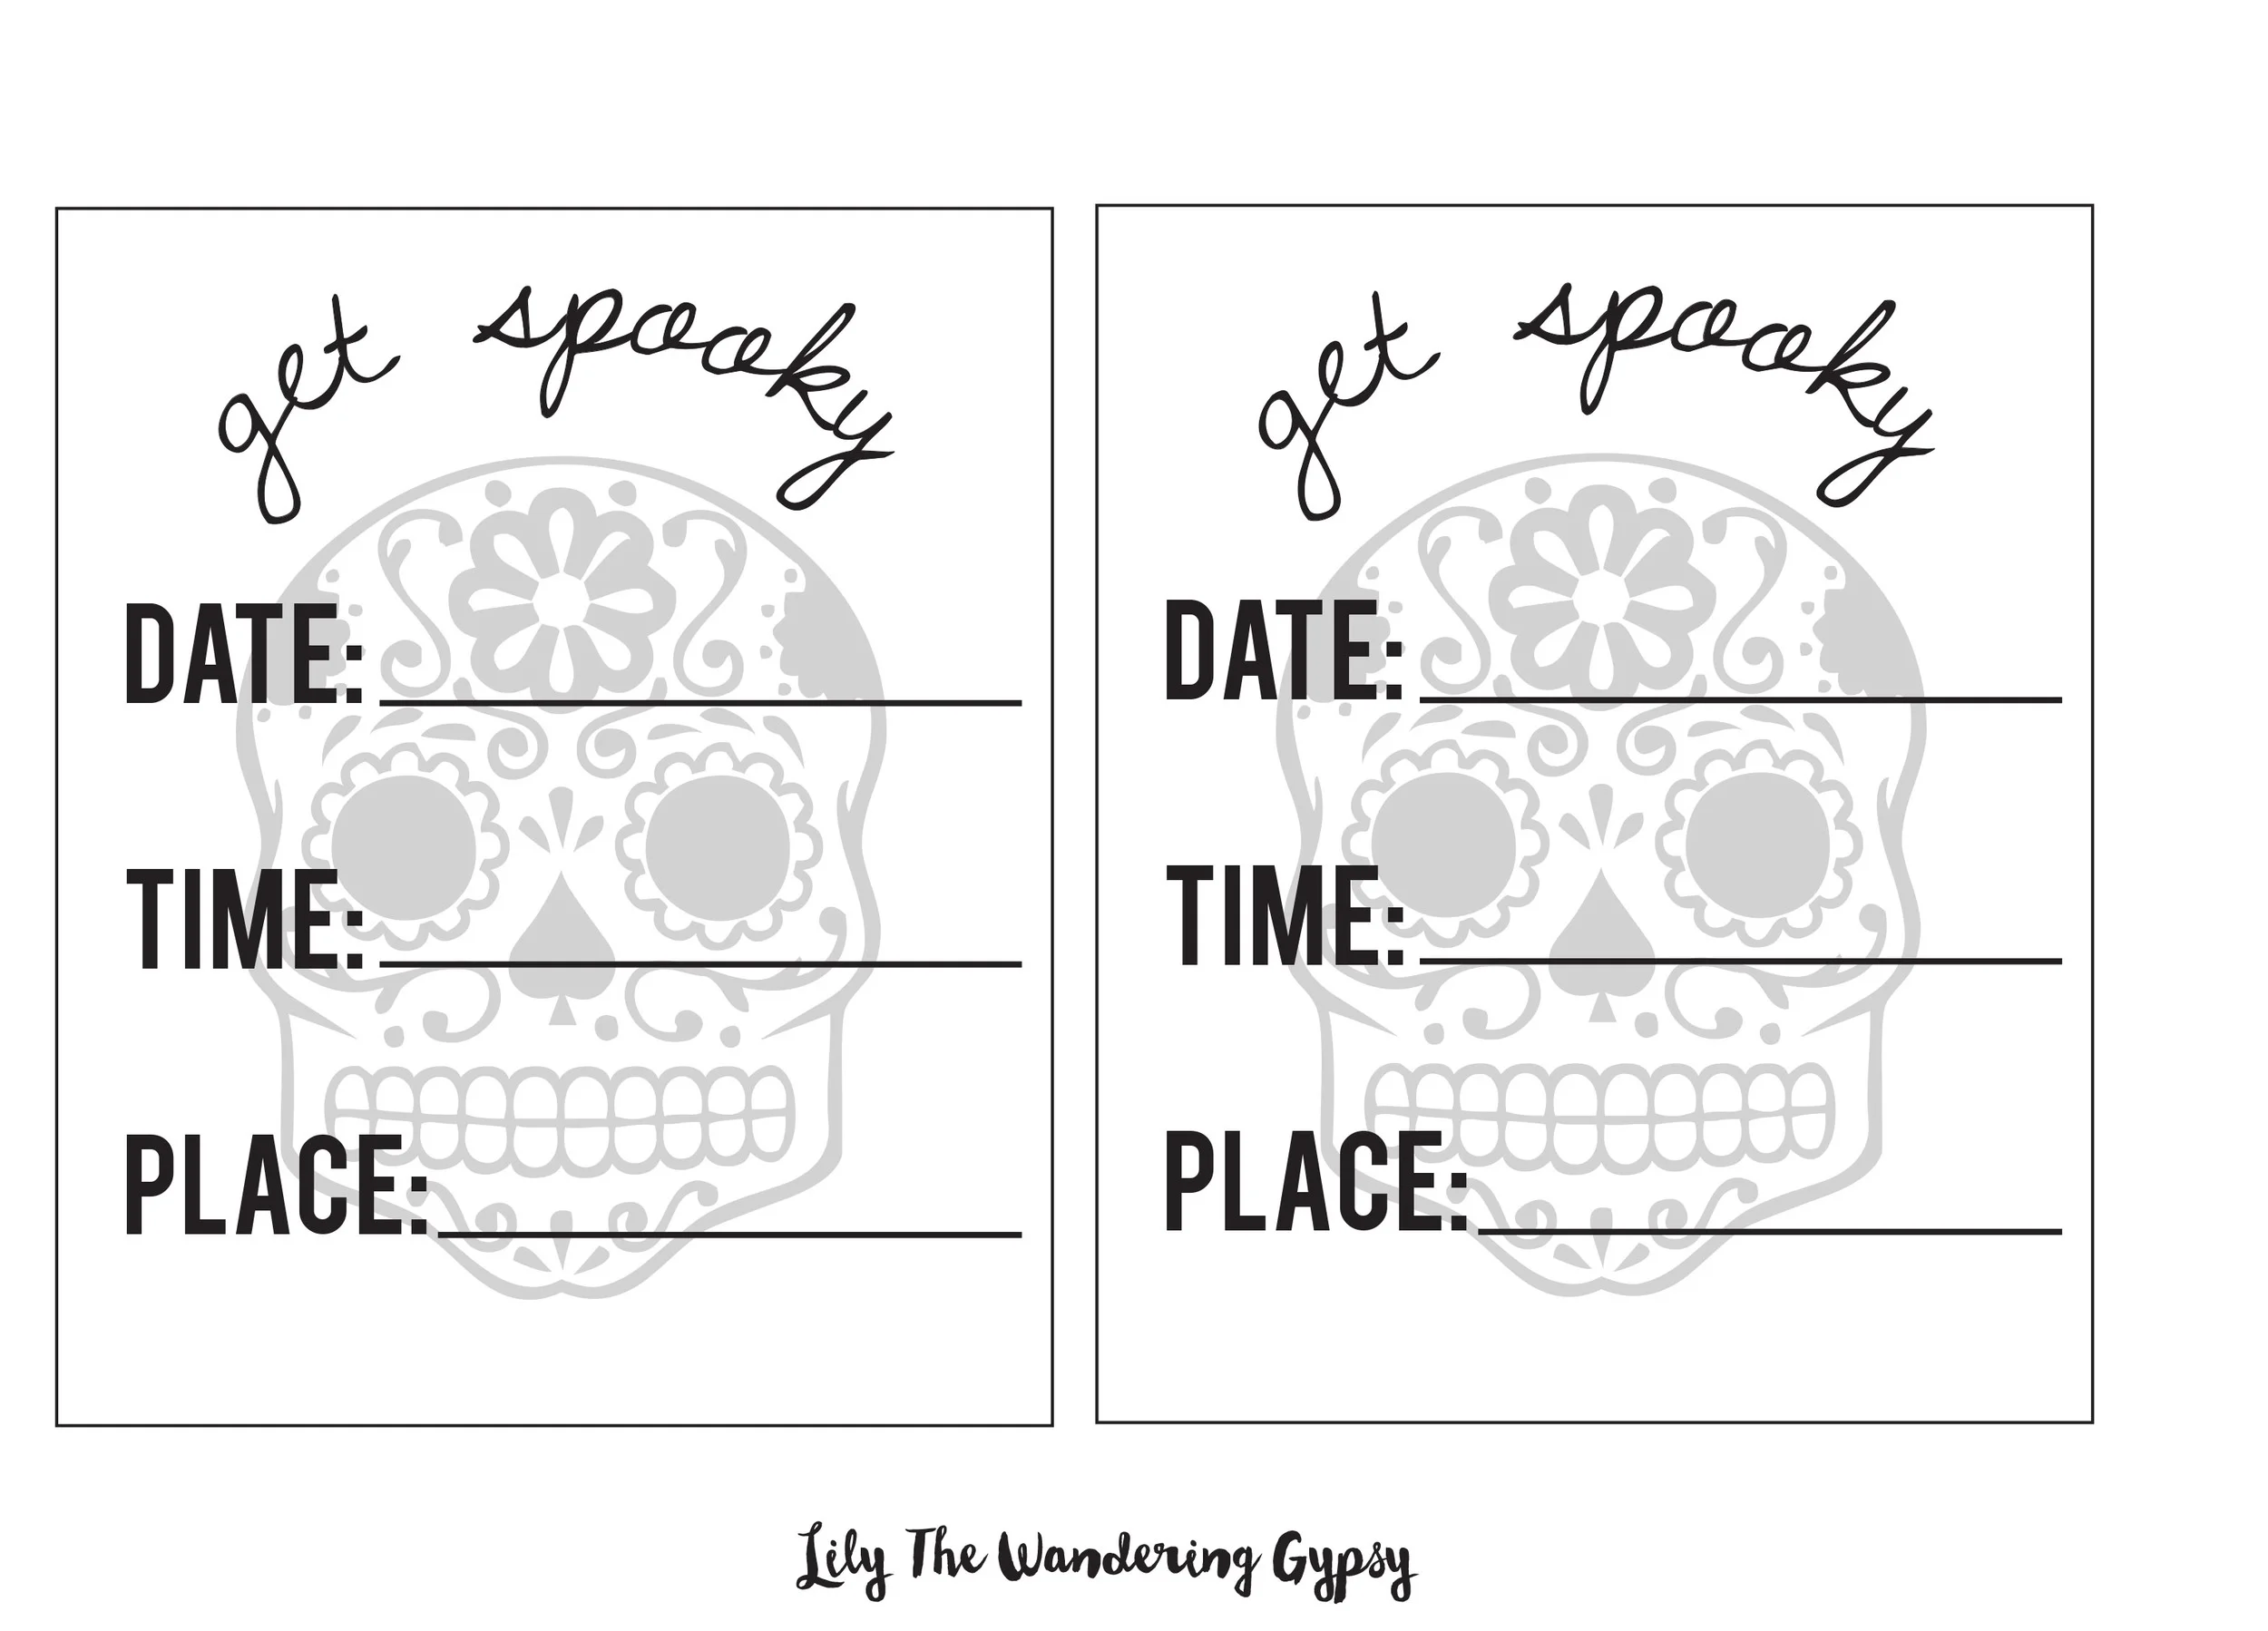
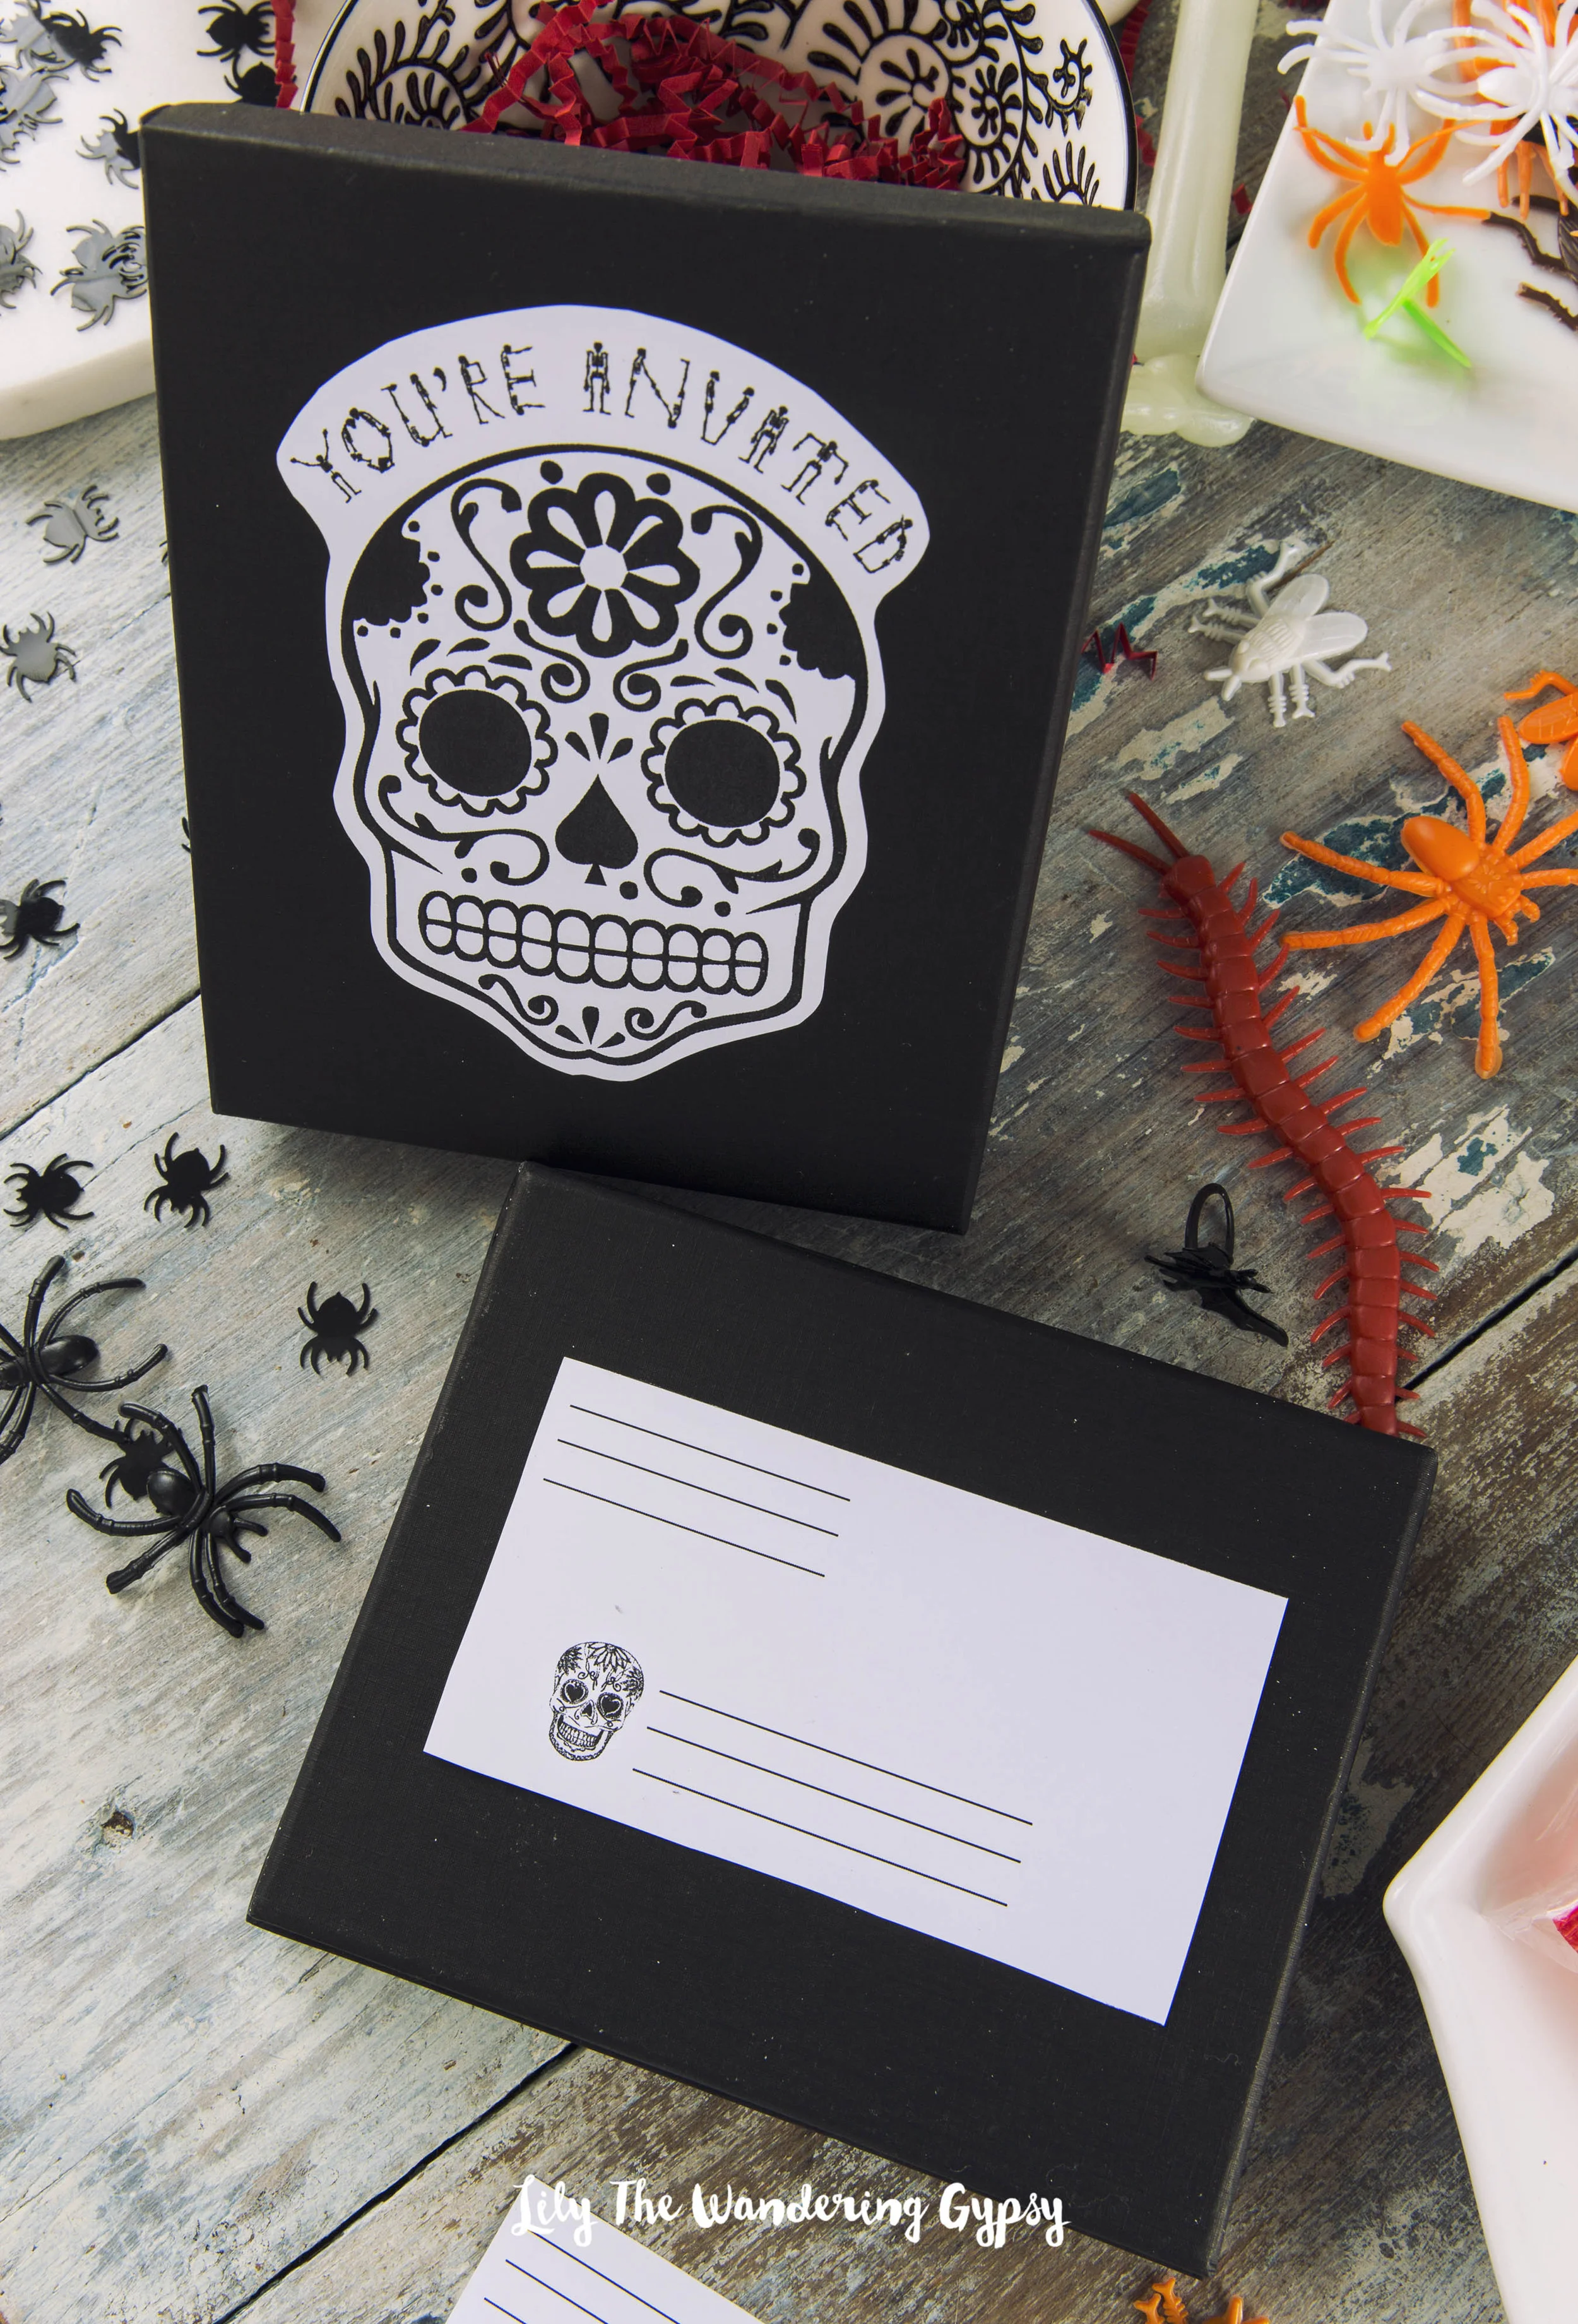
I really love how these adorable invites turned out! I love the fact that you can fill these gift boxes with spooky treats, and include the invite in a really unique way! I included two printables,
MATERIALS NEEDED
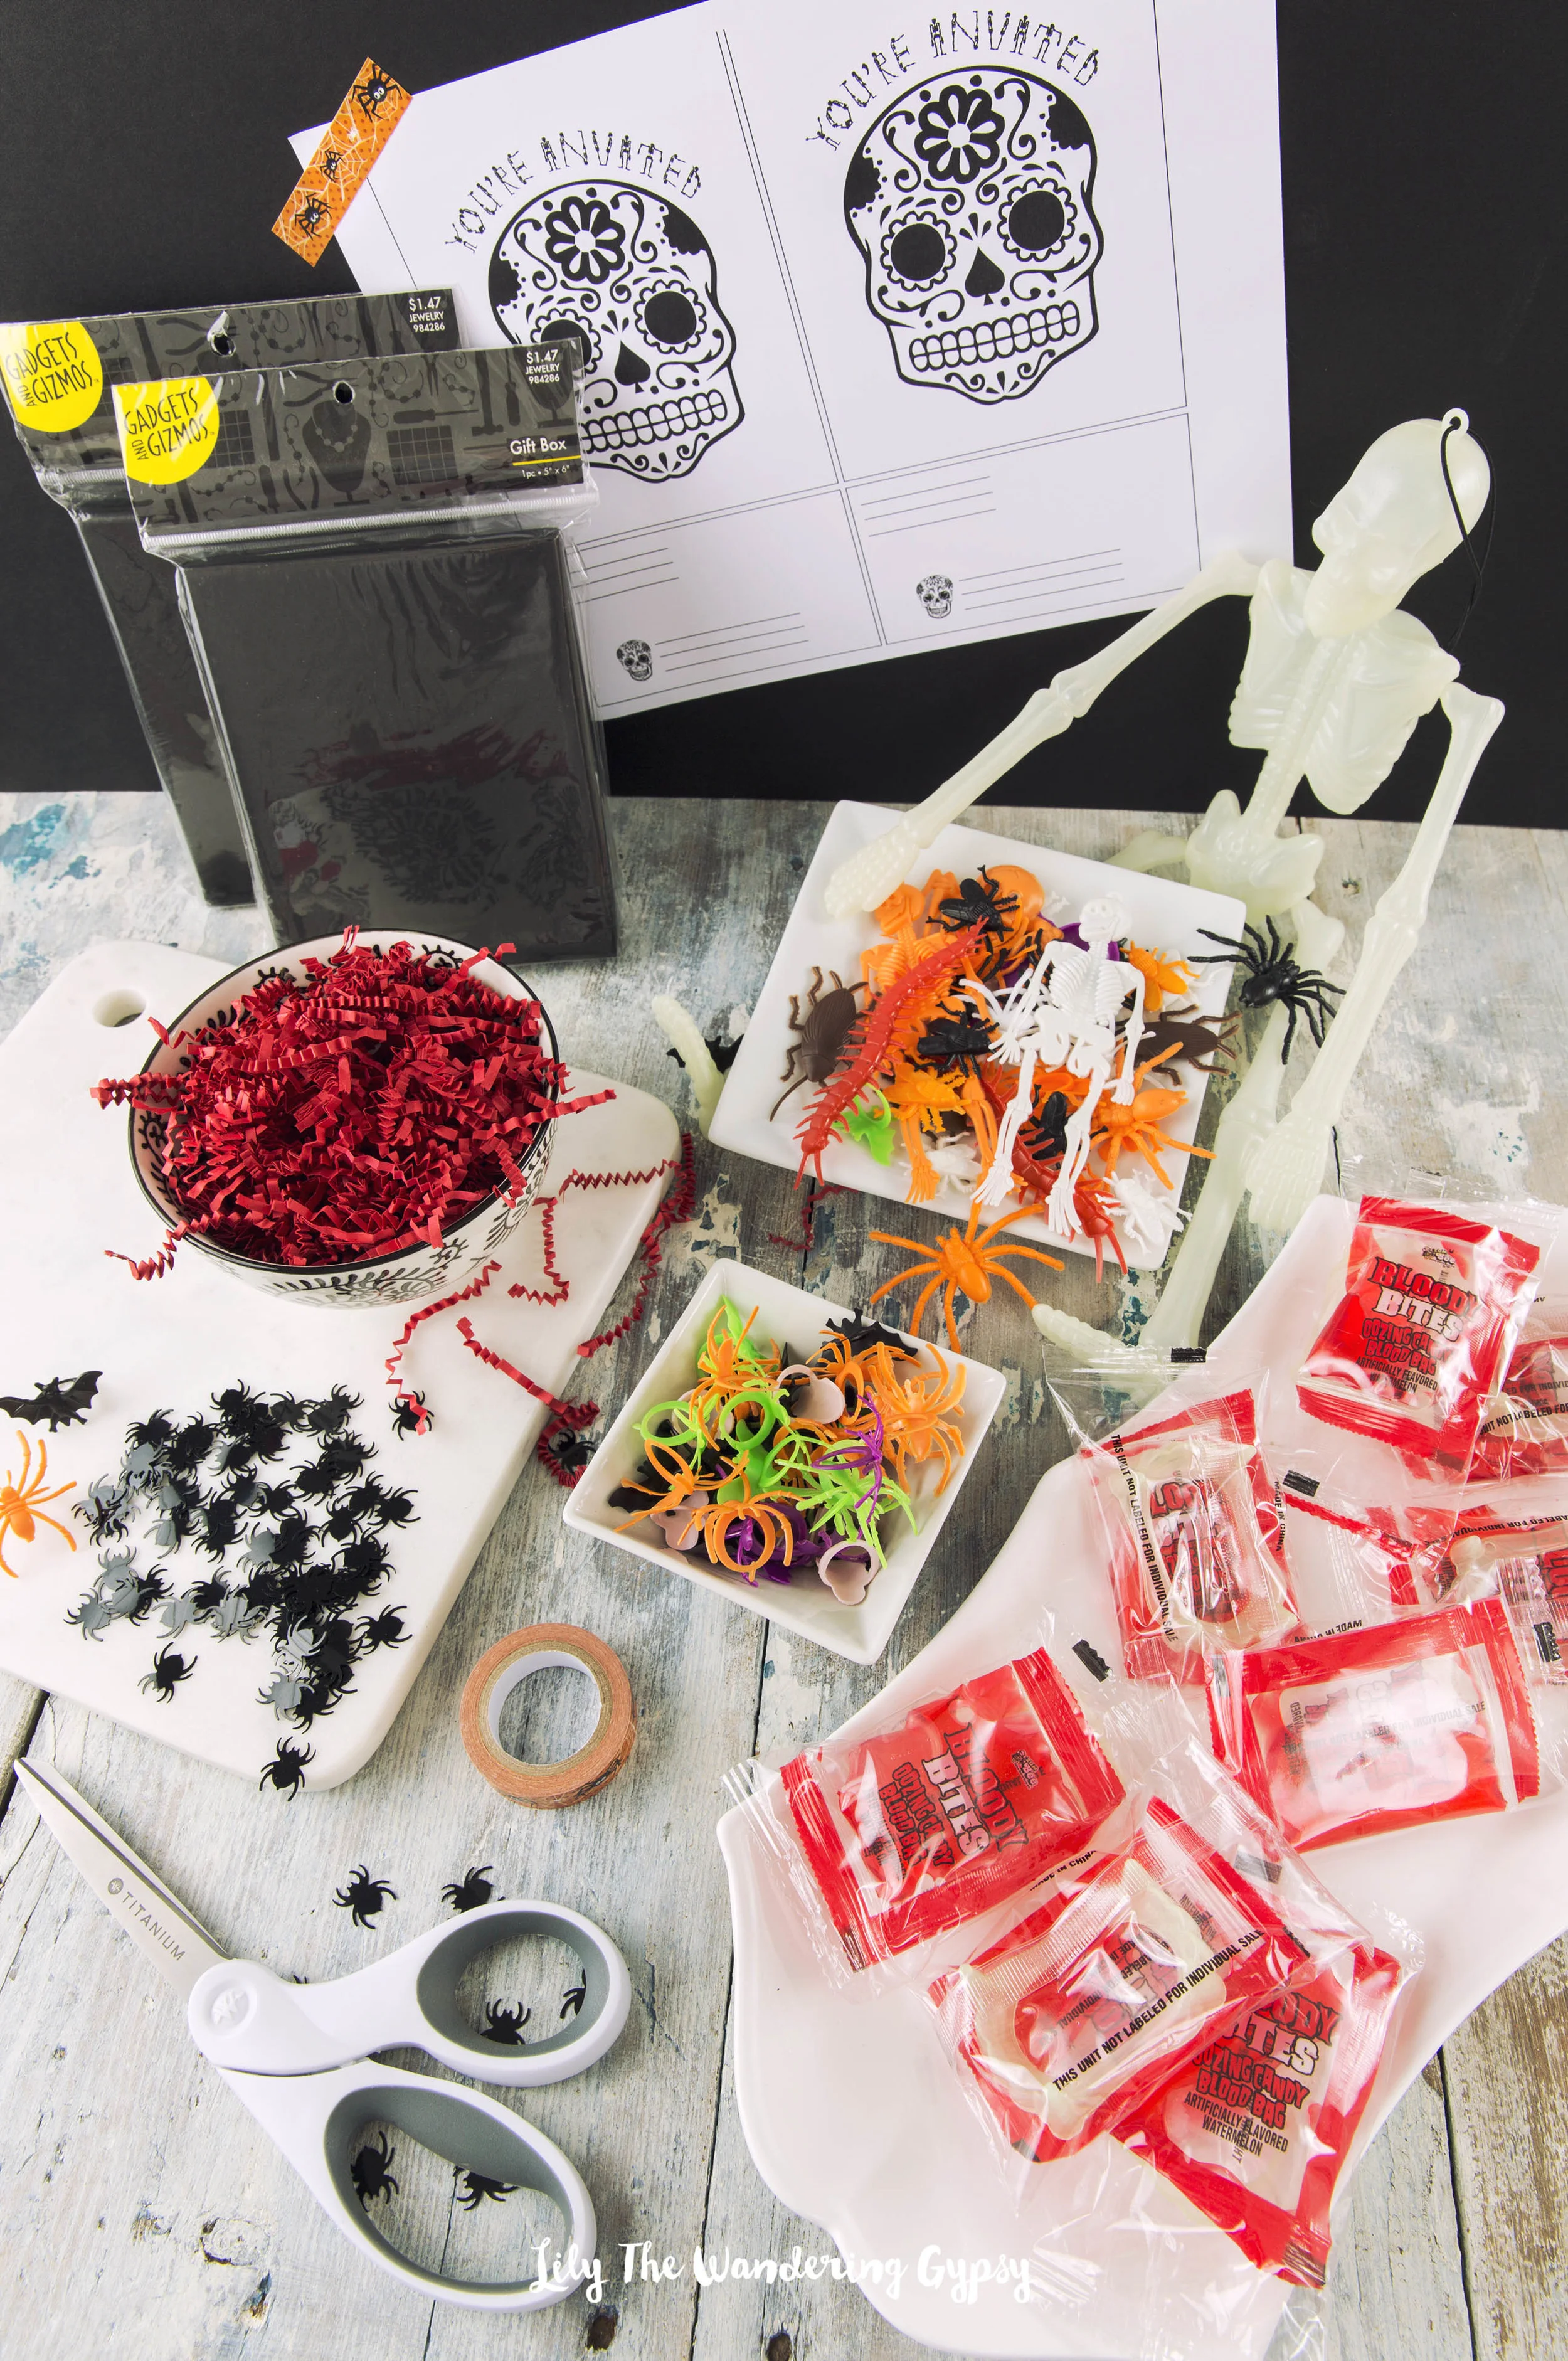
5" x 6" Black Jewelry Boxes - I used the type you would put jewelry into, with the cotton inside.
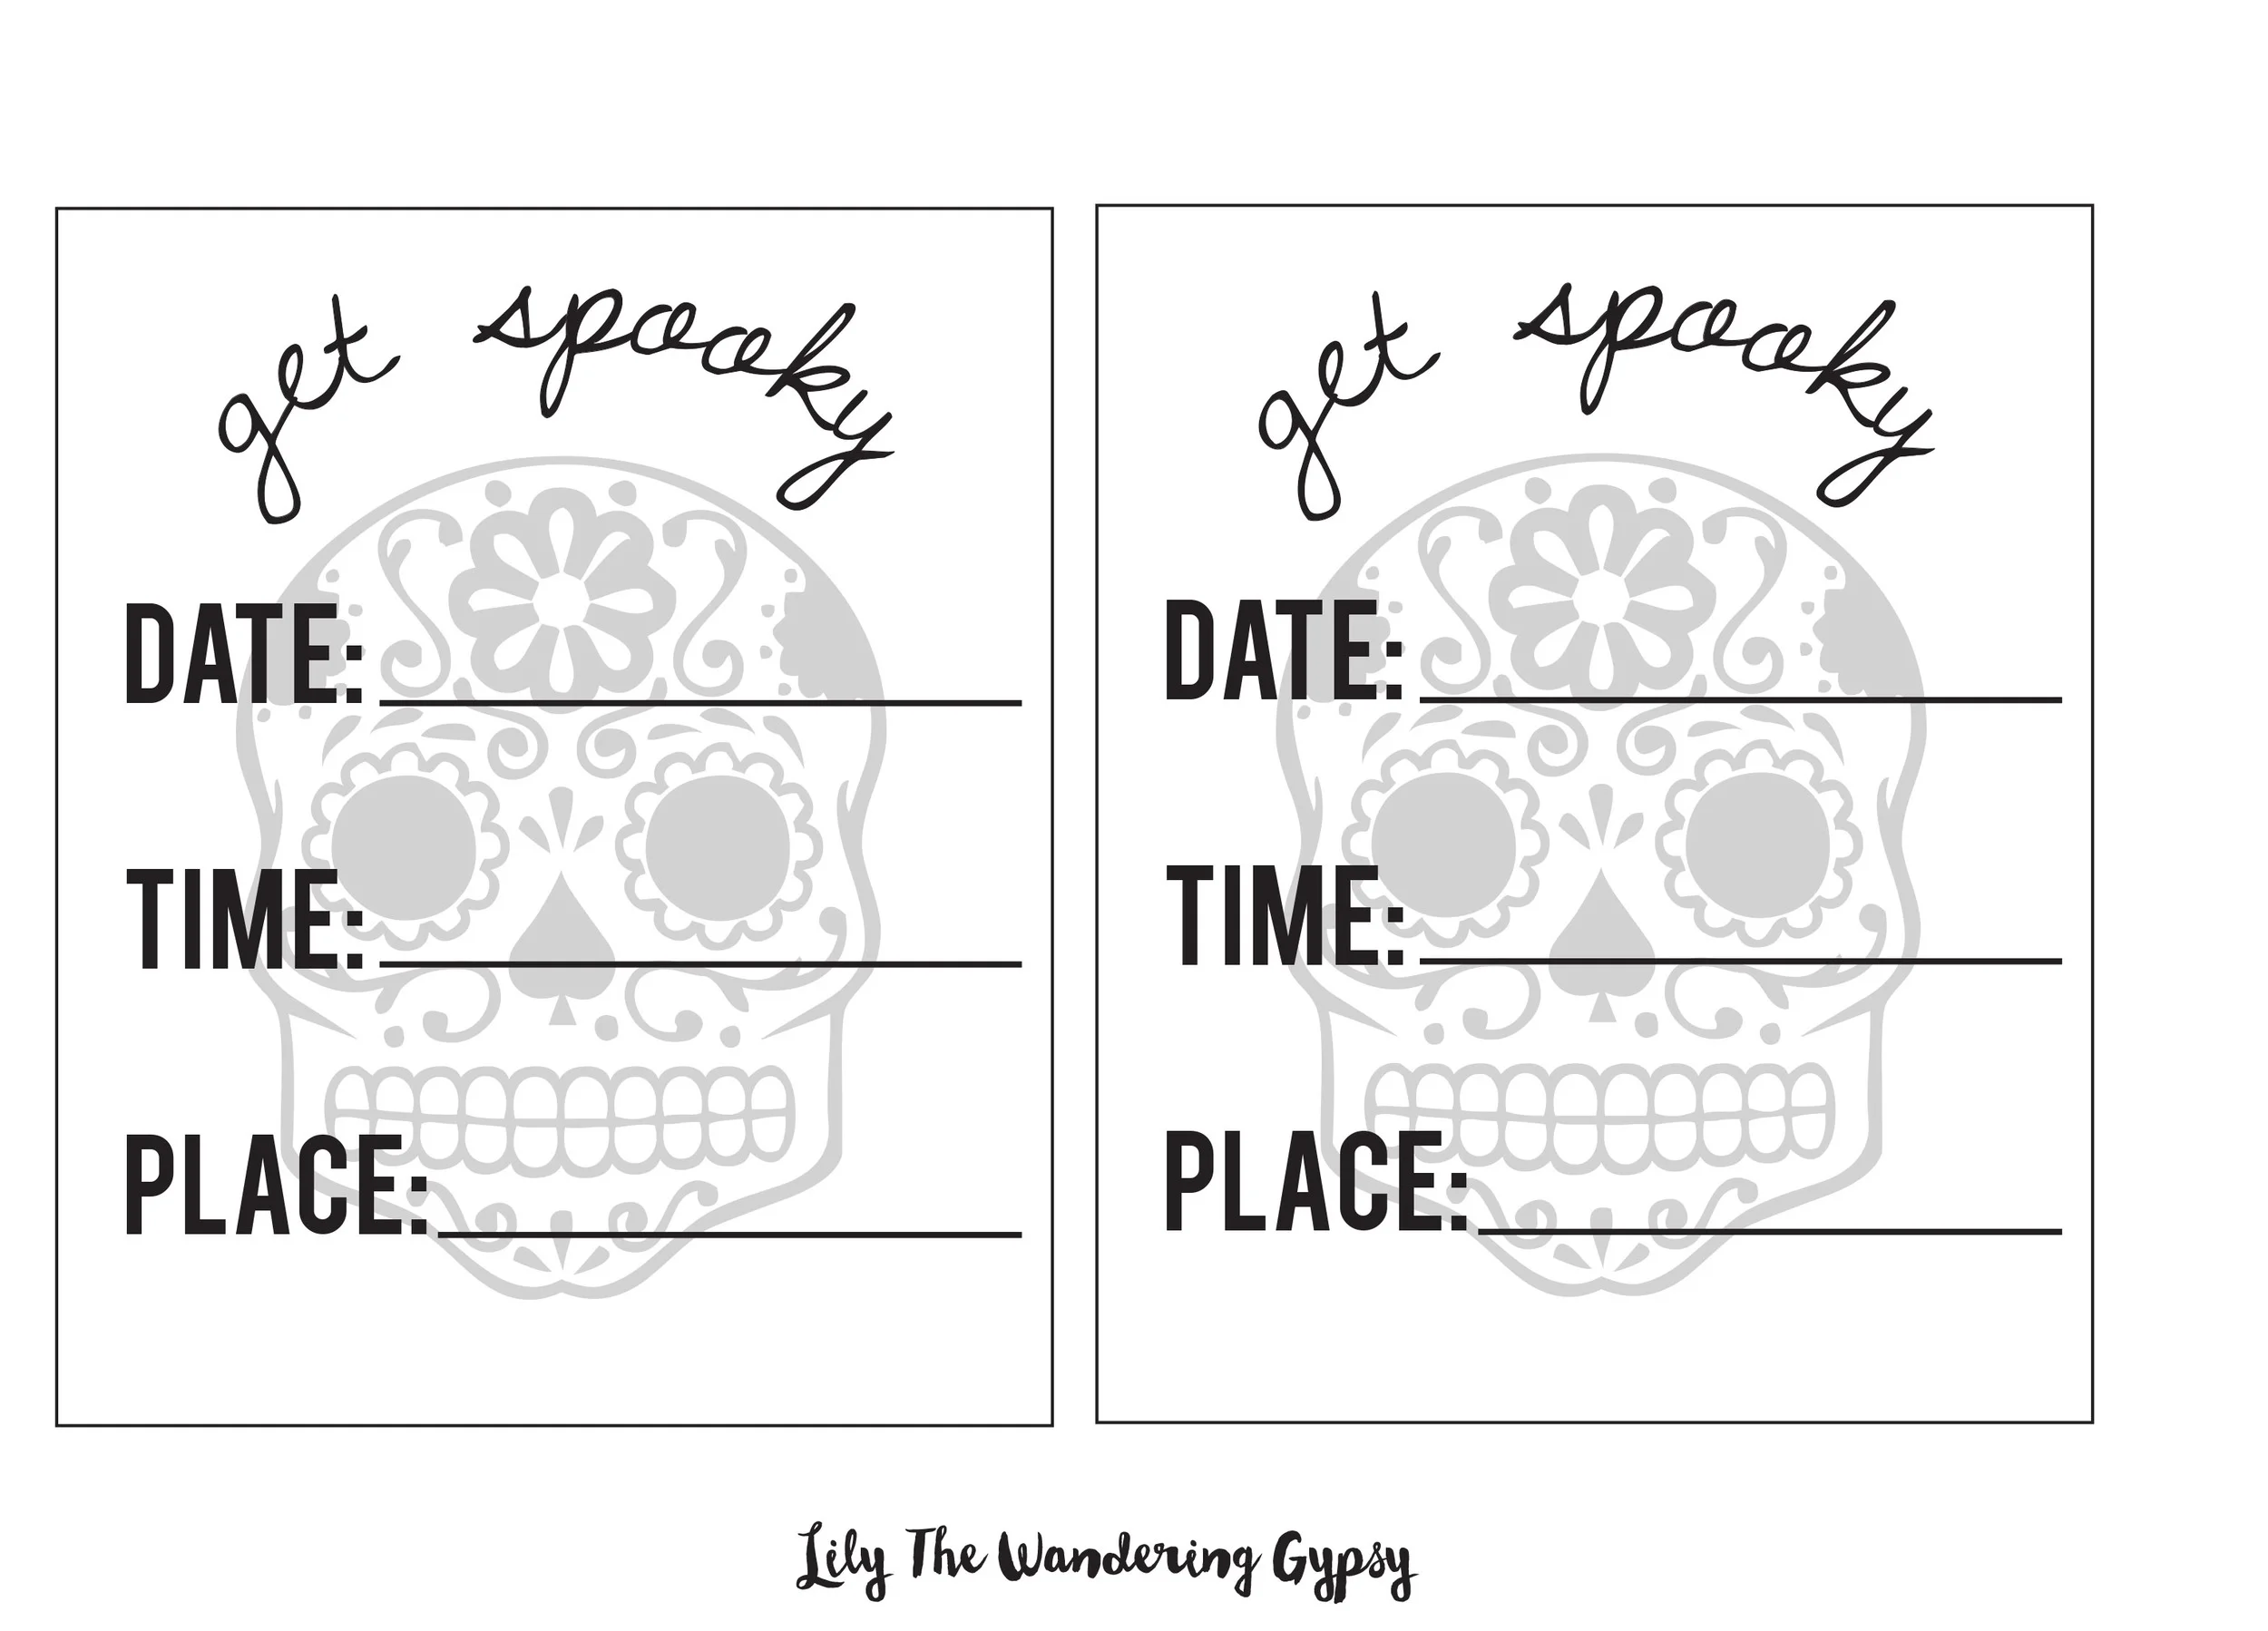
2 Free Printables - found below this image
Red Paper Crinkles (from Hobby Lobby) - But, I found mine at the Dollar Tree
Plastic Halloween Toys / Rings (small enough to fit into the boxes) - Also found at the Dollar Tree
Halloween Candy that fits into the boxes
Halloween Confetti (found at Hobby Lobby)
Scissors
Plastic Packing Tape and a Glue Stick
Right Click and Save the two images below. You can print them off for this tutorial!
Print and then cut out the invites below, and insert them into the boxes at the end.
Let's Get Started! Lay out all of your materials for the project.
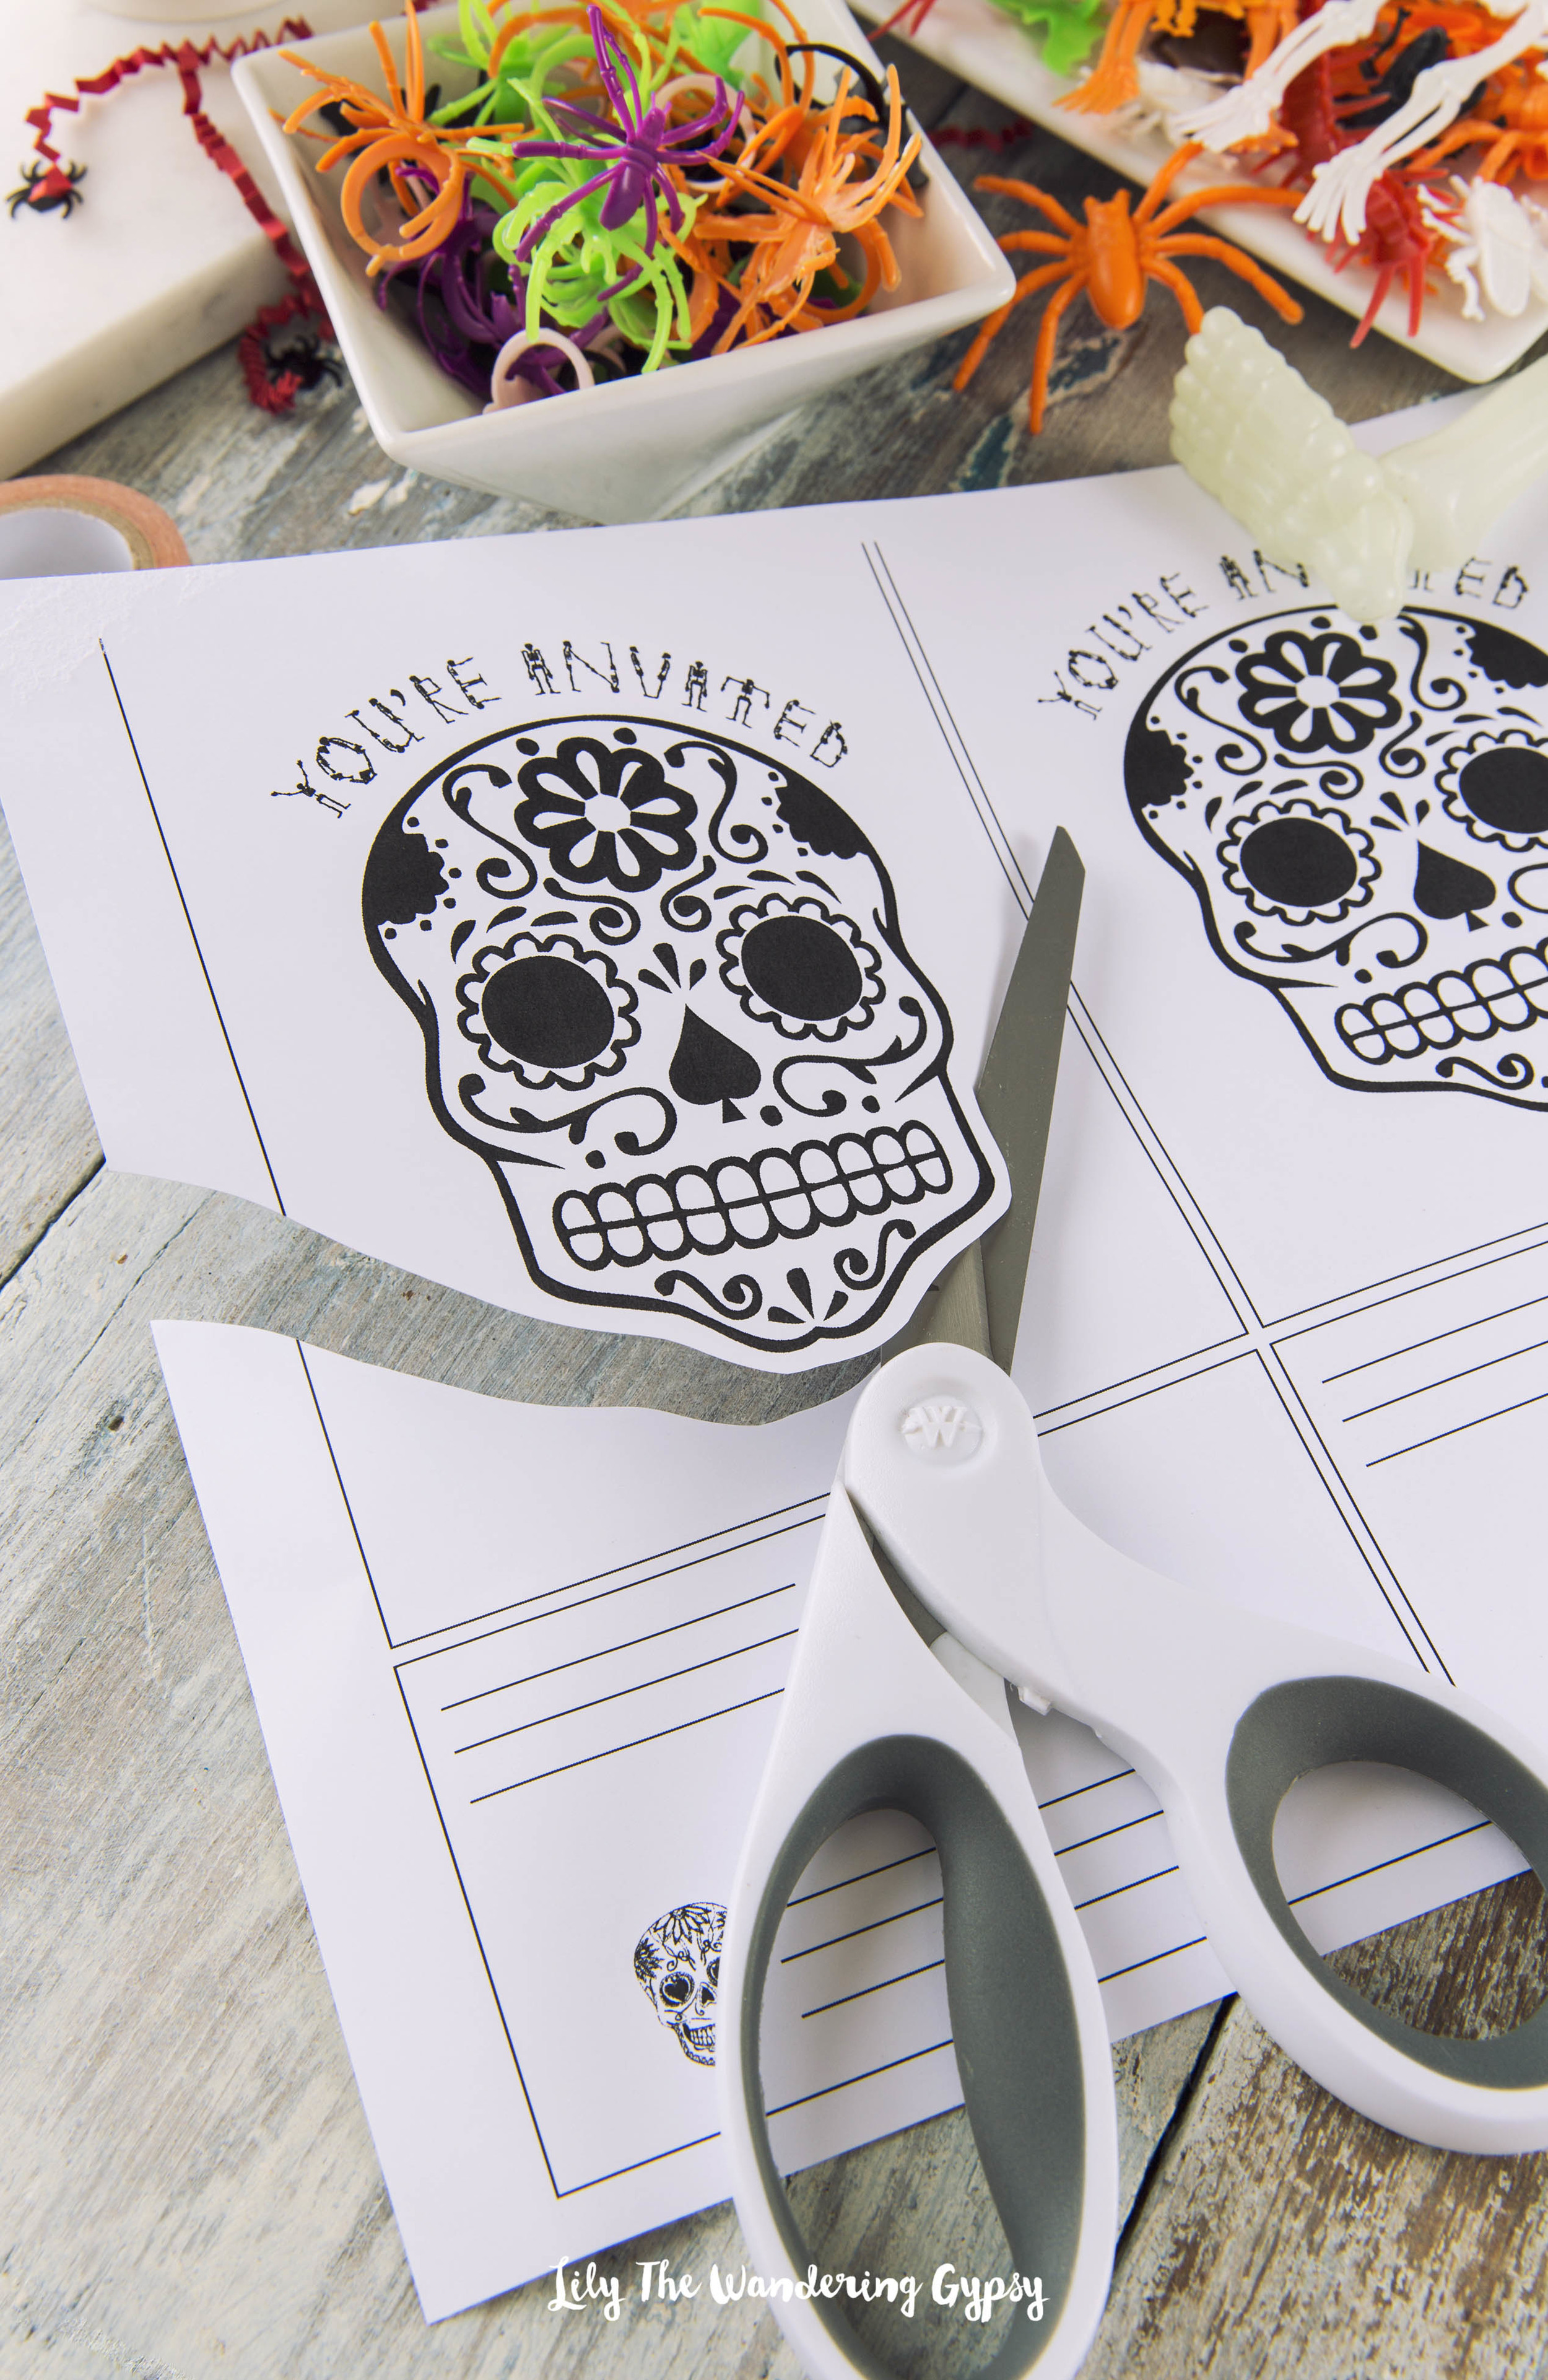
Cut out the skull design from the first printable. This will be glued to the front of the boxes. Also, cut out the address labels, which are also on that same page.
Next, glue the skull cutouts onto the boxes with a glue stick. When you mail these, you will be covering them with clear tape, so they will stay put during shipping.
Add Red Paper Crinkles to emulate "blood" that is oozing out of the invite...
Next, place as many pieces of candy and Halloween toys as will possibly fit into the boxes while allowing the lid to still close. I also added spider confetti here, too.
Cut out your Get Spooky Invites, fill out the blanks, and add them to the box, on top of the candy!
Add the recipient's address to the back of the invite, and wrap everything up tight with clear packing tape!
Aren't they adorable??!!


