4 DIY Christmas Gift Tutorials - By Lily The Wandering Gypsy

Check out my Pinterest Board here - https://www.pinterest.com/happysolez/a-hankering-to-be-making-this/

This DIY Planner is one of my most popular blog posts! Check out how easy it would be to make one, and give as a gift. 

This DIY Planner is one of my most popular blog posts! Check out how easy it would be to make one, and give as a gift. 

Also, check out my pin board, A Hankering To Be Making This for TONS of ideas! 

Also, check out my pin board, A Hankering To Be Making This for TONS of ideas! 

These amazing No-Bake Cheesecakes are made with animal crackers instead of traditional graham crackers. These would make amazing gifts for the holidays, since they are individually packaged. 

These amazing No-Bake Cheesecakes are made with animal crackers instead of traditional graham crackers. These would make amazing gifts for the holidays, since they are individually packaged. 

All you need is 3 materials for these super easy, Tassel Earrings, and they make a thoughtful gift.

All you need is 3 materials for these super easy, Tassel Earrings, and they make a thoughtful gift.

These Glitzy Tree Earrings are also a cute and festive gift idea you could make for a friend, and then make yourself a matching pair! These turned out really great! 

These Glitzy Tree Earrings are also a cute and festive gift idea you could make for a friend, and then make yourself a matching pair! These turned out really great! 

Pinterest  //  Facebook  //  Instagram  //  She's So Chic Blog  //  Twitter  //  Polyvore

How To Make Boho Fringe Festival Boots - Embellish Your Boots For Summer

Summer festival season is upon us and I have a cute DIY tutorial for you to try. I made these for about $14, and all I had to buy was the boots and the fringe trim. If you already have boots, a glue gun, and ribbons and trims, these could be practically FREE to make! These are such a cute addition to your summer festival wardrobe and outfits. If you make some, please comment below with a link to your photo! 

How To Make Boho Fringe Boots

SUPPLIES (YOU MAY ALREADY HAVE THESE)

1 Pair of Boots - Glue Gun & Glue Sticks - Scissors - Boho Ribbons and Trims (about 3/4 -1 Yard each) - 1 Yard of Fringe (Not Pictured) - 1-2 Skinny Belts That Can Be Cut In Half

How To Make Boho Fringe Boots

Next, lay your ribbons and trim over the boots to see where you want them. I glued my ribbon on much lower than this photo shows, this way I could add fringe to the top. 

5DB_6840.jpg

Below, you will see the interior side of the boots. Cut the trims so they line up half way around the back. These raw edges will be covered by a final layer of ribbon for a finishing touch. 

How To Make Boho Fringe Boots

Below, you will see the ribbons/trims after I hot-glued them all on. The raw edges will soon be covered with ribbon. I used a cheap, low-heat hot glue gun, and it worked super well on these materials! My boots were made of an ultra-suede like material. If you are using leather boots, you may need to use a fabric-ready, 2 part Epoxy, or E-6000. 

How To Make Boho Fringe Boots

Next, cut your belt in half, and decide where you want to position the buckle. The outer side of the boots will look best, as you will see in my first photo.  

How To Make Boho Fringe Festival Boots

Do a test placement of the belt, and then mark where the new buckle hole needs to be, so the belt fits around the boot. Cut the new hole, so that the belt fits snugly around the bottom of the boot, but not too tight. I used an awl from a multi-tool, but a sharp X-Acto Knife would also work. Be super careful not to cut yourself or the work surface. (See below) 

You will see that I also added the ribbon to go up the side of the boot. Glue this in place, making sure to only glue half way up. The fringe will also go under this ribbon!

Make sure your ribbon covers any rough edges of the ribbons. (See Above)

How To Make Boho Fringe Boots

Let's get your fringe ready! This fringe really makes the boots super cute! Cut your yard of fringe in half, and position it around the top of the boot. Cut the fringe to fit all the way around each boot. Hot glue ribbon to the top of the fringe, for a cute boho look. 

How To Make Boho Fringe Boots

Glue the fringe around the top of the boots. Then, hot glue the ribbon over your fringe, and fold into the inside of the boot, for a finished look. I cut a few of the fringe pieces off, that would be under the ribbon, but that's optional.

How To Make Boho Fringe Boots

And you're done! You are ready to and the night away at your next festival!  

How To Make Boho Fringe Boots
How To Make Boho Fringe Festival Boots - DIY Tutorial
How To Make Boho Fringe Festival Boots

Pinterest  //  Facebook  //  Instagram  //  She's So Chic Blog  //  Twitter

Top 5 Pinterest Tips

Katherine Accettura is a HelloSociety Influencer from Illinois. She has over 1.2 million Pinterest followers. Katherine has been kind enough to share some of her Pinterest tips with us in this post:

This article was written by me and originally published here, on the HelloSociety Blog. 

This article was written by me and originally published here, on the HelloSociety Blog. 

1. Make Time To Pin & Pin Regularly

- Try to pin every day, several times a day. If you don’t pin regularly, your followers may become bored and won’t visit your Pinterest account as often.

- Utilize a pin scheduler every day. Try to implement it into your daily routine, especially while you are going to be busy, and see if it makes a difference in the overall number of repins and likes on your pins

- TIP: A good time to pin is when you begin seeing your phone blowing up with Pinterest notifications (your Pinterest app phone notifications should be turned on until you understand your audience’s schedule).

2. Pin From Your Phone

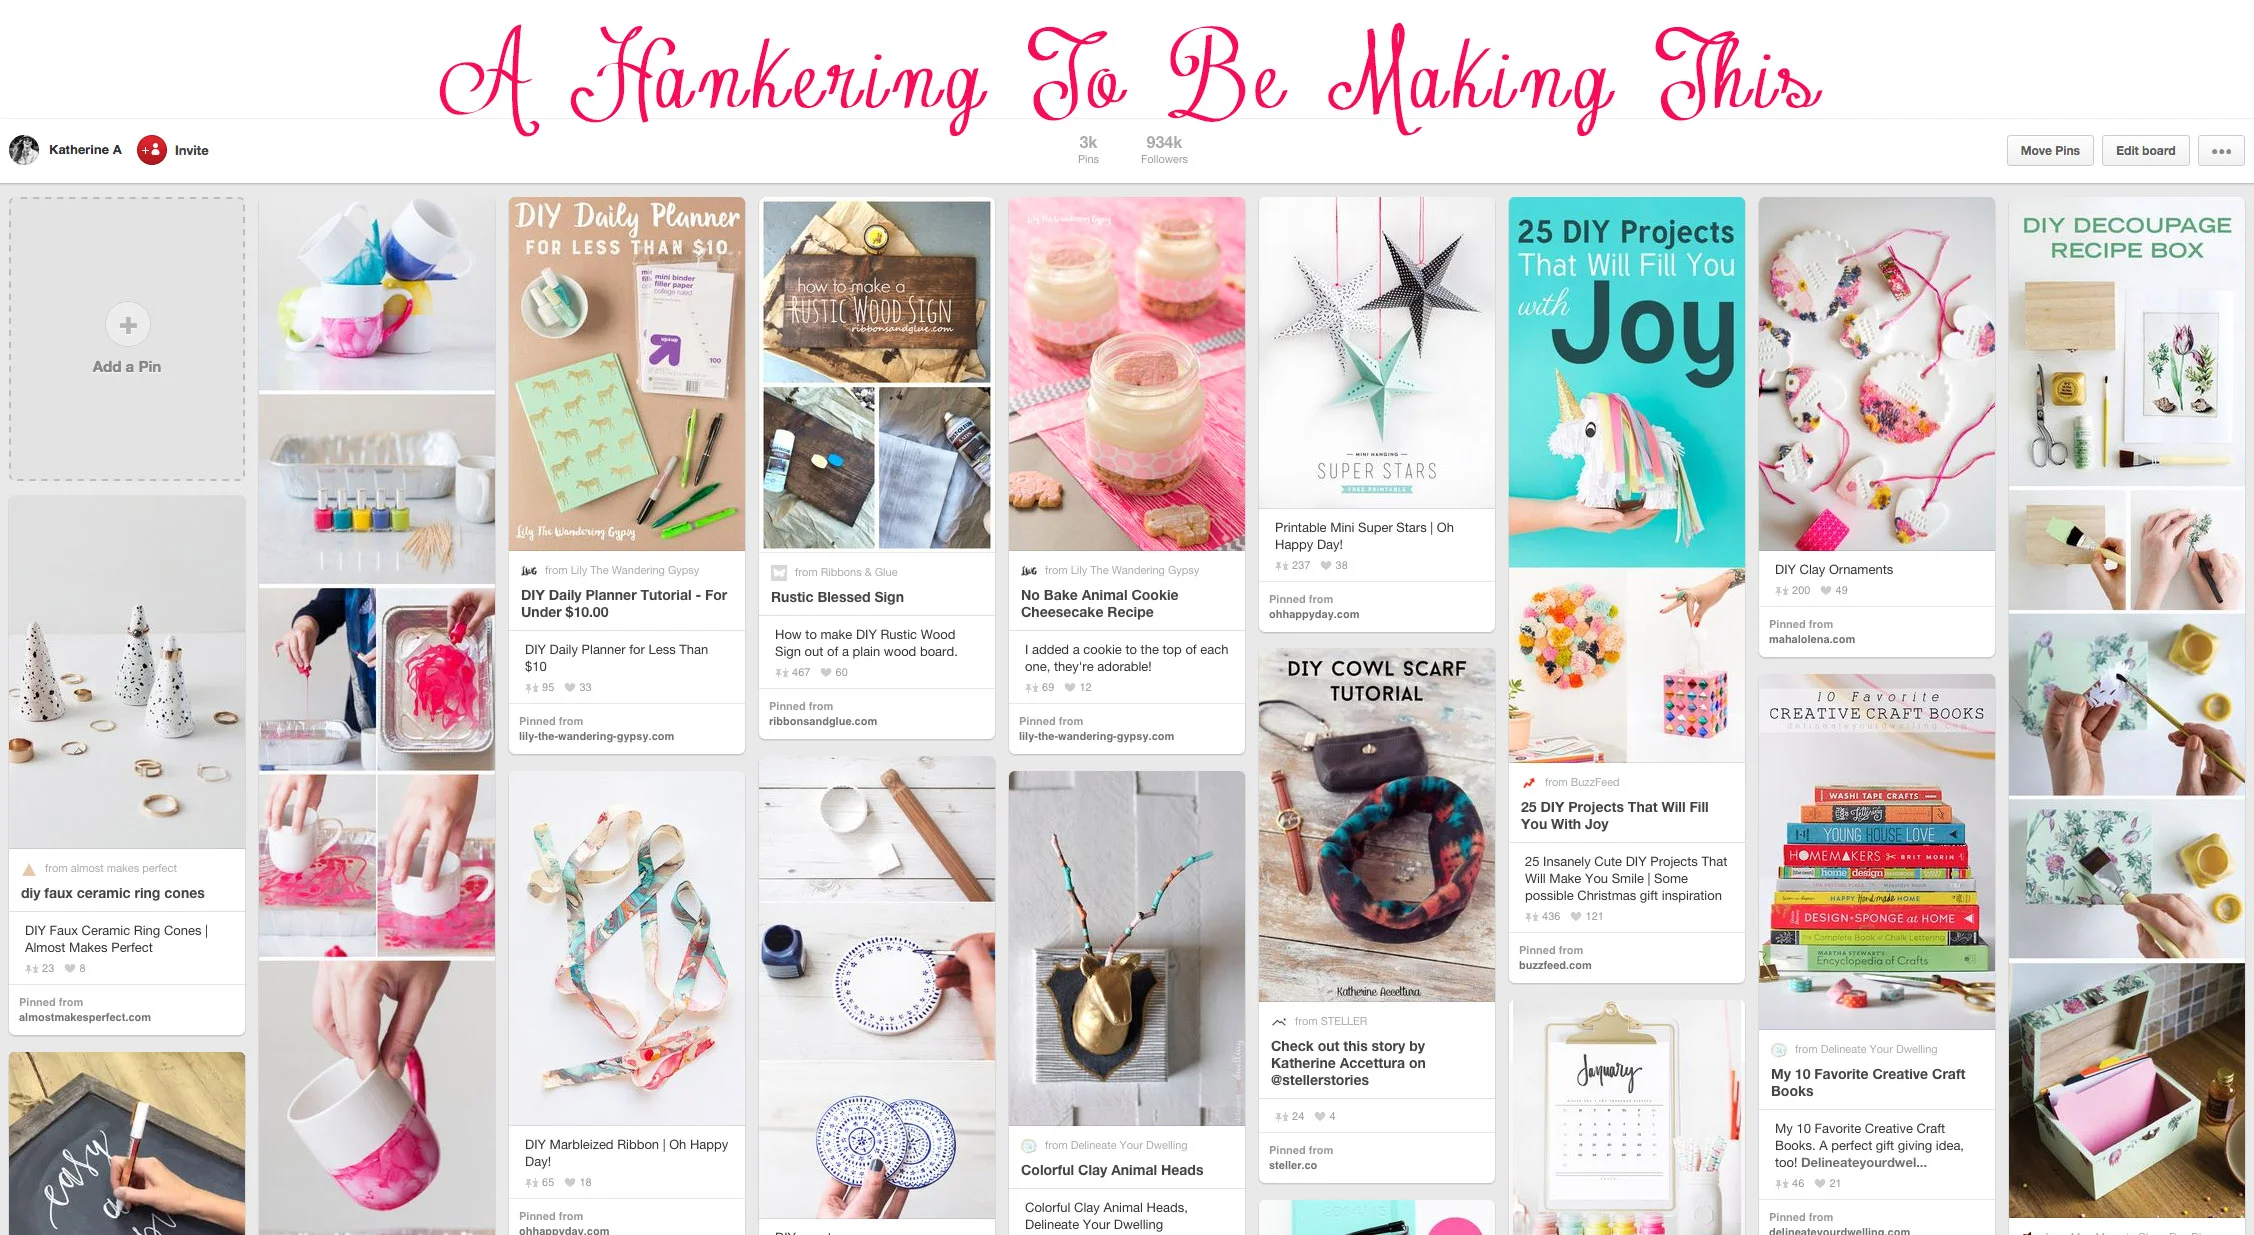
- The majority of Pinterest users are accessing the site via the Pinterest mobile app. It’s important to be in touch with your audience and see what your pins look like across all devices. Scroll through your pins on a daily basis, and make sure they look coherent and interesting.

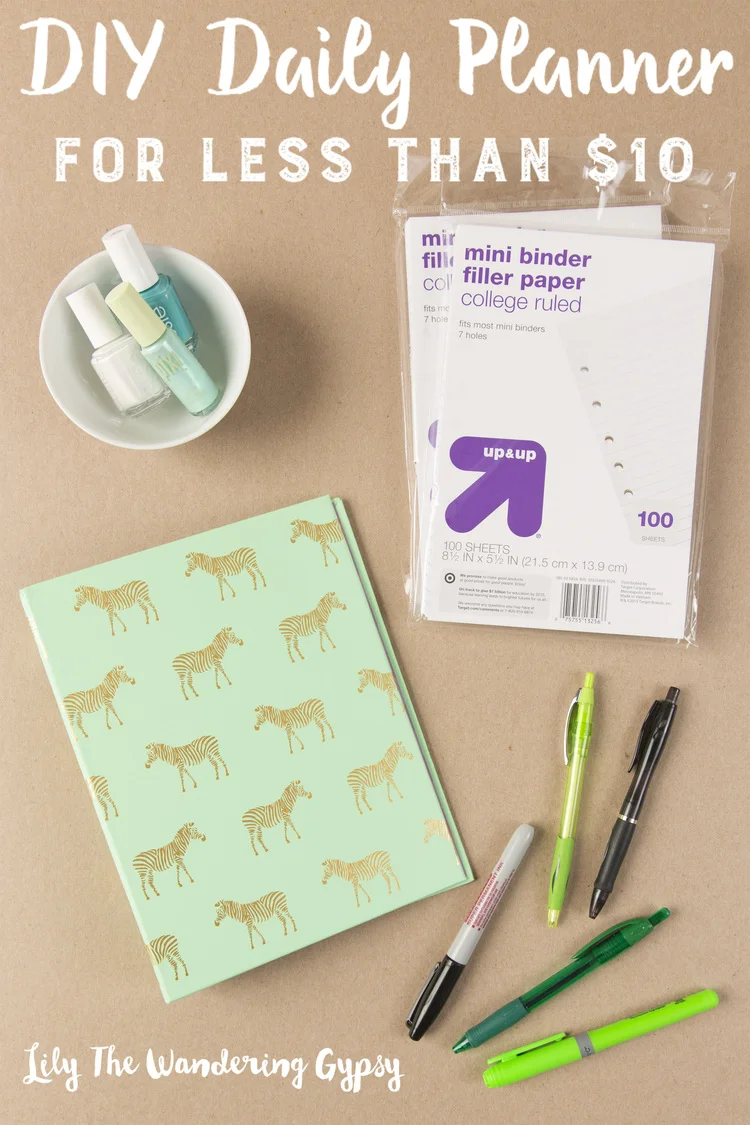
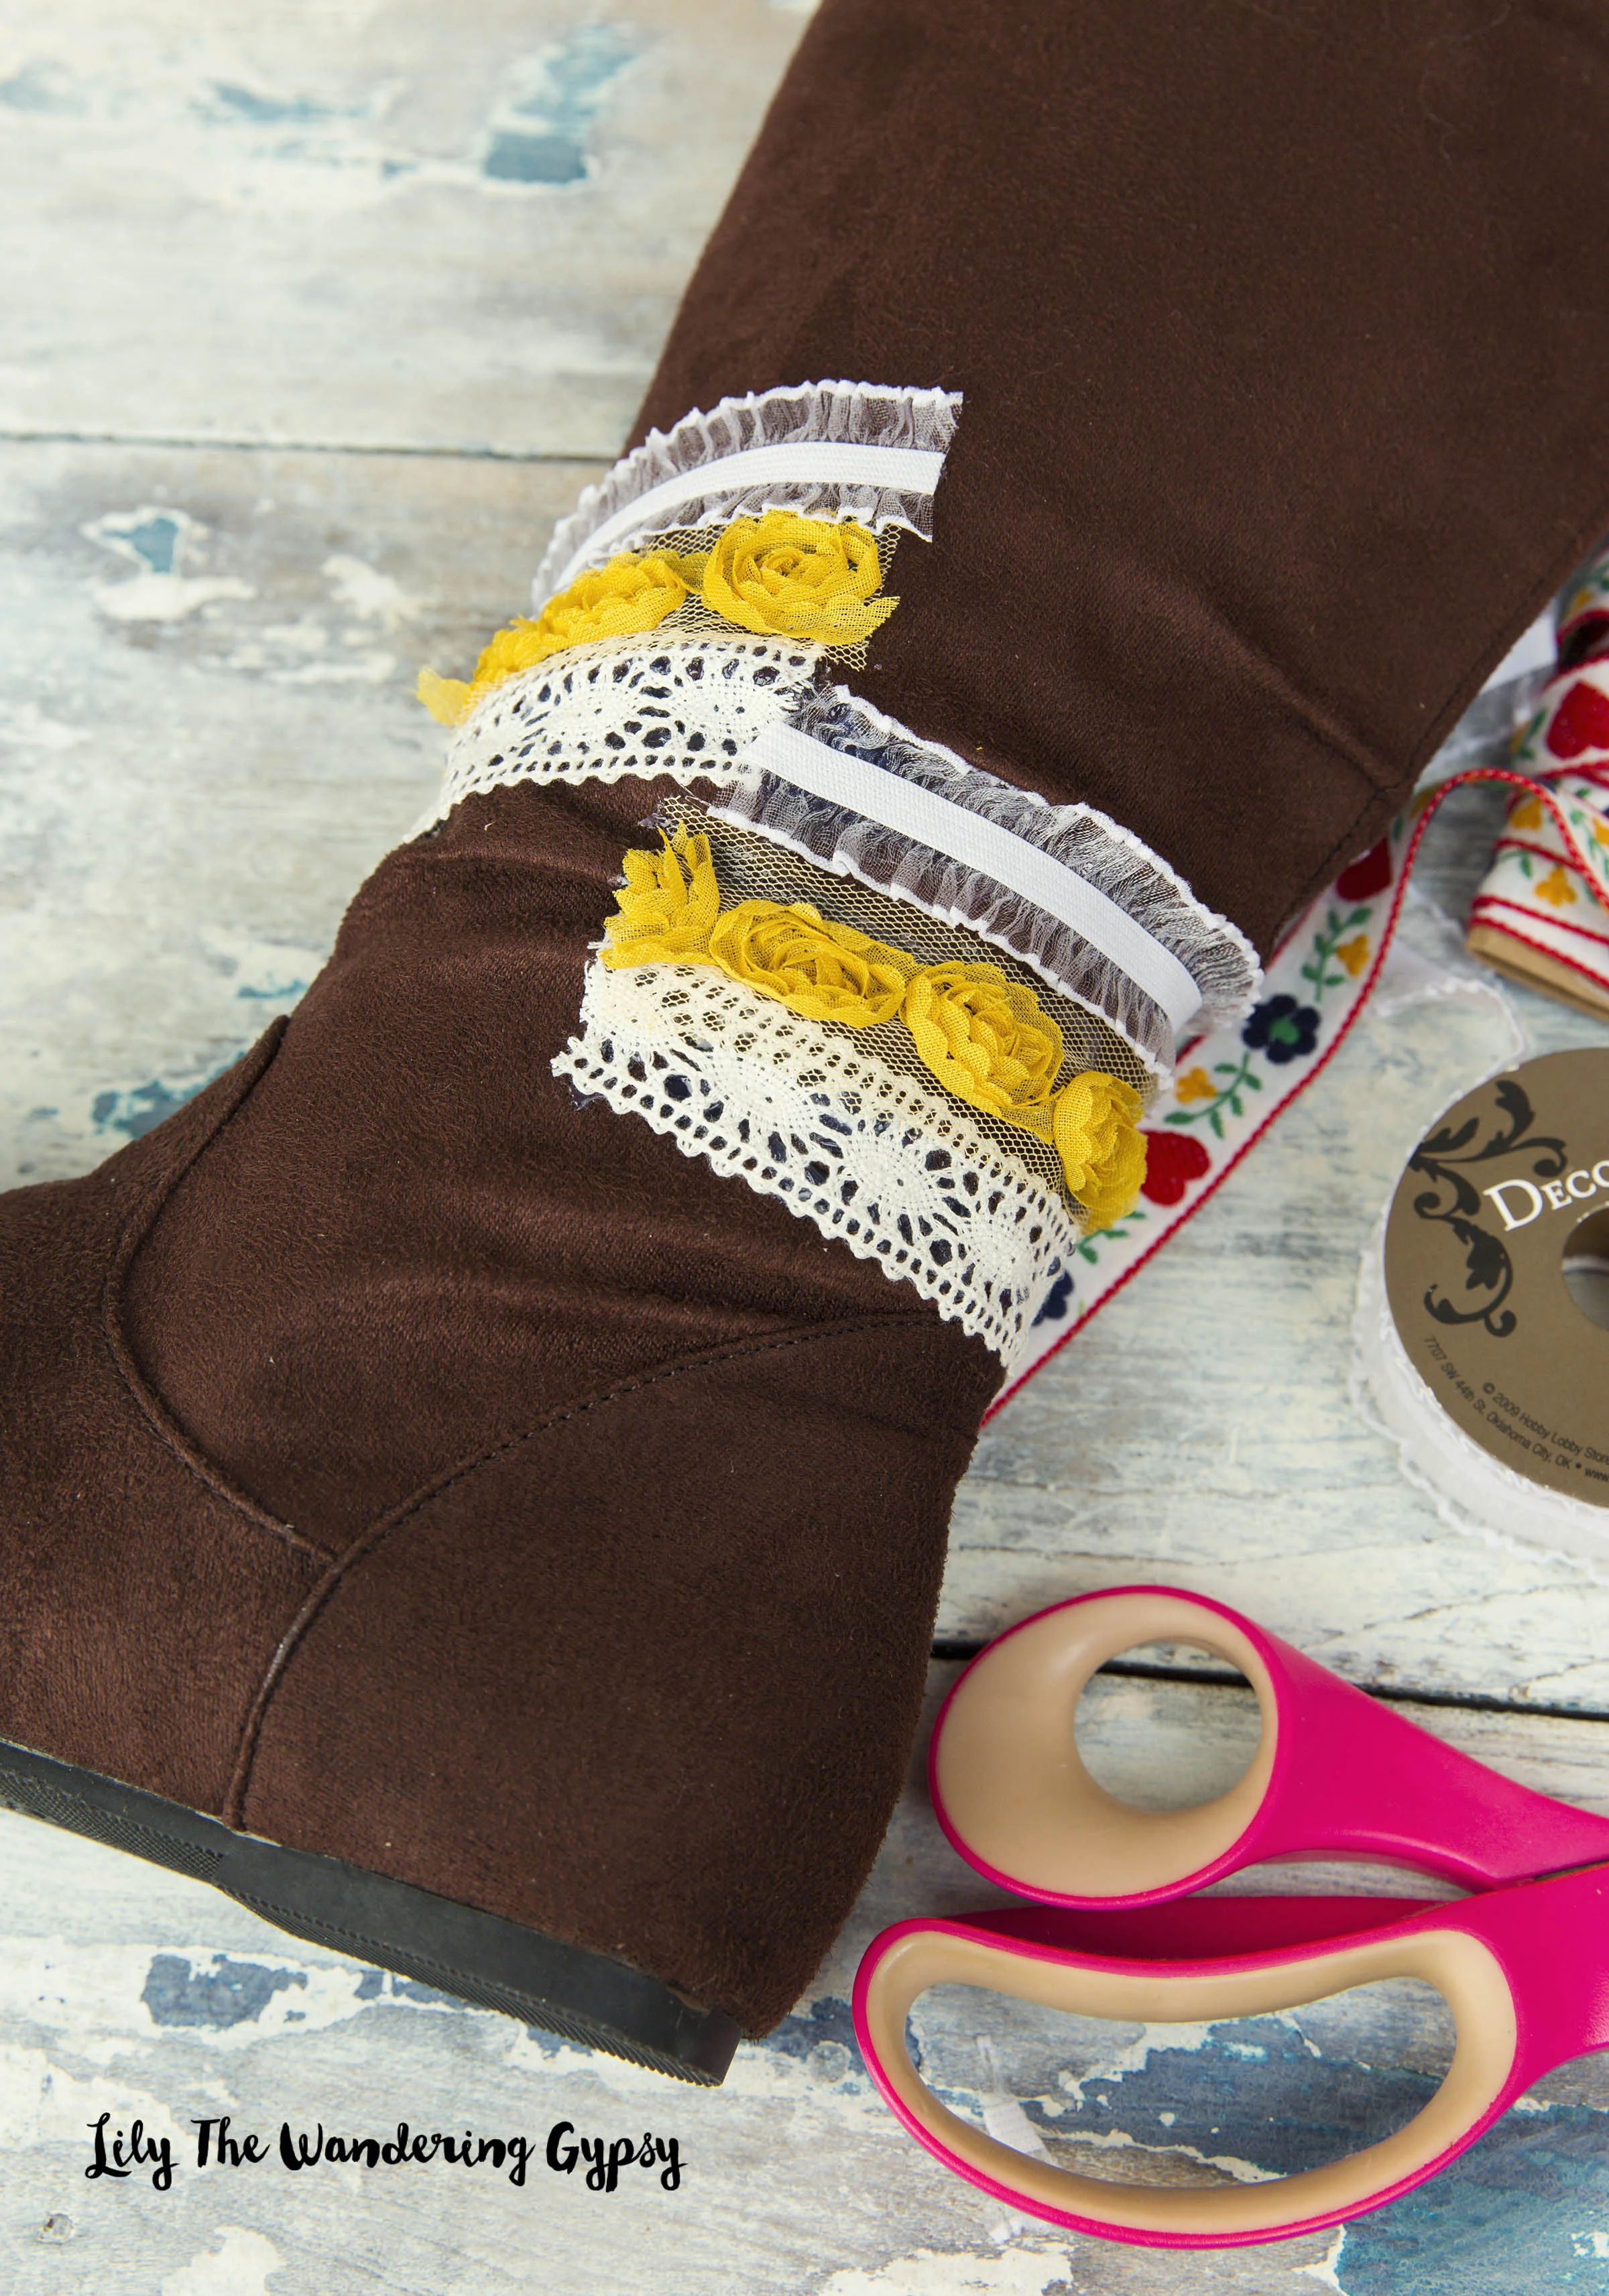
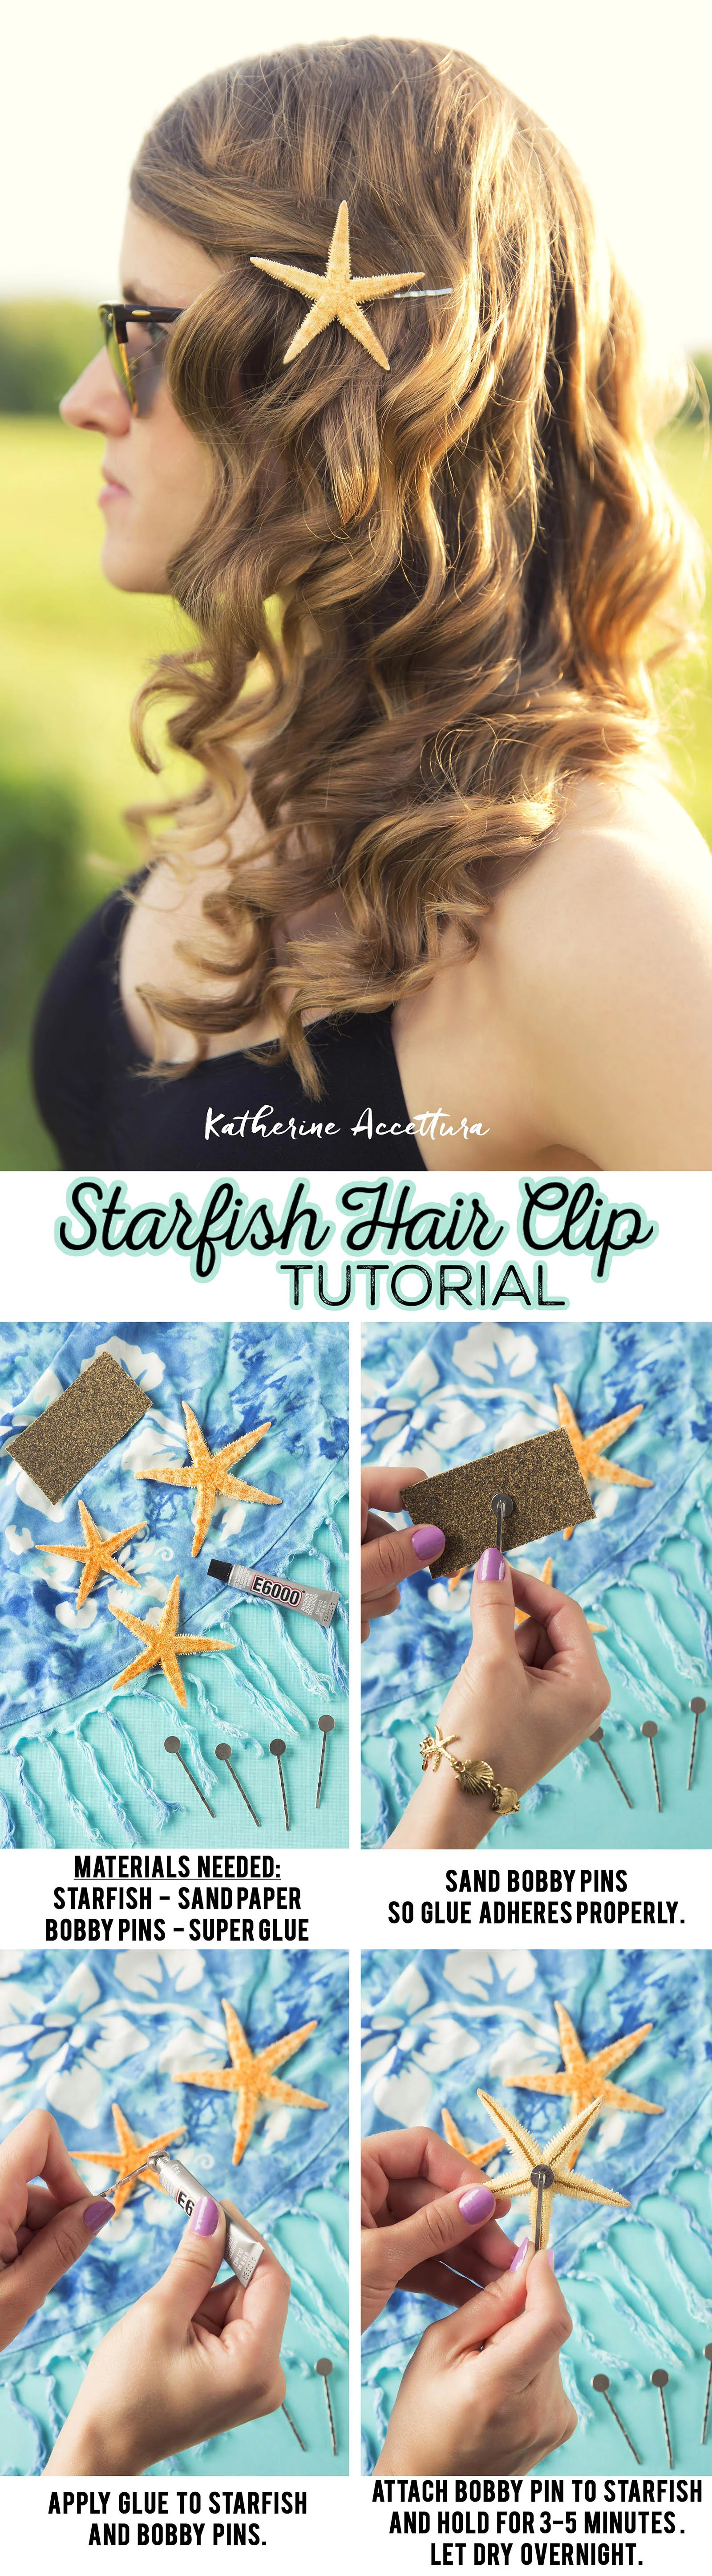
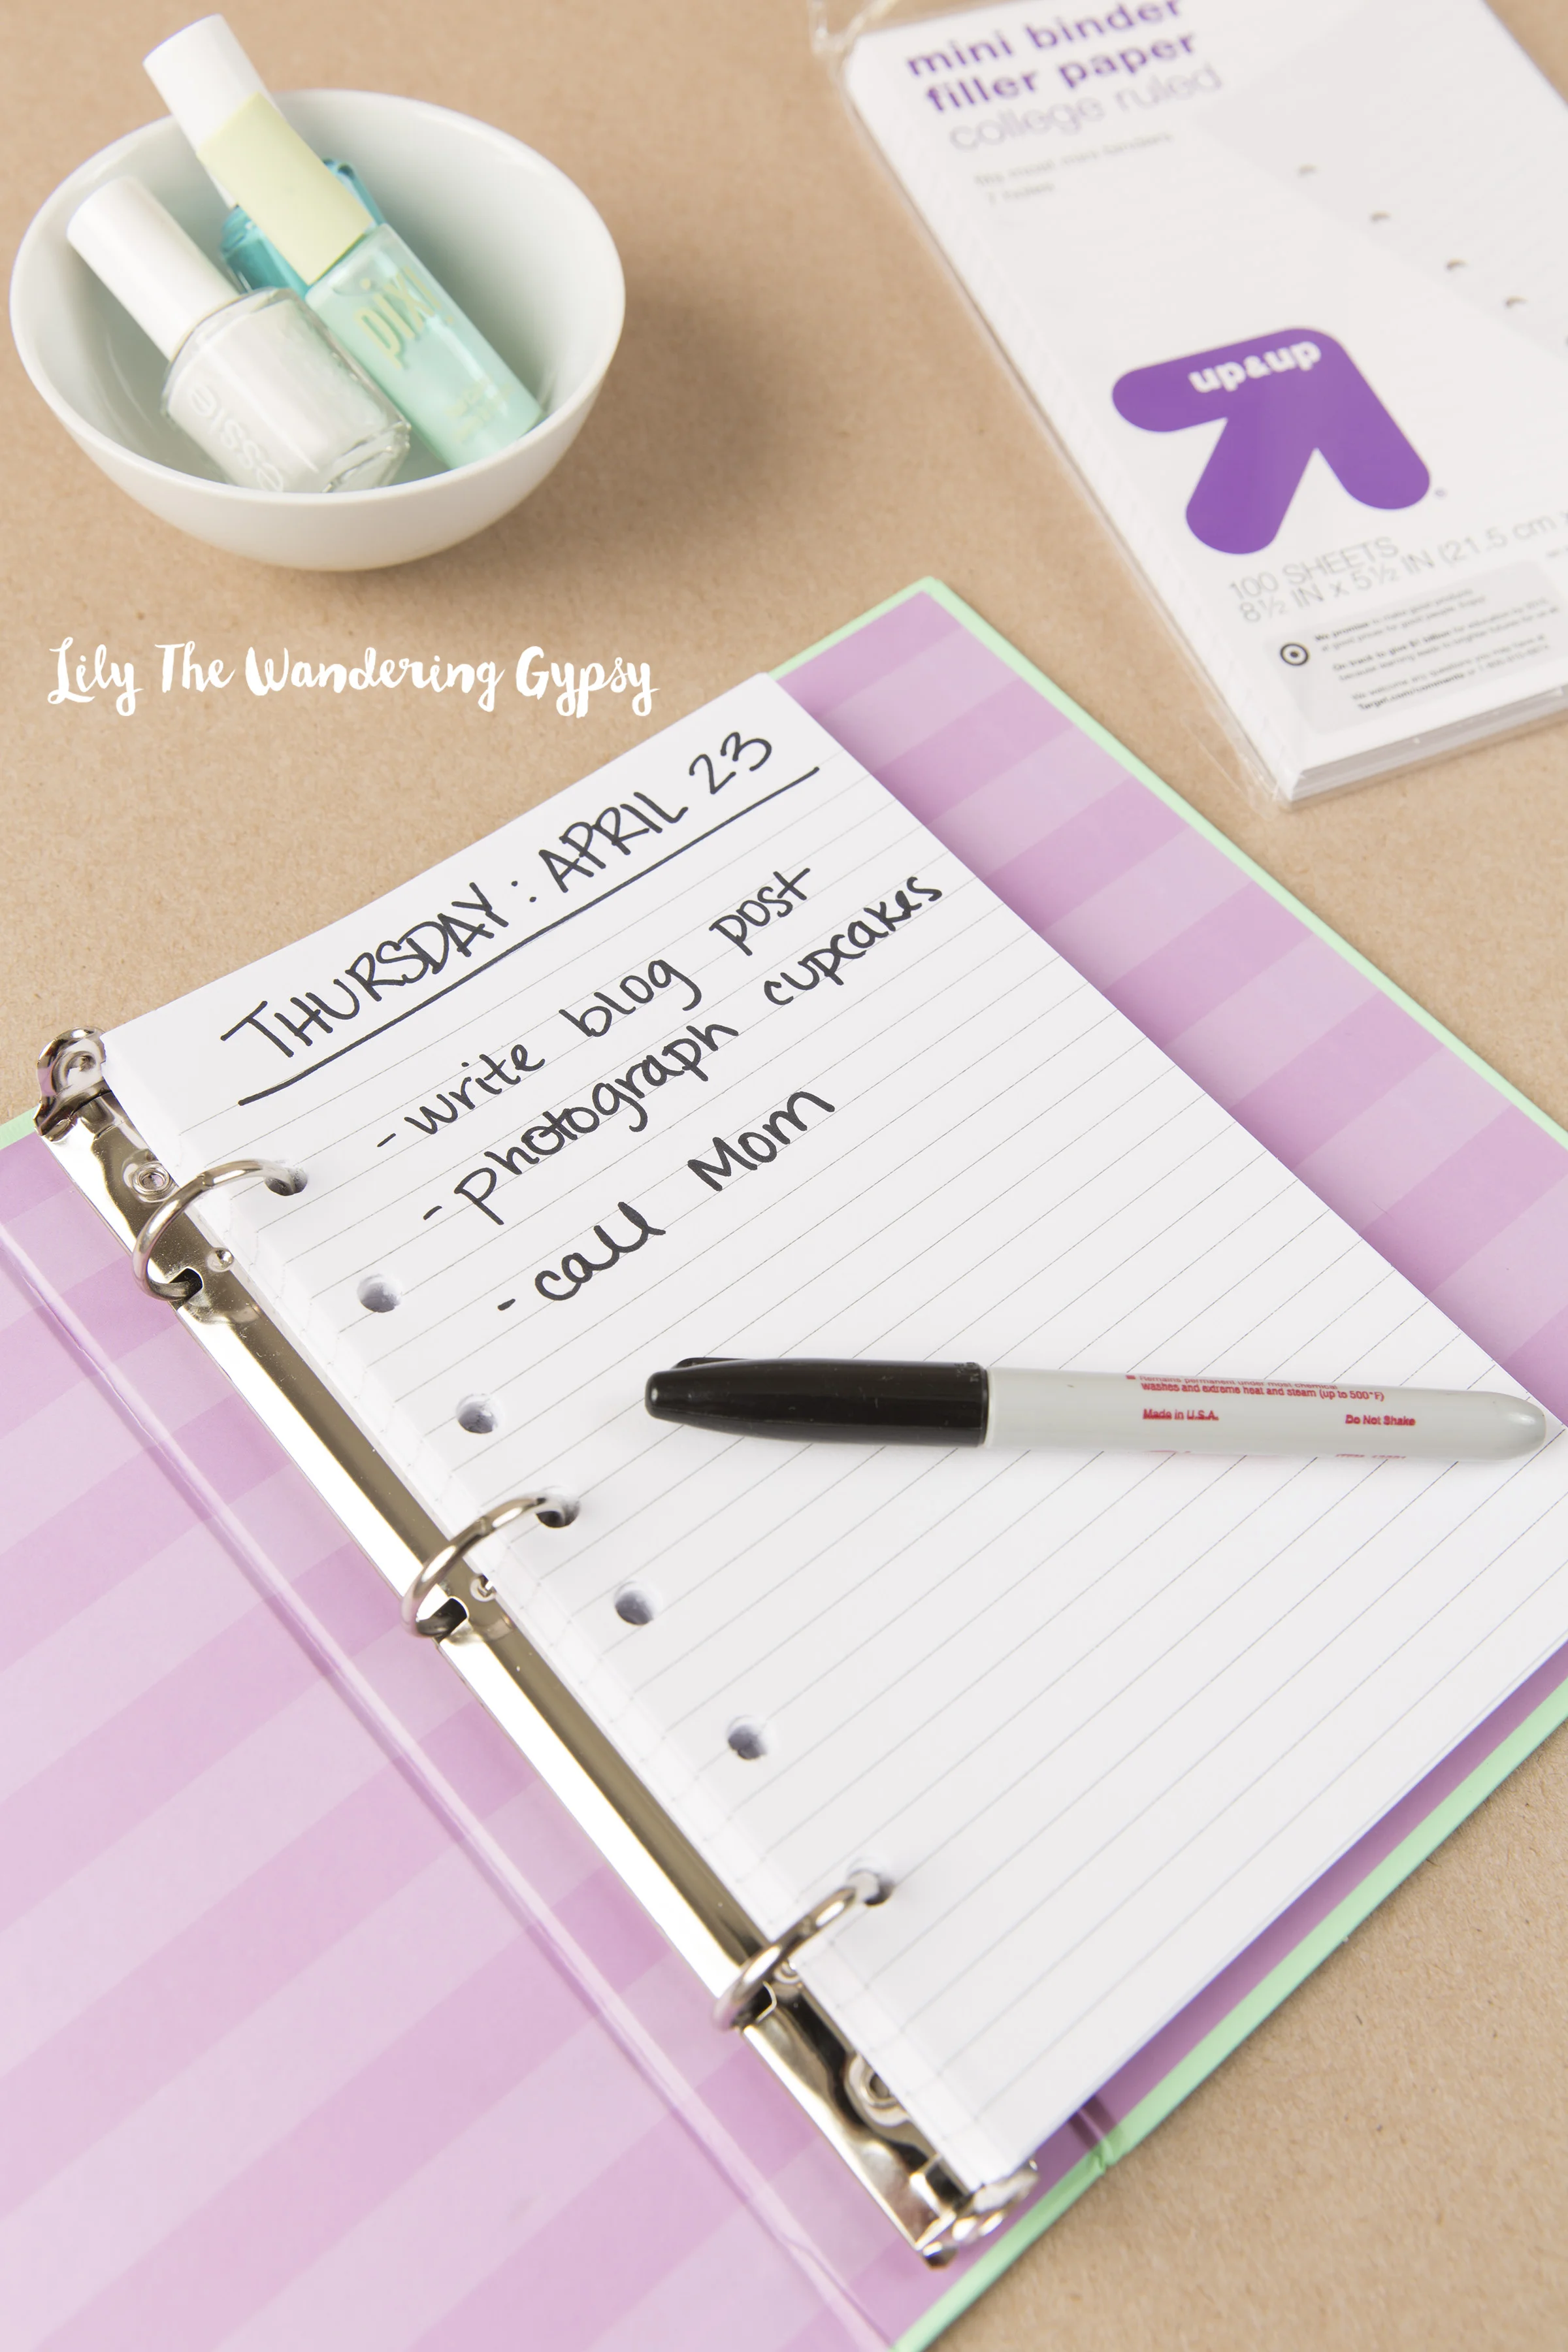
- Make sure you aren’t pinning or repinning thumbnail-sized images. They look deceptively good on the Pinterest app, but look really bad on a computer screen.

3. Keep Your Blog or Website Updated (Important!)

- This is one of the biggest problems I see among pinners. Your blog or website link is at the very top of your Pinterest profile (or should be!). This encourages your followers to click through to learn more about you. If someone is directed to a site that has not been updated in a month or even a year, it can be off-putting, and may not encourage them to continue to keep interest in you and your pins. Make sure your Pinterest profile links to the blog/website that you keep up with most.

- It is important to verify your blog/website. Your pins may become more pin-worthy and show up higher in your followers’ home feed more often. There are lots of tutorials on how to verify your profile URL on Pinterest.

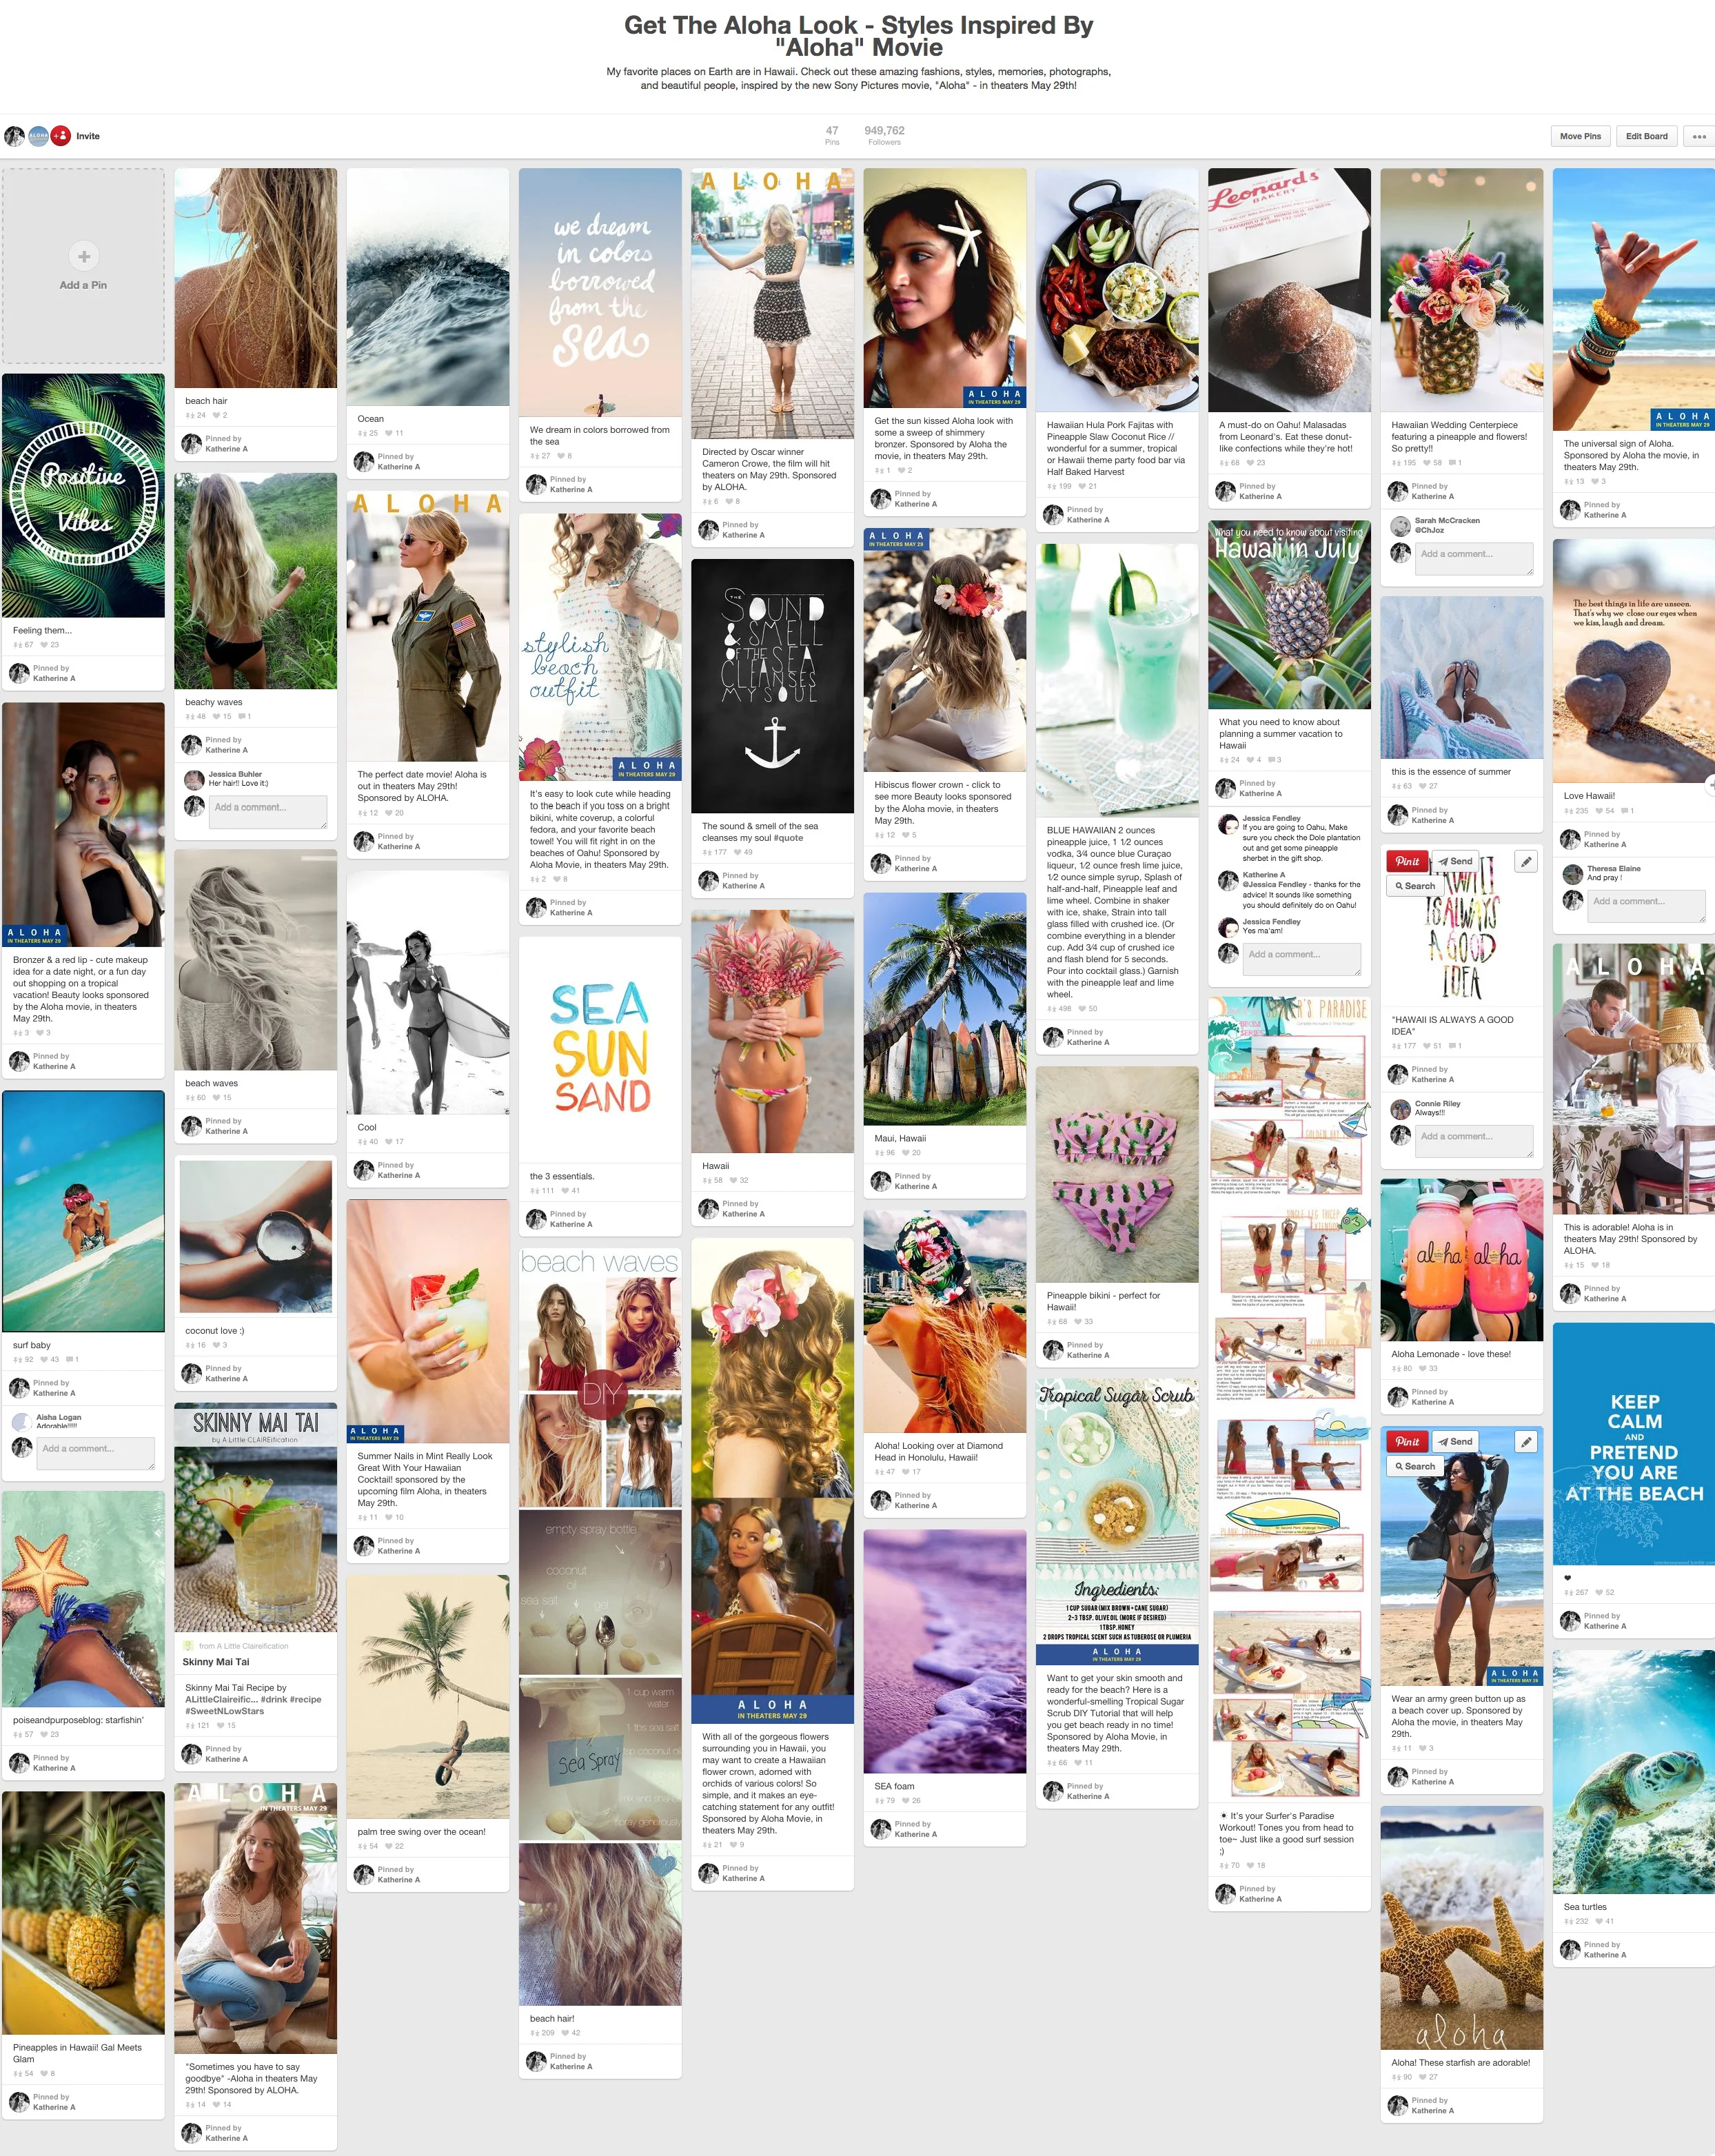
4. Think Of Your Pins As A Whole, Not As Disparate Boards

- It is important to look at your pins as a whole entity. This will provide your followers with the most visually pleasing experience. Example: If you pin the same pin to multiple boards in a row, they will show up as a duplicate pin to viewers on your Pinterest profile.

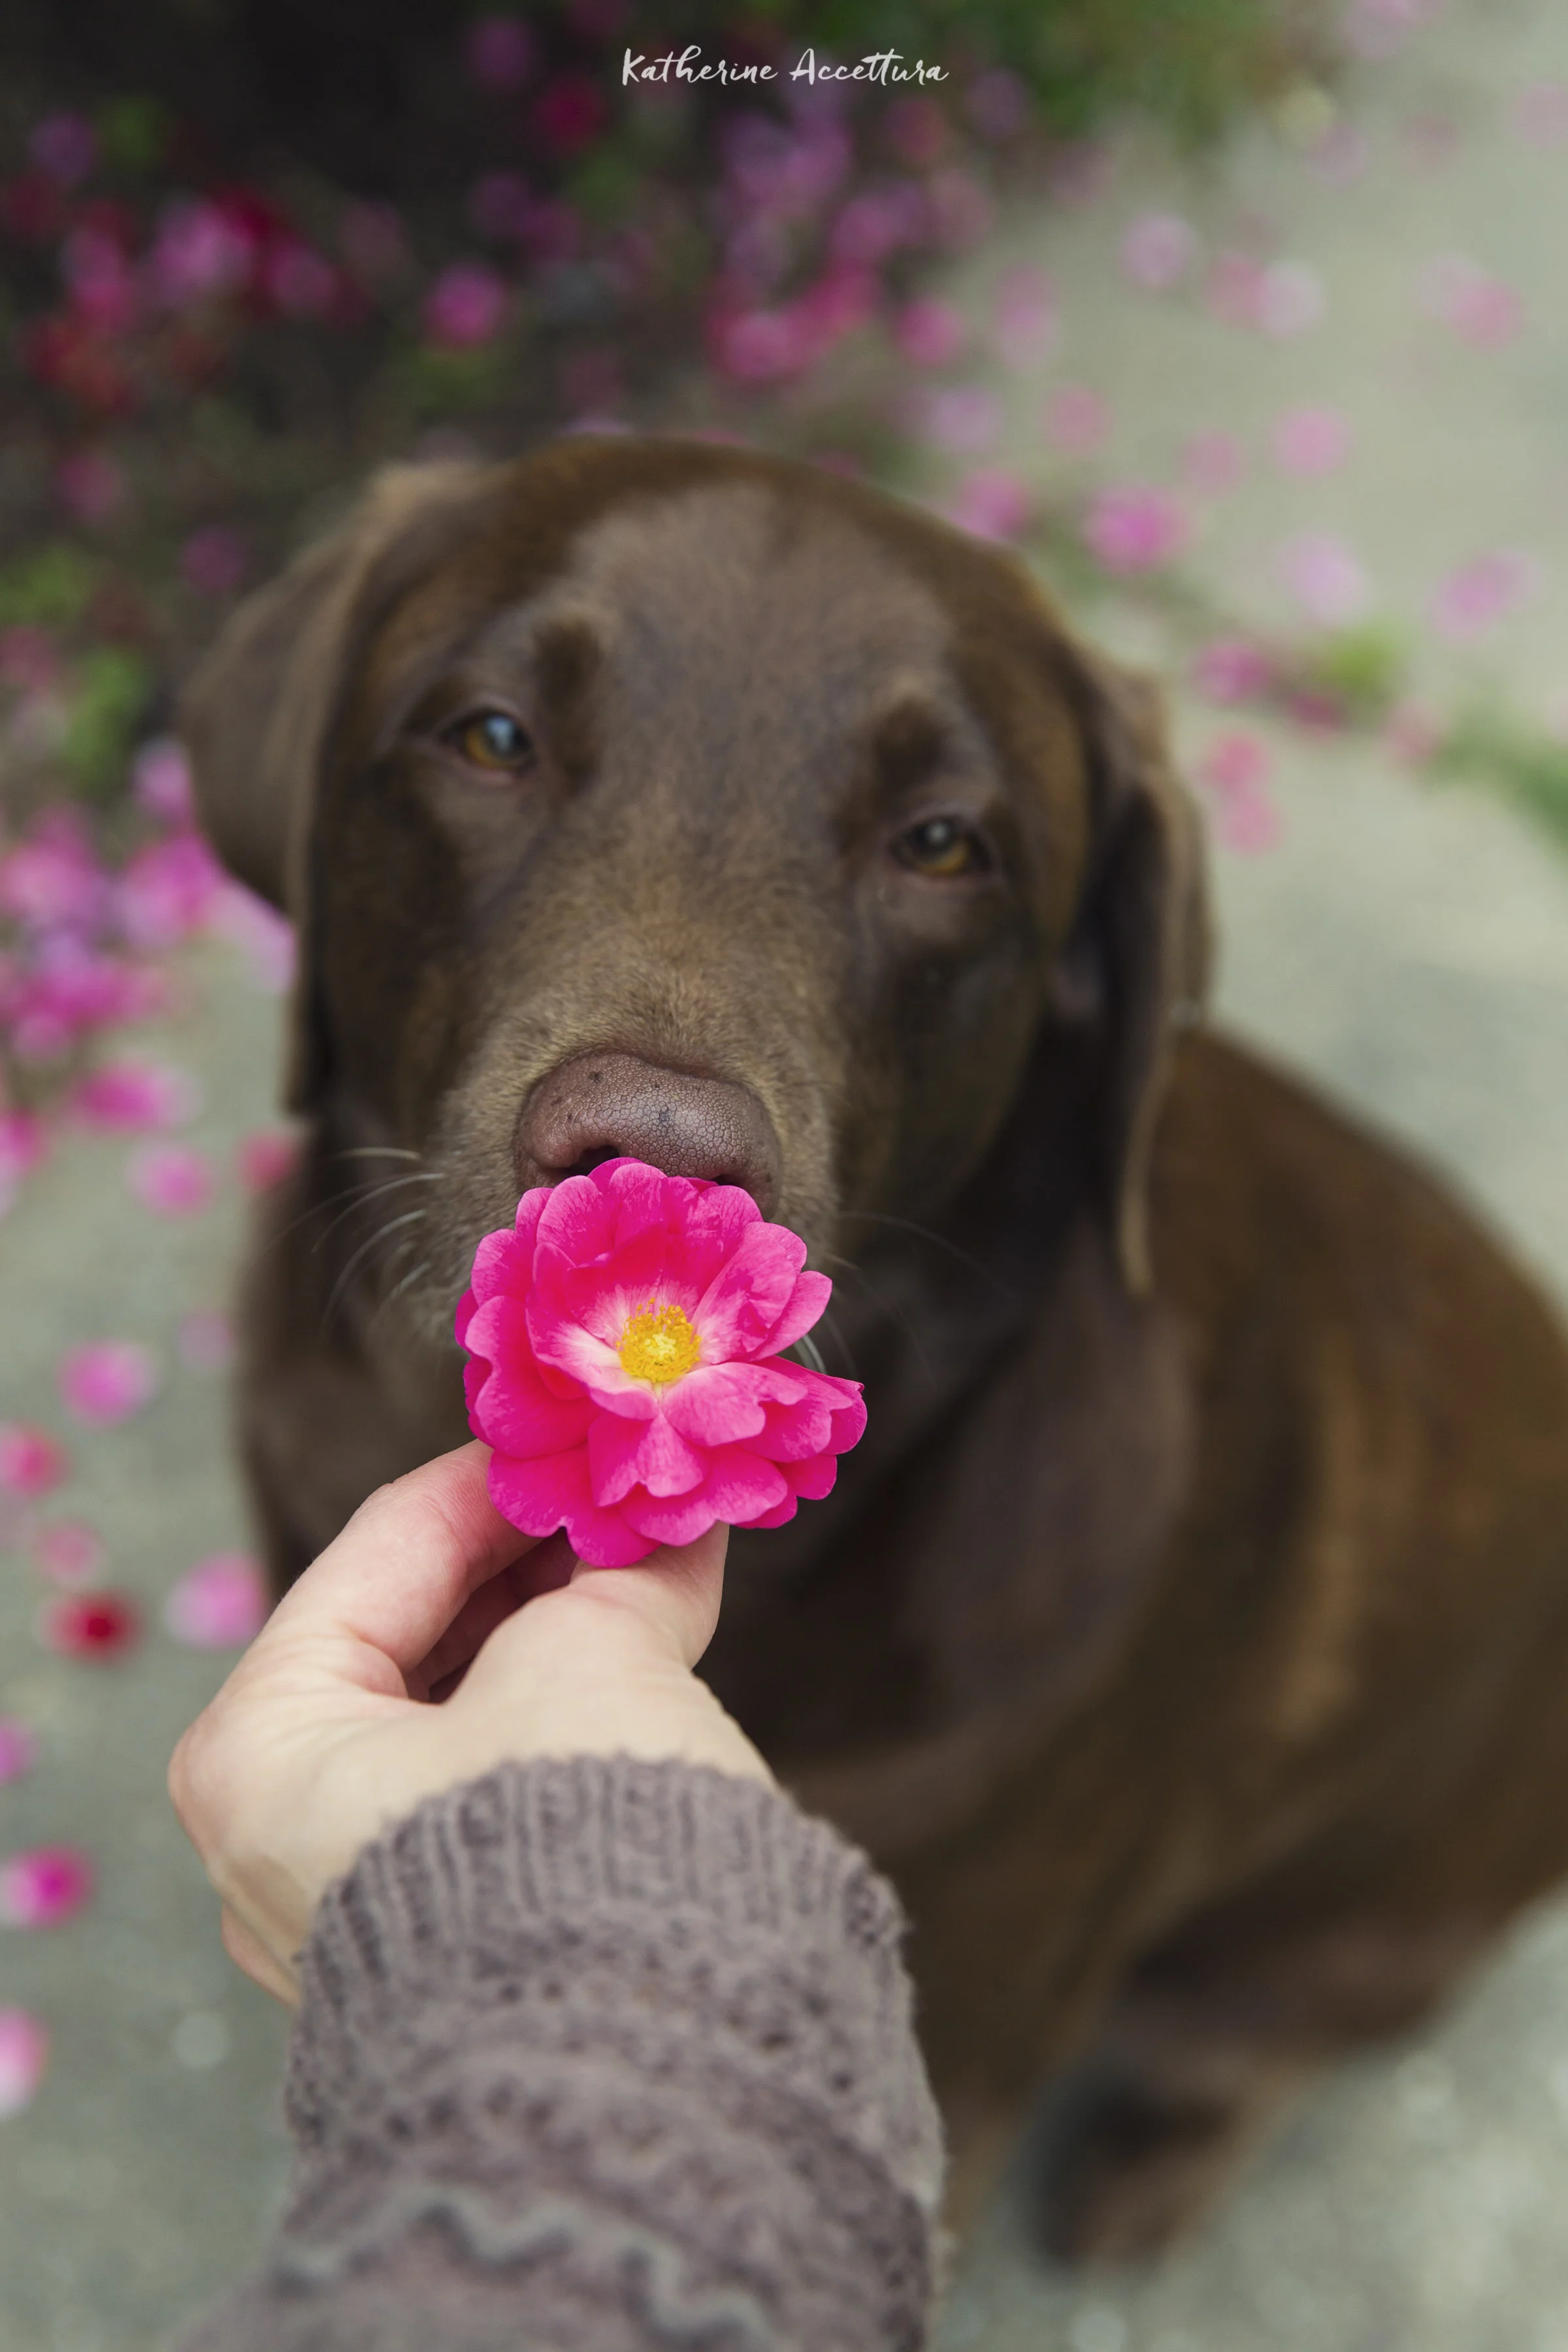
5. When In Doubt, Pin Food and Quotes

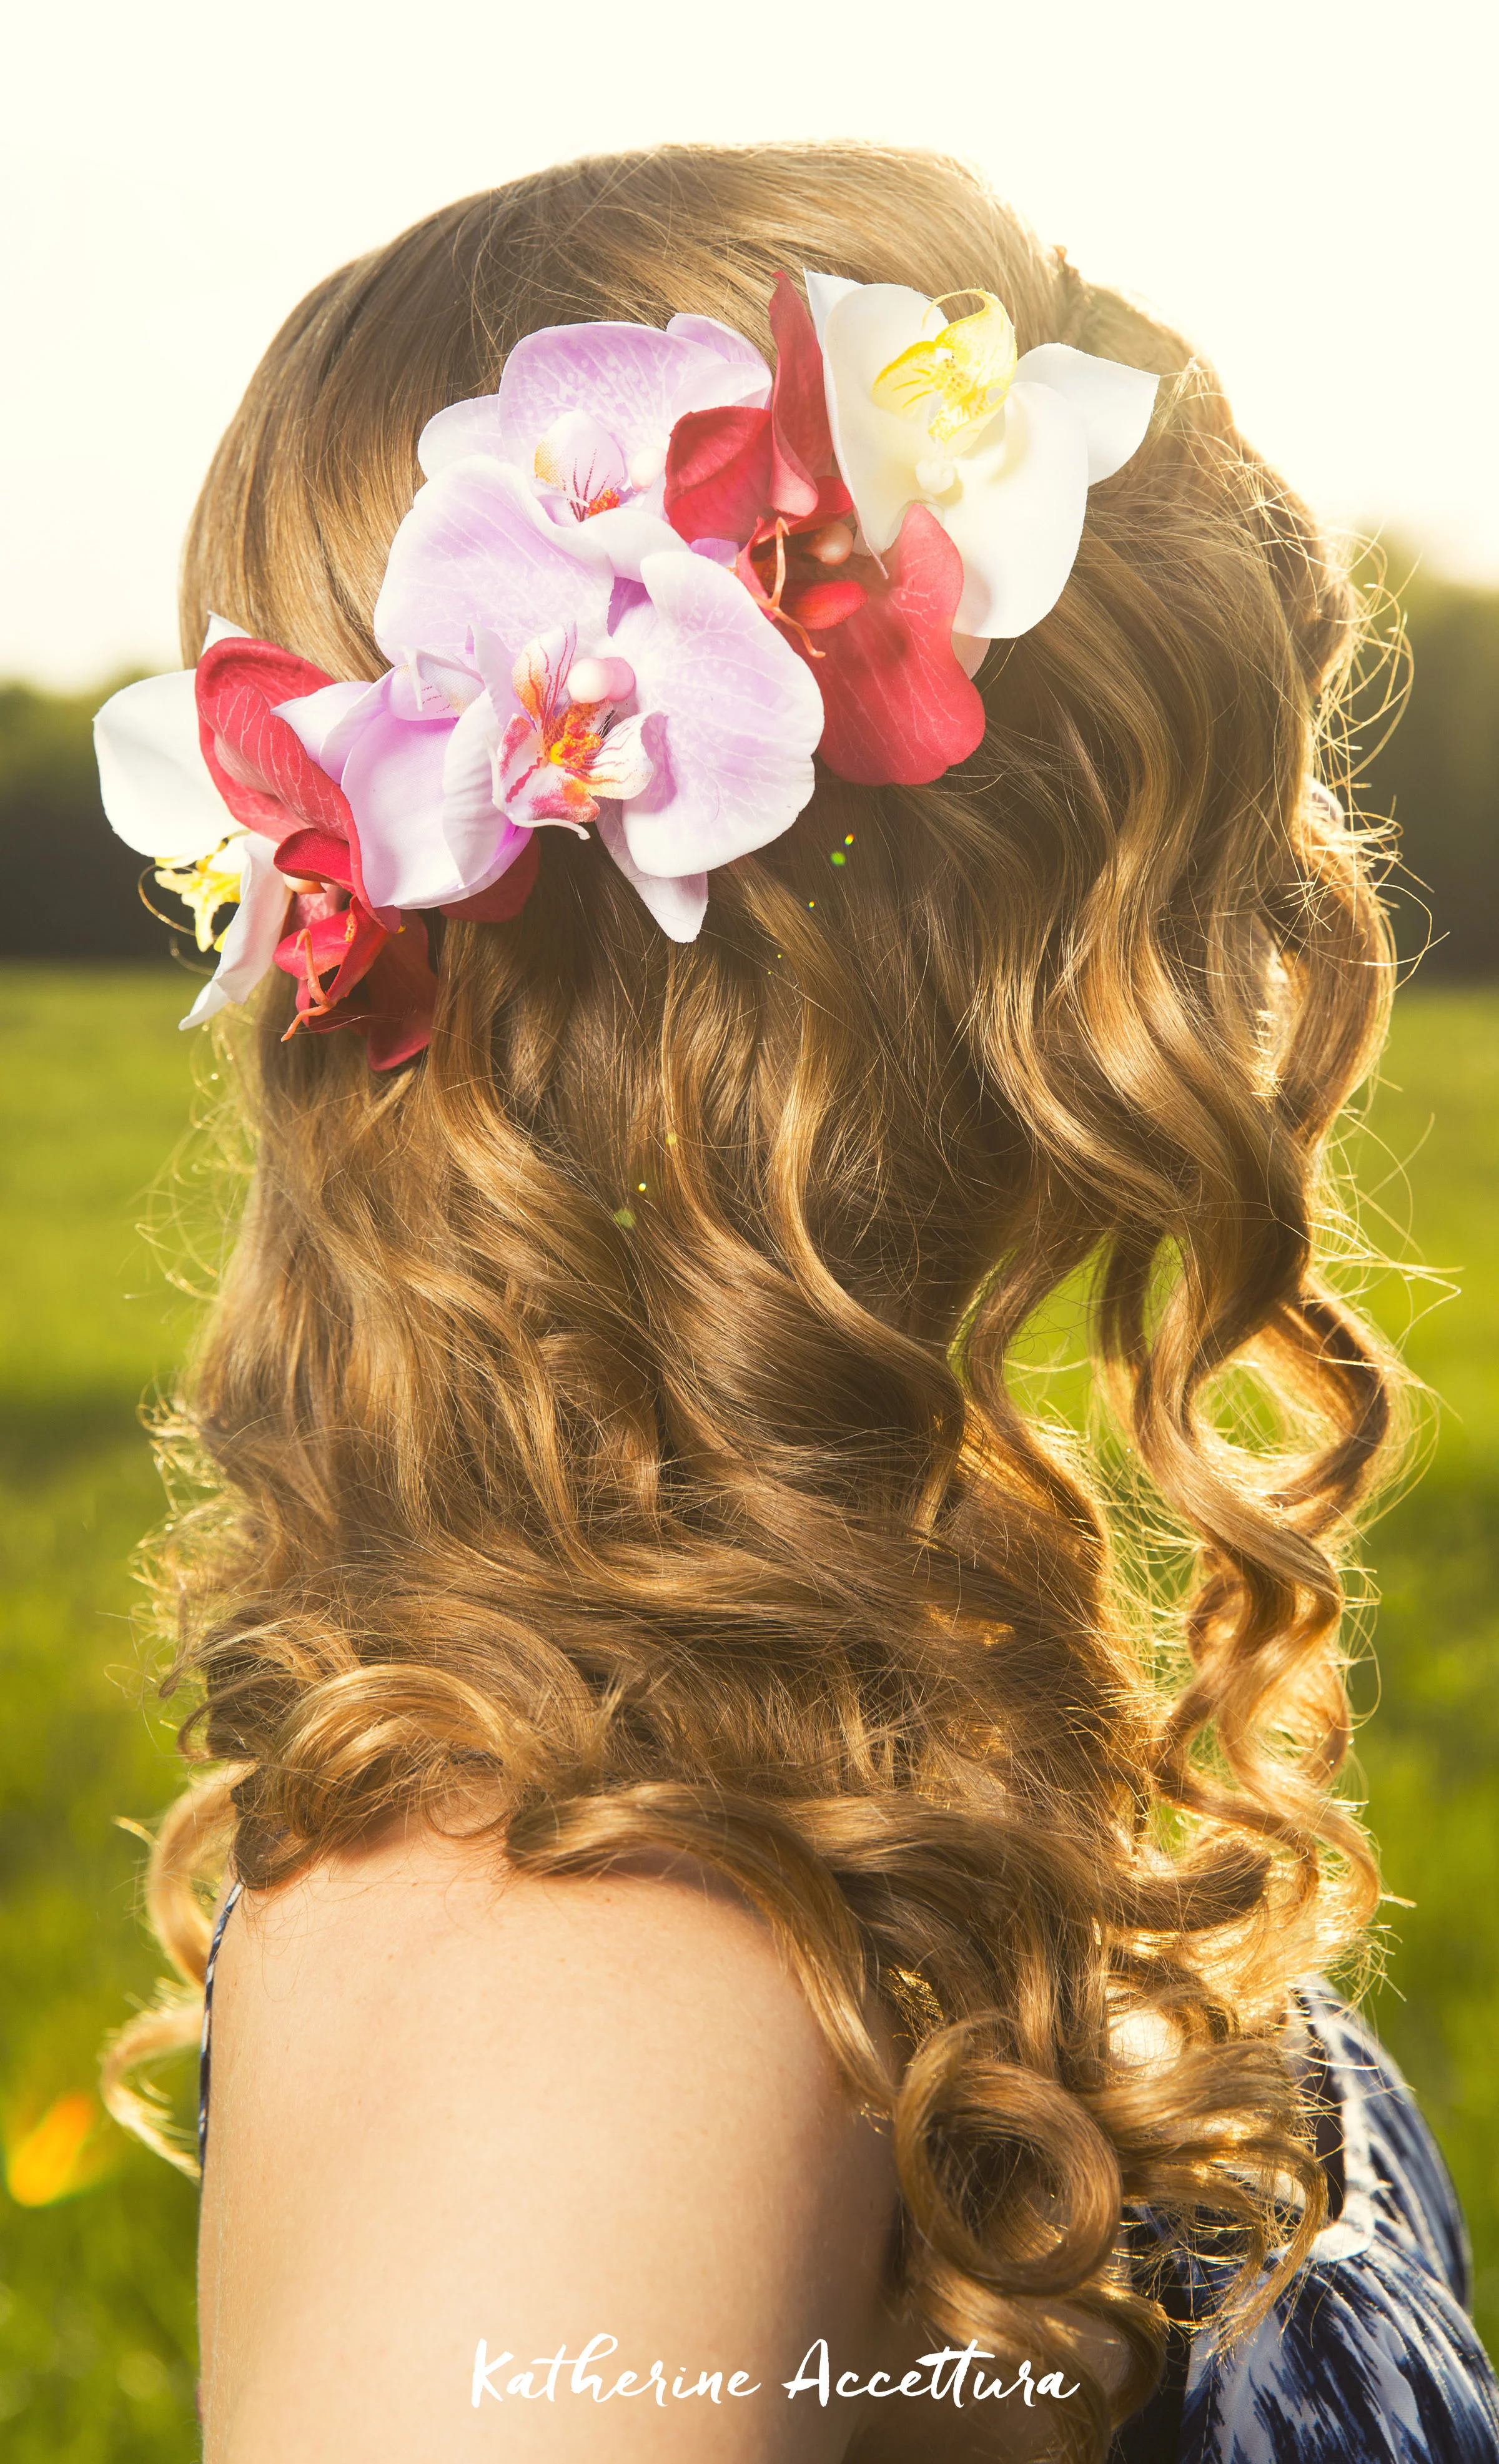
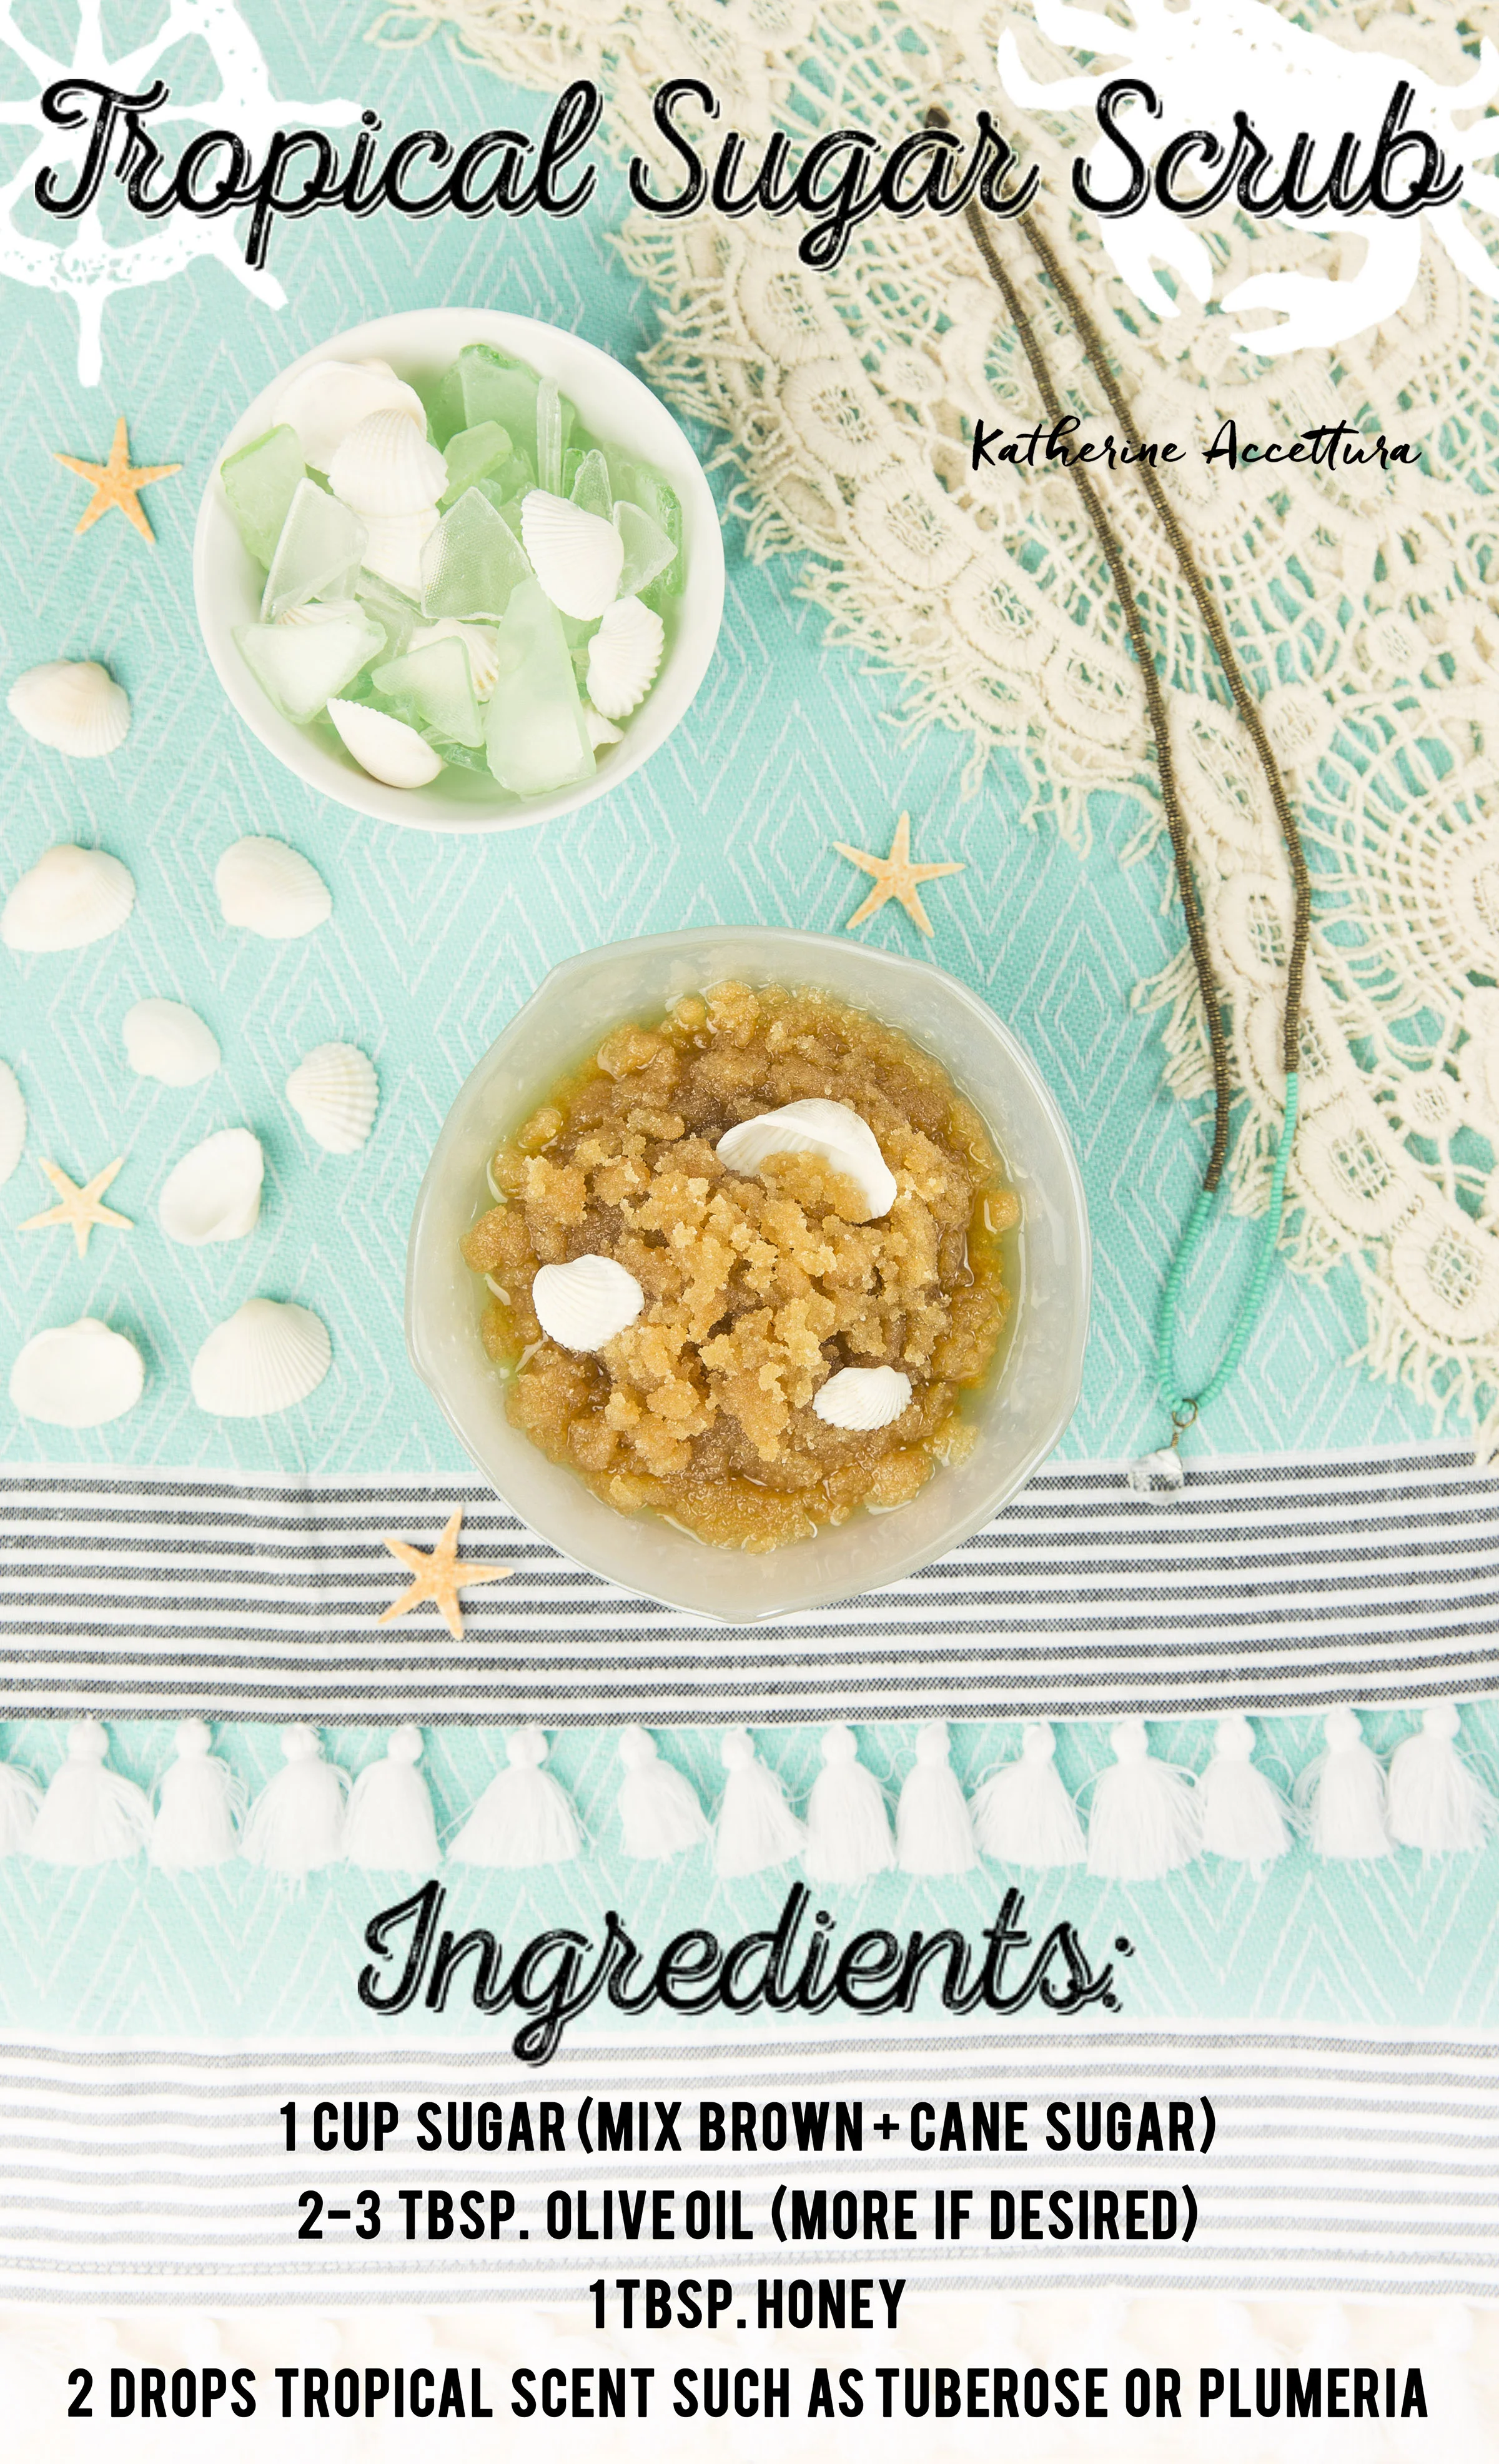
- Everyone hits creative blocks sometimes, so if you’re experiencing this, pin a few recipes or beautiful pictures of food. Inspiring quotes can also be popular to a wide variety of followers.

- In my opinion, Food, Quotes, and DIY tend to be some of the most repinned and liked pins out there. Make sure they are cohesive with your other pins, though!

Connect with Katherine:

Pinterest – Website – Blog – Instagram

These ‘HelloSociety Influencer Guest Posts’ are shared in support of successful influencers teaching best practices to fellow influencers, aspiring influencers, brands and social media users.

Aloha Collaboration!

I have been working on a really cool project lately! I was asked by Sony Pictures to create and style some photos inspired by their new movie, Aloha! They also consulted with me to create a Dedicated Board on Pinterest, and I absolutely love how it's turning out. We have been to Hawaii three times, so I have a lot of knowledge of what the island and its cultures appreciate. I also had a lot of time to take in the sights and sounds of the cities and oceans in lots of places among the 5 islands. All of Kauai was definitely my favorite, and Honolulu is my second favorite. Aloha is based on Oahu.  Check out the trailer for the movie here. Photos by myself and Bobby Samat Photography.

A special thank you to Sony Pictures for sponsoring this project! Check out Aloha, in theaters May 29. 

How To Make Tassel Earrings

These prep-inspired earrings are SO cute! There are only a few steps and you will have a new, custom pair of earrings in no time. These would also make an awesome Last-Minute Mother's Day Gift! Enjoy!

How To Make Tasse1 Earrings - Lily The Wandering Gypsy
How To Make Tassel Earrings - Lily The Wandering Gypsy

WHAT YOU NEED:

- Leather Tassels (I got mine at Hobby Lobby in the scrapbooking area - by The Paper Studio / Spare Parts). You may want to check the fabric section as well! Just make sure they have a loop at the top, so you can hook them to the jump rings.

- Gold Jump Rings (6 MM or a bit larger)

- Gold Earring Hooks

- Pliers

How To Make Tassel Earrings - by Lily The Wandering Gypsy

Aren't these tassels adorable?!

How To Make Tassel Earrings - by Lily The Wandering Gypsy

IT'S SO EASY!

Now, open the jump ring, and slip on your earring hook and tassel. Close up the jump ring nice and tight, and you're set! A new pair of earrings (or 4) for summer! 

How To Make Tassel Earrings - by Lily The Wandering Gypsy

DIY Daily Planner Tutorial - For Under $10.00

I am the type of person who needs a daily to-do list. I looked at daily planners recently, and they ranged between $50-$100. That's absurd! When I saw that price, I knew I had to make my own. Before I made this official planner, I was using a lined, spiral journal. It was fine, and very portable, but I usually have this on my desk, so that wasn't a huge deal when making this new one. This would also make a cute Mother's Day or graduation gift! 

DIY Daily Planner for Less Than $10

These mini binders were only $3.99 (only available in Target stores), but you can find them at any office store. The mini binder filler paper (also only available in Target stores), was only $1.99 per pack, and I grabbed 2. You could also use the divider sheets, if you need to organize things a bit more. 

Easy day, I just write the date at the top of each page in a thick permanent marker. I do this while looking at a calendar, so I get the dates correct :) It's that simple! Use your favorite color pens to write your daily to-do list and you're set! A fun way to spruce up your desk for under $10.00!

DIY Daily Planner Under $10

How To Make A Festival Ready Flower Crown!

I started making these beautiful flower crowns last year and they are so fun and easy! You can make one in about 20 minutes, and they are so customizable - just add whatever type of flower inspires you, and you have a unique, one of a kind accessory, just in time for festival season! 

How To Make A Festival-Ready Flower Crown
How To Make a Festival Ready Flower Crown

GATHER YOUR MATERIALS // WHAT YOU NEED 

1 Bouquet of Silk Flowers - Make sure the flower heads are easy to remove from the stems, and that a wire can go through the enter of the flower head. 

Cloth Stem Wires - Pliers, Florist Tape, Wire Cutters, Wrapped Grapevine Wire for crown

How To Make A Festival Ready Flower Crown

Next, cut a length of grapevine wire that will wrap around your head plus an extra 4 inches to twist together to form a circle. Now, lay the circle on a table, and set 8 or more flower heads around the crown to see how you want them to look in the end. You can add a few smaller flowers if you want a more full look to your crown. 

How To Make A Festival Ready Flower Crown

PREPARE THE FLOWERS

Cut the Cloth Stem Wires into 4 equal parts with your wire cutters. And, as shown below, the steps are: 1.) fold over the top of the wire about 1/4". 2.) Start to twist the folded part around the rest of the wire. 3.) create a twisted loop in the top of the wire so the flower won't fall off. Thread these looped wires into each flower head you will use. 

How To Make a Festival Flower Crown

Put wires through ever flower head, and get ready to attach them to your crown. 

How To Create A Festival Ready Flower Crown

ATTACH YOUR FLOWERS

Attach the first flower to your crown by twisting the wired stem to the crown. Twist the flower head wire onto the crown, and use a pair of pliers to secure any sharp wire ends, then use florists tape to make sure no wire ends poke you! 

How To Create A Festival Ready Flower Crown

ALMOST DONE!

Now, twist each flower onto the crown, and don't twist each wire all the way until you are happy with the flower placement. Cut the rest of your florists tape pieces, and get ready to wrap each flower stem with tape at the end. 

How To Make A Festival-Ready Flower Crown

Here is the back view of the crown, before taping up wire ends. Use pliers to secure any sharp wire ends to the crown, then tape each end to the crown. Also, tape the rough ends of the crown so they don't come undone or poke you. 

How To Make A Festival Ready Flower Crown

And, here are a few more examples of other flower crowns I created. They're also perfect for a bride, or a little girl who loves flowers! Are you heading to any festivals this year? If so, feel free to comment below. 

How To Make A Festival-Ready Flower Crown