A Sparkling Rosé Sangria Recipe that is absolutely PERFECT for your next gathering or a wonderful weekend by yourself. As the temps get warmer, this seasonally fresh recipe will delight your tastebuds and really make the day a whole lot more fun!
Read MoreElegant Chocolate-Dipped Patriotic Oreos
Have you noticed that most candy/chocolate stores offer chocolate-dipped Oreos among their other chocolate bon-bons and other confections? I have always been amazed by this, because they are SO incredibly easy to make. I figure, why not just make some of my own at home! I also wanted an excuse to check out the Oreo Thins that I have been seeing everywhere, so I thought this would be the perfect project!
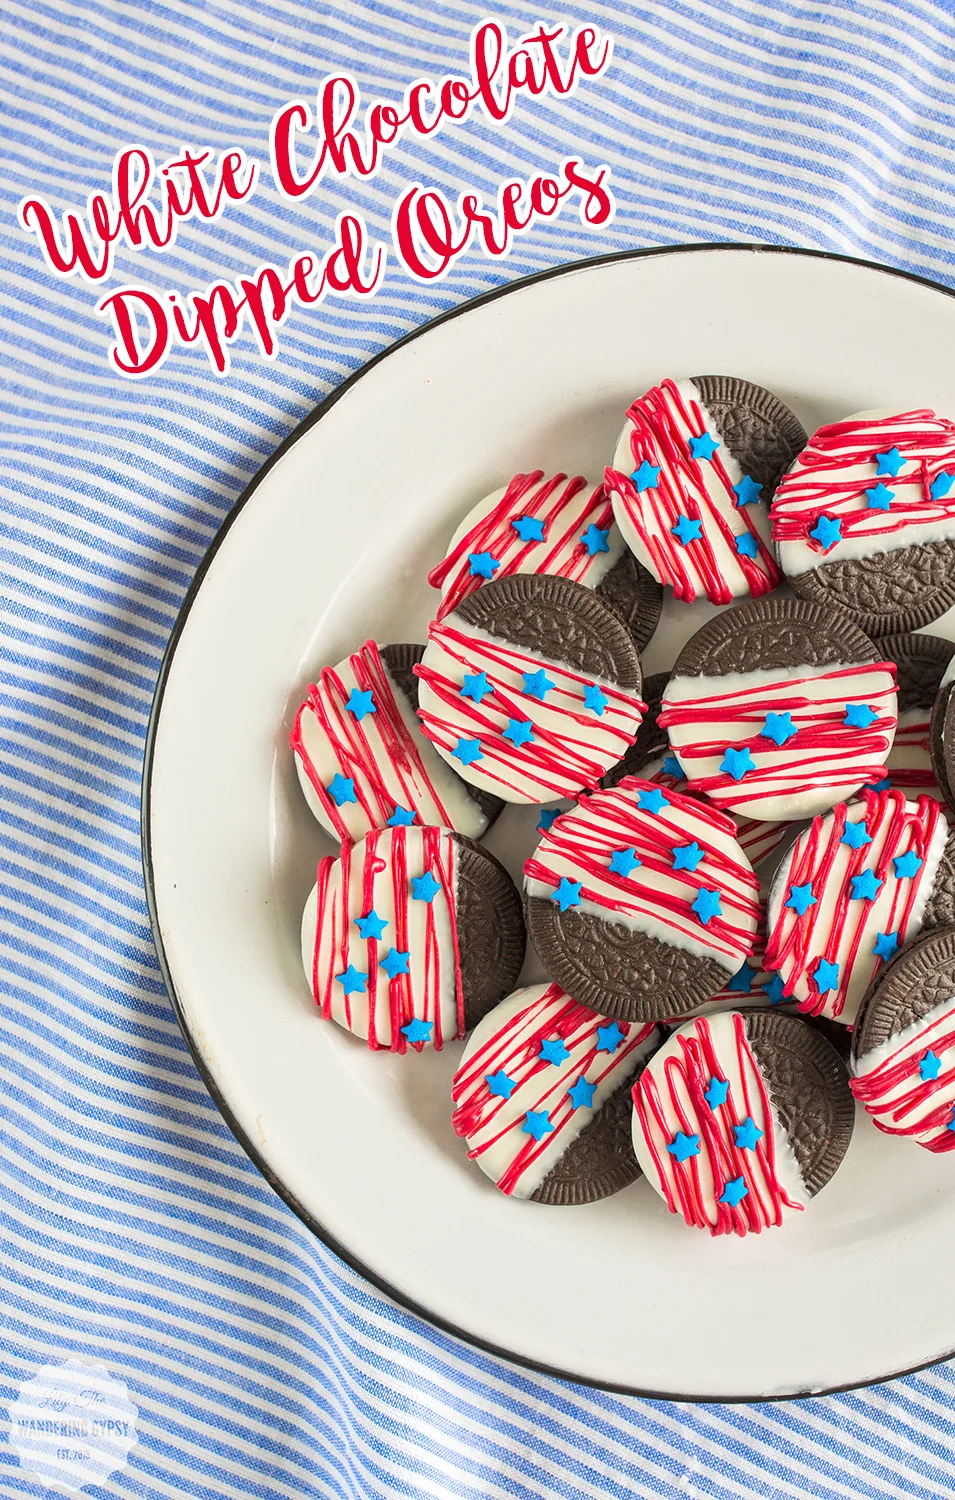
Without further ado, here are my Elegant White Chocolate-Dipped Oreos, perfect for Labor Day Celebrations, and other times when you just wanna decorate some desserts!
- 1-2 packages of Oreo Thins (find them here)
- Ghirardelli Classic White Melting Wafers or White Chocolate Chips (find them here)
- Red Food Coloring Gel (this is the set I have) or red candy melts
- Blue Sprinkles (similar here)
- Glass jar to dip Oreos into (mine was the 8 oz. size, I believe)
- Skewer Stick
- Parchment Paper
1.) Melt white chocolate in a double boiler method or in the microwave, stirring regularly to make cure it's smooth and fully melted.
2.) Line a baking sheet with parchment paper.
3.) Transfer a portion the melted white chocolate to a jar that is about as deep as the Oreo Thins are wide. Leave about 1/2" of room from the chocolate to the top of the jar.
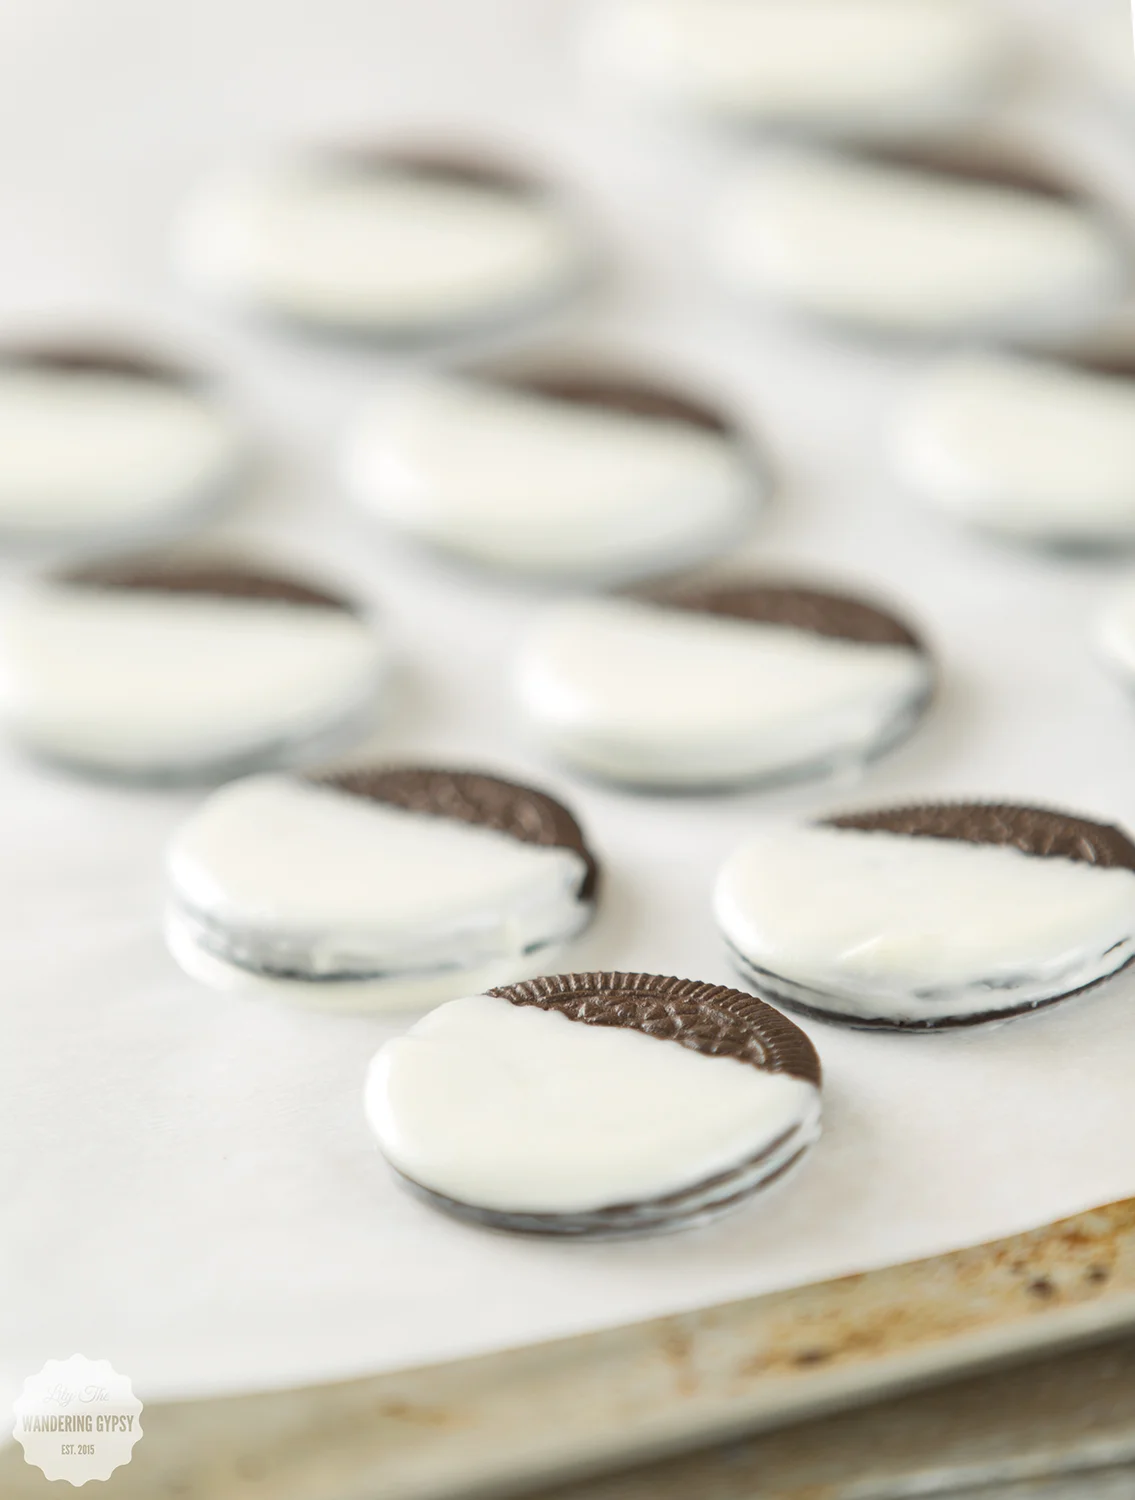
4.) Dip each Oreo Thin into the white chocolate, and dip in little over half way, leaving space at top.
5.) As you pull the cookie out of the jar of white chocolate, use a skewer stick to scrape excess chocolate off the back of the cookie, and around the sides. This is a great tip, that makes your cookies look way better and less gloppy as they dry.
6.) Put each cookie onto the parchment, and let cool completely.
7.) After you have dipped every cookie, pour more white chocolate into a jar, and add lots of red gel food coloring. This could also be done with red melting wafers.
8.) Transfer to Ziploc bag, and cut a tiny opening in one corner. ***Working one cookie at a time, add lines of red chocolate, then a few blue start sprinkles to each cookie. Practicing first helps!
9.) Enjoy your cookies! These would be perfect for a party or just enjoying at home!!!


