Lavender Lemonade - Bacardi Inspired

One of the coolest projects I have ever done is working with Bacardi to show my readers how to create summer party-ready drinks with two of their flavors - Limon and Tangerine (a new one). 

I was asked to pretty much create whatever I wanted, and below you will see some of the goodness I thought up.

Lavender Lemonade - Lily The Wandering Gypsy

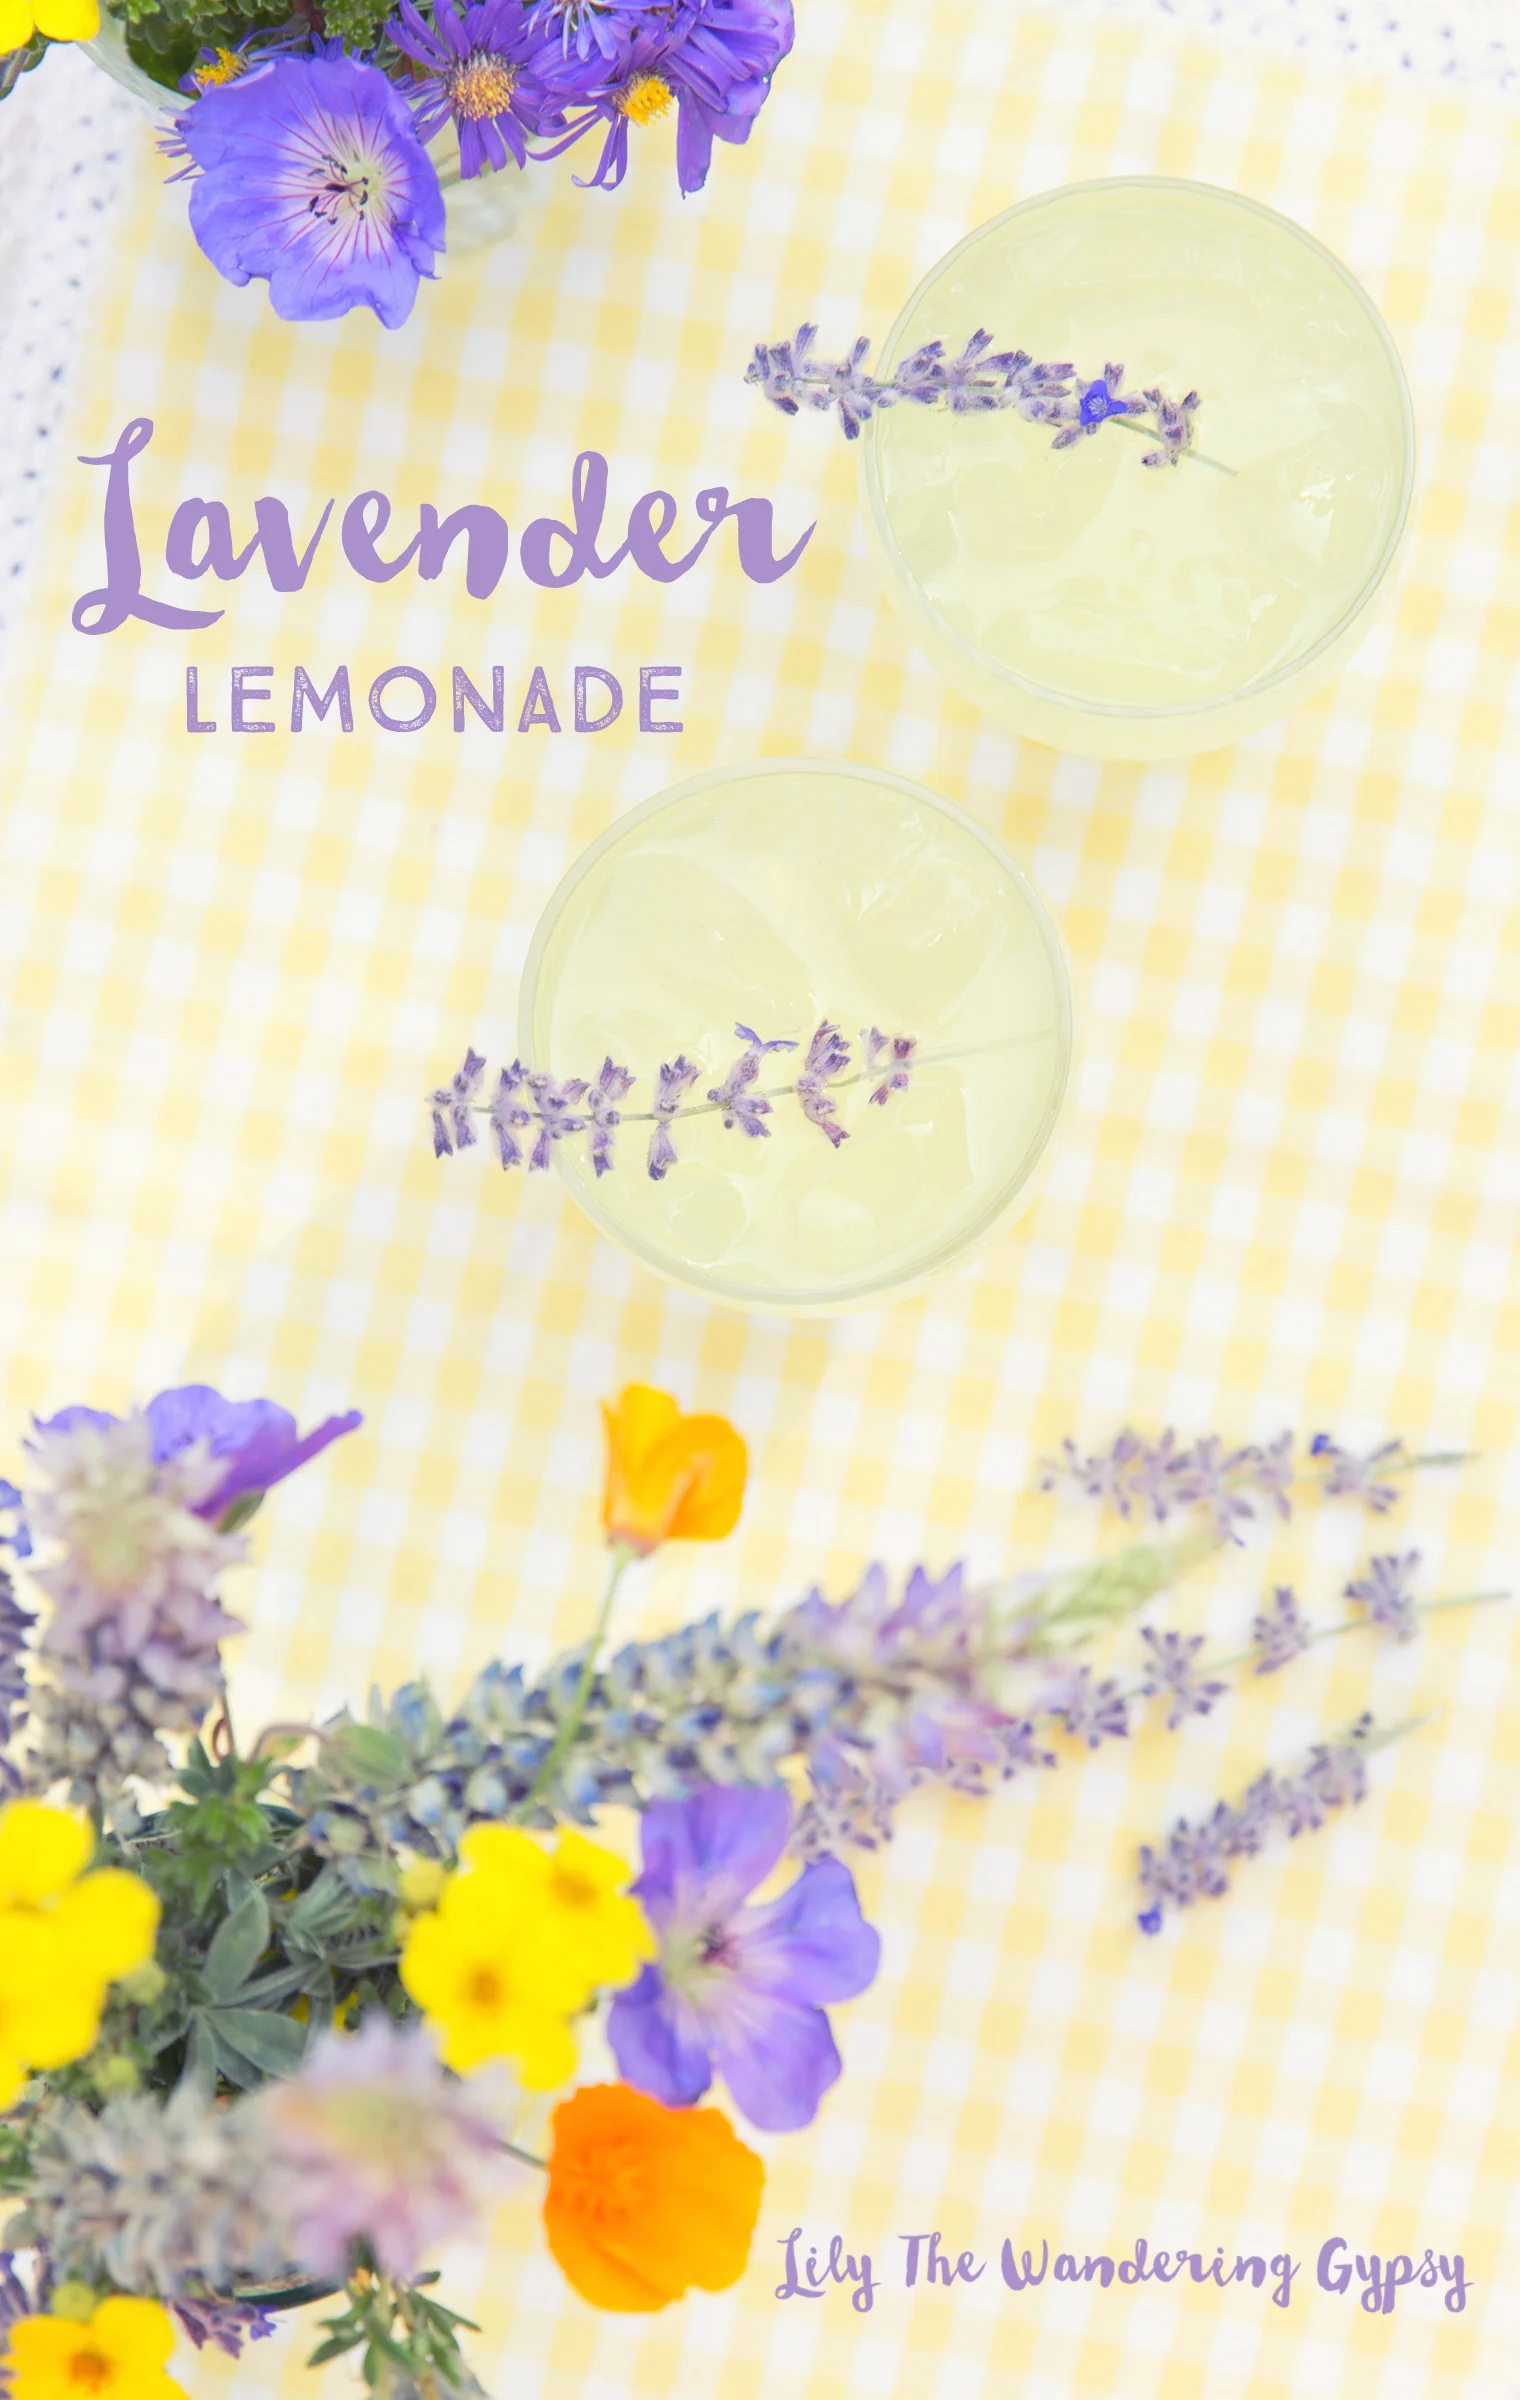
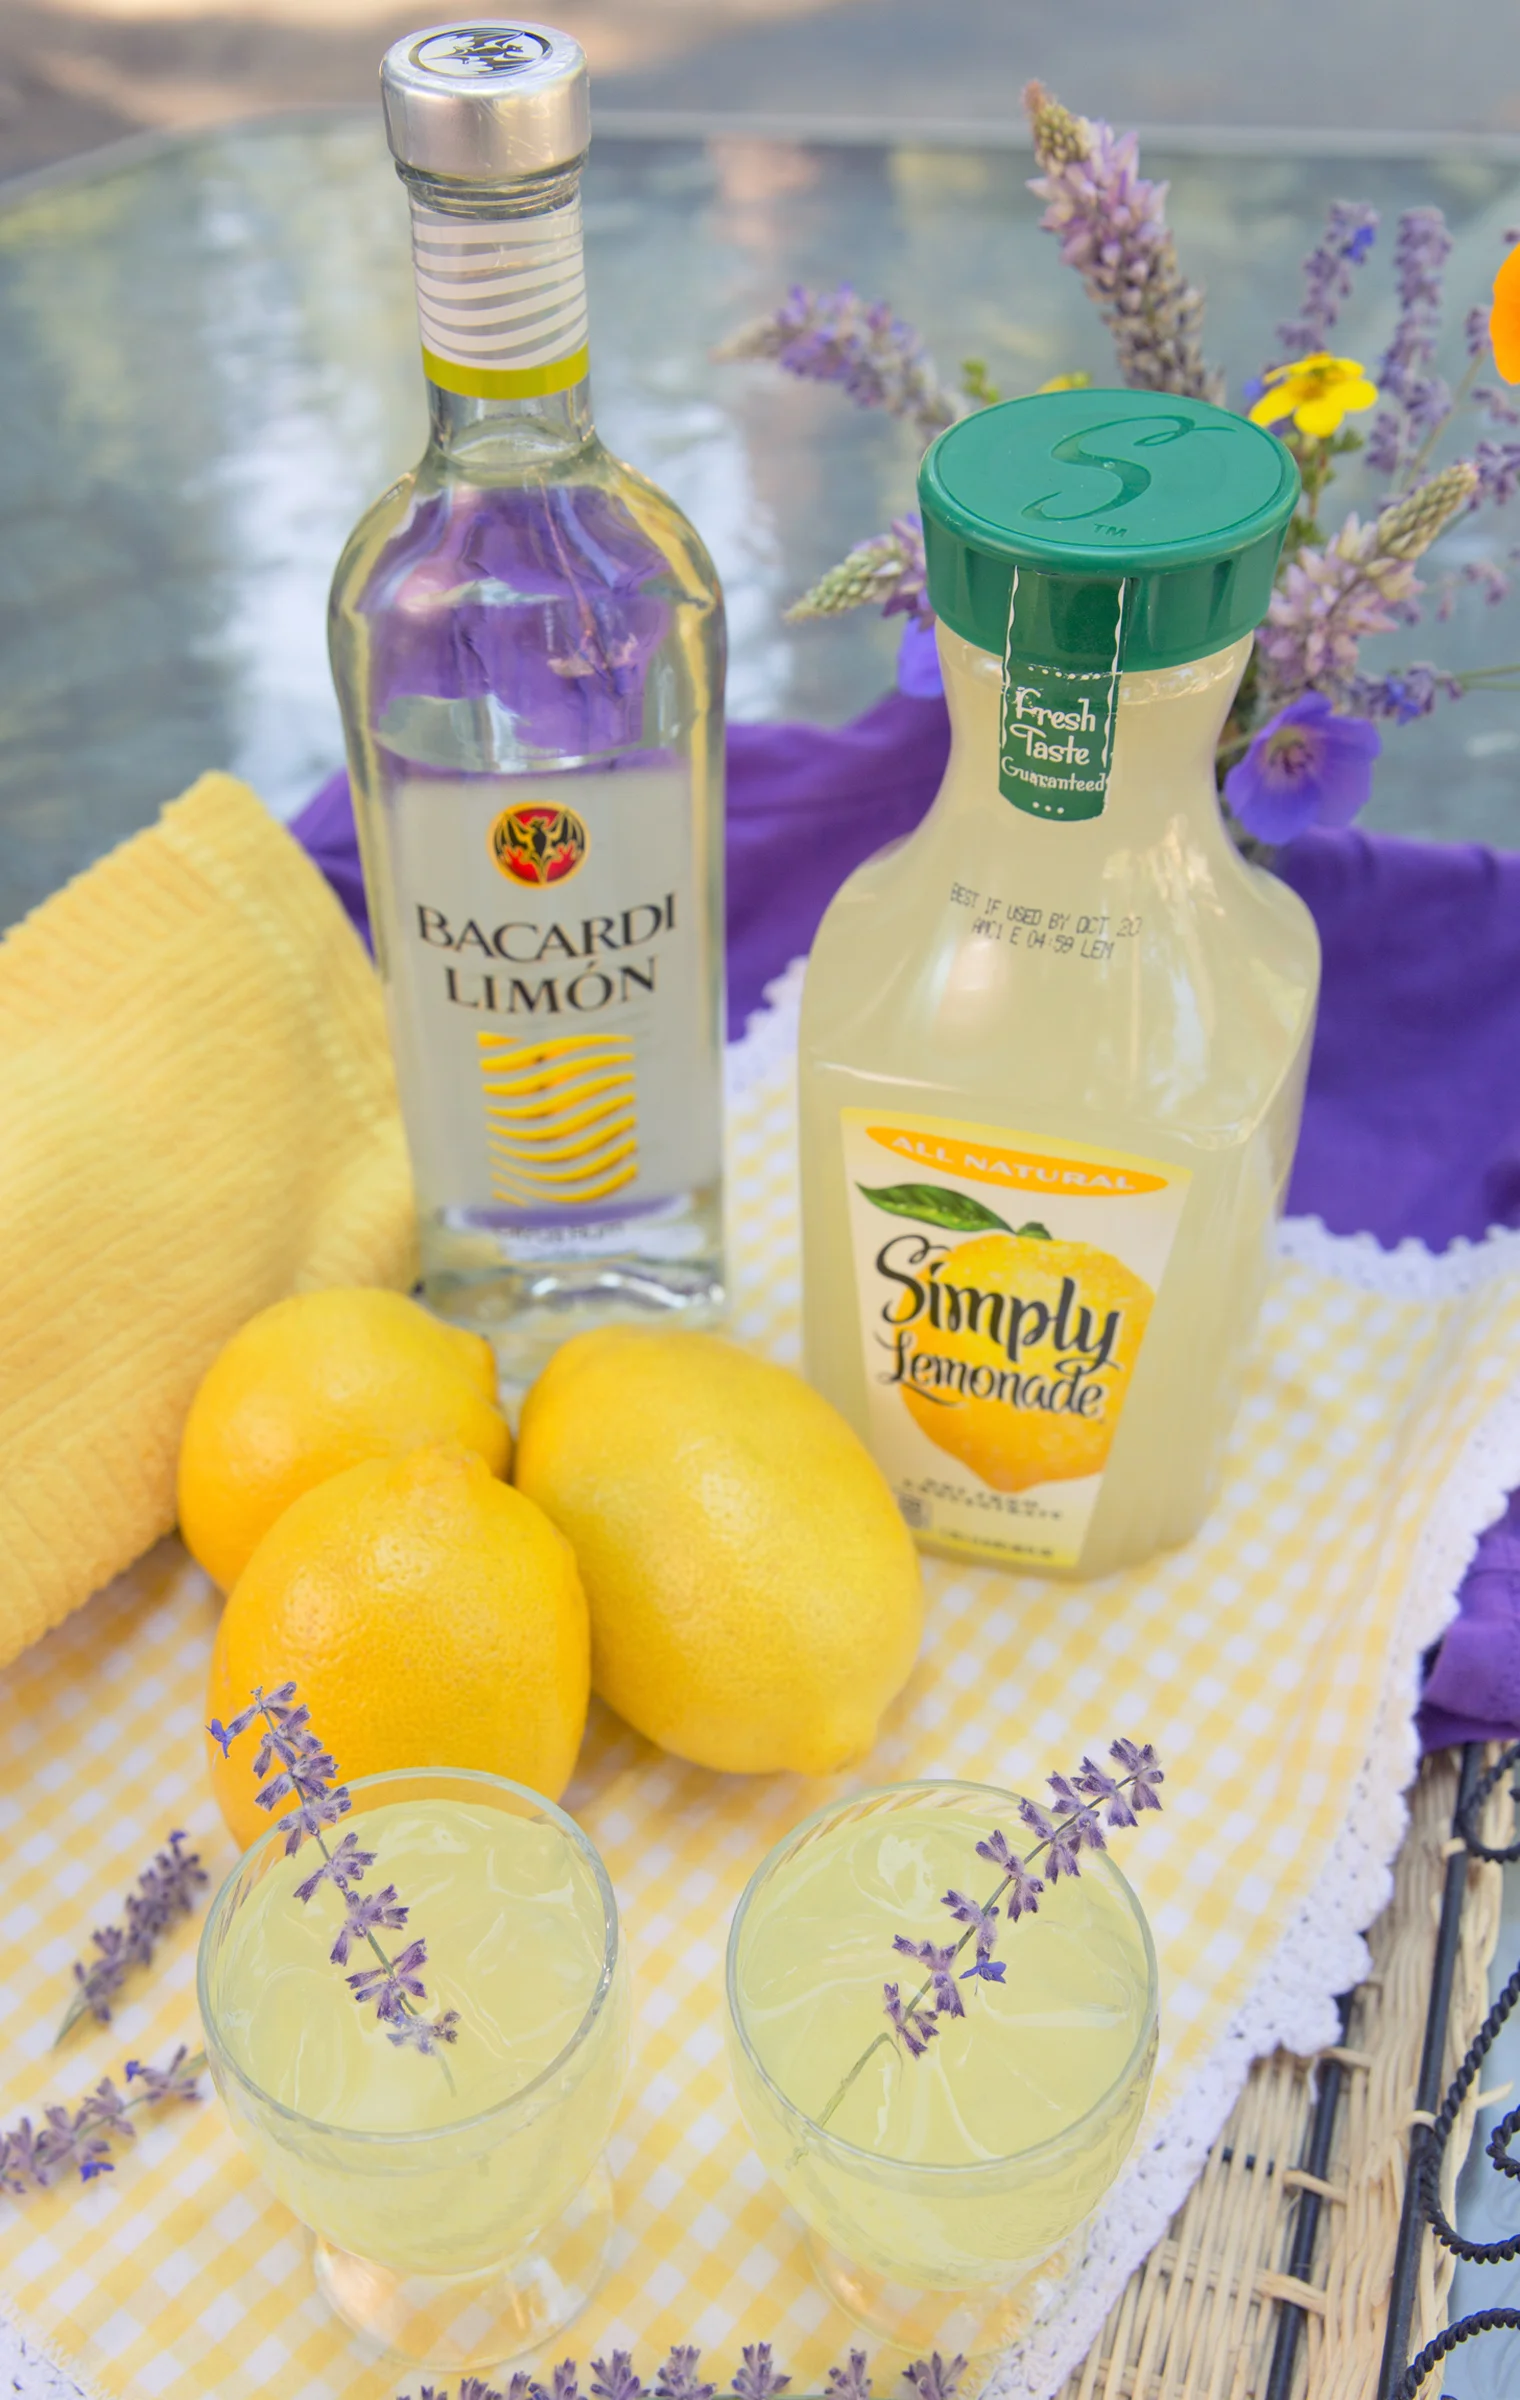
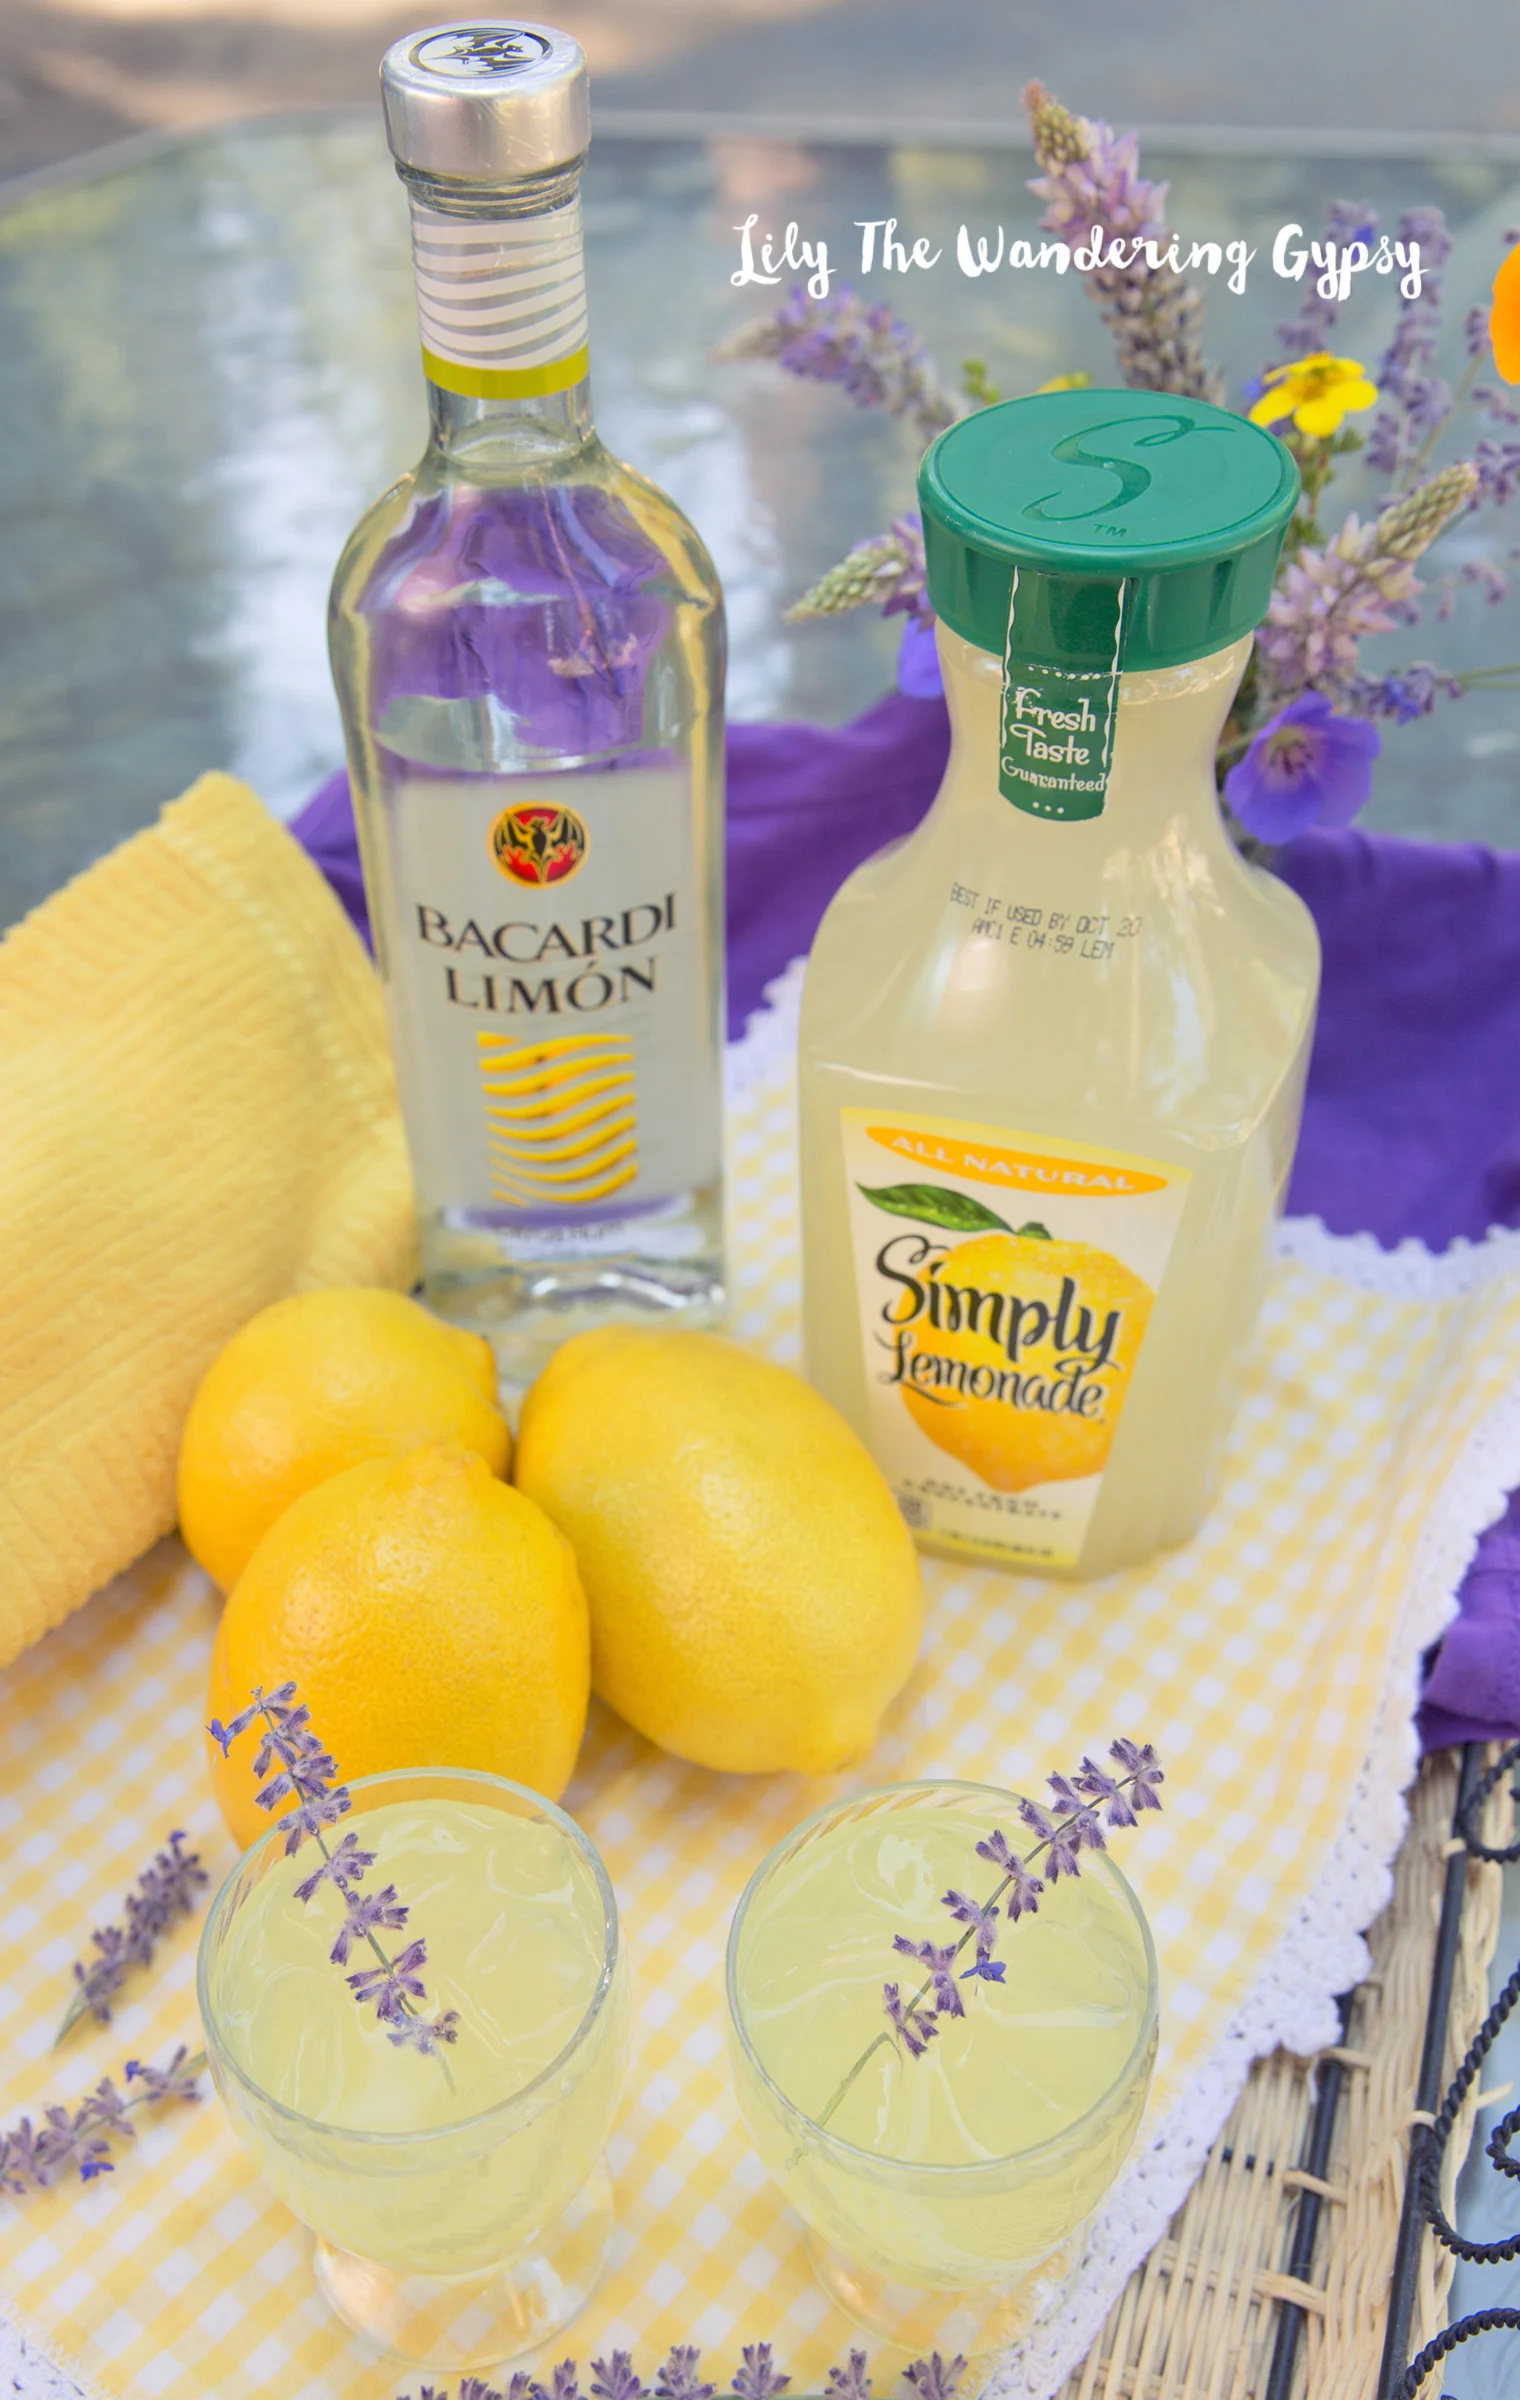
Actually, the main reason I thought this recipe would be great, is that the VRBO house we stayed in while we were in the Tahoe are a couple of weeks ago had some wild lavender growing nearby. I technically borrowed some clippings from the neighbor's yard, and WOW, did it smell incredible! The other wildflowers in the photos were also sourced from the neighbors, and I will tell you, I didn't even make a dent in their landscaping :) 

Lavender Lemonade - Lily The Wandering Gypsy

I made a simple syrup with the lavender, some sugar, and water. This way the lavender infused properly into the drink. But, I actually added it into some pretty glasses with Simply Lemonade and a shot of Bacardi. Below, you will find the recipe if you want to make it from scratch, with real lemons. 

LAVENDER LEMONADE VIA SIMPLYRECIPES.COM

The sugar/lemon balance will depend on what types of lemons you are using (Meyer lemons are less tart than regular lemons), and your own preference for sweetness. While all varieties of lavender are edible, English lavender and Provence lavender are most often used for culinary purposes. If you use fresh, garden flowers, make sure they have not been sprayed with pesticides. Do not use florist flowers.

Ingredients

  • A small handful of freshly picked and rinsed lavender flowers or a tablespoon of dried lavender flowers
  • 1 cup white, granulated sugar
  • 2 cups of boiling water for the infusion
  • 1 1/2 cups freshly squeezed lemon juice
  • 2 cups or more of cold water
  • Ice

Method

1 Cut the lavender flowers from the stems (no need to strip) and place in a medium bowl (a large pyrex measuring bowl works great because you can pour easily from it). Pour the sugar over the flowers and use your (clean) fingers to gently rub the flowers into the sugar.

2 Pour 2 cups of boiling water over the lavender sugar and stir with a spoon until the sugar has melted. Cover and let infuse for 30 minutes (or up to several hours).

3 Strain the lavender-infused simple syrup and pour into a serving carafe or pitcher.

4 Stir in the lemon juice.  Add another two cups of water. Taste and adjust for tartness. Add more lemon juice if too sweet.  Add more sugar if too tart. Add ice and more water to desired level of concentration. Note that the ice will melt eventually, further diluting the drink.

Add some thinly sliced lemons and a few lavender sprigs to the serving pitcher for presentation.

Lavender Lemonade - Lily The Wandering Gypsy

How To Make Blooming Candies

I had so much fun creating this project! I was inspired by summer, and all the pretty flowers that are blooming right now! For this recipe, I used silicone brownie molds, so I could fill them with tons of candy. I also used Blue and Vibrant Green Candy Melts. My filler candies were Sixlets, found here. See the list of ingredients below...and have FUN! You can make these in just about any color combo, for special events, holidays, and sporting events. 

How To Make Blooming Candies!

HERE'S HOW YOU MAKE THEM...

You only need a few simple ingredients! Some Sixlets Candies, candy melts, and a candy mould.  

You only need a few simple ingredients! Some Sixlets Candies, candy melts, and a candy mould.  

INGREDIENTS (Click Names To Buy)

Vibrant Green Candy Melts - Blue Candy Melts - Filler Candies - Wilton Paintbrushes, Candy/Brownie Molds

1.) Melt your candy melts in 2 separate containers, either in the microwave or in a double boiler method, which I did. I found that using a 2 cup Pyrex measuring cup, which held one package of candy melts worked great! Fill a small saucepan with 2-3 inches of water, and pour your melts into the measuring cup. Insert cup into water, heat water over medium of high heat and stir melts frequently until smooth. (See photo below for tips)...

How To Make Blooming Candies!
Texture Test (above) - The blue one looks right, but NOT the green one! If your melts form more of a paste than a smooth and satiny texture, try again. 

Texture Test (above) - The blue one looks right, but NOT the green one! If your melts form more of a paste than a smooth and satiny texture, try again. 

MY BIGGEST TIP WOULD BE...USE A PAINTBRUSH!!!

2.) Using a paintbrush to spread the candy molds was a priceless tip! The brush gives you way more control than a knife or spoon. This step took a while, but was definitely fun. I searched around just about every craft store for these brushes, and f…

2.) Using a paintbrush to spread the candy molds was a priceless tip! The brush gives you way more control than a knife or spoon. This step took a while, but was definitely fun. I searched around just about every craft store for these brushes, and finally found them at JoAnns! I originally searched for cheap kids' paintbrushes, and found nothing. Luckily I persisted :) 

3.) See how I spread the blue candy melts into the molds with a paintbrush, and am about to spread the green candies next. I added about double this amount (that you see in green) to fill the mold at first. After you fill the molds, pop the candies …

3.) See how I spread the blue candy melts into the molds with a paintbrush, and am about to spread the green candies next. I added about double this amount (that you see in green) to fill the mold at first. After you fill the molds, pop the candies into the freezer for about 5 minutes. 

4.) Now, fill the candy shells with Candies, almost to the very top. 

4.) Now, fill the candy shells with Candies, almost to the very top. 

5.) Add a dollop of candy melts on top of your fillers candies, and use the paintbrush to smooth the dollop out, and to create a seal, so the candies stay inside the melts. Throw them back into the freezer, and wait about 30 minutes (or longer), so …

5.) Add a dollop of candy melts on top of your fillers candies, and use the paintbrush to smooth the dollop out, and to create a seal, so the candies stay inside the melts. Throw them back into the freezer, and wait about 30 minutes (or longer), so that everything hardens and seals. 

These are so cute!!!

These are so cute!!!

6.) Here is what it looked like after I smoothed the last part of the candy melts over the molds, to close in the Sixlets. Use your brush to make a pretty swirl pattern on the candies if you wish. 

6.) Here is what it looked like after I smoothed the last part of the candy melts over the molds, to close in the Sixlets. Use your brush to make a pretty swirl pattern on the candies if you wish. 

7.) Here is what your (almost finished) candies will look like after being in the freezer overnight. You don't have to leave them in this long (2 hours will do), but after all the work I did on this project, I was more than happy to leave these…

7.) Here is what your (almost finished) candies will look like after being in the freezer overnight. You don't have to leave them in this long (2 hours will do), but after all the work I did on this project, I was more than happy to leave these babies in the freezer overnight, and enjoy them the next day :)

8.) Using a pair of rubber or cotton gloves, carefully peel the mold away from your Blooming Candies. The gloves help prevent finger prints all over your candies. Aren't they adorable? The next photo shows how you open them...

8.) Using a pair of rubber or cotton gloves, carefully peel the mold away from your Blooming Candies. The gloves help prevent finger prints all over your candies. Aren't they adorable? The next photo shows how you open them...

Now you can reveal your surprise candy inside! Just use a sharp kitchen knife, and (very carefully), cut into the candy as if you are cutting a slice of cake. 

Now you can reveal your surprise candy inside! Just use a sharp kitchen knife, and (very carefully), cut into the candy as if you are cutting a slice of cake. 

Blooming Candies

Pinterest  //  Facebook  //  Instagram  //  She's So Chic Blog  //  Twitter  //  Polyvore

Bacon-Wrapped Pineapple Rings

I have a real treat for you! The perfect mid-afternoon snack to eat on a snowy Sunday... Bacon-Wrapped Pineapple Rings! They taste super good and are actually fun to create. It took a little bit of time, but they were easy none the less. 

Bacon Wrapped Pineapple Rings

WHAT YOU NEED:

* 4 - 5 Pineapple Rings (We bought a fresh pineapple that was packaged near the fruit coolers, and cut them into super thick slices). A Can of pineapple also works. 

* 10 slices (1 Package) of Thinly Sliced Bacon (I like Applegate Organic)

* Toothpicks or short skewer sticks.

* Metal Baking Rack - place into baking dish

*Shallow 9x13 Baking Dish

INSTRUCTIONS:

* Preheat oven to 350 Degrees. Open the package of bacon, and prepare/cut/or drain your pineapples. Set out a decent amount of toothpicks into a shallow dish so they are easy to use.

*To construct: Set one pineapple ring onto a cutting board or clean surface. Take the first slice of bacon, begin to wrap it around the pineapple, and continue with 1-2 more pieces of bacon per ring. Secure with toothpicks. Now, place each Bacon Pineapple Ring onto the Baking Rack.

* Bake for 15-20 minutes, on the top rack of the oven. You may need up to ten minutes more, depending on your oven. Make sure you do not burn them, and enjoy!