How To Make Cold Brew Coffee For Spring with Dunkin’ Donuts

This is a sponsored conversation written by me on behalf of The J.M. Smucker Company. The opinions and text are all mine.

Spring is here, and I am so excited for warmer weather. I will admit, we were lucky to get such a mild winter, but getting ready for warmer weather means that I have more projects on the to do list and that calls for coffee! I am someone who has to stay organized, so I have been working on my spring to do list for over a month now!

Do you start planning for spring ahead of time, or do you wait until the weather is for sure perfect to get started? Either way, Dunkin’ Donuts® Cold Brew is here to help! Get that craft coffee experience right in your own home with very minimal effort – it’s SO easy!

Check out the mPerk Offer from Meijer, here!

Dunkin' Donuts Cold Brew coffee packs provide a more balanced & blended coffee forward taste as a result of its craft brewing method.

By steeping the coffee packets in water for 8-12 hours, every little nuances of rich, delicious flavor has a chance to come forth and satisfy your taste buds! Drink it black, or enjoy a simple coffee recipe, which I have provided in this post.

Just imagine all of the amazing iced coffee recipes you can create from Dunkin’s Cold Brew.

INSTRUCTIONS + RECIPE:

Step 1: Put 2 Coffee Filter packs (1 pouch) into a pitcher

Step 2: Fill the pitcher with 4 cups of cold water

Step 3: Steep it in the fridge overnight, or for 8–12 hours

Step 4: When it’s done steeping, remove the filters and add 3 more cups of cold water. Customize and enjoy! I added 1-2 Tbsp of sweetened vanilla syrup, also located in Meijer’s coffee aisle, plus about ¼ cup or more of your favorite creamer, all poured over ice. Feel free to add more sweetener if you like, but this tasted amazing!

Watch my video, below, to see how simple it is!

I have been really cherishing coffee a lot more lately than I used to. Maybe it’s because I am inspired by the creative boost it gives me, and perhaps that means a LOT to me :)

In the last few years, I have been training my taste buds to love coffee and all its wonderful, energizing benefits! The added boost is actually what has drawn me to enjoying coffee in the first place, but I also love the fact that I have had some of the best and most meaningful conversations over a cup of coffee. While it’s still a bit chilly out right now, I have been checking the forecast and there are glimpses of warm days ahead in less than two weeks! Here in southern Illinois, we are already starting to see green blades of grass popping out of the leaves, tulip buds and other flowers in their beginning stages, and I am SO excited to get the house and garden ready for spring.

Last year, we really began to invest more time and money into our garden. It was almost a bit sad to prep everything for winter, but each year, I know that I will learn more, and also understand what vegetables, herbs, plants, and flowers will grow on our property. What works well in shade, what works well in full sun, what works best in early spring, and what works best in the crazy heat and humidity of our southern Illinois summers. It’s all such a fun learning experience, and I documented our garden as mush as possible so that this year, I would be able to approach the garden in more of an educated manner.

I am also going to help my mom get her garden ready for spring, too, so I plan on bringing a box of the Dunkin’ Cold Brew with me, brewing the coffee in the fridge overnight, then experimenting with several different coffee recipes, which will make our gardening day even more fun and productive. My mom has ALWAYS been a coffee drinker, as long as I can remember, so it’s going to be super fun to bond over something I made for her!

I began with premixed coffee drinks, then started ordering coffee at coffee shops. Well, those options are great when you are in a rush, but I found that the process of making and brewing coffee is one of my favorite parts of the experience, so I make it at home a lot more now.

My mom is actually the person who taught me about gardening. She would save the plants at the garden center that were on their last leg, and then a few weeks later, when I saw her garden again, the plants looked like they were happier than ever. This year should be a fun time to bond over gardening, and it’s going to be great. My mom is going to LOVE this cold brew coffee too – she said she has never tried it before and is eager to learn more.

Did you know that freshly brewed Dunkin’ Donuts Cold Brew coffee packs allow a customizable, craft experience that highlights the smooth and rich notes that taste amazing? I’d definitely hold the taste of Dunkin’s Original Cold Brew up there with those made by very talented baristas. Now I’m a barista in my own home, and I just love it!


Located in the coffee aisle at Meijer, the Dunkin’ Donuts Cold Brew packaging is orange, and a bit larger, and is found near the other cold brew coffee section. I do love shopping at Meijer because of the huge selection of grocery items PLUS those awesome mPerks offers save me a ton.

I’ve always been so drawn to the cold brew process. It’s more of a craft process that a lot of coffee shops are preparing these days. Well, I understand why! The cold brew process draws out the flavor, and also allows the coffee to be less bitter and offer smoother taste. It’s almost like making a pitcher of sun tea, with a longer steeping process. Although the process is longer, the actual work involved is hardly anything. Open the packets, place in your pitcher with water, and wait overnight – that’s about it!

If you try a traditionally brewed cup of iced coffee next to a cup of iced cold brew, it’s amazing. I found that the cold brew was so smooth and wonderful, and by adding just a little bit of sweetened vanilla syrup and coffee creamer, I had a high end coffee drink that I created myself! WINNING!!

It’s so wonderful. A traditionally brewed pot of coffee sometimes starts to taste less appealing after an hour or so. Well, since this Dunkin’ Cold Brew actually steeps for around 8-12 hours, the delicious nuances of flavor get more time to develop. This coffee was not bitter, but more of a rich, smooth, fulfilling flavor! I never drink black coffee by itself, but WOW, this cold brew style of coffee is actually a good way to not have to really add so many ingredients because the flavor is so rich and balanced.  (unless you want to, of course!!)

 I’ve always been intrigued by cold brew coffee, and this was my first time trying it out myself. I loved how easy it was to brew an entire pitcher of coffee all at once, providing endless joy and drink recipe options.

Let me know what you plan to check off on your spring to do list in the comments below. I’d love to hear what you’re up to these days.

© The J.M. Smucker Company © 2018. DD IP Holder LLC (as to Dunkin’ Donuts and all other trademarks, logos and trade dress of DD IP Holder LLC) used under license.

Ombre Oreo Cake Recipe with New COOL WHIP Mix-Ins, Oreo

This post has been sponsored by COOL WHIP. All thoughts and opinions are my own.

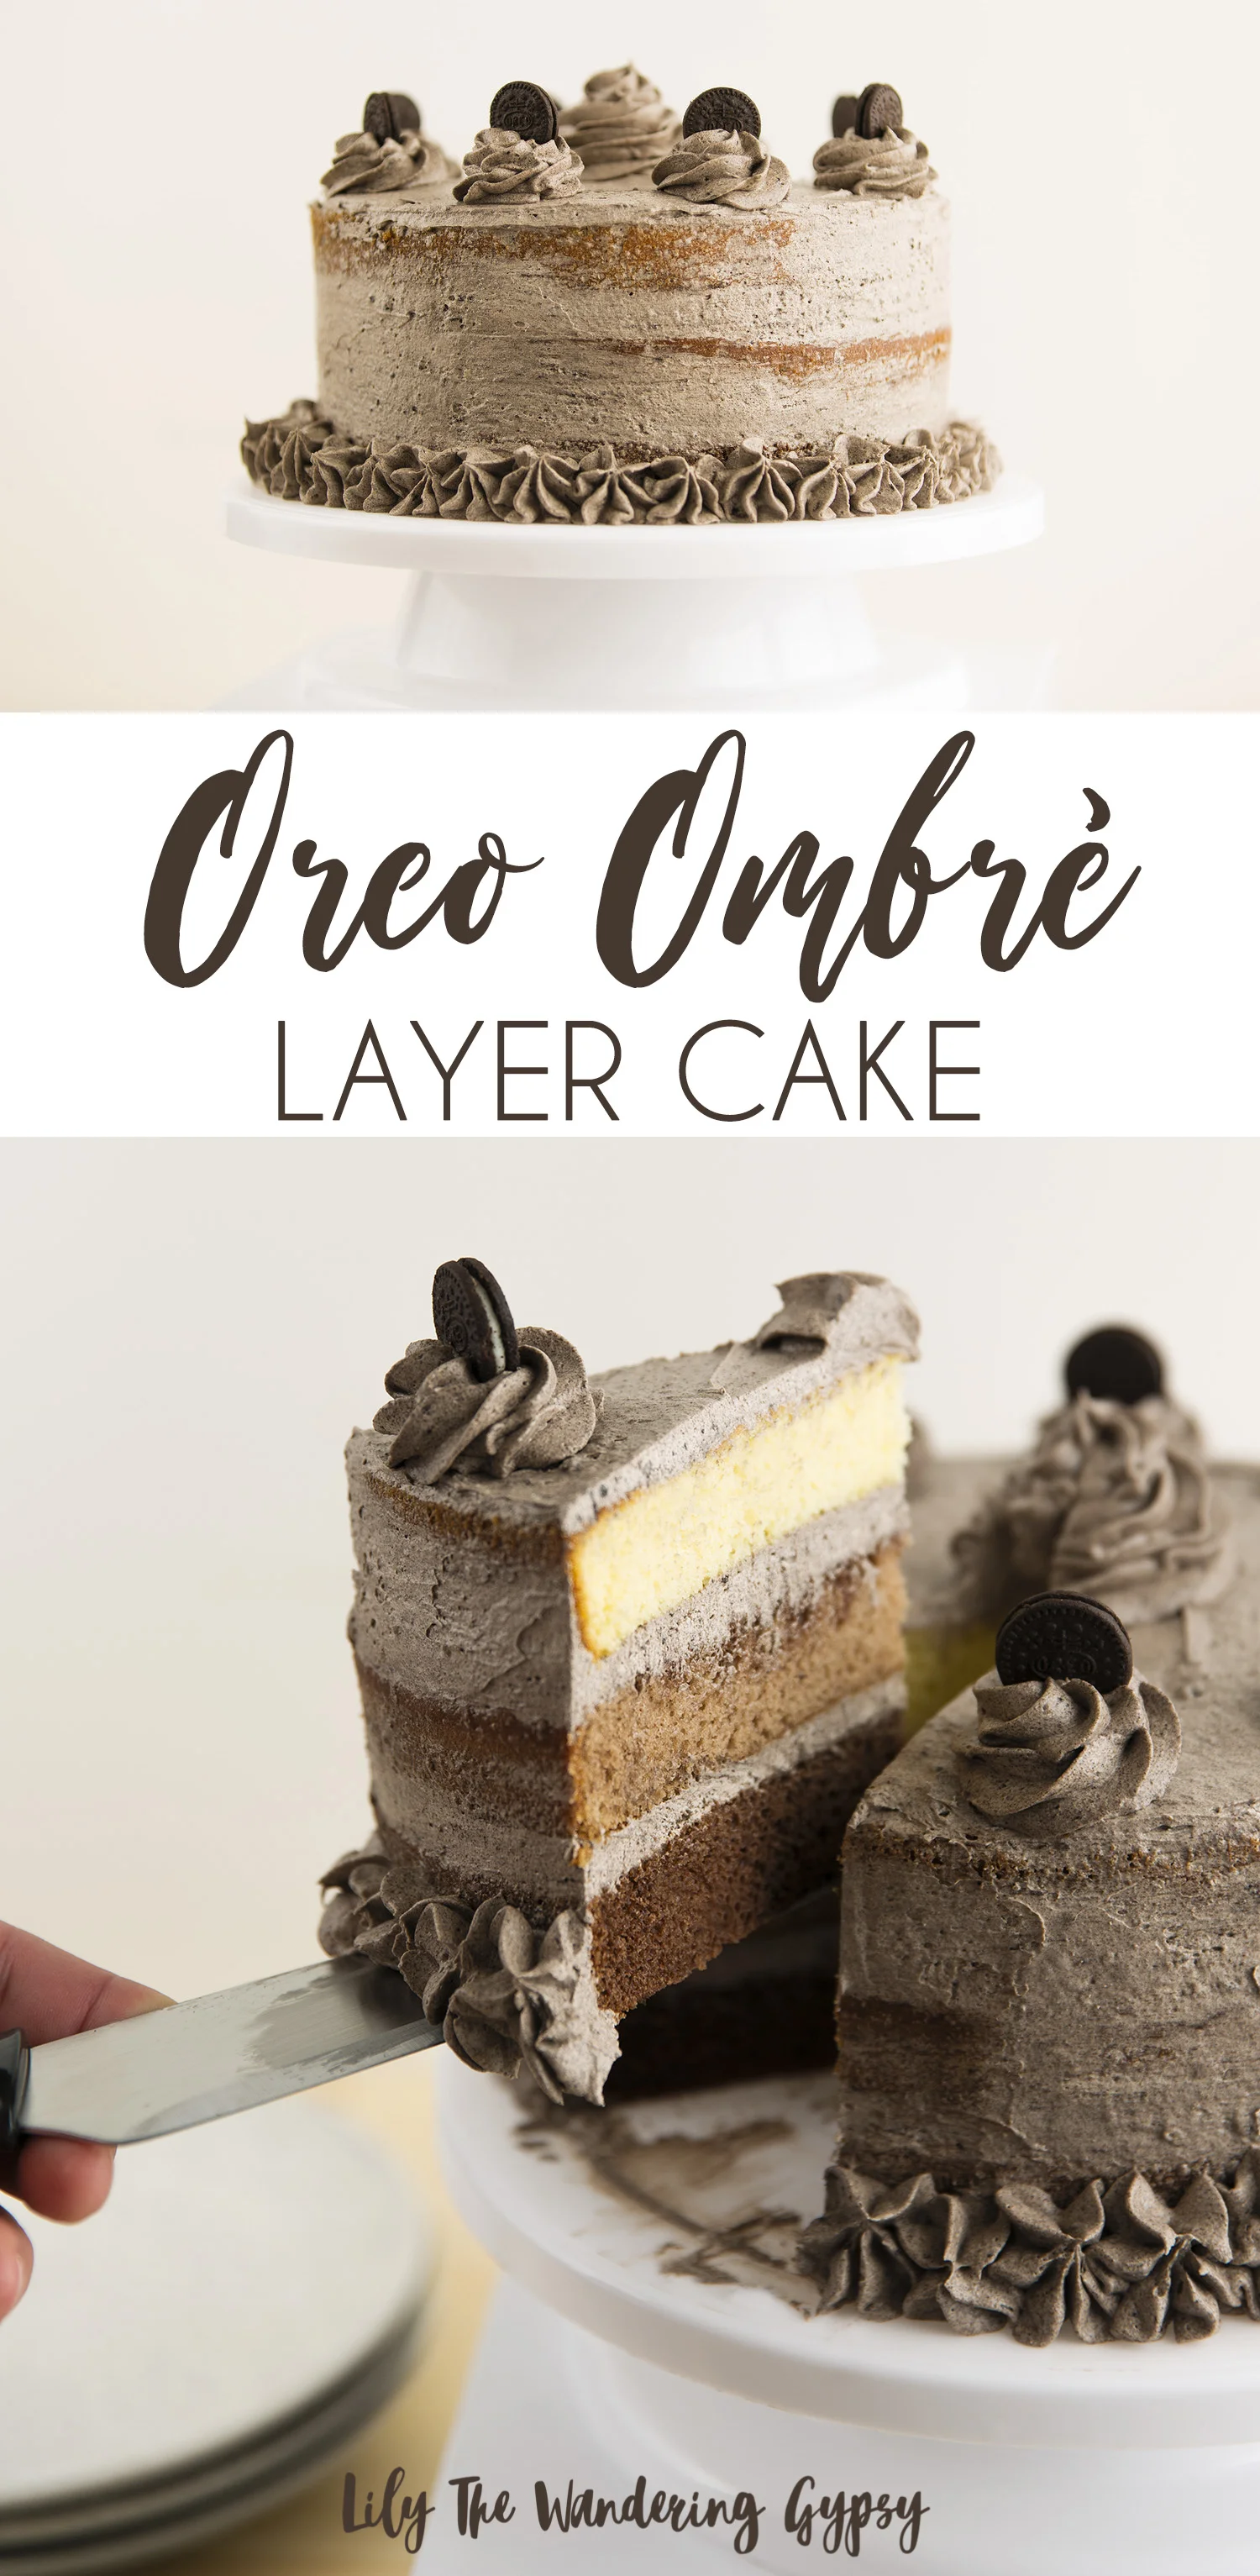
Oreo is one of my favorite flavors of all time. I would always go for a cookies and cream cone in a store with a million flavor options. I was extremely excited to be able to create a decadent, three layer ombre cake to show my love for all things Oreo!

FULL VIDEO INSTRUCTIONS:

Two iconic foods – COOL WHIP and Oreo are mixing together for the ultimate dessert! I am considering this my new “secret ingredient” because it tastes like something that an upscale bakery would use. Everyone who tries this cake is definitely going to ask what makes it taste so delicious and unique.
If I had created this layer cake with traditional icing, it would be very heavy and not anywhere near as delicious. The light, airy texture of new COOL WHIP Mix-

Ins, Oreo makes you feel like you can indulge a little without the calories.

I was extremely impressed with this product, it’s going to become a staple ingredient in my home!

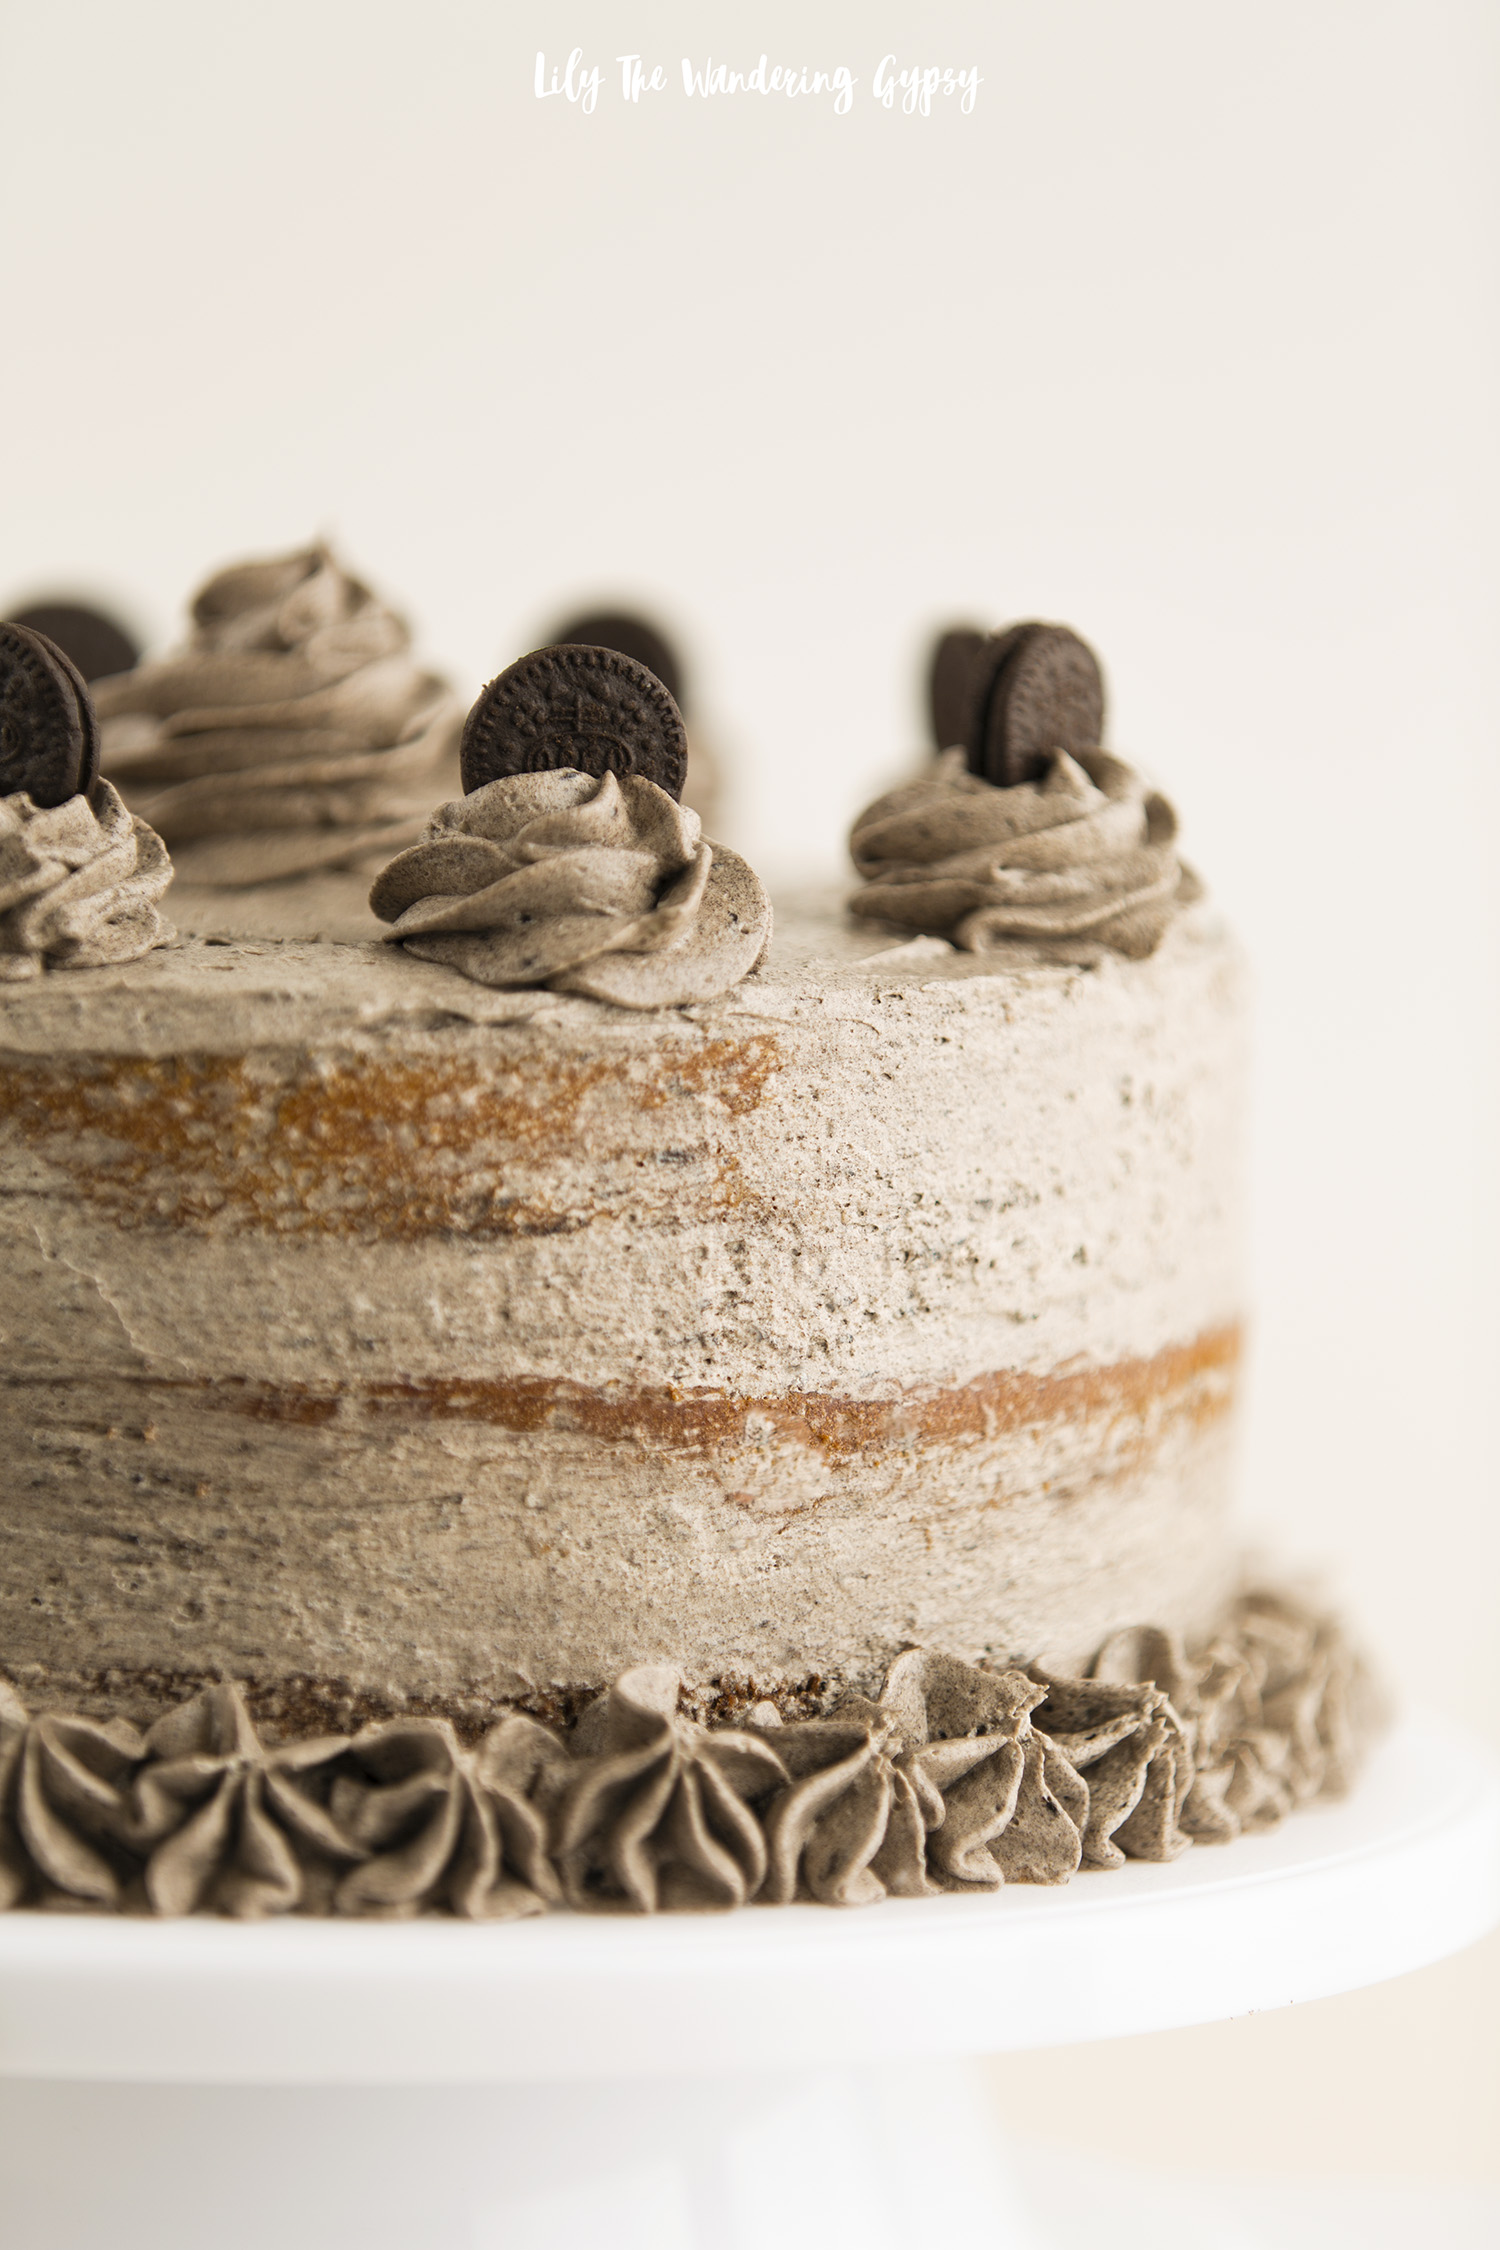
The Oreo Mix-Ins worked so well to add the finishing touches to my cake – I used an icing bag fitted with a star tip and added little dollops around the bottom of the cake. Next, I added a few dollops on top and finished with a mini Oreo cookie! What a perfect homage to my favorite cookie ever!

This cake reminds me so much of the birthday cakes that my grandparents would treat me to each year as a child. They came from an Italian bakery in the Chicagoland area, and was something I looked forward to each year, and now I can nourish that tradition in my own family and friends. I am seriously excited for whichever one of my friends has the next birthday because I cannot wait to make another one of these cakes already.

I hope you enjoy this cake as much as I did. This cake tastes like it was made from scratch, when in reality, this cake took just around an hour to make!

OMBRE OREO CAKE

PREP TIME: 30-40 minutes

TOTAL TIME: 1 hour – 1.5 hours depending upon decorating time

INGREDIENTS:

3-4 containers of COOL WHIP Mix-Ins, Oreo (found at Walmart or your local retailer)

1 box of white cake mix, plus ingredients to make cake

1 box of Devil’s food cake mix, plus ingredients to make cake (use the same brand for both)

Mini Oreo cookies to decorate cake

OTHER MATERIALS:

3 round cake pans

Hand Mixer

Parchment paper, cut into circles to fit into round pans

Rotating cake decorating stand

Flat icing spatula

Icing Bag + Large Star Icing Tip

INSTRUCTIONS:

  1. Bake cakes. To create the ombre effect, I mixed up both of my cake mixes according to the packages, then added 3 cups of vanilla batter to one pan, 3 cups of chocolate batter to another pan, then in my third pan, I swirled the remaining batters. It created a gorgeous middle layer. I made sure to use two cake mixes of the same brand so that they contained the same ratio of ingredients for each layer.

  2. Once cakes have completely cooled, carefully slice the cakes so they are flat on top (they tops will have rounded during baking). I used a serrated bread knife and it worked super well.

3. Remove the paper from the first layer, and place the chocolate layer onto the cake stand, upside down. Cover that layer with ½-1 container of Cool Whip Mix Ins Oreo. Smooth out the Oreo Mix-Ins and place the second “swirled” middle layer onto that. Again, cover the top of the second layer with Oreo Mix-Ins, then place the vanilla layer on top UPSIDE DOWN, to ensure a flat cake on top. Note – when I first opened the product, it had a lot of fluffy light texture. Once I stirred it and started icing the cake with it, the COOL WHIP got a lot smoother.

4. Cover the top of the cake with a smooth layer of Oreo Mix-Ins, then add a thin layer to the entire outside of the cake, smoothing several times with the icing spatula. Make sure this layer is as smooth as possible, then place cake into freezer for around 1 hour.

5. Time to decorate the cake! Using that same delicious COOL WHIP Mix-Ins, Oreo as before, pipe little shapes along the entire bottom of the cake. Make sure to keep as consistent of shapes as you can.

6. Lastly, add dollops of icing swirls around the top of the cake (I did 8 total), and add mini Oreo cookies on top. I also added one larger dollop in the middle of the top of the cake and it all turned out so well!

I was SO happy to see how the layers stayed perfectly together with the help of the Cool Whip Oreo layers. I am thrilled to share this recipe because it’s practically fool proof.

Thank you so much for taking the time to check out this recipe. I hope it has inspired you! This cake would be perfect for birthdays, Mother’s Day, Father’s Day, graduation parties, and even just because!

Learn more about this wonderful new COOL WHIP Mix-Ins,Oreo here and retailers near you carrying it, and connect with COOL WHIP on social!

FACEBOOK

INSTAGRAM

PINTEREST

5 Ingredient Super Moist Pistachio 7UP Layer Cake with Pistachio Frosting Recipe

This shop has been compensated by Collective Bias, Inc. and its advertiser. All opinions are mine alone. #JustAdd7UP

Looking to create a delicious pistachio themed dessert for St. Patrick’s Day and beyond? I have a fun and unique idea for you that looks super elegant but only took a little bit of time to create. This would also make an excellent cake for a birthday, Mother’s Day, Father’s Day, other holiday, or just because! In fact, I will be making another one tomorrow evening for a friend’s birthday and she is SO excited!!

I was honored when 7UP asked me to create something special for a holiday that means everything to me. My late grandmother, Pat, was born on St. Patrick’s Day and was one of my very favorite people in the whole wide world. She taught me lots of her recipes and I use several of them quite regularly, and I think of her all the time. She instilled such amazing values on me, and I love her so very much! So, with her in mind, and the luck of the Irish on my side, I present you with this Super Moist Pistachio 7UP Layer Cake with Pistachio Frosting. It’s quite possibly the MOST delicious creation on Earth!

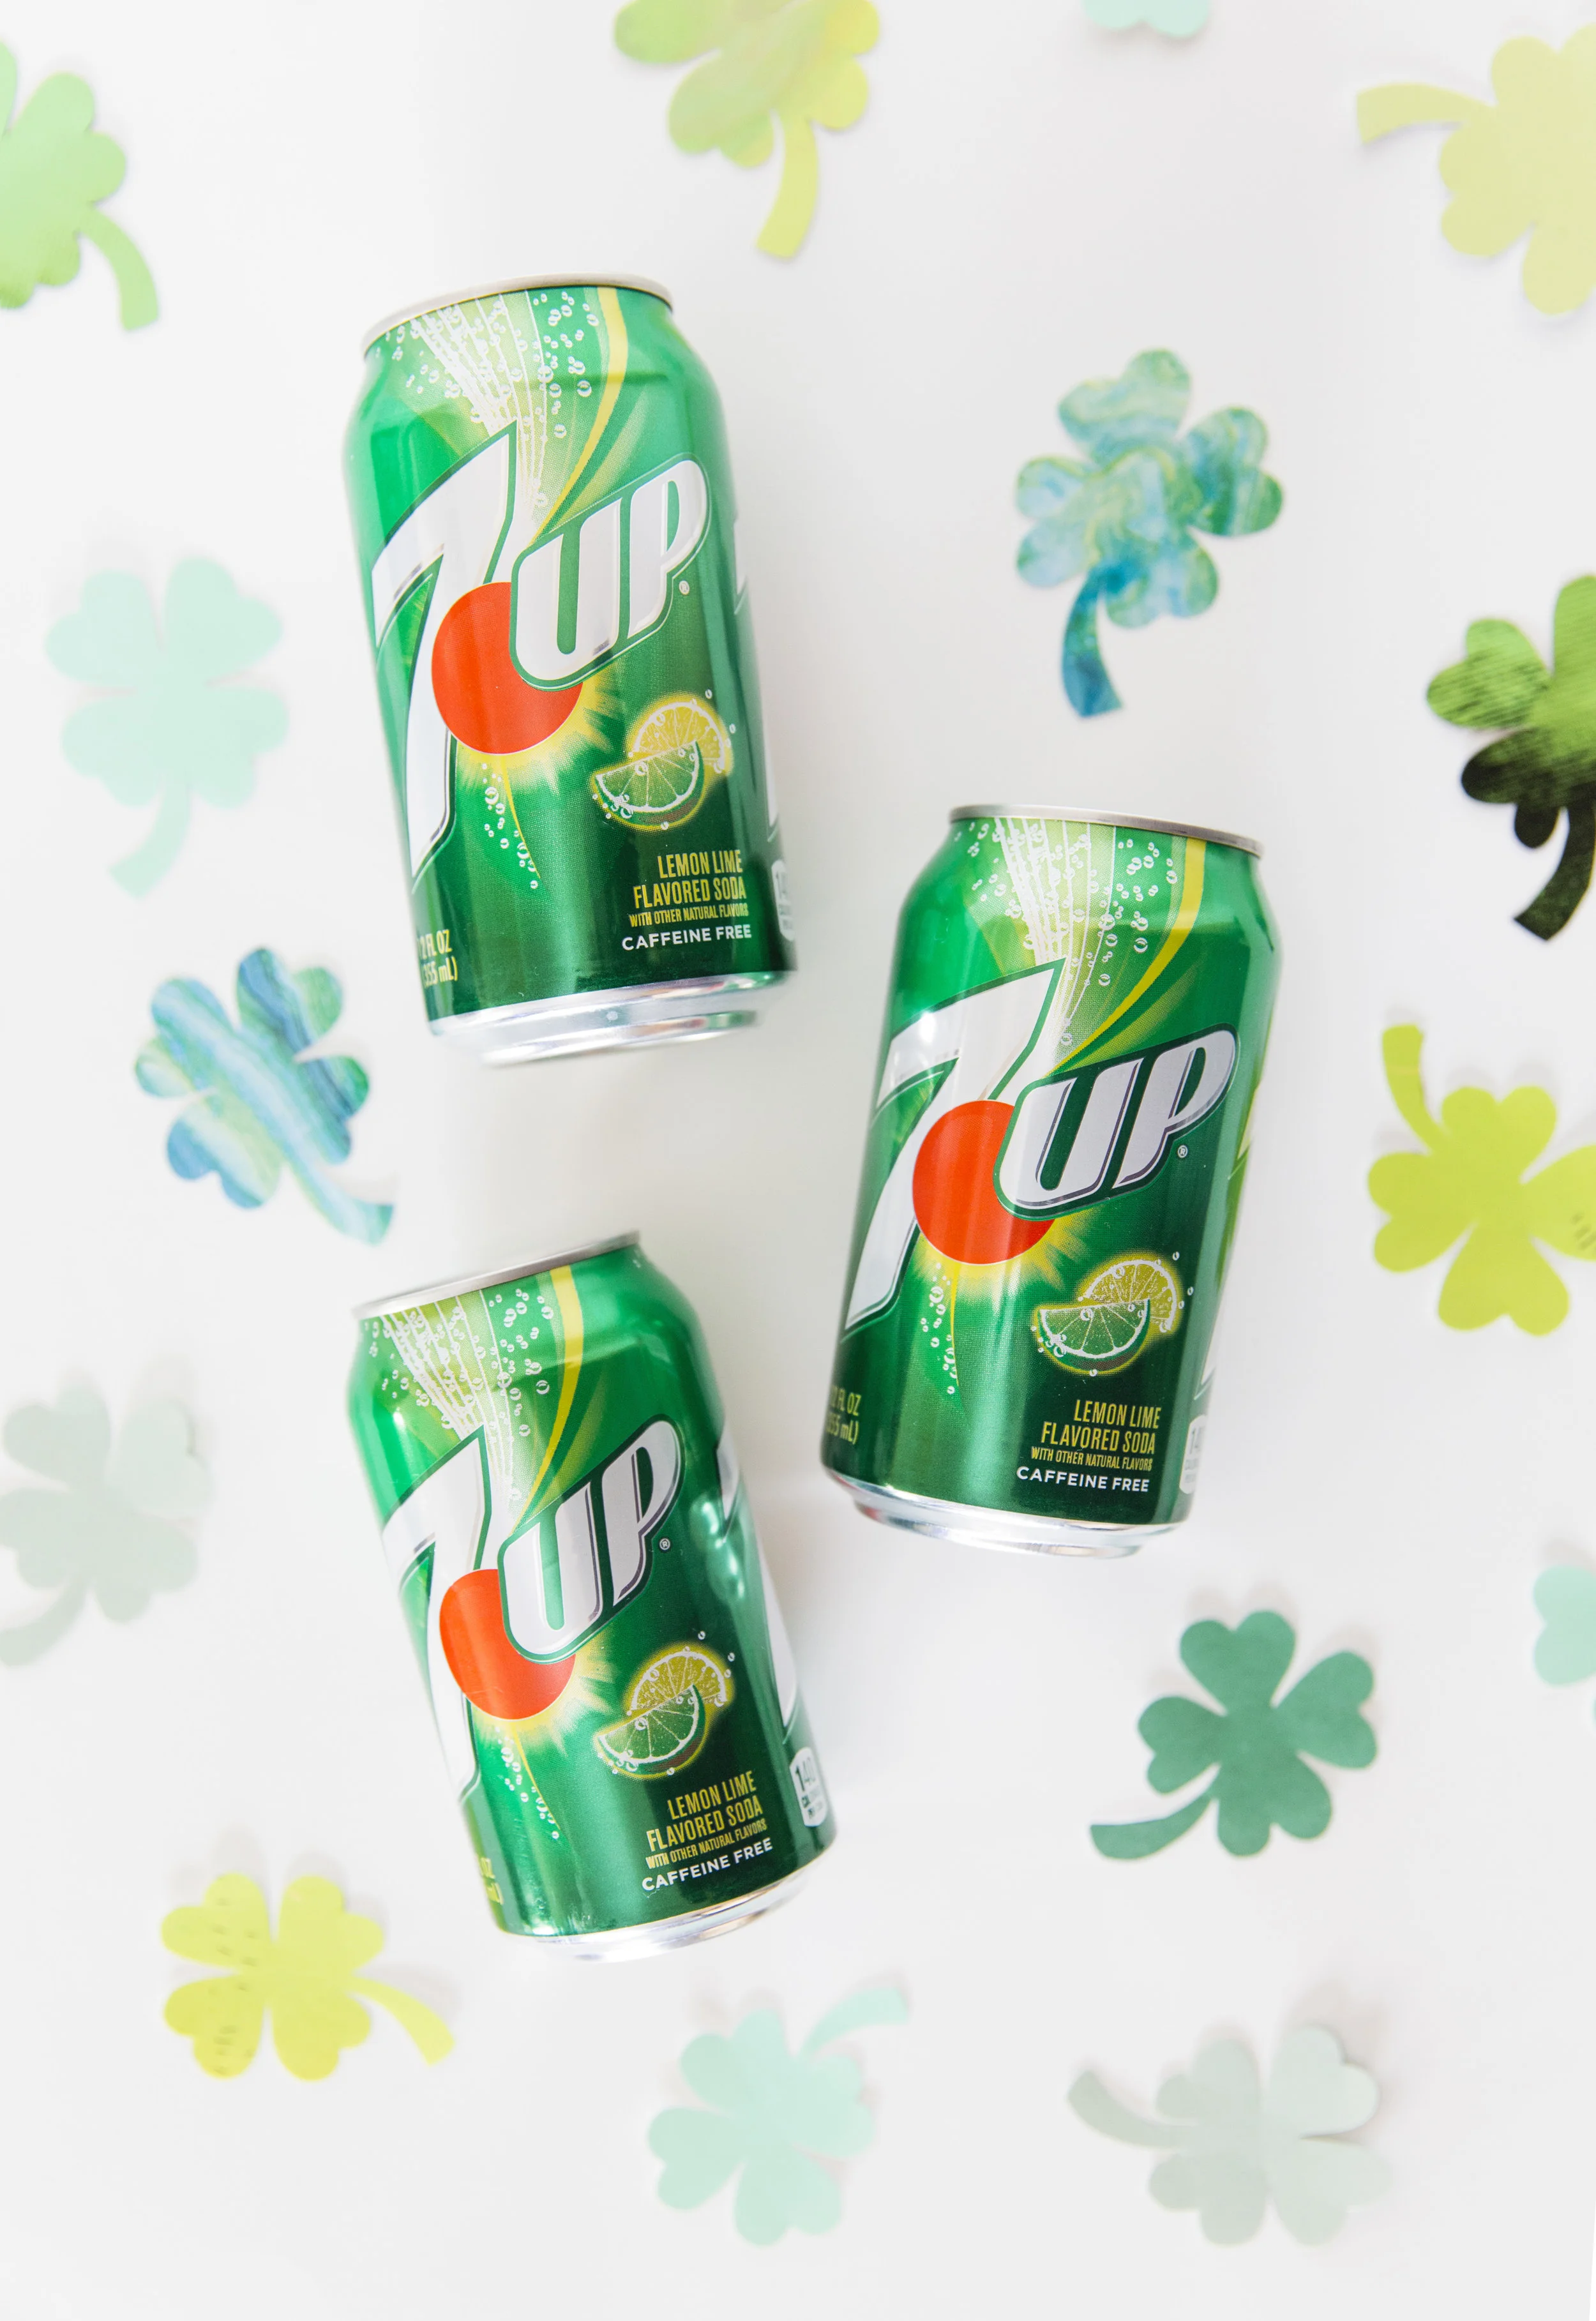
It’s really quite impressive that the base of this cake contains only 5 ingredients, one of them being a can of 7UP. This versatile ingredient adds a lot of moisture to the cake, and with the homemade frosting on top, the two flavors mesh together just perfectly.

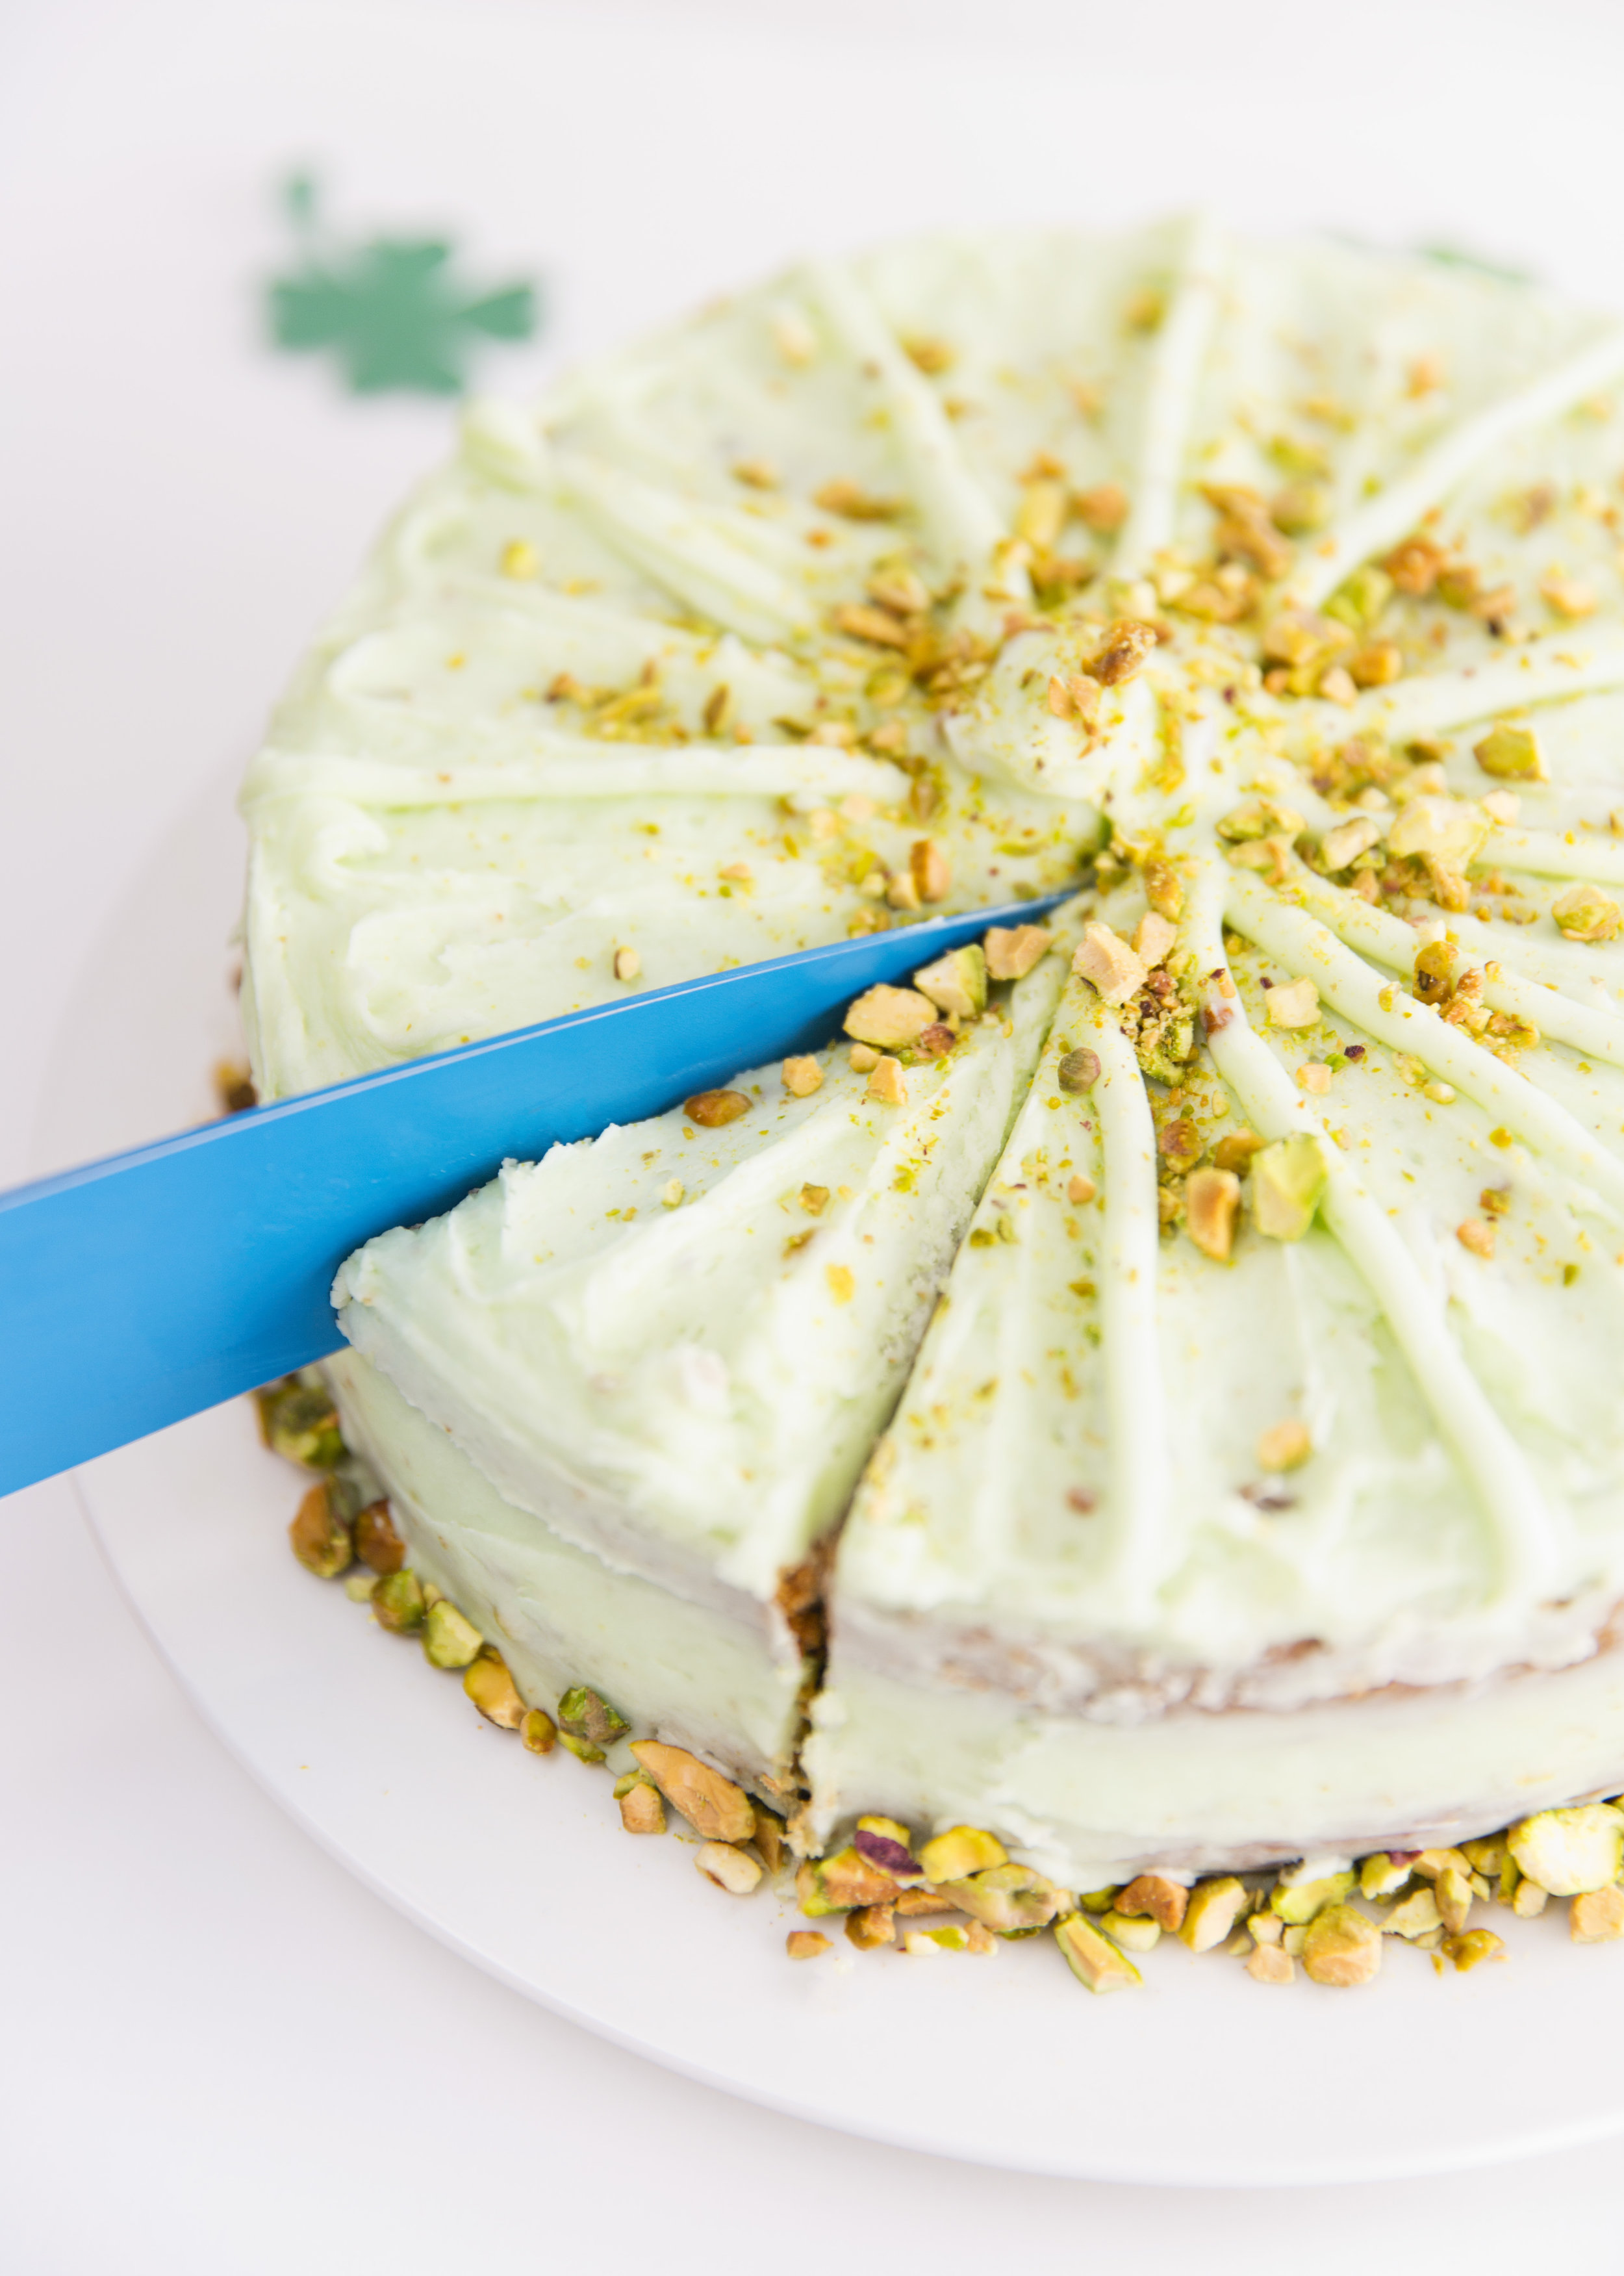
If you like pistachio, then you are going to LOVE this delicious and easy-to-create cake! It turned out very elegantly too, which I was very happy with! I didn’t use any super special decorating tools, which made things even easier.

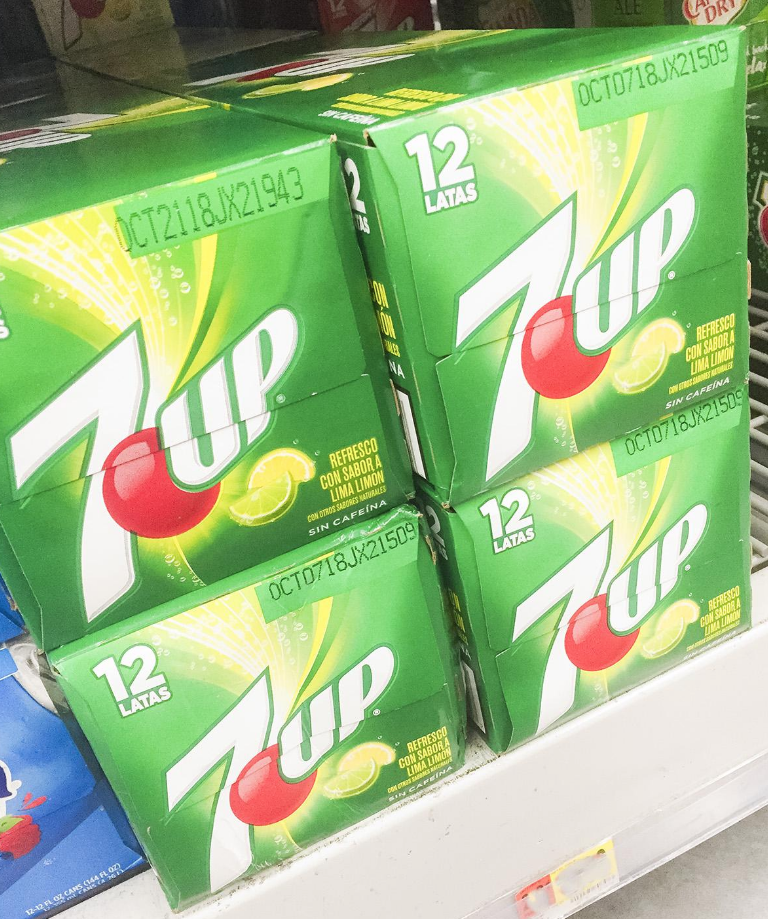
Luckily, I was able to grab all of my supplies at Walmart (I always love when life is easy!)

CAKE INGREDIENTS:

Serving Size: 8-10, Prep Time: 25 Minutes, Total Time: 1 hour 25 Minutes

1 can 7UP®

1 box of vanilla cake mix

1 (3.4 oz) box of pistachio pudding mix

3 eggs

1 cup Vegetable Oil

FROSTING INGREDIENTS:

1 (3.4 oz) box of pistachio pudding mix

8 oz softened cream cheese

½ cup softened butter (1 stick)

5 Tbsp milk

5-5 ½ cups powdered confectioners sugar

1 Tbsp vanilla or almond extract


INSTRUCTIONS:


  1. To make the cake, preheat oven to 350 degrees F. Grease two 9” round pans with non-stick spray and add a circle of waxed paper or parchment paper to the bottom of each pan. Spray the paper circle, then add a little bit of flour to your pans. Use your fingers to help move the flour around and coat the pans, and knock out any excess flour.

  2. In a large bowl, combine all cake ingredients and mix on medium to high speed for 4 minutes. Scrape sides of mixing bowl at 2 minutes.

3. Using a measuring cup, add half of the batter to each cake round. Bake for 30-35 minutes, or until cake springs back when you press onto it.

4. While the cake is baking, make your icing. In a large mixing bowl, first add pudding mix, then butter, cream cheese, and vanilla or almond extract. Beat with a mixer until smooth.

5. Now, to finish your icing, add powdered confectioner one cup at a time, first folding it in with a spoon, then mixing with your mixer so sugar doesn’t fly everywhere. Lastly, add 4-5 Tbsp of milk to begin to thin your icing. Once it’s at your desired consistency, set aside.

6. Once cakes have completely cooled, remove them from the round pans, remove the paper off of the cakes, and add feel free to even out the tops of the layers very carefully with a sharp knife.

7. Add icing to one layer of the cake, smooth into an even layer, then add the second cake round on top. Lastly, cover the top and sides of the cake with a smooth layer of icing with a silicone spatula. Lastly, feel free to use an icing tip or icing in a zip top bag with the corner cut off to draw more designs and textures to the top of the cake. Finish the cake with pistachio pieces around the sides and sprinkled on top! Enjoy!

If you are lucky enough to create this recipe, I would absolutely LOVE to see what you make! Tag me on Instagram as @happysolez, or share the link in the comments below to let me know how it turned out. And, if you have any questions, leave them below too.

Beer Cheese Potato Soup Recipe

Thank you Potatoes USA for sponsoring this post. Make a delicious and convenient meal for your family tonight with potatoes!

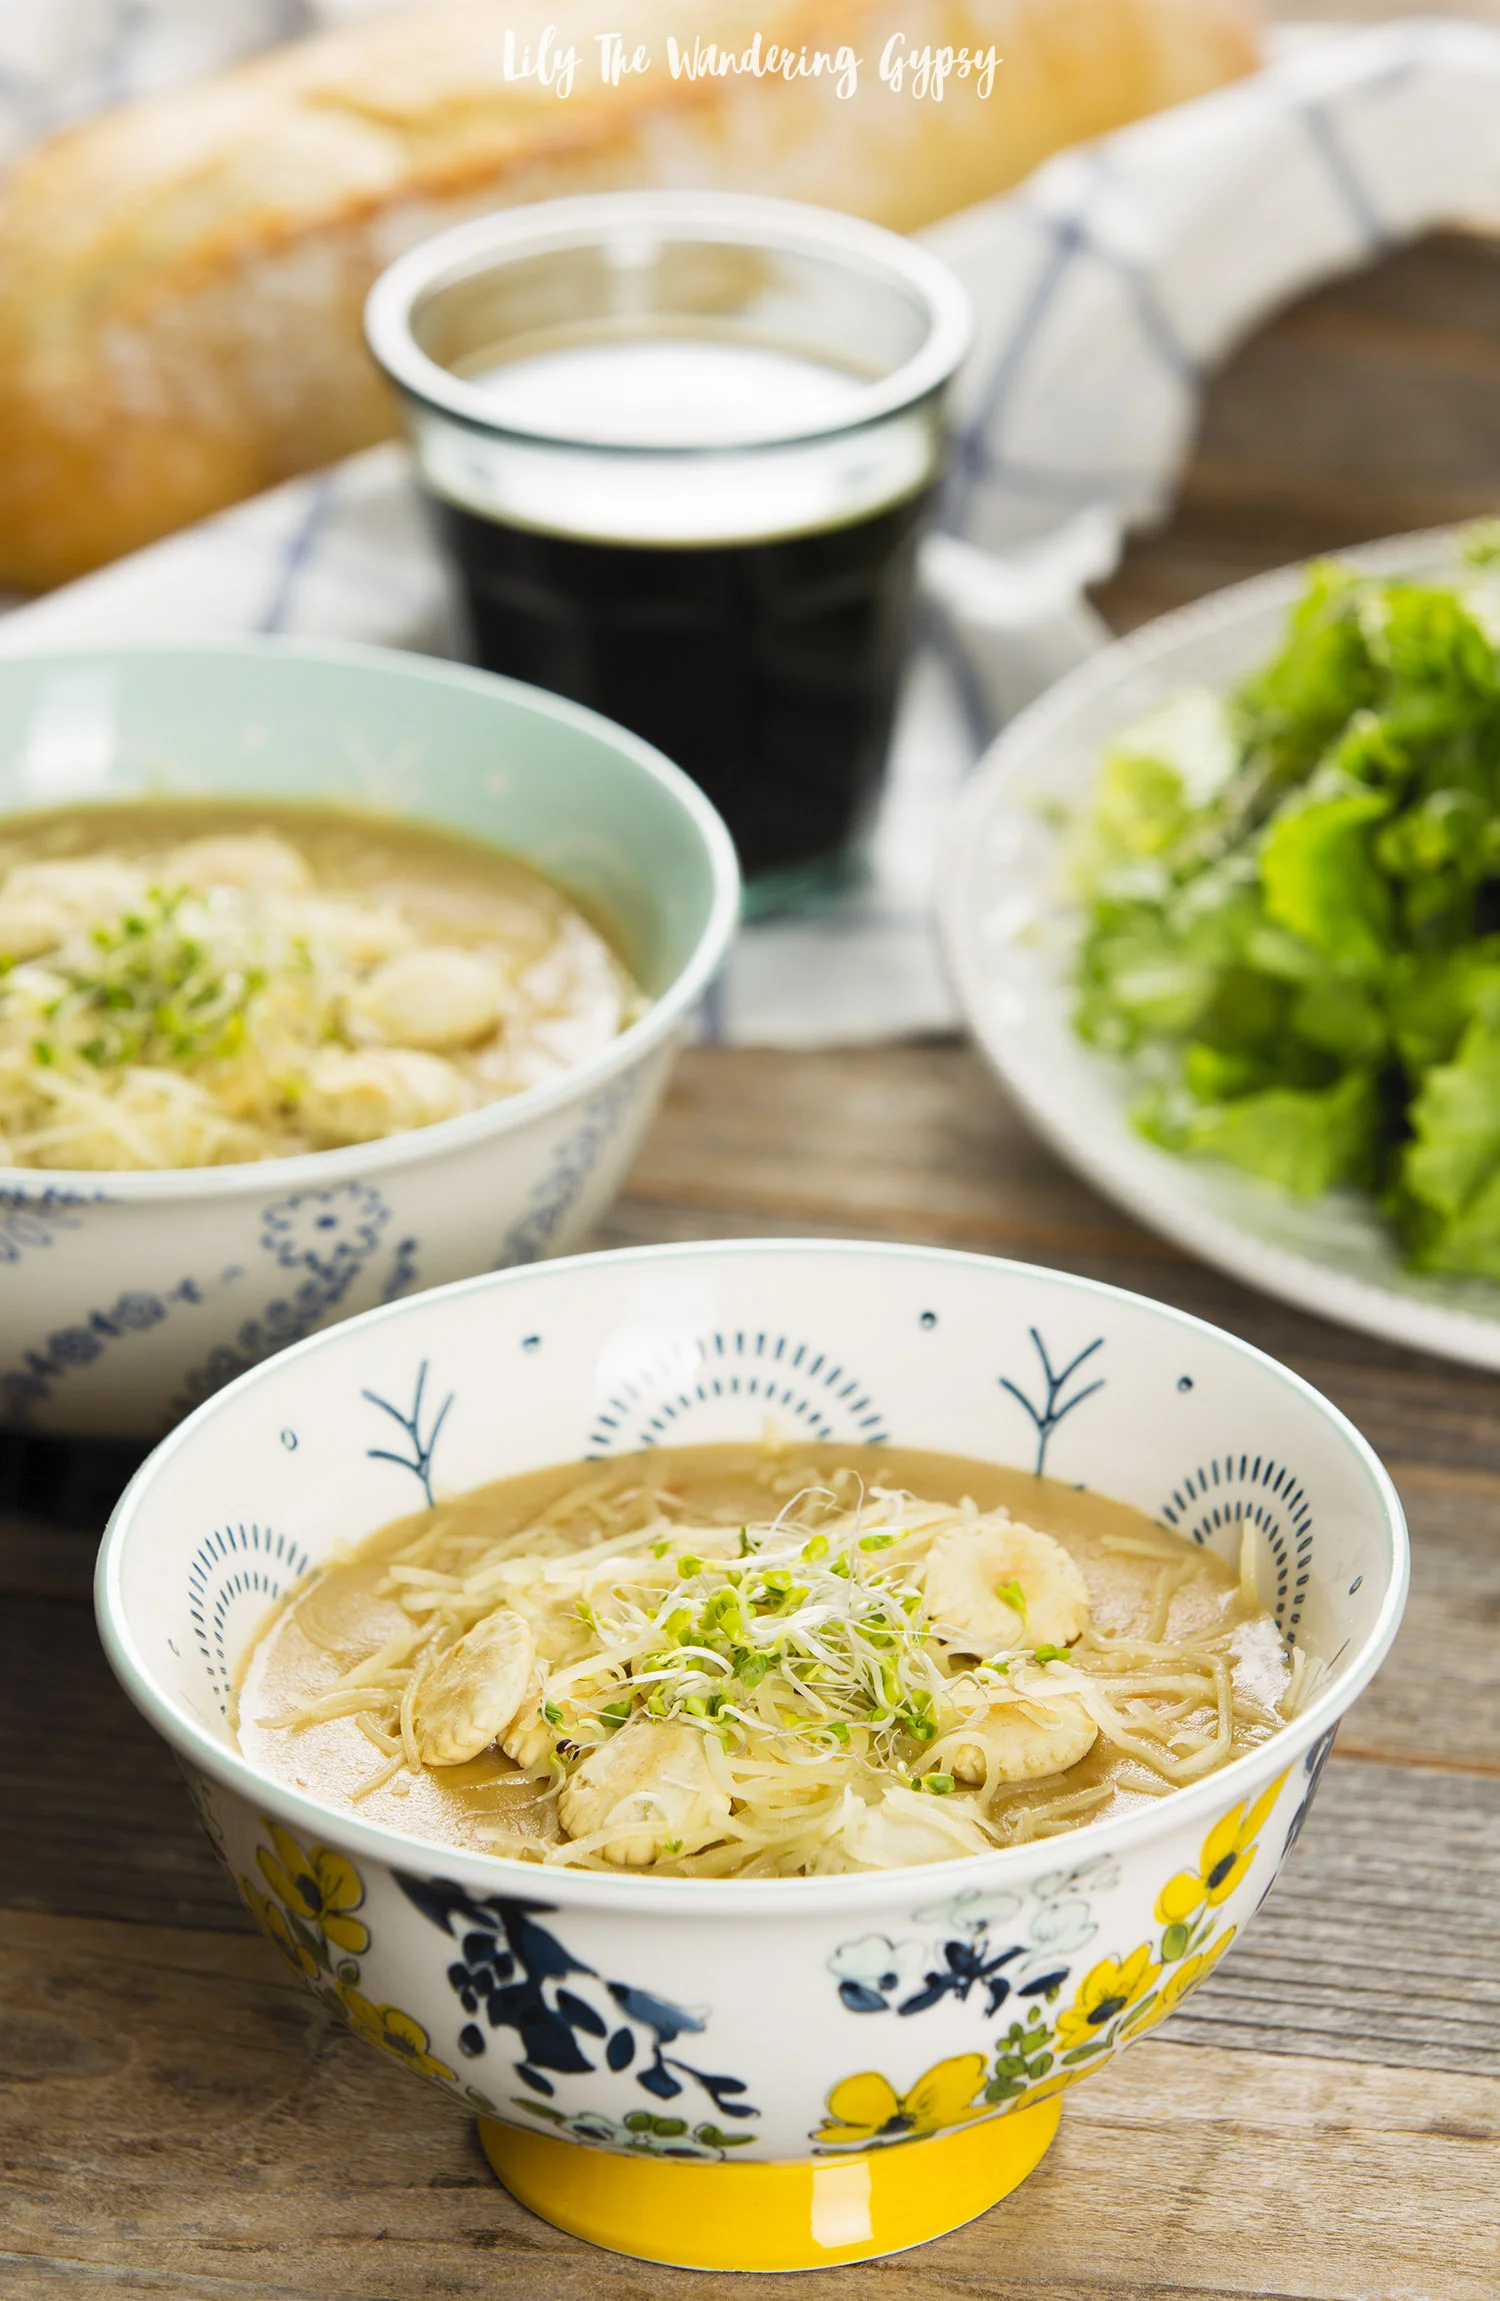
A delicious beer cheese and potato forward soup that is sure to please just about anyone! The taste of the dark, robust stout really shines through while the potatoes add an element of creaminess that makes it hard to not go up for seconds! I always thought that creamy soups had to be cream-based and I was completely wrong! This potato soup only contains a very small volume of cream, and the rest is made creamy with pureed potatoes! 

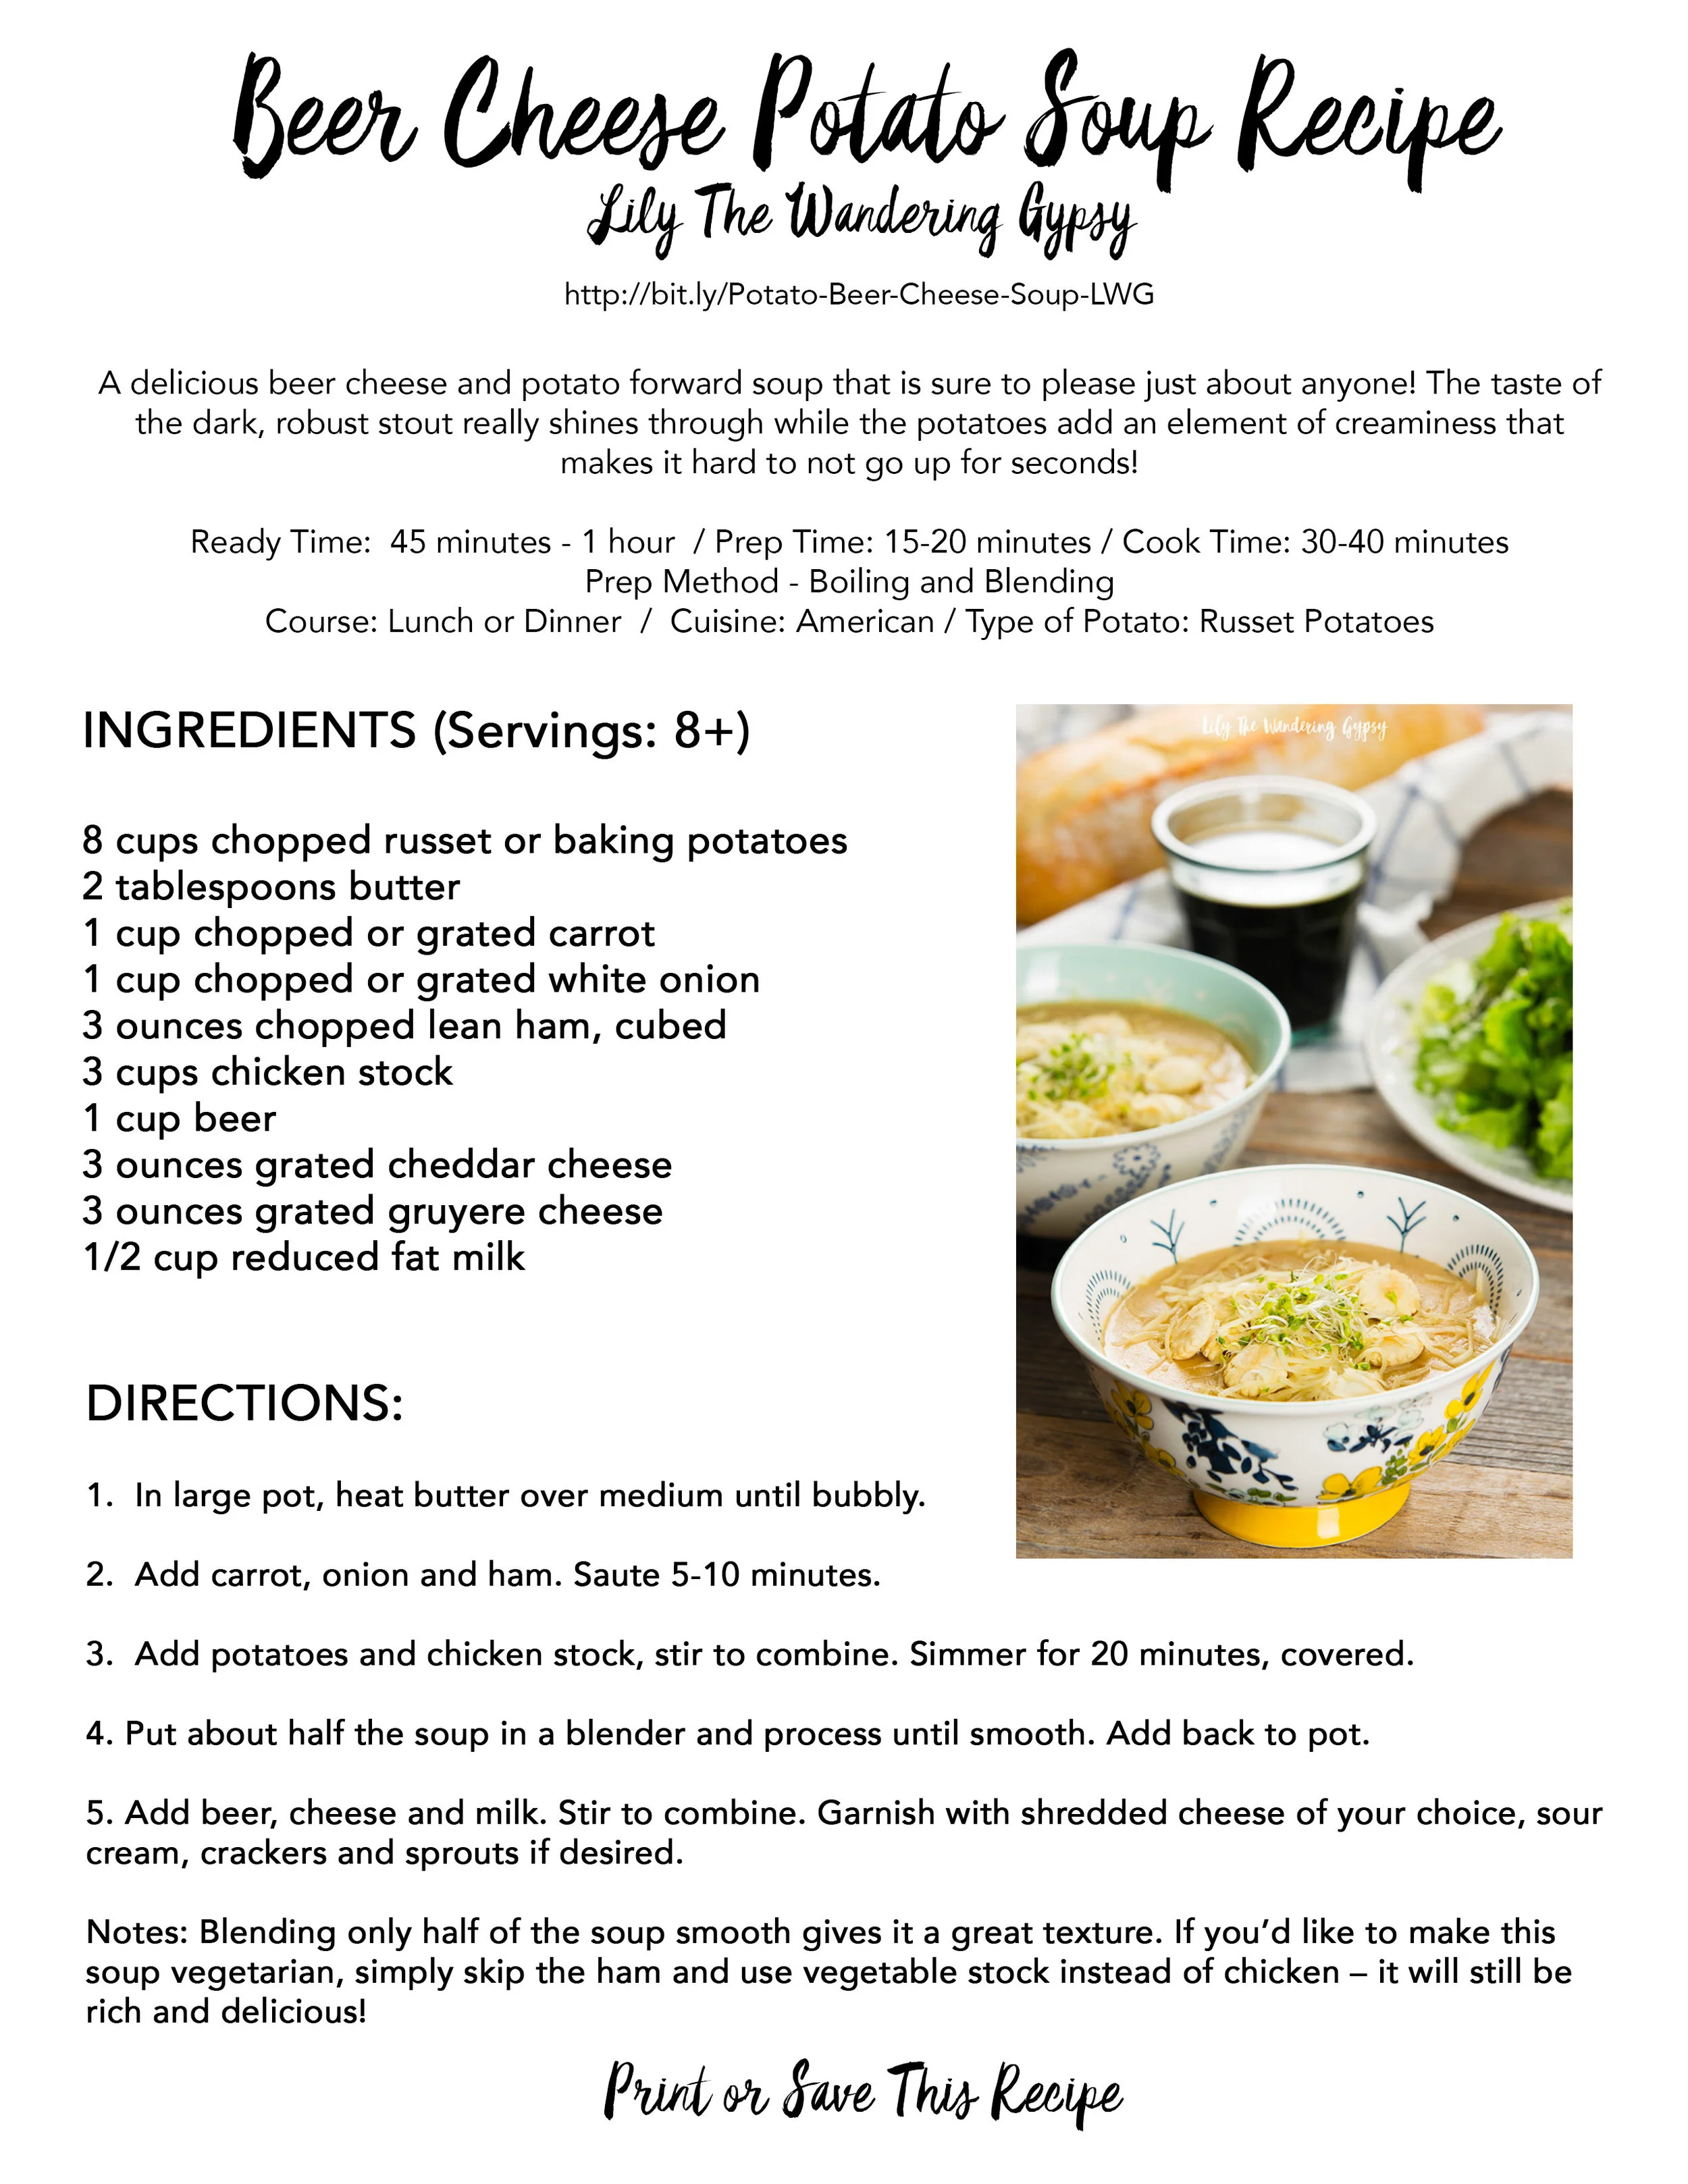
Find the printable recipe at the very bottom of this post. 

Ultimate Potato Cheese Soup Recipe (Serves 8+)

Prep Time: 15-20 minutes // Cook Time: 30-40 minutes

Cuisine: American


Ingredients

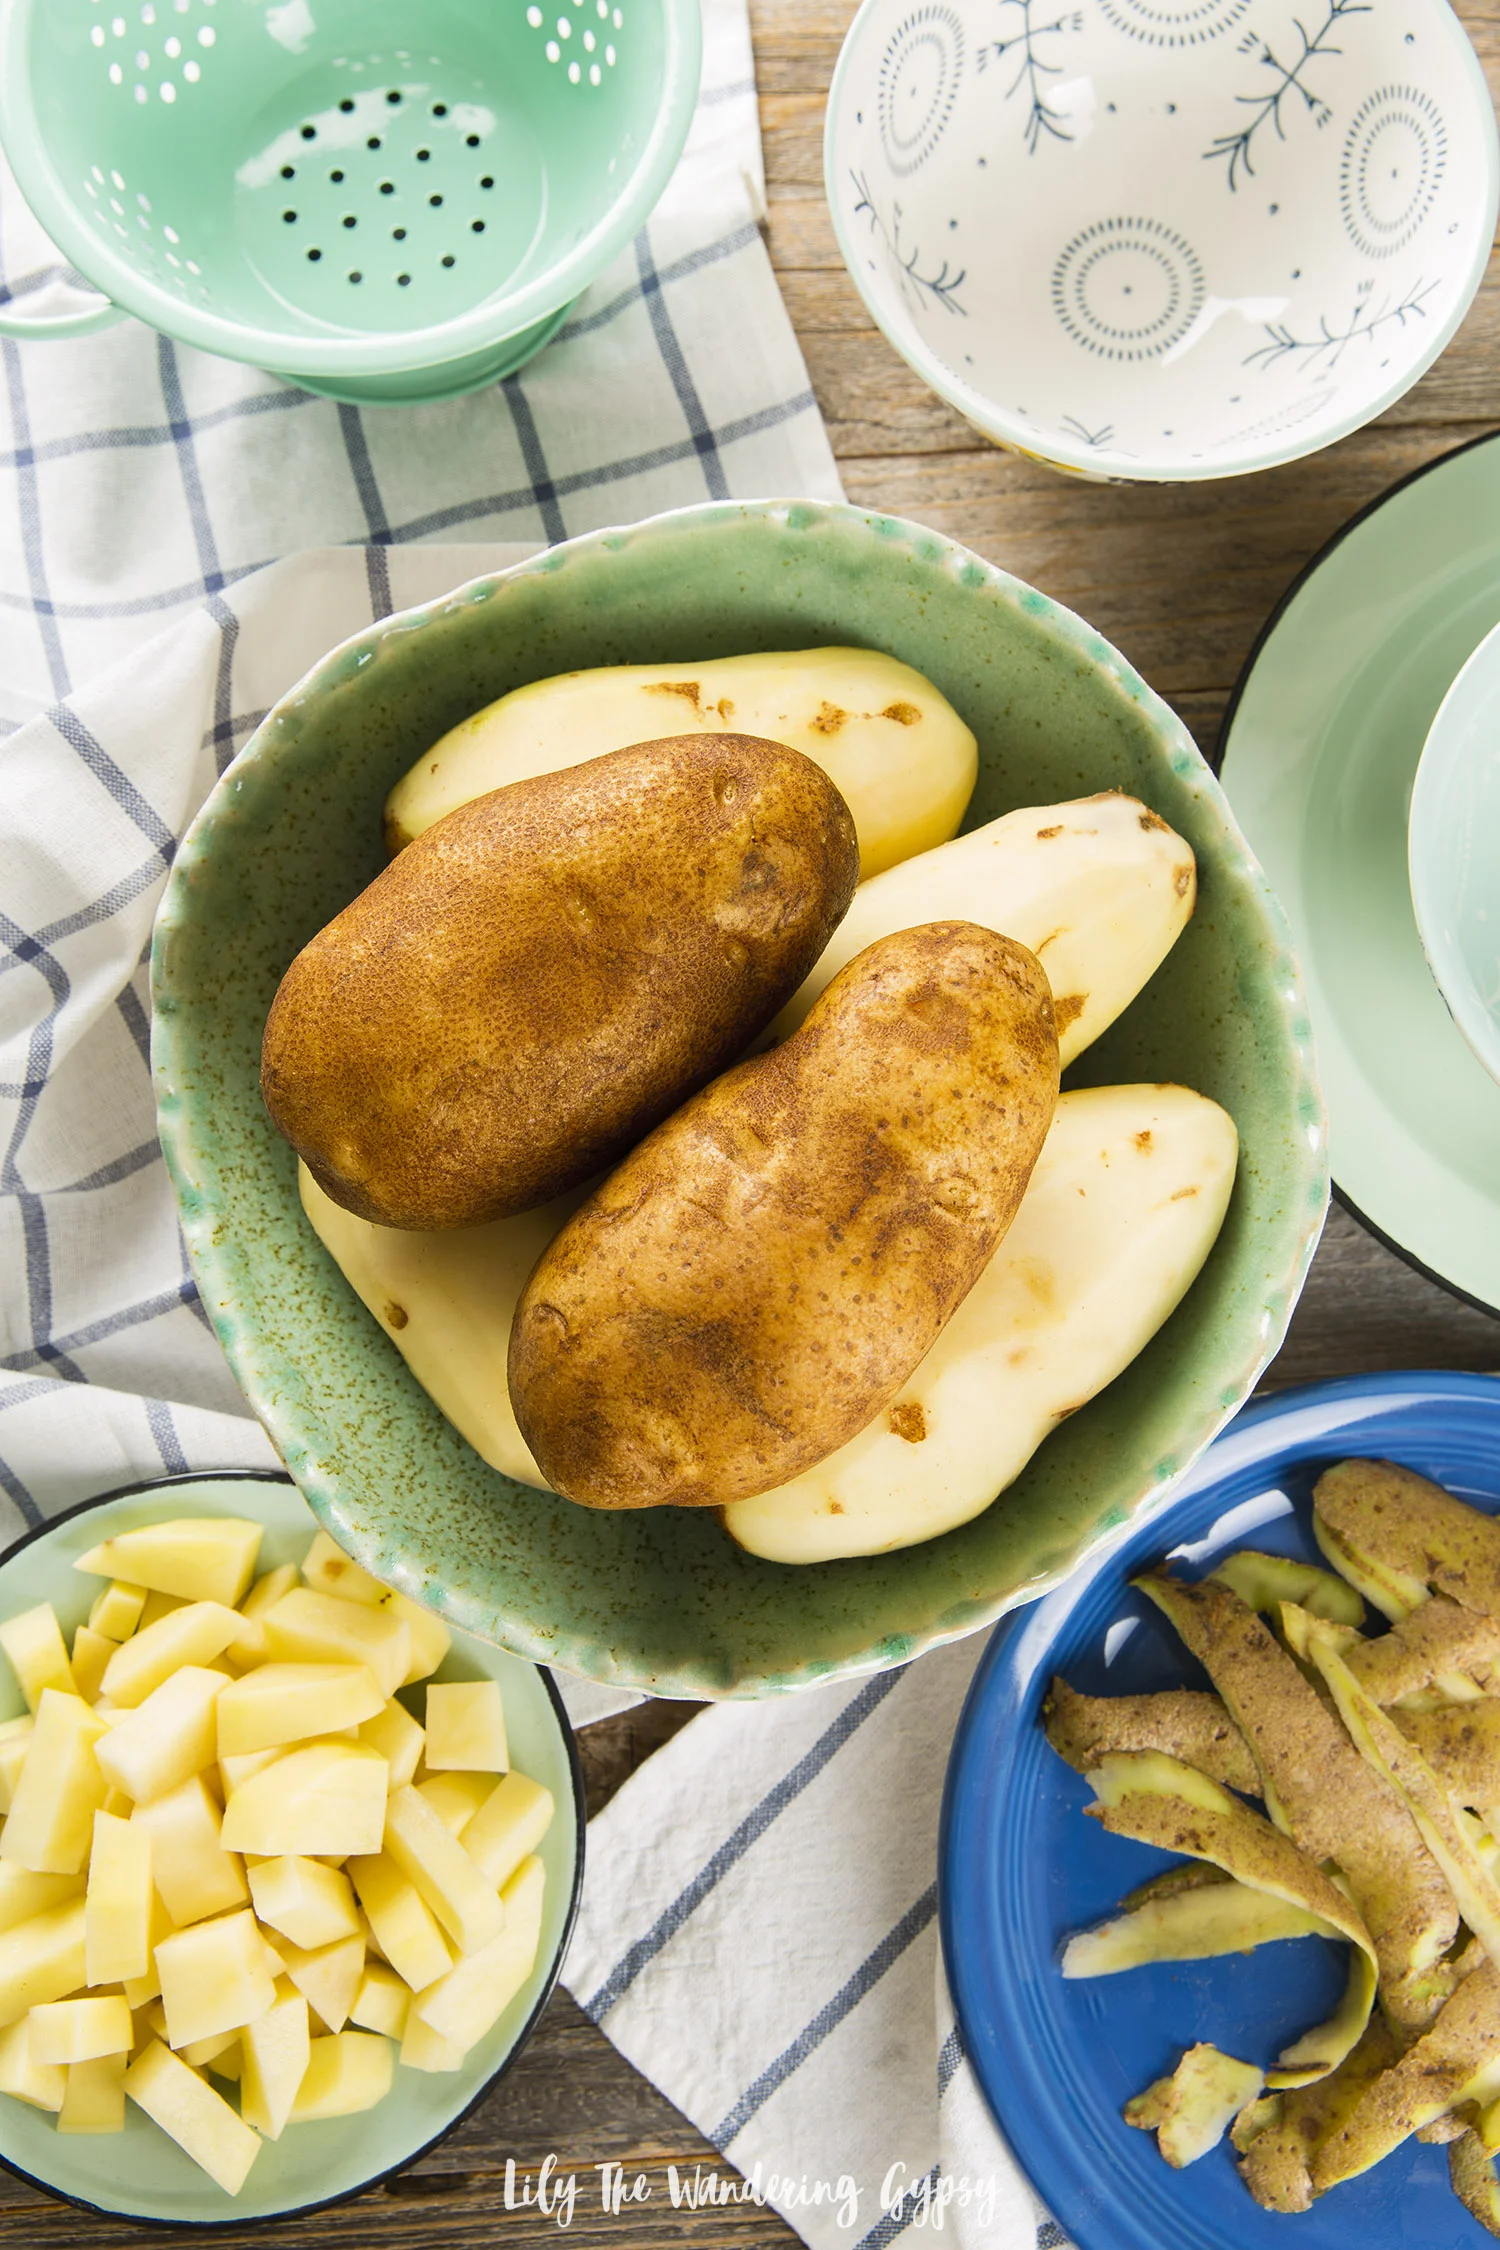
  • 8 cups chopped russet or baking potatoes
  • 2 tablespoons butter
  • 1 cup chopped or grated carrot
  • 1 cup chopped or grated white onion
  • 3 ounces chopped lean ham, cubed
  • 3 cups chicken stock
  • 1 cup beer
  • 3 ouncesgrated cheddar cheese
  • 3 ounces grated gruyere cheese
  • 1/2 cup reduced fat milk

Potatoes are a culinary canvas with limitless possibilities!

Note - we chose an Imperial Stout, pictured below, and it was delicious! If you wanted to tone down the taste of the beer, then use a dark beer like a Porter that is under 5% ABV.

Another note - if you want your soup to me way more yellow, then choose a yellow cheese like cheddar and even colby jack. 

Directions

  1. In large pot, heat butter over medium until bubbly.
  2. Add carrot, onion and ham. Saute 5-10 minutes.
  3. Add potatoes and chicken stock, stir to combine. Simmer for 20 minutes, covered.
  4. Put about half the soup in a blender and process until smooth. Add back to pot.
  5. Add beer, cheese and milk. Stir to combine.

Additional Info

Blending only half of the soup smooth gives it a great texture. If you’d like to make this soup vegetarian, simply skip the ham and use vegetable stock instead of chicken – it will still be rich and delicious!

I really hope you enjoy this recipe! If you use more of an Irish Stout, then you could utilize the St. Patrick's Day theme even more! 

Check out the Potato Goodness Facebook page here, and the Potatoes USA website here.

PRINT THE RECIPE BELOW:

I was selected for this opportunity as a member of CLEVER and the content and opinions expressed here are all my own.

Easy Rustic Fruit Pizza Recipe (Fresh Raspberries and Almond Cream Cheese Icing)

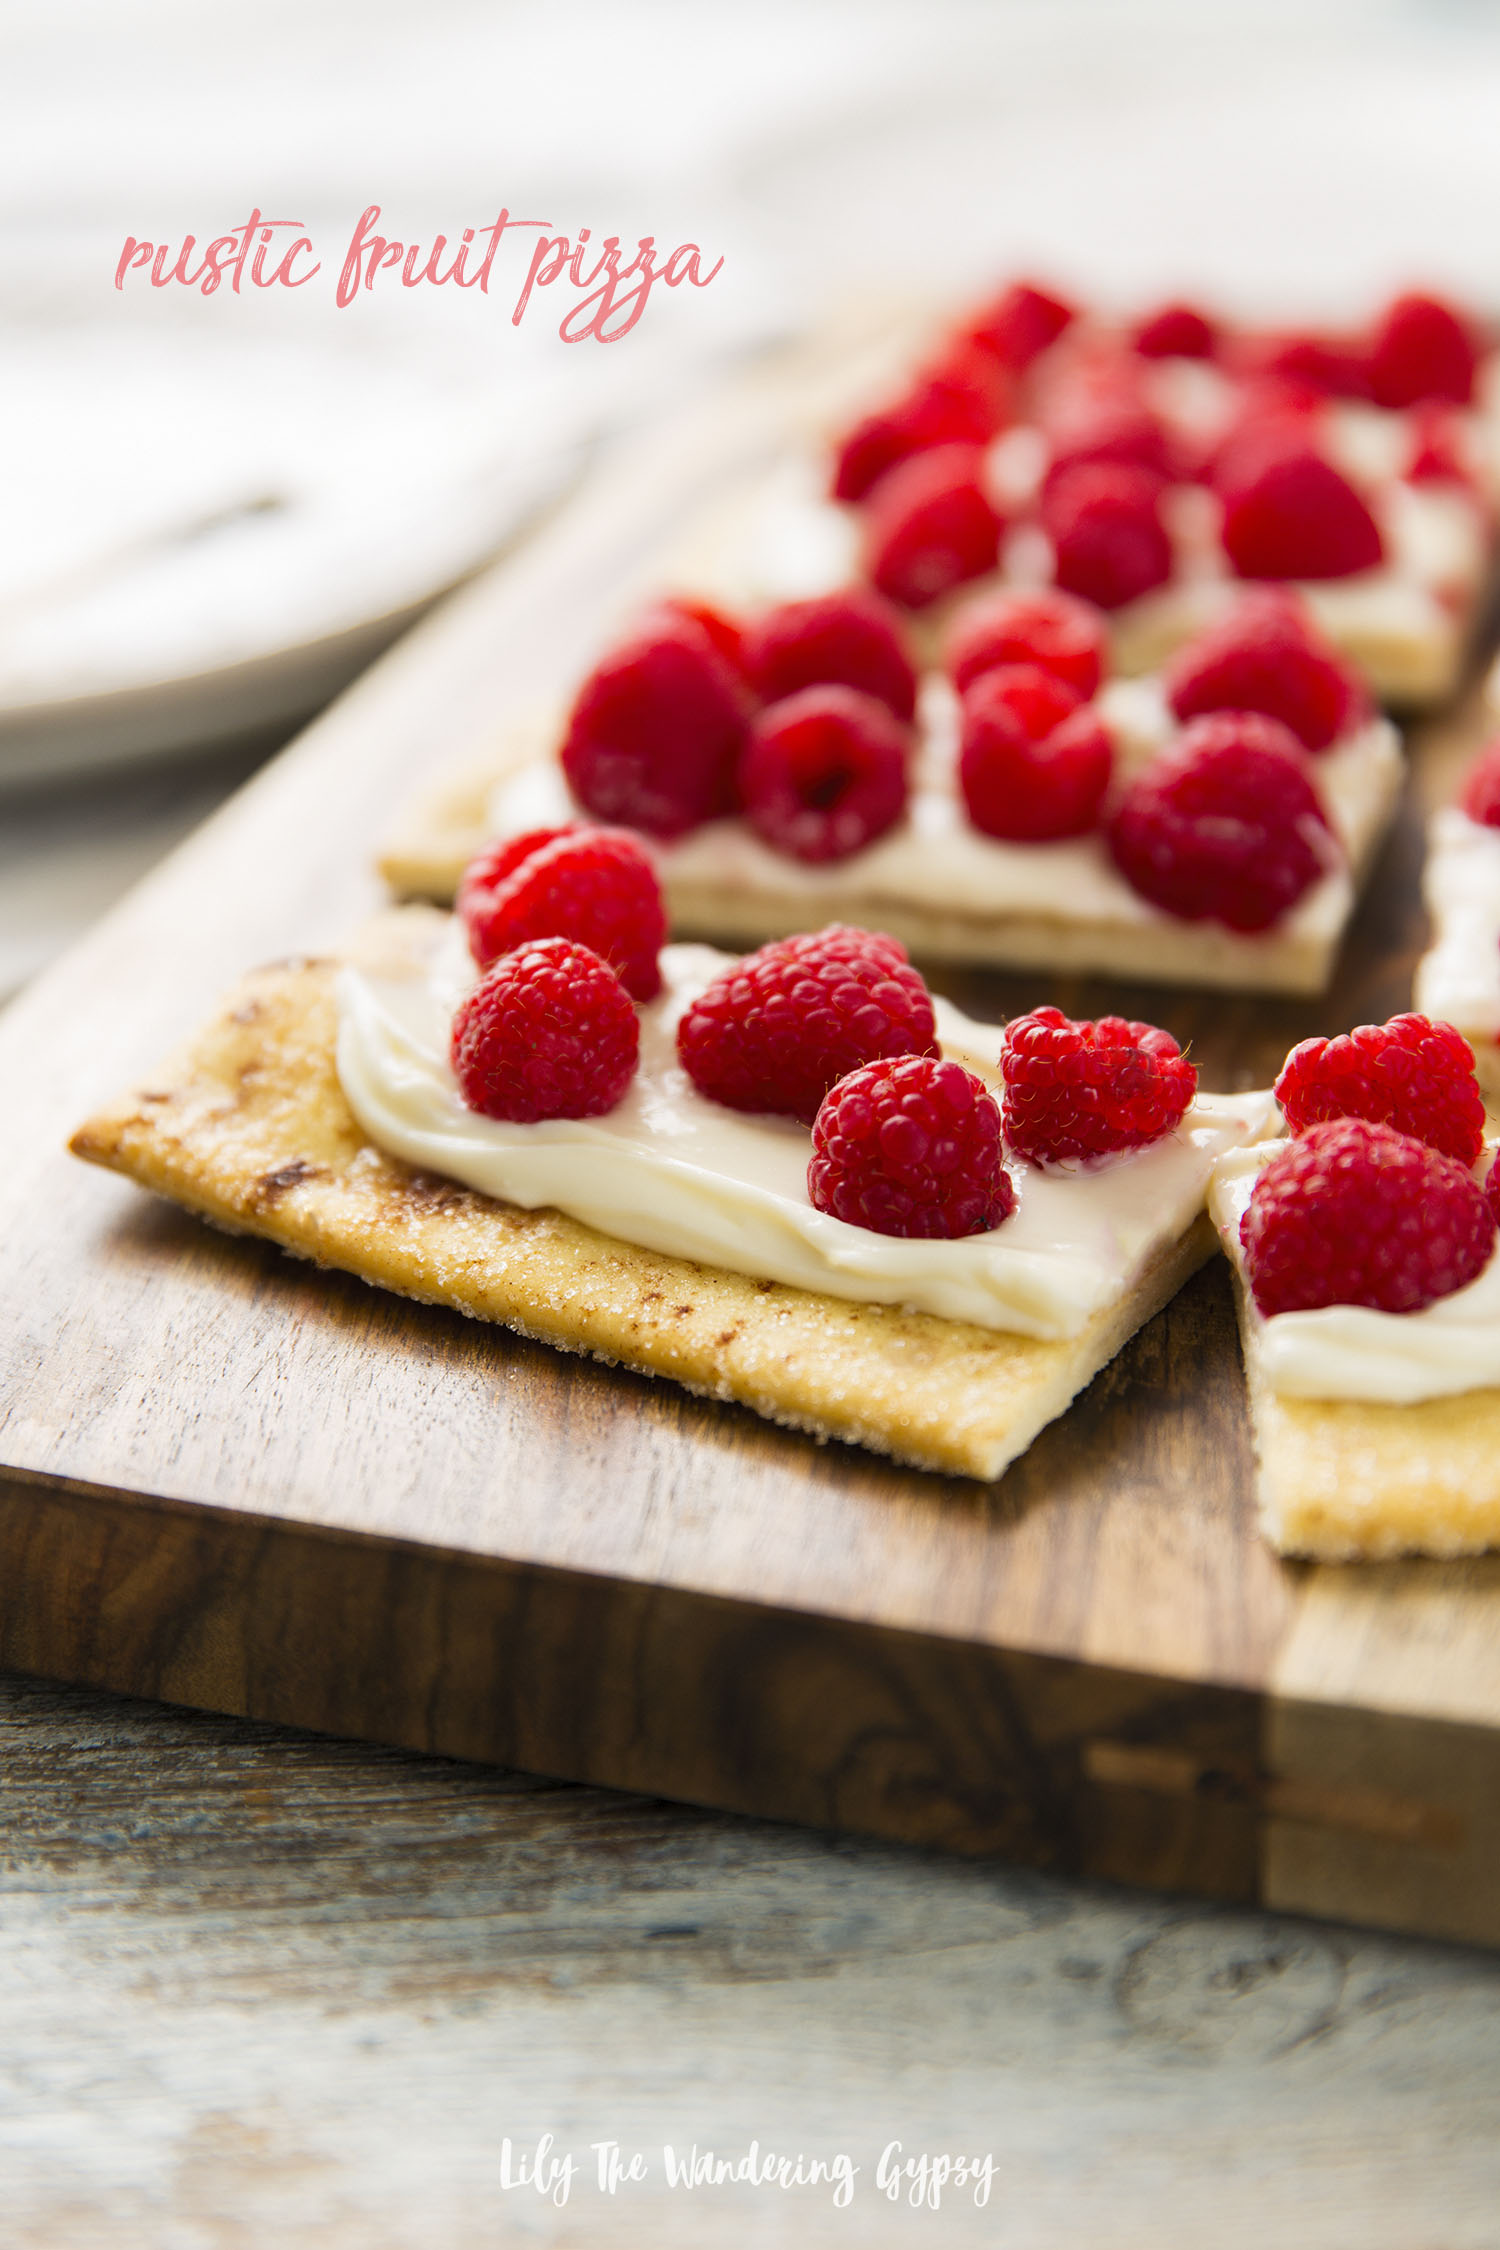
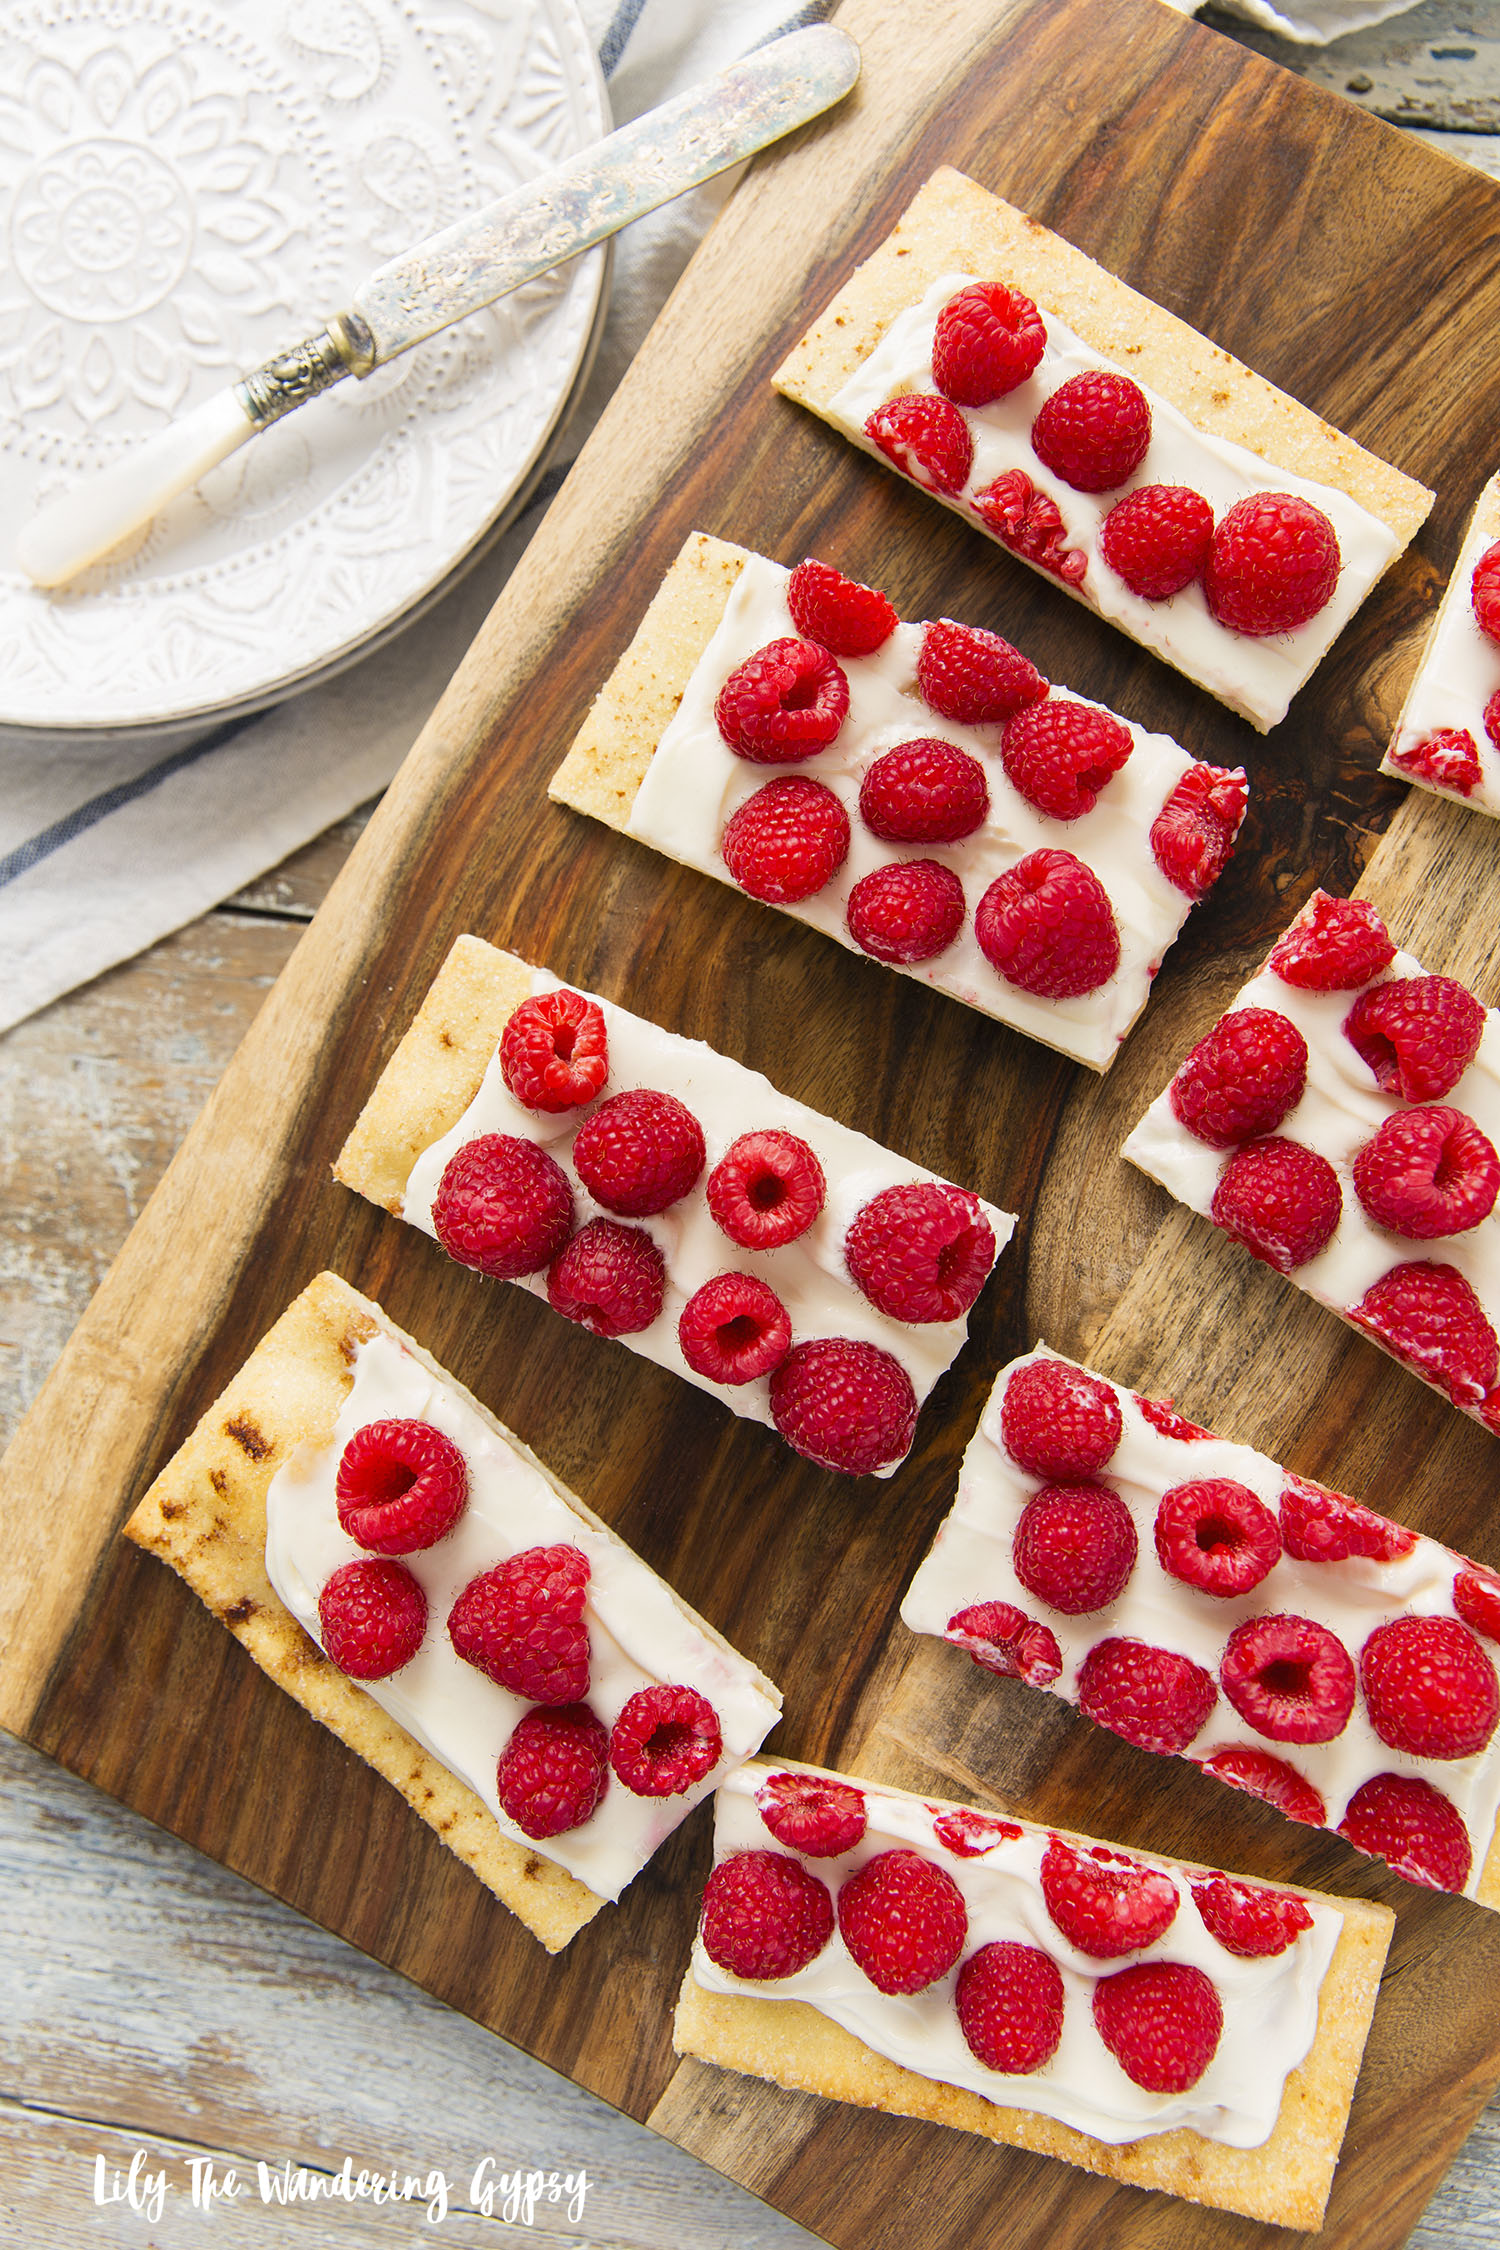
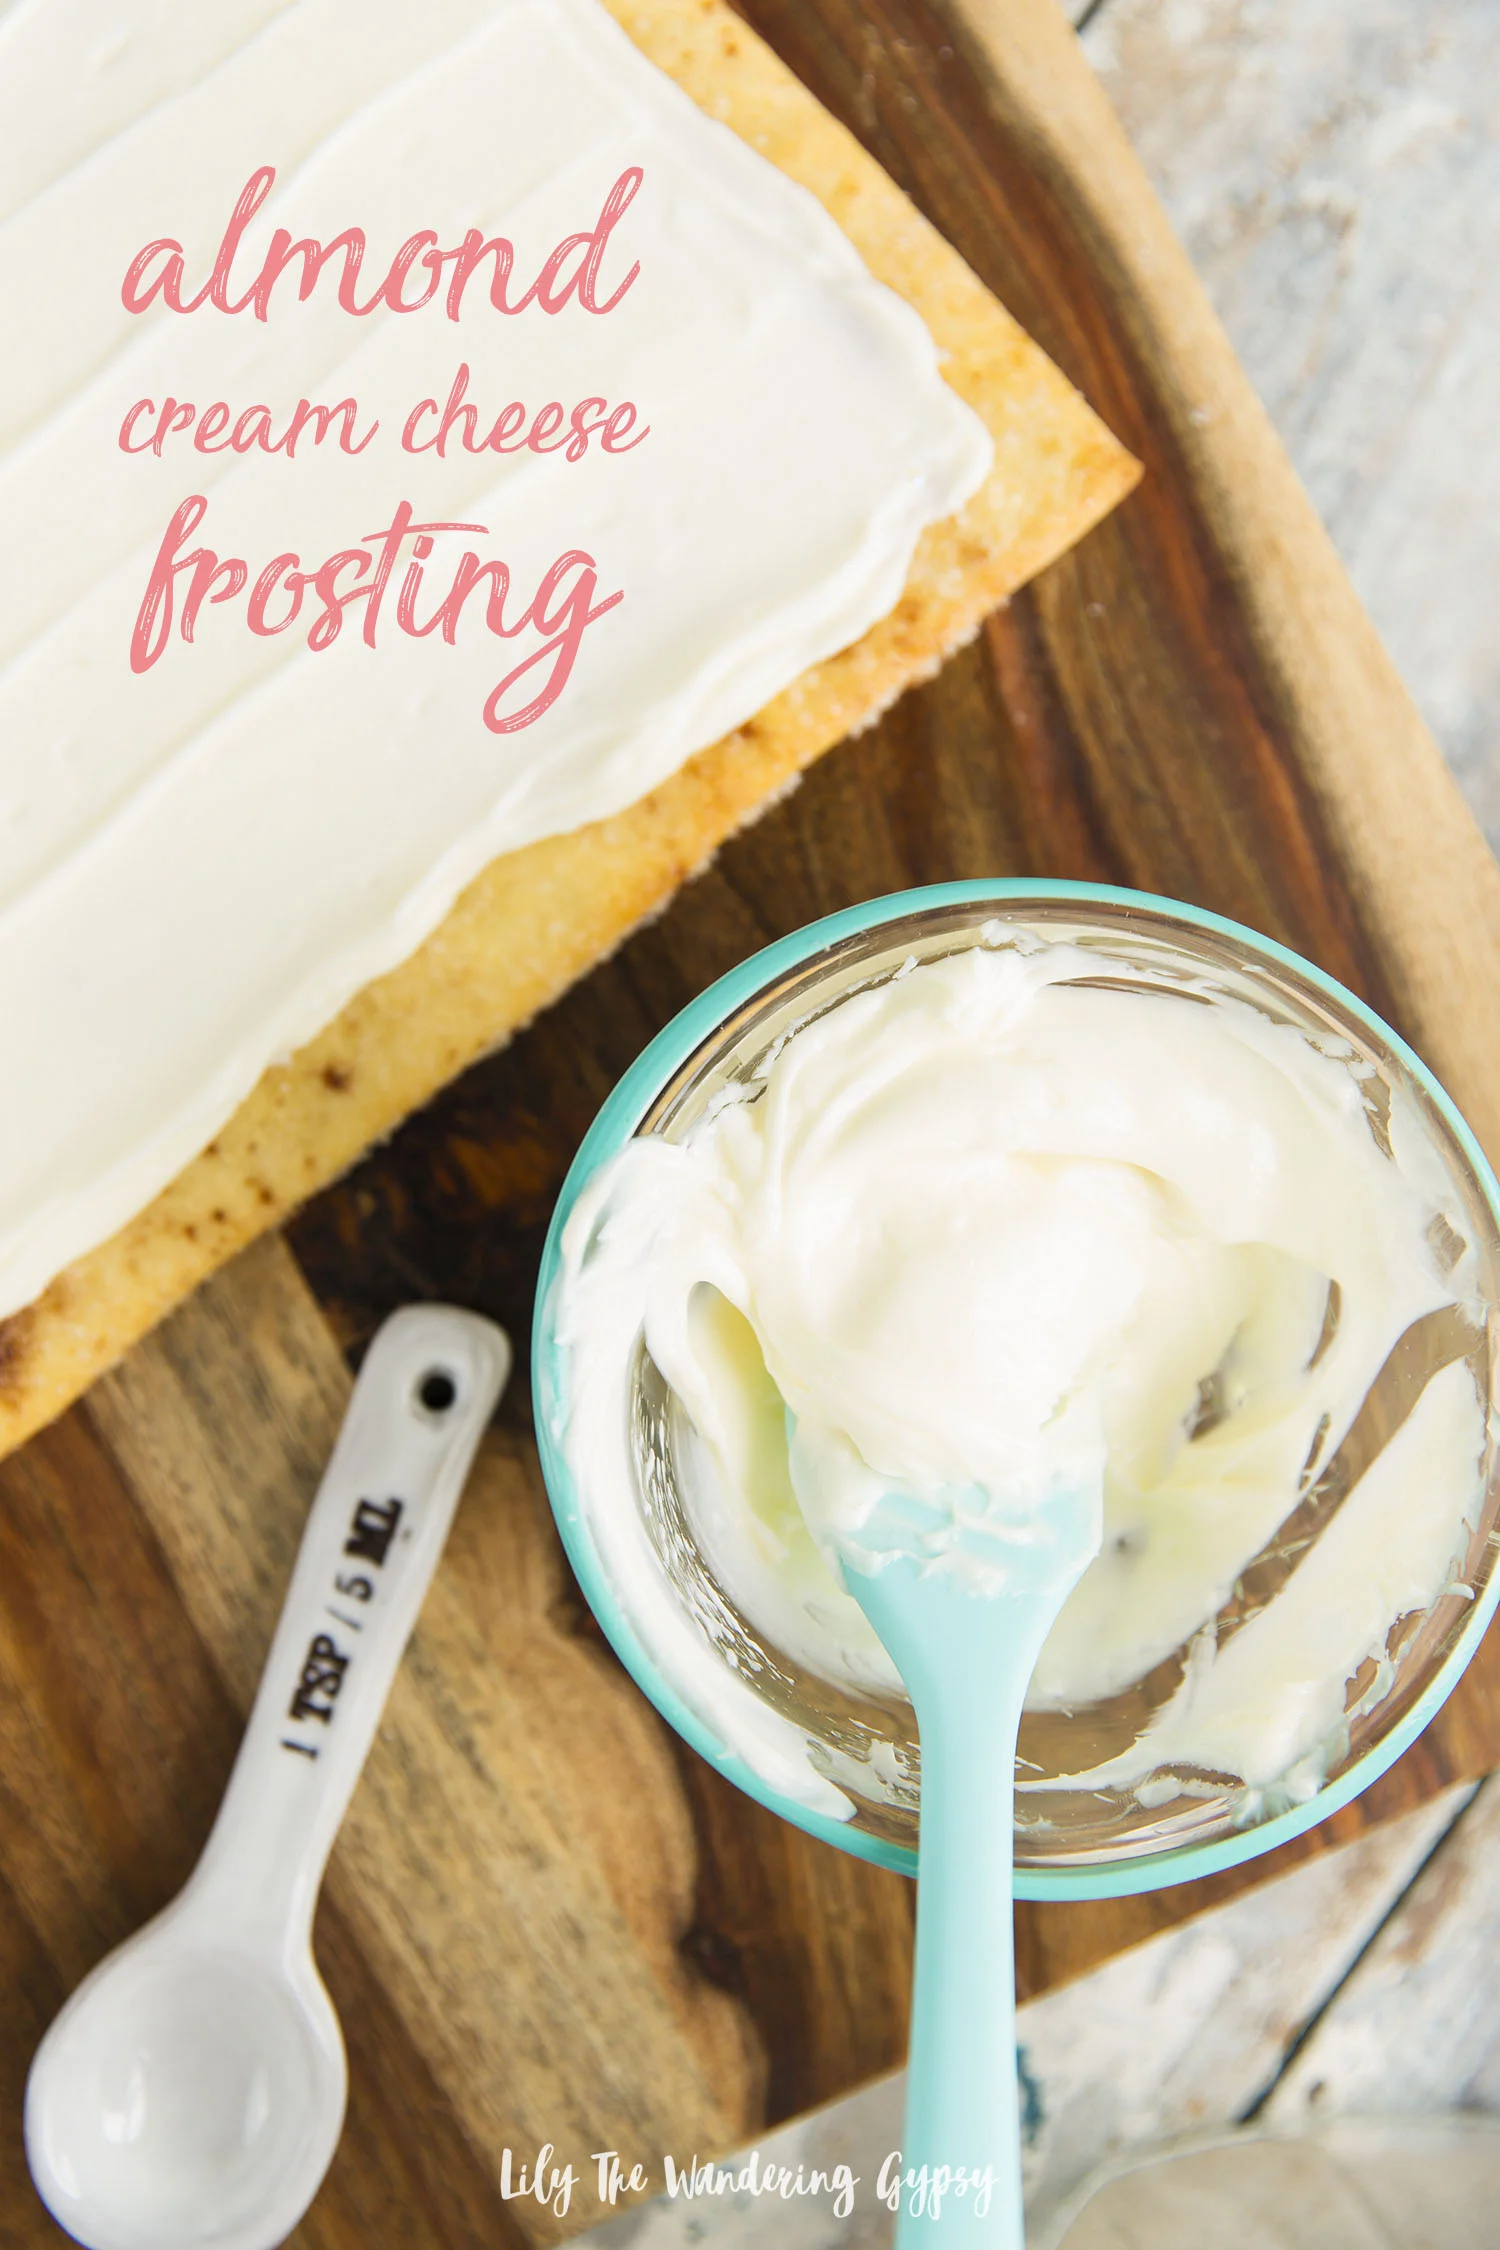
With Spring right around the corner, it's fun to create dishes with fresh fruits! This rustic and simple Fruit Pizza is delicious. The crispy, crunchy sweet crust reminds me of churros, and this homemade almond frosting is divine topped with fresh, tart raspberries!

INGREDIENTS FOR CRUST

1 - 7.8 oz. package of Wewalka Bistro Pizza Crust (I used rectangular but round would work too)

1-2 Tbsp melted butter + brush or silicone spatula to spread onto crust

1/2 - 1 tsp cinnamon

2-3 Tsp sugar

INGREDIENTS FOR FROSTING

1/3 C. Cream Cheese (at room temperature)

3-4 Tbsp powdered confectioners 

1/2 tsp almond extract 

1-2 6 oz. containers of fresh raspberries

INSTRUCTIONS:

1.) Preheat oven to 400* F and roll out your pizza dough onto a floured surface. This is optional, but it really makes the crust look great. 

2.) Apply melted butter to your unbaked crust with a brush or silicone spatula, then sprinkle on your sugar and cinnamon. Bake for 12-14 minutes until crust is crispy and lightly browned. 

3.) During the baking process, create your frosting. simply beat the mixture of softened cream cheese, confectioner's sugar, and almond extract until smooth. Add more powdered sugar if you want a thicker frosting. 

4.) Lastly, apply your frosting, then top with 1-2 containers of fresh raspberries. I spaced them out a little bit, and found the most attractive side of each berry to place upward. 

3-2-1 Frozen Margarita Recipe

We have been making so much vegetarian food lately, and the majority of it has been Mexican food. So since we had a few limes in the fridge, we invited our friend Chris over to create his favorite cocktail for us. He styled it really well and it tasted awesome. I loved the lighter flavor, and this recipe is amazing because it will give you a substitution for traditional margarita mix that is so high in acid and calories that I avoid it all together! 

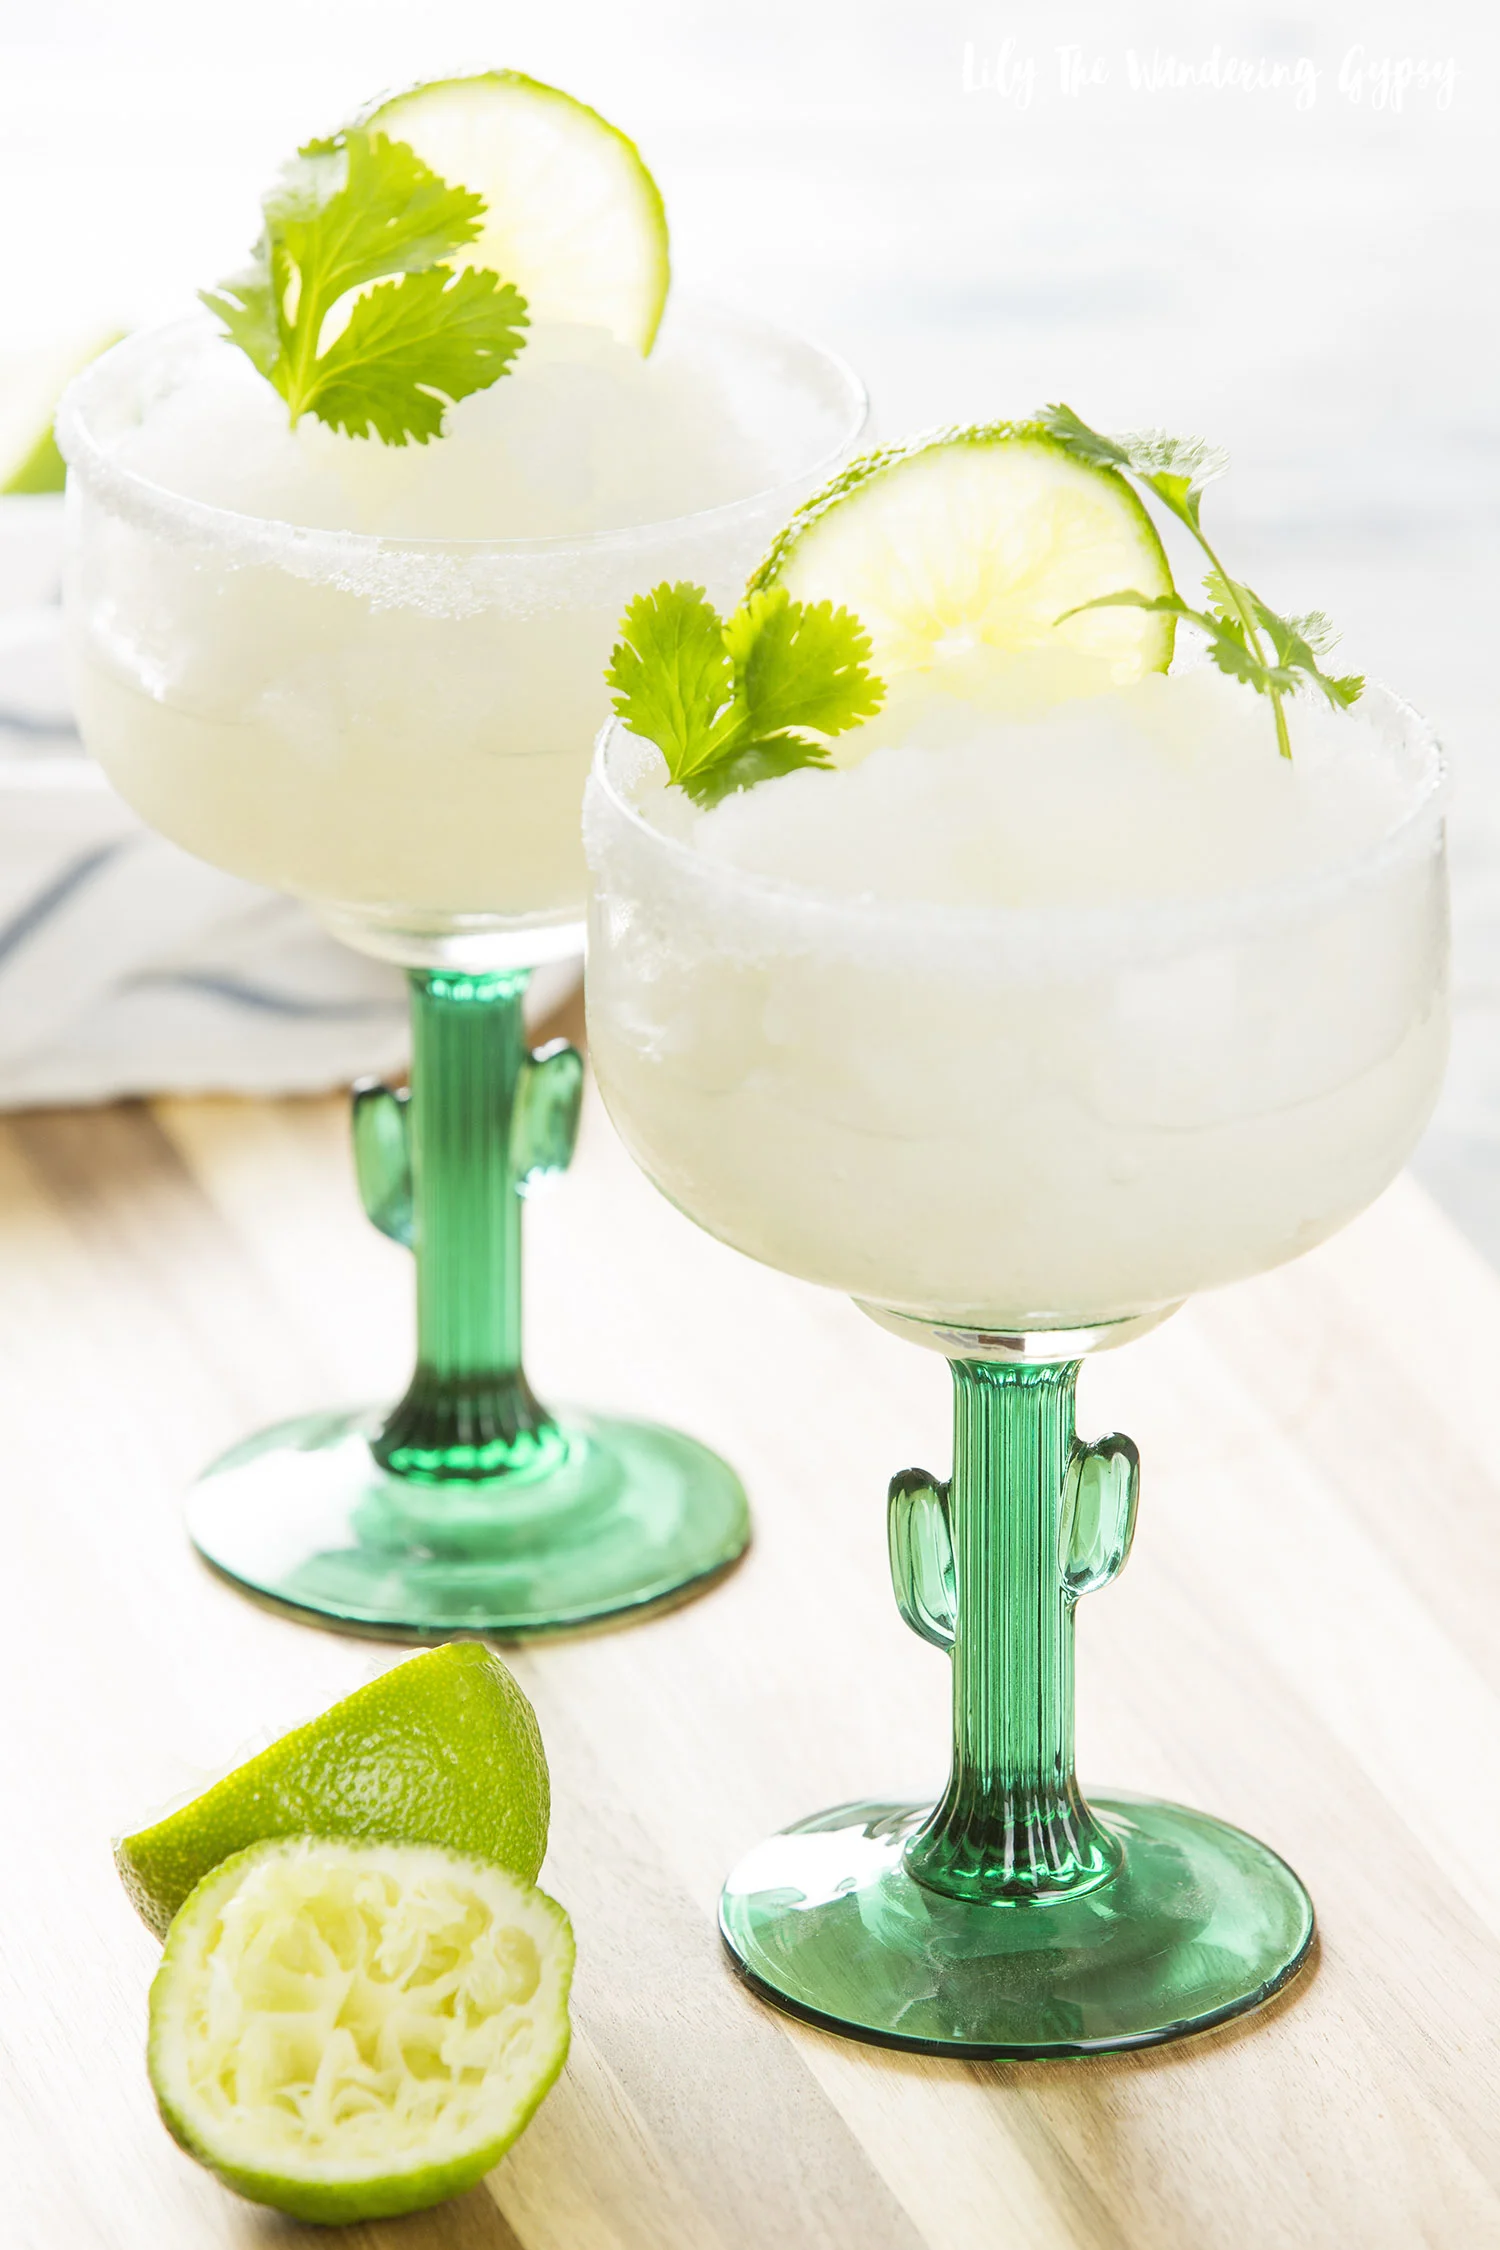
Here is a delicious and traditional 3-2-1 Margarita, which I hope you enjoy! When you read through the ingredients, you will see that it's 3 parts tequila to 2 parts triple sec, to 1 part lime juice. Because this is a higher gravity margarita than if you were using a store bought mixer, it's best blended with ice to tone it down a bit (but that's totally up to you!).

Ingredients (serves 1, or serves a pitcher if scaled up)

  • 3 parts tequila (6 ounces for example)
  • 2 parts orange liqueur triple sec, Grand Marnier or Cointreau (4 ounces for example)
  • 1 part fresh lime juice (2 ounces for example)
  • Simple syrup or agave nectar to taste (4 Tablespoons)
  • Kosher salt for rims of glasses
  • Fresh lime slices (keep as circular slice) for garnish
  • Optional: zest of lime, and cilantro for final garnish
  • ice: add 3-4 cups, optional

Instructions

  • In your blender, add ice, tequila, triple sec, lime juice, and agave nectar. Blend thoroughly until all ice pieces are fully blended. 

  • Use spent lime to apply lime juice around rim of glass. Dip into bowl full of salt to apply to rim.

  • Fill glasses with 3-2-1 Margarita. Use a spoon to help serve from blender.

  • Garnish with lime slice and optional cilantro and enjoy! 

Sparkling Peach Lemonade Recipe

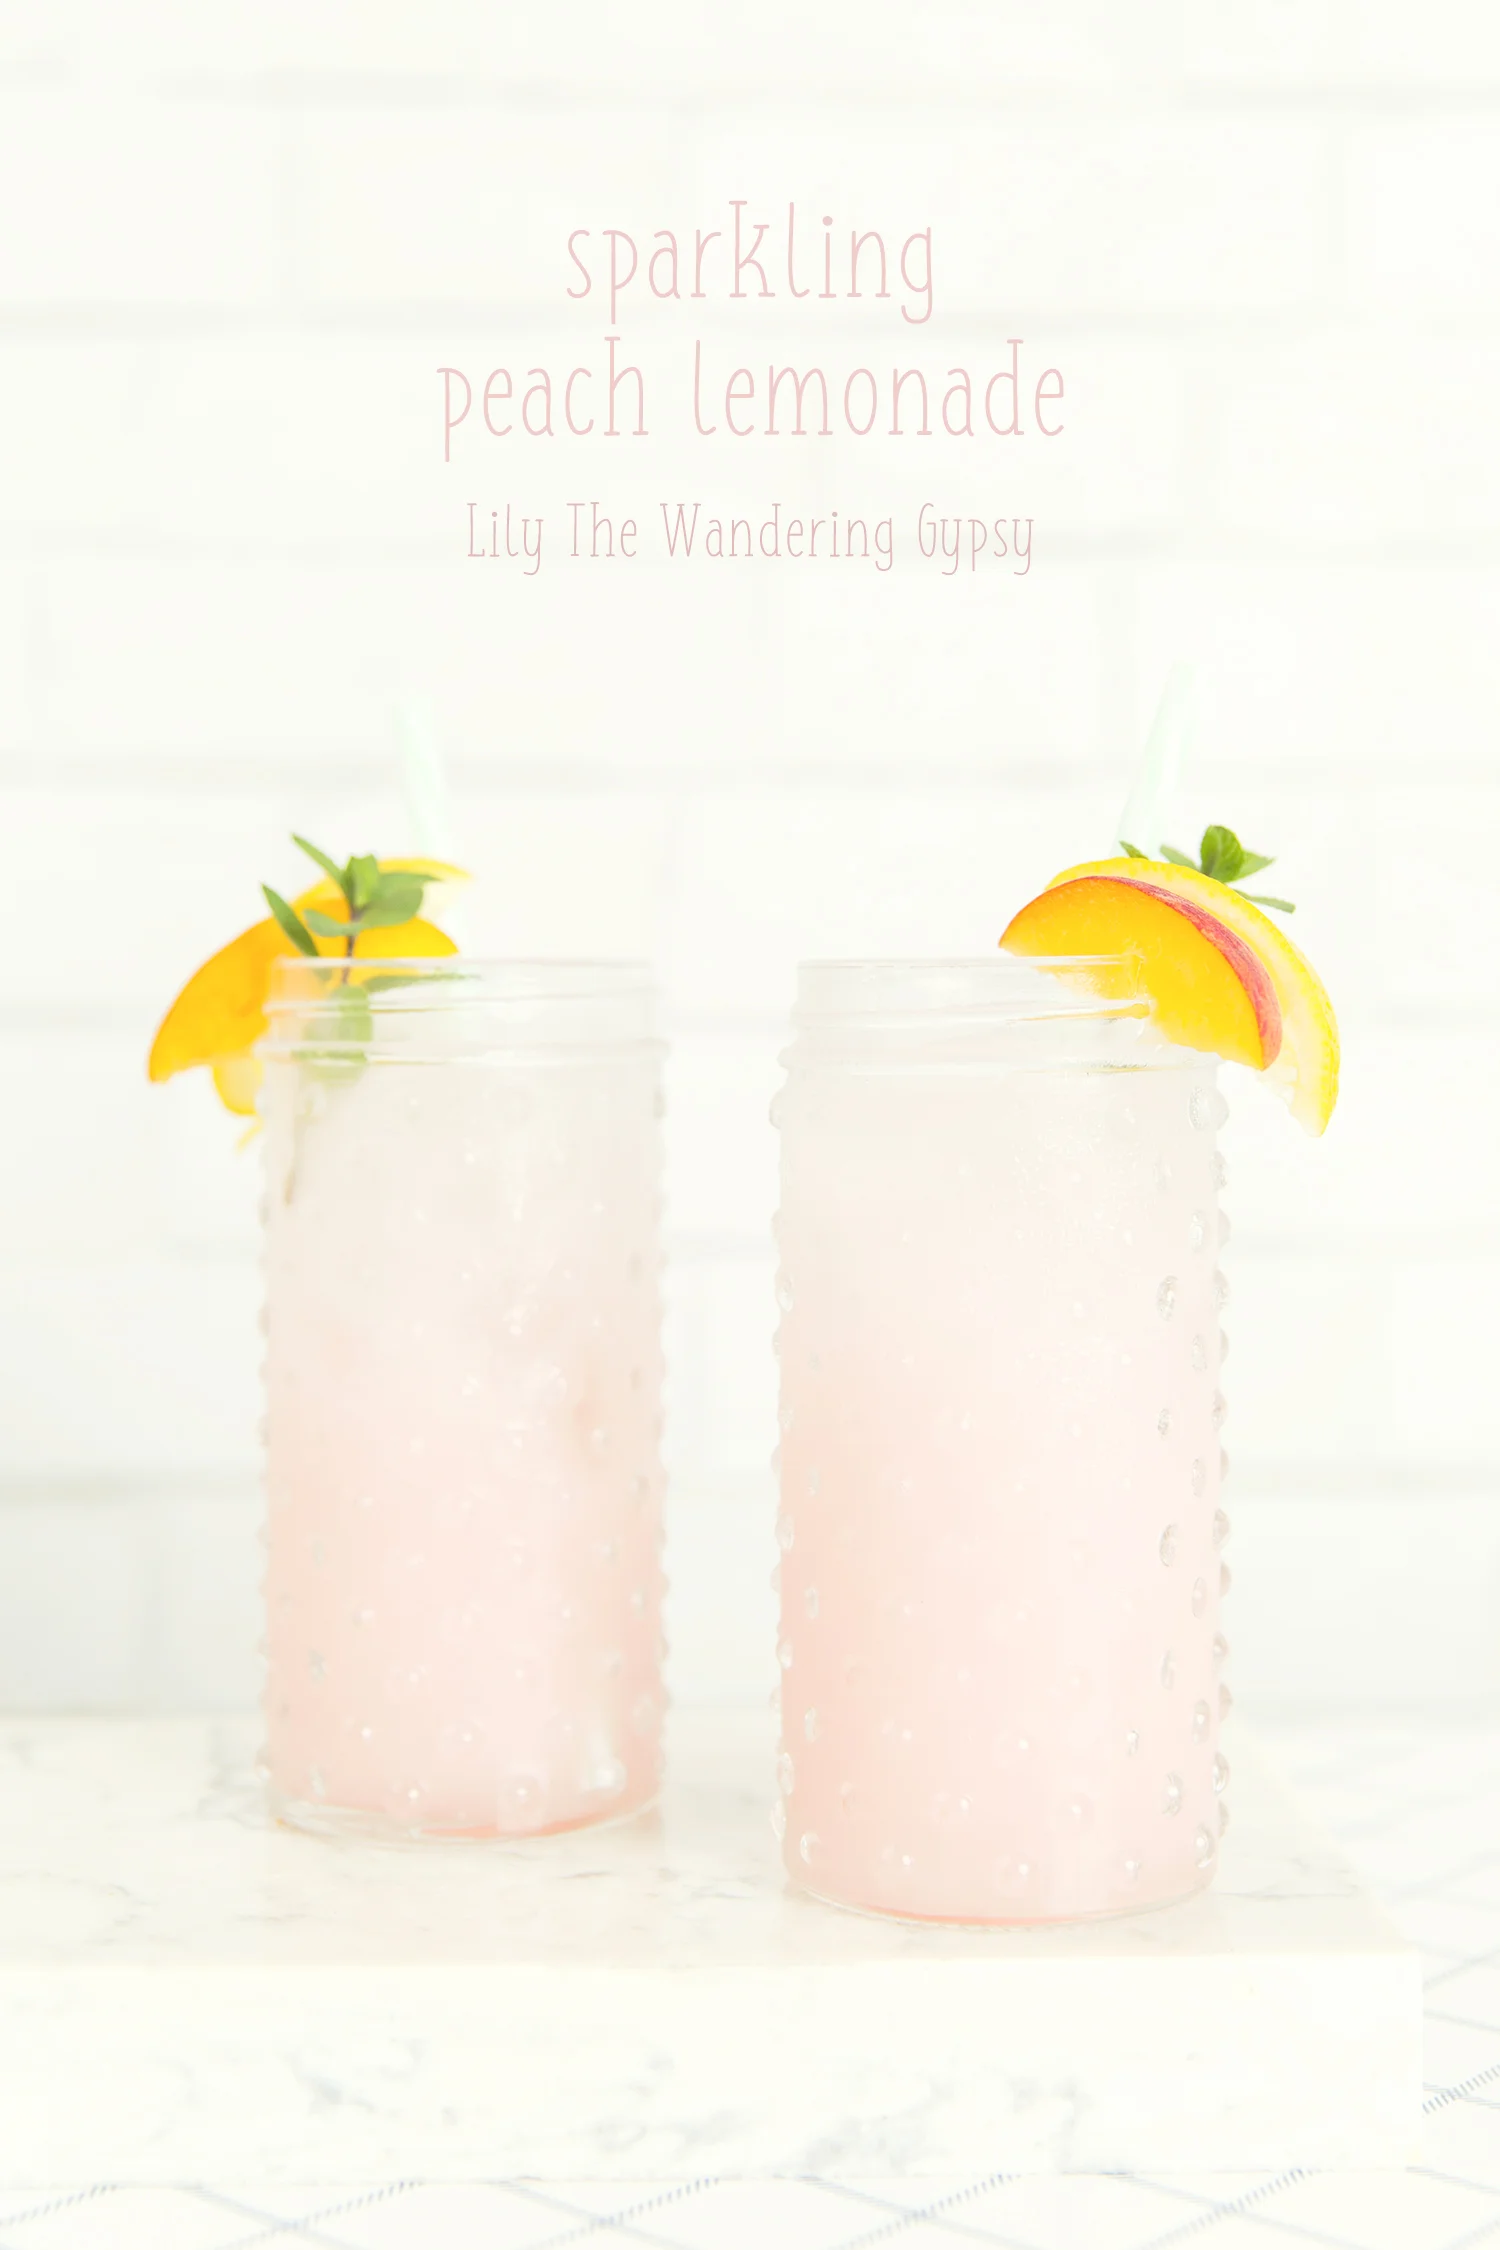
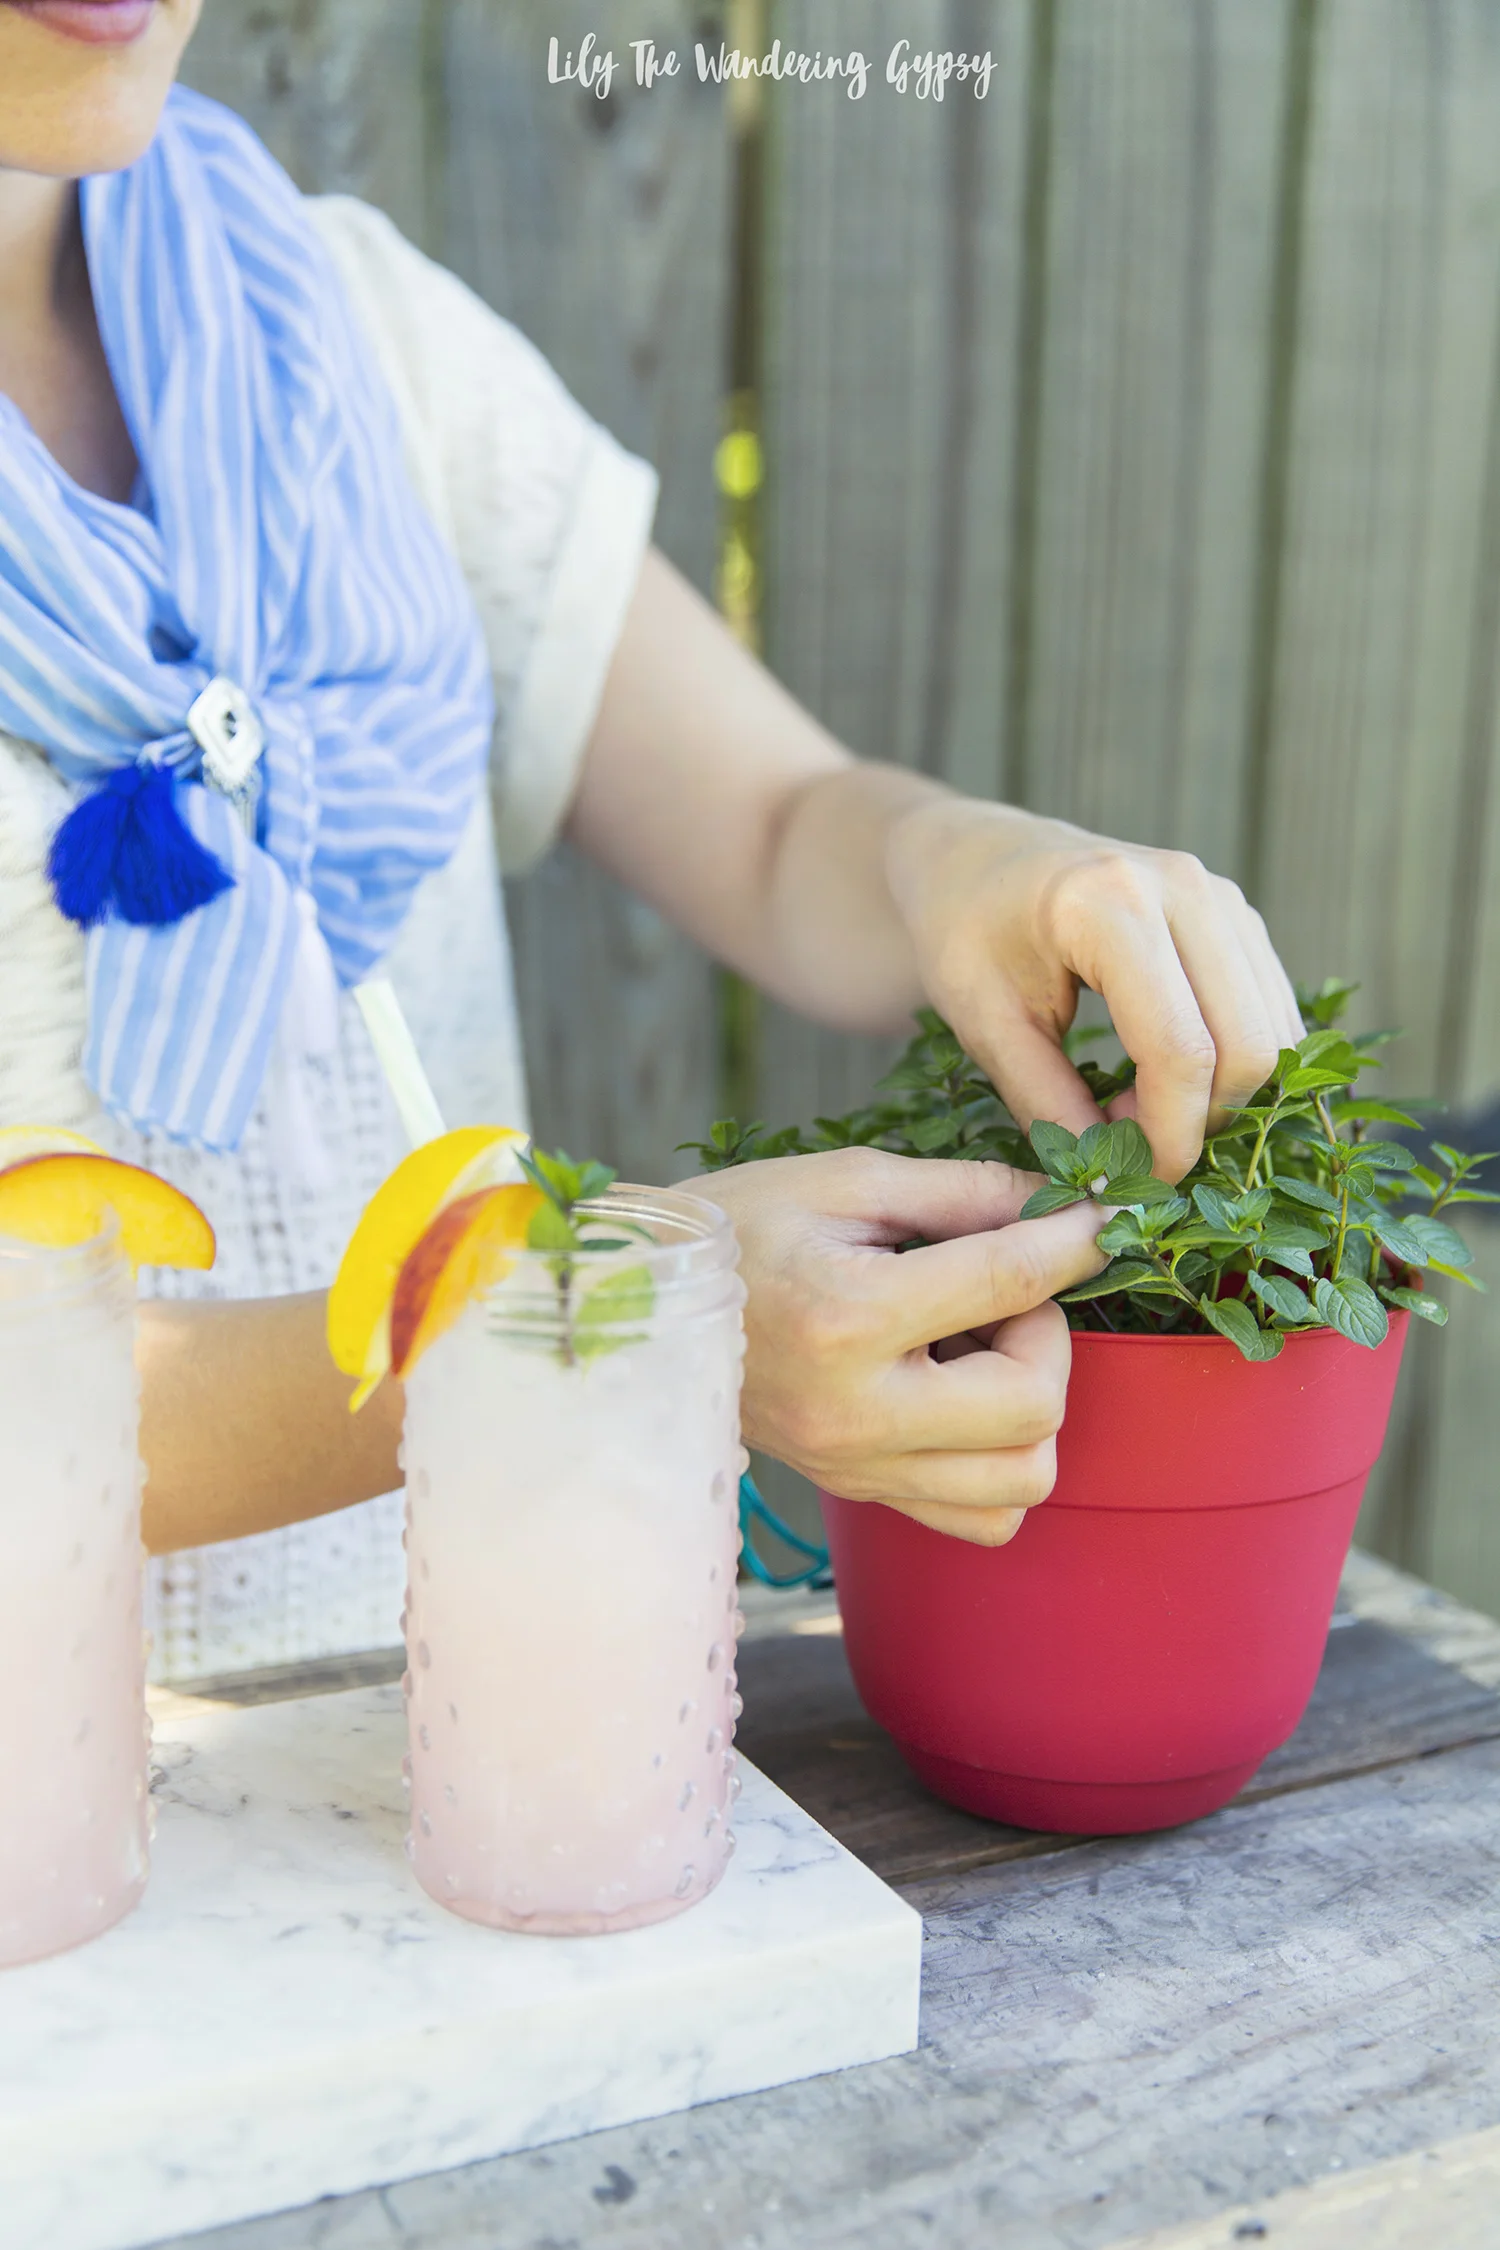
Trying to squeeze the last few drops out of Summer, and I wanted to share a recipe we shot a couple of months ago. My little garden was so great this year, and I was thrilled to have fresh greenery to add to recipes and photos. I have seen a few delicious peaches around still, s grab some fruit and let's get started! 

(Found via Southern Lady Magazine, here)

6 peaches, peeled, pitted, and sliced

2 cups sugar

1 cup water

1 (33-ounce) bottle sparkling water*

2 cups fresh lemon juice

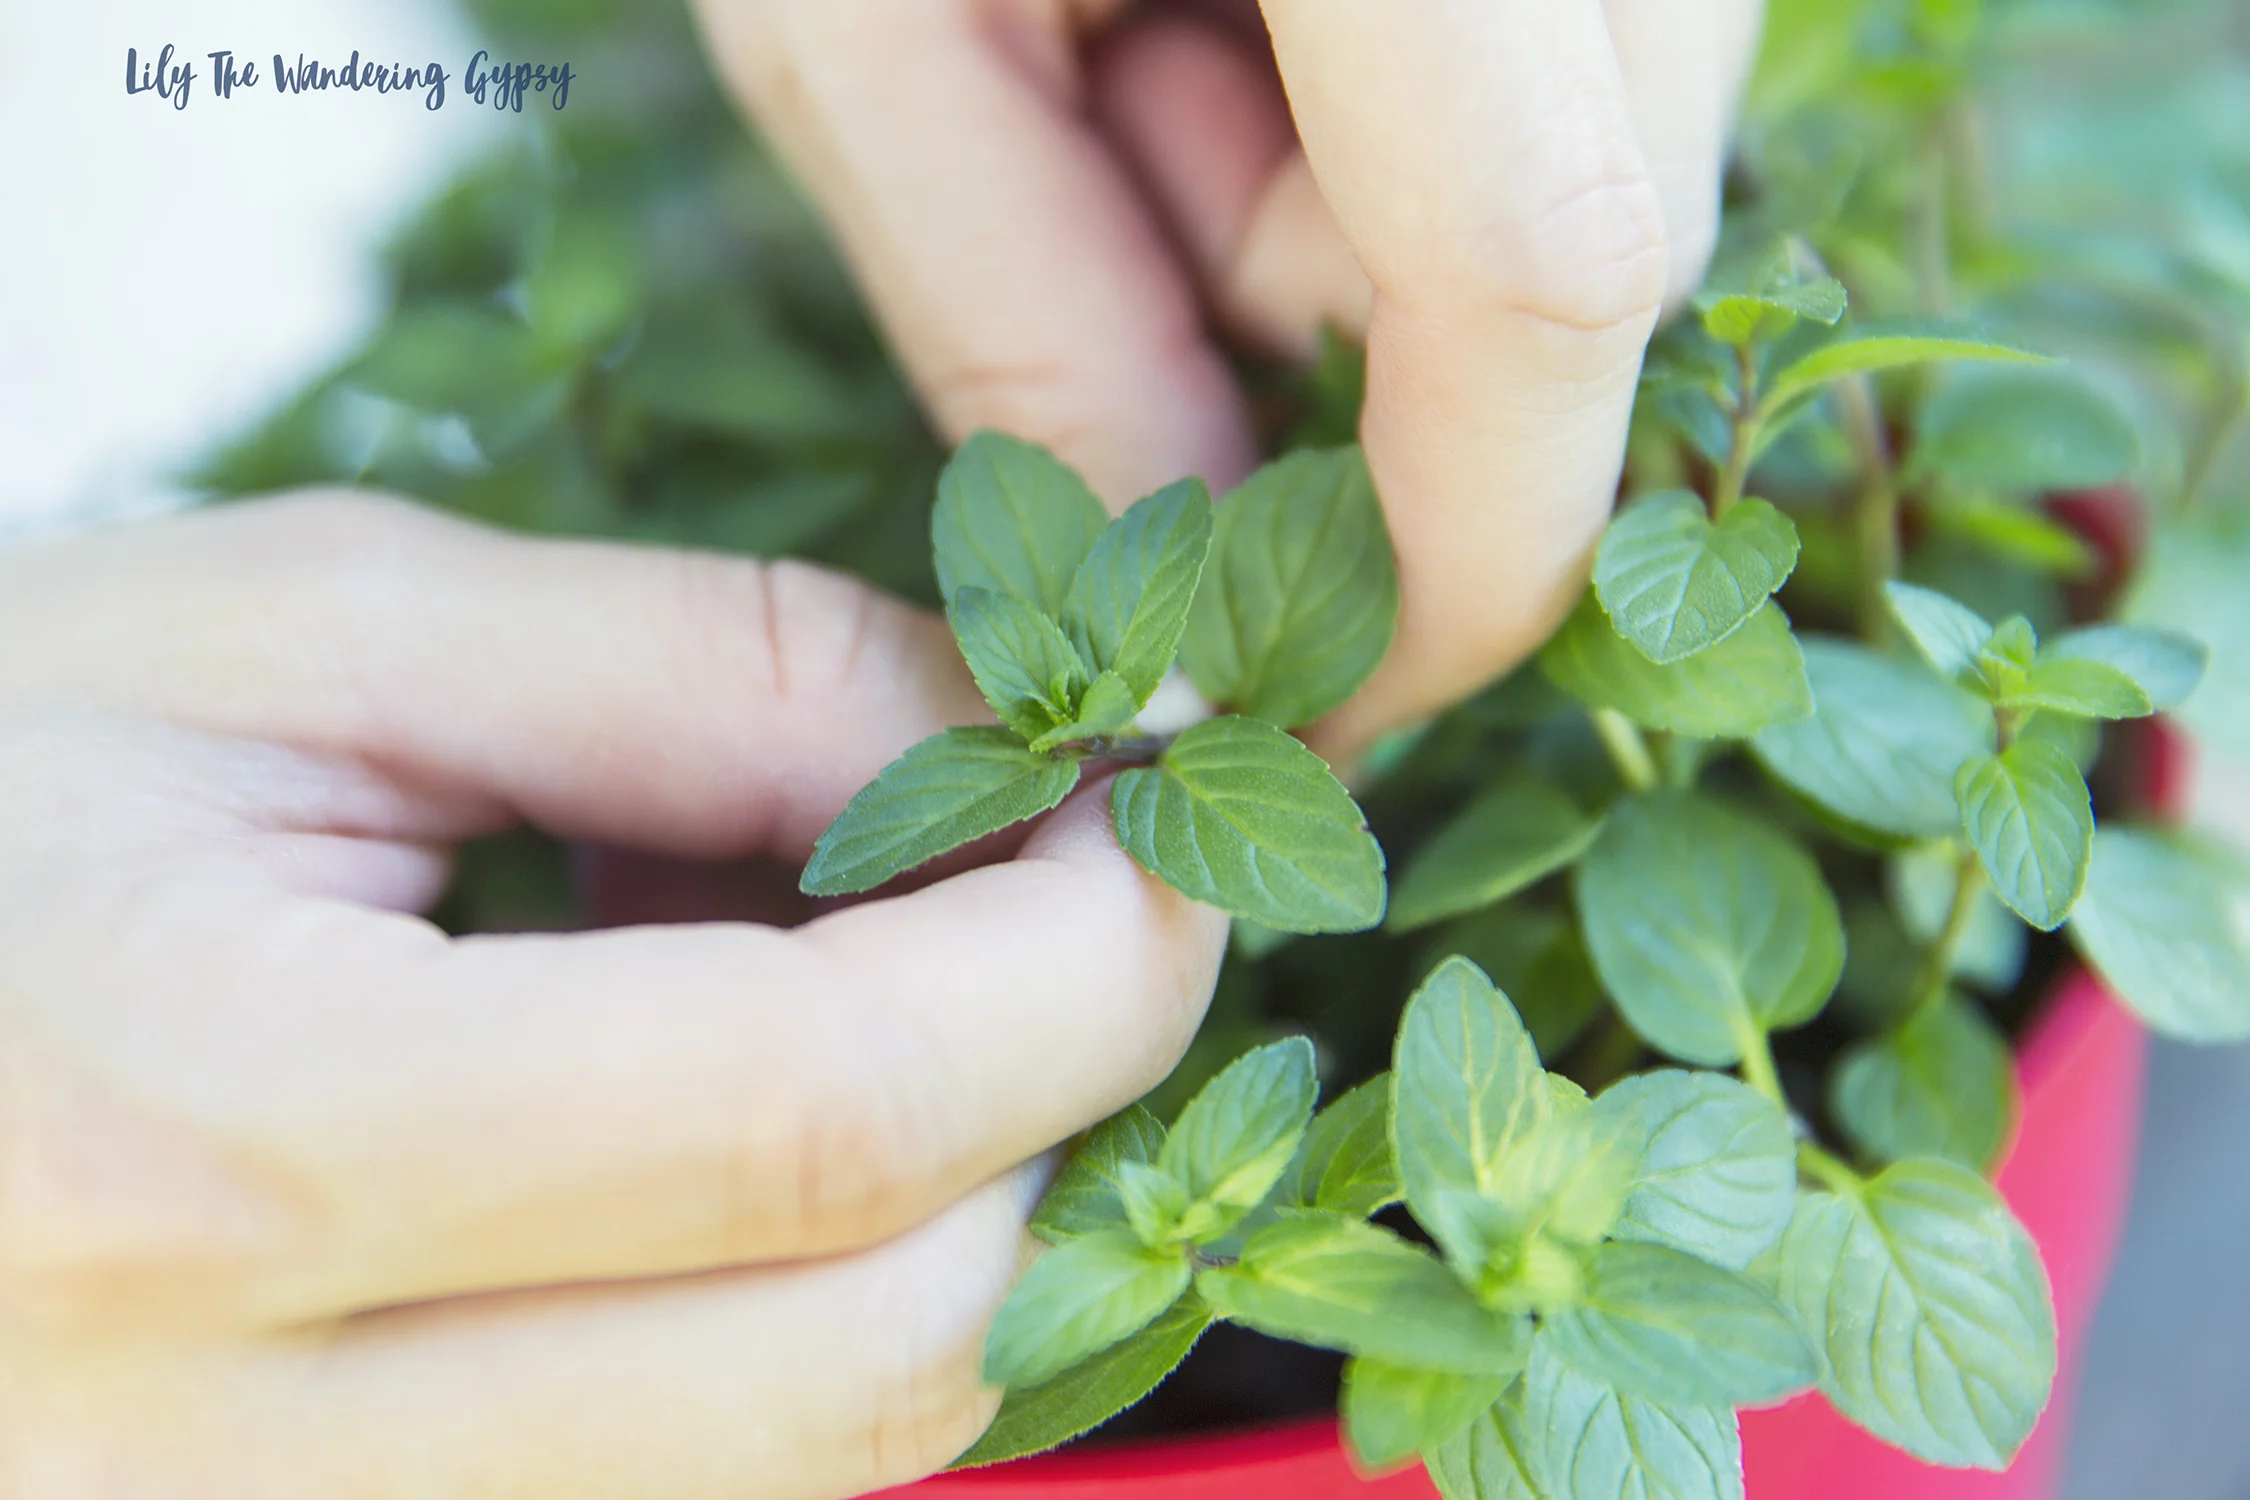
2 sprigs fresh mint

Garnish: fresh mint sprigs

1.) In a medium saucepan, bring peaches, sugar, and 1 cup water to a boil over medium-high heat. Reduce heat to low, and simmer for 5 minutes. Let cool slightly. Transfer peach mixture to the container of a blender; purée until smooth. I also added a tiny bit of coconut milk to get that pretty, pastel color!

2.) In a large pitcher, stir together peach purée, sparkling water, lemon juice, and mint. Top with ice. Garnish with mint sprigs, if desired.

Notes:

We used San Pellegrino.
Kitchen Tip: Frozen peach slices may be substituted for ice cubes.

An Elegant Fall Bake Sale {Raise Love for Ronald McDonald House Charities}

Who's ready for Fall? I know I am! The weather has finally cooled down a bit at night here, which means it's time to mix up a few ingredients, get out the decorating materials, and perhaps it's time to get ready to give back by hosting a Fall Bake Sale! If you're here looking for ways to make your baked goods look gorgeous, you're in the right place. 

I'm here today with Ronald McDonald House Charities (RMHC) to share some Creative and Elegant Bake Sale Tips. Selling food is all about the presentation - we eat with our eyes first! In order to make the maximum amount of money from anything you're selling, make it cute and make it approachable! 

CUPCAKE INSTRUCTIONS:

Above, I baked a box of chocolate cake mix into 24 cupcakes, using metal liners.

I then grabbed a quart freezer Ziploc bag and a rosette icing tip. I placed the tip into the corner of the bag, cut a tiny bit of the bag corner off, then taped the icing tip into the hole with electrical tape. This worked pretty well, or feel free to use a pre made piping bag and metal icing tip. 

I then applied a swirl of icing to each cupcake and placed Fall Leaves sprinkles carefully onto each one. I thin they look like a little swirl of leaves on a windy, Fall day!  

CHOCOLATE CHIP COOKIE BARS

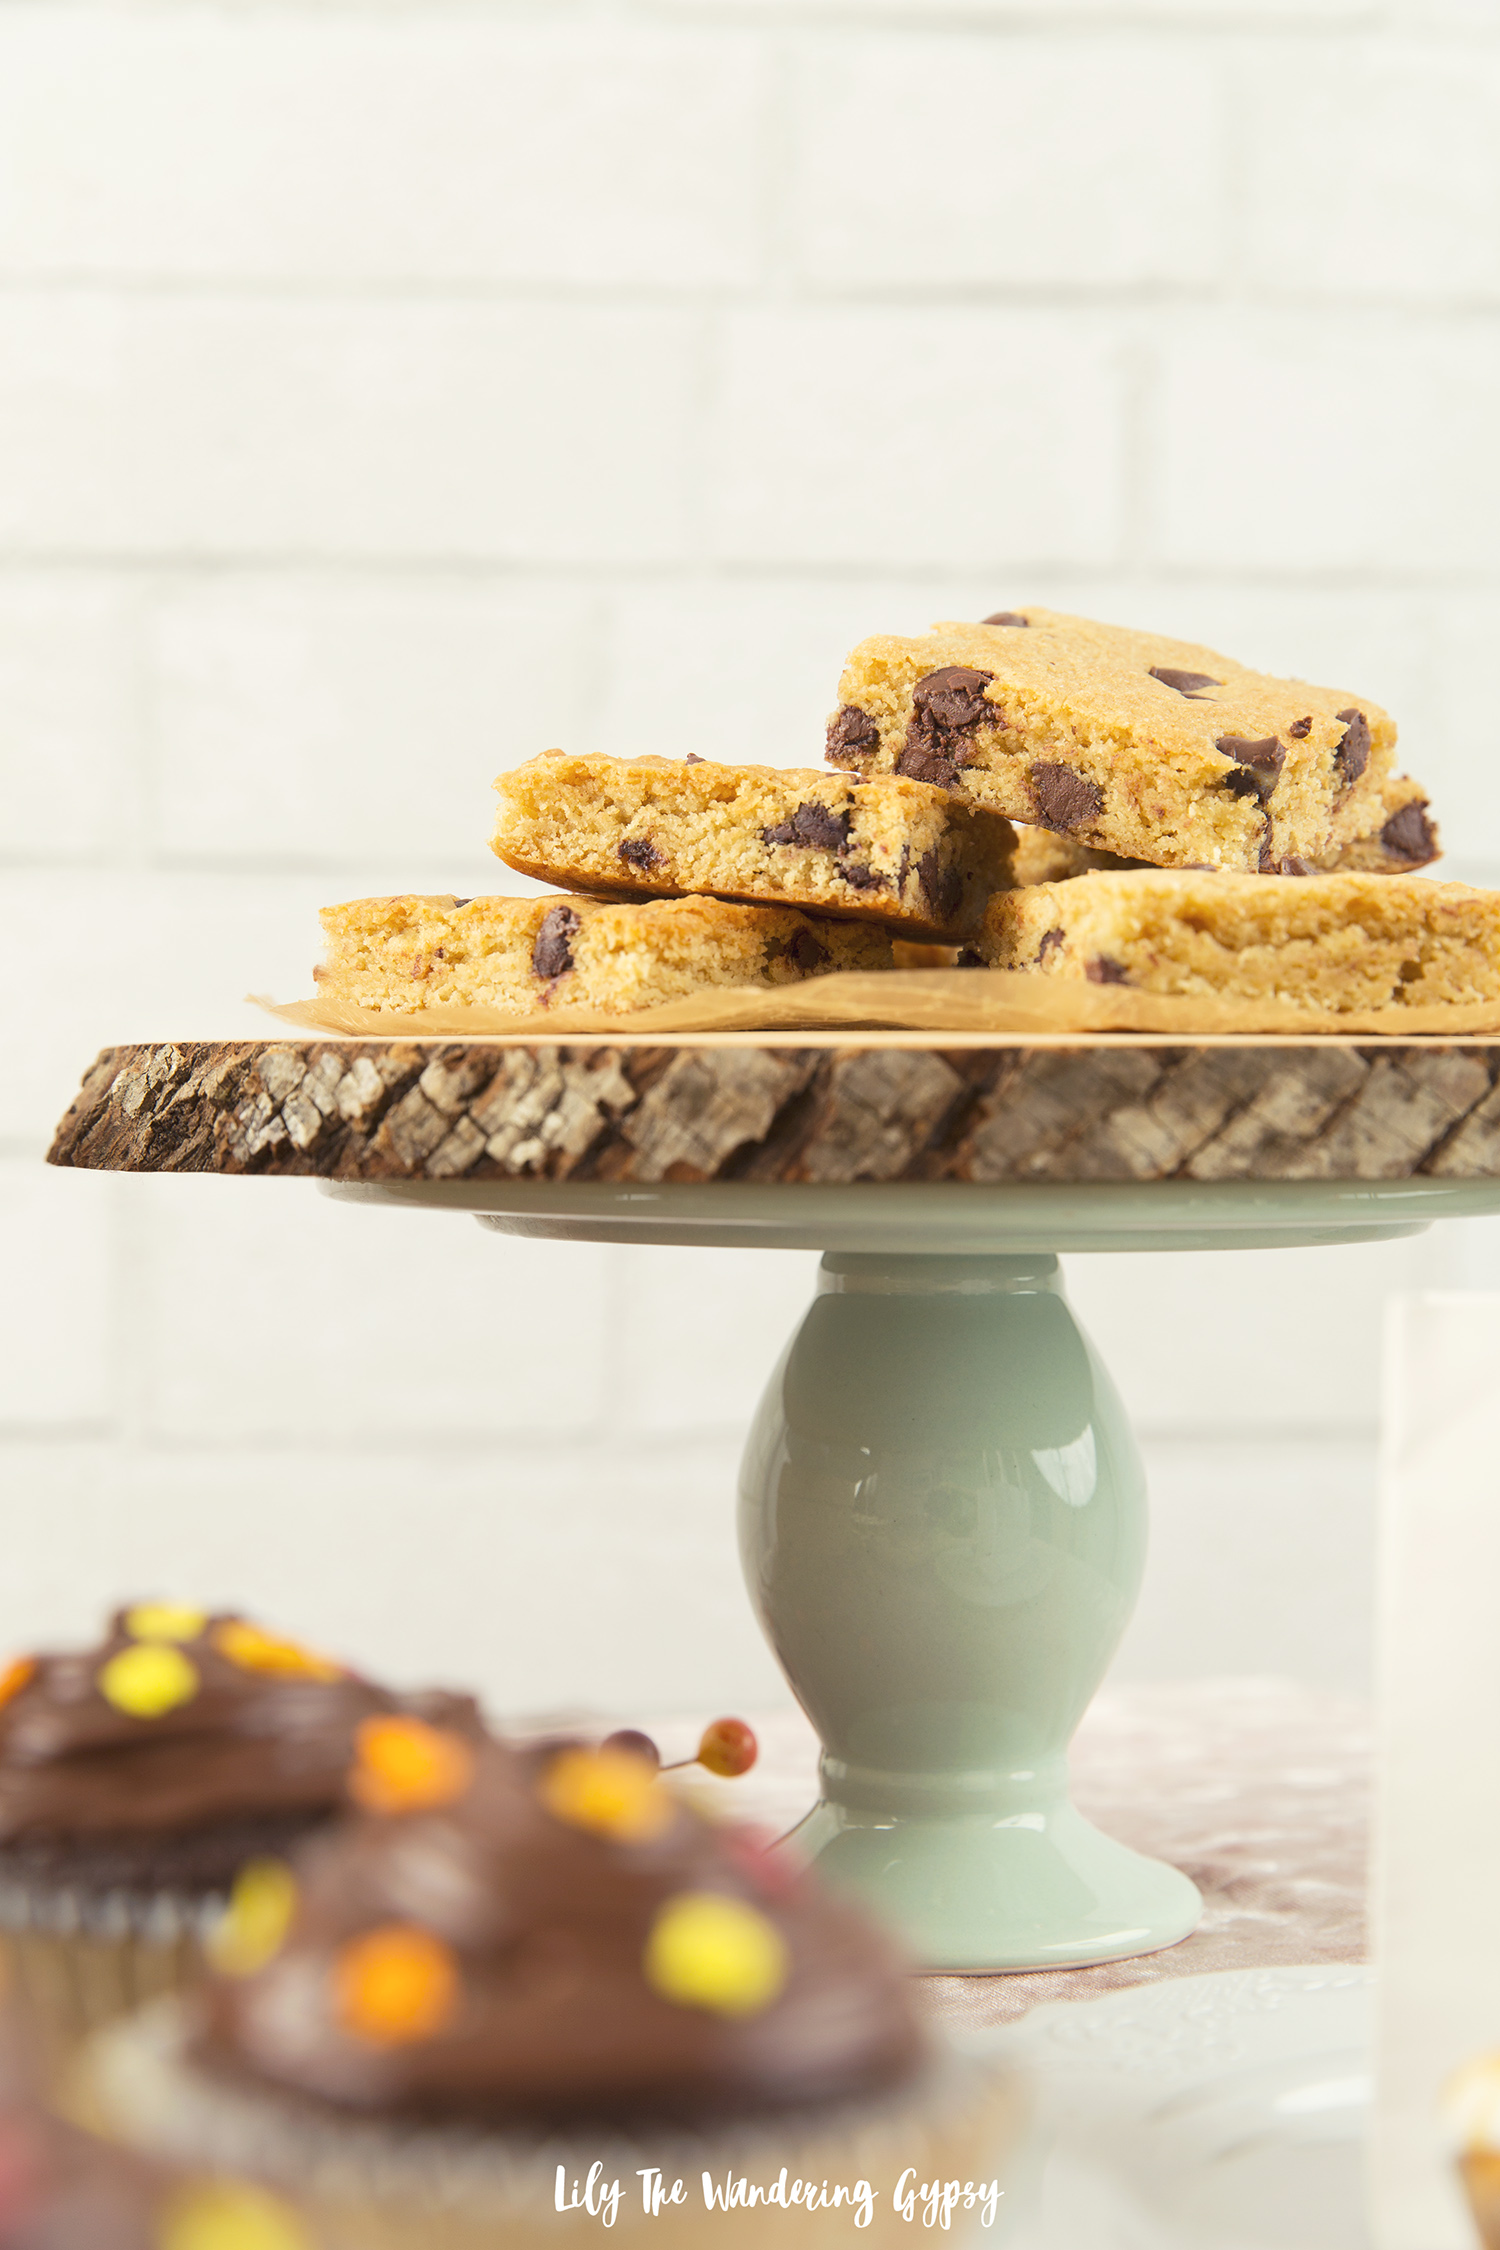
Also, shown above, I made a batch of chocolate chip cookie dough, spread it into a baking sheet, and followed the instructions on the packaging for best results. I then cut the cookie bars into squares, and set them on top of a slice of decorative wood and set them on a mint cake stand I got from Target. I love how this display turned out!

Did you know that in 2016, RMHC provided 2.4 million overnight stays to families? And in doing so gave the ability to spend more time with their sick children, to interact with their doctors, and to make important decisions about their children’s care?

Below, you will see the juggling balls that Ronald McDonals House Charities sent me! 

Below, you can see a cute way to offer customers a cute gift bag with a Fall leave glued onto the bag, perfect for gifting that special treat!

Through the Ronald McDonald House and Ronald McDonald Family Room programs, RMHC provides places for families with sick children to stay just steps from the hospitals where they are receiving critical medical care.

Starting a fundraiser is simple and gives the fundraiser the freedom to do whatever it is they love to do to in order to help RMHC reach our goal of providing 12,500 more overnight stays to families of sick children this year.


1.) Always keep gloves and several pairs of tongs on the bake sale table, so you can serve customers their food without touching it. Also, make sure to keep plenty of to-go bags and containers for customers to bring their treats home in. 

2.) Always use rubber gloves while baking the items too.

3.) Presentation! Presentation! Presentation! I loved the use of this light pink crushed velvet tablecloth material! I headed to my local craft store and spent around $8-10 for 1.5 yards of it. I was so happy to incorporate one of the year's trendiest fabrics into my bake sale display! 

4.) Find a unique location like a popular, locally owned clothing boutique to have your bake sale in front of. Make sure people know to enjoy their treats before they head into shop, and food may not be allowed in the store. Office buildings, malls, and even breweries are also amazing location ideas because there is a larger amount of foot traffic.

5.) Spruce up desserts by adding bakery-style details like icing piped with icing tips, and seasonally adorable sprinkles! I also loved adding cupcake toppers, which can be made with toothpicks and scrapbooking paper or even pom poms! They can also be purchased for around $2.00.

6.) Place hand painted price signs at eye level, and make items affordable. Feel free to have a range of prices on the table too. For instance, I thought that .50 cents per mini cupcake, $2.00 per large cupcake, and $1.00 per chocolate chip cookie bar would be appropriate. I really, really wanted to make some caramel apples for this bake sale, and I believe you could get around $4.00 for them! 

7.) Display the charity name for which you are fundraising! I made a hand painted sign for FREE with black paper and white paint to showcase the "Raise Love #forRMHC" campaign info. Shoppers may also want to tag your cause on social media, so that is also what inspired me to create that sign.  

Learn more about starting a fundraiser here, and also get the details on Ronald McDonald House Charities here!

Organic Rustic Grilled Salsa & Hand-Cut Tortilla Chips

A Rustic Grilled Tomato Salsa is a great way to use 100% fresh and organic ingredients in a recipe that is just perfect for summer! Mission Organic Tortillas were the perfect ingredient to use and compliment my salsa oh so well. I am beyond happy with how these cute little hand-cut tortilla chips turned out, and I hope you enjoy them!

Choosing organic ingredients is of top priority when it comes to preparing and serving any recipe. I have been watching a few very inspiring cooking shows lately, and they’re showing me the possibilities of creating everything from scratch, from fresh, local, and organic ingredients, and I just love it! So happy to be partnering with a brand I have loved for years, and I am so glad they have a delicious line of organic products!

This post was not sponsored, it was actually one of two ideas I had for the brand. See which post they chose instead. 

SALSA (Makes 3-4 Servings):

Choose Organic Ingredients When Possible

1 container of colorful or red mini tomatoes

2-3 Jalapeno Peppers, cut in half lengthwise

2 Larger Red Slicing Tomatoes, cut into slices

1 Lime, cut into wedges for the juice

Cilantro, chopped

Garlic (1-2 cloves, chopped)

HAND CUT TORTILLA CHIPS

Mission Organics® Tortillas

Cookie Cutters

Spray Butter, Spray Coconut Oil, or similar

Large Grain Sea Salt (Regular will do)

OTHER MATERIALS:

Toaster Oven or Regular Oven

Grill

Skewer Sticks

Food Processor

Knife

1.)  (For The Salsa) Prep your veggies! Cut jalapenos in half lengthwise, and remove any seeds and interior material. Next, add mini heirloom tomatoes (in various colors or in all red) to skewer sticks. Lastly, slice larger tomatoes into slices that are thick enough to handle.

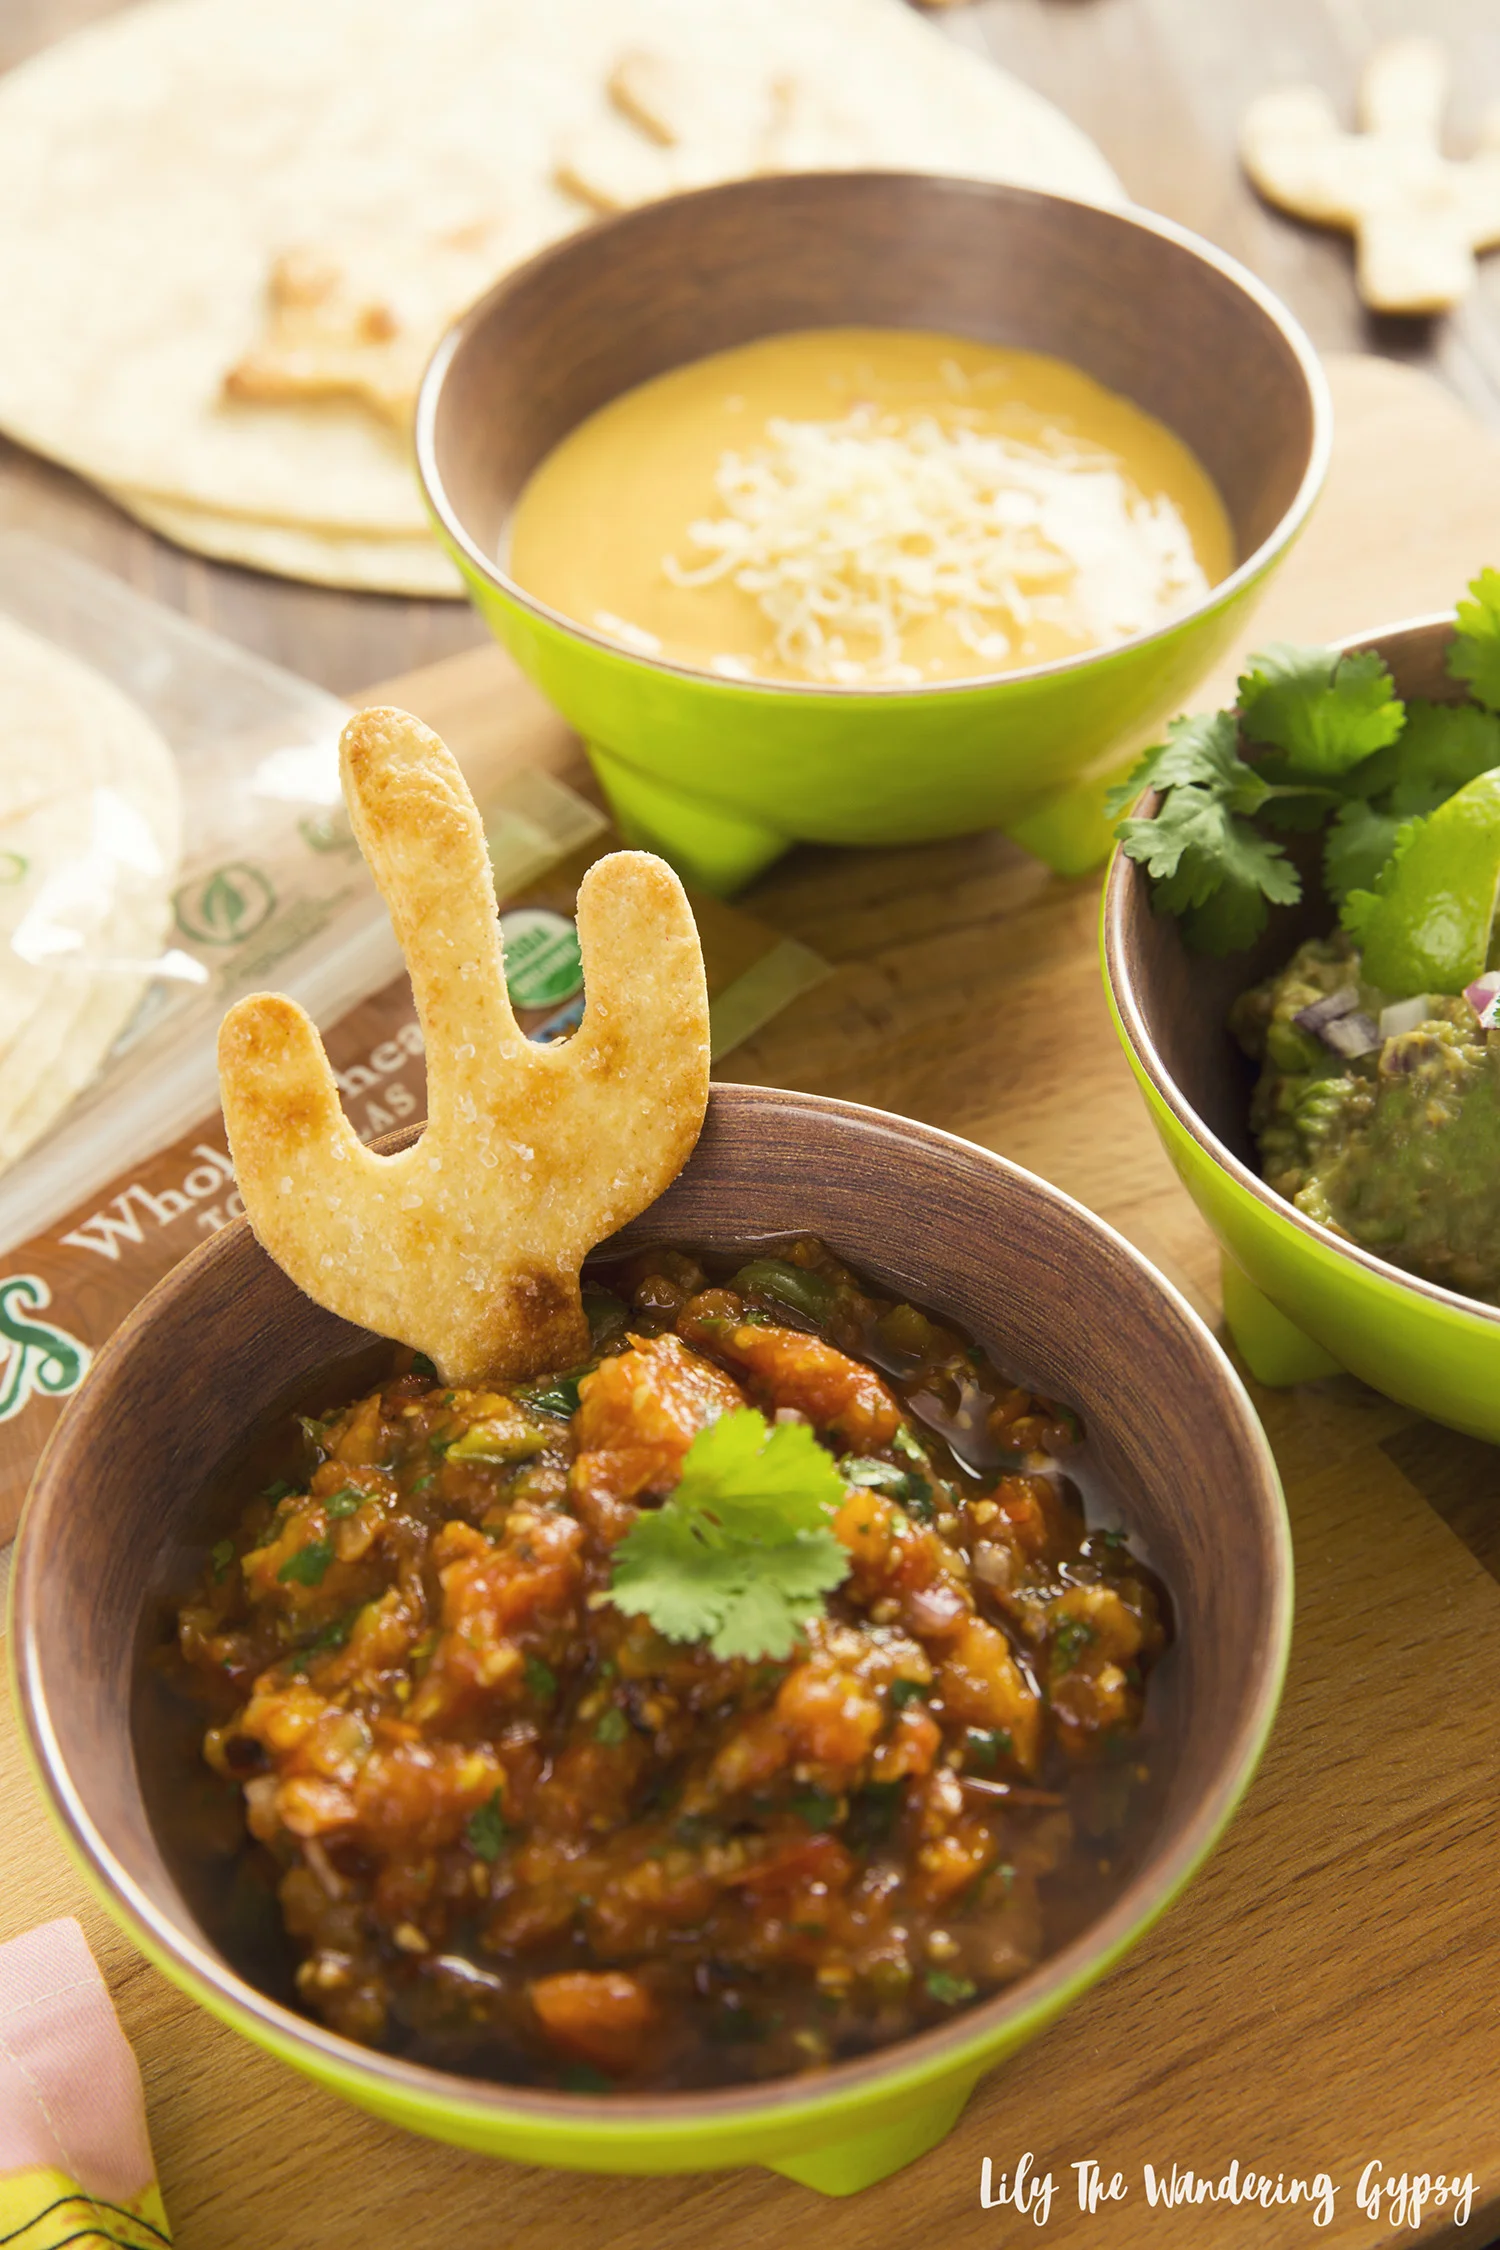
2.)  (For The Chips) Simply use any shape cookie cutter and use your palms to press the cookie cutters into the Mission Organic Tortillas. Coat them with butter spray, and toast them in a toaster oven on 300 degrees for about 2 minutes, until edges are browned. Lastly, sprinkle with salt and enjoy, with a side of homemade salsa, guacamole, cheese dip, and sour cream!

3.) (To Make The Salsa) Once your veggies are all ready, turn on your grill to a higher heat, and spray with non-stick cooking spray. Add all veggies to your grill (carefully – I use a pair of tongs to do this step). The sliced tomatoes cannot be on for long, so make sure to keep them on for a minute or so each side. Below, you can see all of the grilled veggies, ready to be blended with the other ingredients.

After you have processed all of your ingredients, your salsa should look like the photo, below. What a cute pairing for my little hand-cut tortilla chips!

I also just love how everything in this recipe is organic! I am not sure if the salt I used would be, but everything else is a yes J I hope this post helps you see just how easy it is to use 100% natural and organic ingredients in your upcoming recipes.

Delicious Root Vegetables - Vegan Recipe

If you are looking to incorporate more vegan meals and more colorful ingredients into your routine, then here is a delicious, healthy meal you can make in just a short amount of time! Grab your veggies, and fire up the grill.

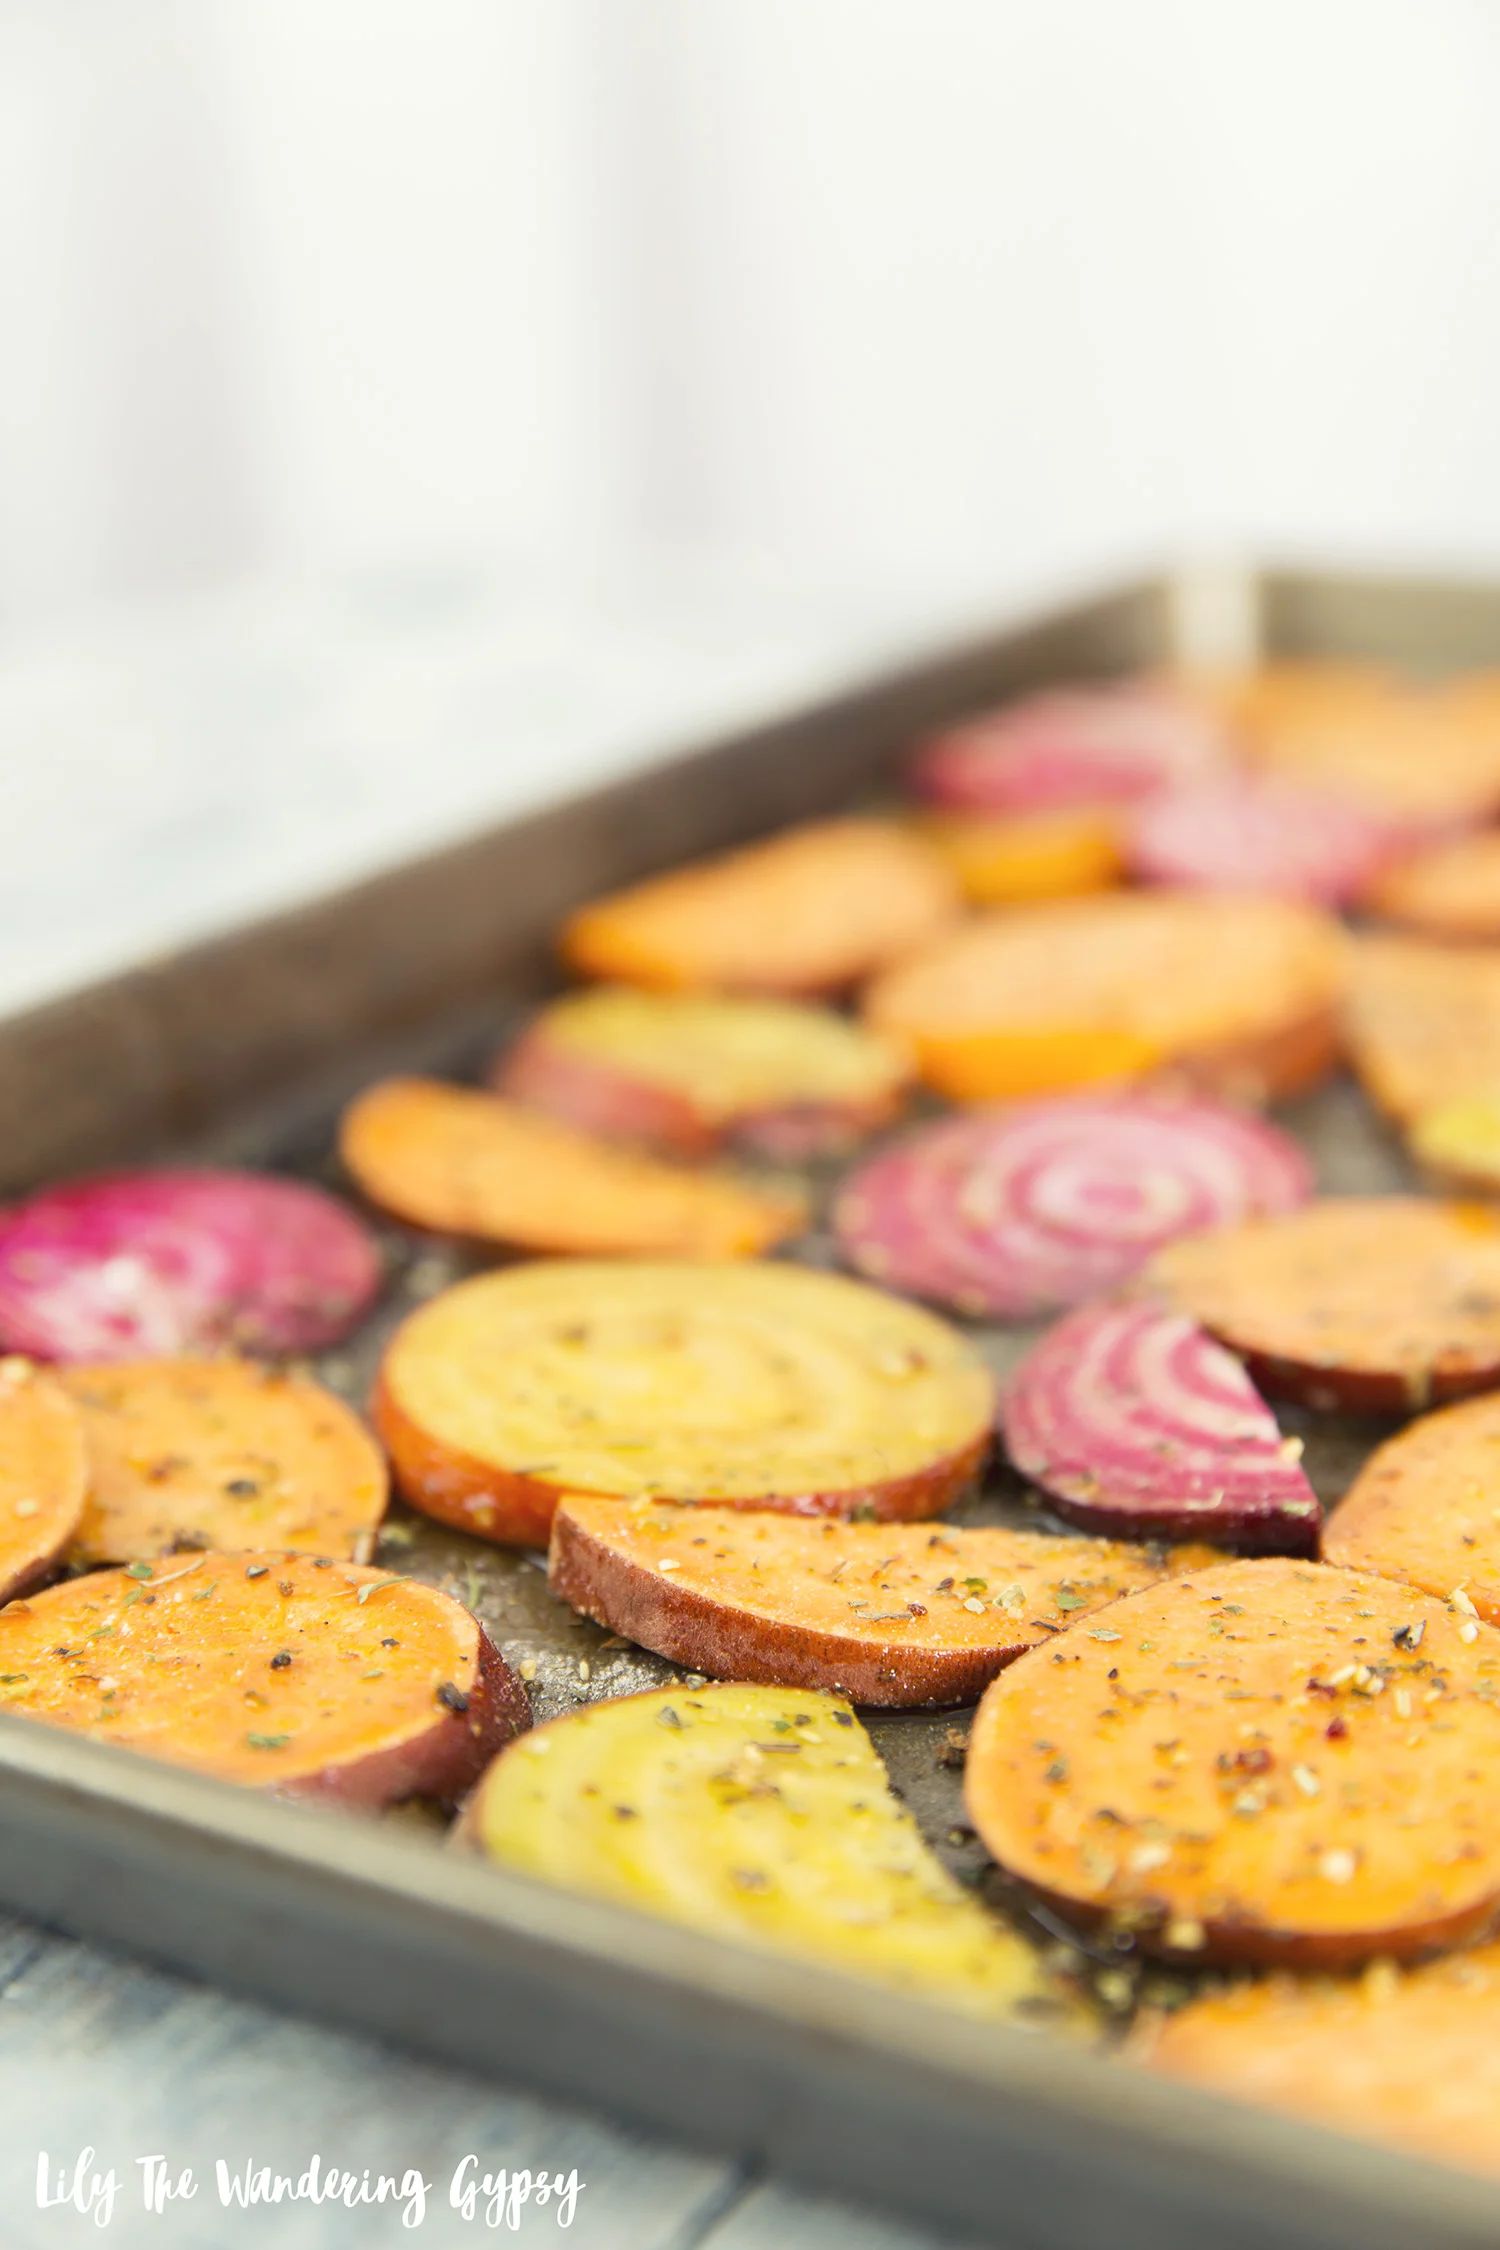
1.) Head to the store, or to your garden, and grab an assortment of sweet potatoes, red or yellow potatoes, and Chioggia beets. Below, I found an image of the beets, so you can see how "normal" they look on the outside, and how they appear to have rings or stripes on the inside. 

2.) Turn on your grill to medium high, and thinly slice all root vegetables, and set them on a baking sheet, so they are not overlapping. Brush on a light coating of olive oil or melted coconut oil, and add a generous sprinkle of seasonings to both sides. Use a pair of tongs to flip the slices if you do not want to get your hands messy. Make sure seasoning is applied evenly. 

3.) Take your baking sheet and pair of tongs out to the grill, and use your tongs to add each slice of root veggie to the grill. Try to make sure not to let the oil drip down into the grill, or it could be a bit messy and cause larger flames. Feel free to let the veggie slices touch, but not overlap, so they get those beautiful grill marks on them. Close the lid of the grill, and wait 4-5 minutes until the pieces have a nice grill mark on them. Flip them and let them over for another 2-4 minutes, until soft, and they're ready to eat!

4.) Transfer slices back onto the baking sheet, and bring back in to serve. These are amazing by themselves as a vegan meal option, or serve them as a side dish. They're absolutely delicious!!!

If you're new to eating beets, then try to slice up 1-2 beets for every 5 potatoes, so you have more potato than beet. Enjoy!

Vegan Strawberry, Peach, Spinach Smoothie Recipe

I found a great way to easily incorporate spinach into smoothies! It add a teeny tiny bit of extra texture to the smoothie, but does not alter the taste at all! 

Have you ever used frozen spinach before? While I would of course prefer to use fresh spinach every time, if you're simply using it in your smoothies, then frozen is a great option. I believe the frozen spinach in the bags is already steamed, and is so incredibly convenient to add a small bit into your smoothies! I love adding all of those awesome nutrients from the spinach!

I've been trying to reduce my meat and dairy intake lately, and up until now, my smoothie recipes would always include yogurt. It's of course 100% fine to add yogurt, this smoothie is amazing on its own, and does not even need it! 

1 Cup Frozen Strawberries

1 Cup Frozen Peaches

1/2 Cup Frozen Pineapples

1/2 Cup Frozen Spinach

1 1/2 Cups Nut Milk (I like combo of Macadamia Milk, Coconut Milk, and Hemp Milk)

1/2 C Pineapple Coconut Juice or Similar

1-2 Tbsp Agave Nectar

1/2 Cup Water

1.) In a blender that can handle frozen ingredients well, add your frozen ingredients, and then your liquid ingredients. 

2.) Blend on Smoothie Mode or Frozen Drink Mode for two rounds, Taste to make sure you're happy with the flavor.

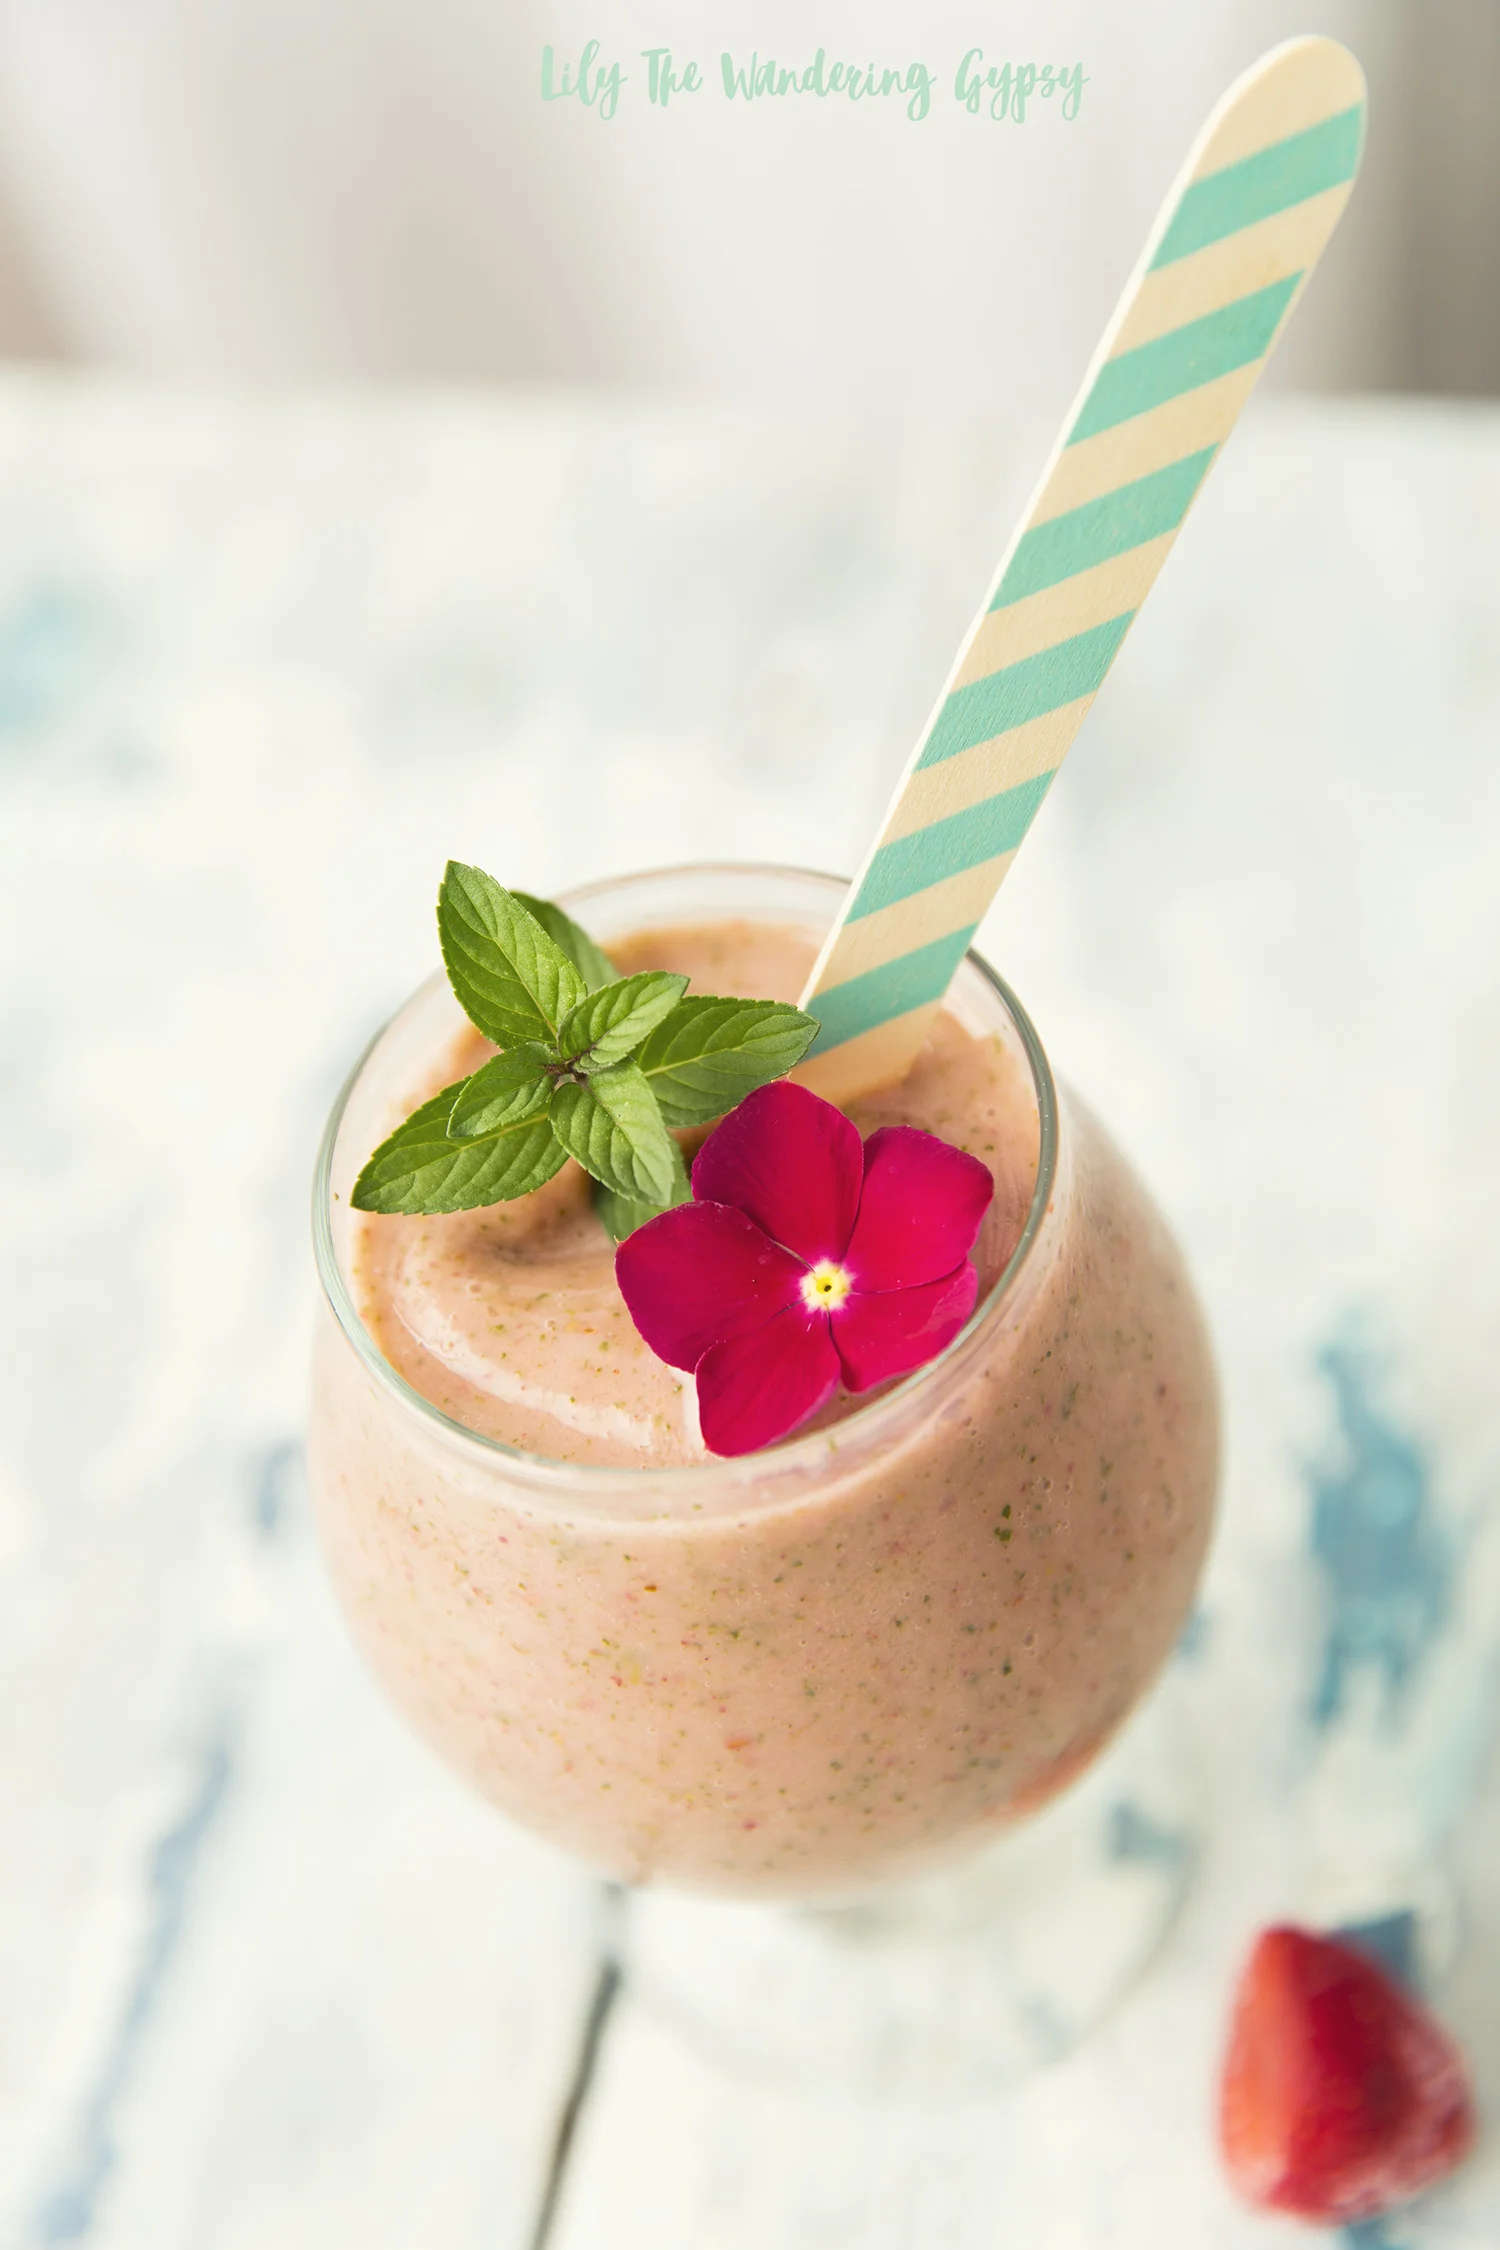
3.) Serve in a cute glass, adorn with flowers and herbs from your garden, and a cute wooden spoon. Enjoy!

Fire Up Your Grill with Smithfield® Craft Collection™ Yuengling® Brats!

This is a sponsored conversation written by me on behalf of Smithfield®. The opinions and text are all mine.

I love the taste of a rich lager beer during summer, and I have been on a real grilling kick lately. When I learned that Smithfield® came out with a new product, brats that are infused with Yuengling® beer, I got pretty excited! Bringing my love of good food together with tasty beer is a specialty of mine, and I wanted to share a way to grill and serve these brats that you’re going to love. I wanted to added lots of vibrant color to this meal with fresh toppings and flavors you and your guests are going to love. Learn more about my experience with Smithfield® Craft Collection™ Yuengling® Brats, they’re such a great excuse to celebrate summer!

I found my Smithfield Yuengling Bratwurst at my Kroger. You can purchase your own by shopping at your local Kroger or Kroger banner store like Ralph’s, Smiths or Food 4 Less!

- Smithfield Yuengling Bratwurst (Make 1-2 per guest, I always make extras to have as leftovers)

- Colorful Bell Peppers

- 1 package of Pearl Onions (I fit about 12 per skewer)

- At least 1-2 (12 oz) Beers (for boiling brats) – Try Yuengling Lager for extra flavor!

- Buns

- Condiments (see below for ideas)

- Small, Colorful Heirloom Tomatoes or similar

- Olive Oil

- Seasoning of choice for peppers

Checking labels and ingredient lists is really important to me, so when I looked at the back of the brats packaging and found only two ingredients – pork and beer, I was sold That shows you how fresh and natural these brats are. The casing stayed together very well during cooking, and the taste of Yuengling was definitely present. Yuengling is America’s oldest brewery (located in Pottsville PA) and Smithfield (located in Smithfield, VA) is the ham capital of the world.  Both come from towns with a slower, more thoughtful pace – grounded in tradition with a pride for their heritage.  With that heritage comes an appreciation for quality, flavor and family; why Smithfield & Yuengling make the perfect pair.

I also love incorporating as many fresh ingredients as possible into each recipe as side dishes and toppings, so I wound up doing 4 skewers on the grill as well, along with  slices of colorful bell peppers.

FOR THE SKEWERS

These turned out absolutely beautiful! I am learning that a bit of “char” to the veggies enhances the taste so much, and adds a certain rustic appearance to the food that I just love so very much. It’s so visually pleasing, and can take almost any variety of pepper, onion, or garlic, and transform it into a delicacy with very little oil or salt. These flavors compliment the brats extremely well.

I like to add a seasoning mix and olive oil to most veggies I cook, and this time, I peeled the sin off of each little pearl onion by slicing off the bottom, and just doing a twisting motion, until the top of the onion skin came off. These were so darn cute :) I skewered everything.

I thought the little pearl onions would be a cute and clever take on grilled onions that are traditionally served on a brat or hotdog. And they were so cute! The brat I made with stone ground mustard and pearl onions was delicious!

** Note – to prepare bell peppers for grilling, slice a couple slices from the middle part of the peppers to get the prettiest cuts before chopping up the rest of the peppers to boil with the brats.

FOR THE BRATS

These brats are made with premium cuts of pork and a special blend of sweet and savory spices. There is no MSG added, they were tasty and super easy to work with! All you need to do is pour your beer into a pot and turn on the stove to medium high. Chop up the remainder of the 4 bell peppers, and ¼-1/2 of a red onion, and add those to the beer. Once boiling, carefully add your brats to the hot liquid, and boil with a lid on for about 10 minutes. Make sure the internal temp is around 165 degrees.

Meanwhile, add skewers to your hot grill which should be sprayed with non-stick spray. Also, add bell pepper rings here too. These will take about 6 minutes to cook.

After your brats are boiled, add them to a hot grill. You’re basically looking to get those beautiful grill marks here, not really cooking them. They get such a nice flavor from the grill too!

It was so fun to dress up these Smithfield ™ Yuengling Brats with fresh ingredients I grilled myself! This would be a great way to get kids and possible picky eaters to enjoy more veggies, too. Everything is more fun in bright colors, and the peppers look stunning served with these brats. Bring everything in from the grill on a sheet pan, and it’s quite a beautiful display!

Have you ever cooked brats before? This was my first time, and had no problems at all – things went so smoothly, that I know you can do it too! What will you be grilling this summer?

Right now, you can save $1 when you purchase Smithfield Yuengling Bratwurst at Kroger! Stop by your local Kroger to grab some today!

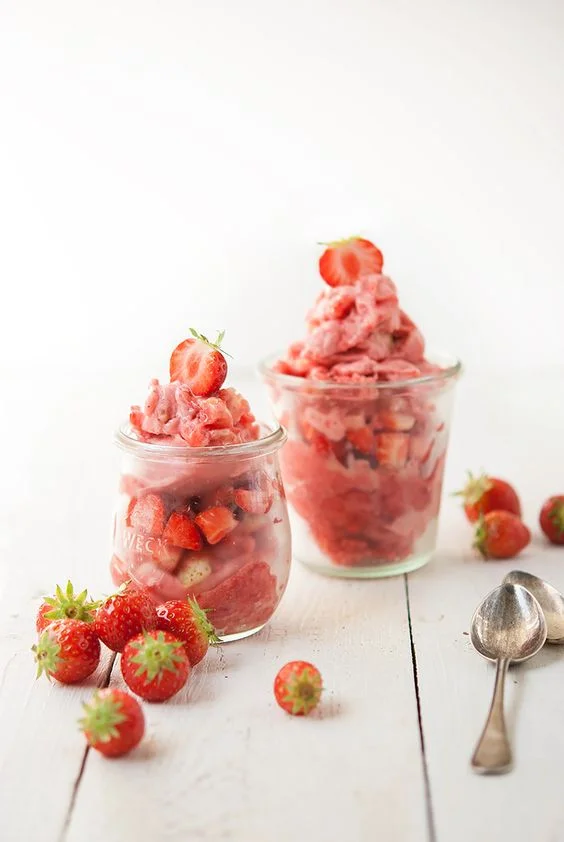
Pinterest Trend: Strawberry Season

I went all in yesterday, and bought my first flat of strawberries. Can't wait to share photos and recipes, but for now, I could not wait to share a few of my favorite strawberry-related pins on the blog today. We prepped all the berries a few hours after market, because they were so ripe and ready, and if we weren't making so many smoothies lately, and freezing them, they would have all gone bad. A flat contains 8 pints of strawberries, and while I did not save but a couple of dollars buying them that way, these Farmer's Market strawberries are so much more of a vibrant red color, and they have way more taste than those we have bought in the grocery stores lately. 

From that flat, we basically set up with two cutting boards, both Bobby and I cut off al the green tips and the bruised or super soft parts of the strawberries, and then placed them cut end down on two baking sheets atop parchment paper. This way, they do not get all frozen together. We could have used 3-4 sheet pans, but I on;y have room for two pans in our freezer. 

After they froze overnight, we stored them in two gallon-sized Ziplock bags, and then ate out first smoothie, it was amazing! 

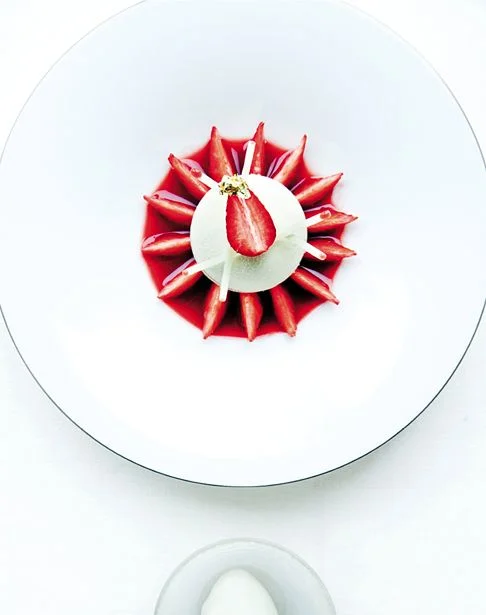
Elegant Way To Plate A Strawberry Dessert

Strawberry Greek Frozen Yogurt Recipe