Halloween Party Invites + A Free Printable

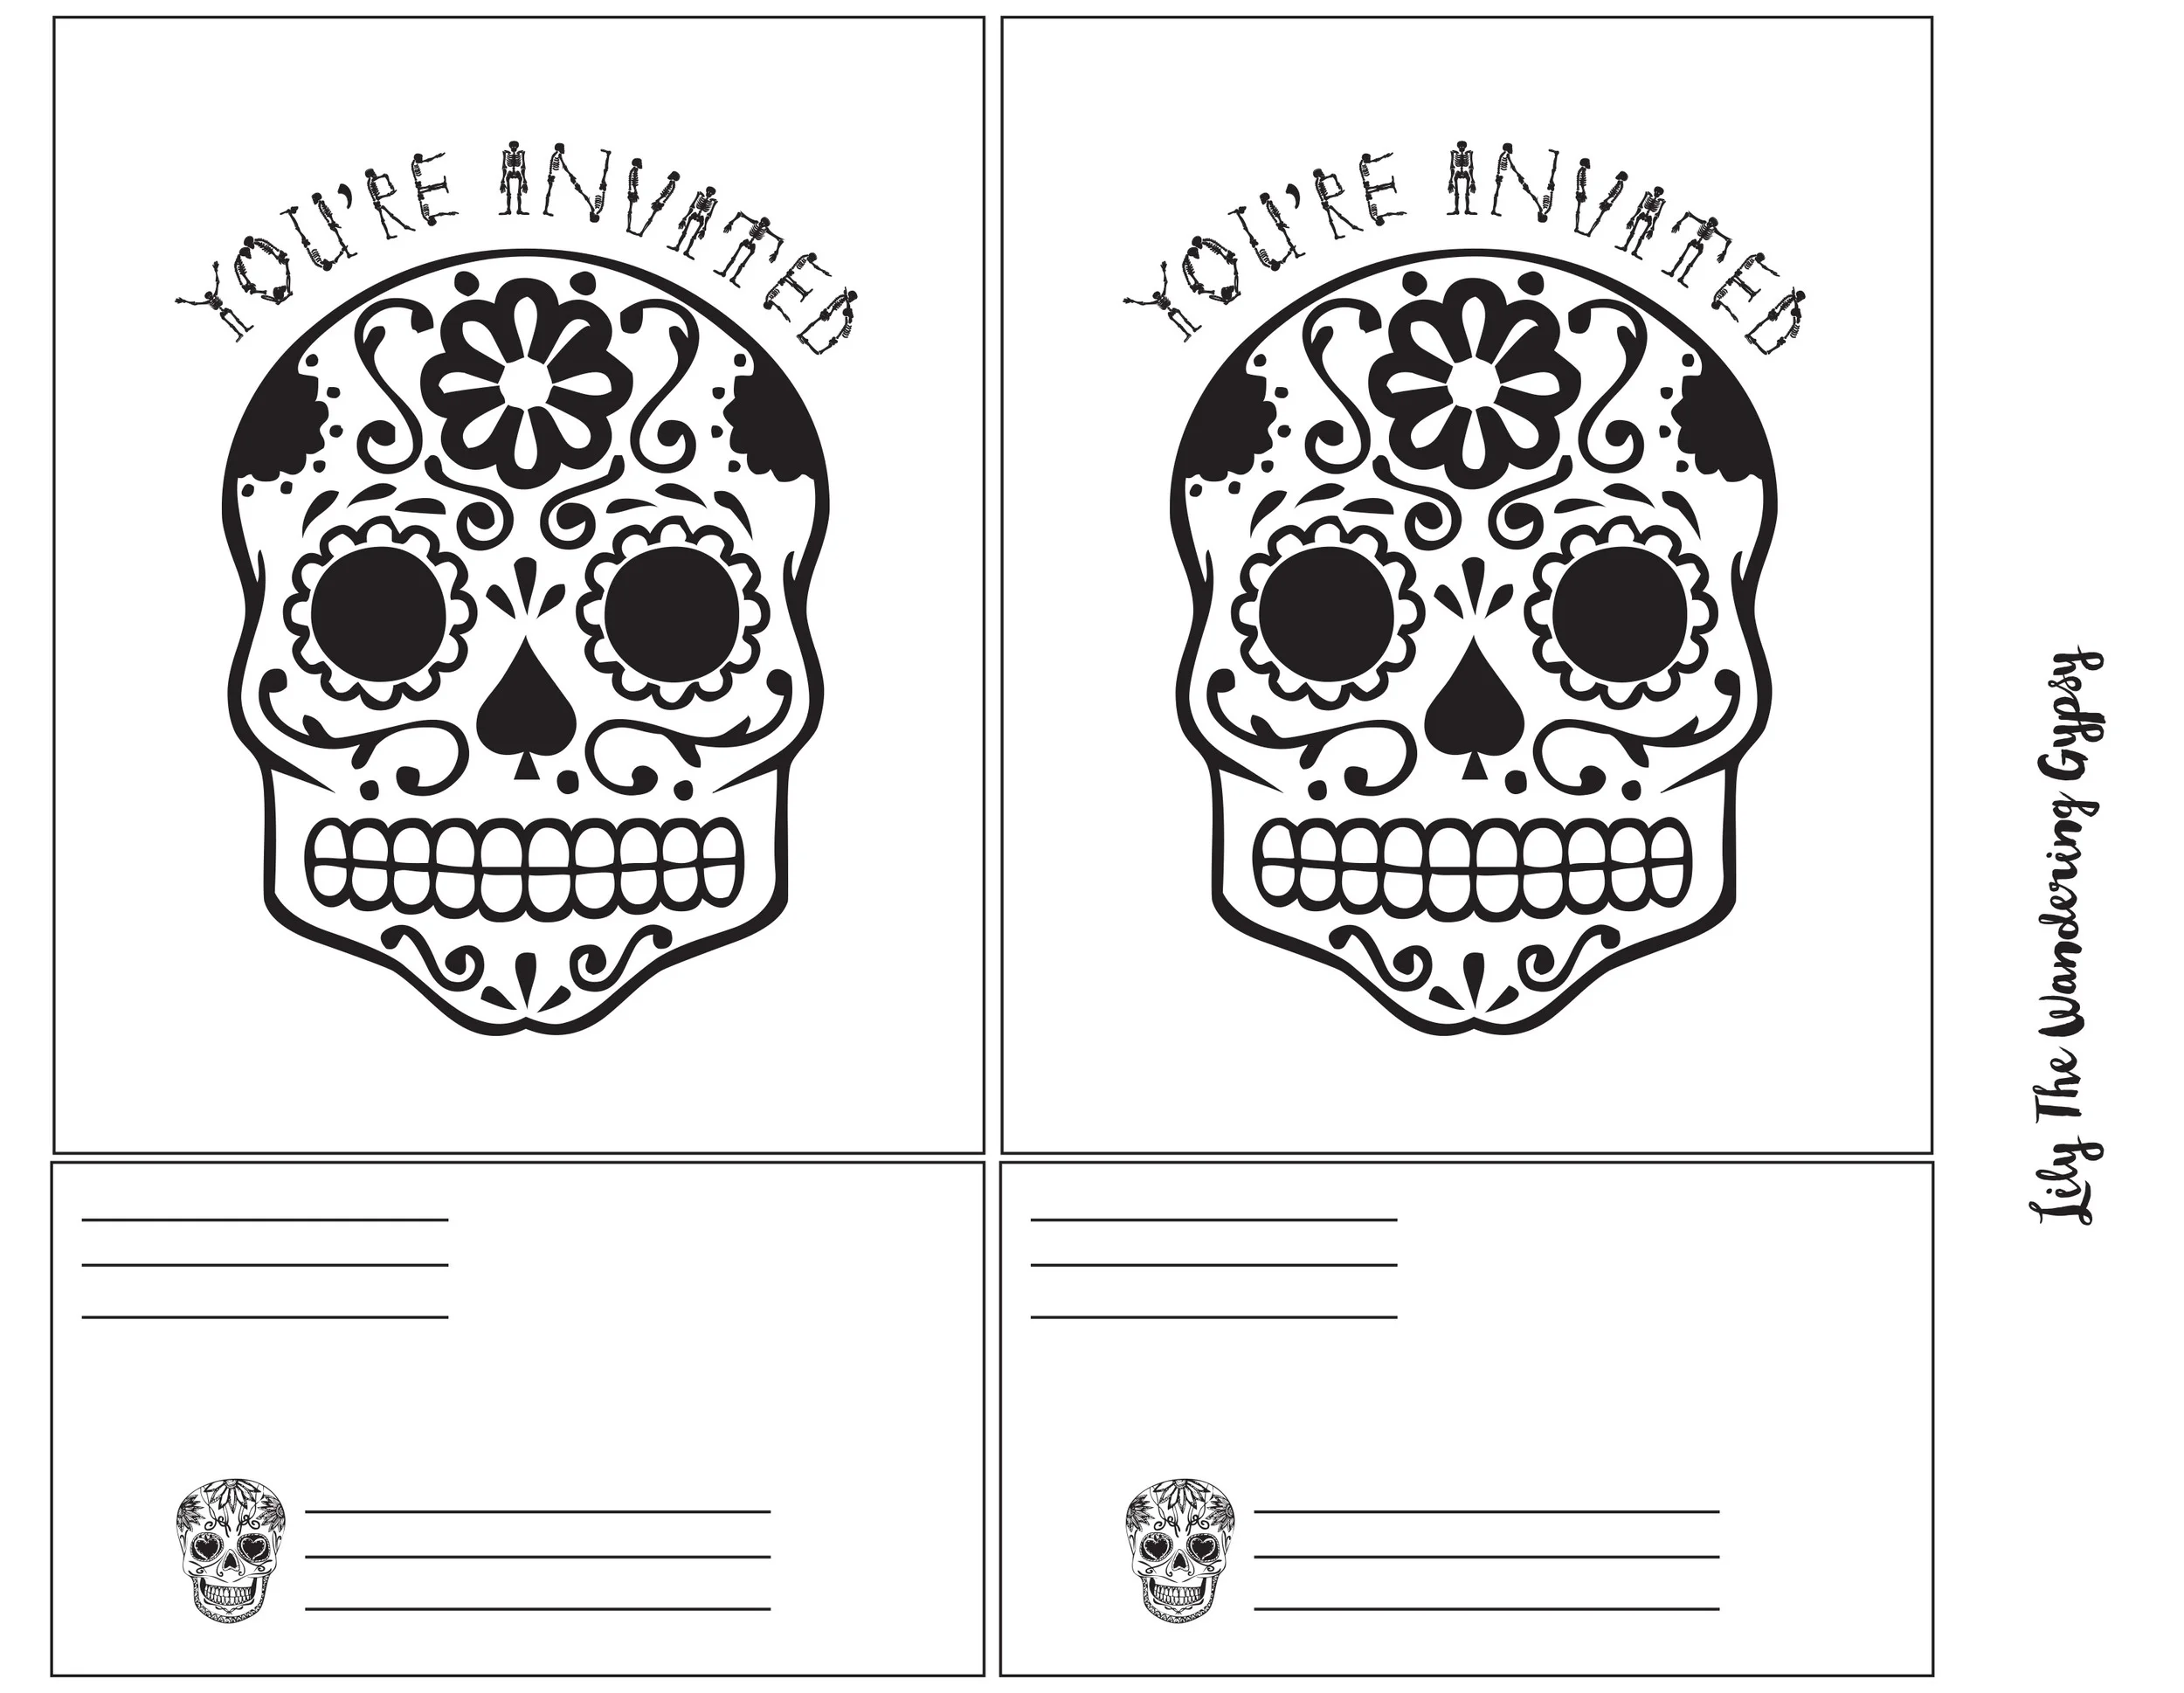
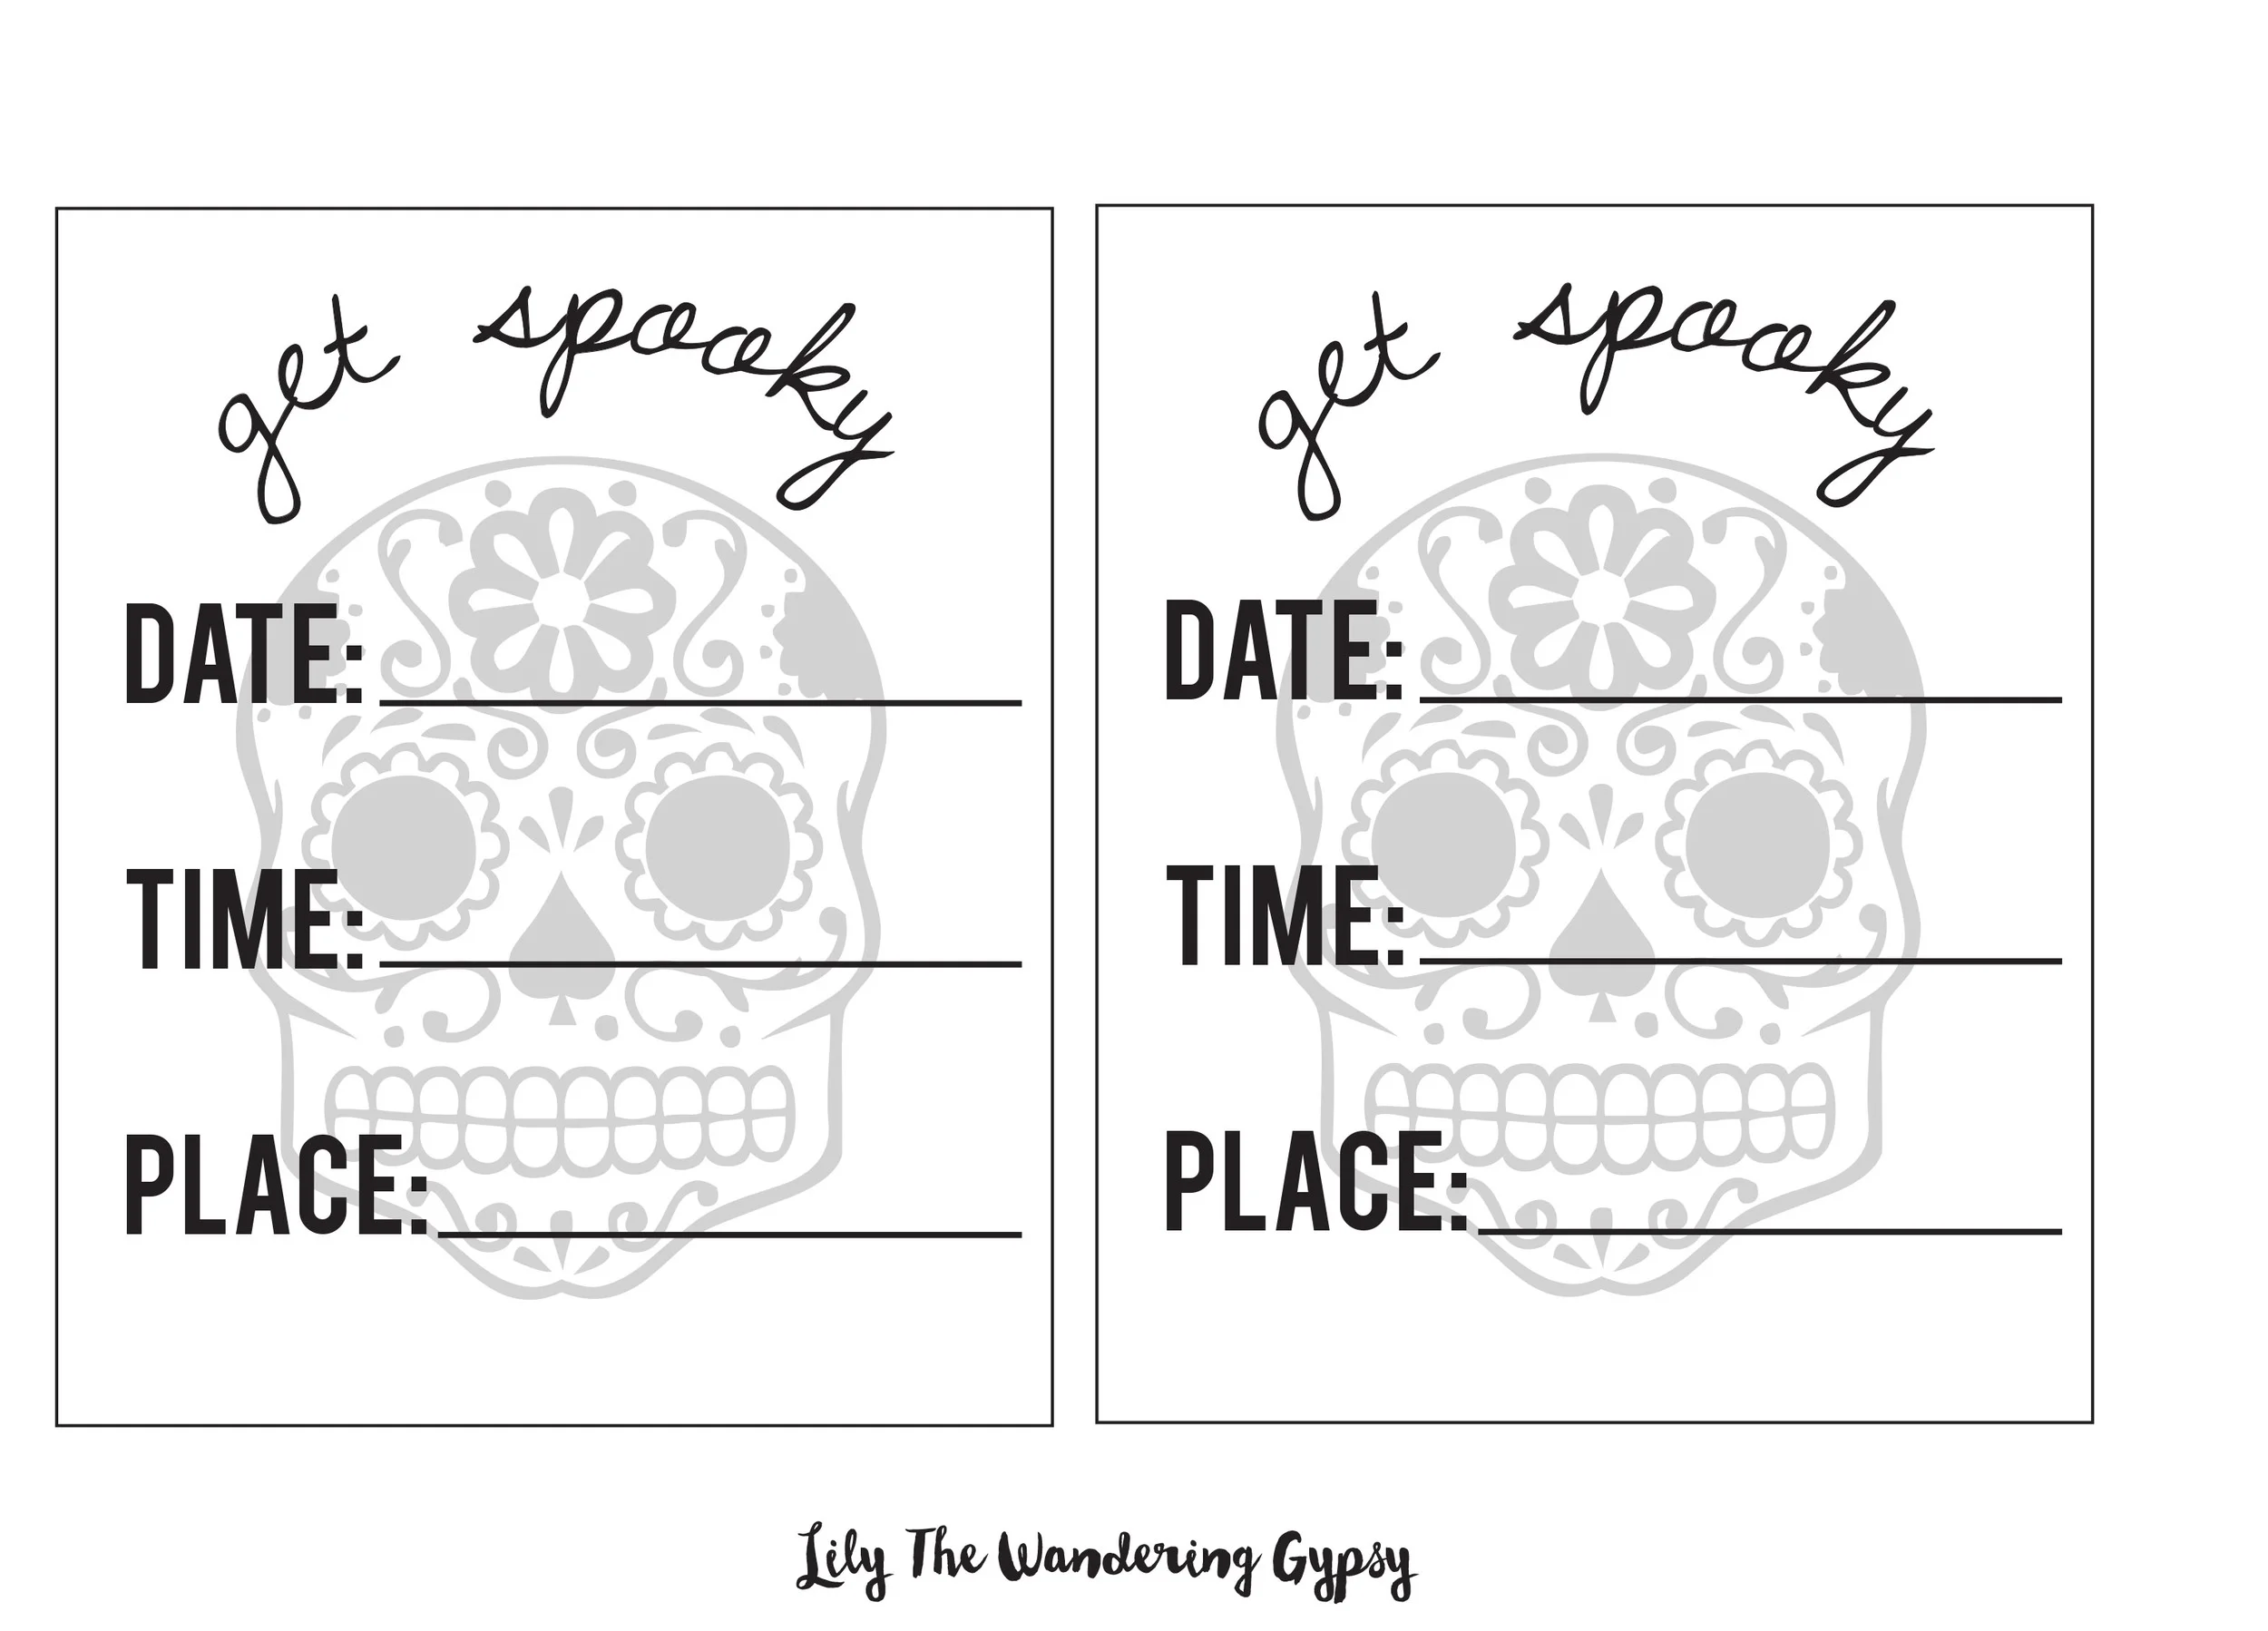
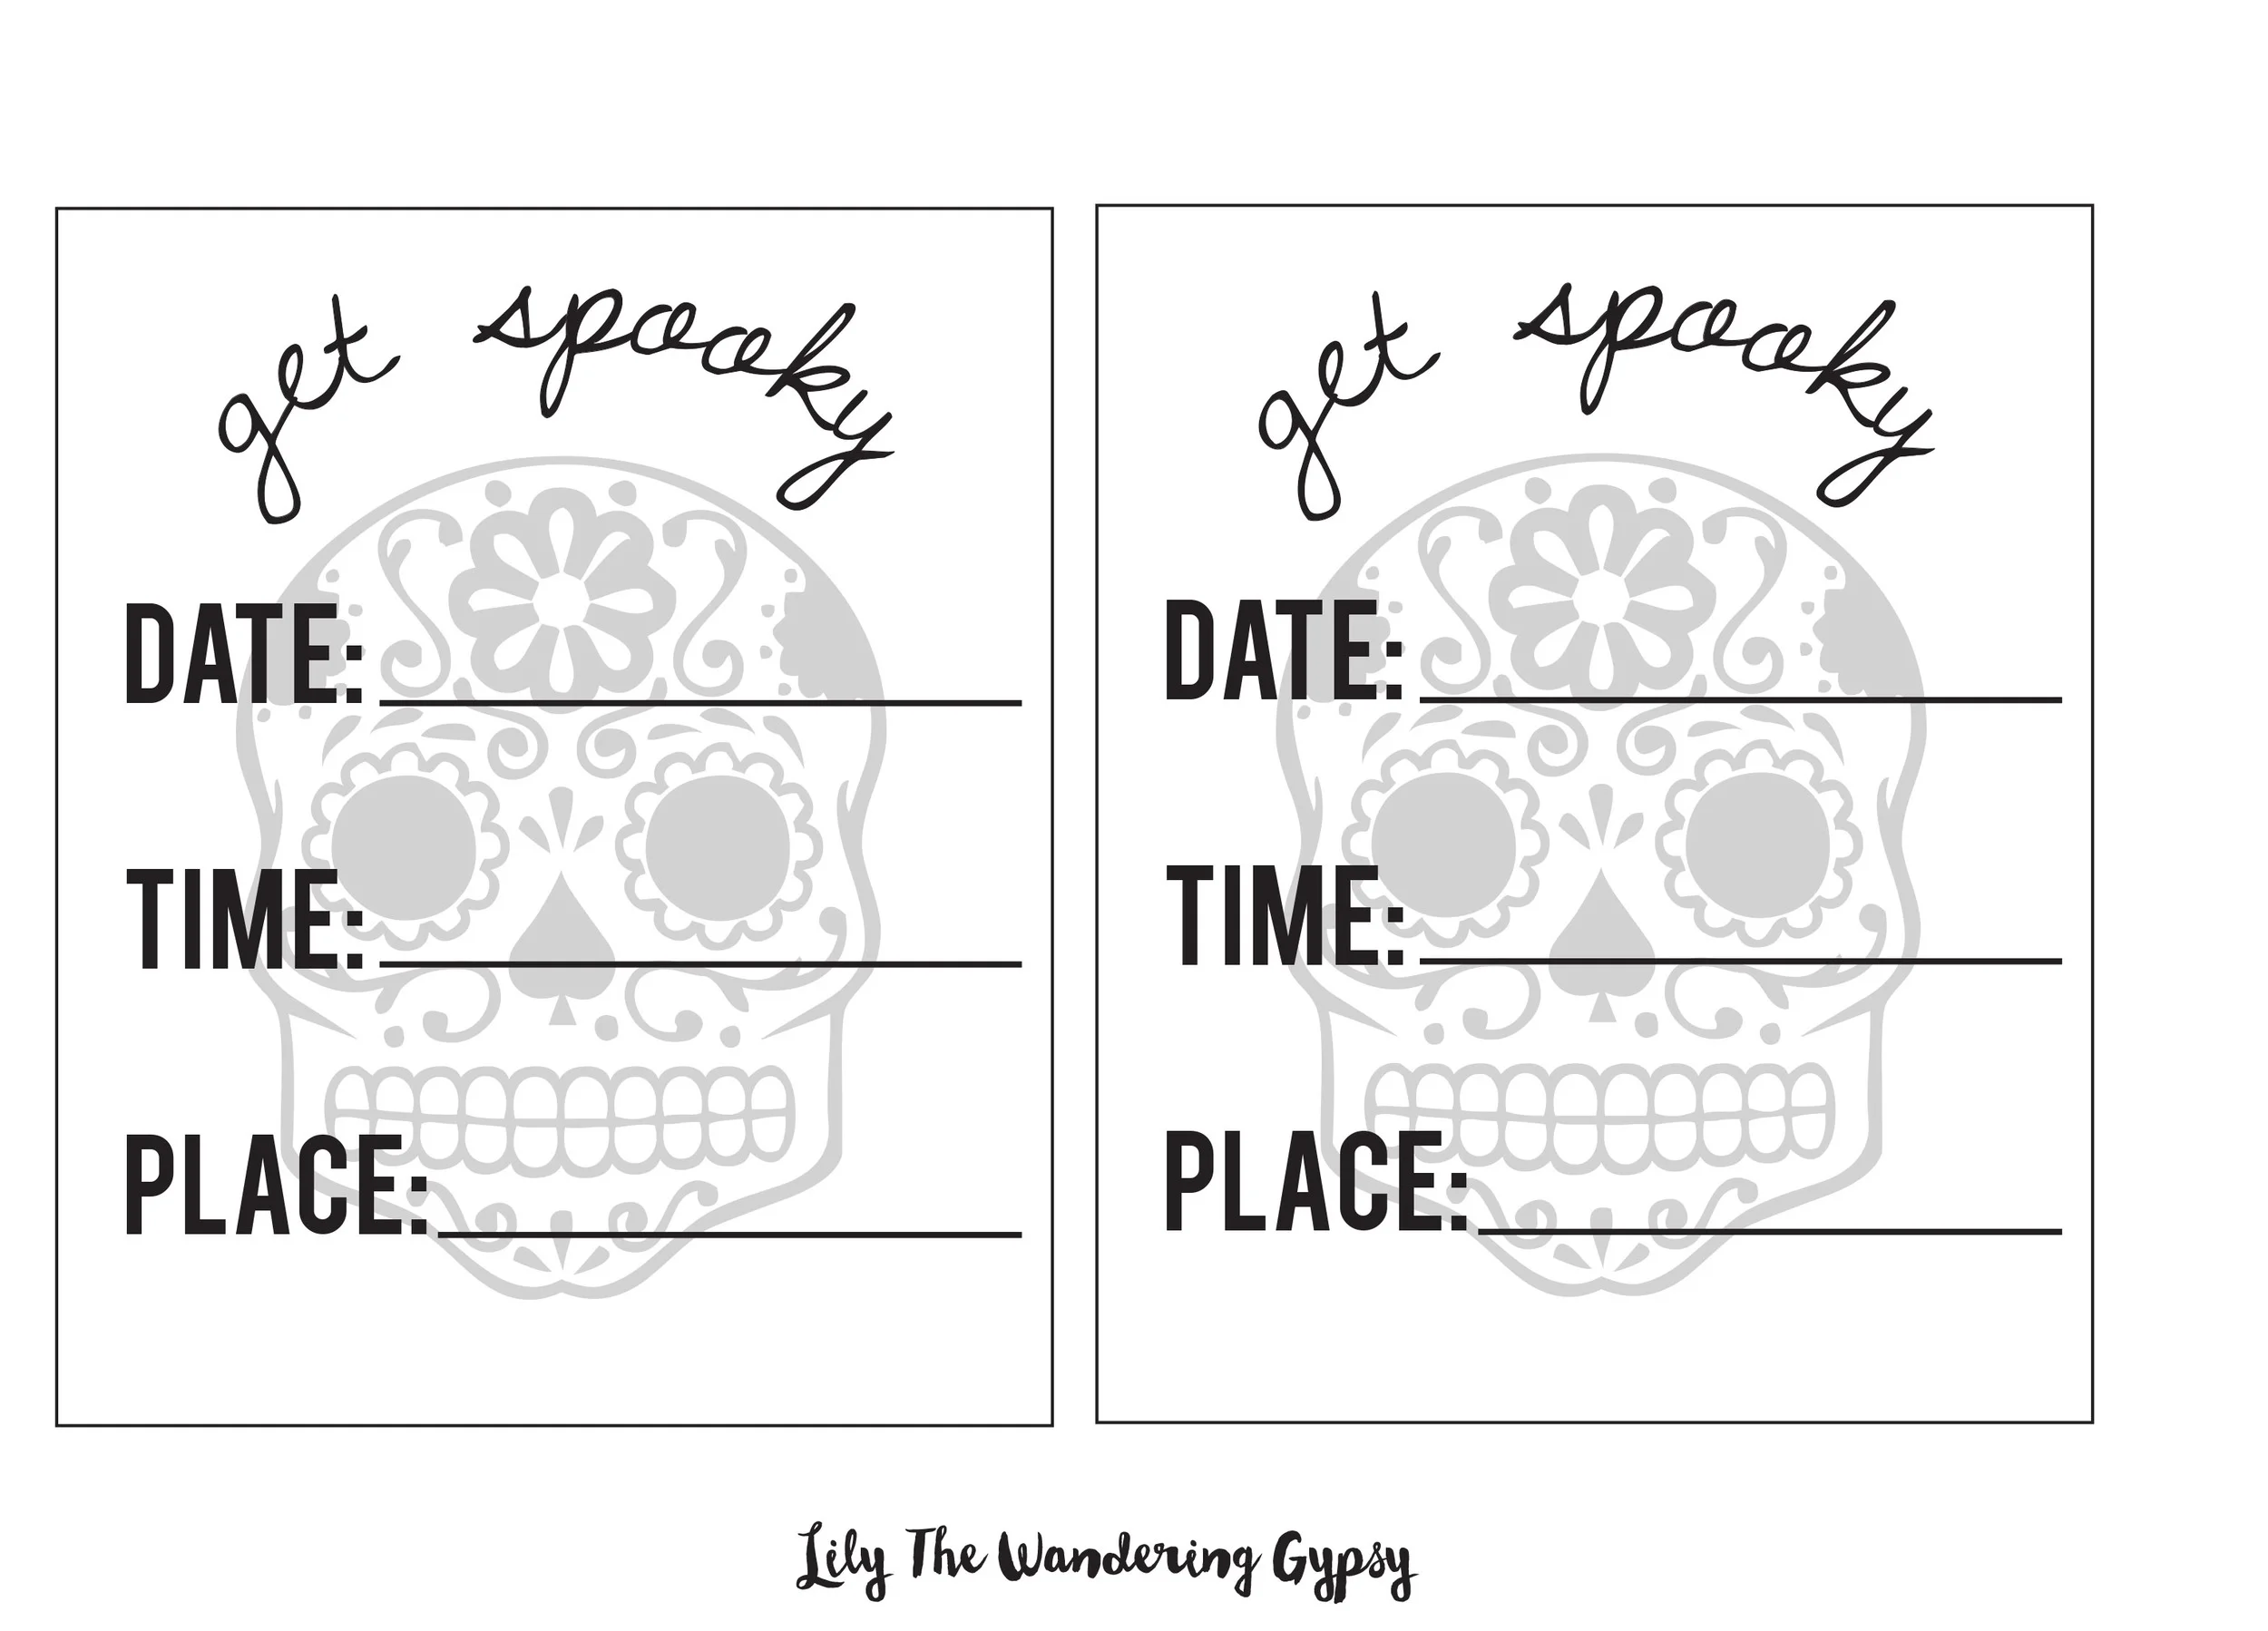
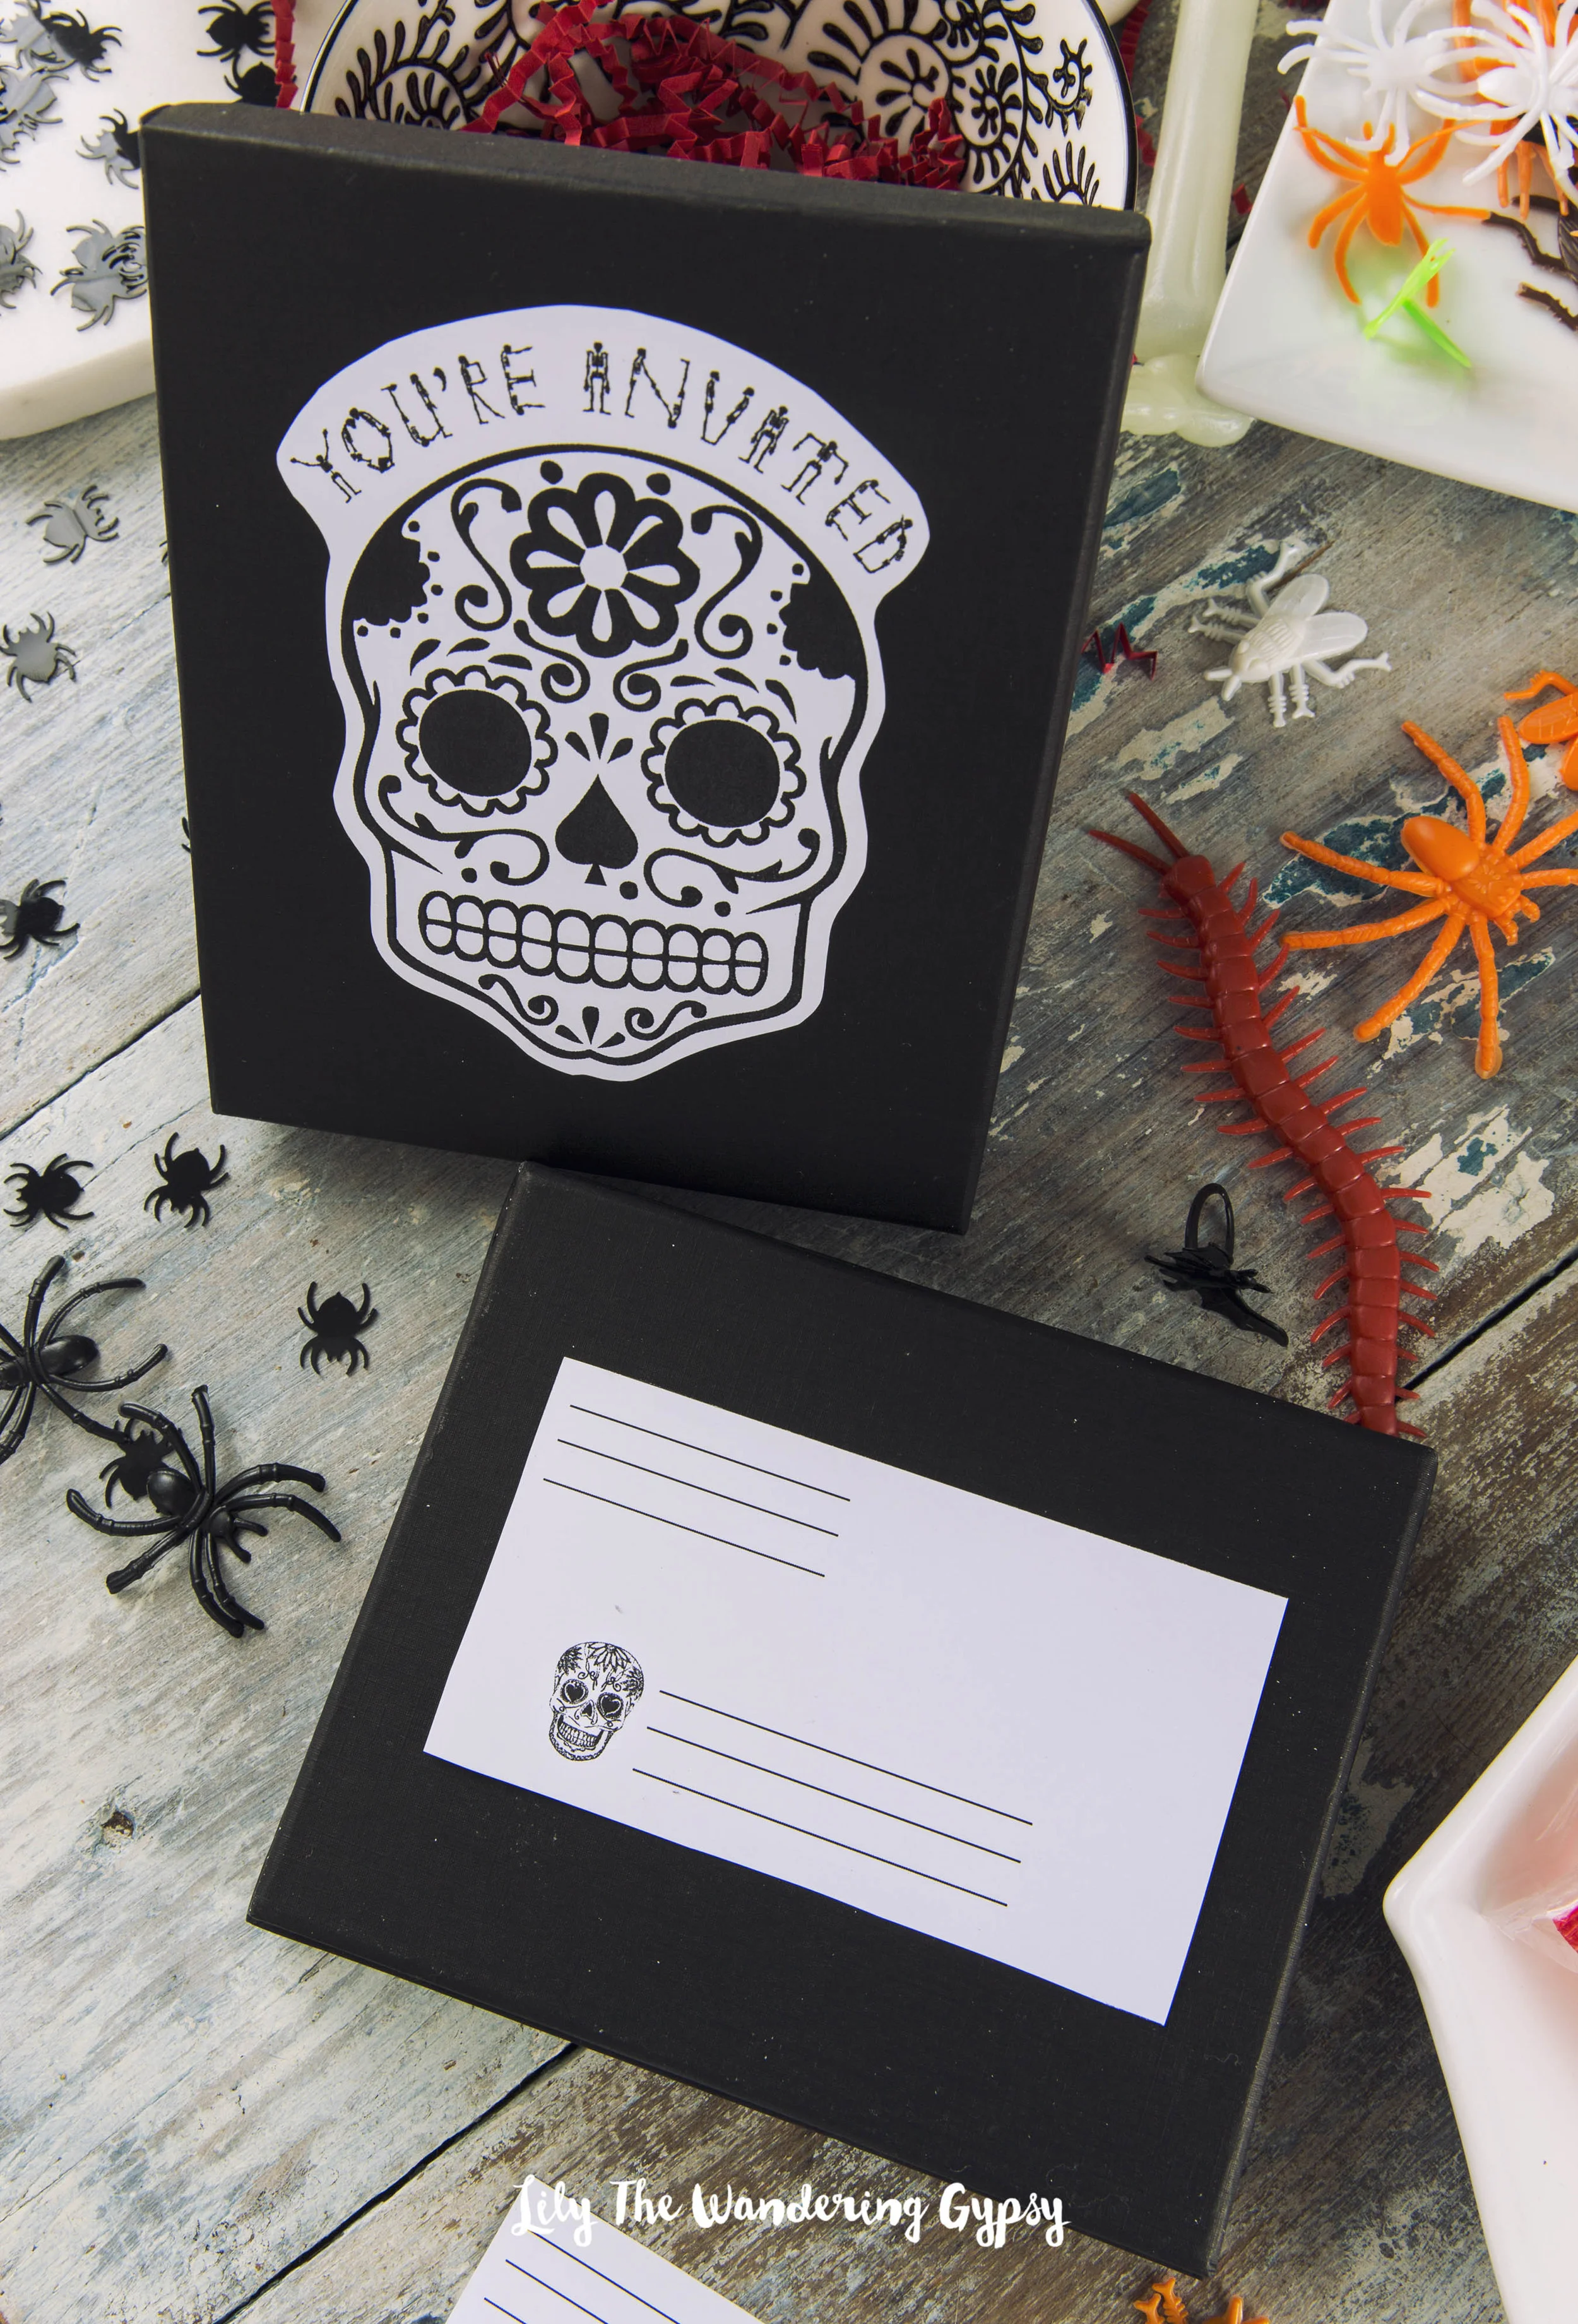
I really love how these adorable invites turned out! I love the fact that you can fill these gift boxes with spooky treats, and include the invite in a really unique way! I included two printables, 

Halloween Invites

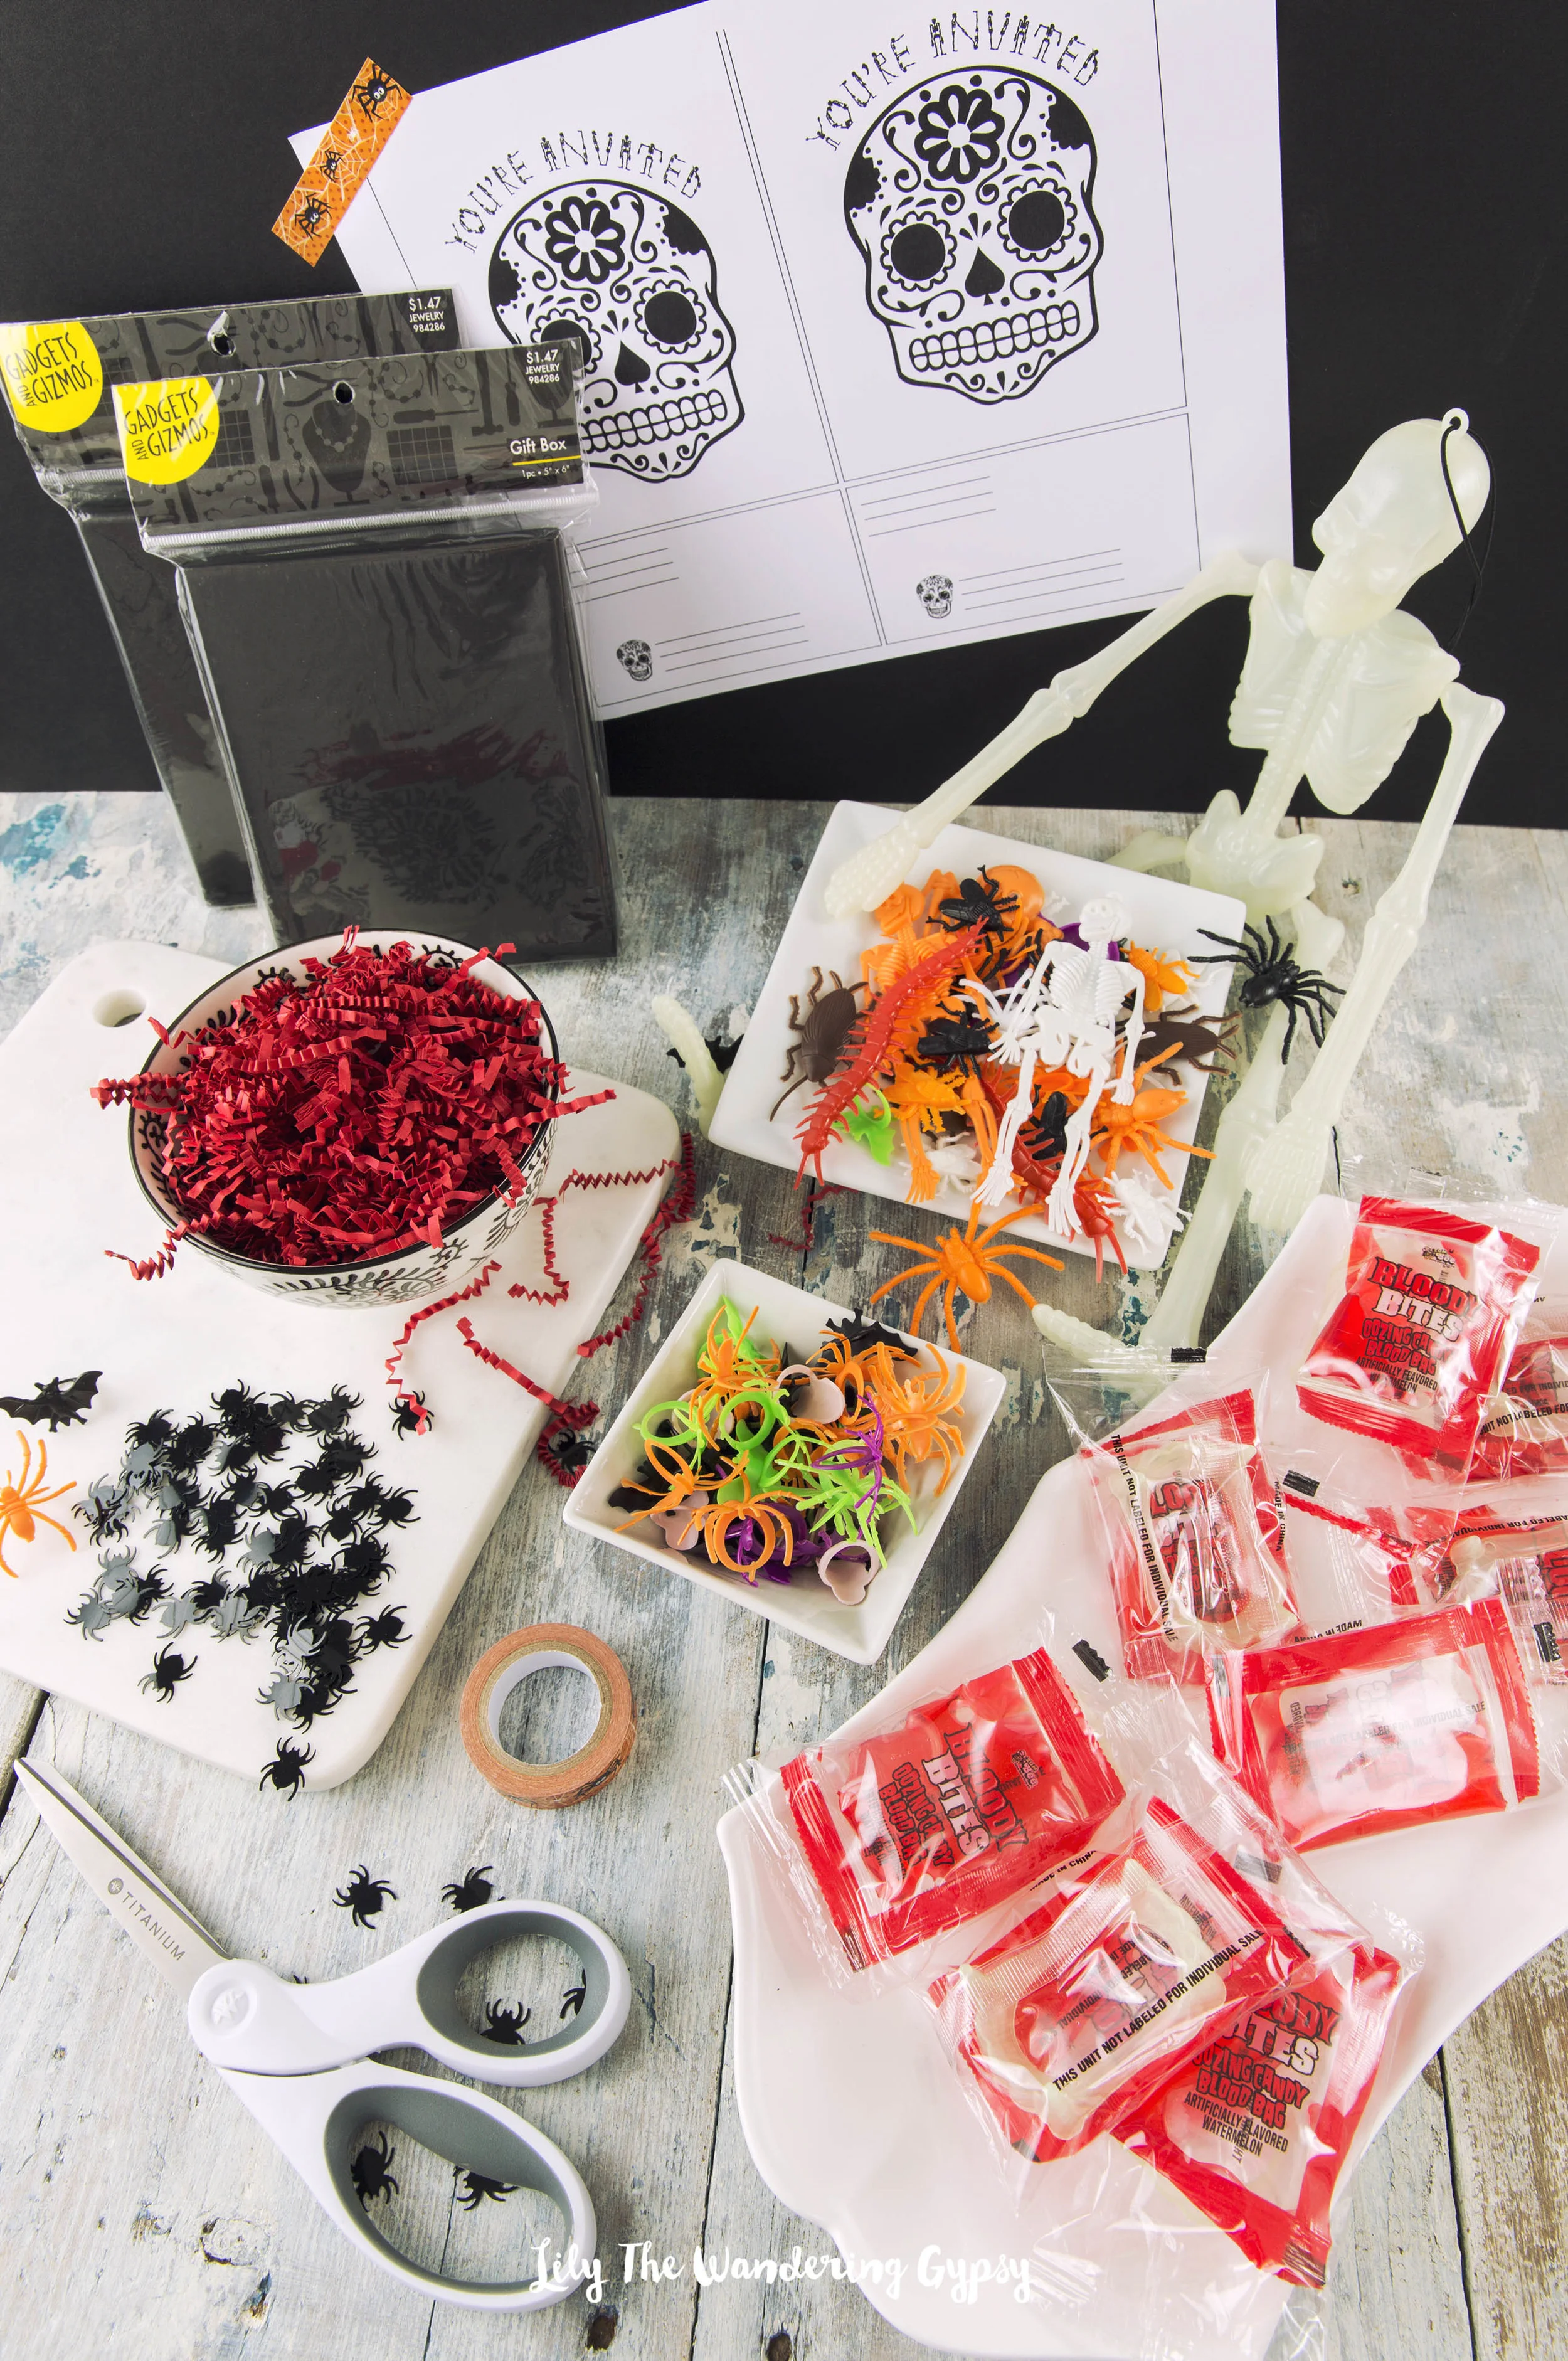
MATERIALS NEEDED

5" x 6" Black Jewelry Boxes - I used the type you would put jewelry into, with the cotton inside. 

2 Free Printables - found below this image

Red Paper Crinkles (from Hobby Lobby) - But, I found mine at the Dollar Tree

Plastic Halloween Toys / Rings (small enough to fit into the boxes) - Also found at the Dollar Tree

Halloween Candy that fits into the boxes

Halloween Confetti (found at Hobby Lobby)

Scissors

Plastic Packing Tape and a Glue Stick 

Halloween Invites

Right Click and Save the two images below. You can print them off for this tutorial! 

Spooky Halloween Invites

Print and then cut out the invites below, and insert them into the boxes at the end. 

Spooky Invites - Free Printable

Let's Get Started! Lay out all of your materials for the project. 

Halloween Invites
Halloween Invites
Halloween Invites

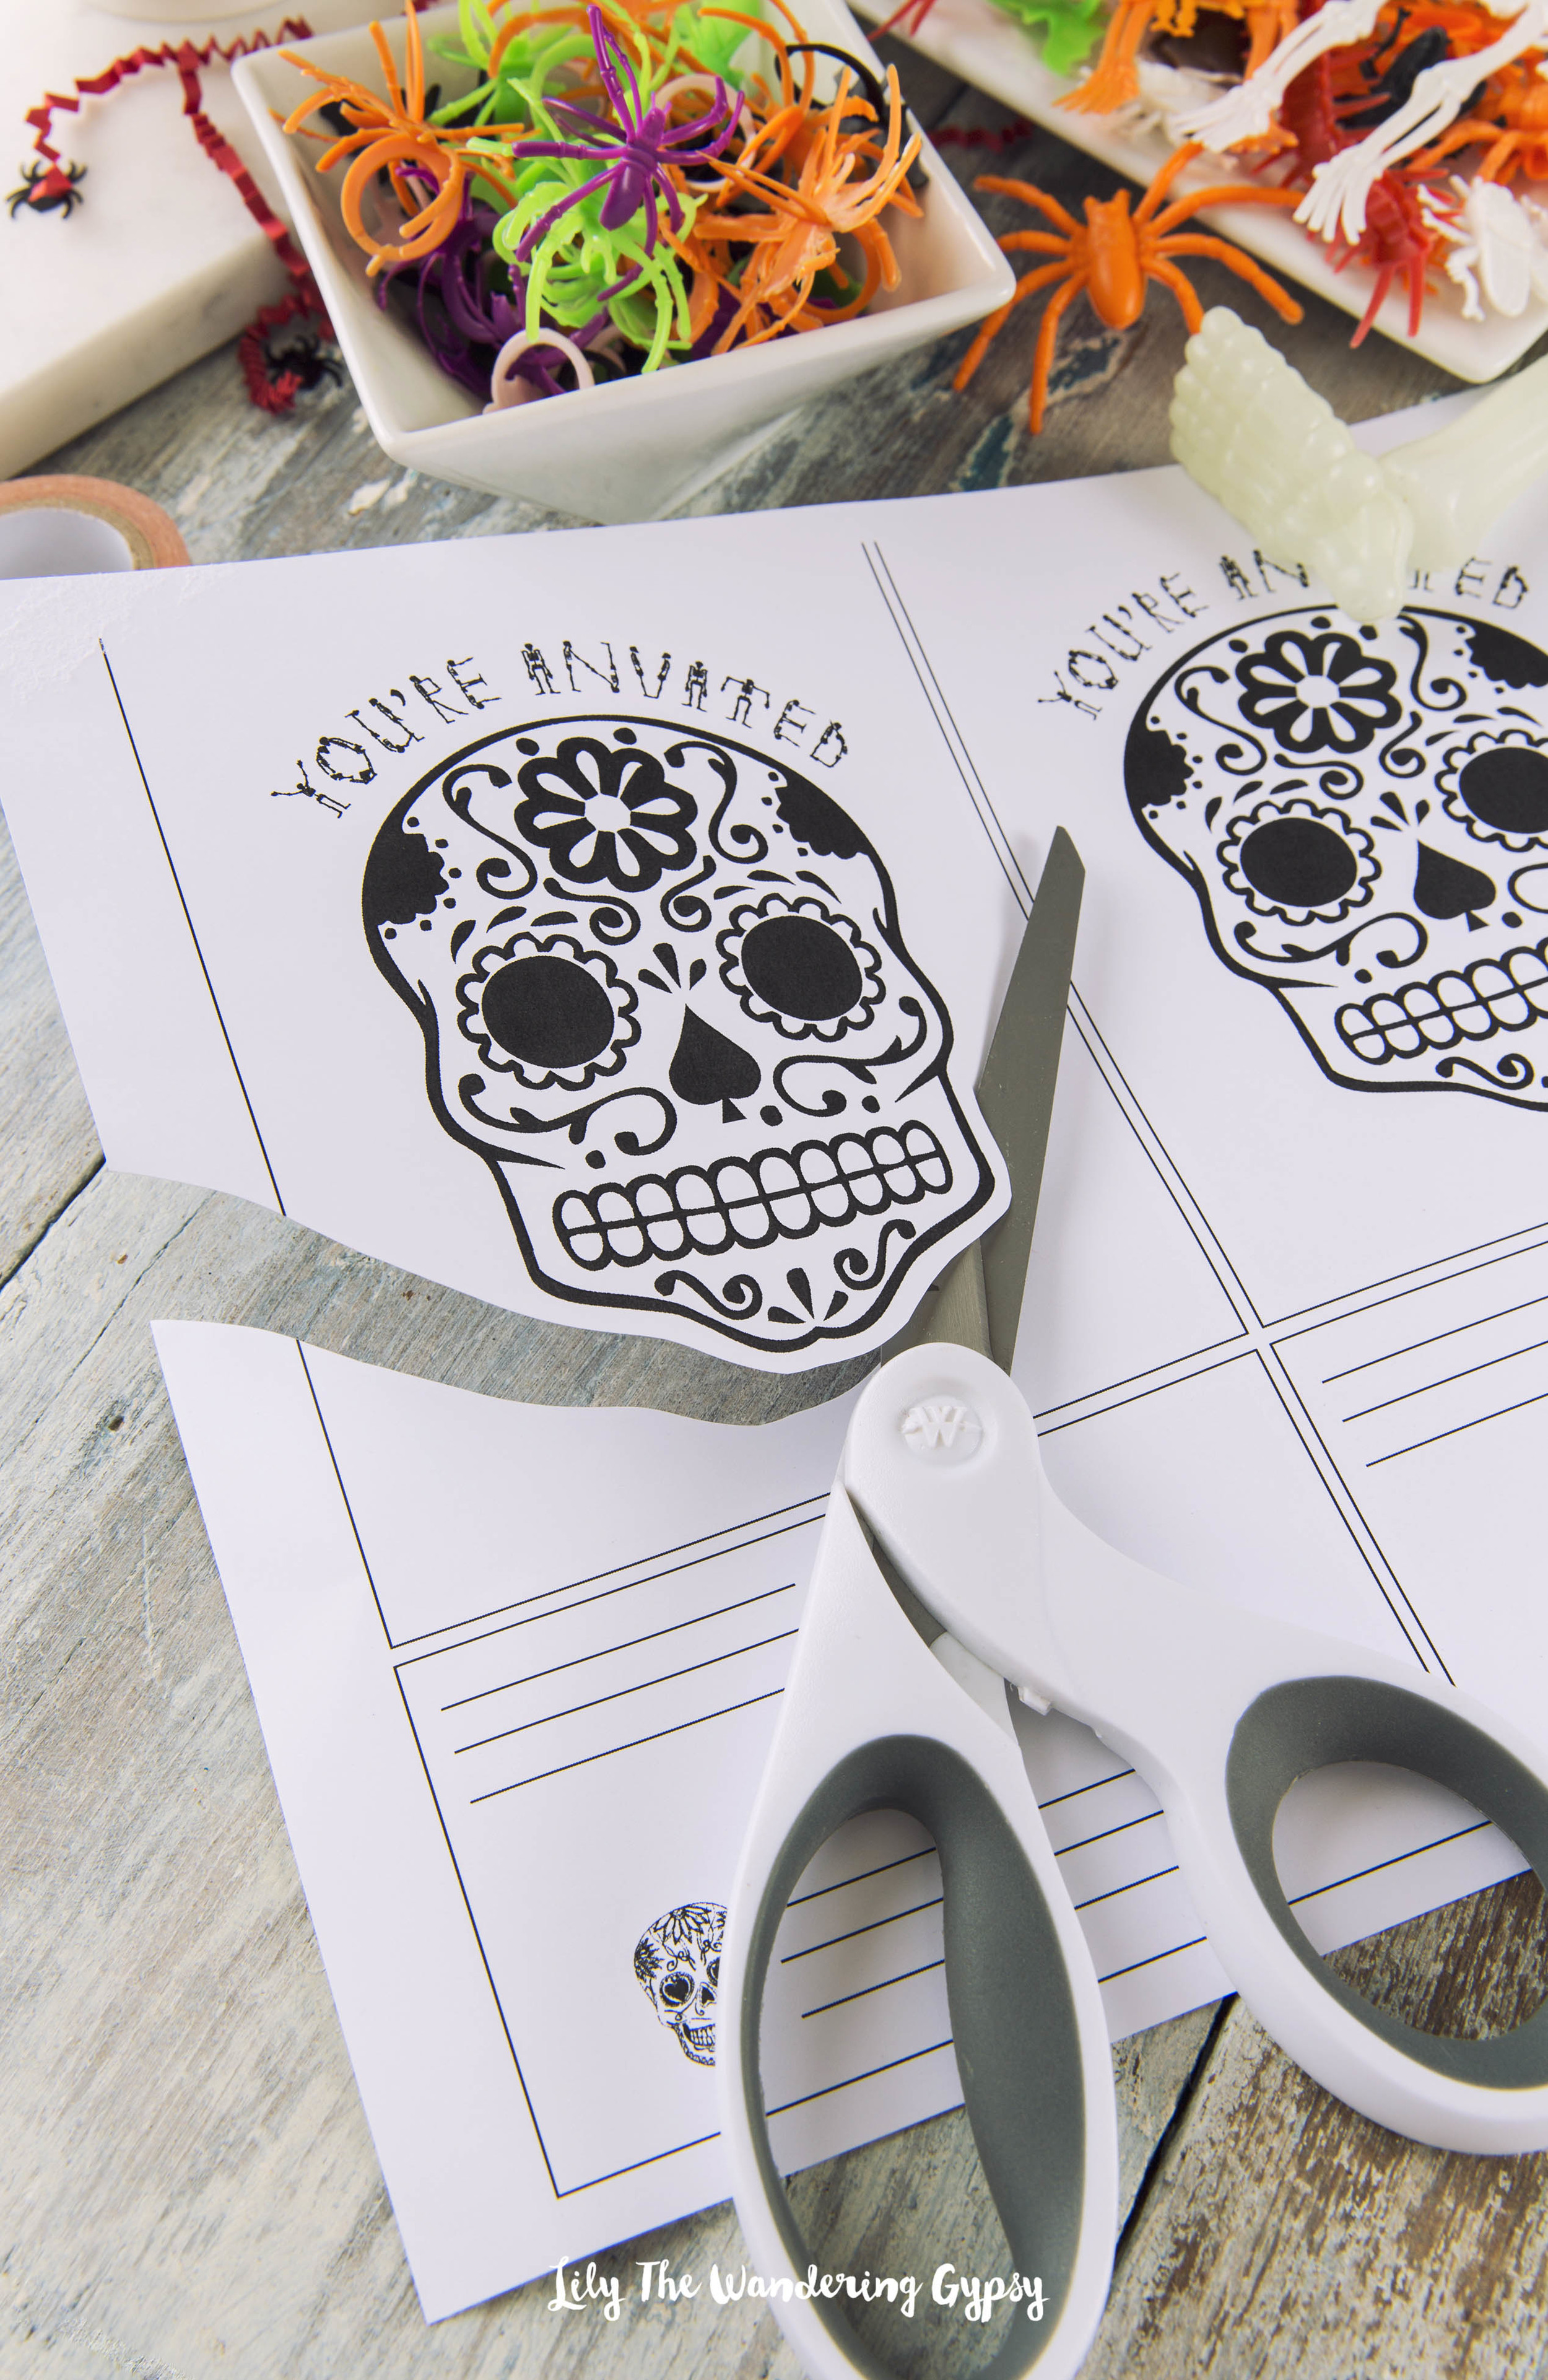
Cut out the skull design from the first printable. This will be glued to the front of the boxes. Also, cut out the address labels, which are also on that same page. 

Halloween Invite
Halloween Invites

Next, glue the skull cutouts onto the boxes with a glue stick. When you mail these, you will be covering them with clear tape, so they will stay put during shipping. 

Halloween Invite

Add Red Paper Crinkles to emulate "blood" that is oozing out of the invite...

Halloween Invites

Next, place as many pieces of candy and Halloween toys as will possibly fit into the boxes while allowing the lid to still close. I also added spider confetti here, too. 

Halloween Invites
Halloween Invites
Halloween Invites

Cut out your Get Spooky Invites, fill out the blanks, and add them to the box, on top of the candy! 

Spooky Halloween Invites - Free Printable
Halloween Invites

Add the recipient's address to the back of the invite, and wrap everything up tight with clear packing tape! 

Halloween Party Invites

Aren't they adorable??!!

Halloween Invites
Halloween Invites

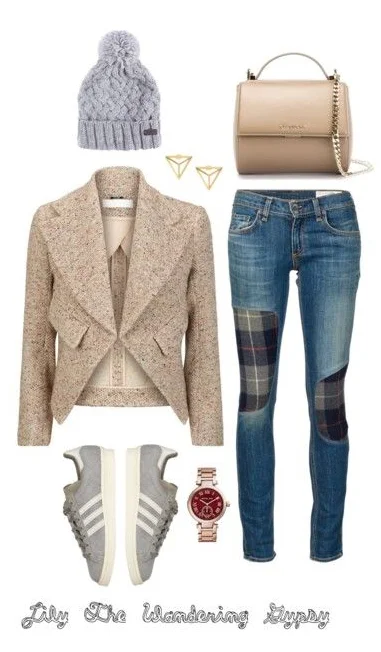
A Cozy And Refined Outfit For Fall

It's finally here! Chilly, wonderful, Fall weather! Scroll down to shop all of these items! Enjoy :) 


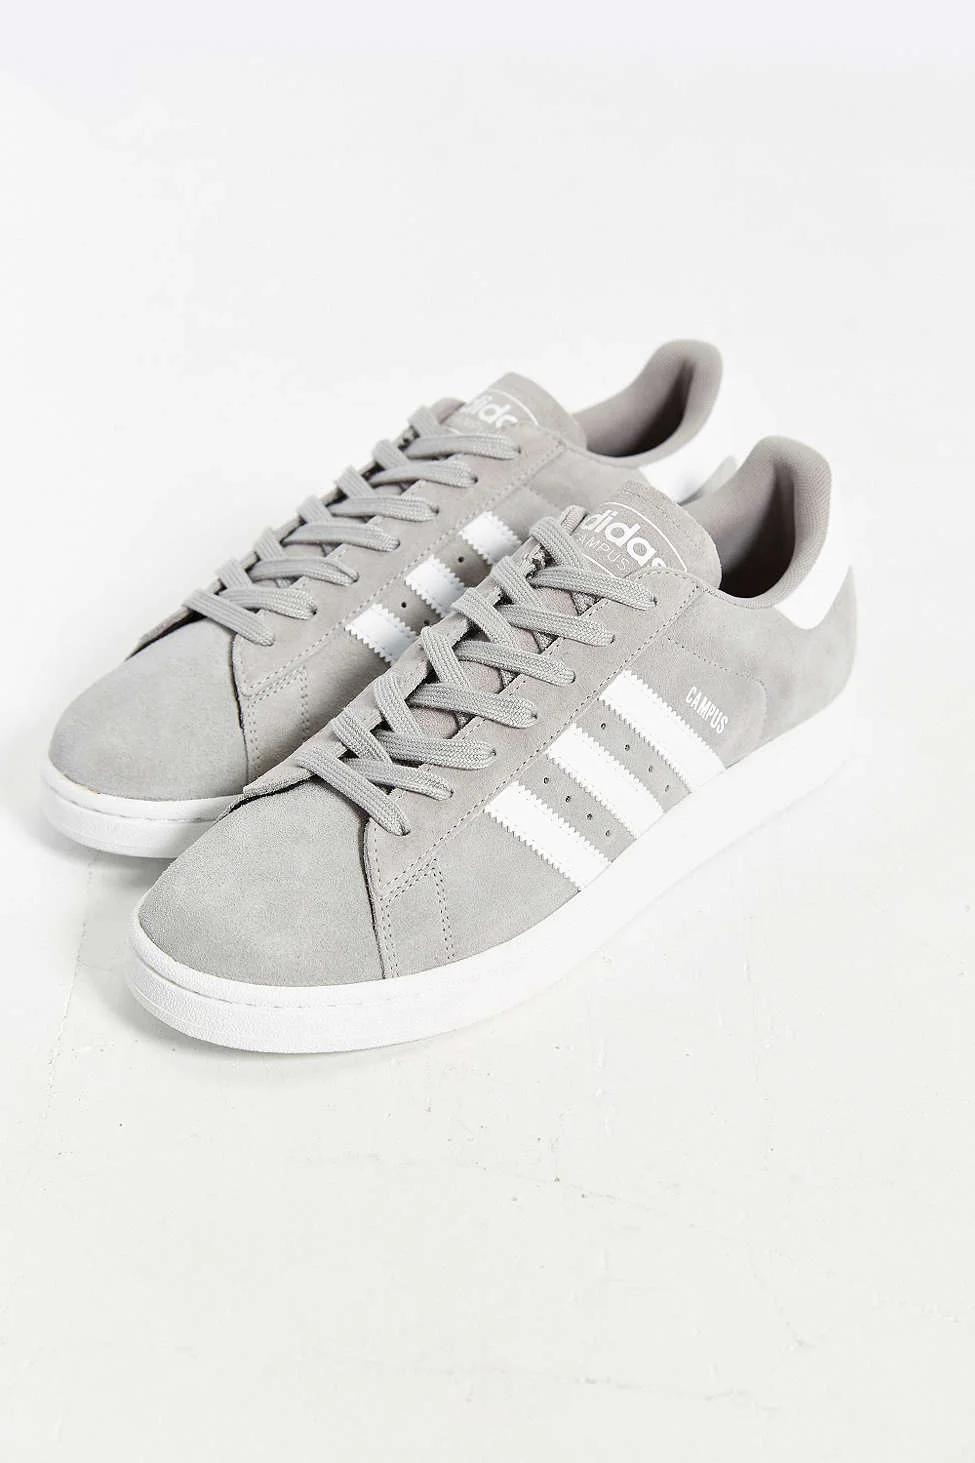
Adidas Campus 2 Sneakers / Shop Here

Adidas Campus 2 Sneakers / Shop Here

Adidas Campus 2 Sneakers / Shop Here

Adidas Campus 2 Sneakers / Shop Here


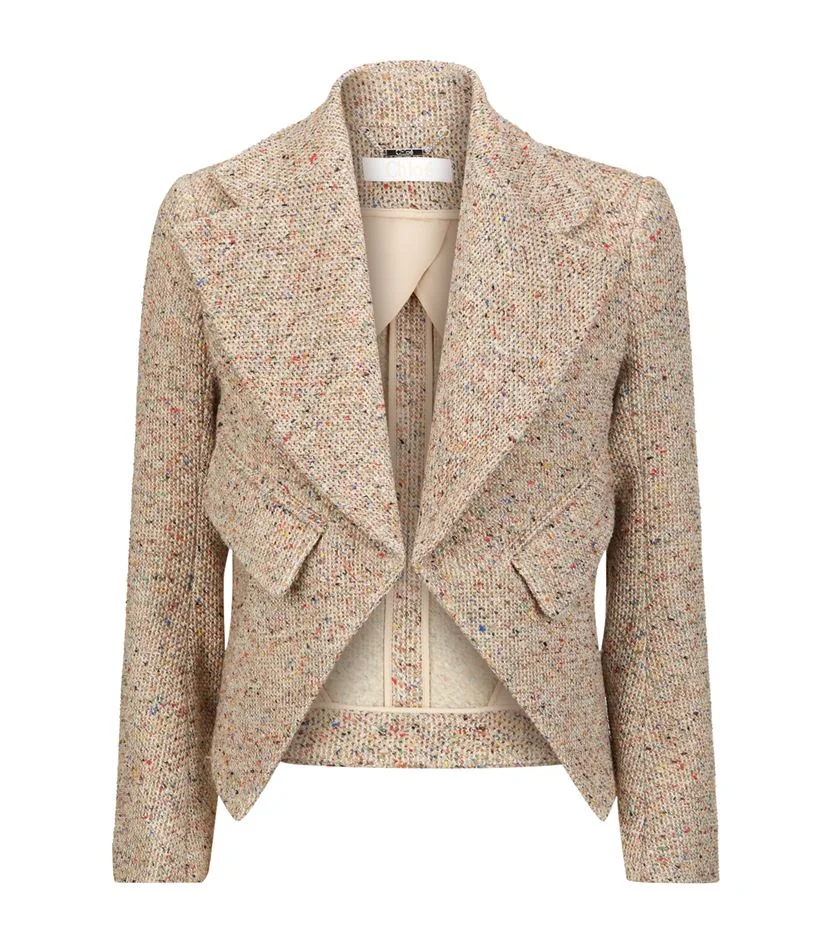
This exact Chloe Blazer is sold out, but you can find a similar one here. 

This exact Chloe Blazer is sold out, but you can find a similar one here


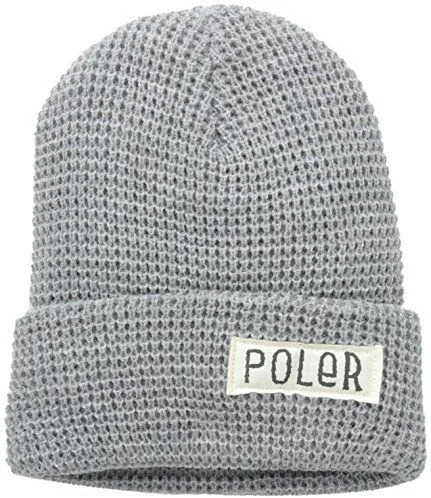
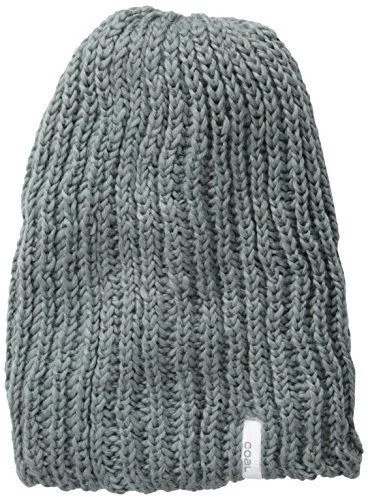
Check out the beanie (above), or shop other similar ones (below).

Check out the beanie (above), or shop other similar ones (below).


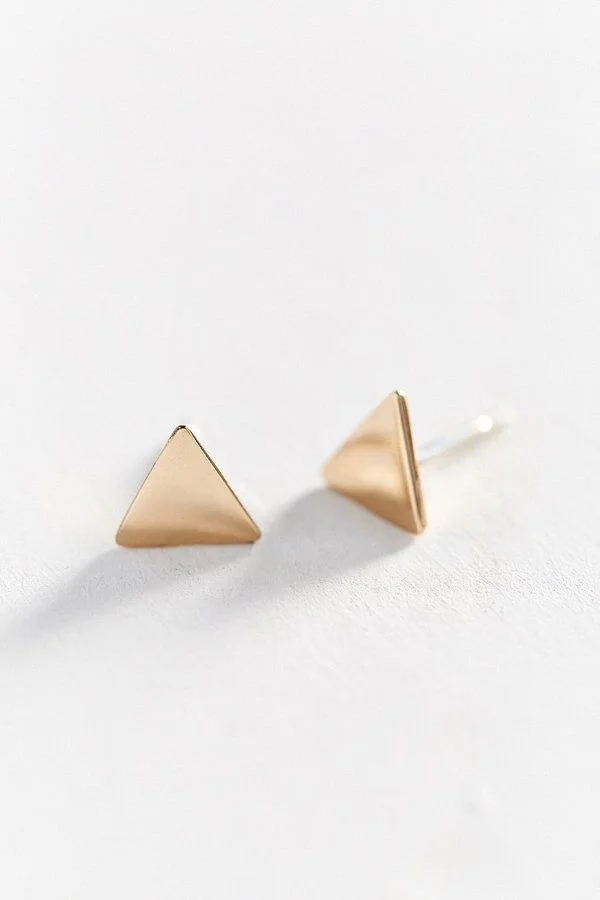
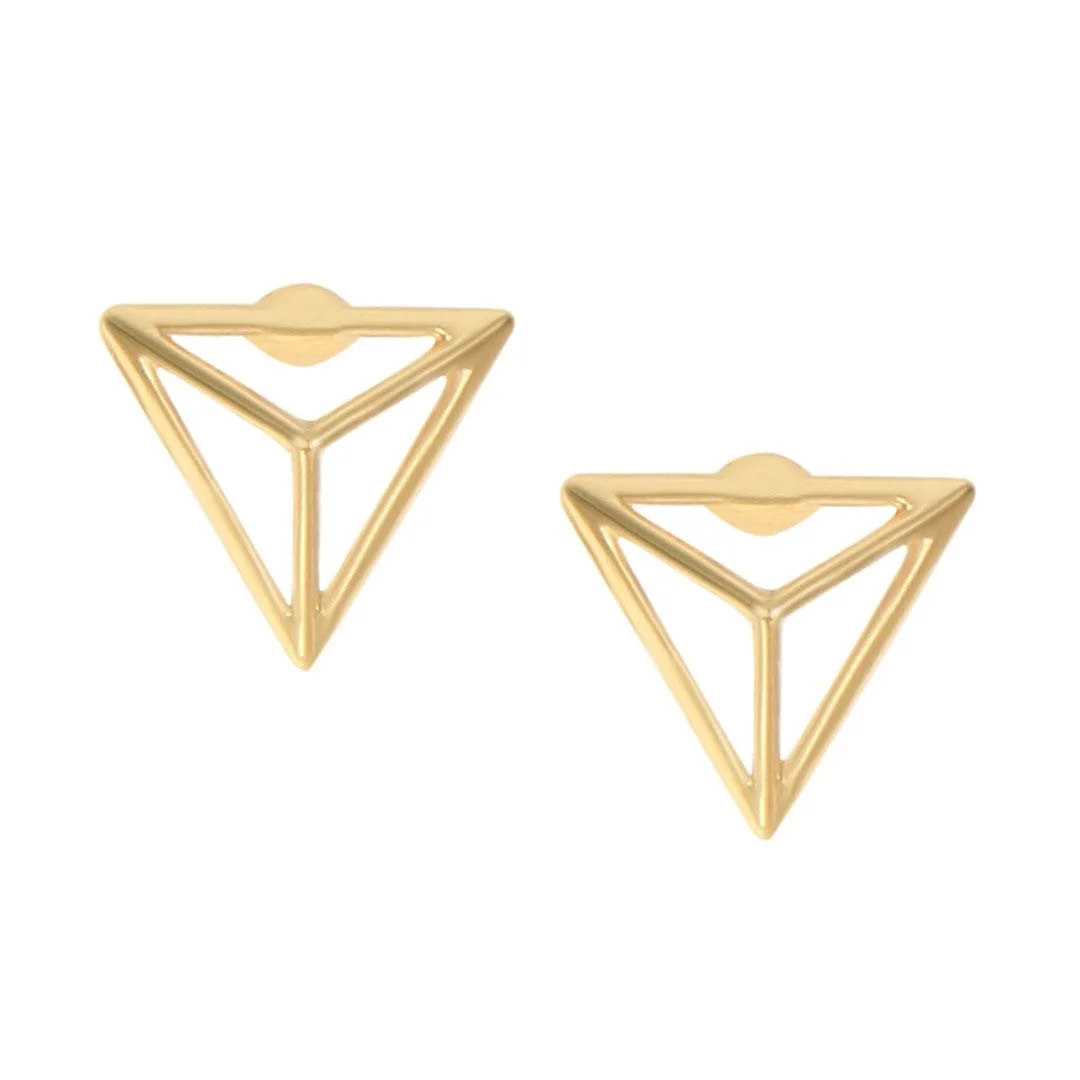
Gold Triangle Earrings here.

Gold Triangle Earrings here.

Find these cute earrings for only $3.95 here.

Find these cute earrings for only $3.95 here.


Coming Soon!! Shop the rest of the outfit below...

MK WATCH - PATCHWORK JEANS - AMAZING PURSE

Fall Rice Krispy Treat Pops!

Ever wonder why your rice krispy treats don't turn out soft, rich, buttery, and super tasty? You may be using the wrong method. Here, I will show you the old-fashioned way to make Rice Krispy Treats on the stovetop - with real butter.

I love how these little leaf treat pops turned out! They could be customized to just about any holiday or party theme, too! Feel free to add food coloring to them to really customize them in a new, unique way. Here we go!

Fall Rice Krispy Treat Pops - Lily The Wandering Gypsy

Ingredients:

- 3 Tbsp. REAL Butter (Organic Preferred)

- 6 C. Rice Krispy Cereal 

- 6 C. Marshmallows

- Sprinkles in Seasonal Colors

(Not Pictured)

- Parchment Paper

- Baking Dish 

- Smaller Wooden Skewers

- Leaf-Shaped Cookie Cutters

Fall Rice Krispy Treat Pops - Lily The Wandering Gypsy

Instructions: 

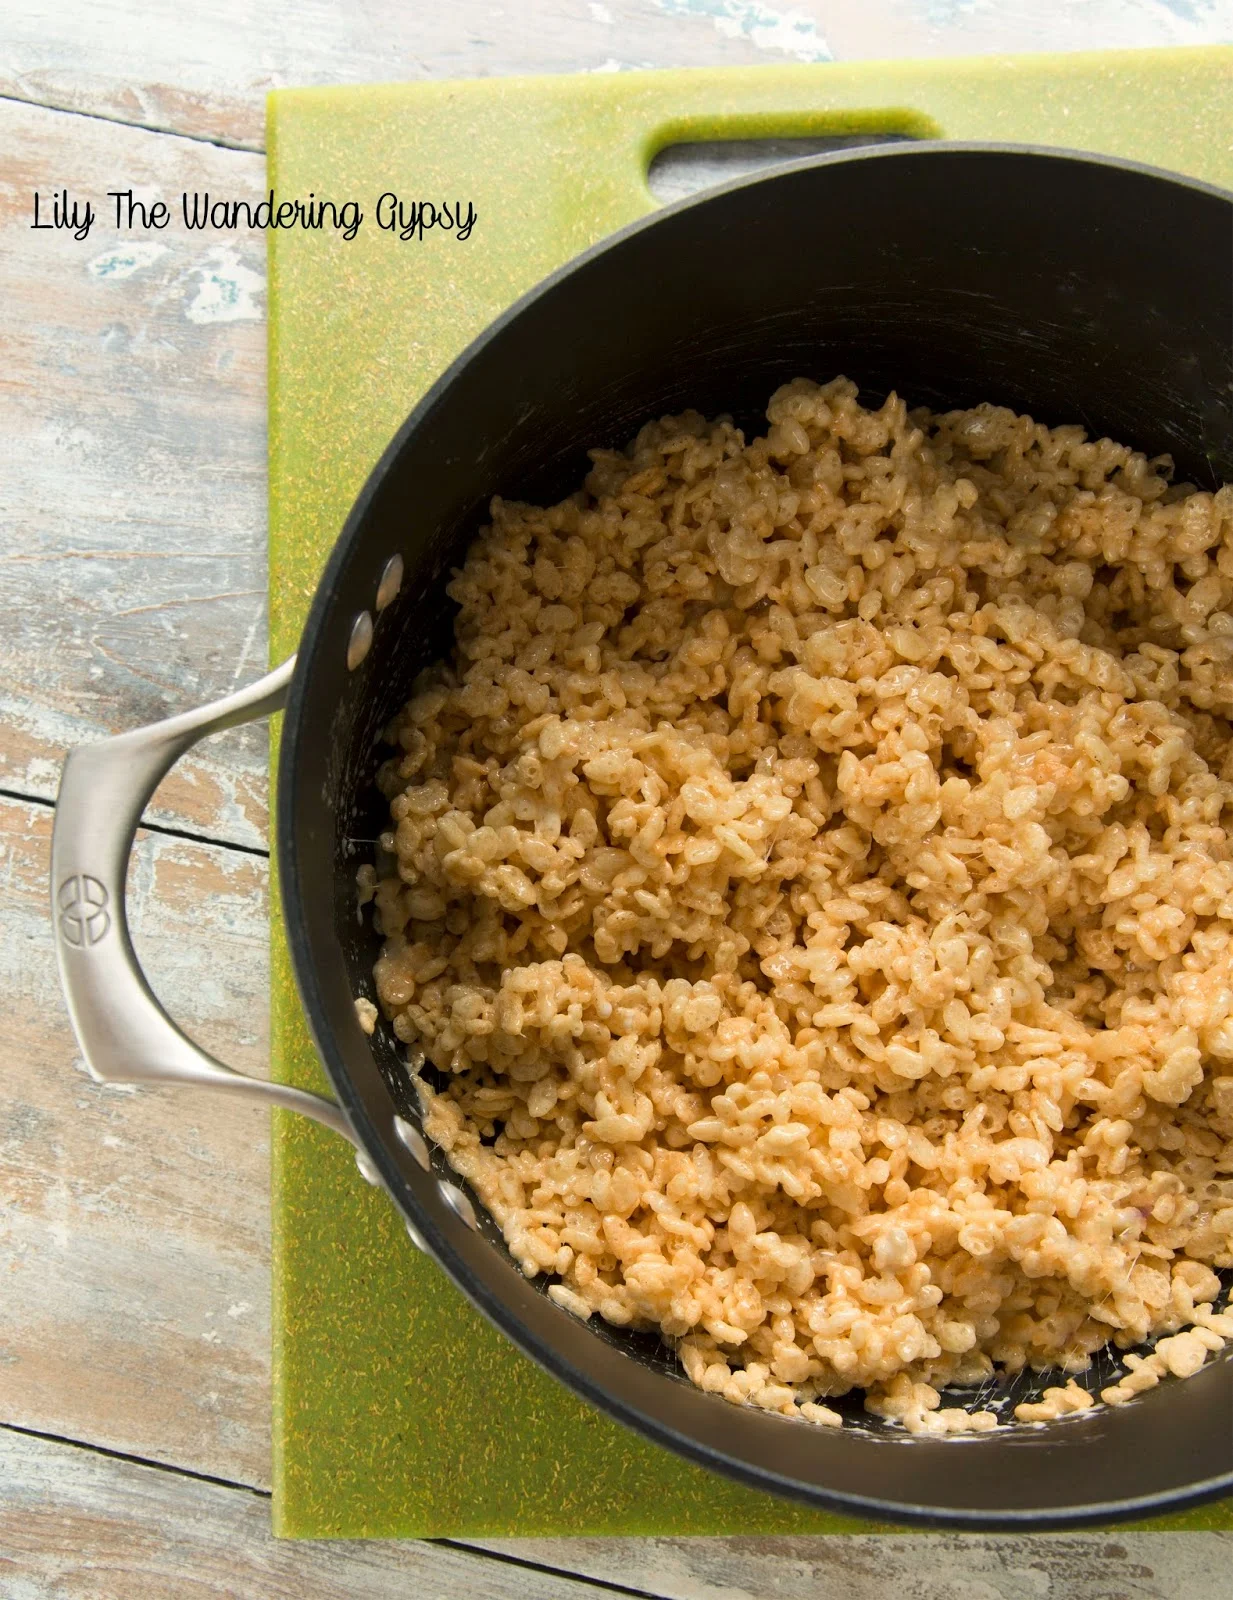
In a large pot, melt butter over low heat (slower is better, so the butter doesn't burn.). As that melts, add marshmallows. Continue to melt the ingredients over low-medium heat. Make sure to watch the mixture so it doesn't brown. The mixture should look a little something like this right before you add the cereal.

Fall Rice Krispy Treat Pops - Lily The Wandering Gypsy

Add the cereal and mix well to combine all of the ingredients. 

Fall Rice Krispy Treat Pops - Lily The Wandering Gypsy

1.) Spray baking dish with non-stick spray or butter. Cut a piece of parchment paper to fit inside the dish.

2.) Pour in Gooey Cereal Mix.

3.) Use another piece of parchment paper to pat down the cereal mixture flat into the dish. This will keep your hands WAY less messy.

Once cereal has cooled, remove the cereal and parchment paper, and put it onto a cutting board.

Fall Rice Krispy Treat Pops - Lily The Wandering Gypsy

Use your favorite leaf-shaped cookie cutter, press firmly down into treats. You can use a bit of non-stick spray on the cookie cutter if the treats stick. Carefully insert small skewer sticks into the leaves. Make sure you don't jab your hand. I got about 12-13 leaves out of my batch, and had lots of pieces left over to devour :)

Fall Rice Krispy Treat Pops - Lily The Wandering Gypsy

Enjoy! Happy Fall! Check me out on Pinterest.