What to Pair with Asti Spumante + Mini Fruit Tart Recipe

This post was sponsored by the Italian Trade Agency as part of an Influencer Activation for Influence Central and all opinions expressed in my post are my own. Message for readers 21 and older.

Throughout life, I have been so inspired by my Italian heritage. I enjoy wine, food, and art, all of which are very close to my heart. My grandfather’s parents moved to the United States from Italy around 1910, and since I was so close to his side of my family, I always felt such a connection to that culture. Living La Dolce Vita, meaning living the sweet life, is a great phrase for the way I feel about what you will find in this post. Learn how to pair this sweet sparkling Italian wine called Asti Spumante with something sweet and easy to make.

 In this post, I wanted to share a bright, refreshing glass of Asti Spumante with you (from one of 20 wine regions in Italy), and provide an easy yet elegant recipe for mini fruit tarts, which pair very well with this sparkling Italian wine.

Asti Spumante is a sparkling wine that is produced from Moscato Bianco grapes in the southeastern part of the Piedmont region of Italy, concentrated around the cities of Asti and Alessandria, but also near Cuneo. 

Though Piedmont accounts for only 7% of Italy’s wine production, it is celebrated for producing wines of extremely high quality. Piedmont stands proud as the region with the most DOC/DOCG zones (58) and the largest percentage of officially classified wines (86%). Piedmont is Italy’s northwesternmost region, sharing a border with Switzerland and France, and surrounded by the Alps to the north and west and the last peaks of the Apennine Mountains to the south.

(Image Source: Extraordinary Italian Wine

Below, you will notice a regional map of Italy, and the Piedmont region is shown in red.

The region is surrounded on three sides by the Alps. The name Piedmont comes from Latin meaning, ‘at the foot of the mountains,’ which makes for a very rocky soil and terrain in some areas. It’s an agricultural region, where more than half its 170,000 acres of vineyards are registered with DOC designations.

Italy produces the largest volume of wine in the world. The country may have more than 3,000 varieties of grapes, of which 590 are officially recorded with hundreds left to be catalogued. The wines are often referred to as “passionate wines,” extremely expressive wines that convey many emotions.

I often go for white wines when possible, and enjoy Chardonnay a LOT. This variety of wine has notes of light citrus fruit flavors (apple and pear mostly,) and a few hints of vanilla. Foods that pair well with Chardonnay include semi-soft cheeses such as goat cheese, herb-crusted halibut or scallops, chicken breast, and more.

My grandfather was one of my favorite people ever, and it’s really an honor to be able to celebrate him and the positive impact he had on me. My last name is Accettura, which is actually a city in the Southern Italian region of Basilicata. It has always been my dream to one day visit, and hopefully I will.

Since my grandfather loved cooking for me and treating us to delicious meals at restaurants in the Chicago area and on our vacations to Florida, I learned to love good food. He would be so proud of me for following my dreams of working for myself as a food and lifestyle photographer.

Many sites I researched concluded that fresh fruit are a great pairing for Asti Spumante. A few sites even mentioned fruit tarts, which I knew would be gorgeous to pair with this wine.

HOW TO MAKE MINI FRUIT TARTS:

Ingredients:

 1-2 packages of ready to use flaky shells (freezer section near the puff pastry and pie crusts)

Fresh fruit topping:

1 kiwi, cut into small pieces

1 package of blueberries

3 strawberries, cut into slices then into slices, like a pizza

Fresh whipped cream:

1 pint heavy whipping cream

¼ cup (or more) granulated sugar

2 tsp Vanilla bean paste or regular vanilla

1/3 C. powdered sugar, sifted

Optional – frosting bag and larger star-shaped piping tip

Instructions:

1.) Make whipped cream. In a stand mixer, whip together cream, granulated and powdered sugars, and vanilla. Beat until stiff peaks form, put into fridge to cool. After 15-20 minutes or less, transfer into prepared frosting bag.

2.) Lay all shells out onto work surface, and use your frosting bag to full shells. I used a swirling motion to get a nice shape. See below.

3.) Cut up fruits, and add one fruit at a time to all cups. First put one blueberry on each cup. Then, put one piece of kiwi on each, then one piece of strawberry. Serve with Asti Spumante and enjoy!

Experiment with Italian wines in creative, unexpected settings: Italian whites at the beach, Italian Rosato with BBQ, Italian whites with sushi, Nero d’Avola with Korean BBQ, Montepulciano d’Abruzzo with burgers, Valpolicella with ribs, Lambrusco with Mac n’ Cheese, Pairing Italian wines with cheese and meats.

I am SO honored to have had this chance to work with the Italian Wine Trade Agency on this incredible project. What an incredible learning experience. Cheers to amazing opportunities. 

As I mentioned before, my grandfather was 50% Italian; his parents relocated to the United States from Italy in the early 1900s. Since I was so close to my grandparents on my dad’s side, I was raised learning all about the Italian foods that my grandfather grew up enjoying, then cooking for me. I also learned later in life that my dad inherited several vintage bottles of Italian wines that my grandpa, Vito, had been keeping in the basement for many years. We still keep that wine as a memento of him, which makes this post even more special to me.

Asti Spumante’s characteristics are a persistent froth, a color from pale yellow to pale gold, the perlage is fine and persistent; its fragrance is soft and characteristic and, finally, its taste is aromatic, distinctive, sweet and balanced in structure. That’s why Asti is a wine with a strong and aristocratic personality. The bubbles add SO much to the experience.

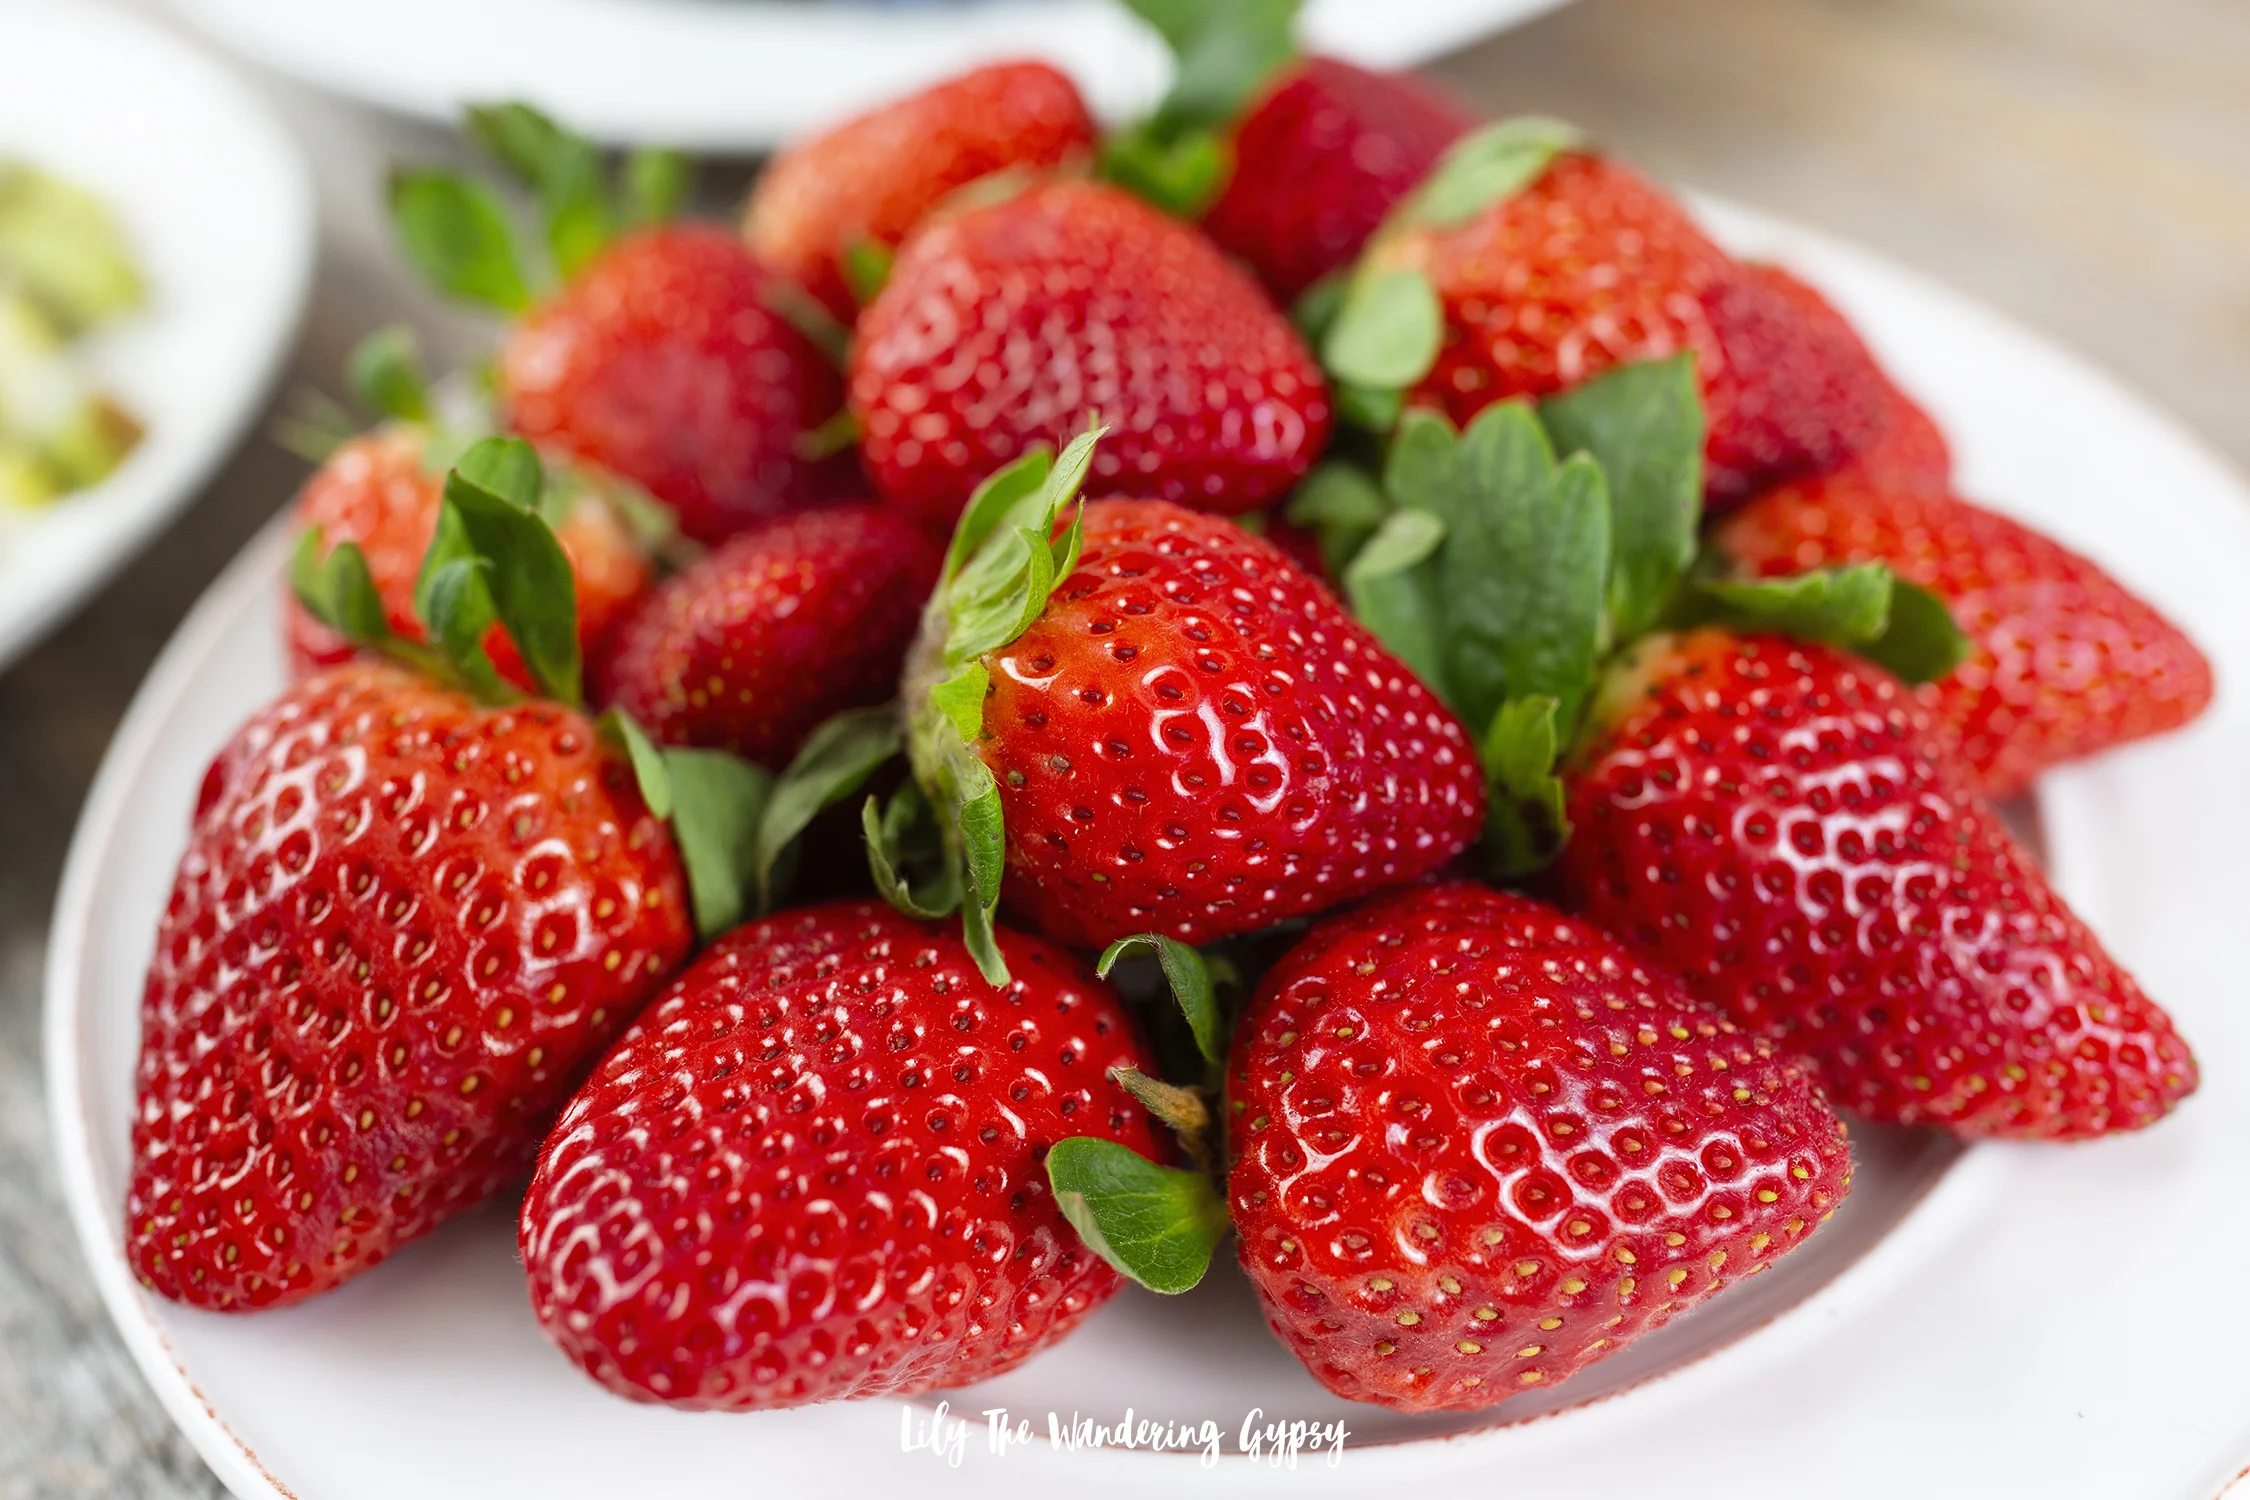
Since strawberries are looking so great in stores right now, they were perfect to feature in this recipe, and to pair their sweet taste with the sparkling wine.

Made from the Moscato Bianco grape, Asti Spumante is sweet and low in alcohol. In fact, it is the perfect wine of the sweet occasions and to toast after a meal. It accompanies desserts and is very suitable with fruit, as it has hints of acacia flowers, wisteria, peach and apricot.

Use any variety of fruits you would like to make these adorable mini fruit tarts. I would recommend incorporating at least 3-4 colors of different fruits for the best effect.

Thank you so much for joining me to learn more about Italian wine and what pairs best with Asti Spumante. Have you ever tried this wine before?

Try This Amazing PMD Machine ASAP!

So what is Personal Microdermabrasion, and is is for you?

Microdermabrasion is a minimally invasive procedure used to renew overall skin tone and texture. It can improve the appearance of sun damage, wrinkles, fine lines, age spots, acne scarring, melasma, and other skin-related concerns and conditions.

The exfoliating power of the PMD microdermabrasion machine and rejuvenating powers of the PMD Recovery Mask are unlike ANY other skincare product I have ever used. I love that it is also an all natural technique, so you would not need to use a harsh products, treatments, and cleansers, only to simply wonder if they are working or not. When you take a more thorough and aggressive approach to skincare, such as a microdermabrasion, you remove that layer of dead skin, scars, and even fine lines! After 8-12 weekly treatments, your skin should be showing MAJOR improvements. Honestly, you wind up seeing results after the FIRST TIME of use.

PMD kindly sent me a beautiful gift set for review, and I could not be happier with my face after 20 years of “hating my skin”!

GET YOUR PMD MACHINE HERE!

Do you ever feel like you work and work to keep your skin clean and fresh to no avail? Those blackheads are just sitting right under the skin, but are not wanting to budge. I am someone who suffers from less acne than I used to before reducing soda and dairy, but my skins is still nowhere near perfect.

FINALLY, after using the PMD machine four times, I can say, that I am finally HAPPY with the appearance of my skin. No joke, I have had skin troubles since I was 14, and this is the first actual technique that has made a difference.

Personal Microderm will remove the top layer of dead dull skin and bring blood flow to the surface of the skin, which will allow your skin to absorb the powerful specially formulated ingredients of the mask for smoother brighter skin. Love your skin starting TODAY!

Personal Microderm combines Patented Spinning Disc technology with Perfectly Calibrated Vacuum Suction to brighten, smooth, and even skin tone and texture. After using the Personal Microderm, the specially formulated Recovery Masks will hydrate and sooth the skin to minimize the appearance of fine lines, wrinkles and dark spots.

BE FRESH ~ BE RADIANT

“Does the PMD really work? Showing you how to use the PMD Personal Microderm the RIGHT WAY in today's tutorial to help you get glowing skin at home! I've been using the PMD Microdermabrasion system for a few months now and I LOVE the way my skin looks.”

Below, you will see a diagram of how to use the machine around your entire face. It is most important to not hover over any one spot too long, or you can get a little spot on your face, like you would if you skinned your knee a tiny bit! This will rarely happen, but there is that possibility.

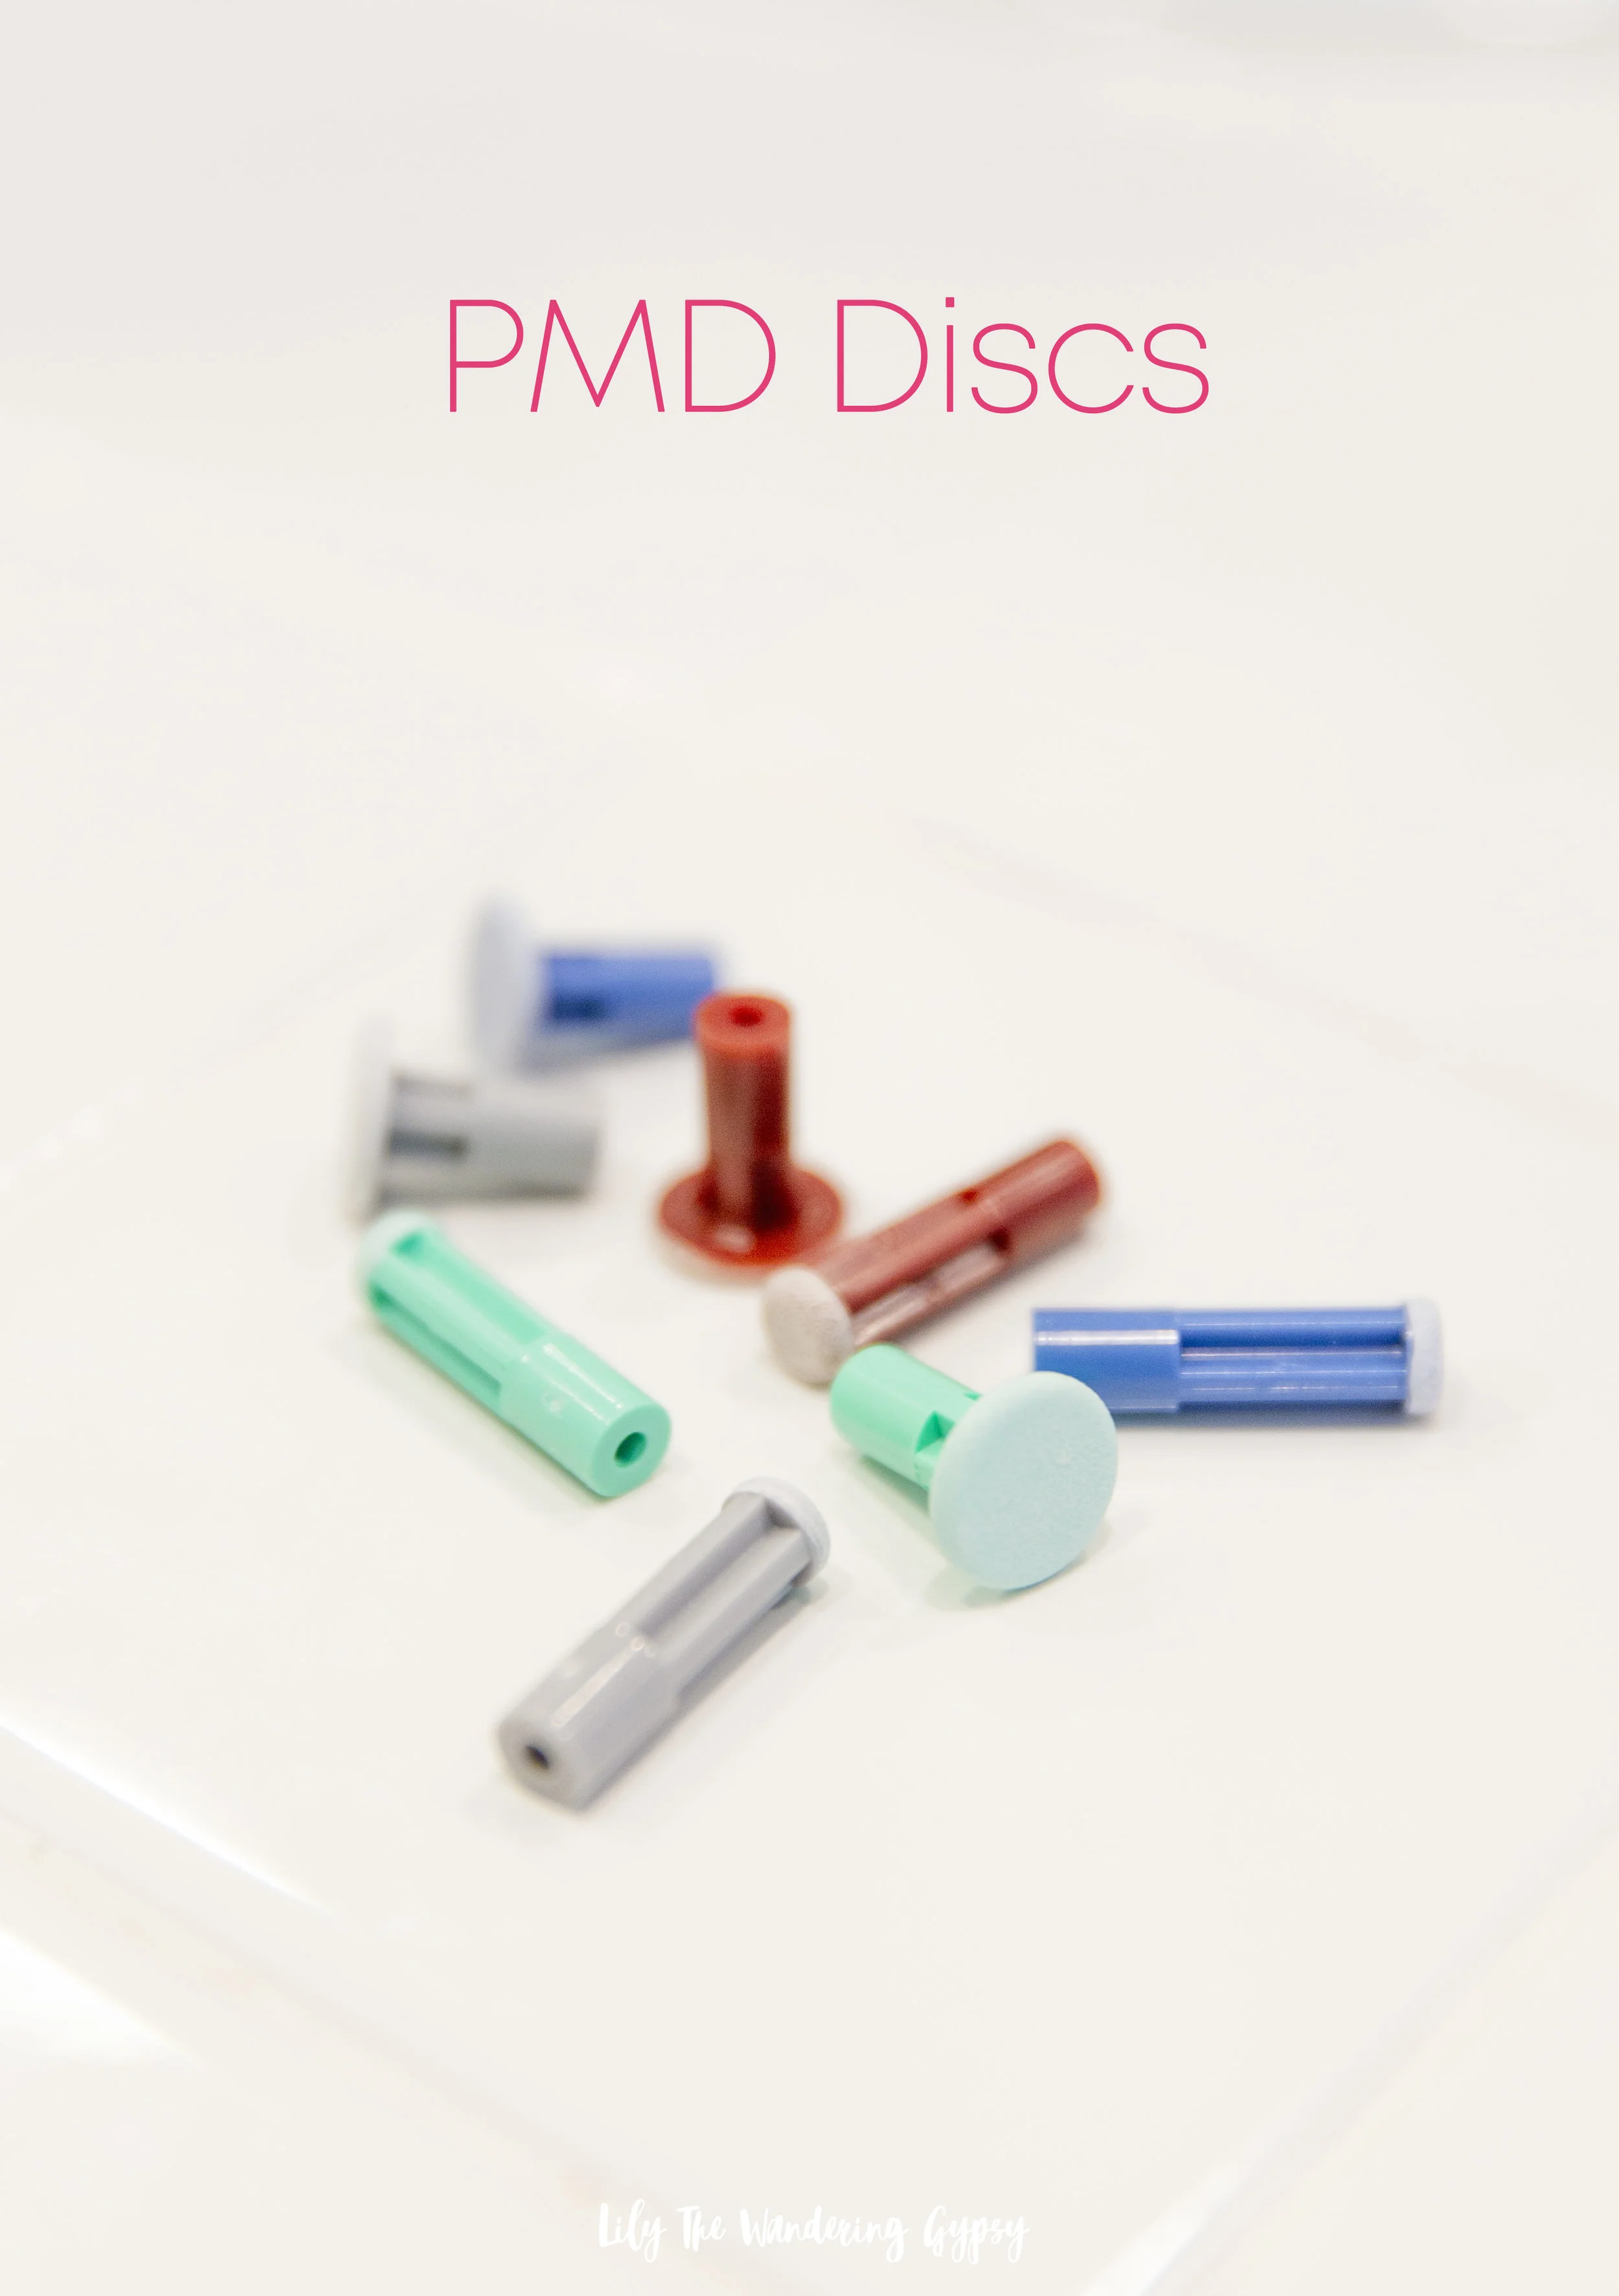
If you are curious about the variety of PMD Discs or tips, you can see below, that the different colors indicate how rough they are. I have used the white and grey so far and they have been amazing! No issues!

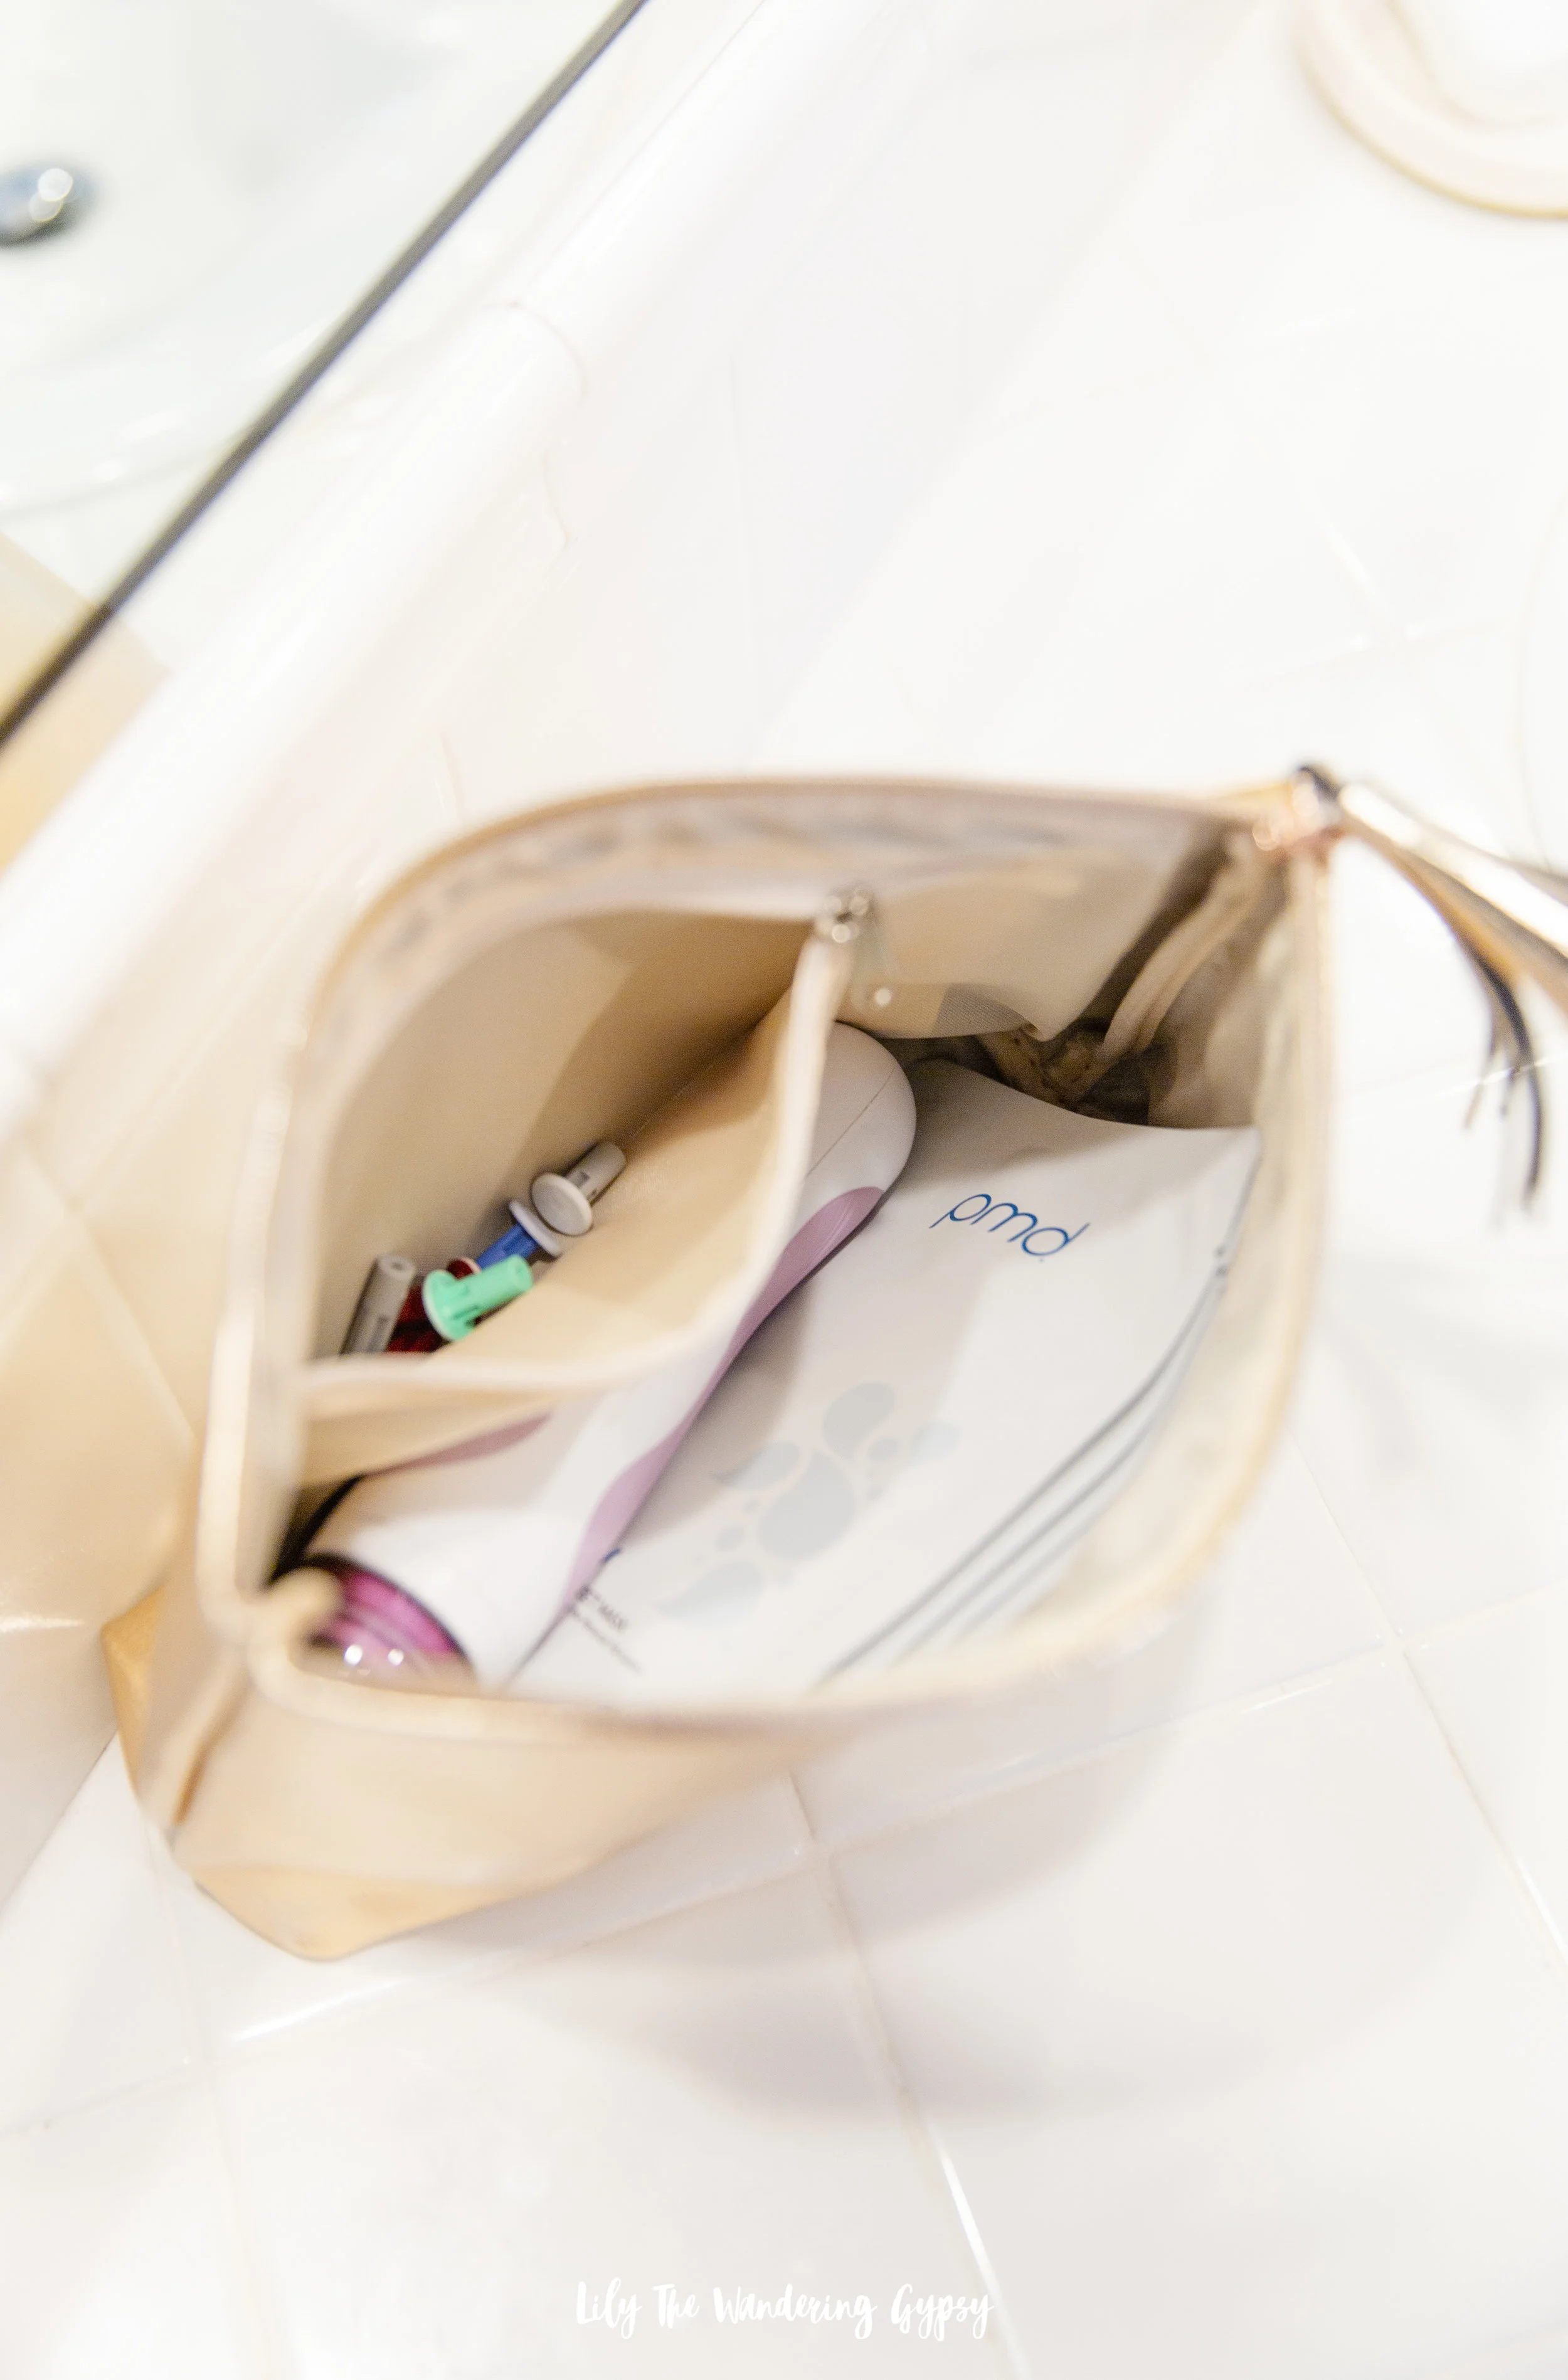
The Love Your Skin Beauty Kit comes with a rose gold metallic zippered bag that holds everything you need! Machine, discs, face masks, and cord.

ALL 5 STAR REVIEWS

I also found a VERY thorough review on the PMD machine, which I have shared below. Find that original article here!

Have you ever considered using this treatment for your skin? Let me know in the comments below!

Simple and Indulgent Moments with Oikos Oh! Double Cream Yogurt

This post is sponsored by Oikos but all opinions are my own. #OhMGMoments

Time to de-stress and indulge in the simple pleasures of the NEW Oikos Oh! Double Cream Yogurts. There are four indulgent flavors to choose from, can you imagine how good the Salt Dusted Caramel Crème tasted?! This new yogurt is unlike any yogurt you’ve ever had. Made with double the cream versus Oikos whole milk yogurt, to create a one of a kind thick and luscious texture that you won’t be able to get enough of.

Delight your mouth with a spoonful of yogurt, no toppings are needed, That’s because The Salt-Dusted Double Creme Yogurt was such a treat! Enjoy this as a simple treat after a long day, during a movie or TV show, or even as dessert after a yummy home cooked meal.

The anticipation of that next bite is an indulgence in and of itself. As someone who works from home, I am always on the move. I find it hard sometimes to simply let myself relax and enjoy the simple pleasures in life because I know that something or other can be checked off the to-do list.

But, rewarding myself with a tasty snack like this one really helps me stay grounded and enjoy something to myself, time to take a deep breath, and time to indulge.

Learn more about Oikos Oh! Flavors Here!

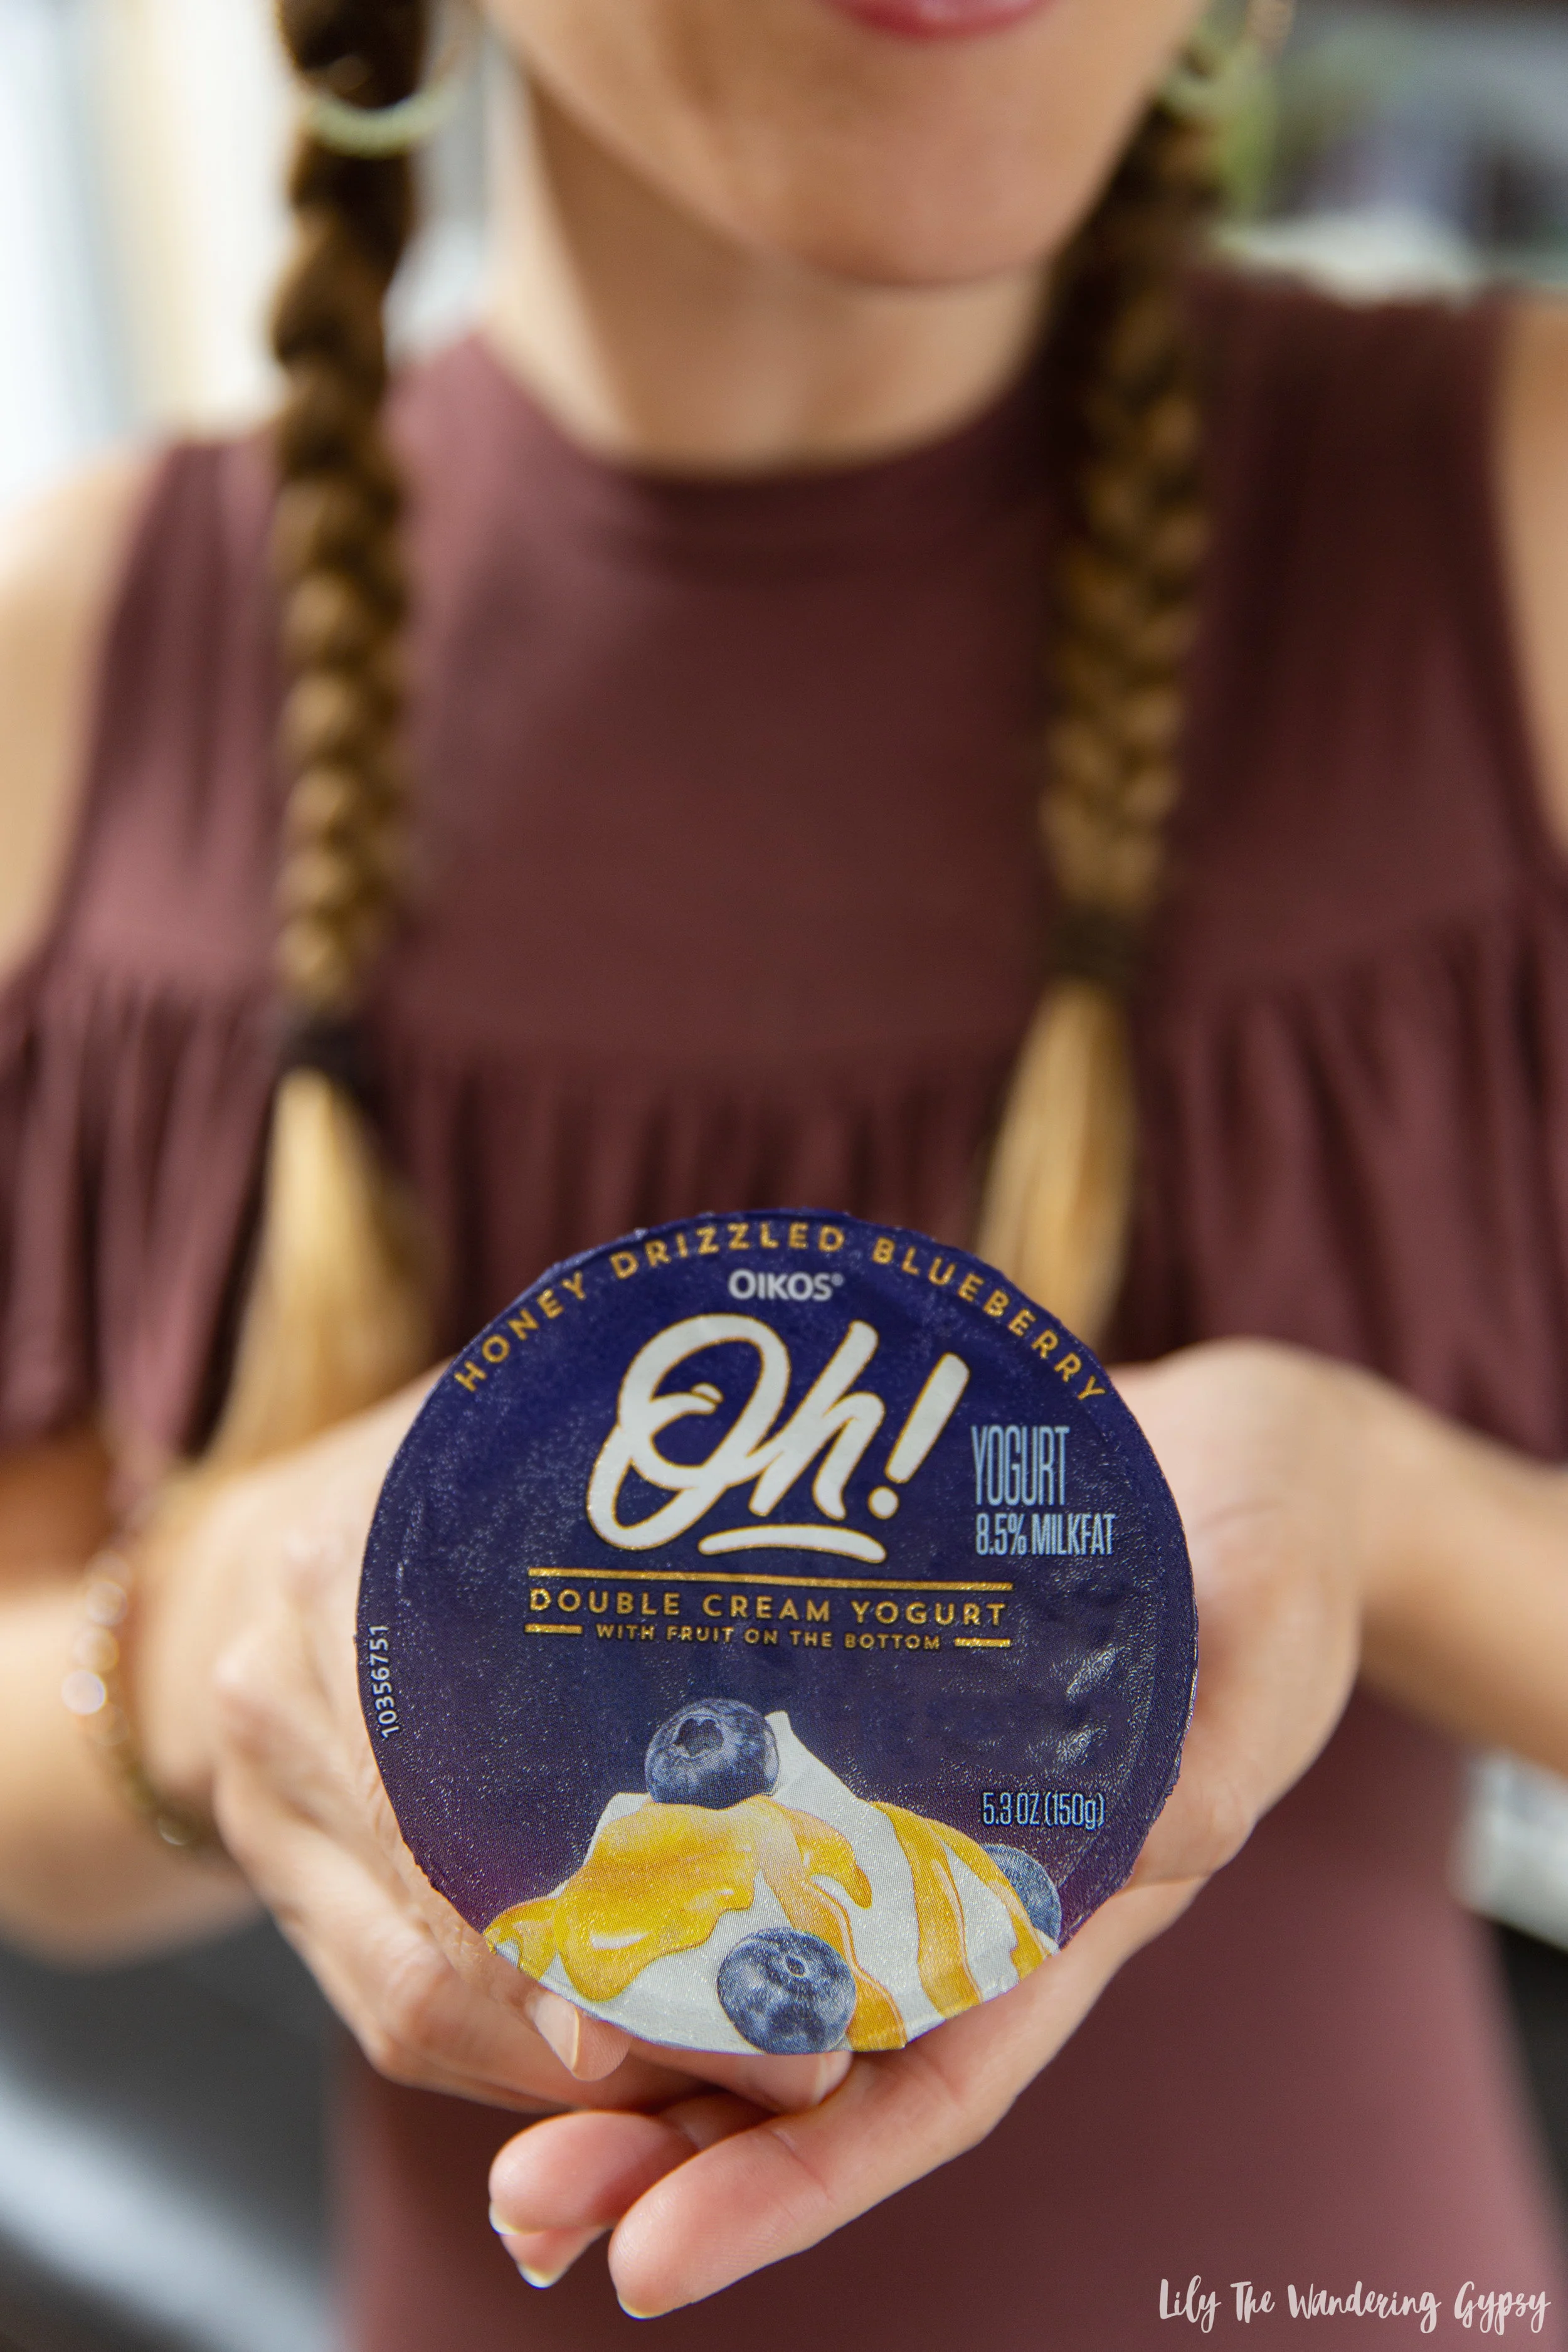
Double Cream Yogurt Honey Drizzled Blueberry, Magnificent Mixed Berry Rhubarb, Lemon Sweet Cream Delight, and my favorite, Salt-Dusted Caramel  Crème. So many incredible flavors to choose from! I would recommend trying one of each to see what you like best.

What flavor would you choose? What are some of your favorite indulgences?

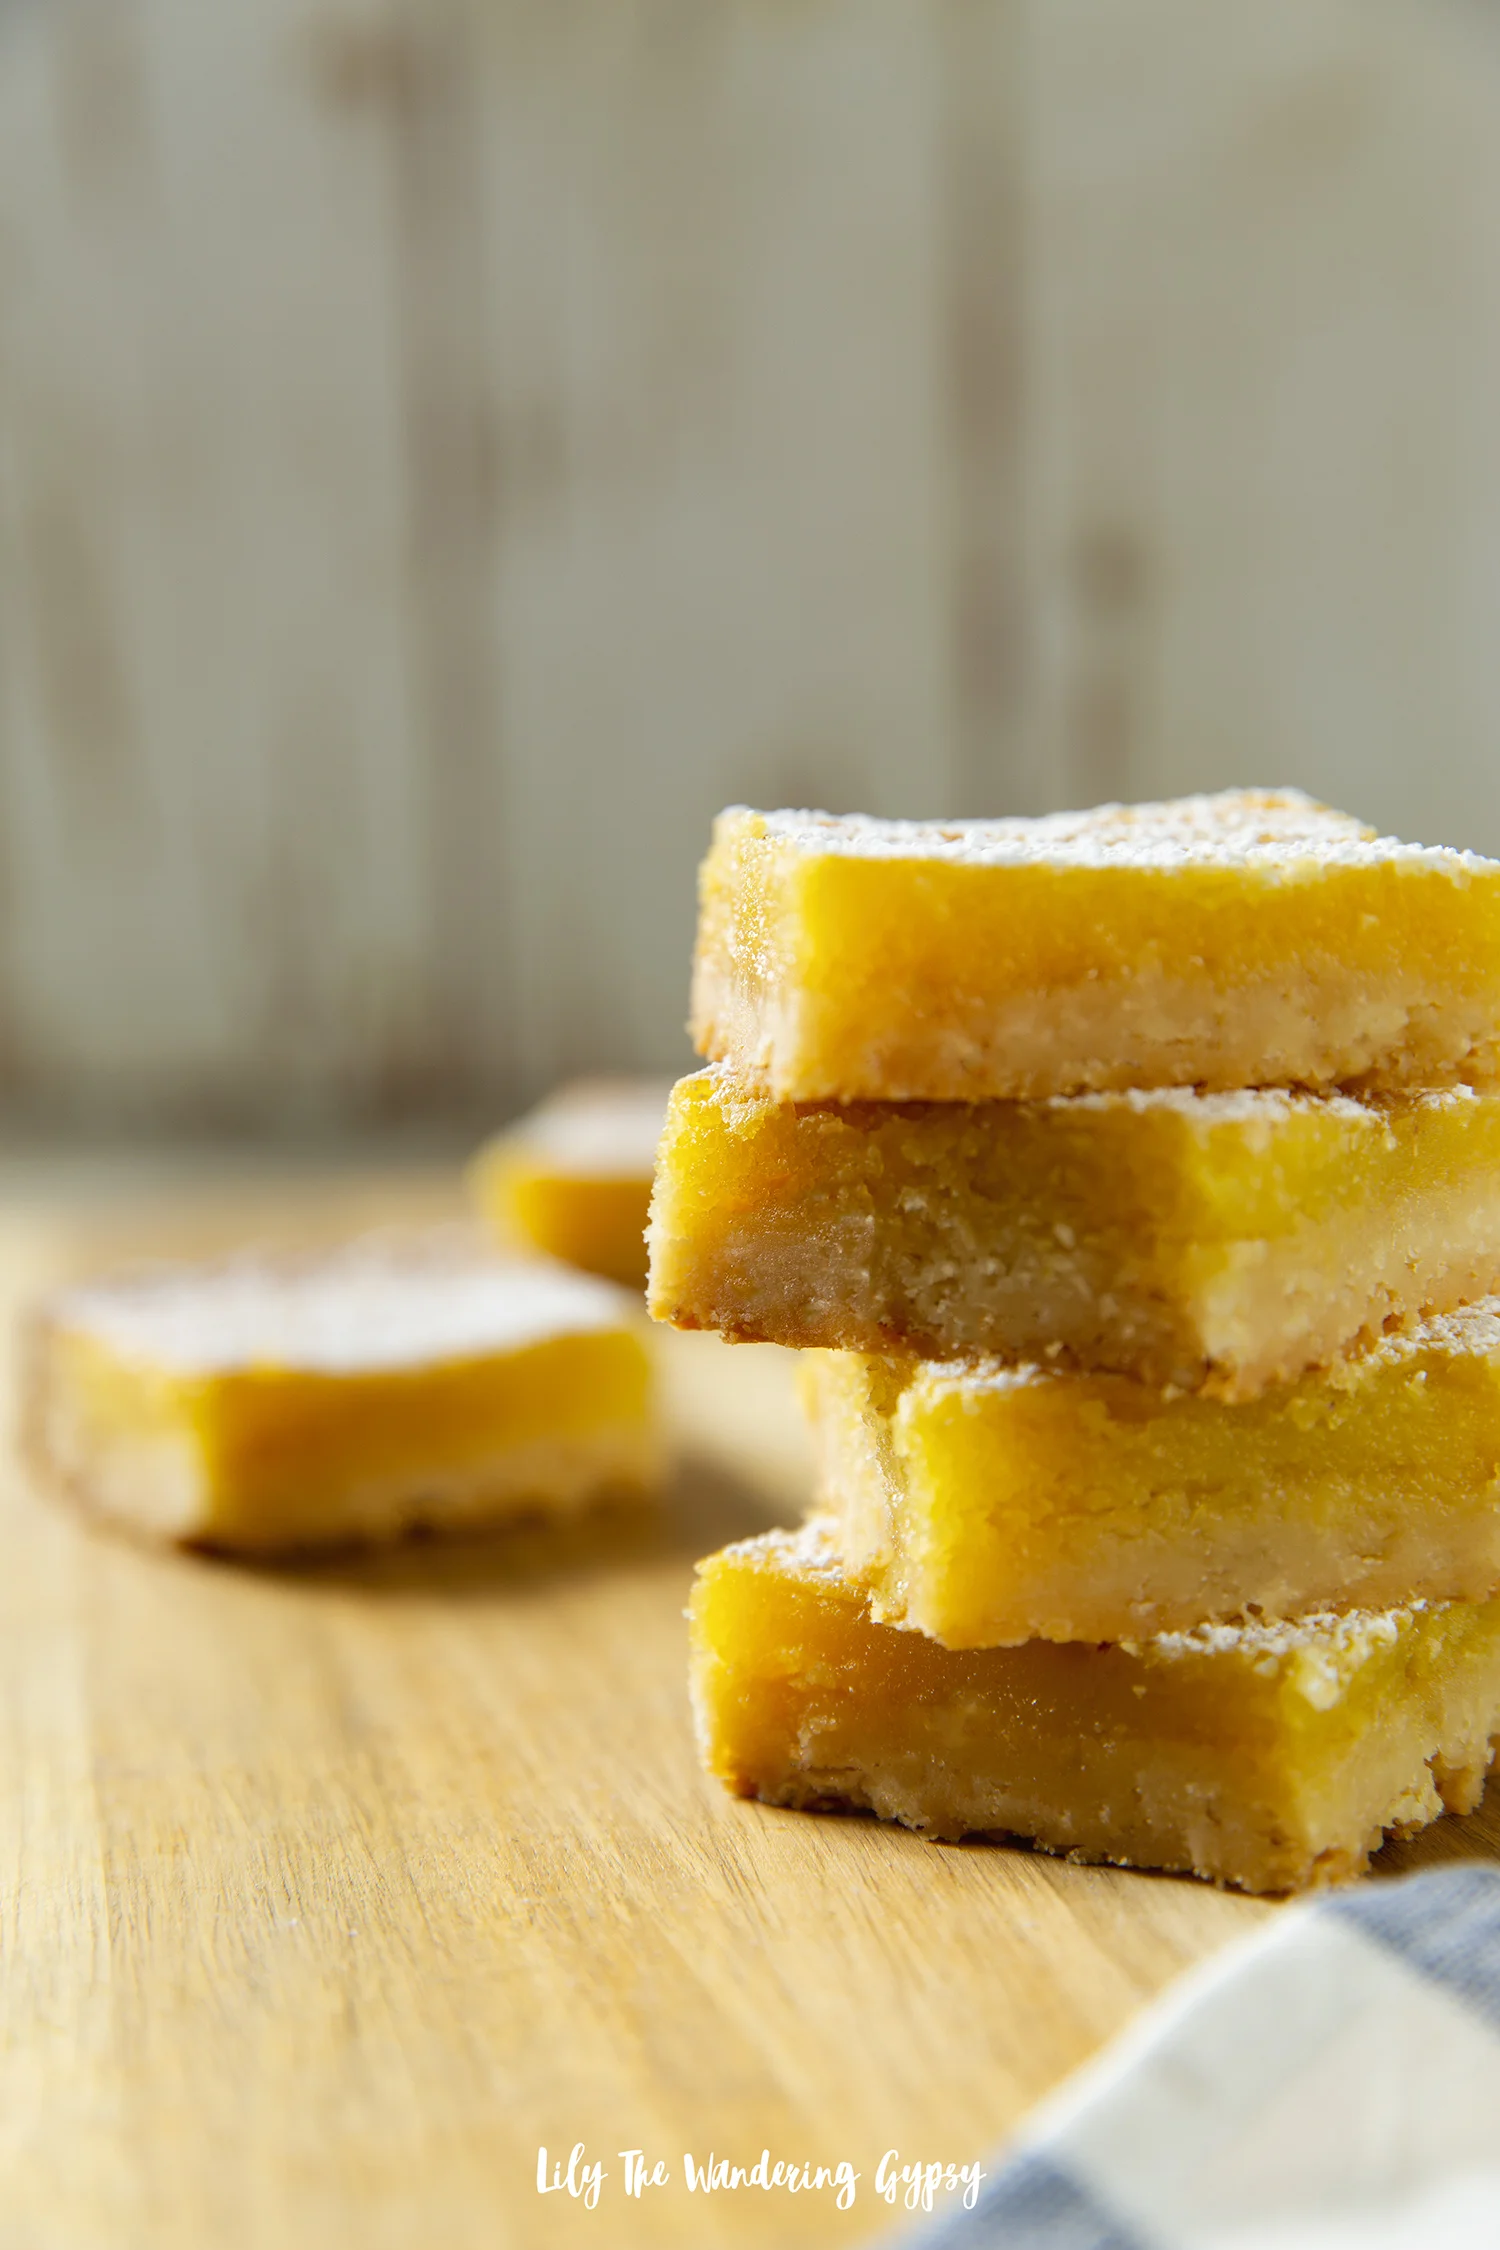
Lemon Bar Recipe (With Shortbread Crust)

Hello! Thanks for stopping by to check out my latest recipe. I love lemon bars, and feel like they’re always WAY overpriced at bakeries, and sometimes aren’t tart enough (sometimes they’re way too sweet).

Also, this recipe actually came from a moment where I was baking cutout sugar cookies, but they wound up spreading too much to use. After one sheet pan full of super conjoined cookies, but still a delicious taste, I decided that perhaps, I could use the cookie dough for a crust of sorts. Well, I found a delicious lemon filling to accompany this delicious sugar cookie crust, and WOW, these were amazing!

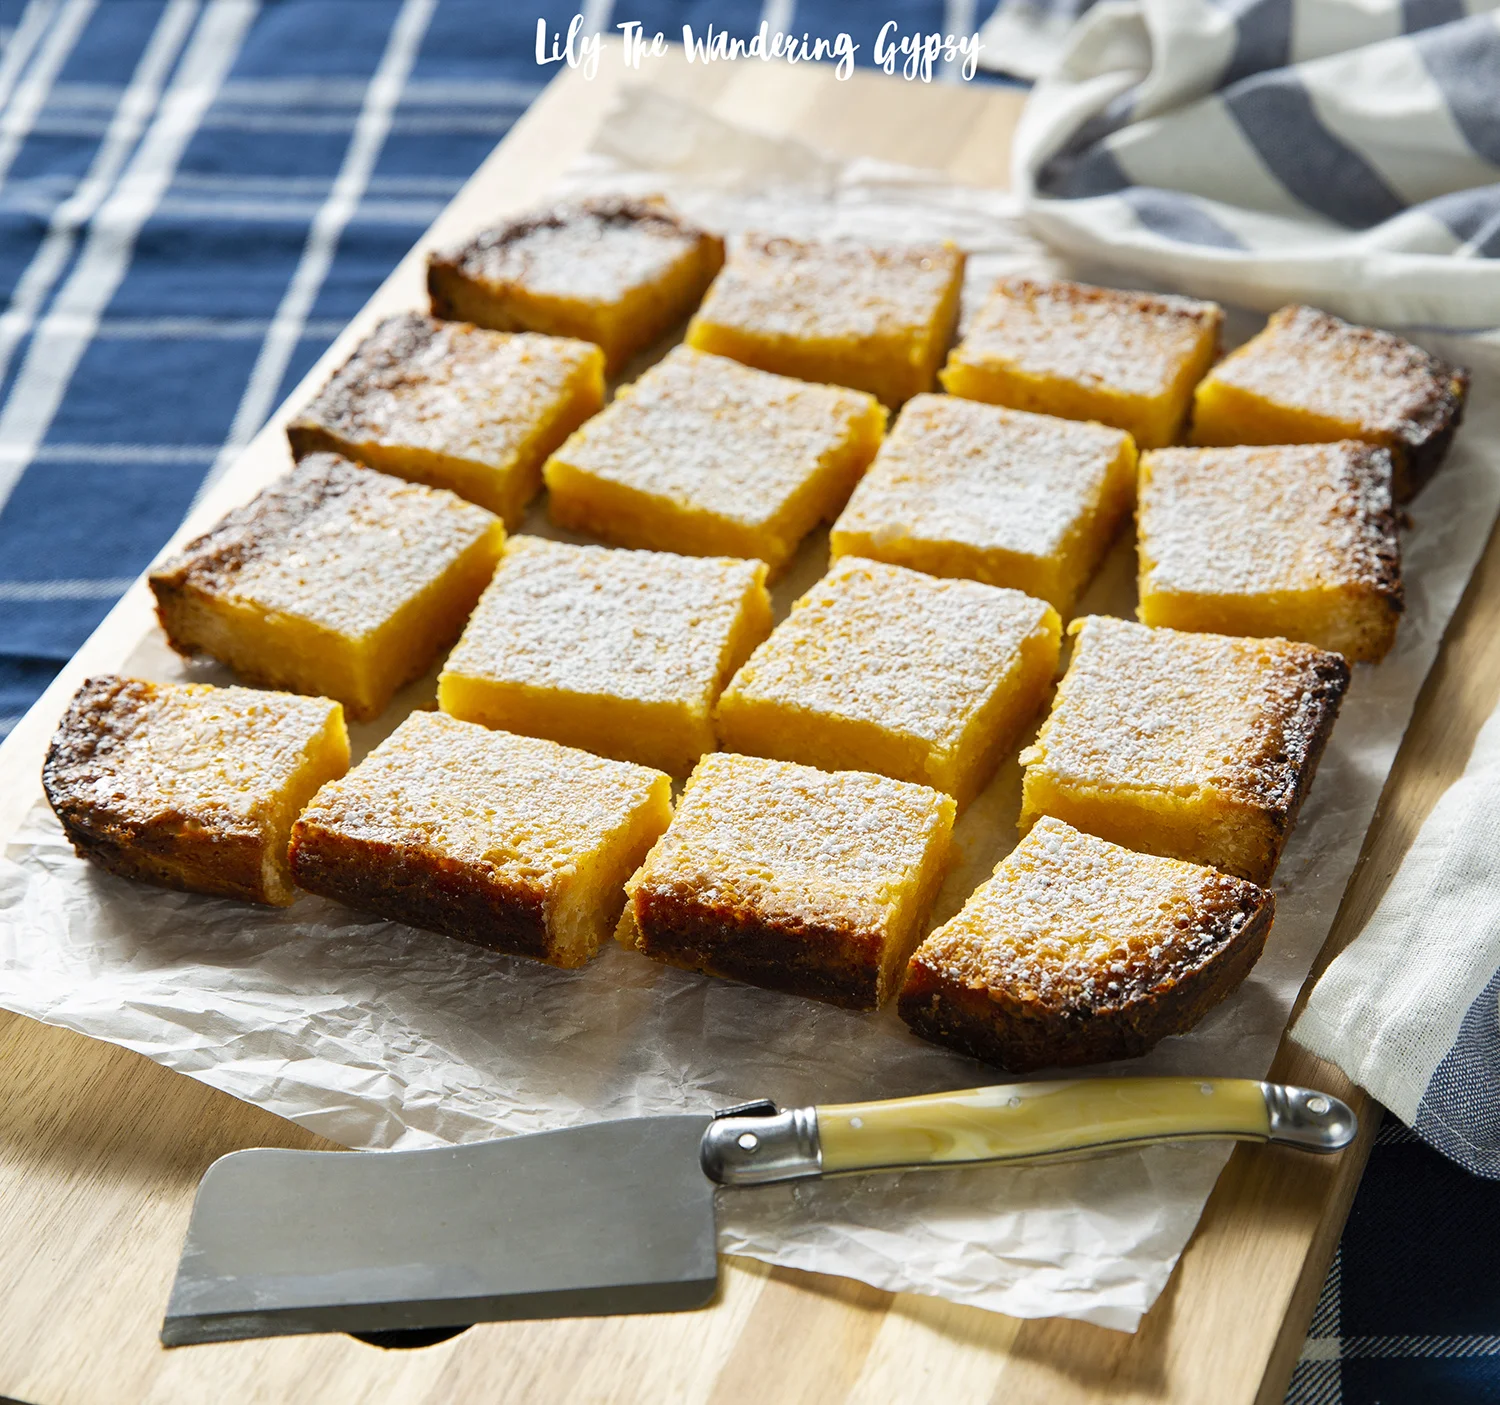
I even cut them up into small 2” squares and they were a HIT! So fun to keep a little container of these in the fridge for a homemade treat or for an awesome gift, too. Hope you enjoy!

Crust Ingredients (Originally found here)

1 1/2 cups butter salted, softened

1 cup powdered sugar

3 tbsp lemon juice freshly squeezed

1 tbsp lemon zest

3 cups all-purpose flour


Filling Ingredients:

1.5 C. sugar

1/4 C. flour

4 eggs

2 lemons, juiced (feel free to use limes)

Parchment paper

Flour for dusting pan


Instructions:

  1. Preheat oven to 325 F degrees (feel free to bake at 350 if your oven doesn’t run super hot). Prepare 8x8” or 9x9” baking dish with non stick spray. Prepare baking pan by spraying non-stick spray, adding a strip of parchment paper that will help you remove the bars from the pan. Then, feel free to add more non stick spray to the paper, then a light dusting of flour.

  2. Add the butter to the bowl of your mixer and blend until smooth on medium speed. Add the powdered sugar, lemon juice and lemon zest to the mixer bowl and continue mixing on low until fully incorporated. Scrape down the sides of the bowl. Add the flour and mix until well blended. Feel free to gather dough into a ball or round shape to discourage air bubbles while baking.

  3. Press dough into baking pan and smooth out to remove any air bubbles.

  4. Bake crust for 12-15, just until crust is slightly done towards the center.

5. Remove crust from oven, let cool for 5-10 minutes, then pour lemon filing over crust, evening out with a large spoon or spatula. Bake 18-20 minutes longer, until edges begin to get brown. Feel free to cover with foil for last 5-10 minutes of baking time.

6. Let cool completely, then use the overhanging parchment paper to carefully remove the entire baked bar and place it onto a cutting board.

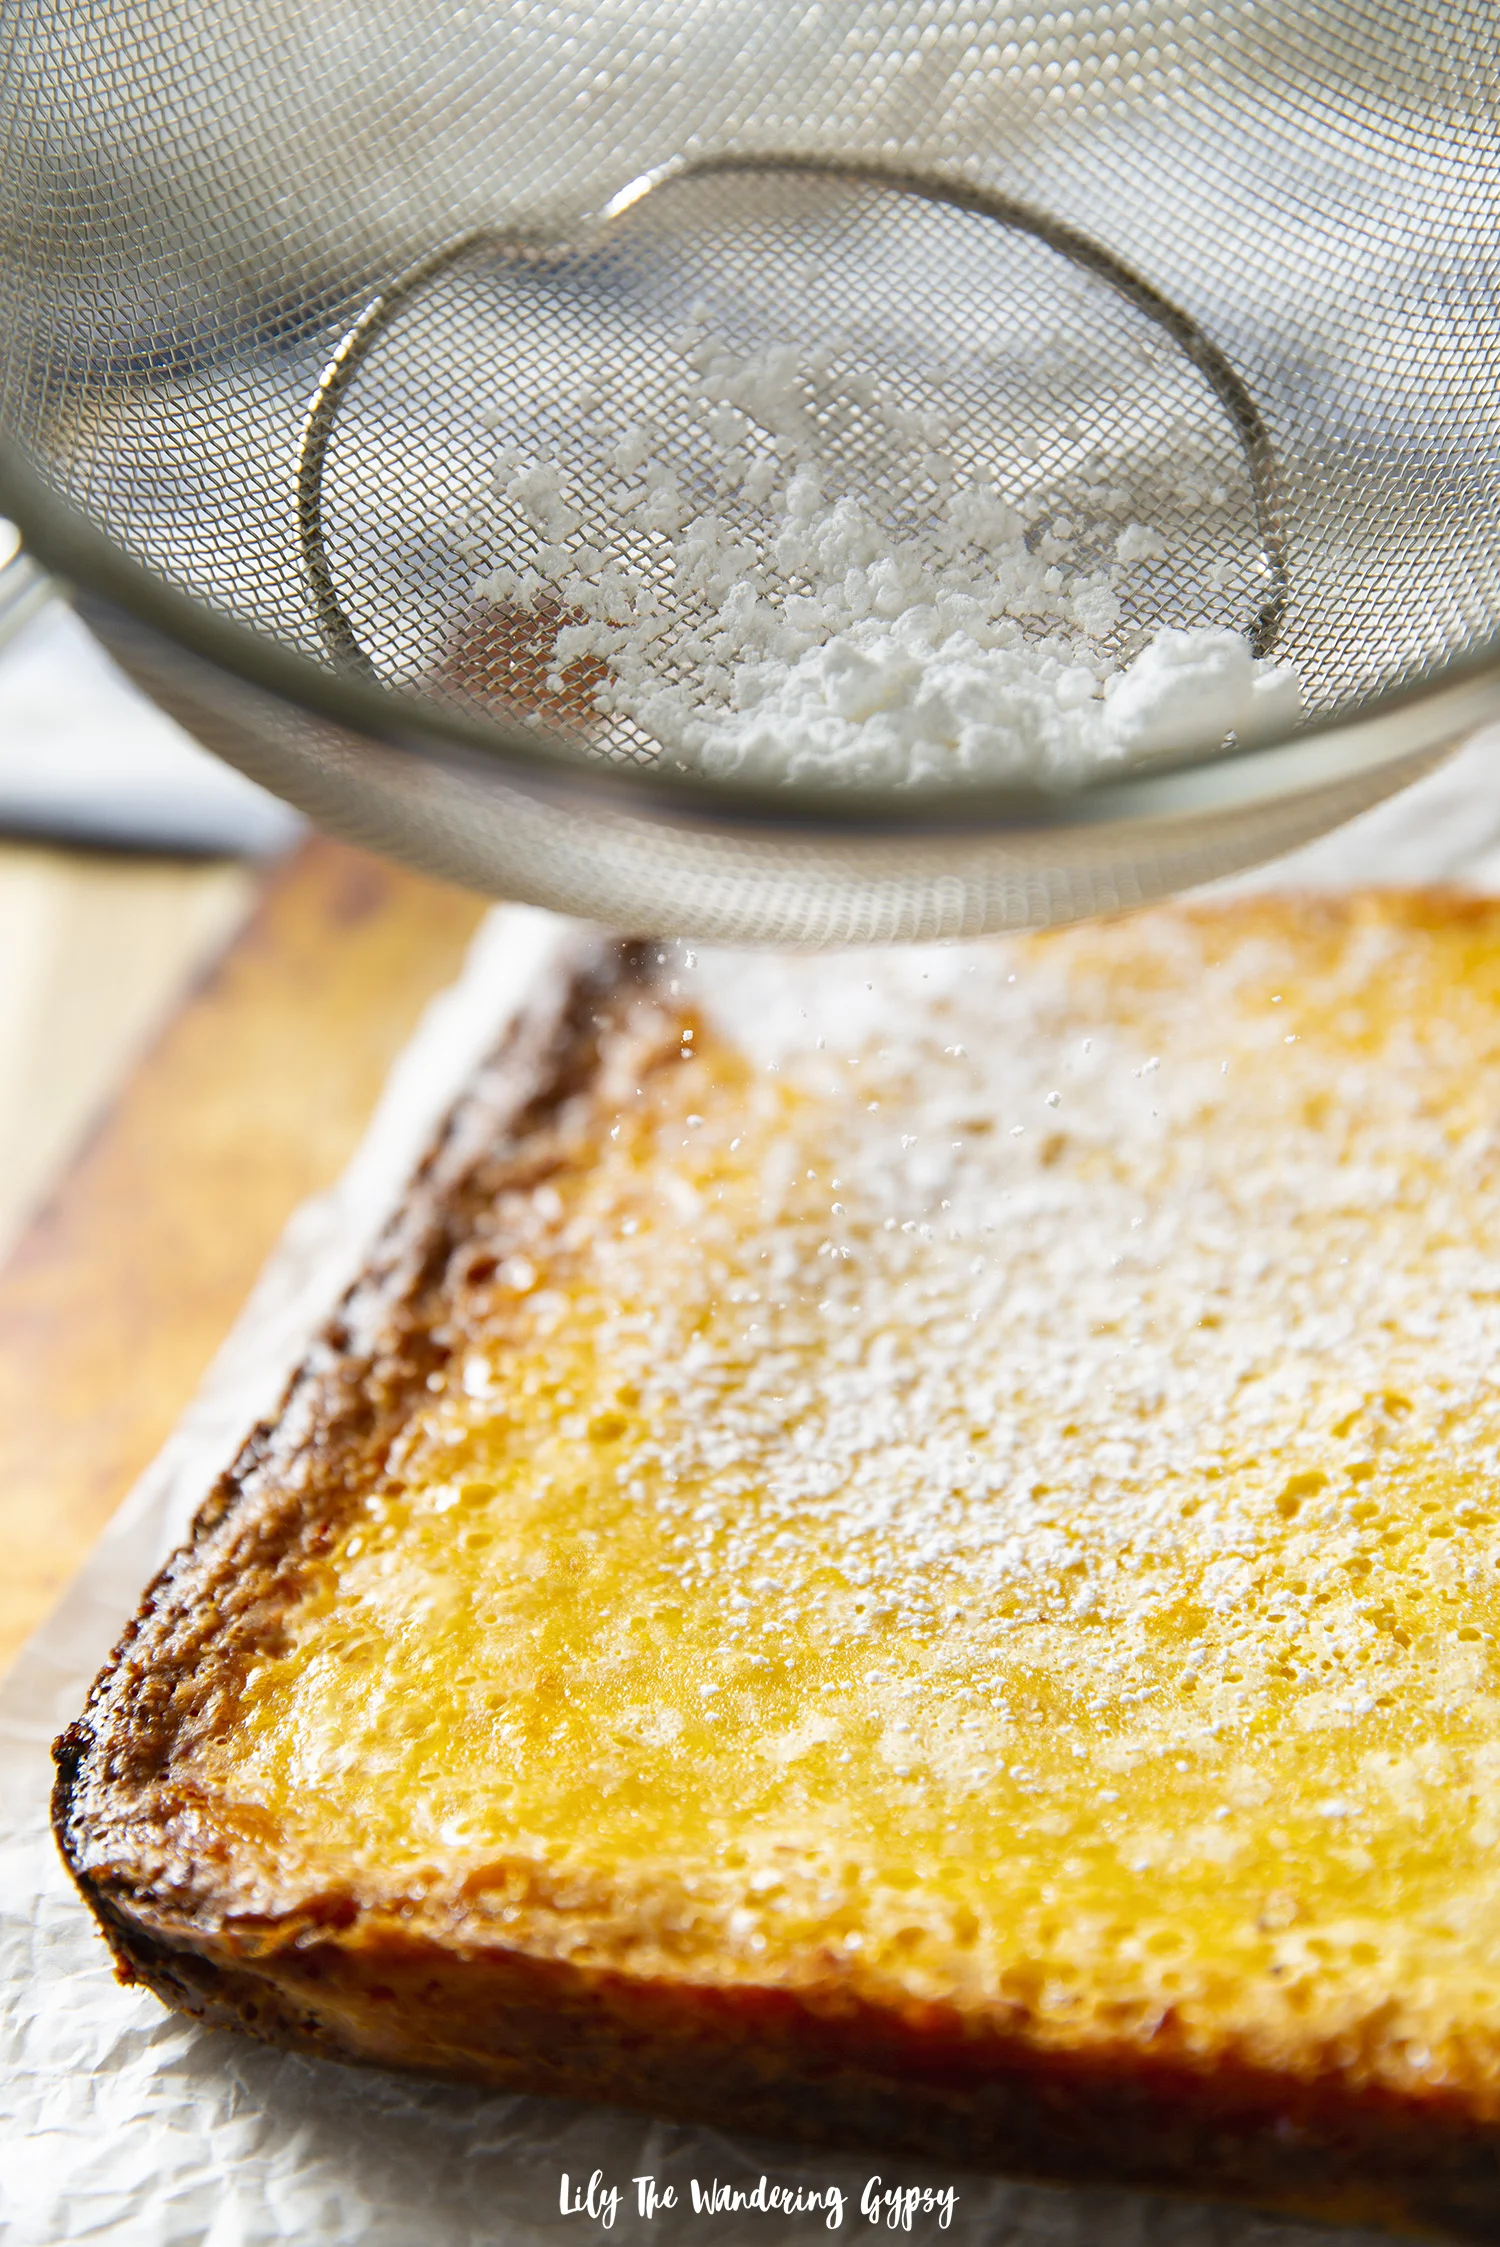
7. Use a knife with a sharp, straight edge to cut the bars in half each way, then two more times on each side (3 cuts per side, 6 cuts total). Feel free to add sifted powdered sugar over the top as well, before cutting.

8. Serve and enjoy!

Easy and Delicious Organic Acapulco Burgers Recipe

This post has been sponsored by Cans Get You Cooking. All thoughts and opinions are my own. #CansGetYouCooking

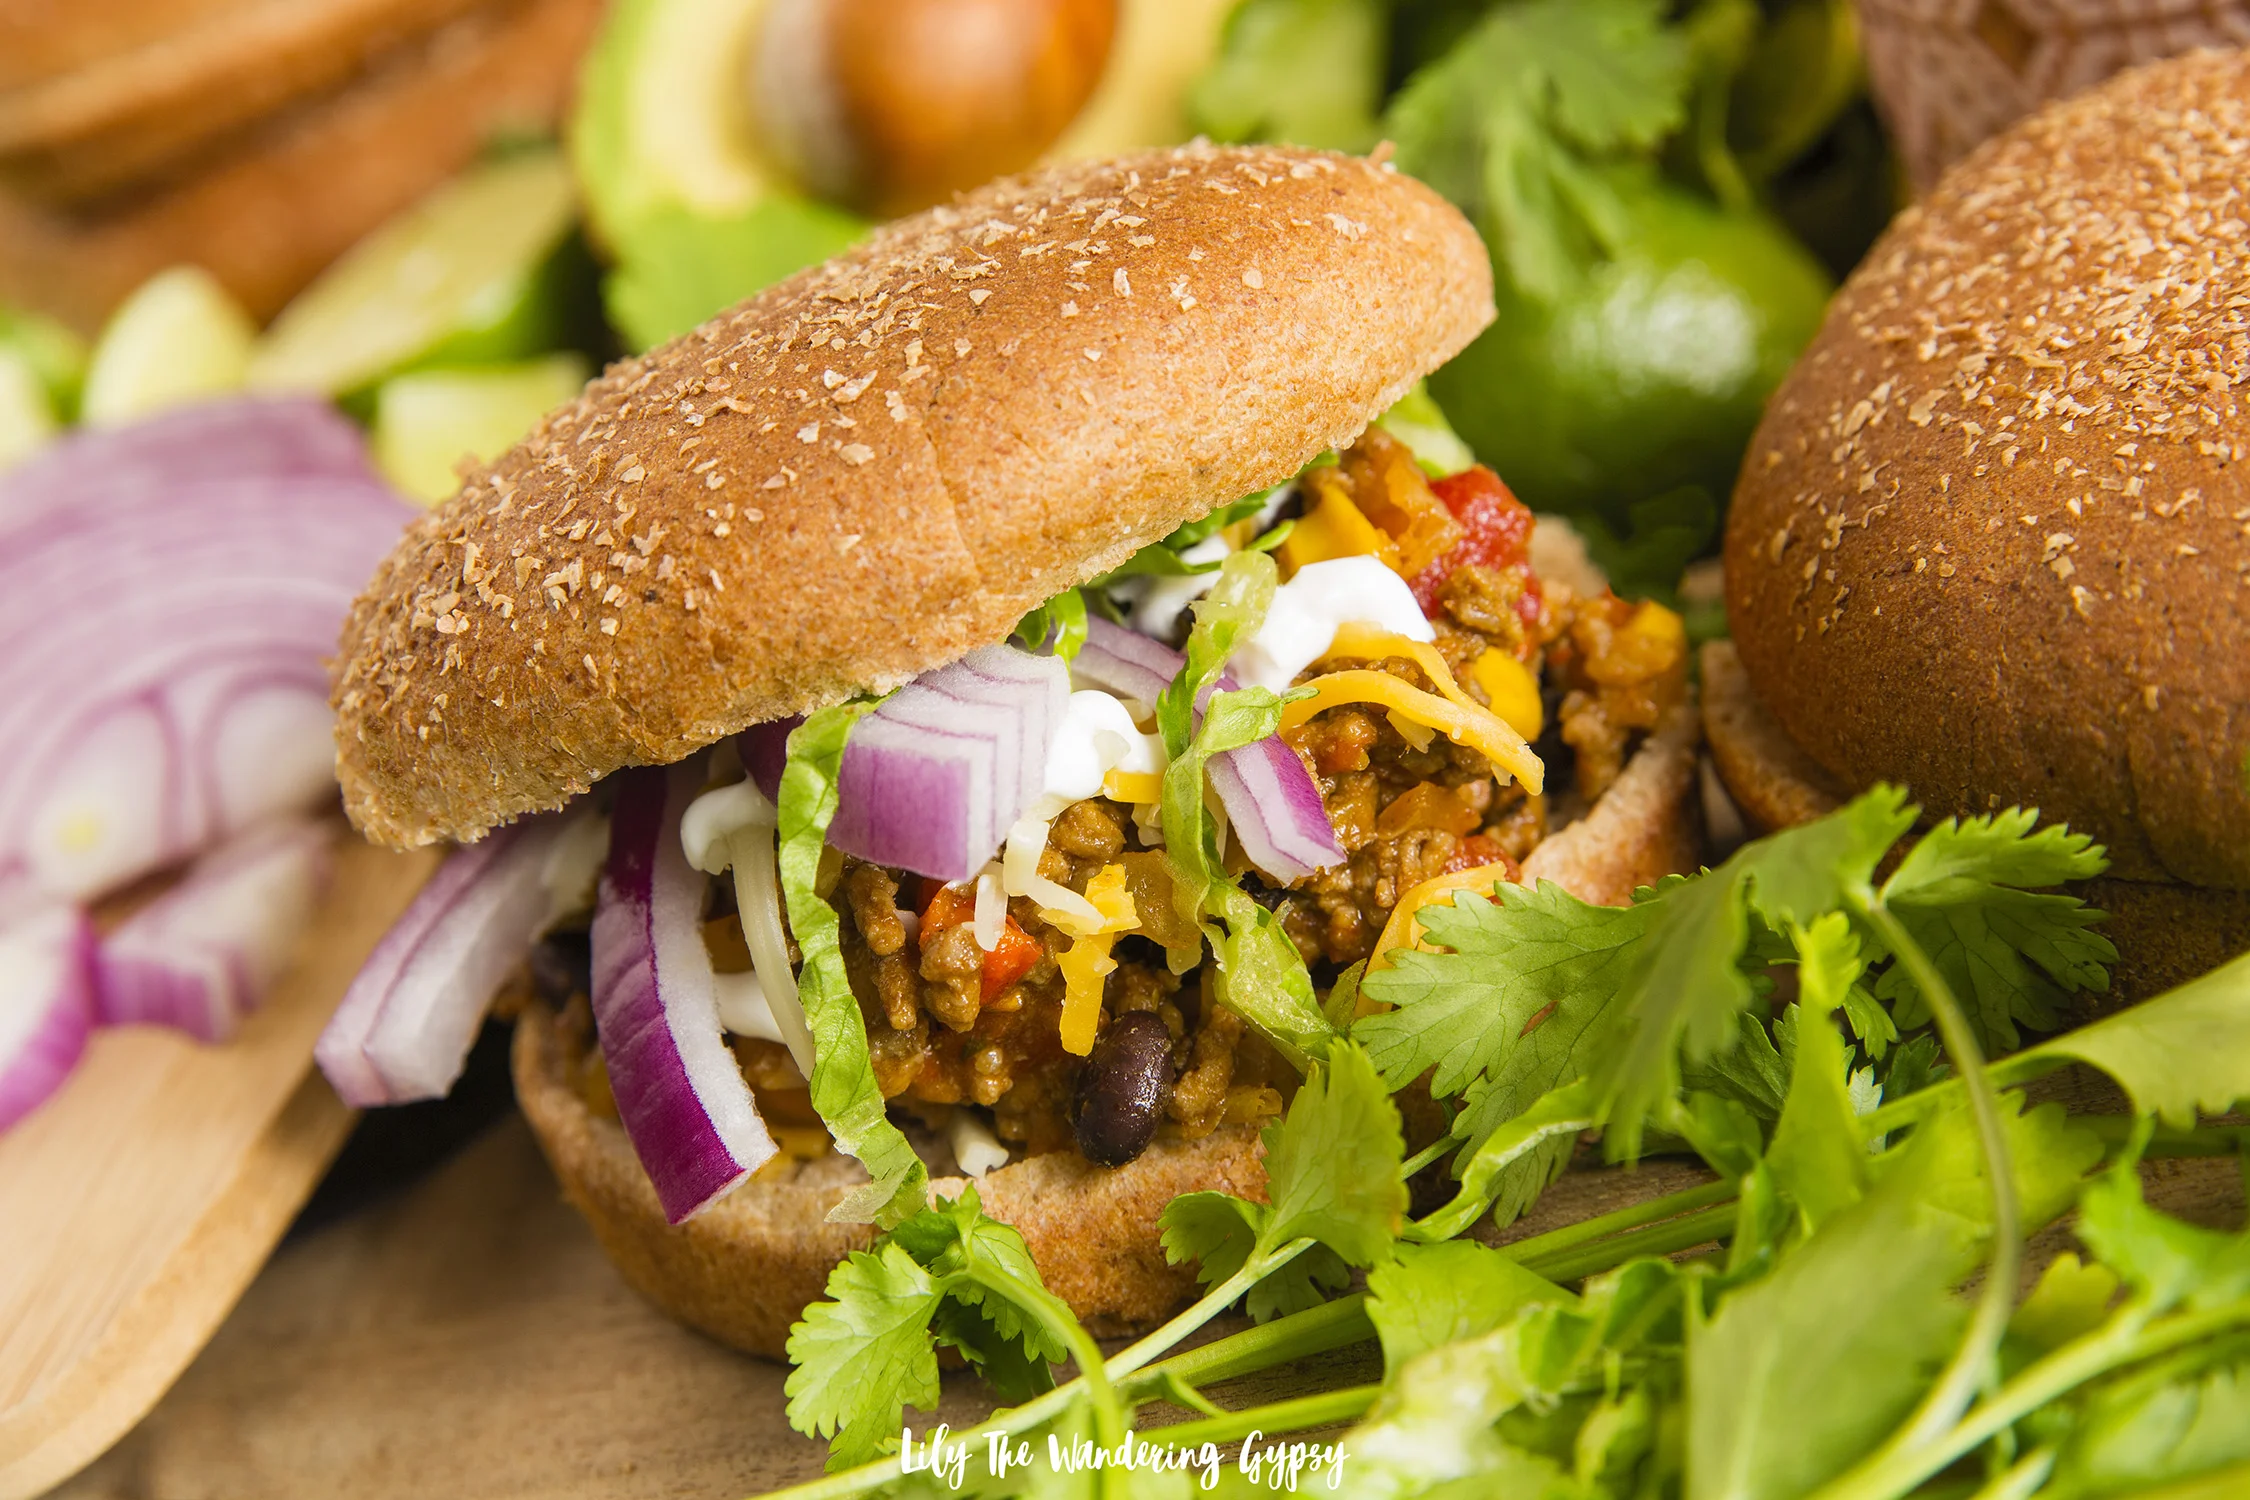
February is National Canned Food Month, and I am so excited to share unique and simple ways to incorporate canned vegetables into a delicious homemade meal that most everyone will love—even picky eaters! These Acapulco Burgers are similar to a Sloppy Joe Sandwich but with a Latin twist! Filled with seasoned ground beef, canned green chilis, canned black beans, and more, they are then topped with traditional toppings you will love. The flavor combination is out of this world!

From appetizers to sides, main dishes, and even meal prep, canned foods are an essential part of my weekly menu routine. I am so excited to share a very simple, yet fulfilling and delicious recipe that can be prepped ahead of time or made in less than an hour.

If you are looking to make this recipe fully vegetarian, I have tips and suggestions for that below as well. Hope you enjoy!

I used as many organic ingredients as I could; AND many of my favorite vegetables are now widely available canned, in an organic version! Below, you can check out the cans I used in this recipe. 

The Old El Paso Chopped Green Chilis are definitely a pantry or “Cantry” staple! I use them when I am cooking ground beef and chicken or when I am eating all vegetarian! If you’re looking for more recipes using canned goods creatively, you should definitely check out CansGetYouCooking.com and be sure to use hashtag #CansGetYouCooking in any food photos you share

Green Valley Organic Canned Corn is one of my all-time favorite canned corns, available at my local grocery store. I love knowing that fresh fruits and vegetables are harvested at the peak of ripeness and canned within only four hours, sealing in their nutrition and flavor, you know? It's always sweet, fresh, crisp, and perfect for recipes or to enjoy by itself with a bit of melted butter on top, of course!

Next, I am loving Bush’s Beans NEW Organic Black Beans. They are DELICIOUS! I have tried at least 7 different types of black beans over the year, and these ones are my favorite! I simply strained the beans, then rinsed them off. I use canned black beans in 2-3 recipes per week because, to me, beans make a great base for any vegetarian meal. That's why I was so happy to find out how wonderful these were!

Lastly, the Muir Glen Organic Fire Roasted Diced Tomatoes really rounded out the flavor of this dish! I love using canned tomatoes in everything from burrito or taco filling to Italian dishes and soups. I often make sure to have 2-3 cans of tomatoes in my pantry at all times as well.

 Keeping my "Cantry" stocked really helps cut down on time in the kitchen—allowing more time with friends and family! Not to mention, a well-stocked pantry full of fruits and vegetables can help you serve up the recommended 42 cups of fruit and 53 cups of vegetables a family of four needs every week, providing a diet higher in 17 essential nutrients including potassium, calcium, and fiber.

Now that I have explained a bit more about the benefits of these canned goods, feel free to watch this video for full instructions. Grab the recipe and instructions below.

ACAPULCO BURGERS INGREDIENTS:

½ - 1 pound of ground beef

½ cup chopped white onion

1-2 cloves of garlic, minced

1-2 Tbsp olive oil

¼ Cup Mexican seasoning (or more if you desire)

1 can – 4.5 oz. Old El Paso Chopped Green Chilis

1 can – 14.5 oz Green Valley Organic Corn - strained

1 can – 15 oz Muir Glen Organic Diced Fire Roasted Tomatoes

1 can – 14.5 oz Bush’s Best Organic Black Beans - strained and rinsed

4-6 burger buns

TOPPINGS:

Red onions

Cilantro

Sour Cream

Shredded Cheddar Cheese

Shredded lettuce

INSTRUCTIONS:

1.) In a skillet over medium heat, add olive oil, onions, and garlic. Sauté for several minutes until softened. Next, add ground beef and cook until brown. Add Mexican seasoning. Strain and return to skillet. You can see a photo of the ground beef I made, below.

2.) Add canned chilis, corn, tomatoes, and black beans, and stir again until incorporated. Sauté for another 5-7 minutes, until filling has all become completely warm and is to your desired temperature. Turn off heat.

3.) Time to make your Acapulco Burgers! Scoop about 1/3-1/2 cup of filling onto each burger bun, then top with shredded cheese, sour cream, red onions, lettuce, and anything else your heart desires! Enjoy!!

PIN IT FOR LATER…

For a little more fun, watch the video, below!

Florida Keys So Far

We arrived in Florida on Sunday, and we are super excited to explore all of the gorgeous and interesting places here in the Florida Keys!  We visited the Keys two years ago for all of January and February, and since then, Irma effected most of the surrounding areas in different intensities. It’s interesting to see what is exactly the same and what looks different. It seems like most people have picked up the pieces and are living happily, but a few of our favorite places are no longer in business. On the bright side, we are so happy to be among the palm trees and stunning part of southern Florida and could not be more excited about these next two weeks! Here are a few of the photos I’ve shot so far, and will share more as soon as possible! 


Kiki’s Bar and Grill has amazing views! Below, their smoked pork tacos and hand cut chips with ranch, bacon, and goat cheese (although I did have to ask for my goat cheese after the chips arrived). No worries though :)  

Above, we stopped at Civil Society Brewing in Jupiter, FL! It was so great :) 

Speaking of Florida beers, as you may know I love craft beer, so the beer below, Dunkin’ Coffee Porter from Harpoon Brewing was delicious, especially when enjoyed at sunset.

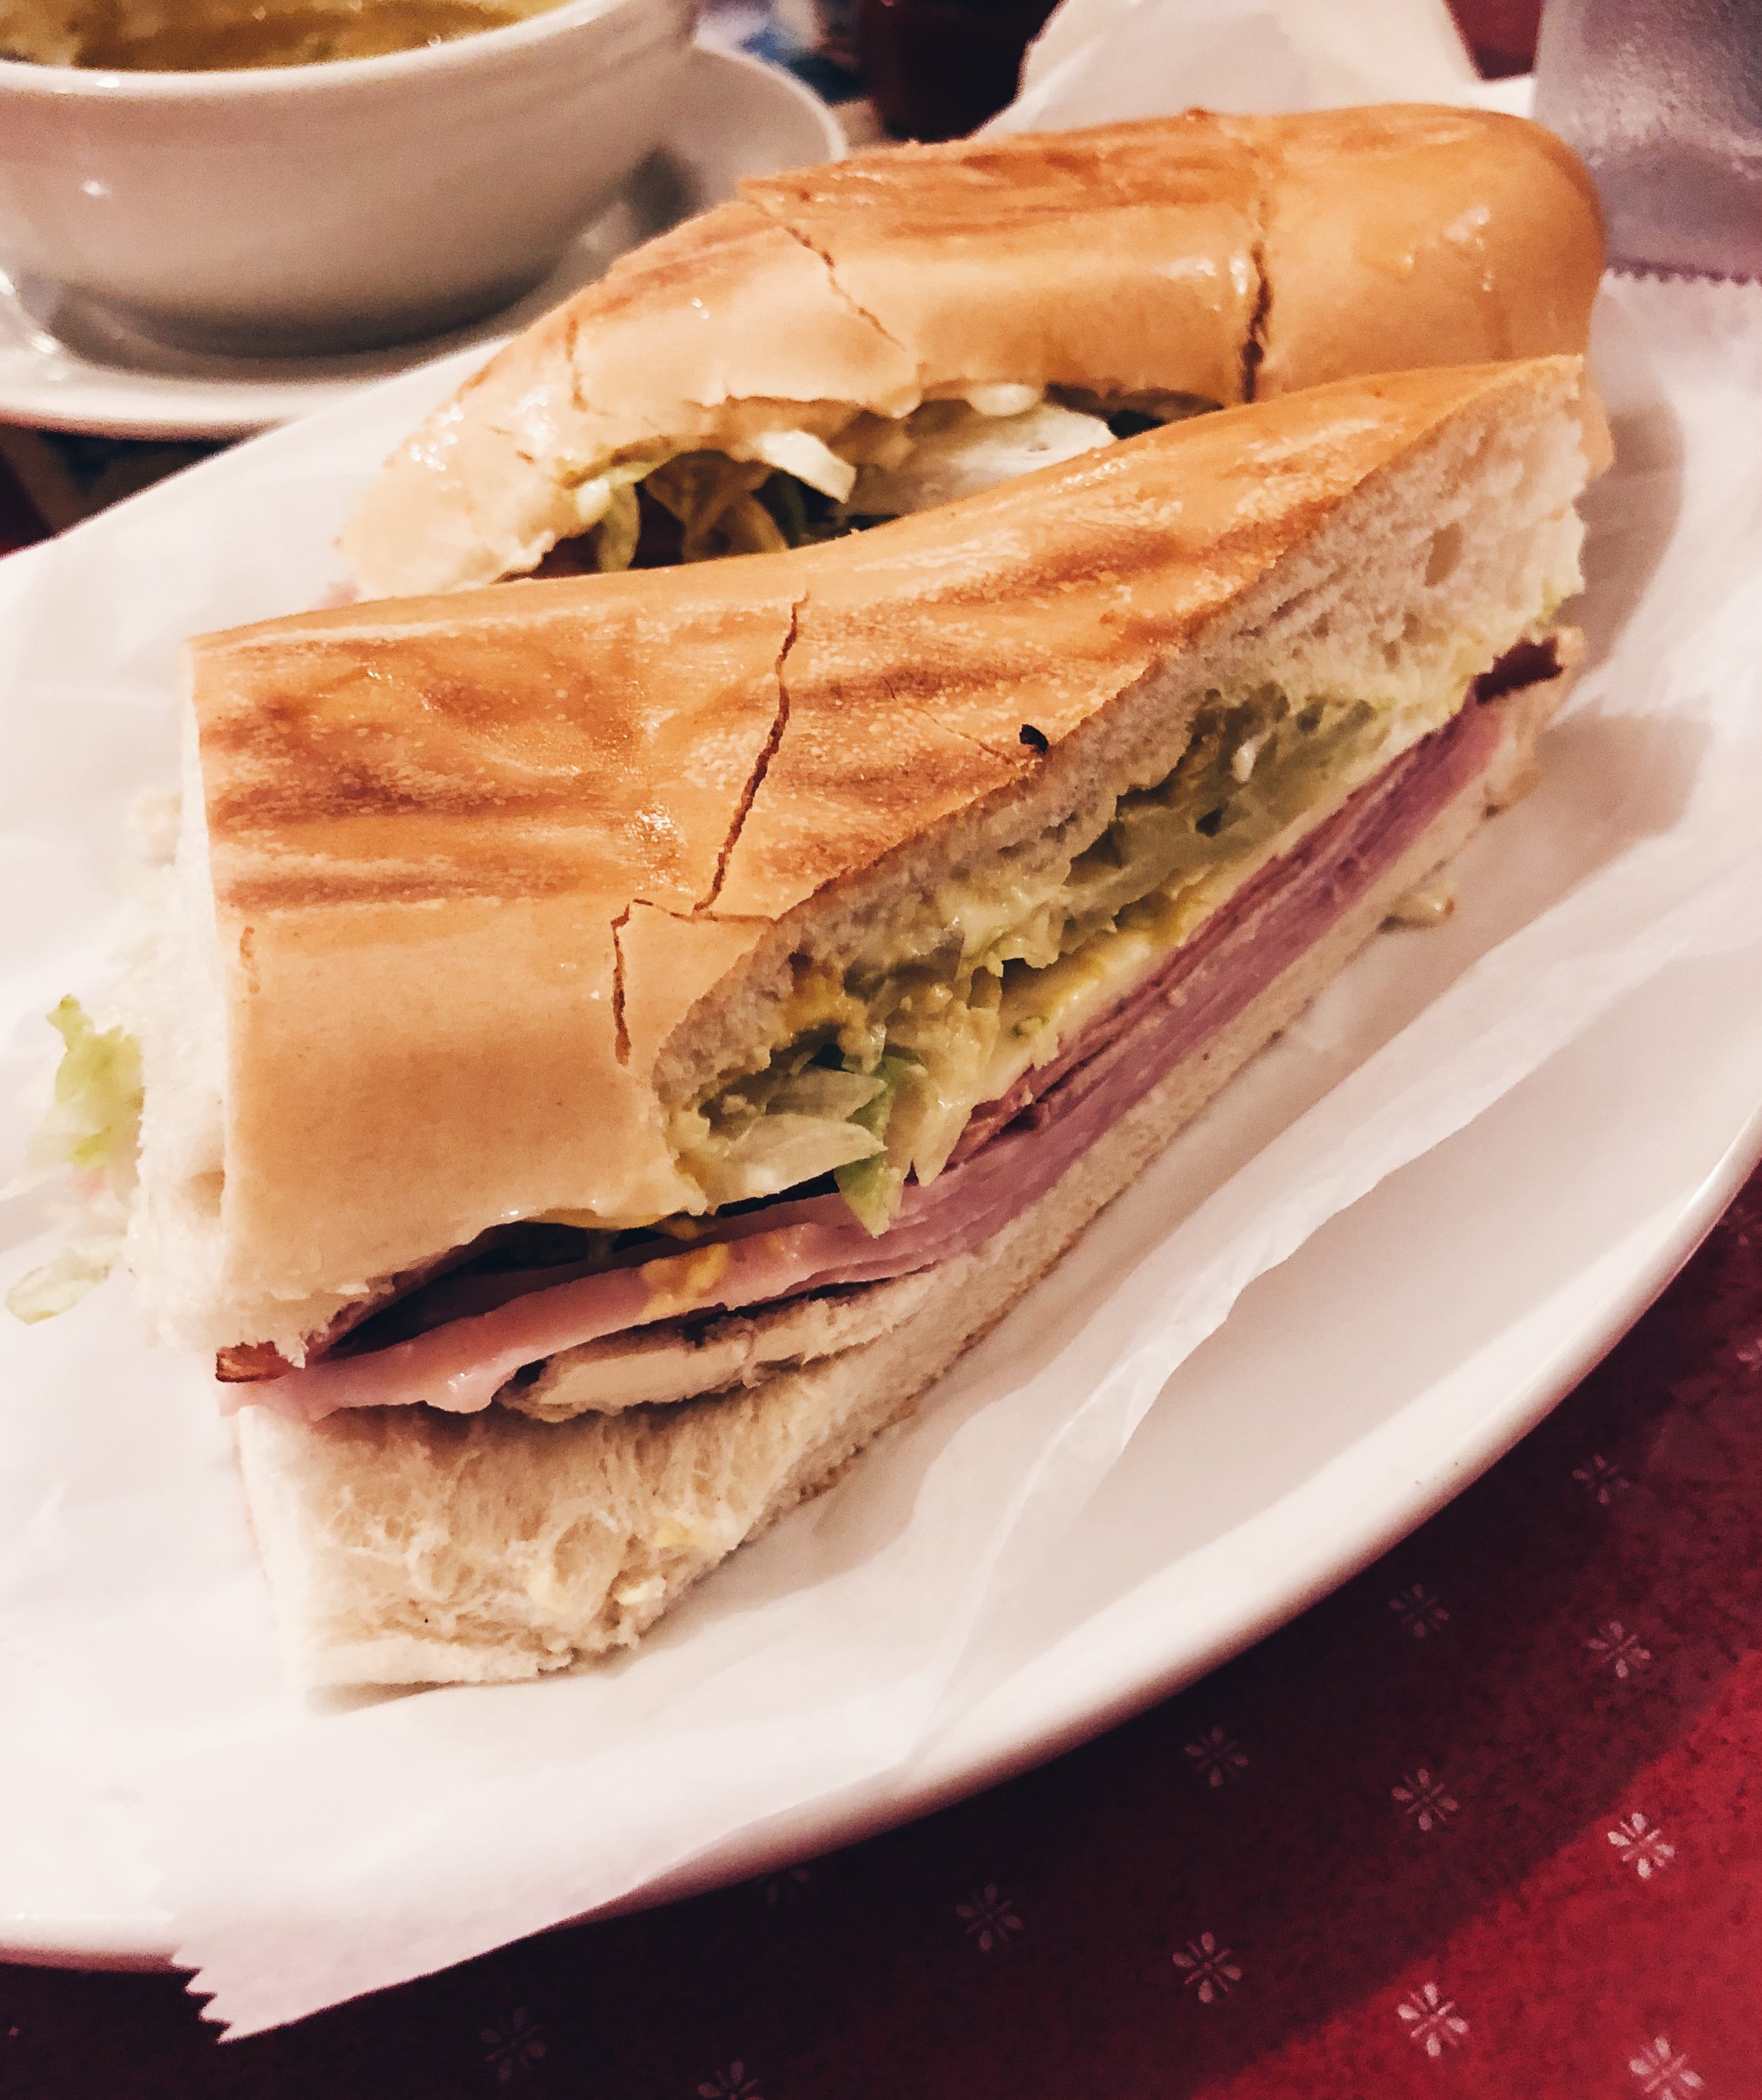
Below, the first place we ate was El Siboney in Key West! Food is delicious and the prices are not bad at all. Yummmmm... 

 ...going where the climate suits my clothes...

Easy Recipes for Big Game Day Snacking with popchips

This post is sponsored by BabbleBoxx.com on behalf of popchips.

The Big Game is all about what food you put on the party spread so I have teamed up with popchips to share some cute and easy decor ideas, as well as hassle free food ideas for homegating and viewing parties THIS SUNDAY!!! Who are YOU rooting for?

Try all three flavors of the popchips ridges BOLD & CRUNCHY - buffalo ranch, tangy bbq (my fave), and also cheddar and sour cream. I thought it would be amazing to offer guests three different dips to try with their popchips PLUS a fun dessert treat that only took three ingredients. Keep reading to get all of the details!

The best part about all of the treats and snacks I featured in this post, is that all of it was super fun and easy to create myself, with minimal ingredients, and none of this had to be baked! I was even able to make the three dips ahead of time as well as the desserts. Get the recipes below!

GAME DAY DIP RECIPES

Buffalo Dip - 1 cup sour cream + 1/3 cup (or more) buffalo sauce

The Best Dill Dip Ever - 1 cup sour cream + 2 tsp salt + 2-3 Tbsp dried dill

Mediterranean Dip - 1 cup Greek yogurt + 2-3 tsp turmeric + 1 tsp salt + 2-3 tsp Greek seasoning mix

CUTE + EASY FOOTBALL DESSERT IDEA:

Ingredients:

1 squeeze tube of green frosting (pre-made or homemade)

football decorations - I found these at a party store in the baking section

peanut butter cups - I unwrapped these ones myself!

Set out an assortment of popchips ridges chips, all three dips, carrots, celery, mini tomatoes, and any of your other favorite foods. Enjoy your game day celebration!!!

Why You Should Be Using Bioré Witch Hazel Products

This post is sponsored by Bioré, but the content and opinions expressed here are my own. #BioreWitchHazel #BioreAmbassador #BioreBabe

Have you ever been curious about adding Witch Hazel into your skincare routine? Witch Hazel reduces redness and inflammation on your facial skin and boasts other amazing results too.
Get amazing skincare results with Bioré Witch Hazel products from Walmart (they always have the BEST prices!)

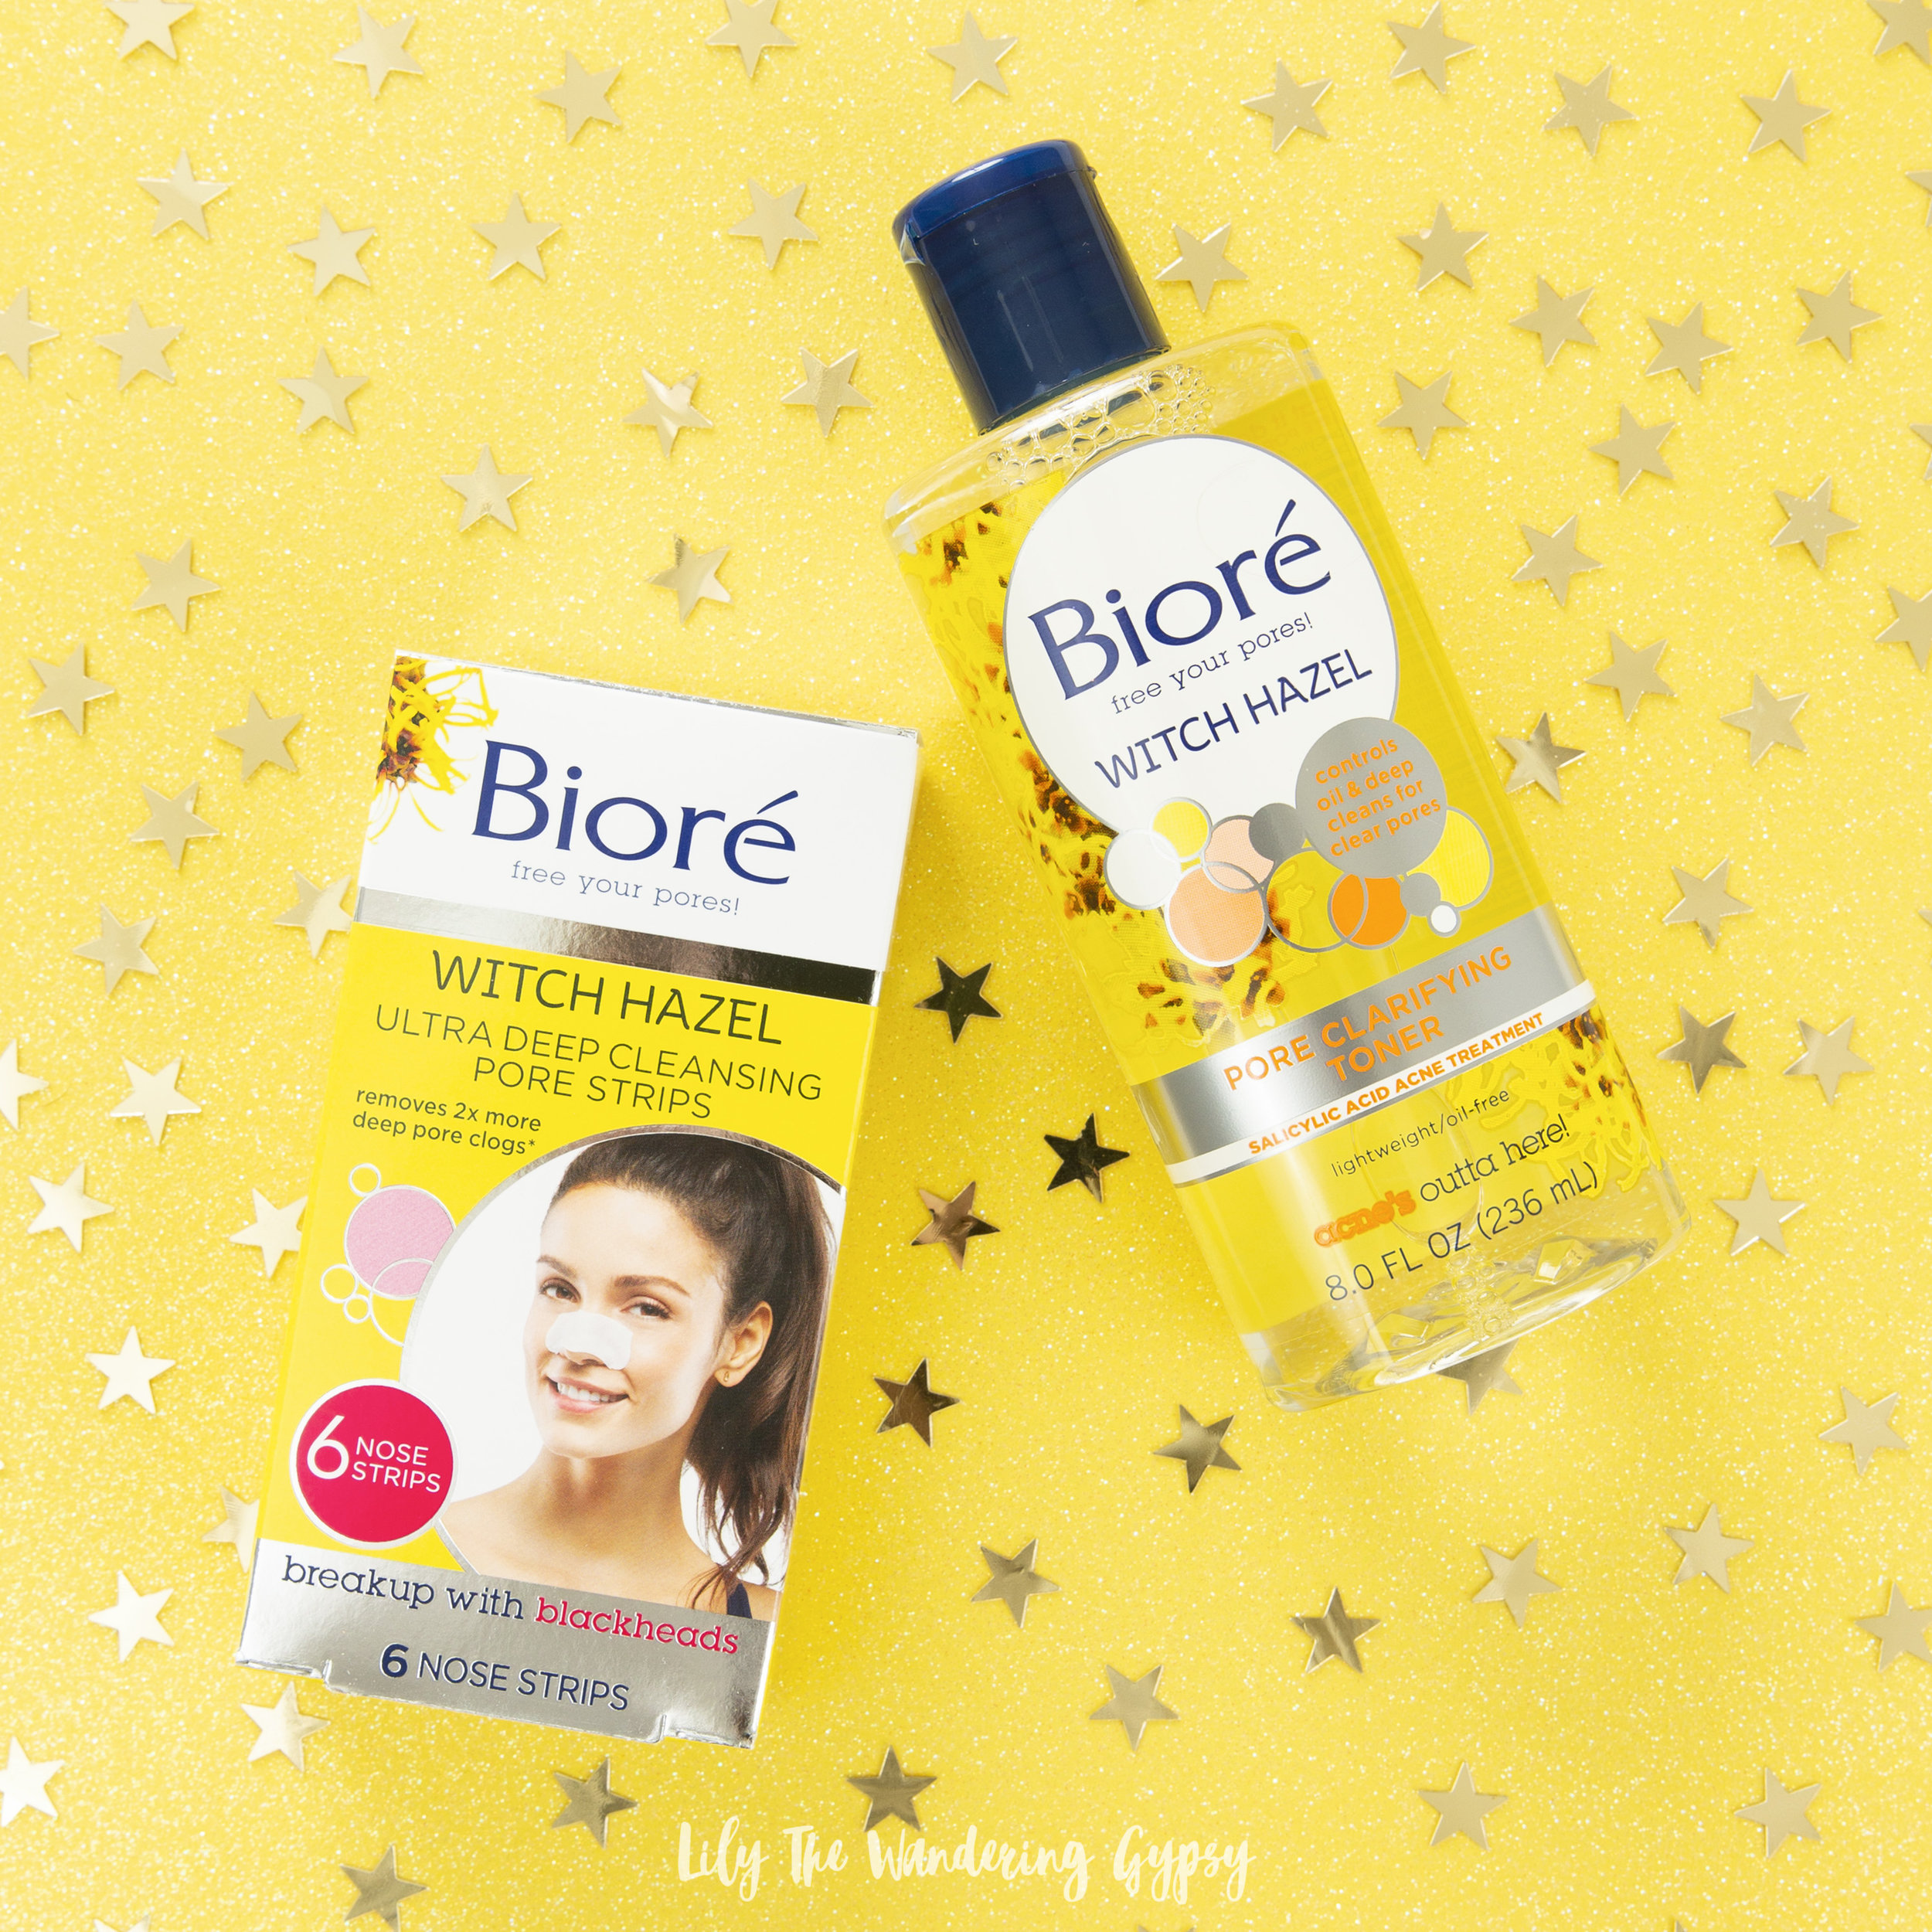
Wicked Pores? What is hiding in your pores can be downright scary and these extra-strength pore strips are no hocus pocus! Working like a super-magnet, they lift out even the most stubborn blackheads and deep down dirt & oil that can lead to complexion problems. YIKES! Formulated with Witch Hazel, known to tighten pores & for its astringent properties, these strips deep clean, remove blackheads, refine pores, and help prevent future breakouts.

Shop Bioré Witch Hazel Pore Strips Here.

Shop Bioré Witch Hazel Toner Here.

This product came into my life at a wonderful time! We are heading to the Florida Keys TOMORROW, and like most other vacations, I always try to get my skin looking great before heading anywhere that I’ll be in a suit, lol!

I have used the pore strips about four times in the last two weeks and WOW, my nose looks awesome! The pore strips have a witch hazel scent to them, which also acts as a bit of a way to open up the sinuses! While I have used other pore strips before (both the original ones and their Charcoal pore strips - you can read all about that in my post here)

HOW TO USE BIORE PORE STRIPS:

1.) Wash face and dry completely. Open pore strip and remove plastic backing. Wet the pore strip on the slick side, with a few drops of water and your finger tip.

2.) Stick pore strip onto nose, then smooth out onto nose with finger tips. Apply a bit of pressure so that the pore strip can really connect with your blackheads, and grab them!

3.) Wait about ten minutes, and once the pore strip has completely hardened, it’s time to remove it. I always recommend starting to remove the strip from one of the lower corners, but if there is anywhere it’s already starting to separate from your nose, begin there. Remove completely and use a bright light to check out all the blackheads you just removed!

4.) Make sure to then use a bit more water to remove any residue that the pore strip. That’s it!

WITCH HAZEL TONER:

This light-weight Toner with witch hazel helps restore skin’s balance as it deep cleans and removes residue a cleanser might have missed. Witch Hazel is known to tighten pores, while salicylic acid controls oil and treats blemishes. When Bioré® Pore Clarifying Toner is combined with this botanical astringent, wicked skin issues disappear faster than you can wave a wand.

BENEFITS OF WITCH HAZEL:

Long known for its astringent and pore cleansing properties, Witch Hazel is a multi-purpose remedy. The natural ingredient is known to tighten pores, purify, refresh and help heal skin. When Bioré® Pore Clarifying Toner is combined with this botanical astringent, wicked skin issues disappear.

Not all pore strips work like Bioré® Pore Strips! Unlike other pore strips, Bioré® Witch Hazel Ultra Deep Cleansing Pore Strips use a blend of C-bond technology to safely remove dirt, oil, and blackheads. These strips work like a super magnet, locking onto and lifting out deep-down dirt, oil, and EVEN blackheads from your most clogged pores. Bioré® Deep Cleansing Pore Strips are the trusted, dermatologist-tested way to purify pores. 

Long known for its astringent and pore cleansing properties, Witch Hazel is a multi-purpose remedy. This natural ingredient is known to tighten, purify and refresh your pores!

LEARN MORE ABOUT WITCH HAZEL

Here is an image of the Witch Hazel plant, found here on bhg.com. While there are at least four varieties of the plant, this one is called “Sandra” Witch Hazel.

Witch Hazel is a very pretty flowering shrub that has a pleasant scent and surprisingly loves cooler temperatures. It’s apparently relatively easy to grow in full sun, and blooms in late winter to early Spring.

Witch Hazel may traditionally bring to mind its use in skincare products, the plant itself is so bright and eye-catching.Witch Hazel has the benefits of making your garden look as beautiful as your skin will after incorporating this amazing product into your routine! With ribbon-like flowers and golden-yellow color, witch hazel releases a spicy scent when it blooms in the fall.

Go Organic This Super Bowl With Michelob ULTRA Pure Gold + A Cast Iron Skillet Nachos Recipe

This post is sponsored by Michelob ULTRA Pure Gold but the content and opinions expressed here are my own. Learn how to make this year’s Super Bowl LIII the most delicious one yet.

#LiveULTRA #PureGold #Organic #SuperBowl

Pair Michelob ULTRA Pure Gold Organic Light Lager with these exceptional Organic Vegetarian Skillet Nachos for a game day snack that will be a huge hit. Michelob ULTRA Pure Gold is made from organic grains inspired by nature and it’s free from artificial colors and flavors. When I learned Michelob ULTRA Pure Gold was not only organic and delicious, but also lower in carbs and calories than a glass of wine, I was sold! You can bet this Super Bowl I’m pairing my favorite organic recipes with Michelob ULTRA Pure Gold.

ORGANIC VEGETARIAN CAST IRON SKILLET NACHOS RECIPE (Serves 4)

I was inspired to create this recipe because of the organic ingredients in the beer, plus my love for always eating organic every chance possible. I always aim to use as many organic, vegetarian ingredients in my recipes! Thiese skillet nachos could be made vegan by simply excluding or subbing out the cheese and sour cream - everything else is vegan!

Some of Tastemade’s other organic recipes include these homemade Nachos, Buffalo Chicken Dip, and Chicken Wings.

Ingredients (Use organic when possible):

1 bag of blue corn tortilla chips or any chips you like

1 small can green chilis

1 cup diced, roasted sweet potatoes

1 cup finely chopped red and yellow peppers

thinly sliced jalapeños

2 cups shredded cheddar cheese

1/2 - 1 cup sour cream (transfer into plastic squeeze bottle for easy use and application)

1/2 - 1 cup lettuce (not shown)

1/2 cup black olives (not shown)

Cast Iron Skillet - at least 12” across

Instructions (See video below for more details):

1.) Spray skillet with non-stick spray. Place a layer of tortilla chips to cover the bottom of the skillet.

2.) Add your prepared toppings such as: diced chilis, shallots, onions, roasted sweet potato, seasonings, peppers, black beans and anything else that can be baked in the oven. Also, top with jalapeños and 1-2 cups of shredded cheddar cheese.

3.) Bake nachos at 400 degrees for 10-12 minutes, or until cheese has melted. ***BE CAREFUL when removing the cast iron skillet from the oven because the handle is deceptively BOILING HOT. Please always use an oven mitt when handling the nachos and the skillet.

4.) Top with sour cream, cilantro, tomatoes, and any other ingredients you like. Enjoy with Michelob ULTRA Pure Gold Organic Light Lager this Super Bowl.

These skillet nachos are also fun because they are more of an interactive dish, where people can mingle around the meal and grab small bites as they wish. Keep beer on ice or in the fridge for easy pairing!

About Michelob ULTRA Pure Gold Organic Light Lager:

BE SURE TO CHECK OUT THE MICHELOB ULTRA’S SUPER BOWL COMMERCIAL ON YOUTUBE ON 1/30!

With the USDA Organic certification on each and every package, that means they provide organic beer that proves quality, organic ingredients make for better taste. Let’s go organic this Super Bowl!

Michelob believe in thriving on a steady diet of friends, fitness, and occasionally laughing a little too hard. We believe you can work out and still go out, that you can stay fit and stay fun. We believe that getting more out of life requires putting more into life. 

Live Fit. Live Fun. Live ULTRA

Watch the Michelob ULTRA Super Bowl Commercial here, or watch below!

As one of the largest beer brands in the U.S, Michelob ULTRA represents not only a premium light and refreshing beer, but a brand that embodies wellness and active lifestyles. The brand is uniquely positioned at the intersection of health and happiness. We believe in a life of balance where you don’t have to sacrifice beer in order to maintain your active lifestyle.

Michelob ULTRA wants you to be proud of who you are, your hard work, and what makes you truly unique. We want to celebrate together and be a part of that journey with you – whether it is about living fit or living fun. Michelob ULTRA plays a part in living a full life. One that’s filled with friends, fitness and of course—fun. 

Michelob ULTRA’s new packaging is light and refreshing boasting the USDA Organic seal, just like the light, golden hue of the lager itself. With a light taste like that, it’s very easily drinking, and pairs well with food AND football!
Live life to its fullest with other foodie and football fans alike this Sunday, 2/3/2019!

WATCH THESE THREE VIDEOS FOR MORE RECIPE IDEAS!!!

The Best Meals Bring Us Together ~ Easy Party Recipes with Idahoan® Steakhouse® Soups

One of my favorite things about cooler weather is that it’s great excuse to get everyone together for a warm, potato soup! Gather your friends and family, and try new Idahoan® Steakhouse® Soups. They will warm you right up. This could also be an amazing Game Day party menu too! Find out how I made a low cost meal for a crowd, and learn a little bit about how Idahoan® soups and other great foods bring us all together!

Thank you Idahoan® Steakhouse® Soups for sponsoring this post. Enjoy the flavorful, slow-cooked taste of restaurant-quality soup at home, in minutes.

I have actually been a fan of the Idahoan® brand for over 15 years! I remember always having it in the cabinet at home, and once I began to make more meals for myself and for my friends around age 18, and as I moved out of my parents’ houses, and began doing grocery shopping of my own, I literally ALWAYS made sure to have several packets of the Idahoan® instant mashed potatoes. I still always have a packet or two on hand, and love always having something yummy pairing it with dinner, usually chicken breasts, green beans, and mashed potatoes. That sounds SO good right now!!

These packets of potatoes literally shaped the way I prepared meals from the very beginning. That’s why I was really honored to be able to create a meal for friends, inspired by Idahoan®, one of the very foods I used to feed some of my first groups of friends once I moved to my own place. To see how their foods are still bringing the most important people in my life together is really heart warming. Making meals for friends is always fun, and it’s a really great way to get people together when we are all so busy.

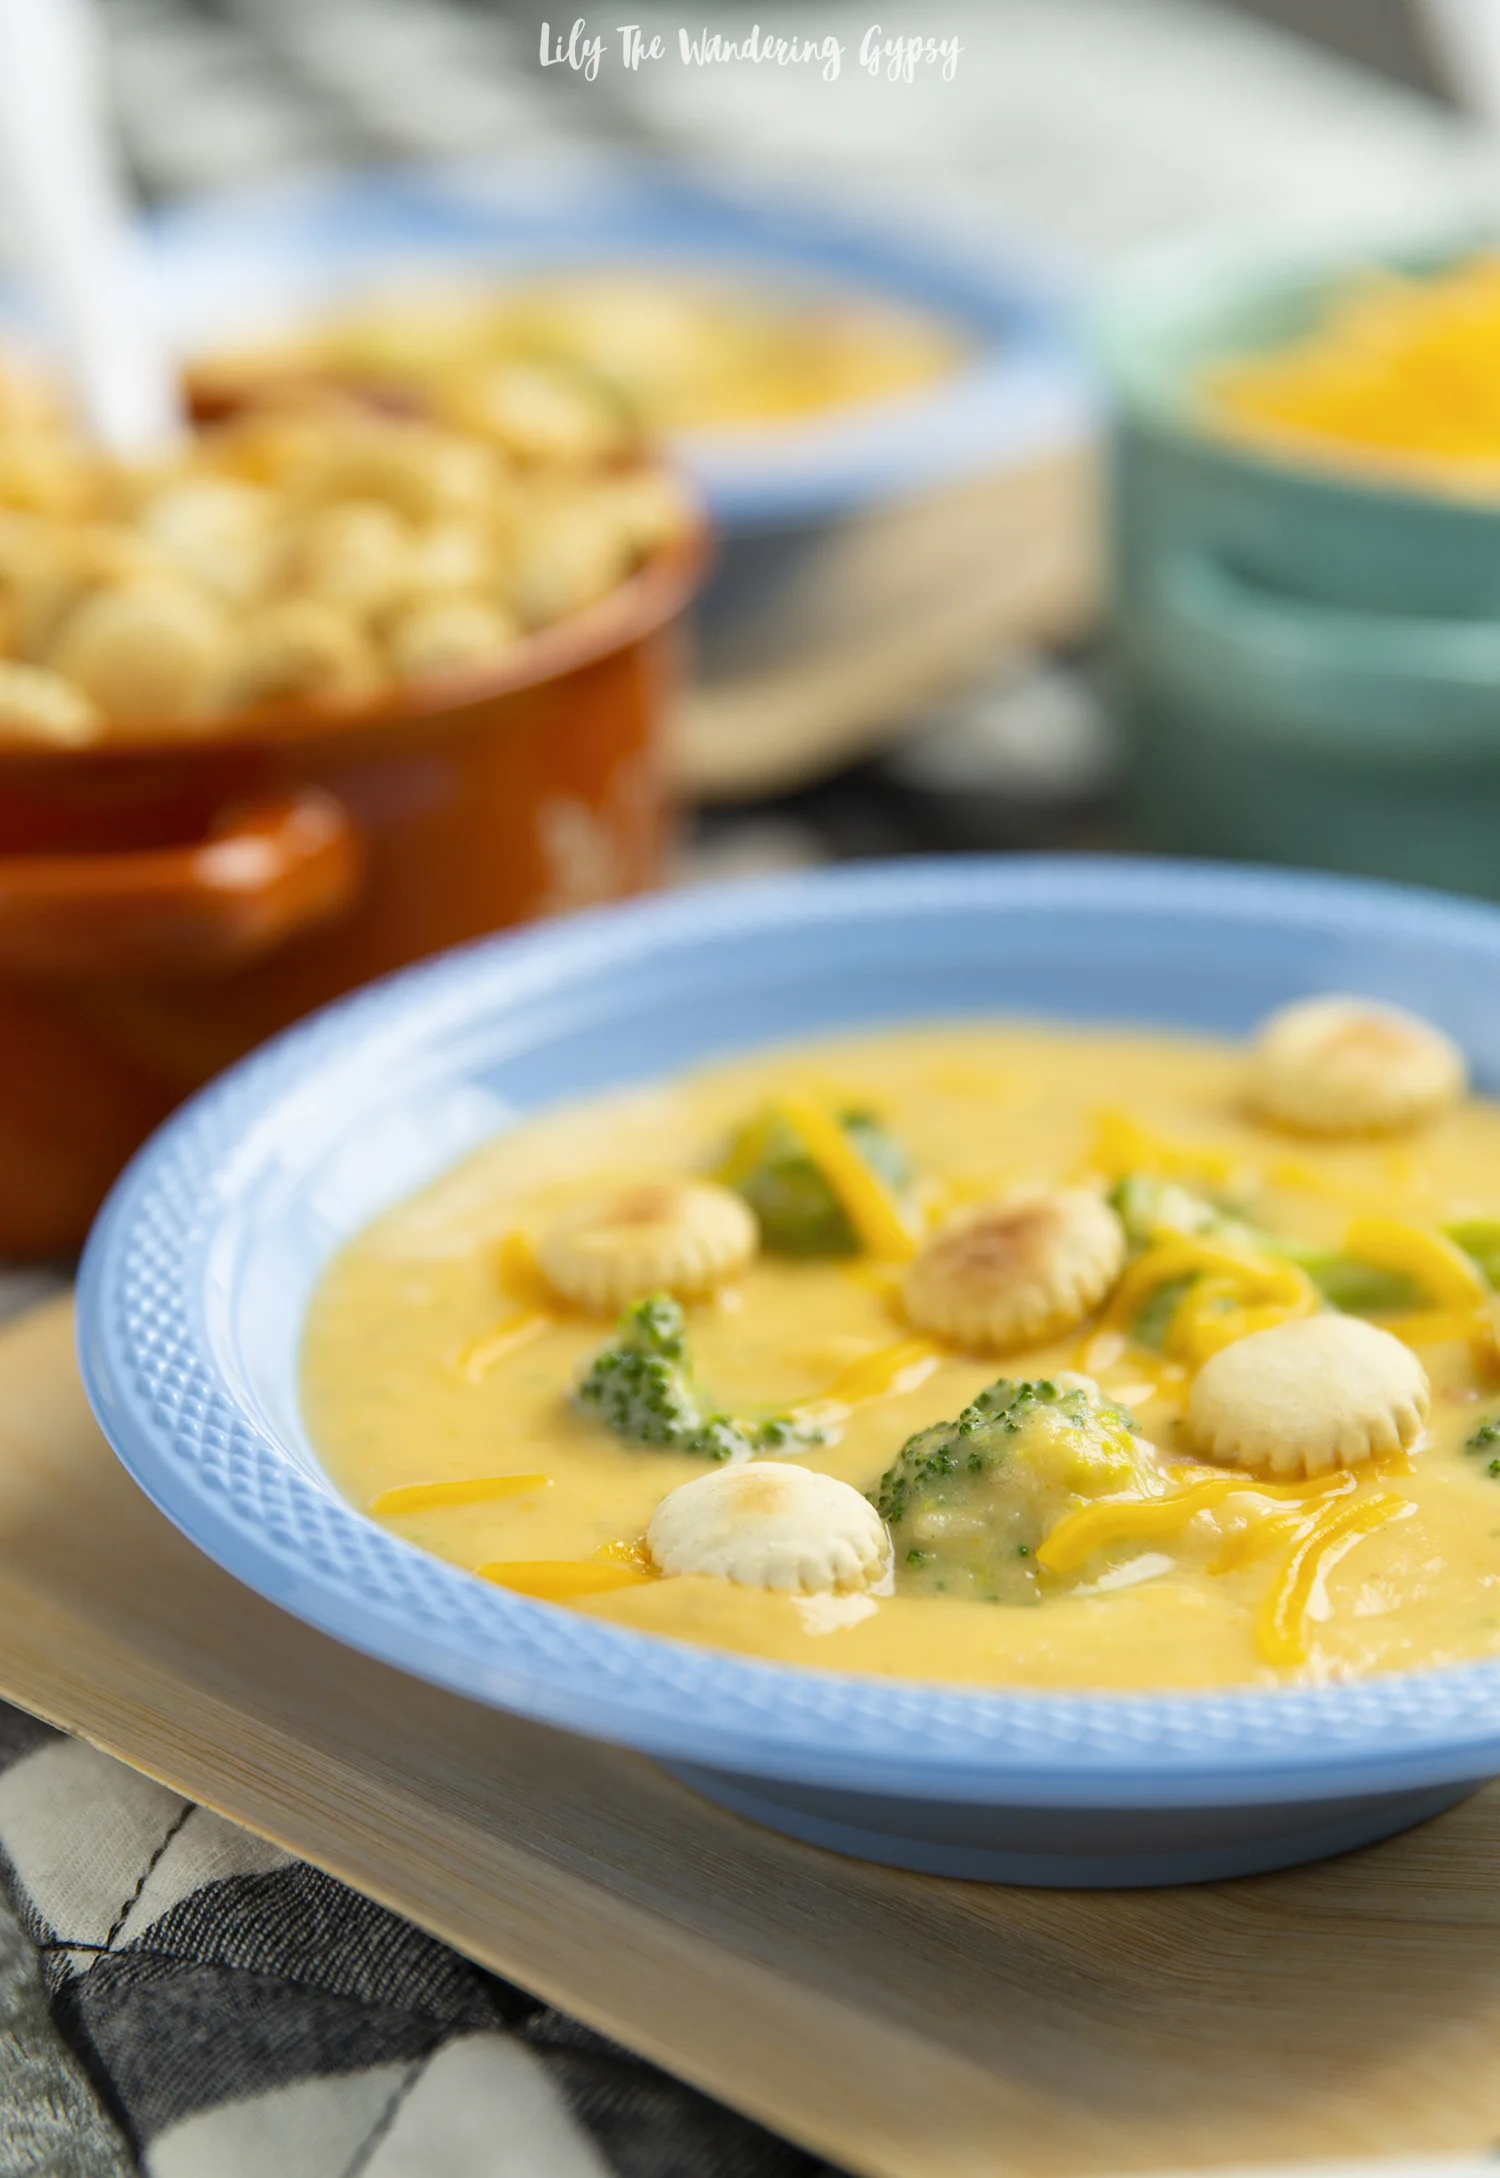
Idahoan Steakhouse® Soups are available in a variety of delicious flavors, including: Loaded Potato, Creamy Potato, Cheddar Broccoli, and Cheddar Potato.

HOW TO MAKE SOUP FOR A LARGE CROWD OR PARTY

(SERVES 8-10+)

For our group, I mixed three different packets of Idahoan® Steakhouse® Soups together, then added 12 Cups of water (because each packet requires 4 cups of water to make, and that’s it!).

Ingredients:

3 packages of Idahoan® Steakhouse® Soups in any flavor (Learn more about available flavors below)

12 Cups water

2-3 tsp Seasoning Mix of your choice - I used a Greek Seasoning, which added black pepper taste

Optional - 1-2 cups fresh broccoli flowerettes (cut into small, bite-sized pieces

What Toppings To Offer:

(Best displayed in cute bowls with spoons so guests can serve themselves)

Shredded Cheddar Cheese

Soup Crackers

Bacon Bits

Sour Cream

Hot Sauce

This was a VERY cost effective way to feed a large group!

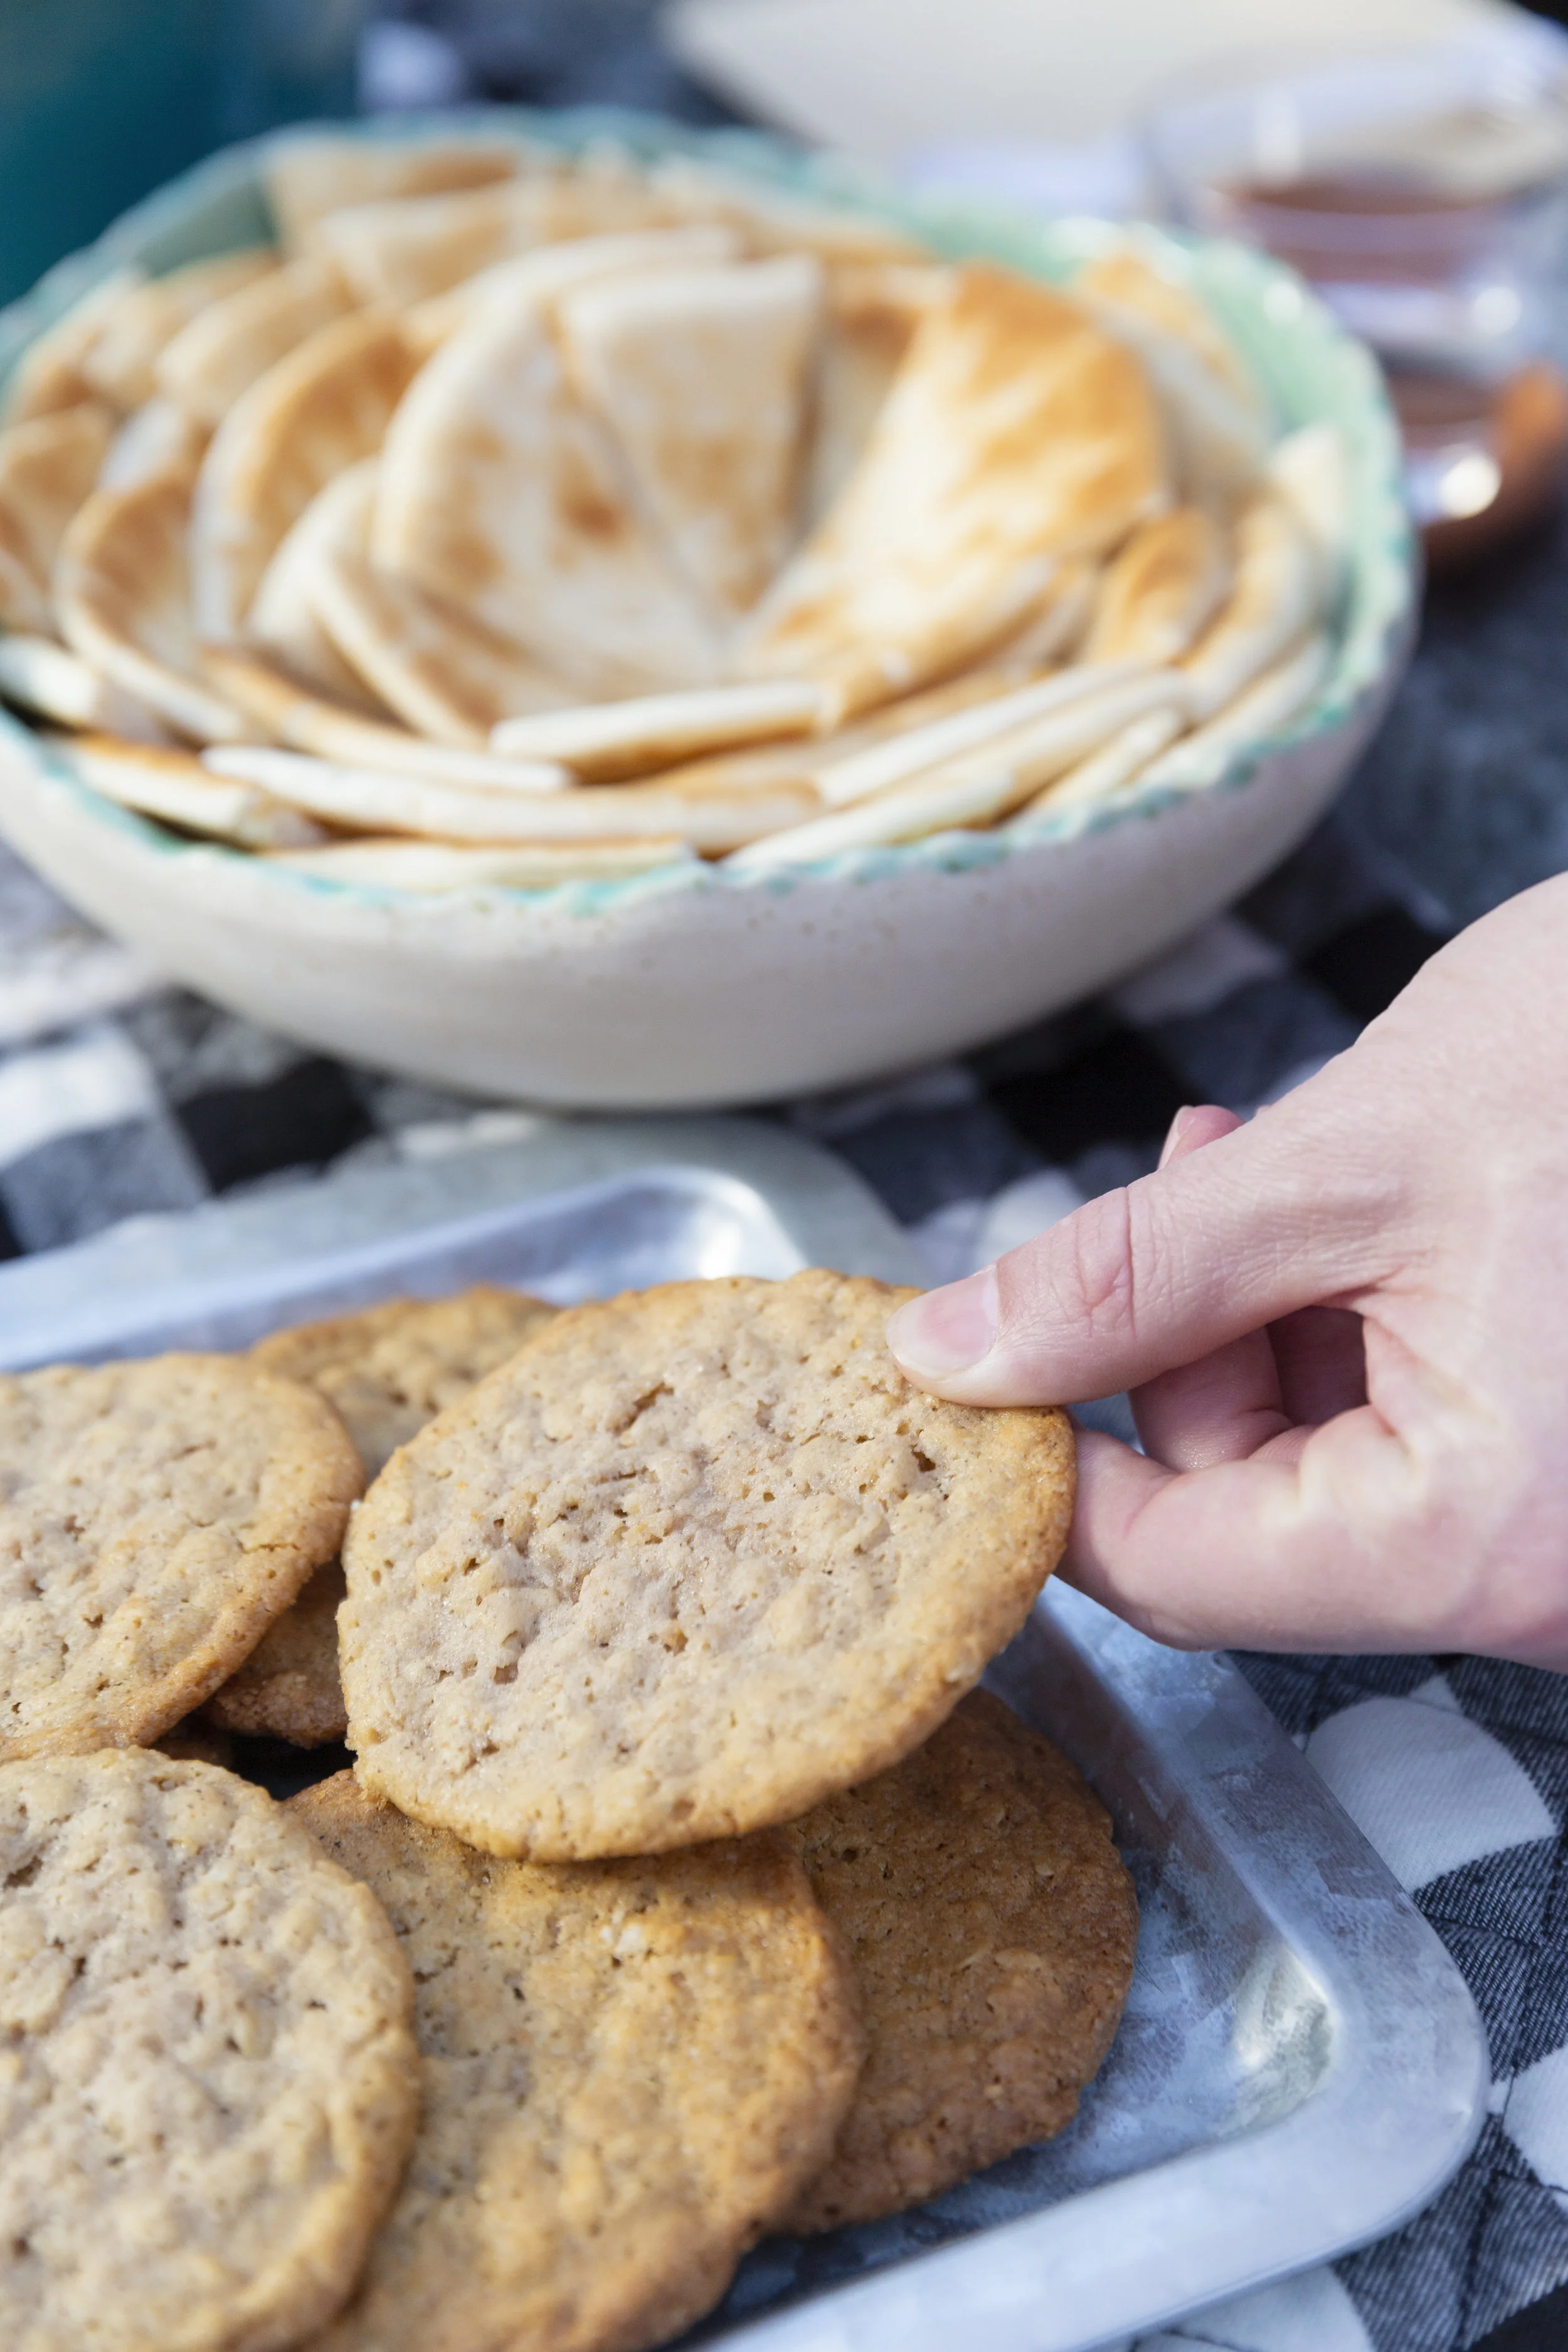
We served up soup and SO many other tasty sides. The cookies were a huge hit! Get the recipe below.

FOR THE DECOR:

I set the table with a slivery grey piece of fabric, then placed a black and white buffalo plaid fabric table runner over the top. I thought this really tied the warm, cozy, inviting feel of the soup into the decor as well. Next, I found the cutest white plastic spoons at the party store, plus some periwinkle colored bowls. While I could have also used glass or ceramic bowls, these worked great! Another fun idea would have been to use coffee mugs for people to eat soup from, and it would be even more casual.

I did however provide cloth napkins for guests, and a few other cute paper and bamboo plates for all those yummy side dishes.

The Best Oatmeal Cookie Recipe - Makes 20 Cookies

These cookies were a huge hit, and finished off the meal nicely. After eating our meal, we sat around the table, reminiscing about fun times we all had together over the past year, and eating oatmeal cookies.

This recipe was found on this inspiring blog, The Comfort of Cooking, here.

Note - I would recommend doubling the below recipe for a crowd.

OLD FASHIONED CHEWY OATMEAL COOKIES

YIELD: Makes 20 cookies

INGREDIENTS:

1 cup (2 sticks) unsalted butter, softened
1 cup granulated sugar
1/2 cup packed brown sugar
1 large egg
2 teaspoons vanilla extract
1 2/3 cups all-purpose flour
1 teaspoon ground cinnamon
3/4 teaspoon baking soda
1/4 teaspoon salt
1/8 teaspoon baking powder
1/8 teaspoon ground nutmeg
1 1/2 cups quick cooking oats

DIRECTIONS:

1.) Preheat oven to 350 degrees F. Line 2 large baking sheets with parchment paper; set aside.

2.) In a large bowl with an electric mixer, beat butter and both sugars until fluffy. Mix in egg and vanilla until well blended. Combine flour, cinnamon, baking soda, salt, baking powder and nutmeg in a bowl. Stir into butter mixture. Gently stir in oats until well blended.

3.) Shape dough into rounded golfball-sized balls (about 2 Tbsp. each). Place on prepared baking sheet (I fit 9 per sheet). Flatten with the bottom of a measuring cup dipped in sugar.

4.) Bake for 8-10 minutes. Let cool on baking sheet 5 minutes before removing to a wire rack to cool completely.

Enjoy!

Spinach Artichoke Dip + Pita Bread Slices (Serves 6-8)

I found this recipe on the Spend With Pennies Blog, here.

PREP TIME 10 minutes

COOK TIME 25 minutes

TOTAL TIME 35 minutes

This is my favorite Spinach Artichoke dip recipe!! It’s easy to make and always a huge hit!

INGREDIENTS:

  • 8 oz cream cheese , softened

  • 2/3 cup sour cream

  • 1/3 cup mayonnaise

  • 2 cloves garlic minced

  • 1 1/2 cups mozzarella cheese divided

  • 1/2 cup fresh shredded parmesan cheese

  • 1/2 cup gruyere cheese

  • 10 oz frozen chopped spinach defrosted and squeezed dry

  • 14 oz marinated artichoke hearts chopped

INSTRUCTIONS:

1.) Preheat oven to 375 degrees F. Cut pitas into 6 pieces each, like pizza slices.

2.) In a bowl combine cream cheese, sour cream, mayonnaise and garlic with a hand mixer until fluffy.

3.) Stir in parmesan cheese, 1 cup mozzarella cheese, gruyere cheese, spinach, and artichokes.

4.) Place into a 9x9 casserole dish (or deep dish pie plate) and top with remaining 1/2 cup mozzarella cheese.

5.) Bake 25-30 minutes or until bubbly and cheese is browned. Carefully remove from oven and serve directly from baking dish when safe to serve.

6.) Meanwhile, bake pita triangles for 5-7 minutes, remove from oven before they are too crunchy, and are still a bit soft but warm.

Enjoy!

What soup flavors will you feature at your next gathering? You could also make a batch of each soup and see what your guests lie best! Lay out all the toppings in matching bowls, and offer guests spoons, napkins, plates, bread, and more! Enjoy!

Have a wonderful day!

Valentine's Day Party Supplies

So many cute Valentine’s Day (or Galentine’s Day) party supplies and cute recipe ideas, to make your time with loved ones extra special.

We had a huge snow storm today and I am loving the gorgeous shimmering white snow covering everything. Seems like the perfect weekend to stay in and get a few things done around here.

If you’re anything like me, pink and gold are a match made in Heaven! That seems to be a trend for Valentine’s Day 2019 as well, so stock up on items in both the holiday sections, but also in party and home decor!

Disclosure: This post contains affiliate links, where I share items from my brand partners and make a small commission for my time and efforts. Thank you for supporting the retailers who make exquisite merchandise!

Adorable Banners for Valentine’s Day

I really hope you’ve enjoyed this inspiring roundup of Valentine’s Day Party Decor!

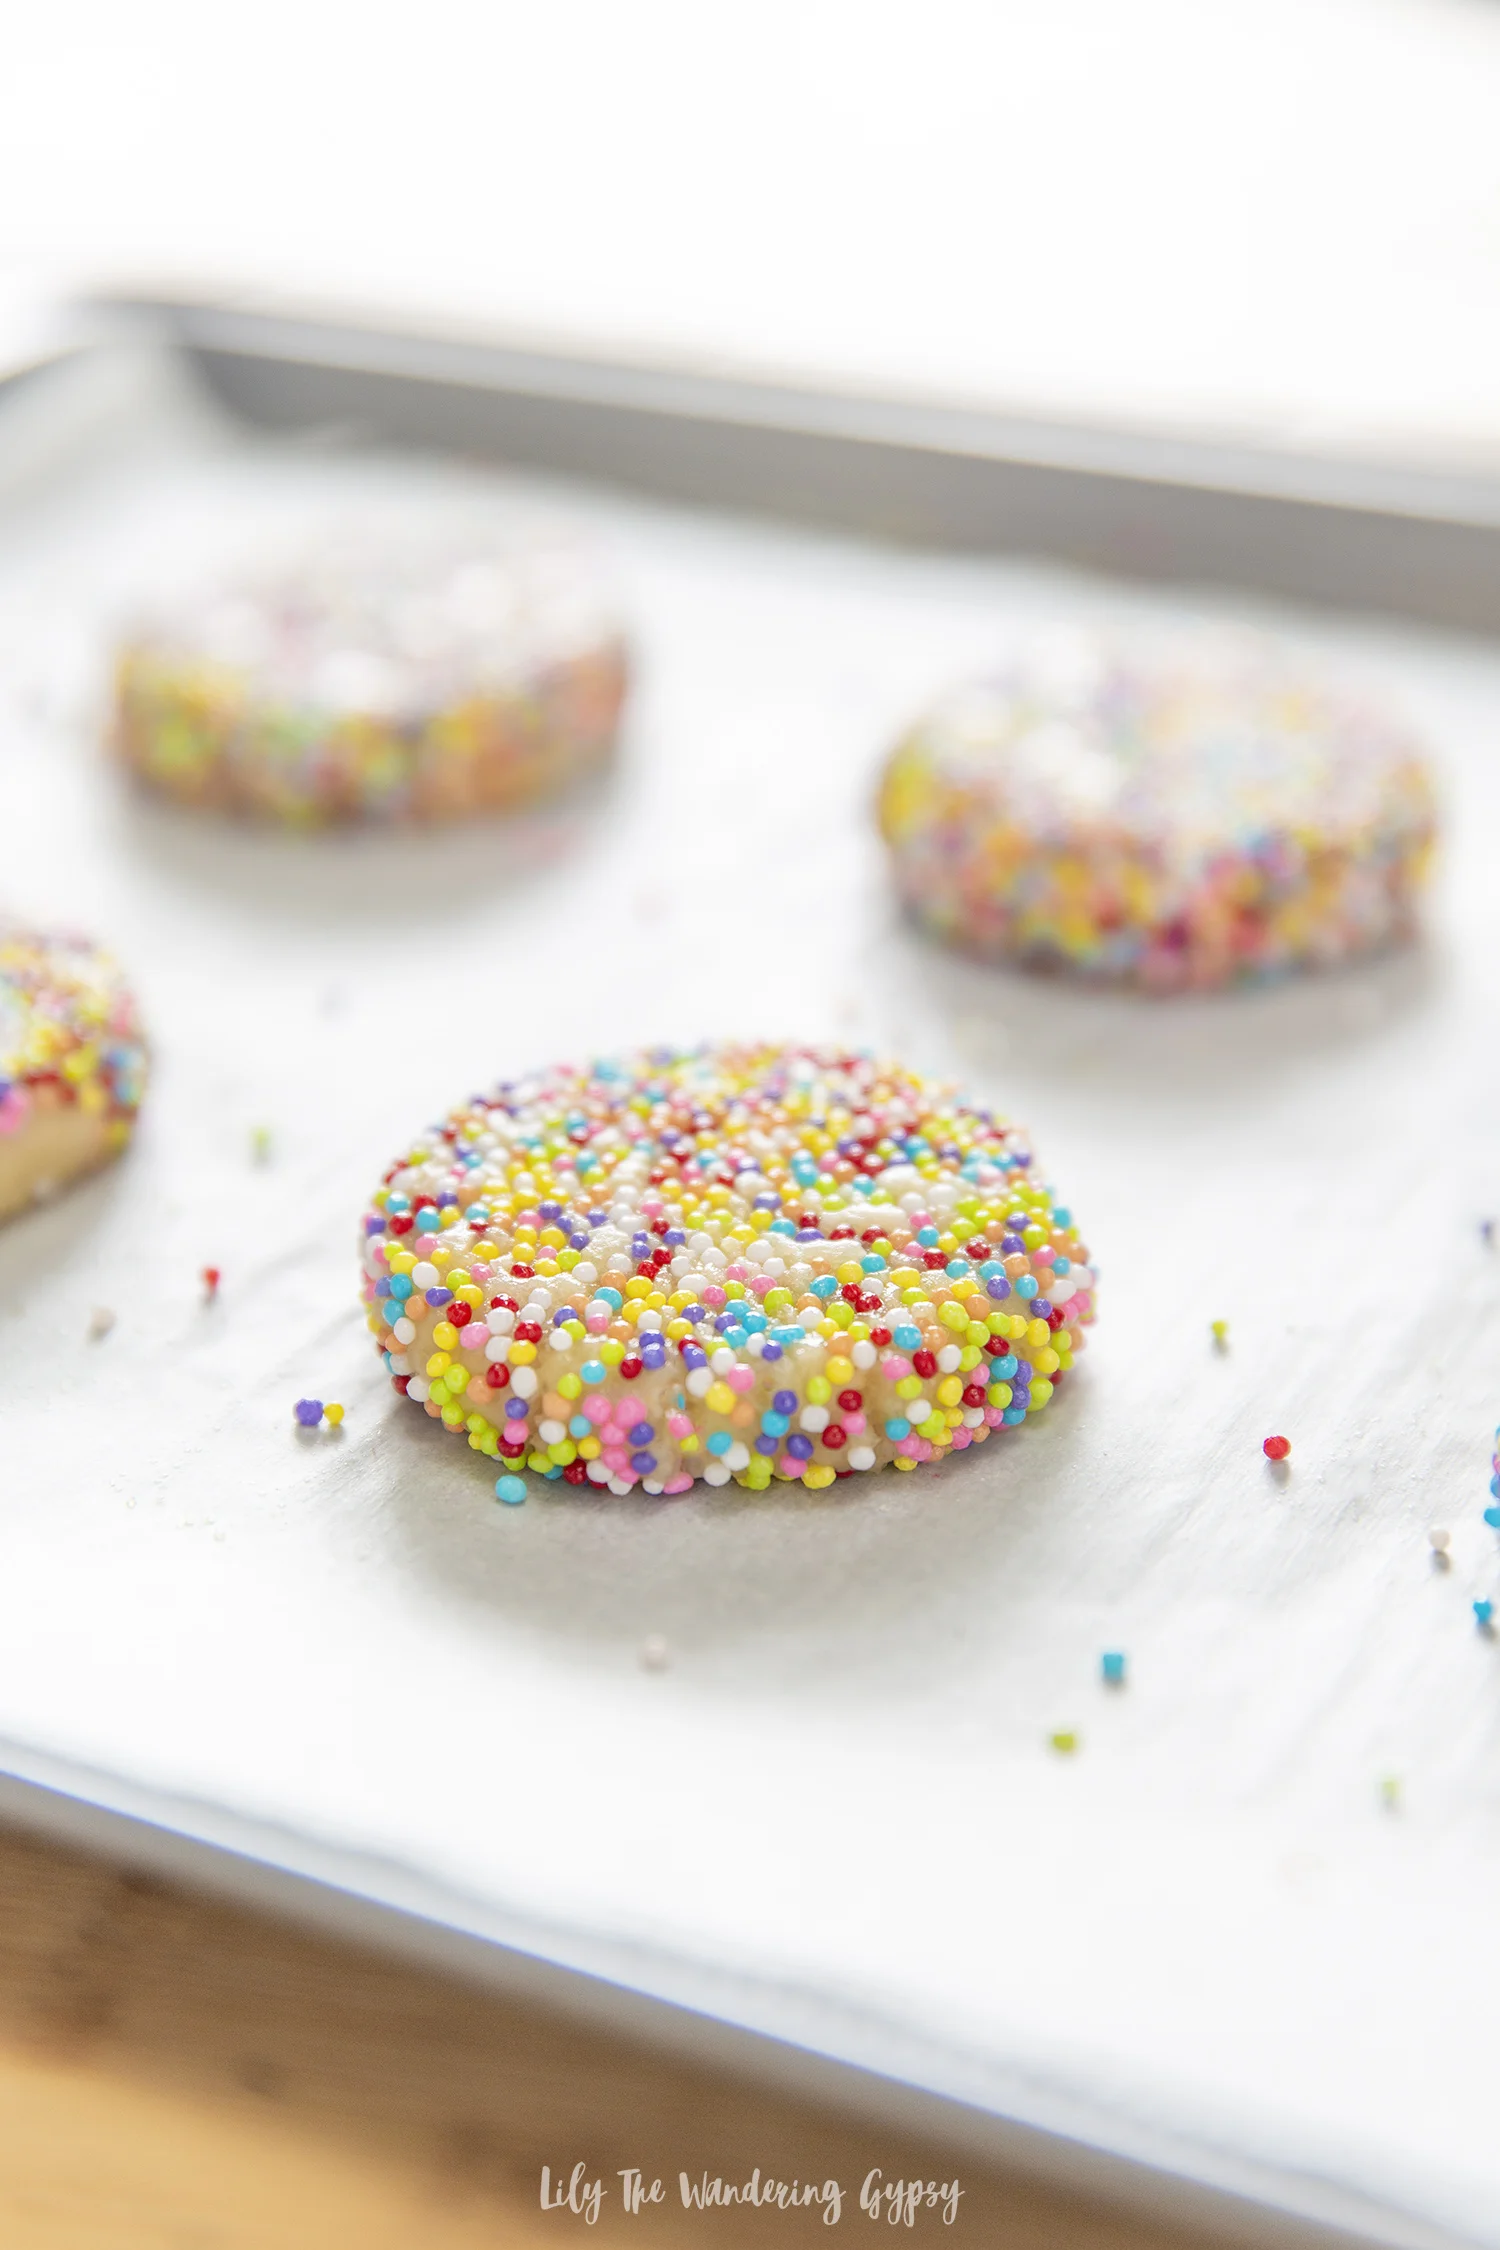
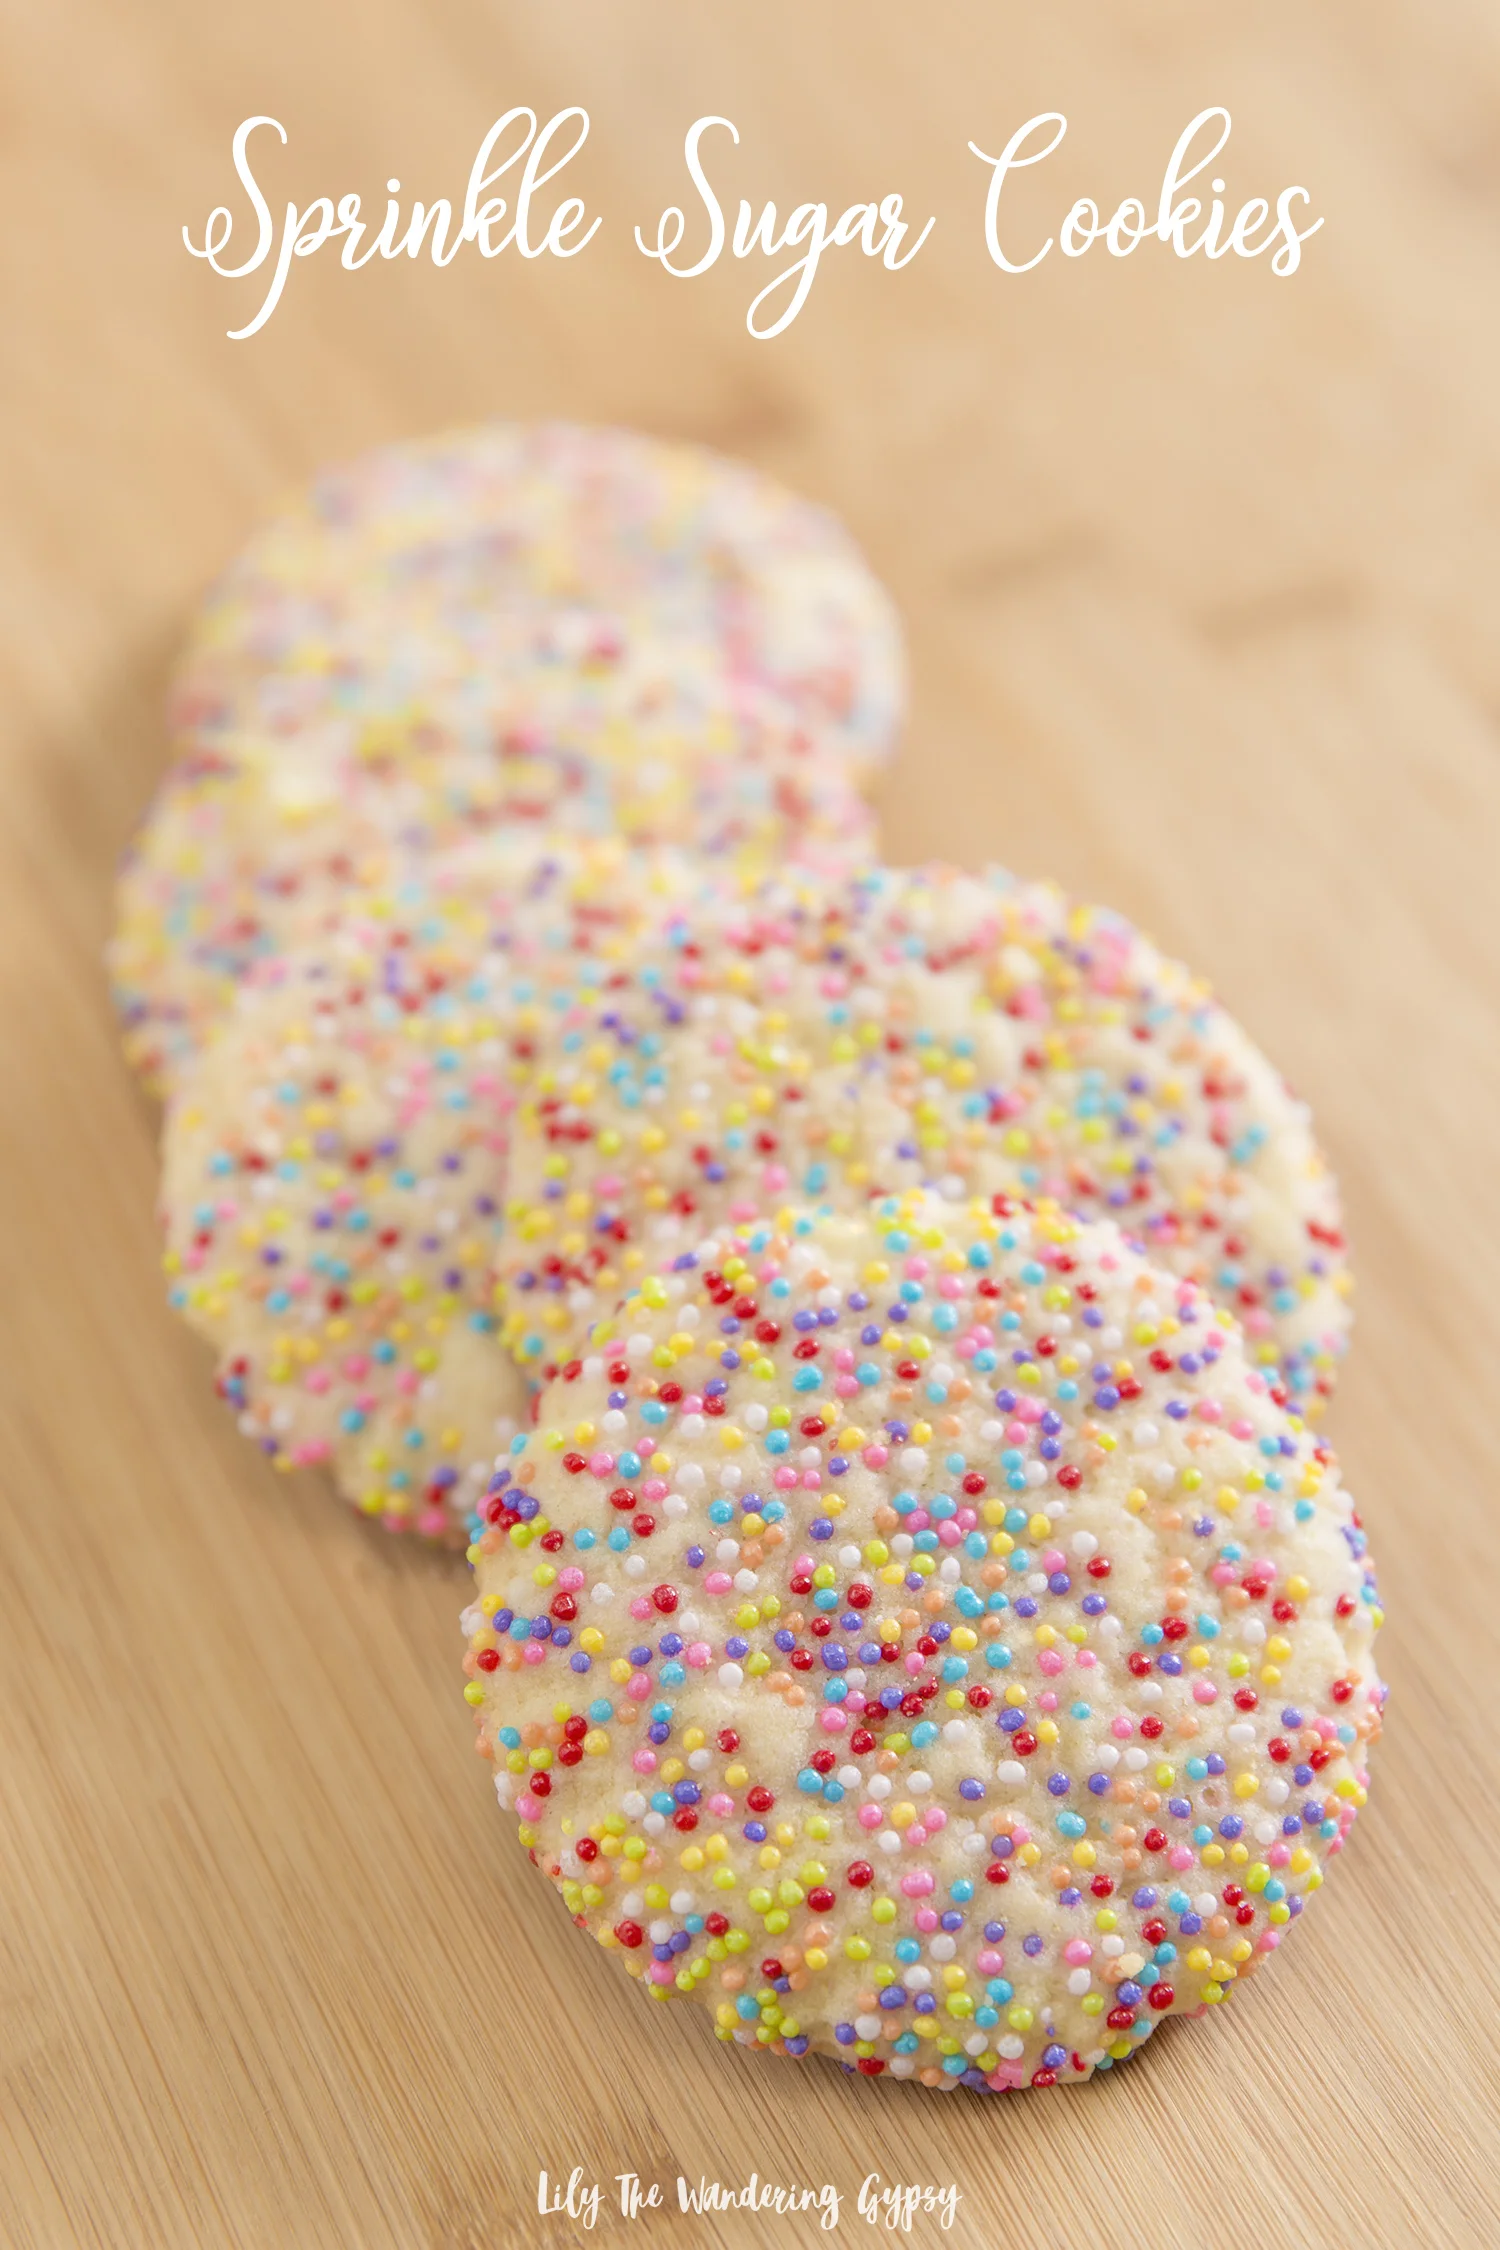
Light + Crispy Sprinkle Sugar Cookie Recipe

Light, crispy, festive, and delicious cookies you are sure to love! Uncomplicated ingredients and an easy baking process makes these cookies a 10/10 all around! You will love the light, airy crunch that the ingredients offer, and these can be customized to any colors you would like - even holidays or team colors!

INGREDIENTS:

1 c. butter

1 c. vegetable oil

1 cup powdered sugar

1 cup granulated sugar

2 eggs

1 tsp vanilla

4 cups flour (2 cups all purpose flour + 2 self rising flour if you would like)

1 tsp baking soda

1 tsp cream of tartar

1 tsp. salt

ball sprinkles or colorful sanding sugar - almost any sprinkles will do!

baking sheets

parchment paper

INSTRUCTIONS:

1.) Preheat oven to 350 degrees F. Cream butter and sugar until combined

2.) Add vegetable oil + powdered sugar

3.) Add egg + vanilla

4.) Add dry ingredients slowly, blend everything together until fully incorporated.

5.) Pour about 1/4 cup sprinkles into a shallow bowl or dish. Roll dough into 1-1.5” balls, and roll in sprinkles. Coat the dough as much as possible with the sprinkles - you may need to use your fingers to help press sprinkles into dough. Place each ball onto parchment lined baking sheets, and use a glass to flatten the balls a little bit.

6.) Bake 6 cookies per baking sheet for 8-10 minutes each, they will spread a little bit, so this insures the cookies do not touch while baking. Transfer onto cooling rack, and enjoy while still a little warm, or after they have cooled - they will get nice and crunchy! Enjoy.

Soft Iced Cutout Gingerbread Cookies Recipe

Super excited to share this recipe now that I have perfected it. What a lovely make-ahead gift idea for the holidays, and you can decorate them in any color scheme you would like! O really hope you enjoy this gingerbread cookie recipe, created just for you!

Also, haooy New Year’s Eve! We are spending the last day of 2018 reflecting on the past year, and are also looking forward to planning what the next year will hold for us. This year was filled with so many incredible projects and spending time with people we love and who inspire us! We also have a few exciting projects and travels ahead of us, but for now I wanted to share my favorite cookie recipe of the year!

This recipe was originally posted here - https://theviewfromgreatisland.com/soft-glazed-gingerbread-cookies-recipe/

Soft Glazed Gingerbread Cookies

Prep Time: 20 minutes

Cook Time: 10 minutes

Total Time: 30 minutes

Category: dessert

Cuisine: American, British

Author: Sue Moran

Yield: 12-14 cookies

Serving Size: 1 cookie

Calories per serving: 154

Ingredients

  • wet ingredients

  • 6 tbsp (85 g) unsalted butter, at room temperature

  • 1/3 packed cup plus 2 tbsp (90 g) dark brown sugar

  • 1/3 cup (100 g) molasses

  • 1 large egg yolk

  • dry ingredients

  • 1 3/4 cups plus 2 tbsp (235 g) all-purpose flour

  • 1 tbsp Dutch-processed cocoa powder

  • 1/2 tsp baking soda

  • 1 tsp ground ginger

  • 1/2 tsp ground cinnamon

  • 1/8 tsp ground cloves

  • 1/4 tsp salt

  • 1/4 tsp freshly ground black pepper

  • glaze

  • 1 cup sifted confectioner's sugar

  • 1 Tbs/15g unsalted butter, melted

  • 1/2 tsp vanilla extract

  • 1 Tbsp plus 1 tsp warm water

  • cookie cutters

  • parchment paper

  • baking sheets

Instructions

  1. Preheat the oven to 375F/190C.

  2. Cream together the butter, sugar, and molasses in a stand mixer or with electric beaters. Beat in the egg yolk.

  3. Sift together the dry ingredients. Slowly add the dry ingredients to the butter mixture, beating on low until the dough comes together.

  4. Turn out the dough onto a lightly floured surface and knead it until all the floury crumbles are incorporated. Flatten the dough into a disk and then roll out to about 1/4 inch thickness.

  5. Cut out shapes from dough and transfer them to parchment paper lined baking sheets.

  6. Transfer the cookies to a lined baking sheet and bake for 8-10 minutes. You don't want to over bake these cookies, so do a test cookie or two to figure out the best timing for your oven. The cookies will be soft when you remove them from the oven, but will firm up as they cool.

  7. While the cookies are baking whisk the glaze ingredients together until they become a smooth thin glaze. Add more water if the glaze is too thick, it should have the consistency of maple syrup or a thin honey.

  8. Put the cookies on a cooling rack and brush them with the glaze while still slightly warm. The glaze will dry in about 30 minutes.

These cookie bake up perfectly to a soft cookie that holds it shape after just 5-6 minutes of baking!

I am also super happy with this frosting, because traditional powdered sugar icing tastes WAY too sweet, but with the addition of melted butter, the taste is rich and compliments the strong taste of these gingerbread cookies.

If you plan on freezing these cookies, I would omit the butter from the frosting recipe. It turned a bit white after being frozen on plates in Ziploc bags.

I even marbled a few colors of icing on some cookie by taking a small amount of each color on the toothpick, then transferring it to the cookies, then swirling the colors. Think of all the color combos you could make!

If you wind up trying these cookies out, tag me on Instagram as @happysolez, I would LOVE to see what you create! Happy New Year!

Merry Christmas! Our Christmas Cookies

Hello! I hope you’re all having a very merry Christmas! It’s pretty warm out today, so it’s not a white Christmas, but I would always prefer to the cold. I got to participate in a fun cookie baking experience this year. The four of us got to take home TONS of cookies and everything turned out so well. The goal was to make enough cookies so we could all bring cookie platters home and also enjoy a few others along the way. I learned SO much about making the perfect cutout sugar cookies too :)

The cookies we created include:

Cutout Sugar Cookies

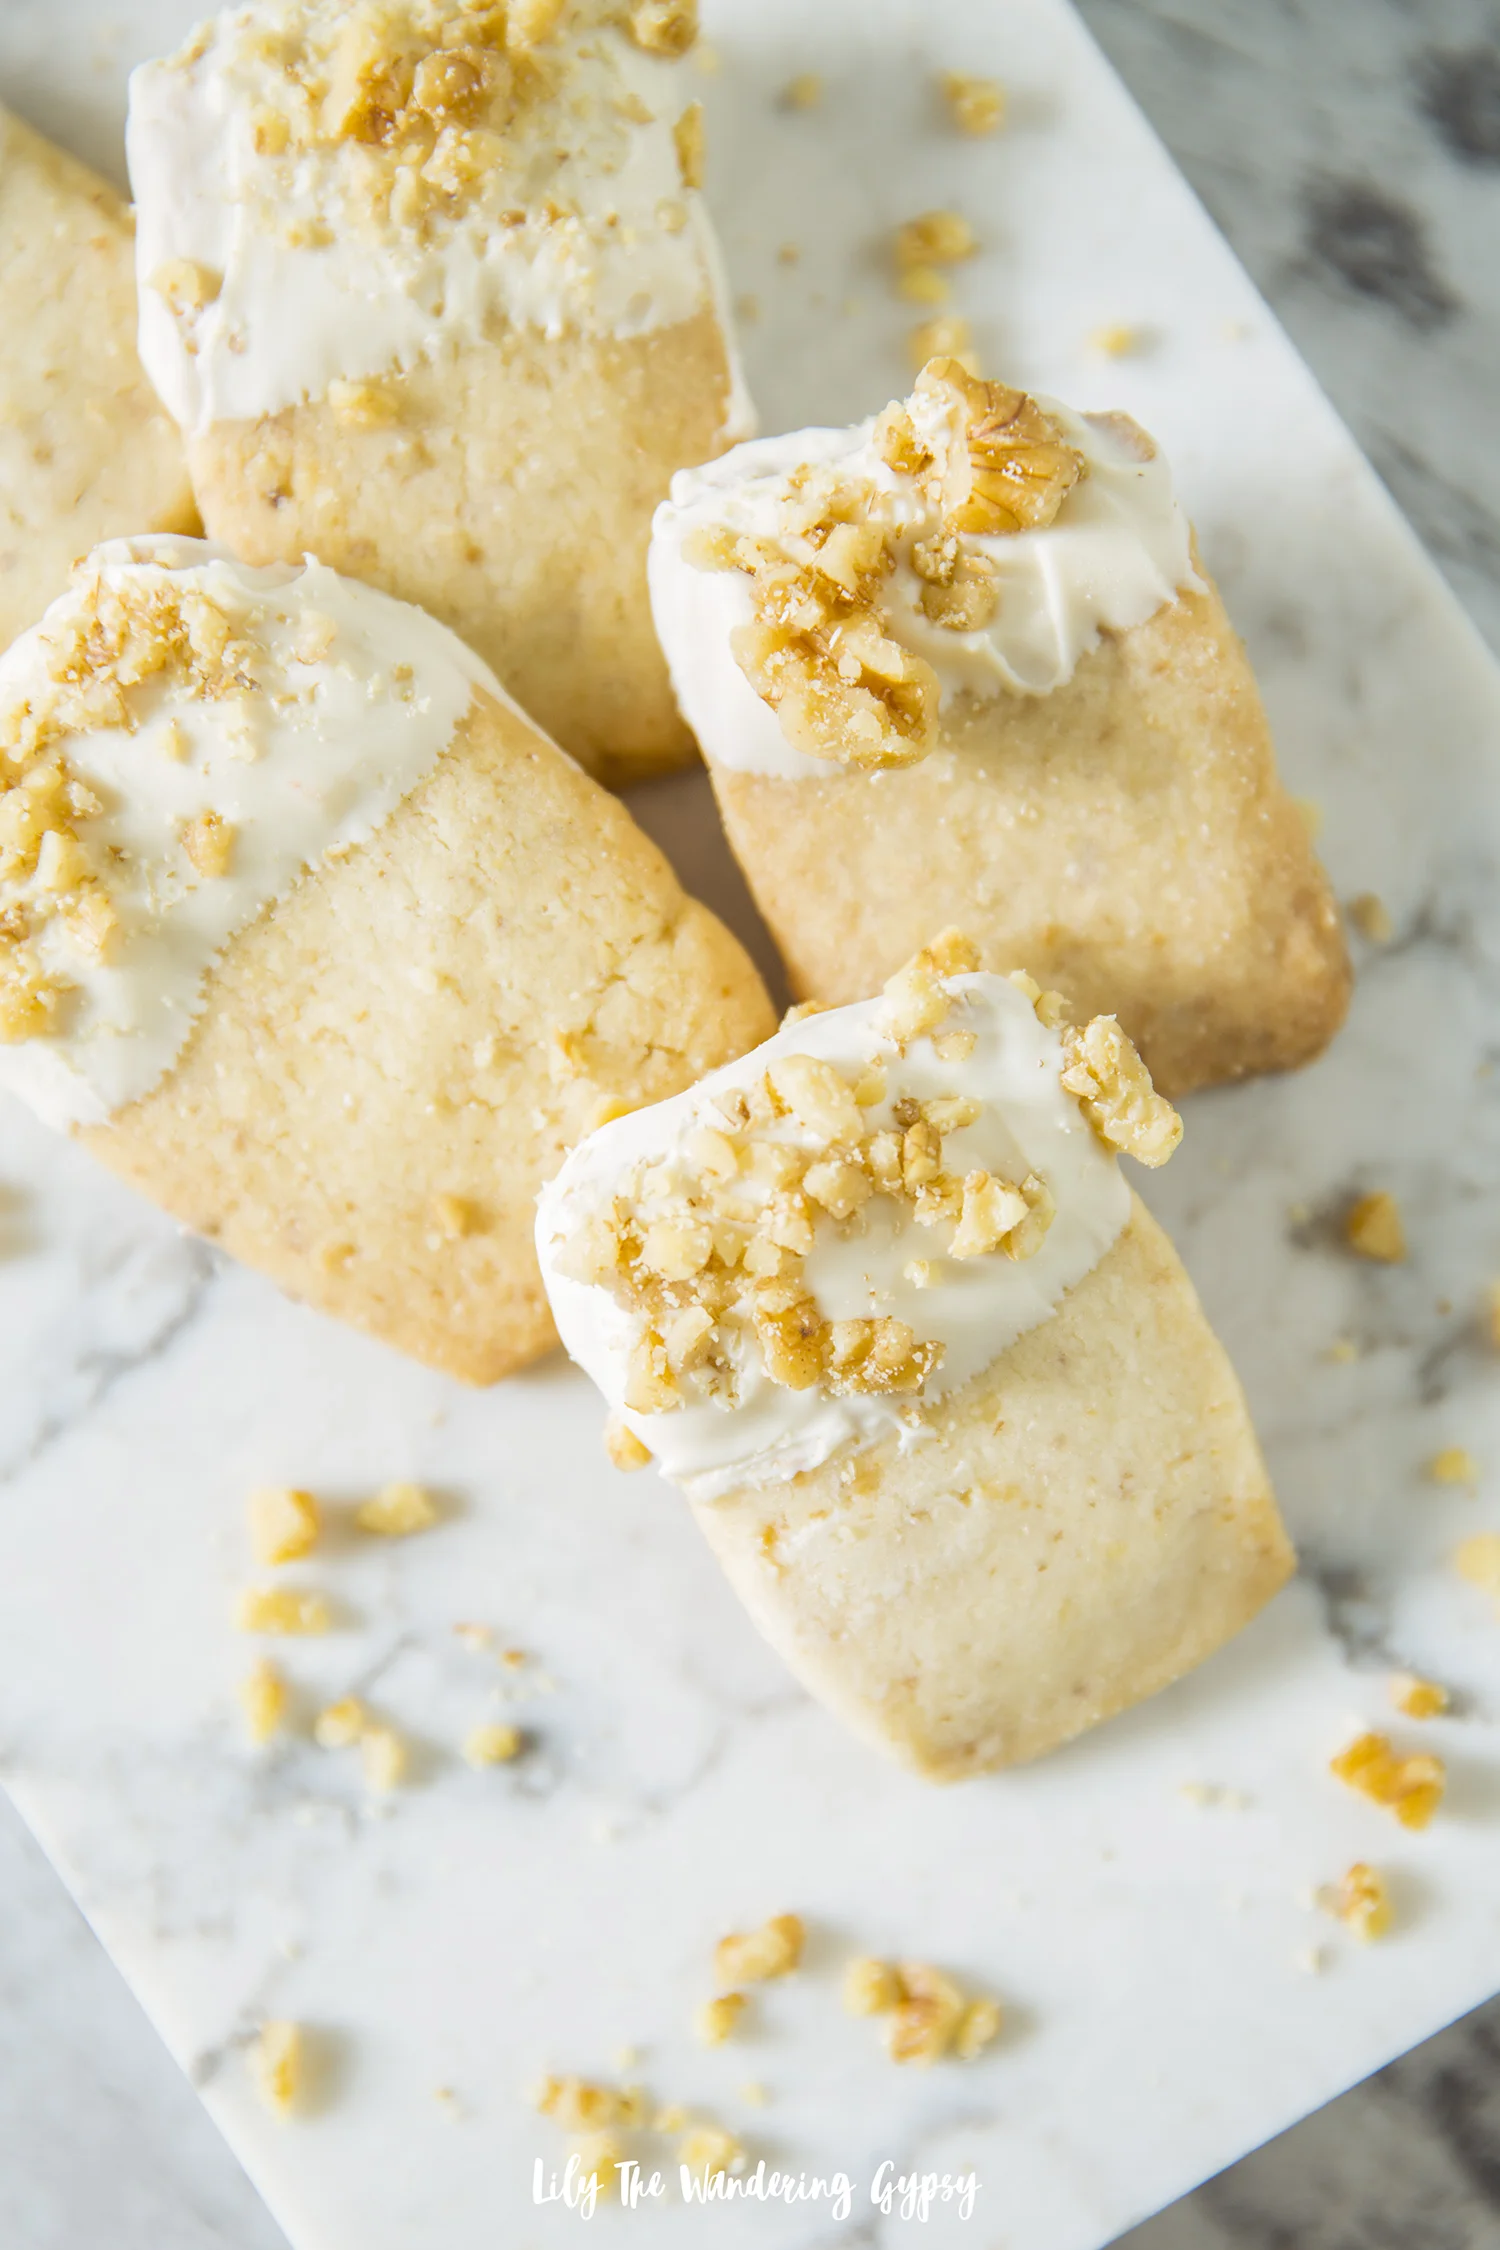
Shortbread Cookies Dipped in White Chocolate and Dark Chocolate

Chocolate Crinkle Cookies

Oatmeal, White Chocolate Craisin Cookies

Snickerdoodles

(Recipes all coming soon!)

Happy Holidays! I hope you all had a wonderful day!

Sheet Pan Spicy Roasted Brussels and Rainbow Veggies Recipe

This post was sponsored by Colman’s, all opinions are my own.

A delicious and health-forward vegan recipe that makes eating your vegetables easy AND delicious. Colman’s Mustard Glazed Brussels Sprouts and Roasted Vegetables make an amazing holiday side dish, snack, or even dinner idea. Colman’s dry mustard does have some heat and spice to it, but it’s a very nice, subtle warming flavor which I just love.

Flavors of mustard grace the outer edges of a wide array of vegetables, in every color and crunch level –you’re going to love these veggies! The mustard flavor also paired exceptionally well with the other marinade ingredients like honey and soy sauce.

Plus, these vegetables make a very elegant dinner or side dish, and go very well with lots of different refreshments. I just love how pretty the Brussels sprouts are when they are cut open. They are like mini cabbages, and while they do have a stronger and sometimes more acquired taste than other vegetables, they are said to be high in vitamins, minerals, and antioxidants. The more vegetables one can incorporate into their diets, the happier their bodies might be. While everyone is of course different, I love treating my friends and family to healthier meal options.

I always love creating plant-based meals that offers a new alternative to dinner or a side dish. Impress just about anyone (even if they are “newbies” to or unsure about Brussels sprouts, these are definitely a crowd pleaser.

By incorporating Colman’s dry and wet mustards into the glaze for these vegetables, I absolutely LOVED the new, unique flavors that came through from baking the ingredients with such a great marinade. If you can imagine a potato or egg salad containing mustard, that is where I got the idea that potatoes, Brussels sprouts, and so many other veggies would pair perfectly with the Colman’s mustards.

Colman’s has been creating mustards since 1814, using time-honored traditions and the highest quality ingredients.

INGREDIENTS (Serves 4-5):

Marinade:

2 Tbsp Colman’s Dry Mustard

2-3 Tbsp Colman’s Wet Mustard

1/3 C. Olive Oil or more, to ensure all veggies are fully coated at the end

2-3 tsp. seasoned salt

1 Tbsp balsamic vinegar

2 Tbsp honey

Suggested Vegetables:

2 Cups Brussels Sprouts (cut into halves, and cut some into quarters)

½ -1 C. thinly sliced Russet potatoes

½ C. sweet potatoes – chopped into small pieces

½ C. yellow zucchini

½ C. green zucchini

¼ C. corn – from cob or canned

1 head of garlic

INSTRUCTIONS:

1.) Prep all veggies, and cover sheet tray(s) with foil, Spray with non stick spray and preheat oven to 400 degrees. Carefully cut off top of garlic head. Set aside.

2.) In a medium to large mixing bowl, mix up all marinade then add veggies to mixing bowl. Use tongs to coat all vegetables, then transfer all veggies to sheet pan(s). To create the garlic head, simply cut off the top of the garlic to expose the cut tops of each clove, while still leaving the rest of the head in tact.

3.) Bake 20 minutes covered with foil, then CAREFULLY remove foil (there will be lots of steam, which can burn someone easily). Bake 10-15 more minutes, and then remove from oven. Transfer to serving tray or large bowl, OR transfer into plastic containers to give to busy families during the holidays. Enjoy!

Here are a few more images of the finished veggies and head of garlic. Definitely recommended!

Have an amazing holiday! And enjoy this delicious, health-forward dish today!

Check out Colman’s Dry and Wet Mustards today, and spice up just about any savory dish you can imagine!

Holiday Entertaining With Blue Diamond® Gourmet Almonds & Nut Thins®

This post was sponsored by Blue Diamond®. The opinions and text are all my own. #NutsAboutTheHolidays

I recently created a gorgeous, holiday-inspired charcuterie and party spread that turned out so well! Inspired by these delicious Blue Diamond® Gourmet Almonds and Blue Diamond® Almond Nut-Thins® from Walmart. Best enjoyed with those you truly love spending time with during the holidays.

In this post, I will show you a few inspiring ways to incorporate almonds, crackers, and other delicious ingredients into a stylish snack board platter, perfect for a holiday party and more!

While I have created my fair share of charcuterie boards in the past, I will admit, I have also spent a lot of time researching new ways to style charcuterie boards, chocolate boards, and other gorgeous platters of food. That’s just the food stylist in me, I guess! For this post, I was incredibly inspired by those images you may have seen of bountiful, well placed ingredients with lots of varied textures and flavors – something for everyone, I guess you could say!

RECREATE THIS SNACK BOARD

I consider this offering more of a snack board than a charcuterie board, because traditionally, the word charcuterie relates to a variety of meats. I am eating meat less and less these days, and my friends and family members are too, so I figured that I would just offer a vegetarian selection of goodies and call it a Holiday Snack Board.

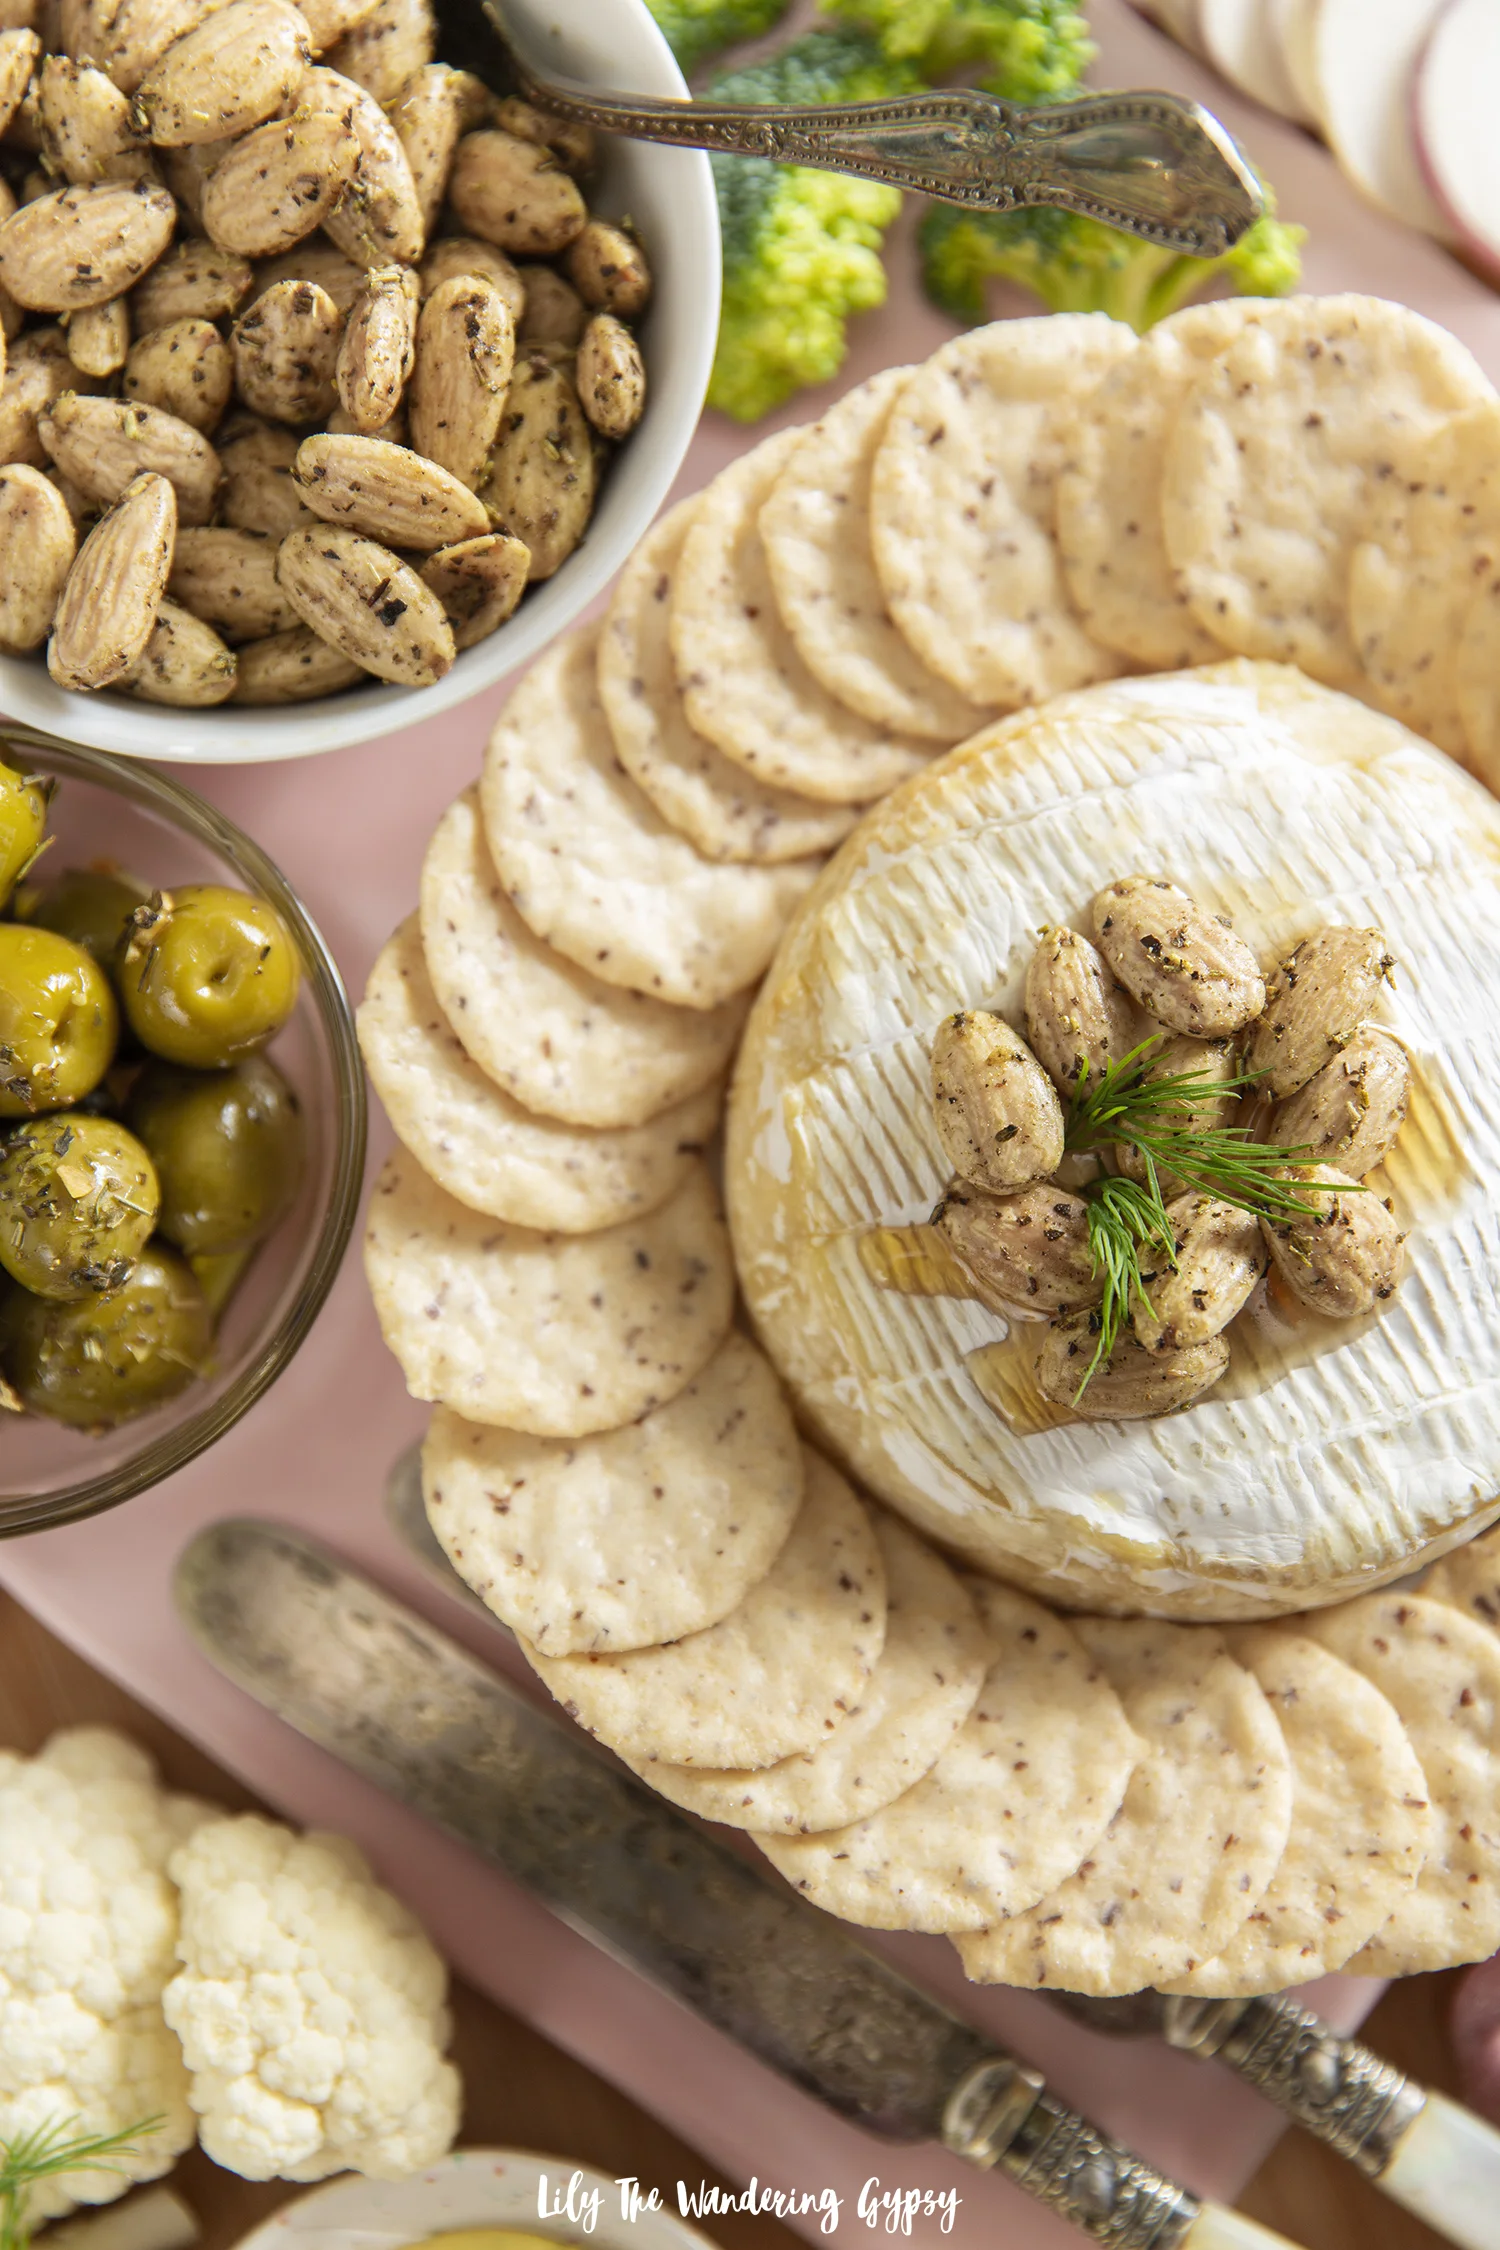
One of the highlights of this snack board is definitely the brie cheese; with honey and herbed Blue Diamond Gourmet Almonds on top. It looks so elegant, and like it took a very long time to create. It was finished in less than 20 minutes and was the perfect pairing with the Blue Diamond Almond Nut-Thins.

Ingredients:

1 bag Blue Diamond Gourmet Garlic Herb and Olive Oil Almonds

1 box Blue Diamond Almond Nut-Thins

1 8oz. round of brie or similar cheese

3-4 Tbsp. honey (2 Tbsp. in small star shaped dish + 2-3 Tbsp. to top cheese)

2 cups cauliflower and broccoli florets

1 package of dill or parsley, or any other green herbs for garnish.

1-2 cups green olives, marinated in olive oil, a pinch of salt, and Mediterranean seasoning mix

1 cup red peppers, sliced small and thin

Any other cheeses you would like to add to your board, or that you already have on hand.

Instructions:

1.)   Bake brie cheese in a heat safe container, or on a baking sheet at 375 degrees Fahrenheit for 10-15 minutes, covered in foil, until middle is fully molten. Carefully check if the middle has melted yet by applying pressure with a spoon or other utensil. You will sort of be able to tell of the cheese is liquid inside yet or not. Once that is fully baked, top with 2-3 Tbsp. honey and ¼ cup or a small handful of Blue Diamond Gourmet Garlic, Herb and Olive Oil Almonds.

2.) Place the brie onto a small round plate (mine measured 6.5” across), then arrange Blue Diamond Almond Nut-Thins around the plate. They fit there perfectly, and this made for an exceptional way to enjoy the crackers and cheese! I also placed a tiny sprig of dill on top, but any fresh green herb would work here, but is not necessary.

3.)   Place the brie in the center of your board as the focal point, then begin placing bowls of seasoned almonds, olives, and any sauces or dips on there too. Then, place crackers, fresh ingredients and any other fun goodies you have around the board to make a full, elegant snack board. Guests will LOVE what you have provided them with.

I was able to find so many incredible items to add to my snack board from Walmart, and I was so inspired by their large selection of snack items! Browse the fresh section, the cracker and nut aisles for the Blue Diamond products, plus the candy and snack aisles to find as many different flavors and textures as possible for your snack board.

This year for décor and styling, I am all about a pink Christmas and as always, shimmering accents and as many trees as possible. I used a large wooden cutting board for the base of the snack board, then used a pink ceramic cutting board with a handle as the main focus. That pale pink was everywhere this year, and I love it so much! It goes so well with whites, light wood tones, and other shimmering accents.

Happy Holidays! Make sure to check out the Blue Diamond website for more holiday entertainment inspiration!

Gourmet Game Day Dipping Station

This post has been sponsored by The Kraft Heinz Company. All thoughts and opinions are my own.

If you’re anything like me, you’ll agree that it makes life easier to let guests serve themselves so you can enjoy the festivities too. That’s why this Game Day Dipping Station is absolutely genius! This spread was a huge hit, and I cannot wait to show you all of the details. Get the recipes for two delicious dips, and also get ideas on how to style your next game day gathering. 

This Gourmet Game Day Dipping Station is sure to be a huge hit!

RECIPES (Serves parties of 6-8)


Featured Products + Ingredients


HEINZ Ketchup

KRAFT Mayo

KRAFT Ranch Dressing

KRAFT Mustard

Chicken Strips

Chicken Nuggets – 2 bags

1/3 – ½ C. chopped cilantro

1/3 – ½ C. fresh jalapenos, finely chopped

1/3 – ½ fresh dill, chopped

1 bag of curly fries – any brand you like

Juices

Glass Carafe to hold juice(s)

2 decorative bowls to hold dips

Floral arrangement – 2 packages of pine branches or source your own + 1 jar with water in it.

Small cake stands – optional

12 crispy rice treats

12 paper straws

1 cup white chocolate or almond bark – melted until smooth

Check out Kraft products at Dollar General, and get great savings on everything from Kraft in store as well!

Dip 1

1/3 C. cilantro + 1/3 C. finely chopped fresh jalapeno + 1 16oz. bottle of KRAFT Ranch

Dip 2

1 – 1 ½ C. KRAFT Mayo + ½ C. KRAFT Mustard + 1/3 – 1.2 C. fresh chopped dill

Instructions:

1.) Preheat oven to 400 degrees and prepare 3 baking sheets with parchment paper. Spread out Chicken Nuggets onto one, Chicken Strips on another, and fries on the last sheet. Set aside.

2.) Make both dips. In one medium mixing bowl, add 1 bottle of KRAFT Ranch, plus the cilantro and jalapeno. Stir until everything is combined. For the second dip, add mayo, mustard, and dill, and stir until combined. Transfer dips to two decorative serving bowls and provide serving spoons for guests. They're perfect when paired with the Chicken Strips and Chicken Nuggets!

3.) Bake food as instructed on packaging, and begin to prepare your delicious Game Day Dipping Station. I used a piece of light grey colored stretchy velvet as the table cloth, then I added one striped green and white kitchen towel to the center of the table. Place a small cake stand and floral arrangement in center of table and build out from there as symmetrically as possible.

I placed two decorate serving bowls with dips in the center, then Chicken Strips behind that, and lastly, the Chicken Nuggets and curly fries on the outsides.

4.) To make the treat pops, stick paper straws into crispy rice treats. Melt white chocolate and use a spoon to apply it to the treats, one at a time. Place them onto a prepared sheet pan, and also add sprinkles if you would like in team colors or others! These added a lot to the display and made a great dessert.

Dollar General is great - I found ALL the necessities there!

And below, you can see my two helpers. They love taking rides to the store with me! They are the best, and they'll definitely be enjoying game day with us. Have an amazing game day! 

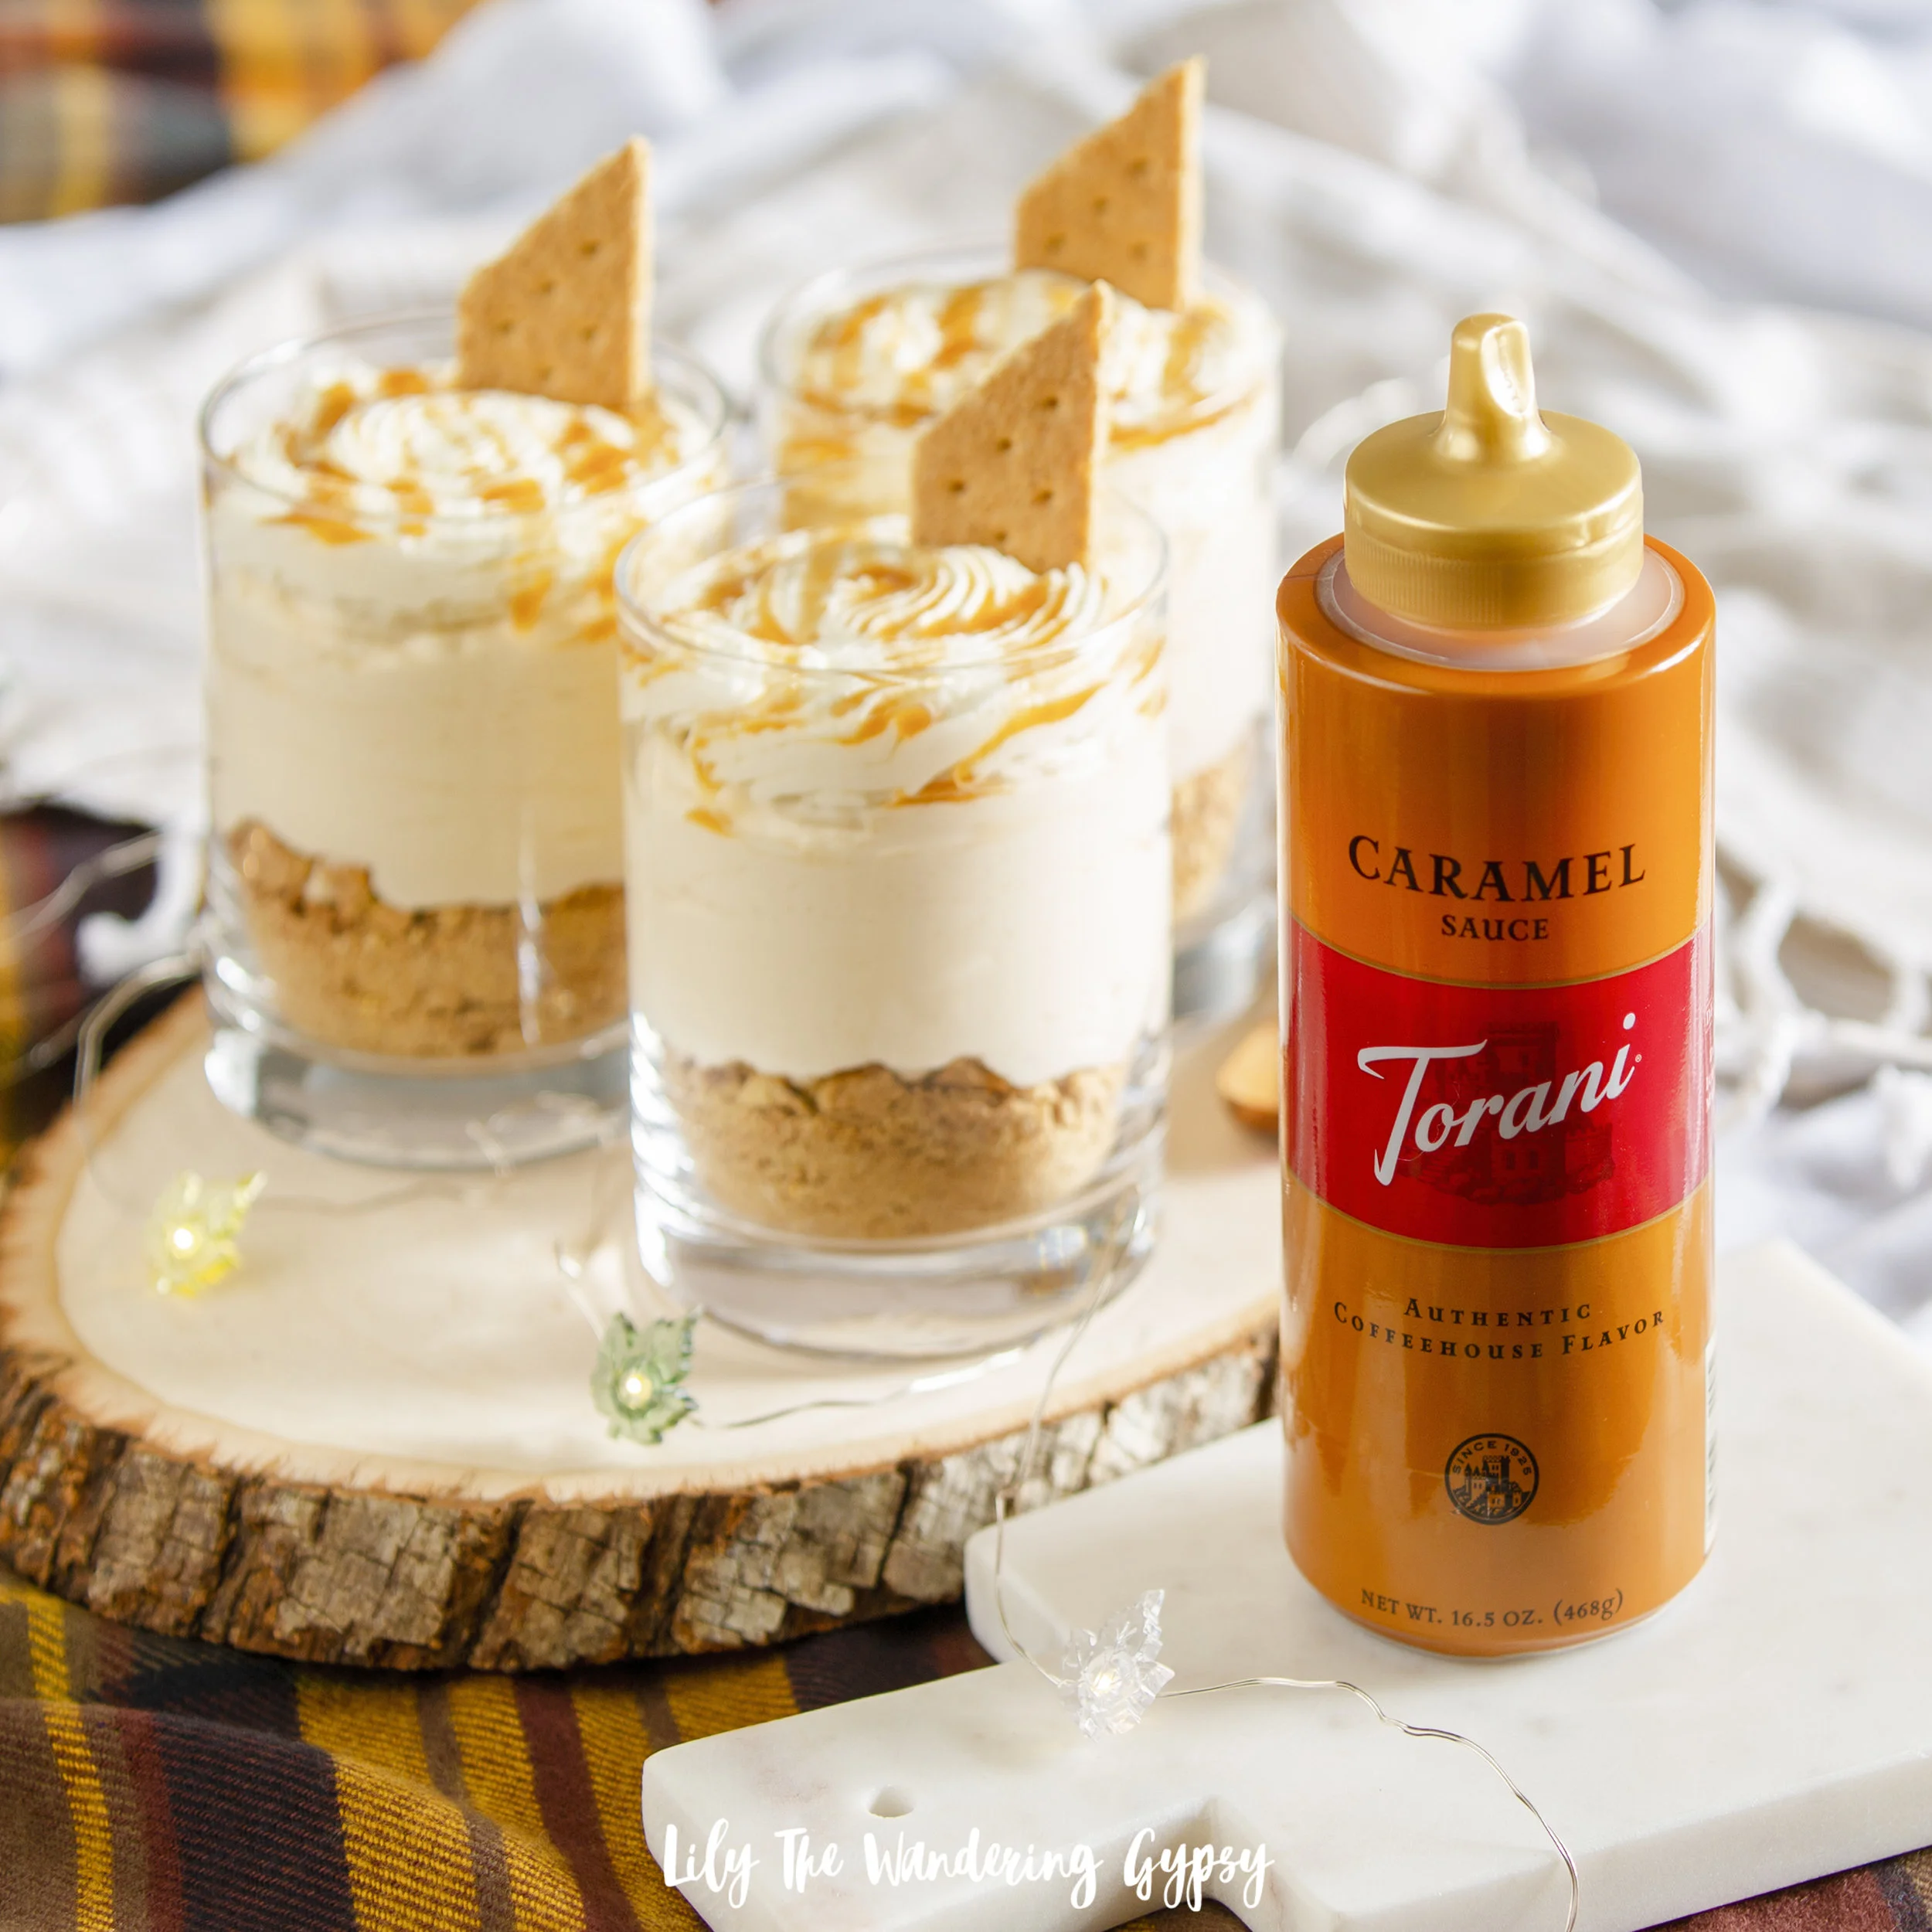
Dulce De Leche No Bake Dessert Recipe

Do I have a delightfully easy no bake dessert for you! This one would be PERFECT to serve during the holidays, and if you make it in a larger dish, this would be great for a crowd! These desserts are seriously incredible, and I think they would even taste great with chocolate syrup as well.

INGREDIENTS:

1 pint heavy or light whipping cream

1/2-1 cup Torani Caramel Sauce (found at Walmart in the coffee aisle, near the chocolate sauces)

1 box of graham crackers (reserve several for top garnish)

INSTRUCTIONS:

1.) Place three medium-sized glasses on your work surface, and crush up graham crackers as small as possible. I placed 15 or more graham crackers into a stronger Ziploc bag, closed the bag, and then used a jar to crush up the crackers.

2.) Divide the crushed up crackers between the three glasses. Now, to make your filling! Beat heavy whipping cream for several minutes, until stiff peaks form. Reserve about 1/2 Cup of the whipped cream for your topping, then, add vanilla and Torani Caramel sauce, then finish mixing to combine everything. Divide the filling between the glasses.

3.) For the garnish, I used a sharp knife to carefully cut the graham cracker squares in half, then I cut a diagonal angle as well. This is totally optional, I just thought it was cute. Also drizzle more Torani syrup over the top of the dessert and enjoy.

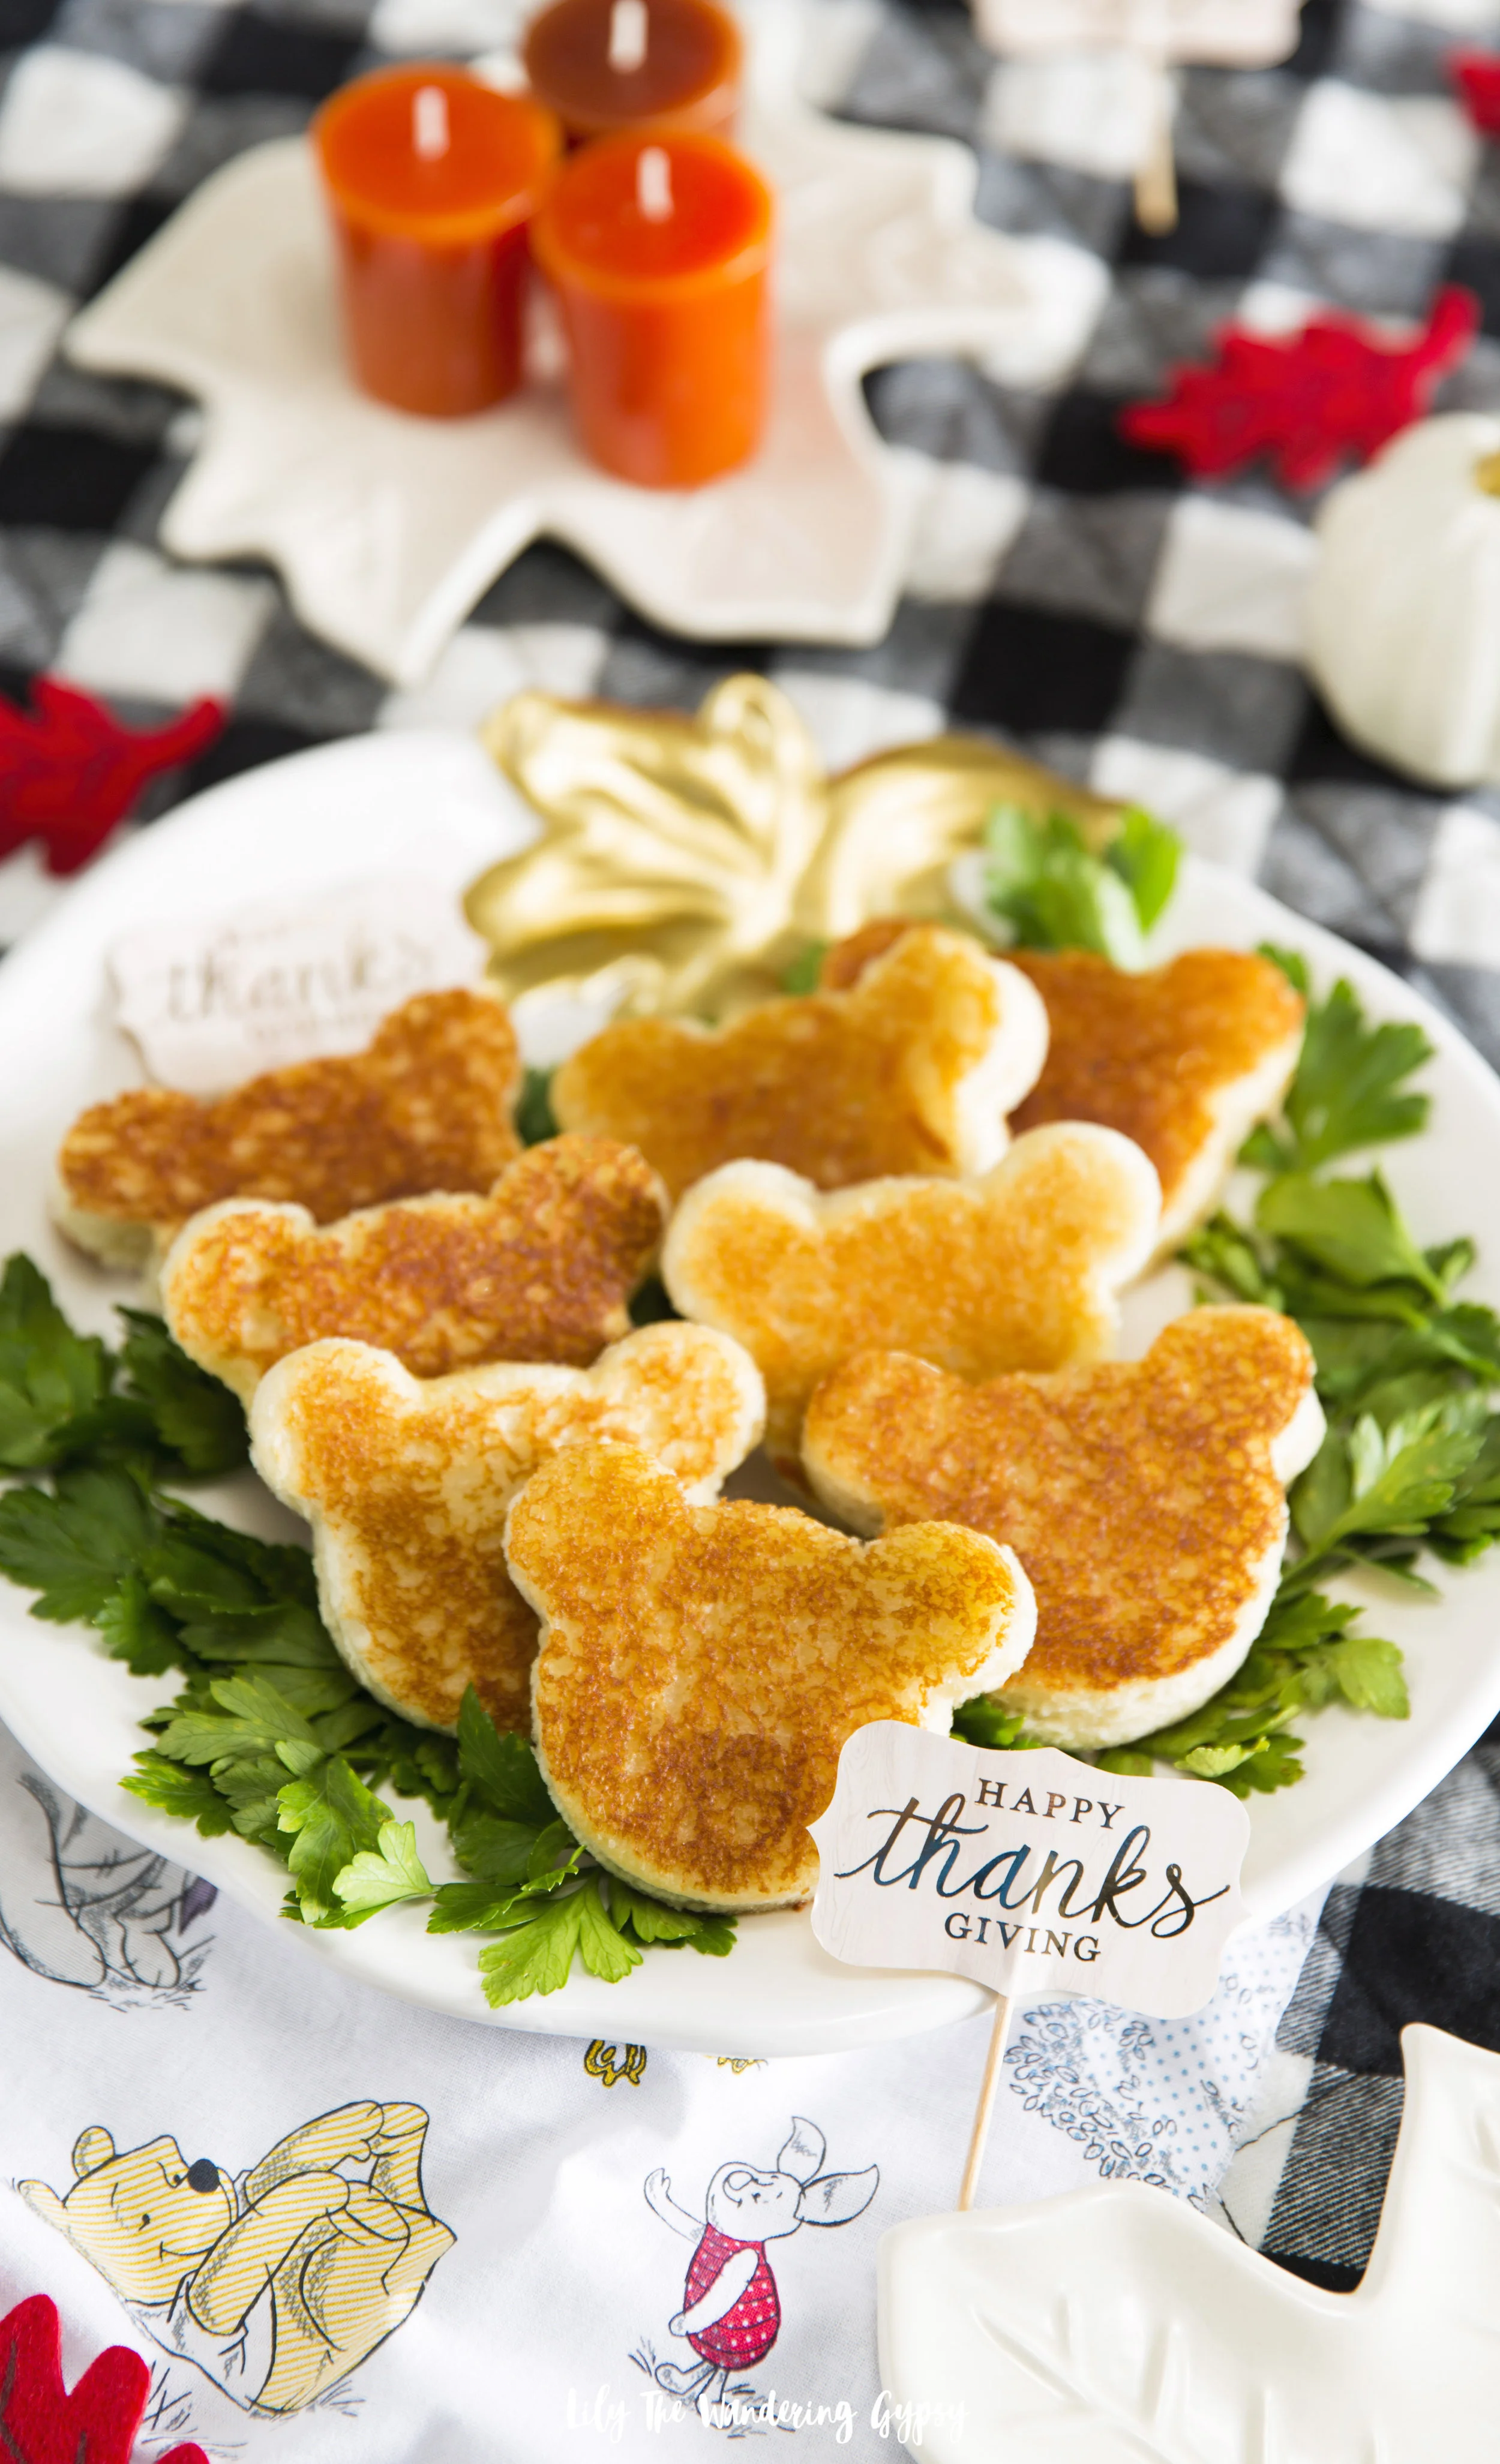
Winnie The Pooh Mini Bear Sandwiches

These little mini grilled cheese sandwiches are inspired by Disney’s new movie, Christopher Robin. I found these to be incredibly fun and easy to make and can even be partially prepped ahead of time if you will be making a lot of them for a crowd. #WisdomByPooh

INGREDIENTS (makes 10 sandwiches)

  • 20 pieces of sliced bread

  • cookie cutter in your favorite shape

  • up to 2 cups shredded cheddar cheese

  • butter spread or my favorite dairy free option, Earth Balance

  • skillet

INSTRUCTIONS:

1.) Simply use a cookie cutter to cut shapes from your favorite sliced bread. Those can be cut out up to one day in advance, then stored in an air tight bag.

2.) Heat skillet over medium heat, and add butter to each piece of bread, set aside.

3.) When skillet is hot, add as many pieces of bread as you can, butter side down. Sprinkle approximately 1 TBSP of shredded cheese per piece of bread. To avoid a mess, try to make sure the cheese stays on the bread, rather than getting it all over the skillet to burn.

4.) Place other pieces of buttered bread shapes on top, and let the cheese melt. Use a spatula to VERY CAREFULLY flip over the sandwiches to then heat the other side evenly, until cheese has melted.

5.) serve on a cute platter and enjoy!

I styled these in a Thanksgiving theme, but they would be amazing for just about any holiday. I thought they would be amazing for little ones, to tide them over as the full meal is being made. These could be a fun way to get picky eaters to try something new also.

Chocolate Lover's Gift Guide with GODIVA

I am sure we all have that special friend or family member who loves chocolate and deserves a little treat this holiday season1 Everyone who has had the pleasure of trying these new #GodiaGCubes has absolutely LOVED them and cannot wait to have more. I am so honored to have had the chance to help promote these delicious G Cubes for GODIVA! Here are a few of the cutest and most incredible gift ideas for the Chocolate Lover in your life!