I am in dire need of some cute, new sneakers, and I think I have found the ones! The Nike Internationalists are adorable, and would look cute with so many outfits.

SPOTTED PAIR // LILAC PAIR // BLACK PAIR

I am in dire need of some cute, new sneakers, and I think I have found the ones! The Nike Internationalists are adorable, and would look cute with so many outfits.
SPOTTED PAIR // LILAC PAIR // BLACK PAIR
This shop has been compensated by Collective Bias, Inc. and its advertiser. All opinions are mine alone. #BlackBoxSummer #CollectiveBias The following content is intended for readers who are 21 or older.
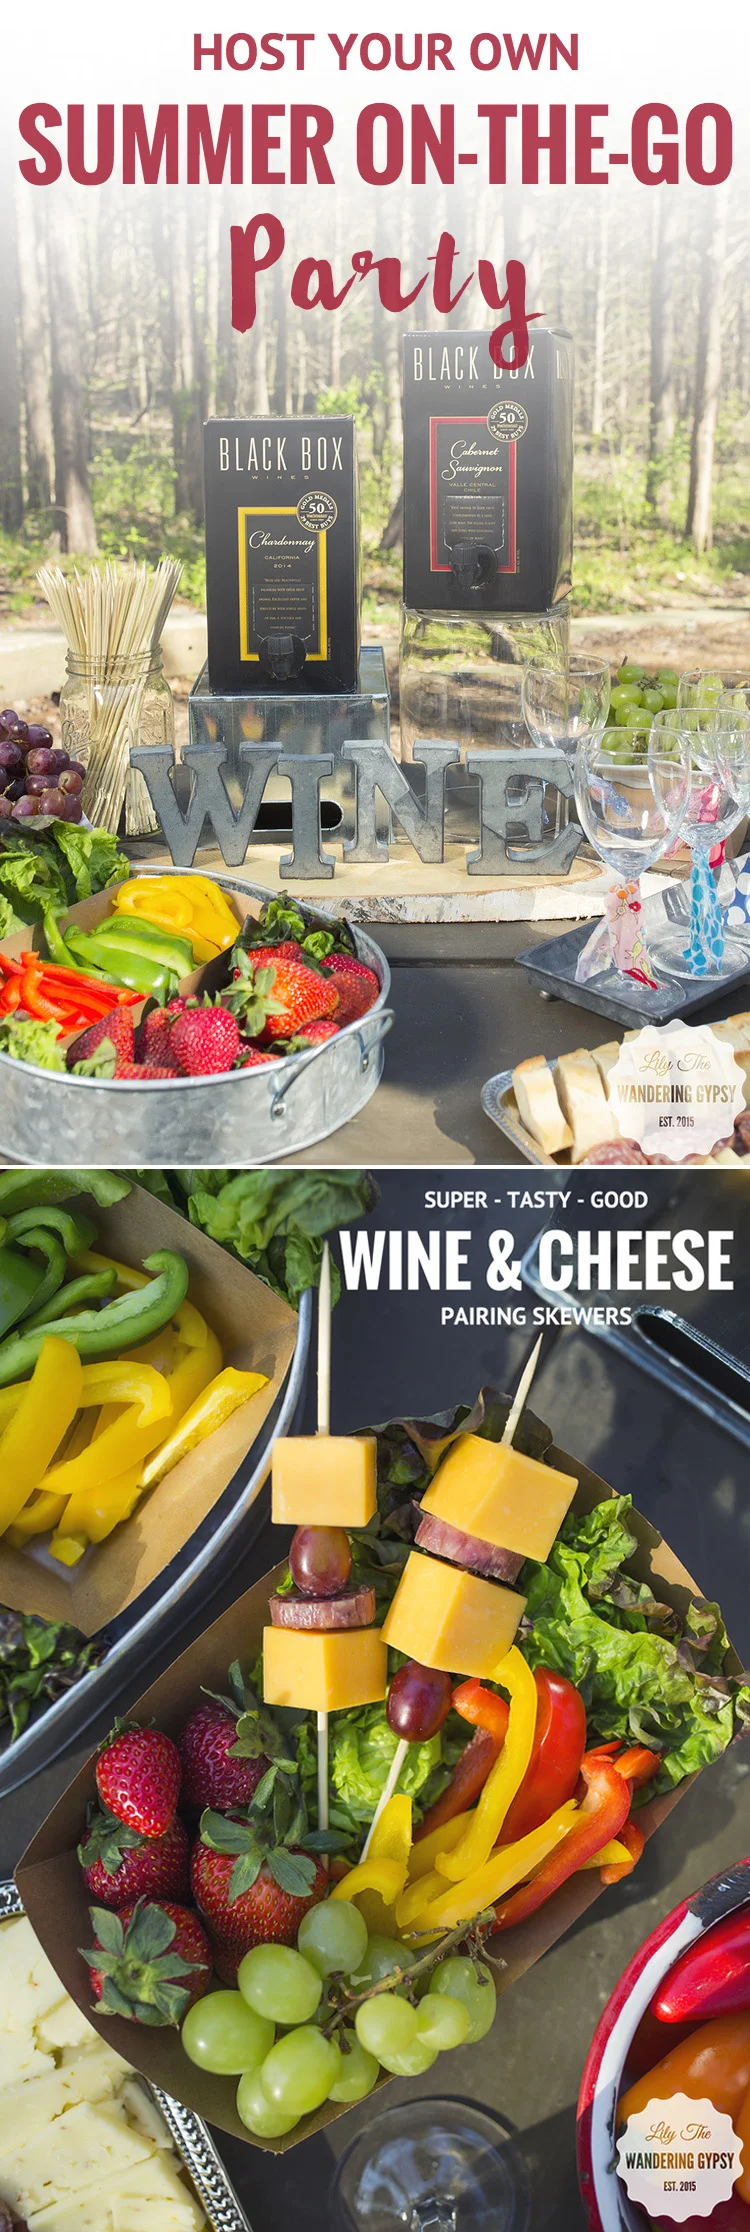
I love the idea of a wine and cheese party, but if guests can carry the appetizers around, it prevents anyone from being left out, or everyone having to hover over one plate of food. Instead, offer guests skewers, and a plentiful plate of meats and cheeses, and let them decide what they want! I also like the idea of having grapes and as many fresh fruits and veggies as possible. I liked using these cardboard food containers I got at a craft store. They hold so much, and are coated to avoid any messes.

Cut up salami, summer sausage, and various cheeses and let guests use skewers to create their own Wine & Cheese Pairing Skewers!!

Let your guests choose their own adventure, and add whatever type of meats and cheeses they want! Less food will be wasted with this method, which saves money.
 Be sure to visit the Simple Entertaining Social Hub for more details about ways to entertain this summer.

INSTRUCTIONS:
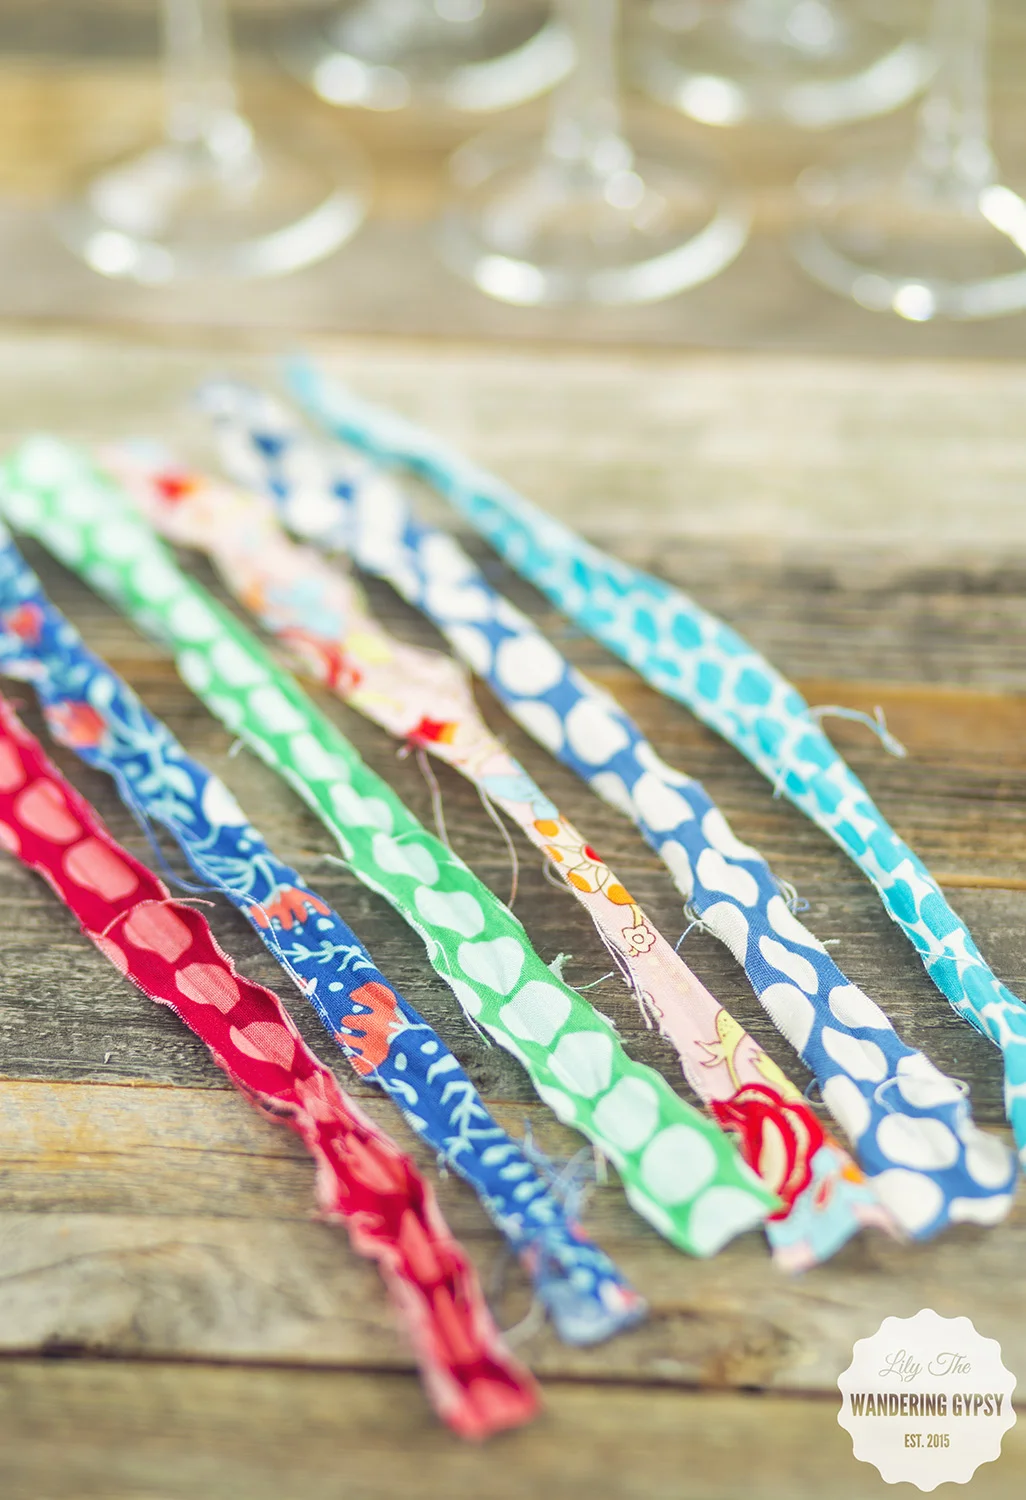
1.) These are super simple and can be made for FREE! Just cut your fabric strips that are 12" long x 1" wide. I just freehanded these, but a rotary cutter could always be used.
2.) Now, to get the rough edges on the fabric pieces, pull them and stretch them as much as possible. Keep pulling from both ends until you get a more frayed look.
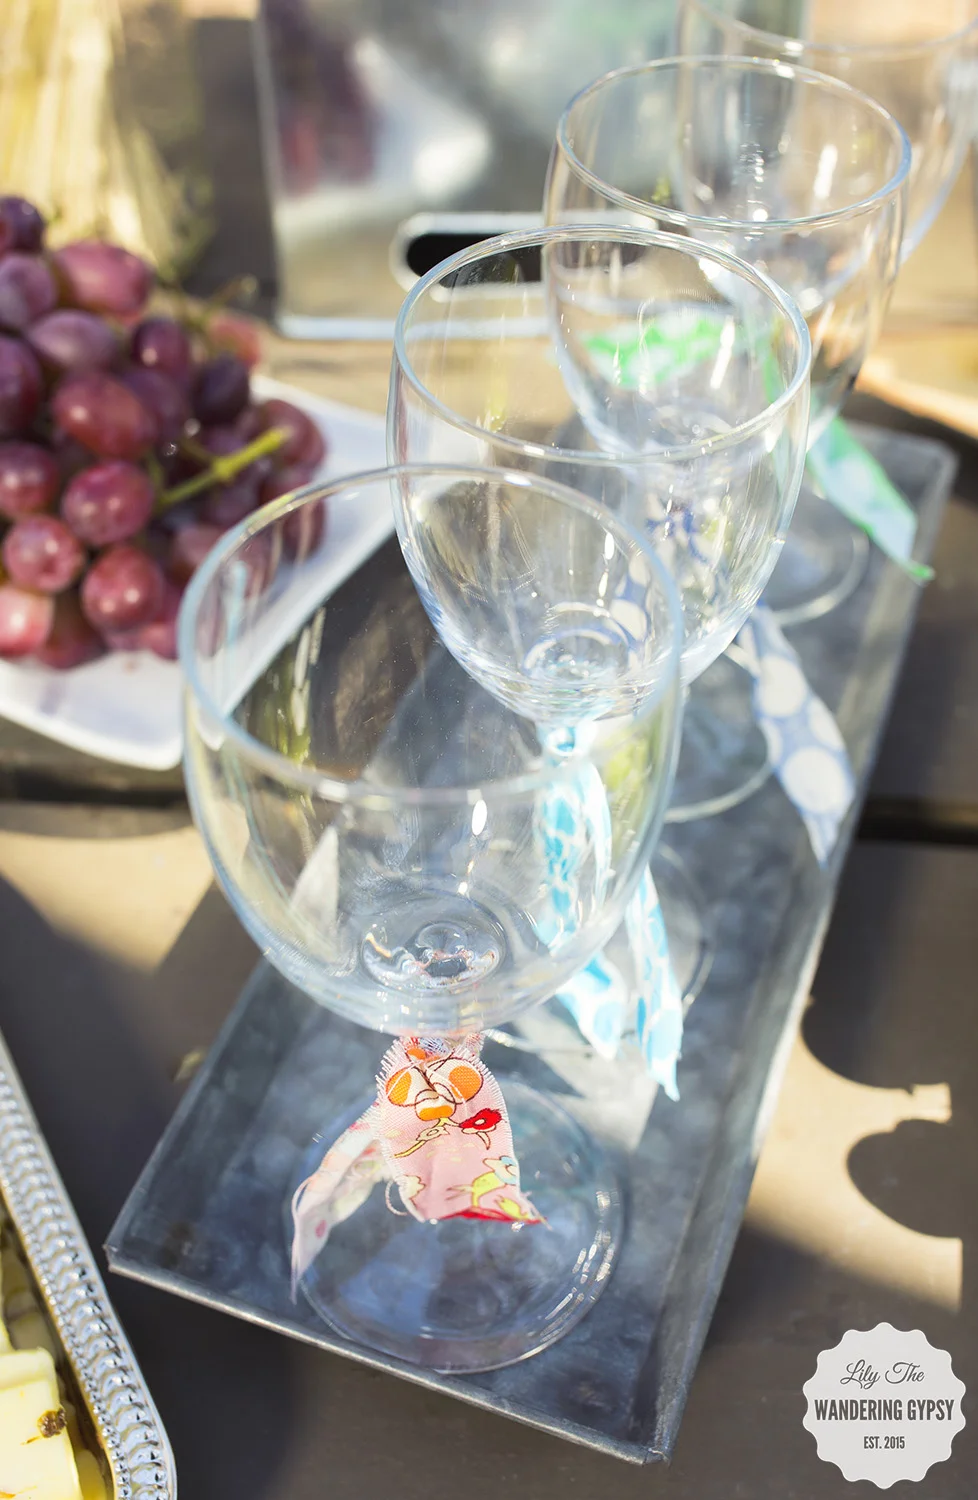
3.) Tie the distressed fabric strips around the top of the wine glass stem, and double knot.
4.) I found that cutting about 1" off of each of the long ends at a diagonal was best. That's it!
To ensure guests can reach the boxes of wine, elevate them onto something like a glass vase or metal box. This also adds visual interest to your party table.
This little project came together so well! It was one of the easiest party decor projects ever.
WHAT YOU NEED:

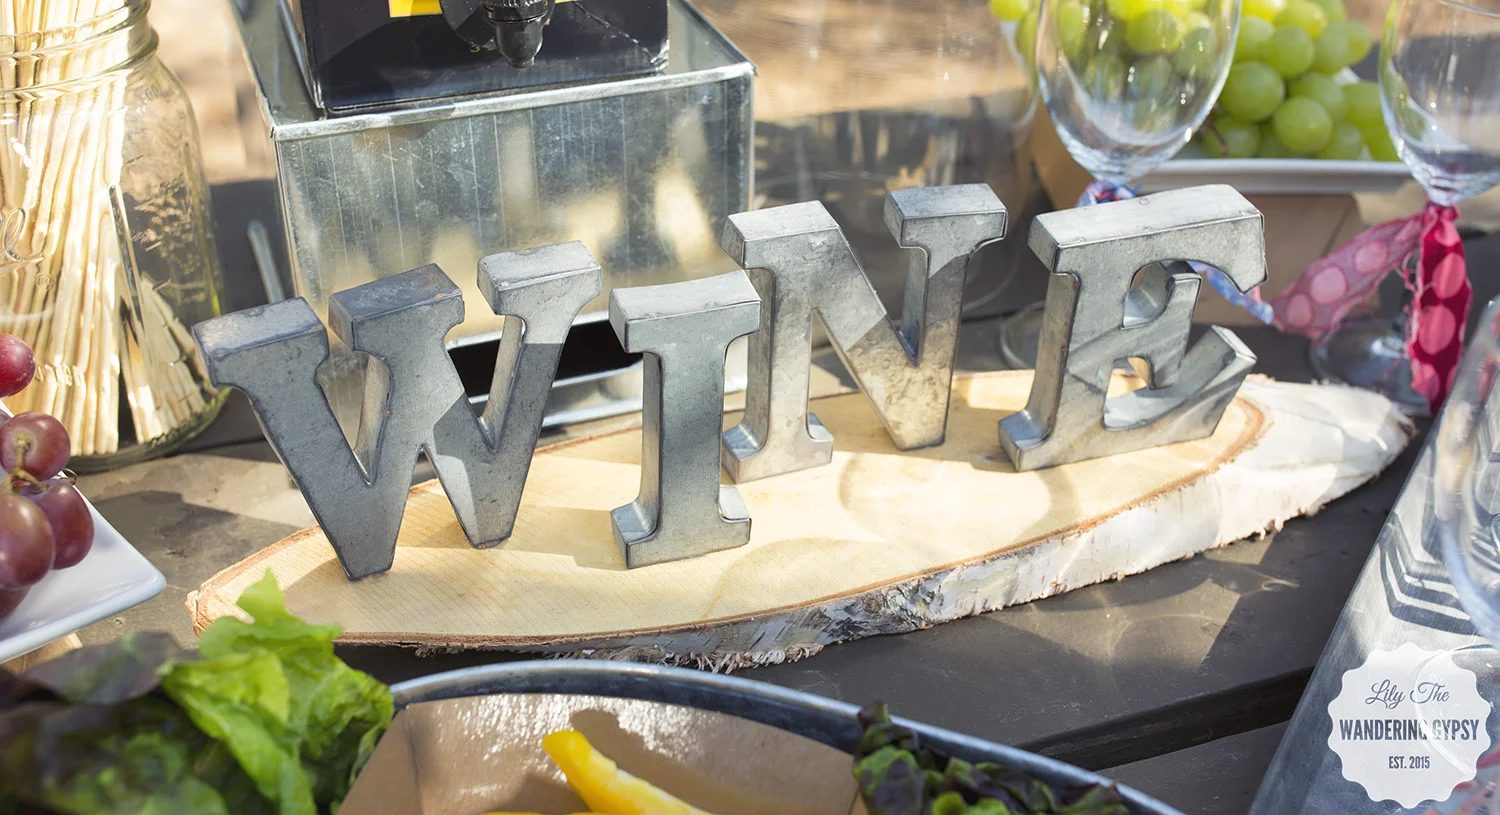
All you need is a few materials and about 15 minutes, and you can make this cute DIY Wine Sign! Perfect for summer parties On-The-Go!
4 Galvanized letters - found at a fabric store, Birch Round (or Rectangle) - found at that same fabric store, and a hot glue gun with glue. Super Glue / Krazy glue did NOT work at all, just a warning :)
1.) Plug in your glue gun, and begin to do a sample placement of your letters onto the birch round. This birch round actually has a twine hanger attached, but you can cut it off.
2.) I found that the best way to securely attach the letters was to mark where each letter went with a dot of pencil, then apply hot glue and quickly re-attach your letters.
3.) Glue all letters in place and you are DONE! This project only took about 15 minutes!


This shop has been compensated by Collective Bias, Inc. and its advertiser. All opinions are mine alone. #CeraVeSkincare #CollectiveBias

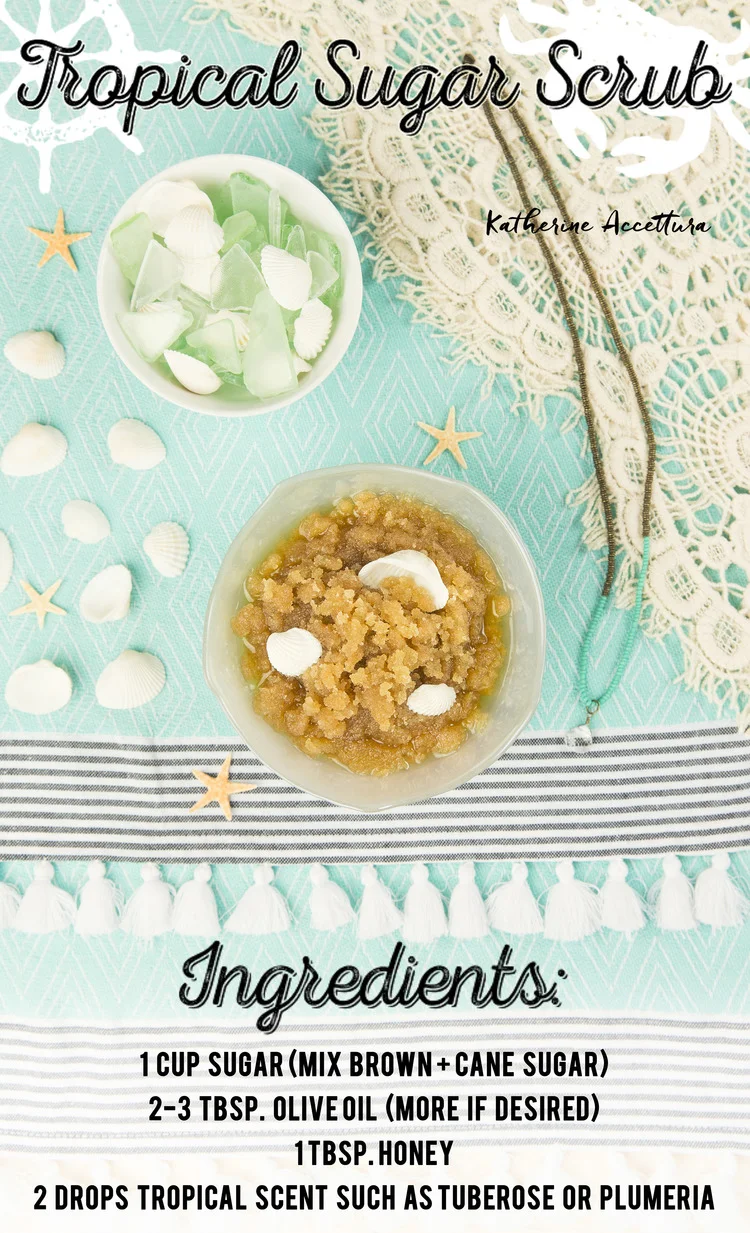
1.) Exfoliate! Now that it's almost sandals and shorts/skirts weather, you can use a simple home made or store bought sugar scrub to smooth your feet, legs, and elbows!
2.) Clear Up Your Face! Use the CeraVe Foaming Facial Cleanser (on your face) in the shower, and use the CeraVe Hydrating Cleanser for your arms, back, and chest. I absolutely love the fact that these are both gentle cleansers, and have hardly any scent.
3.) After the shower, pat your skin and face dry and apply a moisturizing cream. I like the pump style lid on the CeraVe Moisturizing Cream. It's nice, not too oily, and eaves my skin incredibly silky smooth! I would recommend using this on arms and legs.
- CeraVe Moisturizing Cream (below): Moisturizes and helps restore the protective skin barrier, with vital ceramides.
4.) Now that most of your body is smooth and hydrated, I will stress the importance of sunscreen!! The AM Facial Moisturizing Lotion (above) is a nice, unscented, lightweight option for daily use. You can wear it under makeup, too!
5.) Sunscreen For Your Body. This CeraVe Sunscreen (above) is SPF 50 - which is best when you will be in full sun, or if you want to increase the daily protection you are getting. And, I tried this on my face, and the Zinc is hardly there at all, and once you rub it in, it disappears.
And, an added bonus!! Three of the CeraVe products, mentioned in this post, are on Rollback (for only $9.97 each) at Walmart until 5/9/16
Find them in the sunscreen section, facial moisturizer section, and the face wash section. They may also have a few products in the lotion section.
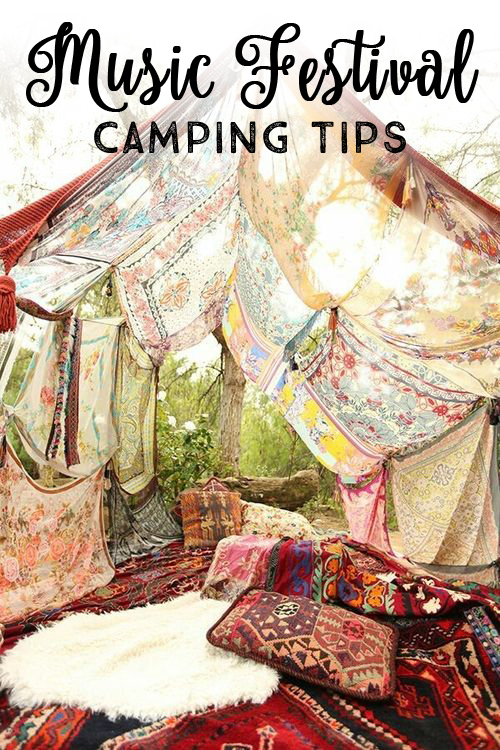
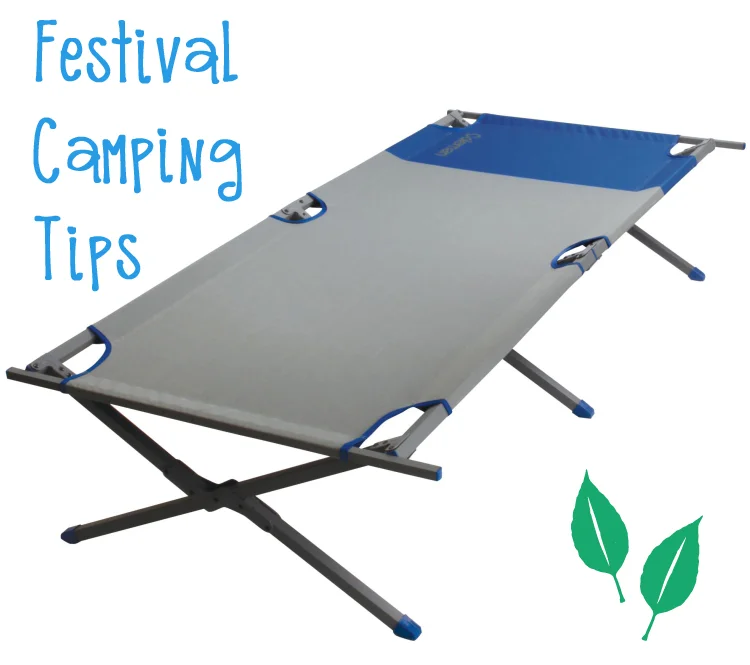
Tickets are already on sale for many of the bigger summer music festivals. Coachella is happening very soon, too! I wanted to share some camping tips with you so that you don't have to worry about being that person sleeping under a tent that has fallen in on itself or gets a puddle of rain inside, rendering the whole weekend a "wash"! If you're looking for ideas on What To Wear To A Festival, check out this post here!
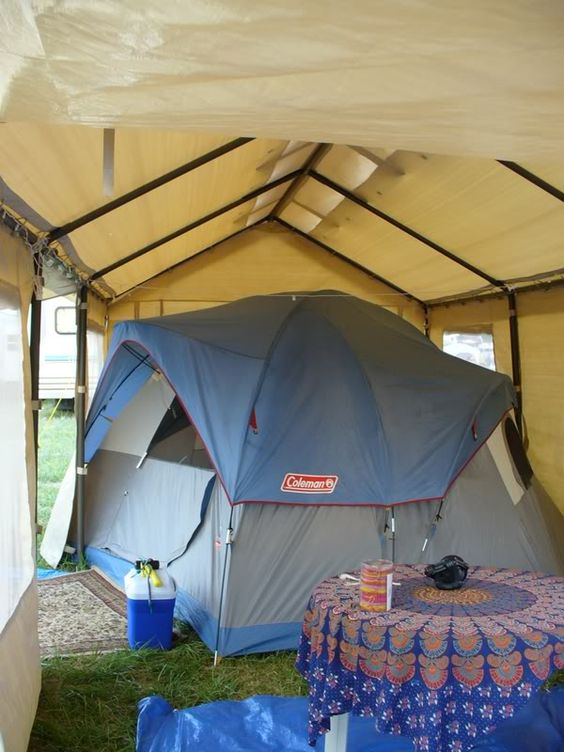
YOUR HOME BASE
A good tent is the first step to ensuring that you have a good night's sleep, and that your personal belongings are safe. I have never had anything go missing from my tent or campsite, but if you want to be safe, get a small lock for your tent zippers and DO NOT lose the key :) I also like to toss my cooler in the car or under the tent vestibule while I am off seeing music or away from the campsite.
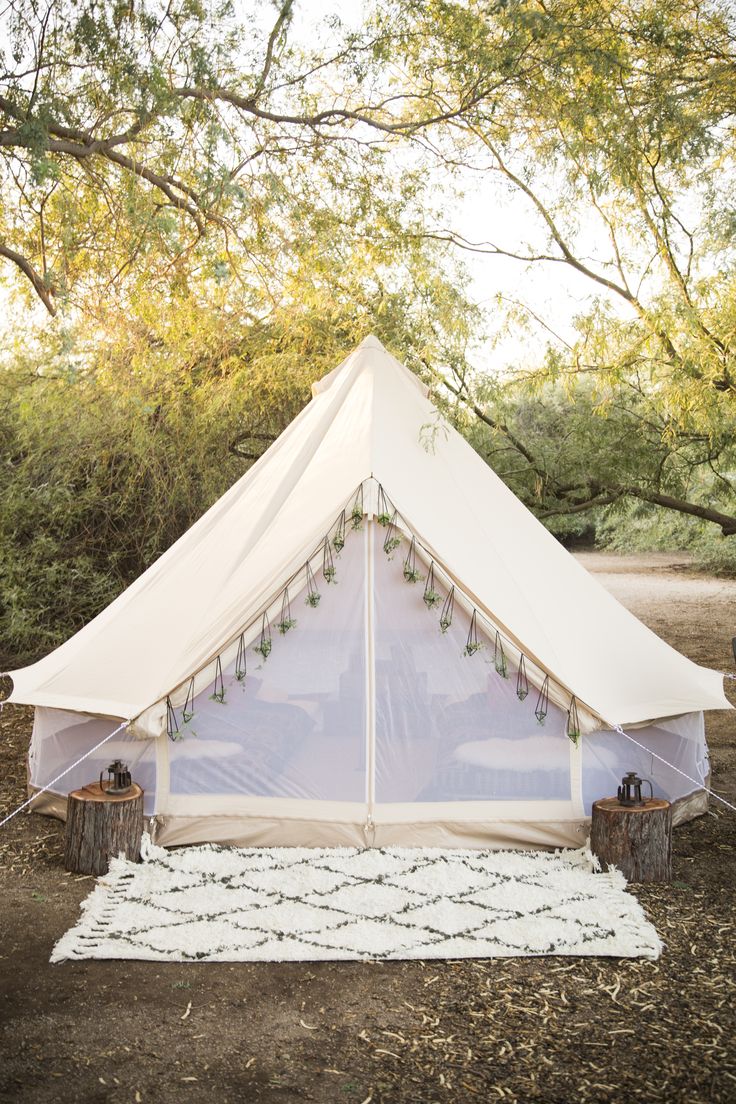
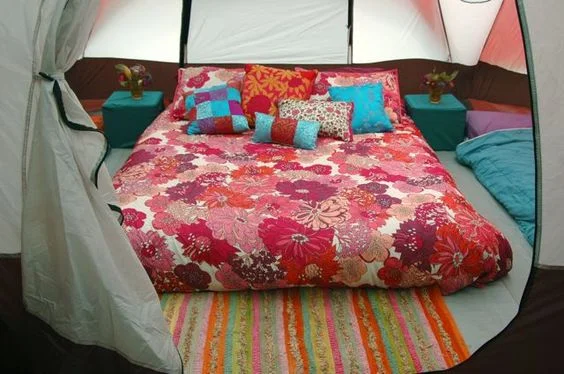
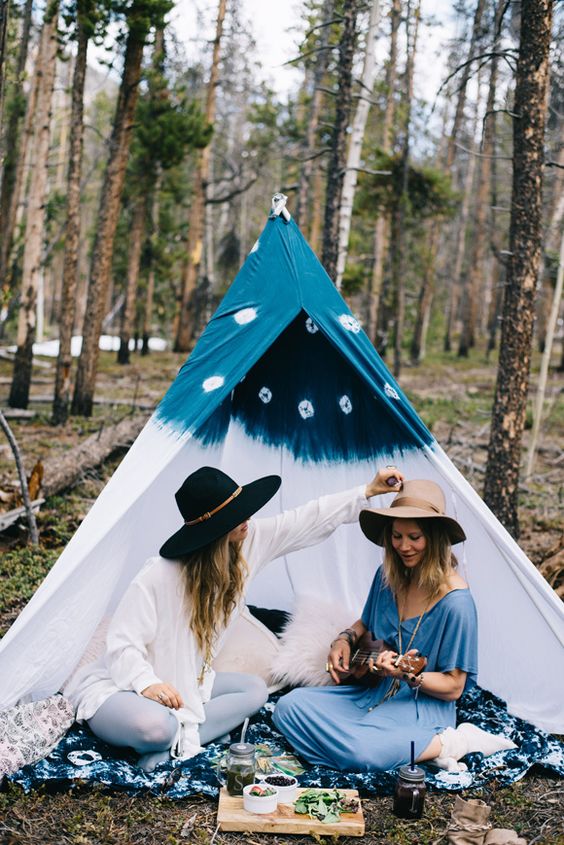
Also be sure to set your tent up properly. Make sure to set your tent up ahead of time in the yard a time or twi before the big weekend! My dream tent (above), is one you can stand up in, comfortably fits two cots, and has a bit of extra room for your clothing bags and food bin. You don't need to spend a fortune, but if you get yourself a better tent that that crappy $50 one from a big box store, you can keep it for years, rather than tossing it after the zipper breaks from your first use.
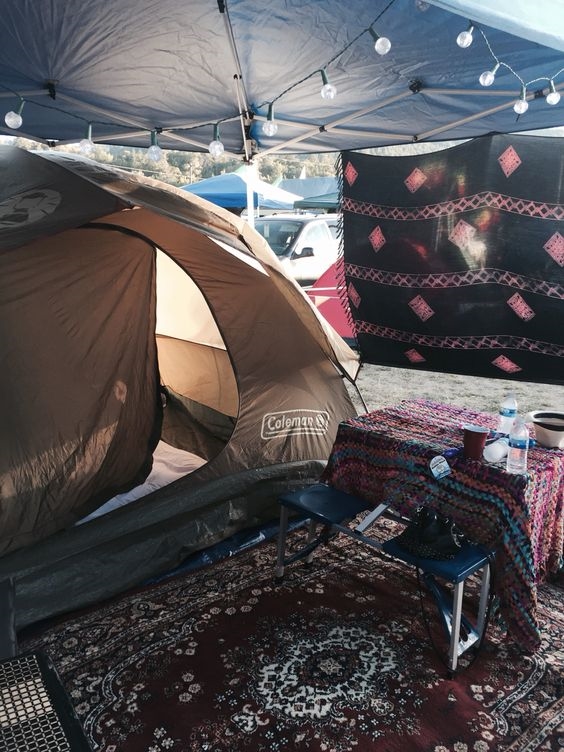
An Ez-Up Shade Tent is incredibly valuable for its' shade factor. It's also a great place to stake out your camp site, and is like a little living room. Hang tapestries, and even set up your tent under it for lots of extra shade and sleep time in the mornings! Make sure to stake the tent down, so it isn't affected by wind. Sometimes, staking it down doesn't always help - a huge storm crumpled my Ez-Up like it was made from aluminum foil, because we had used the provided bolts to attach the top fabric part. So, just check the weather if possible. Most of the time they will be fine :)

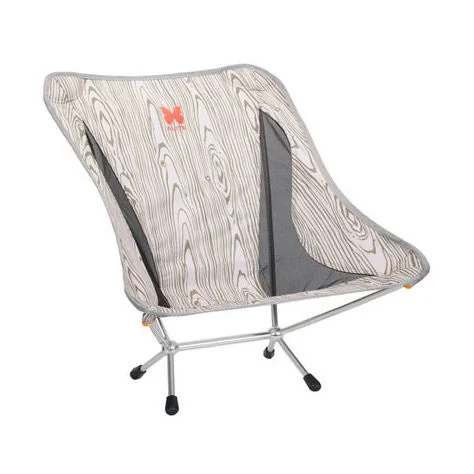
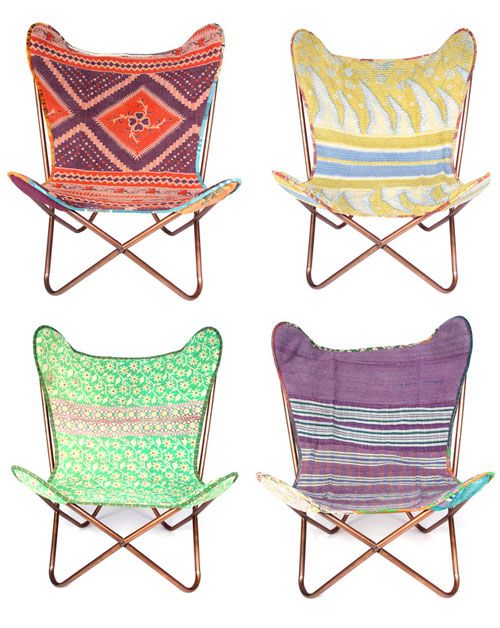
Alite Monarch Camping Chair
A good Camping Chair is very important, since chilling at the campsite is a big part of a festival camping experience. Make sure it has a cup holder :) We love our Alite Chairs so much and they pack down so small. Make sure to stow these away when you leave your campsite though, they might just "walk away" if you leave them out. They weigh nothing and are super nice.
A regular camping chair ($20 or so) will do just fine! And, feel free to bring a couple of extra chairs to sit around your campsite, to invite friends and neighbors over for a drink!
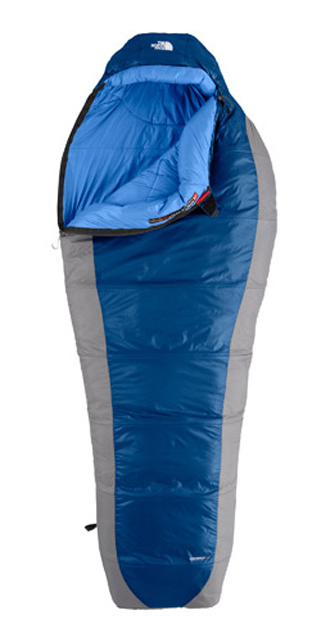
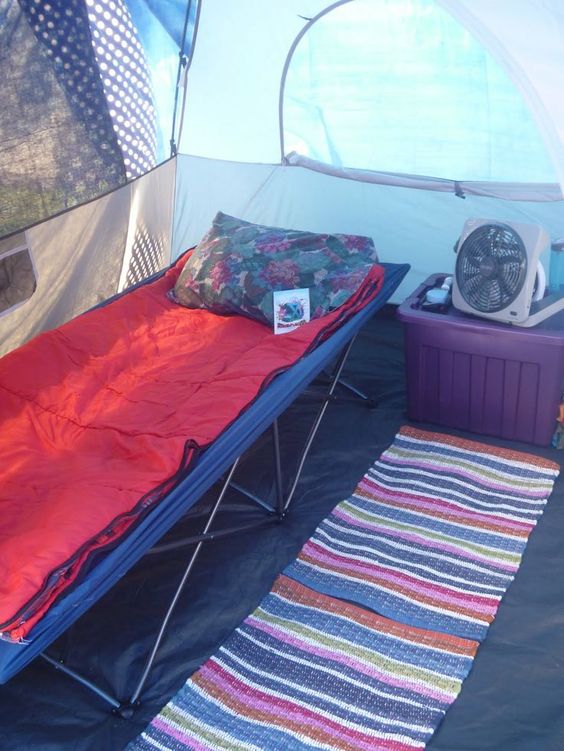
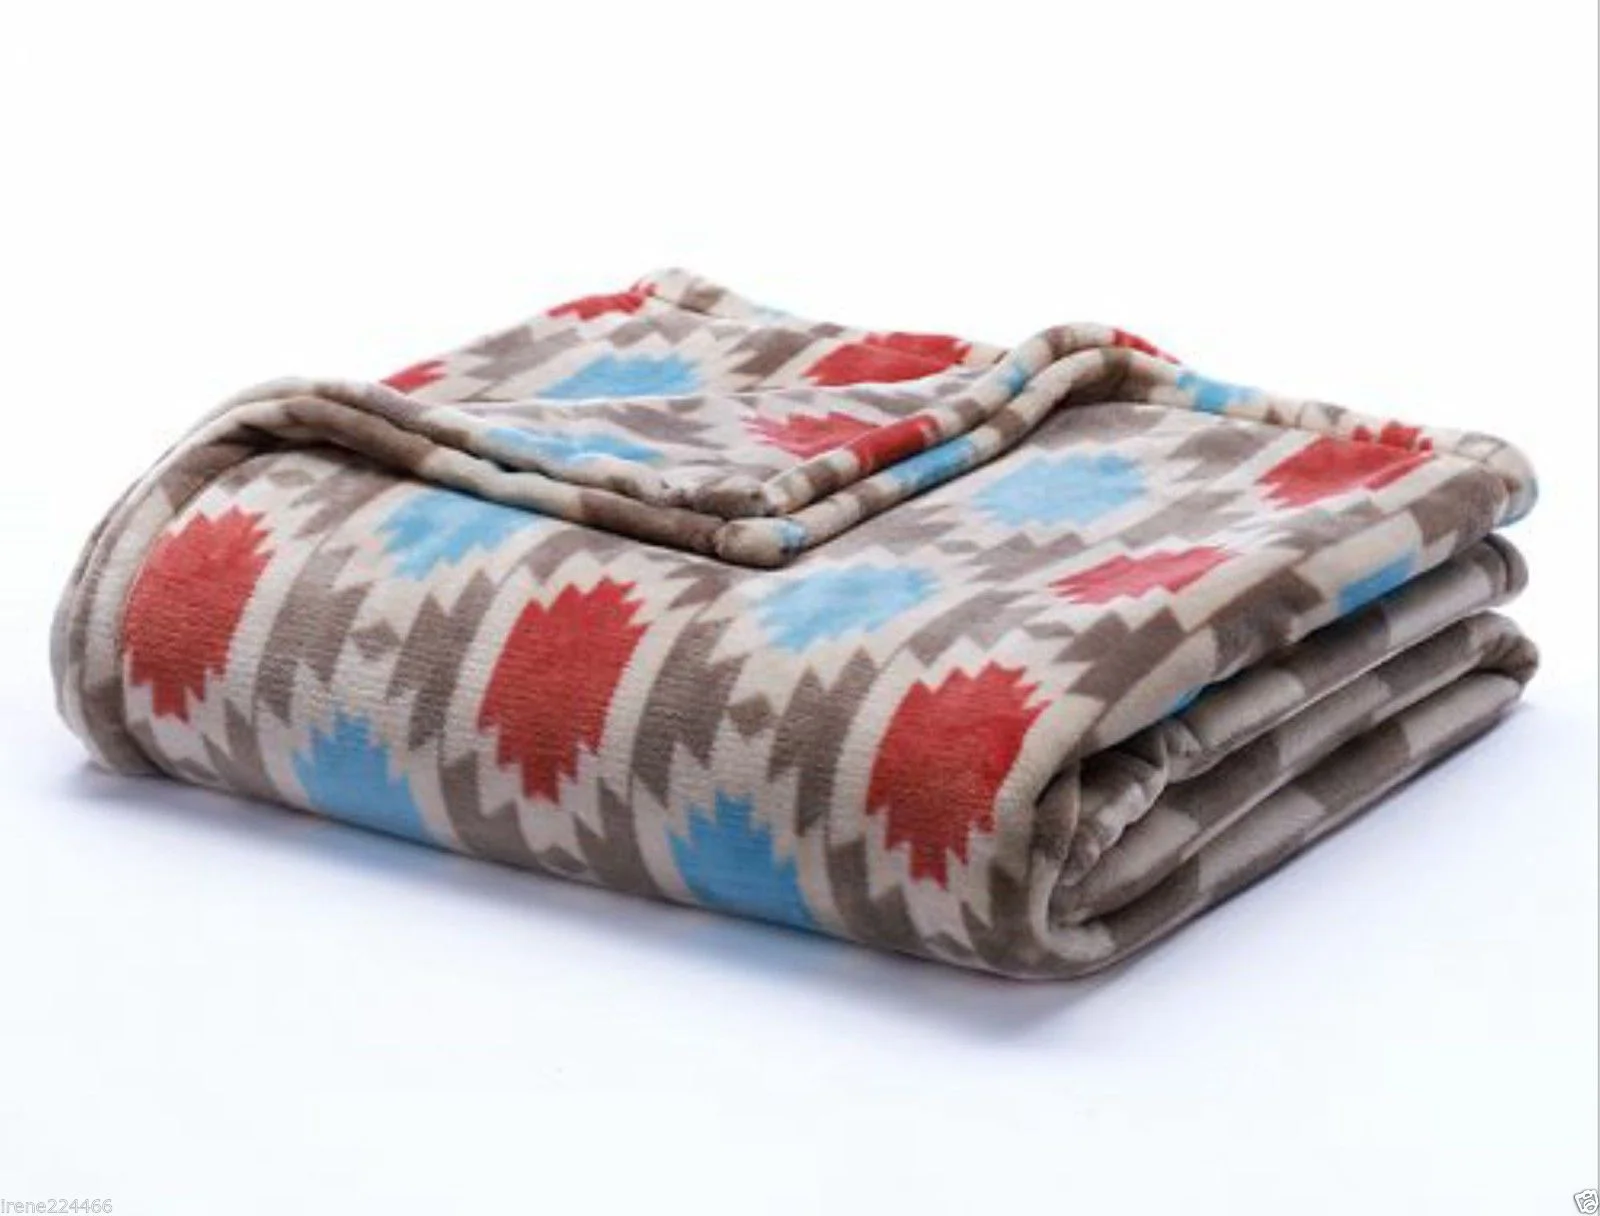
A good sleeping bag is key to any good night's sleep. I have had my Cat's Meow Sleeping Bag from The North Face for a while now, and always fall sleep right away when I get into this thing. It's pretty warm, so if you're going to be at a festival that is also warm at night, bring a couple of flat cotton sheets and a lightweight blanket. Something that's washable preferably, and nothing that grandma made, it may get dirty or be used on the ground for a nap in the afternoon.
GET A COT - It's not likely that you will be near a power source, so instead of a clunky air mattress that can easily pop, do yourself a favor and get a foldable cot. You will get the best sleep of anyone in your camp! Here is one cot option (shown below), and the ones we have are old school, from Go-Kot, but work super well. If you get good rest, then you will be a happy festival goer!
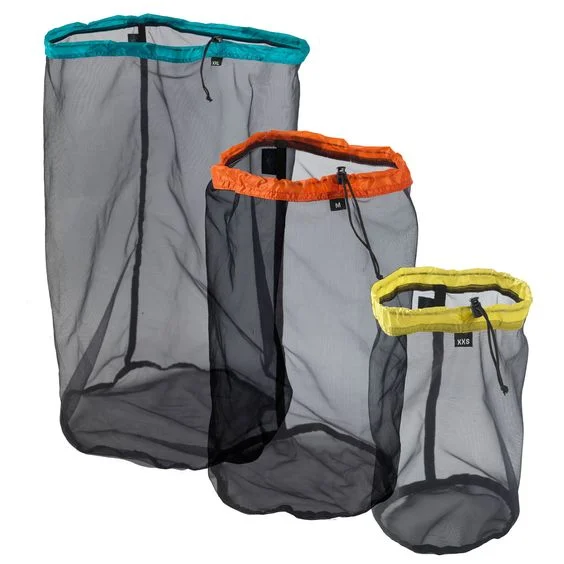
Mesh Stuff Sacks - Sea To Summit
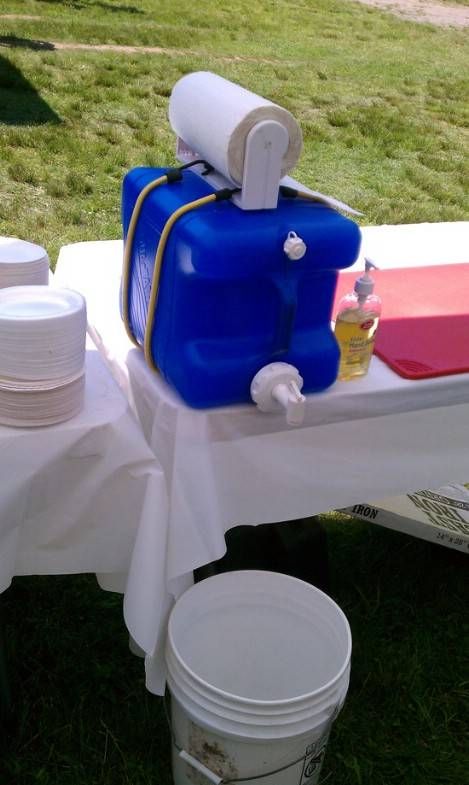
SHOWER UP!
If you're lucky enough to be attending a festival with decent shower facilities, I would recommend bringing a mesh bag that you can hang in the shower with you, so that you can bring the essentials with you, and hang them from the shower bar or hook. I use these ones by Sea To Summit for every adventure and LOVE them!
GoToobs are amazing! I take them with me on every road trip or camping trip, and they would hold more than enough shampoo, conditioner, face wash, and body wash for a long weekend festival! They're SO well made and you can even wash them in the dishwasher if you need to.
DON'T FORGET SHOWER SHOES!
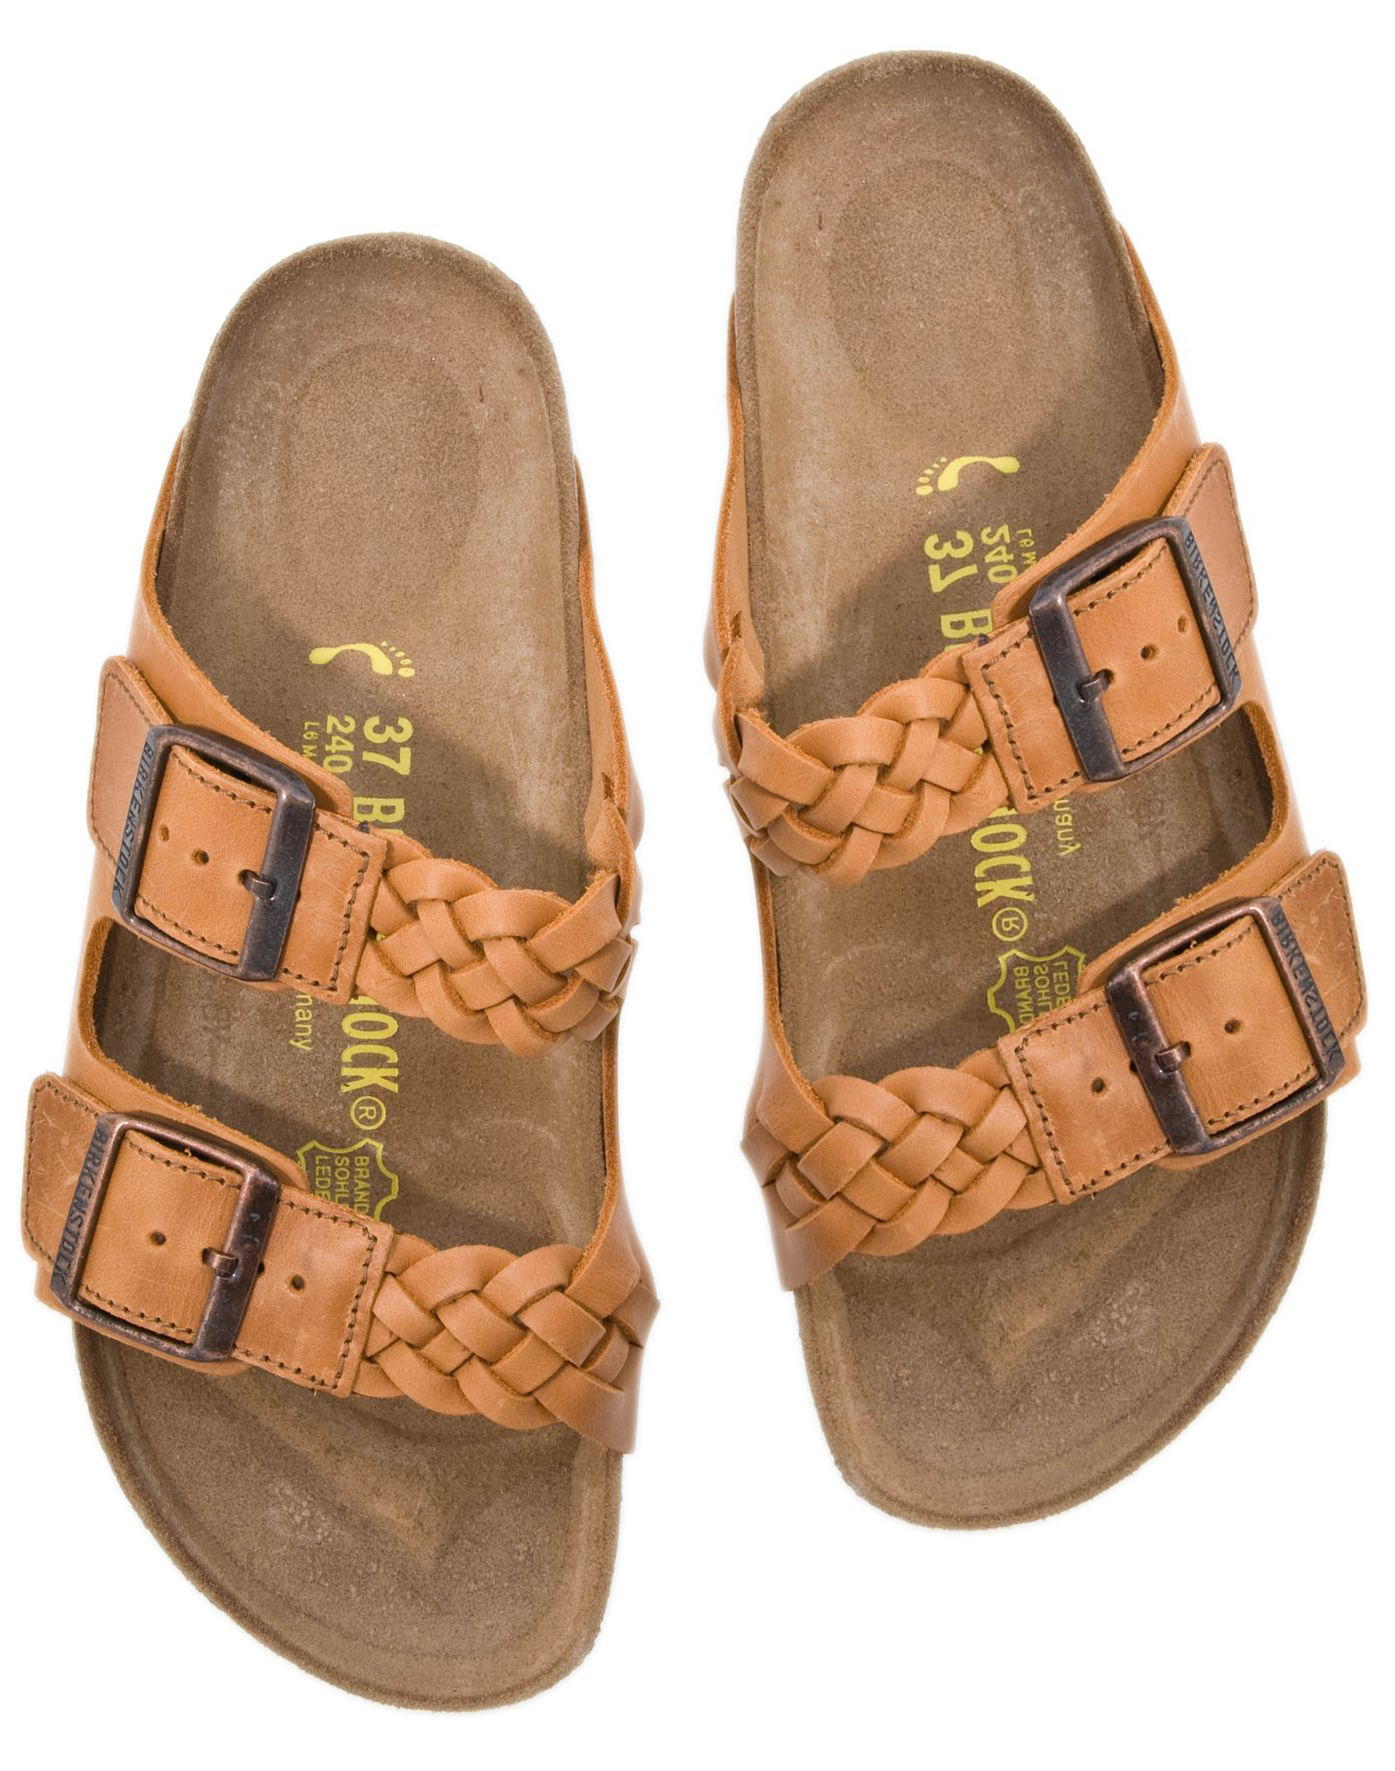
Foam flip flops are amazing as shower shoes, and then you can wear them at the site, or walking around to shows, if you wind up liking them. I absolutely LOVE my Teva Flip Flops, and can walk a long way in them, on many surfaces. They last forever, I get a new pair every year or so.
A good cooler is the basis for making or breaking a festival. You can always buy food from vendors at a festival, but I absolutely try and avoid eating greasy, yucky vendor foods that make you feel so gross! Hey, the comforts of home are not always at hand, so eat and drink wisely :)
Most festivals do not allow glass containers, so plan accordingly. Don't bring glass bottles of beer, bring cans. Don't bring a glass bottle of liquor, pour it into a plastic container with a tightly sealing lid. Bring LOTS of mixers if you like mixed drinks. I would also recommend bringing a slew of airplane bottles of liquor, so you can easily bring them with you as you walk around to shows, and visit campsites! It's easy to find a mixer most of the time.
DRINK TONS OF WATER!!!
Other tips...
Keep your campsite clean! A few times throughout the day, and one of the first things you can do each morning is gather trash and food stuff, and toss it into a garbage bag. Lots of festivals are encouraging recycling (yay!!), and will provide a few clear trash bags for you to keep plastics and cans in.
Have FUN!!! Enjoy :)
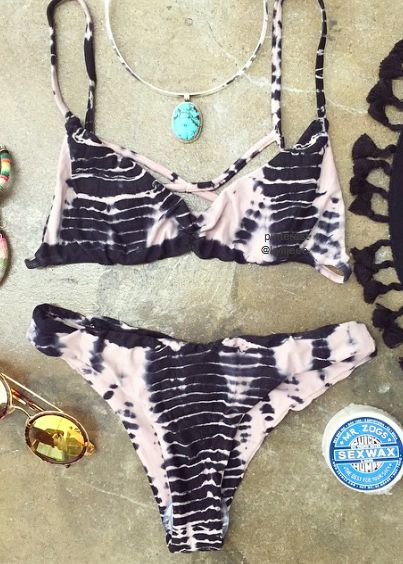
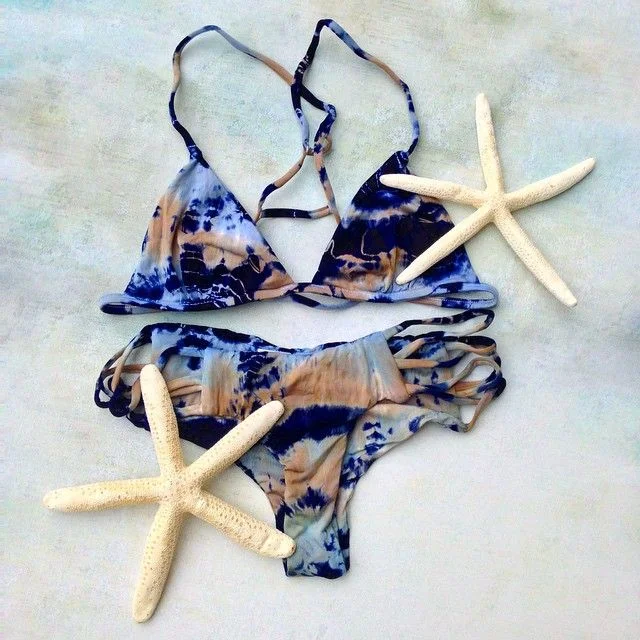
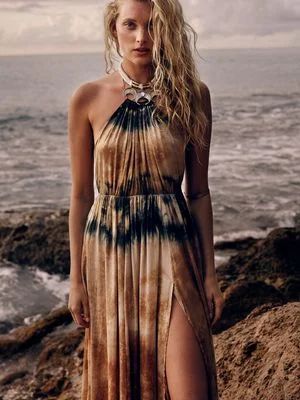
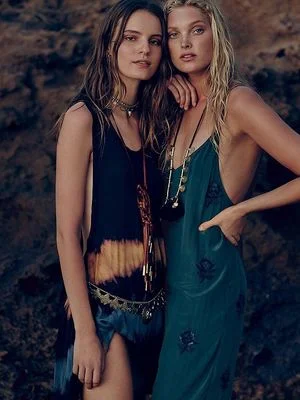
I have had massive amount of traffic since I last posted some wonderful swimsuits from Blue Life / Planet Blue Swimwear. I love the materials they use, and the incredible variation of tie dyed fabrics. They really make my eyes look like hearts :) Below, you will find some of my new favorites from Blue Life Swim!

Tie Dyed Bikini - LOVE!!!

So, we are here in Arizona for March, and the lemon tree at my parent's house was just calling my name! I decided to make my first YouTube video about a wonderful lemon sorbet recipe.
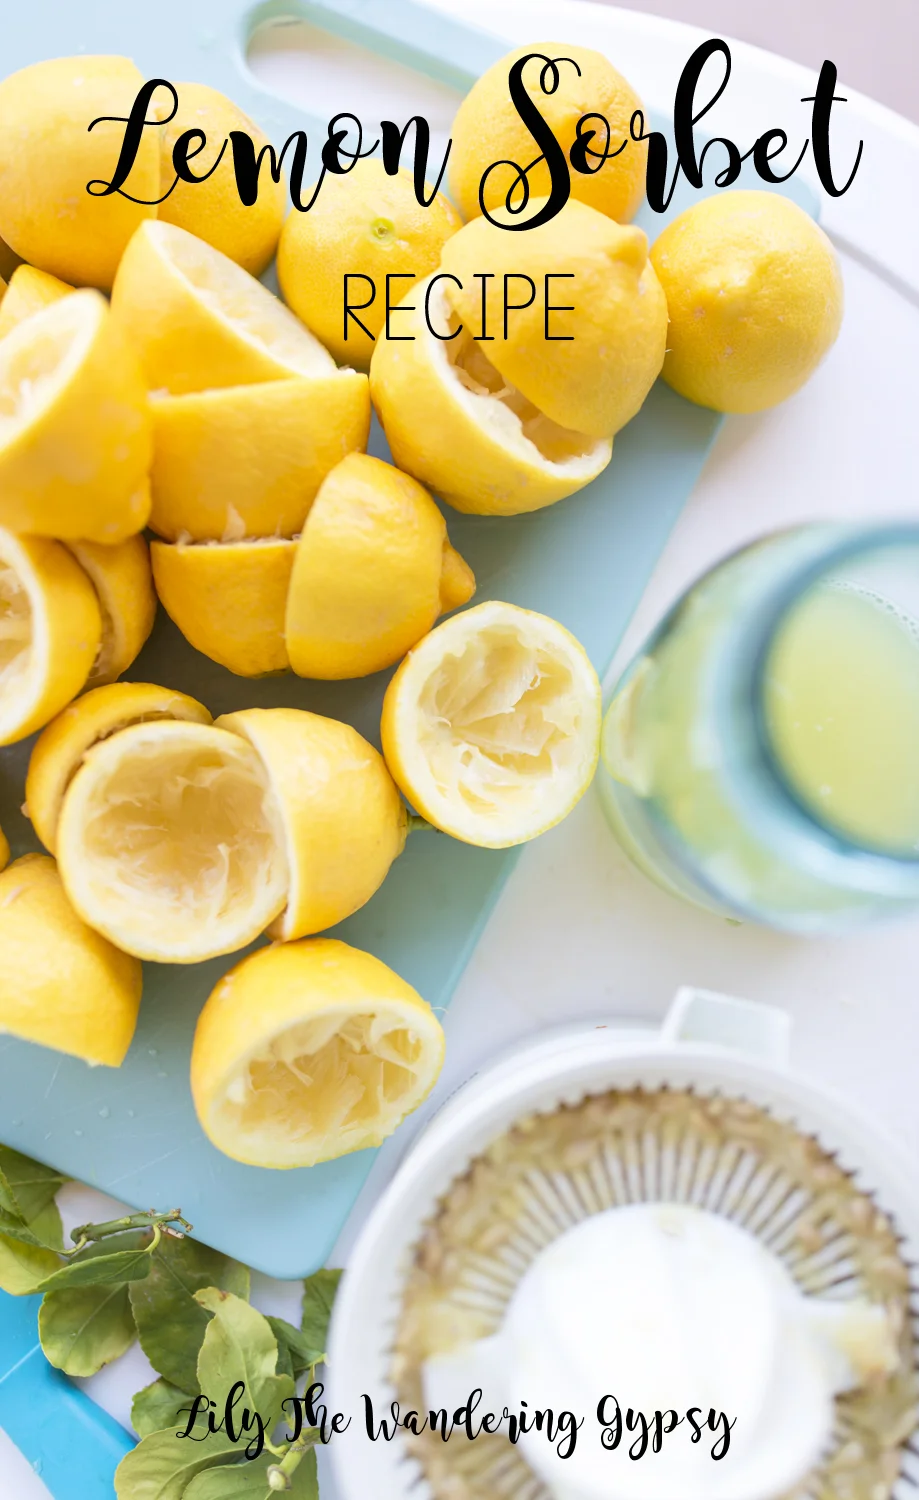
- 2 Cups Fresh Squeezed Lemon Juice (About 12 Lemons)
- 2 Cups Water
- 1 - 1.5 Cups Sugar (White Sugar or Cane Sugar). I used 2 cups and it was too sweet.
Juice lemons, and make sure there are no seeds. Set aside.
Heat water and sugar in a medium saucepan, until sugar has dissolved.
Add lemon juice to sugar water, and stir until combined.
Pour lemon juice mixture into a Pyres or container with a lid, and put into freezer for at least 4 hours, or overnight.
When frozen, scrape the sorbet with a fork, and then serve! This sorbet will stay good in the freezer for about 2 weeks.
Enjoy!

his stuff is awesome! Great for clearing away dry skin to keep your skin nice and smooth this winter. I know it's a more tropical scent, but I love being reminded of warm, beautiful weather when it's grey and chilly here in Illinois.
Check out my whole collaboration post for Sony Picture's Aloha!
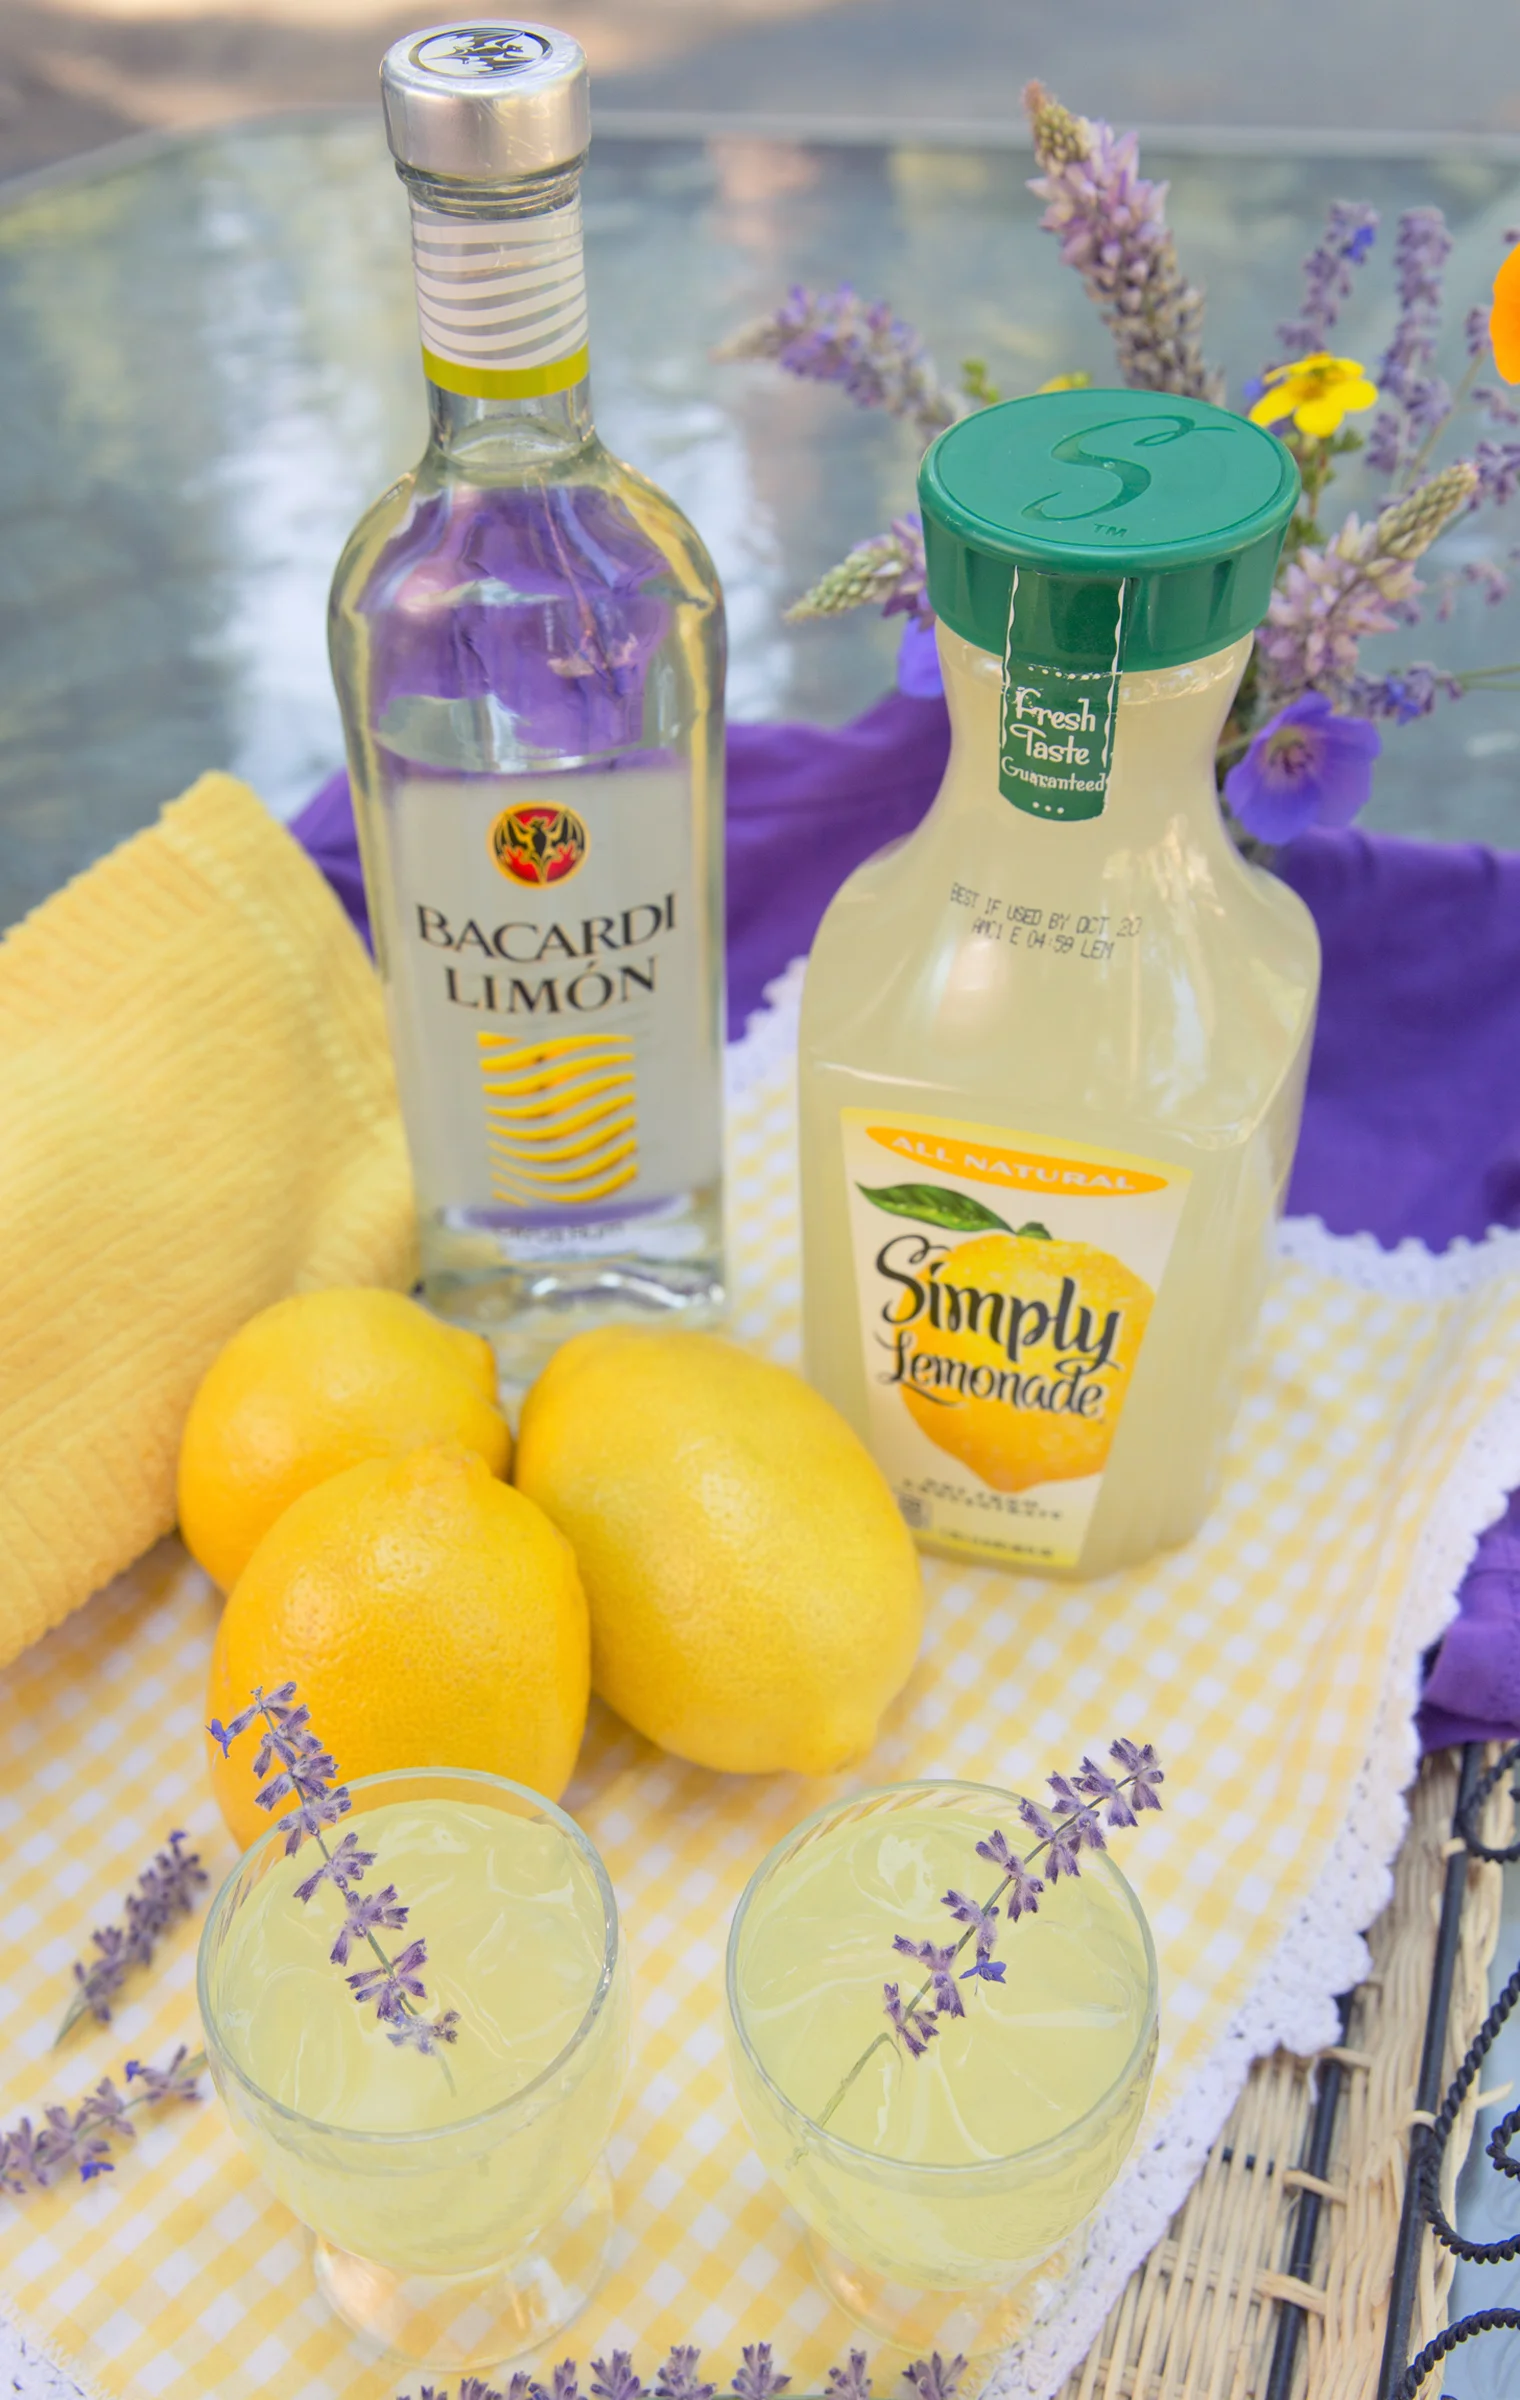
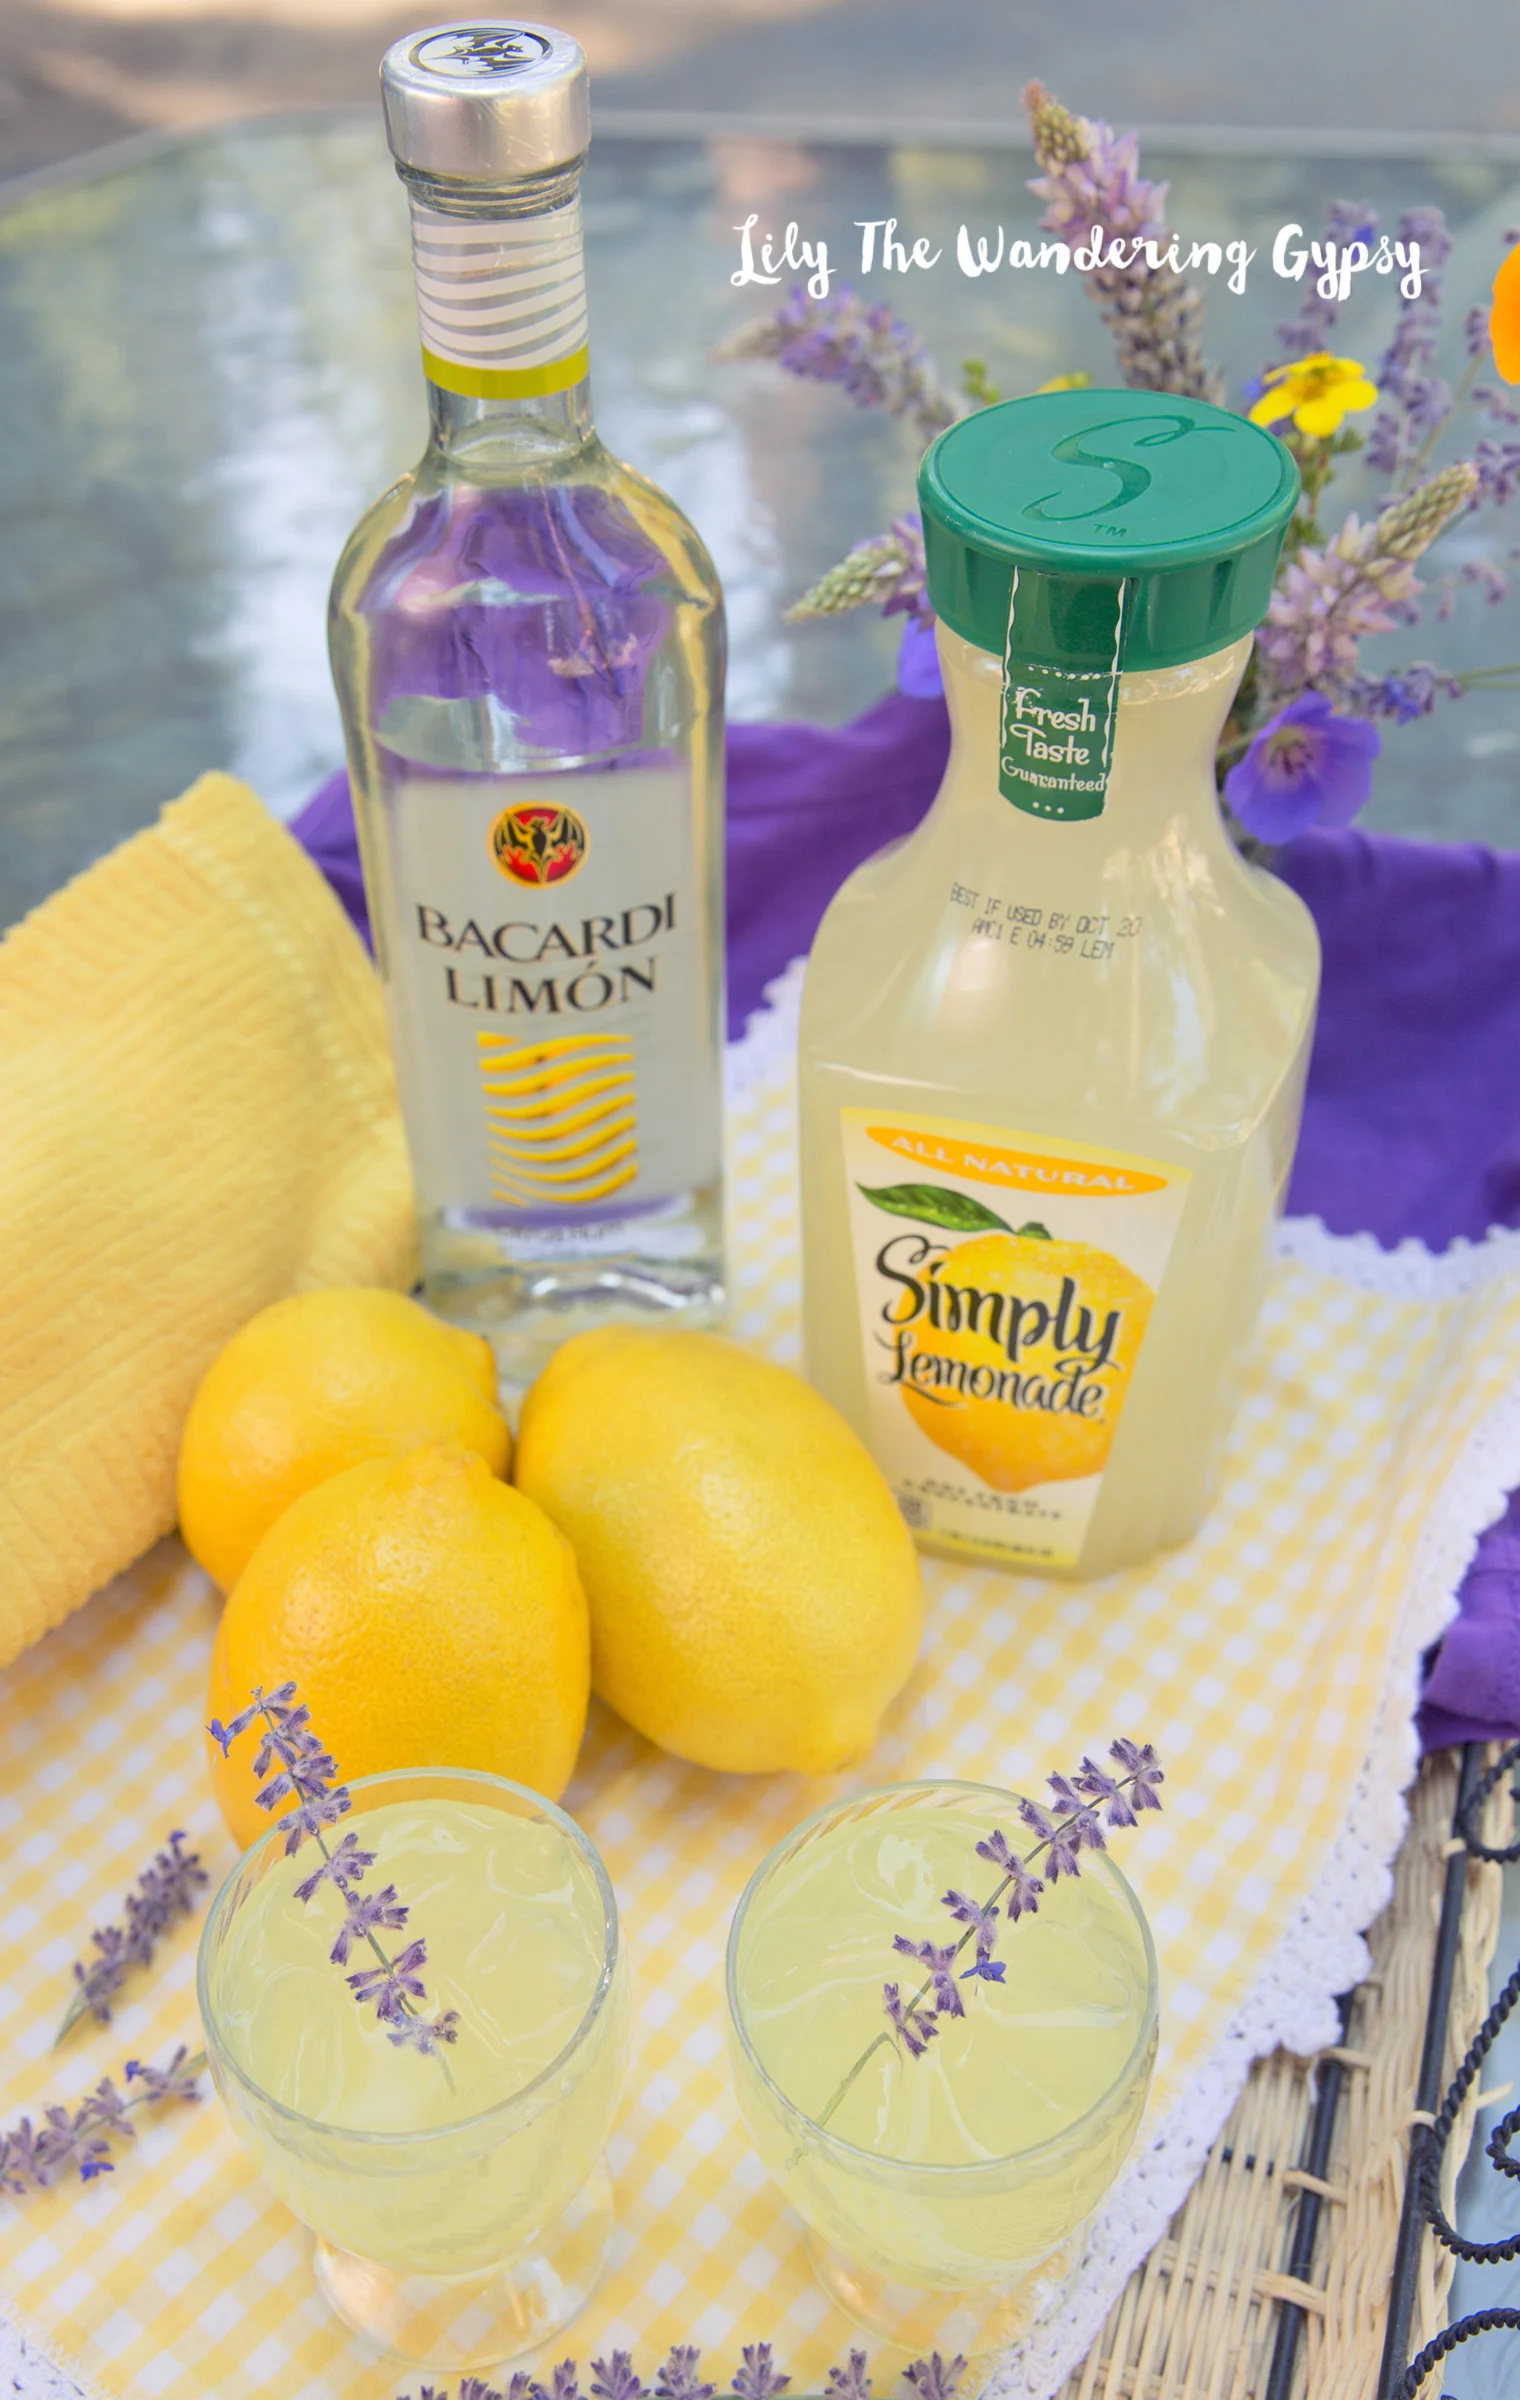
One of the coolest projects I have ever done is working with Bacardi to show my readers how to create summer party-ready drinks with two of their flavors - Limon and Tangerine (a new one).
I was asked to pretty much create whatever I wanted, and below you will see some of the goodness I thought up.
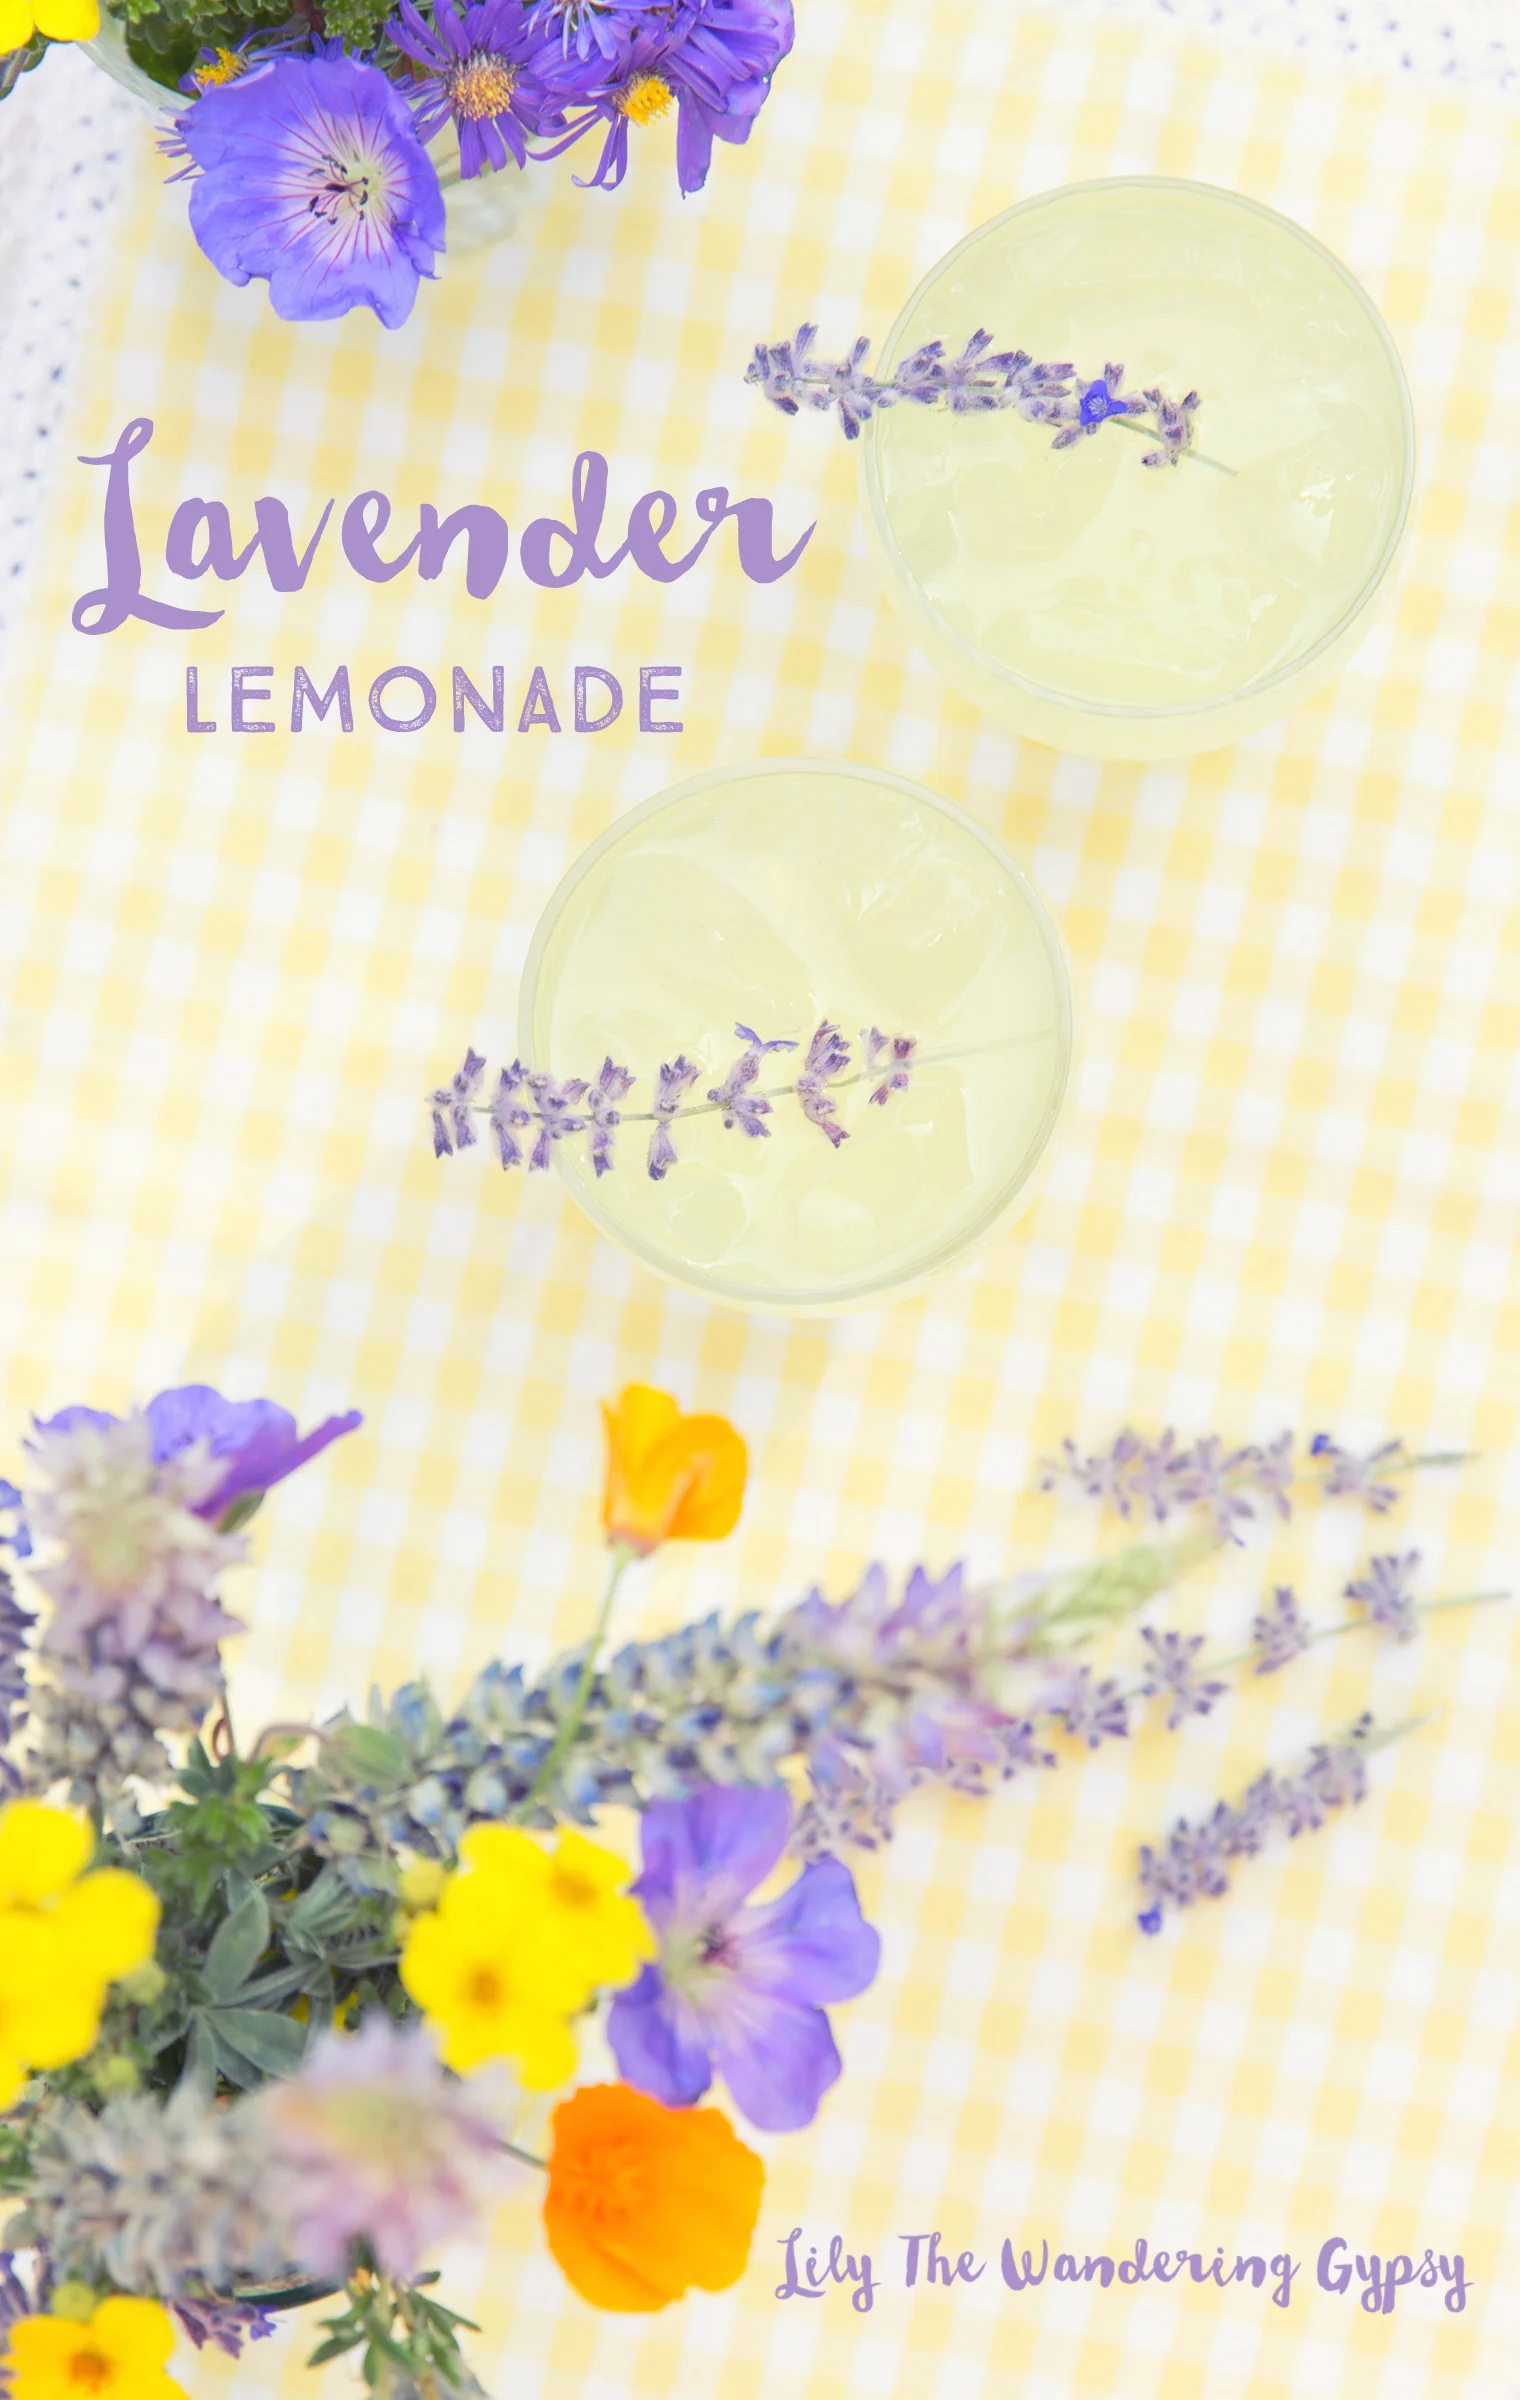
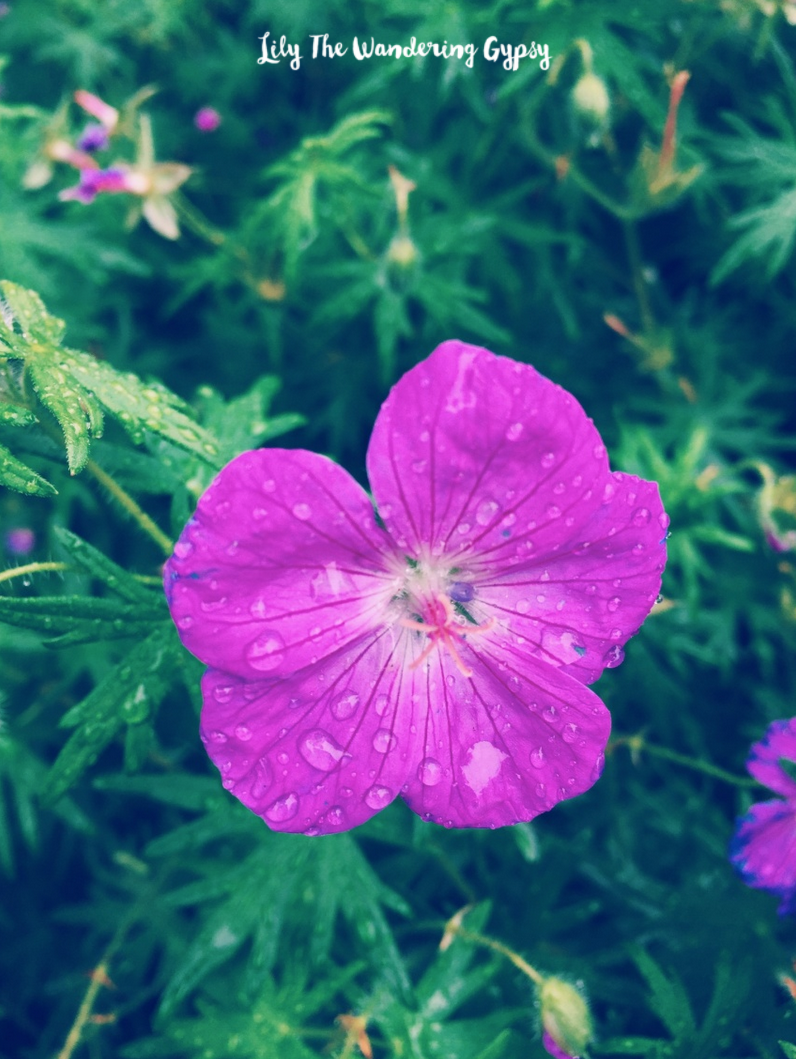
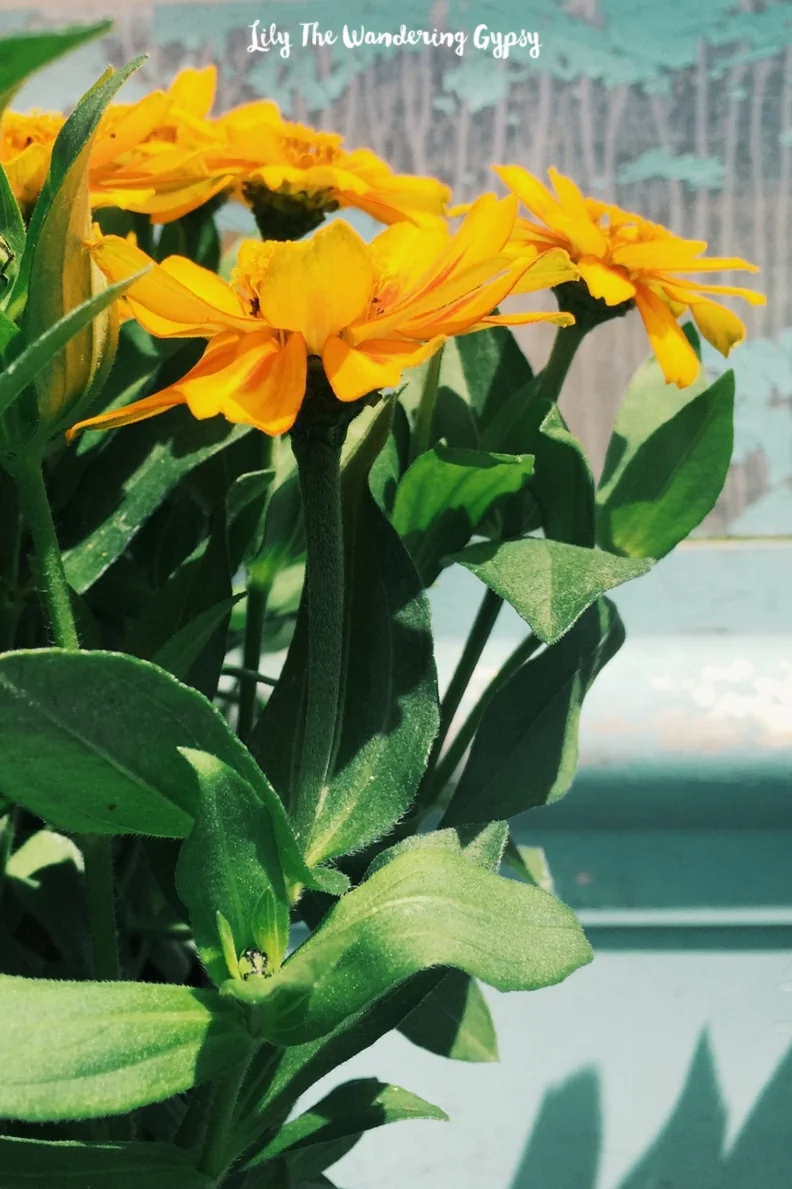
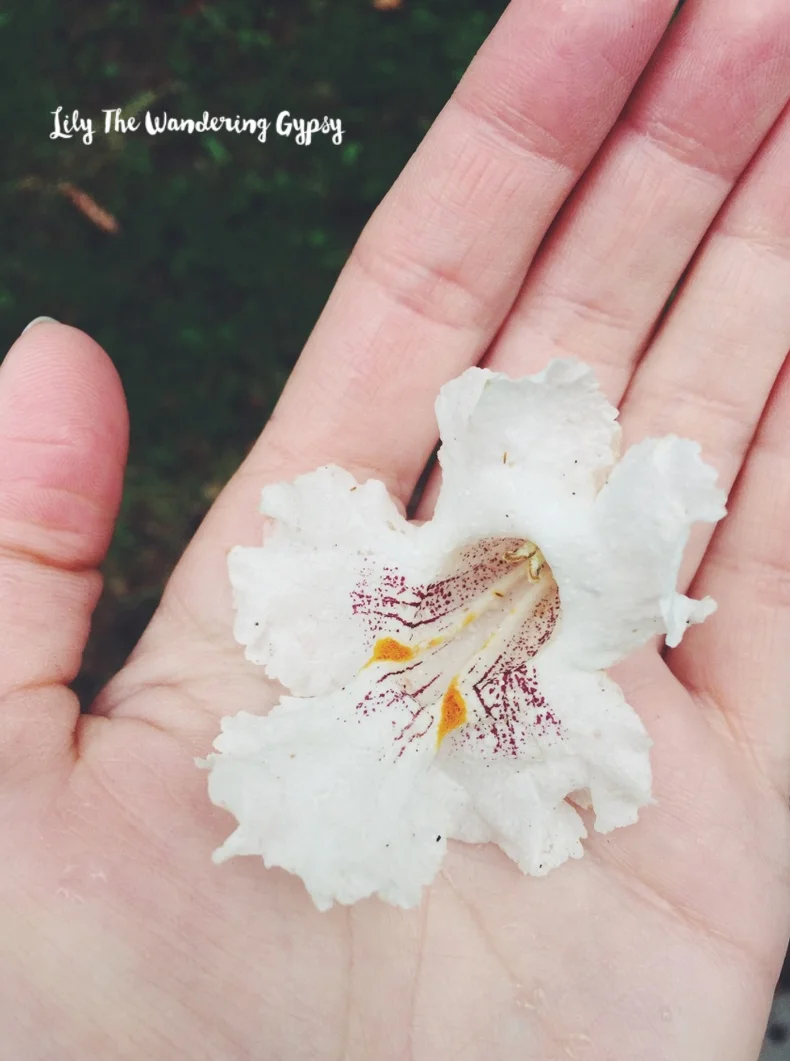
Actually, the main reason I thought this recipe would be great, is that the VRBO house we stayed in while we were in the Tahoe are a couple of weeks ago had some wild lavender growing nearby. I technically borrowed some clippings from the neighbor's yard, and WOW, did it smell incredible! The other wildflowers in the photos were also sourced from the neighbors, and I will tell you, I didn't even make a dent in their landscaping :)

I made a simple syrup with the lavender, some sugar, and water. This way the lavender infused properly into the drink. But, I actually added it into some pretty glasses with Simply Lemonade and a shot of Bacardi. Below, you will find the recipe if you want to make it from scratch, with real lemons.
The sugar/lemon balance will depend on what types of lemons you are using (Meyer lemons are less tart than regular lemons), and your own preference for sweetness. While all varieties of lavender are edible, English lavender and Provence lavender are most often used for culinary purposes. If you use fresh, garden flowers, make sure they have not been sprayed with pesticides. Do not use florist flowers.
1 Cut the lavender flowers from the stems (no need to strip) and place in a medium bowl (a large pyrex measuring bowl works great because you can pour easily from it). Pour the sugar over the flowers and use your (clean) fingers to gently rub the flowers into the sugar.
2 Pour 2 cups of boiling water over the lavender sugar and stir with a spoon until the sugar has melted. Cover and let infuse for 30 minutes (or up to several hours).
3 Strain the lavender-infused simple syrup and pour into a serving carafe or pitcher.
4 Stir in the lemon juice. Add another two cups of water. Taste and adjust for tartness. Add more lemon juice if too sweet. Add more sugar if too tart. Add ice and more water to desired level of concentration. Note that the ice will melt eventually, further diluting the drink.
Add some thinly sliced lemons and a few lavender sprigs to the serving pitcher for presentation.
So many cute clothes to share with you! Here are a few of my favorites, lately! Click to shop any of these items.


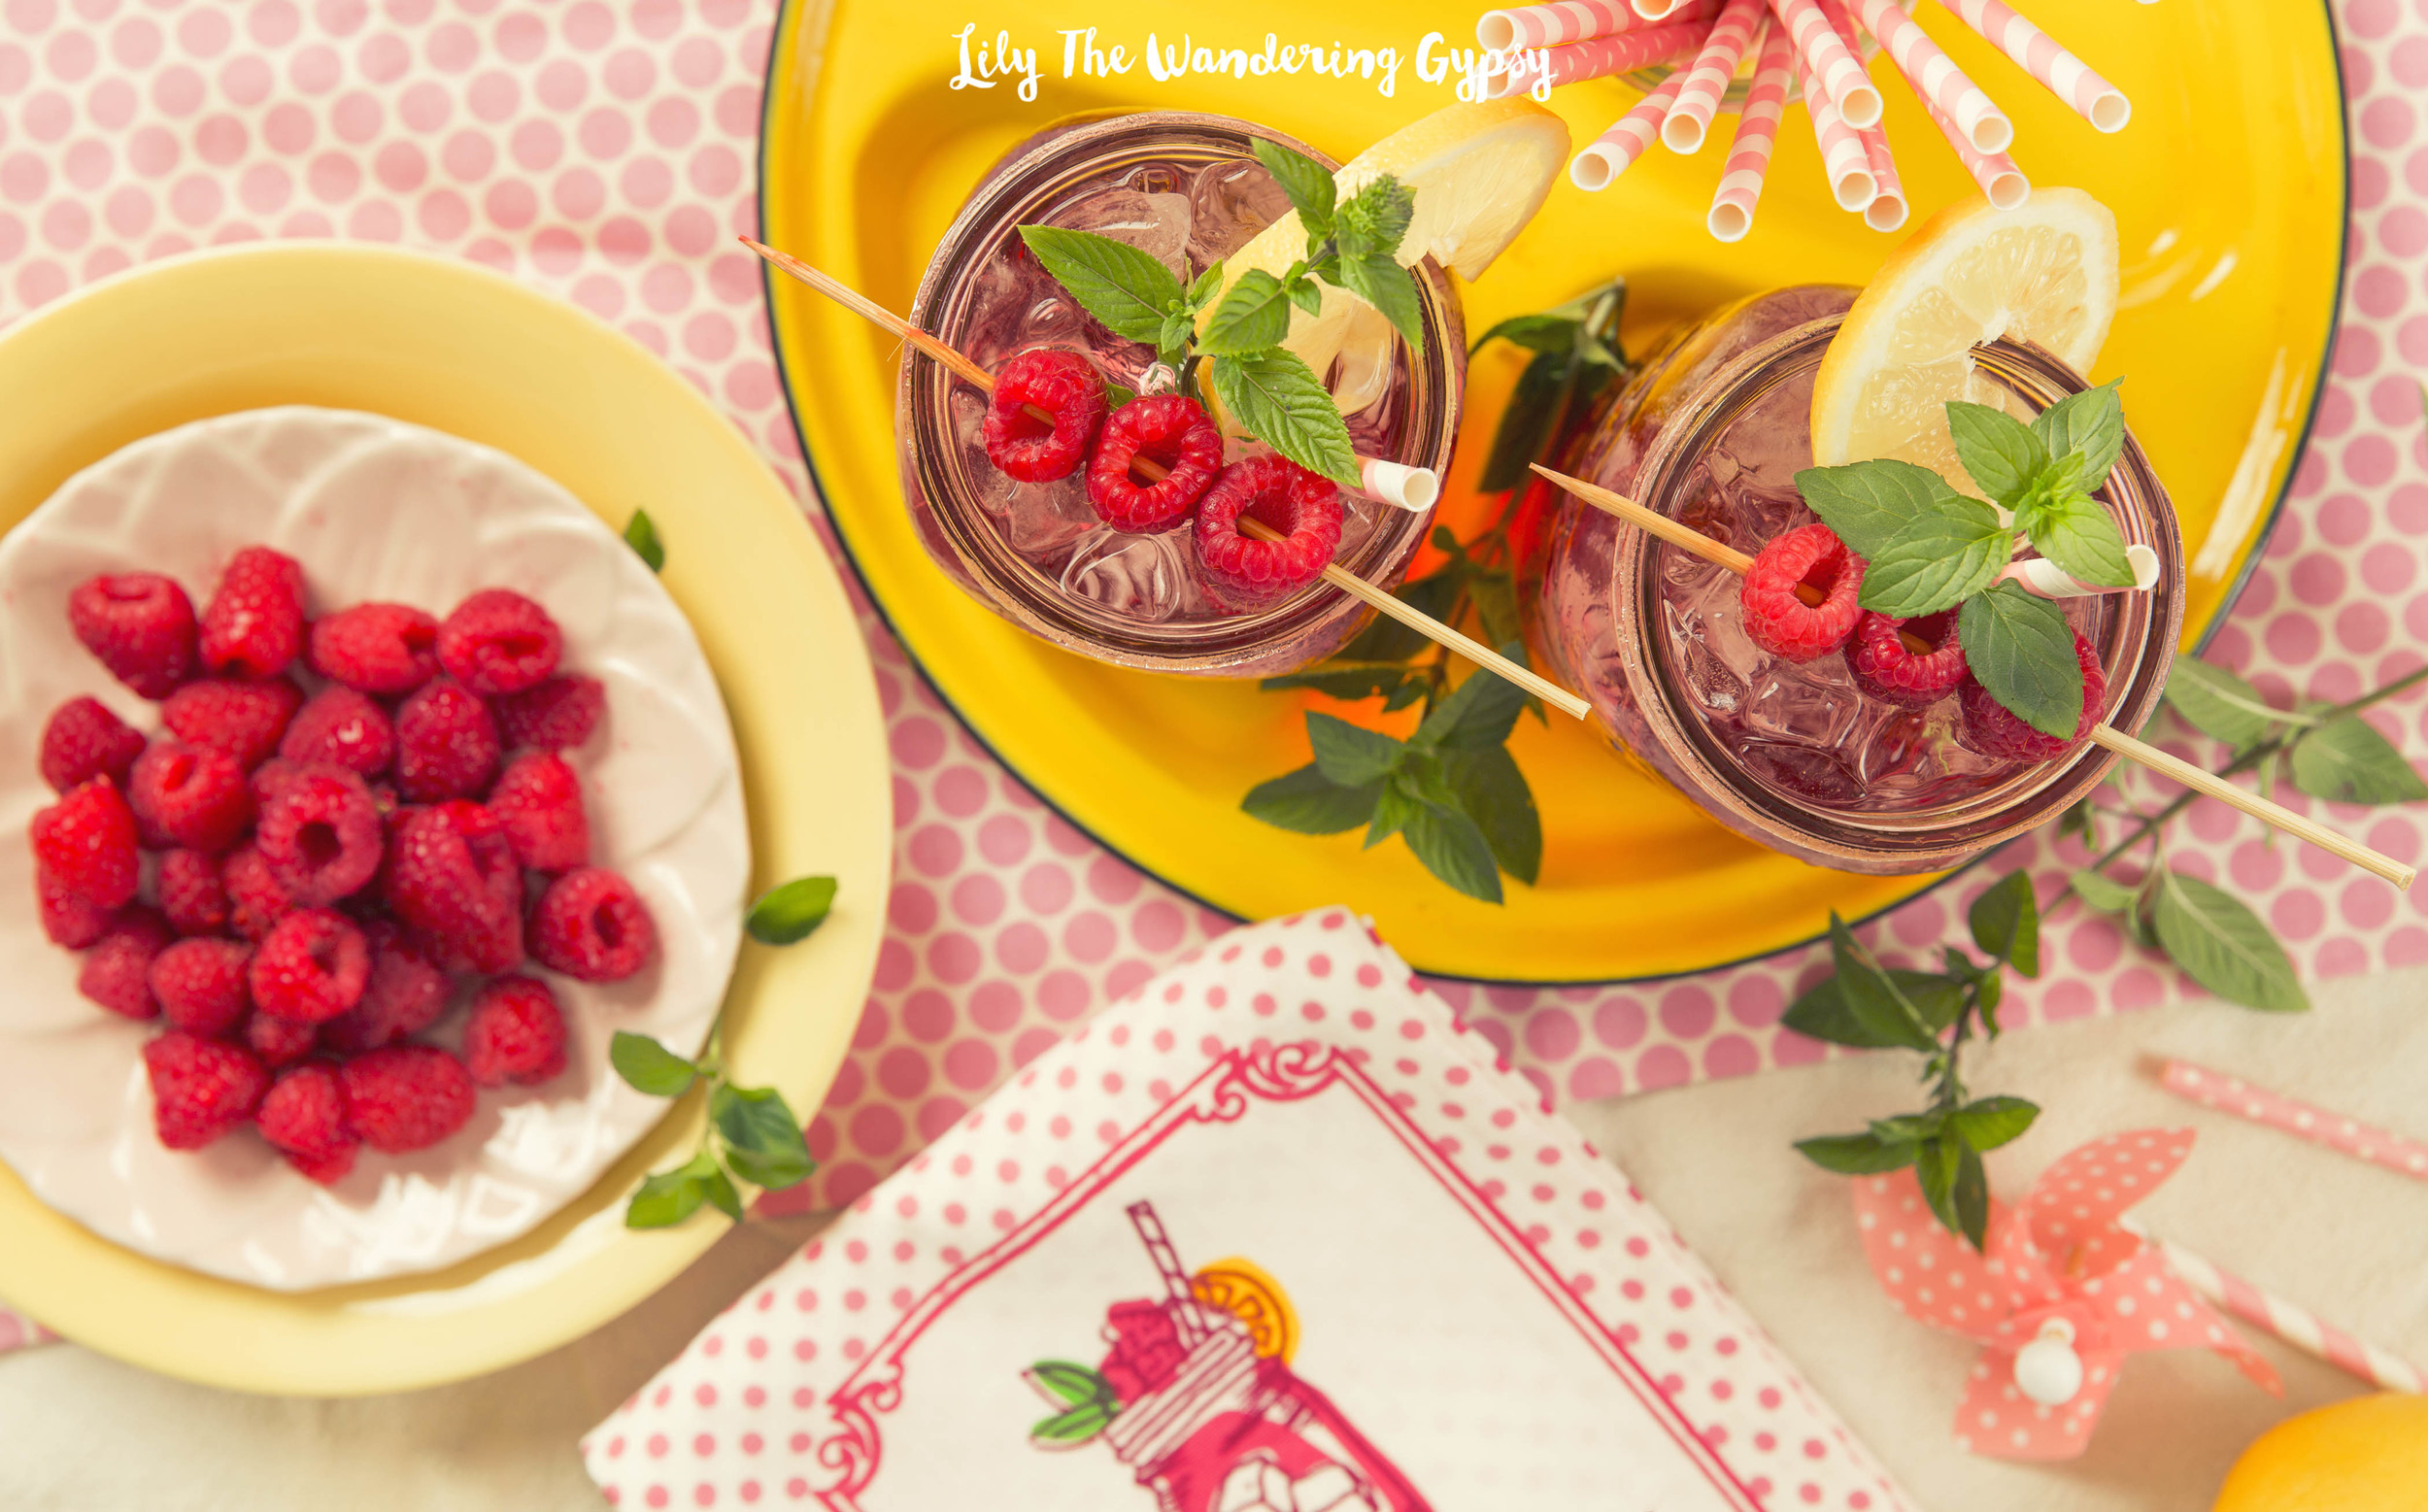
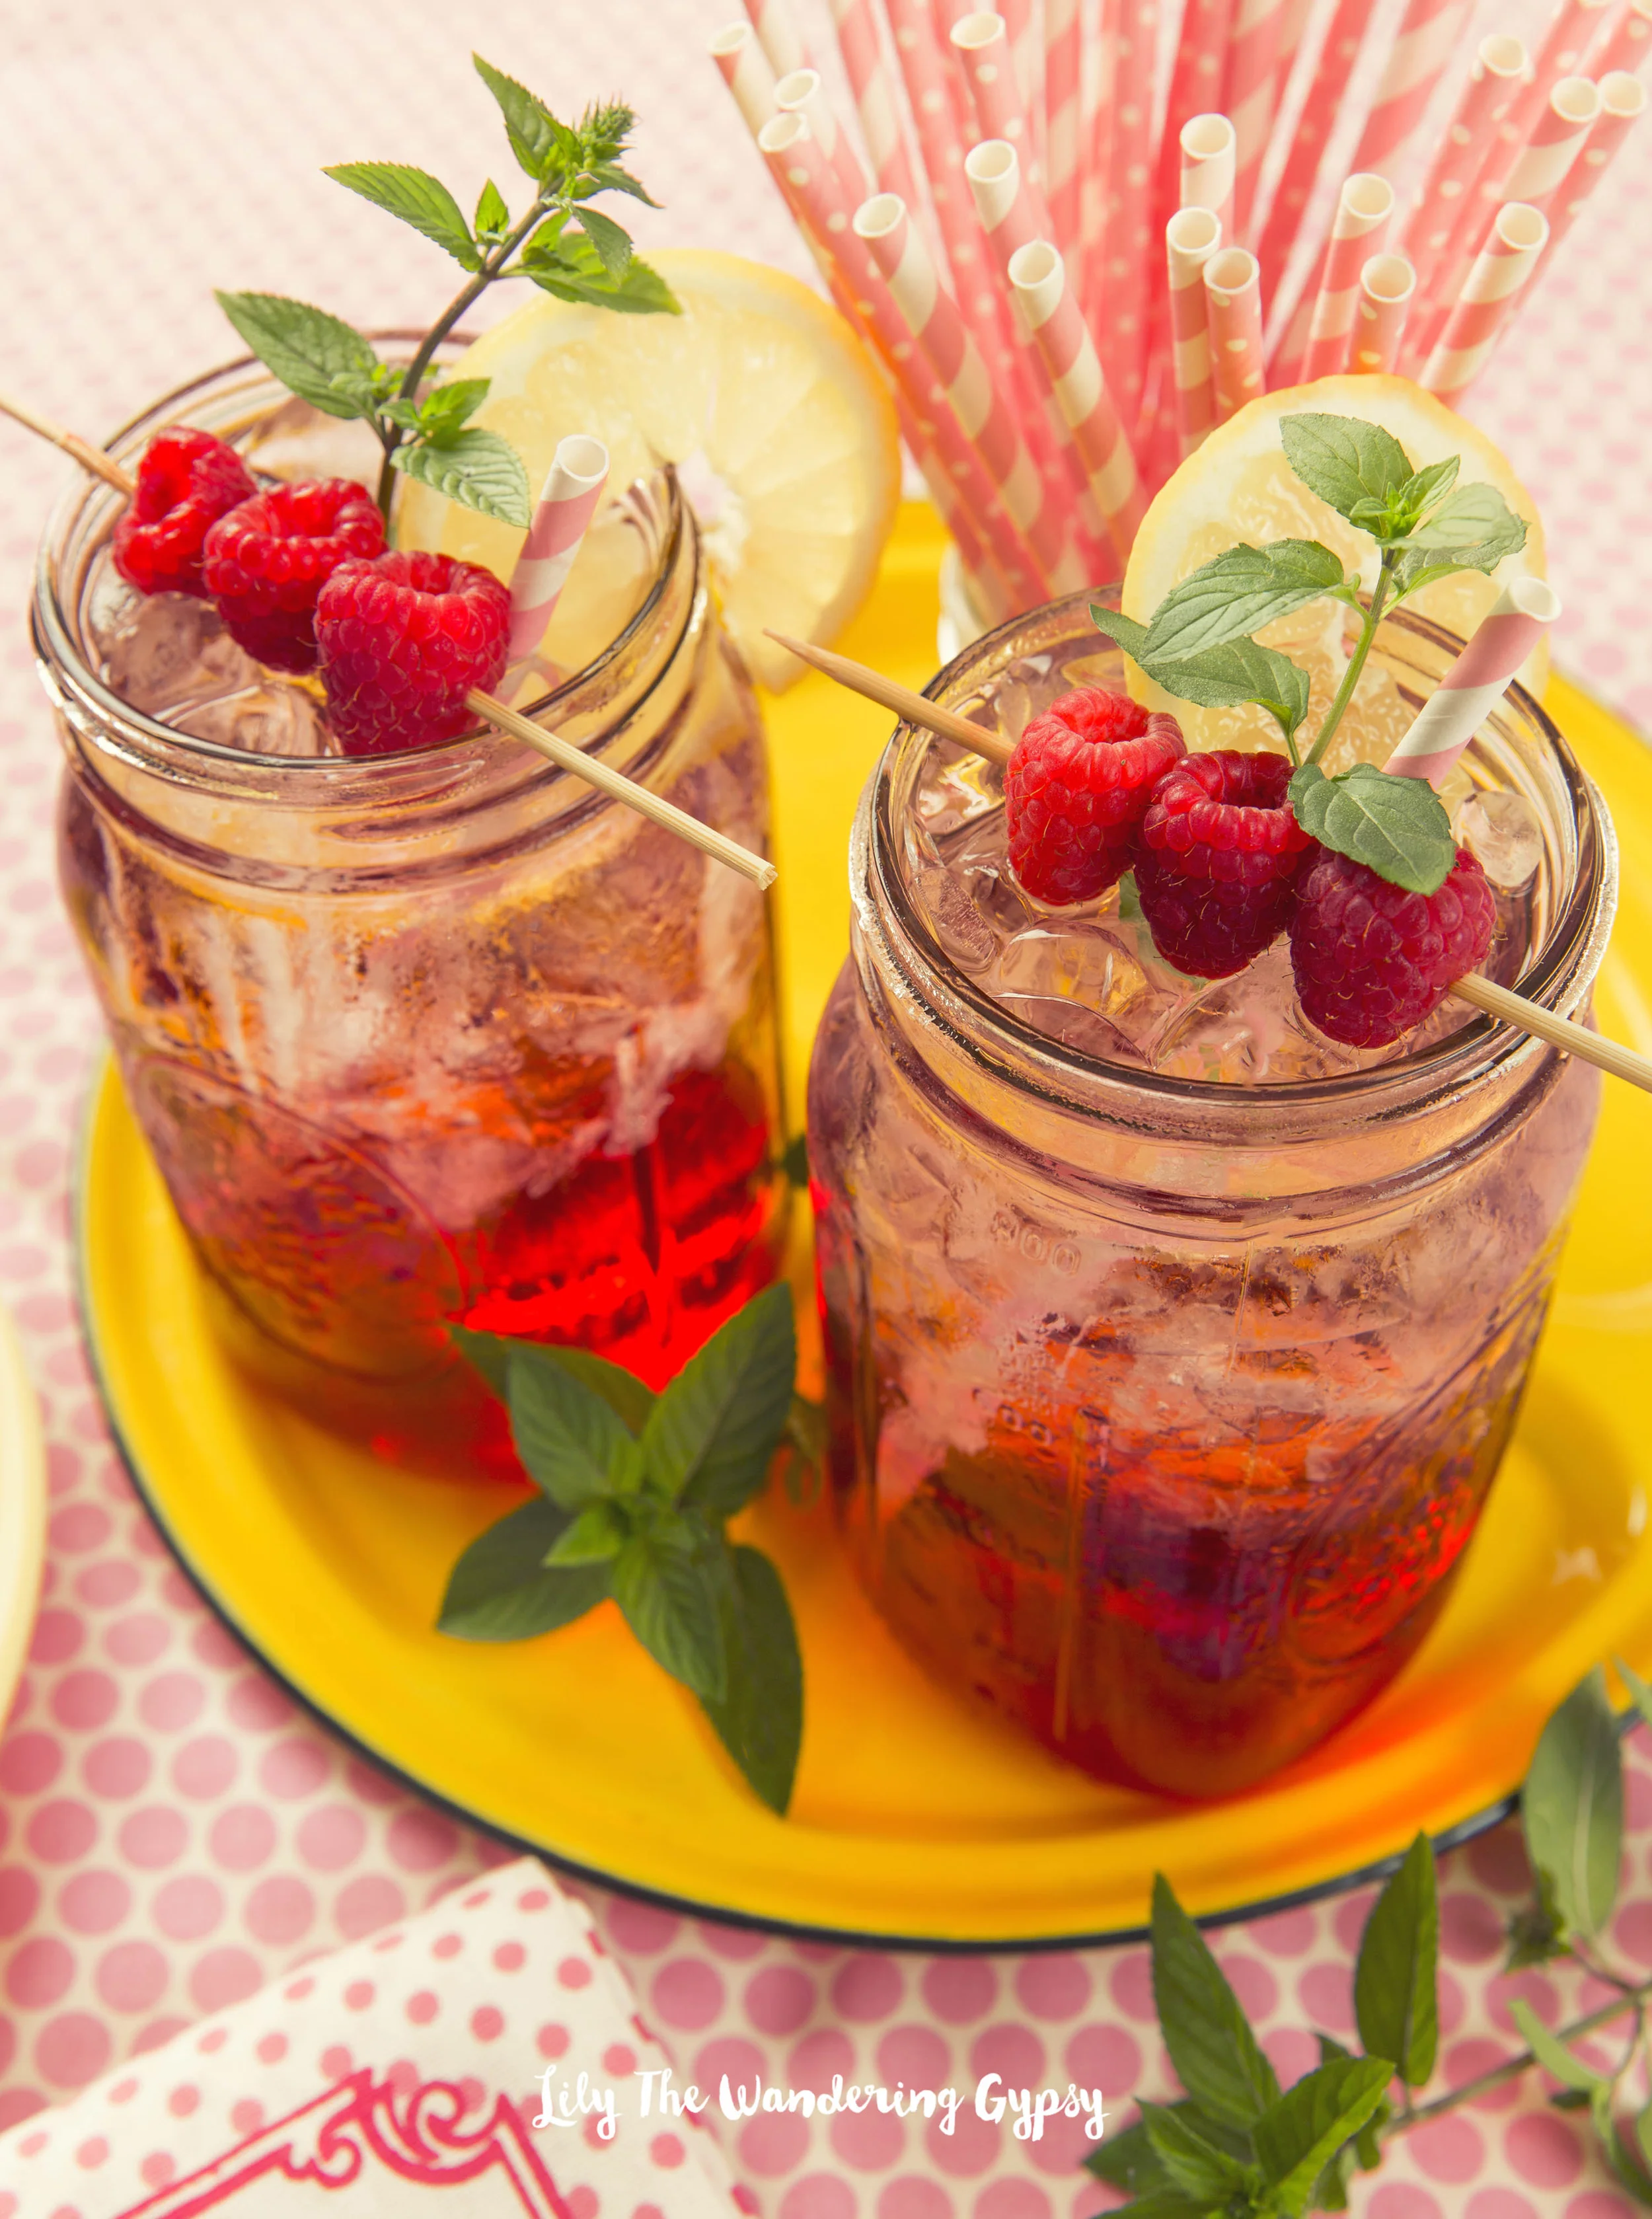
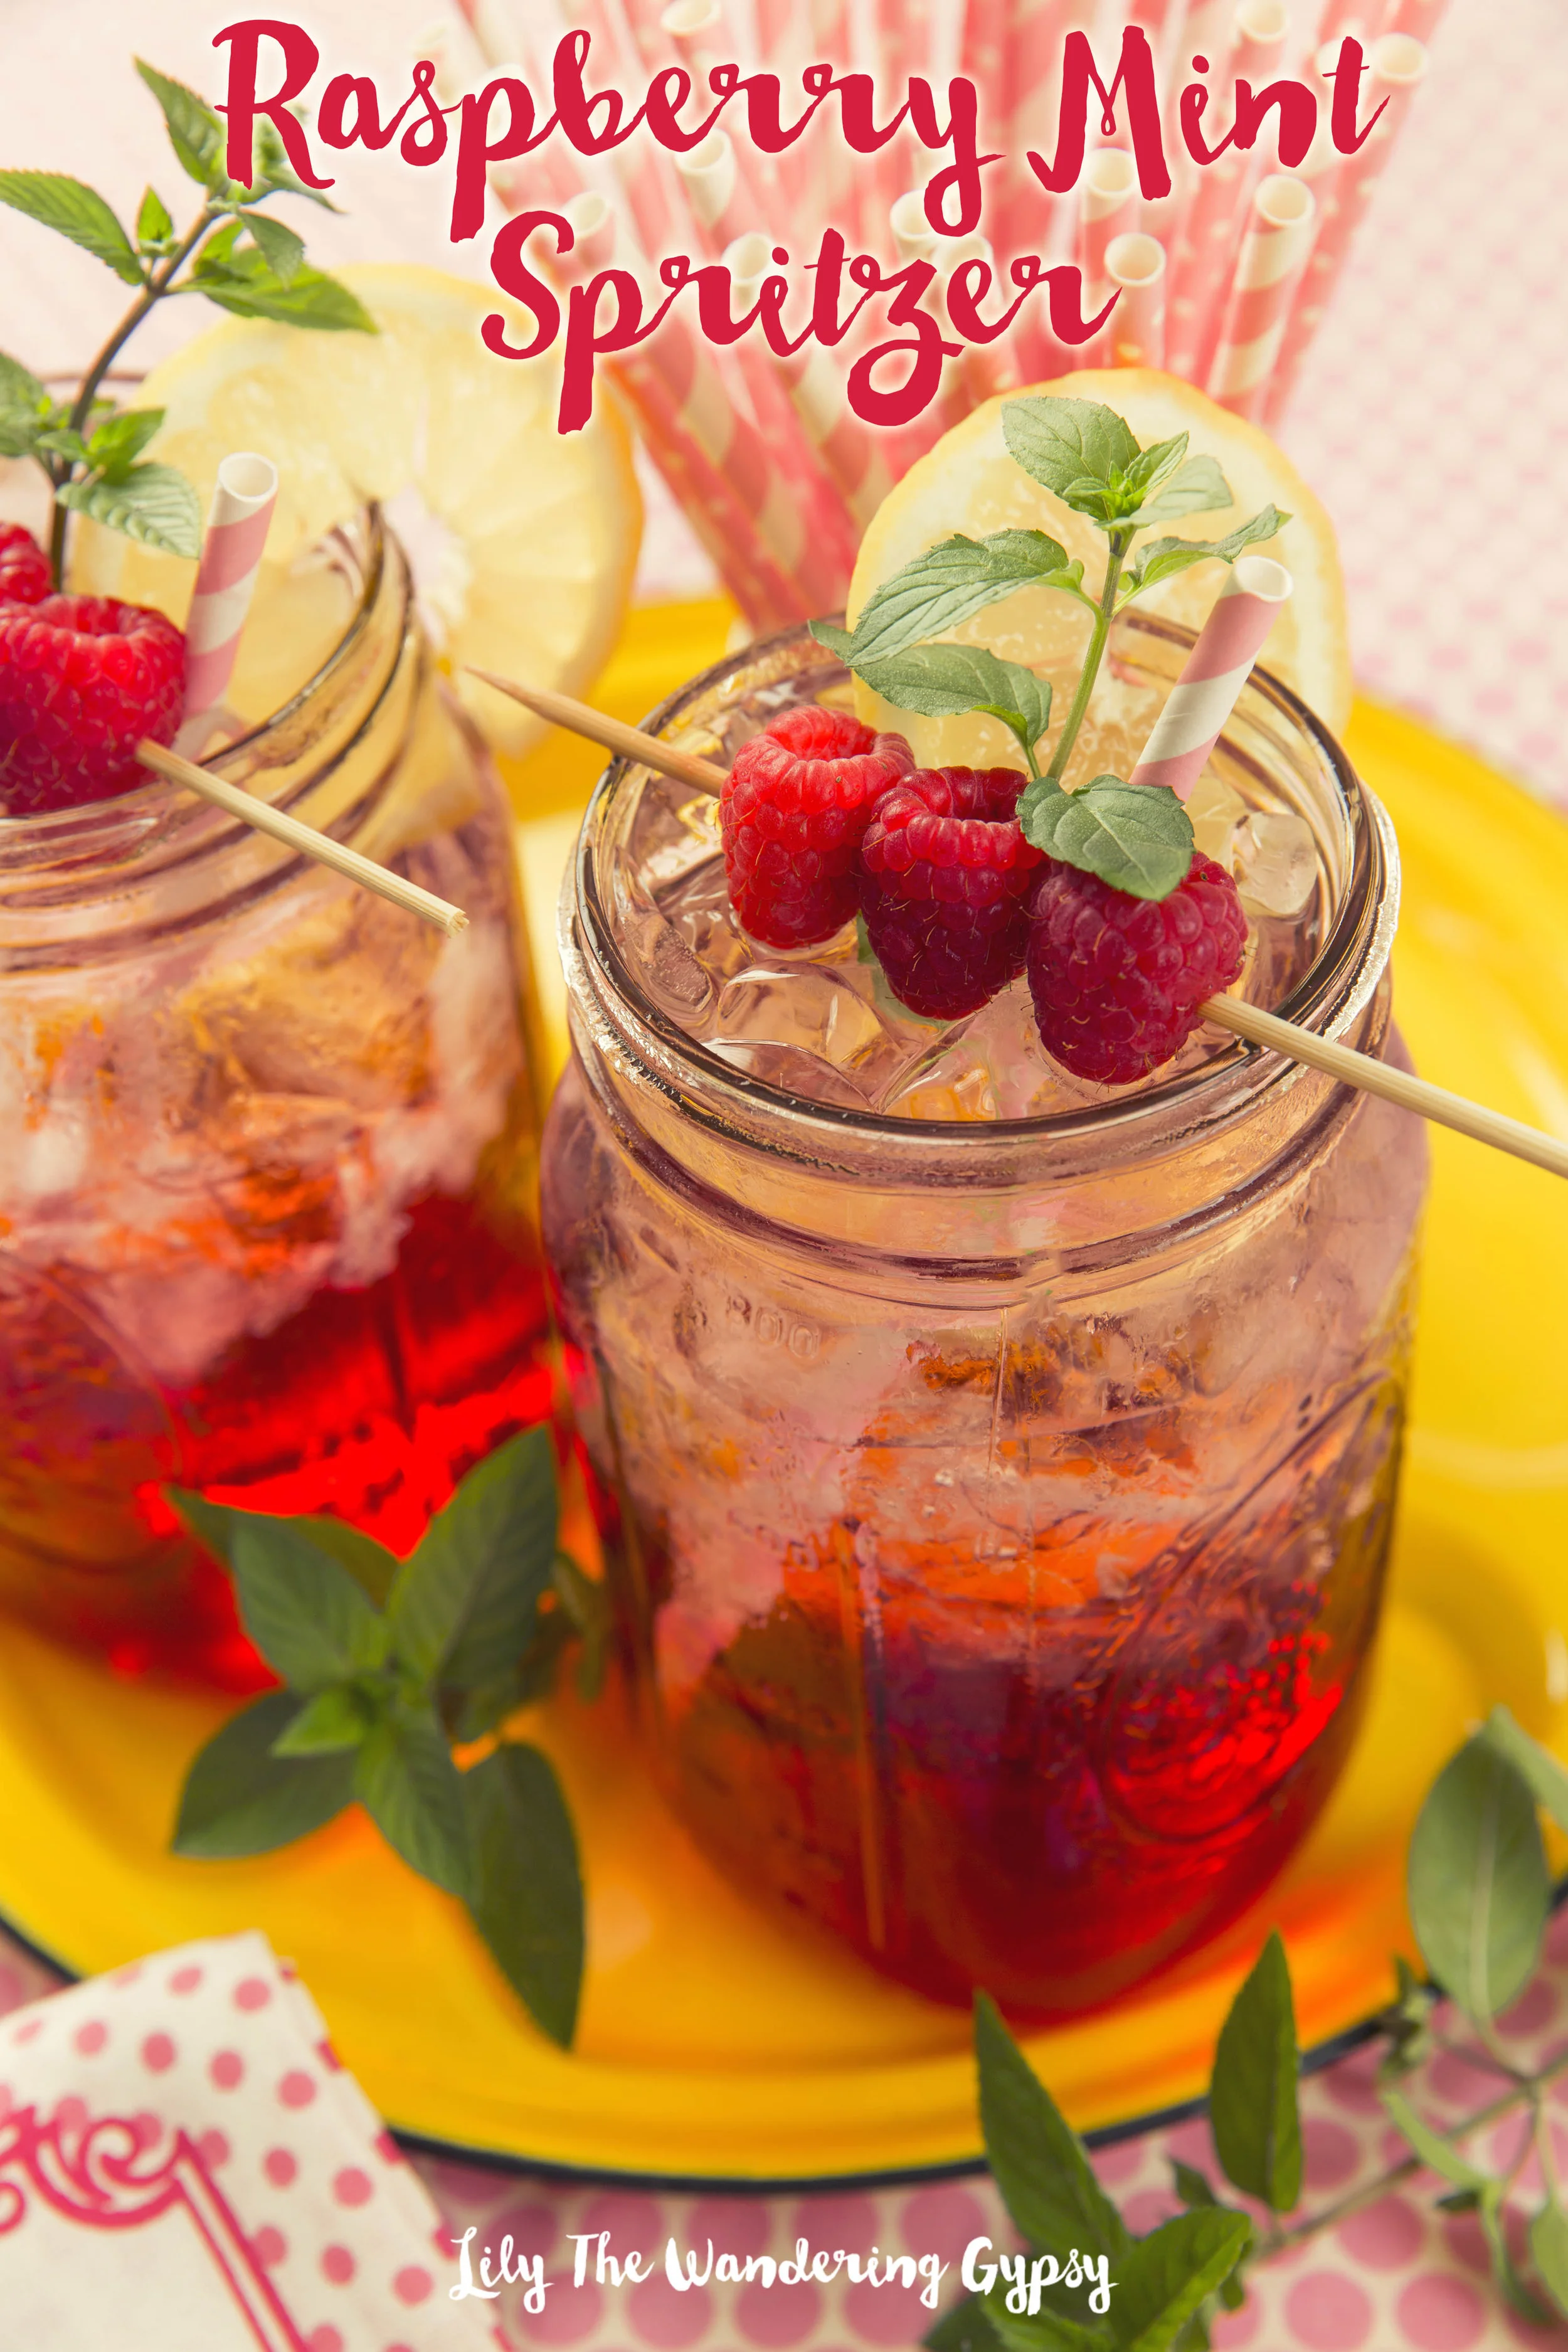
I found this adorable kitchen towel recently, that just screamed "SUMMER". I loved the little graphic on it so much, I created a new, summer drink recipe around it.

2 - 24 oz. Mason Jars (and Ice)
Cran Raspberry Juice
Sprite or Sprite Zero
Vodka (optional)
Handful of Mint Sprigs, 2 Lemons, Fresh Raspberries, and Short Skewers For Garnish
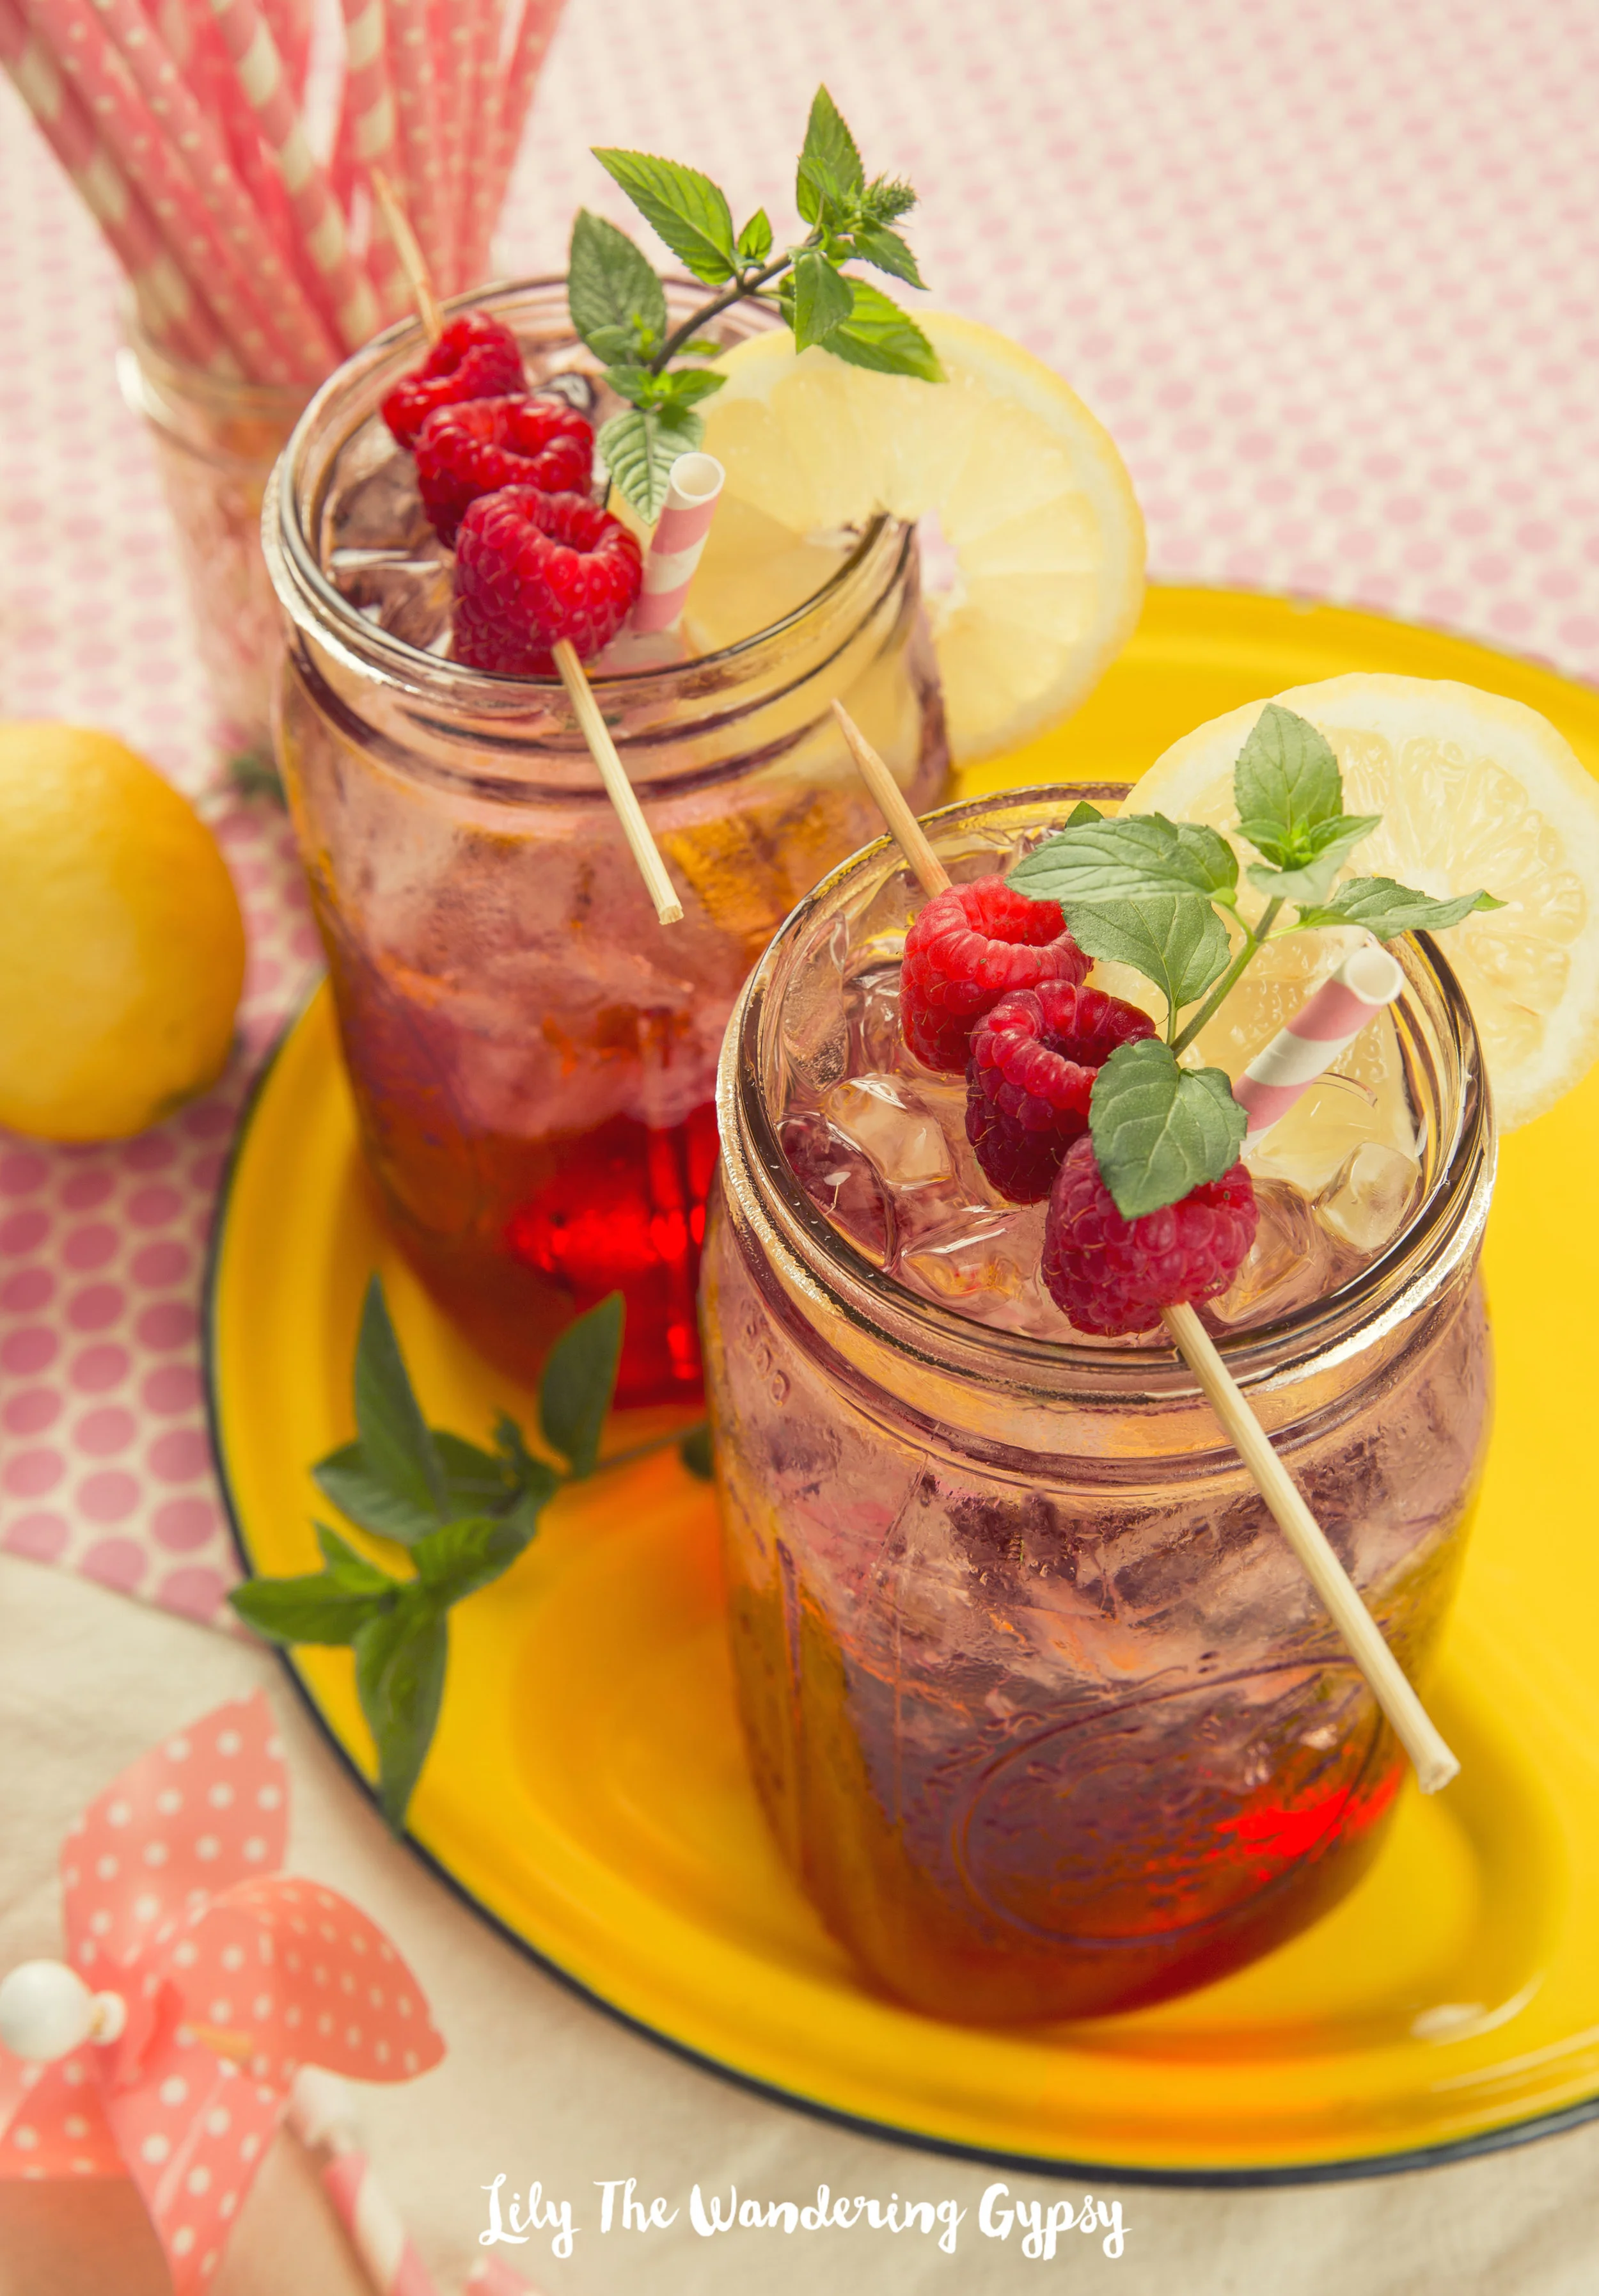
Optionally, fill each jar with 1-2 shots of vodka. Fill jars with ice 1/2 -3/4 of the way full. Fill the rest of the jar with half cran-raspberry juice, then top with Sprite.
To Garnish - Poke skewers through 3 raspberries, set on top of glass. Slice lemons, and put them onto your jars. Top with fresh mint, and serve. Mix the mint into the drink for a bit of extra freshness! Enjoy.


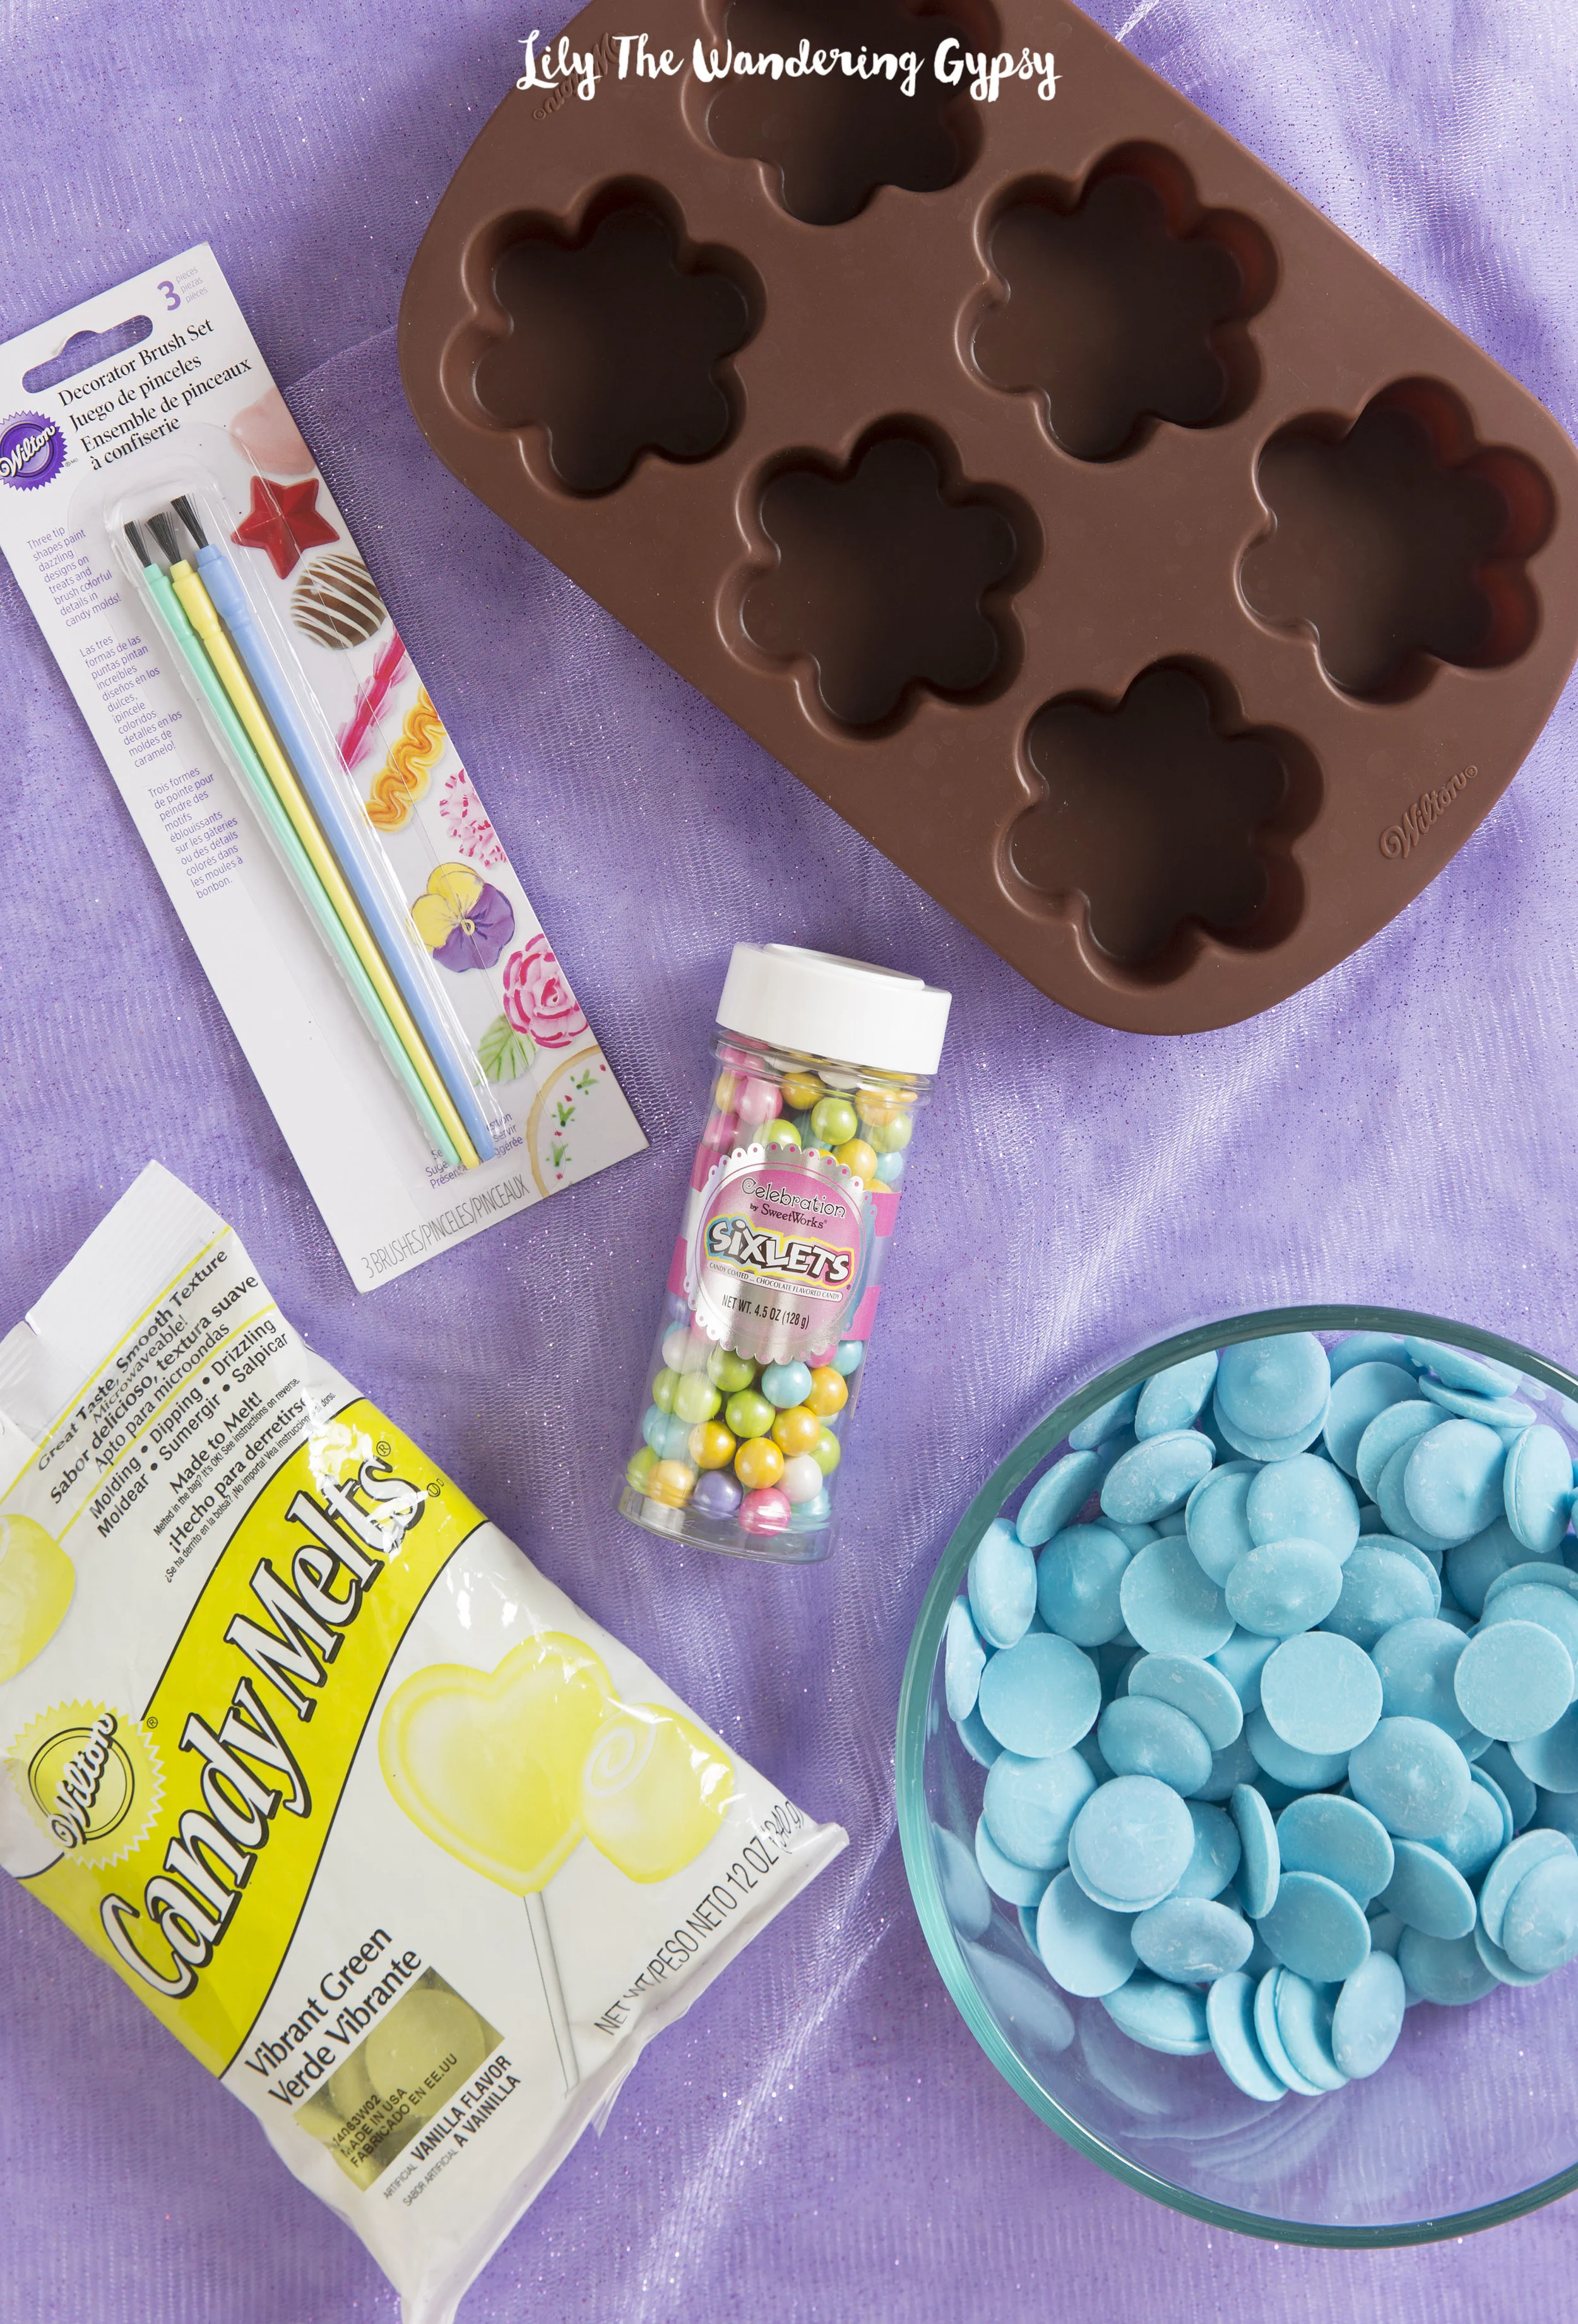
I had so much fun creating this project! I was inspired by summer, and all the pretty flowers that are blooming right now! For this recipe, I used silicone brownie molds, so I could fill them with tons of candy. I also used Blue and Vibrant Green Candy Melts. My filler candies were Sixlets, found here. See the list of ingredients below...and have FUN! You can make these in just about any color combo, for special events, holidays, and sporting events.
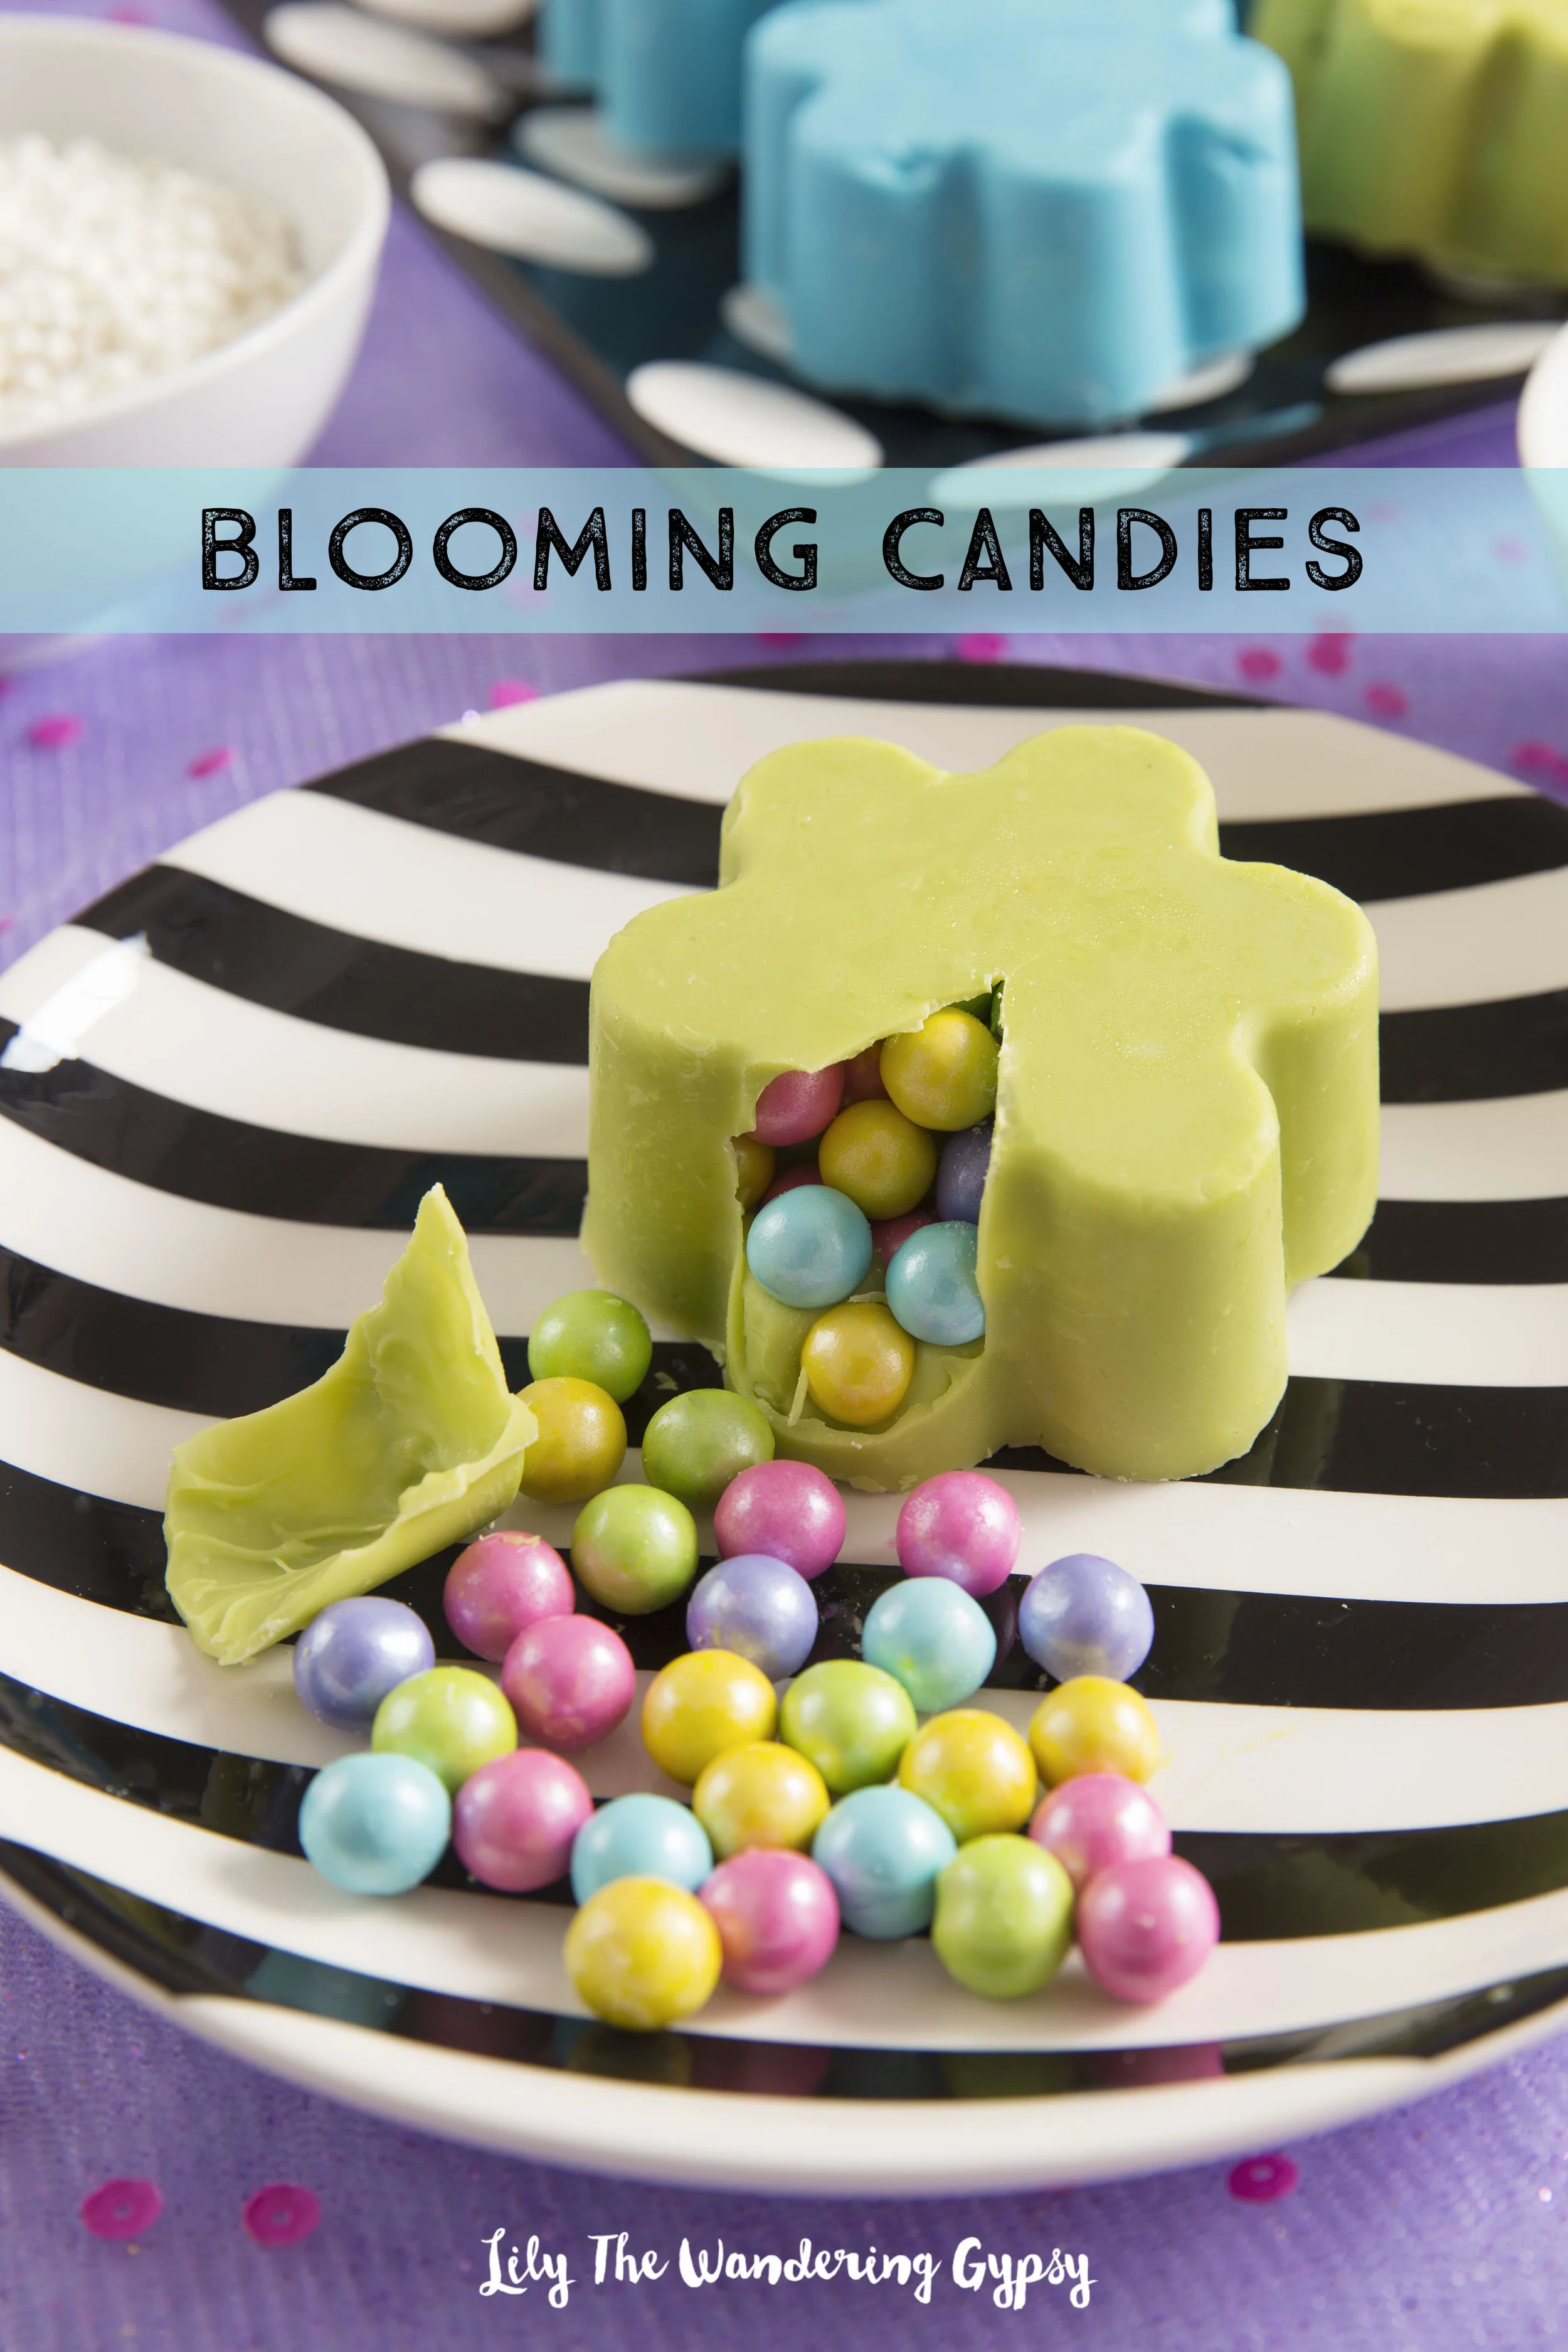

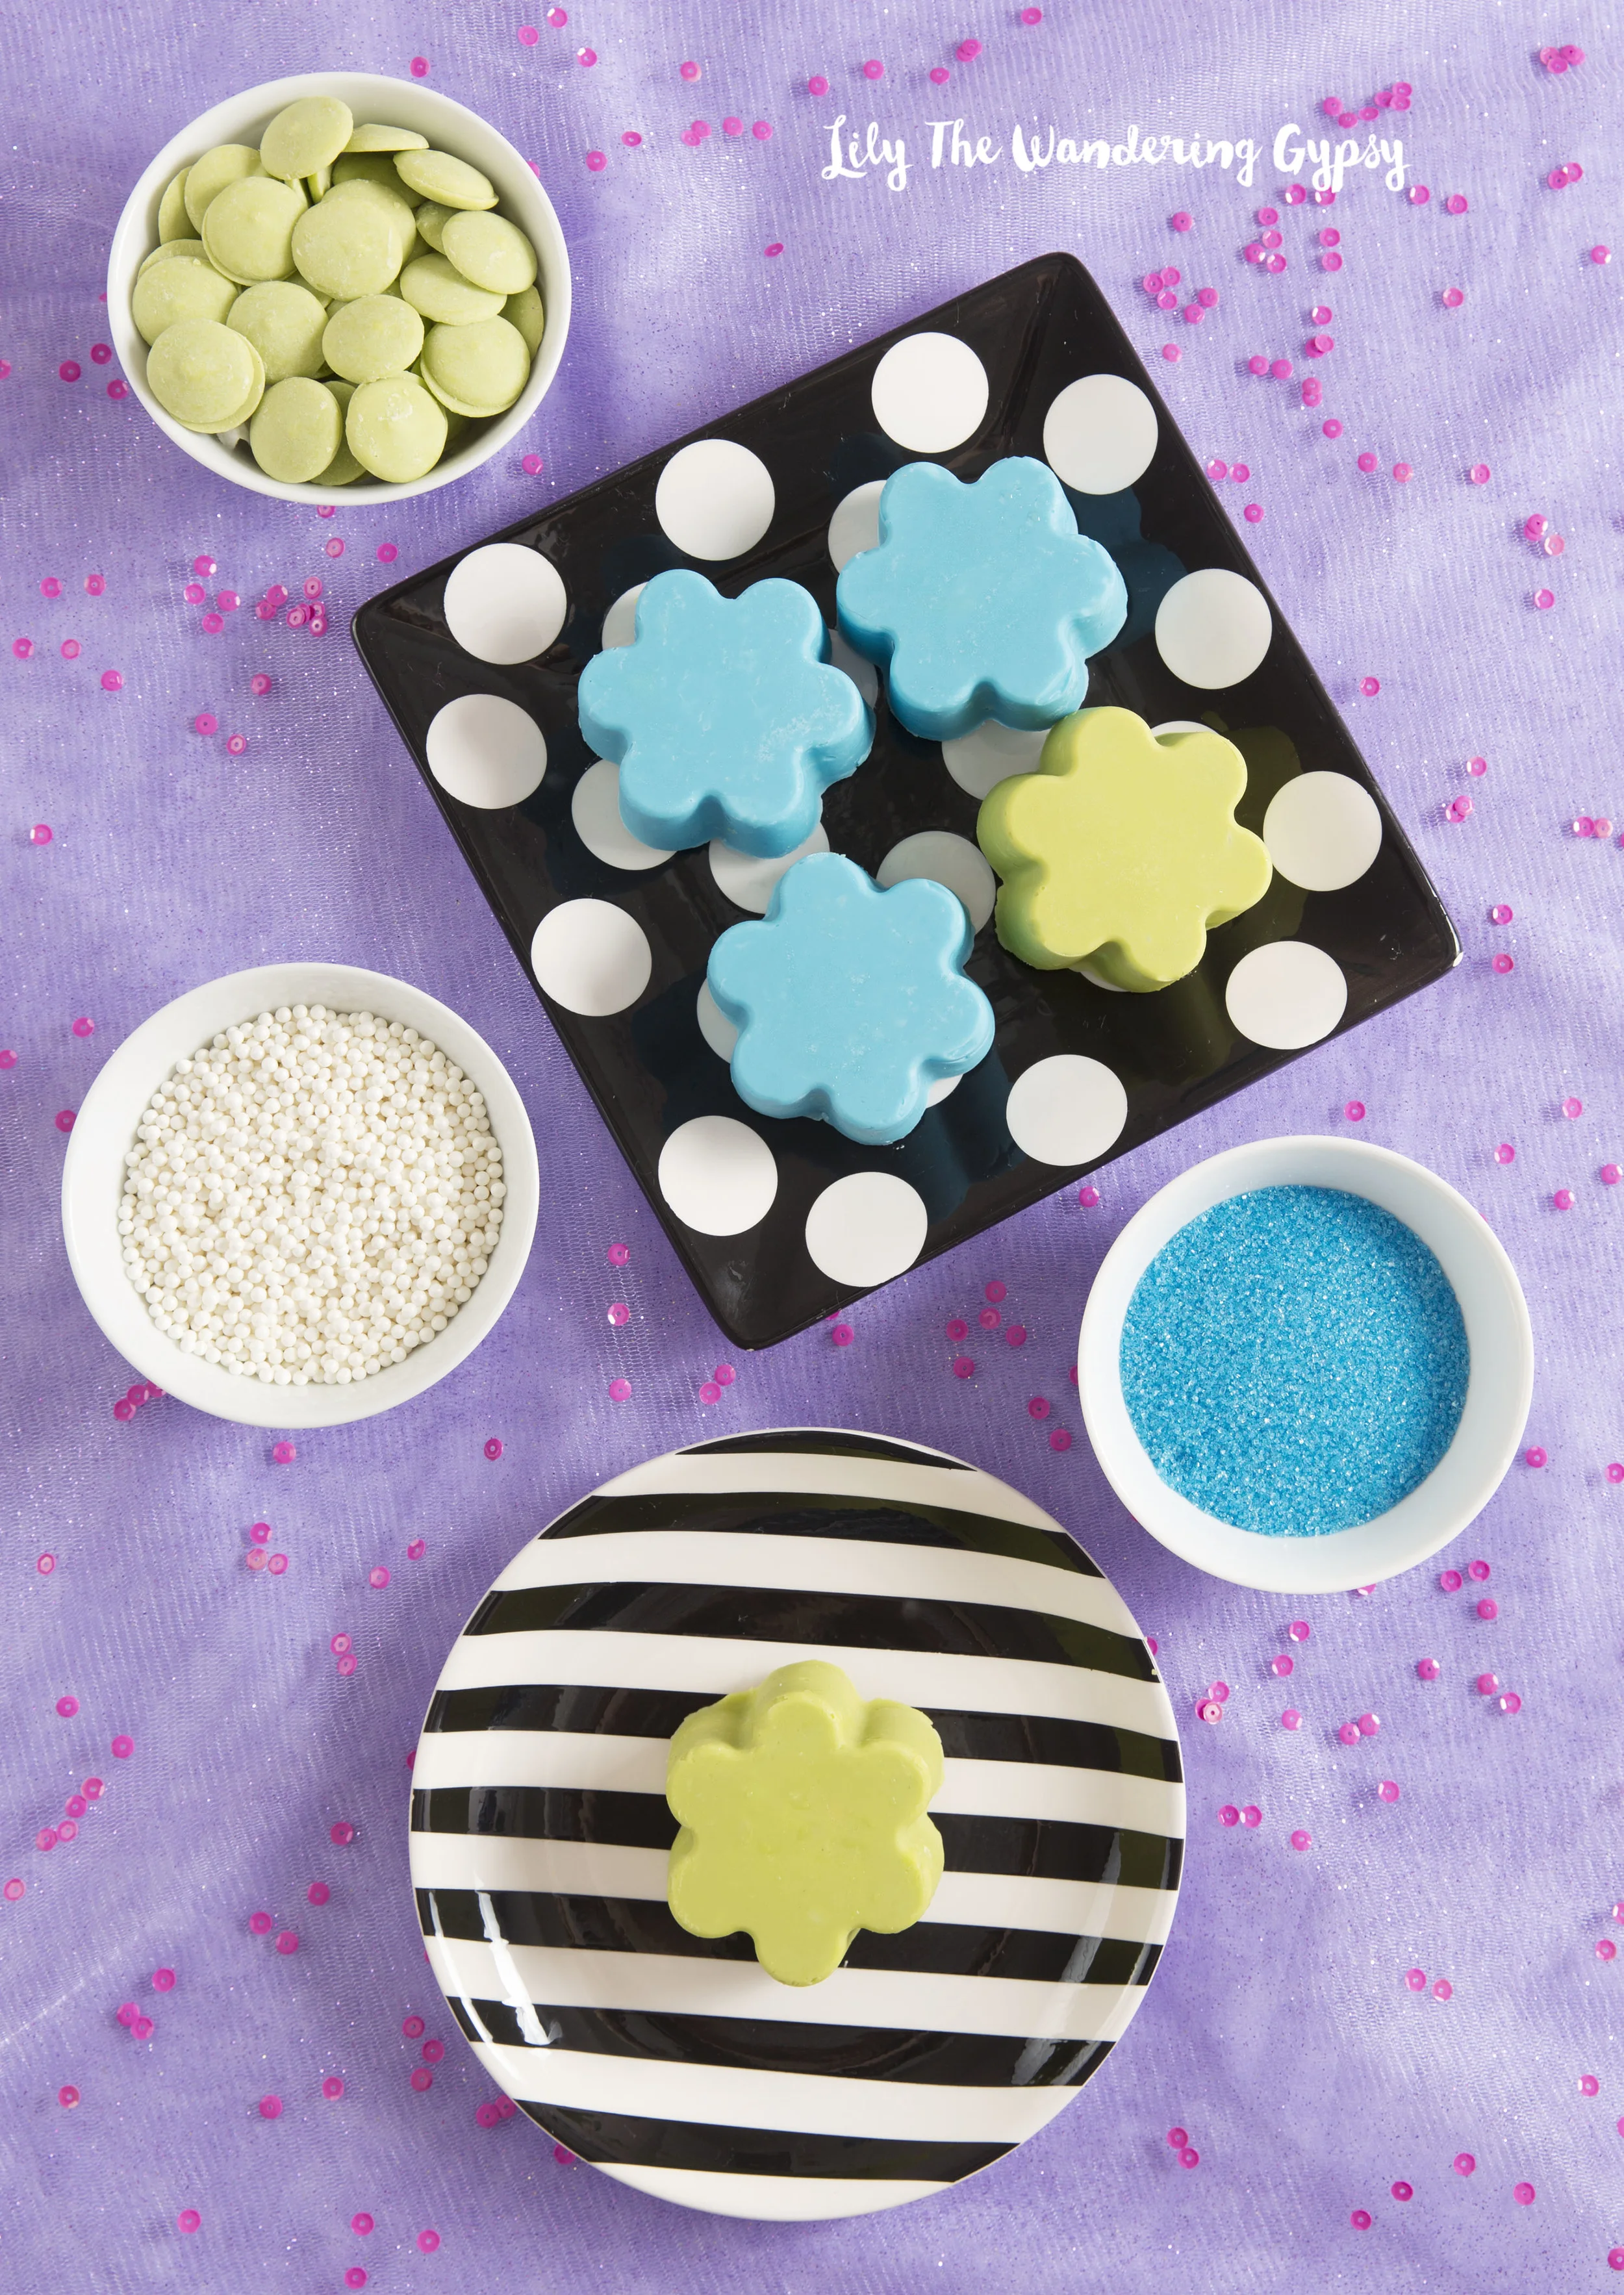
You only need a few simple ingredients! Some Sixlets Candies, candy melts, and a candy mould.
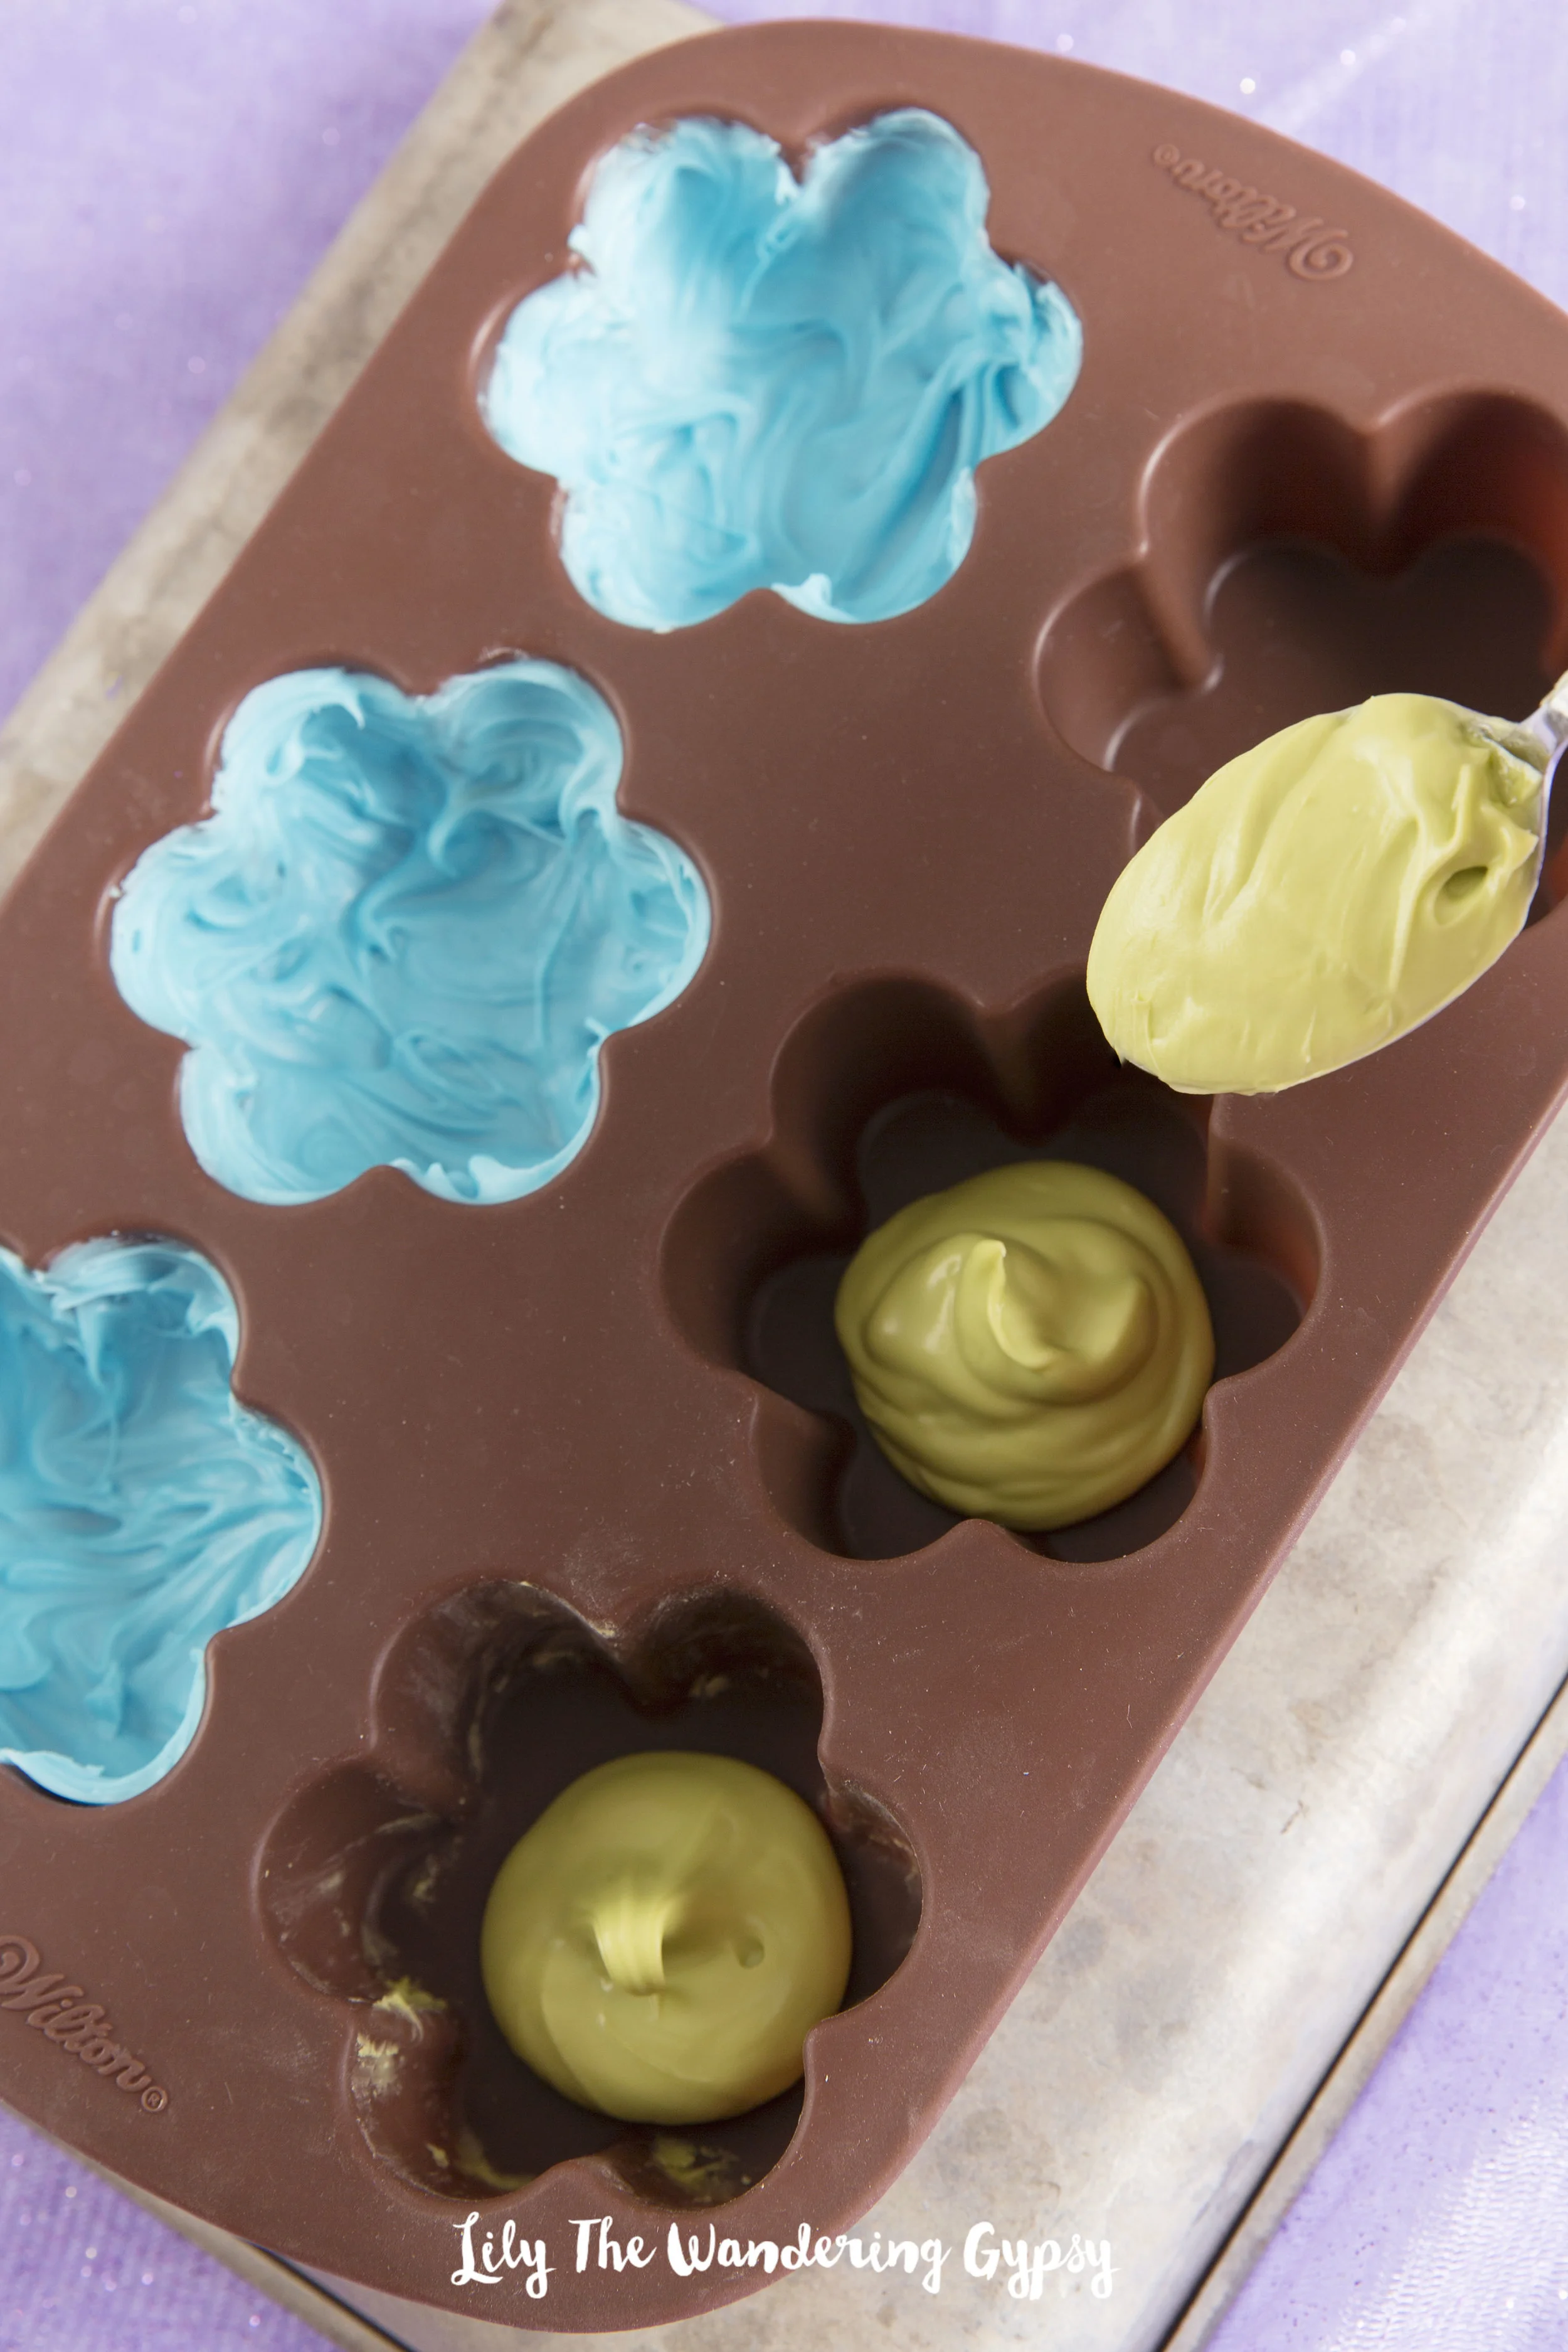
1.) Melt your candy melts in 2 separate containers, either in the microwave or in a double boiler method, which I did. I found that using a 2 cup Pyrex measuring cup, which held one package of candy melts worked great! Fill a small saucepan with 2-3 inches of water, and pour your melts into the measuring cup. Insert cup into water, heat water over medium of high heat and stir melts frequently until smooth. (See photo below for tips)...

Texture Test (above) - The blue one looks right, but NOT the green one! If your melts form more of a paste than a smooth and satiny texture, try again.
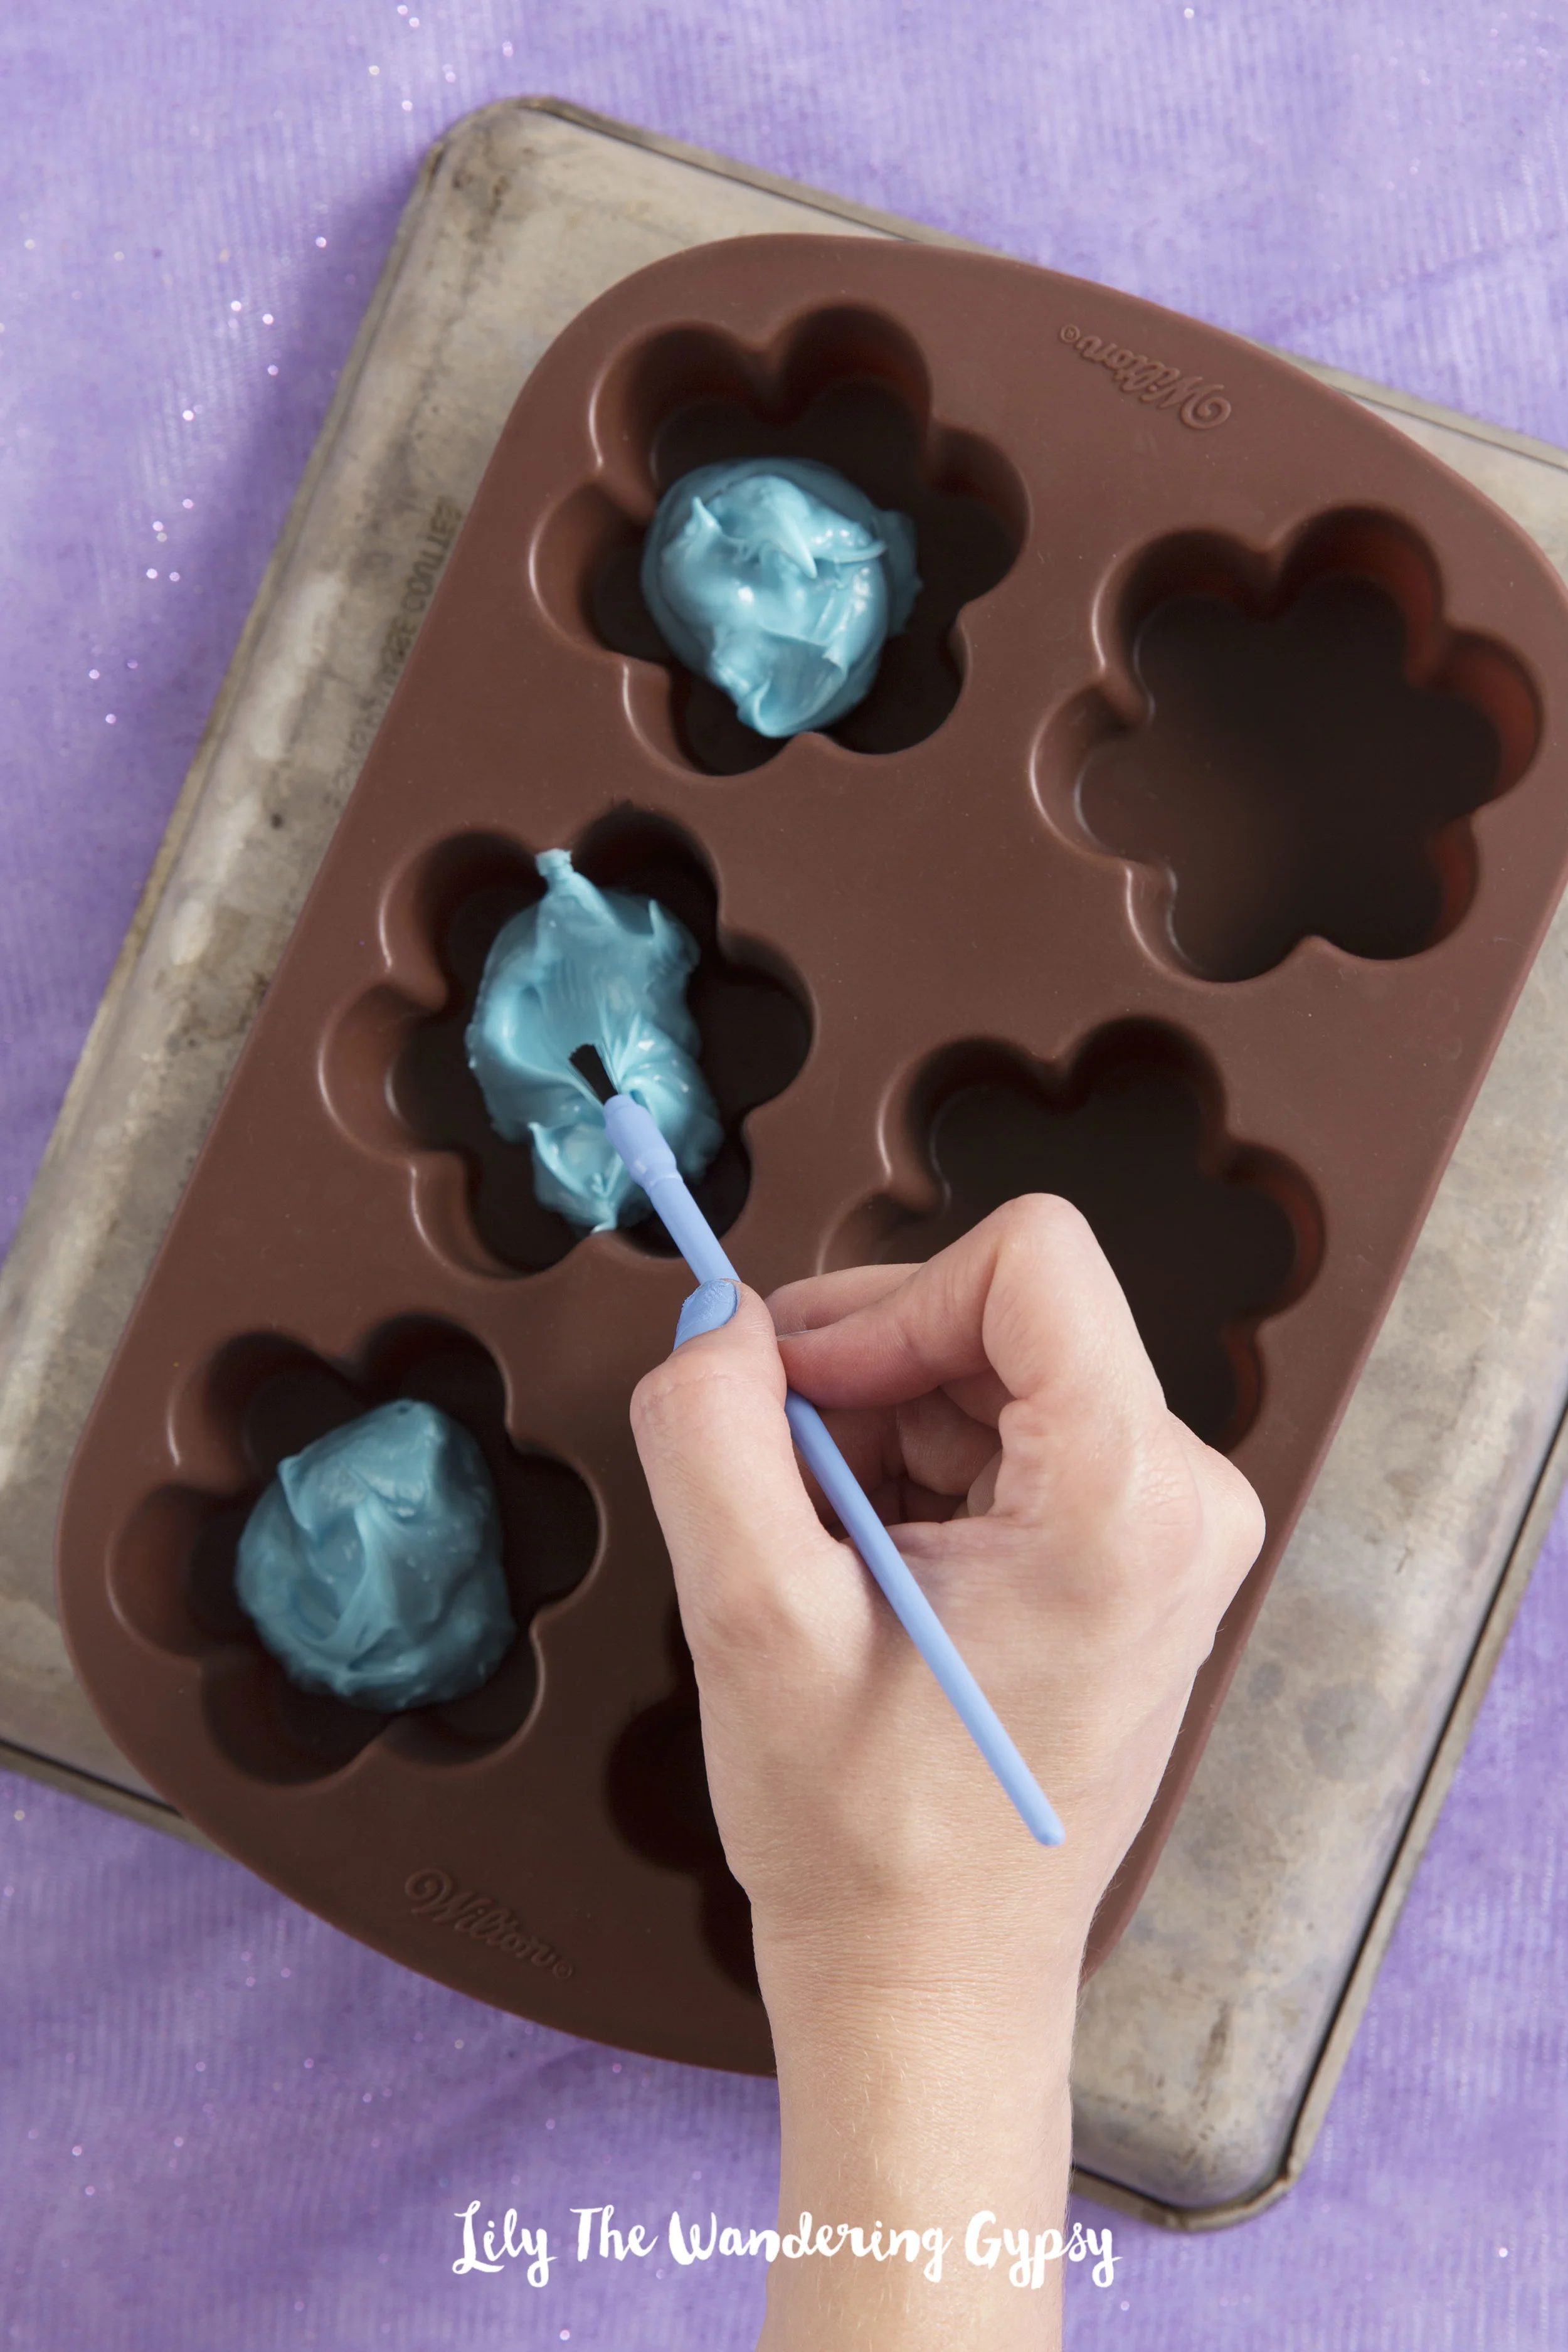
2.) Using a paintbrush to spread the candy molds was a priceless tip! The brush gives you way more control than a knife or spoon. This step took a while, but was definitely fun. I searched around just about every craft store for these brushes, and finally found them at JoAnns! I originally searched for cheap kids' paintbrushes, and found nothing. Luckily I persisted :)
3.) See how I spread the blue candy melts into the molds with a paintbrush, and am about to spread the green candies next. I added about double this amount (that you see in green) to fill the mold at first. After you fill the molds, pop the candies into the freezer for about 5 minutes.
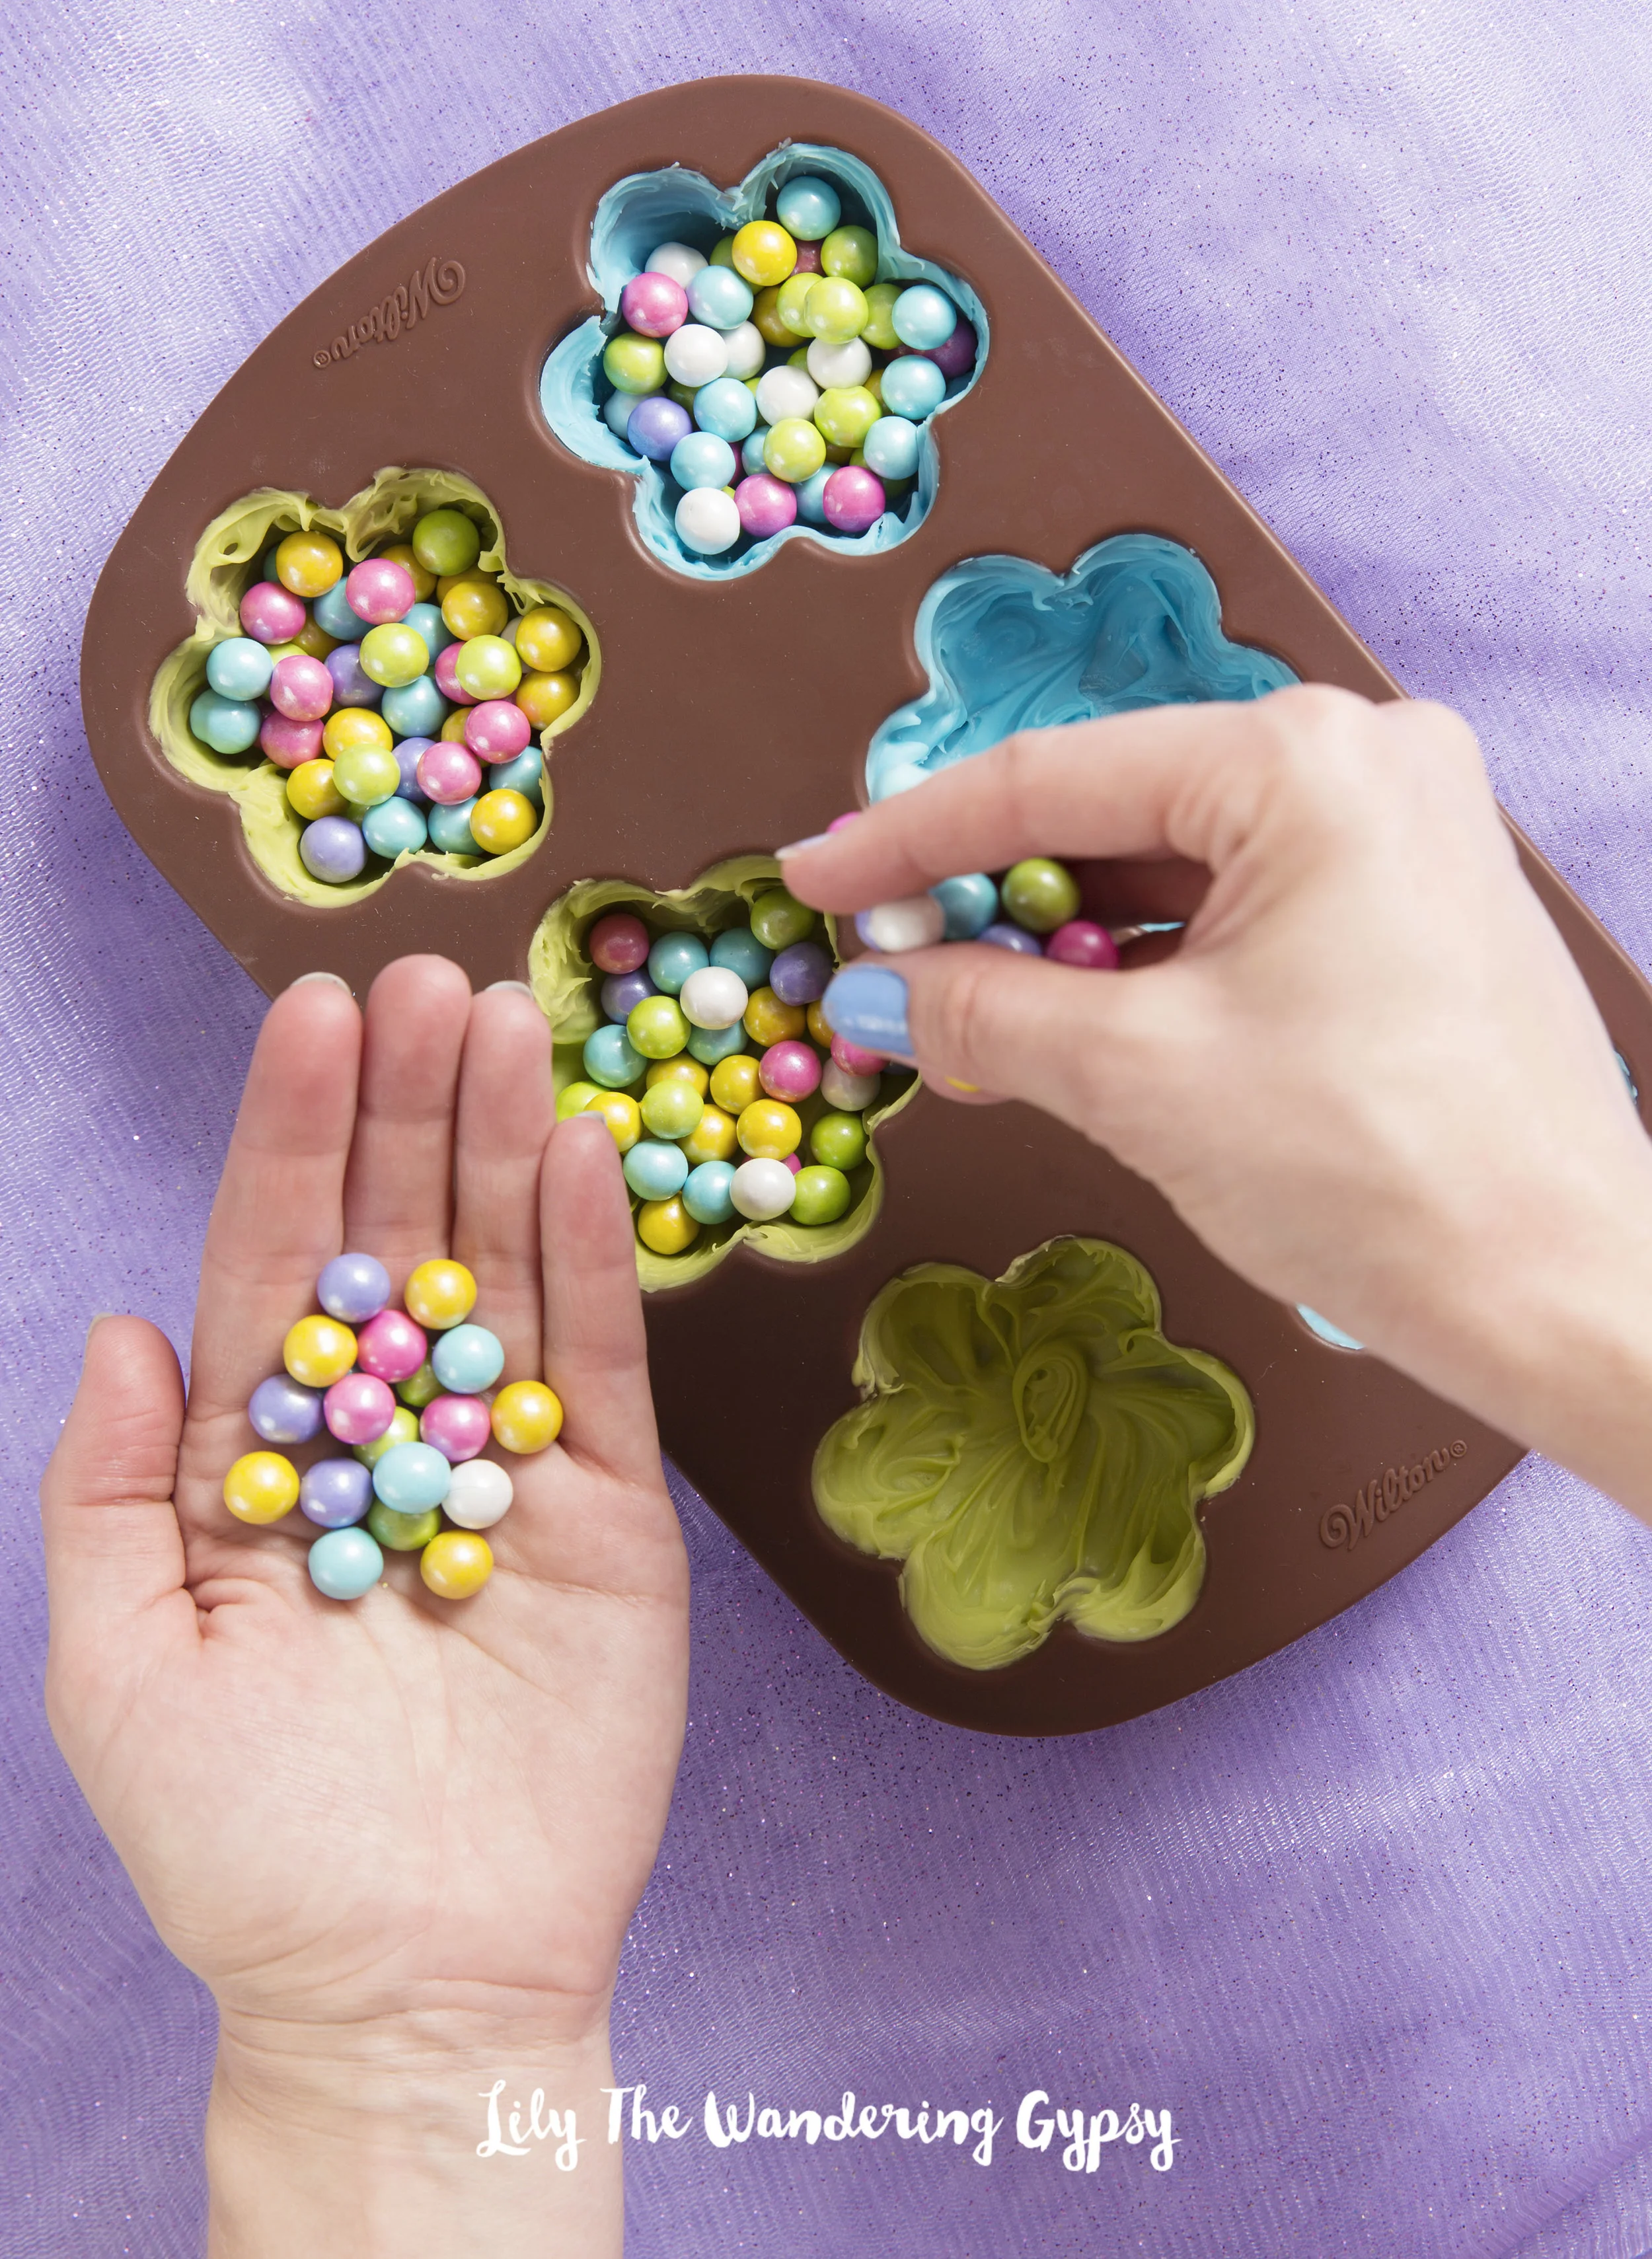
4.) Now, fill the candy shells with Candies, almost to the very top.
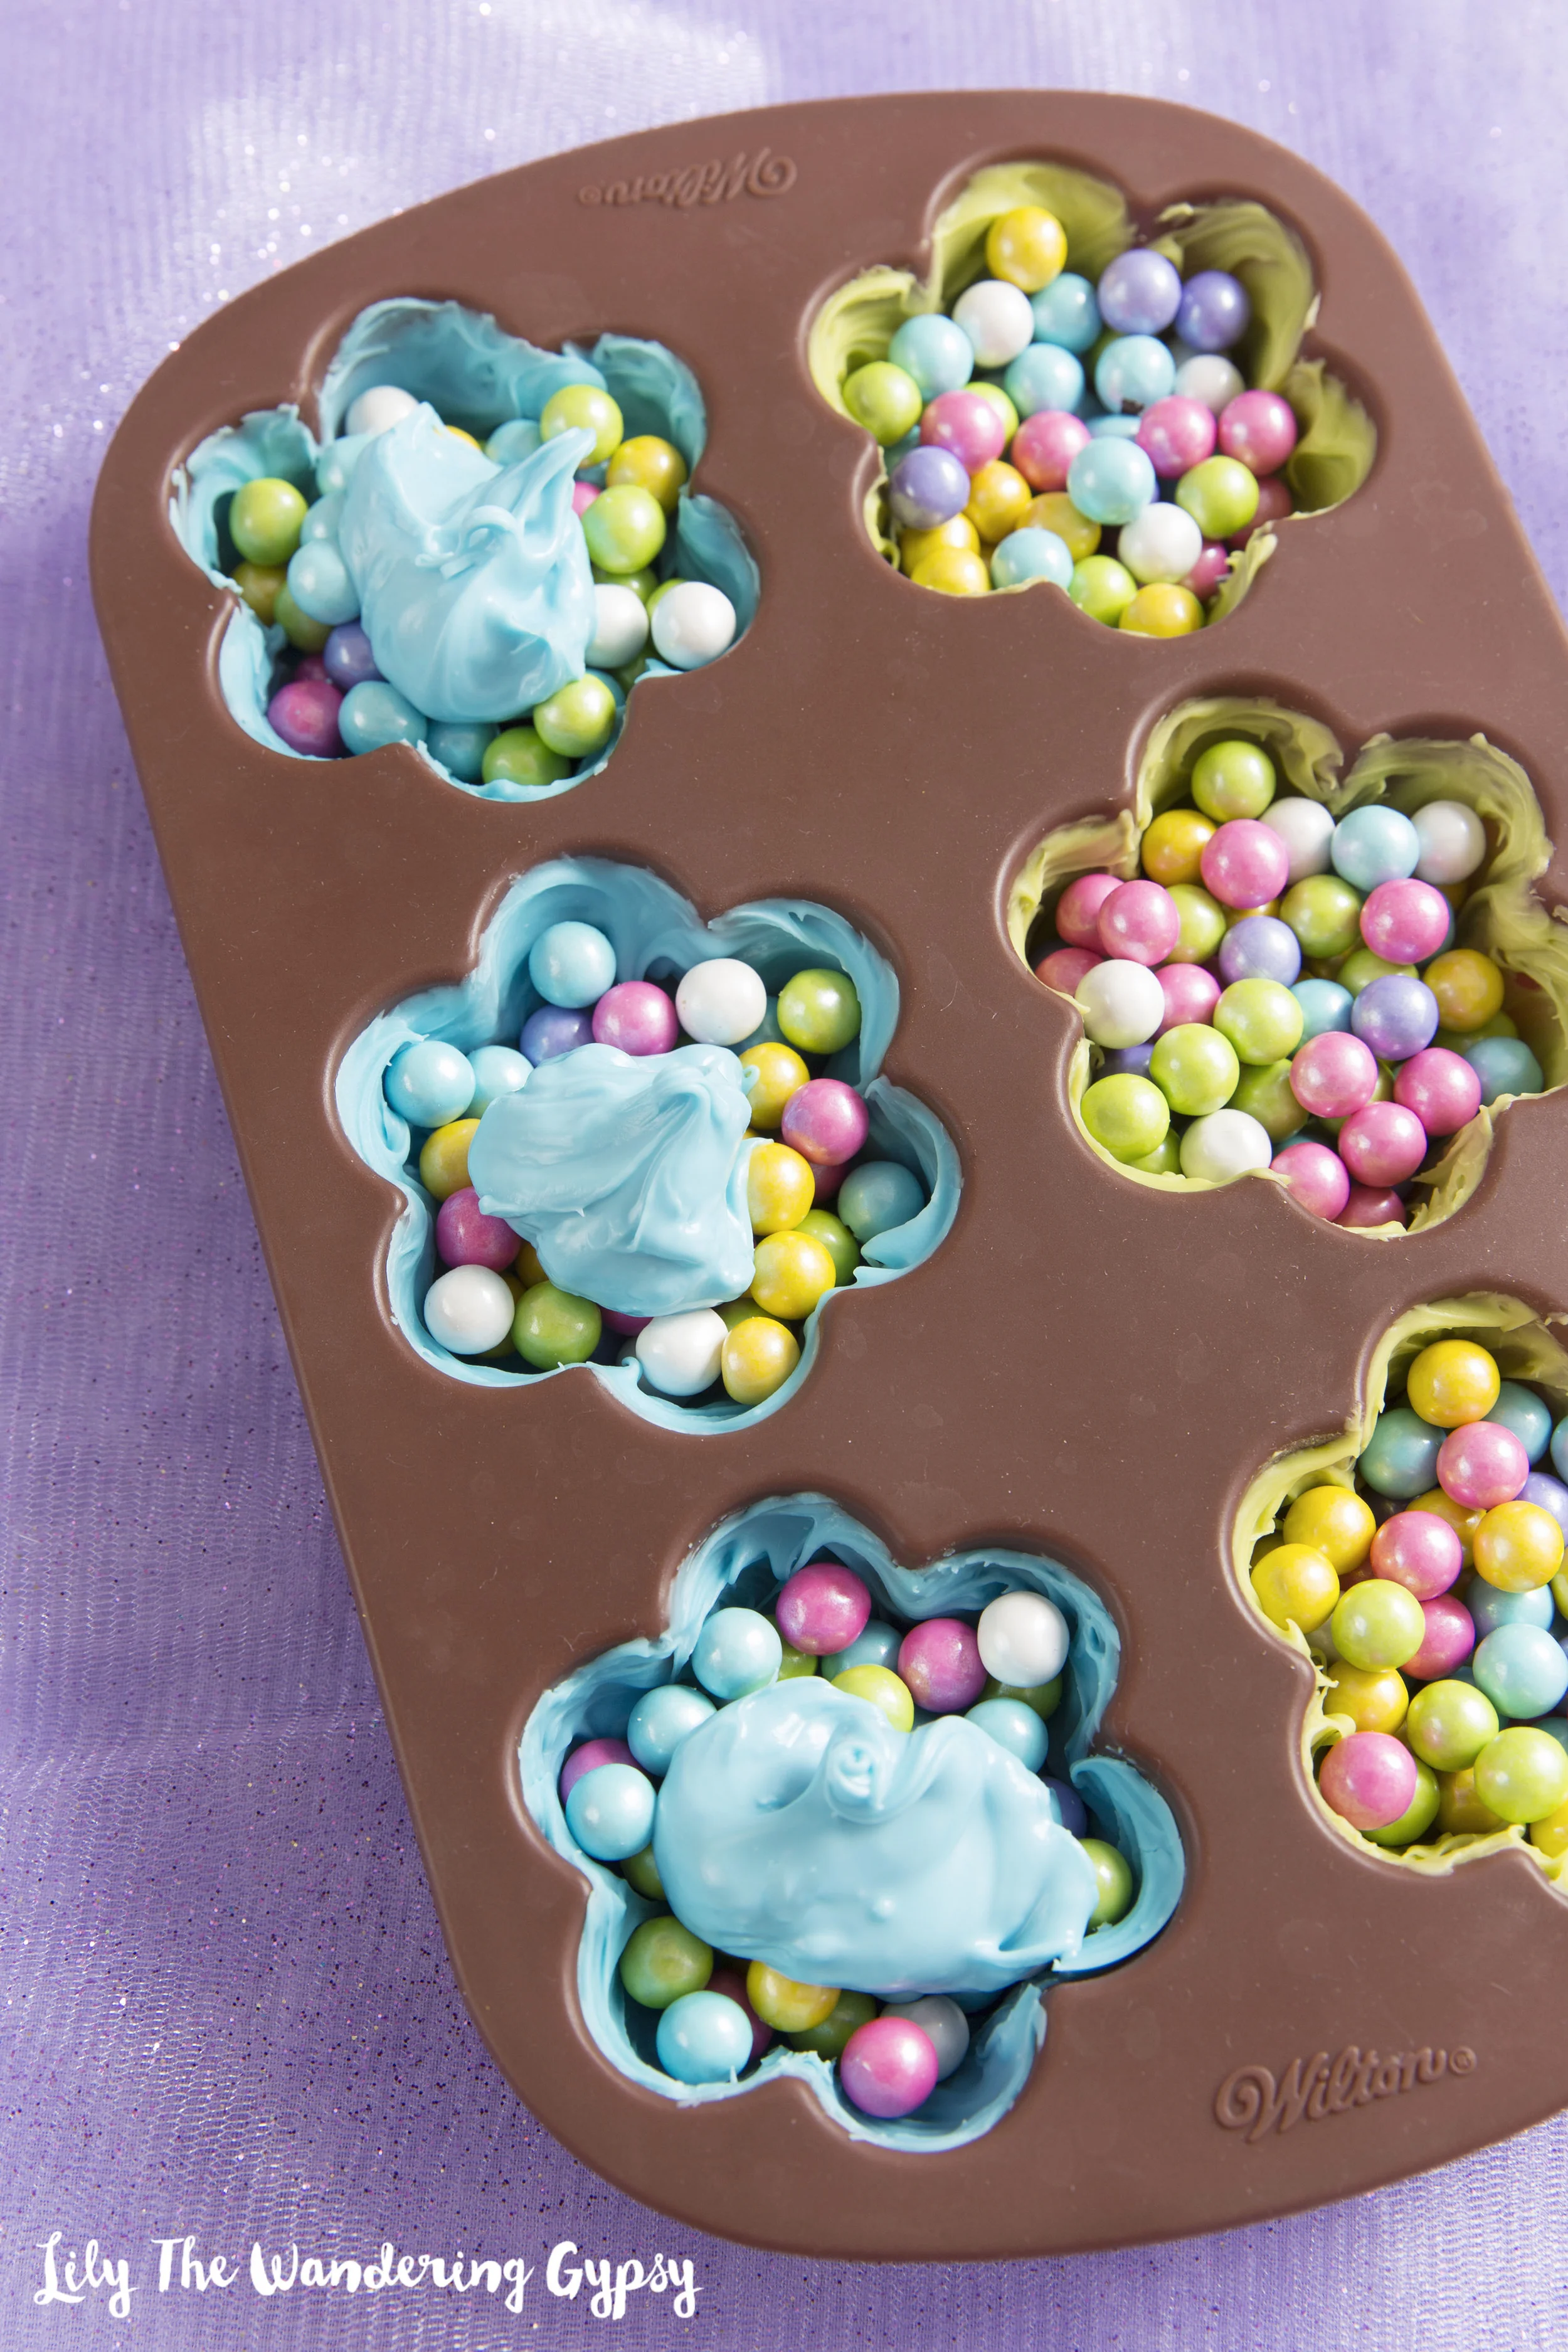
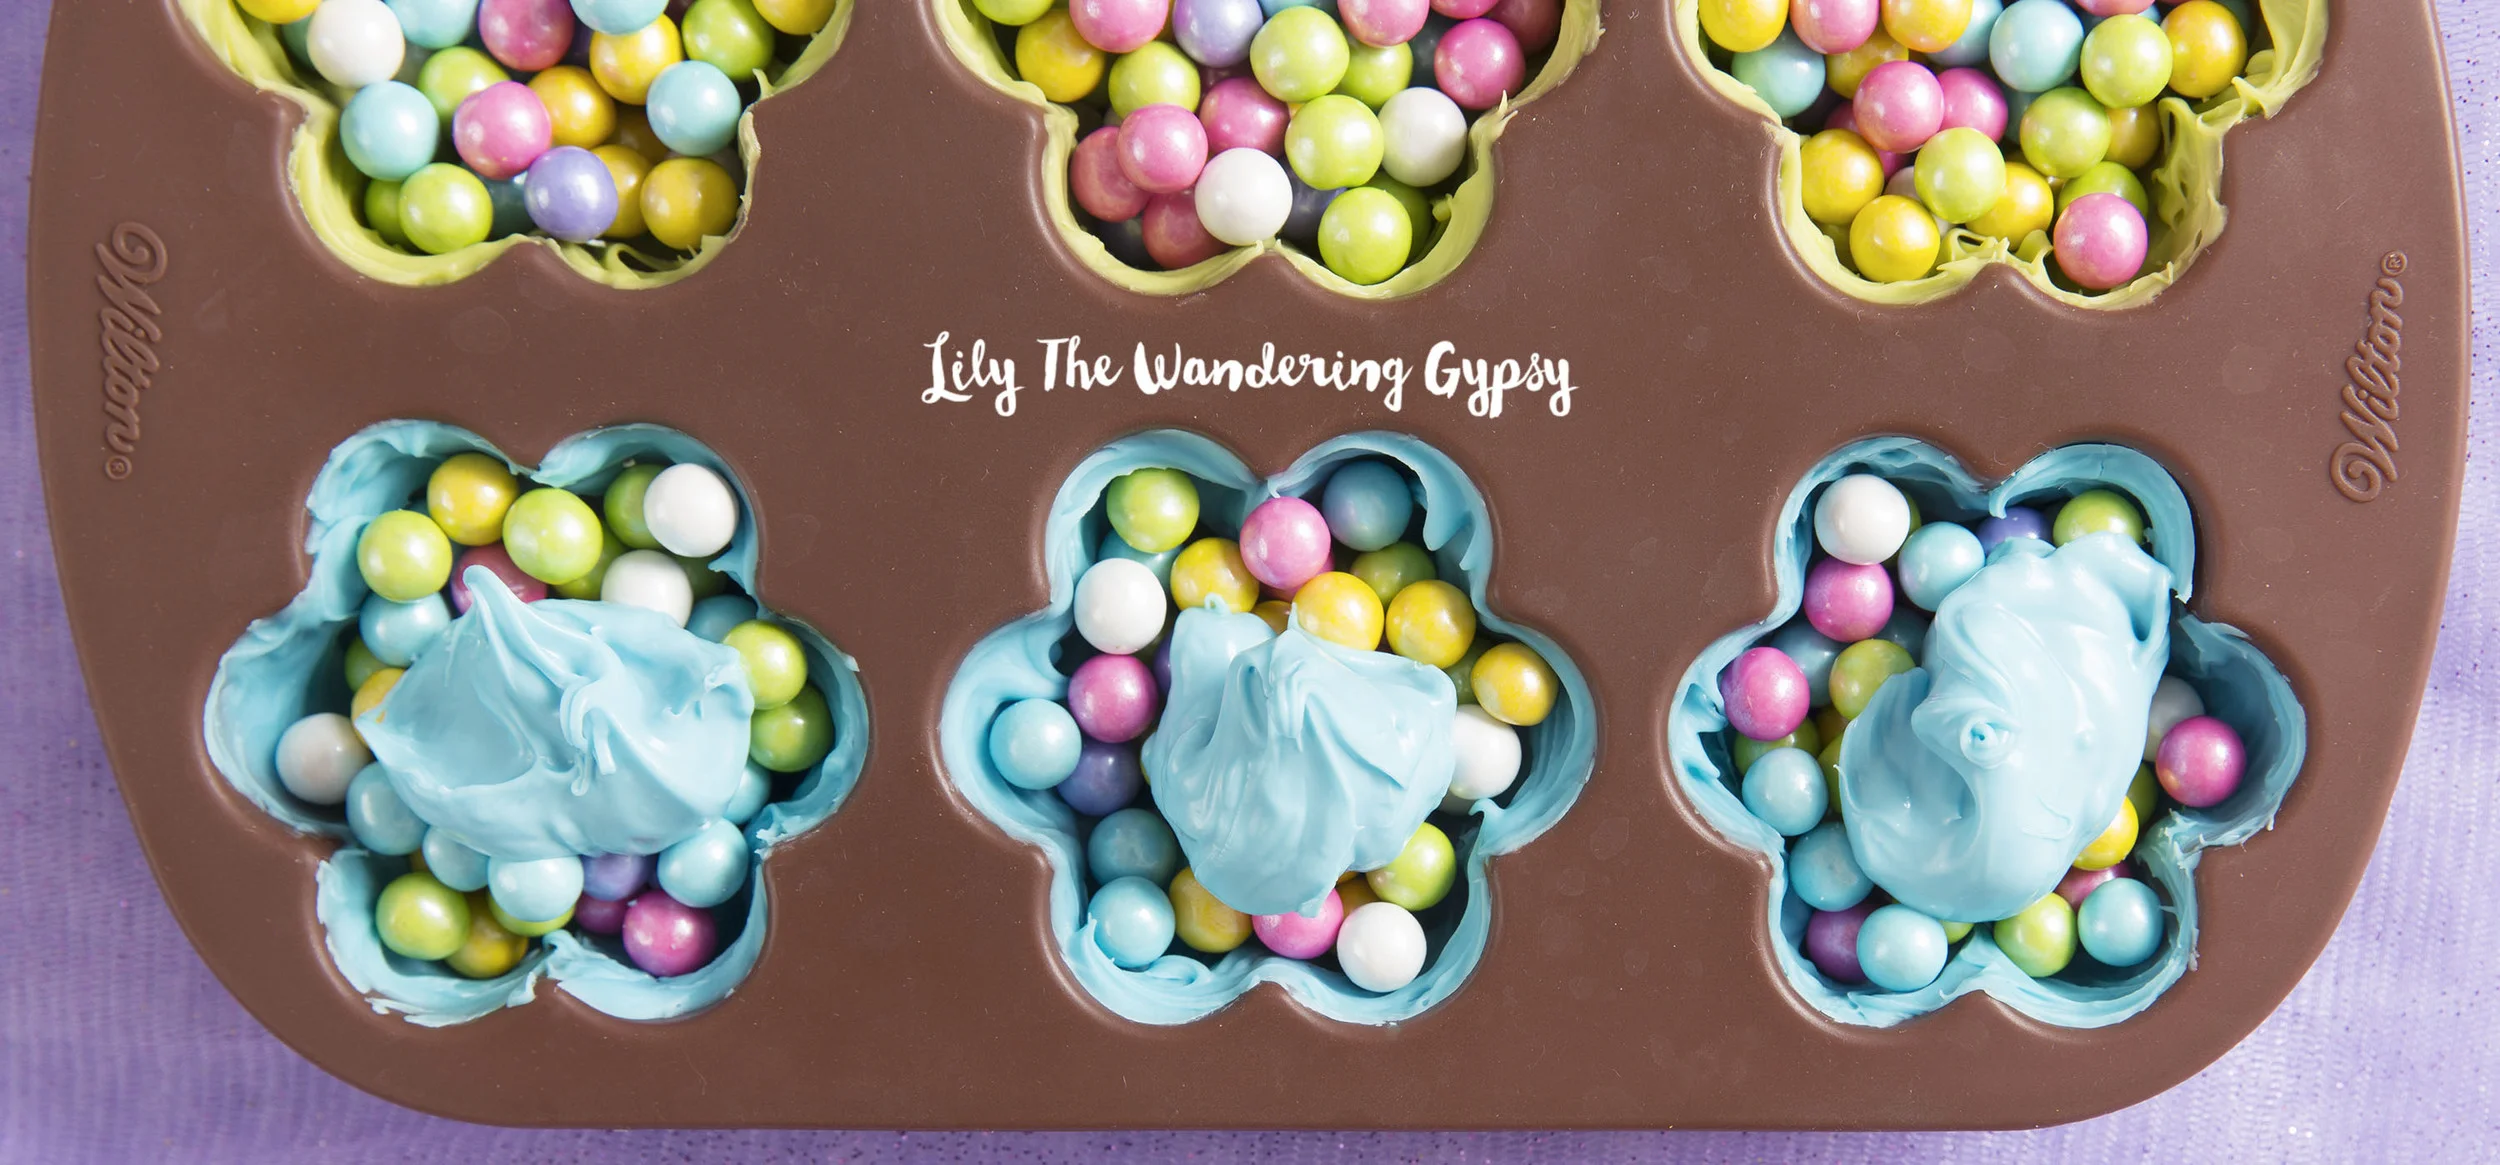
5.) Add a dollop of candy melts on top of your fillers candies, and use the paintbrush to smooth the dollop out, and to create a seal, so the candies stay inside the melts. Throw them back into the freezer, and wait about 30 minutes (or longer), so that everything hardens and seals.
These are so cute!!!
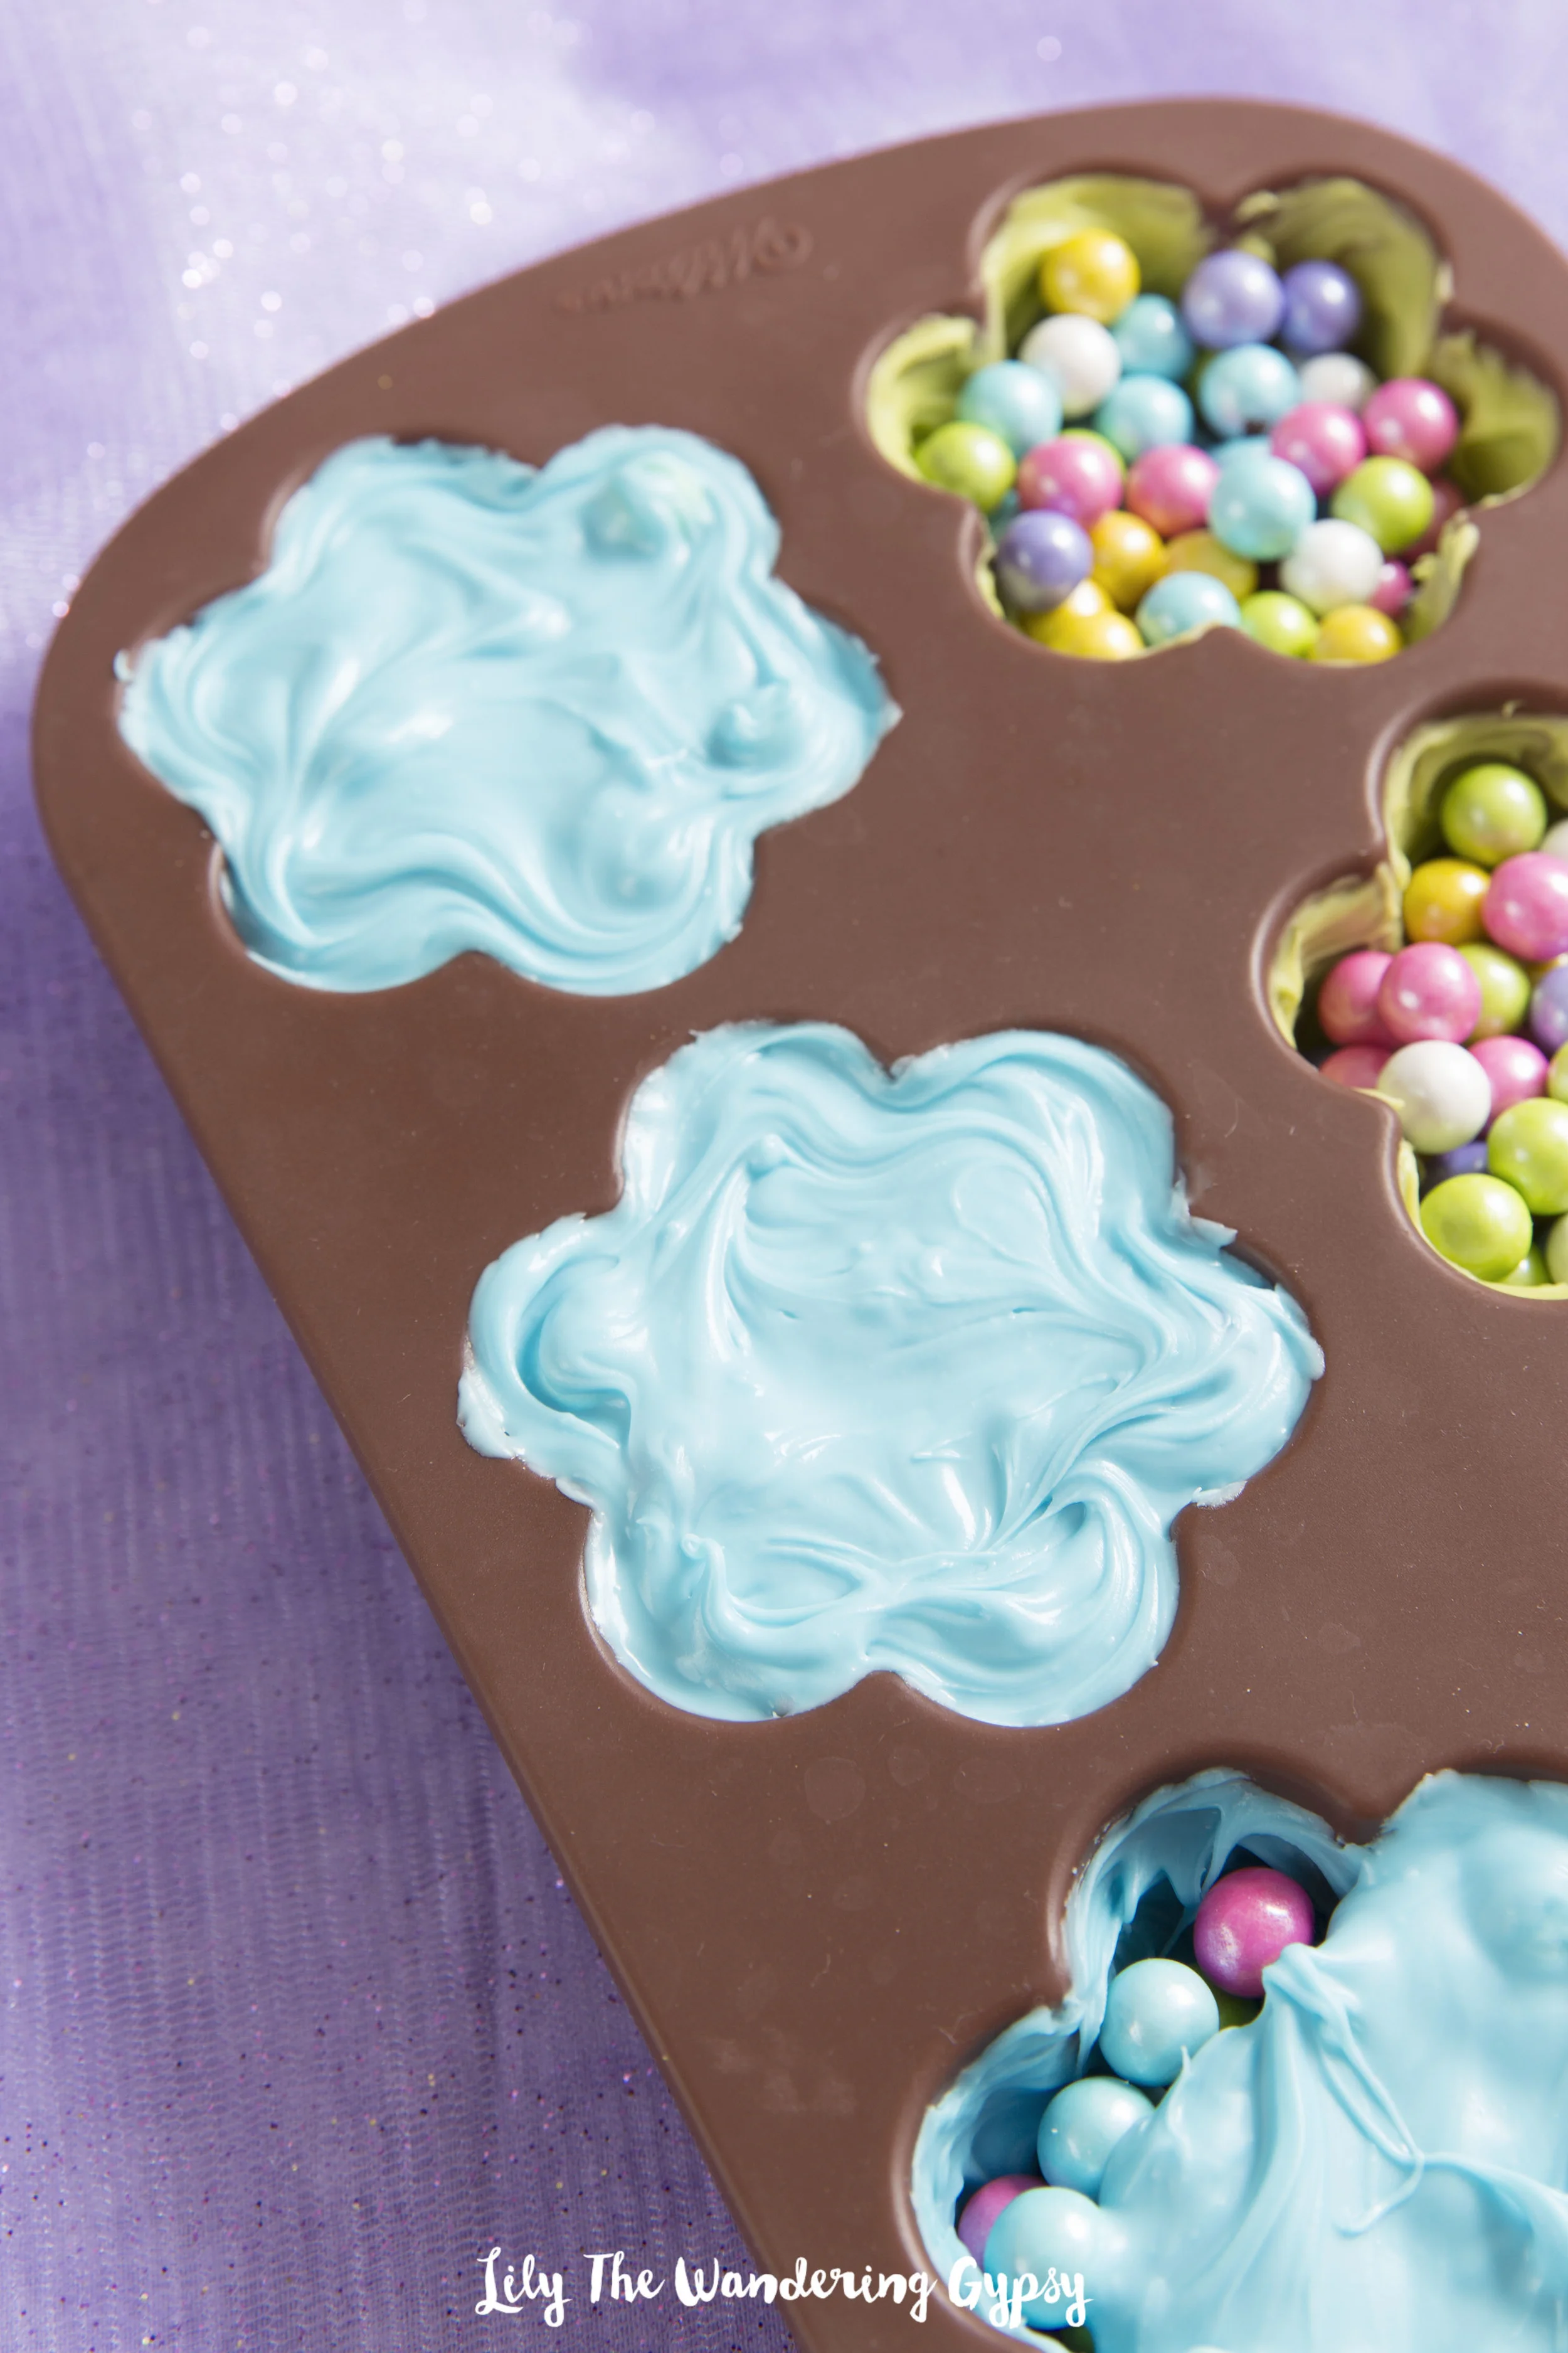
6.) Here is what it looked like after I smoothed the last part of the candy melts over the molds, to close in the Sixlets. Use your brush to make a pretty swirl pattern on the candies if you wish.

7.) Here is what your (almost finished) candies will look like after being in the freezer overnight. You don't have to leave them in this long (2 hours will do), but after all the work I did on this project, I was more than happy to leave these babies in the freezer overnight, and enjoy them the next day :)
8.) Using a pair of rubber or cotton gloves, carefully peel the mold away from your Blooming Candies. The gloves help prevent finger prints all over your candies. Aren't they adorable? The next photo shows how you open them...

Now you can reveal your surprise candy inside! Just use a sharp kitchen knife, and (very carefully), cut into the candy as if you are cutting a slice of cake.


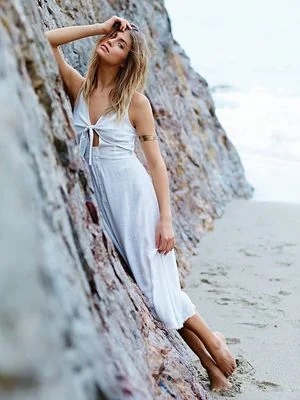
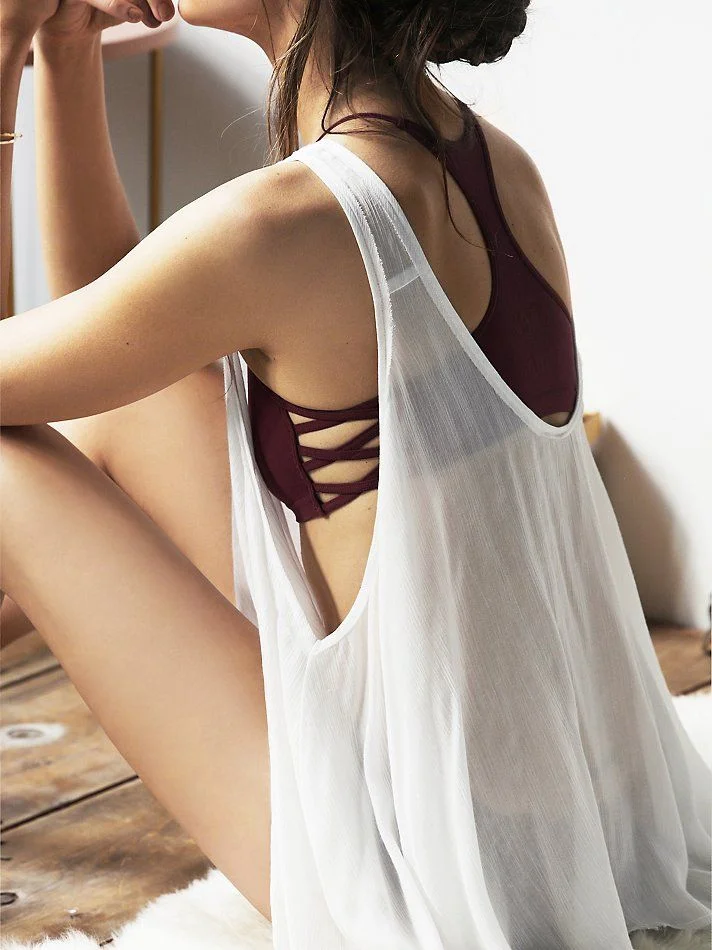
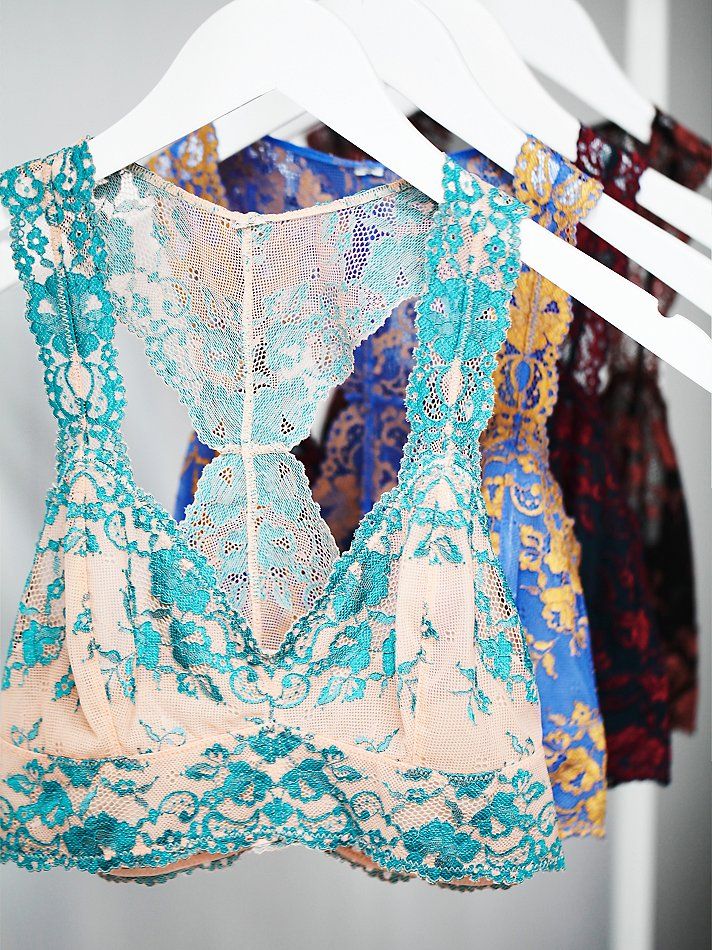
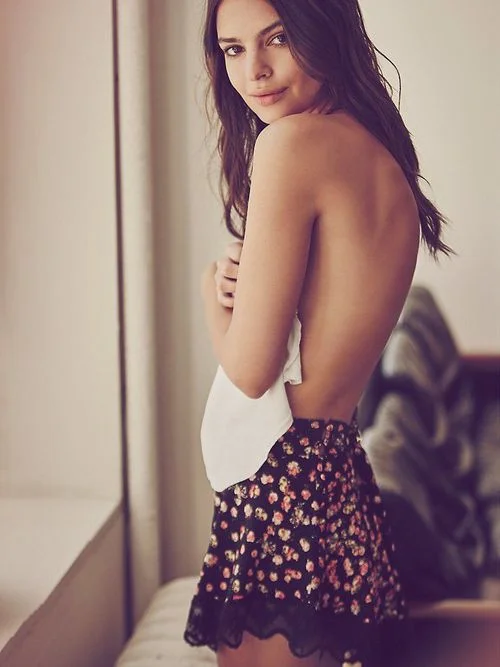
LOVELY CLOTHING! I found some amazing items on the Free People website and wanted to share some of my summer favorites with you! What's your favorite summer essentials? Comment below, and click on the images to purchase these items. Happy Summer!!


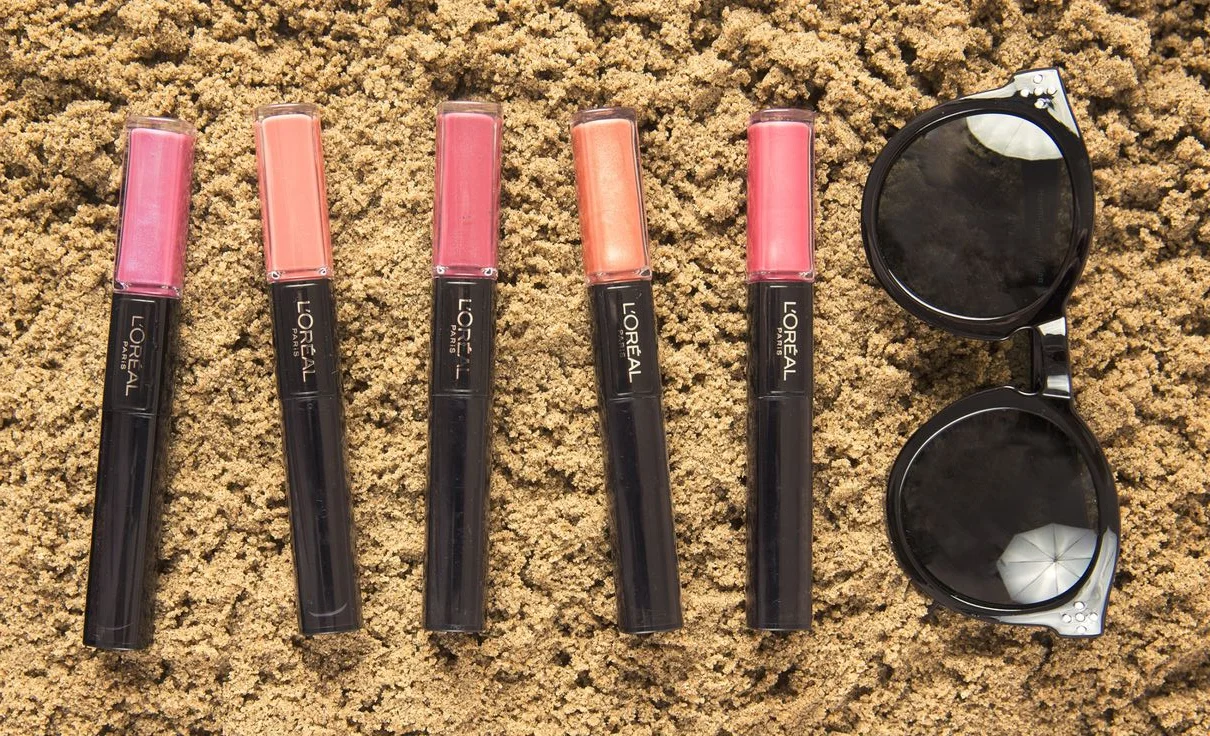
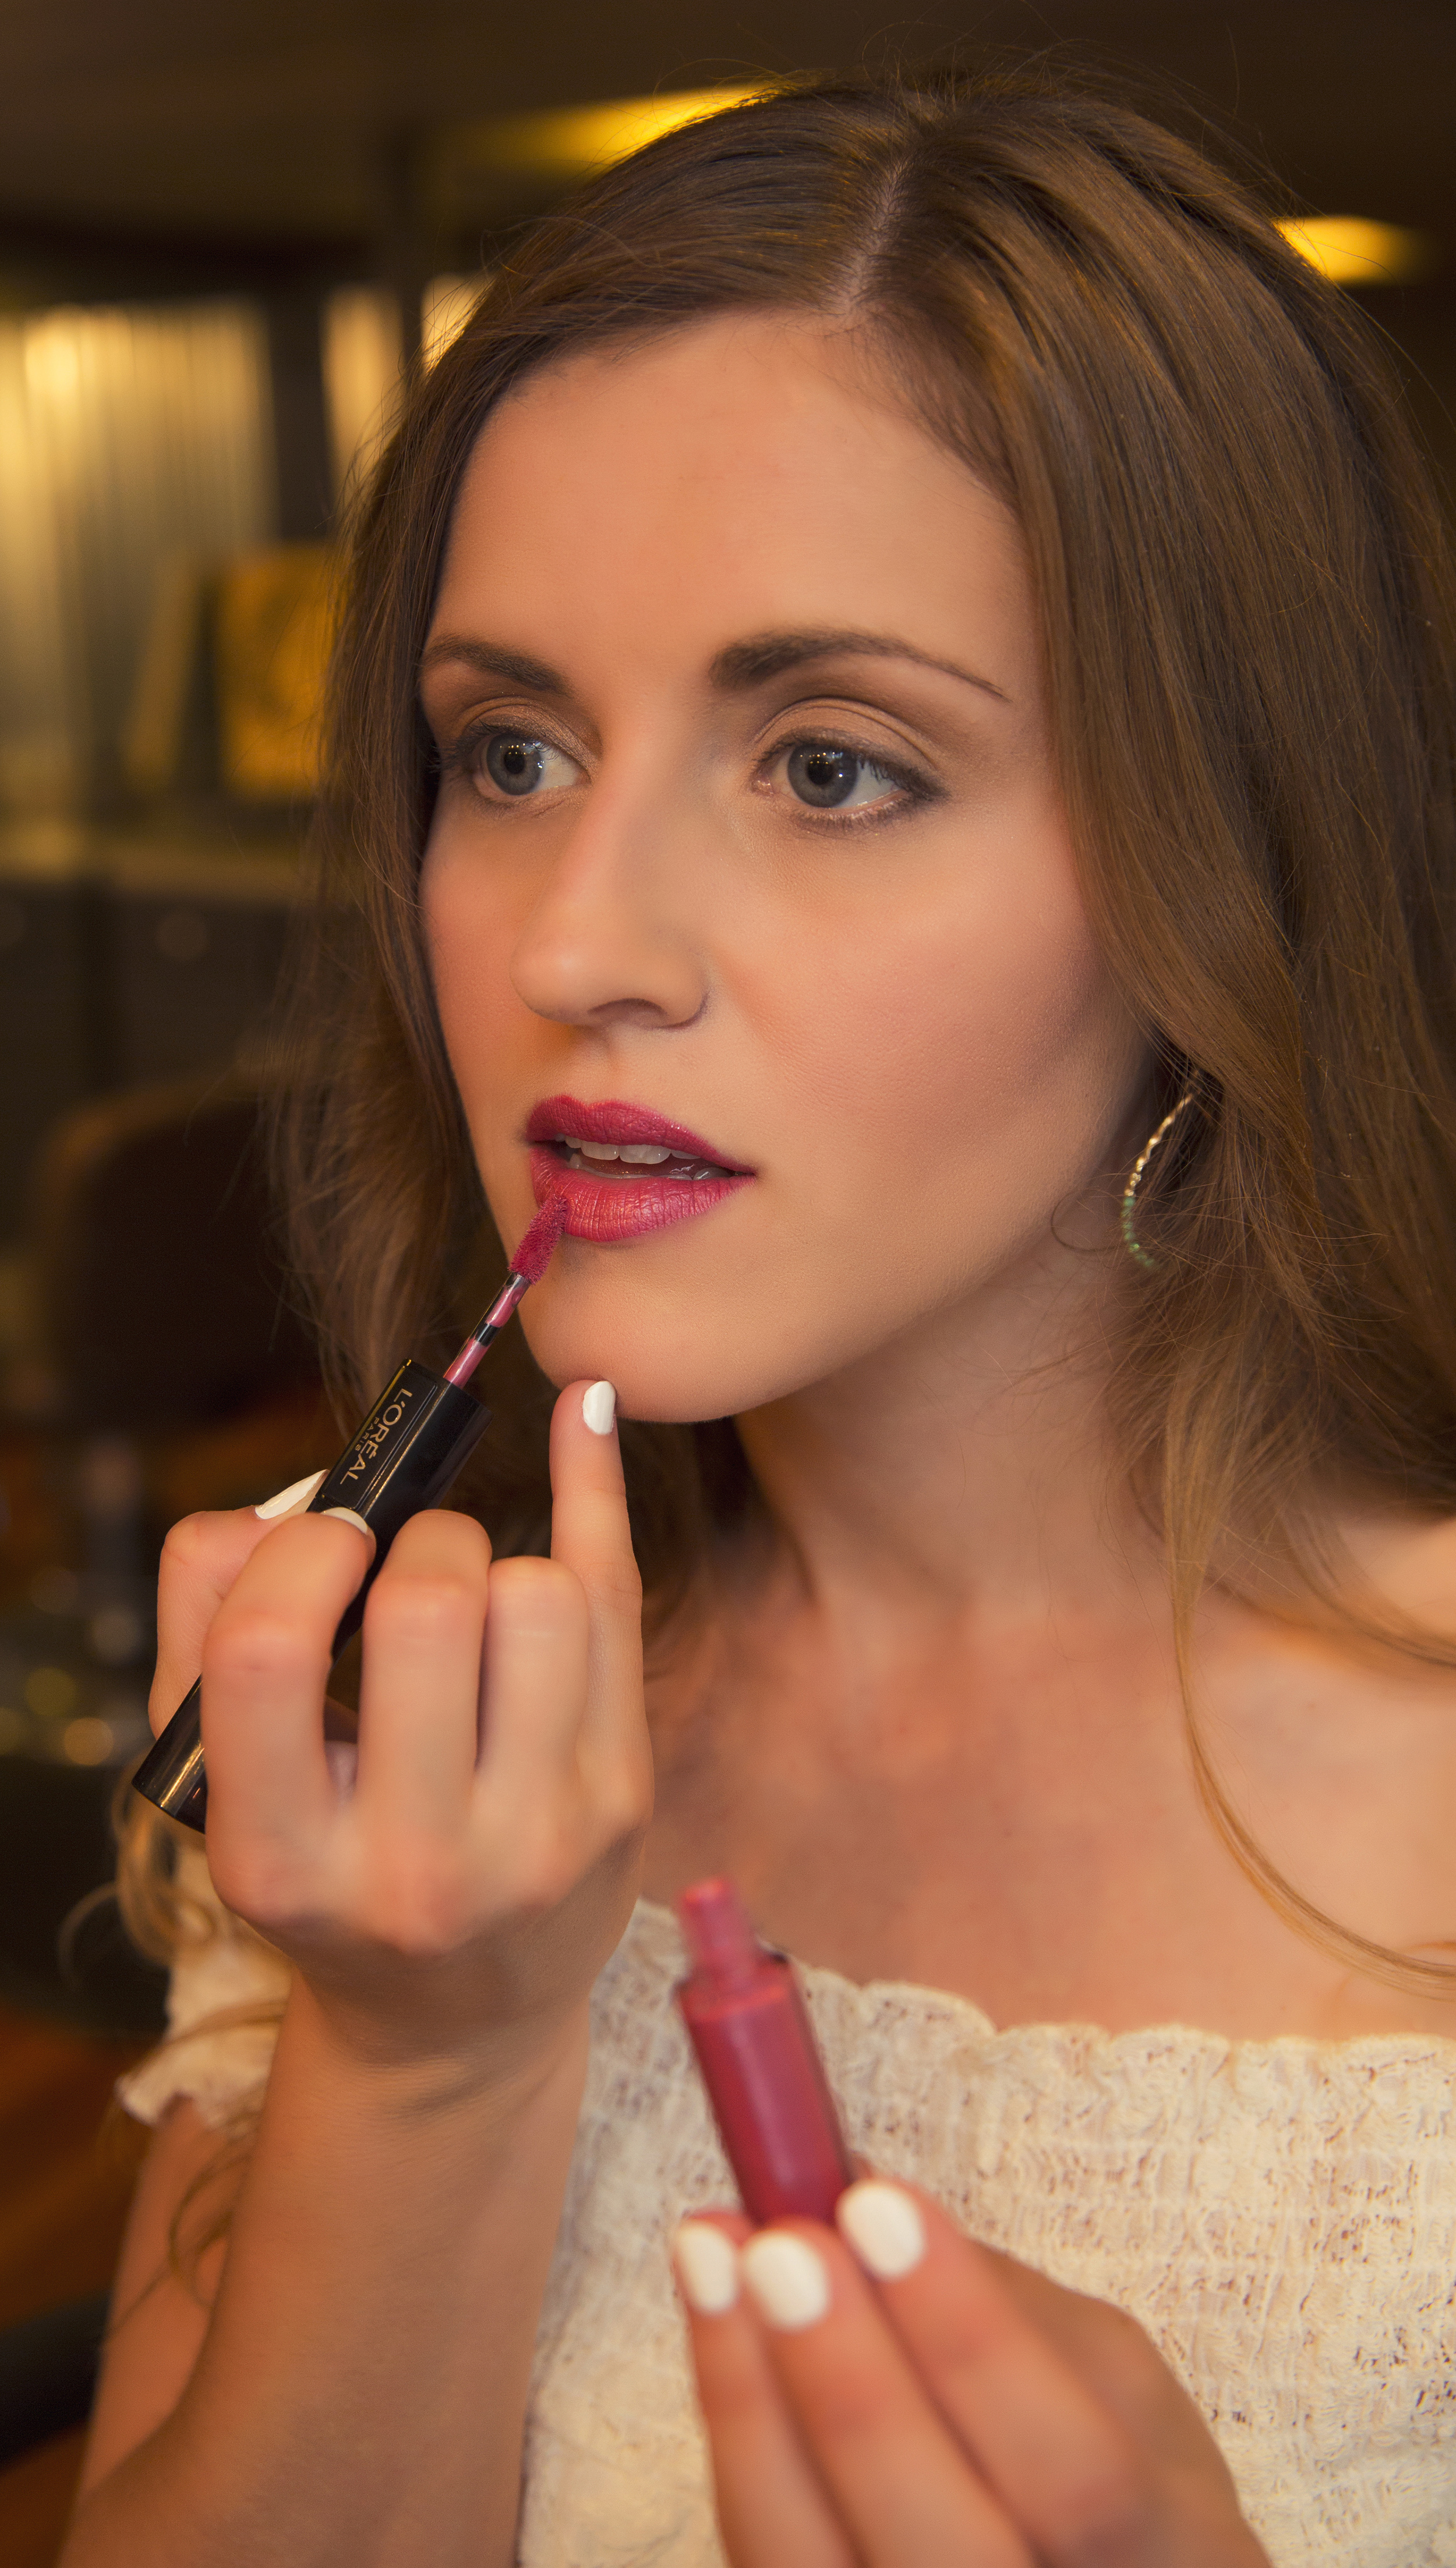
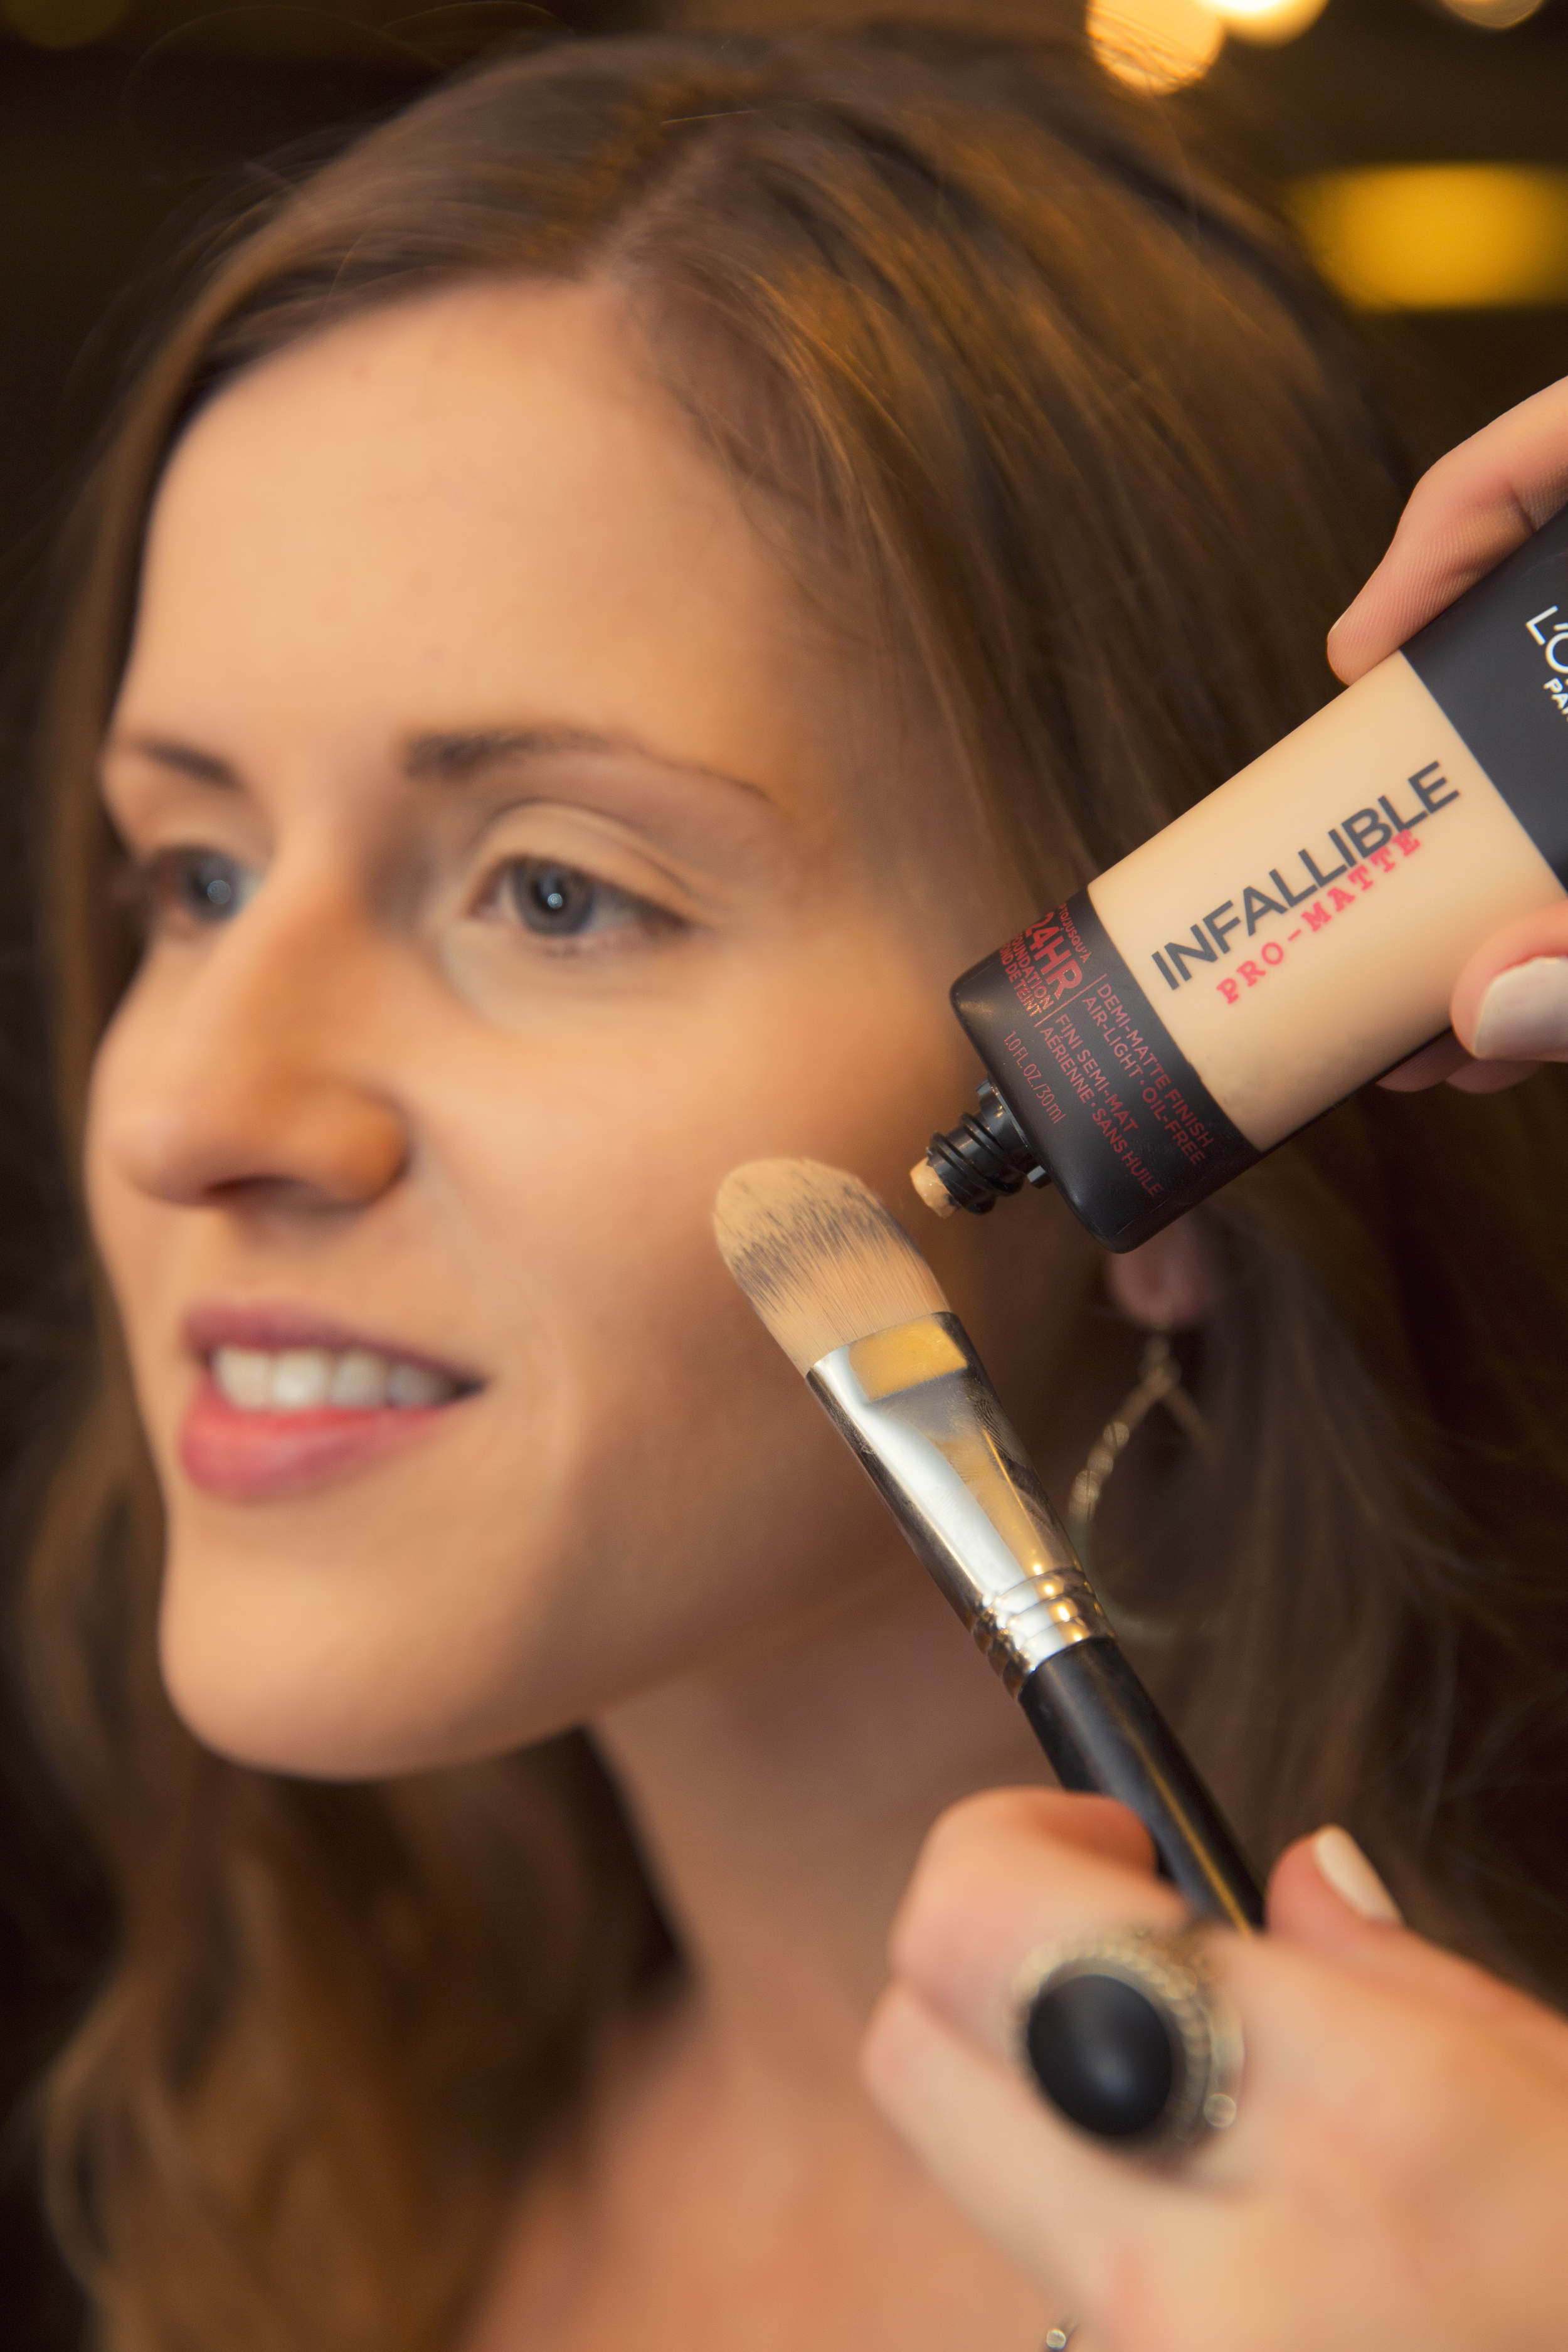
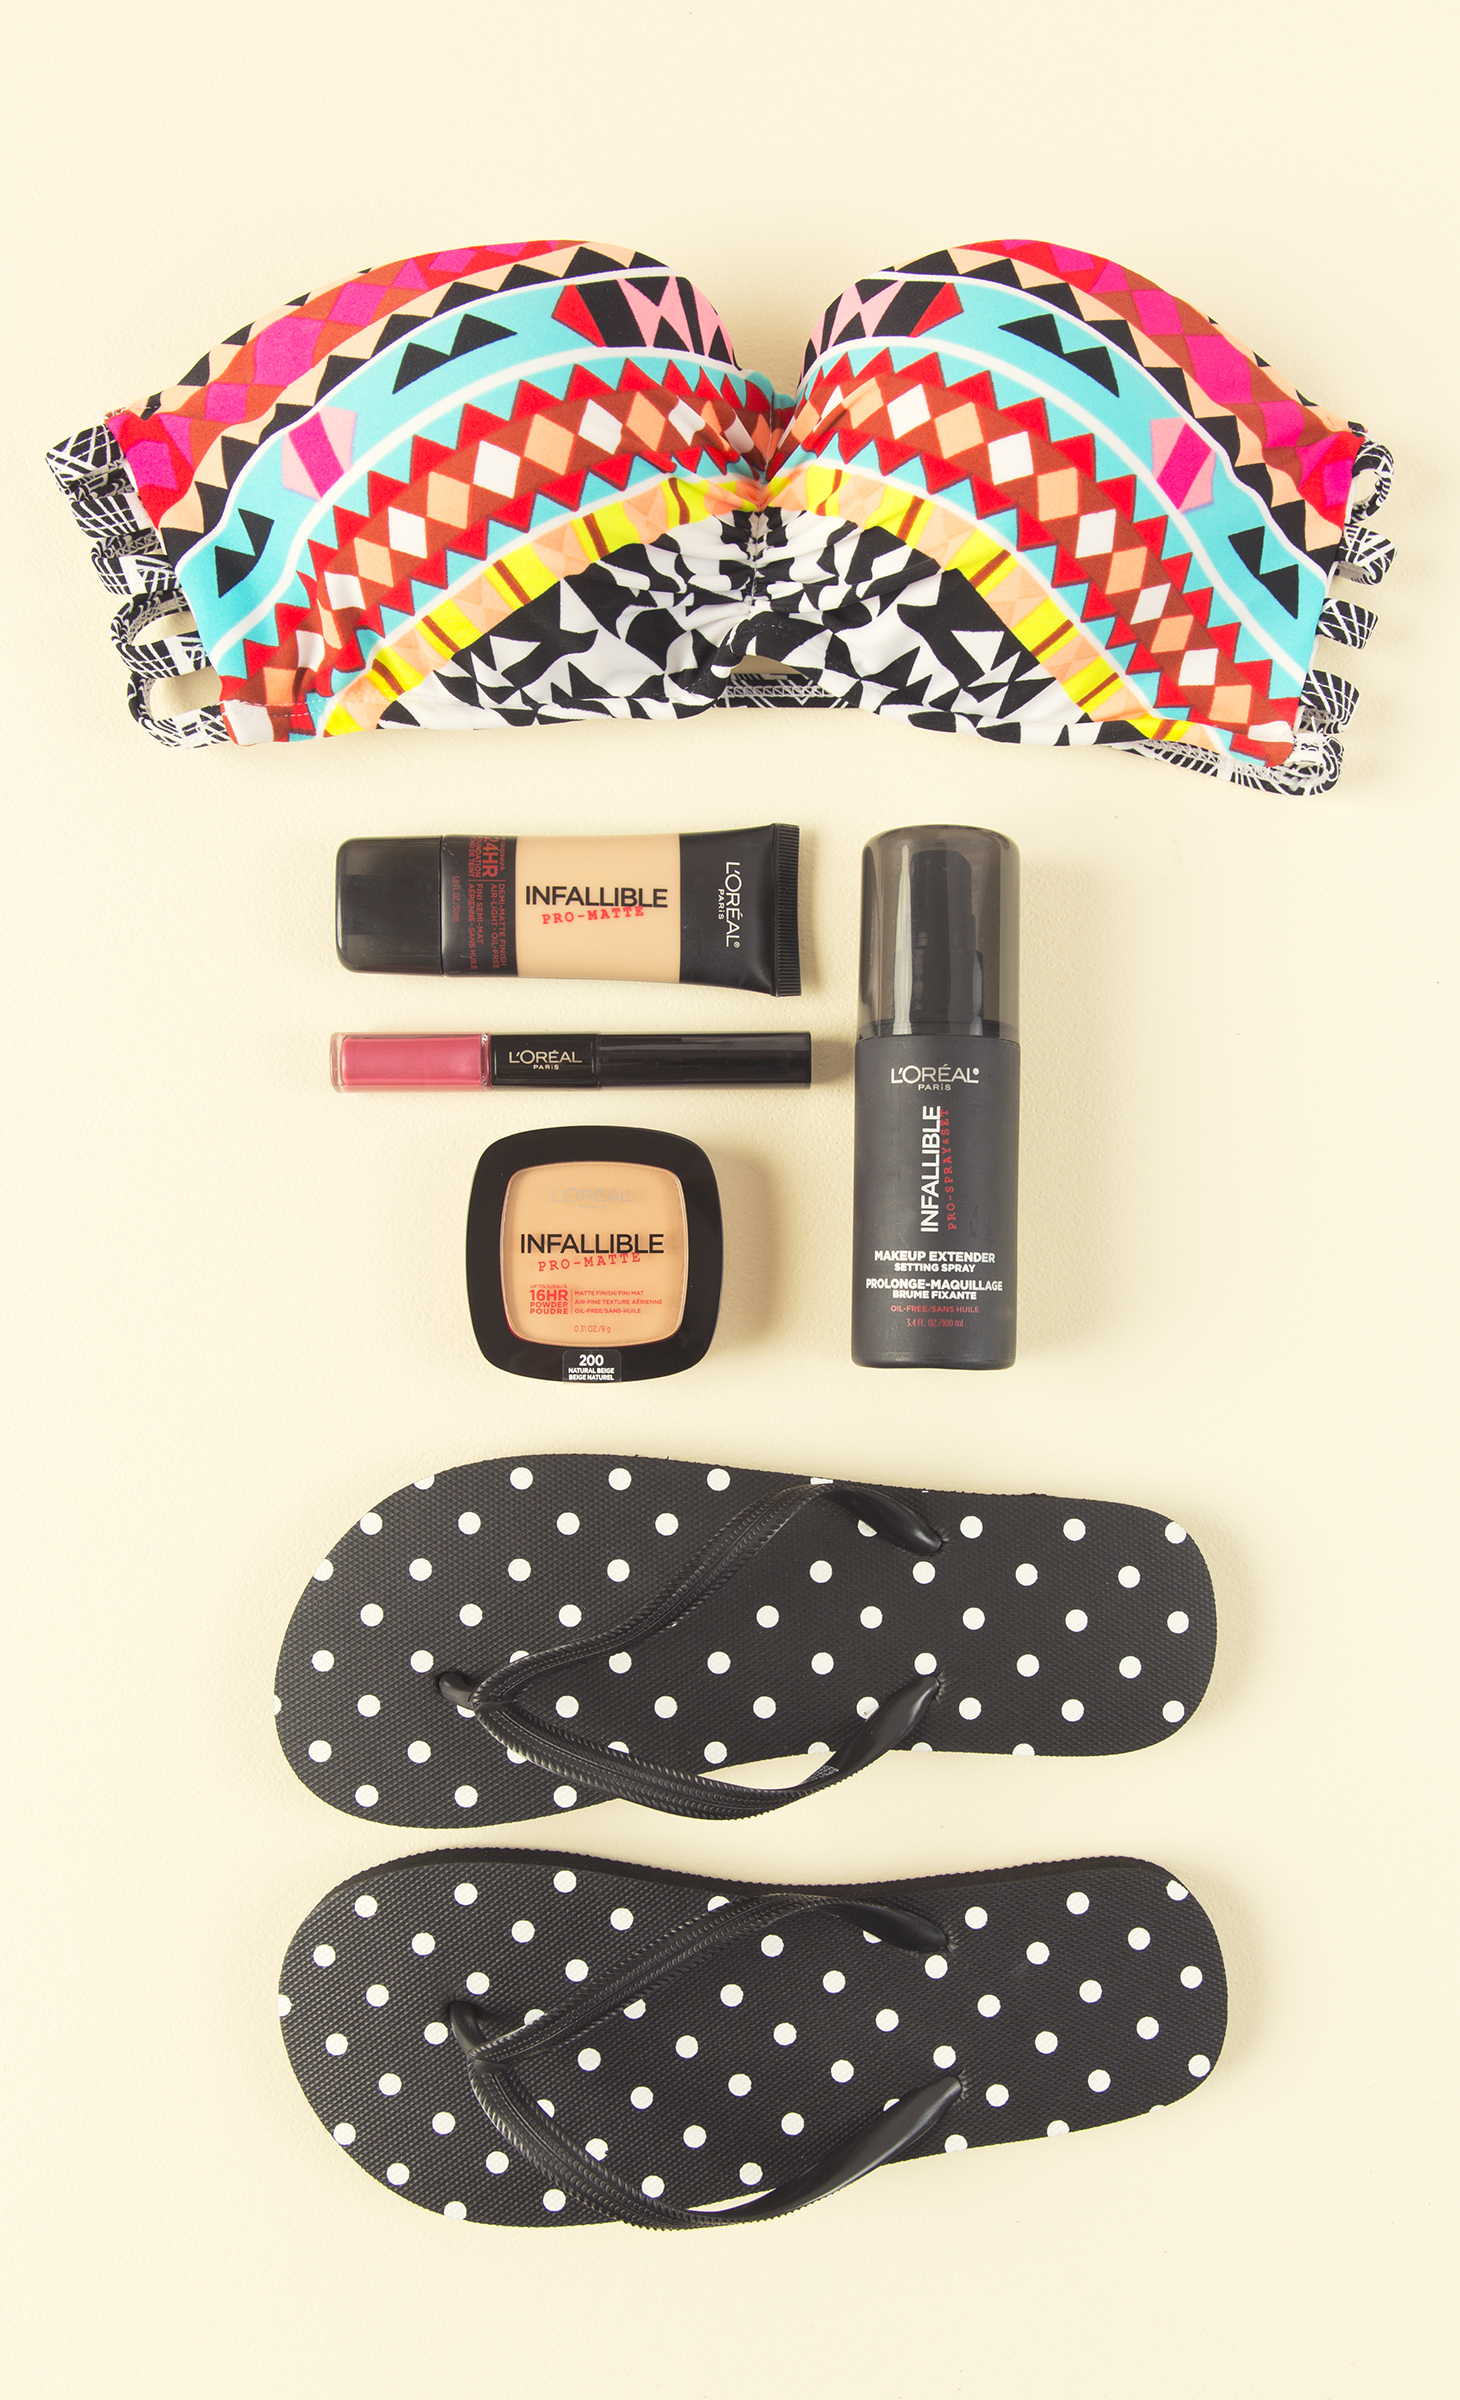
Recently I was asked by L'Oreal to help promote one of their new Infalliable makeup lines that is perfect for summer. It's definitely more challenging keeping your makeup looking fresh when it's hot outside, and this makeup really stays put. I created this Dedicated Board to show you more!
I'm not usually one to wear much makeup, especially the full-coverage kind, but wow, it makes such a difference in my appearance! It's so fun experimenting with different color combinations, and it was also fun learning some makeup application tips from Katie at Fringe The Salon, who is a local salon-owner. She does amazing work and it was a lot of fun working with her.
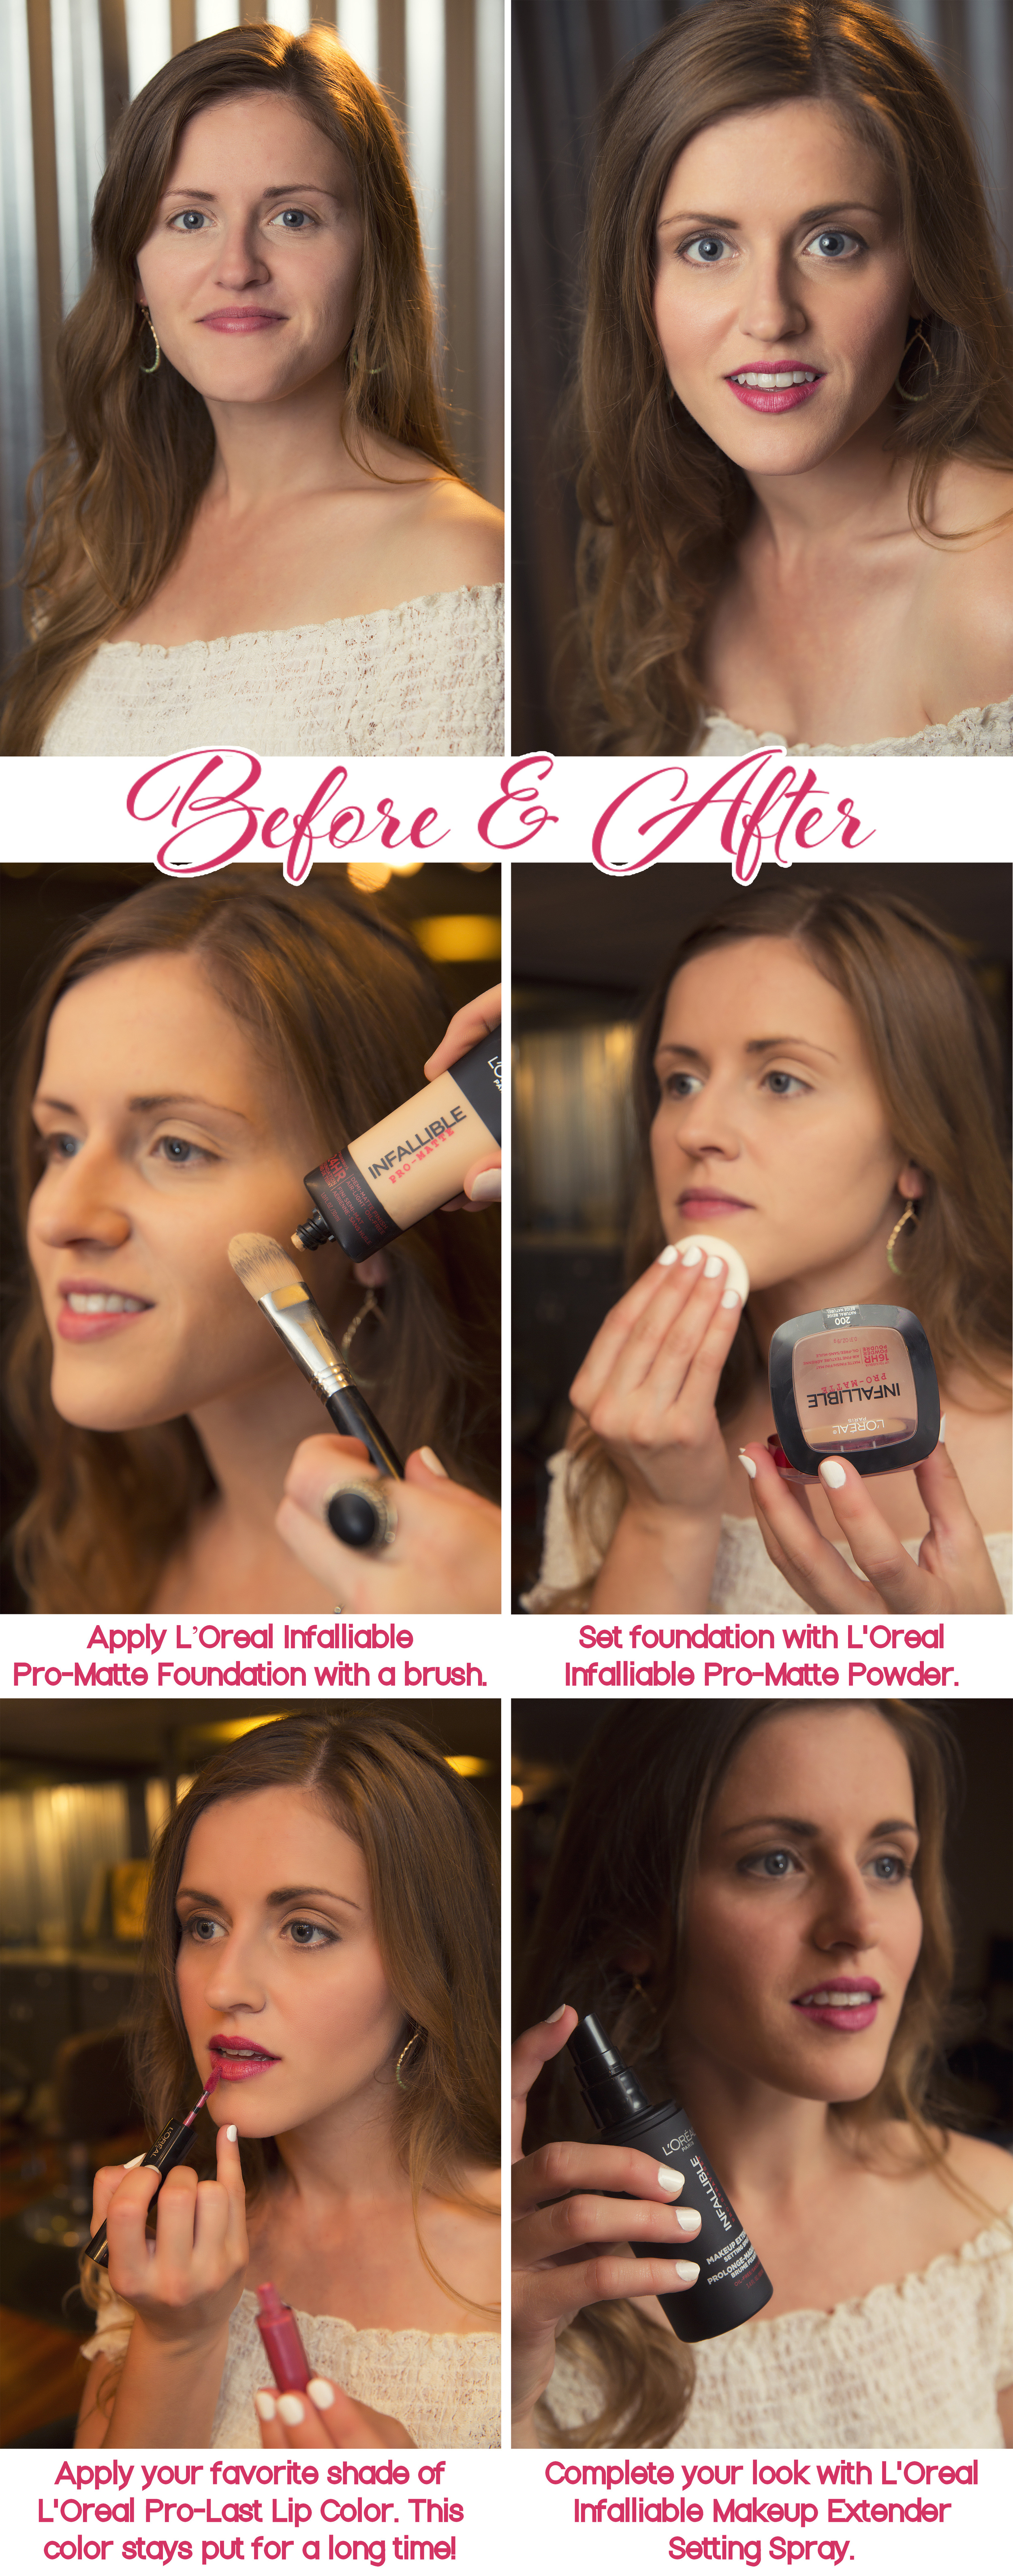
The tutorial (below), was created by using some of the L'Oreal Infalliable products like foundation, powder, and of course, their Lip Colors. There were so many colors to choose from, and this stuff really stays put! Below you can see some of the content we created for L'Oreal!
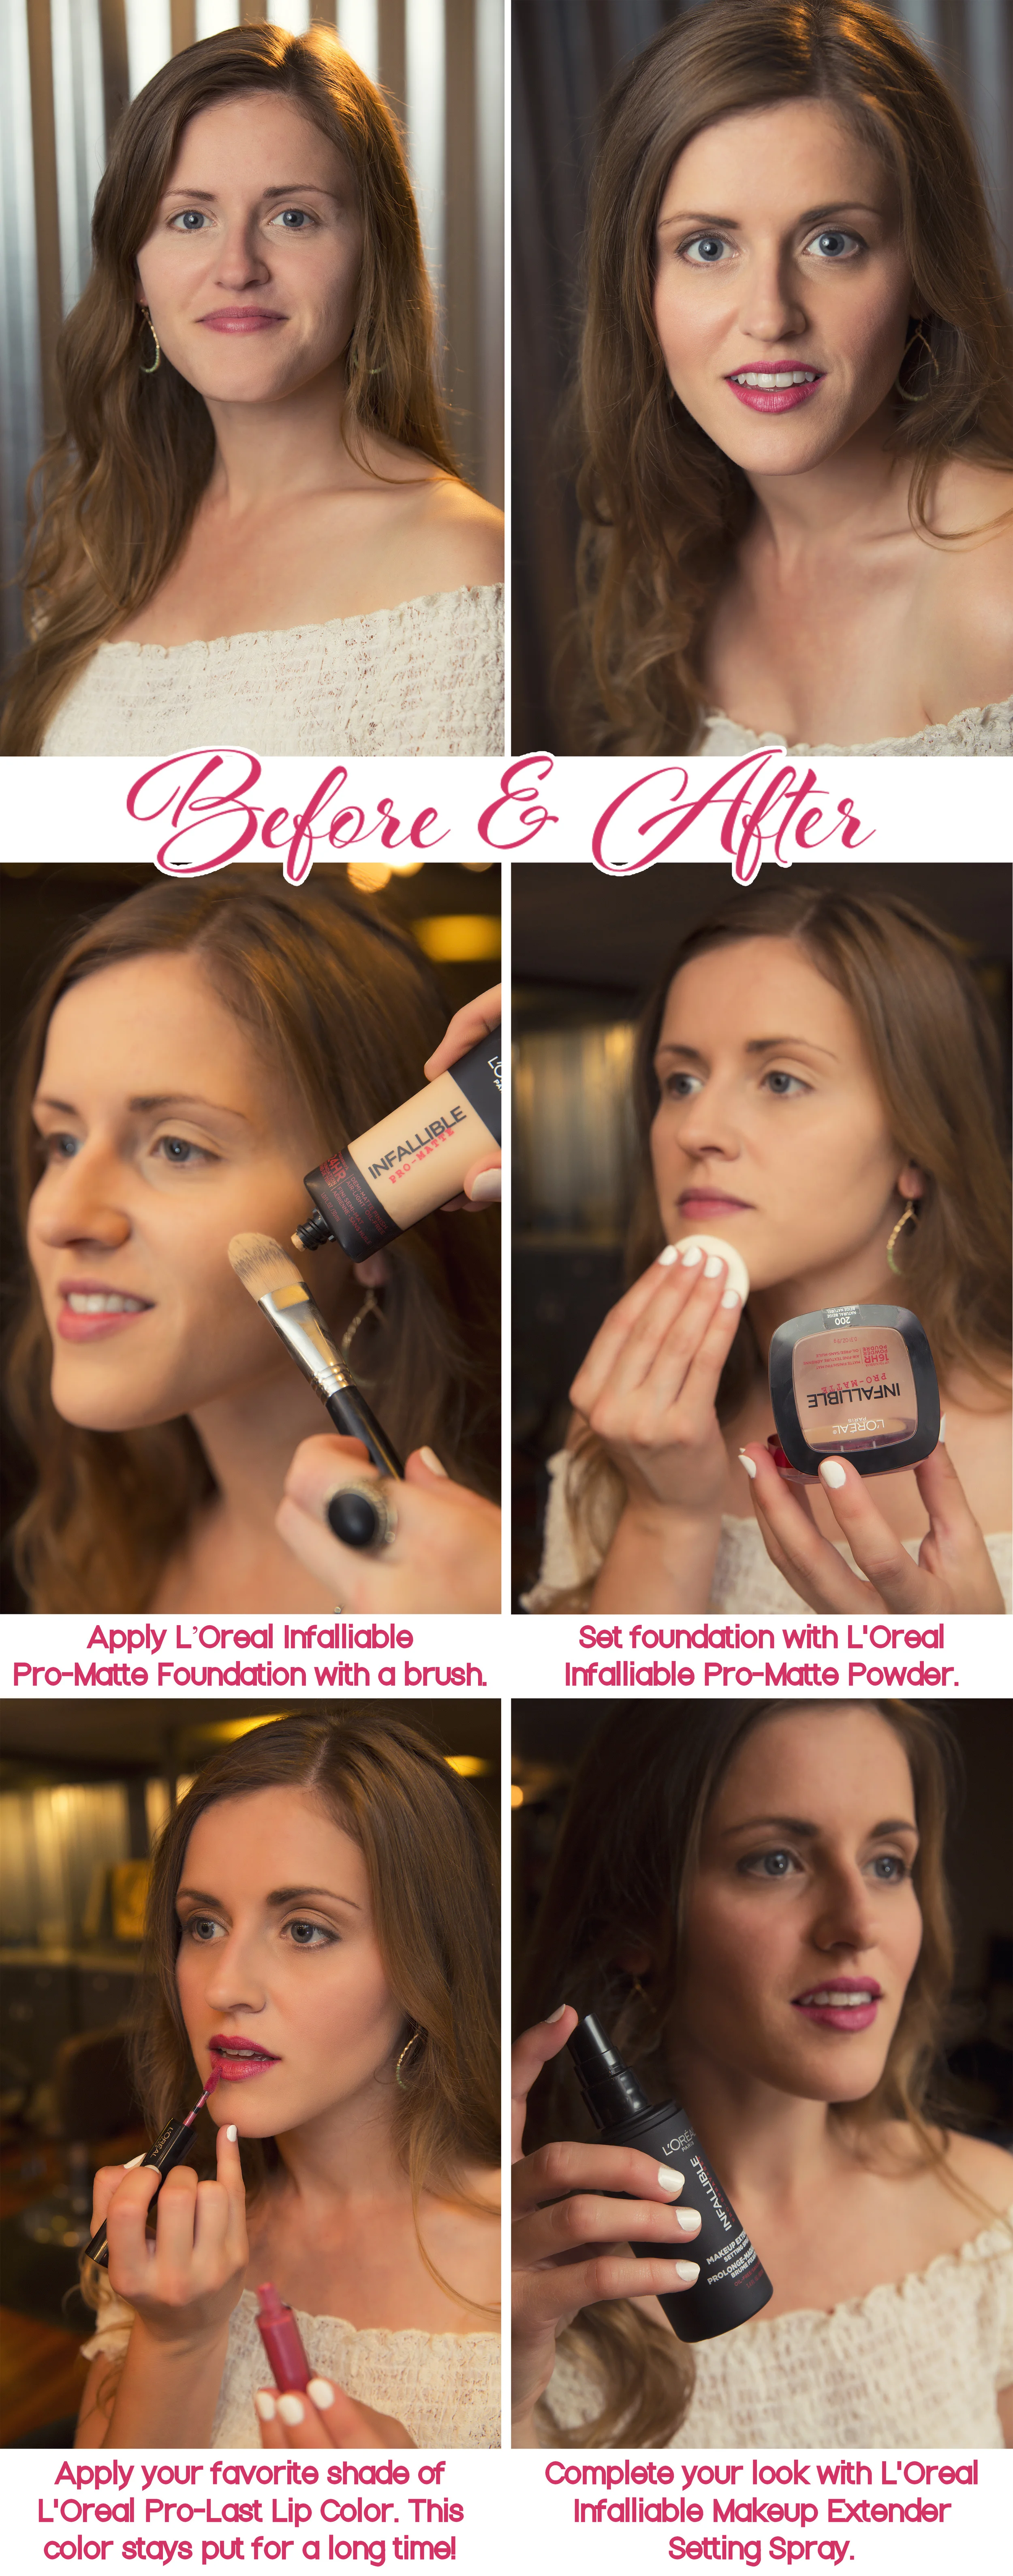
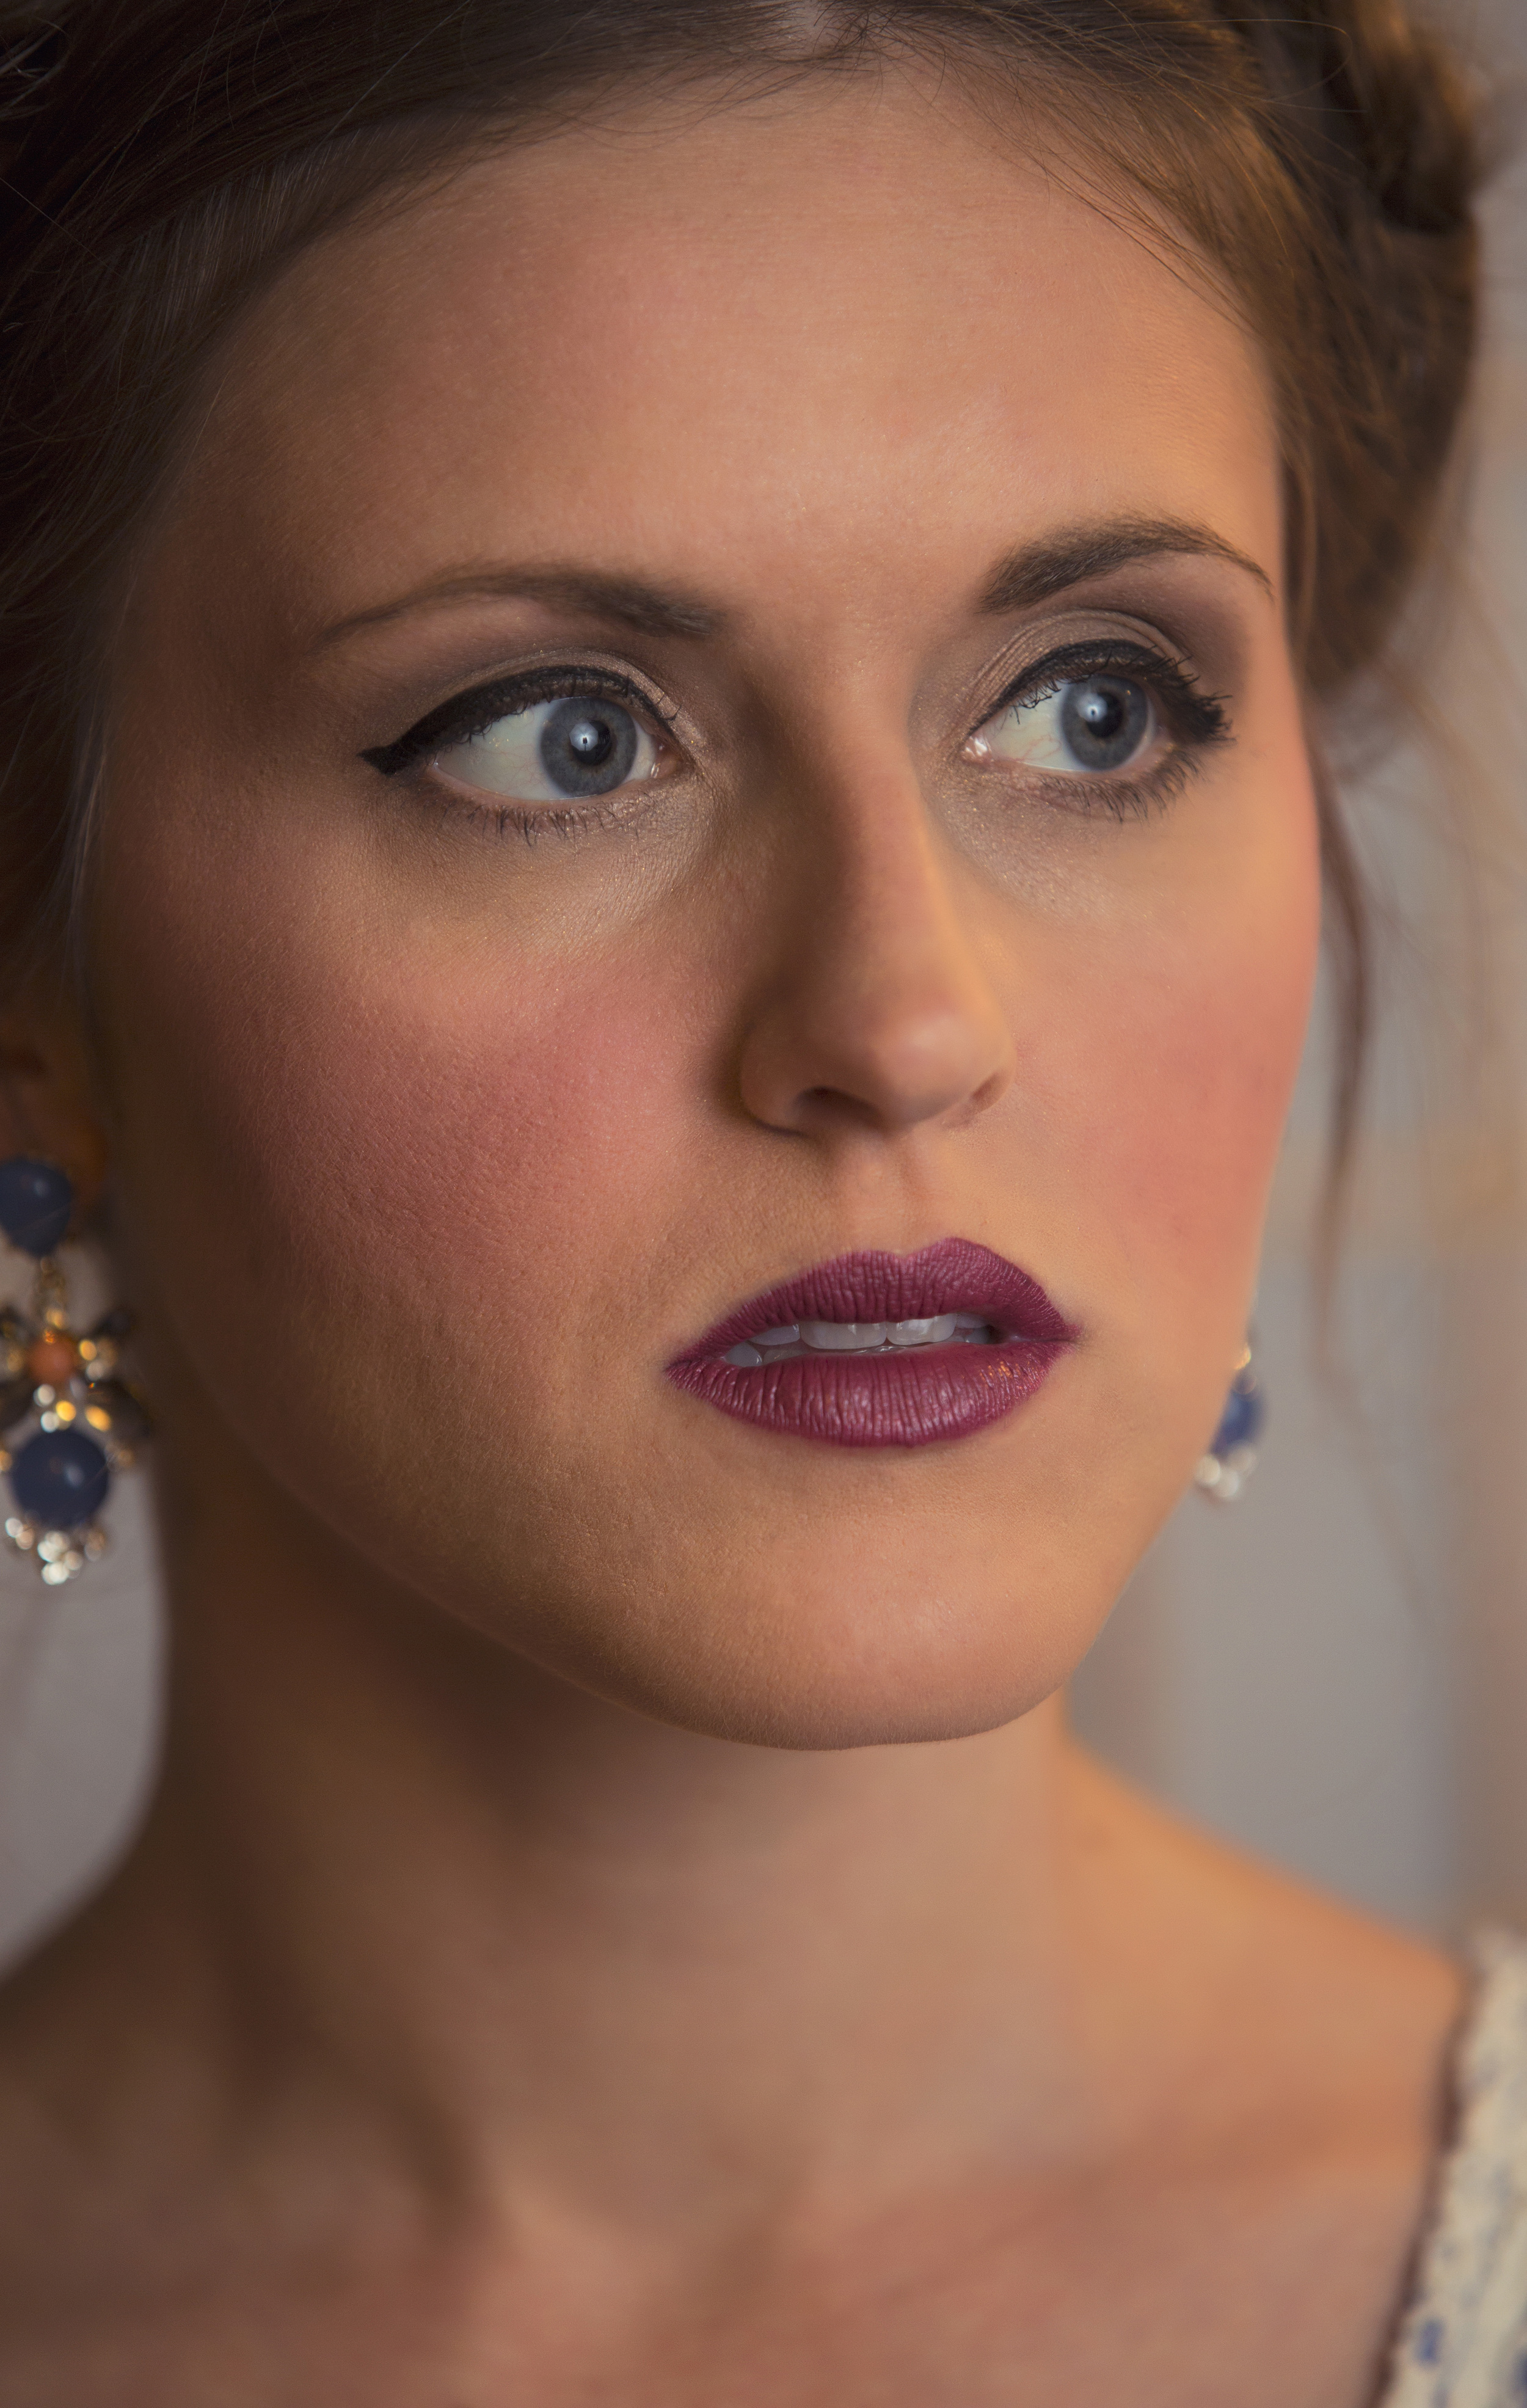
And below, you can check out the other photos we created for the project. This is one of my favorite projects to date! Check out my Dedicated Board Here.
When I first learned about this project, I was a bit nervous because my face would be on full display for these. I had no clue how well these photos would turn out thanks to the help from Bobby and Katie at The Fringe Salon. Throughout this project, I also learned that makeup makes such a difference in photos, and this was the perfect project to break me out of my comfort zone.
This content creation was sponsored by L'Oreal, and all opinions are 100% my own. Thanks so such a wonderful company for collaborating with me!
Pinterest // Facebook // Instagram // She's So Chic Blog // Twitter

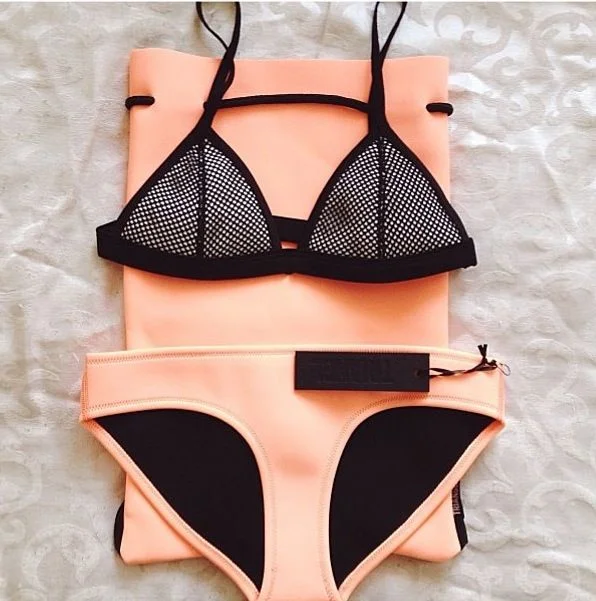
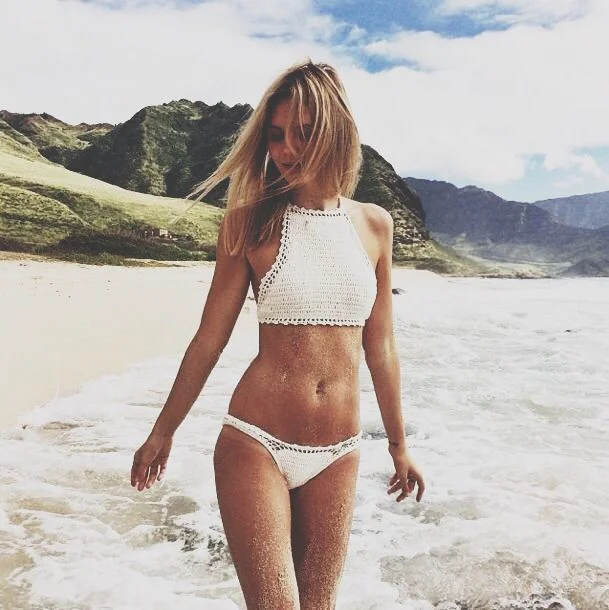
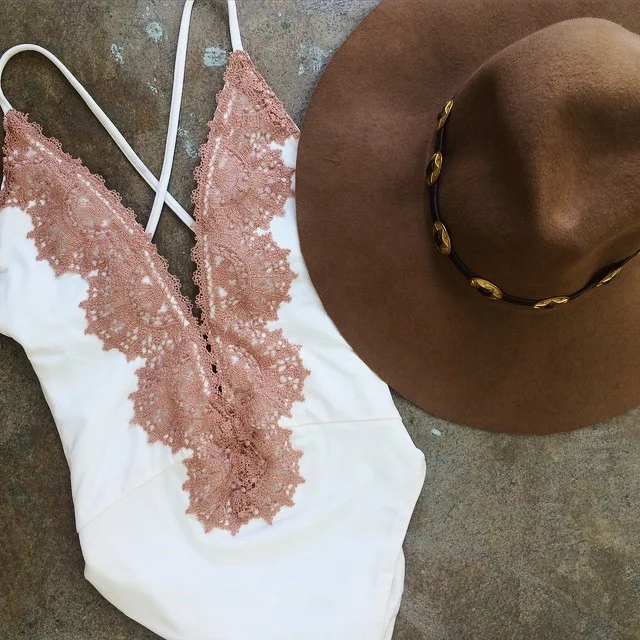
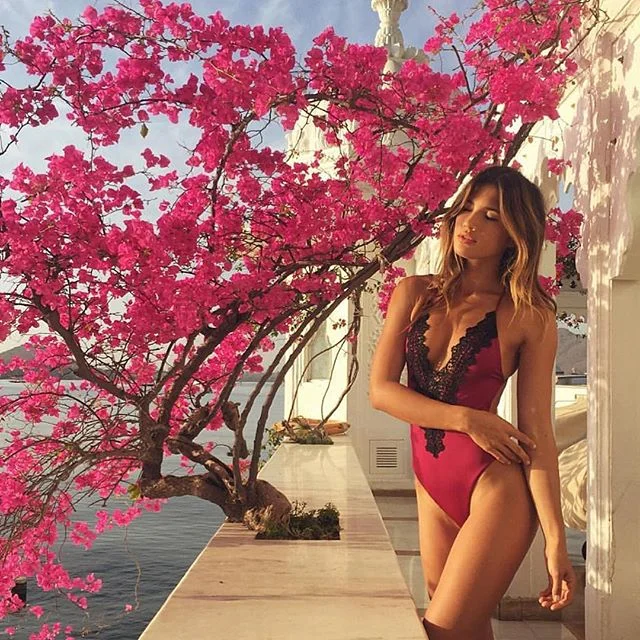
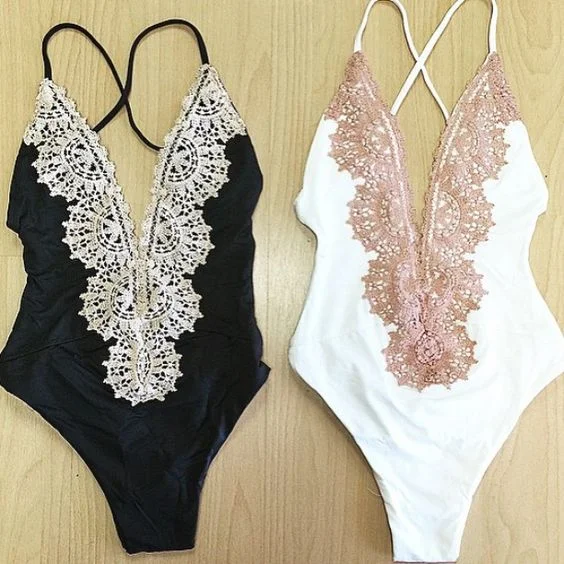
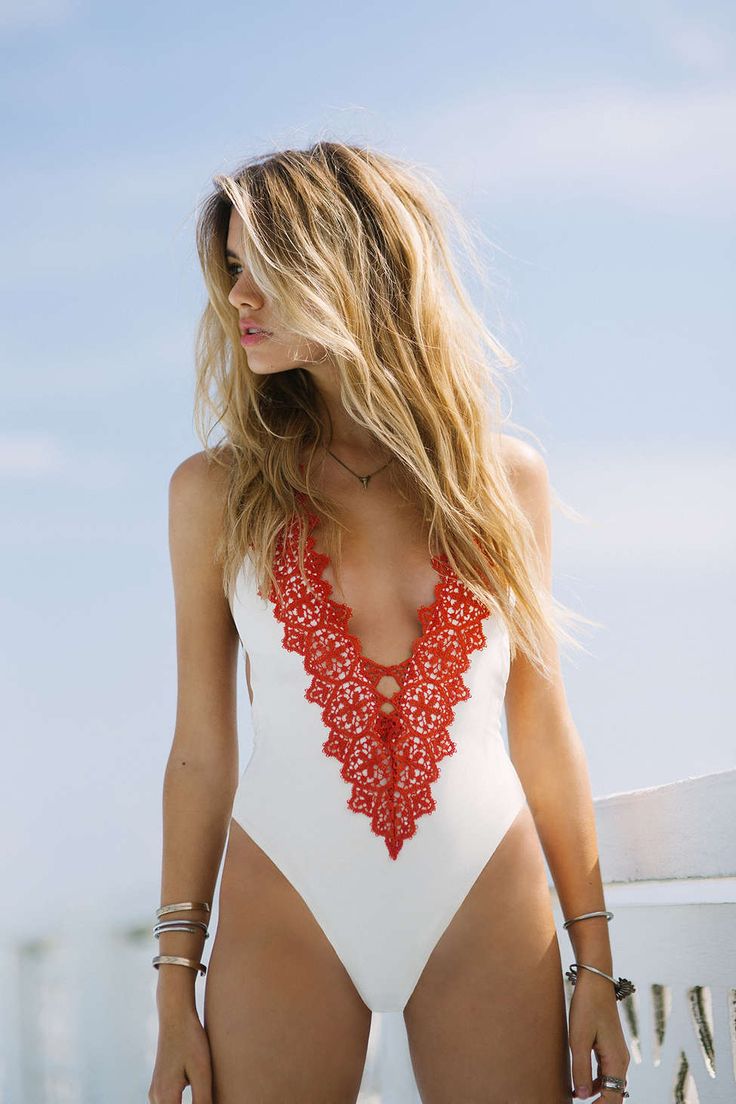
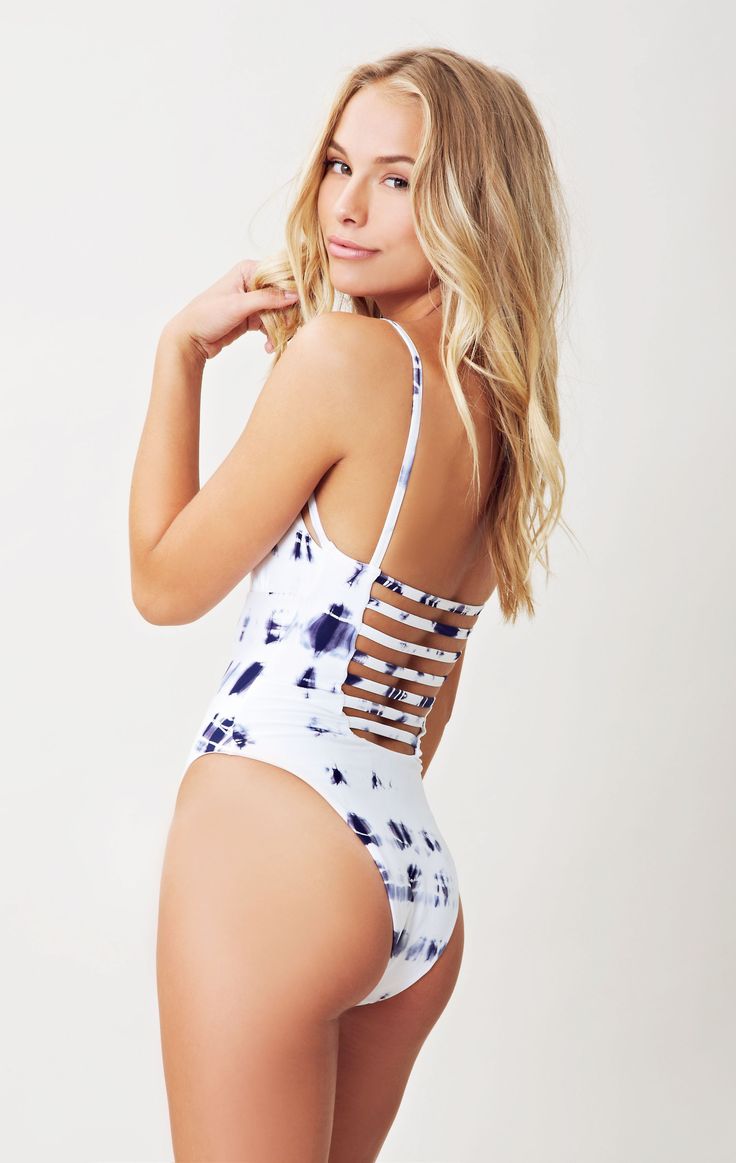
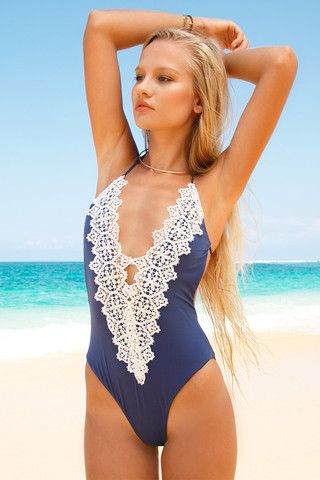
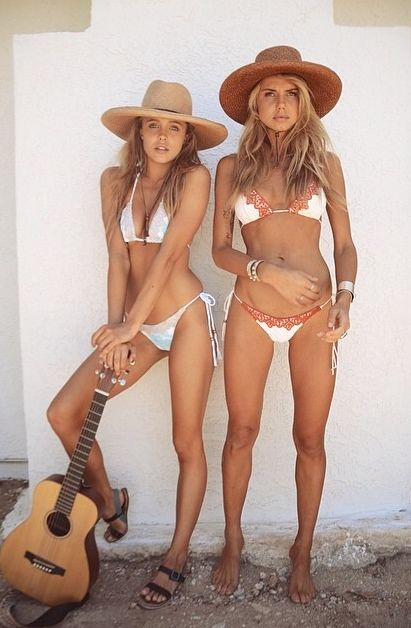
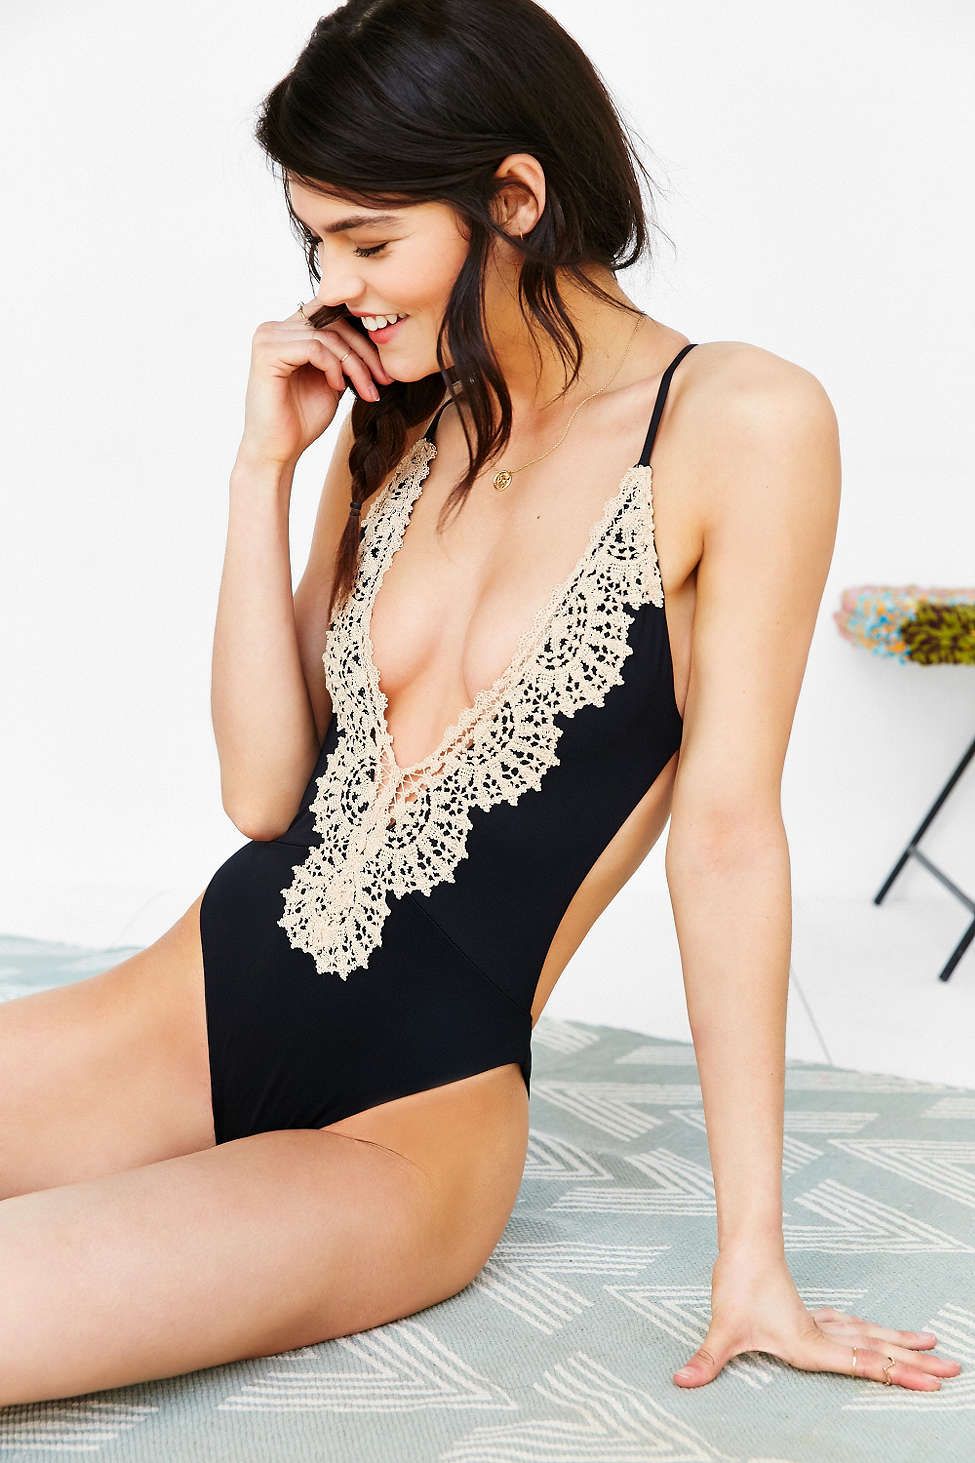
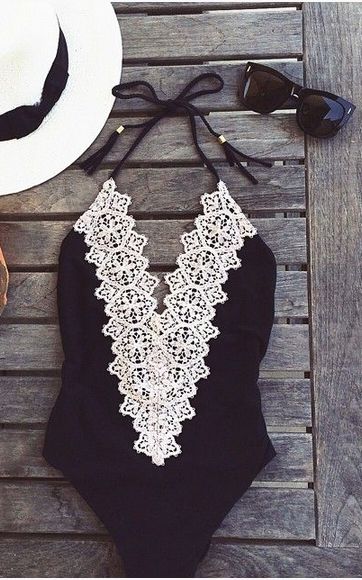
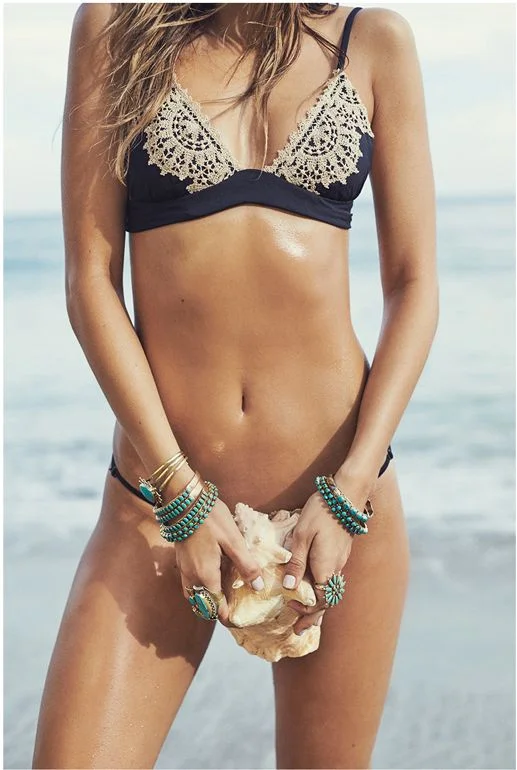
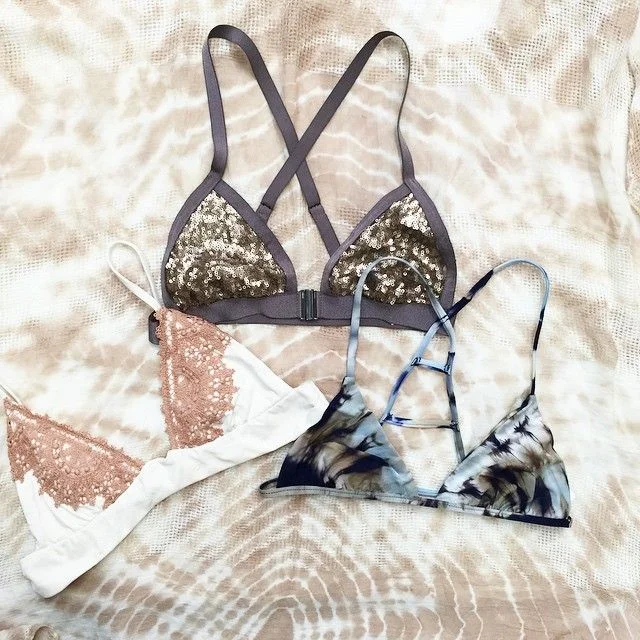
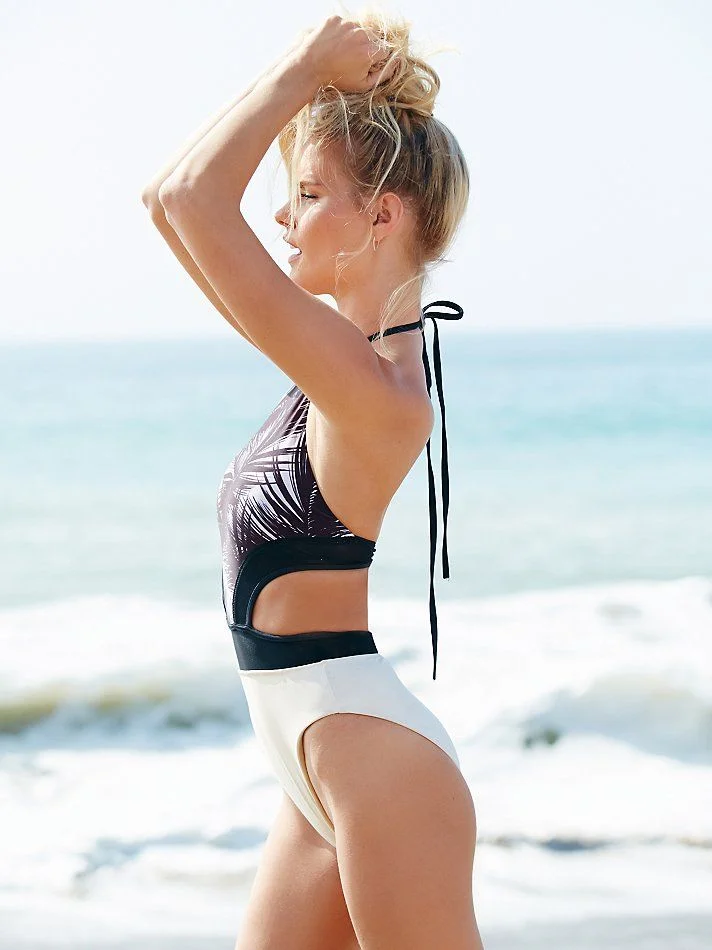
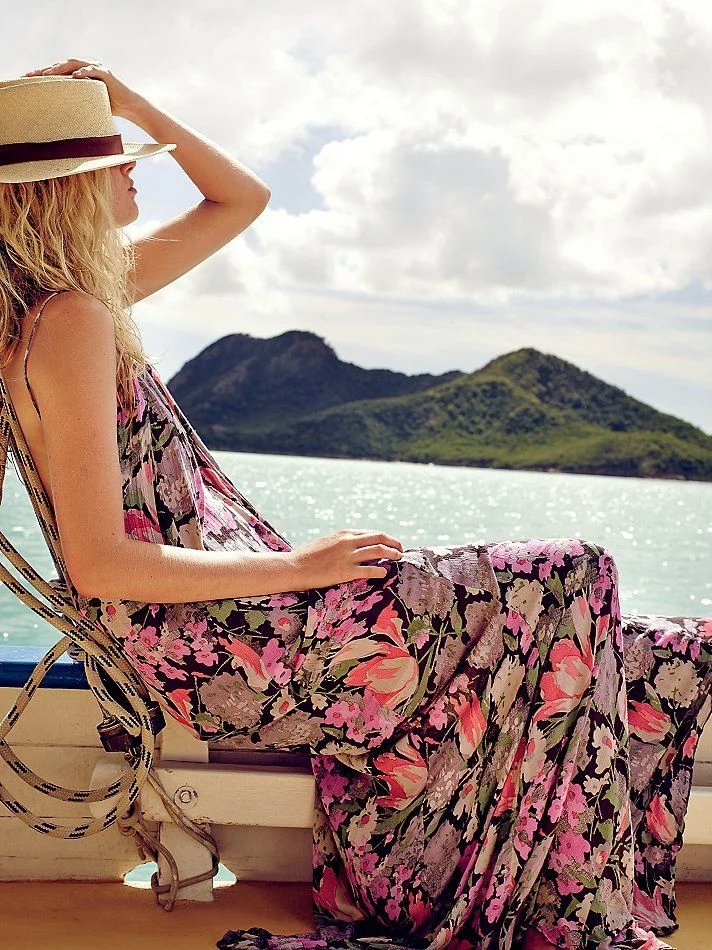
Summer is in full swing and most of us could definitely use a new suit! I found an amazing brand called Blue Life Swimwear by Planet Blue, and I am in LOVE! I have rounded up some of my favorite styles of their suits, and have them all here for you! some of them are even on sale, so grab these while they're still around!!!!!
Shop These Suits (Below): Red and White (or here) - Tie Dyed - Blue with White - Styled With Hats - Dark Blue Tie Dye (or here) - Black With White - Black Tie Dye Bikini (or here)

Earlier this year, we visited my parents in Cave Creek, AZ. It was a great time of year to visit, as the days were only mildly HOT and the nights were somewhat cool enough to wear lightweight pants or a long sleeve tee. The other great thing about being there in early Spring, was that their lemon tree was in full production mode, and even had a few blossoms still on it. I wish we could have taken home boxes of their organic lemons, so we could enjoy them at home, but they really only stay good for a few days after they are picked. So, we made as much lemonade as we could handle until our teeth hurt! We had a pitcher a day addiction going on!

INREDIENTS:
1 Part Lemon Juice (We used about 7-8 lemons for this)
3-4 Parts Water
1 Part Sugar (You can make a simple syrup at first if you want, although we didn't)
HOW TO:
We picked 7-8 lemons straight off the tree, cut them in half, and used an electric juicer to get as much juice out of them as we could. We then added the lemon juice to a pitcher, added the water, and sugar, and stirred. If you wind up making a simple syrup first, this is supposed to reduce the sugar from sinking to the bottom. Taste a bit to see if it is sweet or tart enough for your liking. Fill your glasses with ice, and pour the AZ Sunshine Lemonade on top! Enjoy!
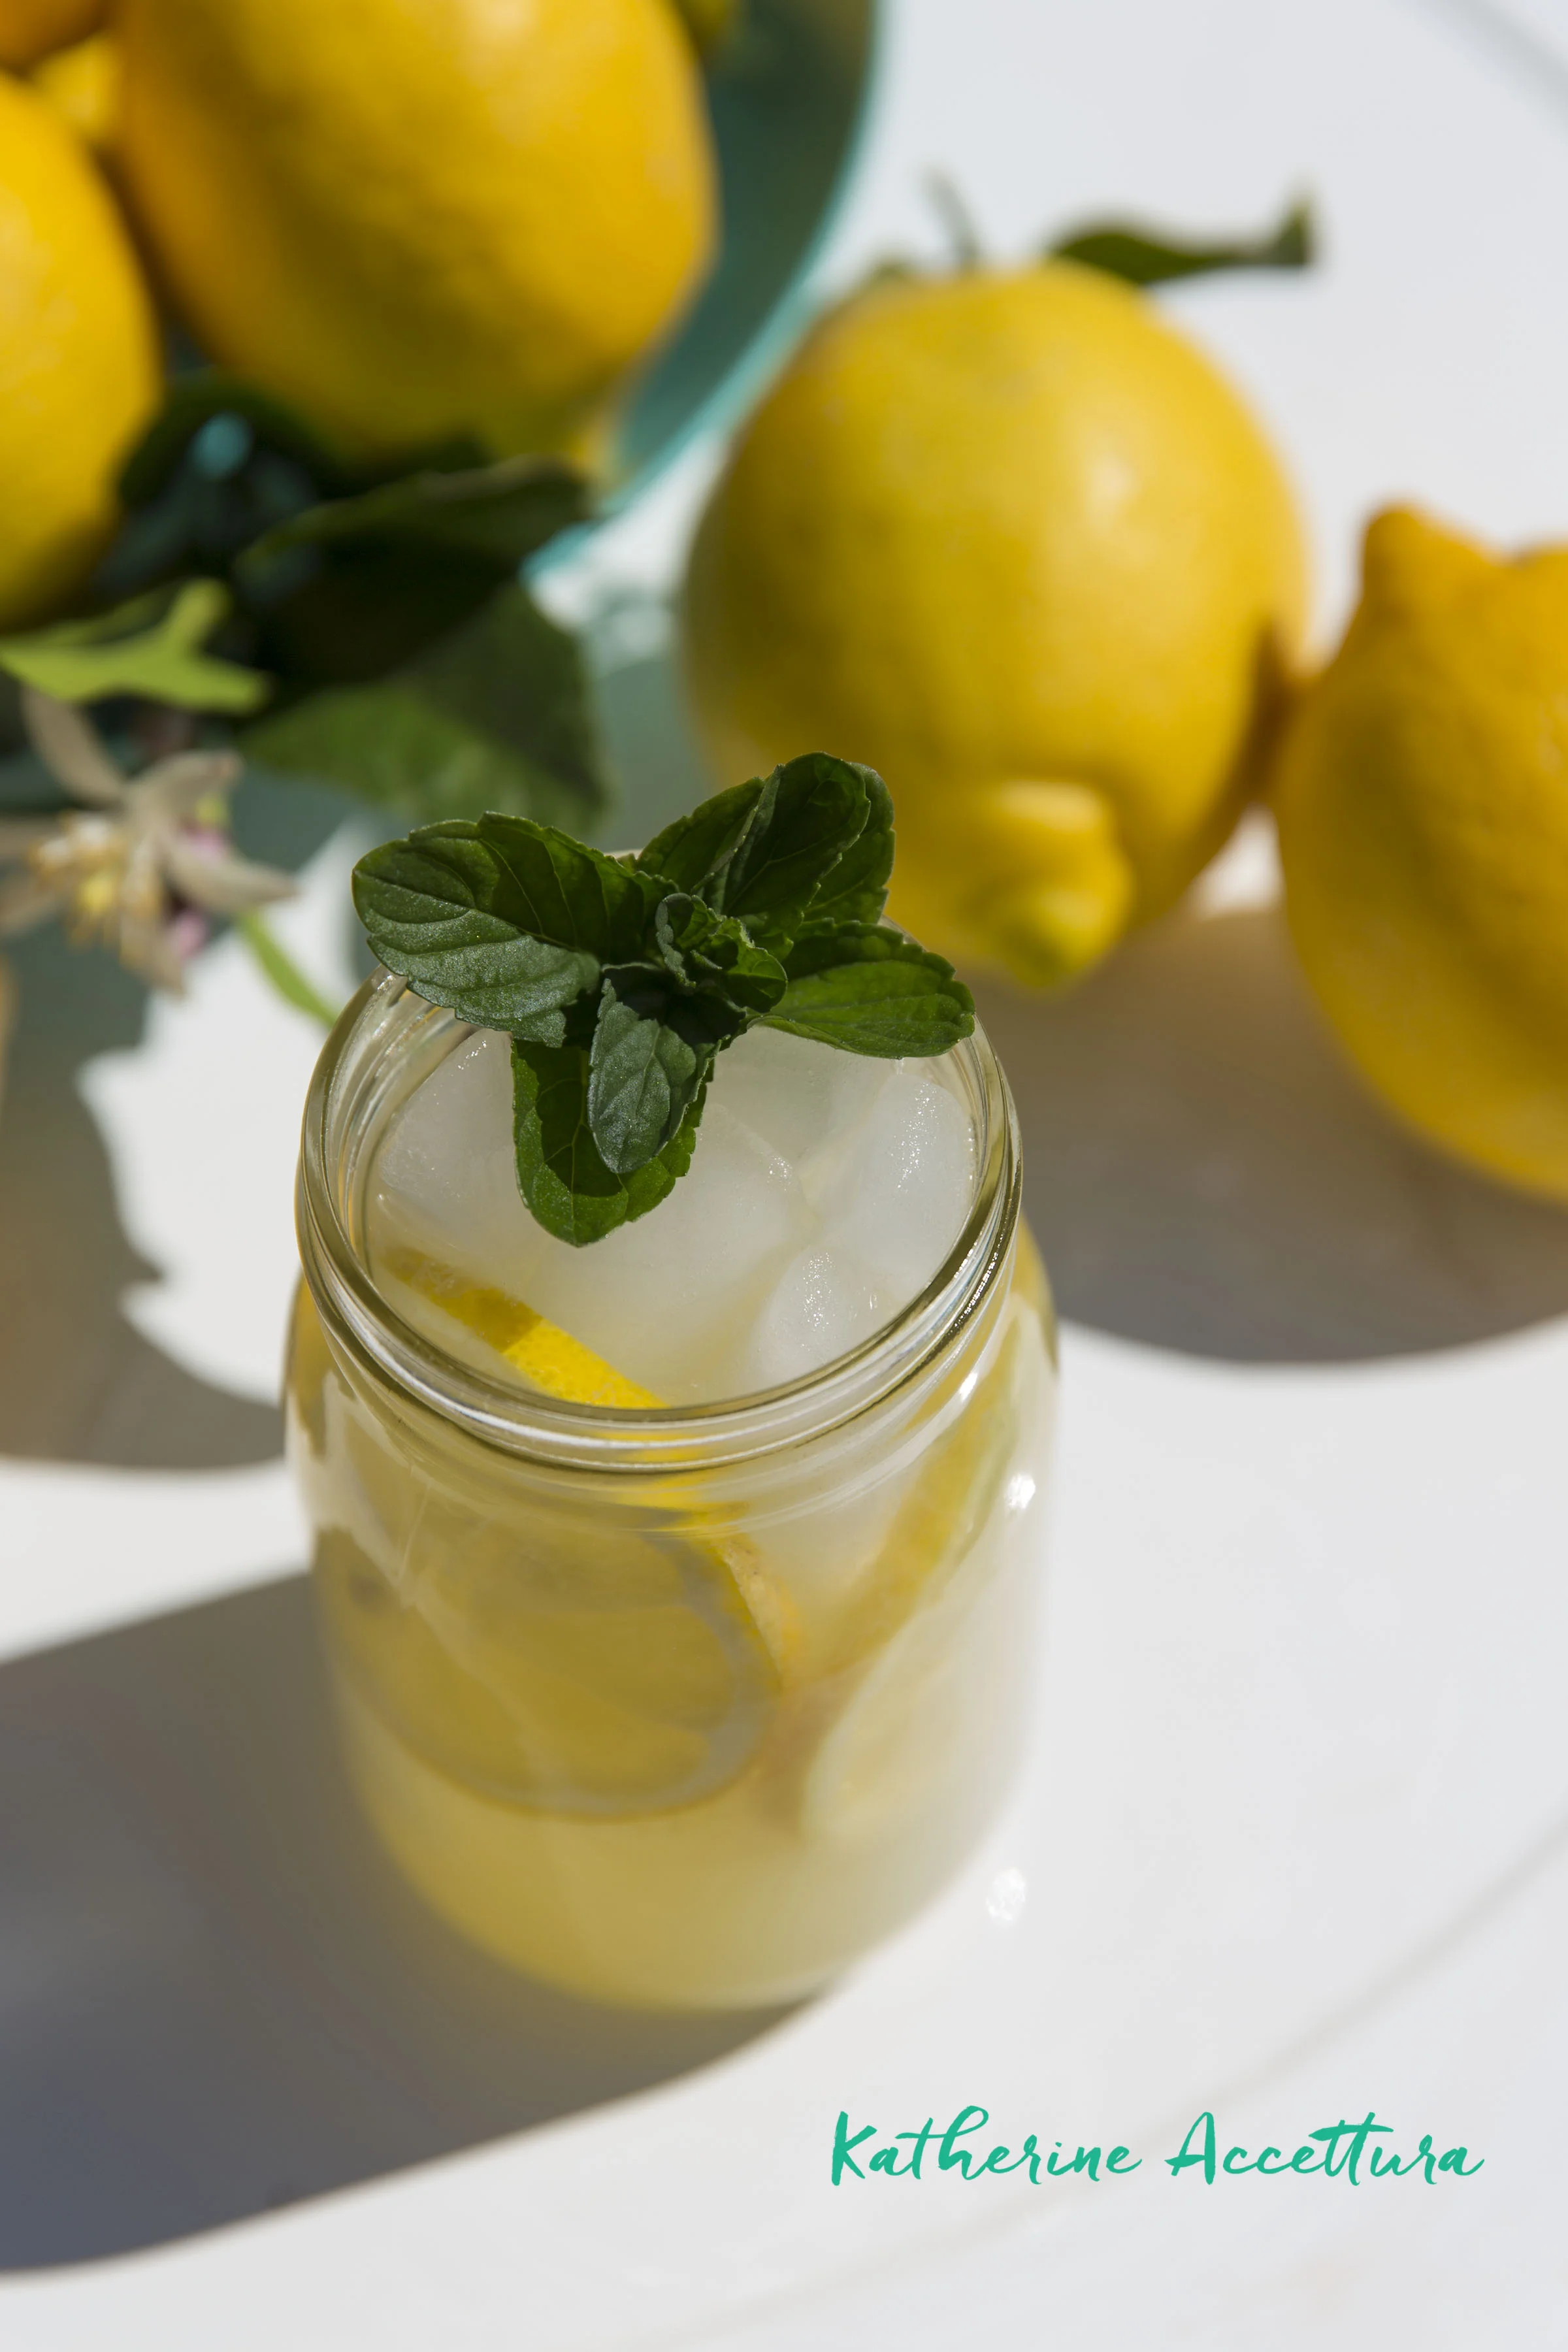
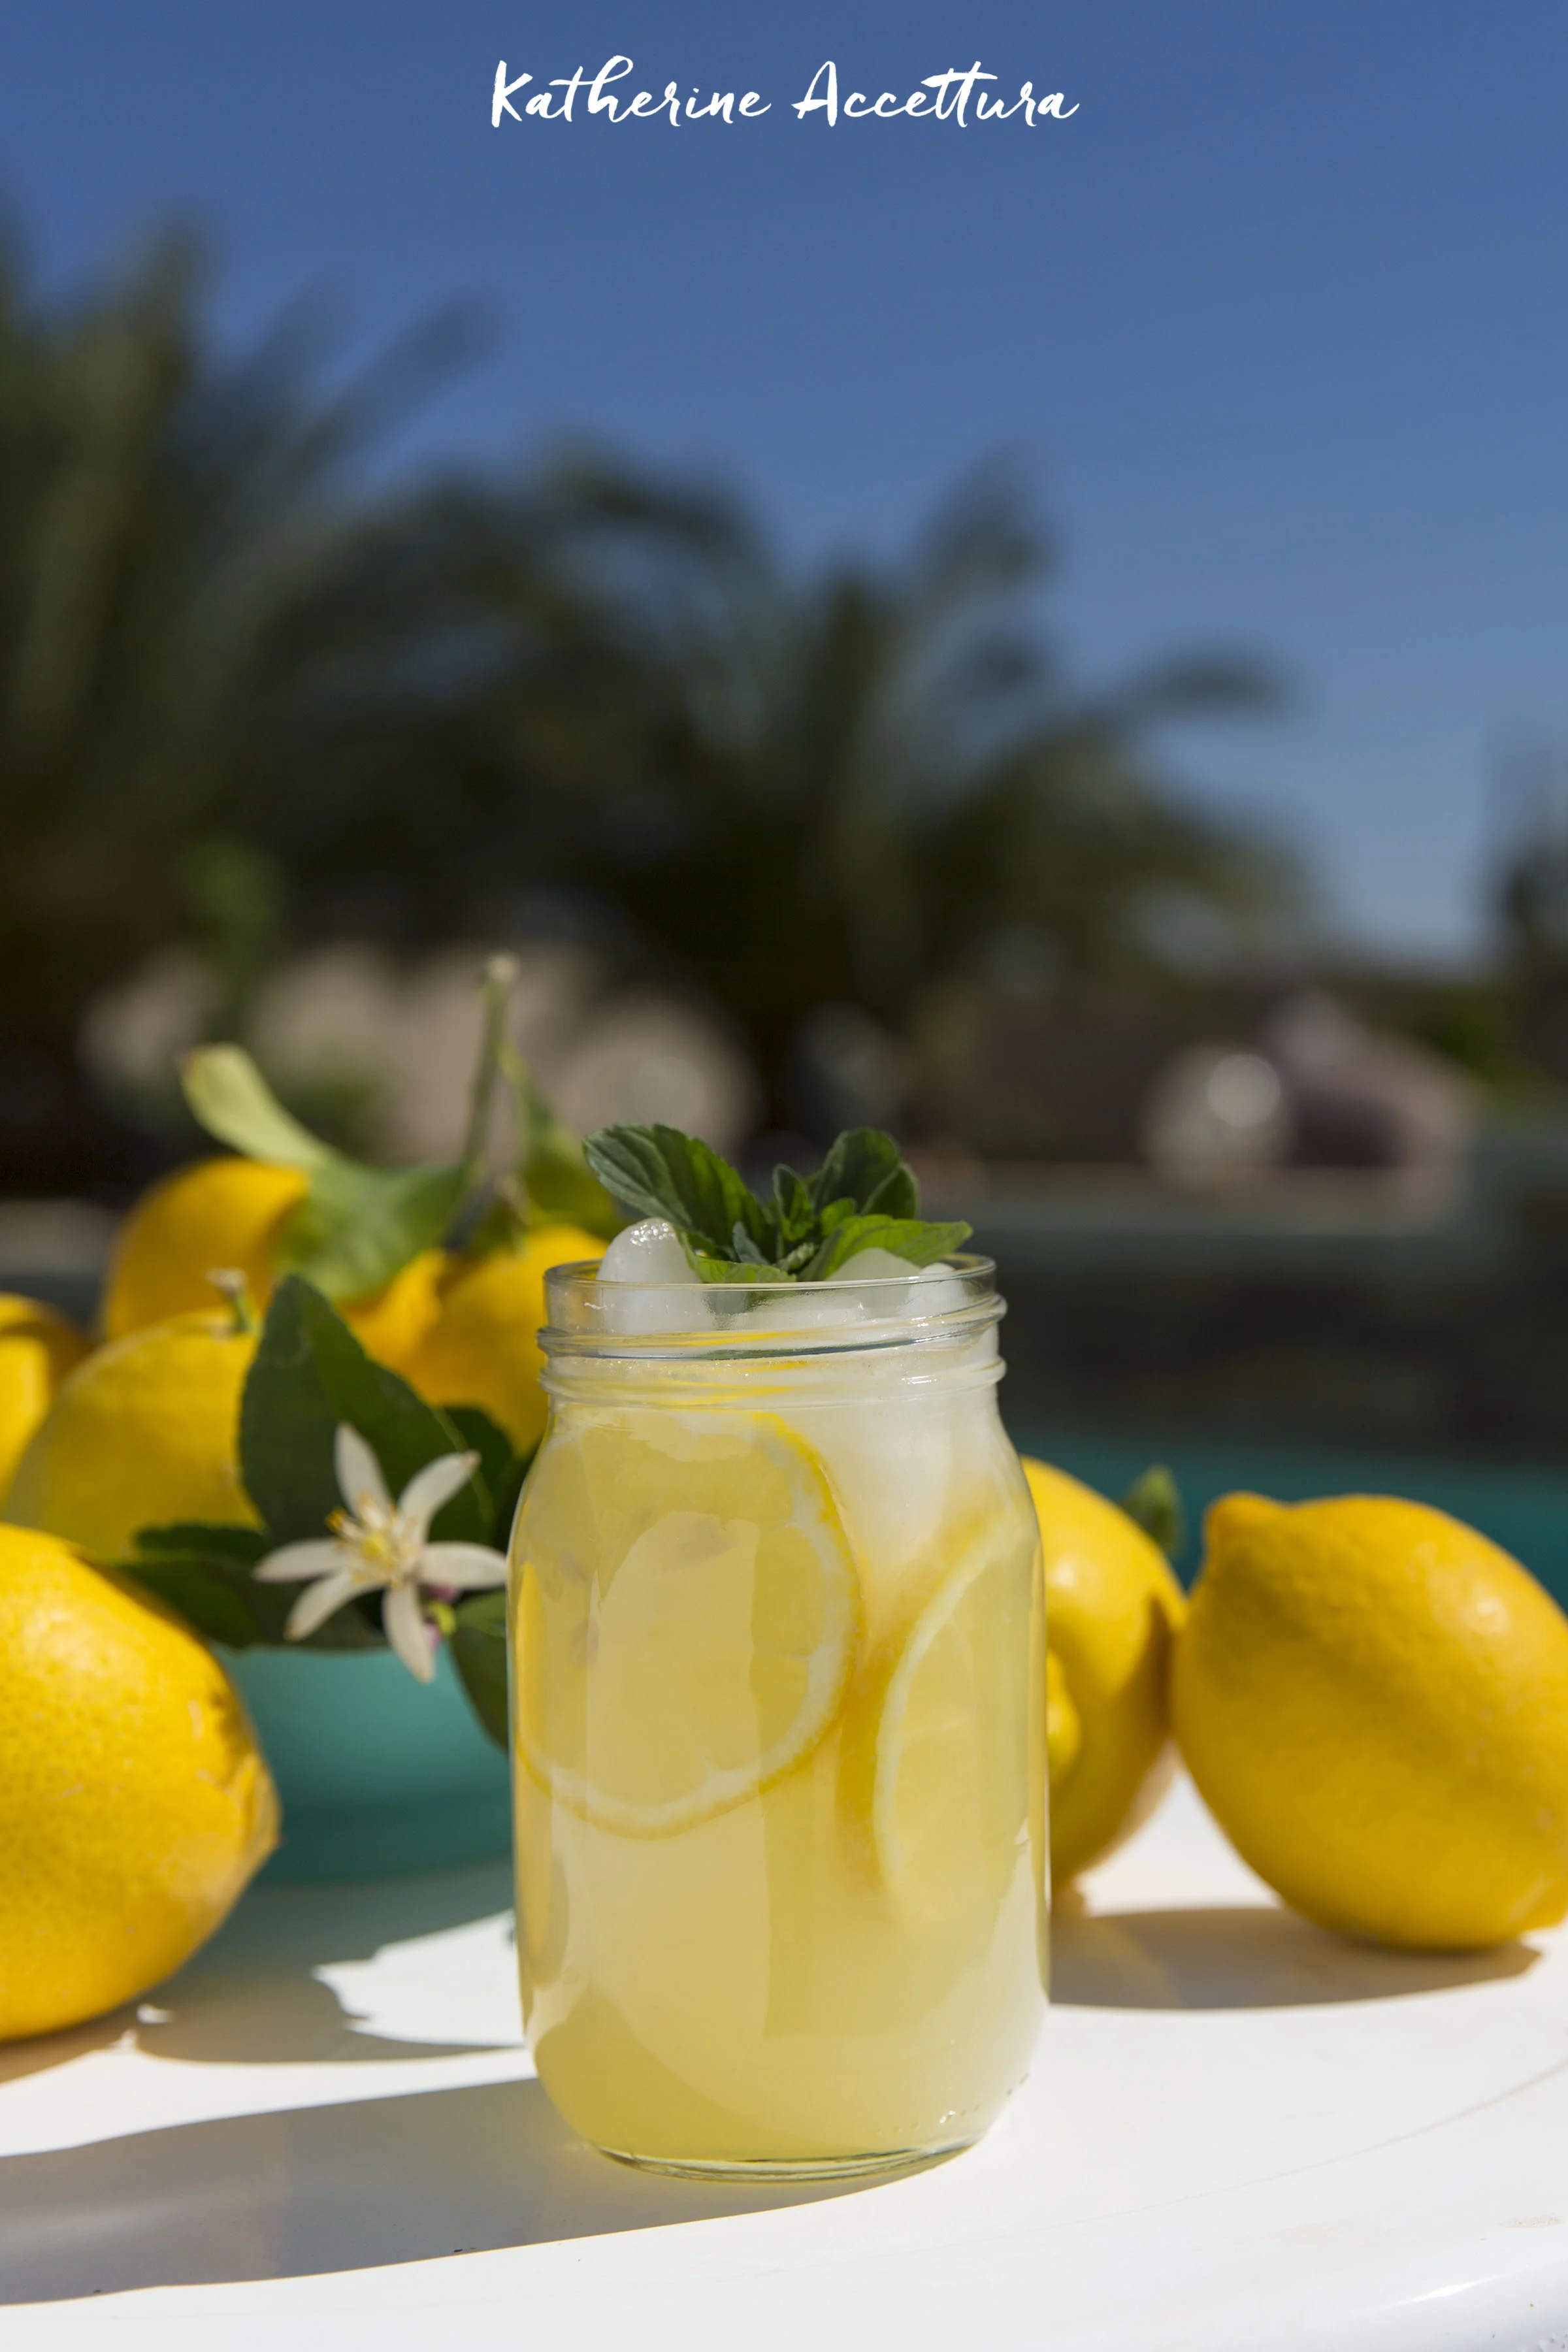
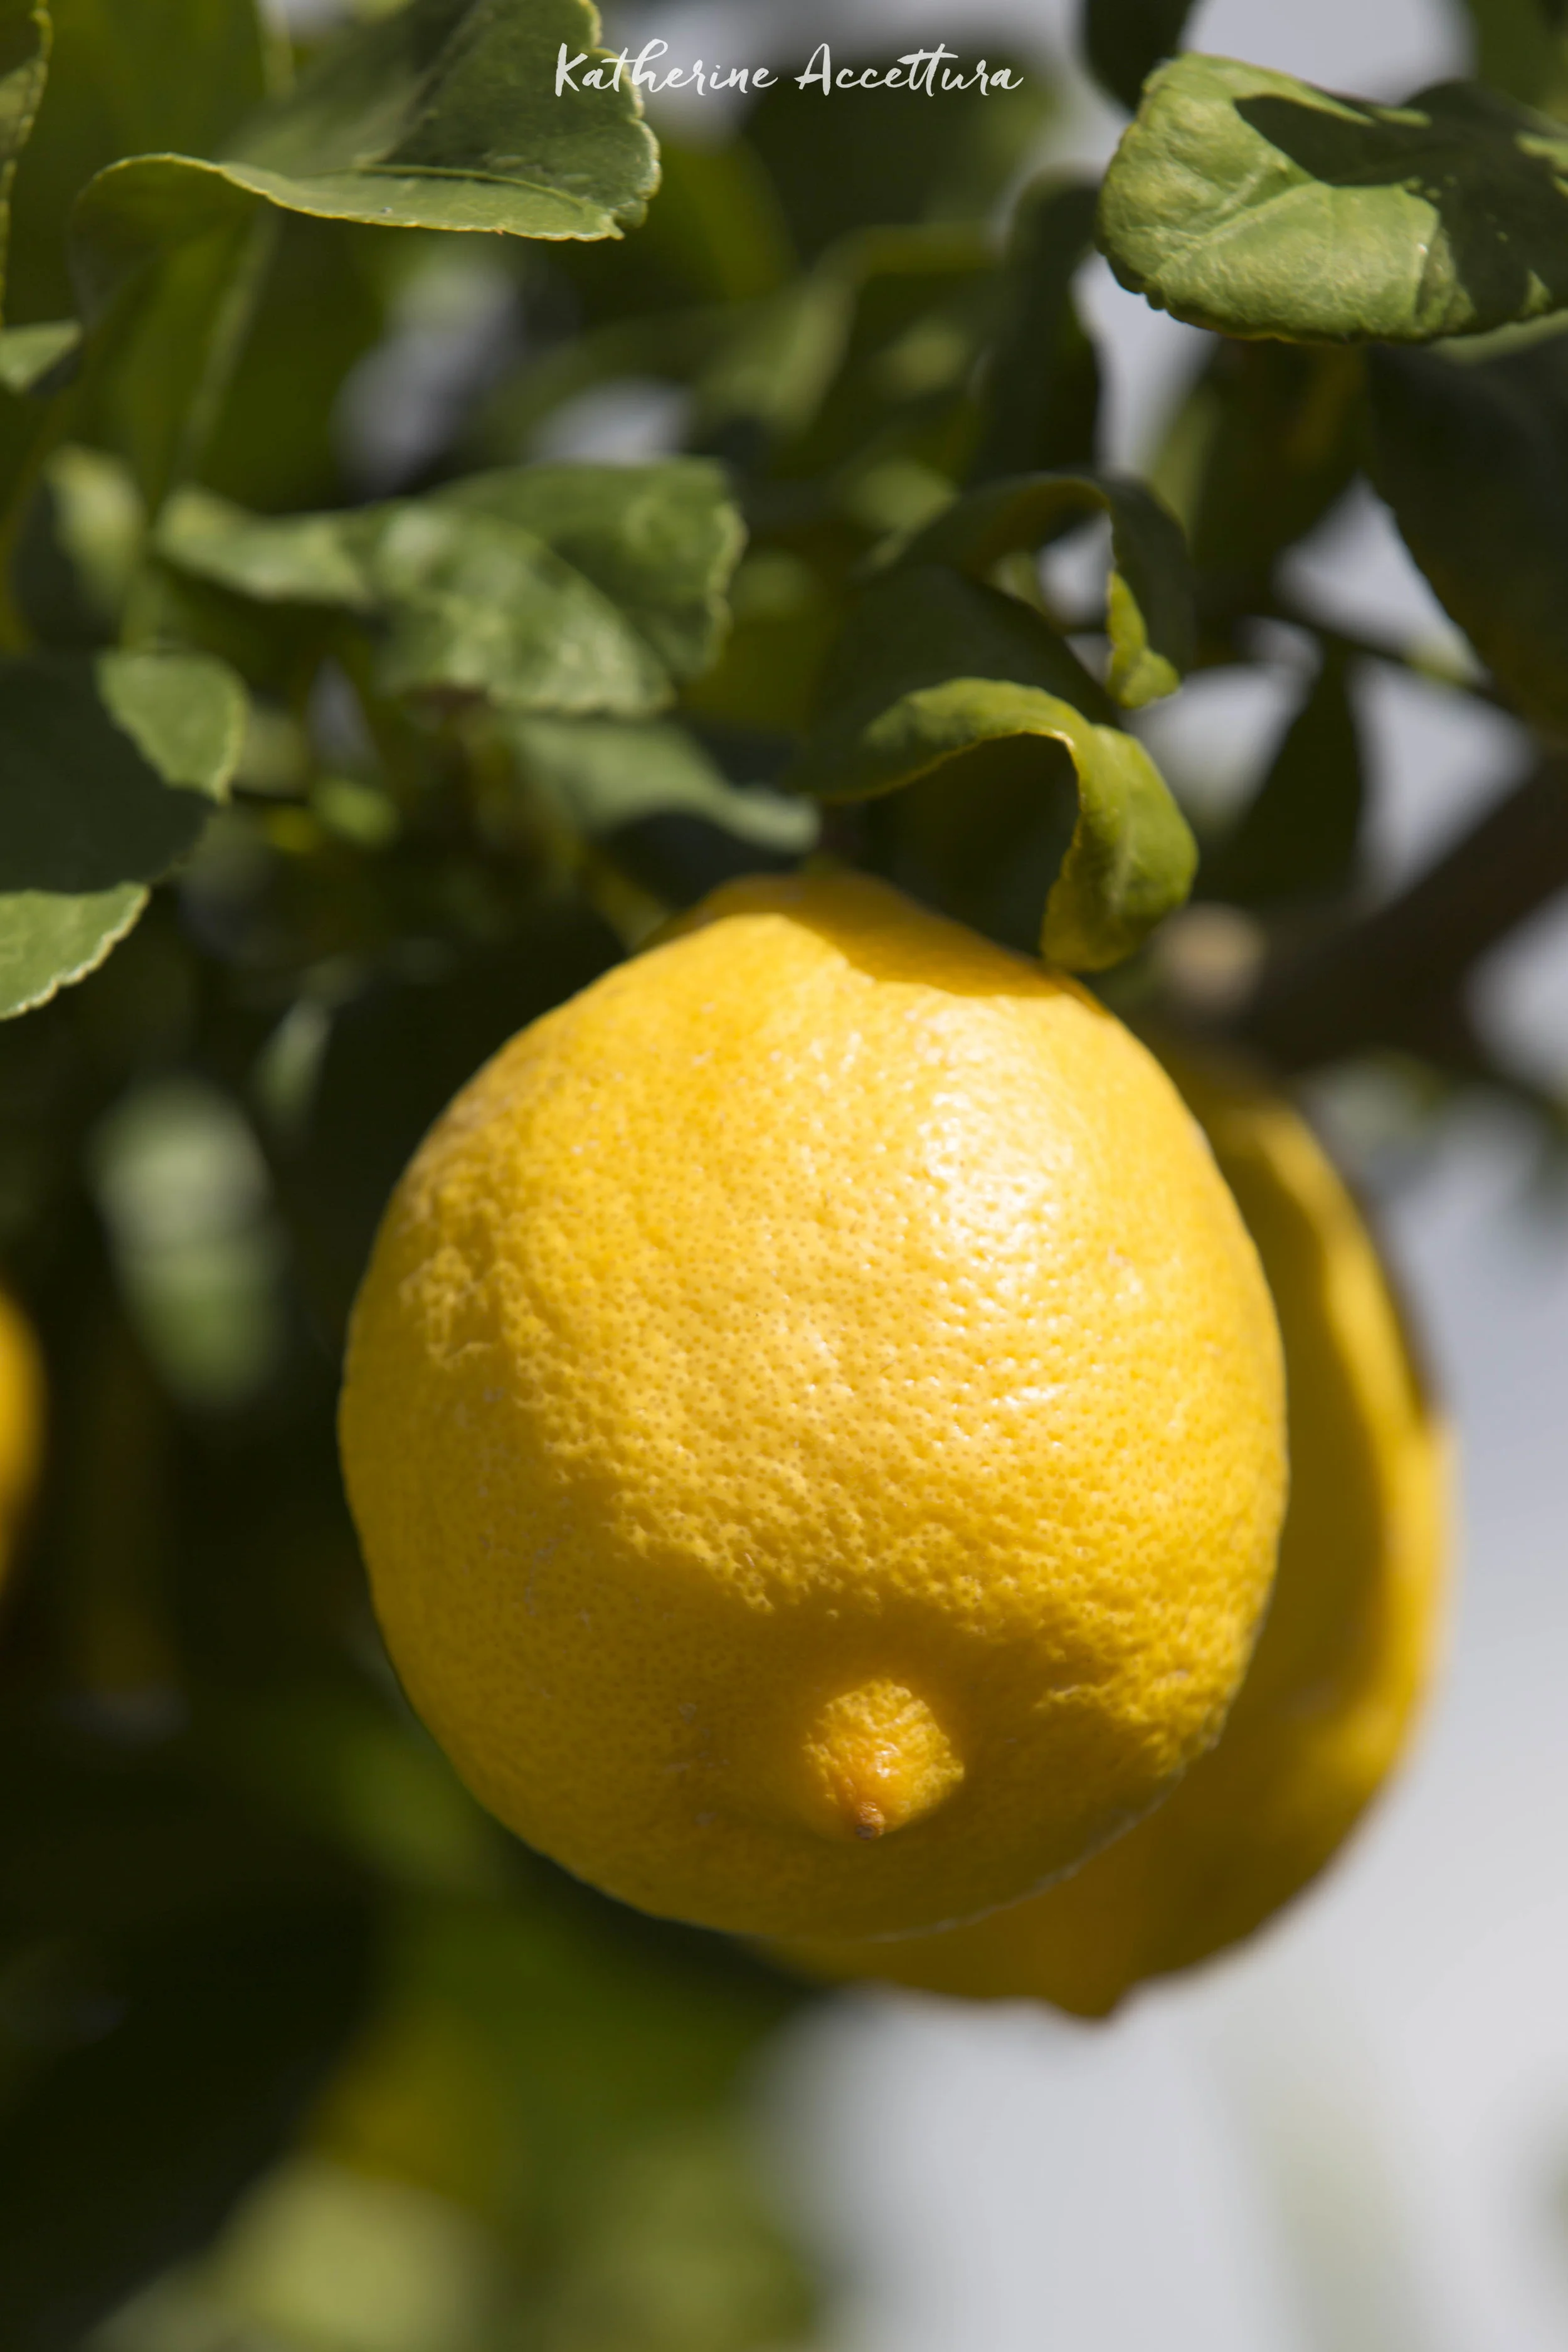
I never grew up around fruit trees, and I love them! They do attract lots of bees, because of the little lemon blooms, but my step-mom made us a fresh batch of lemonade almost every day we were there! She has an electric juicer, which really does make things much easier for this whole process. Since we drank her super fresh lemonade, nothing from a bottle has tasted anywhere near as good. It all seems so bland, not tart, and loaded with more sugar than humanly possible.
I like my lemonade a little bit sweet, and a little bit tart. Feel free to add more sugar if this is way too tart, but I do hope you enjoy the way we make our fresh squeezed AZ Lemonade!
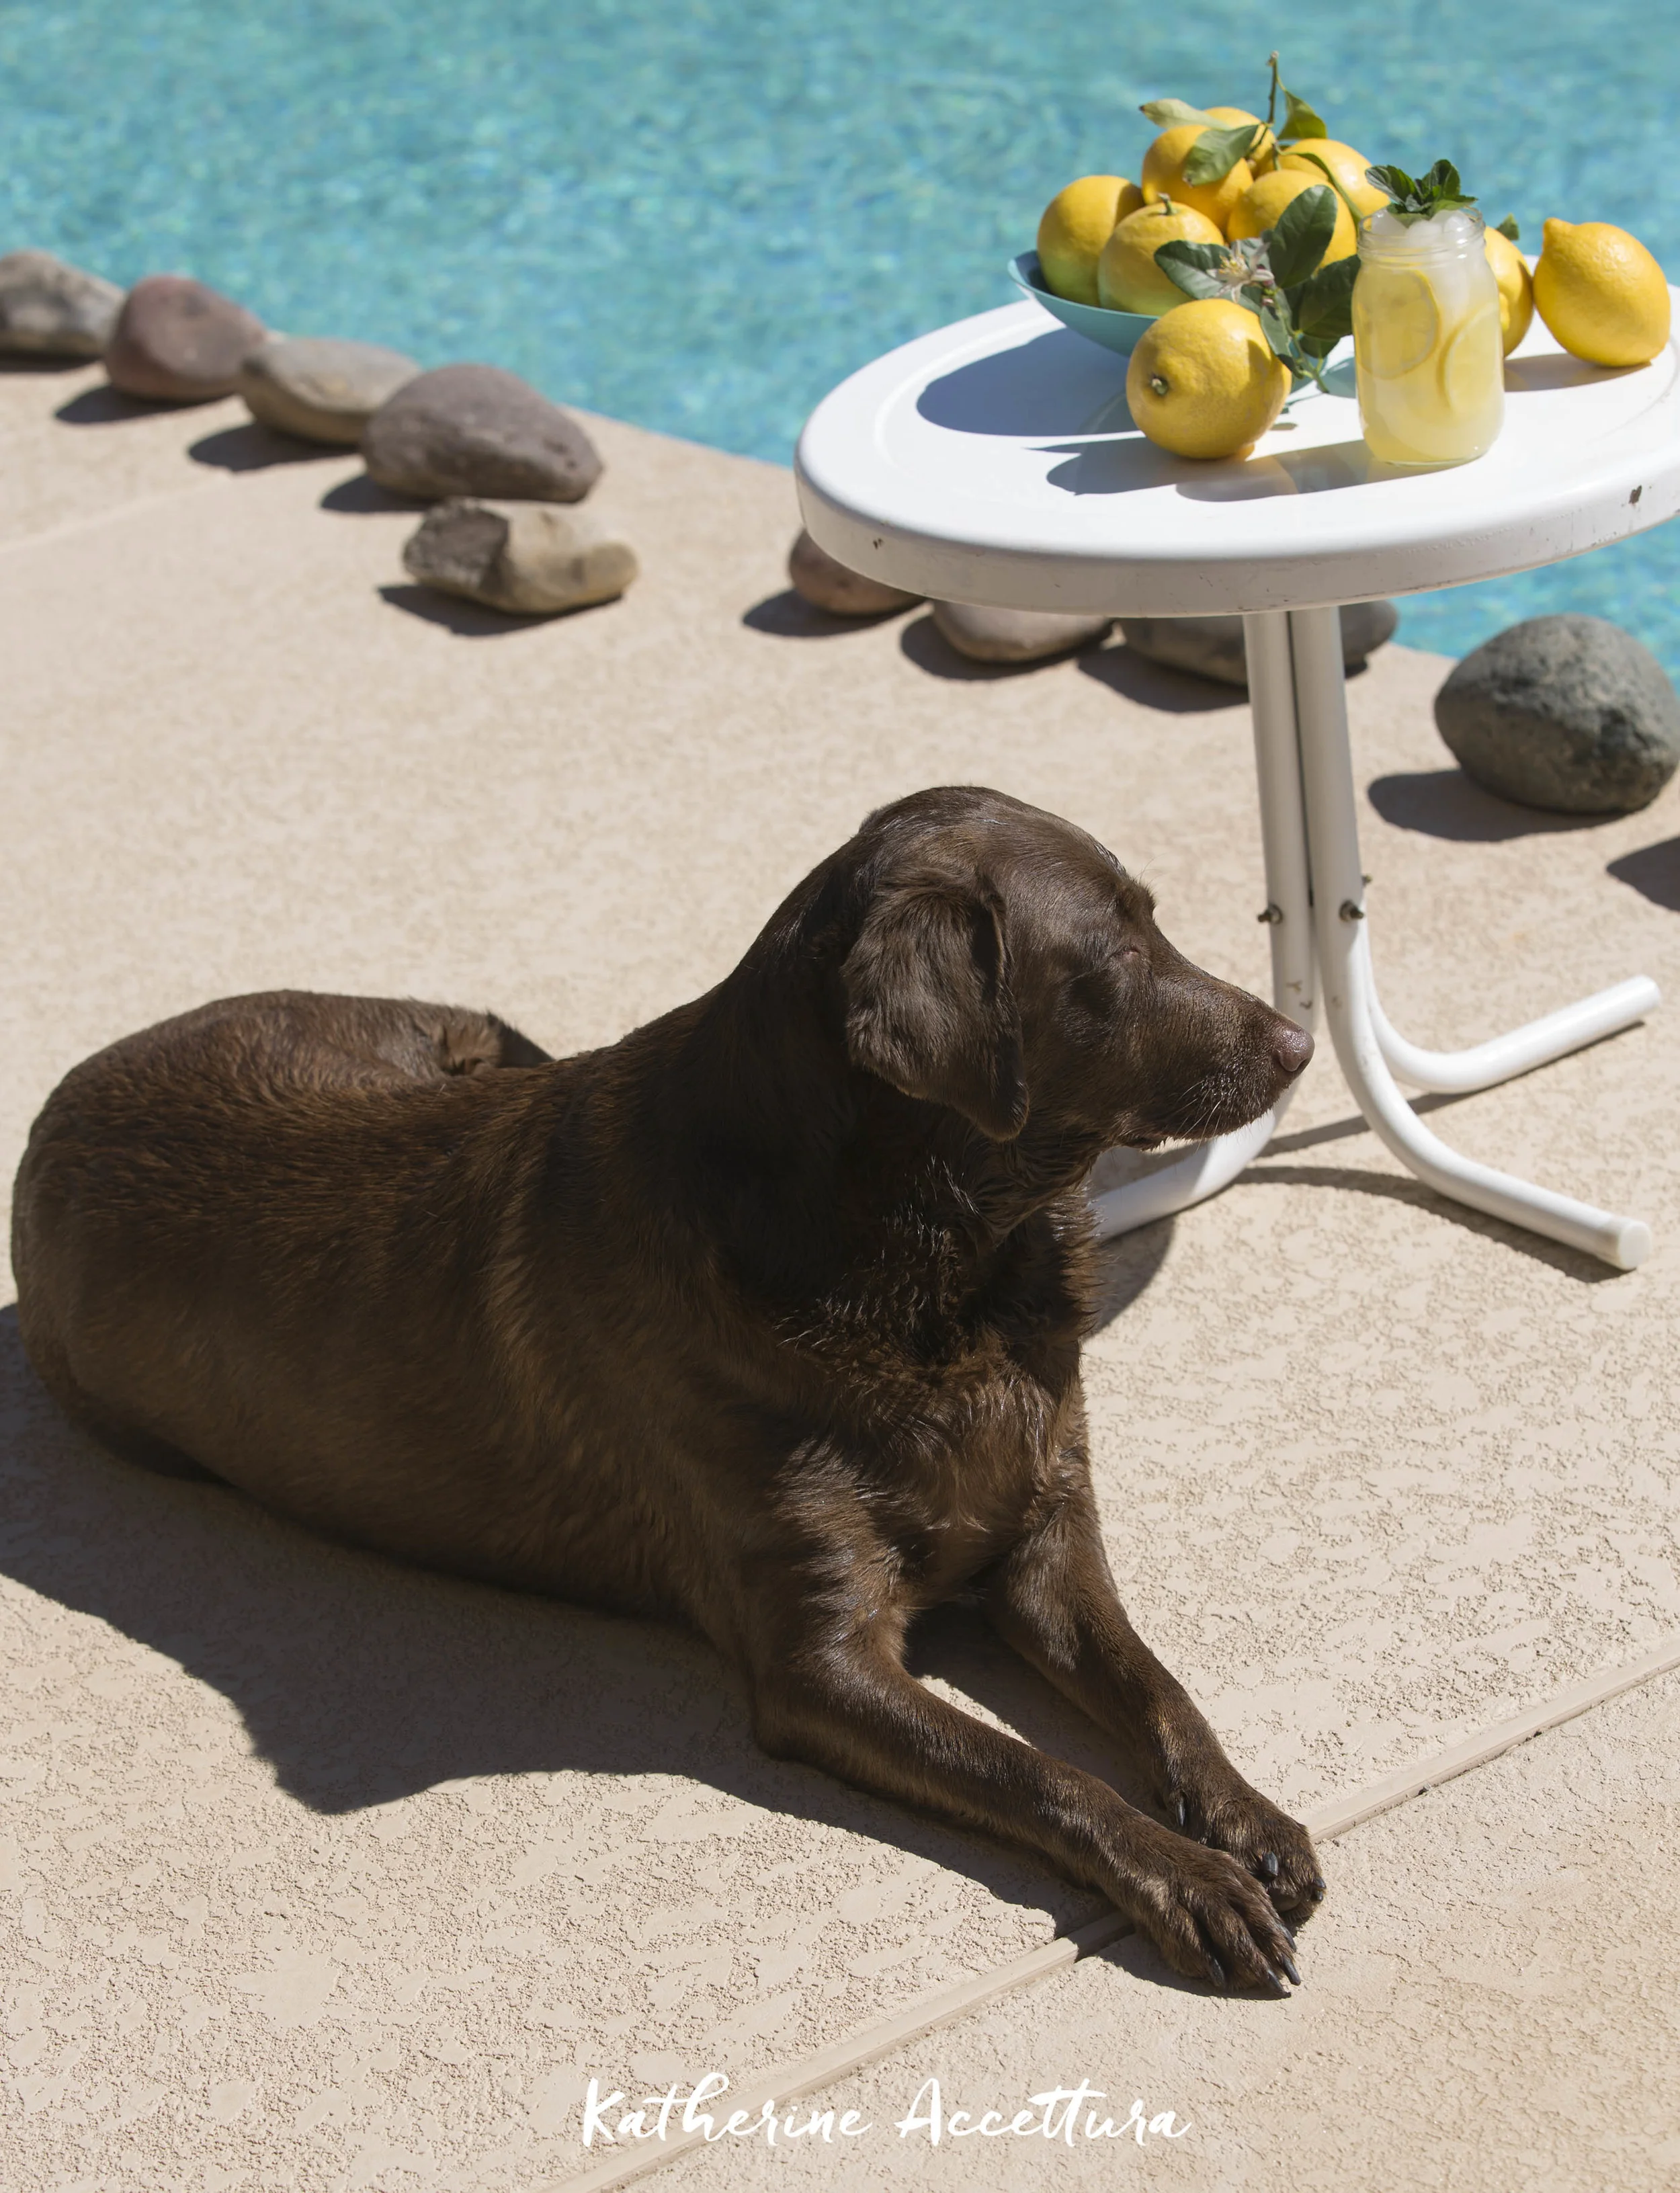
My little girls always helps me with my photos, poolside preferred!

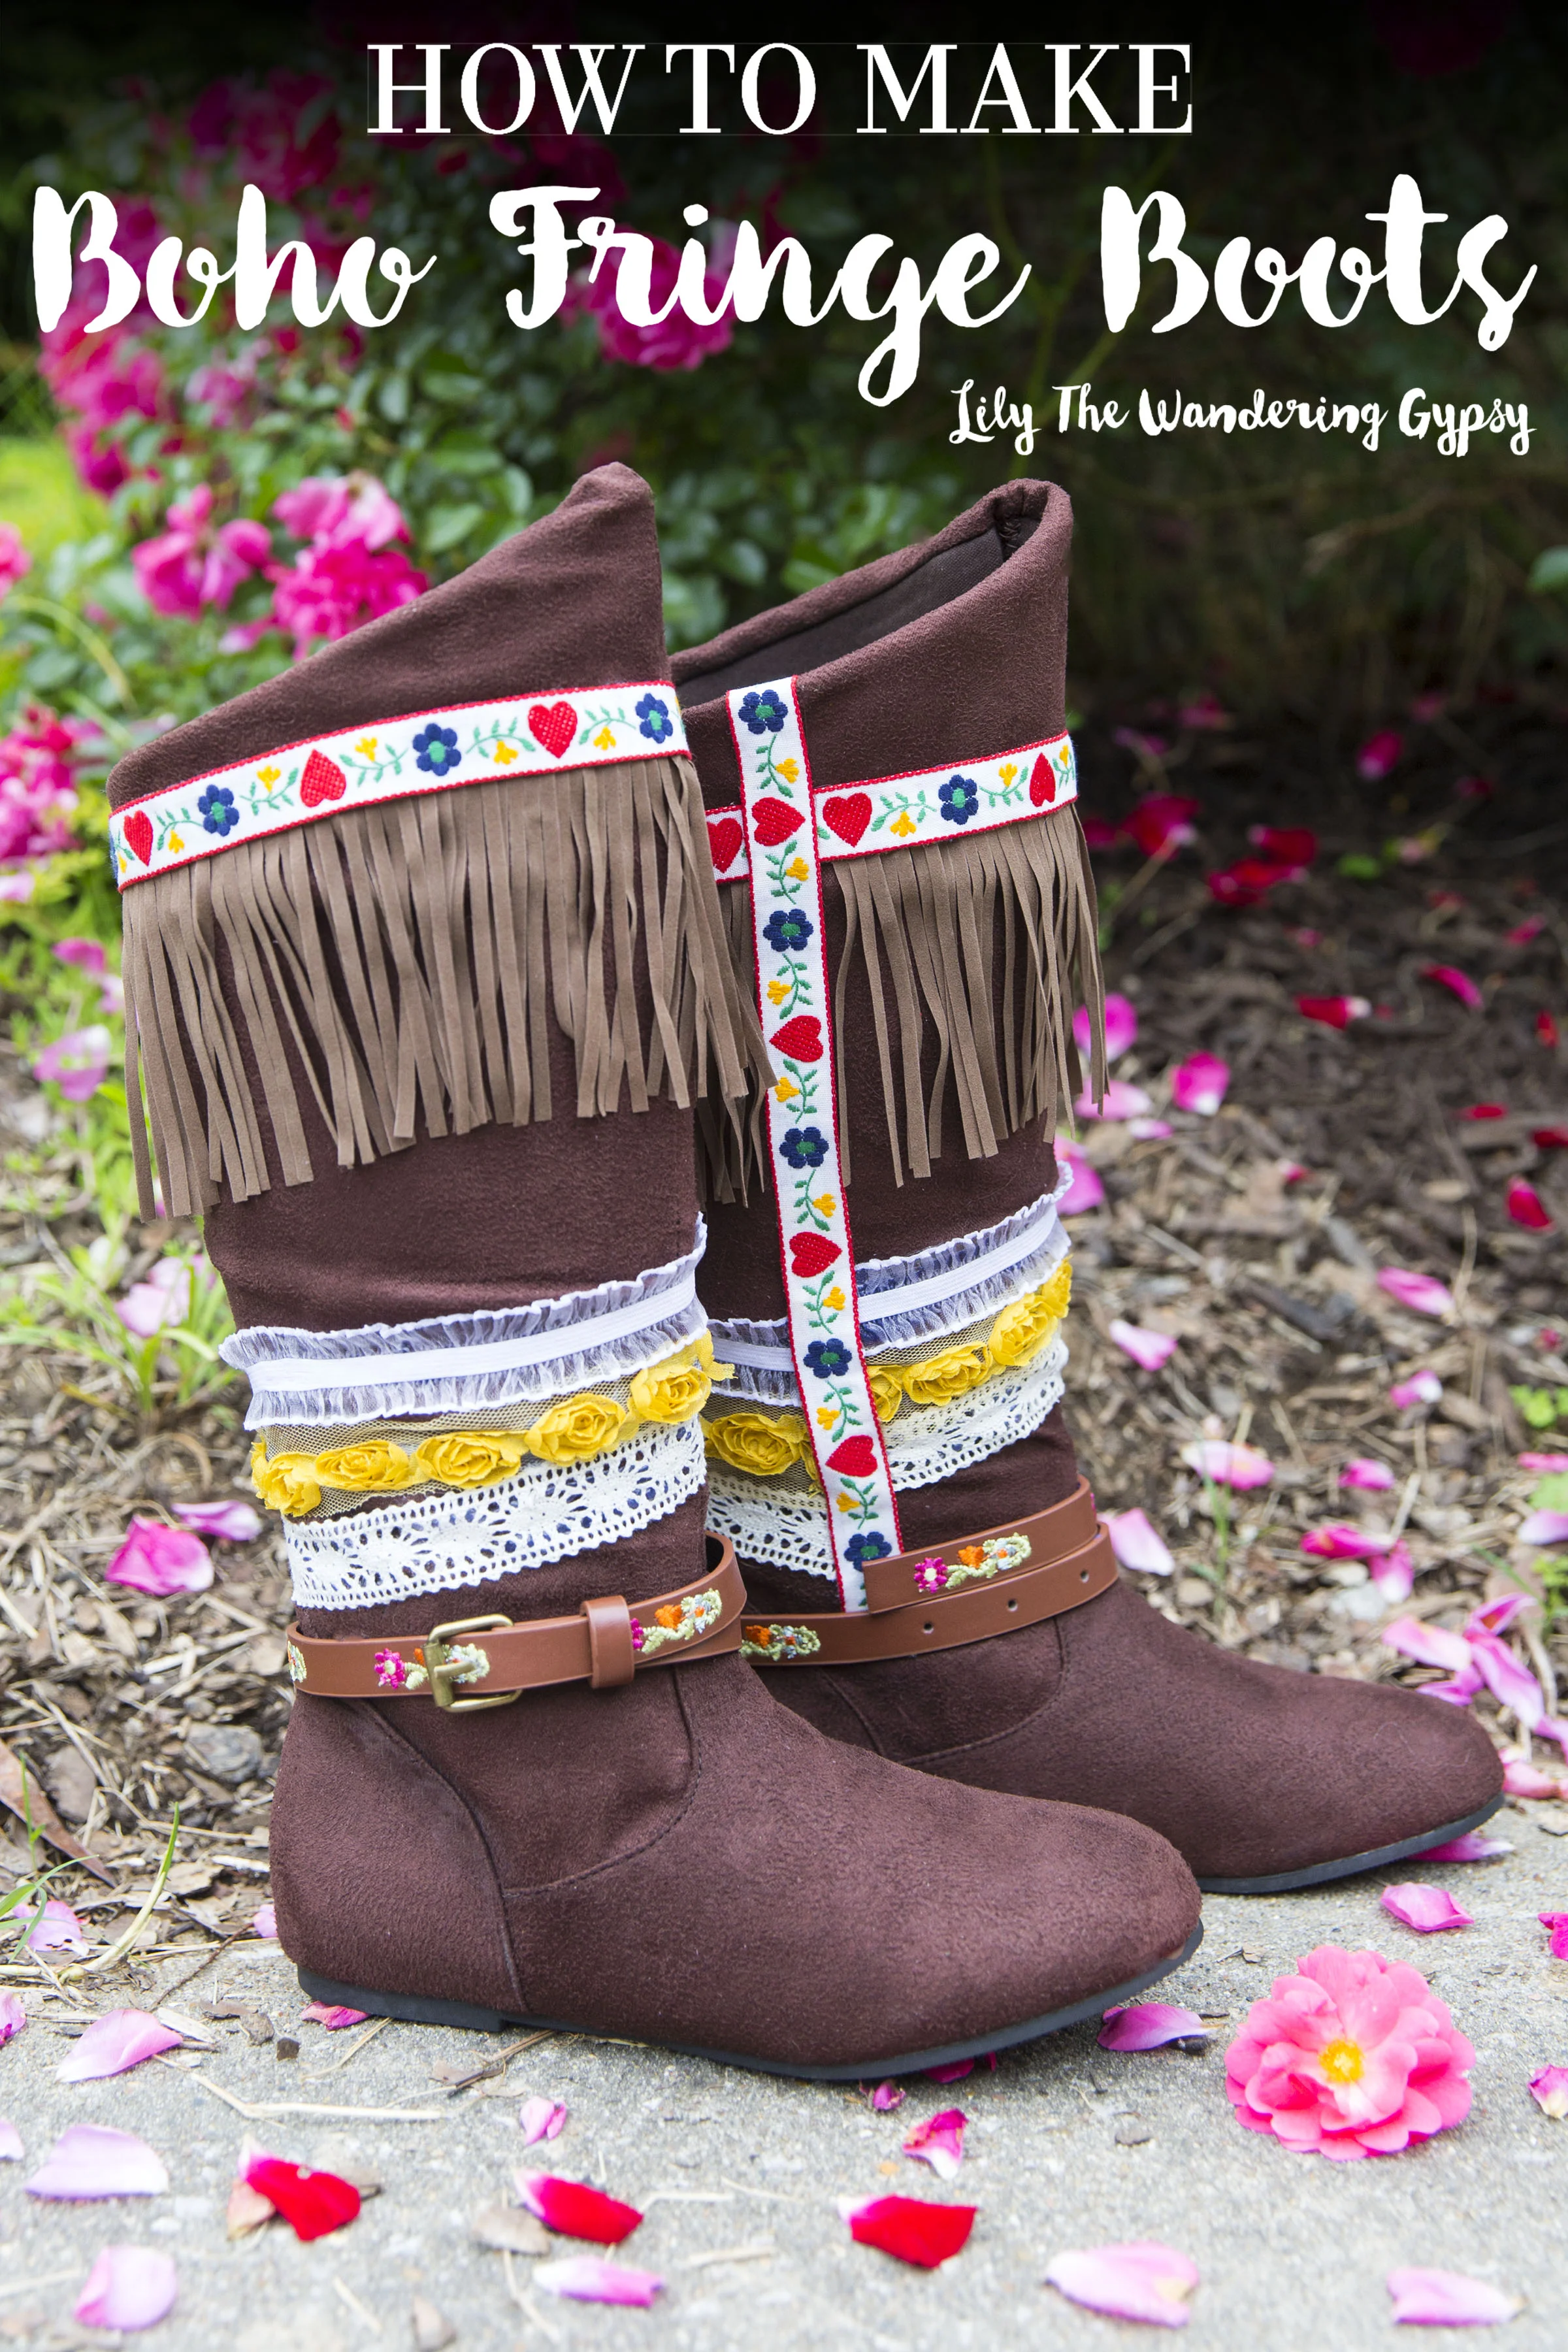
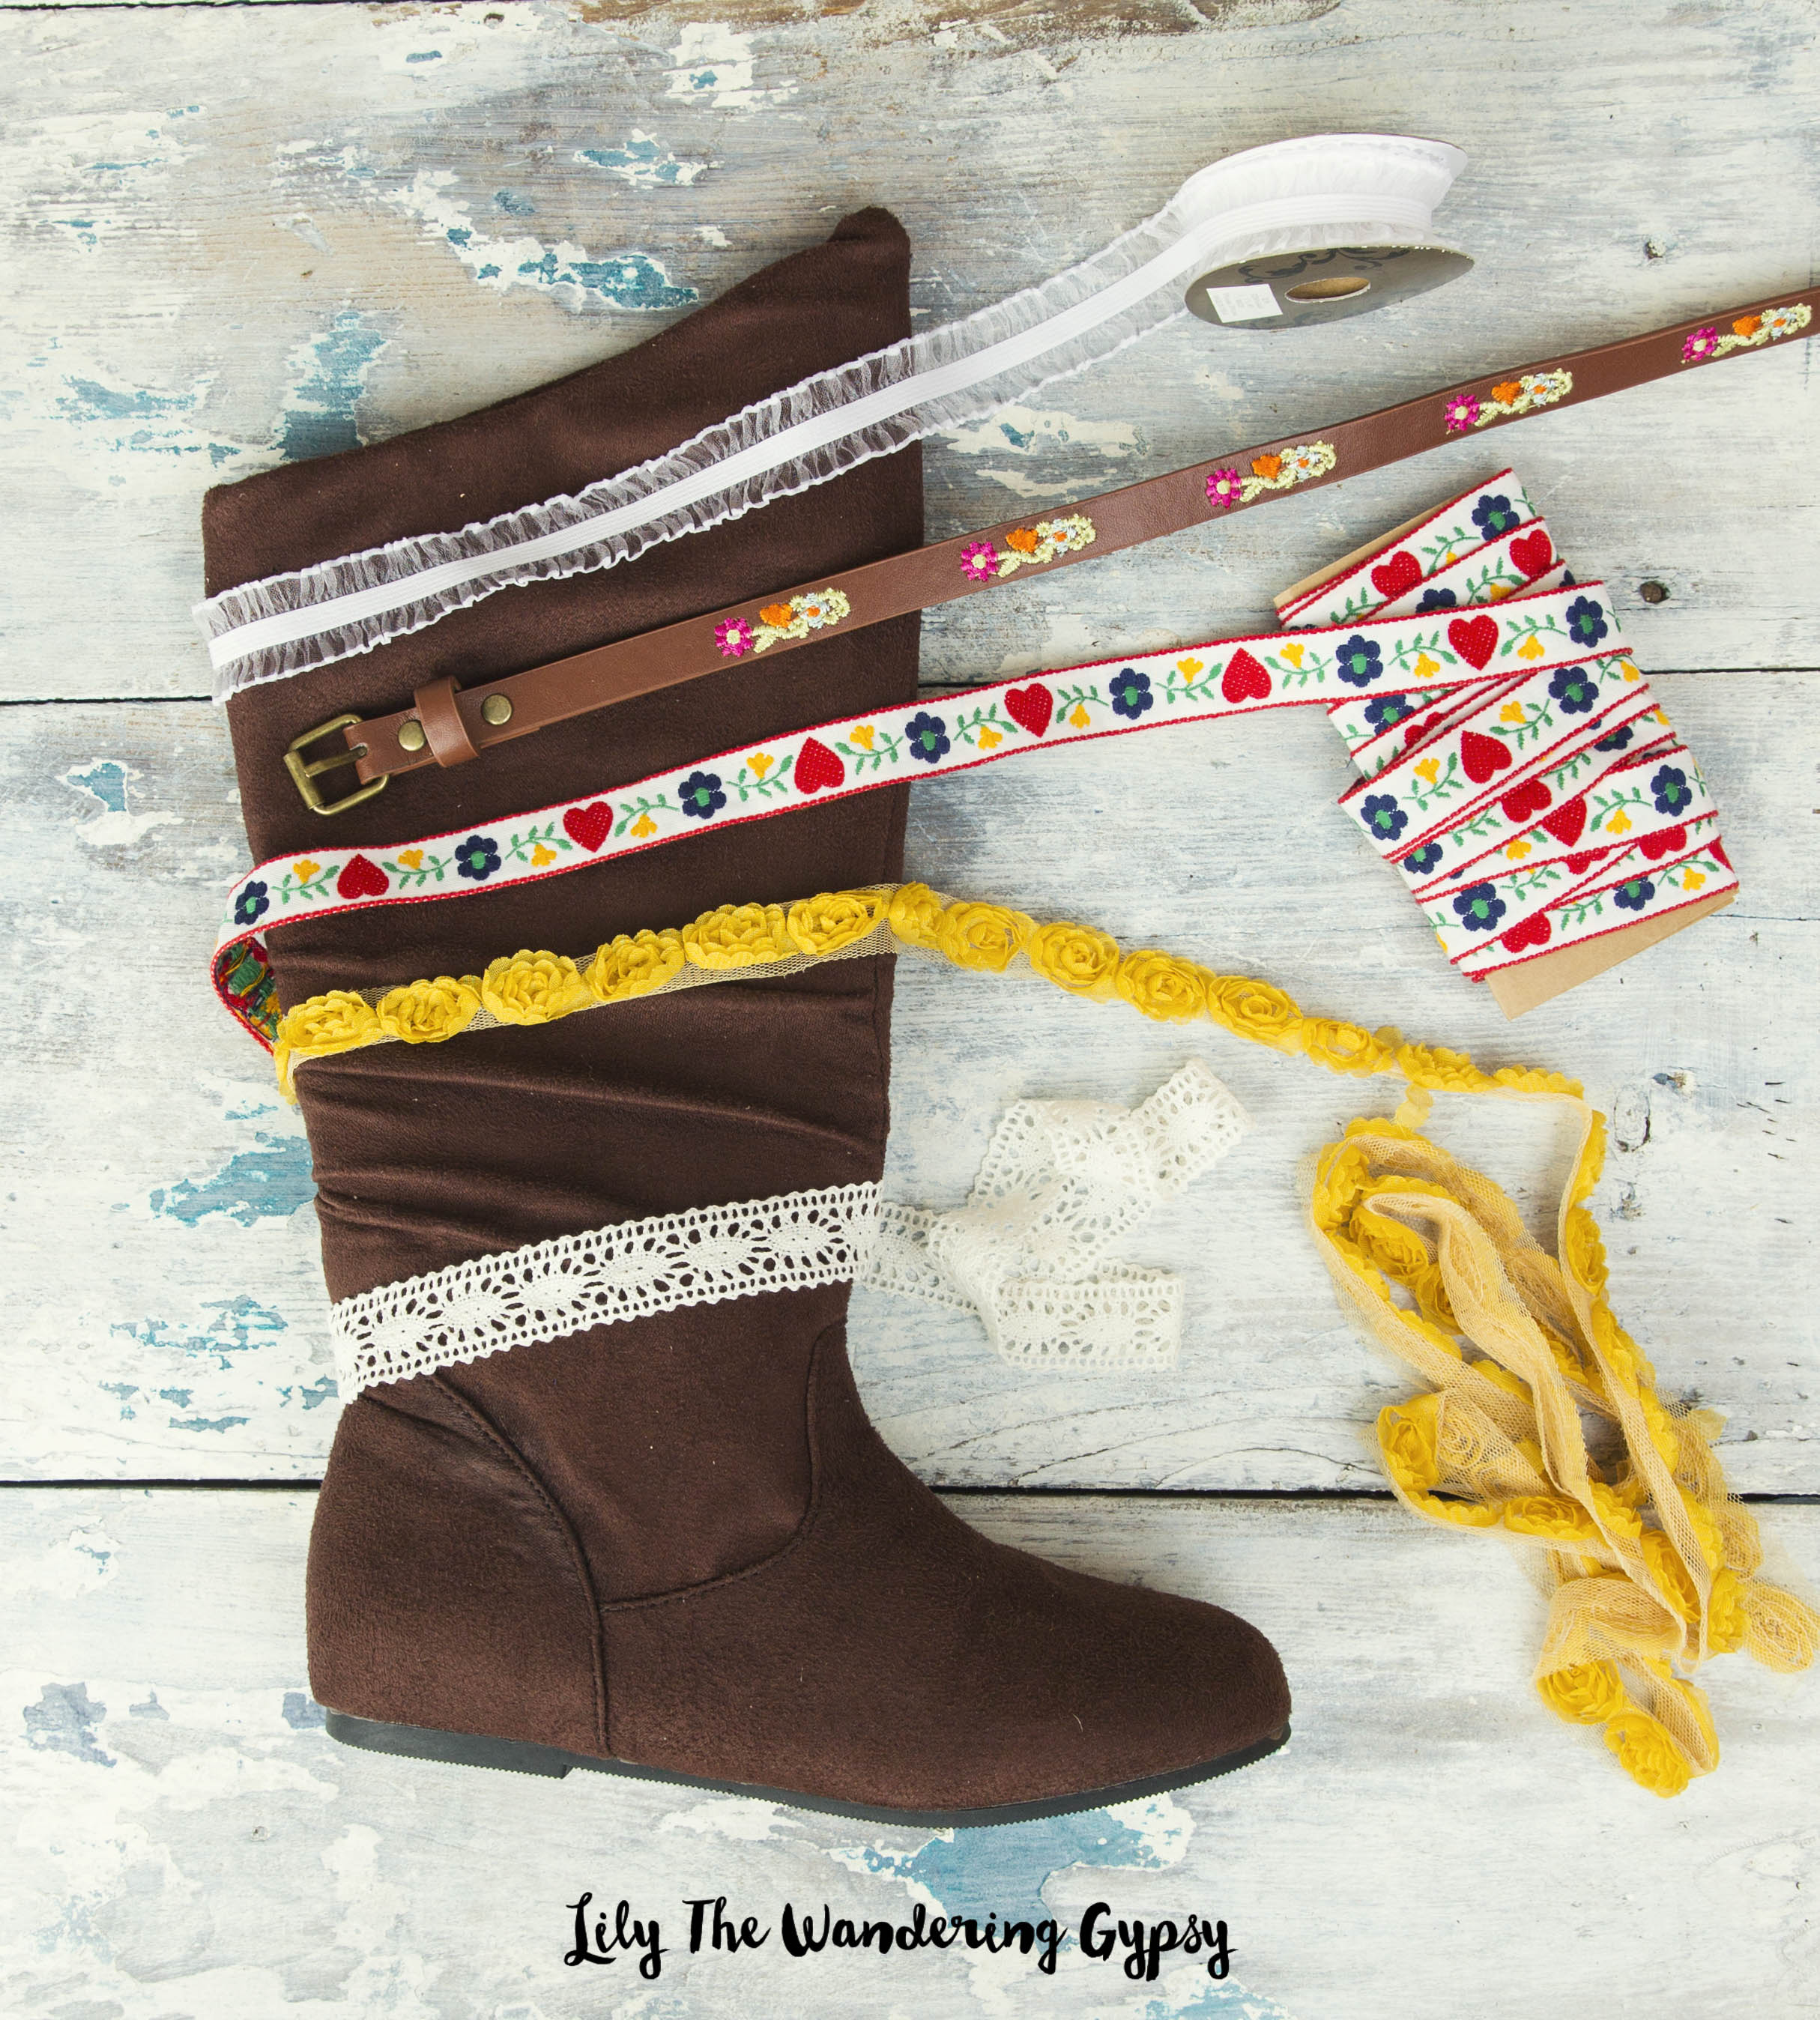
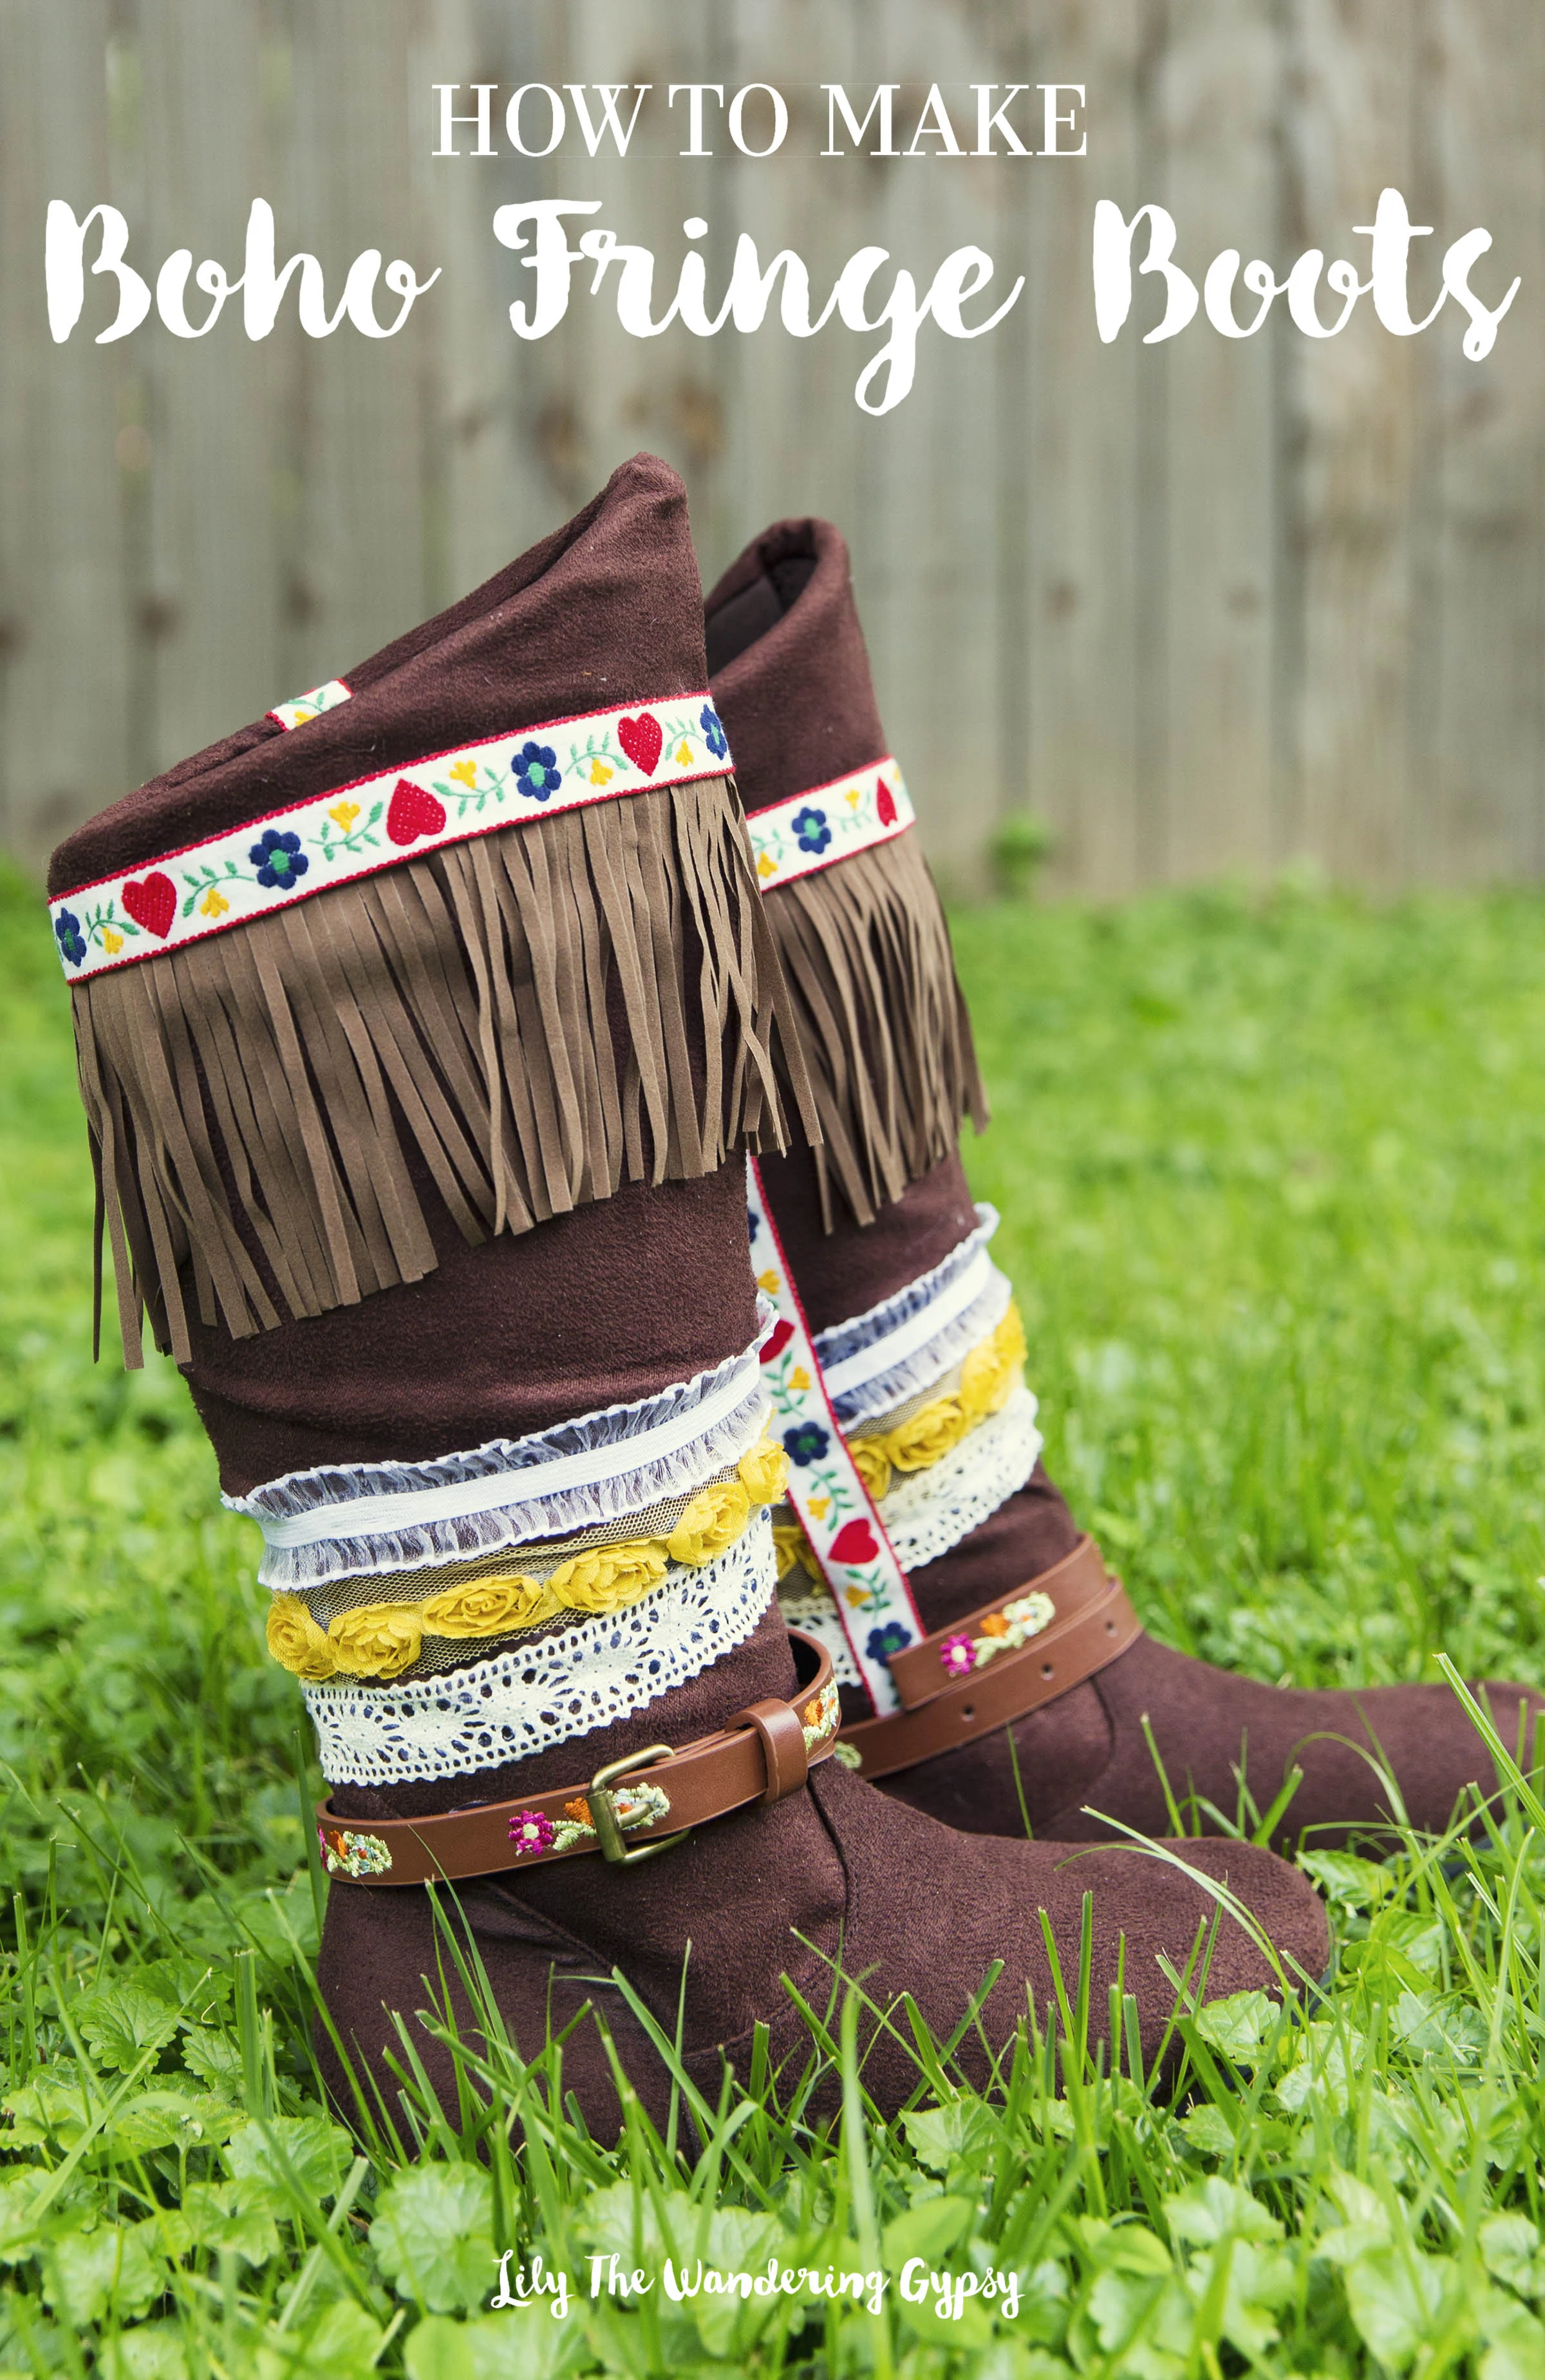
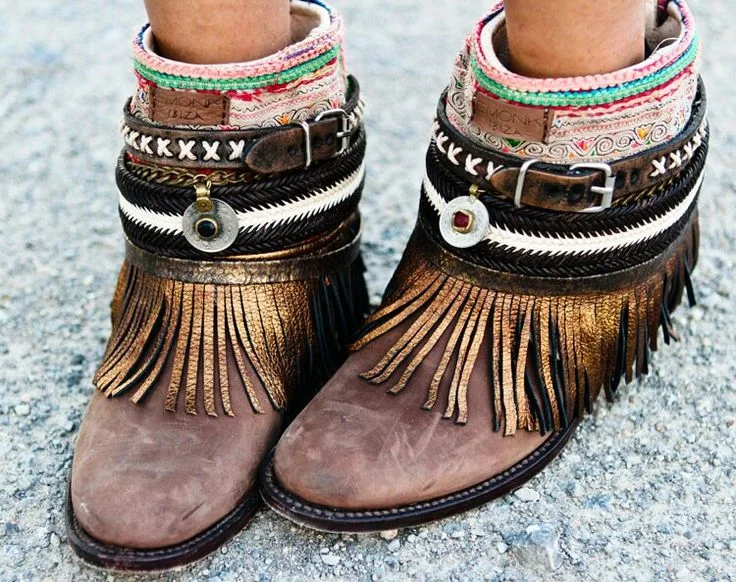
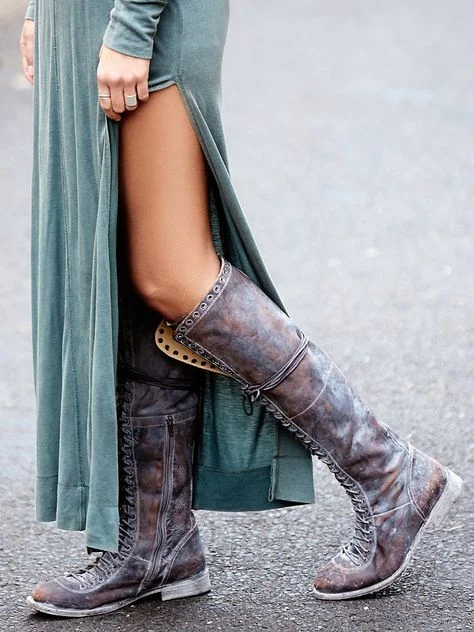
Summer festival season is upon us and I have a cute DIY tutorial for you to try. I made these for about $14, and all I had to buy was the boots and the fringe trim. If you already have boots, a glue gun, and ribbons and trims, these could be practically FREE to make! These are such a cute addition to your summer festival wardrobe and outfits. If you make some, please comment below with a link to your photo!
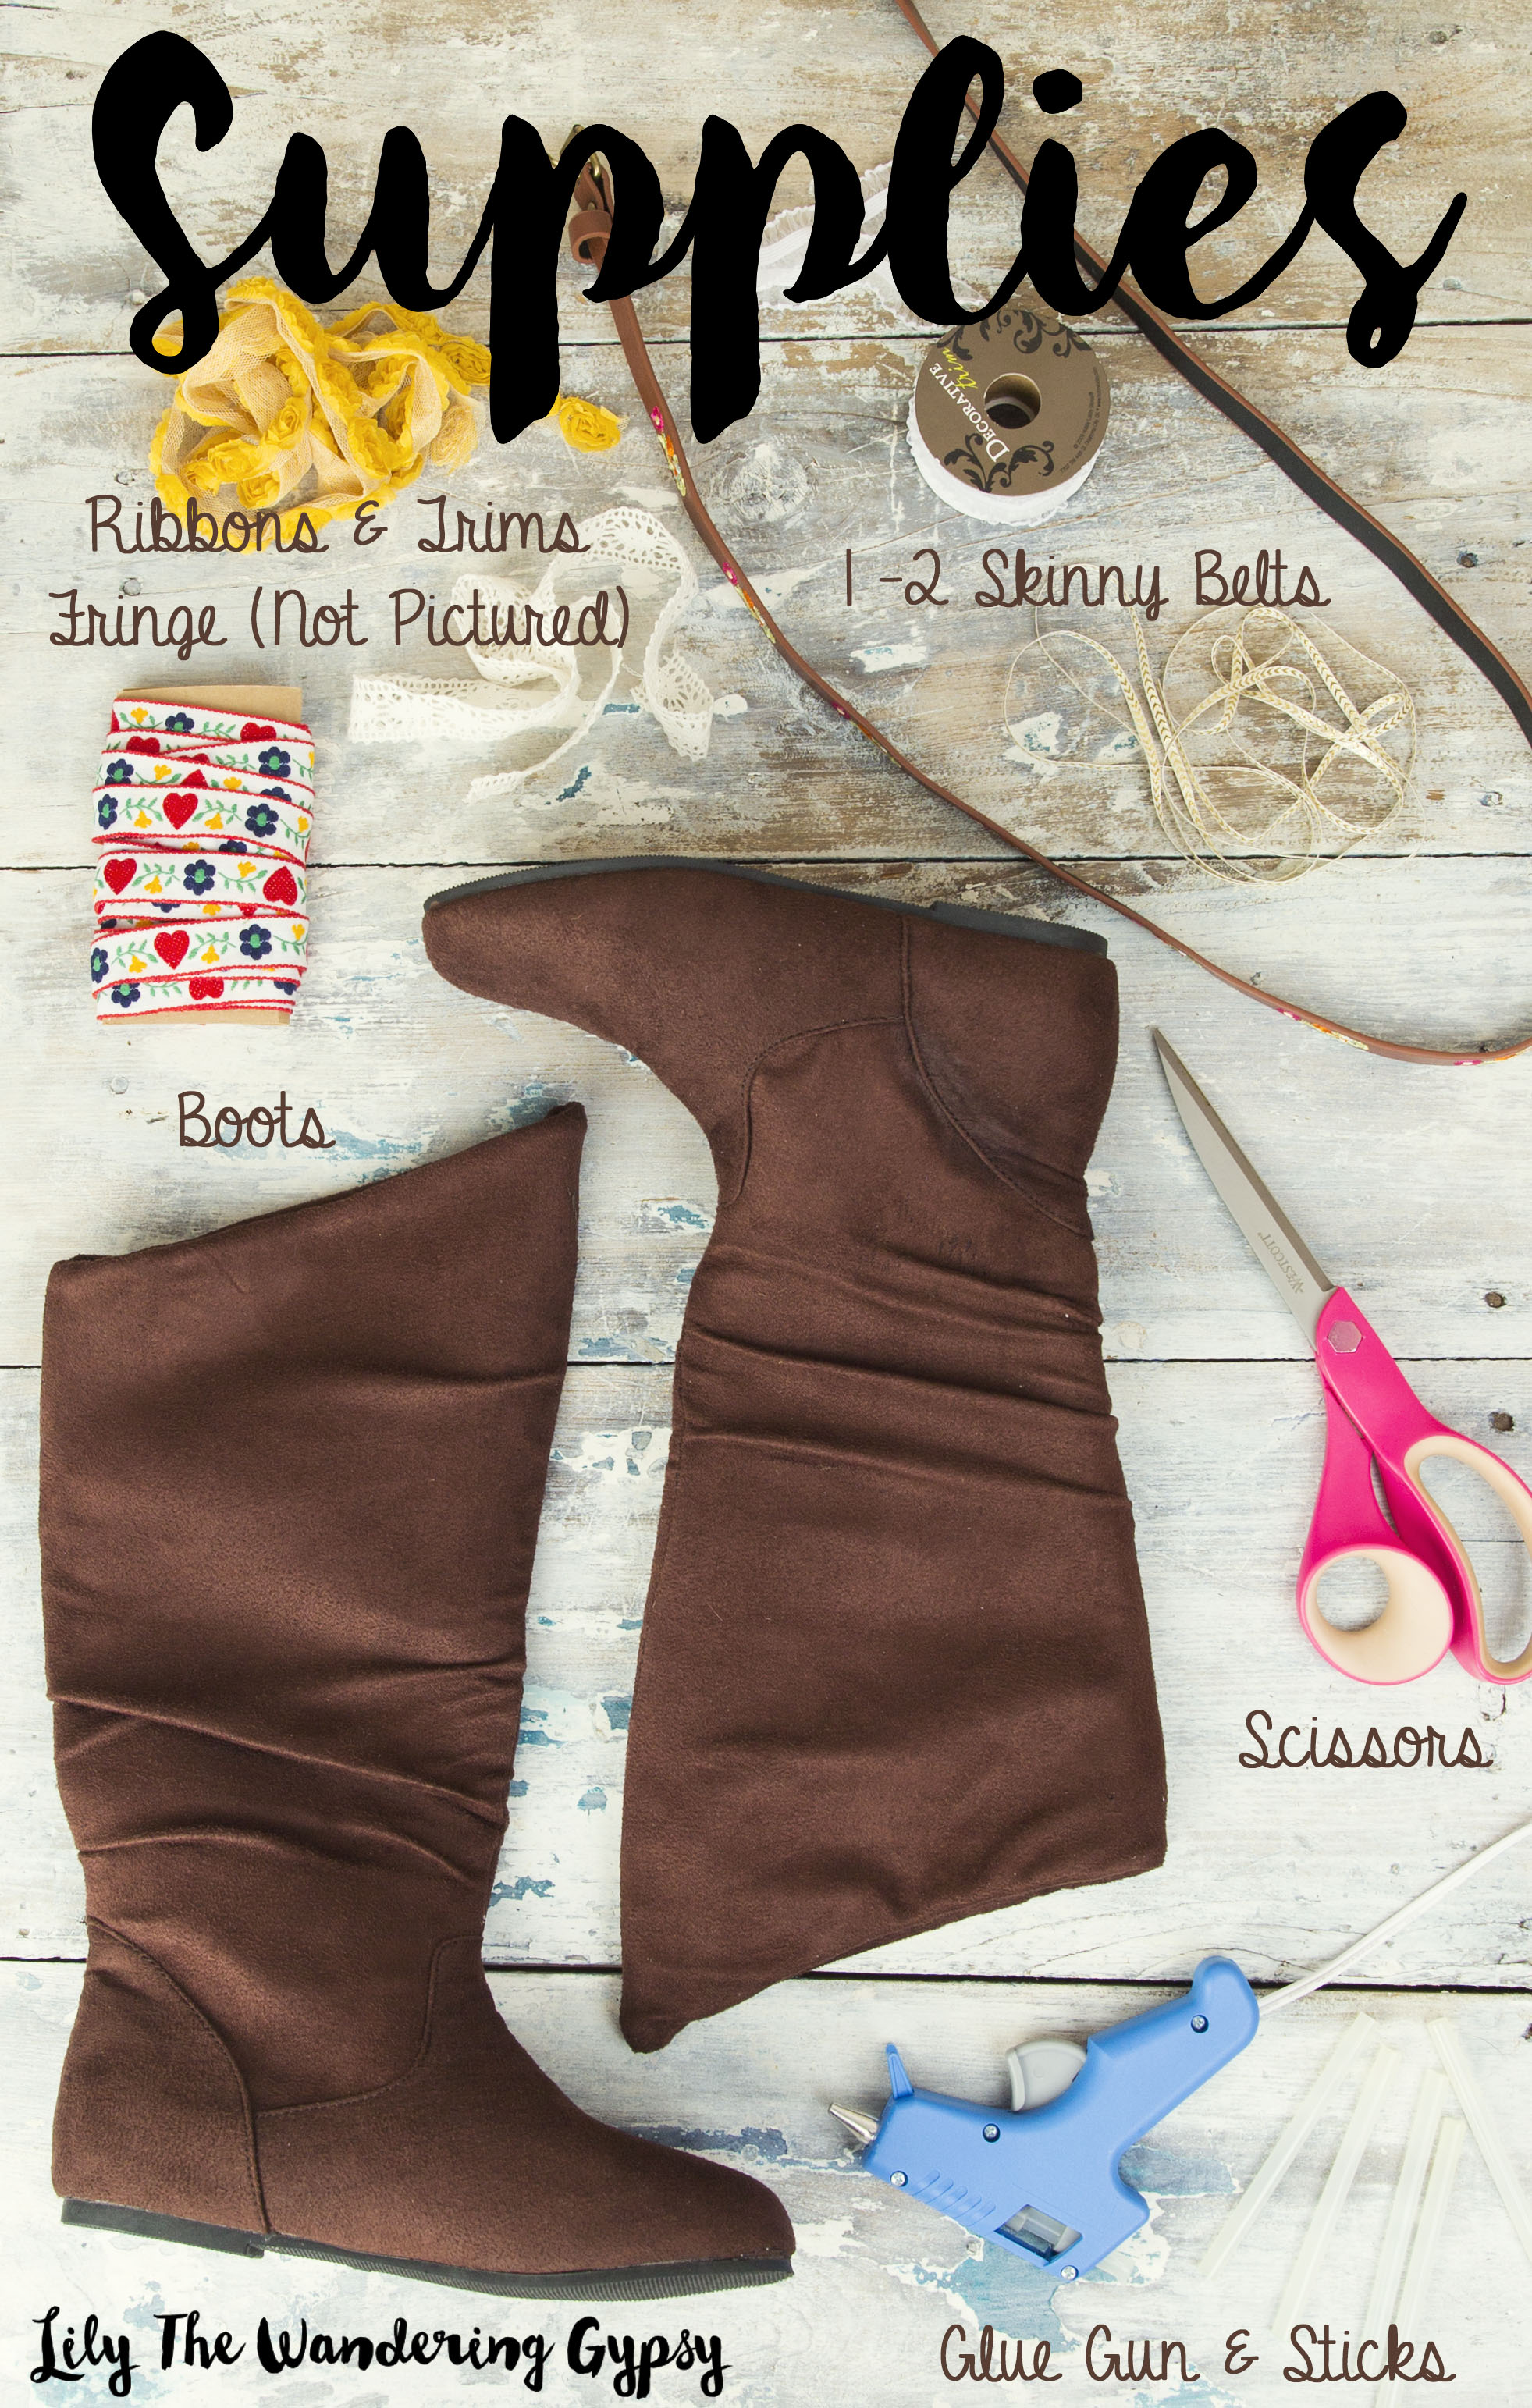
1 Pair of Boots - Glue Gun & Glue Sticks - Scissors - Boho Ribbons and Trims (about 3/4 -1 Yard each) - 1 Yard of Fringe (Not Pictured) - 1-2 Skinny Belts That Can Be Cut In Half
Next, lay your ribbons and trim over the boots to see where you want them. I glued my ribbon on much lower than this photo shows, this way I could add fringe to the top.
Below, you will see the interior side of the boots. Cut the trims so they line up half way around the back. These raw edges will be covered by a final layer of ribbon for a finishing touch.
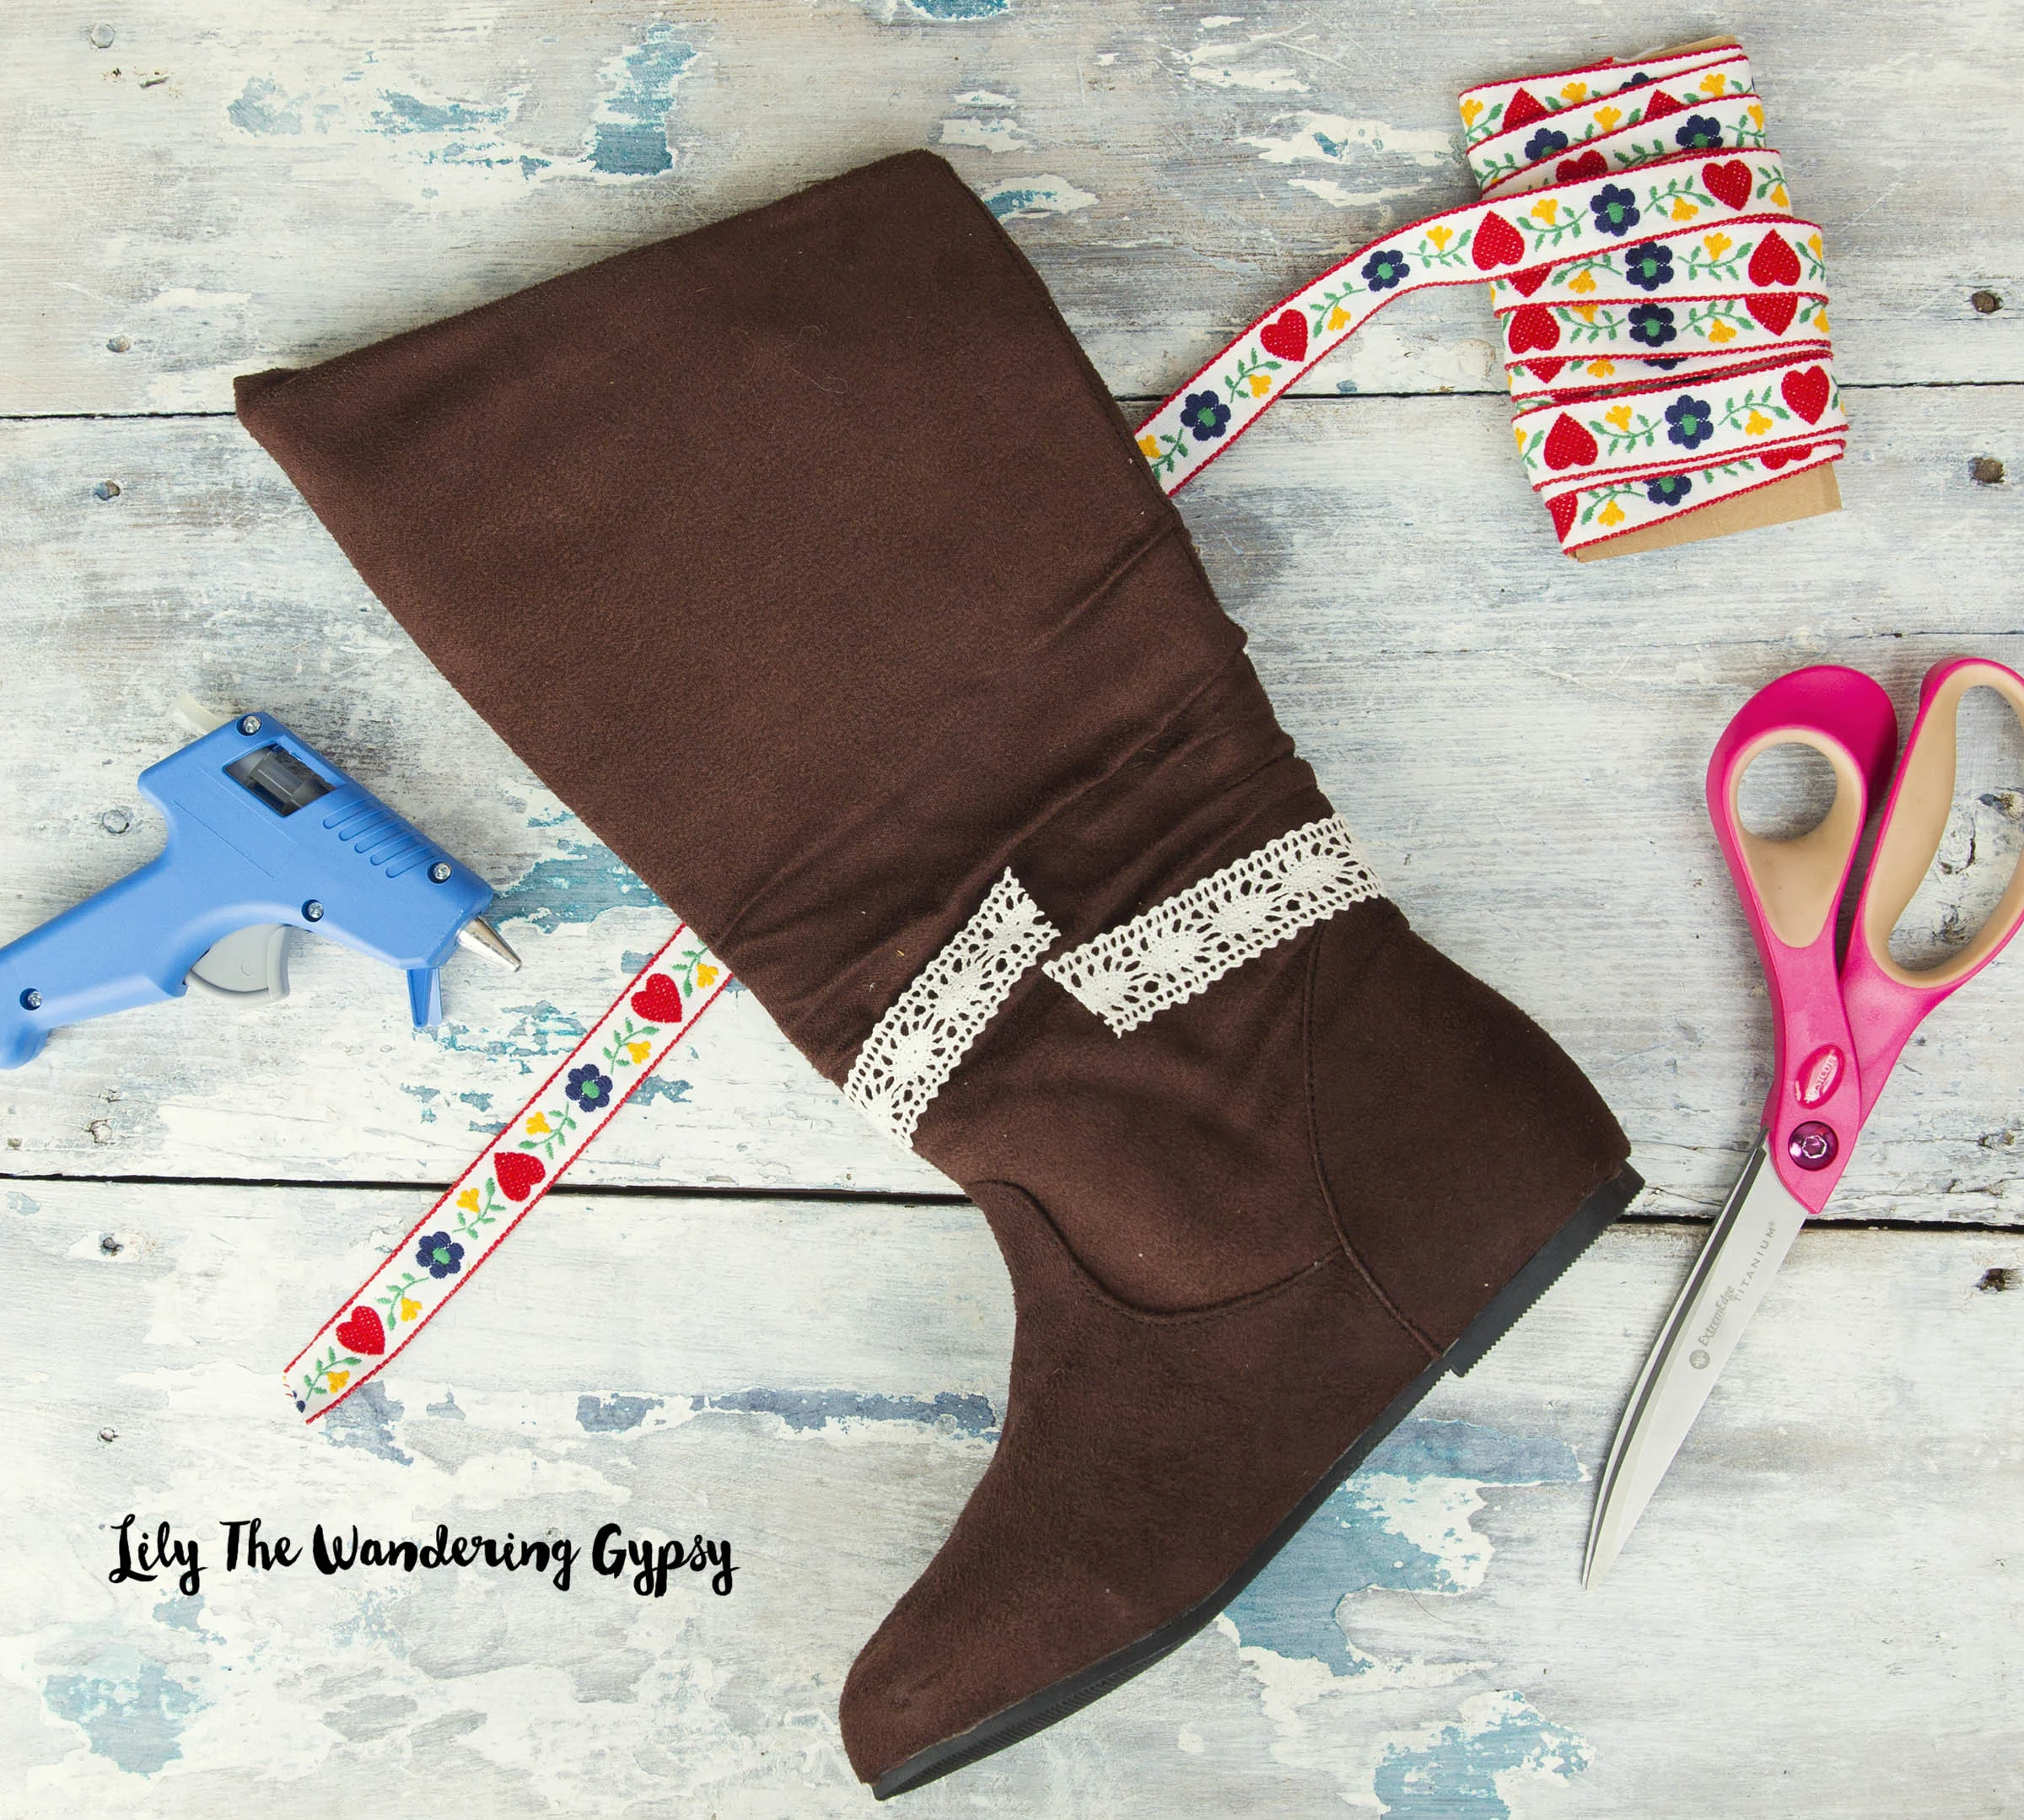
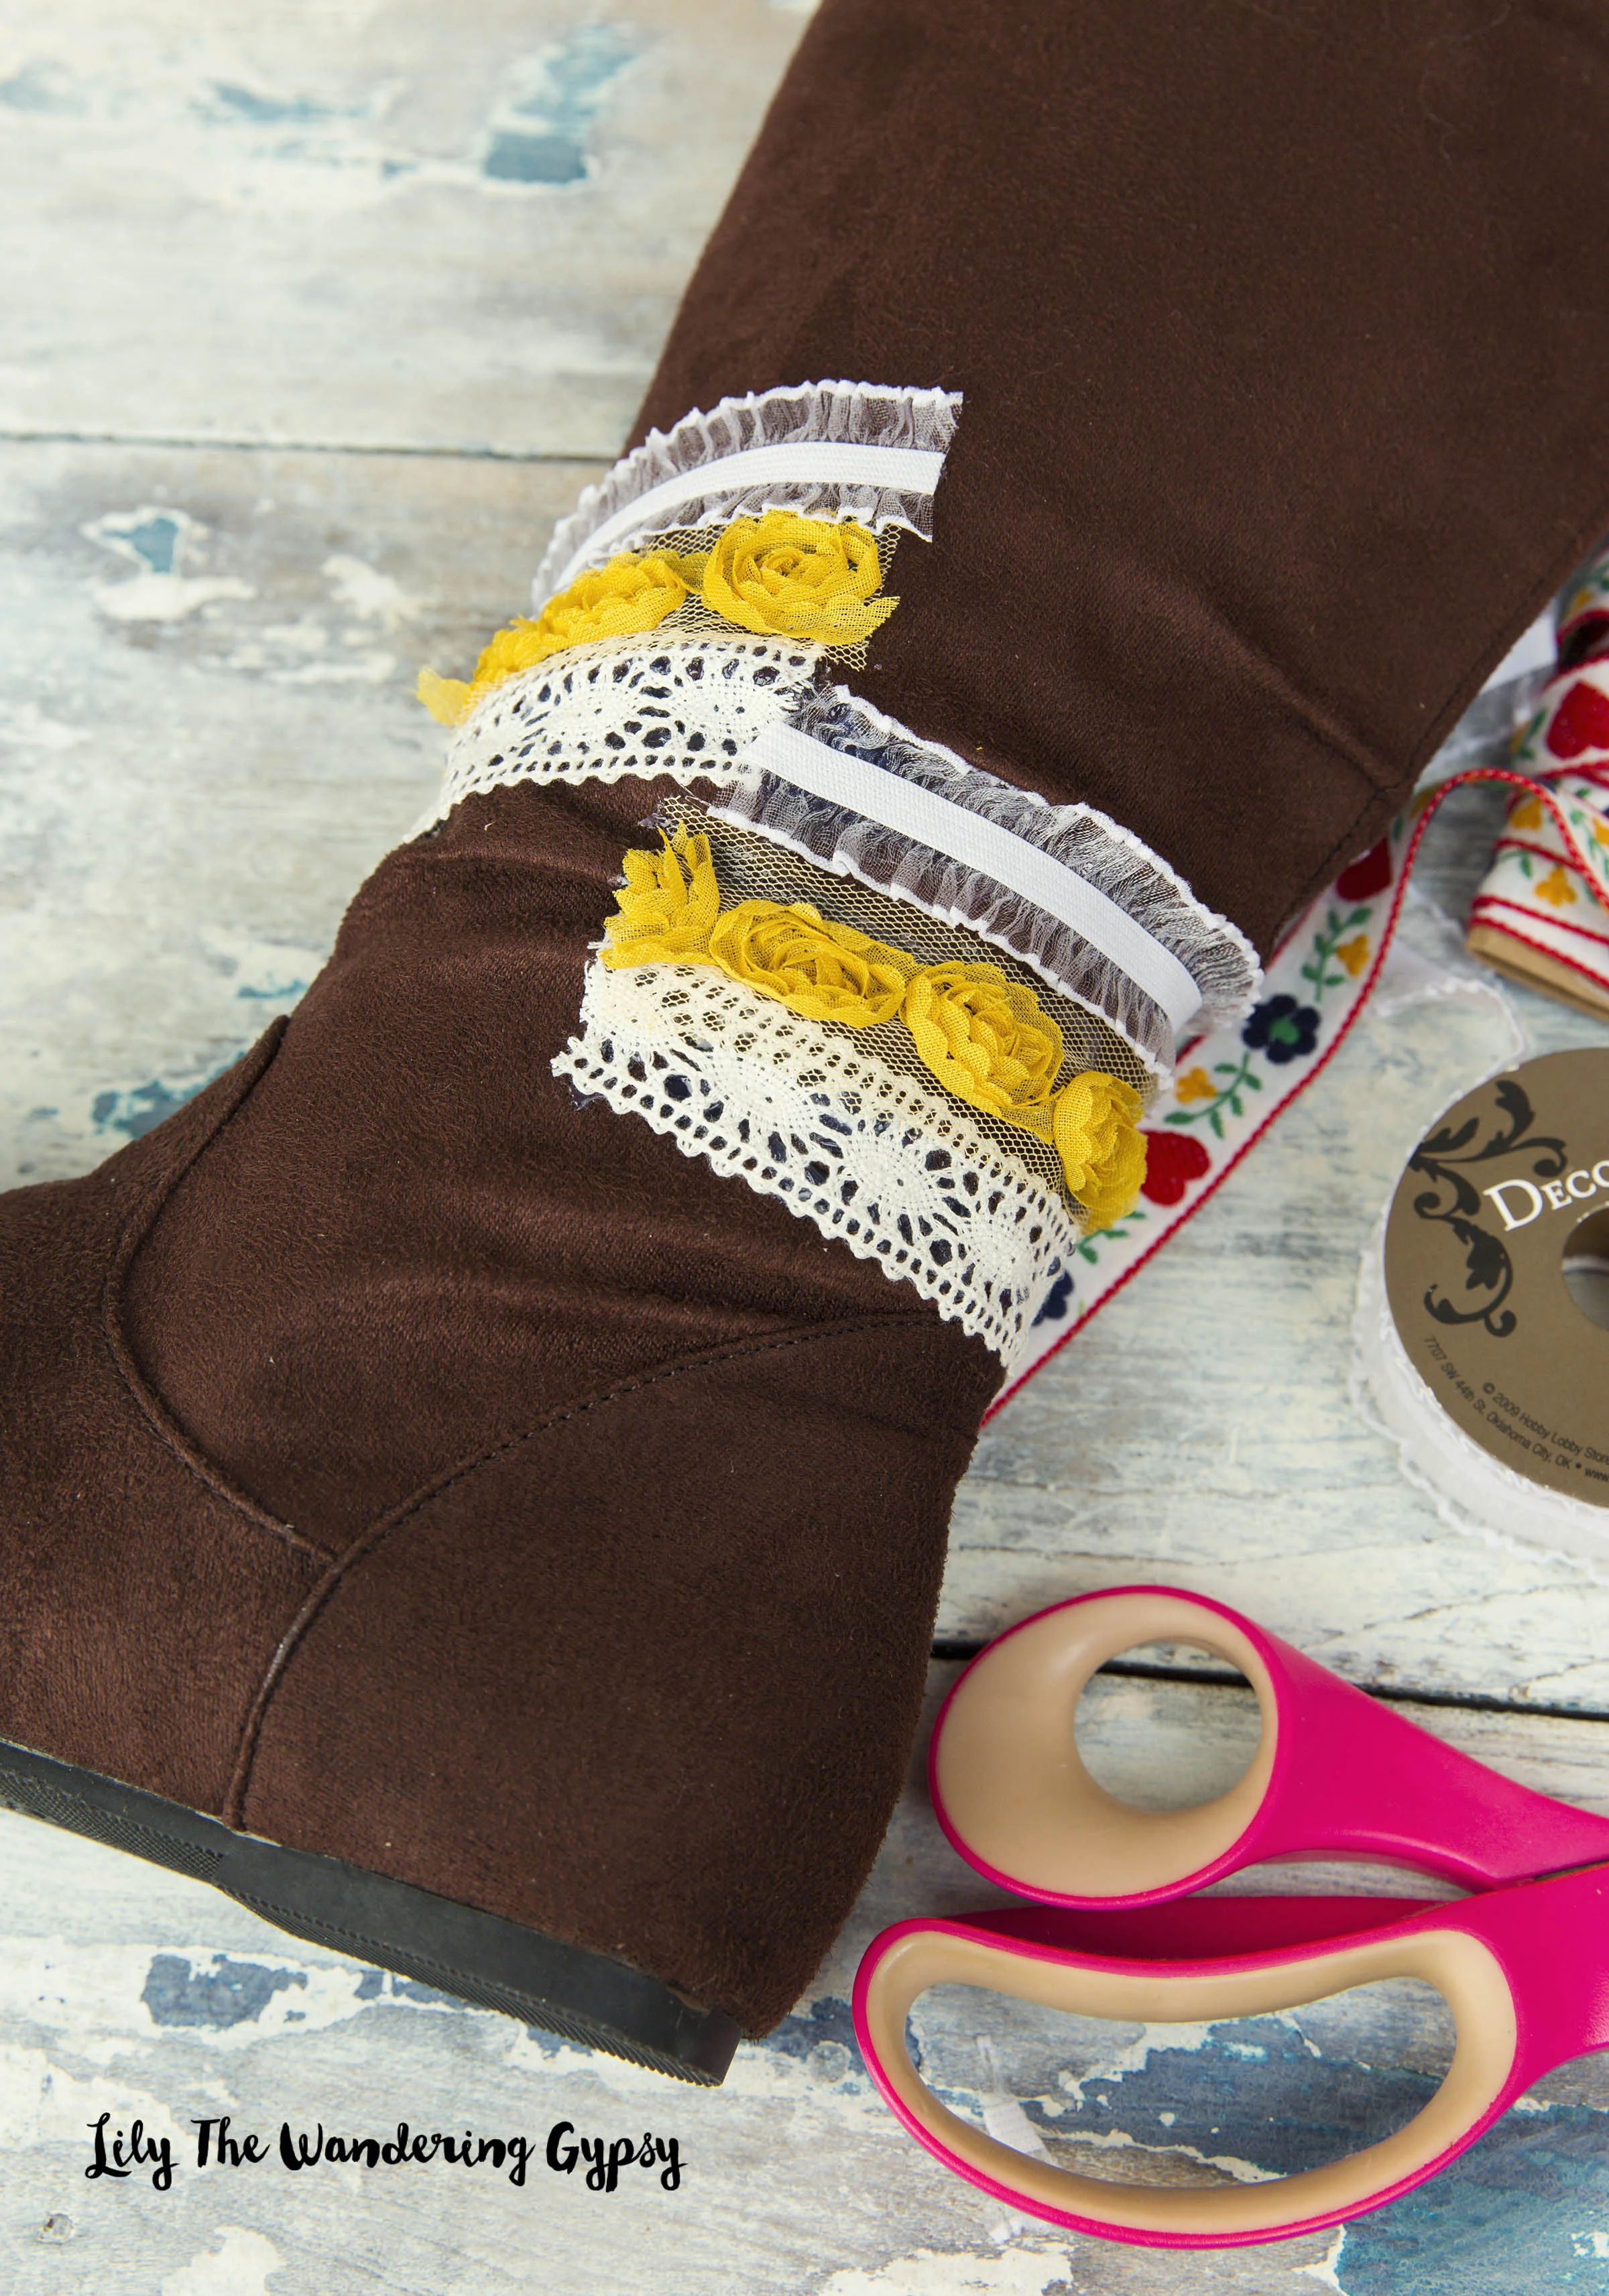
Below, you will see the ribbons/trims after I hot-glued them all on. The raw edges will soon be covered with ribbon. I used a cheap, low-heat hot glue gun, and it worked super well on these materials! My boots were made of an ultra-suede like material. If you are using leather boots, you may need to use a fabric-ready, 2 part Epoxy, or E-6000.
Next, cut your belt in half, and decide where you want to position the buckle. The outer side of the boots will look best, as you will see in my first photo.

Do a test placement of the belt, and then mark where the new buckle hole needs to be, so the belt fits around the boot. Cut the new hole, so that the belt fits snugly around the bottom of the boot, but not too tight. I used an awl from a multi-tool, but a sharp X-Acto Knife would also work. Be super careful not to cut yourself or the work surface. (See below)
You will see that I also added the ribbon to go up the side of the boot. Glue this in place, making sure to only glue half way up. The fringe will also go under this ribbon!
Make sure your ribbon covers any rough edges of the ribbons. (See Above)

Let's get your fringe ready! This fringe really makes the boots super cute! Cut your yard of fringe in half, and position it around the top of the boot. Cut the fringe to fit all the way around each boot. Hot glue ribbon to the top of the fringe, for a cute boho look.

Glue the fringe around the top of the boots. Then, hot glue the ribbon over your fringe, and fold into the inside of the boot, for a finished look. I cut a few of the fringe pieces off, that would be under the ribbon, but that's optional.
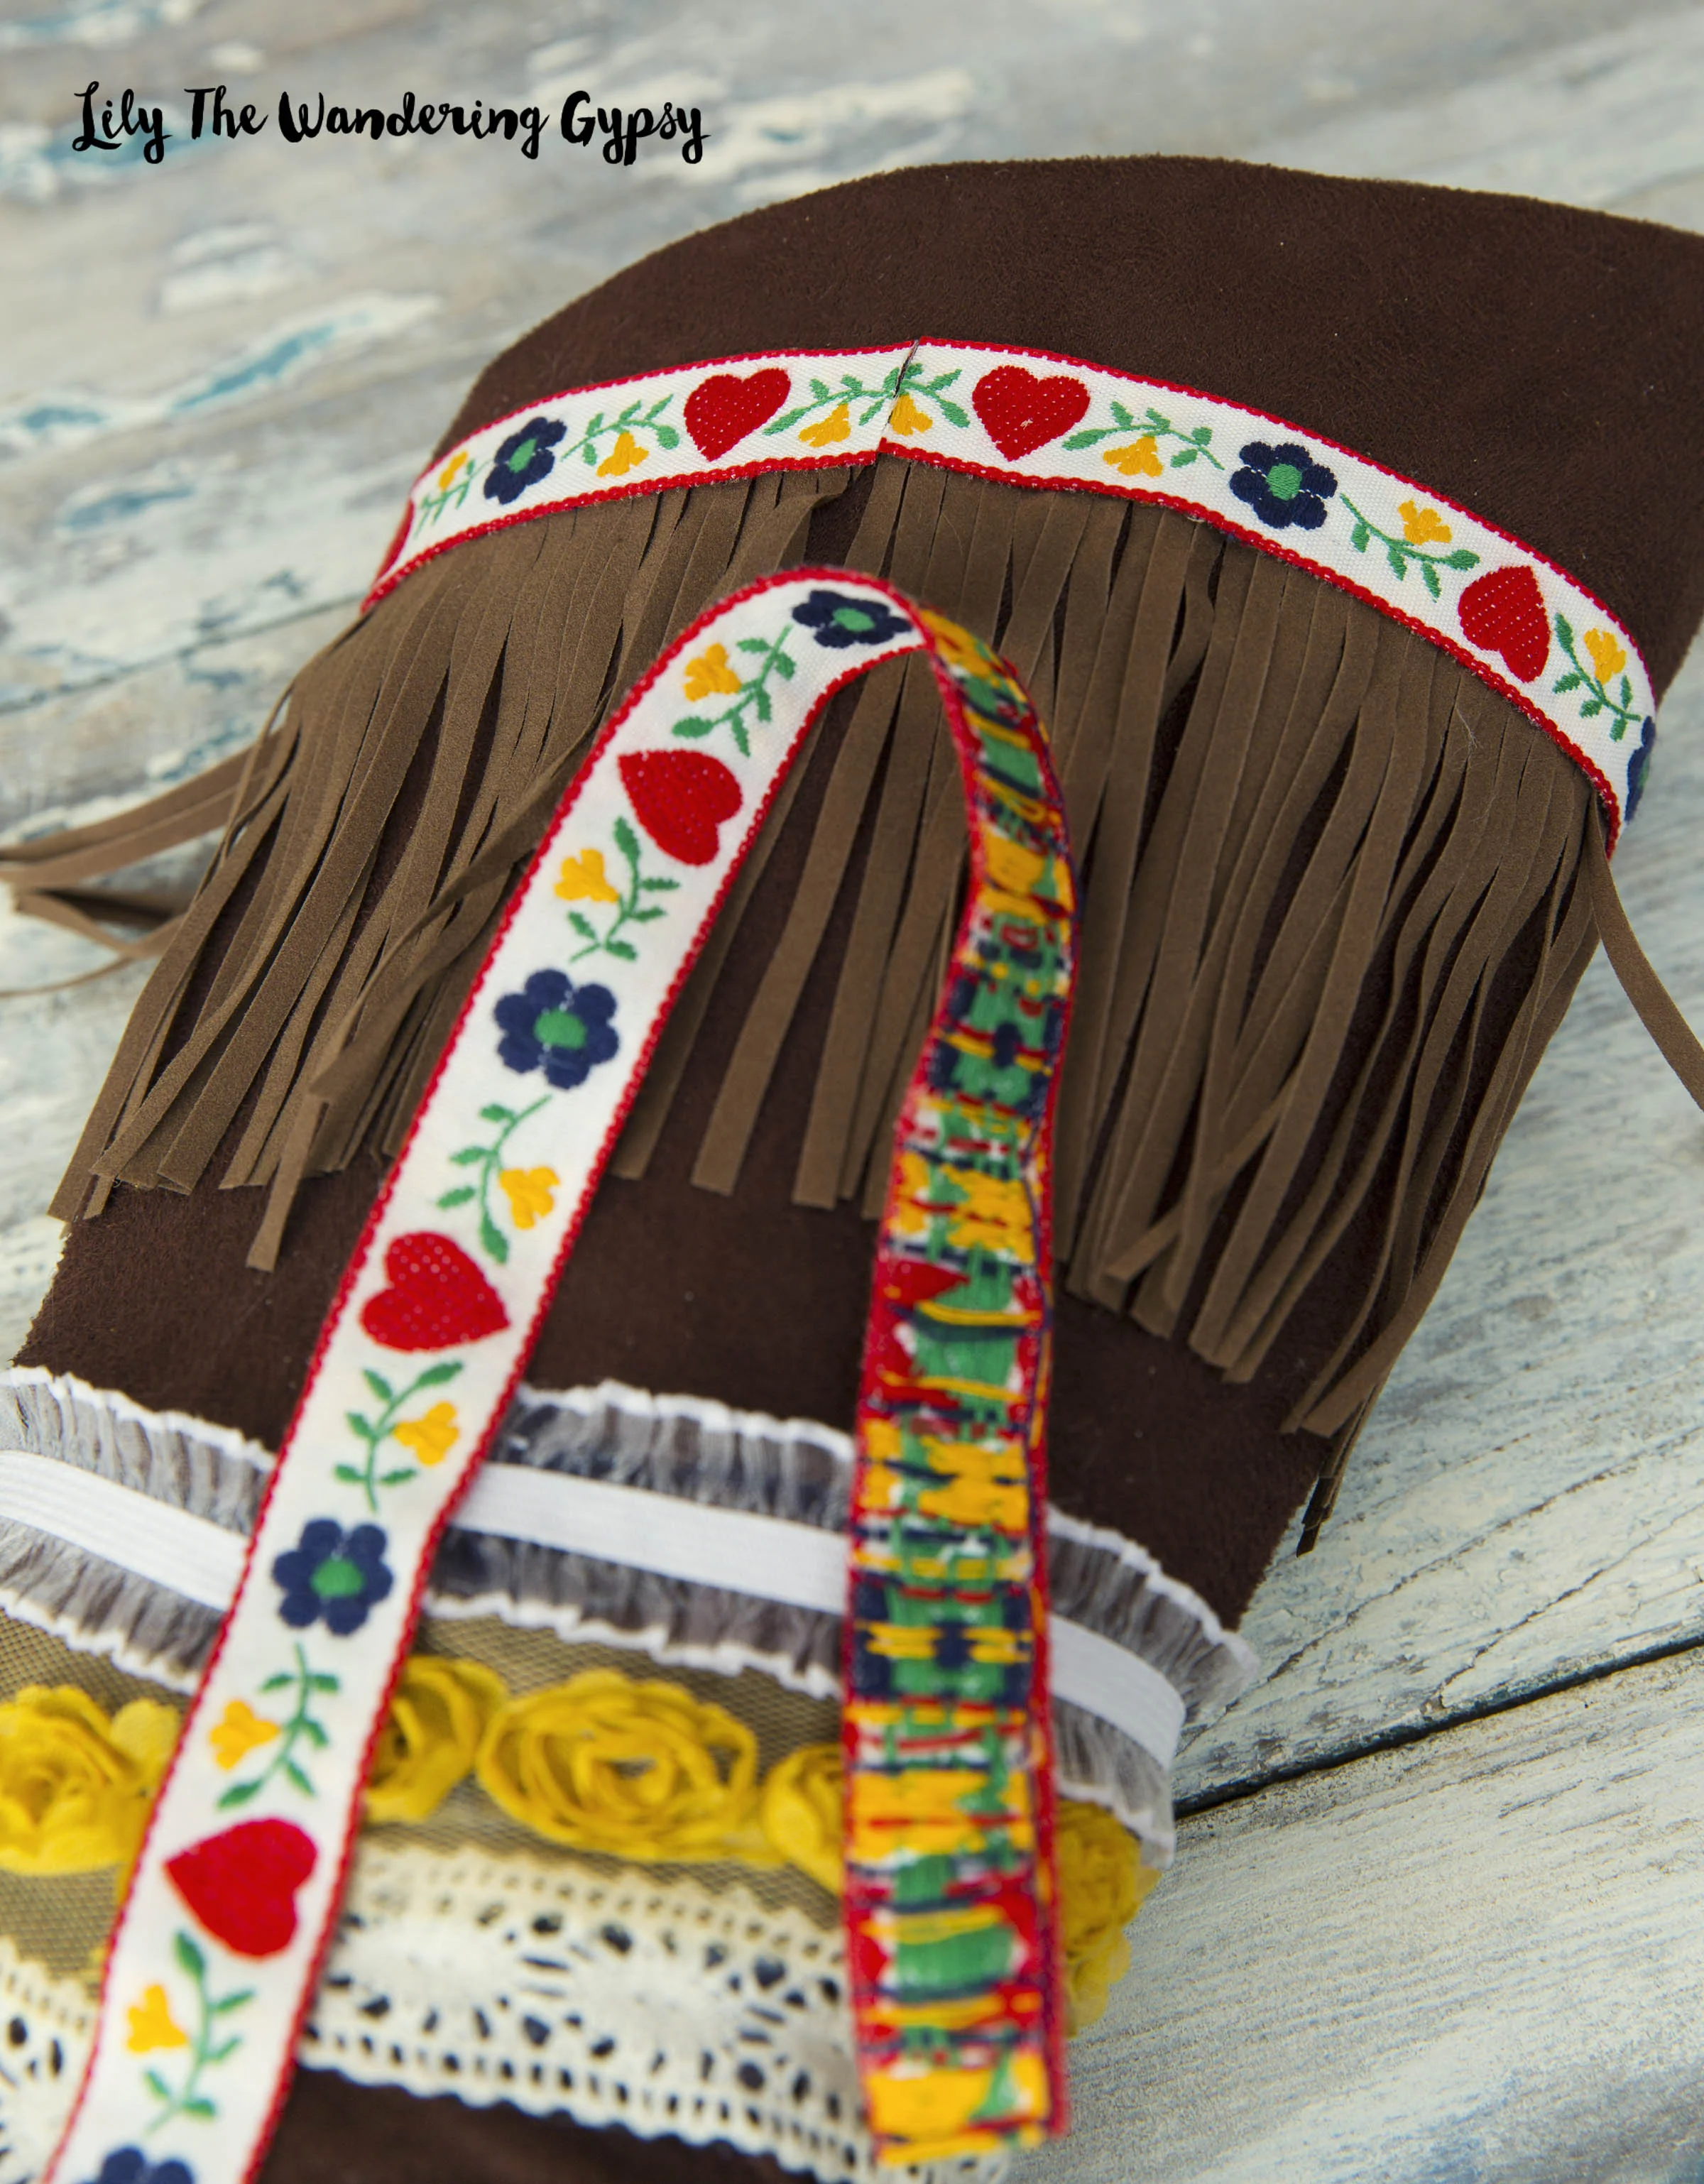
And you're done! You are ready to and the night away at your next festival!


Pinterest // Facebook // Instagram // She's So Chic Blog // Twitter
The weather has gotten much warmer (and way more humid) in the past 2 weeks here in southern Illinois. I also found a new way to share my photos! I finally figured out the VSCO app, and now I absolutely LOVE the filters they offer! There are a few really good ones, and I like how they don't just make your photos look dark and flat, like some of the Instagram filters. You can also save these images to your cameraroll on your phone, and upload them via Instagram. Check out my photos here!

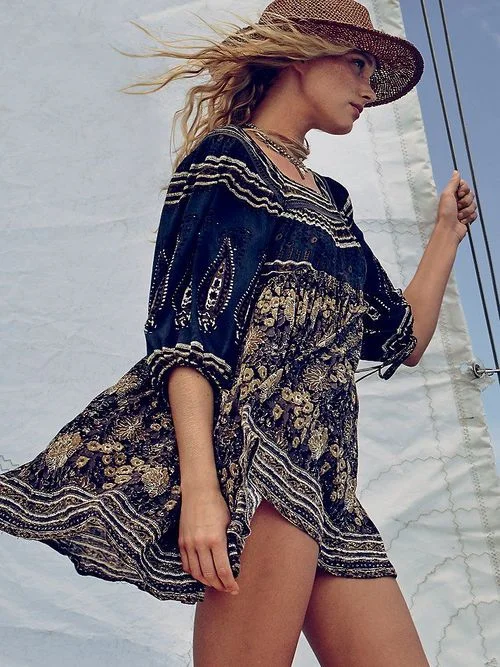
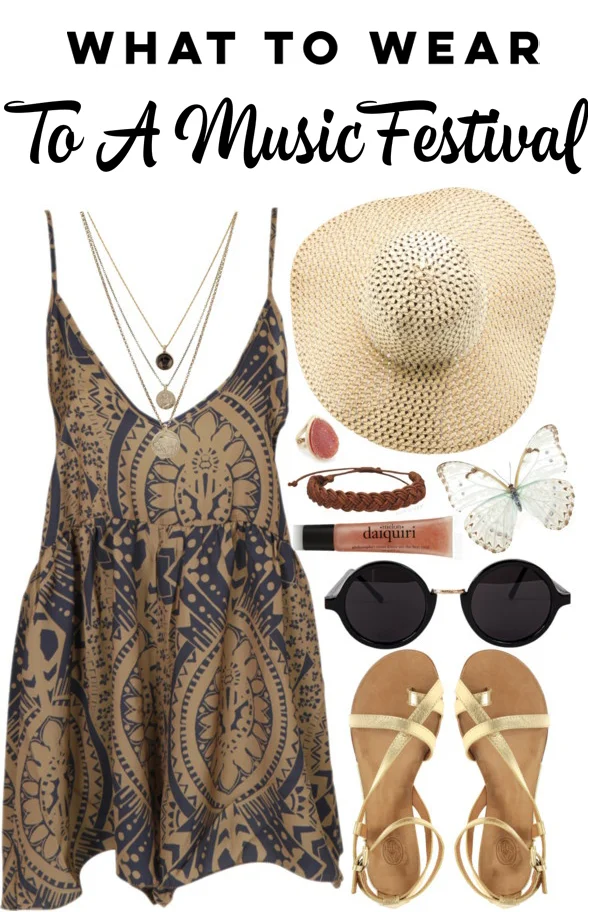
Summer is fast approaching, and many music festivals already have tickets on sale, and initial lineups announced. If you are lucky enough to be attending a music festival or two this year, here are a few fashionable suggestions. I always tend to go for more boho styles, and have been to about 20+ festivals, and hundreds of concerts. Also, for TONS of inspirations, check out my Pinterest Board called Music Festival and Concert Fashion.
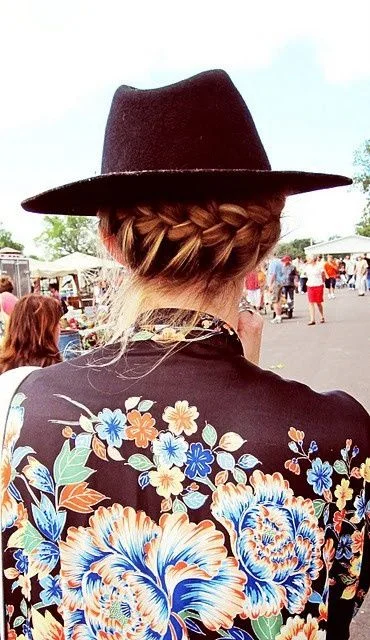
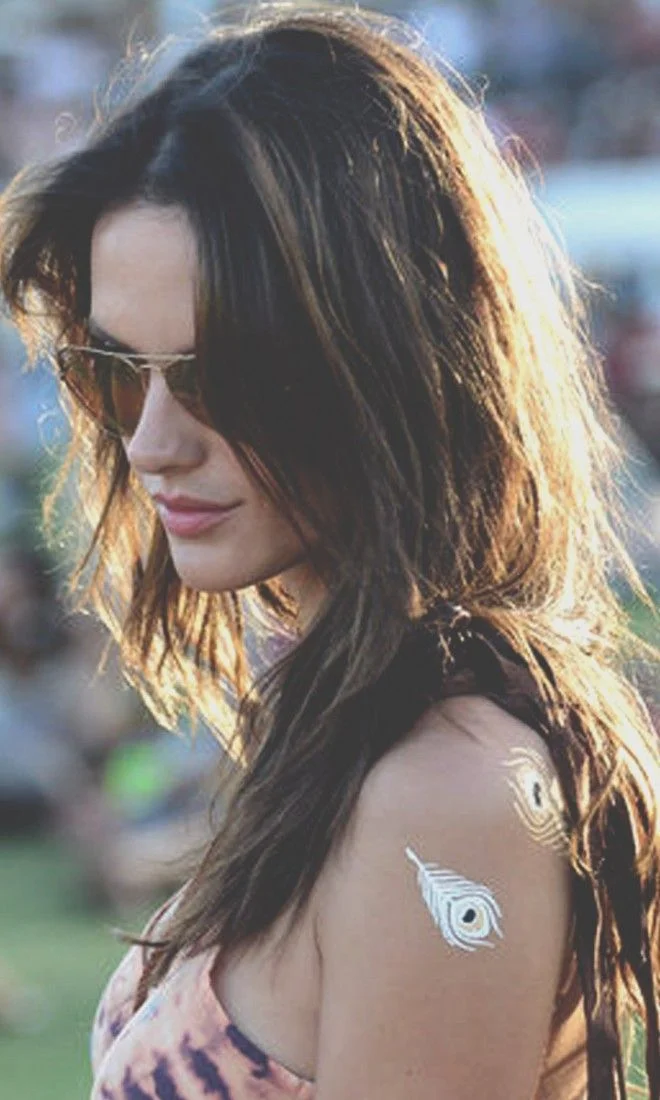
Hats are a MUST if you're going to be out in the sun all day. They not only protect your beautiful face, but they help keep your hair tamed while you are camping. You may even want to bring some dry shampoo, in case a shower isn't as easy to find as expected. Make sure you bring a good SPF, too!! Make sure you drink plenty of water (in addition to whatever else you drink!!), stay in the shade when possible, and try to avoid heat exhaustion and sunburn, as it will completely ruin your festival experience.


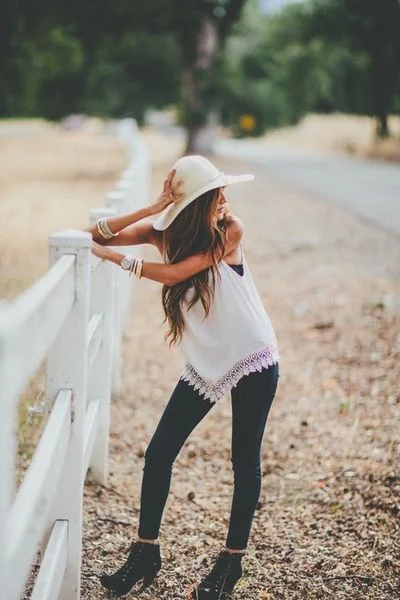
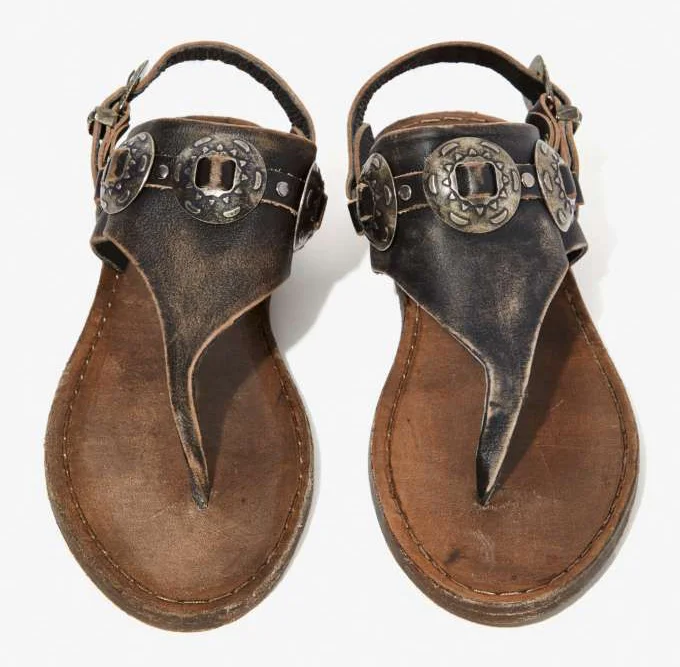
I always opt for flat shoes, with some padding or support if possible, whether they are sandals, sneakers, or boots. The benefit to closed toe shoes would be that you can wear ankle socks underneath them. I like to wear something with some cushion - YOU WILL BE WALKING AND DANCING A LOT! I do think it's fun to go a bit dressier in style, rather than your oldest kicks, as shoes can make or break an outfit. Just know that whatever shoes you wear will get dusty and dirty, so don't bring your nicest shoes, or ones that you can't replace. And, make sure they are versatile for whatever outfits you create. I love the idea of embellishing your own boots, too!

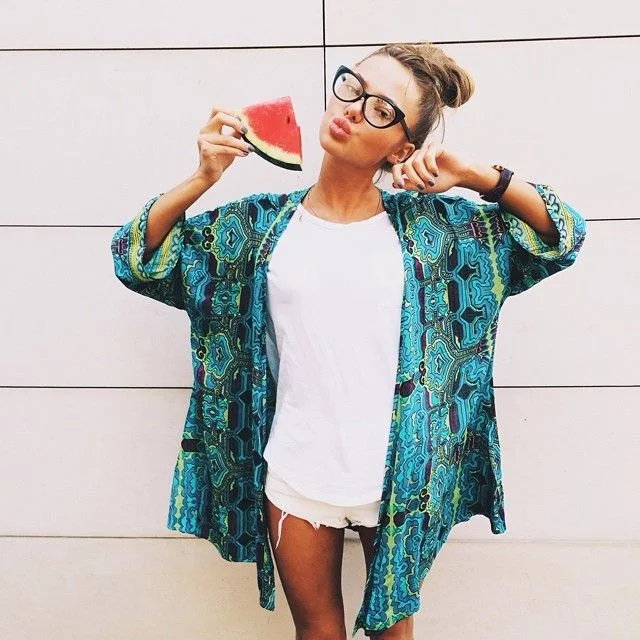
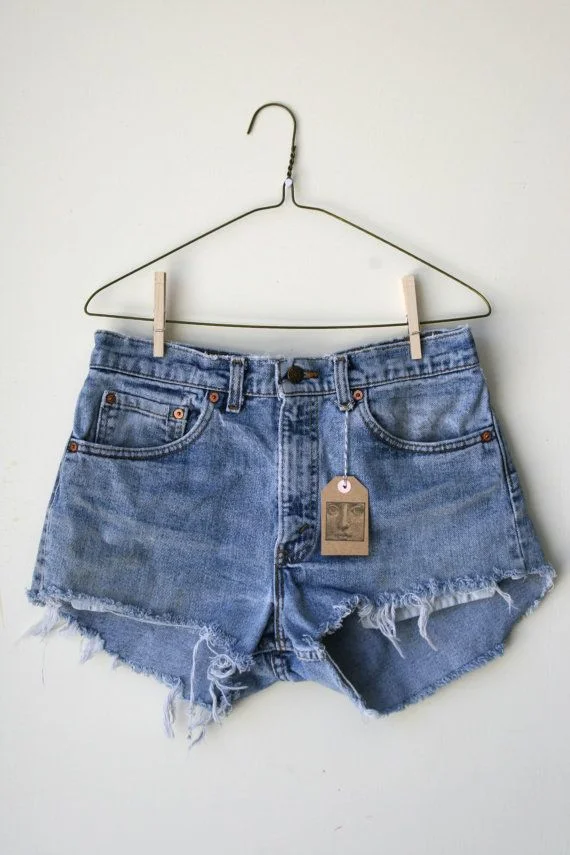
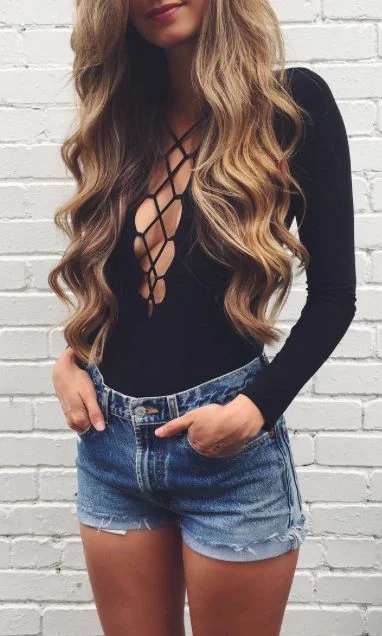
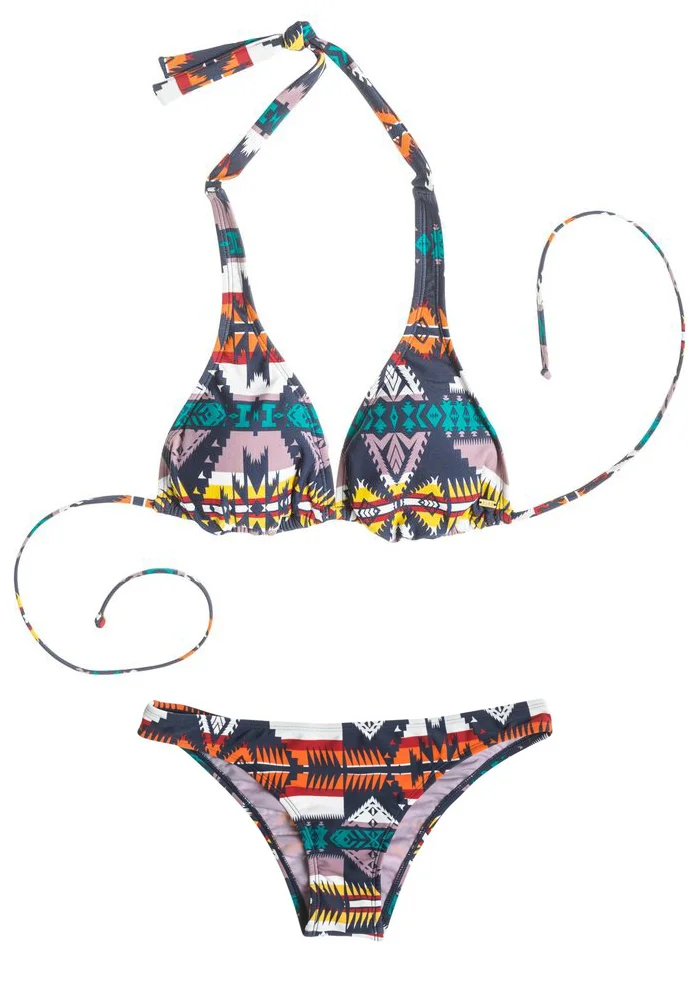
If you're wondering what to pack for a festival, make sure you bring clothes that are comfortable, good for the weather, and feel free to show a little bit of skin! The majority of the girls there will be, so let loose and have fun with your outfits! Bring a few bikini tops, band shirt, tank tops, kimonos, distressed denim shorts, skirts, and lots of fun, boho jewelry and hair accessories.
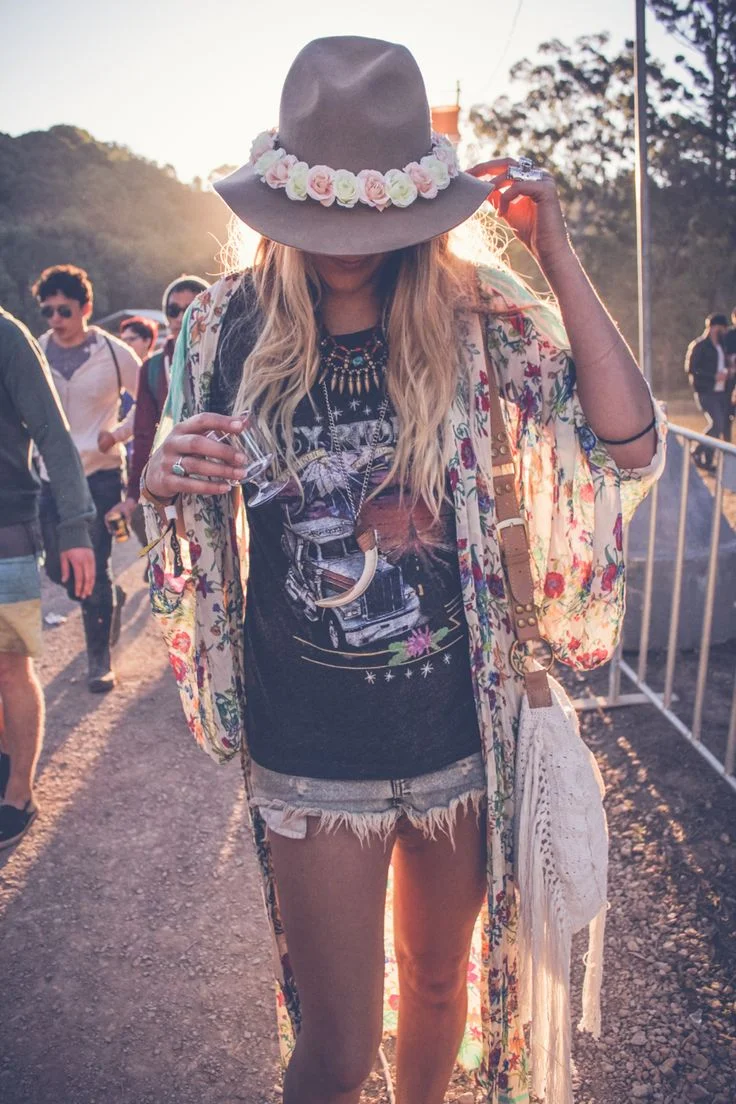
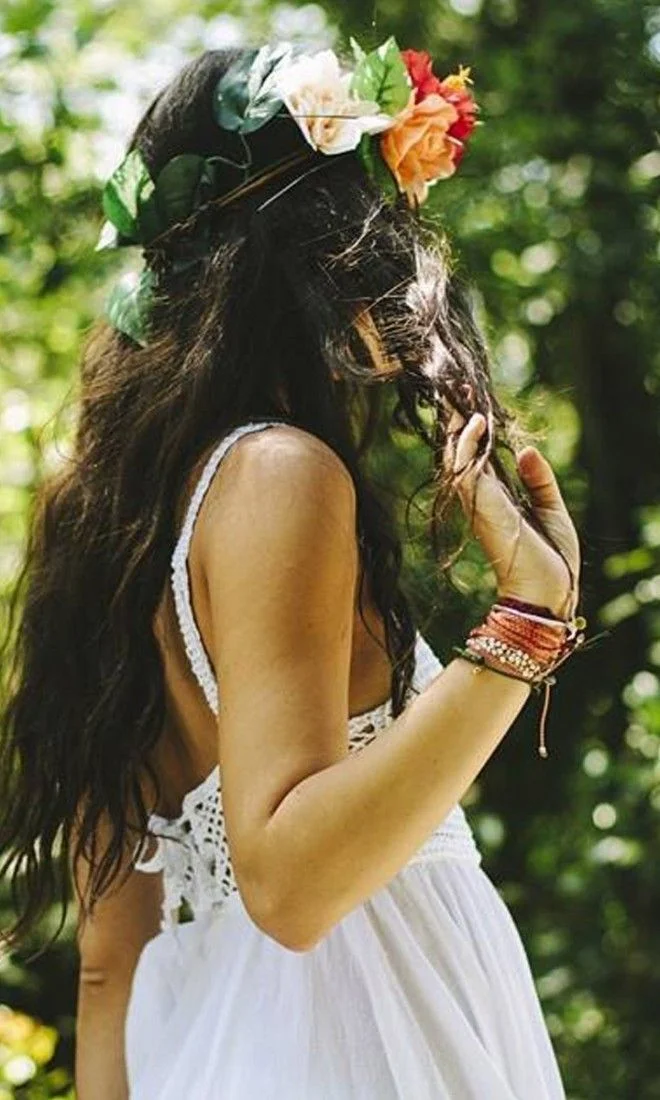
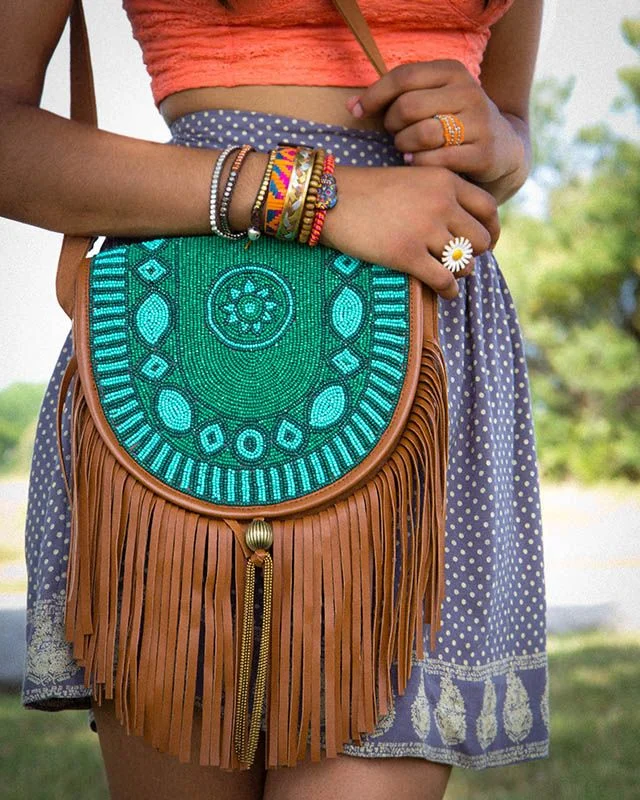
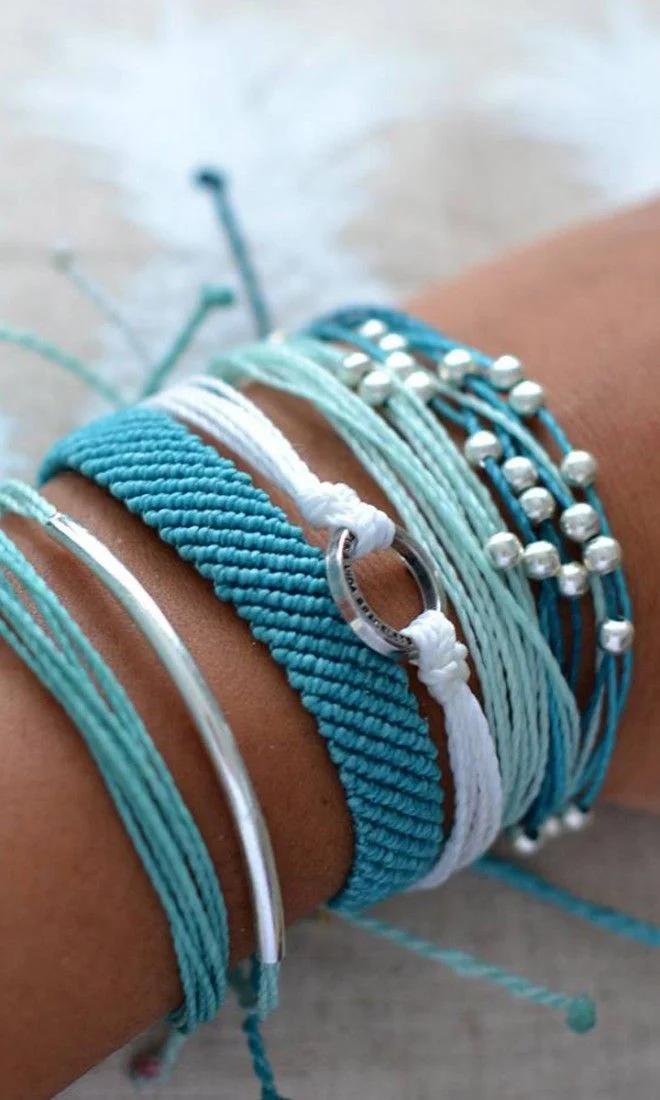
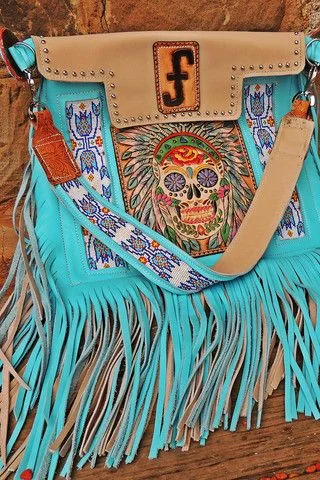
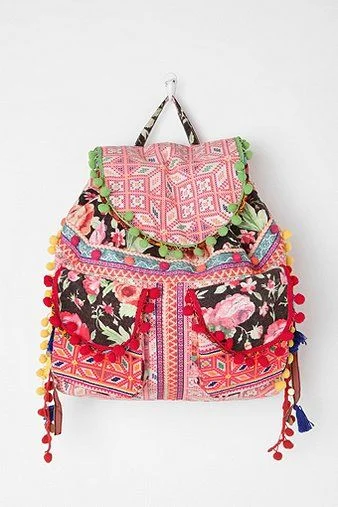
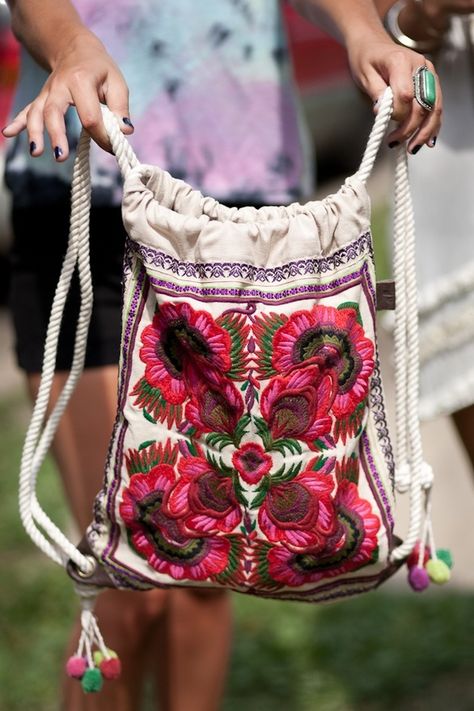
Pile on the bracelets, long necklaces, ankle bracelets, rings, flower crowns, headbands, and metallic temporary tattoos. These types of accessories can really make an ordinary outfit jump into the boho realm in no time! Also a little body paint may be fun if you are talented with a brush. Make sure you don't get any crazy tan lines/marks though :) A backpack purse or a bag with a long strap is also great, so your hands can stay free while dancing your heart out!
Well, I hope you've enjoyed some of my Festival Inspirations! Check out MY PINS for tons more inspiration!

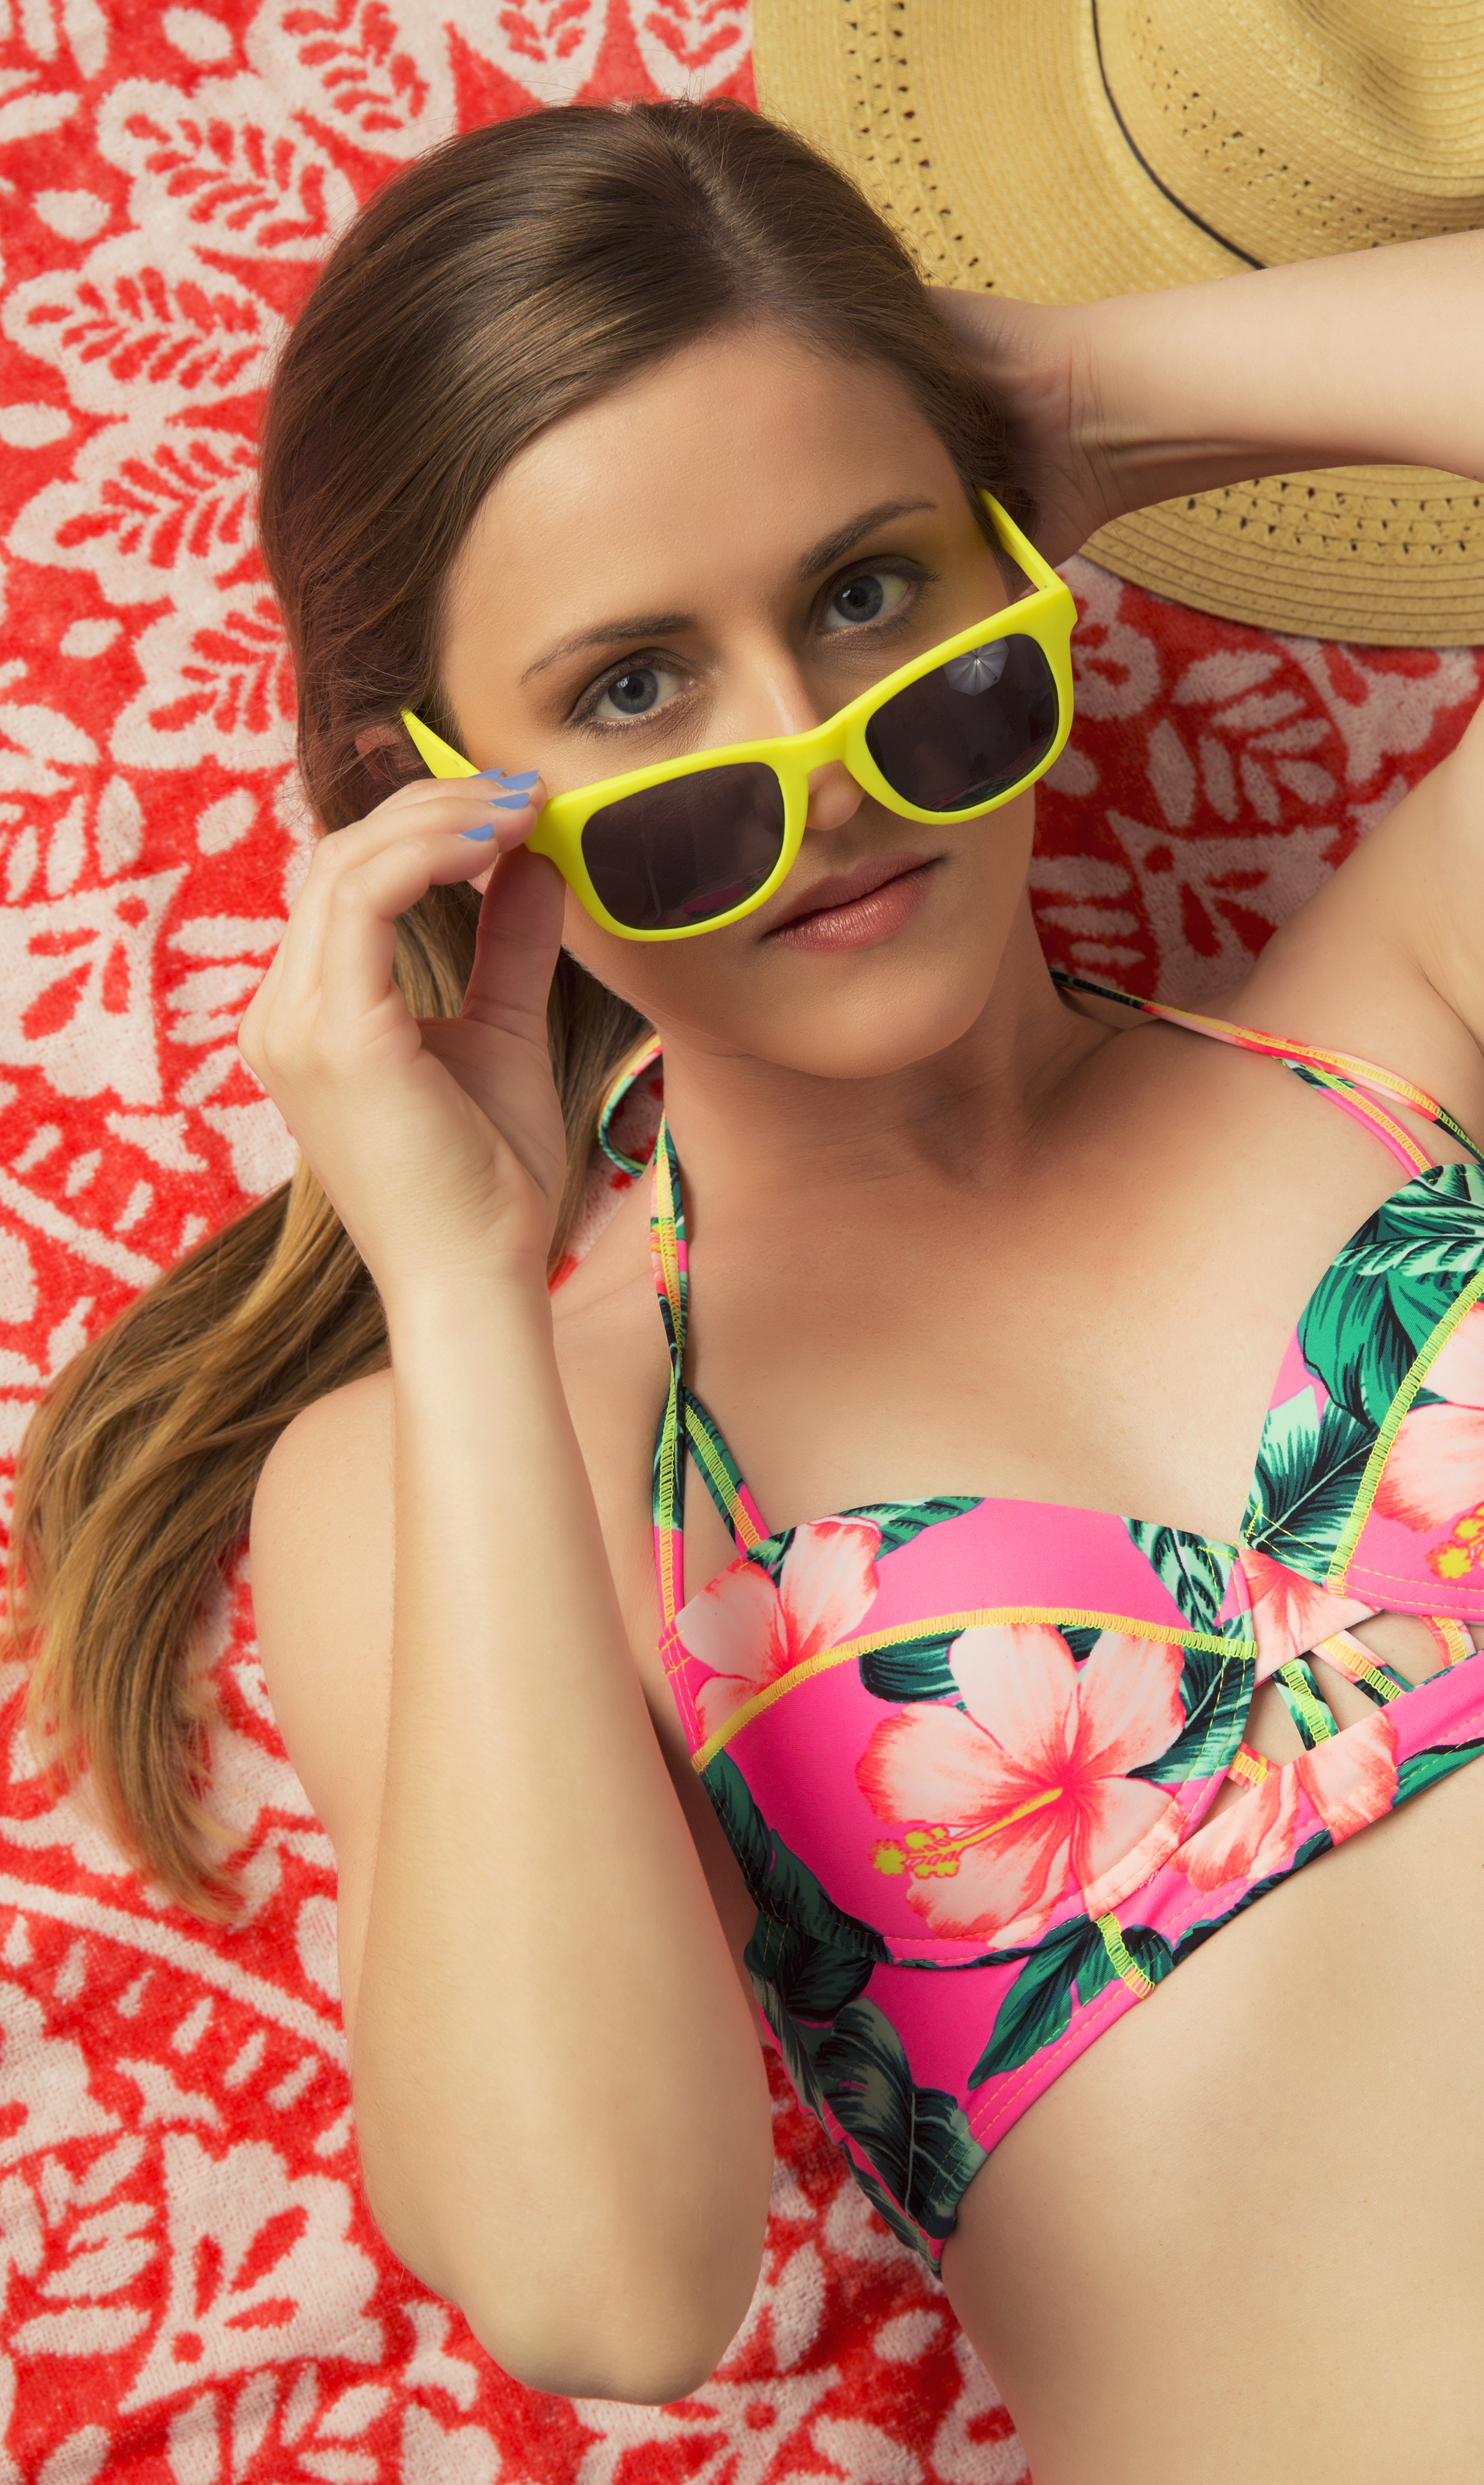
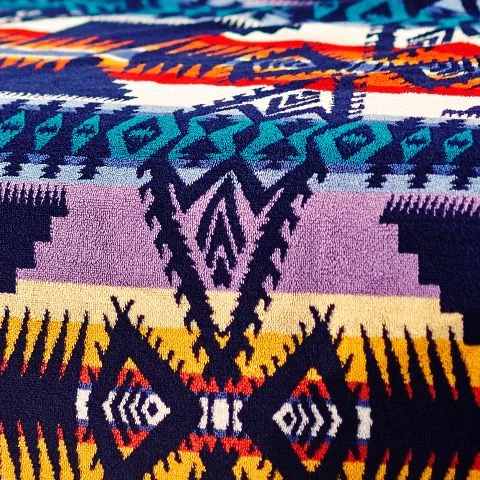
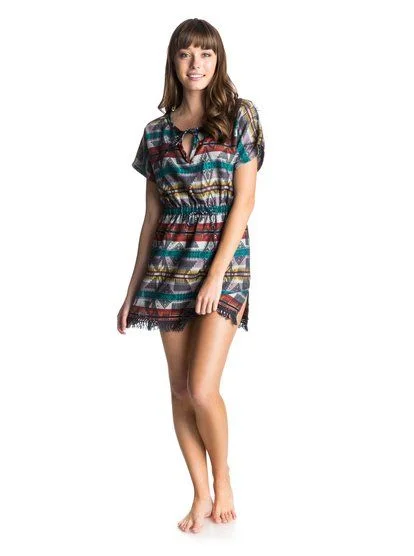
While I was in Santa Monica, I wandered into a Roxy store and immediately fell in love with a bikini made with prints by Pendleton!!! The Roxy X Pendleton line is making me crave warmer weather and the ocean! I love the colors and prints of these items, below. If you like my style, check me out on Pinterest. And my boards, Sun Drenched Summer + Hawaii Finds.


I just got back from California (which I will post about soon!!), and I was right near the ocean most of the time! It really got me dreaming about some warmer weather, so here are a few Pinspirations to hopefully help you through the winter! Click on any image to learn more.