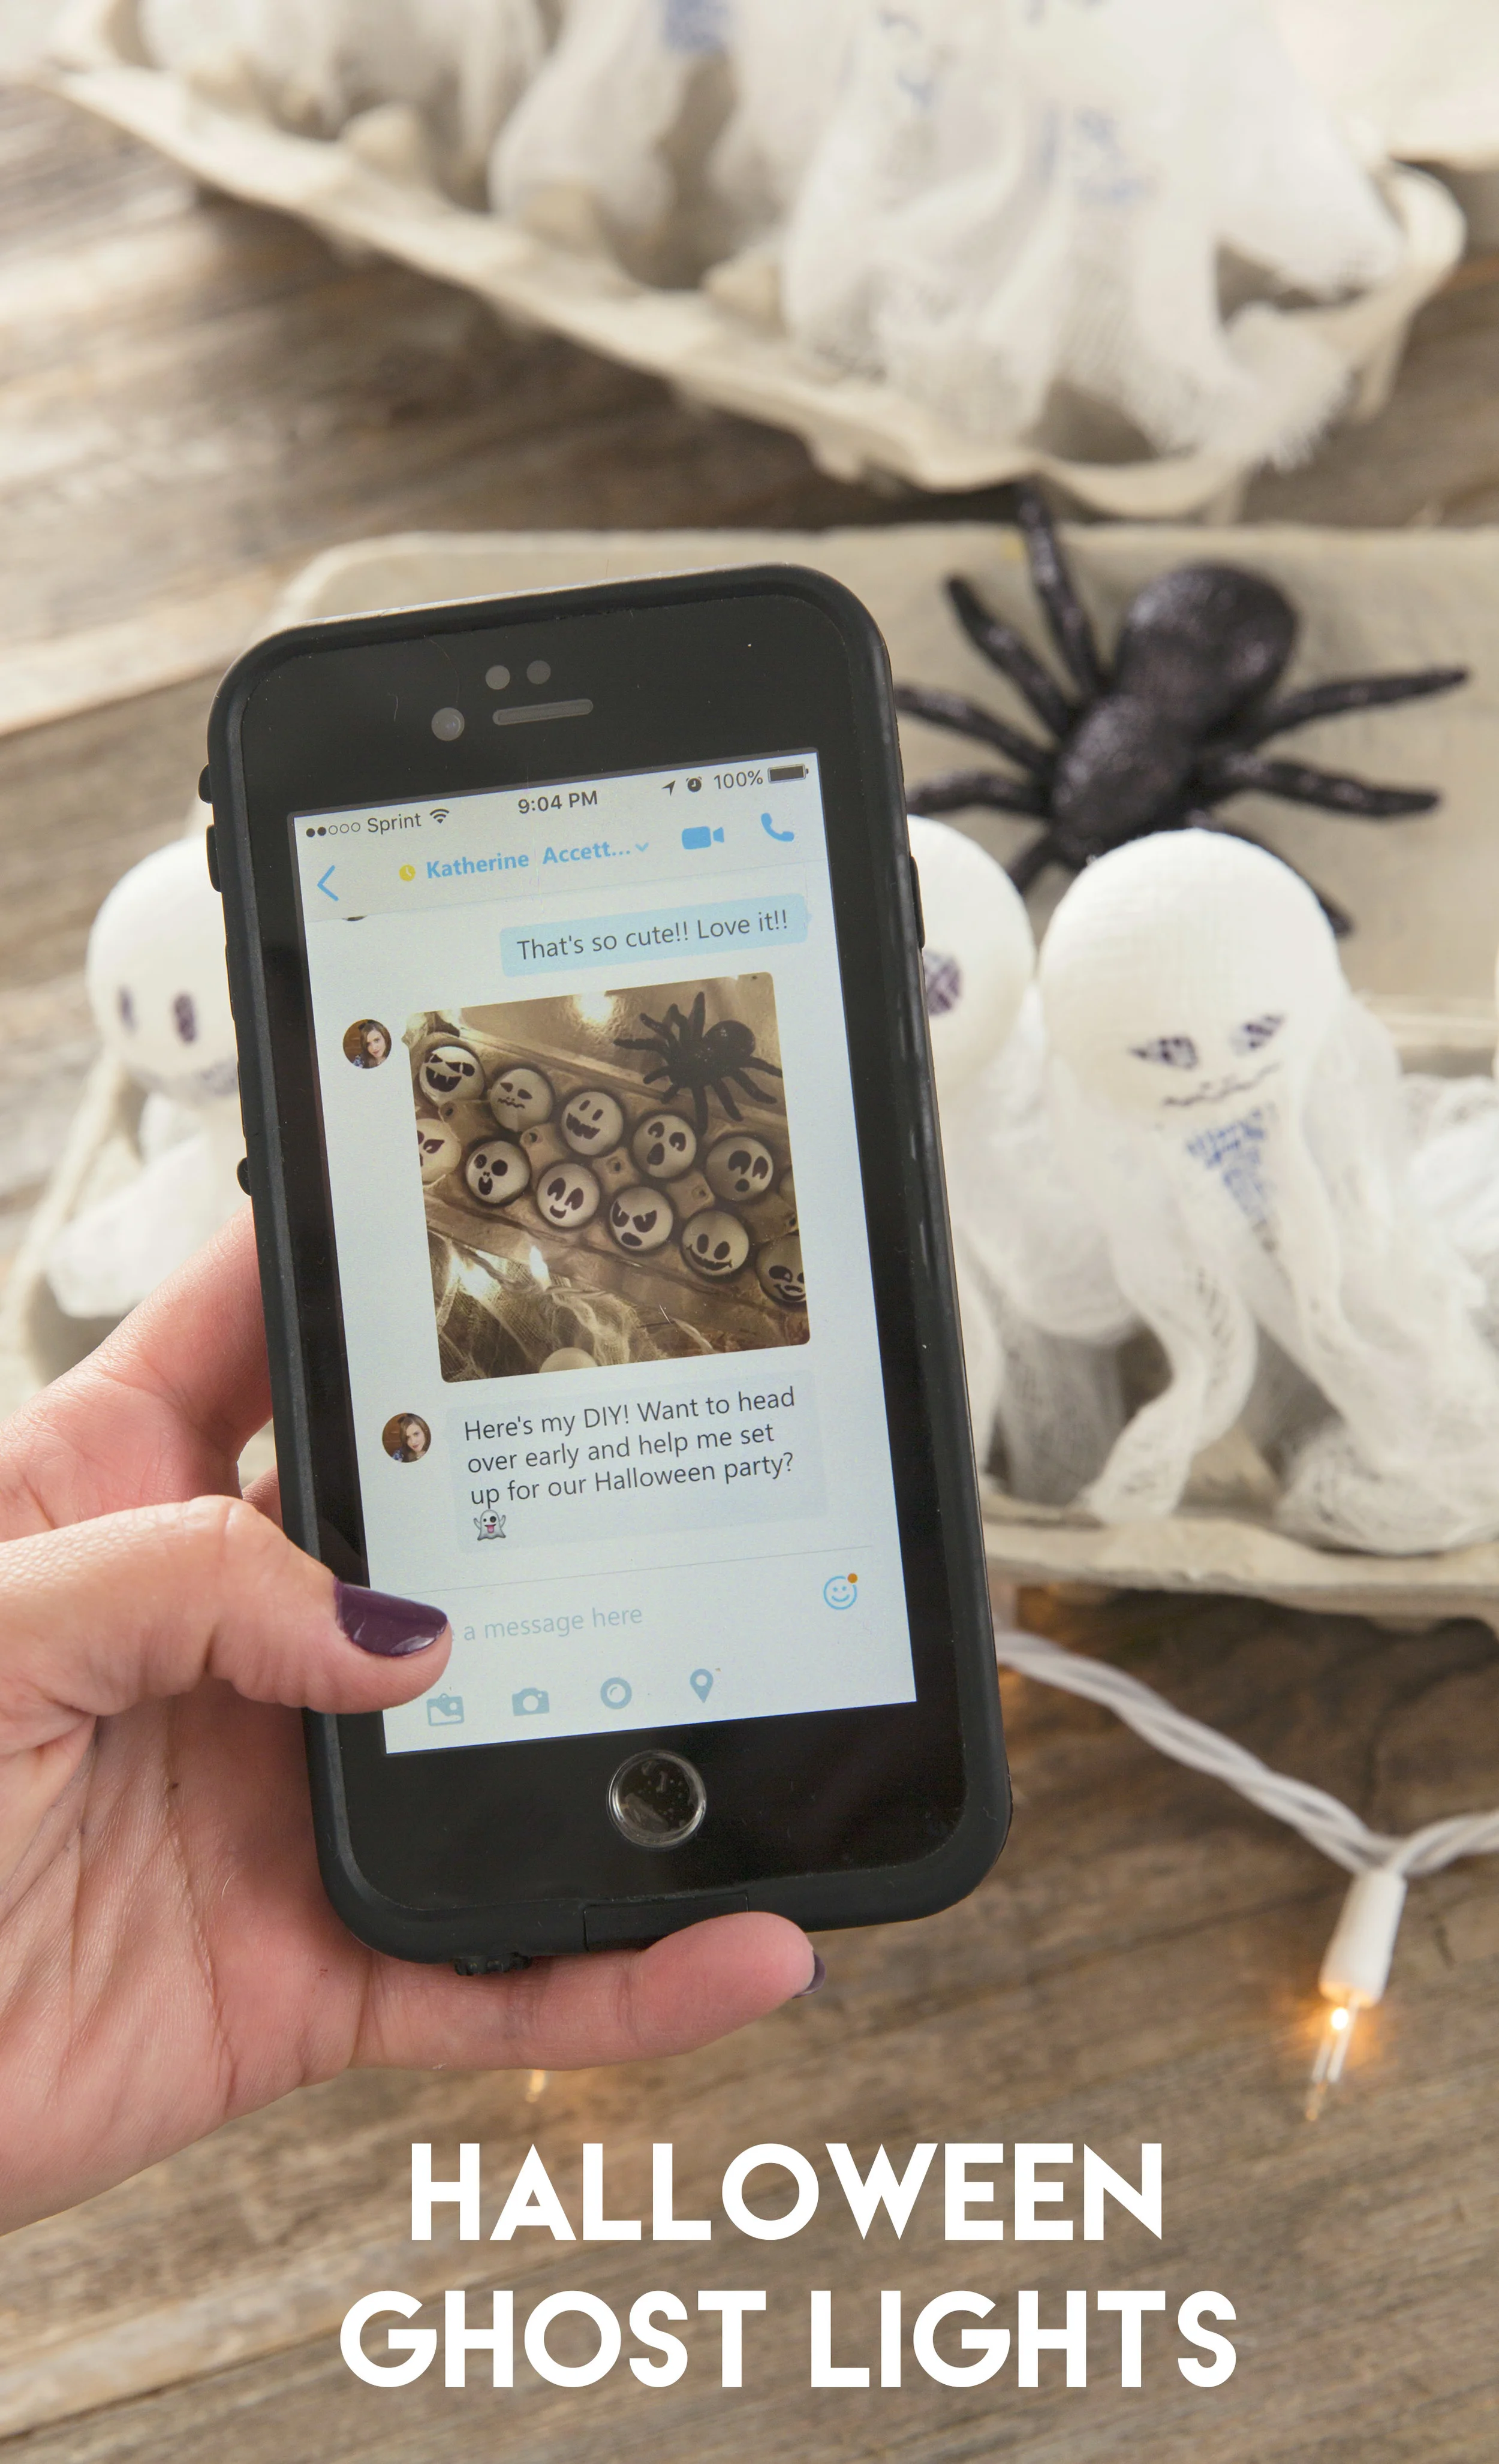
Skype With Me! Let's Chat About Halloween!

Halloween is almost here! Did you know you can use Skype to text photos and messages to one person or a group of people? I will be Skype chatting this morning, beginning at 10:30EST, join me and others as we discuss Halloween ideas today. Add SkypeHalloween in Skype to join in on the conversation! http://bit.ly/3242231

And 5 people participating in these chats will win a $1,000 Microsoft package including a Surface!!! 

Ping Pong Ghost Lights


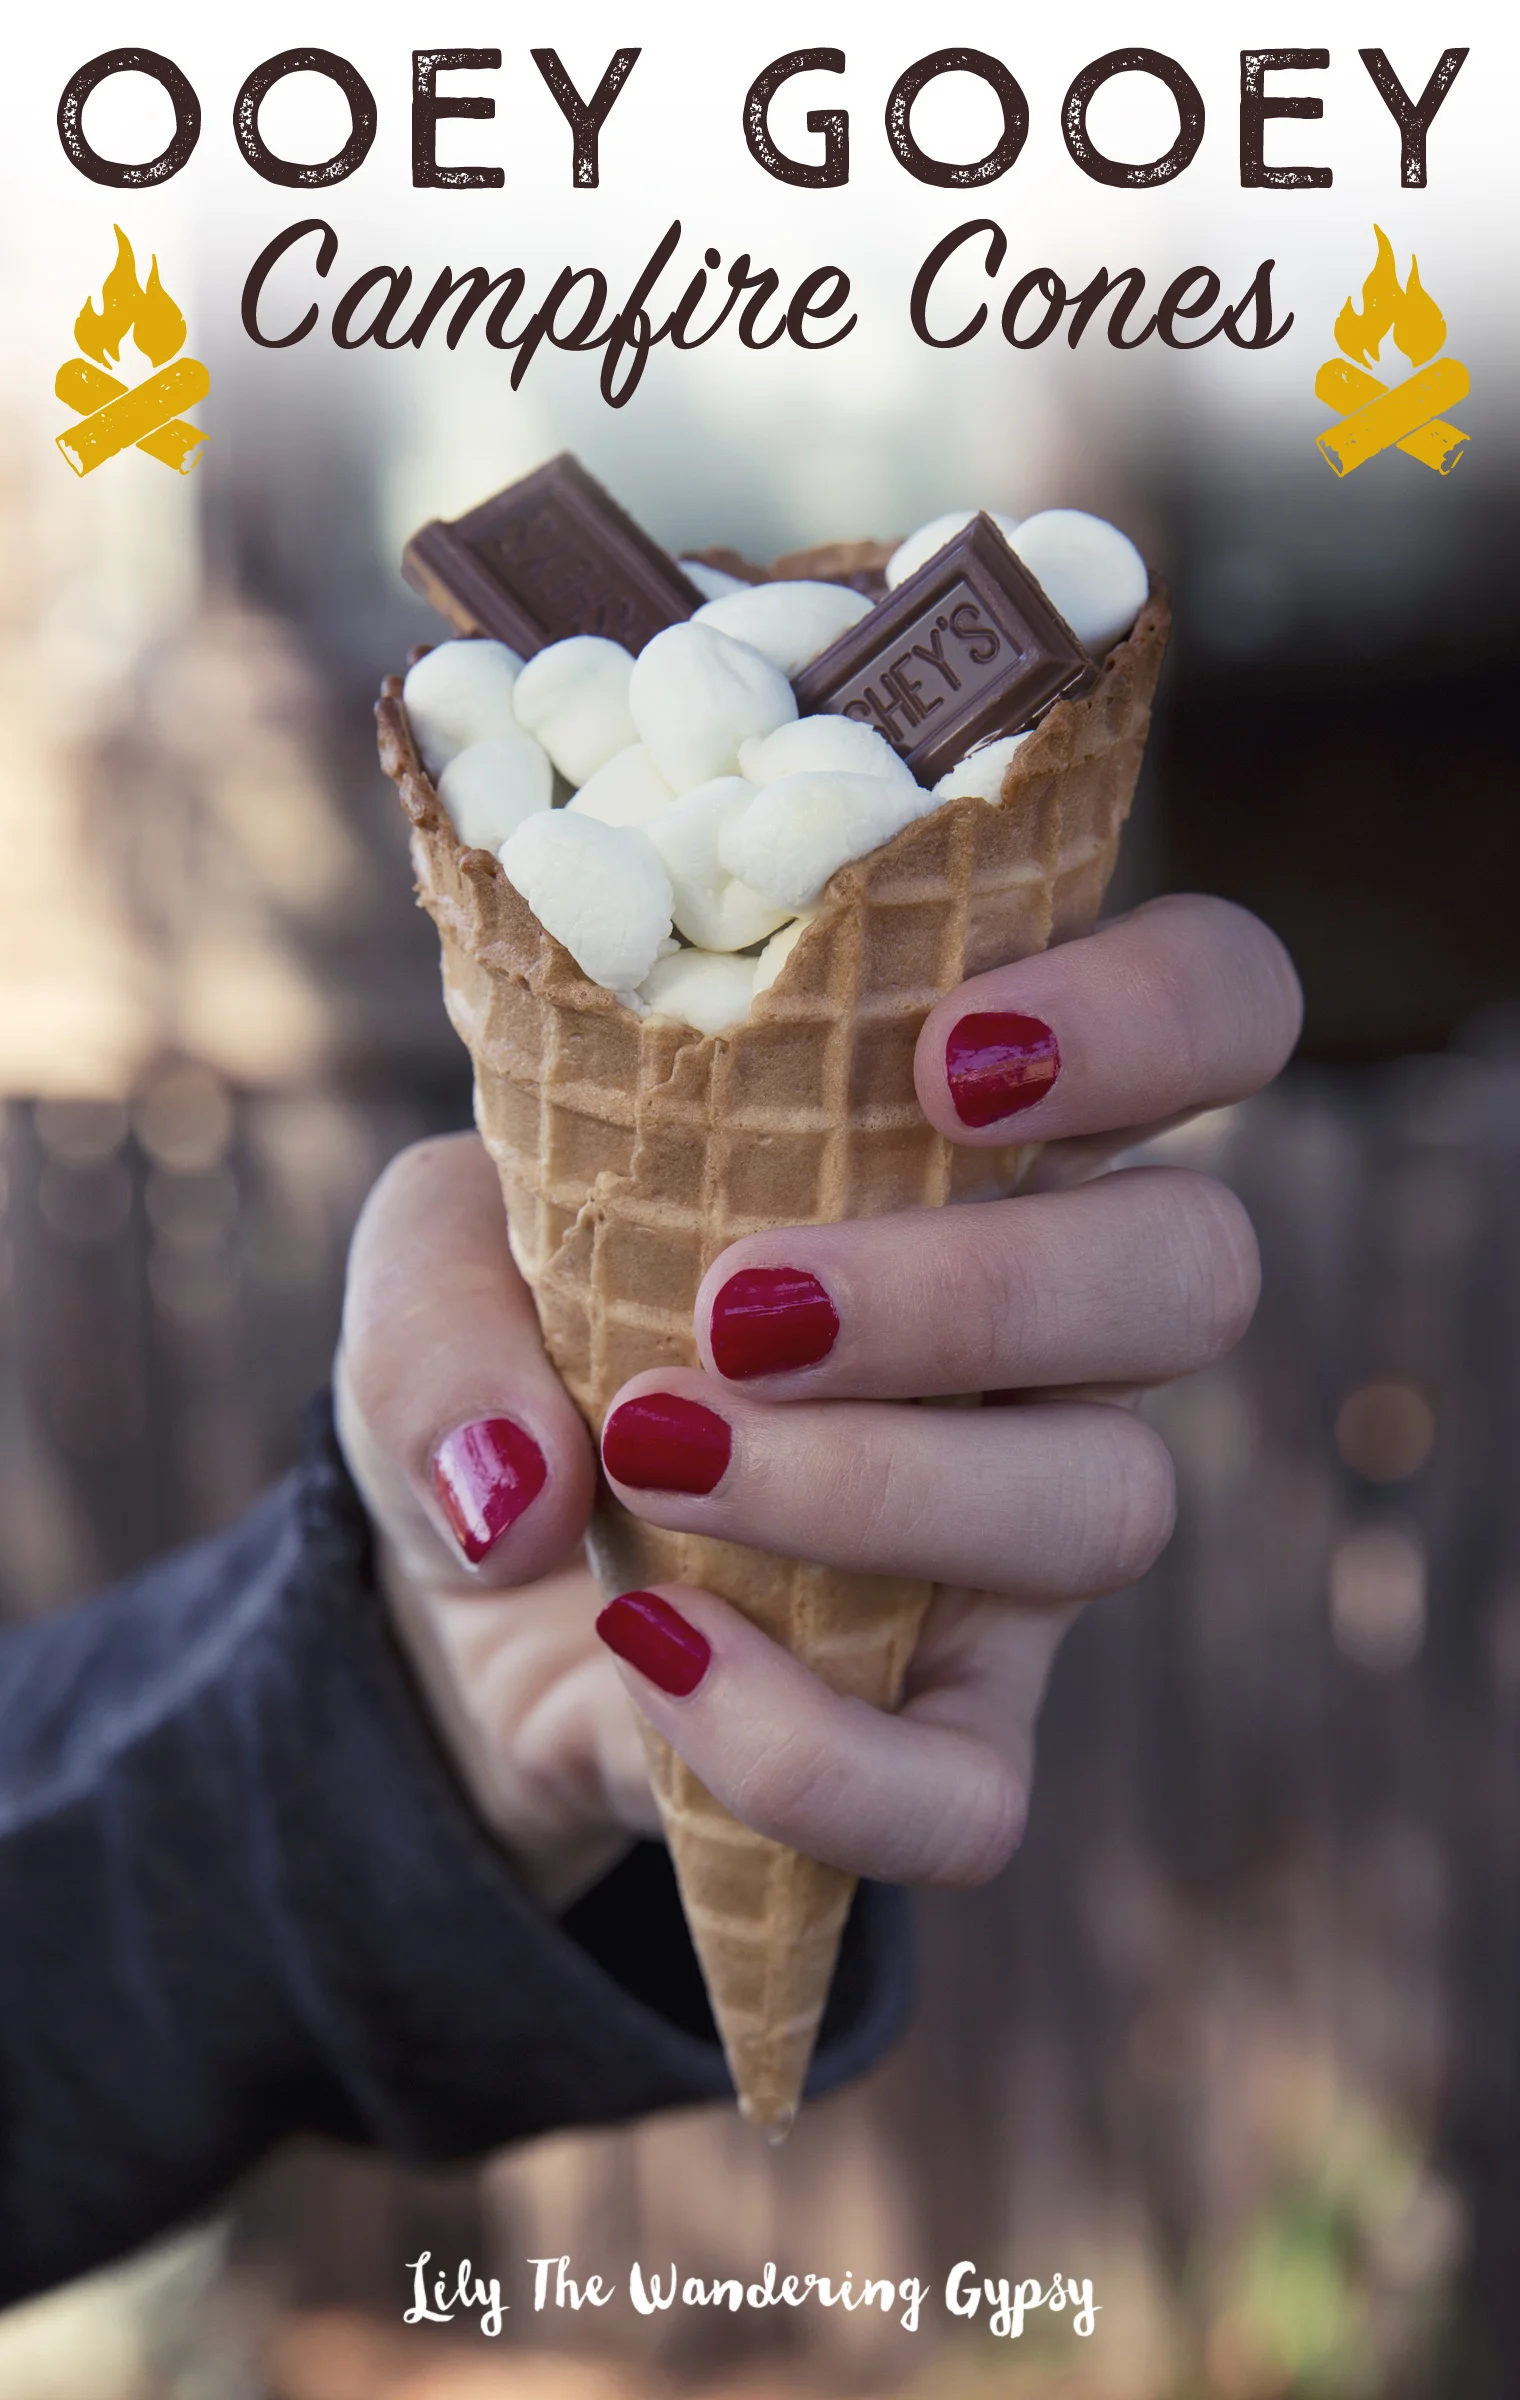
Ooey Gooey Marshmallow Cones

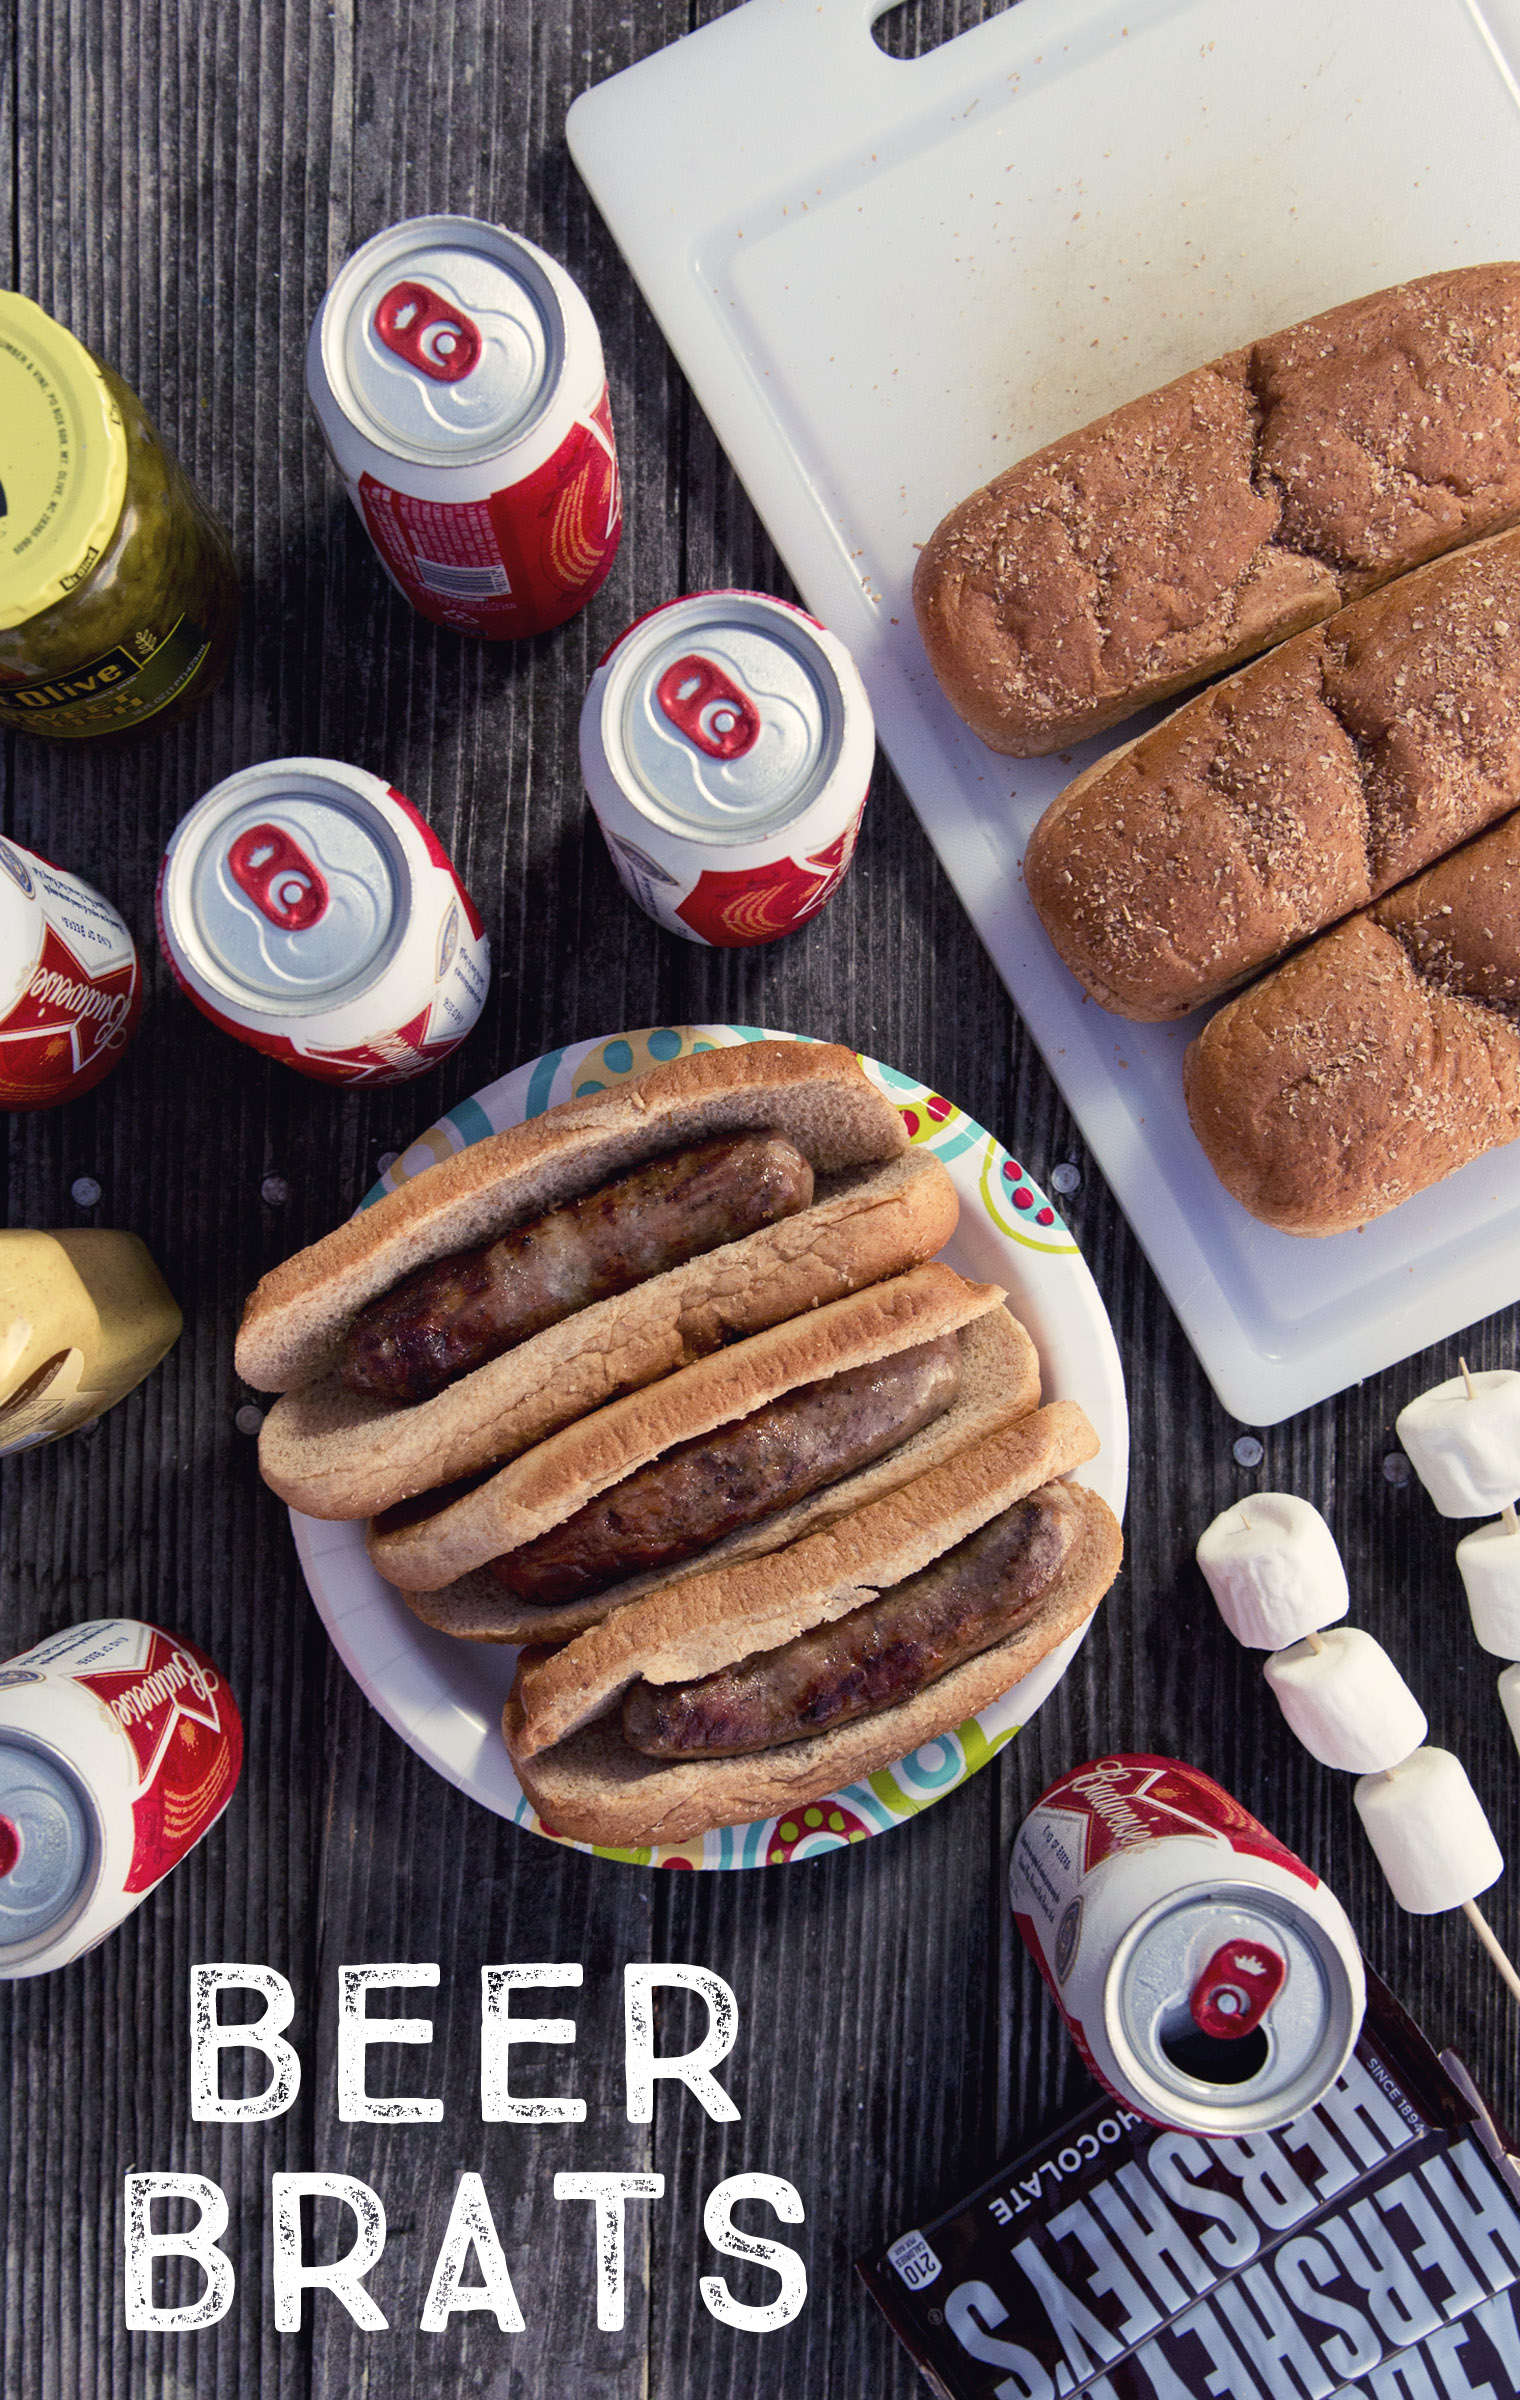
Bonfire season is in full swing! I have a yummy treat that just about anyone will enjoy! You can either make these over a campfire, or even in your oven at home, suer easily. This recipe was featured on the Missouri Department of Tourism Blog! So honored to collaborate with them!

Ooey Gooey Campfire Cones - SO GOOD!!

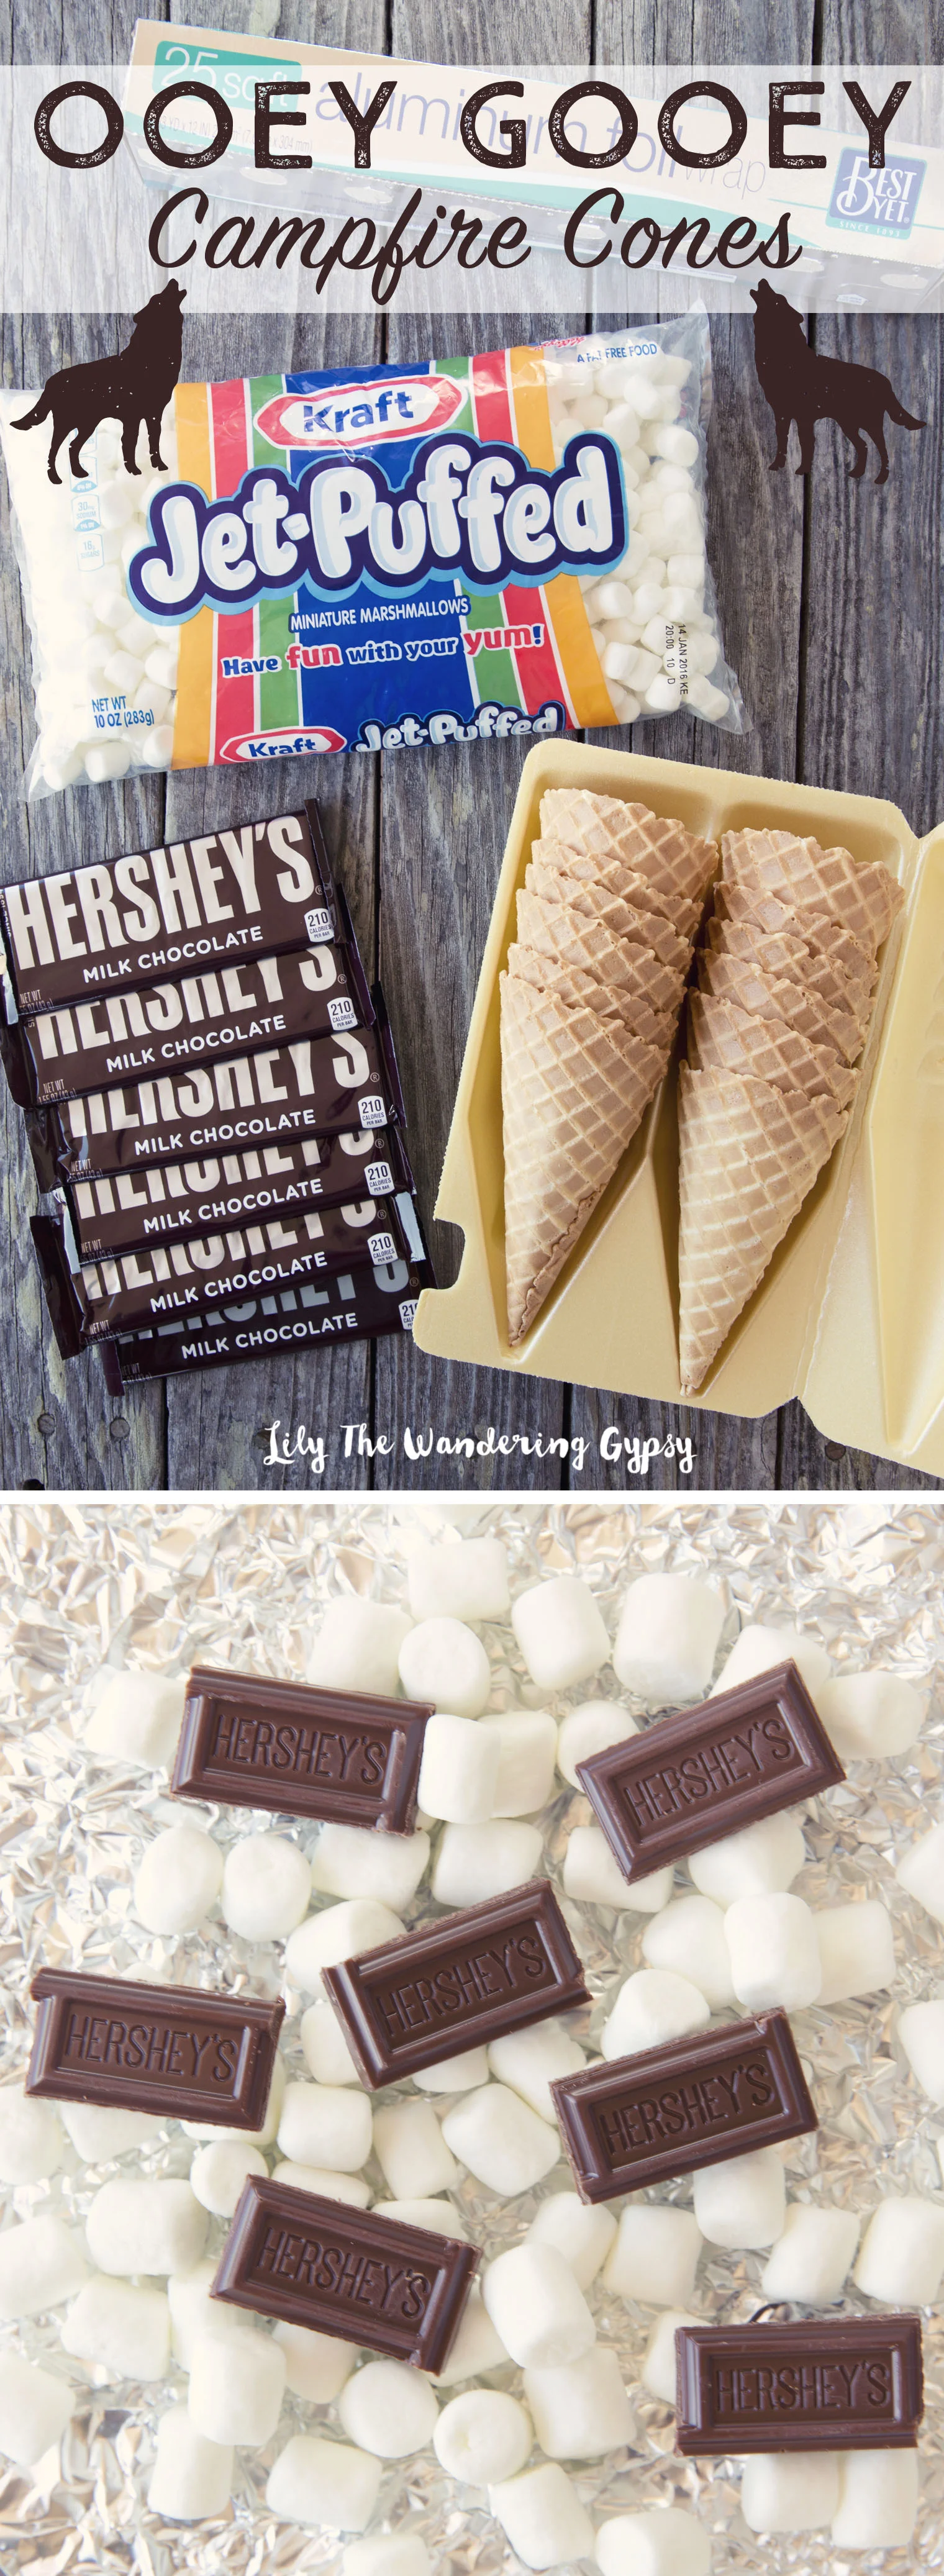
INGREDIENTS:

Hershey's Candy Bars (roughly 1 candy bar per cone or a bit less)

Mini Marshmallows

Waffle Cones (store bought works perfectly)

Foil 

CHECK OUT MY MISSOURI DEPARTMENT OF TOURISM PORTFOLIO HERE.

INSTRUCTIONS:

1.) Break the Hershey's Bar into pieces, and set aside. 

2.) Take one cone in your hand, and fill the bottom 1/3 with mini marshmallows. Add a couple of pieces of chocolate, then more marshmallows. Once you get towards the top, fill the rest of the way with marshmallows, then put a few more pieces of chocolate on top. 

3.) TO HEAT: Wrap the whole cone (and luscious filling) in a couple of layers of foil. Place near campfire (not directly on the flame - you're just trying to melt the filling.), for about 8-10 minutes, being extremely careful to remove from the embers/coals. Once cooled a bit, unwrap the foil and behold the most wonderful thing you can eat while you're camping!

- If you want to easily make these in the oven, fill the cones with marshmallows and chocolate as described above, and wrap in foil. Preheat the oven to 300 degrees, place each foil-wrapped cone in a heat-safe coffee mug (ceramic go glass only). Make sure the pointy end of the cone is facing downward into the mug. Bake for about 7 minutes, carefully remove from the oven, and once cooled, unwrap foil to see if everything has melted enough. Enjoy!!!

Ooey Gooey Campfire Cones

Halloween Party Invites + A Free Printable

I really love how these adorable invites turned out! I love the fact that you can fill these gift boxes with spooky treats, and include the invite in a really unique way! I included two printables, 

Halloween Invites

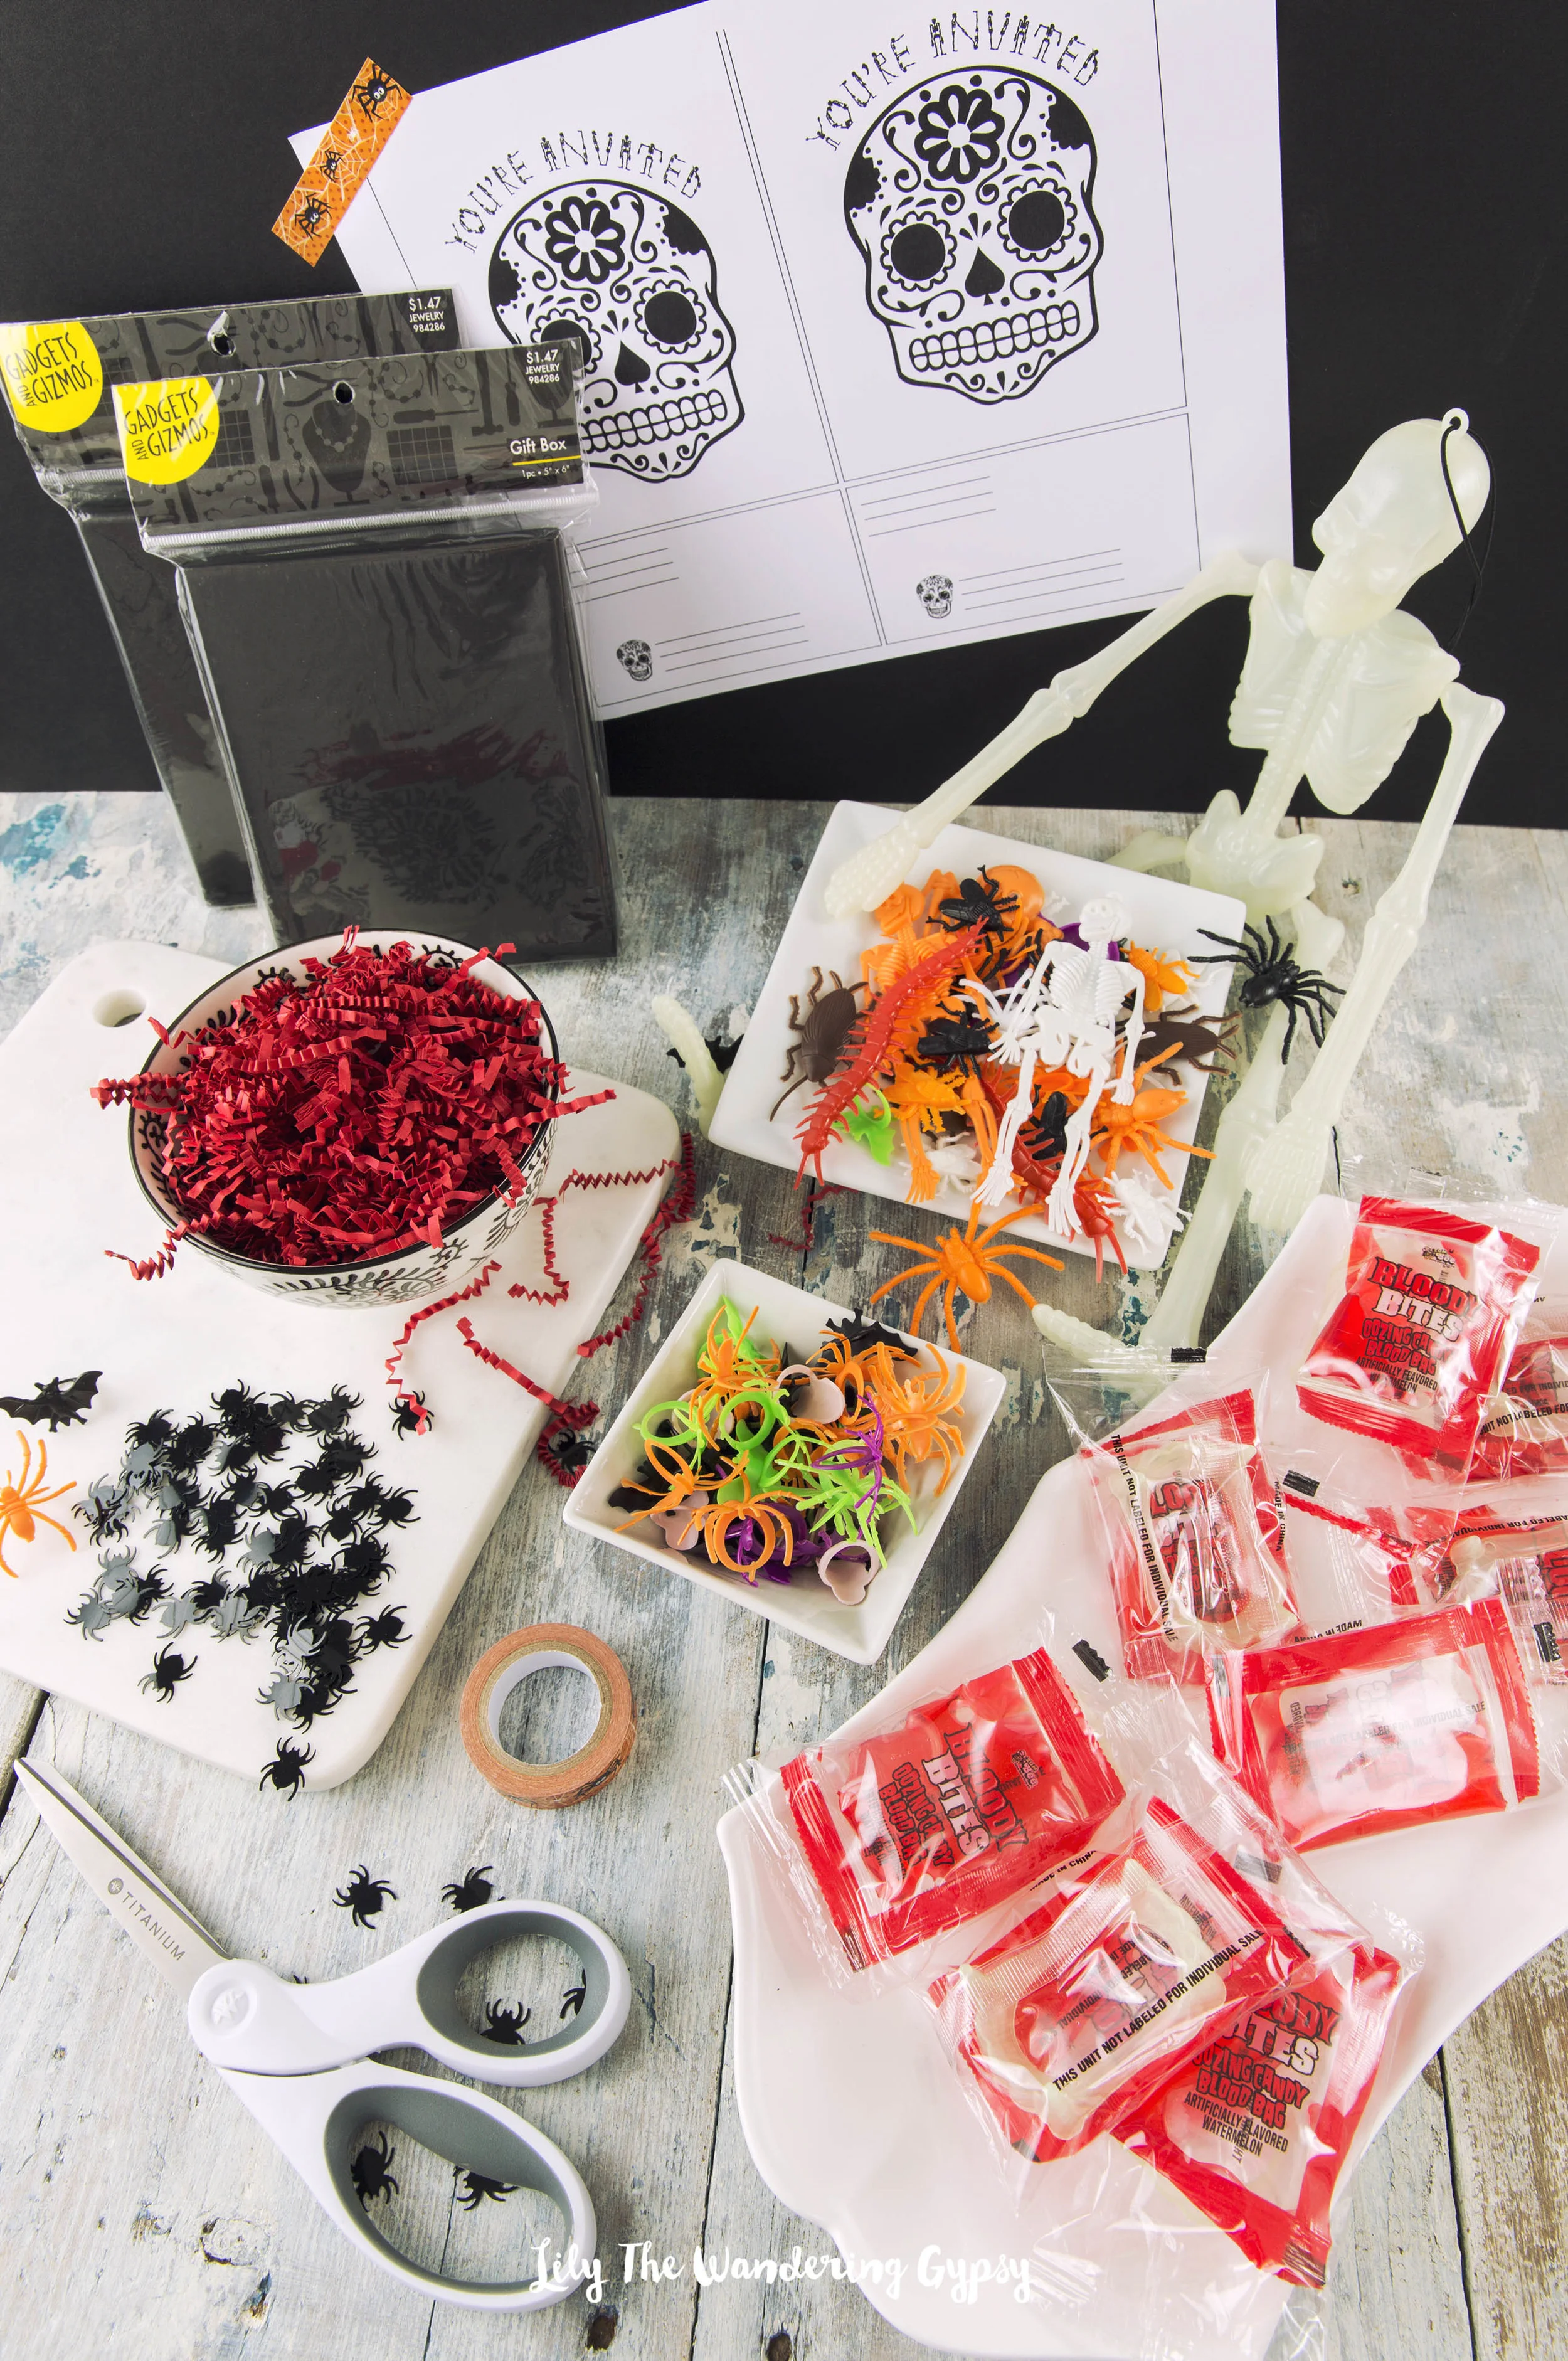
MATERIALS NEEDED

5" x 6" Black Jewelry Boxes - I used the type you would put jewelry into, with the cotton inside. 

2 Free Printables - found below this image

Red Paper Crinkles (from Hobby Lobby) - But, I found mine at the Dollar Tree

Plastic Halloween Toys / Rings (small enough to fit into the boxes) - Also found at the Dollar Tree

Halloween Candy that fits into the boxes

Halloween Confetti (found at Hobby Lobby)

Scissors

Plastic Packing Tape and a Glue Stick 

Halloween Invites

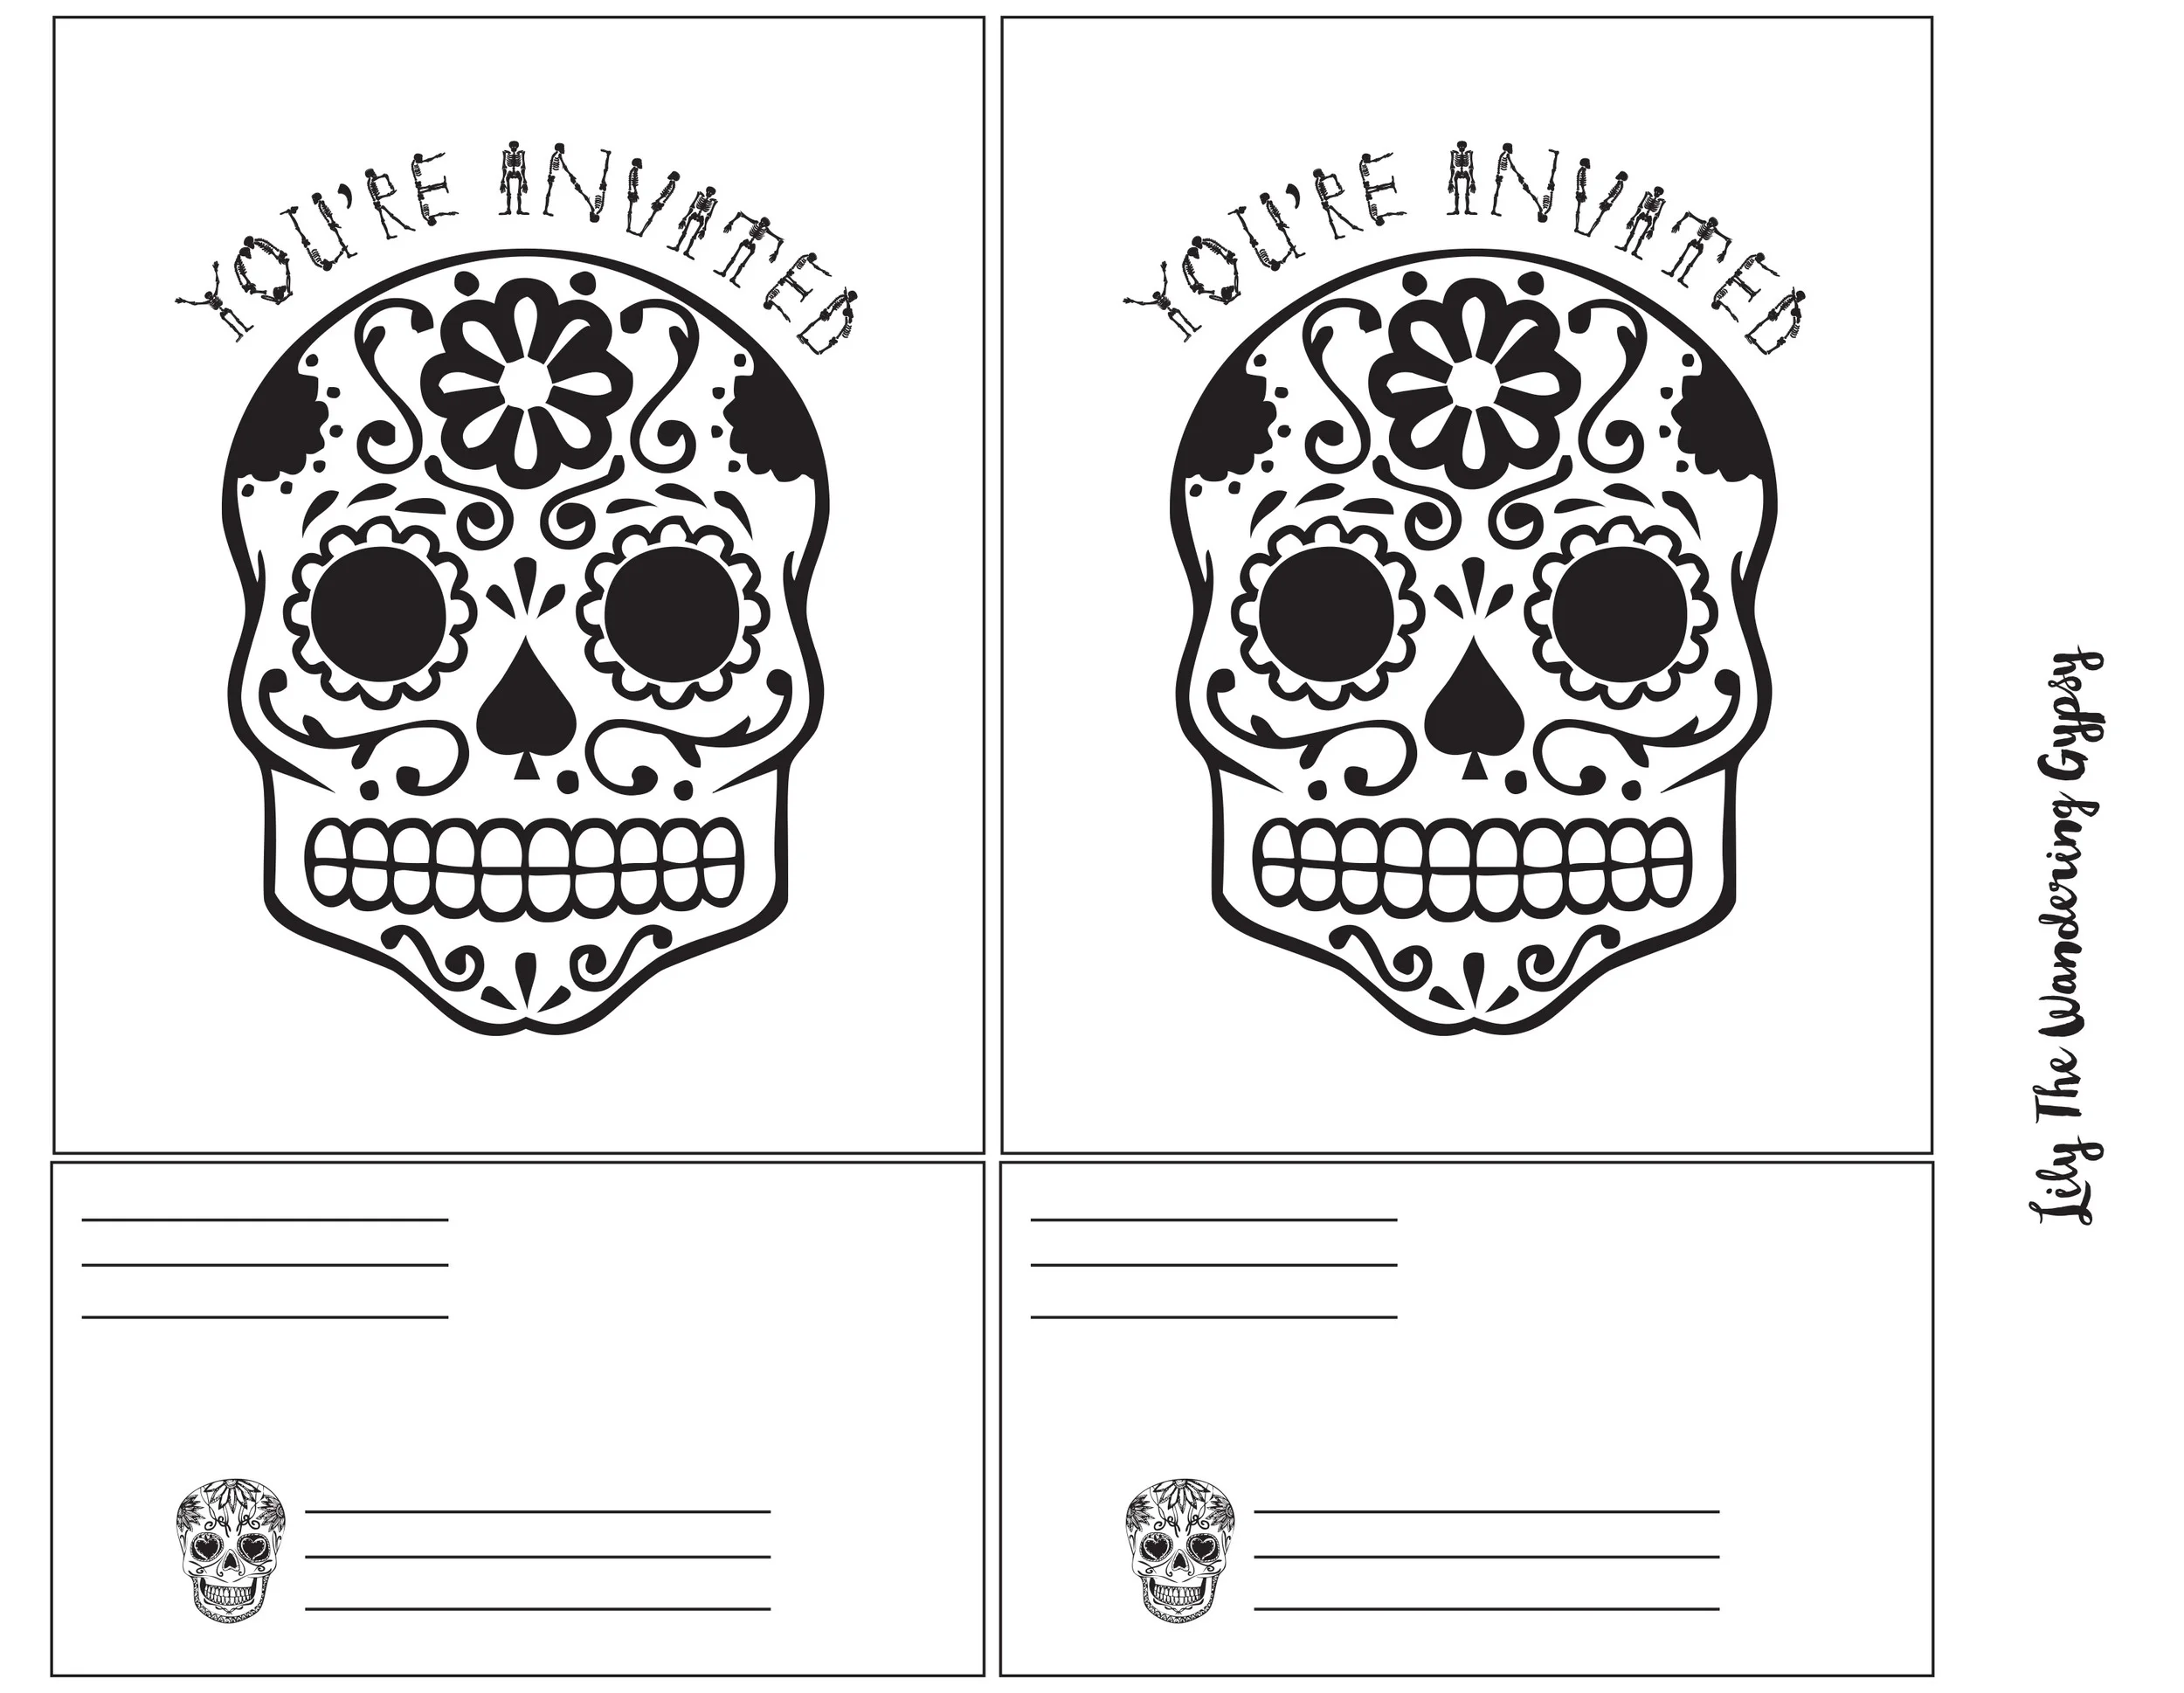
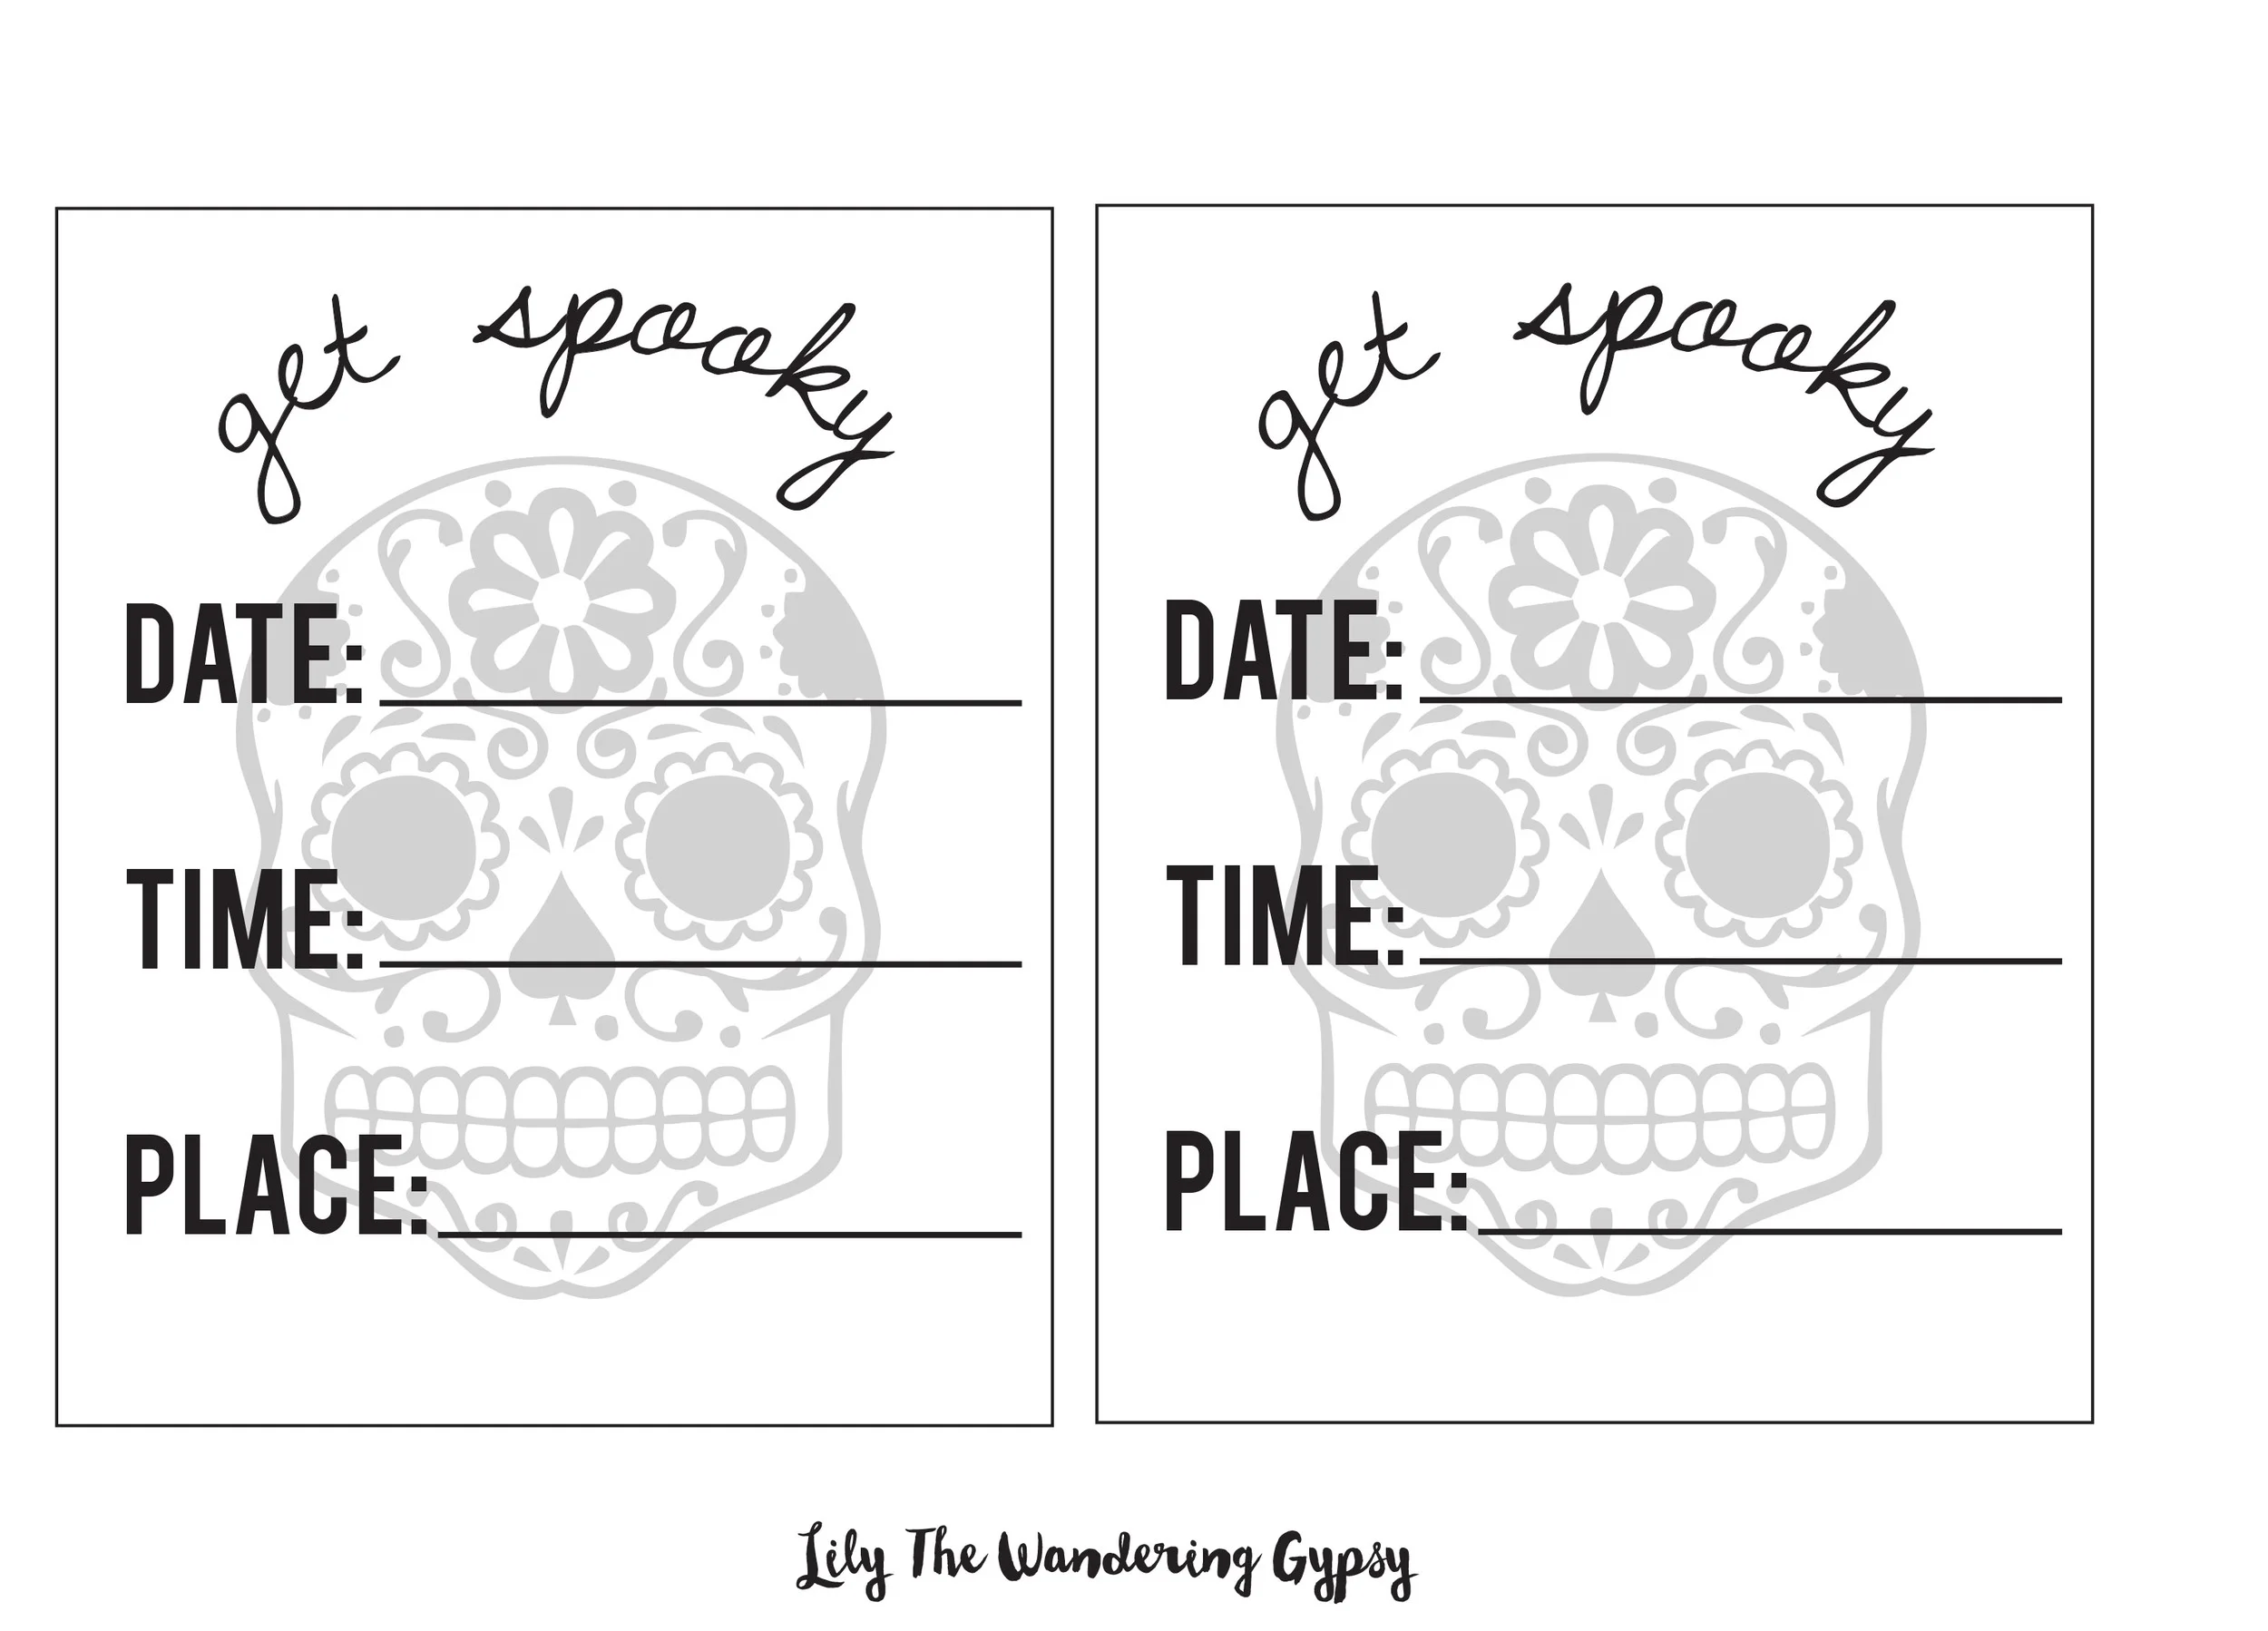
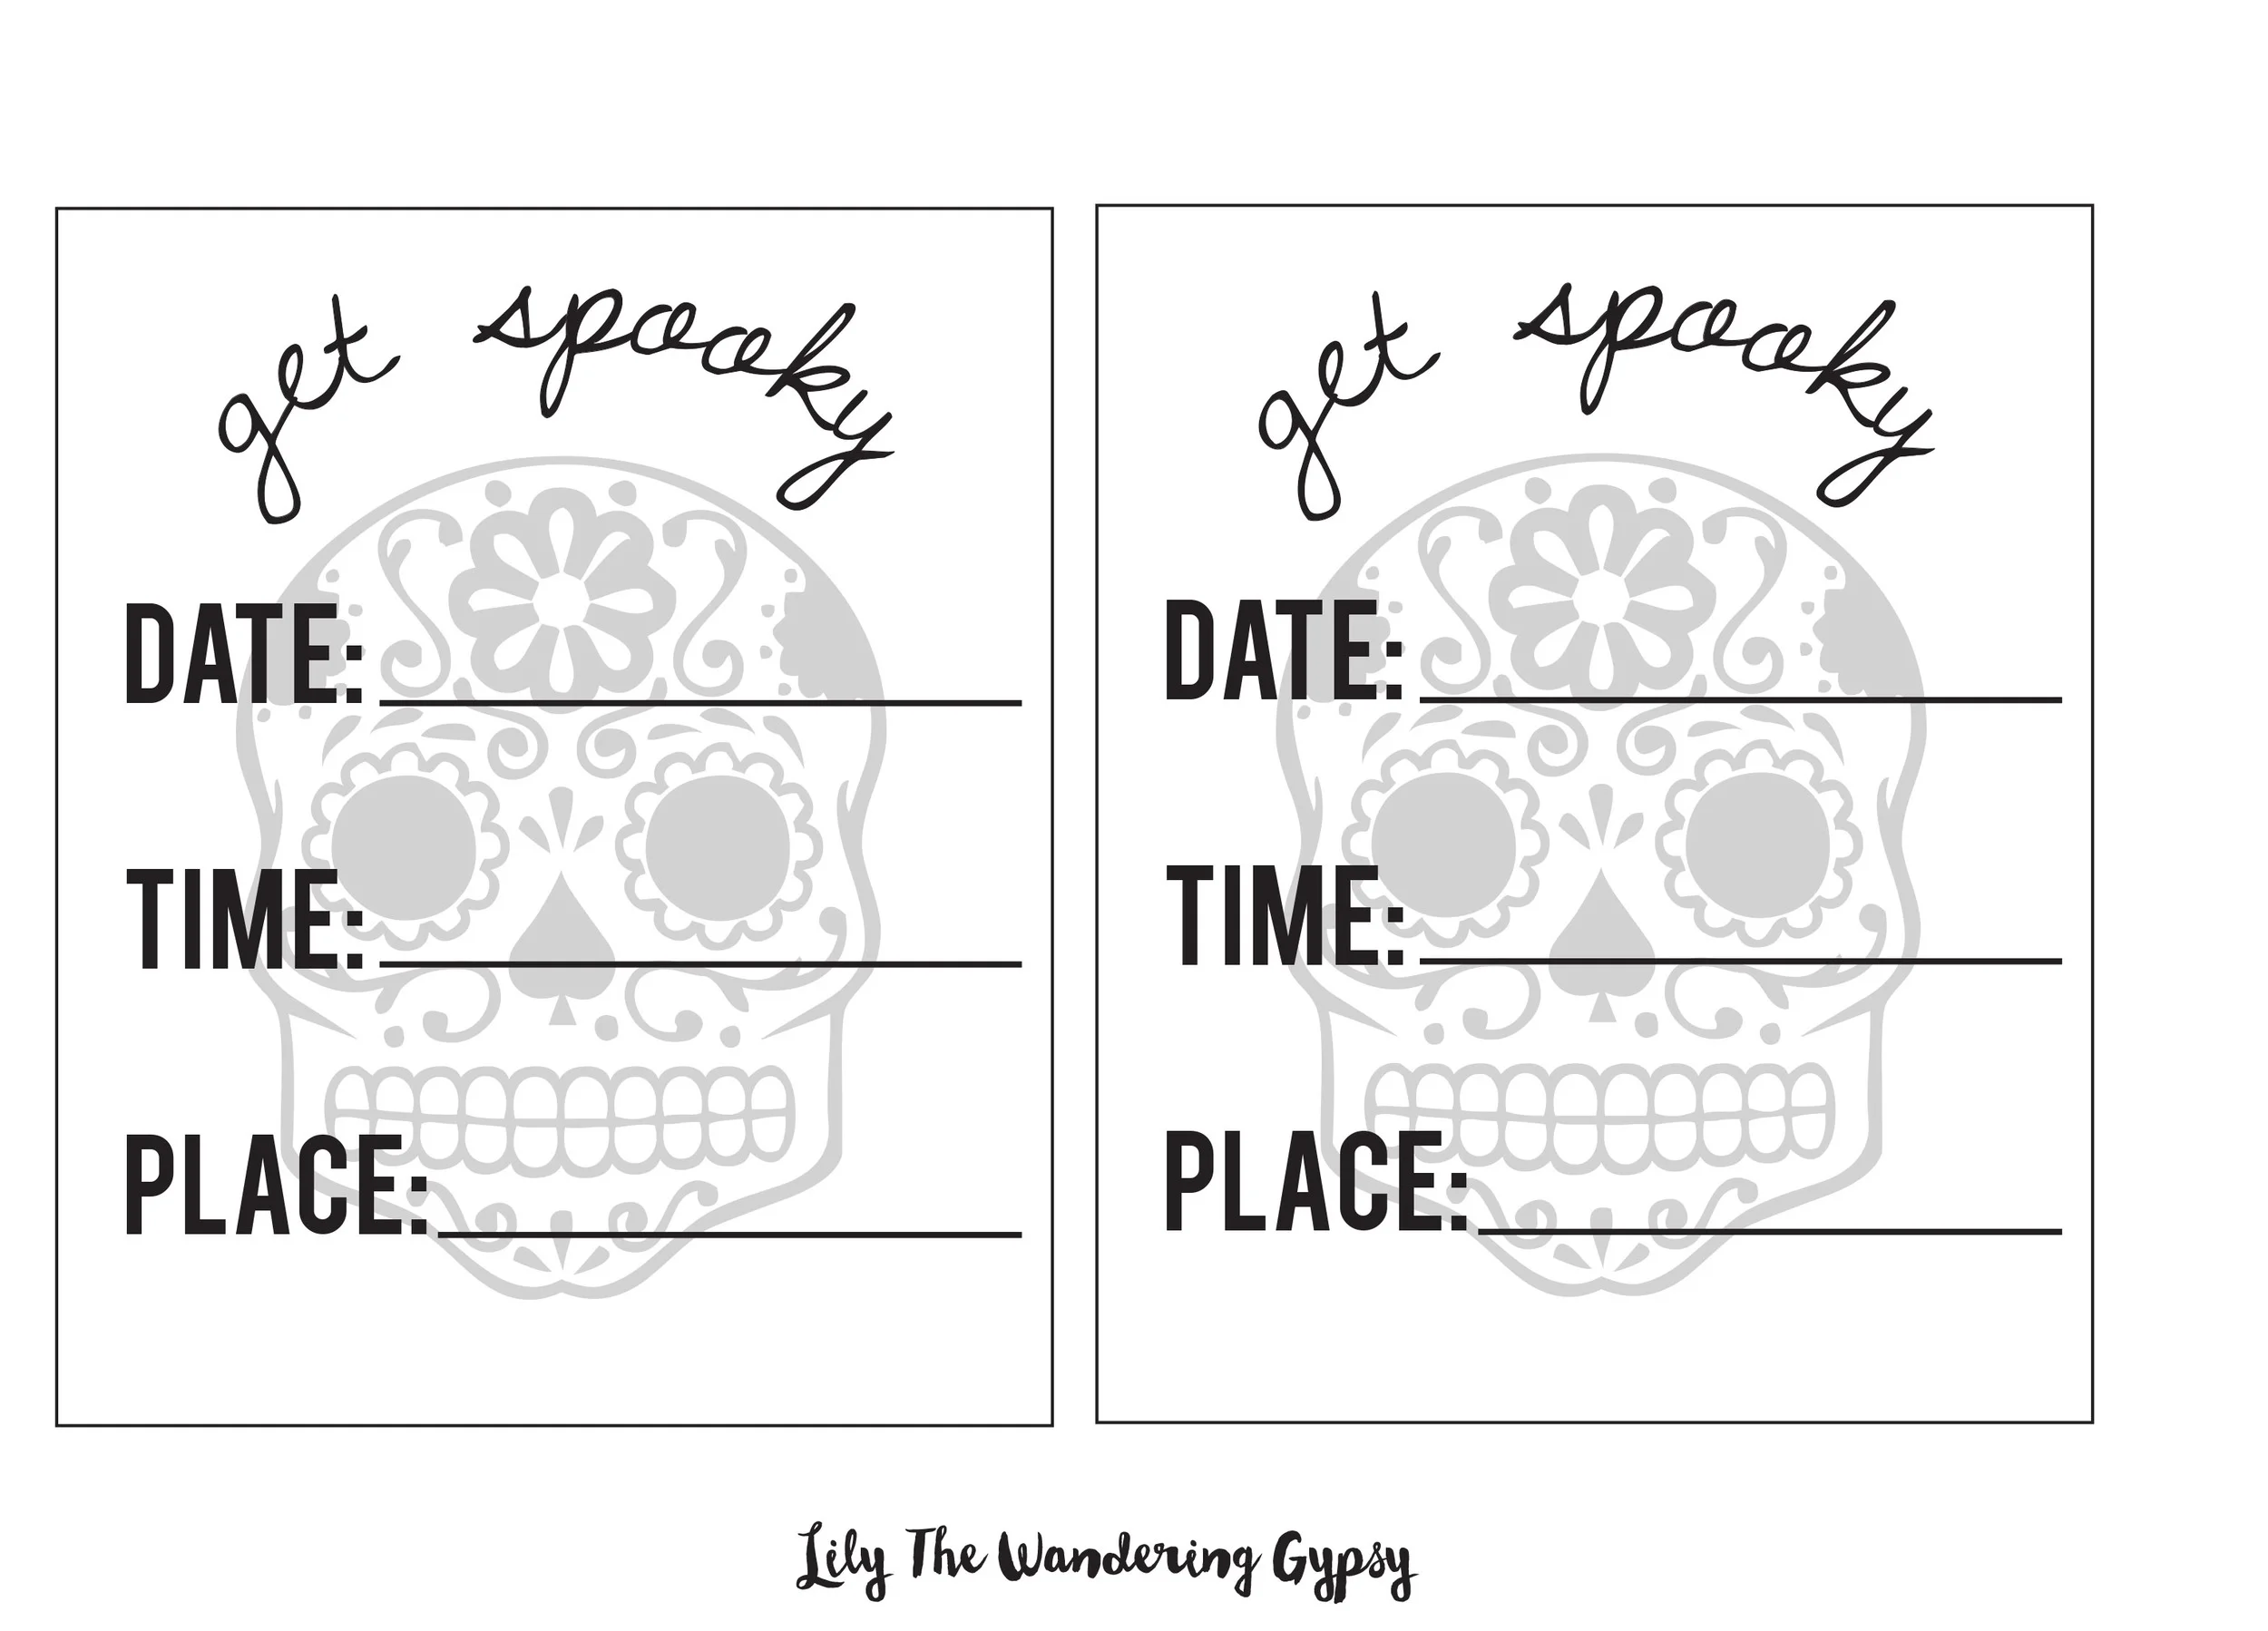
Right Click and Save the two images below. You can print them off for this tutorial! 

Spooky Halloween Invites

Print and then cut out the invites below, and insert them into the boxes at the end. 

Spooky Invites - Free Printable

Let's Get Started! Lay out all of your materials for the project. 

Halloween Invites
Halloween Invites
Halloween Invites

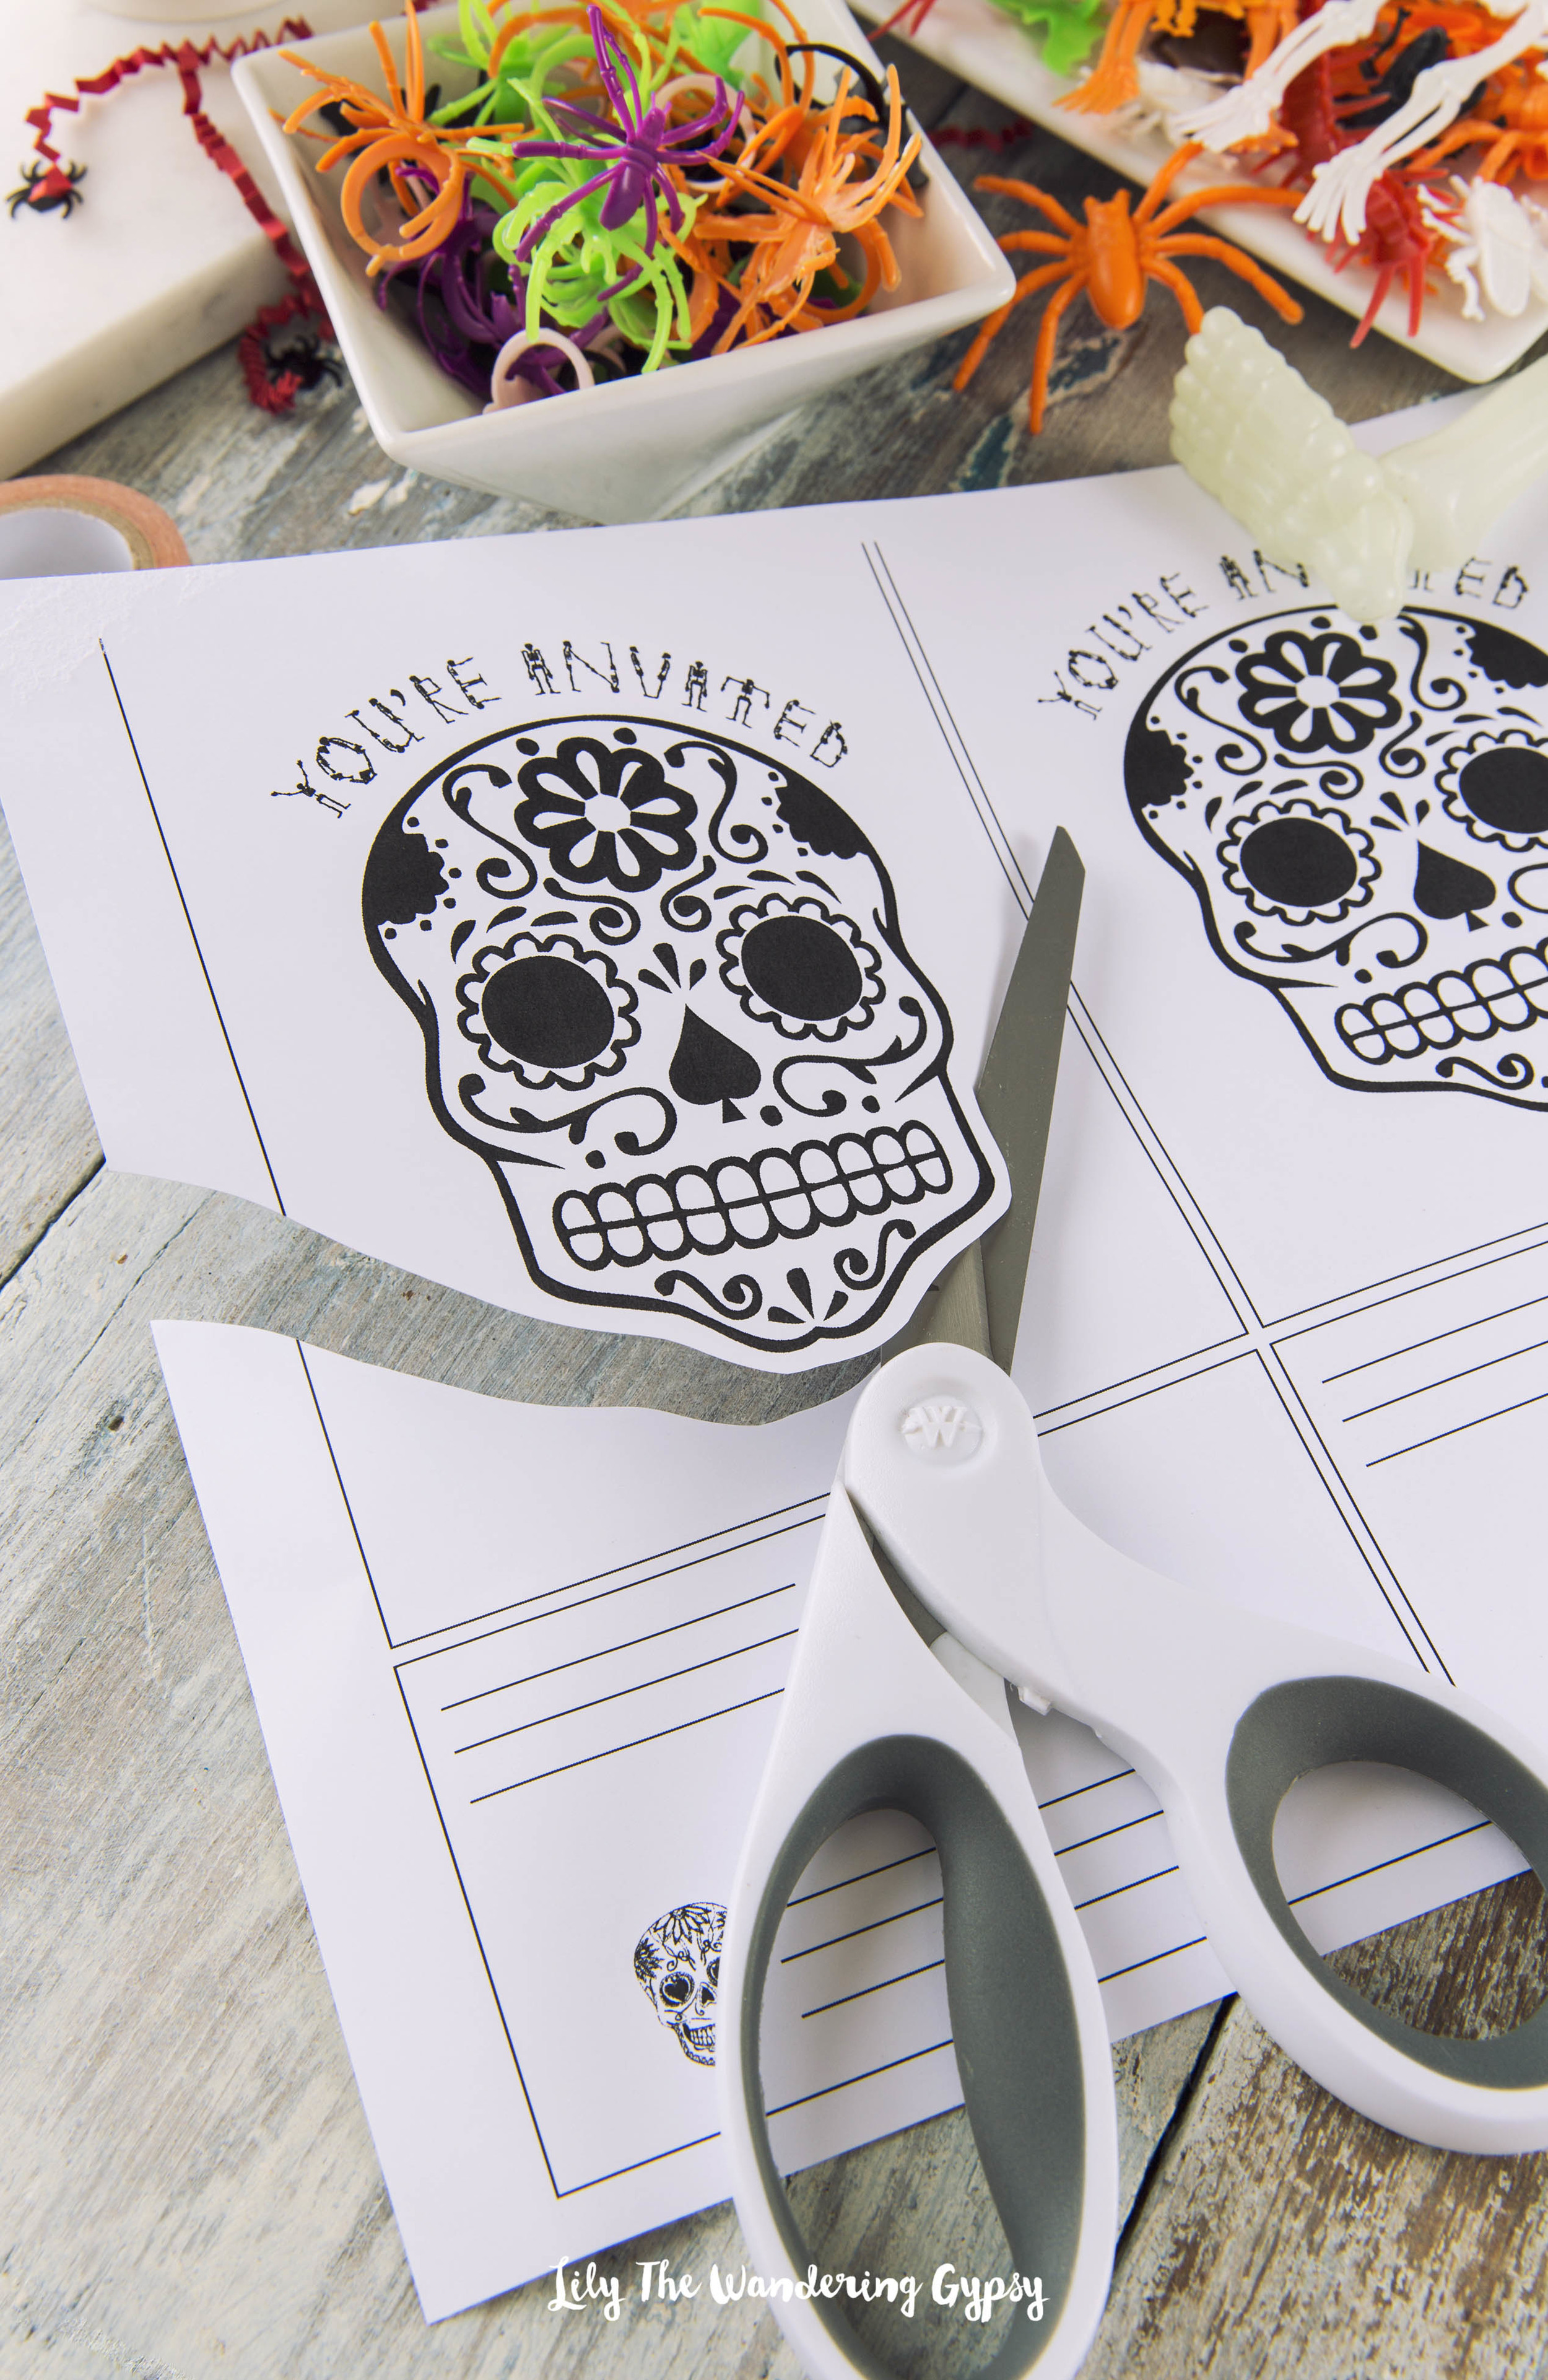
Cut out the skull design from the first printable. This will be glued to the front of the boxes. Also, cut out the address labels, which are also on that same page. 

Halloween Invite
Halloween Invites

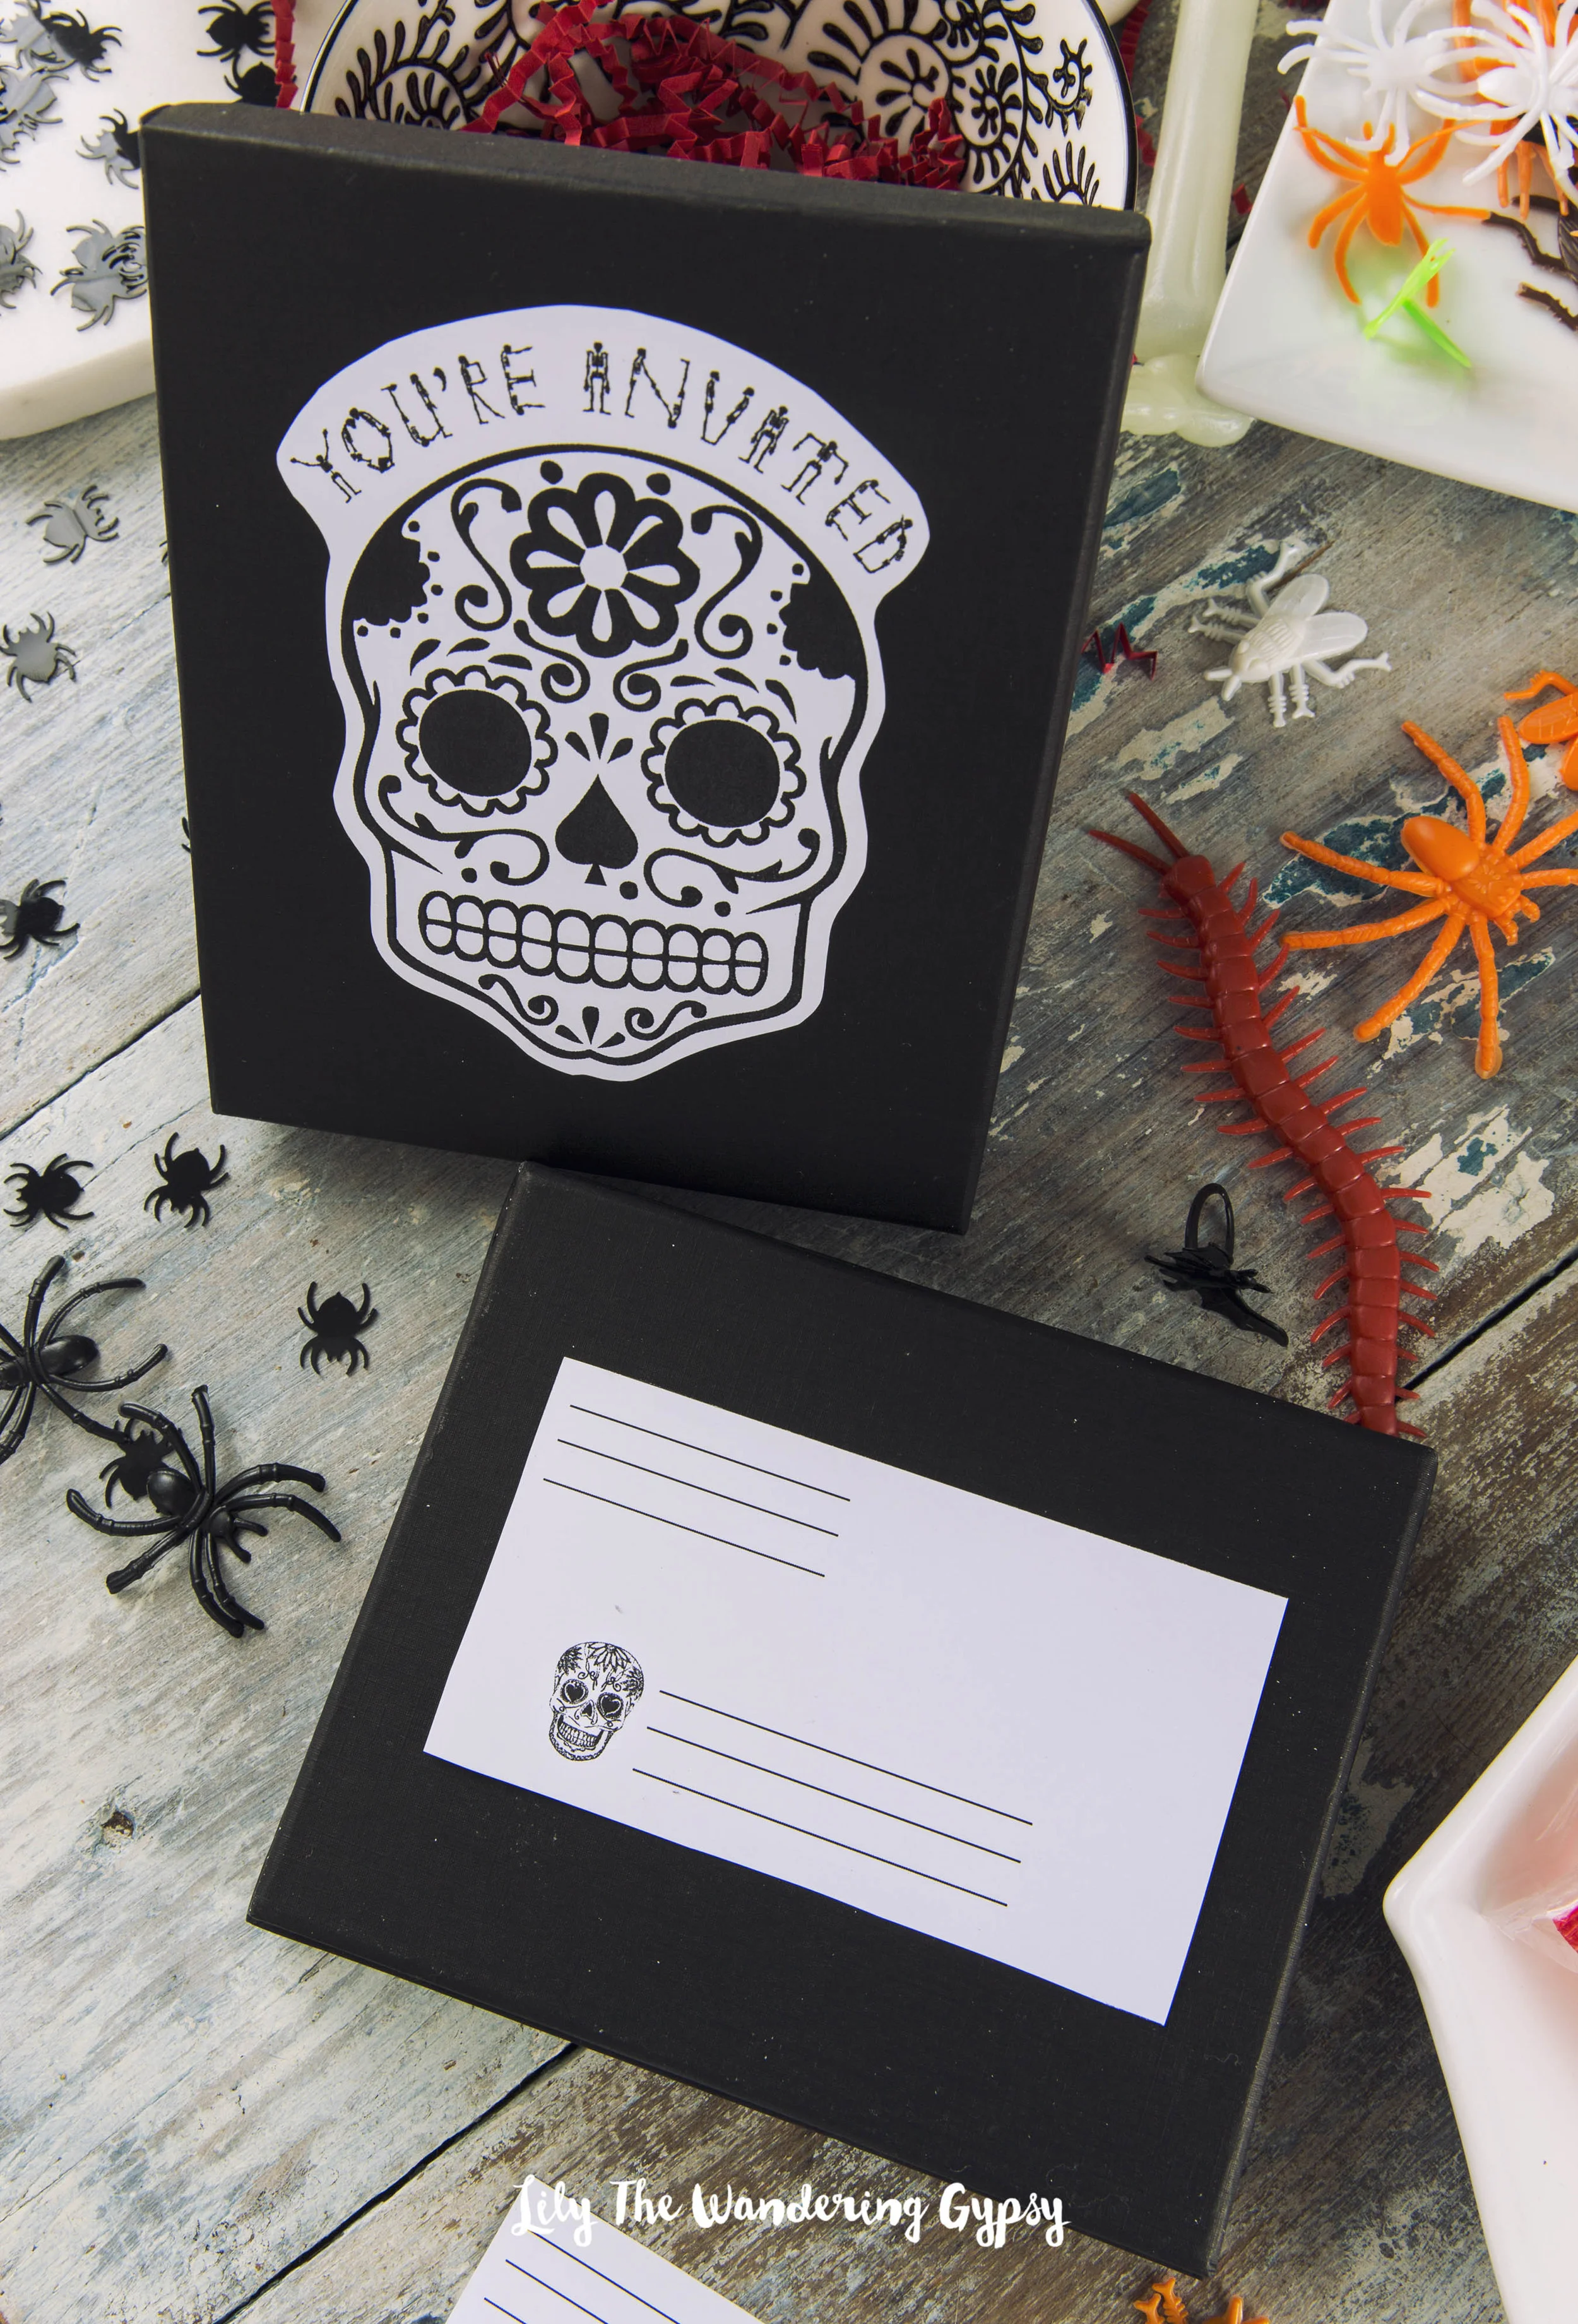
Next, glue the skull cutouts onto the boxes with a glue stick. When you mail these, you will be covering them with clear tape, so they will stay put during shipping. 

Halloween Invite

Add Red Paper Crinkles to emulate "blood" that is oozing out of the invite...

Halloween Invites

Next, place as many pieces of candy and Halloween toys as will possibly fit into the boxes while allowing the lid to still close. I also added spider confetti here, too. 

Halloween Invites
Halloween Invites
Halloween Invites

Cut out your Get Spooky Invites, fill out the blanks, and add them to the box, on top of the candy! 

Spooky Halloween Invites - Free Printable
Halloween Invites

Add the recipient's address to the back of the invite, and wrap everything up tight with clear packing tape! 

Halloween Party Invites

Aren't they adorable??!!

Halloween Invites
Halloween Invites

Missouri Department Of Tourism

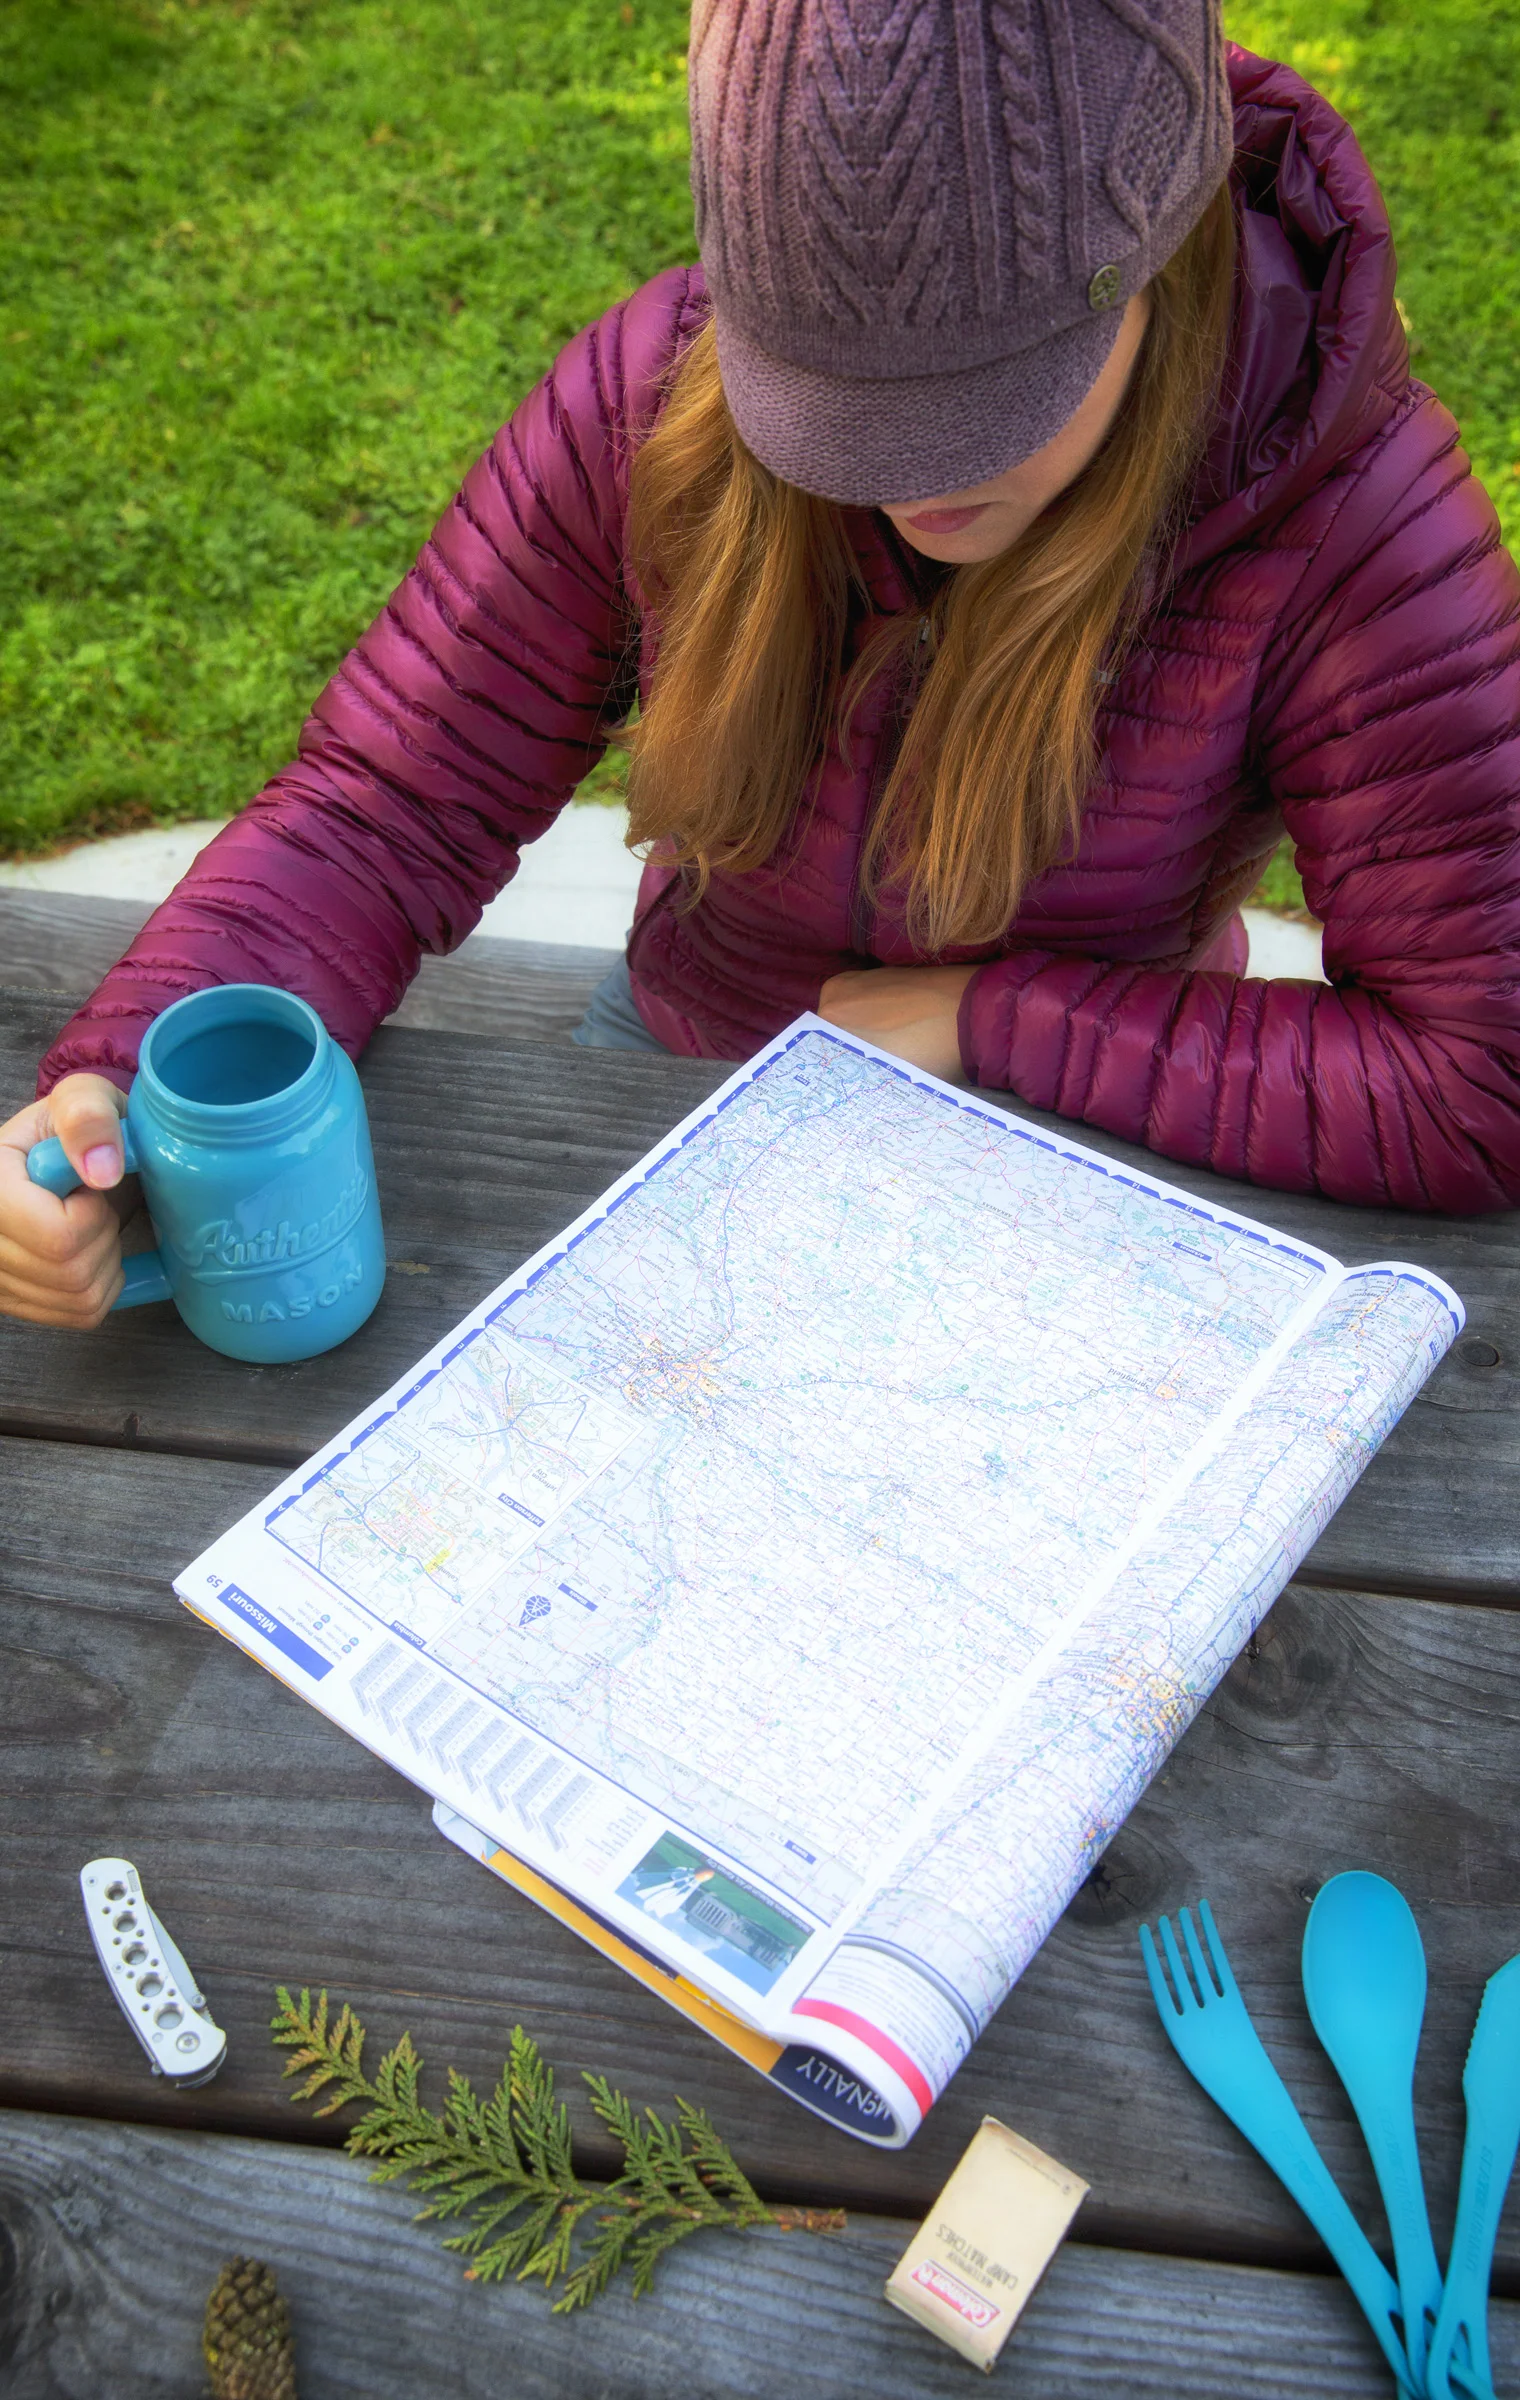
Super excited about this recent collaboration with Missouri Department of Tourism! They even posted my recipes on their blog (here). They asked me to submit ideas and then images of activities someone would do in Missouri in the Fall. I immediately thought about all the times we have camped, fished, hiked, and road tripped to Missouri! Bobby used to go down with his family to camp in Missouri a countless number of times when he was younger, and he was the one who really showed me the beauty of the state. 

CHECK OUT THE MISSOURI DEPARTMENT OF TOURISM BLOG HERE

Here are a few of my favorite images Bobby and I created for this amazingly fun and nostalgic project! View all the images in my Portfolio (here). 

VIEW THE WHOLE PORTFOLIO HERE

Let's Escape To The Woods!
Camping Essentials

Halloween Party Inspirations

Dying to host a killer Halloween Party this year? Now is a great time to start searching for fun props, recipes, and party ideas!

TEST TUBE SHOTS & MIXED DRINKS

Mix up some blood orange cocktails and label them with Blood Types and drink ingredients.

Mix up some blood orange cocktails and label them with Blood Types and drink ingredients.

Pamela Smerker Designs printed off cute tags so she could package up some candy in the cutest way ever! Click here to see the whole party she designed! 

Pamela Smerker Designs printed off cute tags so she could package up some candy in the cutest way ever! Click here to see the whole party she designed! 

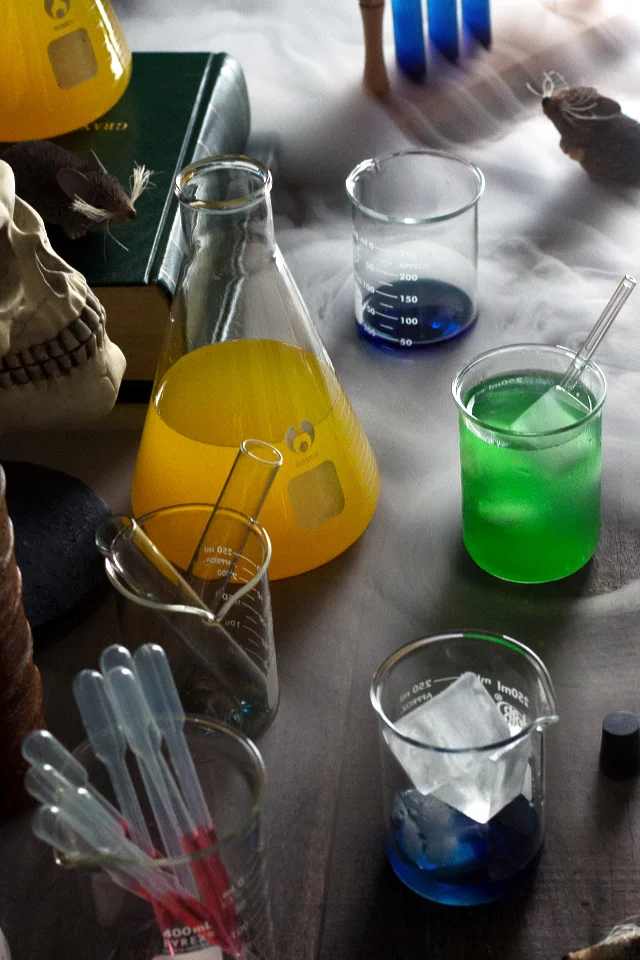
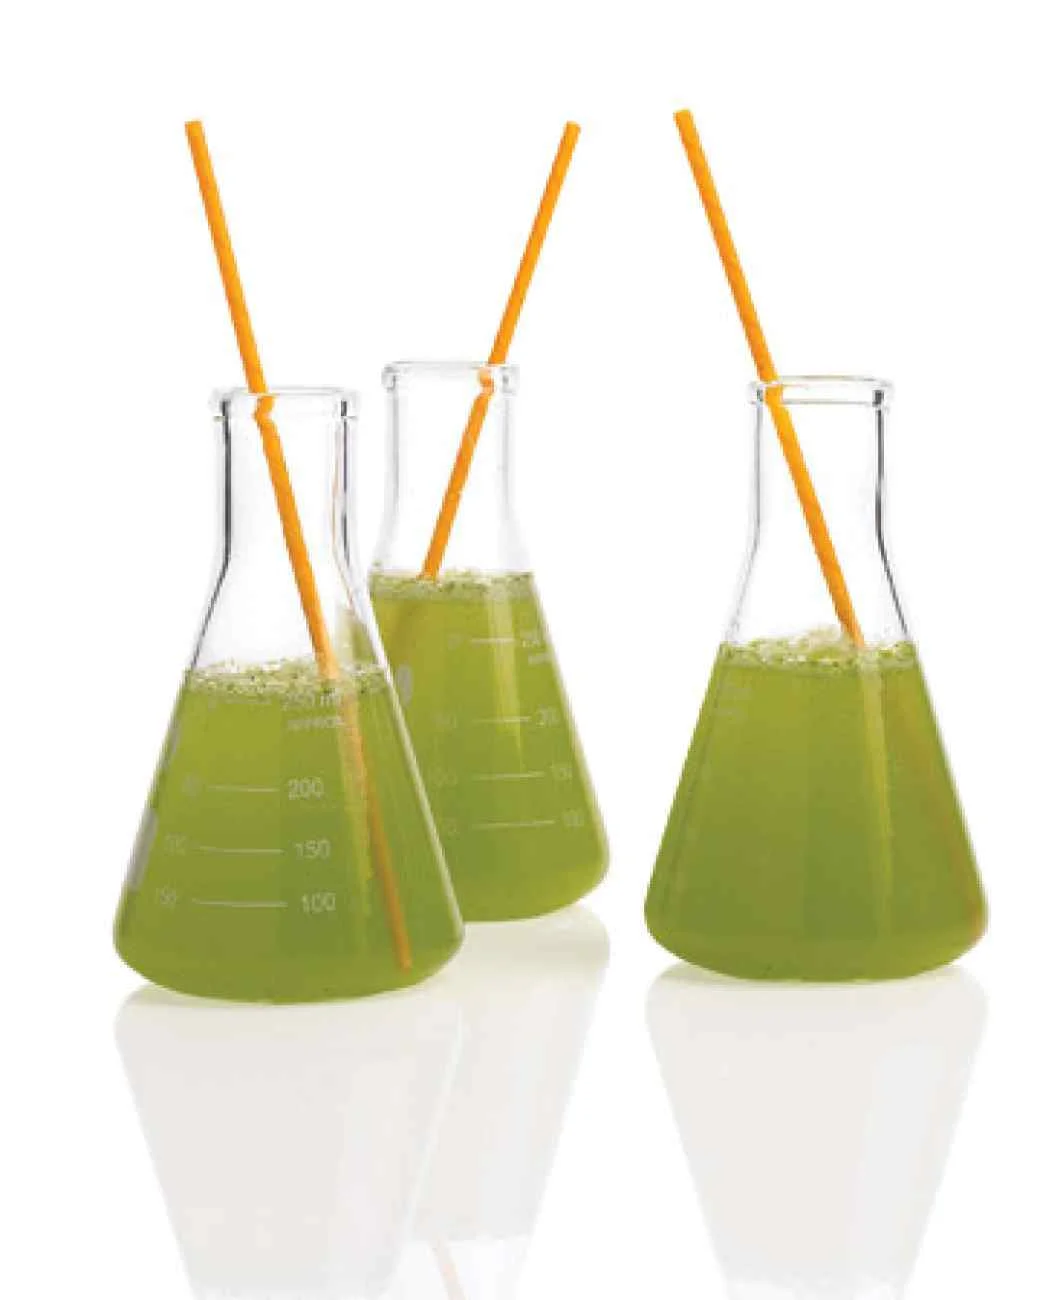
UTILIZE BEAKERS

This is my favorite Halloween idea ever! Halloween Drink Lab! 

This is my favorite Halloween idea ever! Halloween Drink Lab

LOVE these adorable Beaker Cocktails! 

LOVE these adorable Beaker Cocktails

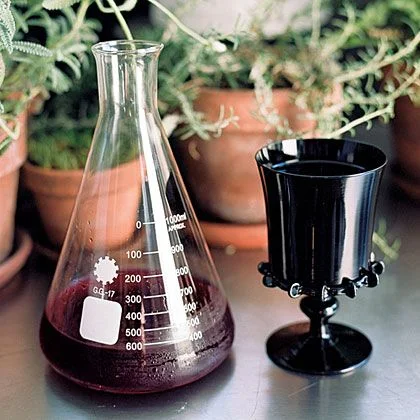
Here is a more sophisticated way to serve drinks in beakers. I could also see making a larger scale punch (or even sangria) for your party and use a larger beaker as a carafe. 

Here is a more sophisticated way to serve drinks in beakers. I could also see making a larger scale punch (or even sangria) for your party and use a larger beaker as a carafe. 

CANDY - CANDY - CANDY

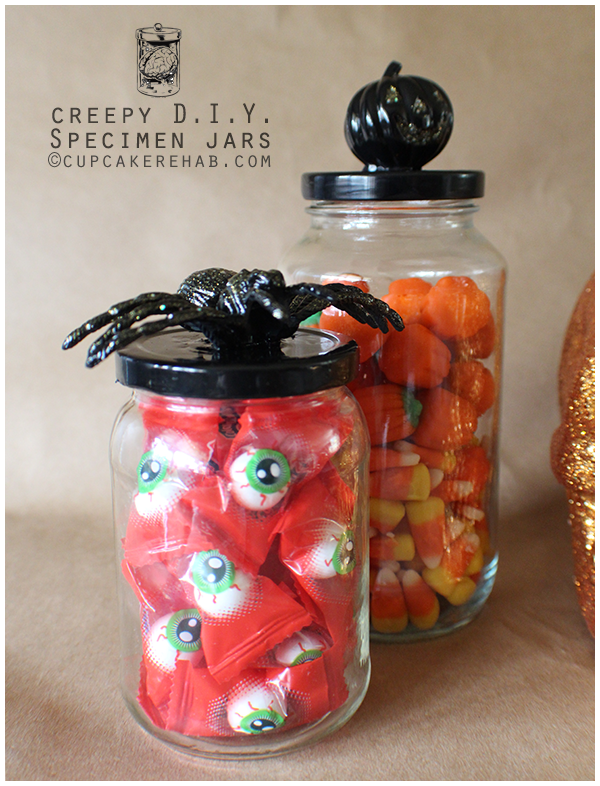
Here is a DIY idea I just love! If your guests have a sweet tooth, grab some Halloween candy for them to munch on while they party the night away. 

Here is a DIY idea I just love! If your guests have a sweet tooth, grab some Halloween candy for them to munch on while they party the night away. 

And, this idea is super easy! Grab a white bowl, set a rubber skeleton inside, and fill with this awesome Halloween Puppy Chow recipe. 

And, this idea is super easy! Grab a white bowl, set a rubber skeleton inside, and fill with this awesome Halloween Puppy Chow recipe. 

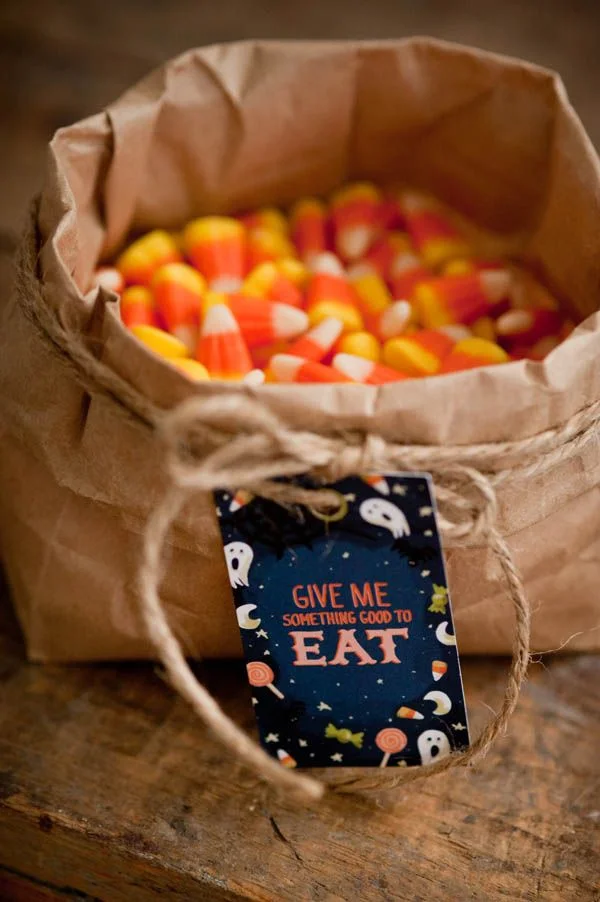
A rustic candy corn display in a paper bag with twine tied around gives this a "farm" feeling

A rustic candy corn display in a paper bag with twine tied around gives this a "farm" feeling

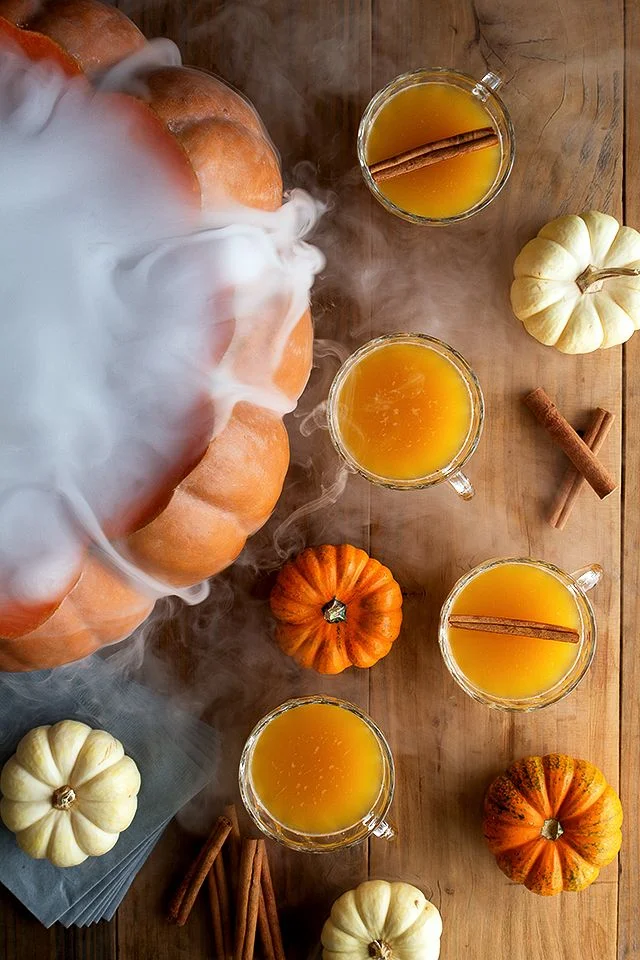
USE DRY ICE

This is one of my favorite drink ideas! 

This is one of my favorite drink ideas

This Dry Ice Martini is super chic and will be a crowd pleaser! 

This Dry Ice Martini is super chic and will be a crowd pleaser! 

Fall Rice Krispy Treat Pops!

Ever wonder why your rice krispy treats don't turn out soft, rich, buttery, and super tasty? You may be using the wrong method. Here, I will show you the old-fashioned way to make Rice Krispy Treats on the stovetop - with real butter.

I love how these little leaf treat pops turned out! They could be customized to just about any holiday or party theme, too! Feel free to add food coloring to them to really customize them in a new, unique way. Here we go!

Fall Rice Krispy Treat Pops - Lily The Wandering Gypsy

Ingredients:

- 3 Tbsp. REAL Butter (Organic Preferred)

- 6 C. Rice Krispy Cereal 

- 6 C. Marshmallows

- Sprinkles in Seasonal Colors

(Not Pictured)

- Parchment Paper

- Baking Dish 

- Smaller Wooden Skewers

- Leaf-Shaped Cookie Cutters

Fall Rice Krispy Treat Pops - Lily The Wandering Gypsy

Instructions: 

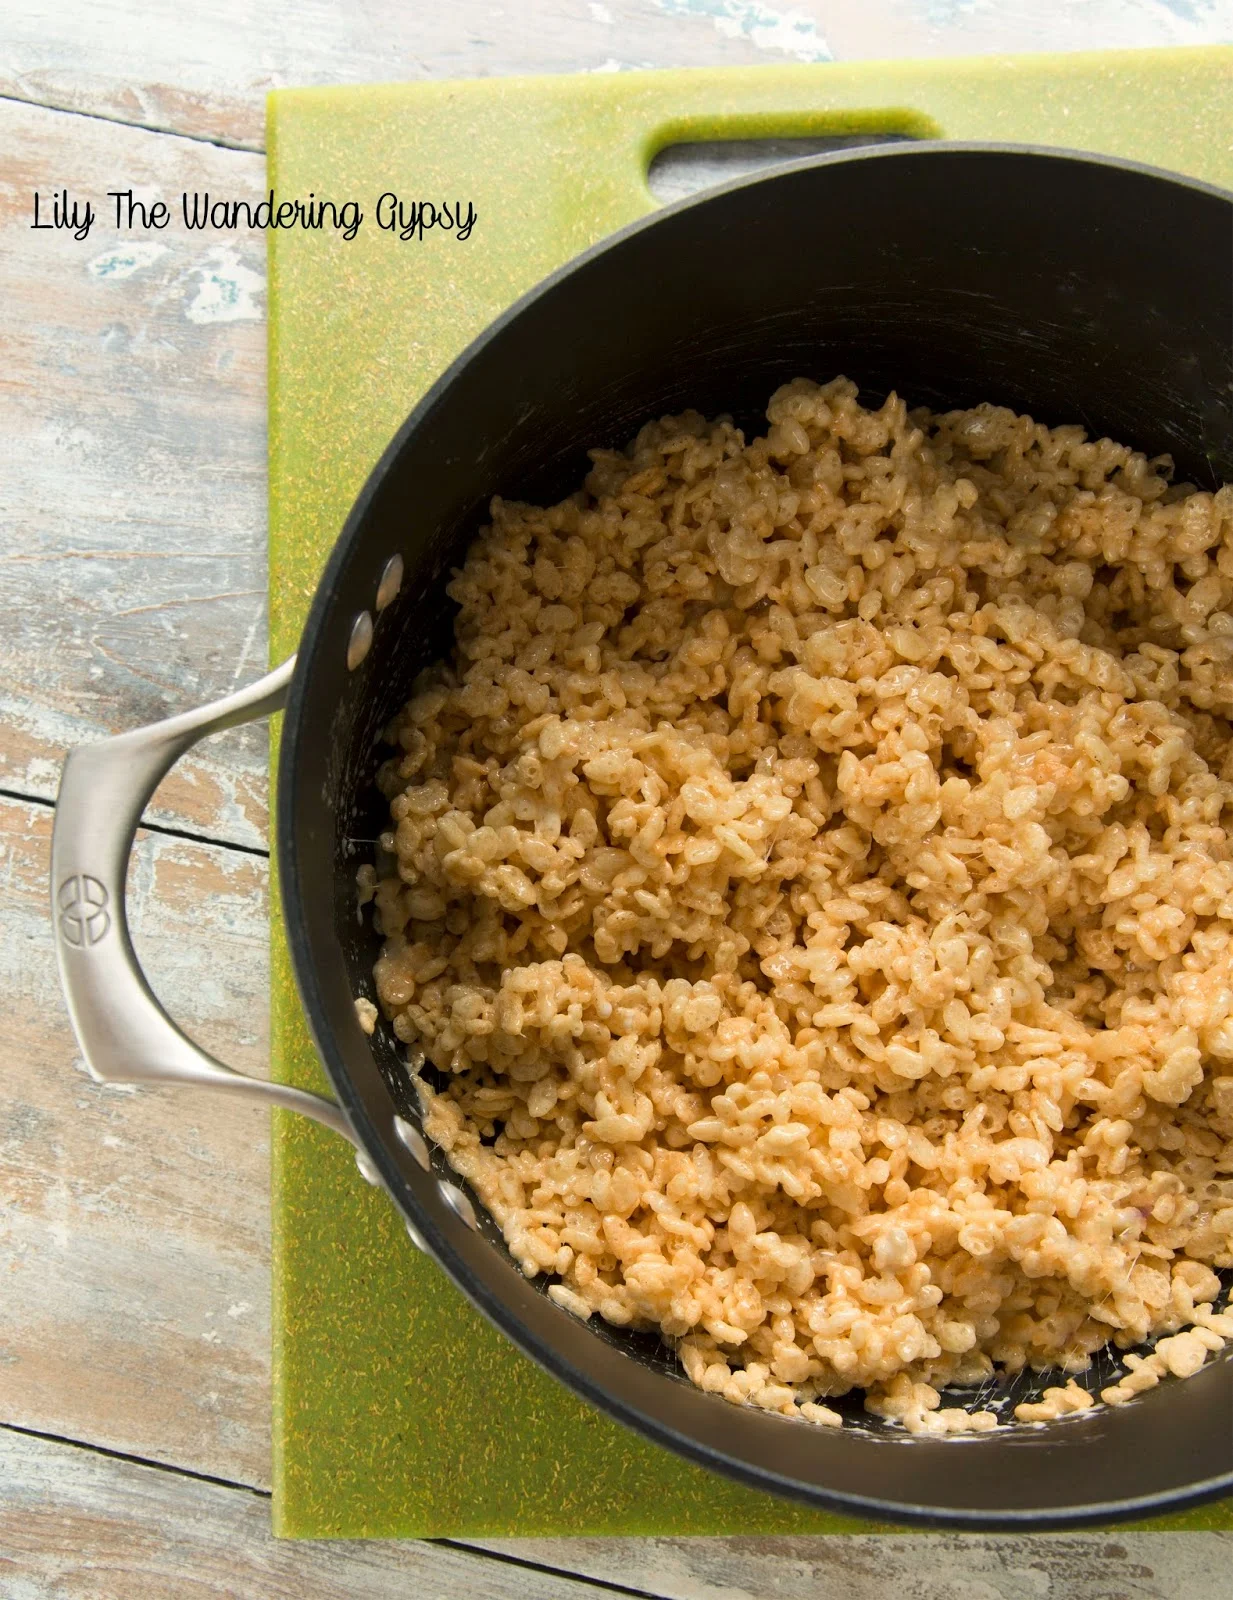
In a large pot, melt butter over low heat (slower is better, so the butter doesn't burn.). As that melts, add marshmallows. Continue to melt the ingredients over low-medium heat. Make sure to watch the mixture so it doesn't brown. The mixture should look a little something like this right before you add the cereal.

Fall Rice Krispy Treat Pops - Lily The Wandering Gypsy

Add the cereal and mix well to combine all of the ingredients. 

Fall Rice Krispy Treat Pops - Lily The Wandering Gypsy

1.) Spray baking dish with non-stick spray or butter. Cut a piece of parchment paper to fit inside the dish.

2.) Pour in Gooey Cereal Mix.

3.) Use another piece of parchment paper to pat down the cereal mixture flat into the dish. This will keep your hands WAY less messy.

Once cereal has cooled, remove the cereal and parchment paper, and put it onto a cutting board.

Fall Rice Krispy Treat Pops - Lily The Wandering Gypsy

Use your favorite leaf-shaped cookie cutter, press firmly down into treats. You can use a bit of non-stick spray on the cookie cutter if the treats stick. Carefully insert small skewer sticks into the leaves. Make sure you don't jab your hand. I got about 12-13 leaves out of my batch, and had lots of pieces left over to devour :)

Fall Rice Krispy Treat Pops - Lily The Wandering Gypsy

Enjoy! Happy Fall! Check me out on Pinterest.

Honeydew Infusion

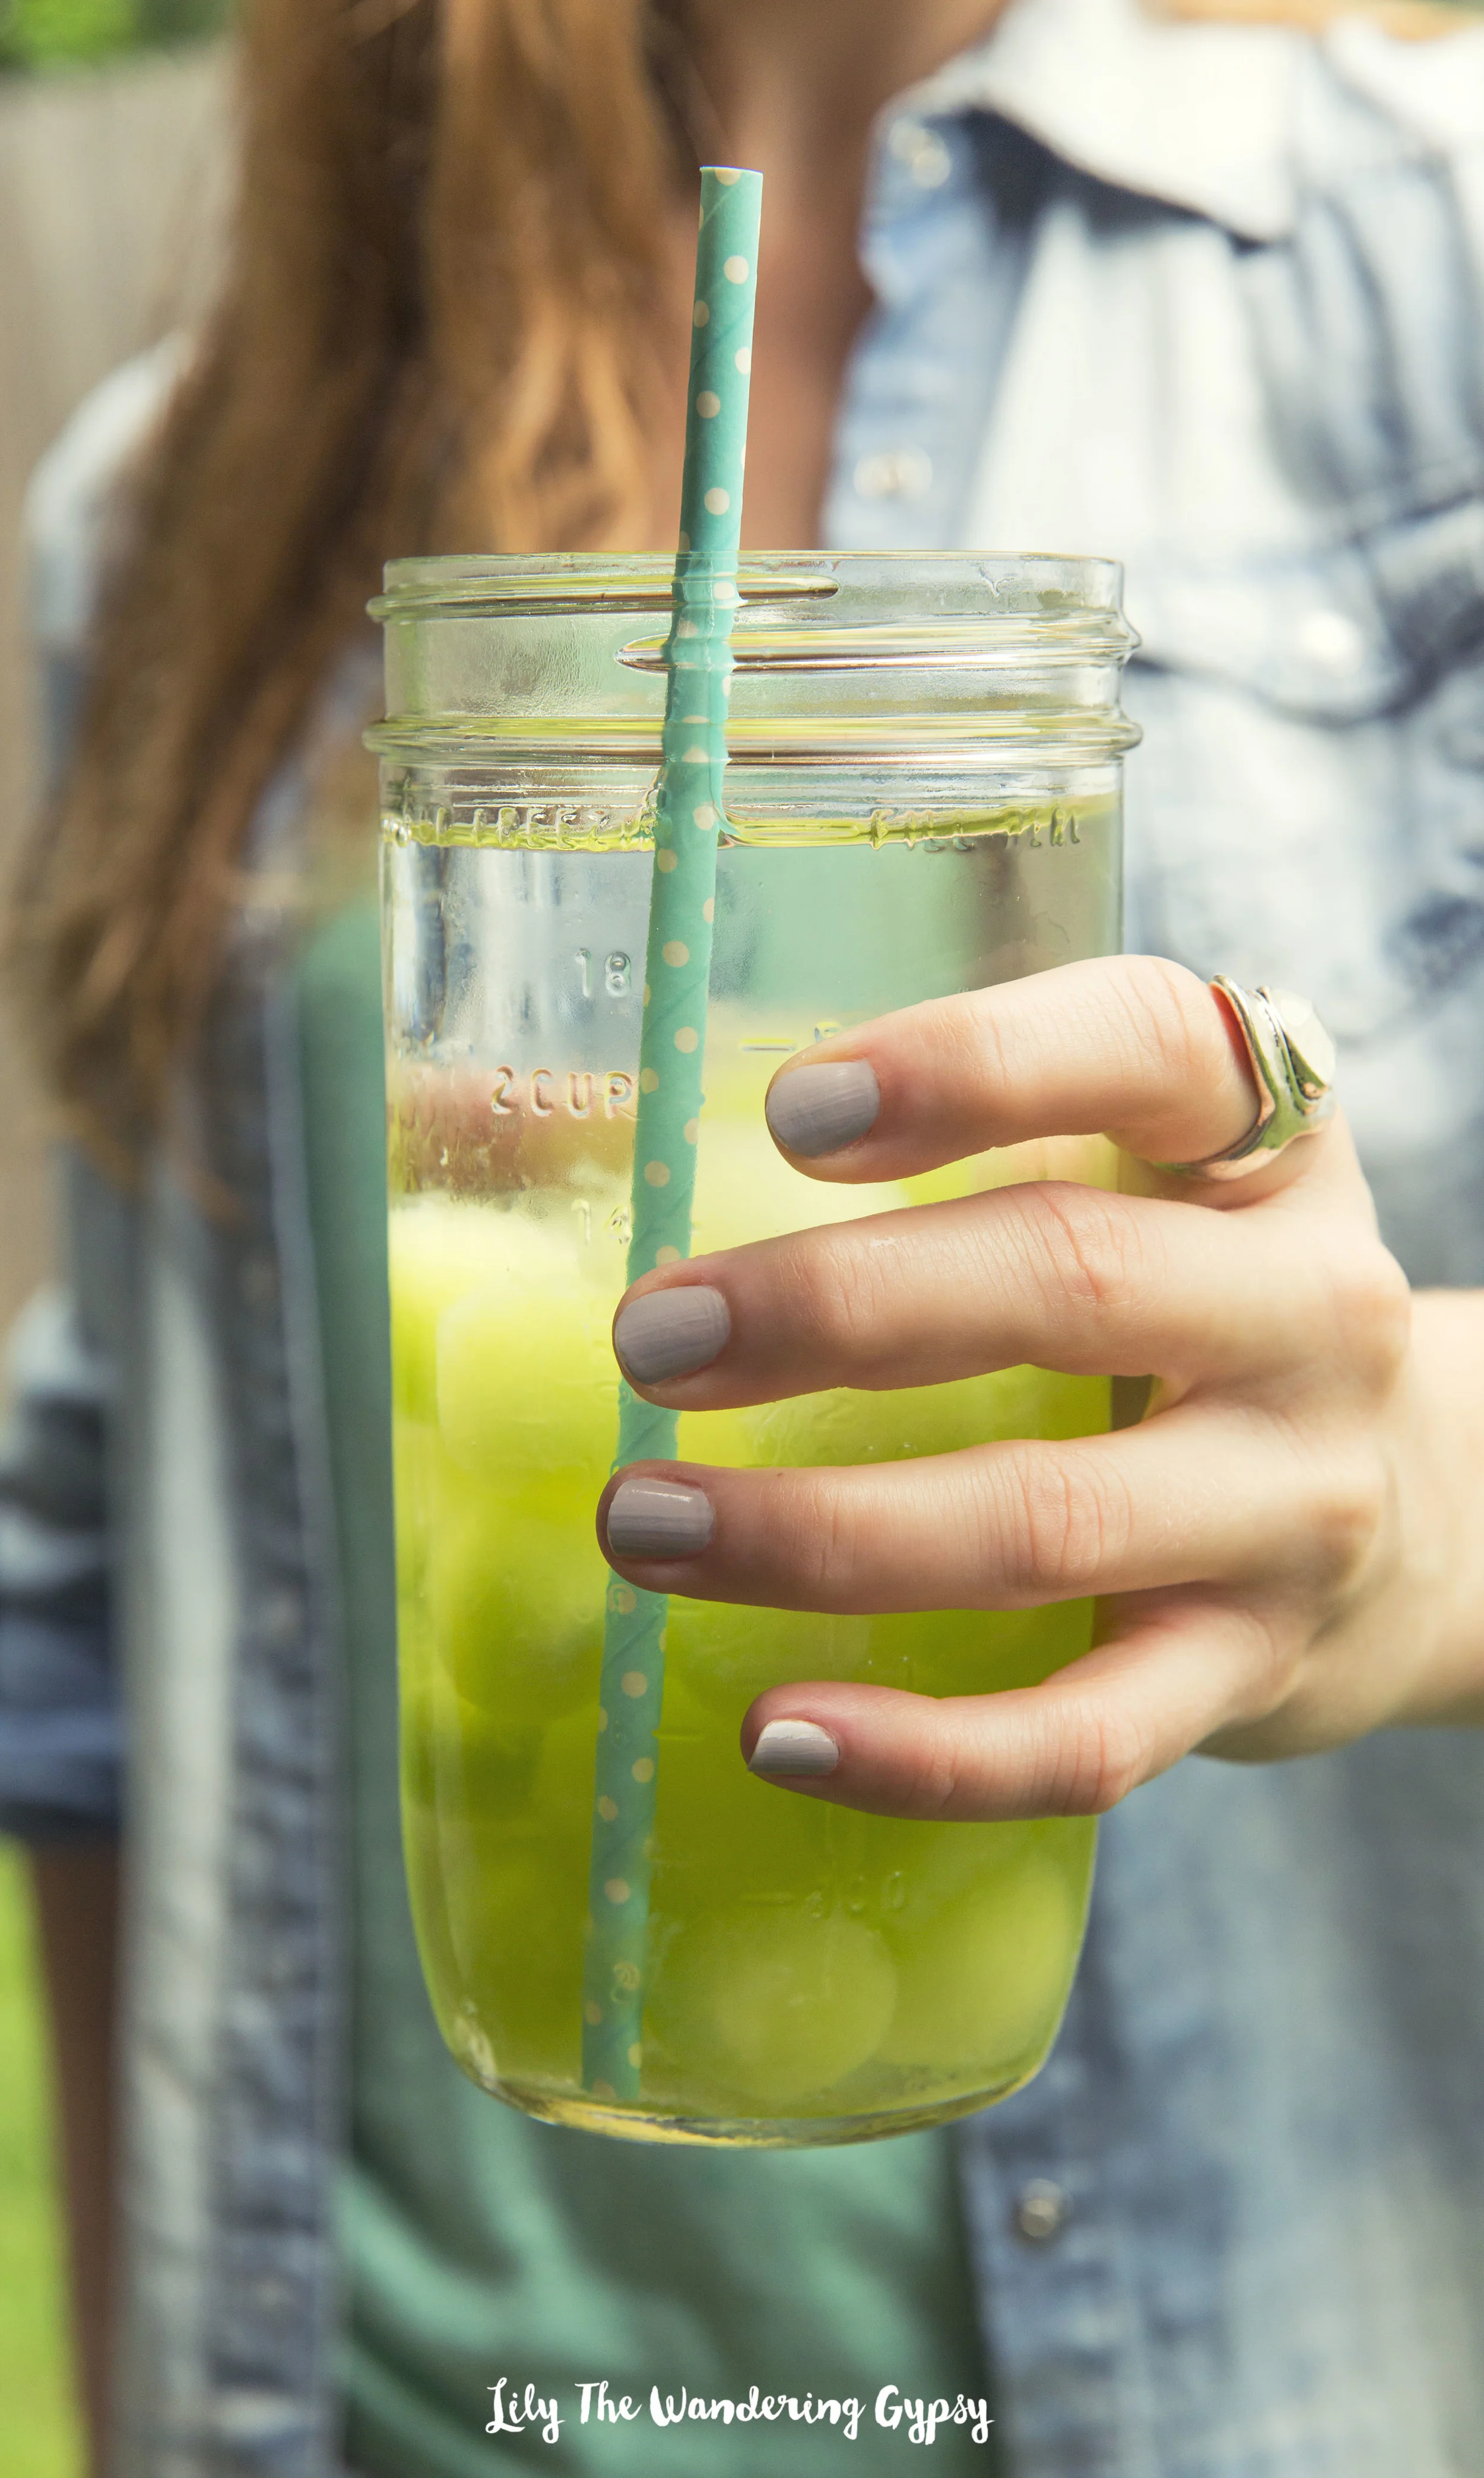
Here is a quick and easy drink for summer! Use up your extra melon with this fun drink! Enjoy! 

Honeydew Drink!!!

It's simple! Use your melon-baller, and cut out as many melon balls as you can from half the melon. Freeze the melon balls (this took about 3-4 hours at least), and use them as ice cubes for your next Honeydew Infusion Water this summer! Enjoy :)

Honeydew Melon "Ice Cubes"

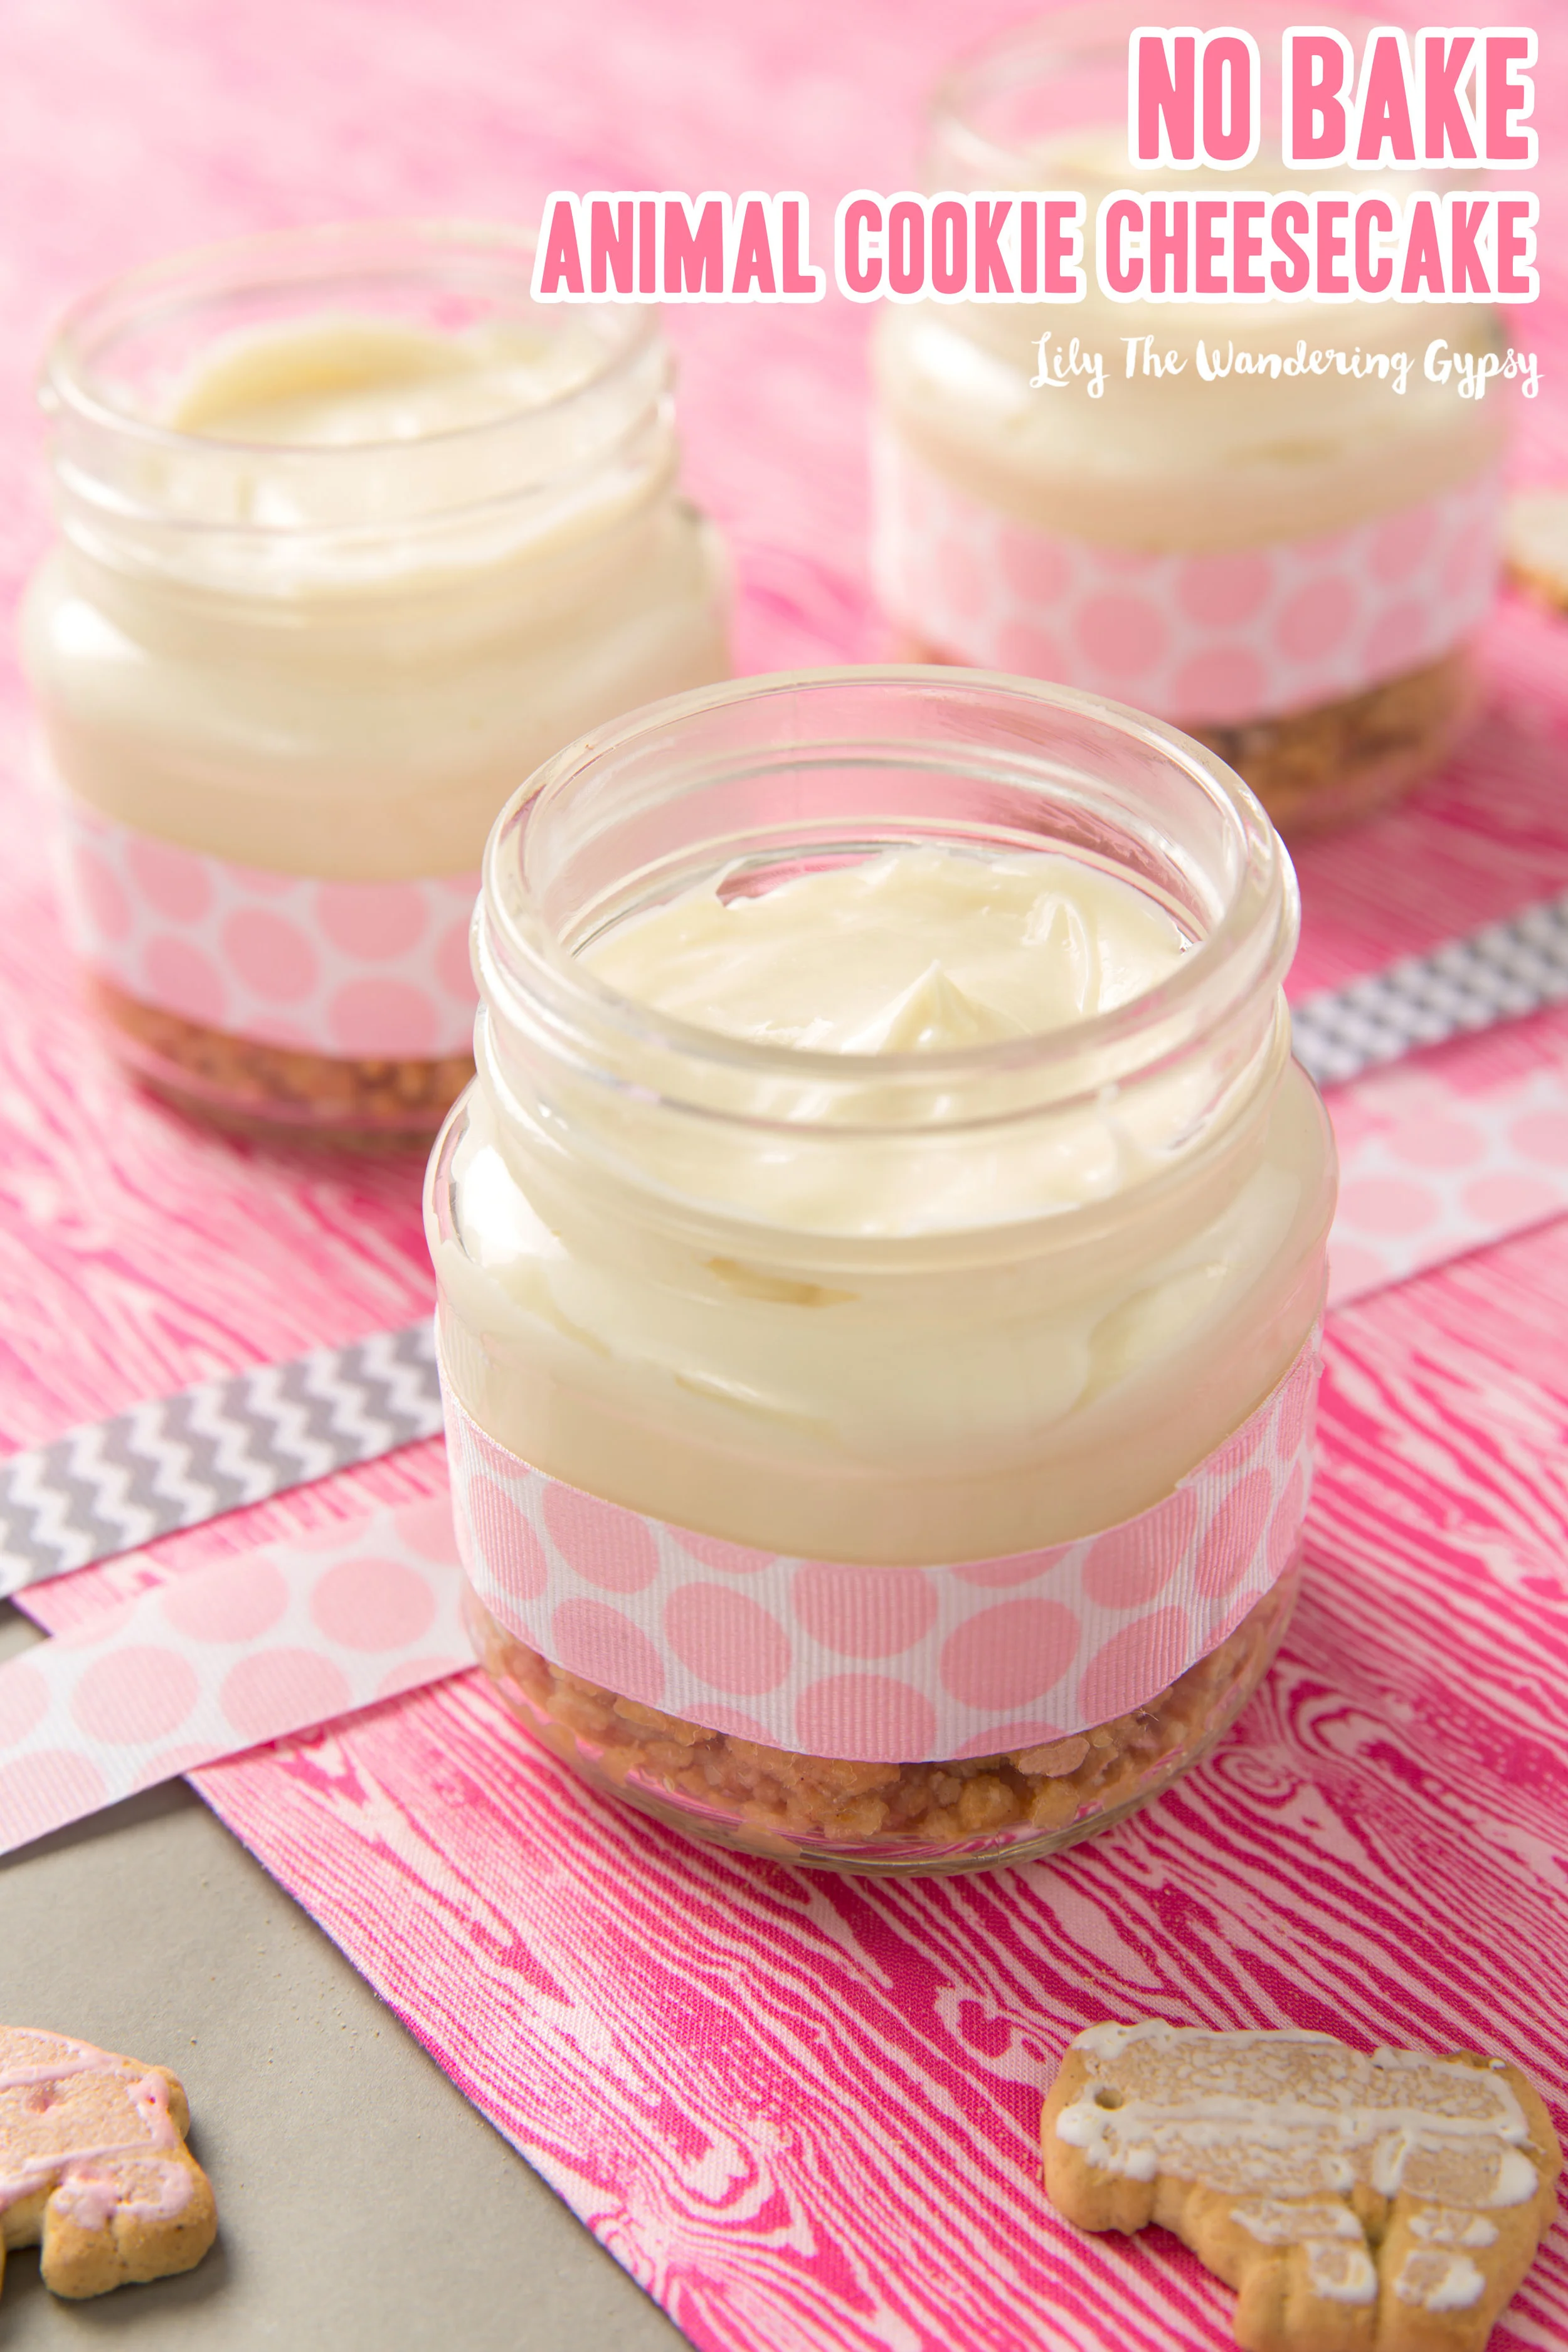
No Bake Animal Cookie Cheesecake Recipe

Wow, I am so impressed with how these taste! The cheesecake filling is tangy and just the right amount of sweet! And, the crust is sort of unexpected and really yummy. The cookies are a perfect replacement for normal graham crackers you would normally use. 

These taste so good!!!

INGREDIENTS – NO BAKE CHEESECAKE

·       1 packages Stauffer’s Animal Cookies

·       11 tablespoons (1 3/8 sticks) unsalted butter, melted

·       ½ or 1 tablespoons sugar

·       2 8-ounce packages cream cheese, room temperature (make sure it’s not too cold or your mixer will not be happy!)

·       1 14-ounce can (1 1/4 cups) sweetened condensed milk

·       1/4 cup lemon juice

·       1 teaspoon vanilla extract

·       4-5 jars

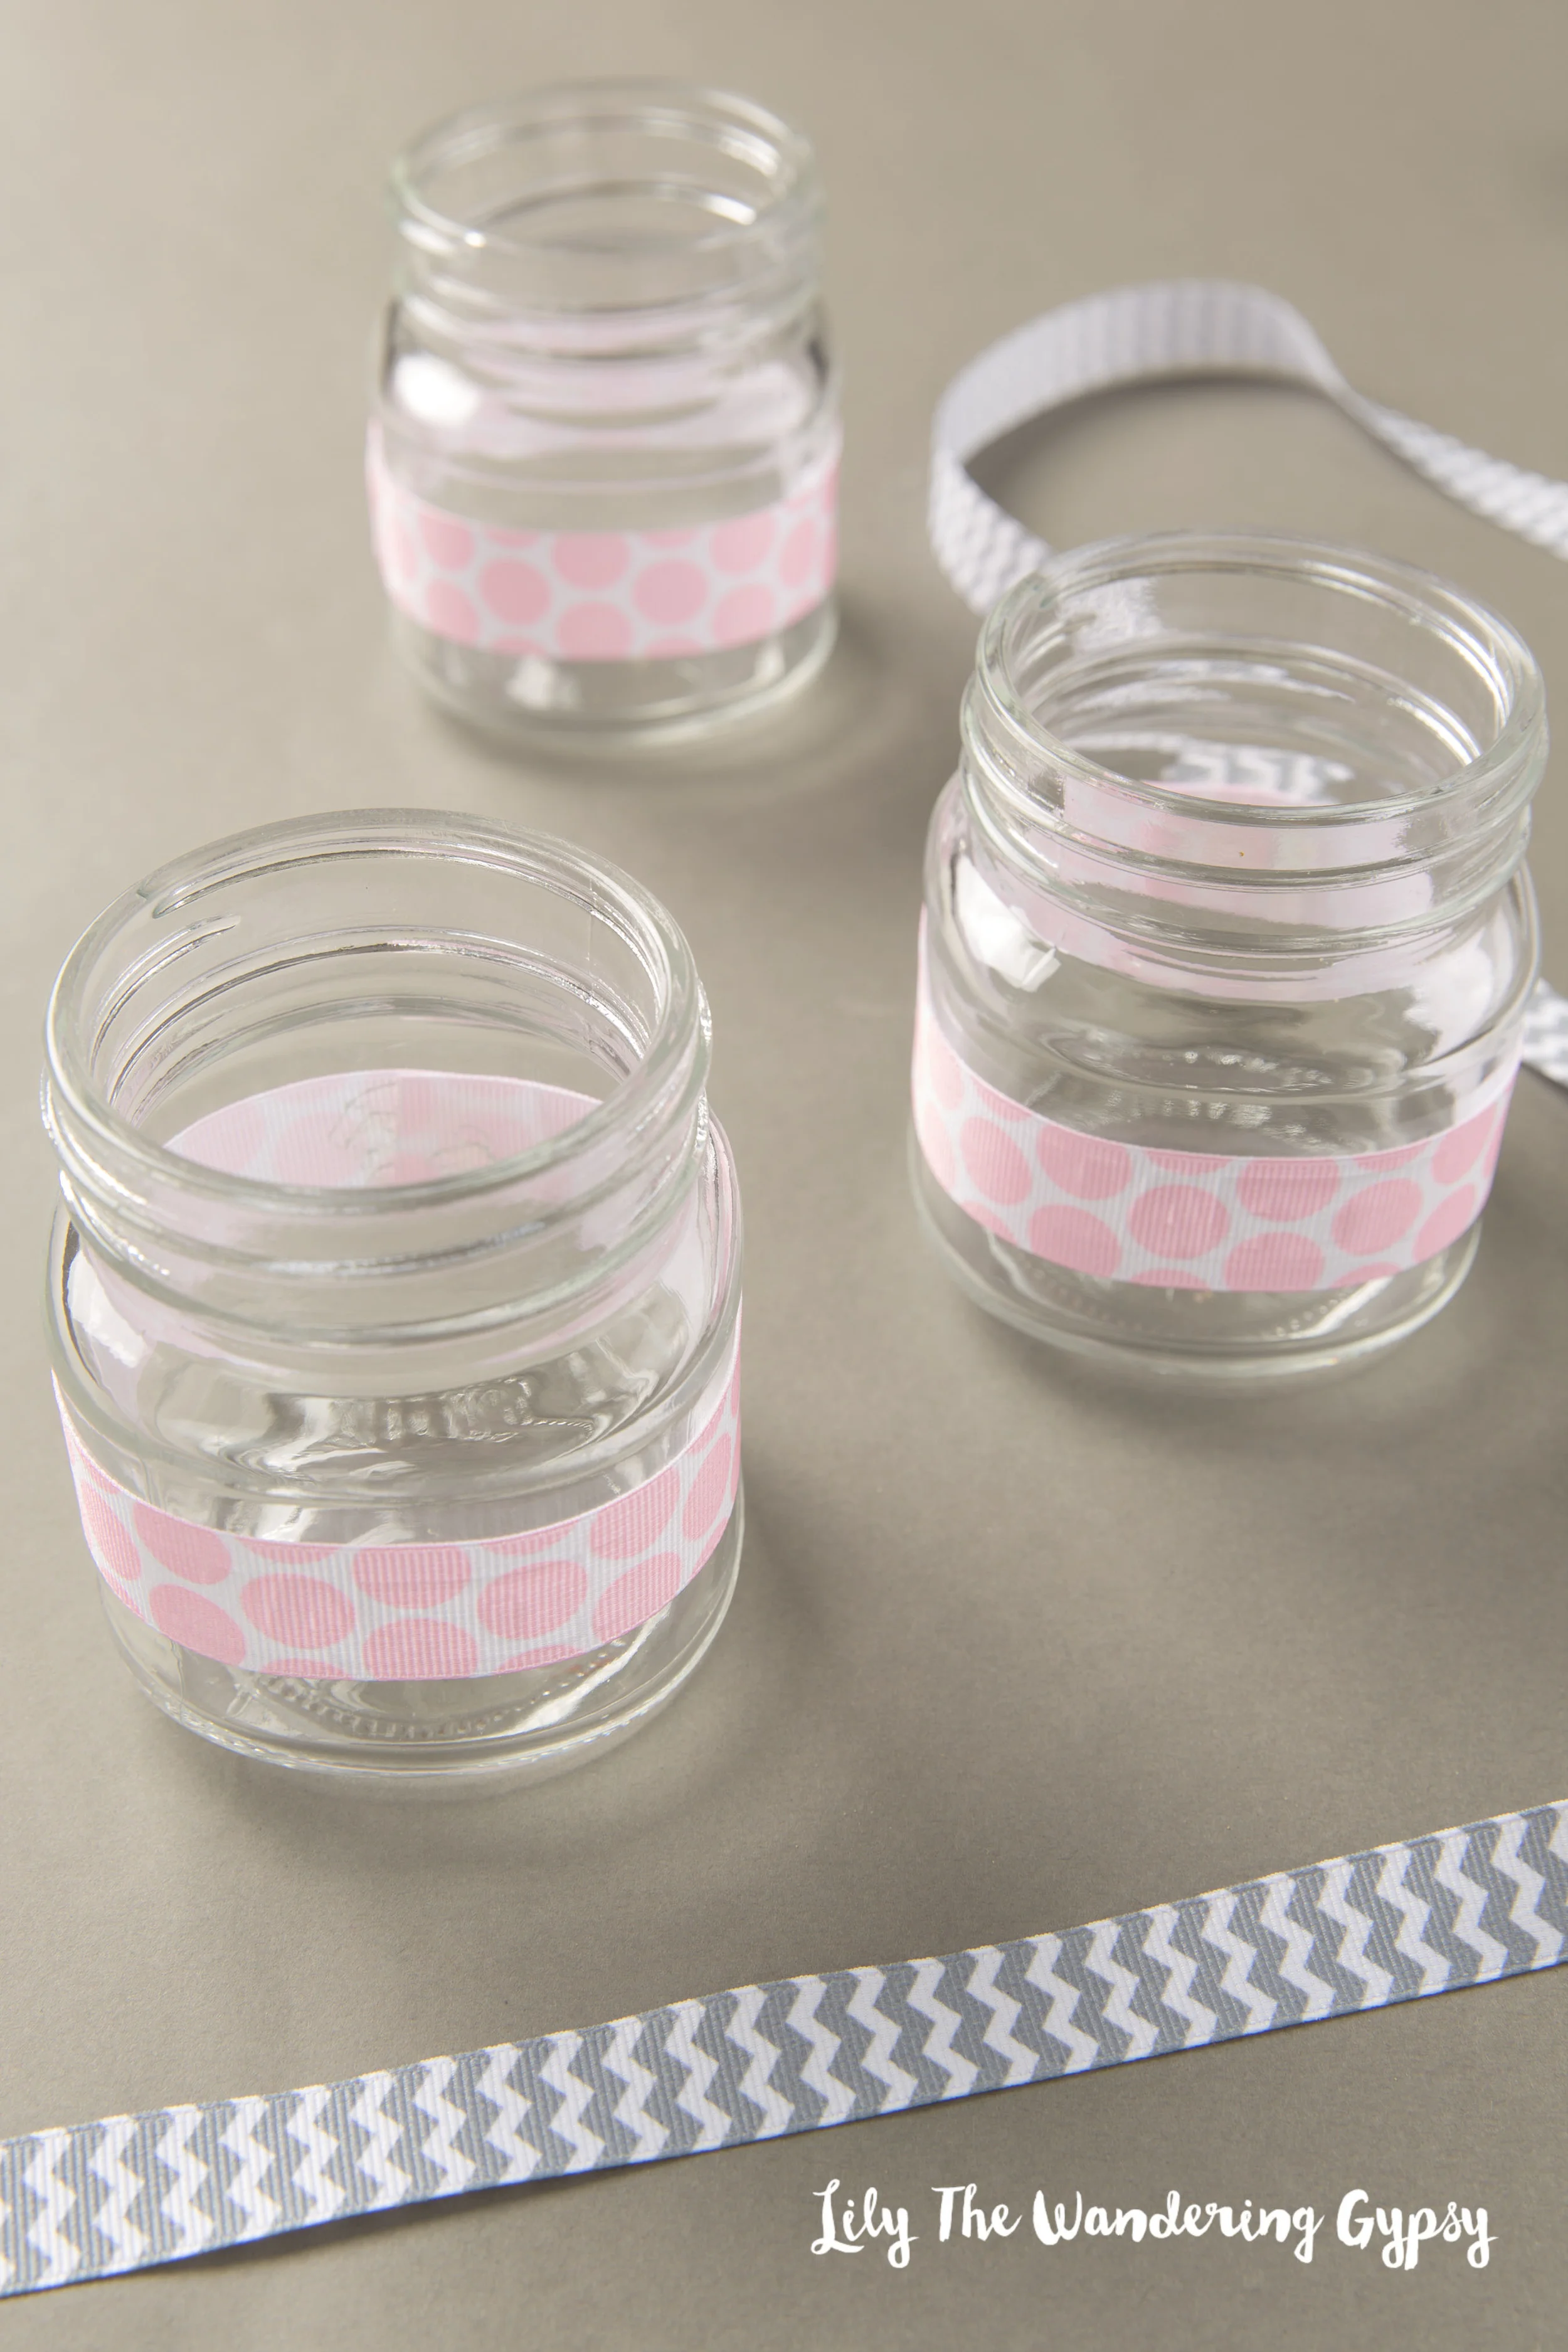
Hot glue your ribbons to the jars. This adds such a cute touch! Coordinate any event or holiday!

Hot glue your ribbons to the jars. This adds such a cute touch! Coordinate any event or holiday!

The cookies after they have been in a food processor to make the crust.

The cookies after they have been in a food processor to make the crust.

After mixing the melted butter with the cookies, spread the mixture into the jars and level.

After mixing the melted butter with the cookies, spread the mixture into the jars and level.

Mix up your filling and carefully spoon the filling into each jar.

Mix up your filling and carefully spoon the filling into each jar.

I added a cookie to the top of each one, they're adorable!

I added a cookie to the top of each one, they're adorable!

These taste so good!!!

DIRECTIONS

1.    Attach ribbon to outside of jars with hot glue

2.   Place animal cookies into food processor and process until they are fine crumbs

3.   Pour crumbs into a medium bowl; stir in sugar. Add melted butter, and stir until well combined.

4.   Place a few spoonfulls of crumb mixture into each jar, pat down with spoon, and let chill in freezer while you make the filling.

5.    For the filling: Using an electric mixer set at medium-high speed, beat the cream cheese in a large bowl until smooth. Beat in the condensed milk a little at a time, scraping the sides of the bowl as necessary. Beat in the lemon juice and vanilla.

6.   Remove jars from freezer, and fill almost to the top with filling. Smooth out tops for best look. Top with one animal cookie each! Chill and serve! 

For this recipe, I adapted the Martha Stewart Recipe, found here.

Pinterest  //  Facebook  //  Instagram  //  She's So Chic Blog  //  Twitter  //  Polyvore

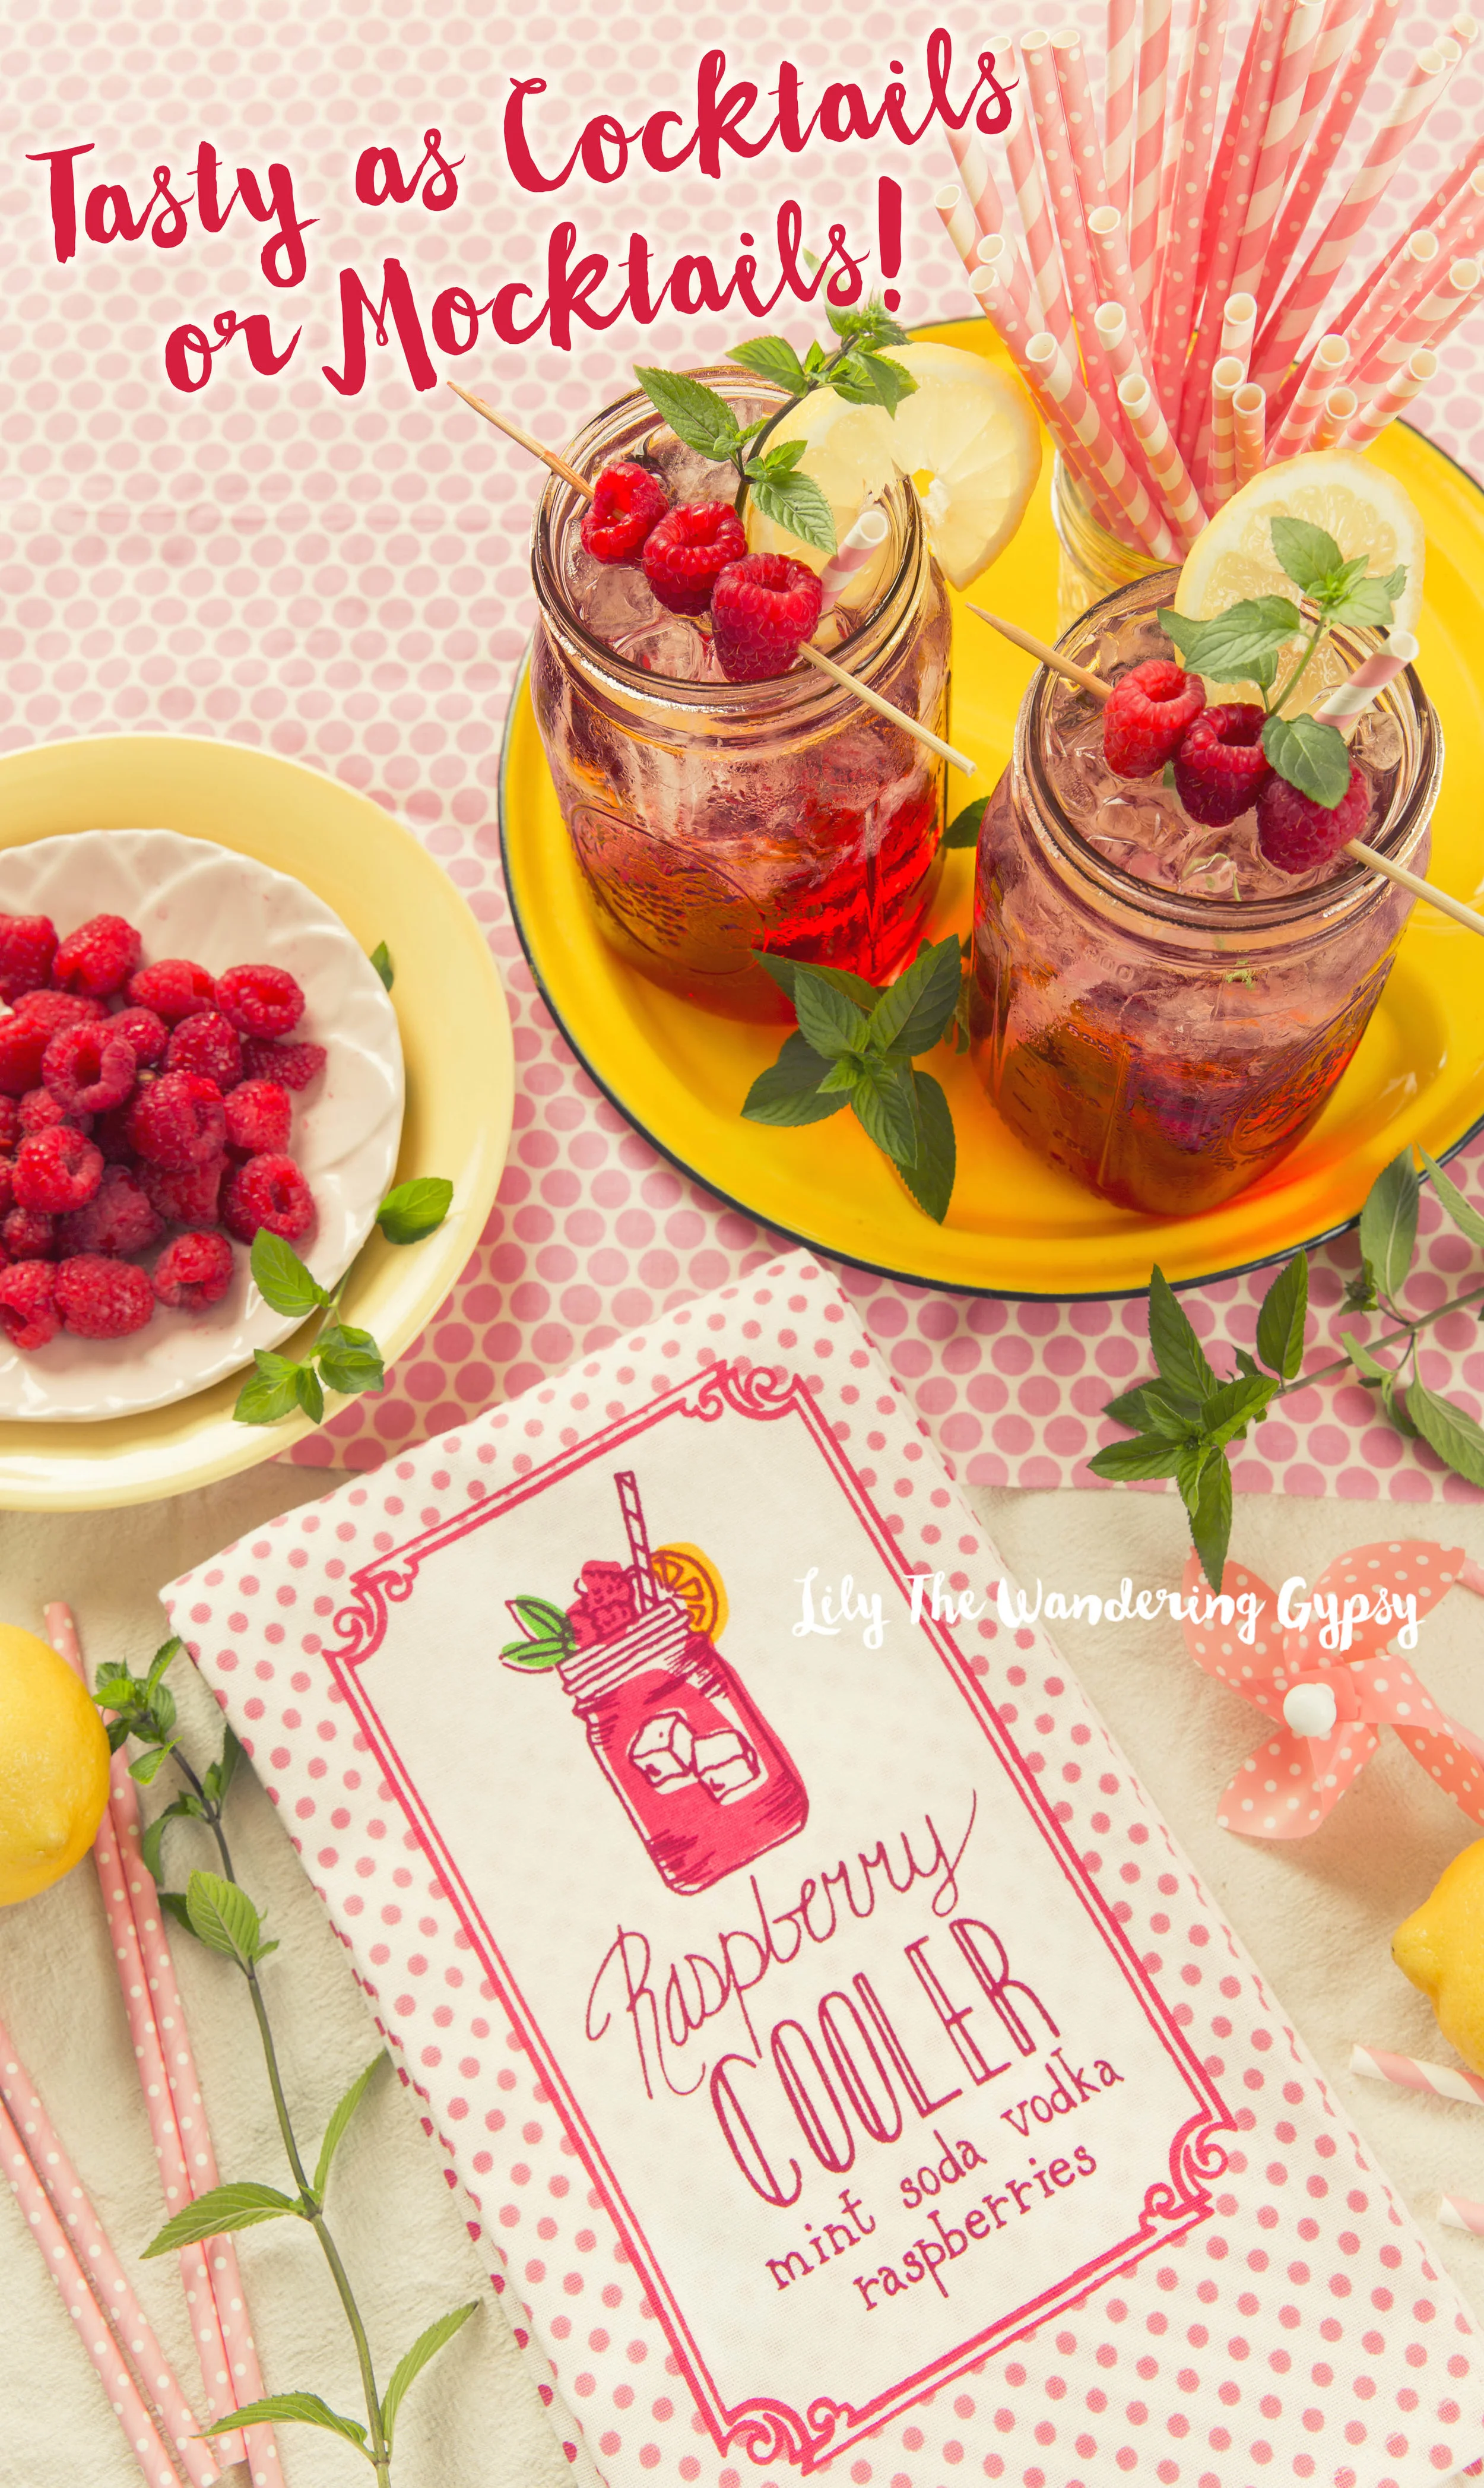
Raspberry Mint Spritzer With Lemon

I found this adorable kitchen towel recently, that just screamed "SUMMER". I loved the little graphic on it so much, I created a new, summer drink recipe around it. 

Learn how to make this cute drink!

INGREDIENTS

2 - 24 oz. Mason Jars (and Ice)

Cran Raspberry Juice

Sprite or Sprite Zero

Vodka (optional)

Handful of Mint Sprigs, 2 Lemons, Fresh Raspberries, and Short Skewers For Garnish

Learn how to make this cute drink!

INSTRUCTIONS

Optionally, fill each jar with 1-2 shots of vodka. Fill jars with ice 1/2 -3/4 of the way full. Fill the rest of the jar with half cran-raspberry juice, then top with Sprite. 

To Garnish - Poke skewers through 3 raspberries, set on top of glass. Slice lemons, and put them onto your jars. Top with fresh mint, and serve. Mix the mint into the drink for a bit of extra freshness! Enjoy.

Learn how to make this cute drink!


Pinterest  //  Facebook  //  Instagram  //  She's So Chic Blog  //  Twitter  //  Polyvore

Check Out These Top Instagram Accounts

I absolutely love what some people and companies are doing on their Instagram accounts these days! Some people just have a nack for making all their images all look so incredibly cohesive, and I am still trying to figure it out! 

@juleytl

I just love her sense of style, and it looks like she has an amazing home, which is the perfect backdrop for lots of her photos. Her website, upperlyne.com, is also stunning, and a wonderful source of inspiration for me! She's based in NOLA, which would be a dream for any fashion blogger, because of all the amazing locations you could shoot photos. 

@sugarandcharm

Next, we have Sugar and Charm, She is absolutely incredible, and I am beyond smitten with her website, www.sugarandcharm.com. She features all sorts of recipes and bright, beautiful photos, and amazing DIY projects. 

Stay tuned, I will post more awesome Instagram Accounts soon! 

CHECK ME OUT!

Pinterest  //  Facebook  //  Instagram  //  She's So Chic Blog  //  Twitter  //  Polyvore

How To Make Blooming Candies

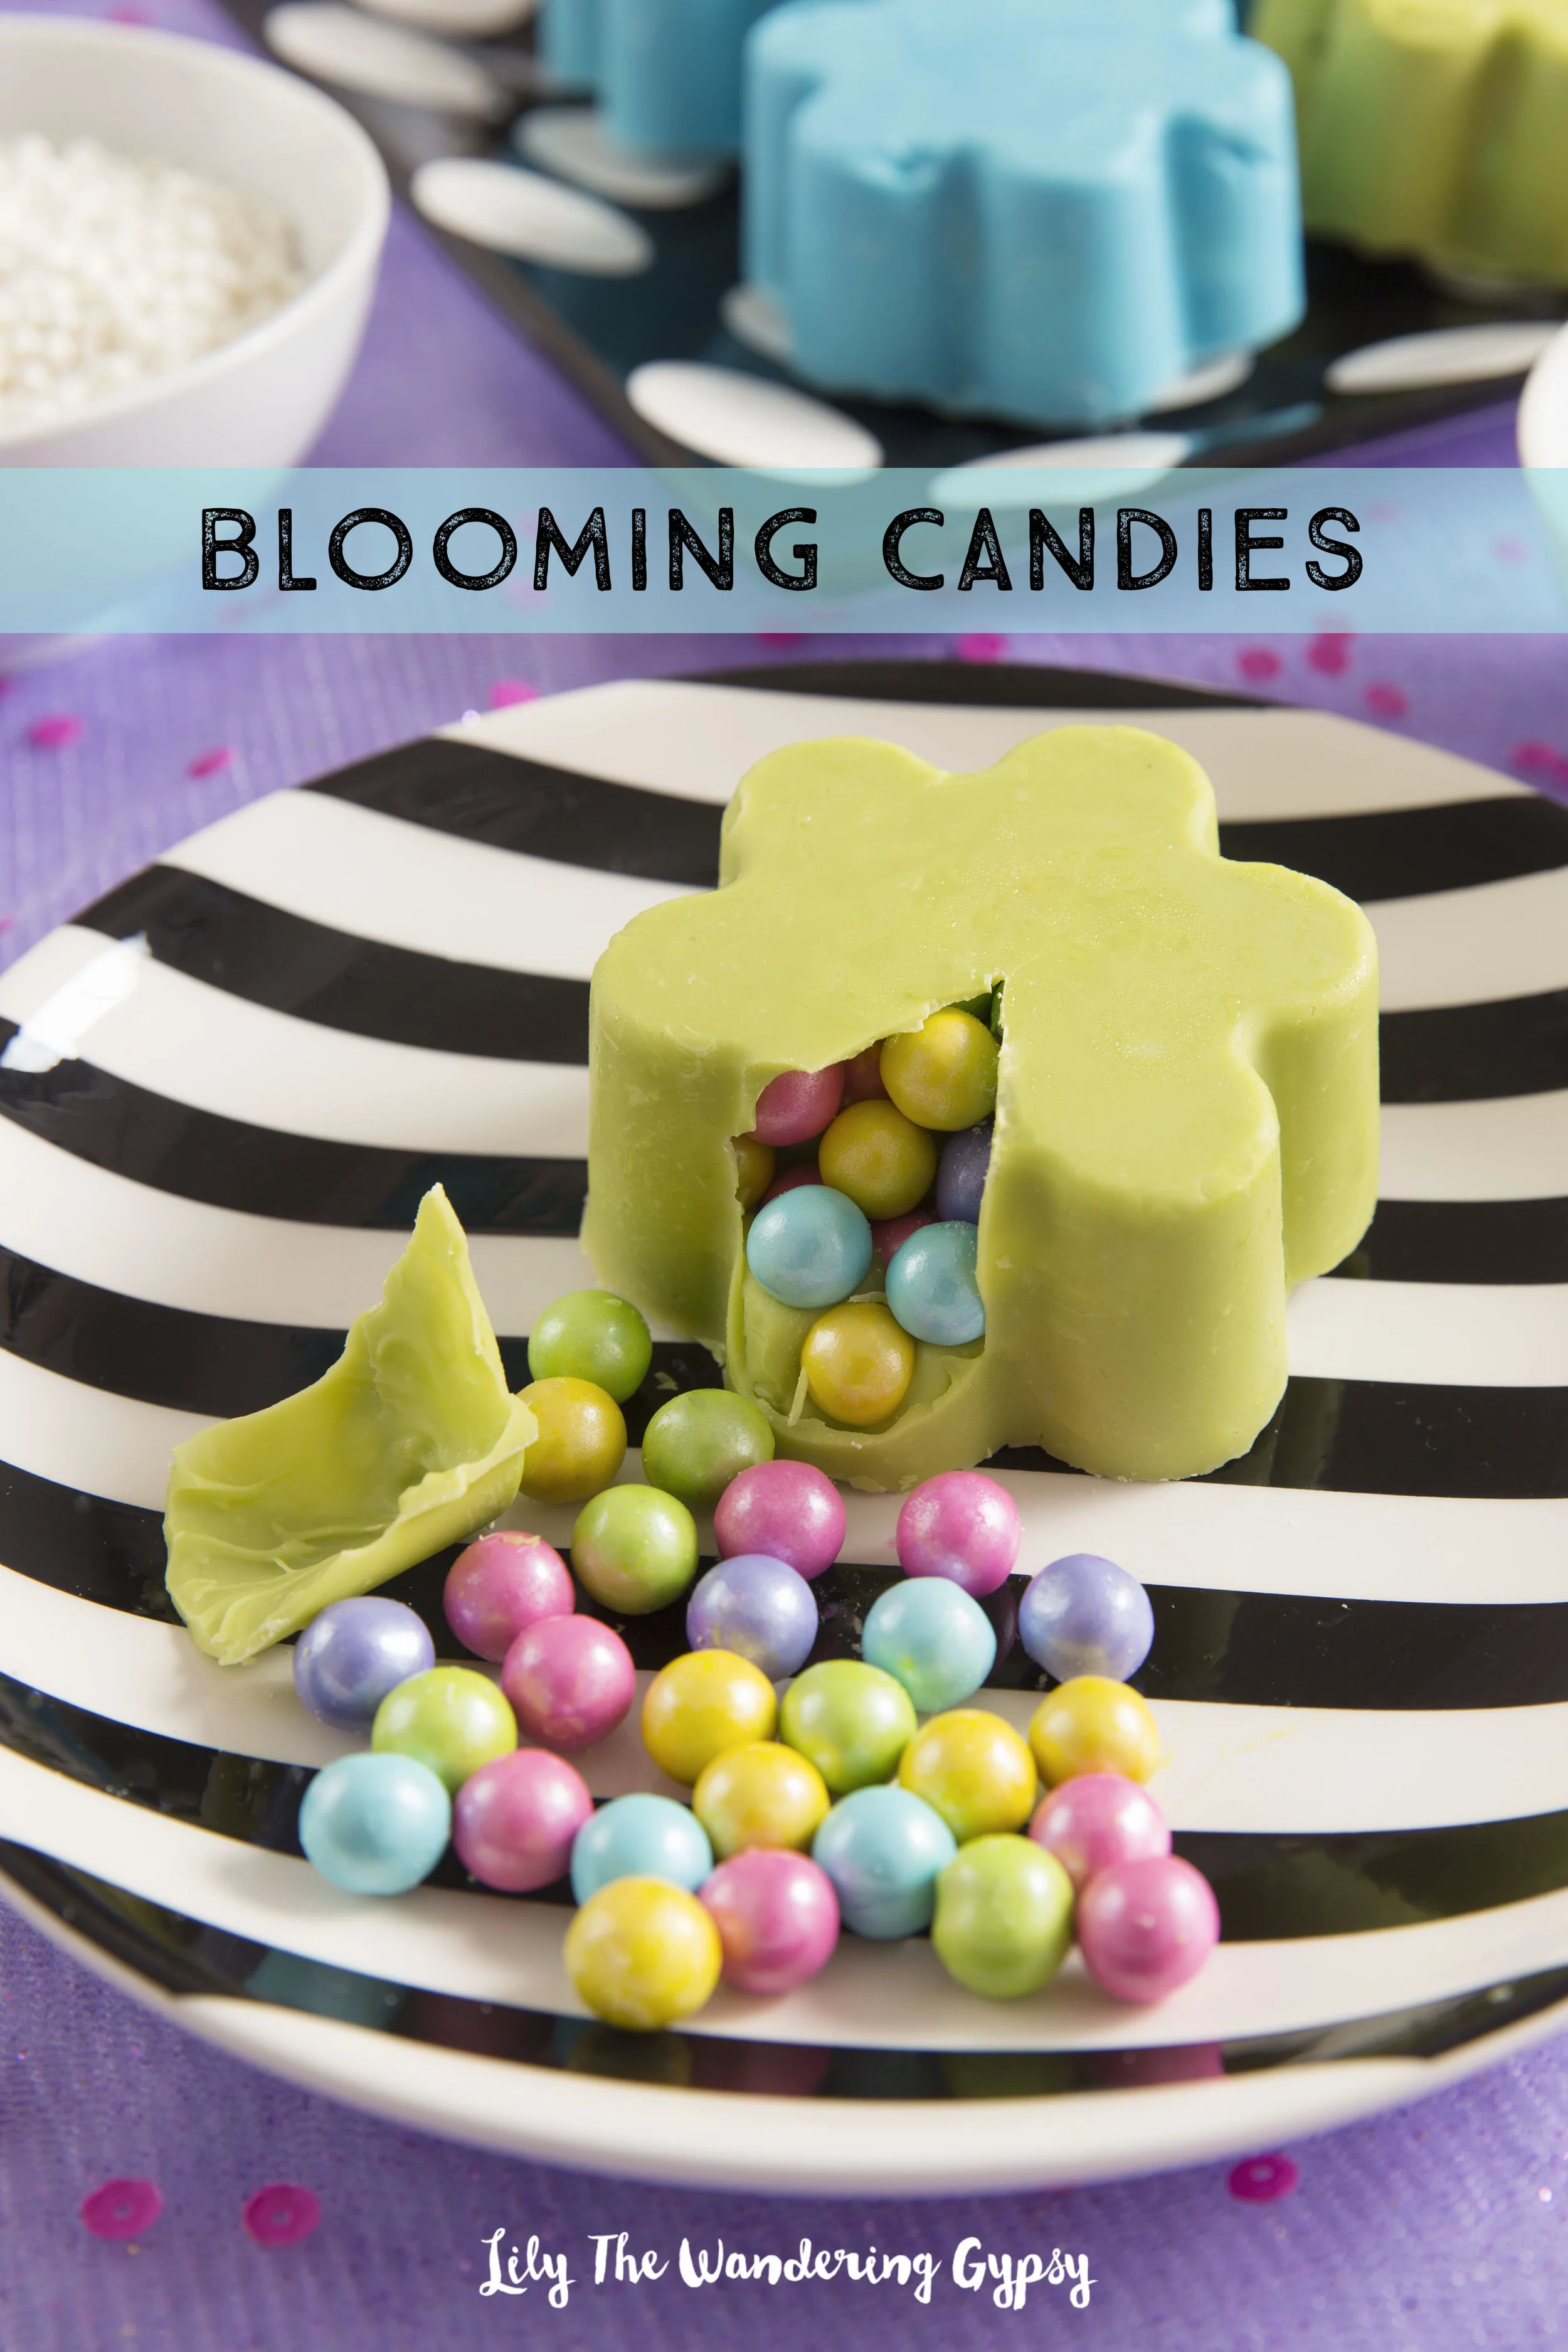
I had so much fun creating this project! I was inspired by summer, and all the pretty flowers that are blooming right now! For this recipe, I used silicone brownie molds, so I could fill them with tons of candy. I also used Blue and Vibrant Green Candy Melts. My filler candies were Sixlets, found here. See the list of ingredients below...and have FUN! You can make these in just about any color combo, for special events, holidays, and sporting events. 

How To Make Blooming Candies!

HERE'S HOW YOU MAKE THEM...

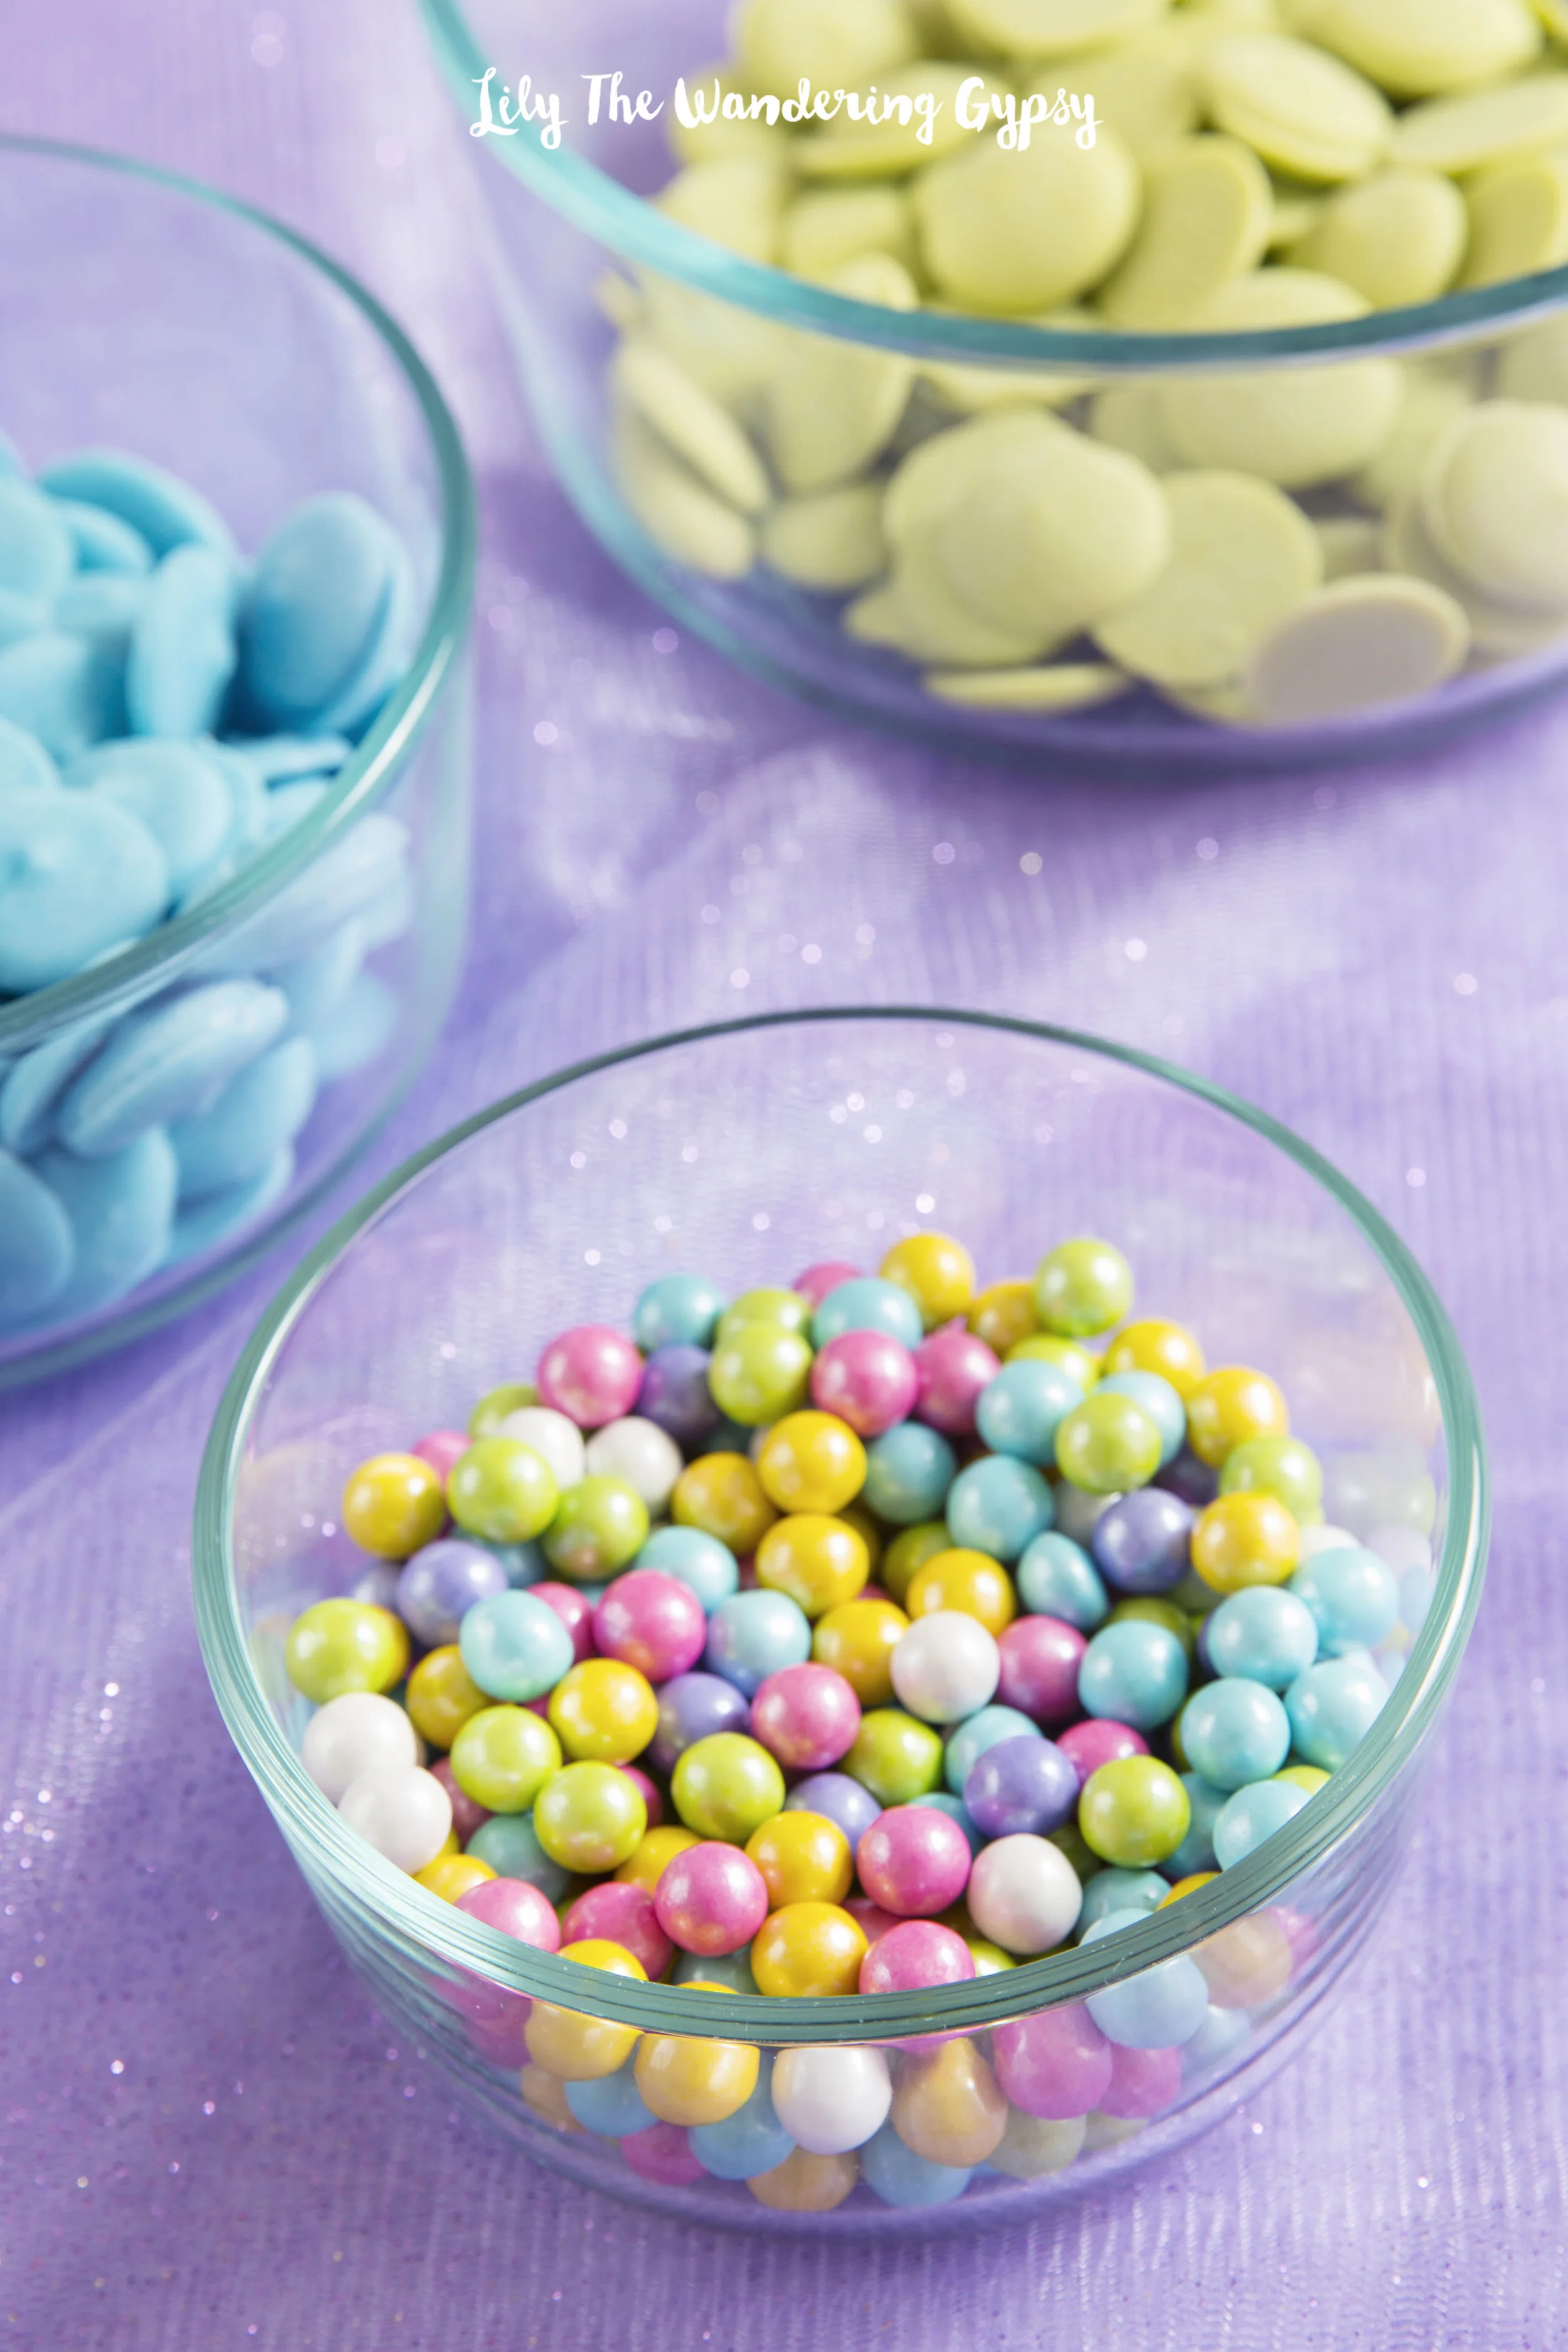
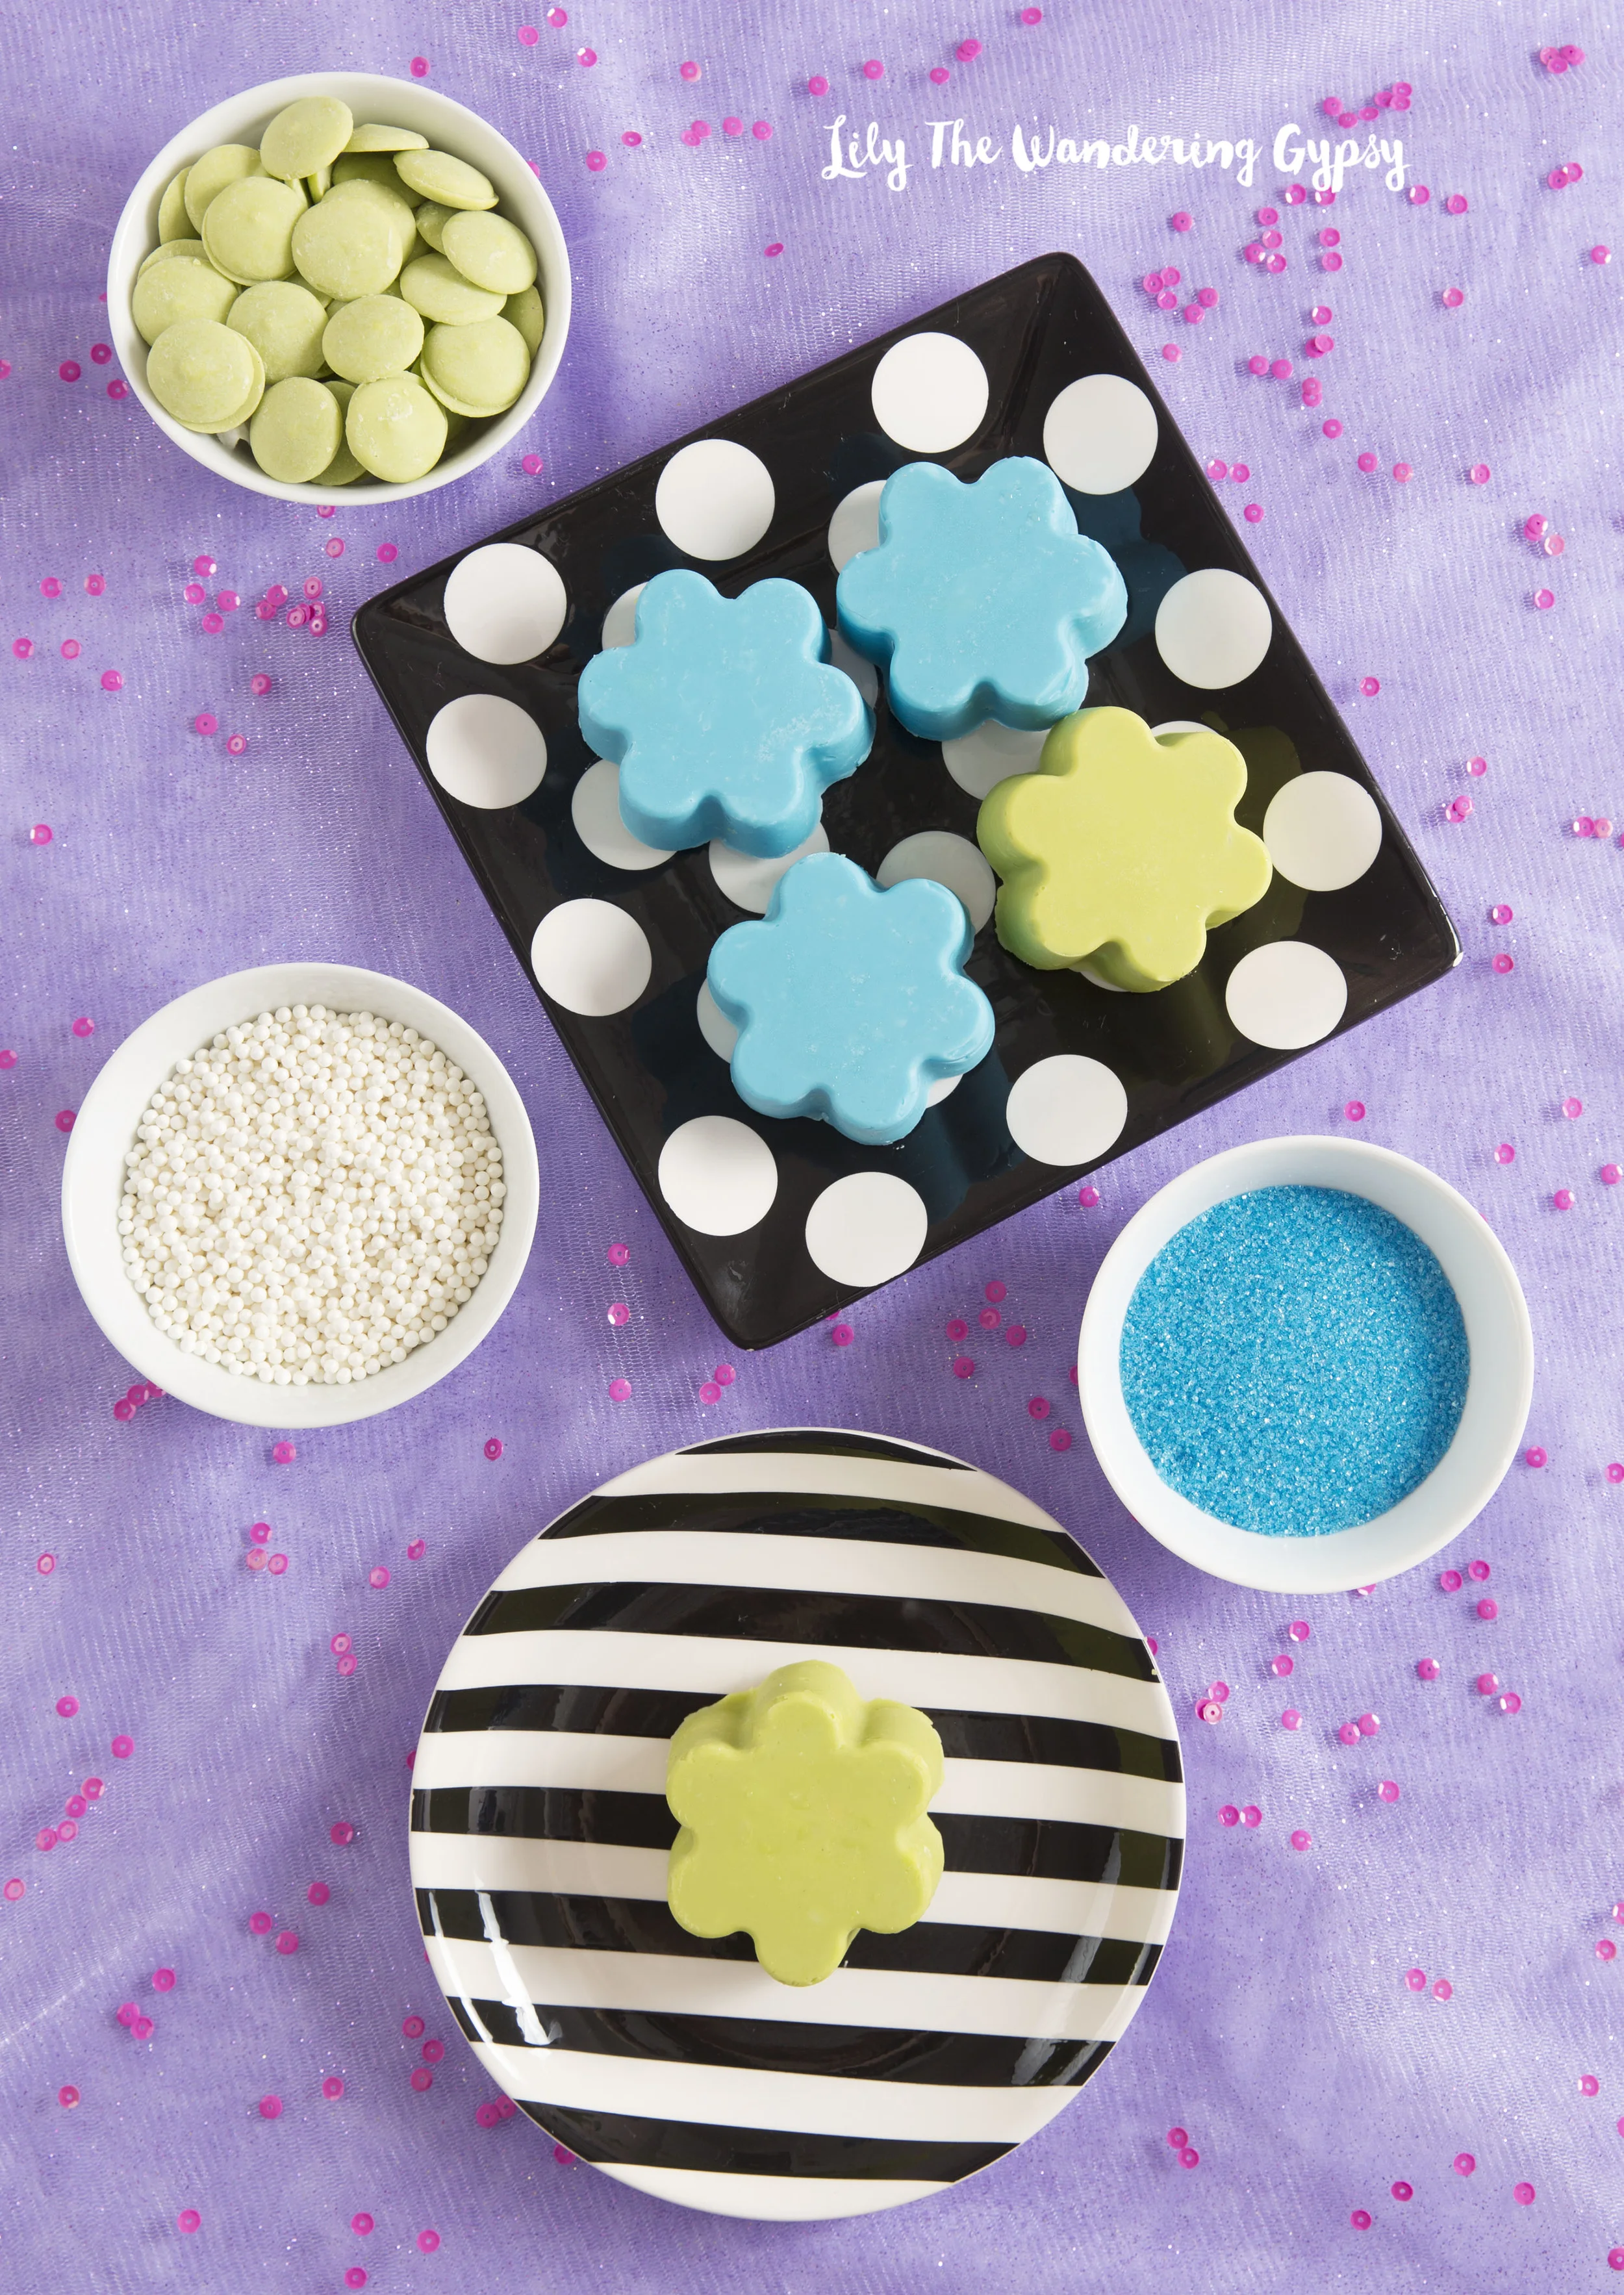
You only need a few simple ingredients! Some Sixlets Candies, candy melts, and a candy mould.  

You only need a few simple ingredients! Some Sixlets Candies, candy melts, and a candy mould.  

INGREDIENTS (Click Names To Buy)

Vibrant Green Candy Melts - Blue Candy Melts - Filler Candies - Wilton Paintbrushes, Candy/Brownie Molds

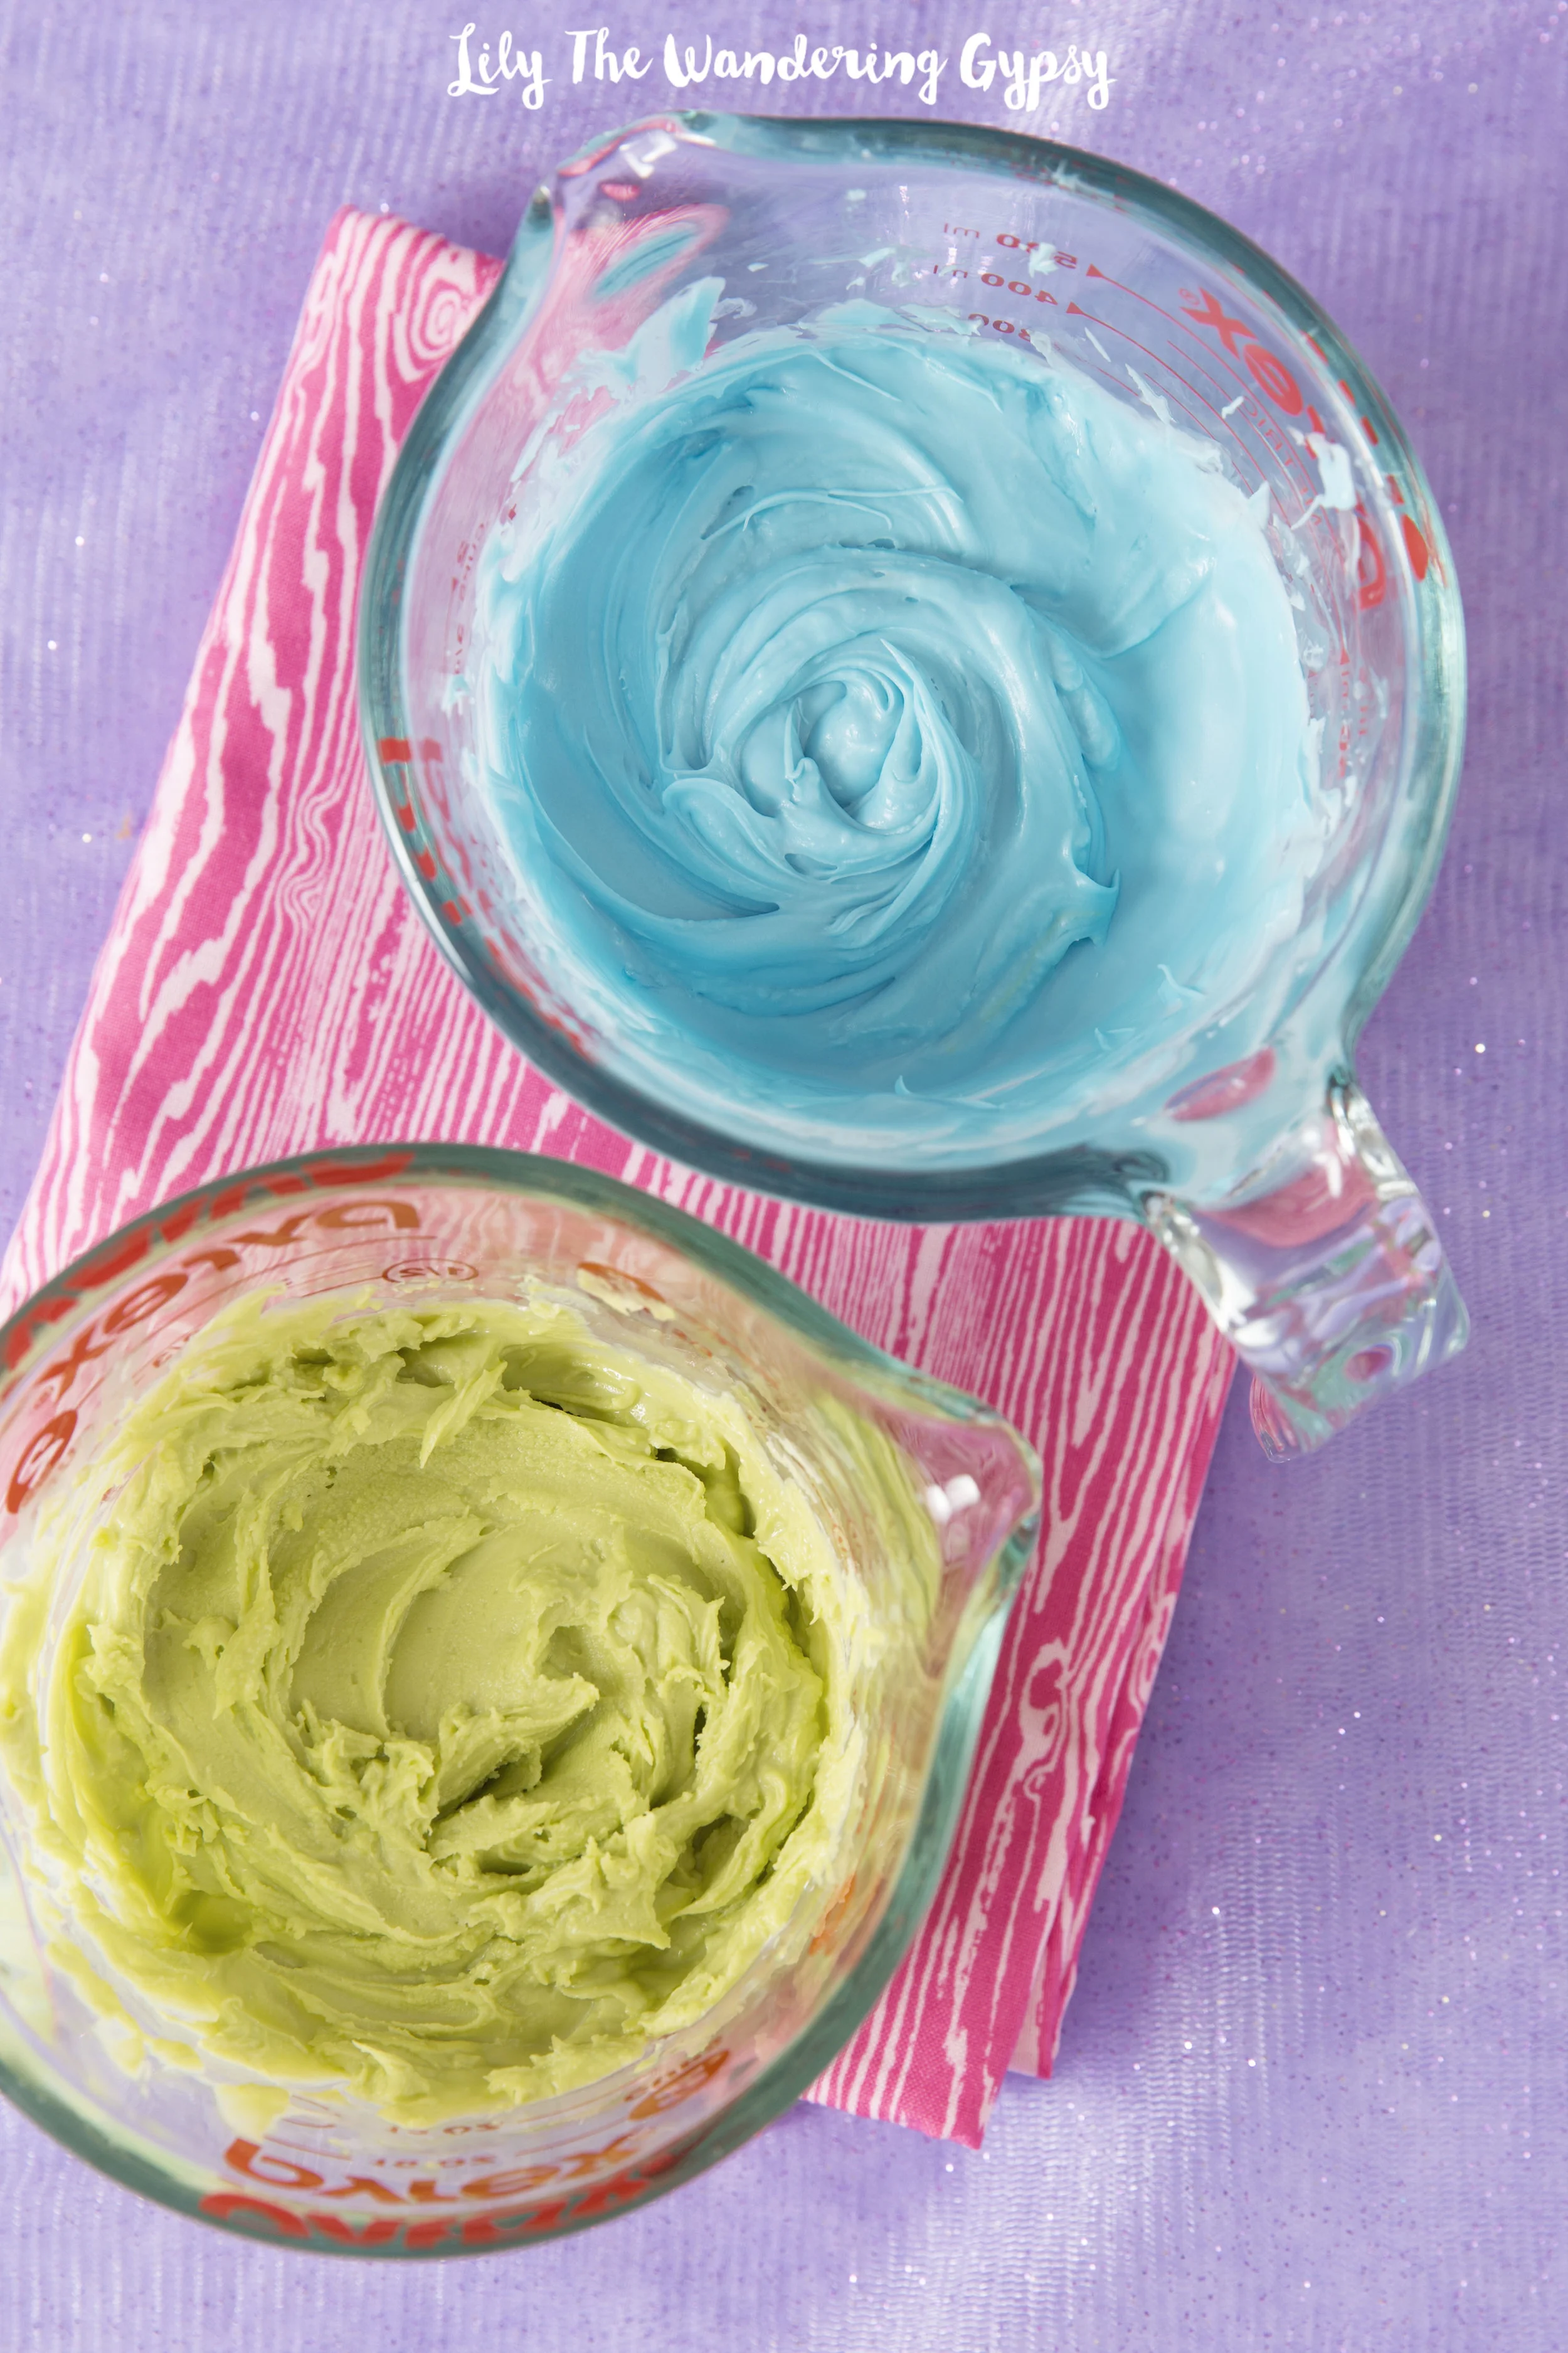
1.) Melt your candy melts in 2 separate containers, either in the microwave or in a double boiler method, which I did. I found that using a 2 cup Pyrex measuring cup, which held one package of candy melts worked great! Fill a small saucepan with 2-3 inches of water, and pour your melts into the measuring cup. Insert cup into water, heat water over medium of high heat and stir melts frequently until smooth. (See photo below for tips)...

How To Make Blooming Candies!
Texture Test (above) - The blue one looks right, but NOT the green one! If your melts form more of a paste than a smooth and satiny texture, try again. 

Texture Test (above) - The blue one looks right, but NOT the green one! If your melts form more of a paste than a smooth and satiny texture, try again. 

MY BIGGEST TIP WOULD BE...USE A PAINTBRUSH!!!

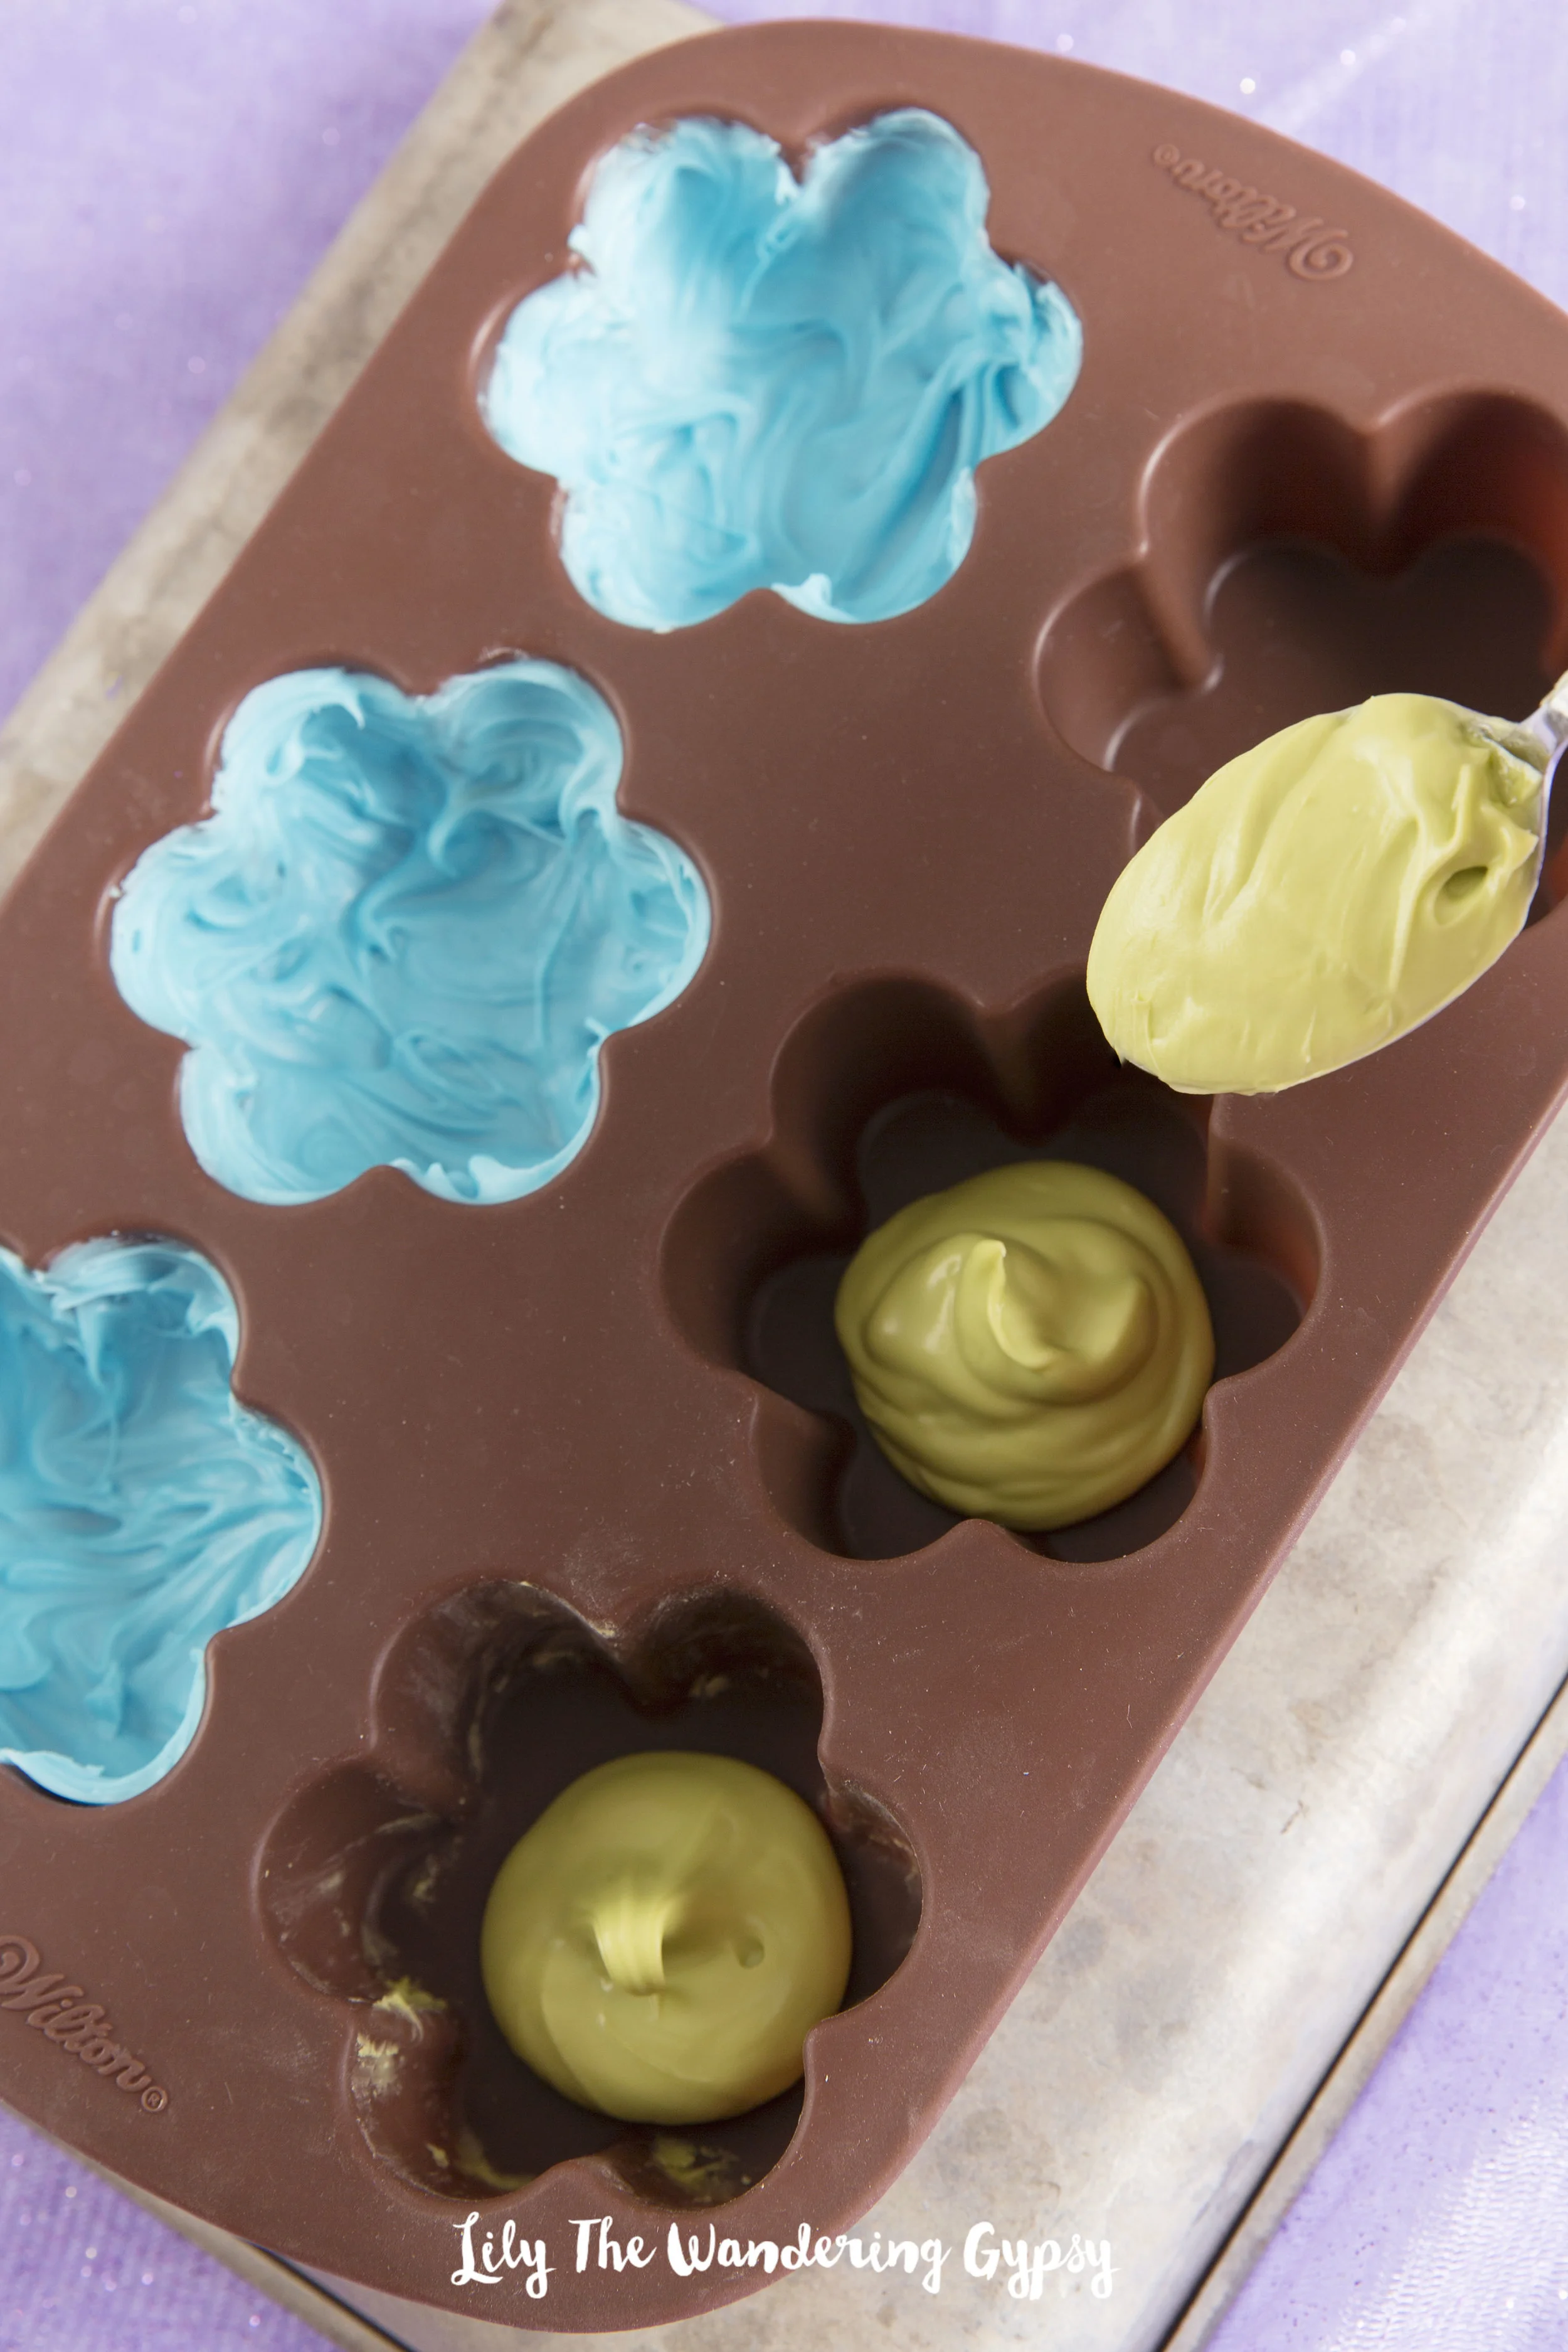
2.) Using a paintbrush to spread the candy molds was a priceless tip! The brush gives you way more control than a knife or spoon. This step took a while, but was definitely fun. I searched around just about every craft store for these brushes, and f…

2.) Using a paintbrush to spread the candy molds was a priceless tip! The brush gives you way more control than a knife or spoon. This step took a while, but was definitely fun. I searched around just about every craft store for these brushes, and finally found them at JoAnns! I originally searched for cheap kids' paintbrushes, and found nothing. Luckily I persisted :) 

3.) See how I spread the blue candy melts into the molds with a paintbrush, and am about to spread the green candies next. I added about double this amount (that you see in green) to fill the mold at first. After you fill the molds, pop the candies …

3.) See how I spread the blue candy melts into the molds with a paintbrush, and am about to spread the green candies next. I added about double this amount (that you see in green) to fill the mold at first. After you fill the molds, pop the candies into the freezer for about 5 minutes. 

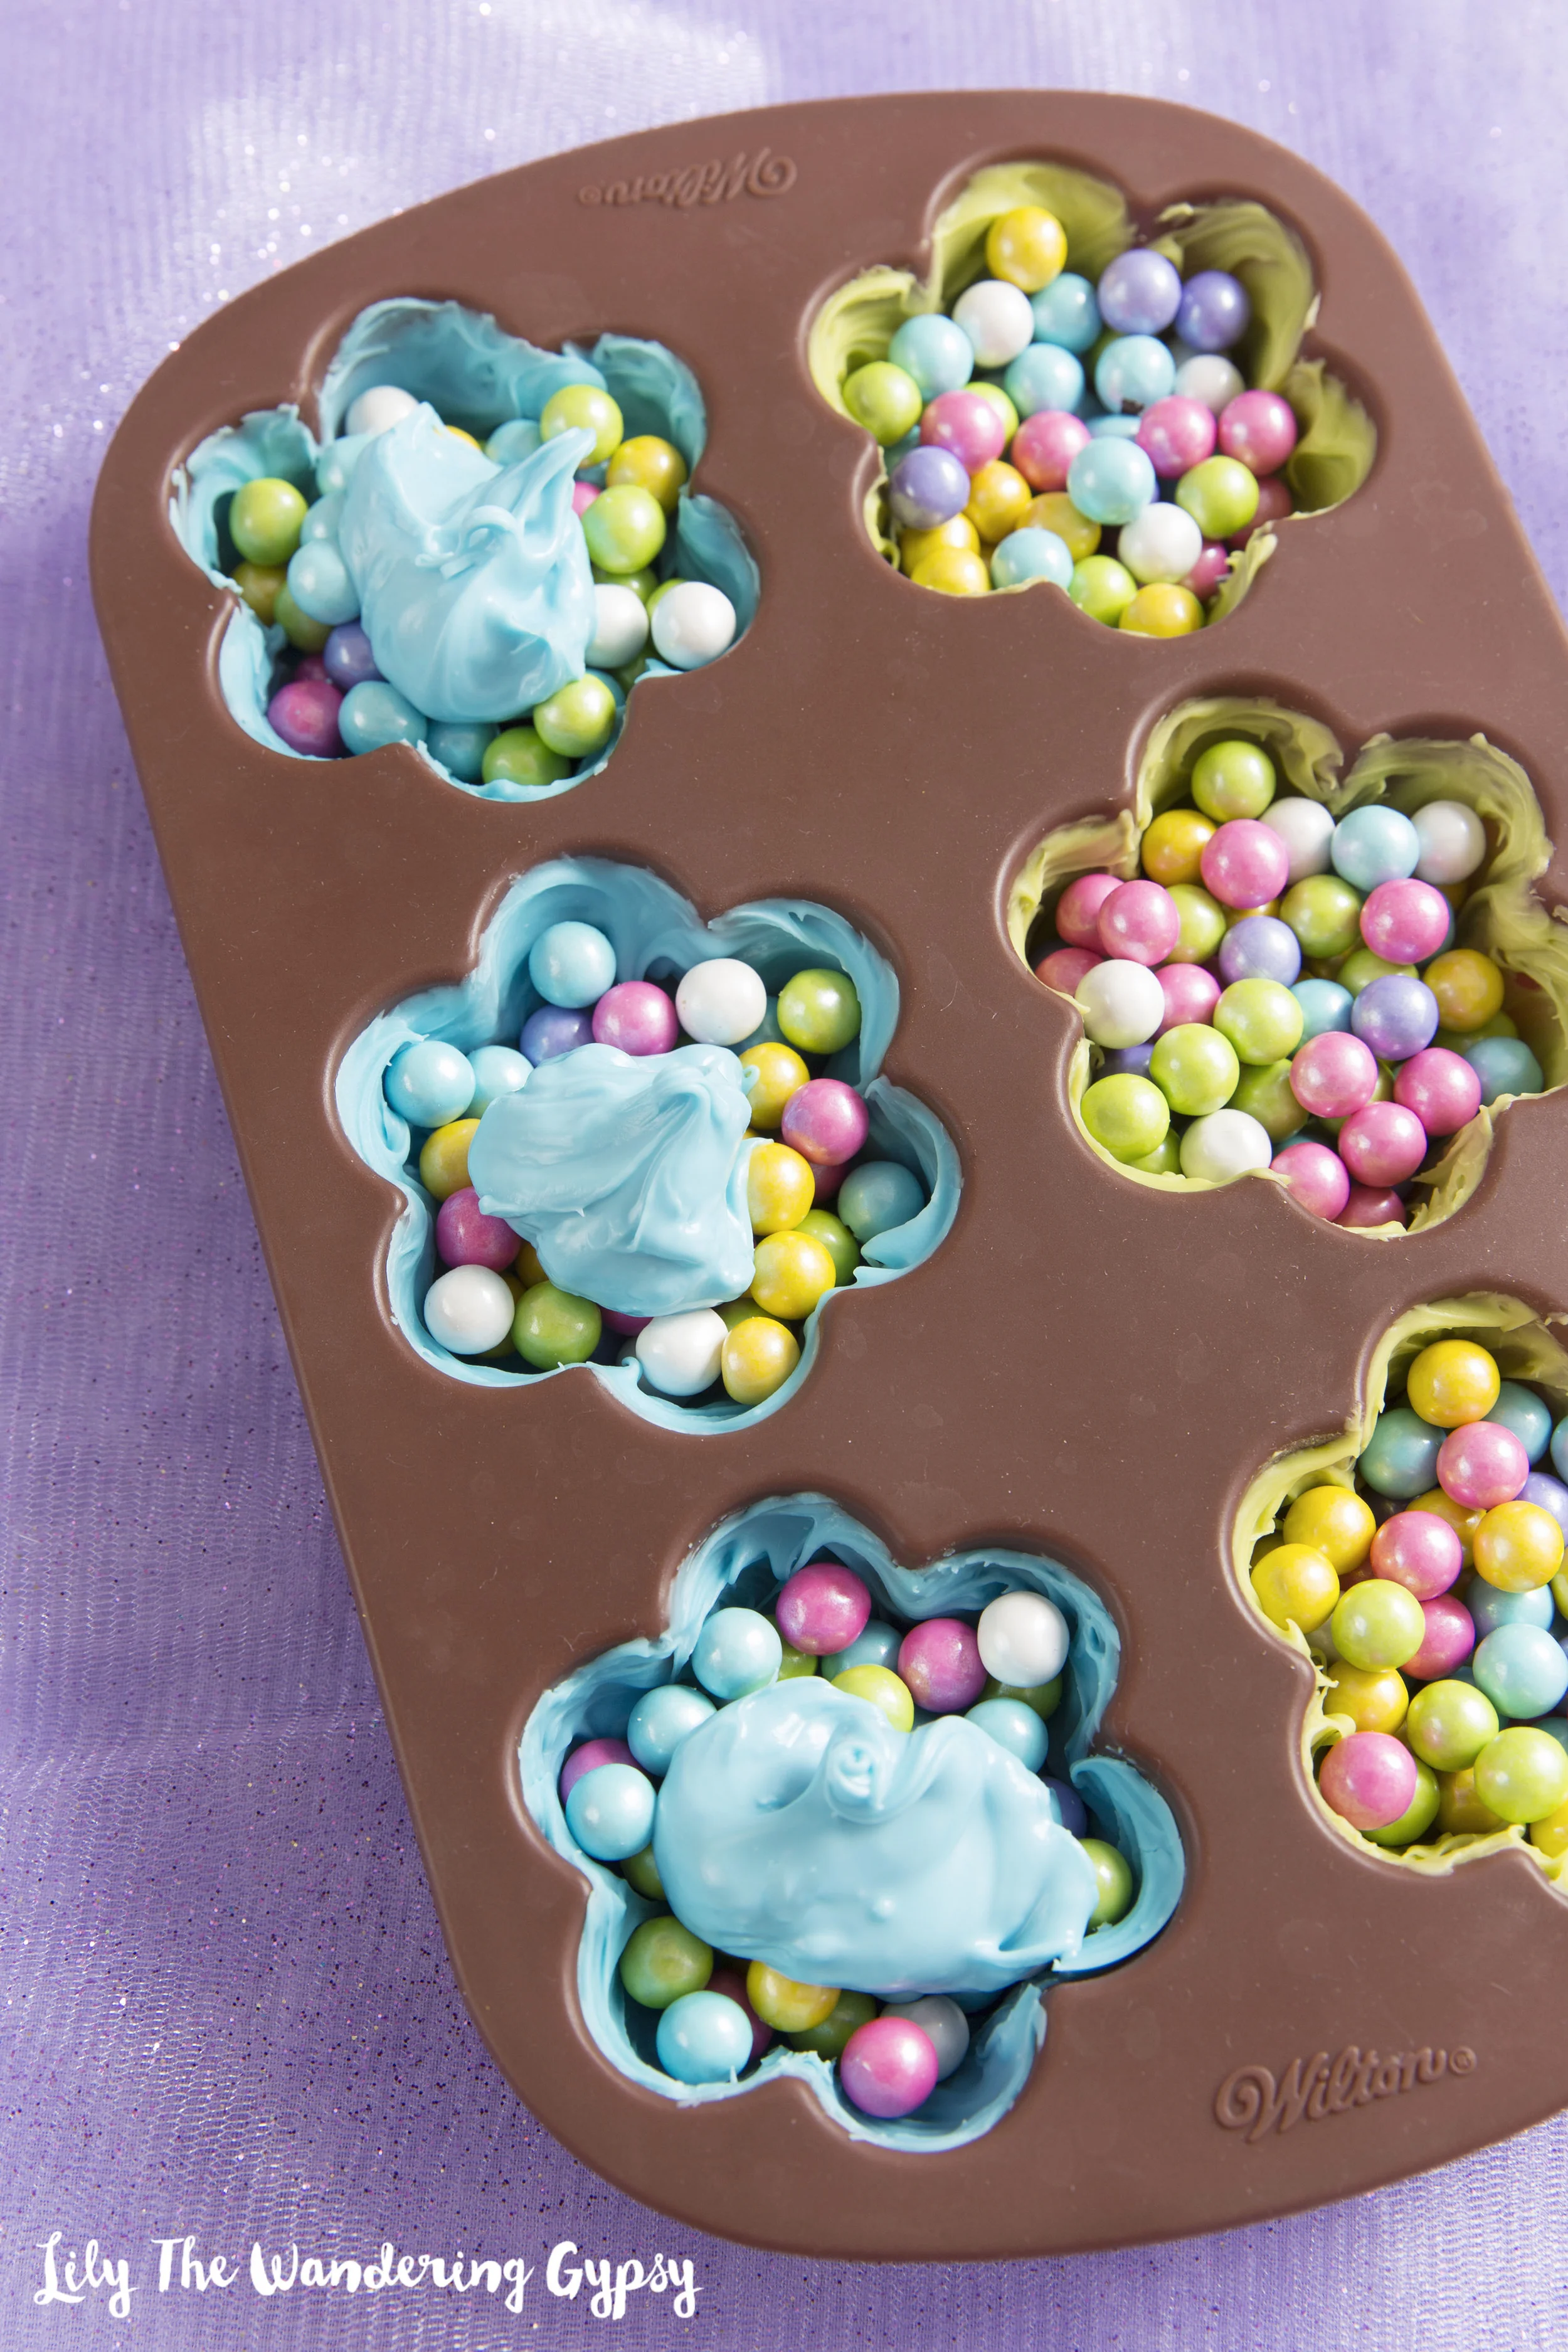
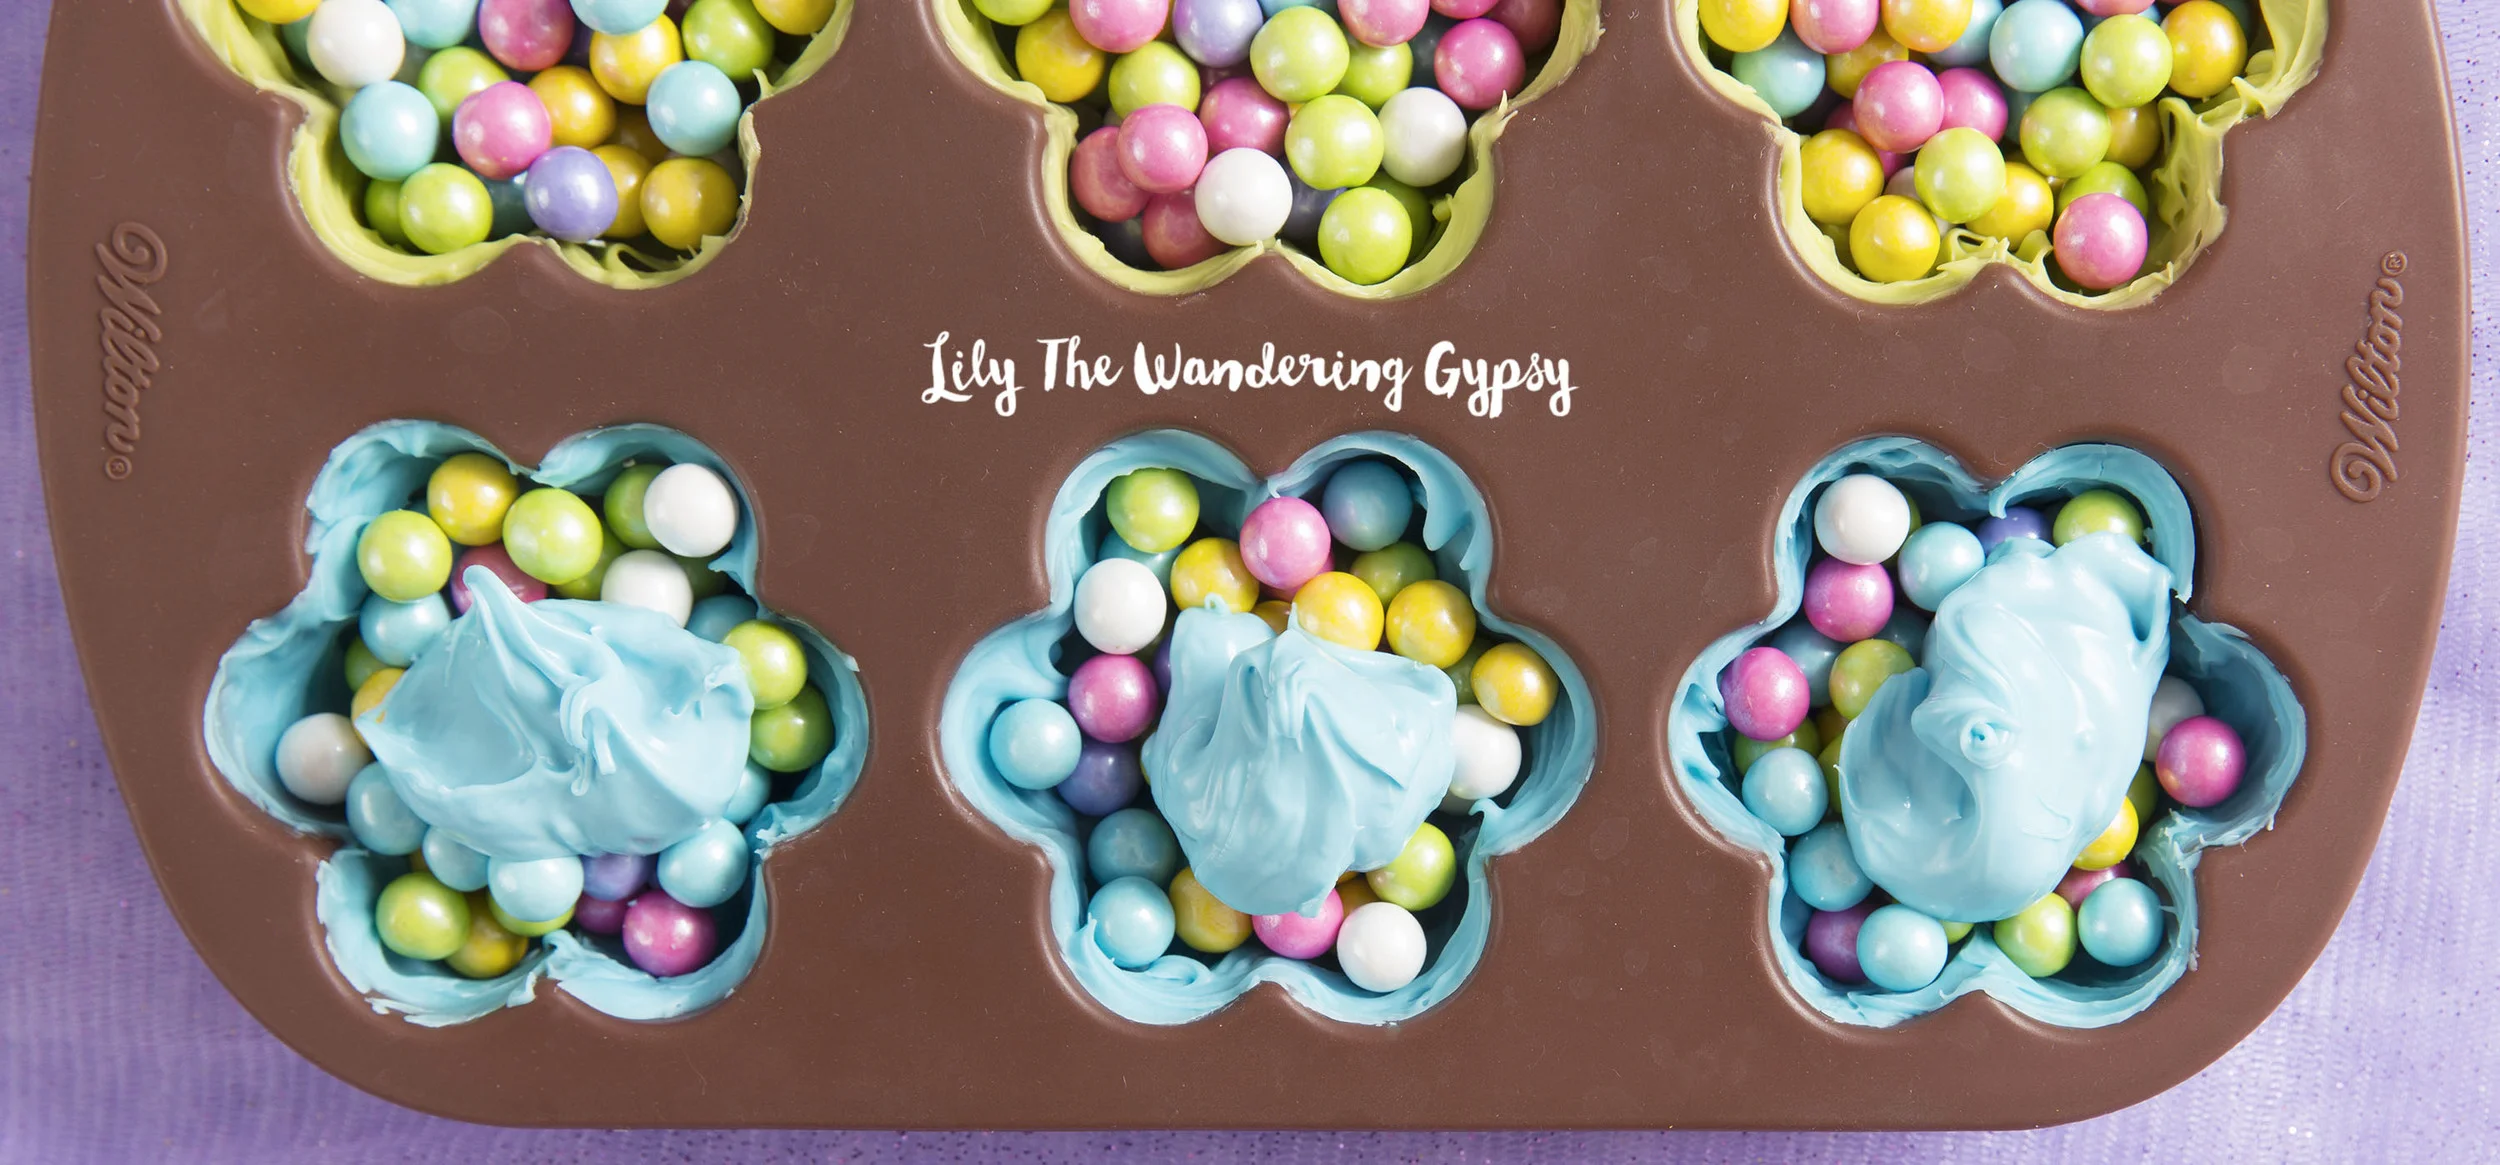
4.) Now, fill the candy shells with Candies, almost to the very top. 

4.) Now, fill the candy shells with Candies, almost to the very top. 

5.) Add a dollop of candy melts on top of your fillers candies, and use the paintbrush to smooth the dollop out, and to create a seal, so the candies stay inside the melts. Throw them back into the freezer, and wait about 30 minutes (or longer), so …

5.) Add a dollop of candy melts on top of your fillers candies, and use the paintbrush to smooth the dollop out, and to create a seal, so the candies stay inside the melts. Throw them back into the freezer, and wait about 30 minutes (or longer), so that everything hardens and seals. 

These are so cute!!!

These are so cute!!!

6.) Here is what it looked like after I smoothed the last part of the candy melts over the molds, to close in the Sixlets. Use your brush to make a pretty swirl pattern on the candies if you wish. 

6.) Here is what it looked like after I smoothed the last part of the candy melts over the molds, to close in the Sixlets. Use your brush to make a pretty swirl pattern on the candies if you wish. 

7.) Here is what your (almost finished) candies will look like after being in the freezer overnight. You don't have to leave them in this long (2 hours will do), but after all the work I did on this project, I was more than happy to leave these…

7.) Here is what your (almost finished) candies will look like after being in the freezer overnight. You don't have to leave them in this long (2 hours will do), but after all the work I did on this project, I was more than happy to leave these babies in the freezer overnight, and enjoy them the next day :)

8.) Using a pair of rubber or cotton gloves, carefully peel the mold away from your Blooming Candies. The gloves help prevent finger prints all over your candies. Aren't they adorable? The next photo shows how you open them...

8.) Using a pair of rubber or cotton gloves, carefully peel the mold away from your Blooming Candies. The gloves help prevent finger prints all over your candies. Aren't they adorable? The next photo shows how you open them...

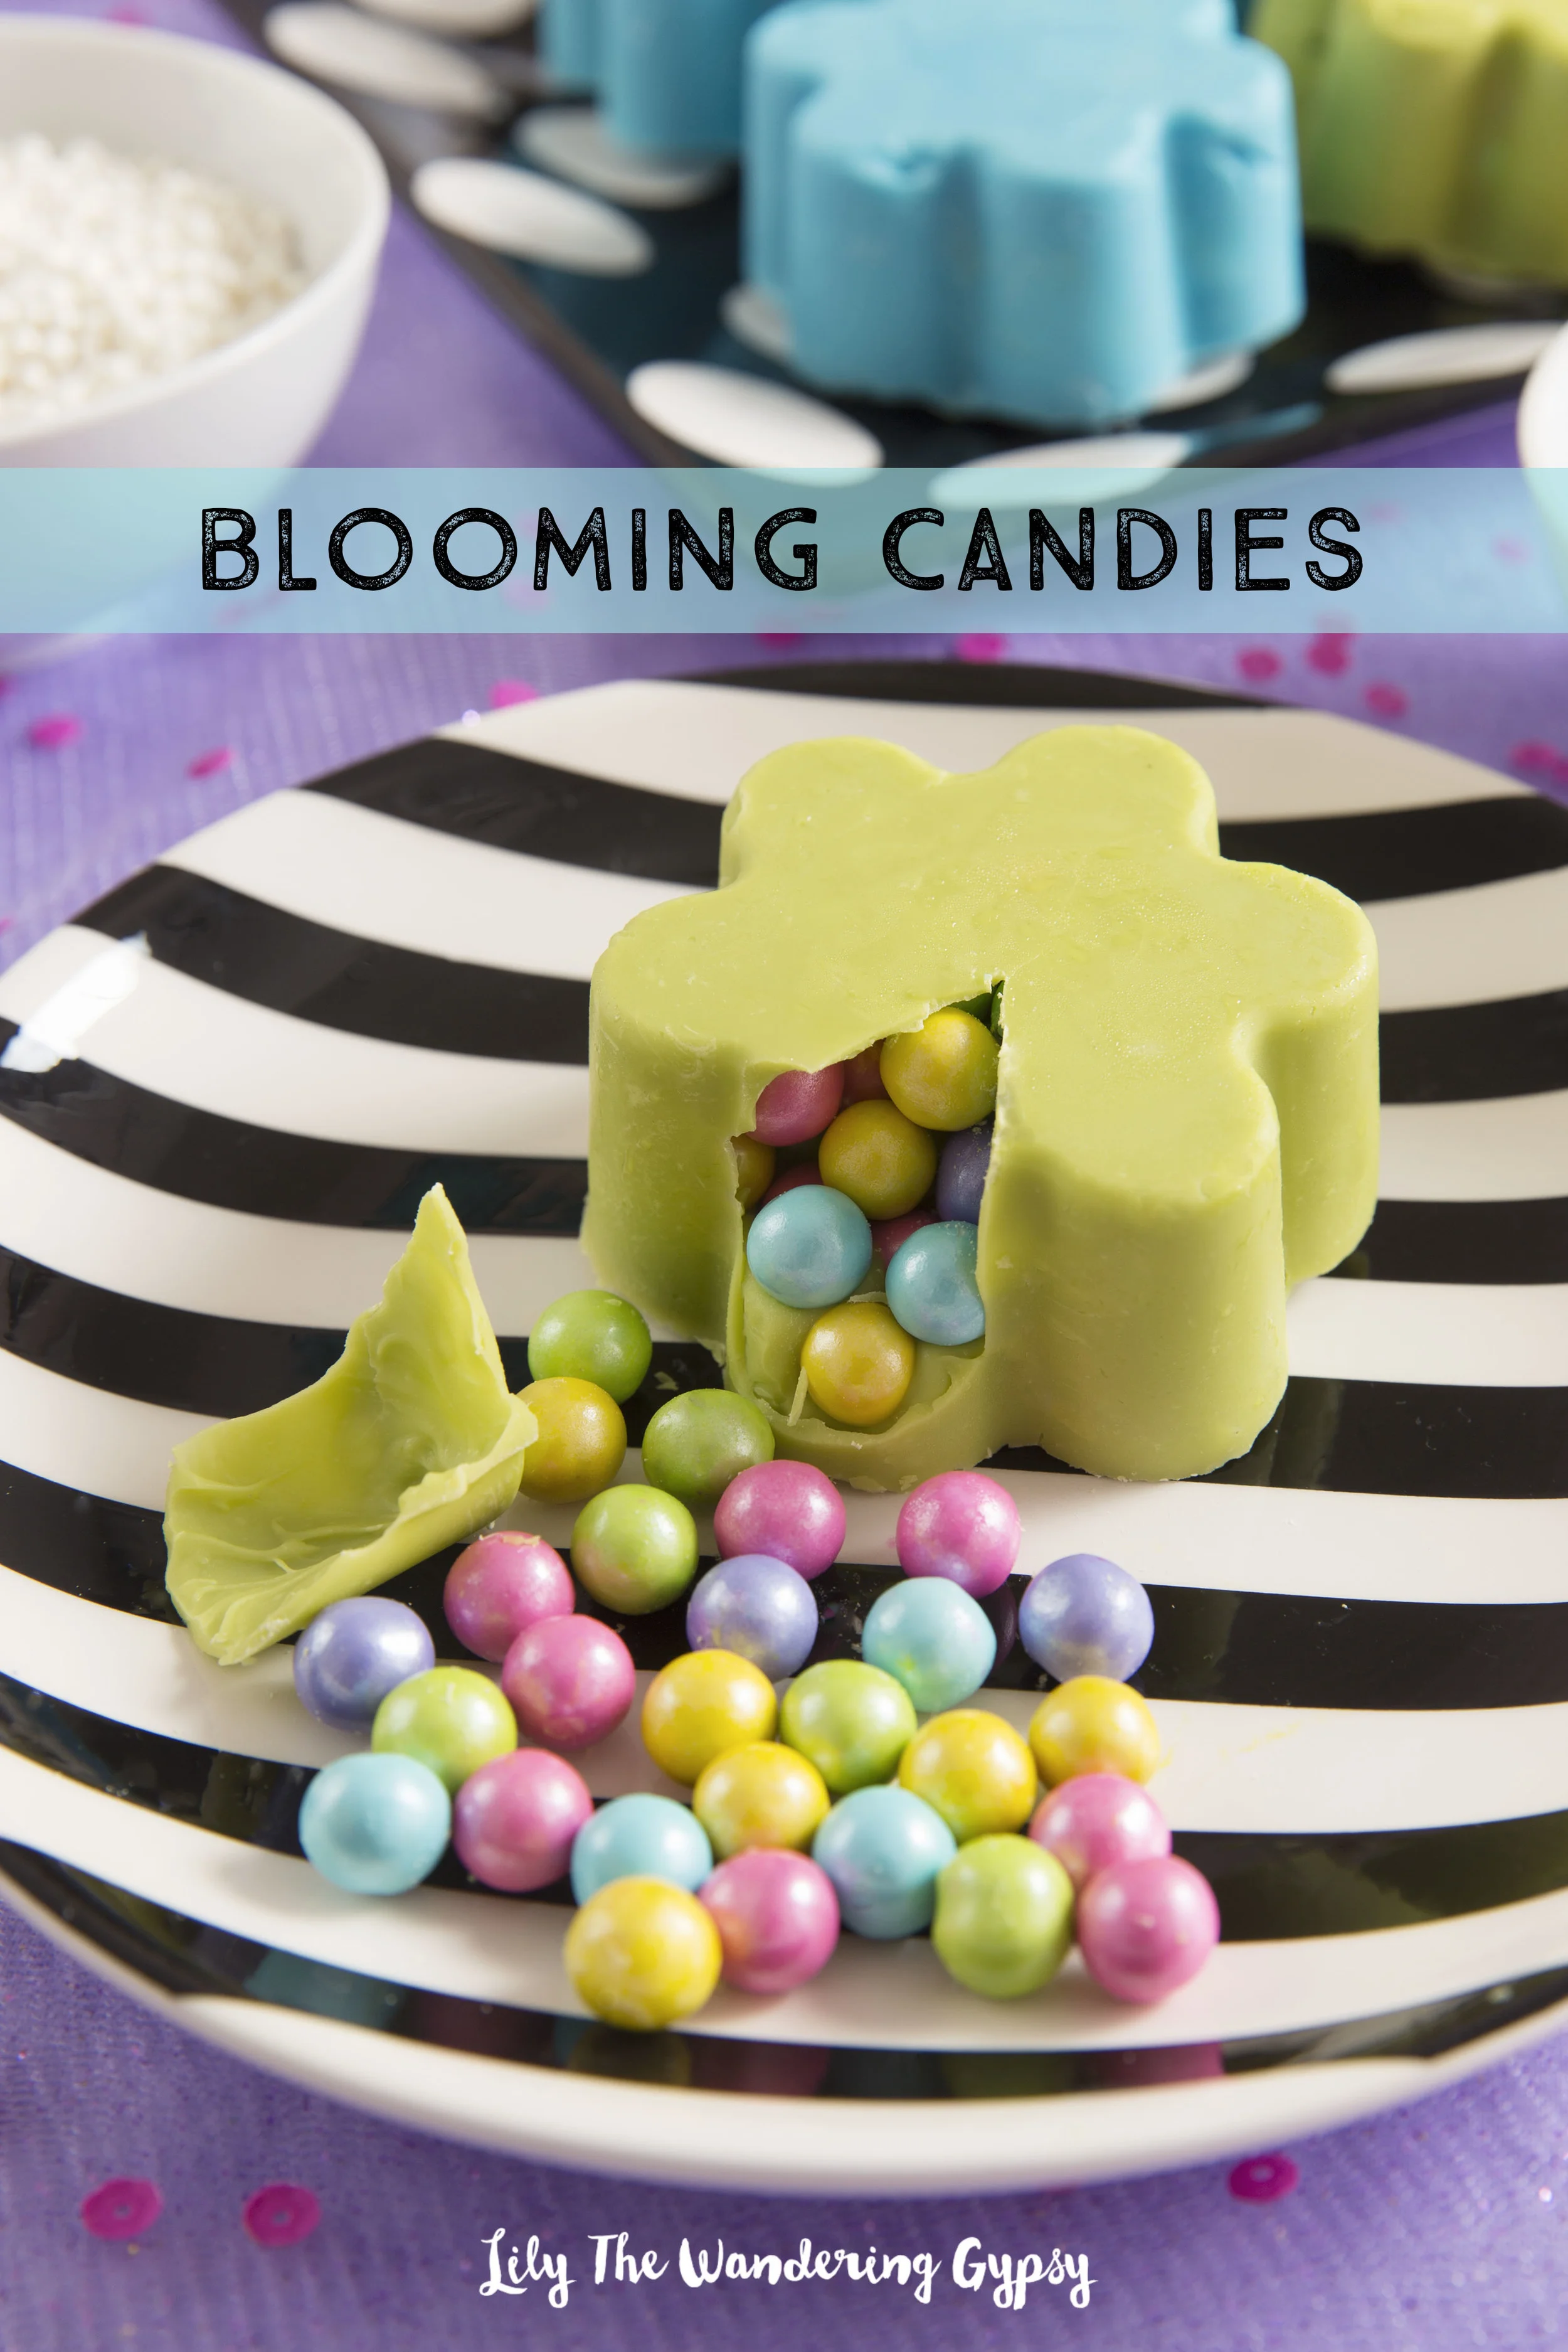
Now you can reveal your surprise candy inside! Just use a sharp kitchen knife, and (very carefully), cut into the candy as if you are cutting a slice of cake. 

Now you can reveal your surprise candy inside! Just use a sharp kitchen knife, and (very carefully), cut into the candy as if you are cutting a slice of cake. 

Blooming Candies

Pinterest  //  Facebook  //  Instagram  //  She's So Chic Blog  //  Twitter  //  Polyvore

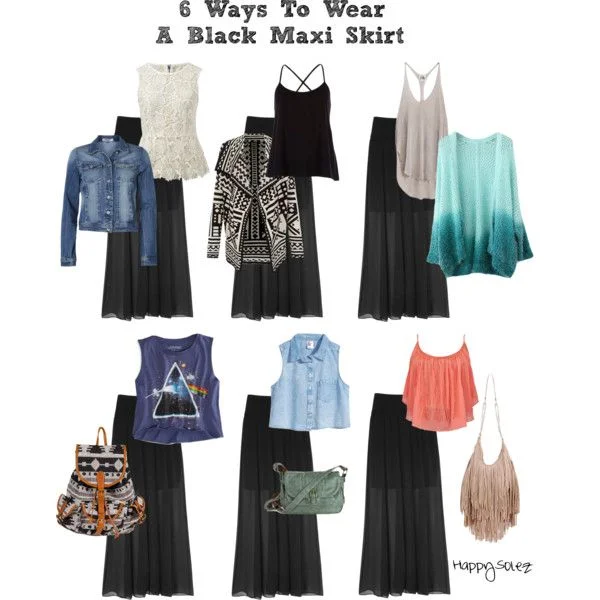
Polyvore Outfits

I used to play with paper dolls as a kid, and when my dad would bring me to a bookstore, I would choose a book with paper doll cutouts instead of a traditional novel or similar that most people would buy. After I was too old for them, I went on to cutting people and outfit ideas out of magazines. It was fun, my grandma would give me her People magazines (and the tabloid ones, too!), and I would entertain myself for hours creating collages and such. So, Polyvore is basically paper dolls on Steroids, for women in the digital age! Check out my Polyvore Creations.

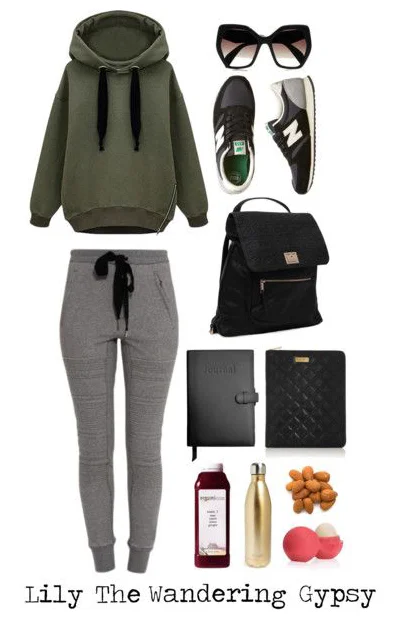
This comfy outfit and other essentials are great for a road trip. 

This comfy outfit and other essentials are great for a road trip. 

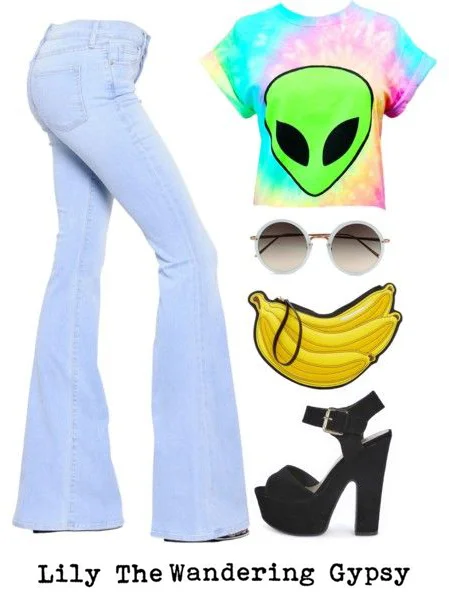
This outfit merges 70s with 90s styles, and would be perfect for a concert! 

This outfit merges 70s with 90s styles, and would be perfect for a concert! 

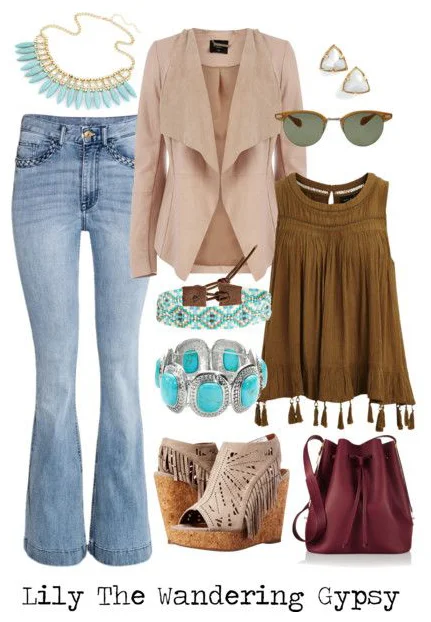
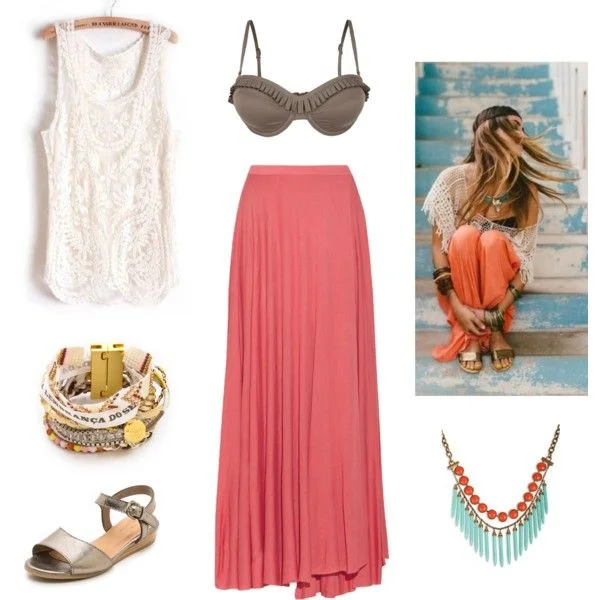
And, this awesome outfit has Earthy and Bohemian elements while still looking polished. 

And, this awesome outfit has Earthy and Bohemian elements while still looking polished. 

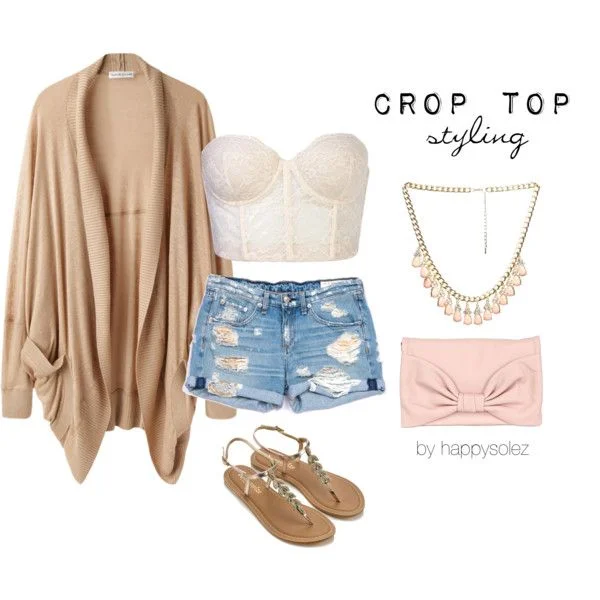
A cute outfit for your next concert or festival!

A cute outfit for your next concert or festival!

Pinterest  //  Facebook  //  Instagram  //  She's So Chic Blog  //  Twitter  //  Polyvore 

Fun Berry Recipes - Food and Drink Ideas

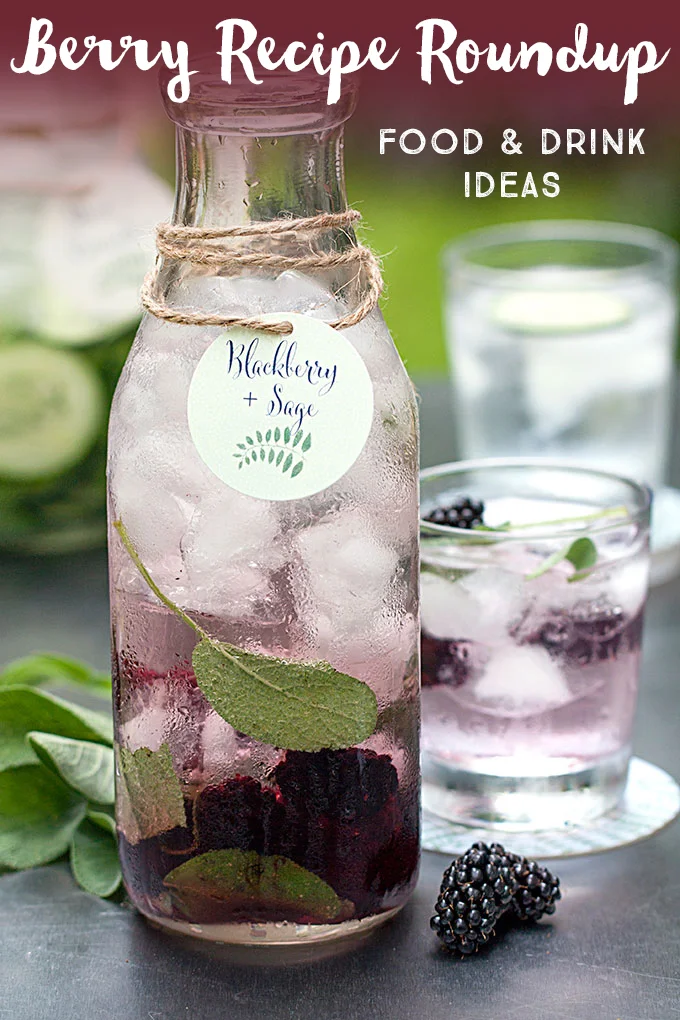
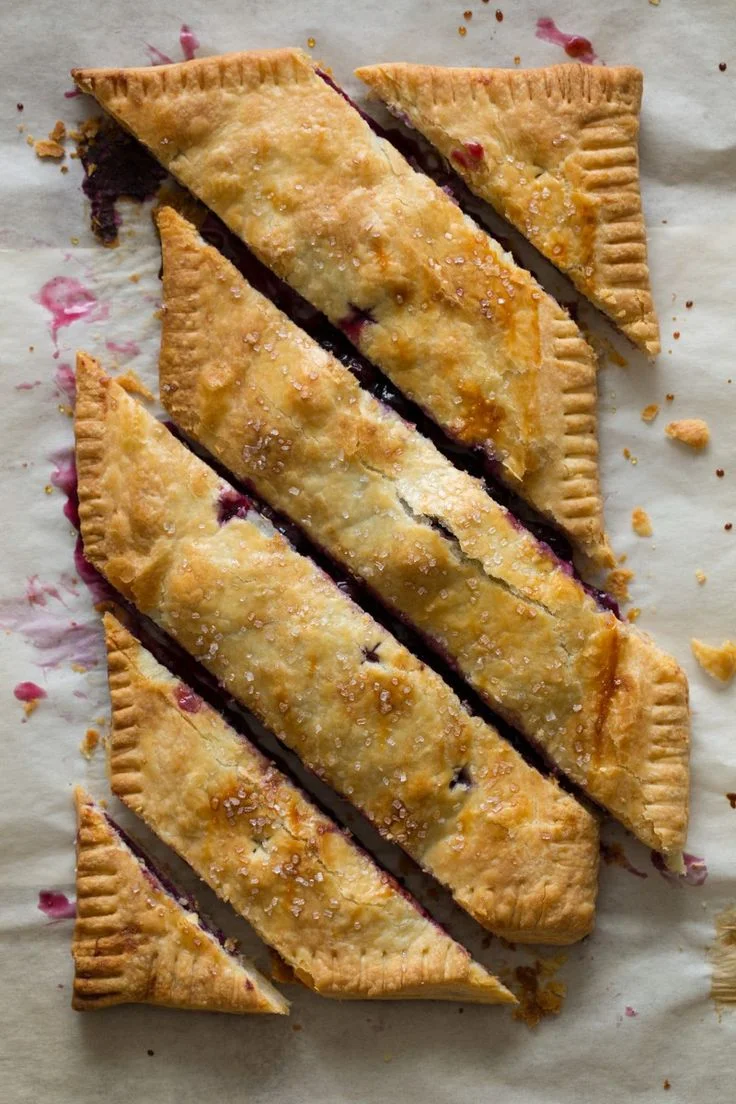
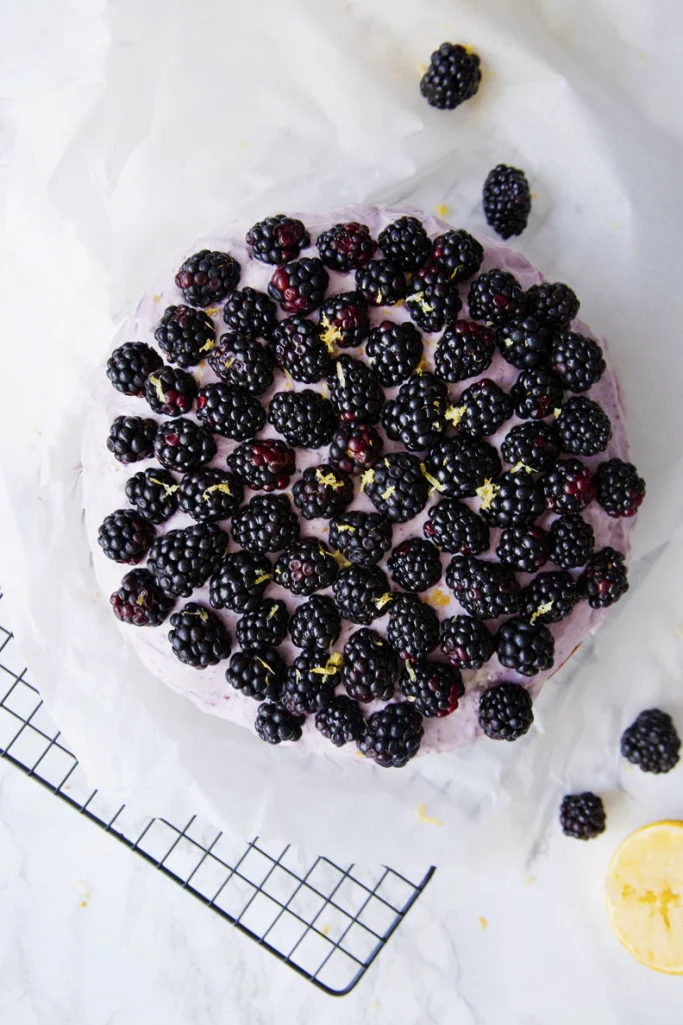
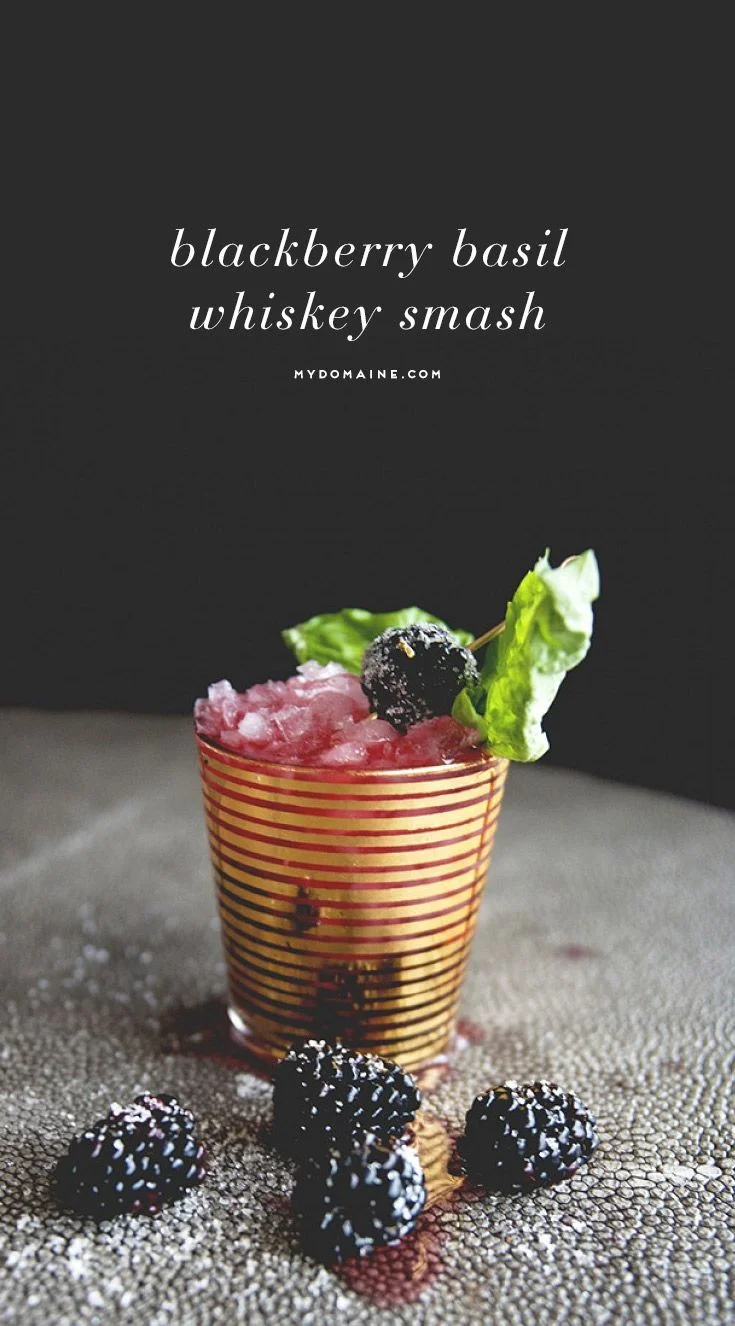
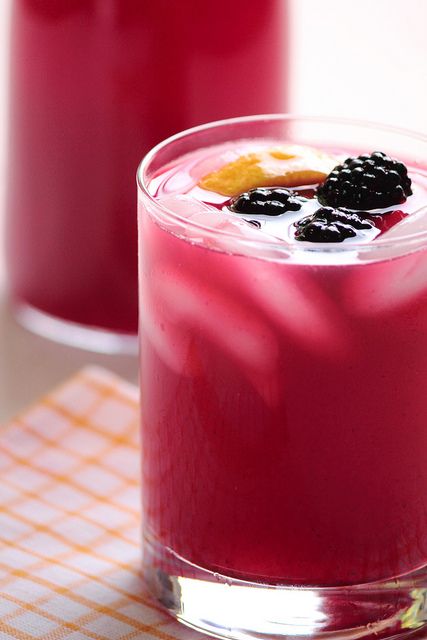
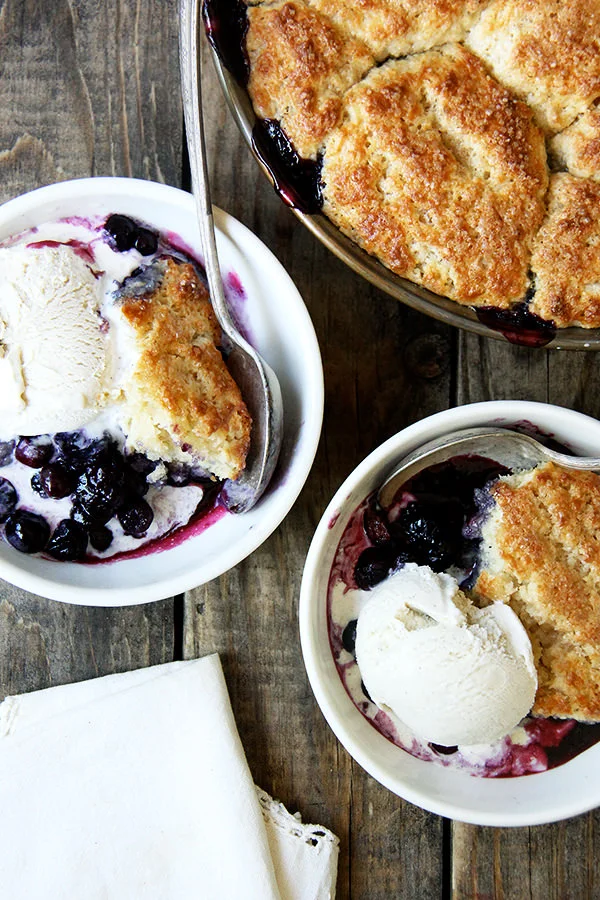
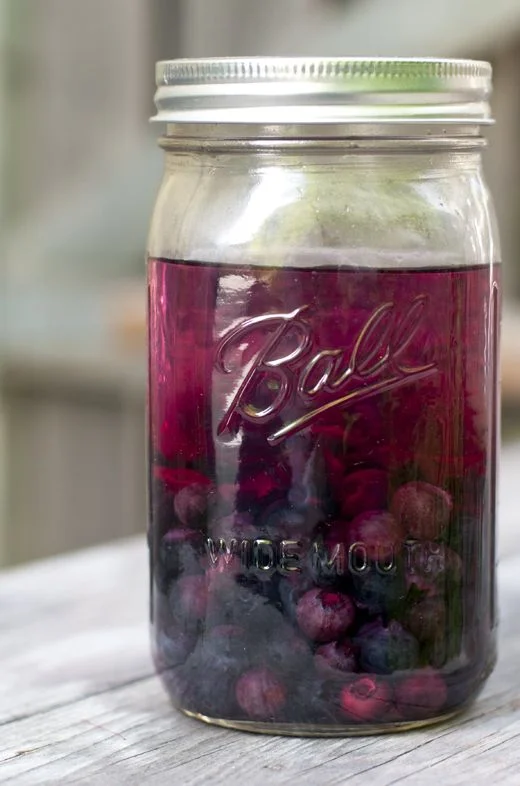
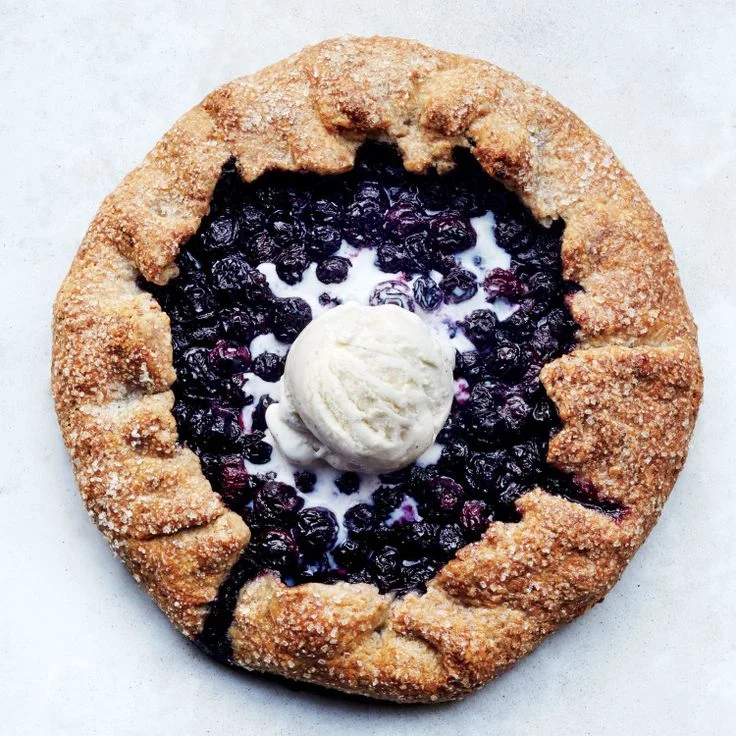
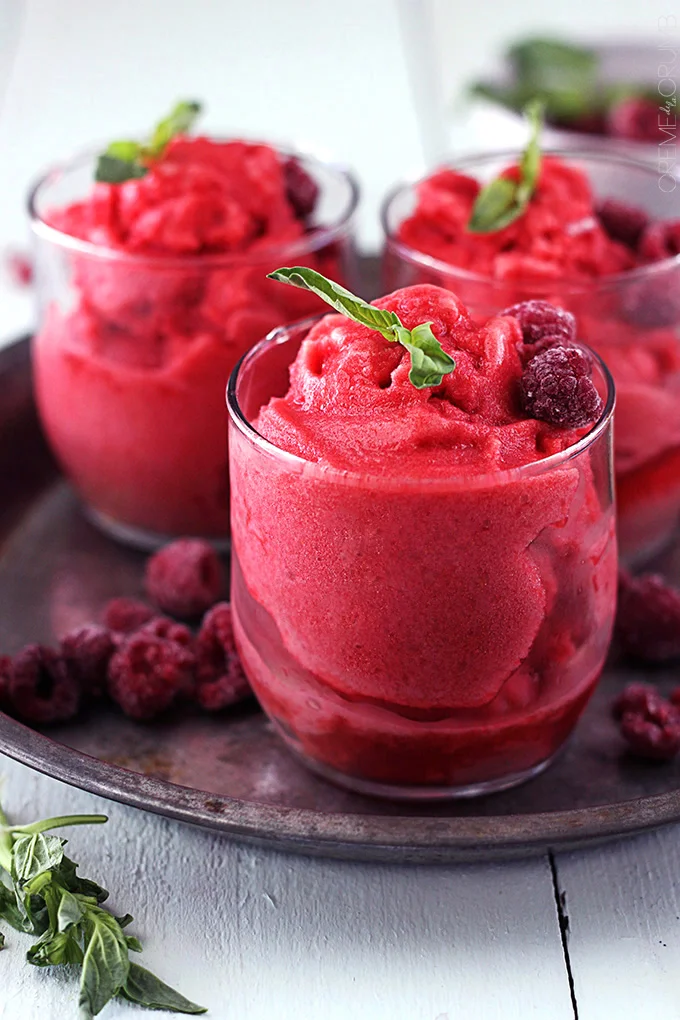
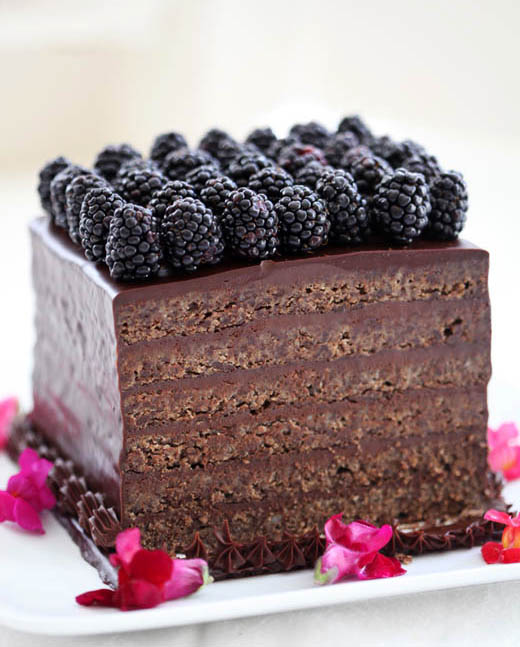
The berries have been abundant this year, and I am so inspired by all of these amazing recipes I found that shows you how to incorporate berries into just about anything! From water or spirits, to sorbets, cakes, and other desserts, berries will make your tastebuds happy all summer long! Click the images to learn more about any of these recipes below, and enjoy! 

Blackberry and Sage Infused Water by Evermine

Blackberry and Sage Infused Water by Evermine

Thanks for stopping by and I hope you are inspired to create something tasty with berries today!

Pinterest  //  Facebook  //  Instagram  //  She's So Chic Blog  //  Twitter

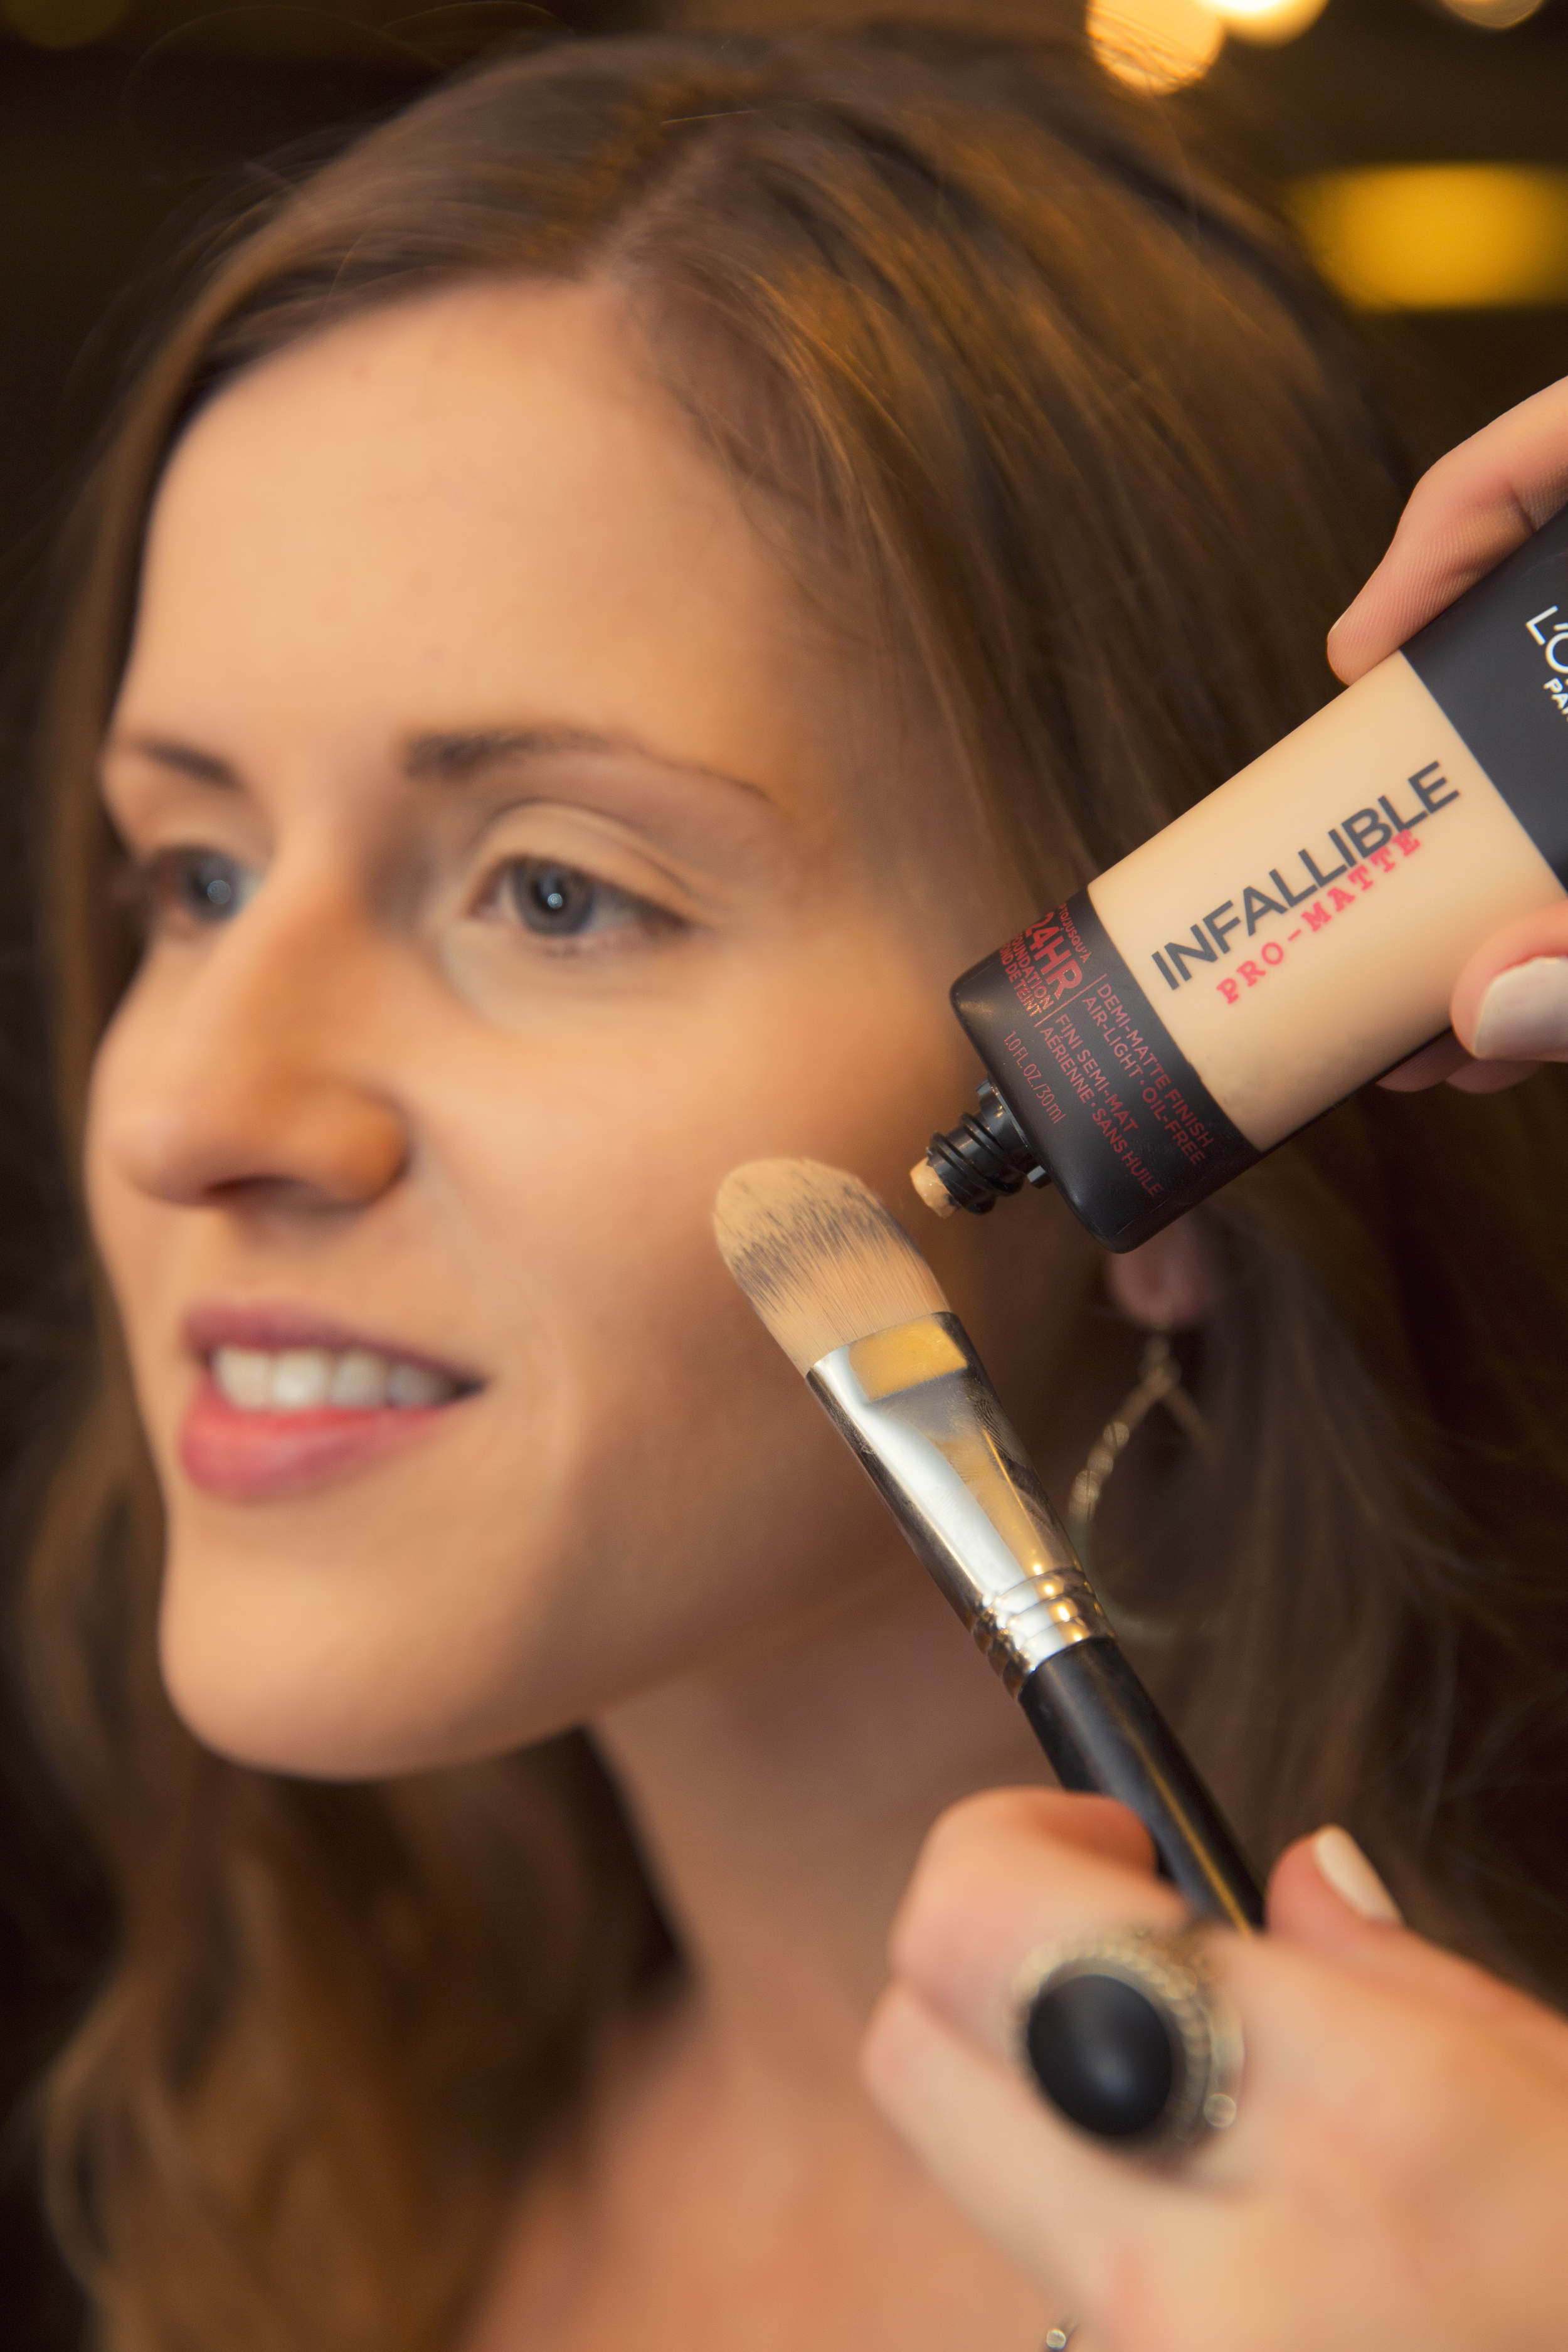
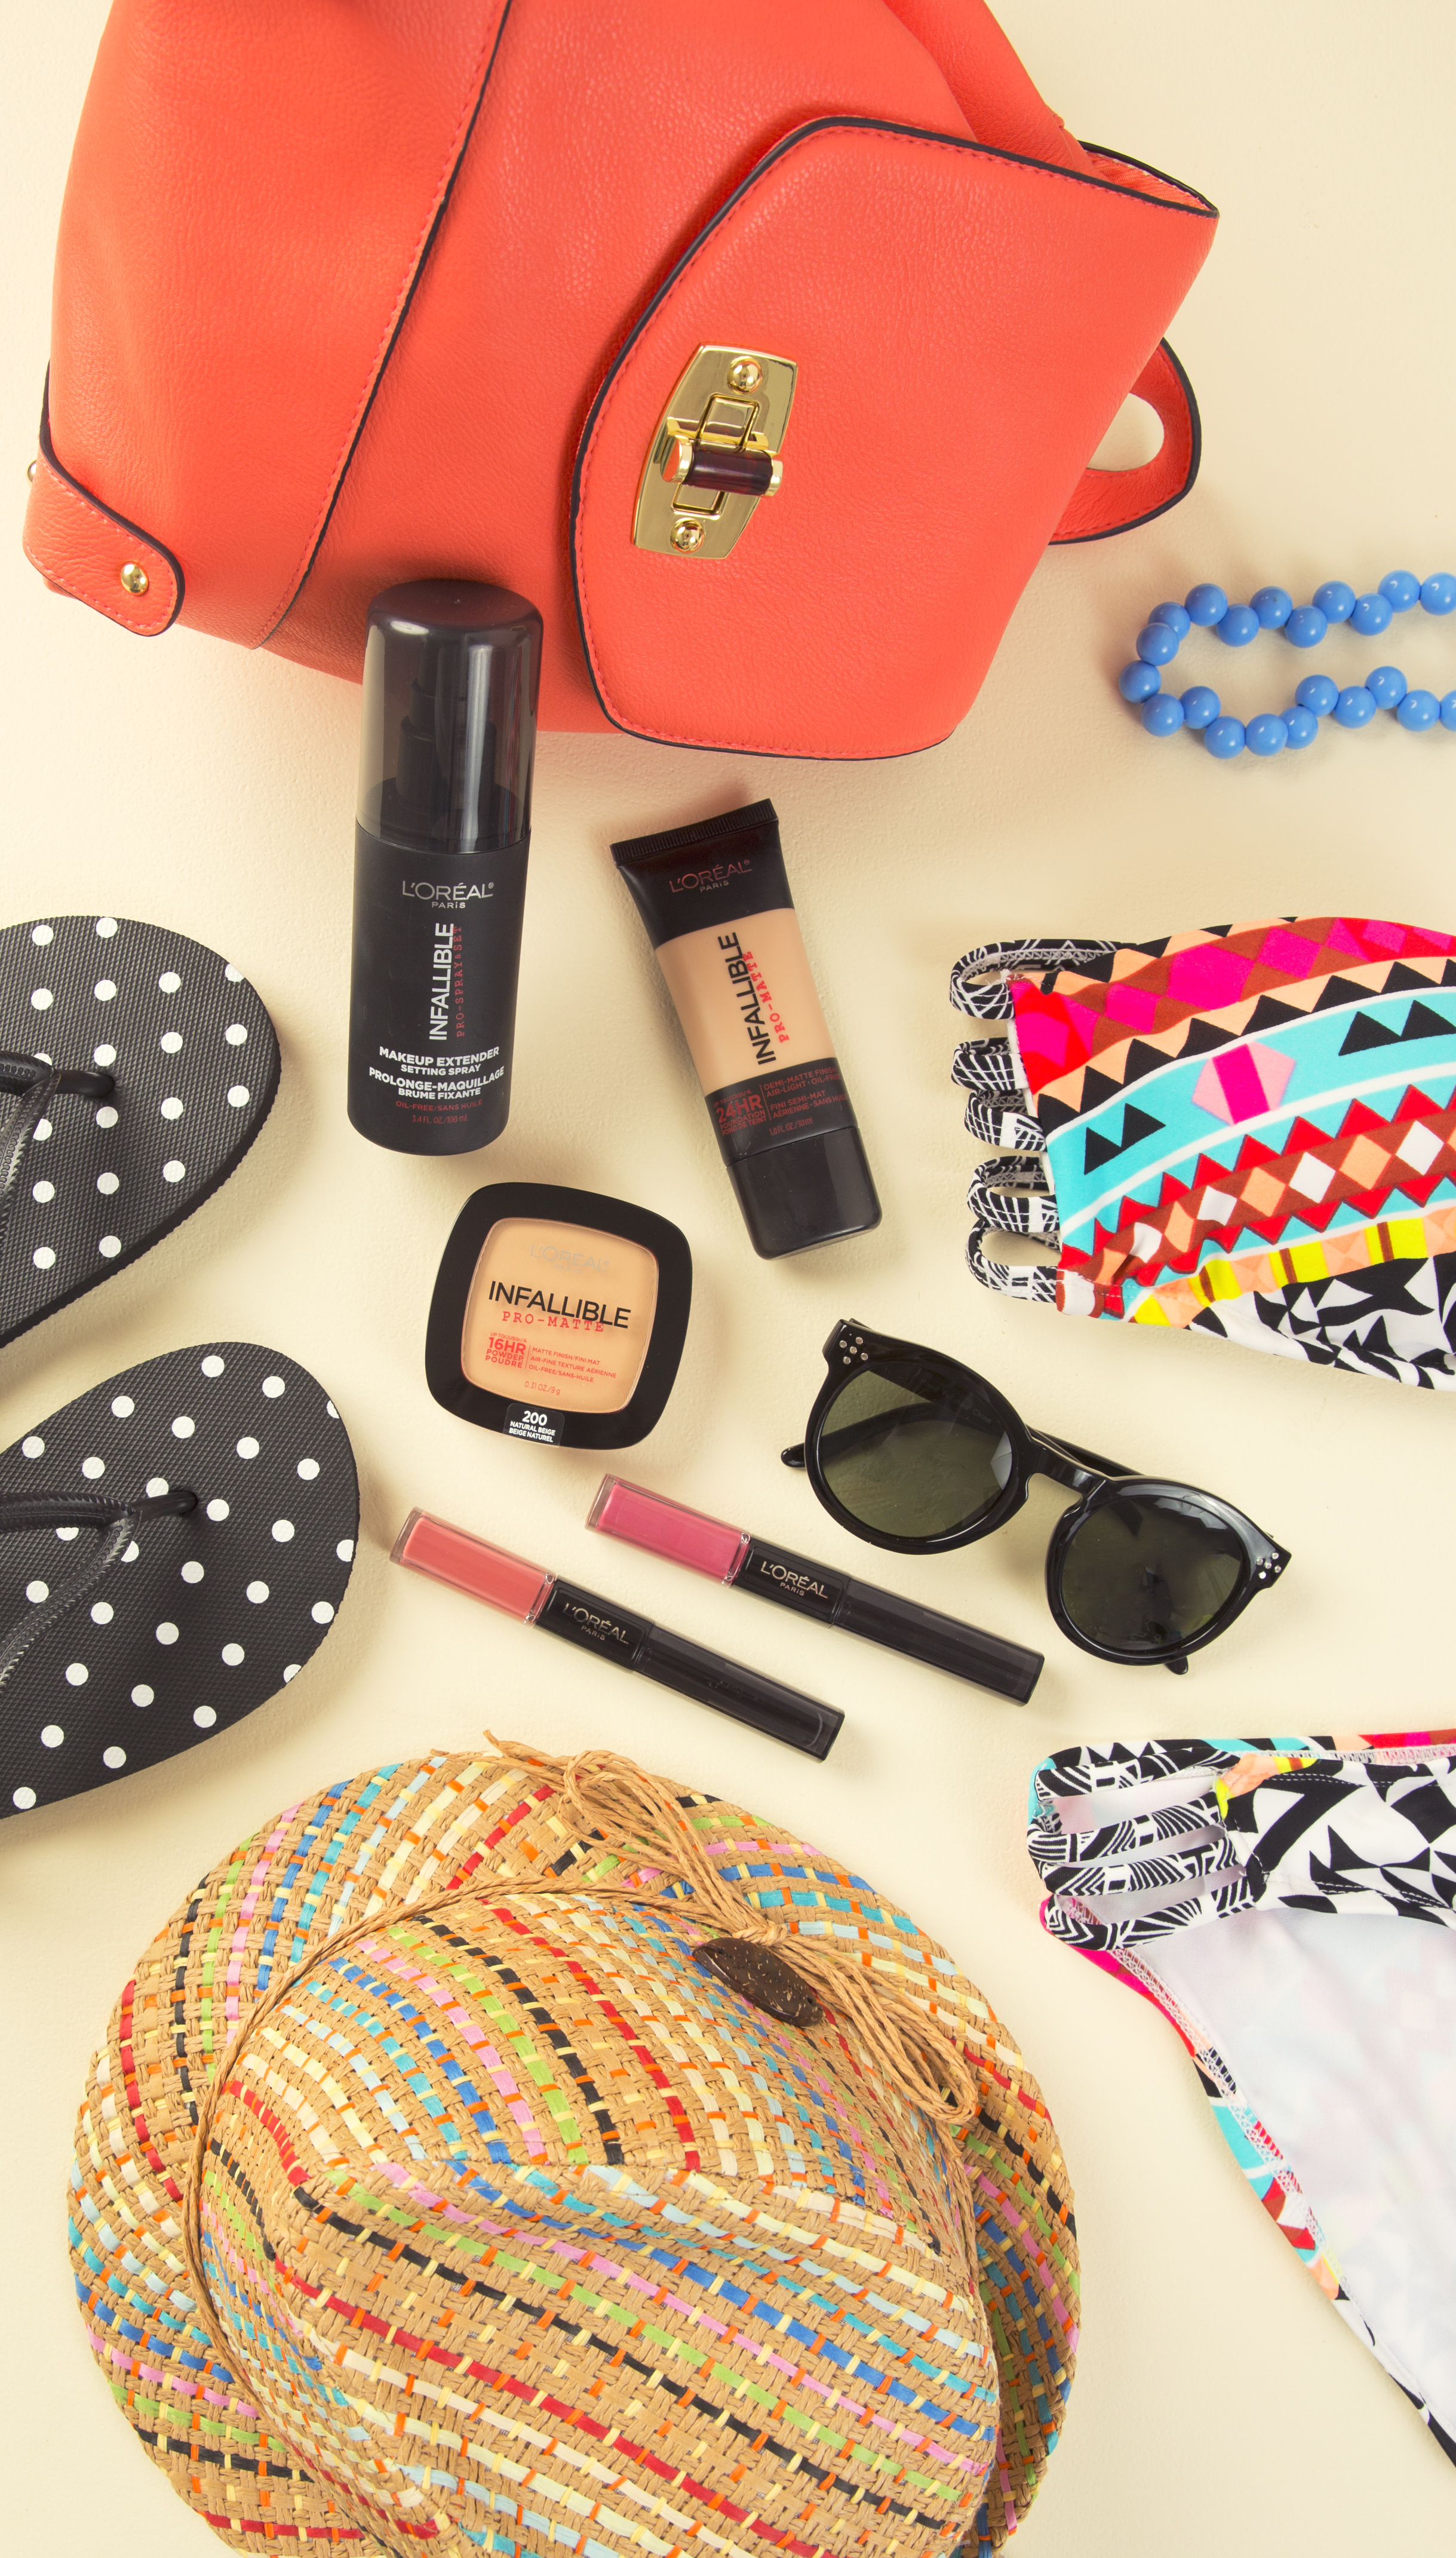
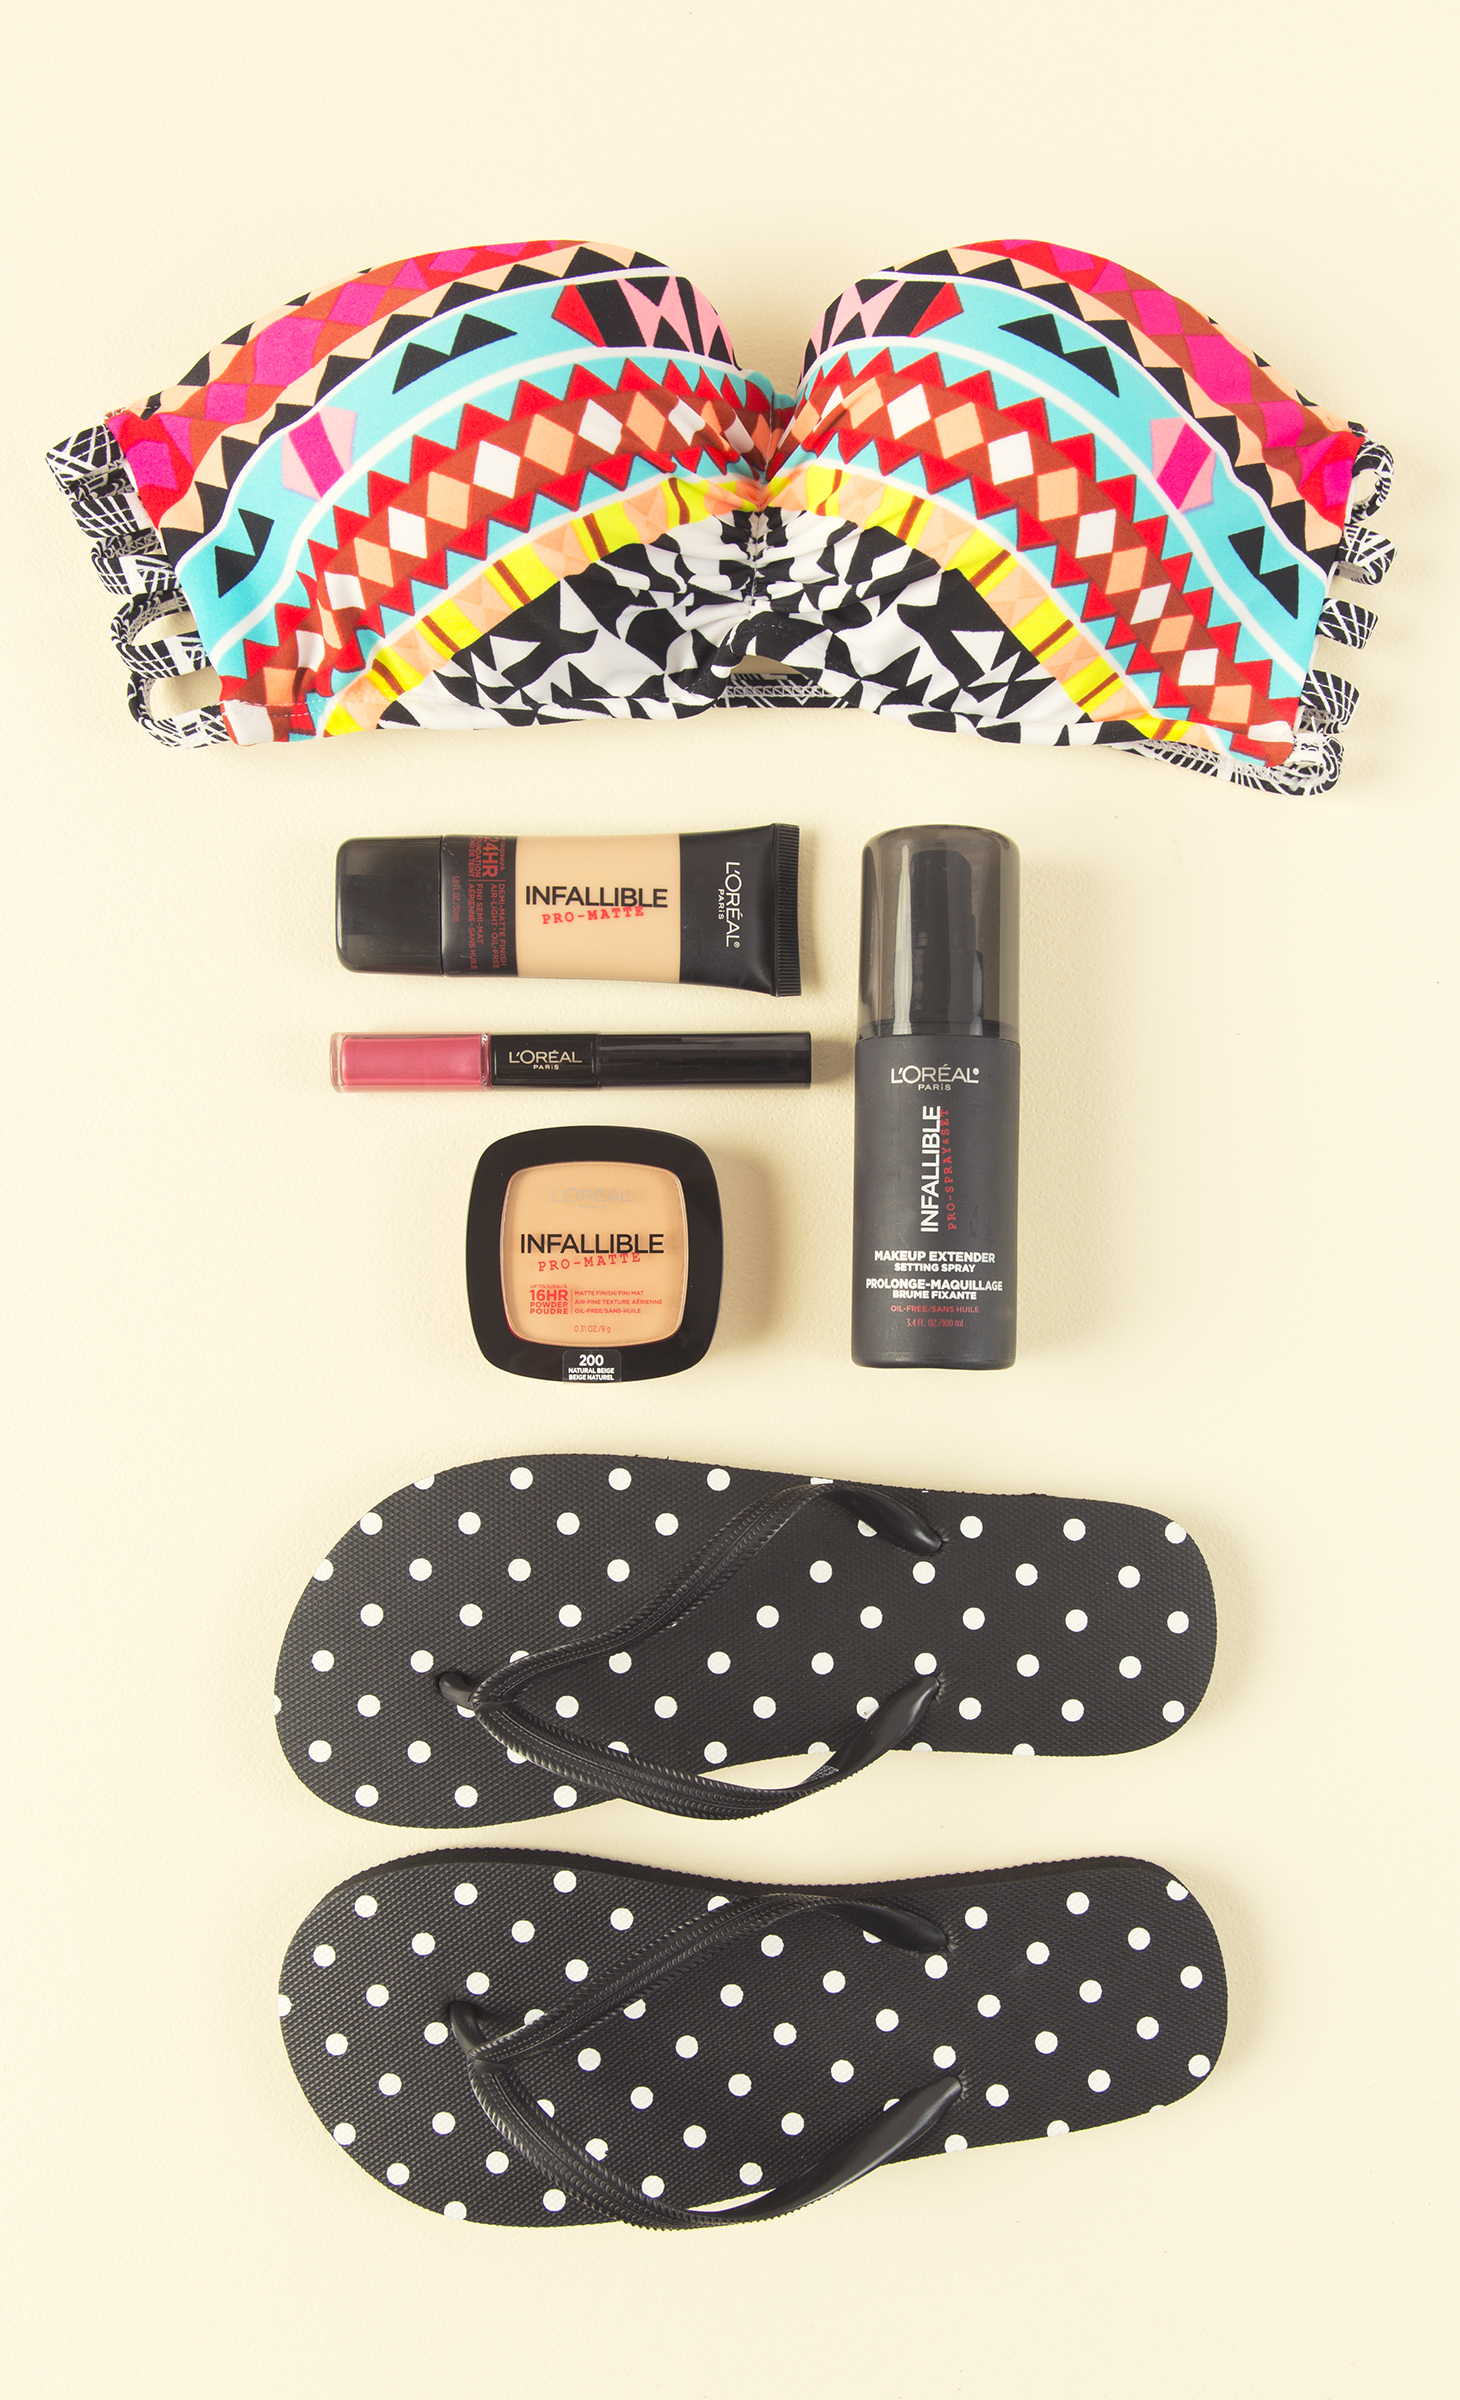
L'Oreal Infalliable Makeup

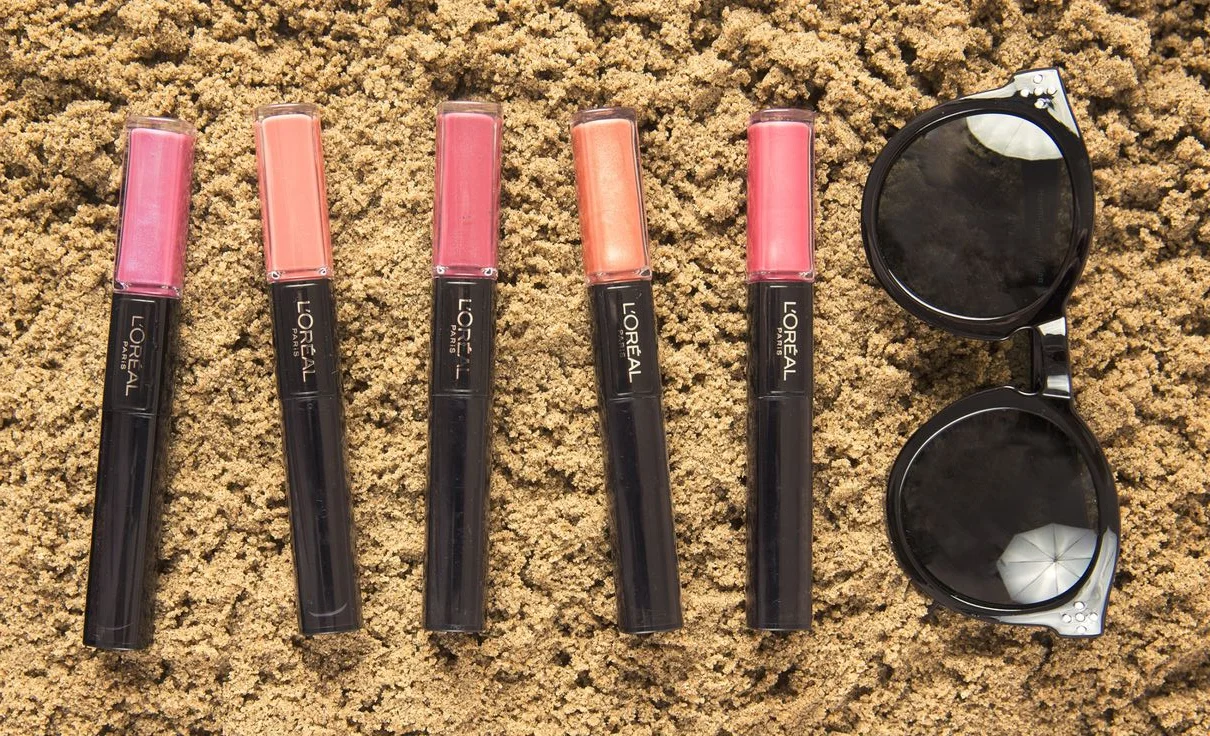
Recently I was asked by L'Oreal to help promote one of their new Infalliable makeup lines that is perfect for summer. It's definitely more challenging keeping your makeup looking fresh when it's hot outside, and this makeup really stays put. I created this Dedicated Board to show you more!

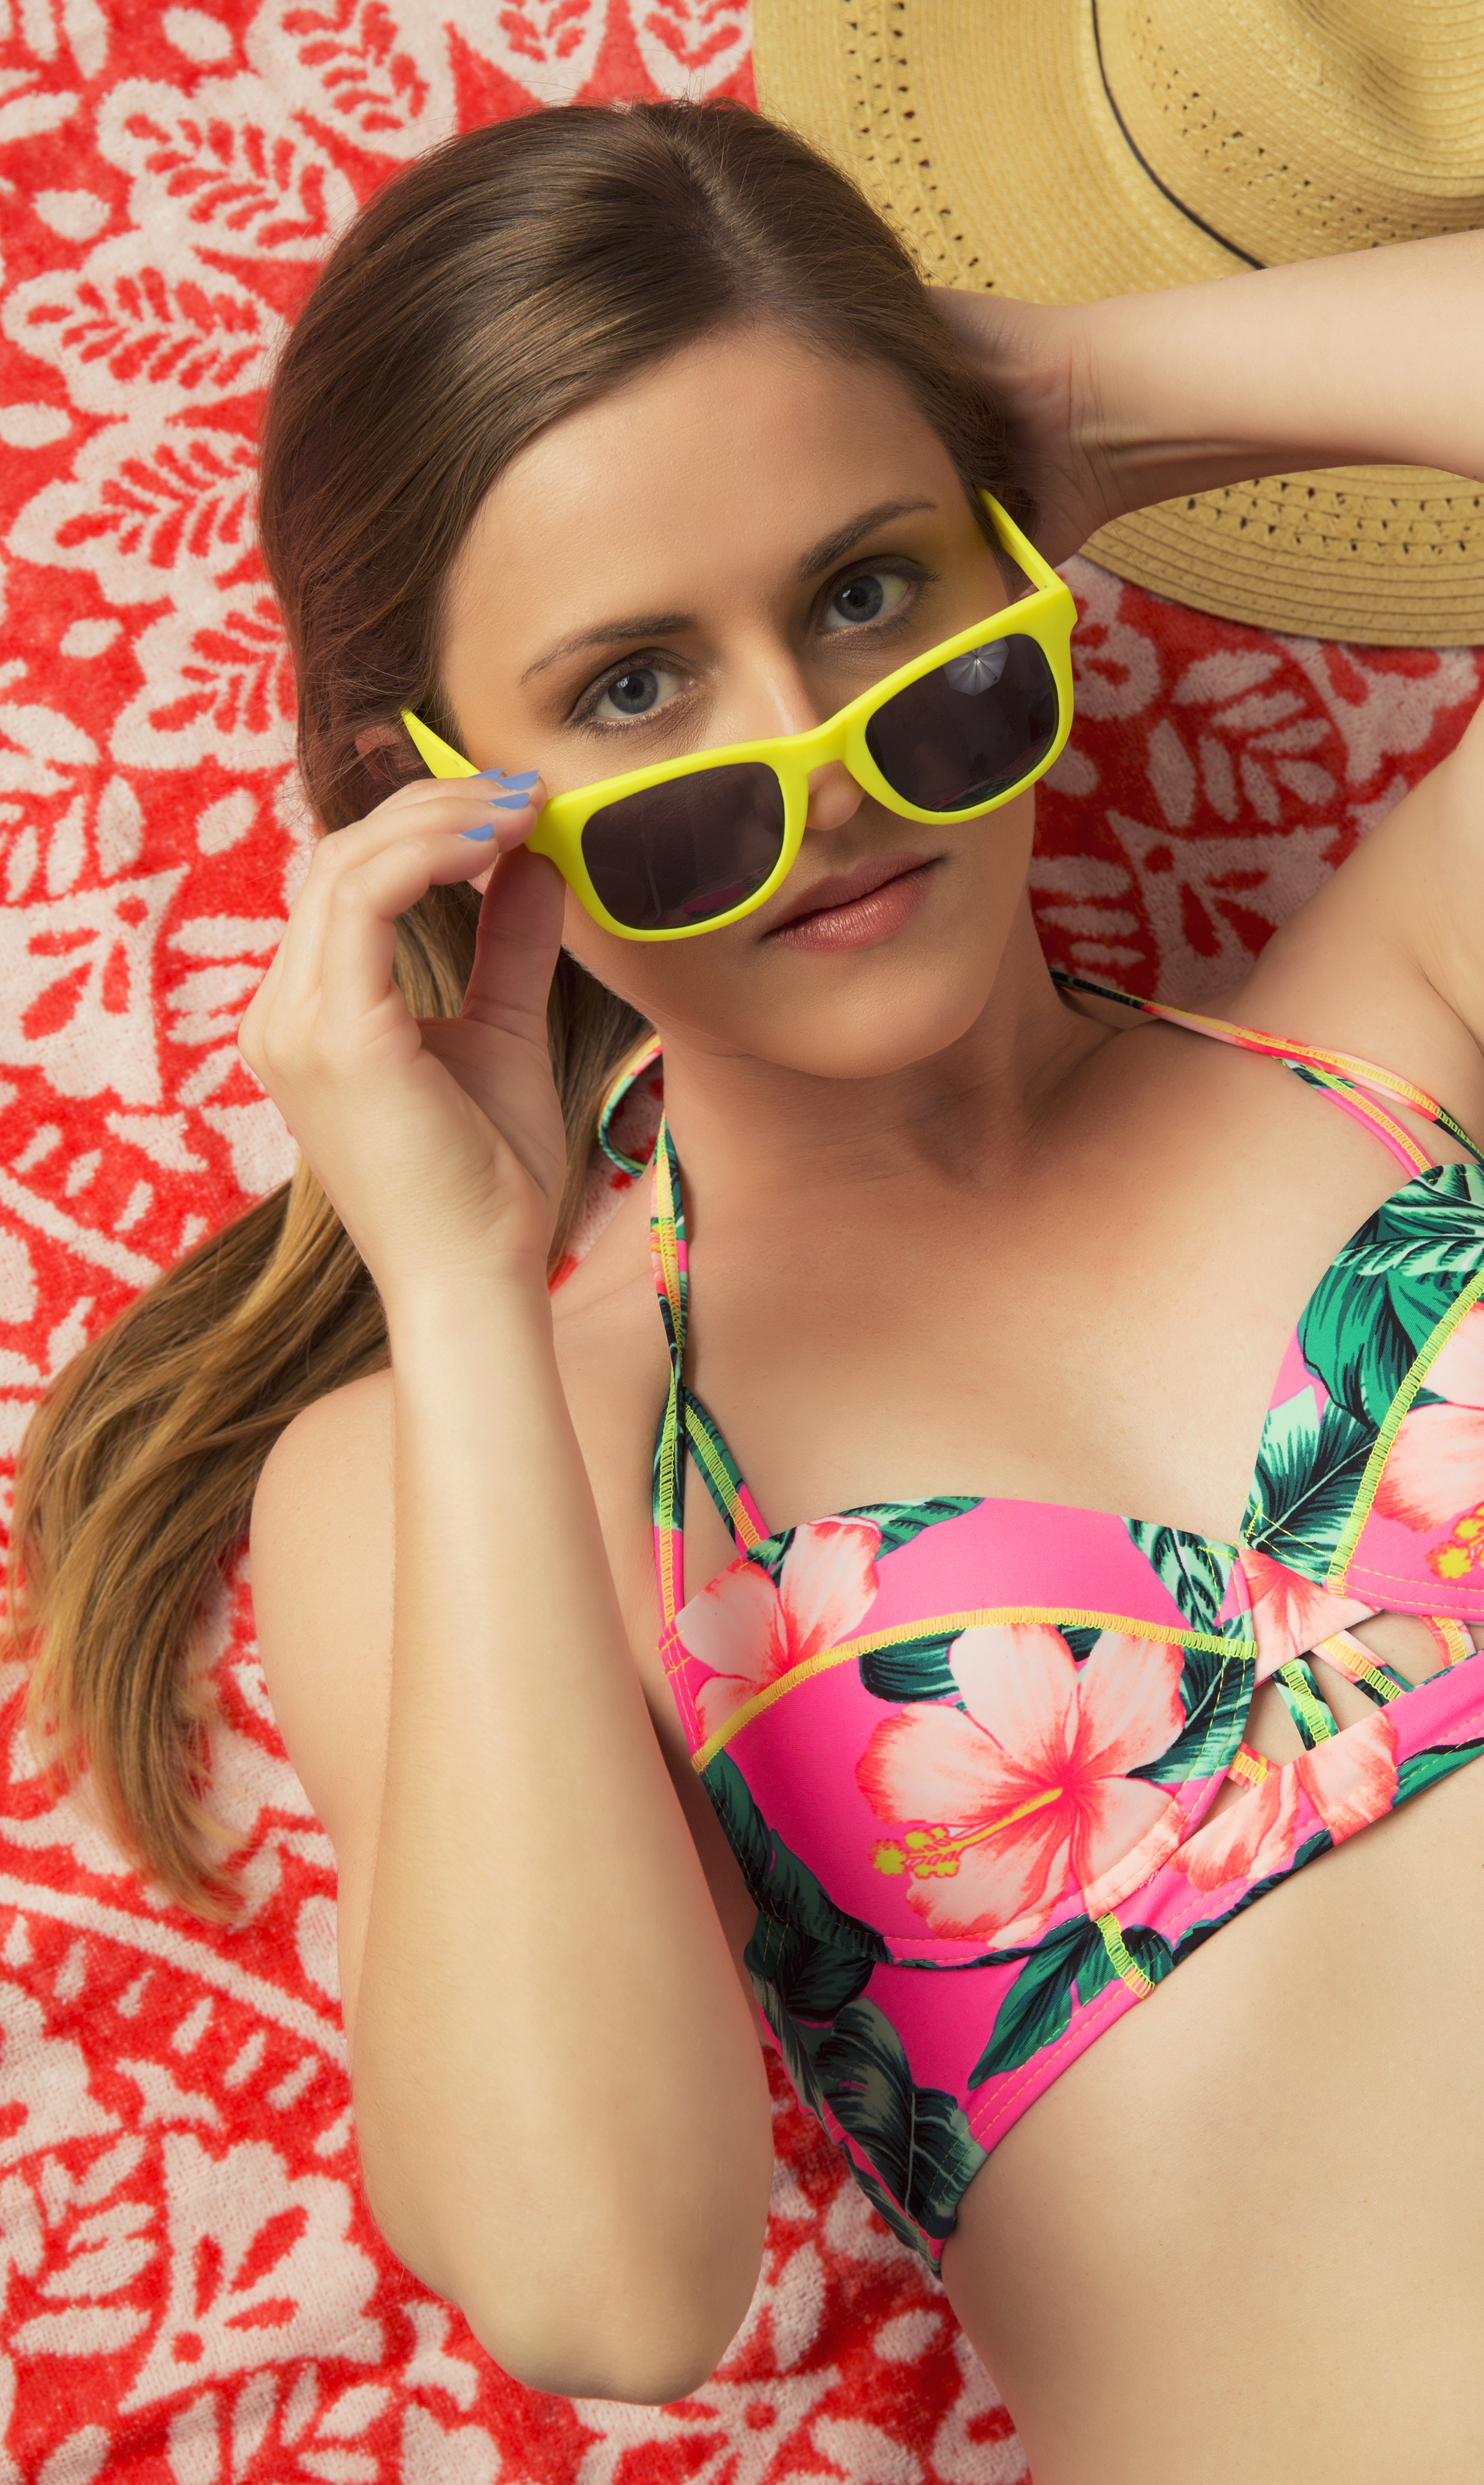
I'm not usually one to wear much makeup, especially the full-coverage kind, but wow, it makes such a difference in my appearance! It's so fun experimenting with different color combinations, and it was also fun learning some makeup application tips from Katie at Fringe The Salon, who is a local salon-owner. She does amazing work and it was a lot of fun working with her. 

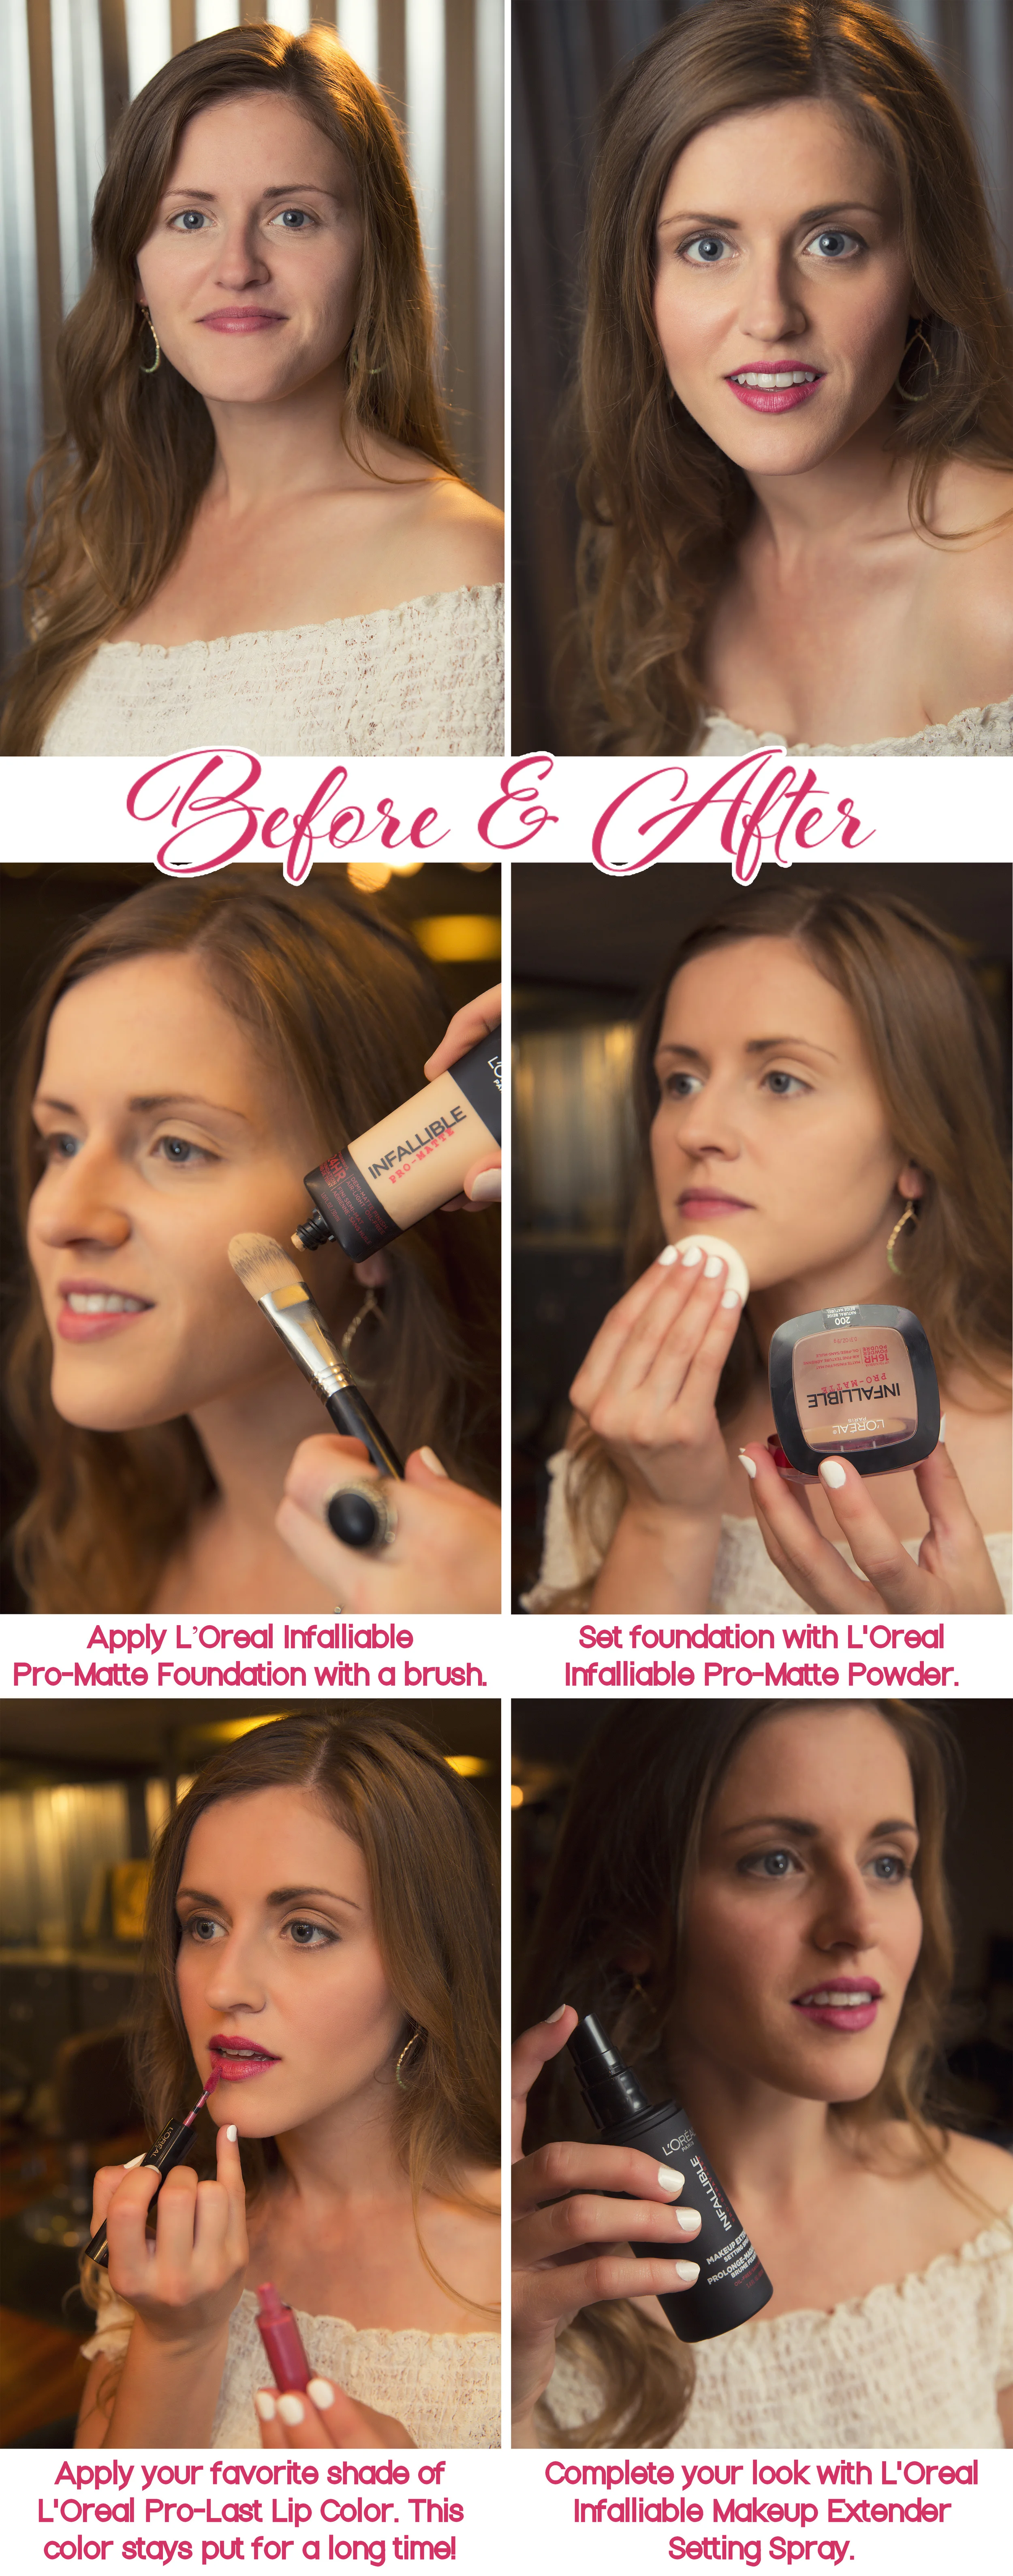
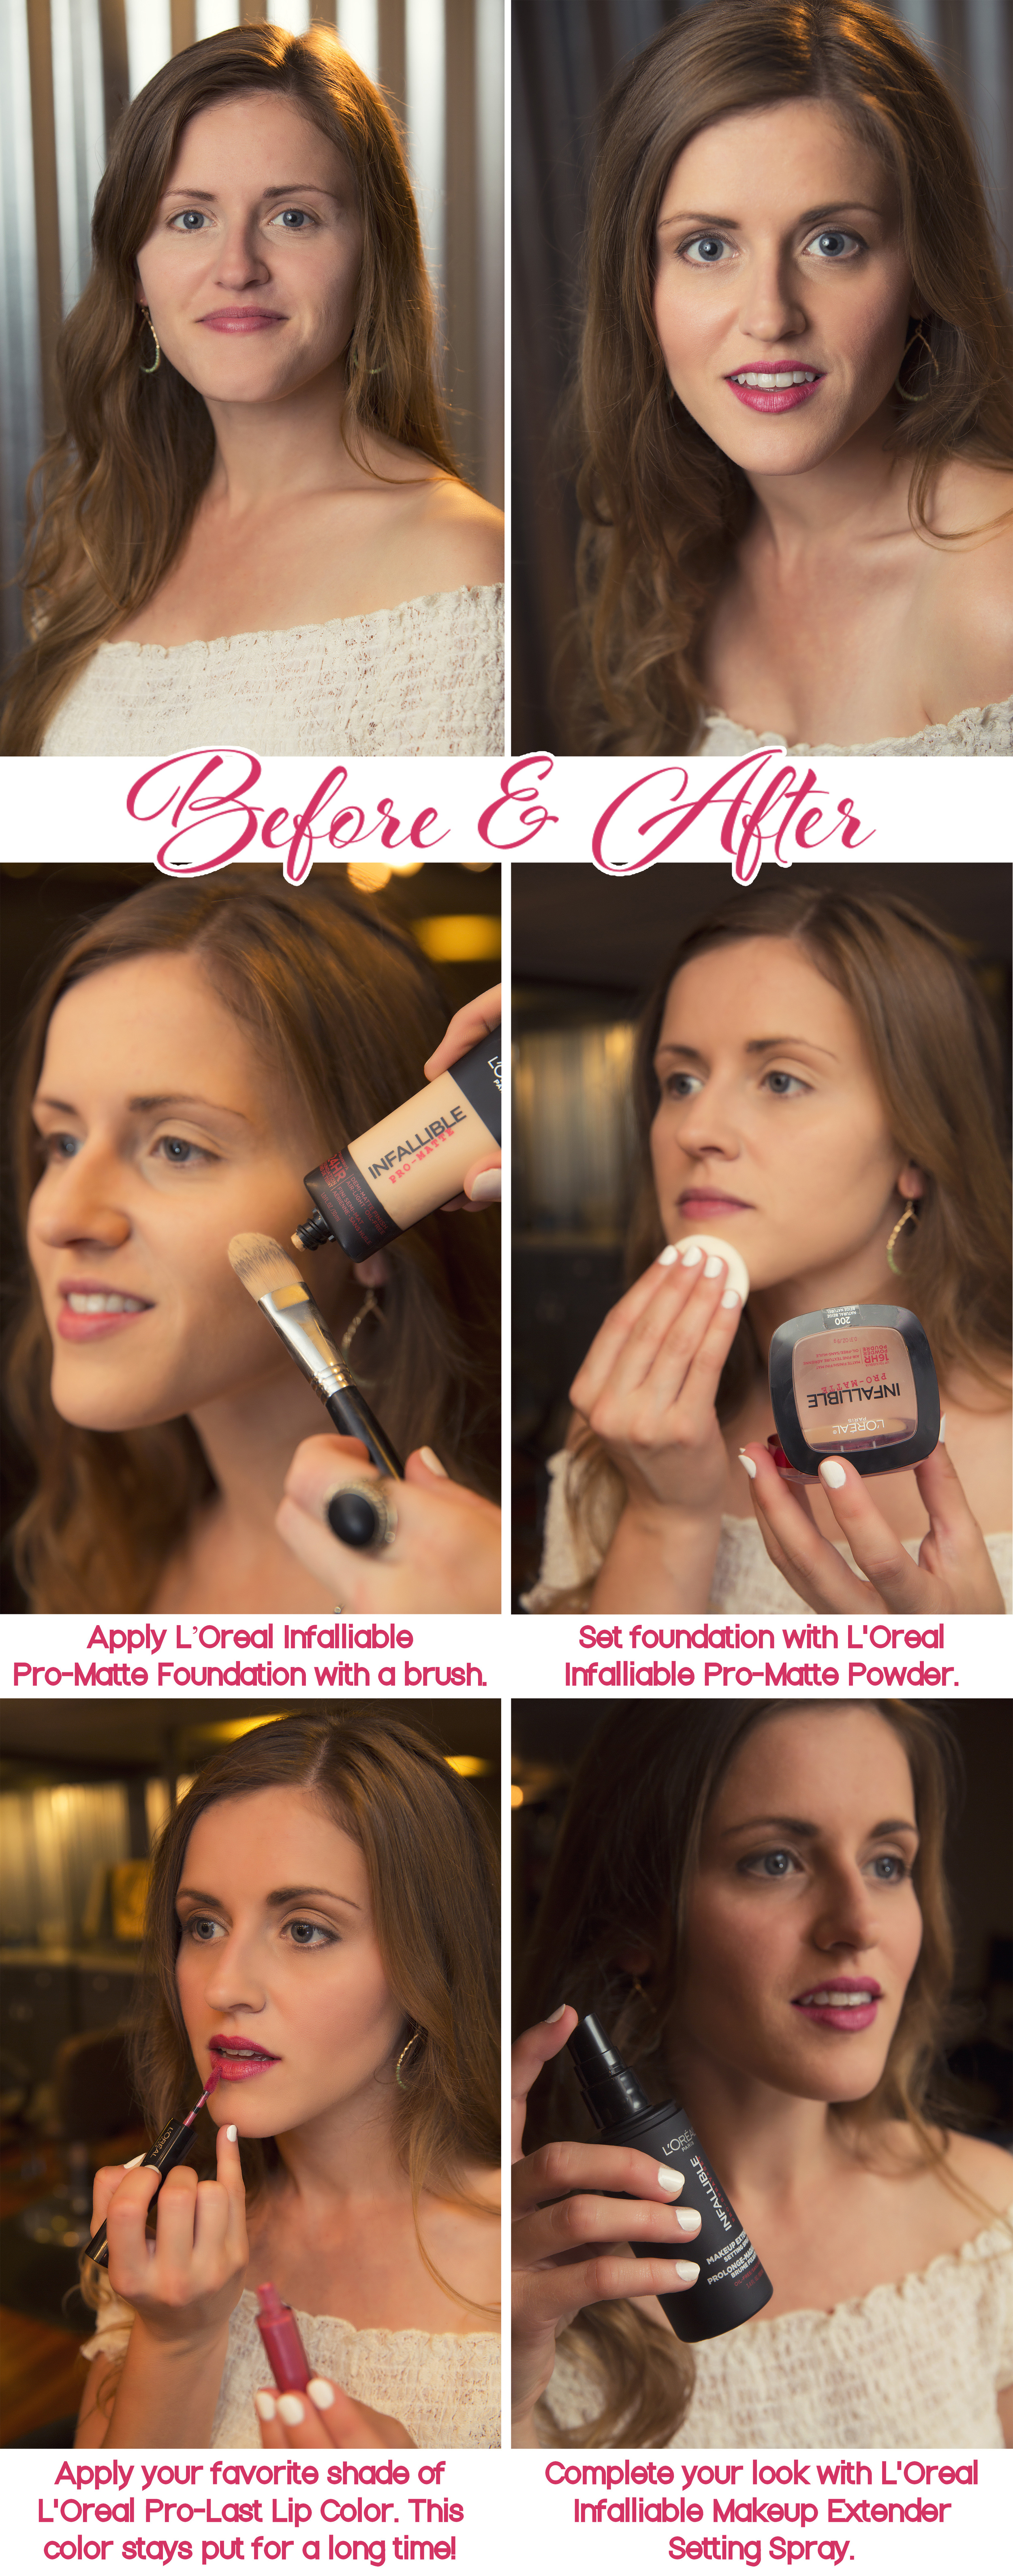
The tutorial (below), was created by using some of the L'Oreal Infalliable products like foundation, powder, and of course, their Lip Colors. There were so many colors to choose from, and this stuff really stays put! Below you can see some of the content we created for L'Oreal! 

L'Oreal Makeup Tutorial

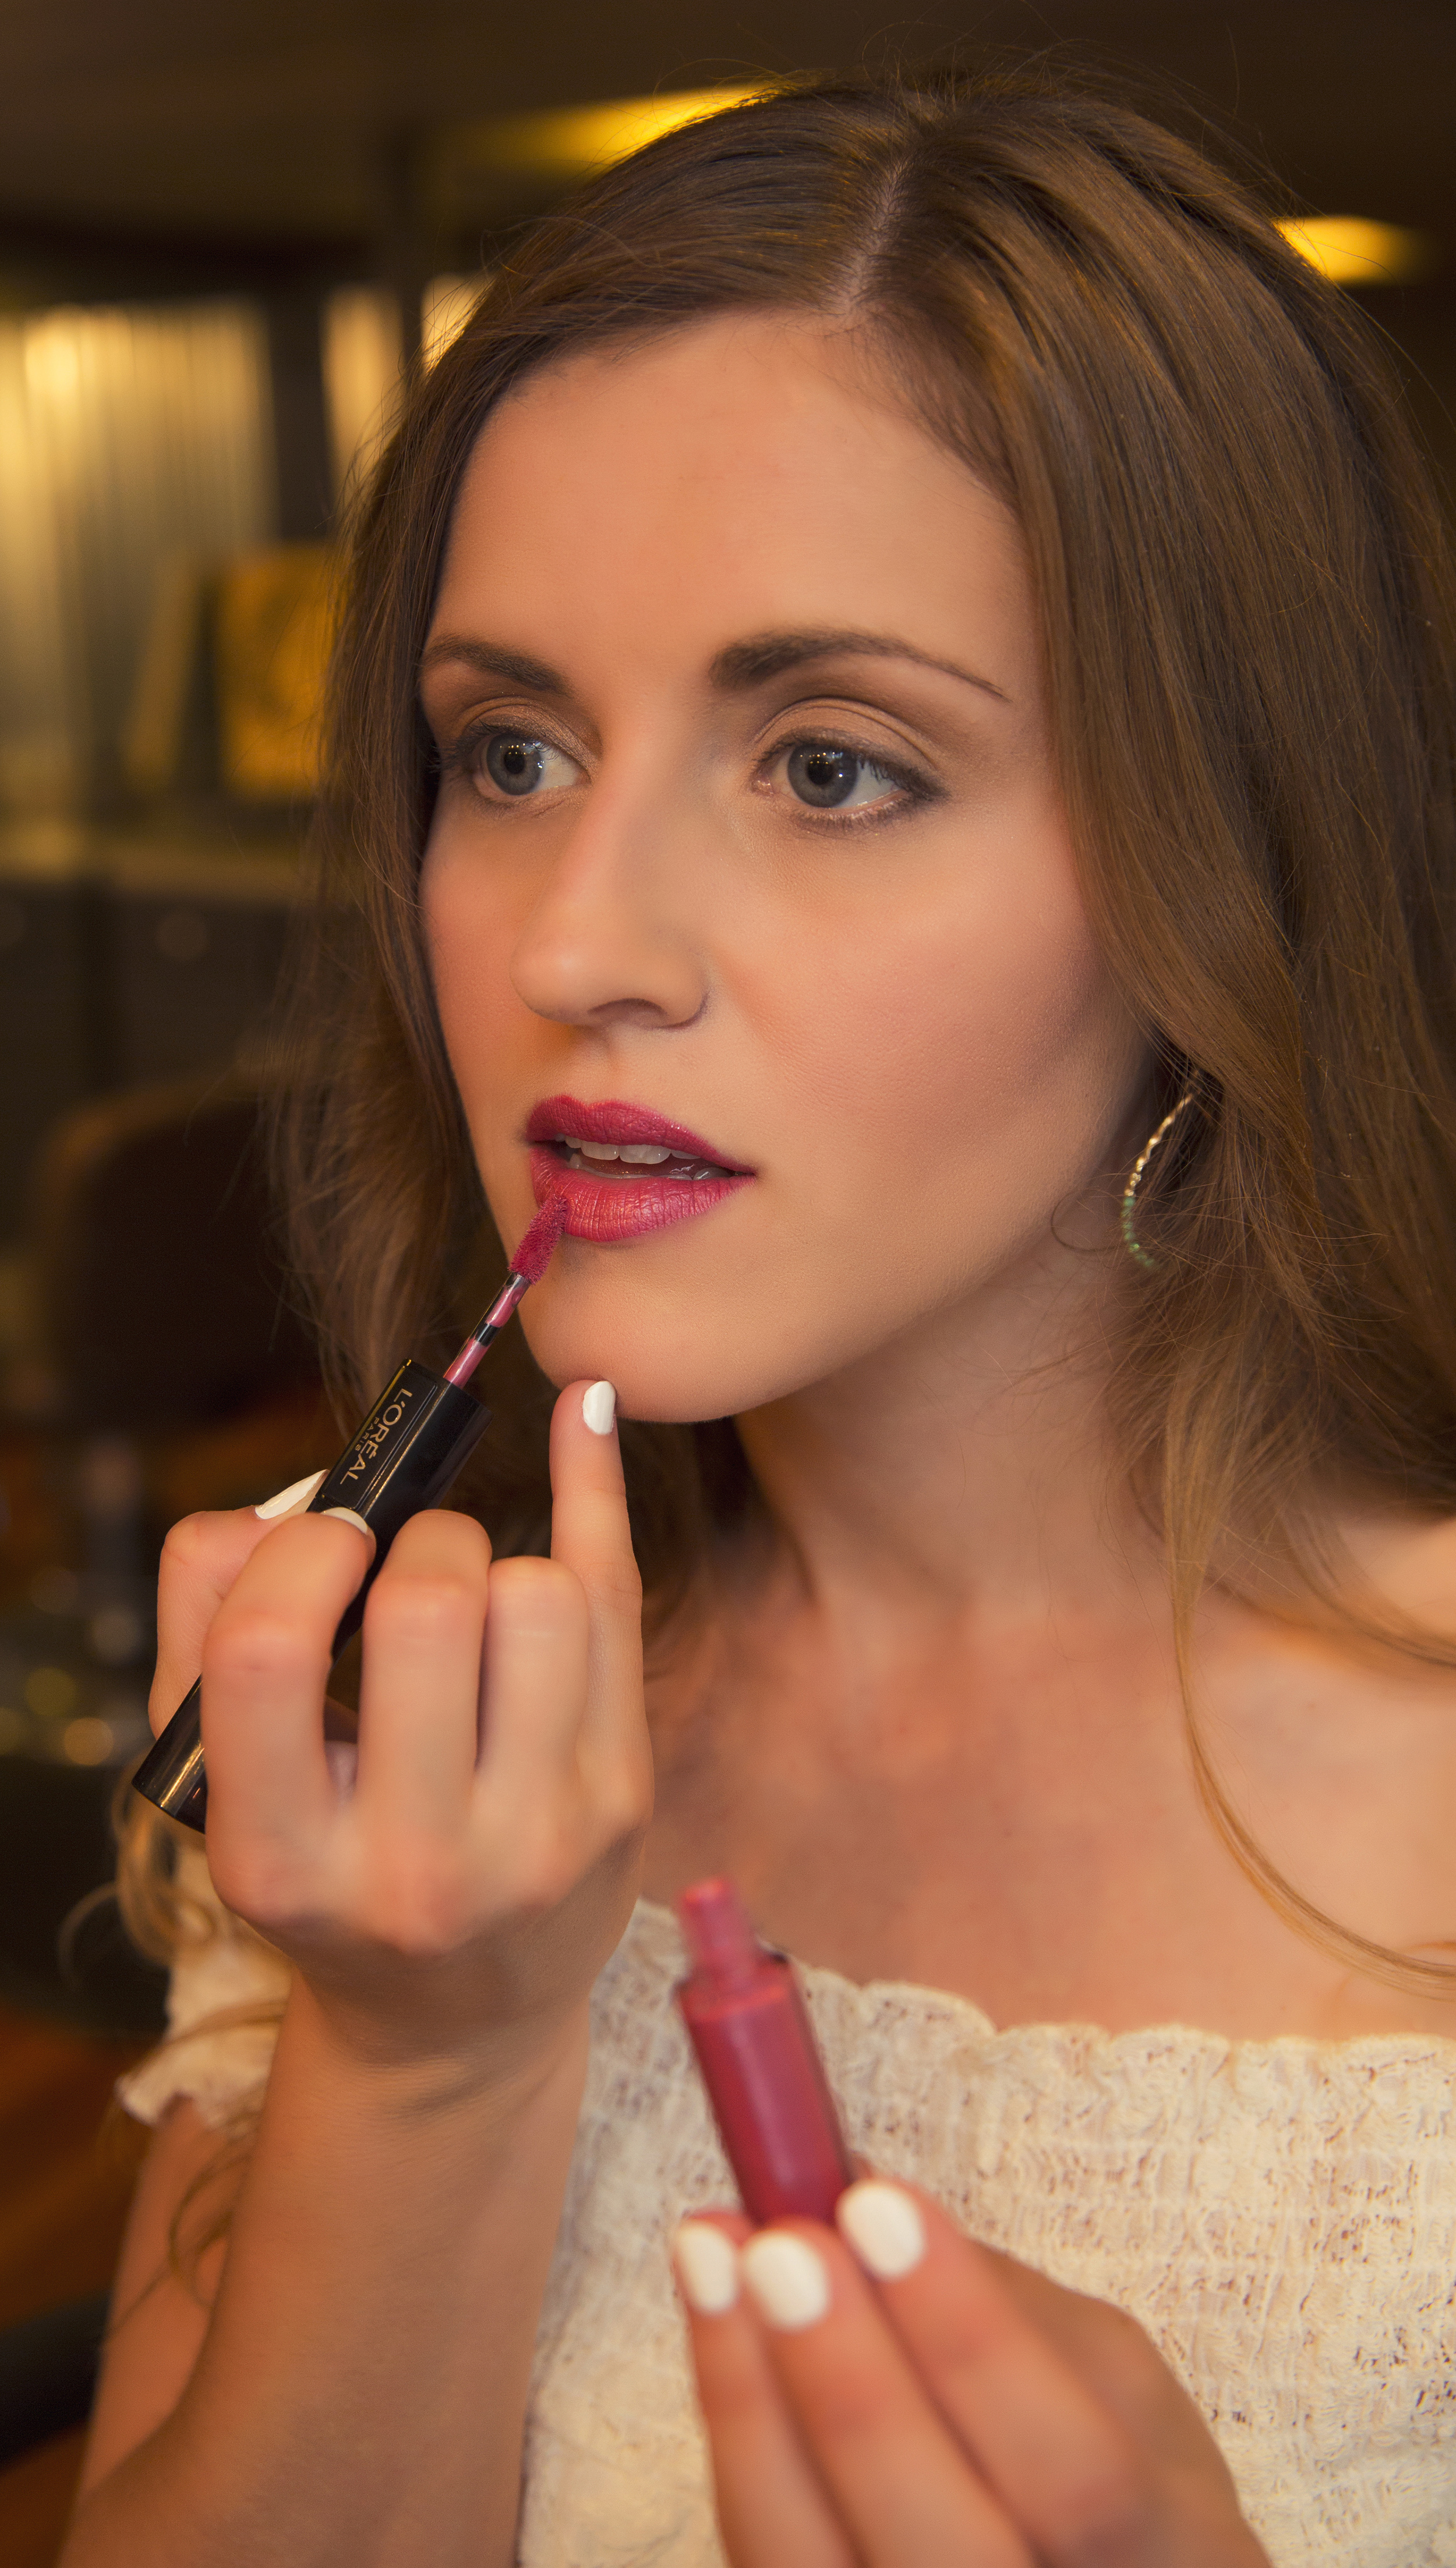
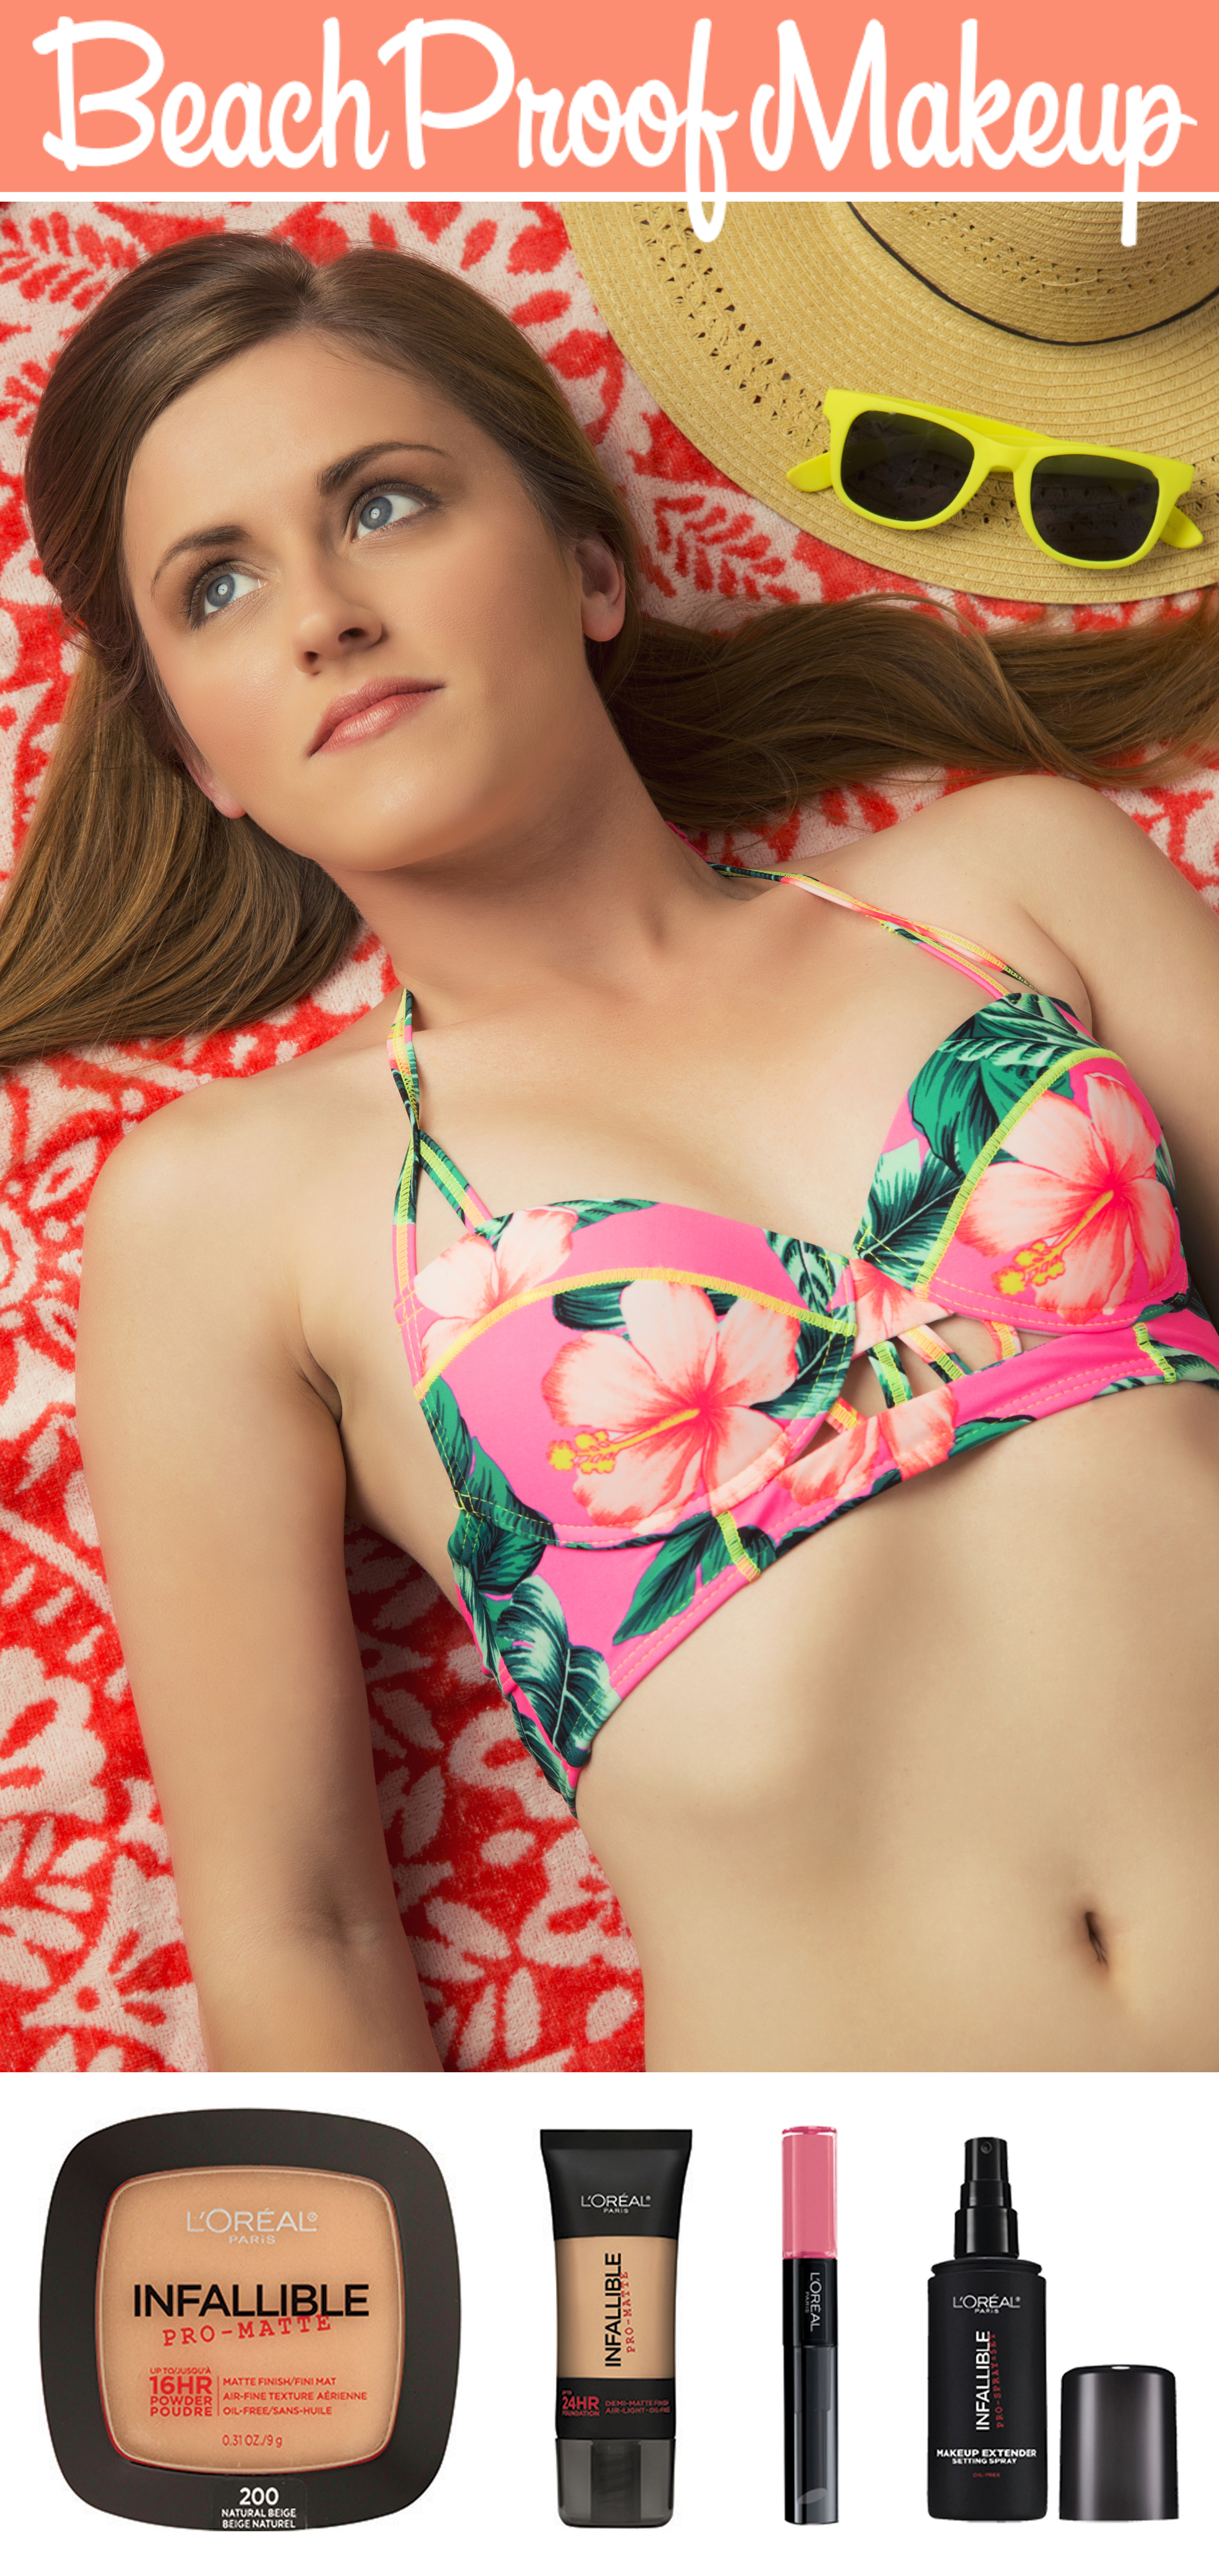
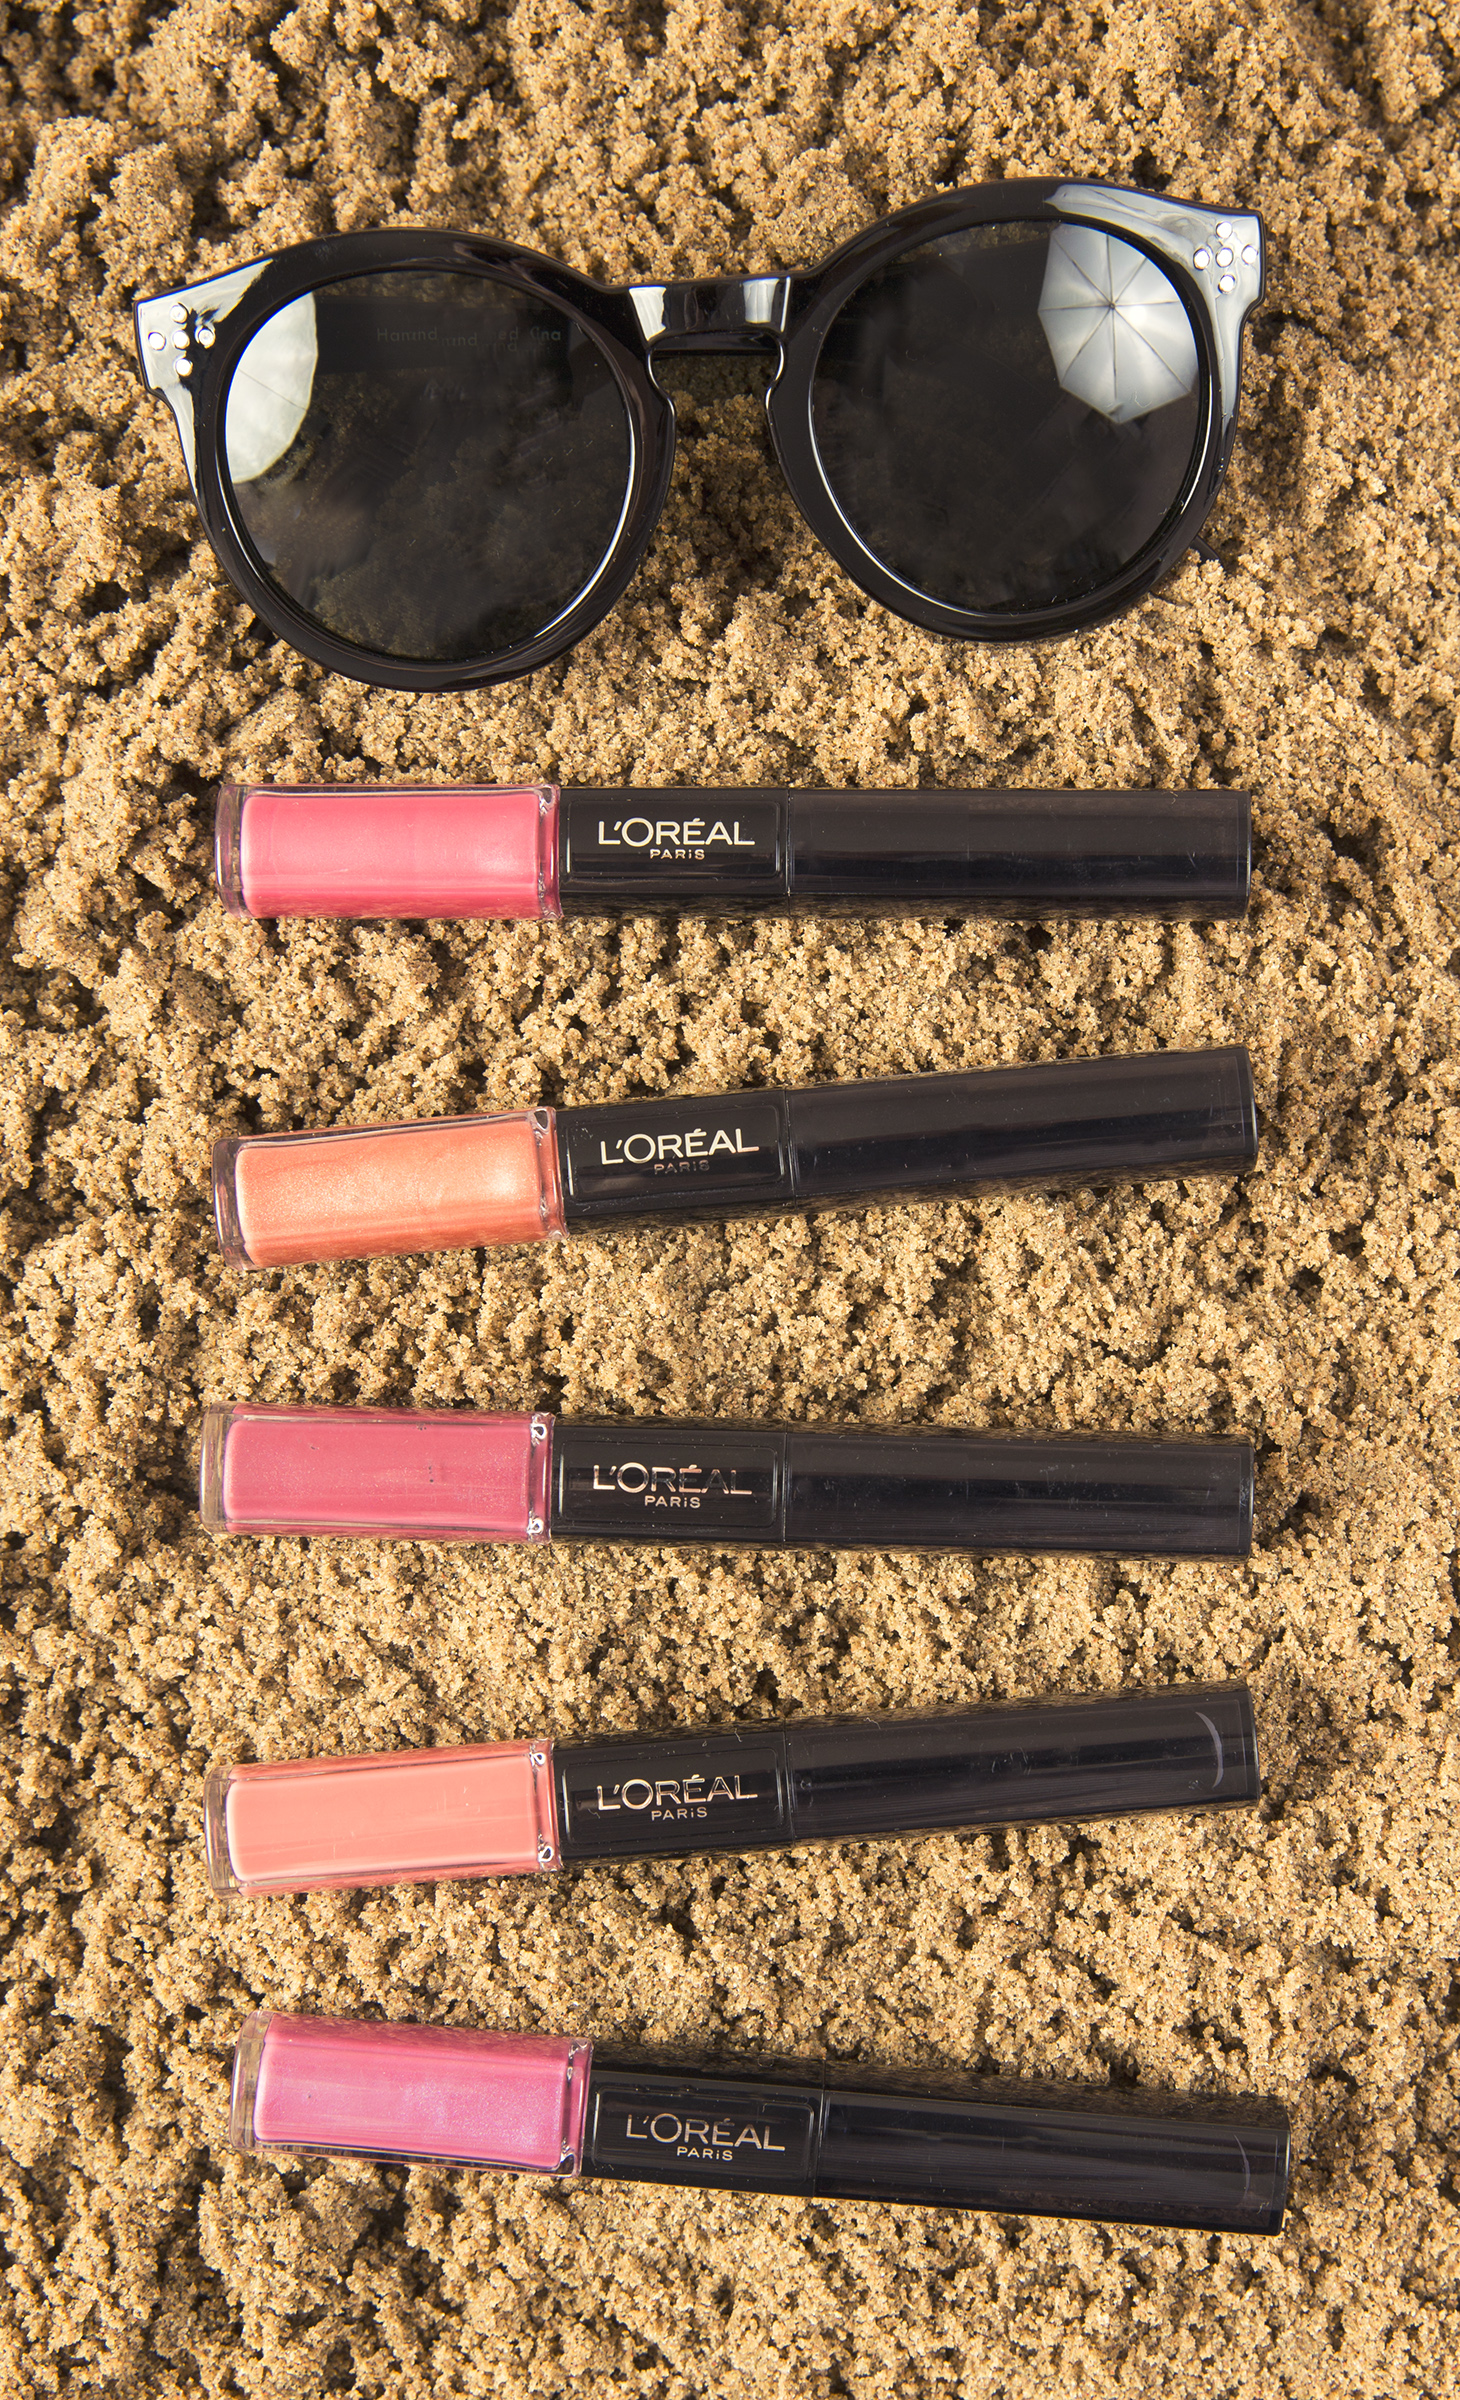
And below, you can check out the other photos we created for the project. This is one of my favorite projects to date! Check out my Dedicated Board Here

When I first learned about this project, I was a bit nervous because my face would be on full display for these. I had no clue how well these photos would turn out thanks to the help from Bobby and Katie at The Fringe Salon. Throughout this project, I also learned that makeup makes such a difference in photos, and this was the perfect project to break me out of my comfort zone. 

This content creation was sponsored by L'Oreal, and all opinions are 100% my own. Thanks so such a wonderful company for collaborating with me! 

Pinterest  //  Facebook  //  Instagram  //  She's So Chic Blog  //  Twitter

VISIT THE DEDICATED BOARD HERE

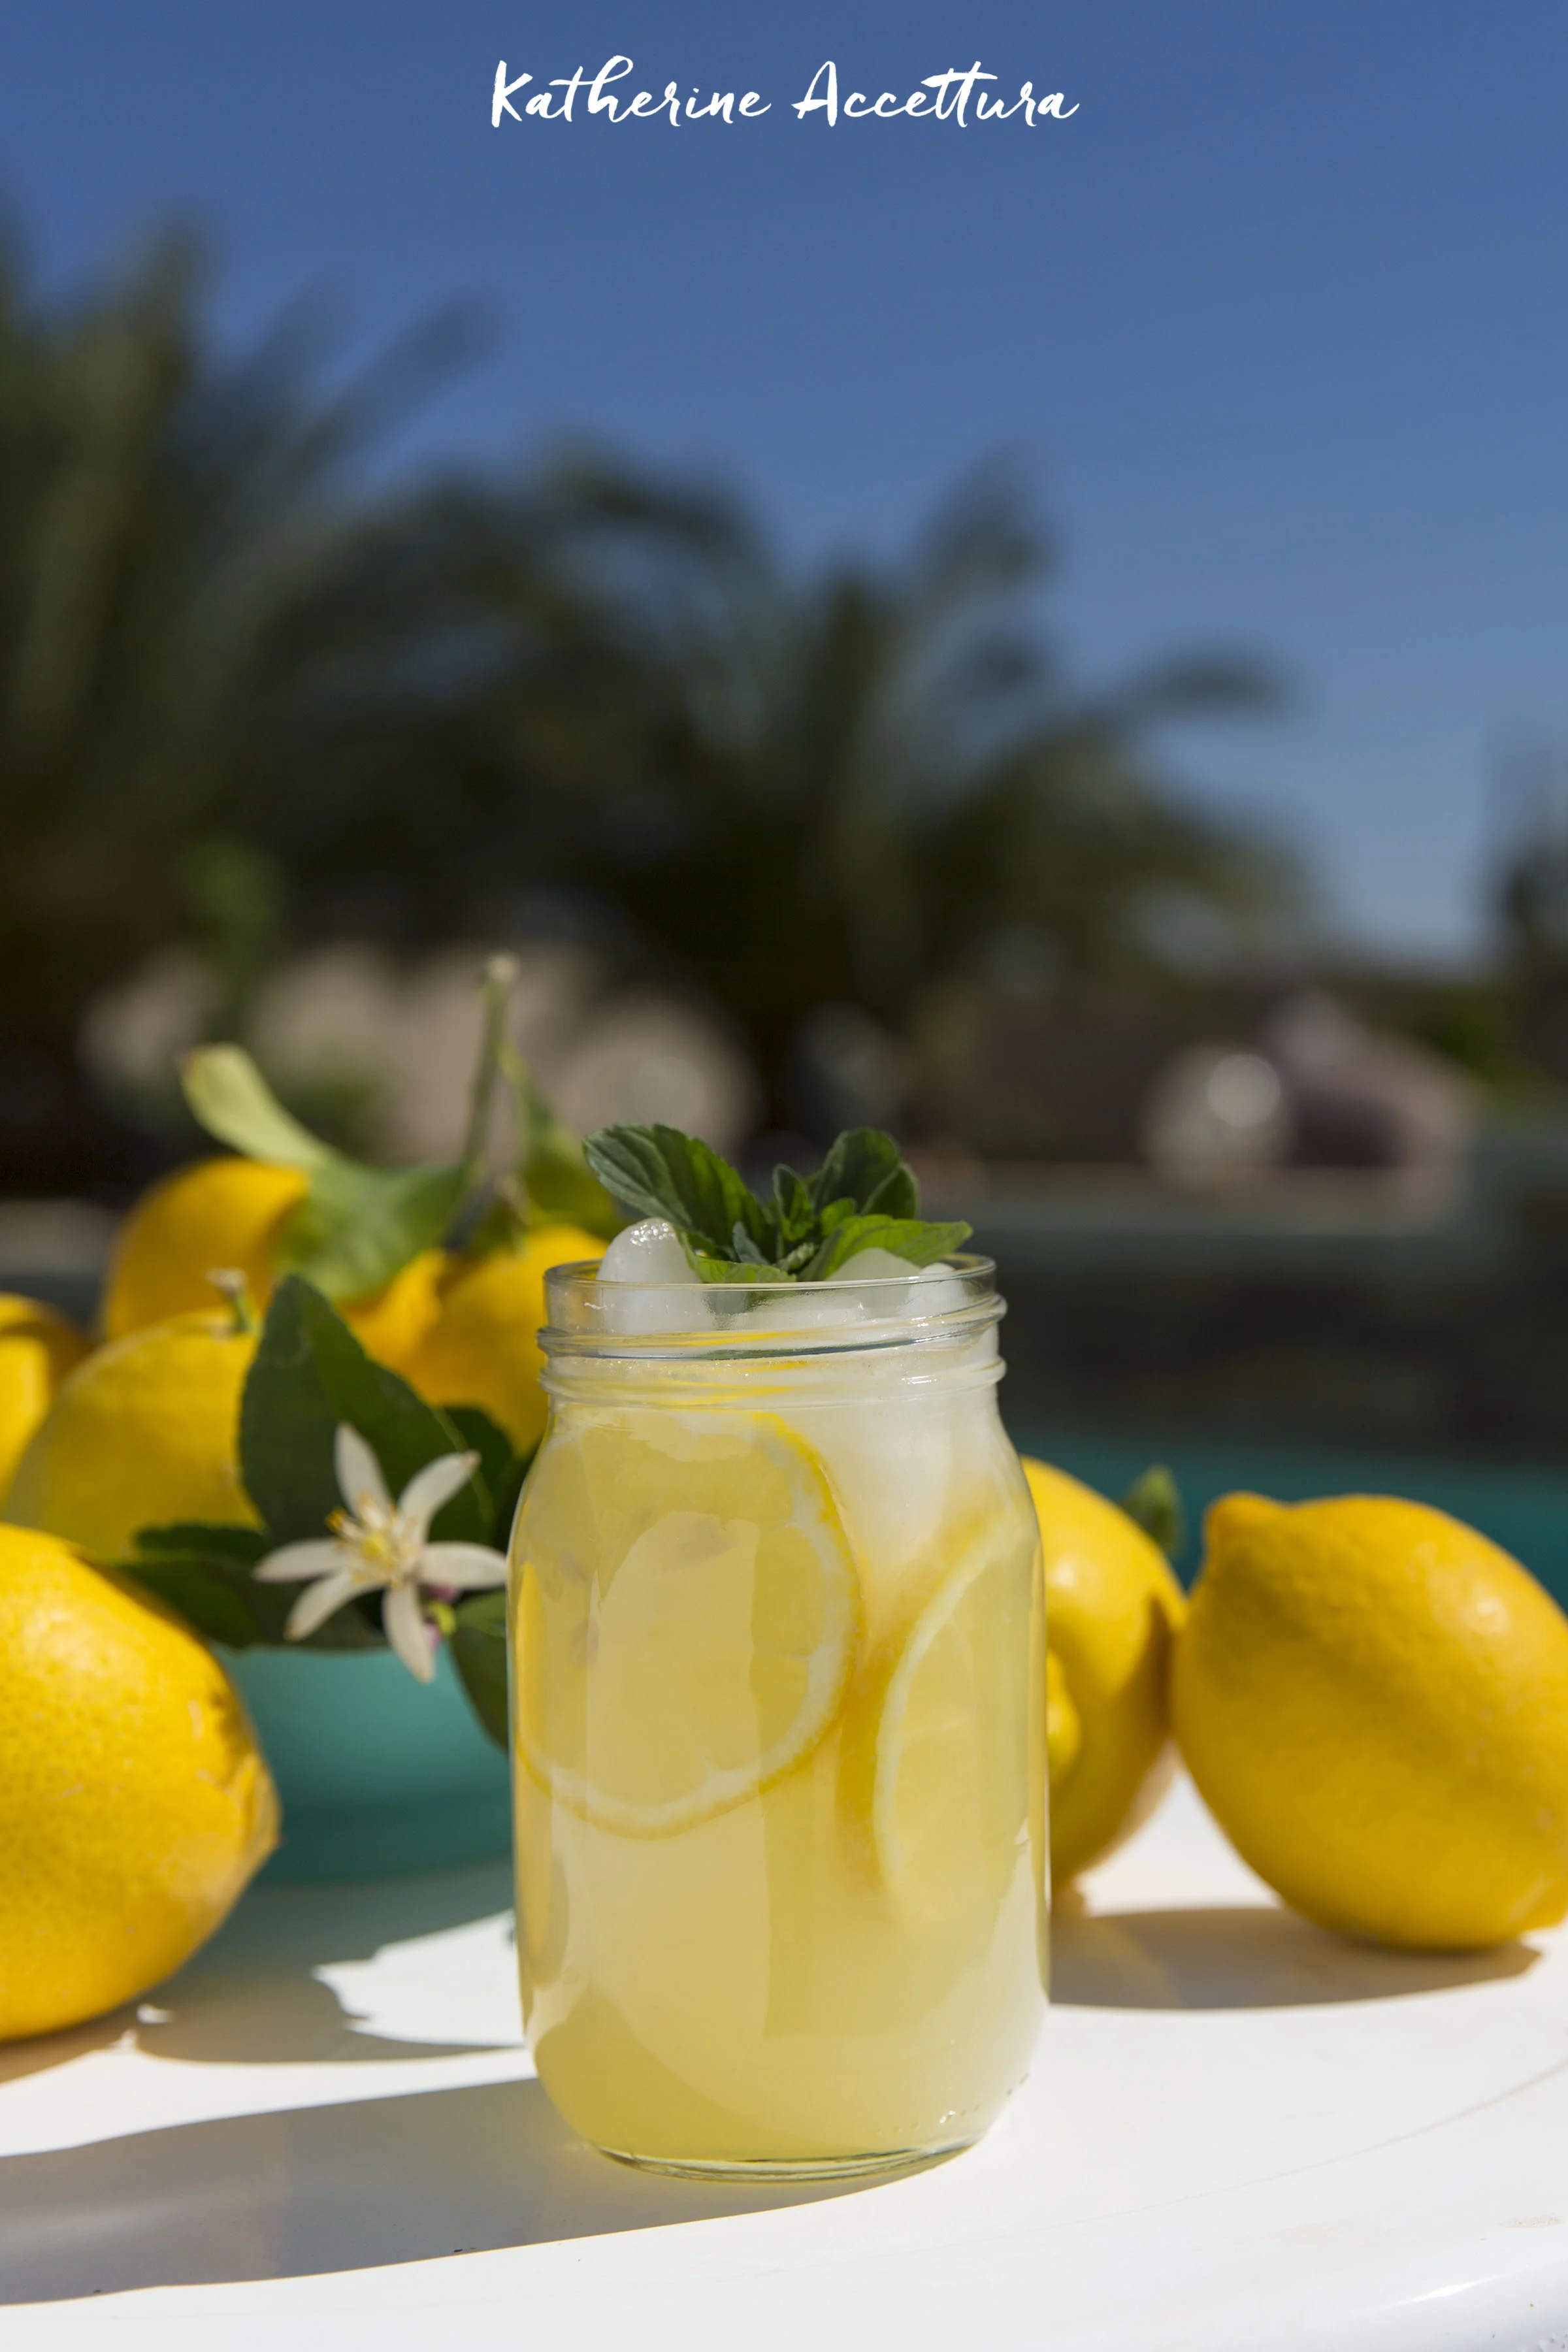
AZ Sunshine Lemonade

Earlier this year, we visited my parents in Cave Creek, AZ. It was a great time of year to visit, as the days were only mildly HOT and the nights were somewhat cool enough to wear lightweight pants or a long sleeve tee. The other great thing about being there in early Spring, was that their lemon tree was in full production mode, and even had a few blossoms still on it. I wish we could have taken home boxes of their organic lemons, so we could enjoy them at home, but they really only stay good for a few days after they are picked. So, we made as much lemonade as we could handle until our teeth hurt! We had a pitcher a day addiction going on!

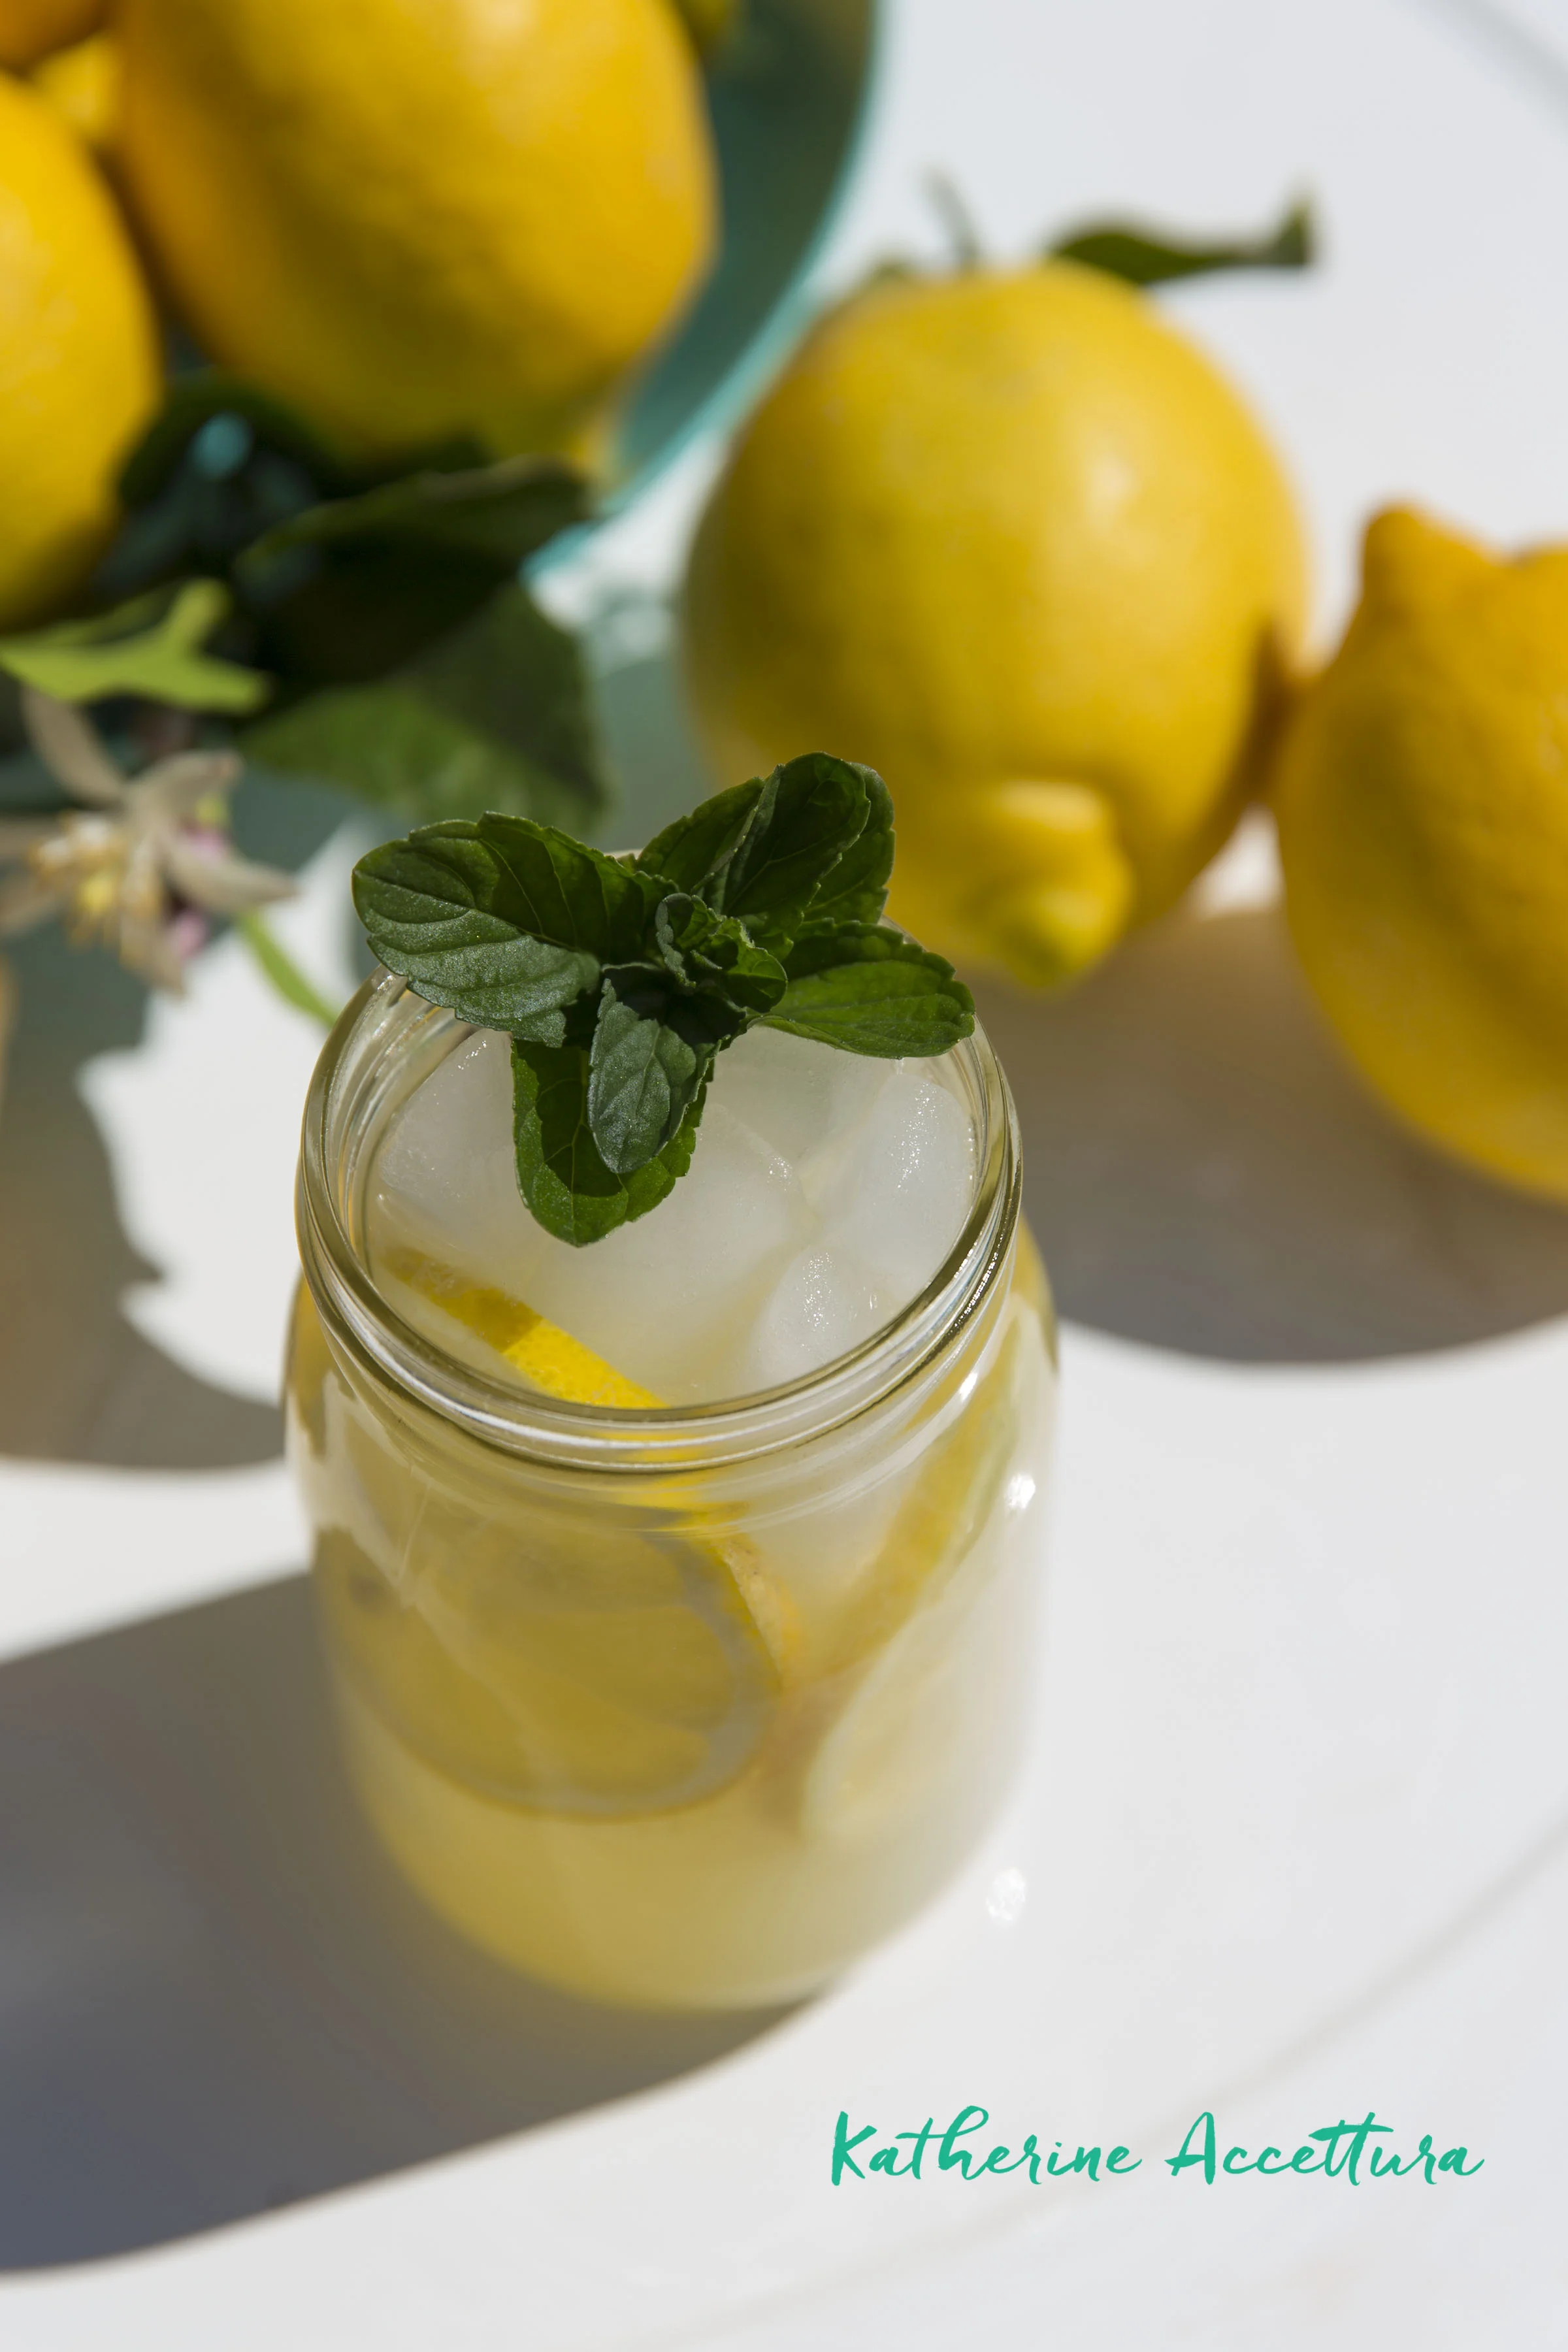
Check out this super tasty fresh lemonade recipe!

INREDIENTS:

1 Part Lemon Juice (We used about 7-8 lemons for this)

3-4 Parts Water

1 Part Sugar (You can make a simple syrup at first if you want, although we didn't)

HOW TO:

We picked 7-8 lemons straight off the tree, cut them in half, and used an electric juicer to get as much juice out of them as we could. We then added the lemon juice to a pitcher, added the water, and sugar, and stirred. If you wind up making a simple syrup first, this is supposed to reduce the sugar from sinking to the bottom. Taste a bit to see if it is sweet or tart enough for your liking. Fill your glasses with ice, and pour the AZ Sunshine Lemonade on top! Enjoy!

Check out this super tasty fresh lemonade recipe!
Check out this awesome fresh squeezed lemonade recipe
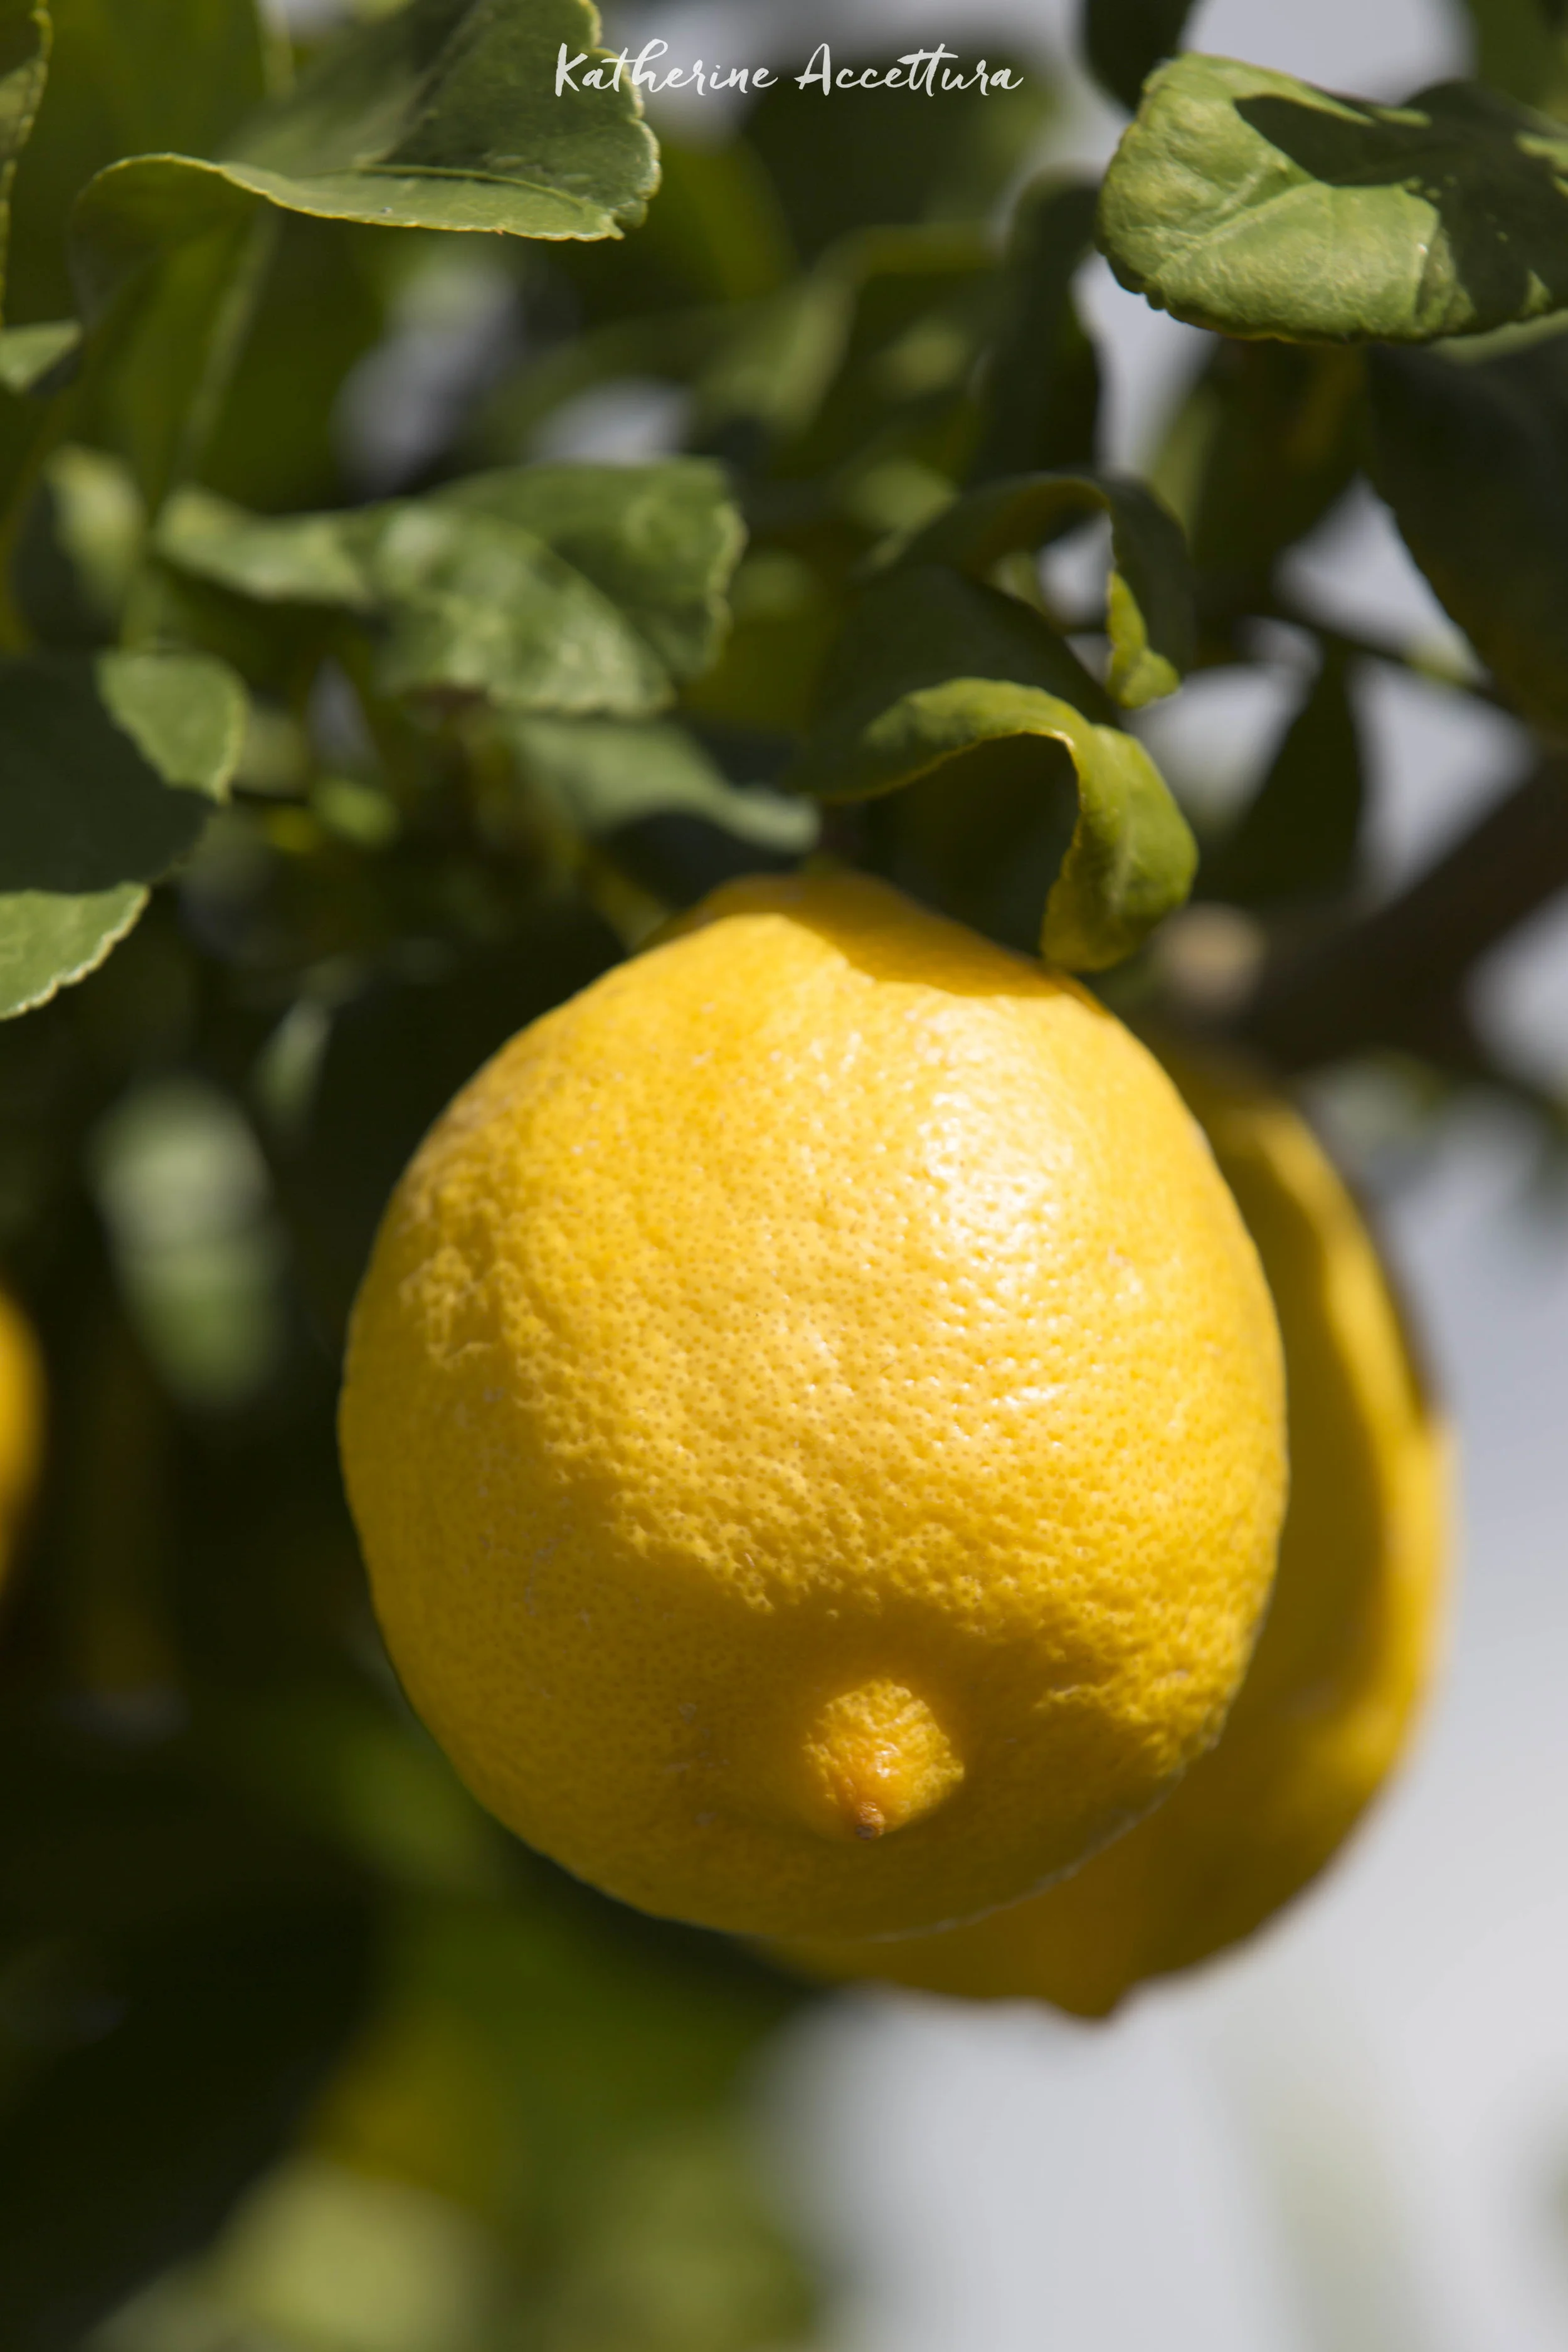
Fresh Lemons

I never grew up around fruit trees, and I love them! They do attract lots of bees, because of the little lemon blooms, but my step-mom made us a fresh batch of lemonade almost every day we were there! She has an electric juicer, which really does make things much easier for this whole process. Since we drank her super fresh lemonade, nothing from a bottle has tasted anywhere near as good. It all seems so bland, not tart, and loaded with more sugar than humanly possible. 

I like my lemonade a little bit sweet, and a little bit tart. Feel free to add more sugar if this is way too tart, but I do hope you enjoy the way we make our fresh squeezed AZ Lemonade! 

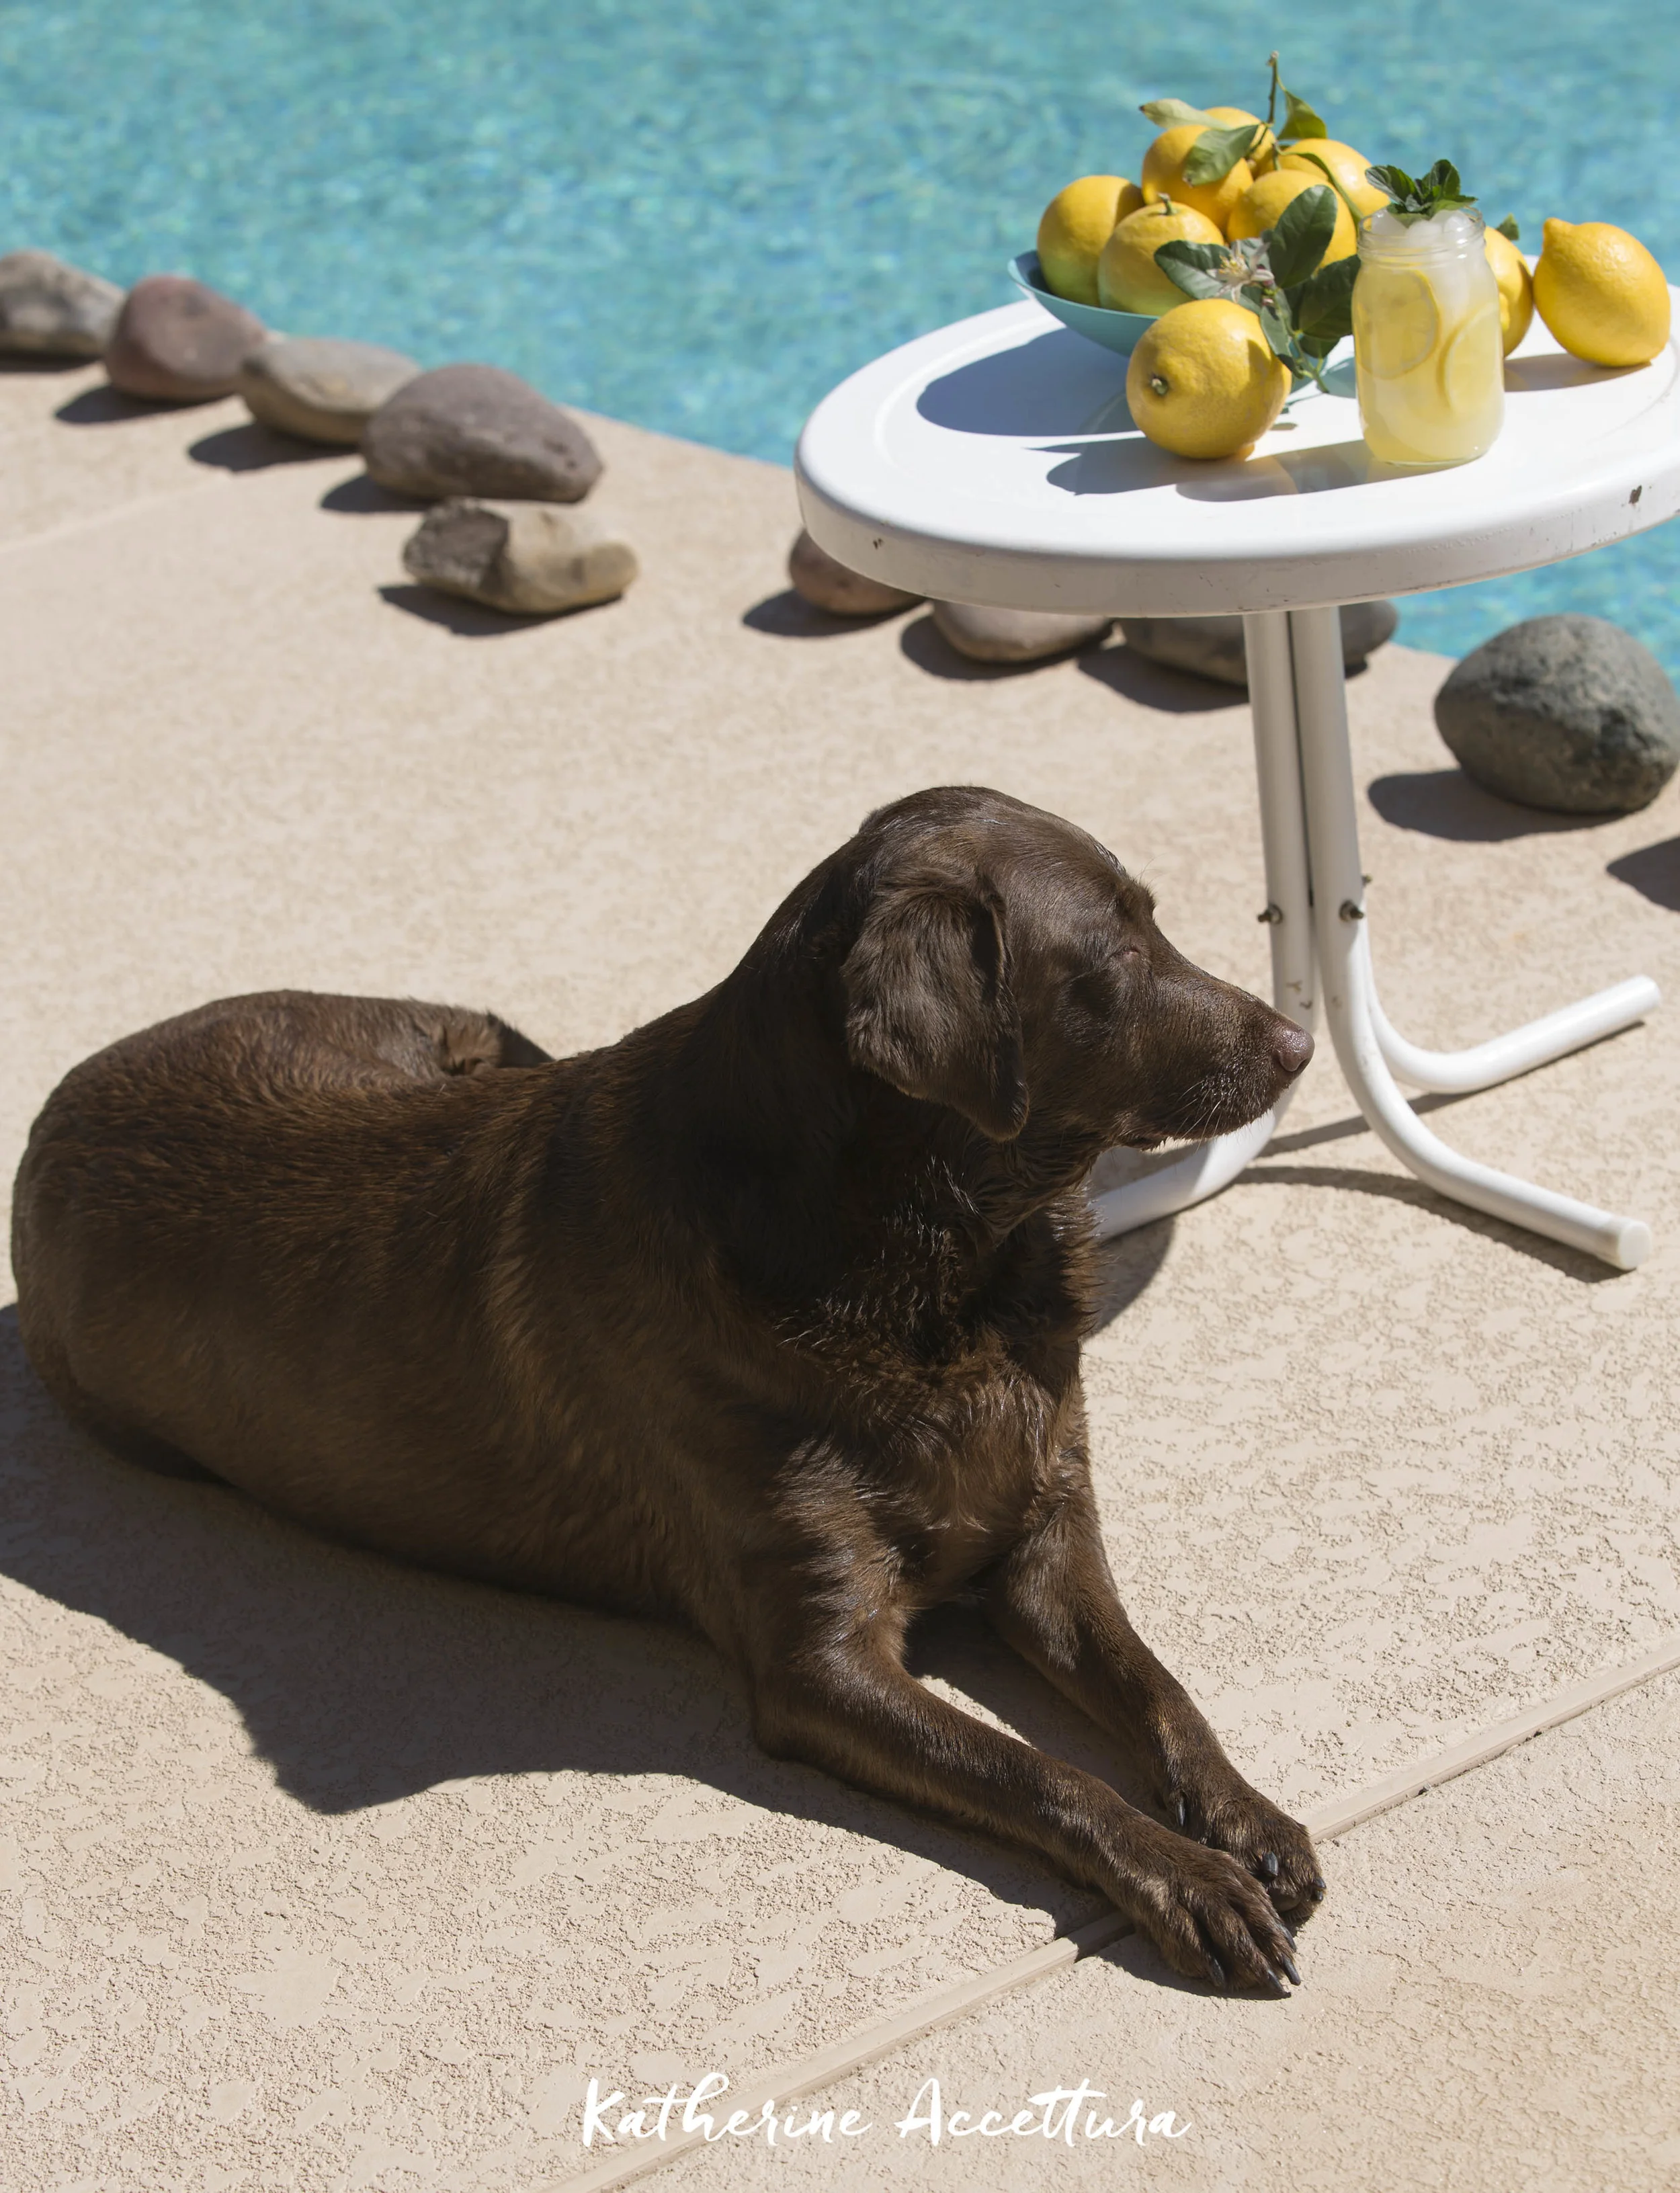
My little girls always helps me with my photos, poolside preferred! 

My little girls always helps me with my photos, poolside preferred! 

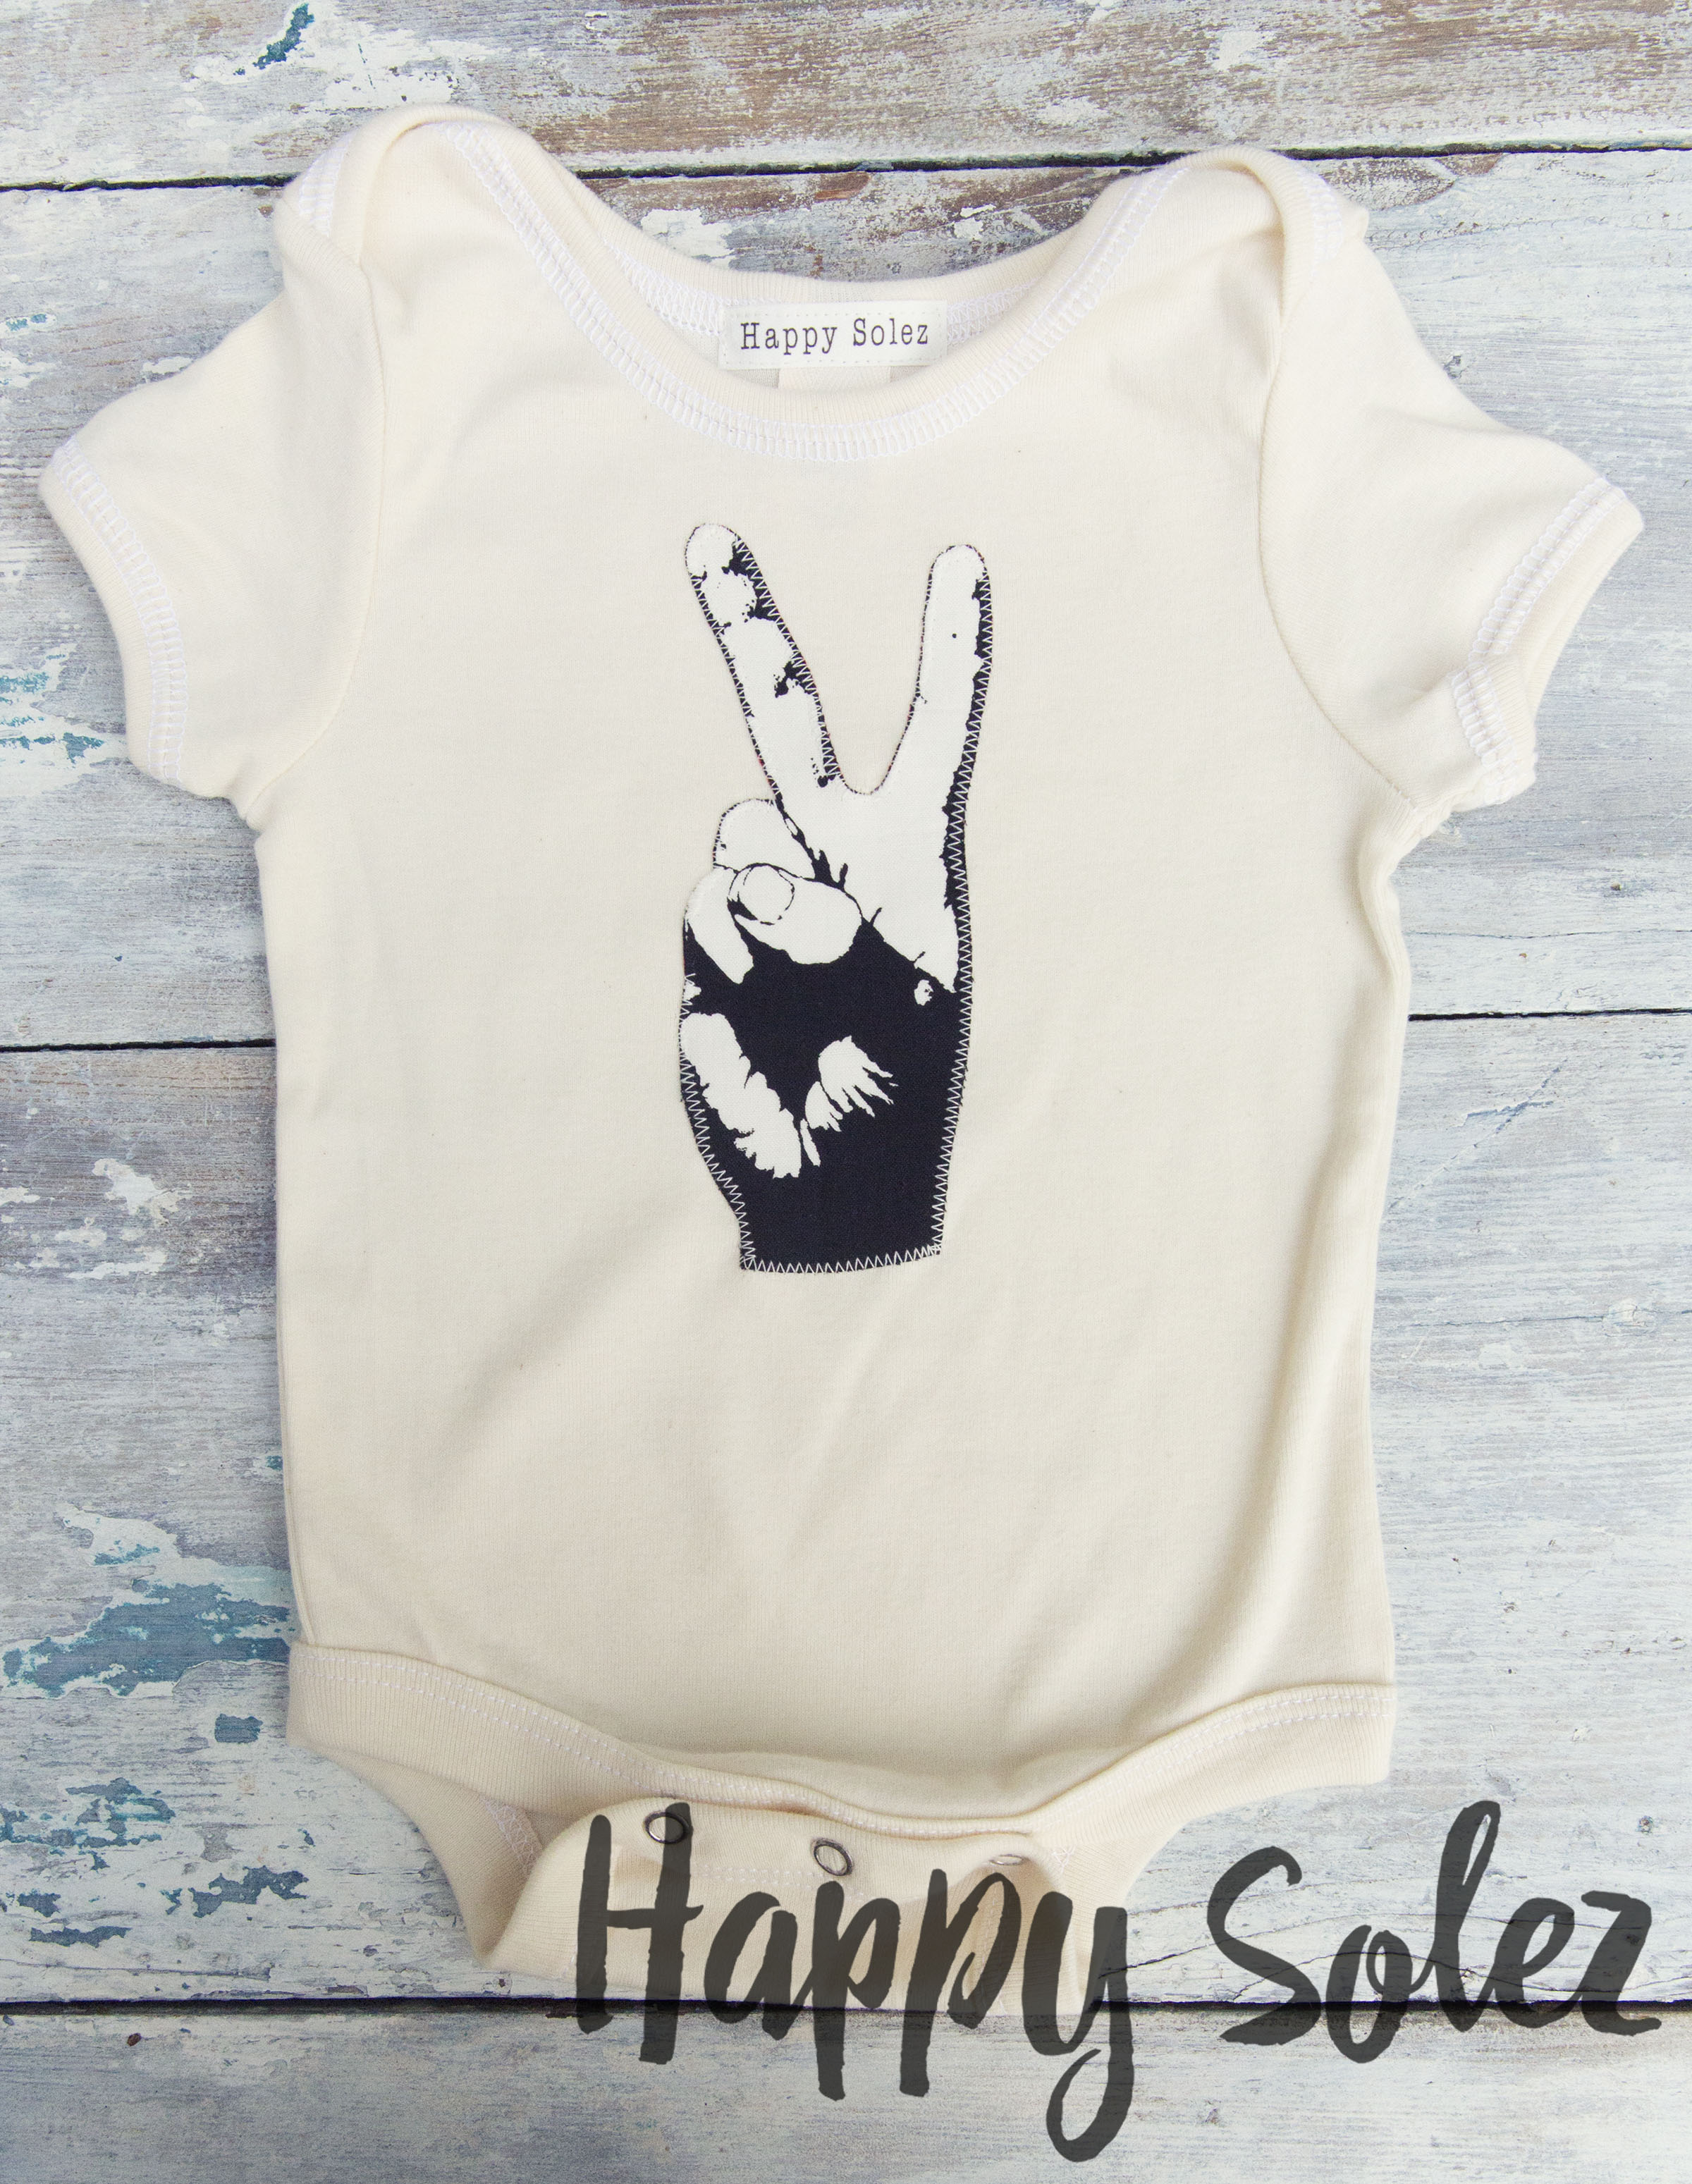
My Newest Creations - Applique Onesies

I have been uber inspired by the summer, and have created some 100% ORGANIC Onesies for the hippest babies around! Babies smile when they see my work, and I hope you do too!

Peach Hand Onesie by Happy Solez

I take great pride in everything I create. I am so happy with how these onesie turned out! If you would like to order a custom size, please comment below with your contact info, and I will get back you right away! If you have an uber adorable baby (and you know you DO!), and would like to help me spread the word about my organic onesies, also, just let me know in a comment below! I am looking for models in exchange for free merchandise! 

Camping Baby Onesie by HappySolez

These Camper Baby Onesies (and Peace Hand Onesies), are so fun! The onesies are super soft, 100% Organic, and the appliques are made from linen. So happy with these babies!!!

My Steller Stories!

I absolutely love the Steller Stories app! It is a super fun way to make a little digital scrapbook of images, videos, and text and the stories last forever. I love creating the stories for either vacations or places I visited, as well as DIY projects and recipes. You can only make them on an iPhone at this point, but they're really fun to create. 

I had a lot of fun putting most recent this story together, showing some of my favorite places to eat in Moab, Utah. Looking back at this, I realize we got to test out so much amazing food and drink, and it was so fun getting to know Moab for the week we were there. 

And, in this story about a day in Chicago, I loved placing text right over a video, making it feel like the intro to a movie! You can upload 20 images or videos at once when you are creating these stories, making it pretty quick and easy to be creative! I had such a fun time shopping in Chicago and exploring while the guys were at a Cubs game. 

Below, you can check out our time in Capitol Reef National Park in Utah! Wow, this place was incredible, and the park isn't crowded like almost EVERY other National Park we have visited! 

This Saguaro National Park story was a lot of fun. I love cacti and the beautiful aridness of the dessert. All the plants are shrubby, sharp, and so opposite of anything I'm used to from Illinois. 

We had a great time in New Mexico also! Truth or Consequences is a beautiful, tiny town, that is full of colorful architecture and a really fun vibe. You can see some of the food we ate as well. 

And, speaking of FOOD, here is my most popular Steller Story, about how to make peanut butter cookies. 

And, my very first Steller Story, ever, was this awesome post about Scratch Brewing in Ava, IL. This place is incredible, and you can learn a bit about it below. 

Check out all of my Steller Stories HERE. And, if you have a Steller account, feel free to leave the link in the comments below! Have a good day :)

Pinterest  //  Facebook  //  Instagram  //  She's So Chic Blog  //  Twitter

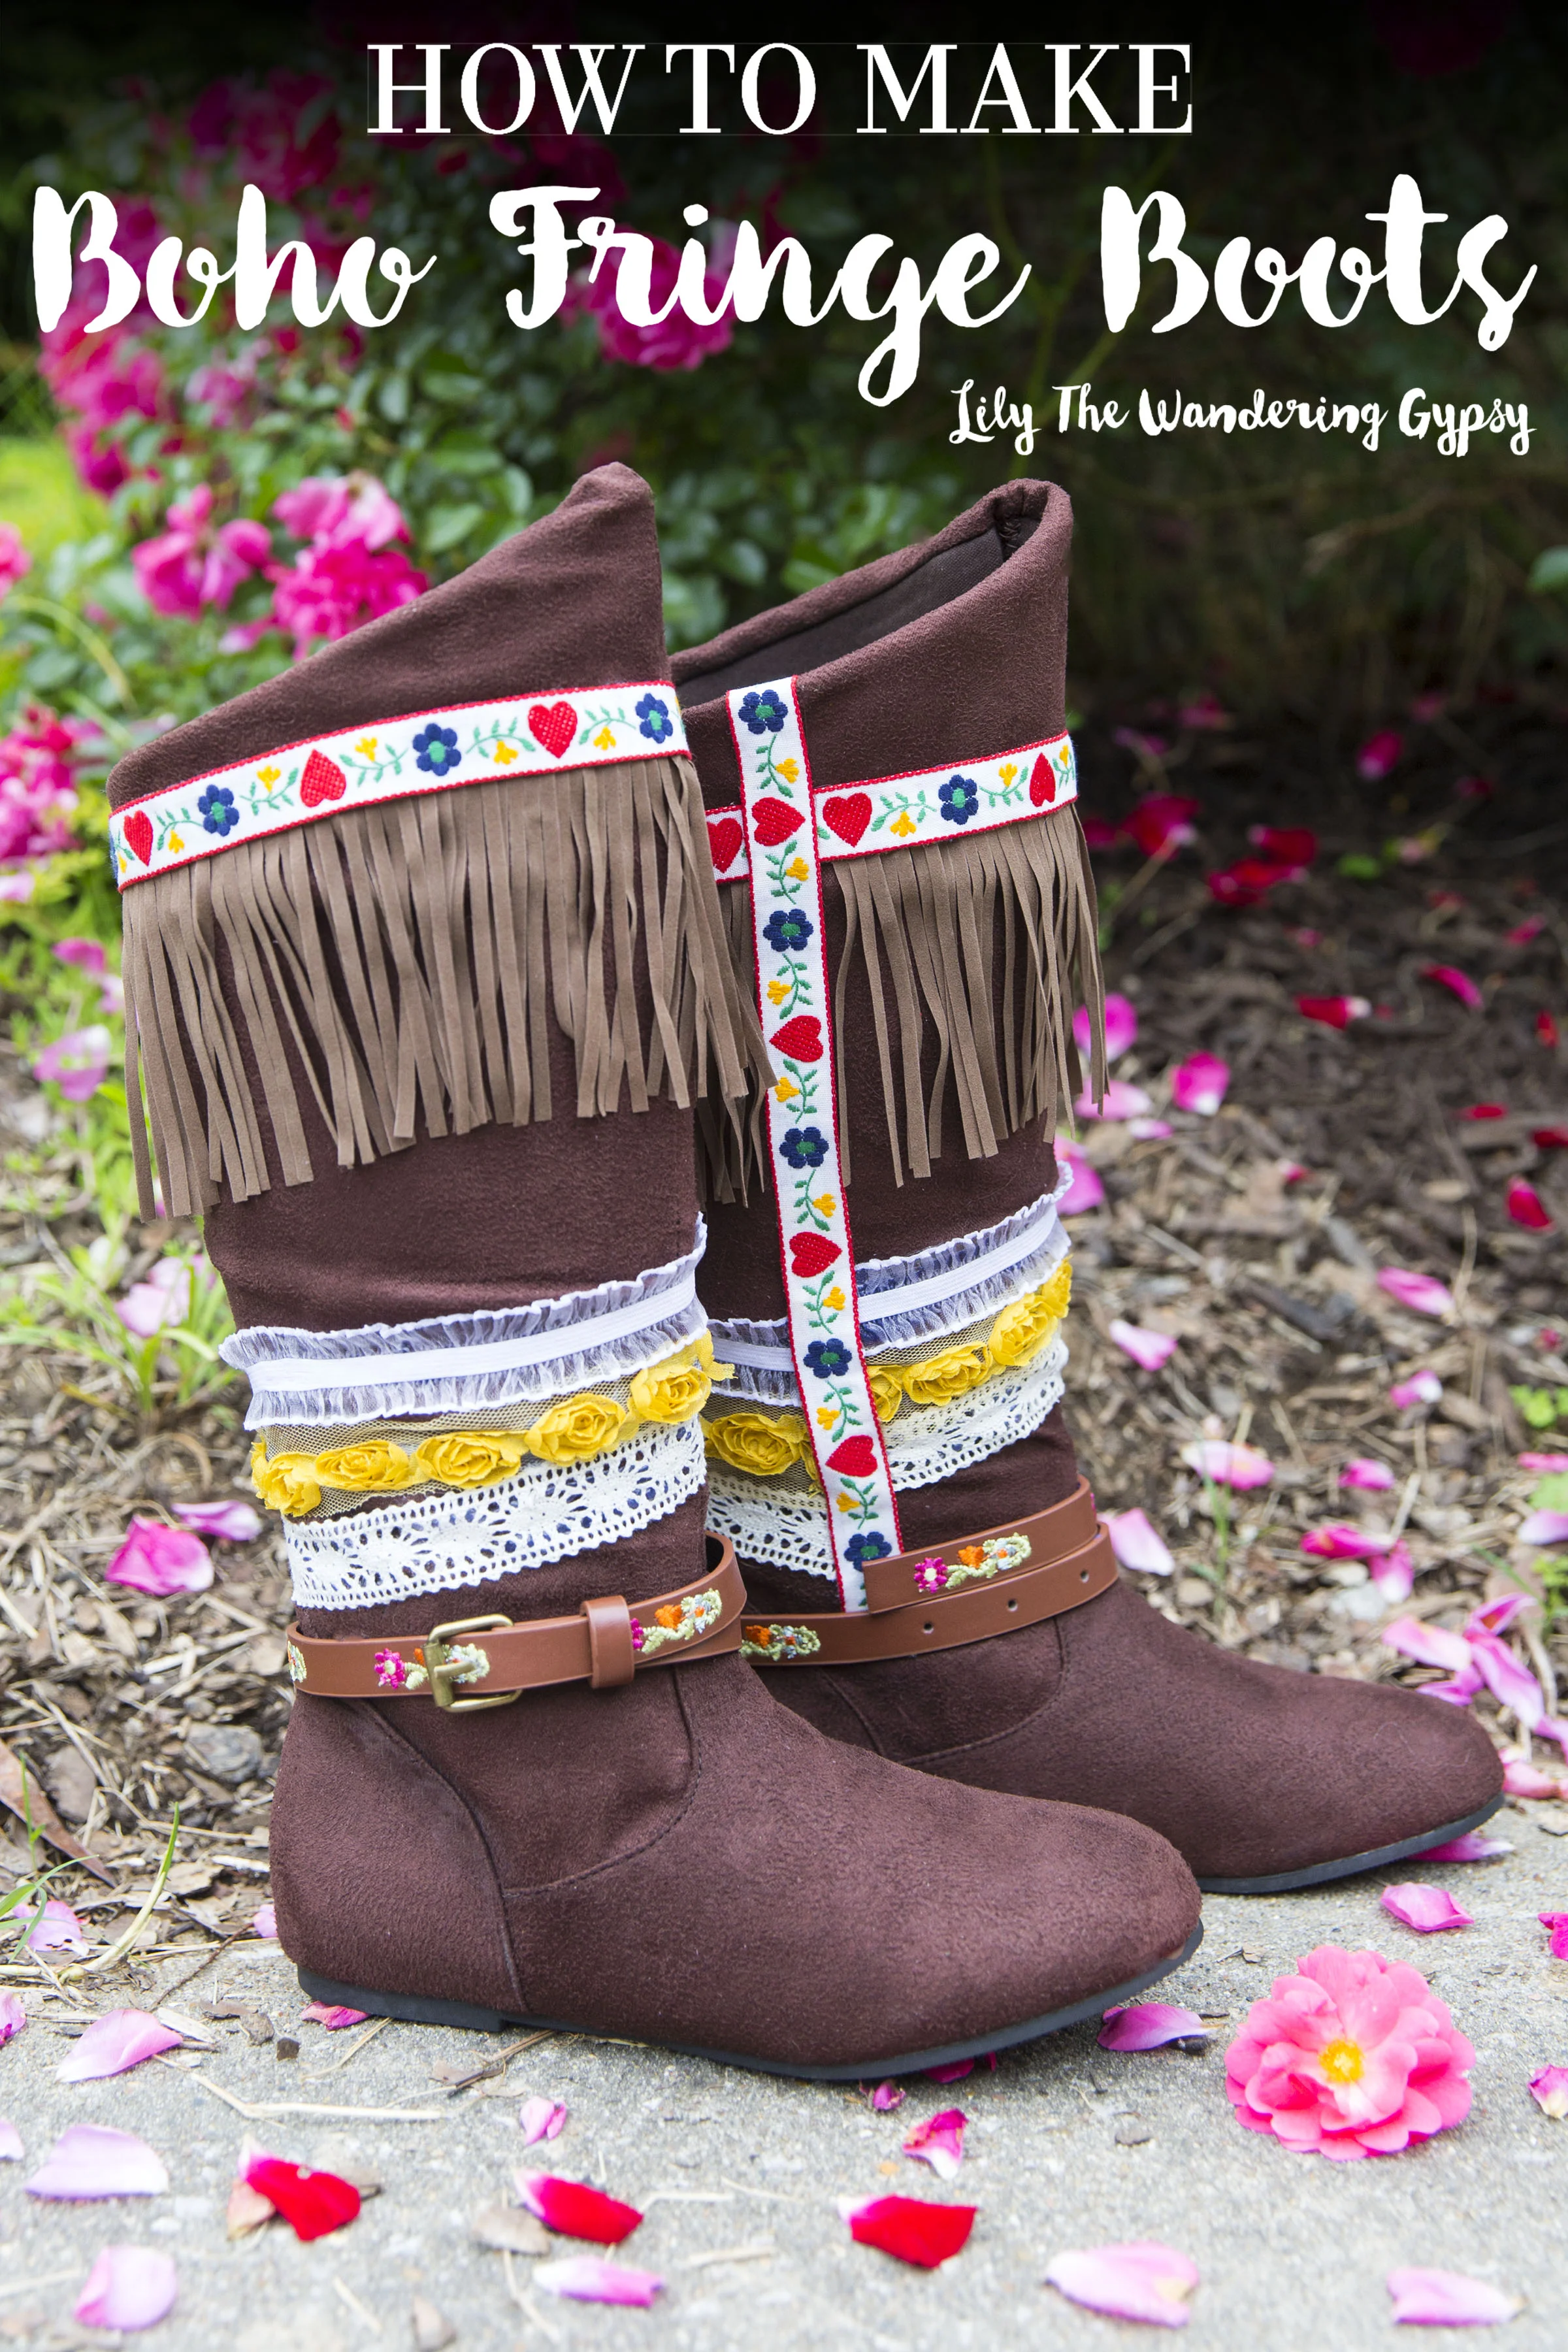
How To Make Boho Fringe Festival Boots - Embellish Your Boots For Summer

Summer festival season is upon us and I have a cute DIY tutorial for you to try. I made these for about $14, and all I had to buy was the boots and the fringe trim. If you already have boots, a glue gun, and ribbons and trims, these could be practically FREE to make! These are such a cute addition to your summer festival wardrobe and outfits. If you make some, please comment below with a link to your photo! 

How To Make Boho Fringe Boots

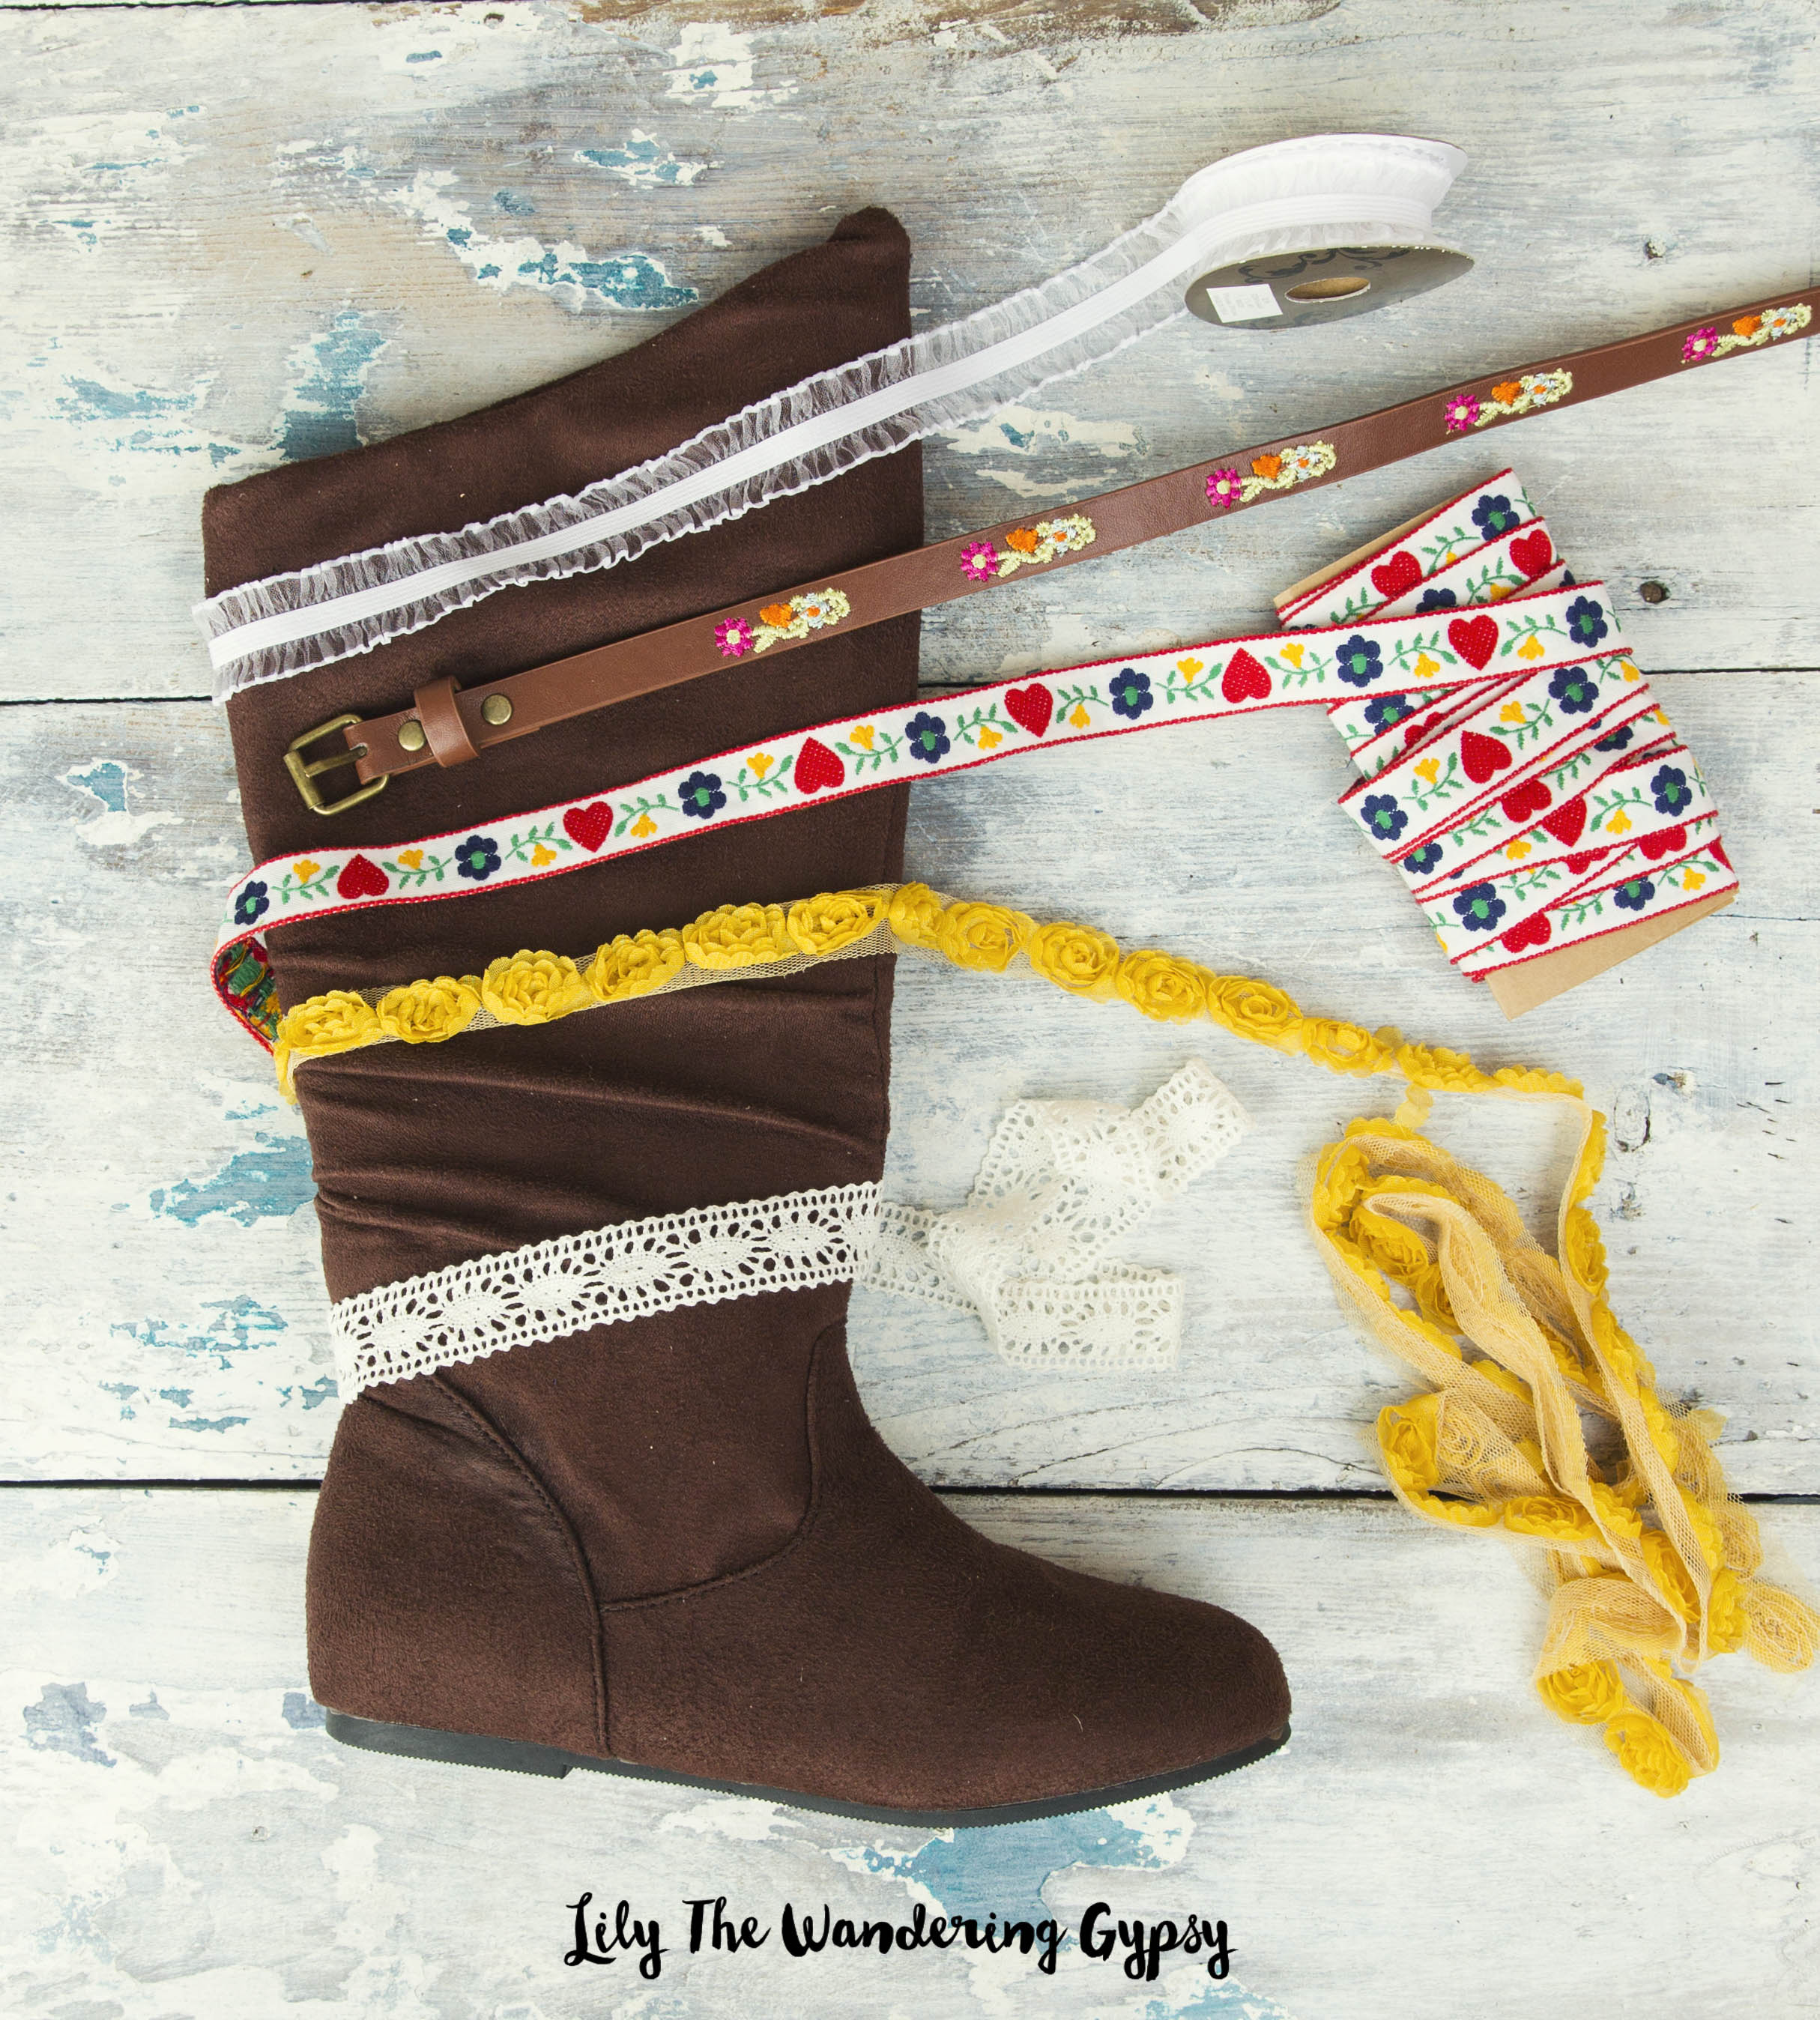
SUPPLIES (YOU MAY ALREADY HAVE THESE)

1 Pair of Boots - Glue Gun & Glue Sticks - Scissors - Boho Ribbons and Trims (about 3/4 -1 Yard each) - 1 Yard of Fringe (Not Pictured) - 1-2 Skinny Belts That Can Be Cut In Half

How To Make Boho Fringe Boots

Next, lay your ribbons and trim over the boots to see where you want them. I glued my ribbon on much lower than this photo shows, this way I could add fringe to the top. 

5DB_6840.jpg

Below, you will see the interior side of the boots. Cut the trims so they line up half way around the back. These raw edges will be covered by a final layer of ribbon for a finishing touch. 

How To Make Boho Fringe Boots

Below, you will see the ribbons/trims after I hot-glued them all on. The raw edges will soon be covered with ribbon. I used a cheap, low-heat hot glue gun, and it worked super well on these materials! My boots were made of an ultra-suede like material. If you are using leather boots, you may need to use a fabric-ready, 2 part Epoxy, or E-6000. 

How To Make Boho Fringe Boots

Next, cut your belt in half, and decide where you want to position the buckle. The outer side of the boots will look best, as you will see in my first photo.  

How To Make Boho Fringe Festival Boots

Do a test placement of the belt, and then mark where the new buckle hole needs to be, so the belt fits around the boot. Cut the new hole, so that the belt fits snugly around the bottom of the boot, but not too tight. I used an awl from a multi-tool, but a sharp X-Acto Knife would also work. Be super careful not to cut yourself or the work surface. (See below) 

You will see that I also added the ribbon to go up the side of the boot. Glue this in place, making sure to only glue half way up. The fringe will also go under this ribbon!

Make sure your ribbon covers any rough edges of the ribbons. (See Above)

How To Make Boho Fringe Boots

Let's get your fringe ready! This fringe really makes the boots super cute! Cut your yard of fringe in half, and position it around the top of the boot. Cut the fringe to fit all the way around each boot. Hot glue ribbon to the top of the fringe, for a cute boho look. 

How To Make Boho Fringe Boots

Glue the fringe around the top of the boots. Then, hot glue the ribbon over your fringe, and fold into the inside of the boot, for a finished look. I cut a few of the fringe pieces off, that would be under the ribbon, but that's optional.

How To Make Boho Fringe Boots

And you're done! You are ready to and the night away at your next festival!  

How To Make Boho Fringe Boots
How To Make Boho Fringe Festival Boots - DIY Tutorial
How To Make Boho Fringe Festival Boots

Pinterest  //  Facebook  //  Instagram  //  She's So Chic Blog  //  Twitter

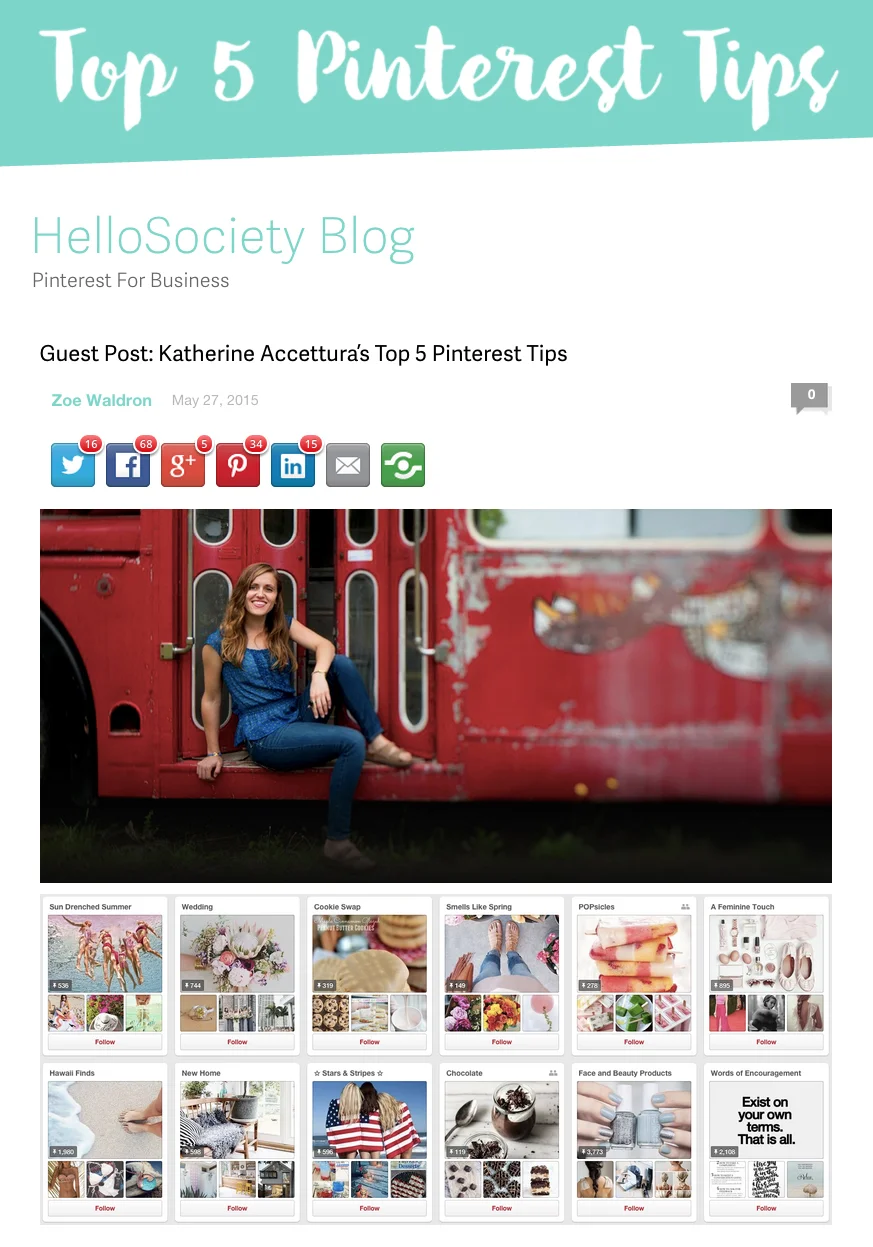
Top 5 Pinterest Tips

Katherine Accettura is a HelloSociety Influencer from Illinois. She has over 1.2 million Pinterest followers. Katherine has been kind enough to share some of her Pinterest tips with us in this post:

This article was written by me and originally published here, on the HelloSociety Blog. 

This article was written by me and originally published here, on the HelloSociety Blog. 

1. Make Time To Pin & Pin Regularly

- Try to pin every day, several times a day. If you don’t pin regularly, your followers may become bored and won’t visit your Pinterest account as often.

- Utilize a pin scheduler every day. Try to implement it into your daily routine, especially while you are going to be busy, and see if it makes a difference in the overall number of repins and likes on your pins

- TIP: A good time to pin is when you begin seeing your phone blowing up with Pinterest notifications (your Pinterest app phone notifications should be turned on until you understand your audience’s schedule).

2. Pin From Your Phone

- The majority of Pinterest users are accessing the site via the Pinterest mobile app. It’s important to be in touch with your audience and see what your pins look like across all devices. Scroll through your pins on a daily basis, and make sure they look coherent and interesting.

- Make sure you aren’t pinning or repinning thumbnail-sized images. They look deceptively good on the Pinterest app, but look really bad on a computer screen.

3. Keep Your Blog or Website Updated (Important!)

- This is one of the biggest problems I see among pinners. Your blog or website link is at the very top of your Pinterest profile (or should be!). This encourages your followers to click through to learn more about you. If someone is directed to a site that has not been updated in a month or even a year, it can be off-putting, and may not encourage them to continue to keep interest in you and your pins. Make sure your Pinterest profile links to the blog/website that you keep up with most.

- It is important to verify your blog/website. Your pins may become more pin-worthy and show up higher in your followers’ home feed more often. There are lots of tutorials on how to verify your profile URL on Pinterest.

4. Think Of Your Pins As A Whole, Not As Disparate Boards

- It is important to look at your pins as a whole entity. This will provide your followers with the most visually pleasing experience. Example: If you pin the same pin to multiple boards in a row, they will show up as a duplicate pin to viewers on your Pinterest profile.

5. When In Doubt, Pin Food and Quotes

- Everyone hits creative blocks sometimes, so if you’re experiencing this, pin a few recipes or beautiful pictures of food. Inspiring quotes can also be popular to a wide variety of followers.

- In my opinion, Food, Quotes, and DIY tend to be some of the most repinned and liked pins out there. Make sure they are cohesive with your other pins, though!

Connect with Katherine:

Pinterest – Website – Blog – Instagram

These ‘HelloSociety Influencer Guest Posts’ are shared in support of successful influencers teaching best practices to fellow influencers, aspiring influencers, brands and social media users.

Healthy Jar Salad Recipe - Black Beans & Greens With Creamy Chipotle Dressing

I have been helping to promote the Mira Fitness Tracker Bracelet on Pinterest recently, which is a really cool product. It's a more  and I found this awesome recipe on their blog. I decided to create a graphic explaining the tasty recipe, and you can find it on Pinterest here. I love creating graphics for these brands! If you need some cute graphics made, just let me know! 

Below, you can see the Mira Fitness Tracker Bracelet - it's much cuter than the traditional FitBits.