A Peanut Butter Chocolate Fudge Recipe + Stunning Bracelets from Gideon John

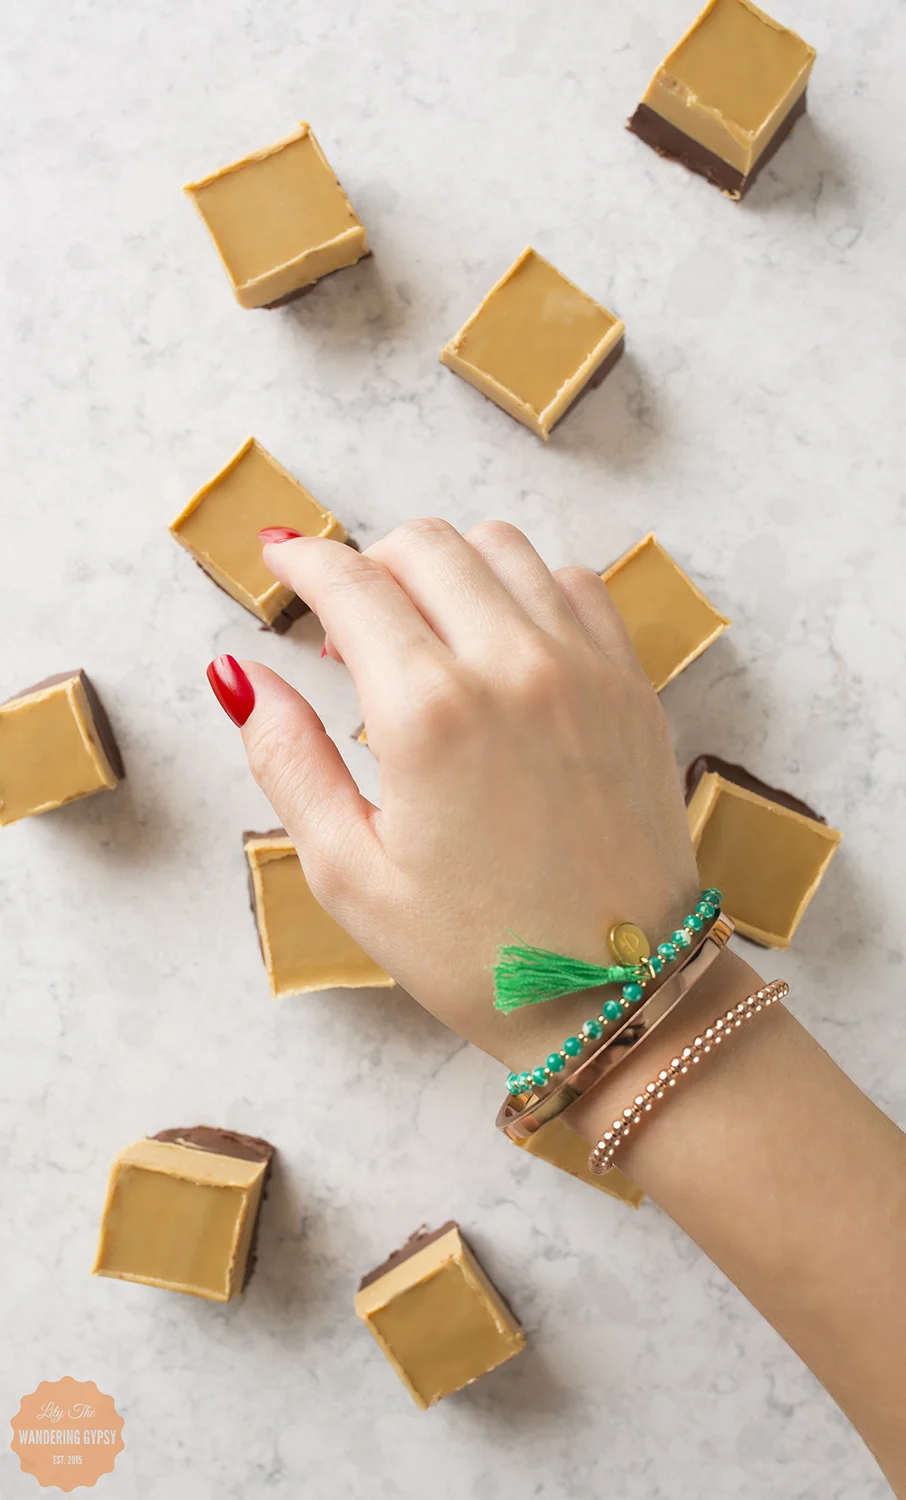
I want to share a couple of things with you today - fudge + jewelry - two of my favorite things! I wanted to share a Peanut Butter Fridge Fudge recipe with you (below), and also share some pretty amazing jewelry with you. 

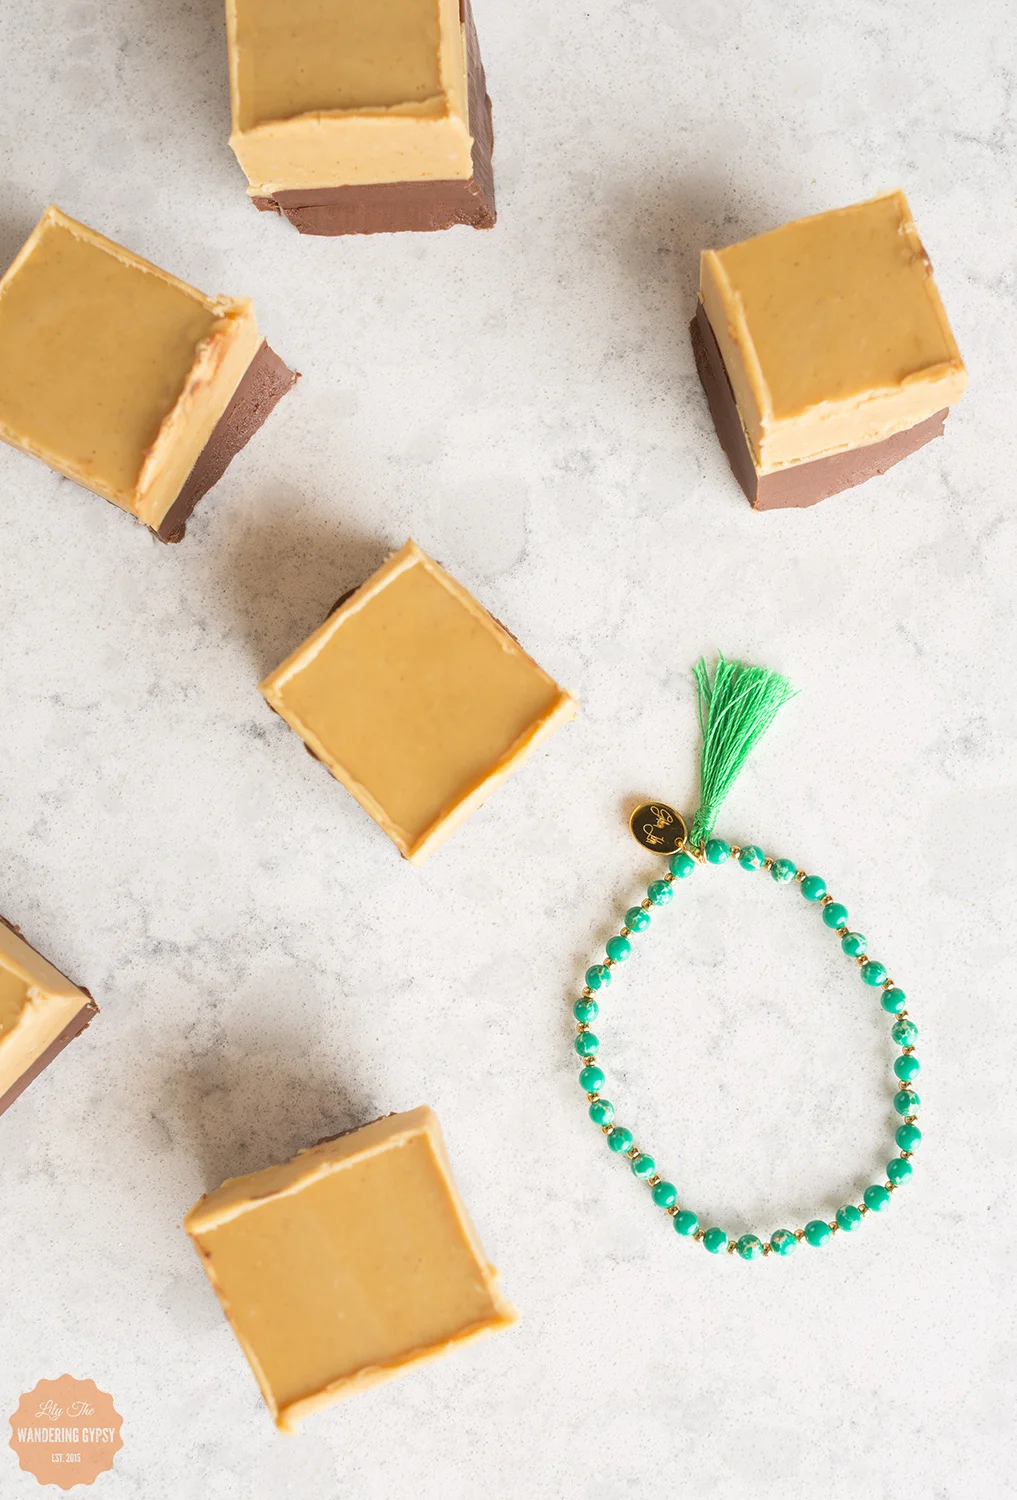
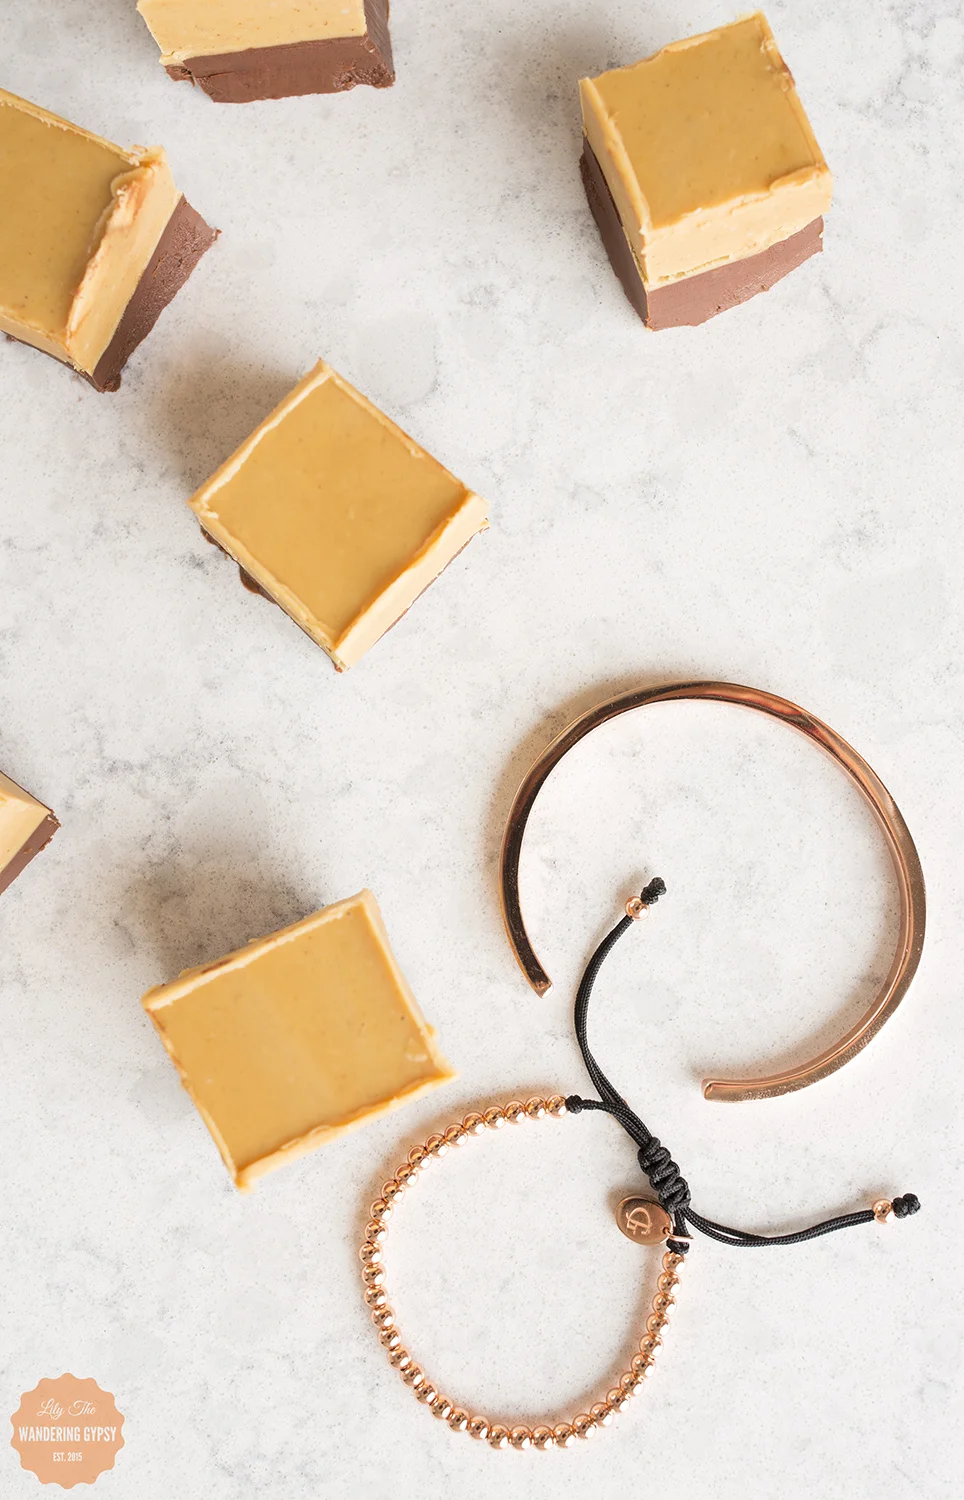
First, the jewelry. Bracelets have always been my go-to jewelry faves. I recently received three absolutely stunning bracelets from Gideon John London, and I could hardly believe my eyes! These bracelets are so well-made, and you can tell that great attention to detail was given, beginning at jewelry design, then into their packaging and presentation. Each bracelet arrives in a personalized black box and a cotton bag, so nothing get scratched during delivery. Even though these traveled all the way from gorgeous London, they looked like someone had hand-delivered them locally! 

I received three bracelets from Gideon John, and featured them all in this post. Find them here:

Rose Gold Cuff Bracelet / Green Sea Jasper Tasseled Opulence / Rose Gold Lux Beads

And, although they already had lovely product photography on their website, I was so fortunate to be able to bring these bracelets to life in this styled photoshoot. 

Now, the Fudge!

This yummy treat turned out so well! This recipe has been adapted from the one I found here - the post that inspired my photos!

1 Bag Peanut Butter Baking Chips

1 Bag Chocolate Chips 

Coconut Oil

Creamy Peanut Butter 

A Pinch of Salt

Glass Container For Fudge

Parchment Paper

1.) You can do each of the two layers in the microwave, or use the double boiler method, like I did. To do the double boiler, fill a sauce pan with about 1 inch of water. Set the glass measuring cup in the saucepan, atop the water, and get turn your burner on medium, to get ready to melt your ingredients.

2.) Prepare water for double boiler method in two different sauce pans. In two heat-safe glass measuring cups (I used my two 2 cup ones), melt 1/4 Cup Coconut Oil, 1 bag of peanut butter ships, a pinch of salt (or a bit more), and 1/2-1 C. Peanut Butter. Feel free to add more Peanut Butter if you want, just until you get a consistency and taste you like. You can also add some powdered sugar to this peanut butter layer if you want. Melt until smooth - make sure you stir frequently!

3.) In the other measuring cup, melt 1/4 C. Coconut Oil, 1and  Bag of Chocolate Chips. Melt and continue to stir until smooth. 

4.) Optionally spray a bit of non-stick spray into your Pyrex container, and then fit a piece of parchment paper into the Pyrex, allowing two sides a few extra inches to hang over. This makes removing the fudge from the container much easier!

5.) Once chocolate has melted, pour it into the Pyrex. Freeze for about 15 minutes, so it hardens all the way through.

6.) Once that layer has hardened, pour the peanut butter mixture over the chocolate layer, make sure it's smooth, and put it back into the freezer. If you're not in a hurry, you can just let the final layer cool in the fridge.

7.) Once both layers are fully firm, grab a cutting board, pull out the fudge block utilizing the parchment paper, and use a ruler to make straight lines on the top of the fudge if presentation matters. Cut fudge into 1" squares, using a large, sharp knife, and enjoy!! 

***Note: This fudge melts pretty fast, so make sure you keep it in the fridge!!! It tastes like peanut butter cups, I just love how this turned out!! You can also use crunchy peanut butter, but I recommend creamy, just because the peanuts could be too hard to eat after being in the freezer or fridge!

What a great no-bake dessert recipe! 

Two Amazing Fruity Frozen Yogurt Recipes {Peach Pineapple + Raspberry Peach}

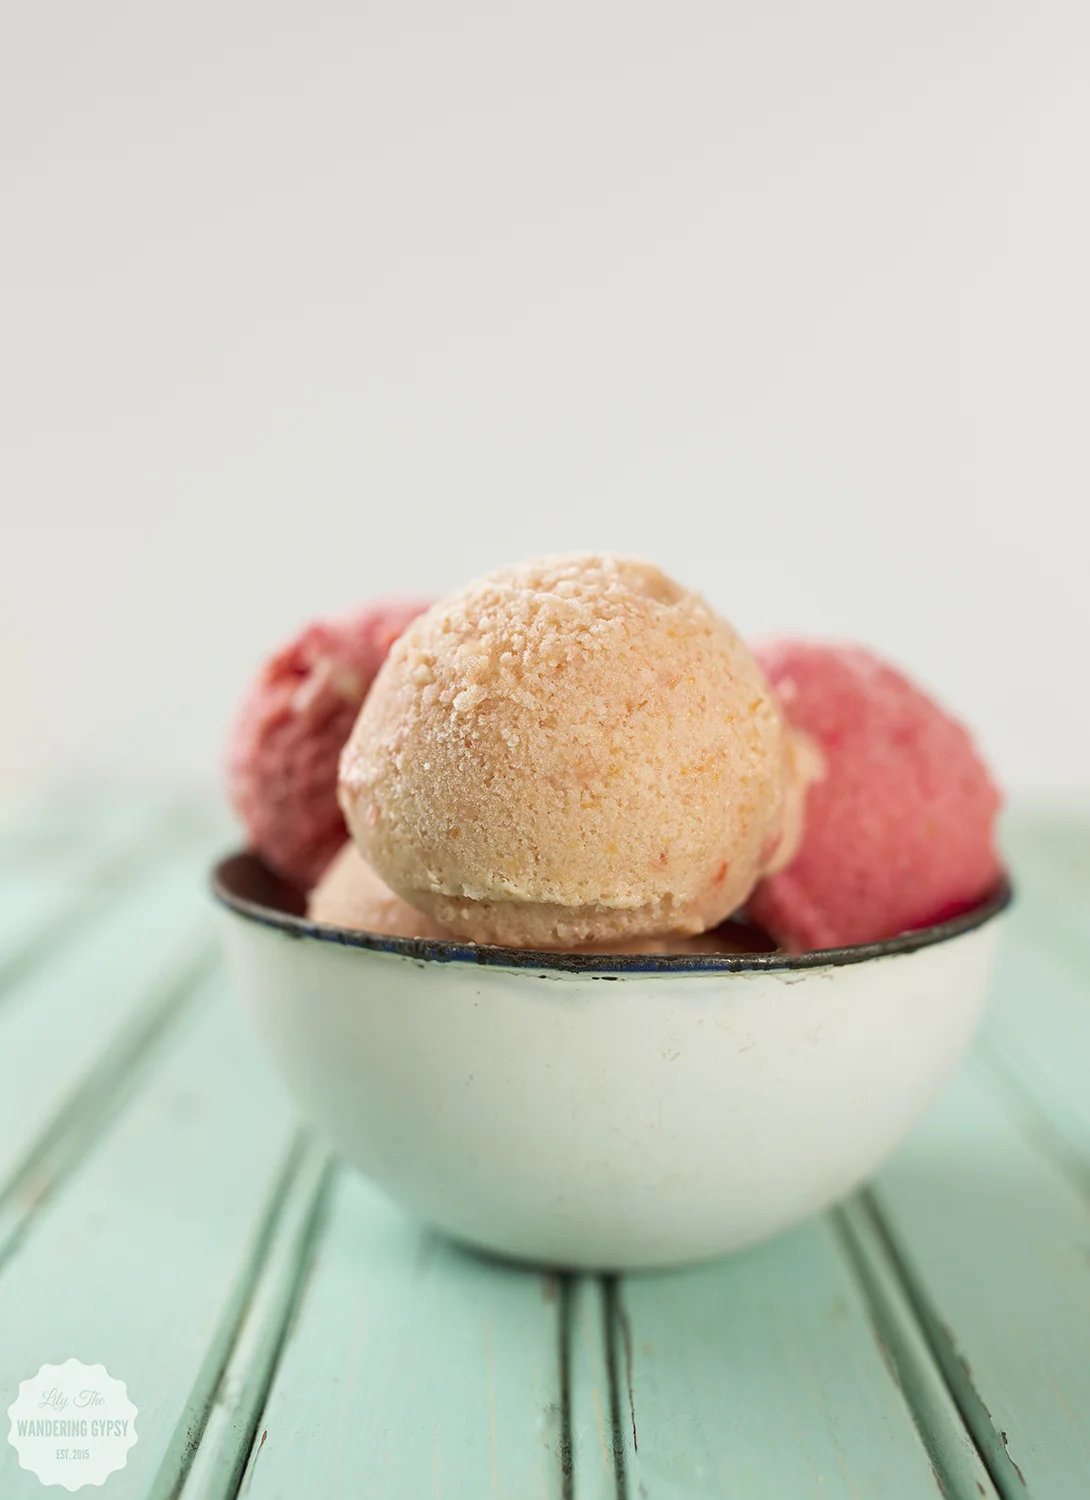
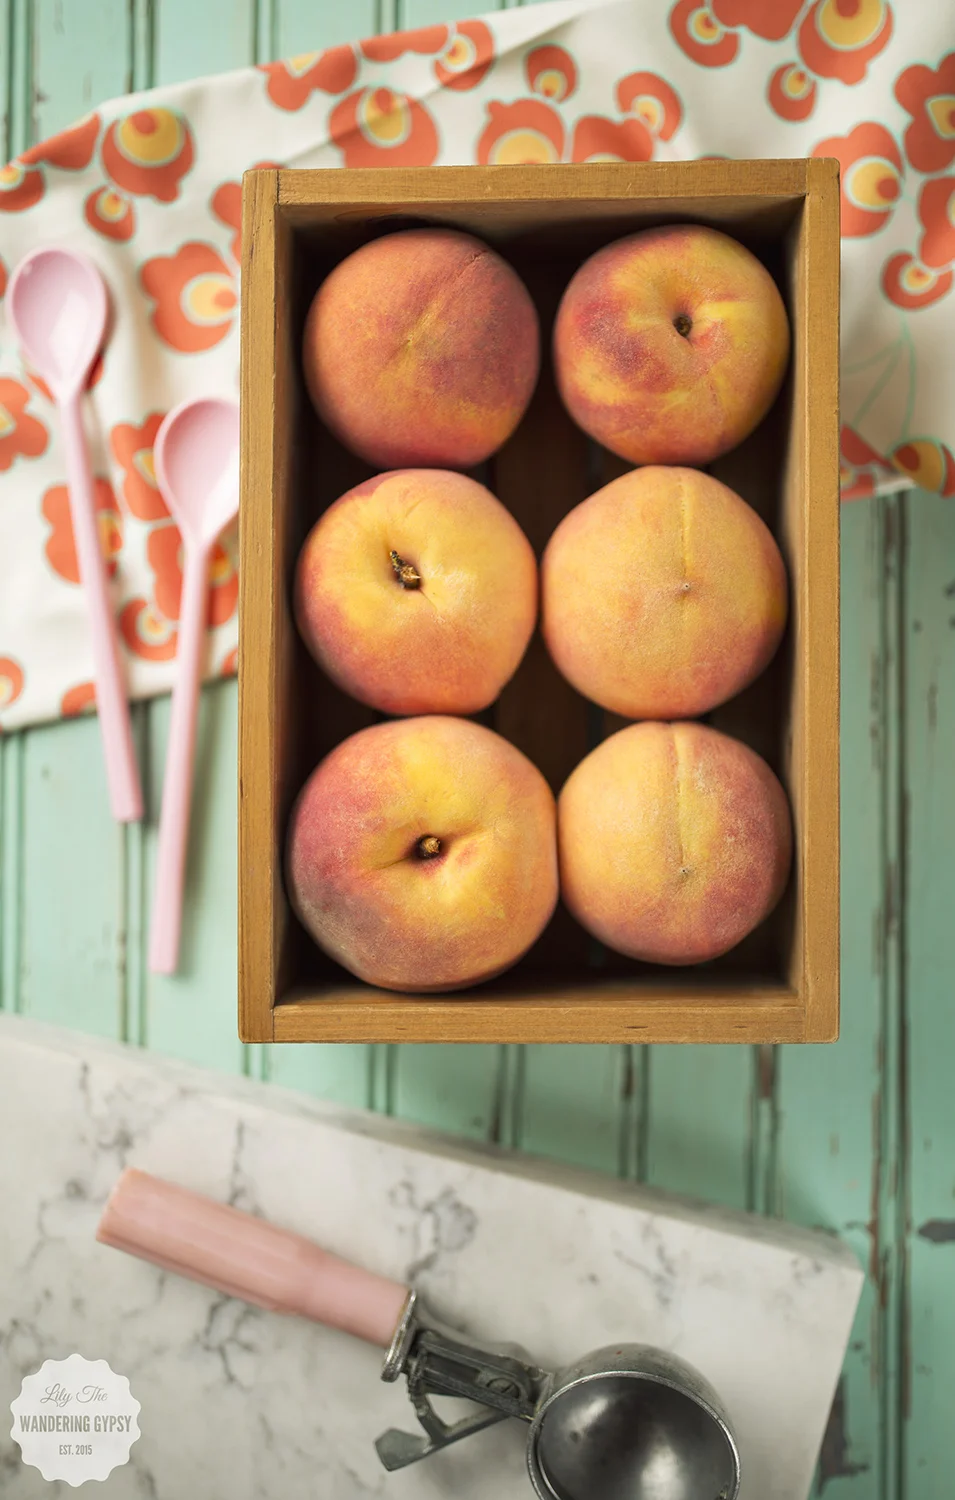
Yum! That;s basically the first word that comes to mind when I look back at these photos. I have been wanting to make some frozen yogurt for some time now, and I had the perfect ingredient for it! Peaches that Bobby's mom gave us when we visited recently. They were just perfectly sweet and juicy. 

I just love how natural the ingredients in this recipe are. This is a way better option than something you can buy in-store, and takes hardly any time at all! The peaches can be cut up and pureed ahead of time, making this even easier. The end result tastes amazing, and will surely please that sweet tooth for people of all ages!


It all starts with peaches...

Cut the peaches in half, then whatever half still has the pit, slide that in half again. The pit will come right out! Make sure your peaches are a teeny tiny bit soft and ready to use, rather than super firm. You can also put the peaches into a grocery bag for a few hours to  soften them up. 

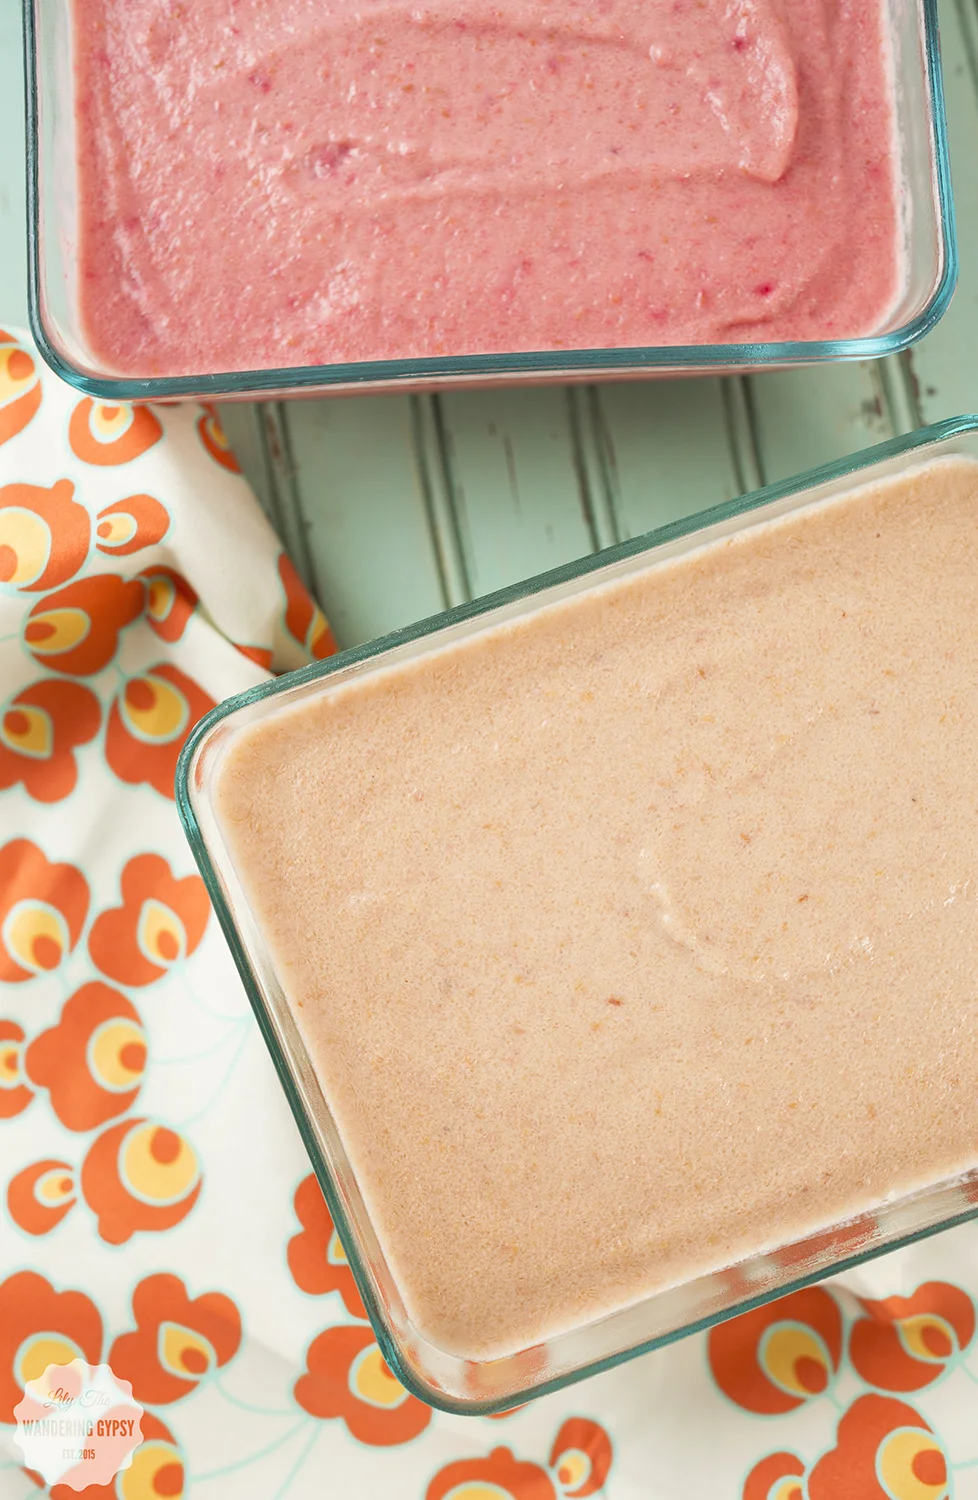
Here are the Basic Ingredients (sans the pineapple - that is shown in the ingredients photo, within the peach puree). Each recipe can be found below its respective title, further down in this post. 

INGREDIENTS:

- 3-4 Peaches, peeled and sliced, pits removed

- 2 C. vanilla yogurt (I used the sweetened kind)

- 2-3 Tbsp sweetener like agave

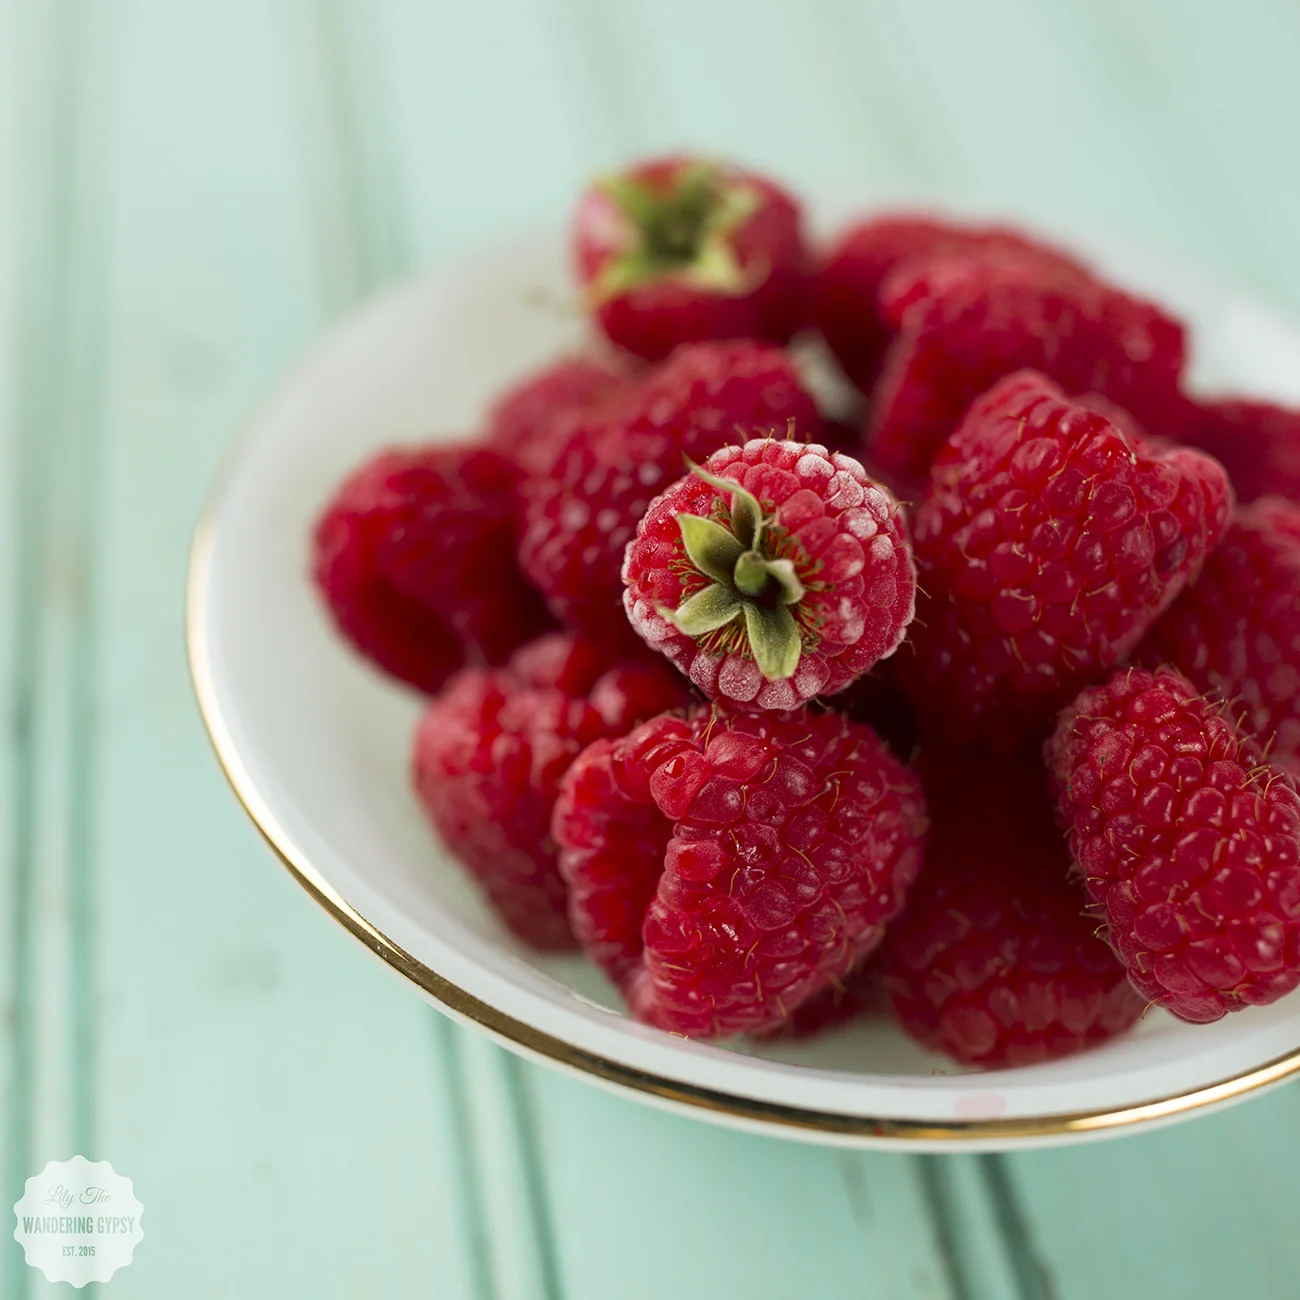
- 1 C. (or more) fresh raspberries (I froze my own before using them in this recipe)

- 1/2 Can Pineapple rings + their juice

INSTRUCTIONS:

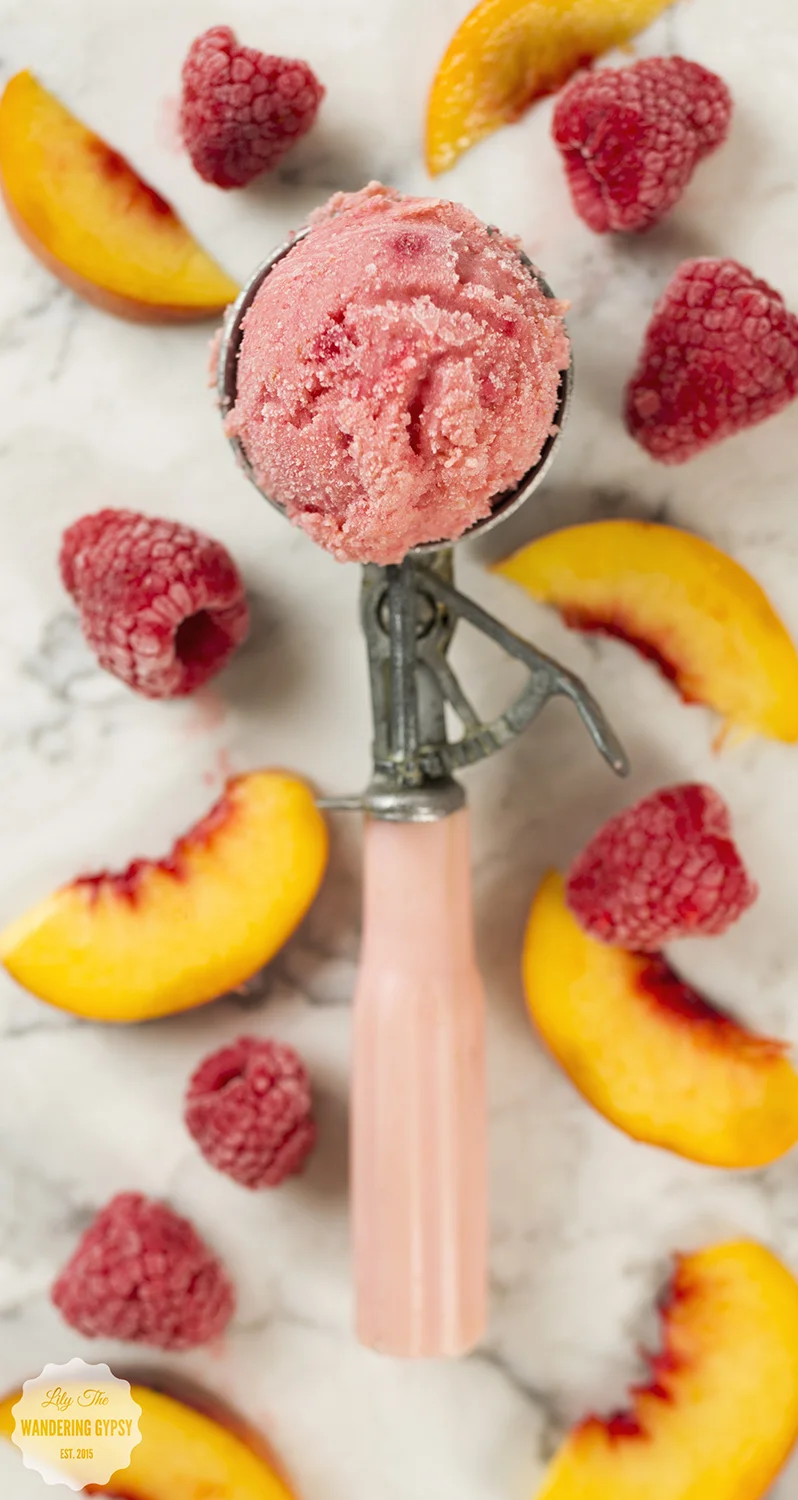
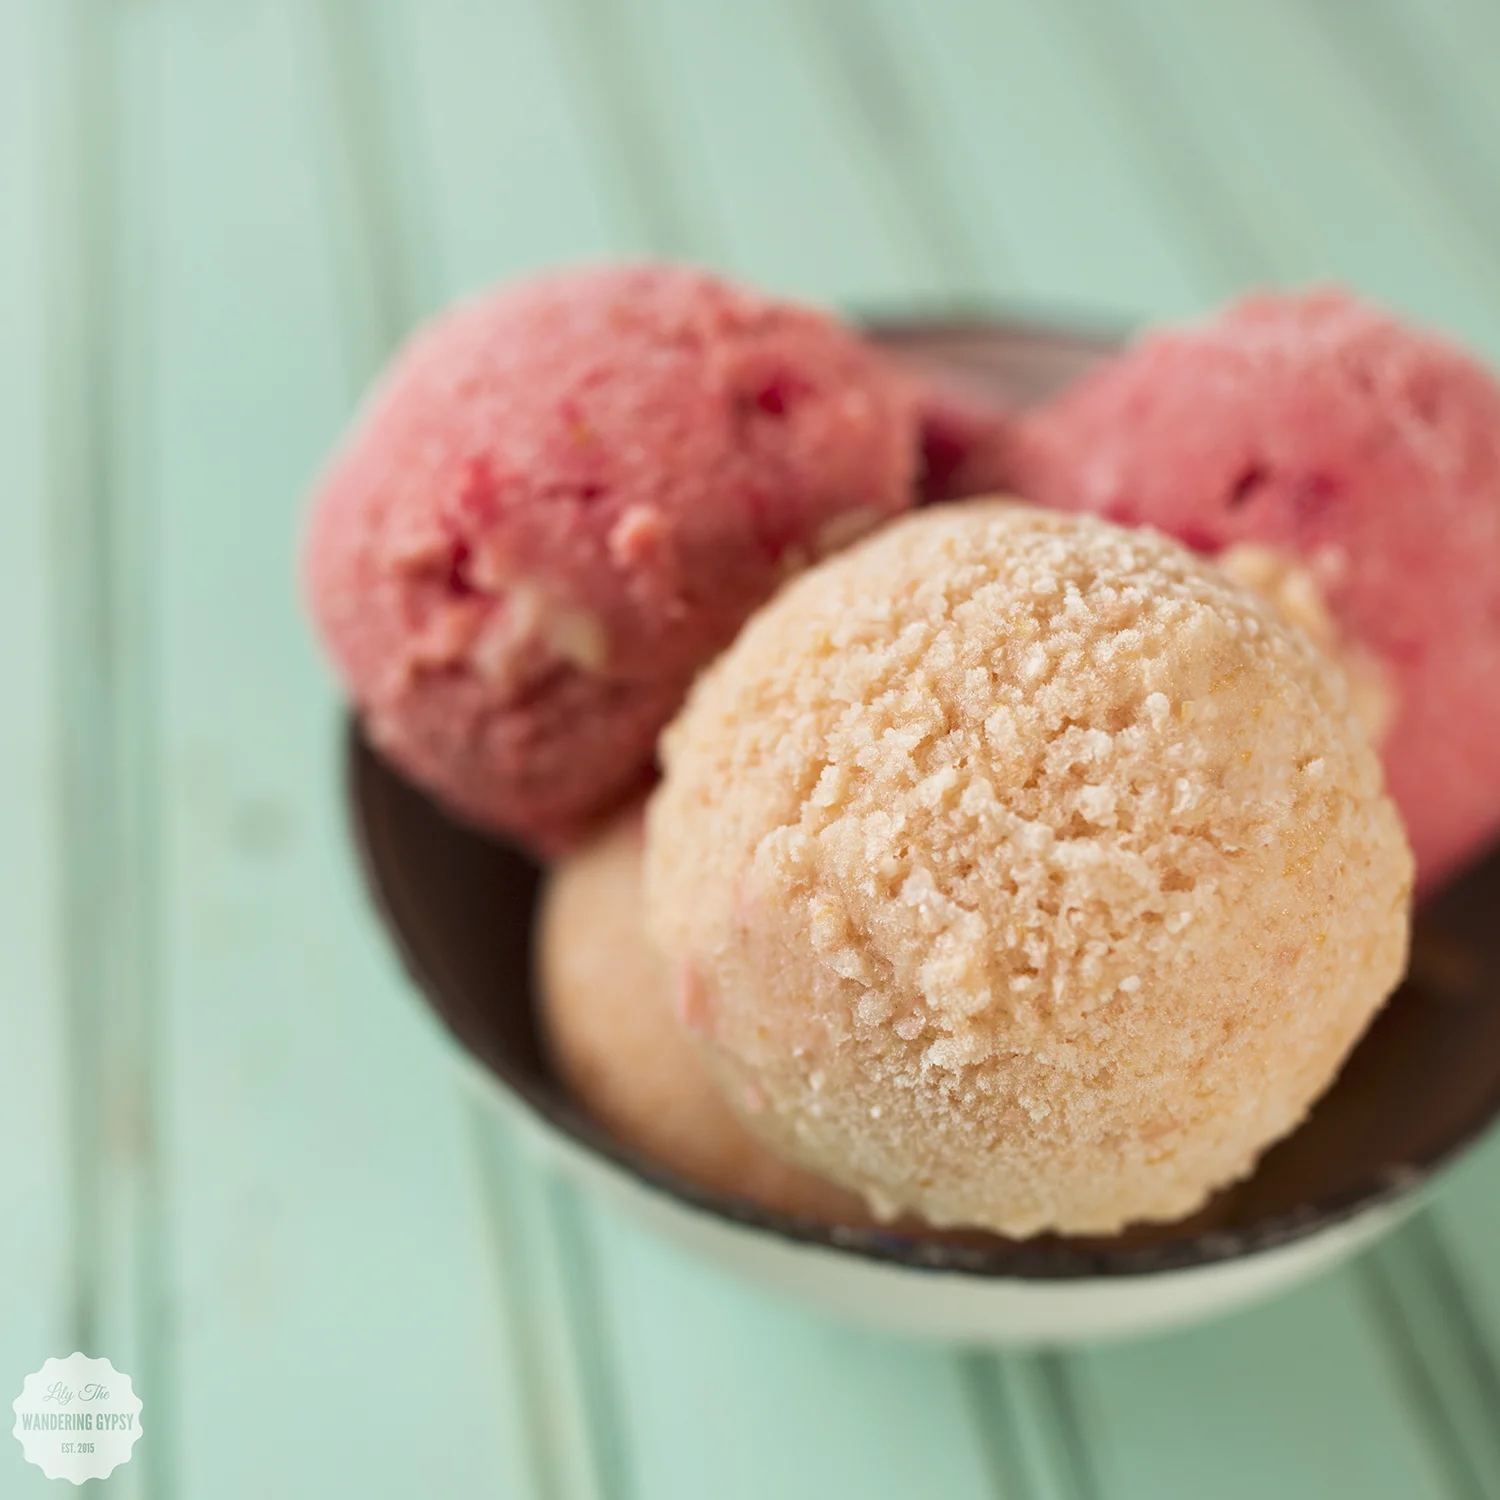
- Puree all ingredients until very smooth, then pour into a freezer-safe container with a lid. Freeze for at least a few hours (but overnight is recommended). Scoop the frozen yogurt into a big bowl and enjoy!! This recipe is amazing for summer. The color of this frozen yogurt is absolutely stunning - that pink color is lovely! 

INGREDIENTS:

- 3-4 Peaches, peeled and sliced, pits removed

- 2 C. vanilla yogurt (I used the sweetened kind)

- 2-3 Tbsp sweetener like agave

- 1/2 Can Pineapple rings + their juice

INSTRUCTIONS:

- Puree all ingredients until very smooth, then pour into a freezer-safe container with a lid. Freeze for at least a few hours (but overnight is recommended). Scoop the frozen yogurt into a big bowl and enjoy!! This recipe is amazing for summer. This recipe is the same as the one above, minus the raspberries!

{PB + Banana Toast} Summer Snacking with Sahale Snacks

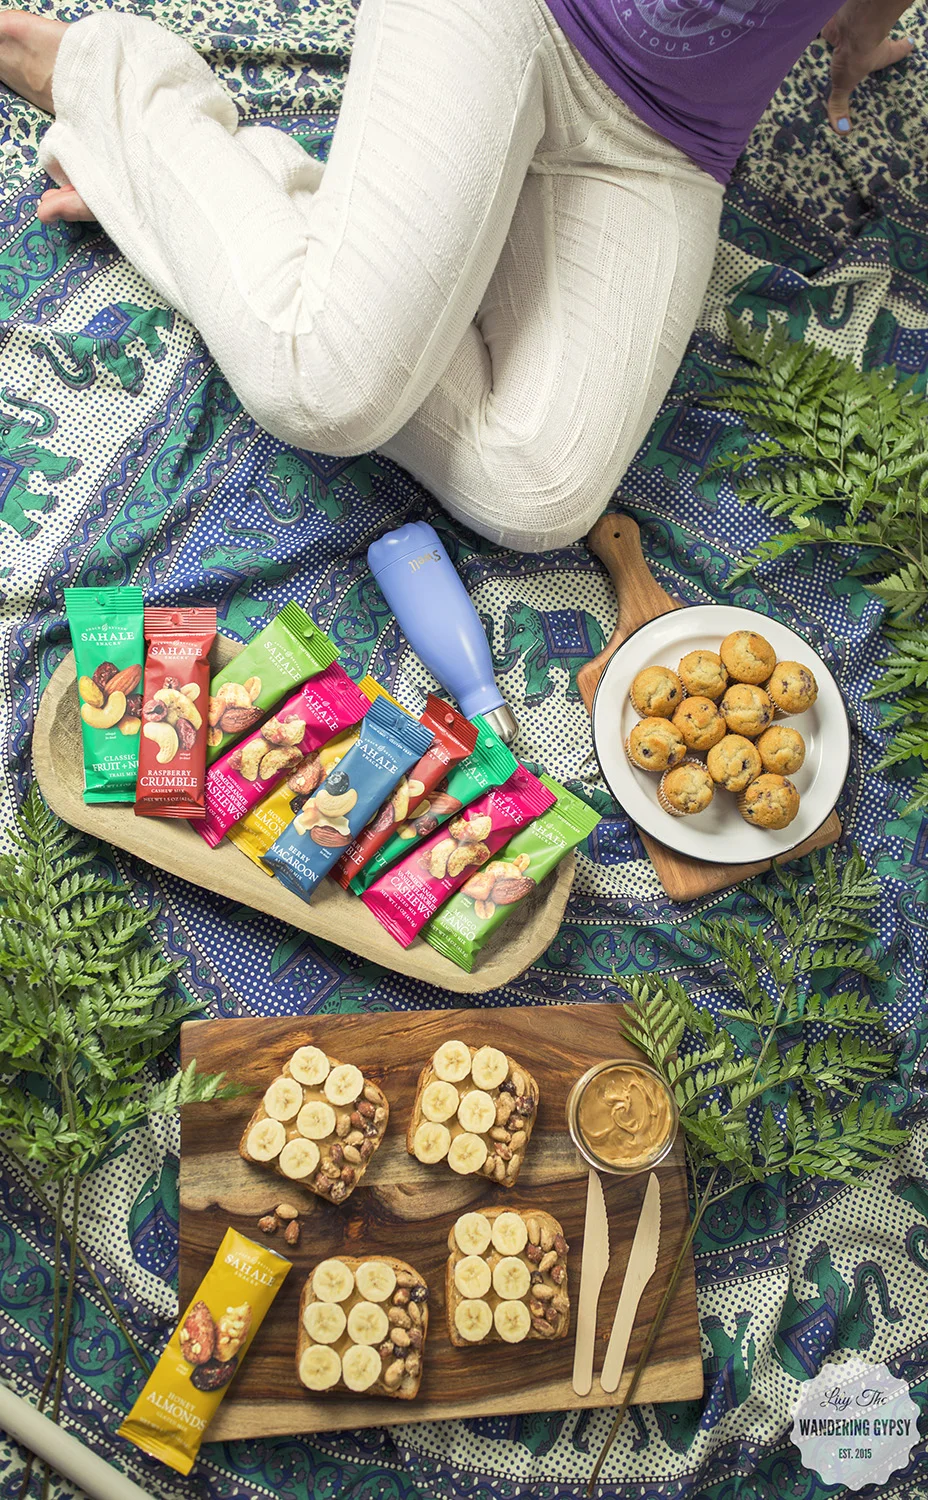
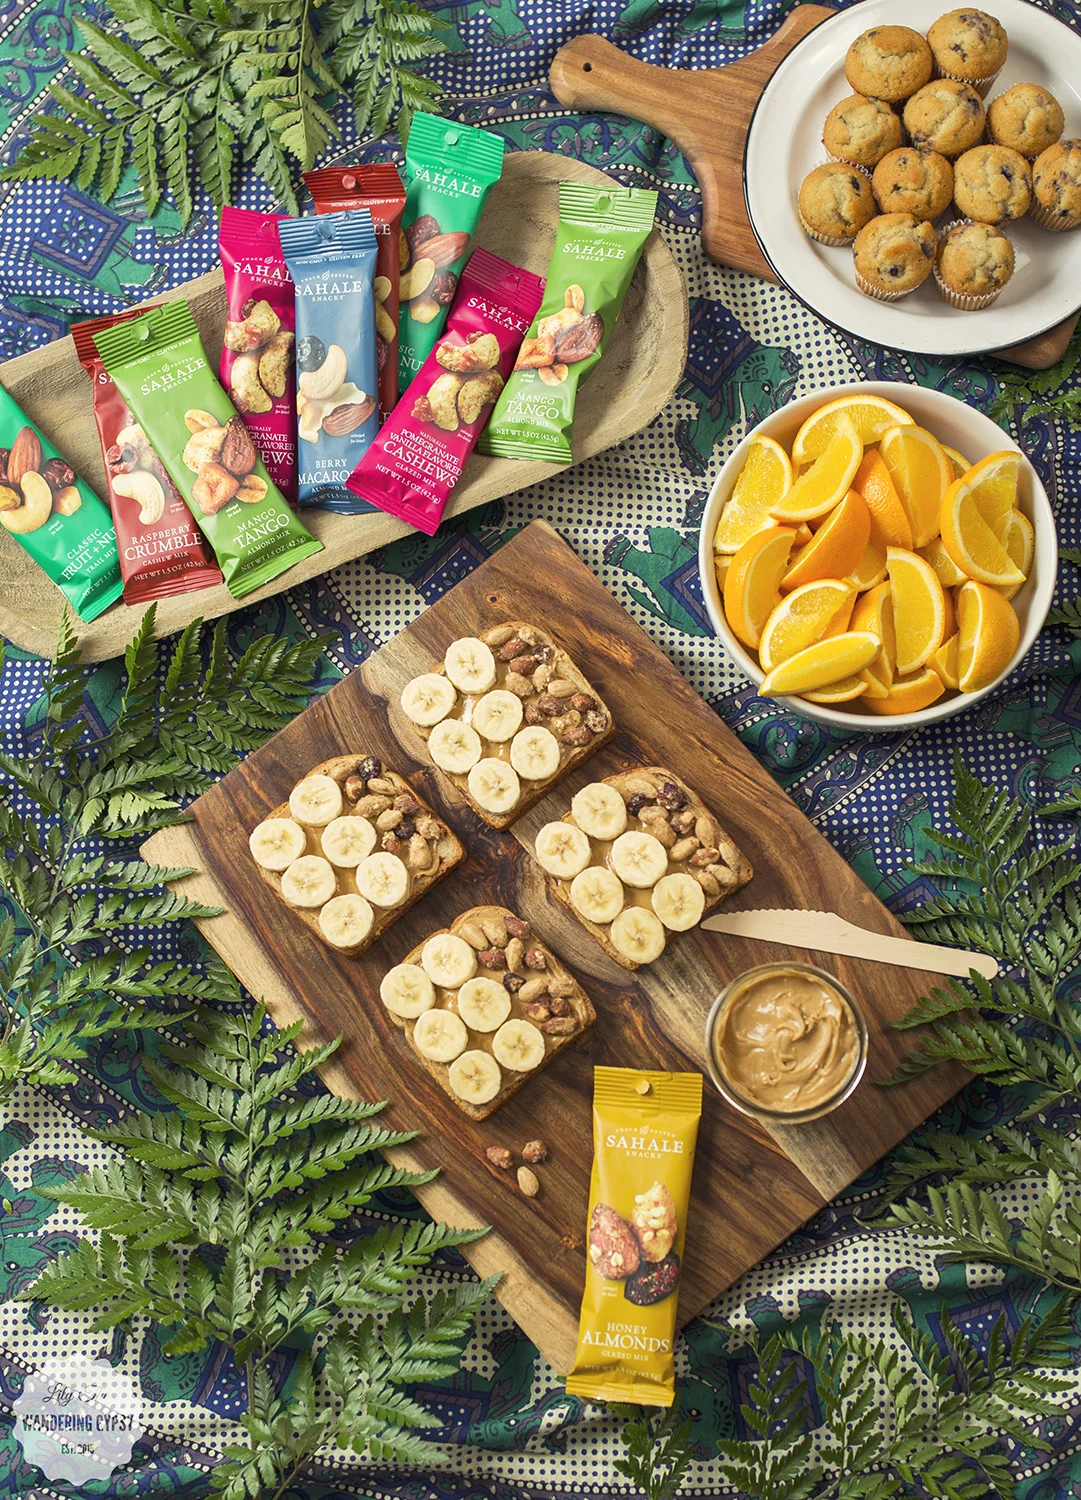
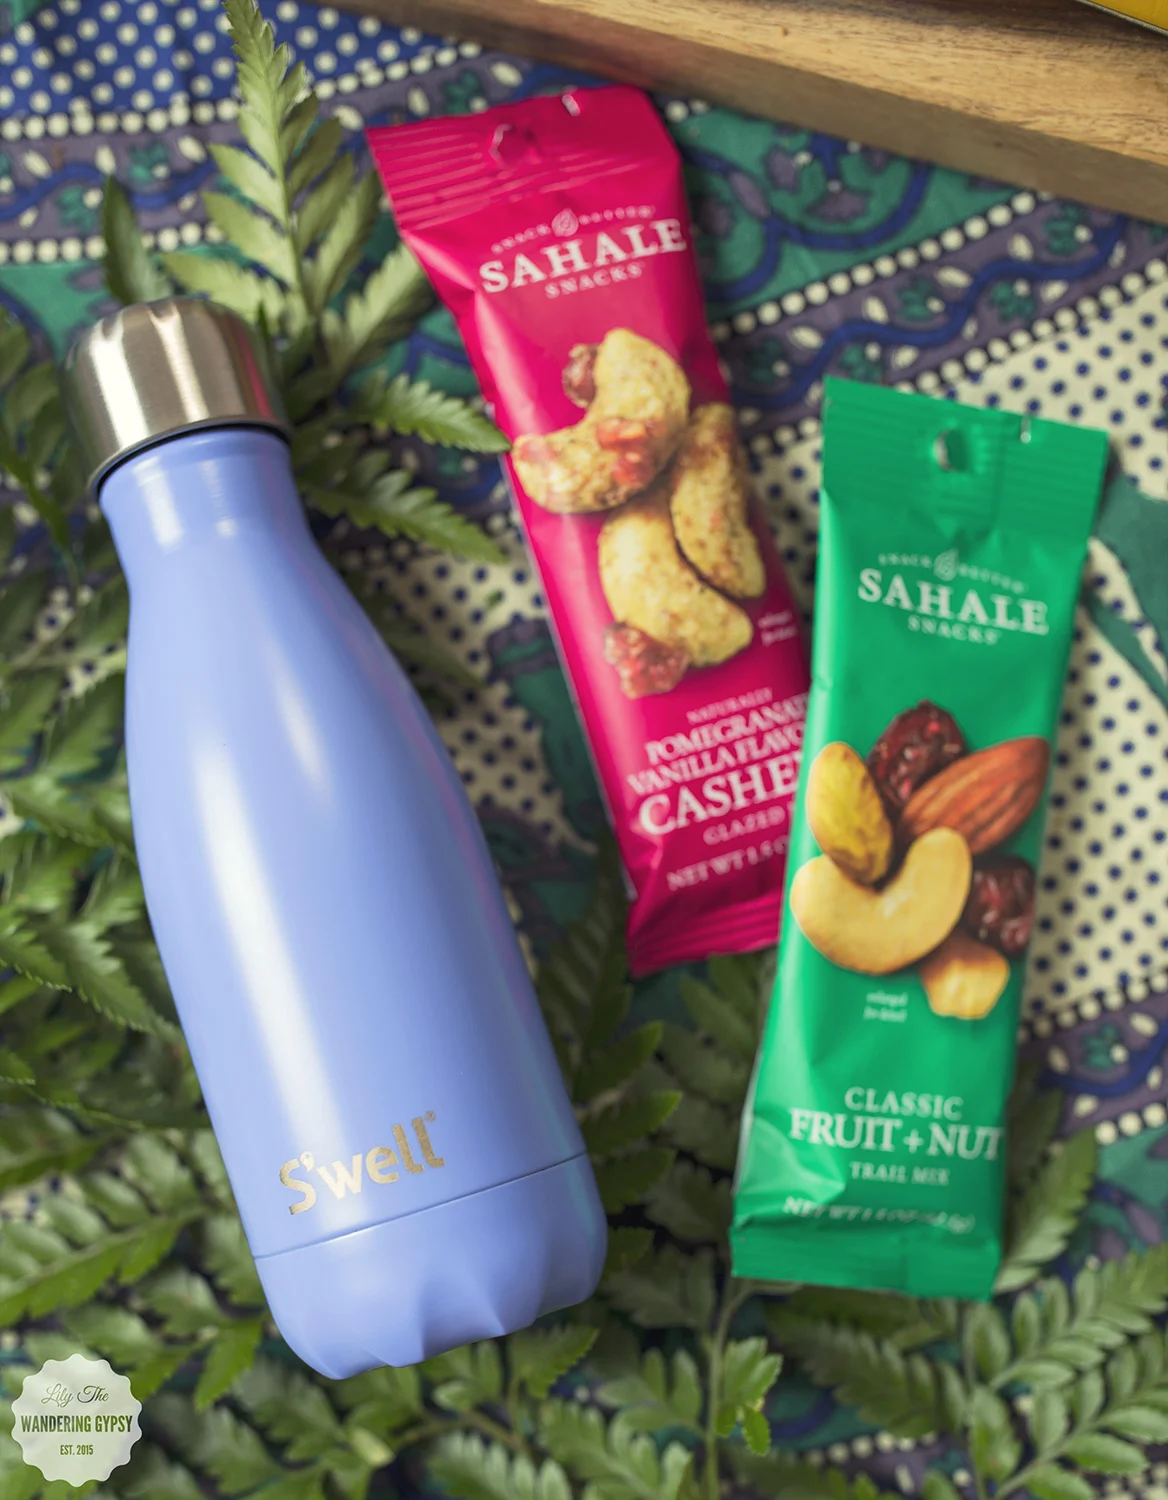
I found a new, favorite snack mix! Actually, I found quite a few new favorites in this amazing package that I received from Sahale Snacks! I wanted to share a fun "recipe" of sorts that will hopefully inspire you to take the time to get some healthy foods together, and have a breakfast picnic!! 

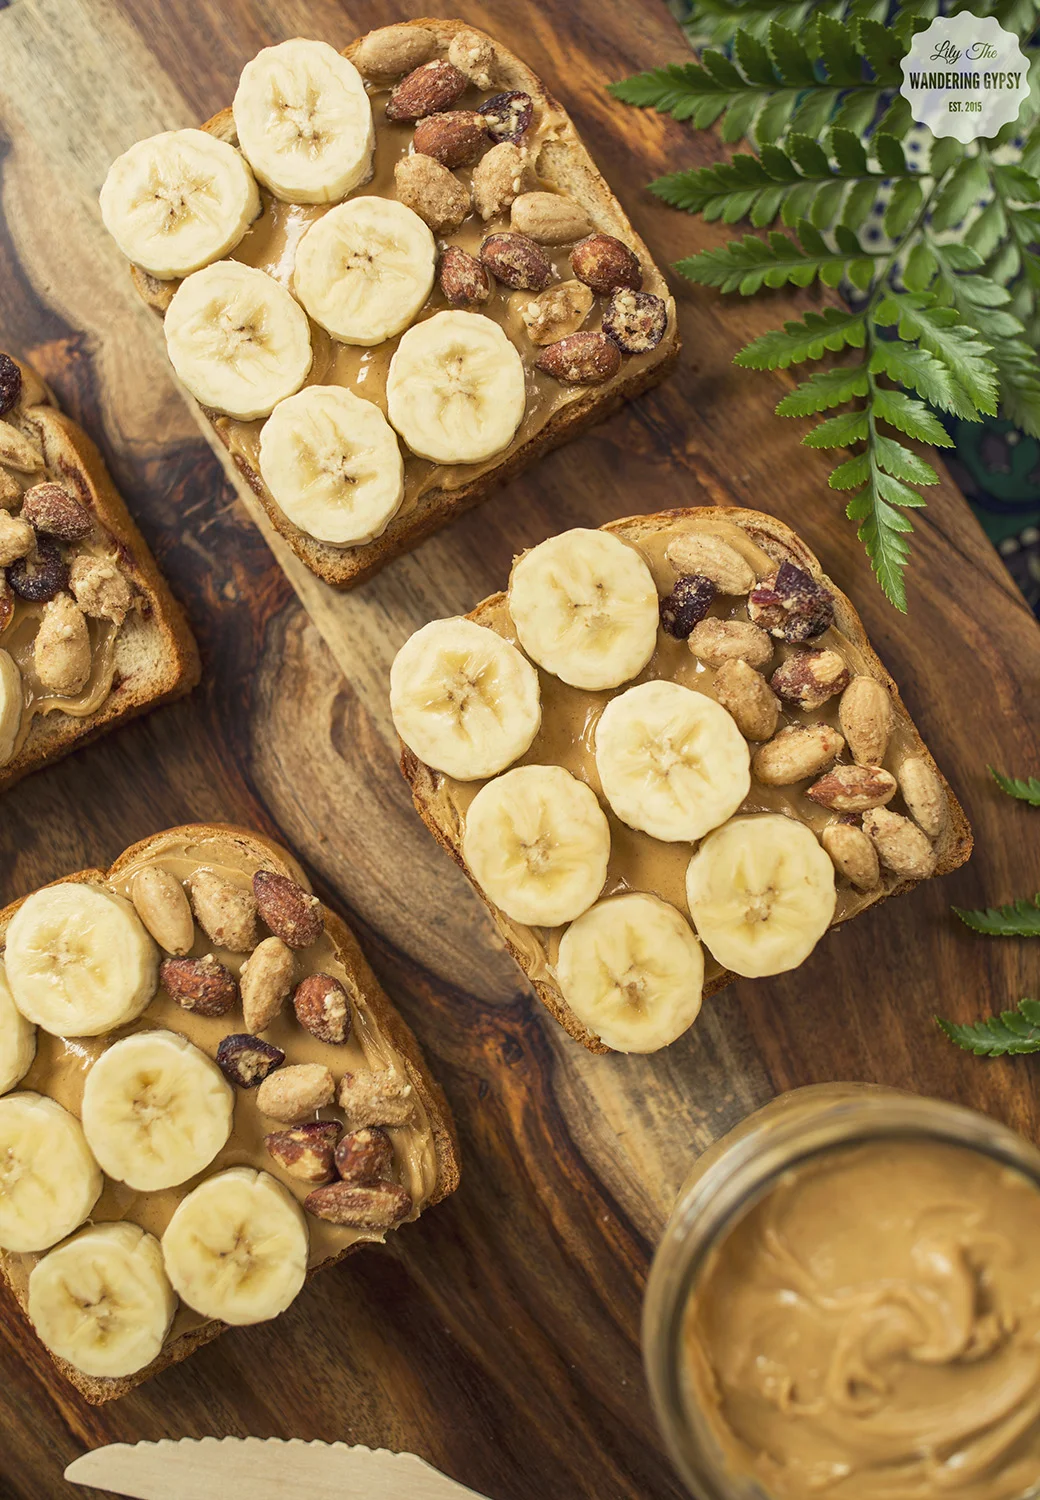
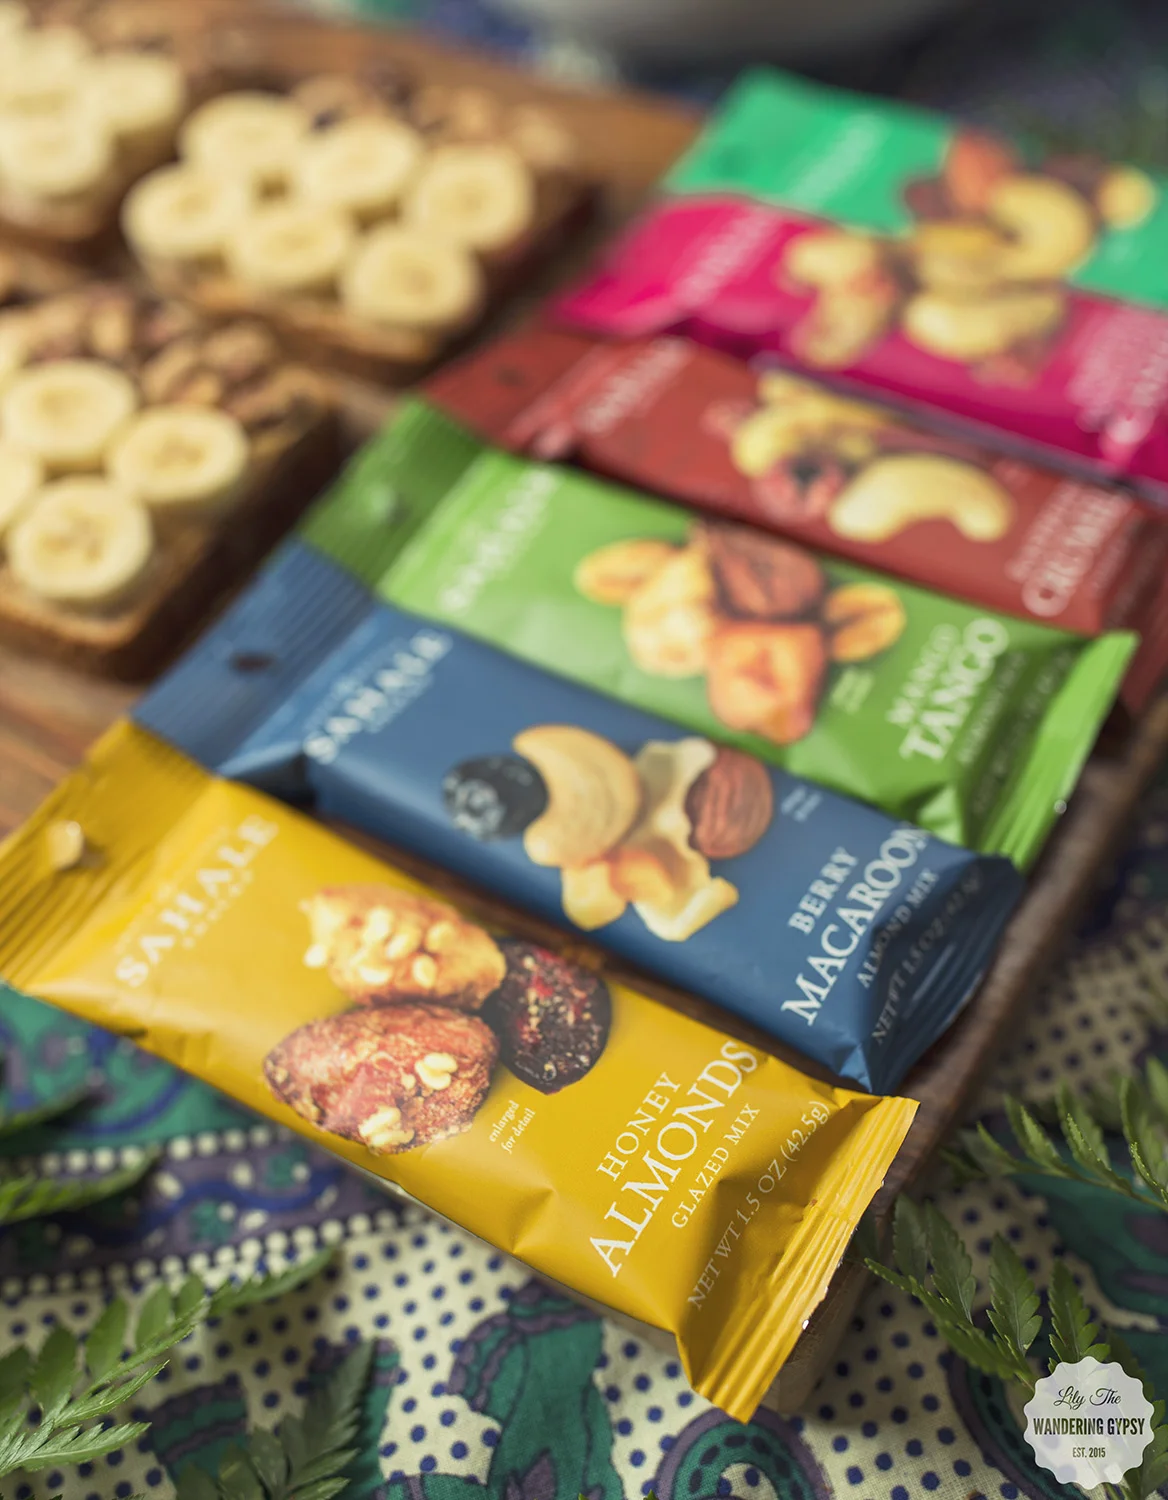
This fun "recipe" basically consists of only four ingredients! Toast, Creamy Peanut Butter, Bananas, and Sahale Snacks Honey Almond Glazed Mix, which also features sea salt and cranberries for a bit of tart and sweet.

I just spread the PB onto the toast, then sliced up my bananas to about 1/4" thick. I placed 6 banana slices on the toast, then added the tasty almonds. They are coated in the most delicious honey crunchy awesome-ness, so I wound up eating a few as I was creating these photos - how could I resist?! 

If you are just looking for something to grab on the way out of the door, or if you're looking for snacks for your next road trip, then these Grab & Go Snacks  from Sahale Snacks are perfect!! 

I also fell in love with this S'Well bottle from their Satin Collection - in Moncao Blue. SO many colors to choose from!!! 

I'm sharing #SahaleSnackers in my life as part of a Sahale Snacks® sponsored series for Socialstars™. Thank you for supporting the brands that help keep my blog a beautiful space to showcase my work! 

Savor Your Summer Recipe With Aidells® Sausage + The Wine Group's Cupcake® Wines

I had an amazing time creating this delicious summer recipe, featuring tasty ingredients like mozzarella chicken sausage, colorful peppers, and basil pesto. I then paired the dish with two styles of wine! How could things get any better? I tend to like lighter wines in the summer, so I chose to feature two varieties from The Wine Group's Cupcake® - Chardonnay and Sauvignon Blanc. For this recipe, I used Aidells® Sausage. I chose Italian Style Smoked Chicken Sausages with Mozzarella Cheese - they were absolutely perfect!

I originally tried this recipe with friends, and they went up for seconds and thirds, so I know this one goes over well with a crowd! I loved it too, and I also thought the sausage and peppers mixture would taste incredible in an omelet for breakfast. This dish is so versatile! Make it for two, make it for lunch or dinner, or incorporate it into your next party menu!

This is a sponsored conversation written by me on behalf of Aidells® & The Wine Group. The opinions and text are all mine.

- 1-2 Packages of Aidells Italian Style Chicken Sausages

- 1 Box Penne Noodles

- Red, Green, and Yellow Pepper (1 each)

- 1 Onion

- Green Pesto (either store bought or homemade)

- Olive Oil

- Fresh Grated Parmesan Cheese

TO MAKE THE NOODLES:

Boil noodles as directed. Drain them, and return them to the pot you boiled them in. Add 2-3 tablespoons of olive oil, and also stir in around 4-5 tablespoons of pre-made or homemade pesto. Stir until well incorporated, and then top with parmesan cheese. These noodles compliment the sausage and peppers so well!

Below, the perfect mix of ingredients. Italian Style Chicken Sausage, peppers, and onions! YUM!!!

TO MAKE THE SAUSAGE & PEPPERS

1.) Cut up chicken sausages into thin slices, around 1/4" thick or less.

2.) Chop onions into tiny pieces (or larger if you like)

3.) Chop peppers into small pieces and set aside.

4.) In a skillet, heat 1-2 tsp of olive oil, and add onions. Salt and season, and continue cooking and stirring onions until they are soft.

5.) Time to add the sausage! Add your sausage slices to the pan, and stir. I used tongs to turn the pieces, and continually check the status of the sausage. I let them brown on both sides before I decided they were done. They taste SO good!

6.) Turn down the heat to very low, and add peppers into the sausage mixture. Stir, and cover with a lid, to just basically steam the peppers. They should be done in 4-5 minutes. Stir again to incorporate one last time.

7.) Place noodles onto a plate, and then top with sausage and pepper mixture. This could also be served atop rice of any sort! Enjoy!! Scroll down to learn more about these wines.

Some great things about Aidells® Sausage:

* Each sausage is made with naturally smoked, all-natural chicken, real fruits & vegetables, and herbs & lively spices
* Gluten Free
* No Nitrites
* No Added Hormones
* All sausages are hand-crafted with real, hand-picked ingredients in small batches with care
* Fully cooked and ready in just 8-10 minutes: sauté or grill over medium heat or bake at 375 degrees F.

The Wine Group's Cupcake® Wines are great! Both styles featured in this post are under $10 per bottle (I got them at Kroger - in fact, I got all of my ingredients there). I really do prefer white wine to red wine any day, but especially in the summer. I opted to get the Chardonnay and the Sauvignon Blanc because they are not overly sweet, and are very well-balanced.

Luscious, creamy, silky, zesty, intense, elegant, complex wines!
Great for celebrating the good and genuine things in life & simply making life delicious!


What sorts of dishes do you prepare during the summer months? And, what is your favorite style of wine? Do you prefer white wine or red wine? Let us know in the comments!

This is a sponsored conversation written by me on behalf of Aidells® & The Wine Group. The opinions and text are all mine.

No Bake Cheesecake Recipe For The Gal On The Go With ZonePerfect® Bars (With Vegan Filling)

I have an absolutely incredible recipe for you today! This shop has been compensated by CollectiveBias, Inc. on behalf of its advertiser, ZonePerfect. #SnackandRally #CollectiveBias

I wanted to share this recipe because it is a wonderfully healthy snack option for those of you who are always on the go. The little bit of time you spend creating this recipe during your down time, will save you tons of time in the morning. Or, that time of day when you're having to multi task, or when you are in a hurry and can't even spare two minutes to make a meal to eat. Life doesn't slow down because you are tired or hungry. 

This was my first time making Vegan Cheesecake Filling and they turned out incredibly well!! The crust is made from ZonePerfect® Bars, and the chocolatey,peanut buttery, and graham cracker flavored bars added such a nice crunch and sweetness to this recipe. Note - The ZonePerfect® Bars are not vegan, so only the filling is actually vegan. Sorry for any confusion I may have created by calling the original recipe I shared, completely vegan. 

ZonePerfect® Bars offer a snacking option that is rewarding, satisfying, and nutritious, and actually taste amazing! These bars give you the 2nd, and even 3rd wind that you need to have the vitality and energy that you need for busy days or nights. They satisfy cravings, are convenient, and leave you feeling happy to knowing that you just got your chocolate (or sweet) fix, but in reality have eaten something that contains no less that 10 grams of protein in each bar. They are also a good source of fiber, and offer versatility of flavor and balance.  Let's make some No Bake Cheesecakes! 

Everyone who ate them raved about them, and couldn't get enough of them. I love the fact that I put them in individual jars, so that you can even grab one as a quick meal on your way out the door, or if you're anything like me, eat them as you're rushing around the house, doing a million things before you have to leave. I am definitely one of those people who tries to literally start a project a half hour before leaving the house, on top of the things I need to already do to get myself ready and out the door. By utilizing recipes like this one, you can easily fit these into your lifestyle and be more efficient. 

*Note - To make this recipe, you must soak the cashews for a few hours, so make sure you do this ahead of time!!


INGREDIENTS FOR ABOUT 8 JARS:

- ZonePerfect® Bars in Chocolate Peanut Butter and Fudge Graham

- 1 (10 oz) Can of Cashew Pieces (I used a can of salted cashews, and they worked very well. The salt goes away completely when you soak your cashews).

- 1 Can Of Coconut Milk

- 1 (11 Fl. oz) Culinary Coconut Milk (It was more of a liquid consistency than that in the can)

- Organic Agave Nectar (Any type will do)

- Lemon juice for taste (optional)

- Raspberries and other fresh fruit of your choice

OTHER MATERIALS:

- Small Jars

- Blender (for filling)

- Food Processor (for crust)

- Long spoon to scrape ingredients from blender

- Sharp knife to prepare crust

You're in luck! Save up to $4 when you buy two boxes in the ZonePerfect® Bundle Pack.

Shop Online For ZonePerfect® Bars Here.

Find More Ideas For Recipes & Ideas Here.

I found all of these ingredients at Walmart, which made this project easier. Look for ZonePerfect® Bars near the pharmacy area, by the nutritional bars and other healthy items. 

MAKE THE VEGAN FILLING:

1.) Begin by soaking the cashews in water for 3-4 hours. I made sure to use a container with a lid, so it didn't spill. I could not believe how soft the cashews got in this short amount of time. Check the cashews to see if they are soft, and when they're ready, drain out all of the water with a strainer. None of the salt will be left.

2.) In a blender, add all of the cashews, and the more "liquid" coconut milk. Blend until smooth (see photo below).

Next, add the can of coconut milk. When I first added it, I was concerned that the mixture would turn out watery (because there was a clear liquid in the can), but when I blended everything up, it was perfect! 

Add your agave sweetener one or two squirt at a time. Taste the mixture and keep adding agave until you think it's sweet enough. Depending on what type of agave you get, you may not need much at all. The stye I got (in the photo of ingredients), was not very strong or sweet, so I added a few squirts and it tasted perfect!

MAKE THE ZonePerfect® CRUST:

Note - Crust is not vegan, sorry for any confusion!

100% Vegan Crust would contain 1 Cup pitted dates + 1 cup raw walnuts - bended in a food processor). But, this ZonePerfect® tasted absolutely incredible!!! 

3.) Unwrap about 5-6 bars, or as many as will fit into your food processor.

4.) Chop the ZonePerfect® Bars as small as you can with your knife, and put the pieces into the food processor. At first, I only chopped the bars into quarters, and they did not process well. I took them back out, and chopped them up a lot more, and they were absolutely perfect. ZonePerfect® one might say :)

6.) Blend/Process the ZonePerfect® bars as much as you can. Look at that beautiful crust!!!

7.) Put the ZonePerfect® crust into the jars, and press the materials down as much as you can. I just divided the Zone Perfect crust evenly between the jars. 

8.) Pour the vegan "cheesecake" filling into the jars, and fill pretty close to the top. 

9.) Now, put the lids onto the jars, and put them into the fridge for a few hours, or overnight. This will help them set up, and the filling tastes so much better if it is cold! 

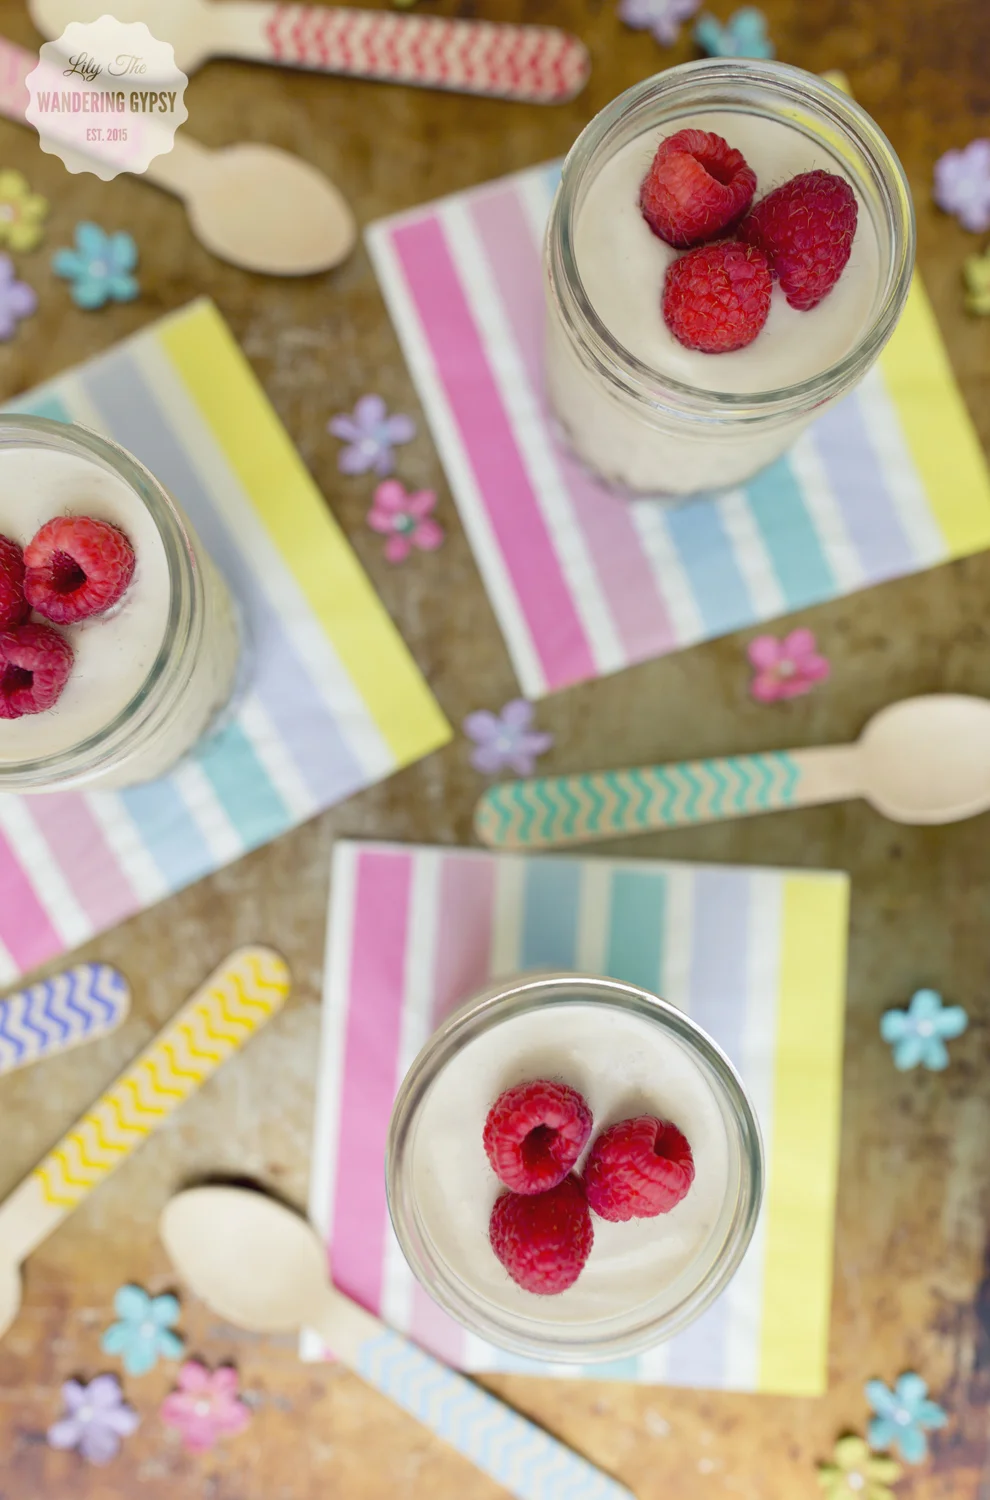
10.) After they have chilled for a bit, take them out and top them with fresh fruit! I enjoyed scooping the ZonePerfect® crust and mixing it into the "cheesecake". It added a nice chocolatey sweetness that made these amazing for an On The Go Snack, whether it was breakfast, a snack, or a light meal. They're very filling and had a lovely hint of cashews and coconuts. 

Thanks so much for taking a look at my recipes!! Have you ever eaten or created a vegan cheesecake filling or something like this recipe? Comment below and let me know. Take care! 

Effortless Mini Pies - Frozen Key Lime Mini Pies Recipe

It's a wonderful time for frozen treats, so check these out! This shop has been compensated by Collective Bias, Inc. and its advertiser. All opinions are mine alone. #EffortlessPies #CollectiveBias #Walmart

You're going to love these mini pies! They're incredible!

INGREDIENTS:

Reddi-wip® (13 oz.)

Oikos® Key Lime Greek Yogurt (4 count package)

Keebler® Ready Crust® Mini Graham Cracker Pie Crust (6 count package)

Magic Shell (Optional)

Limes To Garnish Mini Pies

Make Delicious & Effortless Mini Pies With 3 Simple Ingredients!!

I really enjoy the taste of this Greek Yogurt. It's sweet, tart, and tastes like fresh key limes. It's literally like eating a piece of the real thing, but far healthier for you.

Prep The Pies...

Fill a quart sized freezer Ziploc®  bag with the Oikos®  Greek Key Lime yogurt (2 yogurt cups filled about 3 mini pie crusts). Cut one corner off of the bag, and carefully fill each mini pie crust about 2/3 full. 

Freeze the pies overnight, on a baking sheet. Once they have frozen, get ready to decorate them!

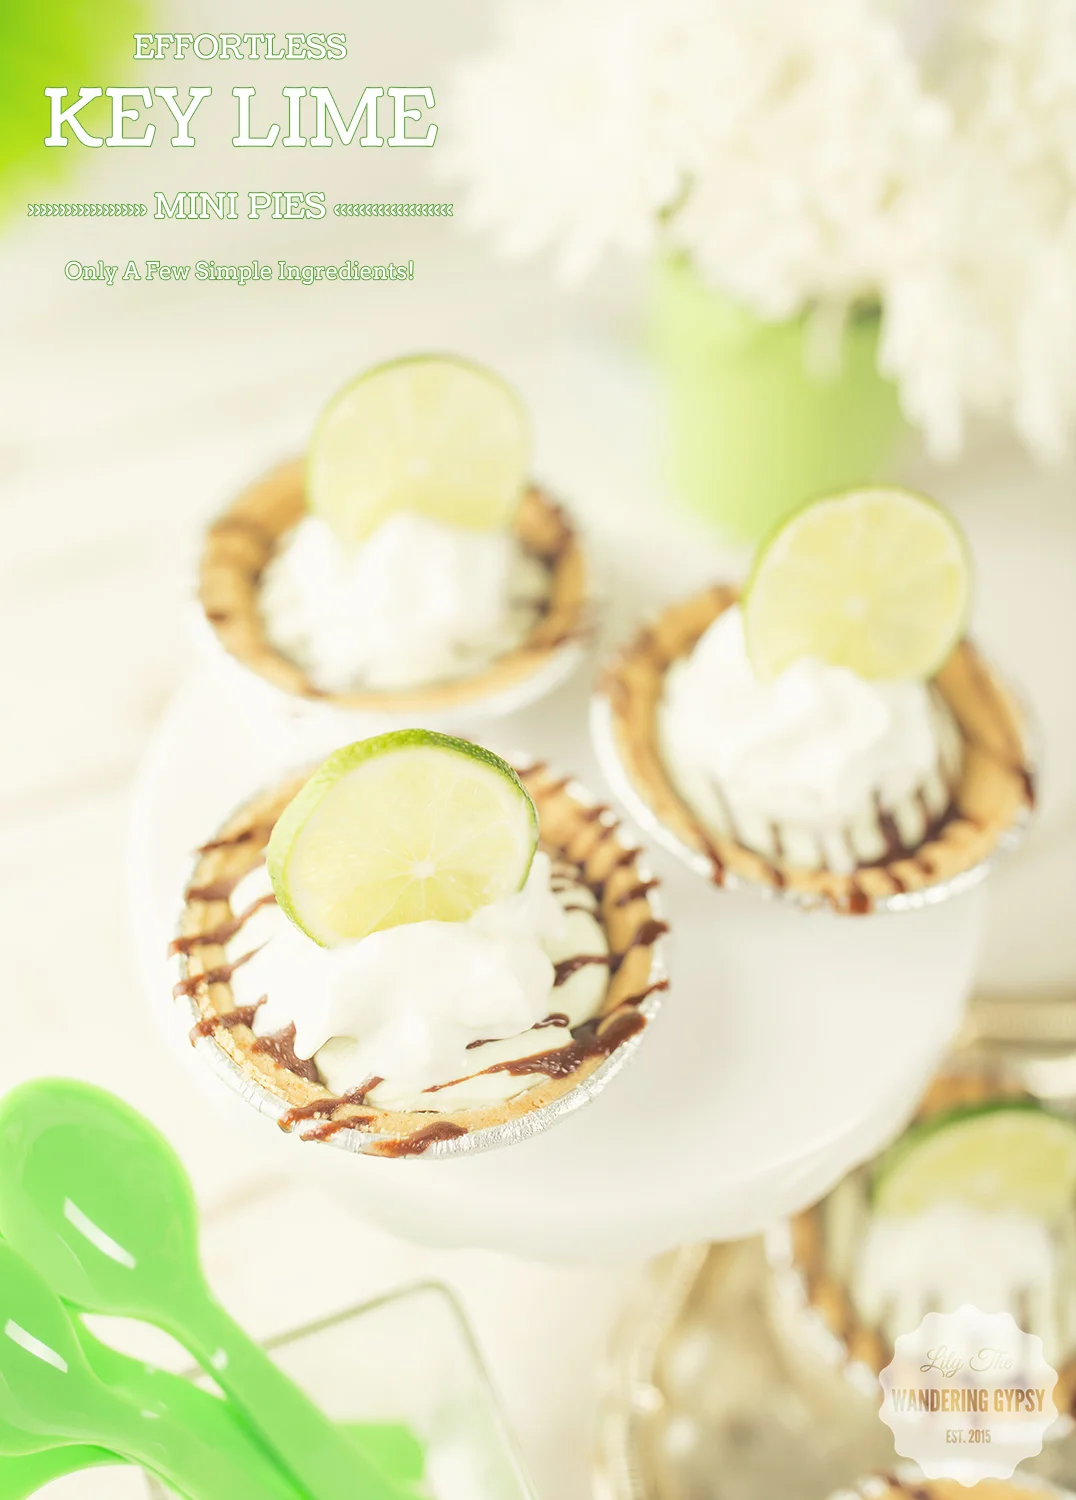
Once frozen, you can add some Magic Shell drizzle! The more chocolate the better, to balance out the lime flavor. After I drizzled the chocolate onto these mini pies, I put them back into the freezer to prepare for the final steps. 

Look how beautiful these frozen yogurt mini pies are!!! 

Let's Top These Mini Pies!

Slice your limes into thin slices.

Top with a generous amount of Reddi-whip® . Literally my favorite part...

Add the lime slices onto the Reddi-wip® so they sit up on their own. You can serve them now! Enjoy!

I wound up finding my ingredients at Walmart, which was great, because I could find everything in one place (and of course a little more!). Isn't that always how it goes :)

I found the Reddi-wip® in the back coolers neat the milk, the Oikos® Key Lime Greek Yogurt by the other dairy items, and the Keebler® Ready Crust® Mini Graham Cracker Pie Crust in the baking aisle. I also found the limes in the front of the store by the fresh produce. 

I really hope you have enjoyed this recipe! 

Milkshakes Inspired By M&M’s® New Flavors!

It's that time of year again when ice cream sounds good in just about any form. Check out these amazing milkshakes, inspired by M&M's® flavors! This shop has been compensated by Collective Bias, Inc. and its advertiser. All opinions are mine alone. #MMSFlavorVote #Walmart #CollectiveBias.

Check out this milkshake recipe! #MMsFlavorVote #ad

Here's How It Works.

You can help choose the next flavor of M&M's®!!! 

  • Throughout the voting period of March 1 to June 17, you can purchase and taste each of the new flavors for yourself, and then cast your vote, once a day until June 17.
  • Once you cast your vote for your favorite new M&M's® Peanut flavor, you are entered for the chance to win $100,000 and earn the title of the official M&M's® Taste Tester. The winner will be announced in August, along with the winner of the 'Flavor Vote,' which will remain on retailer shelves nationwide.
  • Vote for your favorite flavor using the hashtag #MMSFlavorVote across social media!

Be sure to visit the M&M's® Flavor Vote page on Facebook to vote for your favorite flavor!

Find The Flavors Here:

M&M's® Coffee Nut
M&M's® Chili Nut
M&M's® Honey Nut

Note: The jars used in these recipes hold a bit over 4 Cups each, so all recipes are formatted to these jars.


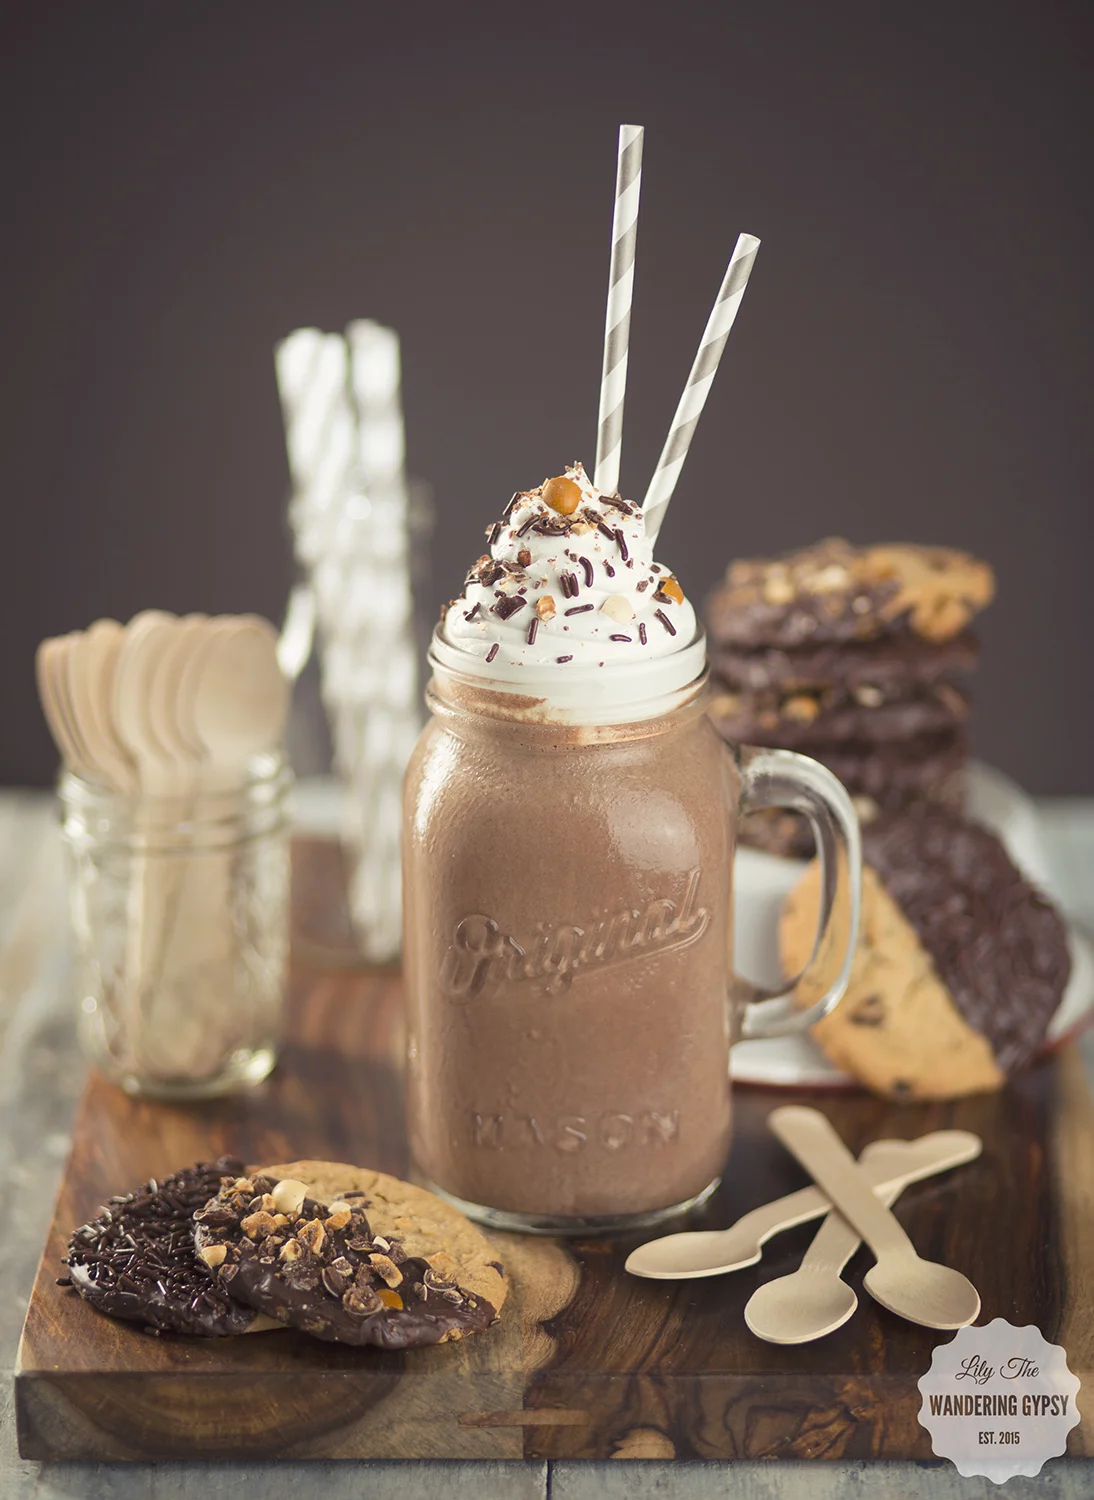
THE CHOCOLATE MOCHA SHAKE - INSPIRED BY M&M’s® COFFEE NUT

Check out this milkshake recipe! #MMsFlavorVote #ad
Ingredients:

M&M’s® Coffee Nut Flavor

2 1/2 -3 C. Chocolate Ice Cream

1/2 C. Cool Whip

1 C. Coffee of any sort (Mine was pre-packaged)

1 Packet of Hot Chocolate Mix (Optional)

Dash of Milk - Optional

Check out this milkshake recipe! #MMsFlavorVote #ad

FOR THE COOKIES...

Ingredients:

Pre Made or Home Made Chocolate Chip Cookies

Melting Chocolate + Brush To Spread It Onto Cookies

Instructions:

These are so easy! Simply melt chocolate in a double boiler or microwave until smooth. Carefully brush chocolate onto half of the front of each cookie.

In a zip top bag, use a rolling pin to crunch up some of the M&M’s® Coffee Flavor candies. Top half of your cookies with M&M’s® Coffee Nut candy pieces, or chocolate sprinkles. They stick super well to the chocolate. Let cool, and eat separately, or add to your milkshake.

Check out this milkshake recipe! #MMsFlavorVote #ad
THE HONEY NUT PEANUT BUTTER SHAKE - INSPIRED BY M&M’s® HONEY NUT

Check out this milkshake recipe! #MMsFlavorVote #ad
Ingredients:

M&M’s® Honey Nut Flavor

2 - 2 1/2 C. Vanilla Ice Cream

1/2 C. Peanut Butter

1 1/4 C. Milk

1 C. Cool Whip (And more for on top)

1 -2 Tbsp Honey (depending on how strong you want the flavor)

Yellow Sprinkles


Get ready, this tastes amazing!!


Instructions:  Blend ice cream, peanut butter, milk, honey, and Cool Whip together until smooth.

Instructions:

Blend ice cream, peanut butter, milk, honey, and Cool Whip together until smooth. Add M&M’s® Honey Nut Flavor either as whole pieces, or crushed up into smaller pieces. Stir with a spoon.

Pour into a large glass, and top with whipped cream, yellow sprinkles, and crushed up M&M’s® Honey Nut. 

This one wound up being my absolute favorite!! Enjoy!!

Check out this milkshake recipe! #MMsFlavorVote #ad
THE CHILI CHOCO SHAKE - INSPIRED BY M&M’s® CHILI NUT

Check out this milkshake recipe! #MMsFlavorVote #ad

Ingredients:

M&M’s® Chili Nut

3 C. Chocolate Ice Cream

1 C. Milk

Red Sprinkles

Red Chilis For Garnish - Optional

Check out this milkshake recipe! #MMsFlavorVote #ad

Luckily I got some of the last of the new flavor M&Ms at Walmart! Looks like just about everyone in town wanted a piece of the voting action! 

My local stores were almost sold out, but I found them near the front of the store by the registers. 

Check out this milkshake recipe! #MMsFlavorVote #ad

Instructions:

Mix together chocolate ice cream, milk, and Cool Whip until smooth. Feel free to add a dash of Cayenne pepper for some heat if you want. Also, add some M&M’s® Chili Nut candies, and mix with a spoon.

Pour the mixture into a jar, and top with whipped cream, M&M’s® Chili Nut candies, and red sprinkles. 

To create a fun garnish, take two red chilis (I used ones that weren't spicy, because these candies have some heat), and poke holes in them to make room for the straw to pass through. Love how these turned out!

Check out this milkshake recipe! #MMsFlavorVote #ad

Thanks so much for checking out these fun recipes, inspired by M&M’s® new flavors! 

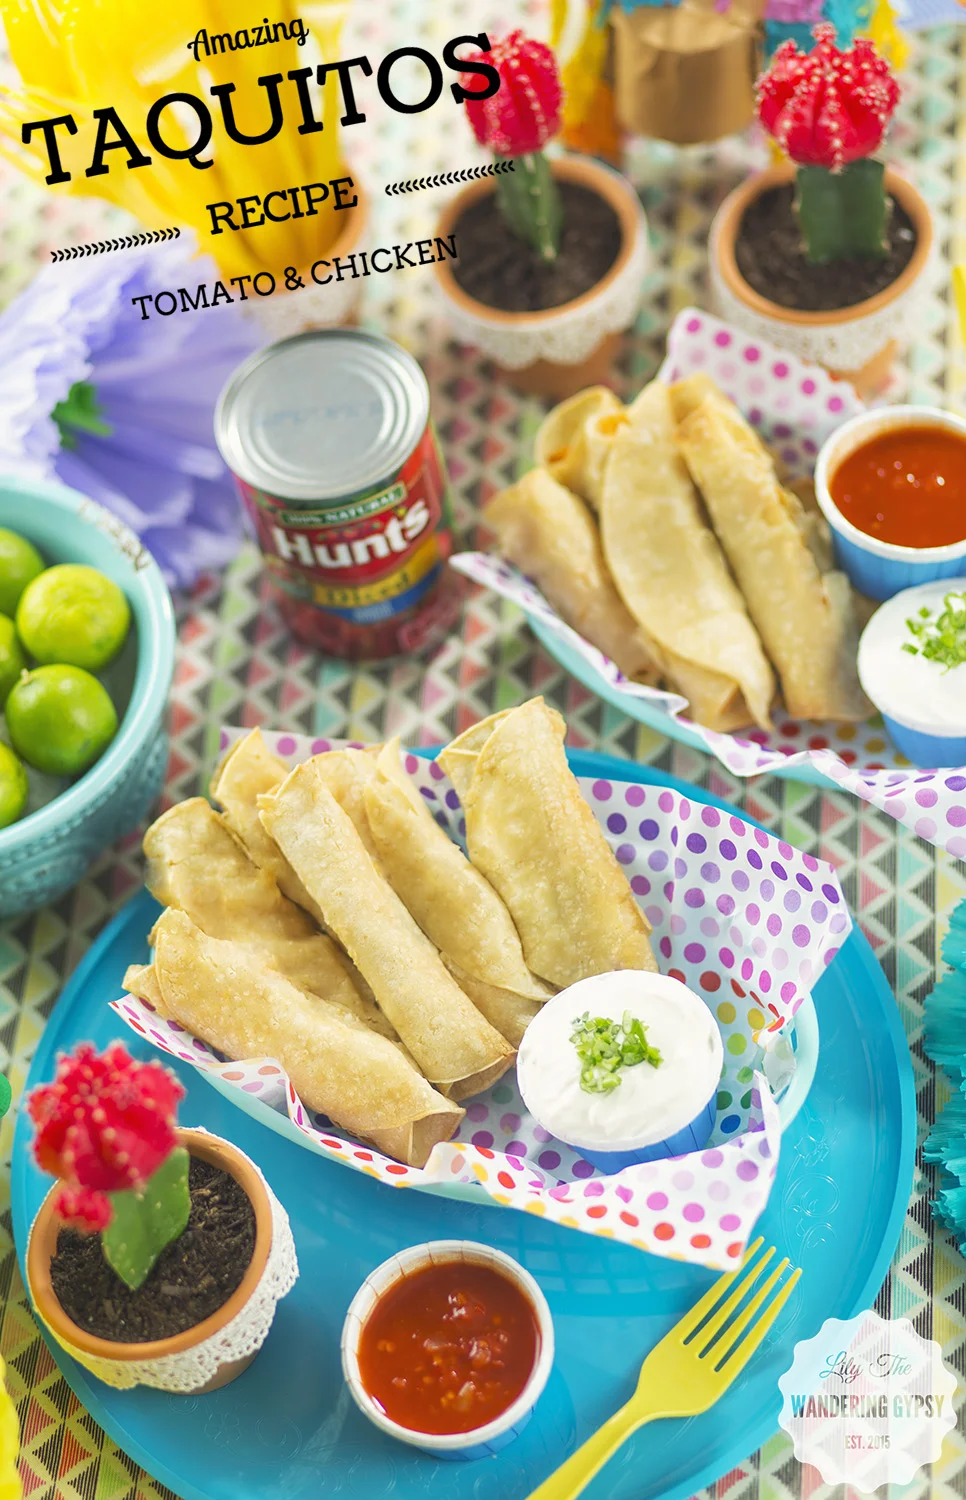
Baked Chicken & Tomato Taquitos Recipe

This shop has been compensated by Collective Bias, Inc. and its advertiser. All opinions are mine alone. #YesYouCAN #CollectiveBias

This recipe turned out extremely well! These taquitos are absolutely delicious, and would be the perfect way to incorporate Hunt's Canned Tomatoes into a Mexican-Inspired dish for dinner or even a party. 

Amazing Recipe Idea - Mexican Food - #YesYouCAN #CollectiveBias

First, I will start off with a kitchen hack! Read the instructions below the photo. This was such a great way to make shredded chicken. 

Amazing Recipe Idea - Mexican Food - #YesYouCAN #CollectiveBias

A BONUS KITCHEN HACK

Using a roaster chicken for shredded chicken is genius! I absolutely loved using this method, compared to spending literally hours waiting for chicken breasts to slowly boil, then become soft enough to shred. This seriously saved me many hours of prep work, and tasted incredible! 

Check out more Mexican inspired recipes here

Amazing Recipe Idea - Mexican Food - #YesYouCAN #CollectiveBias

INGREDIENTS:

3/4 Can Hunt's Tomatoes

1 Roaster Chicken 

1/2C. - 1 C. Cream Cheese

1/4 - 1/2 Onion

2 Cloves Garlic 

Olive Oil 

Mexican Seasonings and Salt

1/4 - 1/2 Bunch Cilantro

1 C. Shredded Mexican Cheese or Cheddar.

Tiny Bit of a Jalapeno (Optional)

Small sized corn or flour tortillas (I used corn)

Sour Cream For Dipping

Amazing Recipe Idea - Mexican Food - #YesYouCAN #CollectiveBias

INSTRUCTIONS:

1.) To shred the chicken - (make sure chicken has cooled, and use your hands (I used rubber gloves), to begin to tear apart all of the meat on the roaster chicken. Set aside, and discard bones and anything you can't use.

2.) Chop onions and garlic, and set aside.

3.) Simmer a tablespoon or so of olive oil, in a medium saucepan (I used one with sides). Once warm, add chopped garlic and onion. Also add about 1/4 tbsp or more of the Mexican seasoning. and a pinch of salt if desired. Stir. Optionally, add a tiny bit of the jalapeno pepper - this added SO much flavor and wasn't even really spicy. 

4.) Add shredded chicken to the onions and garlic mixture.

5.) Strain some of the excess juices out of the Hunt's Tomatoes, and add 3/4 or 1 whole can to the chicken mixture. Stir until combined, and again, season the chicken tomato mixture.

6.) Turn off heat, and add the cream cheese and shredded cheddar, and a little bit more seasoning if you like. Stir until combined well. 

7.) Chop leaves off cilantro, and add that to the rest of the ingredients.

8.) Preheat oven at 350-375 degrees, use PAM on Pyrex dish or baking dish.

9.) Warm corn tortillas in the microwave or on a warm stove. 

10.) Spread a small amount of the chicken mixture onto the centers of each tortilla. Wrap the tortillas around the mixture. Practice first, because the corn tortillas can easily split and break.

11.) Bake at 350-375 Degrees for about 25 minutes, and serve with a side of sour cream. These taste amazing!! Enjoy!

Look how beautiful this filling turned out! You can use this as dip with chips. or fill any type of burrito quesadilla, or taquitos with this. 

Look how beautiful this filling turned out! You can use this as dip with chips. or fill any type of burrito quesadilla, or taquitos with this. 

This is a good amount of filling to use! Roll these up and bake them in a glass dish at 350 Degrees for about 25 minutes. 

This is a good amount of filling to use! Roll these up and bake them in a glass dish at 350 Degrees for about 25 minutes. 

Serve with a side of sour cream, they are incredibly tasty!!!

Serve with a side of sour cream, they are incredibly tasty!!!

WHERE TO FIND THESE INGREDIENTS...

The great thing about this recipe, is that most of the ingredients were easy to find at Walmart. They have great prices on these ingredients, which is great if you're serving these to a crowd, or just making them for family. The Hunt's Tomatoes were found in the Tomato Sauce aisle. The organic yellow onions and garlic were found right in the front of the store by the fresh produce, too! 

Amazing Recipe Idea - Mexican Food - #YesYouCAN #CollectiveBias

And, here is that DIY project I promised you :) Check out the Cactus DIY below. 

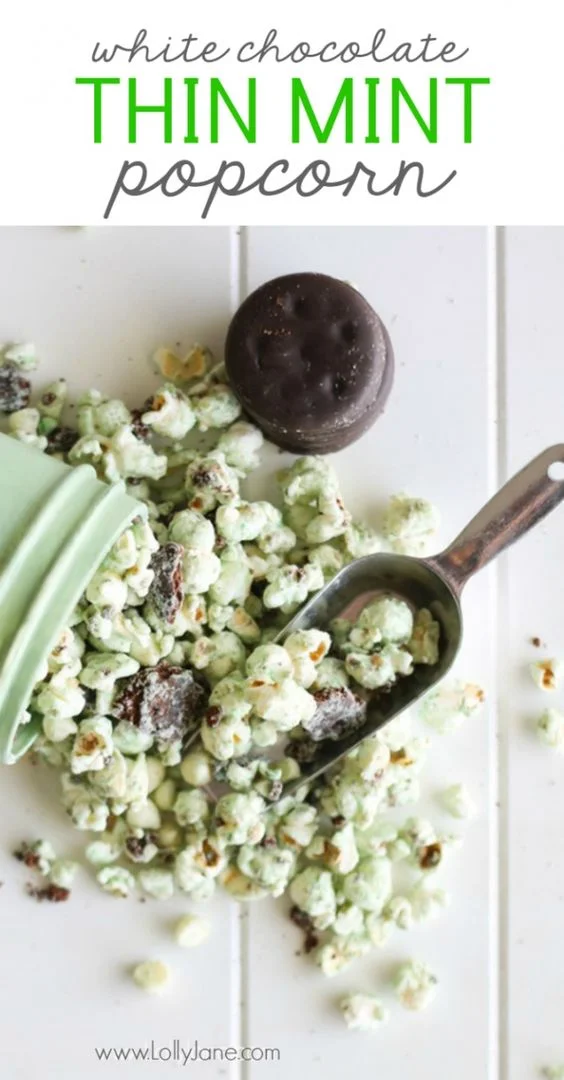
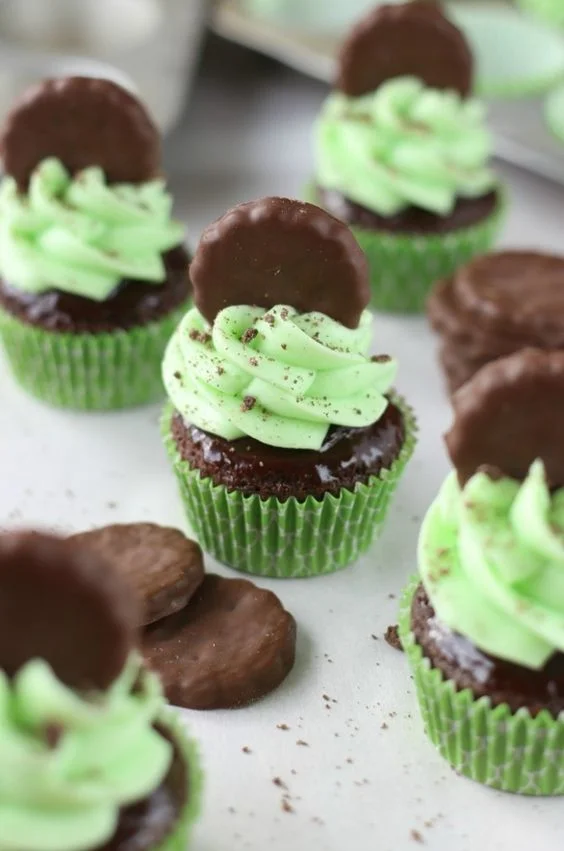
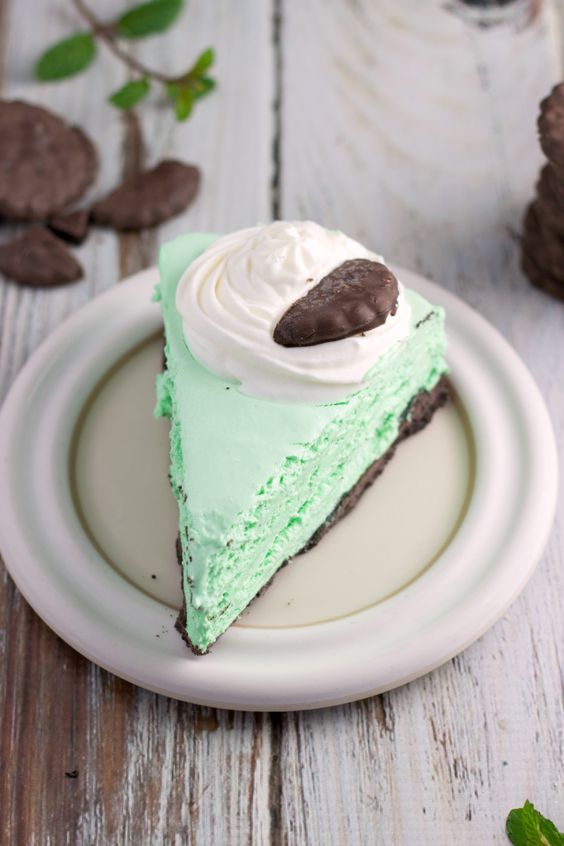
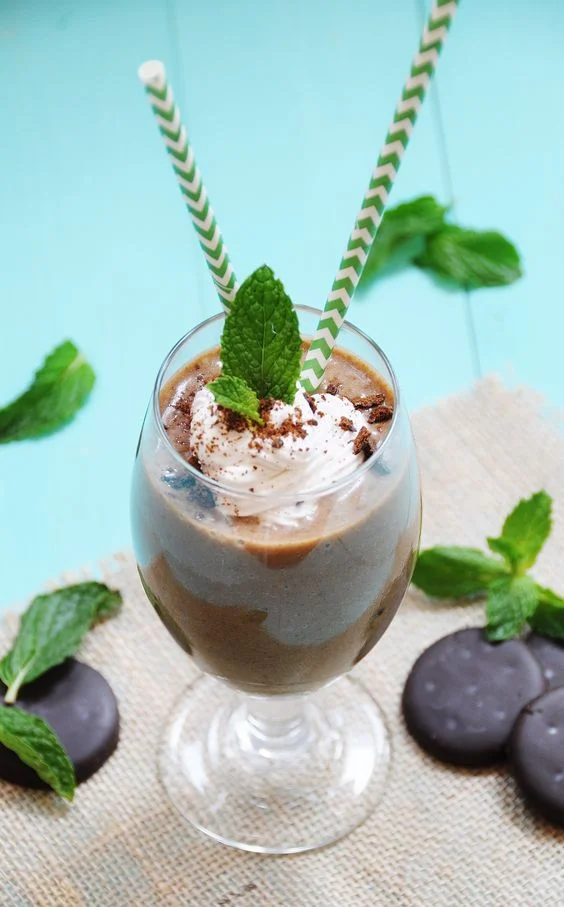
St. Patty's Day Recipe Roundup - Thin Mints

My absolute favorite cookies on Earth are Thin Mints. I rarely indulge in them, though, because we don't have many Girl Scout Troops in Carbondale. One of our first days here in AZ, I got myself THREE boxes of them. I intended to share, but no one took any, so I have just a few left :) Since I don't want to subject my last precious cookies to a recipe, I decided to share a few with you here today! 

I also want to share the fact that my grandma Pat's birthday was St. Patrick's Day. Happy Birthday Grandma!!!

Thin Mint Shake by Veganosity 

Thin Mint Shake by Veganosity 

Happy St. Patty's Day!!! 

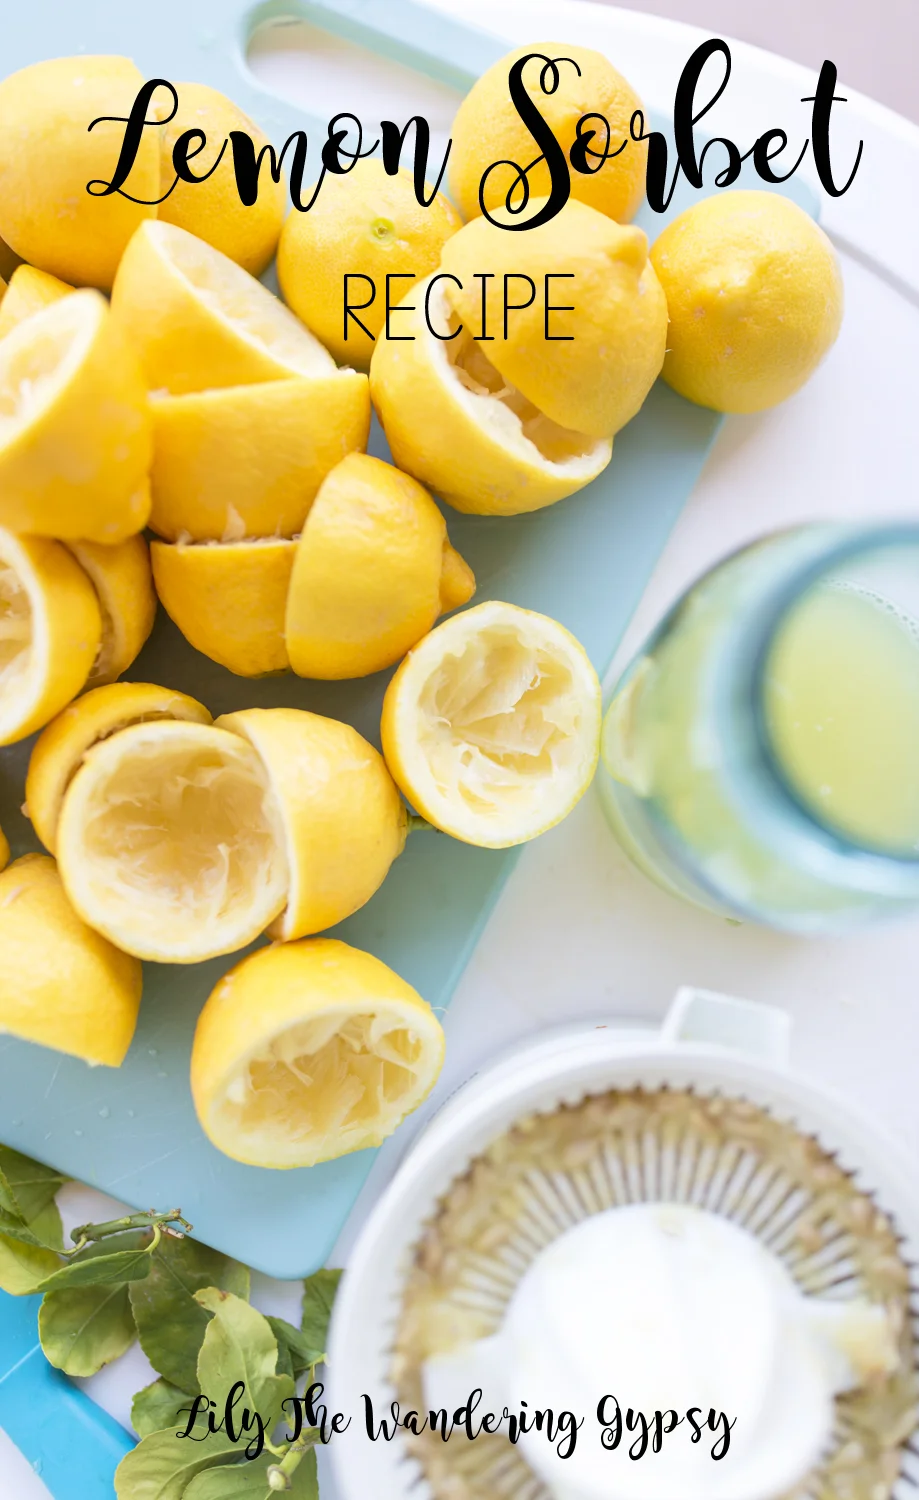
Lemon Sorbet Recipe And Video

So, we are here in Arizona for March, and the lemon tree at my parent's house was just calling my name! I decided to make my first YouTube video about a wonderful lemon sorbet recipe.

INGREDIENTS:

- 2 Cups Fresh Squeezed Lemon Juice (About 12 Lemons)

- 2 Cups Water

- 1 - 1.5 Cups Sugar (White Sugar or Cane Sugar). I used 2 cups and it was too sweet. 

INSTRUCTIONS:

Juice lemons, and make sure there are no seeds. Set aside.

Heat water and sugar in a medium saucepan, until sugar has dissolved.

Add lemon juice to sugar water, and stir until combined.

Pour lemon juice mixture into a Pyres or container with a lid, and put into freezer for at least 4 hours, or overnight. 

When frozen, scrape the sorbet with a fork, and then serve! This sorbet will stay good in the freezer for about 2 weeks. 

Enjoy! 

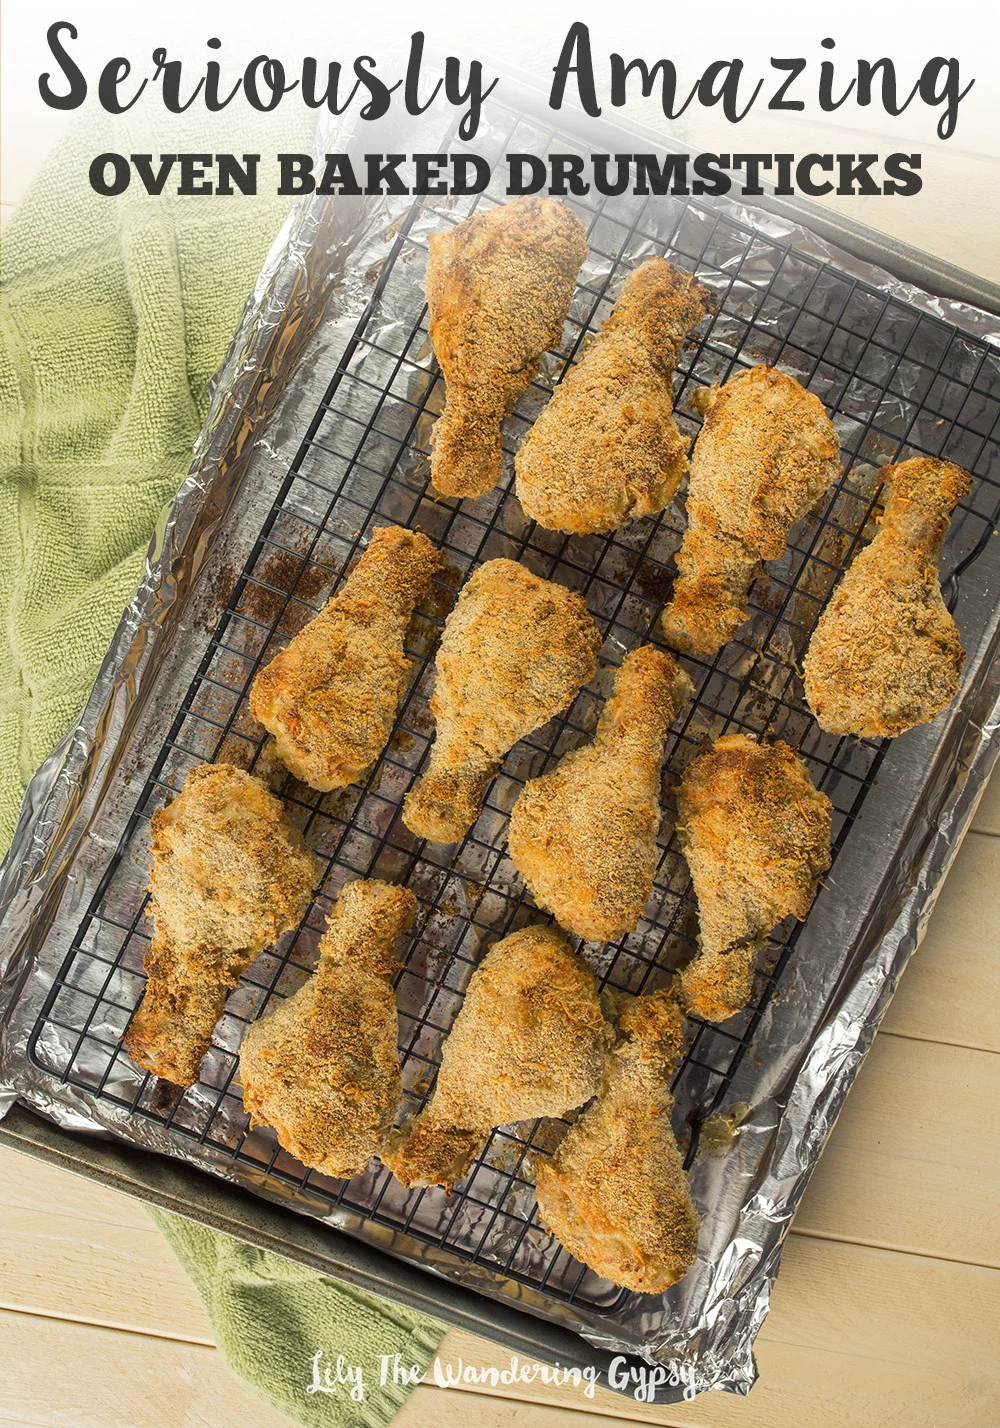
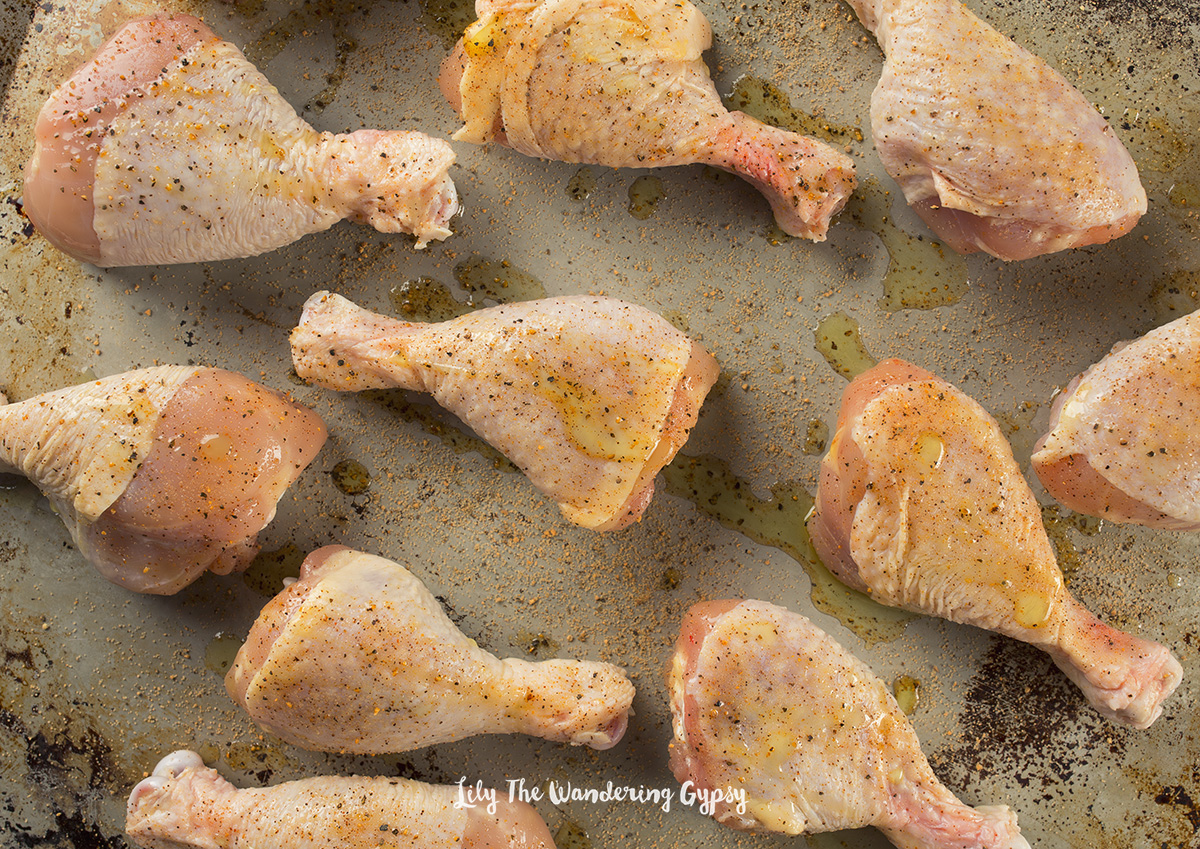
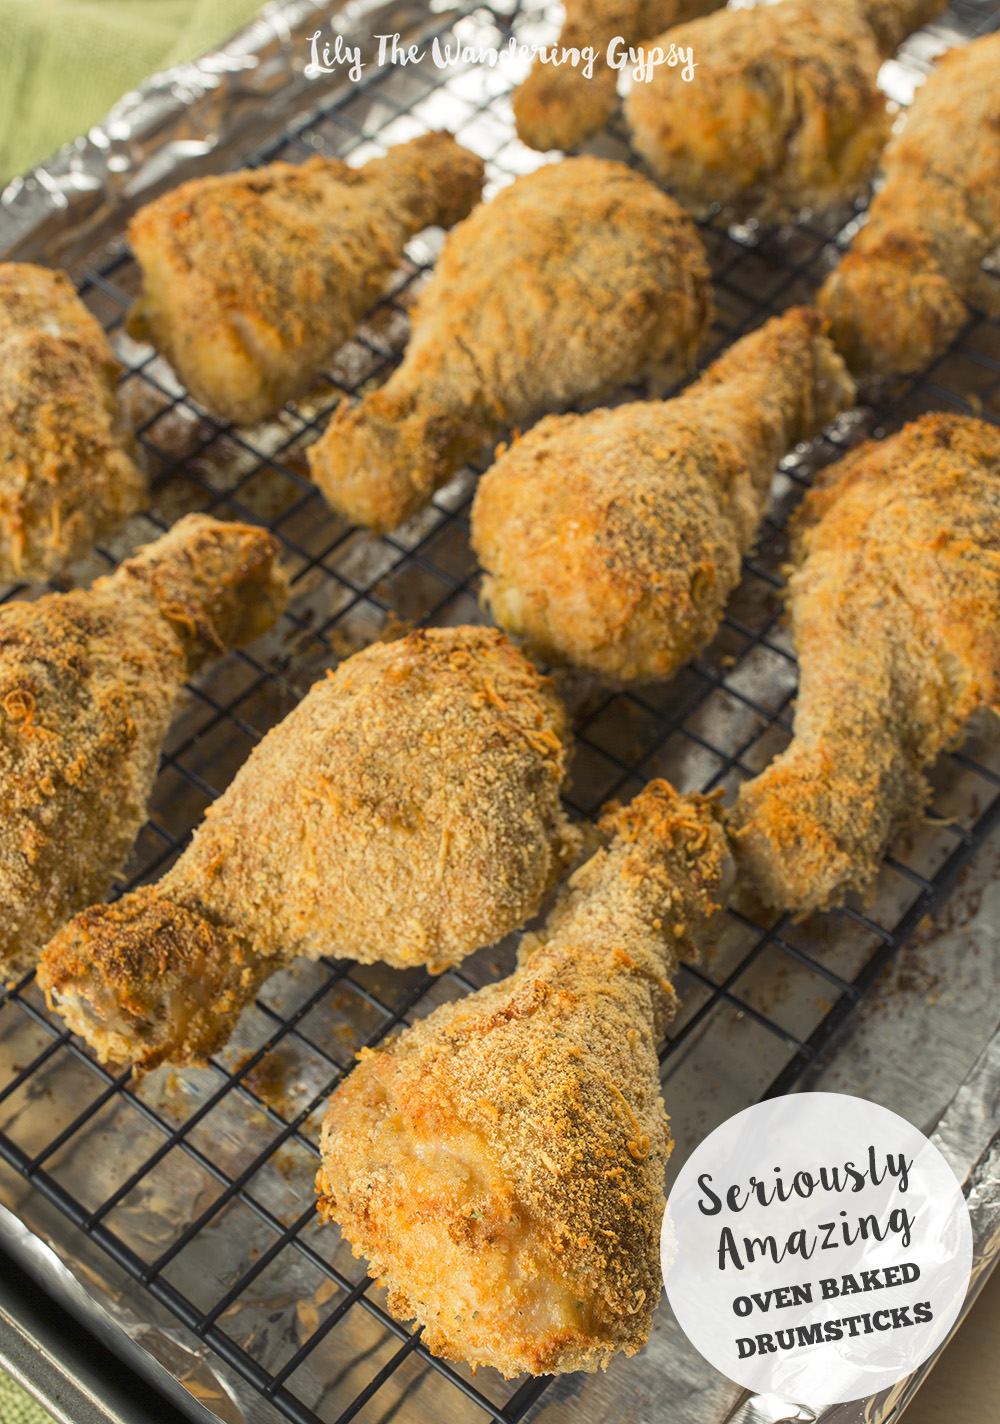
Amazing Baked Chicken Drumsticks Recipe

Wow, these turned out SO well! This was our first time cooking any bone-in chicken, and it went really well. I looked up various recipes, and once I realized you could just bread them (duh!), and then bake them, I would just do that!

Amazing Chicken Recipe

INGREDIENTS:

12 Chicken Drumsticks

4 Eggs

Flour

Bread Crumbs

Parmesan Cheese

Seasoning To Taste

Olive Oil

Great Chicken Recipe!
Amazing Chicken Recipe

INSTRUCTIONS:

- Preheat oven to 425* F. Gather your ingredients. Cover a baking sheet in foil, then place a baking grid on top, and spray with non-stick spray. I guess this is also called a Cooling Grid, but I use it in the oven al the time! 

- Find 3 separate dishes (shallow pyrex work well). In one each, place flour with salt and other seasonings, in the next one put your eggs with seasoning, and then in the last dish, mix up 1 1/2 C. breadcrumbs, and 1/2 C. freshly grated parmesan cheese. 

- Now, get your drumsticks onto one plate, and et ready to coat them. Coat your drumstick in flour, then in egg, then into the breadcrumbs. Place it on the grid, and make sure to place it towards the edge. These 12 drumsticks will fill the whole tray.

- Repeat this for each drumstick, flour, egg, and then breadcrumbs. 

- Bake for about 15 minutes and enjoy1 These are amazing by themselves, or dipped in BBQ sauce or honey mustard. These reheat extremely well in my toaster oven, leave then in for about 10+ minutes at 350* F. 

Great Chicken Recipe

YOU MAY ALSO LIKE...

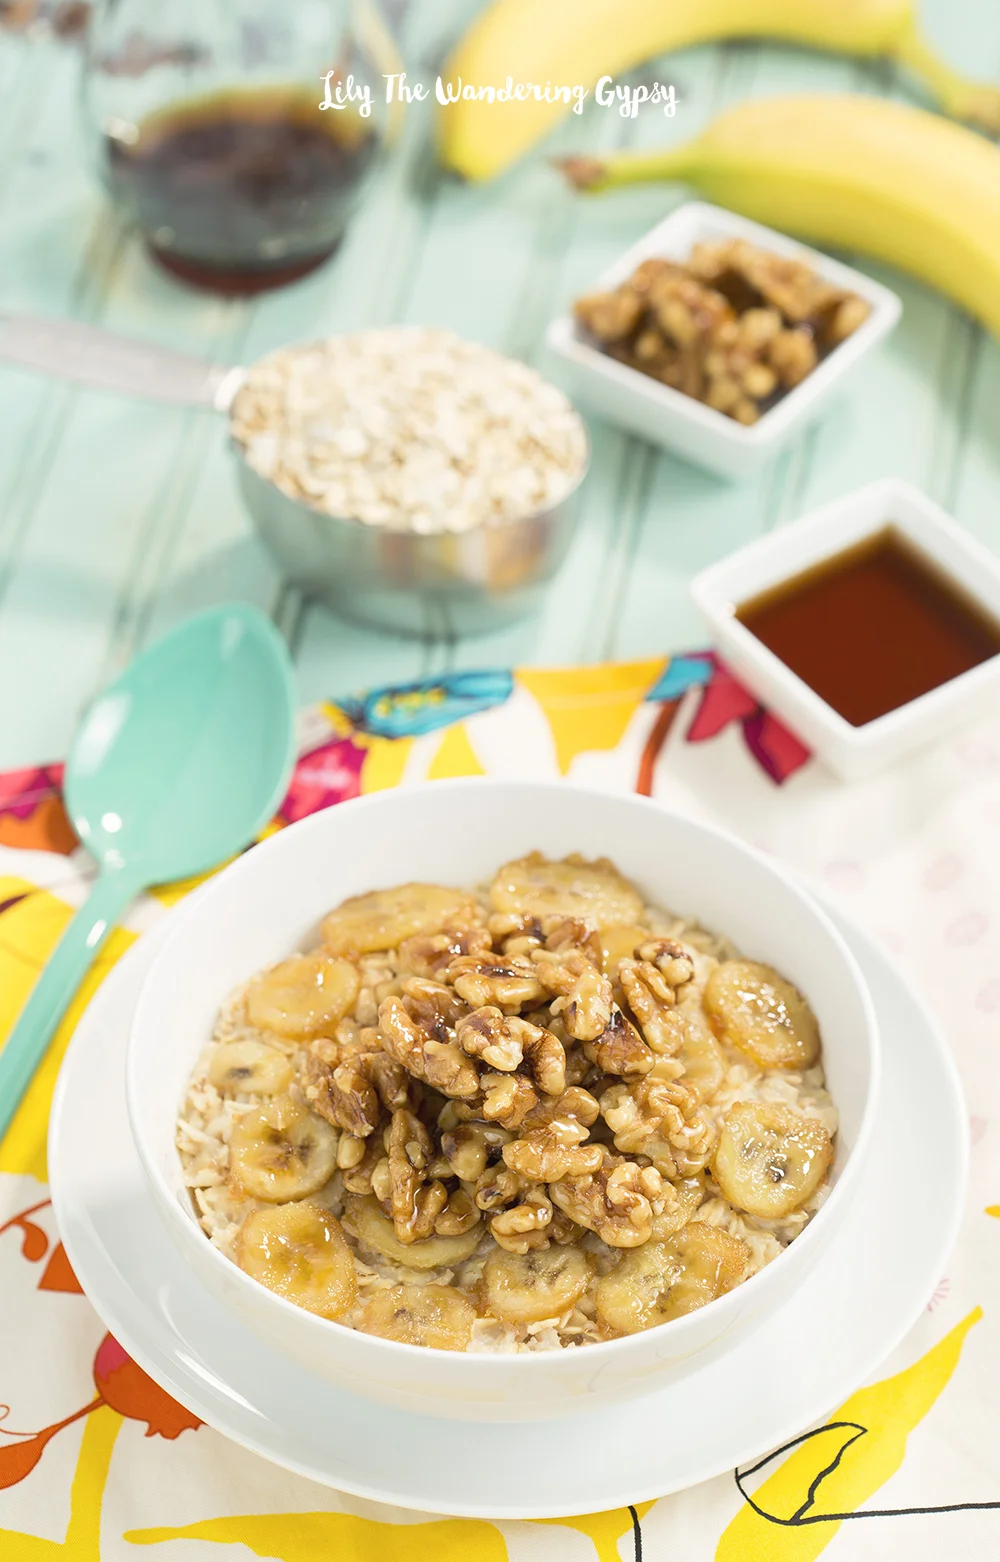
Maple Walnut + Caramelized Banana Oatmeal Recipe

Oh my, this recipe tastes SO good! Especially on a chilly morning when you don't exactly want to get out of bed but have to...this yummy oatmeal recipe would also be really great as a midnight snack! 

Amazing Oatmeal Recipe!

INGREDIENTS (1 Serving)

Oatmeal, Milk or Water, 1 Banana, 2 Tbsp Butter, 2 Tbsp Brown Sugar, 3 Tbsp. Maple Syrup, 1 C. Walnuts, Waxed Paper

INSTRUCTIONS:

- (For The Walnuts) In a skillet over medium heat, warm 1 Tbsp. butter, brown sugar, and syrup, stirring to dissolve the sugar. Once dissolved, and when the liquid starts to reduce/dry a bit, add your walnuts. Transfer warm walnuts to waxed paperWhen I first created this, I did not use butter, and wow, these were so sticky and almost hard to separate from one another. The butter should help with that a bit! Set the incredibly tasty walnuts aside, and let's start on the bananas!

- (To Caramelize The Bananas) Rinse your skillet, because we are going to use it again! Melt the second 1 Tbsp. butter in the skillet and add a bit of the brown sugar (1-2 Tbsp). Slice the bananas about 1/2" thick (mine were almost too thin, but sure looked pretty!). Lay the banana sliced on the skillet, and let them begin to caramelize. They don't take long, so make sure to watch them closely. Maybe 1-3 minutes on each side. These added so much flavor to my oatmeal! 

- Heat milk or water, and add oats, as per instructions on container. I also added some sugar into the oatmeal, because sugar makes everything better. 

That's it folks, enjoy! If you wind up creating this awesome dish, add a link below, or tag me on instagram as @lilythewanderinggypsy

Bacon, Egg and Cheese Oatmeal Recipe

Hearty, Yummy Oatmeal! This recipe tastes as good as it looks!

Bacon, Egg, and Cheese Oatmeal

INGREDIENTS:

Oatmeal

Milk or Water (for oatmeal)

2 slices bacon

Red and Green Peppers

2 Eggs

Shredded Cheese

Salt and Seasoning To Taste

INSTRUCTIONS:

- Cook desired amount of oatmeal, as per directions on container, using either milk or water.

- Meanwhile, cook or bake bacon until it is crispy. You can also use bacon bits, but I cannot resist the smell of fresh bacon! Chop up bacon into small, bite sized pieces. 

- In a separate skillet, scramble 2 eggs, and season with salt, pepper, and your other favorite seasonings. Add chopped up green and red peppers to your eggs if you wish.

- Pour finished oatmeal into a bowl, and top with scrambled eggs and peppers, sliced pieces of bacon, and finally, top with cheese!

Enjoy!

Real Strawberry Muffins With Pink Icing

I wanted to make something with strawberries for Valentine's Day and here they are! The muffins don't need the icing, but it sure made them cute. I used mini muffin tins, and they were perfectly bite sized. These muffins were very moist, so make sure you cook them thoroughly. 

Strawberry Muffin Recipe

STRAWBERRY MUFFINS FROM SCRATCH

2 C. all purpose flour


1/3 C. sugar

1 T. baking powder

1/2 t. salt

1 t. cinnamon

2 large eggs

1 C. milk

1/4 C. vanilla yogurt

1/2 t. vanilla extract

1 1/2 C. fresh strawberries, hulled and finely chopped

Strawberry Muffin Recipe

INSTRUCTIONS:

Mix all ingredients except for strawberries. 

Here is my muffin batter before I added the strawberries and sugar. 

Strawberry Muffin Recipe

Below, I pureed the strawberries and added them to my batter. I also added 2 drops of food coloring to enhance the pink color for the photos :)

Strawberry Muffin Recipe

Bake the mini muffins for 15-18. Now, make your icing. 

Strawberry Muffin Recipe

I made a simple icing in my food processor. Add all ingredients, and process until combined. Scrape sides to incorporate any extra ingredients. Pour into smaller bowl to spoon onto muffins. 

ICING INGREDIENTS -  Original Recipe

1 Tbsp Butter - 1 C. Powdered Sugar - 1-2 Tbsp milk - 1/4 tsp vanilla - 2 tsp. fruit - Food Coloring

Strawberry Muffin Recipe

Have fun with this recipe, and enjoy!!

Strawberry Muffin Recipe

Smoothie Time! Mixed Berry and Banana Smoothie - Negative Calorie Recipe

Smoothies are so refreshing and actually filling! Here is an idea for a quick "power meal in a smoothie"! I always buy organic fruits, vegetables, and produce, and it makes me feel that I'm not getting a bunch of unnecessary chemicals from pesticides. Another great thing, is that (besides the yogurt), every ingredient in this recipe are Negative Calorie Foods! Meaning they take more calories to burn than they contain. So cool. Well, enjoy your smoothies!

Awesome Smoothie Recipe!

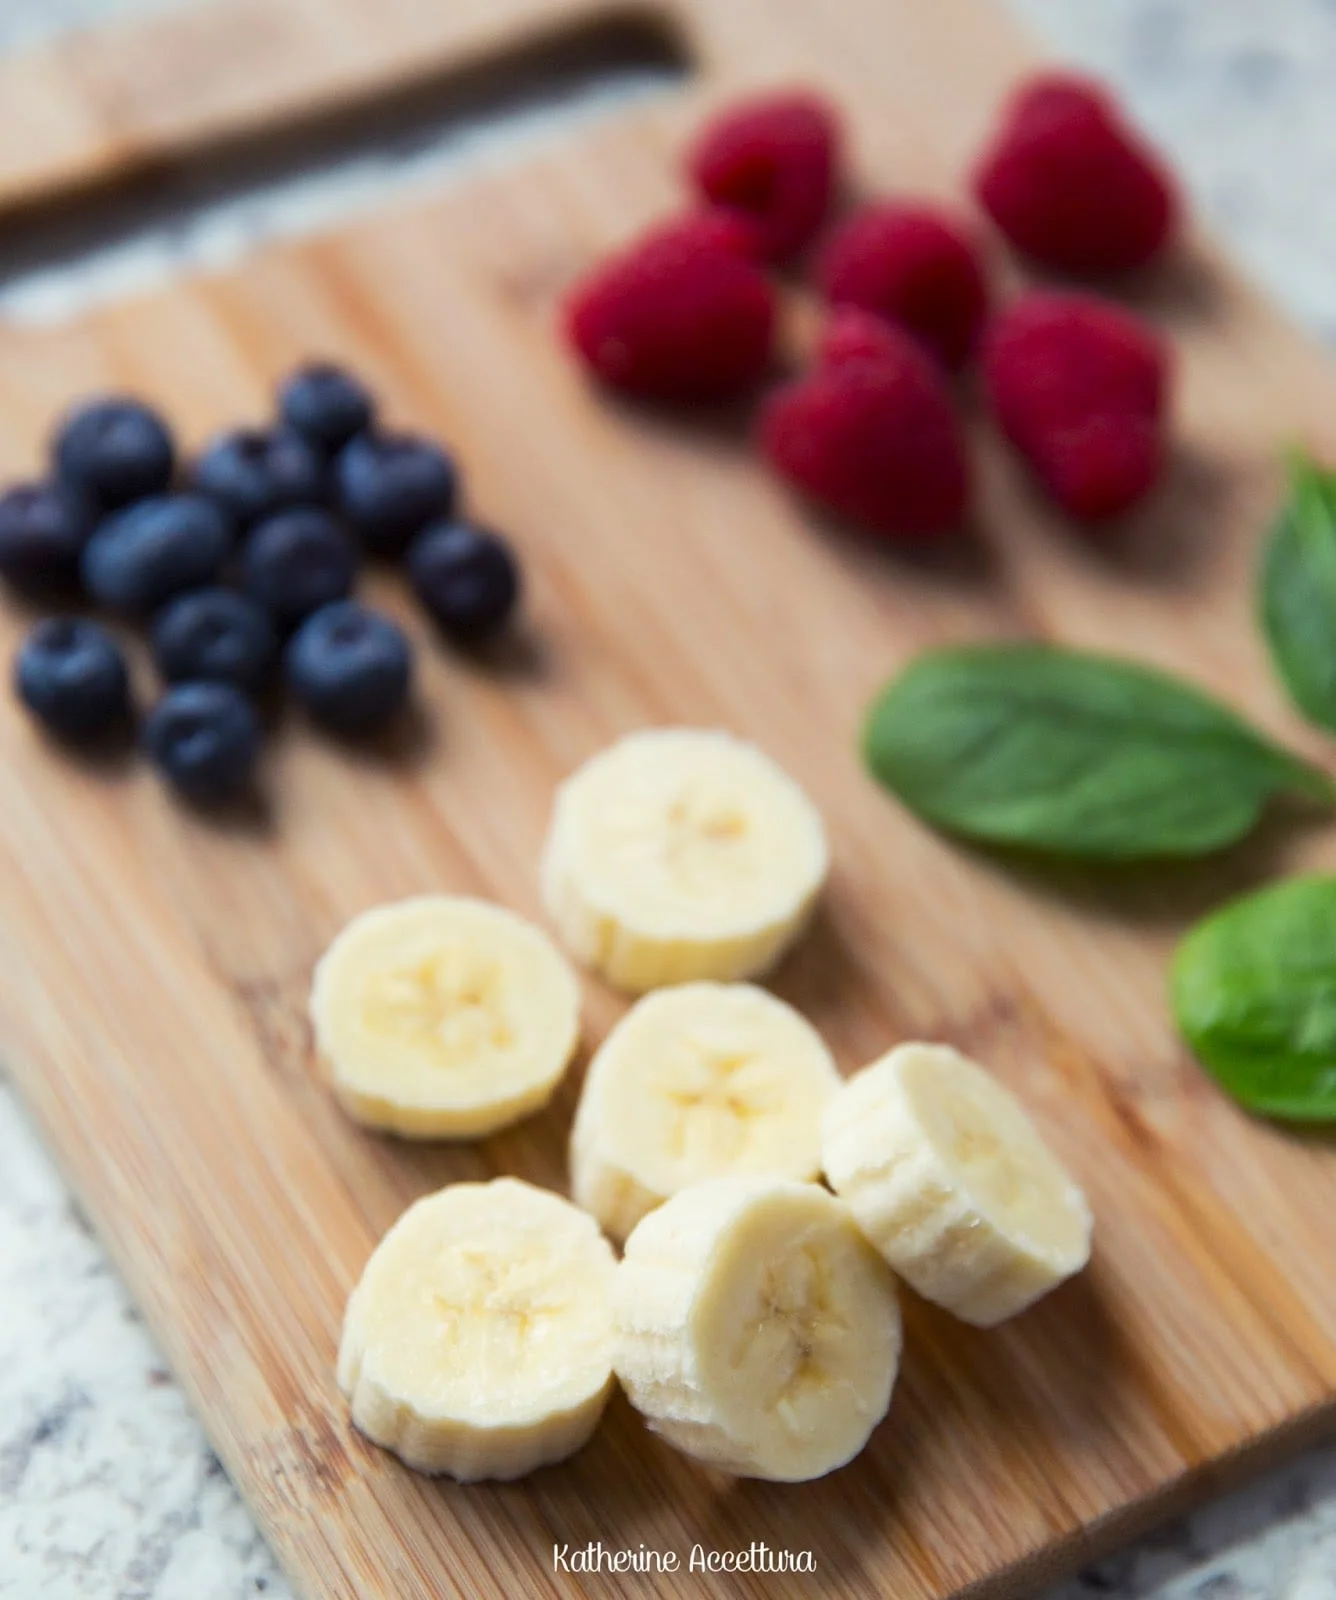
INGREDIENTS for about 2 smoothies:

1 Cup Ice - (blend this in the blender before adding fruits and spinach)

1/3 pint blueberries

1/3 C. raspberries

2 bananas - cut into pieces

A small hand full of spinach, chopped or ripped into small pieces

1/4 - 1/2 Cup Pineapple Juice (or any juice you have on hand)

1/2 C. - 1 C. Vanilla or Strawberry Yogurt 

Awesome Smoothie Recipe!

INSTRUCTIONS:

Crush ice in blender. Add fruits and spinach, and blend for about 30 seconds, or until completely combined. If you want a thinner smoothie, just add more juice.

Awesome Smoothie Recipe!

This smoothie was very tasty. You get a nice taste of each of the ingredients, without tasting the spinach too much :) I am sure you could use frozen fruit as well. 

I hope you enjoy these, they kept me more full than expected!

Awesome Sugar Cookies From Scratch!

Sugar cookies are some of my absolute favorite cookies of all time. Especially when there's a little bit of icing and sprinkles on top. Cant beat it! This holiday season, I spent a little bit more time than I usually would, just making cookies from scratch. It was so much fun spending Christmas at home this year (I traveled to see family a couple of days in advance this year). 

Super Tasty Sugar Cookies Recipe

So, these cookies represent new traditions, as well as just plain awesome and tasty treats. 

Super Tasty Sugar Cookies Recipe

INGREDIENTS

3 C. Flour

1/2 tsp baking powder

1/2 tsp salt

2 sticks butter (at room temp or softened - but not melted)

1 1/3 C. sugar

2 eggs

2 tsp vanilla

Cookie Cutters

Super Tasty Sugar Cookies Recipe

INSTRUCTIONS

1.) Mix the three dry ingredients and set aside.

2.) Once butter is softened, beat Butter for about 2 minutes, until fluffy. Add in sugar and mix about 2-3 more minutes. 

3.) Add 1 egg at a time, and vanilla, and beat about 2 more minutes. 

4.) slowly add dry ingredient mixture, and beat until combined and a dough forms.

5.) Wrap in plastic wrap and refrigerate for at least 1 hour (or even overnight is fine).

6.) Once dough has chilled, unwrap, and let the dough sit out to warm up a bit, about 30 minutes - 1 hour. 

7.) Place dough between 2 pieces of paper - parchment on bottom, and waxed paper on top - (making sure to put flour above and below dough). Get two magazines, that are about 1/4" thick, lay them on either side of the dough, but ON TOP of the waxed paper sheet. This will ensure you don't get dough on your magazines! 

8.) Roll out dough to be about 1/4" thick, remove waxed paper from top, and cut out shapes from dough. I used a fork and a spatula to remove excess dough from around shapes. 

9.) Put the shapes onto another cookie sheet or cutting board, and freeze shapes while you cut the next ones.

10.) Re-roll dough again, about 1/4" thick, and cut more shapes. Repeat the process of cutting shapes and freezing them as you go.

11.) Preheat oven to 350 degrees F. Bake shapes, spread out on a cookie sheet, one batch at a time. Make sure to leave lots of room around each shape, just in case they spread out a little bit. If you do all the steps correctly, and take your time, the shapes should stay about the same size, just puff up a bit. 

12.) Use your favorite icing recipe, or I actually used some Funfetti icing, because I love the sprinkle colors :) I added a few drops of blue food coloring to achieve this pretty pastel blue color. Enjoy!!

Super Tasty Sugar Cookies Recipe

Frozen Hot Chocolate Pie Recipe

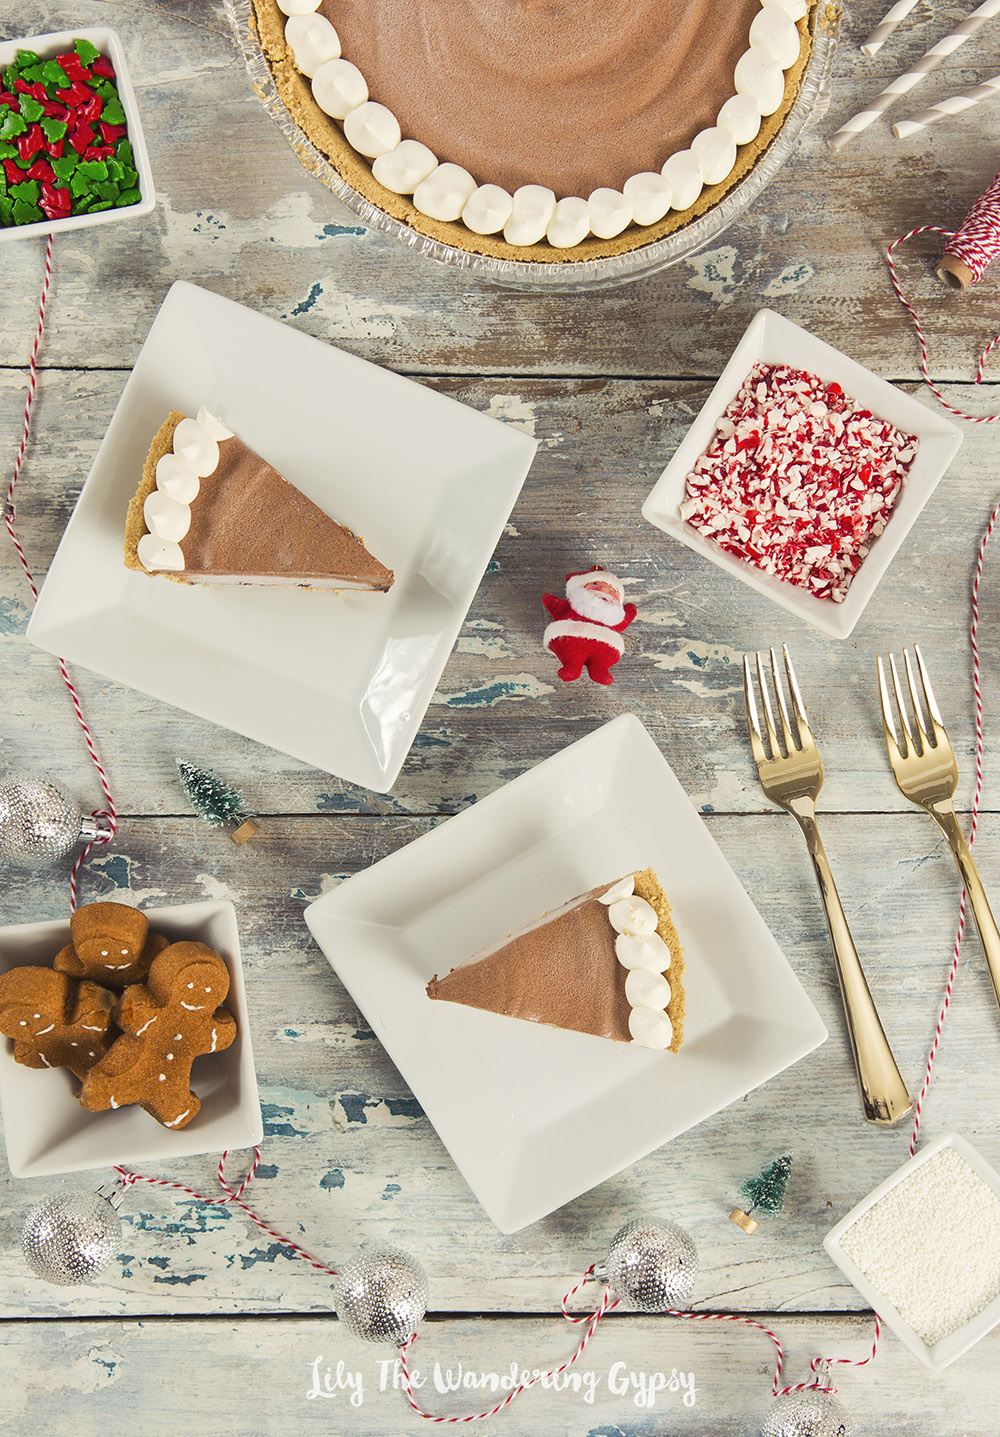
I am writing this as I eat a piece of this magical pie! I love how it turned out, and now I have a chocolatey treat for days to come. The best part is that this pie was incredibly easy to make, and the ingredients cost less than $5! 

No-Bake Chocolate Pie Recipe

INGREDIENTS:

1 Pie Crust, Cool Whip, Chocolate Pudding (Instant), Milk

INSTRUCTIONS:

Mix 2 Cups milk into pudding and stir, Let sit for about 5 minutes. 

Add 1 Cup of the Chocolate Pudding into the bottom of the pie crust, and smooth out. 

Mix 1 Cup Cool Whip into the rest of the pudding and stir until well combined. Add this mixture to the pie crust and smooth out.

Now, put some of the extra Cool Whip into a small Ziploc bag and cut end off. Practice first, but dollop little dots of Cool Whip around the edges of the pie. Feel free to decorate with sprinkles for a more festive look! Freeze for 1 hour, and slice yourself some chocolate pie! If you freeze it overnight, it will be more the consistency of a pudding pop. So good either way! Enjoy!!!

No-Bake Chocolate Pie Recipe

A Special Treat For Your Furry Friends! Organic Pumpkin Oatmeal Dog Treats Recipe

These treats were a real hit with my little Chocolate Lab, Cabbie. We always try to make sure we only give our dog the very best. Whether it be food, we give her Solid Gold Barking At The Moon, or what treats she gets, it is always the best we can possibly get. I was checking out different dog treat recipes, and came across this one. I love how it has only all-natural ingredients and does not contain chicken broth, salt, or sugar - these were much more mild for her tummy. 

Pumpkin Oatmeal Dog Treats Recipe

Cabbie helped me with EVERY step of this project. She absolutely loves these treats! 

Pumpkin Oatmeal Dog Treats Recipe

INGREDIENTS:

  • 3 cups oats
  • ½ cup peanut butter
  • 1 cup pumpkin puree
  • 1 teaspoon cinnamon
  • 1 teaspoon baking powder
  • 2 eggs

INSTRUCTIONS:

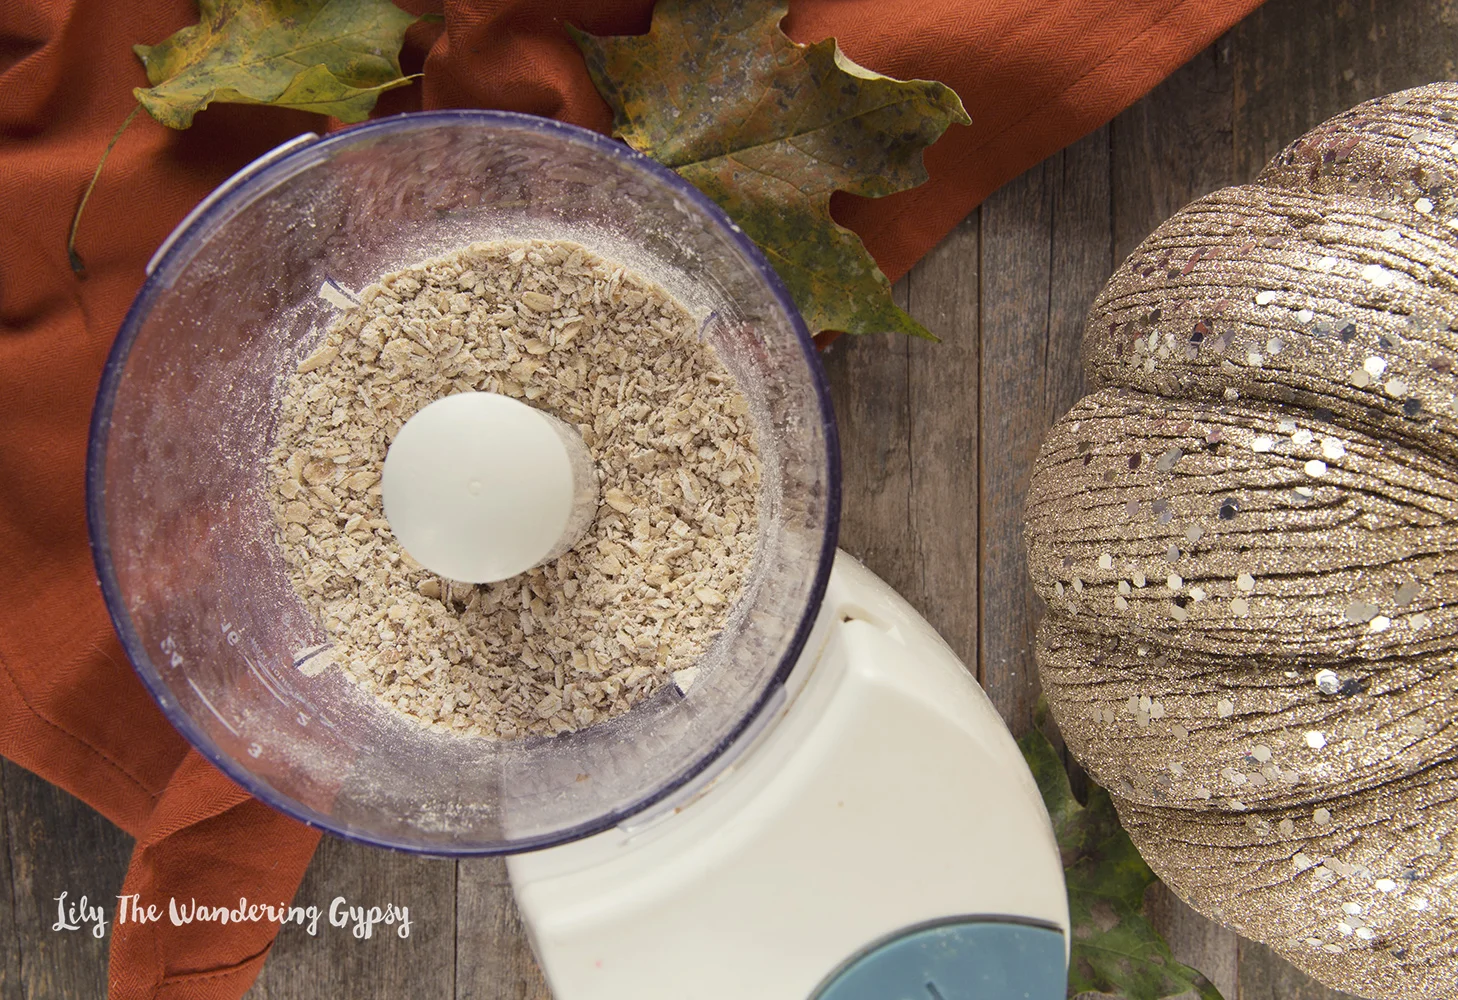
  • Place the oatmeal into a food processor and pulse it until it's not so coarse, but it doesn't need to be a fine as flour.
  • Add oatmeal, pumpkin, peanut butter cinnamon baking powder and eggs to bowl on mixer and blend on medium until it's all mixed.
  • Roll out with a little flour and cut with cookie cutters.
  • Bake at 375 degrees for 15-20 minutes.
  • Cool on rack until completely cooled.
  • Place in airtight container to keep them fresh, or in the freezer. I keep them in the freezer, they don't freeze solid as there is little liquid. This is important!!!
Pumpkin Oatmeal Dog Treats Recipe

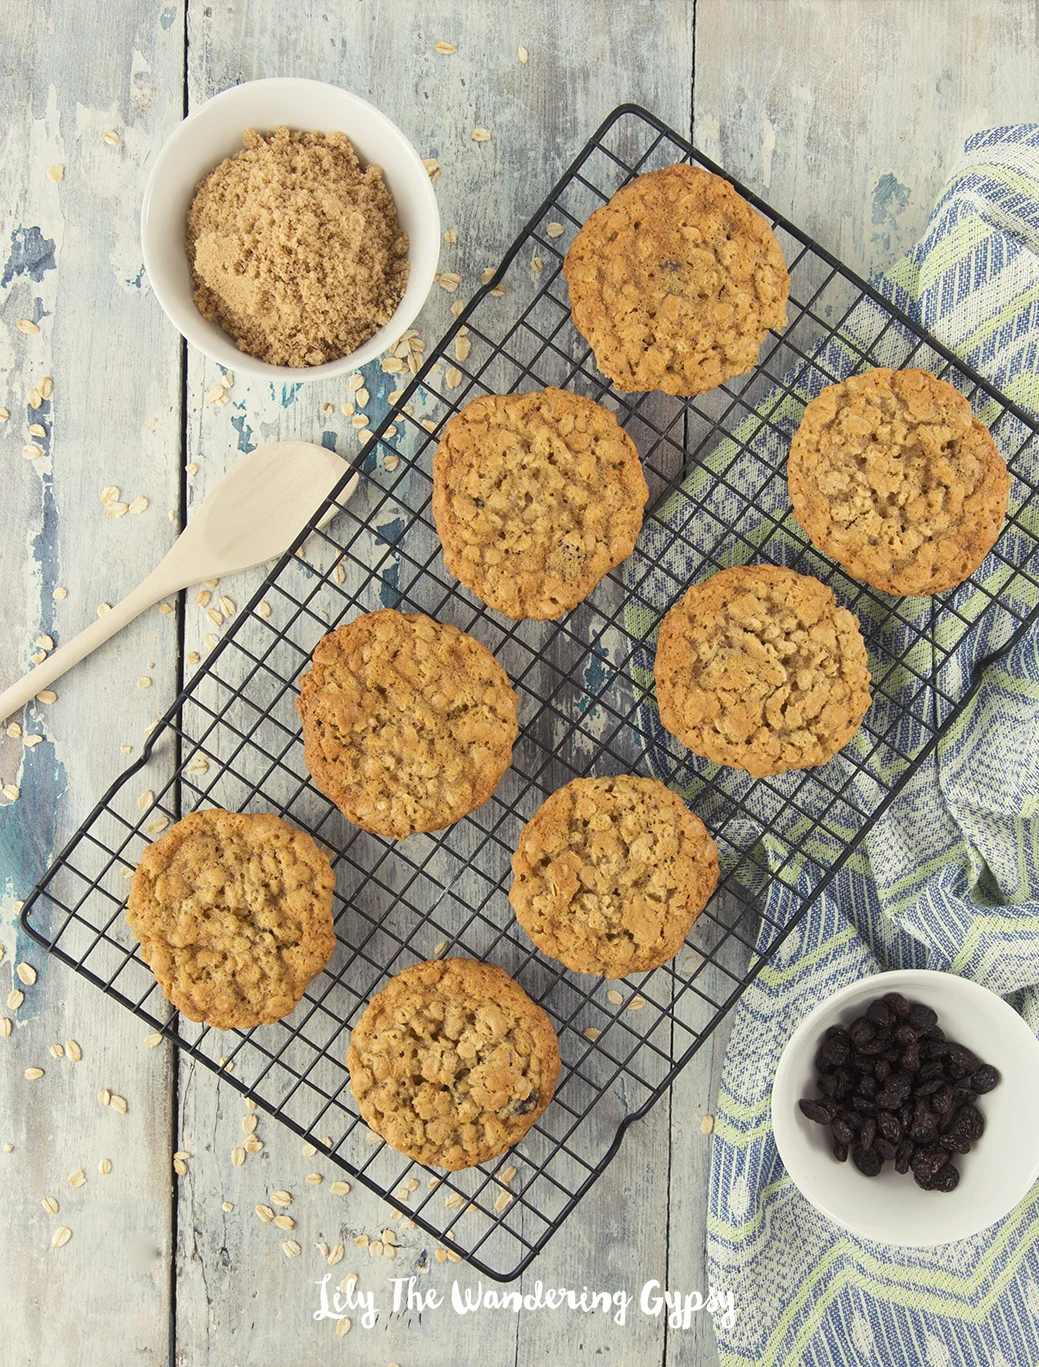
Amazing Oatmeal Raisin Cookies Recipe

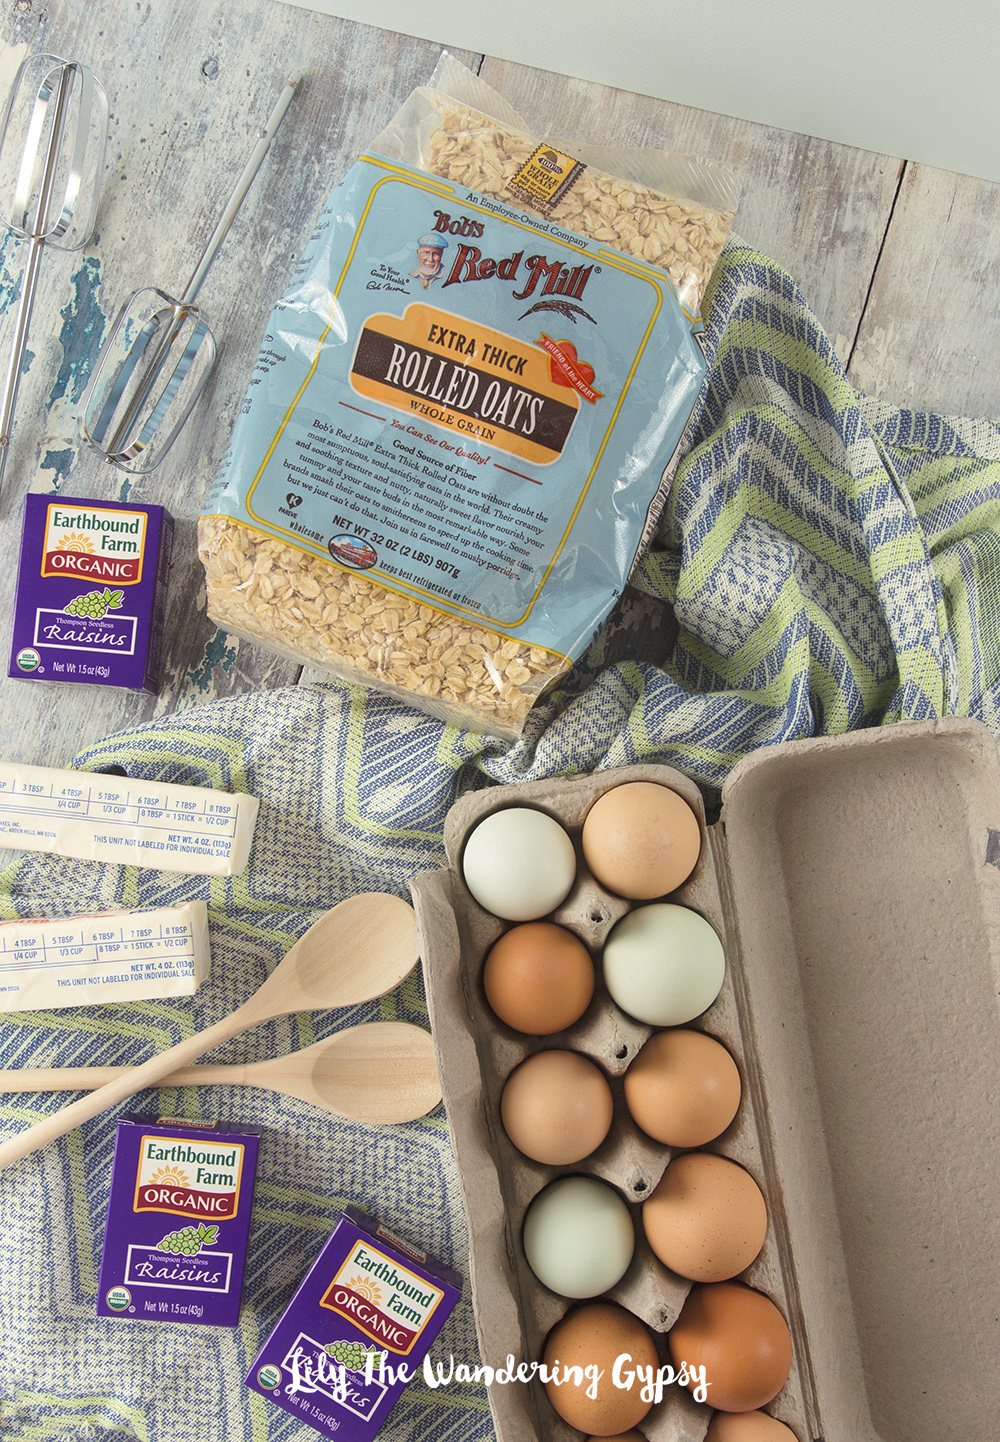
These cookies tasted beyond good, and made the house smell like a cookie candle :) I wanted to share some of my favorite ingredients, so you can make your Oatmeal Raisin cookies the very best ever!

Awesome Oatmeal Cookies! YUM!
5DA_1479 100.jpg

INGREDIENTS (WET):

INGREDIENTS (DRY):

Awesome Oatmeal Cookies! YUM!

INSTRUCTIONS: 

  1. Preheat oven to 350°.
  2. Melt butter in heat safe container. 
  3. Whisk dry ingredients; set aside.
  4. Combine wet ingredients with a hand mixer on low.
  5. To cream, increase speed to high and beat until fluffy and the color lightens.
  6. Stir the flour mixture into the creamed mixture until no flour is visible.
  7. (Over mixing develops the gluten, making a tough cookie.) Now add the oats and raisins; stir to incorporate.
  8. Use a silicone Tablespoon measuring spoon, and scoop out dough
  9. Drop 2-inches apart onto baking sheet sprayed with nonstick spray.
  10. Bake 11-13 minutes (on center rack), until golden, but still moist beneath cracks on top.
  11. Remove from oven; let cookies sit on baking sheet for 2 minutes before transferring to a wire rack to cool.

Awesome Oatmeal Cookies! YUM! - The melted butter and the sugar, eggs, and both sugars.

Awesome Oatmeal Cookies! YUM! - The melted butter and the sugar, eggs, and both sugars.

Here is the cookie dough before the dry ingredients are added.

Here is the cookie dough before the dry ingredients are added.

Awesome Oatmeal Cookies! YUM!

I hope you have enjoyed my process of creating some incredible Oatmeal Raisin Cookies! If you make some, I'd love to see them! Put your link below in the comments! 

https://www.pinterest.com/happysolez/pins/

4 DIY Christmas Gift Tutorials - By Lily The Wandering Gypsy

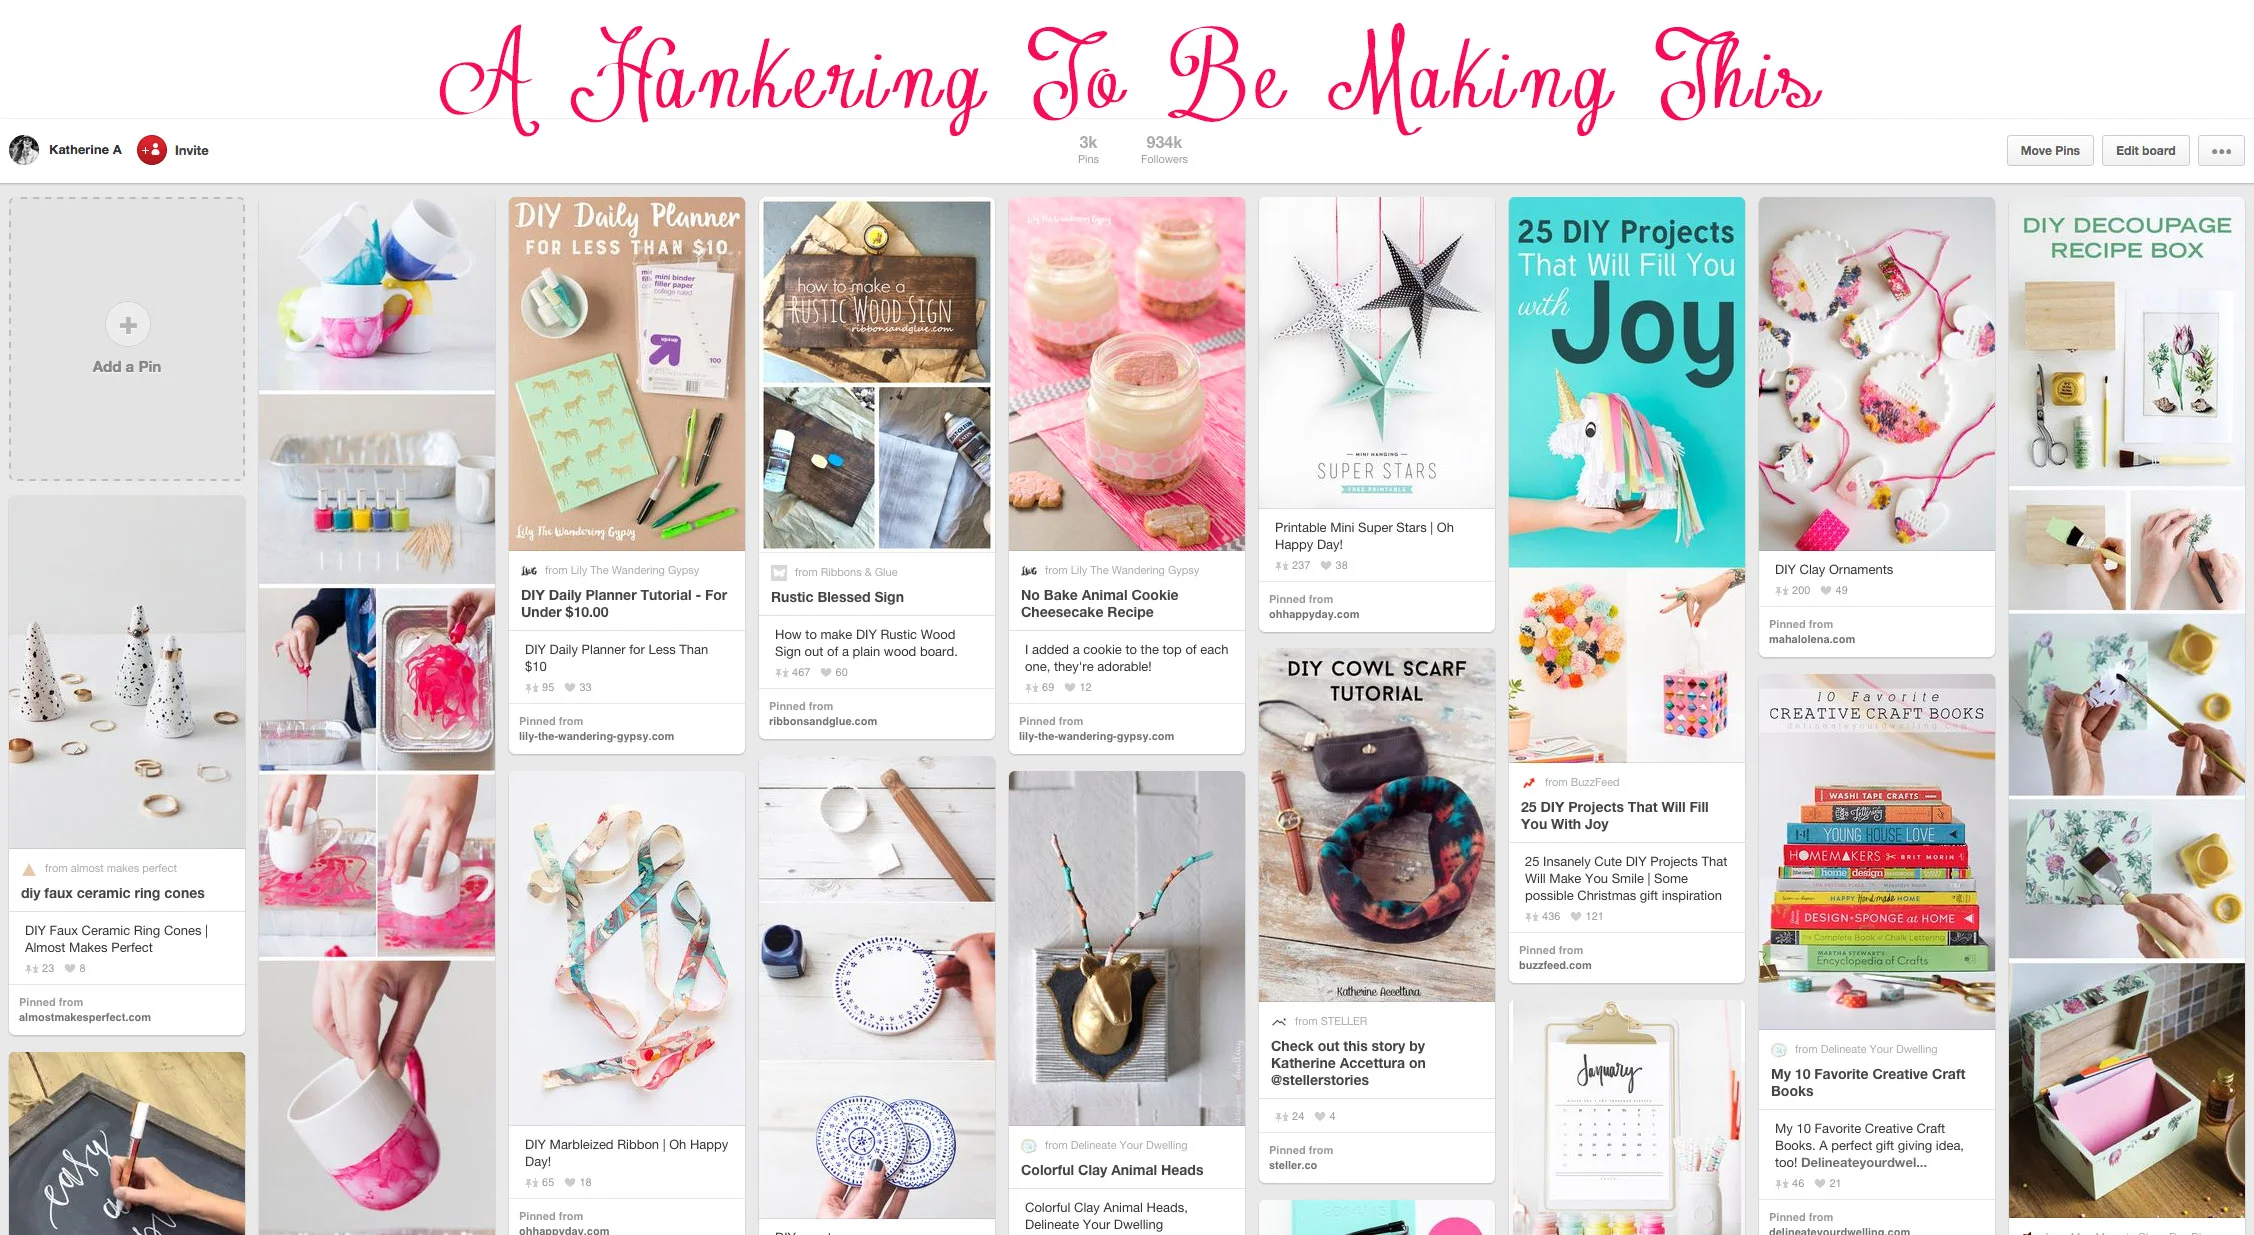
Check out my Pinterest Board here - https://www.pinterest.com/happysolez/a-hankering-to-be-making-this/

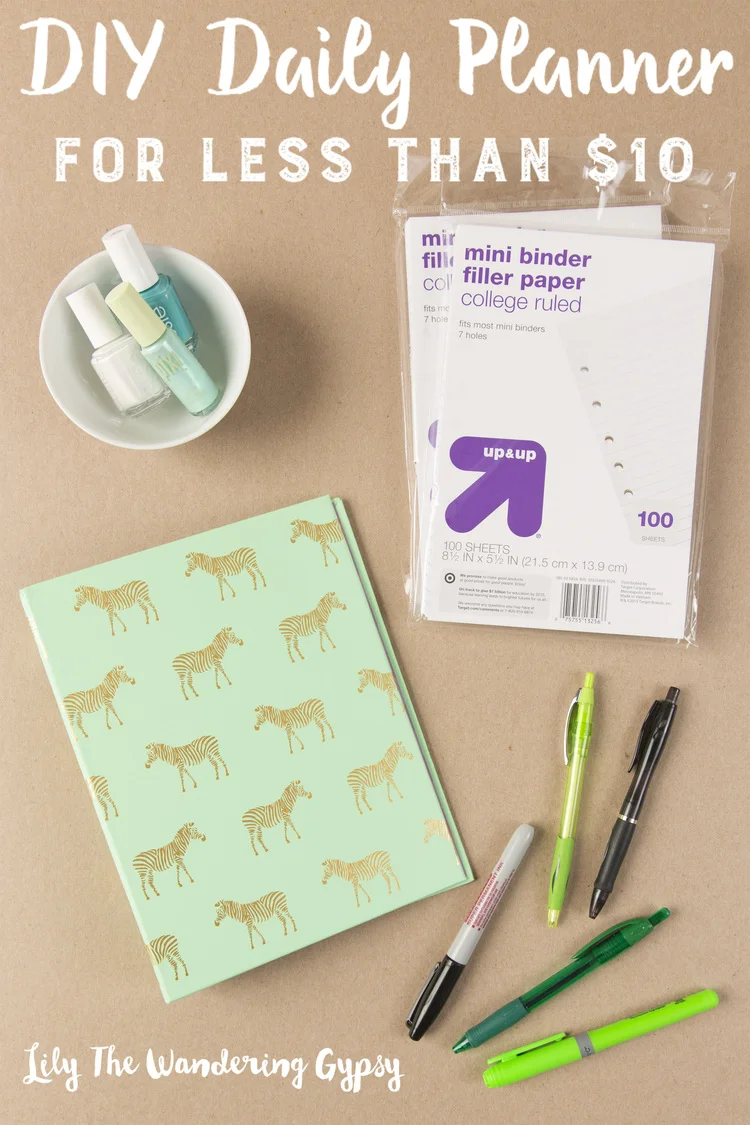
This DIY Planner is one of my most popular blog posts! Check out how easy it would be to make one, and give as a gift. 

This DIY Planner is one of my most popular blog posts! Check out how easy it would be to make one, and give as a gift. 

Also, check out my pin board, A Hankering To Be Making This for TONS of ideas! 

Also, check out my pin board, A Hankering To Be Making This for TONS of ideas! 

These amazing No-Bake Cheesecakes are made with animal crackers instead of traditional graham crackers. These would make amazing gifts for the holidays, since they are individually packaged. 

These amazing No-Bake Cheesecakes are made with animal crackers instead of traditional graham crackers. These would make amazing gifts for the holidays, since they are individually packaged. 

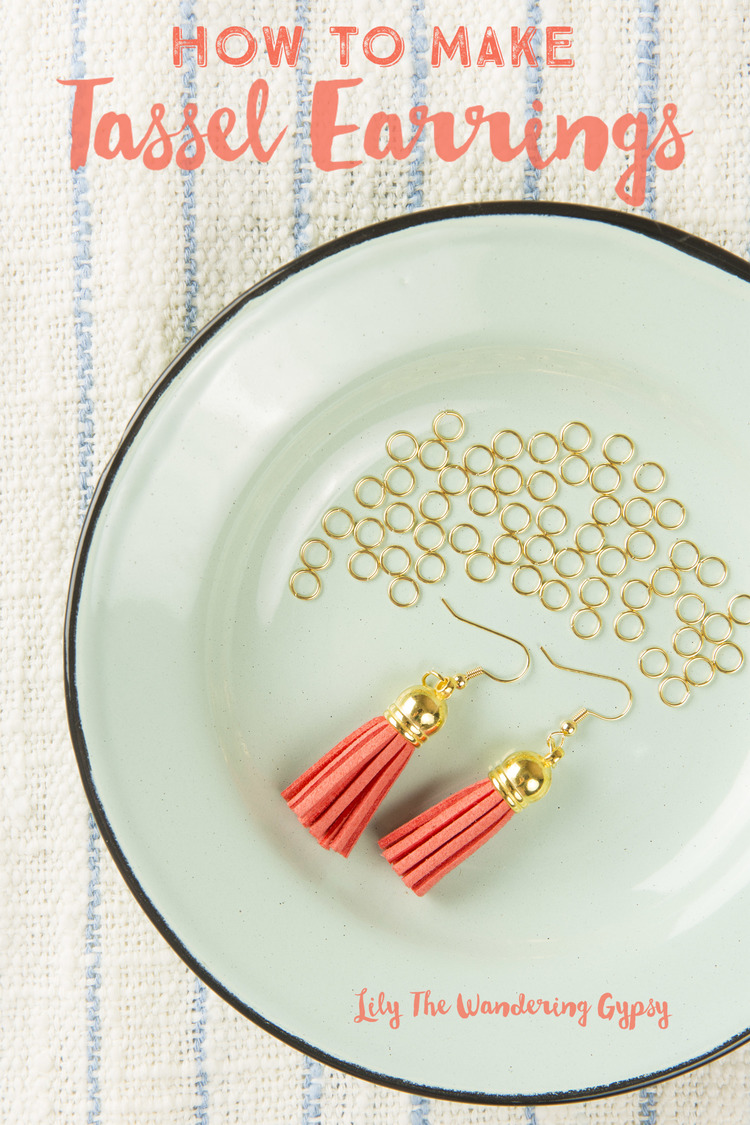
All you need is 3 materials for these super easy, Tassel Earrings, and they make a thoughtful gift.

All you need is 3 materials for these super easy, Tassel Earrings, and they make a thoughtful gift.

These Glitzy Tree Earrings are also a cute and festive gift idea you could make for a friend, and then make yourself a matching pair! These turned out really great! 

These Glitzy Tree Earrings are also a cute and festive gift idea you could make for a friend, and then make yourself a matching pair! These turned out really great! 

Pinterest  //  Facebook  //  Instagram  //  She's So Chic Blog  //  Twitter  //  Polyvore