Enjoy these three recipes with ingredients that were delivered to my doorstep! Fresh, easy, and great tasting recipes.
Read MoreChef Designed Recipes At Your Doorstep With Home Chef (With Recipes)
Learn more about my first experience with a fresh ingredient + meal delivery service and get the recipes for two delicious meals.
Read MoreTasty Game Day Recipe - Spinach Dip Stuffed Bread Boat
Football viewing parties are such a fun way to get friends and family together, and this recipe is a crowd pleaser. It only takes a few ingredients, so keep reading to see how I made this tasty dish.
Read MoreBanana Bread Recipe with Maple Brown Sugar Butter Walnut Topping
A tasty banana bread recipe that has a unique and tasty topping. Instead of adding these ingredients to the bread, I created a delicious topping to scoop right on top! Check out this recipe, packed with banana flavor.
Read MoreGift Idea For The German Food Lover: GermanFoodBox
Stunning, Authentic German Food - Delivered To Your Door. Check out this fun gift idea for the German Food Lover in your life.
Read MoreOlive + Cheese Holiday Wreath (Cheese Board Recipe + Holiday Party Idea)
So excited to bring you this fun idea! I have been wanting to make an Olive / Cheese Wreath for a while now, and am so glad I was able to make this one. Read on to learn how I made this fun holiday-inspired appetizer.
Read MoreThanksgiving + Recipes
Check out some of the greatest recipes we ate this Thanksgiving! They all tasted so great, and I hope to inspire your next gathering.
Read MoreCustomize A Gift In Less Than 10 Seconds
Love to customize gifts? Here's an idea to spruce up a non-perishable food item in less than 10 seconds.
Read MoreVegetarian Zucchini "Meatballs" Recipe + My New Oster Spiralizer
I have been wanting to create a recipe like this for a long time now, and I thought that a good way to test out my new Electronic Spiralizer from Oster, would be to make a vegetarian version of one of my favorite foods, meatballs. You won't even miss the meat, promise!
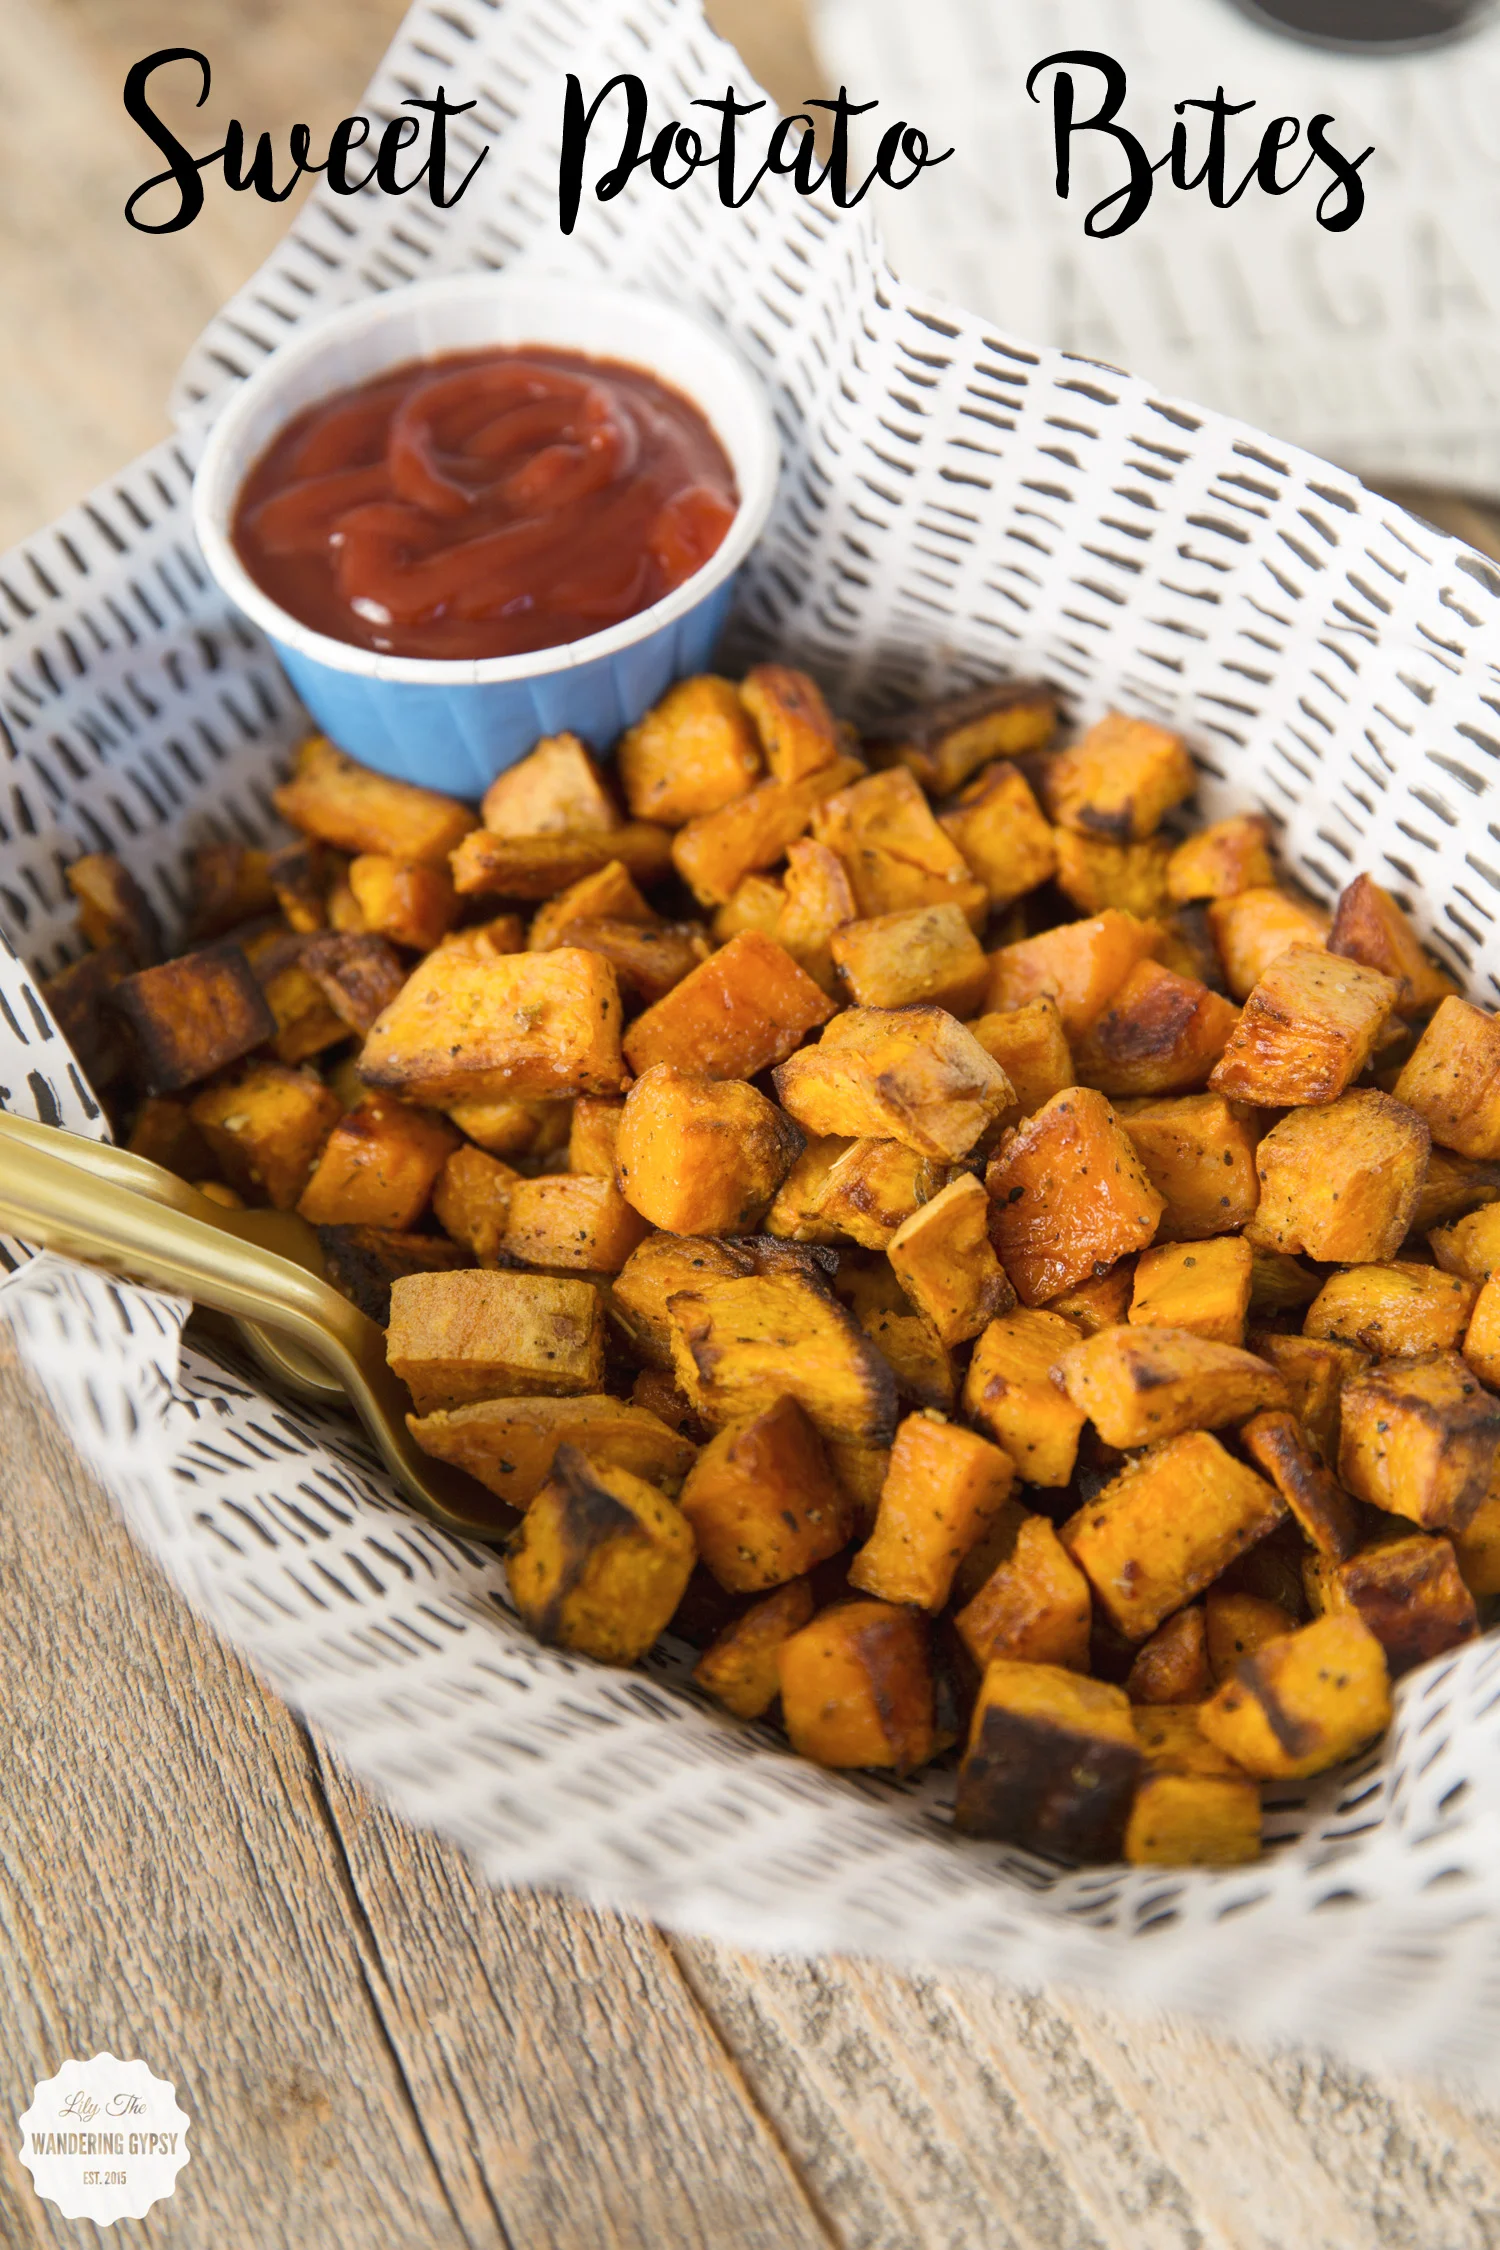
Read MoreSweet Potato Bites - A Quick And Easy Tailgate Recipe
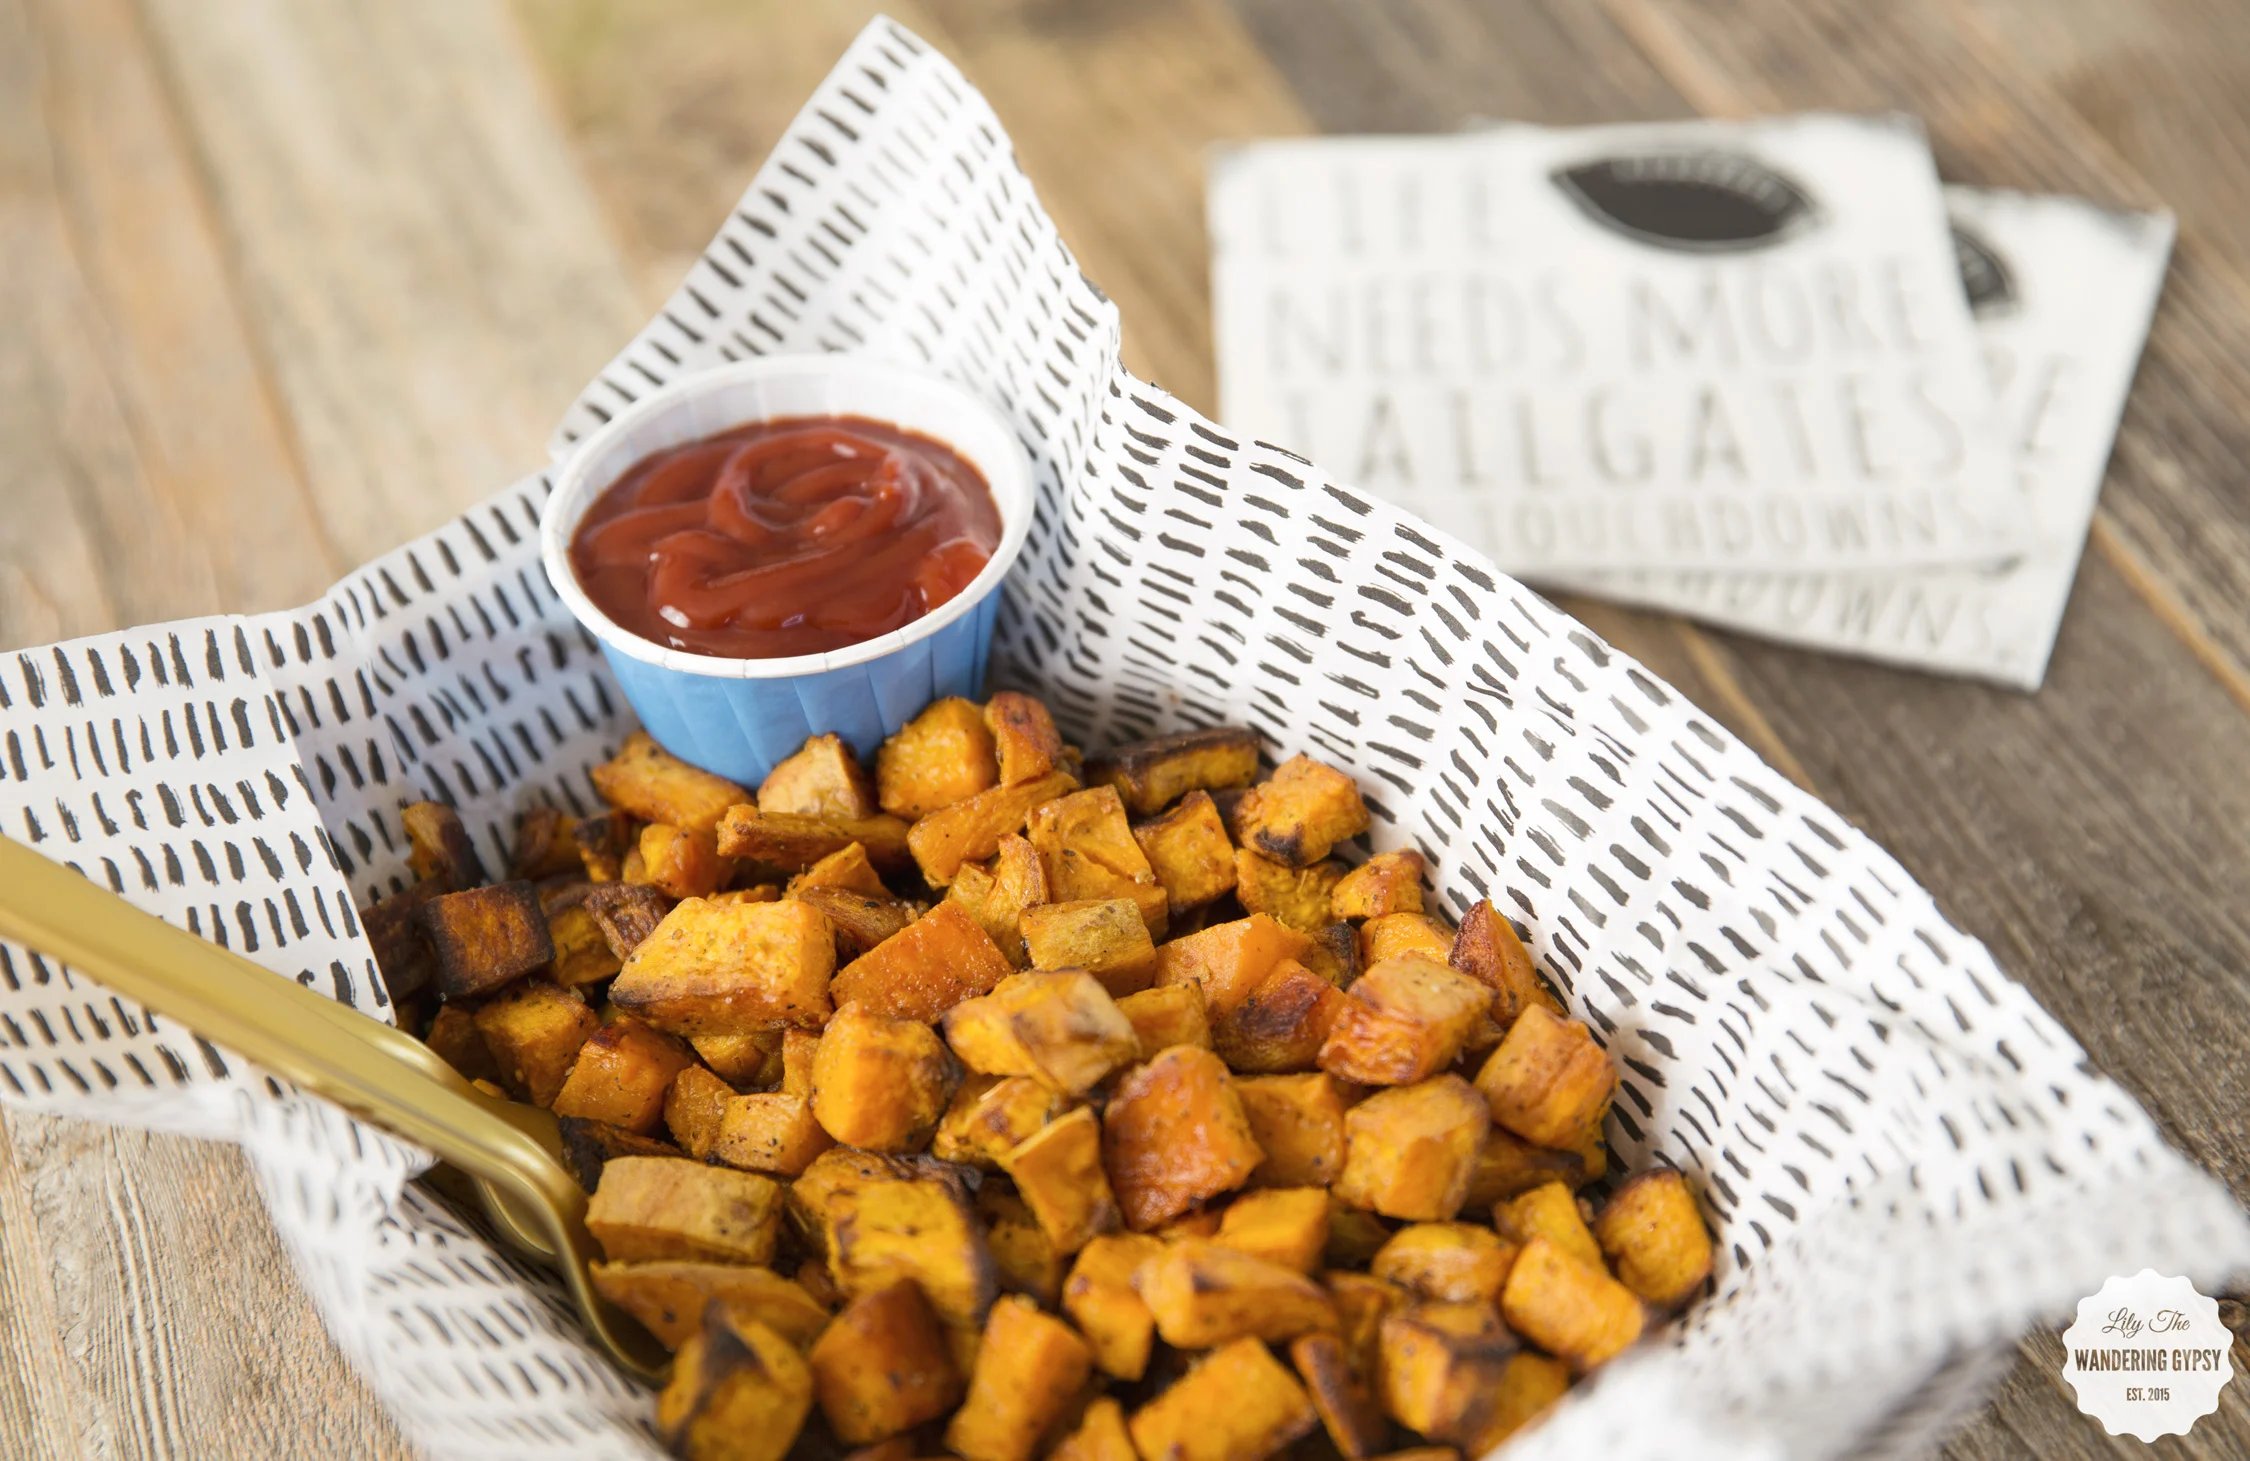
This recipe turned out SO well! I also thought they would be cute as a tailgating or football viewing party recipe. I found some adorable football napkins at TJMaxx, and also found the food serving supplies at Hobby Lobby (links provided below).
Really excited that I have a new, super easy recipe in my arsenal now :) I love how easy these were to make, and would be such a great idea for a crowd, a side dish for any meal, or would even be perfect an easy and wholesome snack. I used 2 sweet potatoes, and made way too much. So, 1 potato for every 2 people would likely be enough. I also show a little bit of Ketchup here (I love the new Simply Heinz one), but most people prefer honey on their sweet potatoes. So, get creative, and serve these Sweet Potato Bites with just about any sauce, and you're golden.
INSTRUCTIONS:
1.) Preheat oven to 375 degrees F, and line a baking sheet with foil or use non-stick spray. I then washed the potatoes, and opted to peel the skins off of the potatoes, but it's possible that leaving the skins on would be just fine. Cut potatoes into small, bite sized pieces, and put them into a bowl with olive oil (enough to coat everything), and seasonings like salt, pepper, a bit of cayenne pepper, and a bit of an Italian seasoning blend that contained a bit of rosemary and parmesan cheese.
2.) Mix ingredients well, and make sure the potatoes are coated completely. Pour the potatoes onto the lined baking sheet, spread evenly so nothing is overlapping, and bake for 20 minutes, checking on and stirring them on the baking sheet, then baking for another 10 or so minutes. They will start to get brown and crispy around the edges and still be soft and scrumptious. Make a little, or make a lot!
SERVING IDEAS:
I love the trick of using patterned tissue paper (found in the gift wrap section at a craft store), and cutting pieces a little bigger than the container you will serve the food in. It really dresses things up! In this post, I used these food containers (found here), small paper condiment cups (similar here), and patterned tissue paper. I also used some gold utensils (found here), but you could use any color.
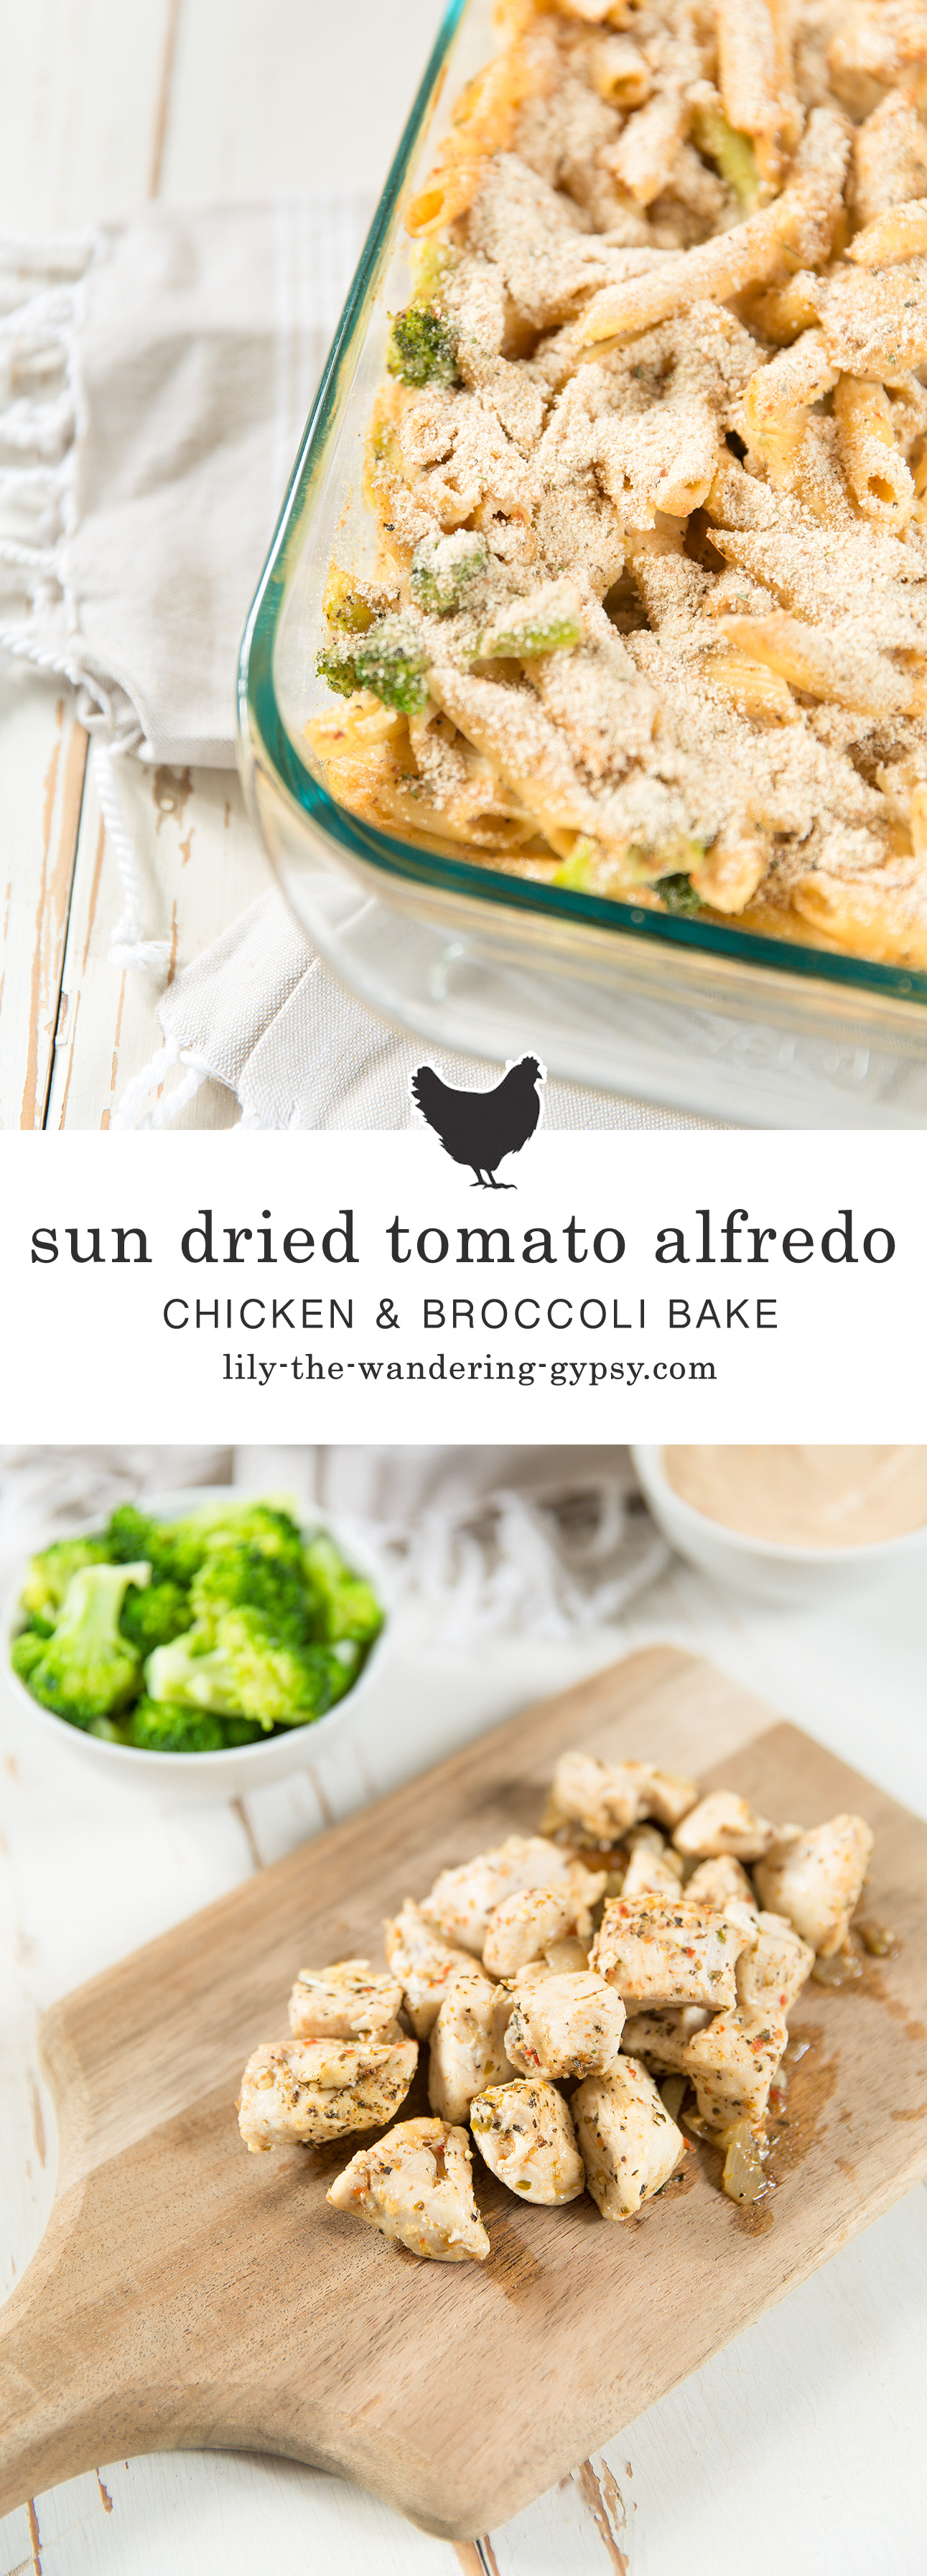
Sun Dried Tomato Alfredo Chick and Broccoli Bake
The other night I was hungry, surprise, surprise, and knew I wanted to incorporate chicken into my dinner somehow. Well, I scanned the pantry, and am so happy with what I created!
INGREDIENTS:
- 2 Chicken Breasts
- 1/3 of an onion
- 1 - 2 cloves garlic
- 1 - 2 C. Broccoli
- 1 Jar of Tomato Alfredo Pasta Sauce
- Italian Seasonings ( I adore this one)
- 1 box Penne Noodles
- 1 C. Mozzarella Cheese
- Shredded Parmesan Cheese
- Bread Crumbs
INSTRUCTIONS:
1.) Boil noodles until al dente.
2.) While the noodles are boiling, add a bit of olive oil and chopped onion to a skillet. Season with salt and Italian seasoning.
3.) Once onions are sautéed nicely, add chopped chicken breasts and garlic. Season generously with the Italian seasonings, and cook chicken until the middle is no longer pink.
4.) During this time, also boil your chopped broccoli, until tender, and strain.
4.) In a large bowl (there is a lot to mix, here - just warning...), mix 1 jar of tomato Alfredo sauce, cooked chicken, all of the noodles, mozzarella cheese, part of the parmesan cheese, steamed broccoli, and more seasonings if desired. Mix thoroughly.
5.) Coat a 9"x13" baking dish with non-stick spray, pour the mixture in, and smooth out. Top with bread crumbs, and bake at 350 degrees for about 25 minutes covered with foil, then 5-10 more minutes uncovered to get a crispier top. Let cool and serve! This turned out SO well.
Fall Favorites with Sahale Snacks - Great For A Fall Adventure
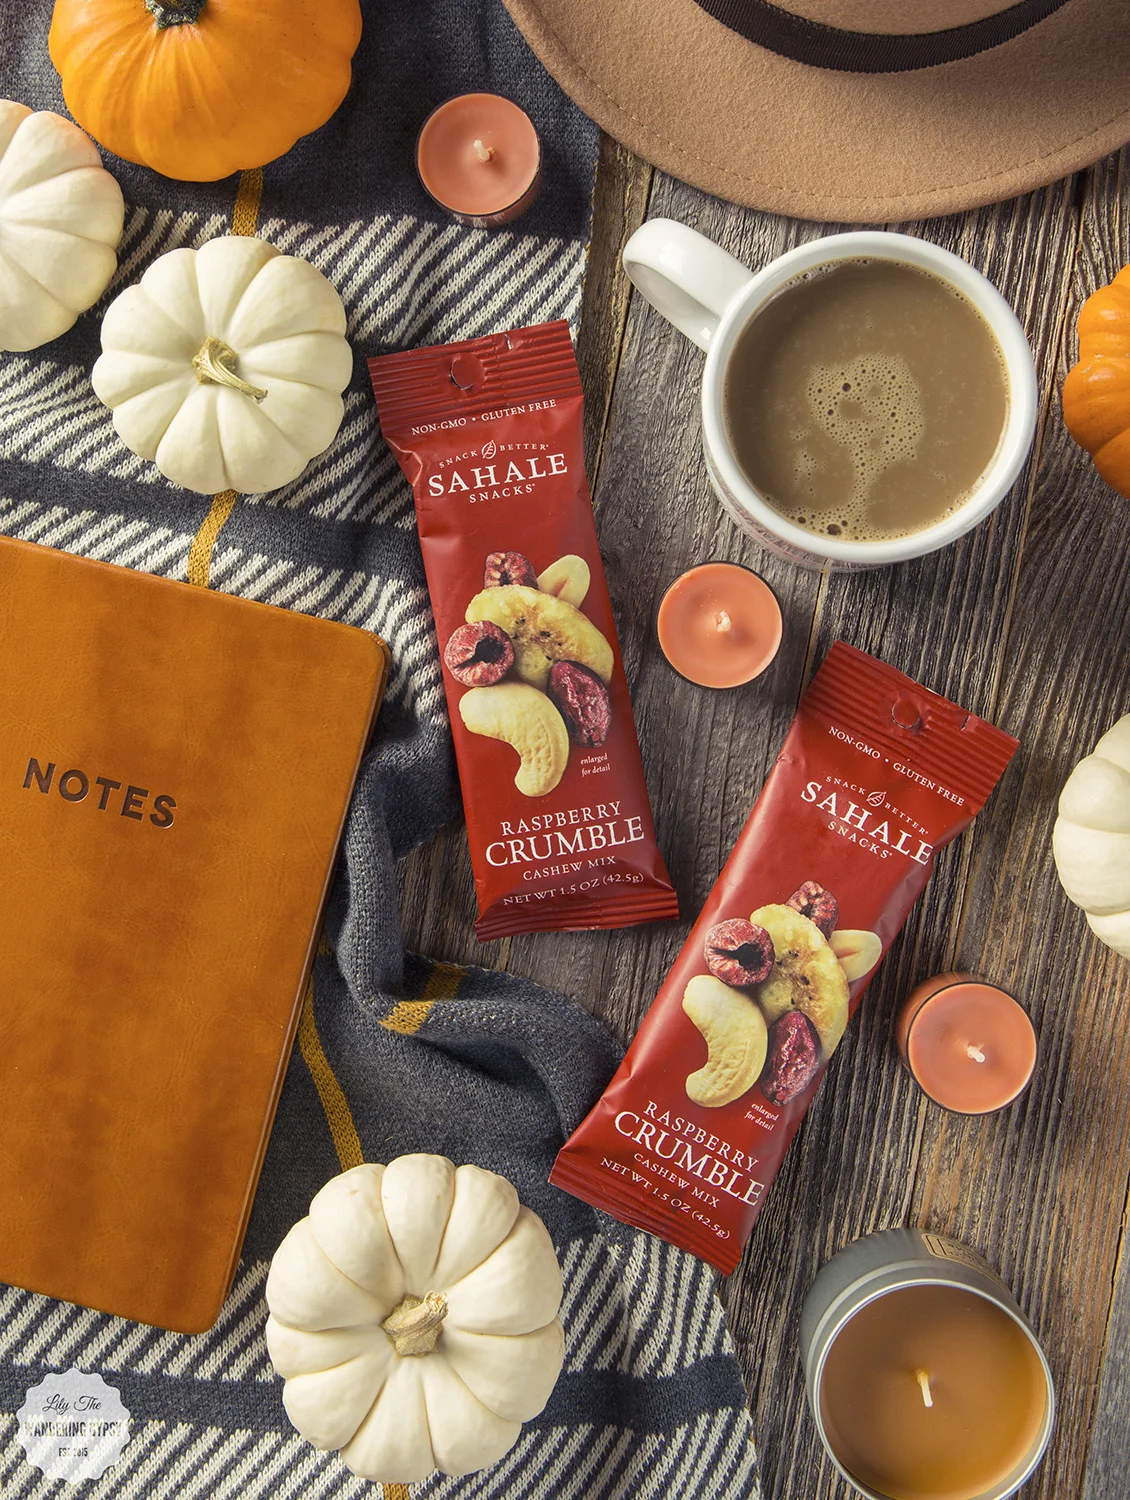
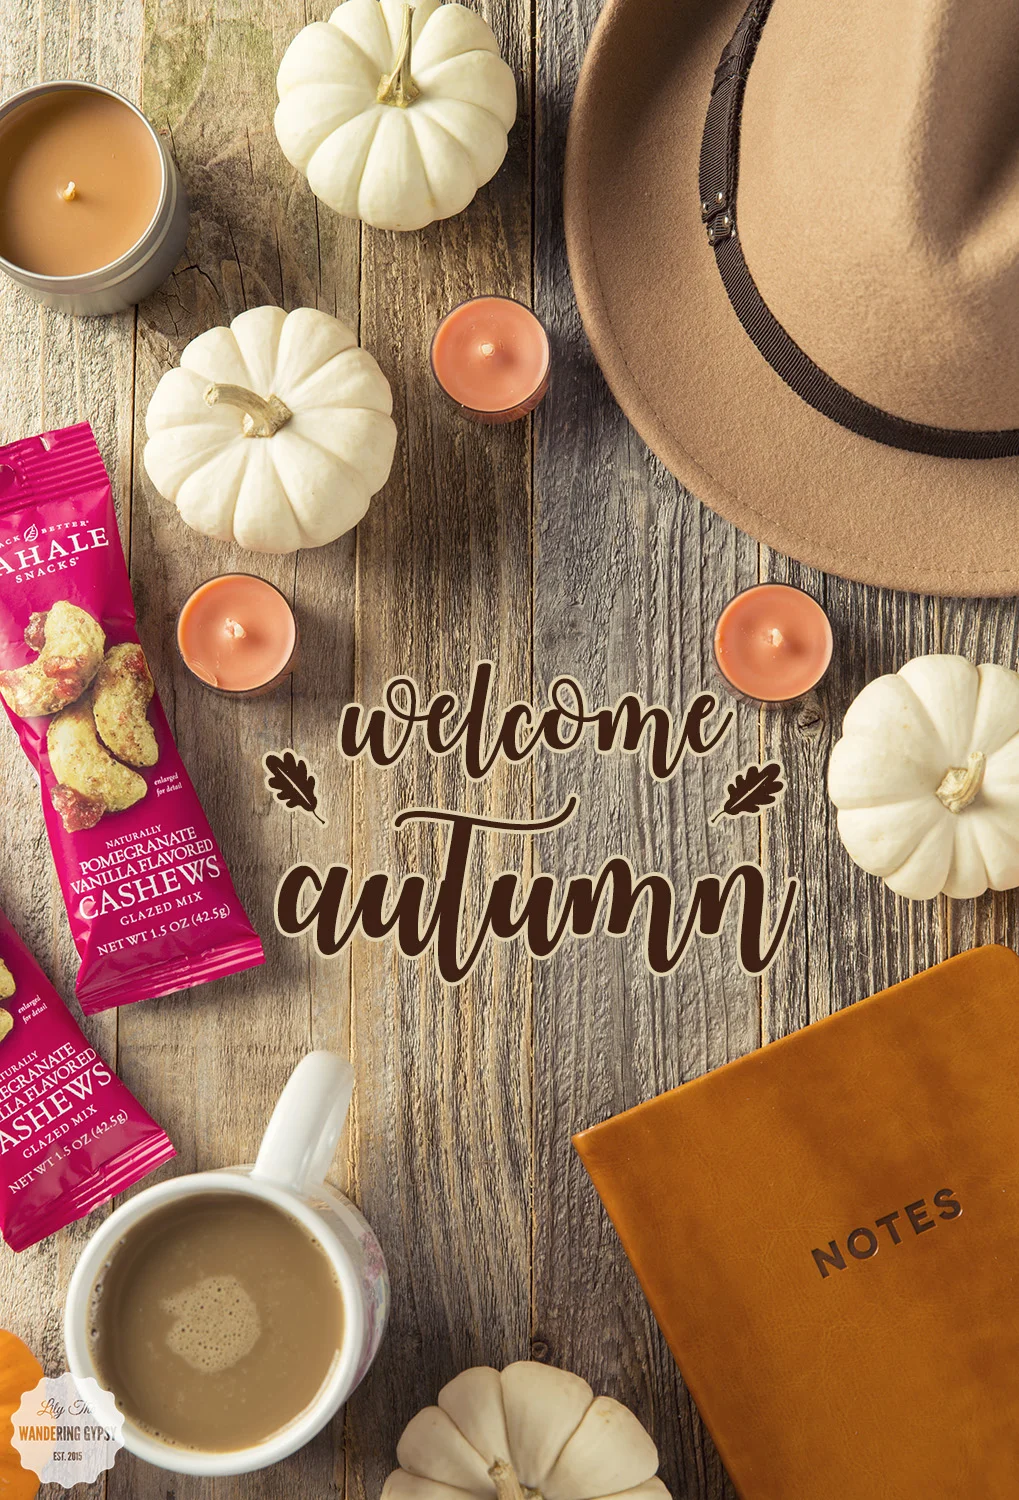
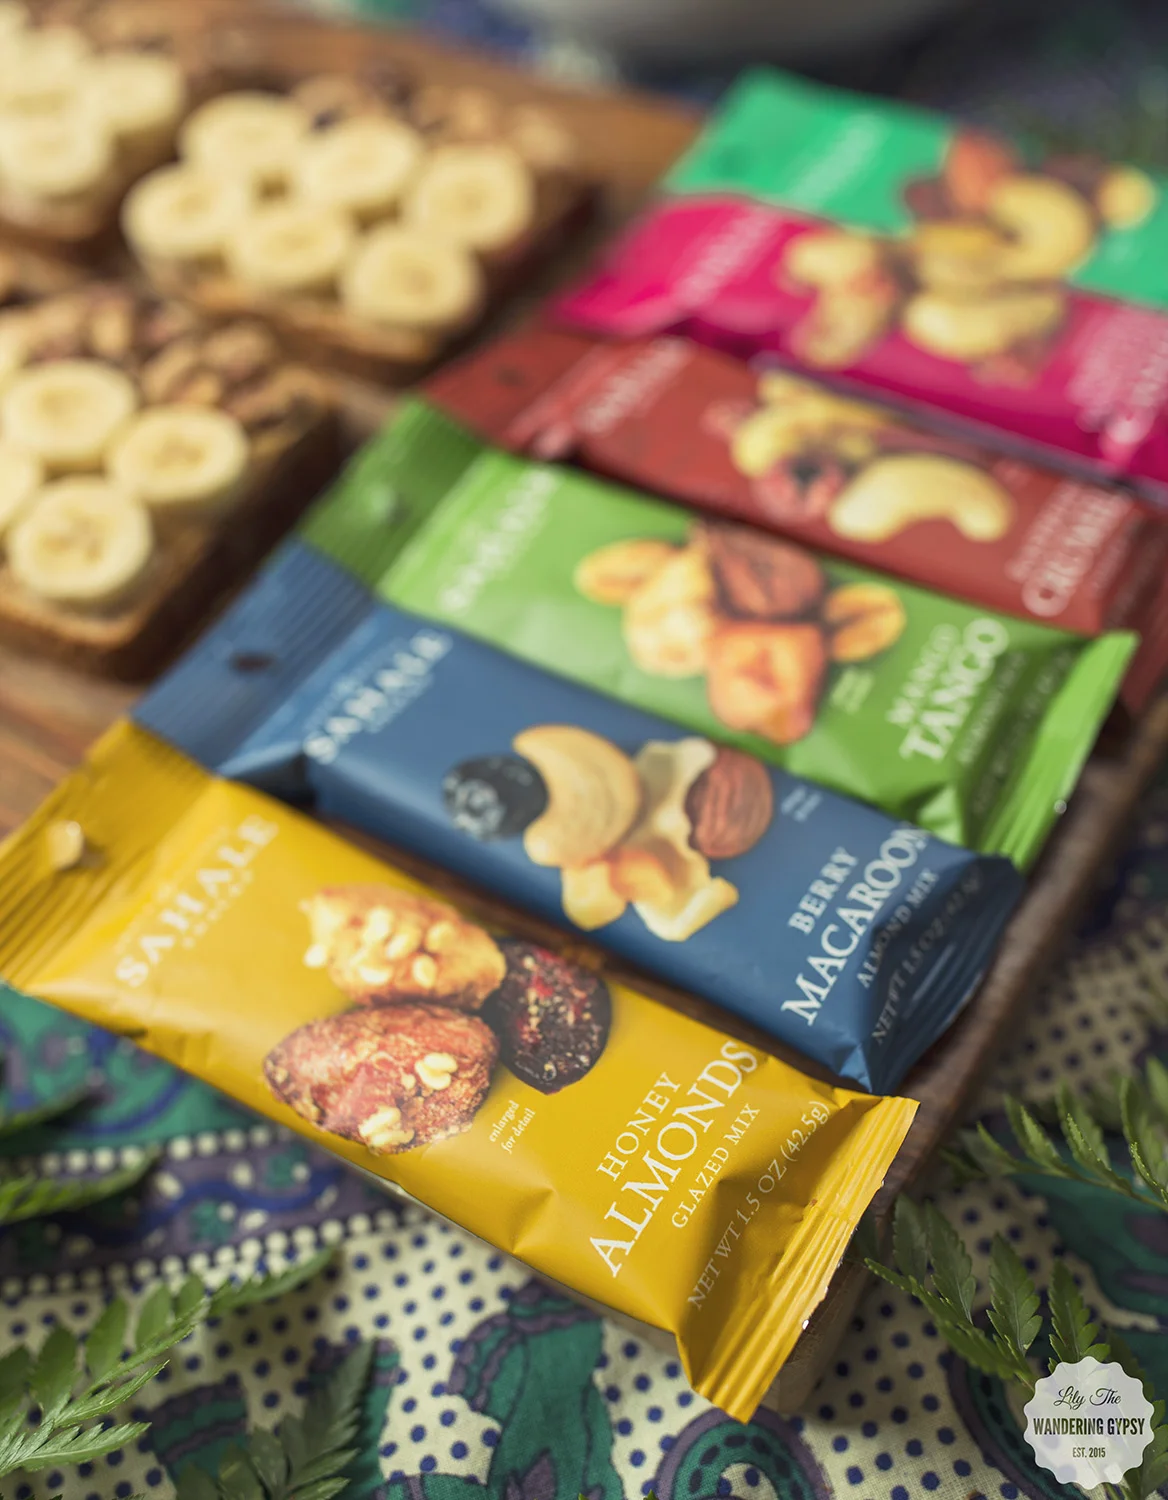
I am so excited that the leaves are changing colors a little bit, and our yard is sprinkled with fallen leaves. Around this time of year, I yearn for Fall adventures here in southern Illinois, and always make sure to bring a bag packed with snacks, bottled water, and a cozy blanket. I love bringing travel sized Sahale Snacks® on my adventures, they're great for grab and go snacking.
Where are your favorite go-to, local places to visit during Fall? Mine would have to be some of our local orchards (Rendleman Orchards and Flamm Orchards are my top picks) here in southern Illinois, Rendleman even has a very nostalgic pumpkin patch - where you can use a red wagon to transport all of your hand-picked pumpkins to the checkout station. J
I’m sharing #SahaleSnackers in my life as part of a Sahale Snacks® sponsored series for Socialstars™.
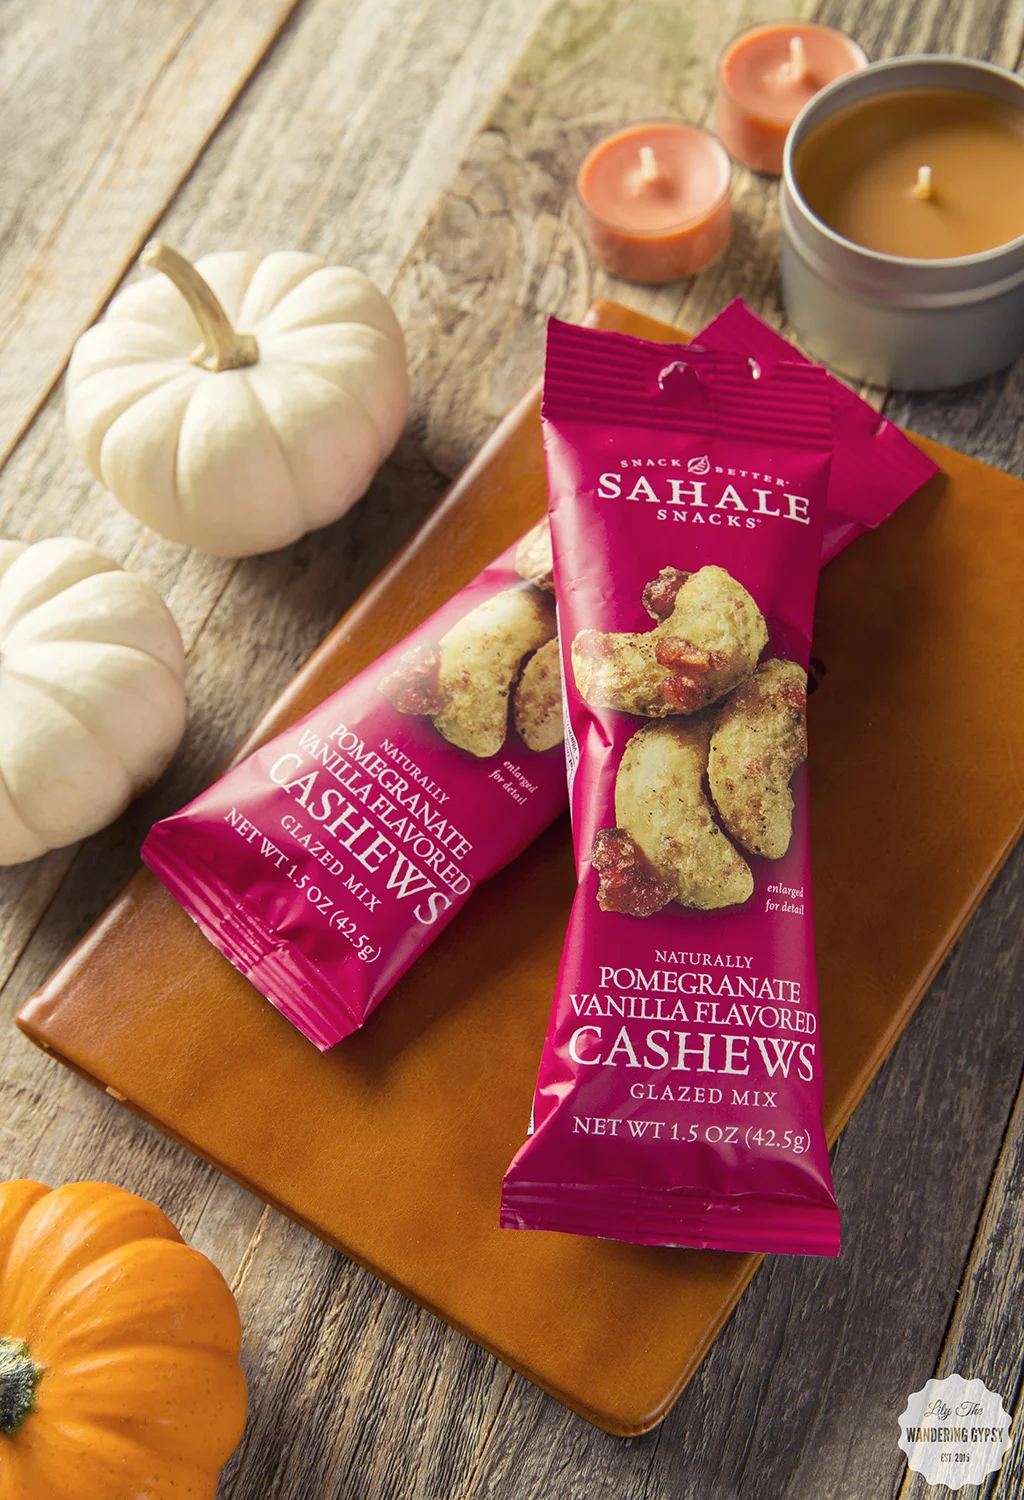
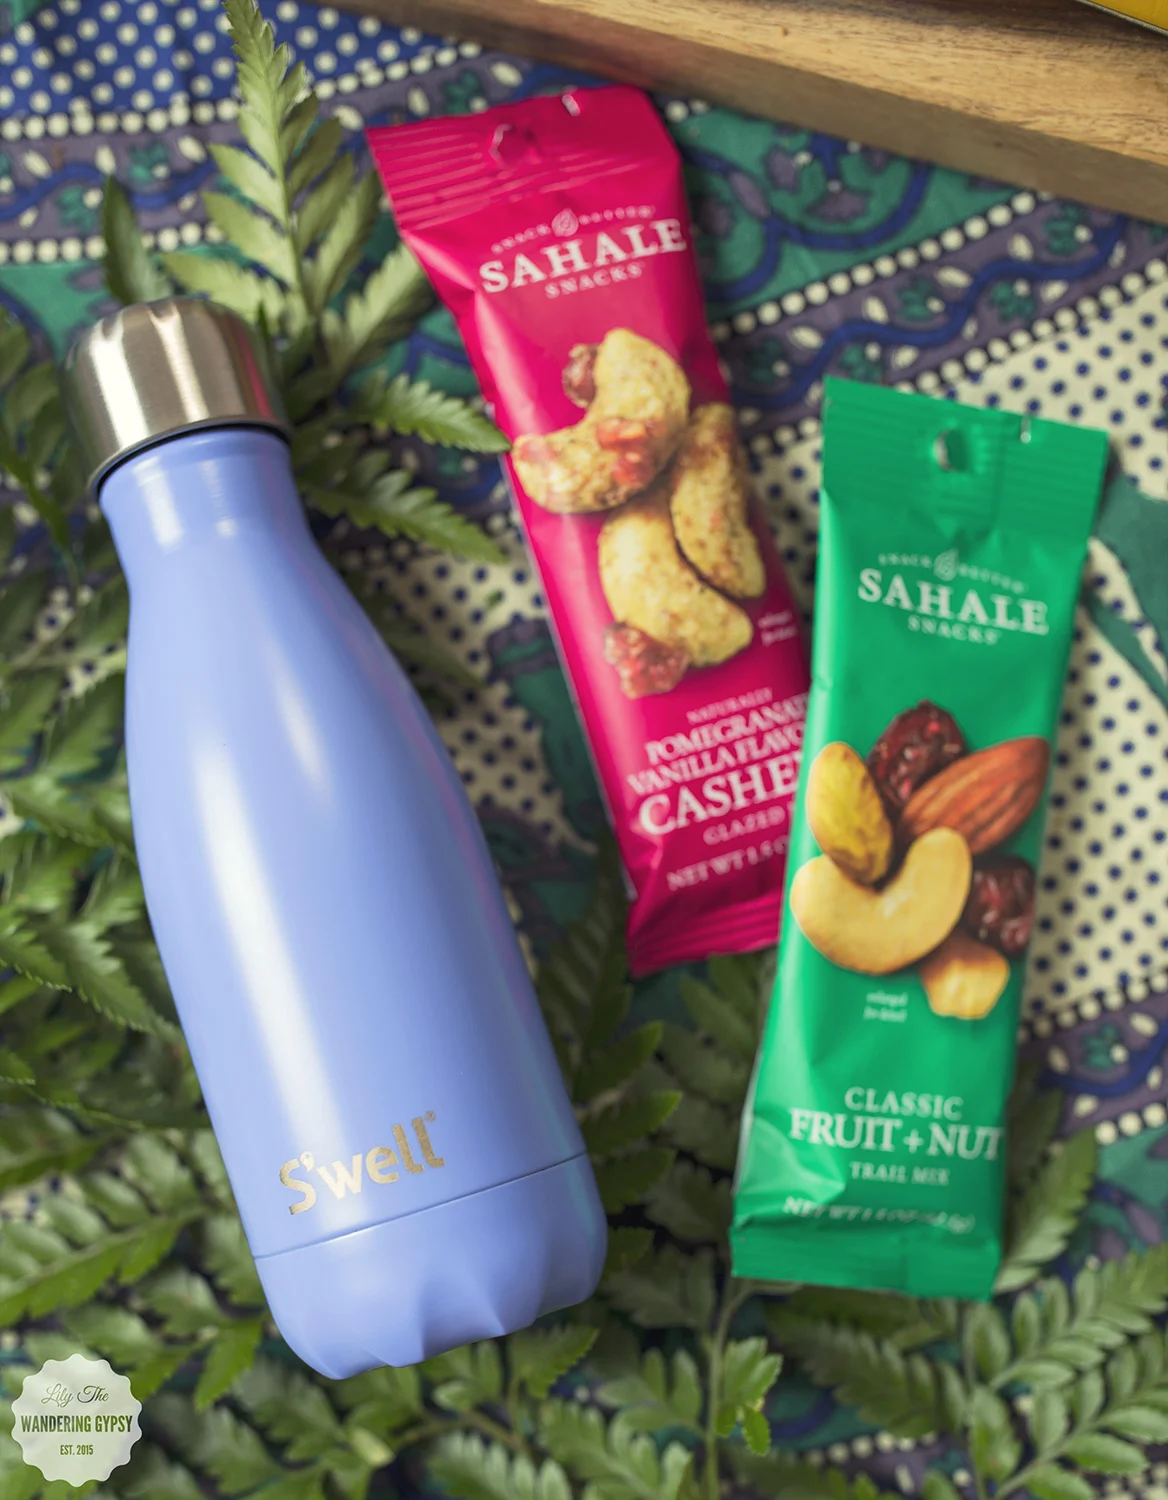
Another place I love visiting would be one of our wineries, that also serves hand crafted apple cider (life-changing!!). And, when the weather cools down a bit, we love hiking through the Shawnee National Forest (Pomona Natural Bridge is a short hike, but incredibly majestic). I have learned to never leave the house without a snack, so the Raspberry Crumble Sahale Snacks®, and the Pomegranate Vanilla Flavored Cashews would make a great snack, while adventuring to fun places this Fall.
I like keeping a couple of these grab and go sized packages of Sahale Snacks® in my car, just for spur of the moment adventures, or of course, days when I run a million errands. Just a couple bites of a snack like this will keep me going.
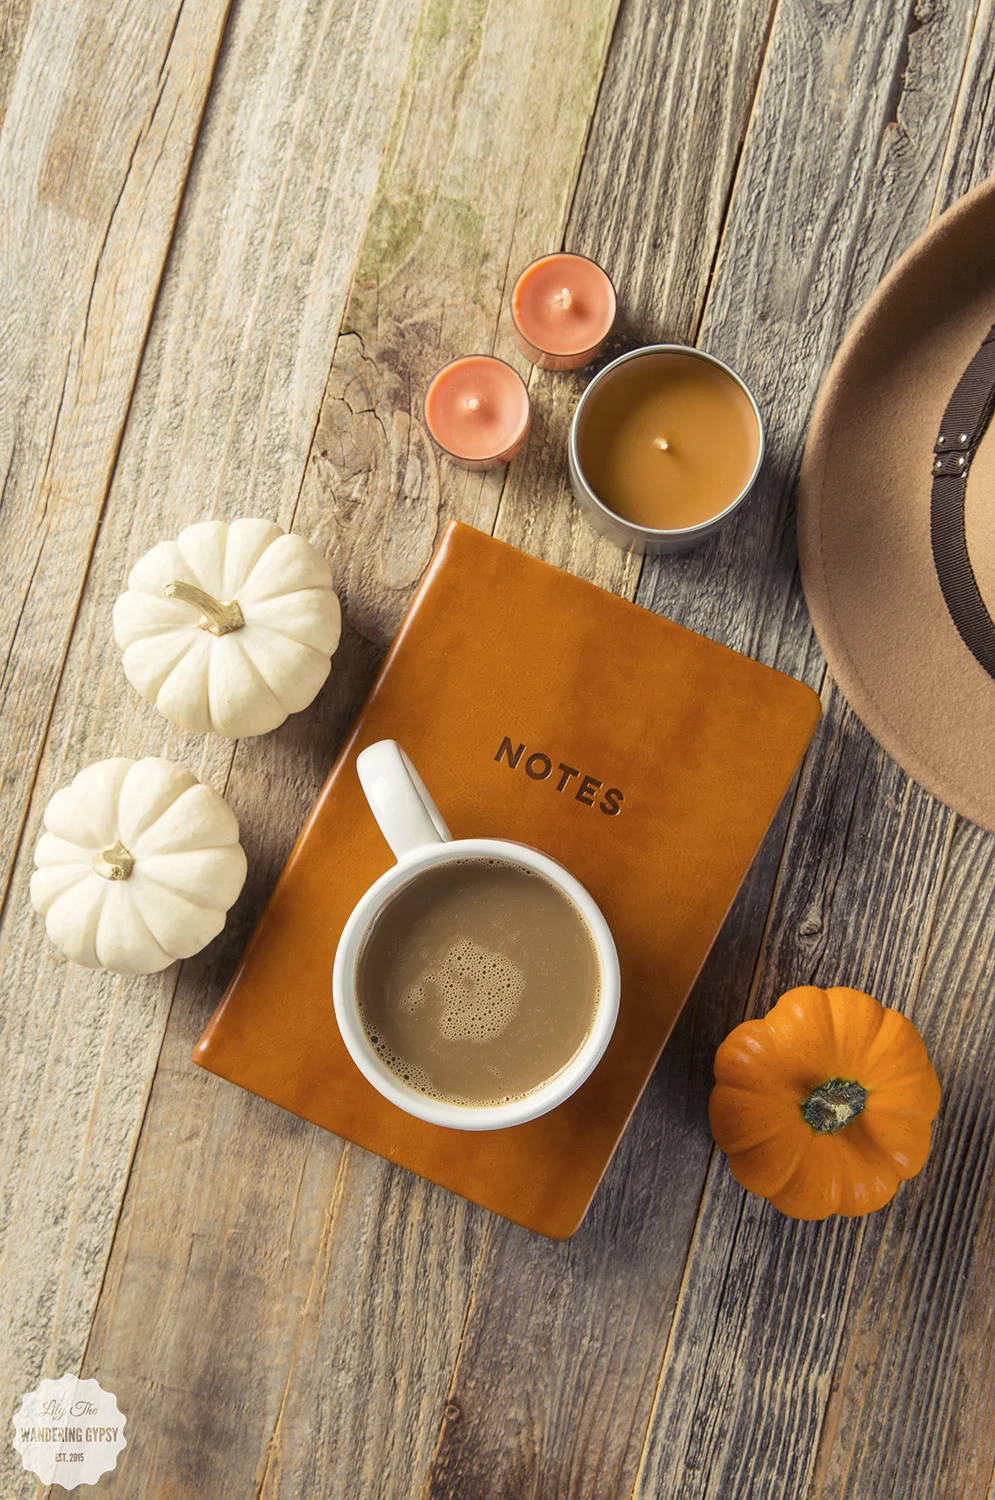
I also love bringing along a notebook, so I have somewhere to collect my thoughts, project ideas, but have to admit, love snacking while I journal :)
Where will you take your Sahale Snacks® this Fall?
Live Life Brighter with Outshine Snacks
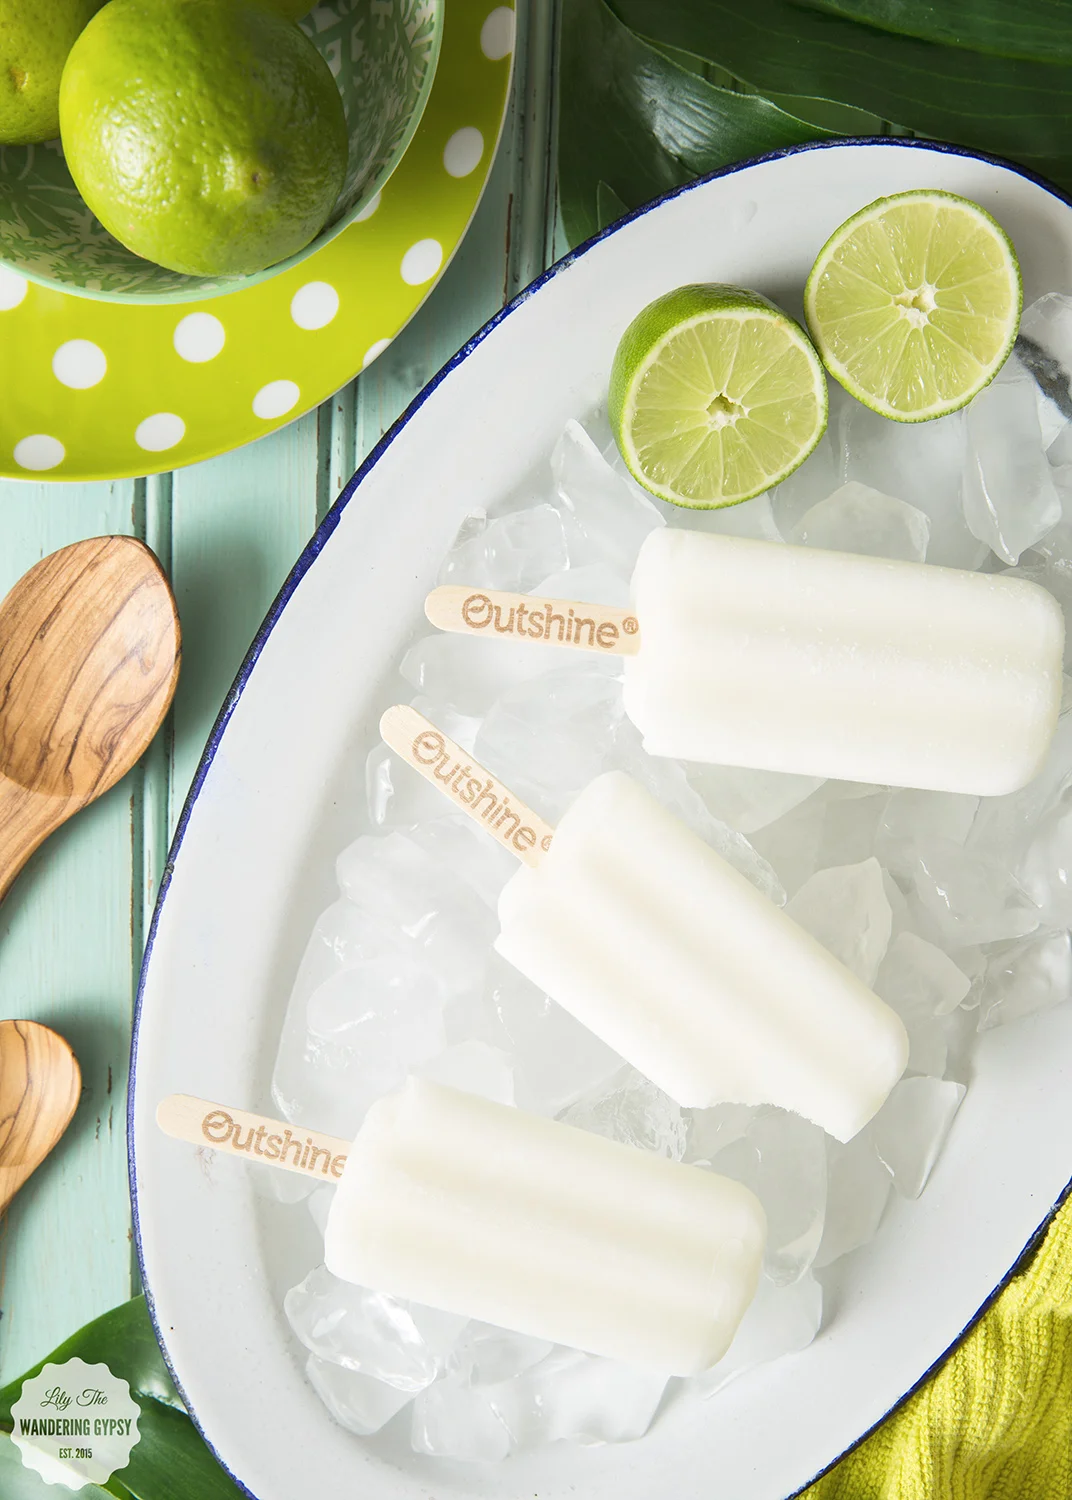
Do you ever eat a food that literally transports you to another place? Perhaps you tried the best dessert in your whole life, that time you visited Hawaii, and any time you eat something made with lime, it takes you back to that very dessert? Well, these Outshine Fruit Bars in Lime do that to me. These bars bring a rush of taste and chill to my senses, making me think of the awesome food we ate while visiting Waikiki Beach, other places on Oahu, and all around Kauai! This is why Outshine Fruit Bars help me Live Life Brighter!
Where is your favorite place to escape?
Learn more about Outshine Fruit & Yogurt Bars here! They are made with real fruit juices and are non-GMO, which I find extremely important to the food I eat.
Find out Where To Buy these bars here - I found mine at Kroger, and I believe they are also available at Walmart and Kroger Banner Stores, like Fry's and others.
I also LOVE the Outshine Snacks Instagram Account, here. It's full of bright, inspiring images and you can also learn more about the brand's efforts to donate tons and tons of food.
These Outshine Fruit Bars in Lime taste super good. They are not overly sweet, they are tarty and tangy, just like something made with real lime juice should taste like. I also really enjoyed the consistency and texture of these fruit bars. If you are someone who likes frozen treats that taste like real fruit instead of those fake flavors, these are a great option for you.
Refreshing, lime after lime.
Made with lime juice
Excellent source of Vitamin C
No high fructose corn syrup
Fat-free, Gluten-free
No artificial colors or flavors
70 calories
No GMO Ingredients
Some of my favorite things about these Outshine Fruit Bars are:
Only 70 Calories per bar, 0g Total Fat per bar, and 25% of your daily Vitamin C.
Quick N Easy Pesto Pasta
Pasta couldn't get much easier than this. It's nice and light, and super fresh.
INGREDIENTS:
Green Pesto
Fresh Tomatoes
Thick Spaghetti Noodles
Mozzarella Pearls
Parmesan Cheese, Grated
Extra Virgin Olive Oil
Salt and Italian Seasoning To Taste
INSTRUCTIONS:
Boil noodles as directed. Strain and return to original pot. Scoop about 3-4 tablespoons of Pesto onto noodles. Also add your olive oil, Italian seasoning, and salt. Stir together, combining well. Turn the heat back on to low. Add mozzarella pearls, and stir. They should melt pretty quickly. Once they're melted, sprinkle past with parmesan cheese, and stir once more.
Serve topped with more parmesan cheese and chopped tomatoes.
Enjoy!
Caprese Salad Recipe
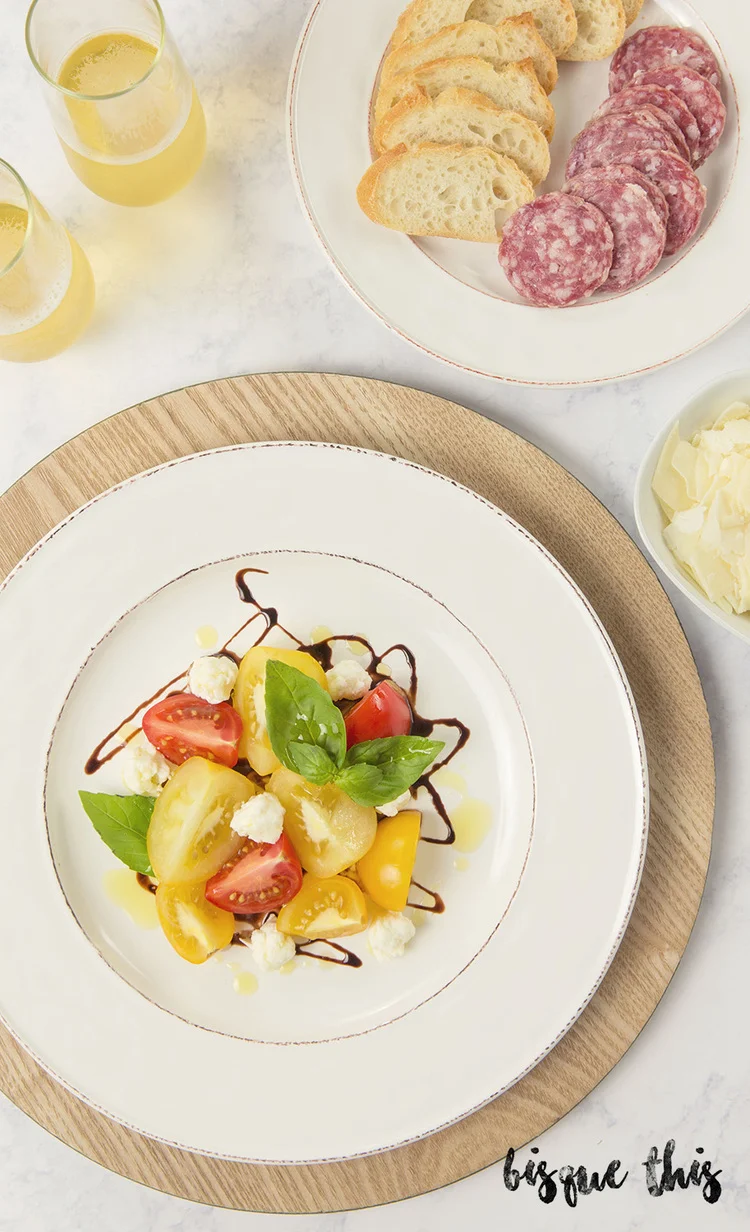
This is one of my absolute all-time favorite dishes! I love any excuse to eat fresh tomatoes, and when the organic and local ones are heirloom, it's even better! I thought that using a mix of yellow and red tomatoes really gave this plate a more vibrant and special look. I actually created this recipe for the Burnt movie, to help promote their movie. Check out my Burnt project, on Pinterest HERE, entitled Food, Romance, Love.
INGREDIENTS (MAKES 2 SERVINGS)
* 10-15 organic yellow and red cherry tomatoes (or other small tomatoes)
* Fresh Organic Basil (I found mine as a plant at the grocery store. Bonus points for ORGANIC!!!
* Fresh Mozzarella Cheese
* Olive Oil
* Balsamic Vinaigrette
* Salt to taste
Cut tomatoes into quarters. Slice mozzarella cheese with a knife, or create small pieces of cheese with your hands, and set aside. On a plate, drizzle a small amount of balsamic, like I did in the above images. Place tomatoes and cheese onto plate. Also top the plate with basil leaves, as many as you can handle! Drizzle some olive oil and salt over the top of the plate, and you are all done! I also like to serve this with an extra plate of small French bread slices and salami.
This would make an incredible snack, appetizer, or even a light meal! It tastes SO incredibly good, I hope you enjoy it! If you are also a Caprese Salad-lover, comment below to let us know.
Fall Tailgating + Football Party Tips!
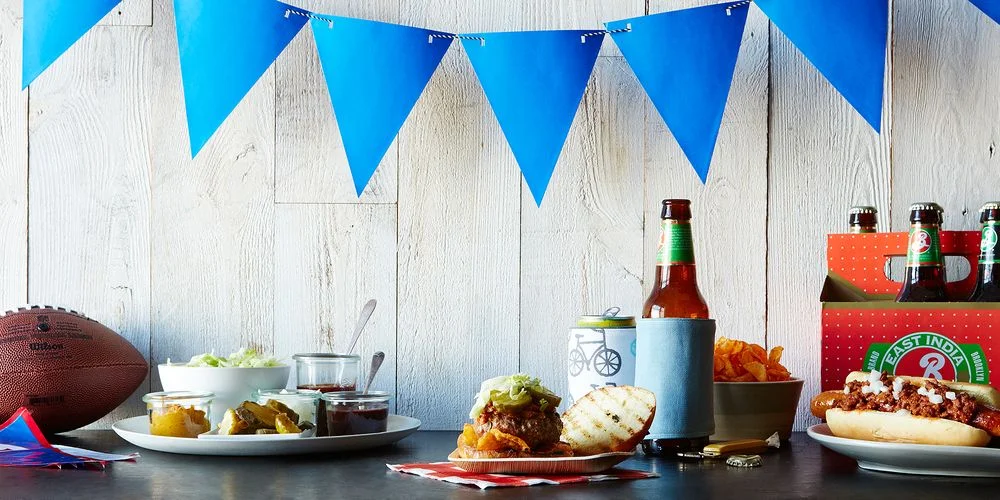
I cannot wait for Fall, and one fun part of Fall is tailgating! Football season, and cooler temperatures make a great excuse to get together with friends and enjoy some good food and drink! Below, are some ideas on making your tailgating and football parties so much more elegant and grown-up. Most of these ideas, from some of my favorite bloggers, are just creative DIY ideas, that don't have to be expensive or time consuming. So, let's get ready for some football...
Serve Drinks From A Pumpkin (Waiting On Martha) - You can simply add some ice to a hollowed-out pumpkin and add beer, or line a smaller pumpkin with a plastic container and add dip for chips or veggies! Learn how Waiting On Martha styled an adorable tailgate party of her own here.
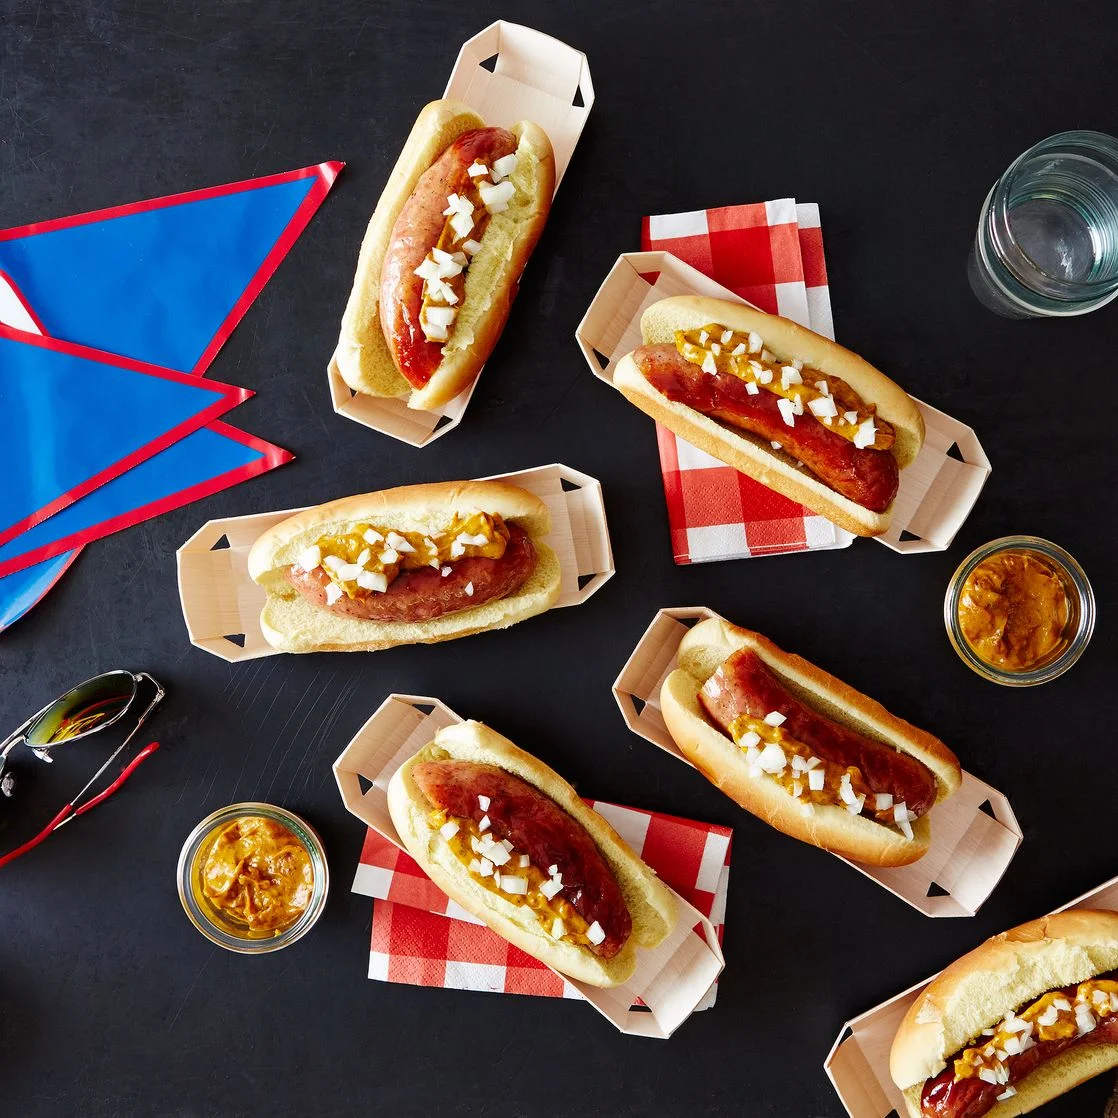
Use Eco-Friendly Plates (Food 52) - If you must use disposable plates and food holders, there are more Eco-friendly options like these compostable wooden hot dog trays and more from Food52.
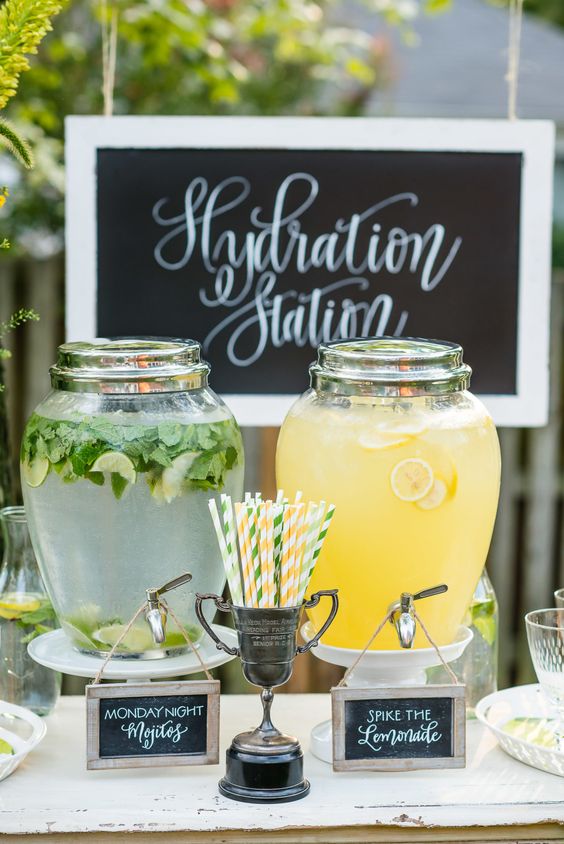
Create A Hydration Station (Style Me Pretty Vault) - Provide guests with inexpensive drinks like fruit-infused water, lemonade, and tea. Learn more about this incredible party, in the Style Me Pretty Vault Files.
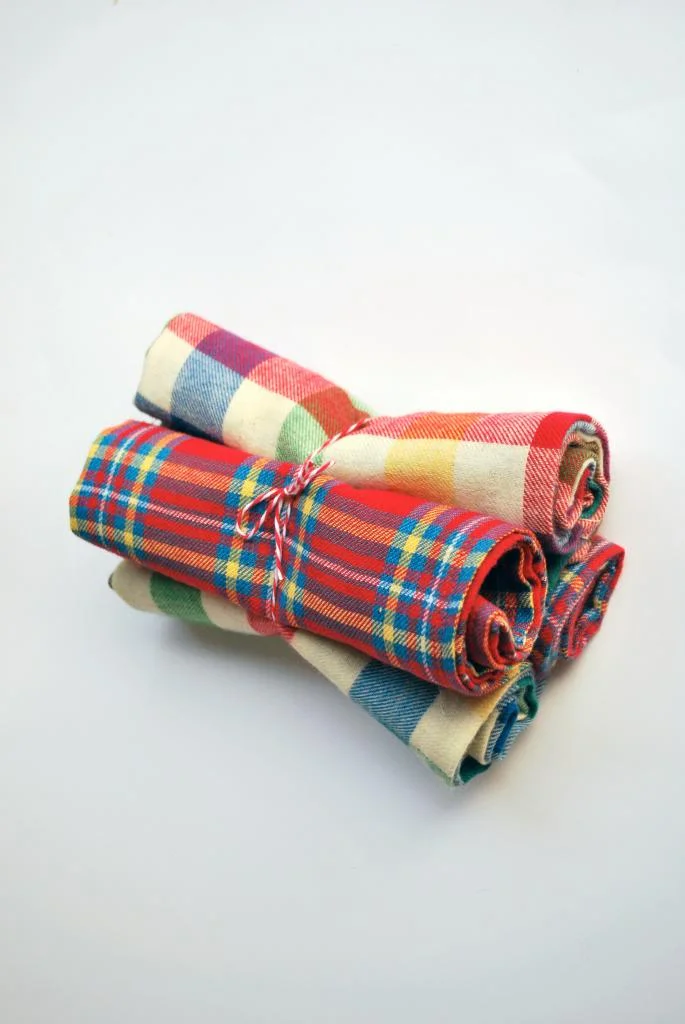
DIY Flannel Napkins (Hey Wanderer) - Follow this cute DIY Tutorial from Hey Wanderer, or simply cut or rip a couple of yards of inexpensive plaid flannel fabric into 16" x 16" squares to provide guests with something more substantial thank those flimsy paper napkins.
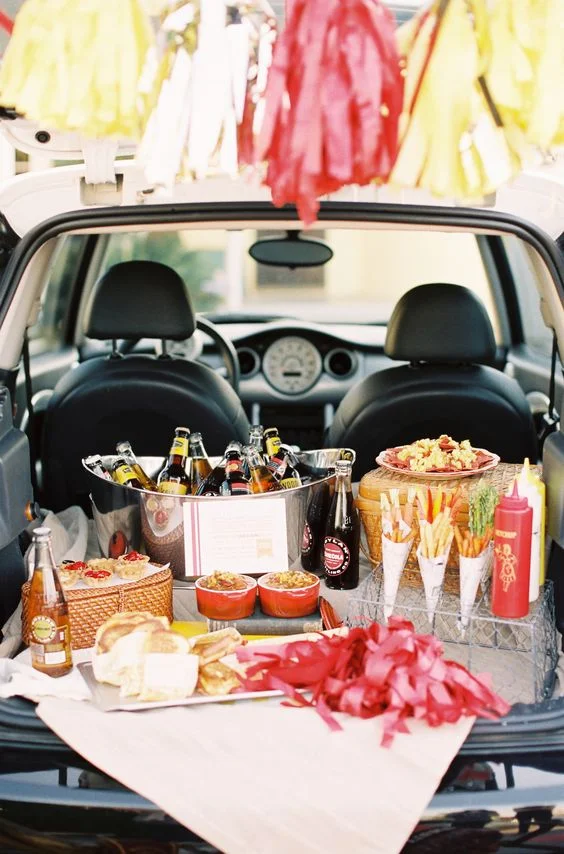
Style Me Pretty & Author Ngoc Nguyen Lay really know how to tailgate in style! This image, below, really shows a great overall party setup! Incorporating vintage items like an ice cream cone holder (used for fries and veggies in the photo), Picnic baskets, metal buckets, and pom-poms makes this setup look elegant instead of over the top. Learn more, here.
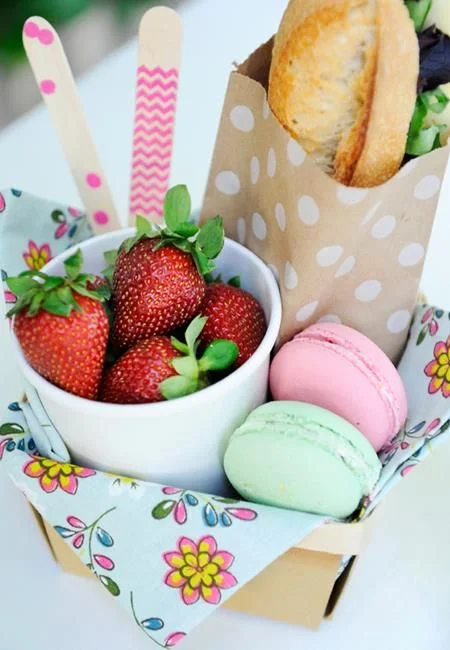
Serve Elegant & Unexpected Treats (Happy Wish Company) - I just love how these macarons, cup of strawberries, wooden utensils, cloth napkin, and sandwich in a spotted paper party favor bag. Find fun party ideas like this one, from Happy Wish Company!
I'm hoping to put together my own set of Tailgating Ideas in an upcoming post, so stay tuned!!
A Peanut Butter Chocolate Fudge Recipe + Stunning Bracelets from Gideon John
I want to share a couple of things with you today - fudge + jewelry - two of my favorite things! I wanted to share a Peanut Butter Fridge Fudge recipe with you (below), and also share some pretty amazing jewelry with you.
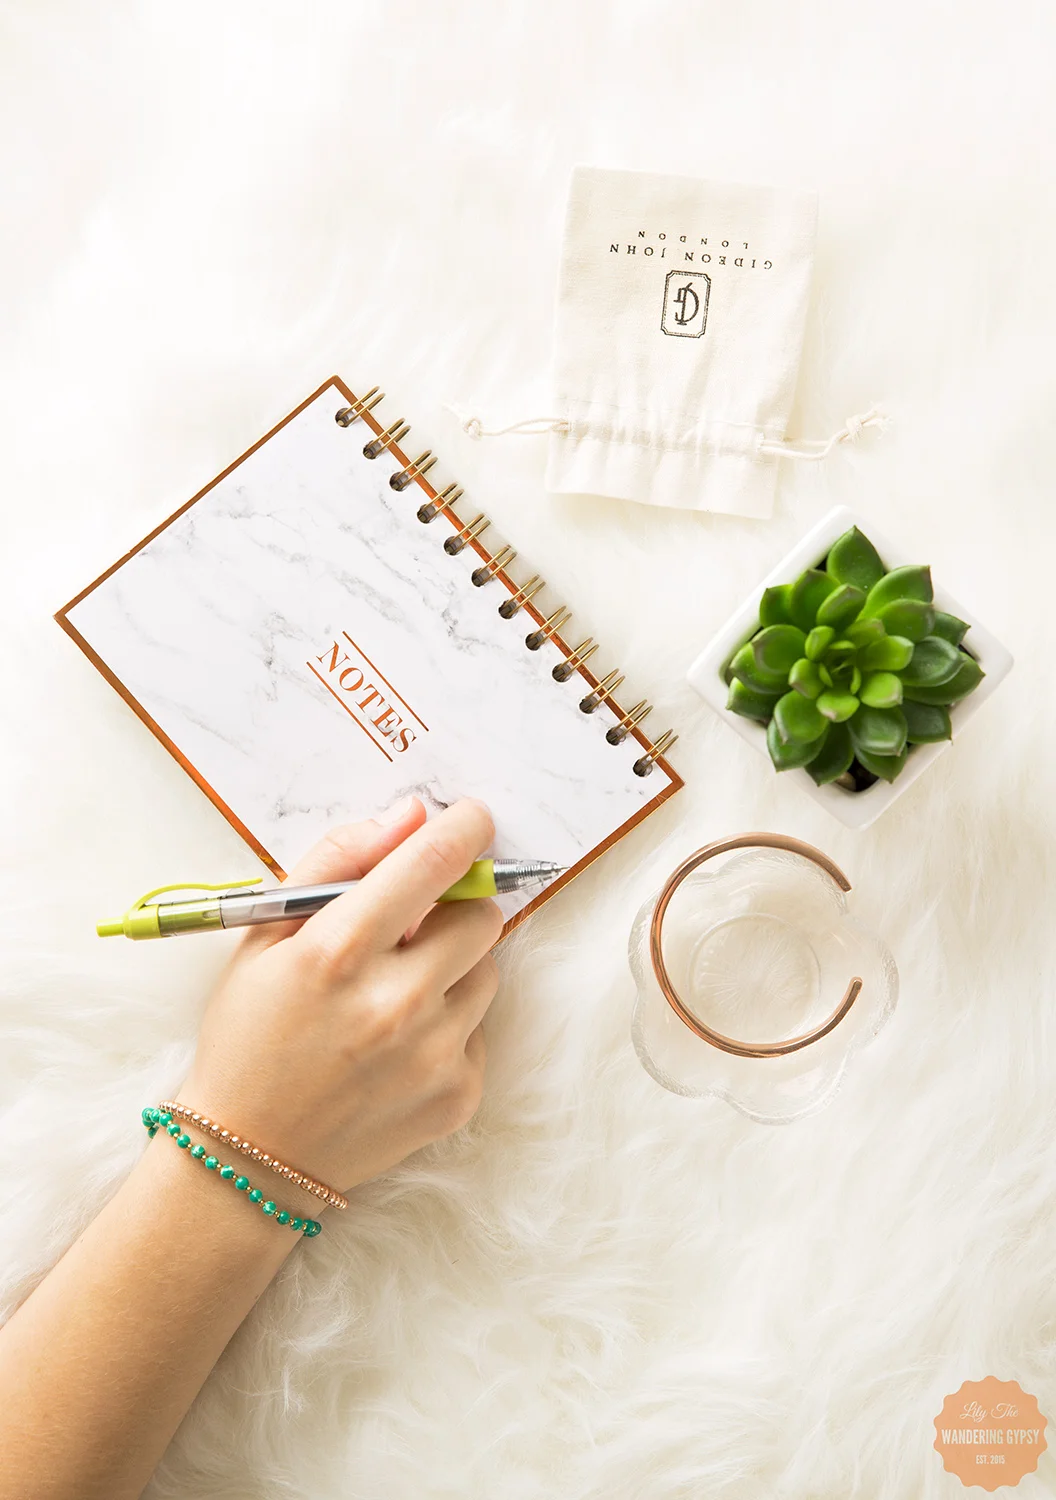
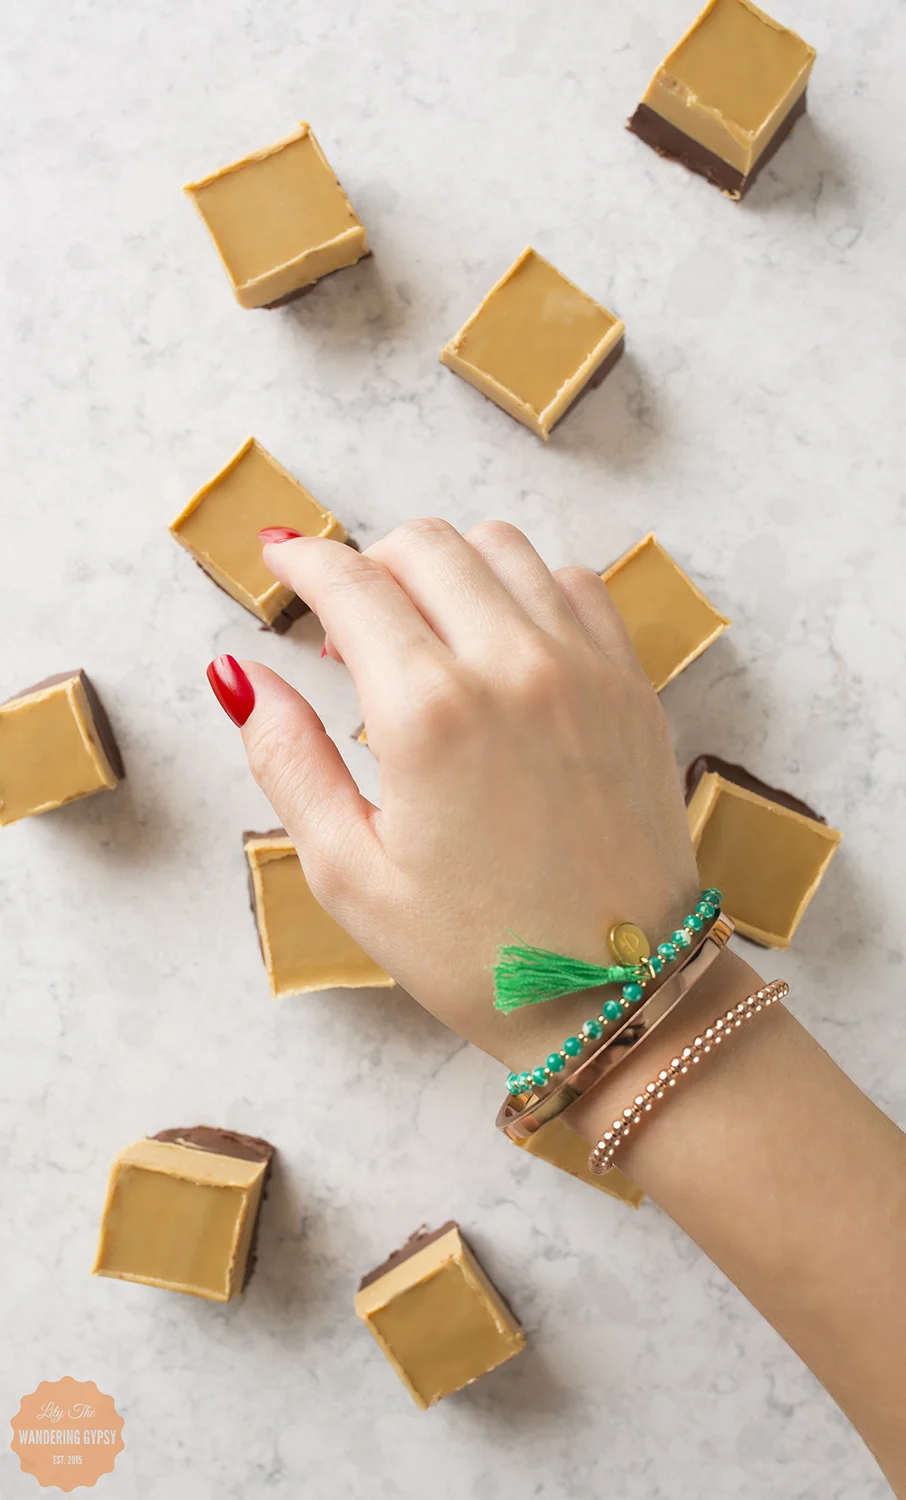
First, the jewelry. Bracelets have always been my go-to jewelry faves. I recently received three absolutely stunning bracelets from Gideon John London, and I could hardly believe my eyes! These bracelets are so well-made, and you can tell that great attention to detail was given, beginning at jewelry design, then into their packaging and presentation. Each bracelet arrives in a personalized black box and a cotton bag, so nothing get scratched during delivery. Even though these traveled all the way from gorgeous London, they looked like someone had hand-delivered them locally!
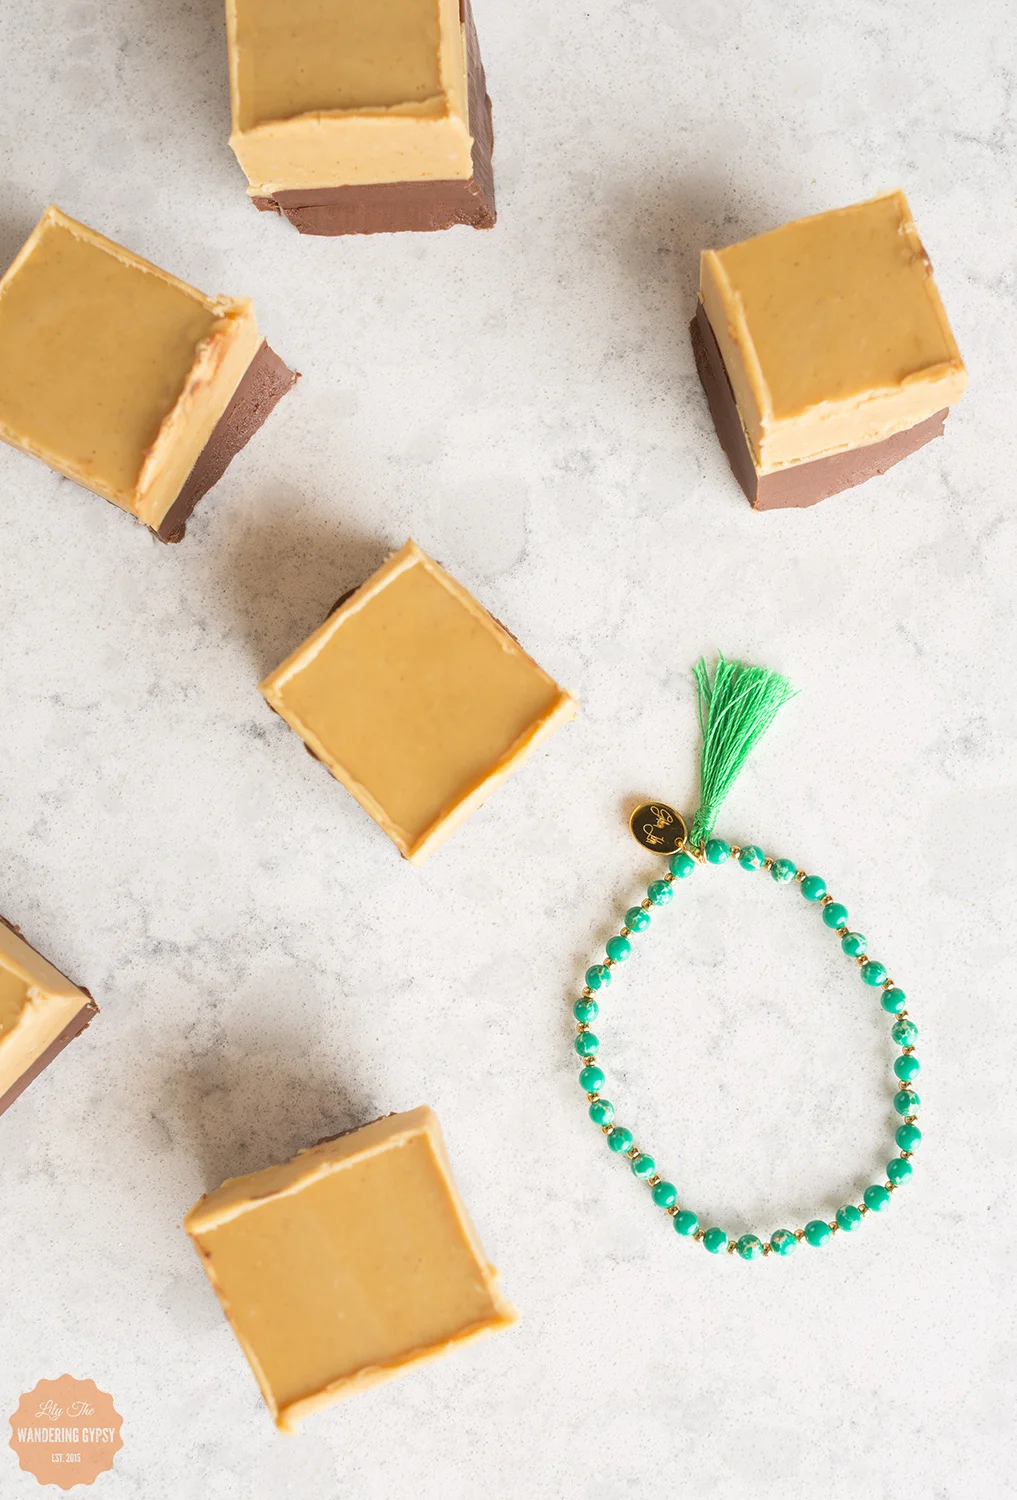
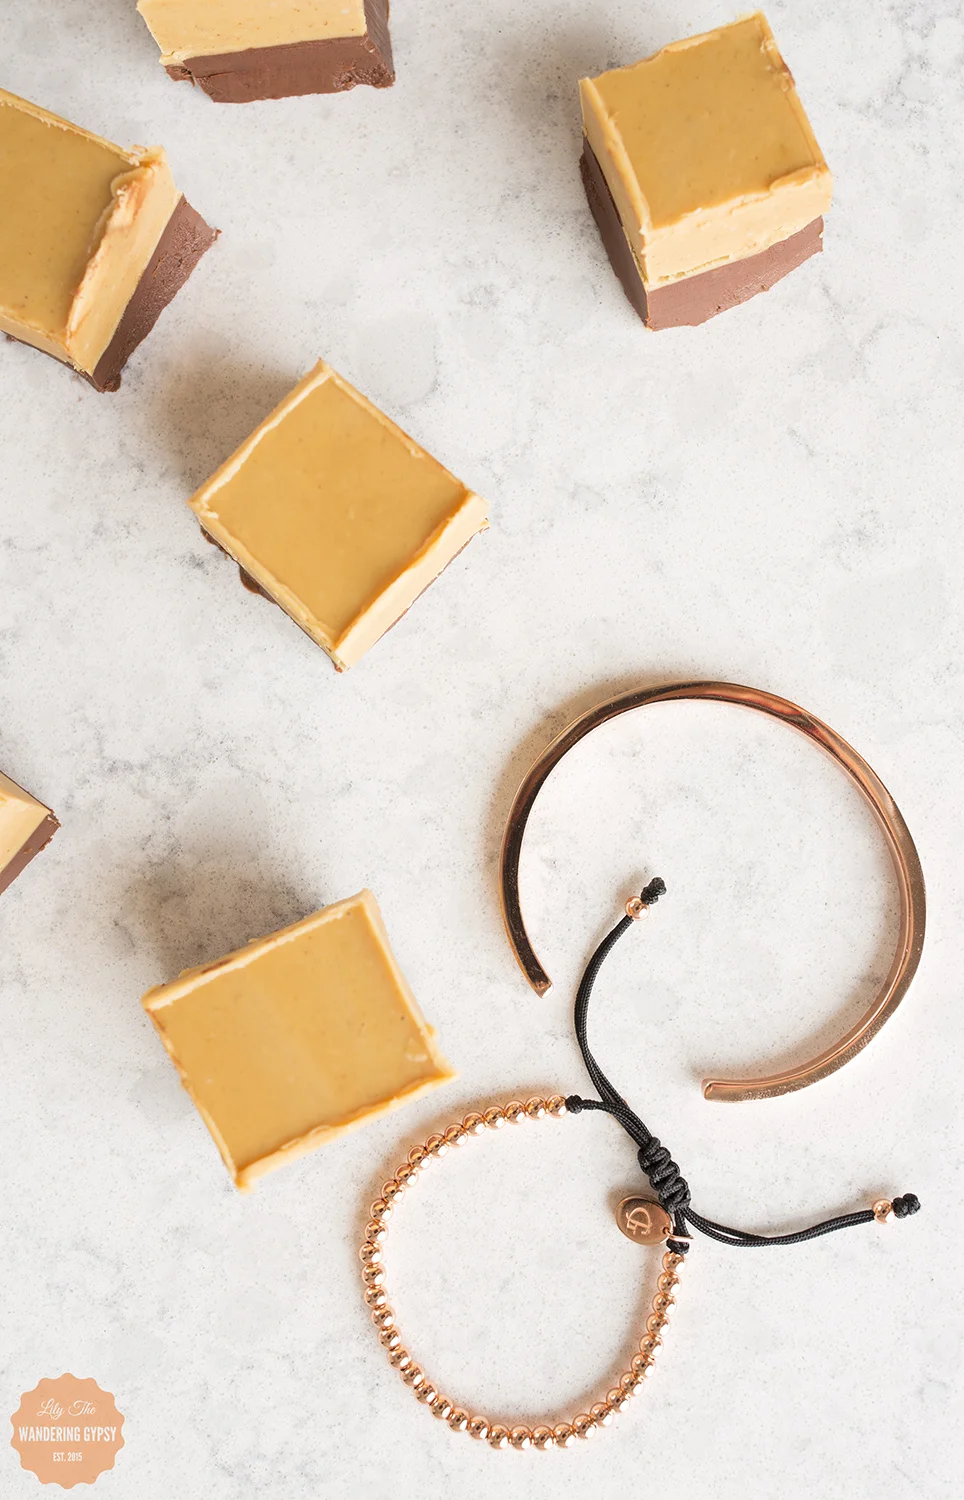
I received three bracelets from Gideon John, and featured them all in this post. Find them here:
Rose Gold Cuff Bracelet / Green Sea Jasper Tasseled Opulence / Rose Gold Lux Beads
And, although they already had lovely product photography on their website, I was so fortunate to be able to bring these bracelets to life in this styled photoshoot.
Now, the Fudge!
This yummy treat turned out so well! This recipe has been adapted from the one I found here - the post that inspired my photos!
1 Bag Peanut Butter Baking Chips
1 Bag Chocolate Chips
Coconut Oil
Creamy Peanut Butter
A Pinch of Salt
Glass Container For Fudge
Parchment Paper
1.) You can do each of the two layers in the microwave, or use the double boiler method, like I did. To do the double boiler, fill a sauce pan with about 1 inch of water. Set the glass measuring cup in the saucepan, atop the water, and get turn your burner on medium, to get ready to melt your ingredients.
2.) Prepare water for double boiler method in two different sauce pans. In two heat-safe glass measuring cups (I used my two 2 cup ones), melt 1/4 Cup Coconut Oil, 1 bag of peanut butter ships, a pinch of salt (or a bit more), and 1/2-1 C. Peanut Butter. Feel free to add more Peanut Butter if you want, just until you get a consistency and taste you like. You can also add some powdered sugar to this peanut butter layer if you want. Melt until smooth - make sure you stir frequently!
3.) In the other measuring cup, melt 1/4 C. Coconut Oil, 1and Bag of Chocolate Chips. Melt and continue to stir until smooth.
4.) Optionally spray a bit of non-stick spray into your Pyrex container, and then fit a piece of parchment paper into the Pyrex, allowing two sides a few extra inches to hang over. This makes removing the fudge from the container much easier!
5.) Once chocolate has melted, pour it into the Pyrex. Freeze for about 15 minutes, so it hardens all the way through.
6.) Once that layer has hardened, pour the peanut butter mixture over the chocolate layer, make sure it's smooth, and put it back into the freezer. If you're not in a hurry, you can just let the final layer cool in the fridge.
7.) Once both layers are fully firm, grab a cutting board, pull out the fudge block utilizing the parchment paper, and use a ruler to make straight lines on the top of the fudge if presentation matters. Cut fudge into 1" squares, using a large, sharp knife, and enjoy!!
***Note: This fudge melts pretty fast, so make sure you keep it in the fridge!!! It tastes like peanut butter cups, I just love how this turned out!! You can also use crunchy peanut butter, but I recommend creamy, just because the peanuts could be too hard to eat after being in the freezer or fridge!
What a great no-bake dessert recipe!
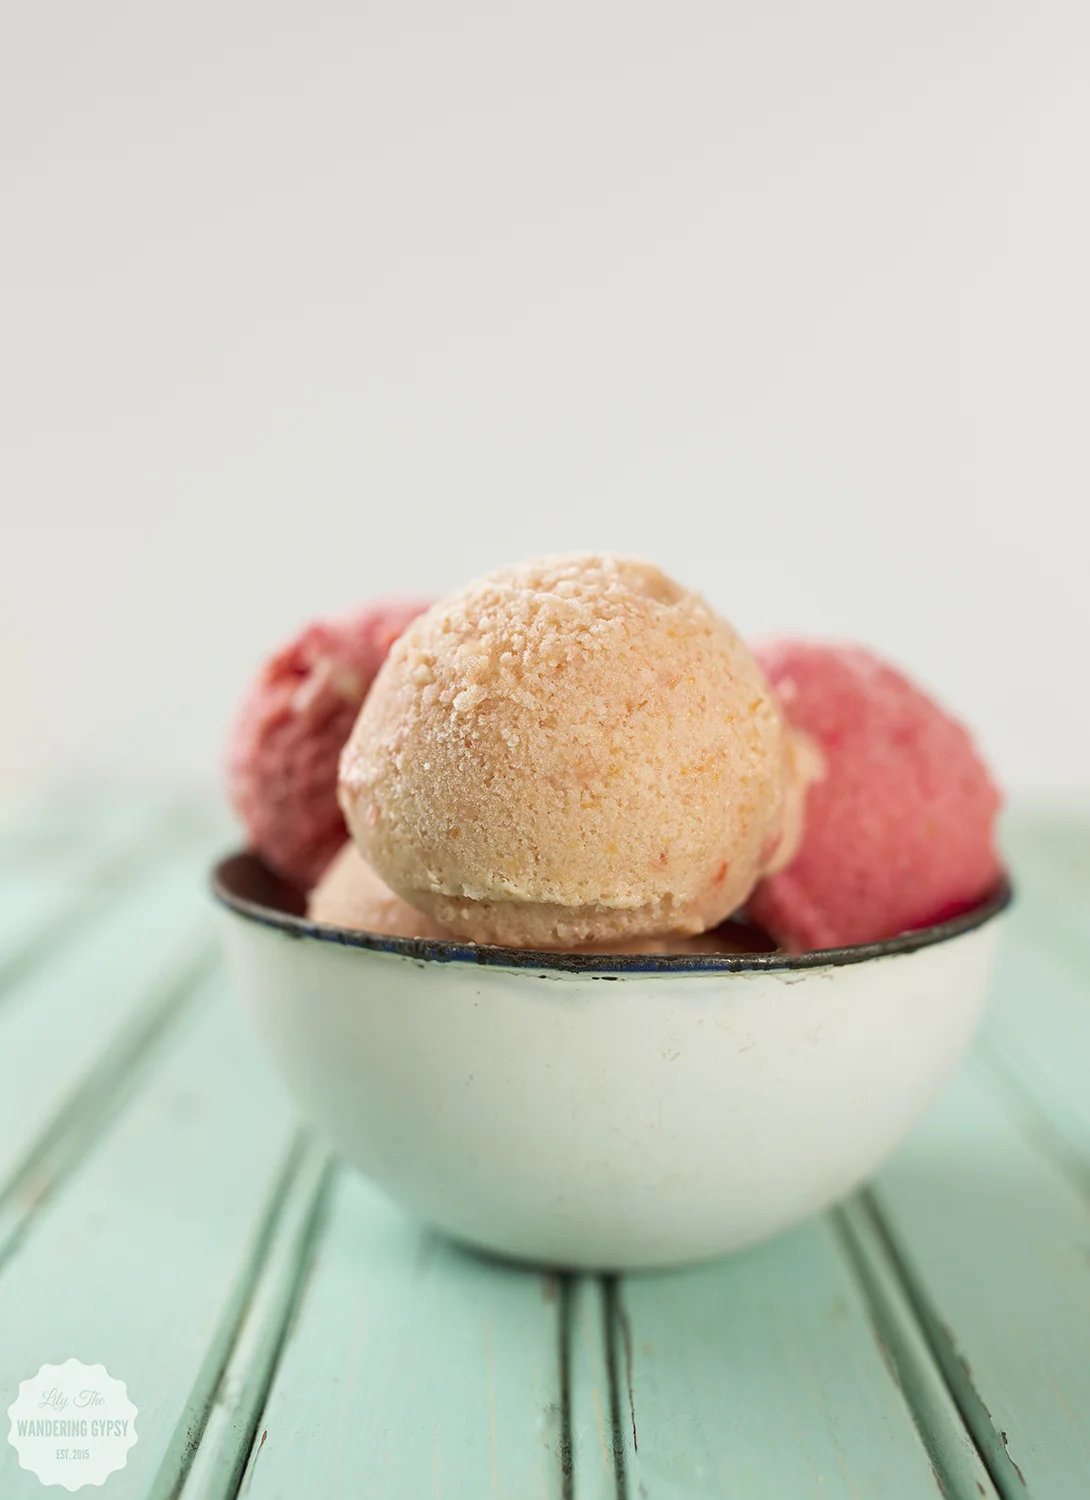
Two Amazing Fruity Frozen Yogurt Recipes {Peach Pineapple + Raspberry Peach}
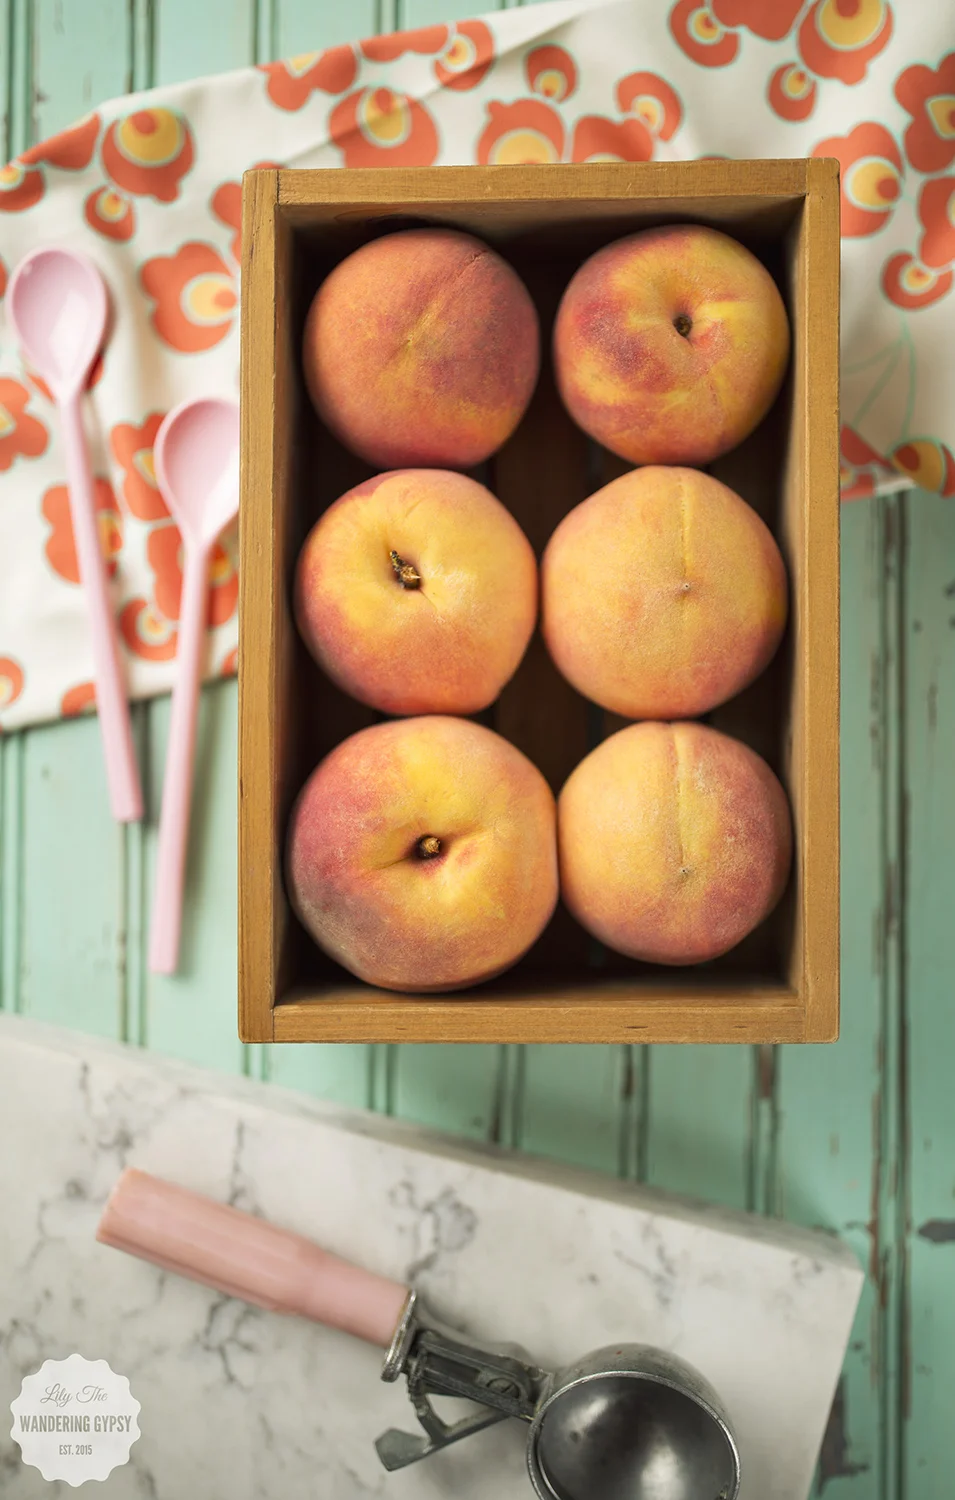
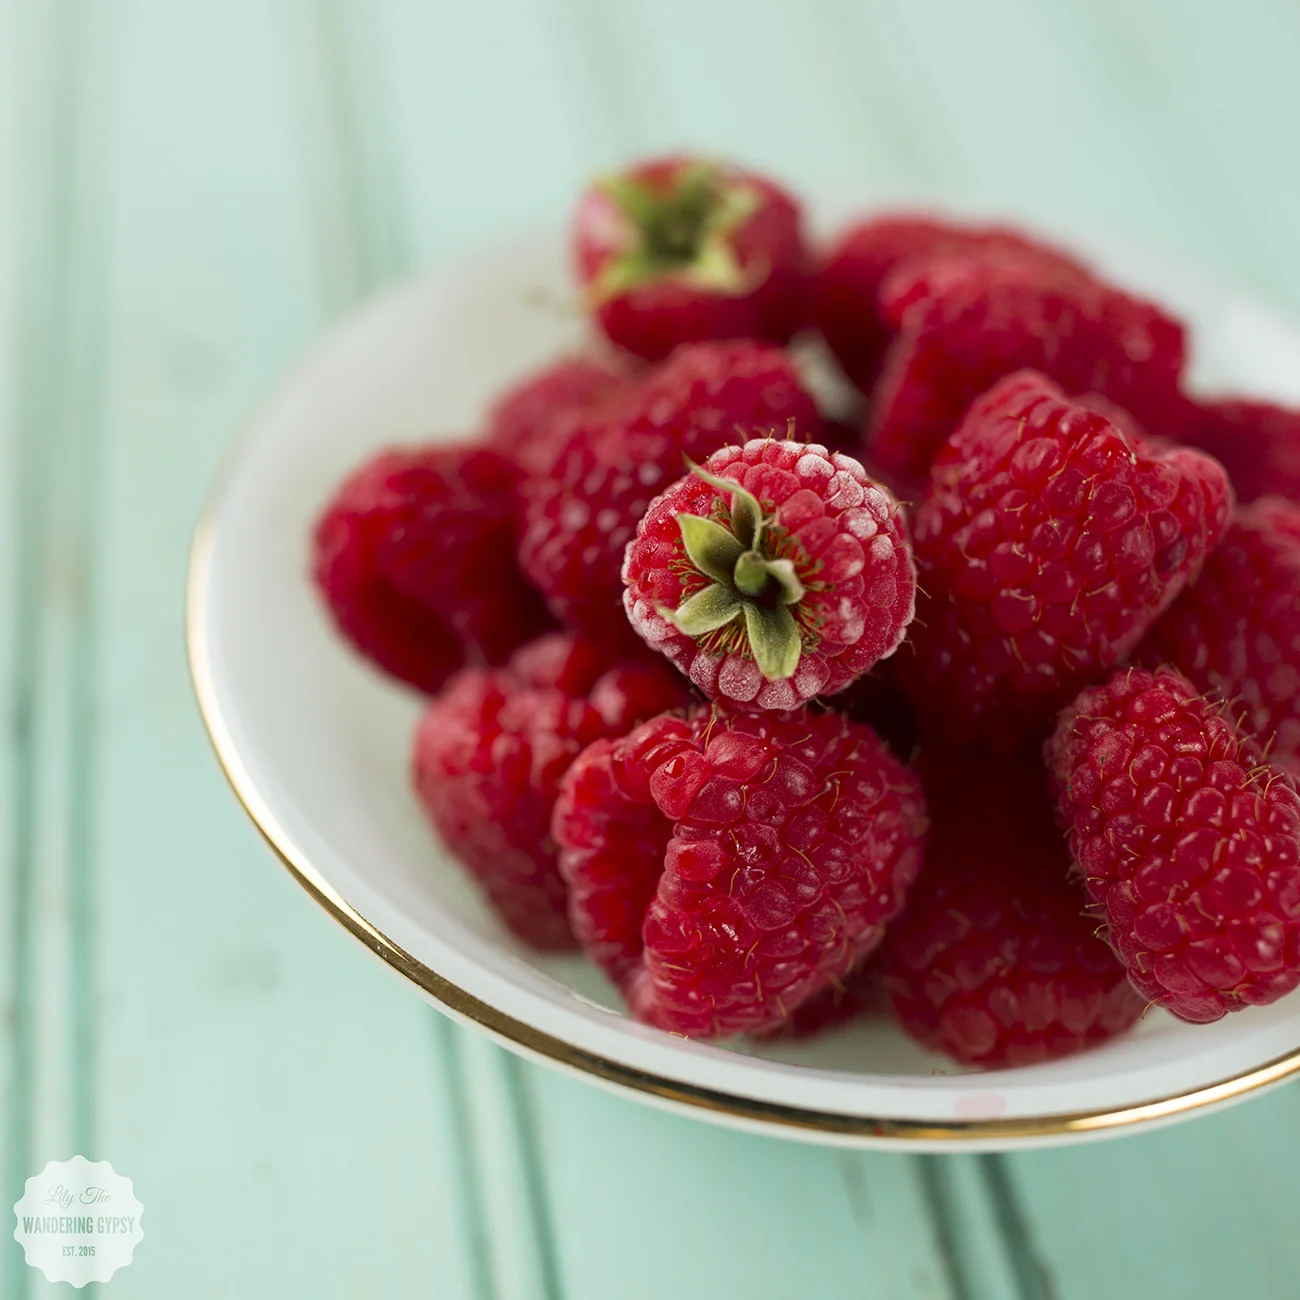
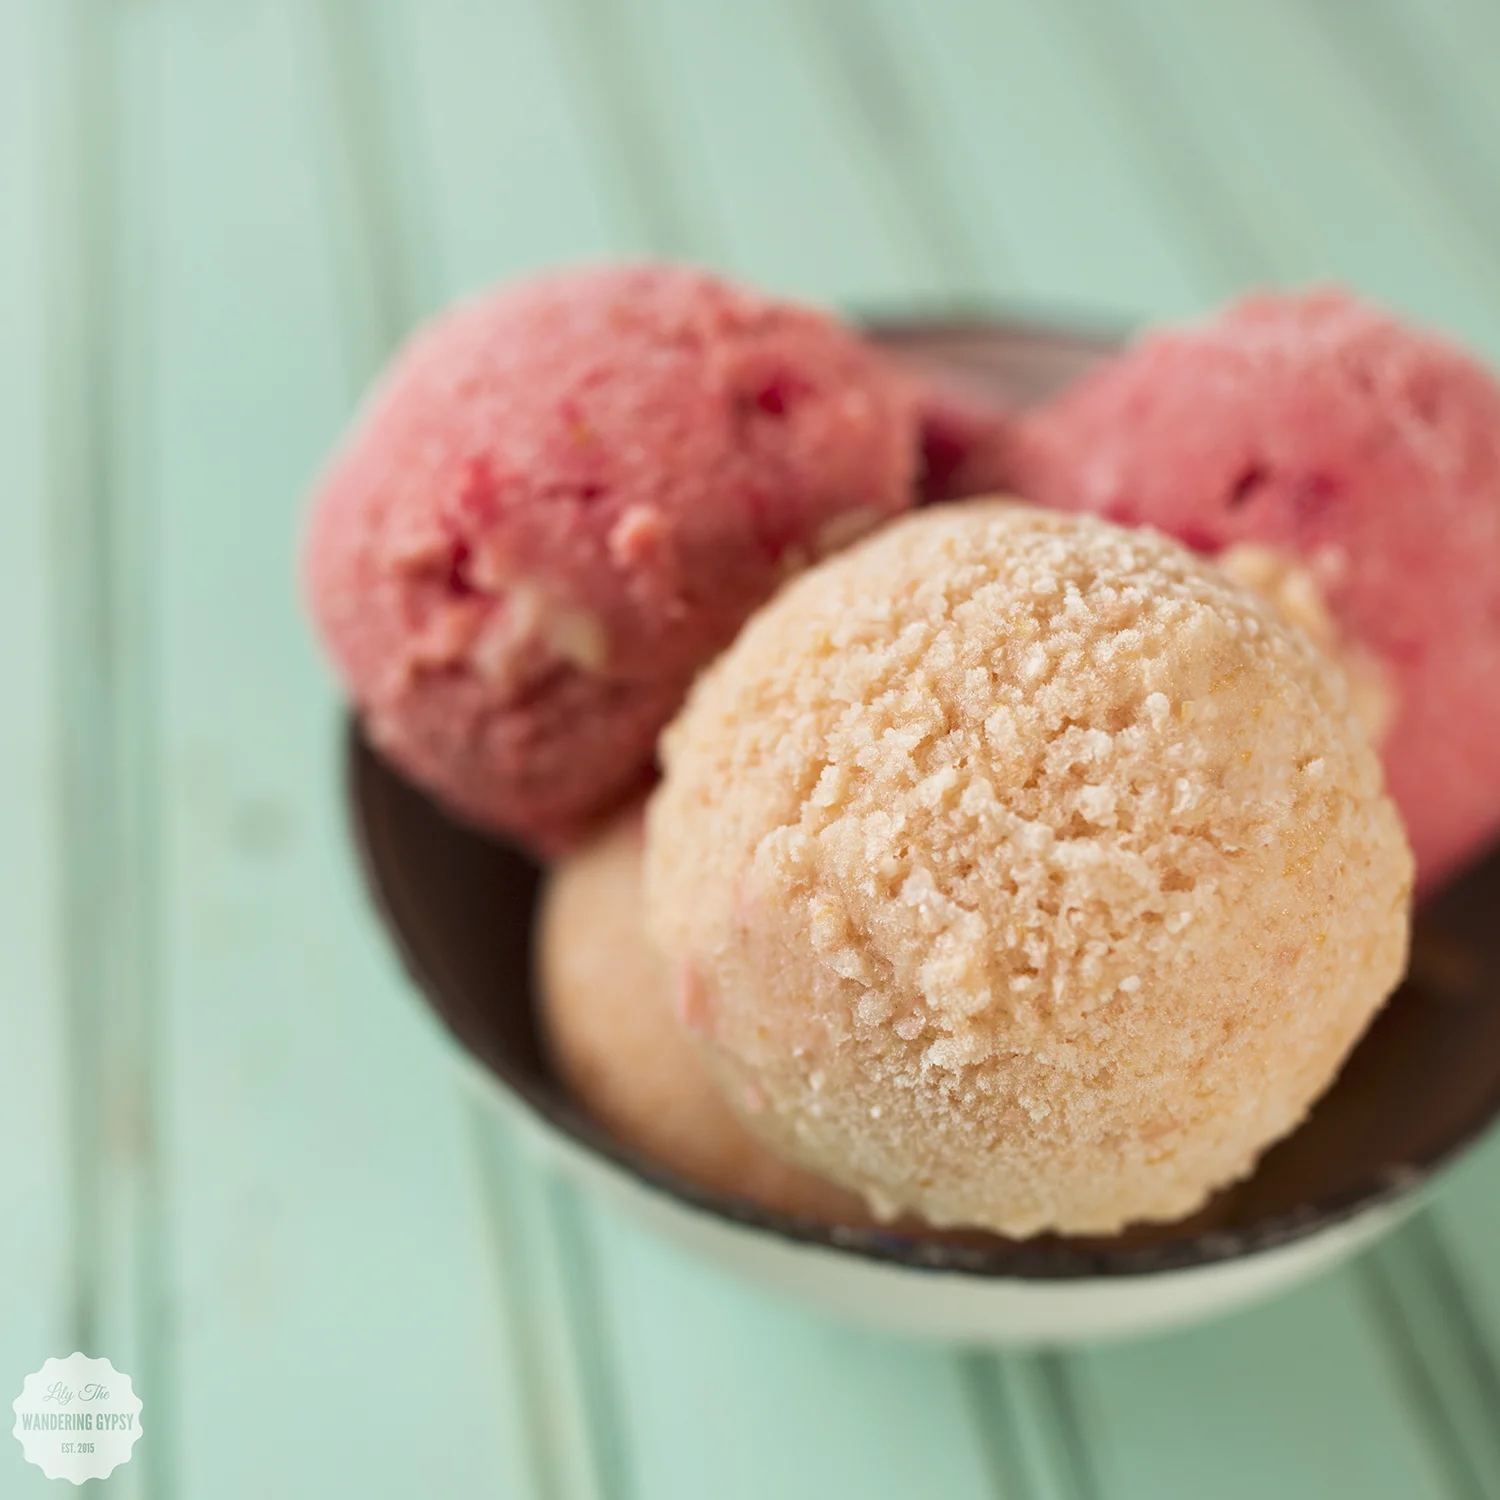
Yum! That;s basically the first word that comes to mind when I look back at these photos. I have been wanting to make some frozen yogurt for some time now, and I had the perfect ingredient for it! Peaches that Bobby's mom gave us when we visited recently. They were just perfectly sweet and juicy.
I just love how natural the ingredients in this recipe are. This is a way better option than something you can buy in-store, and takes hardly any time at all! The peaches can be cut up and pureed ahead of time, making this even easier. The end result tastes amazing, and will surely please that sweet tooth for people of all ages!
It all starts with peaches...
Cut the peaches in half, then whatever half still has the pit, slide that in half again. The pit will come right out! Make sure your peaches are a teeny tiny bit soft and ready to use, rather than super firm. You can also put the peaches into a grocery bag for a few hours to soften them up.
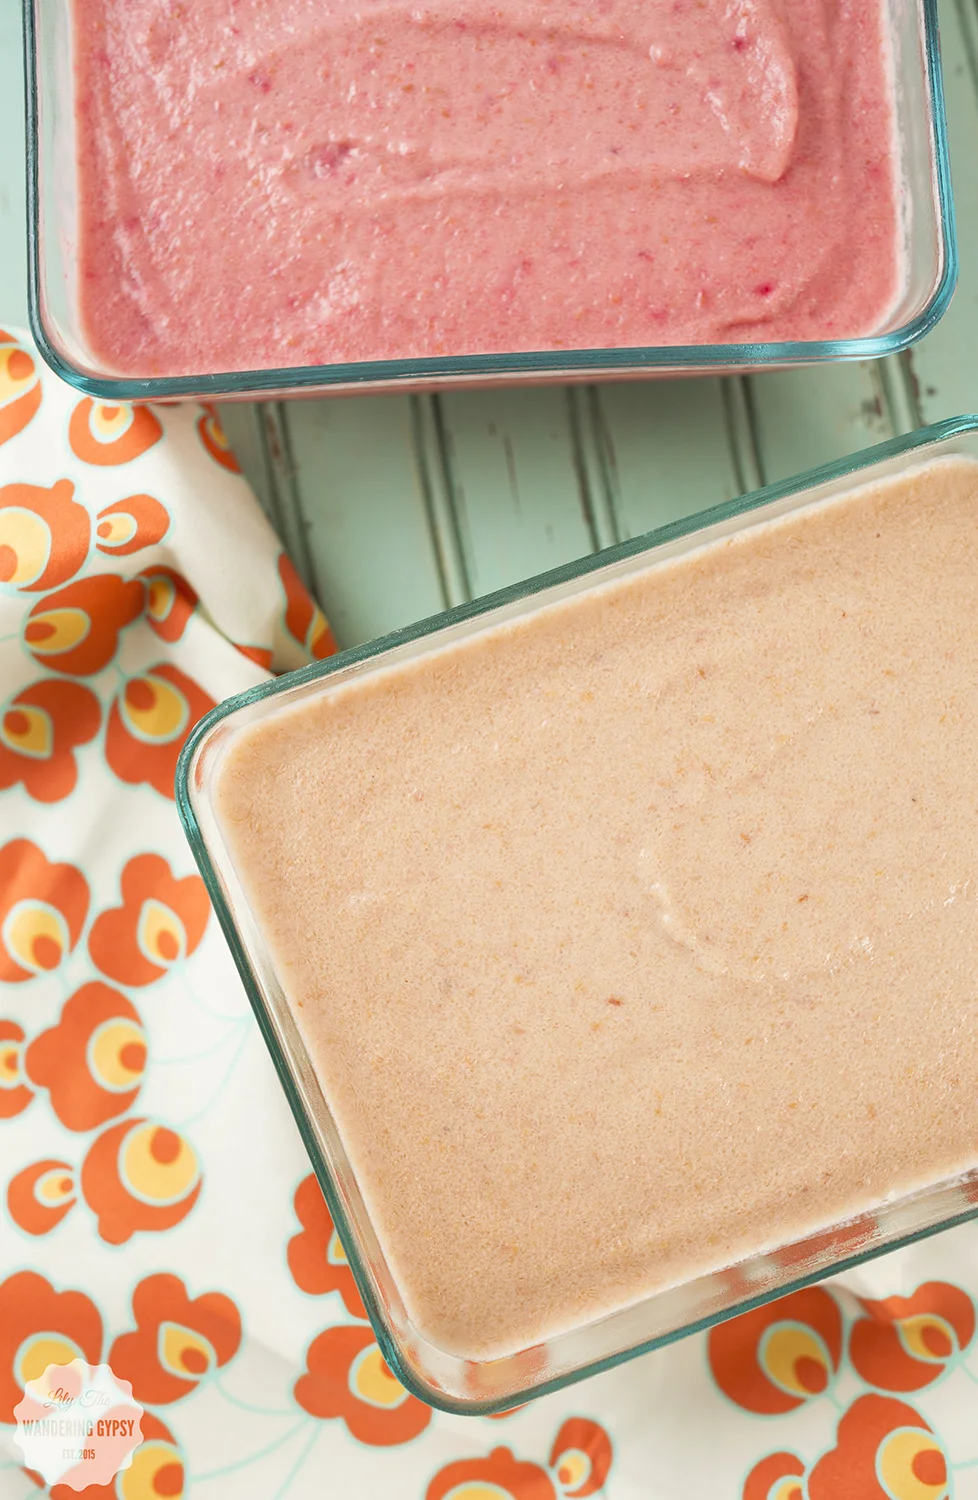
Here are the Basic Ingredients (sans the pineapple - that is shown in the ingredients photo, within the peach puree). Each recipe can be found below its respective title, further down in this post.
INGREDIENTS:
- 3-4 Peaches, peeled and sliced, pits removed
- 2 C. vanilla yogurt (I used the sweetened kind)
- 2-3 Tbsp sweetener like agave
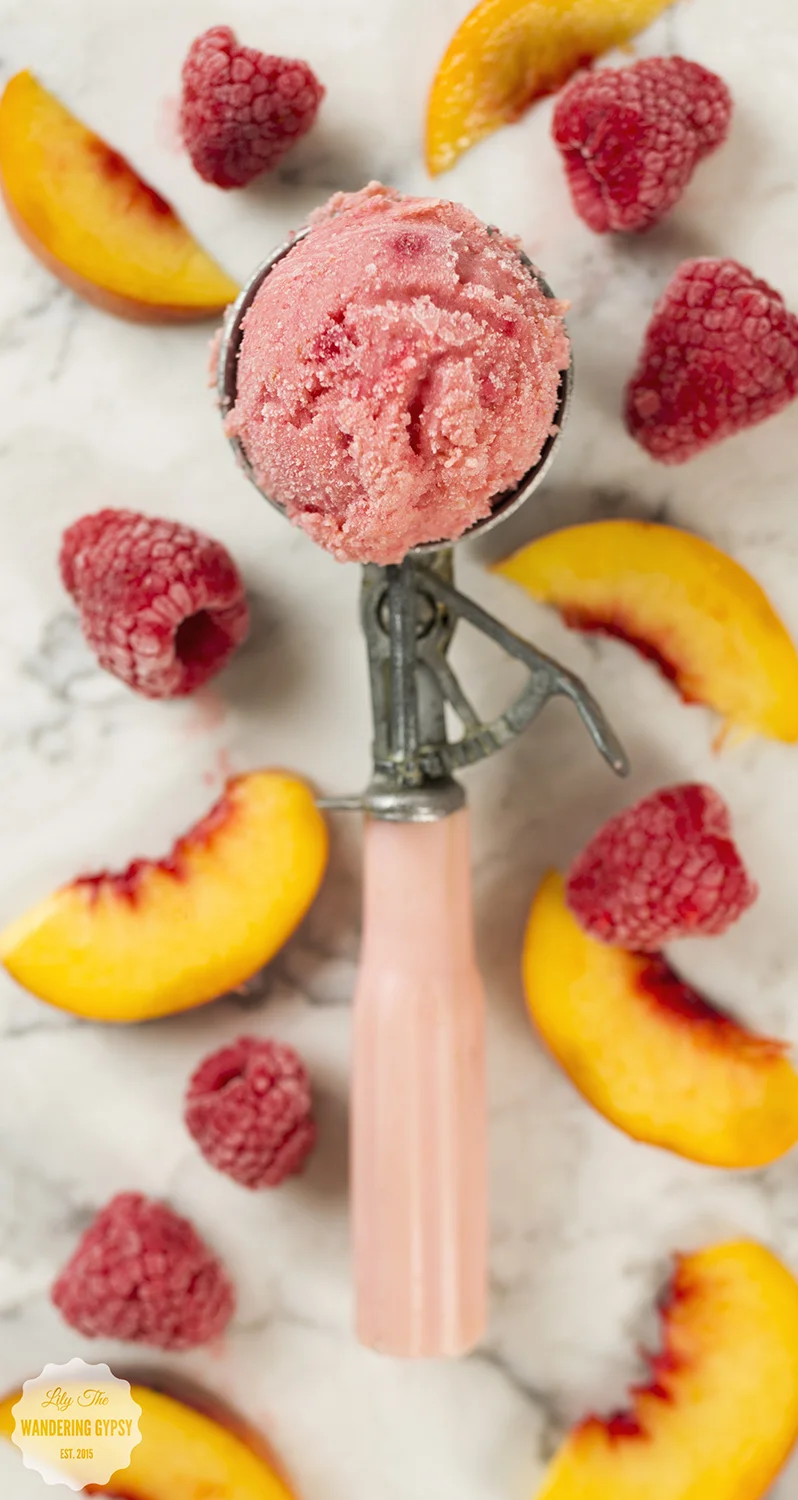
- 1 C. (or more) fresh raspberries (I froze my own before using them in this recipe)
- 1/2 Can Pineapple rings + their juice
INSTRUCTIONS:
- Puree all ingredients until very smooth, then pour into a freezer-safe container with a lid. Freeze for at least a few hours (but overnight is recommended). Scoop the frozen yogurt into a big bowl and enjoy!! This recipe is amazing for summer. The color of this frozen yogurt is absolutely stunning - that pink color is lovely!
INGREDIENTS:
- 3-4 Peaches, peeled and sliced, pits removed
- 2 C. vanilla yogurt (I used the sweetened kind)
- 2-3 Tbsp sweetener like agave
- 1/2 Can Pineapple rings + their juice
INSTRUCTIONS:
- Puree all ingredients until very smooth, then pour into a freezer-safe container with a lid. Freeze for at least a few hours (but overnight is recommended). Scoop the frozen yogurt into a big bowl and enjoy!! This recipe is amazing for summer. This recipe is the same as the one above, minus the raspberries!
{PB + Banana Toast} Summer Snacking with Sahale Snacks
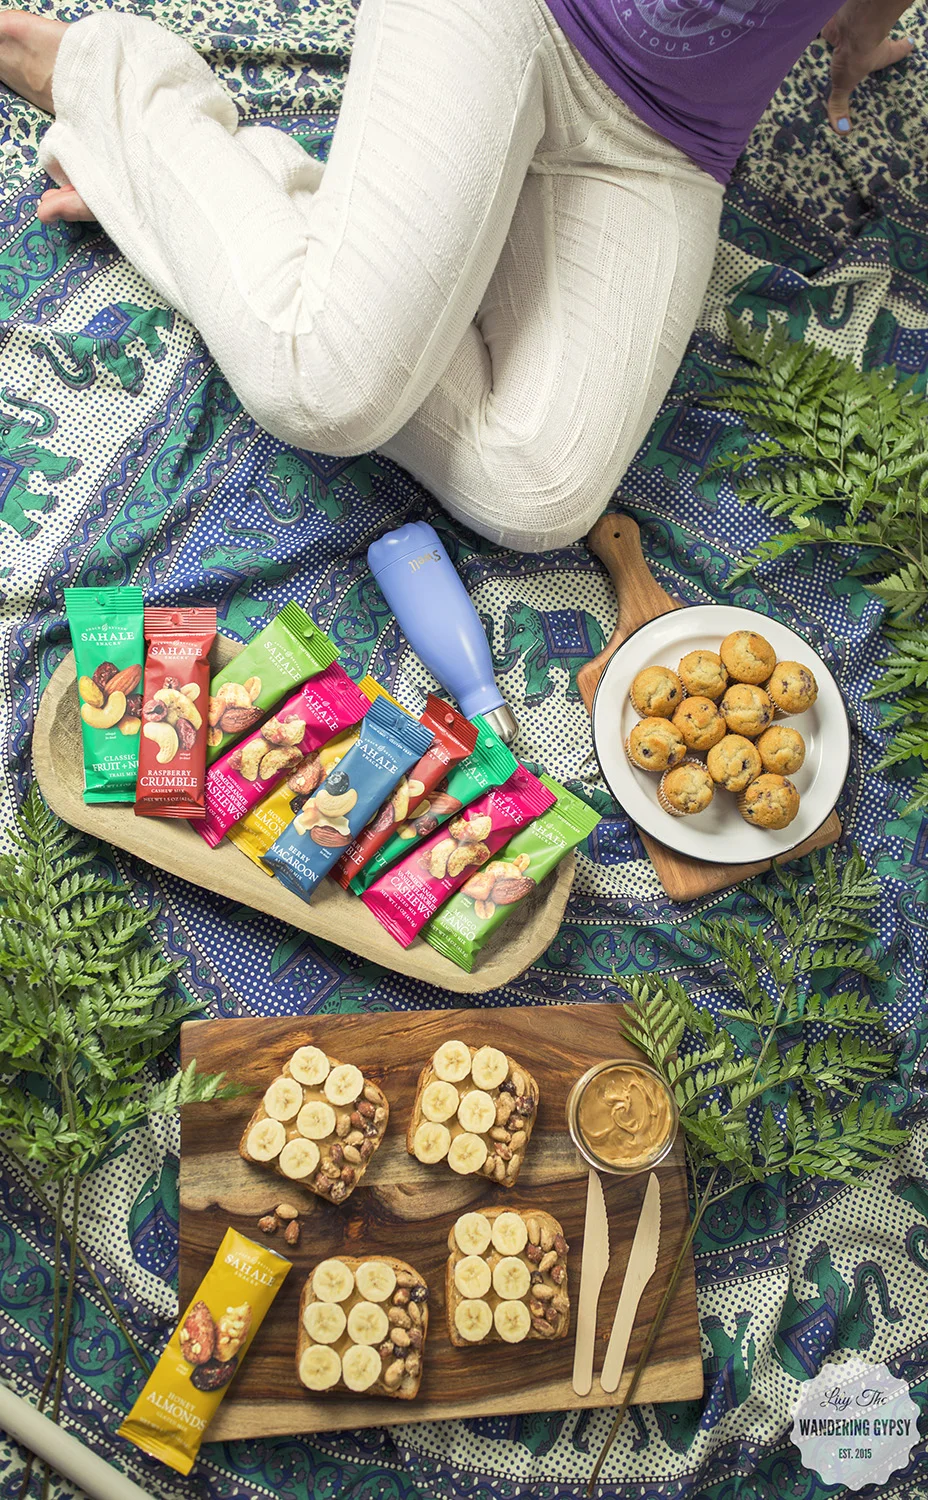
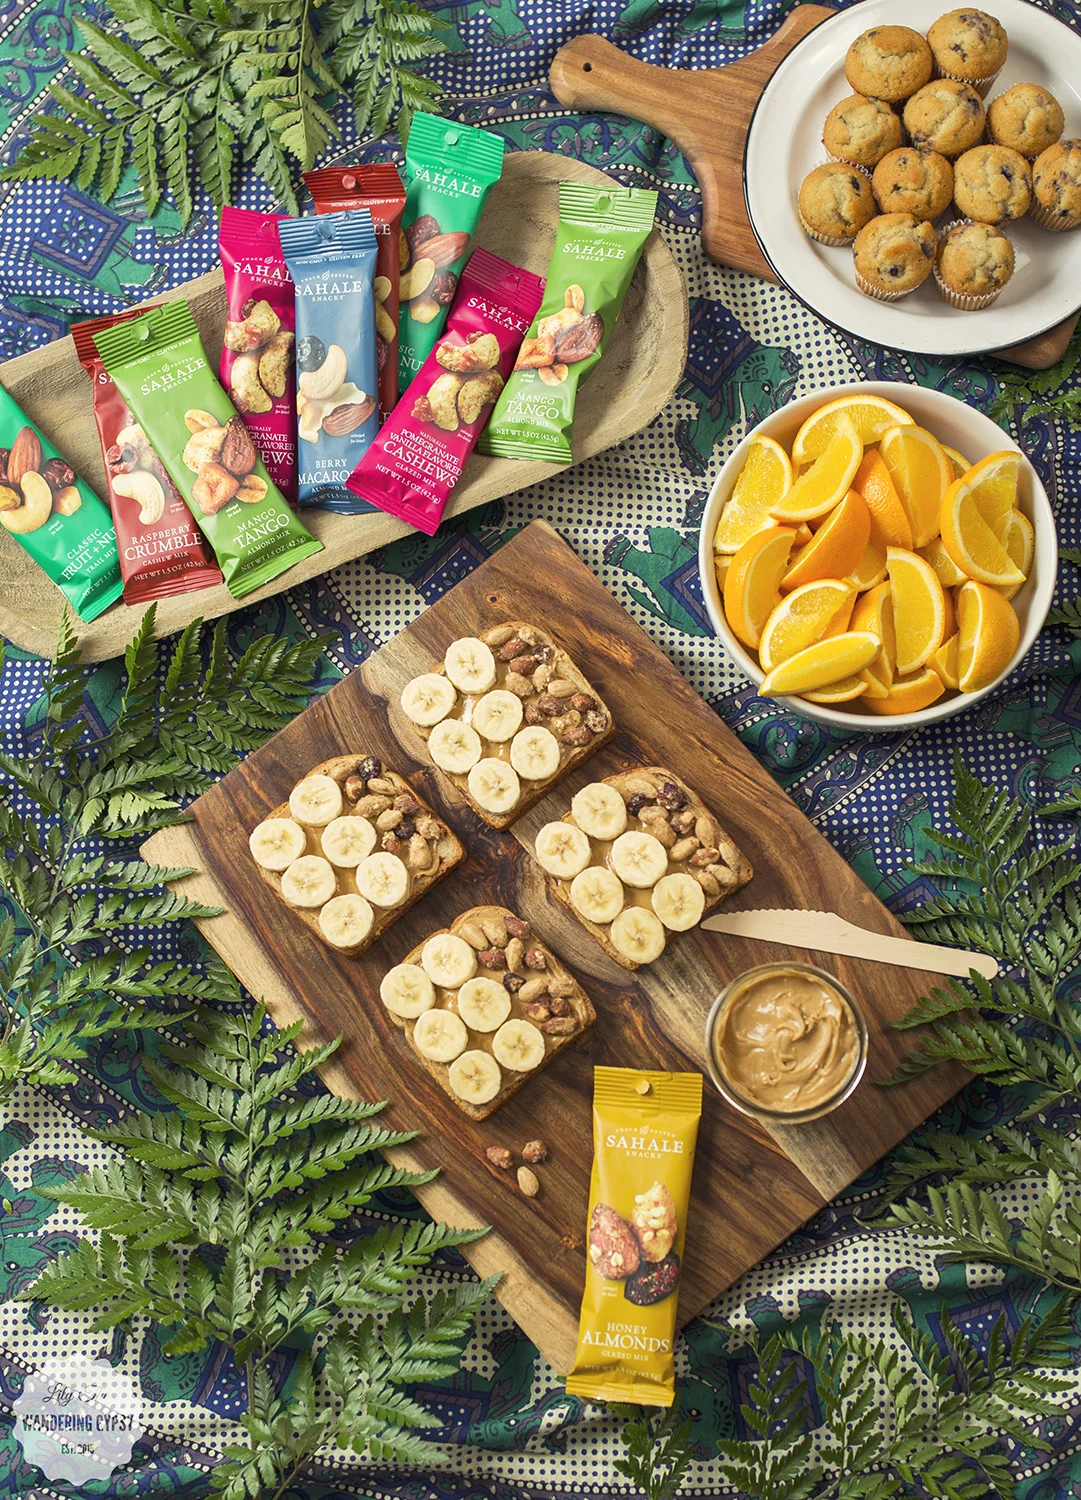
I found a new, favorite snack mix! Actually, I found quite a few new favorites in this amazing package that I received from Sahale Snacks! I wanted to share a fun "recipe" of sorts that will hopefully inspire you to take the time to get some healthy foods together, and have a breakfast picnic!!
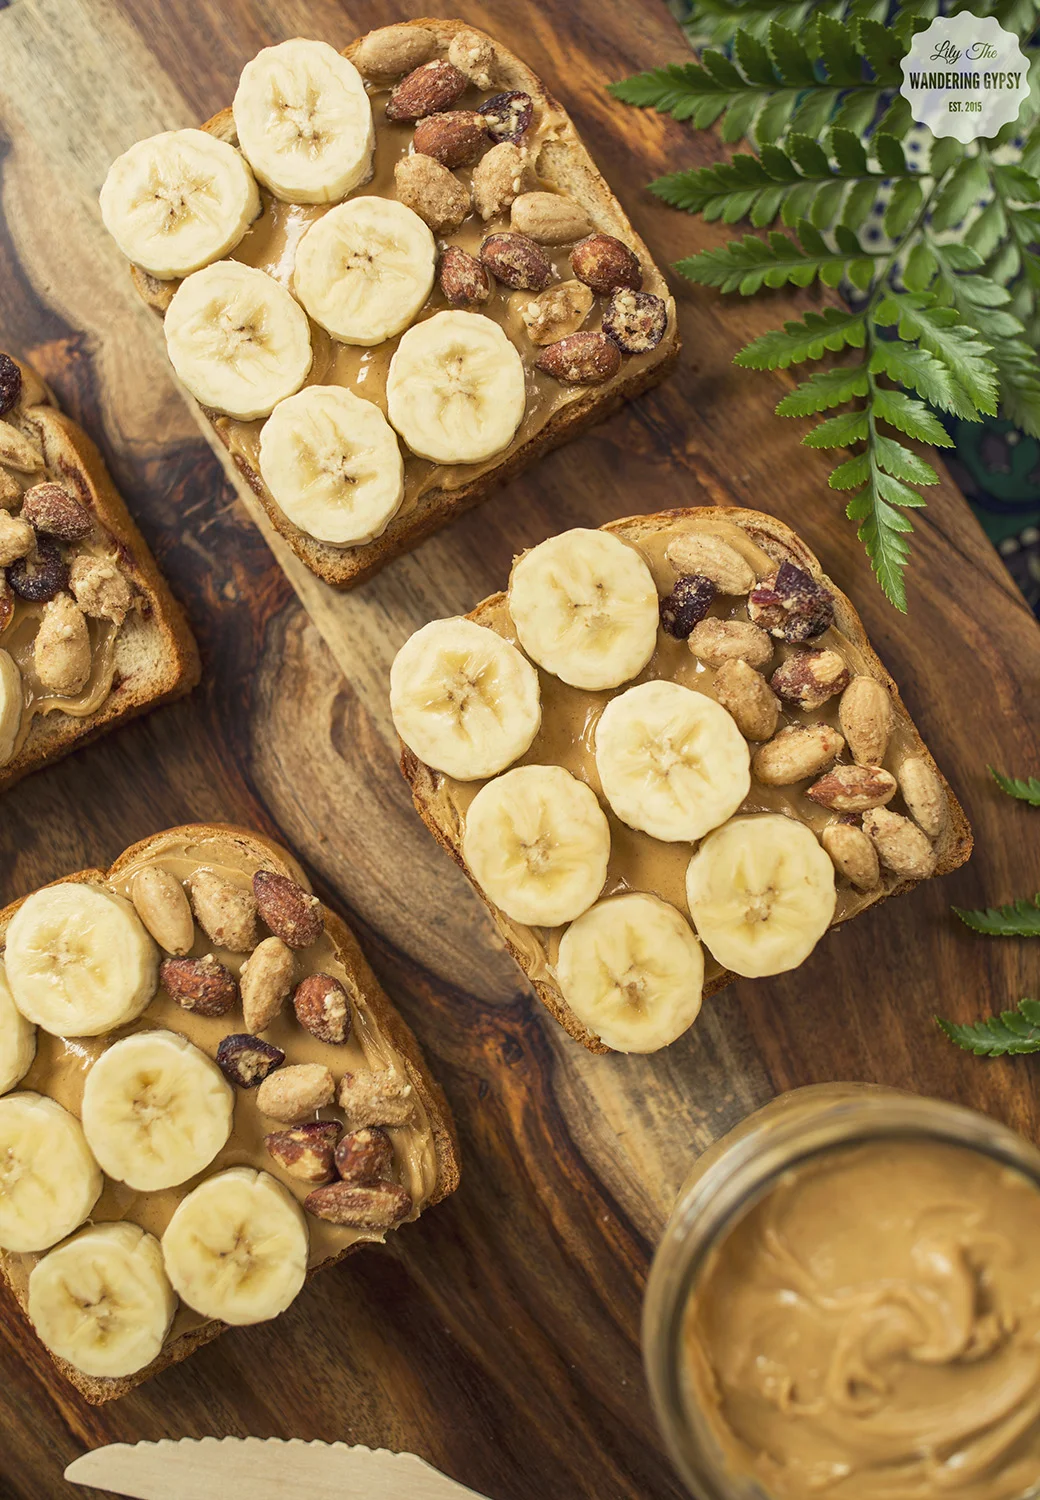
This fun "recipe" basically consists of only four ingredients! Toast, Creamy Peanut Butter, Bananas, and Sahale Snacks Honey Almond Glazed Mix, which also features sea salt and cranberries for a bit of tart and sweet.
I just spread the PB onto the toast, then sliced up my bananas to about 1/4" thick. I placed 6 banana slices on the toast, then added the tasty almonds. They are coated in the most delicious honey crunchy awesome-ness, so I wound up eating a few as I was creating these photos - how could I resist?!
If you are just looking for something to grab on the way out of the door, or if you're looking for snacks for your next road trip, then these Grab & Go Snacks from Sahale Snacks are perfect!!
I also fell in love with this S'Well bottle from their Satin Collection - in Moncao Blue. SO many colors to choose from!!!
I'm sharing #SahaleSnackers in my life as part of a Sahale Snacks® sponsored series for Socialstars™. Thank you for supporting the brands that help keep my blog a beautiful space to showcase my work!
Smoothie Time With Annie's Homegrown Organics
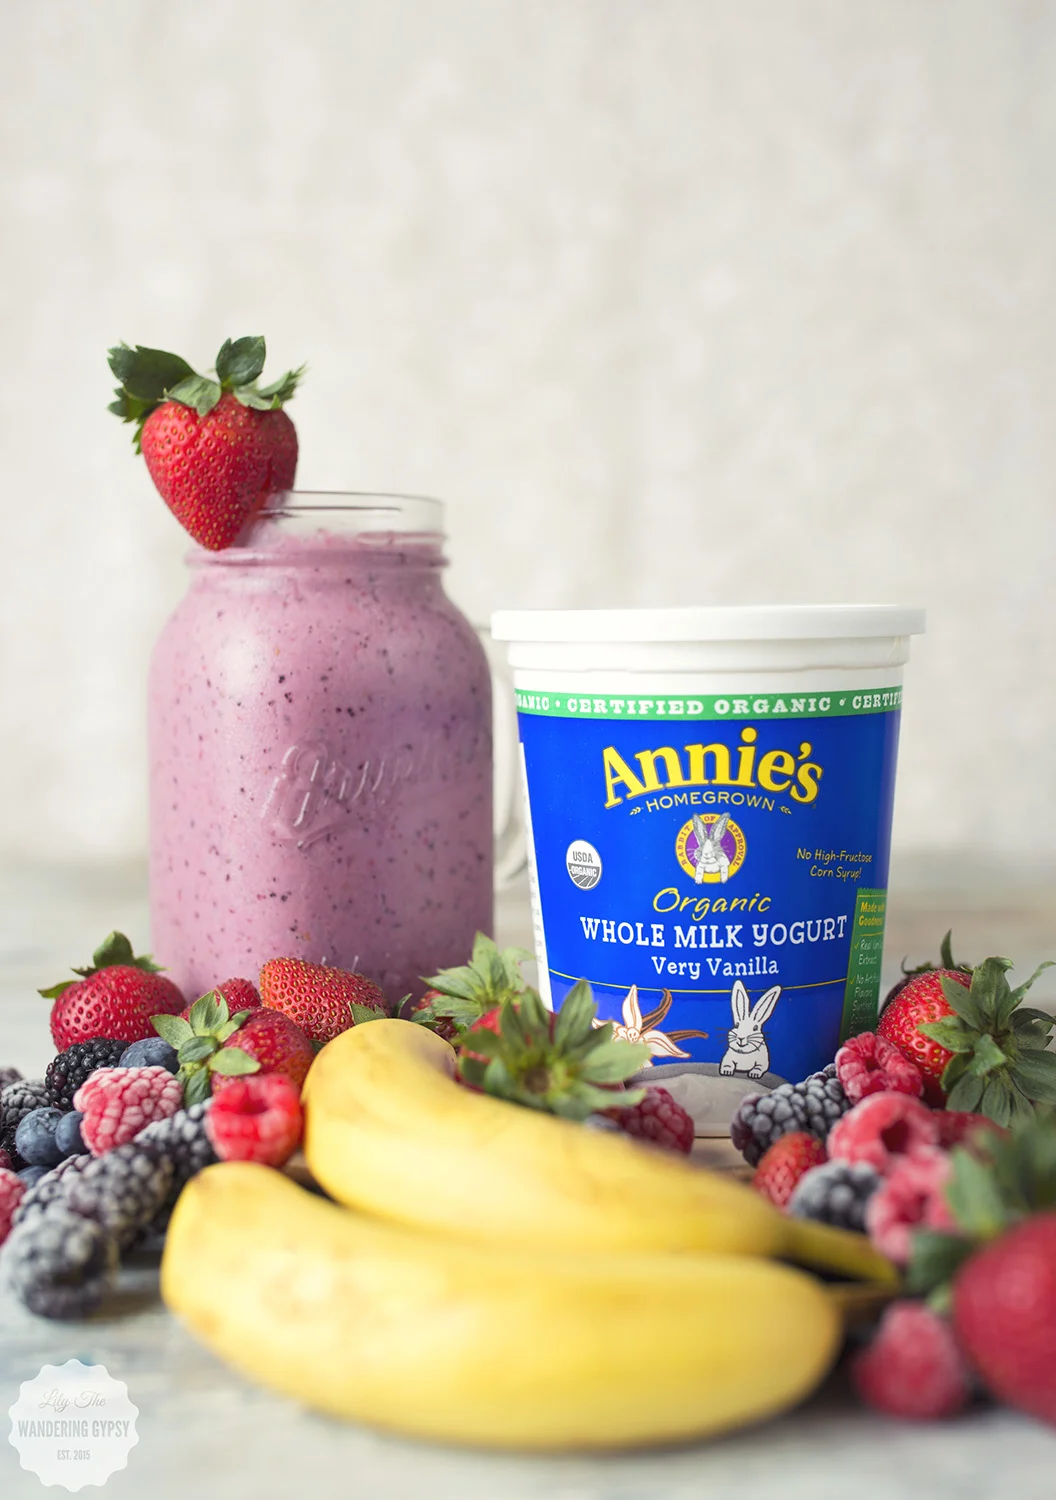
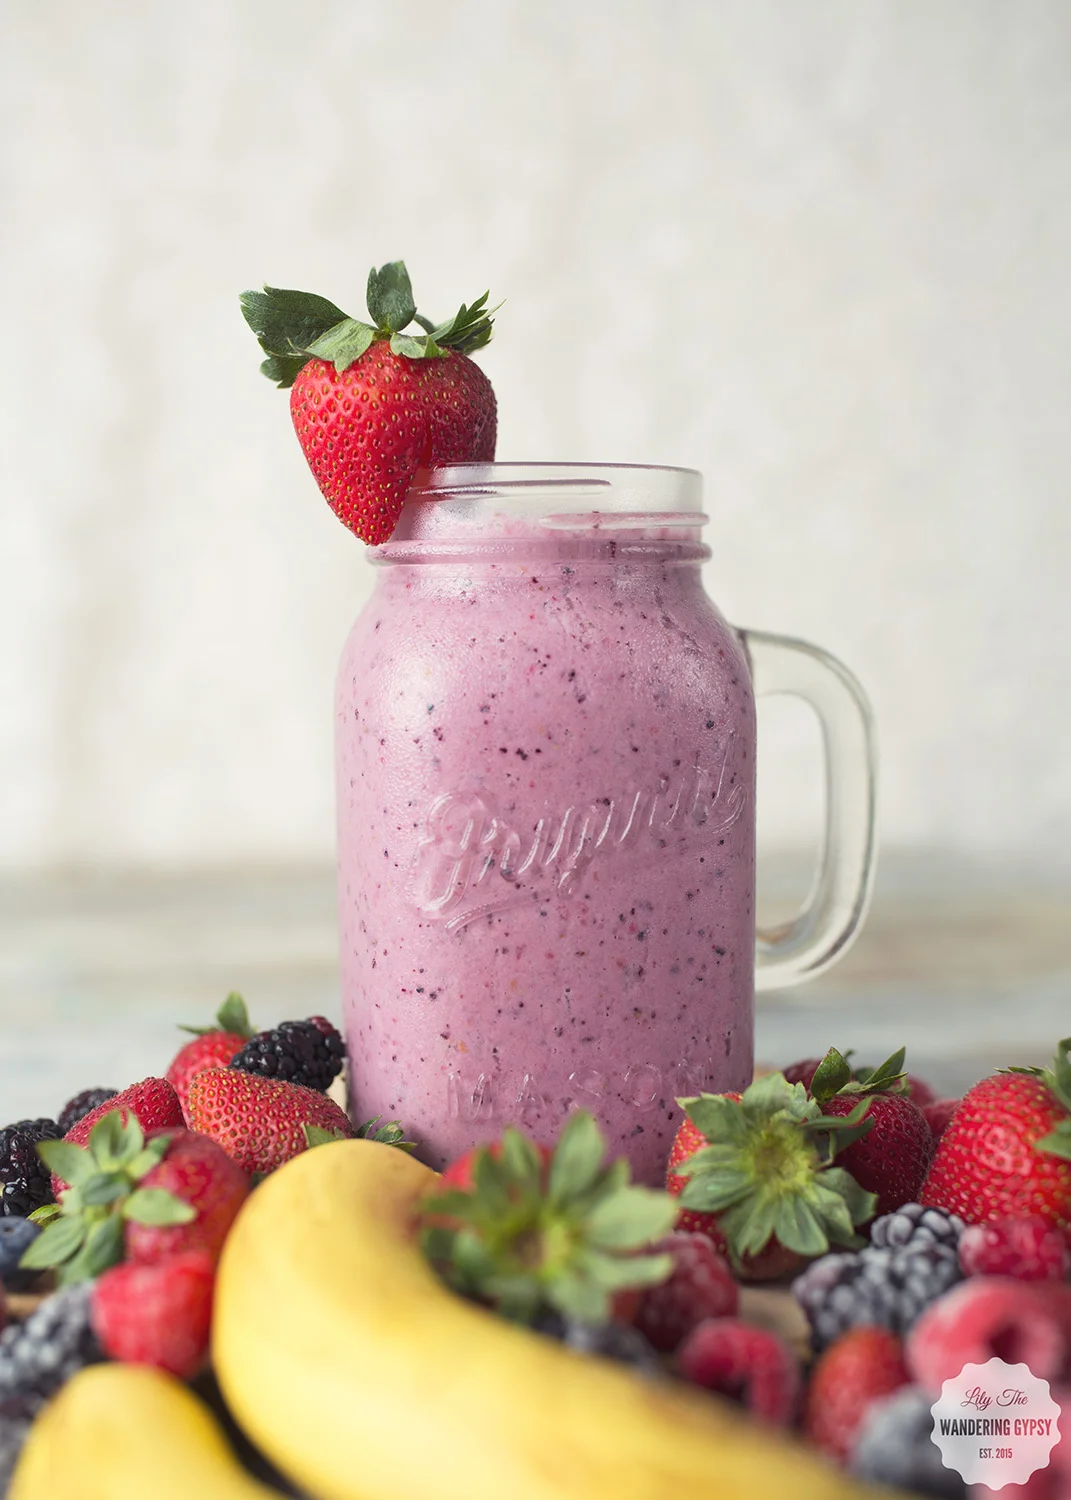
I have been on a major smoothie kick lately, and after making one almost every day, I have found my perfect blend of ingredients to make a smoothie that I haven't gotten tired of yet! I will alter the recipe just a little bit, depending upon what fruit I have in my fridge or freezer, but I basically use the same formula each time.
I have always been drawn to Annie's Homegrown Organic products, so when I saw this yogurt at our local Schnuck's, I grabbed a couple of containers, lots of berries, and also re-upped on unsweetened almond milk.
I have also learned that to make a smoothie the best (most drinkable) consistency possible, you can't use all frozen fruits. Otherwise, it freezes all of the other ingredients, making something more like soft sorbet (which is great for smoothie bowls or making nice-cream). Also, adding the almond milk definitely helps to thin out your smoothie, but the taste can be overwhelming, so just test your smoothie before pouring it in the jar. Lastly, with the yogurt, I add a good amount, because it tastes SO good! So, the amount of each ingredient just depends on your taste preferences.
MAKES 2 LARGE SMOOTHIES
- Annies Homegrown Organic Very Vanilla Yogurt
- Unsweetened Almond Milk
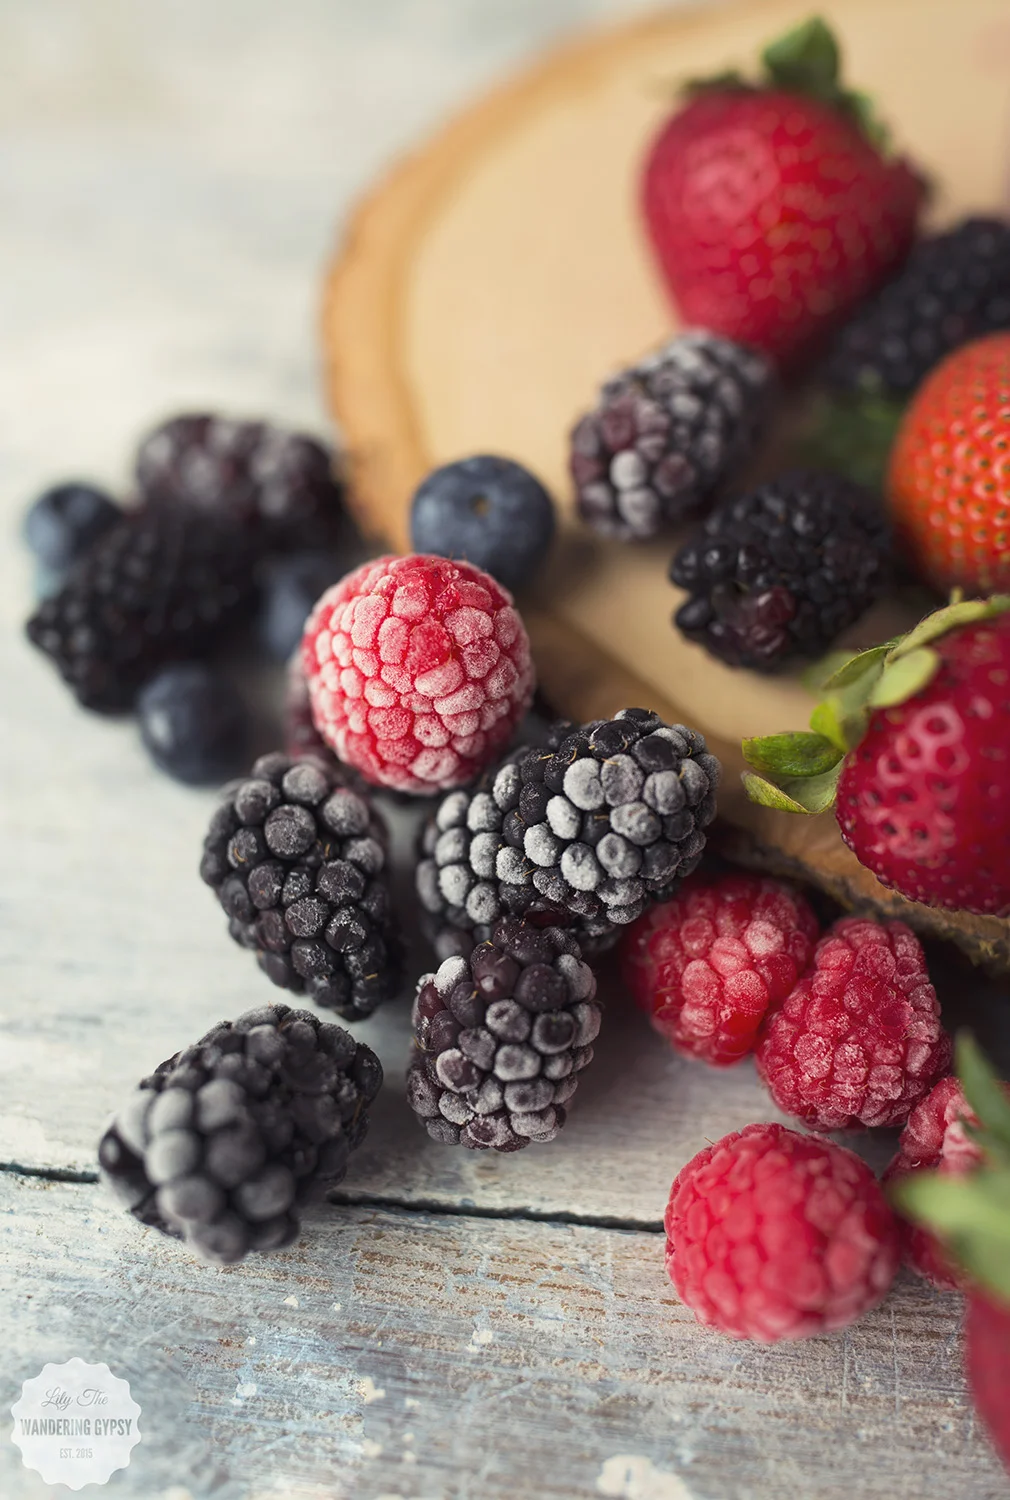
- Frozen Raspberries (I freeze fresh ones in jars)
- Frozen Blackberries (I also froze some fresh ones in jars)
- Fresh Strawberries (tops sliced off, cut into smaller pieces)
- Fresh Blueberries
- Fresh Banana
- Ice
- Sugar is your fruit isn't very sweet or too tart
1.) In a blender or food processor, add sliced strawberries, fresh blueberries, frozen raspberries, frozen blackberries, a dash of almond milk, banana, 1/3 container of yogurt, and a handful of ice.
2.) Hold the blender down, and begin to blend and puree your ingredients! Keep blending for a bit, because you want everything the same consistency. Note - unless you have a super-awesome blender, the ice will sound rough at first when you blend...
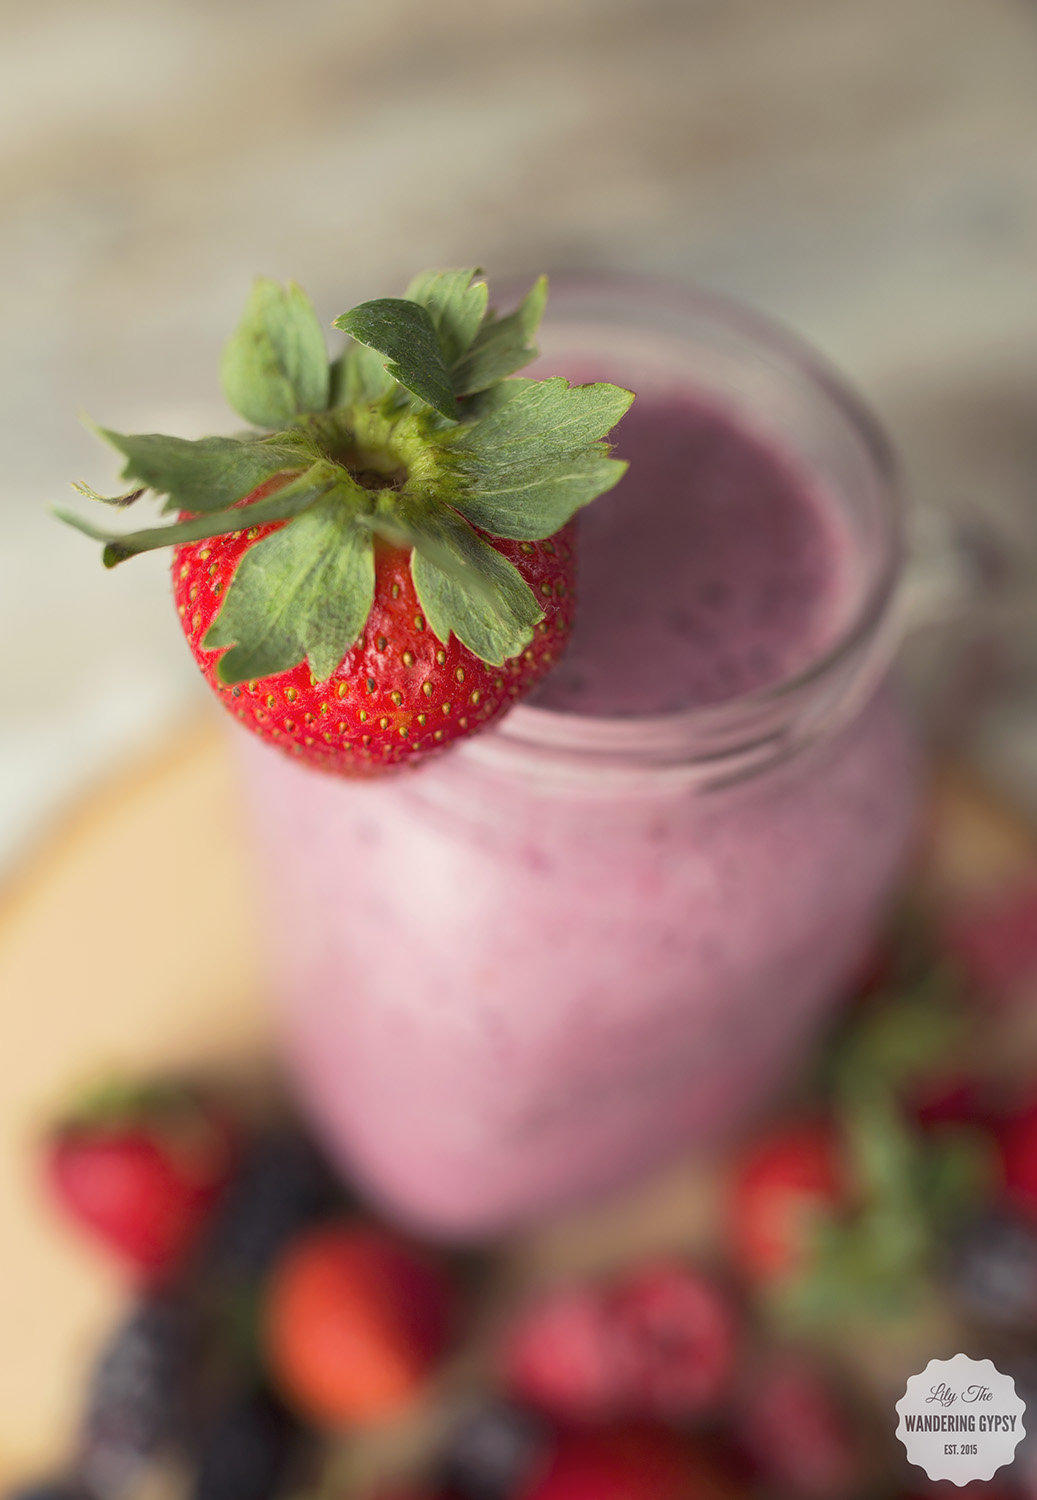
3.) Pour into a big jar, and enjoy! This smoothie keeps me full well past lunch time, it's amazing!
Find more about the Annie's Hiomegrown Organic yogurt, here!

