Learn how to make the tastiest martini around, a Key Lime Martini. Here in the Florida Keys, these cocktails can be found on several restaurant menus in this area. Try one today!
Read MoreAn All Star Snack Bar Popcorn Party For Game Day!
Create an adorable Game Day Popcorn Bar to delight your guests and celebrate team spirit!
Read More3 Delicious Side Dish Recipes - Featuring Cranberry Goat Cheese Bread Pudding
Enjoy these three recipes with ingredients that were delivered to my doorstep! Fresh, easy, and great tasting recipes.
Read MoreRed Nosed Reindeer Crispy Rice Treats Recipe
Just in time for Christmas, these adorable treats are so fun, whimsical, and easy for all ages!
Read MoreChef Designed Recipes At Your Doorstep With Home Chef (With Recipes)
Learn more about my first experience with a fresh ingredient + meal delivery service and get the recipes for two delicious meals.
Read MorePurple Haze Smoothie Recipe
A great tasting smoothie recipe that incorporates the healthy benefits of antioxidants with great taste. This is a good snack or breakfast, so check out the recipe in my latest post.
Read MoreTasty Game Day Recipe - Spinach Dip Stuffed Bread Boat
Football viewing parties are such a fun way to get friends and family together, and this recipe is a crowd pleaser. It only takes a few ingredients, so keep reading to see how I made this tasty dish.
Read MoreBanana Bread Recipe with Maple Brown Sugar Butter Walnut Topping
A tasty banana bread recipe that has a unique and tasty topping. Instead of adding these ingredients to the bread, I created a delicious topping to scoop right on top! Check out this recipe, packed with banana flavor.
Read MoreEasy Cheesy Pull Apart Bread Recipe - Holiday Hosting With Stella Cheeses
This would be easy to throw together for a holiday party that you're hosting or attending, and only takes a few ingredients. Add whatever pizza toppings you like, they all taste pretty amazing in this dish.
Read MoreYummy Squash "Pasta" With Maple Glazed Chicken + Kale
Add spiralized squash “pasta” to a plate with steamed and seasoned kale, and top with cooked chicken breasts. This recipe turned out so well!
Read MoreCustomize A Gift In Less Than 10 Seconds
Love to customize gifts? Here's an idea to spruce up a non-perishable food item in less than 10 seconds.
Read MoreVegetarian Zucchini "Meatballs" Recipe + My New Oster Spiralizer
I have been wanting to create a recipe like this for a long time now, and I thought that a good way to test out my new Electronic Spiralizer from Oster, would be to make a vegetarian version of one of my favorite foods, meatballs. You won't even miss the meat, promise!
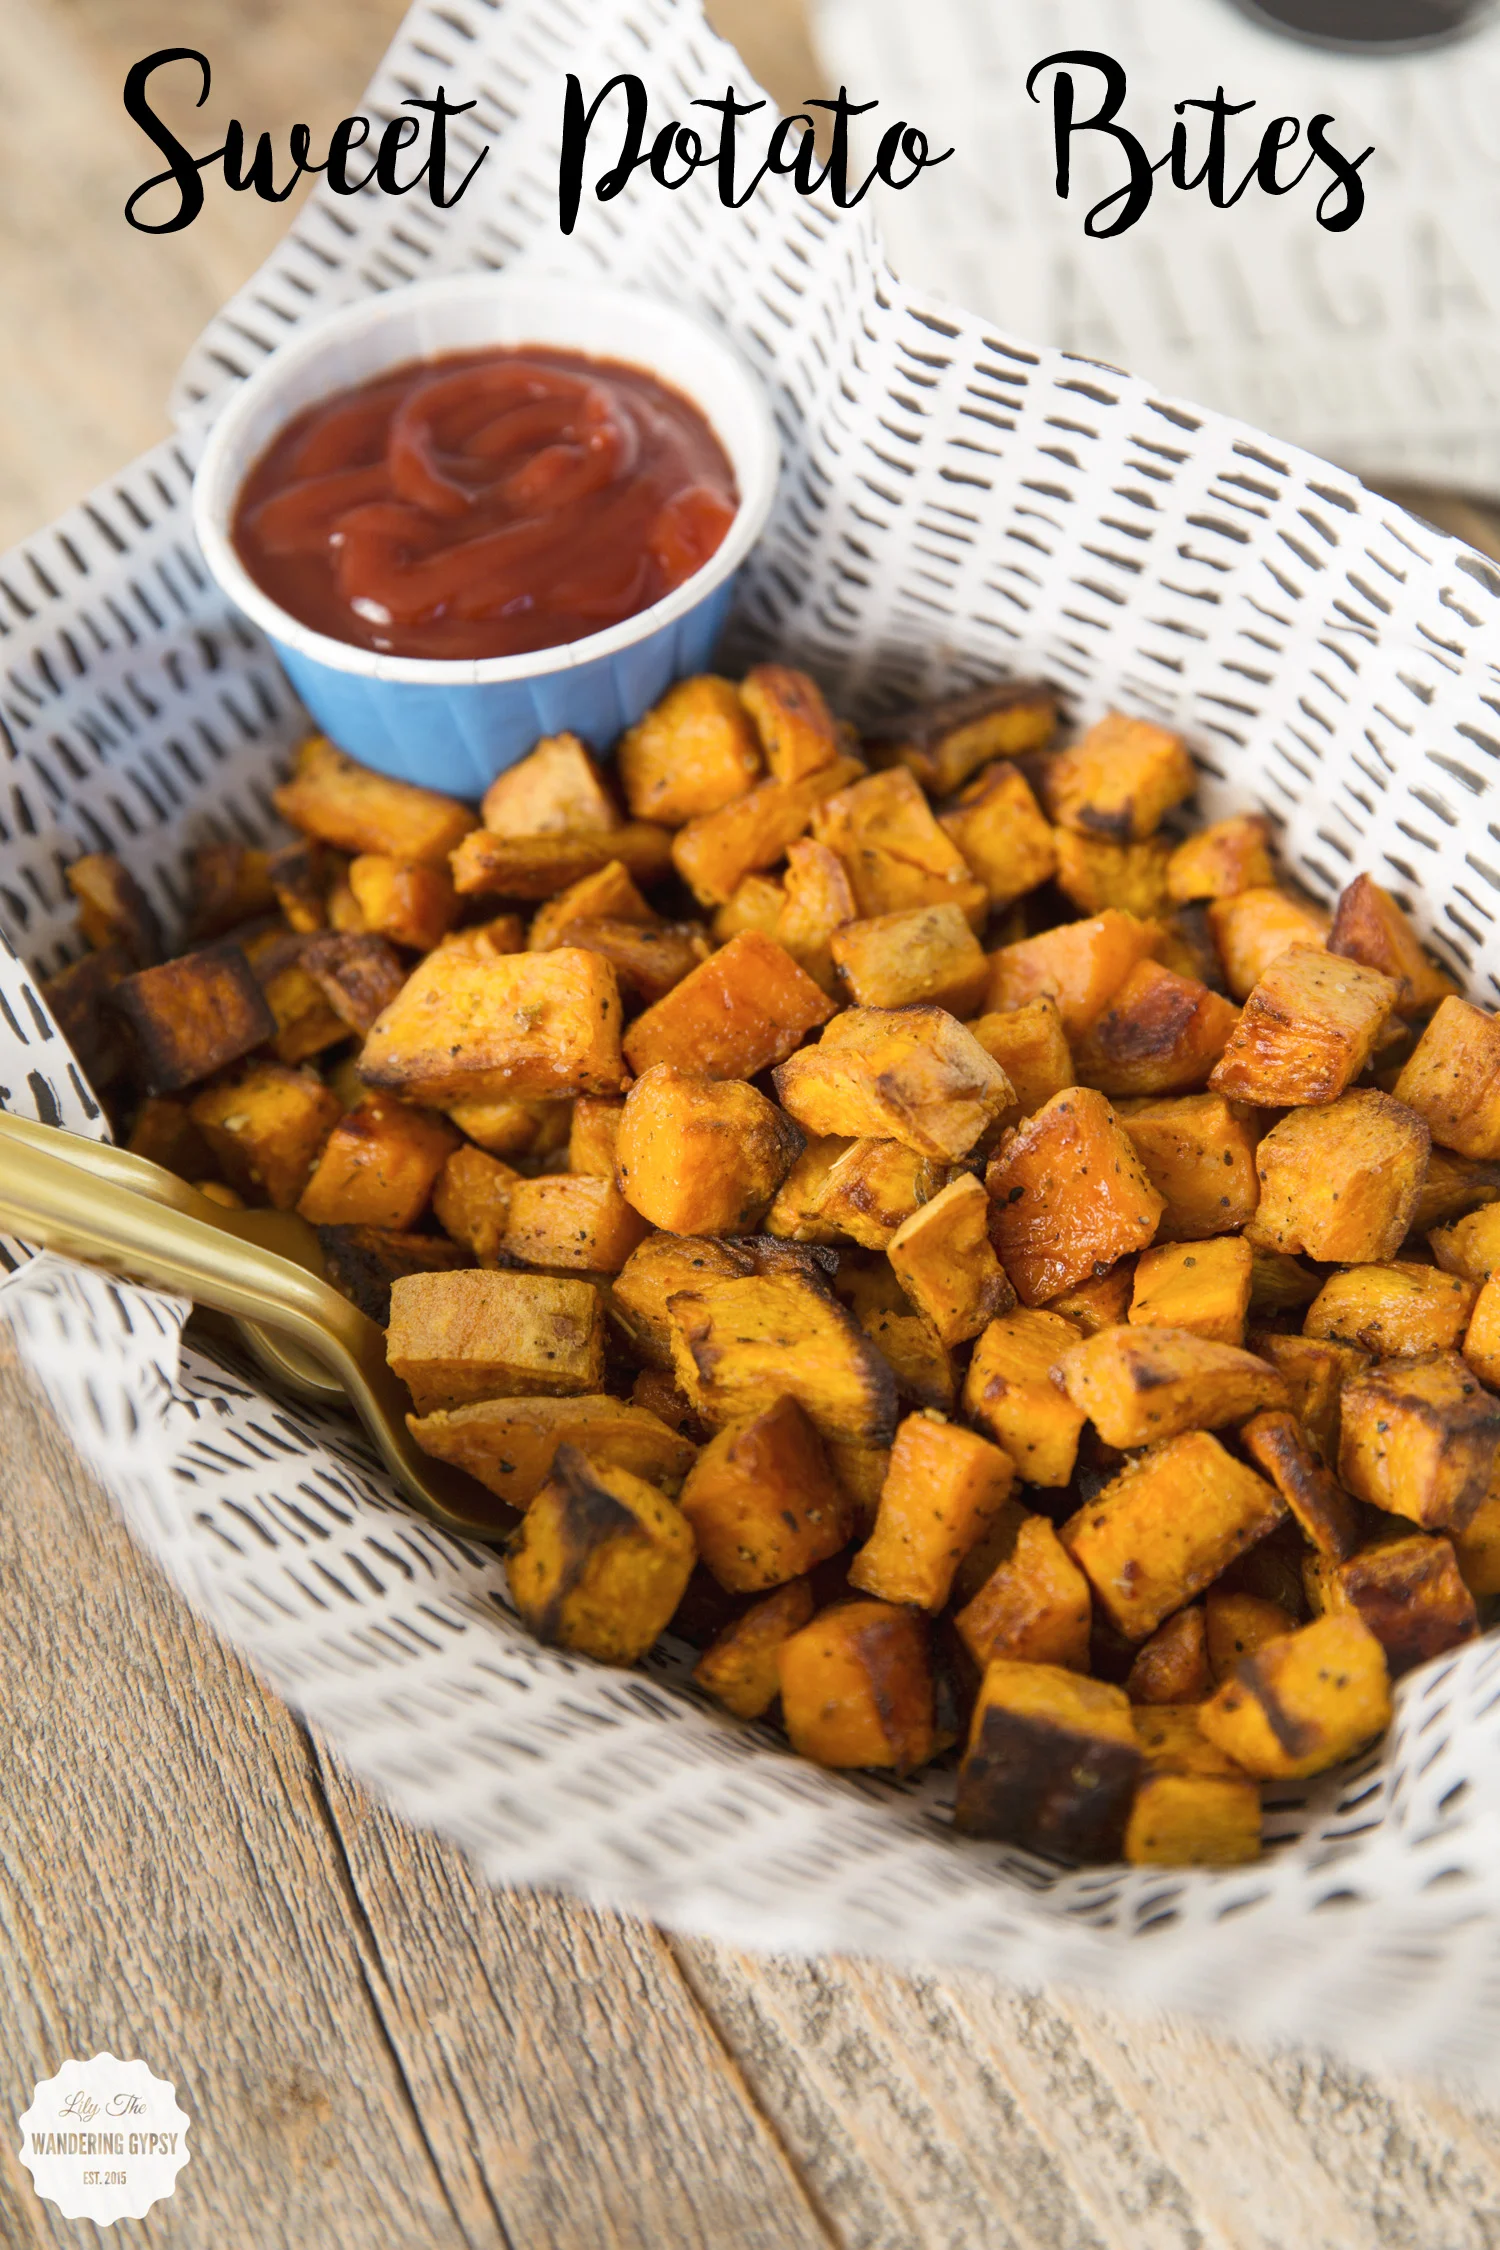
Read MoreSweet Potato Bites - A Quick And Easy Tailgate Recipe
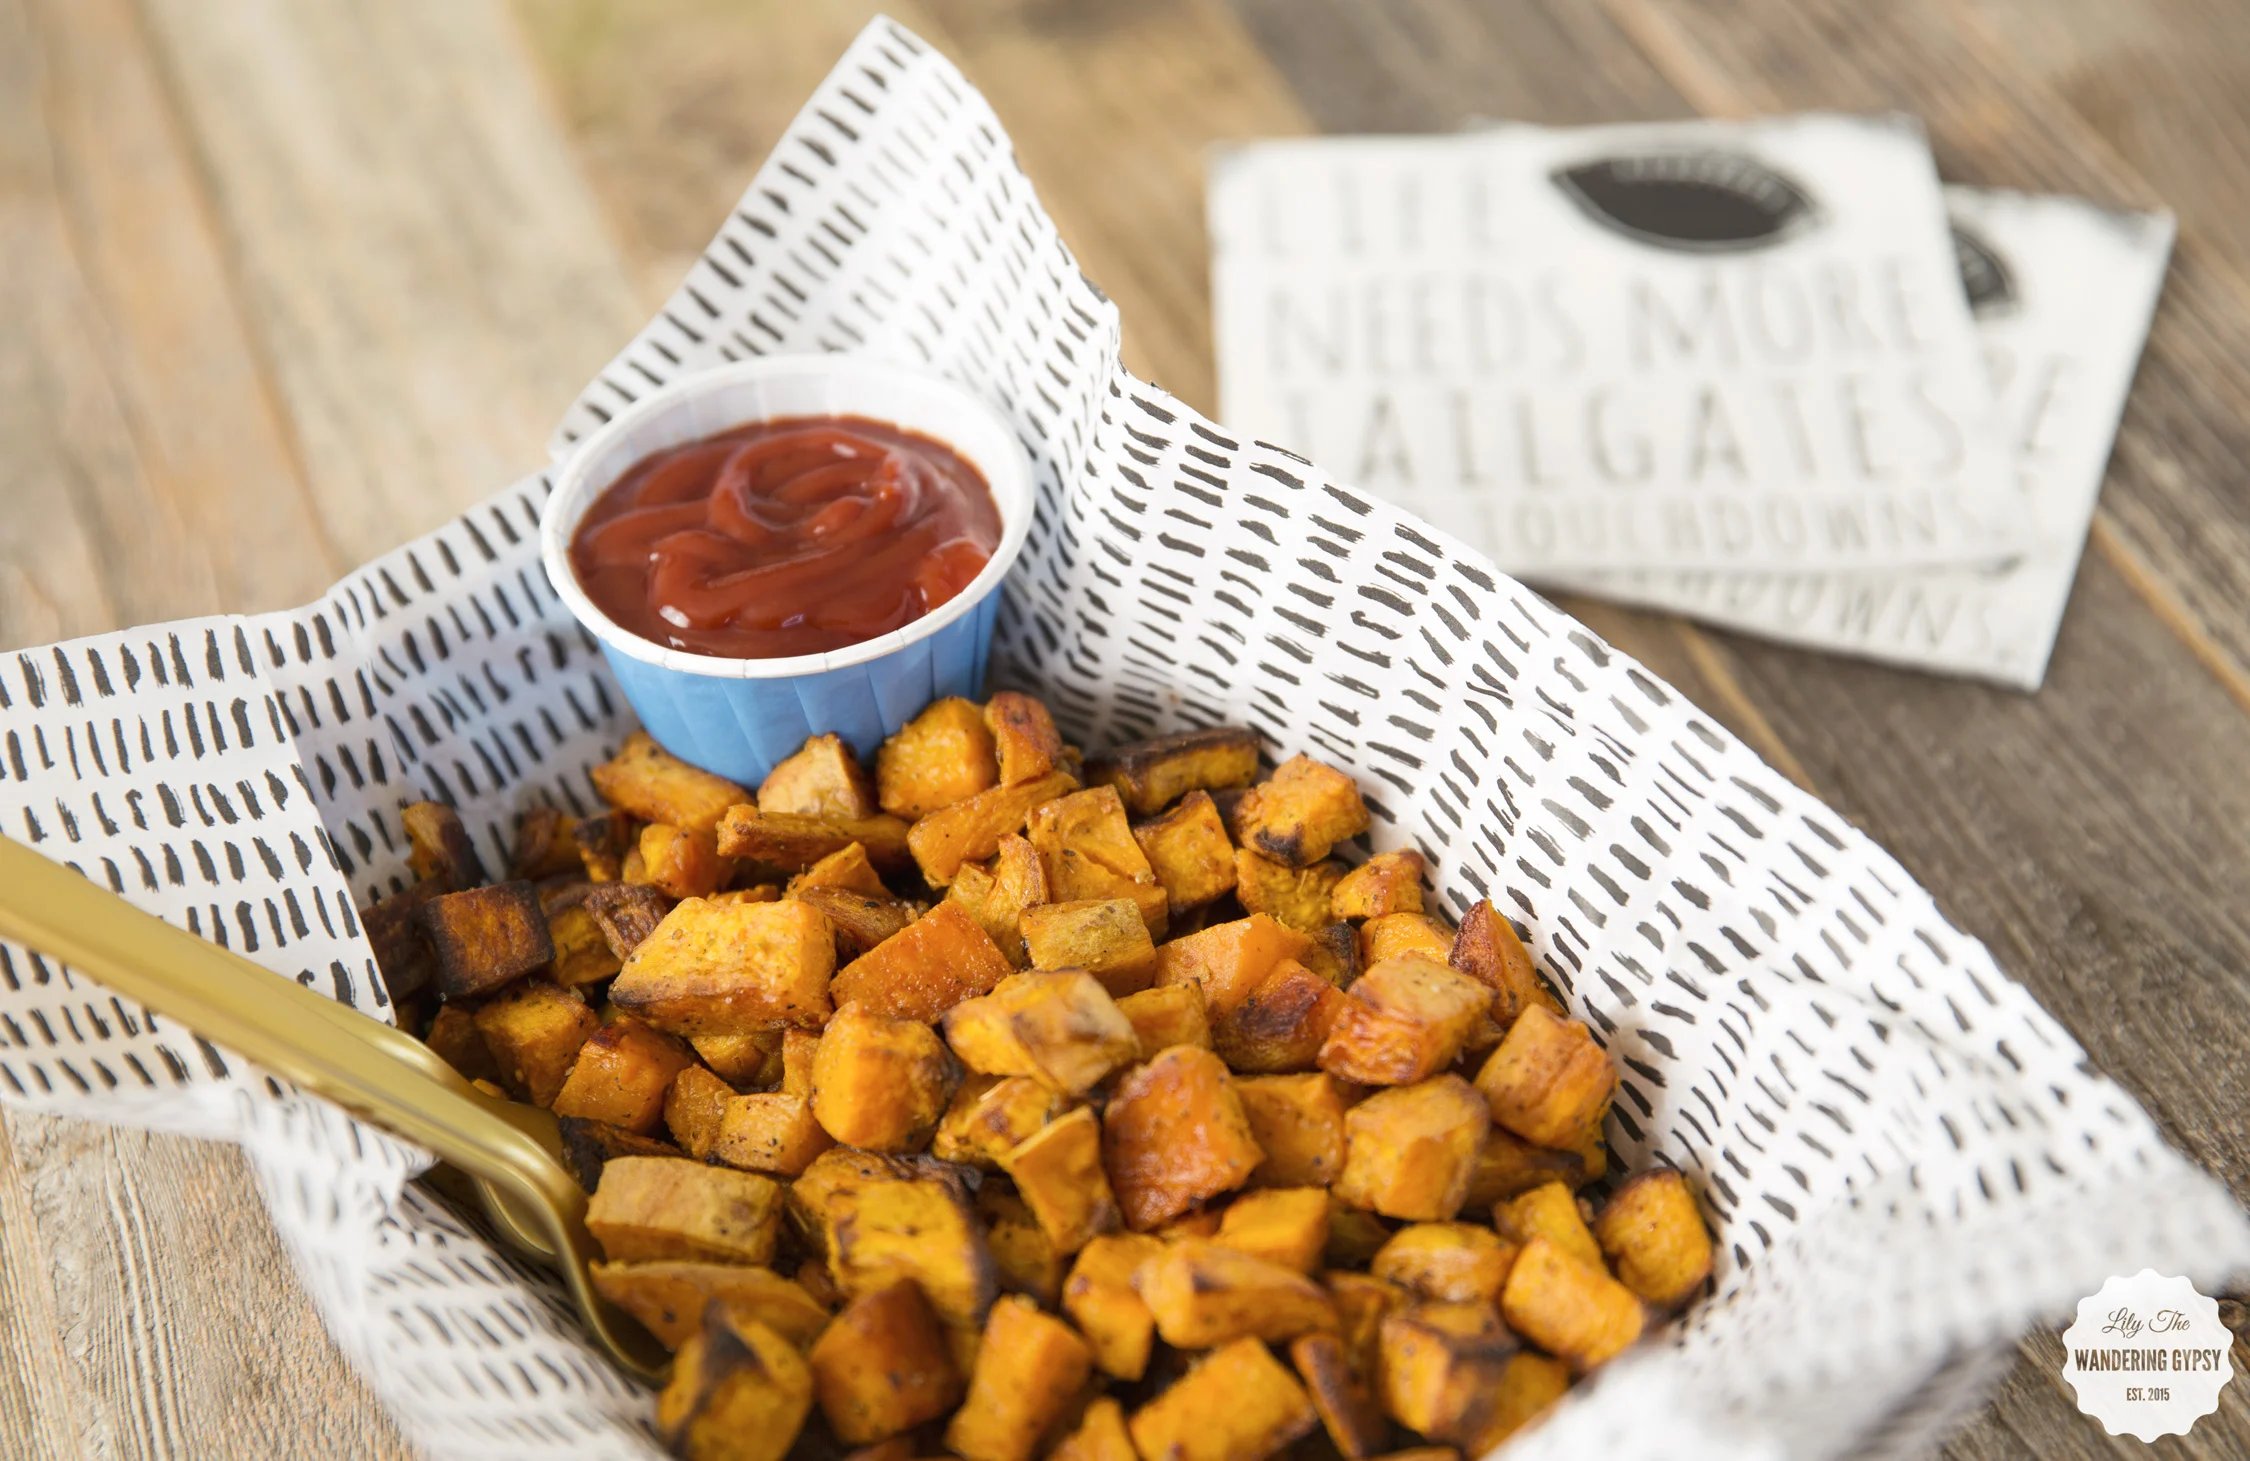
This recipe turned out SO well! I also thought they would be cute as a tailgating or football viewing party recipe. I found some adorable football napkins at TJMaxx, and also found the food serving supplies at Hobby Lobby (links provided below).
Really excited that I have a new, super easy recipe in my arsenal now :) I love how easy these were to make, and would be such a great idea for a crowd, a side dish for any meal, or would even be perfect an easy and wholesome snack. I used 2 sweet potatoes, and made way too much. So, 1 potato for every 2 people would likely be enough. I also show a little bit of Ketchup here (I love the new Simply Heinz one), but most people prefer honey on their sweet potatoes. So, get creative, and serve these Sweet Potato Bites with just about any sauce, and you're golden.
INSTRUCTIONS:
1.) Preheat oven to 375 degrees F, and line a baking sheet with foil or use non-stick spray. I then washed the potatoes, and opted to peel the skins off of the potatoes, but it's possible that leaving the skins on would be just fine. Cut potatoes into small, bite sized pieces, and put them into a bowl with olive oil (enough to coat everything), and seasonings like salt, pepper, a bit of cayenne pepper, and a bit of an Italian seasoning blend that contained a bit of rosemary and parmesan cheese.
2.) Mix ingredients well, and make sure the potatoes are coated completely. Pour the potatoes onto the lined baking sheet, spread evenly so nothing is overlapping, and bake for 20 minutes, checking on and stirring them on the baking sheet, then baking for another 10 or so minutes. They will start to get brown and crispy around the edges and still be soft and scrumptious. Make a little, or make a lot!
SERVING IDEAS:
I love the trick of using patterned tissue paper (found in the gift wrap section at a craft store), and cutting pieces a little bigger than the container you will serve the food in. It really dresses things up! In this post, I used these food containers (found here), small paper condiment cups (similar here), and patterned tissue paper. I also used some gold utensils (found here), but you could use any color.


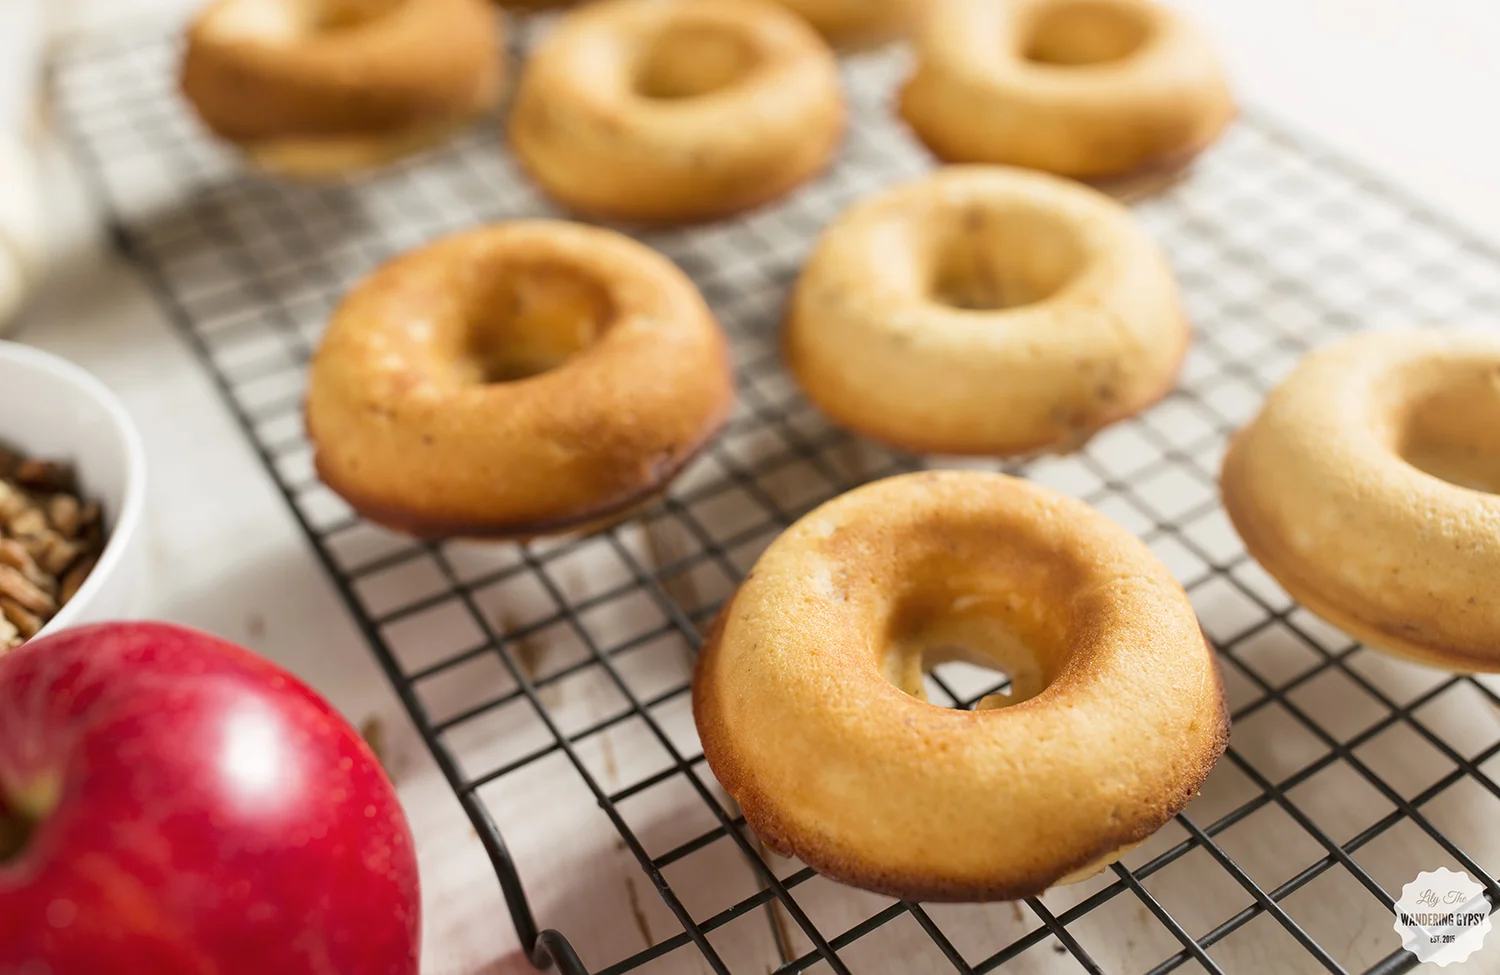
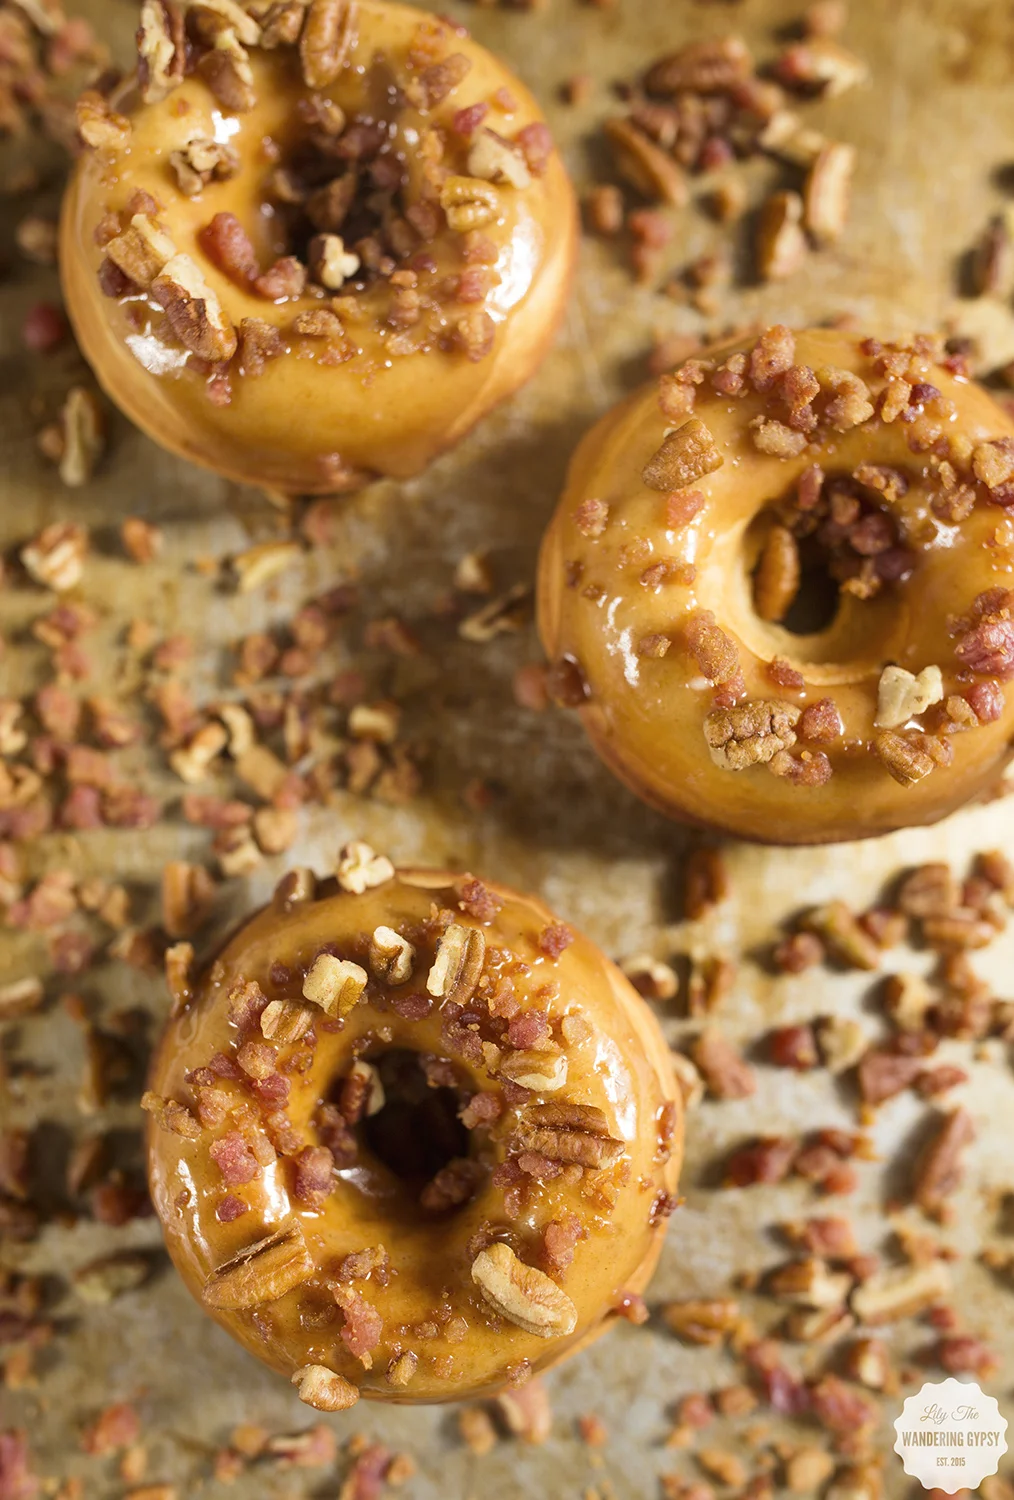
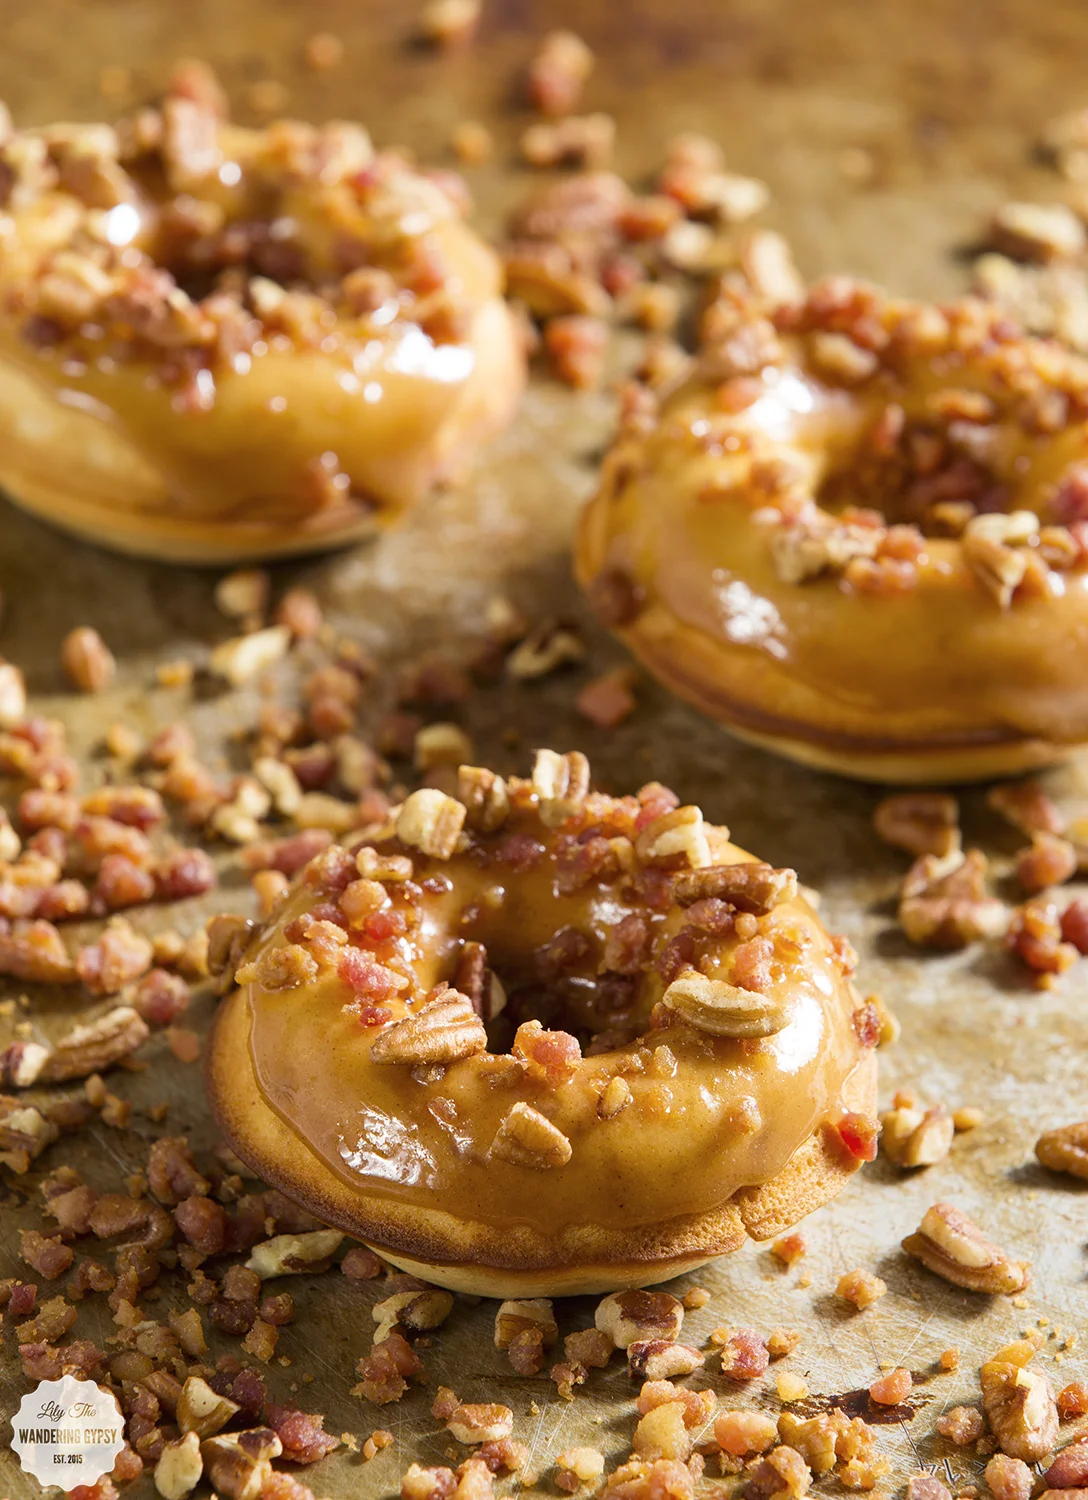
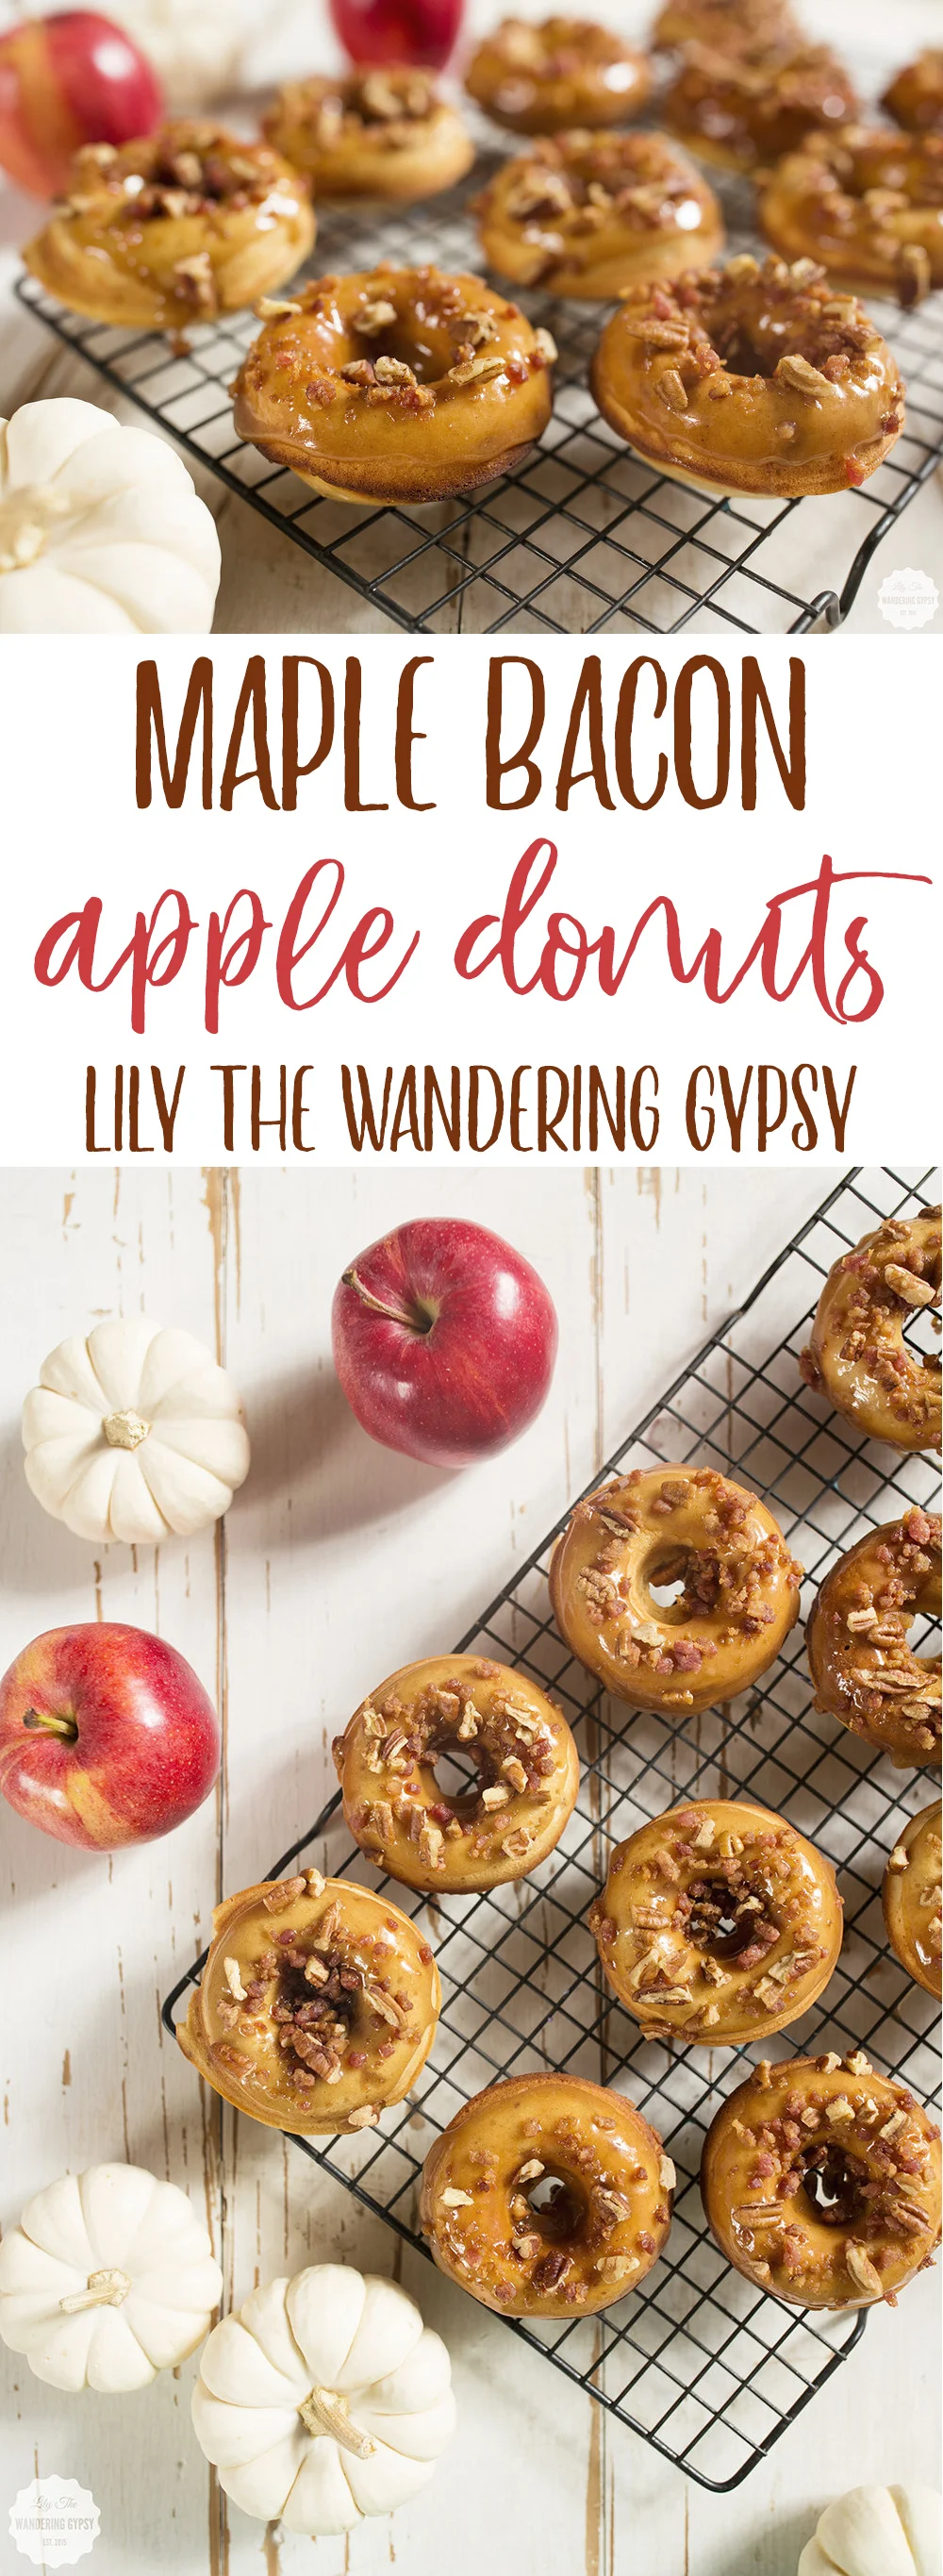
Fresh Apple Donuts With Maple, Bacon, Caramel Pecan Glaze!
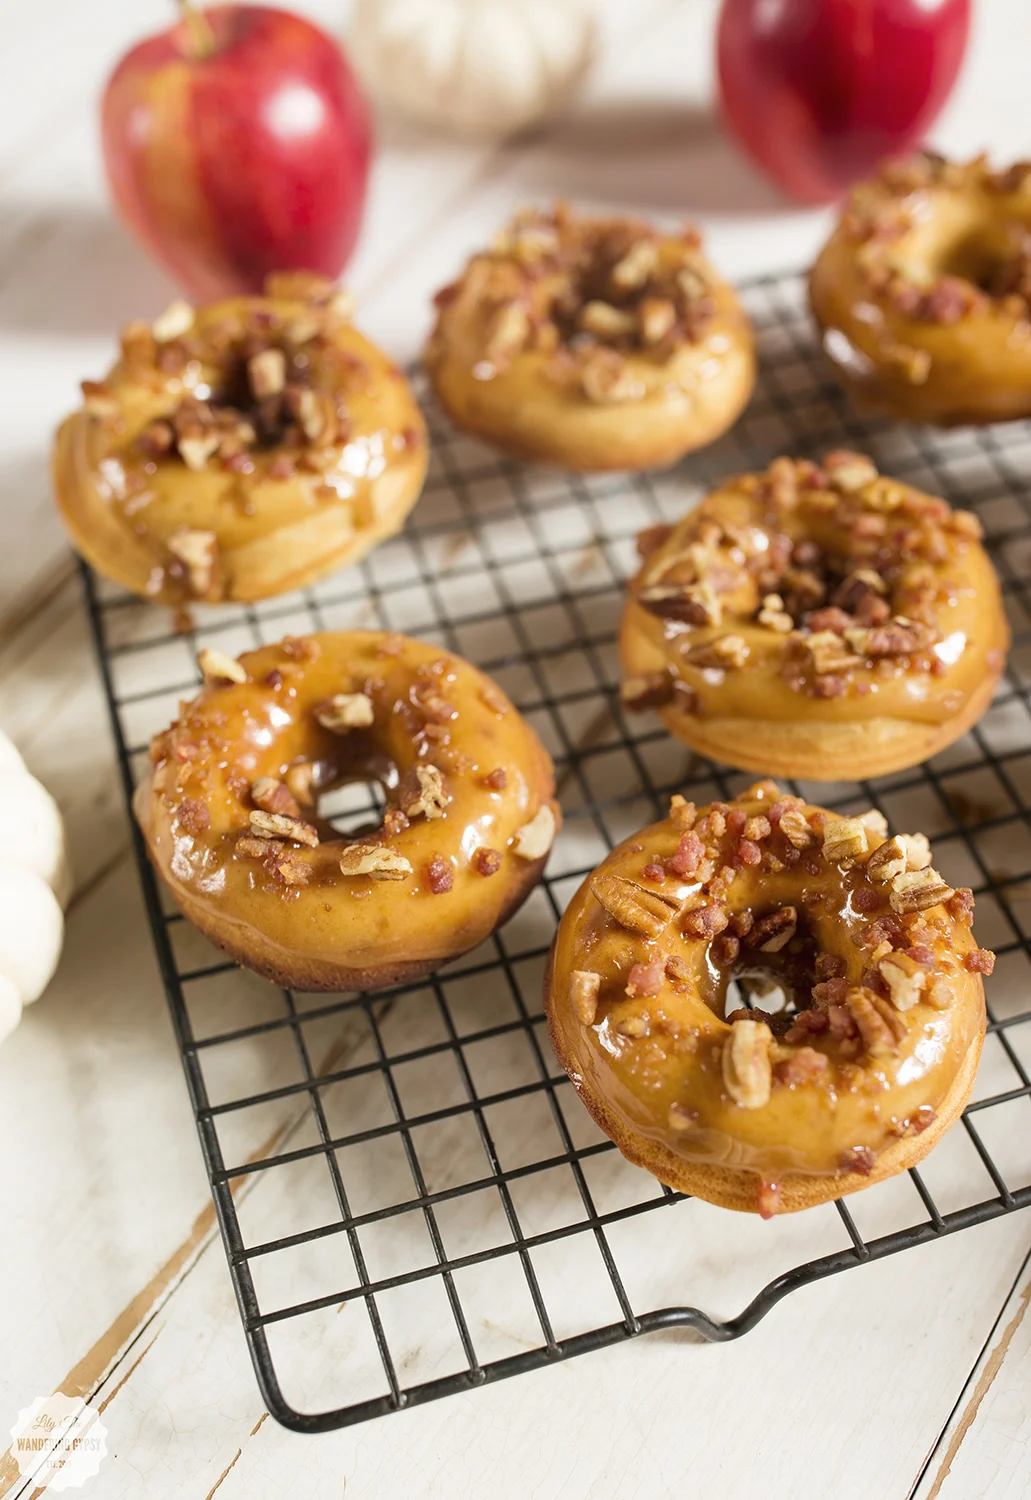
So, these fresh baked apple donuts turned out great. I adapted this recipe, from A Latte Food just a tiny bit, and they worked out so well. I loved each of the steps involved in this project. I also substituted buttermilk with vanilla yogurt (it worked out great!!).
This is actually the first time that donuts have actually worked for me. Last time, they did not rise much, they were kind of bland, and I basically put the donut tin in the back of the cabinet to be forgotten for a while.
But, I was recently invited to join a little blog post link up with some other bloggers, and the only requirement for #SoFabSeasons was that it had to do with apples. Well, off to Pinterest I went, and within minutes, I knew that donuts had to go down.
This was also my first time really making a glaze for donuts, and it turned into more of a caramel because I heated the mixture a bit too long, bringing the sugars to kind of caramelize. Oh well, these are amazing, and I loved topping them with an unexpected ingredient - bacon bits and pecans. That bacony flavor really goes so well with the other flavors, that I am so happy I added the bits.
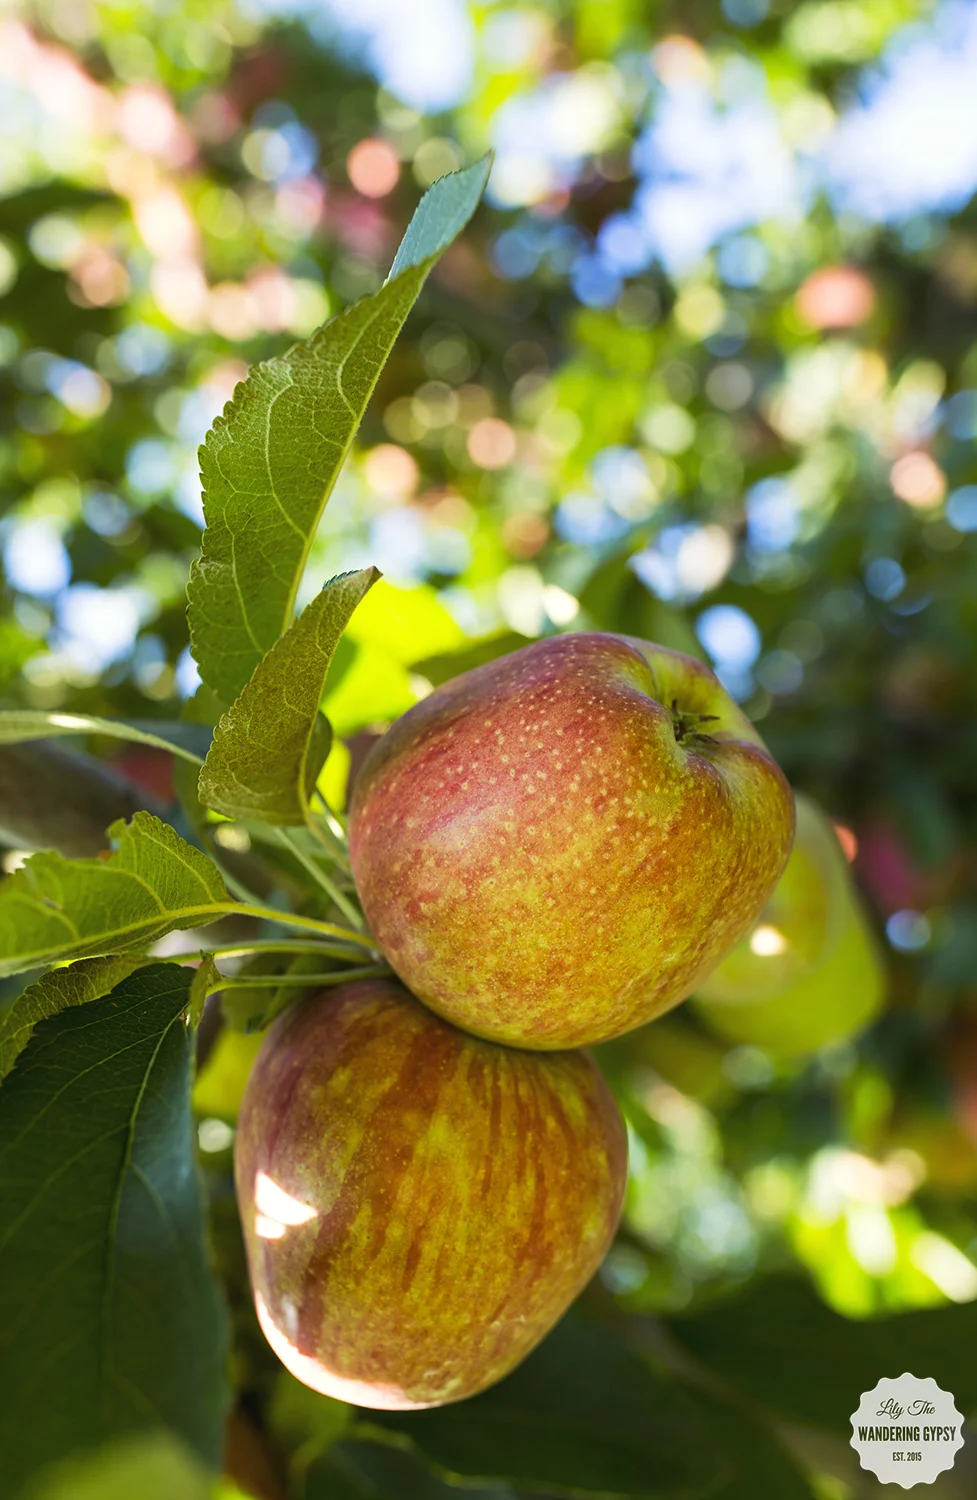
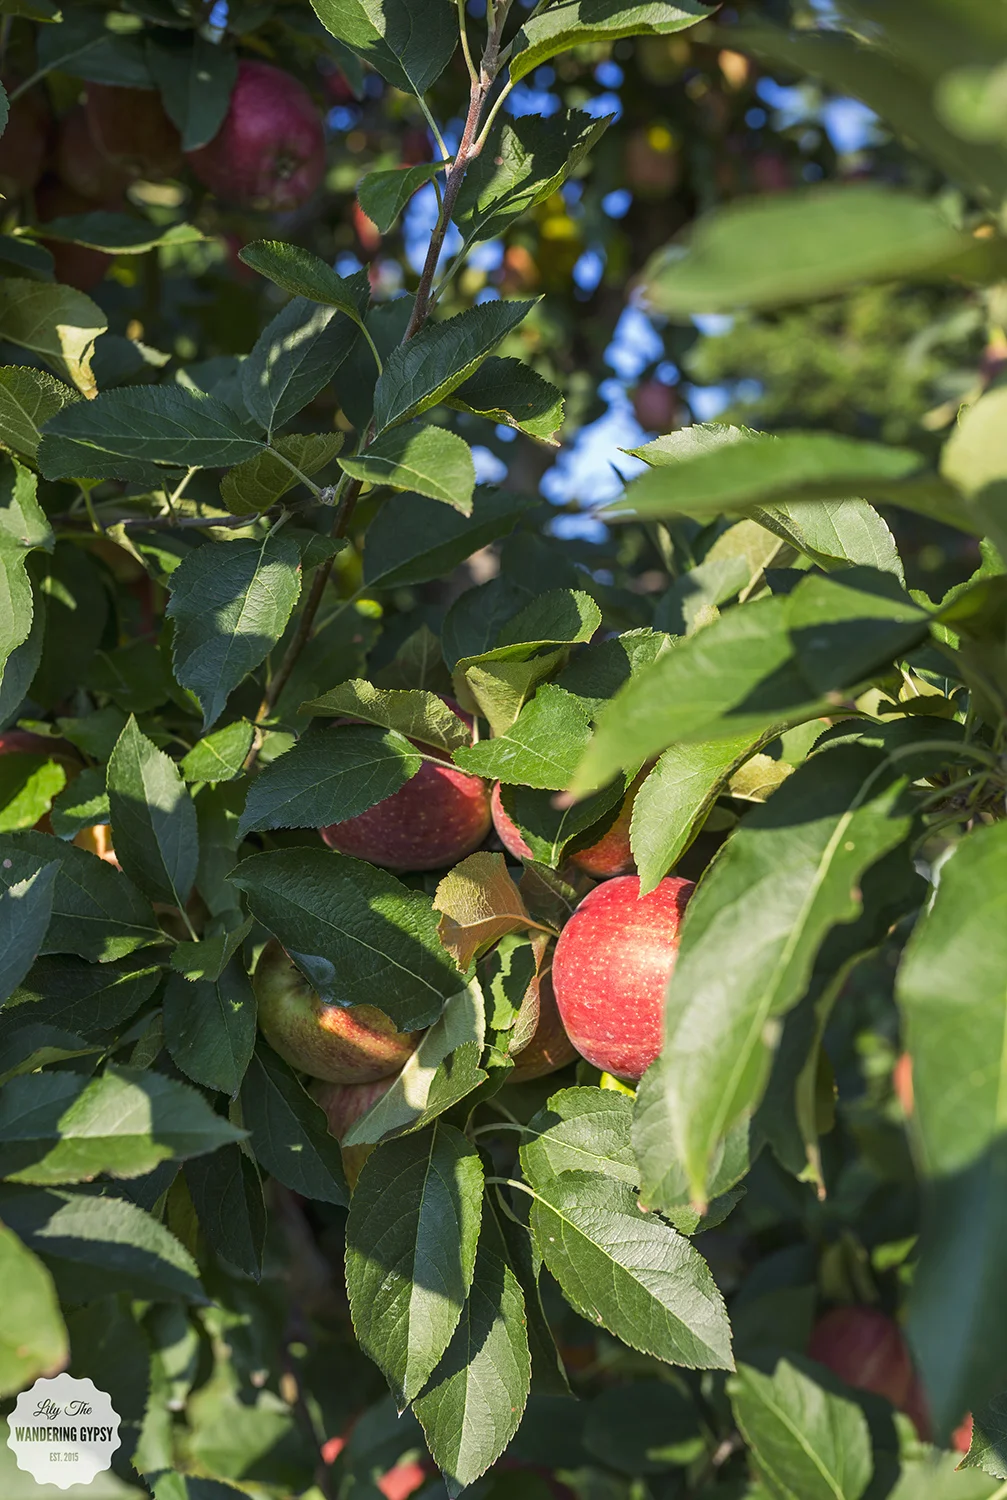
Another great thing about living in southern Illinois is that you don't have to go very far to find an apple (or peach tree) orchard. I photographed these apples, below, one day after I visited Flamm Orchards. I am sure they have been picked by now, because this was shot maybe 2 weeks ago :)
Donuts
- 1 1/4 cups all purpose flour
- 1/2 cup sugar
- 1/4 cup brown sugar
- 1 tsp baking powder
- 1/4 tsp nutmeg
- 1/4 tsp salt
- 1 egg
- 1/3 cup buttermilk
- 2 Tbsp sour cream
- 1 tsp vanilla extract
- 1 Tbsp butter
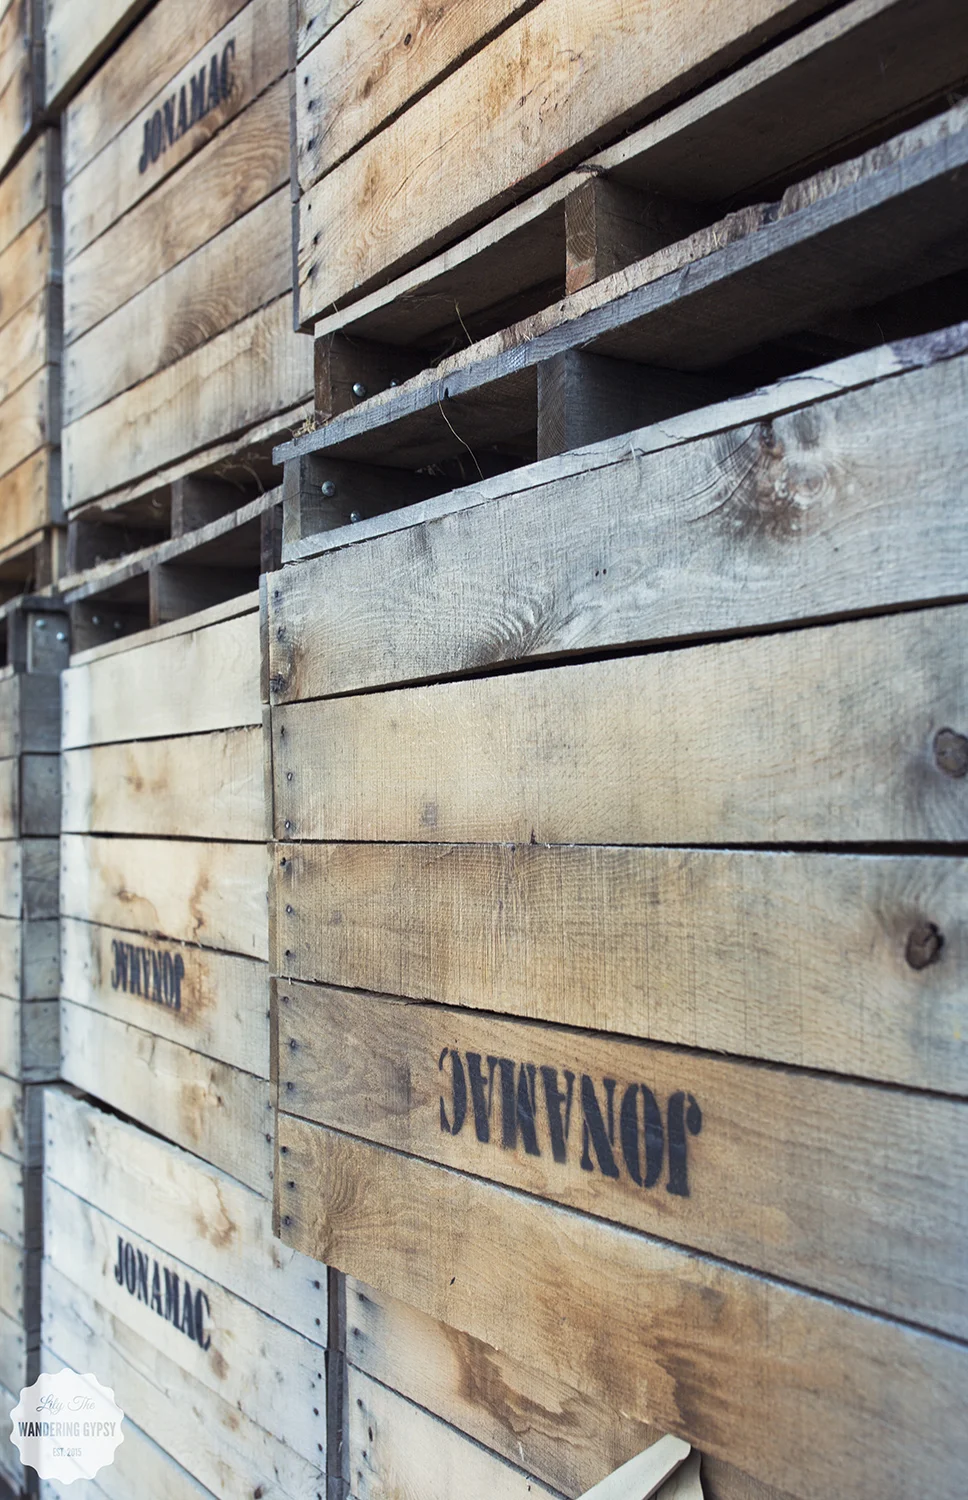
And, here are the apple crates at Flamm Orchard. I would LOVE to get one of those for a photography prop/surface!
Maple Glaze
2 Tbsp butter
1/4 cup pure maple syrup
1/2 cup powdered sugar
1/4 tsp vanilla extract
1/8 tsp ground cinnamon
Apples
- 1 large apple, chopped finely
- 1 Tbsp brown sugar
- 1 Tbsp butter
- 1/4 tsp vanilla extract
- 1/2 tsp cinnamon
Topping
- 1/2 cup chopped pecans
- 1/2 package bacon bits
INSTRUCTIONS
- (APPLES) On med-low heat, cook apple filling mixture for about 3-4 minutes. Pull off heat and allow to cool.
- (DONUTS) Preheat oven to 425 degrees and grease a 6-count donut pan liberally with baking spray.
- In a large bowl, sift flour, sugar, brown sugar, baking powder, nutmeg, and salt together.
- In a second bowl, whisk egg, buttermilk, sour cream, and vanilla extract together.
- Make a well in the center of the dry ingredients and add in the wet ingredients. Gently mix the batter until combined.
- Add in melted butter and apples and mix until combined.
- Spoon the batter into the donut pan, evenly distributing the batter between the 6 donut cavities (you may have enough batter to make 7-8 donuts).
- Bake for 10-12 minutes, or until the donuts are lightly golden and 'spring' back when touched.
- Allow to cool for 10-15 minutes.
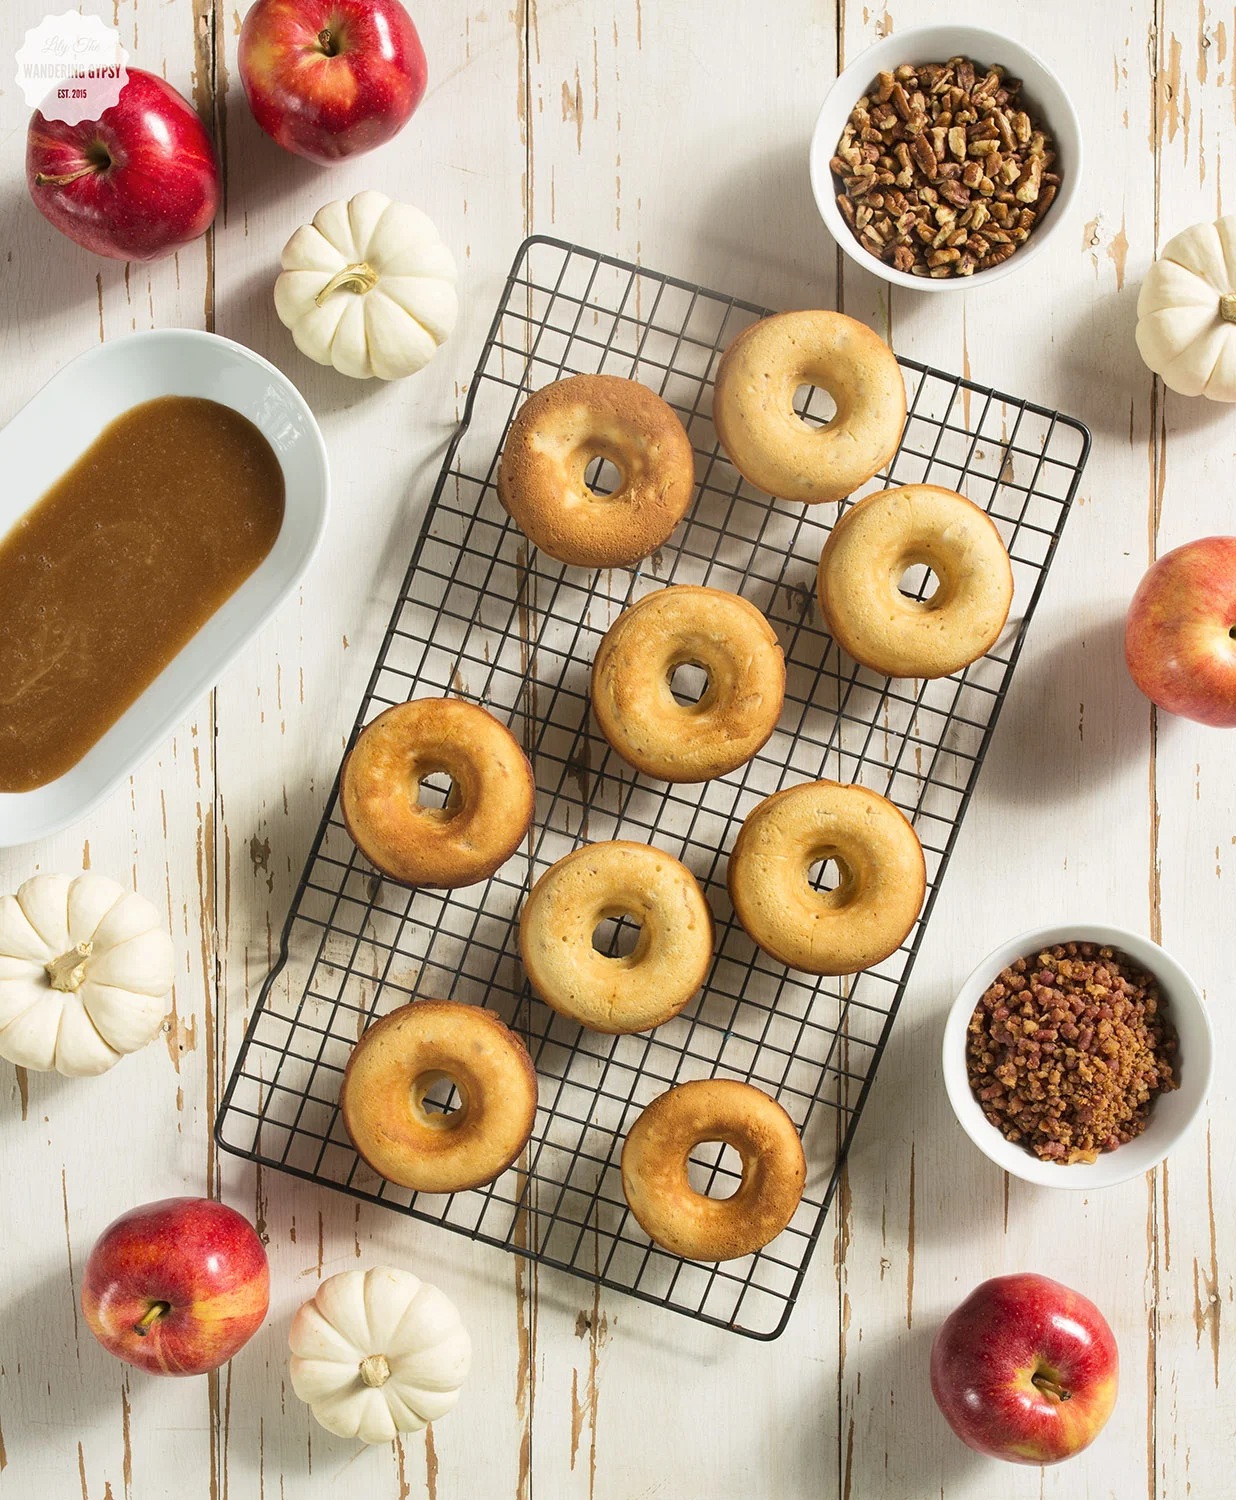
- (MAPLE GLAZE) Melt butter, maple syrup, vanilla extract, and cinnamon over low heat. Once melted together, pull off the heat. Sift in powdered sugar, and whisk until fully combined. Allow to cool for 8-10 minutes so the glaze can thicken. You want to work kind of quickly on this step, because the glaze can cool kind of quickly, and thickens.
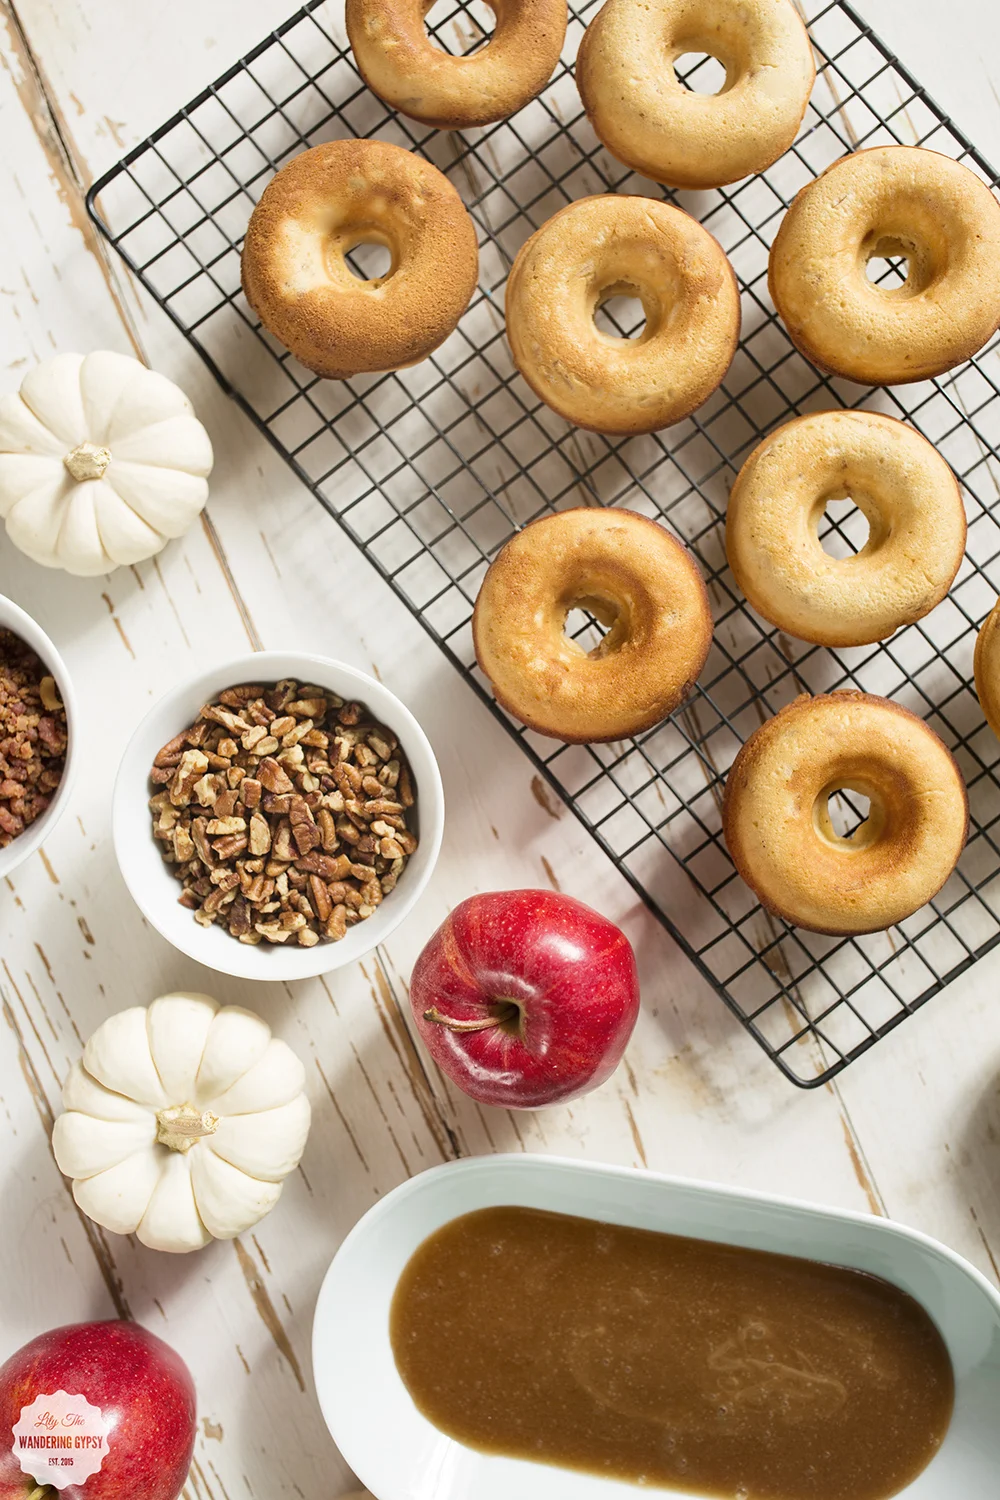
- Dip each donut into the glaze and immediately sprinkle with chopped pecans. The elongated-shaped dish shown in white, is one I got at IKEA, it was the perfect shape. Allow to cool on a wire baking rack.
- Enjoy!


PIN IT FOR LATER...
Quick N Easy Pesto Pasta
Pasta couldn't get much easier than this. It's nice and light, and super fresh.

INGREDIENTS:
Green Pesto
Fresh Tomatoes
Thick Spaghetti Noodles
Mozzarella Pearls
Parmesan Cheese, Grated
Extra Virgin Olive Oil
Salt and Italian Seasoning To Taste

INSTRUCTIONS:
Boil noodles as directed. Strain and return to original pot. Scoop about 3-4 tablespoons of Pesto onto noodles. Also add your olive oil, Italian seasoning, and salt. Stir together, combining well. Turn the heat back on to low. Add mozzarella pearls, and stir. They should melt pretty quickly. Once they're melted, sprinkle past with parmesan cheese, and stir once more.
Serve topped with more parmesan cheese and chopped tomatoes.
Enjoy!
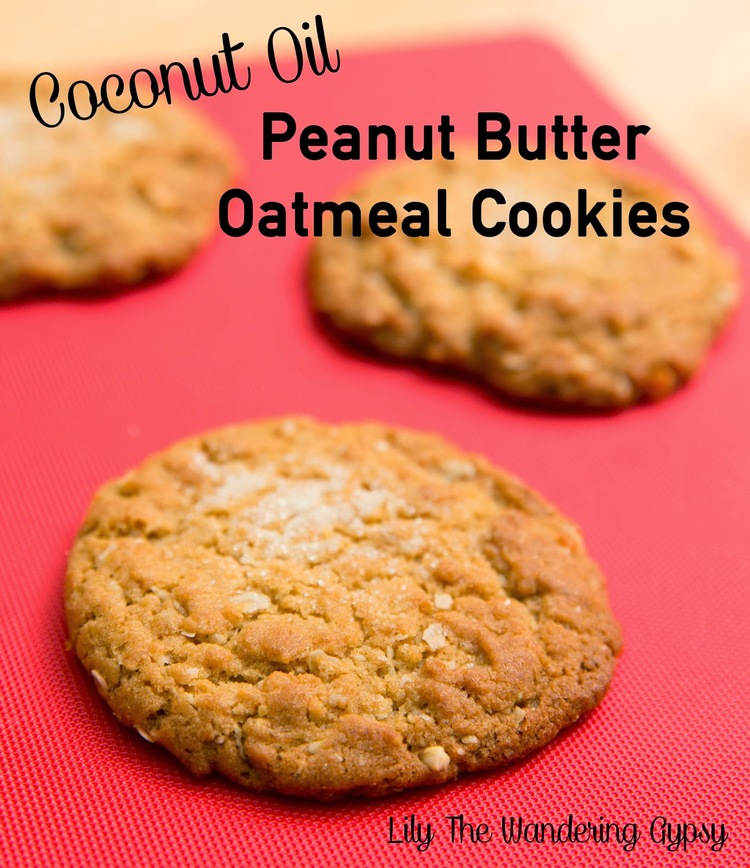
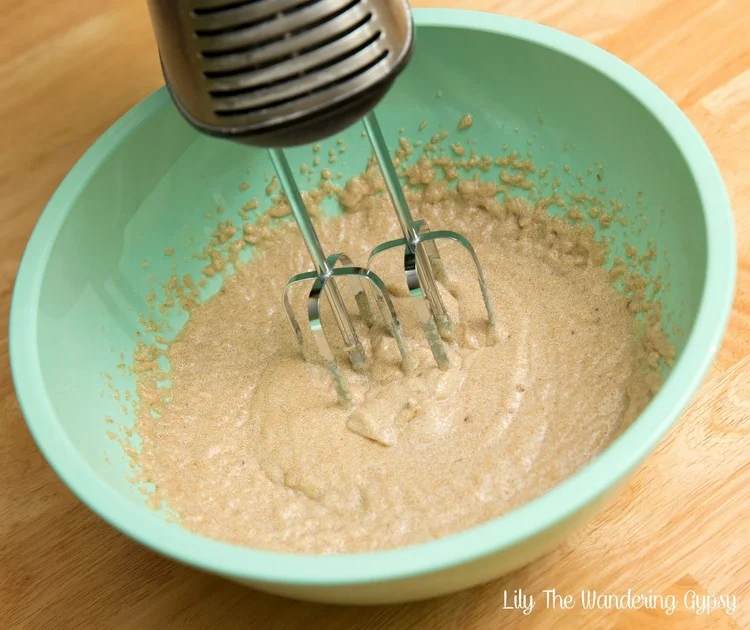
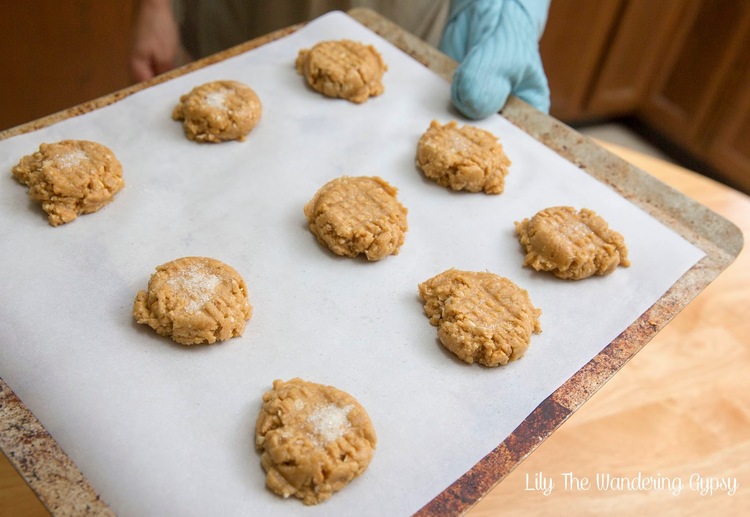
Peanut Butter Oatmeal Cookies with Coconut Oil
absolutely LOVE these cookies. The recipe (found here) originally called for shortening, and I used coconut oil. 12 minutes at 350° was just perfect. I also created a Steller Story for this recipe, find it here.

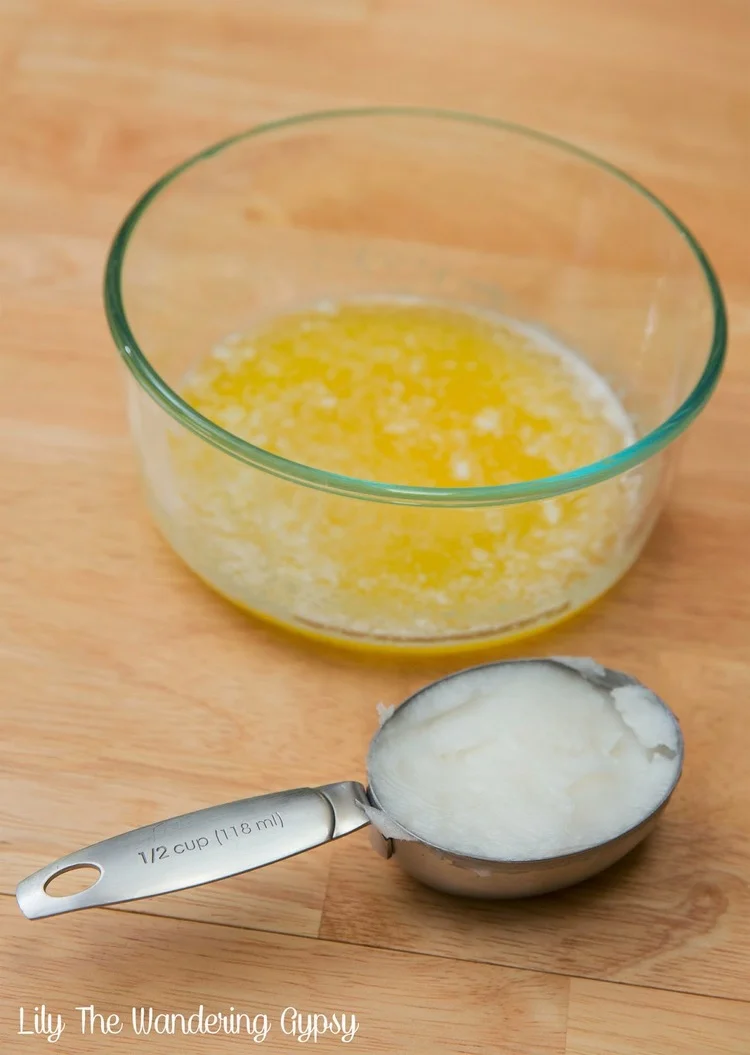
Here's 1/2 Cup melted organic butter + 1/2 Cup Organic Coconut Oil at room temp.
Here's my batter before adding the eggs and dry ingredients. pb cookies
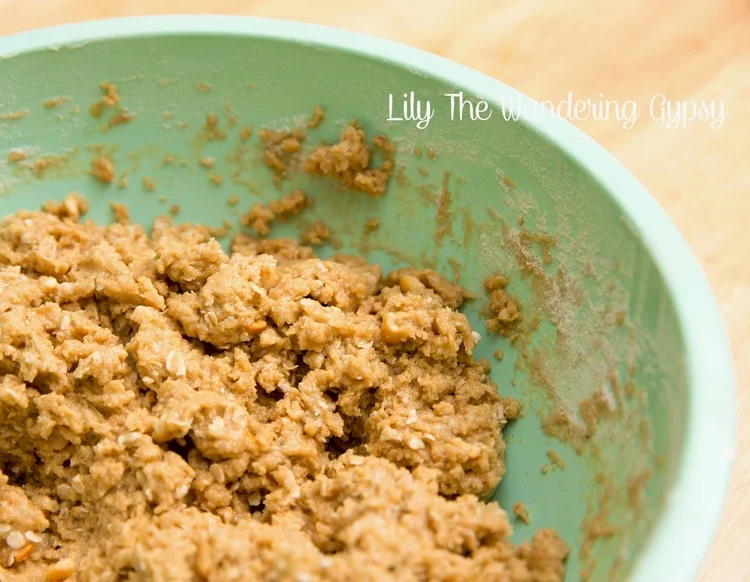
Here's the batter with all the ingredients in it.
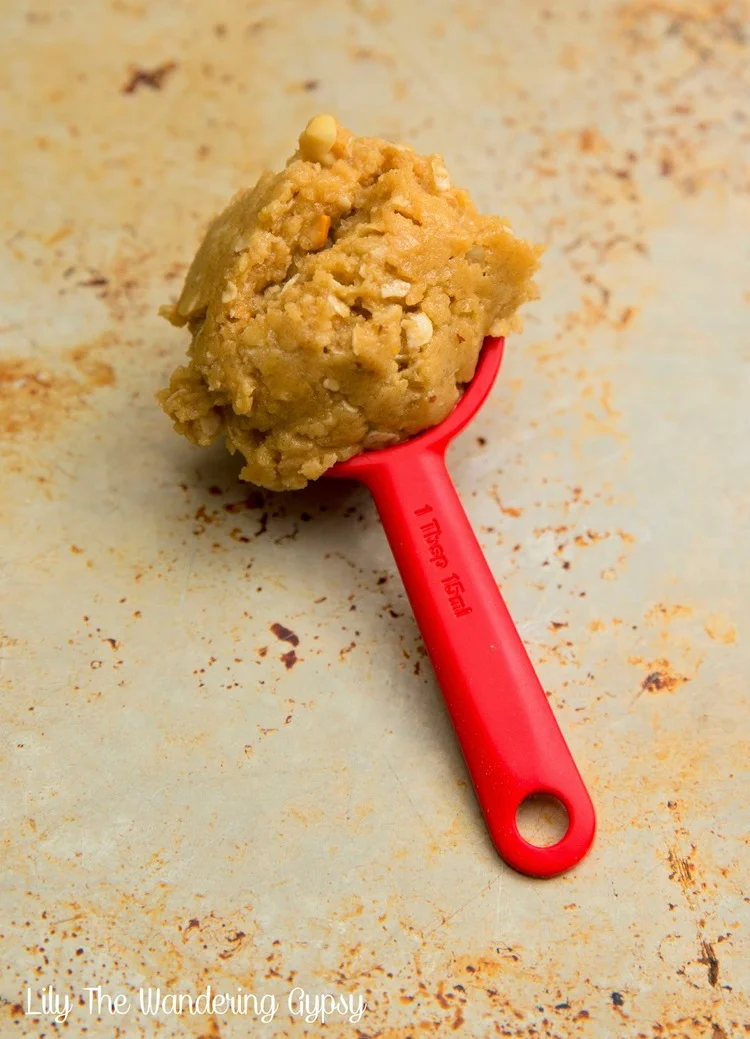
I found that my 1 Tbsp. silicone measuring spoon (similar ones here) is perfect for scooping and shaping this dough!
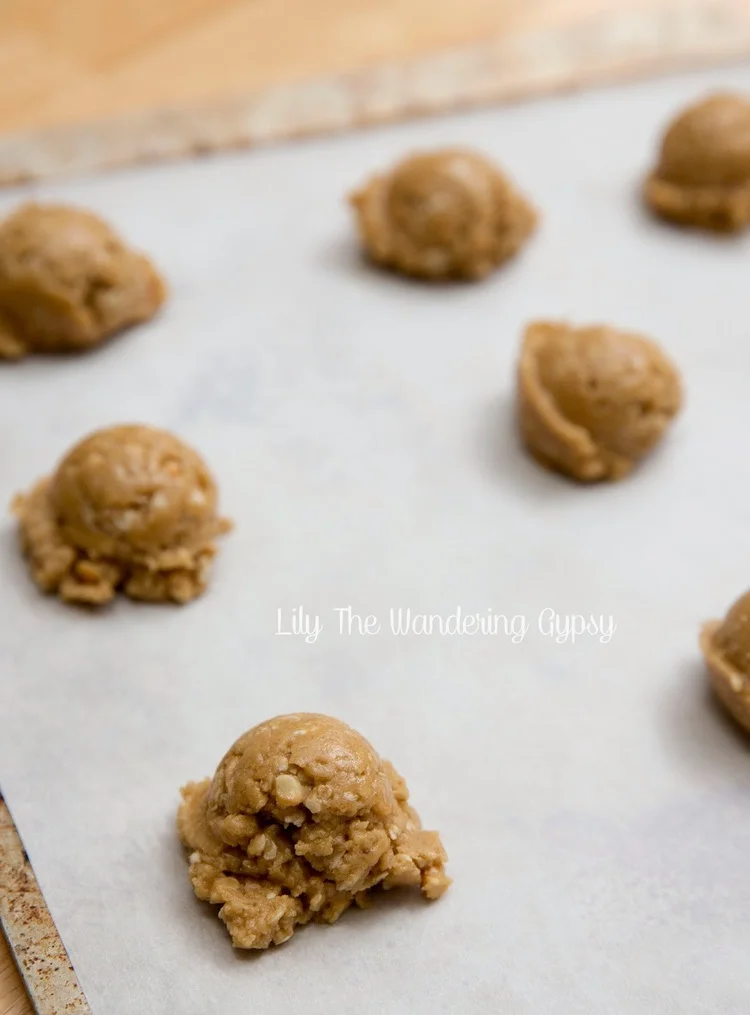
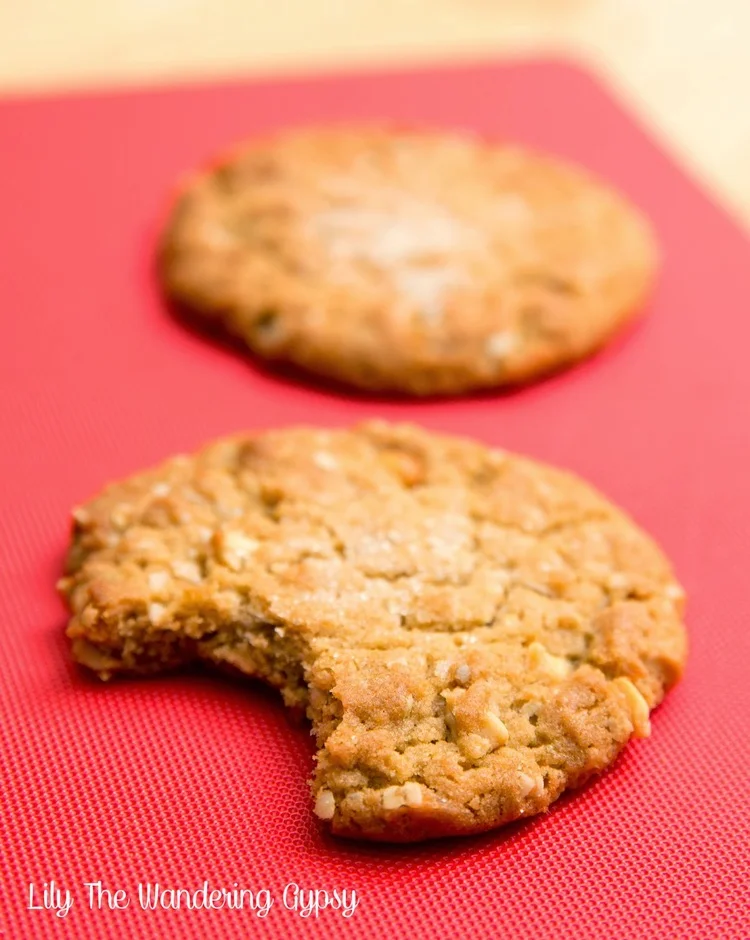
You can (optionally) press the dough down with a fork in a criss cross pattern, and sprinkle sugar on top. The cookies will spread a bit more if you do this step.
After baking for 12 minutes at 350, they should look golden brown like this! If you make these cookies and enjoy them, please comment below. Thanks!
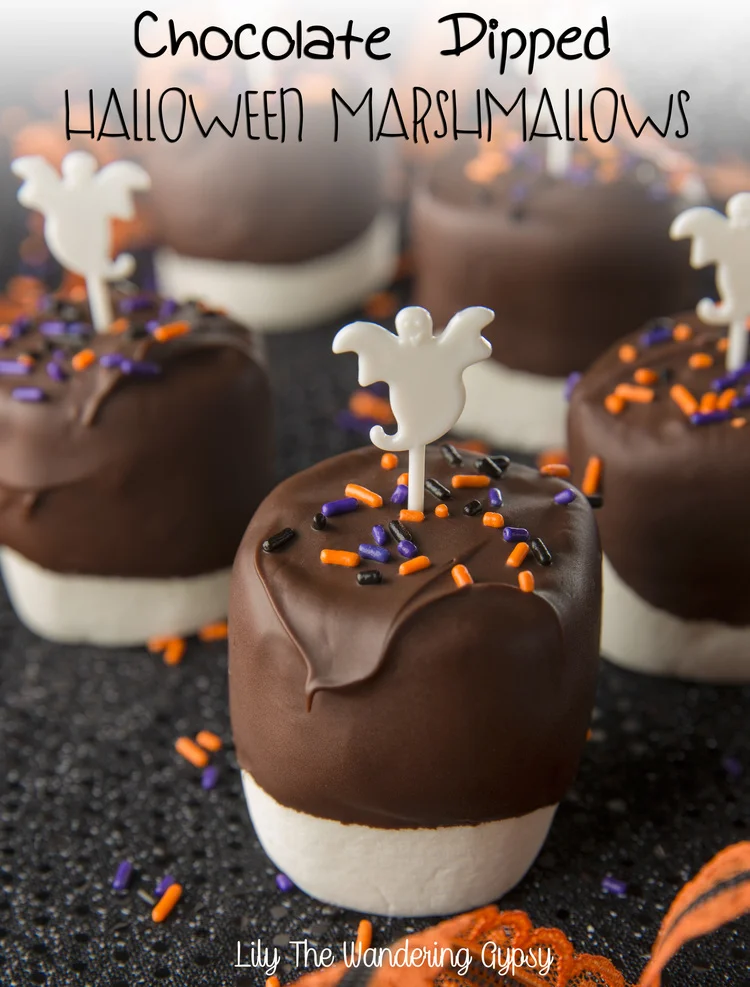
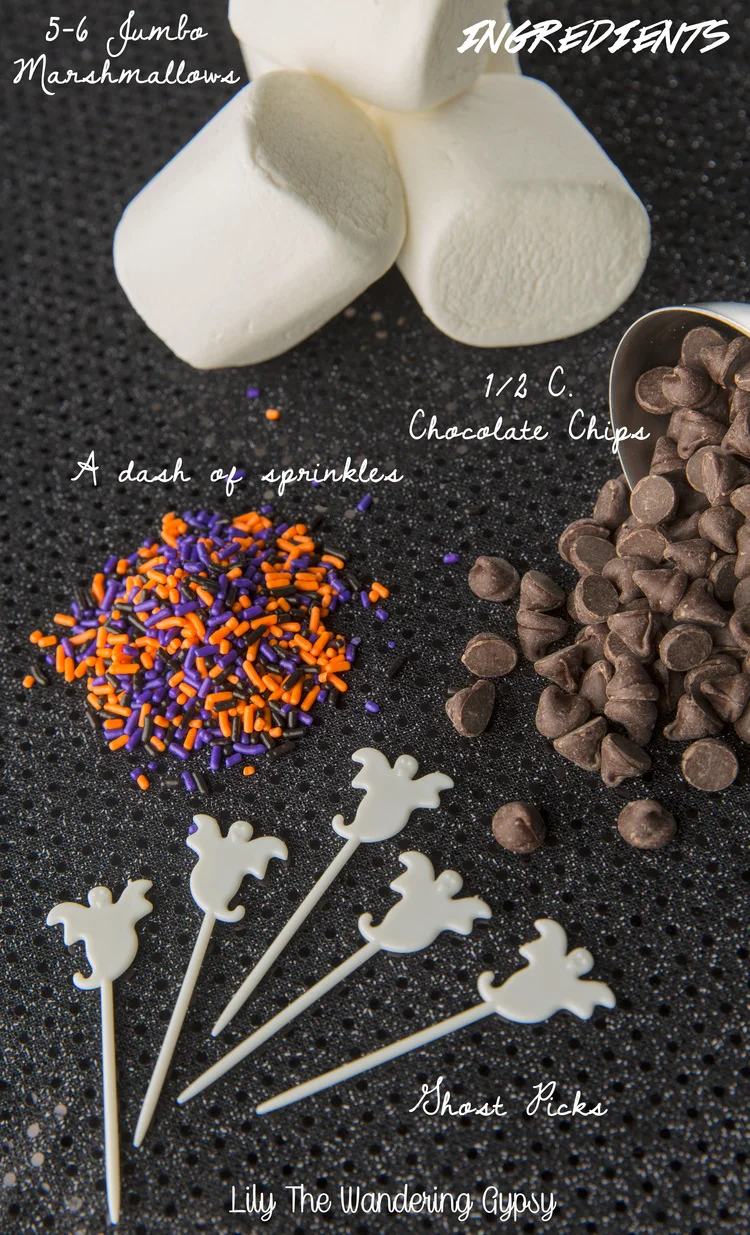
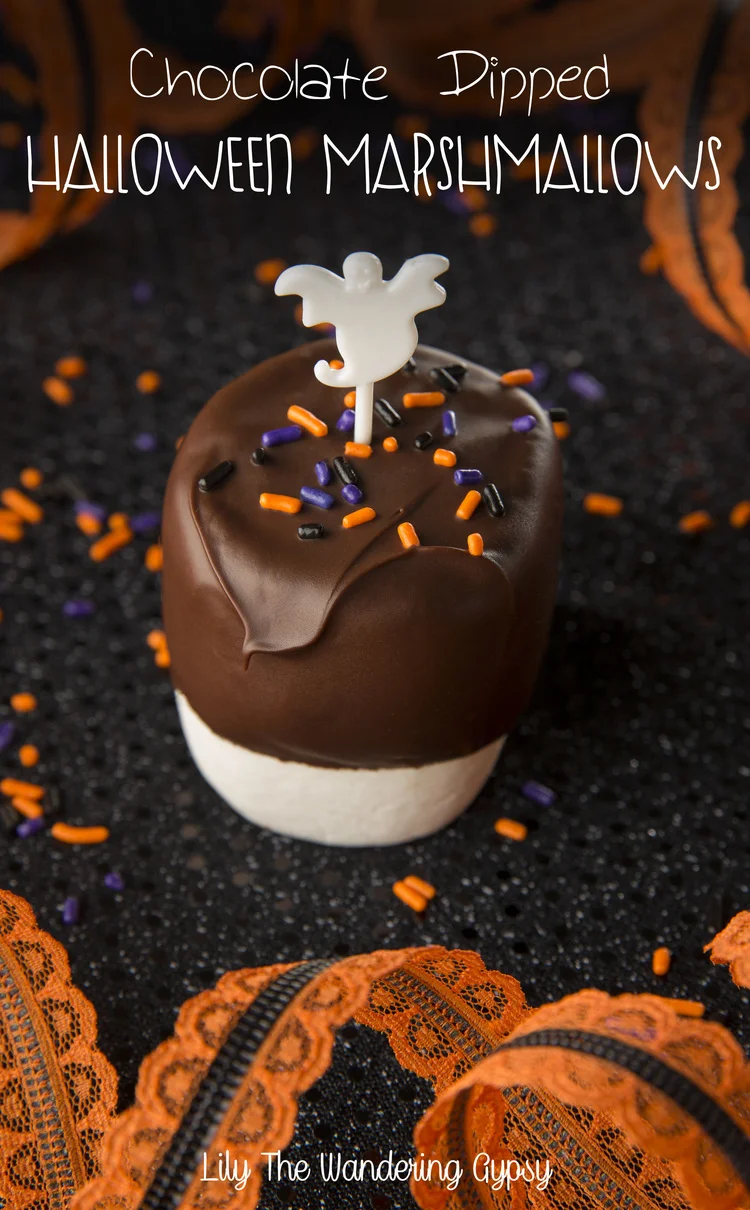
Chocolate Dipped Halloween Marshmallows


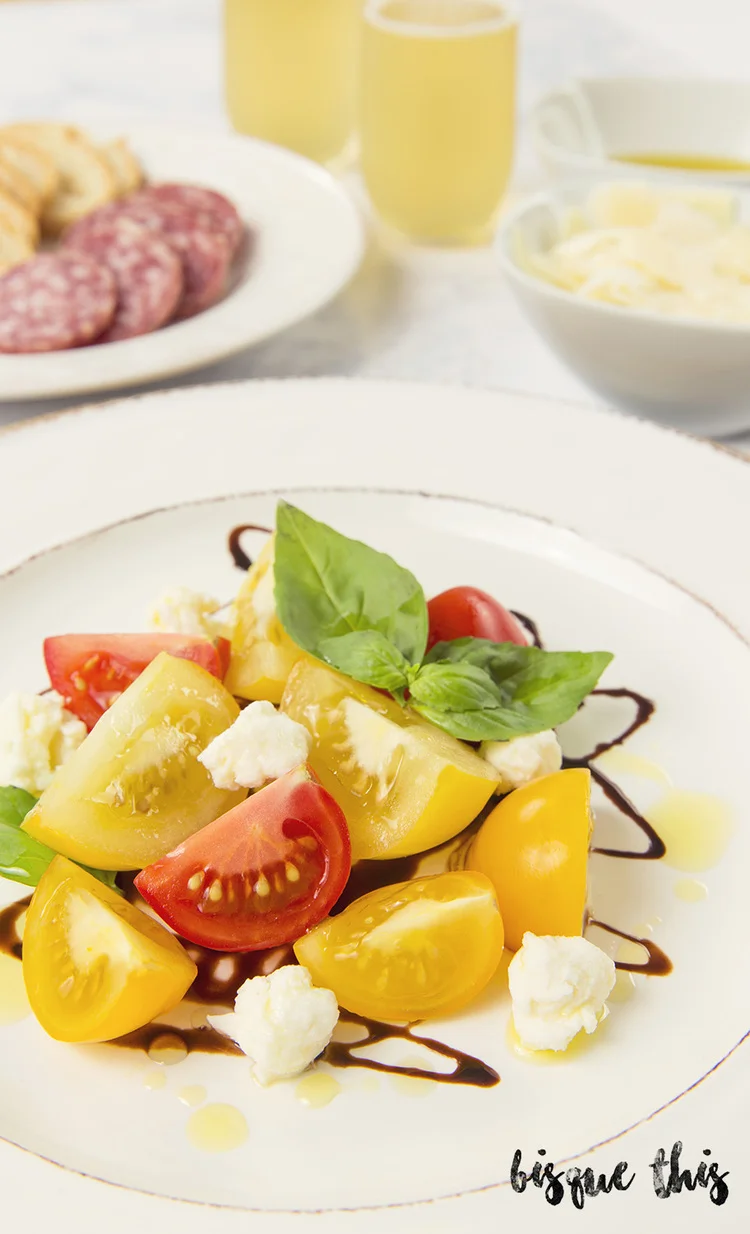
Caprese Salad Recipe
This is one of my absolute all-time favorite dishes! I love any excuse to eat fresh tomatoes, and when the organic and local ones are heirloom, it's even better! I thought that using a mix of yellow and red tomatoes really gave this plate a more vibrant and special look. I actually created this recipe for the Burnt movie, to help promote their movie. Check out my Burnt project, on Pinterest HERE, entitled Food, Romance, Love.
INGREDIENTS (MAKES 2 SERVINGS)
* 10-15 organic yellow and red cherry tomatoes (or other small tomatoes)
* Fresh Organic Basil (I found mine as a plant at the grocery store. Bonus points for ORGANIC!!!
* Fresh Mozzarella Cheese
* Olive Oil
* Balsamic Vinaigrette
* Salt to taste
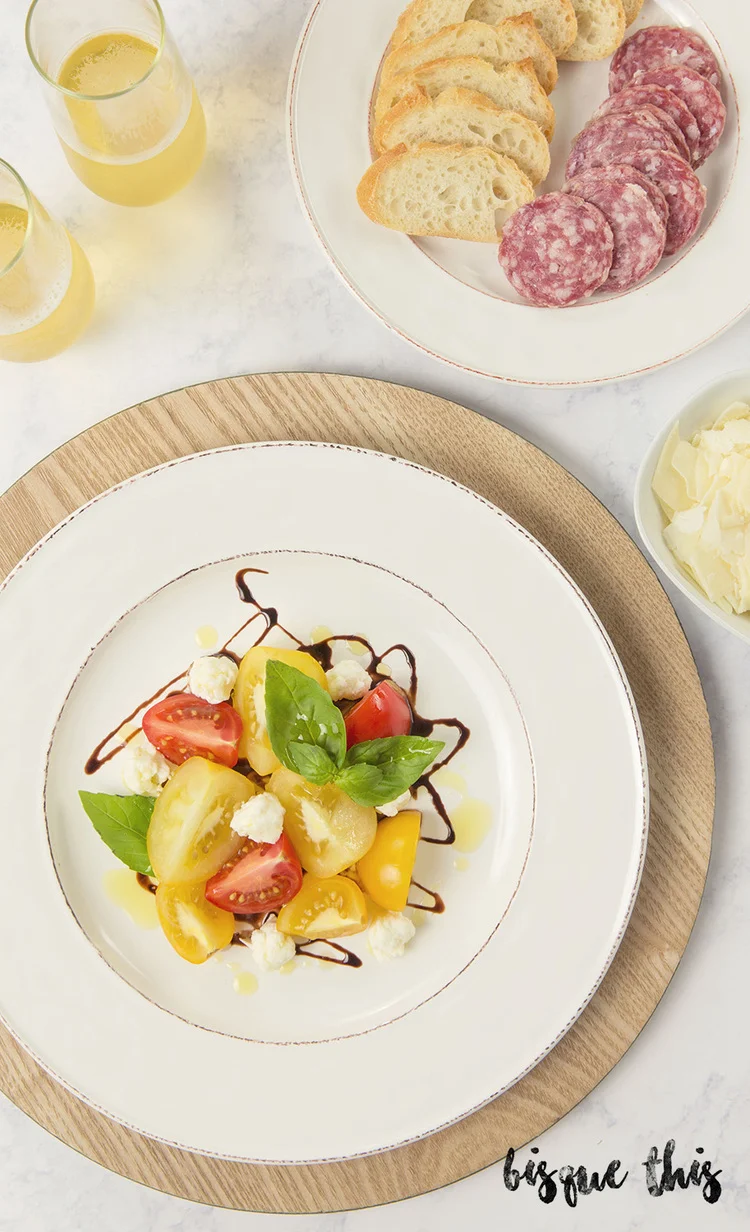
Cut tomatoes into quarters. Slice mozzarella cheese with a knife, or create small pieces of cheese with your hands, and set aside. On a plate, drizzle a small amount of balsamic, like I did in the above images. Place tomatoes and cheese onto plate. Also top the plate with basil leaves, as many as you can handle! Drizzle some olive oil and salt over the top of the plate, and you are all done! I also like to serve this with an extra plate of small French bread slices and salami.
This would make an incredible snack, appetizer, or even a light meal! It tastes SO incredibly good, I hope you enjoy it! If you are also a Caprese Salad-lover, comment below to let us know.
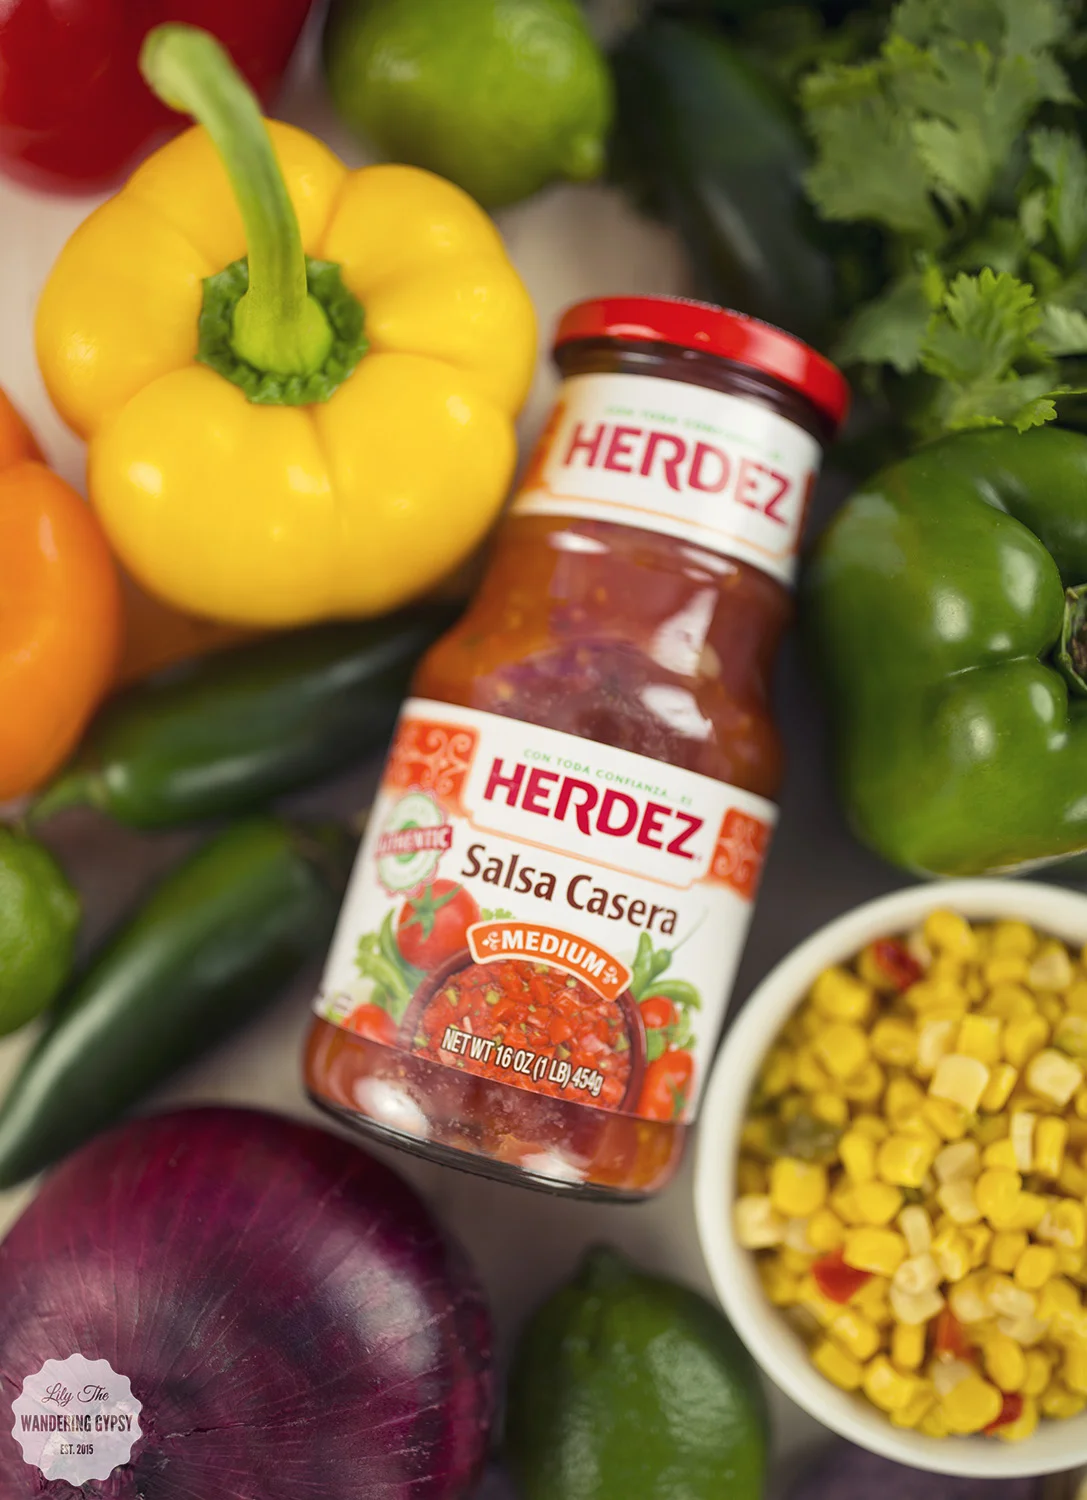
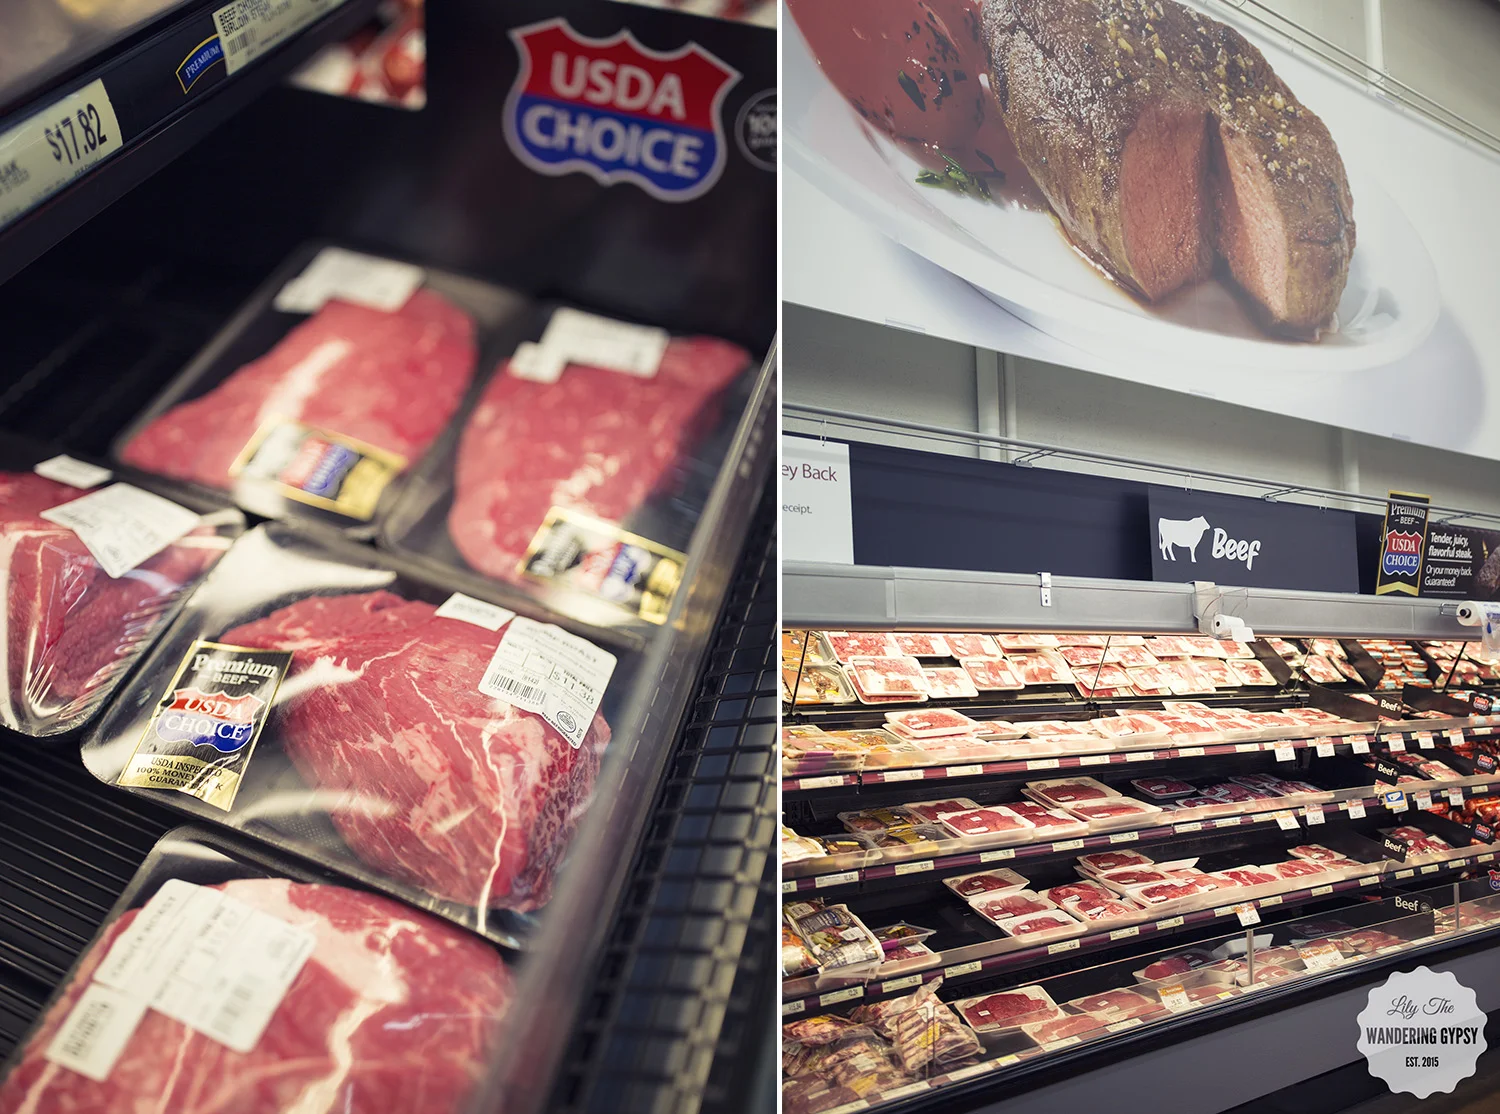
Grilled Flank Steak Fajita Nachos Recipe ~ Outdoor Grilling Inspiration
This shop has been compensated by Collective Bias, Inc. and its advertiser. All opinions are mine alone. #AuthenticSalsaStyle#CollectiveBias
A delicious summer grilling recipe, filled with authentic flavor and fresh ingredients! These BBQ Flank Steak Fajita Nachos are the perfect meal to serve at a party, during outdoor grilling season! Read on to learn more about this wonderful recipe and some cute ideas of how to decorate for your next outdoor grilling party.


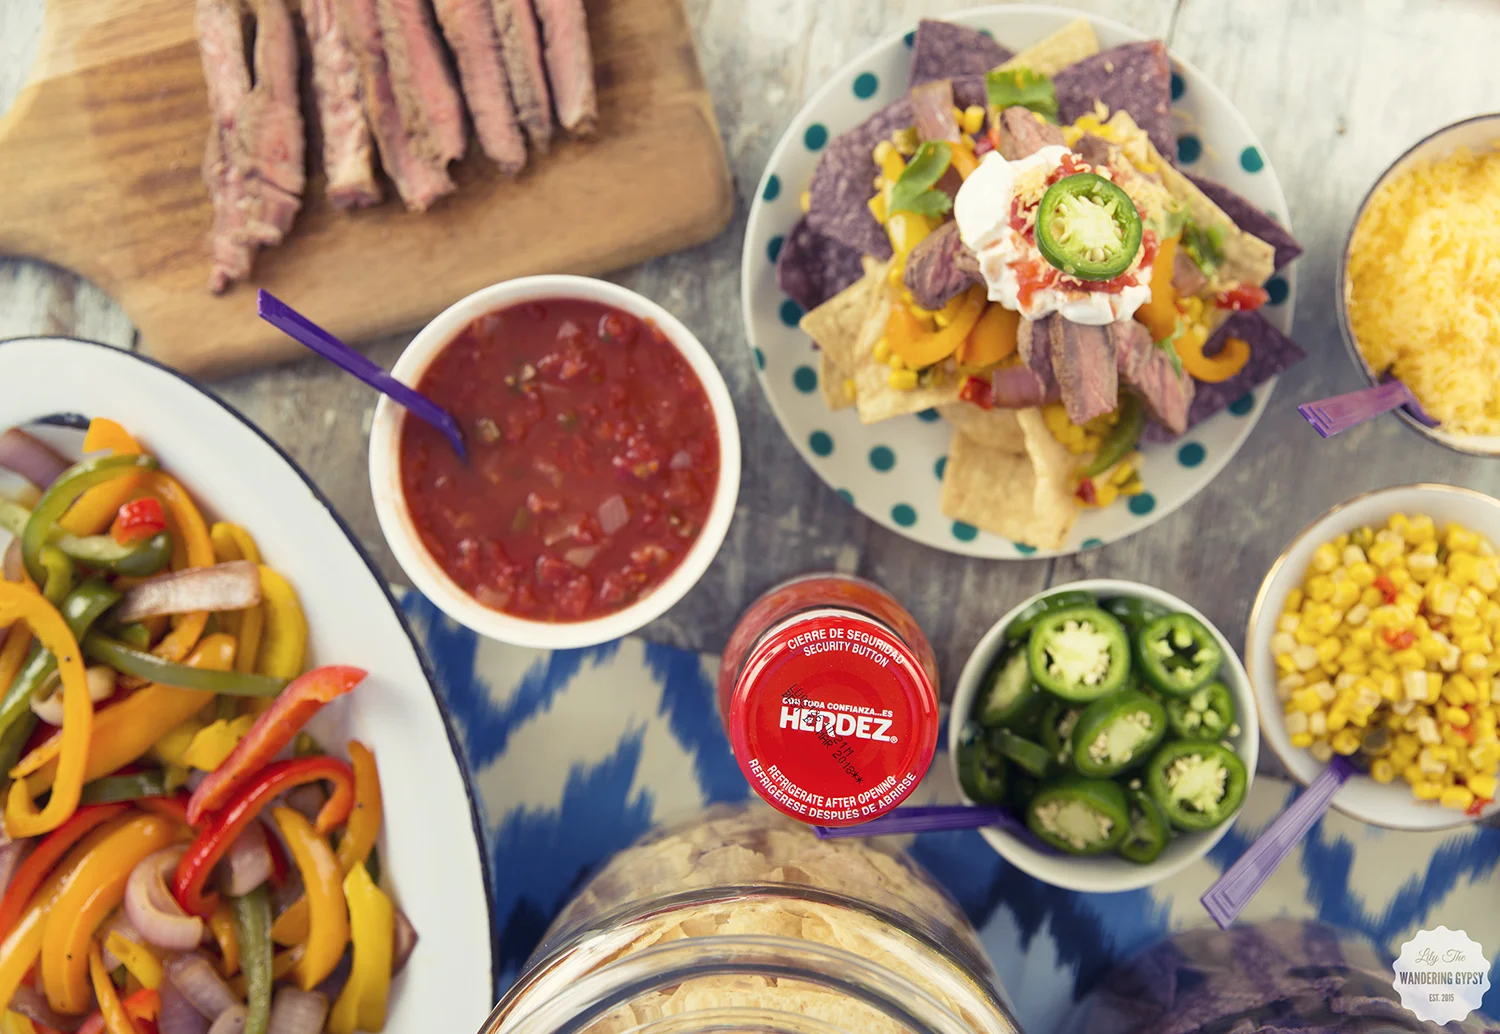
I just love the colors of this outdoor party table setup. I used mainly blues and whites in my design (dishes, napkins, utensils, table covering fabric, etc). I just let the bright, beautiful food shine with a more subtle color scheme.

Also, I love the idea of using large glass jars with lids to hold chips (found in the kitchen section at Walmart). It's eye-catching, and keeps chips fresh while your serving guests. Use small scoops or tongs for guests to serve themselves
By offering self-serve topping, guests can use as many or as few ingredients as they like. If someone is vegetarian or even vegan, they can opt out of the steak, and just use lots of veggies!
And, if you are looking for more beef-based recipes, look no further: BeefItsWhatsForDinner.com.

MARINADE:
Olive Oil, Lemon Juice, Taco Seasoning (use half here), Chopped Fresh Onions & Garlic, Pinch of Salt.
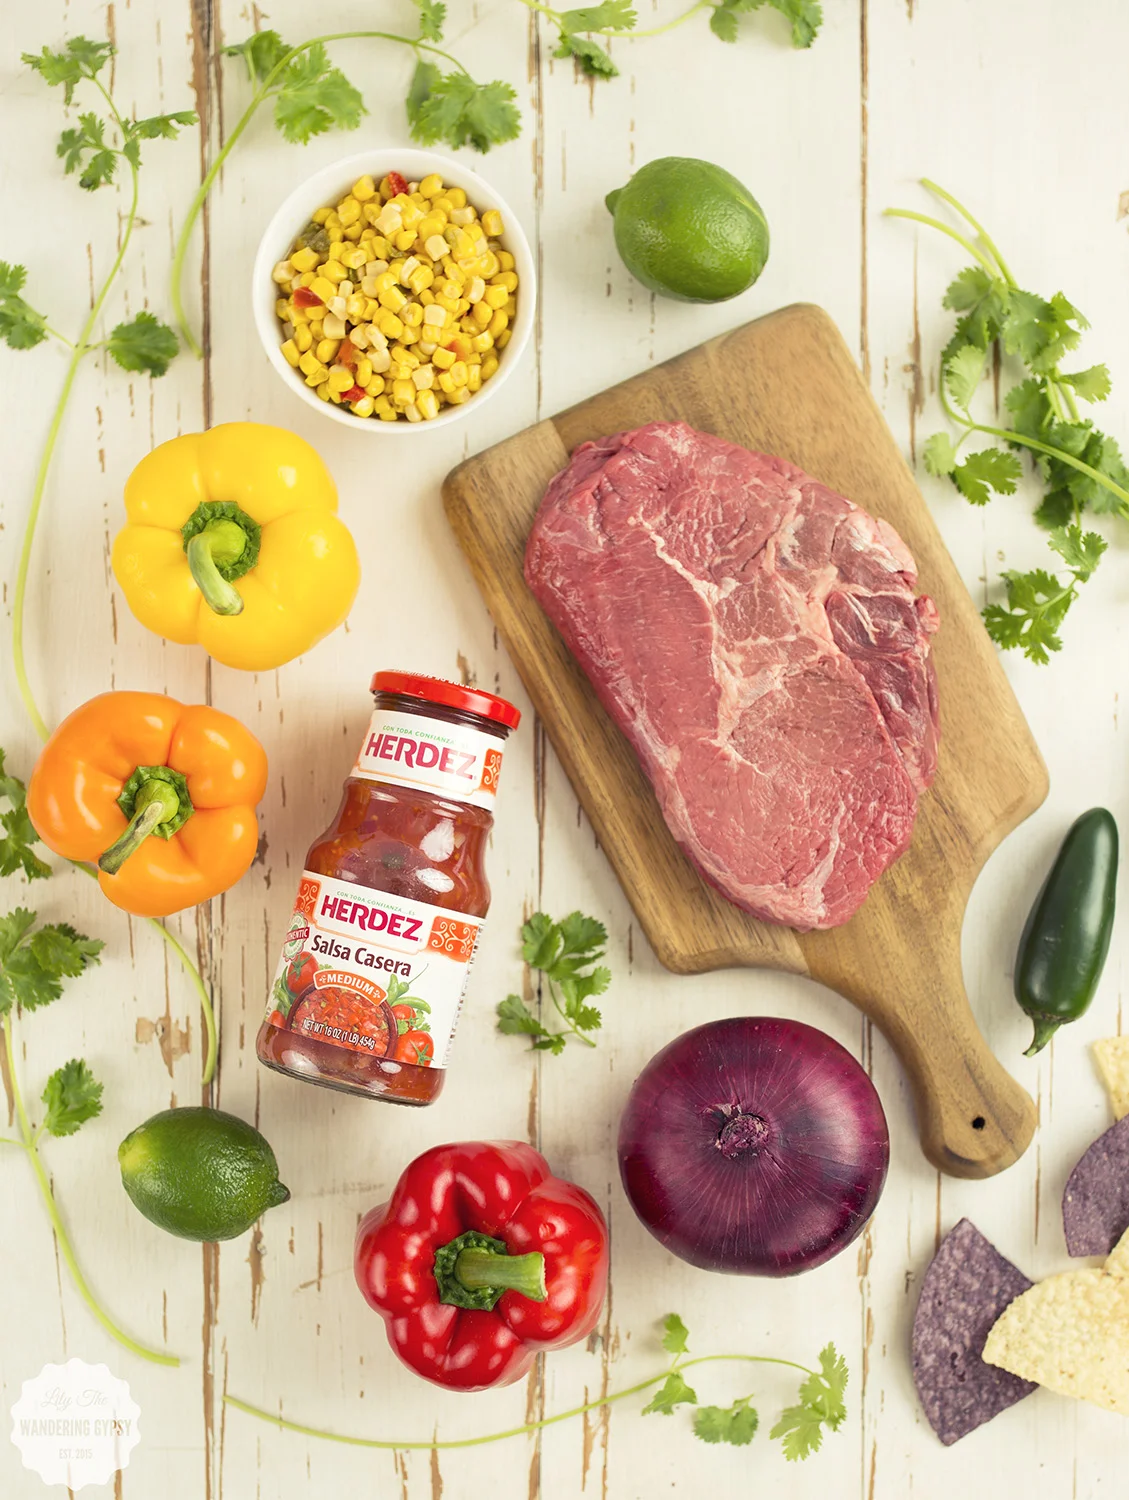
FOR THE MEAL:
- HERDEZ® Salsa Casera
- 1 lb. Flank Steak (per 2 people)
- 1 bell pepper each in green, red, orange, and yellow
- 1 purple onion
- Tortilla Chips
- Shredded Cheddar Cheese (We shredded a block of extra sharp cheddar)
- Jalapeños
- Taco Seasoning (use the other half of the package here)
- Limes and/or Lime Juice
- Sour Cream
- Cilantro
- Grill and Skillet
1.) Prepare the marinade in a 9x9 baking pan (I used my brownie pan) by chopping 1/4 of the onion + 1-2 heads of garlic, and mix it with all of the other marinade ingredients. Stir well.
2.) Add steak, cover with plastic wrap or foil, and place in the fridge to and marinade for at least 1-2 hours.
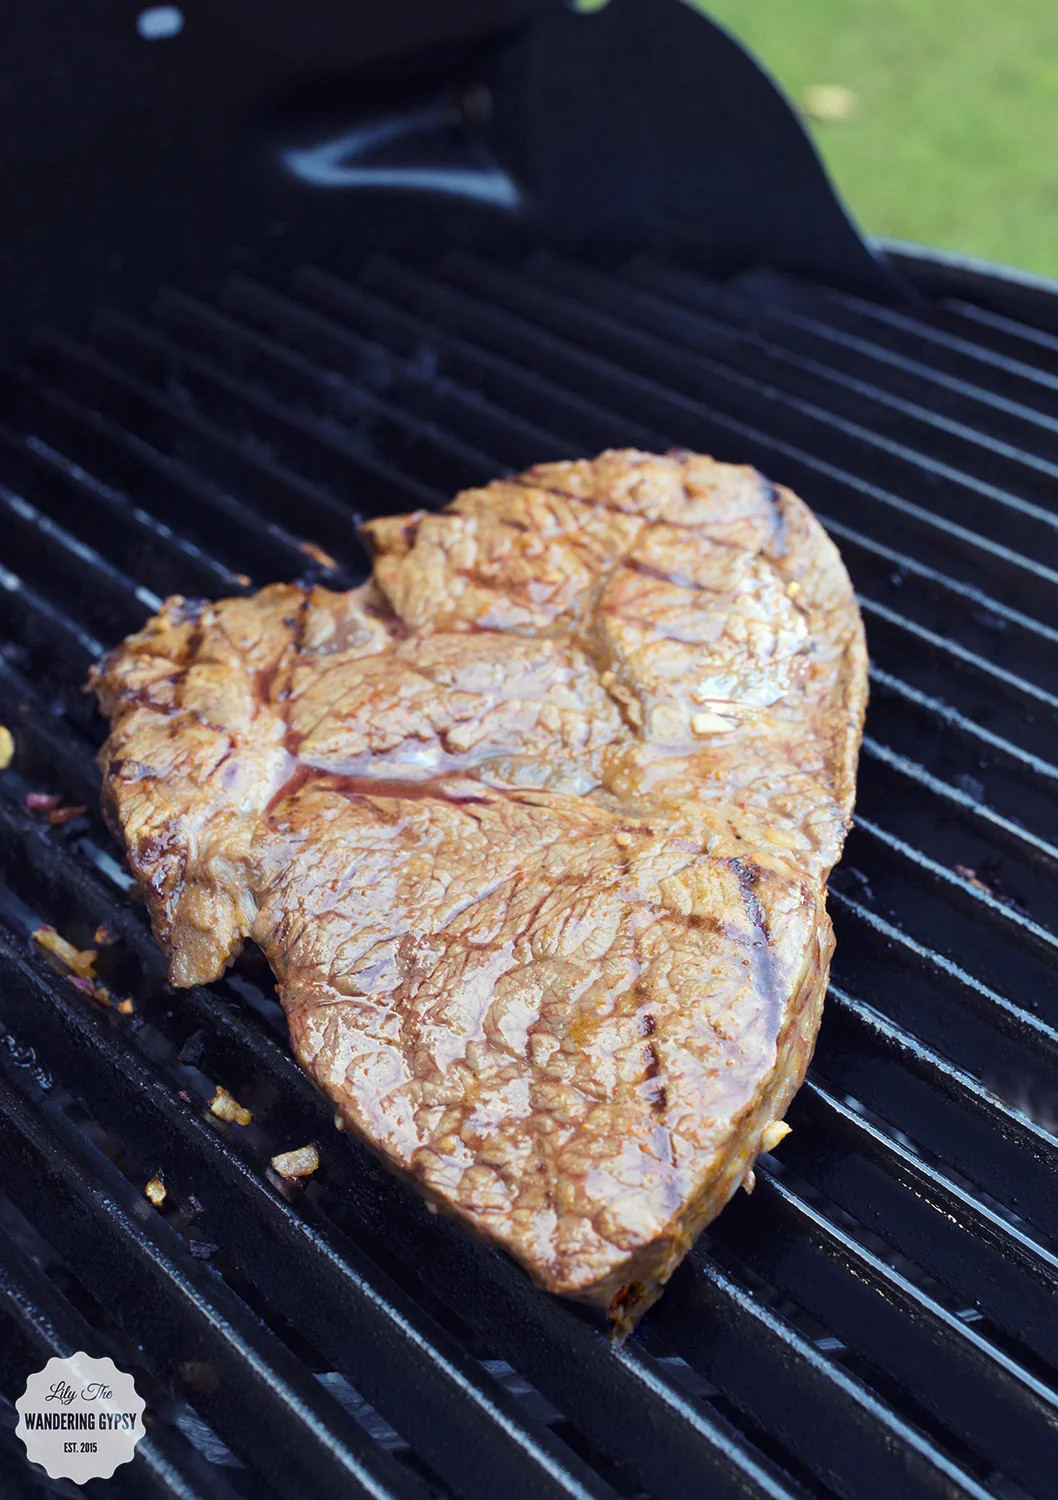
3.) Preheat grill to high heat after steak is done marinading.
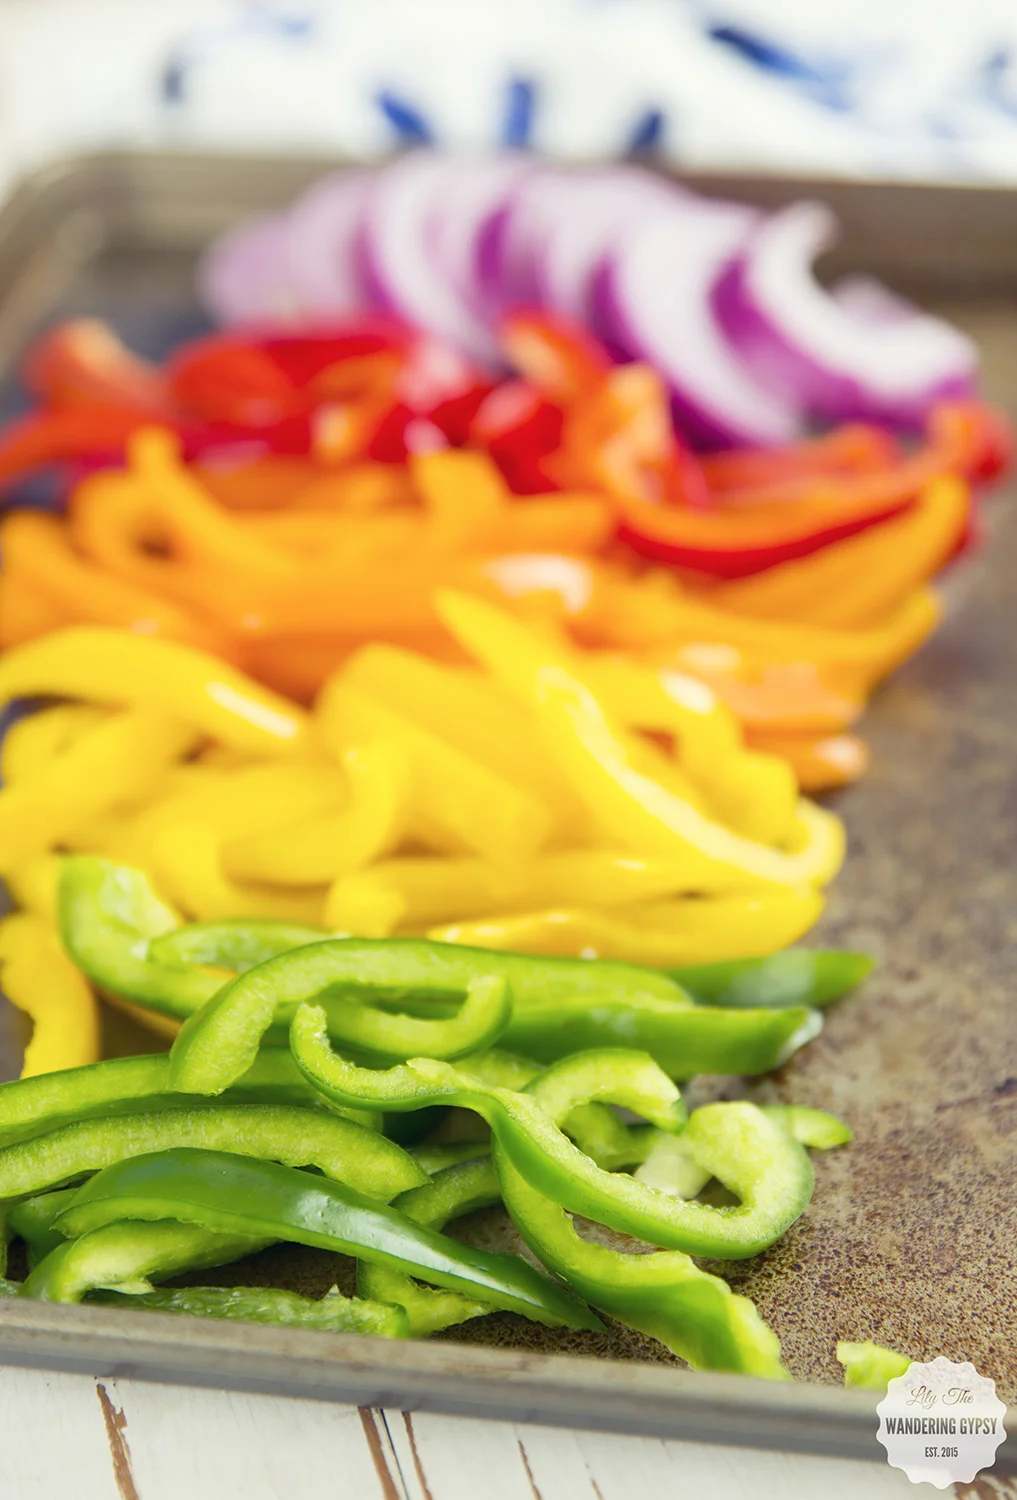
4.) Cut up all 4 bell peppers, and most of the onion, and set aside. Get out a large skillet, and heat a small amount of olive oil. Wait until the oil starts to thin a bit, and add your onions and rest of the taco seasoning. Cook until slightly browned, and then add your peppers. Let these simmer on medium low heat, and let's grill some steak!
5.) While your peppers are cooking, bring steak out to the grill on a tray of some sort, with tongs and a spatula. Place the marinated steam right onto the grill. After about 4-5 minutes, if you want those pretty grill marks, rotate the steak 90 degrees, and grill for another 1-2 minutes. Flip the steak over and grill for another 2-3 minutes. This timing left a bit of pink but not much - it was perfect! Take it off the grill and let's make some nachos!
6.) Turn heat off of the peppers and onions when they're cooked, and slice steak into bite-sizes slices or pieces.
7.) To make your nachos - on a plate, add: chips, cheese, corn, sour cream, grilled steak, cilantro, and top with HERDEZ® Salsa Casera. This has been my go-to nachos recipe, and everyone always loves it!
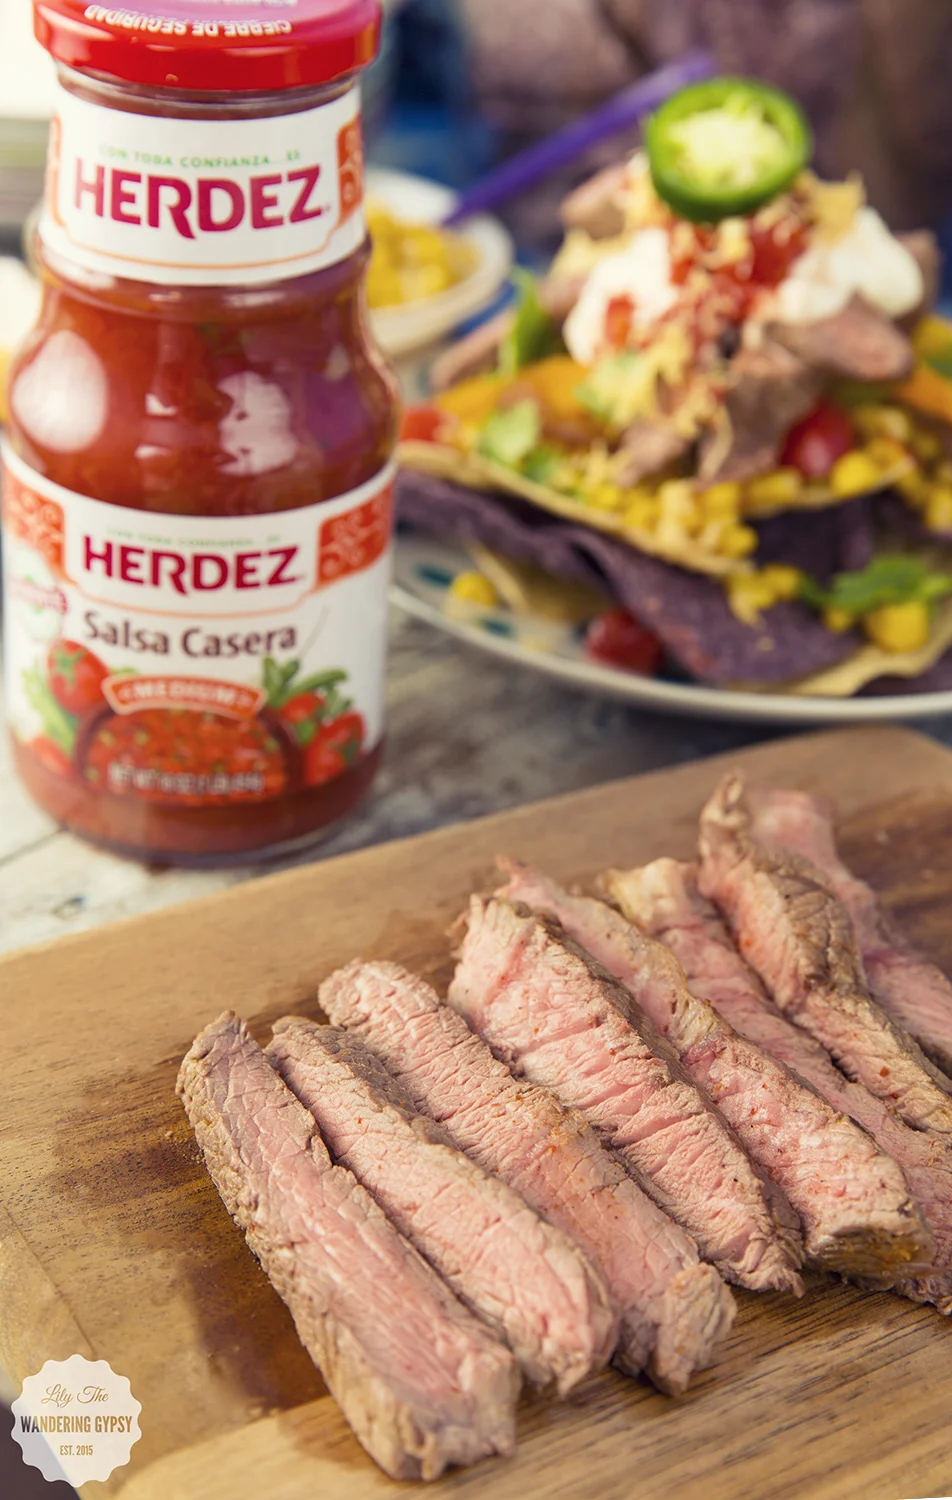
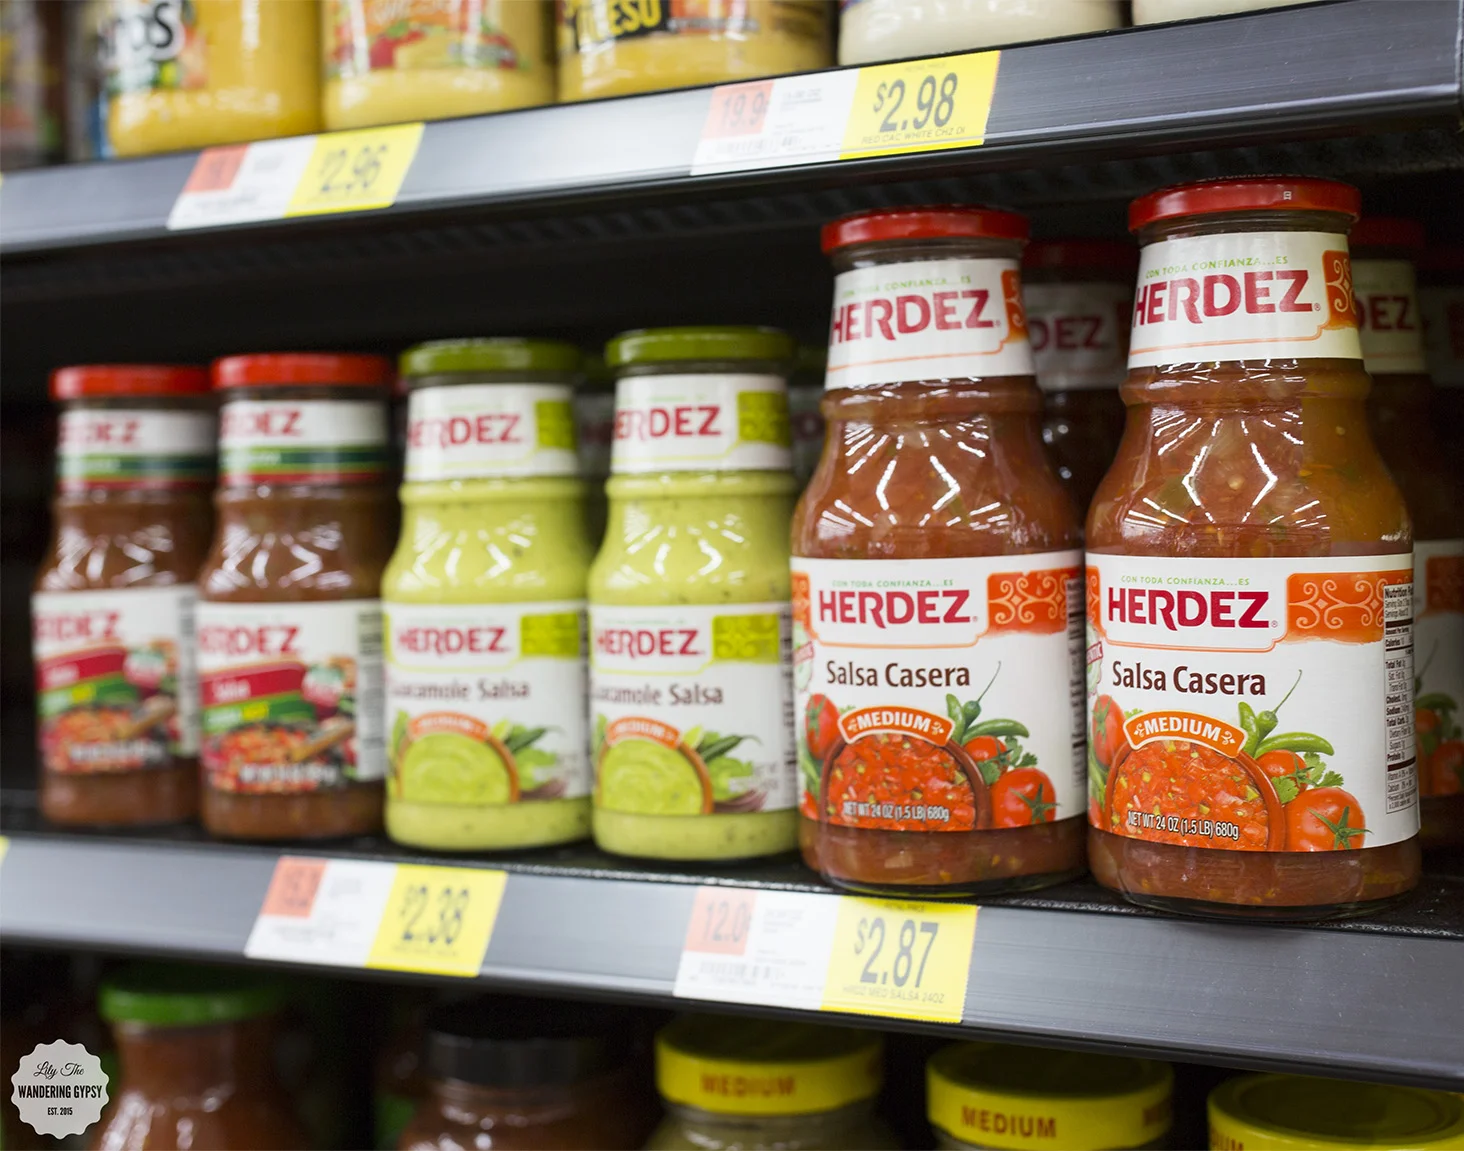
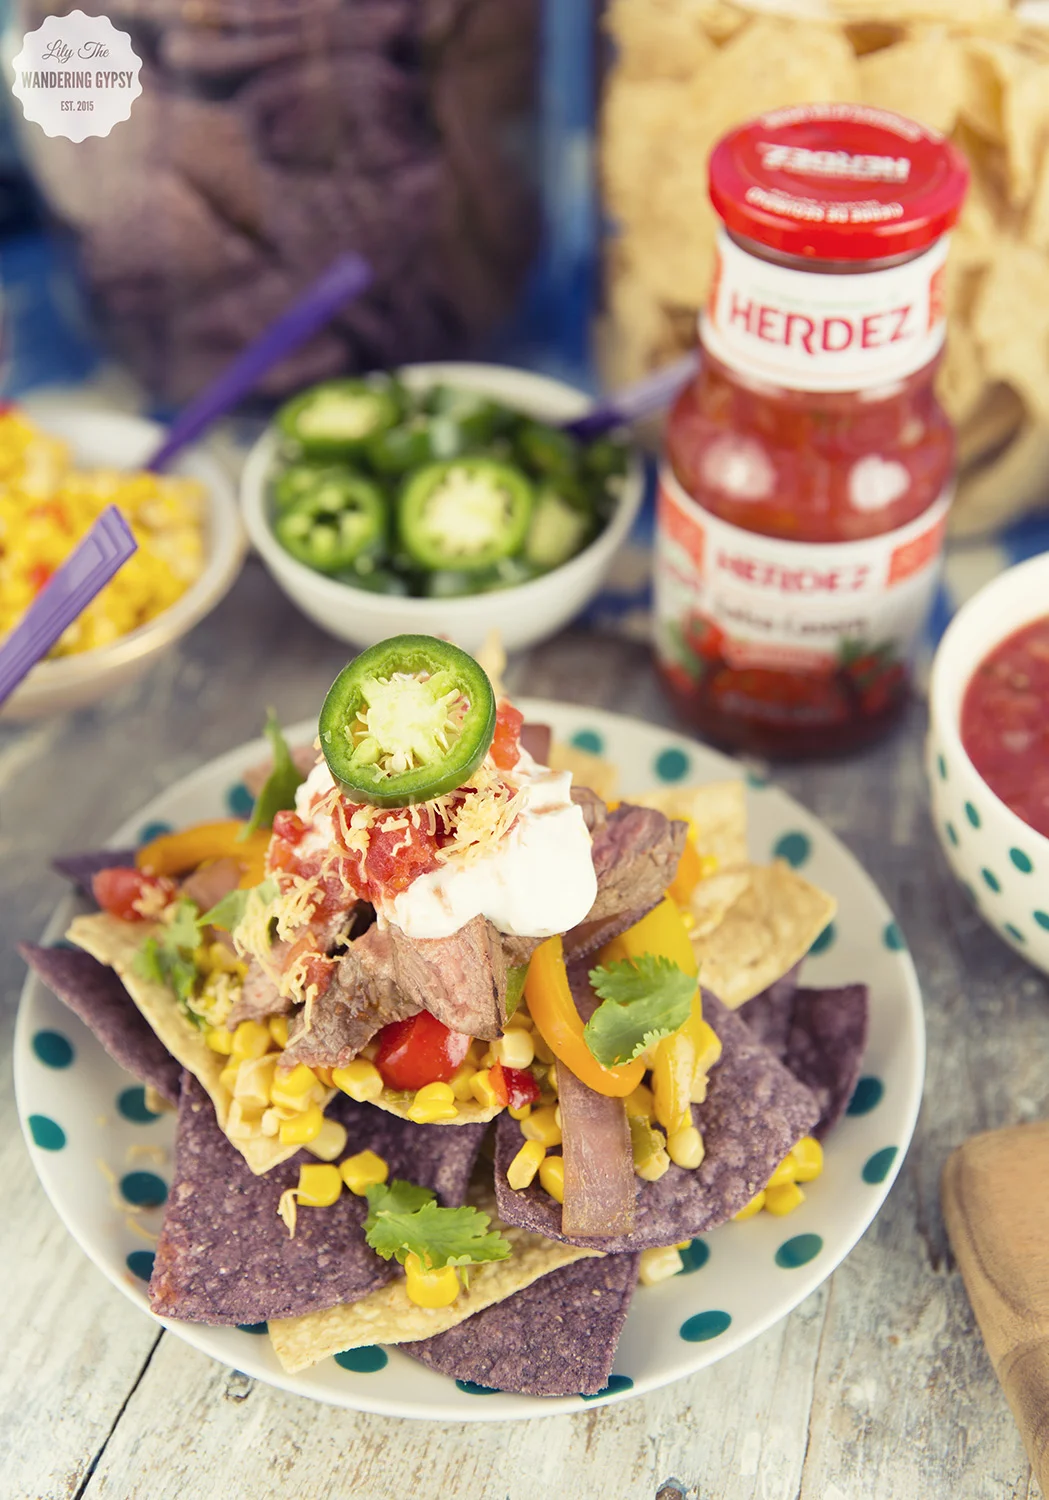

HERDEZ® provides #AuthenticSalsaStyle and it's oh, so good! Thank you so much for checking out my latest recipe, I hope you are inspired by it!! What is your favorite meal to make on the grill? What do you usually grill when you have a crowd? Let me now in the comments, below.


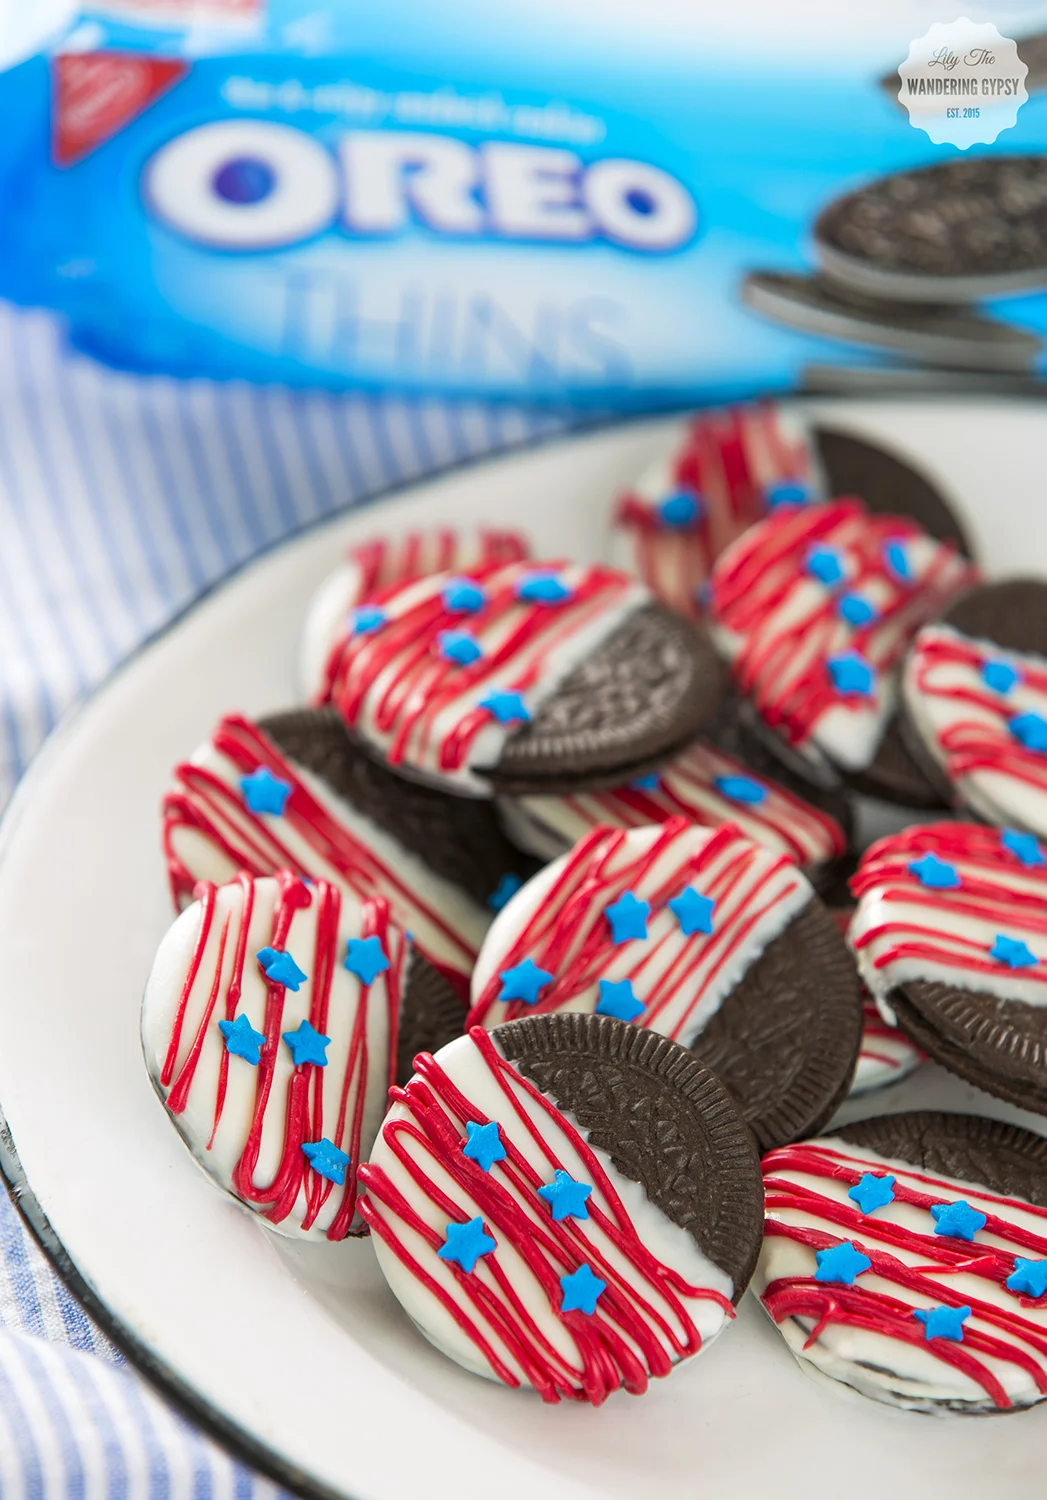
Elegant Chocolate-Dipped Patriotic Oreos

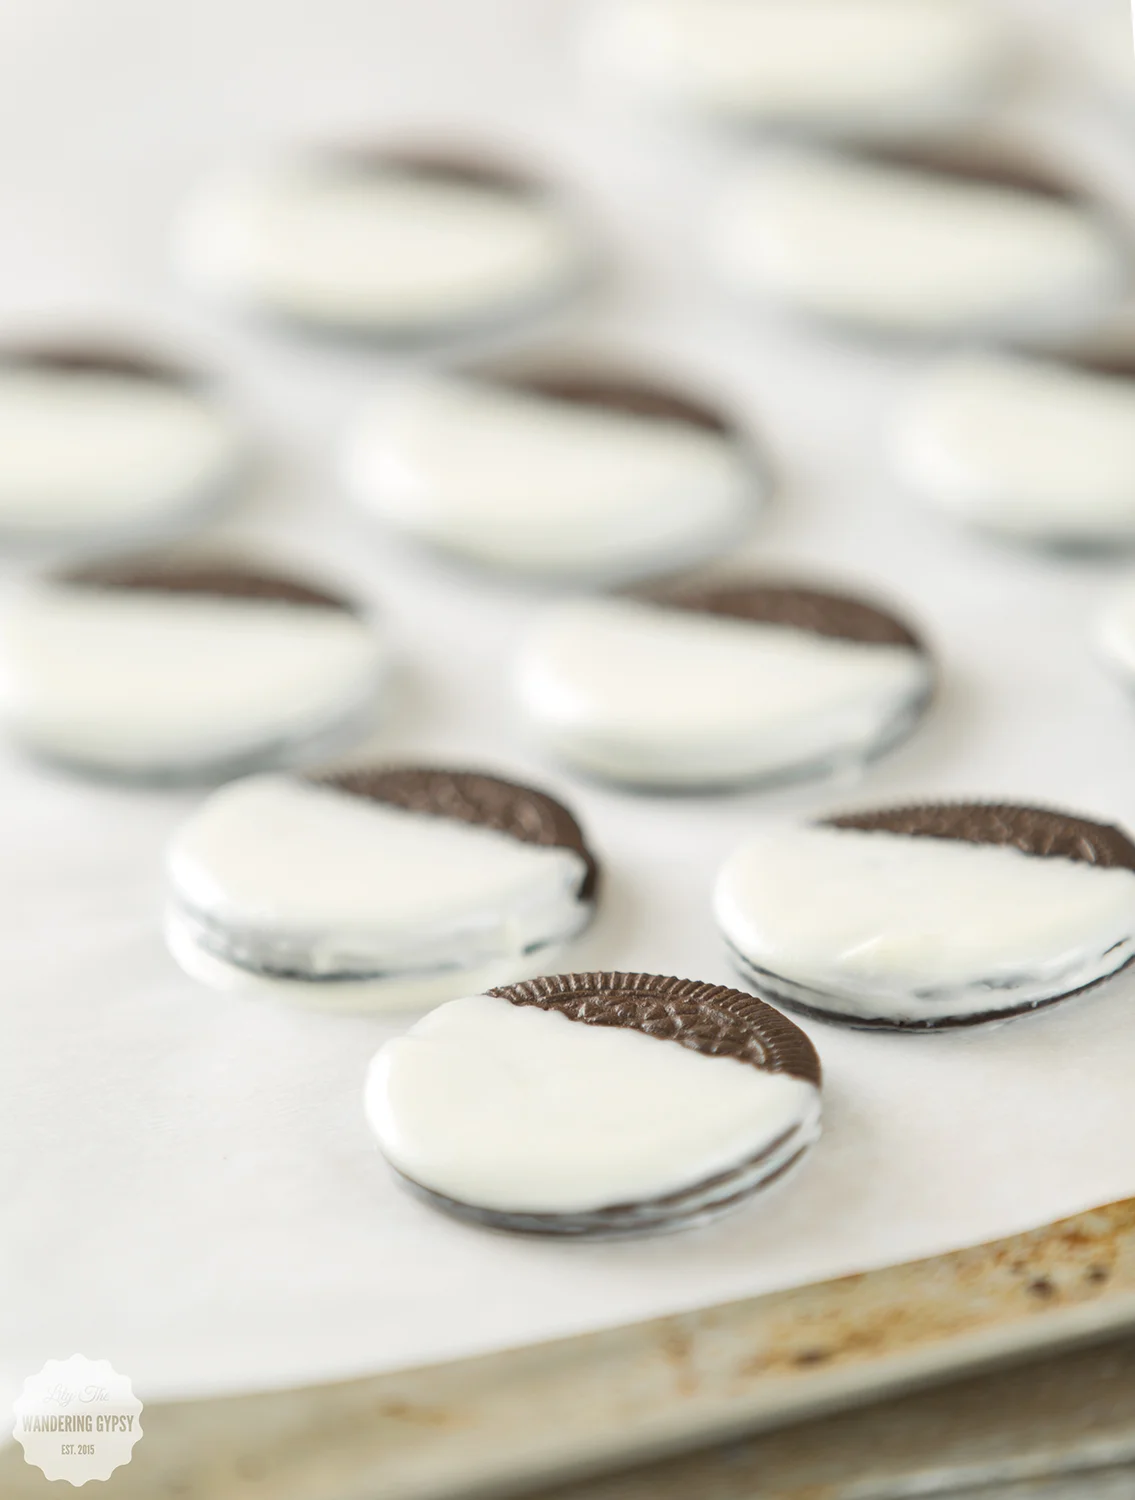
Have you noticed that most candy/chocolate stores offer chocolate-dipped Oreos among their other chocolate bon-bons and other confections? I have always been amazed by this, because they are SO incredibly easy to make. I figure, why not just make some of my own at home! I also wanted an excuse to check out the Oreo Thins that I have been seeing everywhere, so I thought this would be the perfect project!
Without further ado, here are my Elegant White Chocolate-Dipped Oreos, perfect for Labor Day Celebrations, and other times when you just wanna decorate some desserts!

- 1-2 packages of Oreo Thins (find them here)
- Ghirardelli Classic White Melting Wafers or White Chocolate Chips (find them here)
- Red Food Coloring Gel (this is the set I have) or red candy melts
- Blue Sprinkles (similar here)
- Glass jar to dip Oreos into (mine was the 8 oz. size, I believe)
- Skewer Stick
- Parchment Paper

1.) Melt white chocolate in a double boiler method or in the microwave, stirring regularly to make cure it's smooth and fully melted.
2.) Line a baking sheet with parchment paper.
3.) Transfer a portion the melted white chocolate to a jar that is about as deep as the Oreo Thins are wide. Leave about 1/2" of room from the chocolate to the top of the jar.
4.) Dip each Oreo Thin into the white chocolate, and dip in little over half way, leaving space at top.
5.) As you pull the cookie out of the jar of white chocolate, use a skewer stick to scrape excess chocolate off the back of the cookie, and around the sides. This is a great tip, that makes your cookies look way better and less gloppy as they dry.
6.) Put each cookie onto the parchment, and let cool completely.
7.) After you have dipped every cookie, pour more white chocolate into a jar, and add lots of red gel food coloring. This could also be done with red melting wafers.
8.) Transfer to Ziploc bag, and cut a tiny opening in one corner. ***Working one cookie at a time, add lines of red chocolate, then a few blue start sprinkles to each cookie. Practicing first helps!
9.) Enjoy your cookies! These would be perfect for a party or just enjoying at home!!!