How To Make A Simple Yet Spooky No-Bake Halloween Ghost Cake

I created the cutest Halloween Cake ever and I am so happy to share it with you. I designed two versions, one in a more black and white color scheme, and also one with a bit more color. You can use the design as inspiration for whatever sort of Halloween decor you may enjoy best.

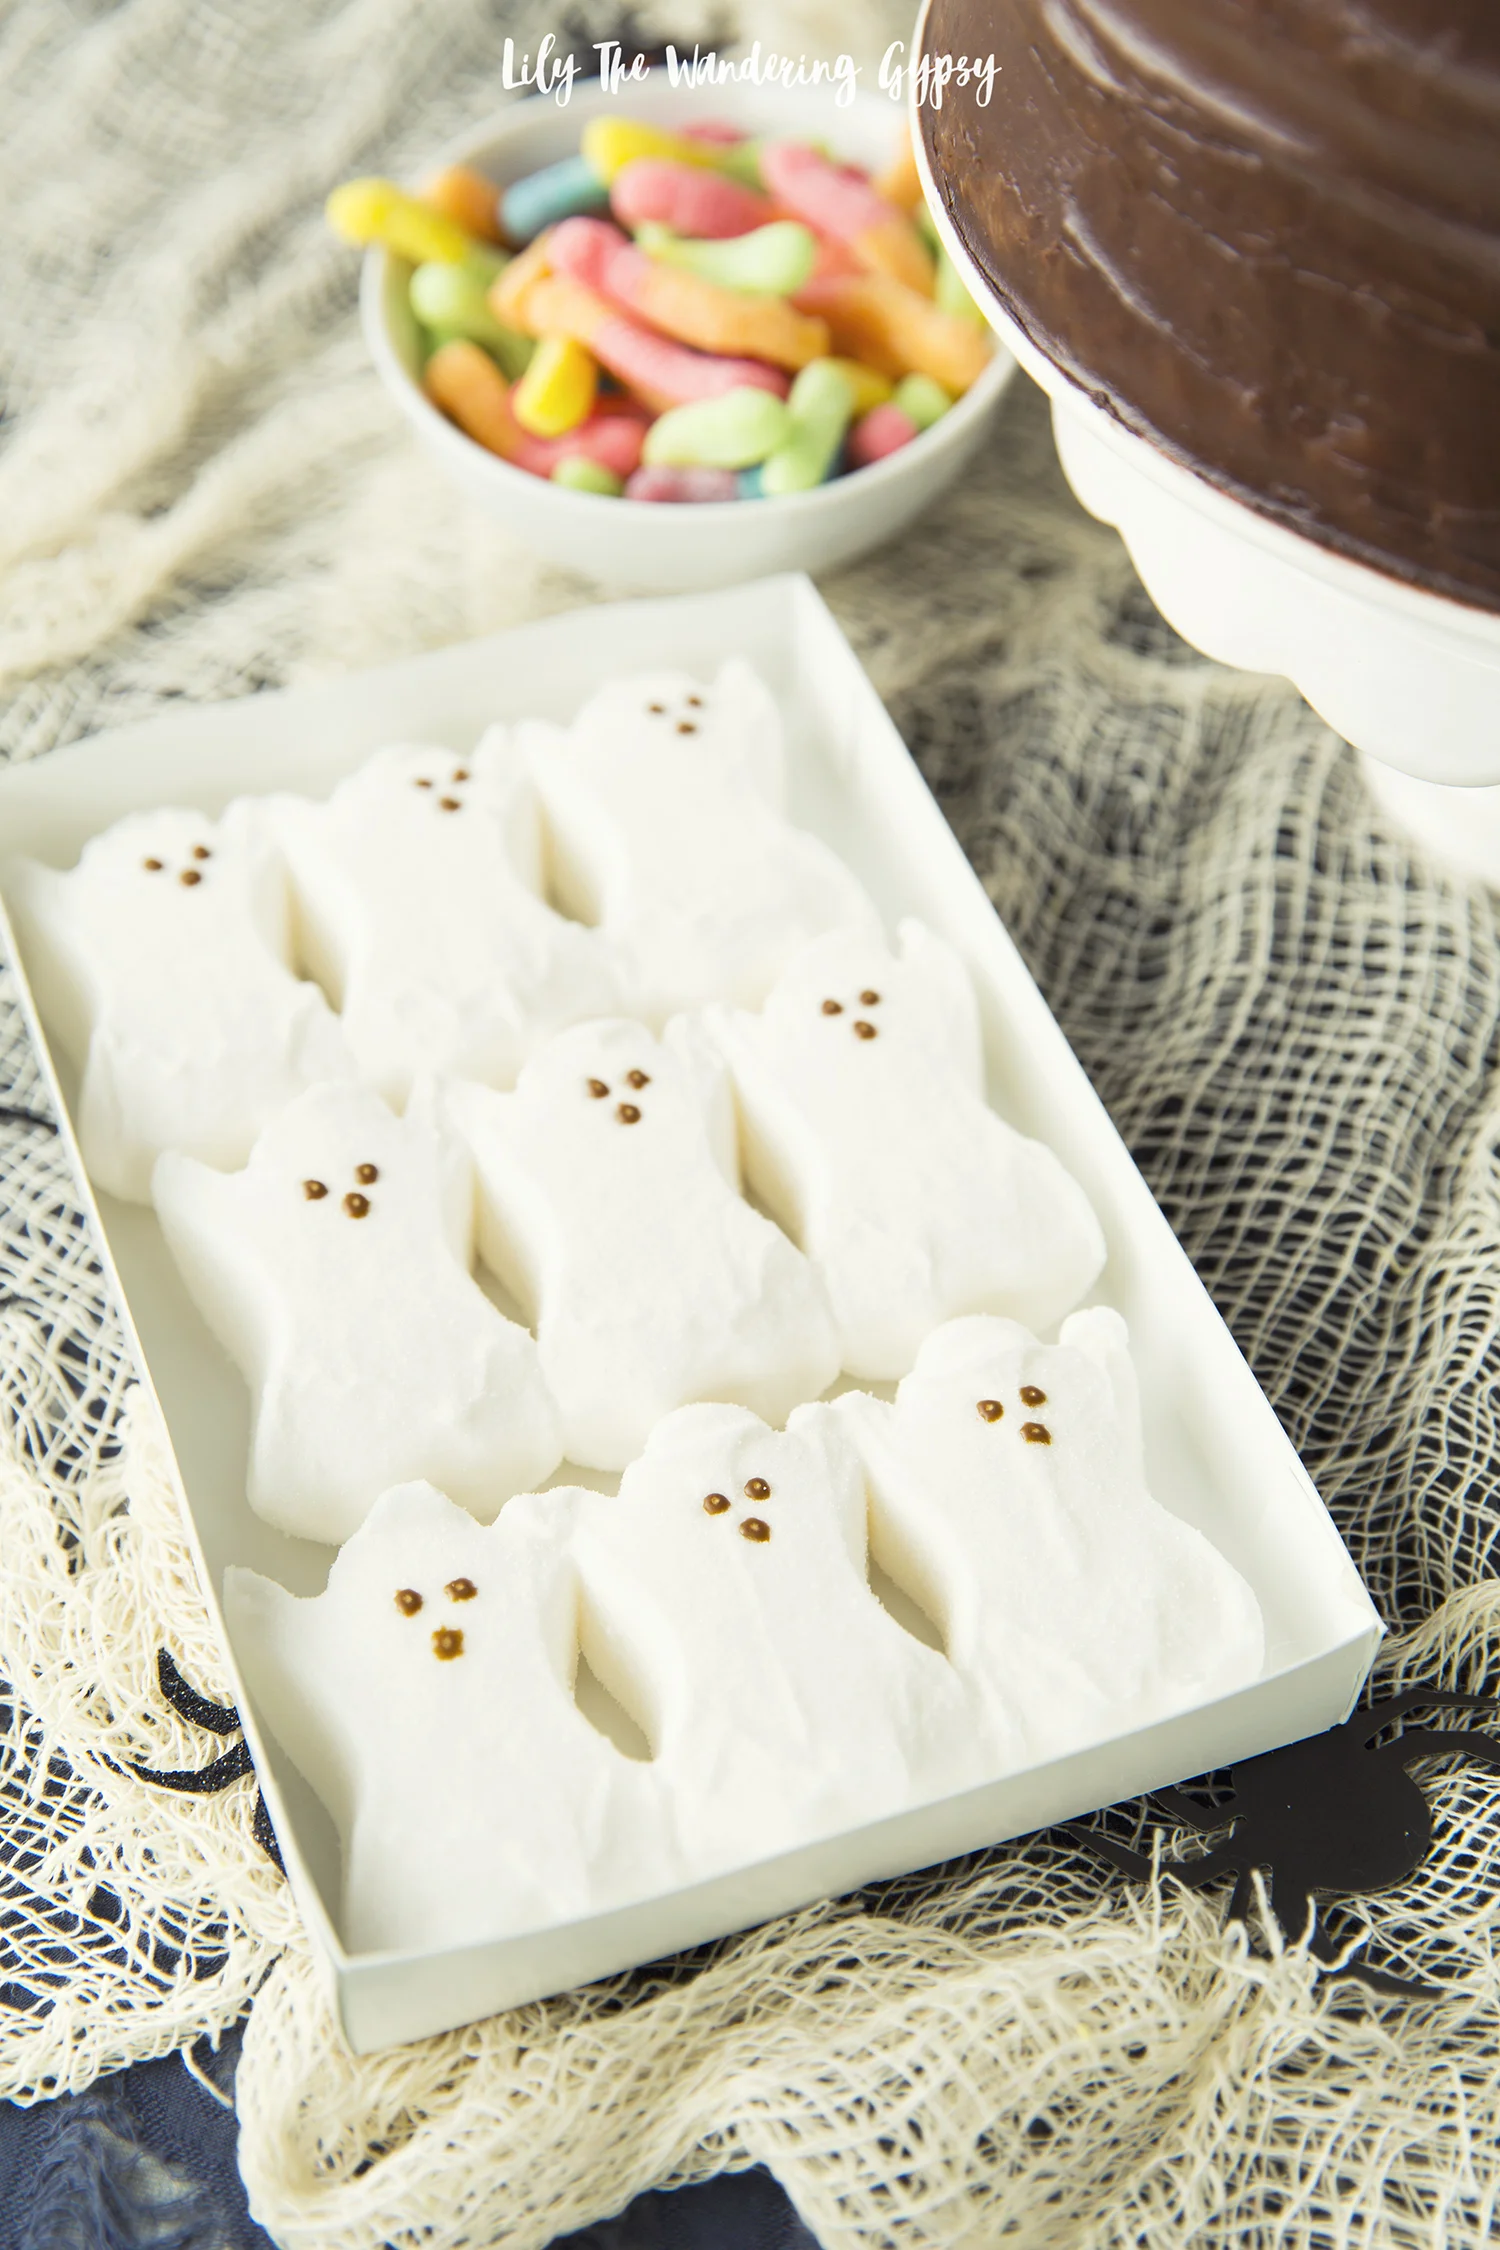
The most important part of sourcing the Ghost Shaped Peeps. I found mine at Walgreens (not my local grocery store though). I used the Ghost Peeps packs containing 9 pieces each, and two packages fit around the cake with a few to spare. 

Well, let's get spooky and decorate this cake!!! And, please comment below if you're making any special treats inspired by Halloween. I'd love to hear all about them!

No baking is required for this awesome cake! 

- 2 Sour Cream Bundt Cakes in Chocolate or Vanilla

Raspberry Jelly

Dark Chocolate Icing (1-2 containers)

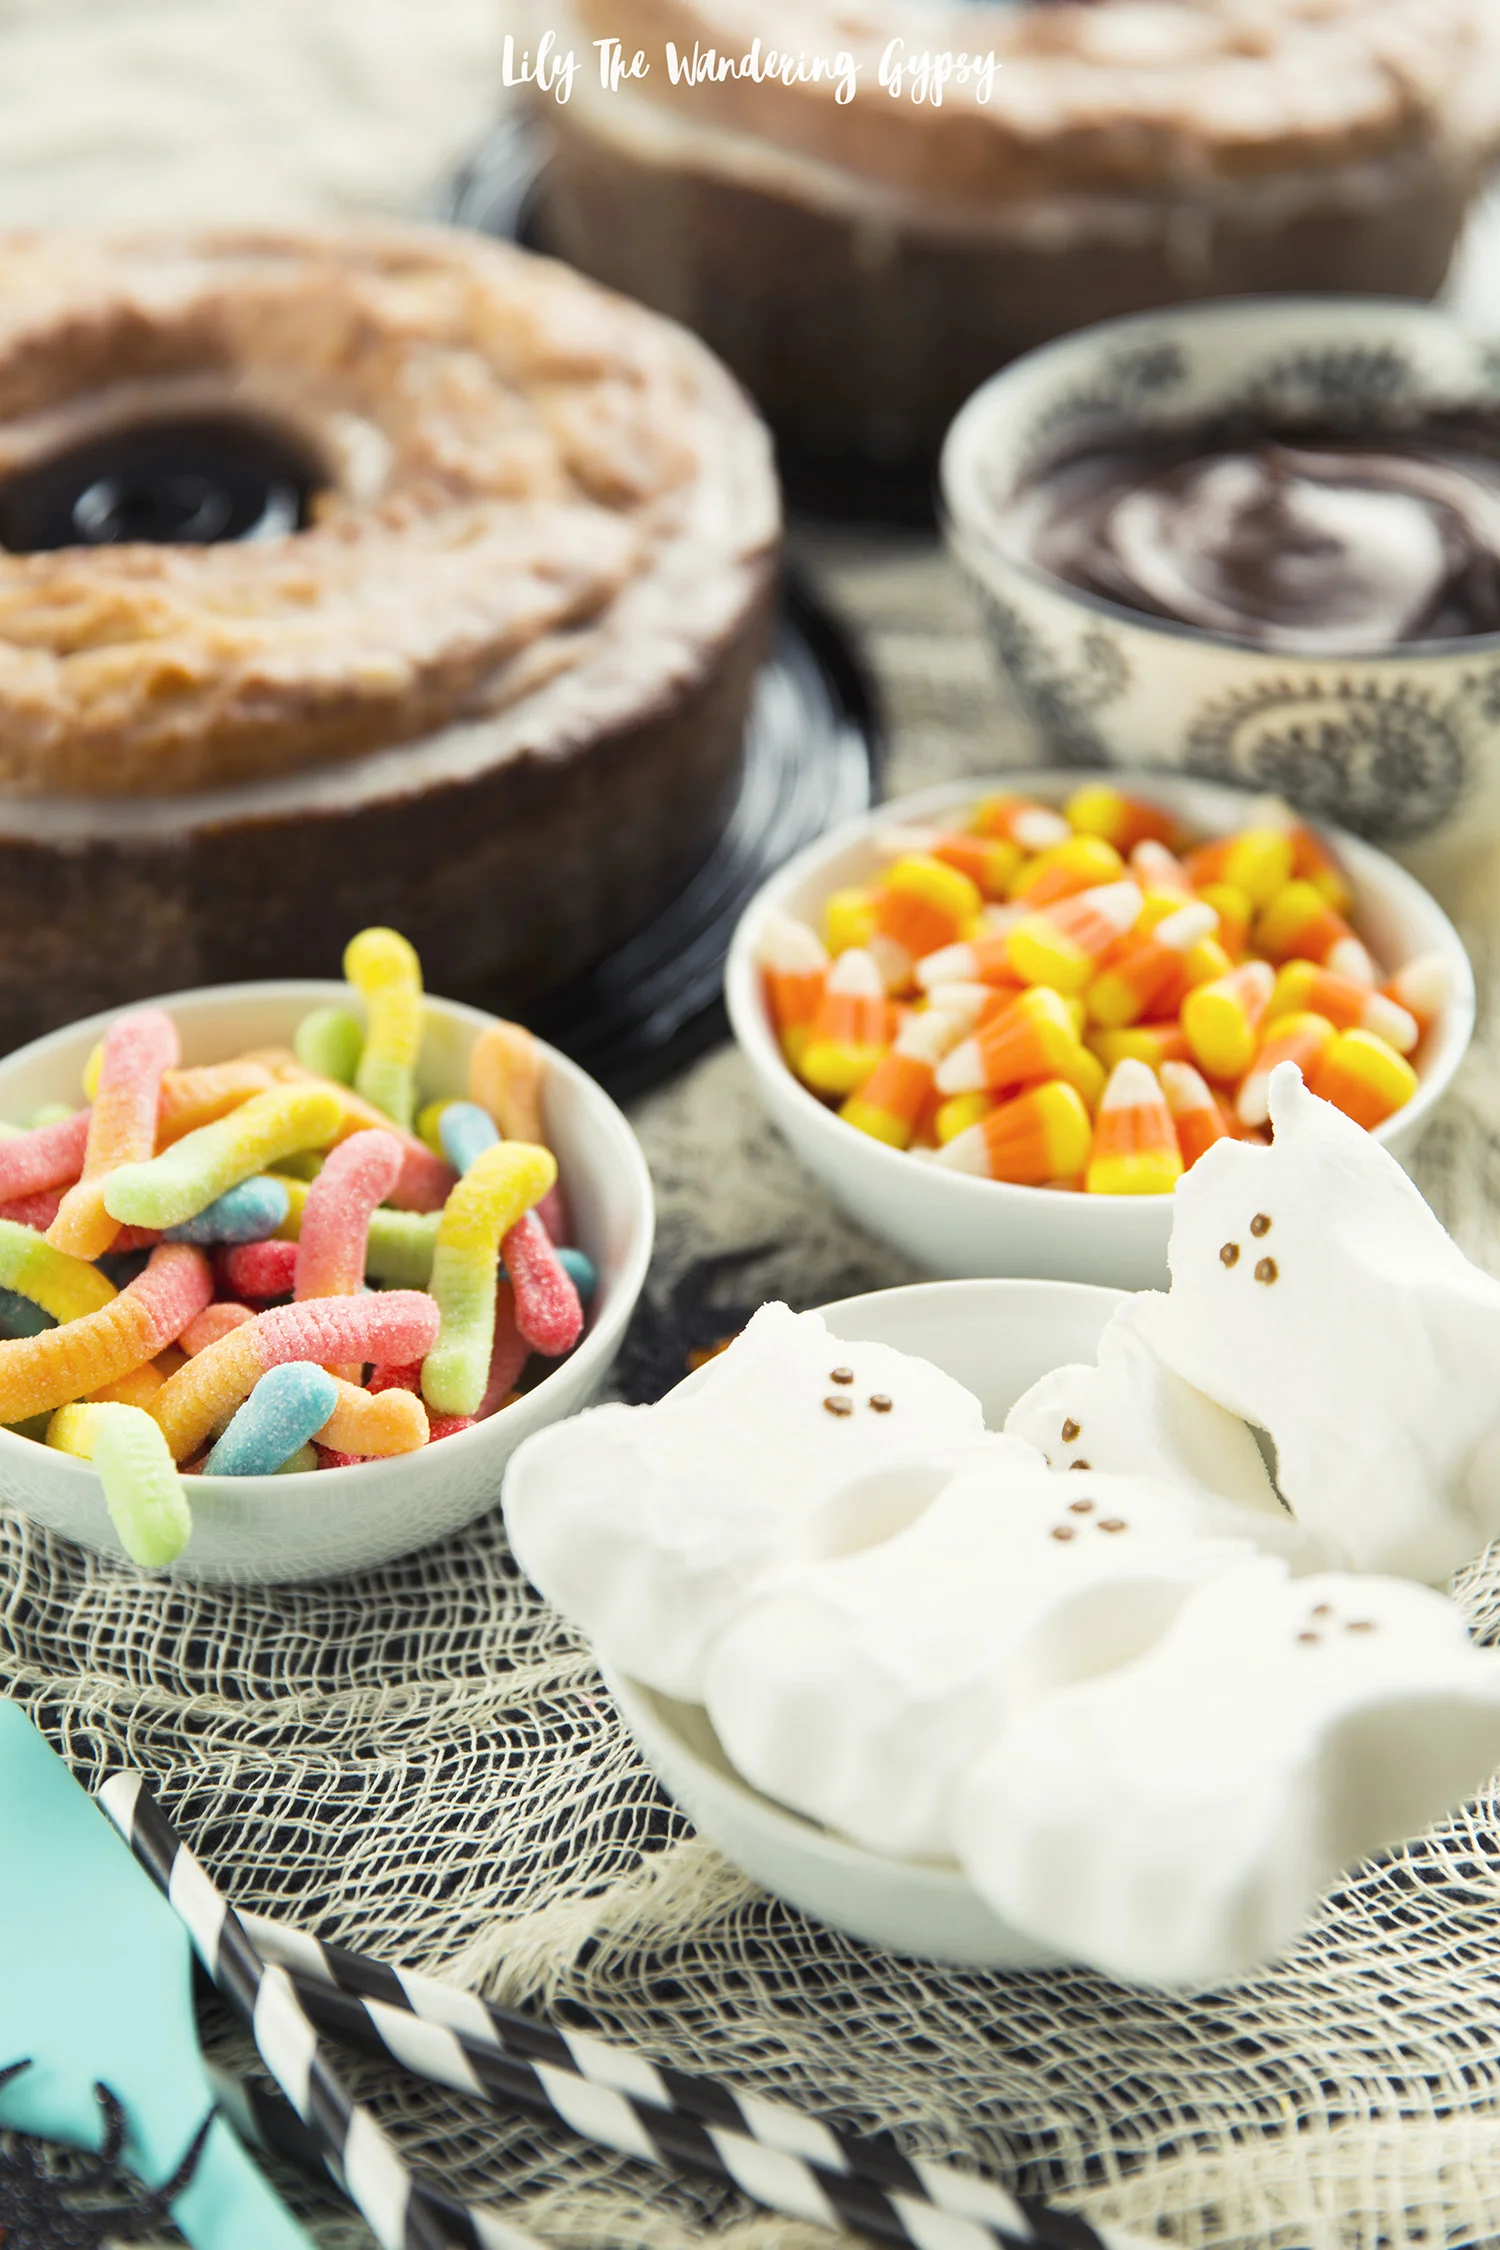
Ghost Peeps

Candy Corn + sour Gummy Worms (Optional, only for more colorful cake design)

Silicone Spatula for icing cake

1.) Remove the plastic top of the first bundt cake's container. Using a serrated bread knife, CAREFULLY slice the top off of the bundt cake to make it as flat on top as possible.

2.) Invert the cut cake onto a plate or cake stand and make sure it's level.

3.) Add a thin layer of raspberry jelly to the top of the first bundt cake.

4.) Carefully slice the top off of the second bundt cake, and invert that to sit it on top of the first layer of cake. 

5.) Add dark chocolate icing to the entire outside of the 2 layer cake. Make it as smooth as you can! The bottom half of the chocolate icing will be covered with Ghost Peeps, so don;t worry too much about how smooth it is, mainly making sure it's not too messy. Wipe off any excess chocolate icing around the bottom of the cake and the plate as possible, with a wet paper towel.

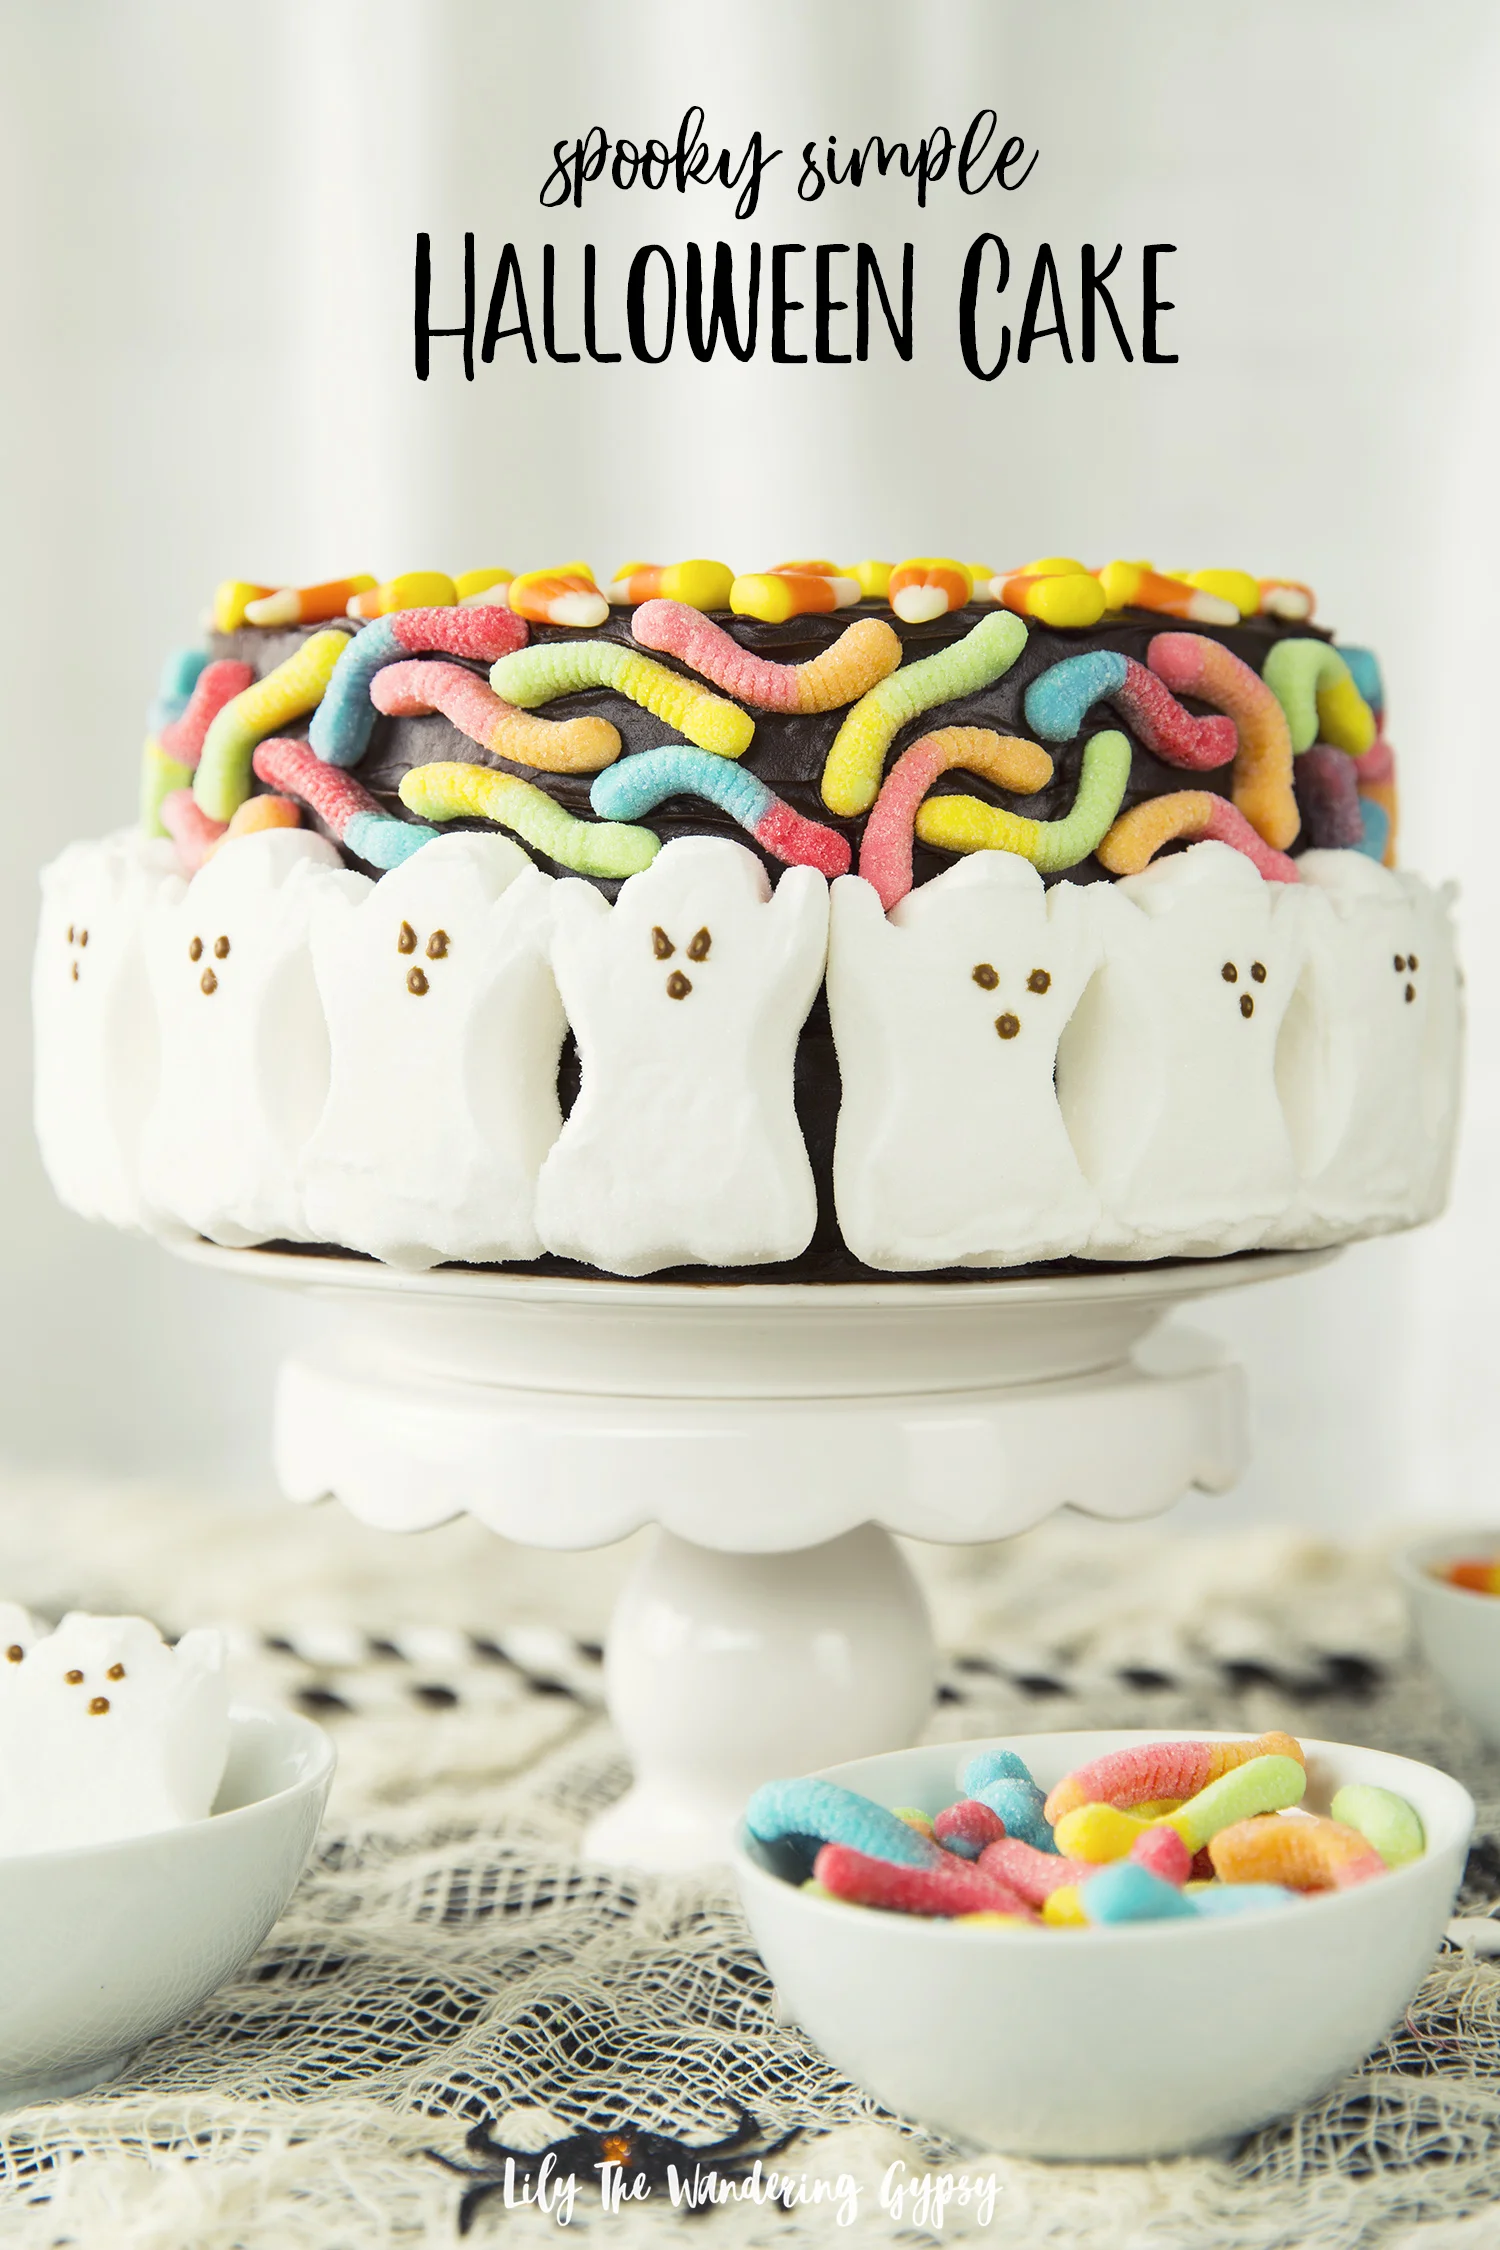
6.) Time to decorate! Open up two packages of Peeps, and keep the Peeps in their sets of three. Support the cake with one hand, and gently apply each set of three ghosts around the bottom edge. I used 12 or 15 Peeps around the bottom plus one extra Peep to fill in the small gap I had. Make sure to keep supporting the cake as you add Peeps or it may fall over! I just LOVE how chic and elegant this cake looks!

But, I had to go a little further with the design. If you're looking for a more colorful version of this cake, here you go.

By carefully adding sour gummy worms one at a time, I was able to make a neat pattern out of them, leaving attractive negative space in between each worm. I kind of shaped them as I stuck each one on. I also added candy corn to the top of the cake, and LOVE how it turned out! What do you think?

PIN IT FOR LATER:

An Elegant Fall Bake Sale {Raise Love for Ronald McDonald House Charities}

Who's ready for Fall? I know I am! The weather has finally cooled down a bit at night here, which means it's time to mix up a few ingredients, get out the decorating materials, and perhaps it's time to get ready to give back by hosting a Fall Bake Sale! If you're here looking for ways to make your baked goods look gorgeous, you're in the right place. 

I'm here today with Ronald McDonald House Charities (RMHC) to share some Creative and Elegant Bake Sale Tips. Selling food is all about the presentation - we eat with our eyes first! In order to make the maximum amount of money from anything you're selling, make it cute and make it approachable! 

CUPCAKE INSTRUCTIONS:

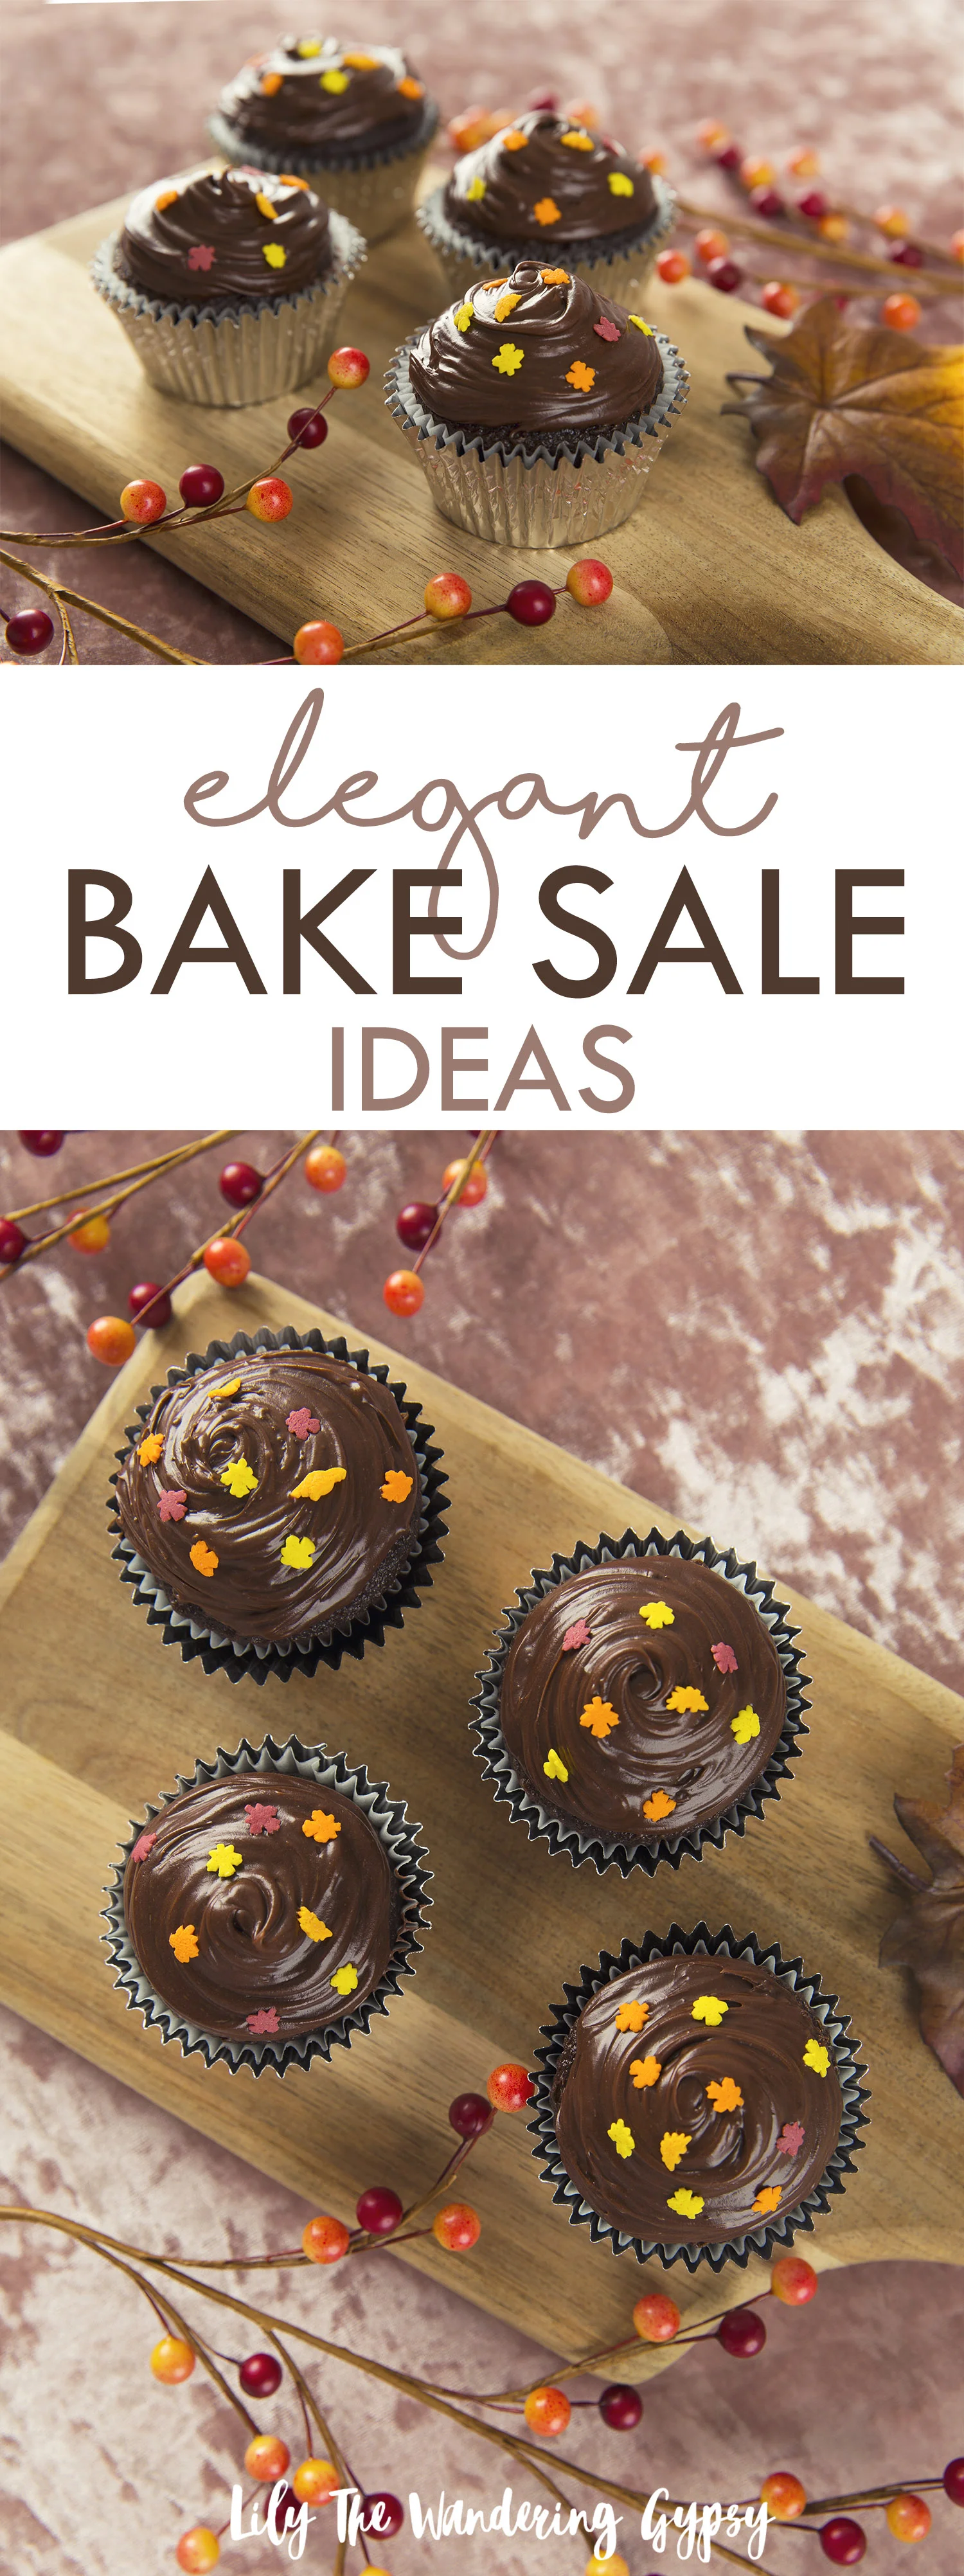
Above, I baked a box of chocolate cake mix into 24 cupcakes, using metal liners.

I then grabbed a quart freezer Ziploc bag and a rosette icing tip. I placed the tip into the corner of the bag, cut a tiny bit of the bag corner off, then taped the icing tip into the hole with electrical tape. This worked pretty well, or feel free to use a pre made piping bag and metal icing tip. 

I then applied a swirl of icing to each cupcake and placed Fall Leaves sprinkles carefully onto each one. I thin they look like a little swirl of leaves on a windy, Fall day!  

CHOCOLATE CHIP COOKIE BARS

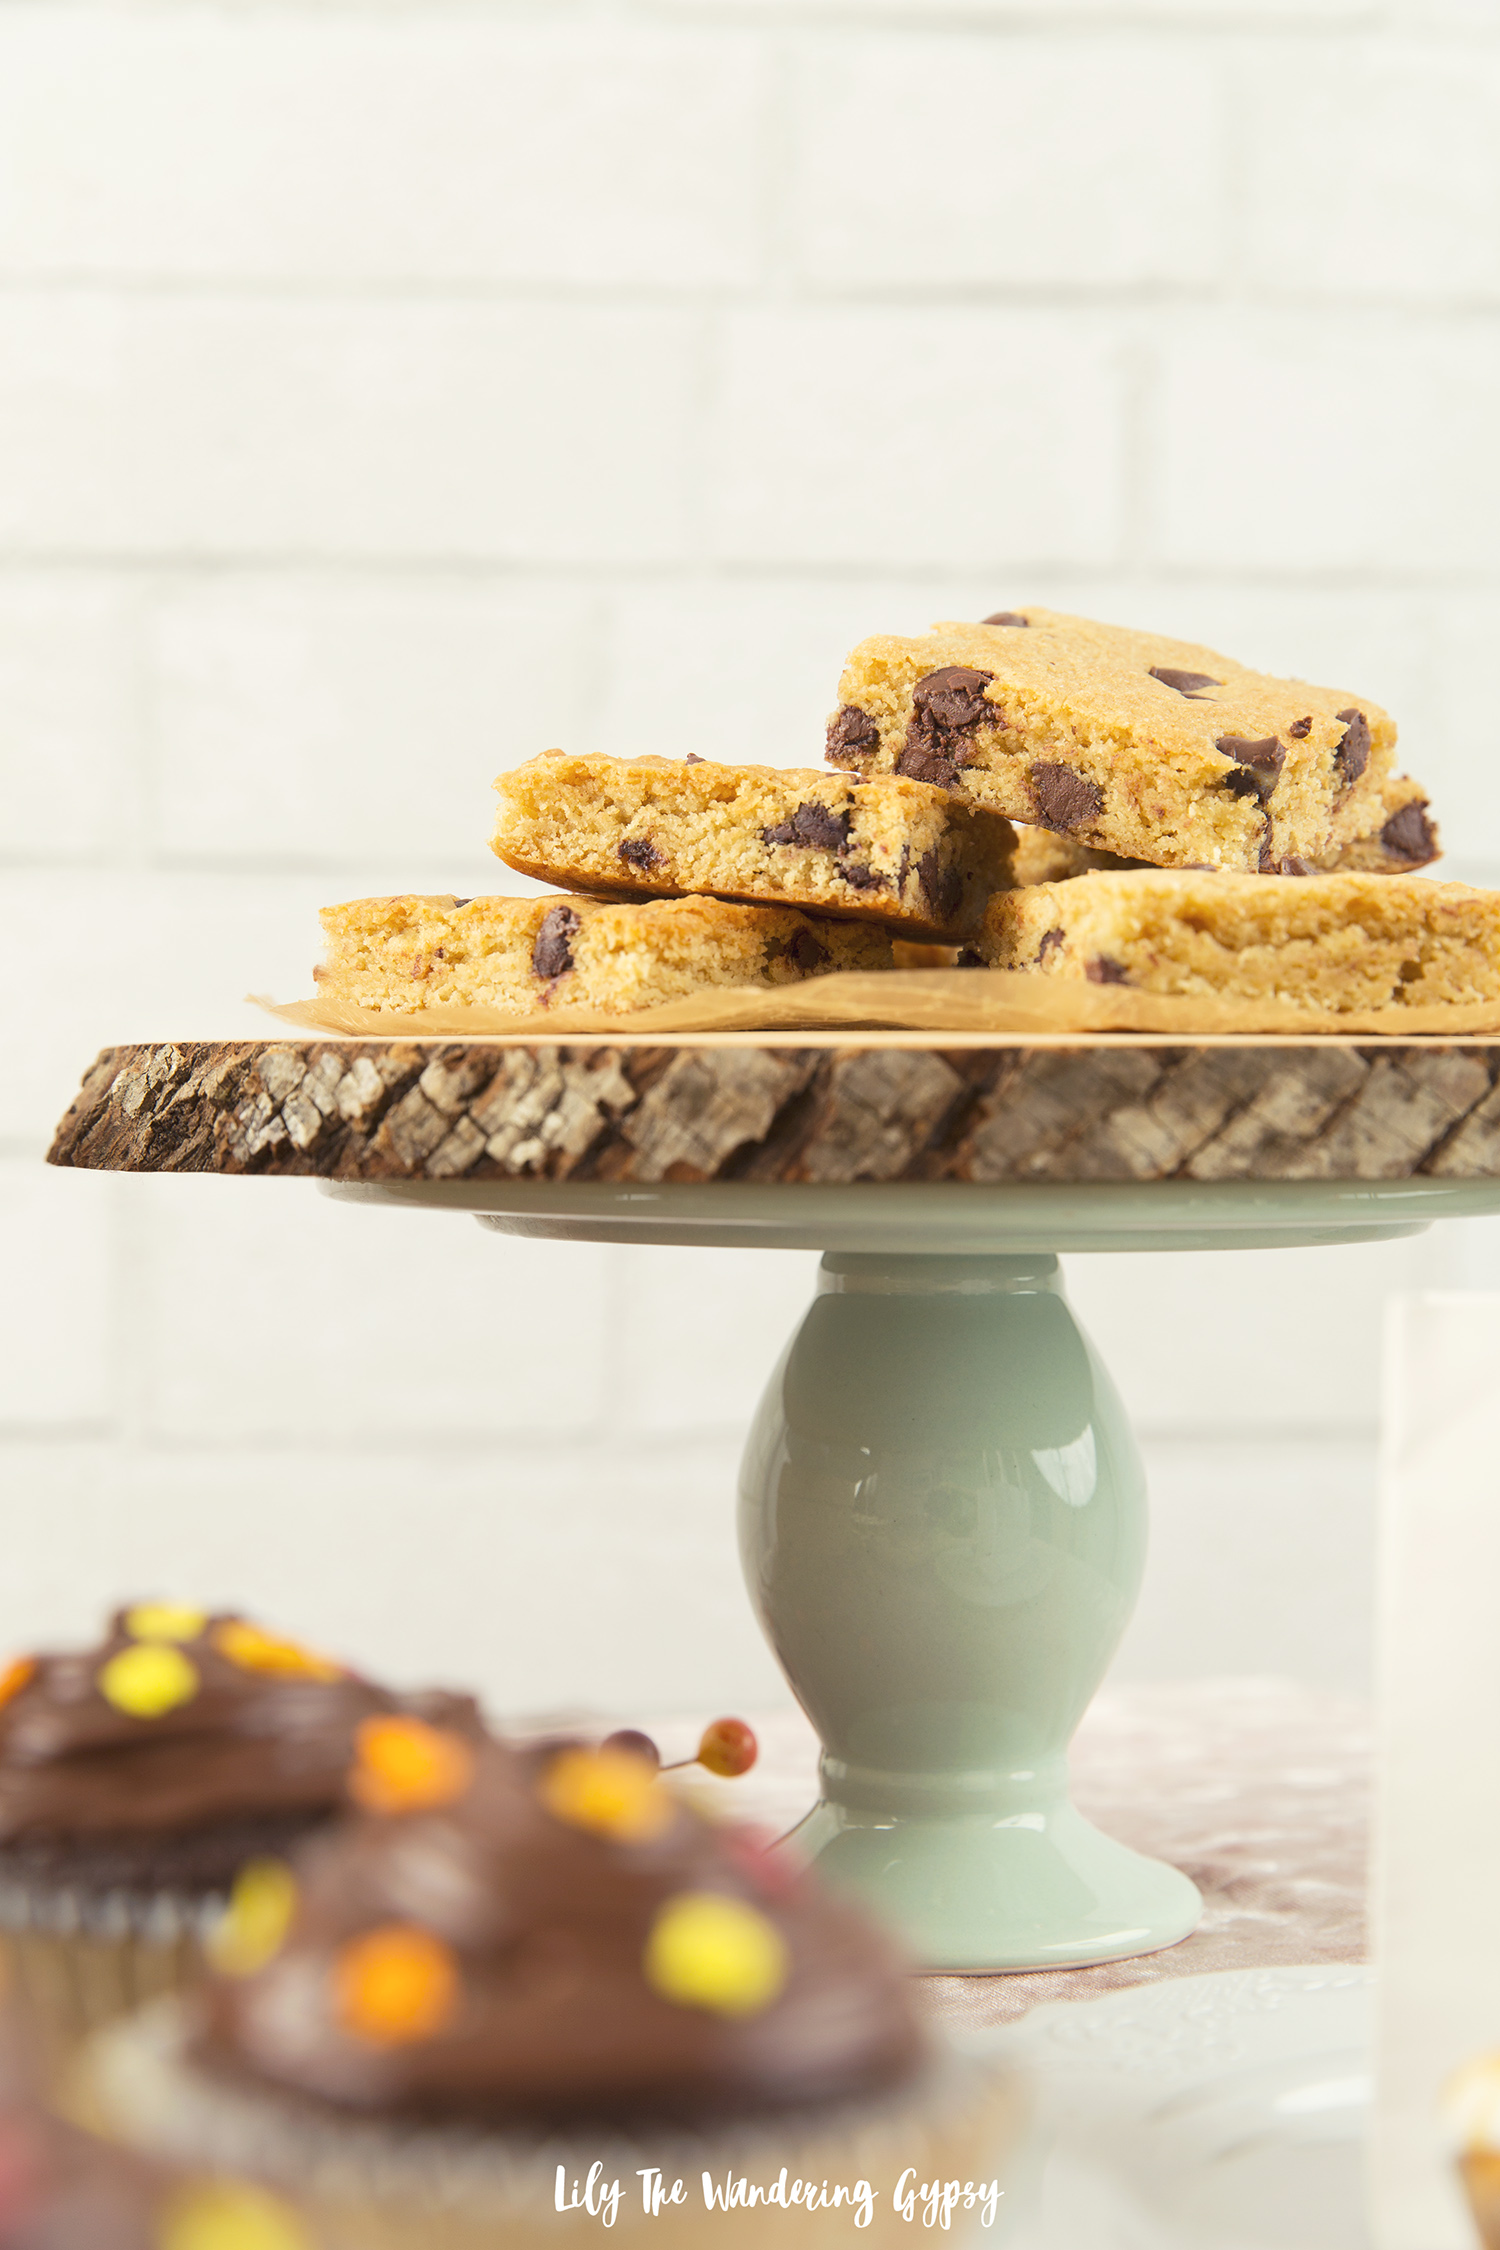
Also, shown above, I made a batch of chocolate chip cookie dough, spread it into a baking sheet, and followed the instructions on the packaging for best results. I then cut the cookie bars into squares, and set them on top of a slice of decorative wood and set them on a mint cake stand I got from Target. I love how this display turned out!

Did you know that in 2016, RMHC provided 2.4 million overnight stays to families? And in doing so gave the ability to spend more time with their sick children, to interact with their doctors, and to make important decisions about their children’s care?

Below, you will see the juggling balls that Ronald McDonals House Charities sent me! 

Below, you can see a cute way to offer customers a cute gift bag with a Fall leave glued onto the bag, perfect for gifting that special treat!

Through the Ronald McDonald House and Ronald McDonald Family Room programs, RMHC provides places for families with sick children to stay just steps from the hospitals where they are receiving critical medical care.

Starting a fundraiser is simple and gives the fundraiser the freedom to do whatever it is they love to do to in order to help RMHC reach our goal of providing 12,500 more overnight stays to families of sick children this year.


1.) Always keep gloves and several pairs of tongs on the bake sale table, so you can serve customers their food without touching it. Also, make sure to keep plenty of to-go bags and containers for customers to bring their treats home in. 

2.) Always use rubber gloves while baking the items too.

3.) Presentation! Presentation! Presentation! I loved the use of this light pink crushed velvet tablecloth material! I headed to my local craft store and spent around $8-10 for 1.5 yards of it. I was so happy to incorporate one of the year's trendiest fabrics into my bake sale display! 

4.) Find a unique location like a popular, locally owned clothing boutique to have your bake sale in front of. Make sure people know to enjoy their treats before they head into shop, and food may not be allowed in the store. Office buildings, malls, and even breweries are also amazing location ideas because there is a larger amount of foot traffic.

5.) Spruce up desserts by adding bakery-style details like icing piped with icing tips, and seasonally adorable sprinkles! I also loved adding cupcake toppers, which can be made with toothpicks and scrapbooking paper or even pom poms! They can also be purchased for around $2.00.

6.) Place hand painted price signs at eye level, and make items affordable. Feel free to have a range of prices on the table too. For instance, I thought that .50 cents per mini cupcake, $2.00 per large cupcake, and $1.00 per chocolate chip cookie bar would be appropriate. I really, really wanted to make some caramel apples for this bake sale, and I believe you could get around $4.00 for them! 

7.) Display the charity name for which you are fundraising! I made a hand painted sign for FREE with black paper and white paint to showcase the "Raise Love #forRMHC" campaign info. Shoppers may also want to tag your cause on social media, so that is also what inspired me to create that sign.  

Learn more about starting a fundraiser here, and also get the details on Ronald McDonald House Charities here!

Inspiring Bloggers Who Will Get You Ready For Fall

Happy First Day of School for the college students at SIU and more! I love this time of year, when I am starting to see all the Fall clothing out in stores and seeing a small glimpse of cooler nights. I am hoping to se that inspiration of the arrival of Fall for some upcoming posts. I cannot wait to start creating Fall posts, and I am sure a few of you are as well. 

I am constantly inspired by other bloggers, and I wanted to share a few top-notch bloggers who I think you will love! These bloggers create some of the most creative and awe-inspiring posts, and I rounded up a few of my faves for Fall!

Celebrations At Home

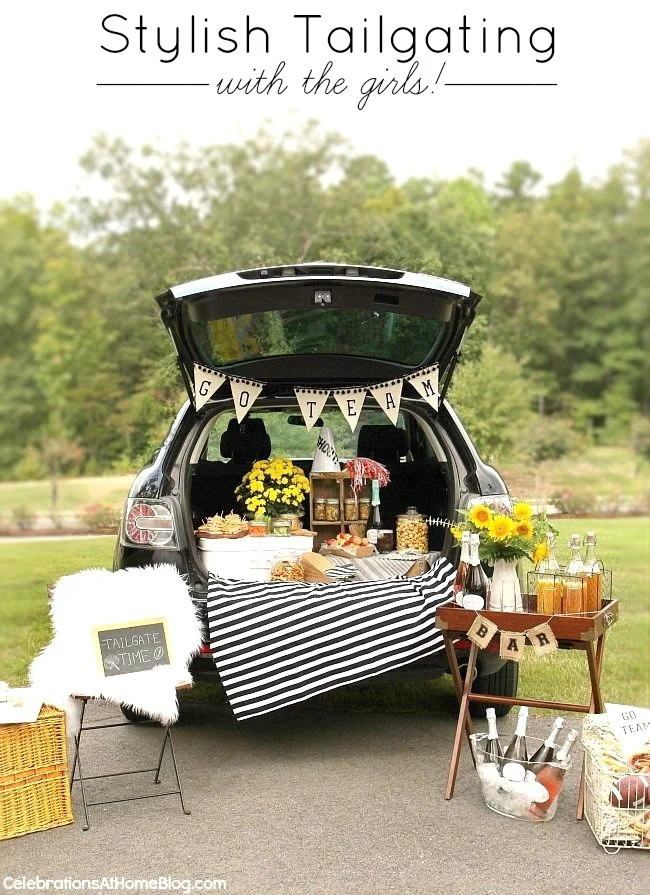
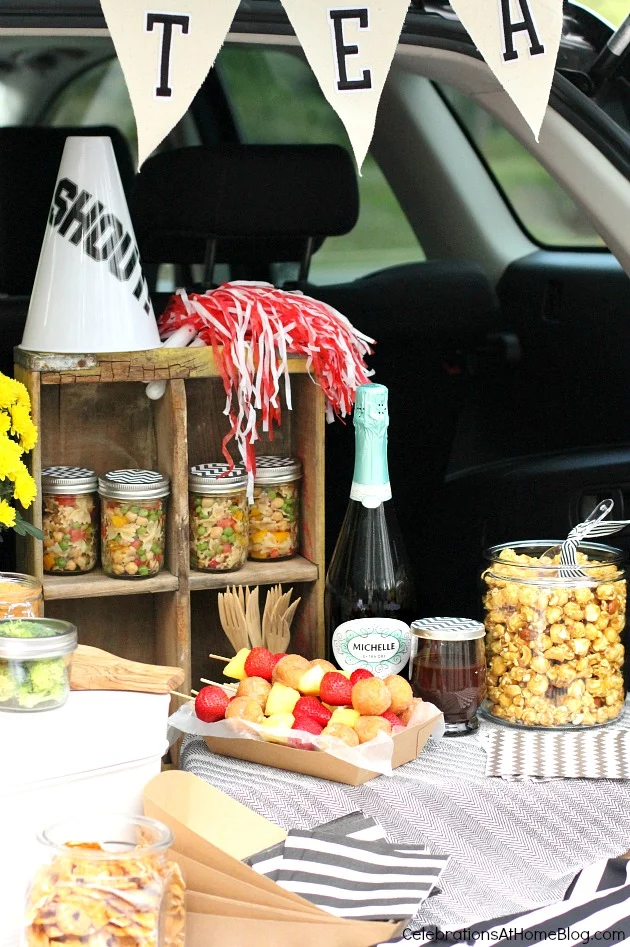
If you are excited for Fall, you're probably also excited for Tailgate Season. Check out this creative post, shown above and below, sharing ideas on how to enjoy a day with the girls - because why not?!

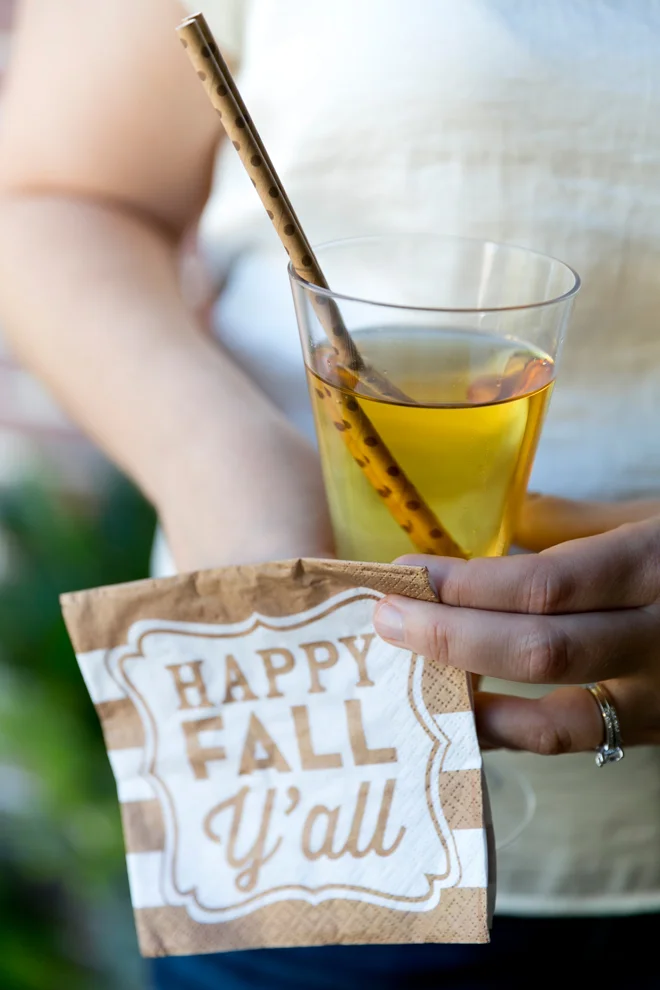
For an Earthy and approachable look, grab some Fall treats and apple cider, and utilize brown elements like burlap, paper straws, cute plates and napkins, and more. 

Jenny Cookies

I love the color scheme used in this amazing Fall Ladies Lunch post that Jenny Cookies hosted. She used her famous collection of Cake Plates, 

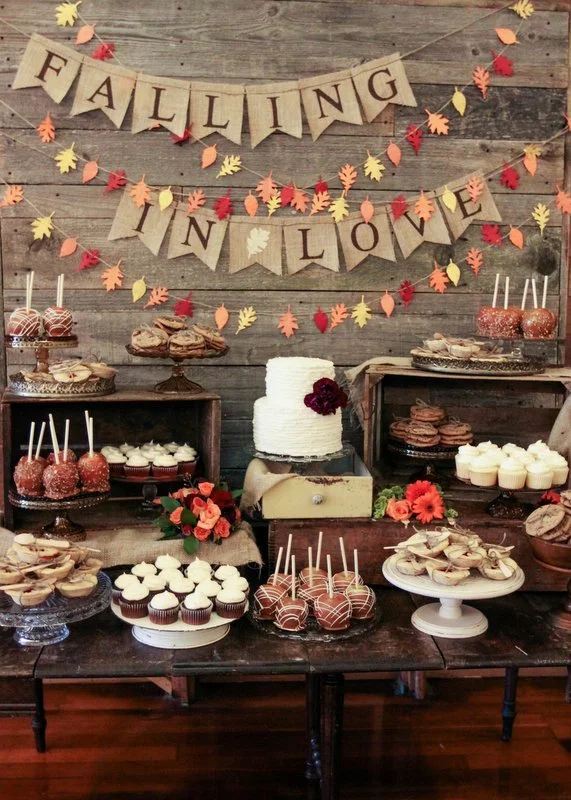
Below, Jenny Cookies put together a more rustic look for a multi-level dessert table. I also just love the simple wooden boxes, brown and white foods, and simplistic leaf buntings. 

Are you excited for Fall, or are you holding onto the last warm month or so of Summer? 

A Memorial Day Party With Balloon Time! Get These Cute Recipes and Decor Ideas!

This is a sponsored conversation written by me on behalf of Balloon Time Helium Tanks. The opinions and text are all mine.

So excited to share this fun post with you today! I am really looking forward to summer, and Memorial Day, to me, is the first big holiday of the summer season. It's a great time of the year to host friends, and why not embrace that red, white, and blue, Patriotic spirit into your party with festive decor and tasty, yet easy to achieve party recipes. I utilized a balloon backdrop, inflated with my Balloon Time Helium Tank, making this whole party setup a very Instagrammable moment!

This party would be adorable for guests of any age, and feel free to add a bit more of your favorite food or drinks for your friends and family to enjoy while we celebrate Memorial Day, and other fun holidays in May and the upcoming summer months.

Tie Dyed Fabric In Indigo and White (See My DIY Here)

Helium-Safe Balloons (I used red, blue, and star-printed latex ones, and 3 holographic mylar ones in star shapes)

Helium Tank (I used one from Balloon Time)

Curling Ribbon included with helium tank

Weights for Balloons (these can be made from just about anything that is somewhat heavy. Or, tape to attach balloons to the back of your table

1.) Get acquainted with your Balloon Time Helium Tank. At first, I had a bit of trouble realizing that there are two steps to working the tank. FIRST, on your helium tab, you will find a green handle, that you turn about 4 times until it won't turn any longer. SECOND, insert your balloon onto the black nozzle, and push down to release the helium into your balloon. I did not realize to do the second part, and thought my tank was empty - oopsies! It was not :)

2.) Fill your three star balloons, and about 5-10 of each of the other colors, red and blue. Adding some white balloons would also be adorable! After filling each balloon, tie about 3-4 feet of ribbon to them, and attach them to your weights, so they won't float away :) I cut each ribbon to be a bit of a different length, so they would have a more layered effect, which I just loved!

3.) Put up your tie dyed back drop behind where your table will go, and then start filling the background with balloons! I started with my stars, then worked out from there, with the other balloons. Put your table in front of that, and begin styling the party!

4.) I love displaying food at different heights on the table, to create lots of visual interest. For this party setup, I used a mixture of wooden crates, galvanized metal boxes,   

5.) Other cute items you might want to offer include patriotic-themed star plates, napkins, cute paper straws, cute sunglasses, and red/white/blue candies in star-shaped glass dishes.  

When I first learned about this project with Balloon Time, I instantly went into research mode. That's how I start every post that I create, so I can learn more about the brands and the products I am about to work with. I also love seeing what other bloggers may have done with and for these brands before, and I was so excited and very honored to be chosen, because Balloon Time has enlisted the DIY and Party Skills of many amazing bloggers that I follow pretty regularly, like Studio DIY, Hostess With The Mostess, A Subtle Revelry, and Confetti Sunshine!

I wanted to put my own spin on this project and include lots of cute dessert ideas, too!

I love these delicious red velvet cupcakes from my local grocery store, which you could use in a pinch, or bake cupcakes from your own favorite recipe. 

WHAT YOU NEED:

Red Velvet Cupcakes, Plastic Wine Glasses, Candies To Decorate

Simply fill glasses 1/3 full with colorful candies. Next, put the cupcake into each glass, and you have an elevated way to enjoy your cupcakes! This makes dessert very easy to carry around, too.

It's funny. The end of May in Illinois can offer gorgeous weather, chilly weather, rainy weather, or just plain HOT weather. Here in Illinois, we just come to enjoy those years when we get good weather for holidays, but it's never 100% for sure that we will even want to be outside. SO, I designed this party for an indoor OR outdoor gathering! 

I found this pack of 6 tiny, plastic dessert bowls at the dollar store, and then, using an ice cream scoop, I added a scoop of cool whip to each bowl. Next, I added one full strawberry to each cup, and then about 6-8 blueberries to one side. These taste SO good, and will be easy for guests to enjoy. Also, I would only recommend making these about 30 minutes before serving, because the strawberries get mushy if you wait much longer. But, I love how these turned out so much! 

Thanks so much for joining me to learn more about my latest party! I hope you have gotten lots of great party ideas too.

See all of the parties I've designed, here!

Enjoy!

This is a sponsored conversation written by me on behalf of Balloon Time. The opinions and text are all mine.

PIN IT FOR LATER:

Best Of Pinterest: Top 6 Most Adorable Spring Treat Recipes and DIY Ideas

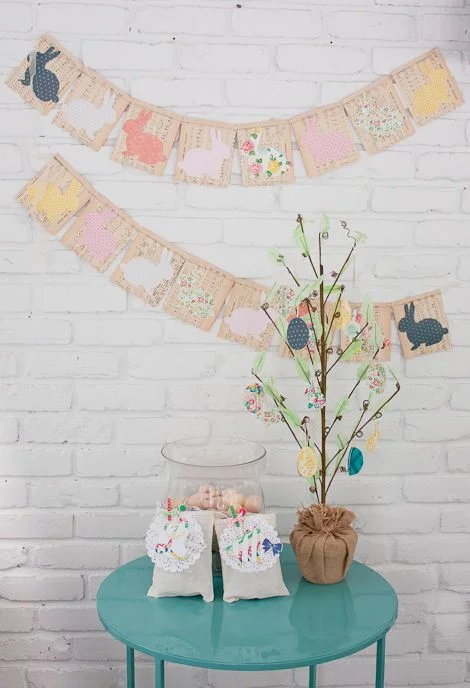
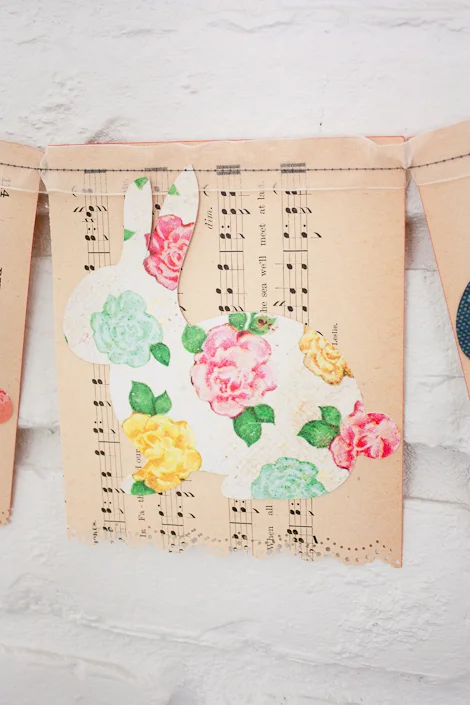
1.) What an adorable little vignette! Crate Paper's post shows us how to decorate for Spring in a shabby chic style, with lots of DIY ideas. So, get out your floral scrapbooking papers, and some sheet music, and get ready to make your space ready for the Easter Bunny to arrive!

Find It On Pinterest, Here.

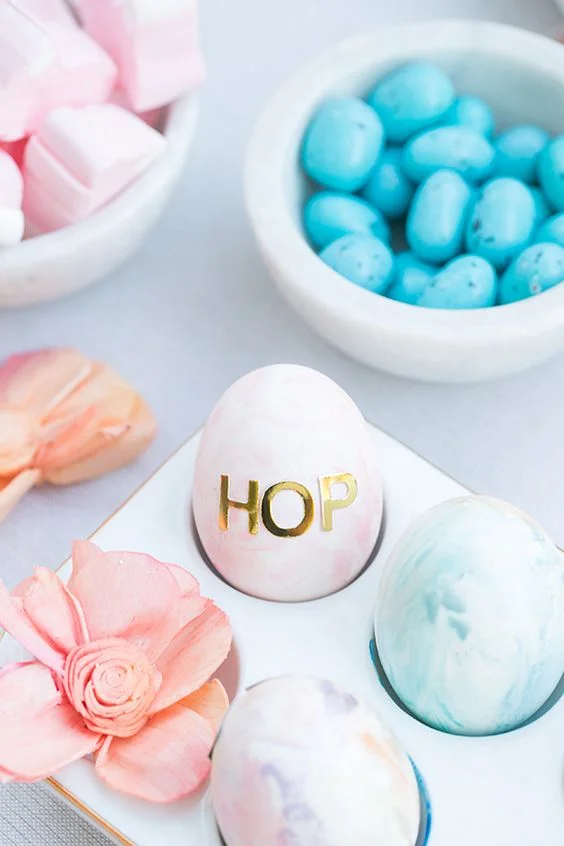
2.) Next, why not celebrate with friends and family by decorating some good old fashioned Easter Egg decorating? Stick to soft, pastel colors and provide lots of coordinating candy fir guests. Sugar And Charm shares all the details, so check out their post for more details.

Find It On Pinterest, Here.

3.) Have you ever herd of Spiked Peeps? Well, Sugar & Charm shows you how to make them from scratch! The colors they used are marvelous, and why not add a bit of booze to this fun day? 

Find It On Pinterest, Here.

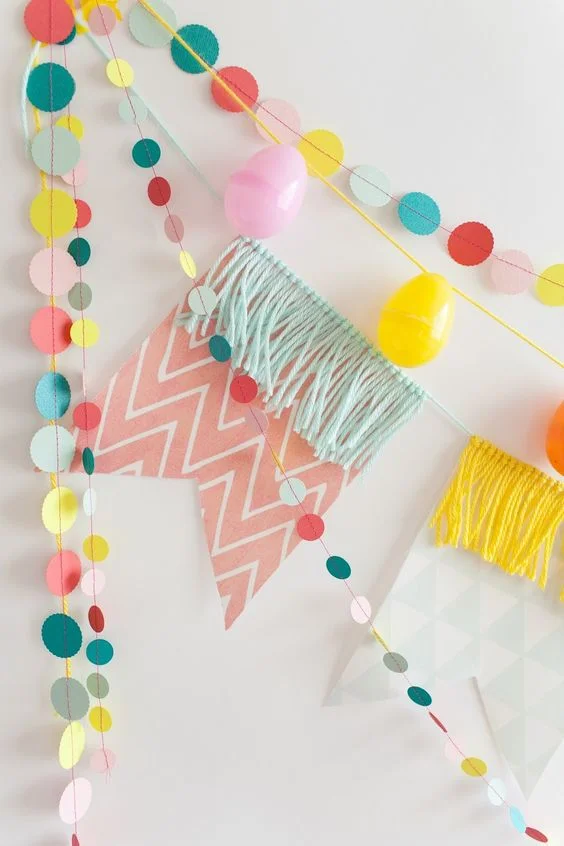
4.) Tell Love & Party provides this adorable and festive bunting DIY with unexpected mixes of colors, prints, and patterns. The addition of the Easter Eggs is also quite cute. And, even a bit of fringe! Who doesn't love mint fringe? 

Find It On Pinterest, Here.

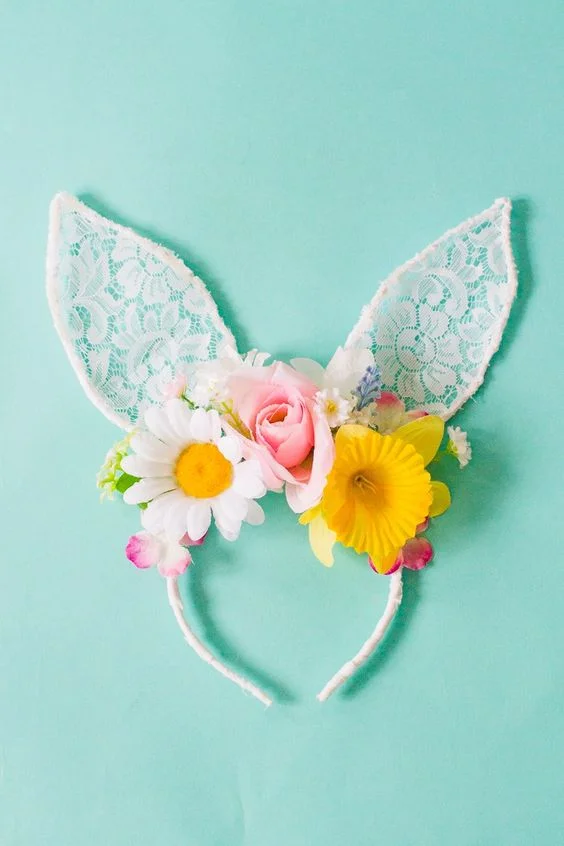
5.) Looking for a wearable and fun DIY project for Easter? This one from Bespoke Bride is perfect! Boho Bunny, if you will. Starting with a traditional headband, add some wired, lace ears and a floral crown, and you have a beautiful accessory for just about any age. 

Find It On Pinterest, Here.

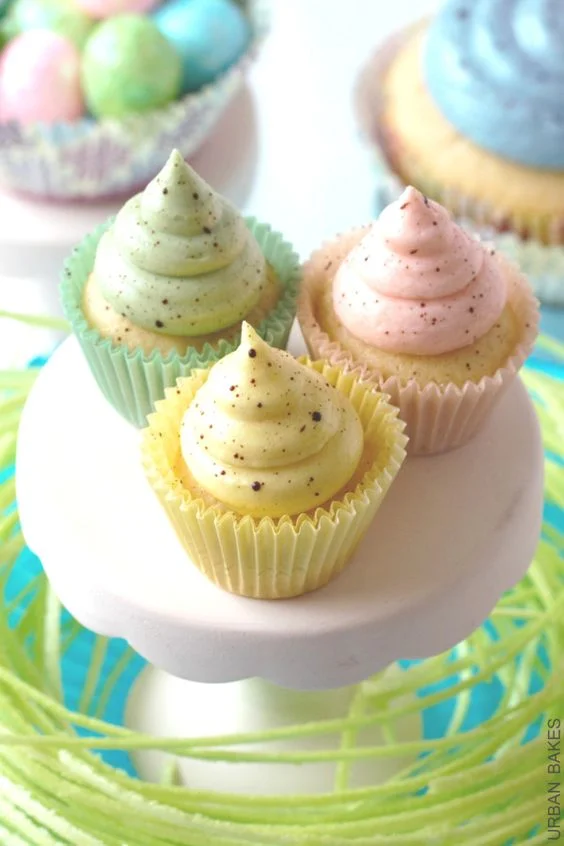
6.) Love the looks of specked eggs? Then, these beautiful Speckled Cupcakes by Urban Bakes are just what you need to make. The colors are perfect, and you can learn how to make the little speckled detail on her blog

Find It On Pinterest, Here

PIN IT FOR LATER

4-Ingredient, No Churn Conversation Heart Ice Cream Recipe + An Amazing New Shopping List App - Board To Table

Check out this exciting new App, that takes your Pinterest recipes and makes a shopping lost for you, right on your phone! Also, this Valentine's Day Ice Cream recipe is divine - you will definitely want to make it for someone you love :)

Read More

Gifts For The Chicago Cubs Fan

Super excited to bring you this fun Gift Guide, inspired by something so near and dear to our family, like a gift guide for the Cubs Fan. I have several people in my life whose eyes would light up at the sight of anything in Cubs blue and red! Check out the ways I decorated in Cubs colors for Christmas, and learn about items I love. 

Read More

A New Financing Option And A Better Way To Pay

Sometimes, life just gets expensive. One day, you're all caught up on bills, then the next thing you know, you're either needing something super important, having to unexpectedly replace something big, or even lusting after something so badly, you just HAVE to get it now. Check out this post to learn about new fi

Read More