Hosting a basketball party soon? Here are some quick and easy ideas to make your game day much more fun!
Read MoreDelicious No-Bake Peanut Butter Pie Recipe
Learn how to make this delicious pie!
Read MoreAn All Star Snack Bar Popcorn Party For Game Day!
Create an adorable Game Day Popcorn Bar to delight your guests and celebrate team spirit!
Read MoreTasty Game Day Recipe - Spinach Dip Stuffed Bread Boat
Football viewing parties are such a fun way to get friends and family together, and this recipe is a crowd pleaser. It only takes a few ingredients, so keep reading to see how I made this tasty dish.
Read MoreA Rockin' New Year's Eve Party
Technology can really benefit us when planning a party. I use technology to gain inspiration, research party decor trends, explore color schemes, find party recipes, and learn all sorts of new DIY techniques.
Read MoreDIY Holiday Wine Party Table Setup Ideas {Sutter Homes For The Holidays}
Why not add a bit of wine to your next holiday party. I had a blast creating this fun holiday Party Table Scape that will hopefully inspire some decor for one of your next gatherings.
Read MoreOlive + Cheese Holiday Wreath (Cheese Board Recipe + Holiday Party Idea)
So excited to bring you this fun idea! I have been wanting to make an Olive / Cheese Wreath for a while now, and am so glad I was able to make this one. Read on to learn how I made this fun holiday-inspired appetizer.
Read MoreMy Most Popular Posts In October 2016
Since the month is almost over, and the season change is in full swing, I wanted to look back at some of the posts that brought me the most traffic this past month.
I created so many fun recipes and ideas this past month, and I am so happy to be able to share it with you here on Lily The Wandering Gypsy!
Those posts gained me nearly 70% of my total traffic, which is so great! I love checking back to see what people are enjoying. Until next time!
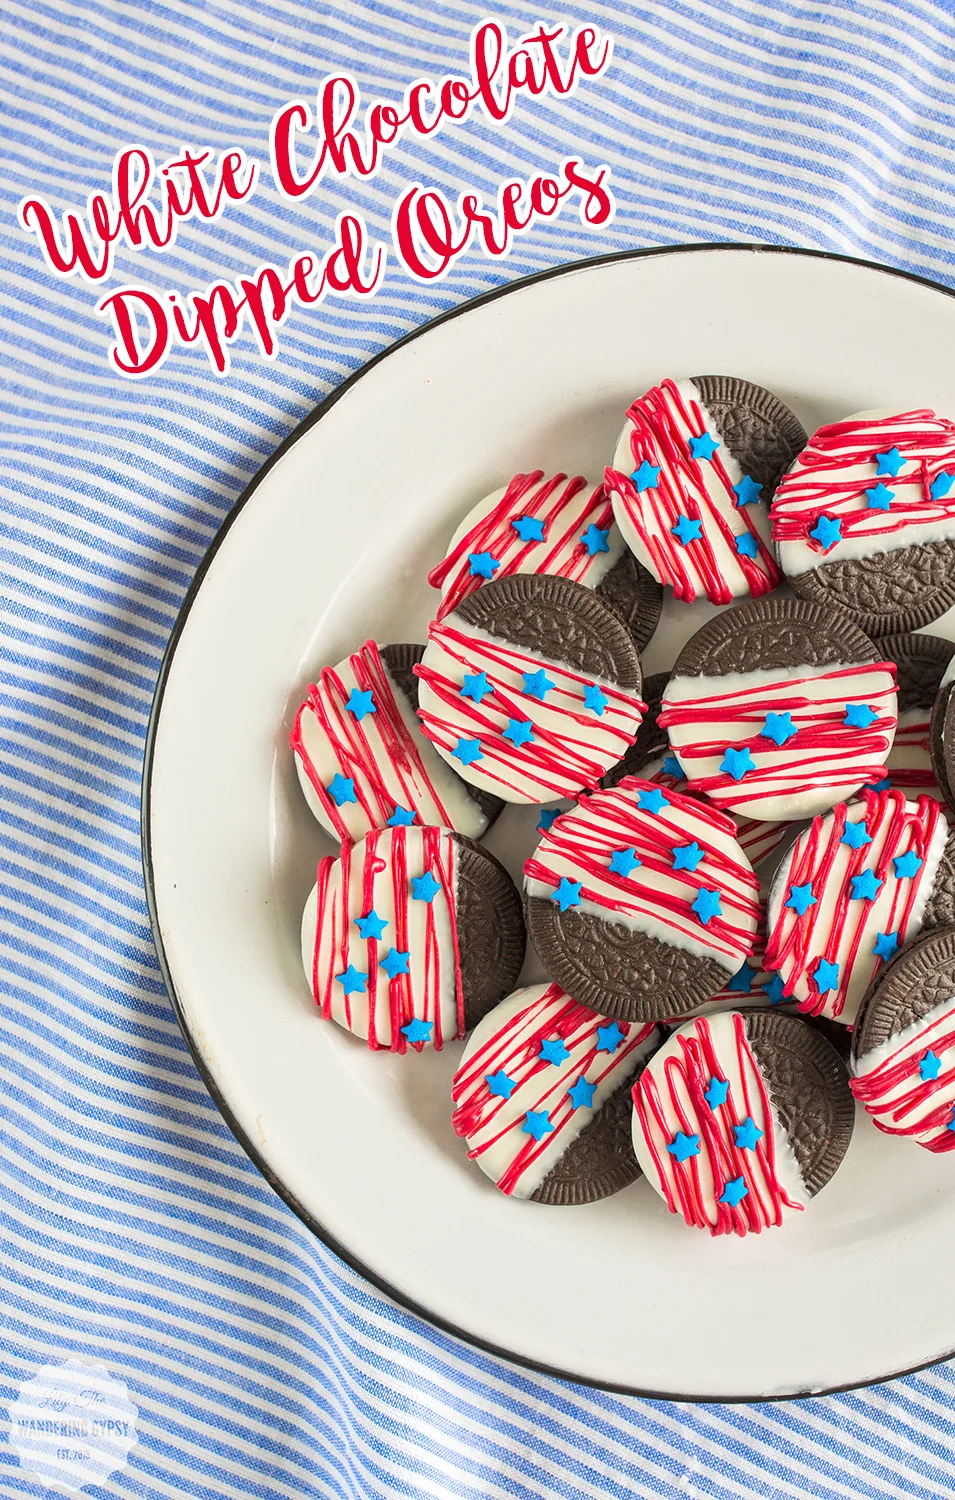
Elegant Chocolate-Dipped Patriotic Oreos
Have you noticed that most candy/chocolate stores offer chocolate-dipped Oreos among their other chocolate bon-bons and other confections? I have always been amazed by this, because they are SO incredibly easy to make. I figure, why not just make some of my own at home! I also wanted an excuse to check out the Oreo Thins that I have been seeing everywhere, so I thought this would be the perfect project!
Without further ado, here are my Elegant White Chocolate-Dipped Oreos, perfect for Labor Day Celebrations, and other times when you just wanna decorate some desserts!
- 1-2 packages of Oreo Thins (find them here)
- Ghirardelli Classic White Melting Wafers or White Chocolate Chips (find them here)
- Red Food Coloring Gel (this is the set I have) or red candy melts
- Blue Sprinkles (similar here)
- Glass jar to dip Oreos into (mine was the 8 oz. size, I believe)
- Skewer Stick
- Parchment Paper
1.) Melt white chocolate in a double boiler method or in the microwave, stirring regularly to make cure it's smooth and fully melted.
2.) Line a baking sheet with parchment paper.
3.) Transfer a portion the melted white chocolate to a jar that is about as deep as the Oreo Thins are wide. Leave about 1/2" of room from the chocolate to the top of the jar.
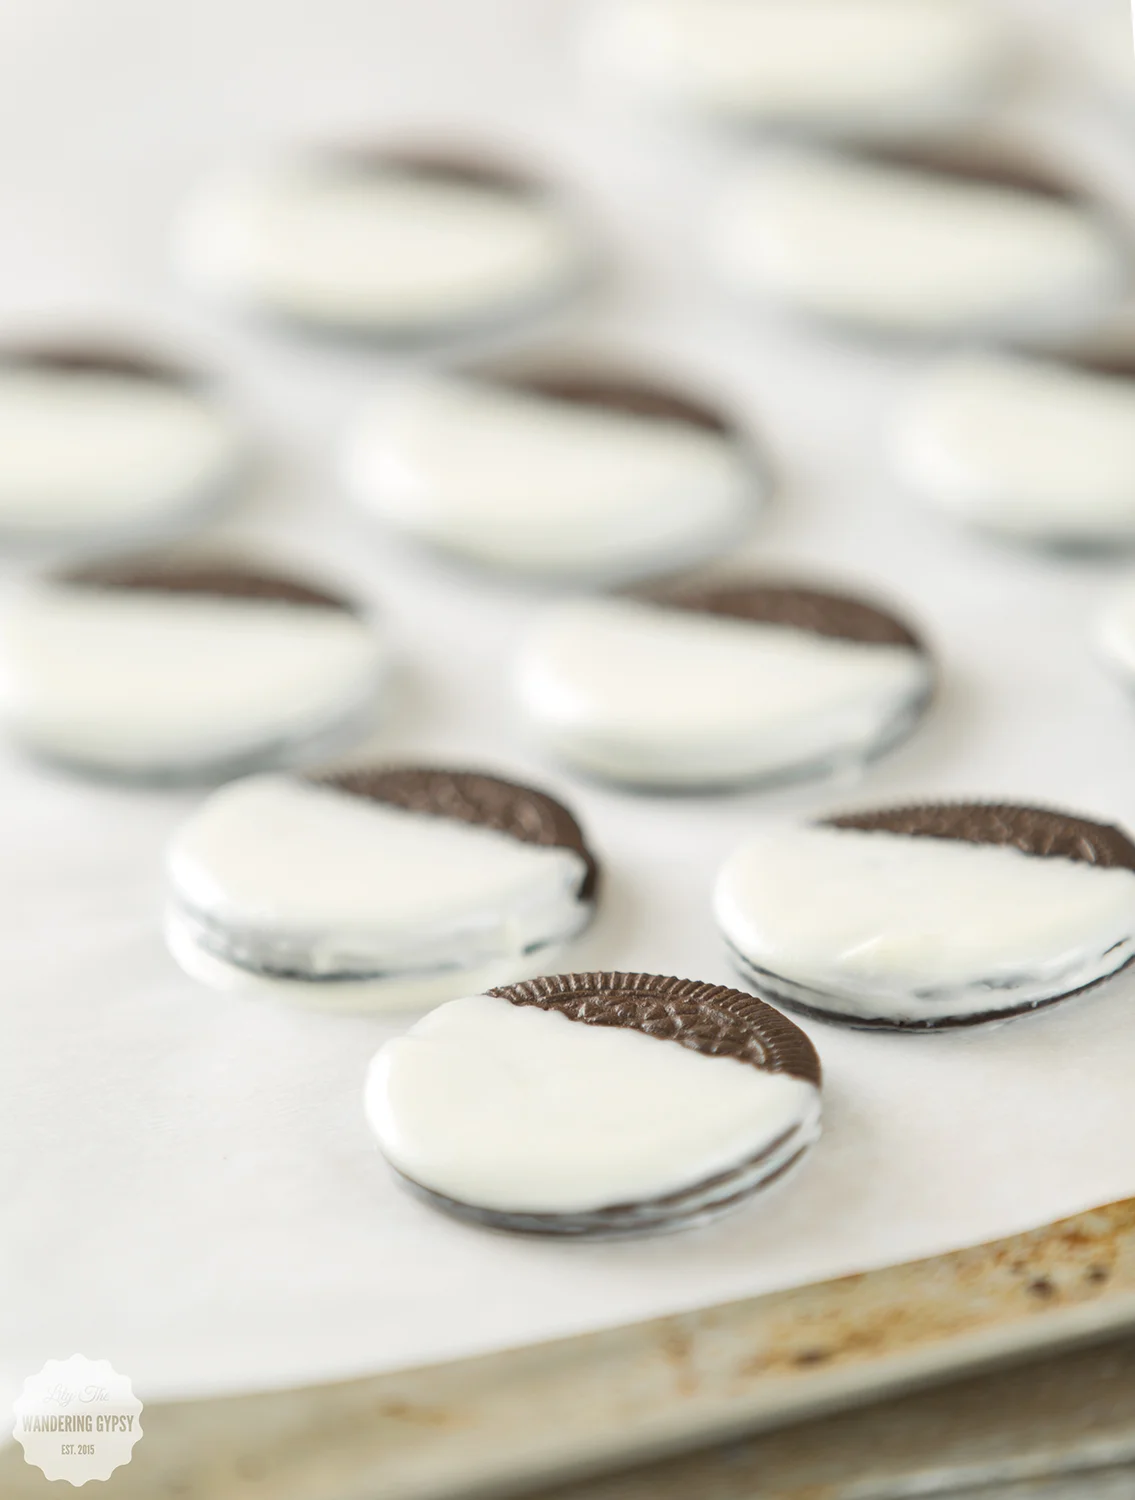
4.) Dip each Oreo Thin into the white chocolate, and dip in little over half way, leaving space at top.
5.) As you pull the cookie out of the jar of white chocolate, use a skewer stick to scrape excess chocolate off the back of the cookie, and around the sides. This is a great tip, that makes your cookies look way better and less gloppy as they dry.
6.) Put each cookie onto the parchment, and let cool completely.
7.) After you have dipped every cookie, pour more white chocolate into a jar, and add lots of red gel food coloring. This could also be done with red melting wafers.
8.) Transfer to Ziploc bag, and cut a tiny opening in one corner. ***Working one cookie at a time, add lines of red chocolate, then a few blue start sprinkles to each cookie. Practicing first helps!
9.) Enjoy your cookies! These would be perfect for a party or just enjoying at home!!!
Fall Tailgating + Football Party Tips!
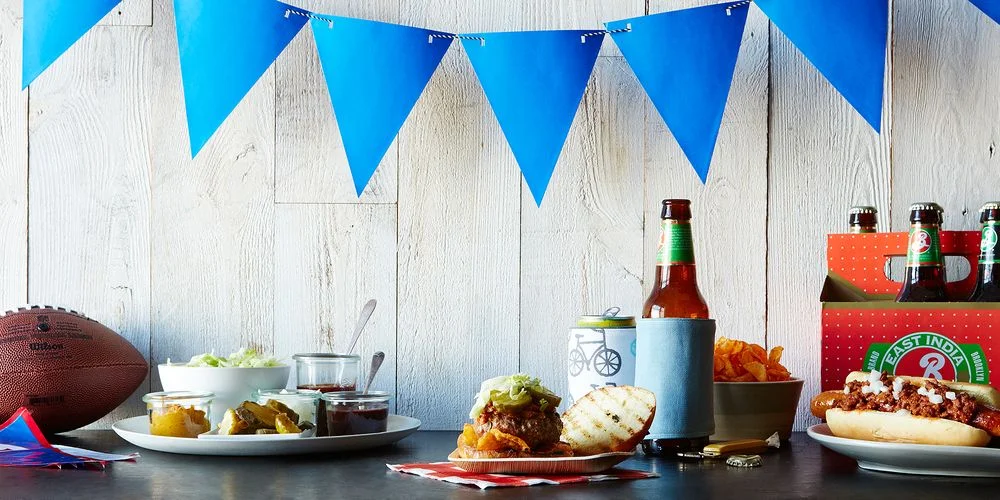
I cannot wait for Fall, and one fun part of Fall is tailgating! Football season, and cooler temperatures make a great excuse to get together with friends and enjoy some good food and drink! Below, are some ideas on making your tailgating and football parties so much more elegant and grown-up. Most of these ideas, from some of my favorite bloggers, are just creative DIY ideas, that don't have to be expensive or time consuming. So, let's get ready for some football...
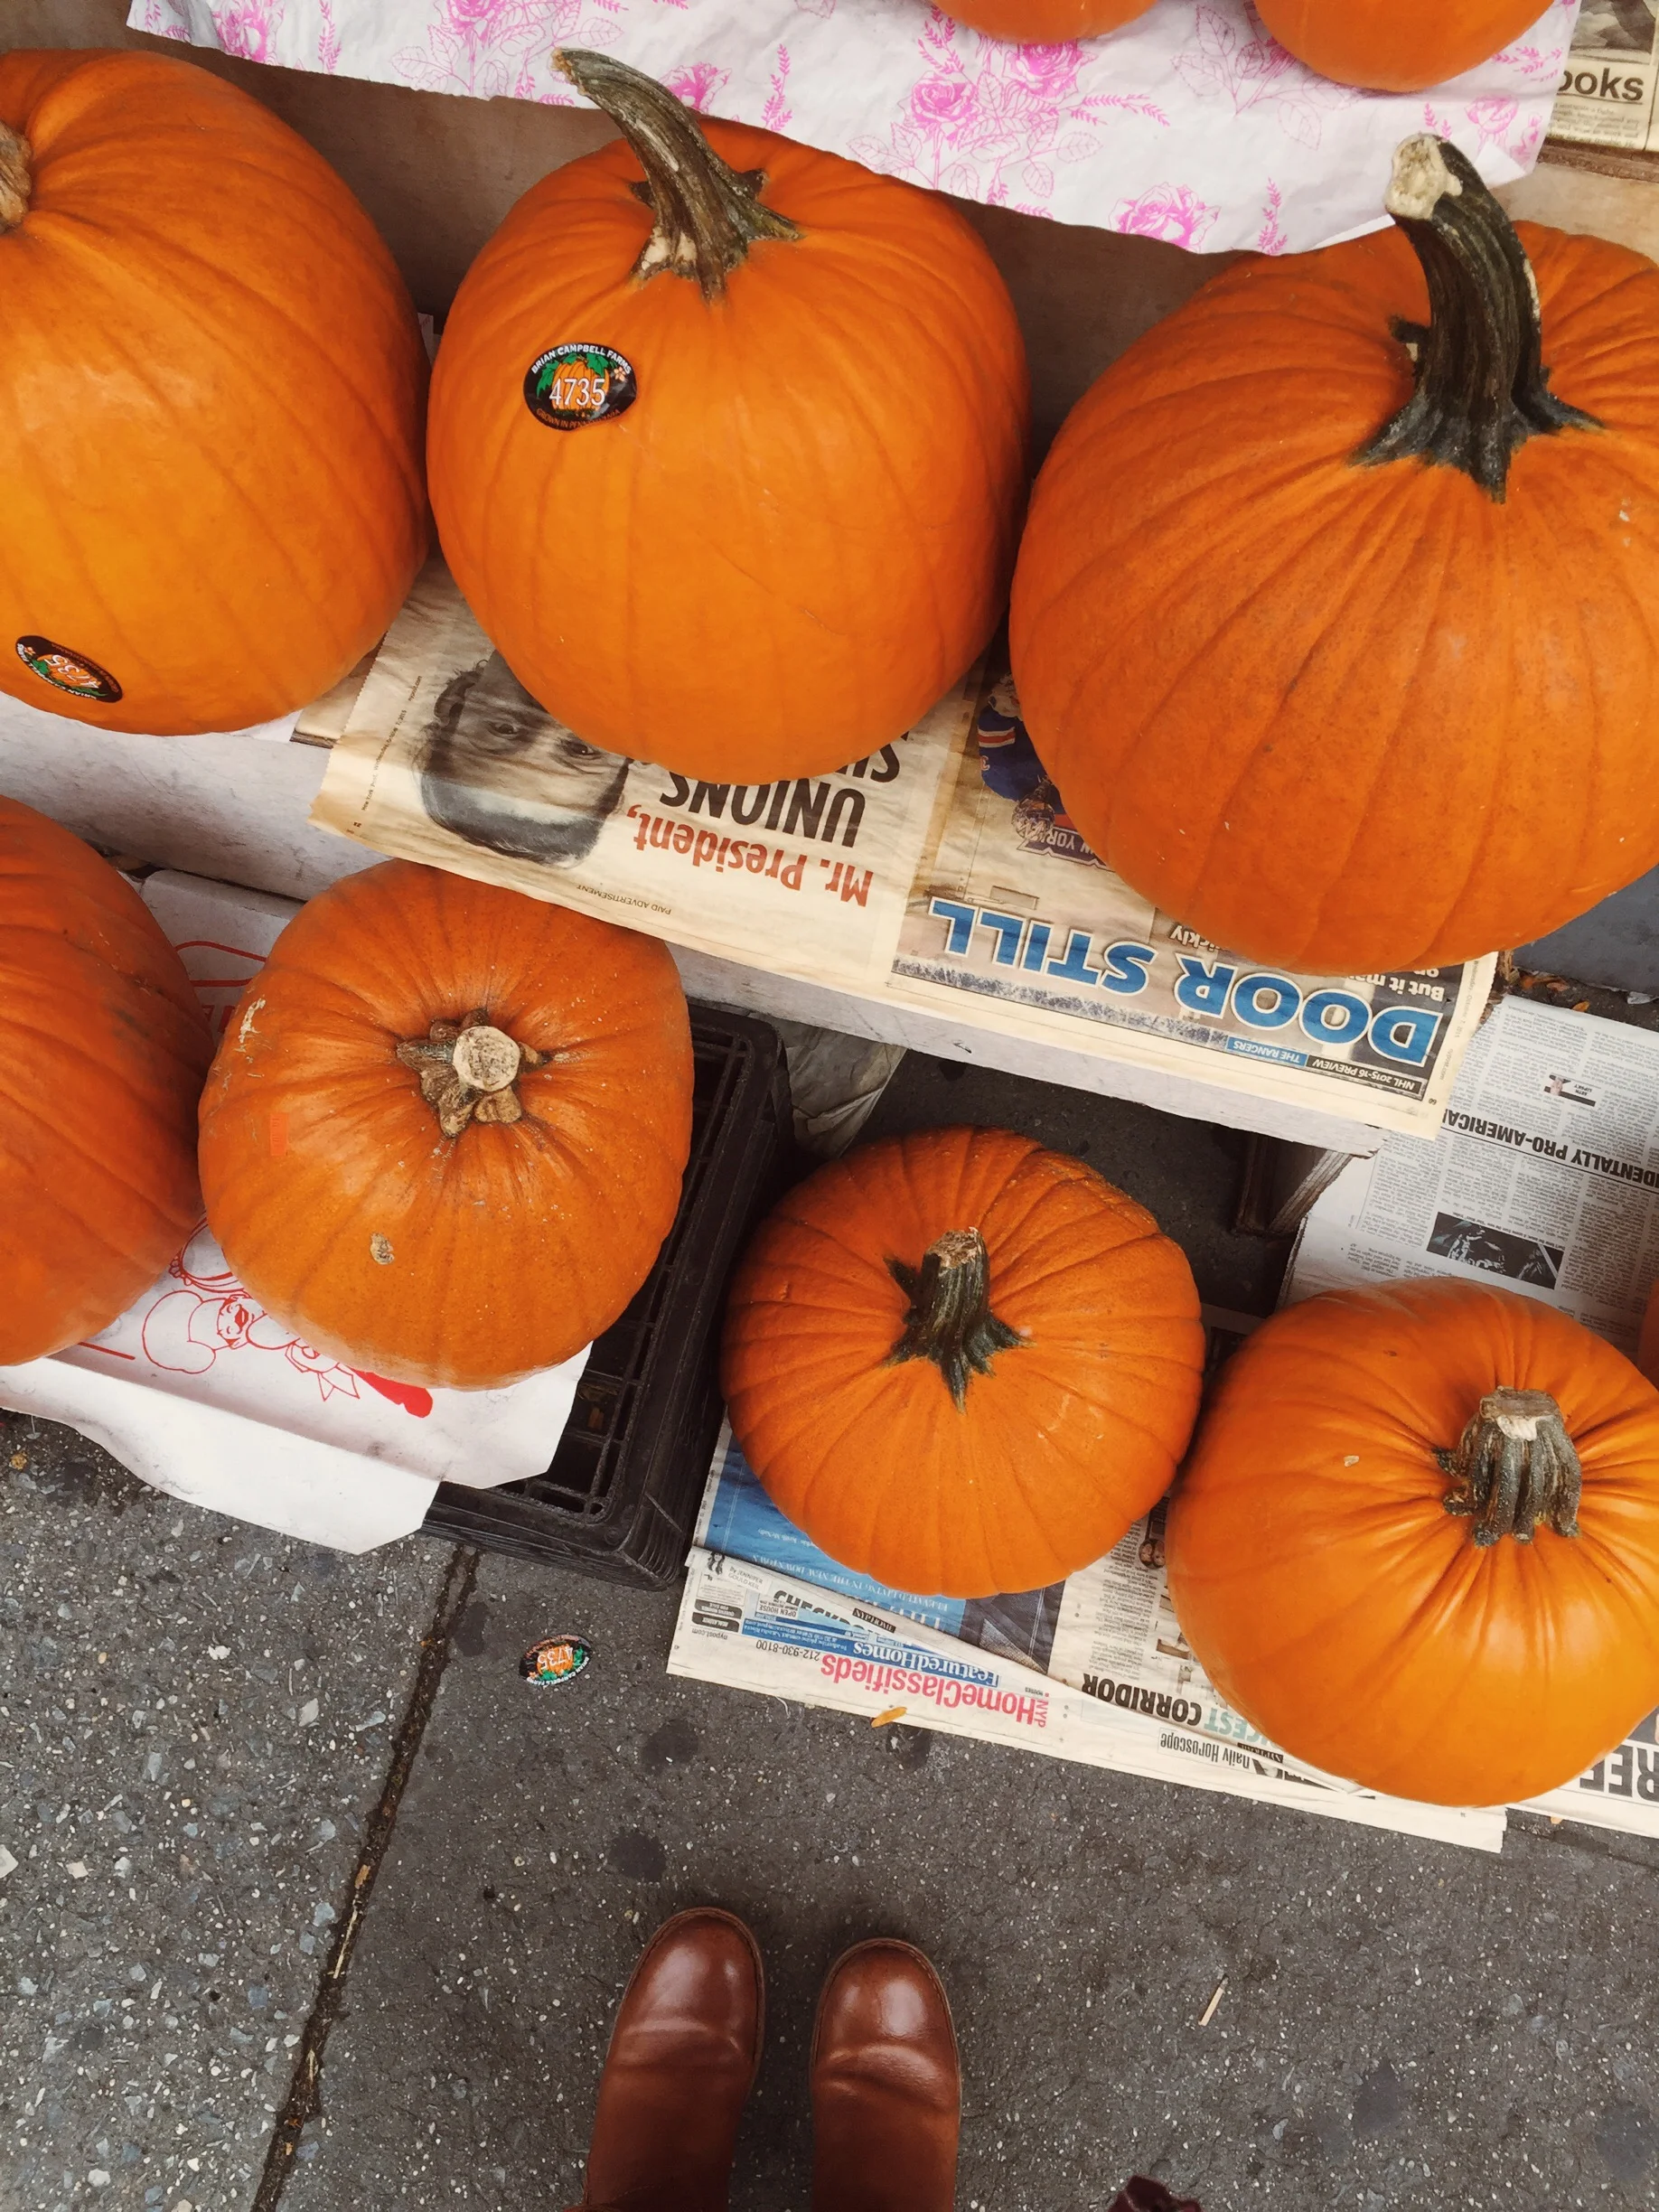
Serve Drinks From A Pumpkin (Waiting On Martha) - You can simply add some ice to a hollowed-out pumpkin and add beer, or line a smaller pumpkin with a plastic container and add dip for chips or veggies! Learn how Waiting On Martha styled an adorable tailgate party of her own here.
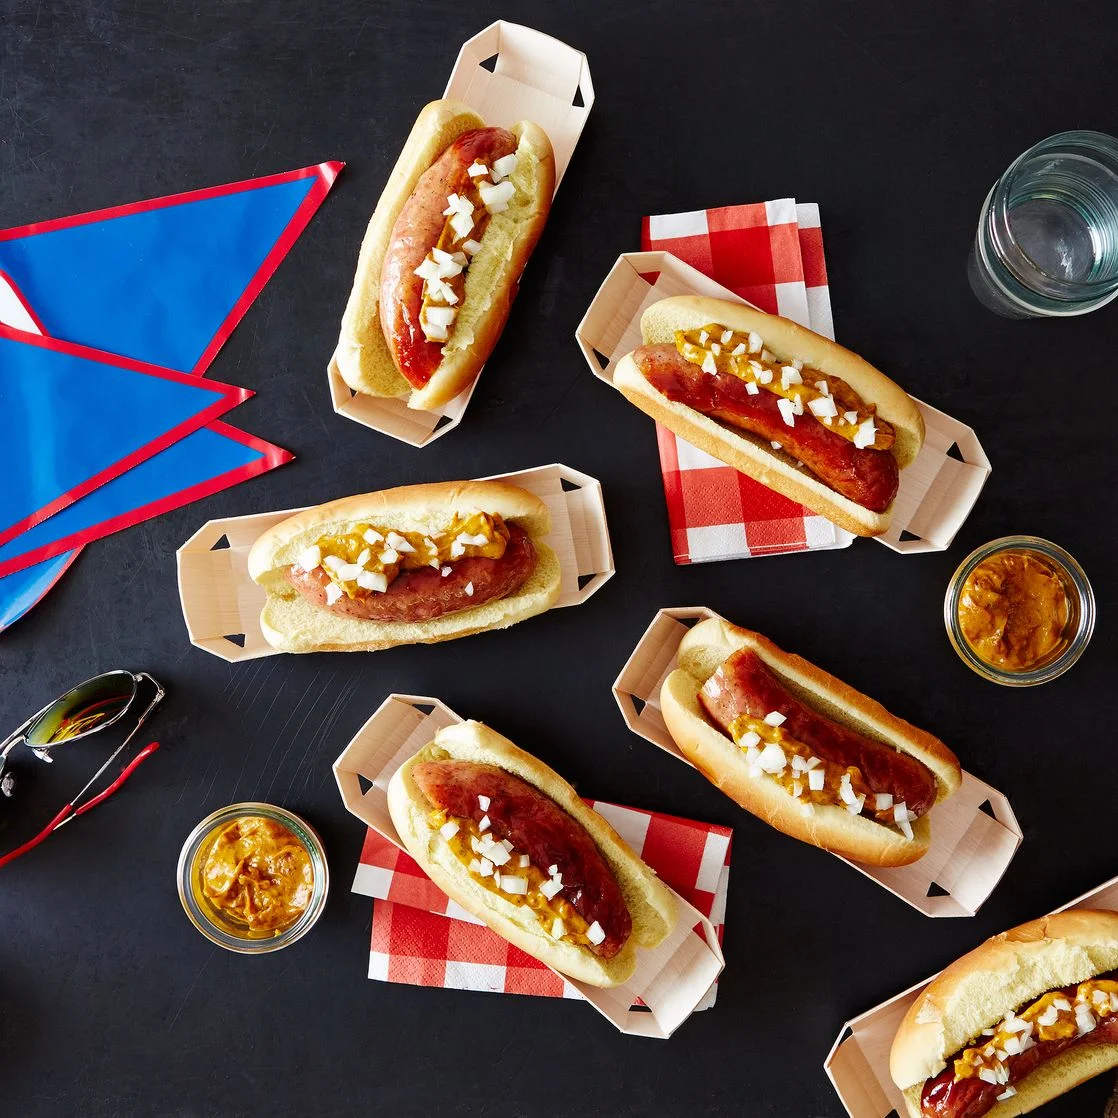
Use Eco-Friendly Plates (Food 52) - If you must use disposable plates and food holders, there are more Eco-friendly options like these compostable wooden hot dog trays and more from Food52.
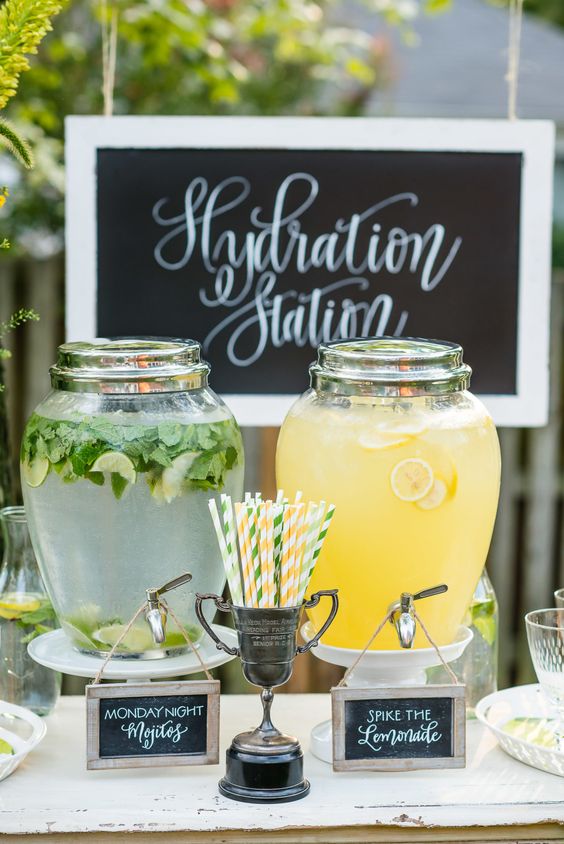
Create A Hydration Station (Style Me Pretty Vault) - Provide guests with inexpensive drinks like fruit-infused water, lemonade, and tea. Learn more about this incredible party, in the Style Me Pretty Vault Files.
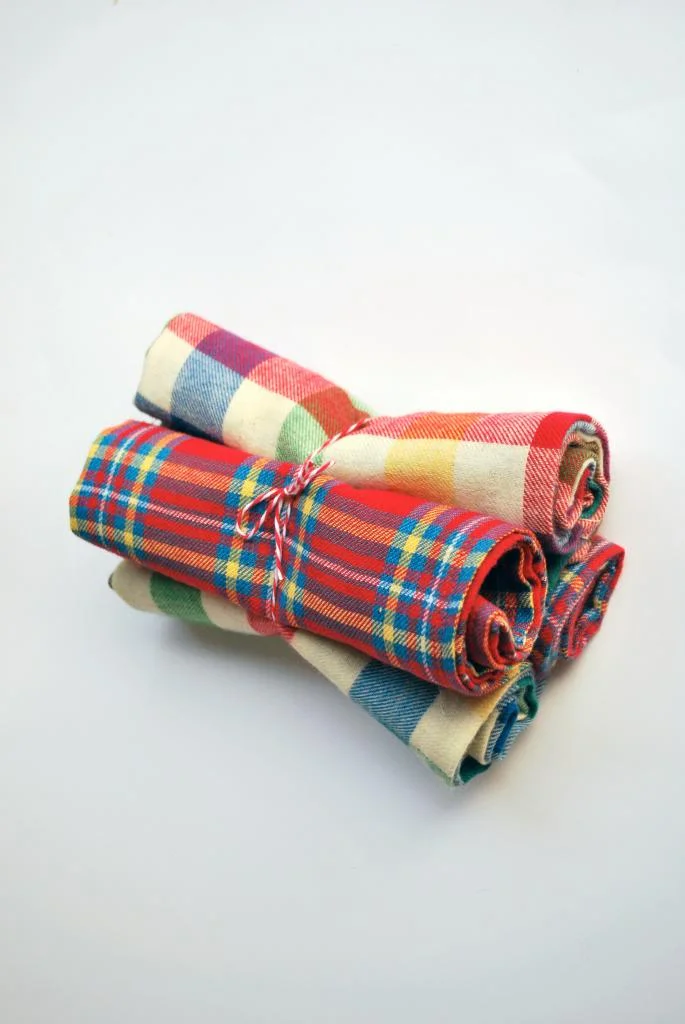
DIY Flannel Napkins (Hey Wanderer) - Follow this cute DIY Tutorial from Hey Wanderer, or simply cut or rip a couple of yards of inexpensive plaid flannel fabric into 16" x 16" squares to provide guests with something more substantial thank those flimsy paper napkins.
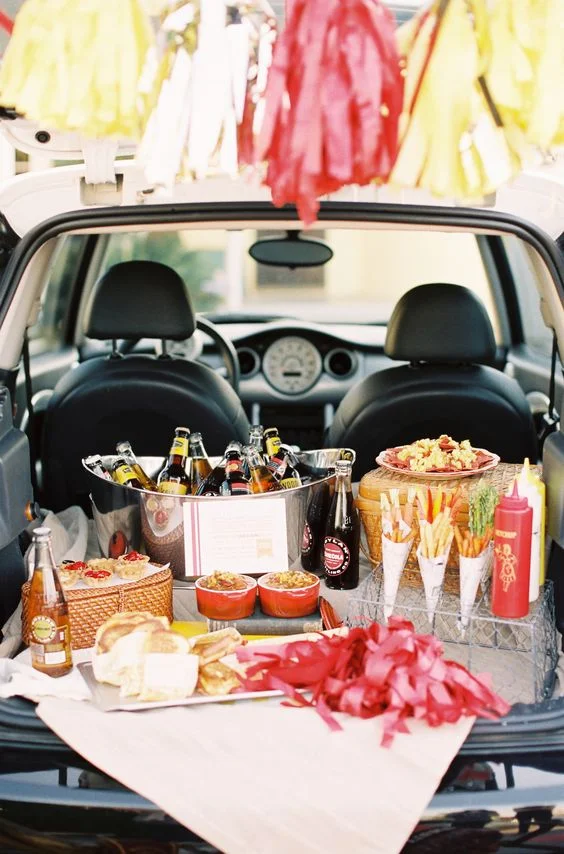
Style Me Pretty & Author Ngoc Nguyen Lay really know how to tailgate in style! This image, below, really shows a great overall party setup! Incorporating vintage items like an ice cream cone holder (used for fries and veggies in the photo), Picnic baskets, metal buckets, and pom-poms makes this setup look elegant instead of over the top. Learn more, here.
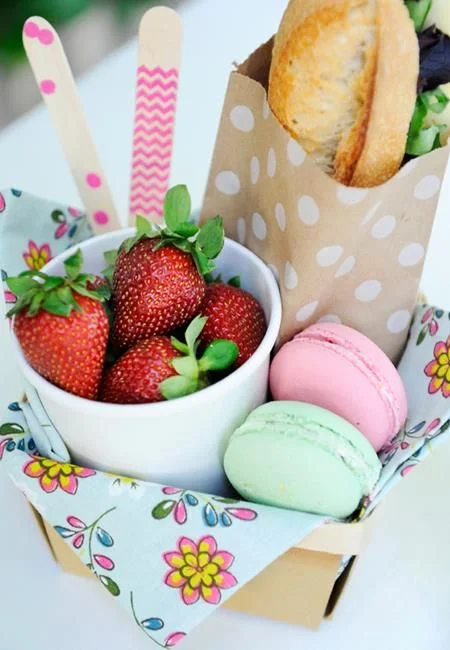
Serve Elegant & Unexpected Treats (Happy Wish Company) - I just love how these macarons, cup of strawberries, wooden utensils, cloth napkin, and sandwich in a spotted paper party favor bag. Find fun party ideas like this one, from Happy Wish Company!
I'm hoping to put together my own set of Tailgating Ideas in an upcoming post, so stay tuned!!
A Healthy Day At Giant City State Park - Tips On Staying Healthy & Hydrated This Summer!
I'm here today, with some tips about staying healthy and hydrated this summer! This shop has been compensated by Collective Bias, Inc. and its advertiser. All opinions are mine alone. #NaturalAmericanGoodness #CollectiveBias
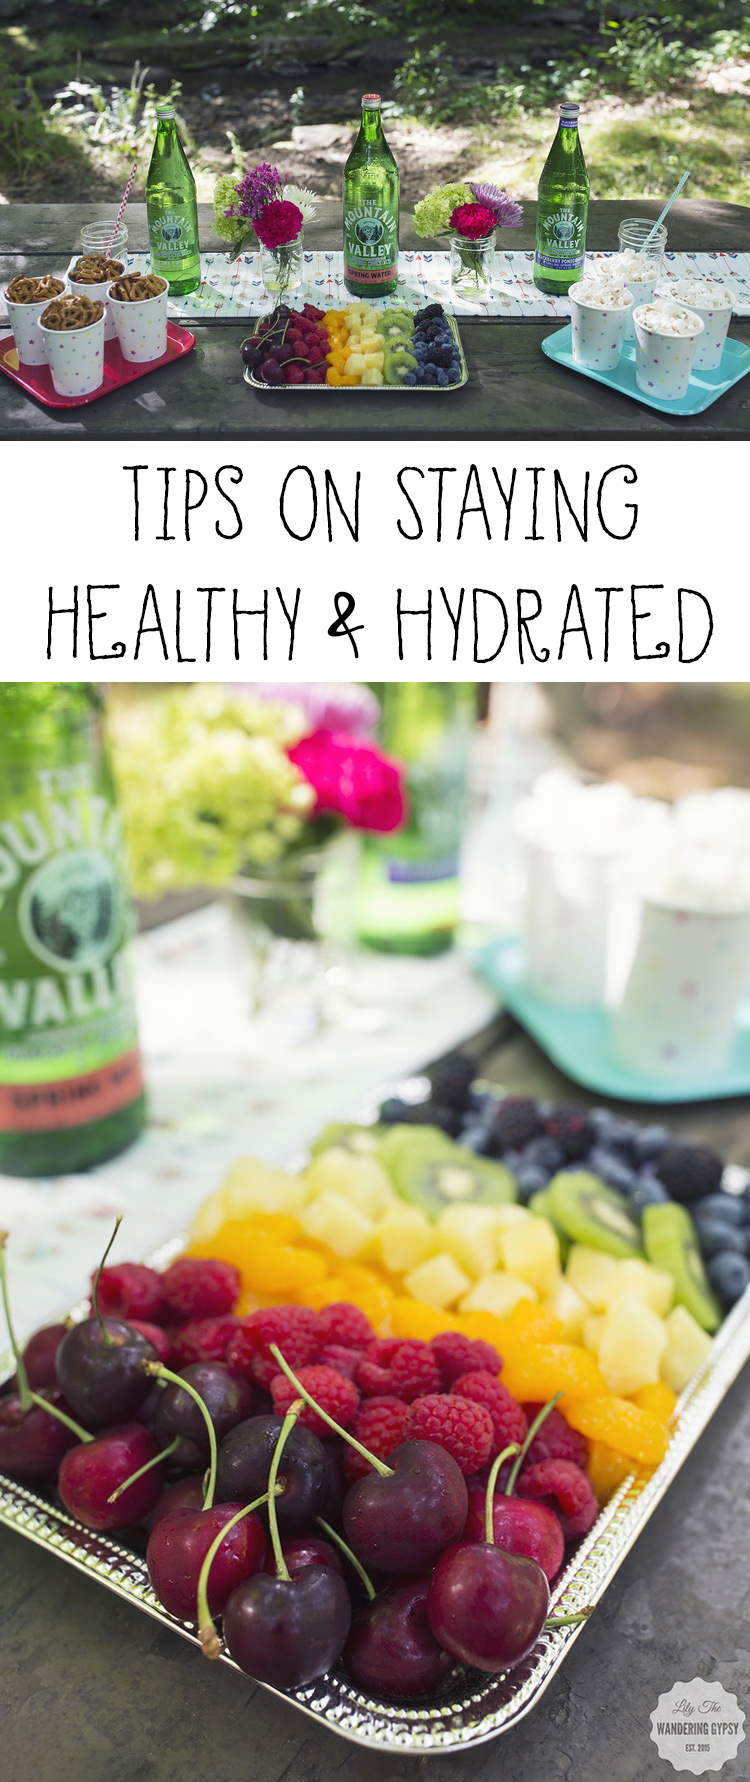
This summer seems to be hotter than any other one I can remember in a long time! It is so incredibly important to stay hydrated when the temps rise, especially if you are going to be doing anything outside. Here are a few tips on staying hydrated while having fun outside this summer!
HOST AN IMPROMPTU FUN DAY AT A STATE PARK
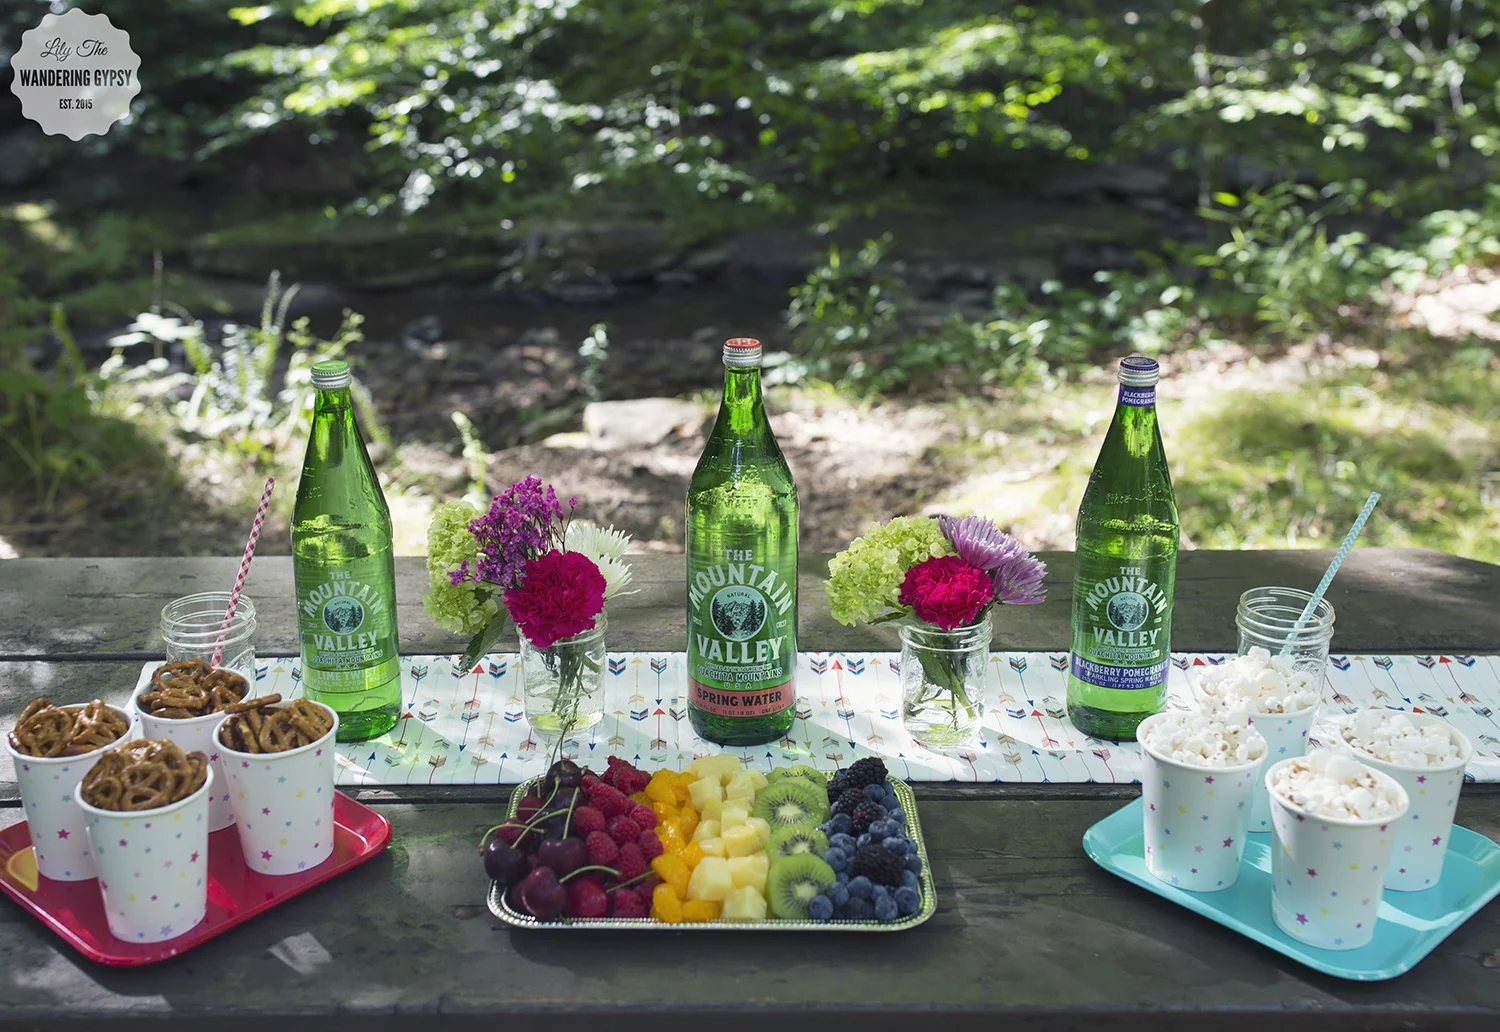
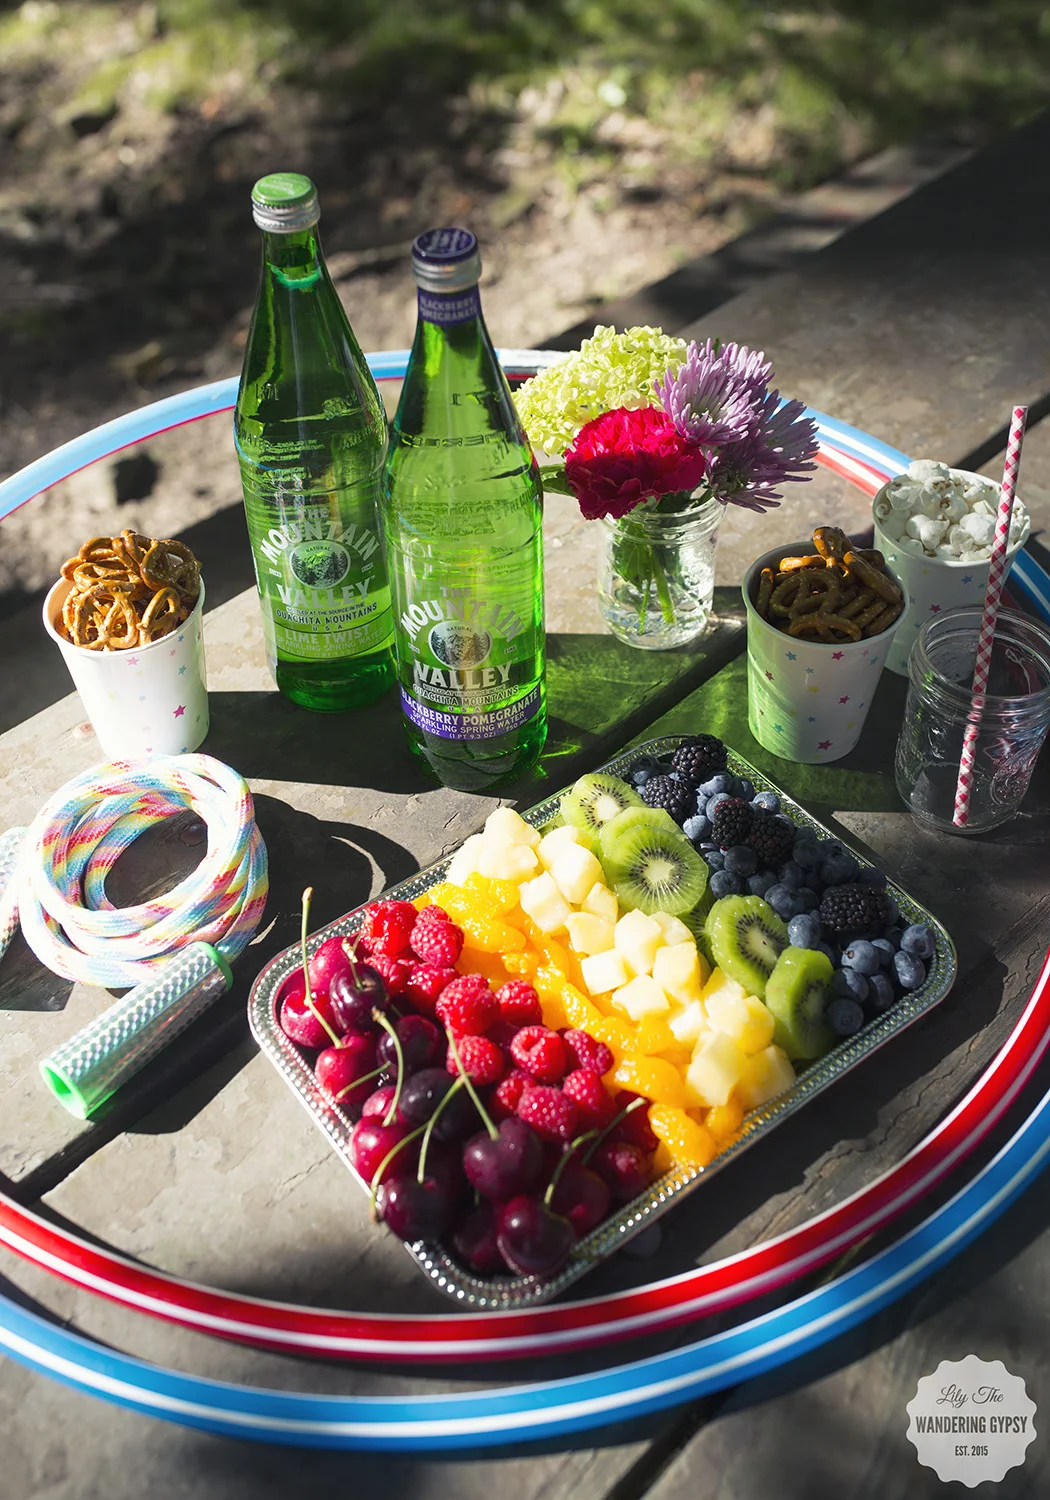
I am lucky to live near Giant City State Park here in southern Illinois. I chose this as the perfect setting for my hydration station, which I think turned out so well! I had pretty much every picnic spot to choose from, so I went with a shaded spot near a pretty stream. This would be an amazing backdrop for a healthy-inspired gathering, when you are just wanting to enjoy the outdoors!
I always try to shop for fruits and other fresh ingredients at a health food-oriented store like Whole Foods whenever possible! They have the absolute freshest selection! I just love it all :)
TIPS FOR STAYING HEALTHY AND HYDRATED
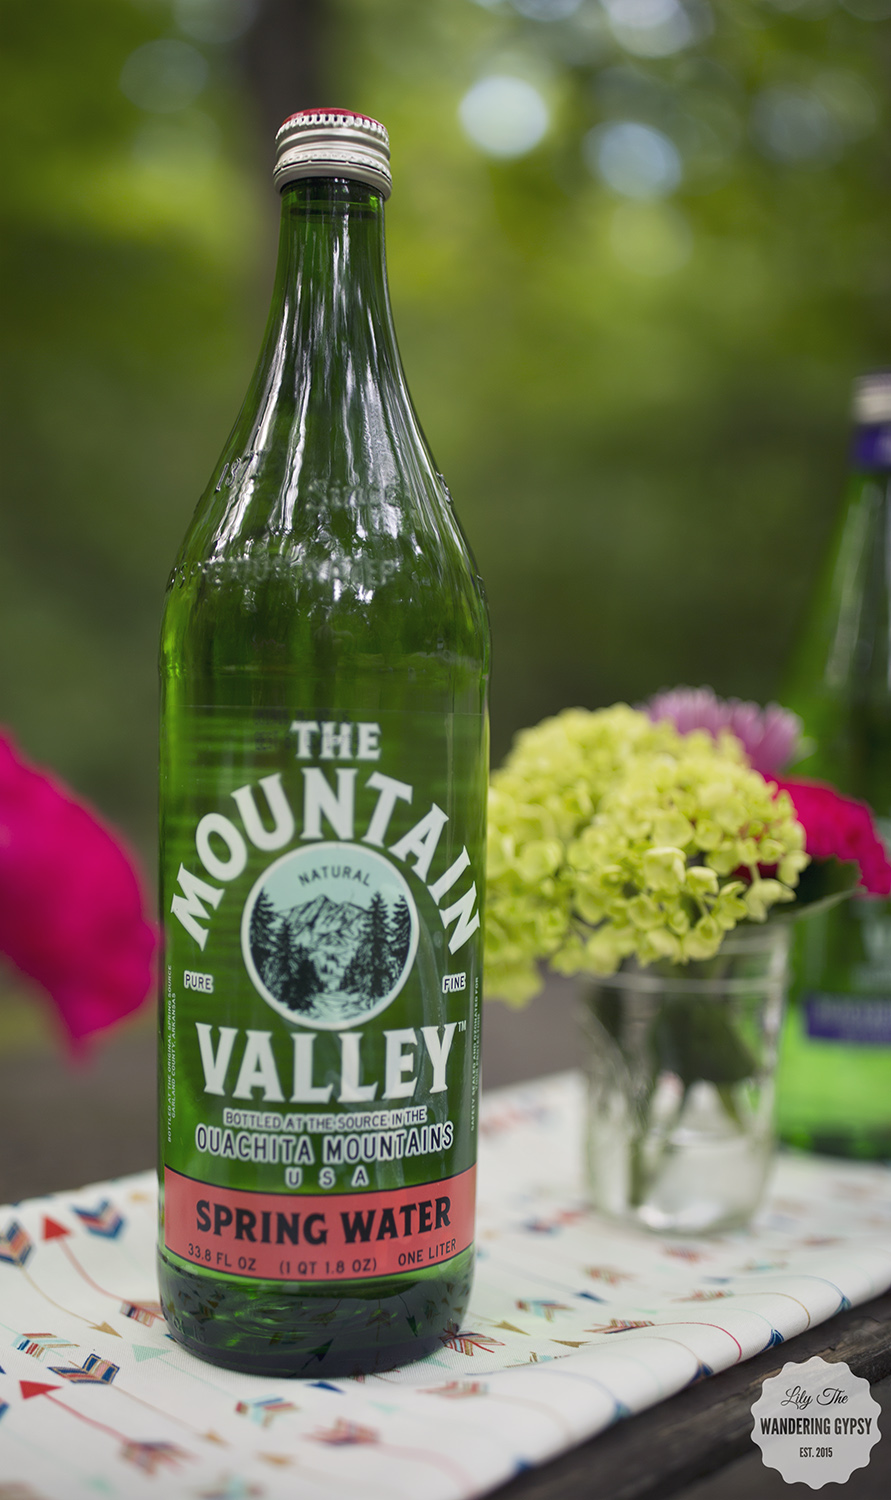
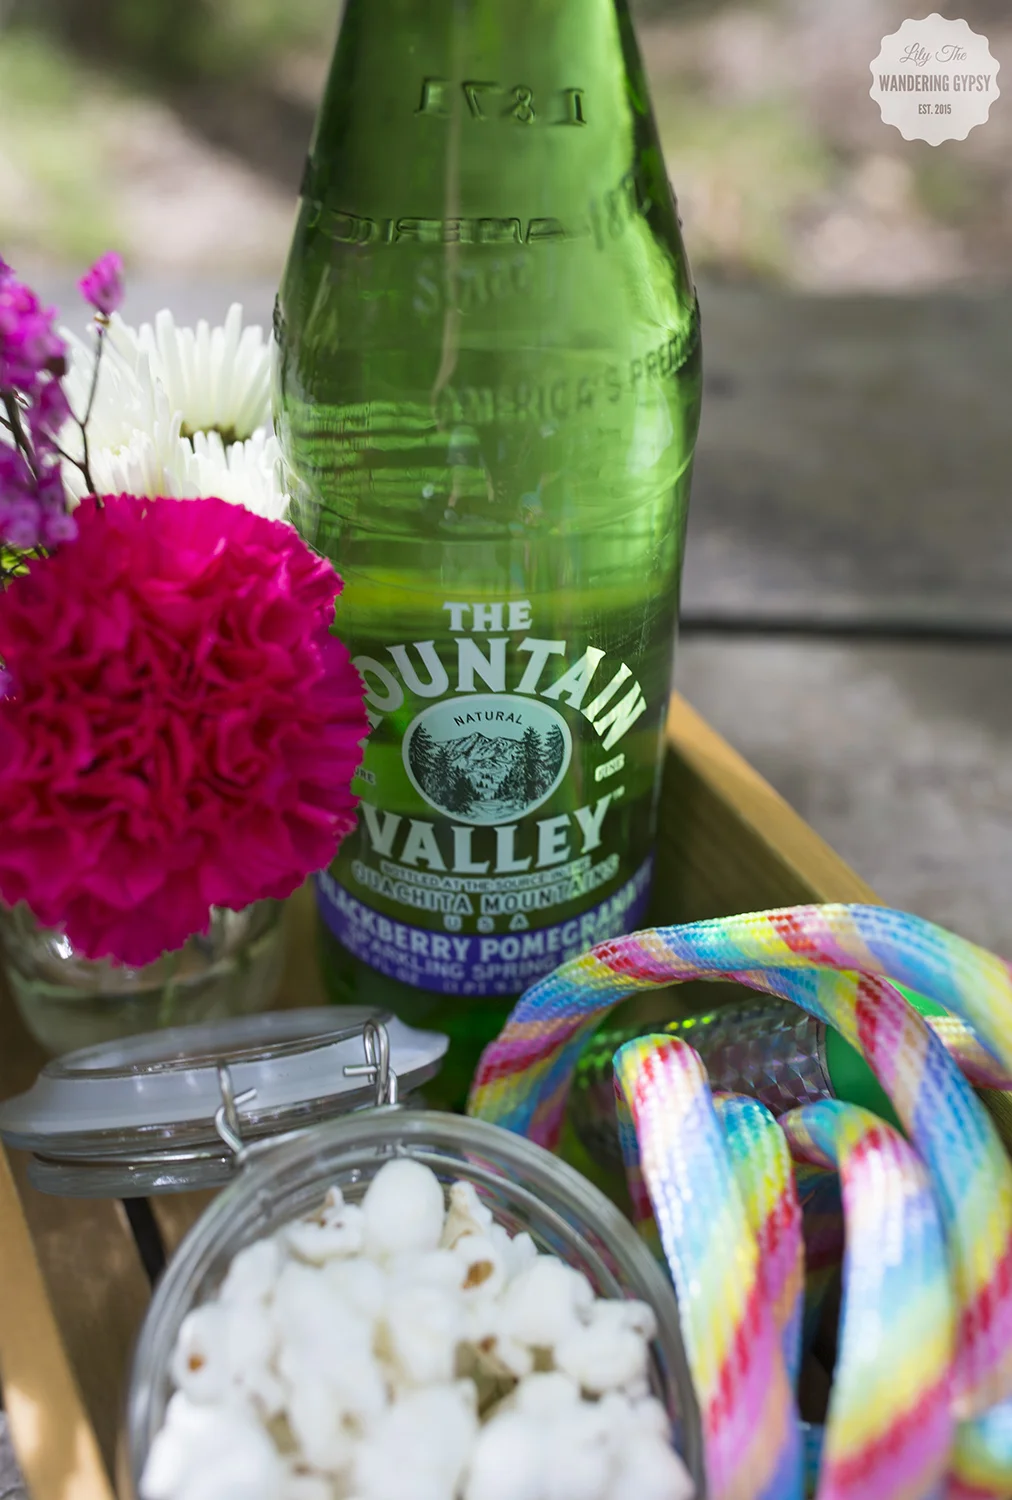
- Provide guests with lots of water! Mountain Valley Spring Water comes in these awesome bottles, and lots of new flavors, so be sure to check them out! It's natural, American spring water. I also love being able to use small jars and adorable paper straws adds a whimsical touch.
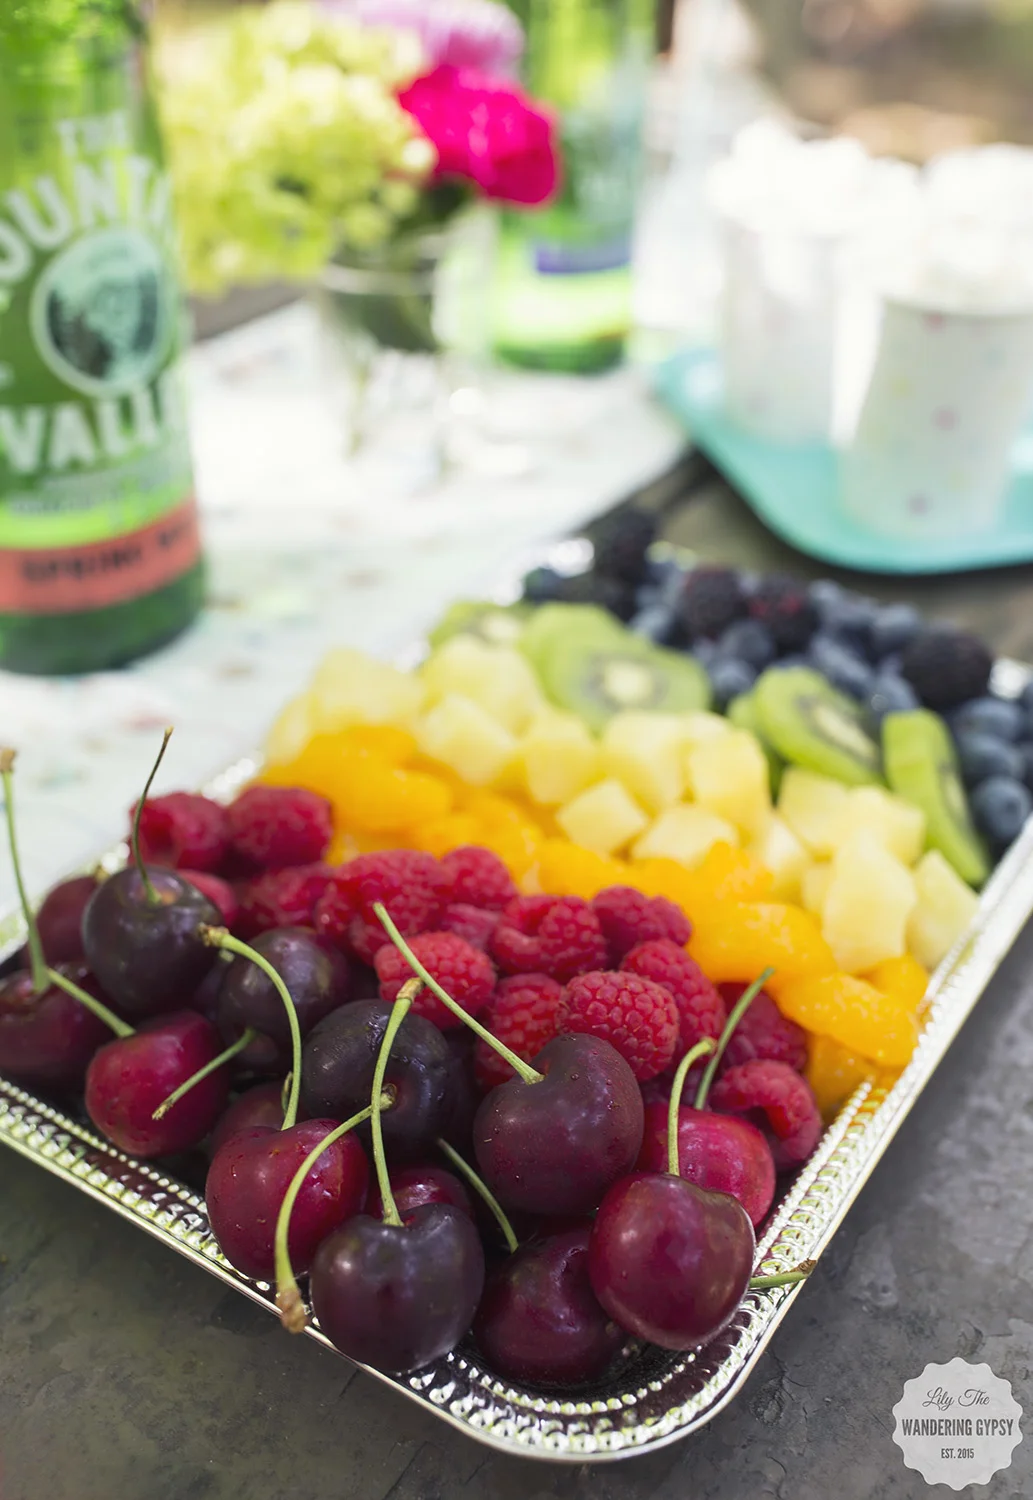
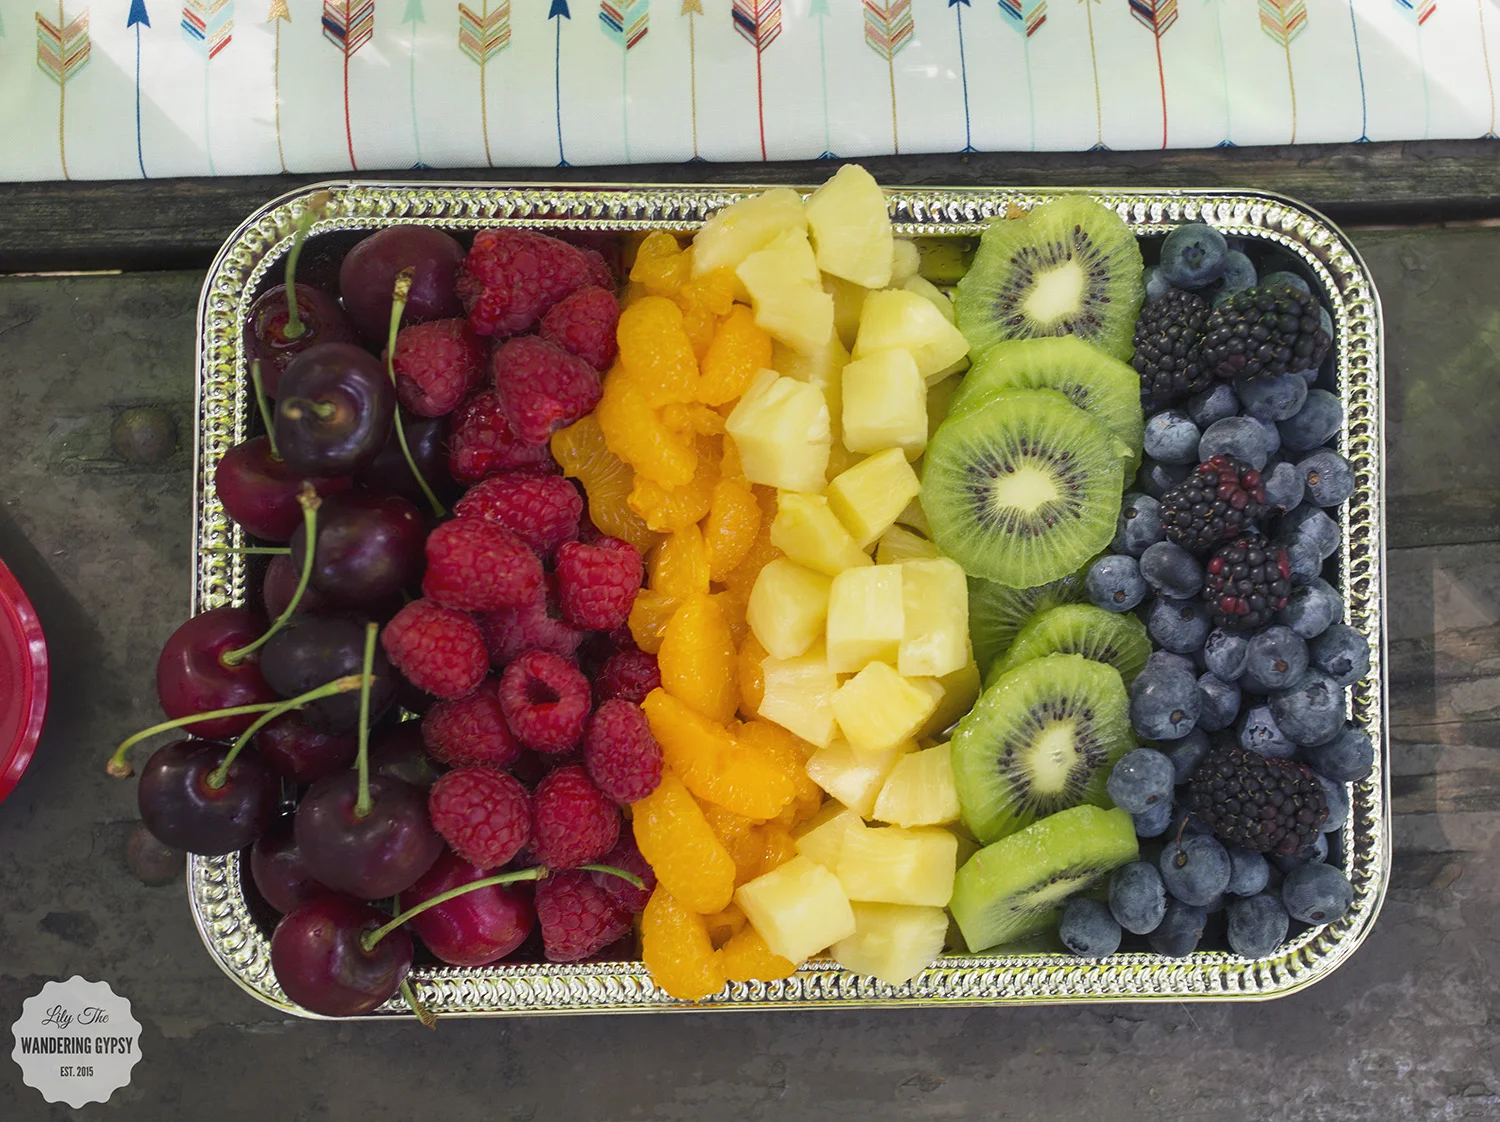
- Offer lots of fruits (and veggies if you like). Arrange cherries, raspberries, strawberries, canned Mandarin oranges, chopped pineapple, kiwi, blueberries, and blackberries in a rainbow, and look at people flock to that fruit!
- Offer healthy and low-fat snacks like pretzels and low salt popcorn. I thought these cute cups would be perfect for hand held snacks (see above)!
- Get active! If you live somewhere it's not blazing hot, or if you can handle the heat, provide friends with activities to play like a soccer ball, volley ball, hula hoops, and jump ropes - games that will help them rekindle their inner child.
- Don't forget a few extra items like: bug spray, sunscreen, paper towels, utensils, fresh flowers, music of some sort, and lots of water!
Giant City State Park was the perfect setting for these photos! Now, let me tell you a bit more about Mountain Valley Water.
- Mountain Valley Spring Water rises naturally to the surface of the earth where it is bottled – untouched – since established in 1871
- Unique blend of minerals, providing a clean, crisp, refreshing taste revered by foodies and chefs alike.
- Mountain Valley Spring Water is also highly regarded for its ease on digestion. With a 7.8 ph, the naturally high alkalinity of Mountain Valley Spring Water helps offset the stress of modern acidic diets.
- Mountain Valley Water is sodium free, naturally ionized and rich in minerals.
- Mountain Valley's spring is an invaluable natural resource and is an ancient part of the Ouachita Mountains in Arkansas.
The water made for a perfect companion for just about any adventure around the park! Hiking, Horse Back Riding, and Scenic Drives are the best activities to do in Giant City.
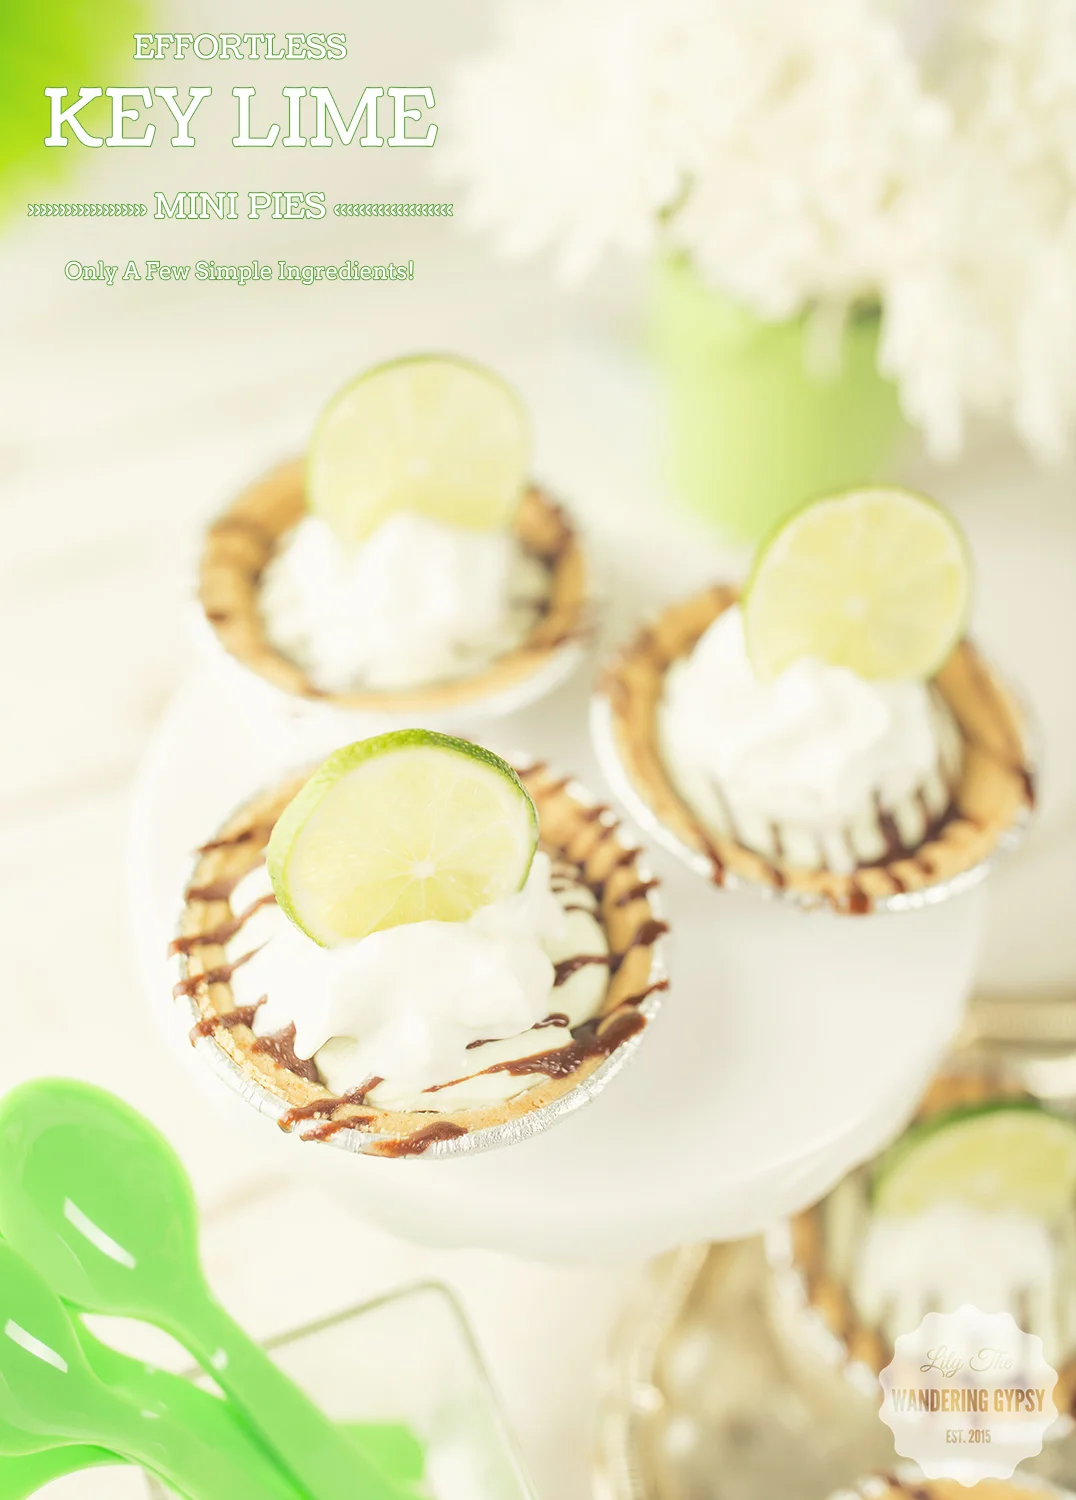
Effortless Mini Pies - Frozen Key Lime Mini Pies Recipe
It's a wonderful time for frozen treats, so check these out! This shop has been compensated by Collective Bias, Inc. and its advertiser. All opinions are mine alone. #EffortlessPies #CollectiveBias #Walmart
You're going to love these mini pies! They're incredible!
INGREDIENTS:
Reddi-wip® (13 oz.)
Oikos® Key Lime Greek Yogurt (4 count package)
Keebler® Ready Crust® Mini Graham Cracker Pie Crust (6 count package)
Magic Shell (Optional)
Limes To Garnish Mini Pies
Make Delicious & Effortless Mini Pies With 3 Simple Ingredients!!
And, visit the Ibotta Coupon Page To Save Money On These Ingredients Here
I really enjoy the taste of this Greek Yogurt. It's sweet, tart, and tastes like fresh key limes. It's literally like eating a piece of the real thing, but far healthier for you.
Prep The Pies...
Fill a quart sized freezer Ziploc® bag with the Oikos® Greek Key Lime yogurt (2 yogurt cups filled about 3 mini pie crusts). Cut one corner off of the bag, and carefully fill each mini pie crust about 2/3 full.
Freeze the pies overnight, on a baking sheet. Once they have frozen, get ready to decorate them!
Once frozen, you can add some Magic Shell drizzle! The more chocolate the better, to balance out the lime flavor. After I drizzled the chocolate onto these mini pies, I put them back into the freezer to prepare for the final steps.
Look how beautiful these frozen yogurt mini pies are!!!
Let's Top These Mini Pies!
Slice your limes into thin slices.
Top with a generous amount of Reddi-whip® . Literally my favorite part...
Add the lime slices onto the Reddi-wip® so they sit up on their own. You can serve them now! Enjoy!
I wound up finding my ingredients at Walmart, which was great, because I could find everything in one place (and of course a little more!). Isn't that always how it goes :)
I found the Reddi-wip® in the back coolers neat the milk, the Oikos® Key Lime Greek Yogurt by the other dairy items, and the Keebler® Ready Crust® Mini Graham Cracker Pie Crust in the baking aisle. I also found the limes in the front of the store by the fresh produce.
I really hope you have enjoyed this recipe!
Summer On-The-Go & Entertaining With Black Box Wines! - Plus 2 DIY Wine Party Tutorials
This shop has been compensated by Collective Bias, Inc. and its advertiser. All opinions are mine alone. #BlackBoxSummer #CollectiveBias The following content is intended for readers who are 21 or older.
Be sure to visit the Simple Entertaining Social Hub for more details about ways to entertain this summer.
These wines are eco-friendly, because the bag and box are recyclable! Black Box Wines taste good, and they are about half the price of bottled wines. Also, they can stay fresh up to 6 weeks, and contain 750 ml - the equivalent of 4 bottles. Imagine trying to carry 4 bottles of wine, which is way more to juggle than this one awesome box of tasty goodness! 50 gold Metals for quality can't be wrong!
A SUMMER PARTY RECIPE - WINE & CHEESE PAIRING SKEWERS
I love the idea of a wine and cheese party, but if guests can carry the appetizers around, it prevents anyone from being left out, or everyone having to hover over one plate of food. Instead, offer guests skewers, and a plentiful plate of meats and cheeses, and let them decide what they want! I also like the idea of having grapes and as many fresh fruits and veggies as possible. I liked using these cardboard food containers I got at a craft store. They hold so much, and are coated to avoid any messes.
Cut up salami, summer sausage, and various cheeses and let guests use skewers to create their own Wine & Cheese Pairing Skewers!!
Let your guests choose their own adventure, and add whatever type of meats and cheeses they want! Less food will be wasted with this method, which saves money.
 Be sure to visit the Simple Entertaining Social Hub for more details about ways to entertain this summer.
FABRIC WINE GLASS MARKERS
INSTRUCTIONS:
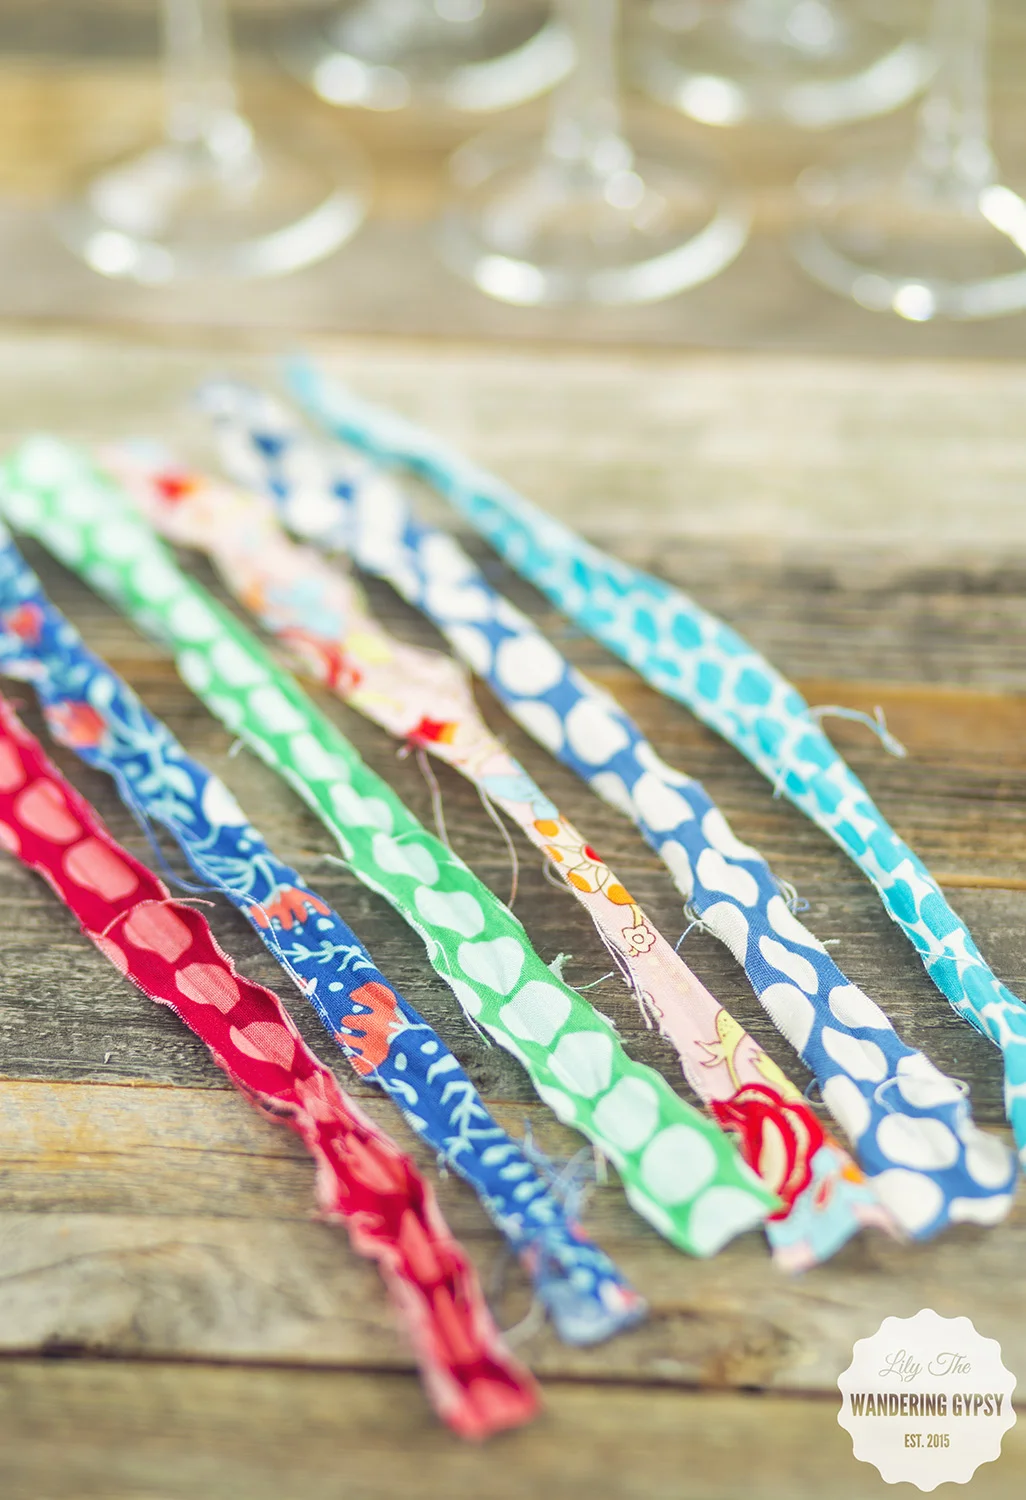
1.) These are super simple and can be made for FREE! Just cut your fabric strips that are 12" long x 1" wide. I just freehanded these, but a rotary cutter could always be used.
2.) Now, to get the rough edges on the fabric pieces, pull them and stretch them as much as possible. Keep pulling from both ends until you get a more frayed look.
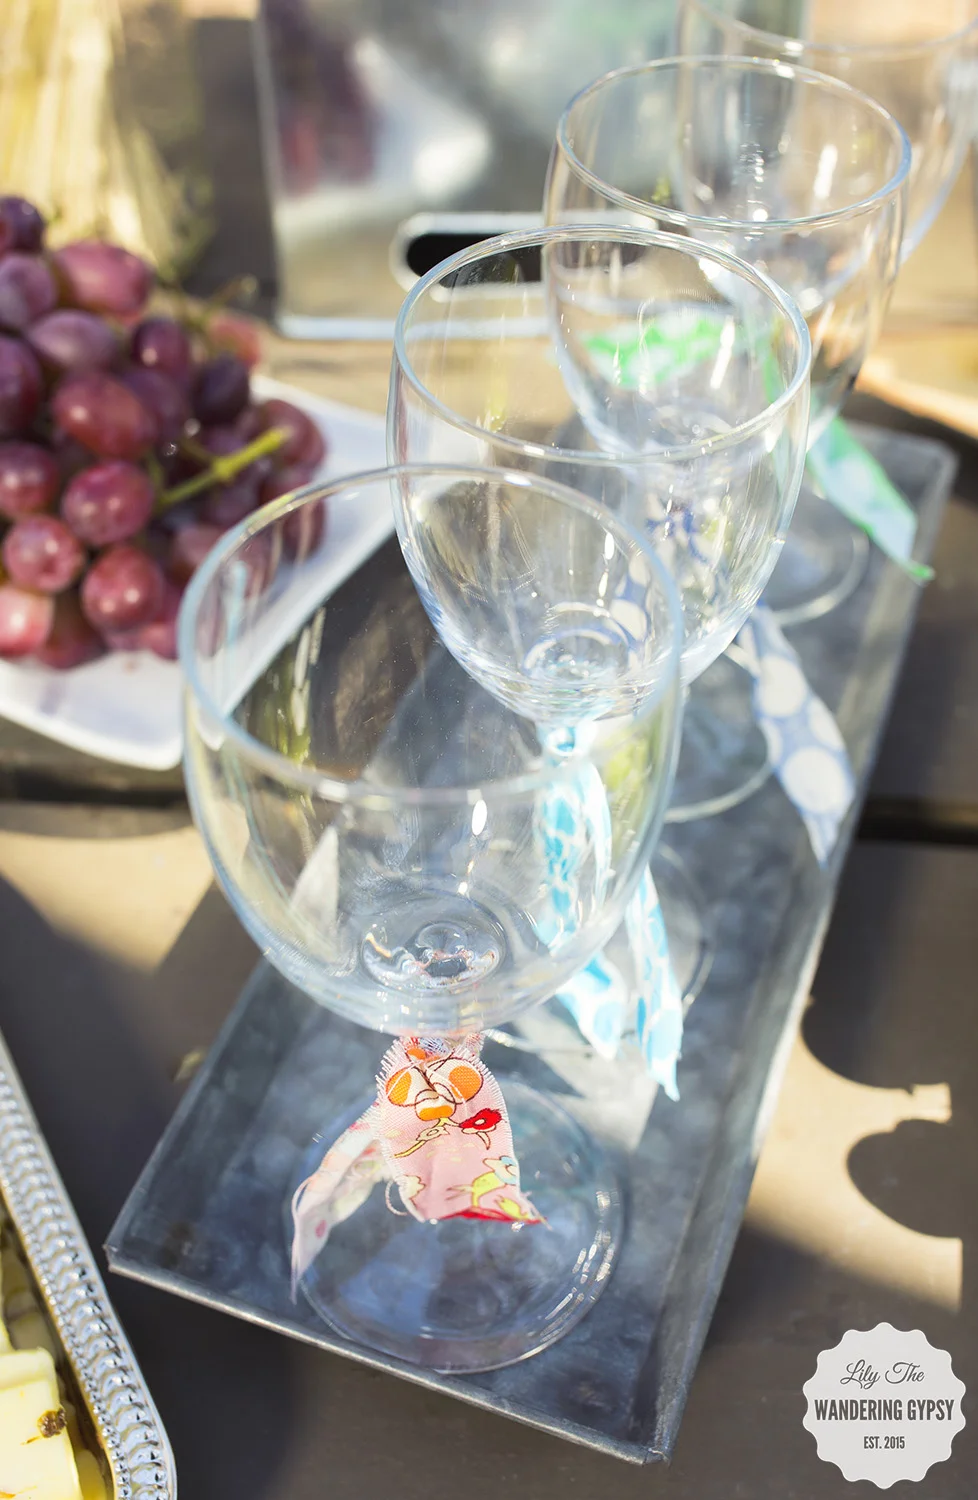
3.) Tie the distressed fabric strips around the top of the wine glass stem, and double knot.
4.) I found that cutting about 1" off of each of the long ends at a diagonal was best. That's it!
WINE PARTY TIP!
To ensure guests can reach the boxes of wine, elevate them onto something like a glass vase or metal box. This also adds visual interest to your party table.
DIY WINE SIGN TUTORIAL
This little project came together so well! It was one of the easiest party decor projects ever.
WHAT YOU NEED:
All you need is a few materials and about 15 minutes, and you can make this cute DIY Wine Sign! Perfect for summer parties On-The-Go!
4 Galvanized letters - found at a fabric store, Birch Round (or Rectangle) - found at that same fabric store, and a hot glue gun with glue. Super Glue / Krazy glue did NOT work at all, just a warning :)
1.) Plug in your glue gun, and begin to do a sample placement of your letters onto the birch round. This birch round actually has a twine hanger attached, but you can cut it off.
2.) I found that the best way to securely attach the letters was to mark where each letter went with a dot of pencil, then apply hot glue and quickly re-attach your letters.
3.) Glue all letters in place and you are DONE! This project only took about 15 minutes!
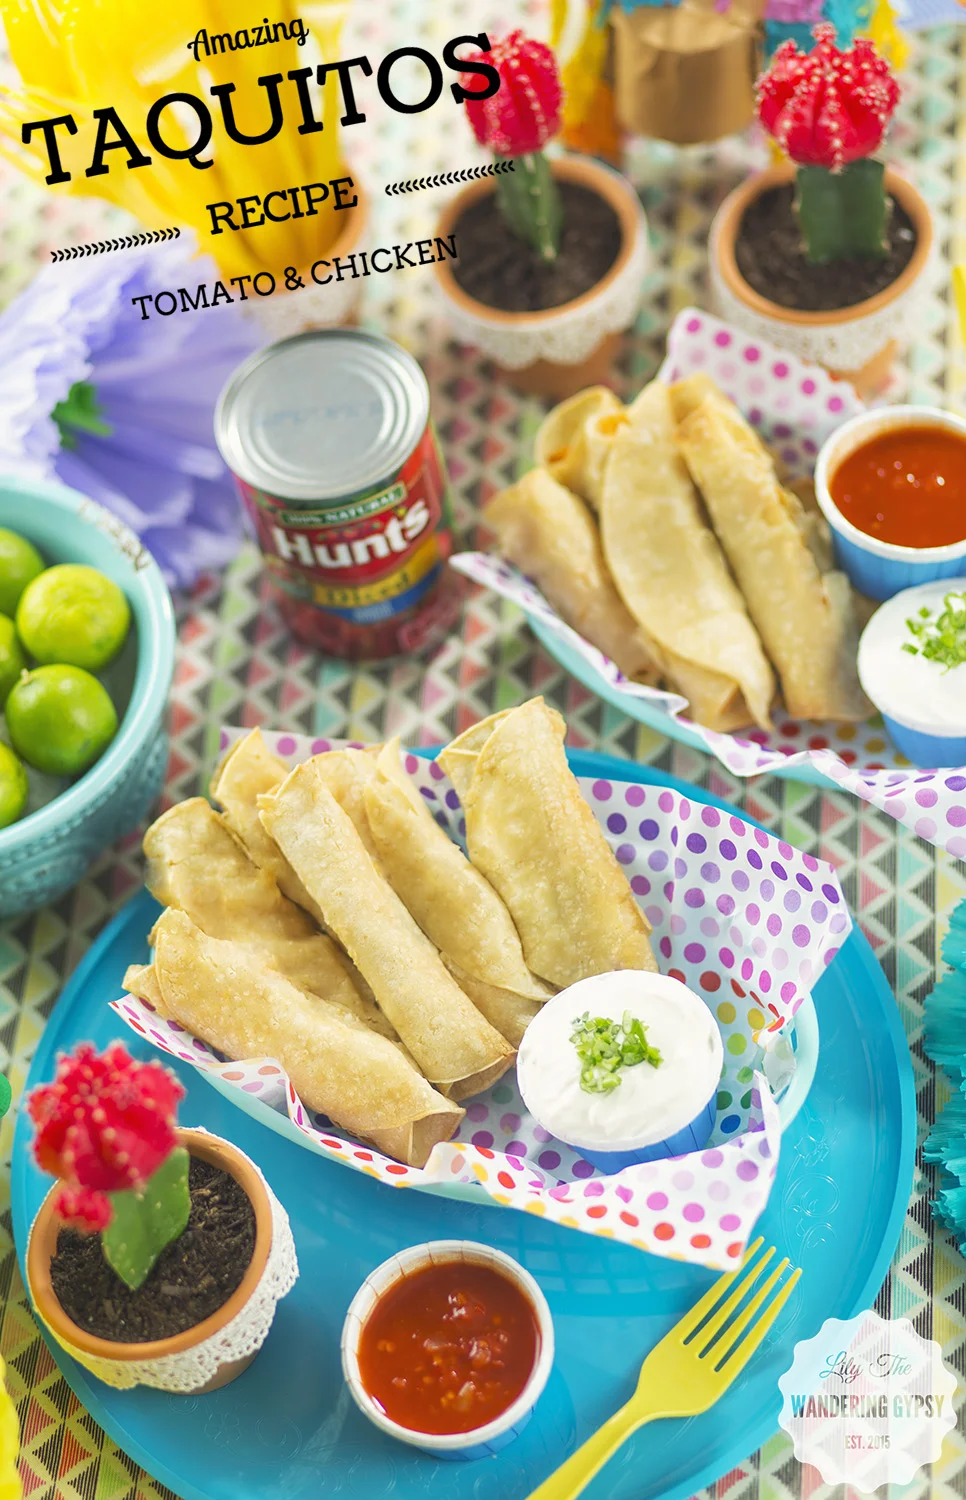
Baked Chicken & Tomato Taquitos Recipe
This shop has been compensated by Collective Bias, Inc. and its advertiser. All opinions are mine alone. #YesYouCAN #CollectiveBias
This recipe turned out extremely well! These taquitos are absolutely delicious, and would be the perfect way to incorporate Hunt's Canned Tomatoes into a Mexican-Inspired dish for dinner or even a party.
First, I will start off with a kitchen hack! Read the instructions below the photo. This was such a great way to make shredded chicken.
A BONUS KITCHEN HACK
Using a roaster chicken for shredded chicken is genius! I absolutely loved using this method, compared to spending literally hours waiting for chicken breasts to slowly boil, then become soft enough to shred. This seriously saved me many hours of prep work, and tasted incredible!
INGREDIENTS:
3/4 Can Hunt's Tomatoes
1 Roaster Chicken
1/2C. - 1 C. Cream Cheese
1/4 - 1/2 Onion
2 Cloves Garlic
Olive Oil
Mexican Seasonings and Salt
1/4 - 1/2 Bunch Cilantro
1 C. Shredded Mexican Cheese or Cheddar.
Tiny Bit of a Jalapeno (Optional)
Small sized corn or flour tortillas (I used corn)
Sour Cream For Dipping
INSTRUCTIONS:
1.) To shred the chicken - (make sure chicken has cooled, and use your hands (I used rubber gloves), to begin to tear apart all of the meat on the roaster chicken. Set aside, and discard bones and anything you can't use.
2.) Chop onions and garlic, and set aside.
3.) Simmer a tablespoon or so of olive oil, in a medium saucepan (I used one with sides). Once warm, add chopped garlic and onion. Also add about 1/4 tbsp or more of the Mexican seasoning. and a pinch of salt if desired. Stir. Optionally, add a tiny bit of the jalapeno pepper - this added SO much flavor and wasn't even really spicy.
4.) Add shredded chicken to the onions and garlic mixture.
5.) Strain some of the excess juices out of the Hunt's Tomatoes, and add 3/4 or 1 whole can to the chicken mixture. Stir until combined, and again, season the chicken tomato mixture.
6.) Turn off heat, and add the cream cheese and shredded cheddar, and a little bit more seasoning if you like. Stir until combined well.
7.) Chop leaves off cilantro, and add that to the rest of the ingredients.
8.) Preheat oven at 350-375 degrees, use PAM on Pyrex dish or baking dish.
9.) Warm corn tortillas in the microwave or on a warm stove.
10.) Spread a small amount of the chicken mixture onto the centers of each tortilla. Wrap the tortillas around the mixture. Practice first, because the corn tortillas can easily split and break.
11.) Bake at 350-375 Degrees for about 25 minutes, and serve with a side of sour cream. These taste amazing!! Enjoy!
Look how beautiful this filling turned out! You can use this as dip with chips. or fill any type of burrito quesadilla, or taquitos with this.
This is a good amount of filling to use! Roll these up and bake them in a glass dish at 350 Degrees for about 25 minutes.
Serve with a side of sour cream, they are incredibly tasty!!!
WHERE TO FIND THESE INGREDIENTS...
The great thing about this recipe, is that most of the ingredients were easy to find at Walmart. They have great prices on these ingredients, which is great if you're serving these to a crowd, or just making them for family. The Hunt's Tomatoes were found in the Tomato Sauce aisle. The organic yellow onions and garlic were found right in the front of the store by the fresh produce, too!
And, here is that DIY project I promised you :) Check out the Cactus DIY below.
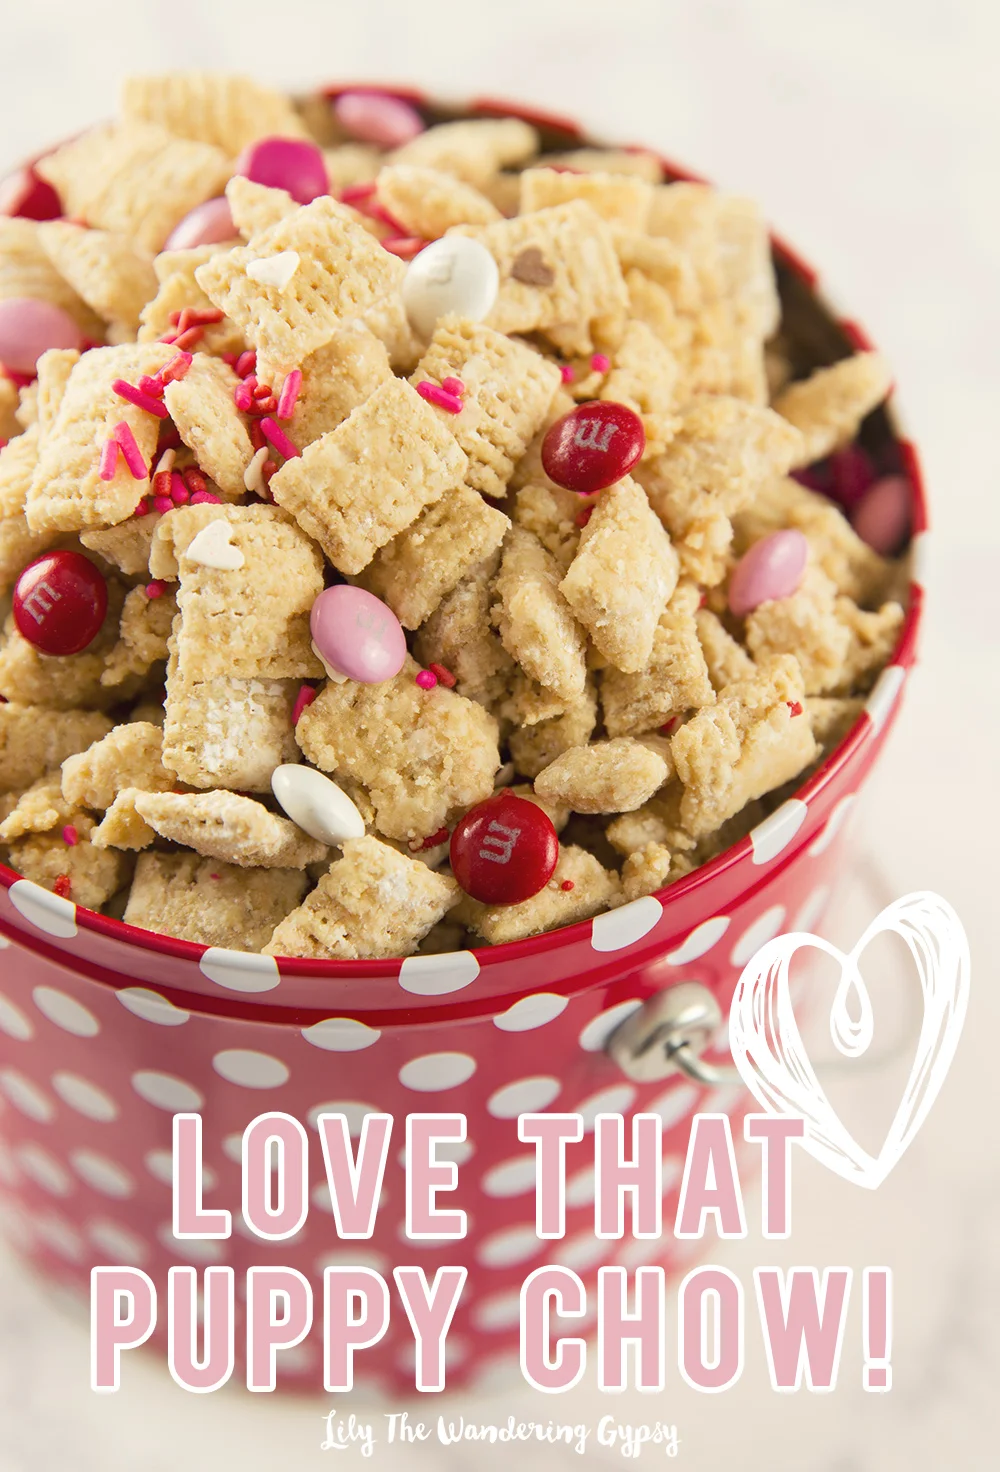
Peanut Butter + Chocolate Valentine's Day Puppy Chow Recipe
I never really loved Puppy Chow back in jr. high when everyone else was freaking out about buying it from our bake sales at school. I love chocolate, but for some reason, it was always way too rich for me and I never got into it.
Until now! This recipe primarily tastes like peanut butter, white chocolate, and of course, powdered sugar.
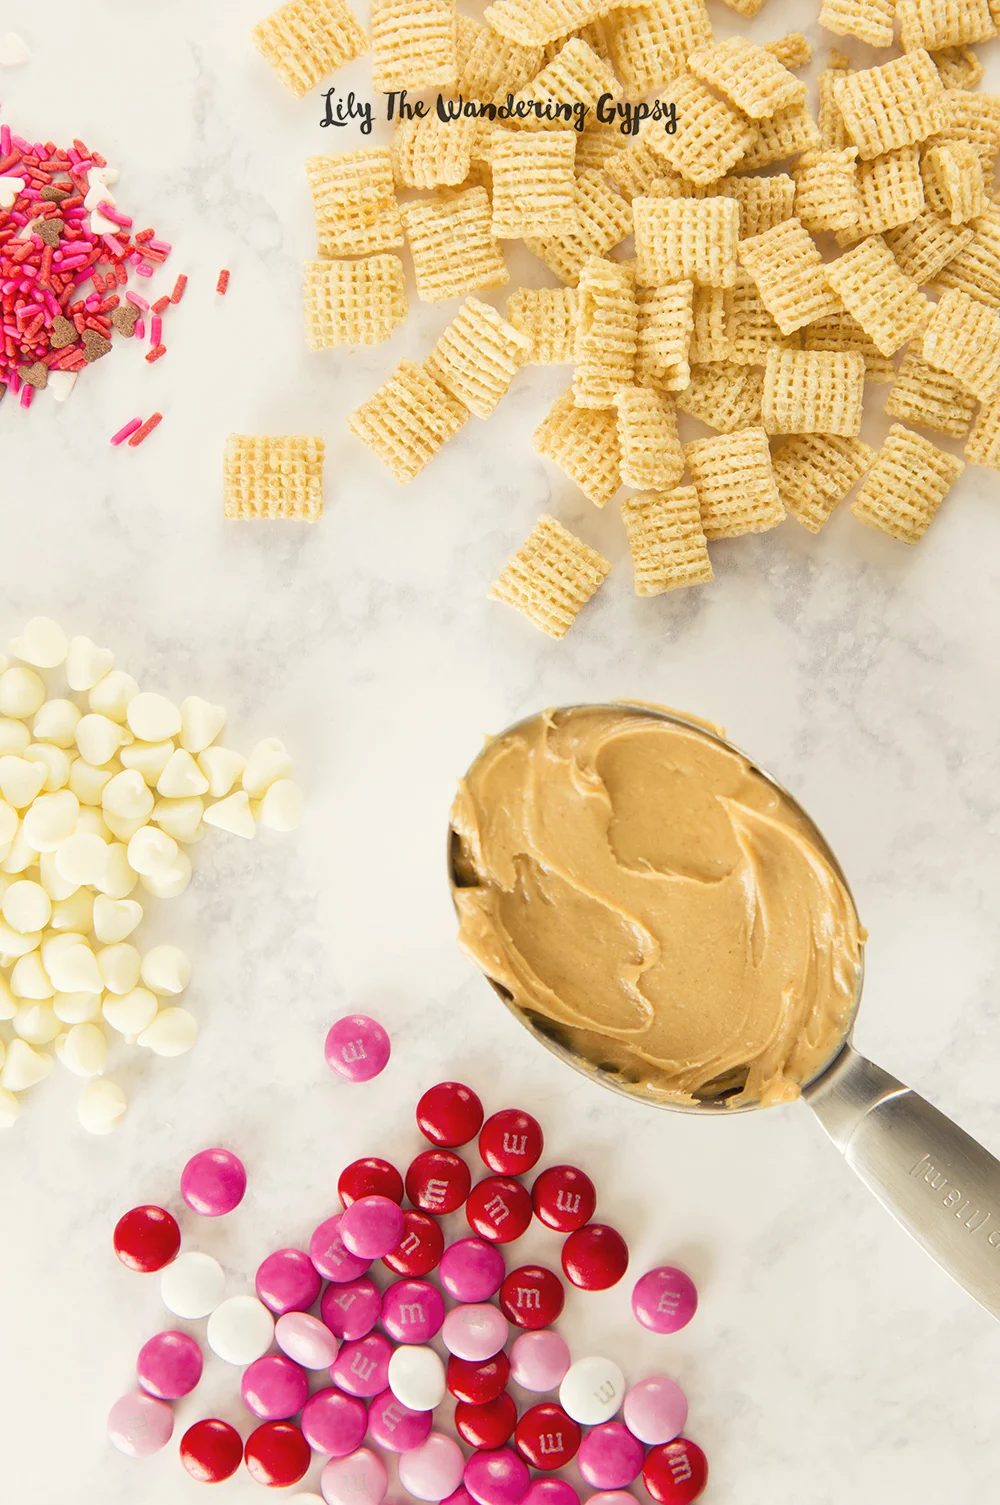
INGREDIENTS:
4 1/2 cups Rice Chex™ cereal (or any brand will do!)
1/2 cup white vanilla baking chips - I like the white chocolate chips from Ghirardelli.
1/2 cup peanut butter
2 tablespoons butter or margarine
1 cup powdered sugar
1/4 cup red, white and pink candy-coated chocolate candies (like M&M's)
2 tablespoons festive sprinkles
INSTRUCTIONS:
- In a double boiler over medium heat (or in the microwave), melt the butter, white chocolate chips, and peanut butter until combined and smooth.
- Pour the peanut butter mixture over the cereal and mix as thoroughly as you can, coating all of the cereal.
- Now, sift the powdered sugar over the cereal mixture, using a metal strainer works well! Mix as much as you can, and add more powdered sugar as needed to coat the cereal!
- Lastly, add the sprinkles and chocolate candies, and serve!
SERVING & PACKAGING IDEAS:
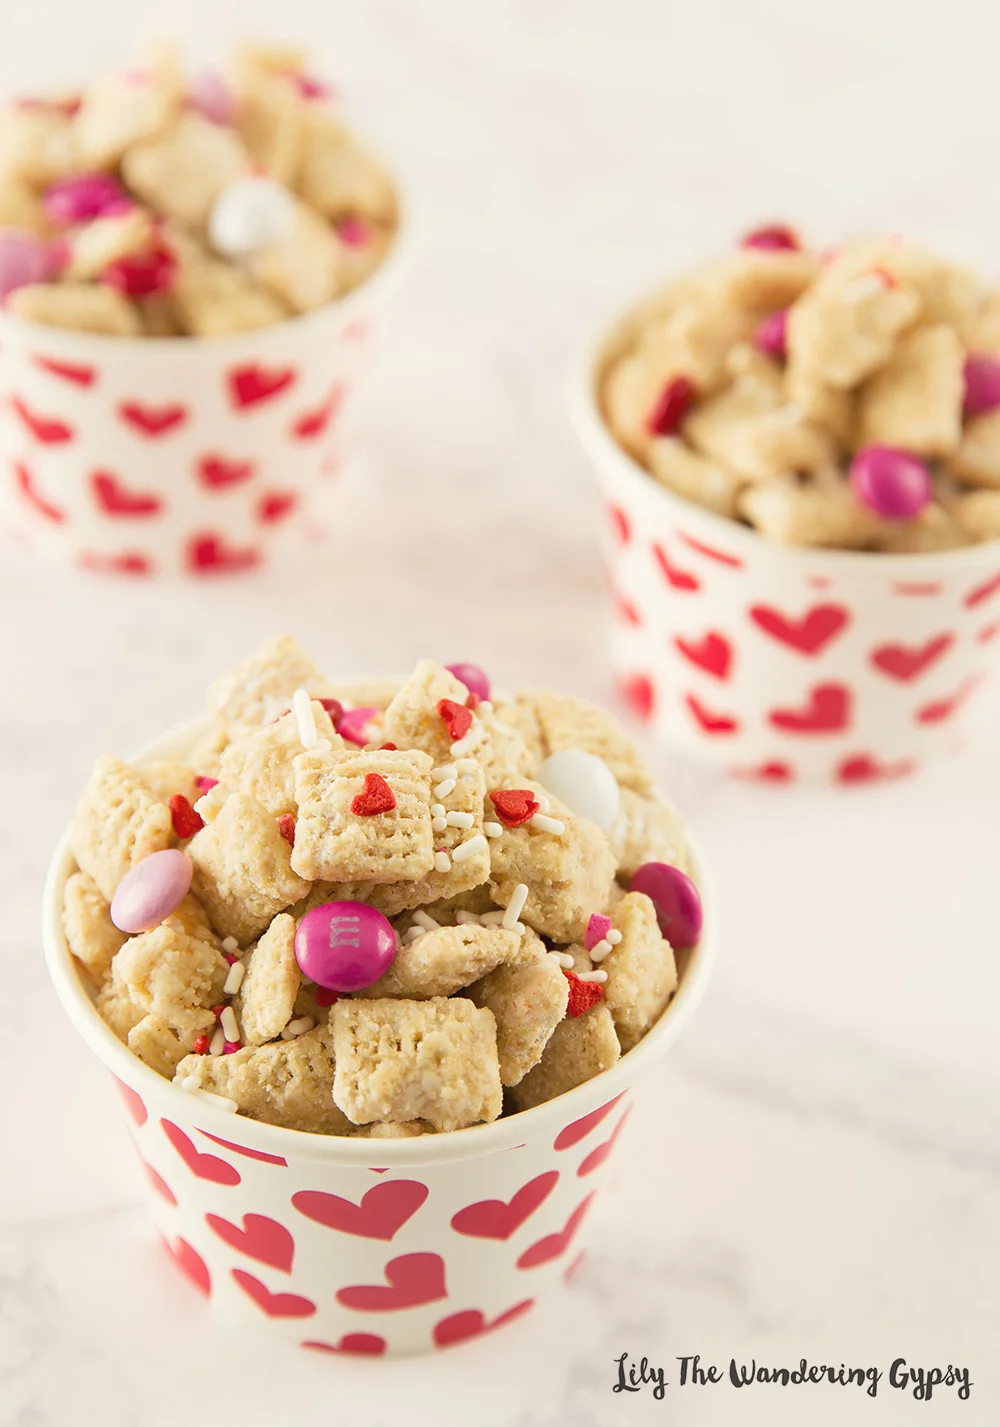
- Carry the Puppy Chow in a festive tin to the office, or your party! Encourage guests to grab a little scoop of the treats in these heart-themed cups.
- If you want individual party favors, put the puppy chow into the heart cups, and slide them into a clear treat bag. Tie with ribbon, then add a metallic heart doily to the ribbon and tie into a bow! (See below)
What is your favorite Valentine's Day snack or memory? Let me know in the comments below!
YOU MAY ALSO LIKE...
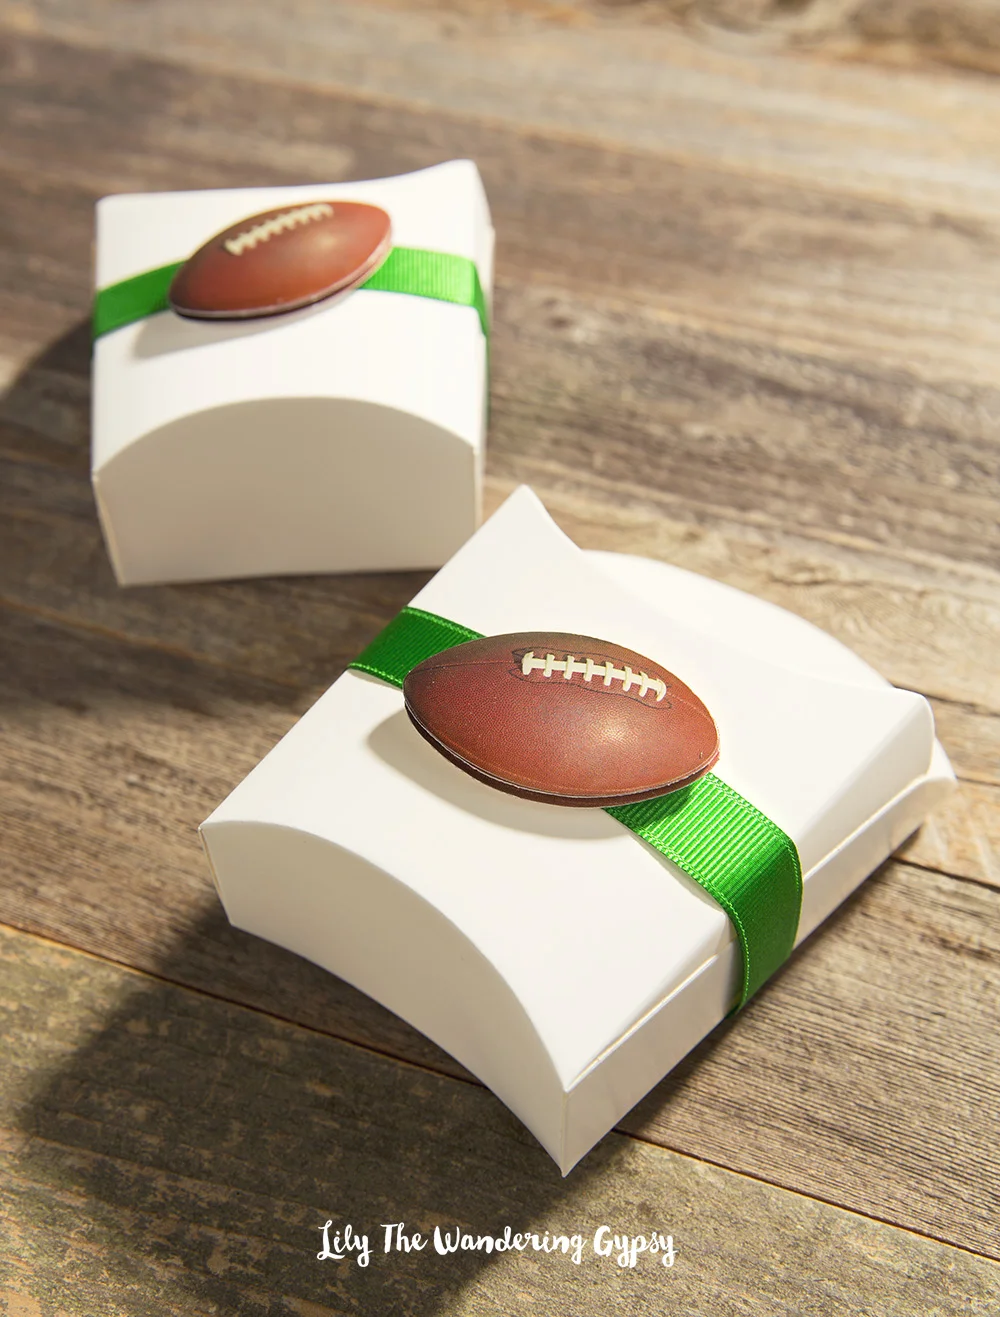
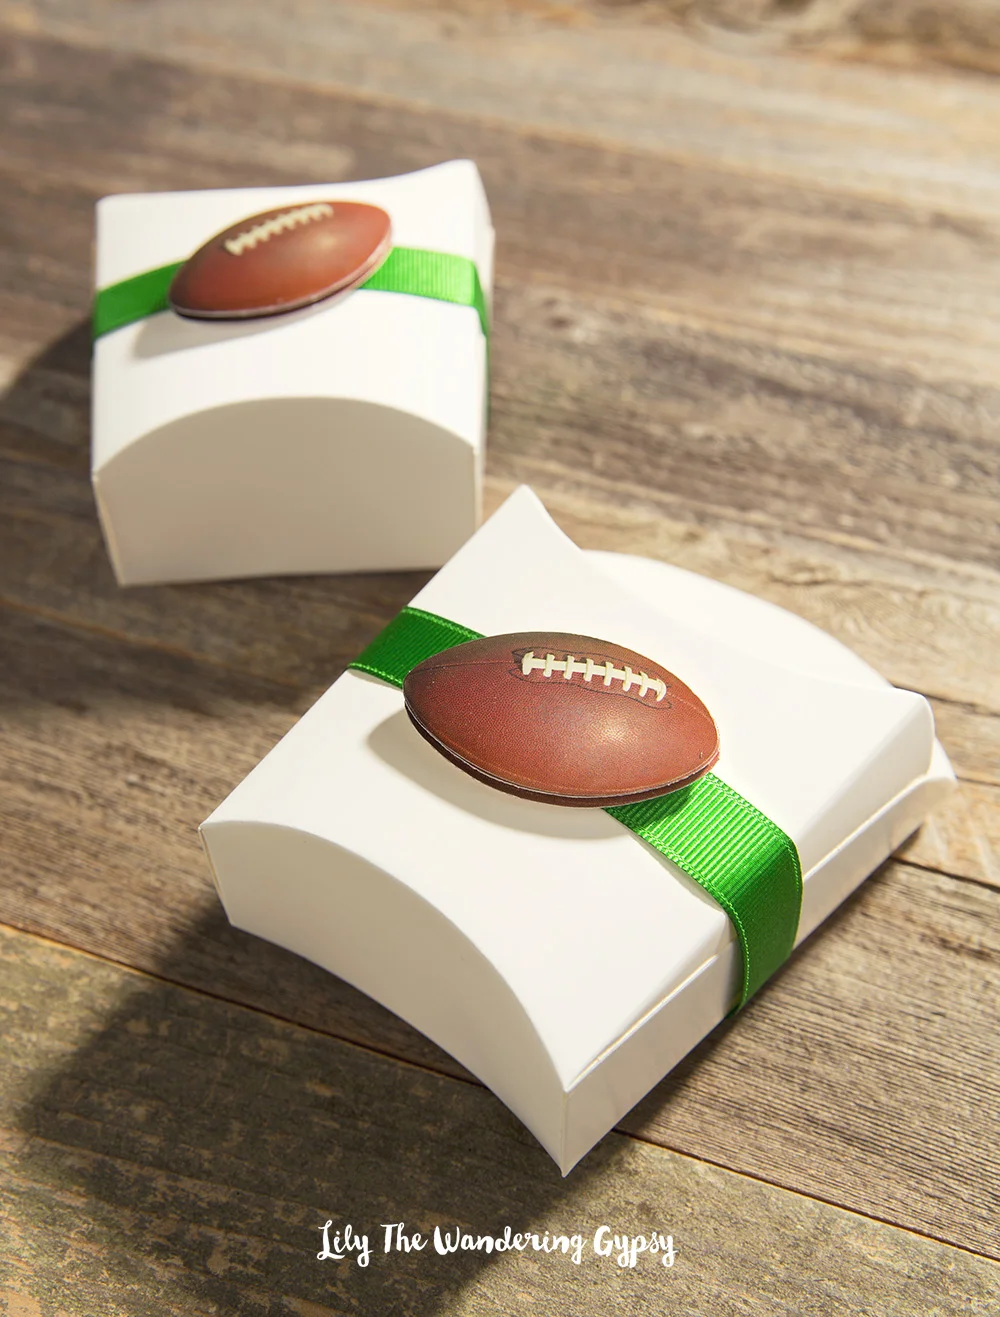
Football Party Craft Idea
I had so much fun with my #GameDayGrubMatch project earlier this month, and as I was shooting those images, I shot a few extras to show you just how fun and easy it is to customize your party by adding something extra special to the food you're eating!
I used these cute food containers in my project for PepsiCo and their #GameDayGrubMatch contest! They would fit your popcorn chicken, snacks, and more! Read the whole post here.
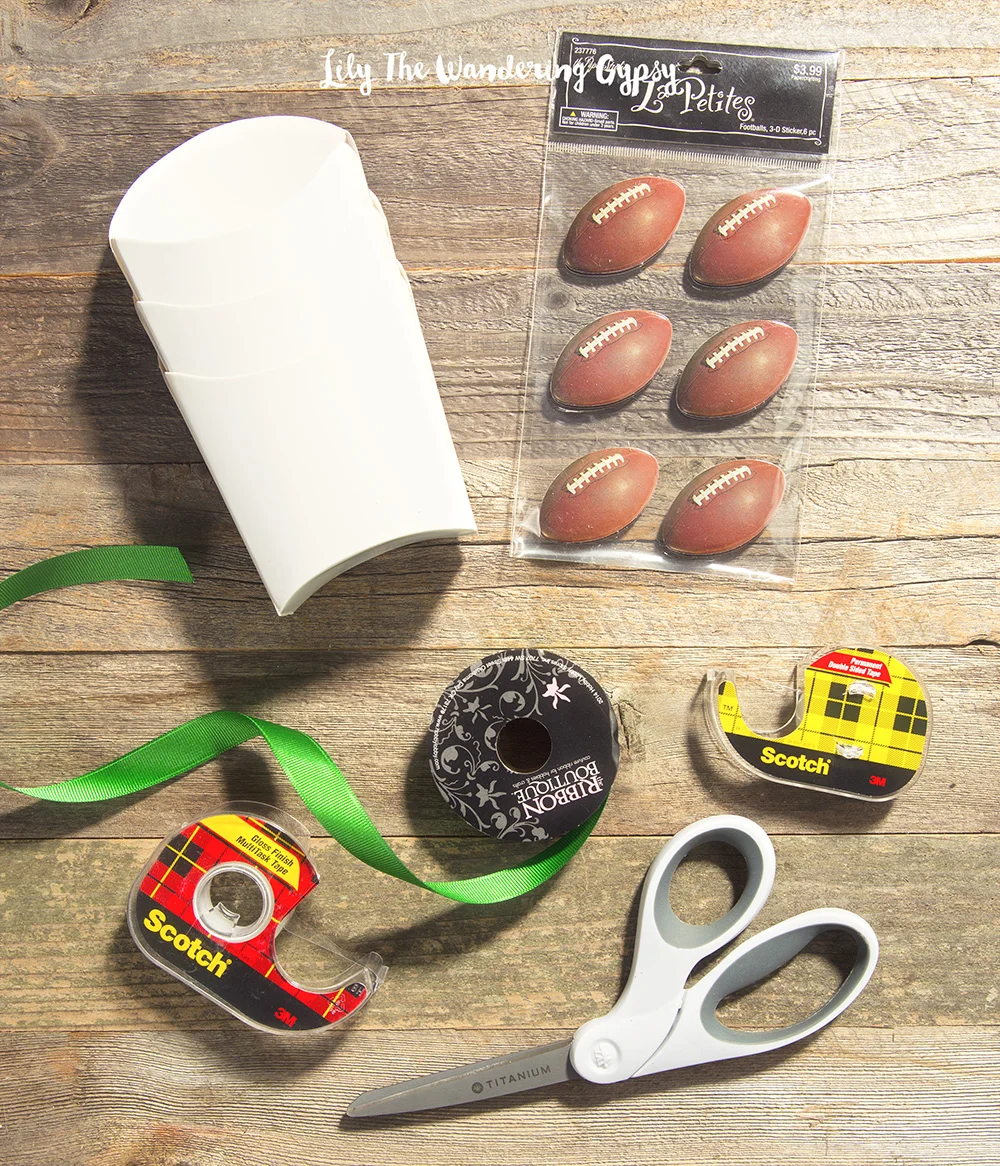
MATERIALS
French Fry containers, Football Stickers (I like the 3-D ones), green ribbon, clear tape, double sided tape, and scissors. I found the fry boxes at Hobby Lobby, and they are so cute!
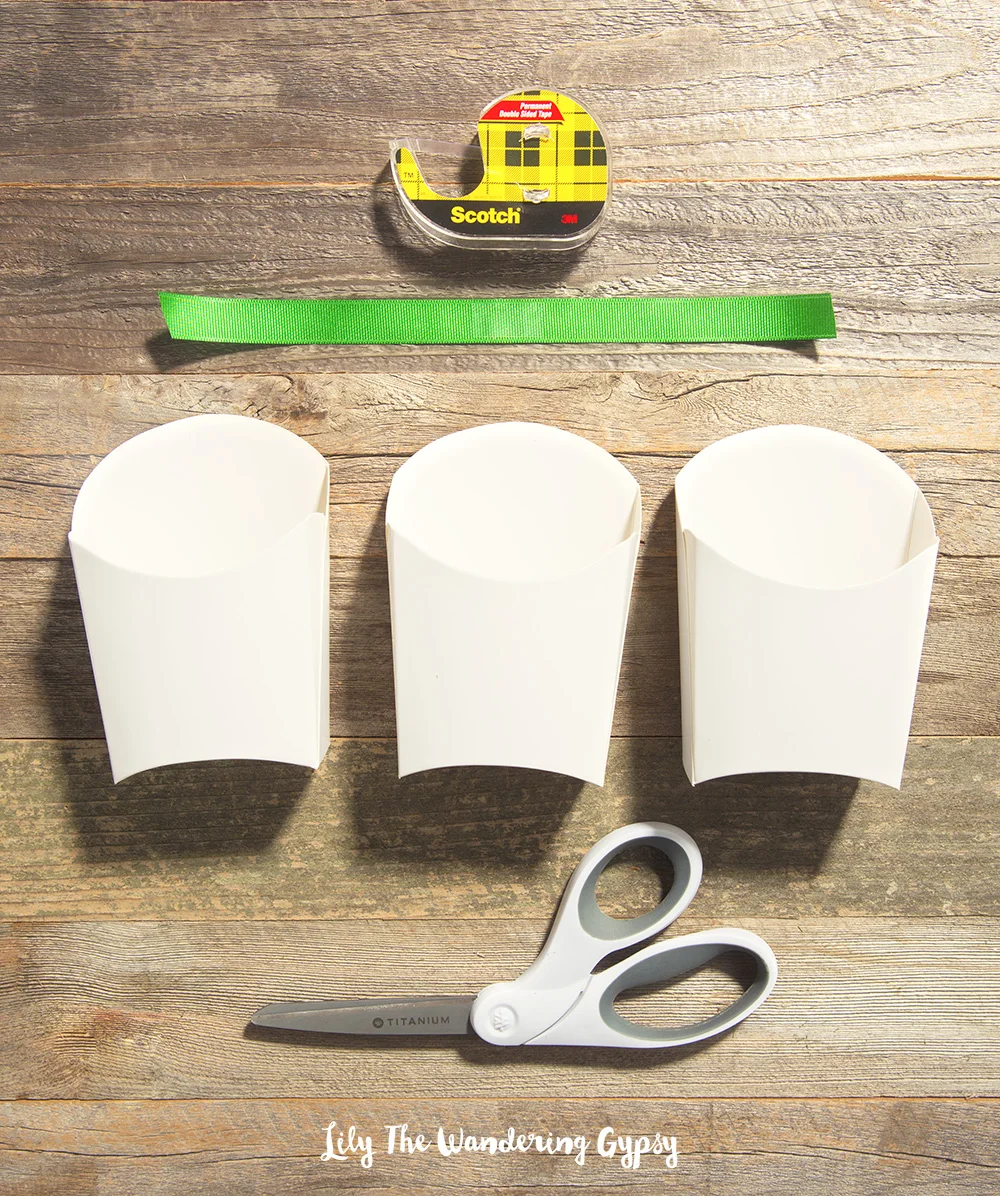
Cut a length of ribbon that will wrap around the fry boxes.
Attach the ribbon to the front of the fry box with double stick tape. Then, wrap the ribbon around to the back, and tape the ribbon with the regular tape.
Simply, attach the football stickers to the front of the fry boxes and fill with your game day snacks!
New Year's Resolution Cocktails {Roundup}
I thought it would be fun to put together a list of cocktails inspired by common New Year's Resolutions.
If you want a classic cocktail that just might inspire you to read a new novel or two, this Earnest Hemingway Daiquiri by Gabriel Cabrera, would be a good fit.
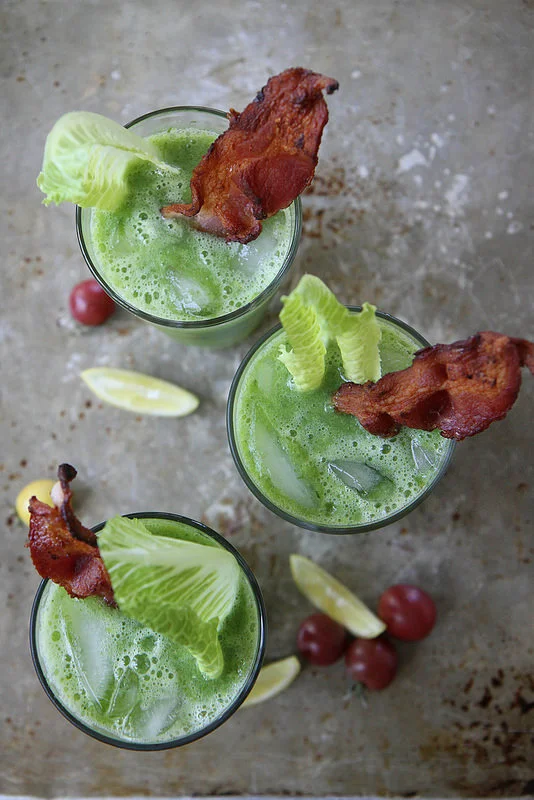
We could all use a little bit more of the green variety in our diets, so here is a rather unusual Spicy BLT Green Bloody Mary by Heather Christo.
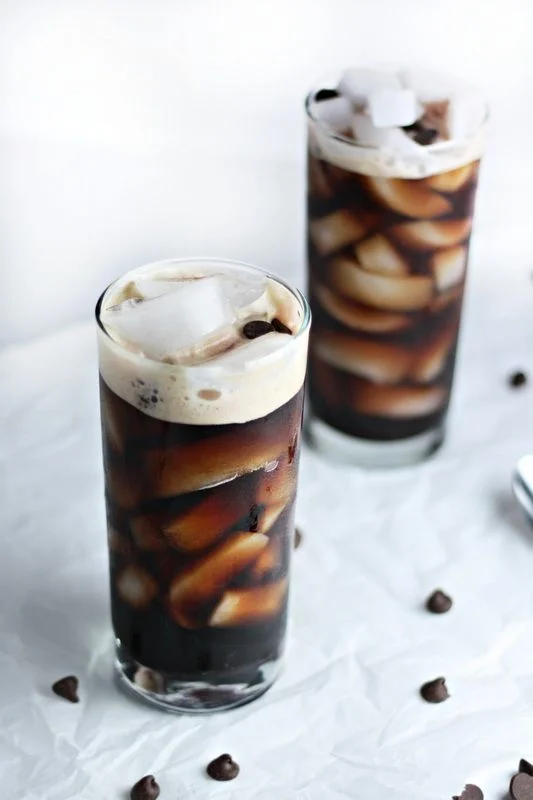
If you are making it a top priority to make date night more fun this year, this Chocolate Stout and Raspberry Cocktail by Drool Worthy Daily may be a great addition to a meaningful evening.
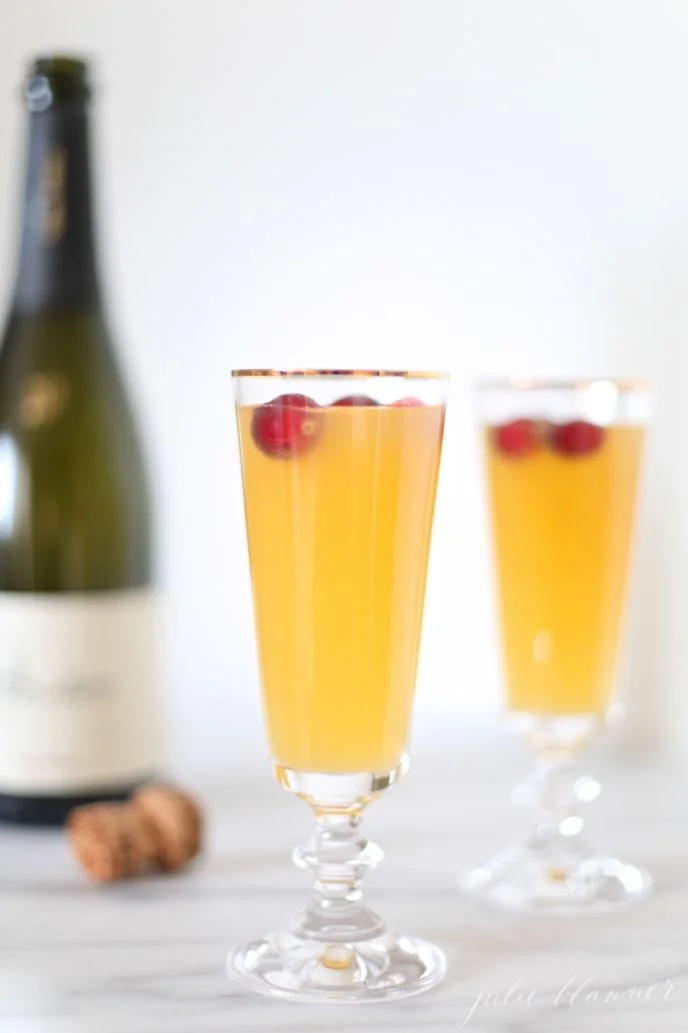
I always believe that wine and sparkling wine are great, mood-boosting options when getting together with girlfriends. This Apple Pear Cocktail by Julie Blanner would be a great choice!
If you feel like booze just makes you sleepy, try something mixed with coffee! Here is a fun Creamy Coconut Rum Iced Coffee by Heather Christo.
They say that one way to get the creative juices flowing is to drink absinthe. I guess the taste alone is almost unbearable, but hey, let's try this mixed drink and see if we can't get a bit creative. Here is the Sleepy Hollow Cocktail by The Jewels Of NY.
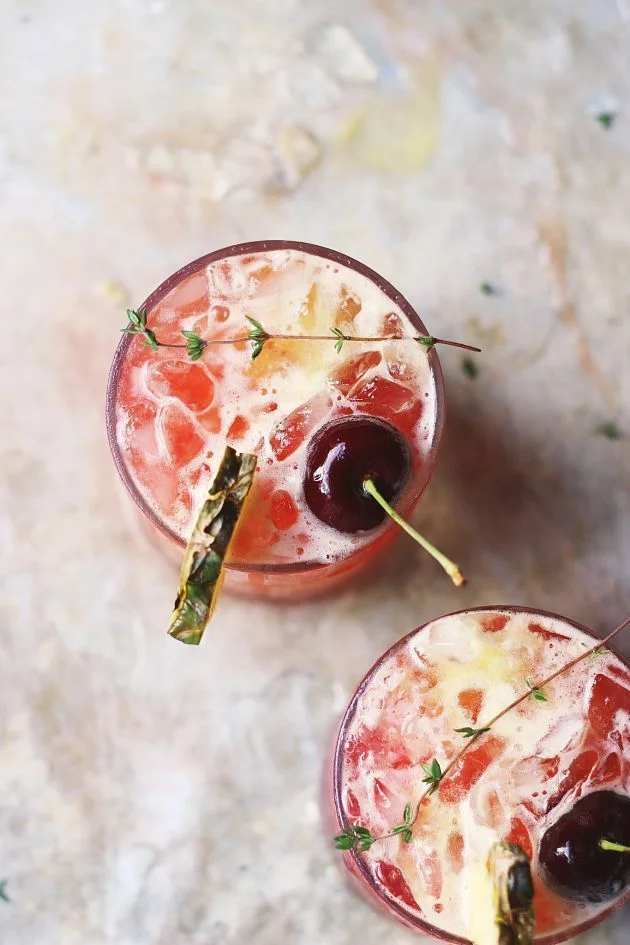
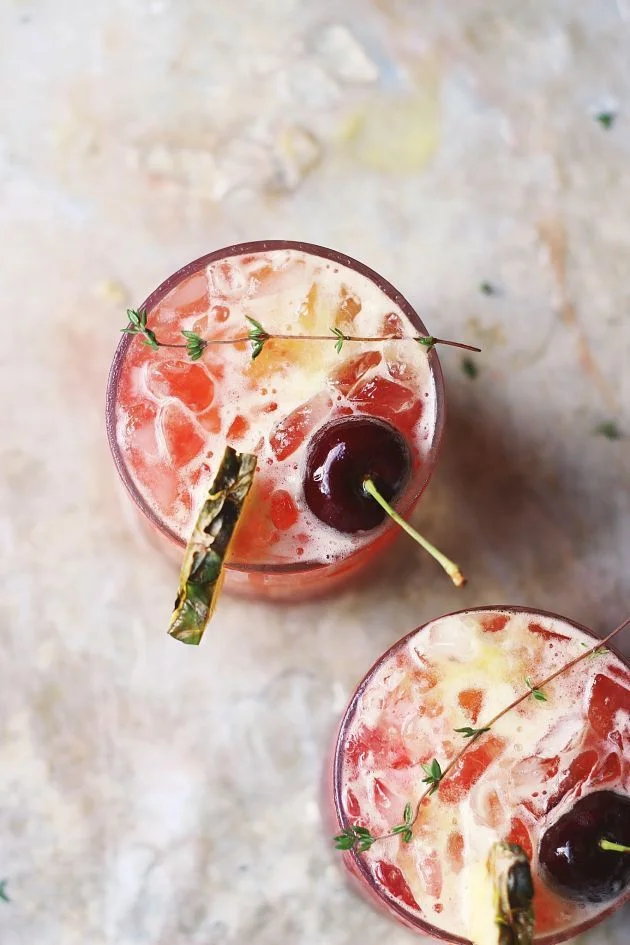
If travel is top on your list for 2016, try this Modern Mai Tai with Hibiscus + Thyme by With Food And Love, maybe it will inspire you to make plans to head somewhere warm, Hawaii for instance?!
If one of your goals for the new year is to stop and smell the roses, then this Cardamom Rose Gin & Tonic by The Baking Bird may be perfect for you!
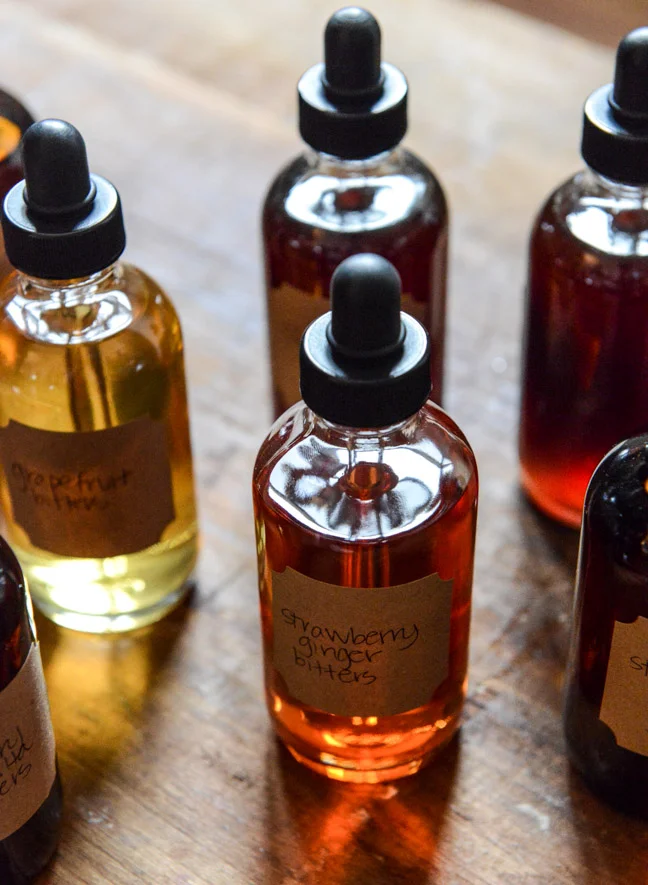
Why not learn how to infuse your drinks with new flavors, by learning how to Make Your Own Bitters, with this nice tutorial by How Sweet It Is.
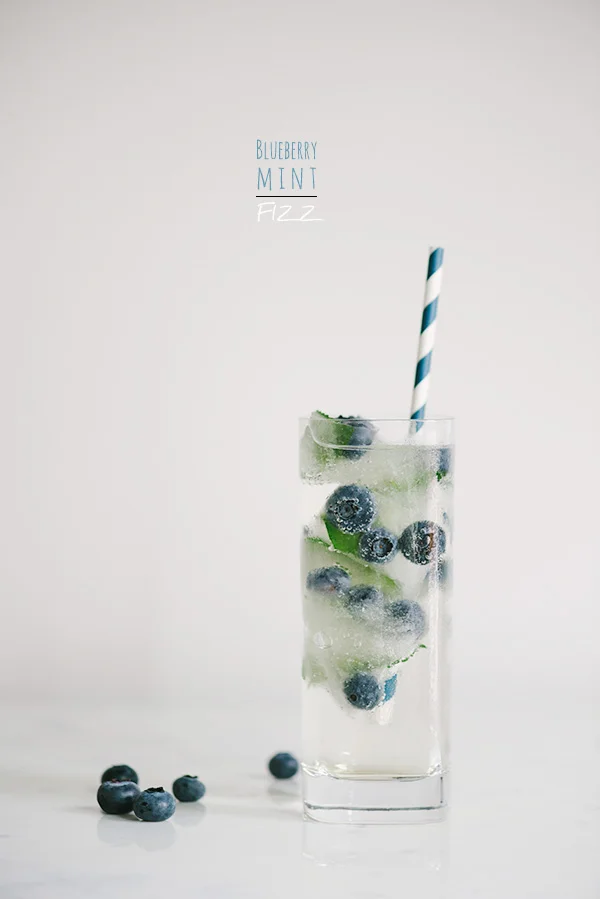
This Low-Cal Cocktail by Waiting On Martha, would be one of the drinks with the lowest calories, in my mind. Instead of using anything pre-mixed, opt for fresh ingredients!
New York City!!
I had SO much fun in New York City last weekend. I was recently working a fun content creation project for Skype, where I shared my Halloween Party Tips and DIY Ideas! This was my first time to New York City (we did visit years ago for like 2 hours, but this was completely different...)
So, the images I created for Skype can be found HERE. I had SO much fun creating some holiday content, as this was one of the first projects I have done of this nature. Halloween Tips and Tricks are some of my absolute FAVORITES, so I had a really great time! I also helped with a Pinterest Board (here), and I helped lead a fun, Skype Group Chat (search SkypeHalloween to find us!!).
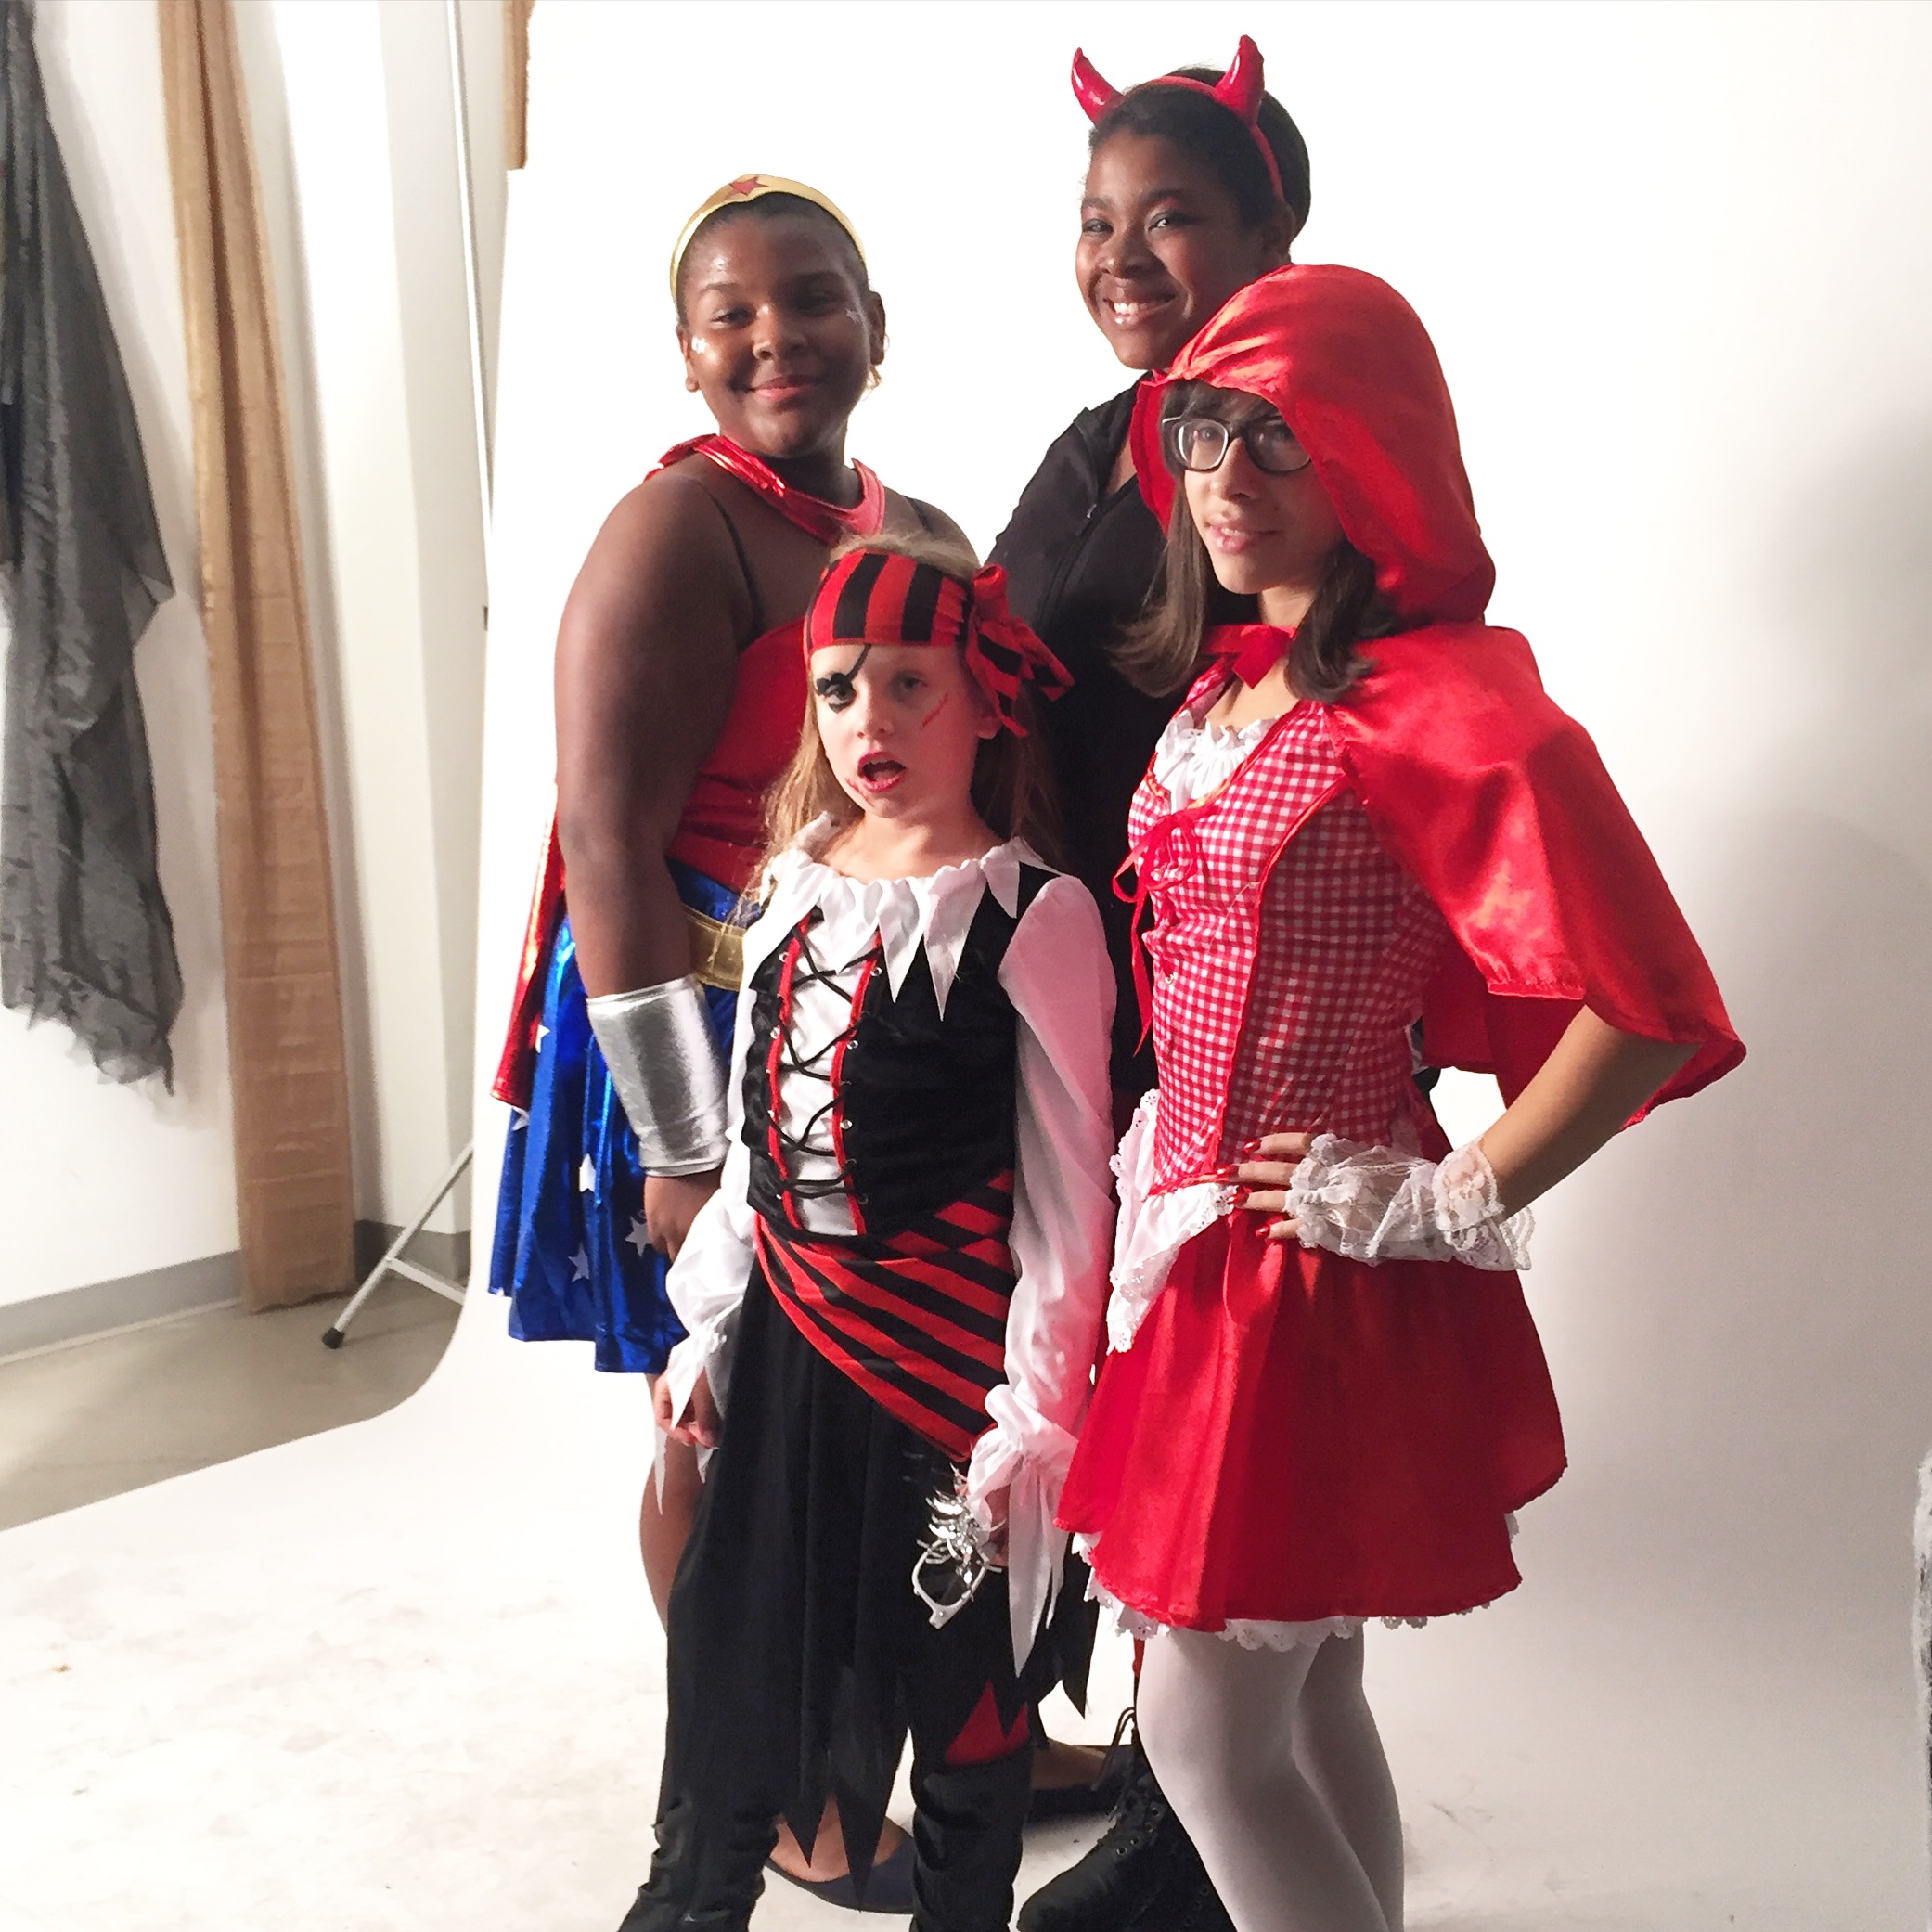
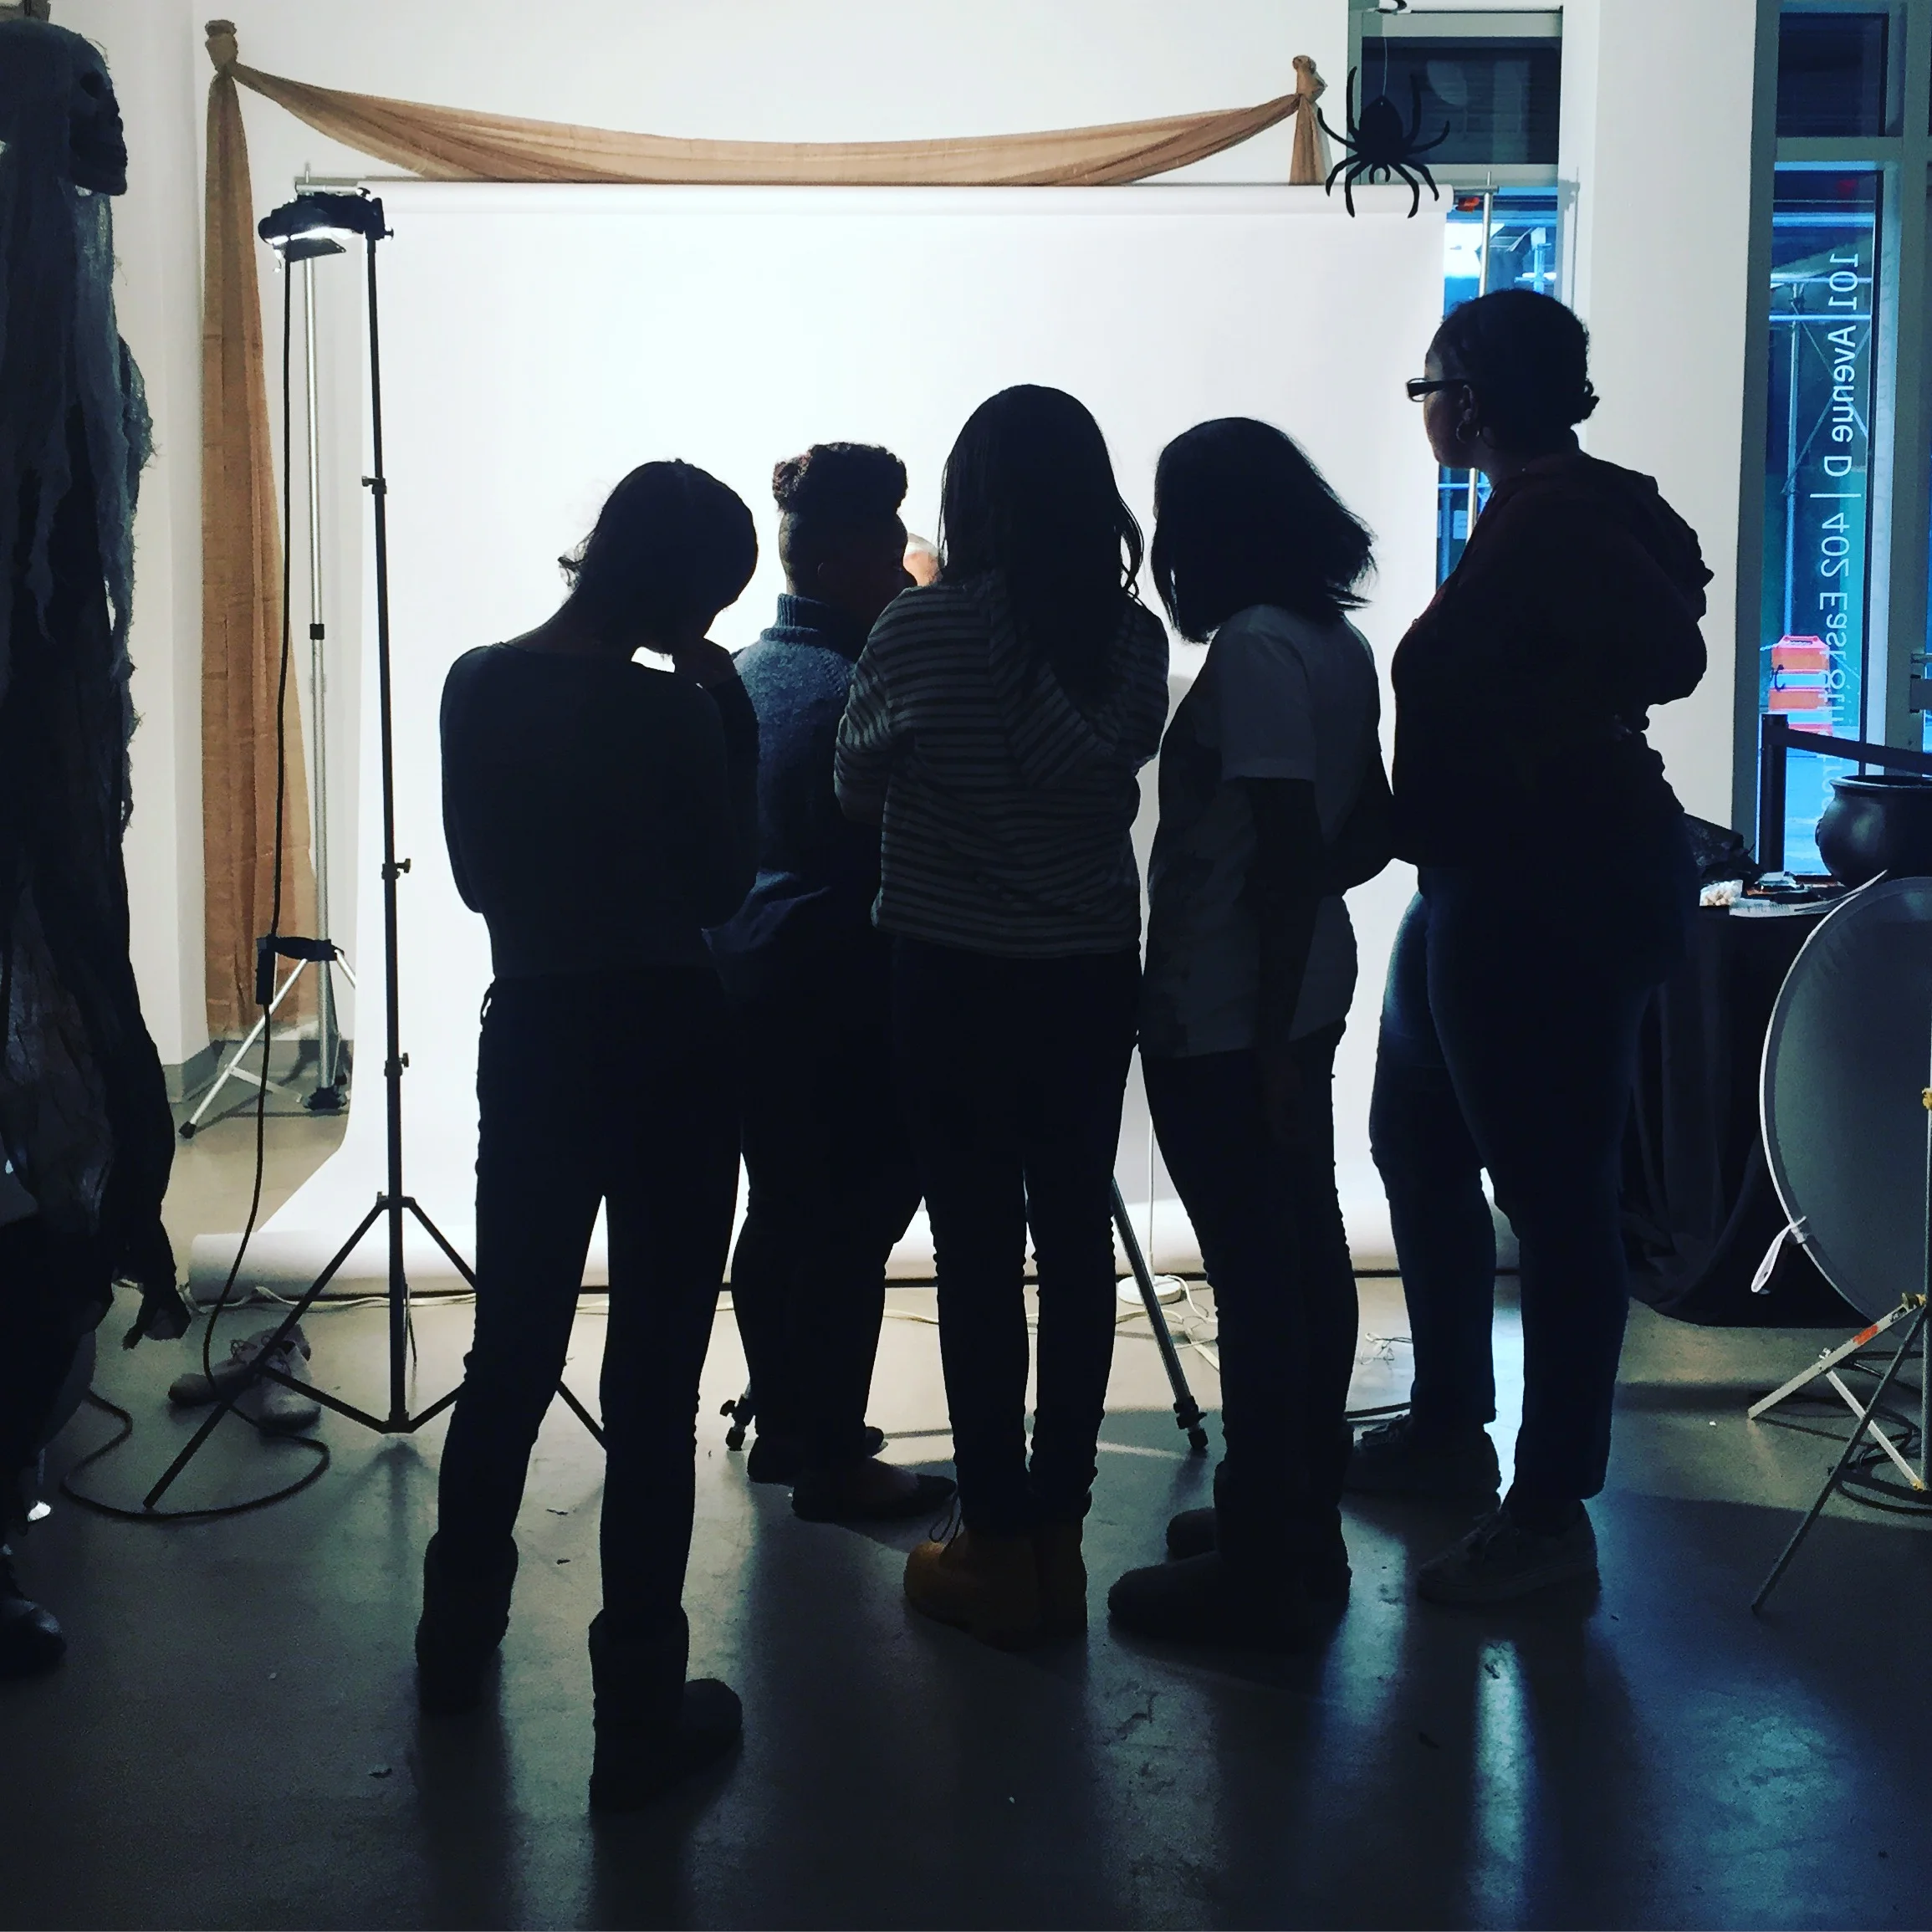
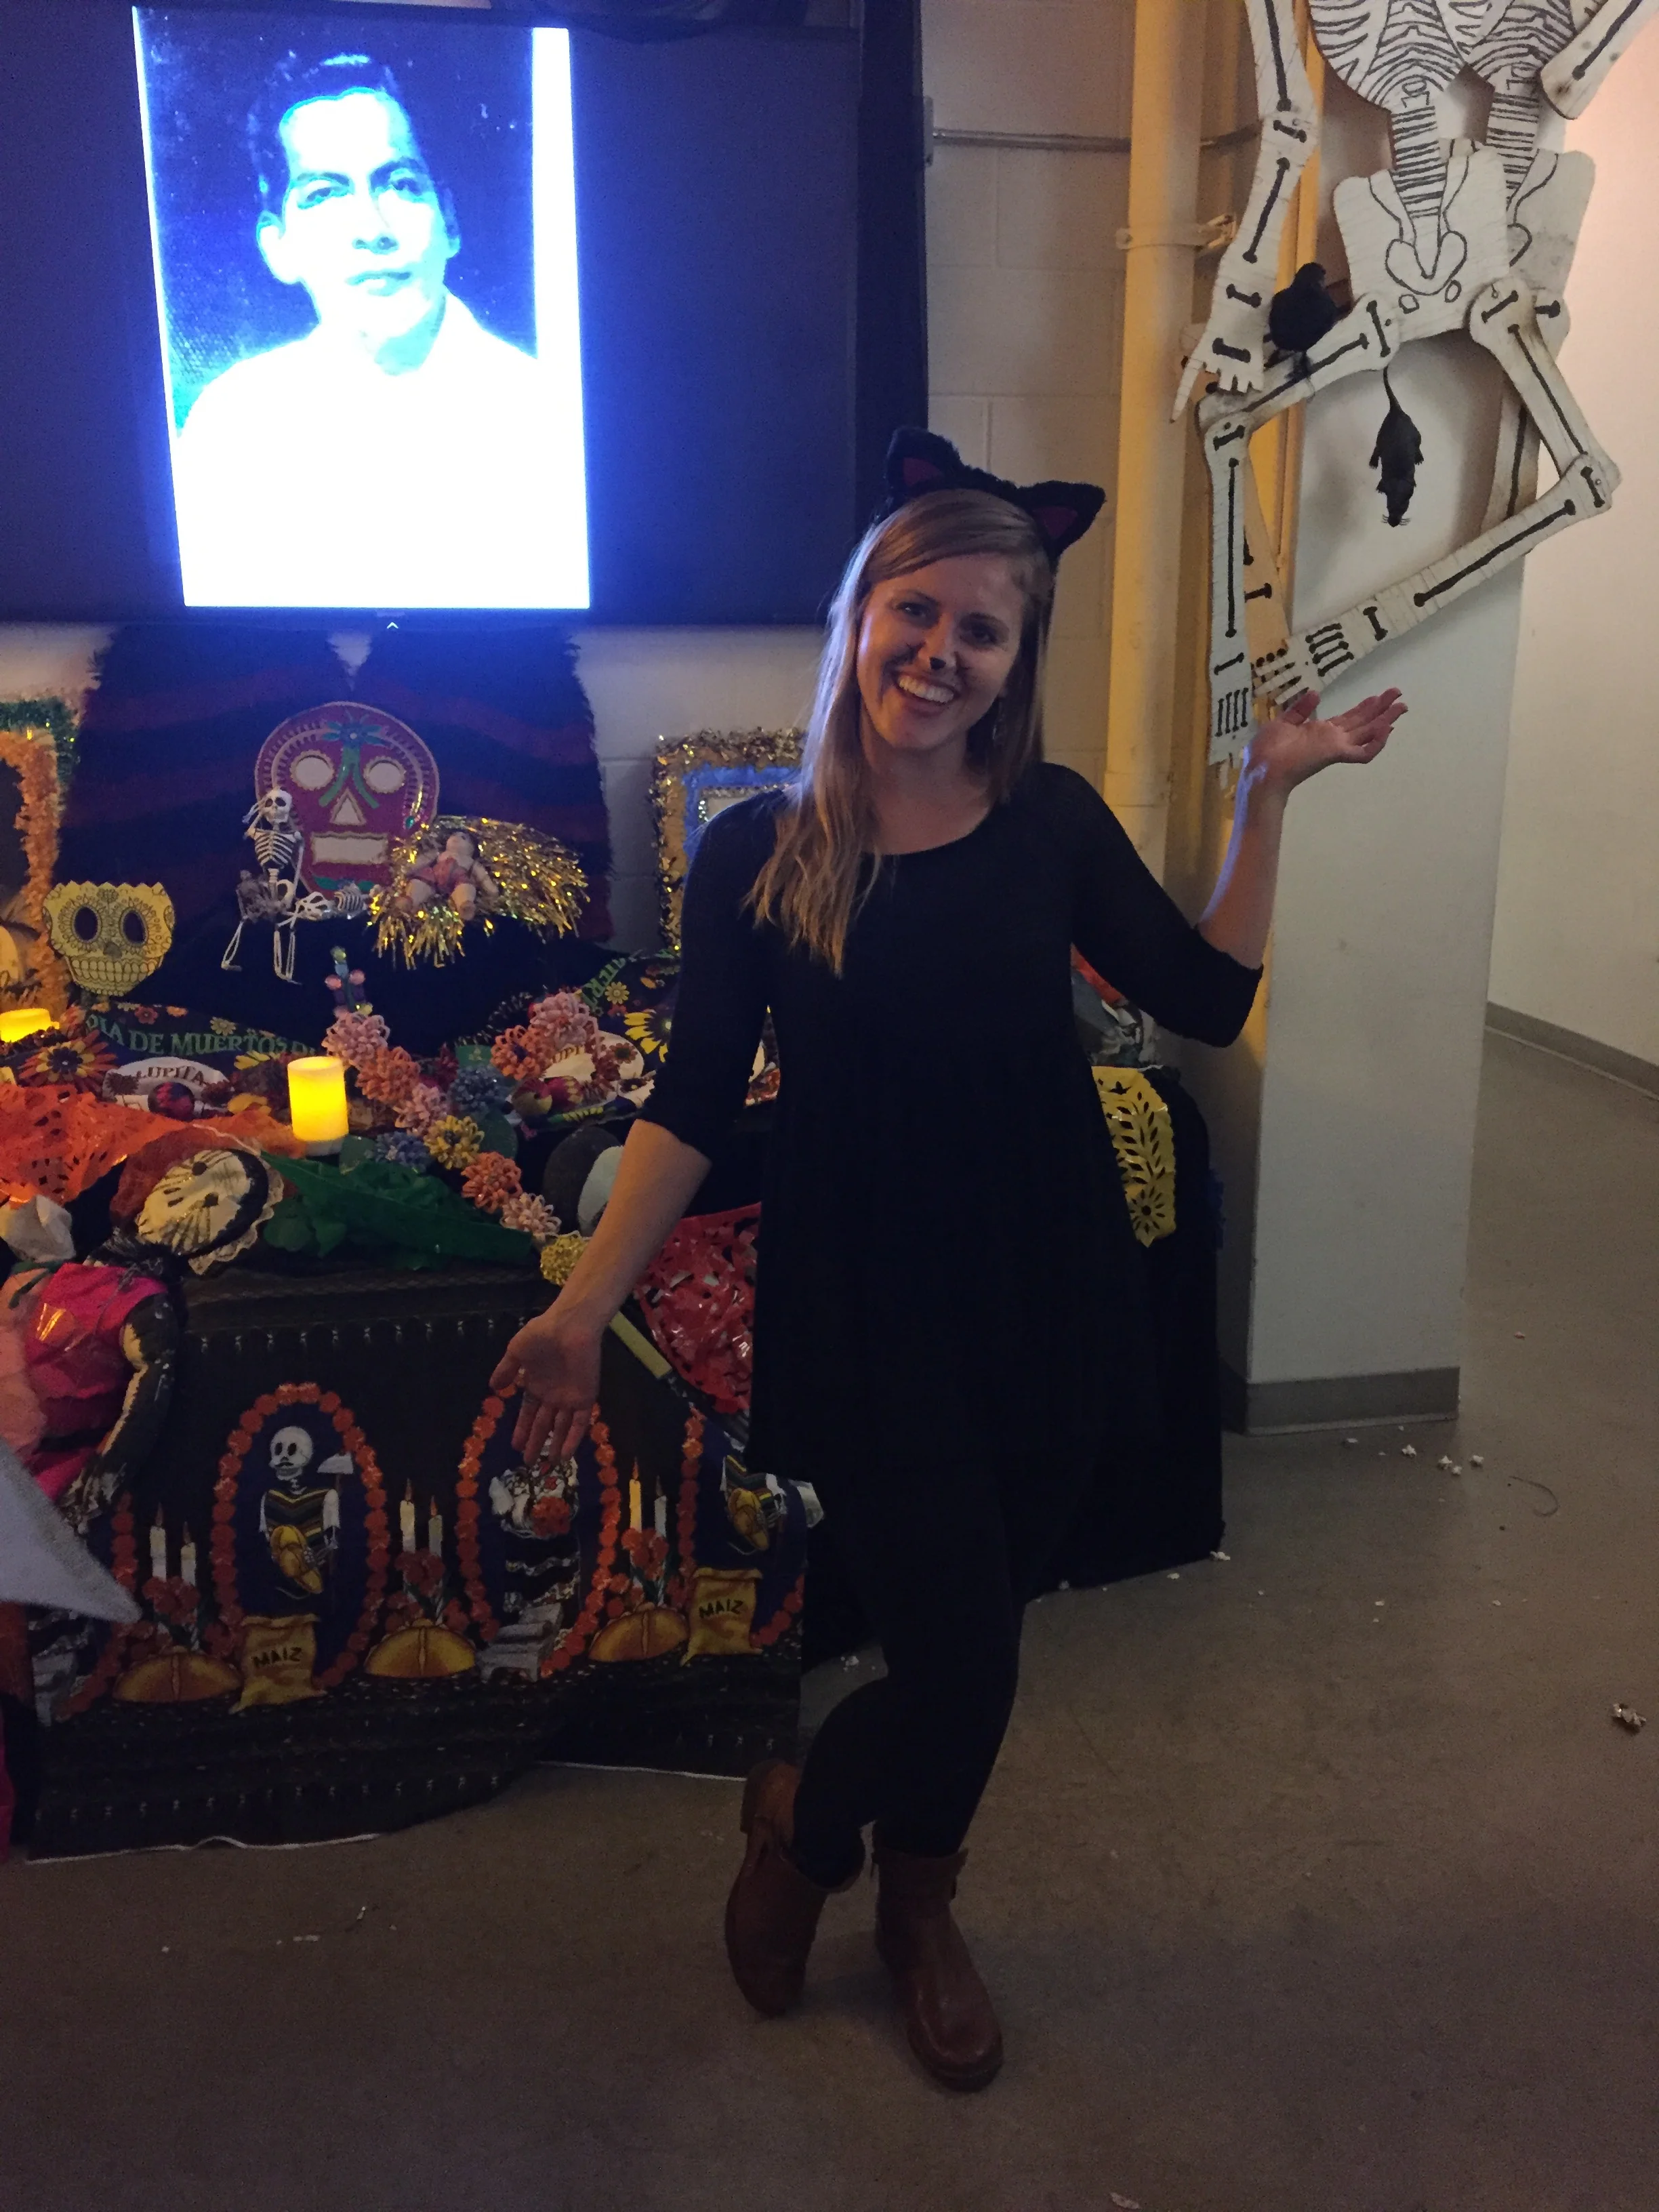
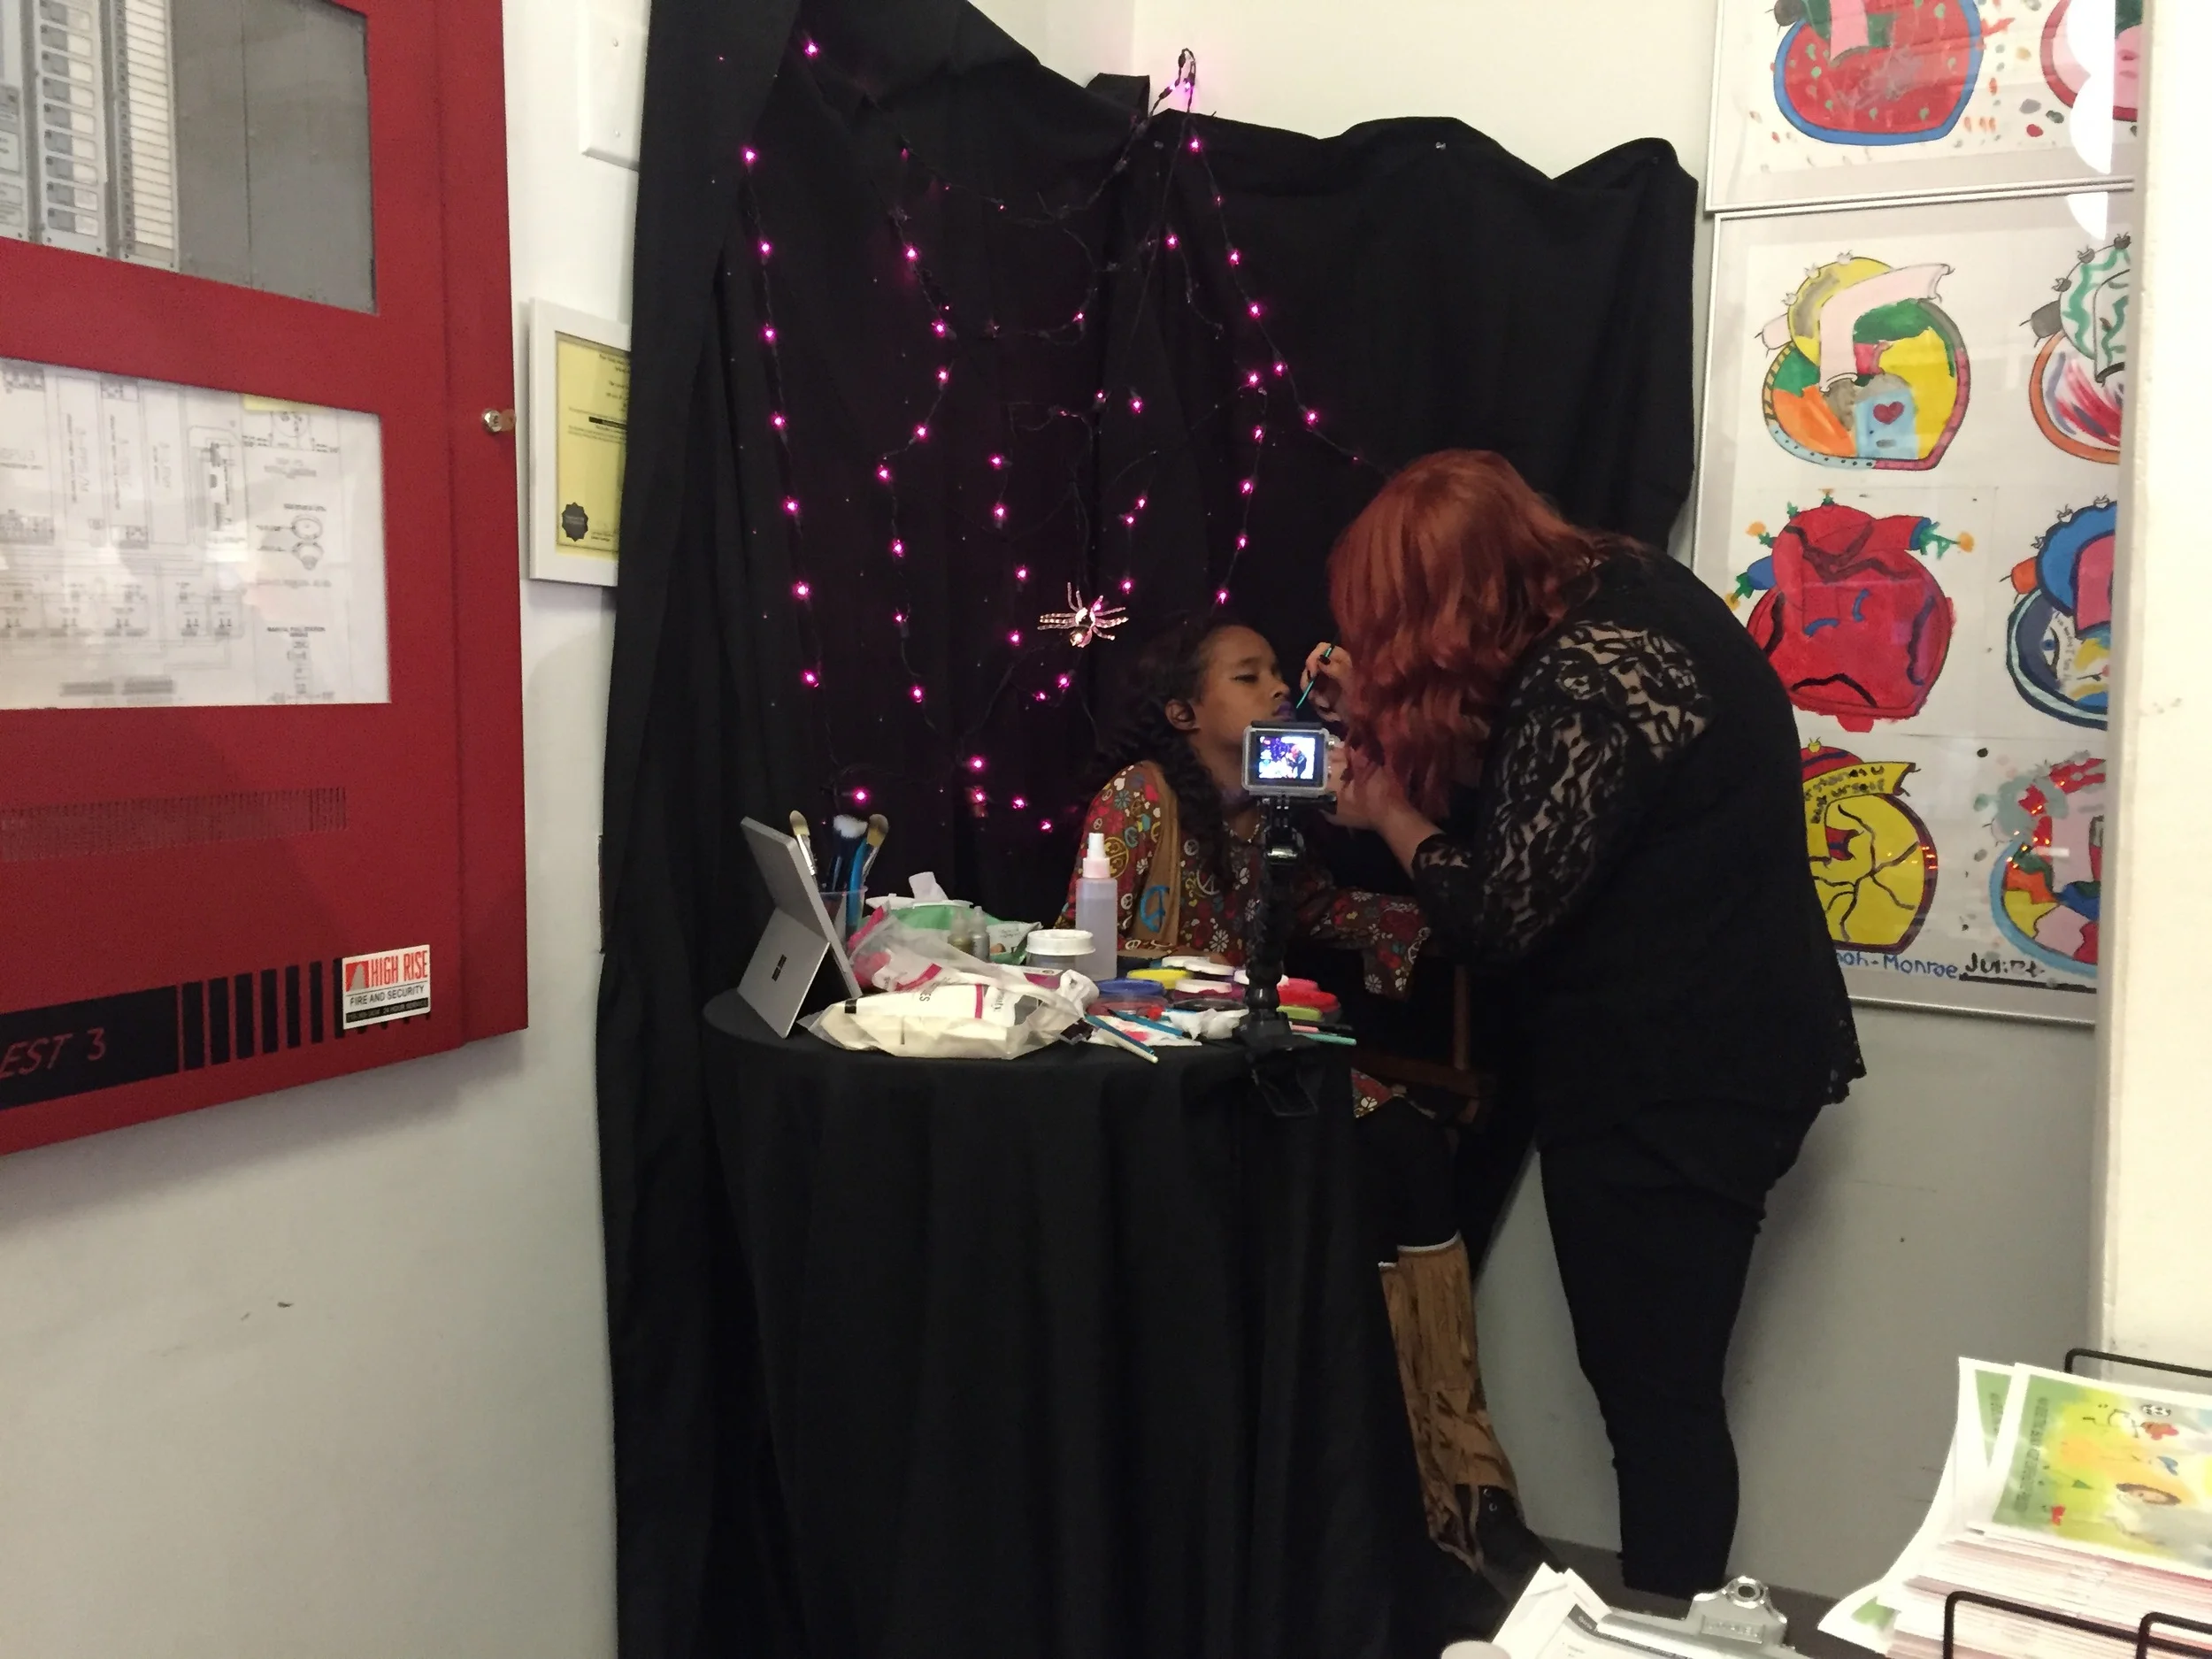
One of the best parts of this project came at pretty short notice. Skype personally invited me out to New York City, to help coordinate a Halloween party for The Lower East Side Girls' Club of NYC! Pretty incredible and practically unbelievable. What an amazing opportunity! I am still so fortunate I was the one chosen for this whole thing. I had an absolute blast, my hotel was amazing, I ate some of the best food in my life (and I've eaten food all over the country!!), met some wonderful people, and helped some really amazing kids have the Best Halloween Party Ever!
I also learned on this trip, that the earlier you get to the airport, the less stressful your whole trip will be! This really worked out so well, without really any problems!
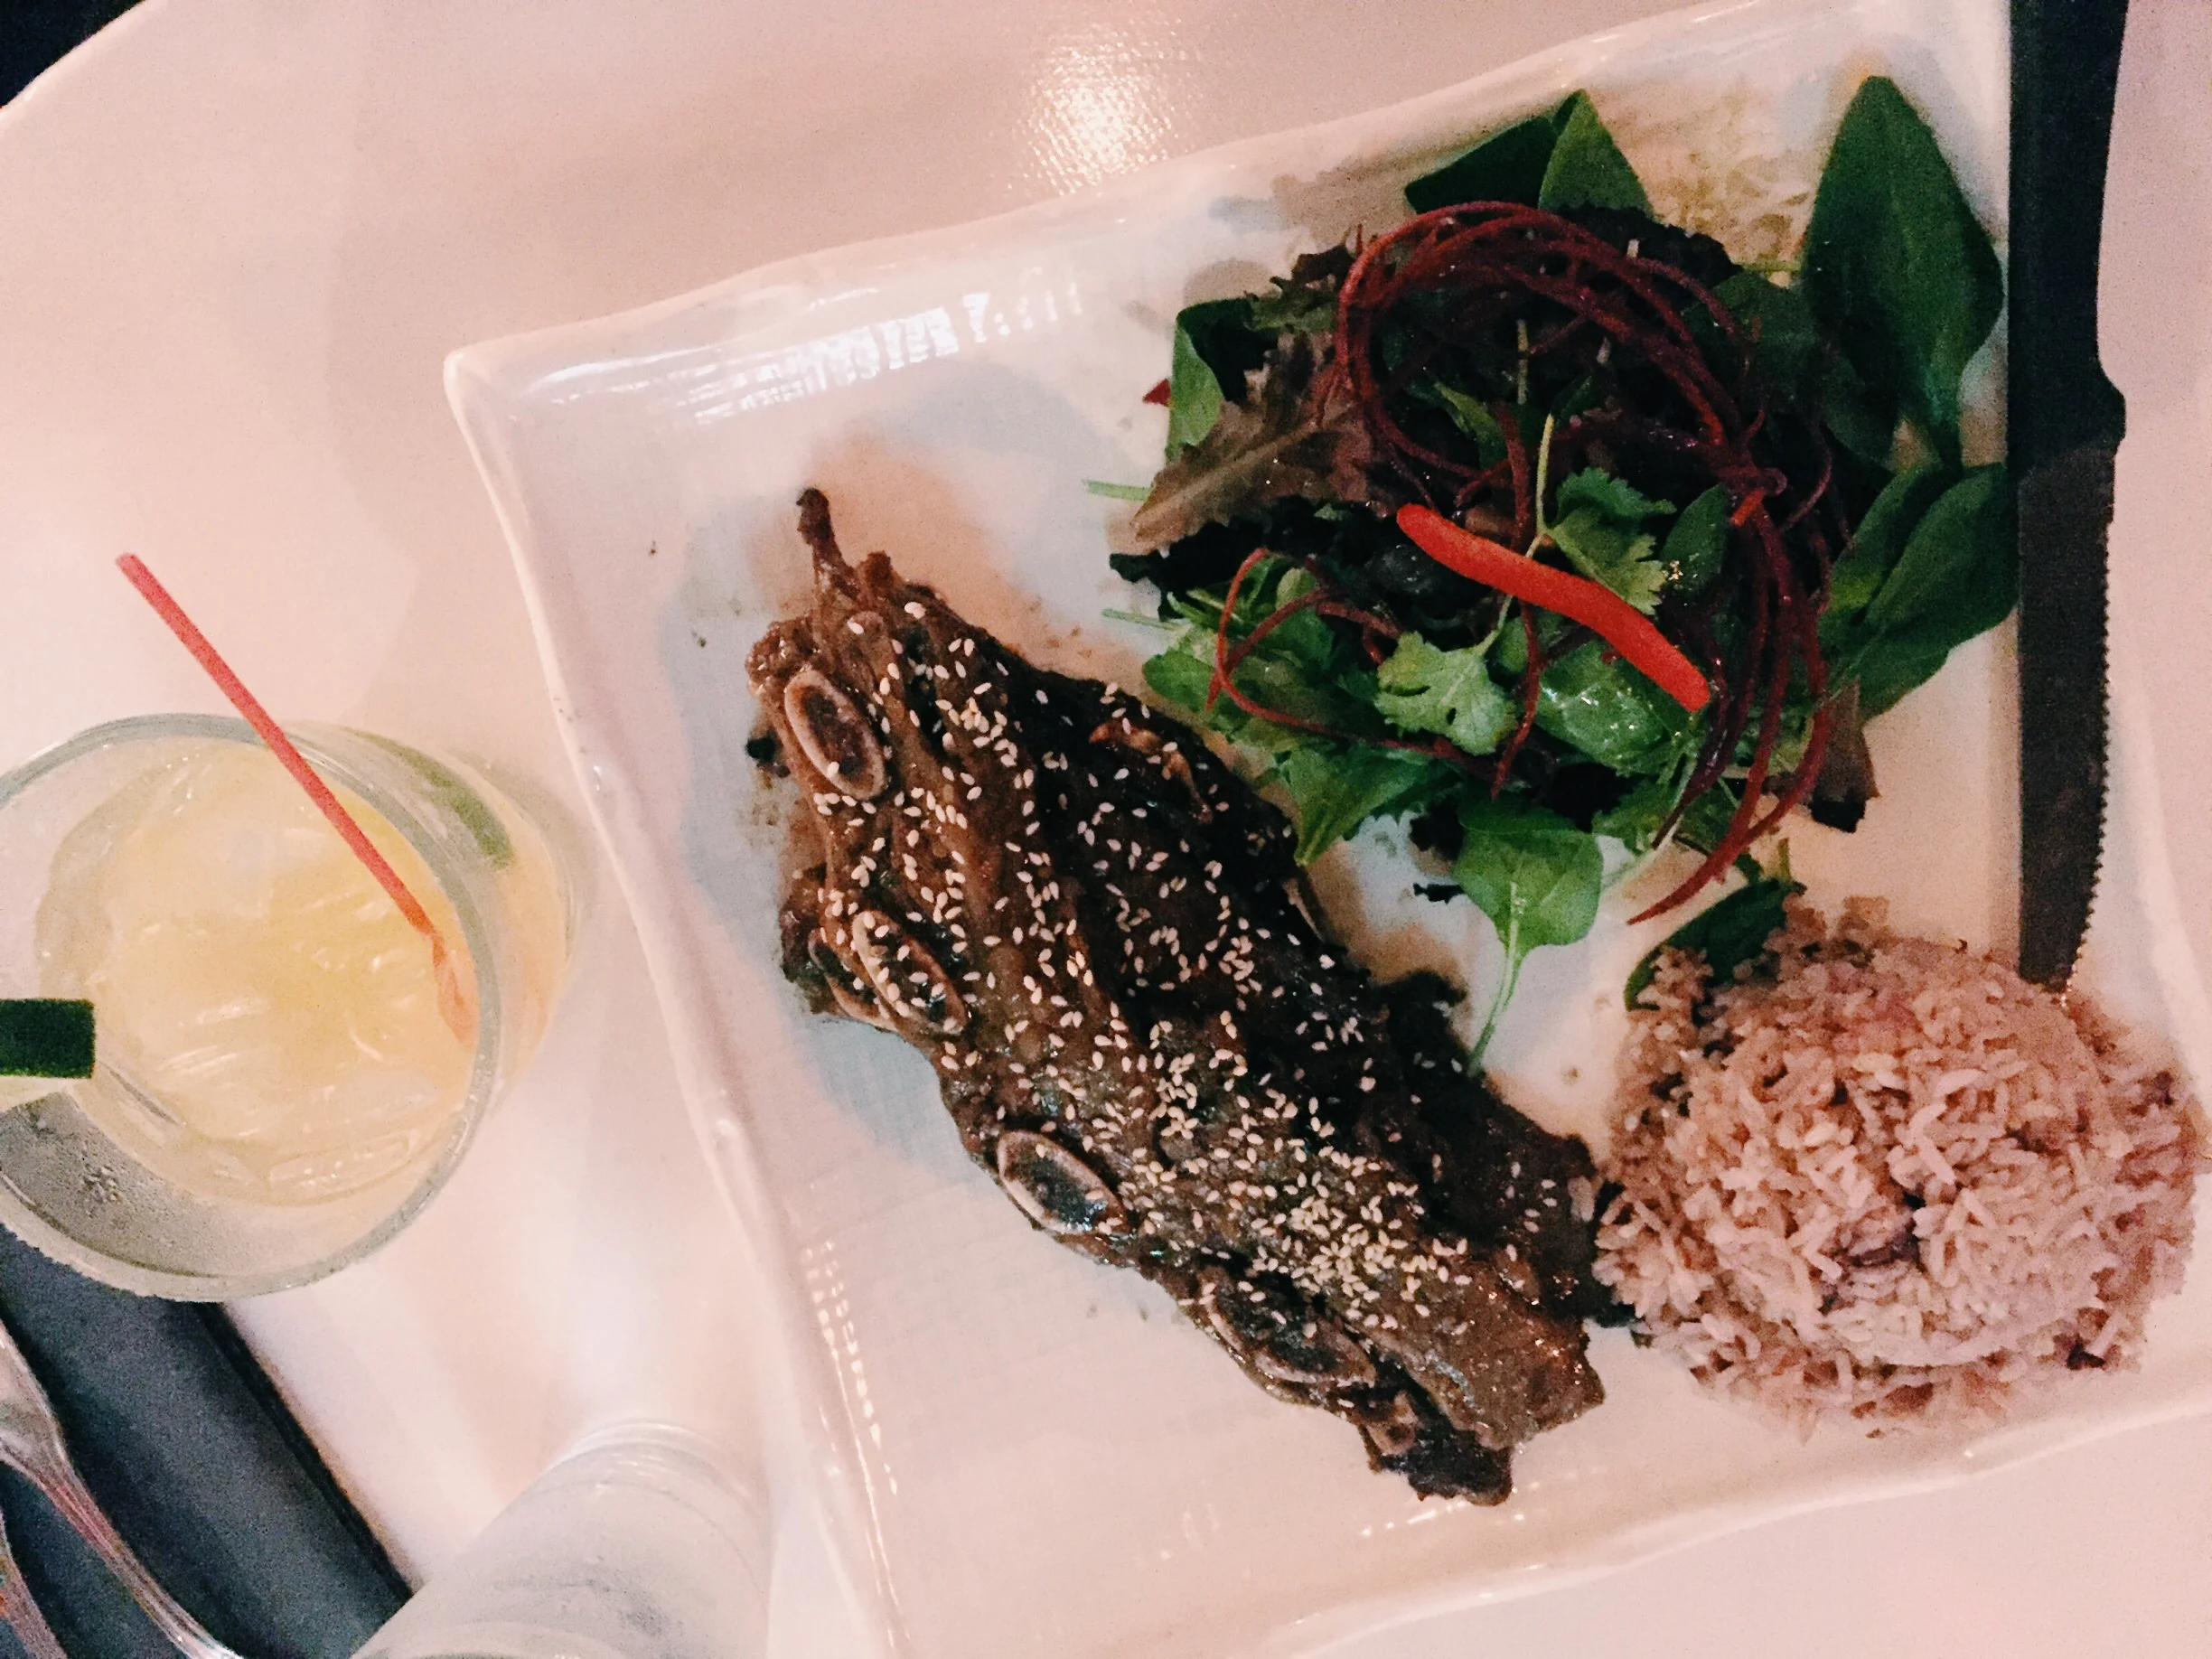
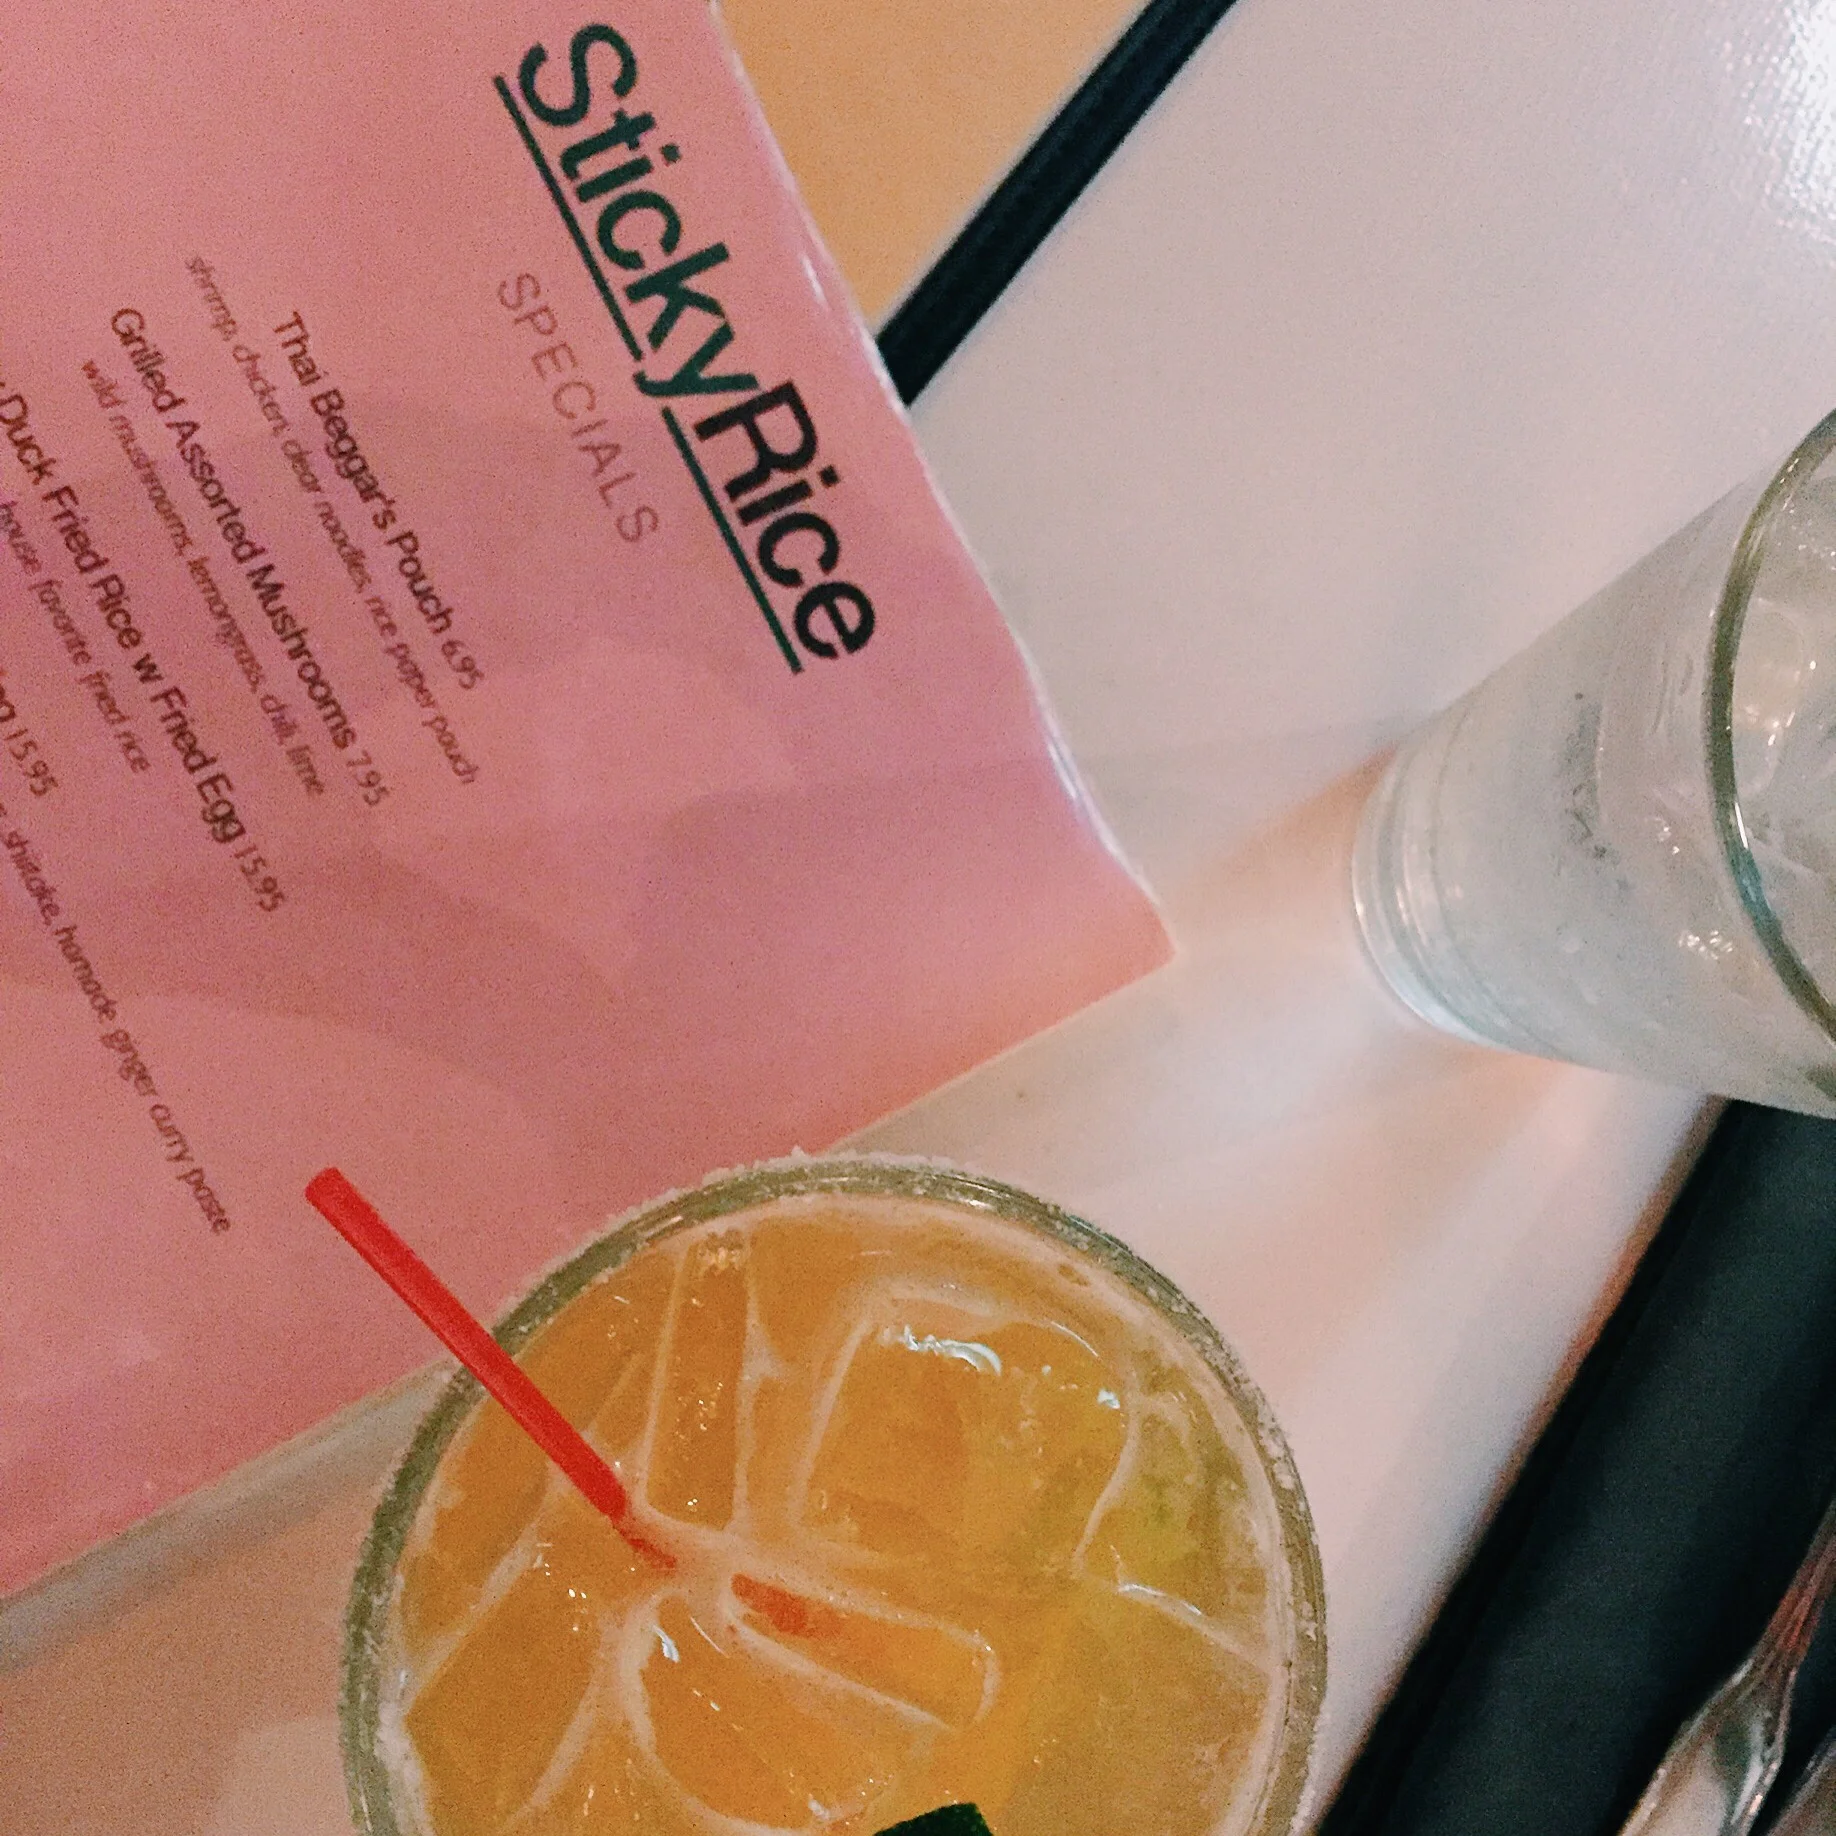
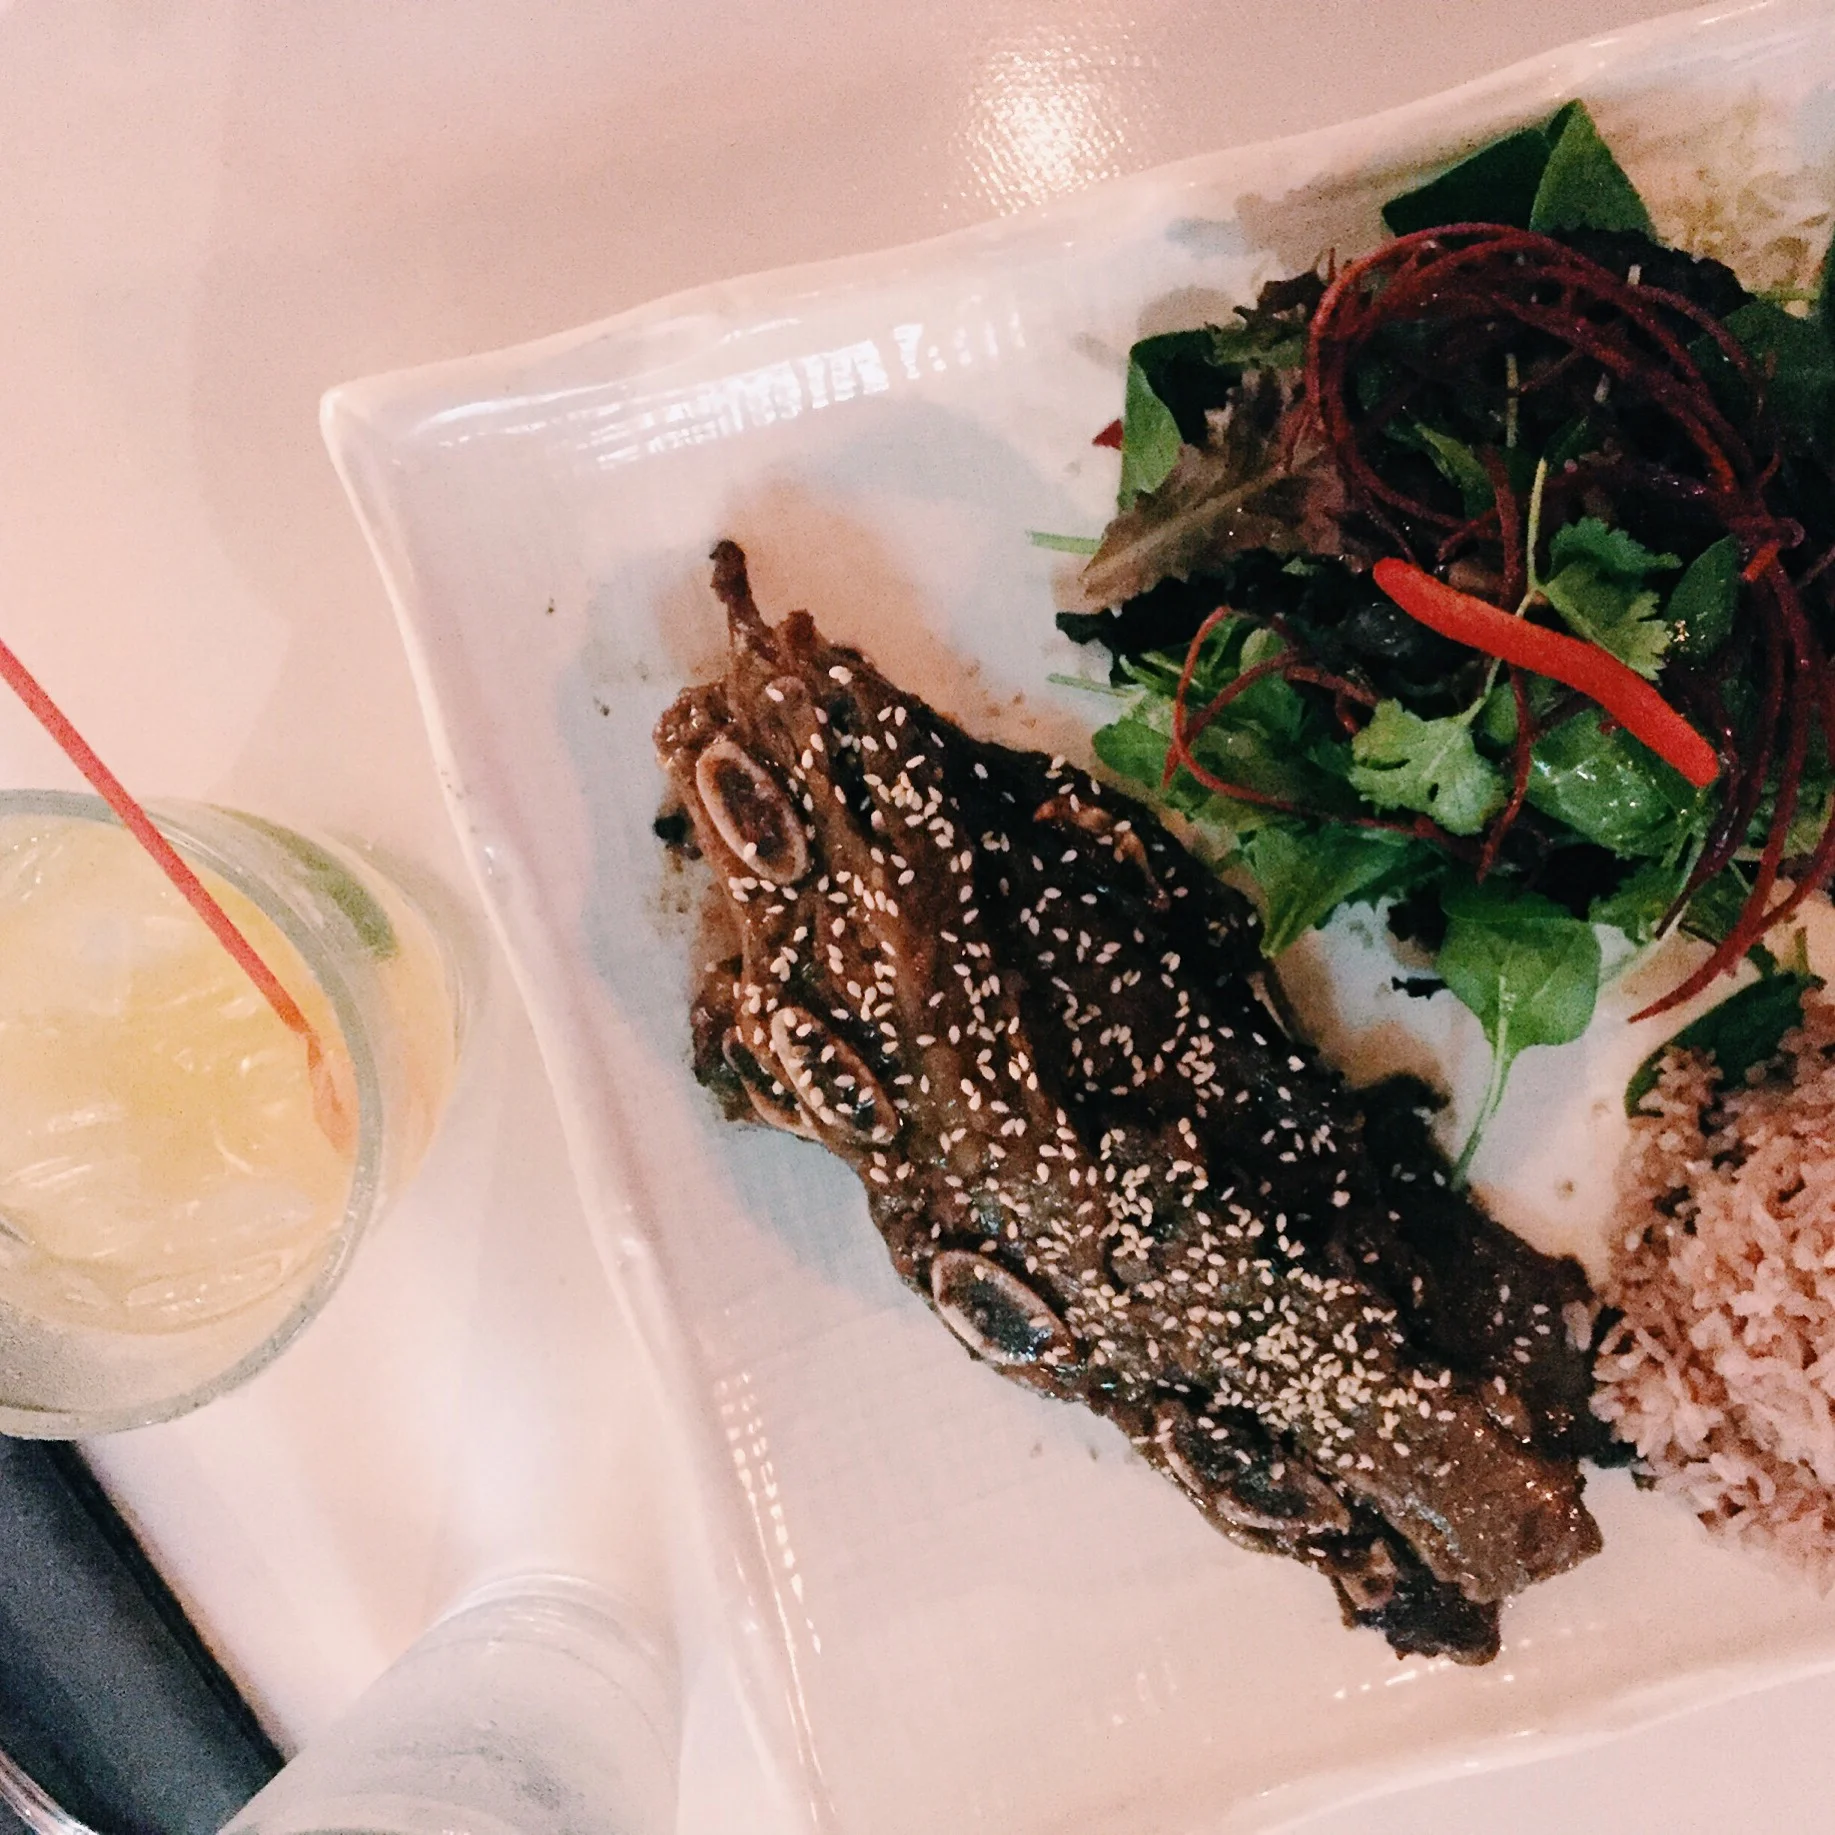
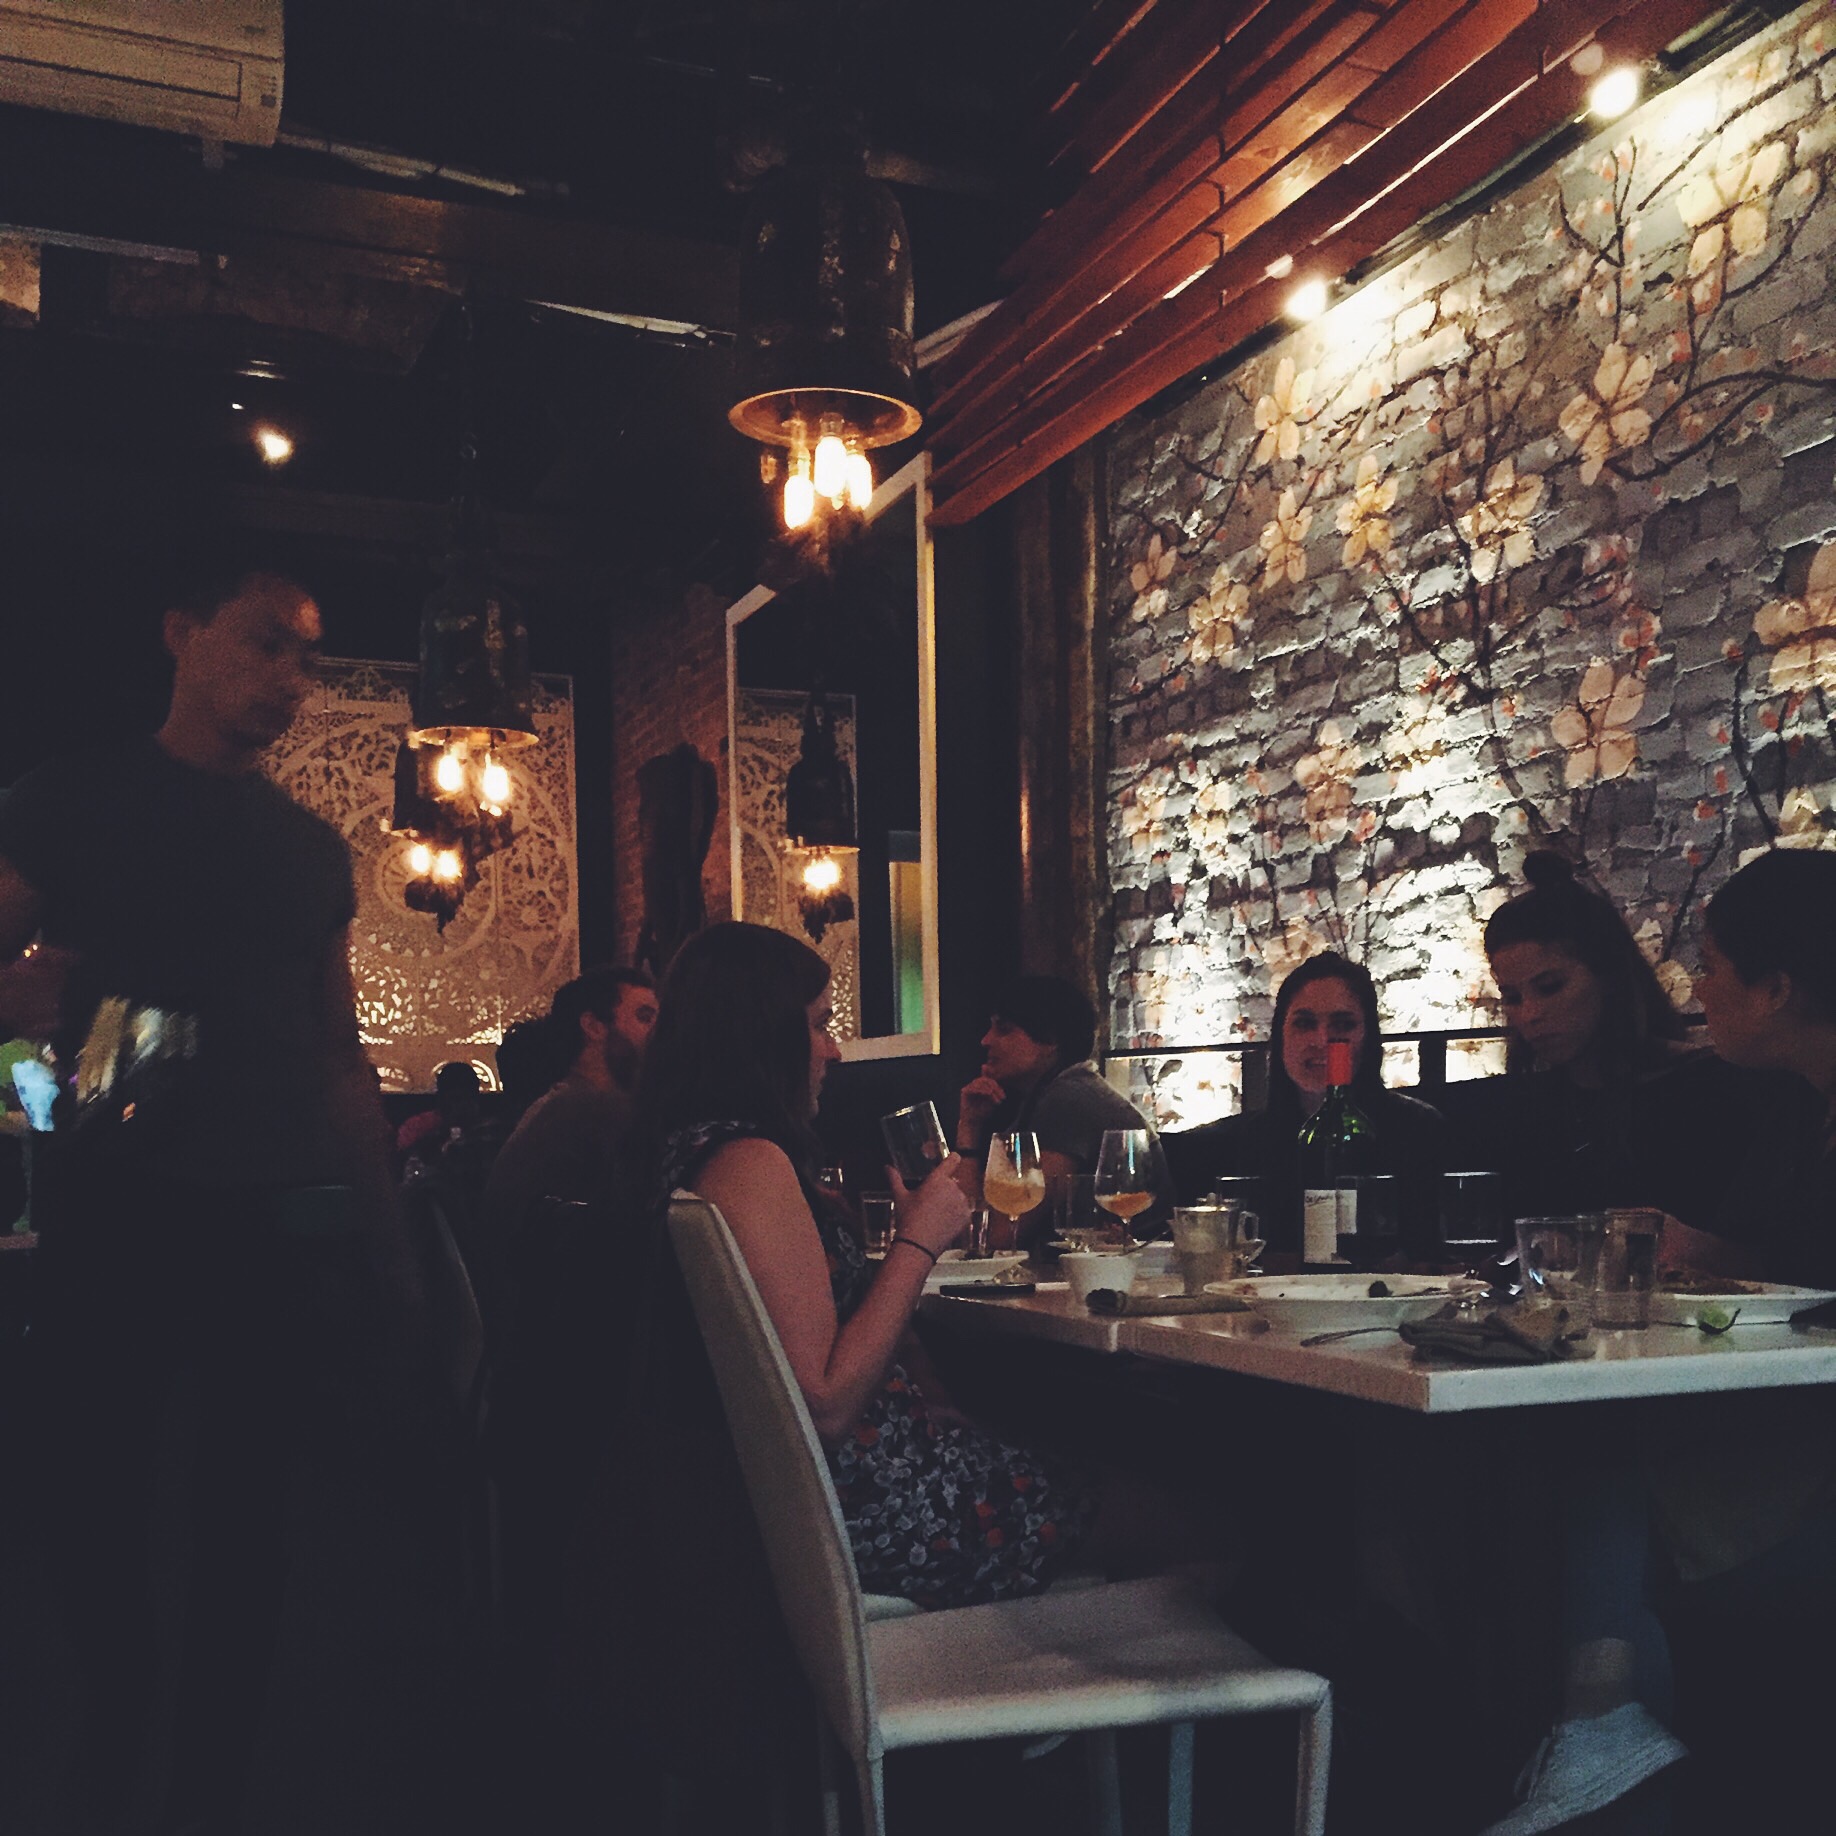
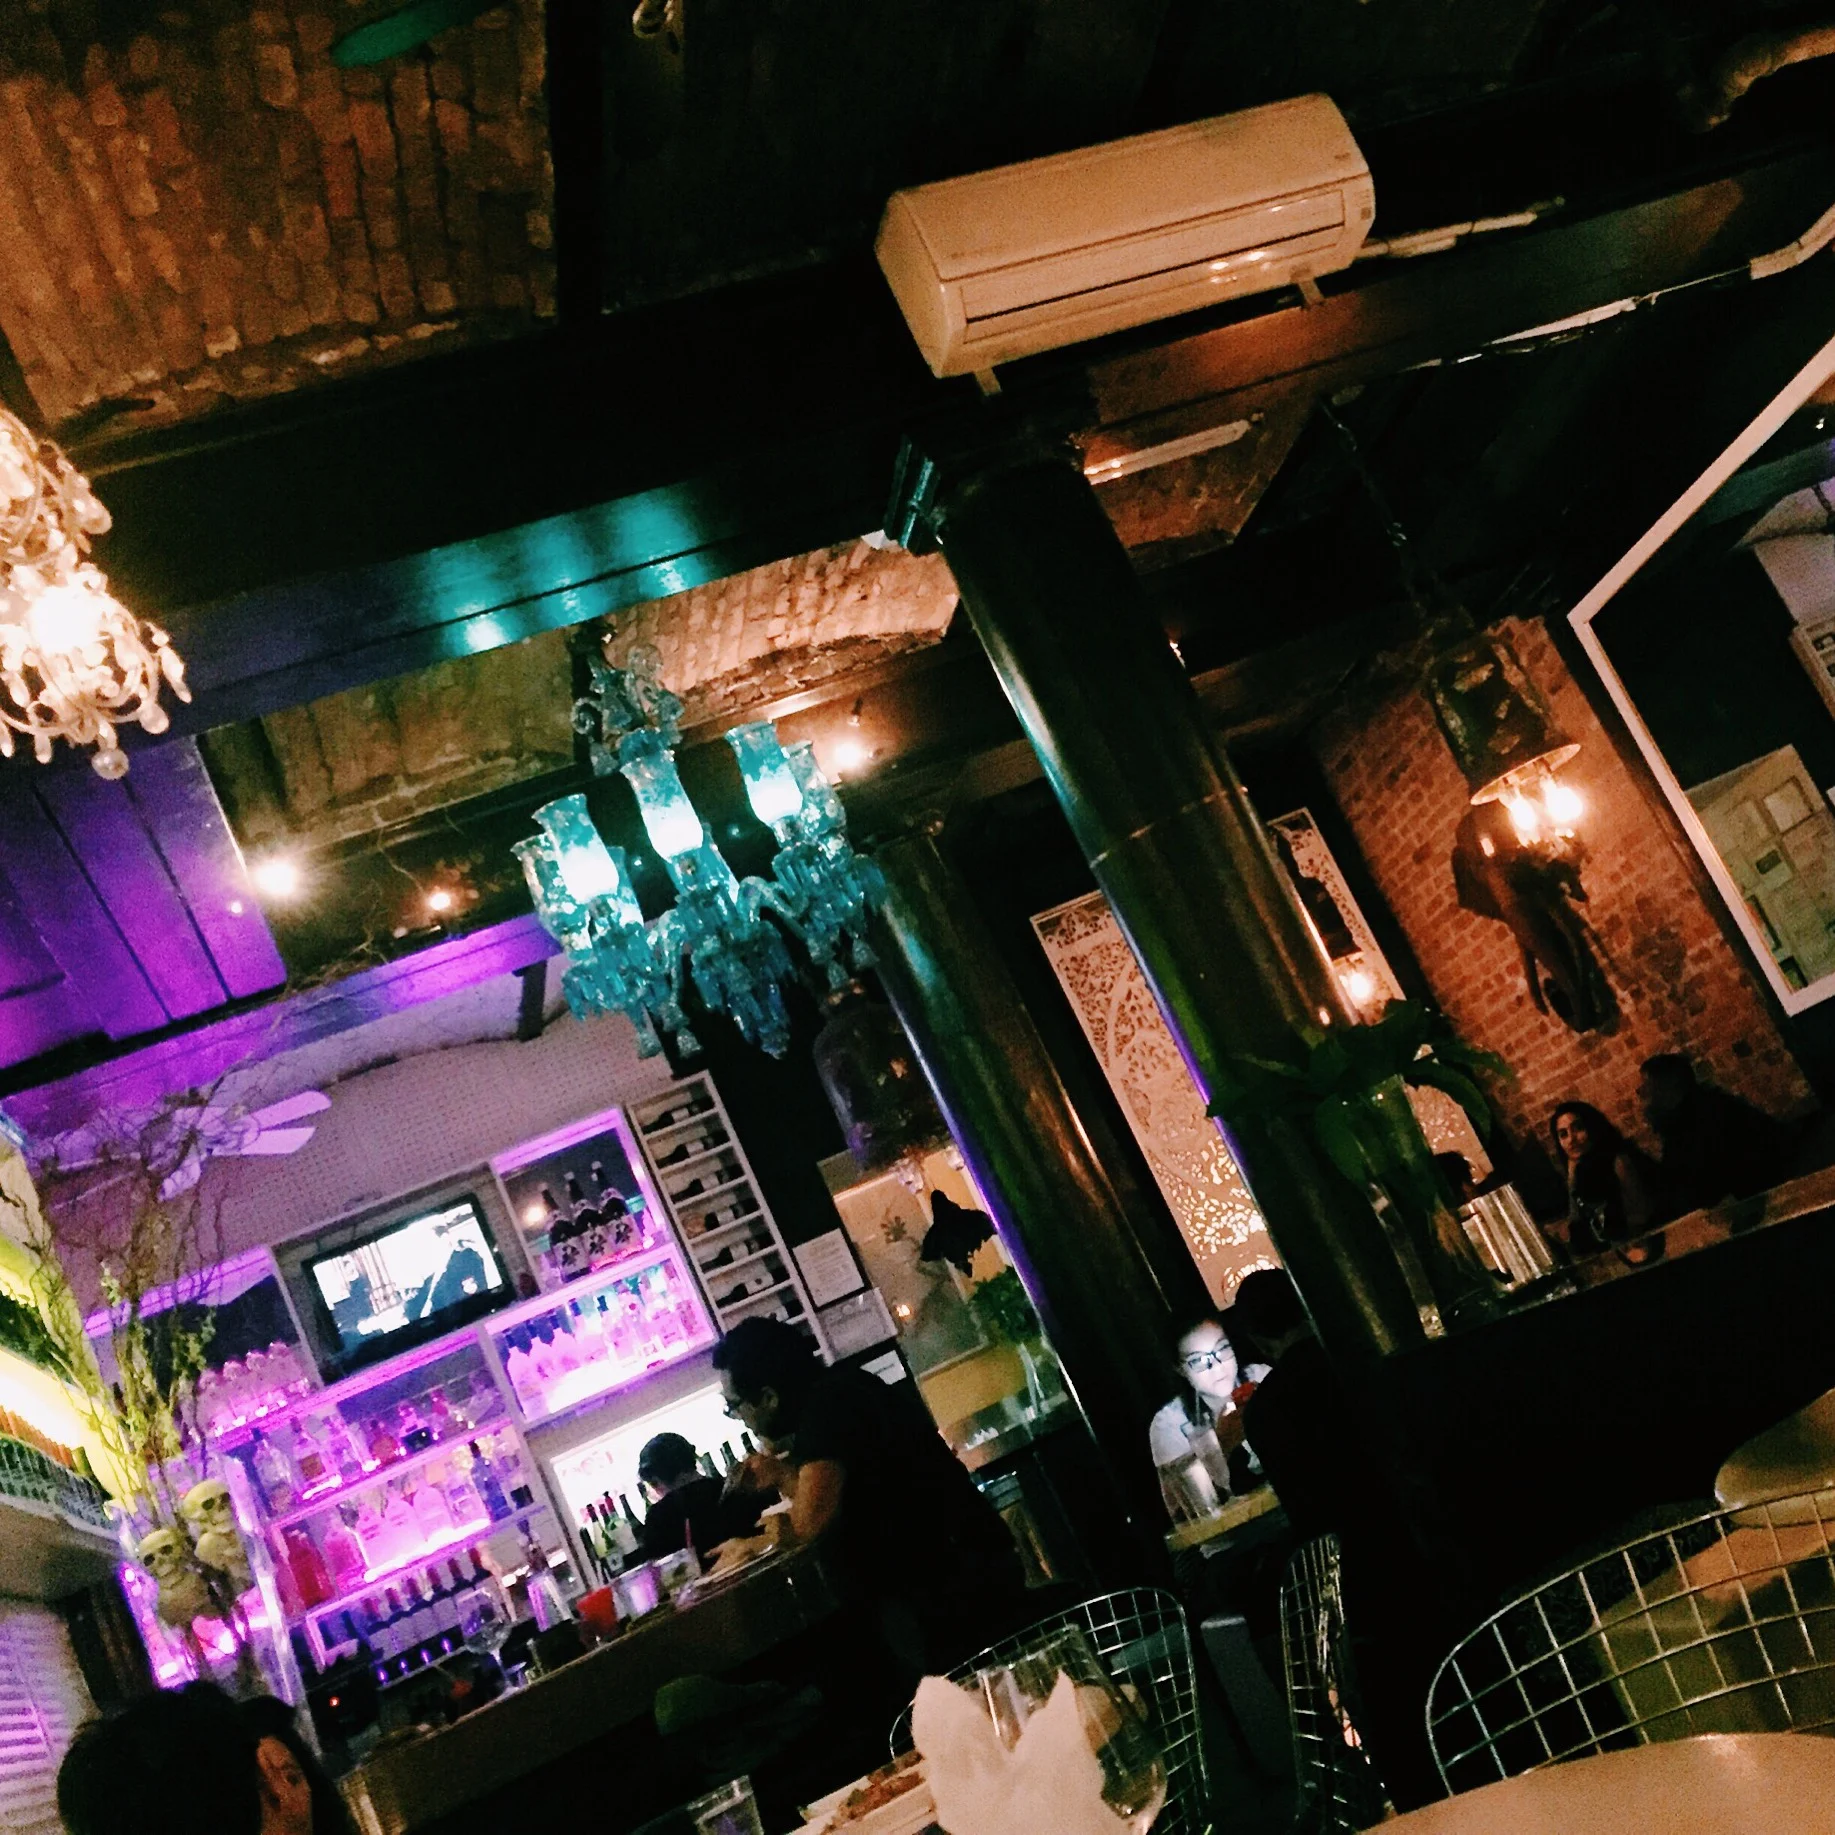
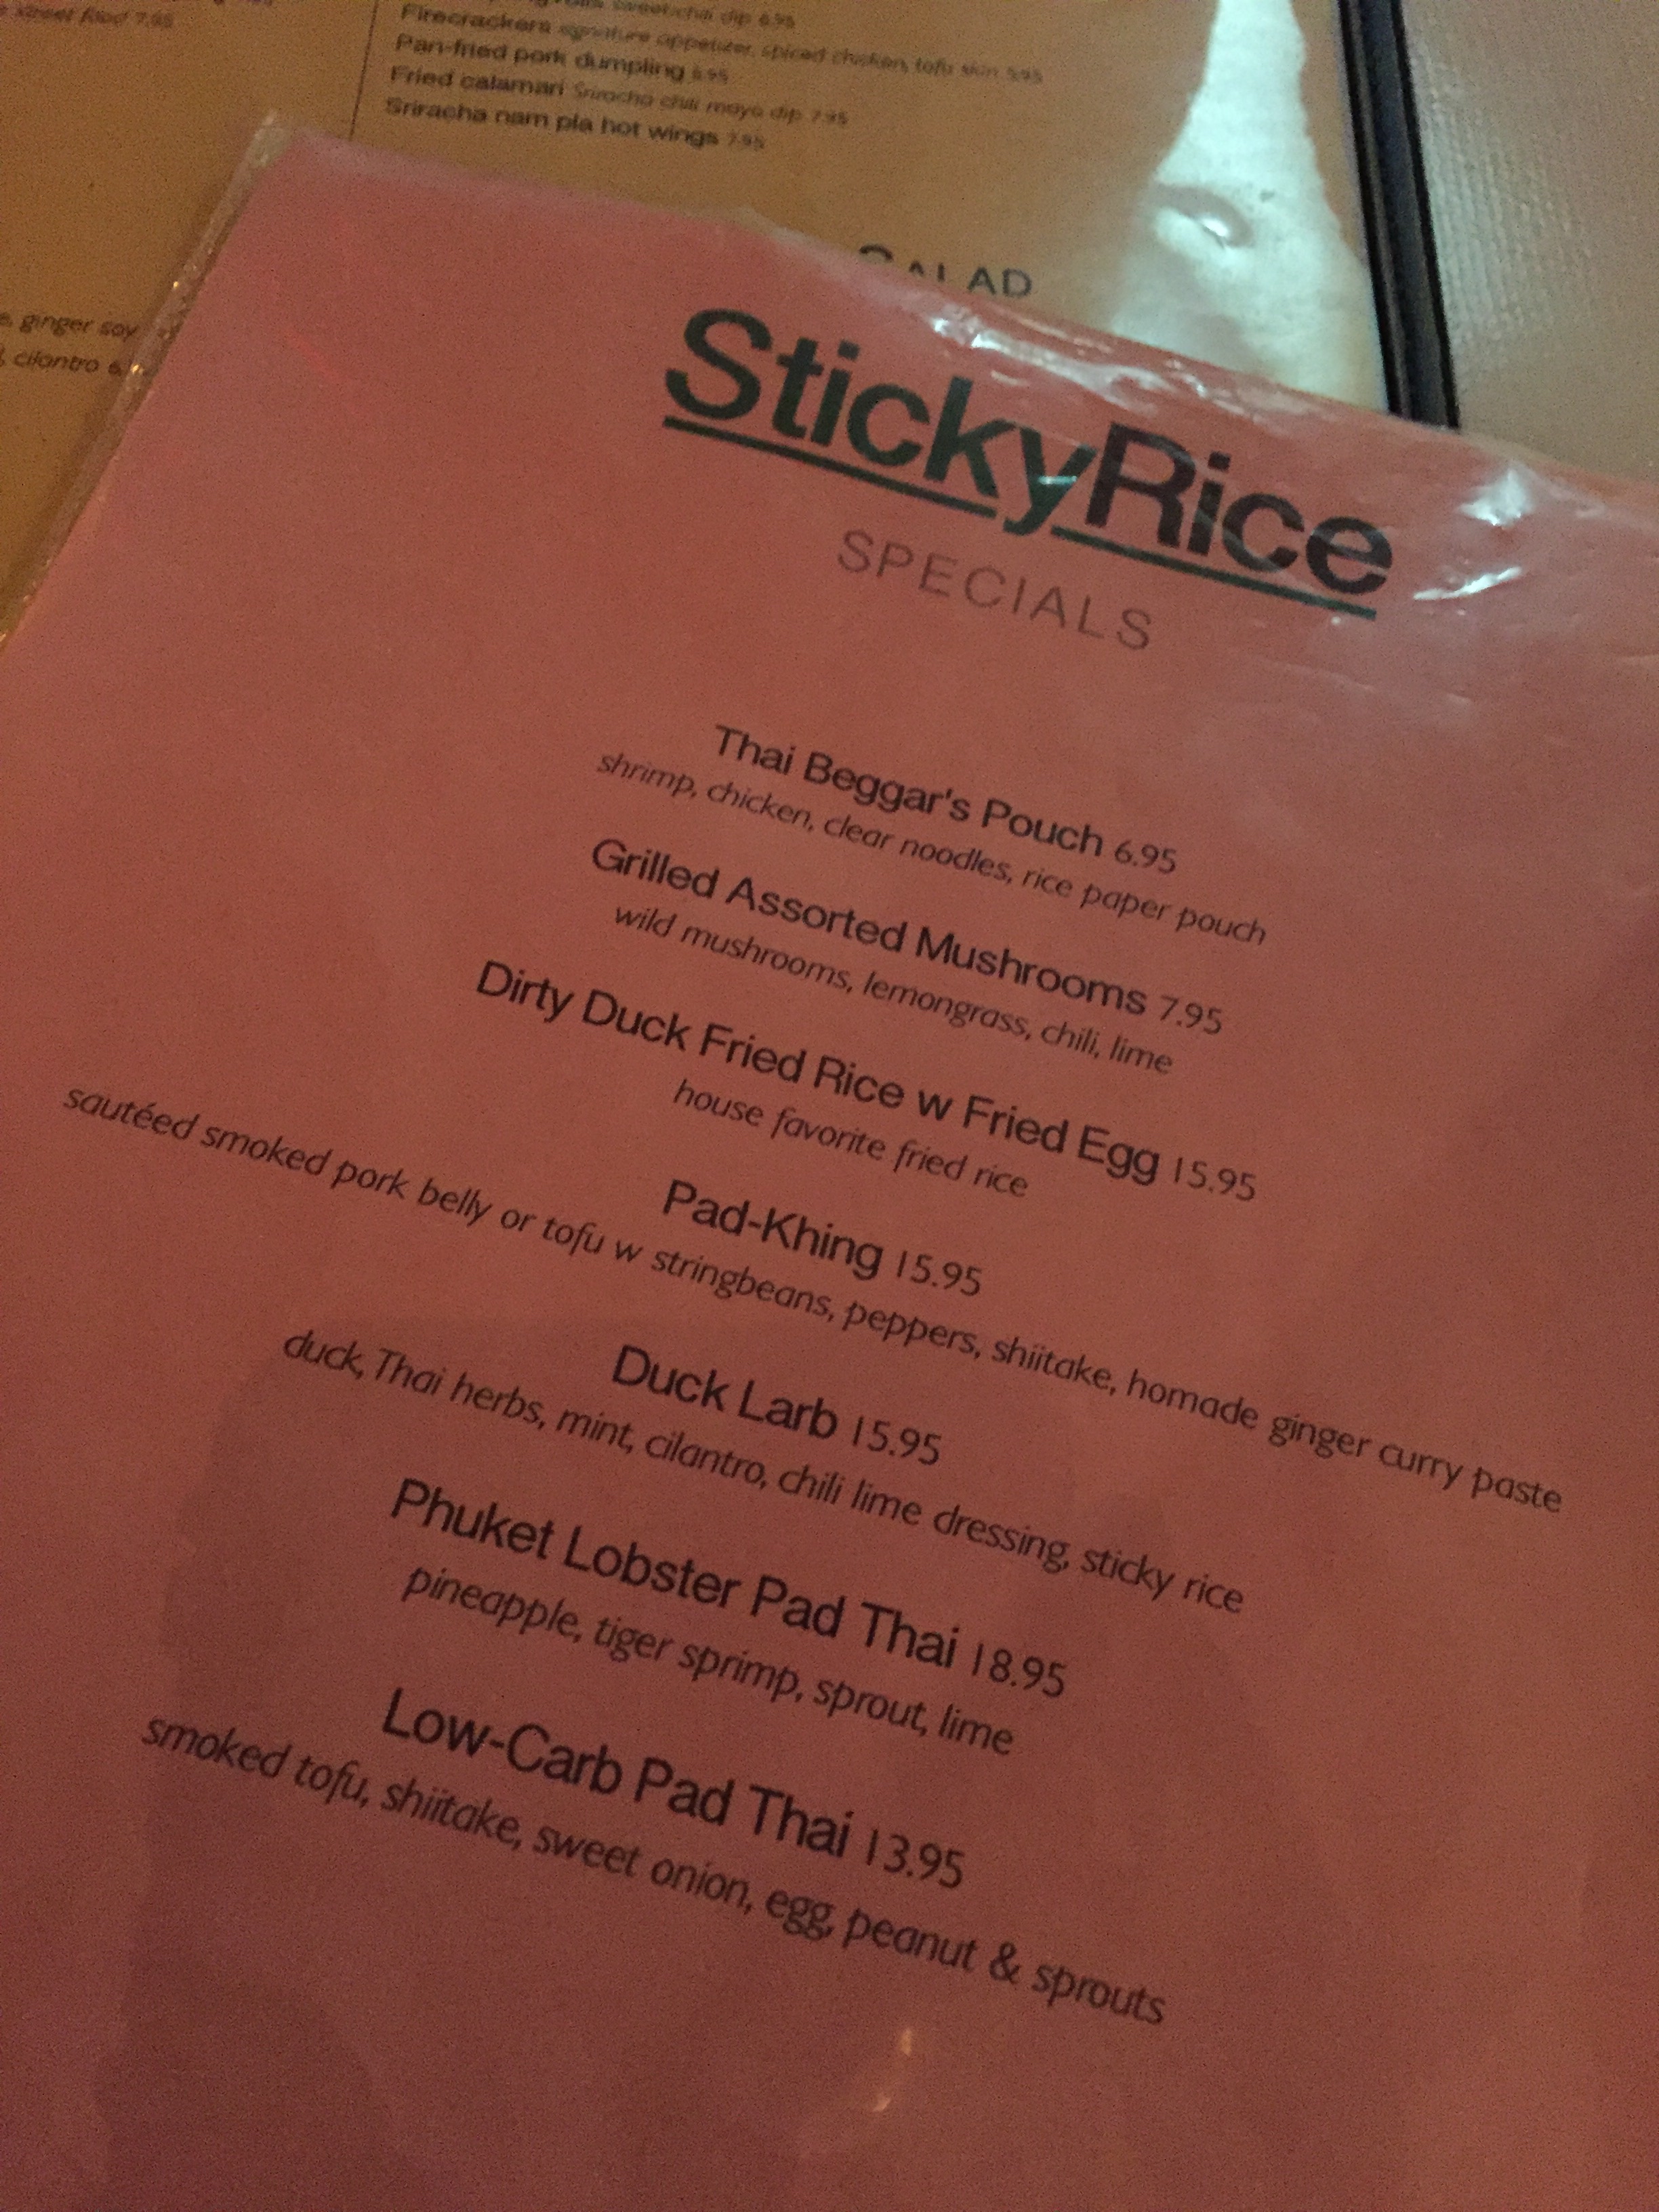
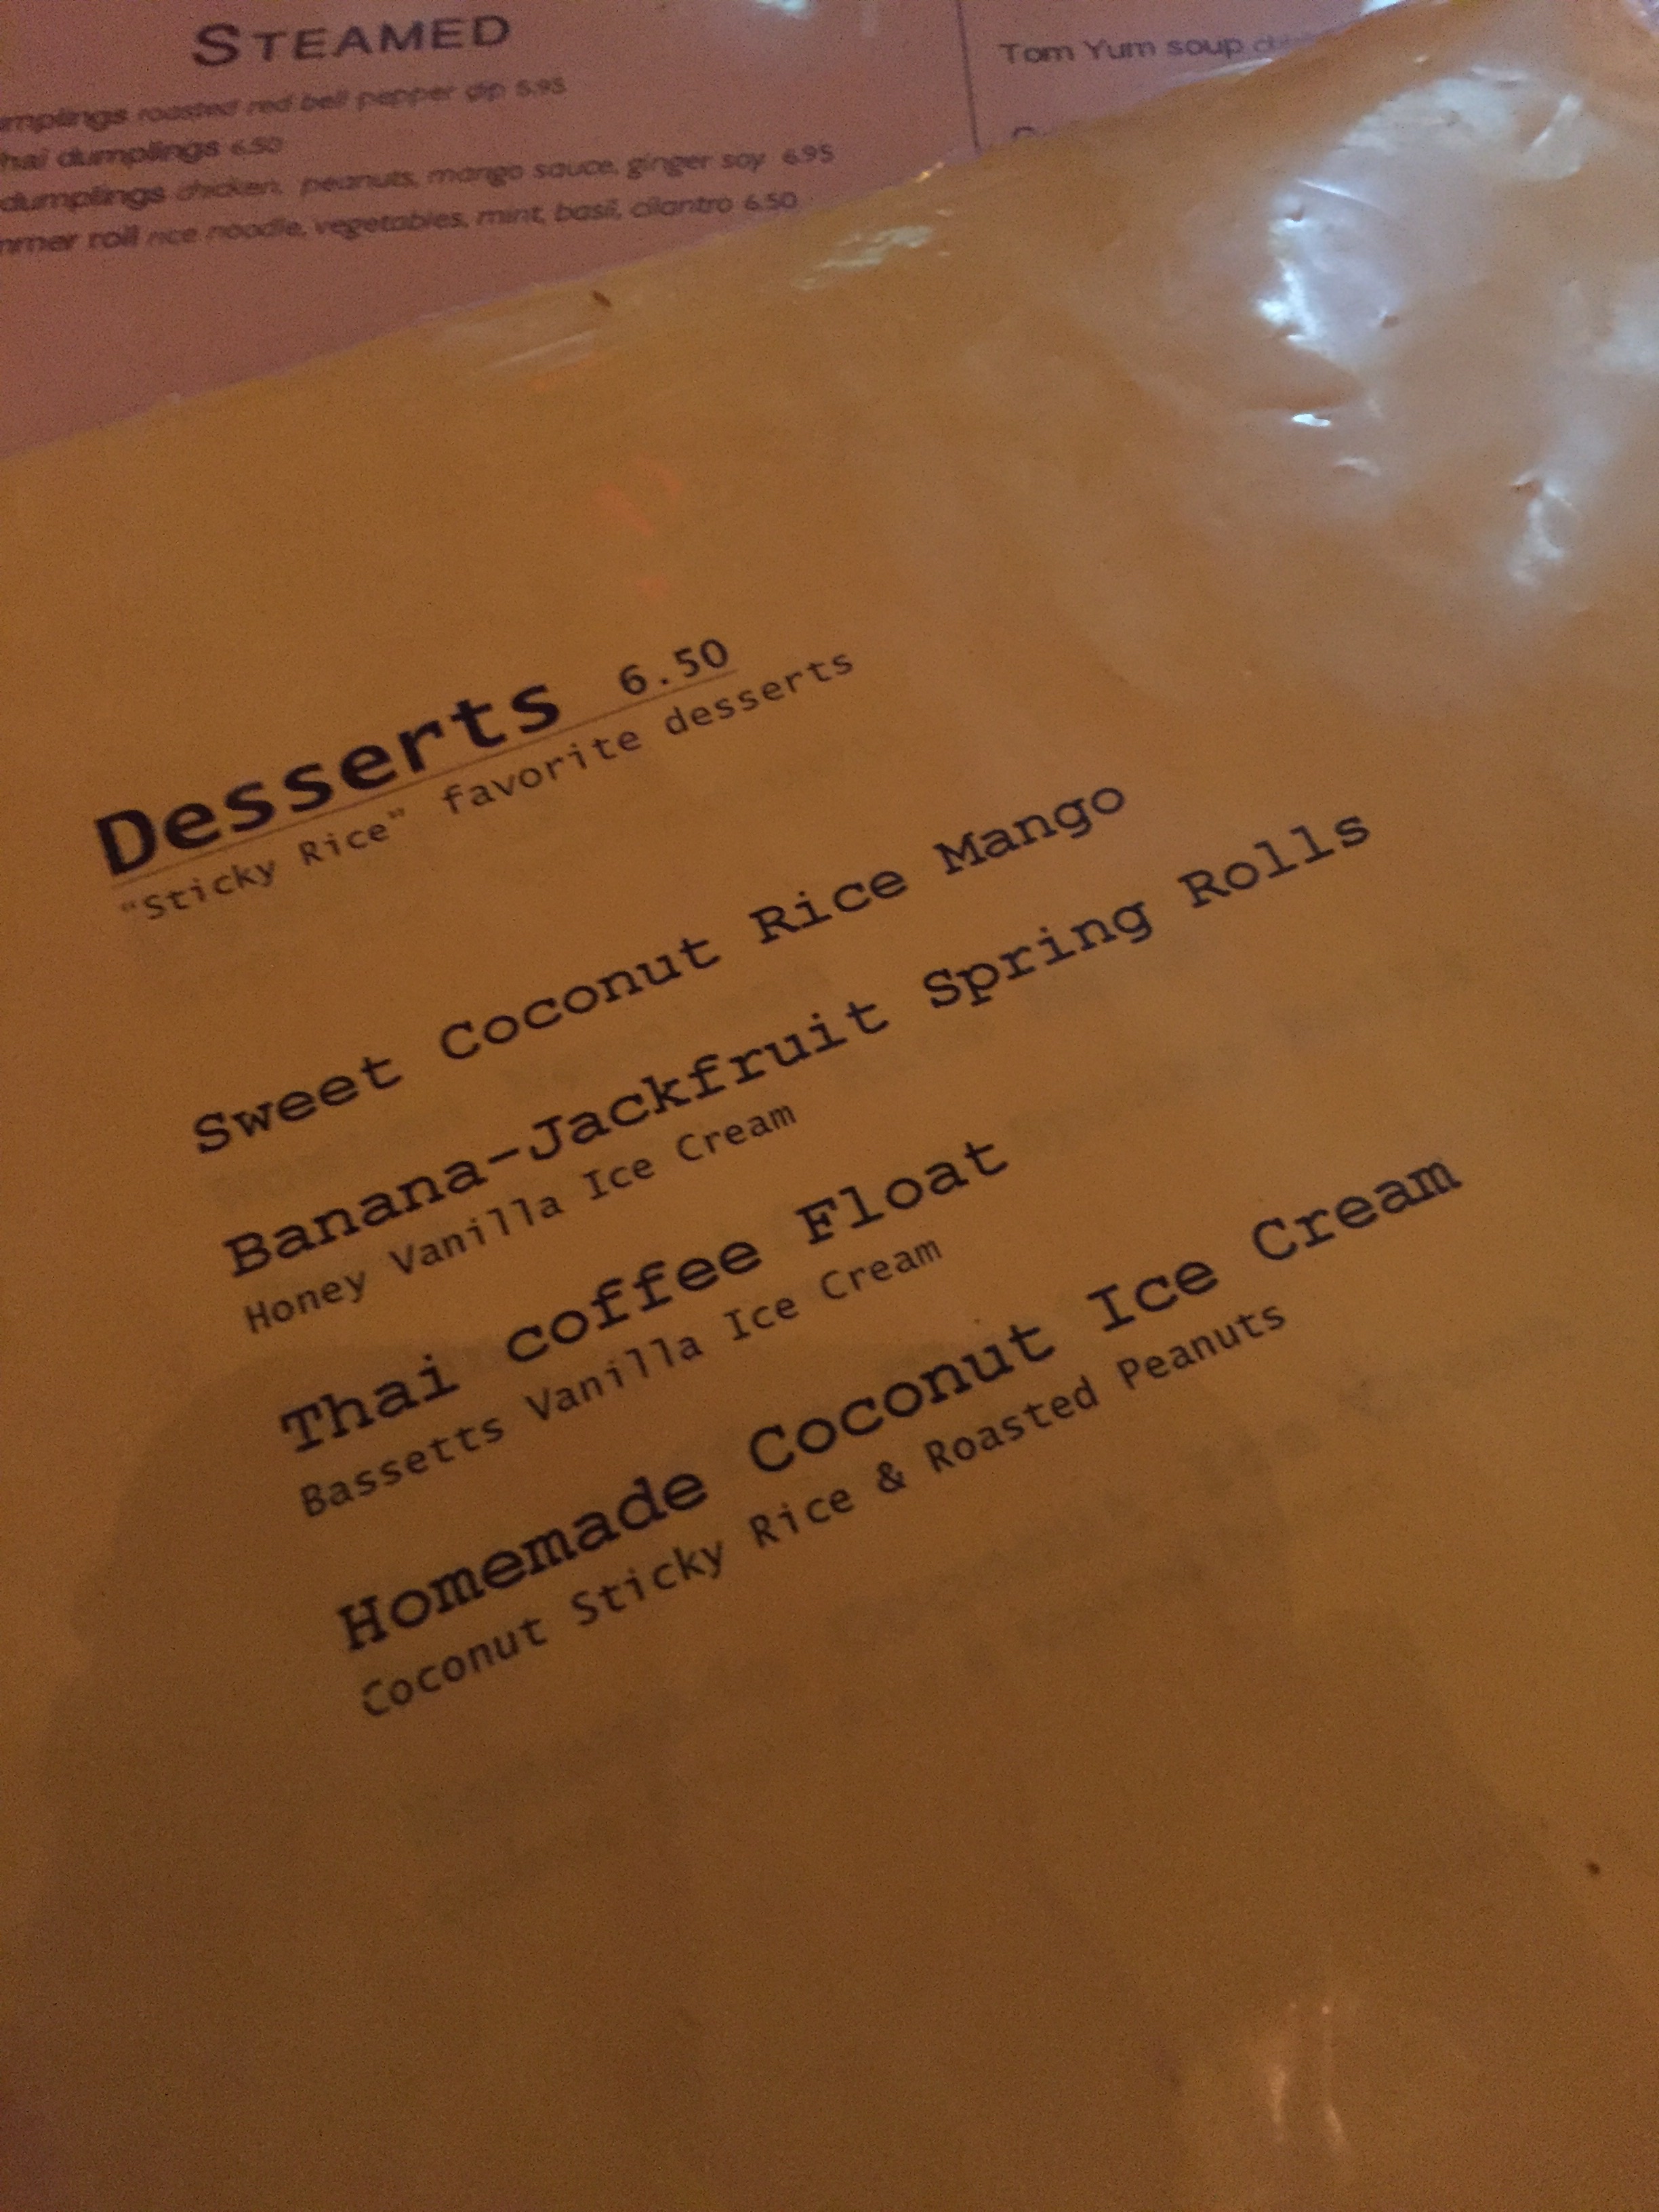
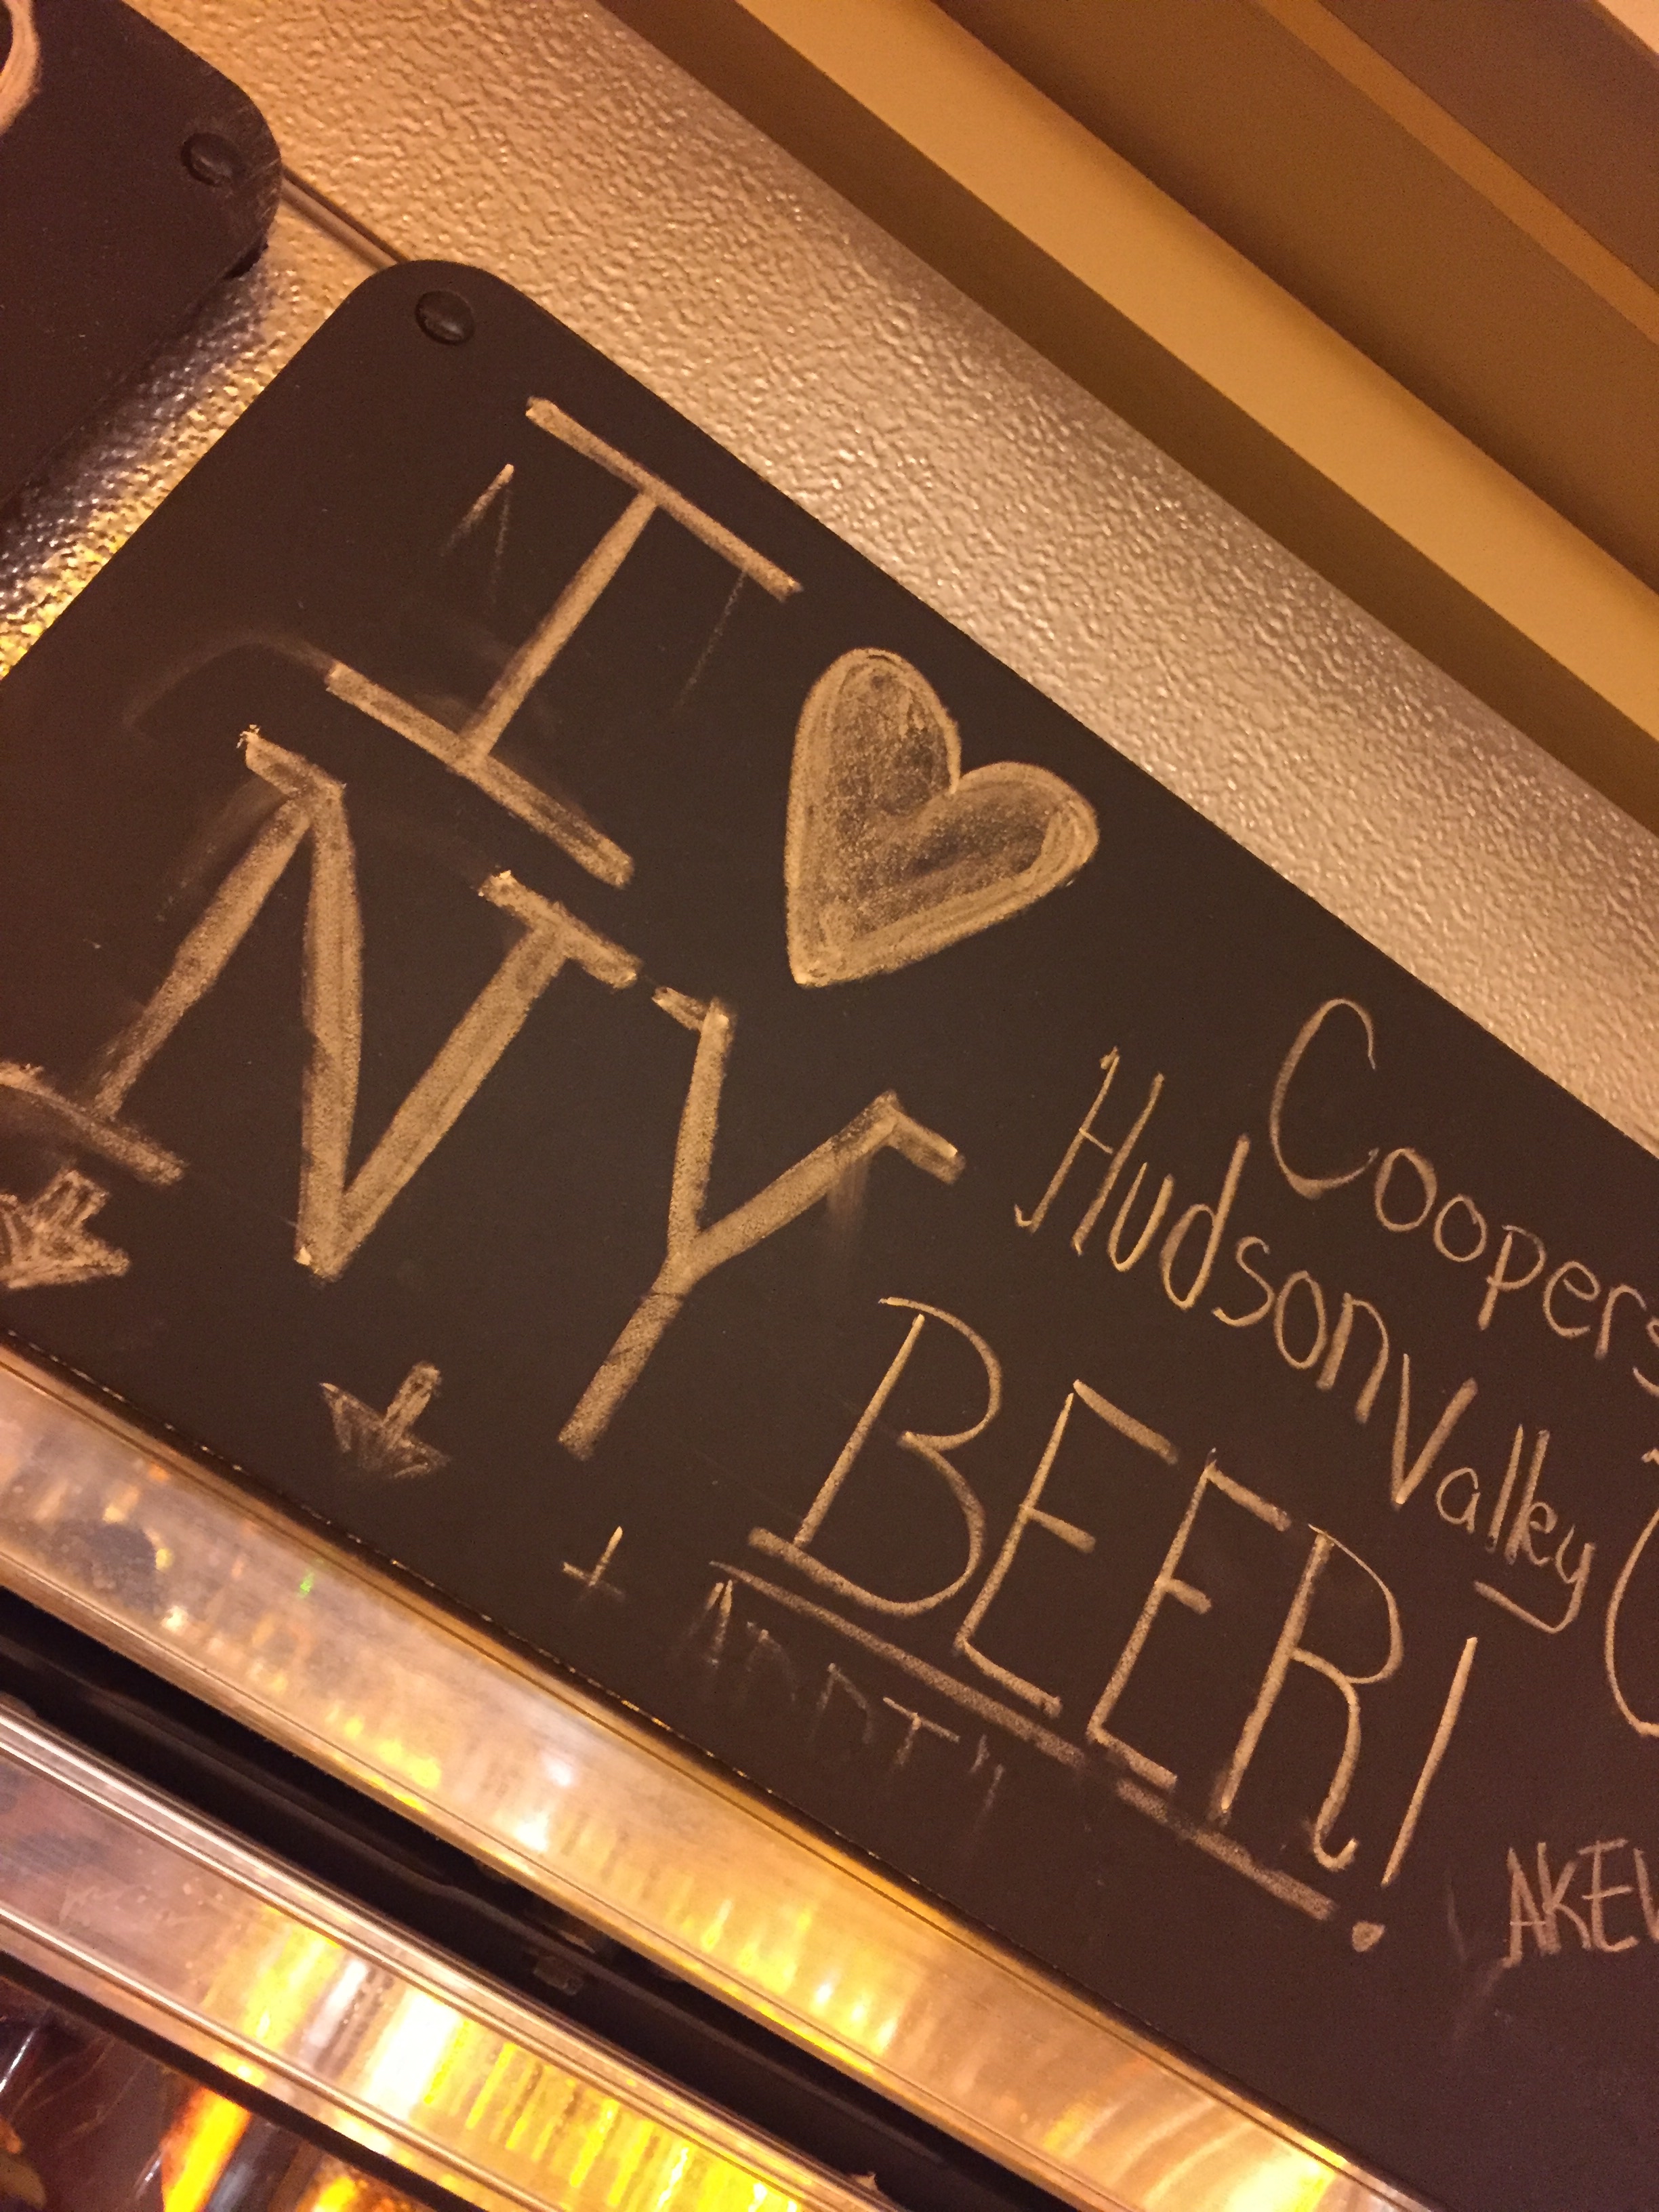
DAY ONE - Sticky Rice Thai Food + Top Hops
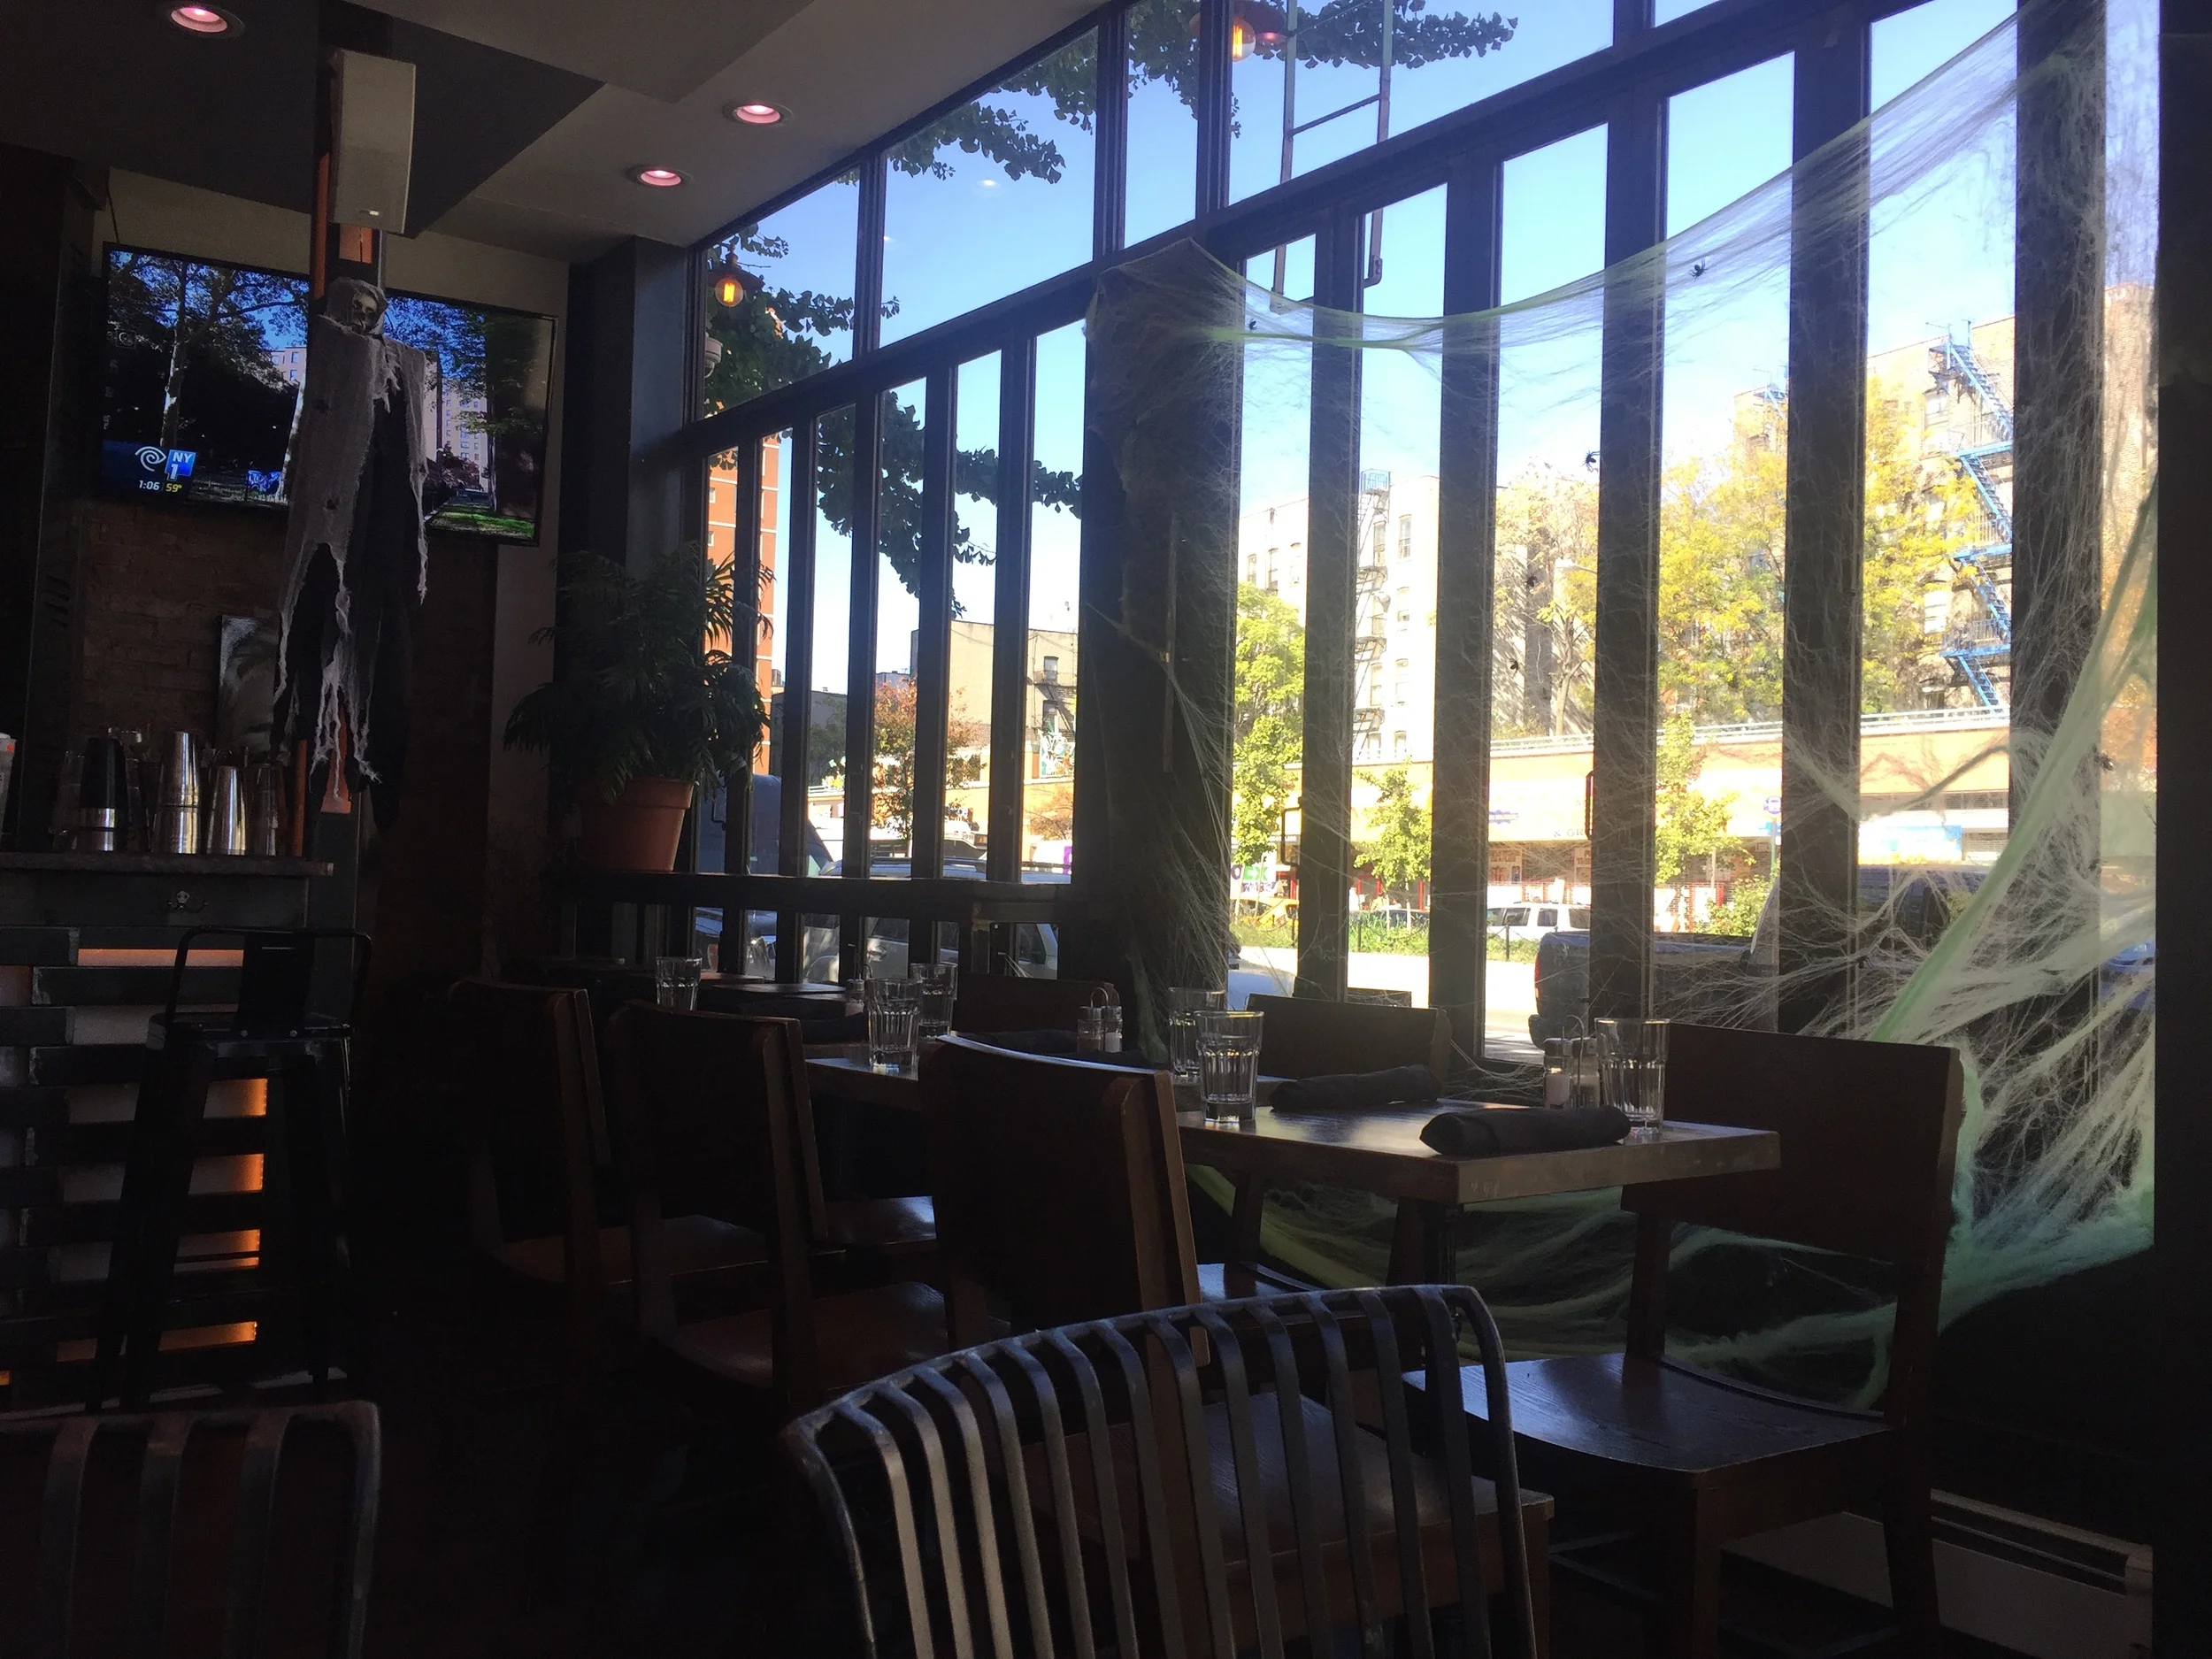
View more photos from Day One, below! I ate at StickyRice, drank craft beer at Top Hops, and stayed at The Holiday Inn - Lower East Side (it was super nice and newly renovated).
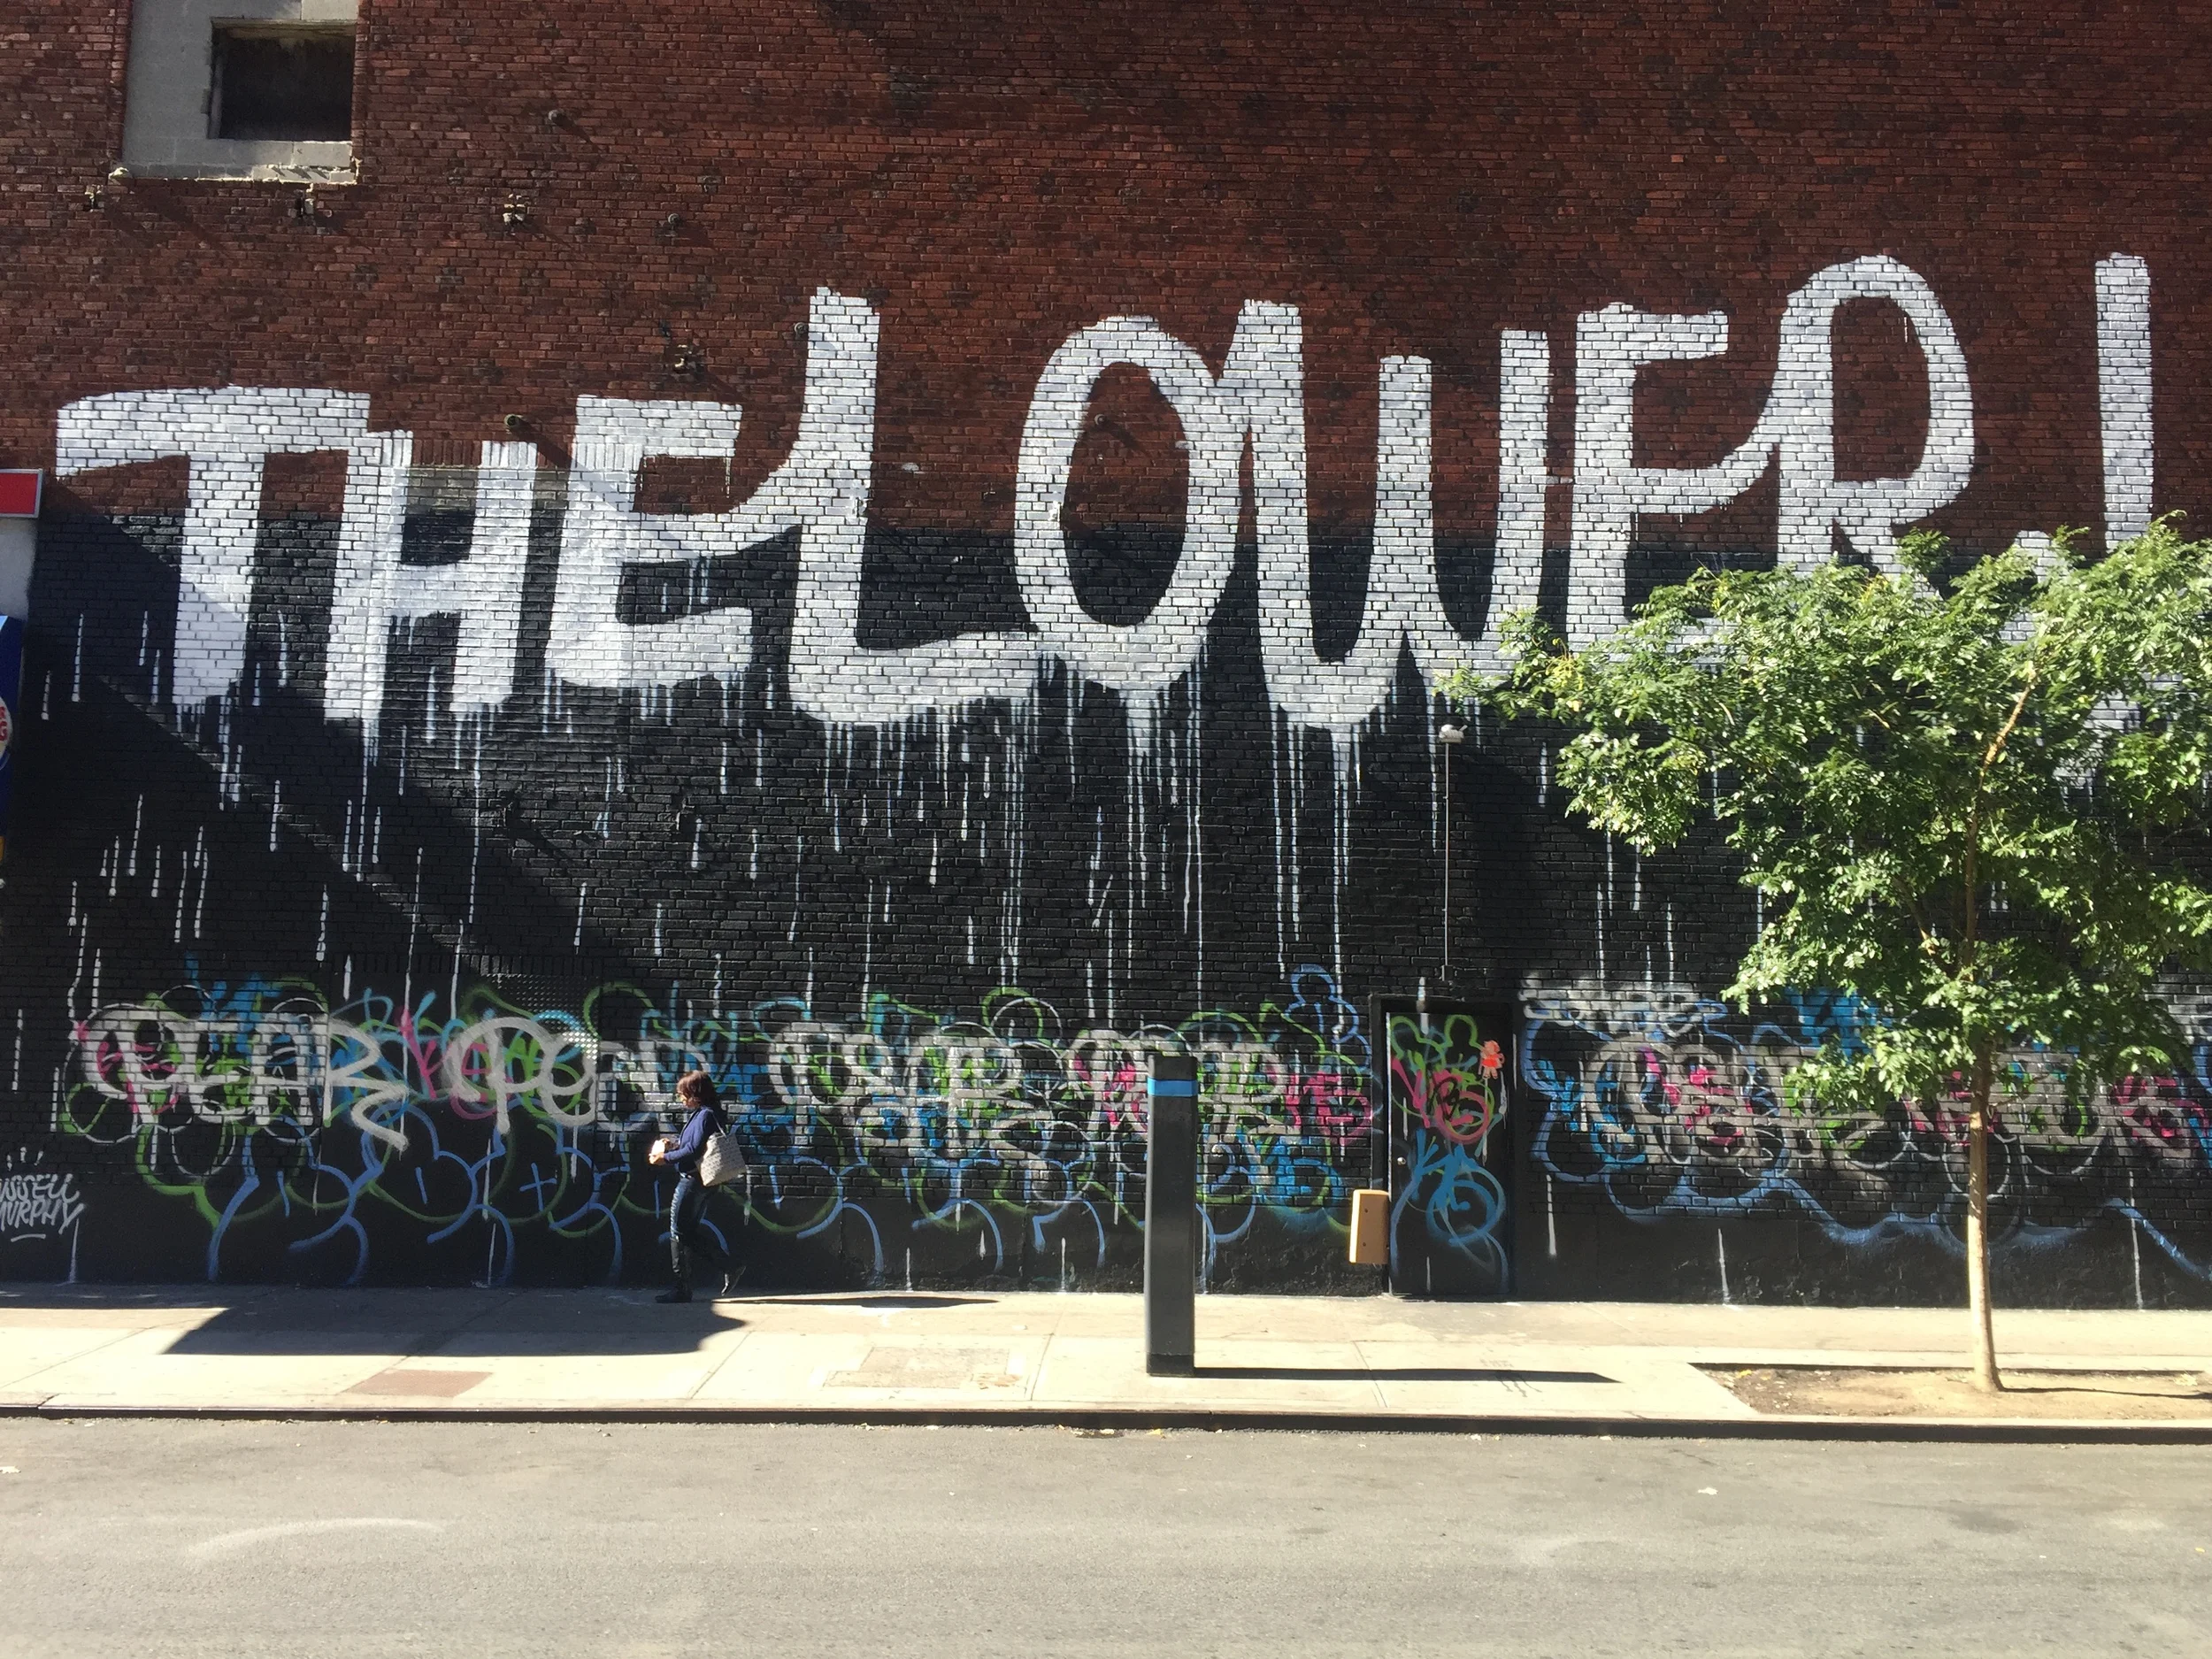
DAY TWO - LOWER EAST SIDE MURALS + ARIEL'S LATIN BISTRO + PARDON MY FRENCH
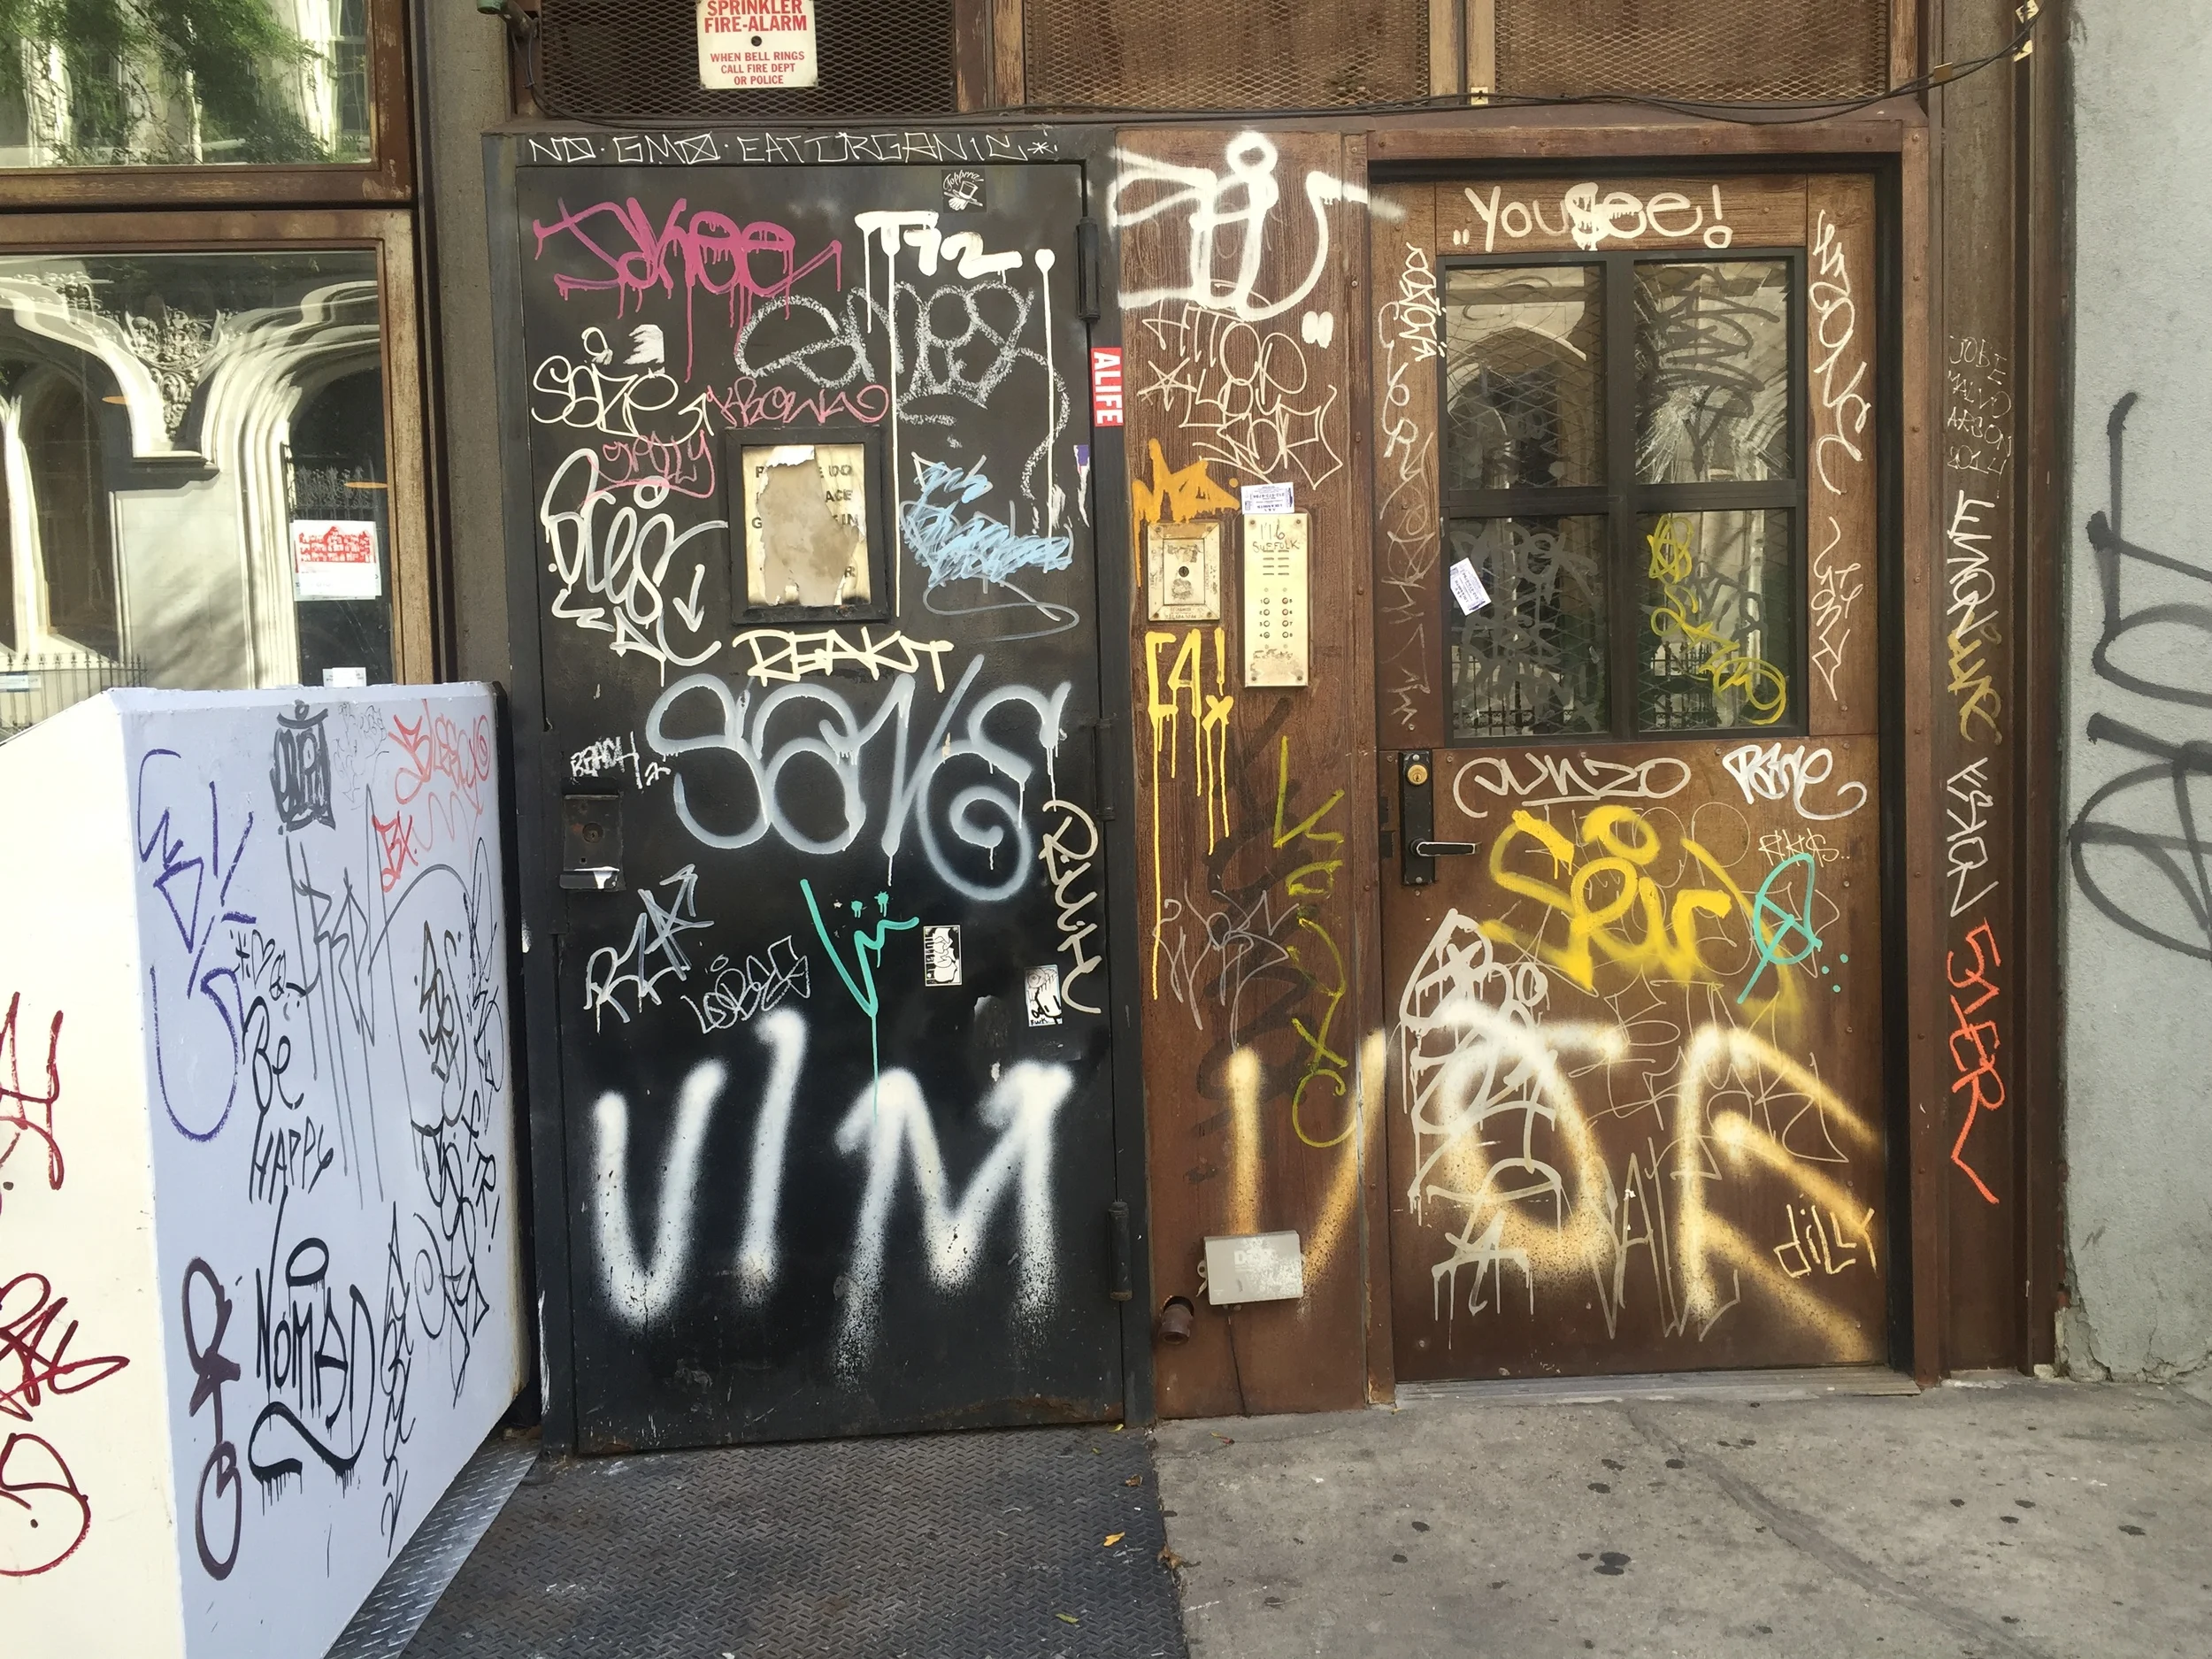
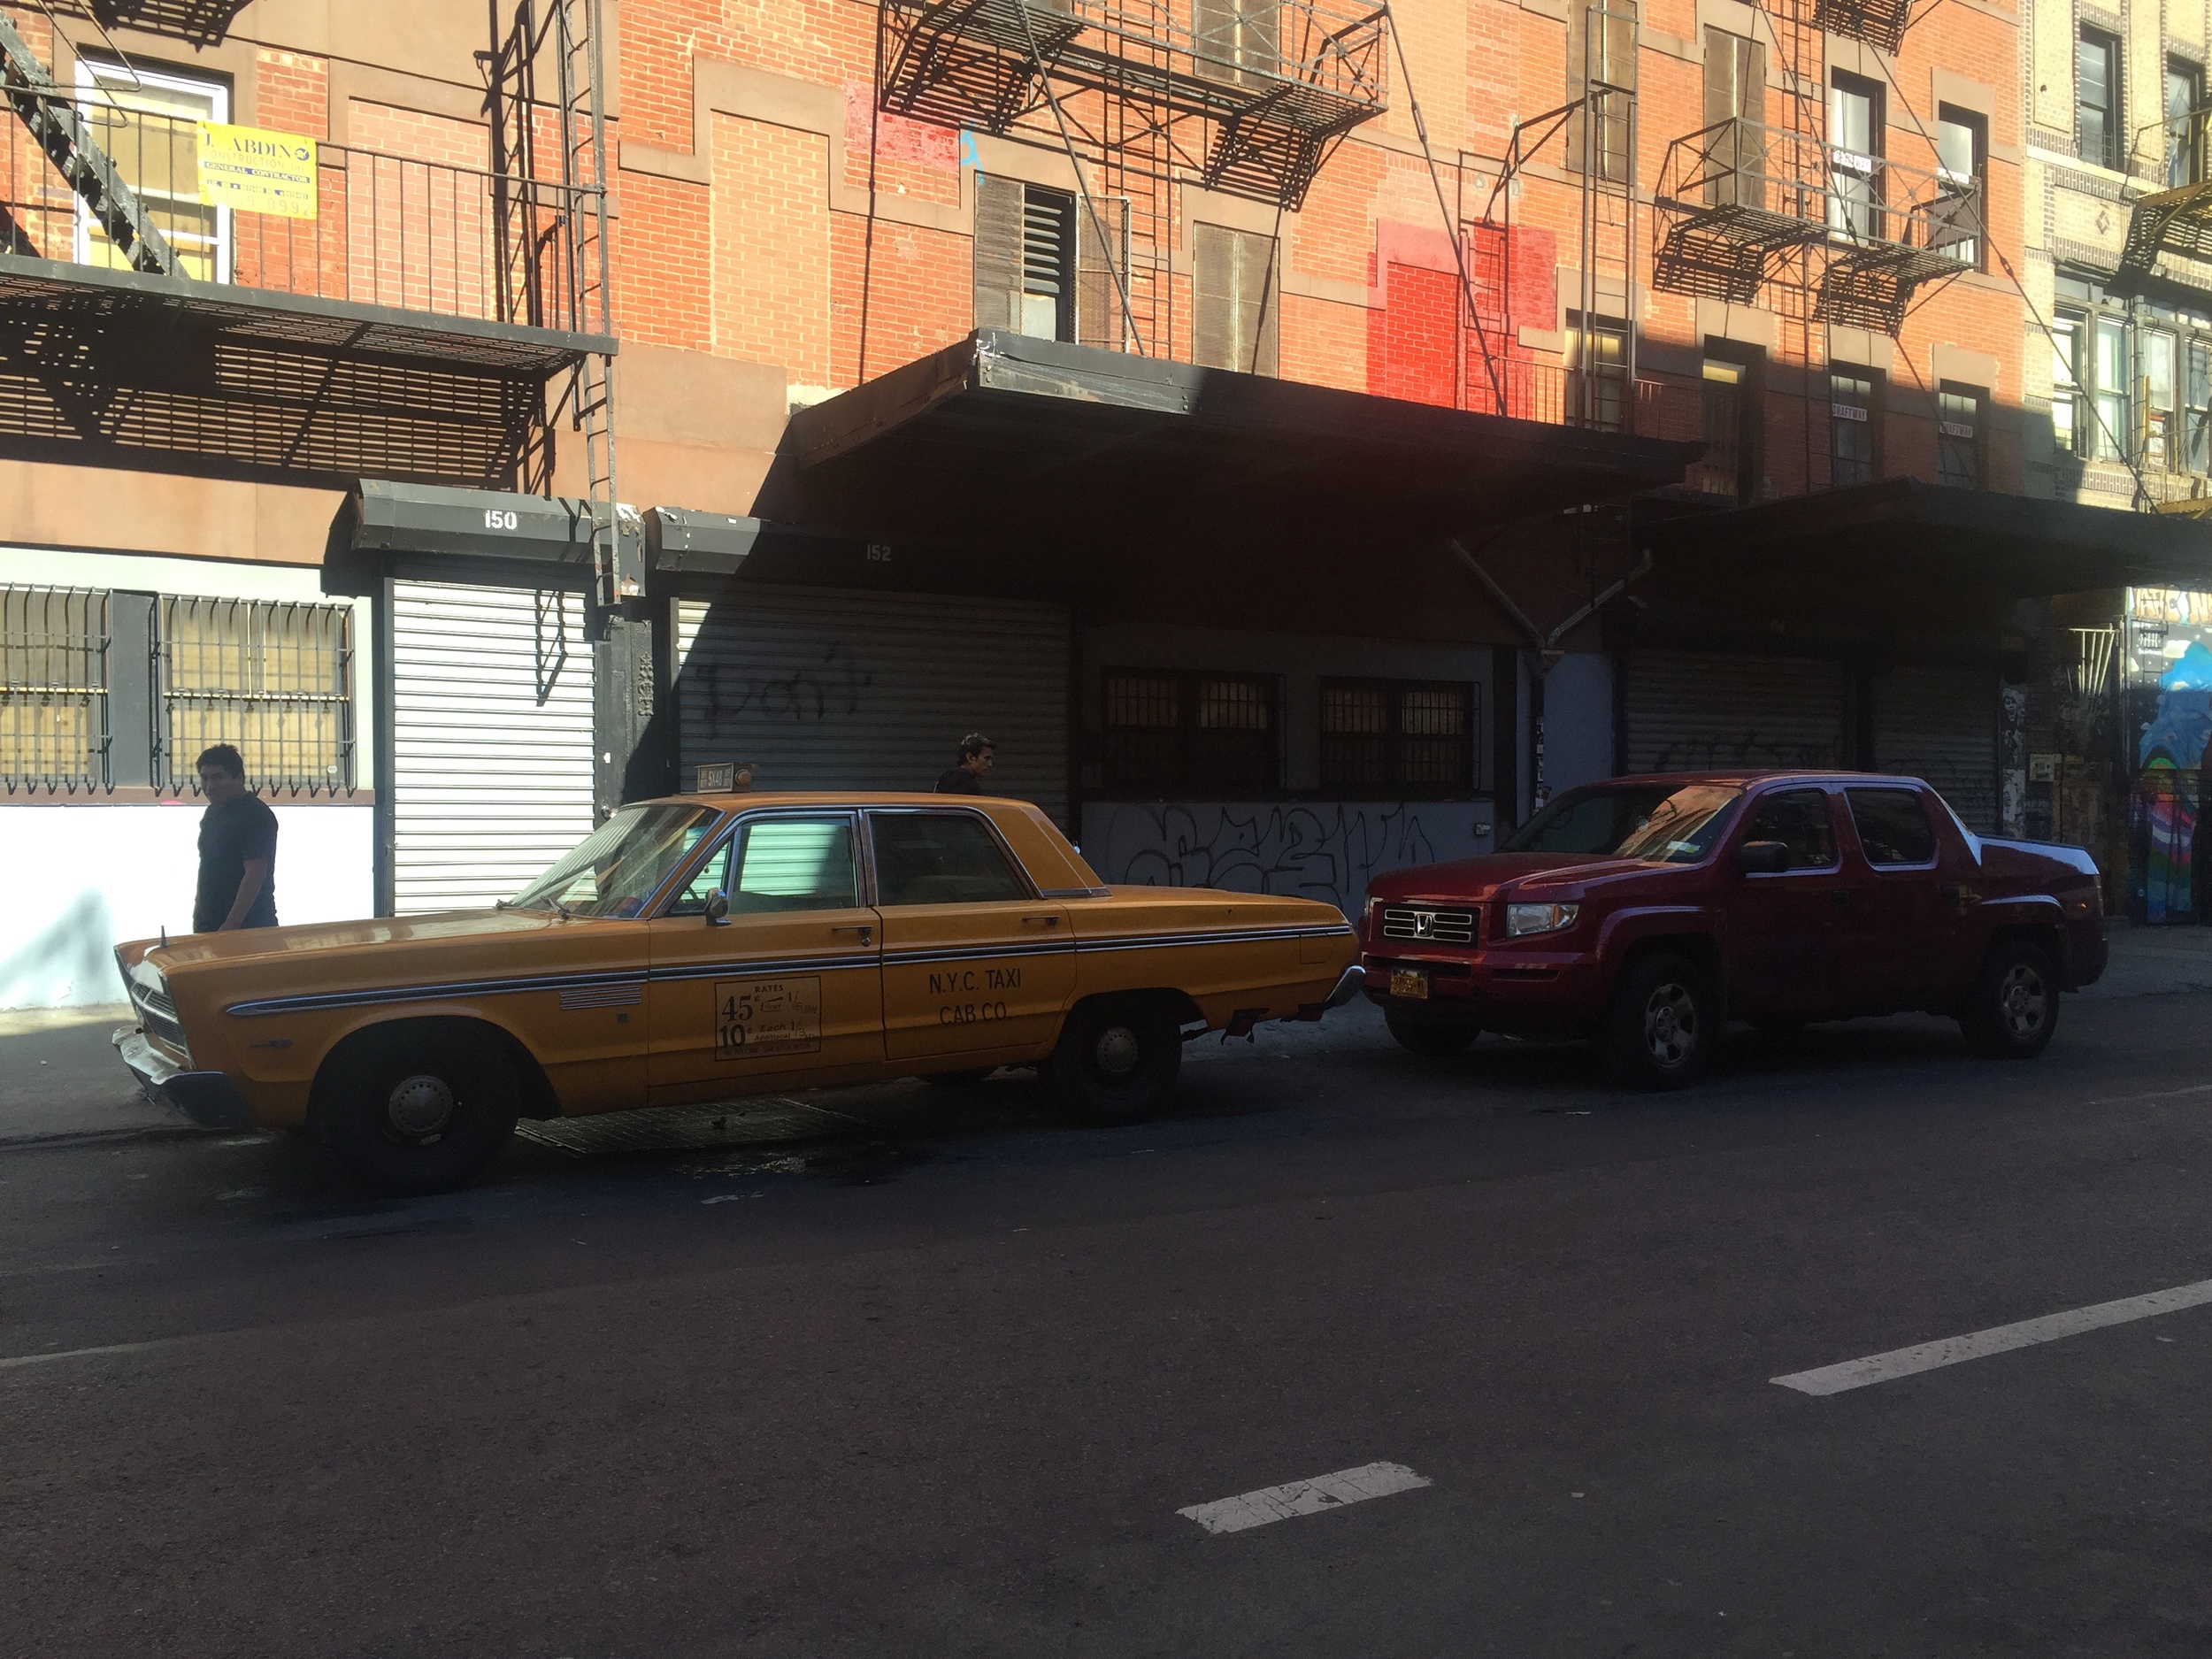
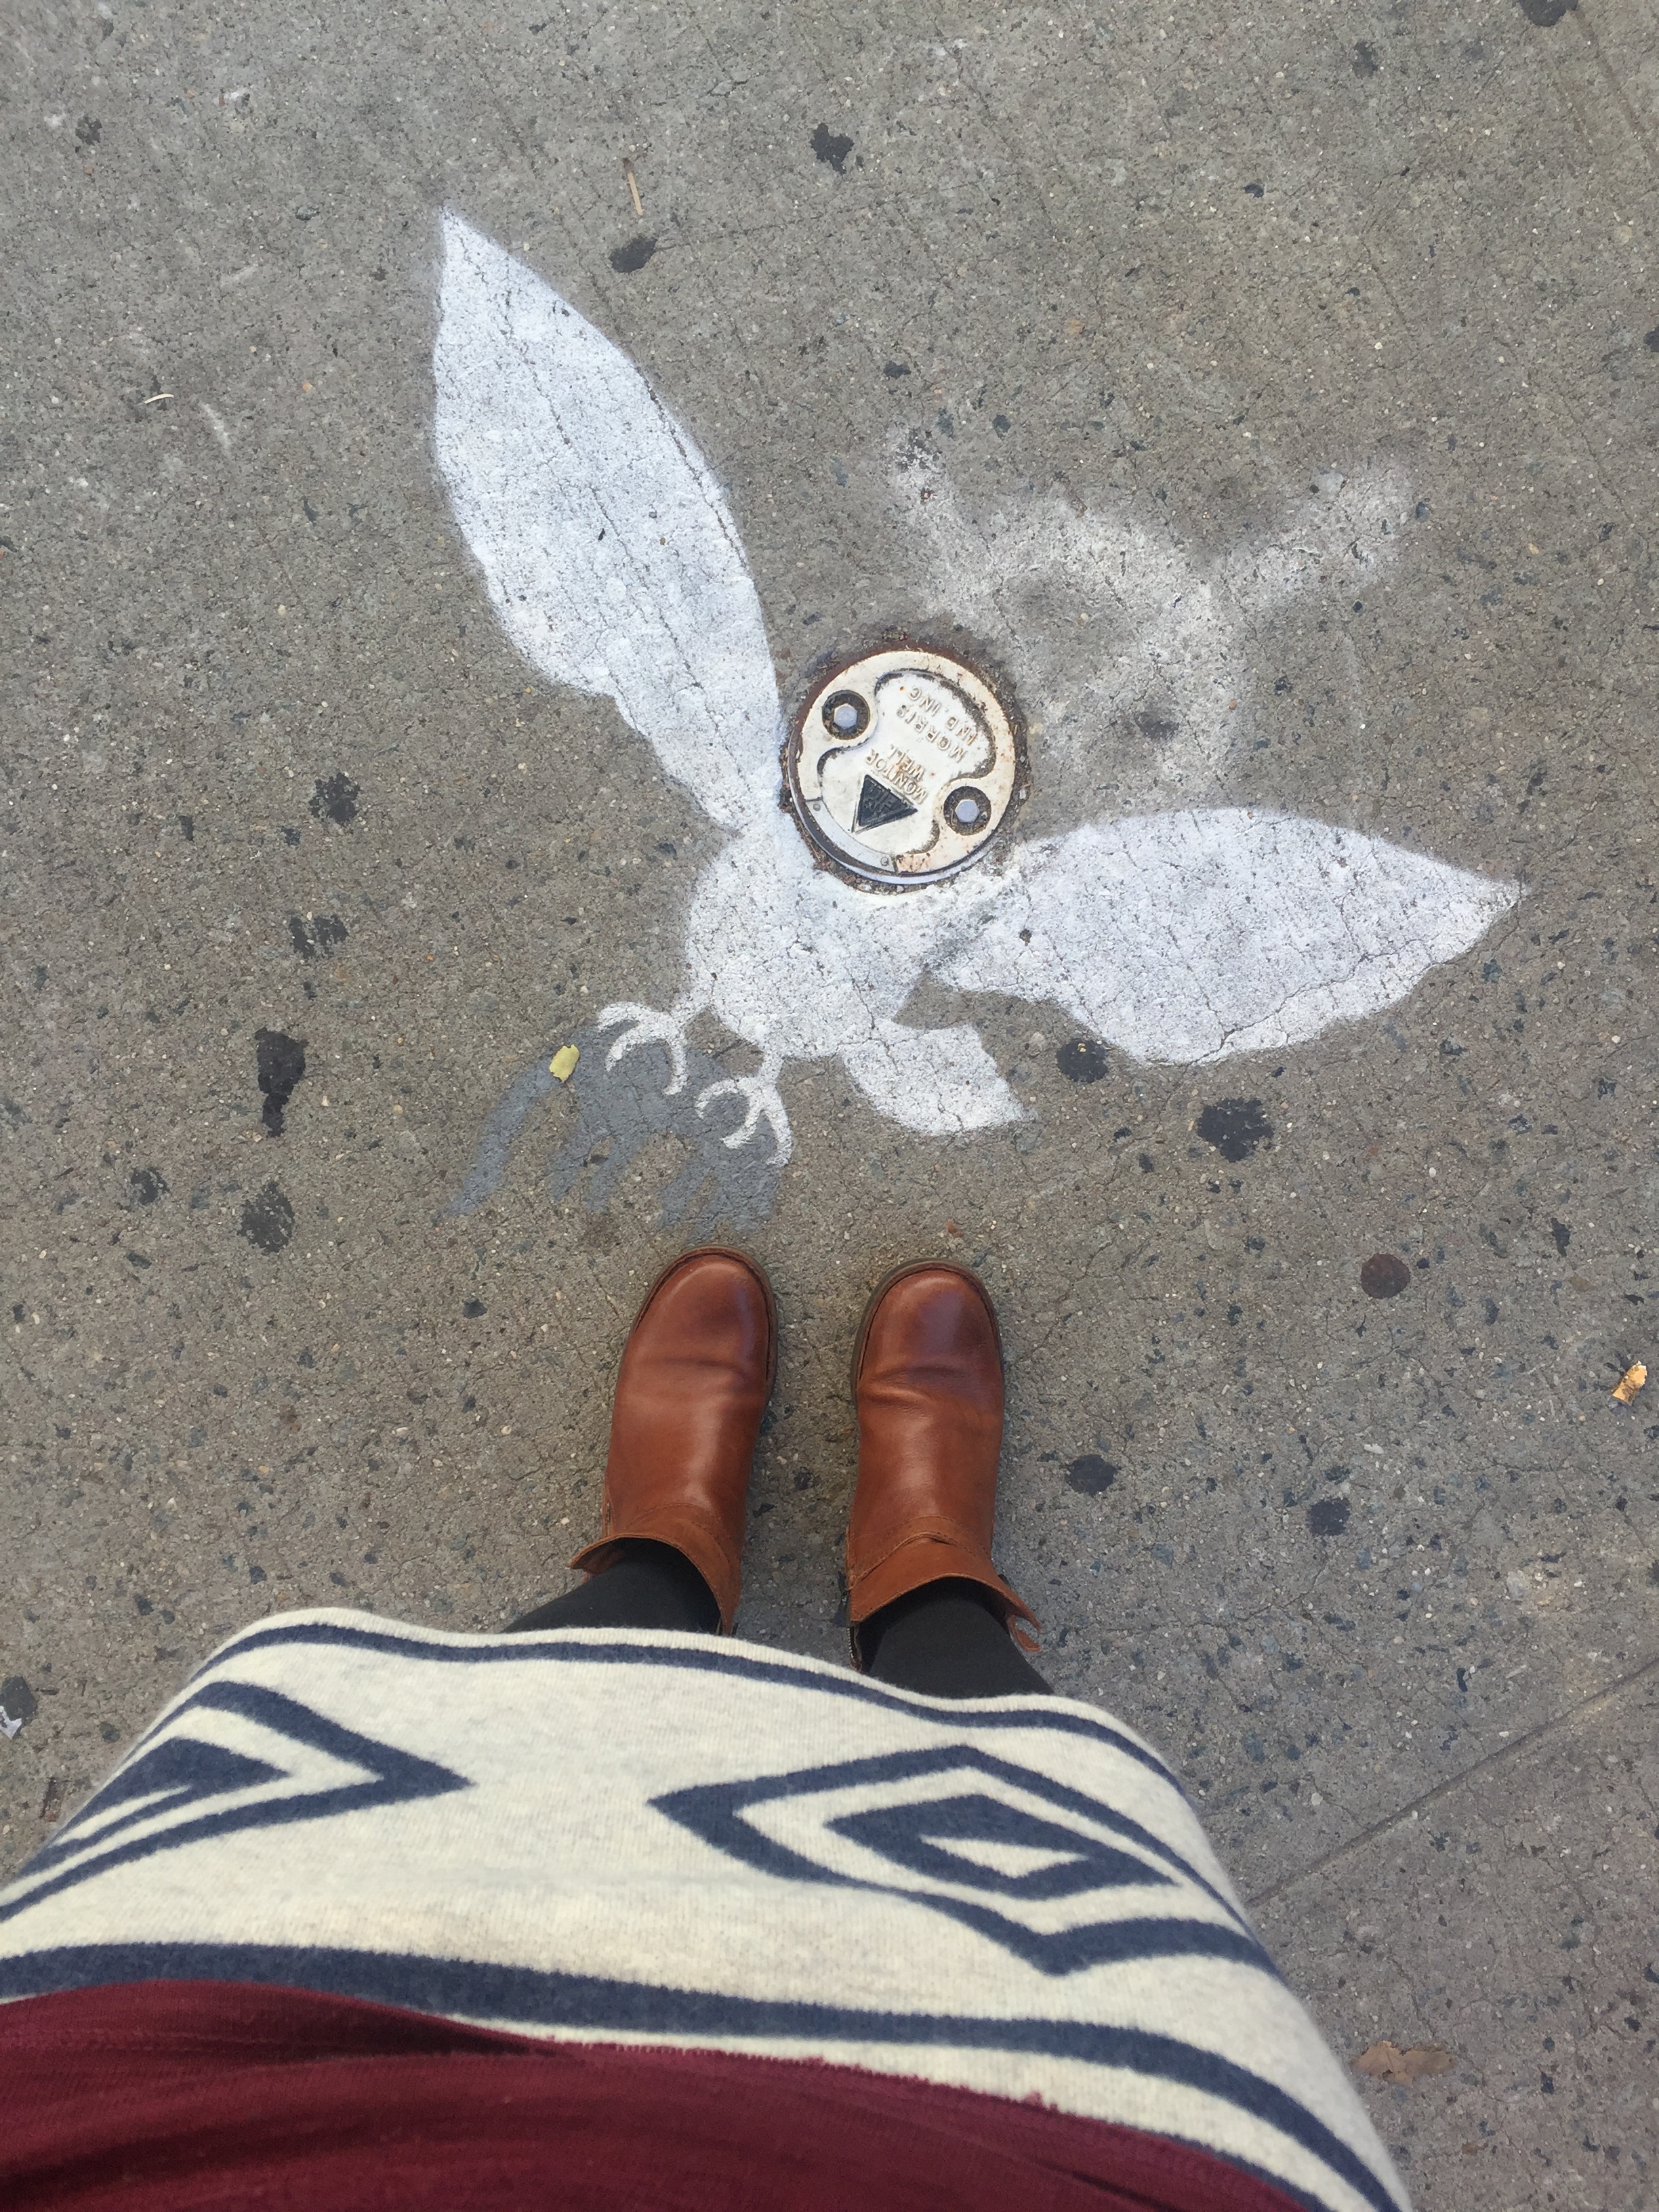
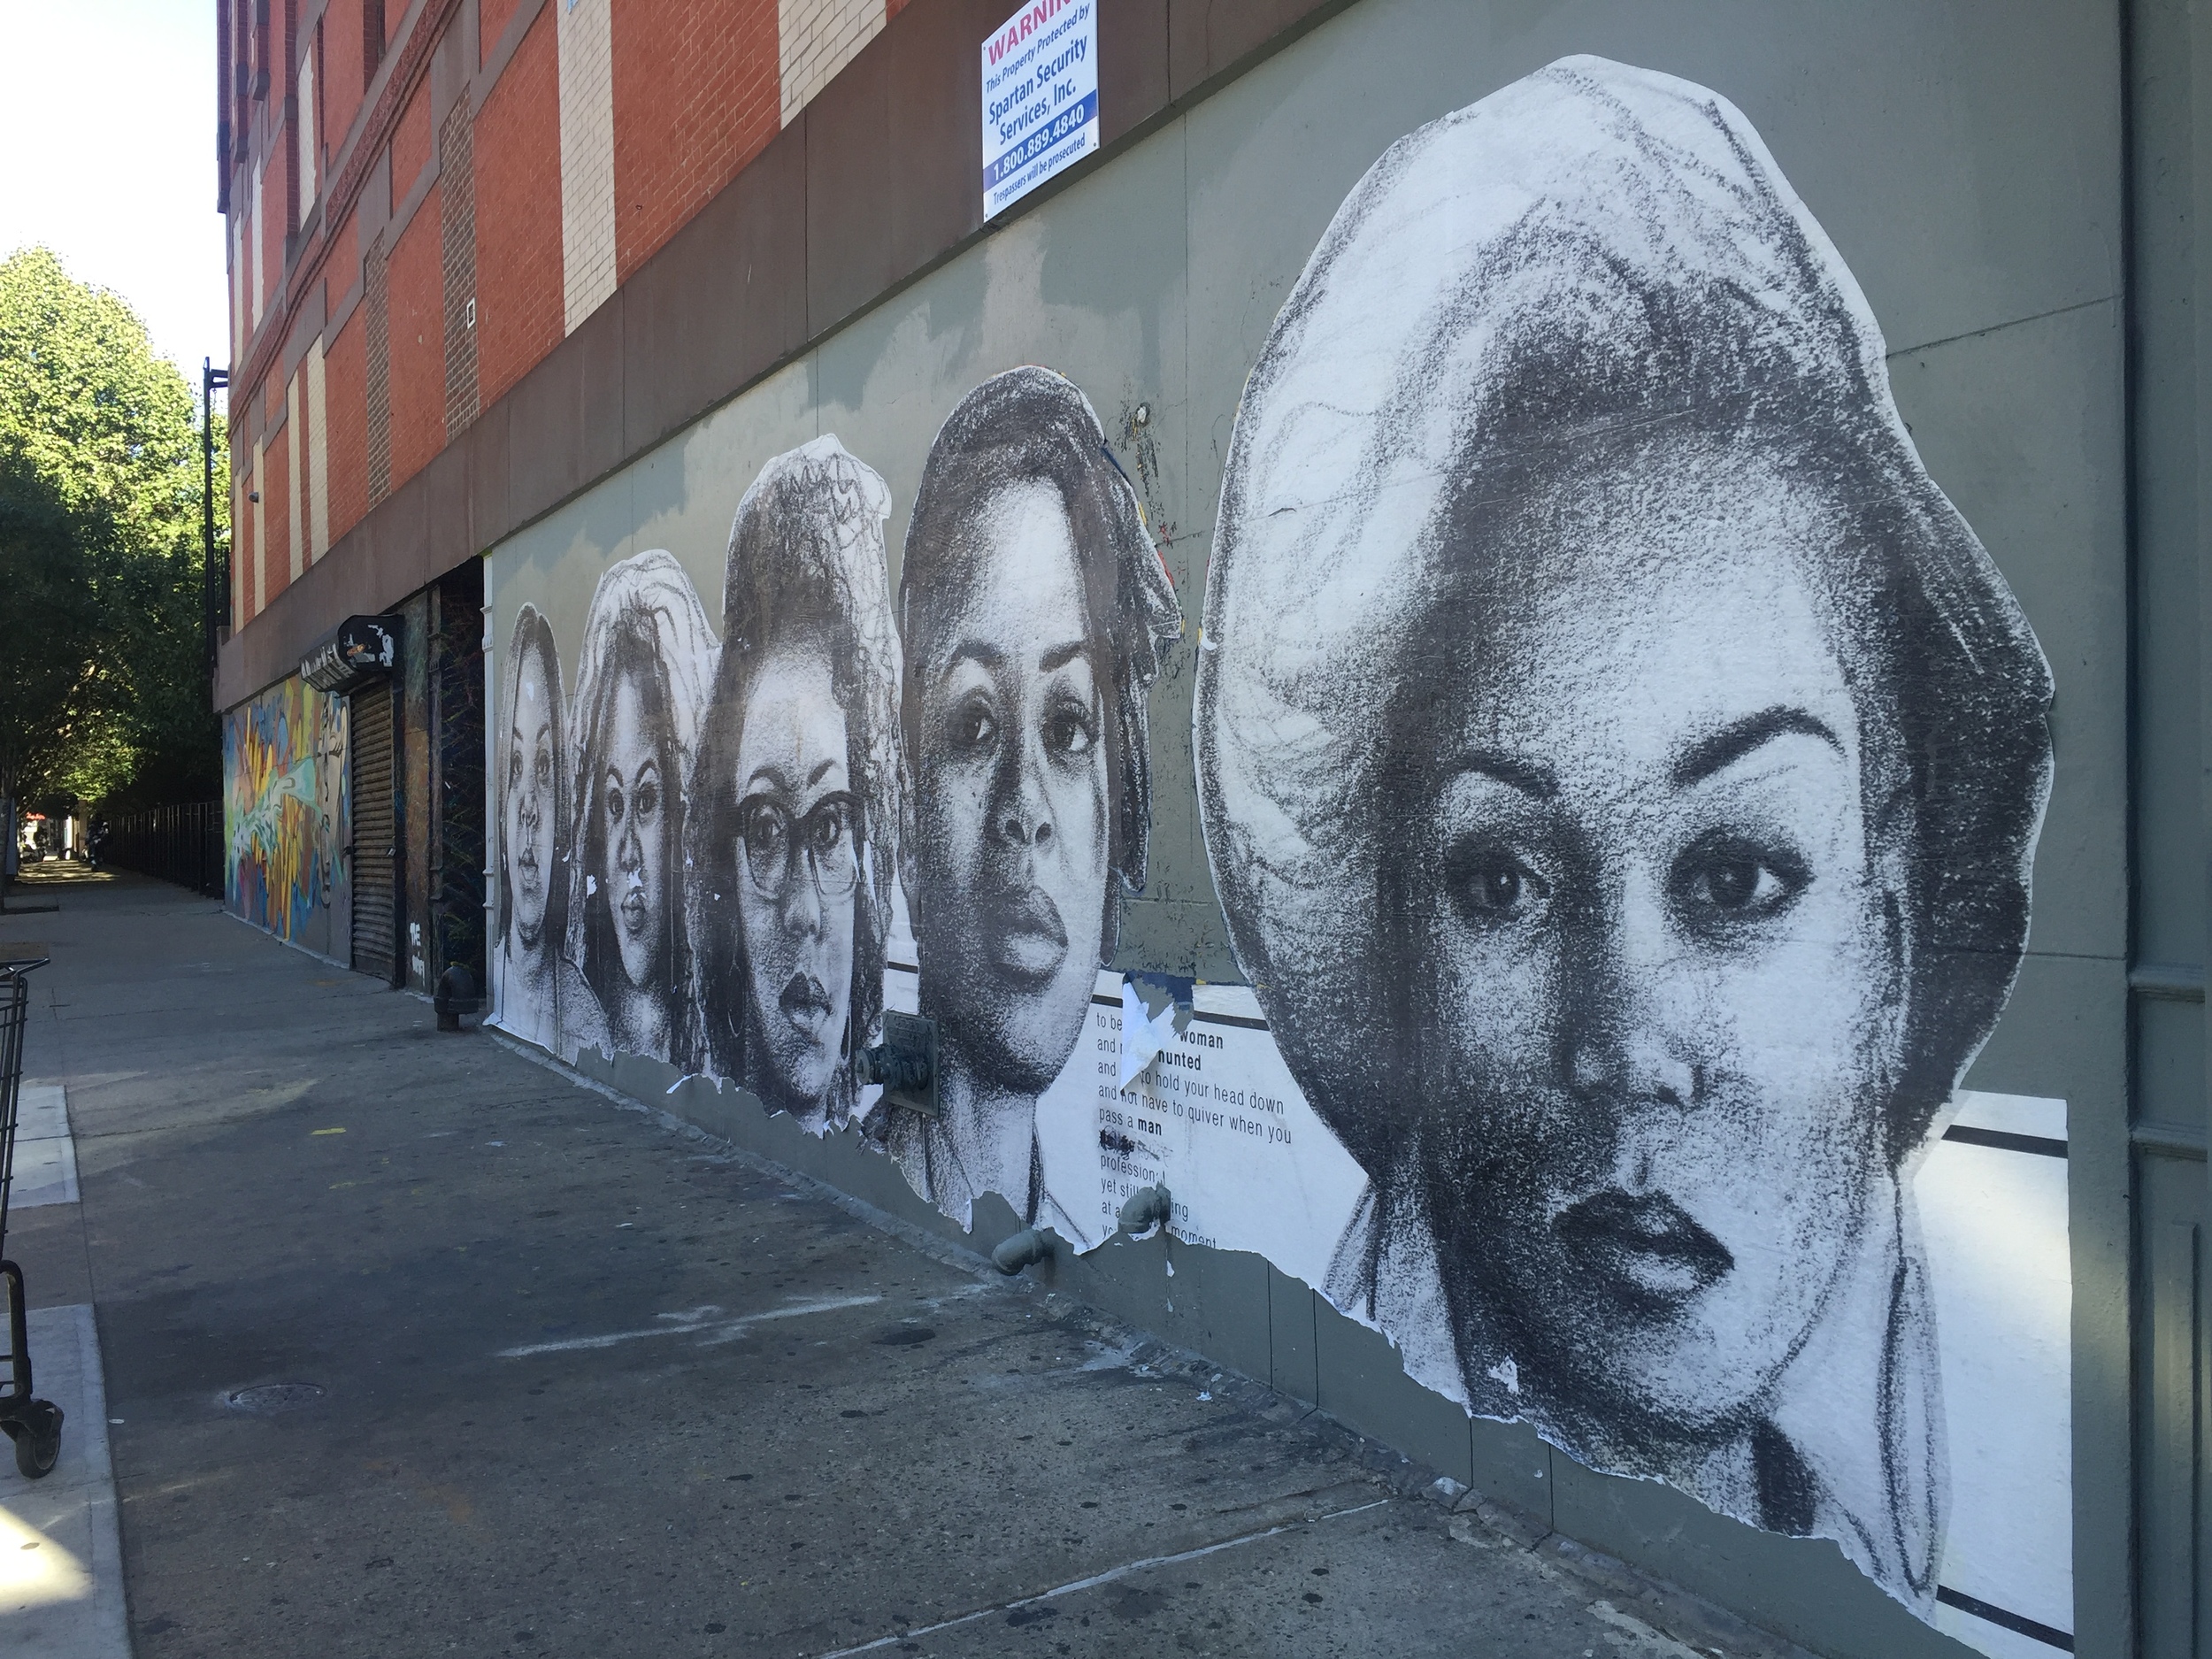
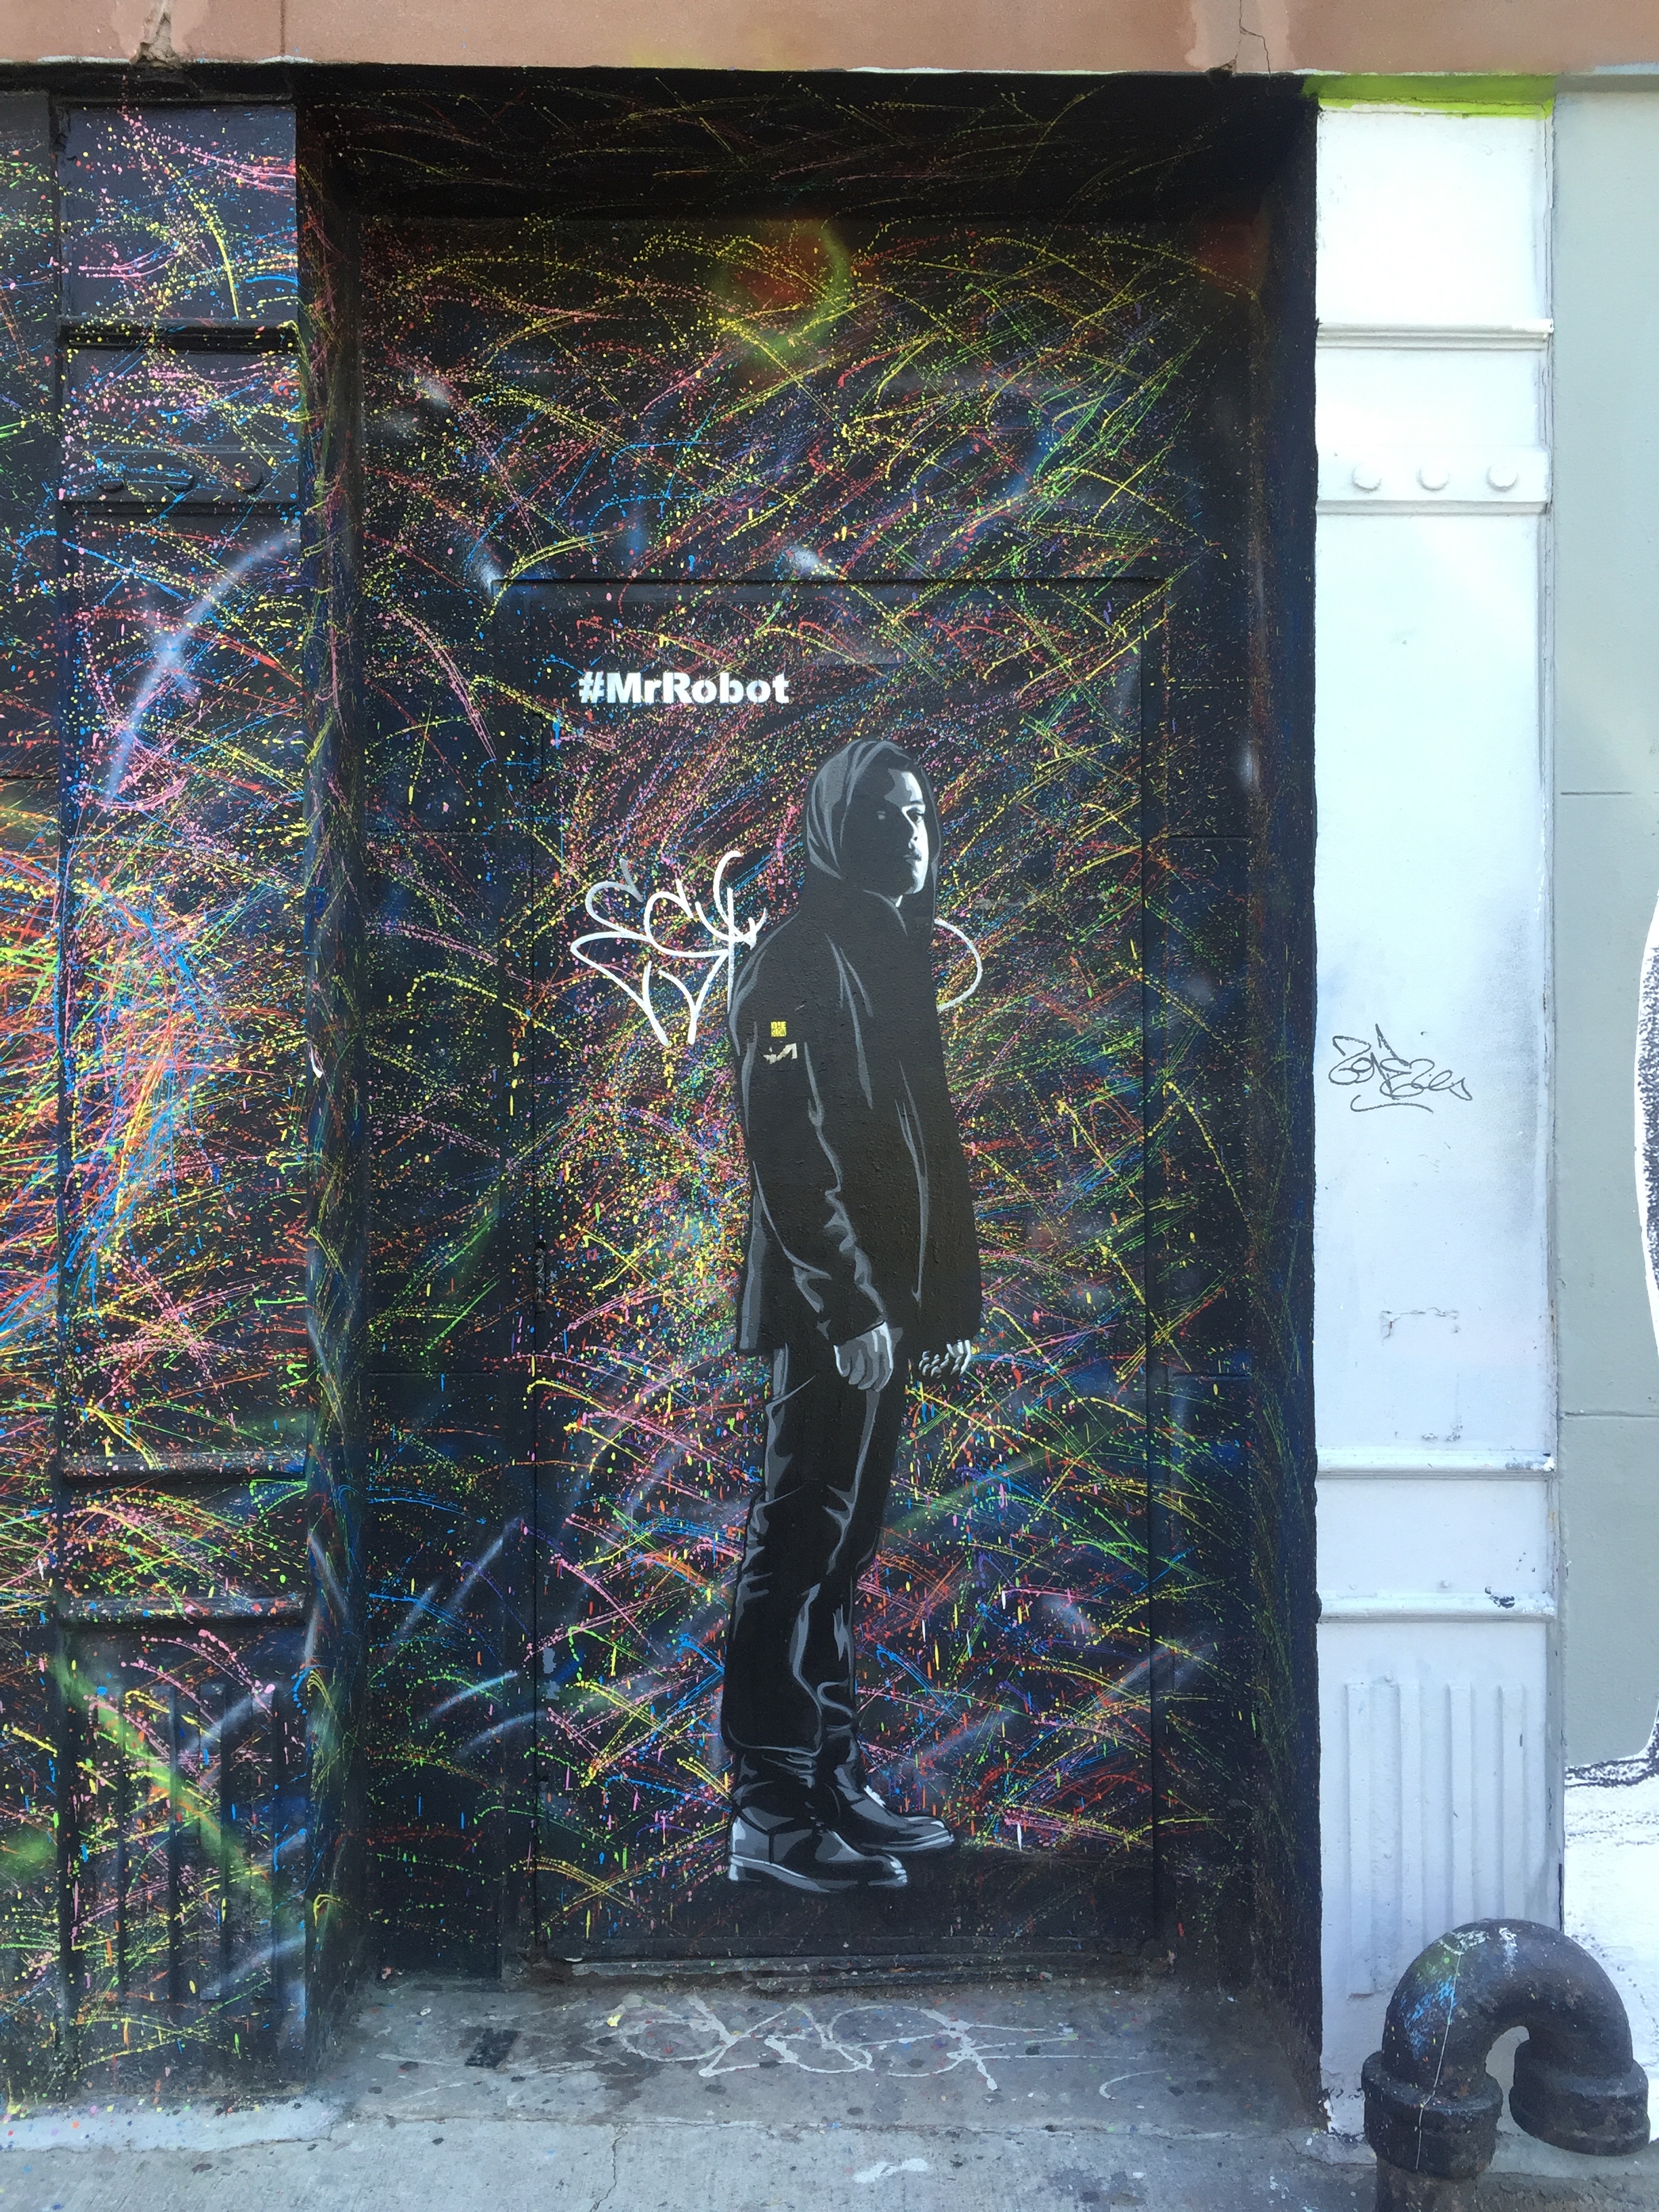
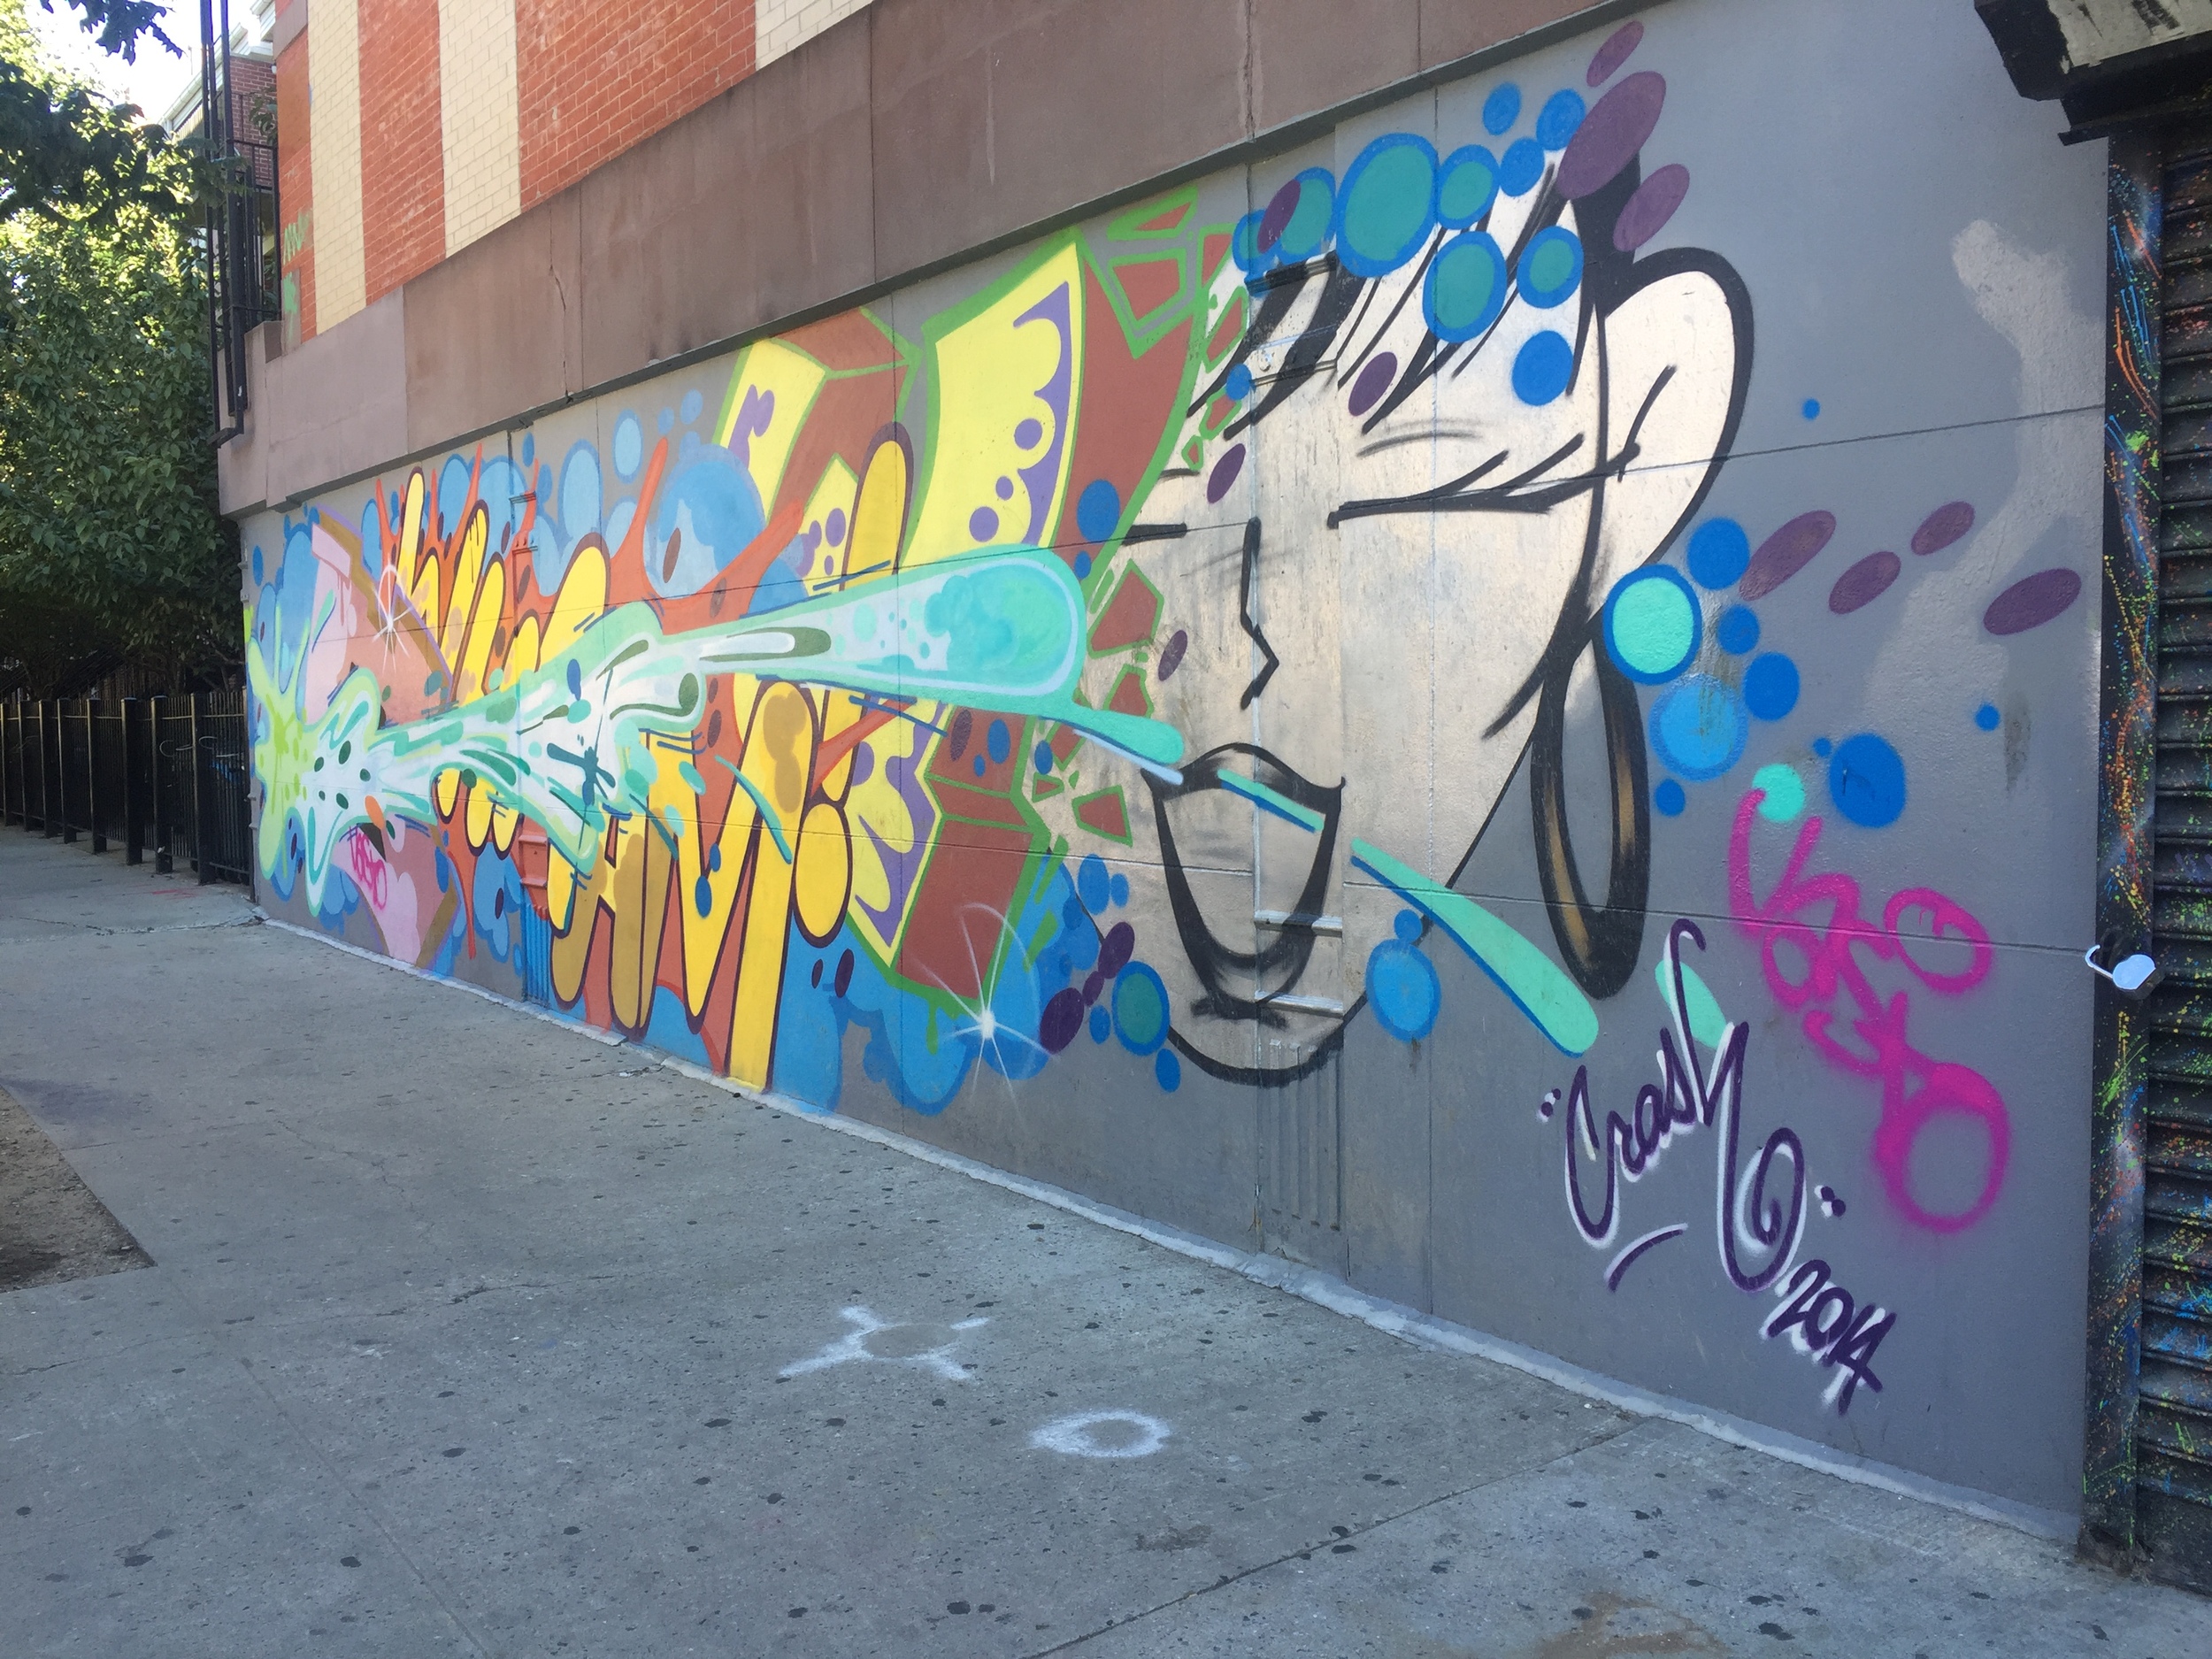
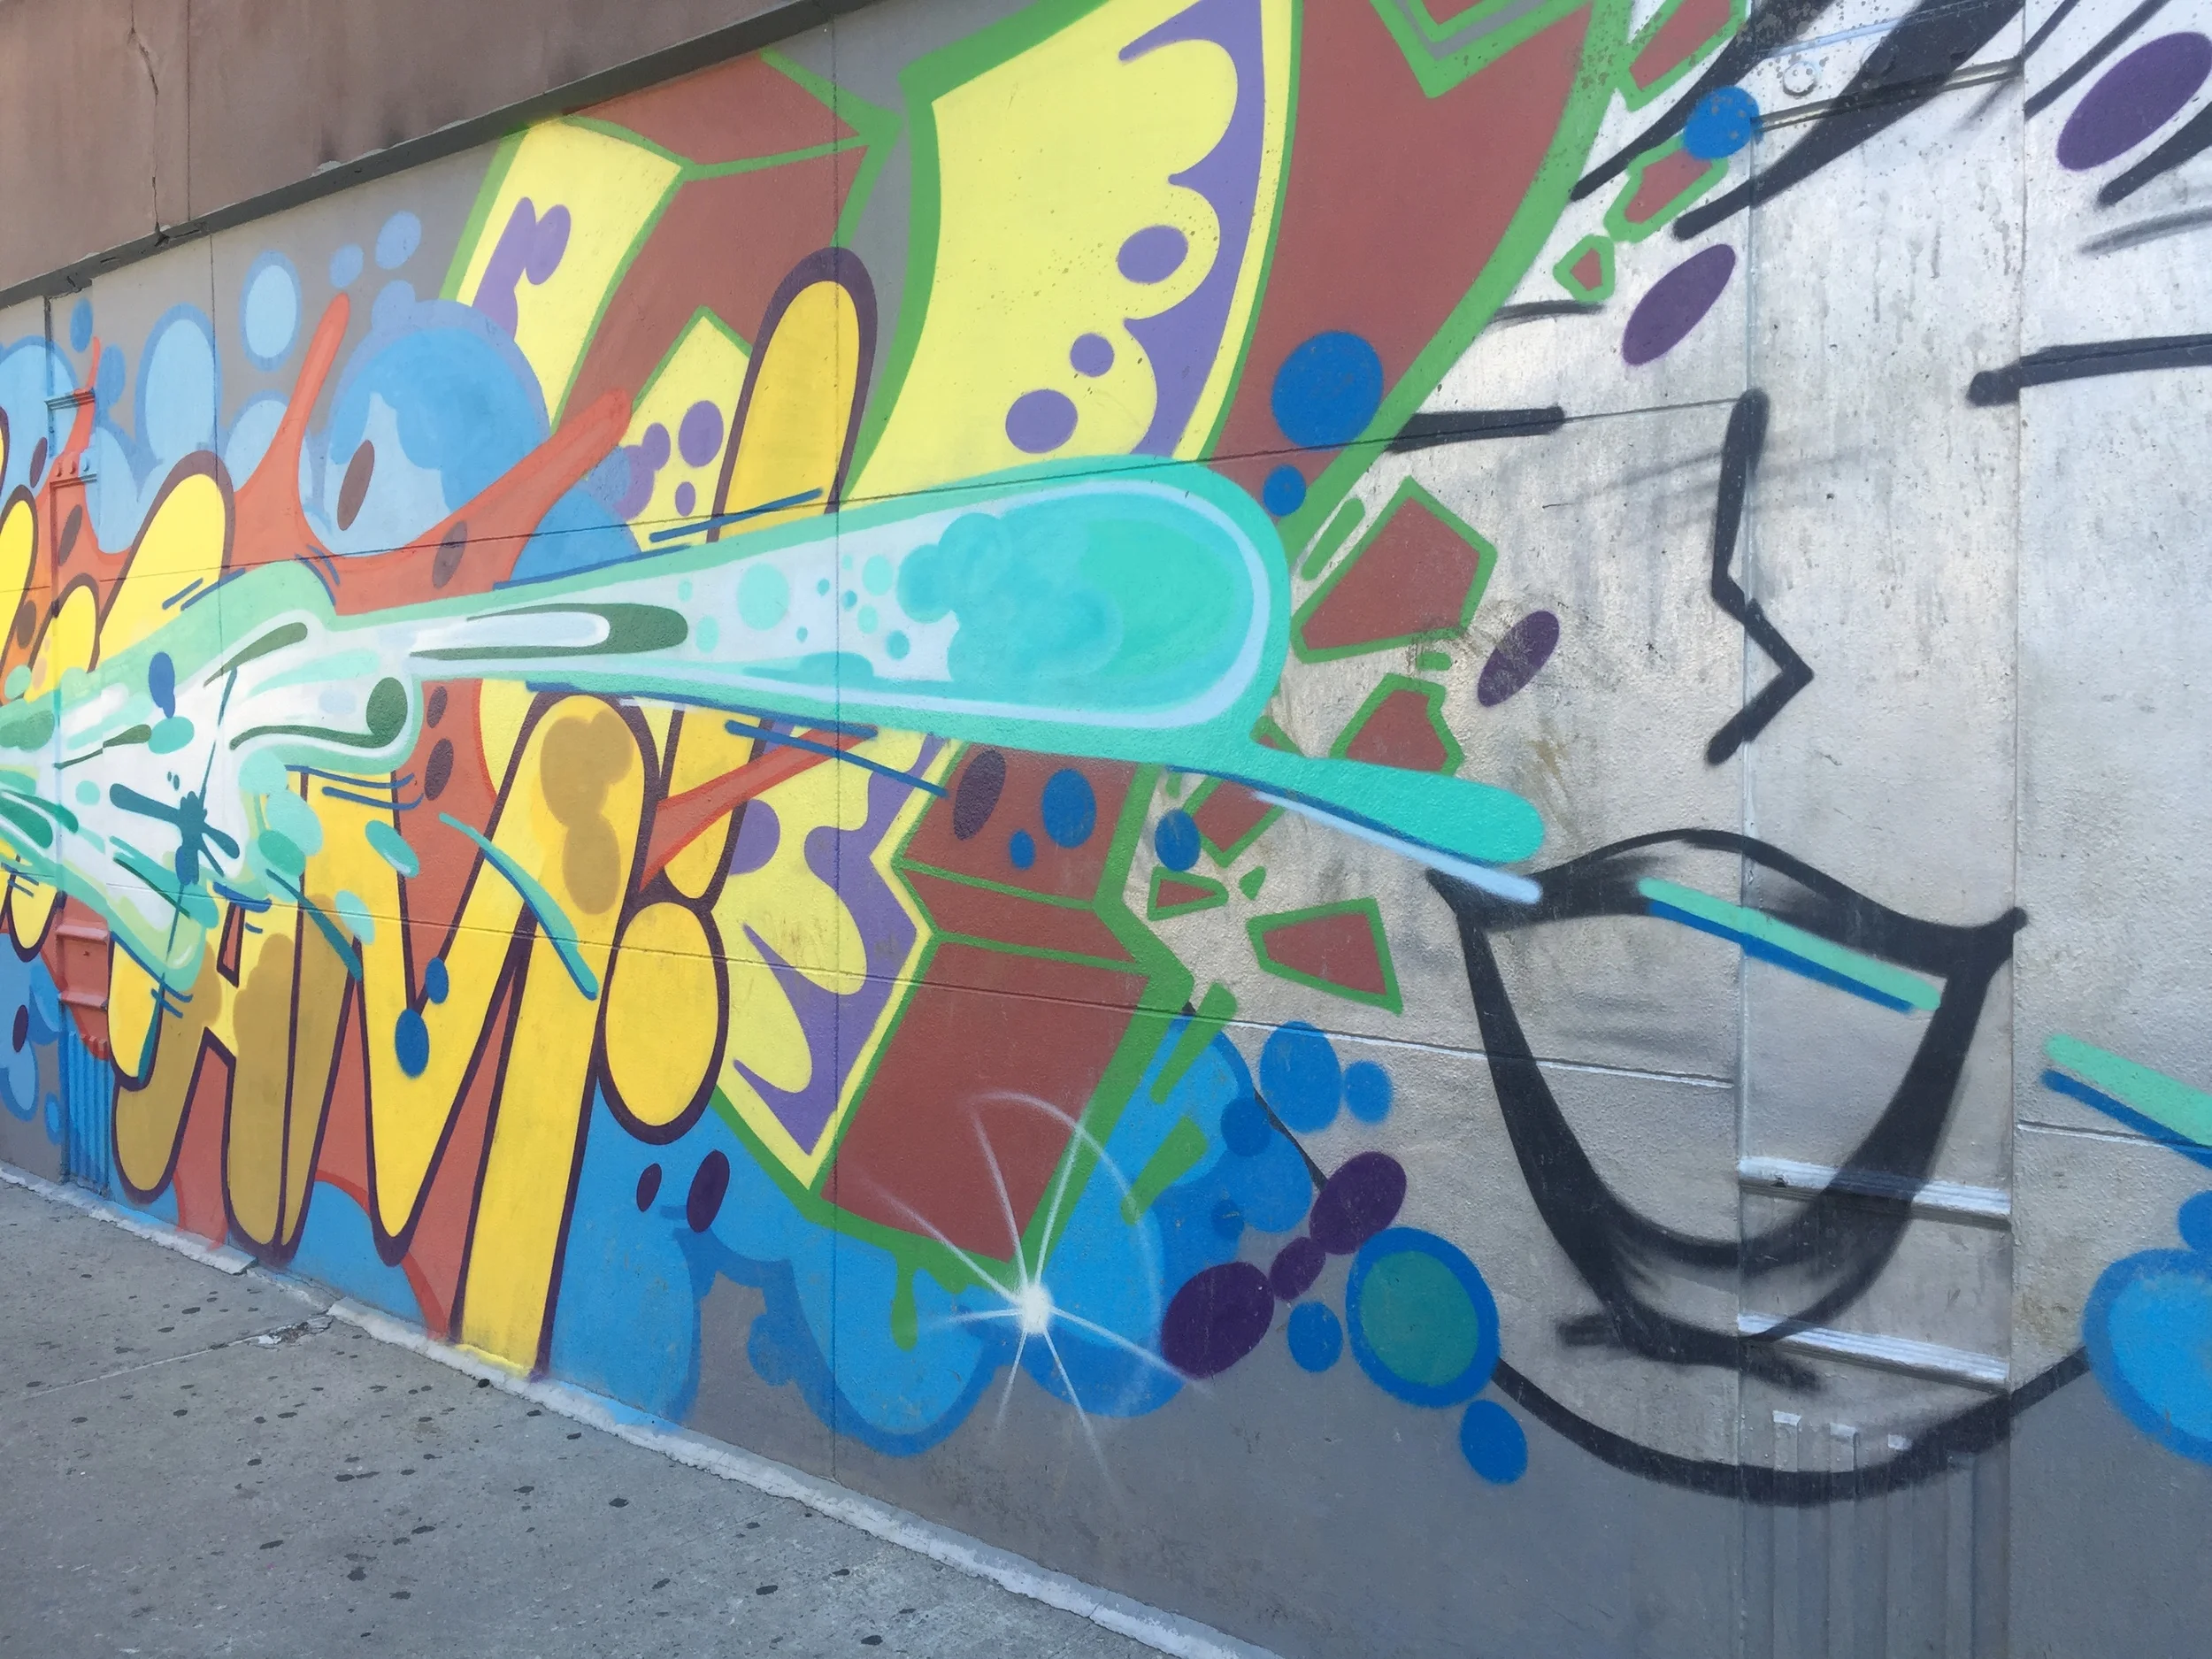
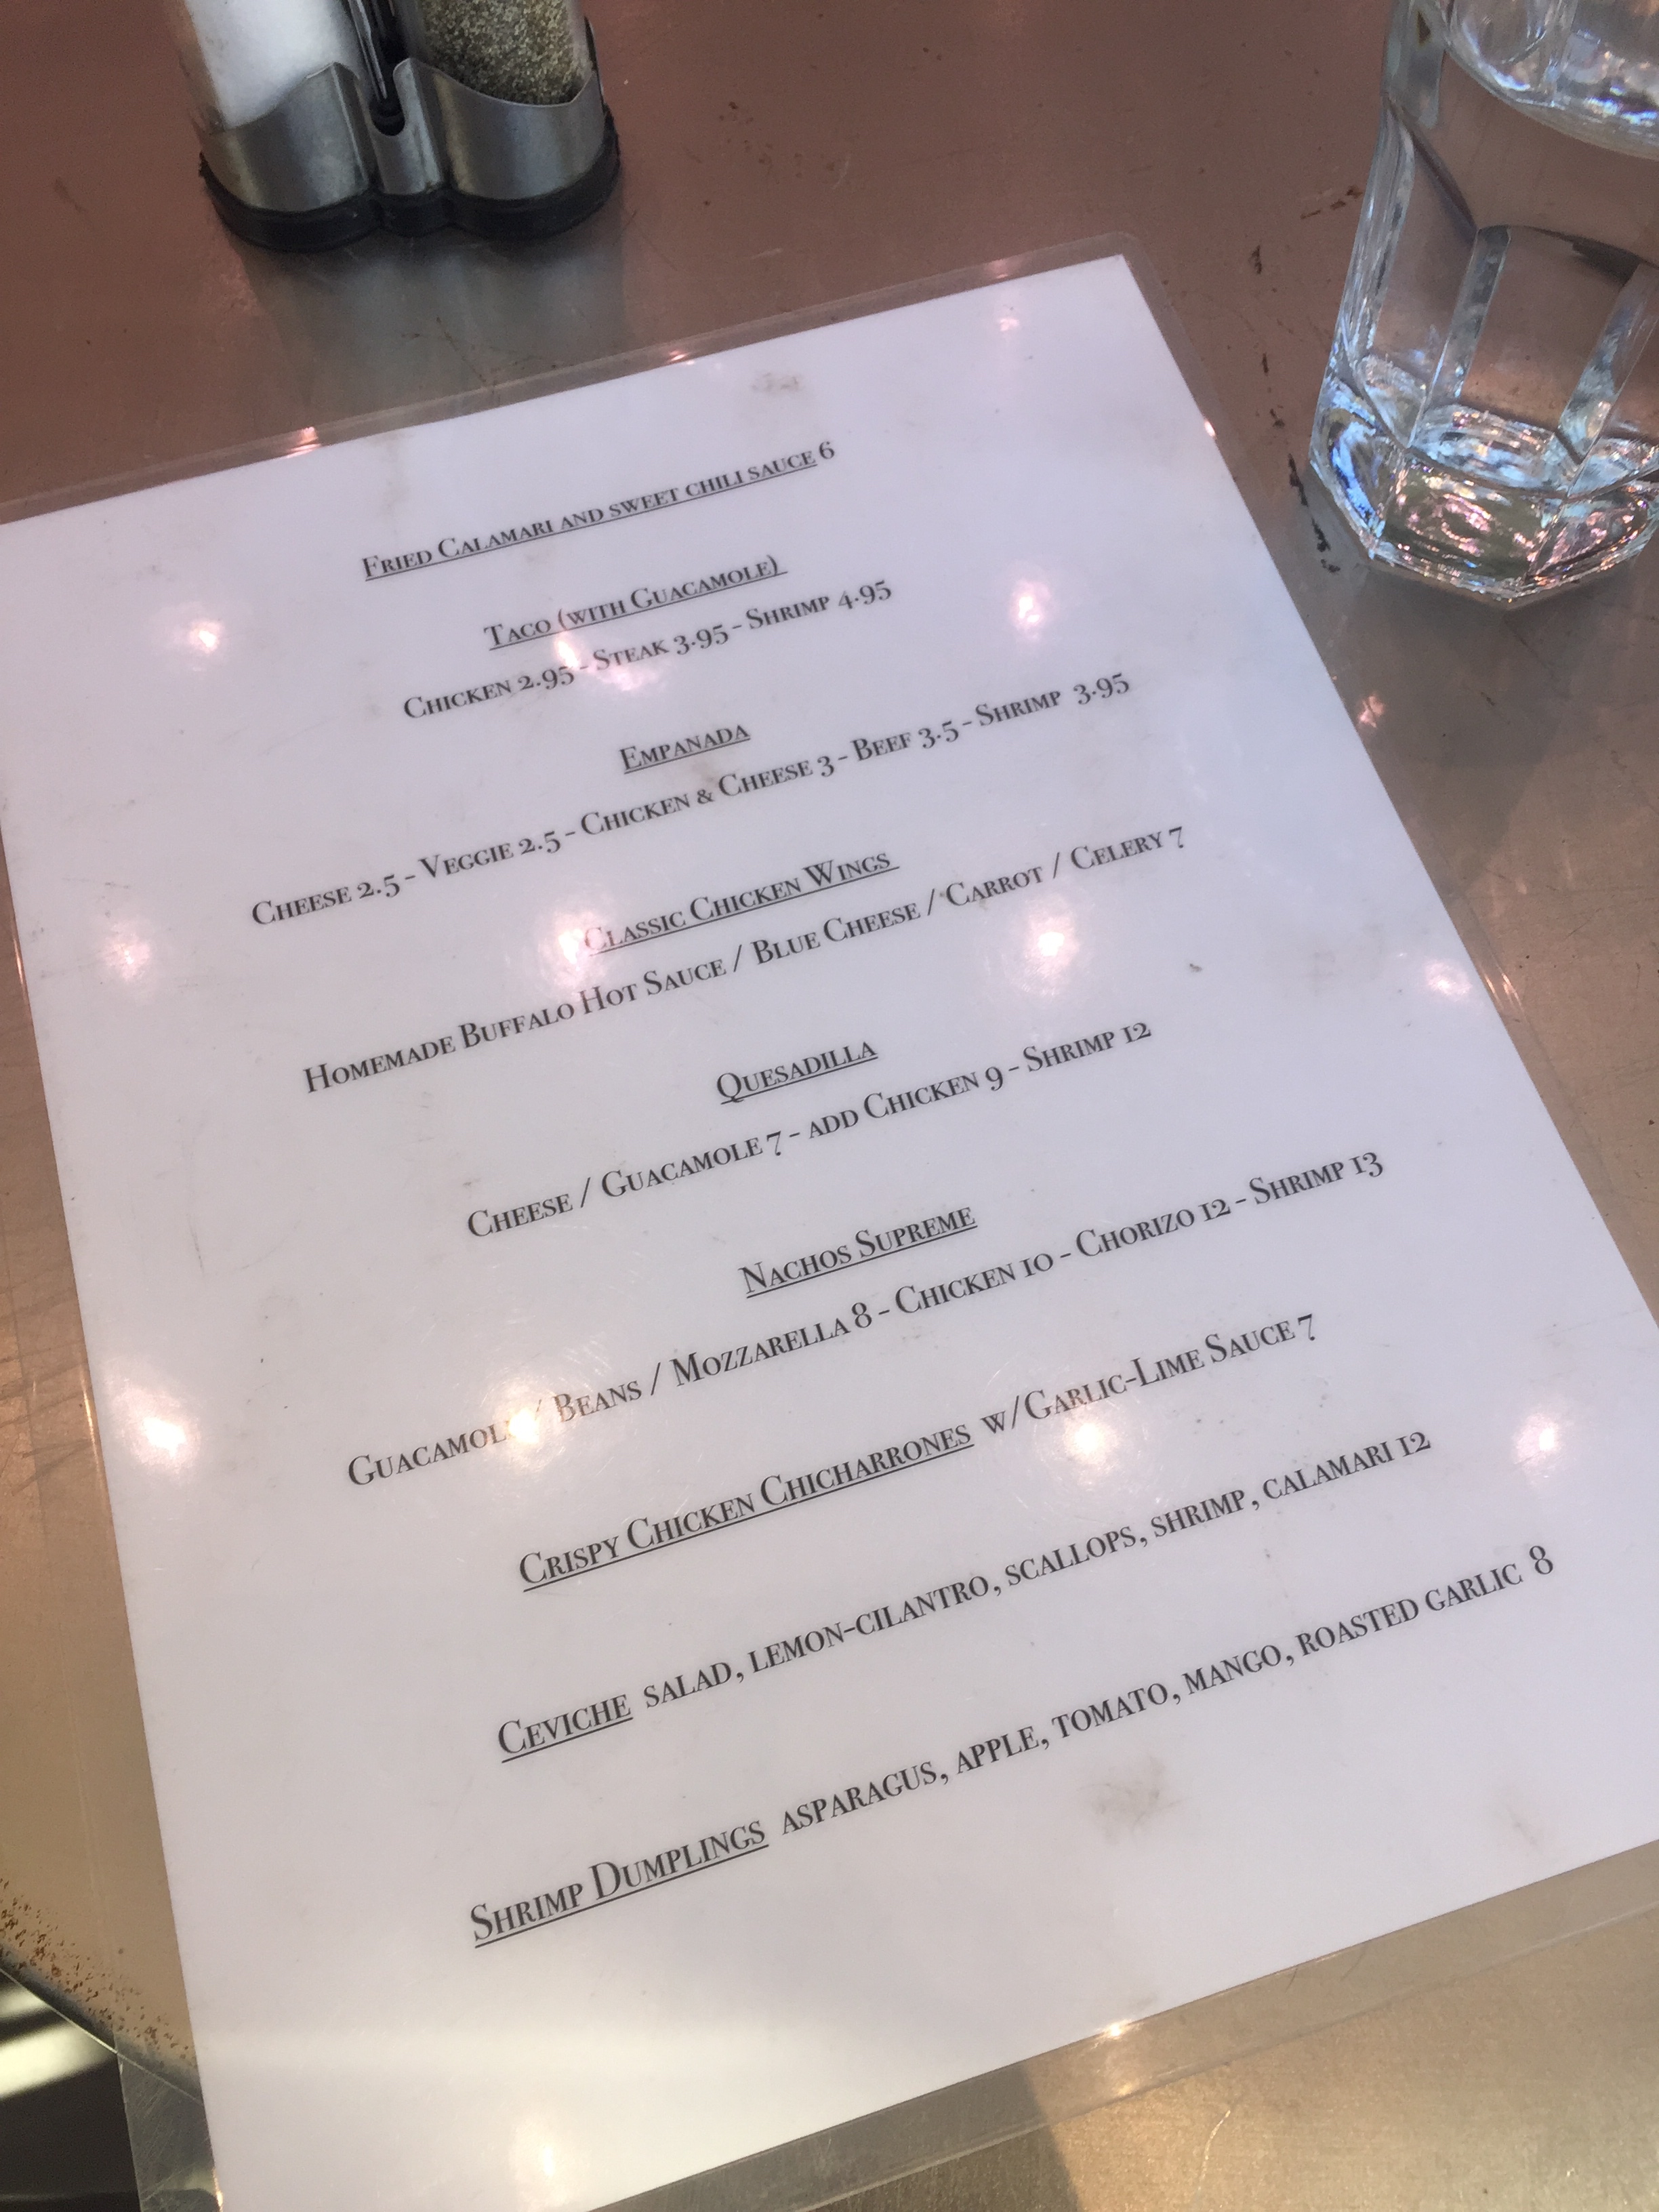
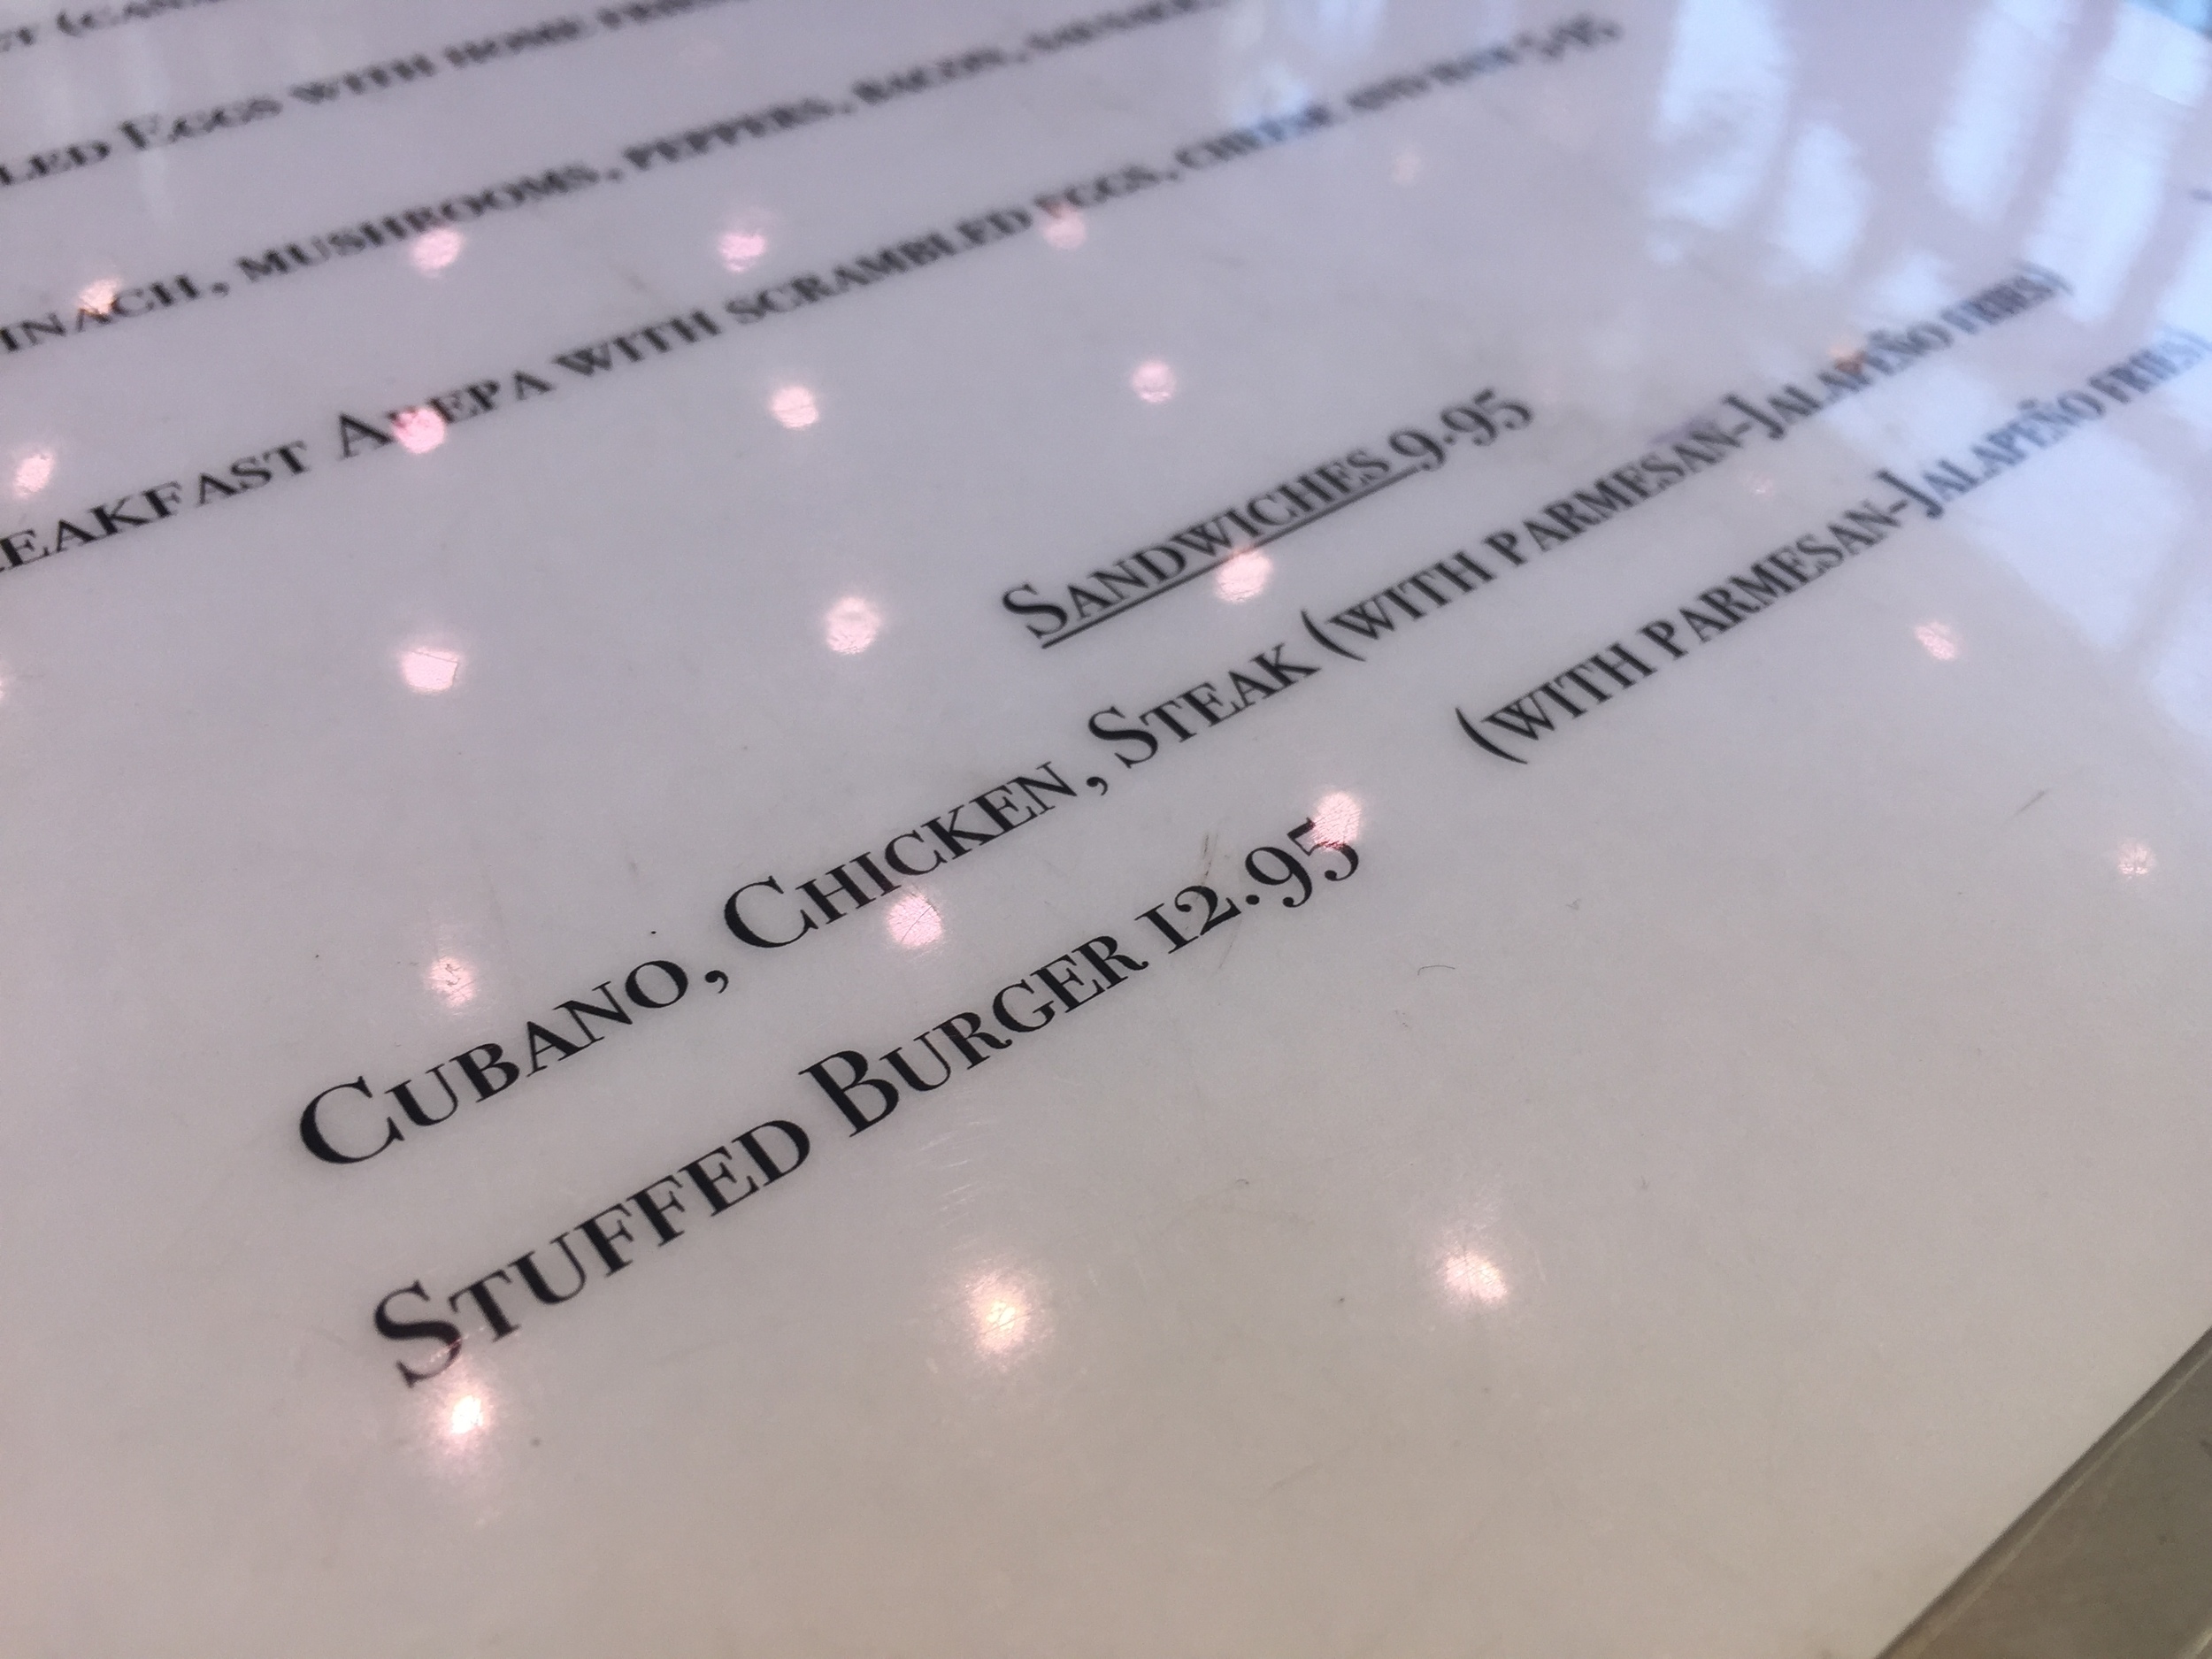
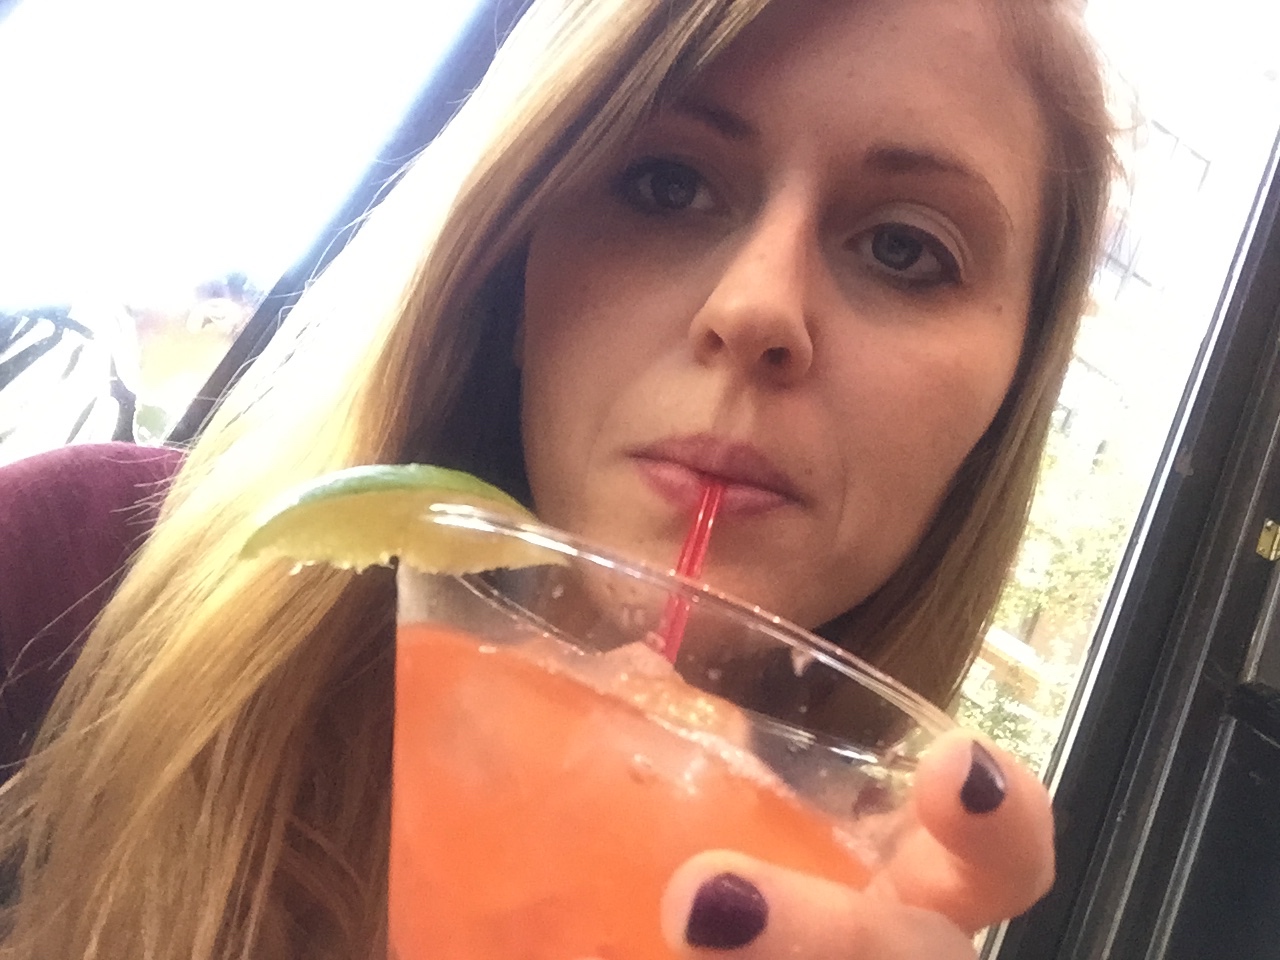
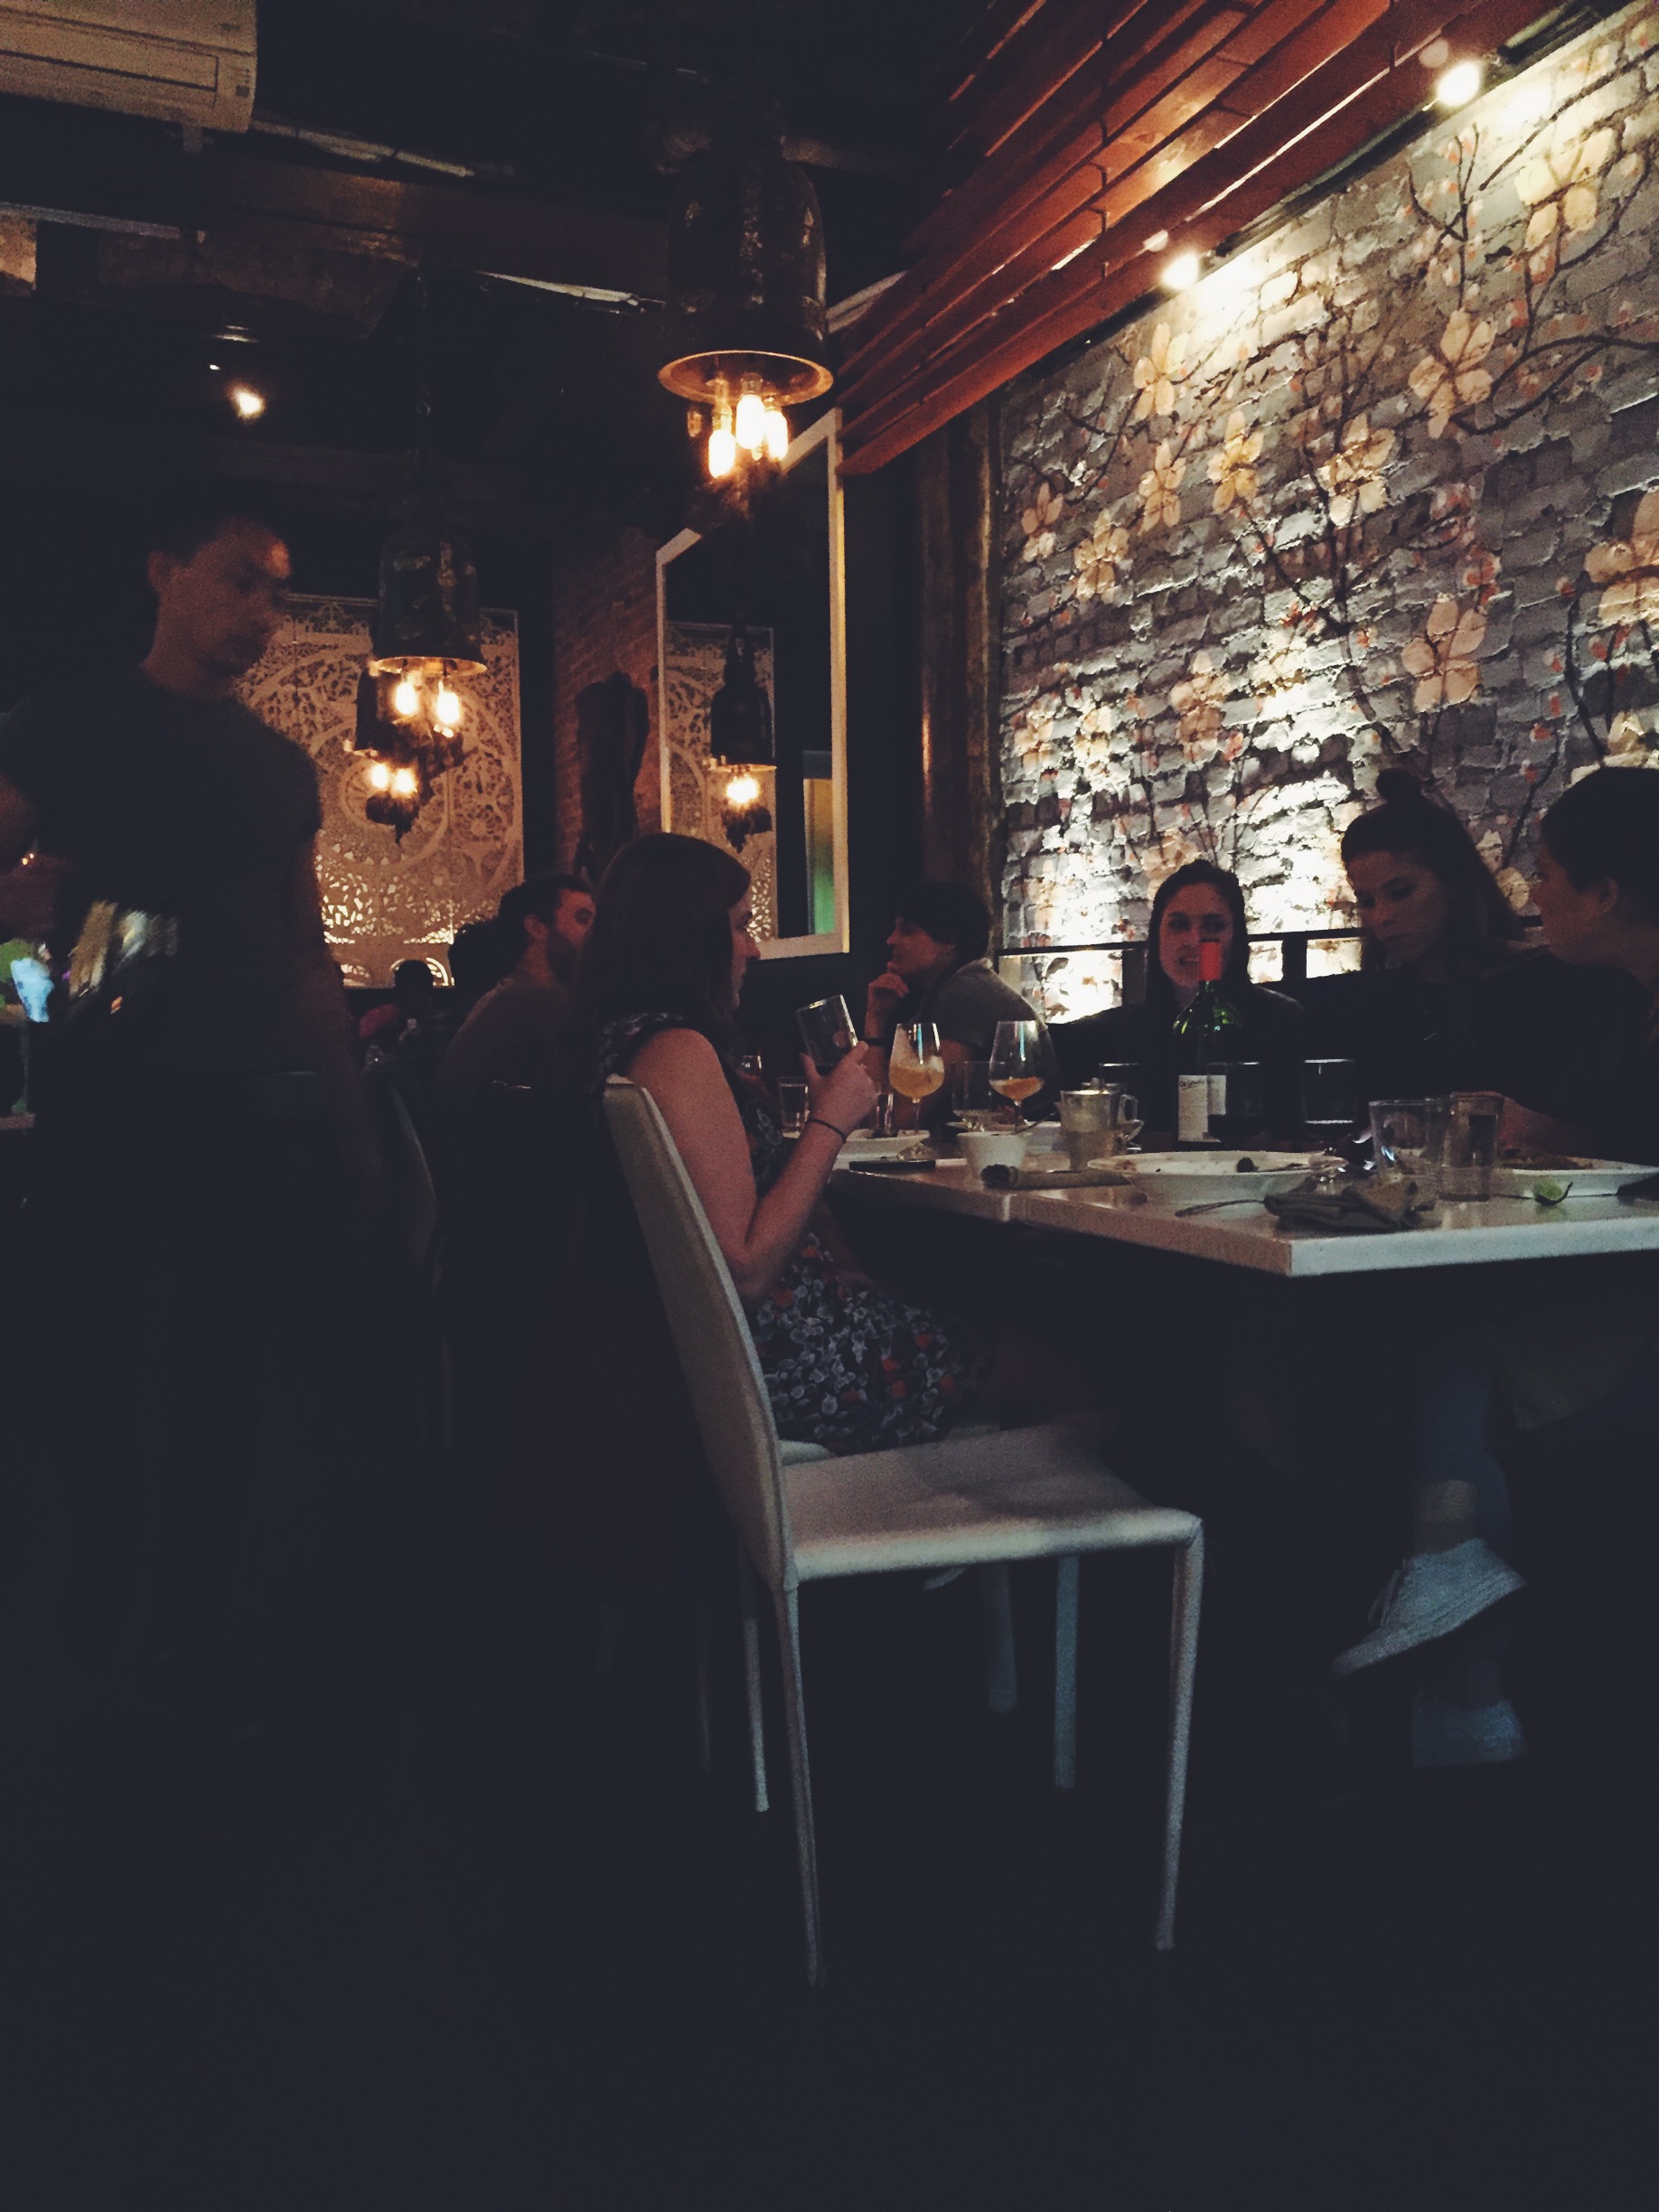
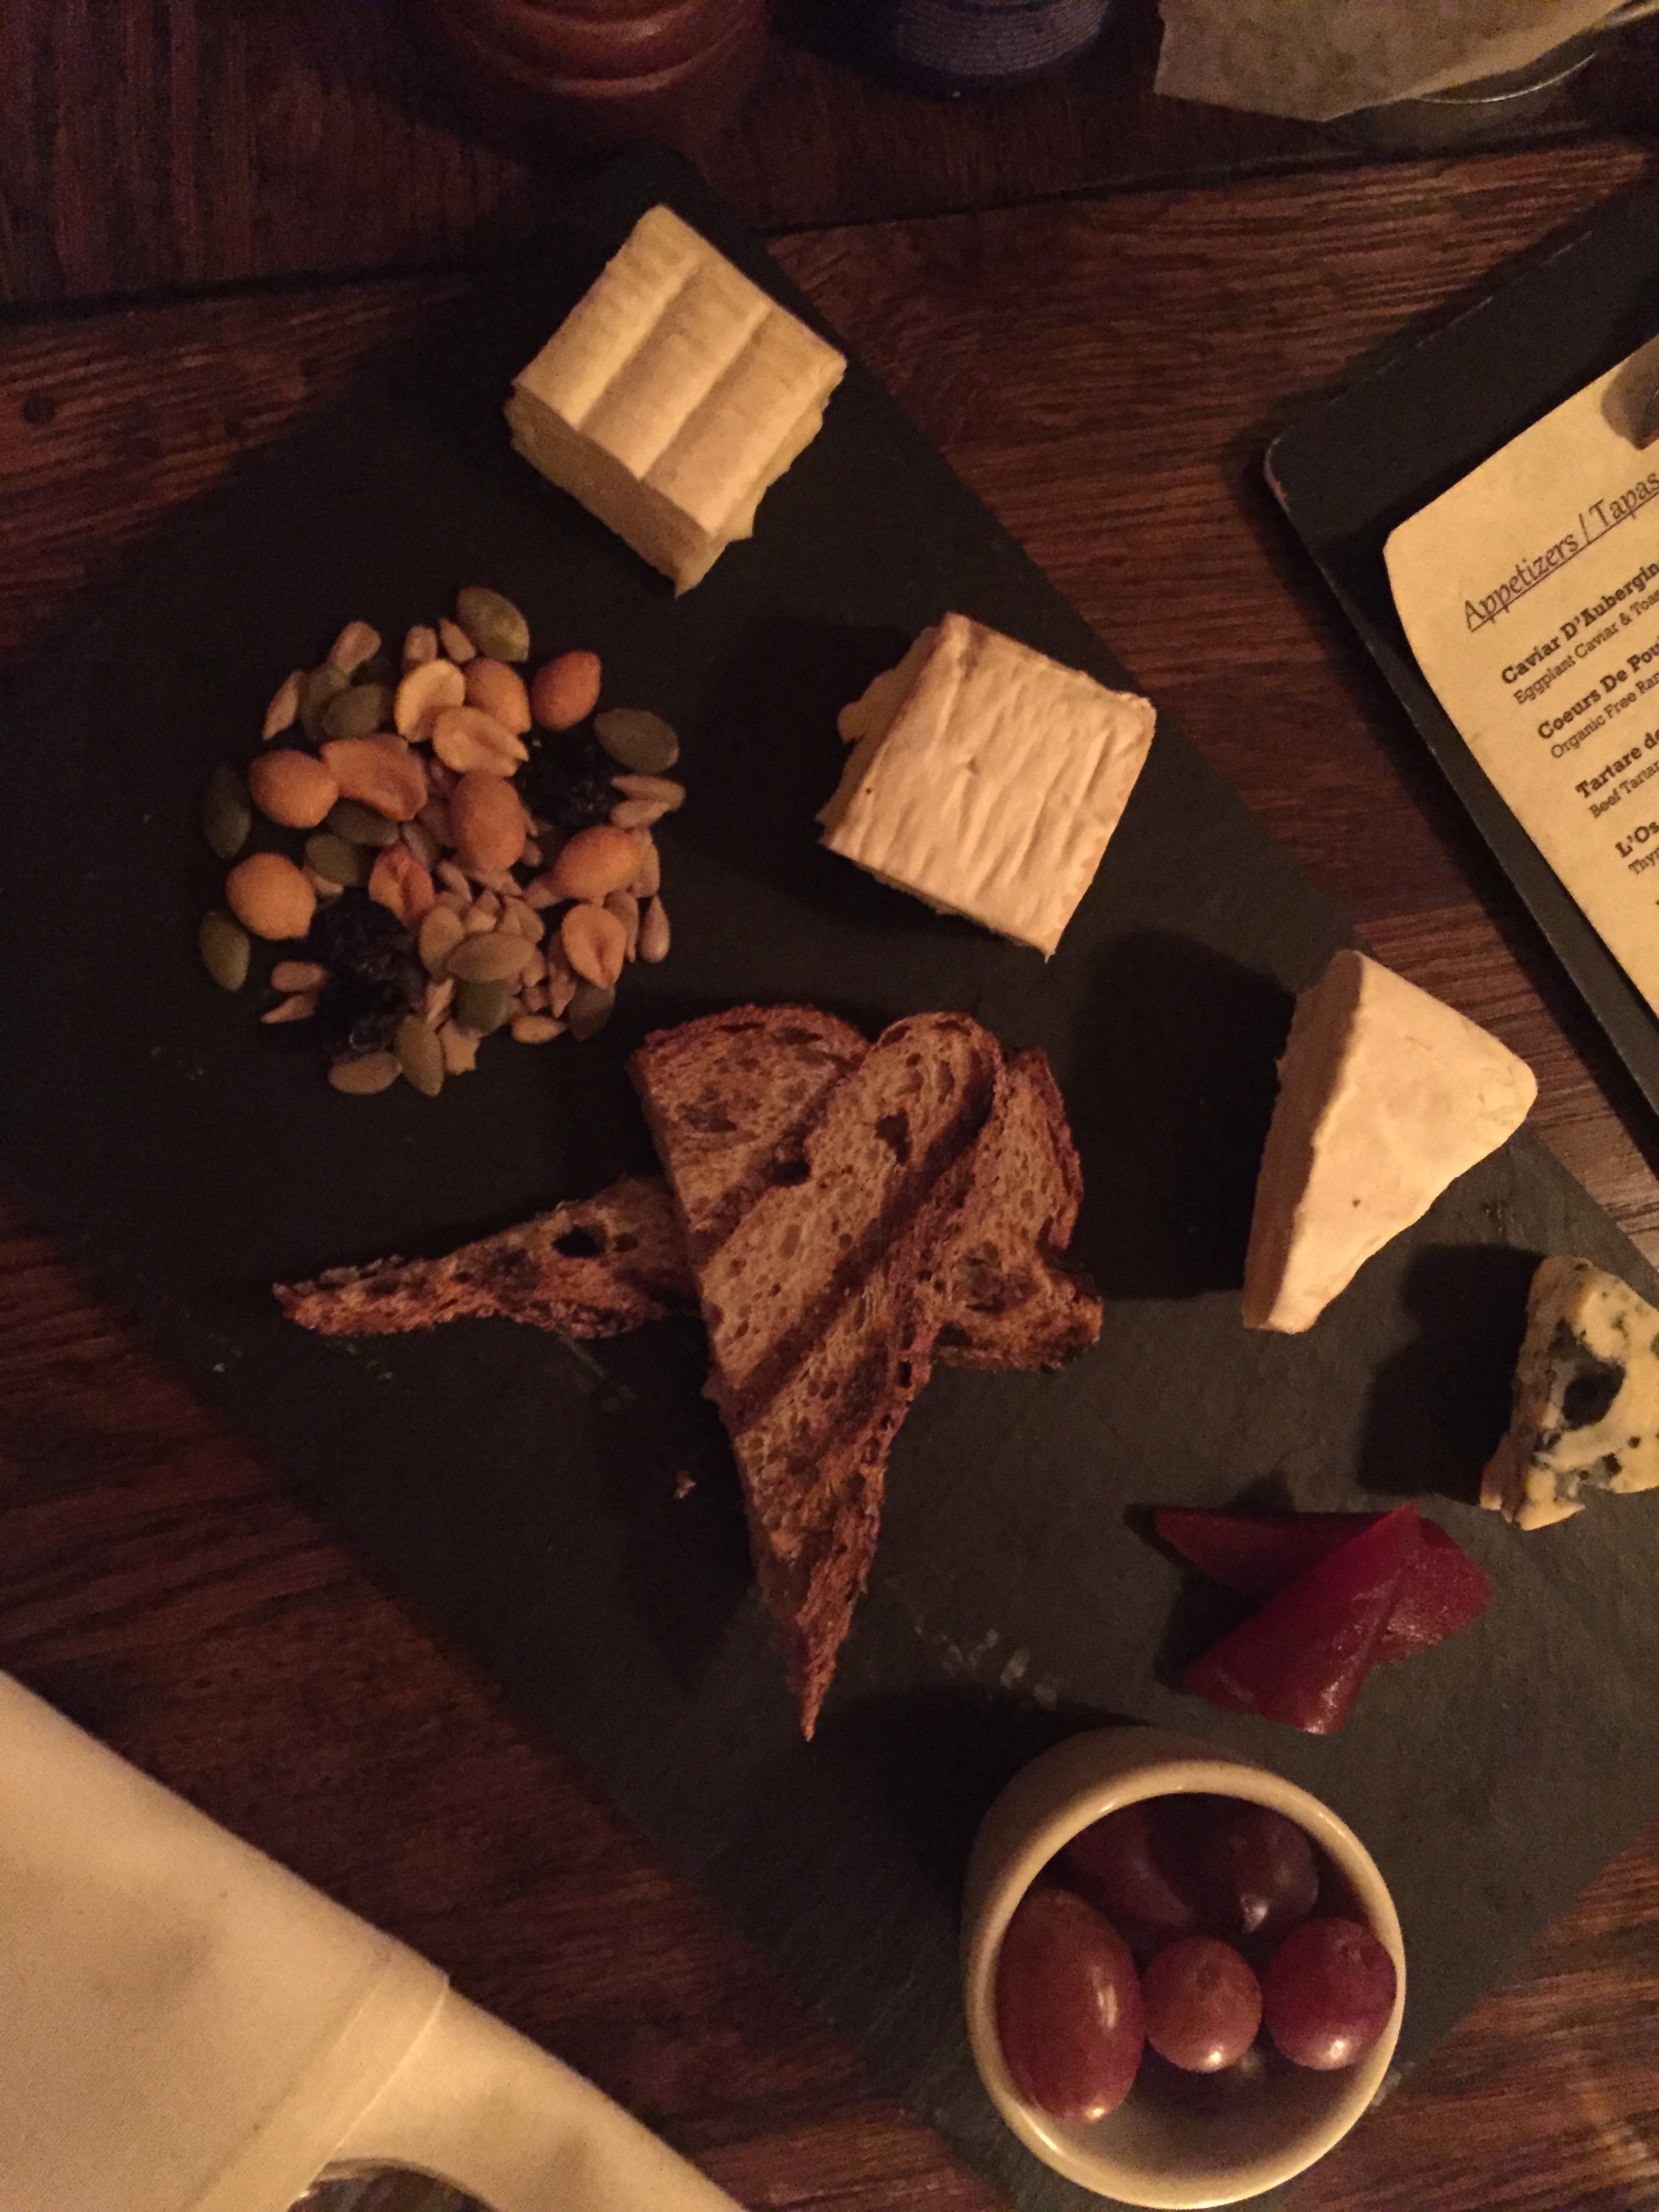
Check out the slideshow, below, to see my mural sightings and awesome NYC food! If you're in the area, I would definitely recommend Ariel's Bistro for lunch and a $5 strawberry margarita, and Pardon My French for a super fancy date night. The whole Skype team was so wonderful to take me out for dinner and cocktails after the Halloween party.
THE SKYPE HALLOWEEN PARTY
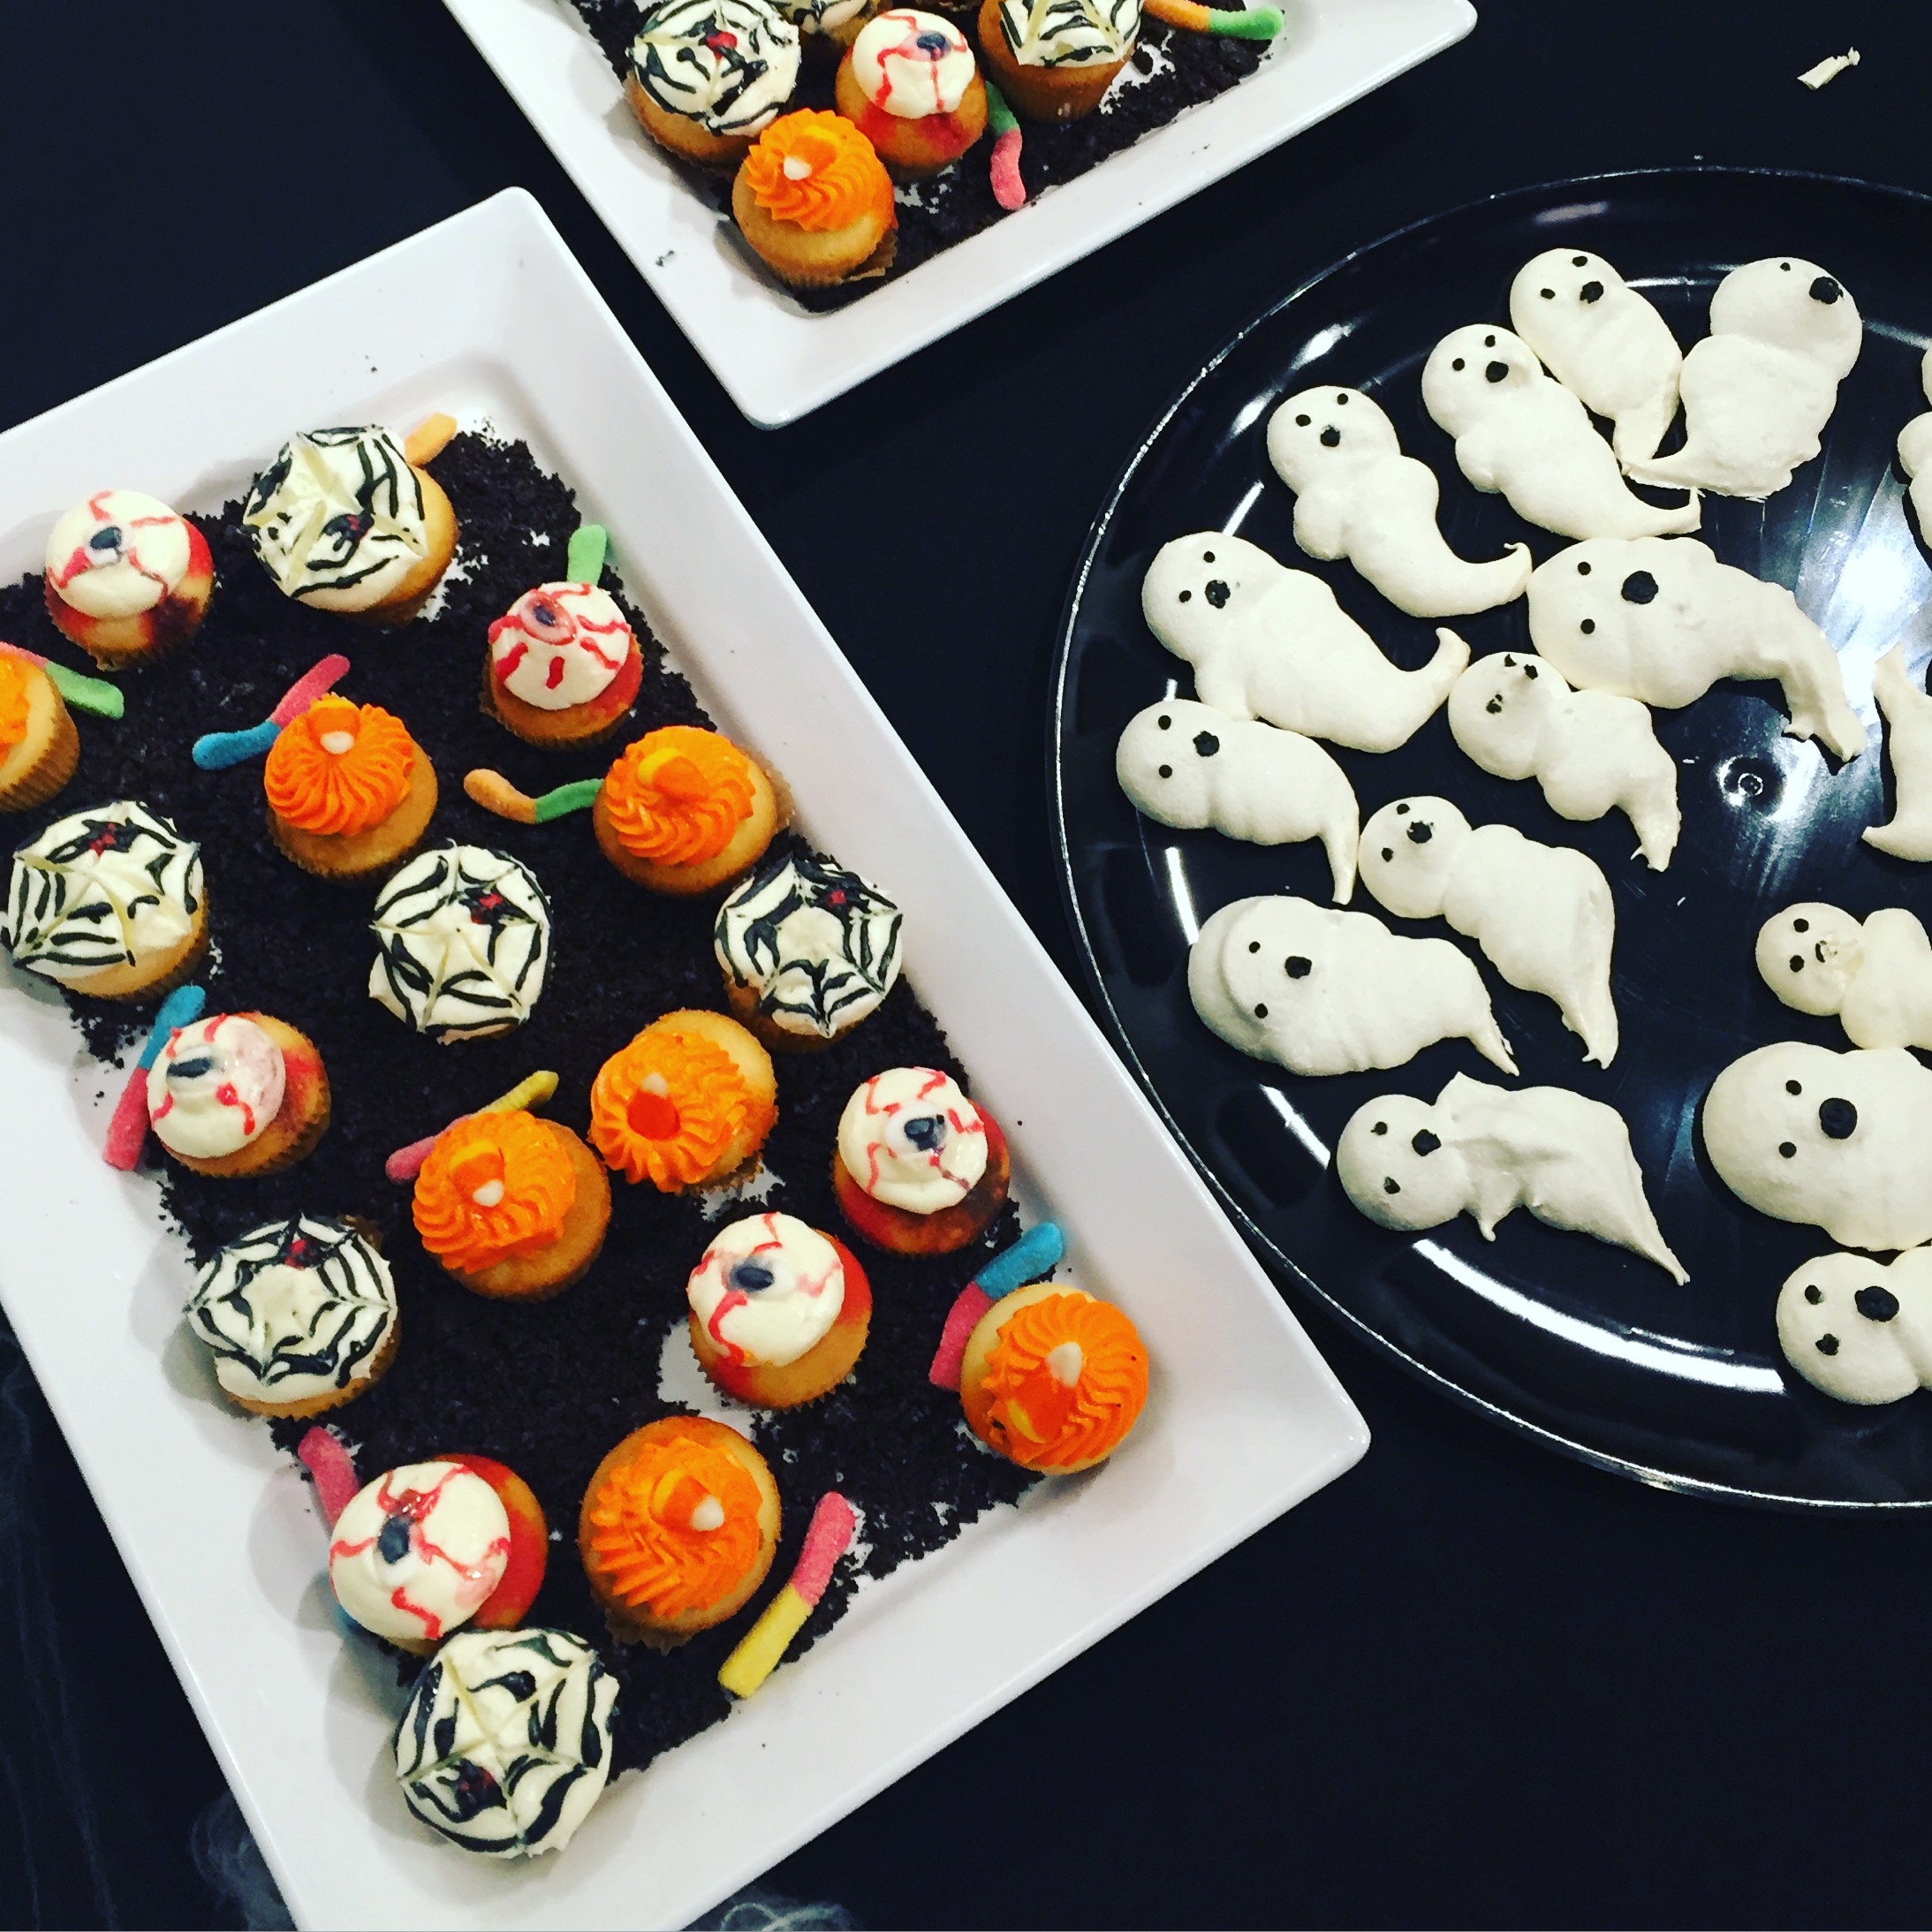
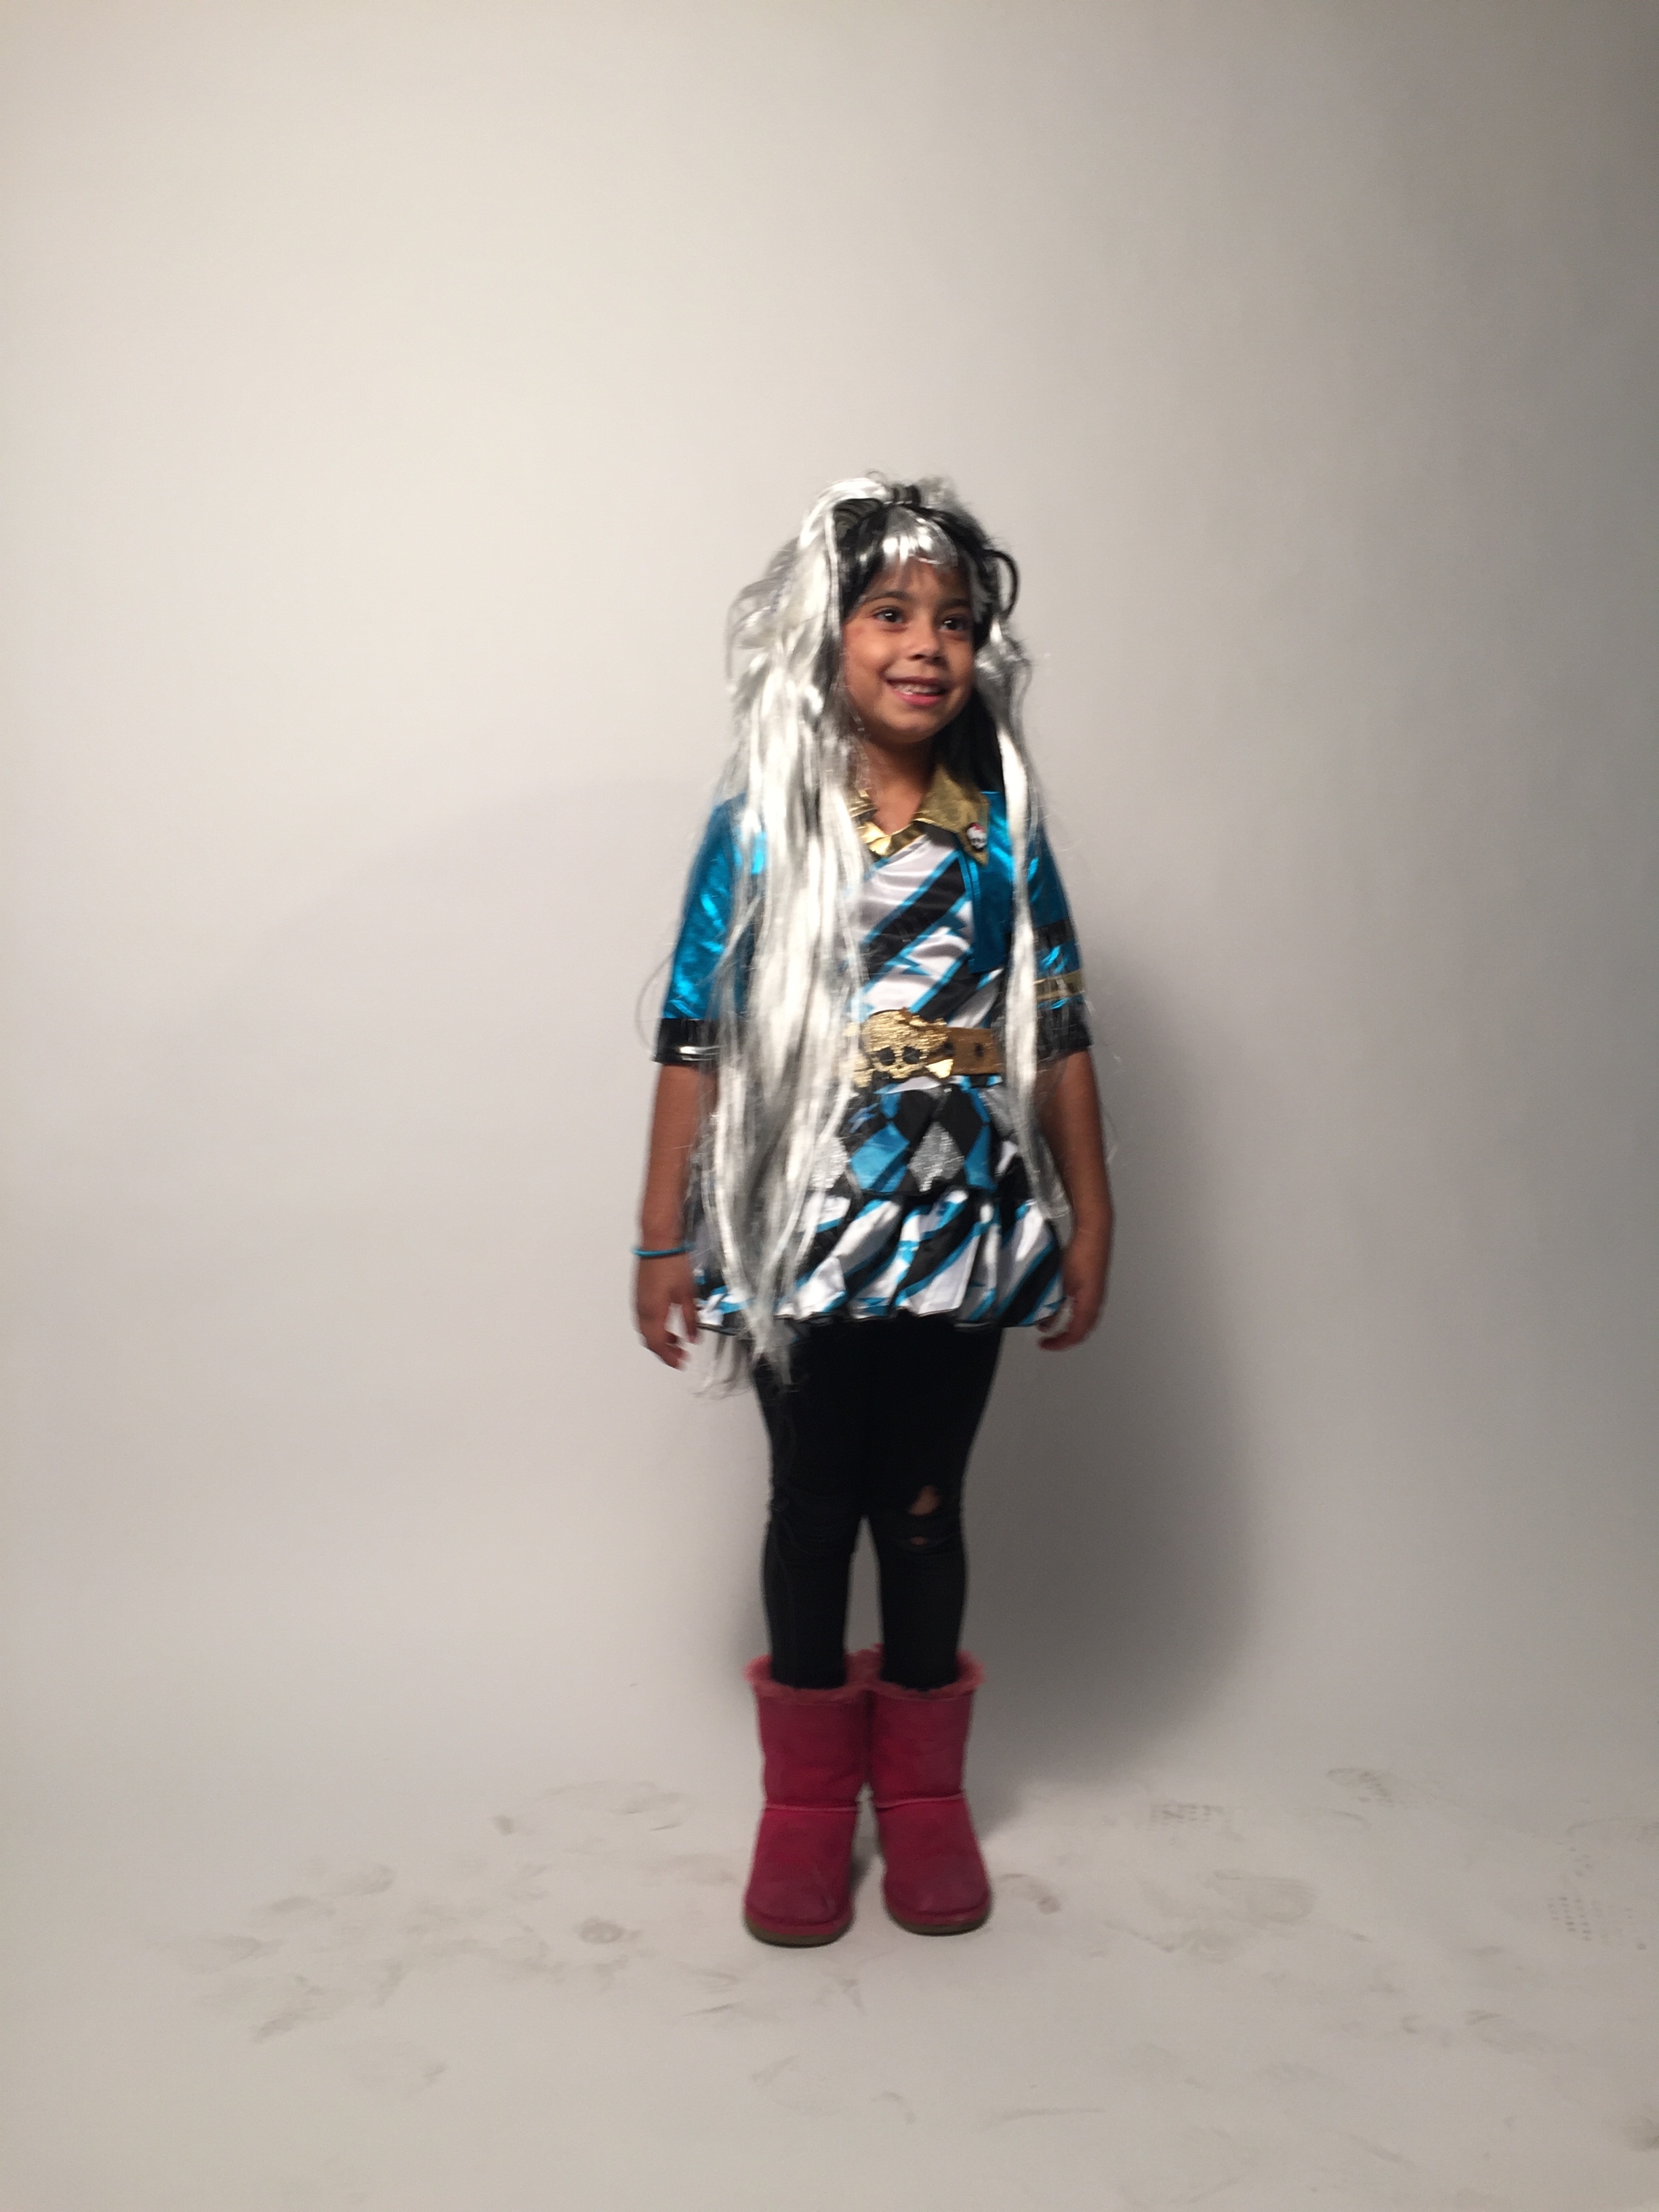
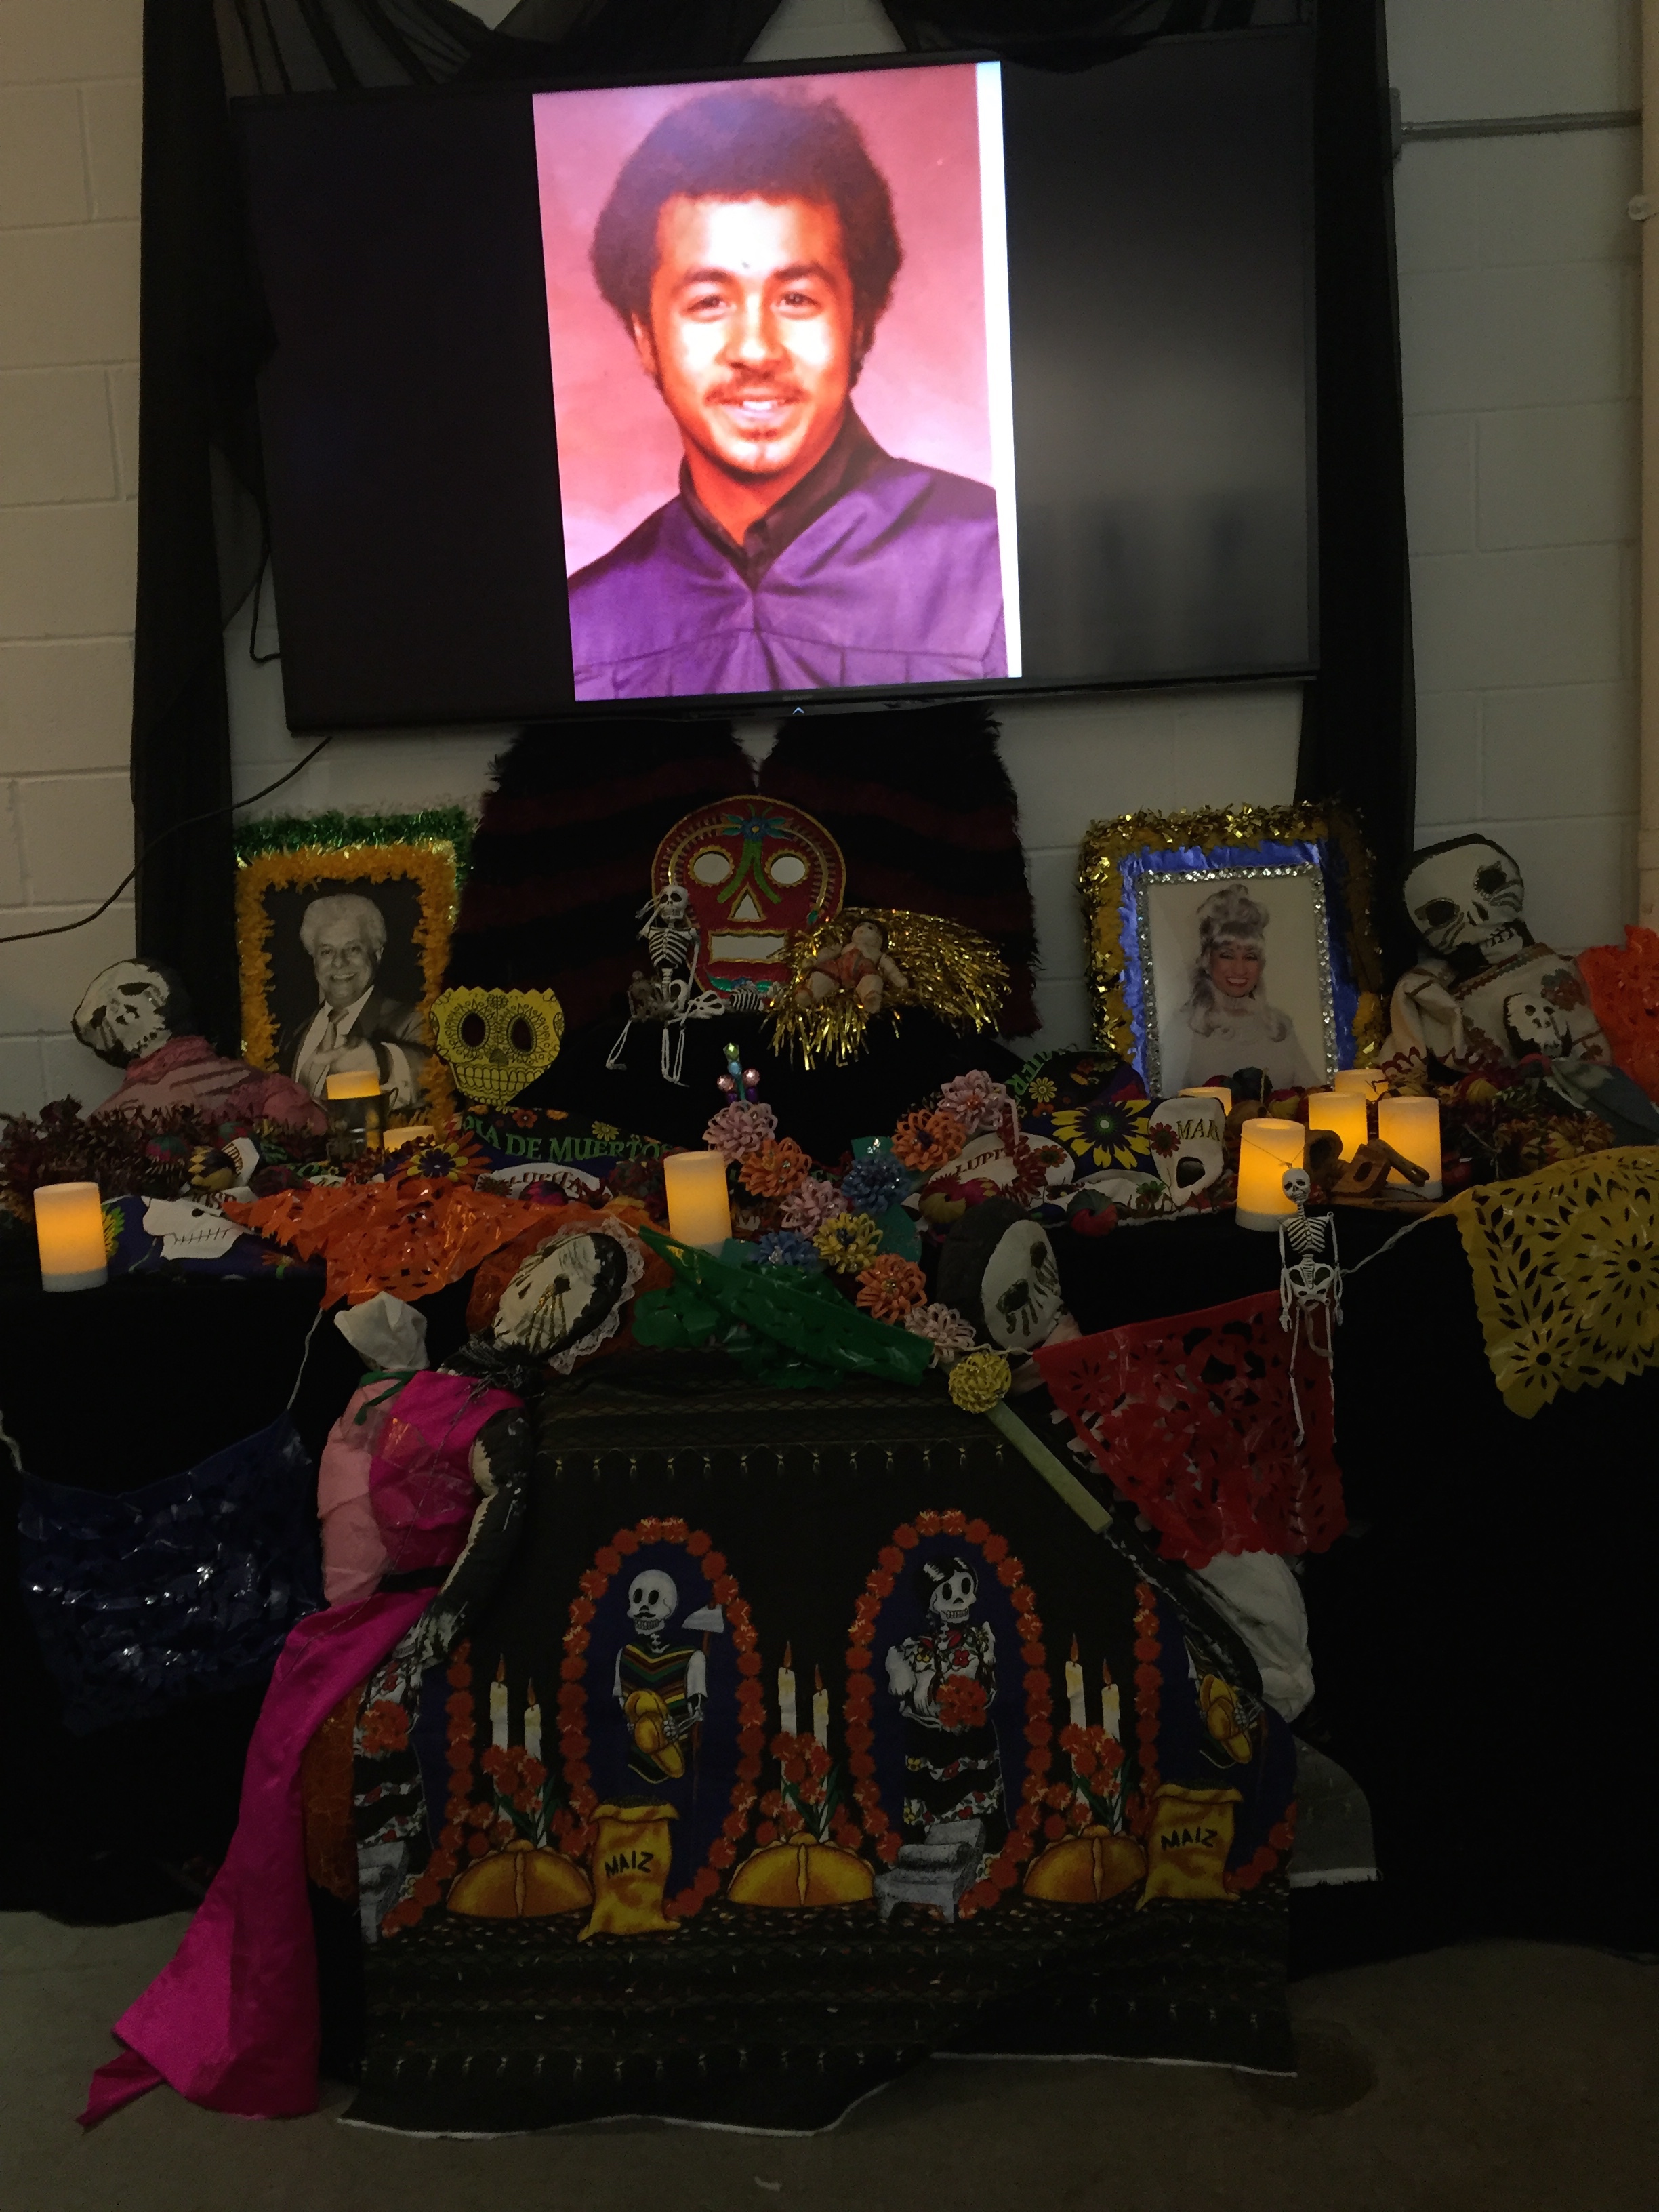
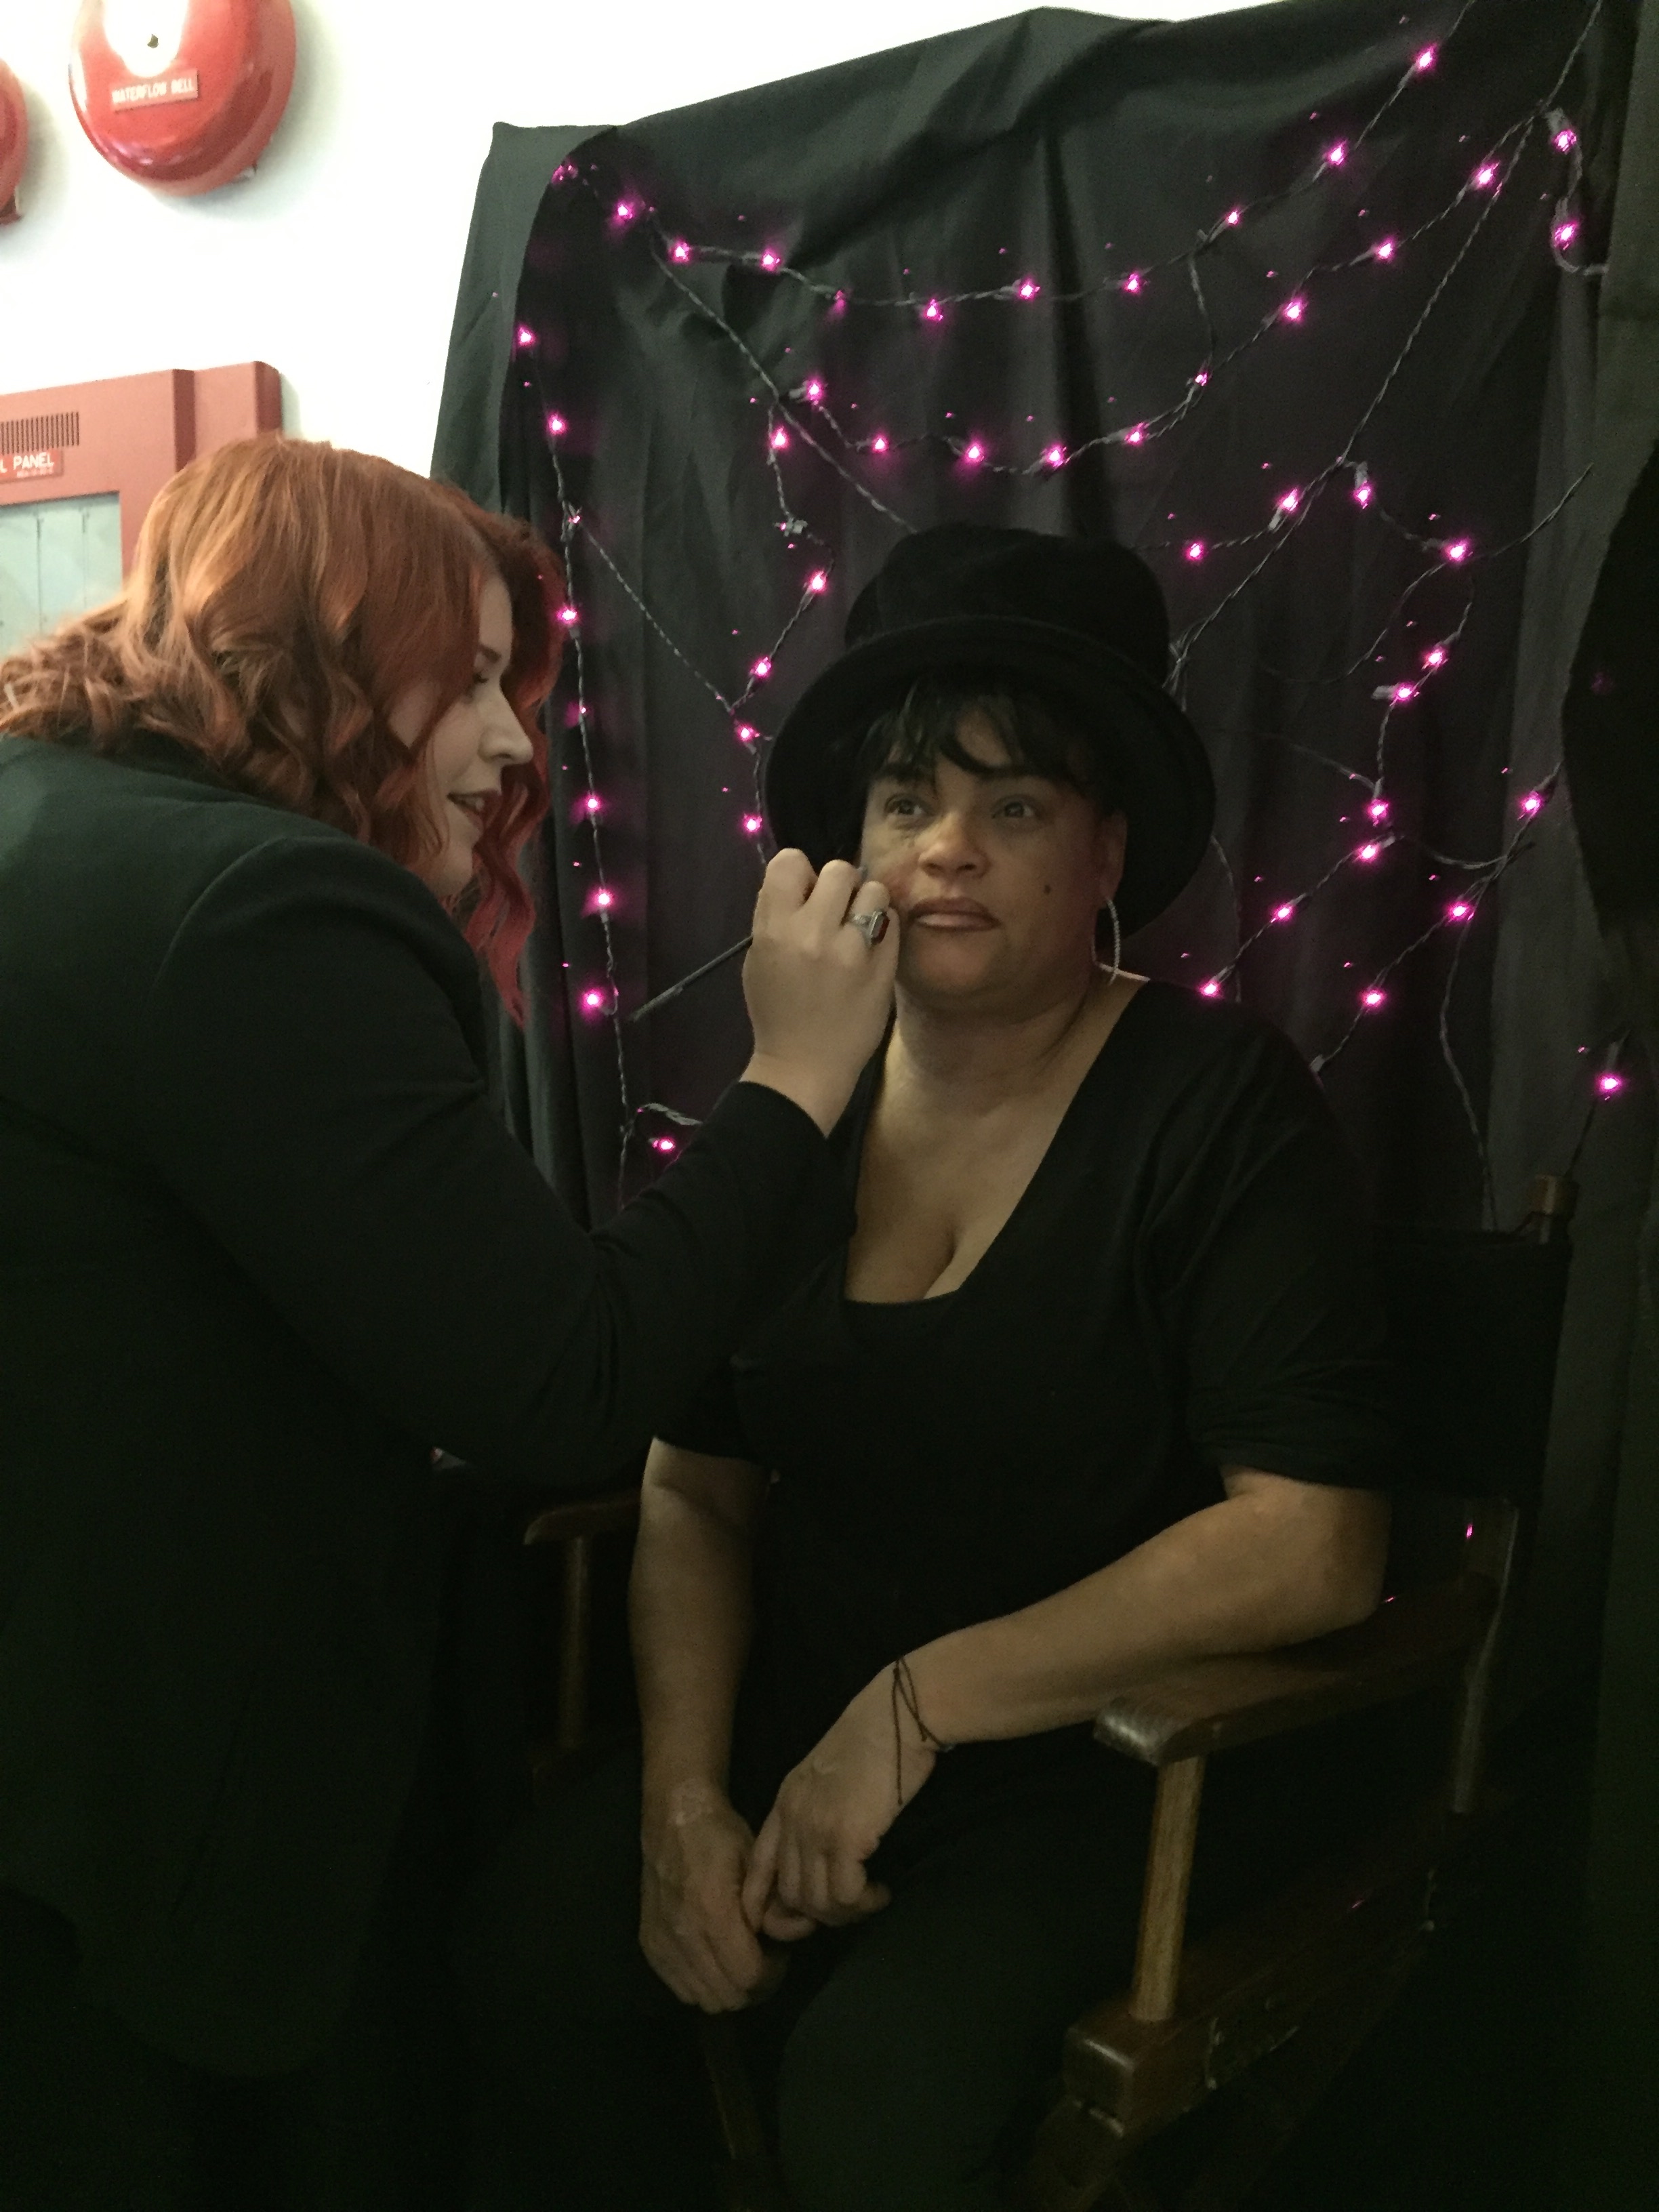
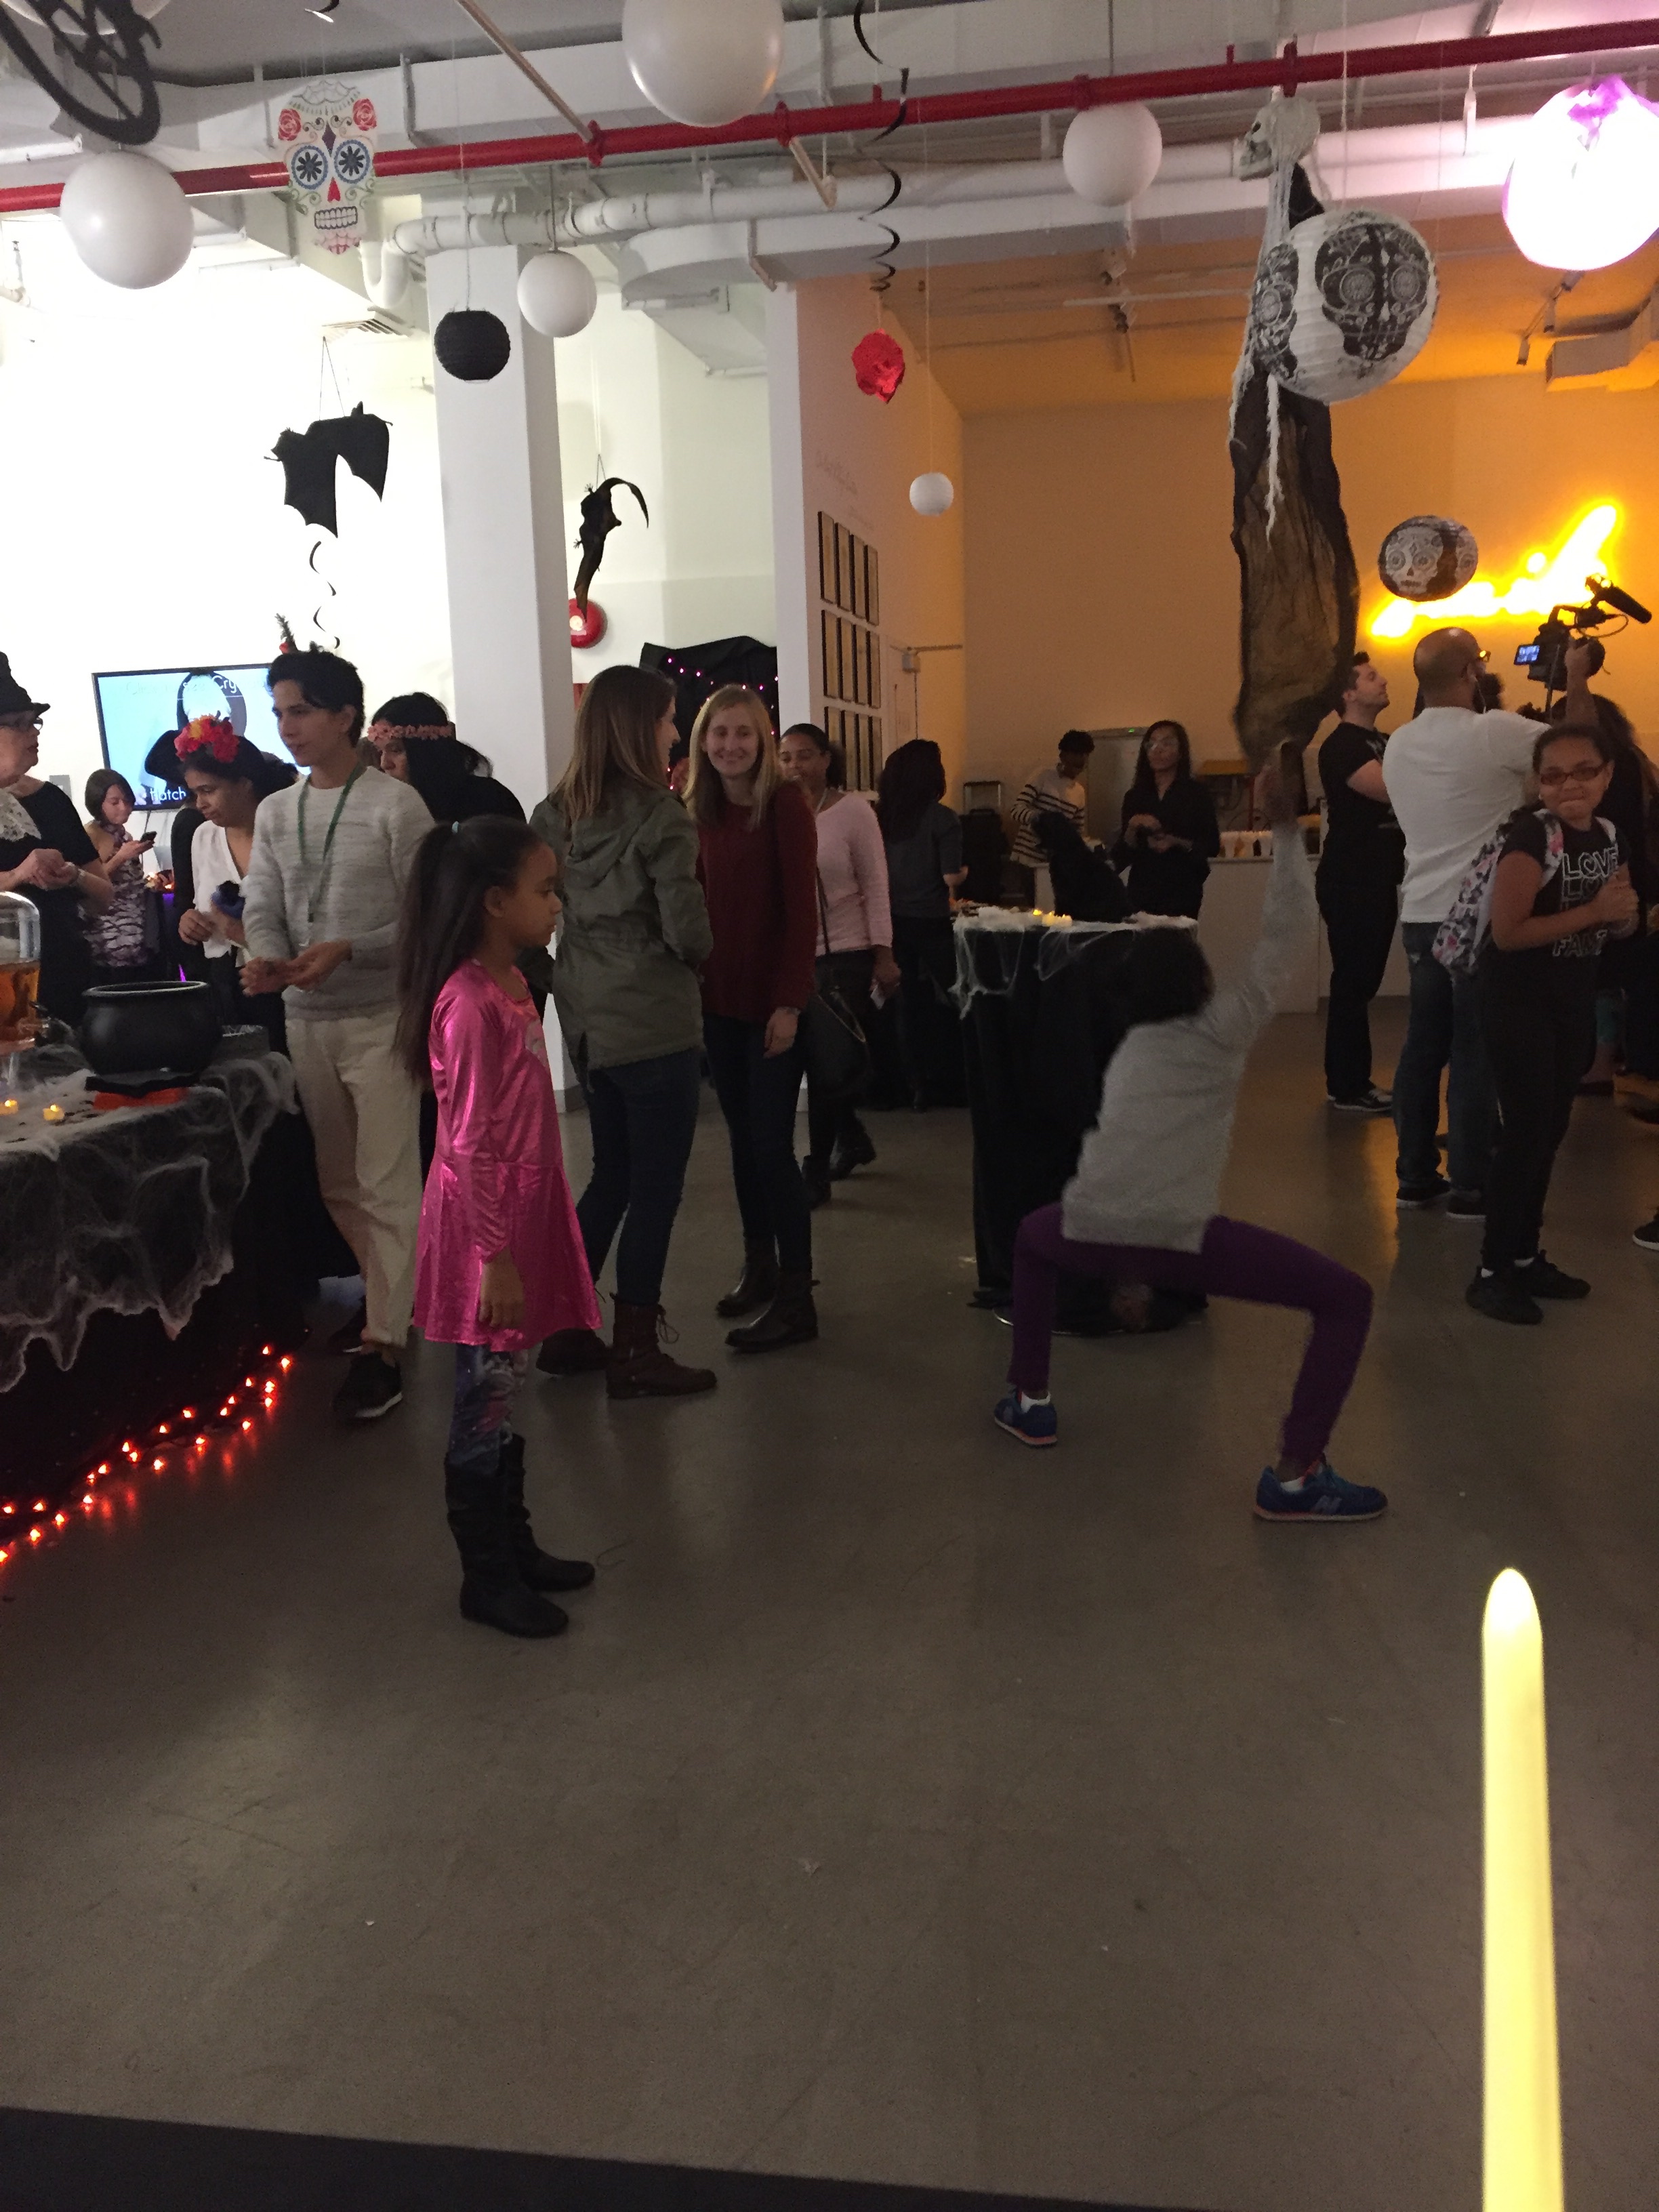
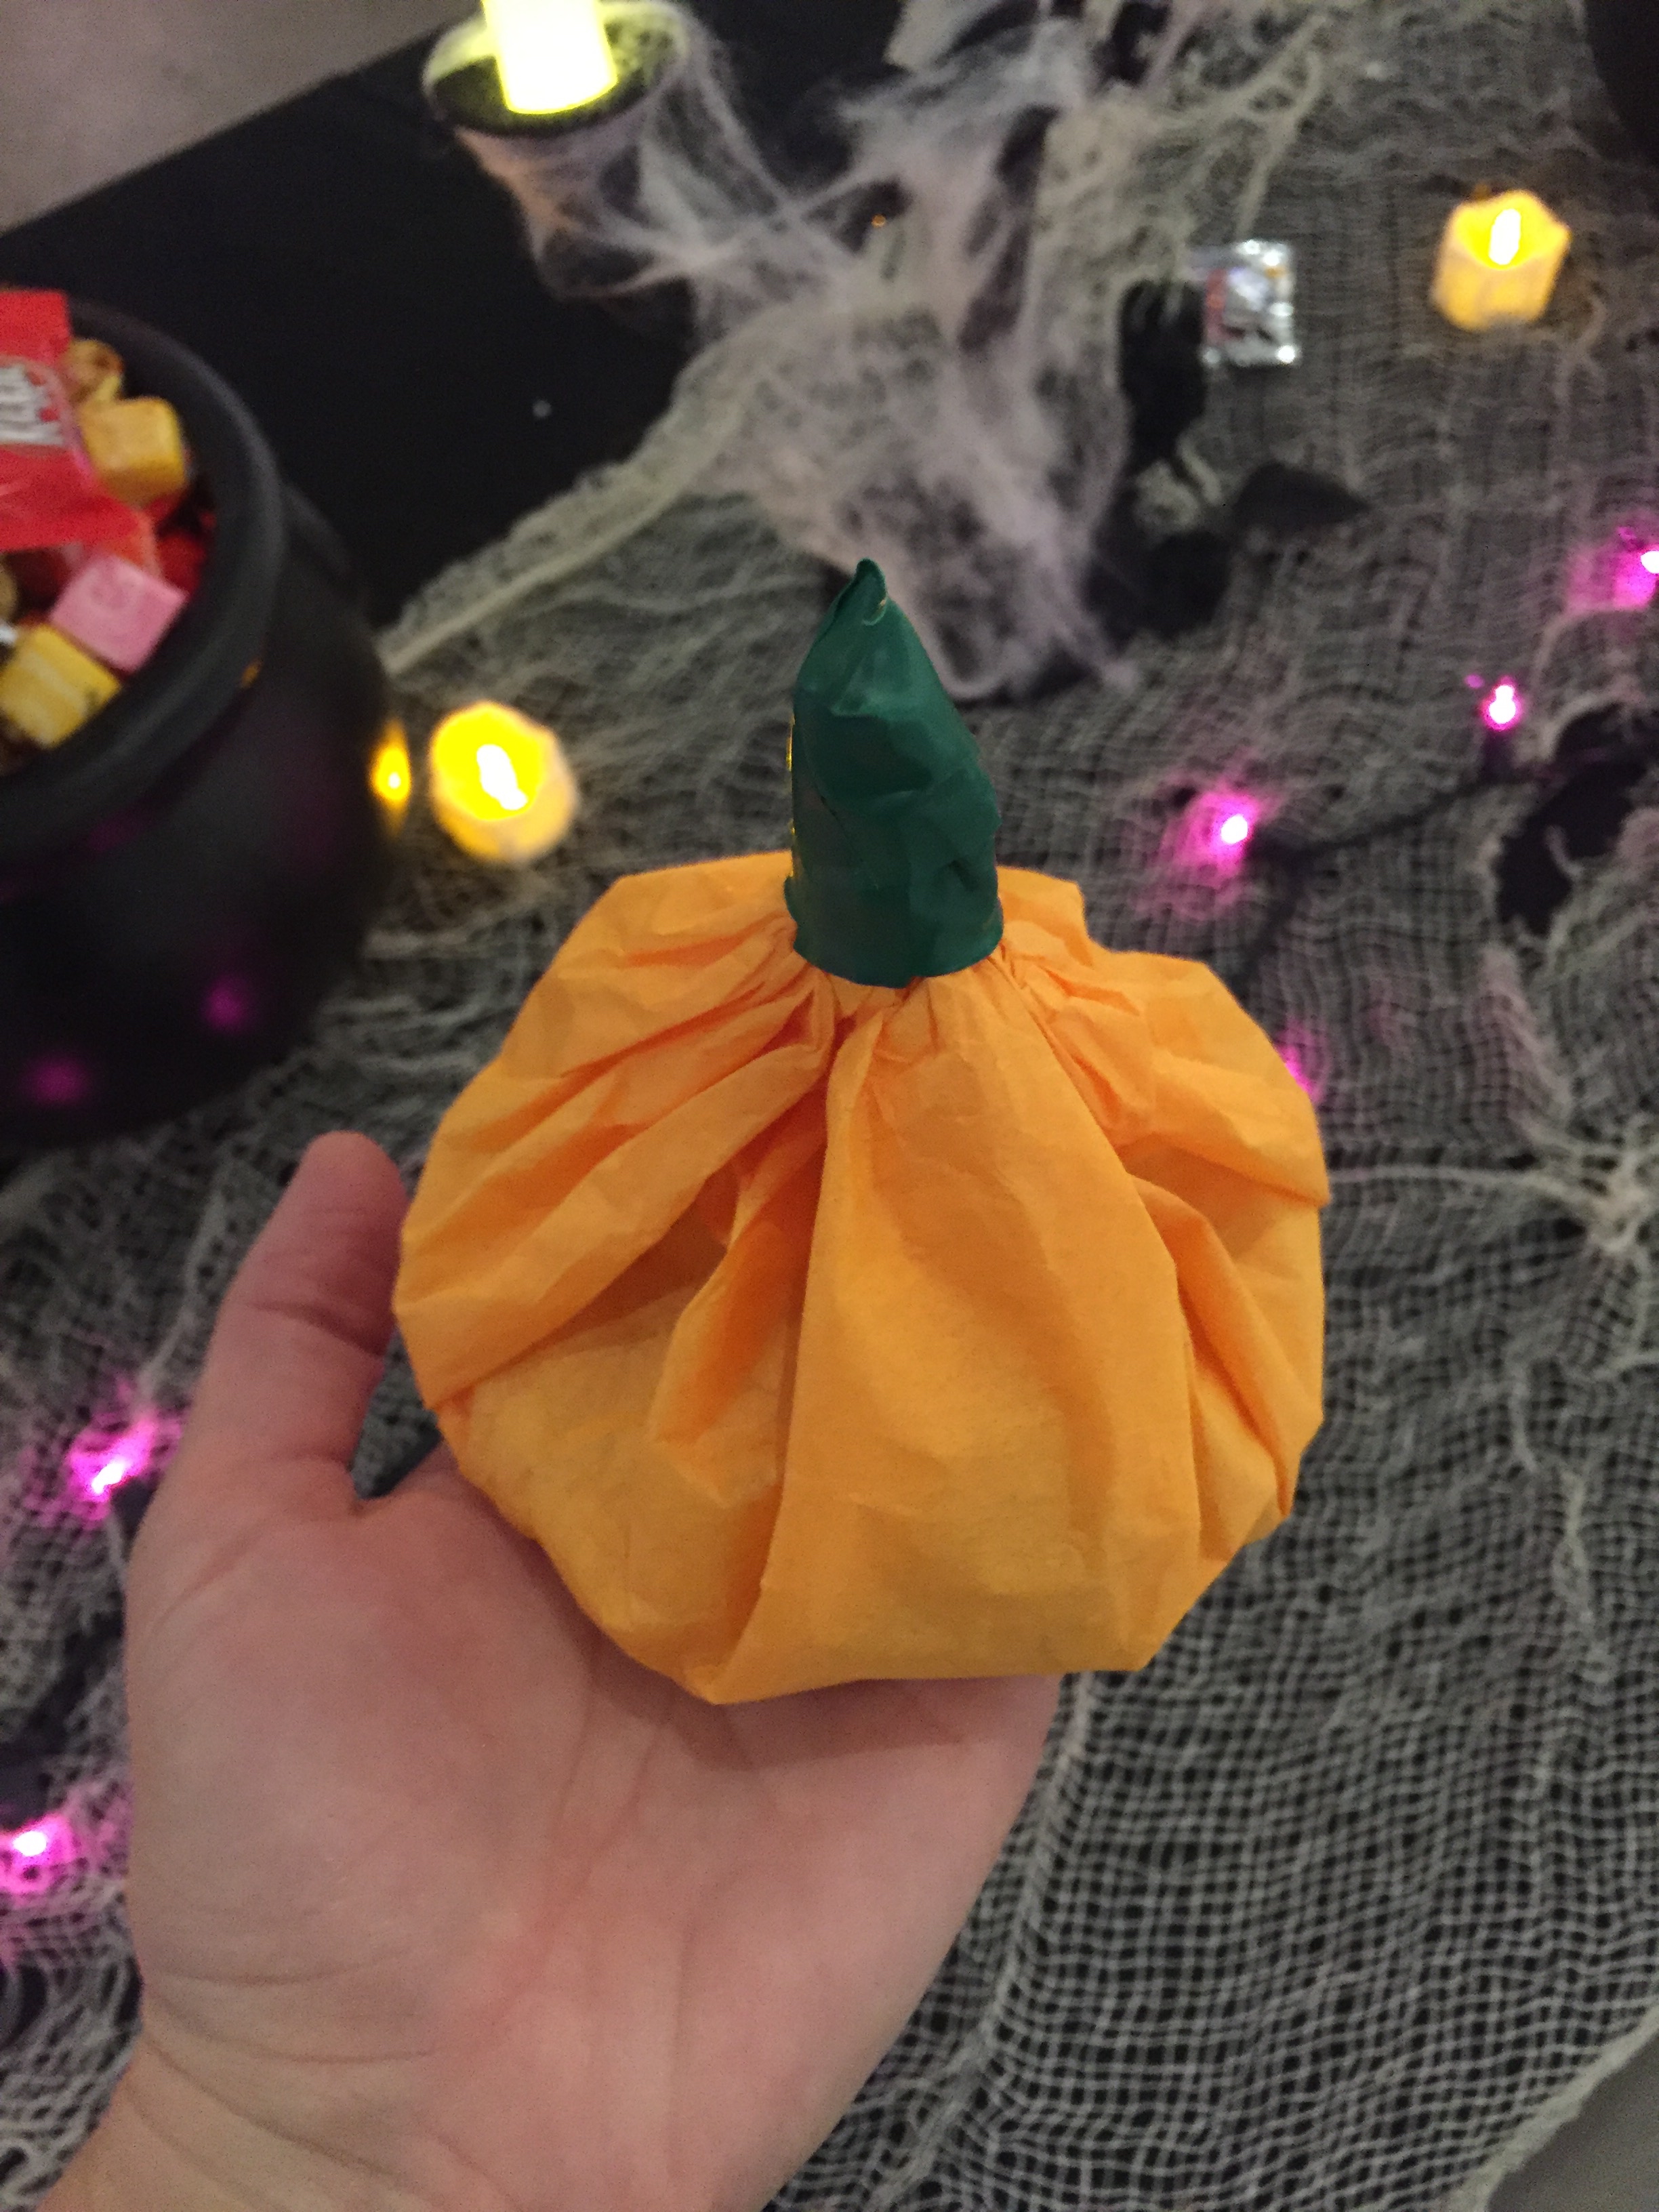
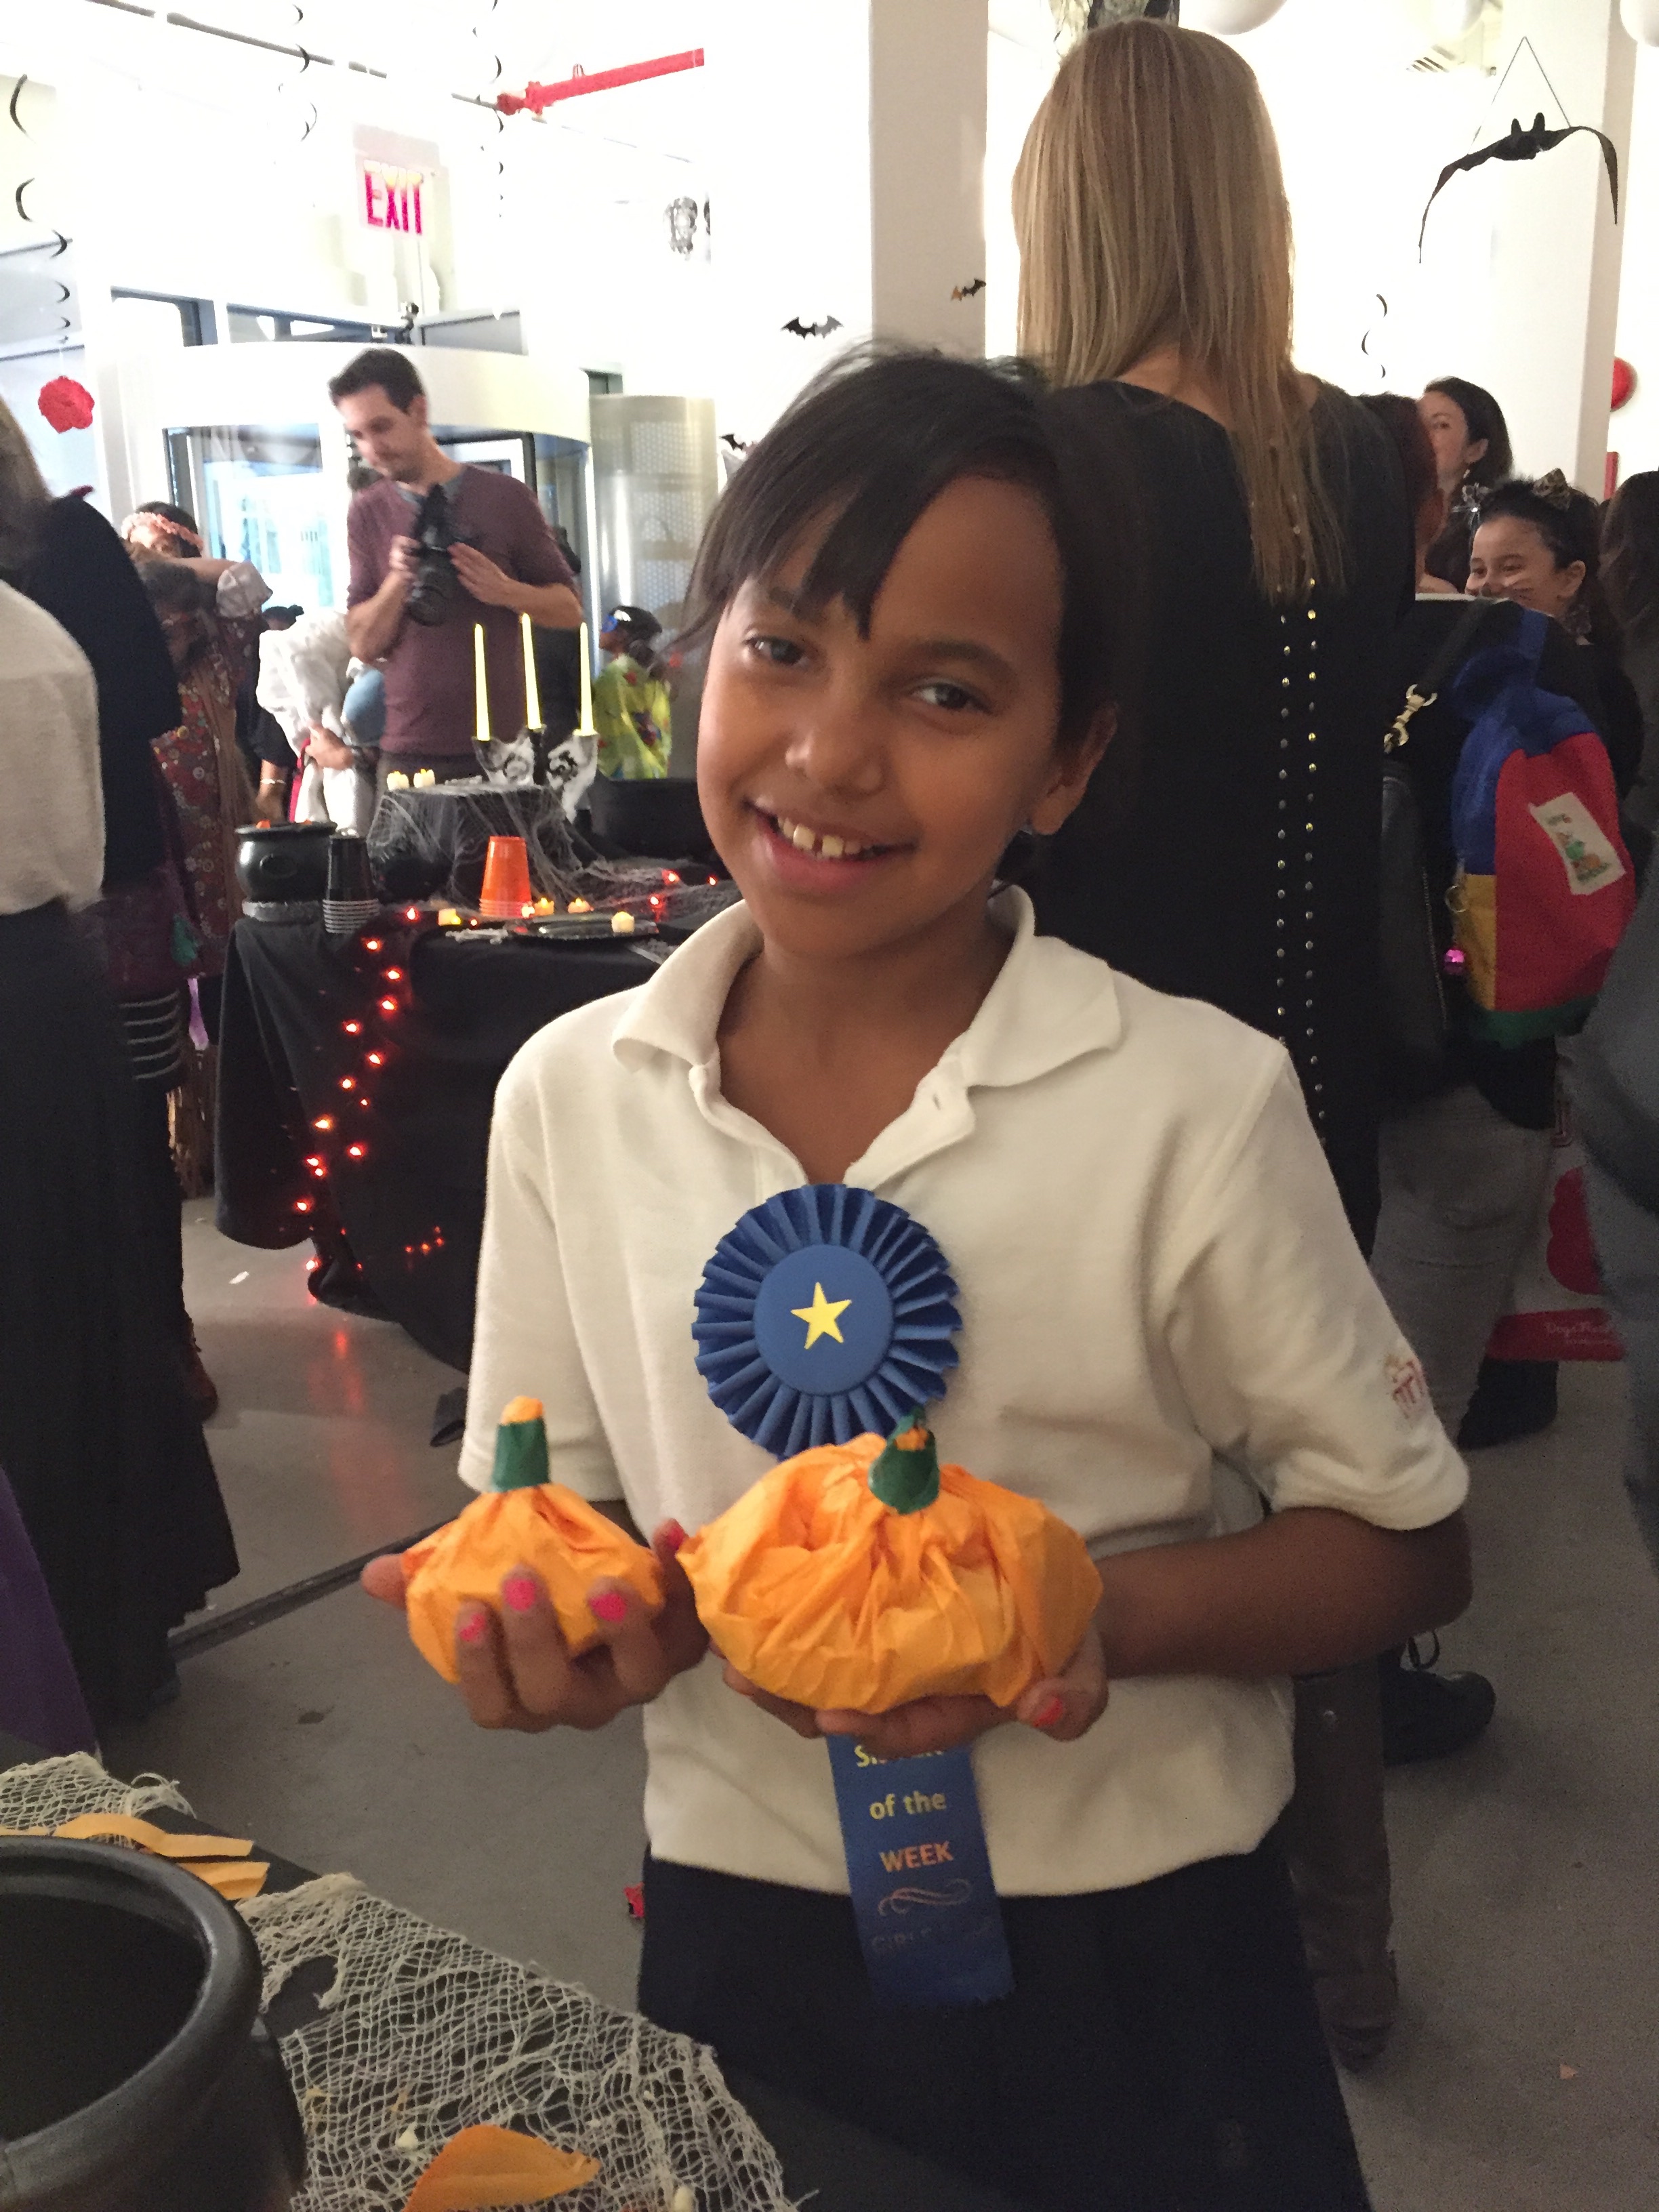
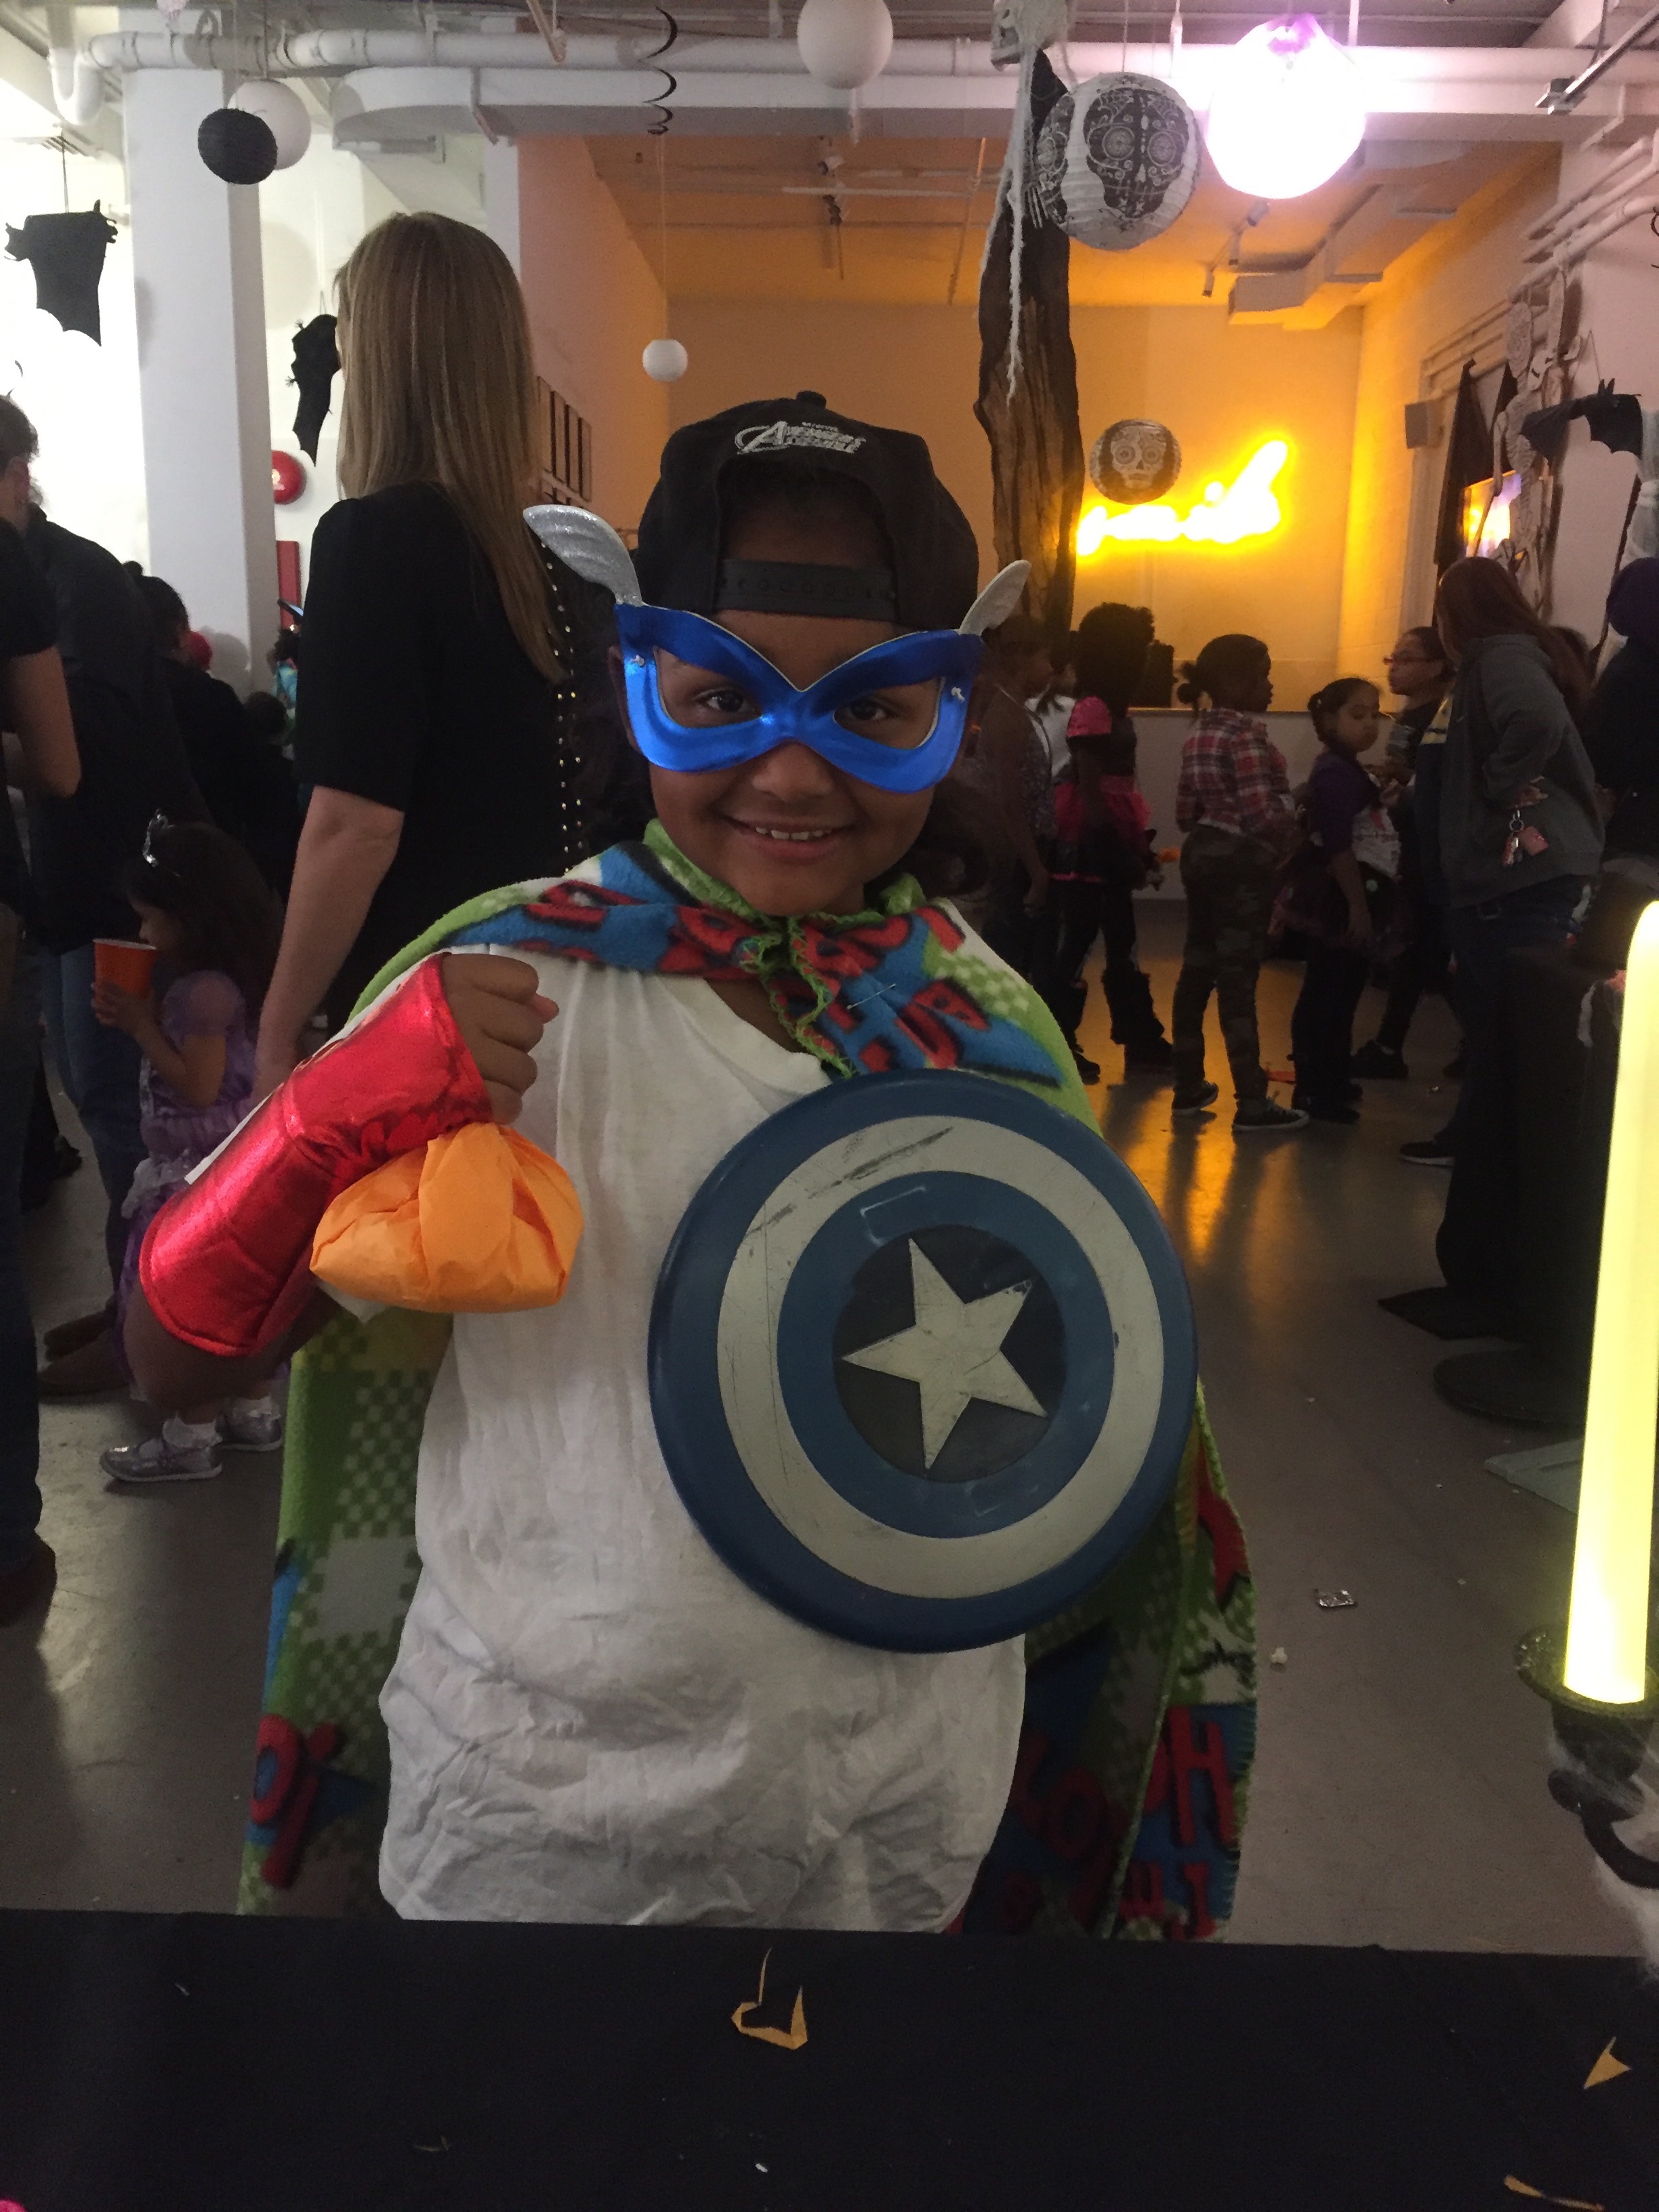
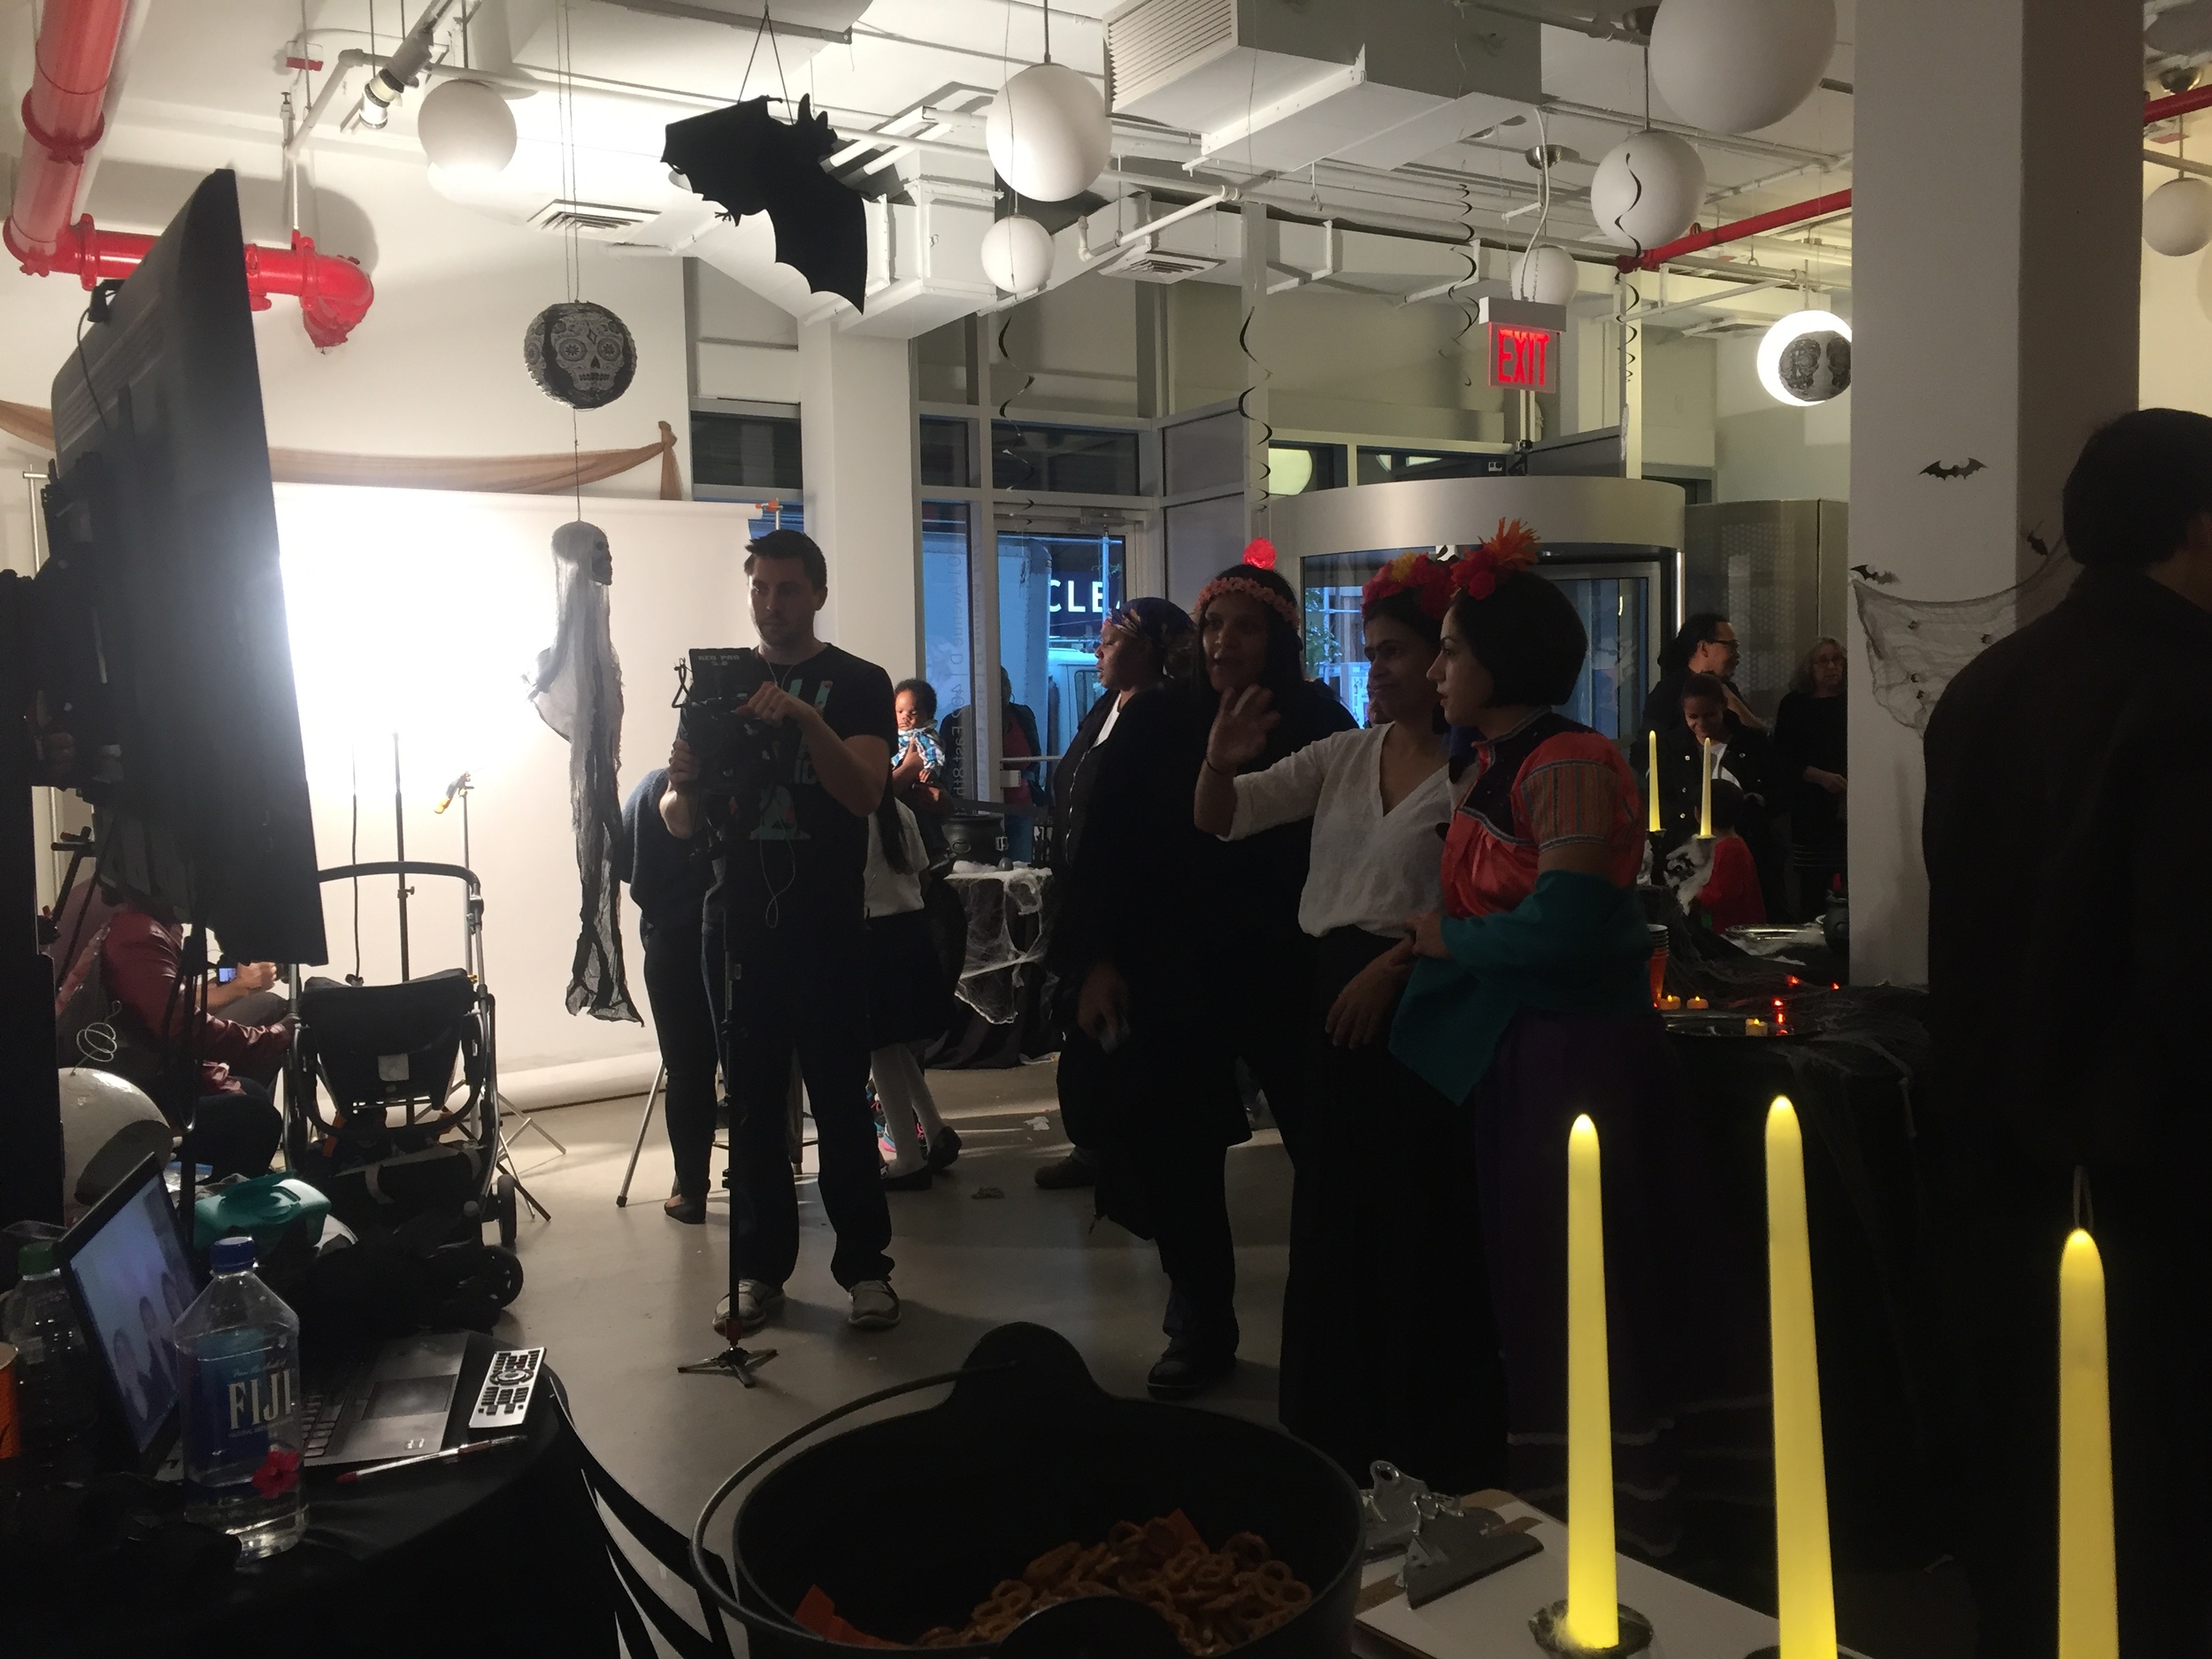
So, the main reason I was there was, of course, The Skype Halloween Party at The Lower East Side Girls' Club! The girls absolutely LOVED the party, there was a DJ that played spooky beats, I hosted a craft table featuring Tissue Paper Pumpkins filled with CANDY. Once the candy ran out, the girls practically disowned me :) The whole party will be made into a couple of short movies that will feature yours truly for a short bit, helping the girls make pumpkins, and also myself chatting with influencers from YouTube, Twitter, and Instagram! It all went super well, and I had a blast! It was incredible giving back to the community in this way, and hopefully inspiring the kids!
Until next time! NYC, I really had fun, and hope to be back soon! A very special thanks to HelloSociety and Skype for helping make this project an absolute success!!!
A Halloween Party With Skype!
My friends at Skype asked me to share some amazing Halloween Party DIY Ideas! I have a few amazing ideas for a party that would appeal to kids and adults! Below you will find Chic and Cute Halloween Decor, Ping Ping Ghost Lights, and also a Tasty Candy Halloween Centerpiece.
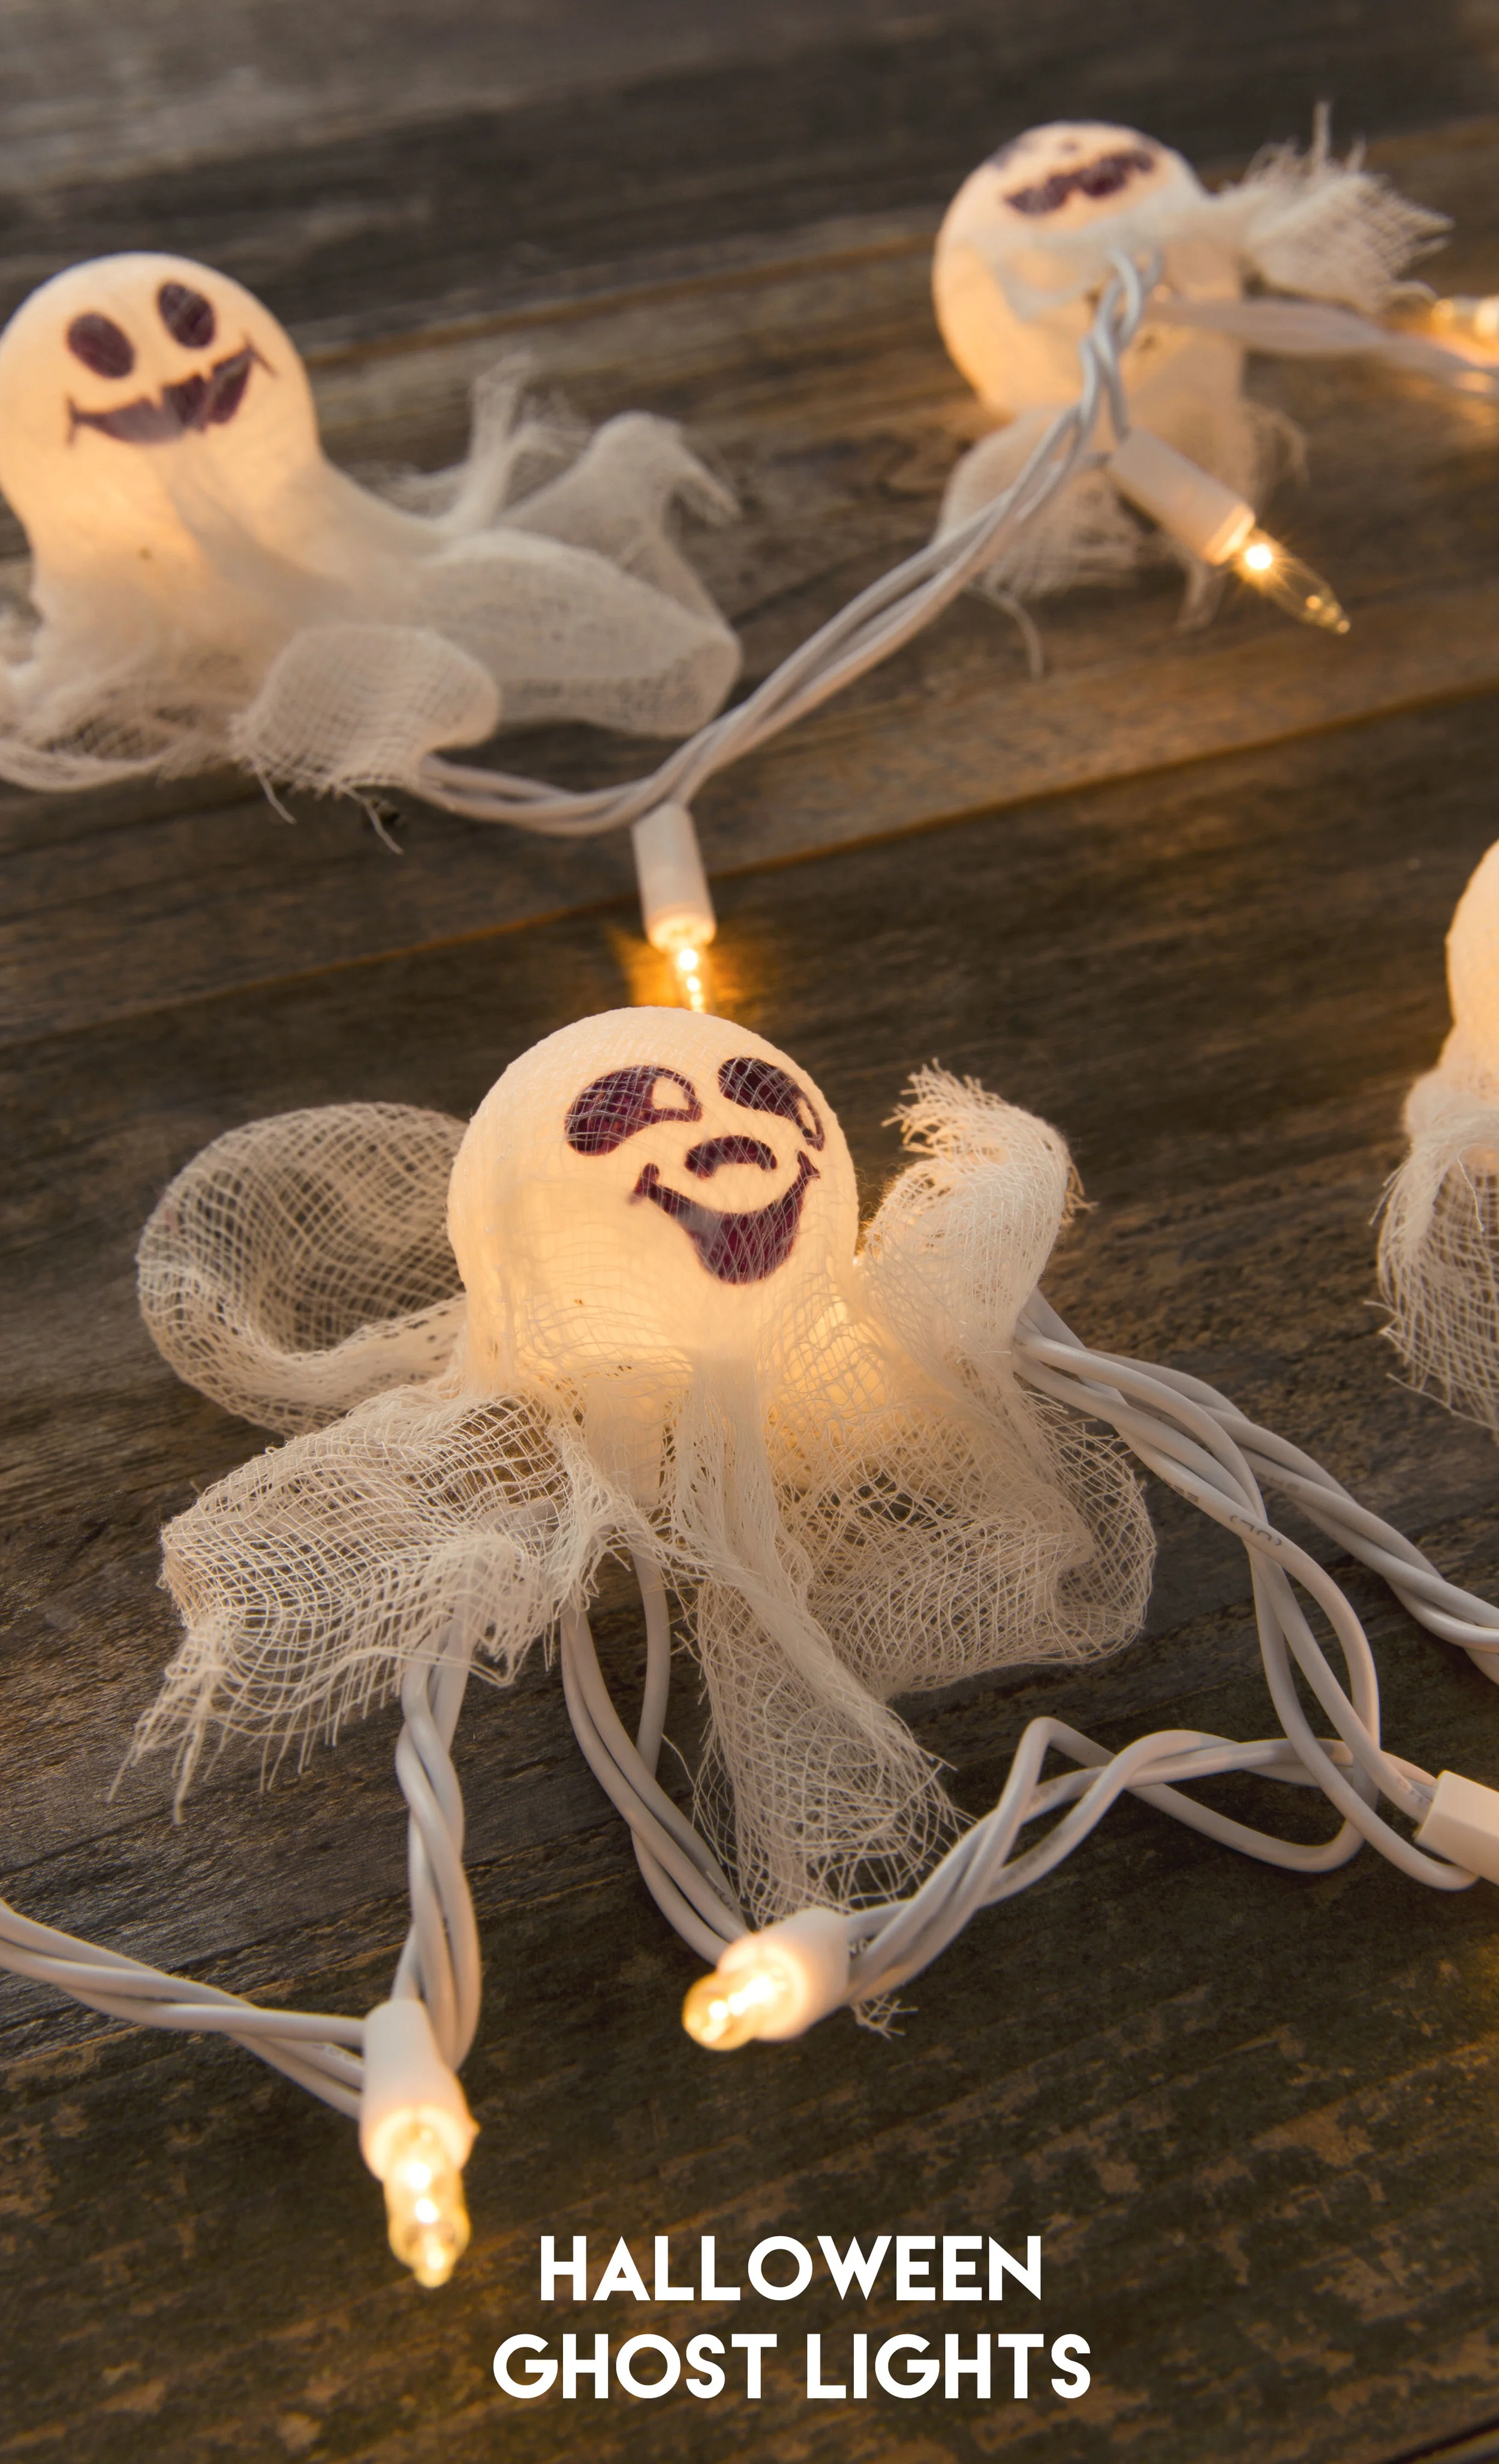
GHOST LIGHTS - I absolutely love these cute little ghosts! I created them with a few simple materials. The other fun part of this project, was that I was able to use Skype to help share this project with my friend, who absolutely LOVED them :) It's great being able to connect with people who live far away, and Skype made it easy.
MATERIALS
- 1 Strand of white lights (with white wires). I used a strand of 50, but 25 would be great also.
- 10 Ping Ping Balls
- Modge Podge (any type will do)
- Foam Brush for Modge Podge
- Cheesecloth (found in the fabric/notions section at Hobby Lobby)
- Permanent Marker
- Egg Cartons and Painters Tape
- Drill and Drill Bit - 5/16" - Or a large nail will be good - to poke holes in ping pong balls
- 4" x 4" squares of cheesecloth (x10)
INSTRUCTIONS
1.) Drill holes in all ping ping balls. You can also use a large nail to poke the holes in them. Make sure you poke the hole where the logo is.
2.) Draw spooky ghost faces on all ping pong balls. I searched for "Ghost Faces" online, and all sorts of ideas came up.
3.) Grab your egg cartons and use the painters tape to create little cones, so your ping pong balls can sit up in the egg cartons. Use the sticky side of the tape on the outside.
4.) Drape the cheesecloth squares over the ping pong balls, and use your foam brush to paint the Modge Podge over the cloth, to adhere to the ping pong balls. They will definitely begin to look like ghosts now!
5.) Let them dry for 4-5 hours, and place a ping pong ball ghost to every third or fourth Christmas light! That's it! Please comment below if you make these!
HALLOWEEN CENTERPIECE
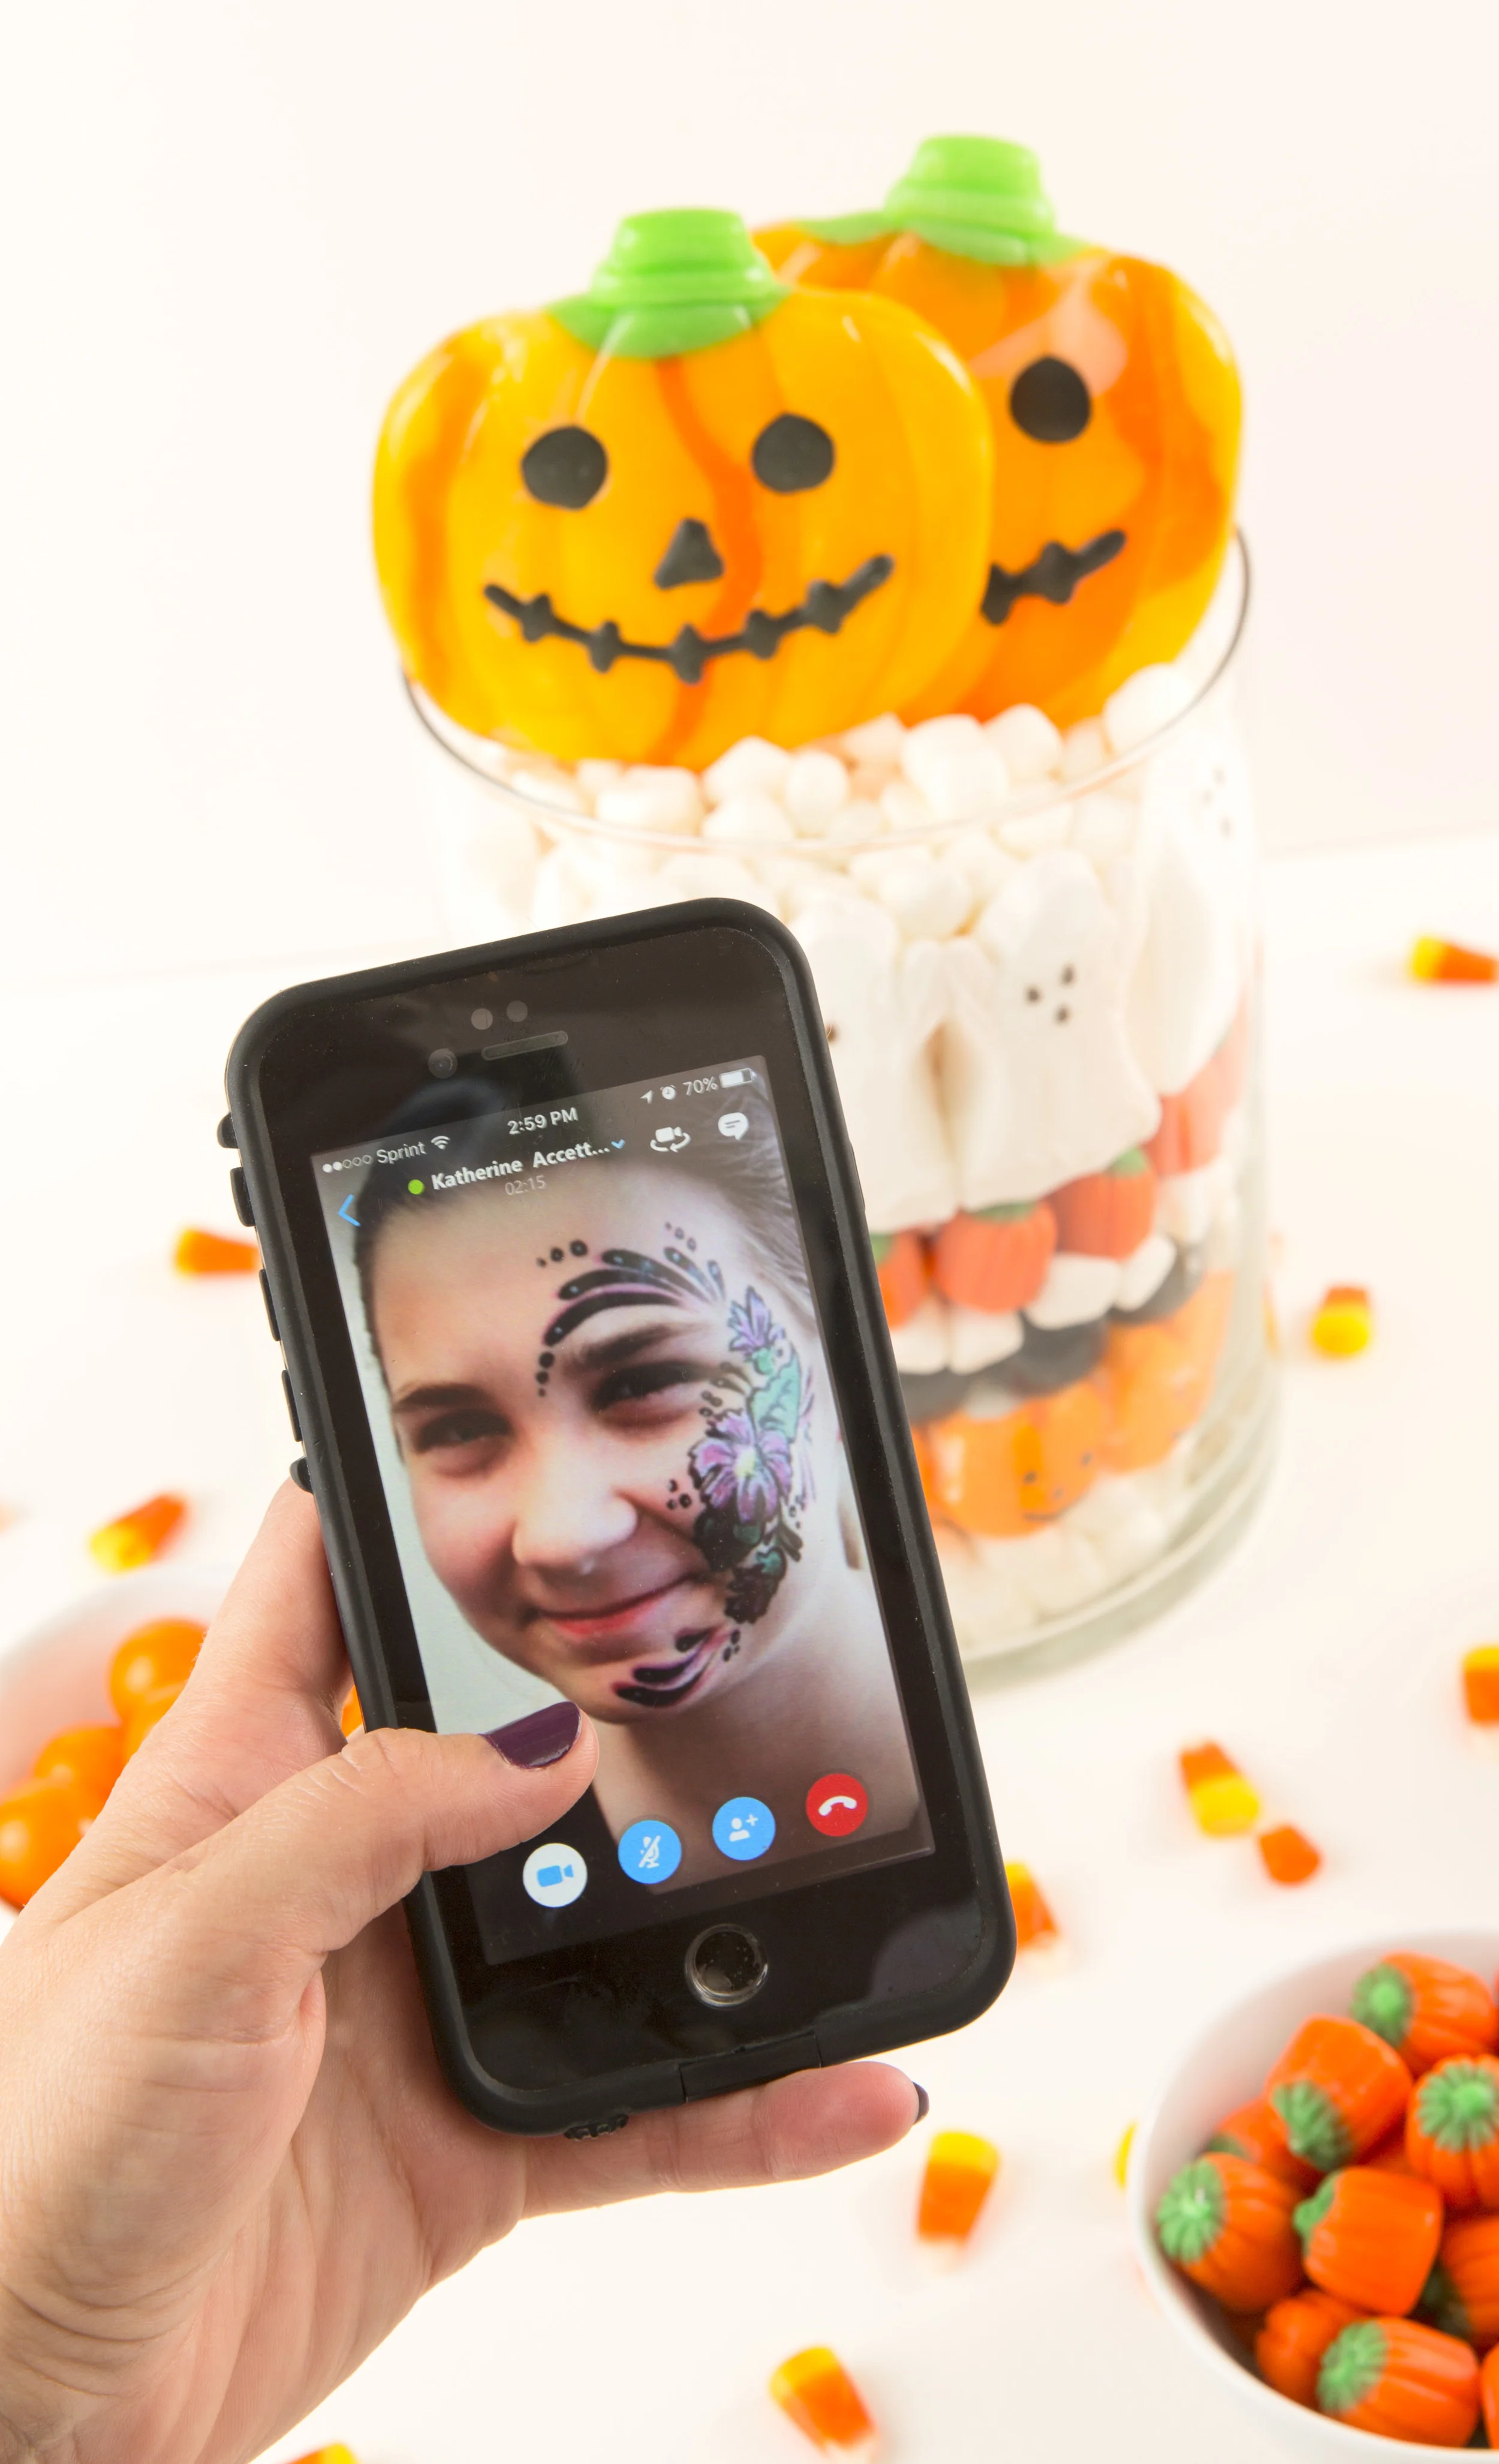
I used a big assortment of Halloween candy for this one! It turned out SO cute and I think kids would just love it. This would make the ultimate conversation piece at a Halloween party, too!
MATERIALS
- Large Glass Vase with straight sides
- 1 large bag of mini marshmallows and 3-4 other types of Halloween candy and Halloween Peeps
INSTRUCTIONS -
1.) Pour 2 inches of marshmallows into vase
2.) Layer Halloween Peeps around edge of vase, and fill center with more marshmallows
3.) Layer alternating colored candies all the way up, and top off with more marshmallows and Halloween suckers of your choice!
THE ULTIMATE CHIC HALLOWEEN PARTY DECOR
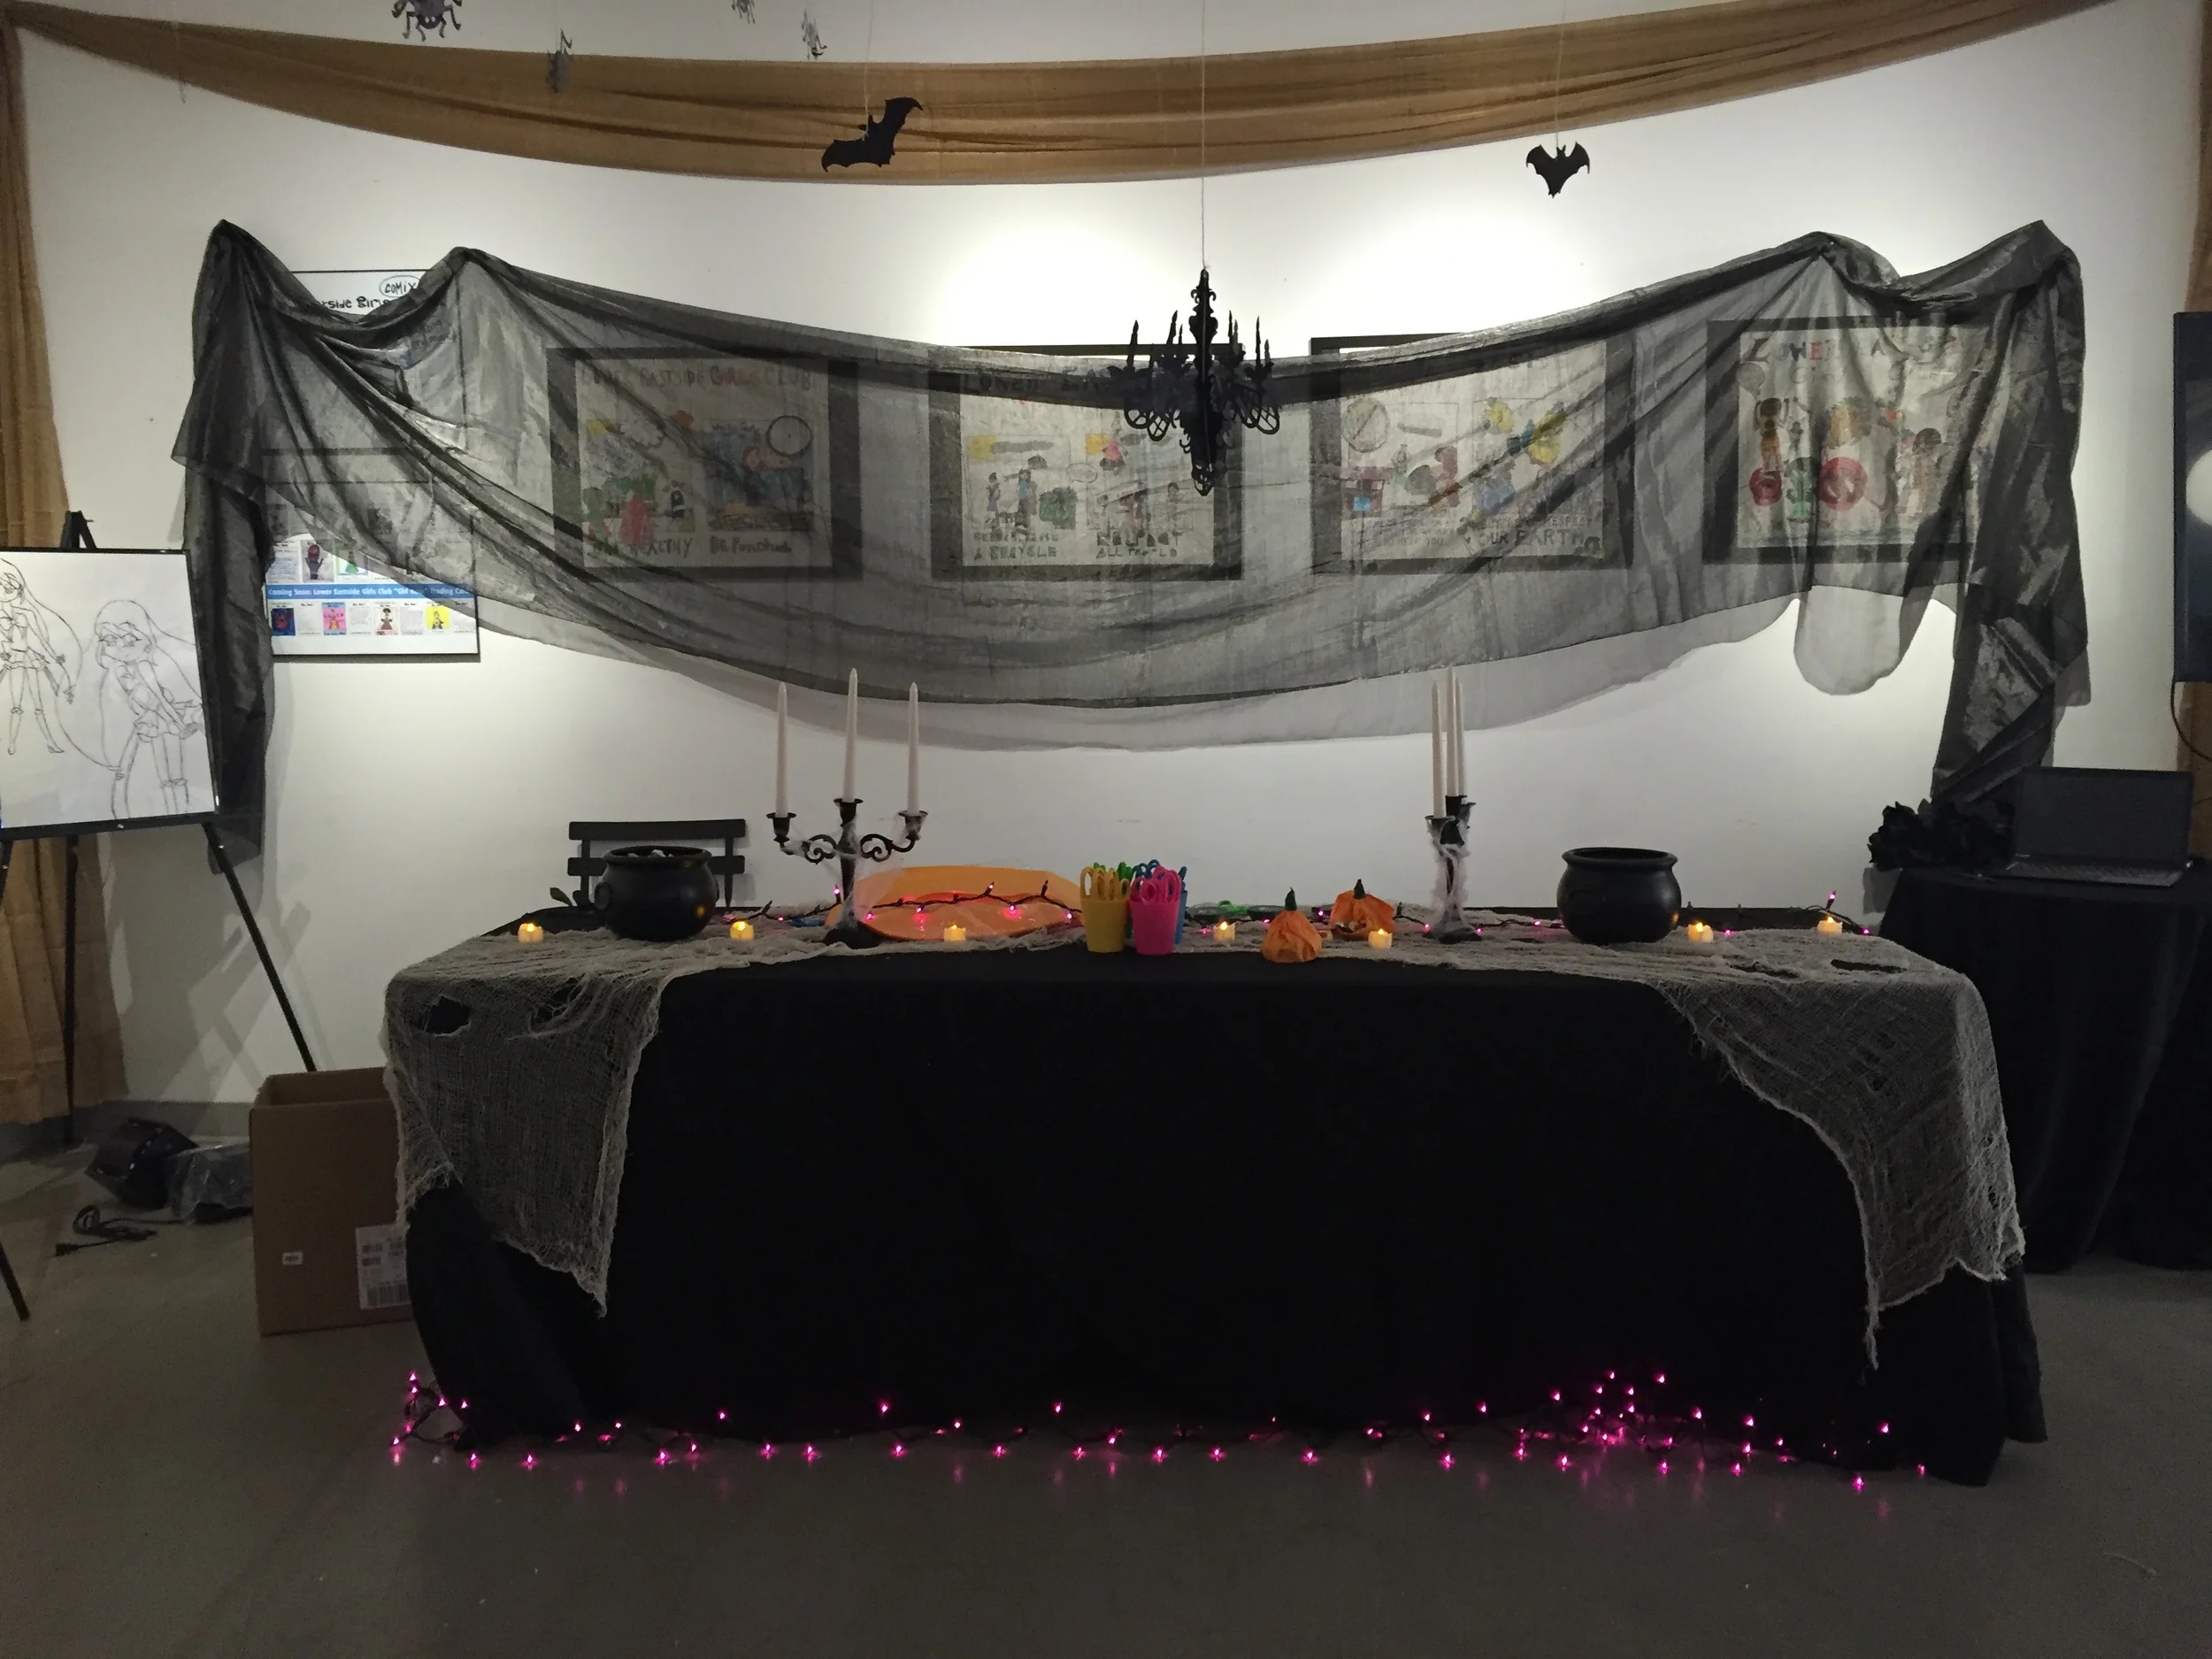
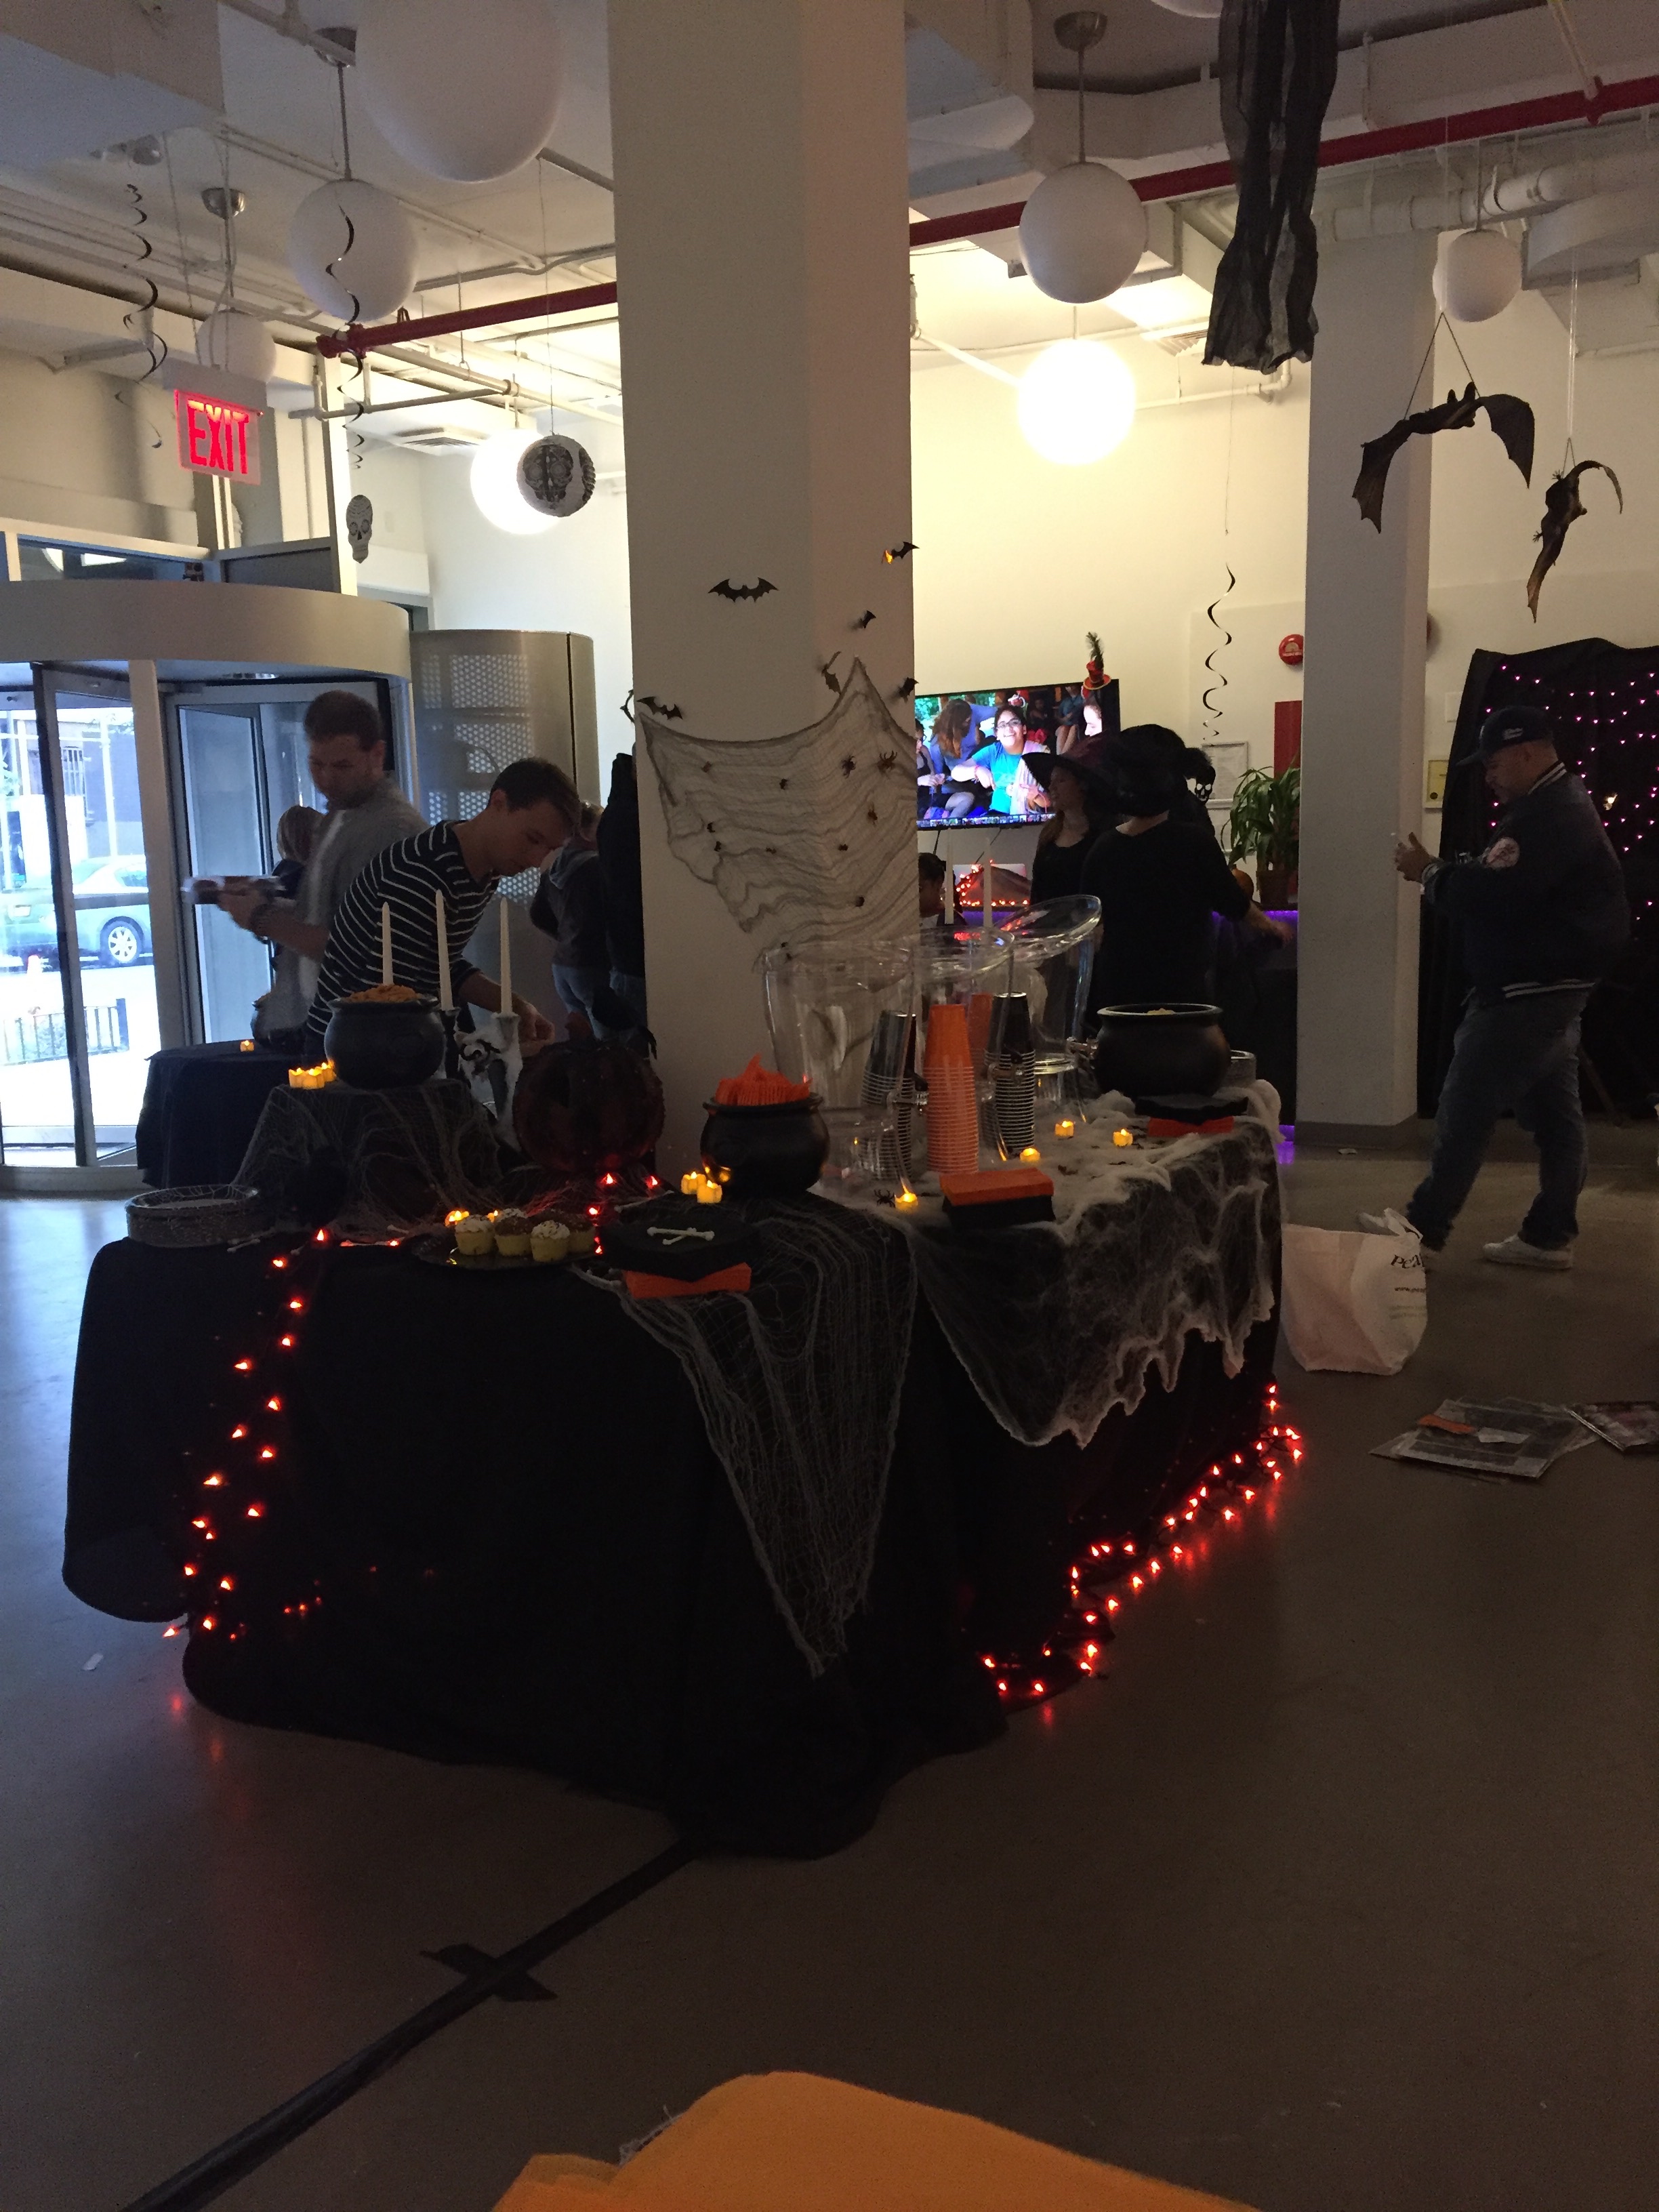
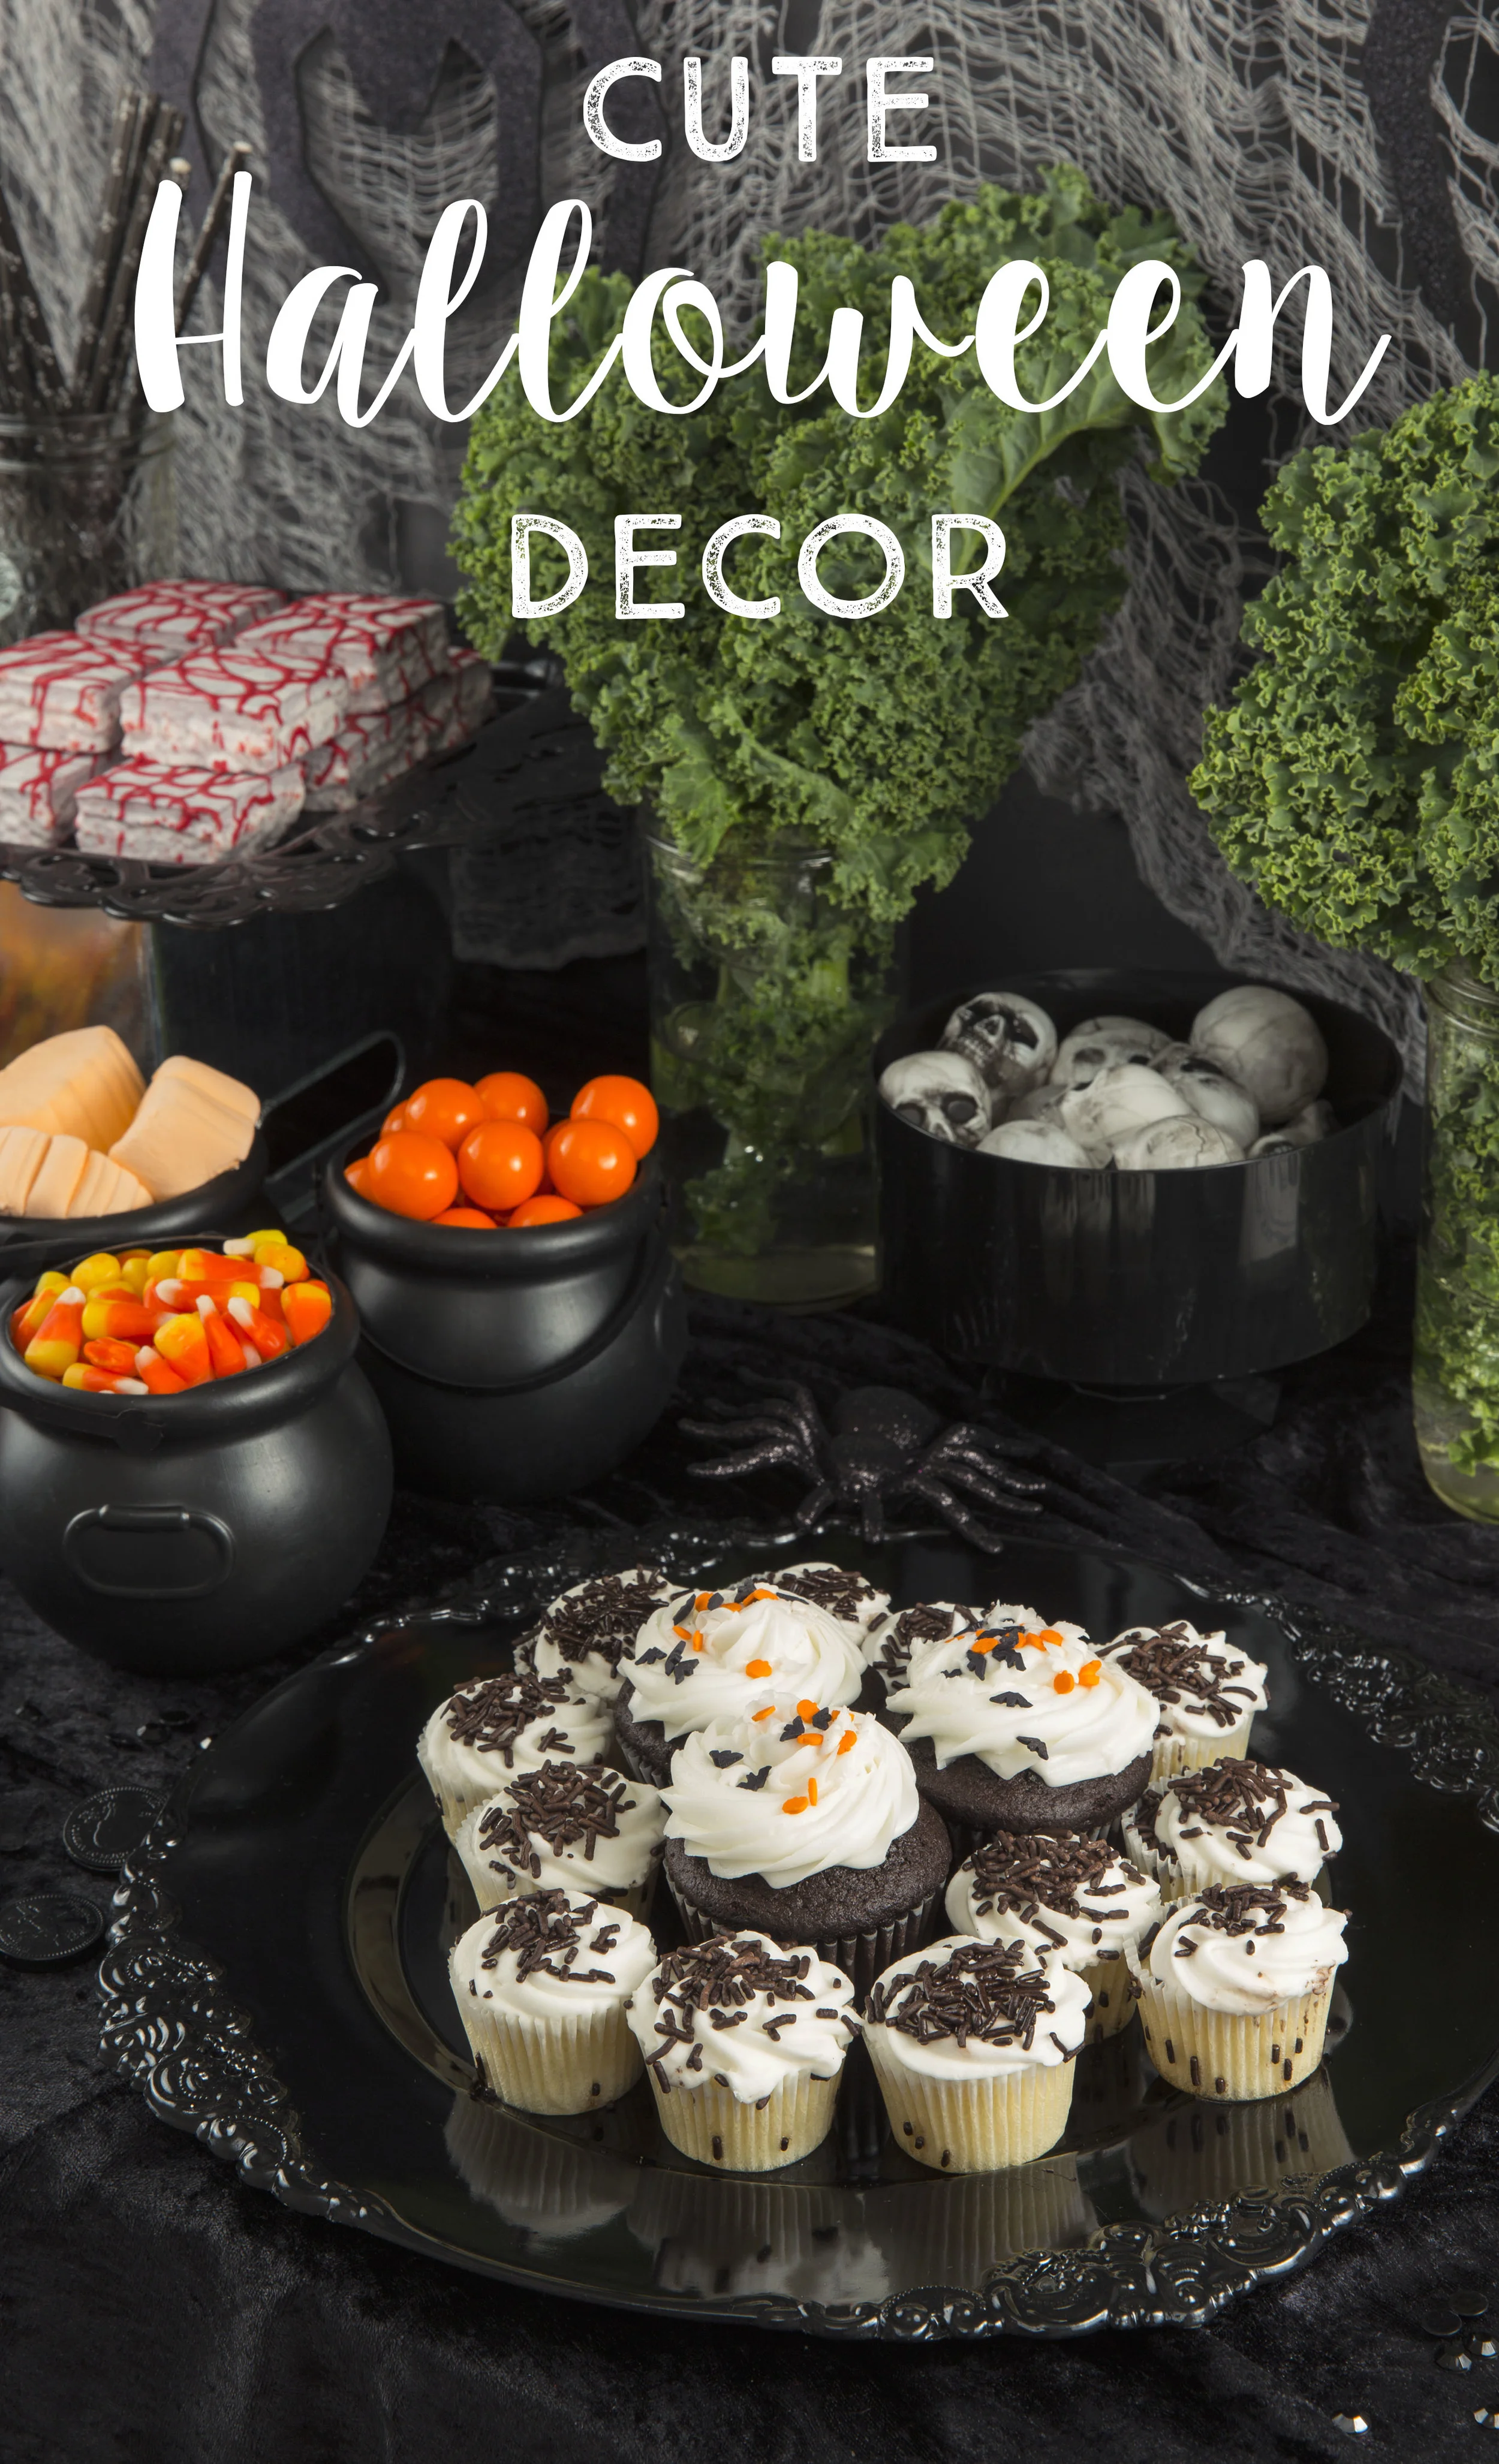
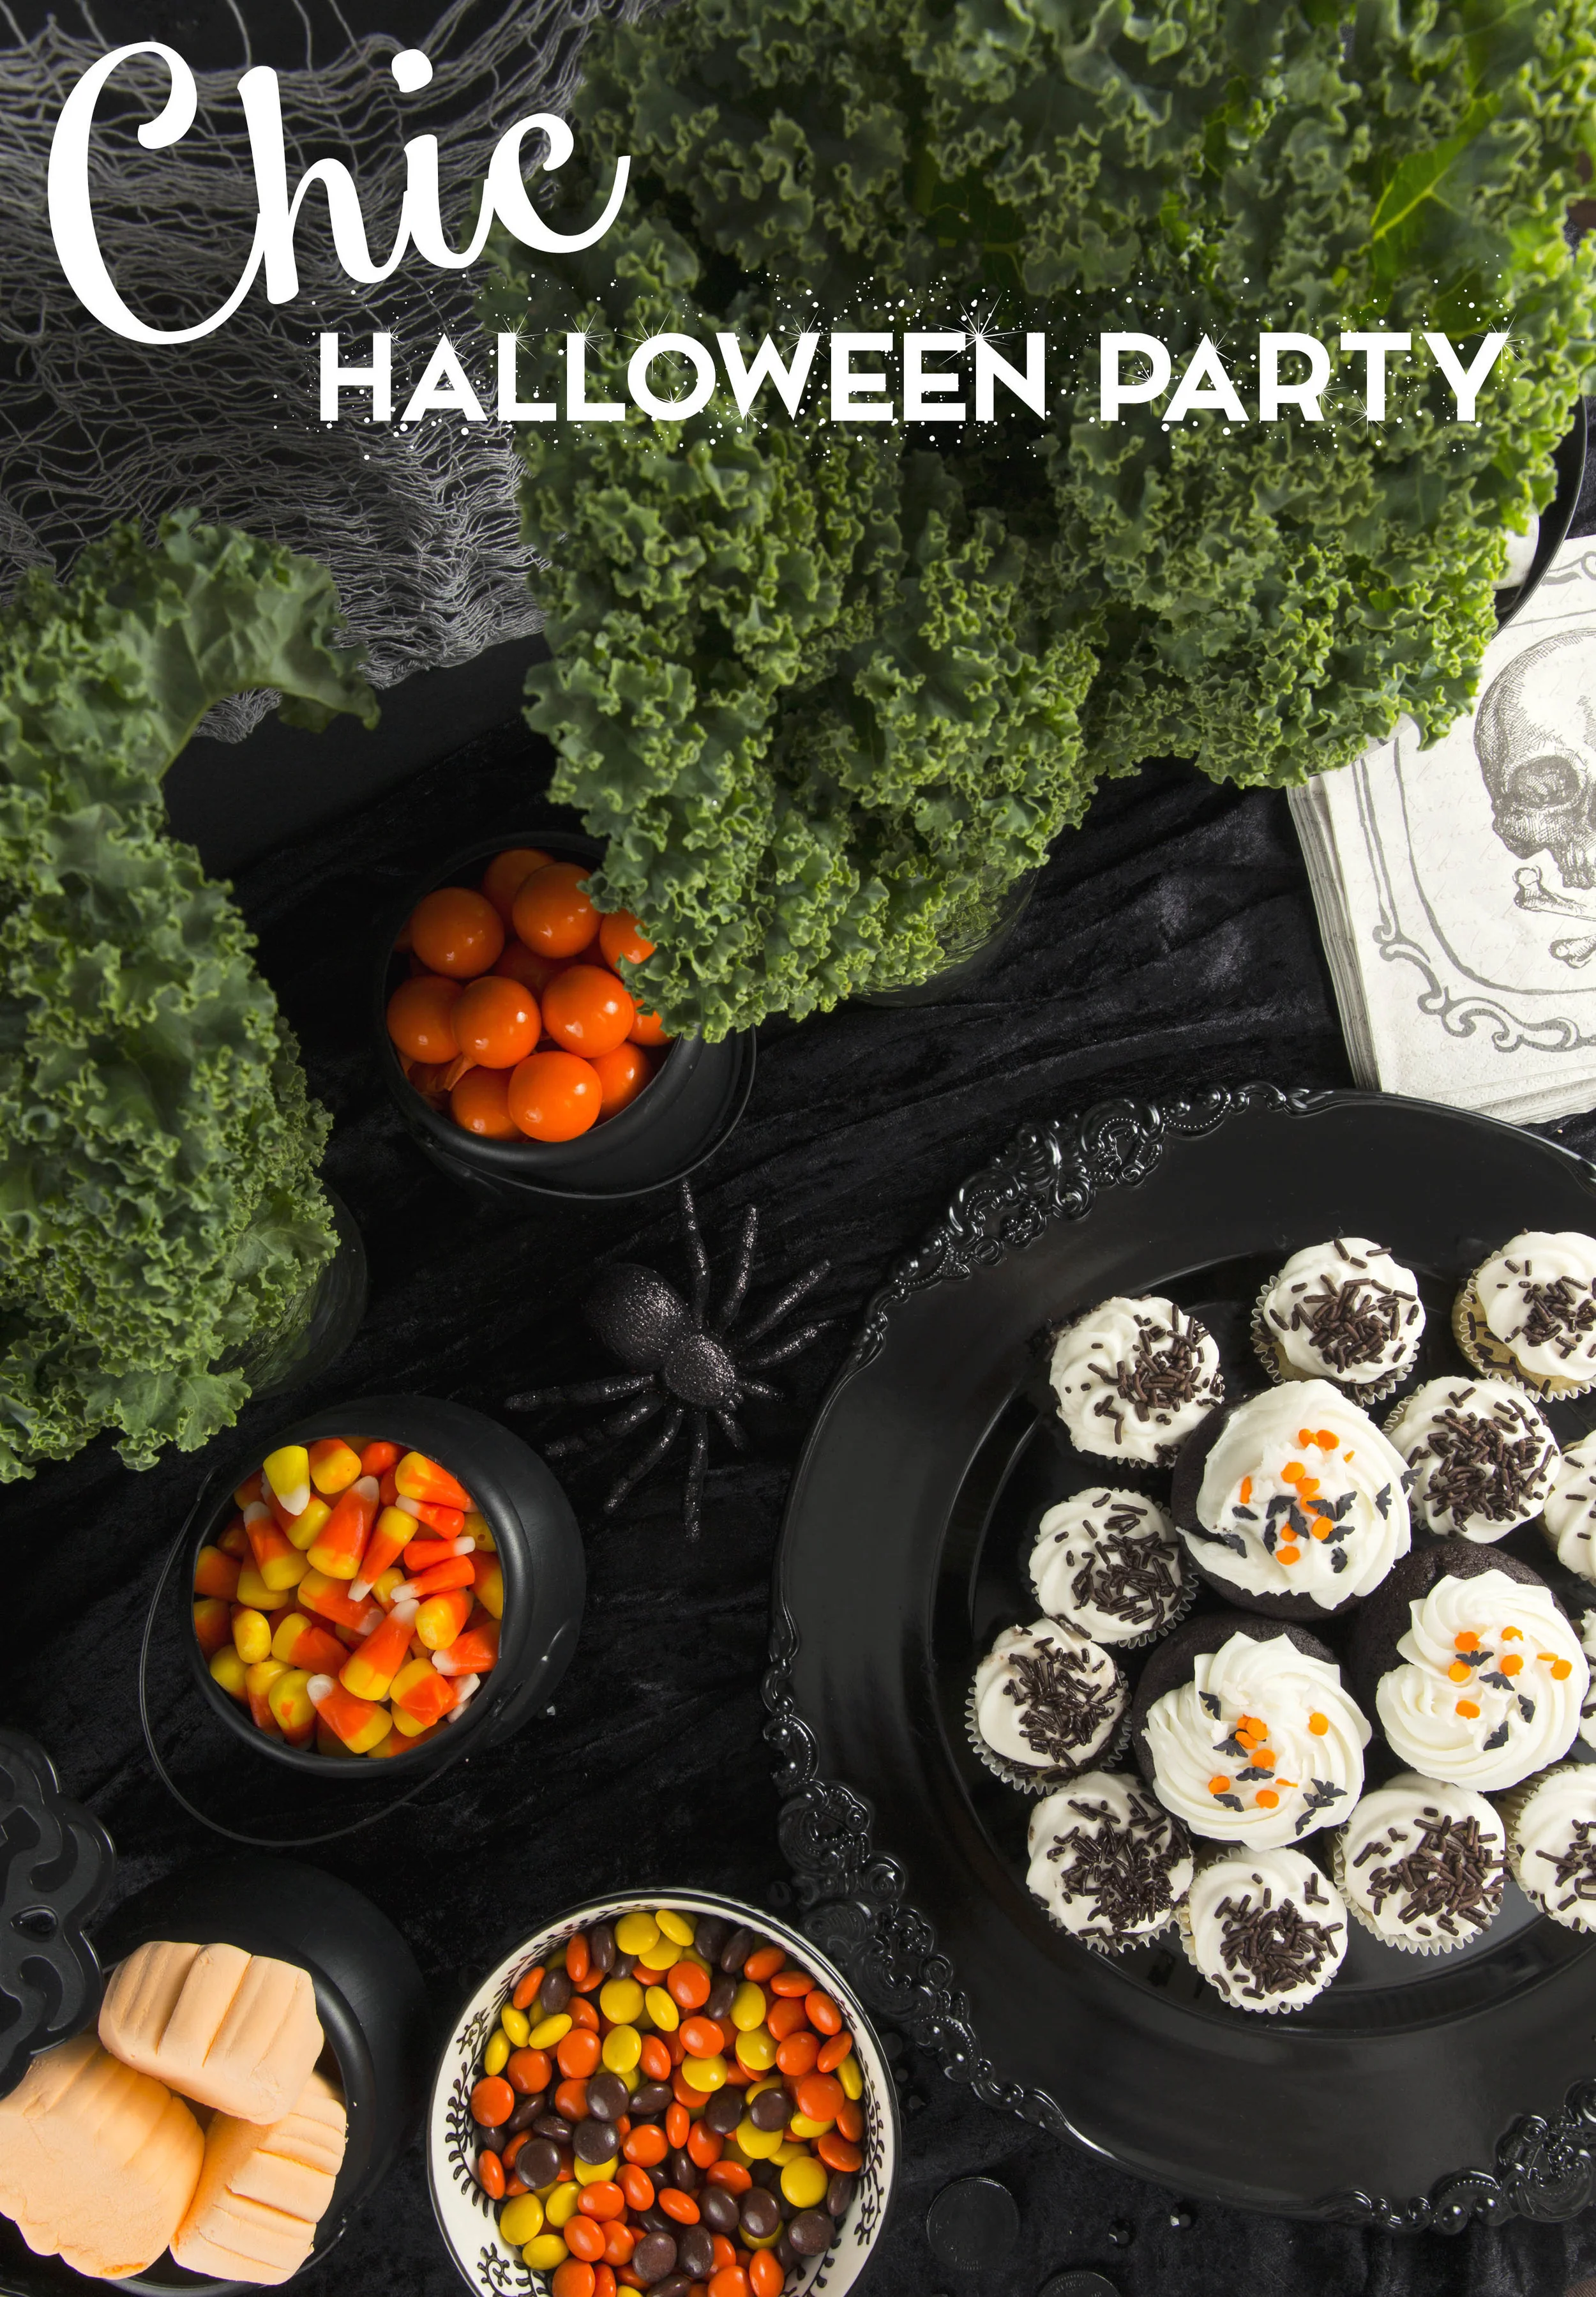
I am in love with the look of a Monochromatic Halloween Party! Here, I used mostly black dishes, tablecloth, and Creepy Cloth to drape over the setting to really add a spooky element. Just let your food add some pops of color, and your guests will be so happy they came to party!
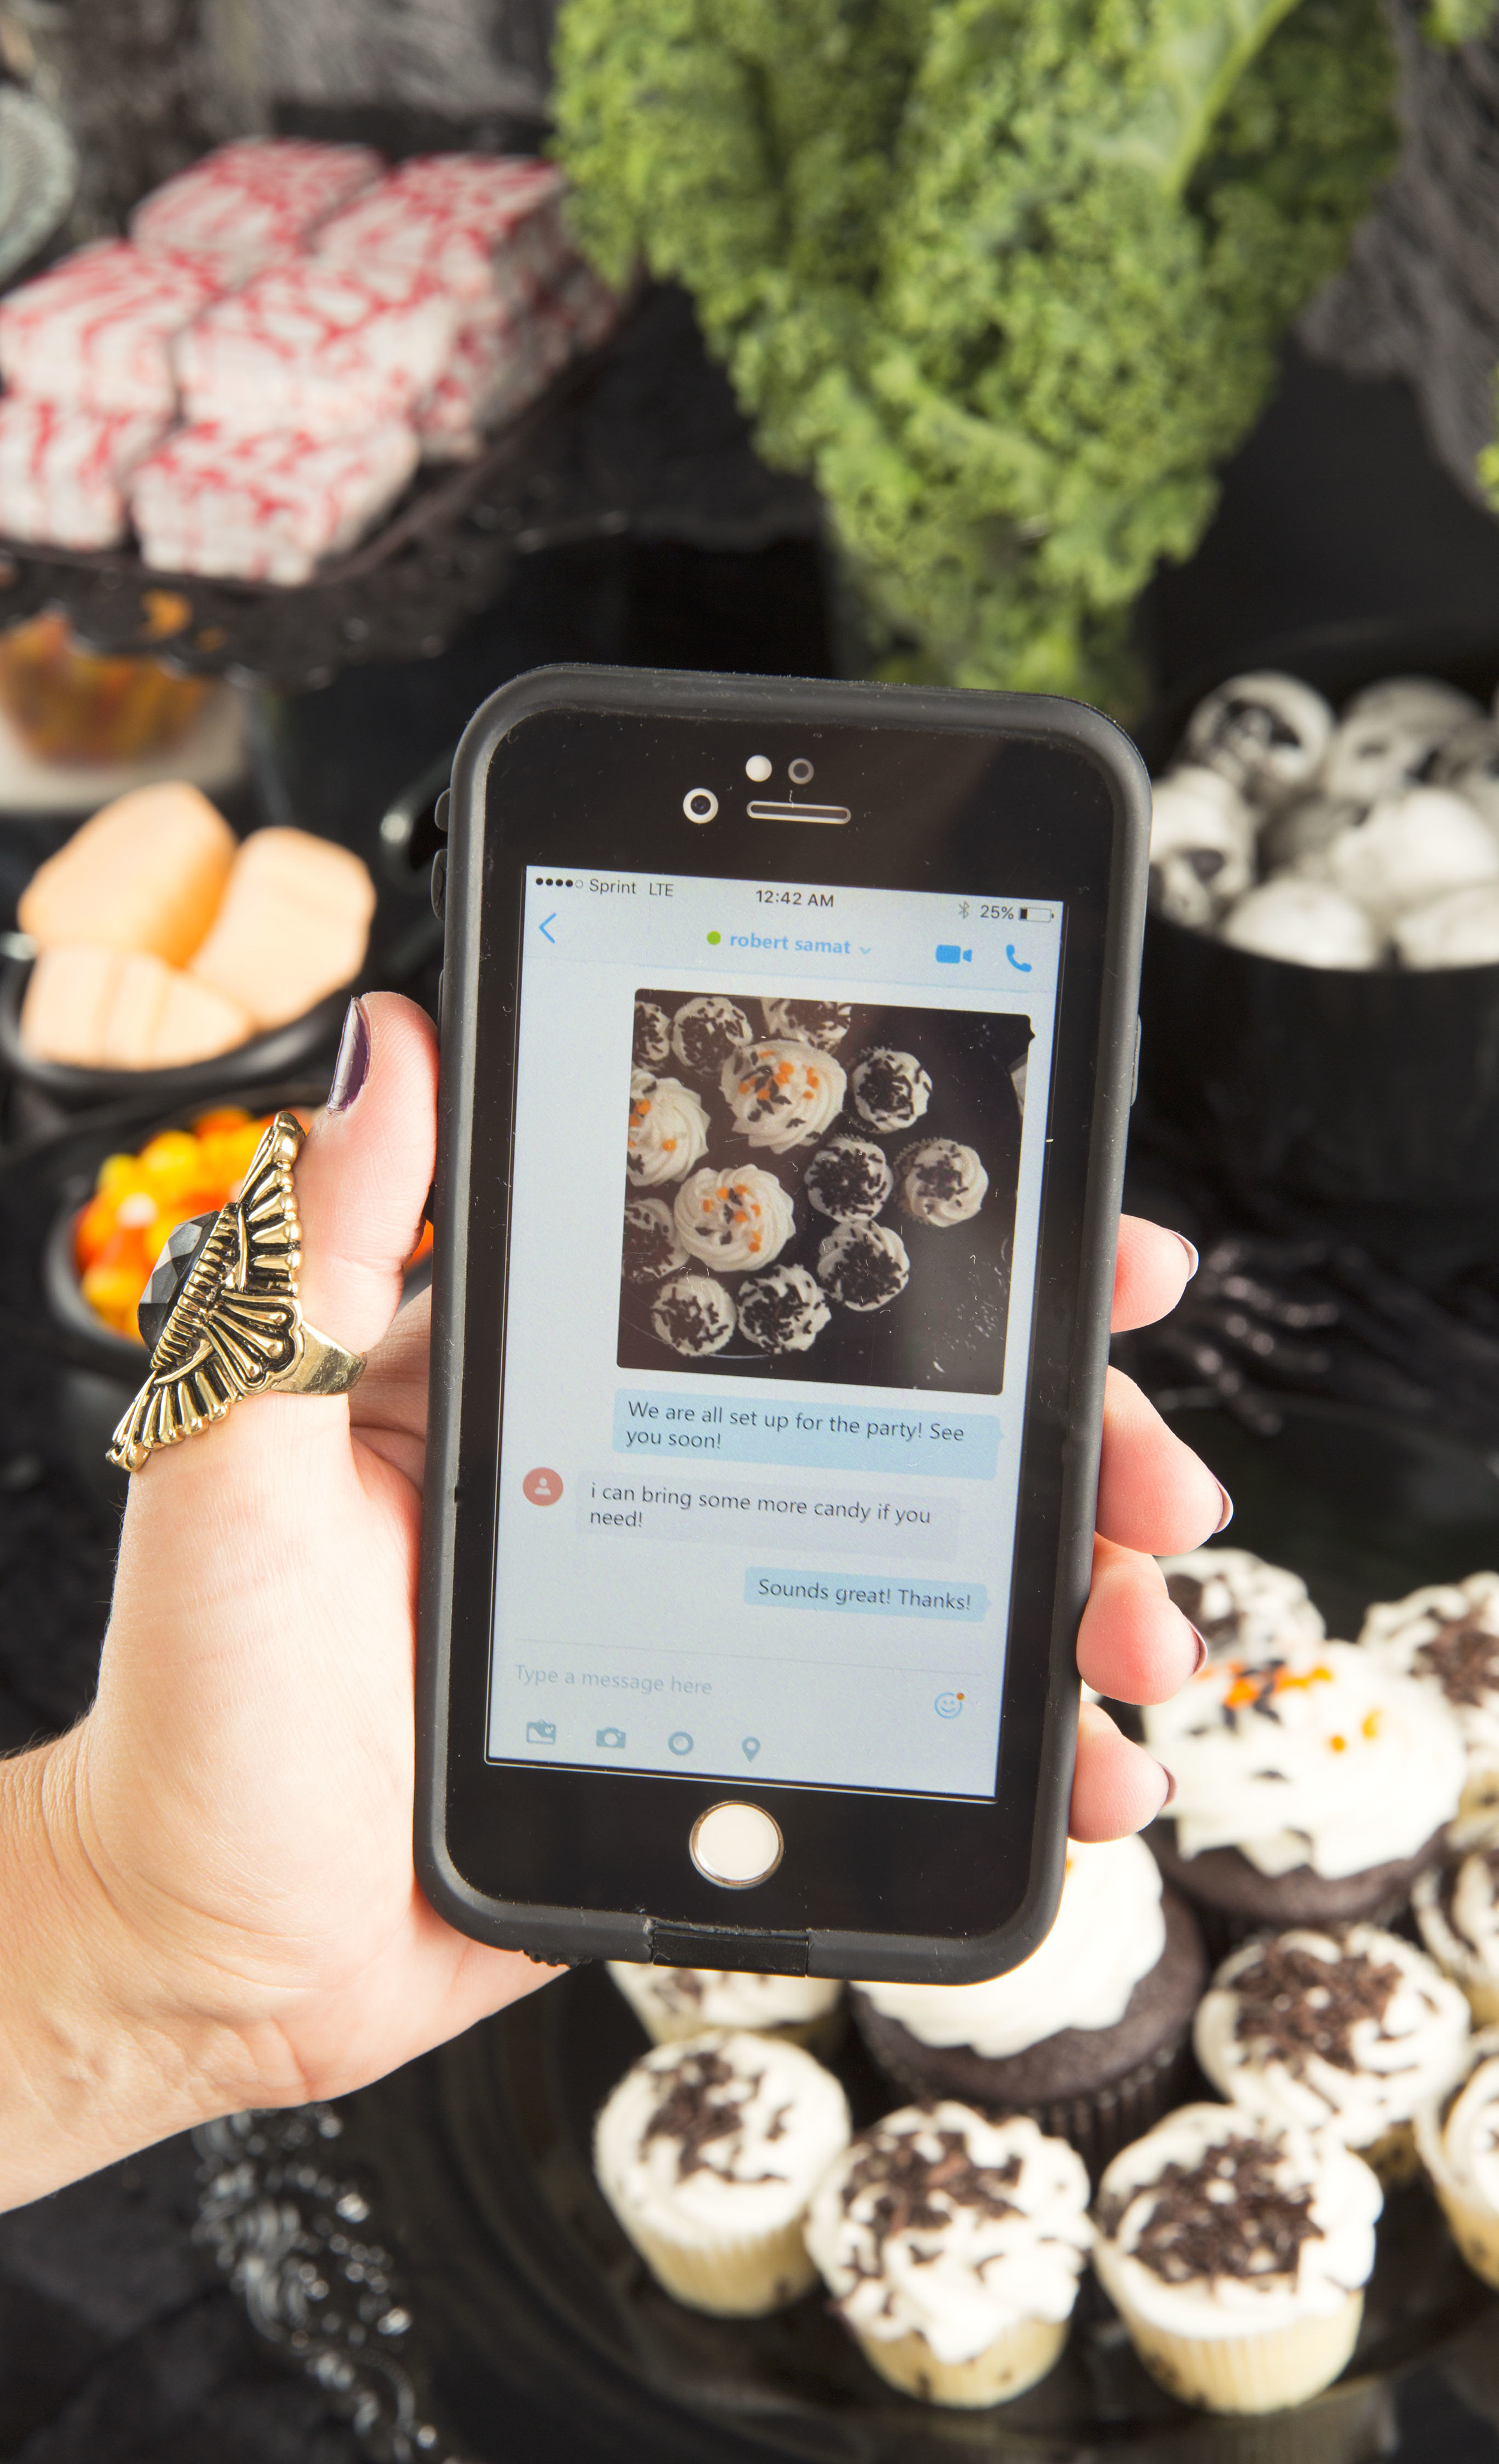
I was able to use Skype to let my friend know the party was all set up and ready!
Happy Halloween! And a special spooky thanks to Skype for hosting the best Halloween party ever in NEW YORK CITY! I will blog about that soon!!!
Halloween Party Invites + A Free Printable
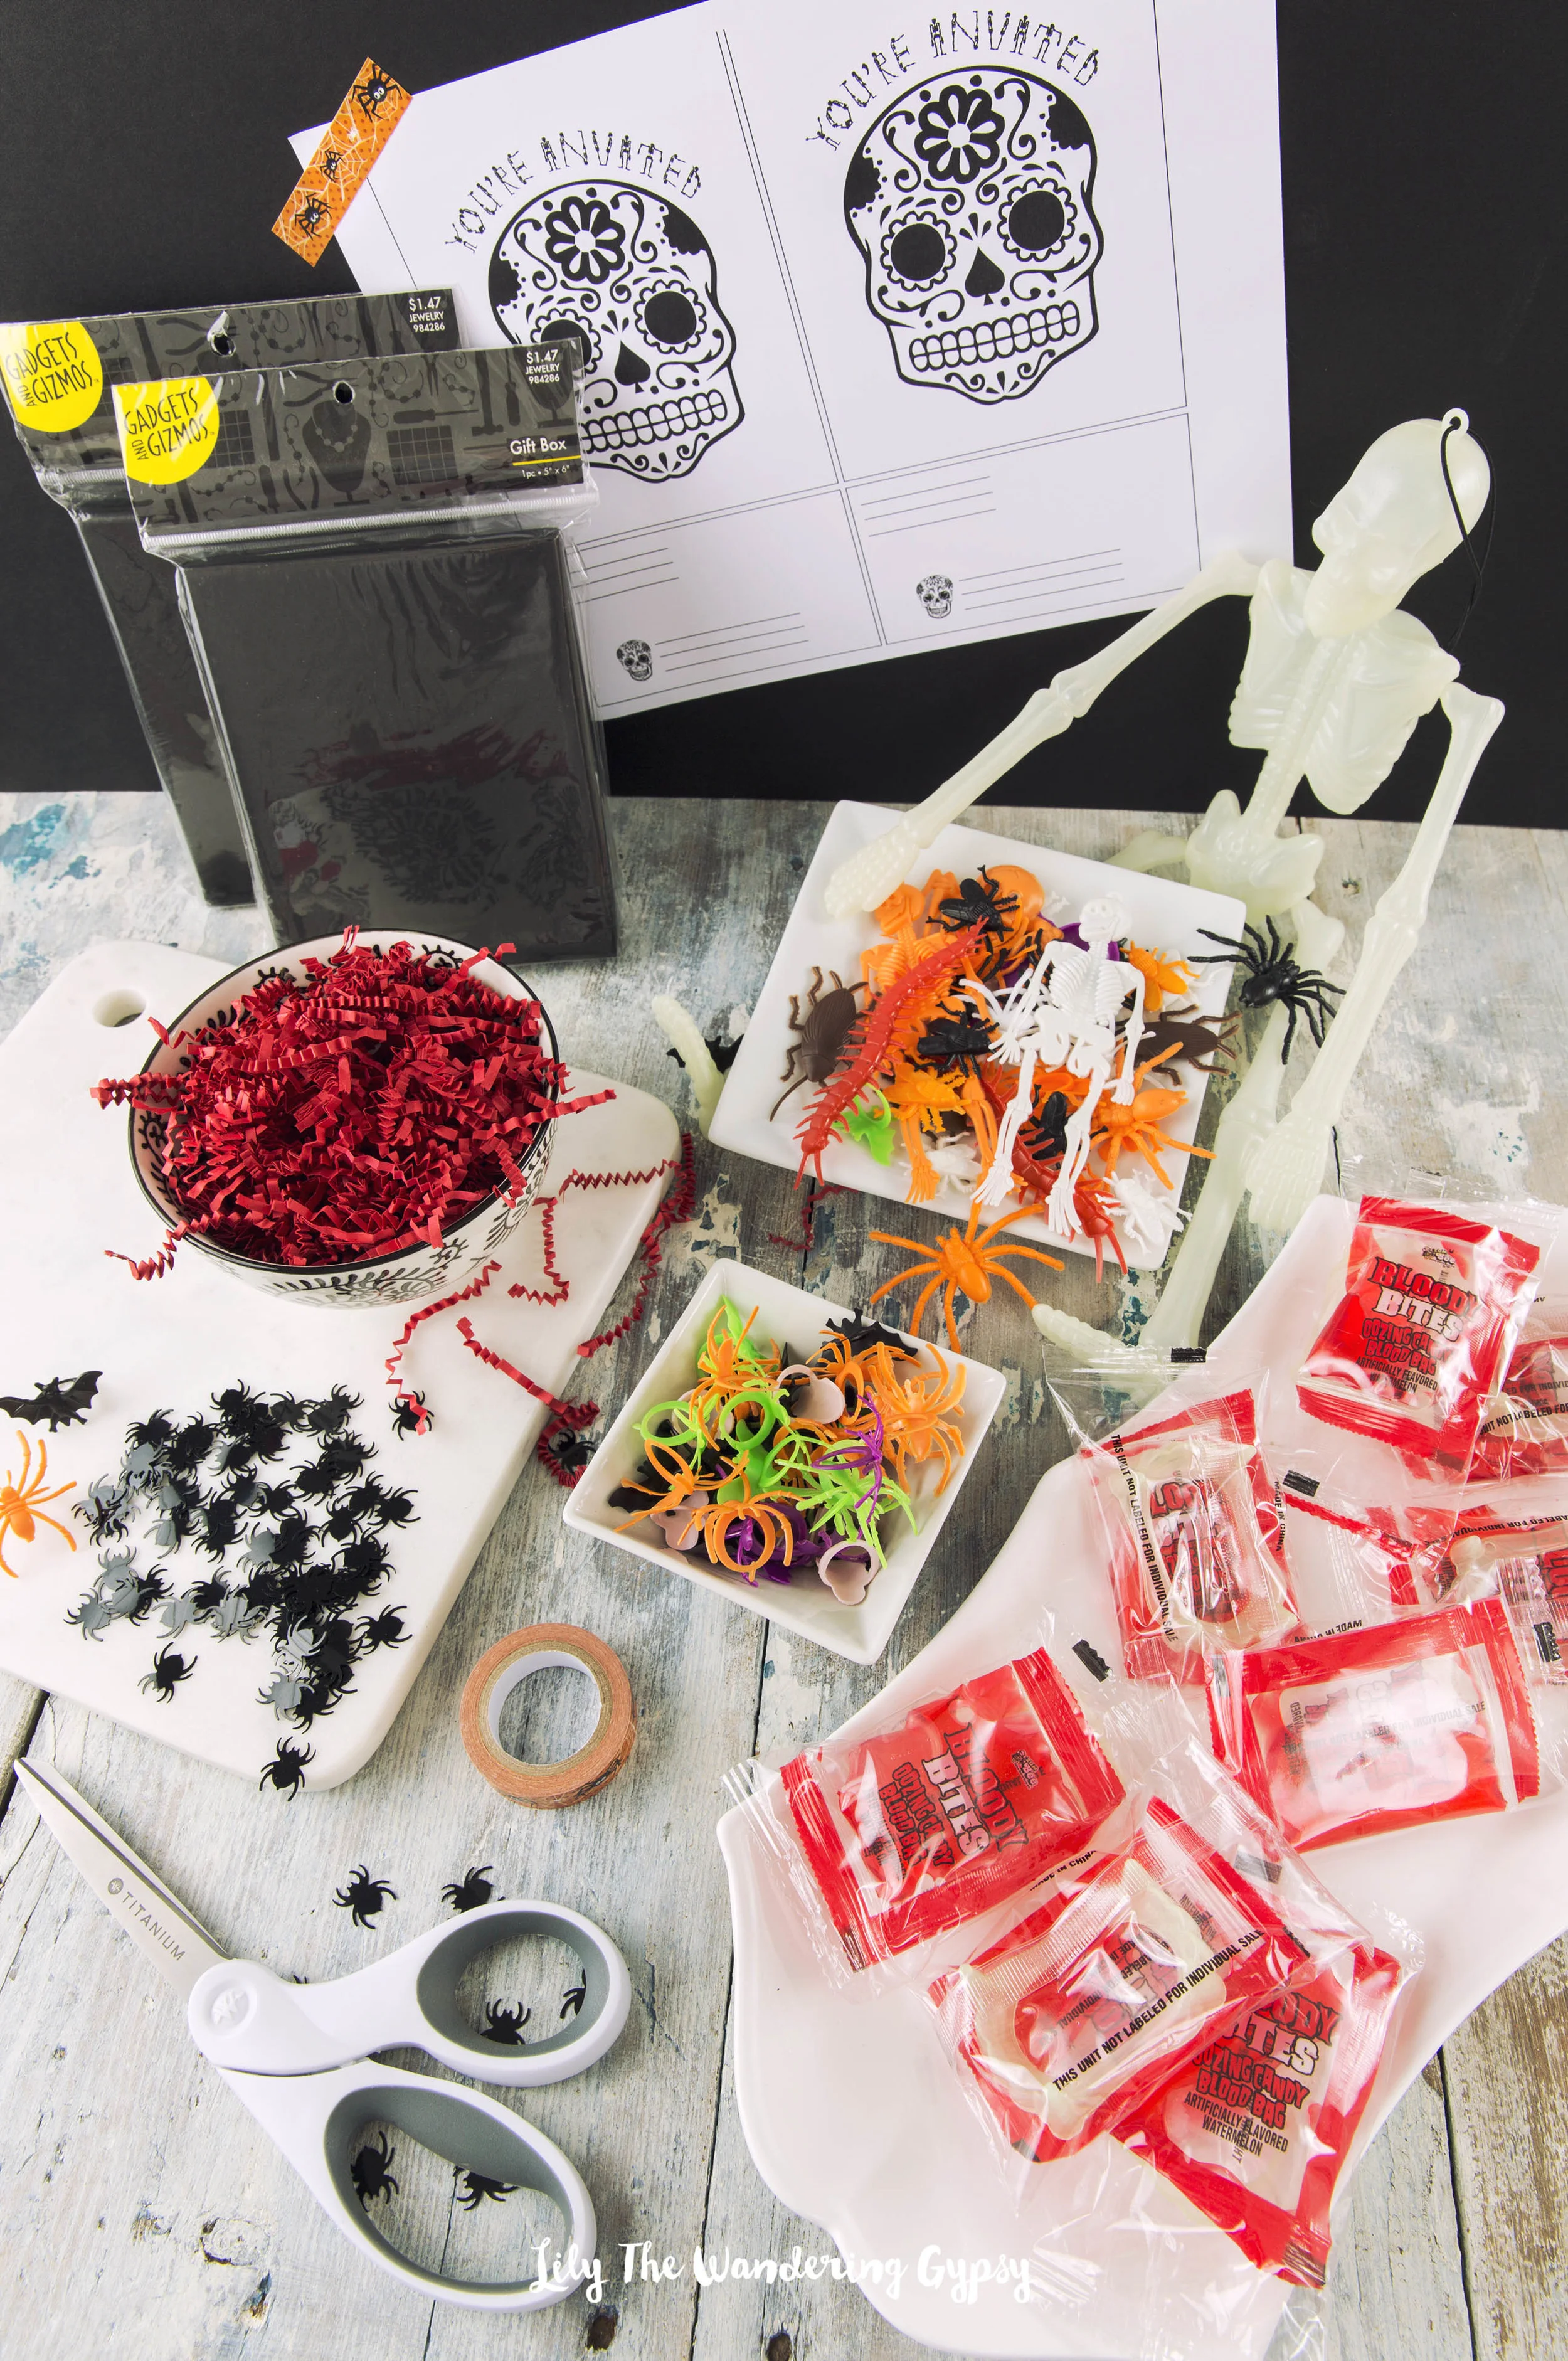
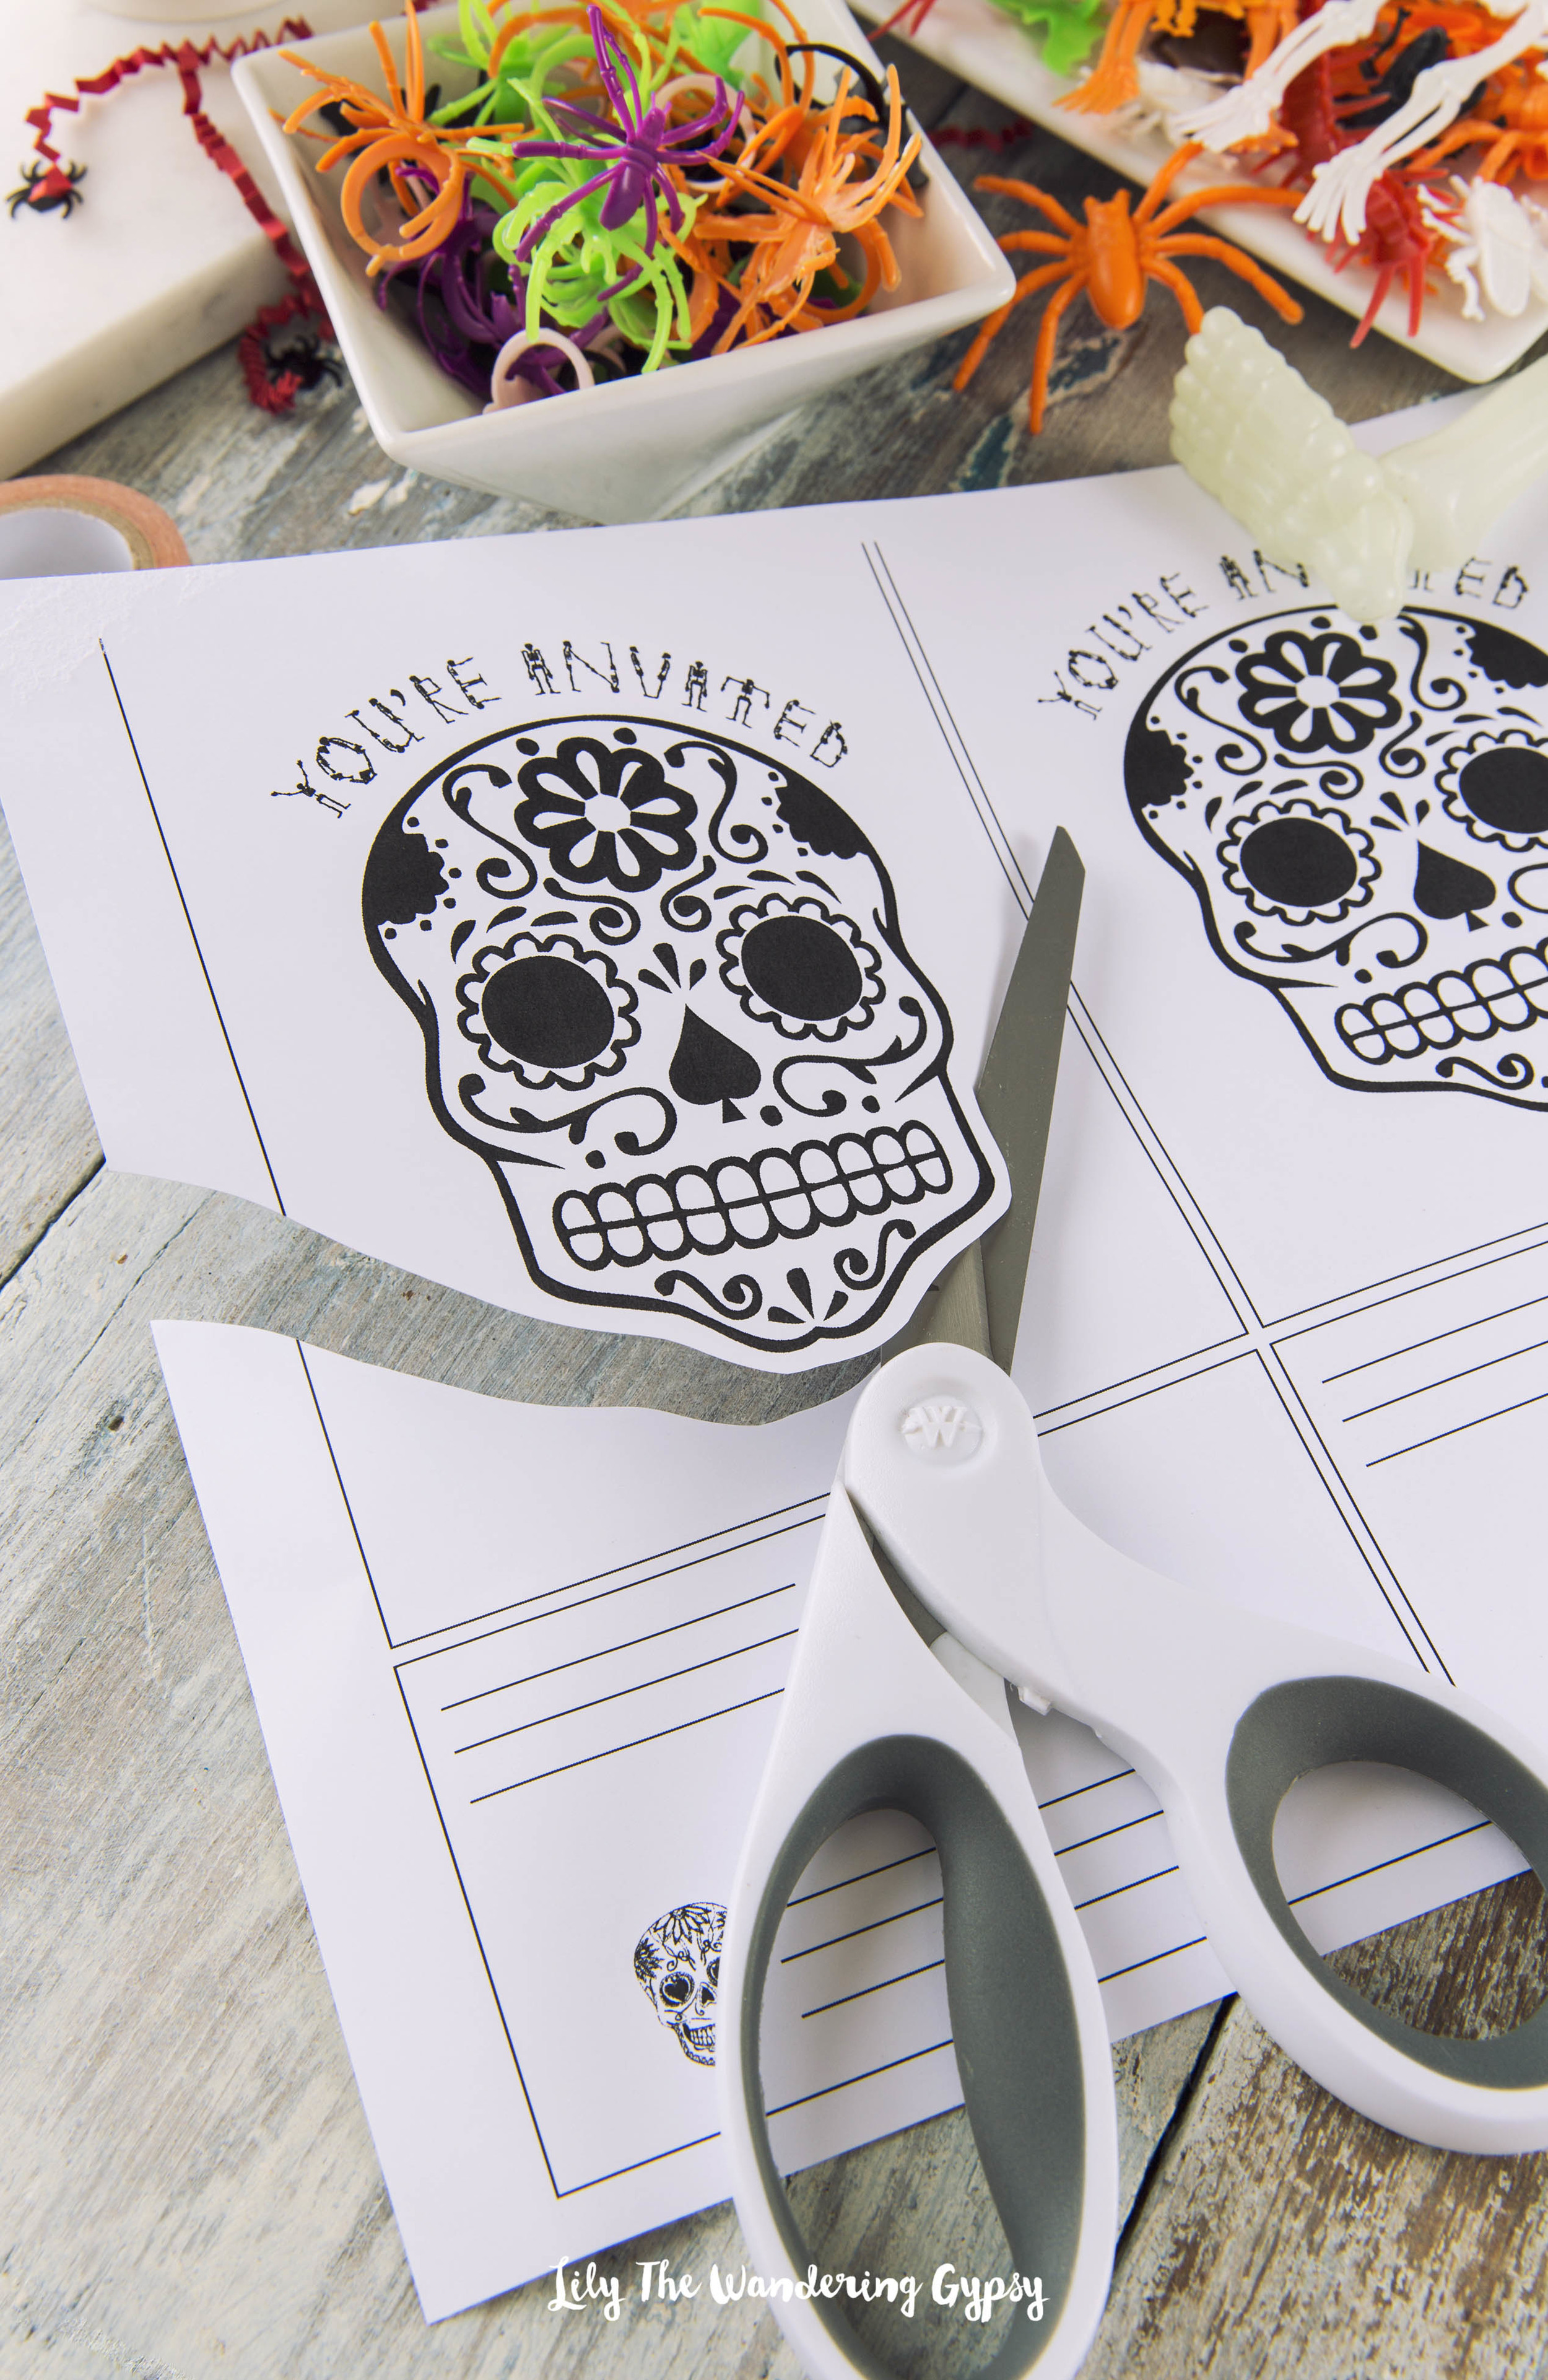
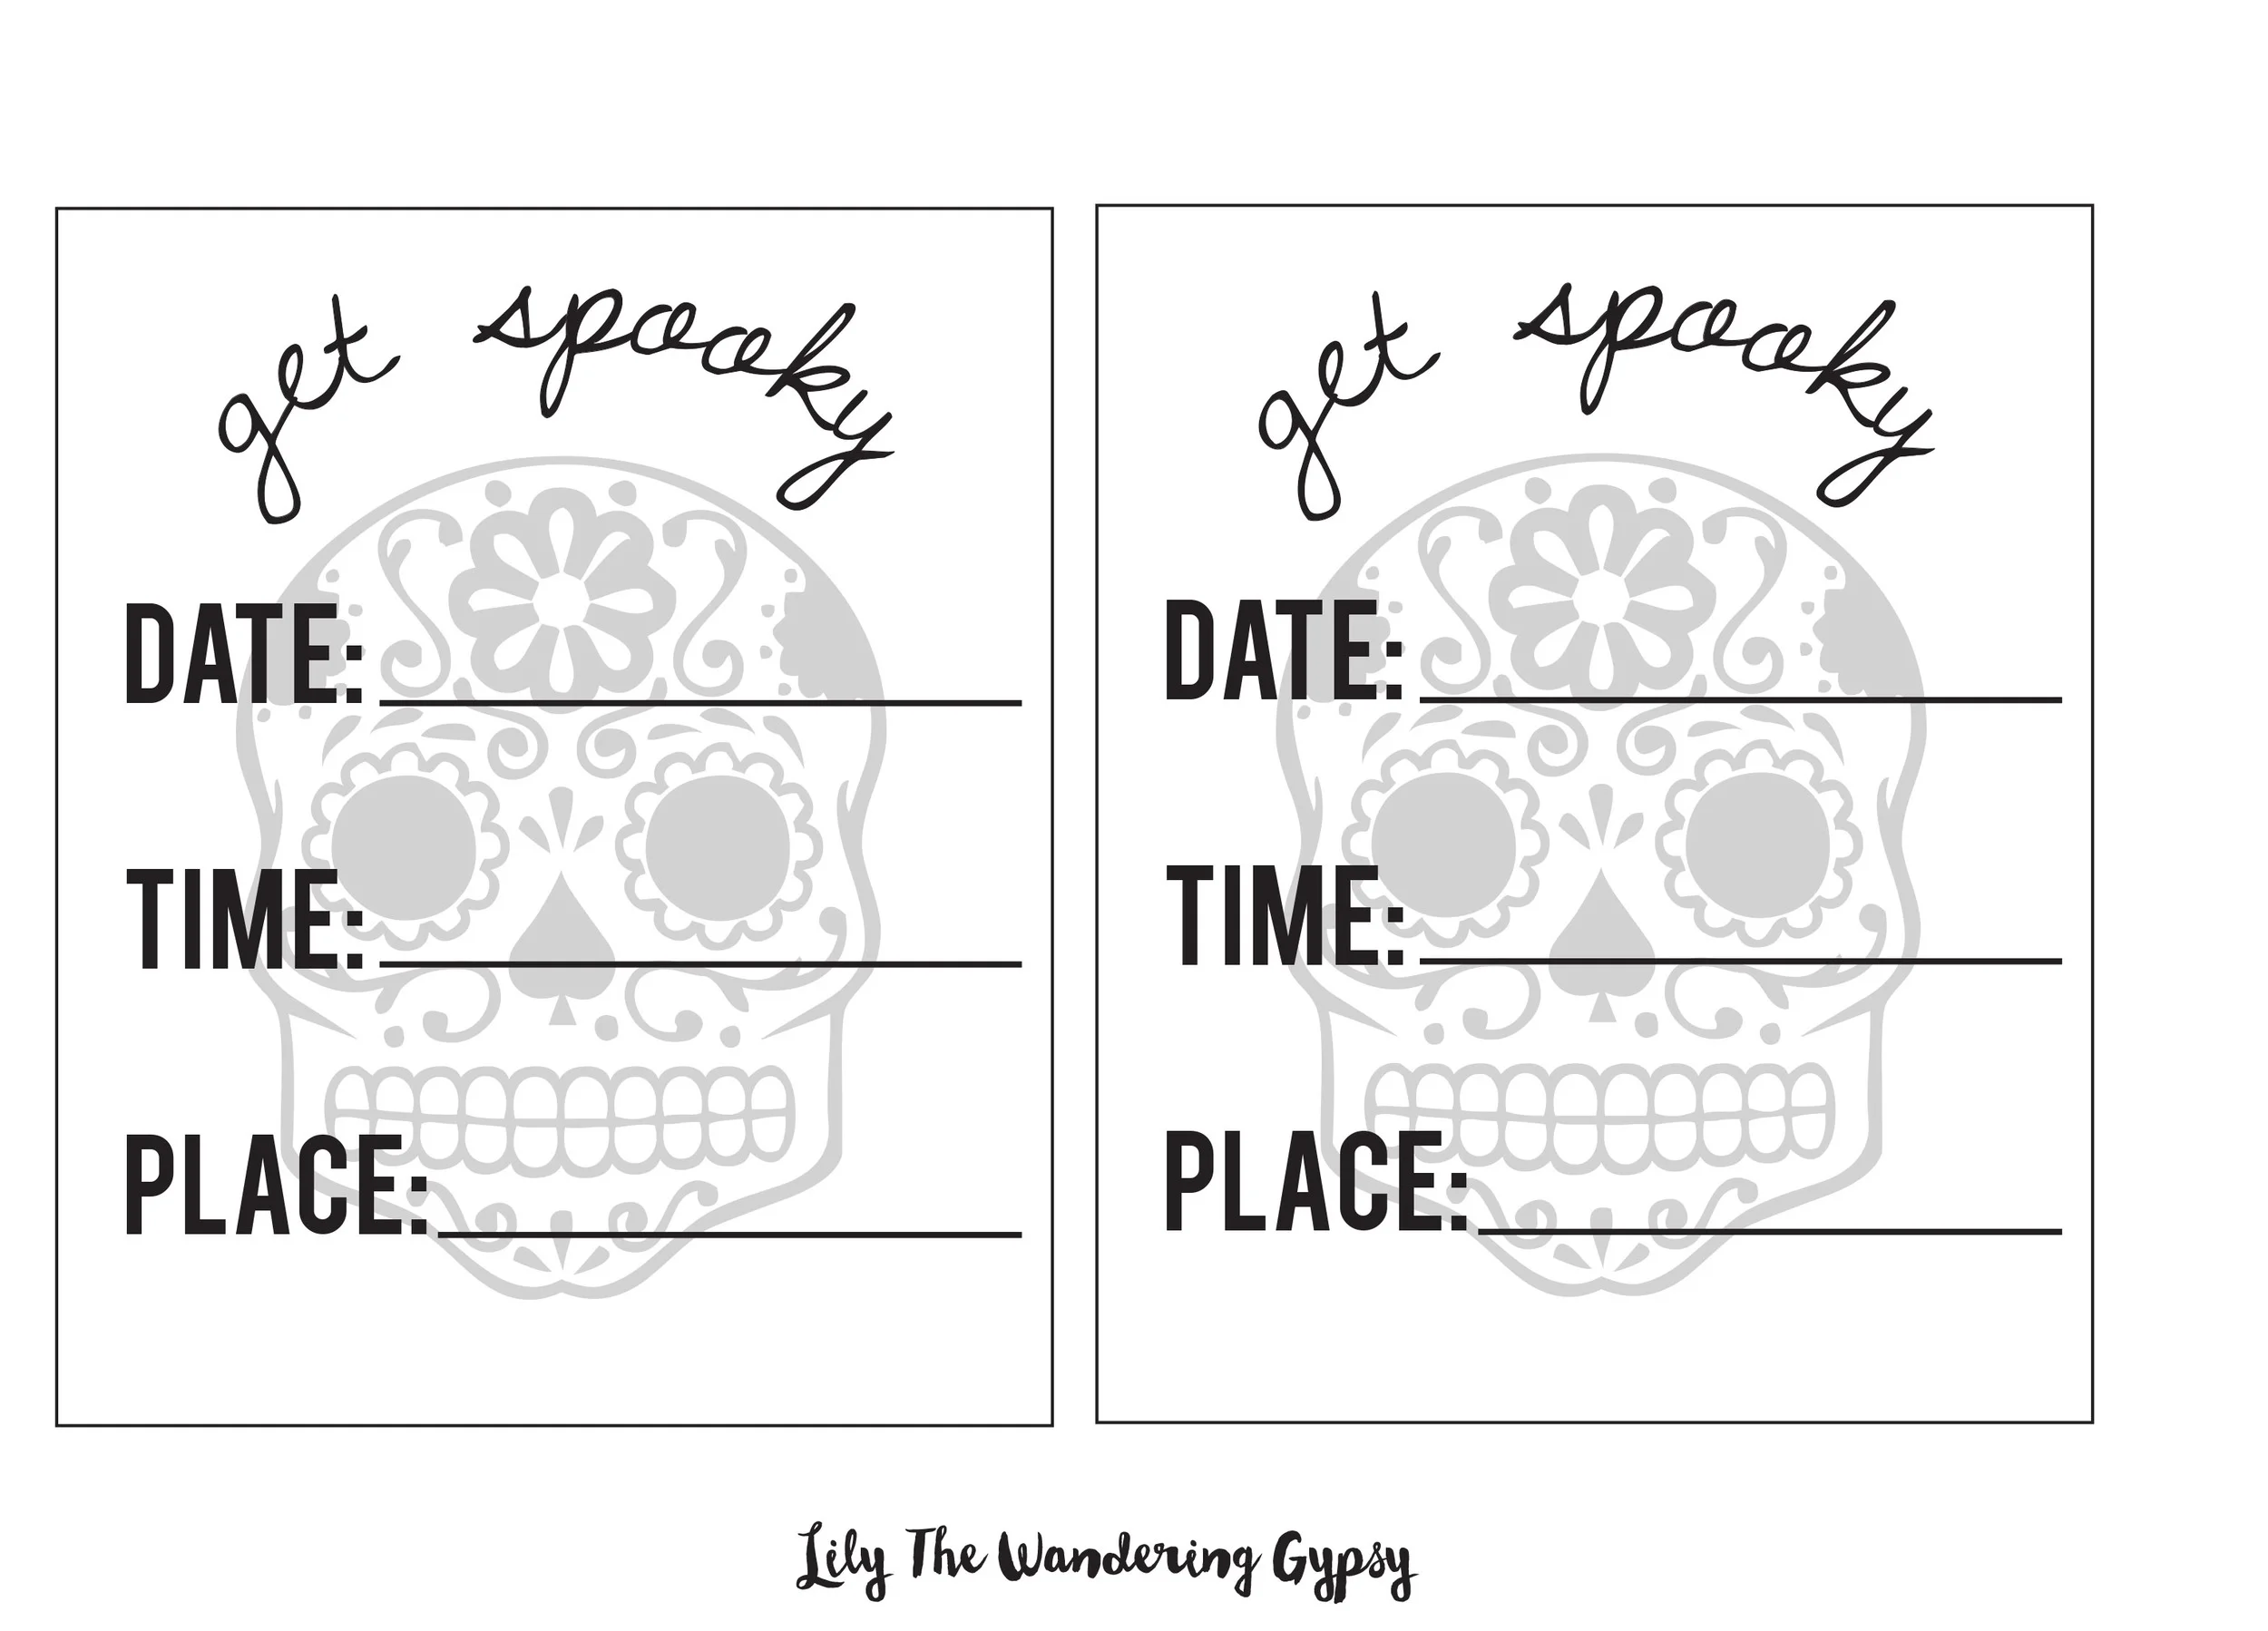
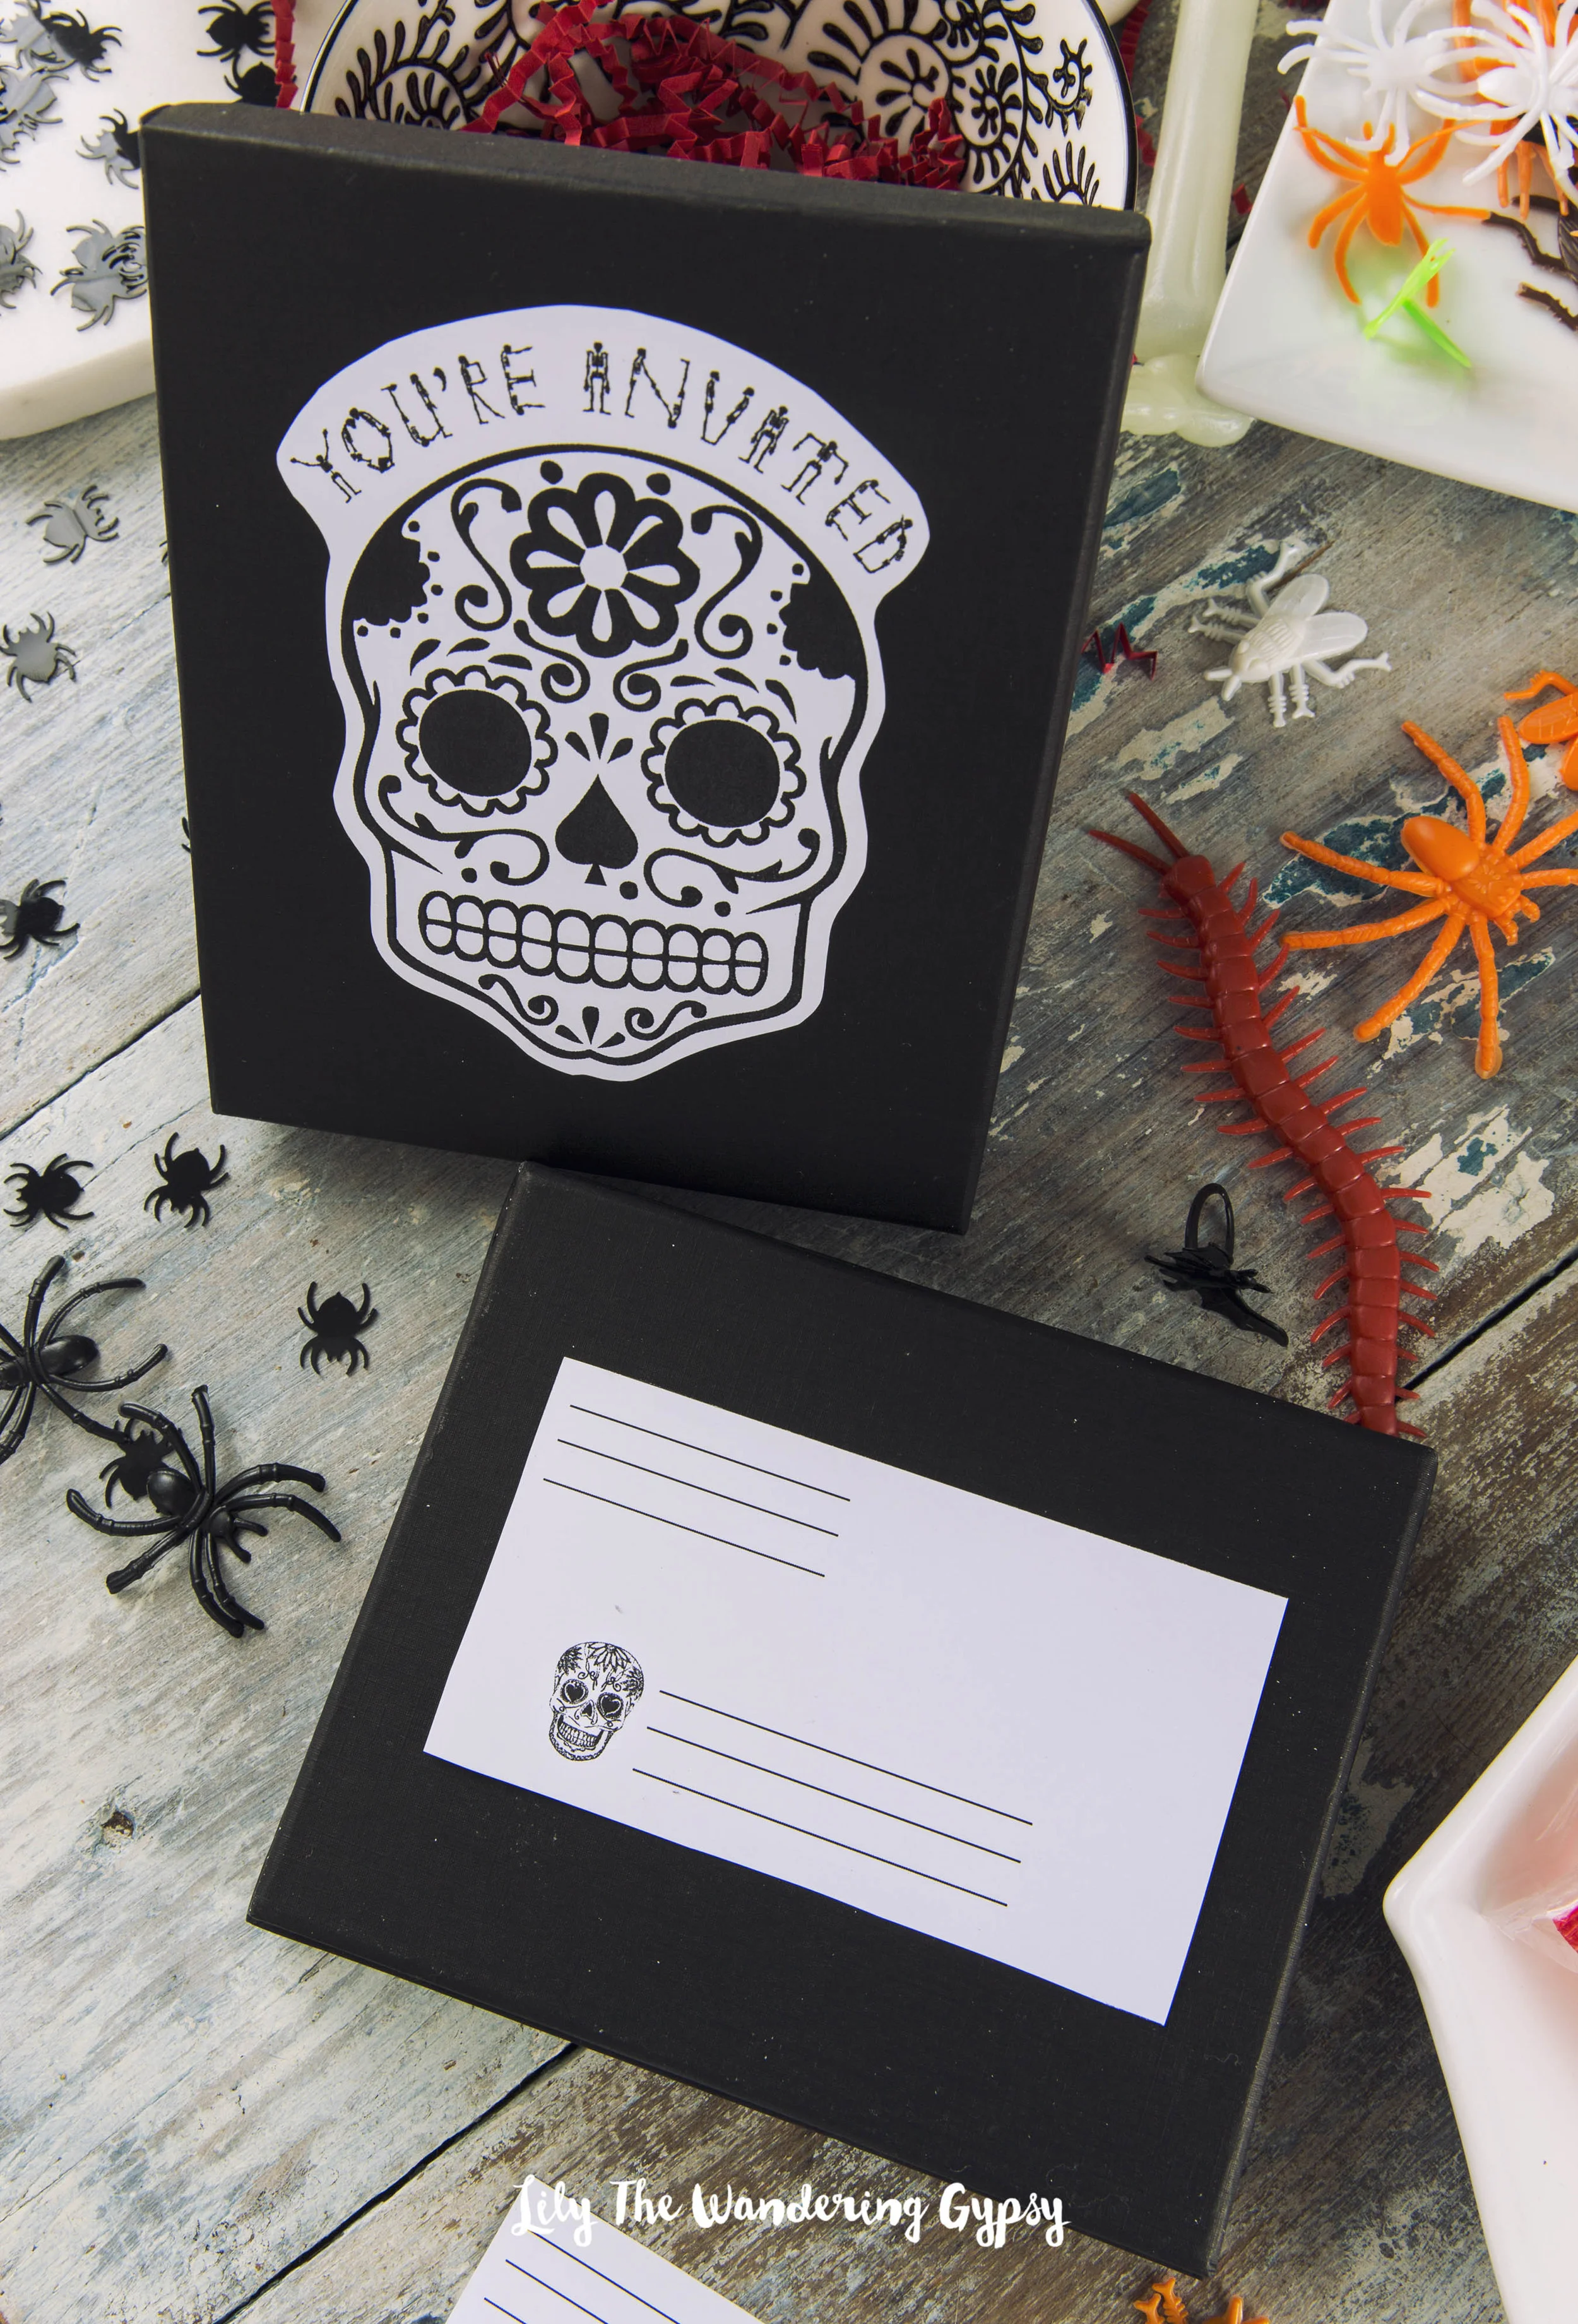
I really love how these adorable invites turned out! I love the fact that you can fill these gift boxes with spooky treats, and include the invite in a really unique way! I included two printables,
MATERIALS NEEDED
5" x 6" Black Jewelry Boxes - I used the type you would put jewelry into, with the cotton inside.
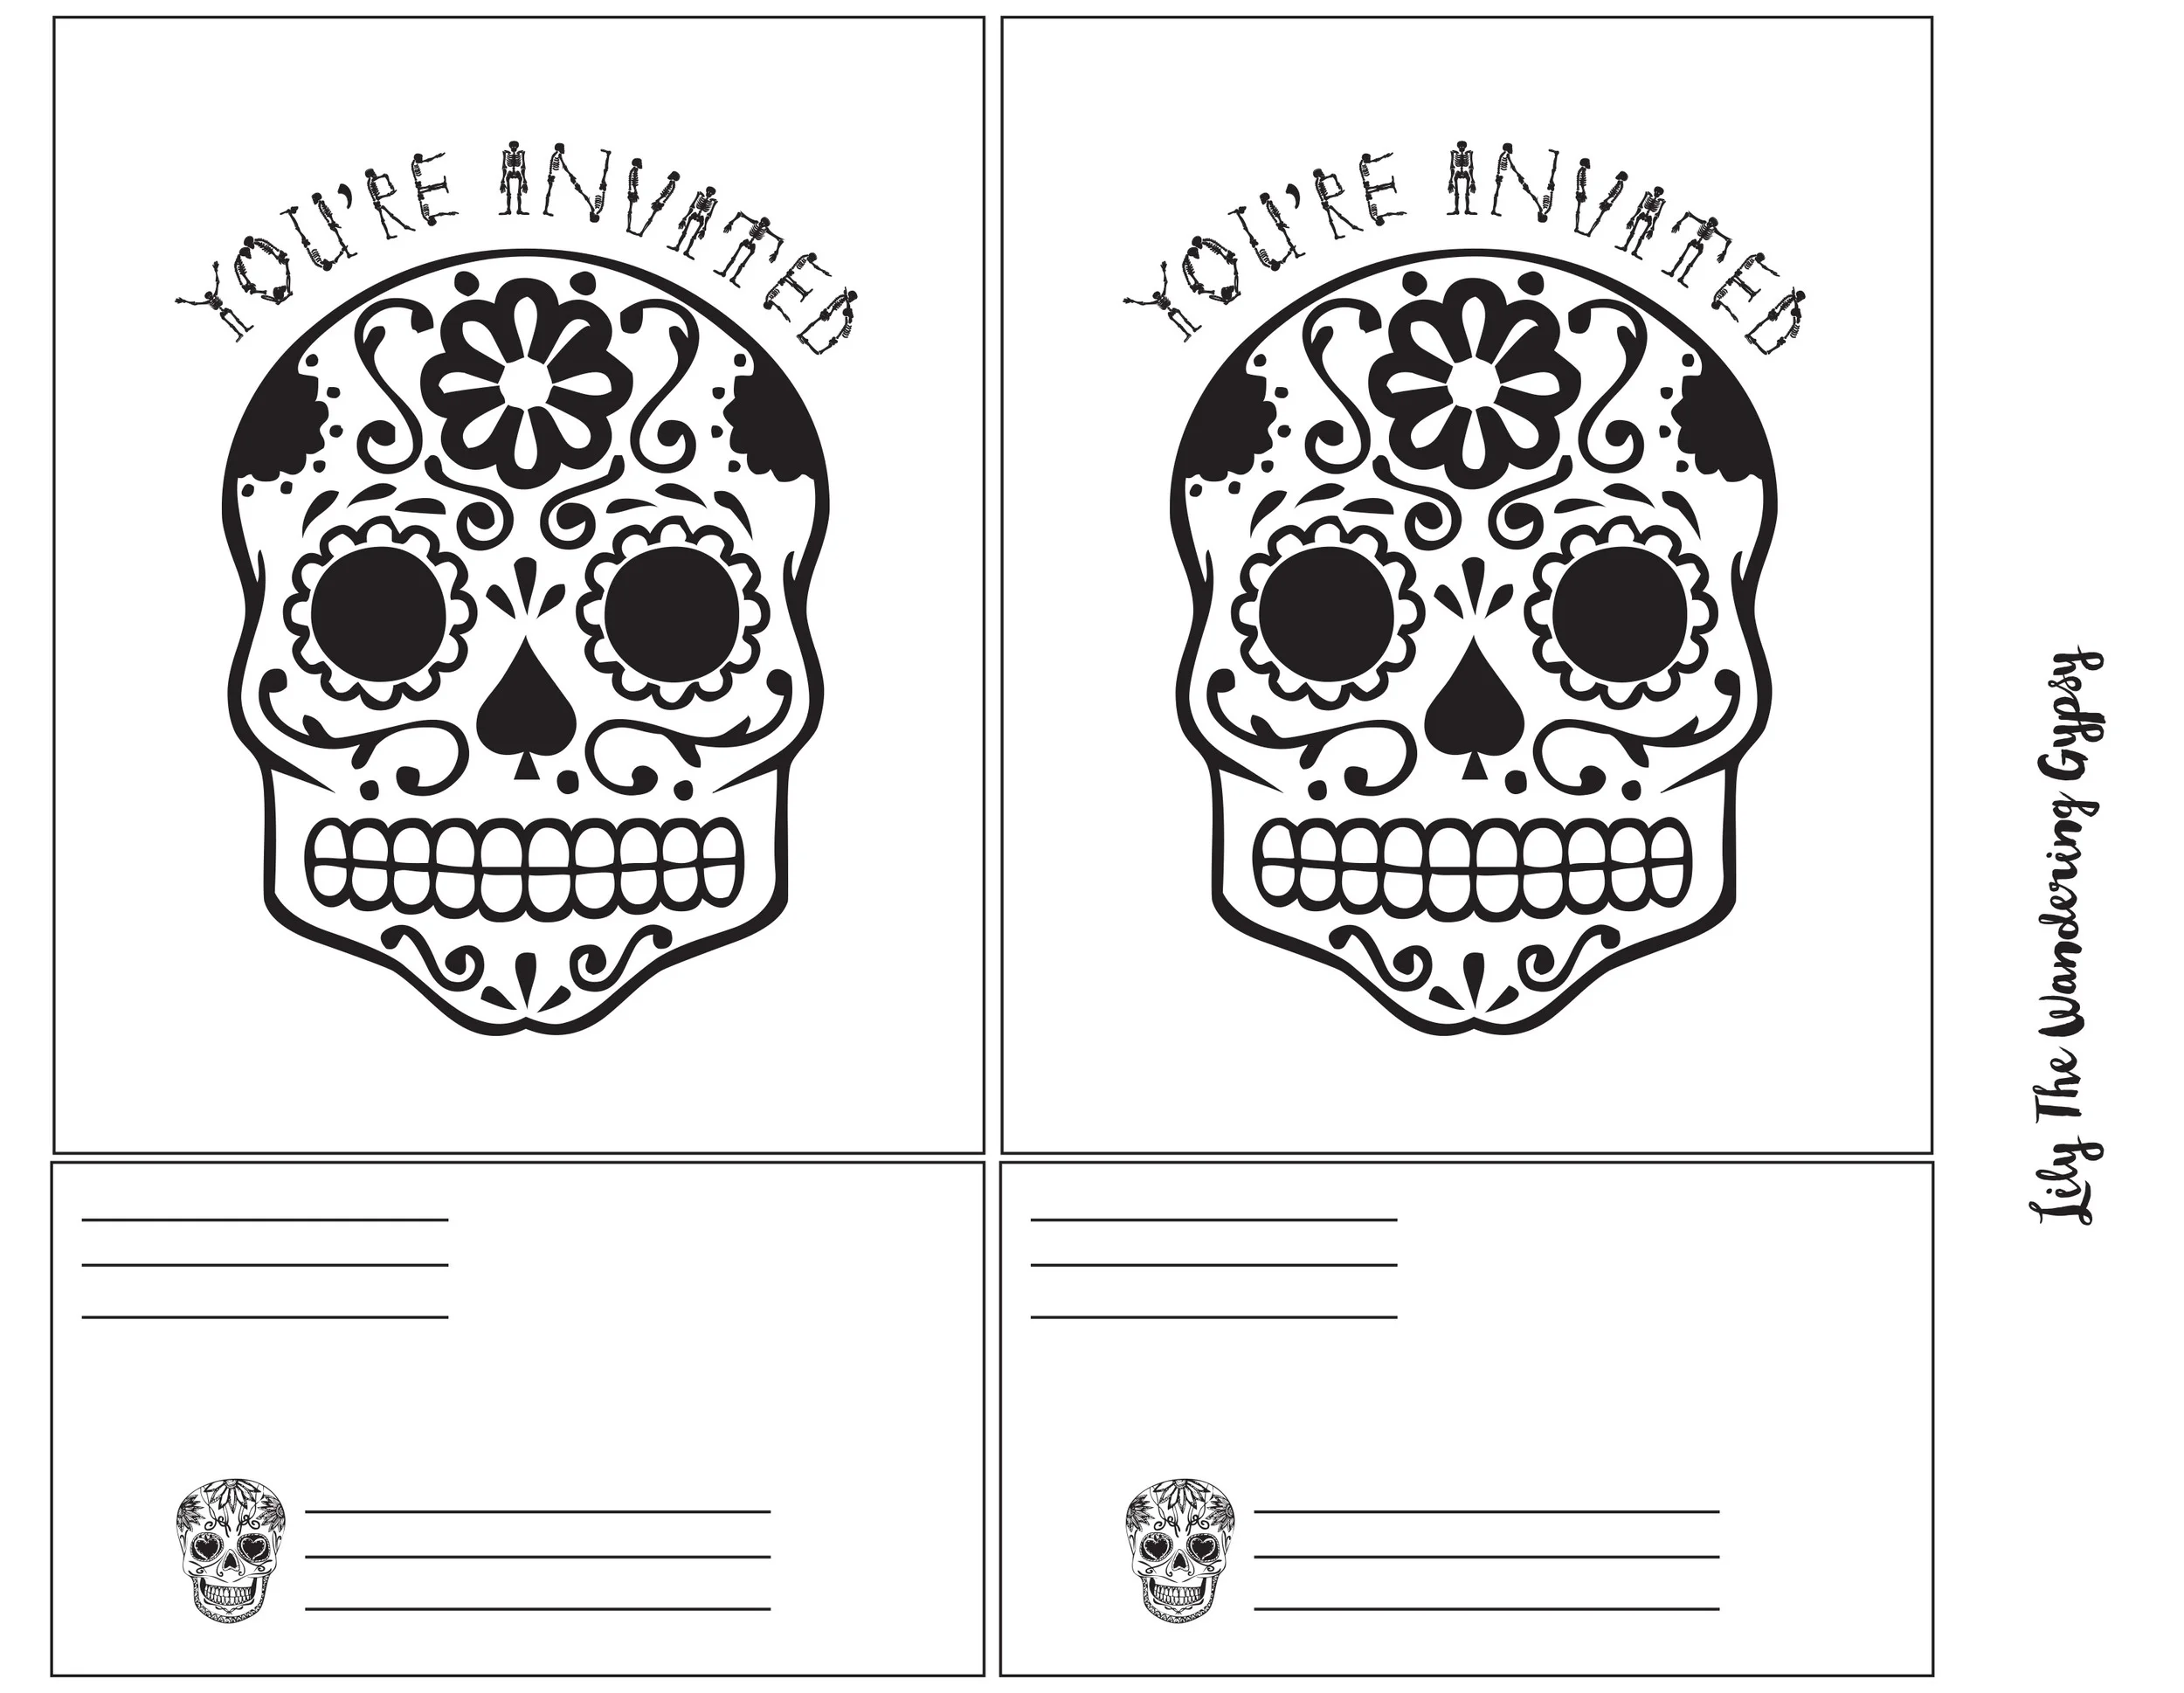
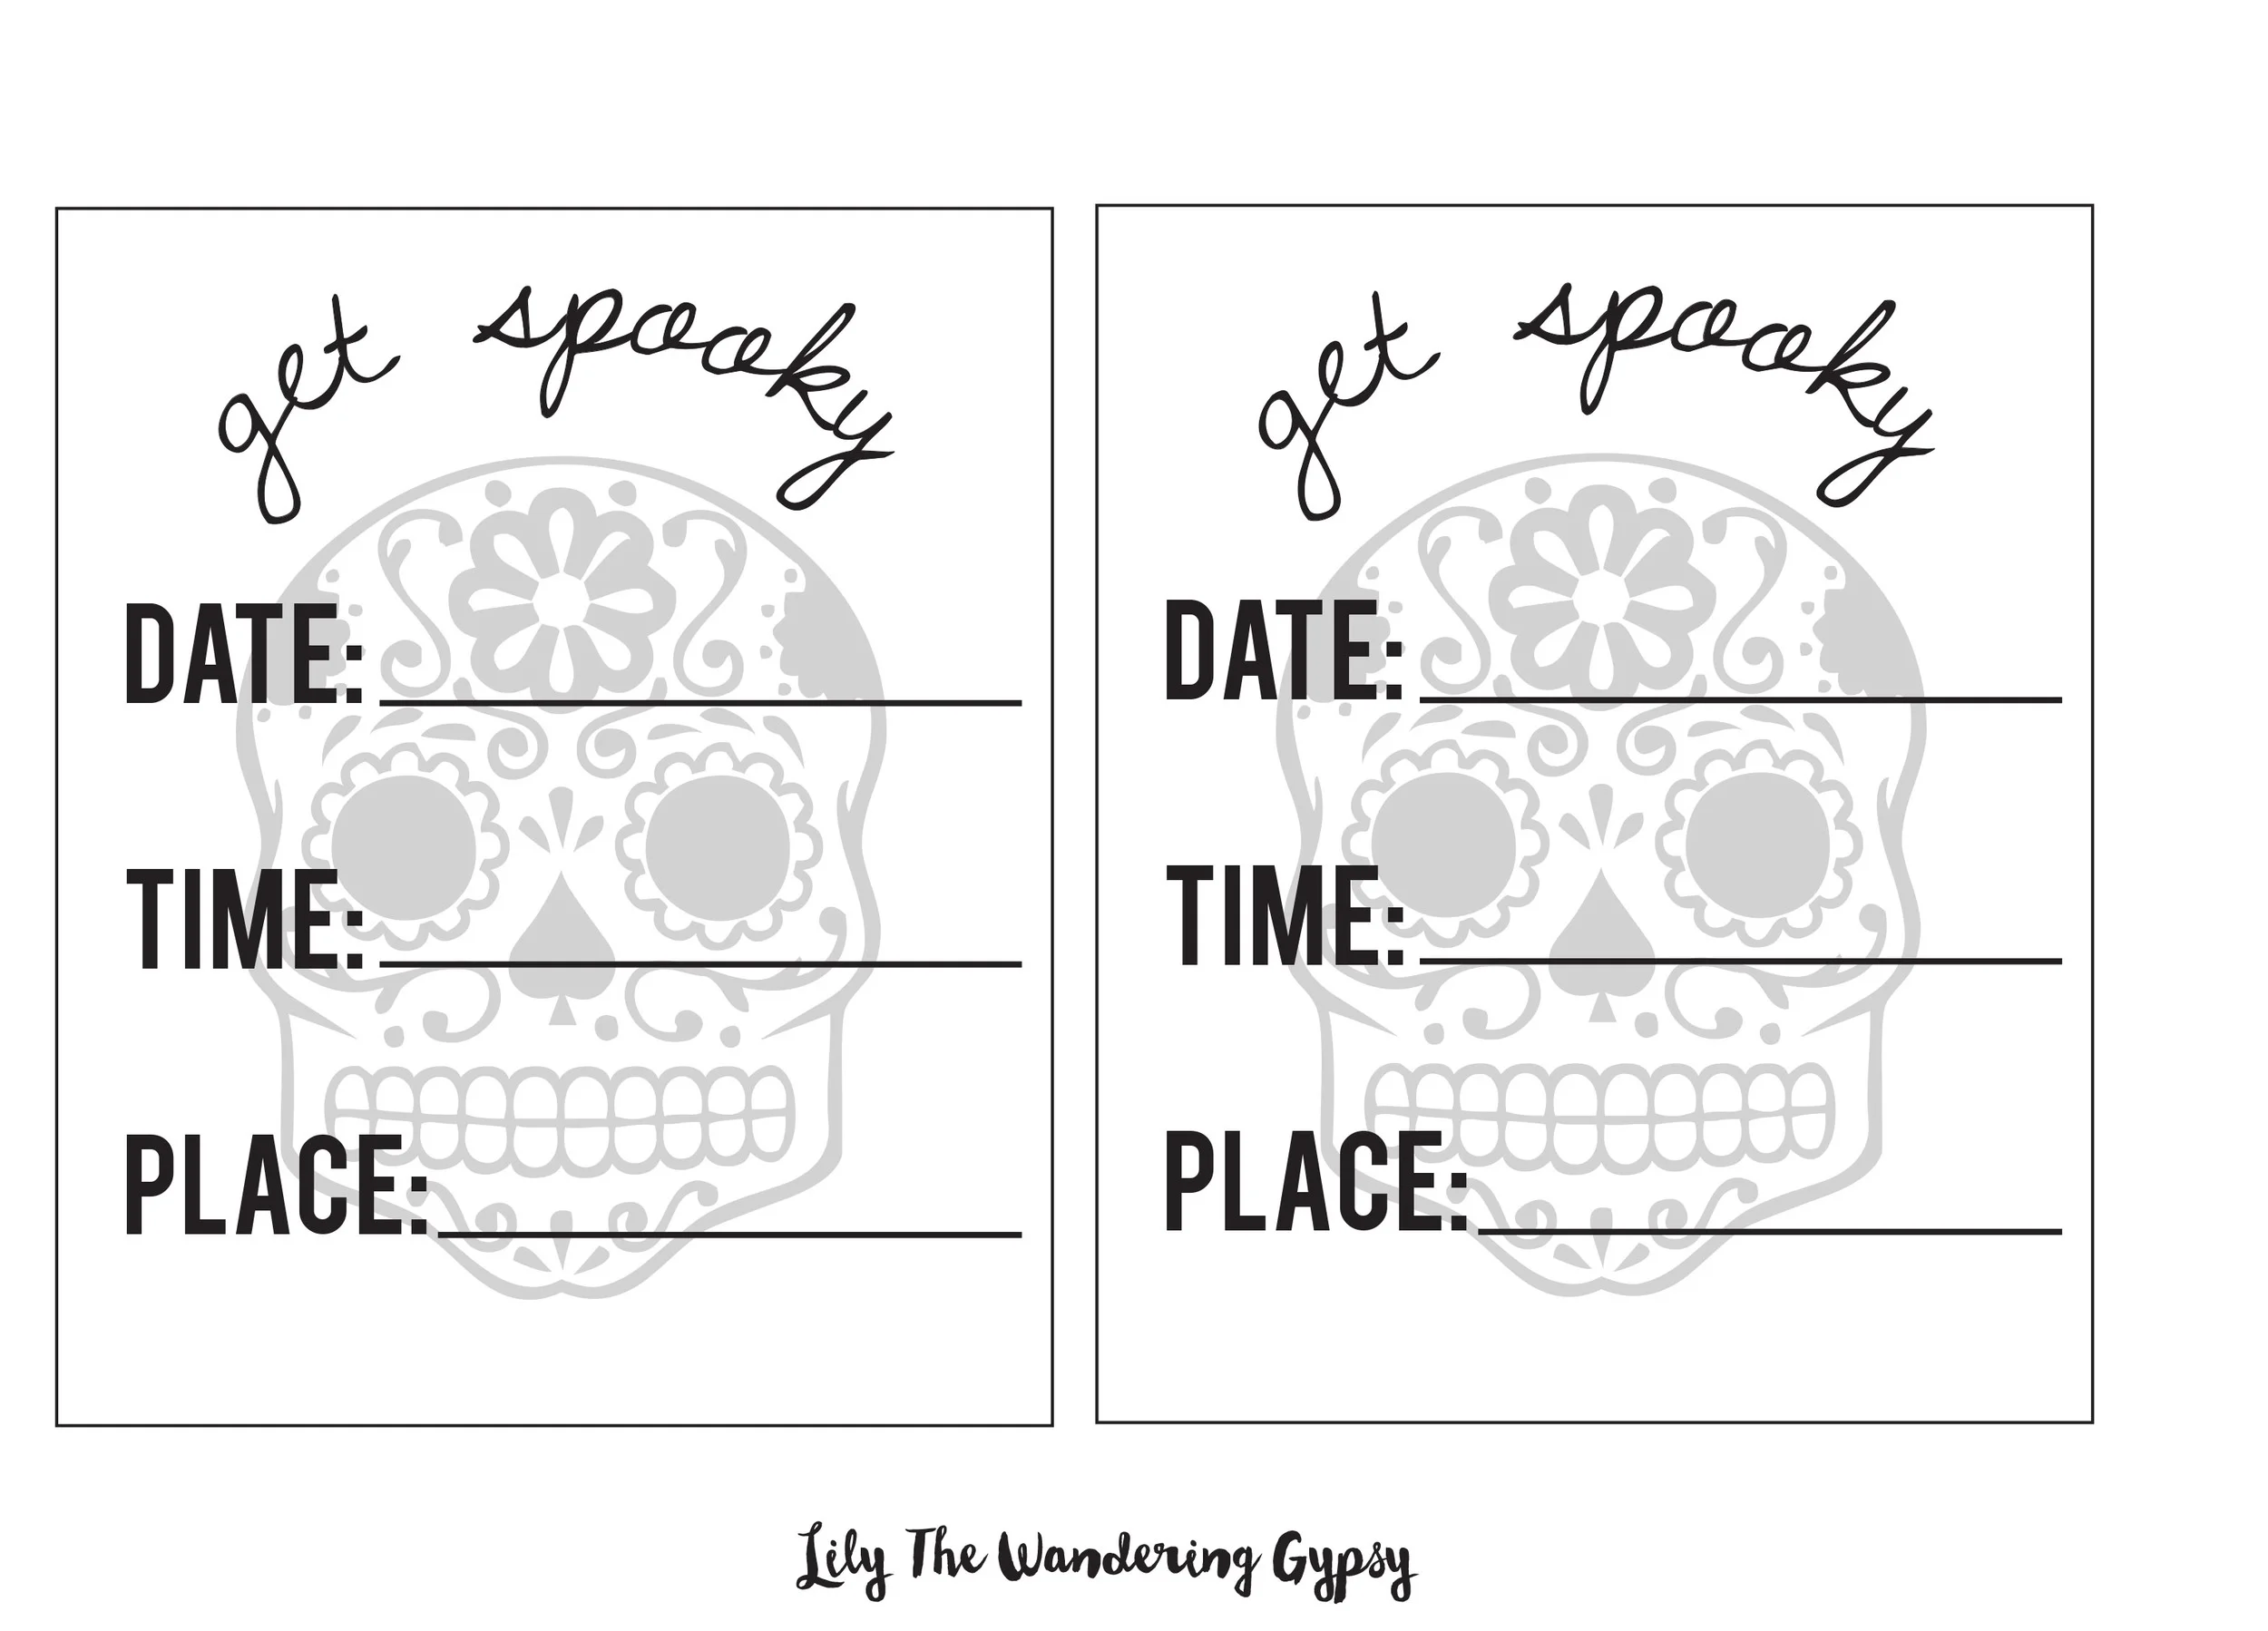
2 Free Printables - found below this image
Red Paper Crinkles (from Hobby Lobby) - But, I found mine at the Dollar Tree
Plastic Halloween Toys / Rings (small enough to fit into the boxes) - Also found at the Dollar Tree
Halloween Candy that fits into the boxes
Halloween Confetti (found at Hobby Lobby)
Scissors
Plastic Packing Tape and a Glue Stick
Right Click and Save the two images below. You can print them off for this tutorial!
Print and then cut out the invites below, and insert them into the boxes at the end.
Let's Get Started! Lay out all of your materials for the project.
Cut out the skull design from the first printable. This will be glued to the front of the boxes. Also, cut out the address labels, which are also on that same page.
Next, glue the skull cutouts onto the boxes with a glue stick. When you mail these, you will be covering them with clear tape, so they will stay put during shipping.
Add Red Paper Crinkles to emulate "blood" that is oozing out of the invite...
Next, place as many pieces of candy and Halloween toys as will possibly fit into the boxes while allowing the lid to still close. I also added spider confetti here, too.
Cut out your Get Spooky Invites, fill out the blanks, and add them to the box, on top of the candy!
Add the recipient's address to the back of the invite, and wrap everything up tight with clear packing tape!
Aren't they adorable??!!


