An Easy Treat For Labor Day And Beyond

I have an awesome, tasty, and amazingly easy dessert idea for Labor Day festivities and beyond. Definitely want to admit that I did not make my own cupcakes, though - I got some delicious pre-made Red Velvet Cupcakes from our local Schnuck's grocery store, and also found the berries there too. But, the little special touches always make people smile, so you can recreate your own by simply adding some blueberries and raspberries to some cupcakes of your own. You could even grab the 3 ingredients on your way to a party, and decorate the desserts when you arrive! I also love how the seersucker fabric and little silver stars confetti makes for a patriotic yet elegant decor idea for any holiday that's red, white, and blue! 

If you do want to make your own Naturally Colored Red Velvet Cupcakes, Food52 has an awesome recipe that uses beets (instead of red food coloring) - which is incredible! 


NATURALLY DYED RED VELVET RECIPE FROM FOOD52:

For the cake:

  • 1 cup beet purée, from fresh red beets (not cooked)
  • 3/4 cup buttermilk
  • 1 tablespoon white wine vinegar
  • 2 tablespoons lemon juice
  • 1 tablespoon vanilla extract
  • 2 1/2 cups cake flour
  • 3 tablespoons cocoa powder, not Dutch-process
  • 2 teaspoons baking powder
  • 1 teaspoon cream of tartar
  • 1 teaspoon salt
  • 1/2 cup neutral-flavored oil
  • 1/2 cup unsalted butter, softened
  • 2 cups granulated sugar
  • 3 large eggs

For the cream cheese frosting:

  • 8 ounces cream cheese, at room temperature
  • 8 ounces unsalted butter
  • 2 tablespoons crème fraîche
  • 1 pound confectioners' sugar
  • 1/2 teaspoon lemon zest
  • 1 teaspoon vanilla extract
  • 1 pinch salt

Instructions:

Add the beet purée, buttermilk, vinegar, lemon juice, and vanilla extract to a food processor fitted with the steel blade and process until very smooth.

Sift the cake flour, cocoa powder, baking powder, cream of tartar, and salt together in a bowl. Beat the sugar, oil, and butter together in a large bowl until creamy, then add the eggs one at a time, mixing for 30 seconds after each addition.

Alternate adding the flour mixture and beet mixture to bowl, beginning and ending with the flour mixture. Divide between the cupcake papers and bake until a cake tester inserted into the center of the cake comes out clean, 20 to 22 minutes.

Cool the cupcakes on a rack for 20 minutes or more. Then, get the icing ready. 


To make the frosting, beat the butter and cream cheese together on high speed until fluffy and smooth, then add the crème fraîche. Turn the mixer to low and gradually add the confectioners' sugar until just combined, then turn the mixer up to medium-high and beat until fluffy and smooth, making sure to stop the mixer and scrape down to the bottom of the bowl so everything is evenly mixed. Add the lemon zest, vanilla extract, and salt. Enjoy!

Fall Tailgating + Football Party Tips!

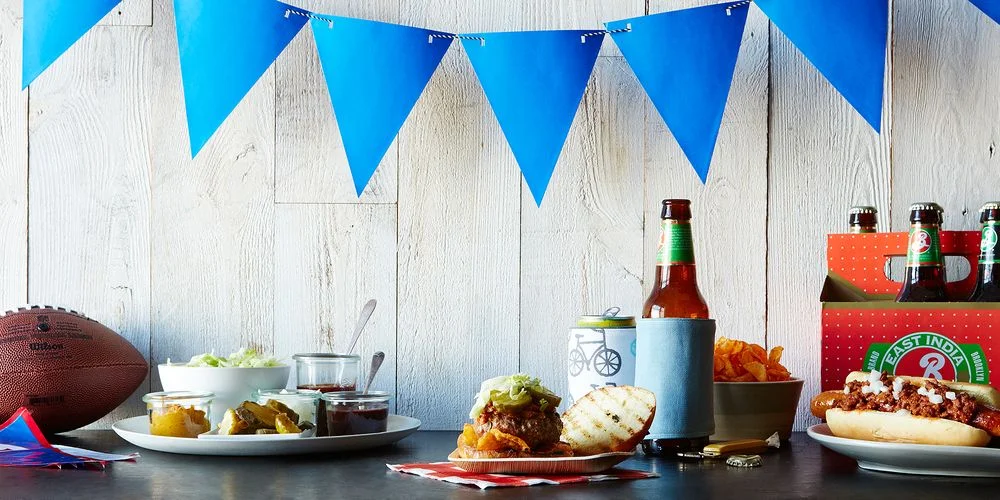
I cannot wait for Fall, and one fun part of Fall is tailgating! Football season, and cooler temperatures make a great excuse to get together with friends and enjoy some good food and drink! Below, are some ideas on making your tailgating and football parties so much more elegant and grown-up. Most of these ideas, from some of my favorite bloggers, are just creative DIY ideas, that don't have to be expensive or time consuming. So, let's get ready for some football...

Serve Drinks From A Pumpkin (Waiting On Martha) - You can simply add some ice to a hollowed-out pumpkin and add beer, or line a smaller pumpkin with a plastic container and add dip for chips or veggies! Learn how Waiting On Martha styled an adorable tailgate party of her own here. 

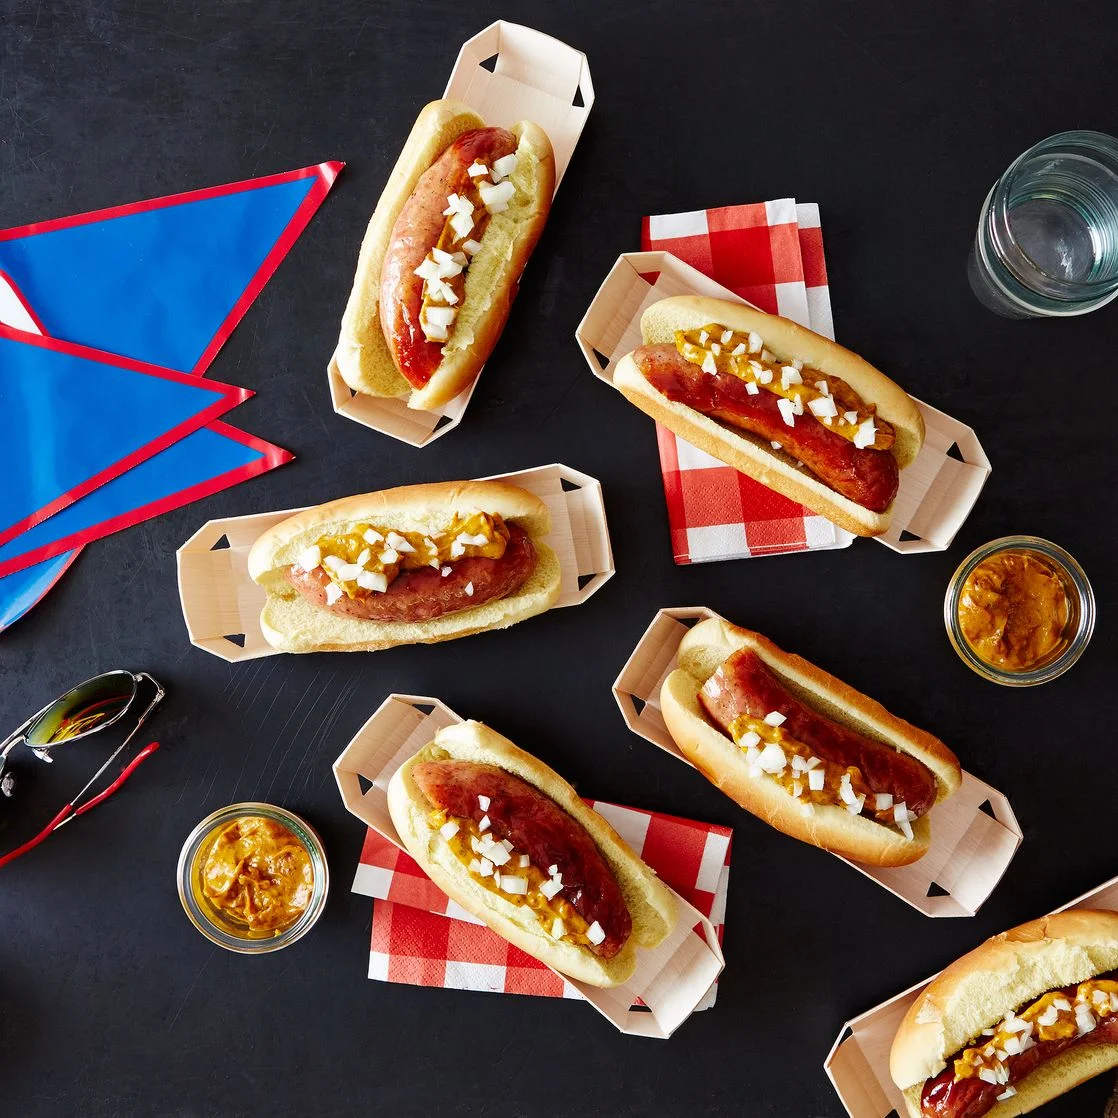
Use Eco-Friendly Plates (Food 52) - If you must use disposable plates and food holders, there are more Eco-friendly options like these compostable wooden hot dog trays and more from Food52.

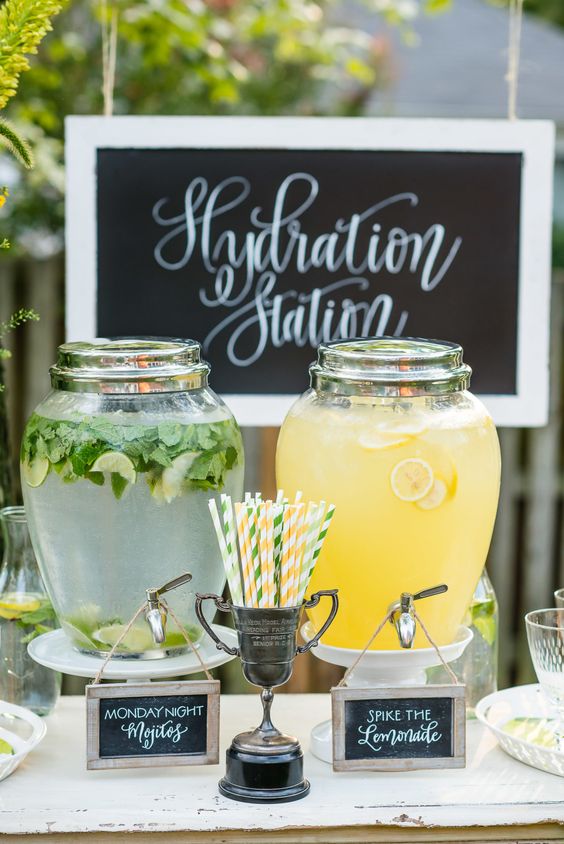
Create A Hydration Station (Style Me Pretty Vault) - Provide guests with inexpensive drinks like fruit-infused water, lemonade, and tea. Learn more about this incredible party, in the Style Me Pretty Vault Files.

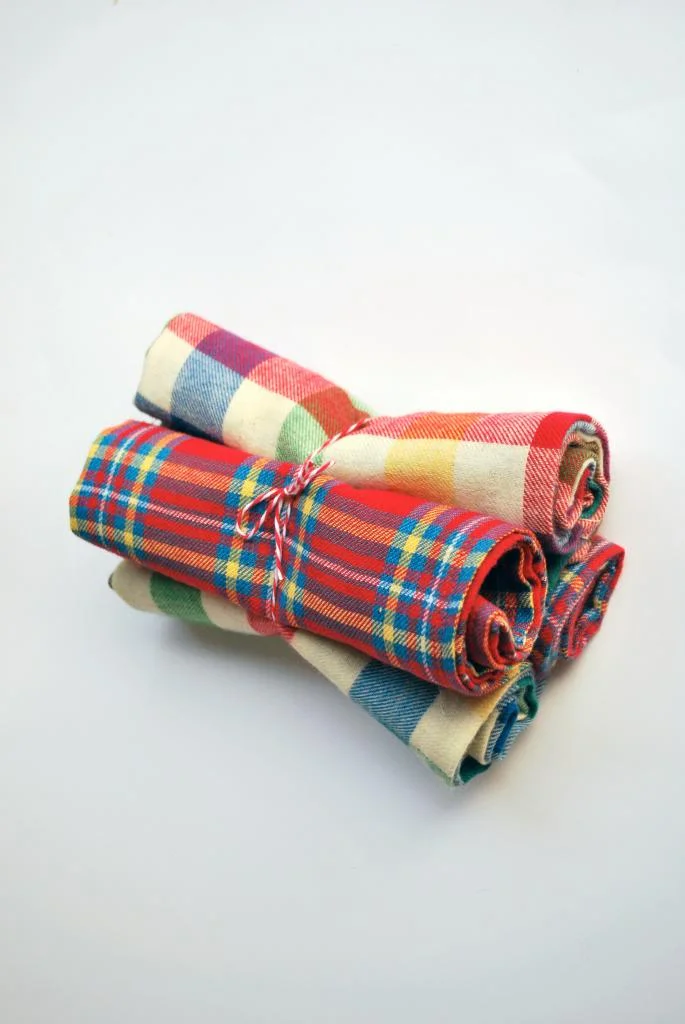
DIY Flannel Napkins (Hey Wanderer) - Follow this cute DIY Tutorial from Hey Wanderer, or simply cut or rip a couple of yards of inexpensive plaid flannel fabric into 16" x 16" squares to provide guests with something more substantial thank those flimsy paper napkins. 

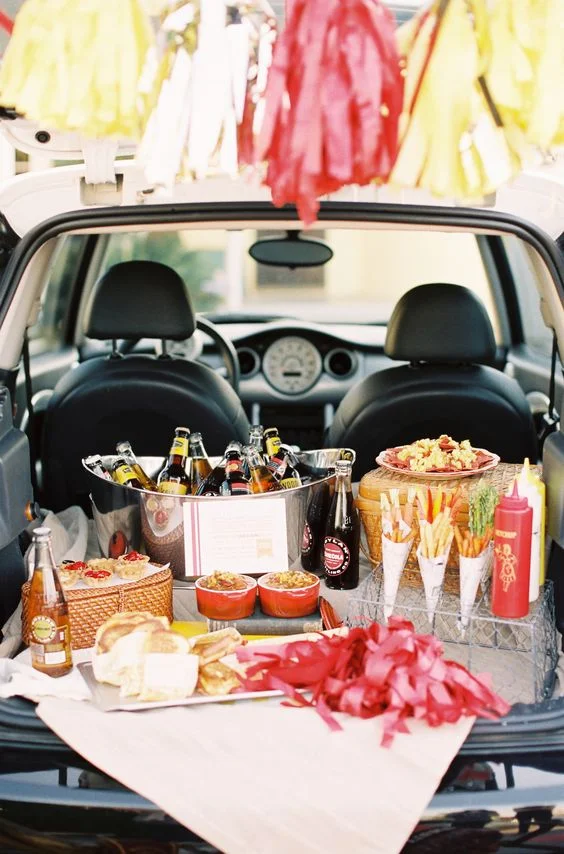
Style Me Pretty & Author Ngoc Nguyen Lay really know how to tailgate in style! This image, below, really shows a great overall party setup! Incorporating vintage items like an ice cream cone holder (used for fries and veggies in the photo), Picnic baskets, metal buckets, and pom-poms makes this setup look elegant instead of over the top. Learn more, here

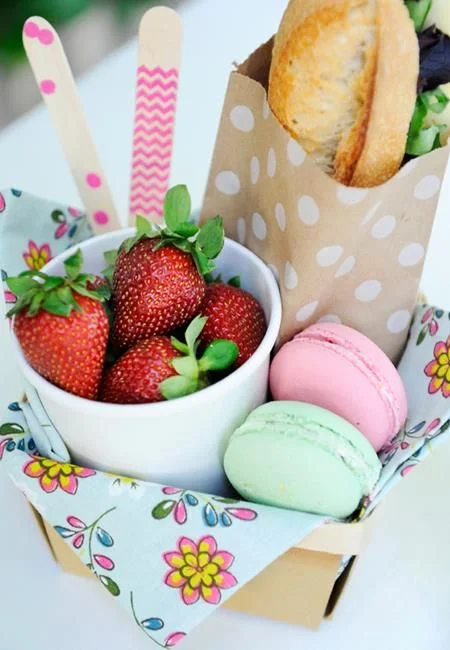
Serve Elegant & Unexpected Treats (Happy Wish Company) - I just love how these macarons, cup of strawberries, wooden utensils, cloth napkin, and sandwich in a spotted paper party favor bag. Find fun party ideas like this one, from Happy Wish Company

I'm hoping to put together my own set of Tailgating Ideas in an upcoming post, so stay tuned!!

A Peanut Butter Chocolate Fudge Recipe + Stunning Bracelets from Gideon John

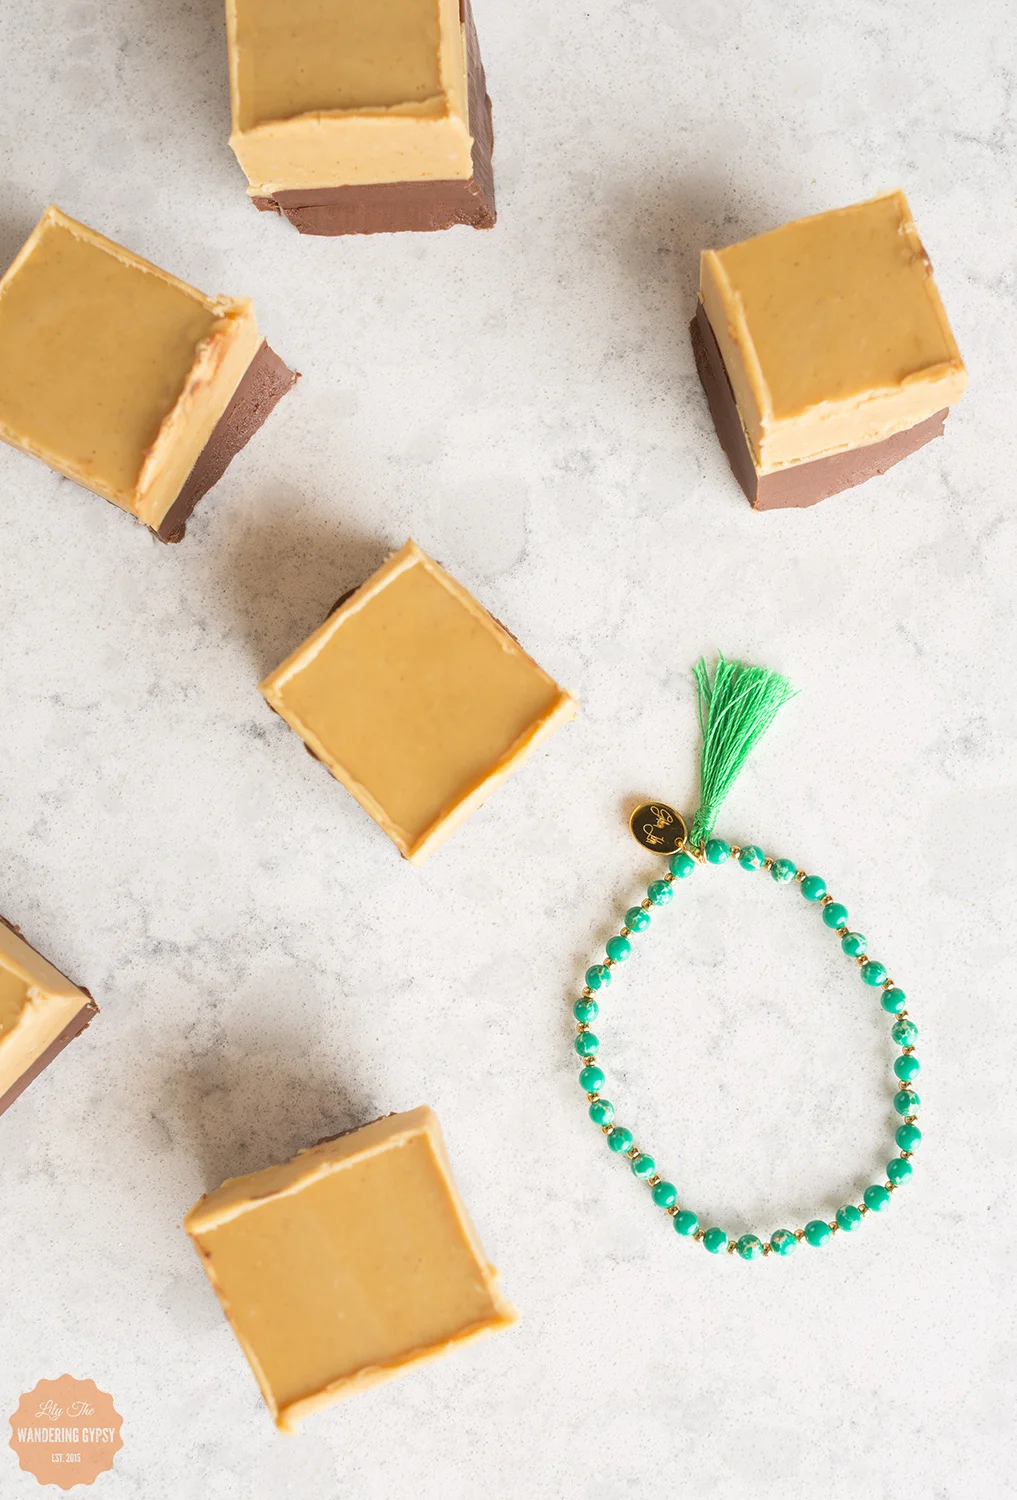
I want to share a couple of things with you today - fudge + jewelry - two of my favorite things! I wanted to share a Peanut Butter Fridge Fudge recipe with you (below), and also share some pretty amazing jewelry with you. 

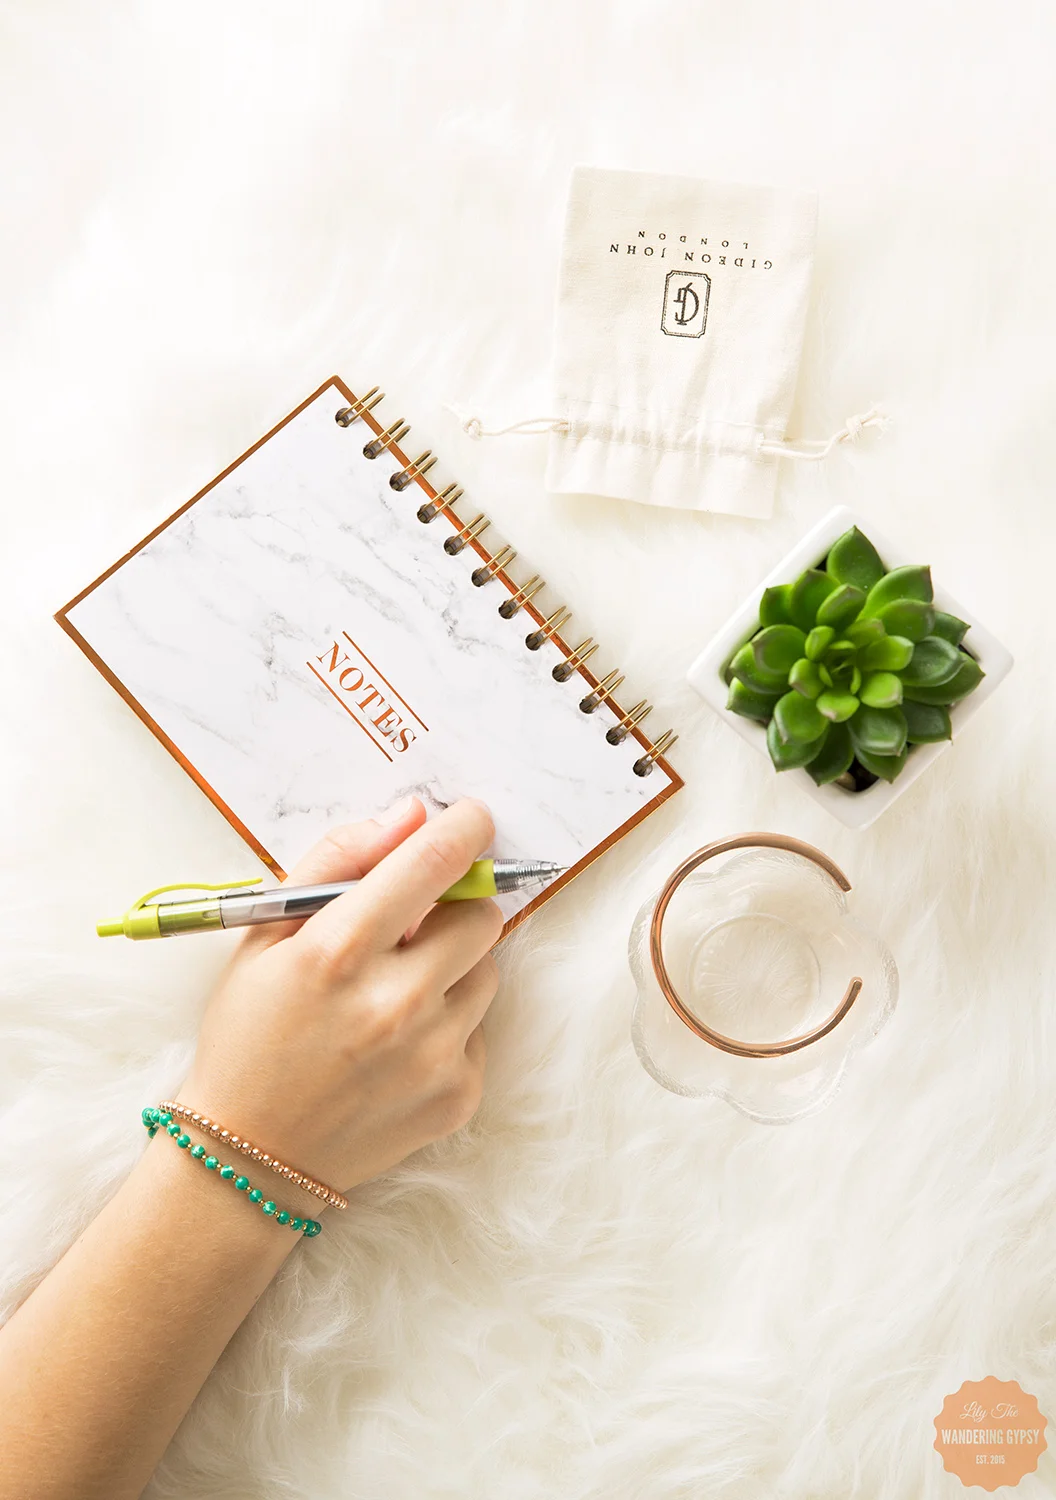
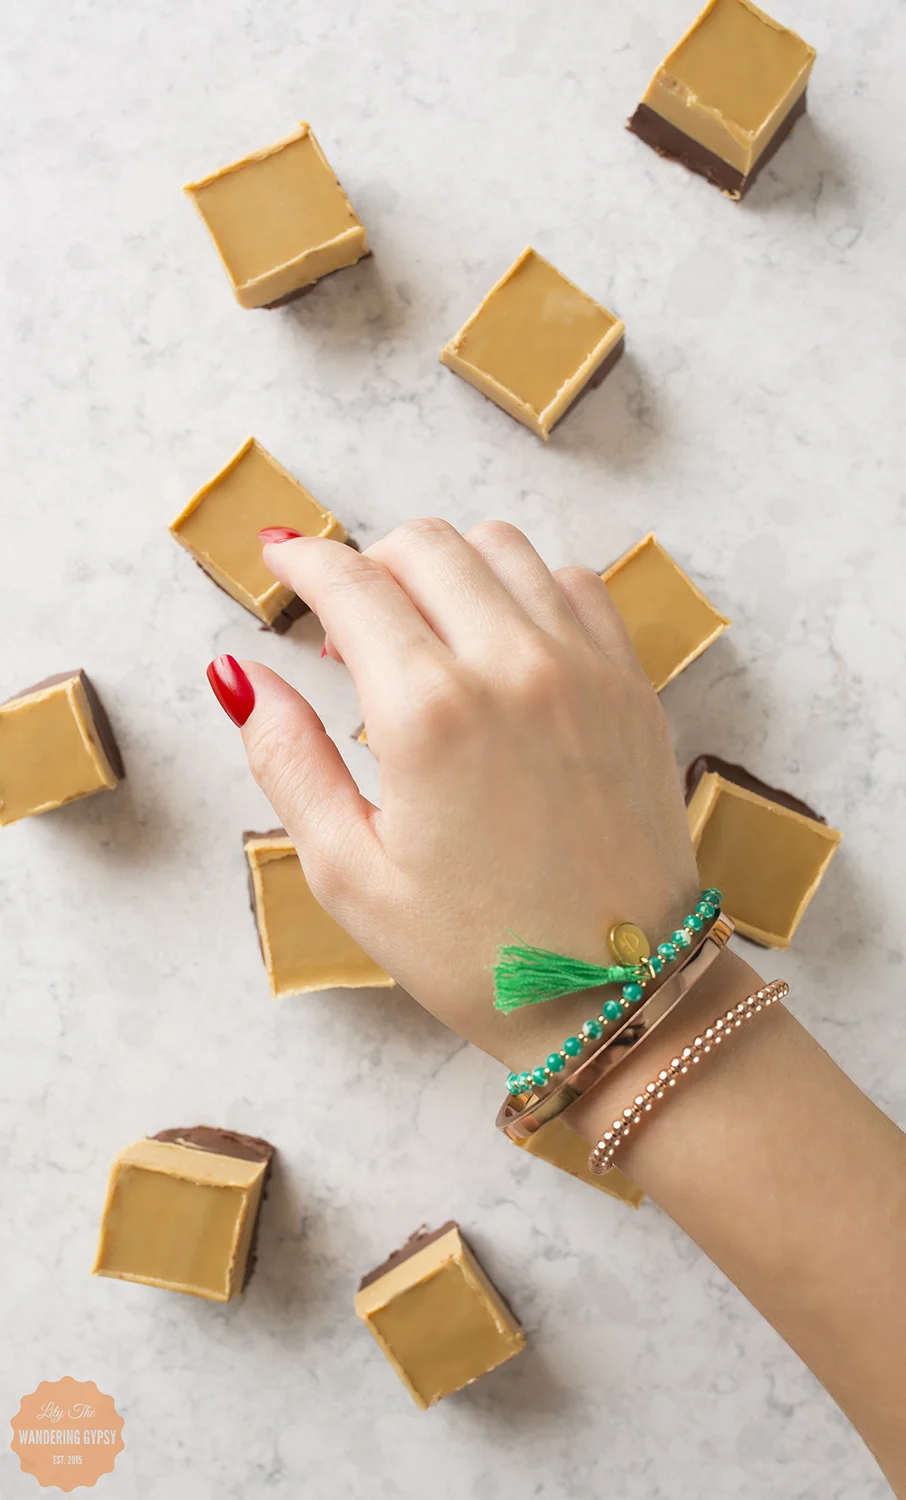
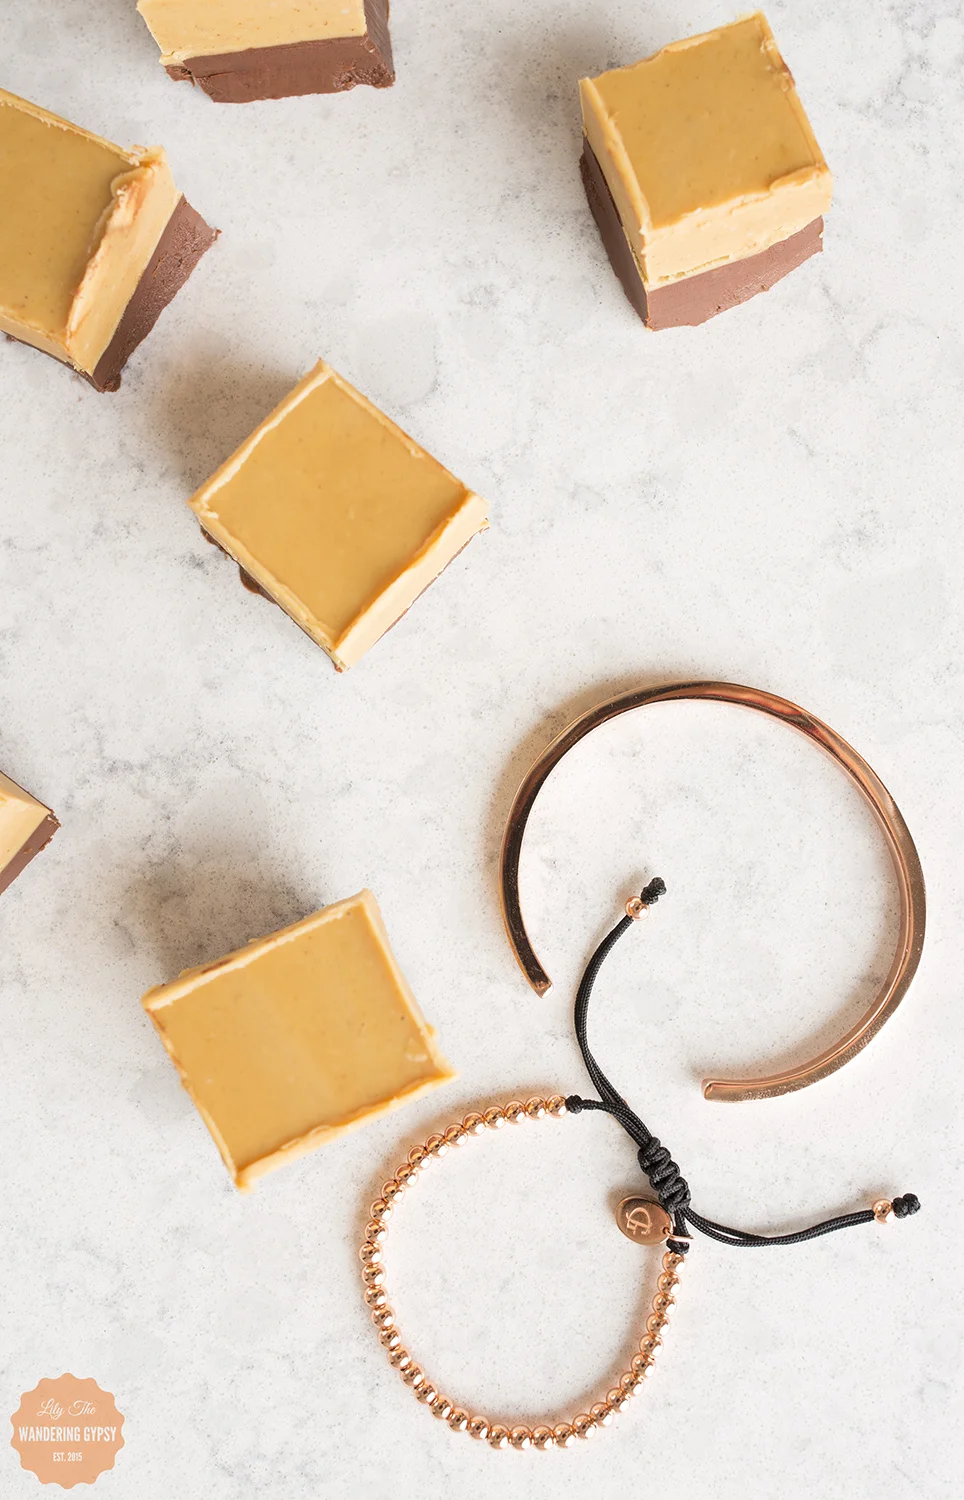
First, the jewelry. Bracelets have always been my go-to jewelry faves. I recently received three absolutely stunning bracelets from Gideon John London, and I could hardly believe my eyes! These bracelets are so well-made, and you can tell that great attention to detail was given, beginning at jewelry design, then into their packaging and presentation. Each bracelet arrives in a personalized black box and a cotton bag, so nothing get scratched during delivery. Even though these traveled all the way from gorgeous London, they looked like someone had hand-delivered them locally! 

I received three bracelets from Gideon John, and featured them all in this post. Find them here:

Rose Gold Cuff Bracelet / Green Sea Jasper Tasseled Opulence / Rose Gold Lux Beads

And, although they already had lovely product photography on their website, I was so fortunate to be able to bring these bracelets to life in this styled photoshoot. 

Now, the Fudge!

This yummy treat turned out so well! This recipe has been adapted from the one I found here - the post that inspired my photos!

1 Bag Peanut Butter Baking Chips

1 Bag Chocolate Chips 

Coconut Oil

Creamy Peanut Butter 

A Pinch of Salt

Glass Container For Fudge

Parchment Paper

1.) You can do each of the two layers in the microwave, or use the double boiler method, like I did. To do the double boiler, fill a sauce pan with about 1 inch of water. Set the glass measuring cup in the saucepan, atop the water, and get turn your burner on medium, to get ready to melt your ingredients.

2.) Prepare water for double boiler method in two different sauce pans. In two heat-safe glass measuring cups (I used my two 2 cup ones), melt 1/4 Cup Coconut Oil, 1 bag of peanut butter ships, a pinch of salt (or a bit more), and 1/2-1 C. Peanut Butter. Feel free to add more Peanut Butter if you want, just until you get a consistency and taste you like. You can also add some powdered sugar to this peanut butter layer if you want. Melt until smooth - make sure you stir frequently!

3.) In the other measuring cup, melt 1/4 C. Coconut Oil, 1and  Bag of Chocolate Chips. Melt and continue to stir until smooth. 

4.) Optionally spray a bit of non-stick spray into your Pyrex container, and then fit a piece of parchment paper into the Pyrex, allowing two sides a few extra inches to hang over. This makes removing the fudge from the container much easier!

5.) Once chocolate has melted, pour it into the Pyrex. Freeze for about 15 minutes, so it hardens all the way through.

6.) Once that layer has hardened, pour the peanut butter mixture over the chocolate layer, make sure it's smooth, and put it back into the freezer. If you're not in a hurry, you can just let the final layer cool in the fridge.

7.) Once both layers are fully firm, grab a cutting board, pull out the fudge block utilizing the parchment paper, and use a ruler to make straight lines on the top of the fudge if presentation matters. Cut fudge into 1" squares, using a large, sharp knife, and enjoy!! 

***Note: This fudge melts pretty fast, so make sure you keep it in the fridge!!! It tastes like peanut butter cups, I just love how this turned out!! You can also use crunchy peanut butter, but I recommend creamy, just because the peanuts could be too hard to eat after being in the freezer or fridge!

What a great no-bake dessert recipe! 

Blueberry Granola Parfait - A Great Snack On The Go!

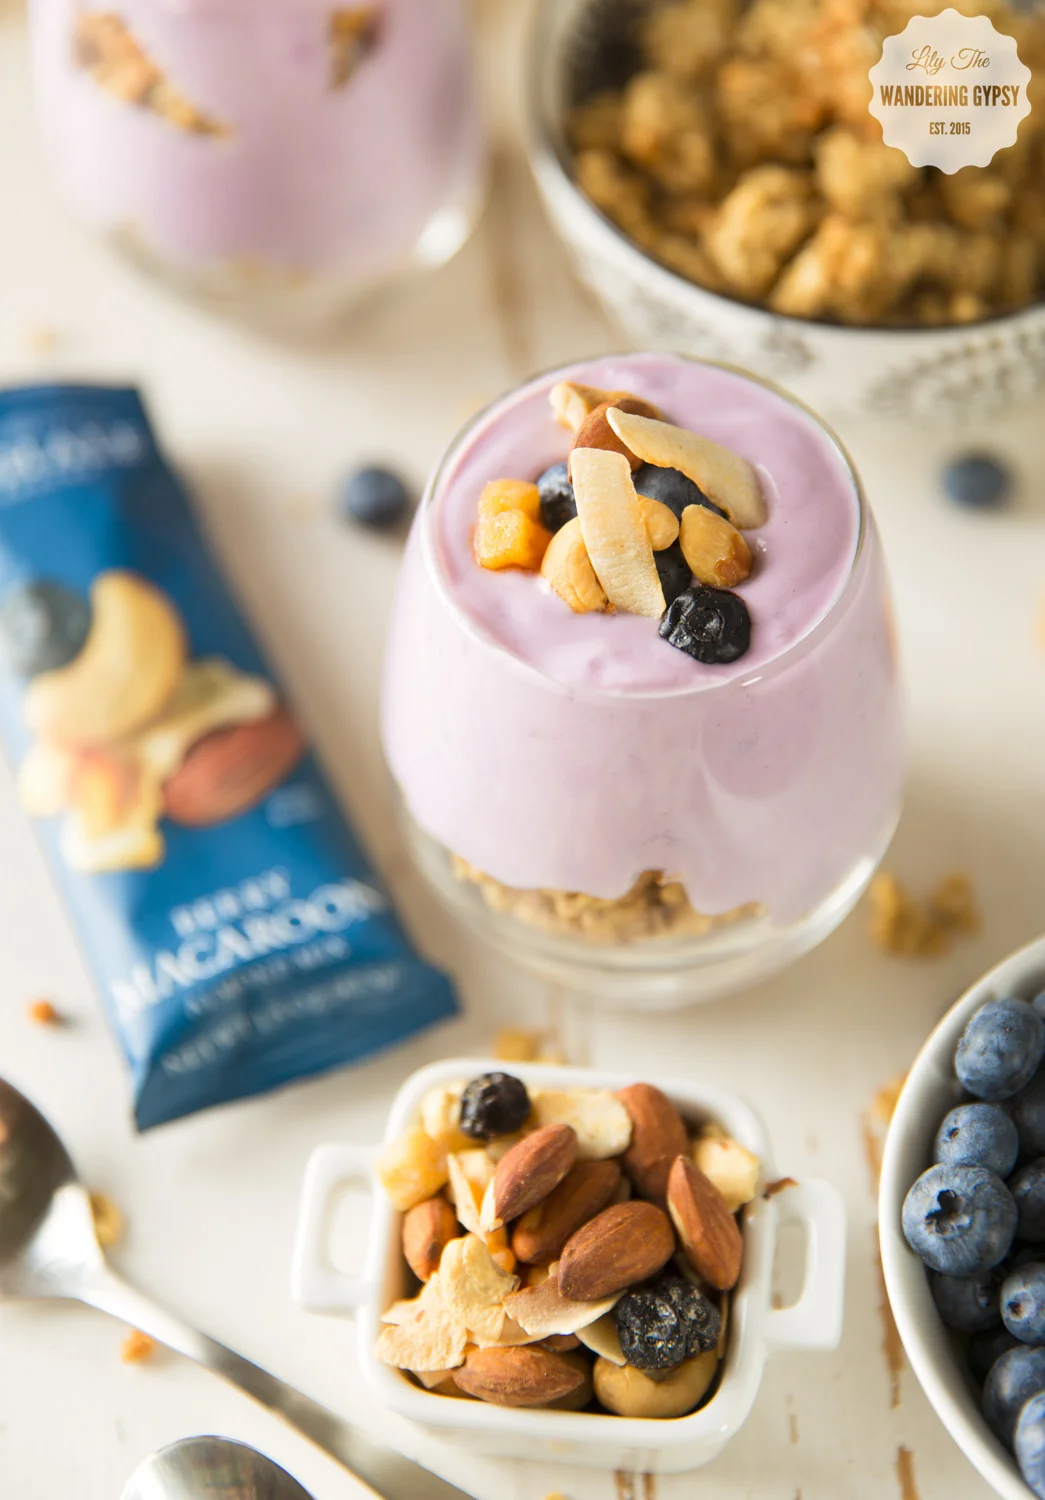
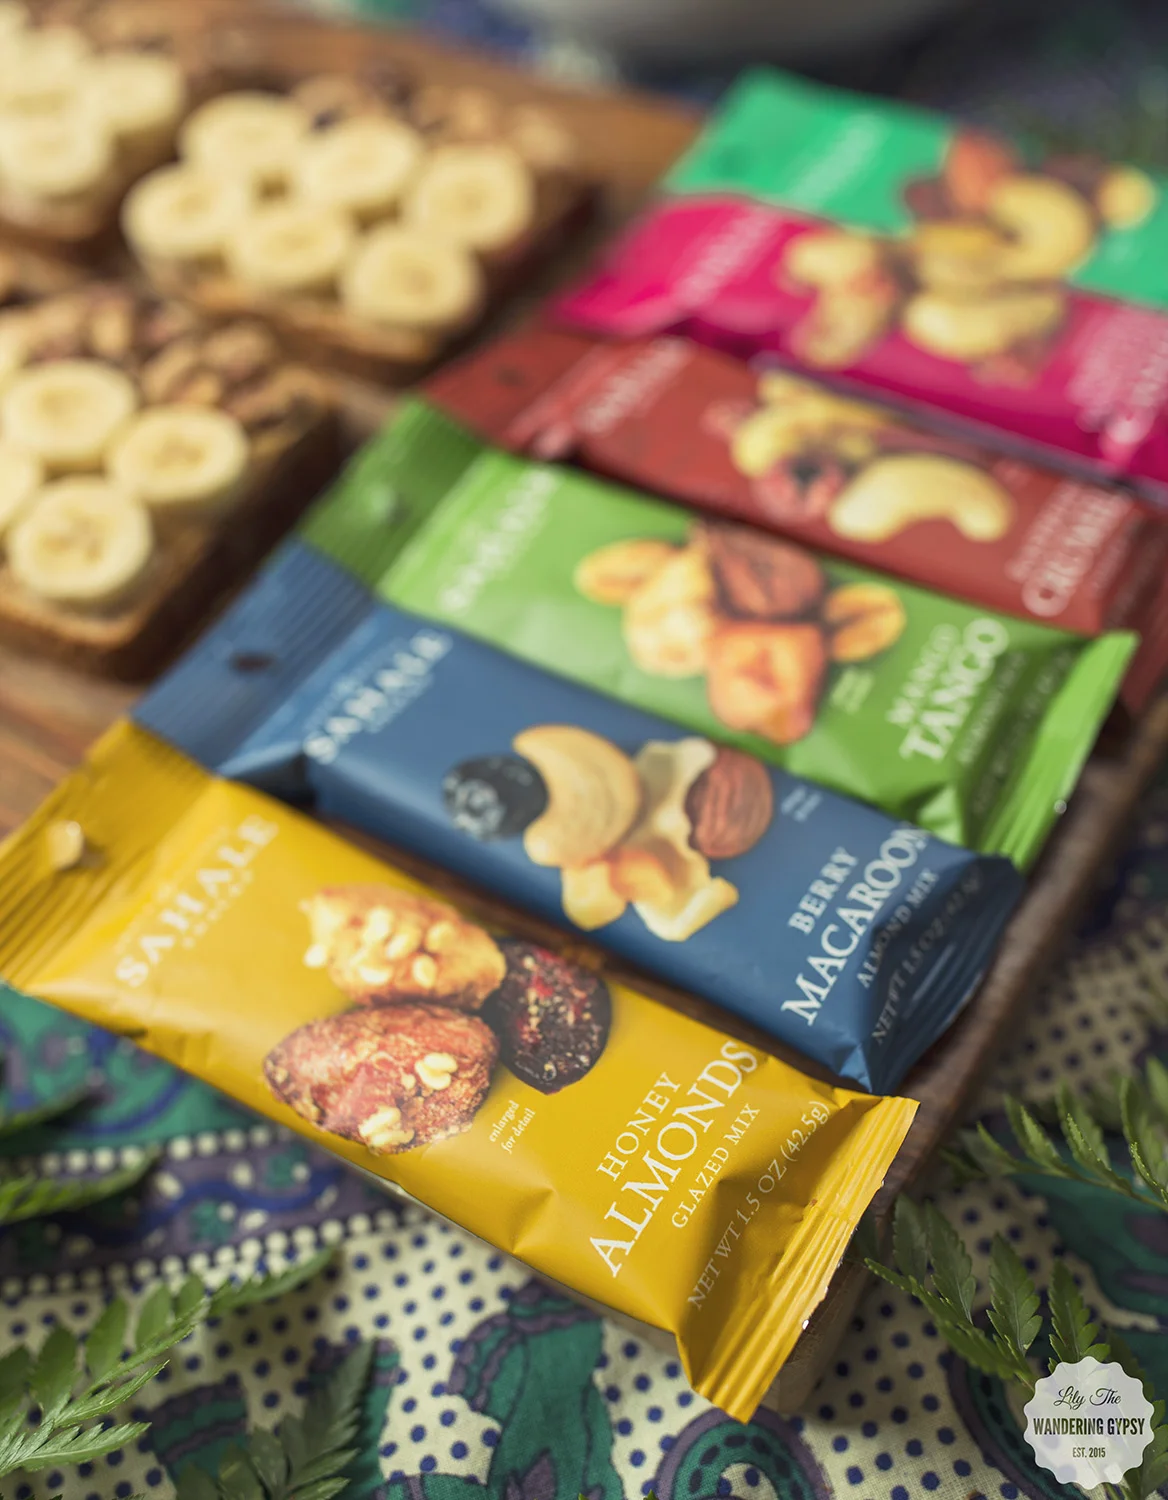
Well, it's back to busy schedules for so many people, with school starting back up for the year, and seasons changing. If your days seem to be going by a mile a minute, here is a great recipe for you that will definitely satisfy that sweet tooth, help keep you full for hours, and because there are so many flavors and textures in this recipe, it makes eating better enjoyable. These parfaits contain layers of granola, covered with blueberry yogurt, then topped with fresh blueberries and Sahale Snacks in Berry Macaron Almond Mix. This awesome mix is Non-GMO, gluten free, and contains Blueberries, Cashews, Lemon-Infused Apples, Whole Roasted Almonds, and Toasted Coconut. No artificial flavors of any sort, making this a wonderful option for breakfast, lunch, or a snack. 

Elevate your everyday snacks or light meals by adding the very best ingredients possible, while not overthinking it. Simple can definitely be better, so why not work smarter and not harder. 

My parfait recipe was inspired by breakfast on-the-go or afternoon snacks, and the flavor of these snacks was inspired by a walk into a neighborhood bakery. Just one bite of a delicious, freshly made macaron inspired the creation of lightly toasted coconut, crunchy almonds, and creamy cashew. 

About The Brand: "It all started with a climb up Mount Rainier in Washington State in August 2003. We had some beautiful views but nothing delicious to eat. The trail mix and stale nuts we brought on our trip helped to replenish lost energy, but did nothing to satisfy our desire for something great tasting, nutritious and as adventurous as our travels. That experience inspired us to create Sahale Snacks". This is why Sahale Snacks make such a great Grab & Go Snack!

Find Sahale Around The Web: Facebook, Instagram, and Twitter

I’m sharing #SahaleSnackers in my life as part of a Sahale Snacks® sponsored series for Socialstars™ - Thank you for supporting the brands that make this blog possible! #BeyondOrdinary

Two Amazing Fruity Frozen Yogurt Recipes {Peach Pineapple + Raspberry Peach}

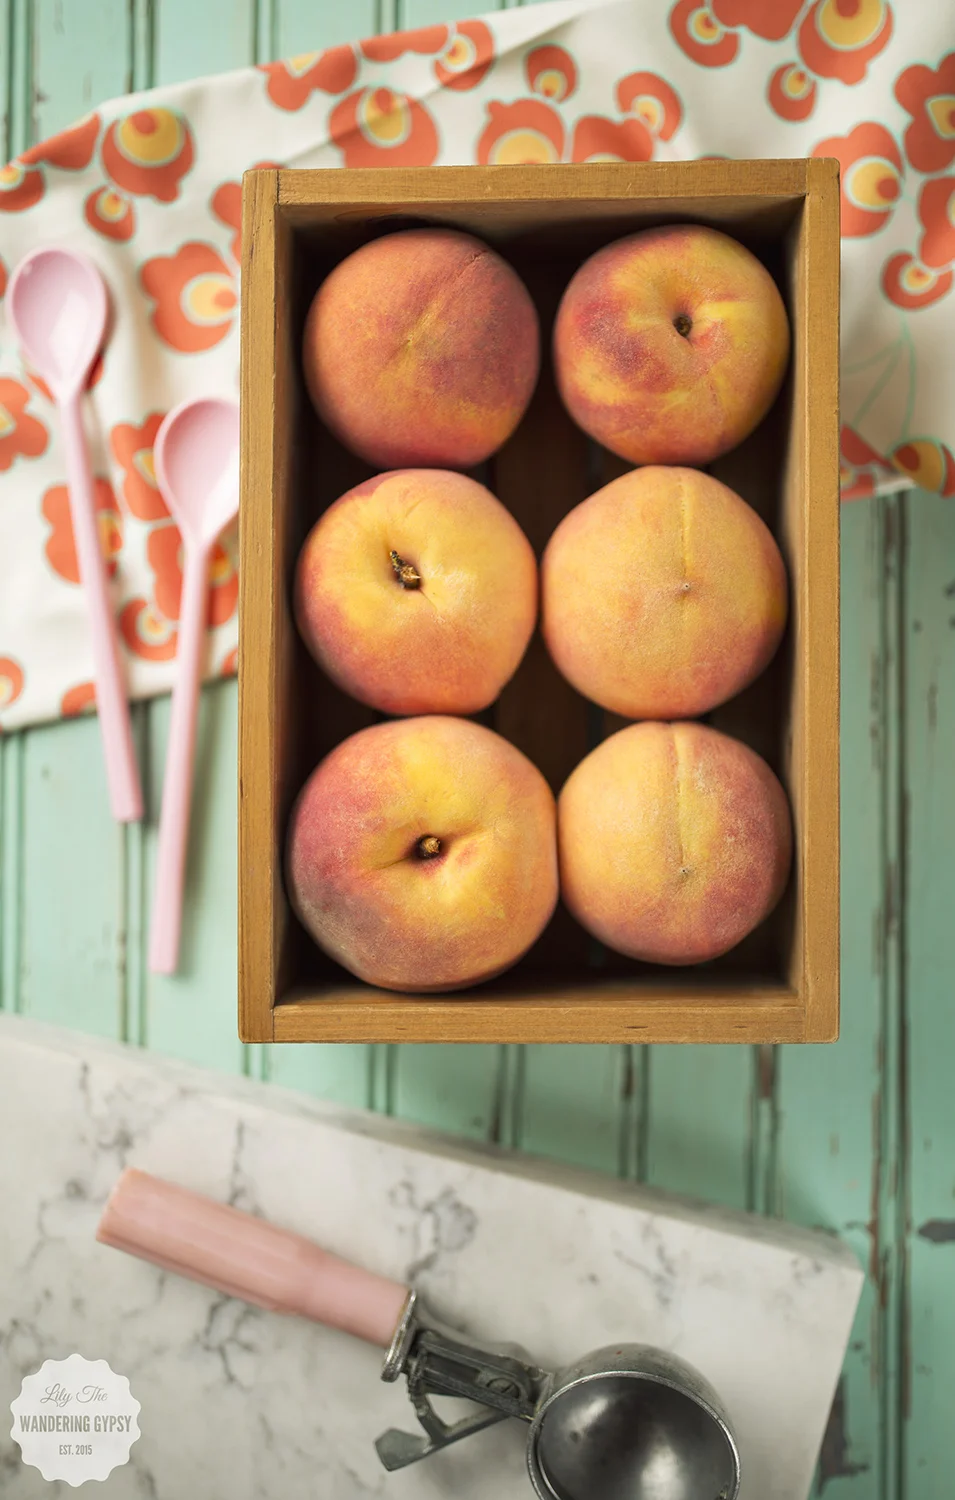
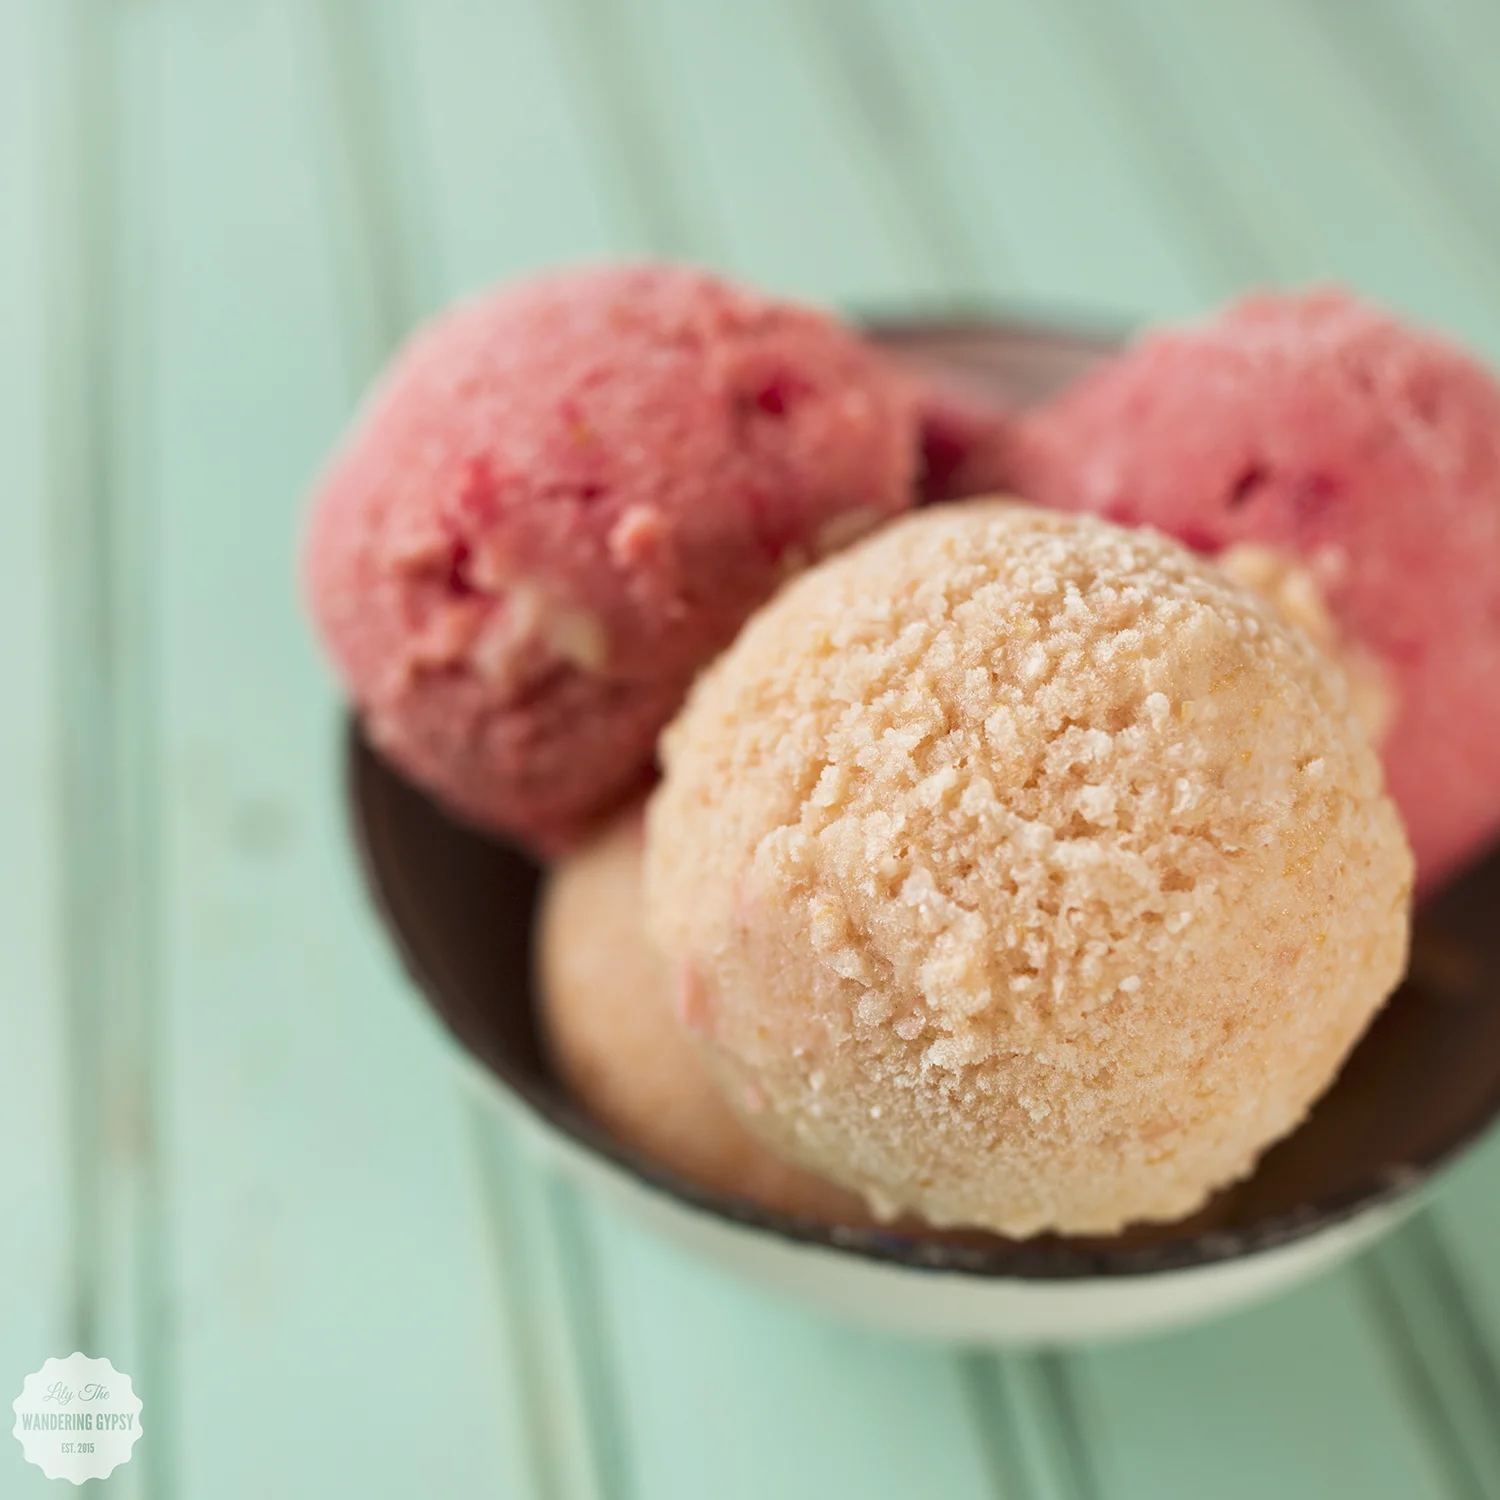
Yum! That;s basically the first word that comes to mind when I look back at these photos. I have been wanting to make some frozen yogurt for some time now, and I had the perfect ingredient for it! Peaches that Bobby's mom gave us when we visited recently. They were just perfectly sweet and juicy. 

I just love how natural the ingredients in this recipe are. This is a way better option than something you can buy in-store, and takes hardly any time at all! The peaches can be cut up and pureed ahead of time, making this even easier. The end result tastes amazing, and will surely please that sweet tooth for people of all ages!


It all starts with peaches...

Cut the peaches in half, then whatever half still has the pit, slide that in half again. The pit will come right out! Make sure your peaches are a teeny tiny bit soft and ready to use, rather than super firm. You can also put the peaches into a grocery bag for a few hours to  soften them up. 

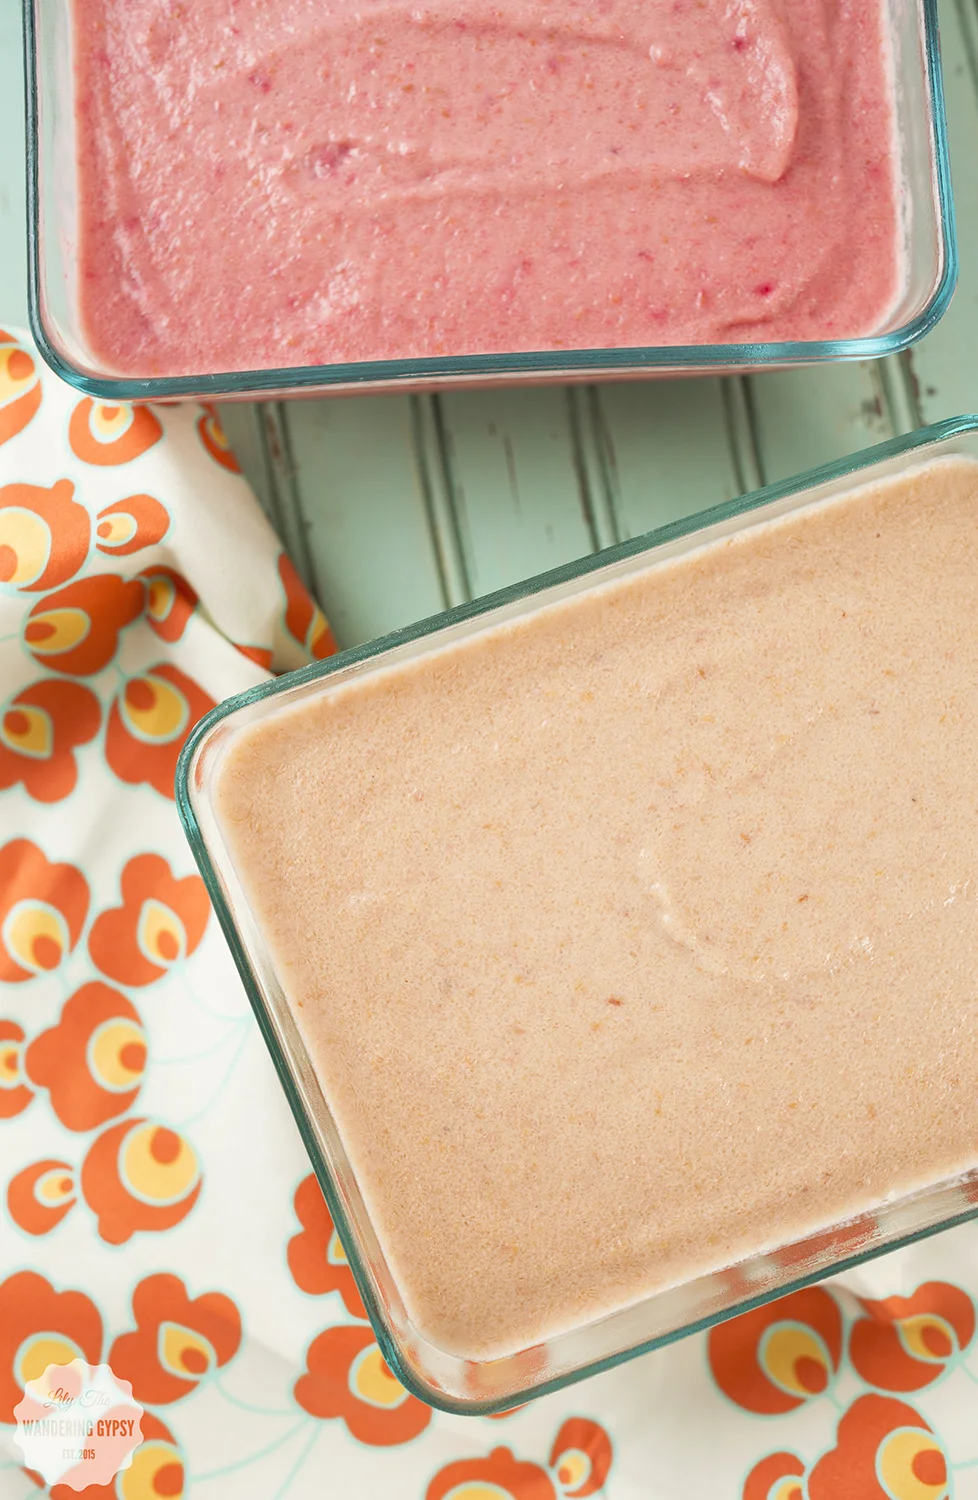
Here are the Basic Ingredients (sans the pineapple - that is shown in the ingredients photo, within the peach puree). Each recipe can be found below its respective title, further down in this post. 

INGREDIENTS:

- 3-4 Peaches, peeled and sliced, pits removed

- 2 C. vanilla yogurt (I used the sweetened kind)

- 2-3 Tbsp sweetener like agave

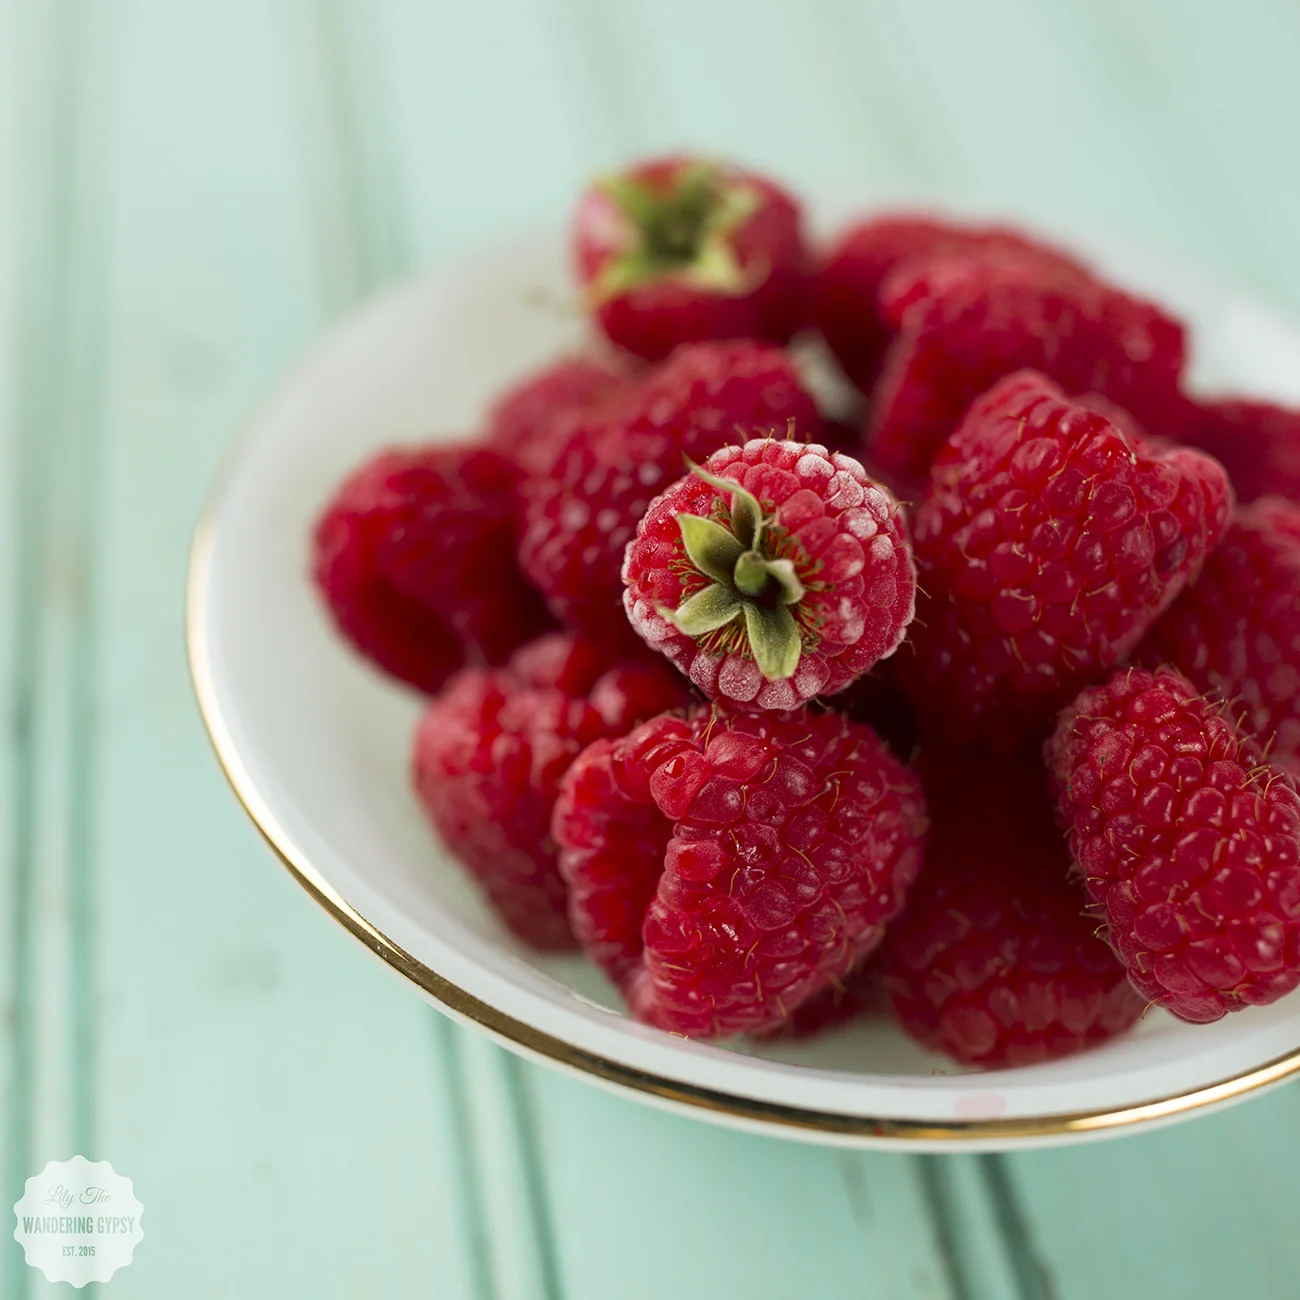
- 1 C. (or more) fresh raspberries (I froze my own before using them in this recipe)

- 1/2 Can Pineapple rings + their juice

INSTRUCTIONS:

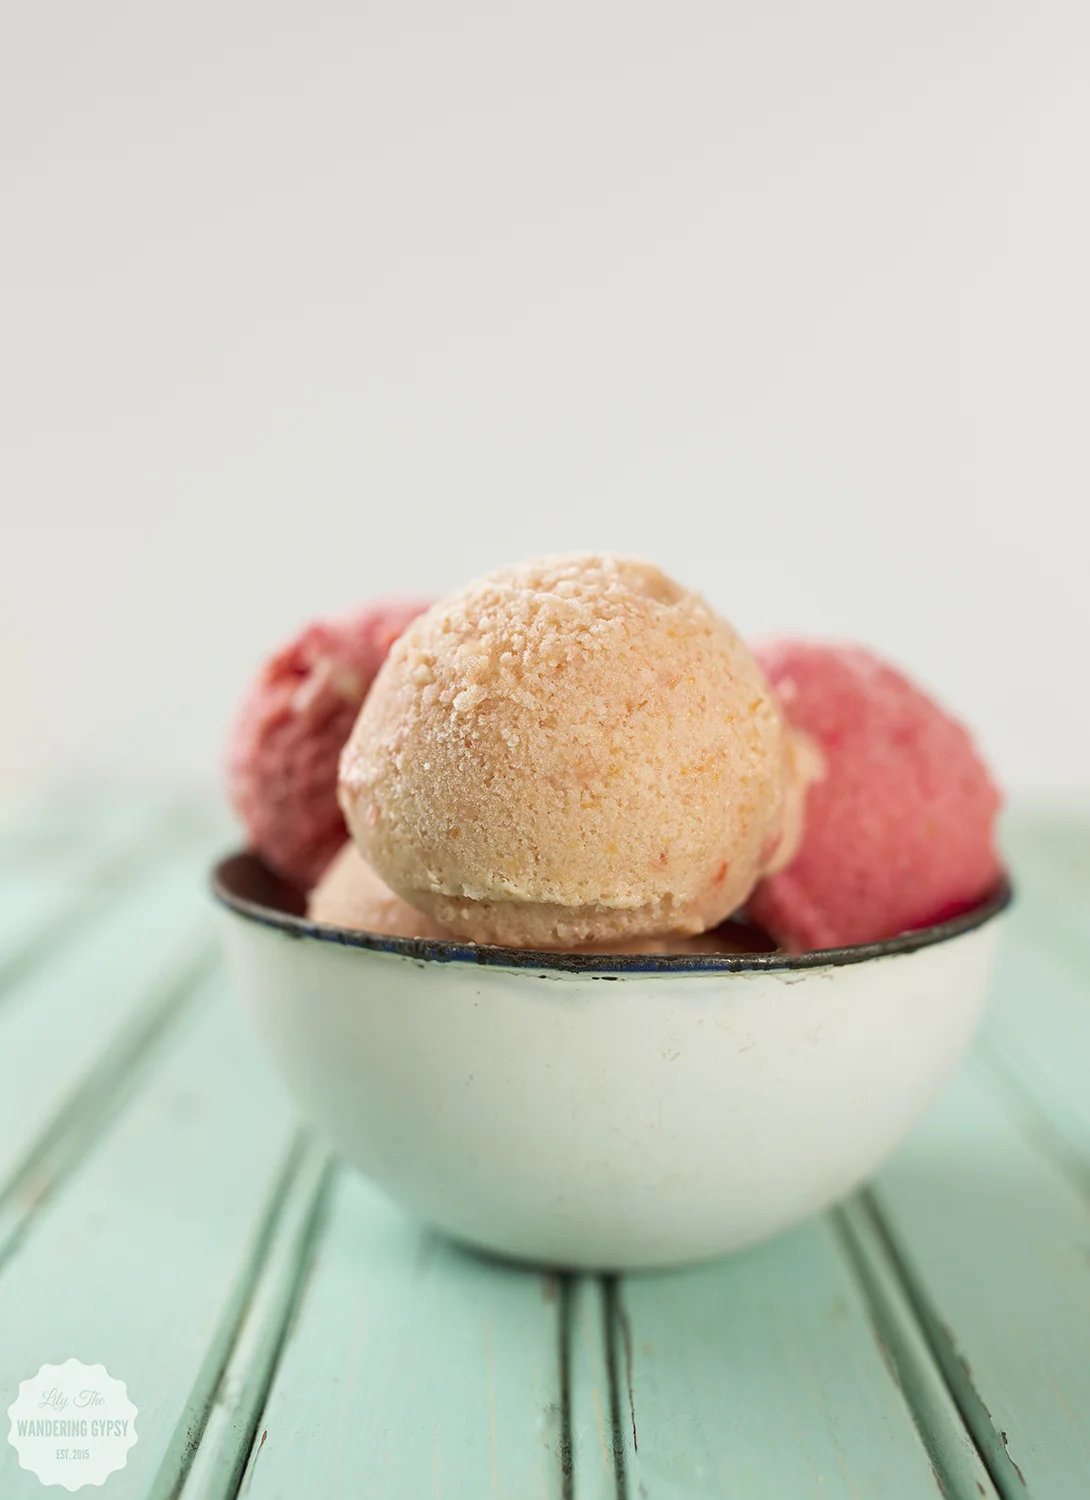
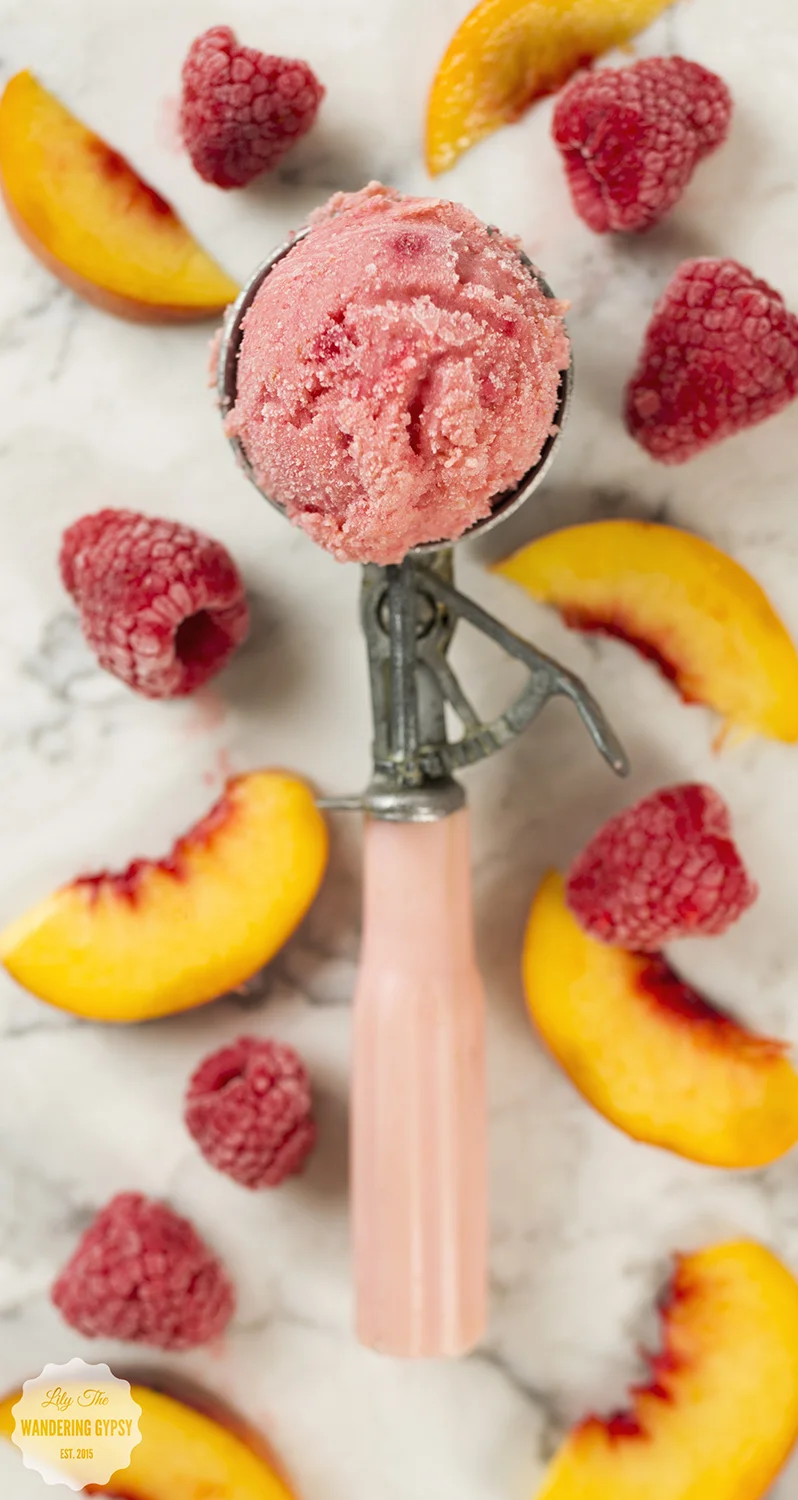
- Puree all ingredients until very smooth, then pour into a freezer-safe container with a lid. Freeze for at least a few hours (but overnight is recommended). Scoop the frozen yogurt into a big bowl and enjoy!! This recipe is amazing for summer. The color of this frozen yogurt is absolutely stunning - that pink color is lovely! 

INGREDIENTS:

- 3-4 Peaches, peeled and sliced, pits removed

- 2 C. vanilla yogurt (I used the sweetened kind)

- 2-3 Tbsp sweetener like agave

- 1/2 Can Pineapple rings + their juice

INSTRUCTIONS:

- Puree all ingredients until very smooth, then pour into a freezer-safe container with a lid. Freeze for at least a few hours (but overnight is recommended). Scoop the frozen yogurt into a big bowl and enjoy!! This recipe is amazing for summer. This recipe is the same as the one above, minus the raspberries!

{PB + Banana Toast} Summer Snacking with Sahale Snacks

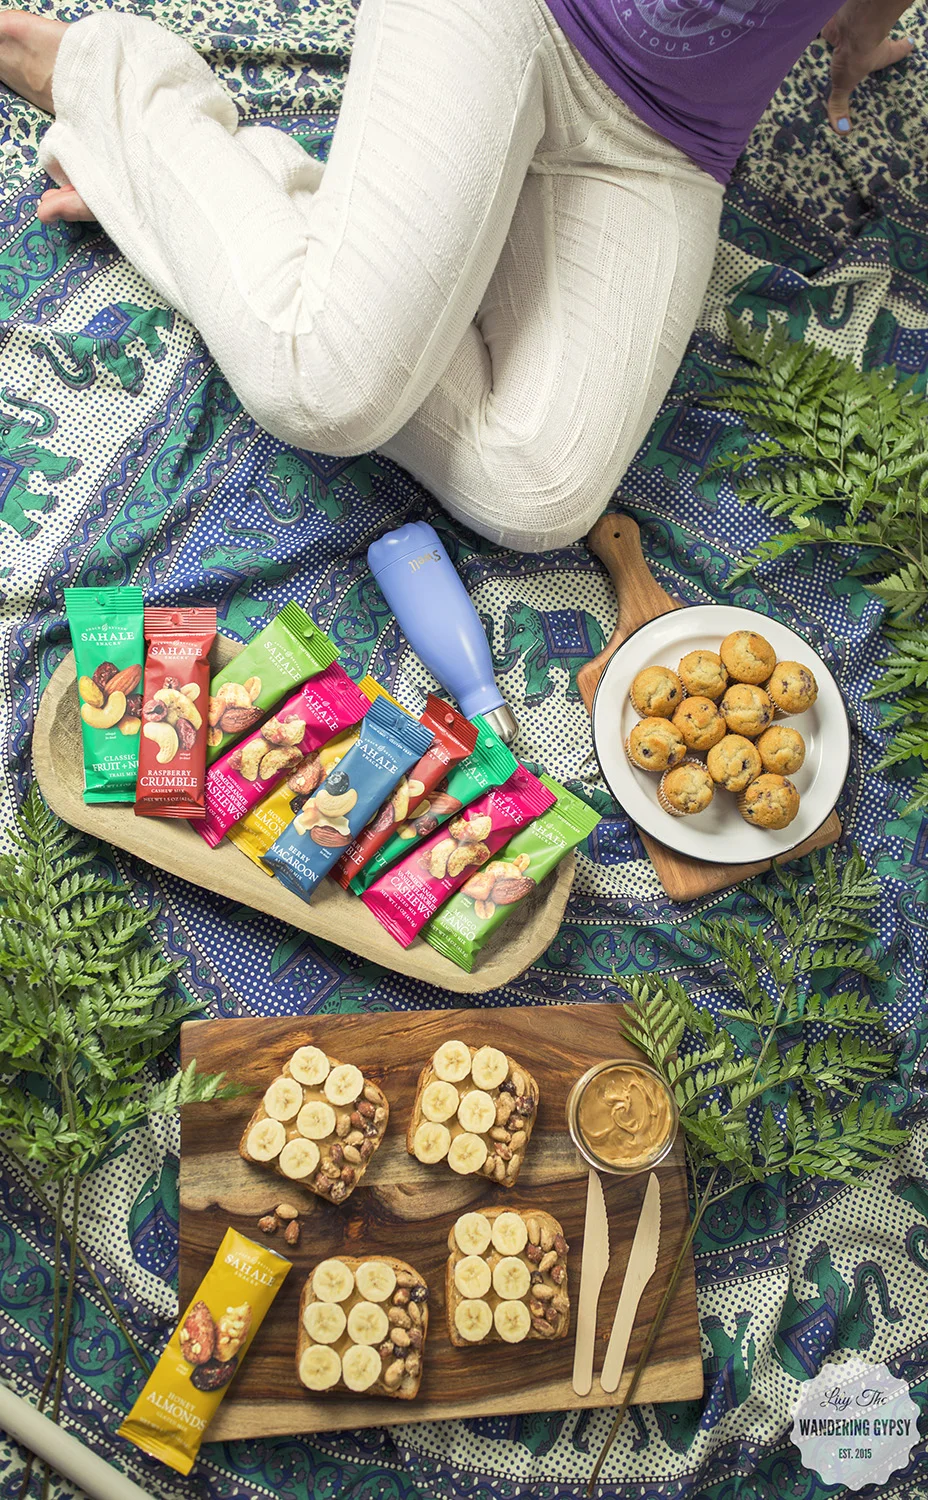
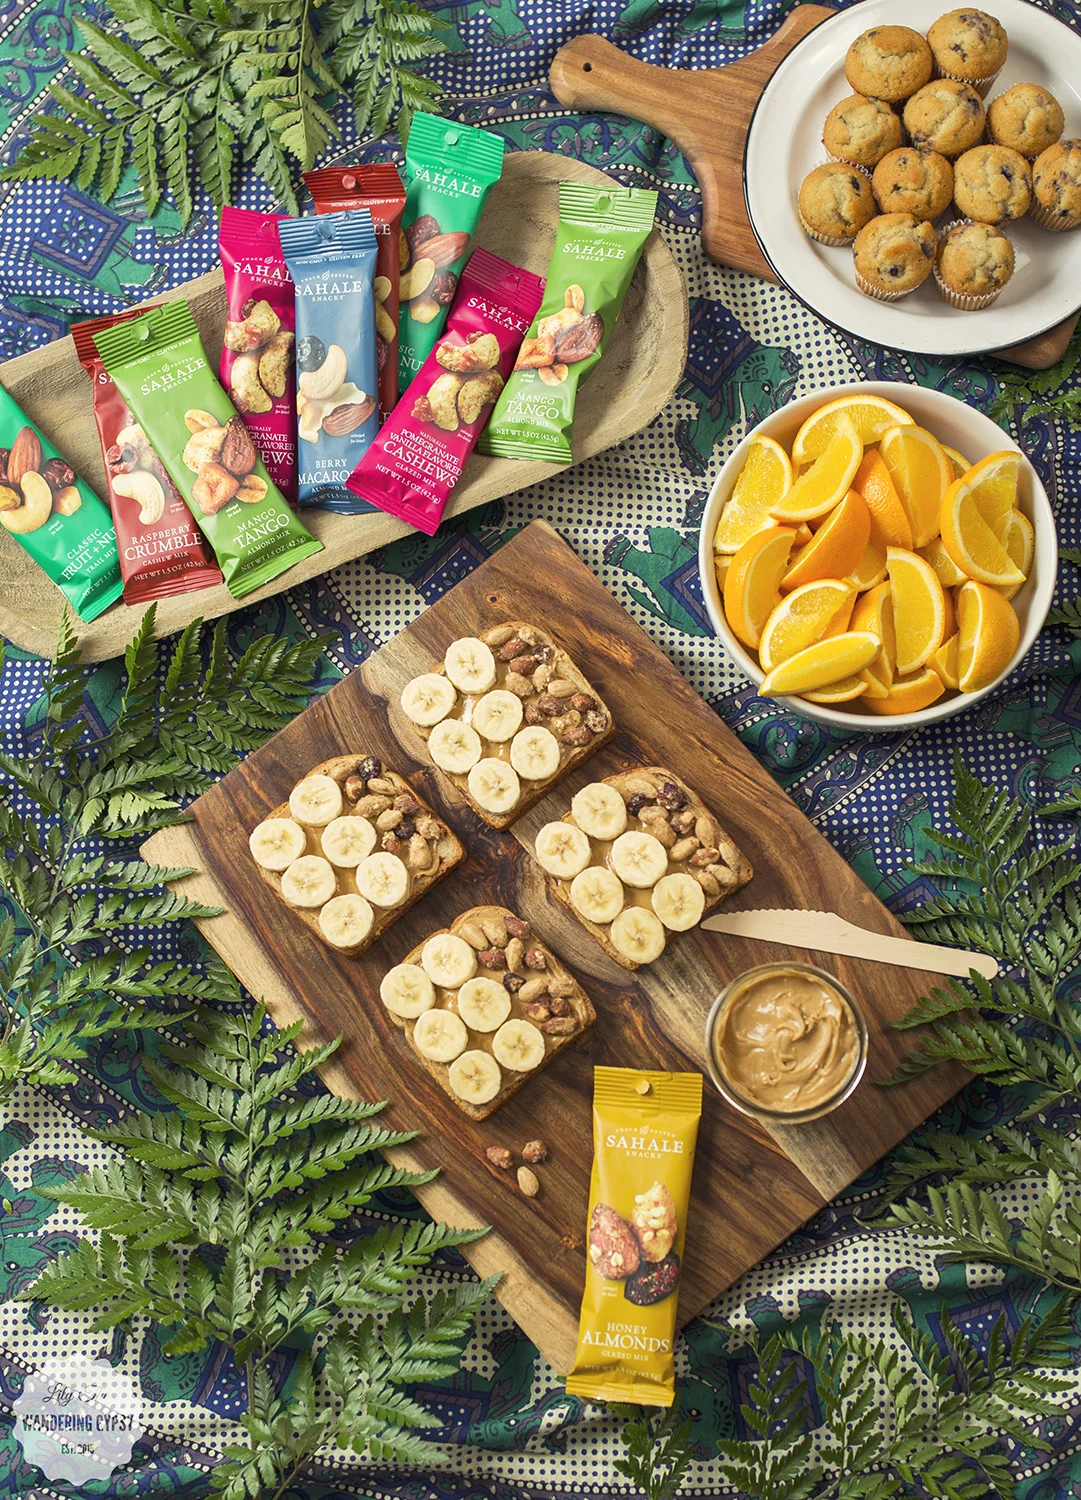
I found a new, favorite snack mix! Actually, I found quite a few new favorites in this amazing package that I received from Sahale Snacks! I wanted to share a fun "recipe" of sorts that will hopefully inspire you to take the time to get some healthy foods together, and have a breakfast picnic!! 

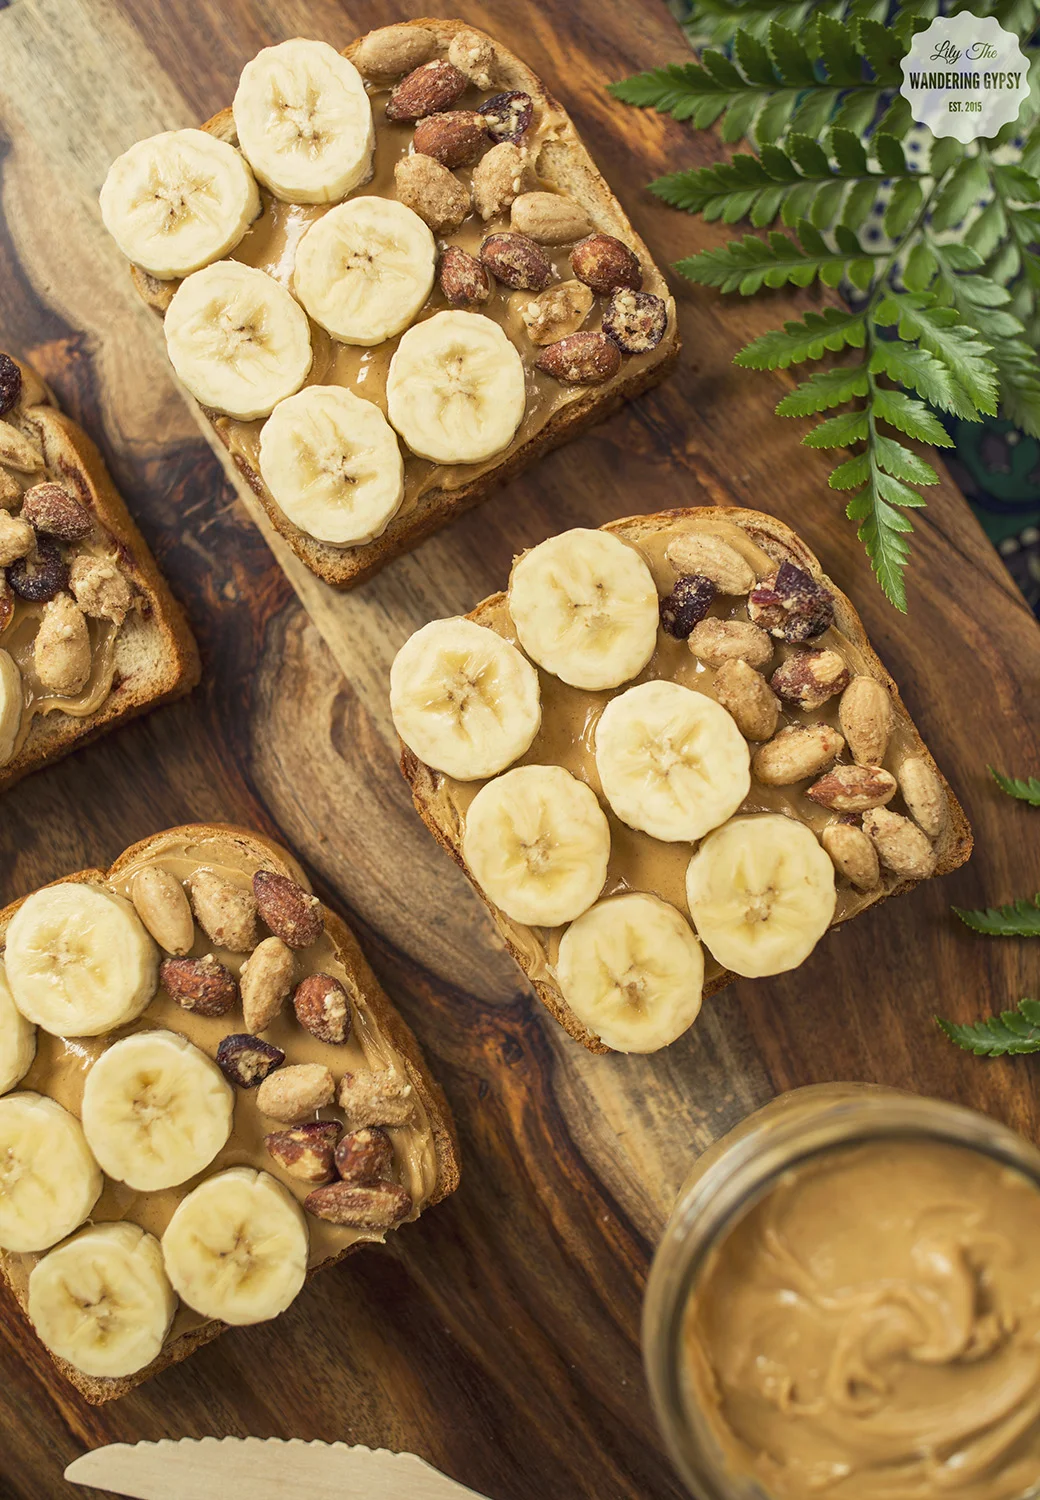
This fun "recipe" basically consists of only four ingredients! Toast, Creamy Peanut Butter, Bananas, and Sahale Snacks Honey Almond Glazed Mix, which also features sea salt and cranberries for a bit of tart and sweet.

I just spread the PB onto the toast, then sliced up my bananas to about 1/4" thick. I placed 6 banana slices on the toast, then added the tasty almonds. They are coated in the most delicious honey crunchy awesome-ness, so I wound up eating a few as I was creating these photos - how could I resist?! 

If you are just looking for something to grab on the way out of the door, or if you're looking for snacks for your next road trip, then these Grab & Go Snacks  from Sahale Snacks are perfect!! 

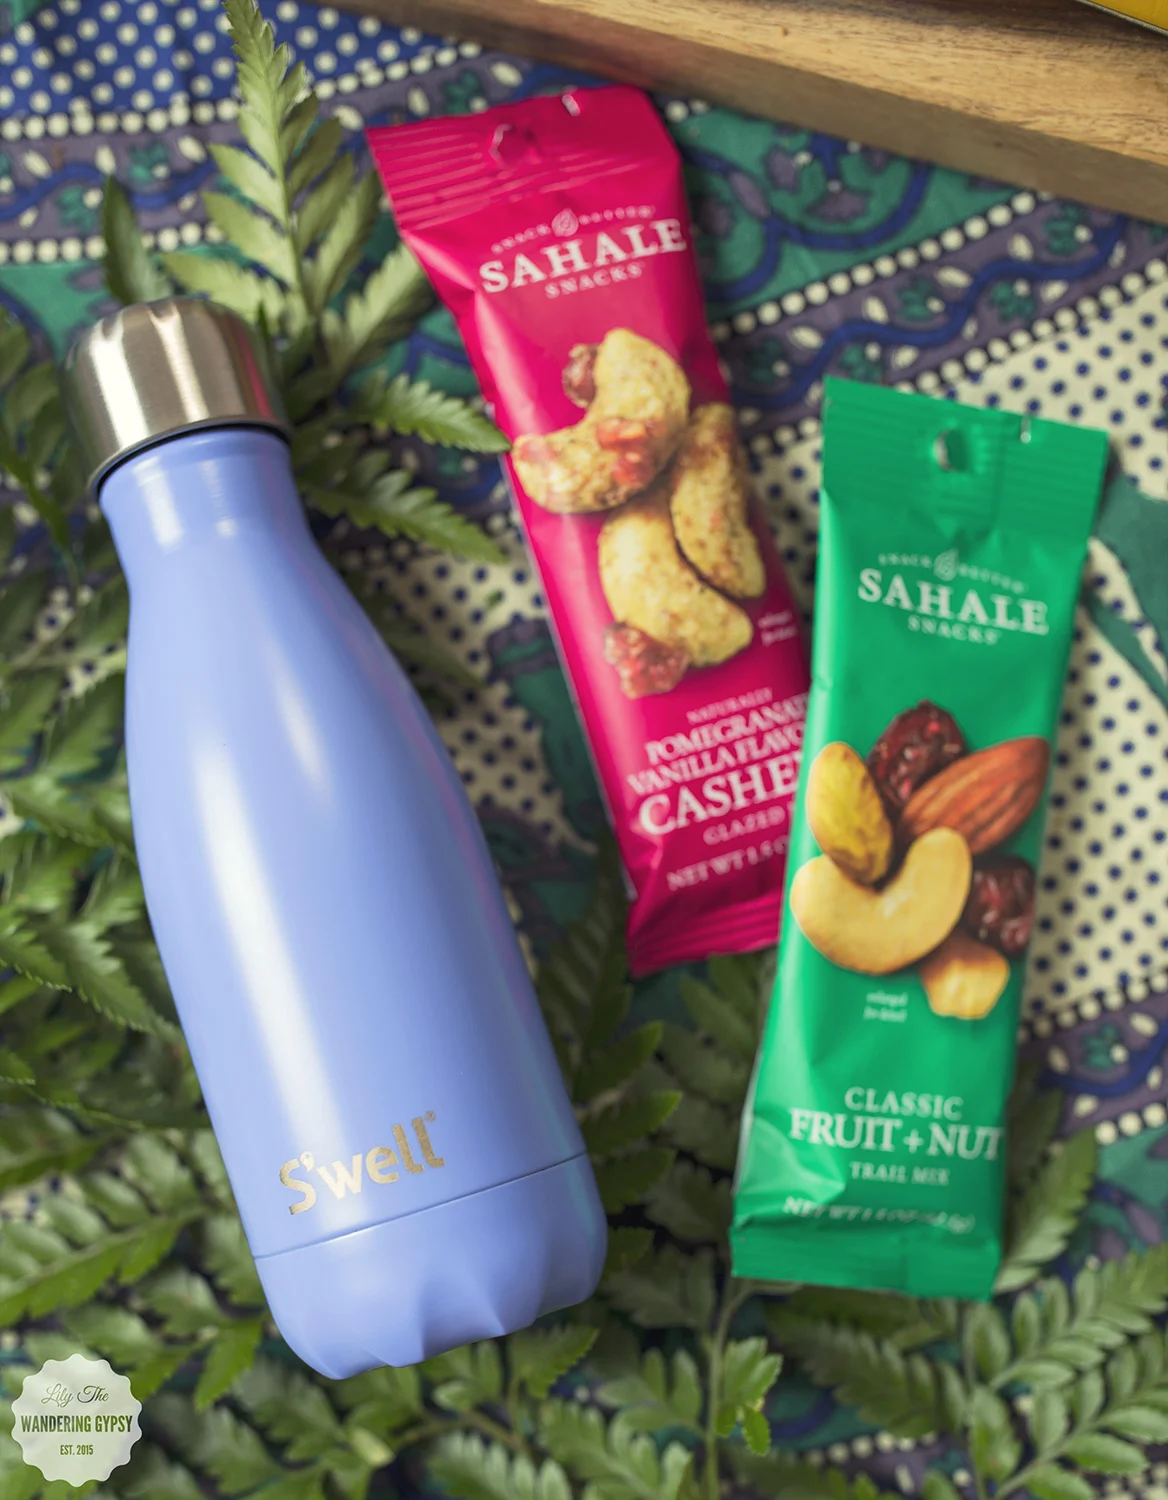
I also fell in love with this S'Well bottle from their Satin Collection - in Moncao Blue. SO many colors to choose from!!! 

I'm sharing #SahaleSnackers in my life as part of a Sahale Snacks® sponsored series for Socialstars™. Thank you for supporting the brands that help keep my blog a beautiful space to showcase my work! 

Smoothie Time With Annie's Homegrown Organics

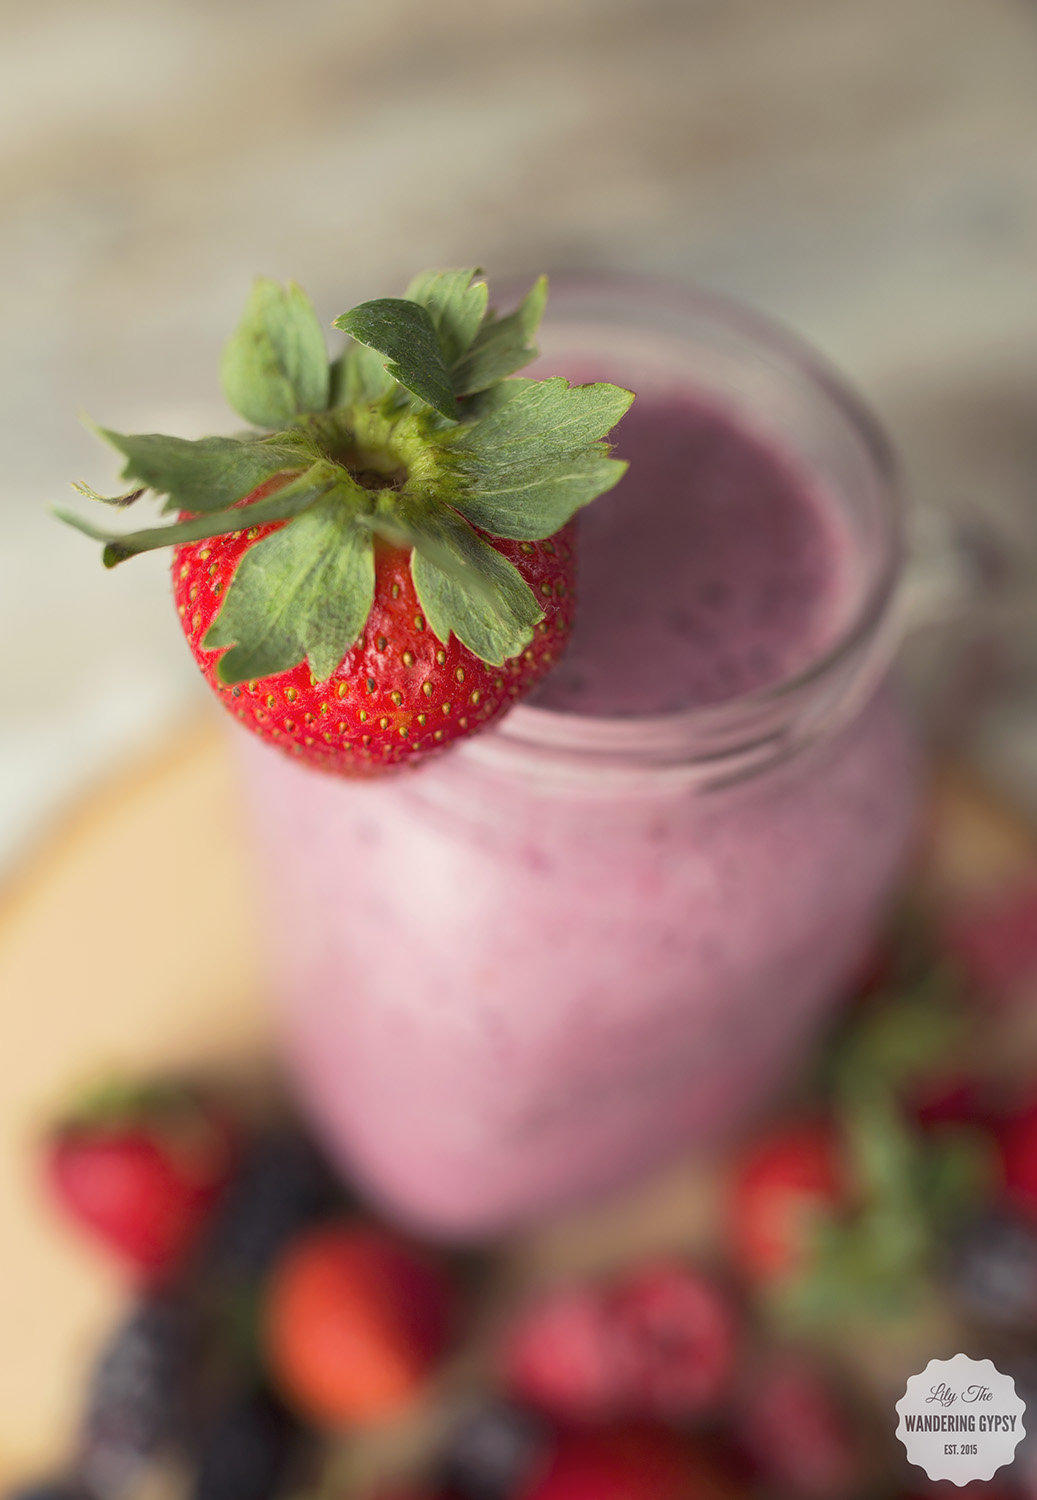
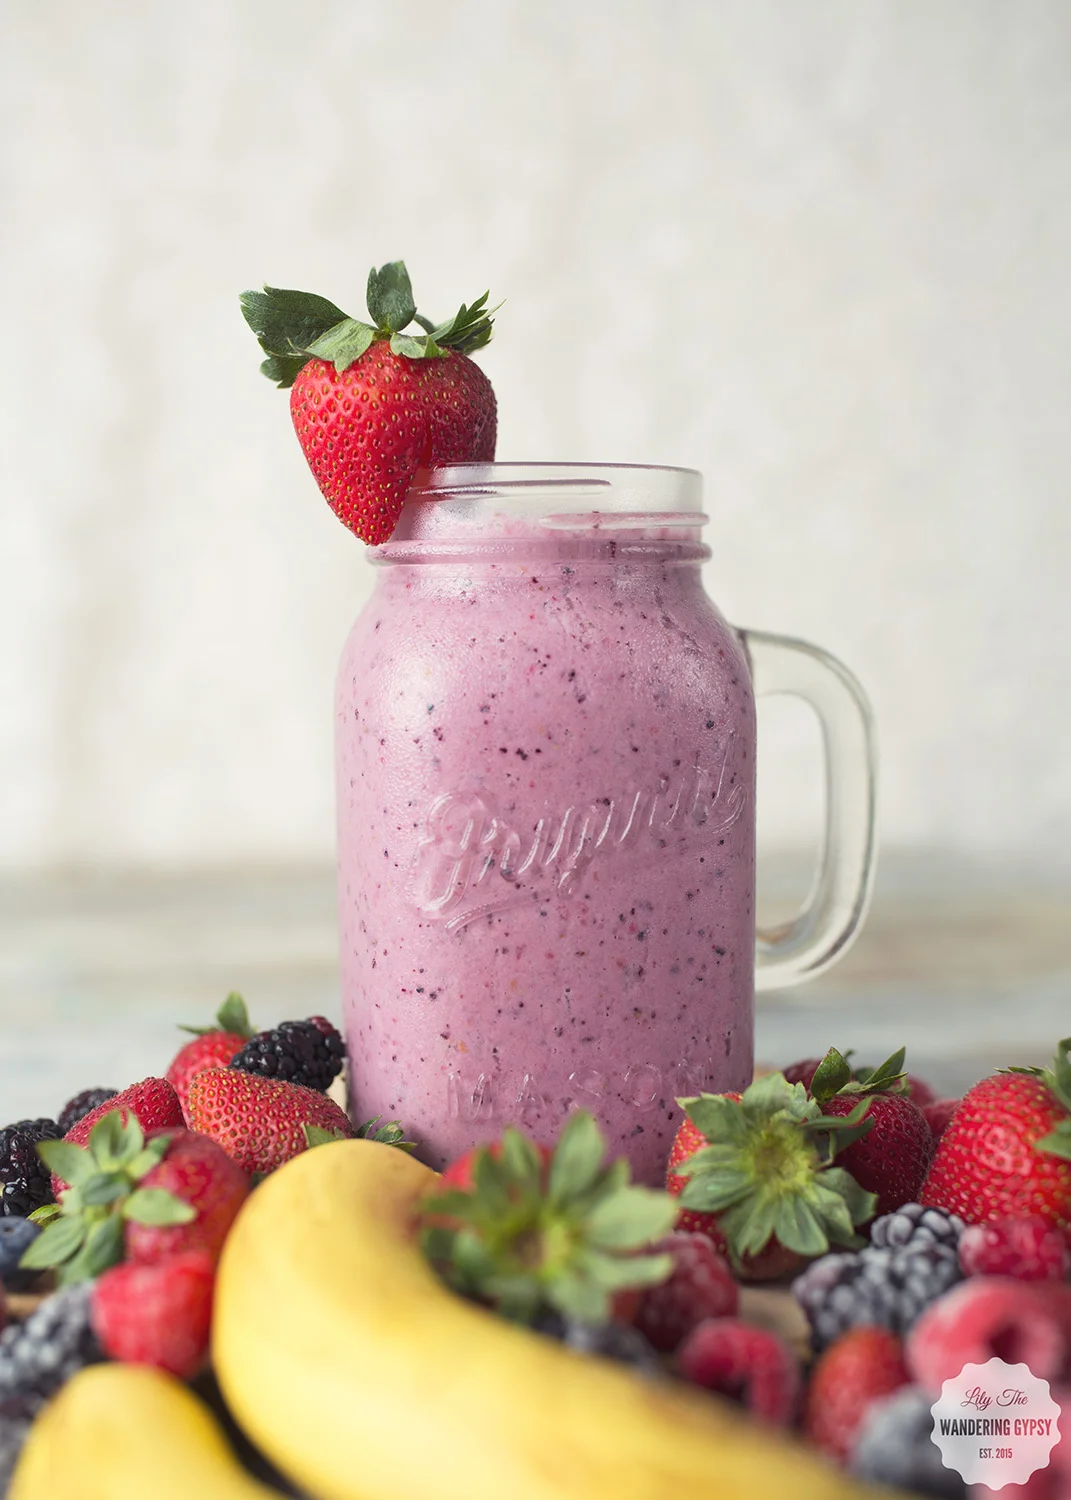
I have been on a major smoothie kick lately, and after making one almost every day, I have found my perfect blend of ingredients to make a smoothie that I haven't gotten tired of yet! I will alter the recipe just a little bit, depending upon what fruit I have in my fridge or freezer, but I basically use the same formula each time. 

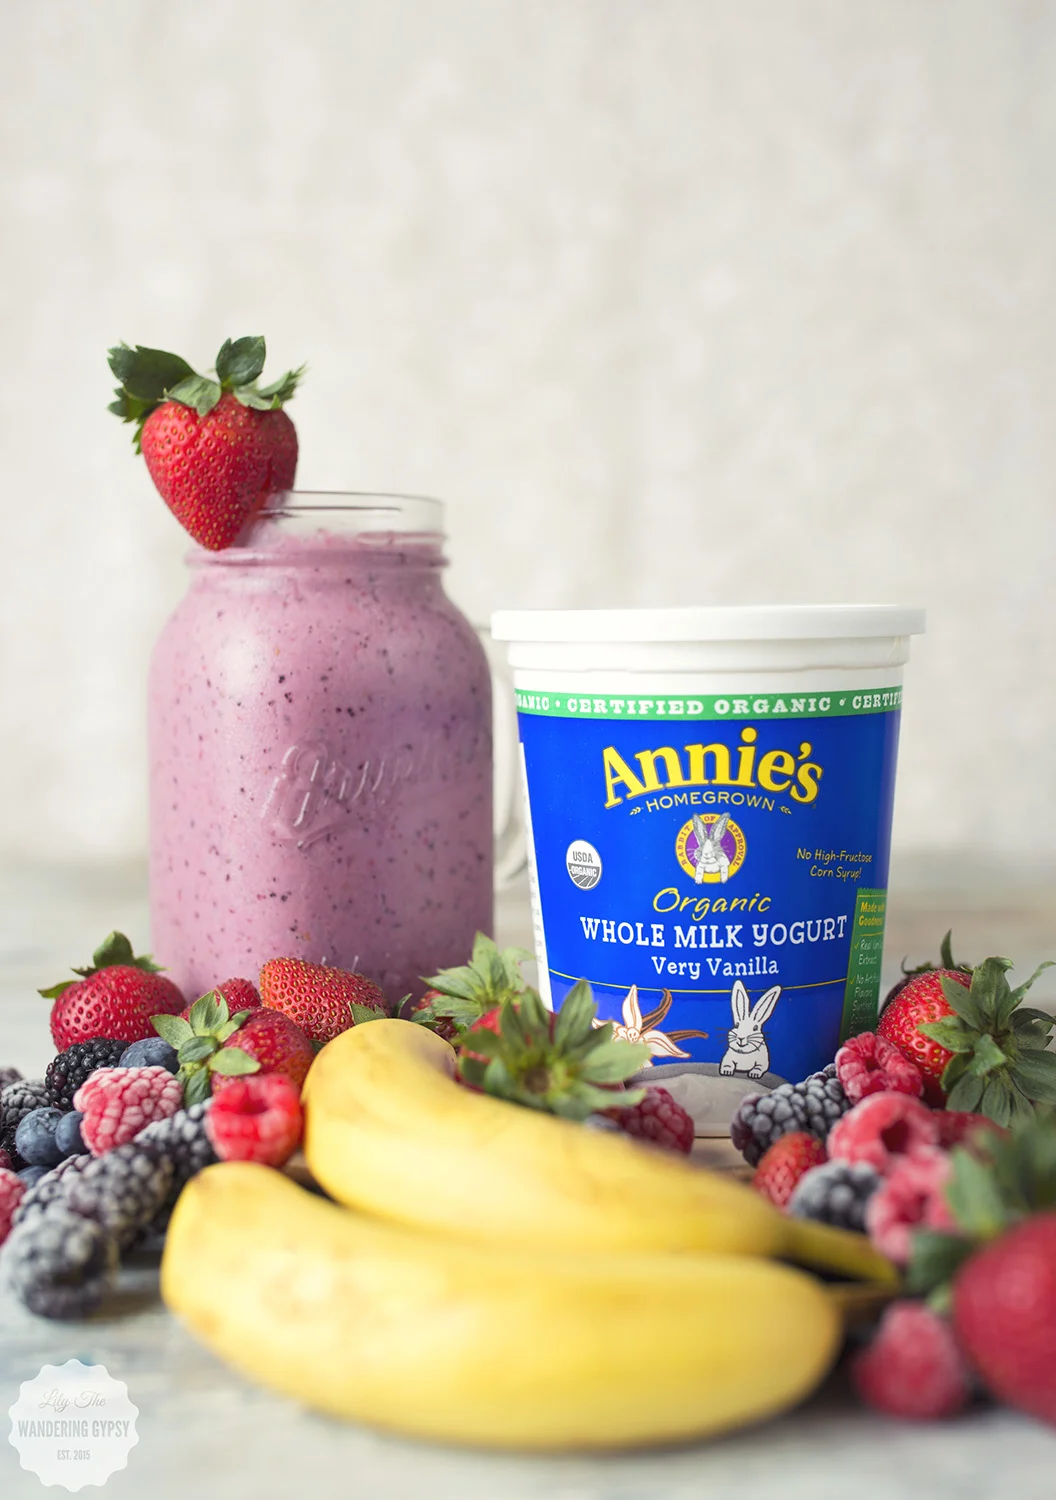
I have always been drawn to Annie's Homegrown Organic products, so when I saw this yogurt at our local Schnuck's, I grabbed a couple of containers, lots of berries, and also re-upped on unsweetened almond milk. 

I have also learned that to make a smoothie the best (most drinkable) consistency possible, you can't use all frozen fruits. Otherwise, it freezes all of the other ingredients, making something more like soft sorbet (which is great for smoothie bowls or making nice-cream). Also, adding the almond milk definitely helps to thin out your smoothie, but the taste can be overwhelming, so just test your smoothie before pouring it in the jar. Lastly, with the yogurt, I add a good amount, because it tastes SO good! So, the amount of each ingredient just depends on your taste preferences. 

MAKES 2 LARGE SMOOTHIES

- Annies Homegrown Organic Very Vanilla Yogurt

- Unsweetened Almond Milk

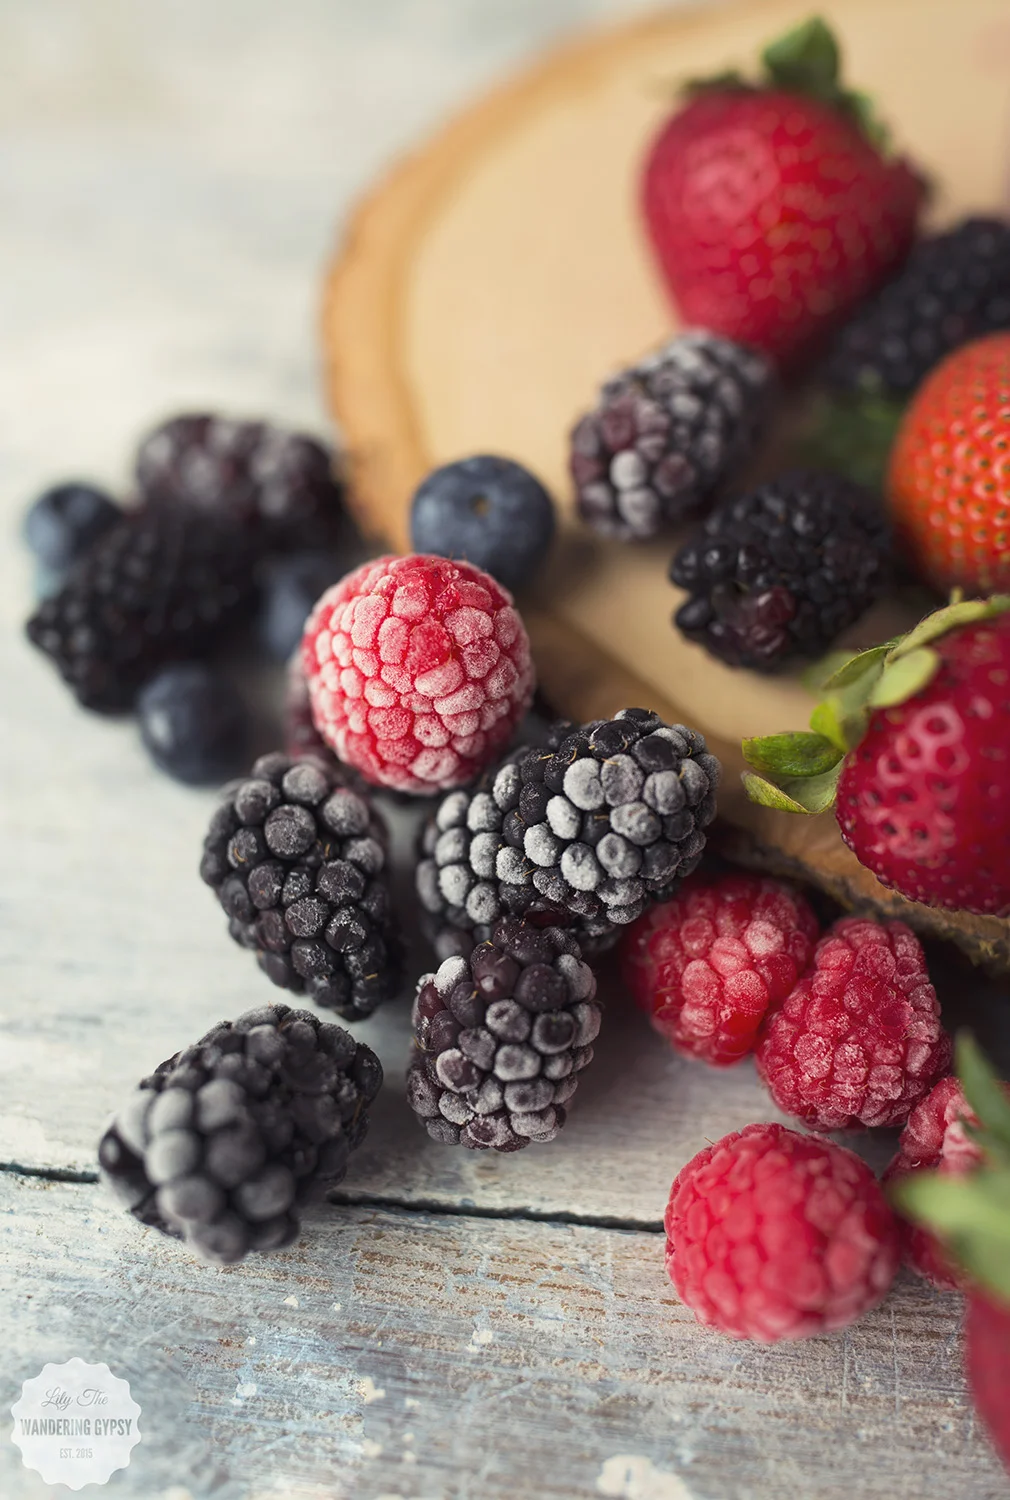
- Frozen Raspberries (I freeze fresh ones in jars)

- Frozen Blackberries (I also froze some fresh ones in jars)

- Fresh Strawberries (tops sliced off, cut into smaller pieces)

- Fresh Blueberries 

- Fresh Banana

- Ice

- Sugar is your fruit isn't very sweet or too tart


1.) In a blender or food processor, add sliced strawberries, fresh blueberries, frozen raspberries, frozen blackberries, a dash of almond milk, banana, 1/3 container of yogurt, and a handful of ice.

2.) Hold the blender down, and begin to blend and puree your ingredients! Keep blending for a bit, because you want everything the same consistency. Note - unless you have a super-awesome blender, the ice will sound rough at first when you blend...

3.) Pour into a big jar, and enjoy! This smoothie keeps me full well past lunch time, it's amazing!

Find more about the Annie's Hiomegrown Organic yogurt, here!

Happy National Ice Cream Day! Recipe Roundup + Food Photography Inspirations

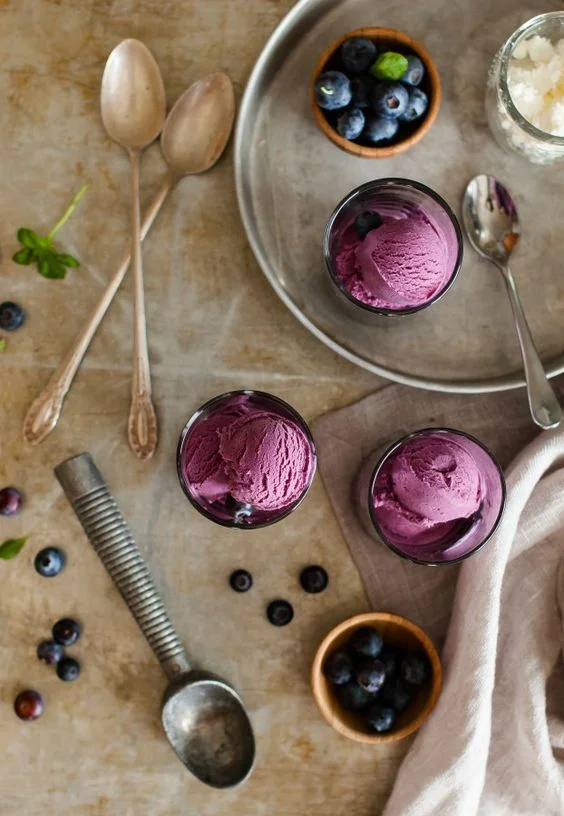
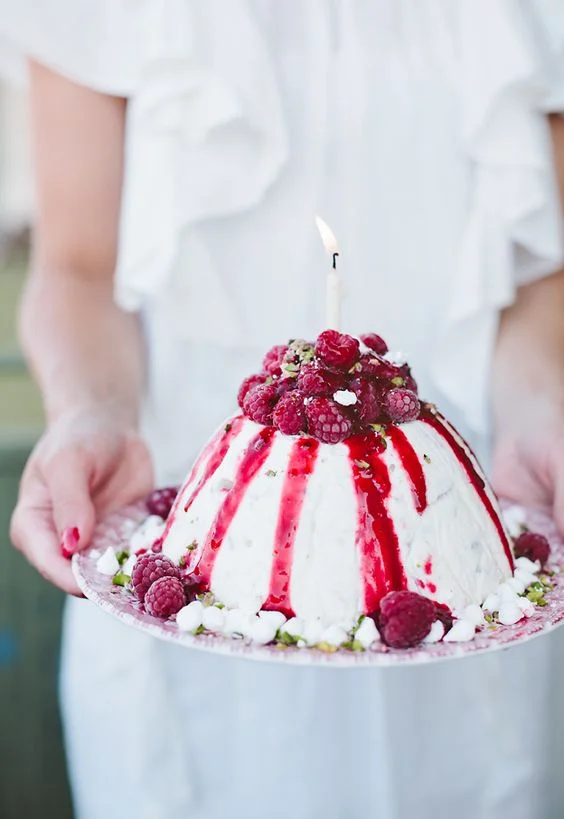
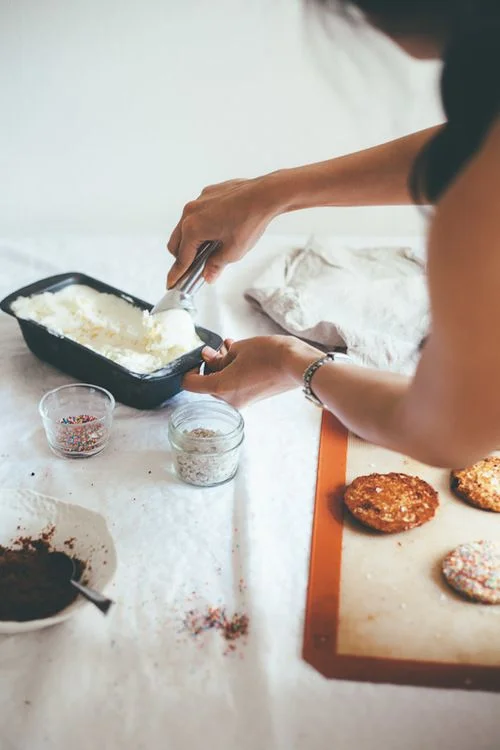
While I didn't get a chance to create any ice cream recipes for you, I wanted to share some of the most mouth-watering ice cream I have ever seen! I am so inspired by the food styling, backgrounds, lighting, and overall layout of these recipe hero images. Which one will you be trying to make today? Happy #NationalIceCreamDay!!!

Roasted Blueberry Balsamic Goats Cheese Ice Cream - via The Kitchen McCabe

Cereal Milk Soft Serve Ice Cream Recipe - via Erin Made This

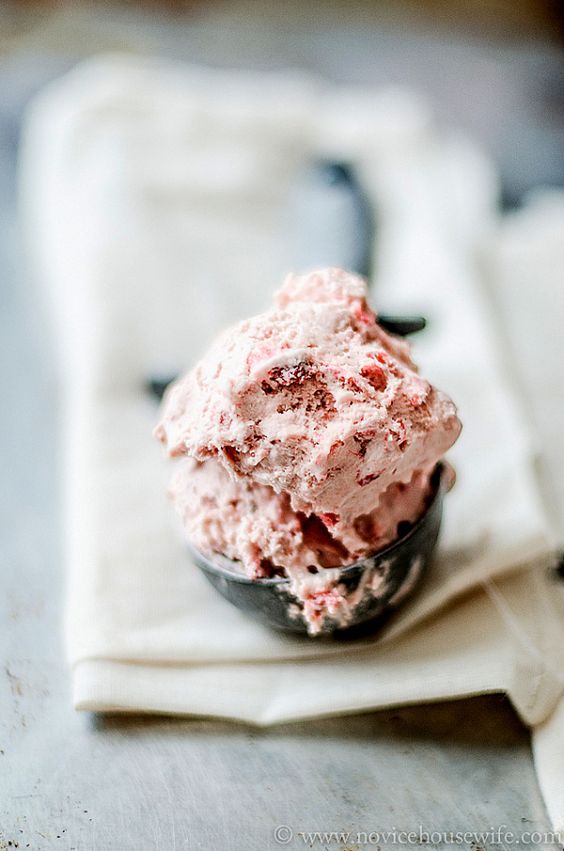
Roasted Strawberry Ice Cream - Via The Novice Housewife 

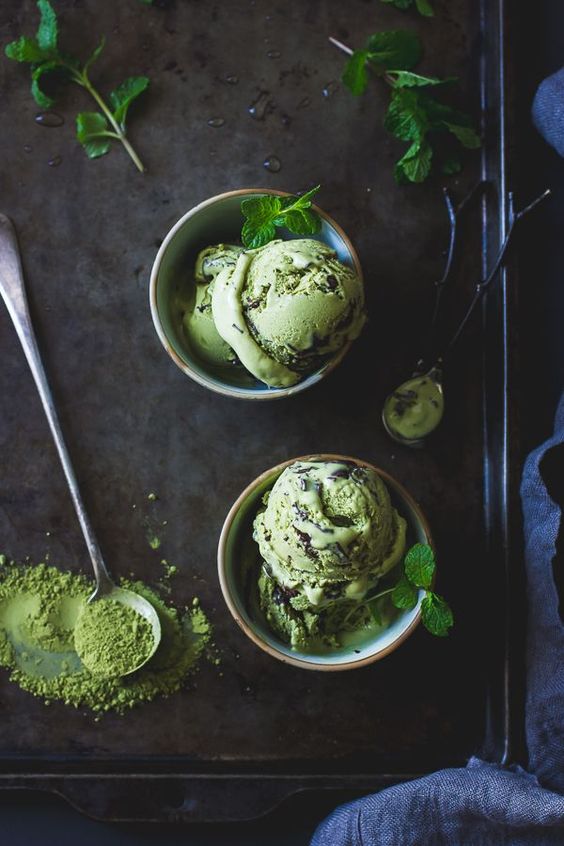
Matcha Mint Chip Ice Cream - via Bojon Gourmet

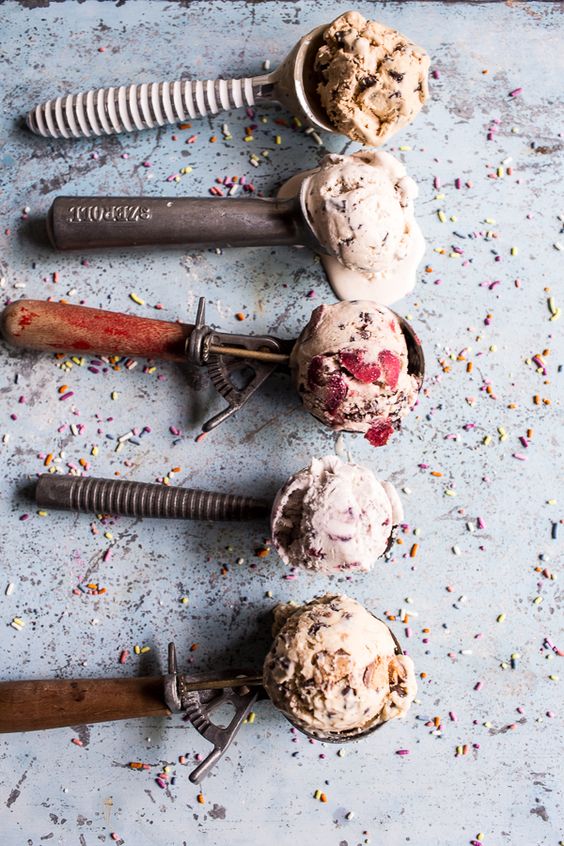
No-Churn Ice Cream (5 Ways) - via Half Baked Harvest

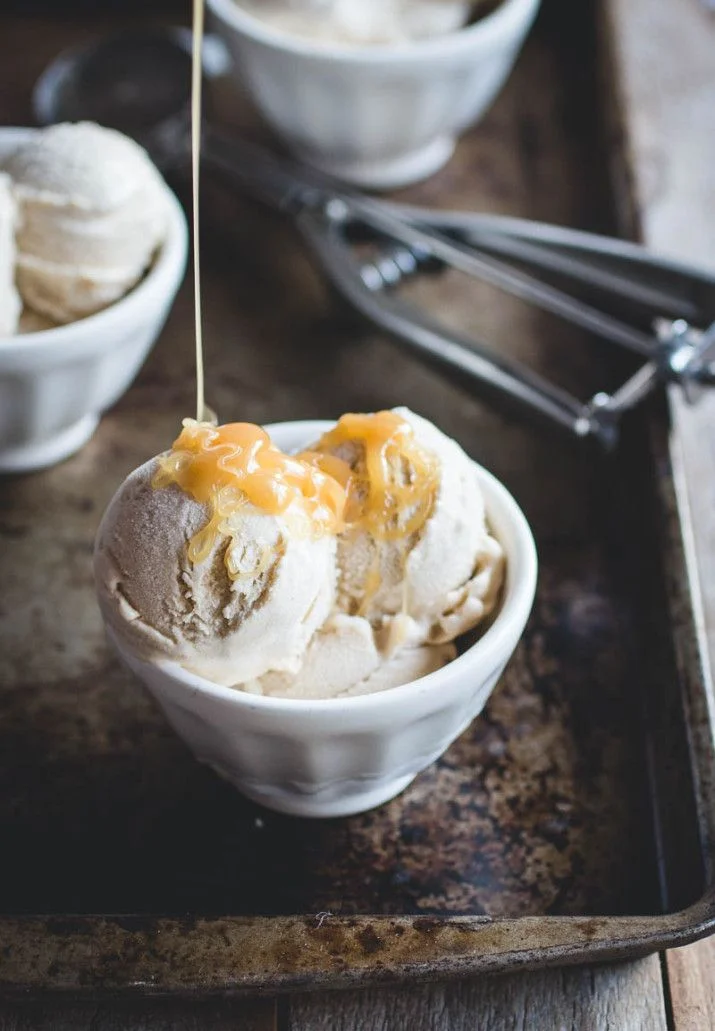
Tahini Ice Cream With Caramel Sauce - via Butterlust

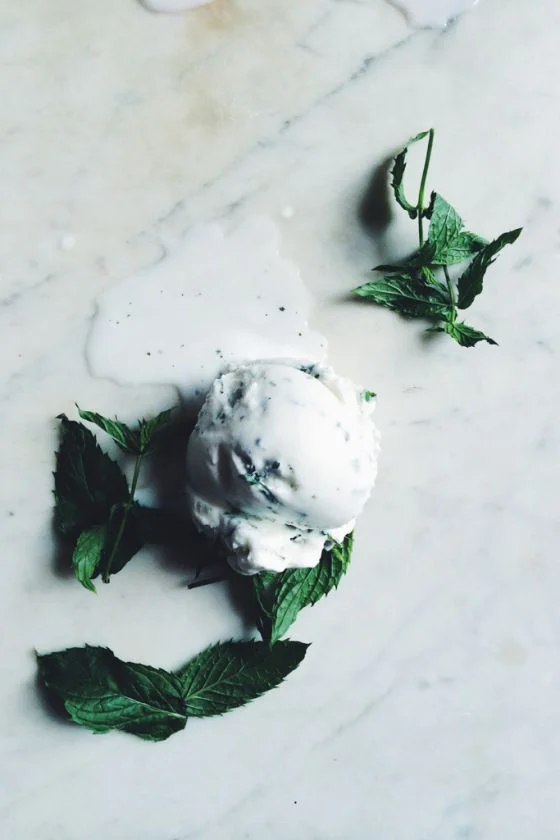
Backyard Mint Ice Cream - via For The Love Of The South

Bacon & Sweet Corn Ice Cream Sandwiches - via My Name Is Yeh

Blueberry Cheesecake Ice Cream - via Take A Megabyte

Peanut Butter Happy ~ Waffle "Cake" Recipe + A Quick and Easy Lunch Idea

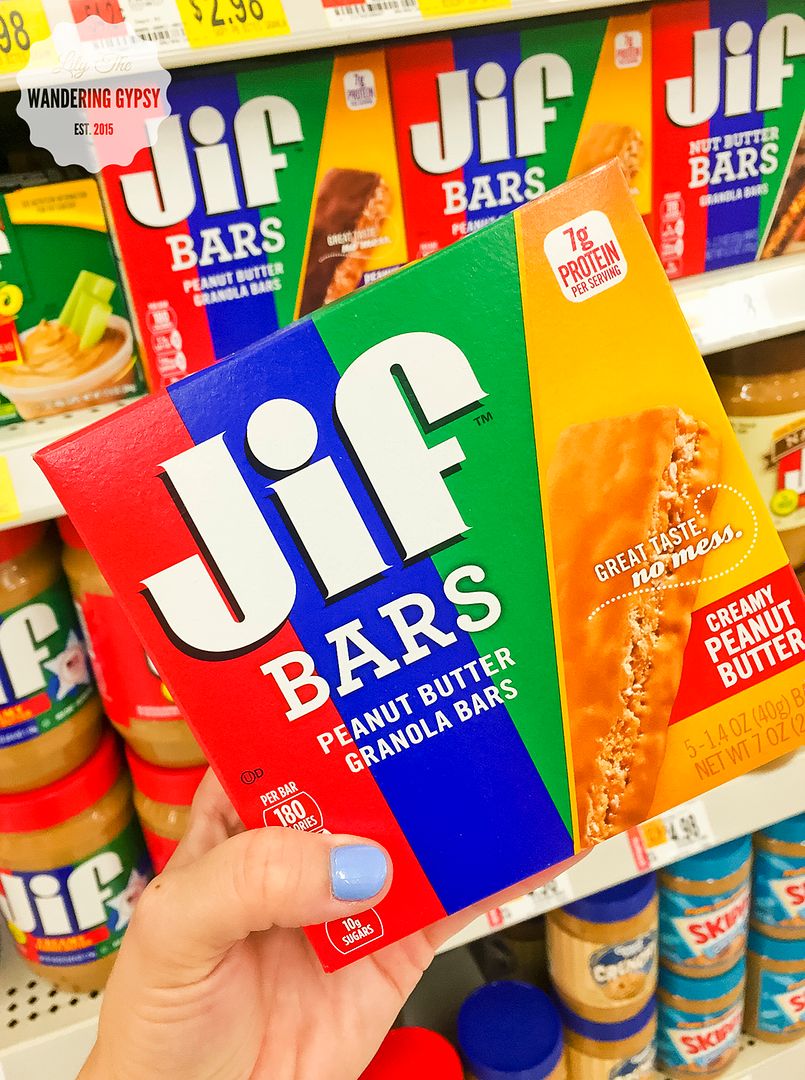
I love peanut butter. I could eat it on a spoon straight out of the jar for a snack just about any time. When I had the opportunity to create a fun recipe inspired by Jif Spreads, I jumped on the opportunity! Our household definitely prefers Jif to any other Peanut Butter on the shelf! Also, I was recently introduced to Jif Bars, which are also some of the best granola style bars I've ever eaten. Really, though, add Peanut Butter to just about anything, and I'm a happy woman! Just the thought makes me peanut butter happy! #peanutbutterhappy

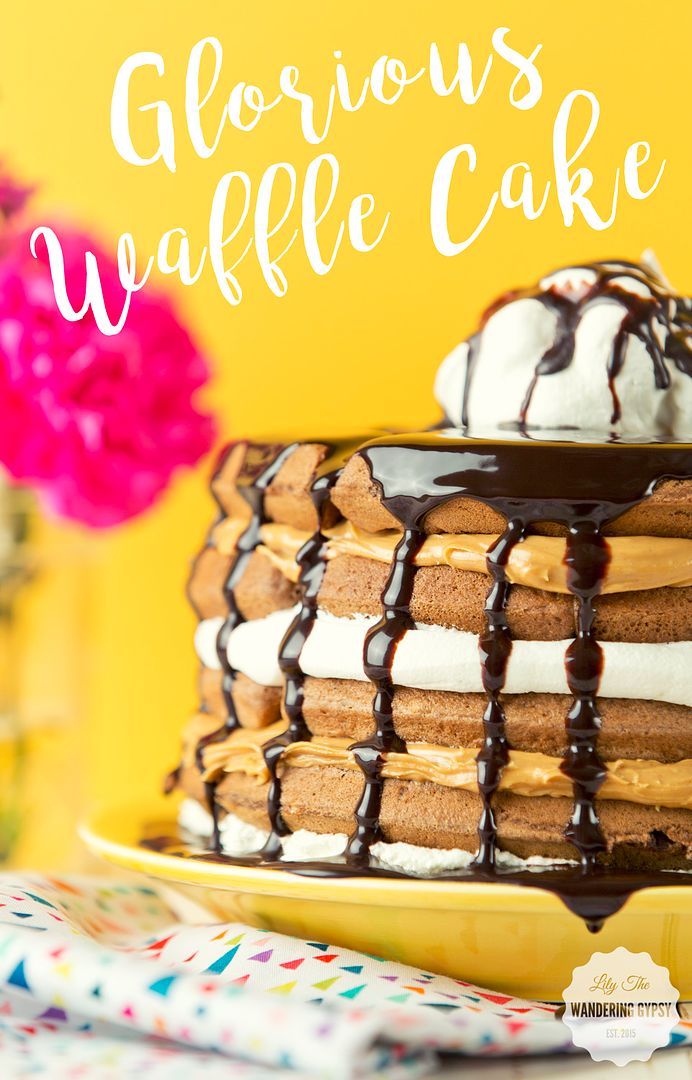
Since I wanted to showcase the Peanut Butter as a spread, rather than inside the recipe, I opted to layer up homemade chocolate waffles, Jif Spread, and also a bit of cool whip, and created the most amazing Waffle "Cake" to date. I also realized that this fun recipe was not complete without chocolate syrup drizzled over the whole creation.

- 1 box chocolate cake mix

- water

- vegetable oil

- 3 eggs

- Cool Whip (2 containers)

- Jif Creamy Peanut Butter

- Chocolate Sauce

- Waffle Iron

- Non Stick Spray

TO MAKE THE WAFFLES:

I used a super simple recipe to make the homemade chocolate waffles. Simply mix 1 box of cake mix, 1 C. water, 1/3 C. vegetable oil, and 3 large eggs. Alternately, you can substitute about 1/3 of the cake mix with other waffle batter so they are more fluffy, because the cake mix waffles can be a bit dense. Heat the waffles for about 3 minutes each, and set them aside on a cooling rack if you have one - this way, the waffles won't get soggy while you're working on them. I used 5 waffles here.

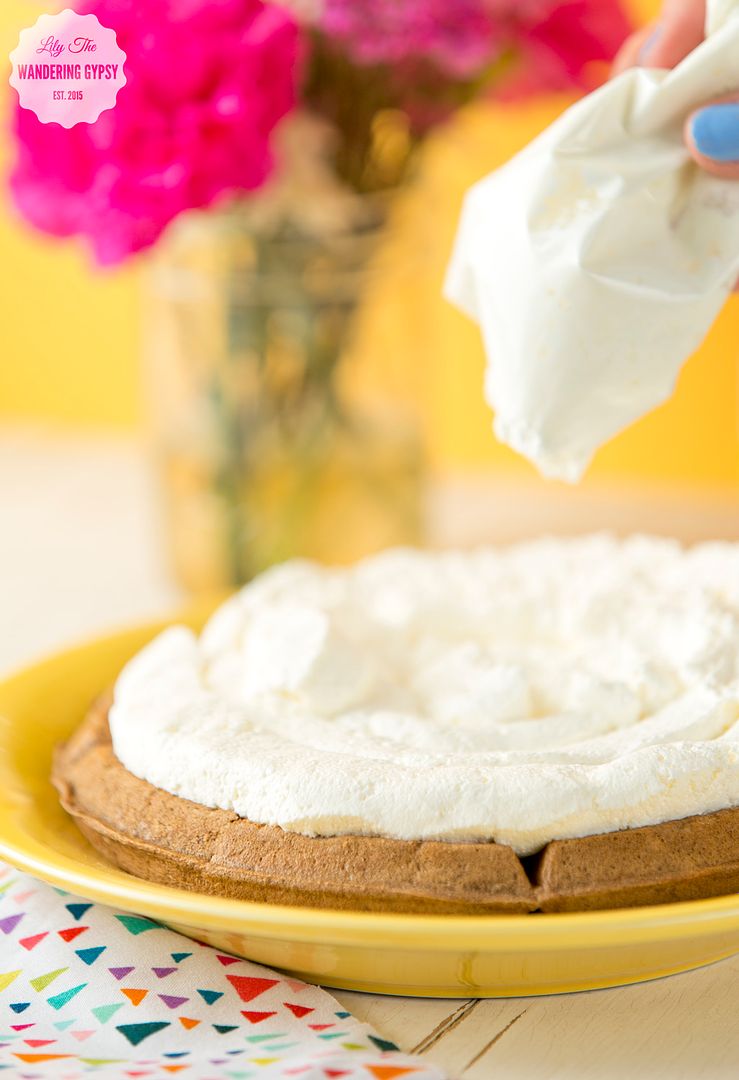
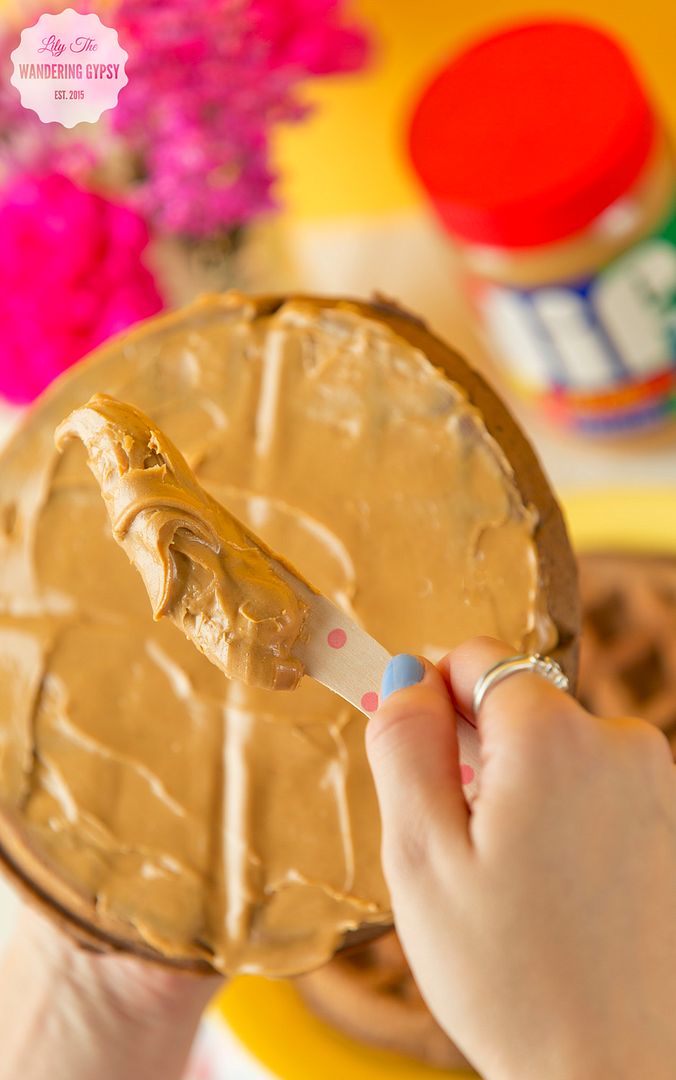
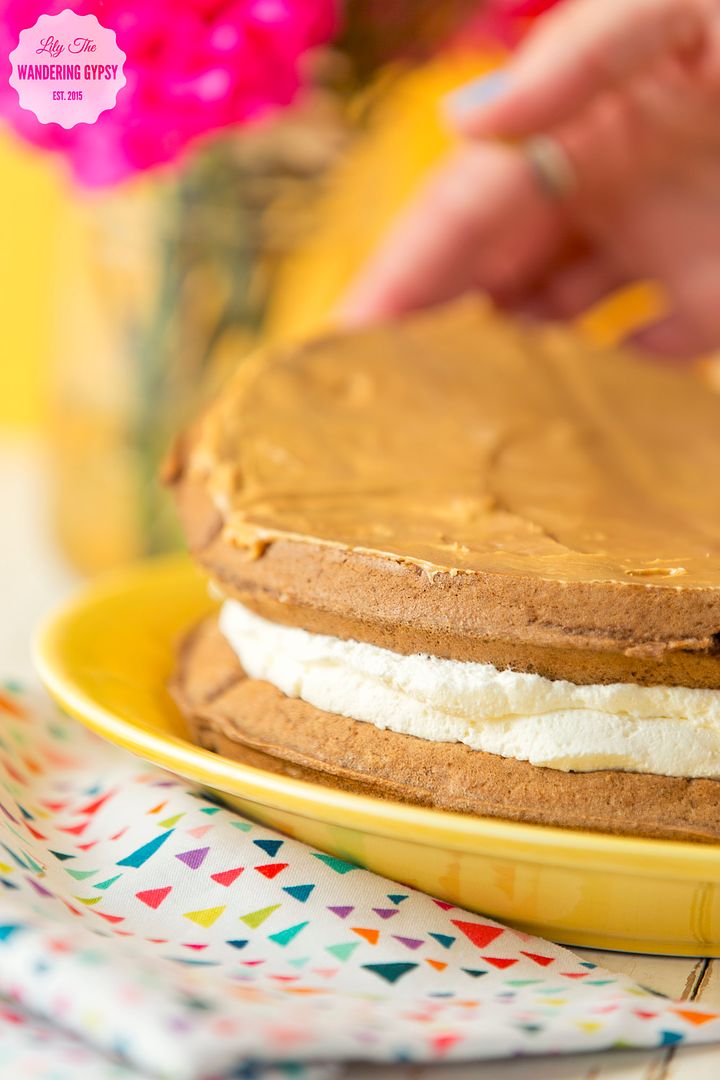
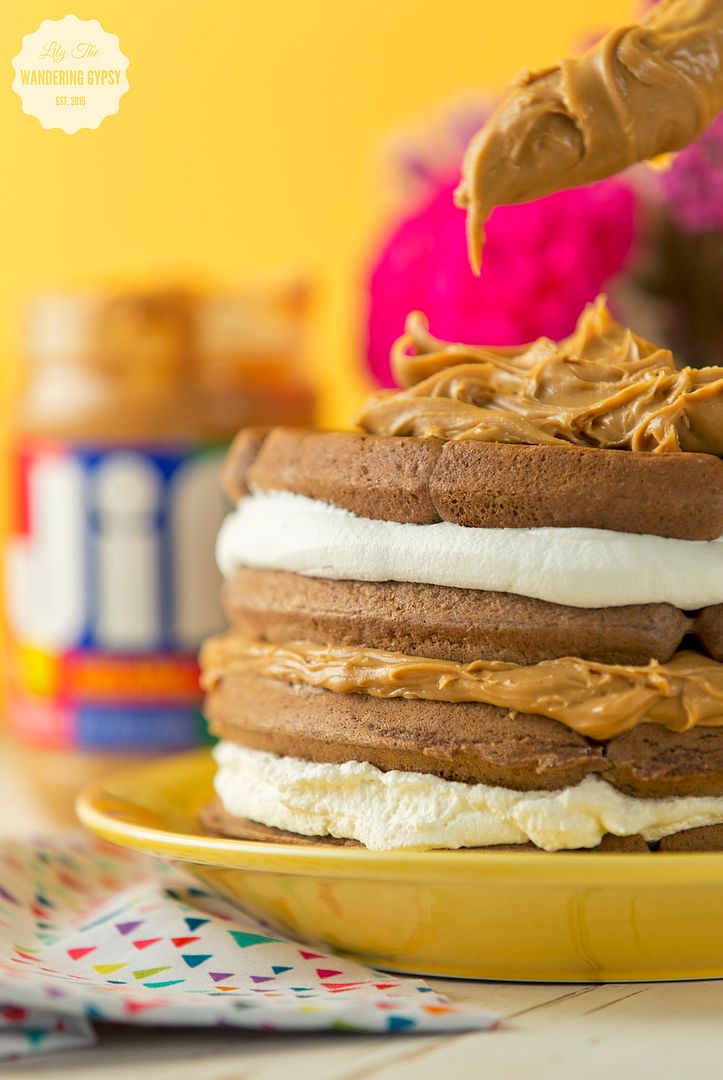
After making the waffles, it's time to create your waffle "cake"! Place one waffle on the plate, then add a layer of Cool Whip all across the first waffle, to create a thick layer. I like scooping the Cool Whip into a Ziploc bag, and then cutting off the tip to create a sort of pastry bag. Next, layer another waffle, Jif Creamy Peanut Butter, waffle, Cool Whip, waffle, more Peanut Butter, then your last waffle.

I topped the dish with a big dollop of Cool Whip, and then drenched it in chocolate syrup!

This would be such a fun way to surprise someone on their birthday, or even if they're just having a bad day. Really love how this divine creation turned out!

Here is an Iobatta link where you can find the products I am sharing in this post:

Jif Spread -https://ibotta.com/app/retailer/any/offer/51534

This is a sponsored conversation written by me on behalf of The J.M. Smucker Company. The opinions and text are mine alone. #peanutbutterhappy #ad

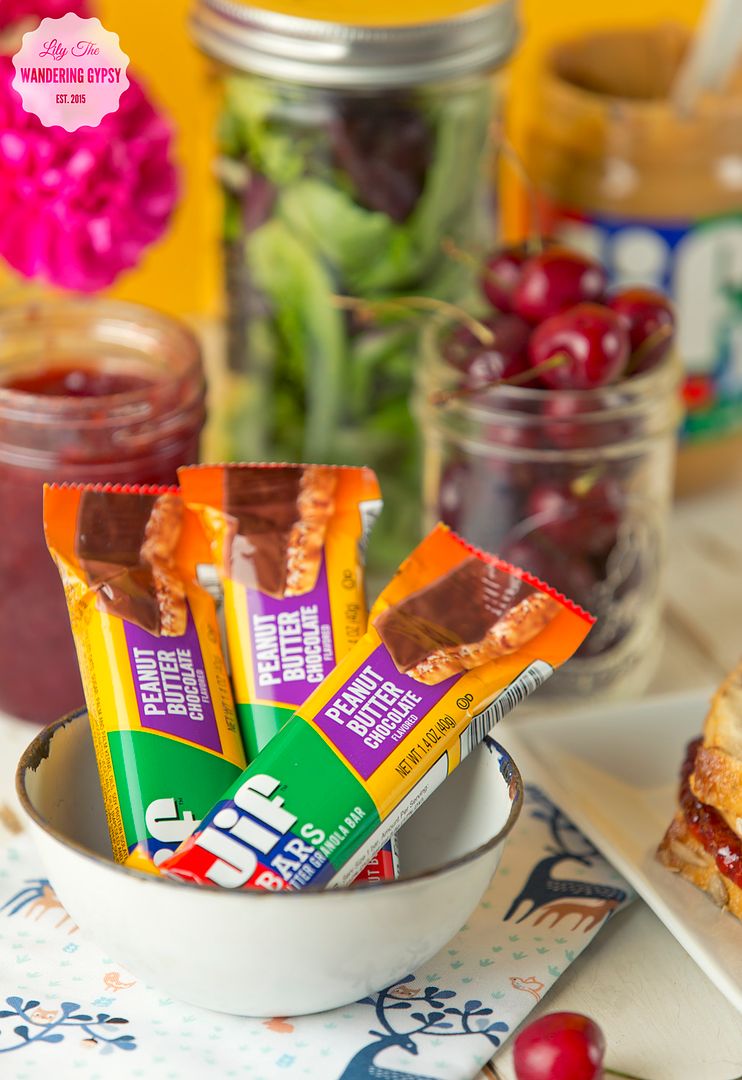
These Jif Bars inspired me to show you a quick and easy lunch idea, that you can prepare in just a few minutes. A jar salad is a great way to jump start your mid day hunger. I also love the idea of bringing a fruit like cherries or grapes in a jar, so they won't get squished or make a mess. And, a classic PBJ (featuring Jif PB of course), and my favorite raspberry jelly. And, I love packing the Jif Bars as my dessert, because they're portable and taste seriously SO good!

These Peanut Butter Chocolate Bars were the bomb! There are other flavors as well, like Crunchy Peanut Butter, and Creamy Peanut Butter.

I found the Jif Bars right above the Peanut Butter at Walmart, and their prices are some of the best I've found for these items.

 photo bromello signature.png

This is a sponsored conversation written by me on behalf of The J.M. Smucker Company. The opinions and text are all mine.

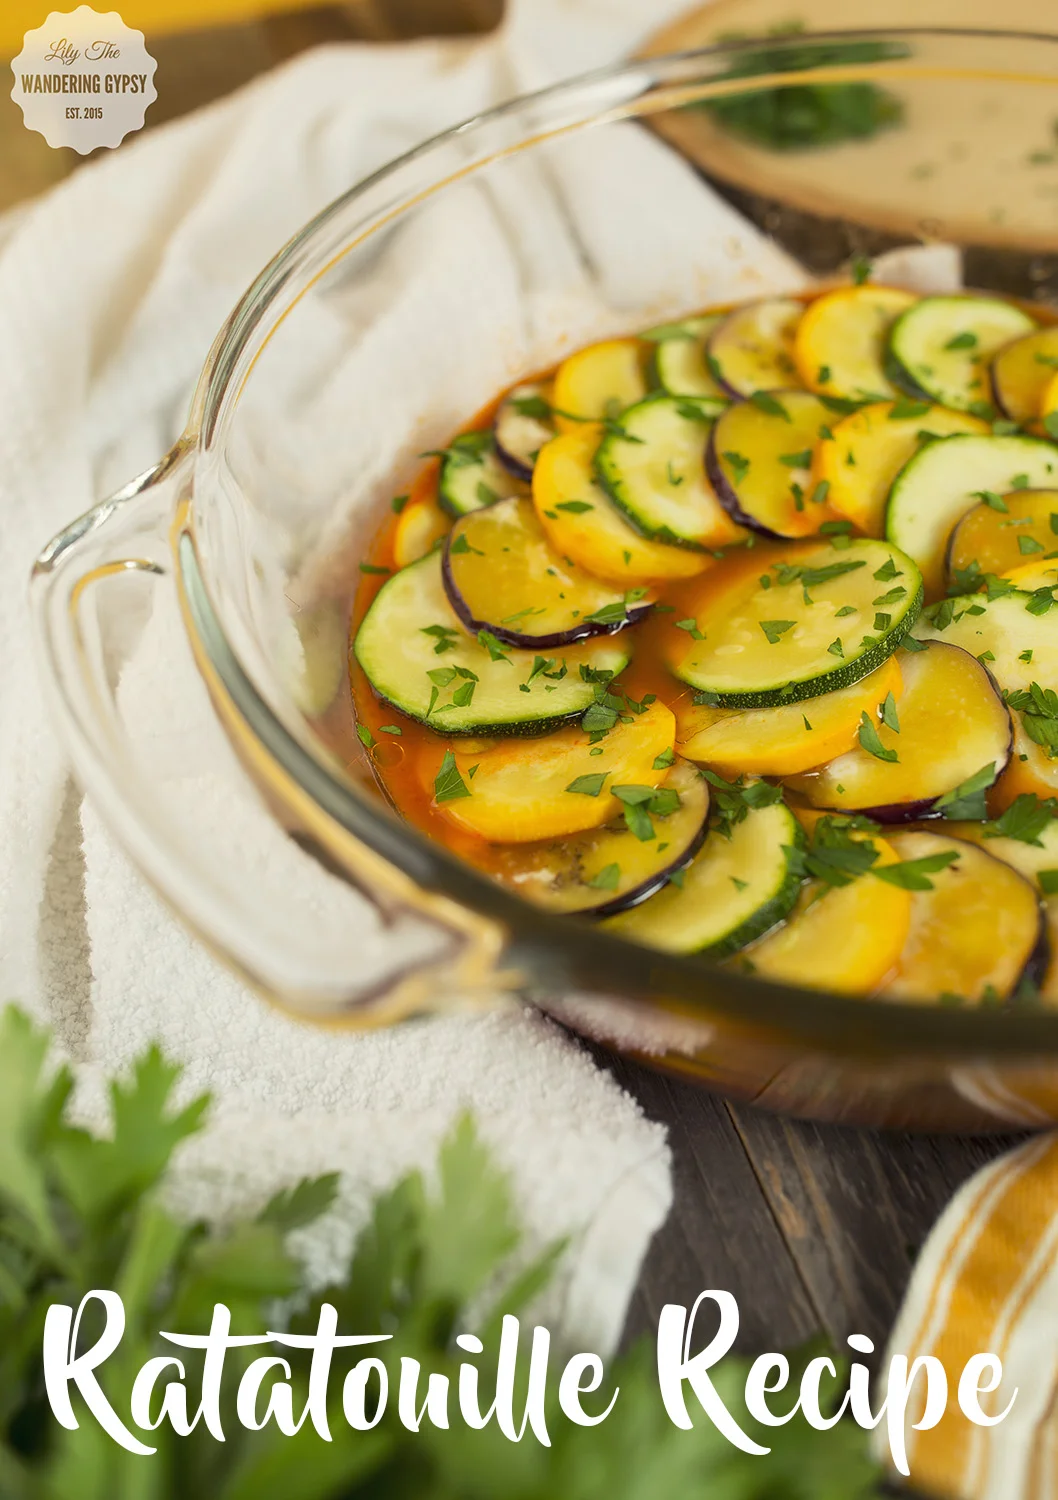
Market Fresh Ratatouille Recipe

Are you looking for a fresh, tasty recipe that you can make with items you find at the Farmer's Market? Here's a recipe you will love! This shop has been compensated by CollectiveBias, Inc. on behalf of its advertiser. All opinions and ideas are my own. #PickedAtPeak  #CollectiveBias

By incorporating fresh vegetables, and Prego® Farmers' Market sauces, your family will be eating more vegetables, and asking for seconds! This dish smells absolutely delicious while it is baking, and you can also make this dish ahead of time, and even freeze it to bake at a later date. Win-Win in my mind! 

I love the fact that we have two farmer's markets here in Carbondale, IL, and since the soil in Illinois is SO fertile, we are lucky enough to have lots of options as to what local foods we want to use. 

LET'S TALK SAUCE:

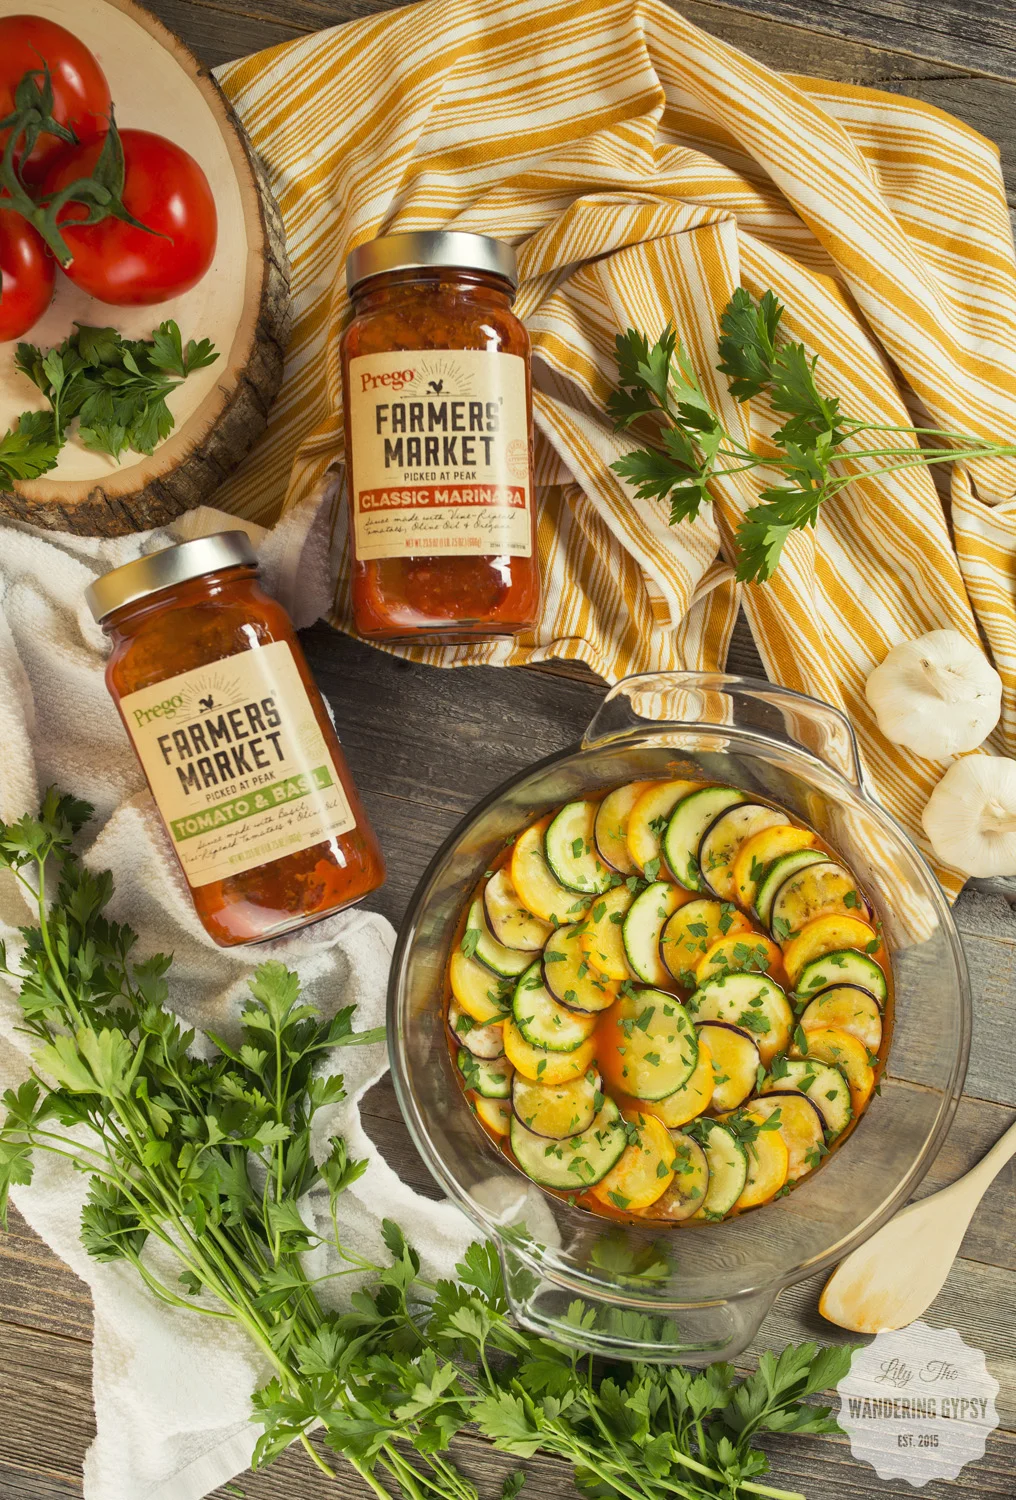
- New Prego® Farmers' Market Sauces have market-fresh ingredients, like vine-ripened tomatoes, garlic, and basil, that are picked at the peak of freshness. These new sauces are available at Walmart in the pasta aisle, my favorite aisle of all...

When I first began researching this ratatouille recipe, I found that every recipe traditionally called for a lengthy process of creating a sauce of your own. This recipe will save you so much time, by simply incorporating a jar of Prego® sauce, which makes this dish taste amazing. 

This Cotton Market Bag, above, was printed and designed by my friend at Bodega Press. It's one of my favorites! 

INGREDIENTS FOR 2-3 SERVINGS:

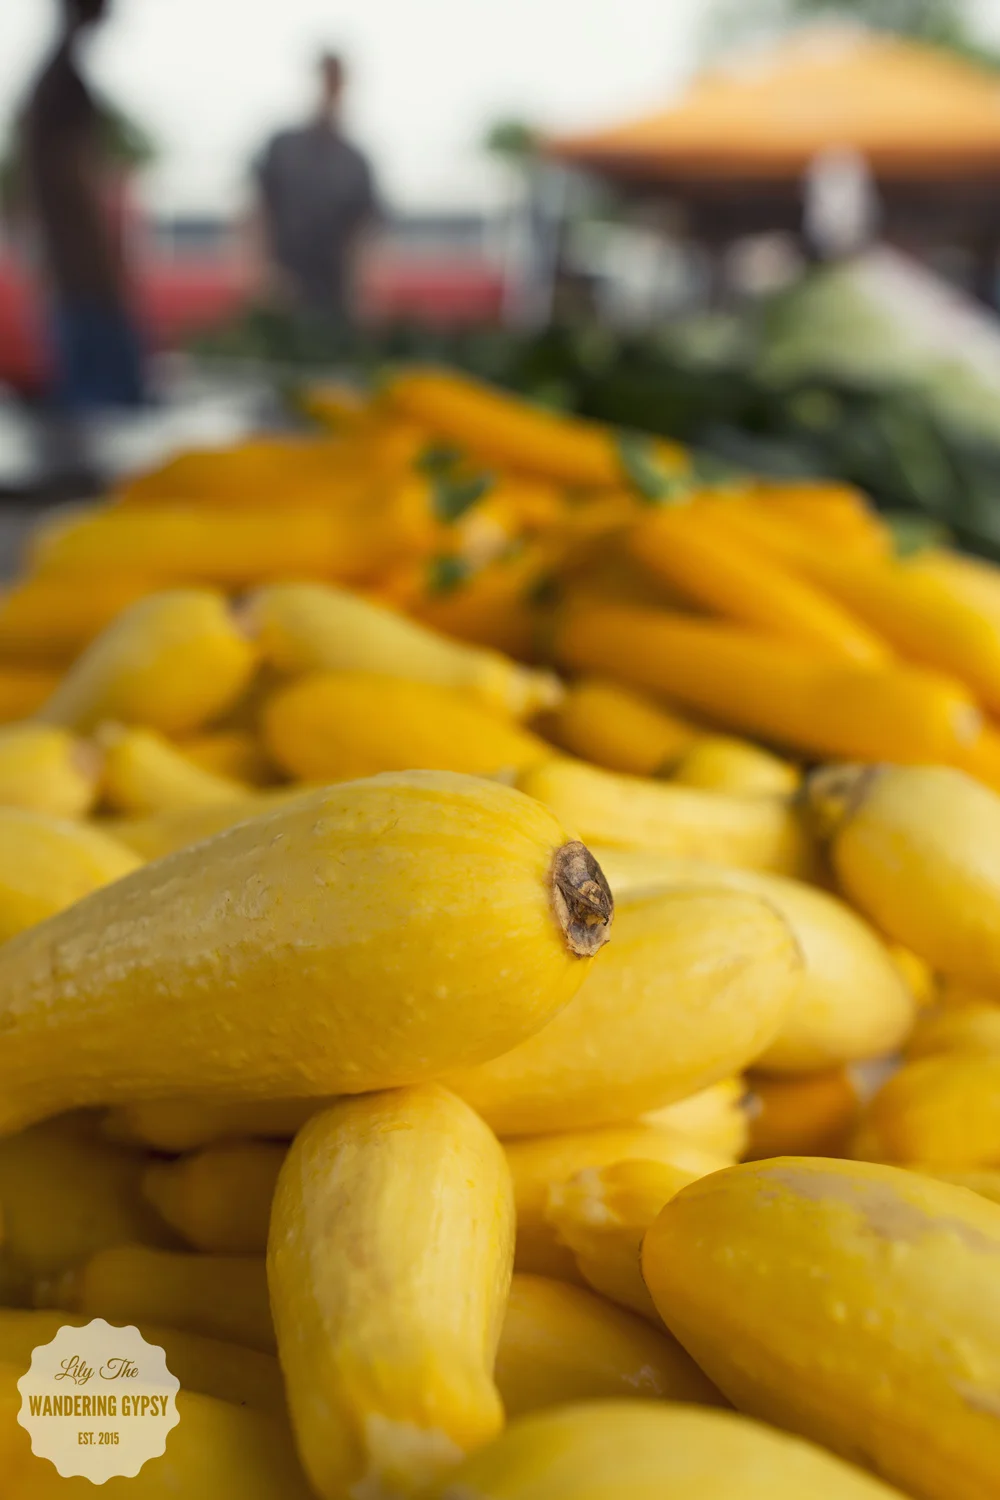
Squash At The Carbondale Market

- 1 Jar of new Prego® Farmers' Market sauce. I loved the Classic Marinara and the Tomato & Basil.

- 1 Zucchini, sliced very thin

- 1 Yellow Squash

- 1 Chinese Eggplant (the skinny kind)

- Olive Oil & Brush to apply oil

- Fresh Parsley, chopped finely

- Salt and other seasonings as desired

- Circular Baking Dish & Non Stick Cooking Spray

- Foil

Note: The above image shows more vegetables you can add to this recipe, but you can definitely make this with just the few ingredients I have listed. 

- Also, you can slice up onions and tomatoes, and layer them in between the other slices. 

To purchase these sauces, visit your local Walmart store, or shop online, here.

INSTRUCTIONS:

1.) Slice all 3 vegetables (zucchini, squash, and eggplant) very thinly (You can also include slices of onion and tomato here ). I used a Mandolin Slicer, which worked incredibly well for this recipe. CAUTION - Please, please use the guard piece that comes with the machine, because this took a small part of my boyfriend's pinky off and caused a big mess! Poor Bobby...Anyway! He's doing fine now :)

Set veggie slices aside and grab your sauce! It's already time to prepare your dish. 

2.) Spray your baking dish with non-stick cooking spray. Spread a thin layer of sauce, roughly 1/4" - 1/2" around the bottom of the dish. I used about 2/3 of the jar of sauce, but ideally 1/2 of a jar would be perfect!

3.) "Shingle" your vegetables, see below. I loved this part! Get about 4-6 veggie rounds in your hand, and alternate colors. 

4.) Put the shingled veggies into the baking dish, over the sauce, making sure not to press too hard, because you don't want the sauce on top of the veggies while baking.

5.) Continue the veggie spiral all the way to the center of the dish.

6.) Chop the parsley to sprinkle on top of the dish.

7.) Brush olive oil onto the veggies, carefully as to not get sauce on top of the veggie slices. Add salt and any other seasonings you want to the top of the dish. Garnish with chopped, fresh parsley - this adds so much to the look of your dish! 

8.) Lastly, bake the dish at 375 degrees, for roughly 30 minutes covered in foil, then for another 10-20 minutes with the foil off. Once the vegetables have browned, and the sauce has cooked down to a desirable amount, you're done! 

Enjoy!

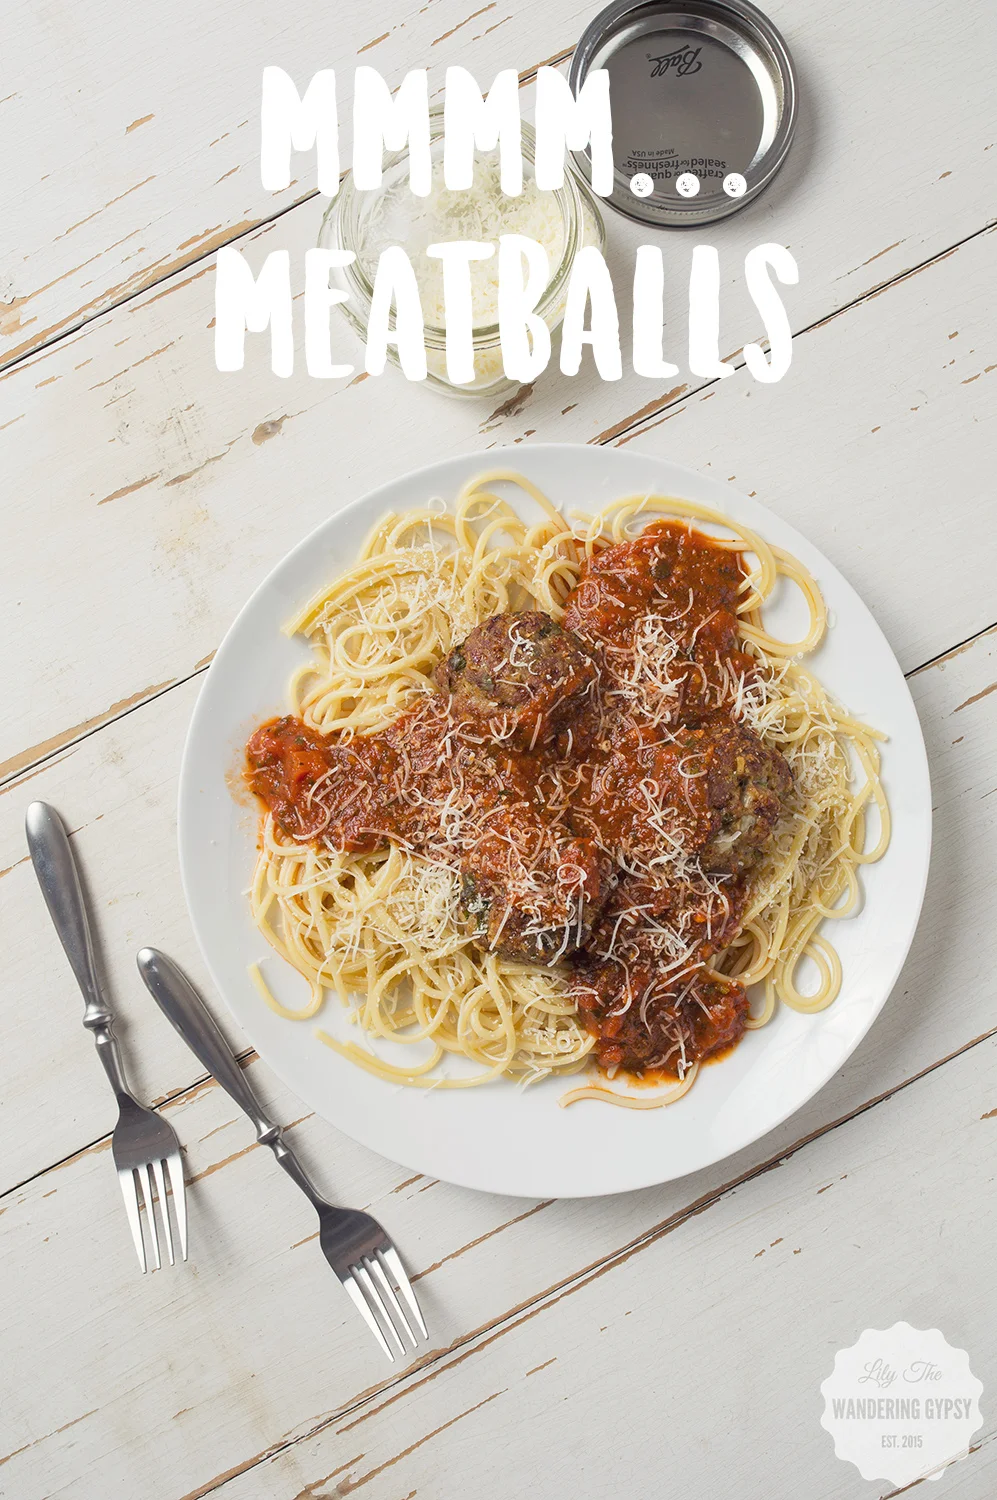
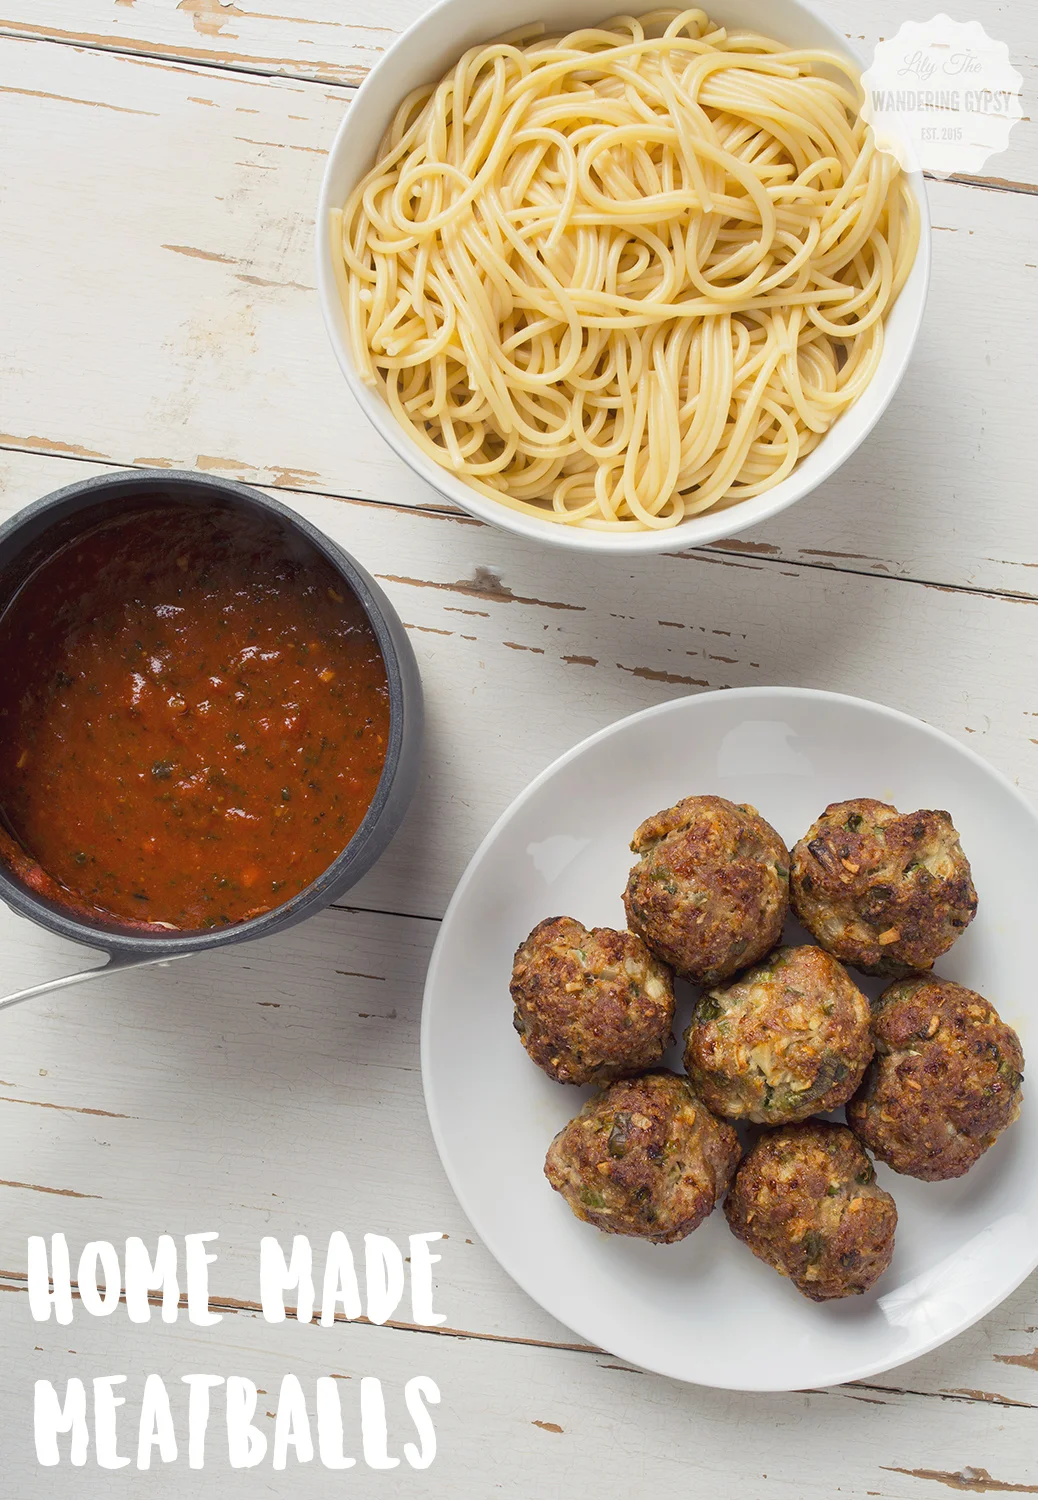
Amazing Homemade Meatballs Recipe

Want a great recipe for someone special? I think this would make an awesome Father's Day recipe for Dad, grandpa, husbands, boyfriends, or whatever guy is special in your life, deserves this amazing dish!

INGREDIENTS:

- 1 lb. ground pork

- 1 egg

- 1 C. breadcrumbs

- Seasonings: salt, pepper, garlic powder, Van Zandt's seasoning mix

INSTRUCTIONS:

1.) Preheat oven to 425 degrees F, and line a baking sheet with foil. 

2.) Spray a cooling rack with non-stick spray, and place it onto the foil lined baking sheet.

3.) Let's make the food! Combine sausage, breadcrumbs, parmesan cheese, egg, and seasonings in a medium bowl. Mix with hands (I always use rubber gloves), until well-combined.

4.) Roll mixture in hands to form 1"-1.5" balls, and place each one on the rack. Space them apart a bit, they won't change in shape, so you can bake quite a few at once.

5.) Bake for 16-20 minutes, and more if they aren't done yet. 

6.) While baking, boil your noodles, and heat your sauce separately. 

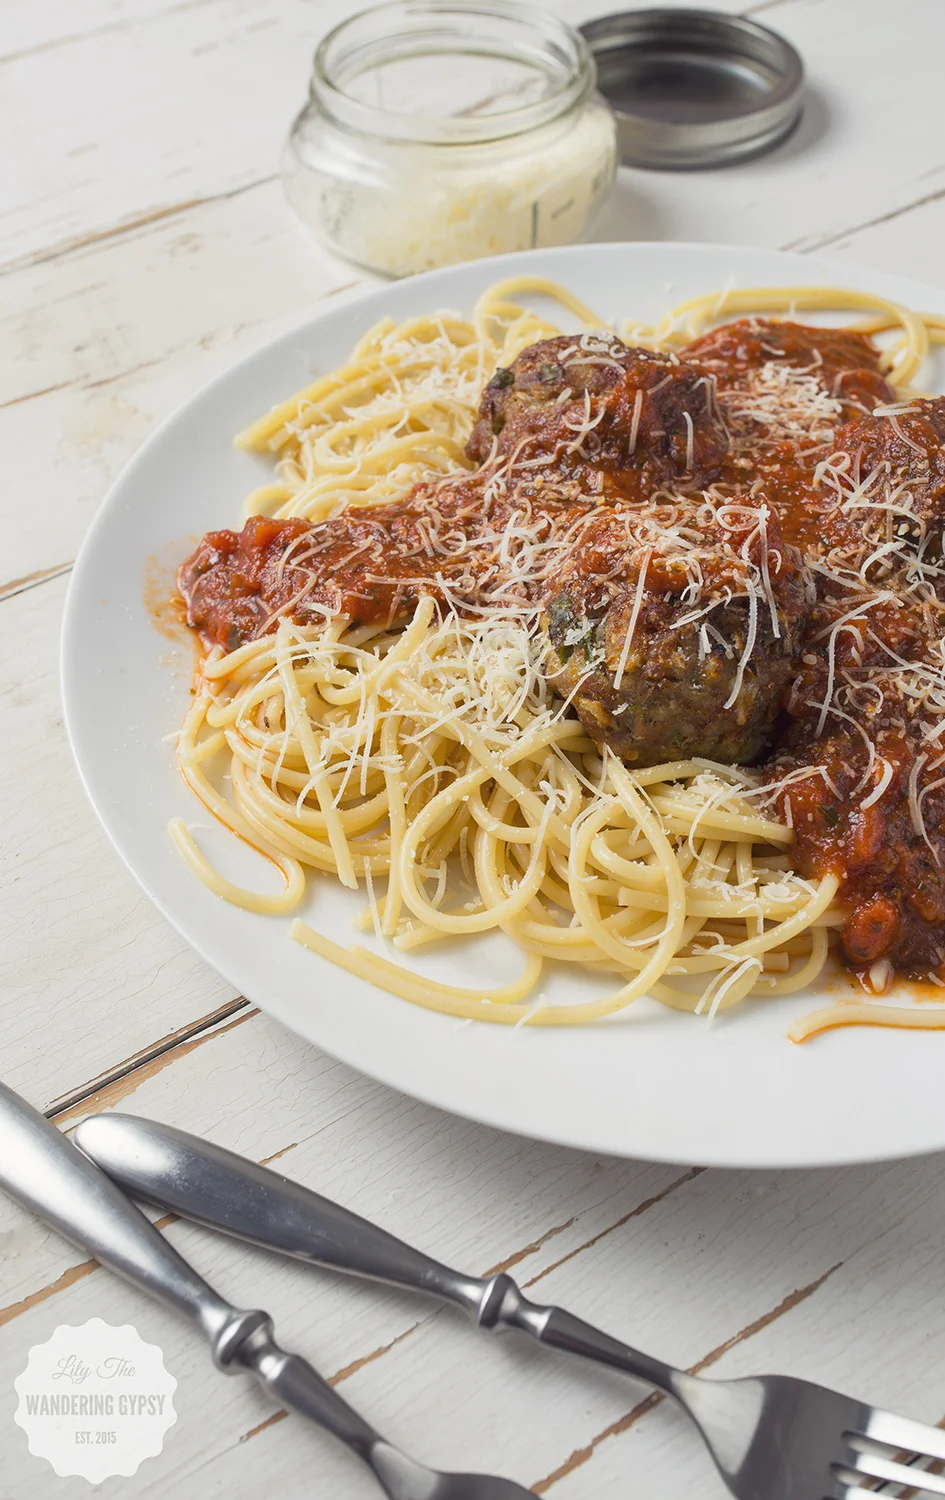
7.) To Serve: Place noodles on a plate, add meatballs, and then cover with sauce! Garnish with more parmesan cheese, and dinner is served! These are so incredibly easy to make, and reheat well. 

Other ideas for these meatballs:

- Meatballs, Peppers, and Penne Noodles

- Meatball Sandwiches

- Slice meatballs thin to put onto pizzas

- Dip them in sauce, without noodles

- Make ahead of time, and freeze these for dinner in advance! 

Savor Your Summer Recipe With Aidells® Sausage + The Wine Group's Cupcake® Wines

I had an amazing time creating this delicious summer recipe, featuring tasty ingredients like mozzarella chicken sausage, colorful peppers, and basil pesto. I then paired the dish with two styles of wine! How could things get any better? I tend to like lighter wines in the summer, so I chose to feature two varieties from The Wine Group's Cupcake® - Chardonnay and Sauvignon Blanc. For this recipe, I used Aidells® Sausage. I chose Italian Style Smoked Chicken Sausages with Mozzarella Cheese - they were absolutely perfect!

I originally tried this recipe with friends, and they went up for seconds and thirds, so I know this one goes over well with a crowd! I loved it too, and I also thought the sausage and peppers mixture would taste incredible in an omelet for breakfast. This dish is so versatile! Make it for two, make it for lunch or dinner, or incorporate it into your next party menu!

This is a sponsored conversation written by me on behalf of Aidells® & The Wine Group. The opinions and text are all mine.

- 1-2 Packages of Aidells Italian Style Chicken Sausages

- 1 Box Penne Noodles

- Red, Green, and Yellow Pepper (1 each)

- 1 Onion

- Green Pesto (either store bought or homemade)

- Olive Oil

- Fresh Grated Parmesan Cheese

TO MAKE THE NOODLES:

Boil noodles as directed. Drain them, and return them to the pot you boiled them in. Add 2-3 tablespoons of olive oil, and also stir in around 4-5 tablespoons of pre-made or homemade pesto. Stir until well incorporated, and then top with parmesan cheese. These noodles compliment the sausage and peppers so well!

Below, the perfect mix of ingredients. Italian Style Chicken Sausage, peppers, and onions! YUM!!!

TO MAKE THE SAUSAGE & PEPPERS

1.) Cut up chicken sausages into thin slices, around 1/4" thick or less.

2.) Chop onions into tiny pieces (or larger if you like)

3.) Chop peppers into small pieces and set aside.

4.) In a skillet, heat 1-2 tsp of olive oil, and add onions. Salt and season, and continue cooking and stirring onions until they are soft.

5.) Time to add the sausage! Add your sausage slices to the pan, and stir. I used tongs to turn the pieces, and continually check the status of the sausage. I let them brown on both sides before I decided they were done. They taste SO good!

6.) Turn down the heat to very low, and add peppers into the sausage mixture. Stir, and cover with a lid, to just basically steam the peppers. They should be done in 4-5 minutes. Stir again to incorporate one last time.

7.) Place noodles onto a plate, and then top with sausage and pepper mixture. This could also be served atop rice of any sort! Enjoy!! Scroll down to learn more about these wines.

Some great things about Aidells® Sausage:

* Each sausage is made with naturally smoked, all-natural chicken, real fruits & vegetables, and herbs & lively spices
* Gluten Free
* No Nitrites
* No Added Hormones
* All sausages are hand-crafted with real, hand-picked ingredients in small batches with care
* Fully cooked and ready in just 8-10 minutes: sauté or grill over medium heat or bake at 375 degrees F.

The Wine Group's Cupcake® Wines are great! Both styles featured in this post are under $10 per bottle (I got them at Kroger - in fact, I got all of my ingredients there). I really do prefer white wine to red wine any day, but especially in the summer. I opted to get the Chardonnay and the Sauvignon Blanc because they are not overly sweet, and are very well-balanced.

Luscious, creamy, silky, zesty, intense, elegant, complex wines!
Great for celebrating the good and genuine things in life & simply making life delicious!


What sorts of dishes do you prepare during the summer months? And, what is your favorite style of wine? Do you prefer white wine or red wine? Let us know in the comments!

This is a sponsored conversation written by me on behalf of Aidells® & The Wine Group. The opinions and text are all mine.

Trail To Tavern - Breweries, Bottle Shops, and Bars Near St. Petersburg and Tampa, FL

We just got back home from spending a bit of time in Florida. As you know, we love the craft beer scene, and we had heard a lot of good things about the breweries and beers originating in the Tampa area. St. Petersburg is nearby, and sees like the mecca of craft beer in the central gulf coast area of Florida. 

Toad&Co. reached out to me again about featuring this story on their blog, and helped me brainstorm about this post. Their mission, of being the first Trail To Tavern clothing company really inspired me! Check out another blogger's Trail To Tavern Story on the Toad&Co. blog, here

UPDATE: Check Out My Feature On The Toad&Co Blog Here

In this post, I will share some of the best places to find good beer and blaze an urban trail in central Florida! I will also show you some of the places to walk around before grabbing a beer in these wonderful places.

We drove across bridge the Howard Frankland Bridge, from Tampa to St. Petersburg on the quest for good beer! You get to see ocean on both sides of you the whole time! 

American Craft Beer Week was coming to an end, and the South Florida Craft Beer Week happened earlier in the year. 


Green Bench Brewing

1133 Baum Ave North, St. Petersburg, FL

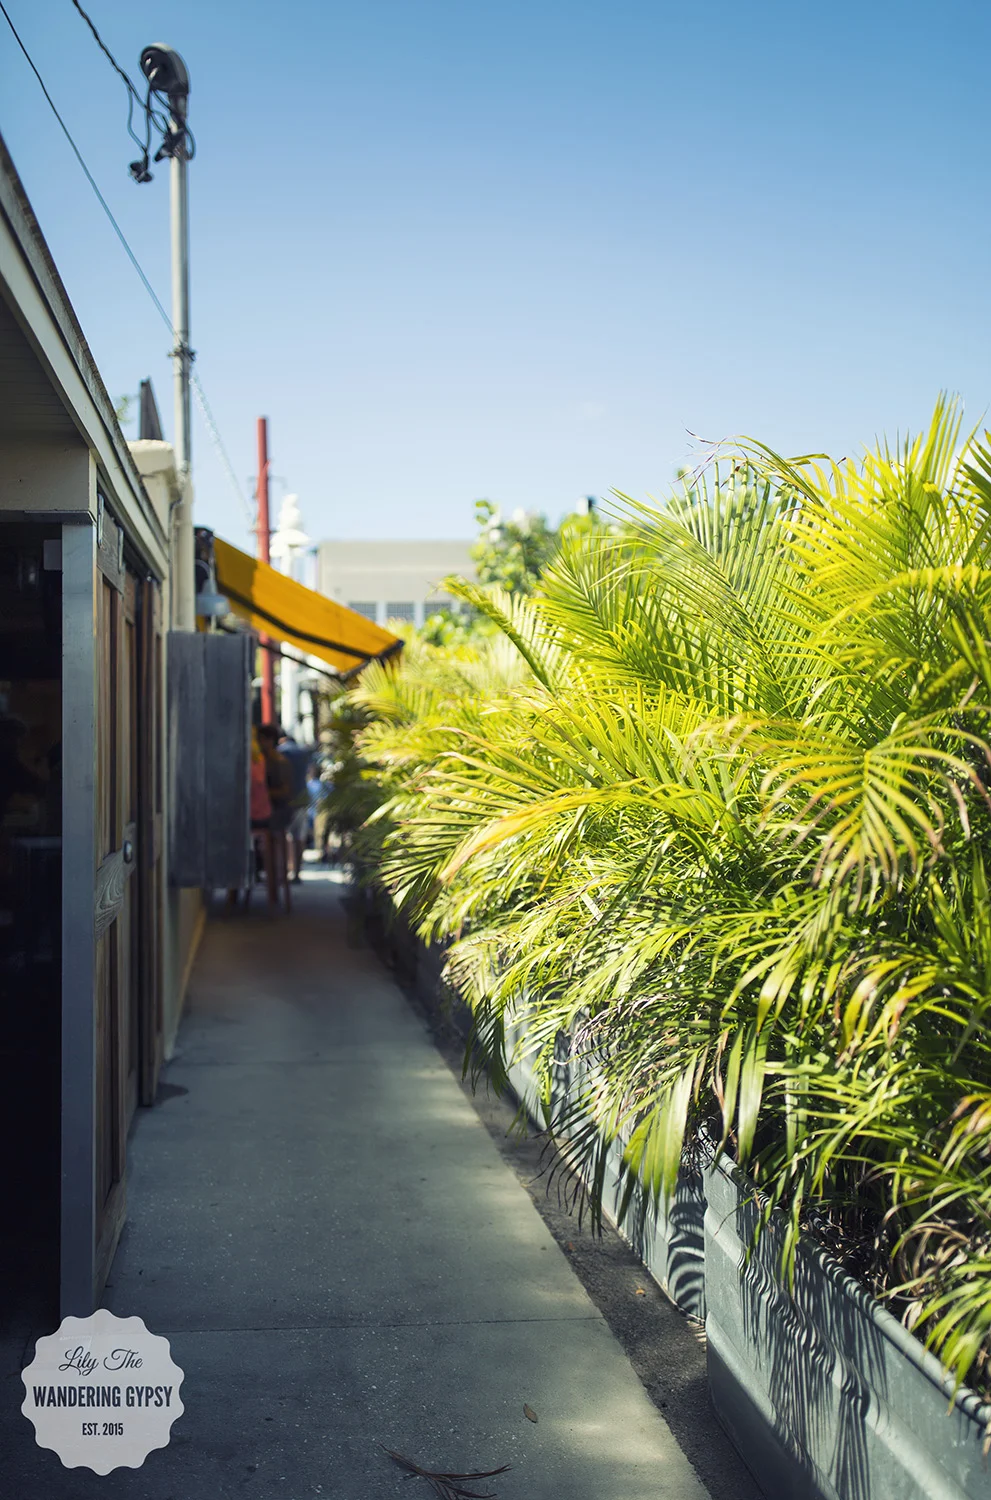
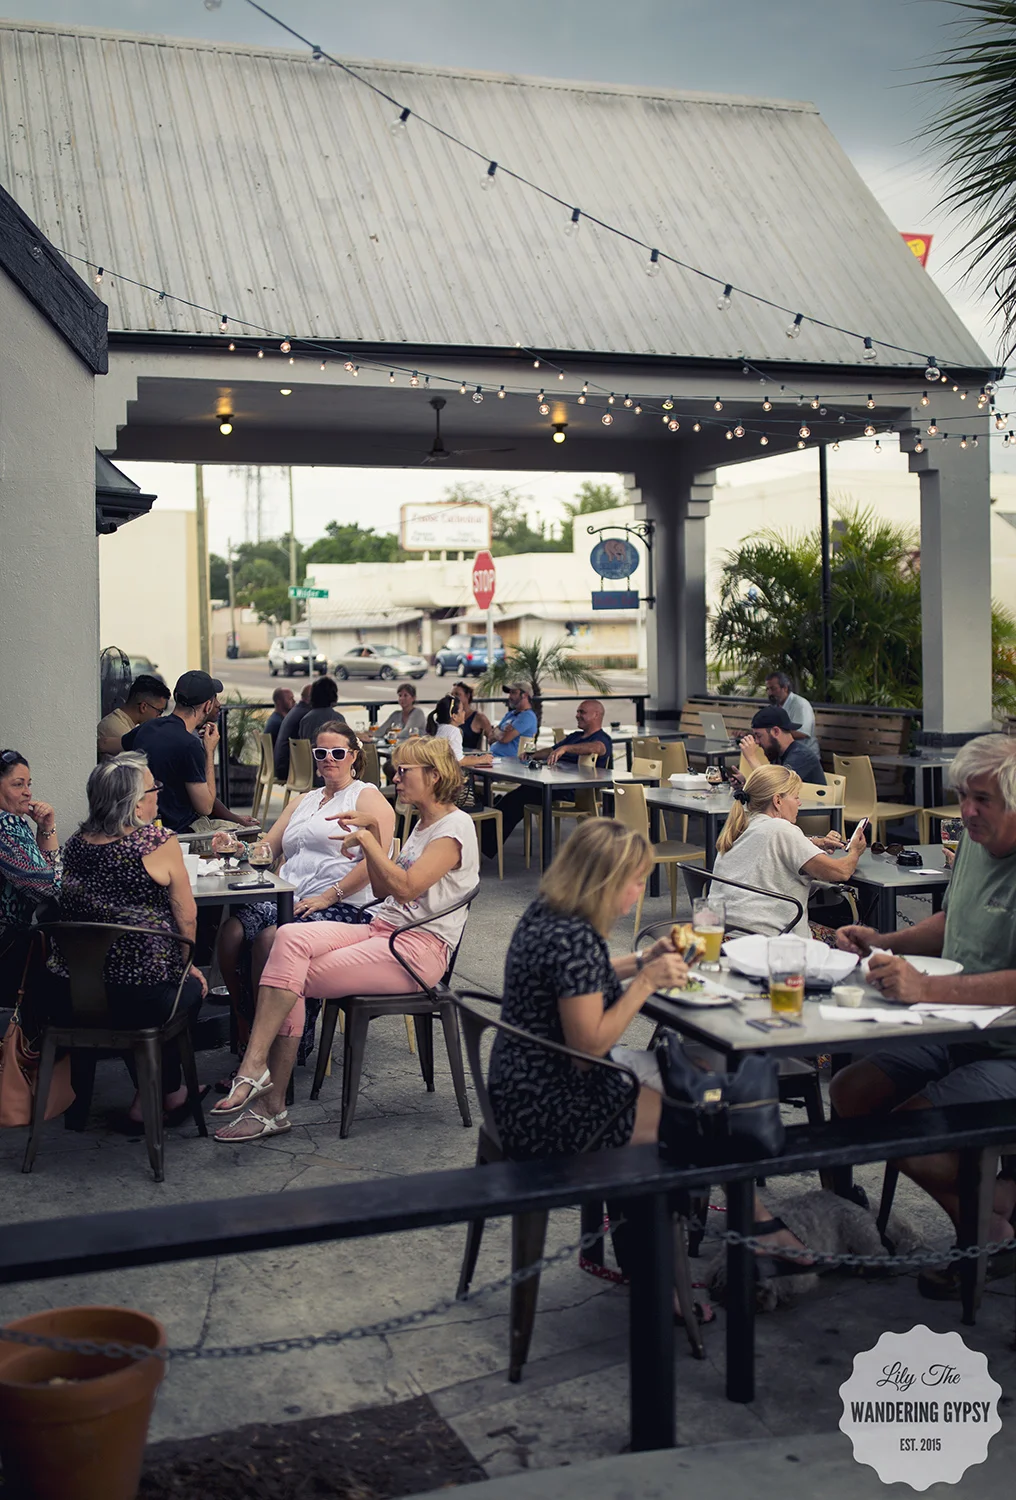
Green Bench Brewing is located in a hip area of St. Petersburg, FL. There are murals everywhere, good food, shops, and palm trees galore. The weather was HOT, but a cold beer made the warmth so much more enjoyable! 

Green Bench Brewing is super dog friendly! We met this cute little German Shepard puppy, who was 3 months old!

Green Bench really filled up after a bit. Both side their facility, as well as a huge crowd outside, I was so happy to see so many people enjoying good beer. 


Bodega 

Address

We got a Cuban sandwich and a very healthy smoothie from Bodega. It was very good! So glad some locals we met at Green Bench told us to check this place out. 


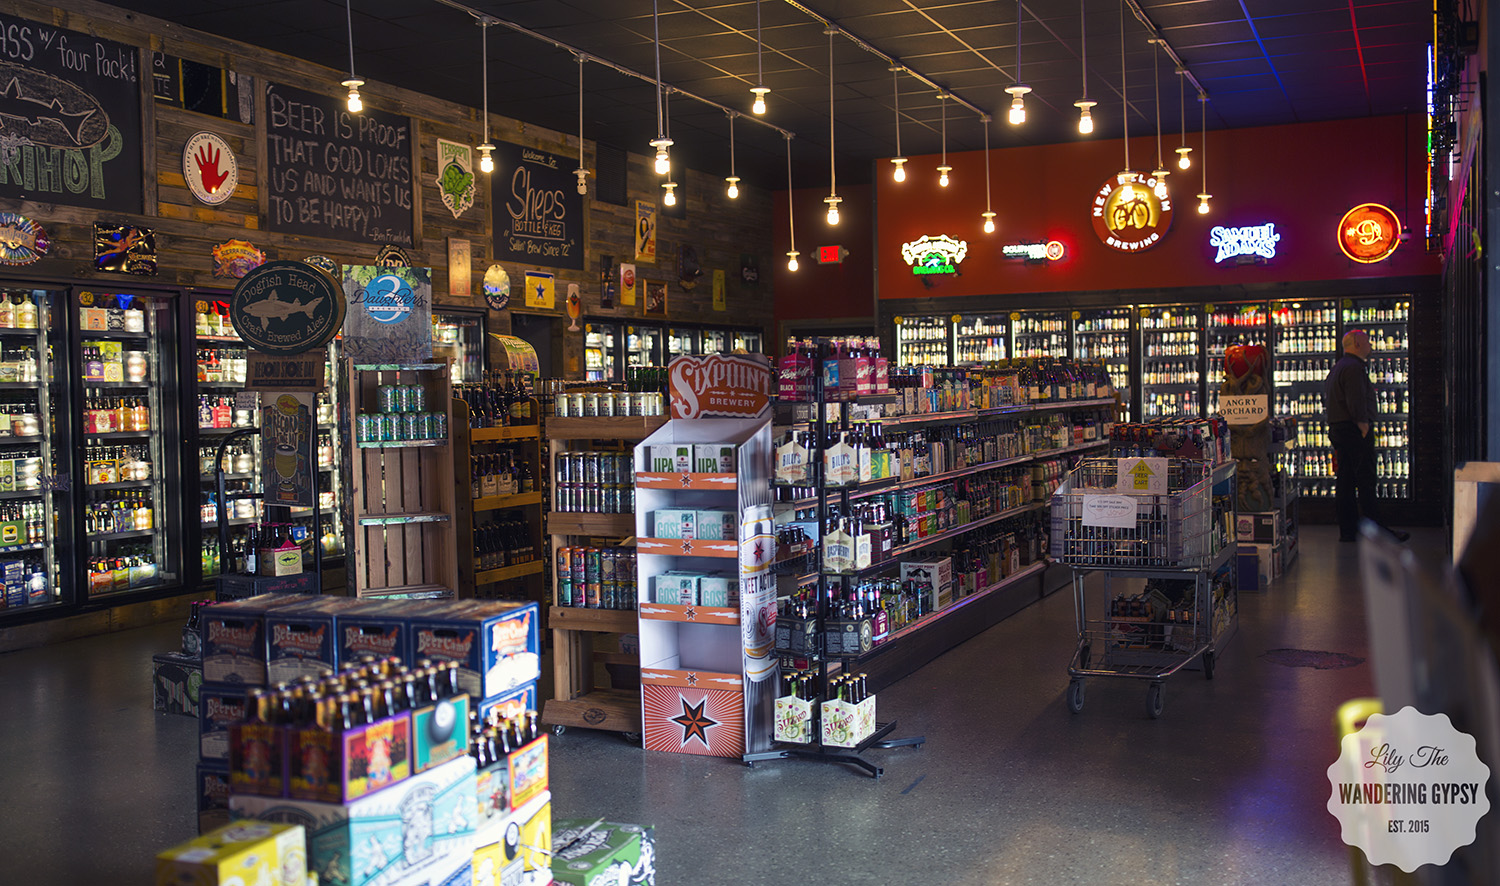
We really liked the amazing selection of bottles in Shep's. They had just about every Florida beer you would ever want, some great collaboration beers (where two breweries collaborate on a style/flavor), and one employee in particular, spent time showing us around, explaining a bit about the area, and knew a lot about beer in general.  She was very helpful, and seems like she would love to help just about anyone learn more about craft beer. 


Salvador Dali Museum

1 Dali Blvd, St. Petersburg, FL 33701

Although we just checked out the exterior of this building, it was stunning! It would basically cost $50 for two people to visit, $10 for parking, and $20 each person to get in. You can still enjoy the restaurant or interact with a couple of outdoor exhibits. We did enjoy the incredible architecture and outdoor art installations at this venue, though. The museum was right across from a marina, and the whole area was beautiful, covered in palm trees and vibrant landscaping. 


Jug & Bottle Bottle Shop 

Seminole Heights Neighborhood, Tampa, FL

Jug & Bottle Dept. had a stunning selection of beer and wine. You an even grab a beer on draught, and shop while you sip. They also had a good assortment of snacks and a few grocery items. Definitely stop by this place on your way to a friend's house if you need something to bring! 

Jug & Bottle Dept. - located at 6203 N Florida Ave - Tampa, FL 33604

Vintage Bottle Openers at Jug & Bottle Dept. - located at 6203 N Florida Ave - Tampa, FL 33604


Independent Bar & Cafe

Seminole Heights Neighborhood, Tampa, FL

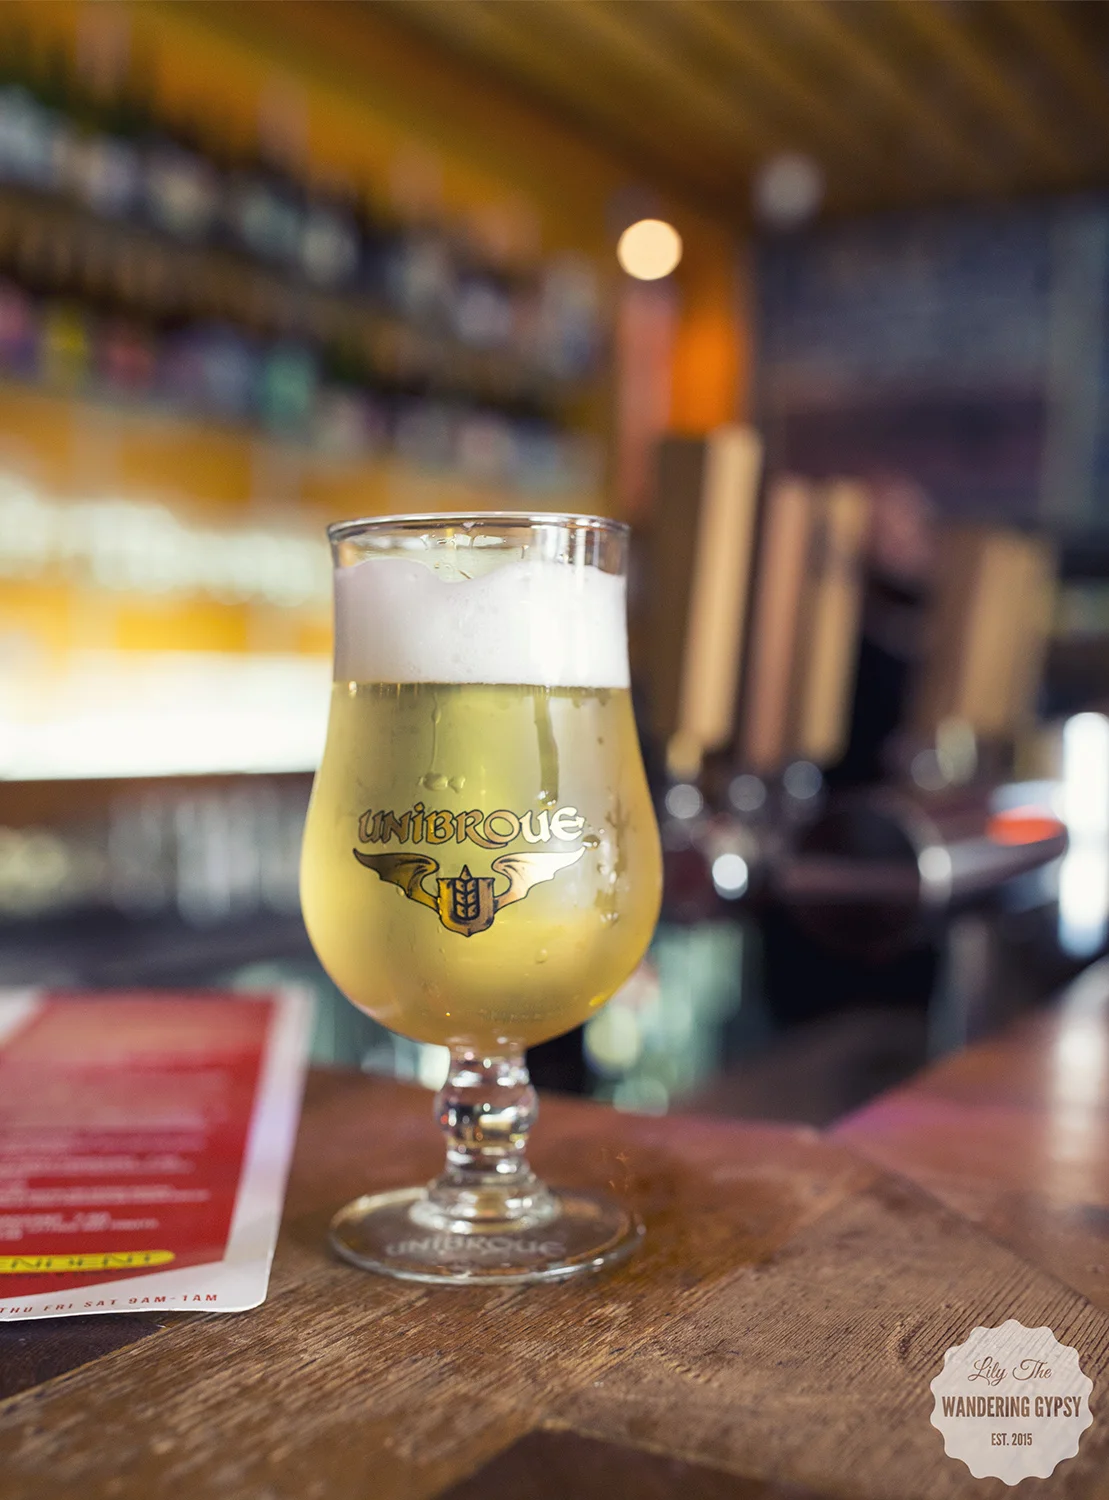
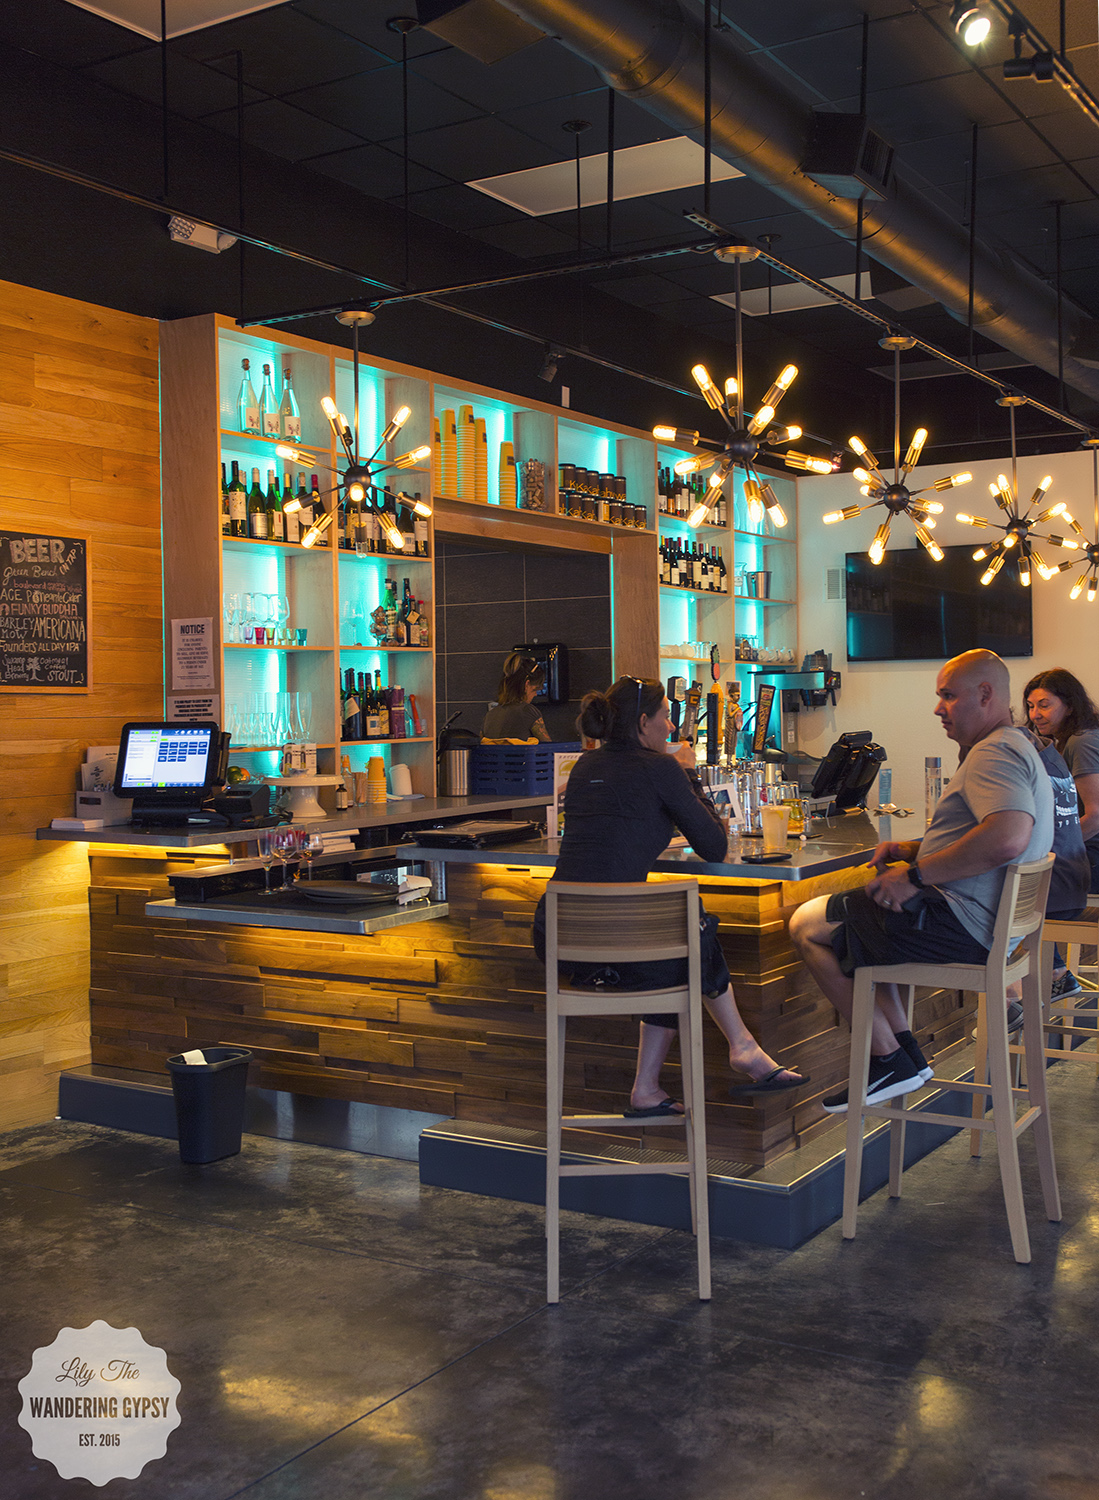
While at Jug & Bottle, we talked to some of the nicest employees of theirs. They explained the FL craft beer scene to us, and recommended that we grab a bit to eat at Independent Bar & Cafe. We grabbed one of the best drinks I have ever, ever had - the Brewski Slim Pickens Make Mama Proud Passionfruit Sour. My, oh my, this was so refreshing in the intense heat and humidity of the Tampa area. I guess this is pretty hard to find, so you will have to visit Independent Bar & Cafe to get it. 

They were also hosting a Founder's Tap Takeover, and people were definitely there for the beer. There was a cute outdoor seating area, that actually had giant outdoor air conditioners, providing everyone who wanted to sit outside with a fresh cool breeze. 

I definitely recommend this place! 


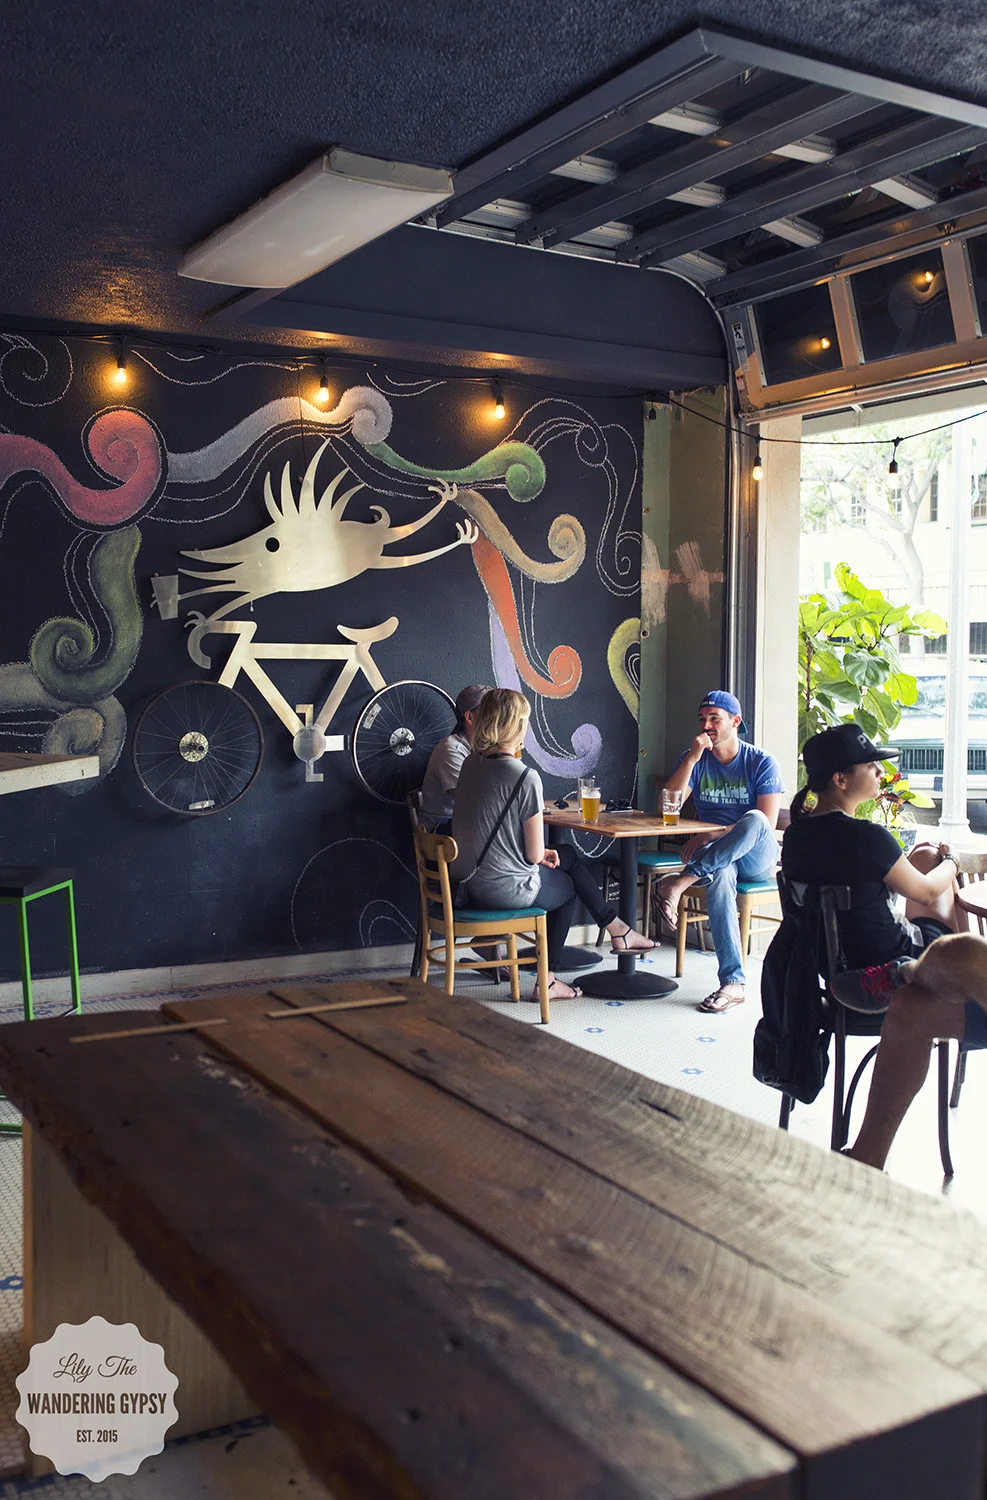
Cycle Brewing

534 Central Ave - Saint Petersburg, FL

I absolutely loved the neighborhood around this brewery, and they have very limited bottle releases (meaning they only bottle a limited number of beers per year, and there is a limit on the number of bottle each person can buy). 

They serve only their beers, and you have to actually go there to try them. 

I loved grabbing a beer here and then exploring the few blocks in one direction, from the front of the brewery. 

It really seems like the people who frequent this brewery know a lot about beer and all seemed very happy to be there! You can definitely grab a drink here before or after dinner, and enjoy the many, many restaurants within just a few blocks of Cycle Brewing. 


St Pete Hyppo (Gourmet Ice Pops)
627 Central Ave
Saint Petersburg, Fl 33701


The Cider Press Cafe

601 Central Ave.
St Petersburg, Florida 33701 

I didn't eat here, but the food and drinks looked SO good! Everyone thee seemed to be enjoying a cute stemmed glass of cider and fresh meals. 


No Bake Cheesecake Recipe For The Gal On The Go With ZonePerfect® Bars (With Vegan Filling)

I have an absolutely incredible recipe for you today! This shop has been compensated by CollectiveBias, Inc. on behalf of its advertiser, ZonePerfect. #SnackandRally #CollectiveBias

I wanted to share this recipe because it is a wonderfully healthy snack option for those of you who are always on the go. The little bit of time you spend creating this recipe during your down time, will save you tons of time in the morning. Or, that time of day when you're having to multi task, or when you are in a hurry and can't even spare two minutes to make a meal to eat. Life doesn't slow down because you are tired or hungry. 

This was my first time making Vegan Cheesecake Filling and they turned out incredibly well!! The crust is made from ZonePerfect® Bars, and the chocolatey,peanut buttery, and graham cracker flavored bars added such a nice crunch and sweetness to this recipe. Note - The ZonePerfect® Bars are not vegan, so only the filling is actually vegan. Sorry for any confusion I may have created by calling the original recipe I shared, completely vegan. 

ZonePerfect® Bars offer a snacking option that is rewarding, satisfying, and nutritious, and actually taste amazing! These bars give you the 2nd, and even 3rd wind that you need to have the vitality and energy that you need for busy days or nights. They satisfy cravings, are convenient, and leave you feeling happy to knowing that you just got your chocolate (or sweet) fix, but in reality have eaten something that contains no less that 10 grams of protein in each bar. They are also a good source of fiber, and offer versatility of flavor and balance.  Let's make some No Bake Cheesecakes! 

Everyone who ate them raved about them, and couldn't get enough of them. I love the fact that I put them in individual jars, so that you can even grab one as a quick meal on your way out the door, or if you're anything like me, eat them as you're rushing around the house, doing a million things before you have to leave. I am definitely one of those people who tries to literally start a project a half hour before leaving the house, on top of the things I need to already do to get myself ready and out the door. By utilizing recipes like this one, you can easily fit these into your lifestyle and be more efficient. 

*Note - To make this recipe, you must soak the cashews for a few hours, so make sure you do this ahead of time!!


INGREDIENTS FOR ABOUT 8 JARS:

- ZonePerfect® Bars in Chocolate Peanut Butter and Fudge Graham

- 1 (10 oz) Can of Cashew Pieces (I used a can of salted cashews, and they worked very well. The salt goes away completely when you soak your cashews).

- 1 Can Of Coconut Milk

- 1 (11 Fl. oz) Culinary Coconut Milk (It was more of a liquid consistency than that in the can)

- Organic Agave Nectar (Any type will do)

- Lemon juice for taste (optional)

- Raspberries and other fresh fruit of your choice

OTHER MATERIALS:

- Small Jars

- Blender (for filling)

- Food Processor (for crust)

- Long spoon to scrape ingredients from blender

- Sharp knife to prepare crust

You're in luck! Save up to $4 when you buy two boxes in the ZonePerfect® Bundle Pack.

Shop Online For ZonePerfect® Bars Here.

Find More Ideas For Recipes & Ideas Here.

I found all of these ingredients at Walmart, which made this project easier. Look for ZonePerfect® Bars near the pharmacy area, by the nutritional bars and other healthy items. 

MAKE THE VEGAN FILLING:

1.) Begin by soaking the cashews in water for 3-4 hours. I made sure to use a container with a lid, so it didn't spill. I could not believe how soft the cashews got in this short amount of time. Check the cashews to see if they are soft, and when they're ready, drain out all of the water with a strainer. None of the salt will be left.

2.) In a blender, add all of the cashews, and the more "liquid" coconut milk. Blend until smooth (see photo below).

Next, add the can of coconut milk. When I first added it, I was concerned that the mixture would turn out watery (because there was a clear liquid in the can), but when I blended everything up, it was perfect! 

Add your agave sweetener one or two squirt at a time. Taste the mixture and keep adding agave until you think it's sweet enough. Depending on what type of agave you get, you may not need much at all. The stye I got (in the photo of ingredients), was not very strong or sweet, so I added a few squirts and it tasted perfect!

MAKE THE ZonePerfect® CRUST:

Note - Crust is not vegan, sorry for any confusion!

100% Vegan Crust would contain 1 Cup pitted dates + 1 cup raw walnuts - bended in a food processor). But, this ZonePerfect® tasted absolutely incredible!!! 

3.) Unwrap about 5-6 bars, or as many as will fit into your food processor.

4.) Chop the ZonePerfect® Bars as small as you can with your knife, and put the pieces into the food processor. At first, I only chopped the bars into quarters, and they did not process well. I took them back out, and chopped them up a lot more, and they were absolutely perfect. ZonePerfect® one might say :)

6.) Blend/Process the ZonePerfect® bars as much as you can. Look at that beautiful crust!!!

7.) Put the ZonePerfect® crust into the jars, and press the materials down as much as you can. I just divided the Zone Perfect crust evenly between the jars. 

8.) Pour the vegan "cheesecake" filling into the jars, and fill pretty close to the top. 

9.) Now, put the lids onto the jars, and put them into the fridge for a few hours, or overnight. This will help them set up, and the filling tastes so much better if it is cold! 

10.) After they have chilled for a bit, take them out and top them with fresh fruit! I enjoyed scooping the ZonePerfect® crust and mixing it into the "cheesecake". It added a nice chocolatey sweetness that made these amazing for an On The Go Snack, whether it was breakfast, a snack, or a light meal. They're very filling and had a lovely hint of cashews and coconuts. 

Thanks so much for taking a look at my recipes!! Have you ever eaten or created a vegan cheesecake filling or something like this recipe? Comment below and let me know. Take care! 

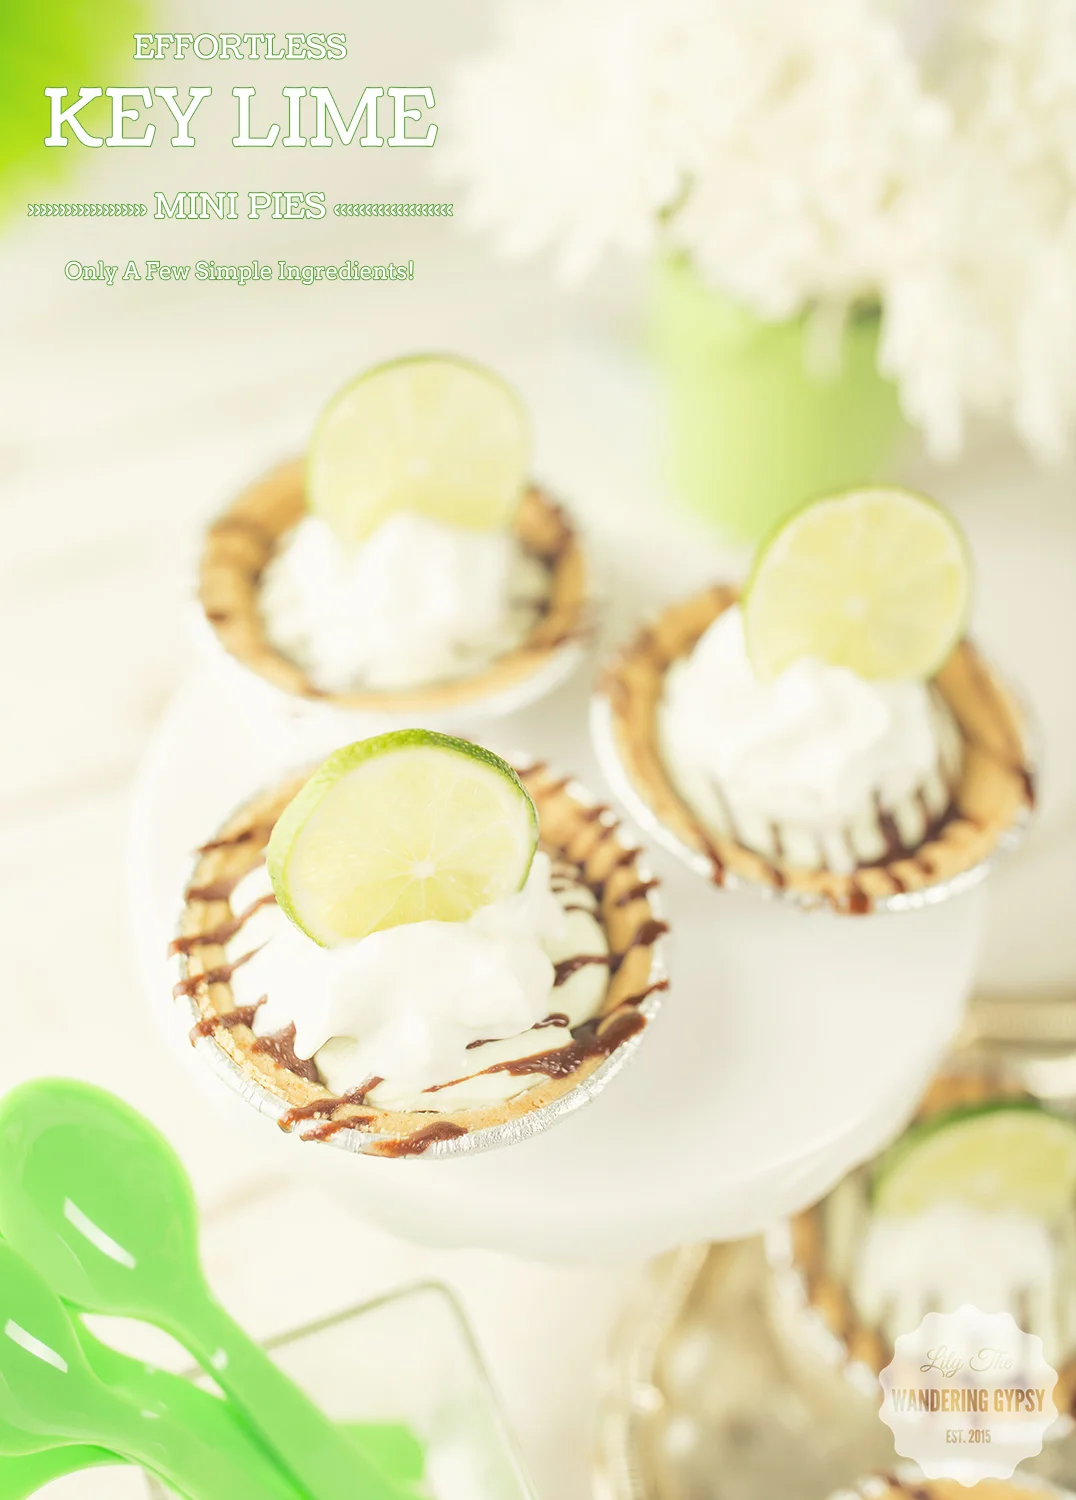
Effortless Mini Pies - Frozen Key Lime Mini Pies Recipe

It's a wonderful time for frozen treats, so check these out! This shop has been compensated by Collective Bias, Inc. and its advertiser. All opinions are mine alone. #EffortlessPies #CollectiveBias #Walmart

You're going to love these mini pies! They're incredible!

INGREDIENTS:

Reddi-wip® (13 oz.)

Oikos® Key Lime Greek Yogurt (4 count package)

Keebler® Ready Crust® Mini Graham Cracker Pie Crust (6 count package)

Magic Shell (Optional)

Limes To Garnish Mini Pies

Make Delicious & Effortless Mini Pies With 3 Simple Ingredients!!

I really enjoy the taste of this Greek Yogurt. It's sweet, tart, and tastes like fresh key limes. It's literally like eating a piece of the real thing, but far healthier for you.

Prep The Pies...

Fill a quart sized freezer Ziploc®  bag with the Oikos®  Greek Key Lime yogurt (2 yogurt cups filled about 3 mini pie crusts). Cut one corner off of the bag, and carefully fill each mini pie crust about 2/3 full. 

Freeze the pies overnight, on a baking sheet. Once they have frozen, get ready to decorate them!

Once frozen, you can add some Magic Shell drizzle! The more chocolate the better, to balance out the lime flavor. After I drizzled the chocolate onto these mini pies, I put them back into the freezer to prepare for the final steps. 

Look how beautiful these frozen yogurt mini pies are!!! 

Let's Top These Mini Pies!

Slice your limes into thin slices.

Top with a generous amount of Reddi-whip® . Literally my favorite part...

Add the lime slices onto the Reddi-wip® so they sit up on their own. You can serve them now! Enjoy!

I wound up finding my ingredients at Walmart, which was great, because I could find everything in one place (and of course a little more!). Isn't that always how it goes :)

I found the Reddi-wip® in the back coolers neat the milk, the Oikos® Key Lime Greek Yogurt by the other dairy items, and the Keebler® Ready Crust® Mini Graham Cracker Pie Crust in the baking aisle. I also found the limes in the front of the store by the fresh produce. 

I really hope you have enjoyed this recipe! 

Milkshakes Inspired By M&M’s® New Flavors!

It's that time of year again when ice cream sounds good in just about any form. Check out these amazing milkshakes, inspired by M&M's® flavors! This shop has been compensated by Collective Bias, Inc. and its advertiser. All opinions are mine alone. #MMSFlavorVote #Walmart #CollectiveBias.

Check out this milkshake recipe! #MMsFlavorVote #ad

Here's How It Works.

You can help choose the next flavor of M&M's®!!! 

  • Throughout the voting period of March 1 to June 17, you can purchase and taste each of the new flavors for yourself, and then cast your vote, once a day until June 17.
  • Once you cast your vote for your favorite new M&M's® Peanut flavor, you are entered for the chance to win $100,000 and earn the title of the official M&M's® Taste Tester. The winner will be announced in August, along with the winner of the 'Flavor Vote,' which will remain on retailer shelves nationwide.
  • Vote for your favorite flavor using the hashtag #MMSFlavorVote across social media!

Be sure to visit the M&M's® Flavor Vote page on Facebook to vote for your favorite flavor!

Find The Flavors Here:

M&M's® Coffee Nut
M&M's® Chili Nut
M&M's® Honey Nut

Note: The jars used in these recipes hold a bit over 4 Cups each, so all recipes are formatted to these jars.


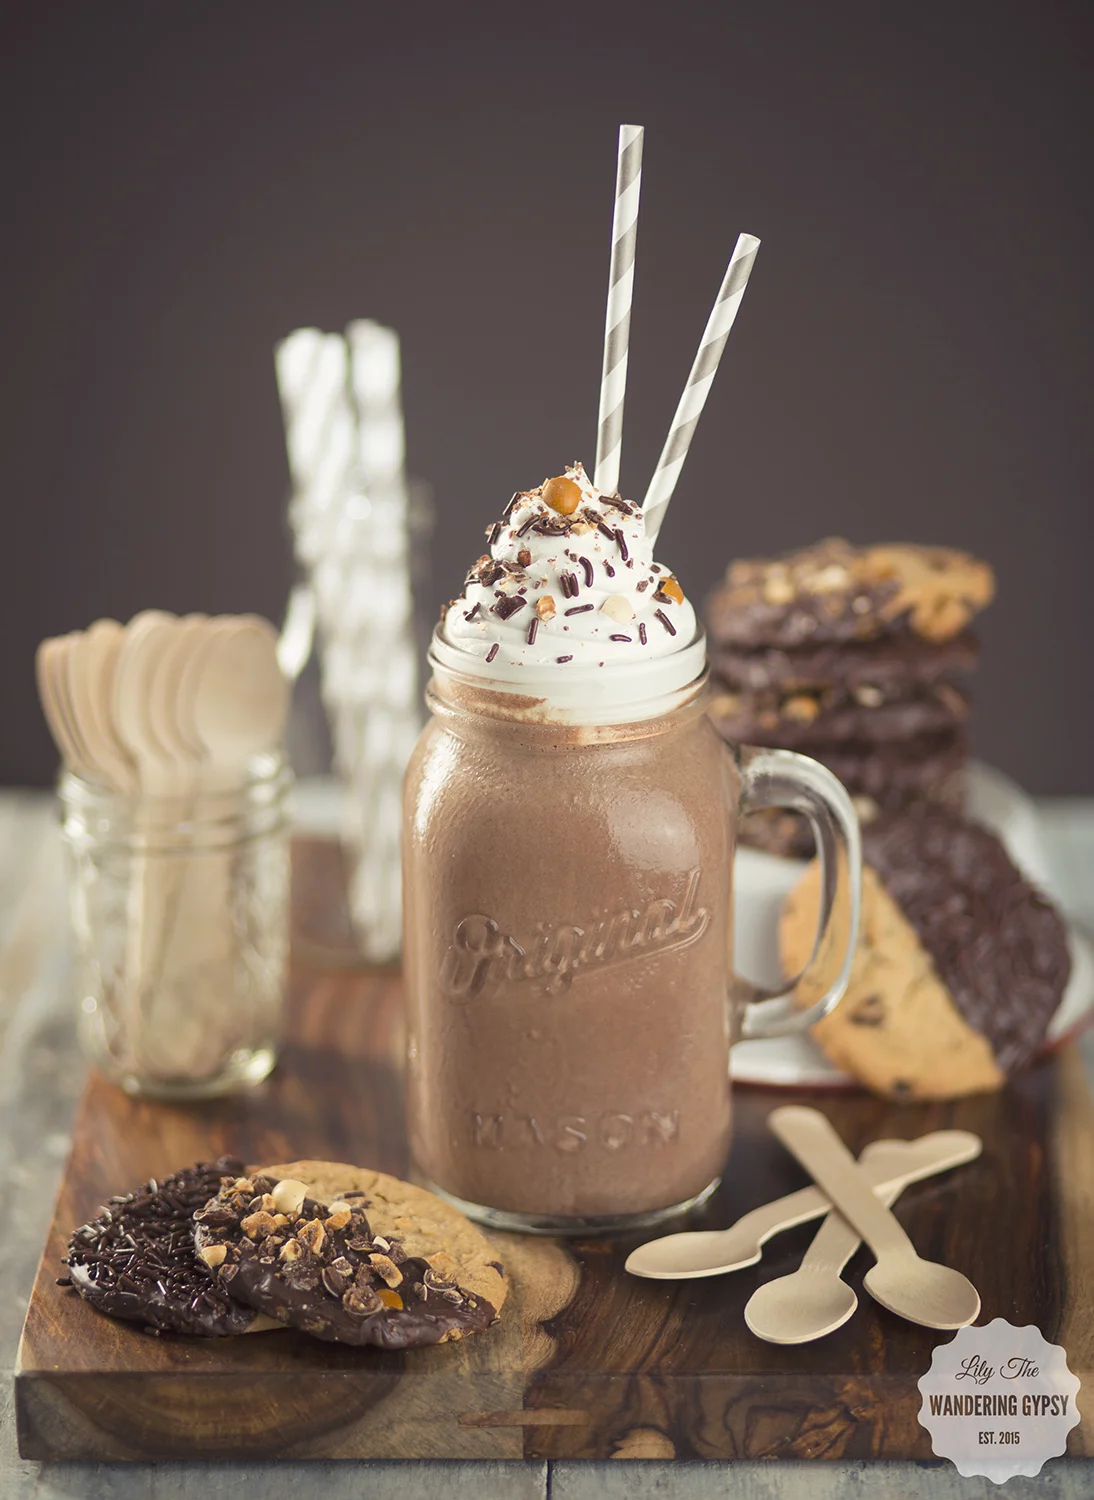
THE CHOCOLATE MOCHA SHAKE - INSPIRED BY M&M’s® COFFEE NUT

Check out this milkshake recipe! #MMsFlavorVote #ad

Ingredients:

M&M’s® Coffee Nut Flavor

2 1/2 -3 C. Chocolate Ice Cream

1/2 C. Cool Whip

1 C. Coffee of any sort (Mine was pre-packaged)

1 Packet of Hot Chocolate Mix (Optional)

Dash of Milk - Optional

Check out this milkshake recipe! #MMsFlavorVote #ad

FOR THE COOKIES...

Ingredients:

Pre Made or Home Made Chocolate Chip Cookies

Melting Chocolate + Brush To Spread It Onto Cookies

Instructions:

These are so easy! Simply melt chocolate in a double boiler or microwave until smooth. Carefully brush chocolate onto half of the front of each cookie.

In a zip top bag, use a rolling pin to crunch up some of the M&M’s® Coffee Flavor candies. Top half of your cookies with M&M’s® Coffee Nut candy pieces, or chocolate sprinkles. They stick super well to the chocolate. Let cool, and eat separately, or add to your milkshake.

Check out this milkshake recipe! #MMsFlavorVote #ad

THE HONEY NUT PEANUT BUTTER SHAKE - INSPIRED BY M&M’s® HONEY NUT

Check out this milkshake recipe! #MMsFlavorVote #ad

Ingredients:

M&M’s® Honey Nut Flavor

2 - 2 1/2 C. Vanilla Ice Cream

1/2 C. Peanut Butter

1 1/4 C. Milk

1 C. Cool Whip (And more for on top)

1 -2 Tbsp Honey (depending on how strong you want the flavor)

Yellow Sprinkles


Get ready, this tastes amazing!!


Instructions:  Blend ice cream, peanut butter, milk, honey, and Cool Whip together until smooth.

Instructions:

Blend ice cream, peanut butter, milk, honey, and Cool Whip together until smooth. Add M&M’s® Honey Nut Flavor either as whole pieces, or crushed up into smaller pieces. Stir with a spoon.

Pour into a large glass, and top with whipped cream, yellow sprinkles, and crushed up M&M’s® Honey Nut. 

This one wound up being my absolute favorite!! Enjoy!!

Check out this milkshake recipe! #MMsFlavorVote #ad

THE CHILI CHOCO SHAKE - INSPIRED BY M&M’s® CHILI NUT

Check out this milkshake recipe! #MMsFlavorVote #ad

Ingredients:

M&M’s® Chili Nut

3 C. Chocolate Ice Cream

1 C. Milk

Red Sprinkles

Red Chilis For Garnish - Optional

Check out this milkshake recipe! #MMsFlavorVote #ad

Luckily I got some of the last of the new flavor M&Ms at Walmart! Looks like just about everyone in town wanted a piece of the voting action! 

My local stores were almost sold out, but I found them near the front of the store by the registers. 

Check out this milkshake recipe! #MMsFlavorVote #ad

Instructions:

Mix together chocolate ice cream, milk, and Cool Whip until smooth. Feel free to add a dash of Cayenne pepper for some heat if you want. Also, add some M&M’s® Chili Nut candies, and mix with a spoon.

Pour the mixture into a jar, and top with whipped cream, M&M’s® Chili Nut candies, and red sprinkles. 

To create a fun garnish, take two red chilis (I used ones that weren't spicy, because these candies have some heat), and poke holes in them to make room for the straw to pass through. Love how these turned out!

Check out this milkshake recipe! #MMsFlavorVote #ad

Thanks so much for checking out these fun recipes, inspired by M&M’s® new flavors! 

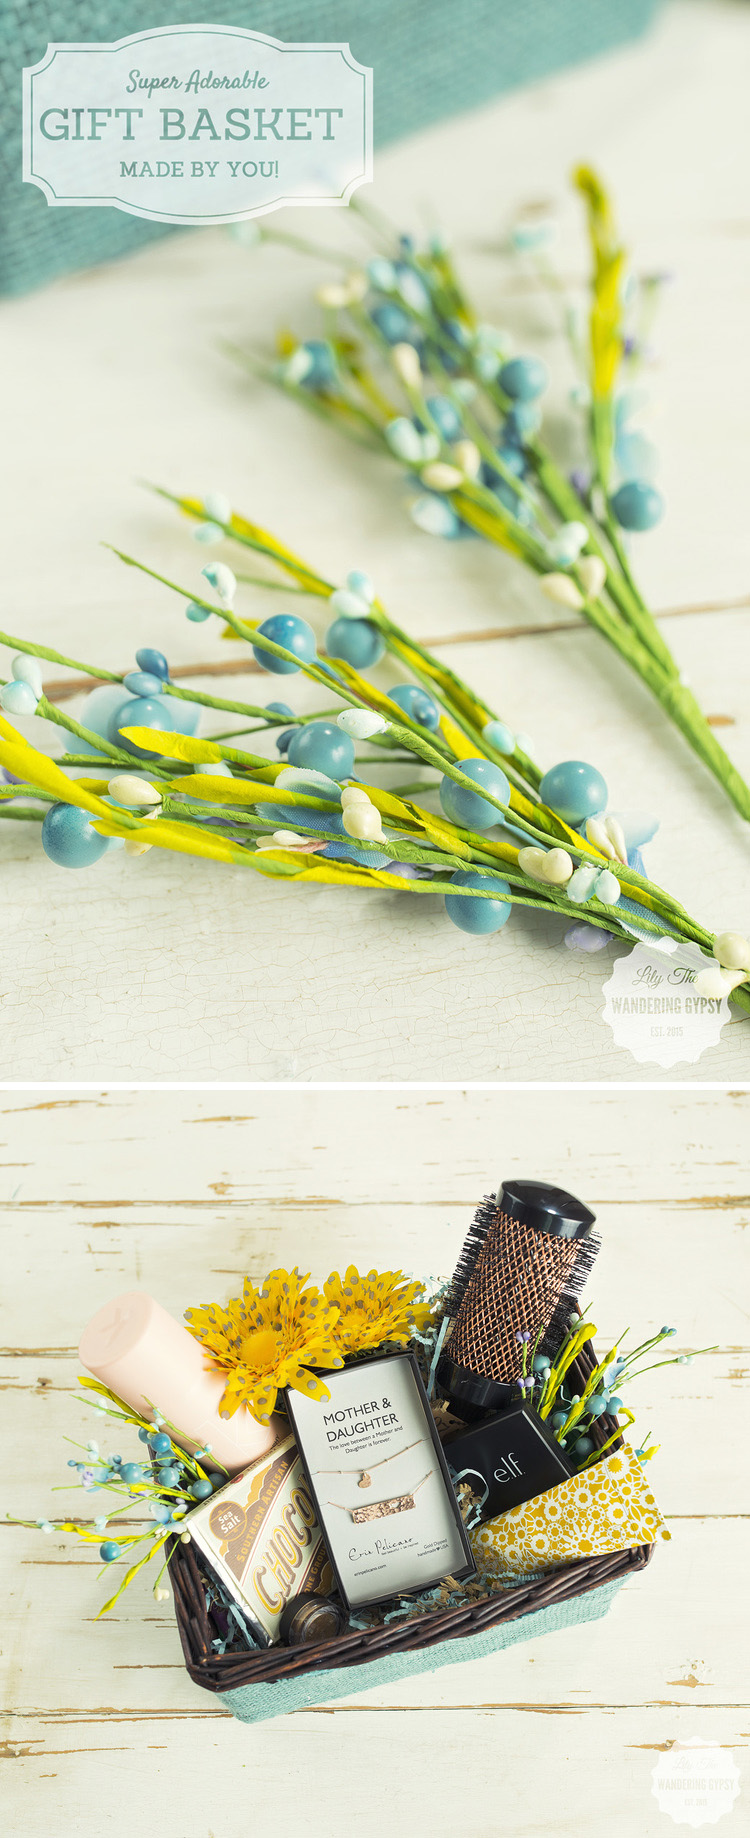
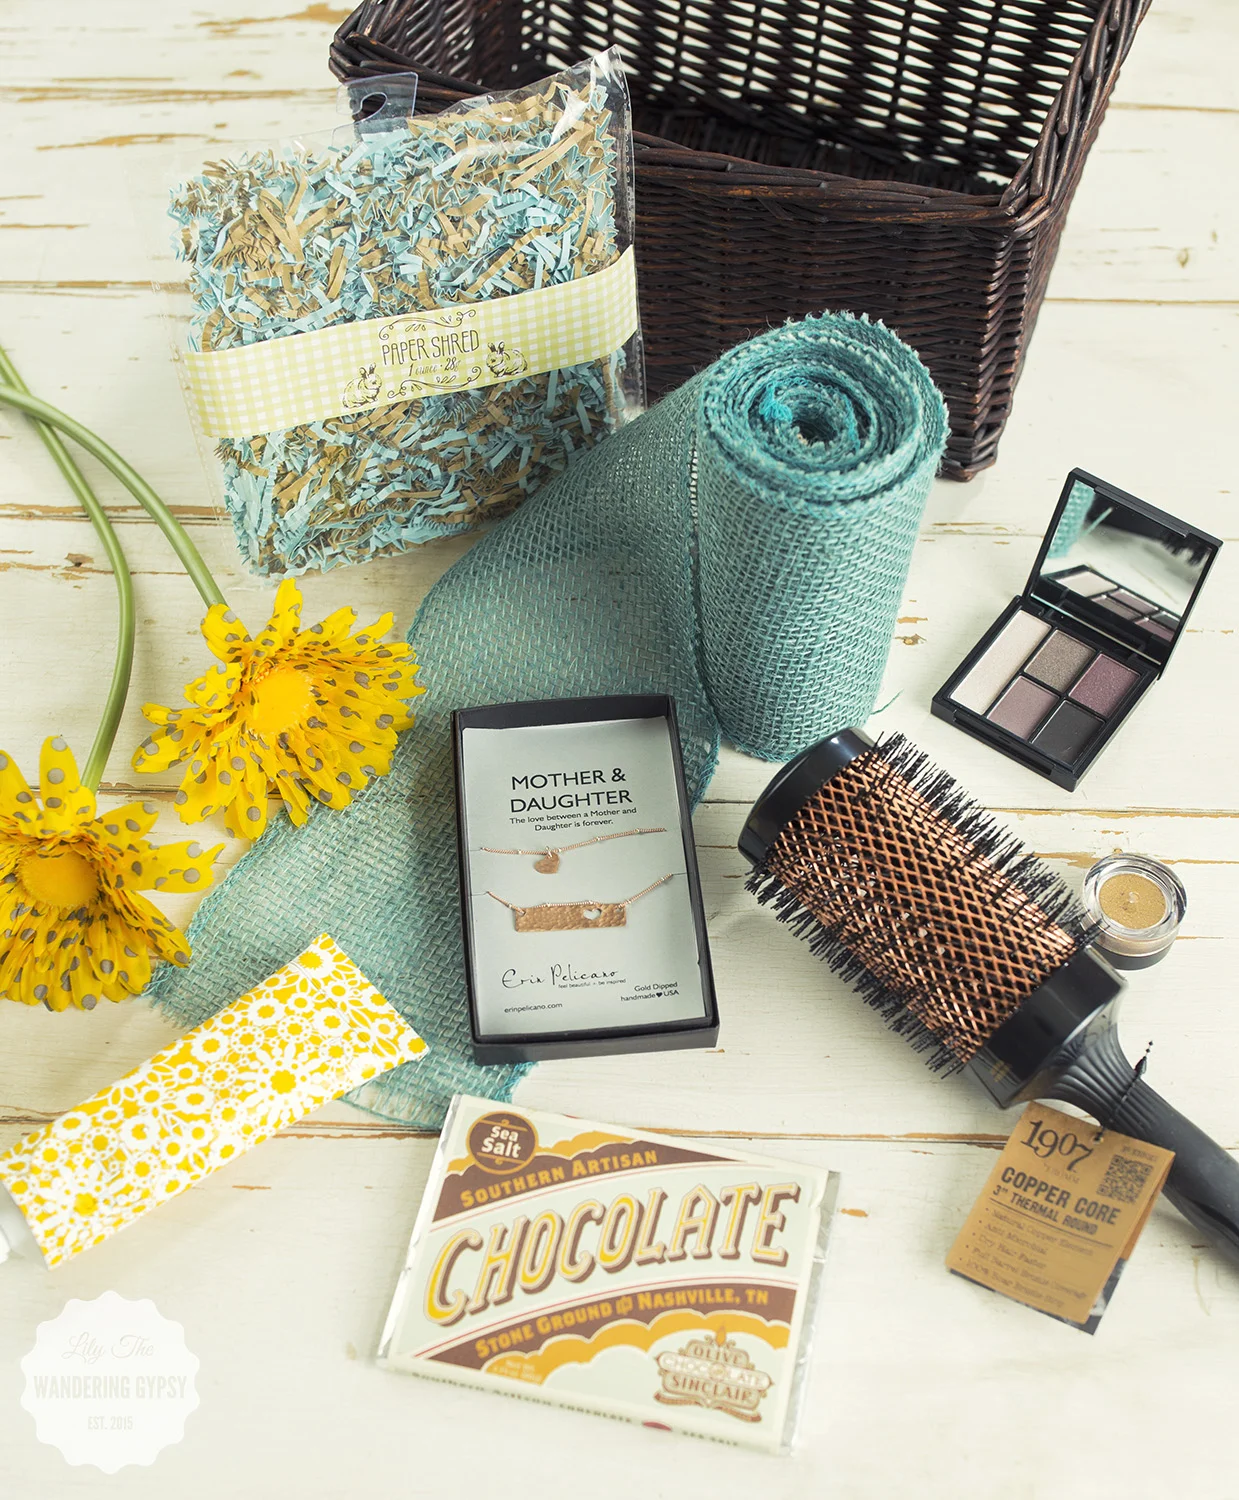
Another Adorable Gift Basket With Erin Pelicano Jewelry

I hope you enjoyed my previous gift basket post, here. I had so much fun putting that basket together, that I created yet a second gift basket. These are so perfect for Mother's Day (and for gifting at just about any time of the year). The reason why I like the style of this gift basket so much, is because after you gift this beautiful creation, someone can then use the basket as store in a closet, bathroom, pantry, and more. 

Adorable Gift Basket DIY Tutorial
Check out this cute gift basket DIY project!

MATERIALS:

1 Wicker Basket

1 Roll of ribbon to wrap around the basket (not wired)

Hot Glue Gun + Glue (I used about 12 sticks, so it takes a lot)

2-3 Silk Flower Heads 

Tissue Paper

Paper Crinkles

Fun Goodies To Fill Basket


INSTRUCTIONS:

1.) Cut a piece of ribbon, long enough to wrap around the basket and overlap about 3" in back. 

Check out this cute gift basket DIY project!

2.) Glue the ribbon to the basket. I was pleasantly surprised at how easy it was to work with this burlap ribbon roll. It just seemed to mold to the shape of the basket so well. Starting at the back of the basket, glue the top of the ribbon and the cut end of the ribbon to the basket. Continue to wrap the ribbon around, and glue it/secure it every few inches. I glued up the basket where the vertical basket pieces were. 

Check out this cute gift basket DIY project!

Gotta love that glue gun :)

Check out this cute gift basket DIY project!

3.) When you have glued the ribbon all the way around the basket, make sure the ribbon is attached well throughout the entire basket. Feel free to touch up any spots that may be loose. Fold the remaining cut end of ribbon over, to make sure loose edges are not showing. Then, glue that in place. Yay! The "hard part" is done. 

Check out this cute gift basket DIY project!

Here is what your gift basket should look like...(below)

Check out this cute gift basket DIY project!

4.) Now, fill the bottom half of the basket with tissue paper.

Check out this cute gift basket DIY project!

5.) Then, add your paper crinkles. They should mold to the shape of the basket pretty well. These were from Target for $1.00 - I just love the color combo!

Check out this cute gift basket DIY project!

I wanted to make this cute gift basket like a floral arrangement of sorts, and I found these adorable berries (below), that really were the absolute perfect colors. So, it made me really happy to find these at JoAnn's during their recent Daffodil Dash sales :)

Check out this cute gift basket DIY project!

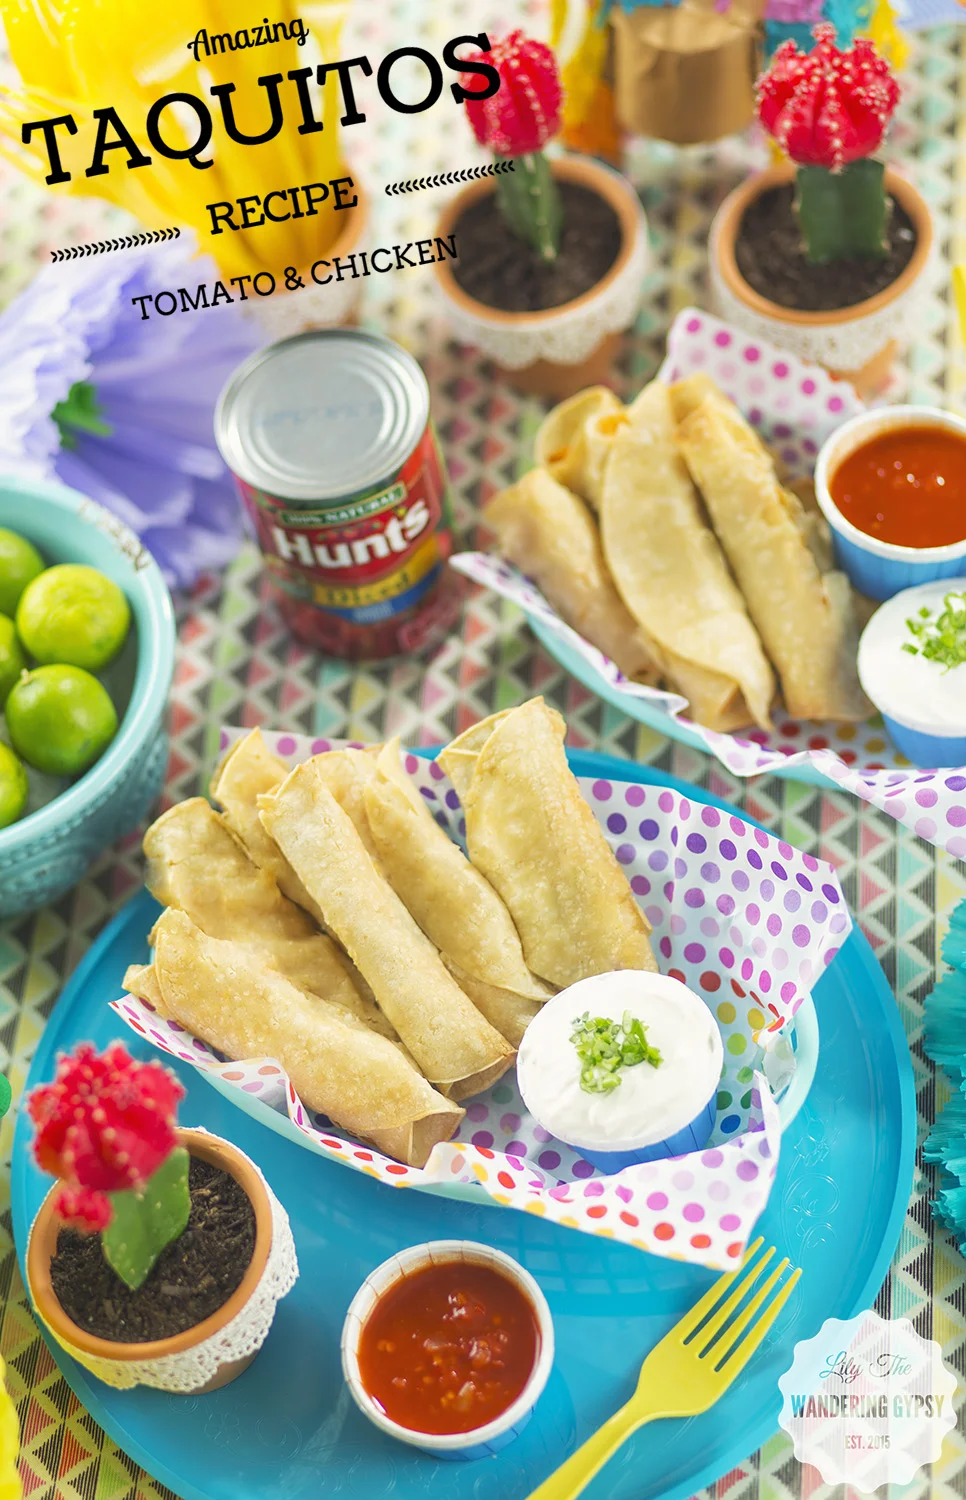
Baked Chicken & Tomato Taquitos Recipe

This shop has been compensated by Collective Bias, Inc. and its advertiser. All opinions are mine alone. #YesYouCAN #CollectiveBias

This recipe turned out extremely well! These taquitos are absolutely delicious, and would be the perfect way to incorporate Hunt's Canned Tomatoes into a Mexican-Inspired dish for dinner or even a party. 

Amazing Recipe Idea - Mexican Food - #YesYouCAN #CollectiveBias

First, I will start off with a kitchen hack! Read the instructions below the photo. This was such a great way to make shredded chicken. 

Amazing Recipe Idea - Mexican Food - #YesYouCAN #CollectiveBias

A BONUS KITCHEN HACK

Using a roaster chicken for shredded chicken is genius! I absolutely loved using this method, compared to spending literally hours waiting for chicken breasts to slowly boil, then become soft enough to shred. This seriously saved me many hours of prep work, and tasted incredible! 

Check out more Mexican inspired recipes here

Amazing Recipe Idea - Mexican Food - #YesYouCAN #CollectiveBias

INGREDIENTS:

3/4 Can Hunt's Tomatoes

1 Roaster Chicken 

1/2C. - 1 C. Cream Cheese

1/4 - 1/2 Onion

2 Cloves Garlic 

Olive Oil 

Mexican Seasonings and Salt

1/4 - 1/2 Bunch Cilantro

1 C. Shredded Mexican Cheese or Cheddar.

Tiny Bit of a Jalapeno (Optional)

Small sized corn or flour tortillas (I used corn)

Sour Cream For Dipping

Amazing Recipe Idea - Mexican Food - #YesYouCAN #CollectiveBias

INSTRUCTIONS:

1.) To shred the chicken - (make sure chicken has cooled, and use your hands (I used rubber gloves), to begin to tear apart all of the meat on the roaster chicken. Set aside, and discard bones and anything you can't use.

2.) Chop onions and garlic, and set aside.

3.) Simmer a tablespoon or so of olive oil, in a medium saucepan (I used one with sides). Once warm, add chopped garlic and onion. Also add about 1/4 tbsp or more of the Mexican seasoning. and a pinch of salt if desired. Stir. Optionally, add a tiny bit of the jalapeno pepper - this added SO much flavor and wasn't even really spicy. 

4.) Add shredded chicken to the onions and garlic mixture.

5.) Strain some of the excess juices out of the Hunt's Tomatoes, and add 3/4 or 1 whole can to the chicken mixture. Stir until combined, and again, season the chicken tomato mixture.

6.) Turn off heat, and add the cream cheese and shredded cheddar, and a little bit more seasoning if you like. Stir until combined well. 

7.) Chop leaves off cilantro, and add that to the rest of the ingredients.

8.) Preheat oven at 350-375 degrees, use PAM on Pyrex dish or baking dish.

9.) Warm corn tortillas in the microwave or on a warm stove. 

10.) Spread a small amount of the chicken mixture onto the centers of each tortilla. Wrap the tortillas around the mixture. Practice first, because the corn tortillas can easily split and break.

11.) Bake at 350-375 Degrees for about 25 minutes, and serve with a side of sour cream. These taste amazing!! Enjoy!

Look how beautiful this filling turned out! You can use this as dip with chips. or fill any type of burrito quesadilla, or taquitos with this. 

Look how beautiful this filling turned out! You can use this as dip with chips. or fill any type of burrito quesadilla, or taquitos with this. 

This is a good amount of filling to use! Roll these up and bake them in a glass dish at 350 Degrees for about 25 minutes. 

This is a good amount of filling to use! Roll these up and bake them in a glass dish at 350 Degrees for about 25 minutes. 

Serve with a side of sour cream, they are incredibly tasty!!!

Serve with a side of sour cream, they are incredibly tasty!!!

WHERE TO FIND THESE INGREDIENTS...

The great thing about this recipe, is that most of the ingredients were easy to find at Walmart. They have great prices on these ingredients, which is great if you're serving these to a crowd, or just making them for family. The Hunt's Tomatoes were found in the Tomato Sauce aisle. The organic yellow onions and garlic were found right in the front of the store by the fresh produce, too! 

Amazing Recipe Idea - Mexican Food - #YesYouCAN #CollectiveBias

And, here is that DIY project I promised you :) Check out the Cactus DIY below.