I had an amazing time creating this delicious summer recipe, featuring tasty ingredients like mozzarella chicken sausage, colorful peppers, and basil pesto. I then paired the dish with two styles of wine! How could things get any better? I tend to like lighter wines in the summer, so I chose to feature two varieties from The Wine Group's Cupcake® - Chardonnay and Sauvignon Blanc. For this recipe, I used Aidells® Sausage. I chose Italian Style Smoked Chicken Sausages with Mozzarella Cheese - they were absolutely perfect!
I originally tried this recipe with friends, and they went up for seconds and thirds, so I know this one goes over well with a crowd! I loved it too, and I also thought the sausage and peppers mixture would taste incredible in an omelet for breakfast. This dish is so versatile! Make it for two, make it for lunch or dinner, or incorporate it into your next party menu!
This is a sponsored conversation written by me on behalf of Aidells® & The Wine Group. The opinions and text are all mine.


- 1-2 Packages of Aidells Italian Style Chicken Sausages
- 1 Box Penne Noodles
- Red, Green, and Yellow Pepper (1 each)
- 1 Onion
- Green Pesto (either store bought or homemade)
- Olive Oil
- Fresh Grated Parmesan Cheese


TO MAKE THE NOODLES:
Boil noodles as directed. Drain them, and return them to the pot you boiled them in. Add 2-3 tablespoons of olive oil, and also stir in around 4-5 tablespoons of pre-made or homemade pesto. Stir until well incorporated, and then top with parmesan cheese. These noodles compliment the sausage and peppers so well!

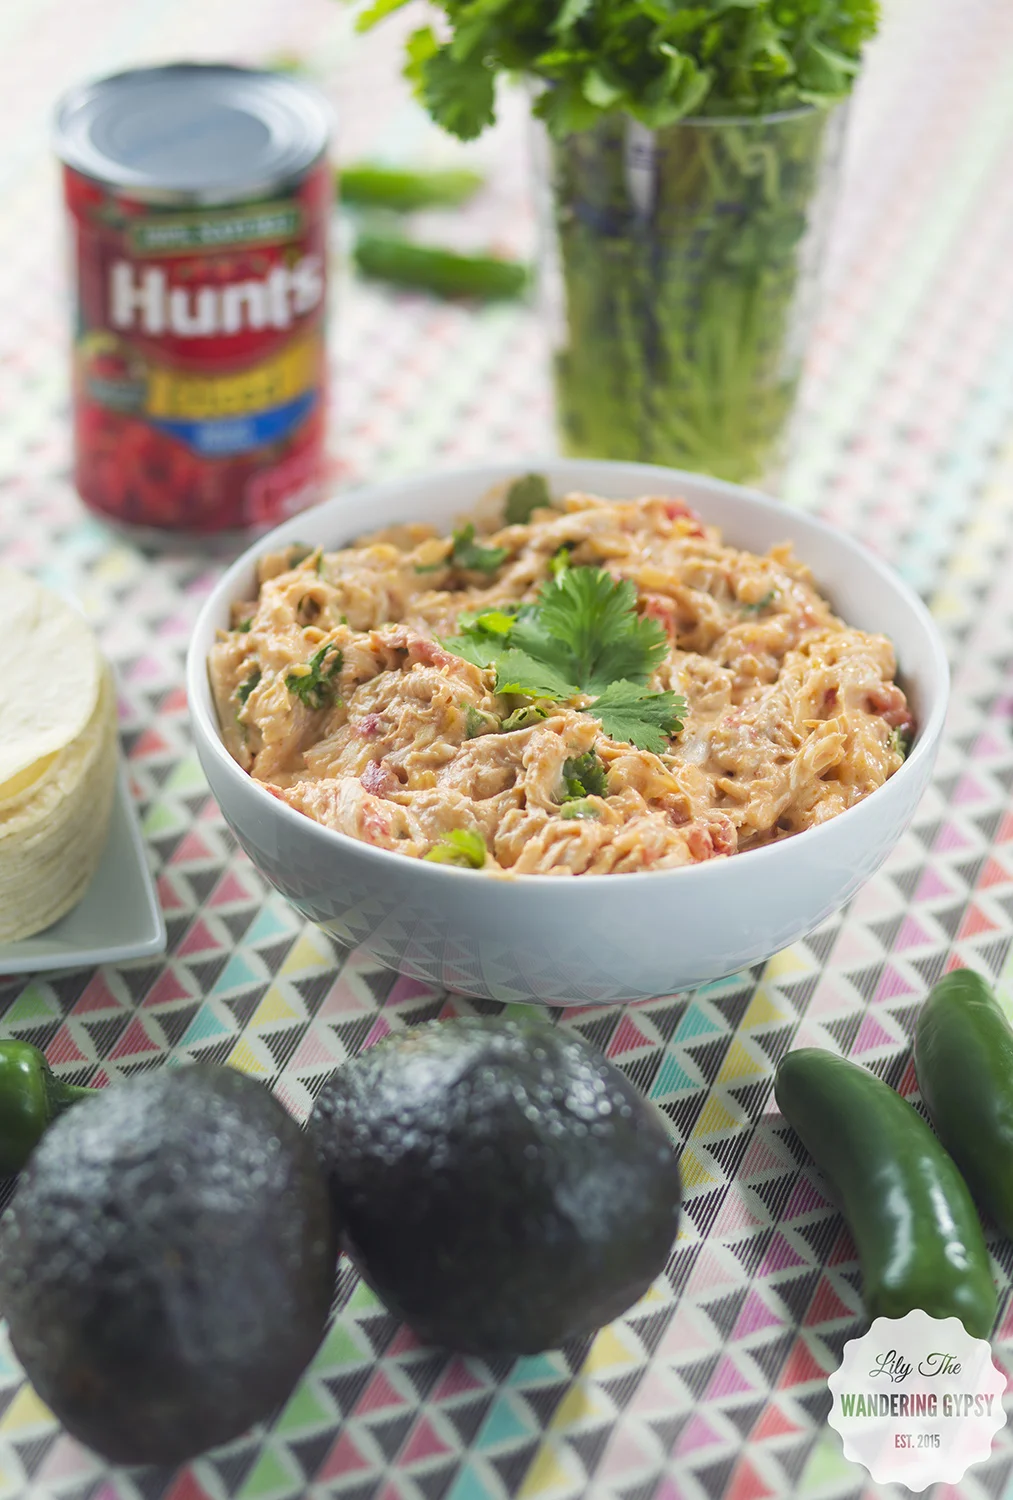
Below, the perfect mix of ingredients. Italian Style Chicken Sausage, peppers, and onions! YUM!!!

TO MAKE THE SAUSAGE & PEPPERS
1.) Cut up chicken sausages into thin slices, around 1/4" thick or less.
2.) Chop onions into tiny pieces (or larger if you like)
3.) Chop peppers into small pieces and set aside.
4.) In a skillet, heat 1-2 tsp of olive oil, and add onions. Salt and season, and continue cooking and stirring onions until they are soft.
5.) Time to add the sausage! Add your sausage slices to the pan, and stir. I used tongs to turn the pieces, and continually check the status of the sausage. I let them brown on both sides before I decided they were done. They taste SO good!
6.) Turn down the heat to very low, and add peppers into the sausage mixture. Stir, and cover with a lid, to just basically steam the peppers. They should be done in 4-5 minutes. Stir again to incorporate one last time.
7.) Place noodles onto a plate, and then top with sausage and pepper mixture. This could also be served atop rice of any sort! Enjoy!! Scroll down to learn more about these wines.

Some great things about Aidells® Sausage:
* Each sausage is made with naturally smoked, all-natural chicken, real fruits & vegetables, and herbs & lively spices
* Gluten Free
* No Nitrites
* No Added Hormones
* All sausages are hand-crafted with real, hand-picked ingredients in small batches with care
* Fully cooked and ready in just 8-10 minutes: sauté or grill over medium heat or bake at 375 degrees F.


The Wine Group's Cupcake® Wines are great! Both styles featured in this post are under $10 per bottle (I got them at Kroger - in fact, I got all of my ingredients there). I really do prefer white wine to red wine any day, but especially in the summer. I opted to get the Chardonnay and the Sauvignon Blanc because they are not overly sweet, and are very well-balanced.

Luscious, creamy, silky, zesty, intense, elegant, complex wines!
Great for celebrating the good and genuine things in life & simply making life delicious!


What sorts of dishes do you prepare during the summer months? And, what is your favorite style of wine? Do you prefer white wine or red wine? Let us know in the comments!


 This is a sponsored conversation written by me on behalf of The J.M. Smucker Company. The opinions and text are mine alone. #peanutbutterhappy #ad
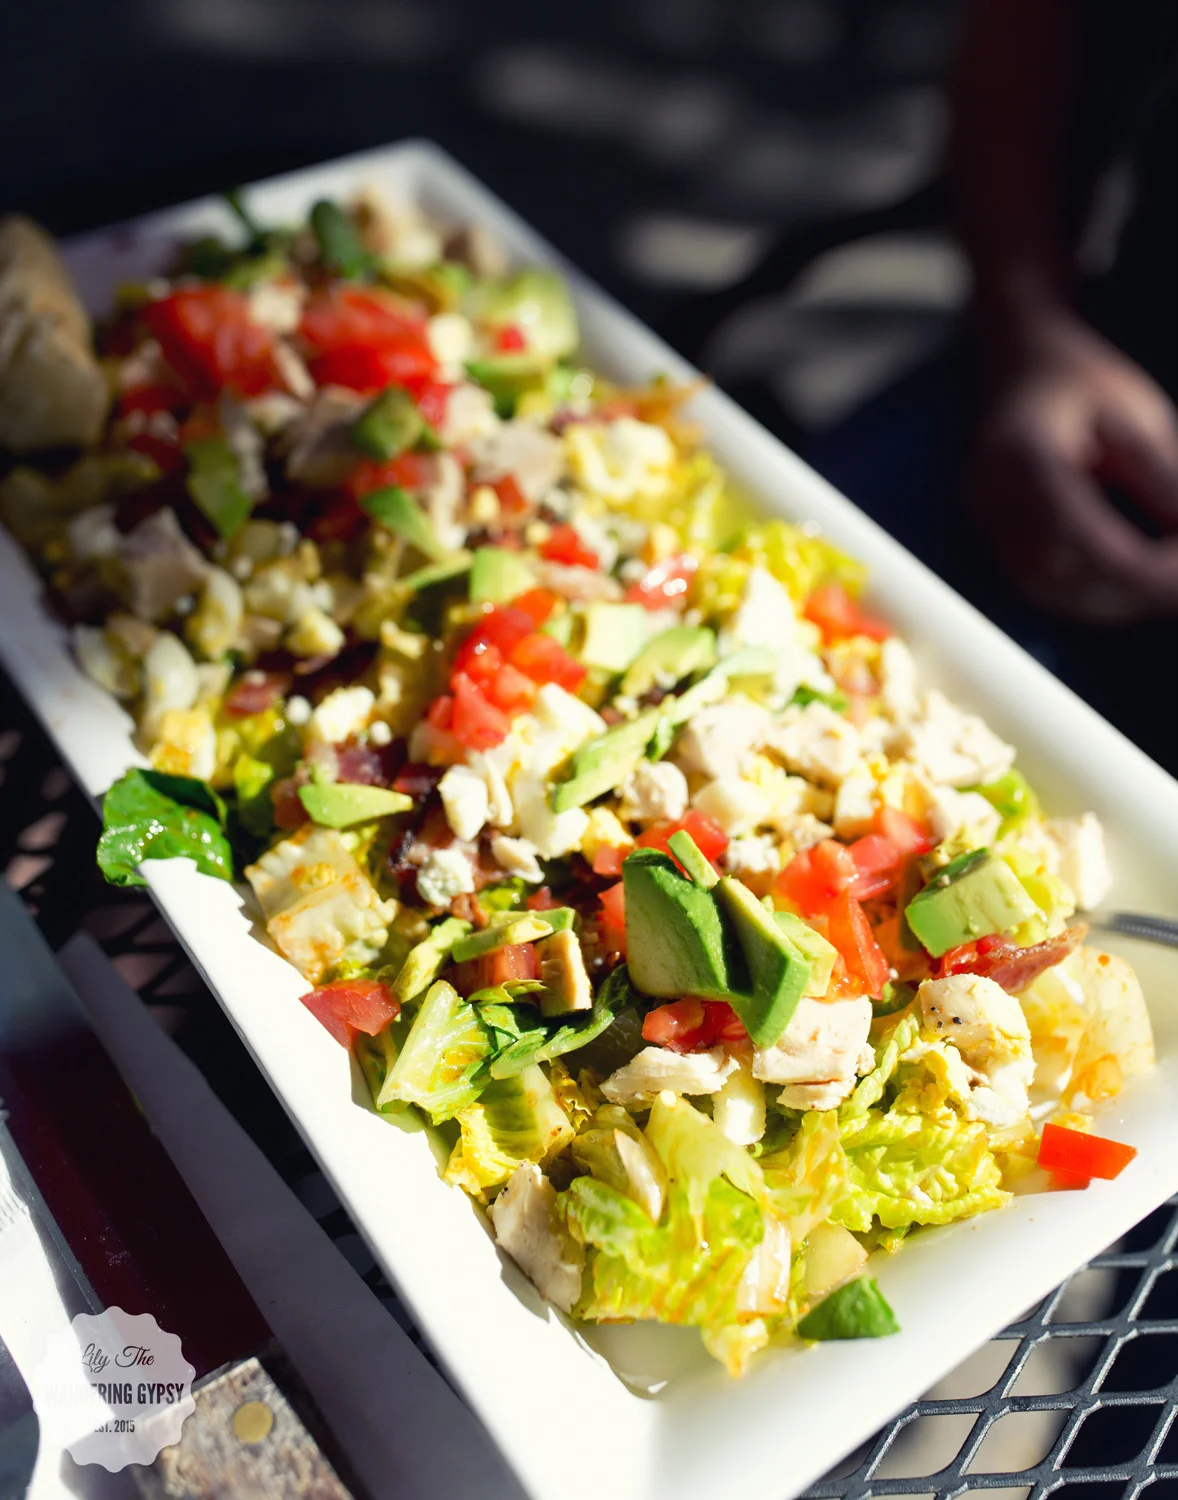
 These Jif Bars inspired me to show you a quick and easy lunch idea, that you can prepare in just a few minutes. A jar salad is a great way to jump start your mid day hunger. I also love the idea of bringing a fruit like cherries or grapes in a jar, so they won't get squished or make a mess. And, a classic PBJ (featuring Jif PB of course), and my favorite raspberry jelly. And, I love packing the Jif Bars as my dessert, because they're portable and taste seriously SO good!
 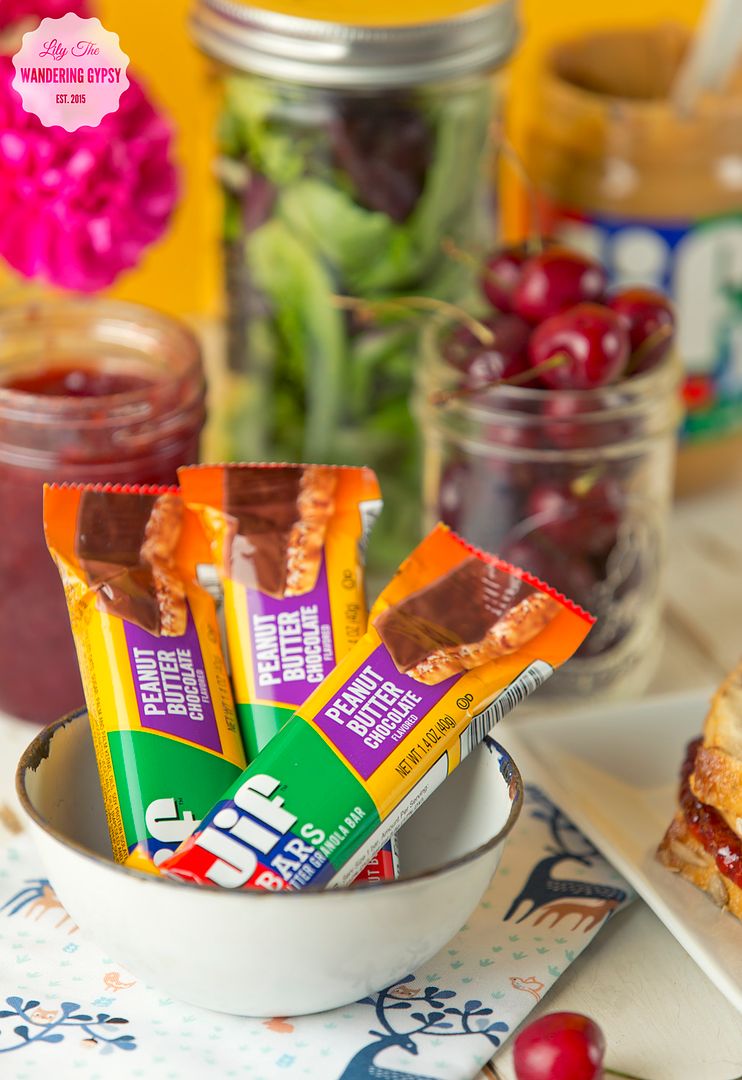 These Peanut Butter Chocolate Bars were the bomb! There are other flavors as well, like Crunchy Peanut Butter, and Creamy Peanut Butter.
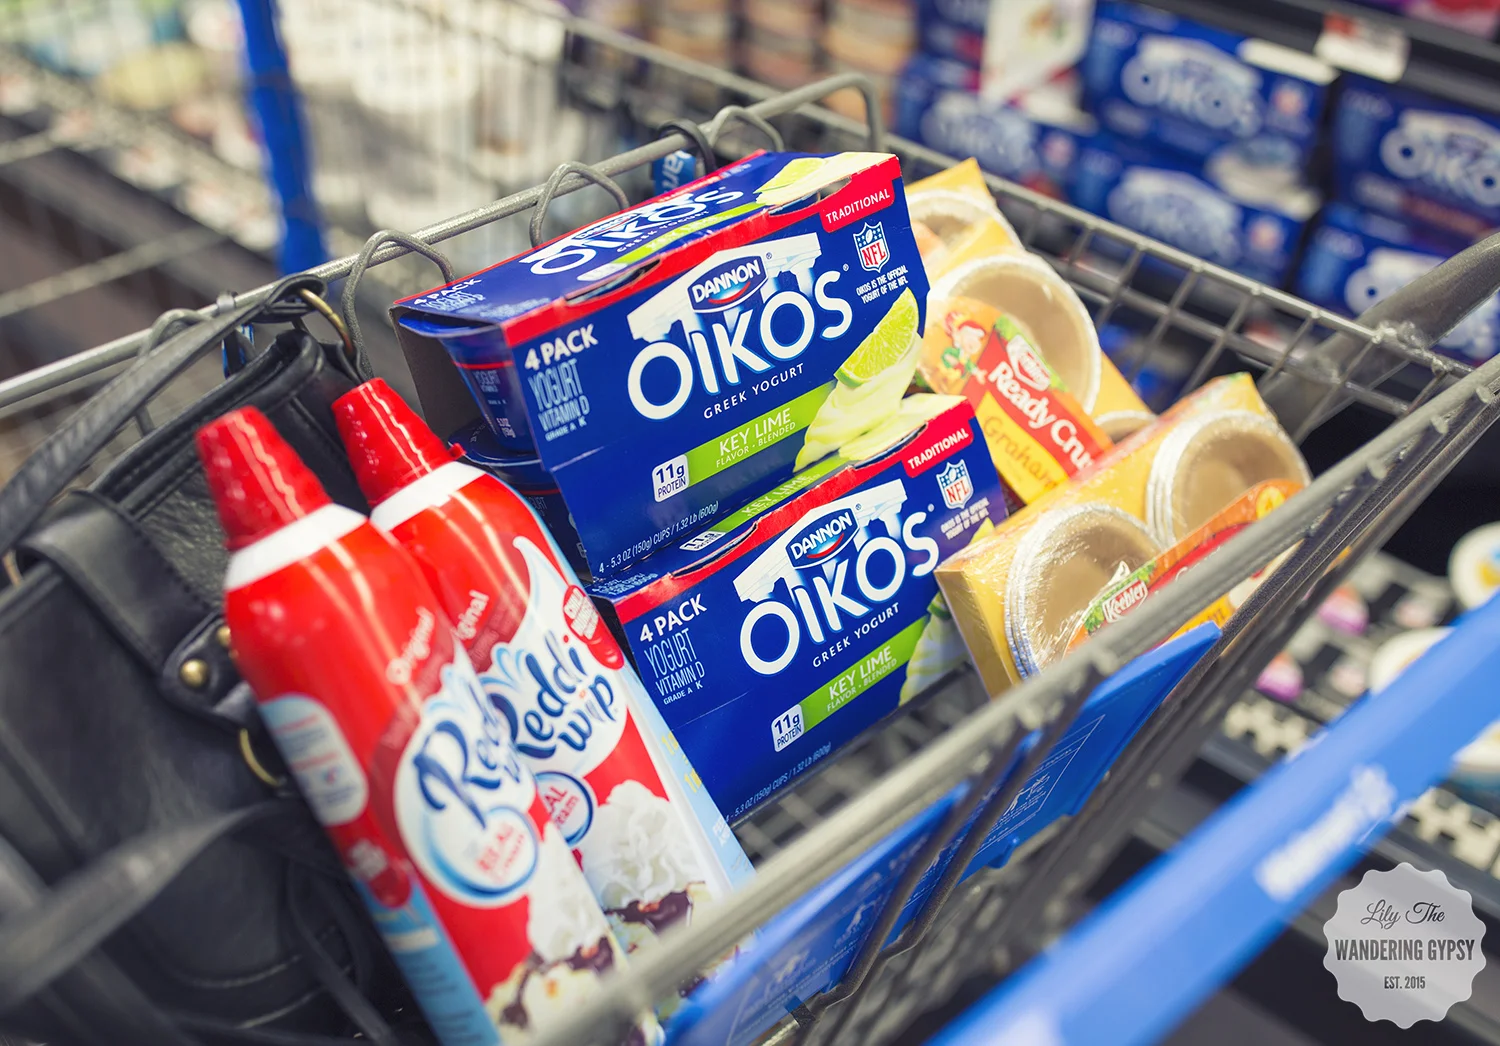
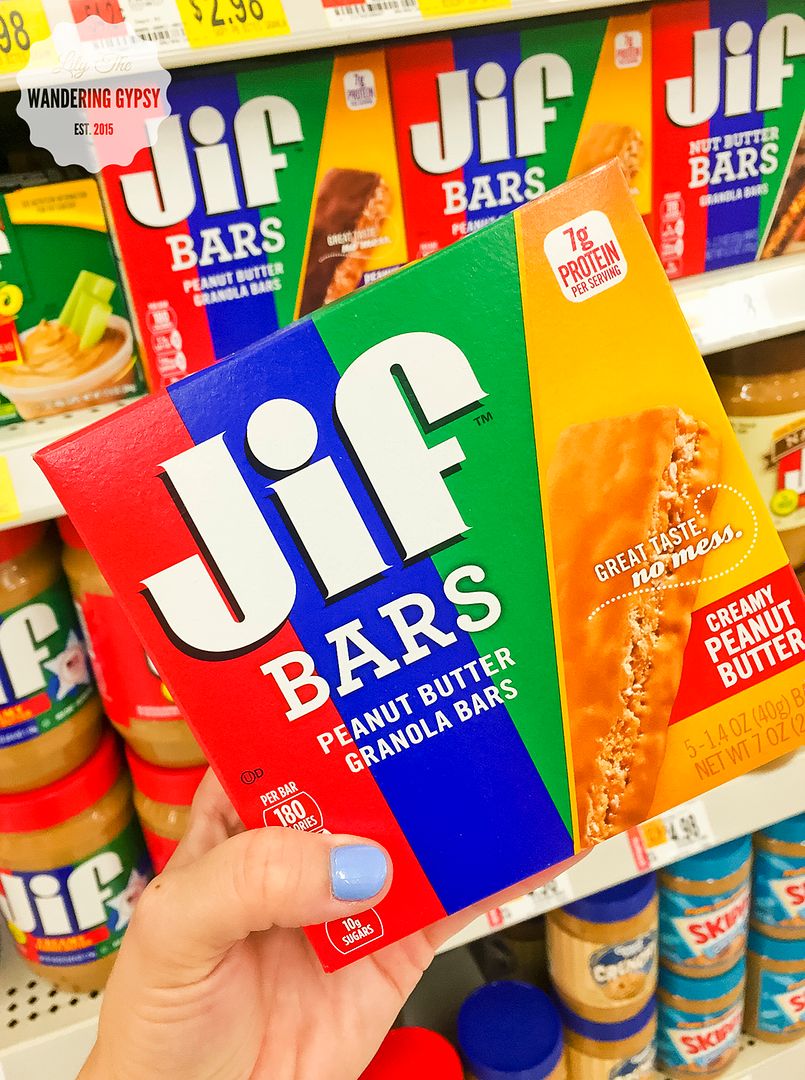 I found the Jif Bars right above the Peanut Butter at Walmart, and their prices are some of the best I've found for these items.